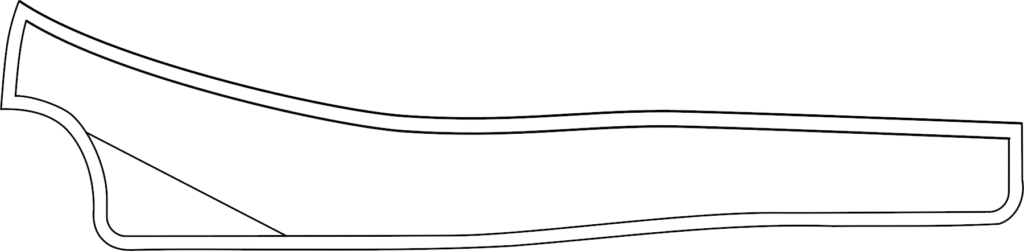
Category: Unlined Linen Paletot
The Undercollar
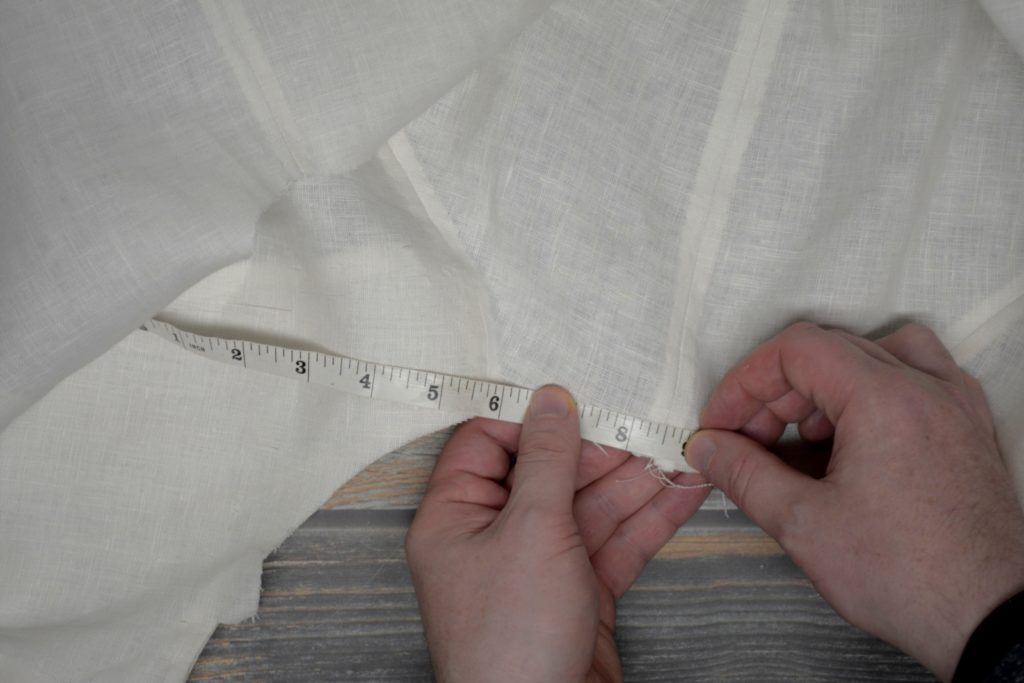
Now that the body of the coat is basically done, it’s time to begin work on the collar. If you haven’t drafted your collar already, or you want to double check the fit, you can measure the coat around the neck starting at the center back, ensuring both sides are the same size, and that the collar is the correct size as well.
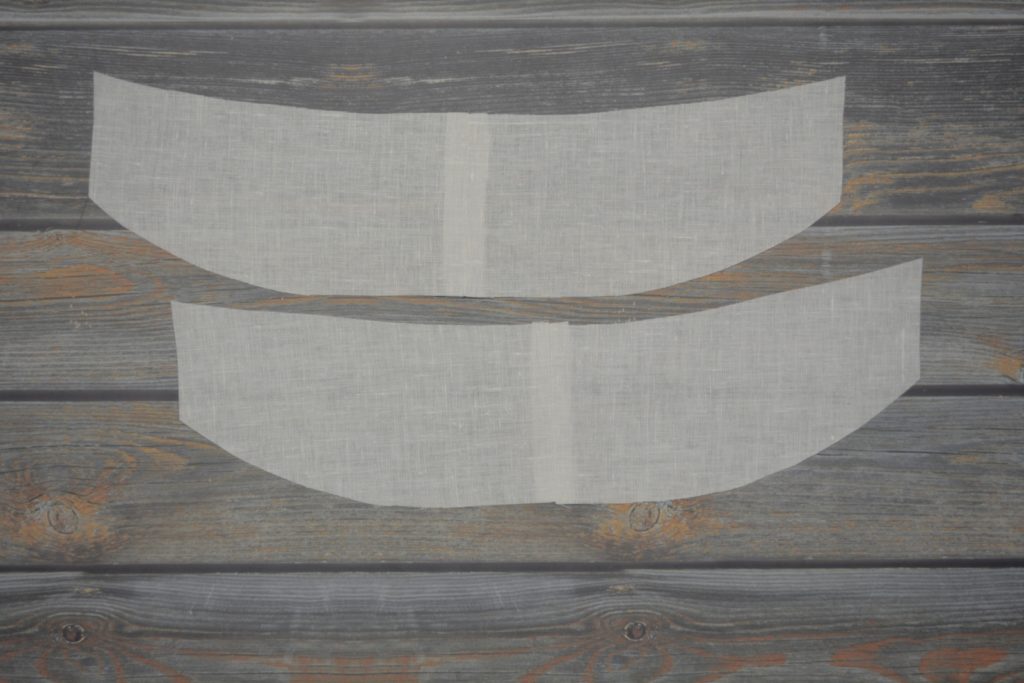
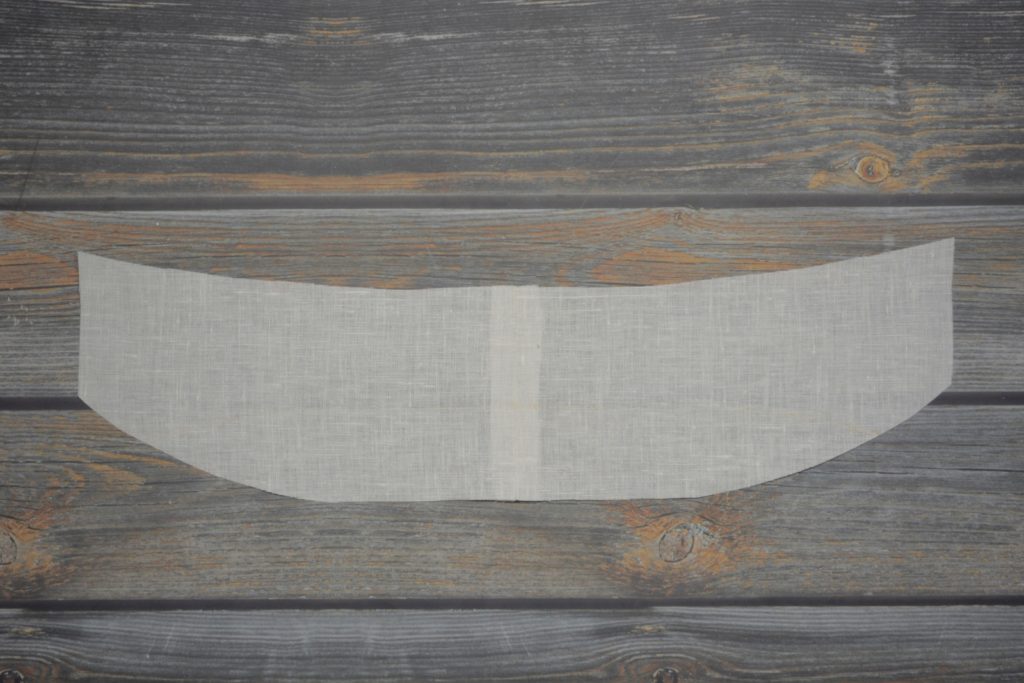
Cut out your collar, and with right sides together, baste the center back seam and sew with a 1/2″ seam allowance. Repeat for the top collar.
Press both collars open.
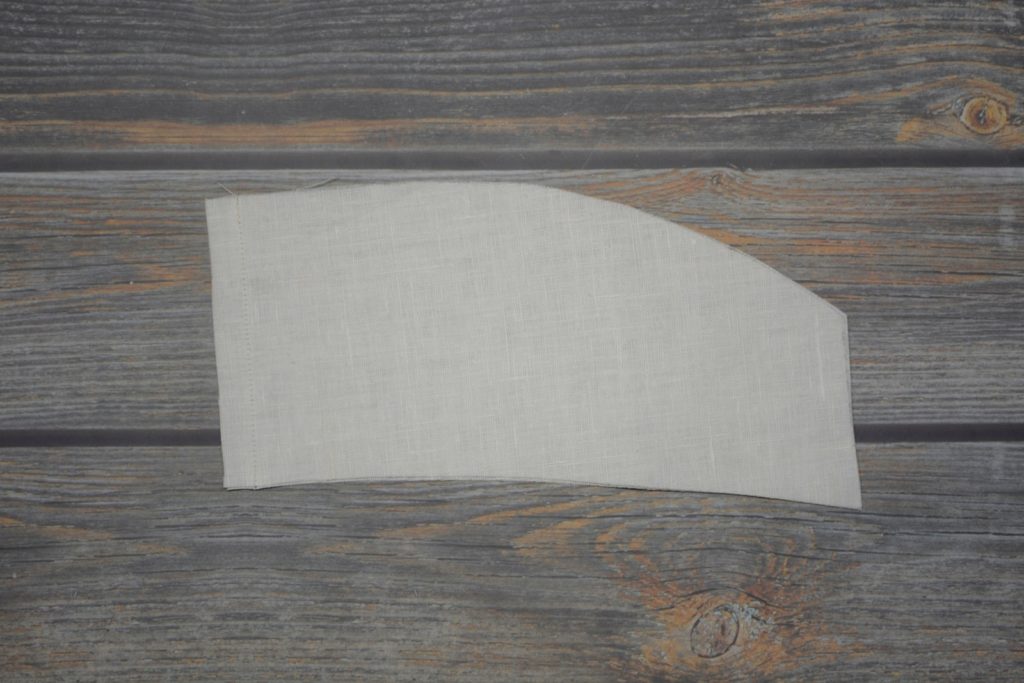
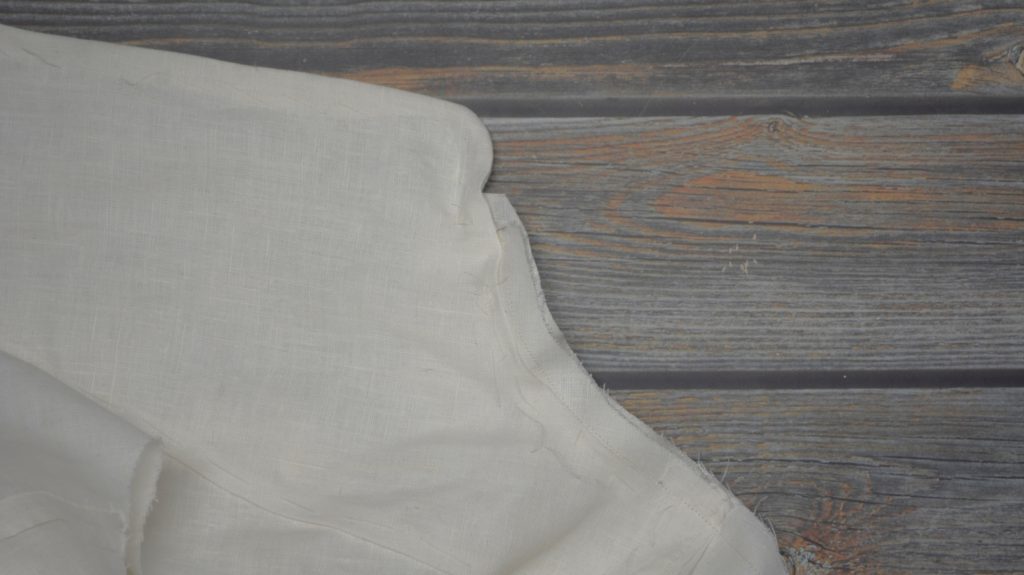
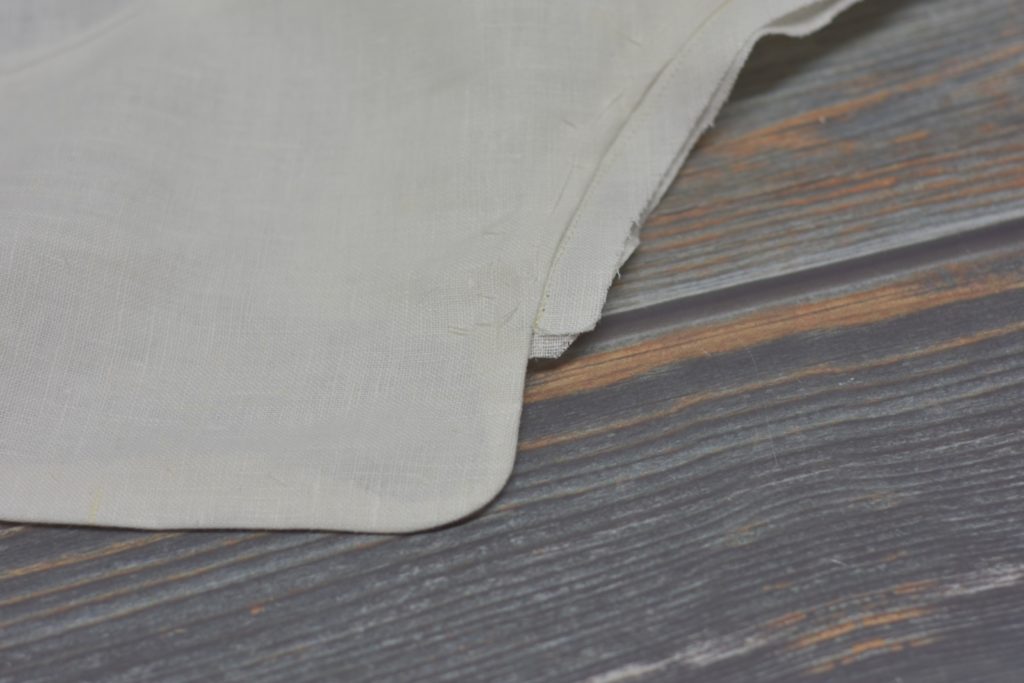
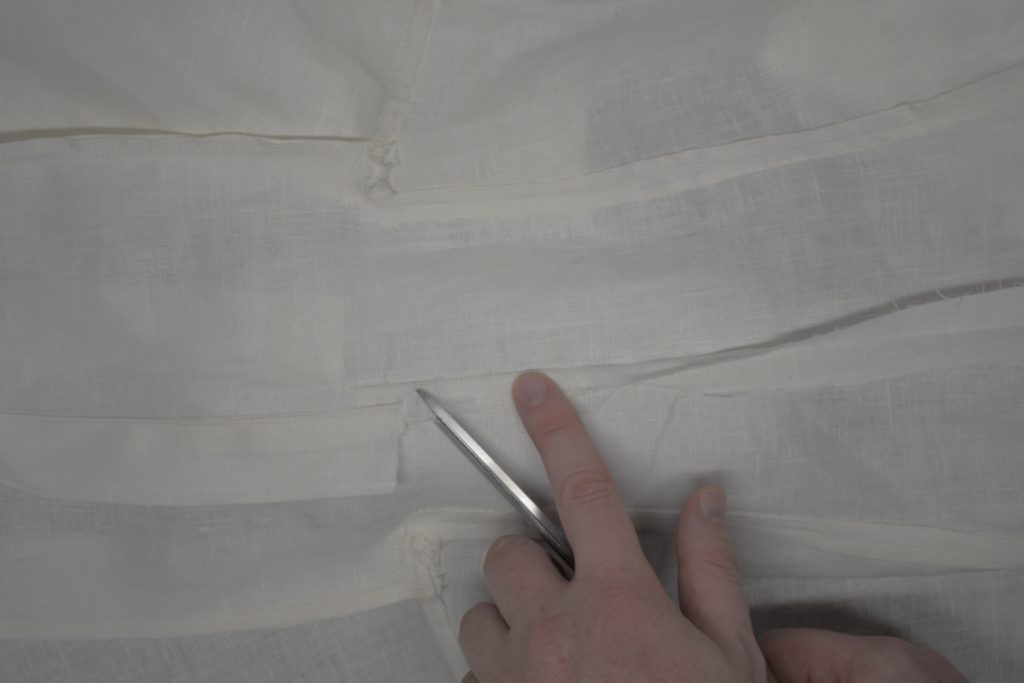
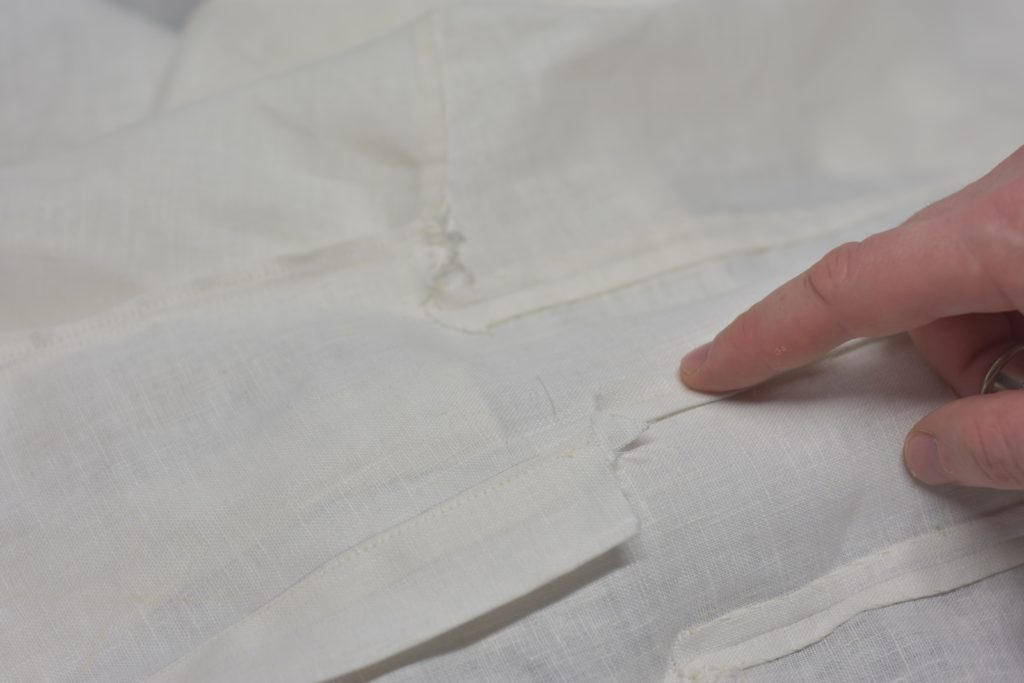
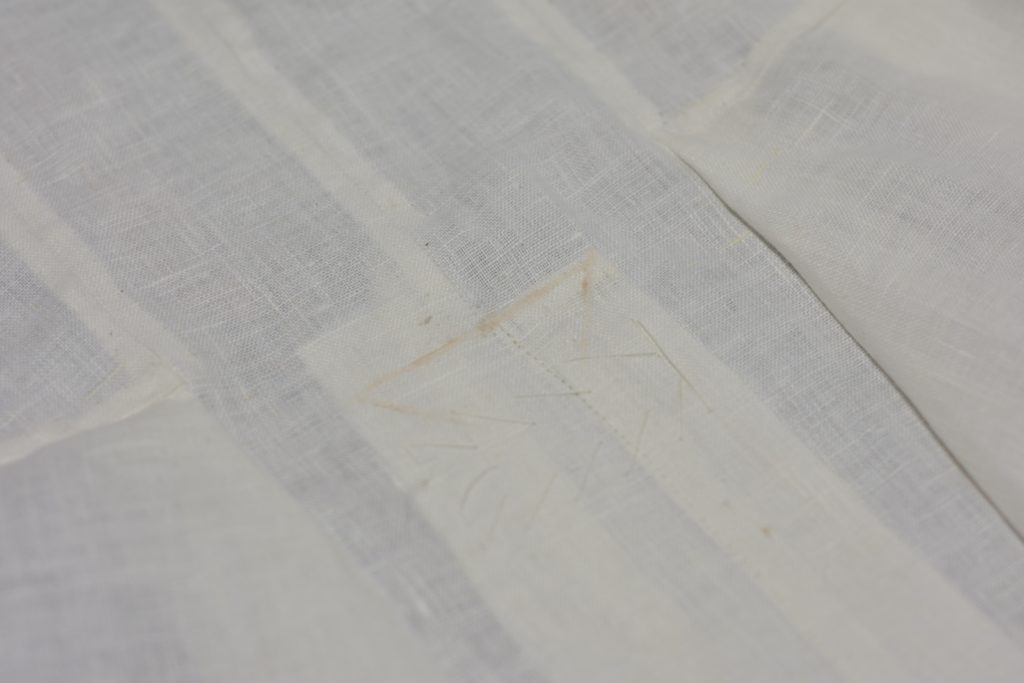
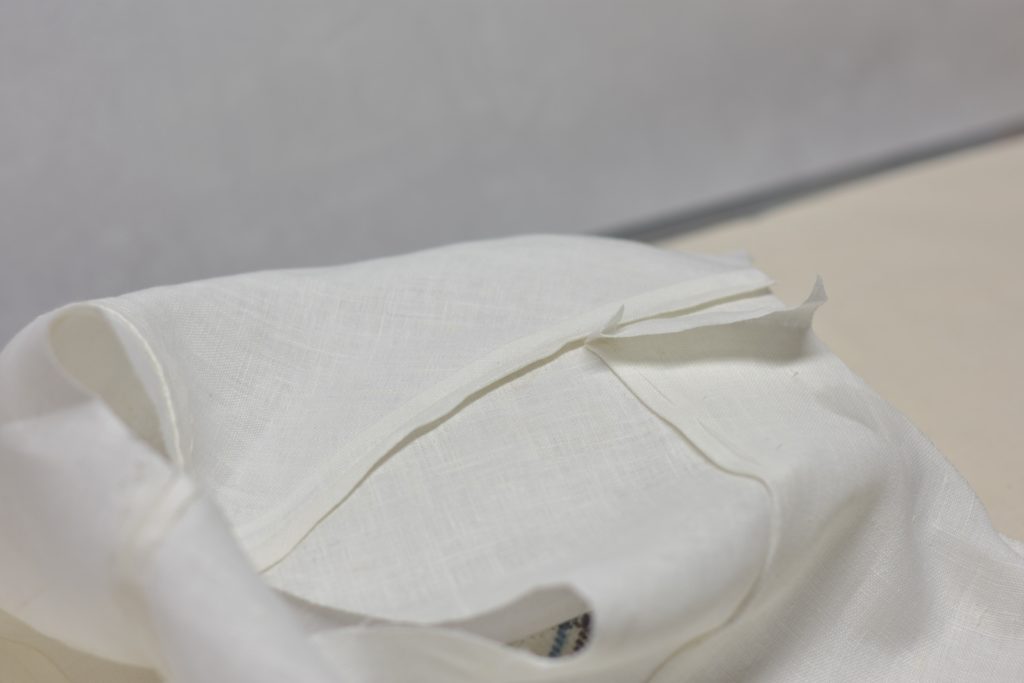
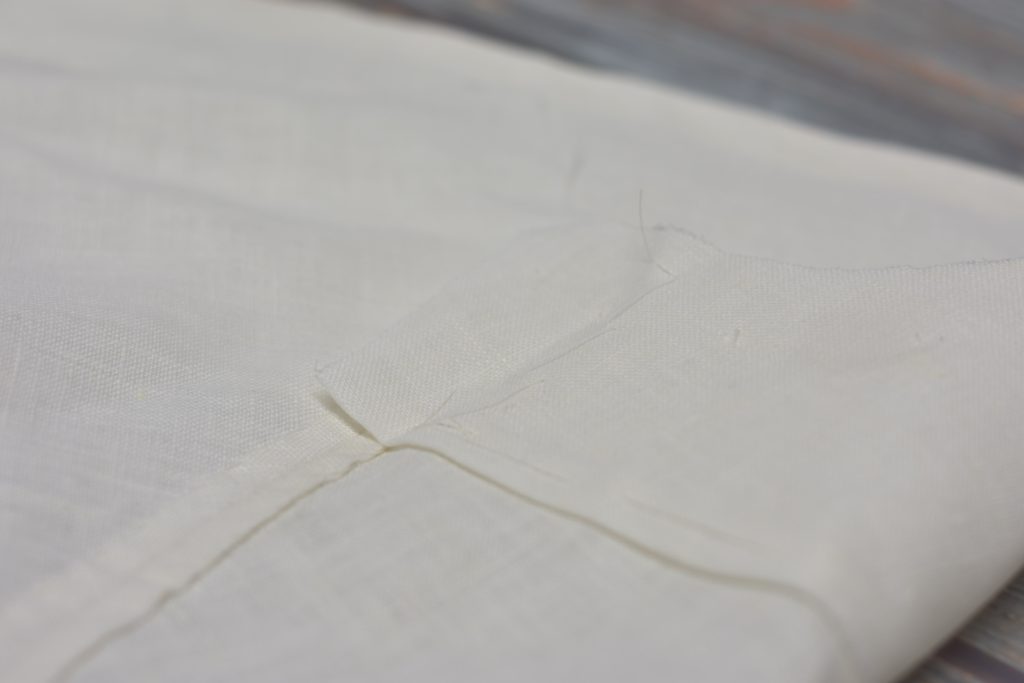
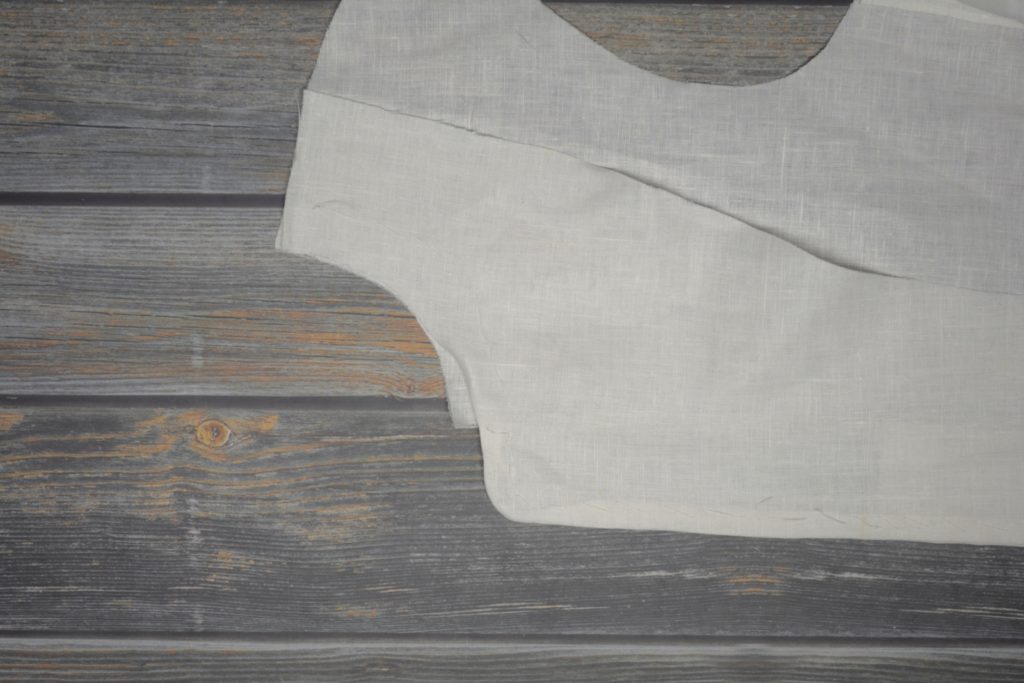
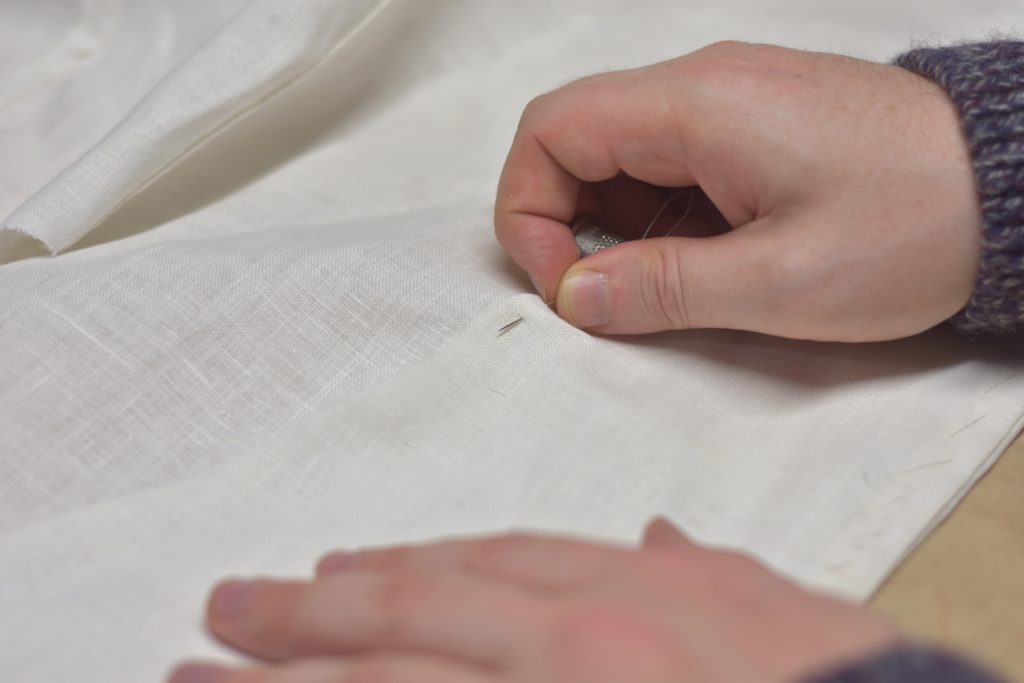
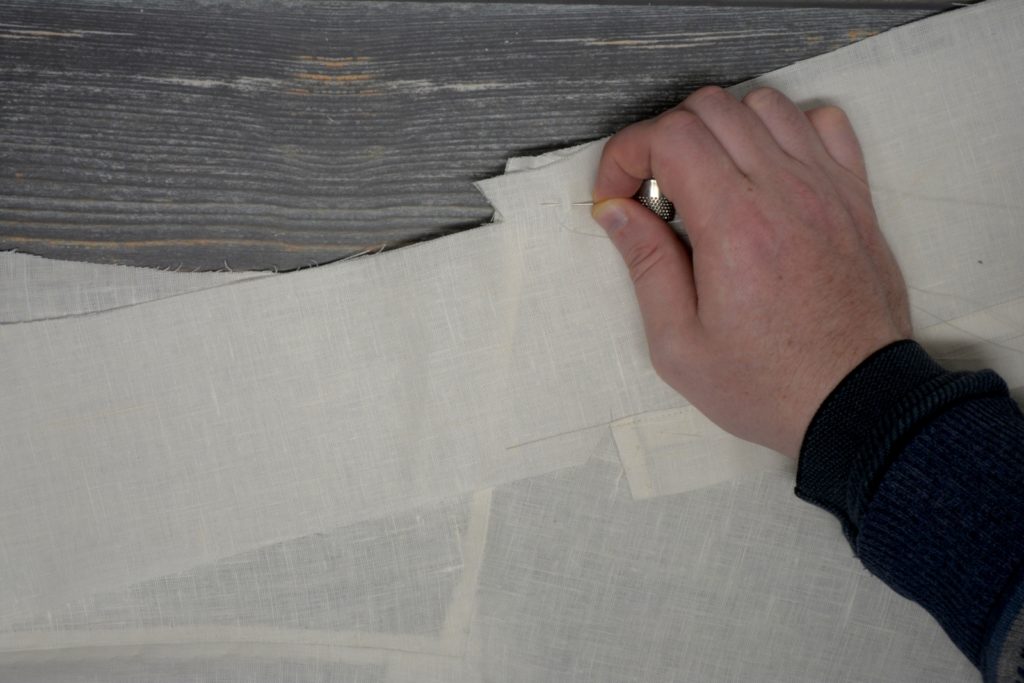
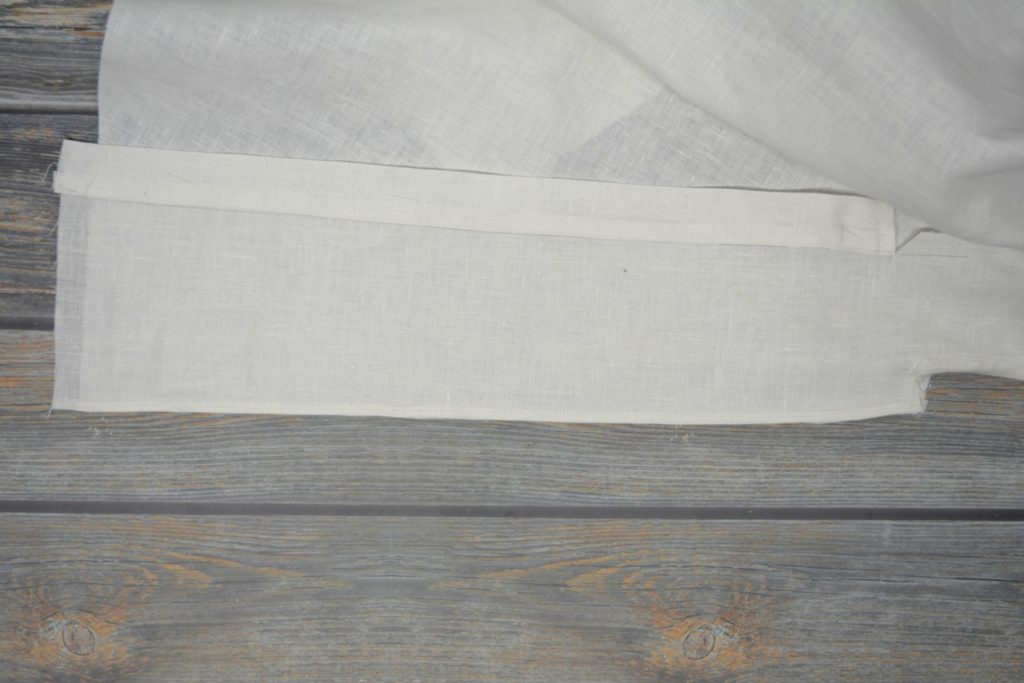
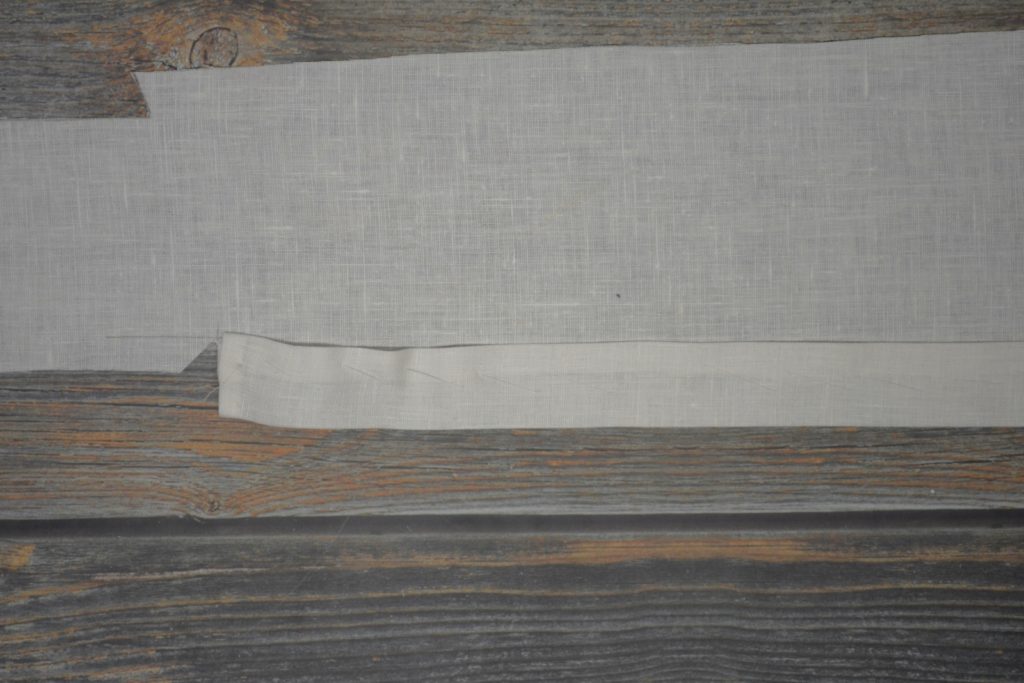
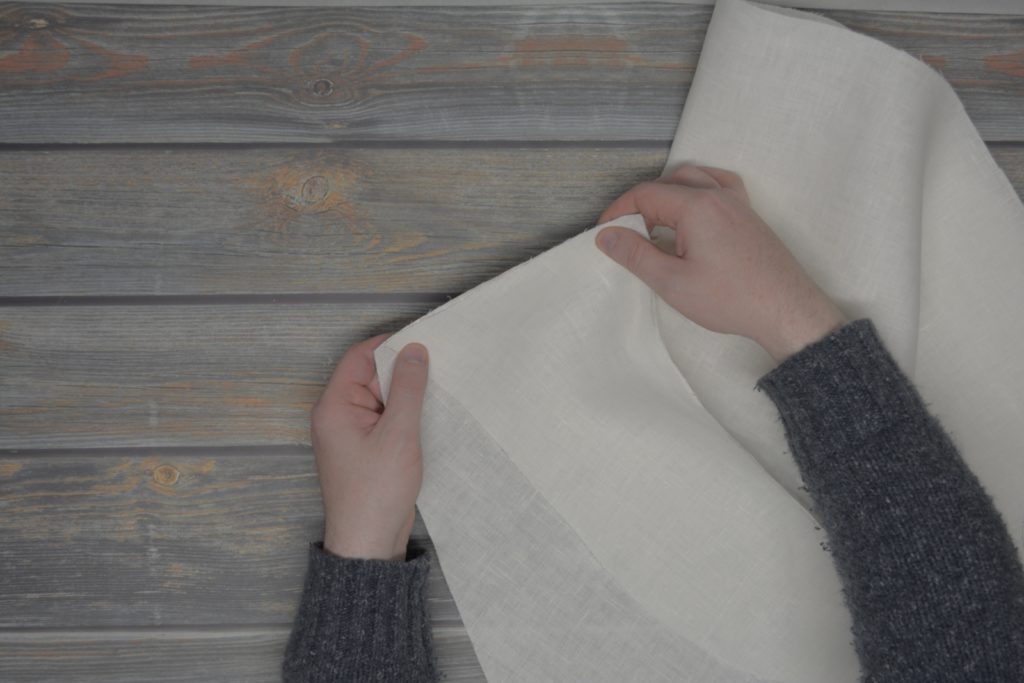
It’s necessary to draw the roll line on the undercollar. I find the easiest way is to just cut the collar pattern along the roll line, and then place that on the collar.
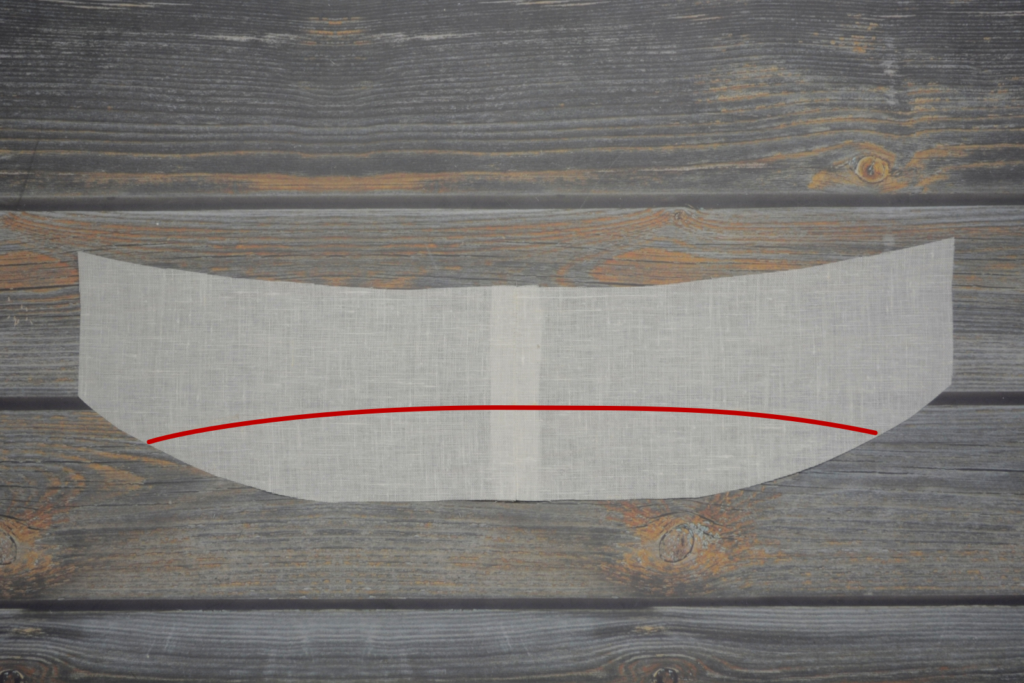
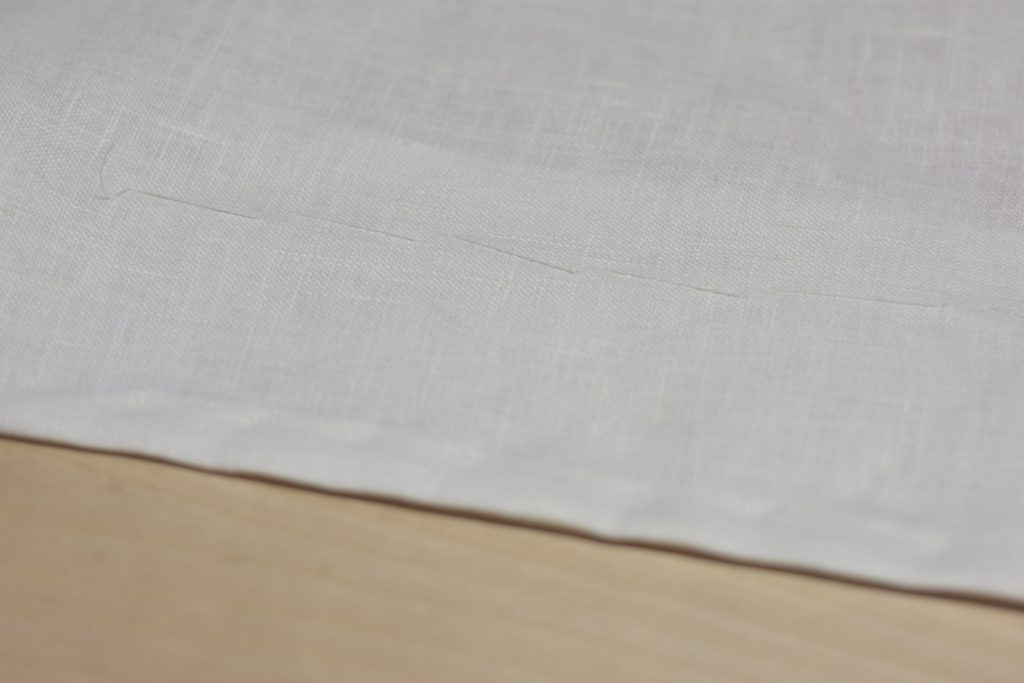
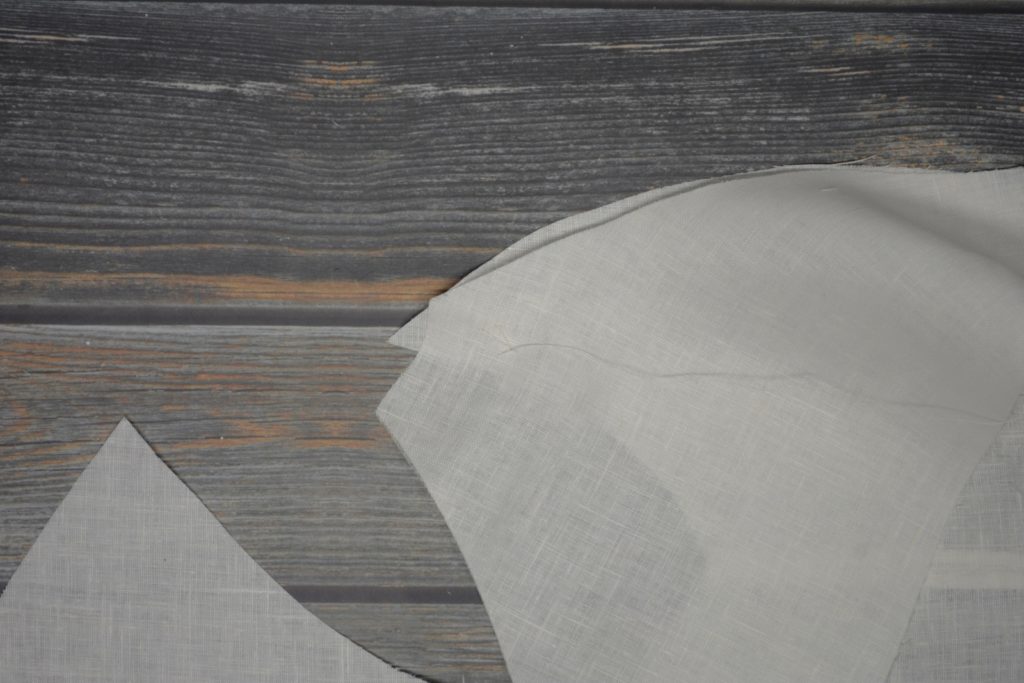
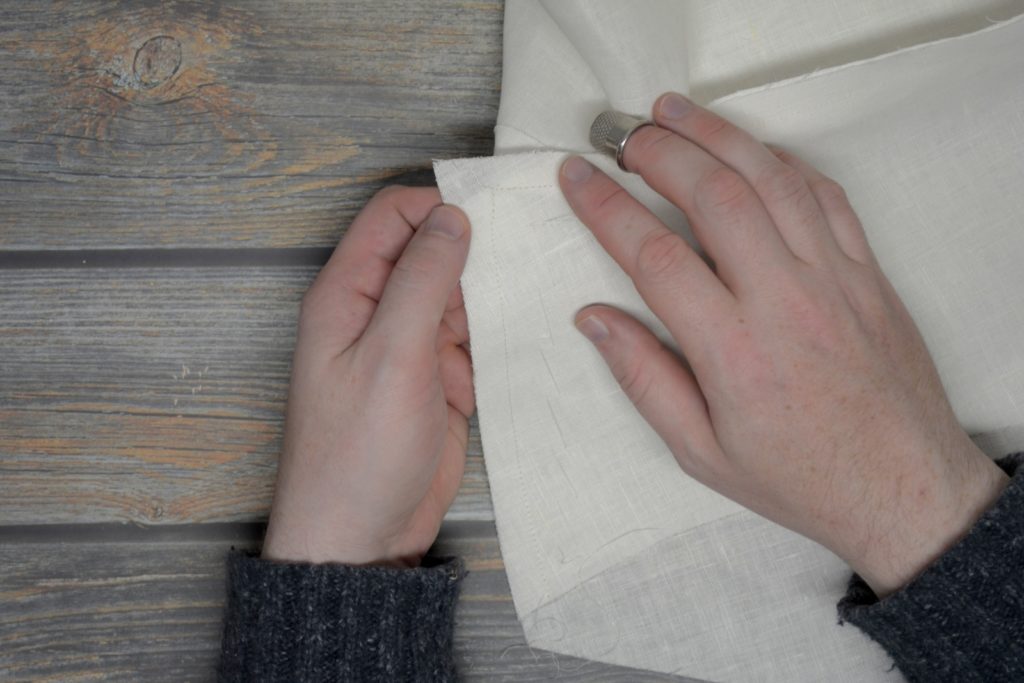
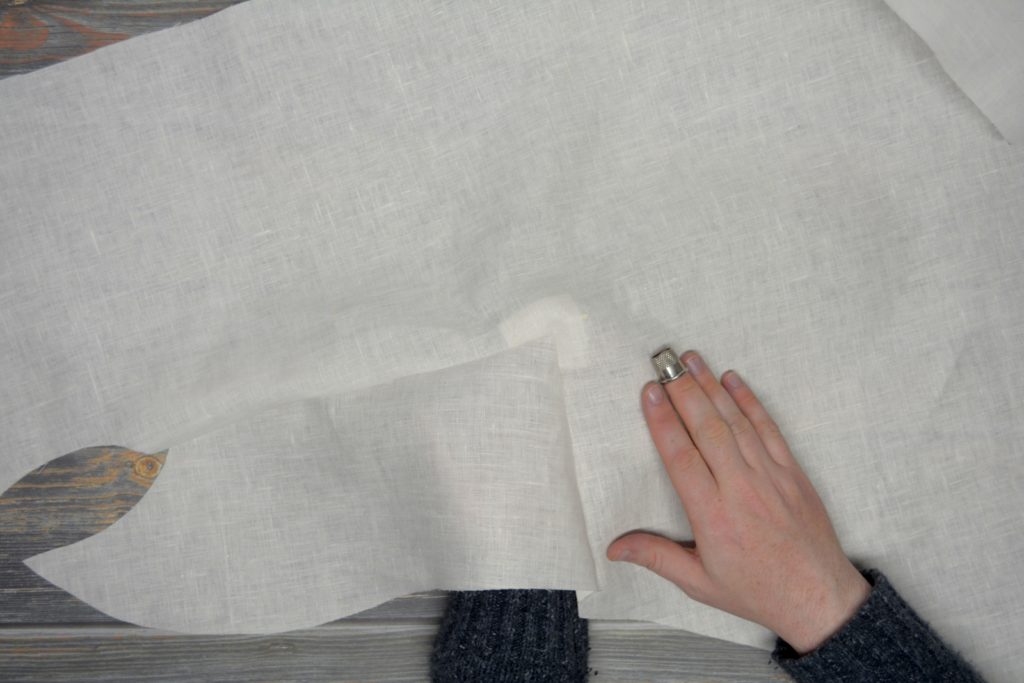
If you look carefully, maybe you can see my mistake. I’m not sure why I did this, but I forgot to have the roll line curve back upwards to follow the bottom of the collar.
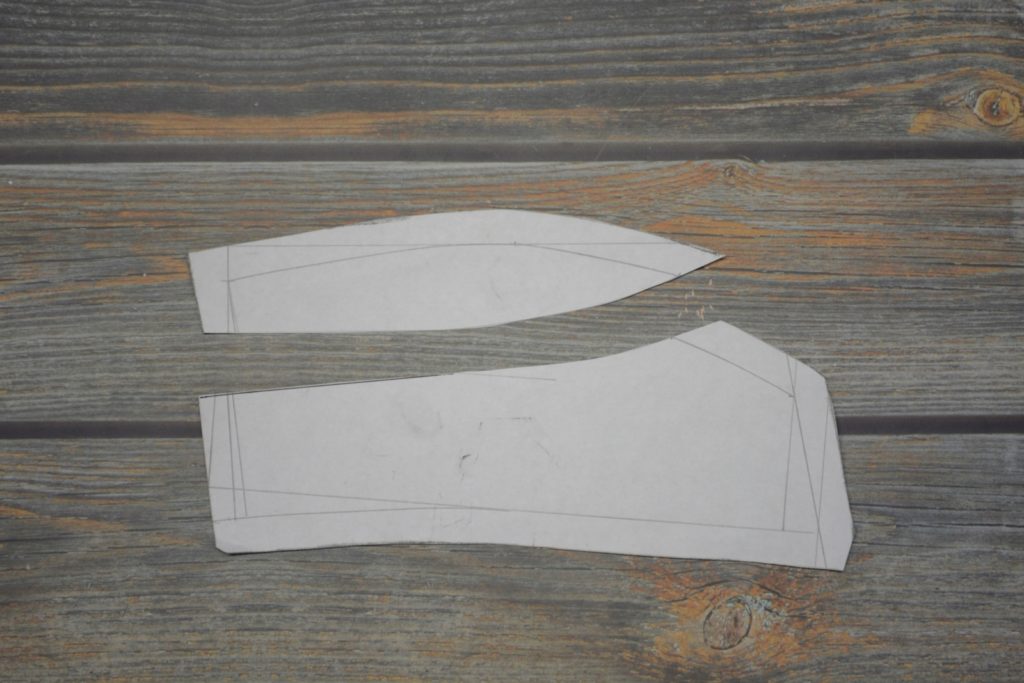
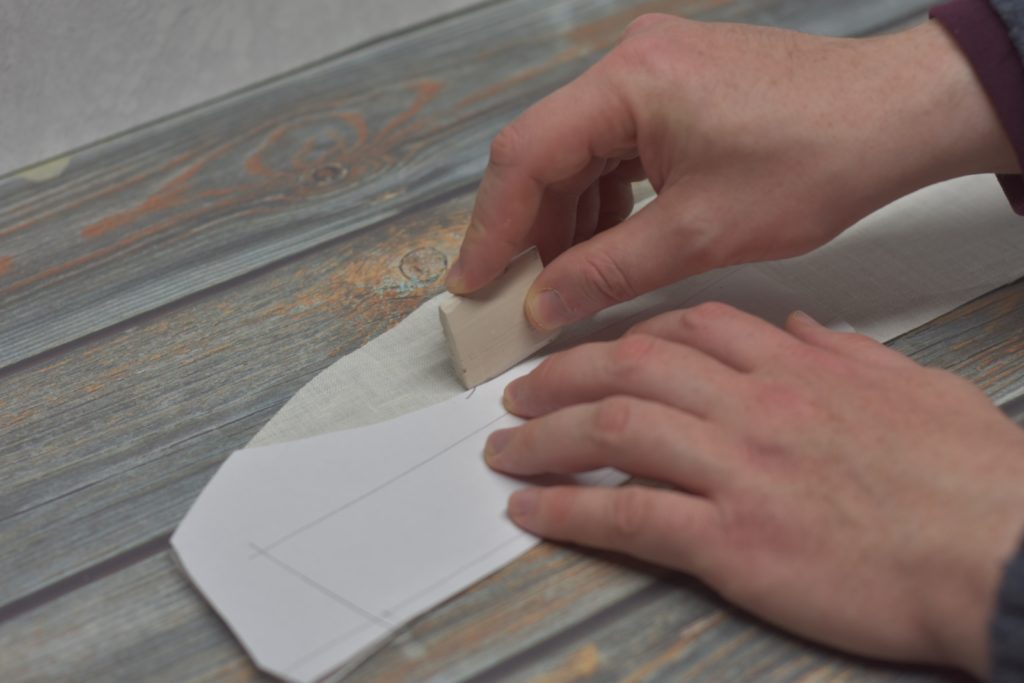
I’ve marked mine in white, so it’s very difficult to see.
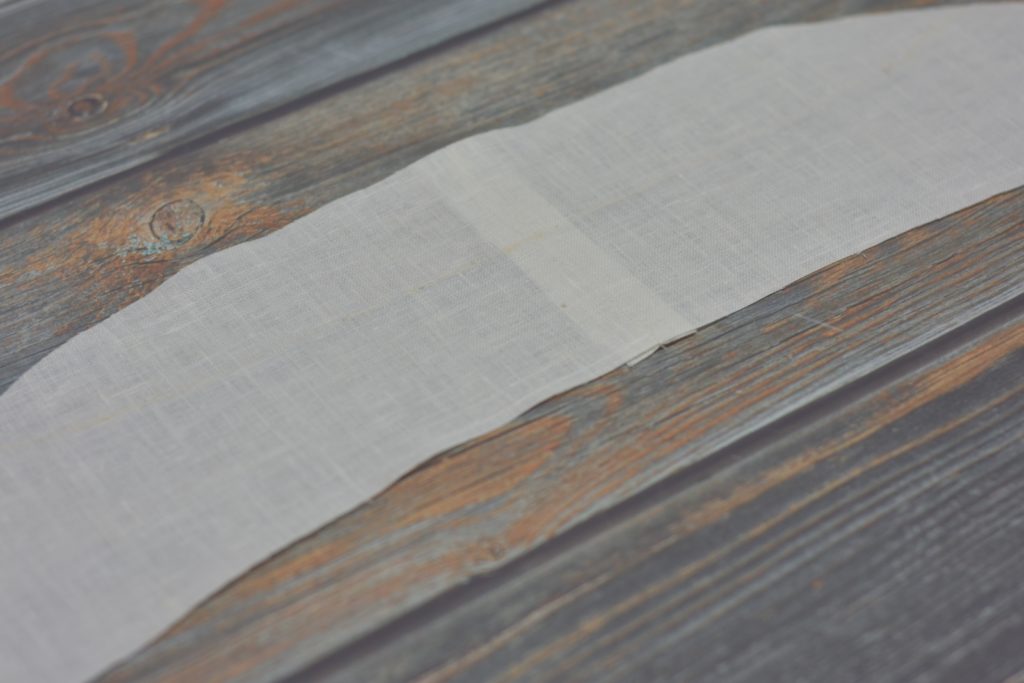
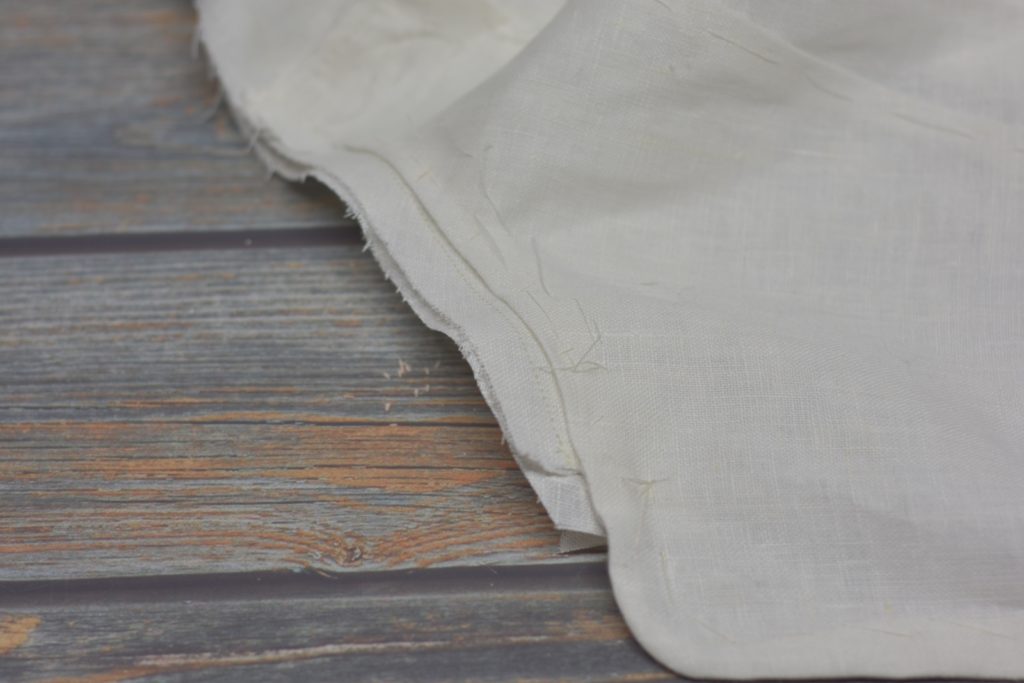
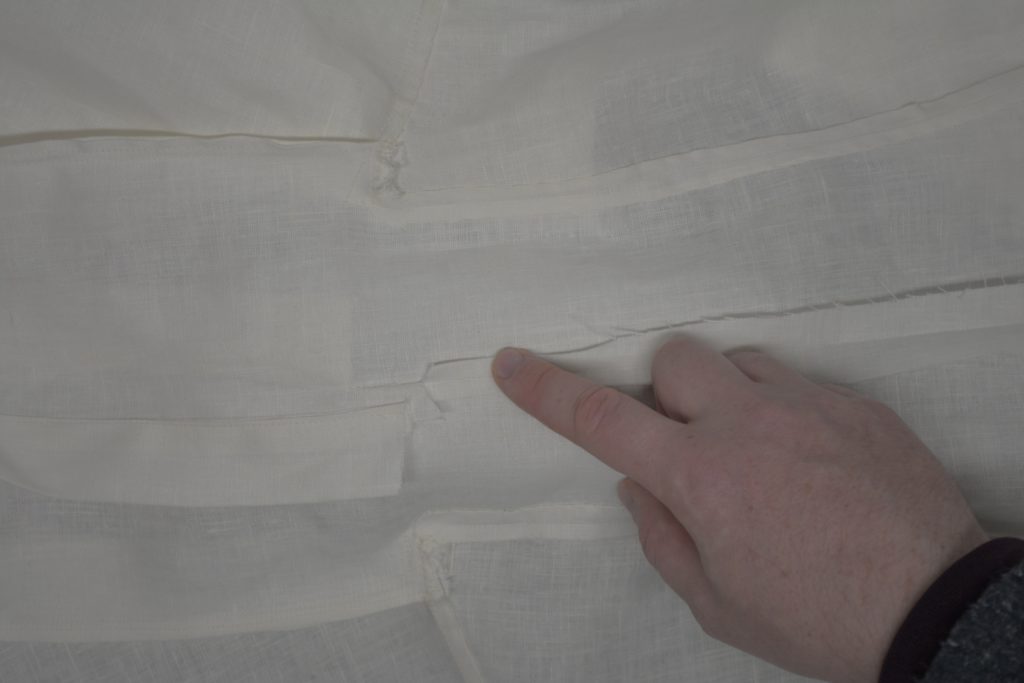
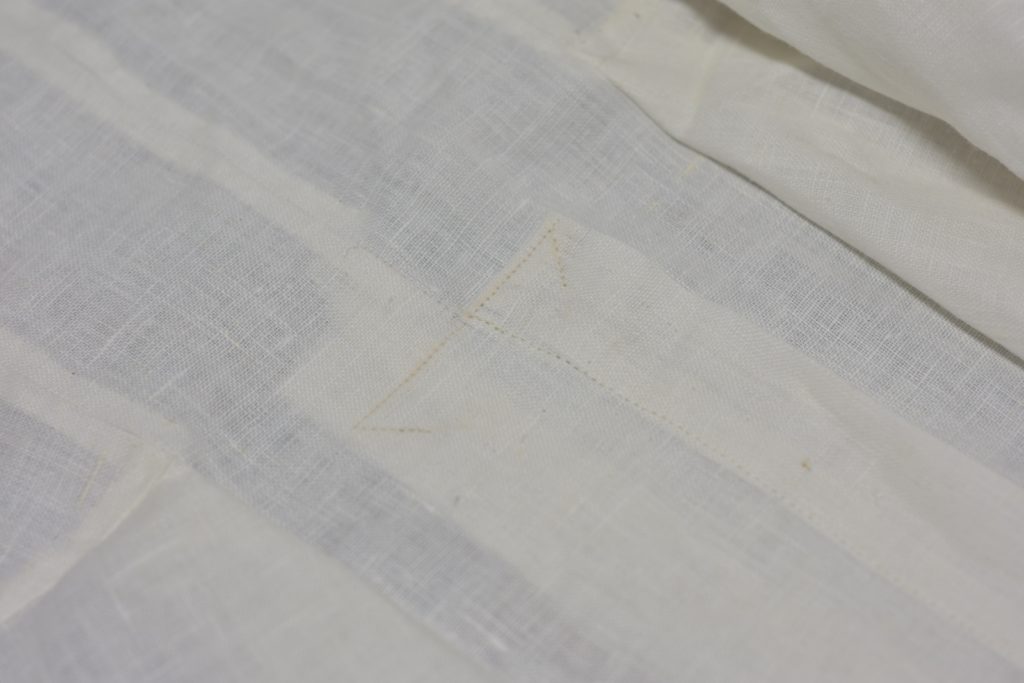
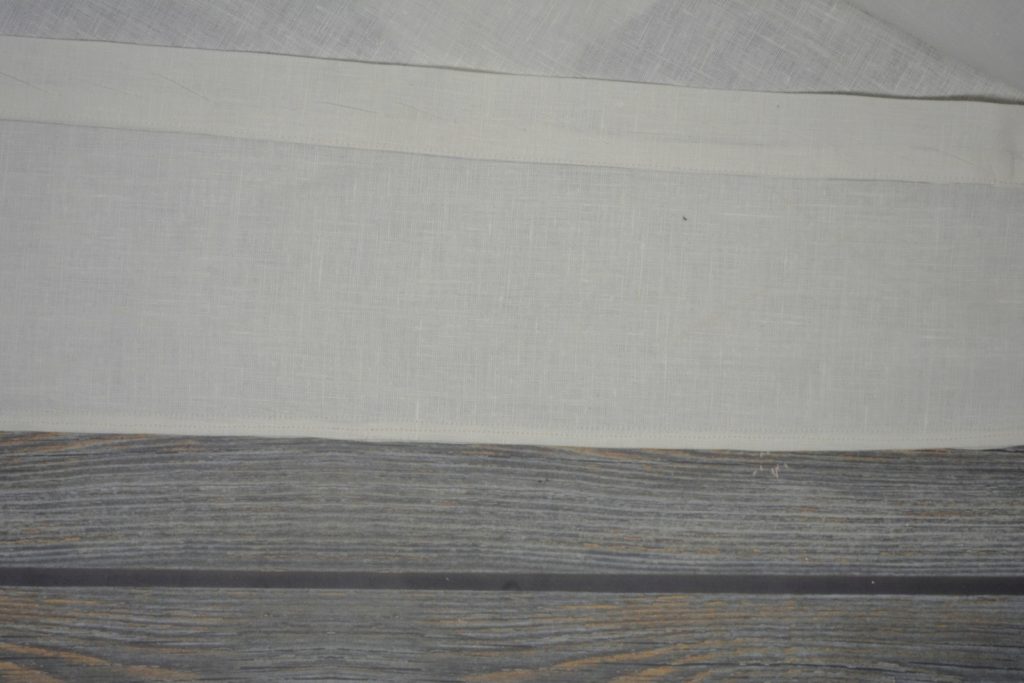
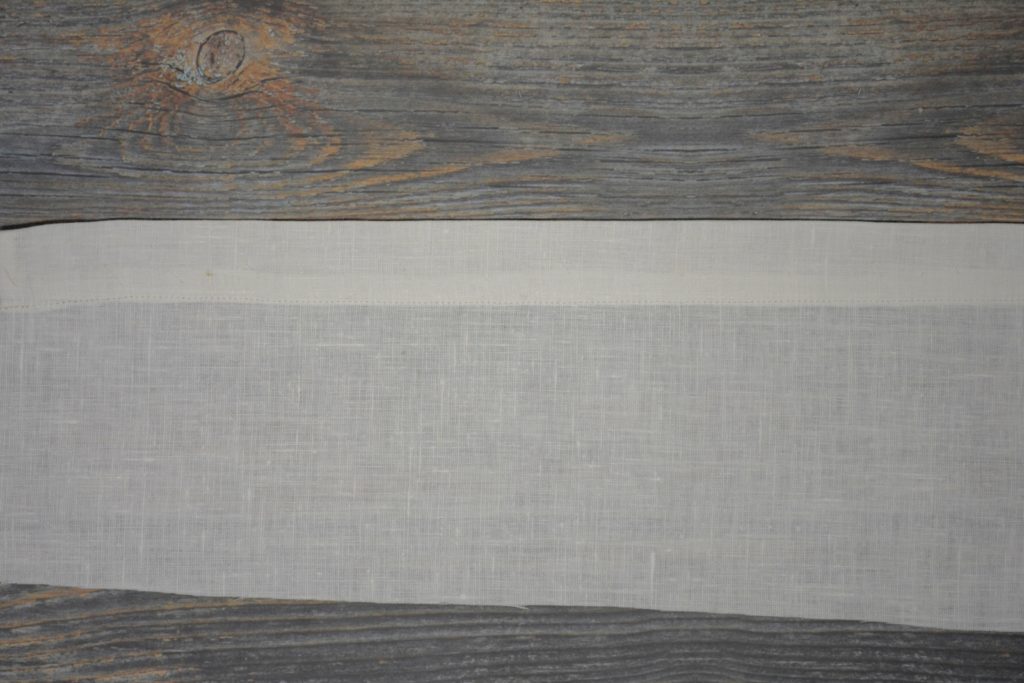
With the roll line digitally enhanced.
Facing Adjustments
Before attaching the undercollar, there are a few minor adjustments to be made to the neck line of the facing.
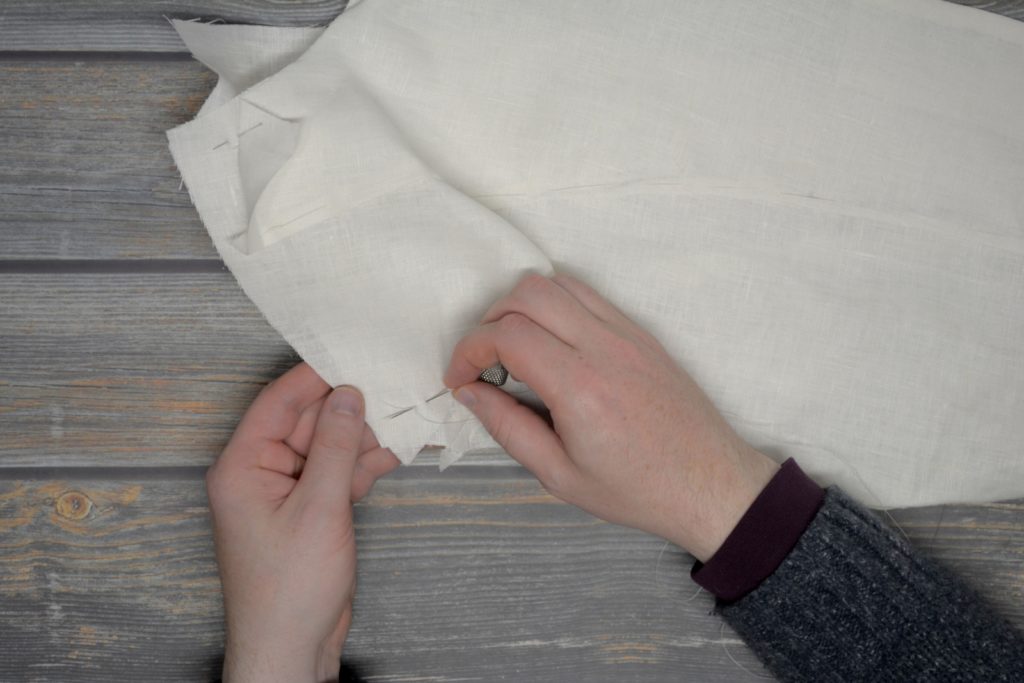
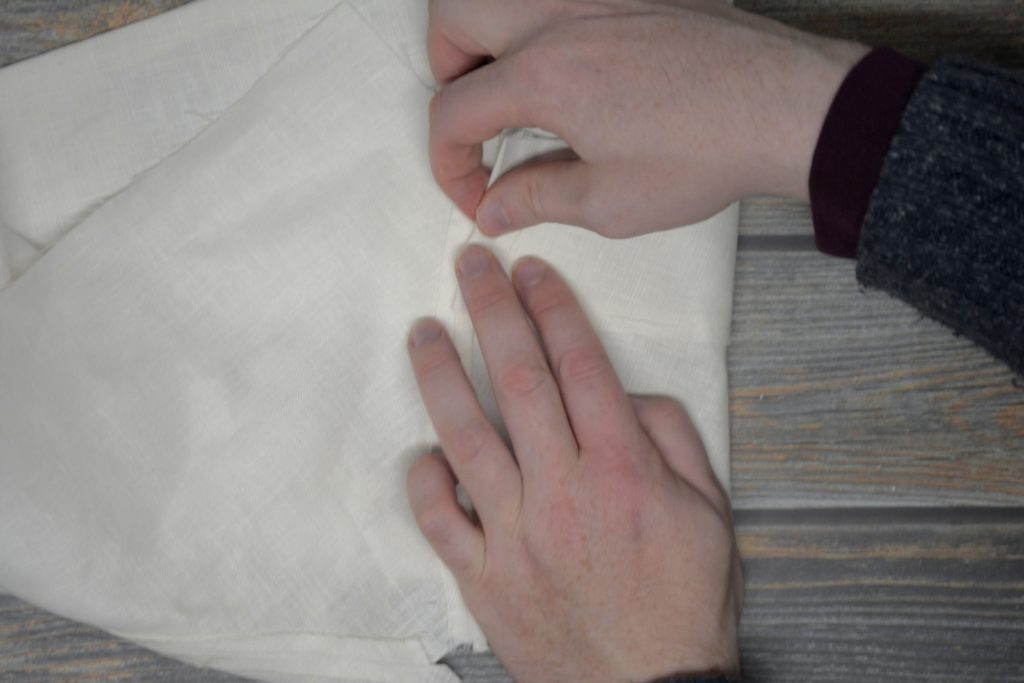
Turn the coat so that the facing side is up. About 1″ behind the roll line, towards the shoulder side, make a mark 1/2″ from the edge, denoting the seam line. The angle of the roll line on my particular coat made me place the mark fairly close to the shoulder.
Cutting the facing layer only, snip the fabric to the mark.
Now fold the rest of the facing along the neck line under itself, just over 1/2″ from the edge. You want it out of the way so that it doesn’t get caught in the seam when sewing on the undercollar. Baste securely in place.
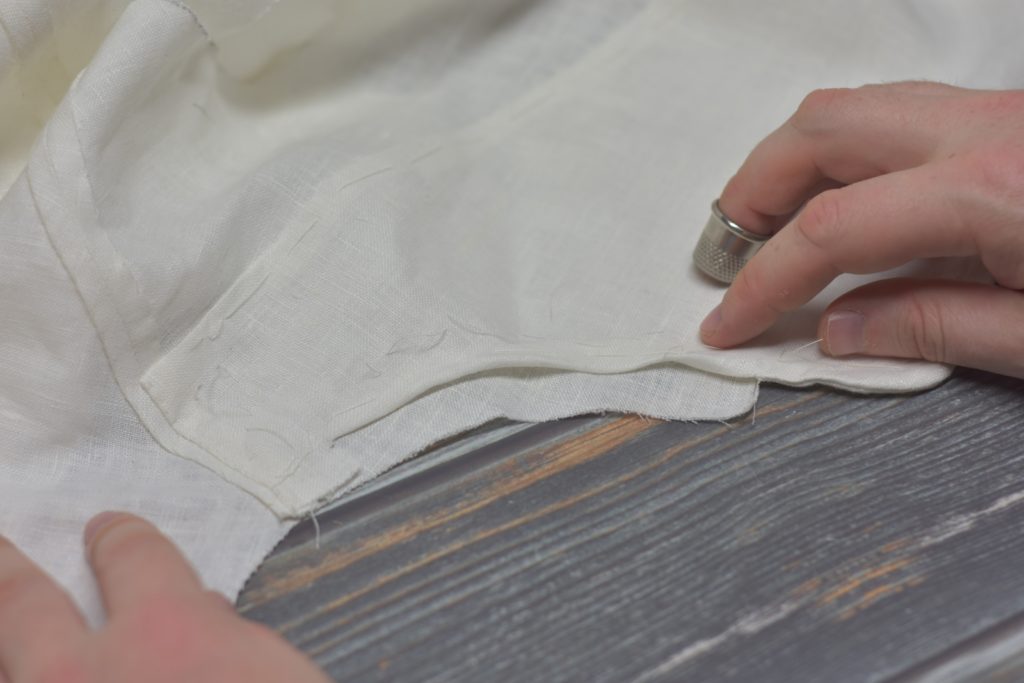
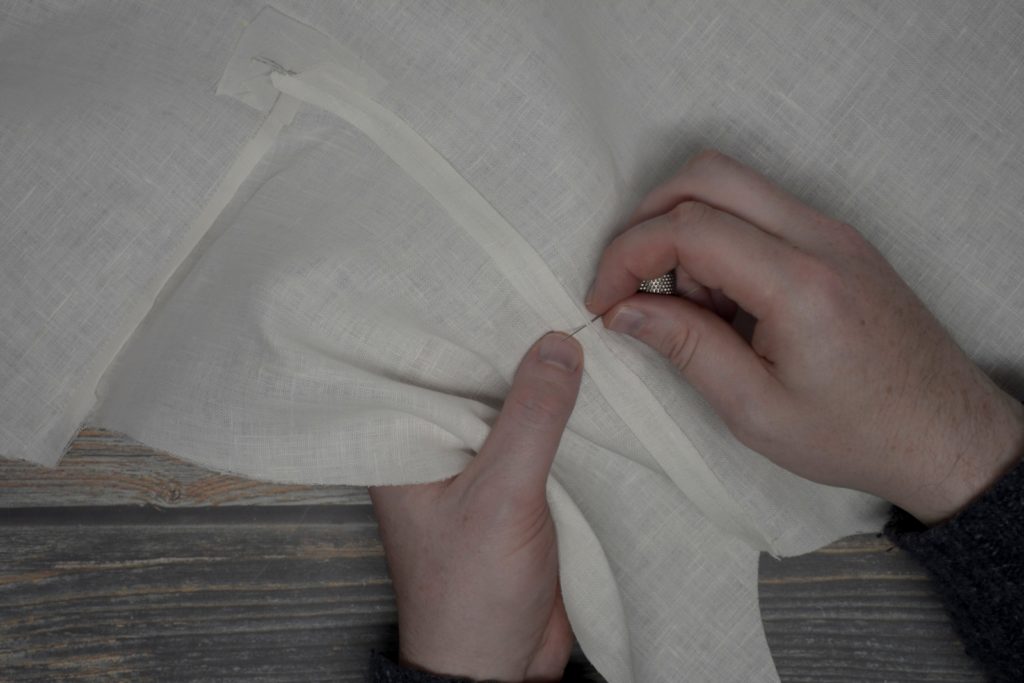
Attaching the Undercollar
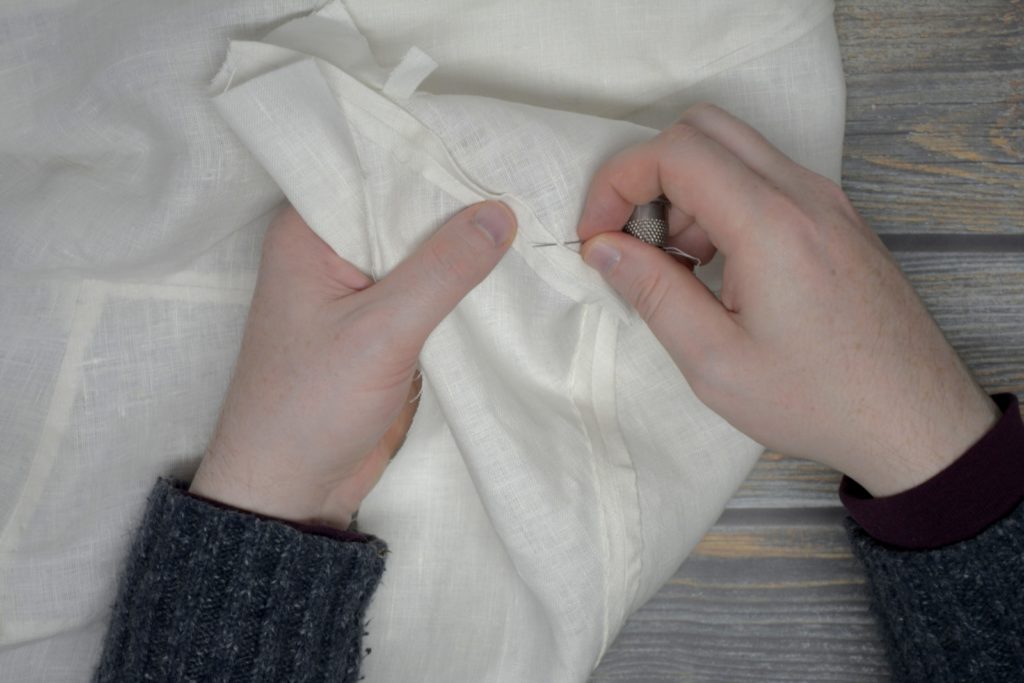
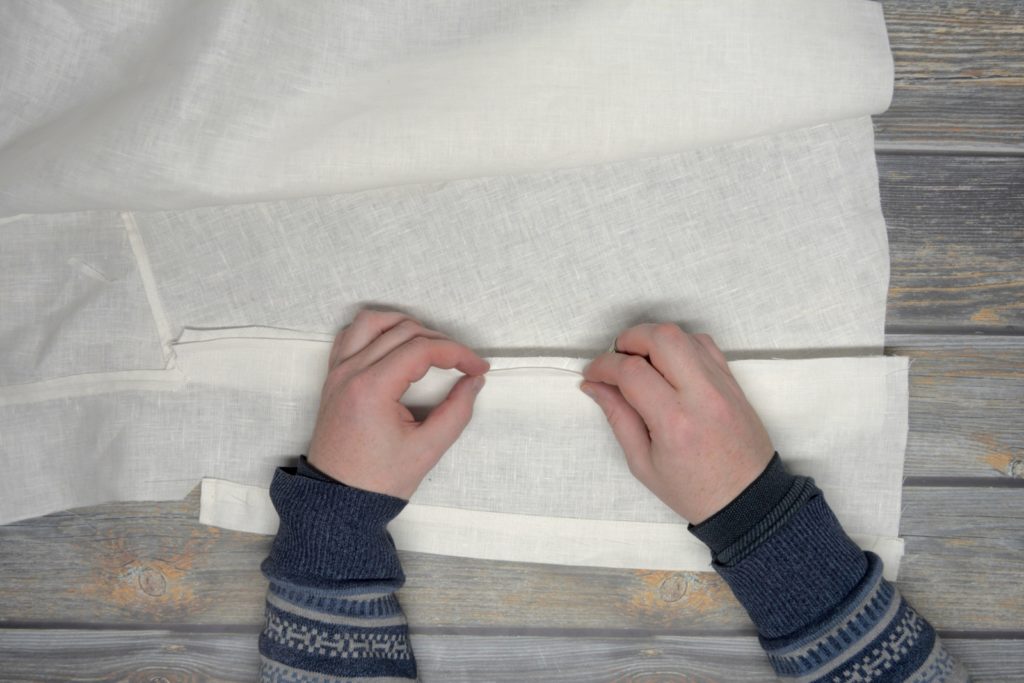
Begin attaching the undercollar by laying the collar on the coat, right sides together, carefully aligning the center back seams of each piece.
Baste from the center back, towards one of the outer edges of the neck.
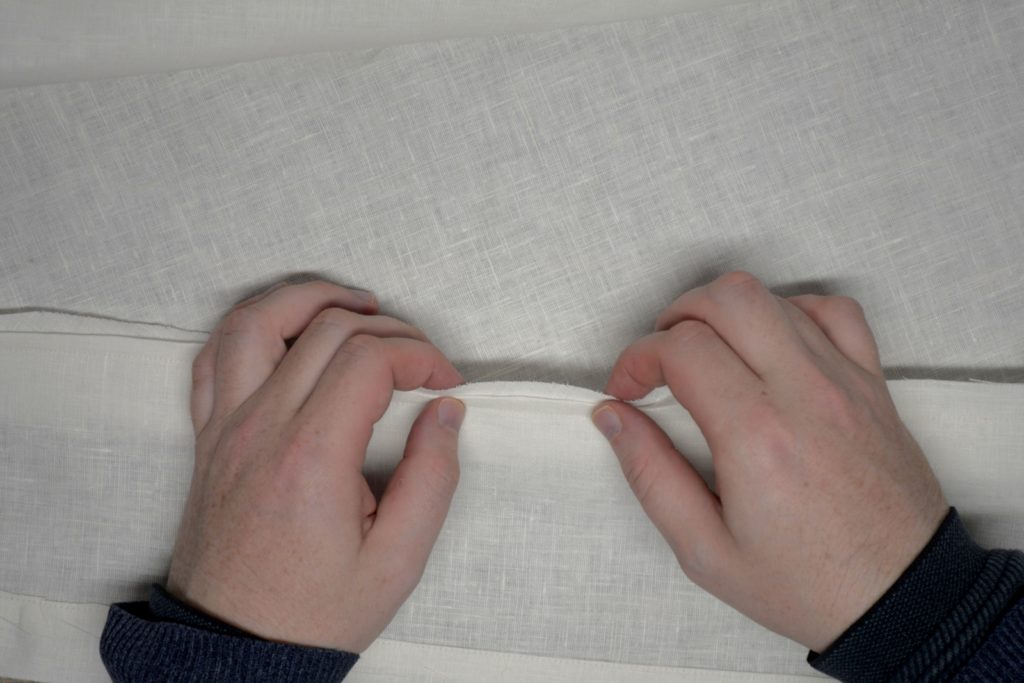
Since both parts are curved, you’ll have to full the excess evenly with your non-dominant hand as you go.

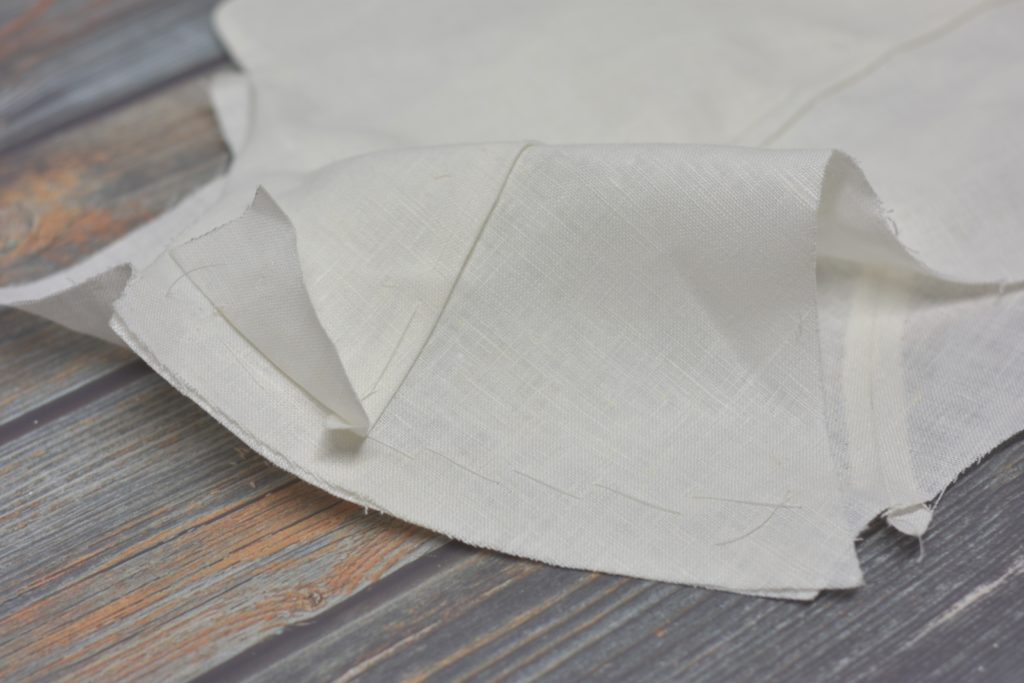
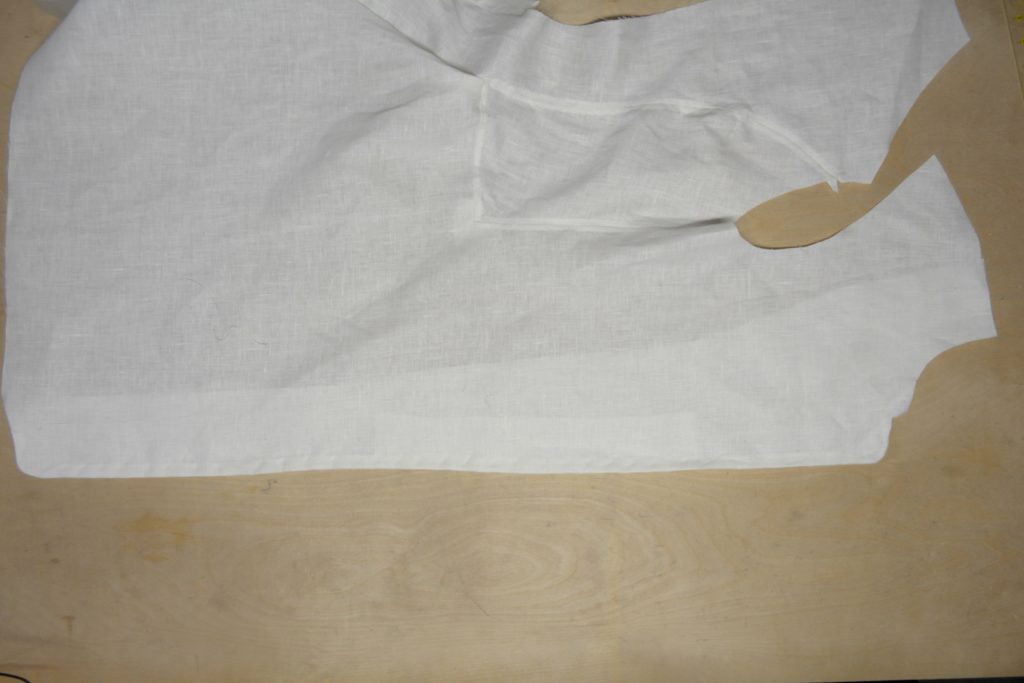
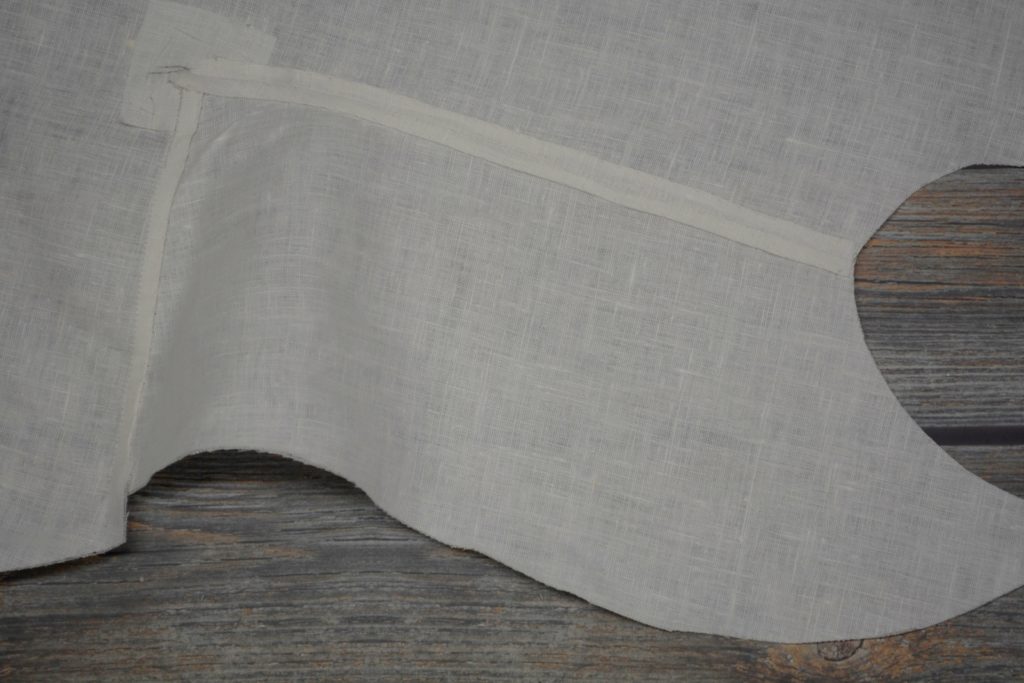
There should be 1/2″ of the collar extending beyond the cut in the neck of the coat. I didn’t notice it until later but I was a little short here.
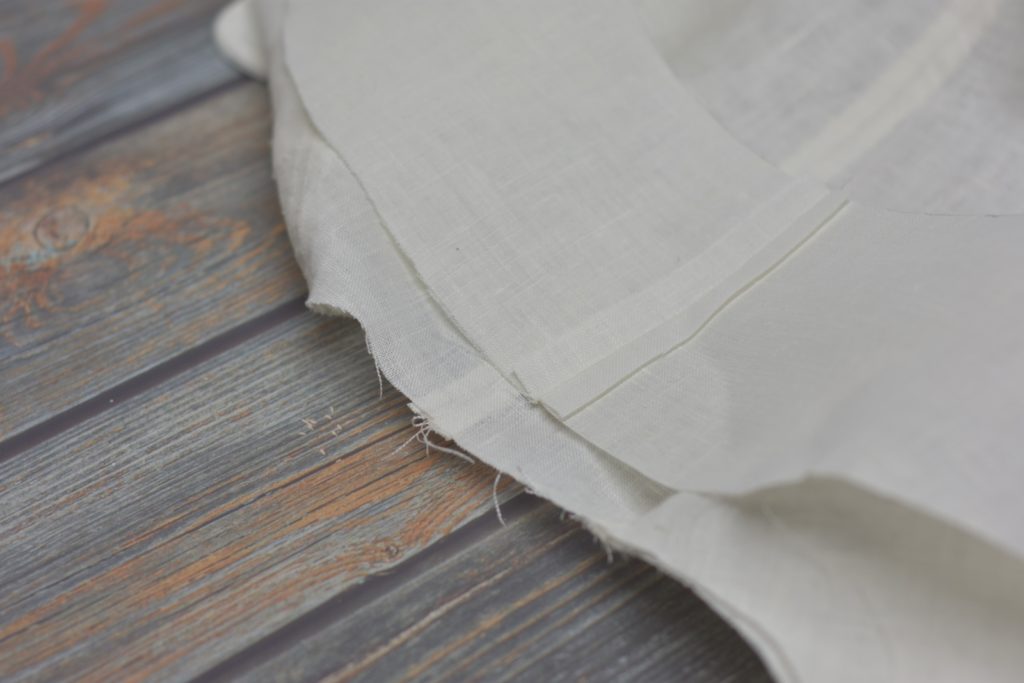
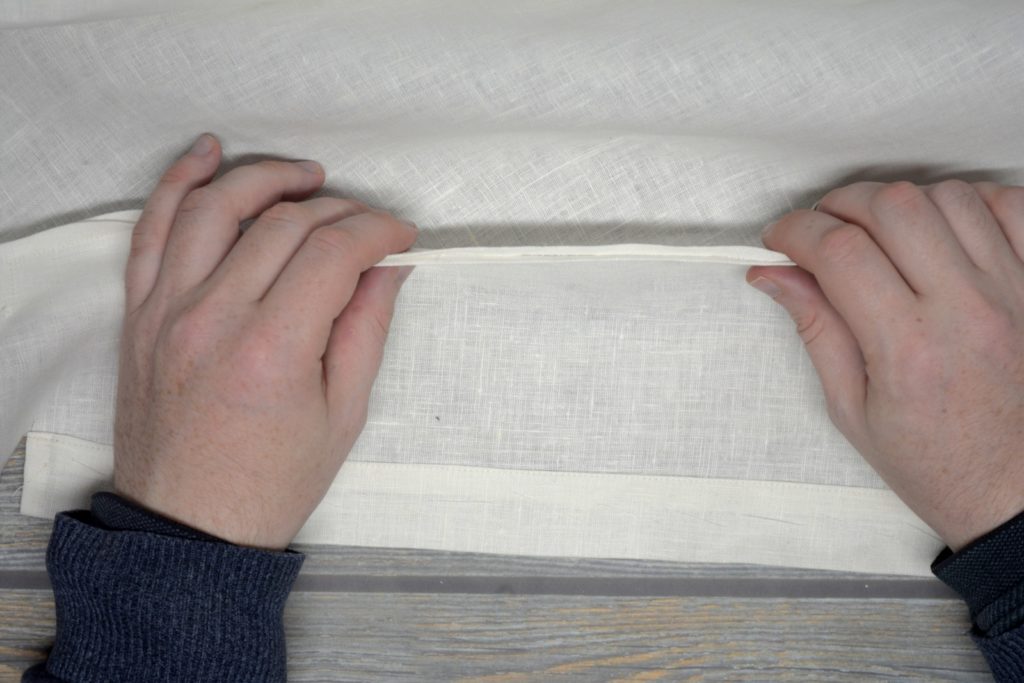
Here’s what it should look like.
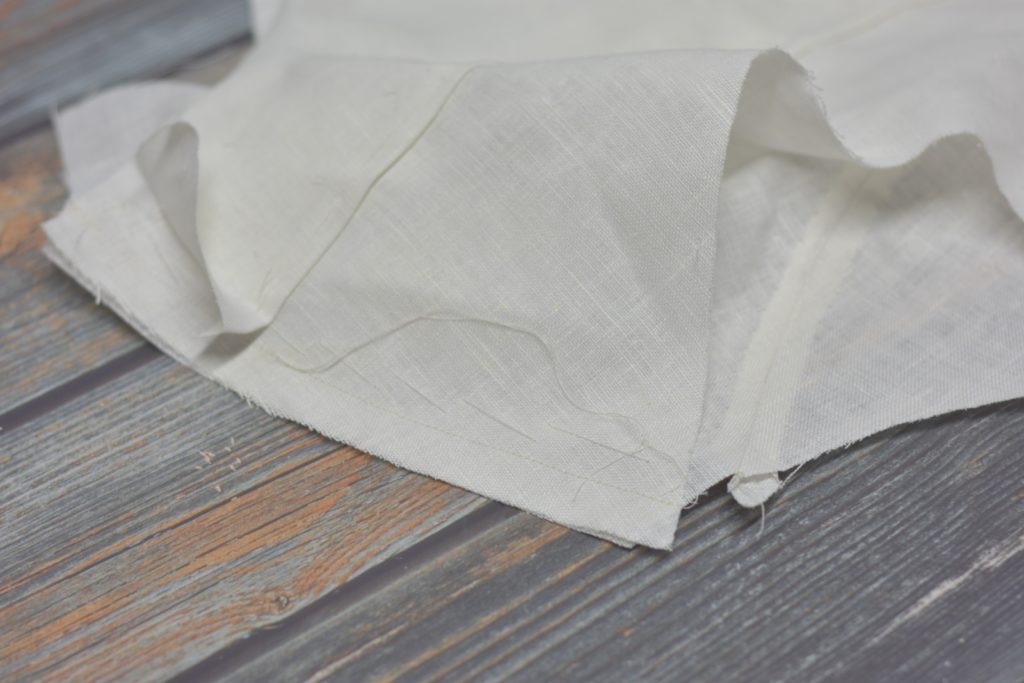
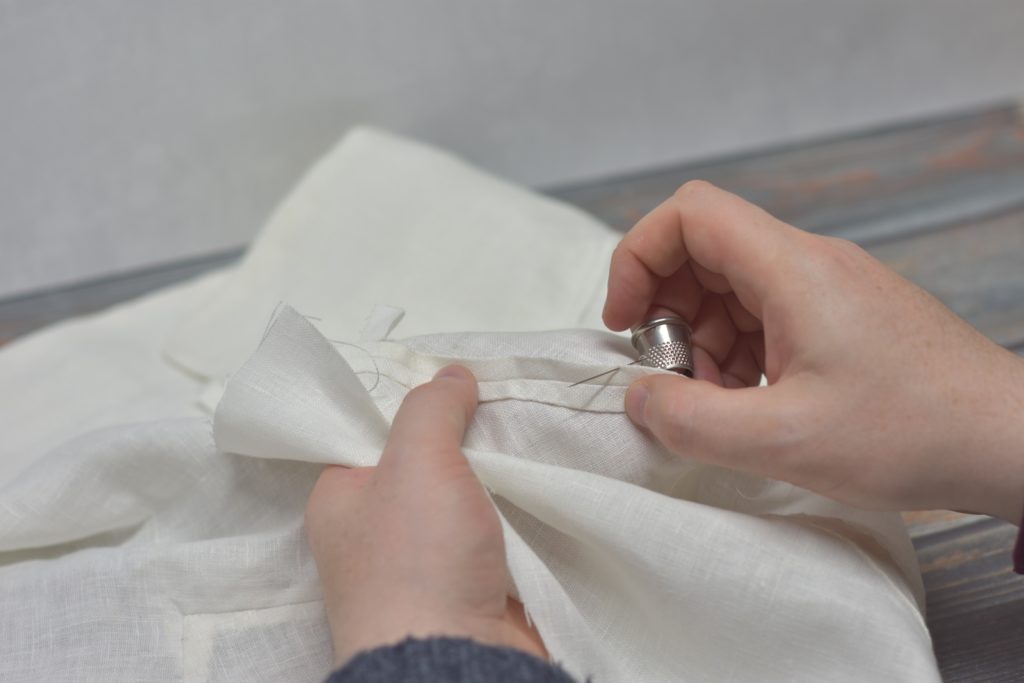
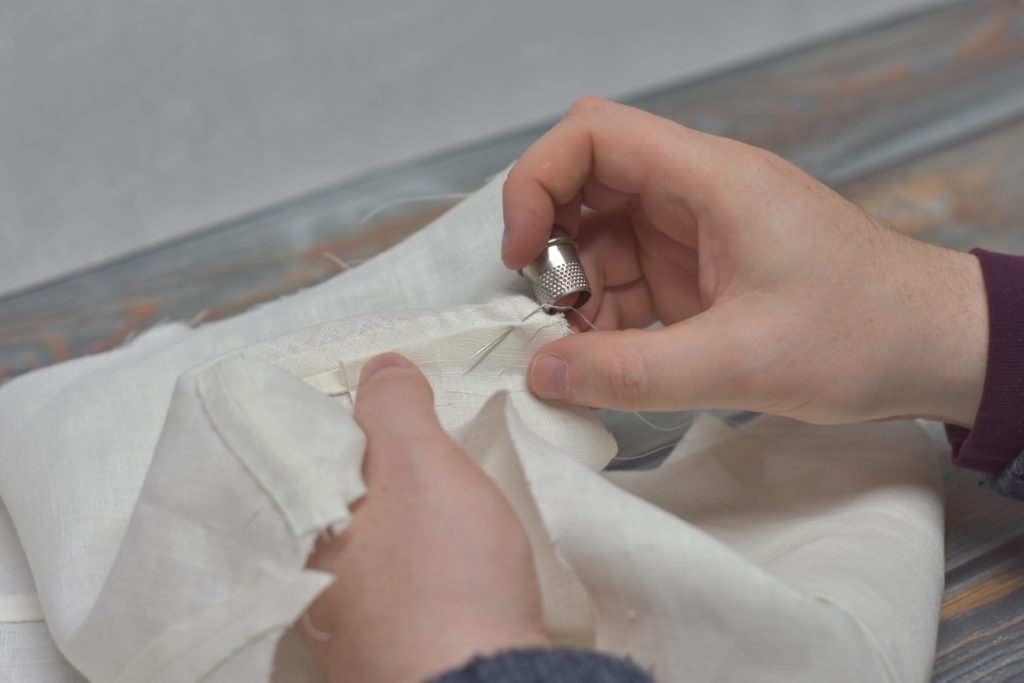
Repeat for the other half of the collar, basting from the center back towards the neck point. Here’s the entire collar after basting.
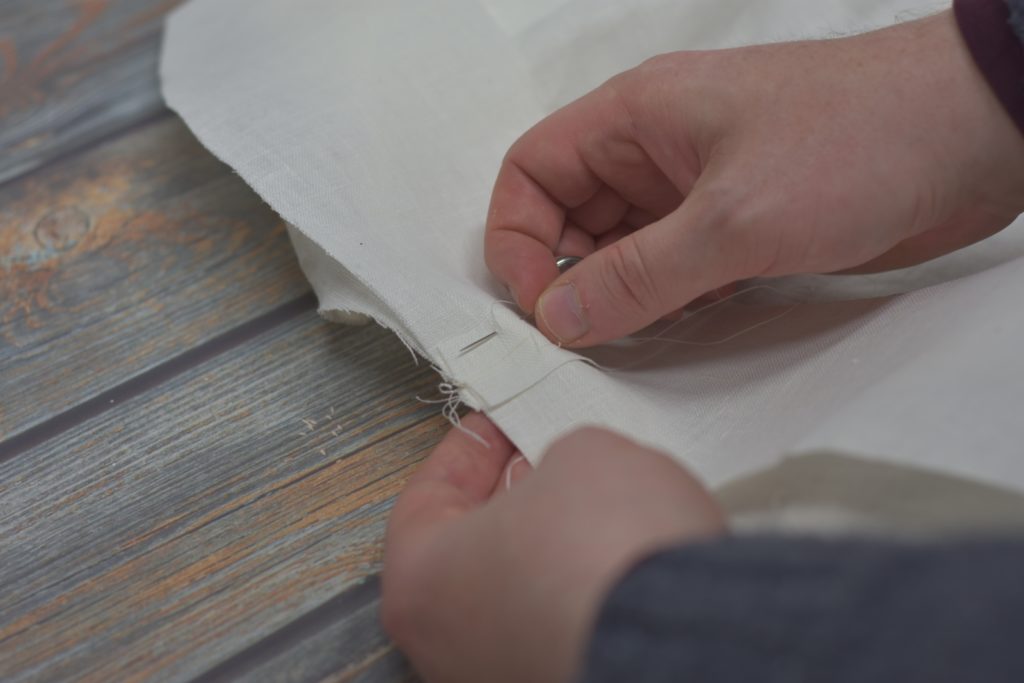
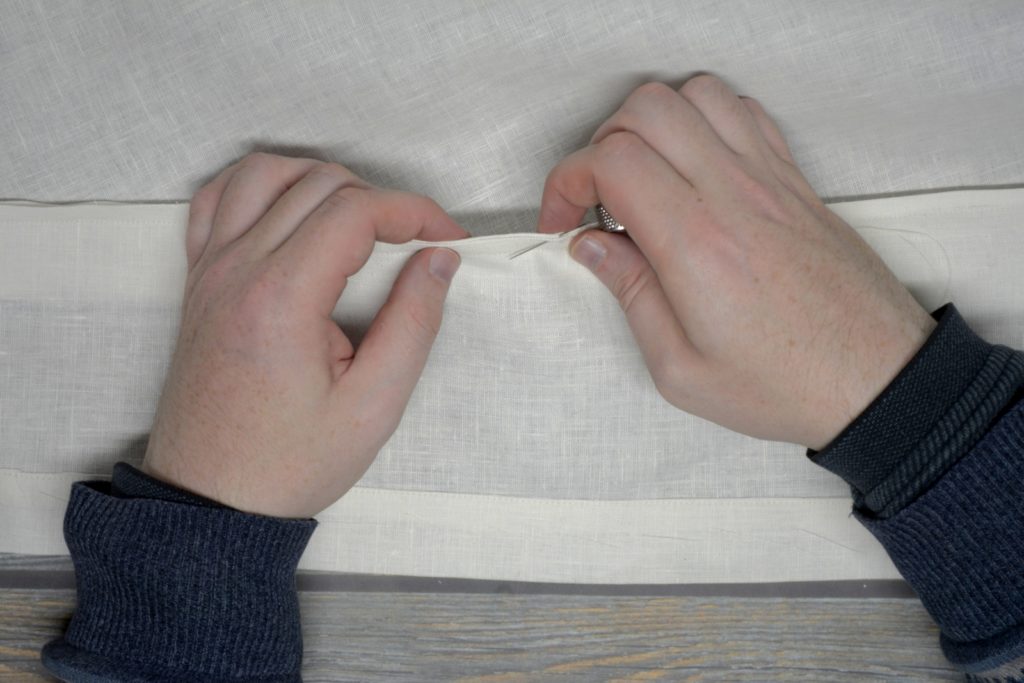
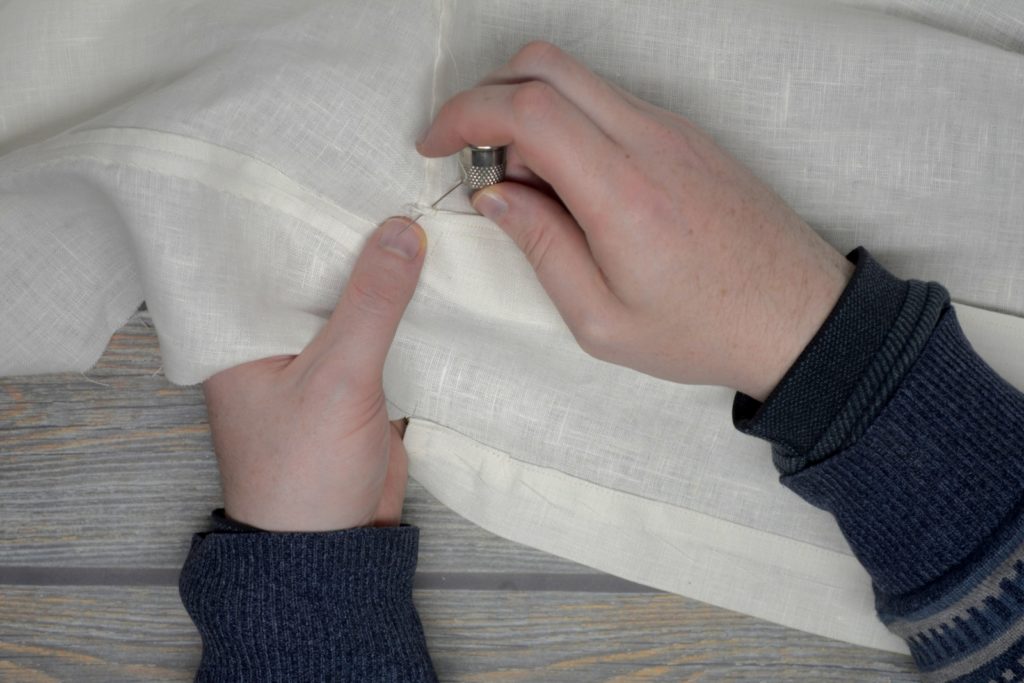
Now sew from one end of the collar to the other, using a 1/2″ seam allowance. The stitching begins at the cut you made in the coat and ends at the opposite cut. Be sure to keep the facing out of the way as you sew.
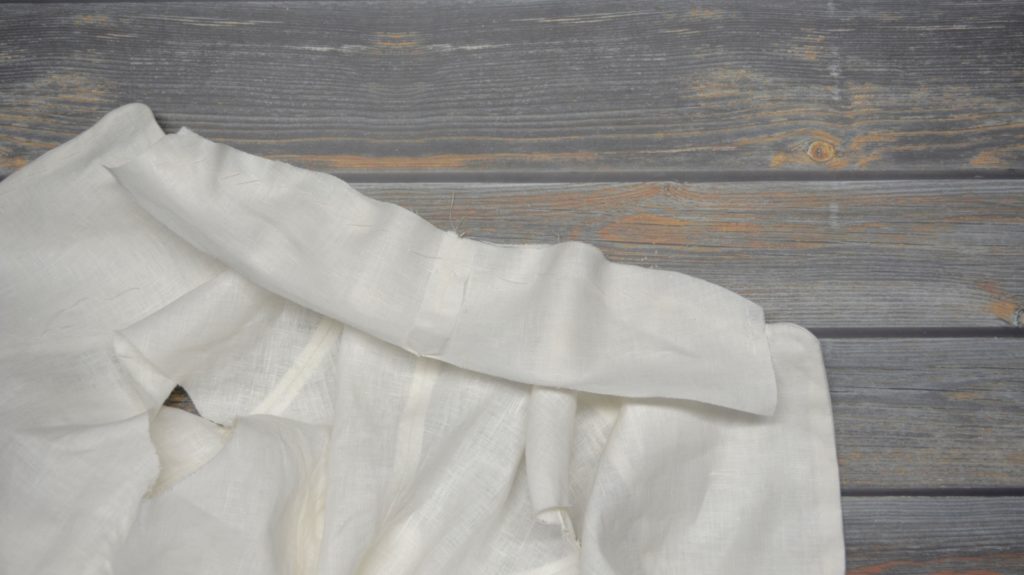
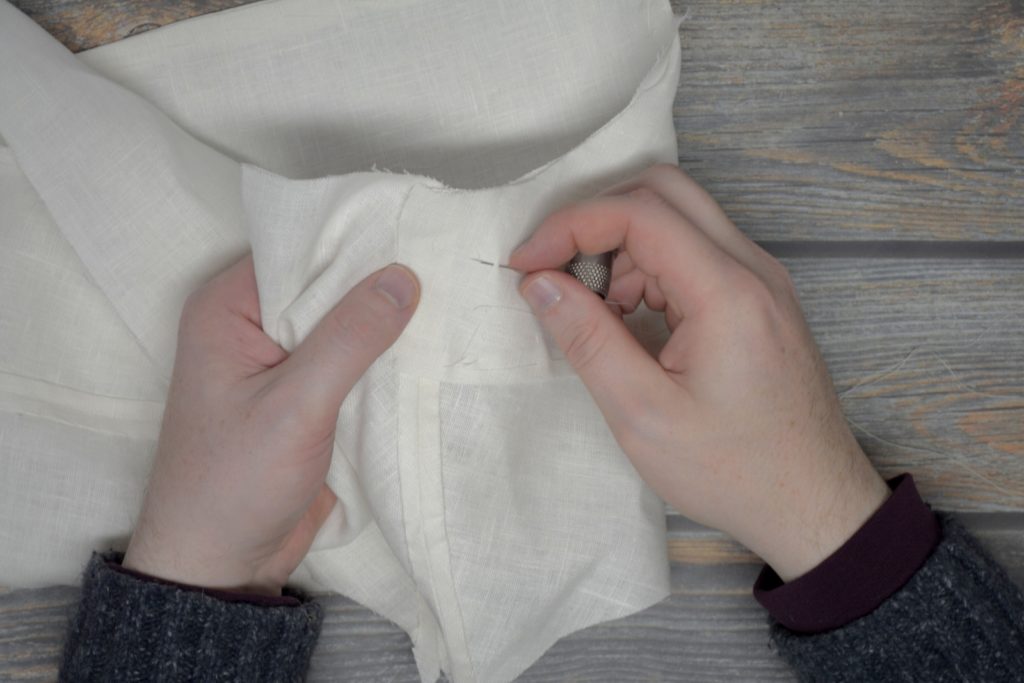
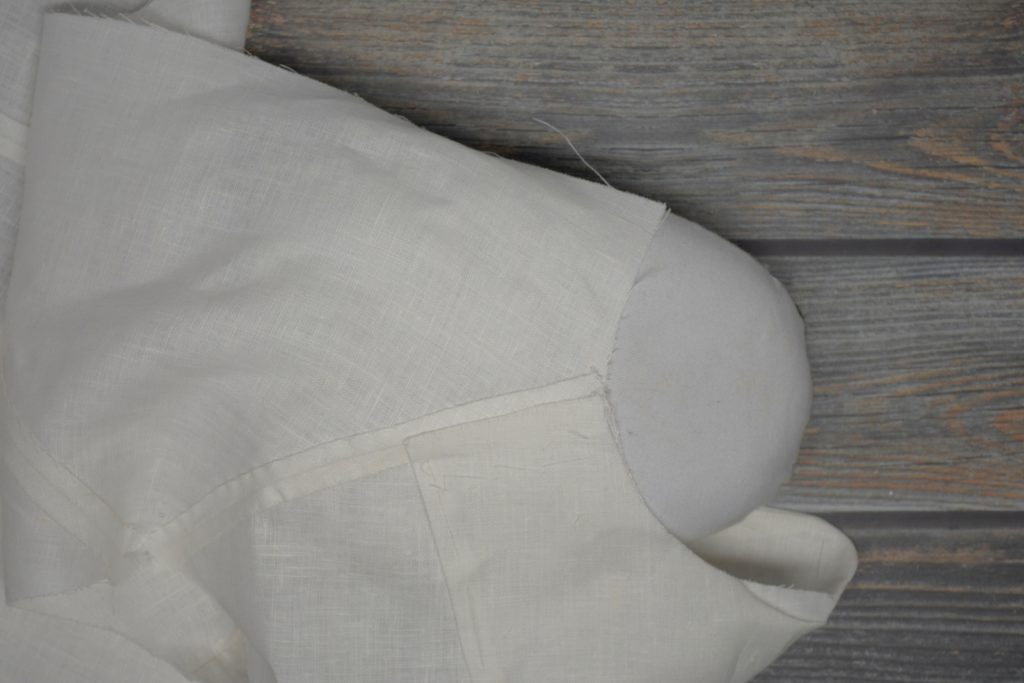
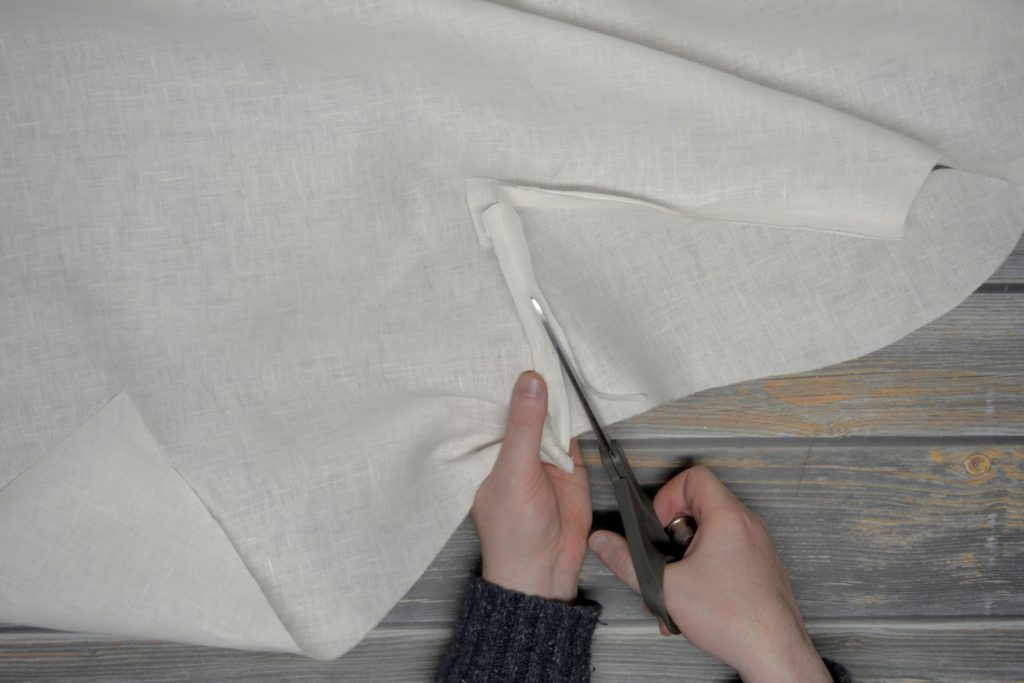
The collar really does not want to lay flat after sewing!
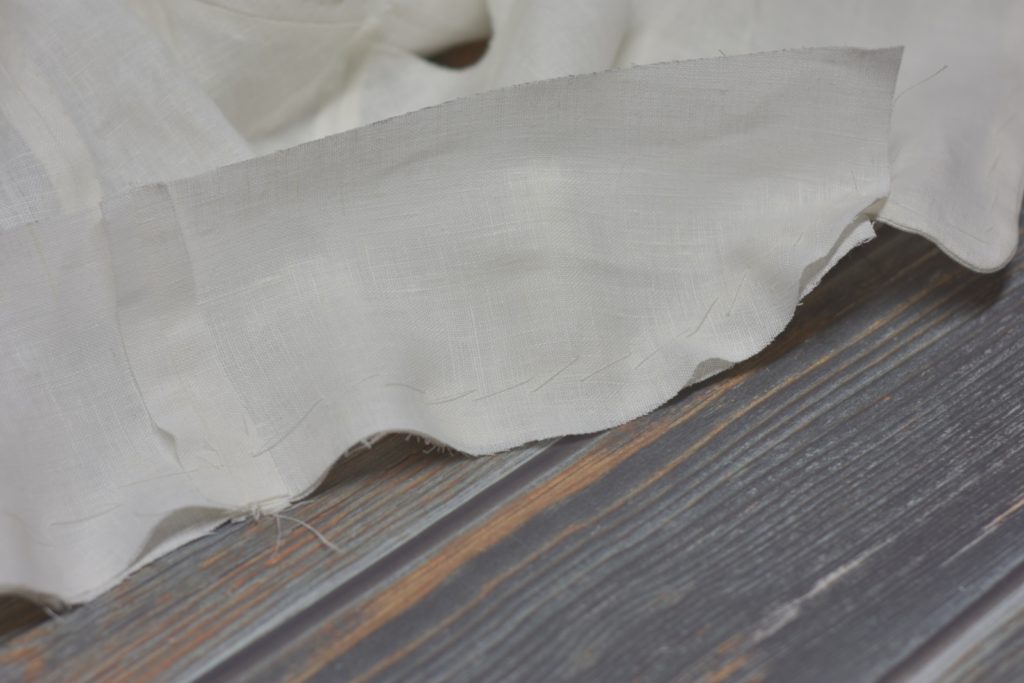
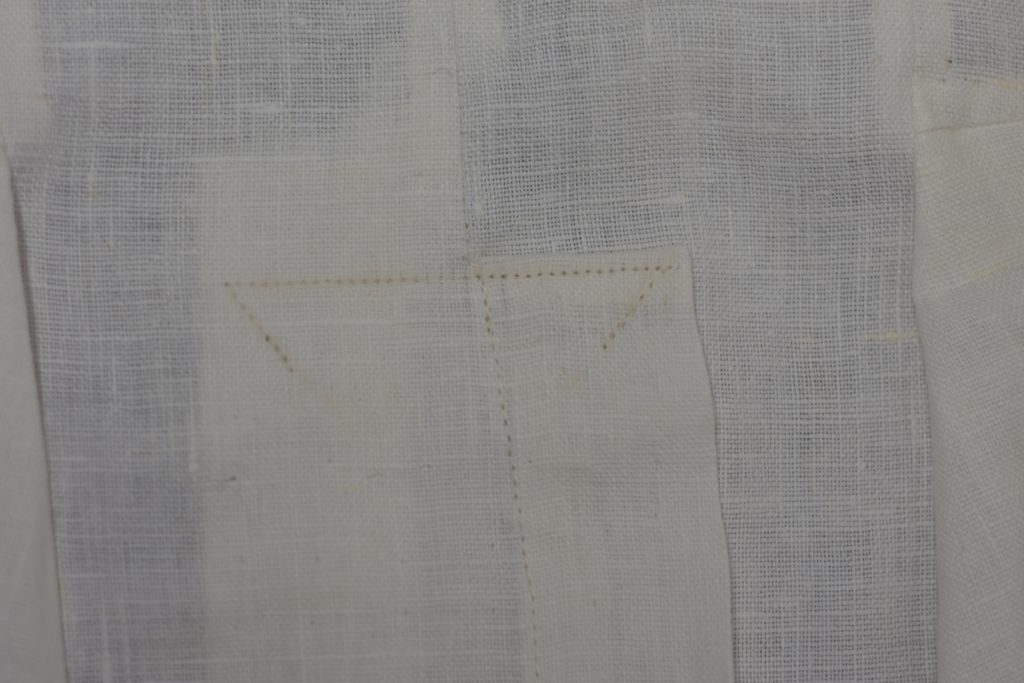
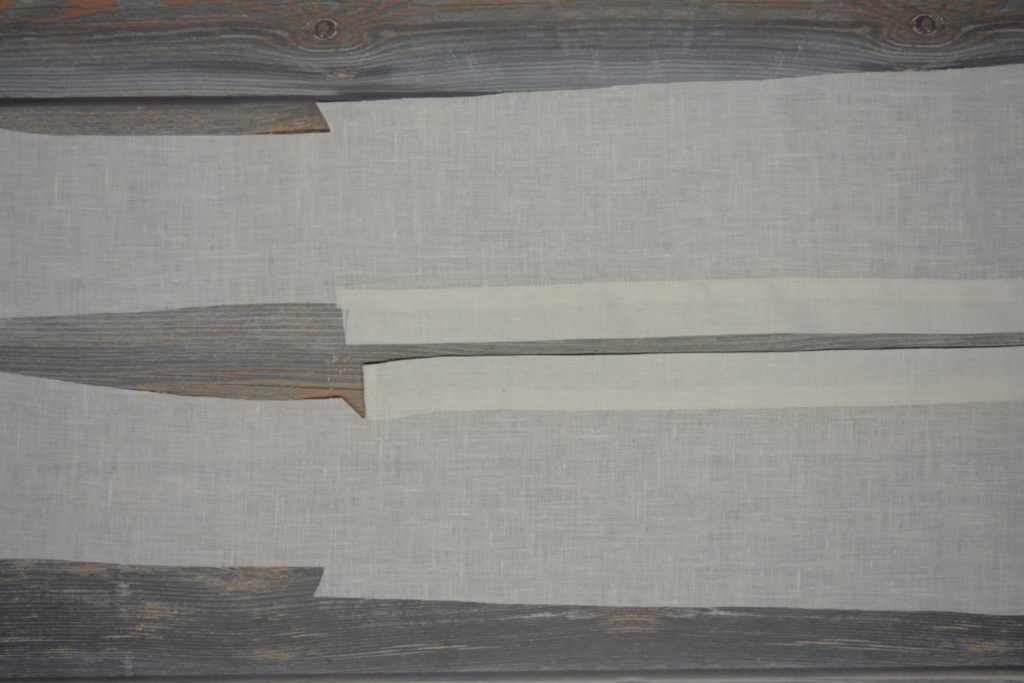
Here again you can see my error, just at the point that I noticed it (after sewing, of course). It’s not really a huge problem if this happens, as long as you have enough to form a seam. But be aware of the reasons for this happening – faulty measuring, stretching various seams when making up, basting incorrectly or differently on each half of the collar, or other user error.
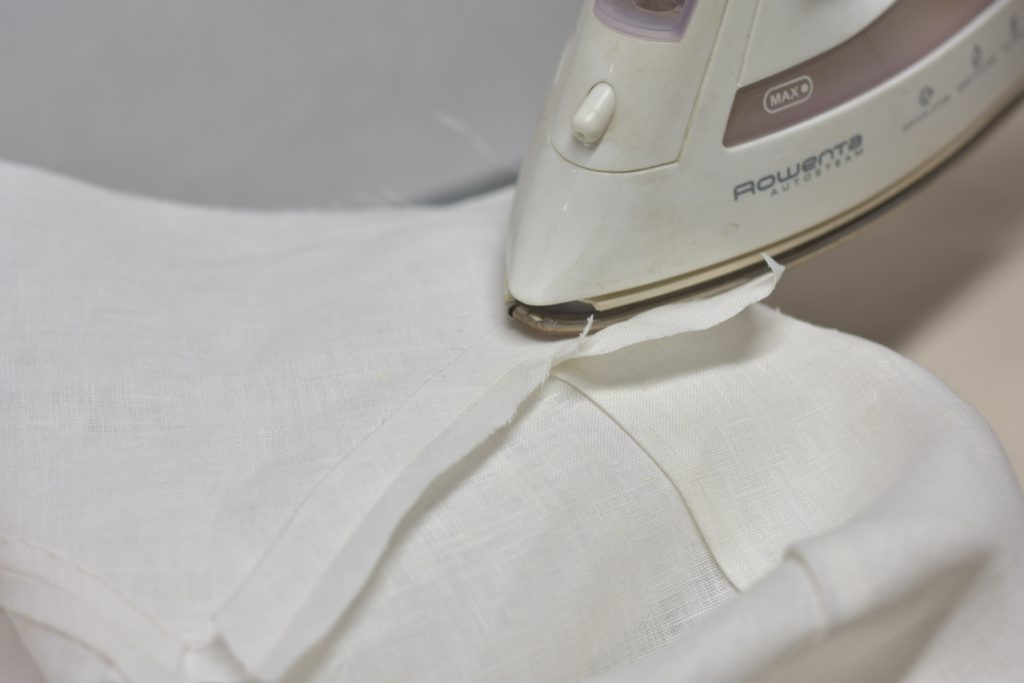
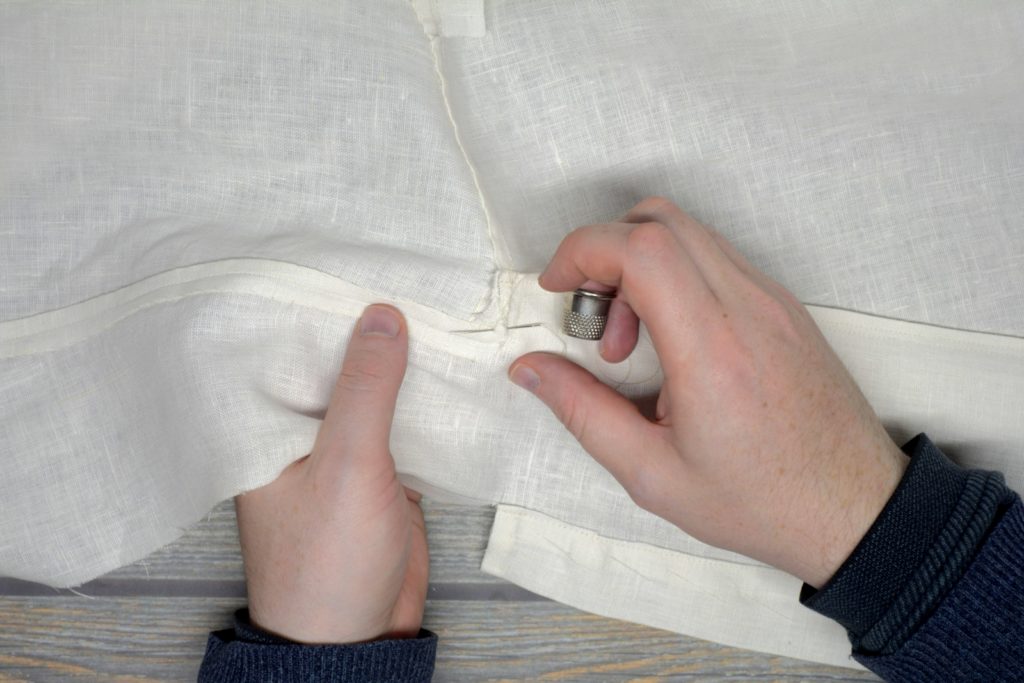
Finally, press the collar up at the seam. As in the toile, the seam is not opened; rather, everything is pressed upwards towards the collar.
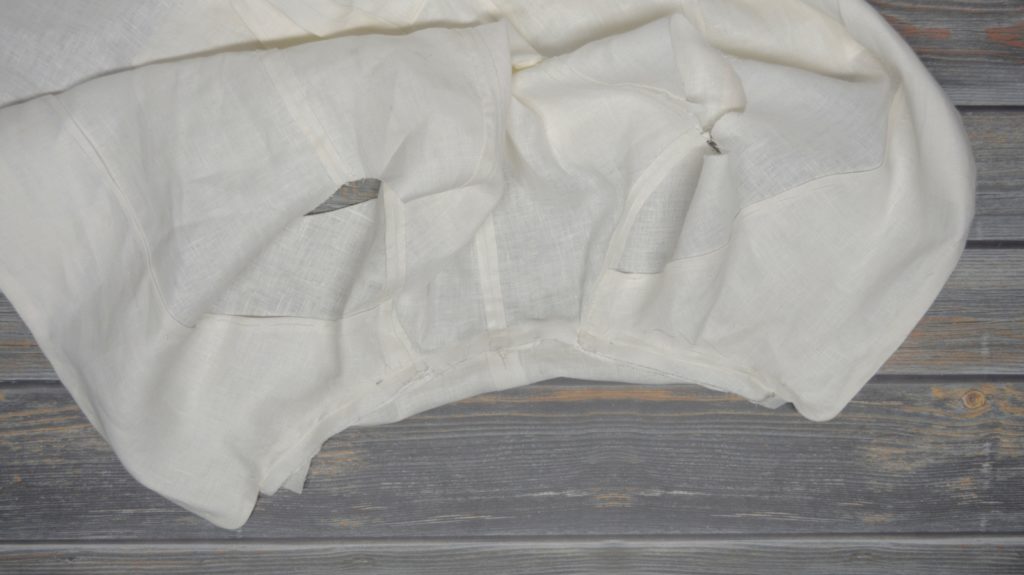
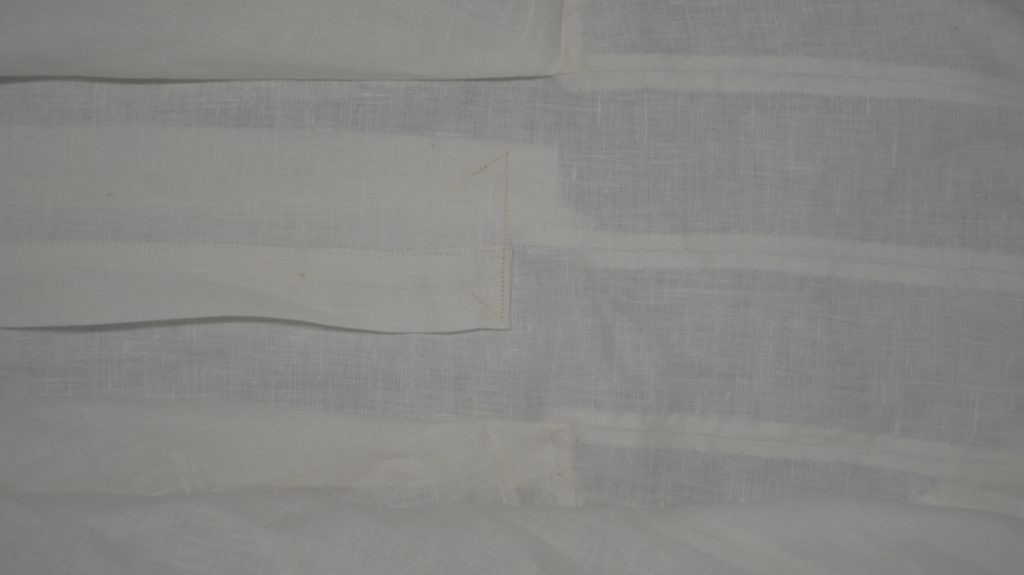
From the underside. I think my seams are a little out of alignment – hence the error with the seam allowance earlier!
Center Back and Vent
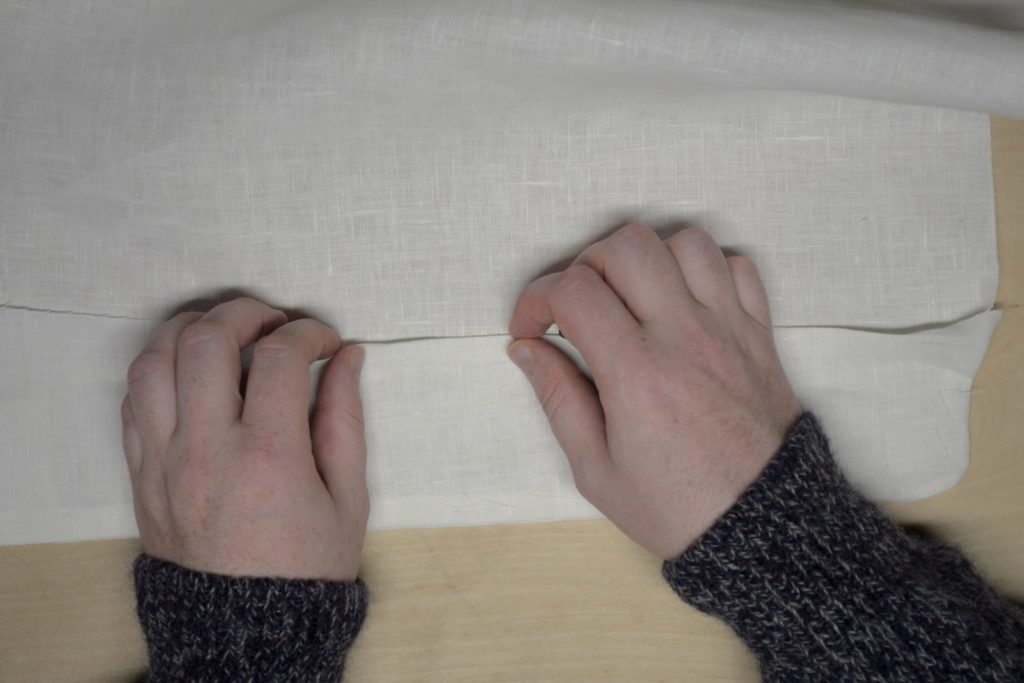
Finally, with as much work as we could do on each half of the coat complete, it’s time to join the left and the right sides together. Lay one half of the coat on the table, right sides up, and lay the other half on top, right sides together, aligning the center back seam.
Baste the center back seam from the neck to the waist.
Be sure to align the back vent area at the waist properly. Remember that there was a 1/2″ seam allowance at the top of the folded side of the vent. The top of the diagonal cut should align with the intersection of the back and vent edges of the other half of the coat.
At the waist, near the vents, it may be helpful to draw in the seam line, 1/2″ from the edge, and meeting as closely as possible with the end of the cut you made when assembling the backs.
Sew the center back seam from the neck to that point (or reverse if that’s easier), being sure to be as accurate as possible so that your stitching ends directly at the end of the cut.
Remove the stitching and press the seam open. You’ll notice as you get to the waist area that the right side of the vent (the unfinished half) prevents the seam from opening up.
Snip the allowance just to the seam near the vent, maybe 1/4″ from the bottom. This does not weaken the area too much, as the cuts on both halves of the vent are about an inch apart from each other.
And now the seam can be fully pressed open.
Now press under the raw edges of the seam. Fell as usual.
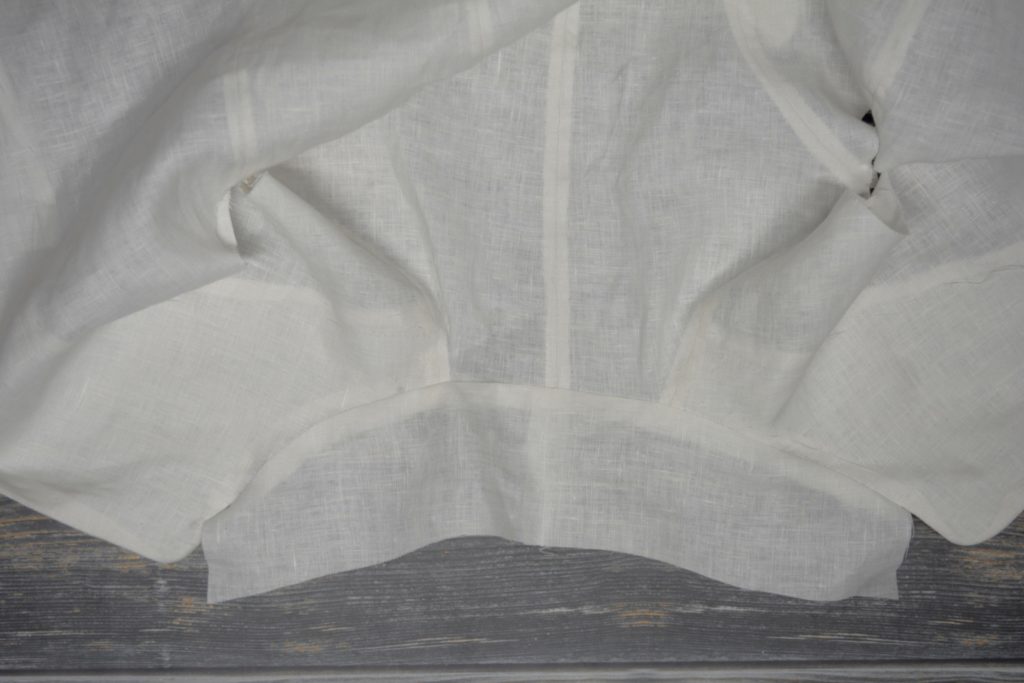
Now arrange the back vents so that the finished (left side) is overlapping the right side. Make sure the vents are parallel to each other, and baste across the top of the vent, about 1/2″ from the top. Then make another row of basting stitches 1/2″ below that to really keep things from moving.
This next step is a little tricky, just try to be as accurate as you can. With white tailor’s chalk, or very lightly in pencil, draw a line across the top of the vents, about 1/8″ below the folded edge. This should be horizontal to the ground and both ends should be the same distance from the pleats on each side.
Then at each end, draw a line at 45 degrees down and inwards, 1/2″ in length.
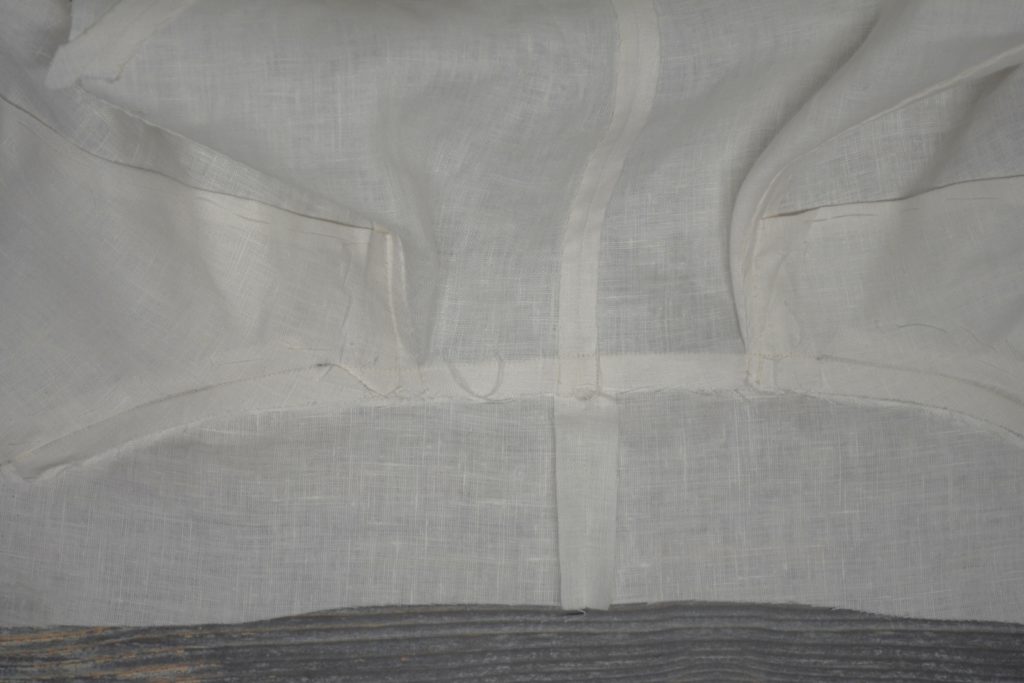
Now sew by machine through all layers along this line. If you want, you can leave this step out until the rest of the coat is finished, so that the coat can be tried on and you can test the hang and drape of the pleats.
Now that the coat body is mostly done, on to the collar!
The Shoulder Seams
With the facing attached, we can now join the shoulder seams. First lay the coat flat on the table, and check the alignment of the facing and the shoulder seam. If you allowed the shoulder to drape over the hand while basting, you’ll probably find that the facing extends a little beyond the shoulder.
Trim off the extra bit of facing as necessary.
Folding the facing out of the way (you can pin it), place the shoulder seams right sides together and pin one end, aligning the seam lines.
Now align the seams on the other side of the shoulder seam and begin basting the shoulder closed, distributing any fullness as you go.
Sew the seam with a 1/2″ seam allowance. Remember to keep the facing out of the way!
Remove the basting stitches and press the seam open.
Fold and press the raw edges under.
Fell the seams by hand as usual.
After the shoulder seam is felled, we can finish the top of the facing. Fold the facing back into place and baste it to the shoulder, about 1″ away from the edge.
Now fold the raw edge under 1/4″ and align it with the shoulder seam.
Fell the top of the facing to the shoulder seam, trying not to let the stitches show through to the right side.
And that completes the shoulder seam! The rest of the facing will be sewn down after the collar is put on and the bottom of the skirt has been hemmed.
The Facings
Attaching the facings to the coat is a somewhat involved process, but just take things step-by-step and you’ll get it.
First, lay the facing on top of the forepart, right sides together. Baste along the front edge from mid-neck, down the front, and along the bottom using a diagonal basting stitch.
When you get to the point where the roll line meets the front edge, allow a little fullness to be basted into the facing. This will give the facing the needed allowance it needs to give a smooth roll to the lapel.
After the facings are securely basted, lightly draw in the 1/2″ seam allowances of the neck and front for the first 2″ or 3″.
Now using a circular object of some kind, draw in the curved seam line.

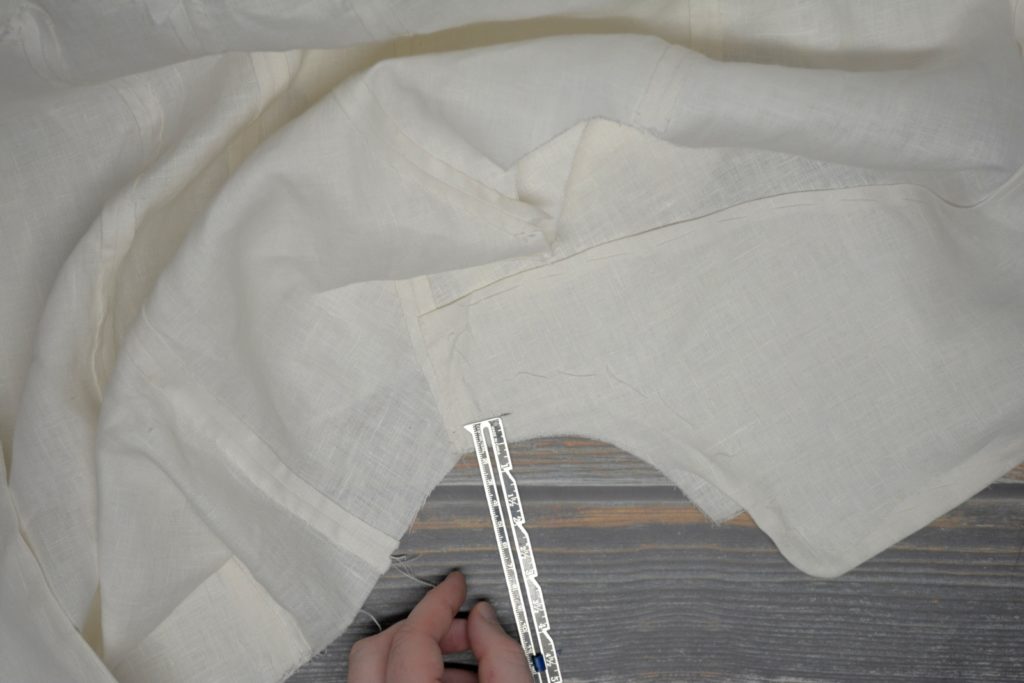
Along the neck edge, measure 2 1/2″ from the edge and make a mark. This indicates the point in which you’ll stop sewing, and should be equal in distance to the height of the collar plus seam allowance.

Repeat along the bottom front corner. This time, however, the little mark is made about 1 1/4″ from the inner edge of the facing, giving you room to turn under the seam allowance later on.
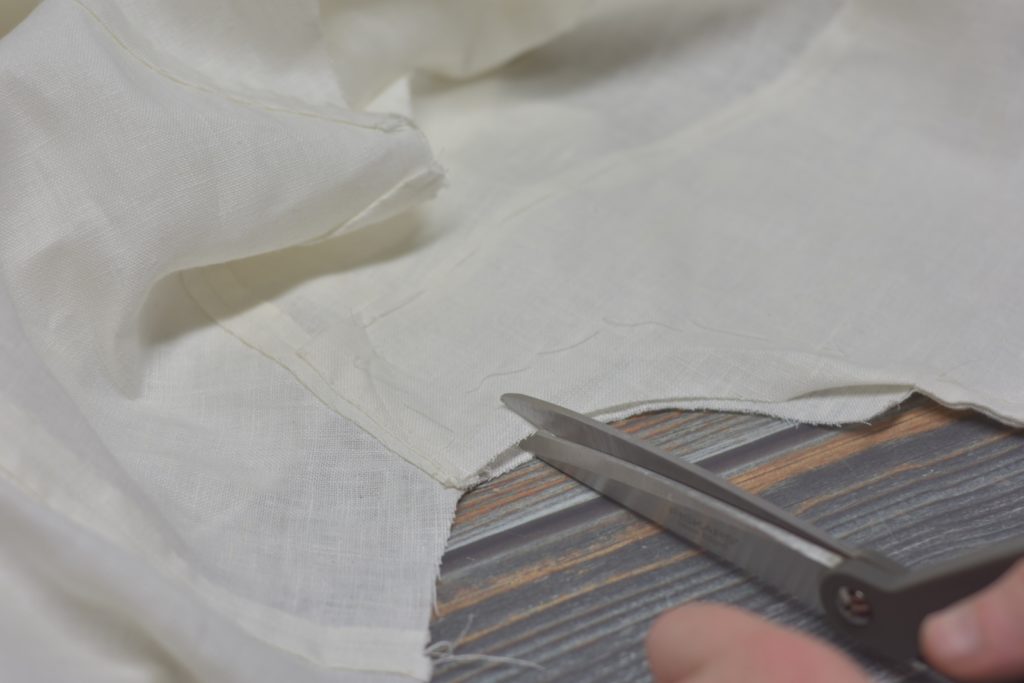
Sew the facing to the forepart using a 1/2″ seam, from mark to mark, following the curved lines you just drew in.
Trim the seam allowance in the curved areas to about 1/8″, tapering back out to the 1/2″ seam allowance. Remove the basting stitches.
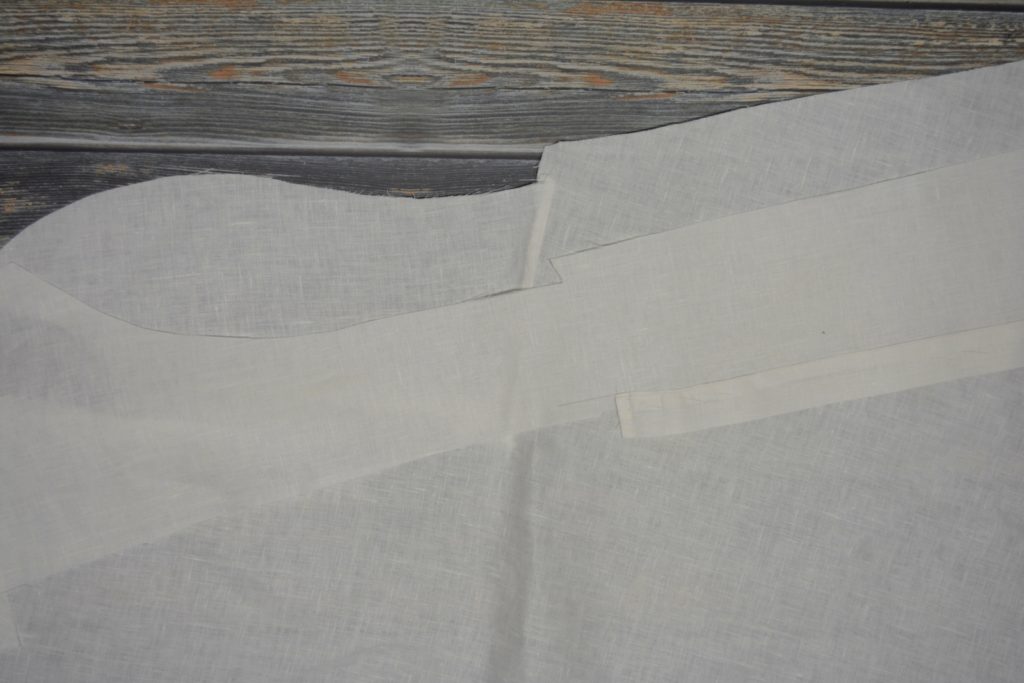
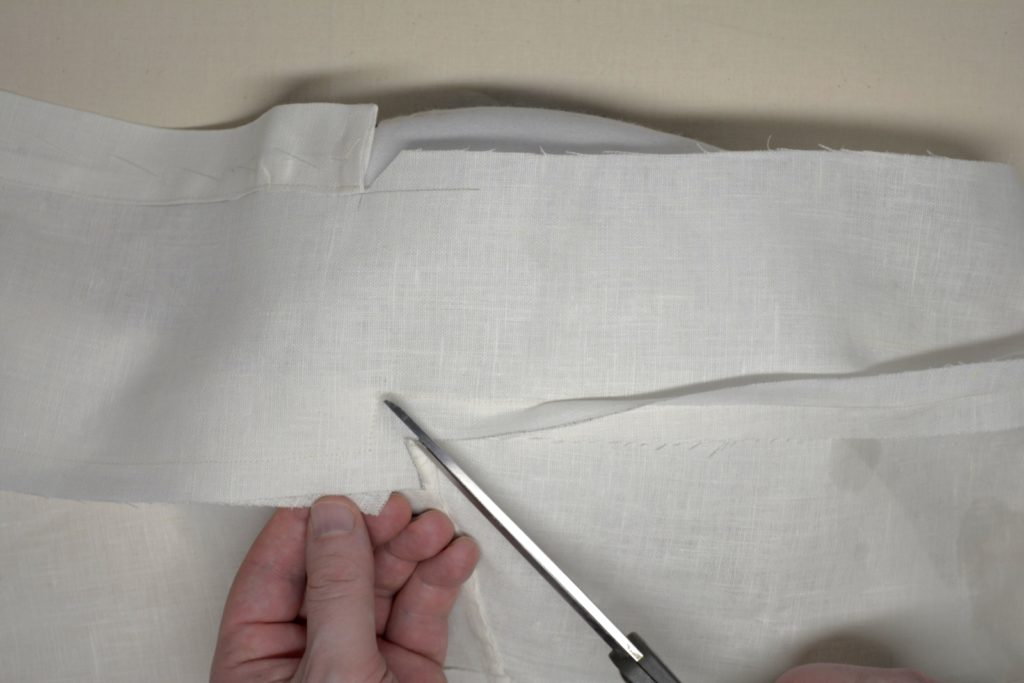
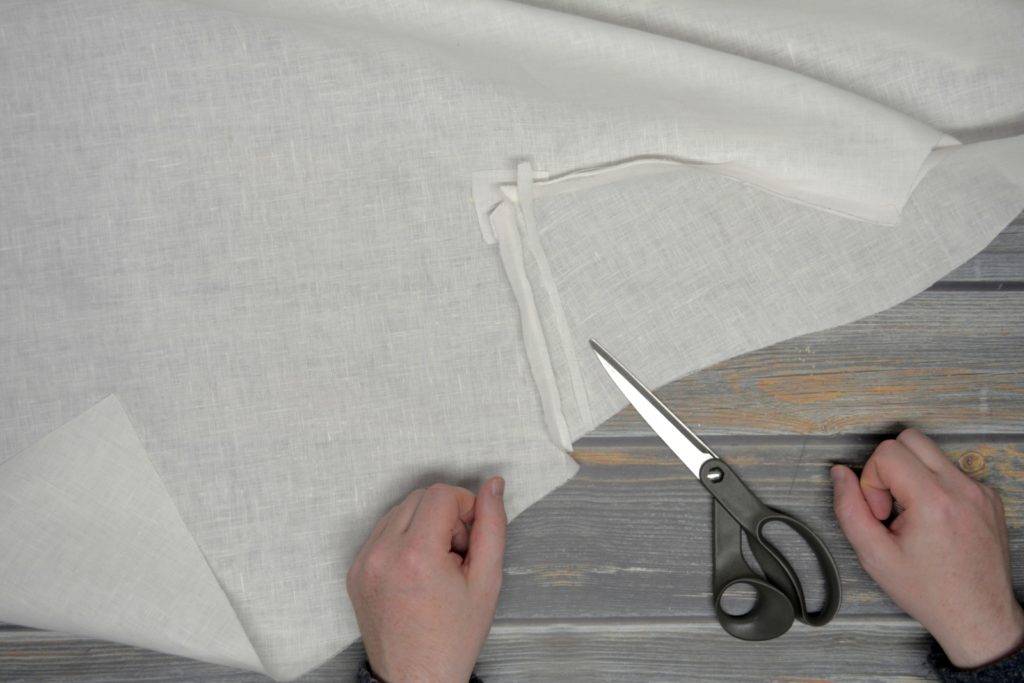
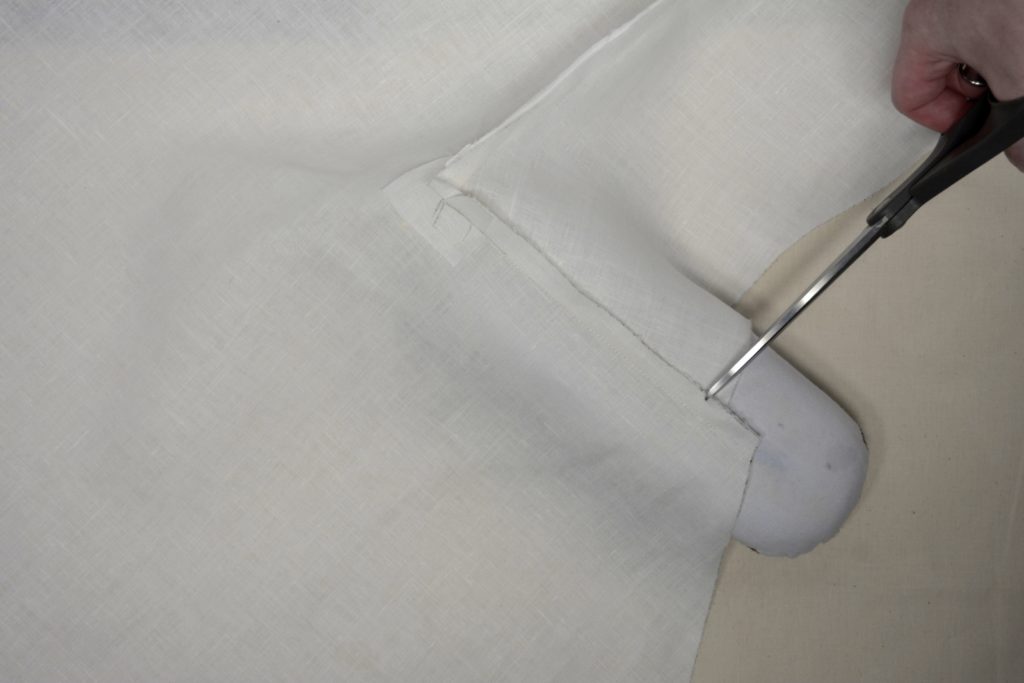
At the top neck point, make a snip in the forepart only from the edge of the cloth directly to the end of the stitching, being sure not to cut the stitches at all.

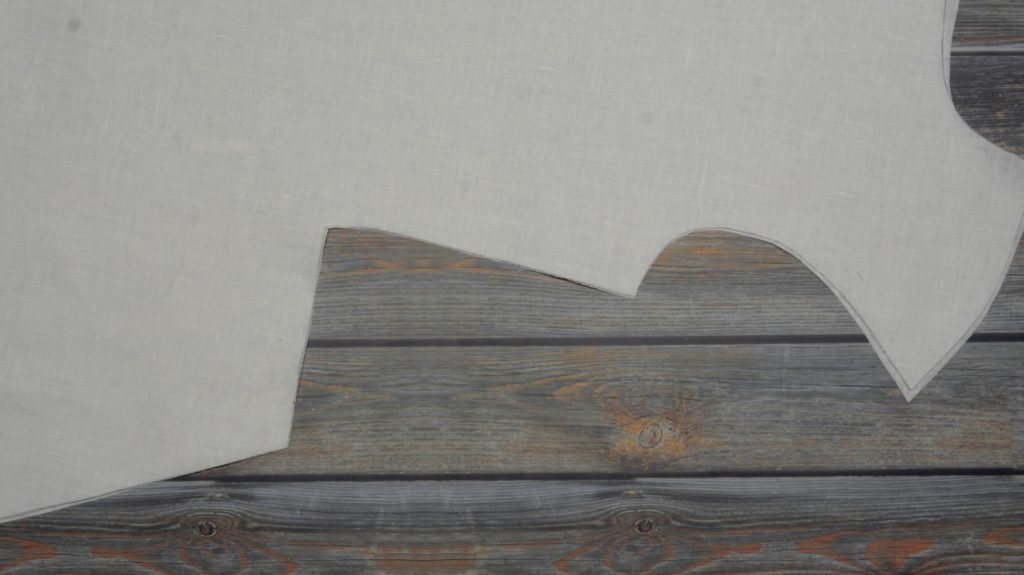
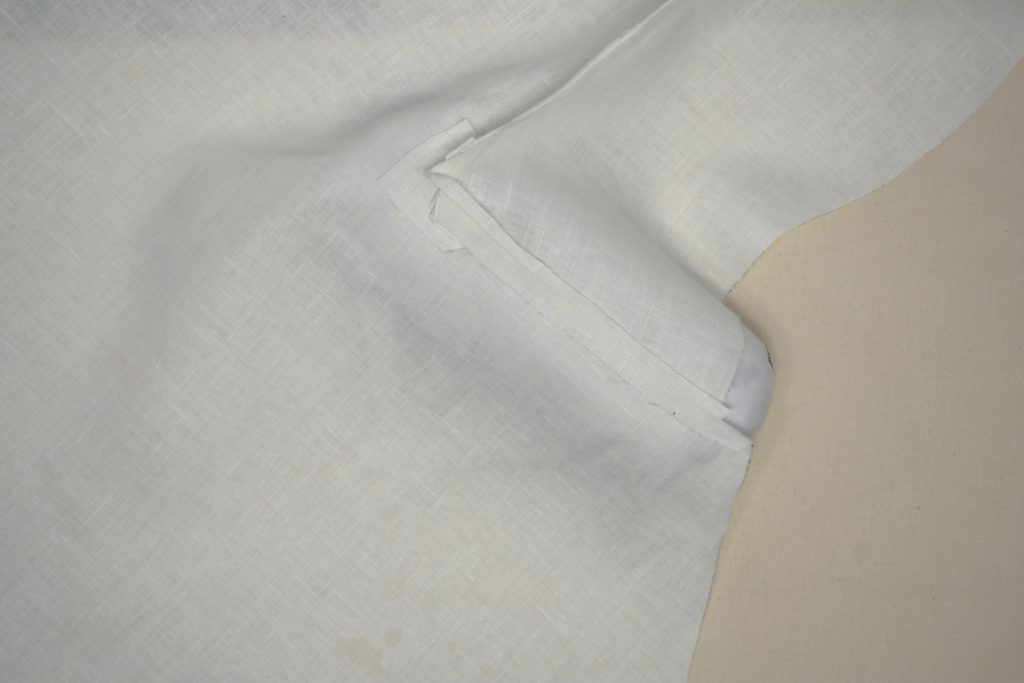
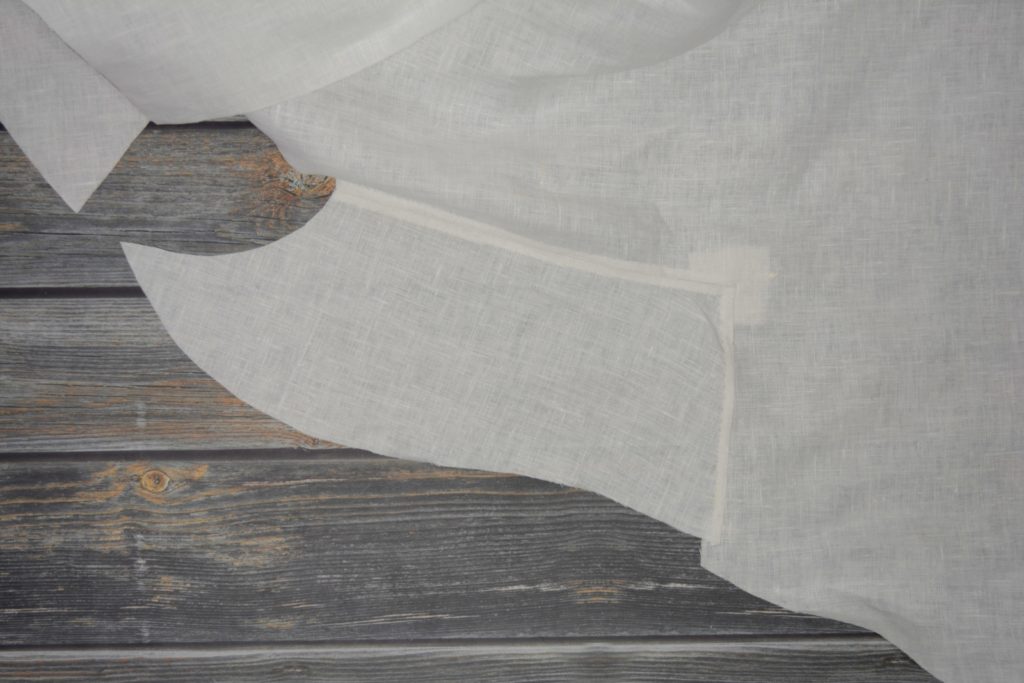
Now turn the facing and forepart right sides out. From the bottom of the facing to just below the roll line, the forepart should show beyond the edge of the facing by about 1/16″. Roll the fabric into position as you go, and baste securely.

At the roll line, the facing and front of the coat should be even with each other.
And finally, above the roll line, the facing should extend beyond the roll line by 1/16″, so that when the lapel is in position, all you see is the nice finished edge.

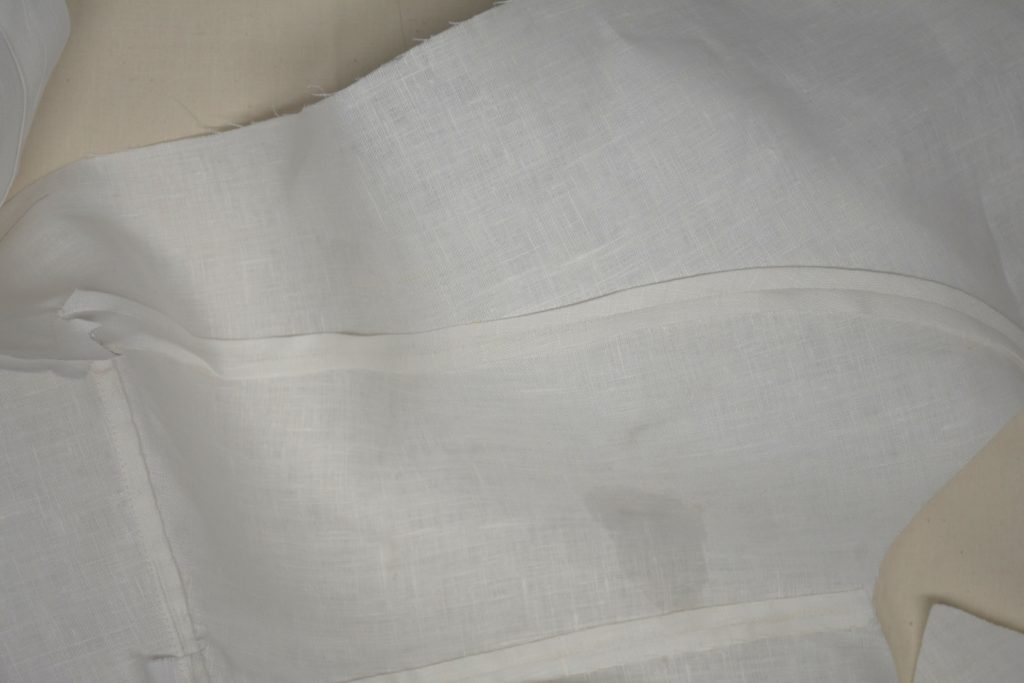
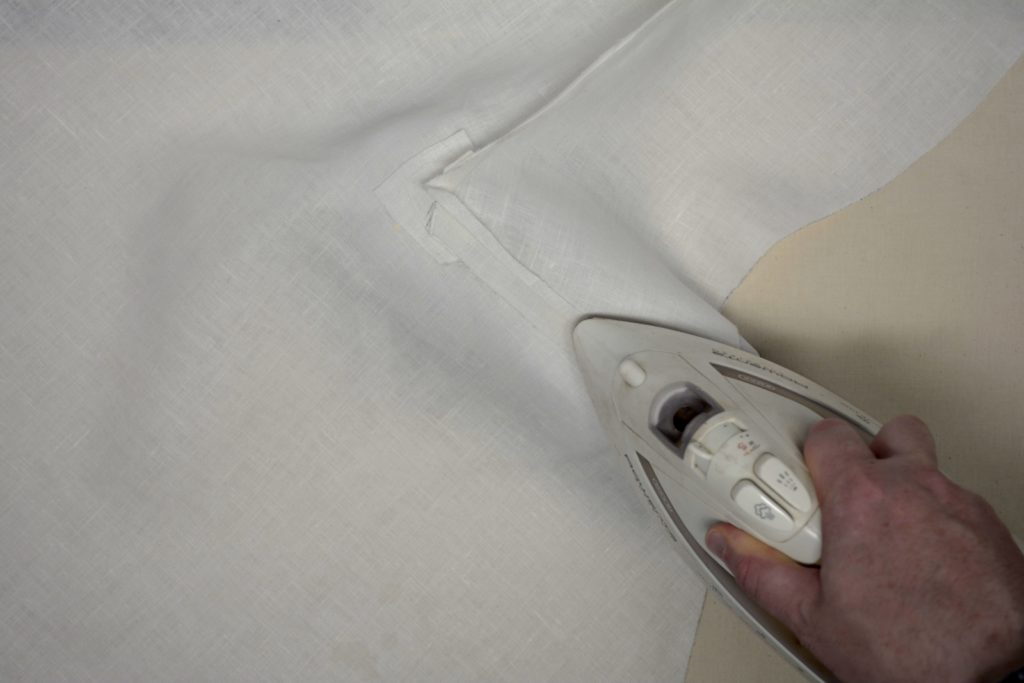
Here’s what the facing should look like near the neck after turning and basting. You’ll notice that the forepart under neath lays flat thanks to the little cut we made, while the facing wants to fold under itself. We’ll continue work on these areas after the collar has been attached.
Now position the coat so that the forepart is up and the facing is against the table. Gently fold the coat along the roll line with your fingers. It doesn’t have to be completely accurate at this point – you just want to get the right tension between forepart and facing as the fabric goes around the fold. You could try pinning it in place with a single pin if you like – I chose to just hold it during the next basting step.
Now with the lapel still folded in place, baste along the inner edge of the facing, keeping 1 1/2″ away from the edge. Start basting about 3″ away from the top of the shoulder, and continue to the bottom of the facing. You want the facing to be underneath the entire time, so you’re almost working blind in a sense. Your hand underneath, particularly in the shoulder area, will also help distribute the fabric as it curves around the shoulder.
You can allow the lapel to open up again after you’ve basted. You should be able to see now, how there’s excess fabric in the lapel area.
Now turn the coat over, facing side up. Turn under the raw edge of the facing 1/2″ along the length. Baste in place with a straight basting stitch, keeping about 3″ away from the top of the shoulder. We need to keep that area open for sewing the shoulder closed in the next step.
And here’s what you should be left with. The completed facing, basted down, with the shoulder area left free. You can go ahead and press the various seams now.
Drafting the Facing
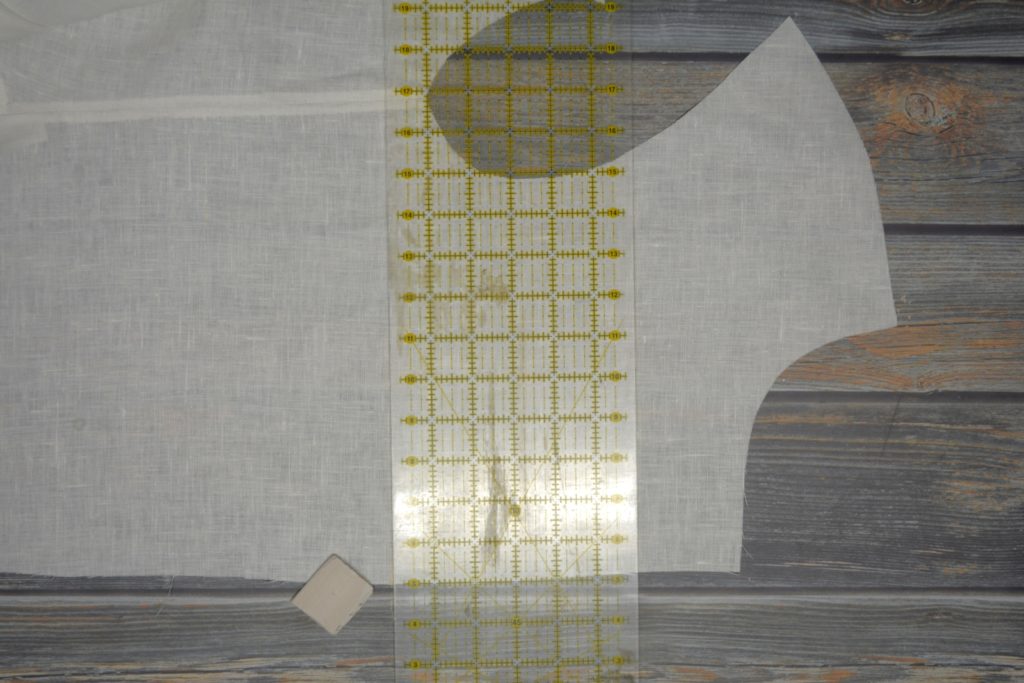
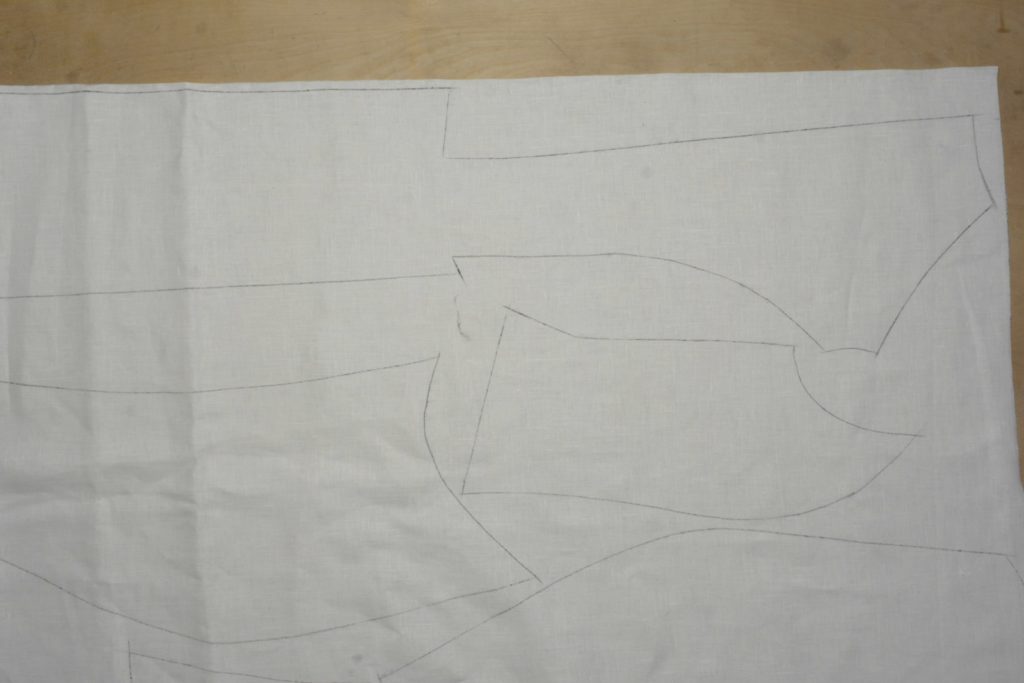
We now need to draft the facings for the coat fronts. This is pretty easy to do, and relies more on artistic expression than mathematical formulas to draft. I like to draft mine right on the cloth by tracing around the forepart from the shoulders, neck, down the front, and the bottom, then drawing the appropriate lines in. But you can just as easily do this on your paper pattern, and copy the facing piece to a fresh piece of paper if you want something more tangible for a pattern.
Start by drawing the inside line of the facing. At the top near the shoulders, the width should be about 2″ – 3″, or just slightly less than halfway across the shoulder.
Gently curve the line, staying well away from the roll line. The width of the facing near the bottom of the roll line for me is generally 4″ – 5″.
Then make a shallow curve in the opposite direction, gradually tapering the facing back down to a width of 3 or so inches at the bottom.
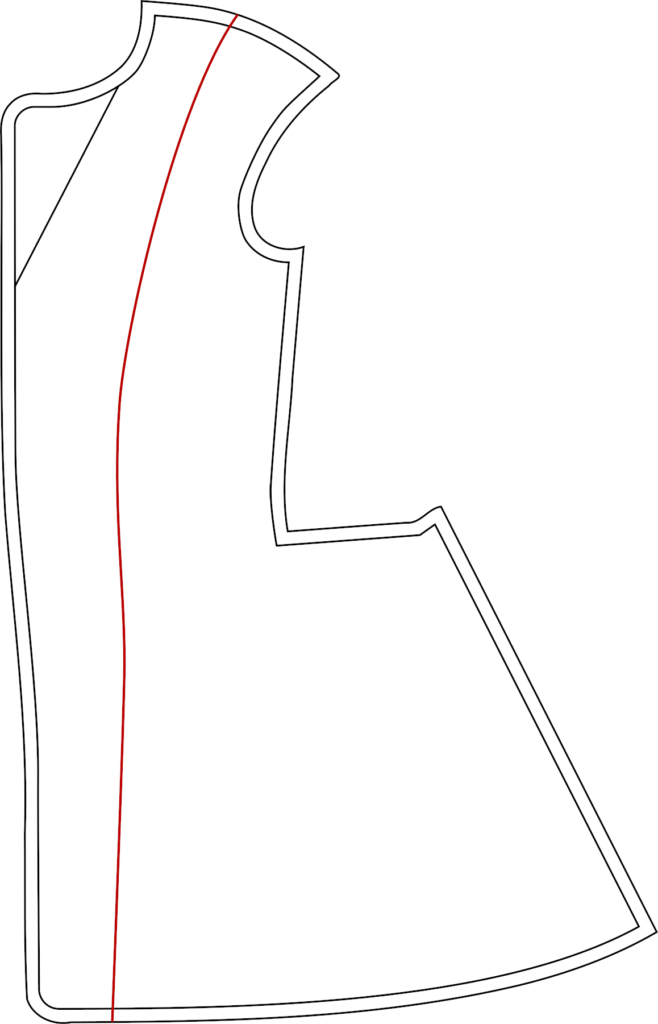
Now add a 1/2″ seam allowance along the line you just drew. The other seam allowances are already there from your original draft.
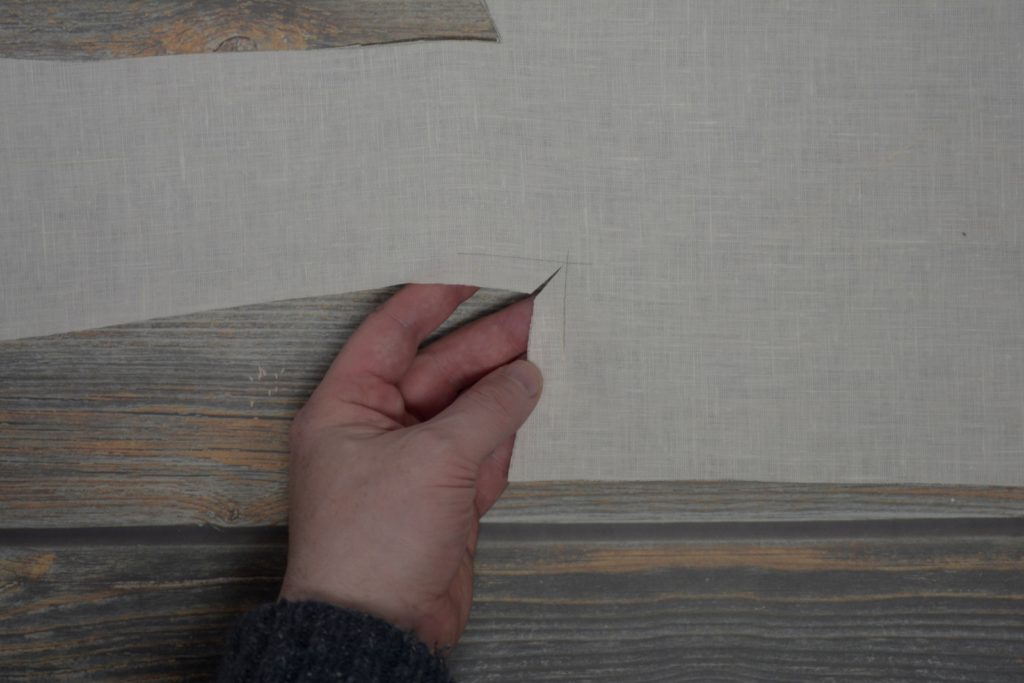
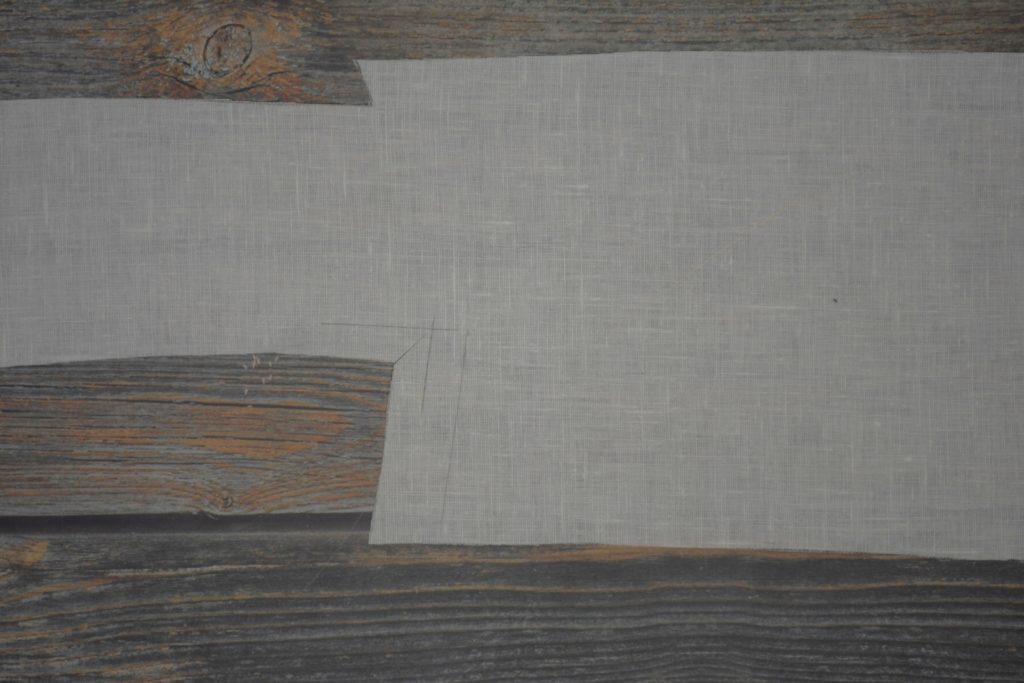
Linen Stay
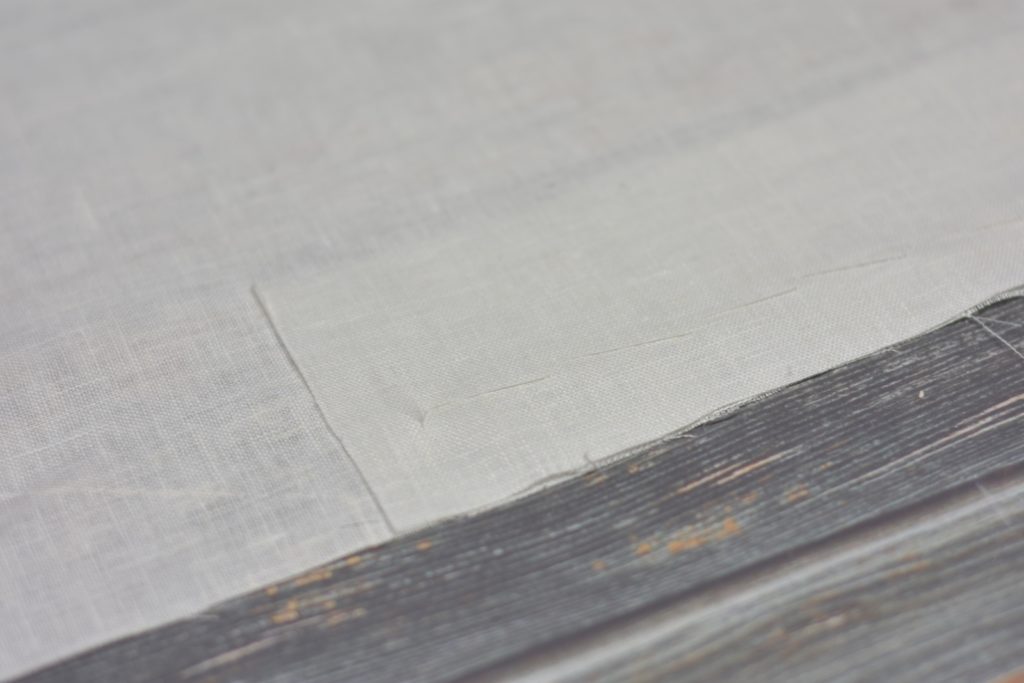
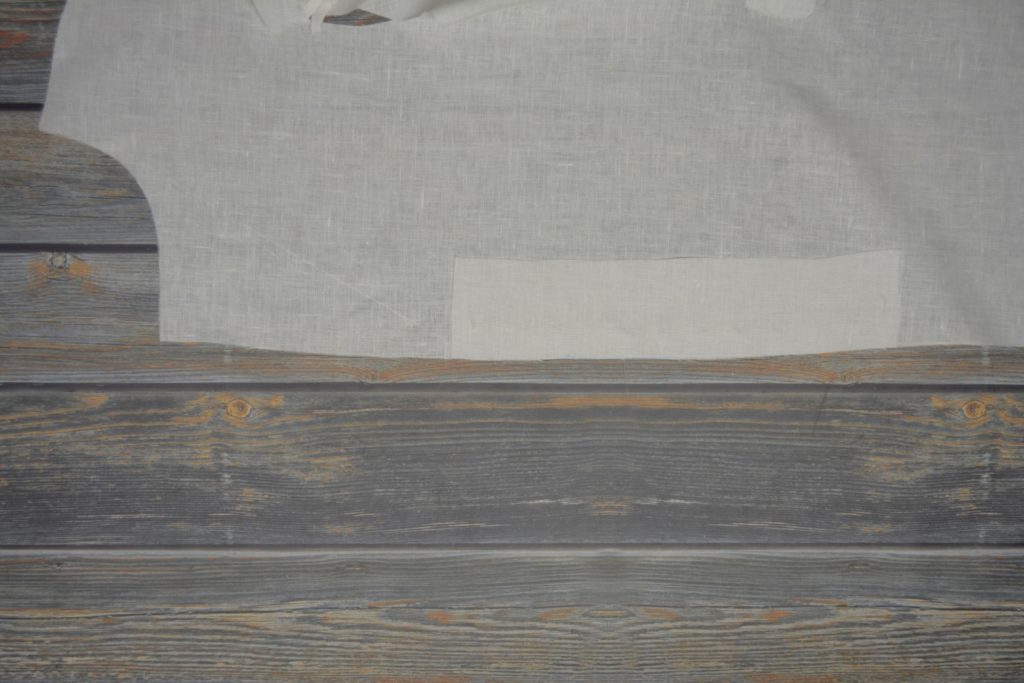
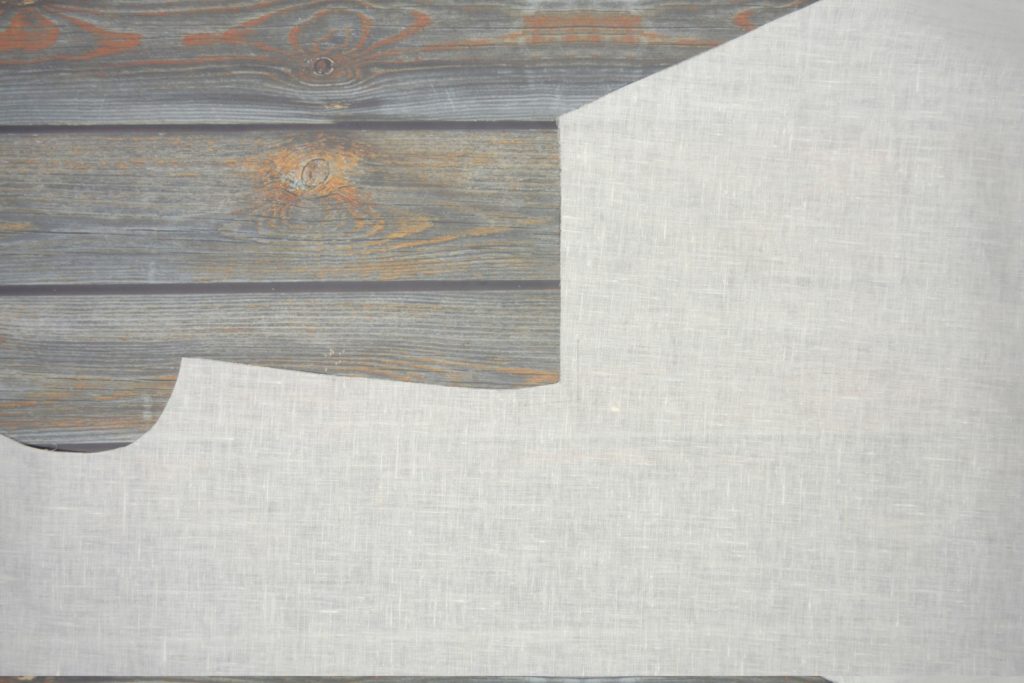
Moving on to the front facing area of the coat, I like to add a strip of linen on the wrong side of each forepart, where the buttons and buttonholes will be. While this is optional, and I don’t think it was present in the original coat, it adds a lot of strength and longevity to the coat, preventing wear over time.
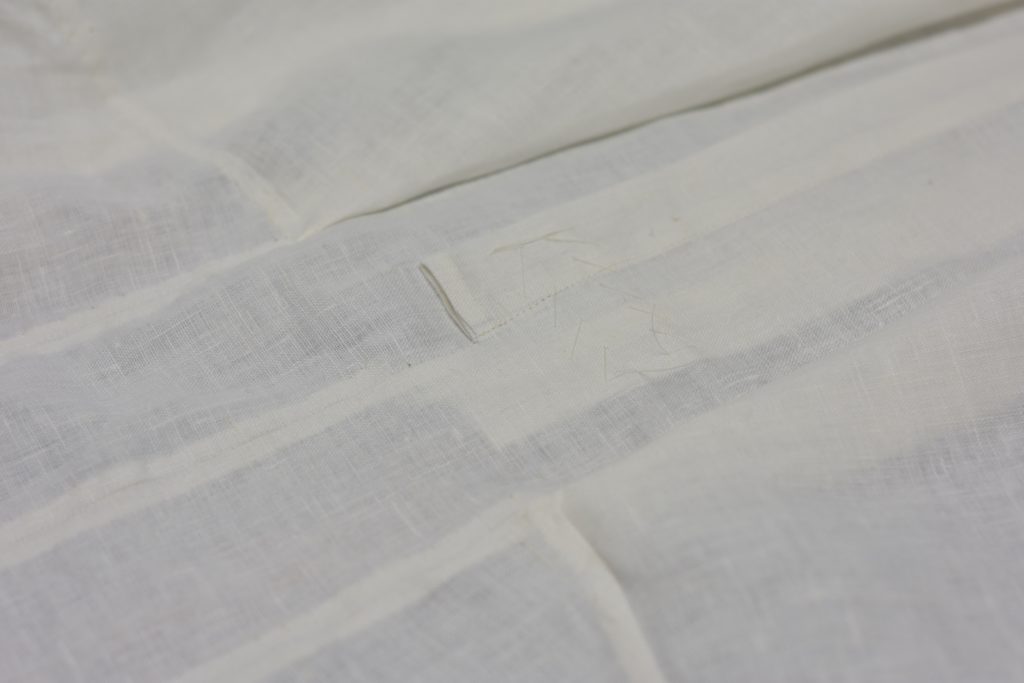
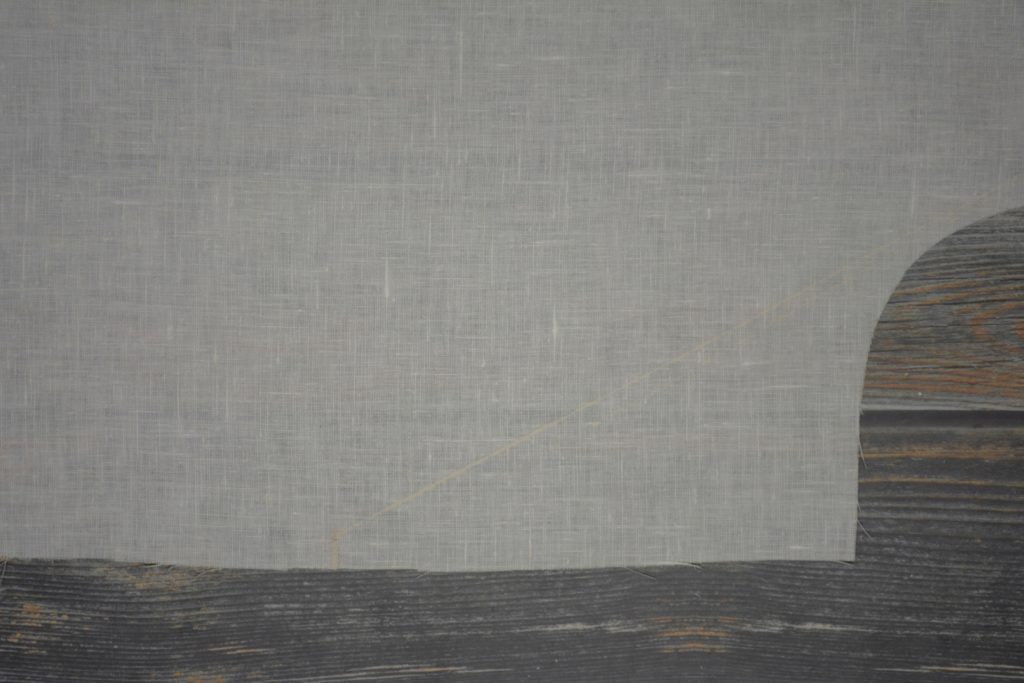
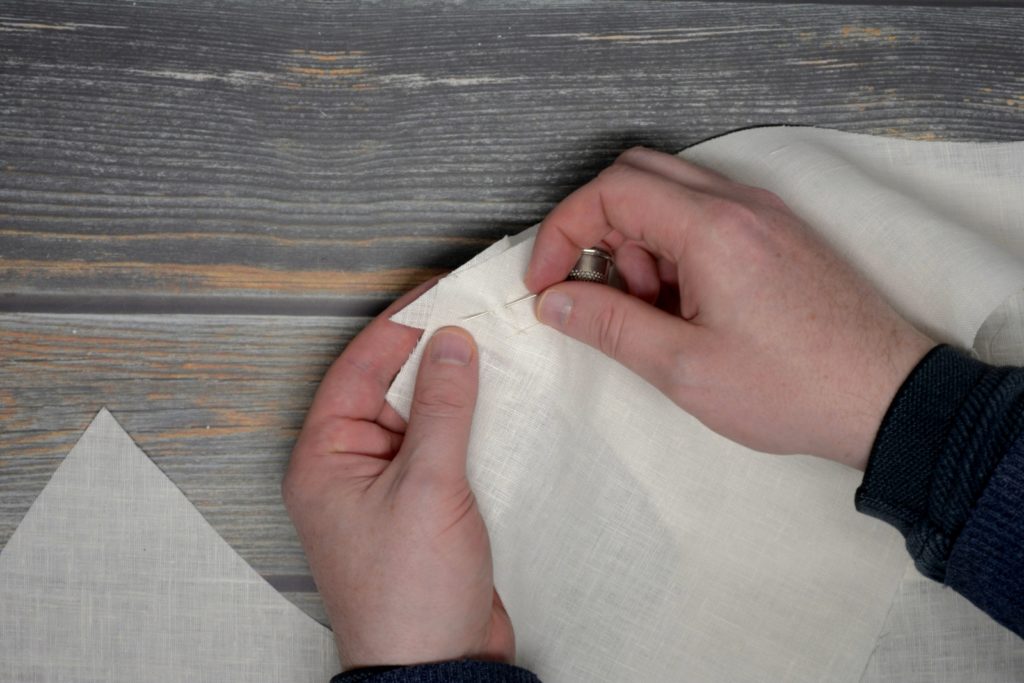
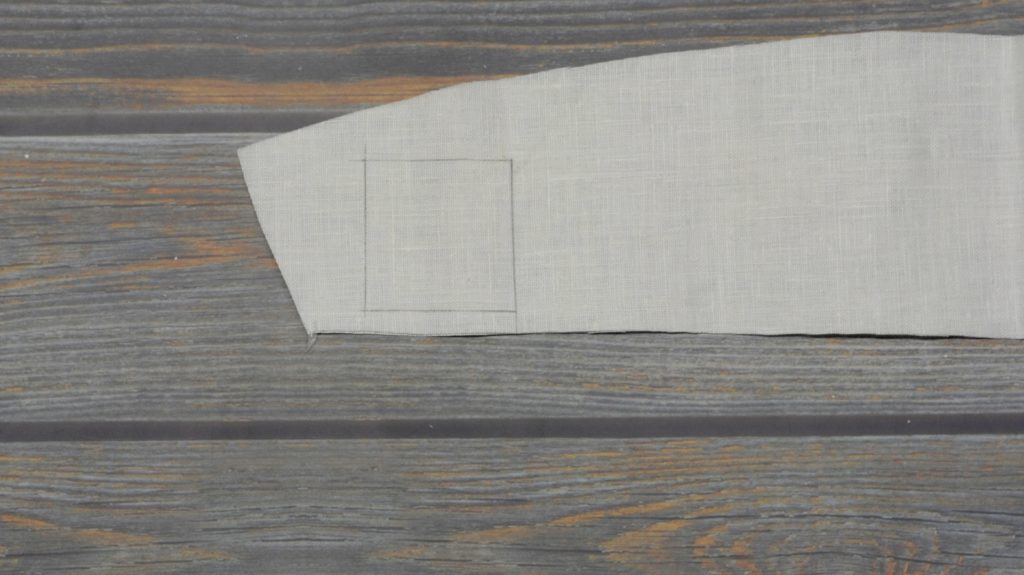
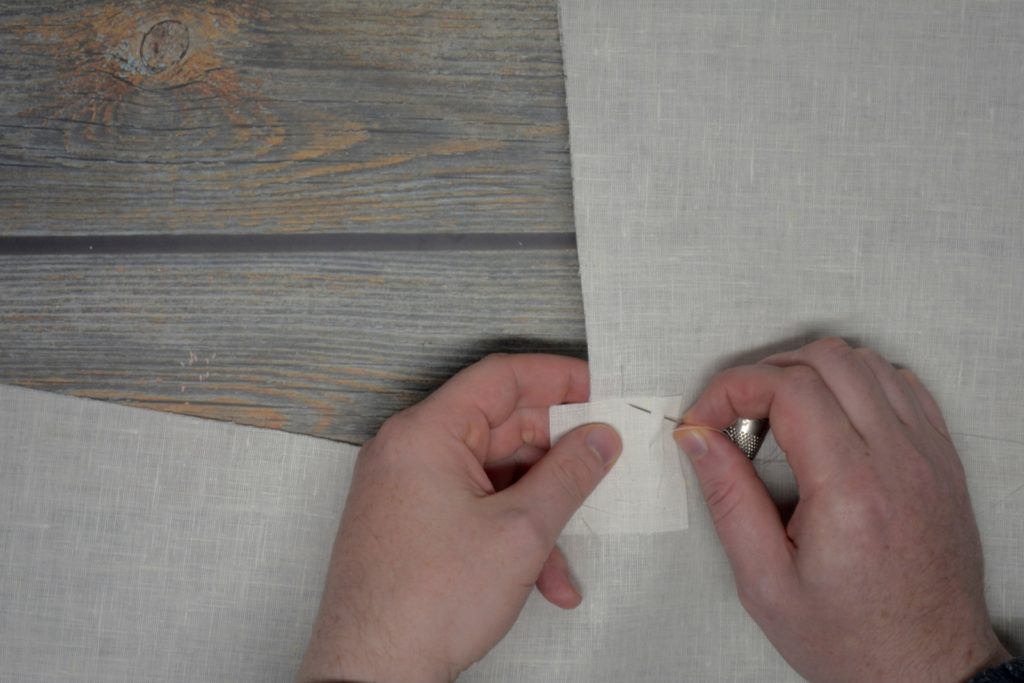
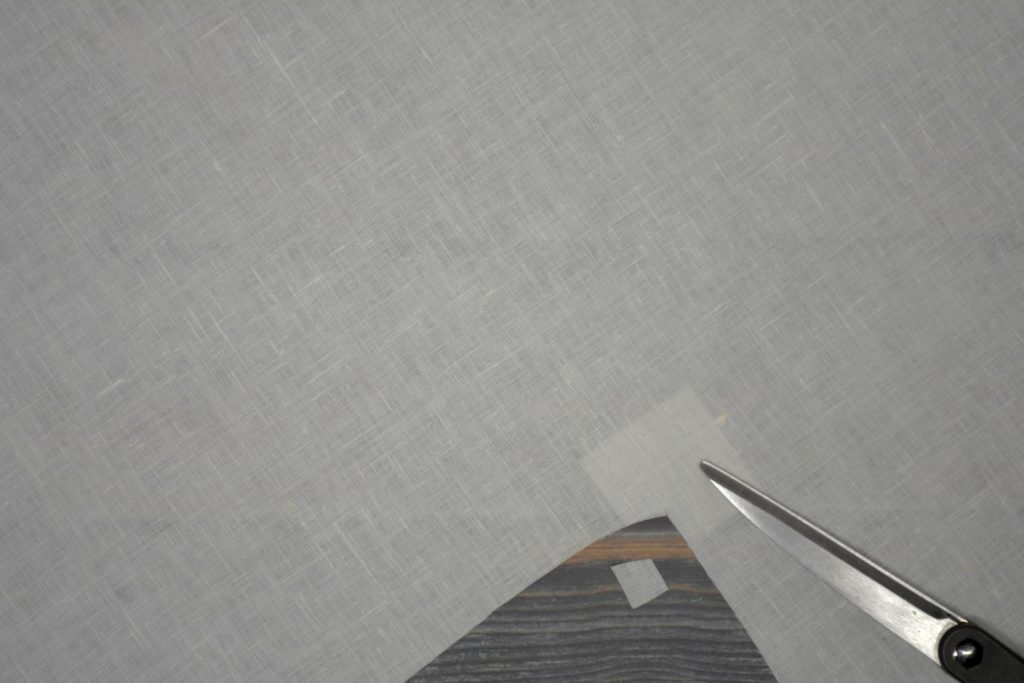
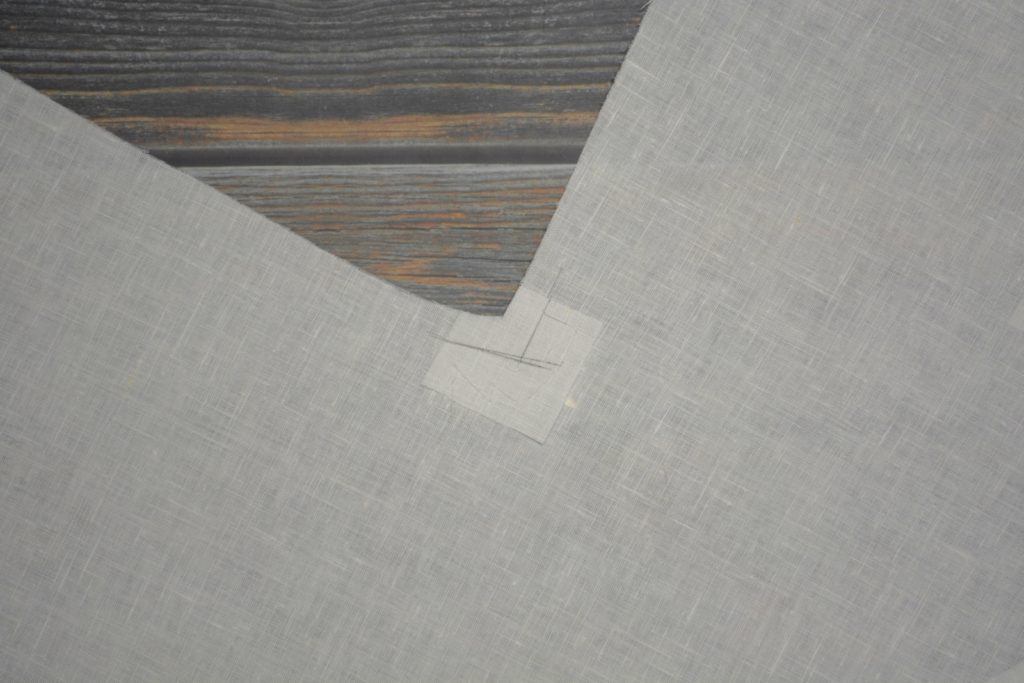
First, mark the position of the bottom the roll line where it intersects the seam line (1/2″ from the edge). Mark on the wrong side of the coat.
Also mark the roll line if you haven’t already done so.

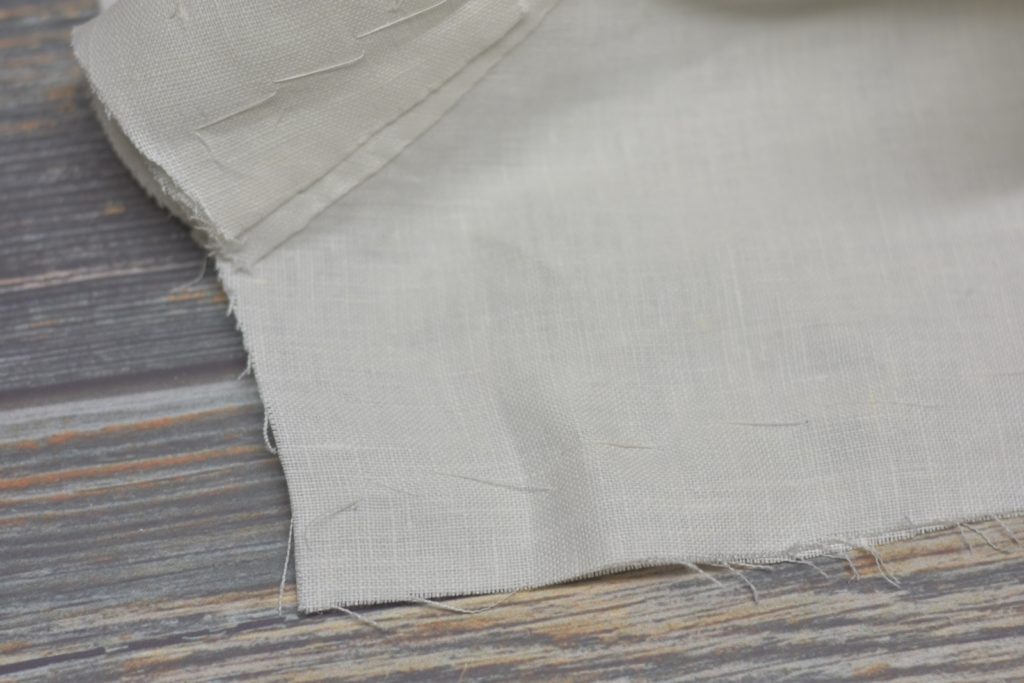
Hopefully you can make out the roll line and the mark at the bottom.
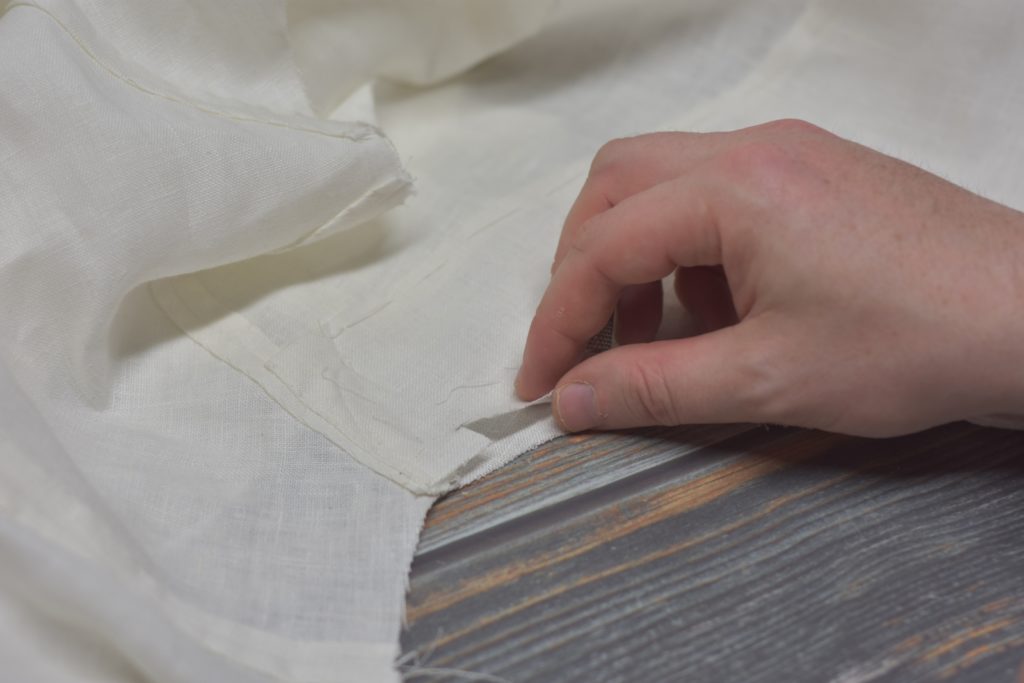
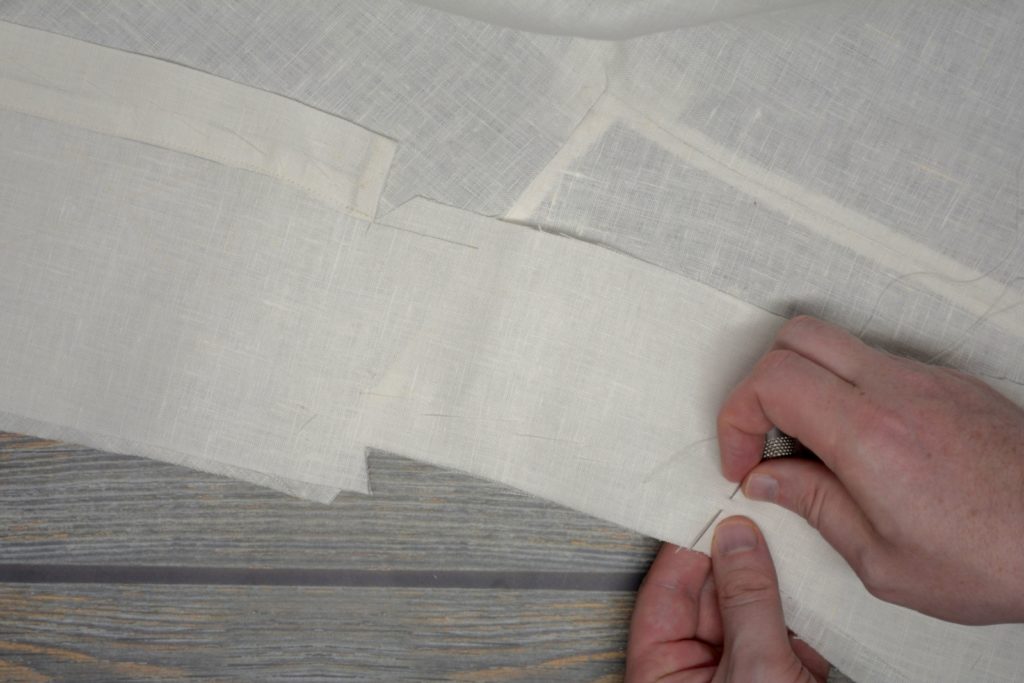
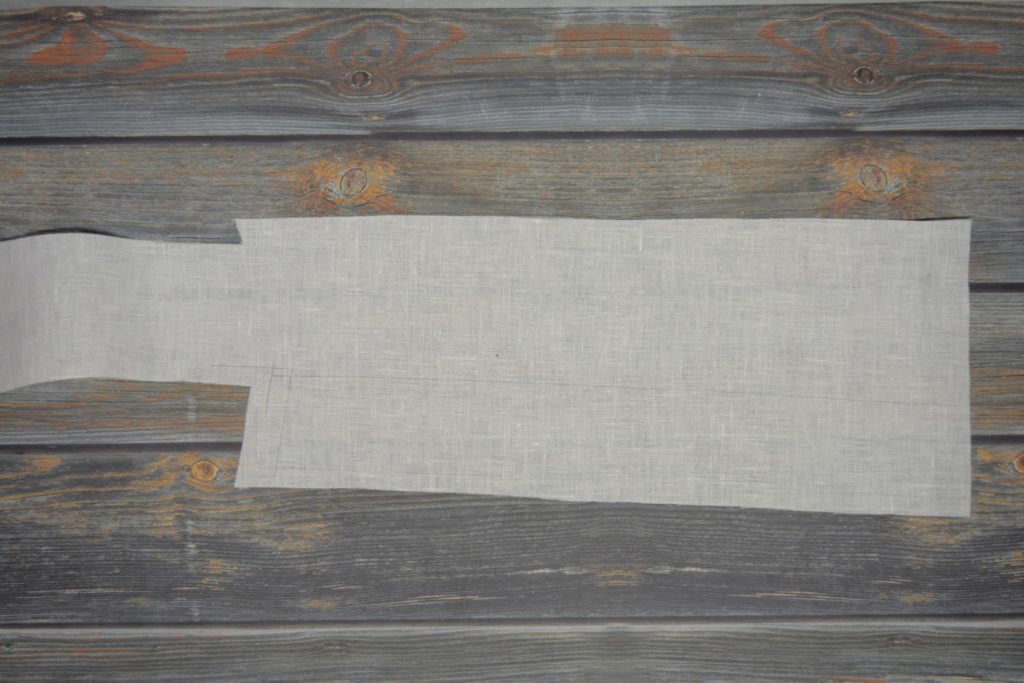
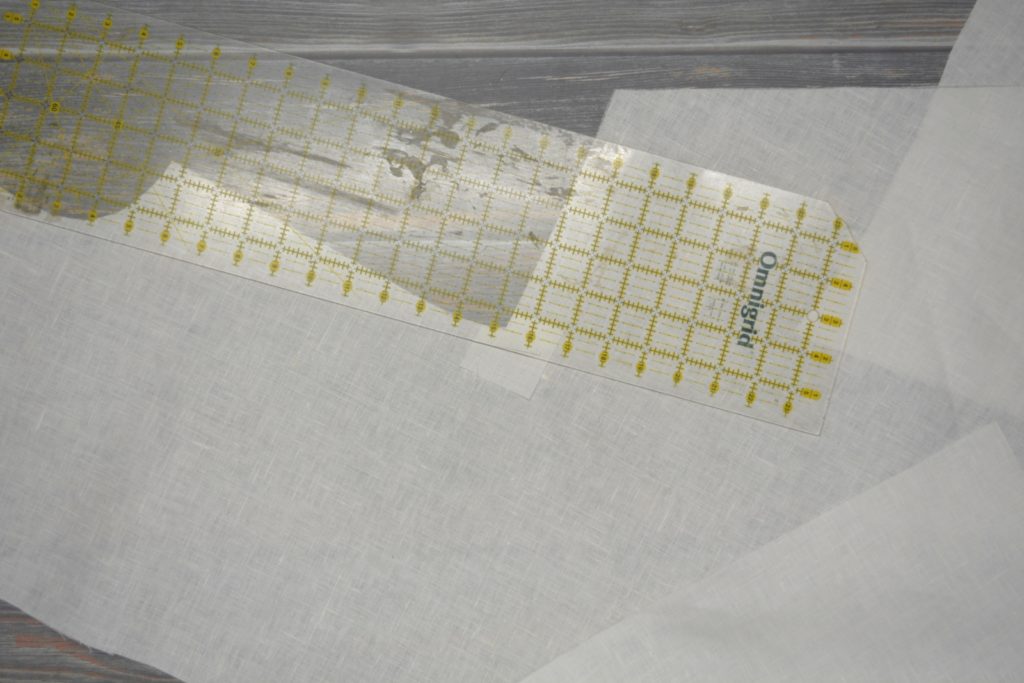
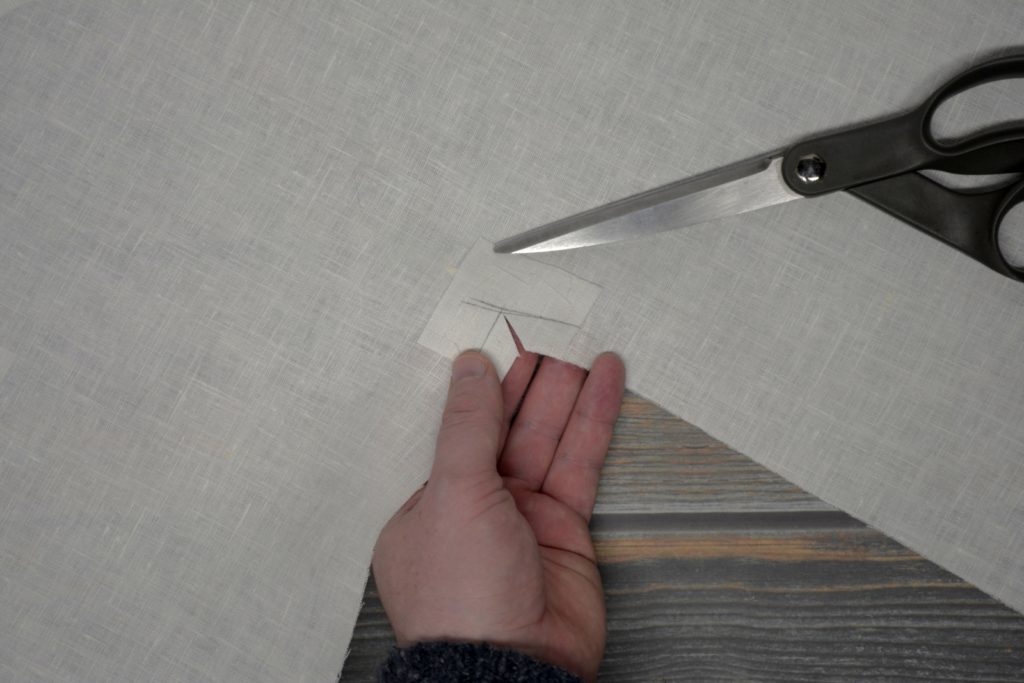
Now cut two strips of linen, about 3 inches wide and 2 inches longer than the distance between the top and bottom buttonholes.
Lay it on the edge of the coat front, on the wrong side, so that the top edge is about 1/2″ higher than the bottom of the roll line and the mark you made.
(If you look carefully you can see I lined mine up directly with the mark, which ended up being too low – the button landed right on the edge).
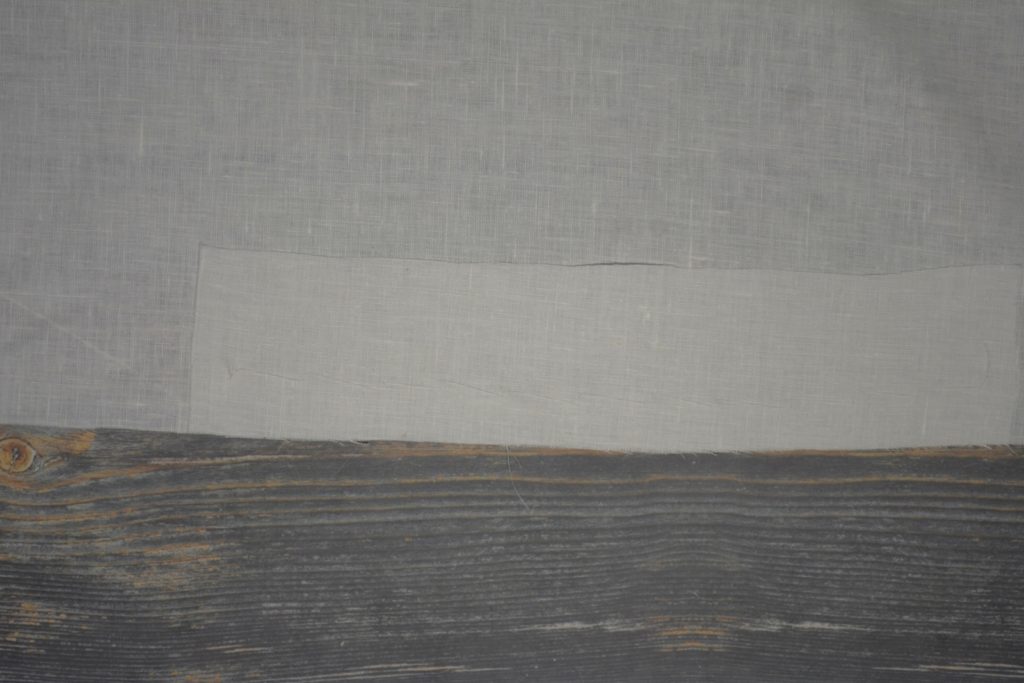
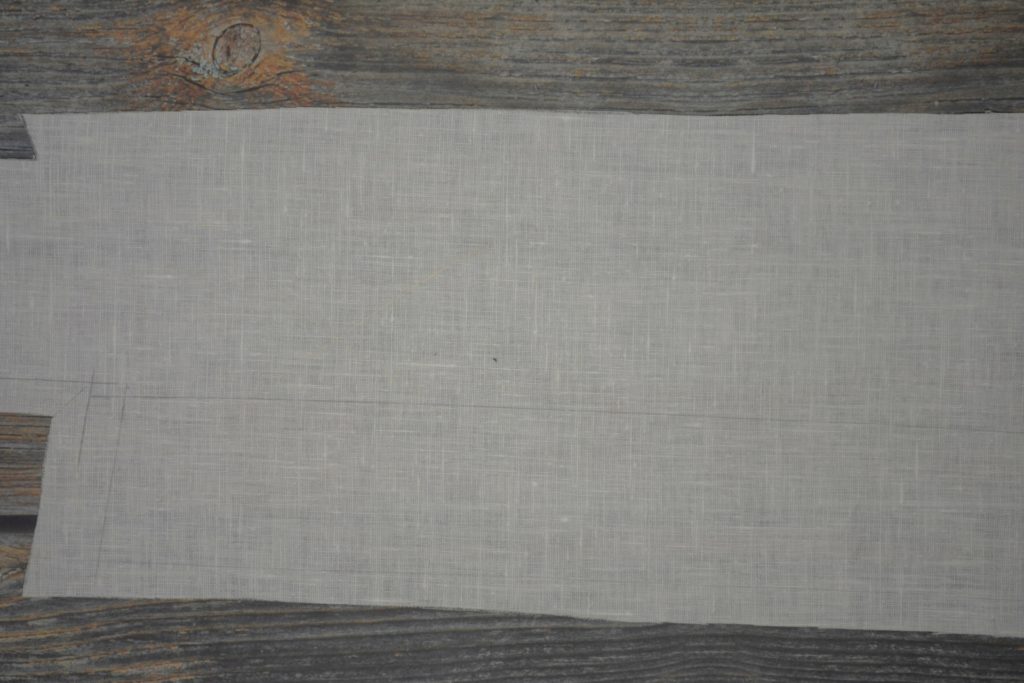
Baste the linen stay in place, about 1″ from the edge of the coat, along the length.
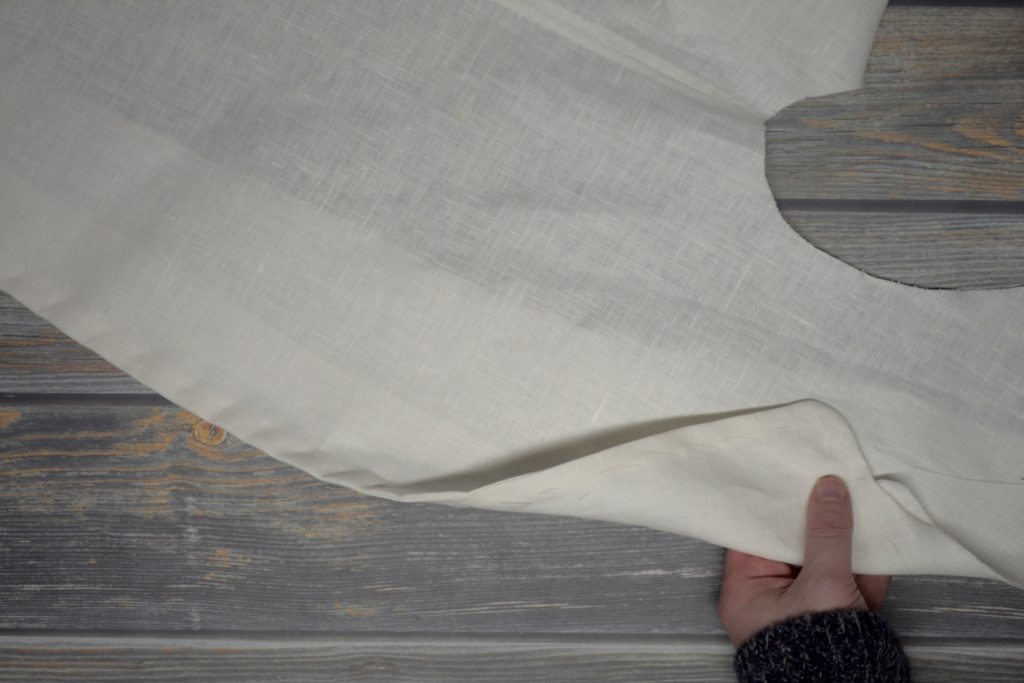
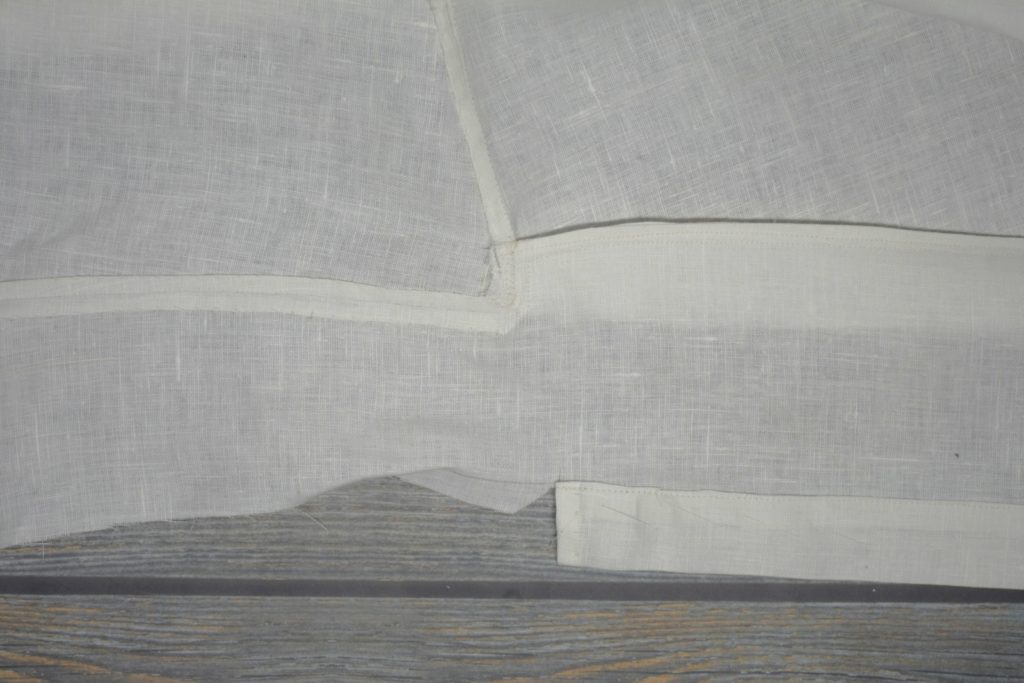
The Back
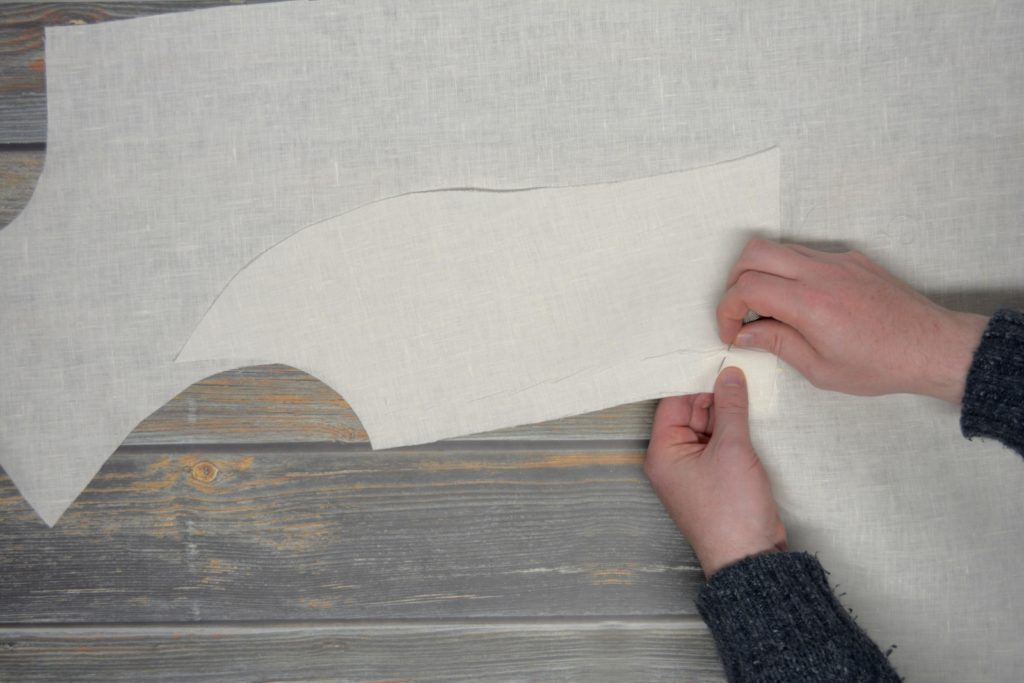
With the back vent completed, we can move on to attaching the back to the front and sidebody. Begin by laying the back and side body right sides together.
Align the pleats at the waist as shown. As you can see, I have a small discrepancy in that the width of the front skirt extends beyond the back pleat, so I ended up tapering the extra width down towards the bottom of the skirt, until things lined up properly.
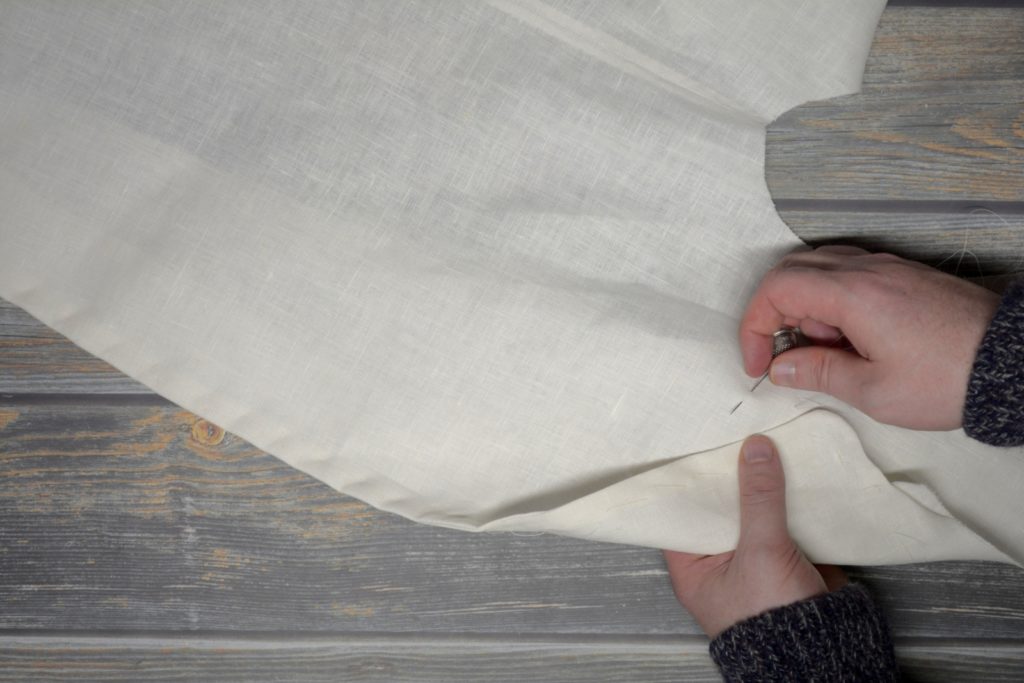
Baste the pleat area together with a couple of stitches in place.
Align the seams at the top of the sidebody and back at the armscye, and baste securely in place with a couple of stitches.
Starting again at the waist, baste the back and side body together, keeping the pieces aligned with no tension for the first two or three inches or so.
Continue basting, manipulating the fabric with your fingers as you go to distribute the fullness as necessary.
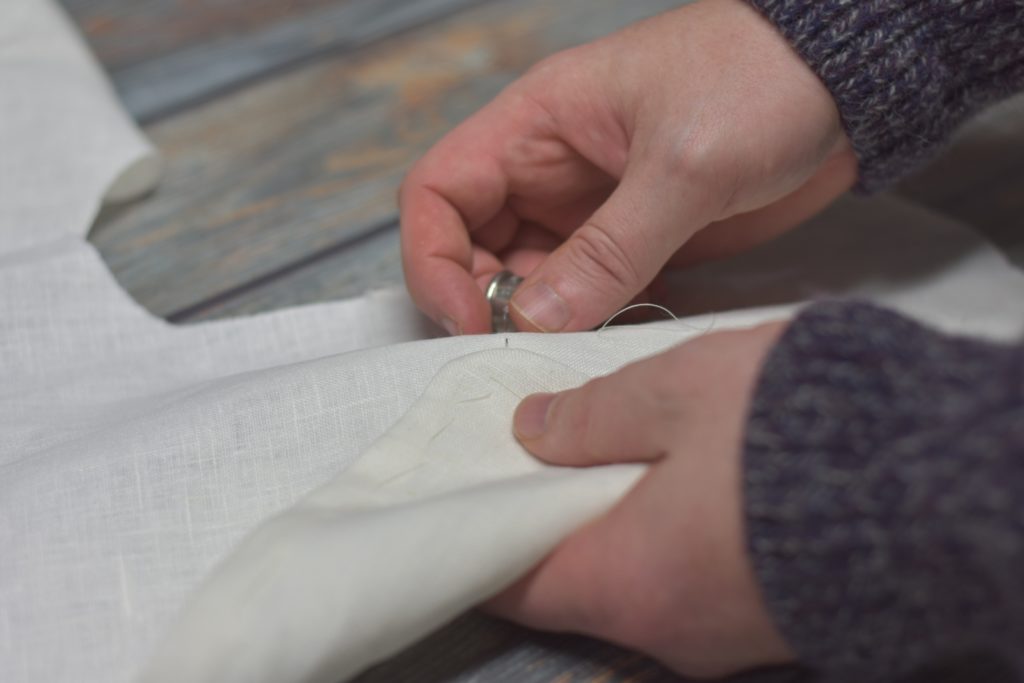
Now baste the back skirt to the front with a neutral tension. Remember we added an extra 1/2″ inlay to the bottom just in case the lengths were off a little.
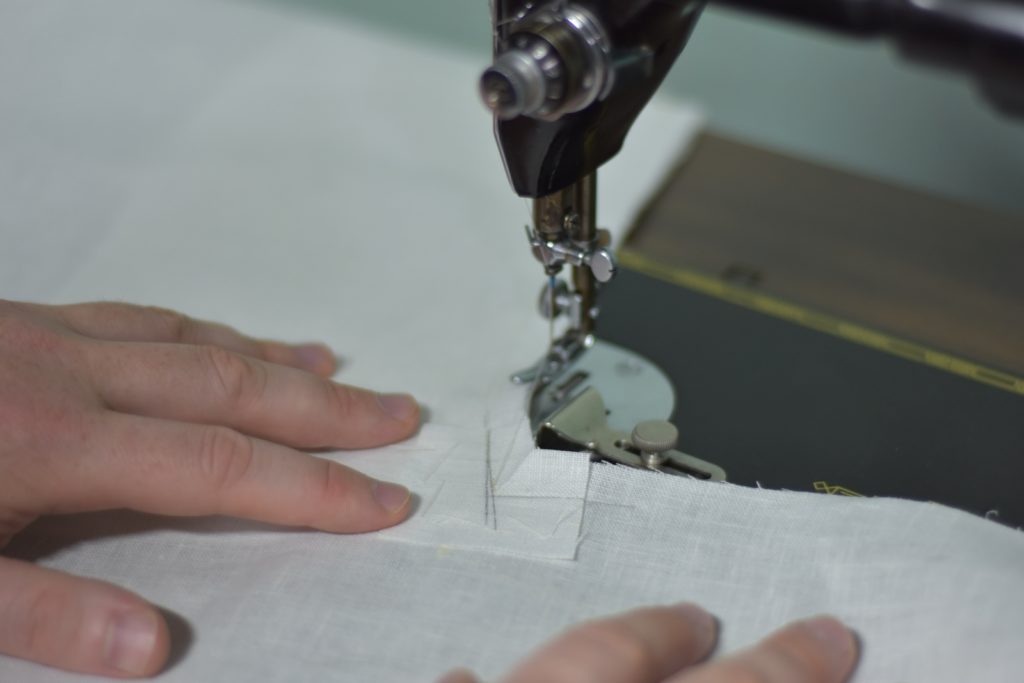
Now sew the back seam to the front assembly using a 1/2″ seam allowance, starting at either the armscye or the bottom of the skirt, depending on which is most convenient for you and which side you are working on. Keep the back side facing up towards you so that the fullness in the sidebody and be fulled in naturally with the aid of the feed dogs.
Before sewing, you may want to draw out the seam allowance near the pleat area, though it’s not necessary.
Press open the upper half of the back seam, from the armscye to just above the waist.

At the waist area, we want the seam allowance to lay flat, but the way the back piece overlaps the front part prevents this from happening.
To over come this, snip the seam allowance of the back piece only, into the ‘stepped’ portion of the seam at a 45 degree angle, snipping to about 1/8″ from the stitches.
This allows the seam to be fully pressed open from the armscye to the waist area.

Now flip over to the right side and align the pleats so they fall evenly down to the hem. Press the pleat from the waist through the top 2″ or 3″. You could press the entire seam but I find this allows the pleats to fall more naturally when wearing the coat – it’s more of a personal preference, though.
Turning back to the wrong side, fold under the raw edges of the back / side seams, leaving a 1/4″ total seam as you did for the side body.
As you get towards the waist area on the side body part of the seam, you’ll notice the pleat gets in the way of turning the seam under.

Snip this seam allowance 1/4″ inch. Just enough to be able to turn under the raw edge.
Fell the edges of the seams down using the same felling stitch as before.
Here’s the completed back / sidebody seam.
Back Skirt Seam
We now have to finish the rest of the back seam along the skirt / pleat area. Begin by folding one of the raw edges under, leaving a 1/4″ seam allowance.
Then fold the second half of the raw seam allowance under as well, aligning the two folded edges as you go.
You can fell this section by hand if you like, or you could also do it by machine, since it’s not seen on the outside. I wasn’t able to tell how the original was done, but I suspect it was by machine, based on how the rest of the coat was put together.
Here’s how my back skirt seam looked after sewing. You can see that there are two stitch lines here, since I used the machine.
Tacking the Pleats
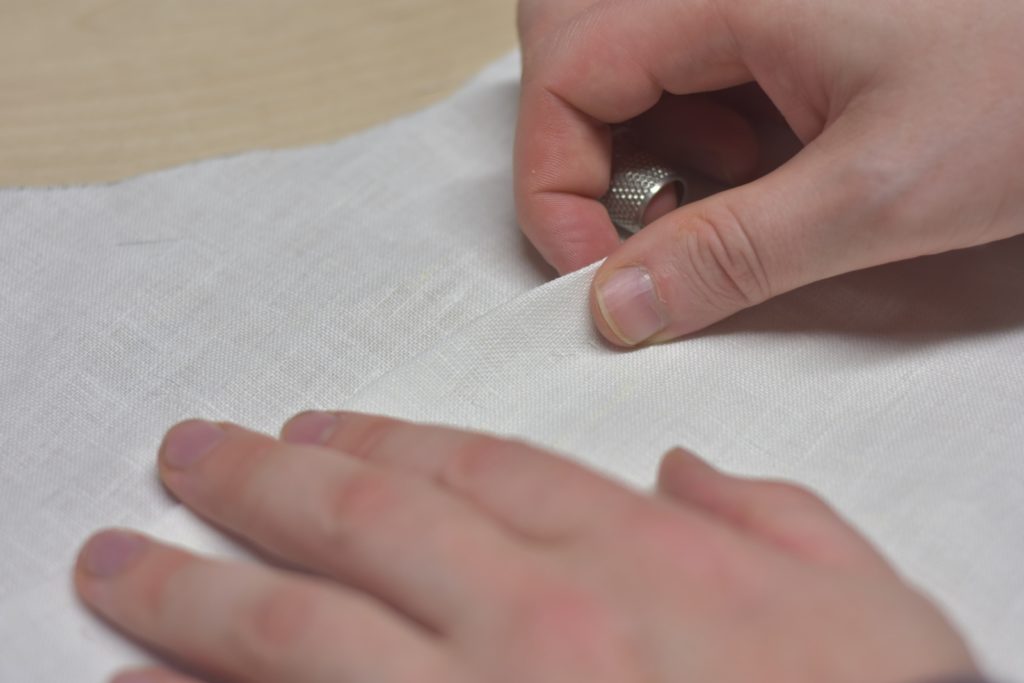
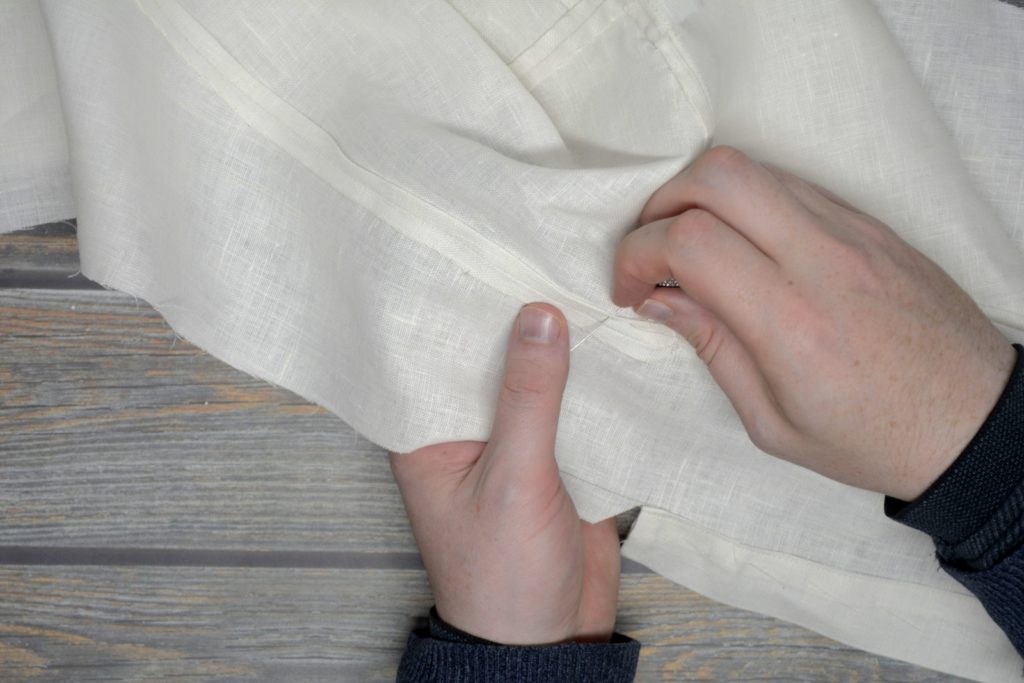
Finally, we need to secure the pleats from the inside to keep them from flopping around. First, make sure you are holding the pleats in the correct position. I used my thumb to almost pull the pleat over towards the front of the coat.
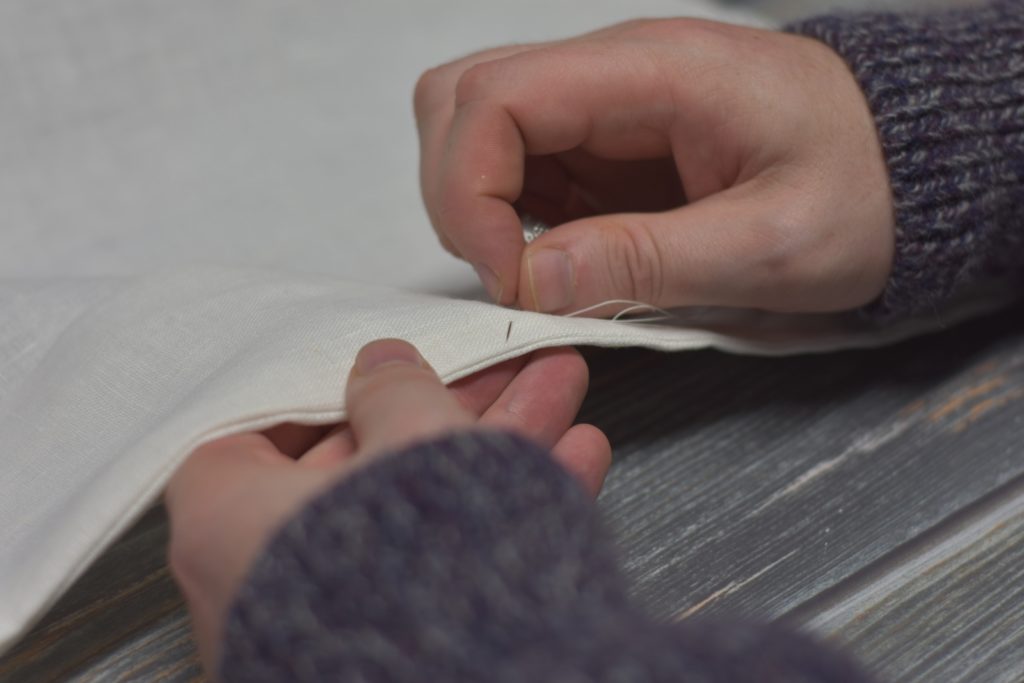
Then using a small felling stitch, fell the edge of the pleat to the waist seam, trying not to let the stitches show through to the right side.
Then stitch along the top of the pleat, over the position of the waist seam that is underneath. I don’t even know what this stitch would be called, it’s more of a diagonal stitch going through all of the layers, except for the right side.
Here’s the finished pleat section.
And the entirety of the back seam.
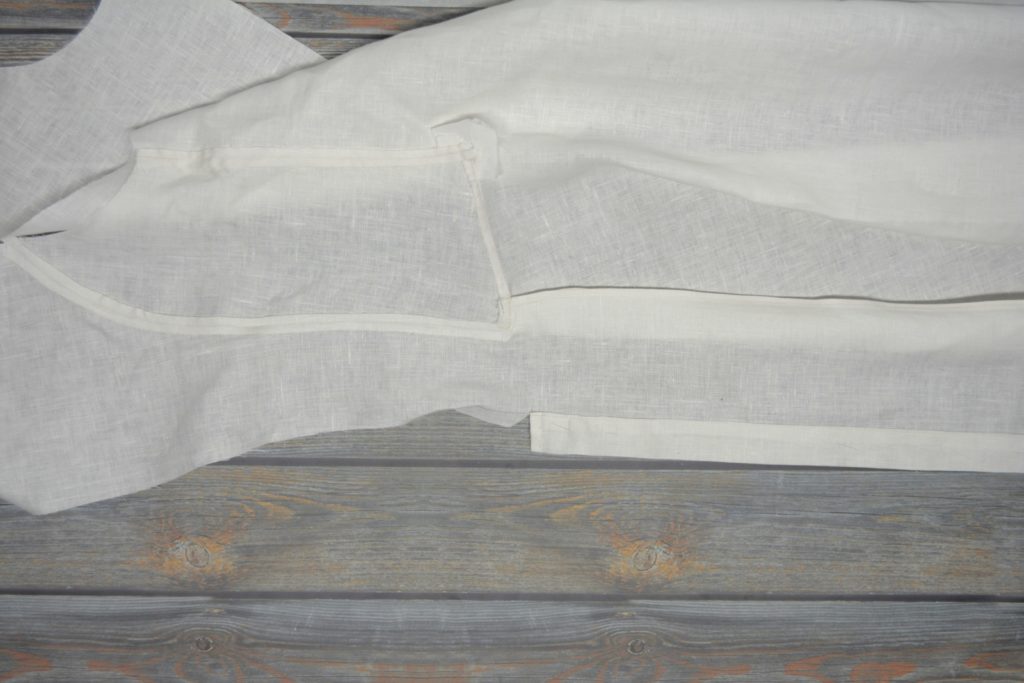
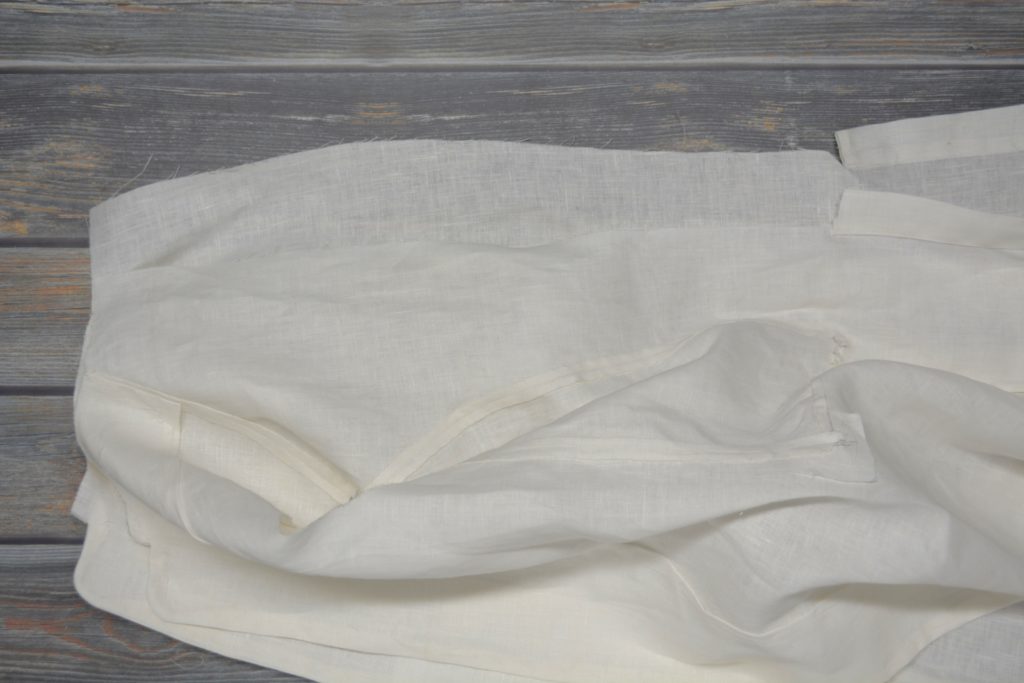
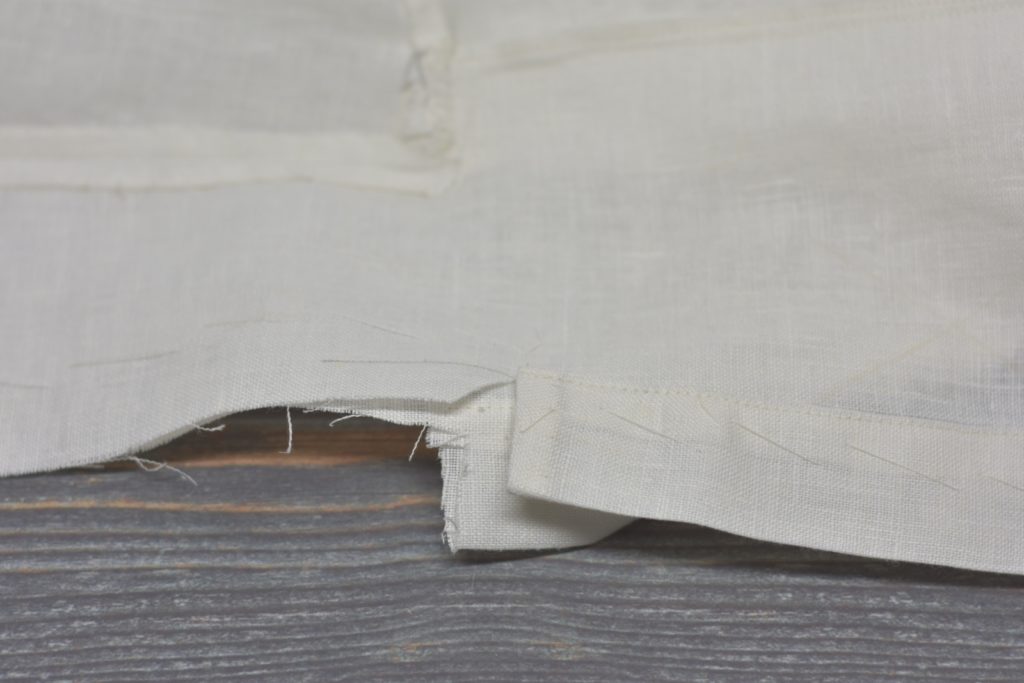
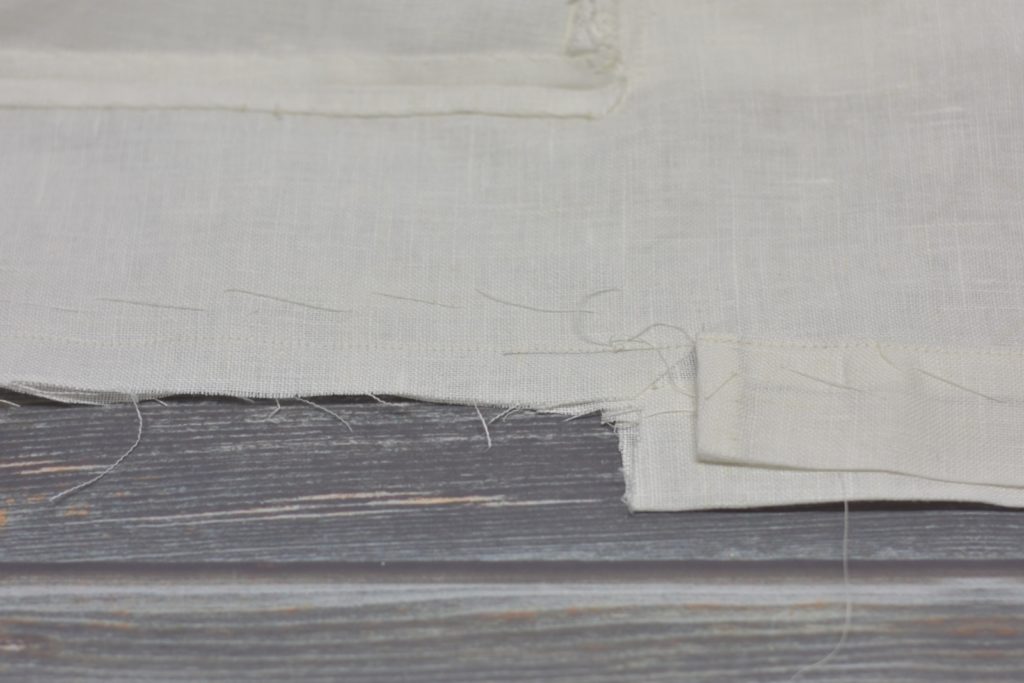
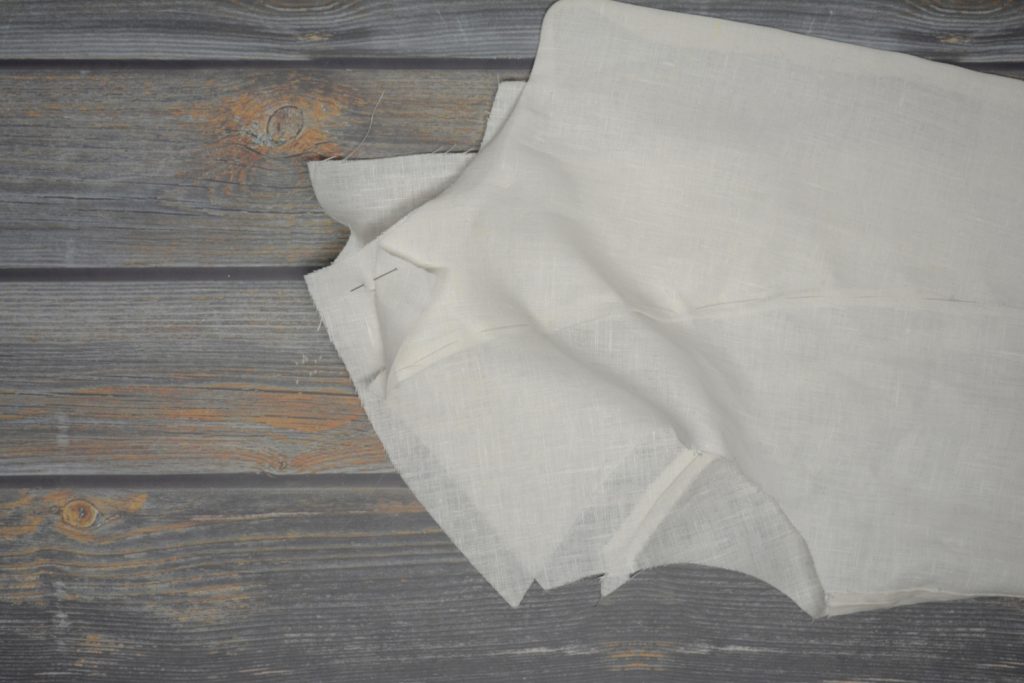
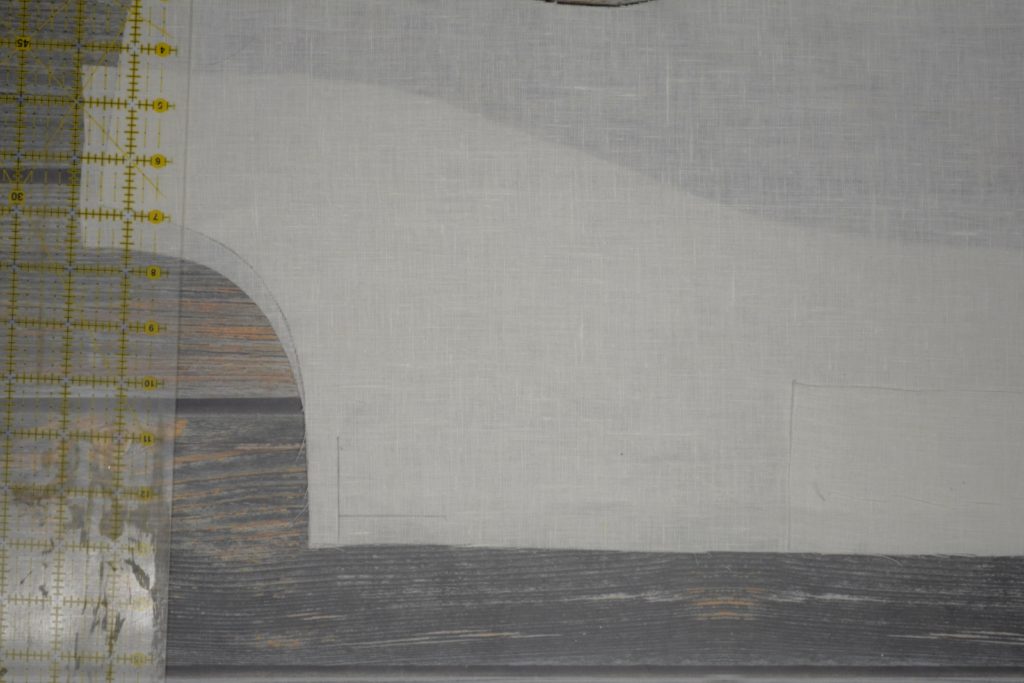
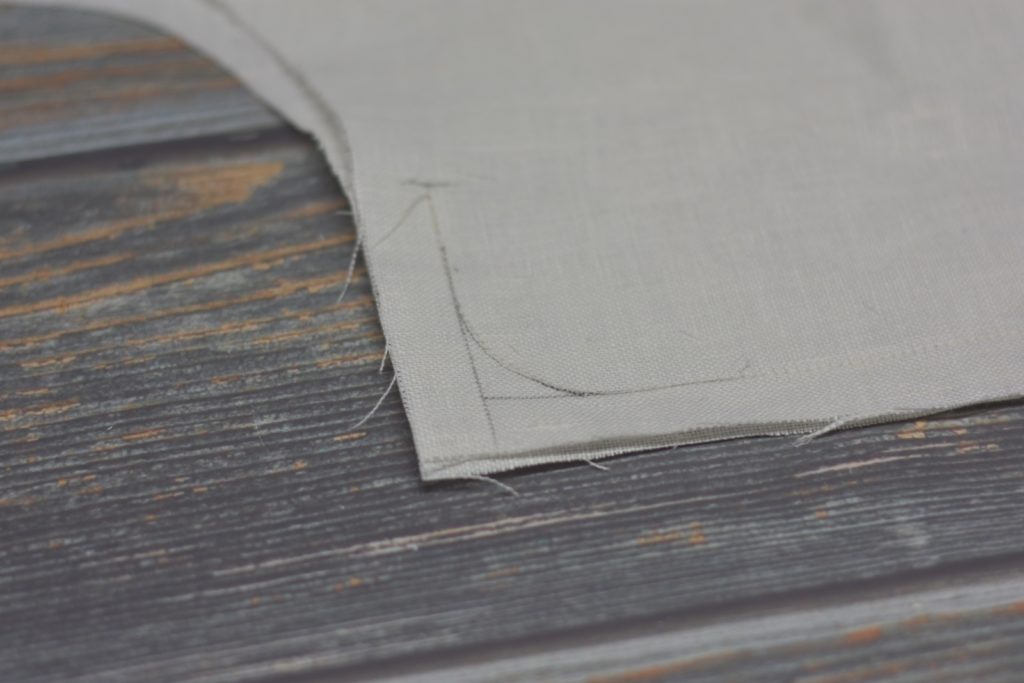
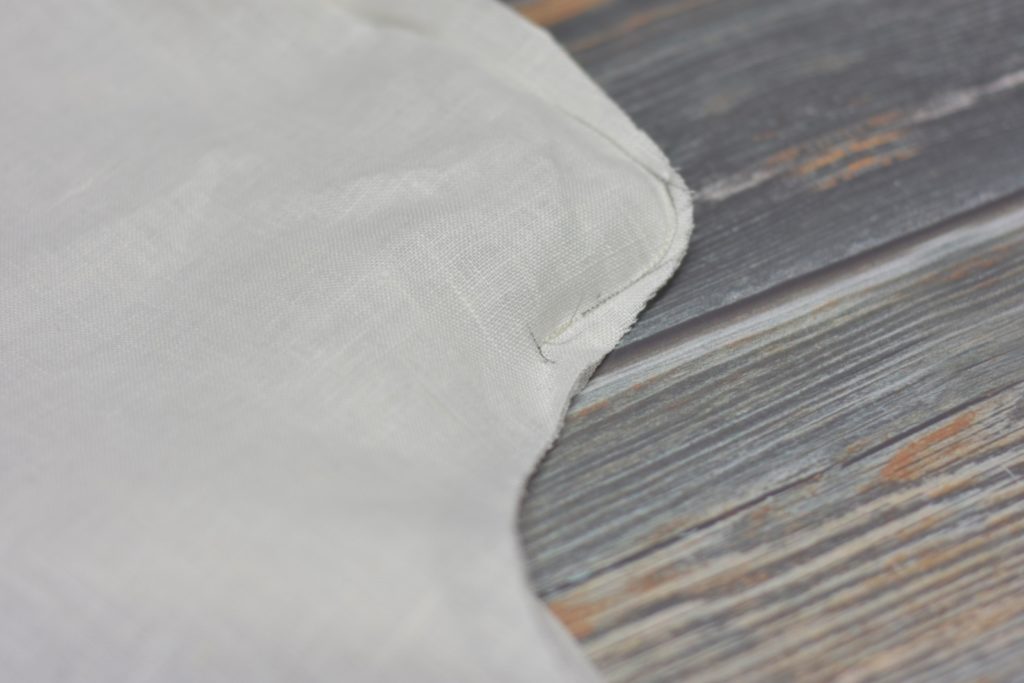
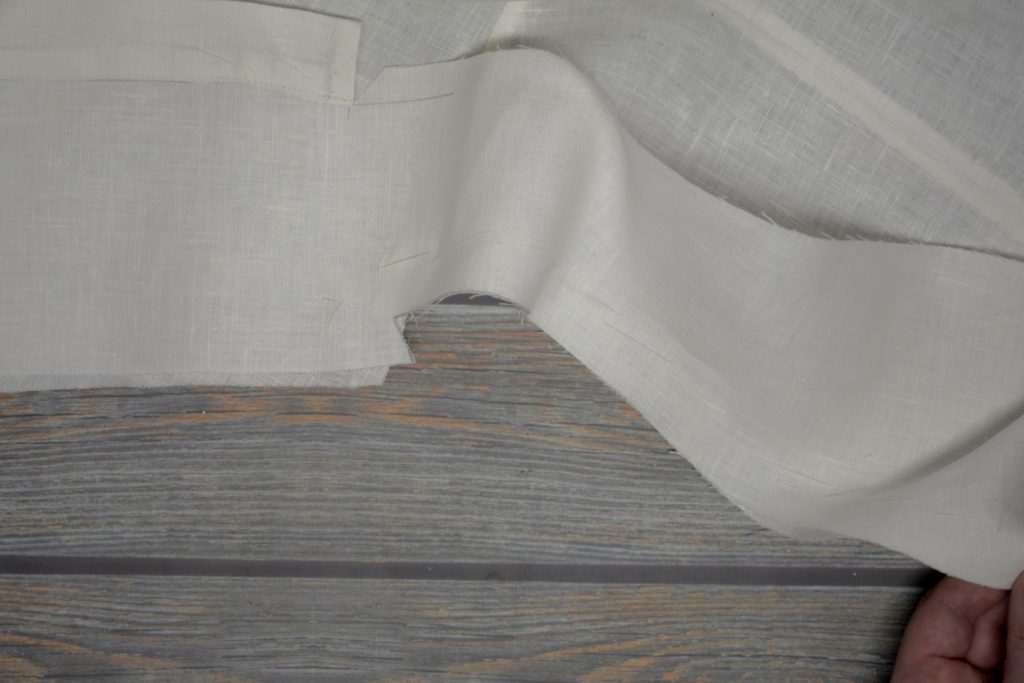
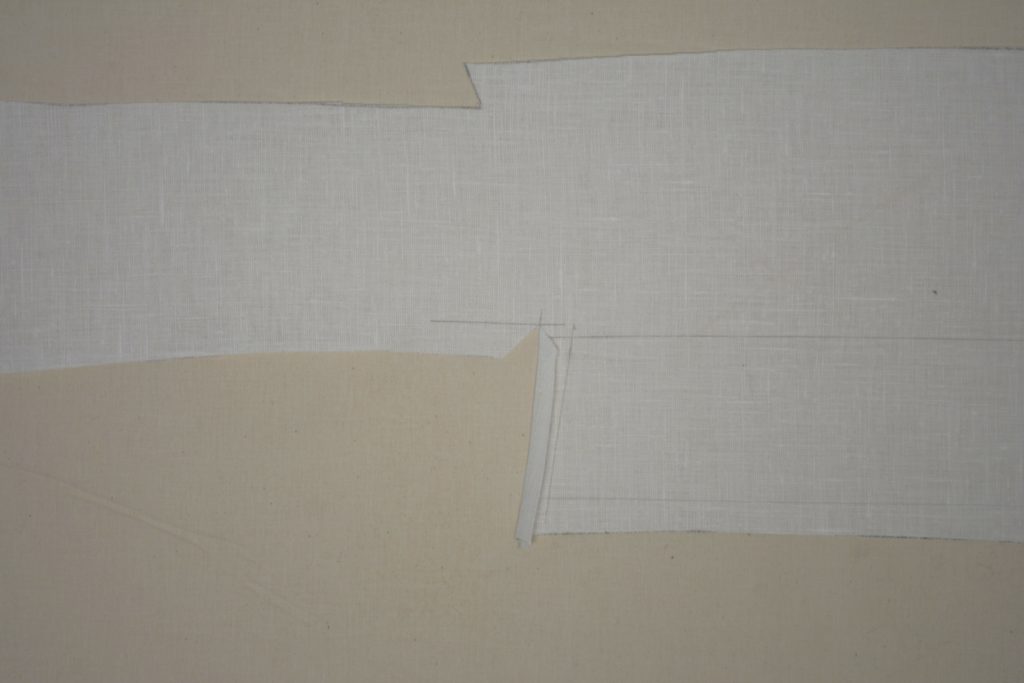
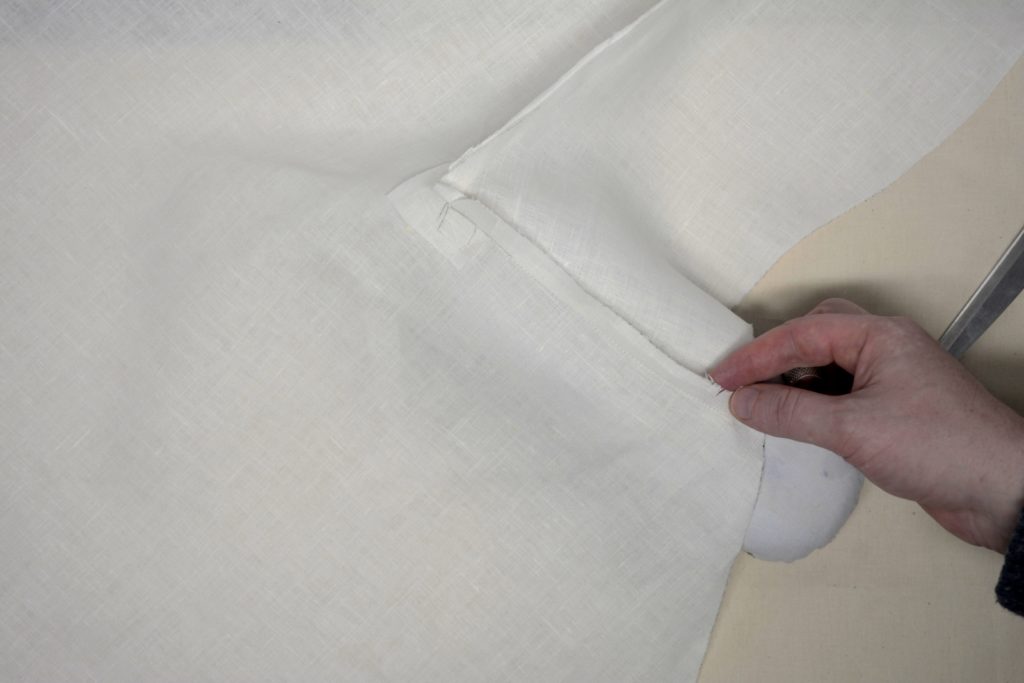
Back Vent Construction
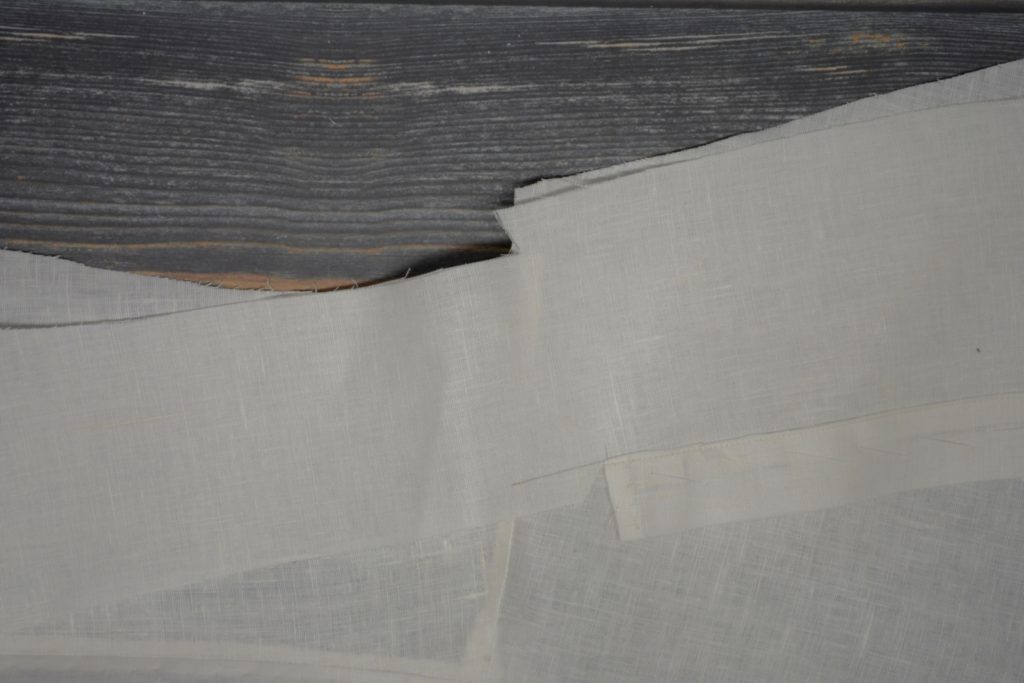
Now we’re ready to begin construction of the back vent area. It’s very easy to get the two sides of the back mixed up, so I always begin in this manner: lay the two back pieces out on the table, wrong sides up. Take the half that will be the wearer’s left side and remove the other half out of the way for now.
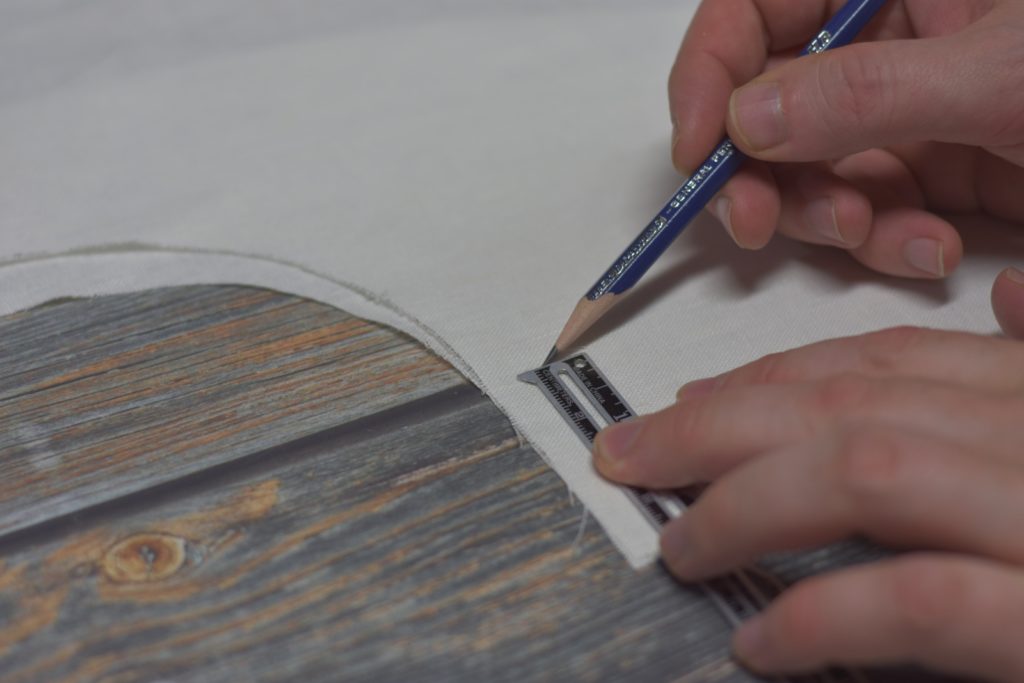
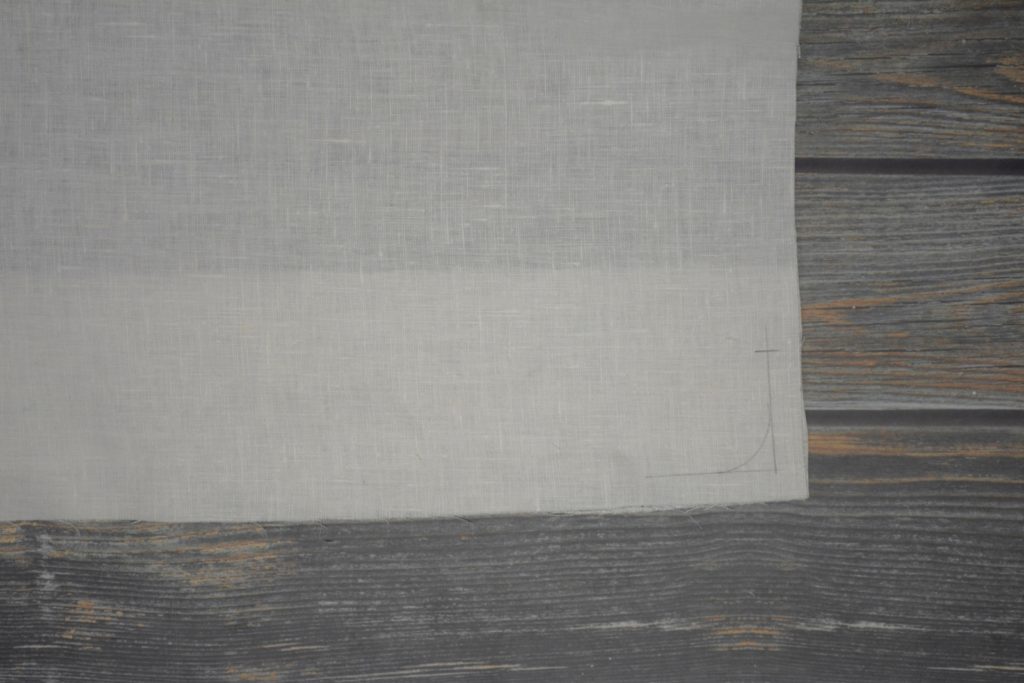
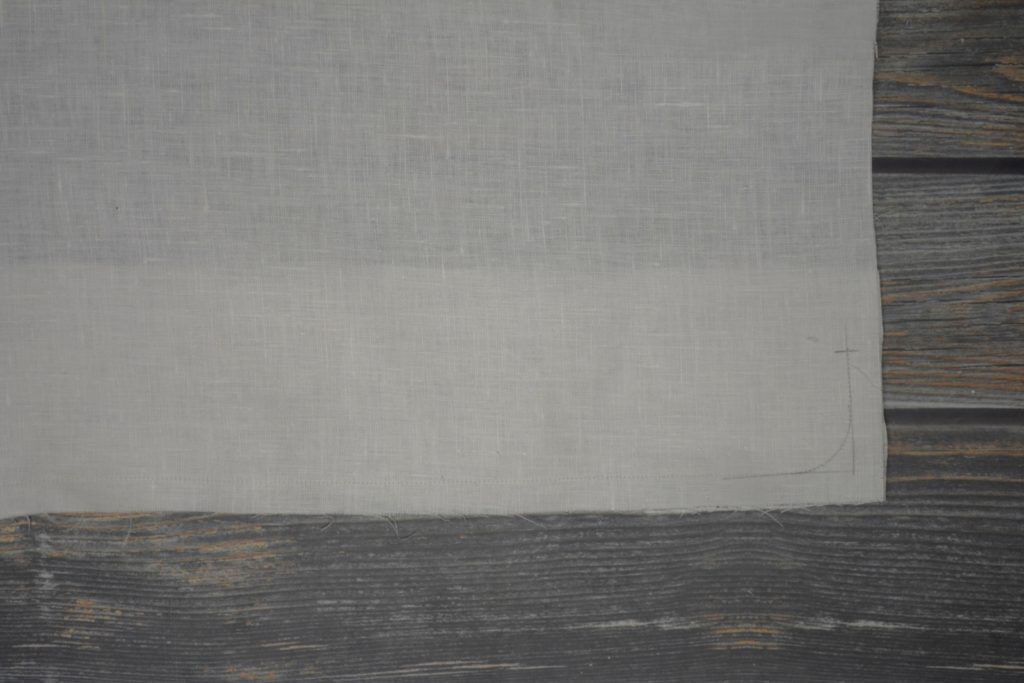
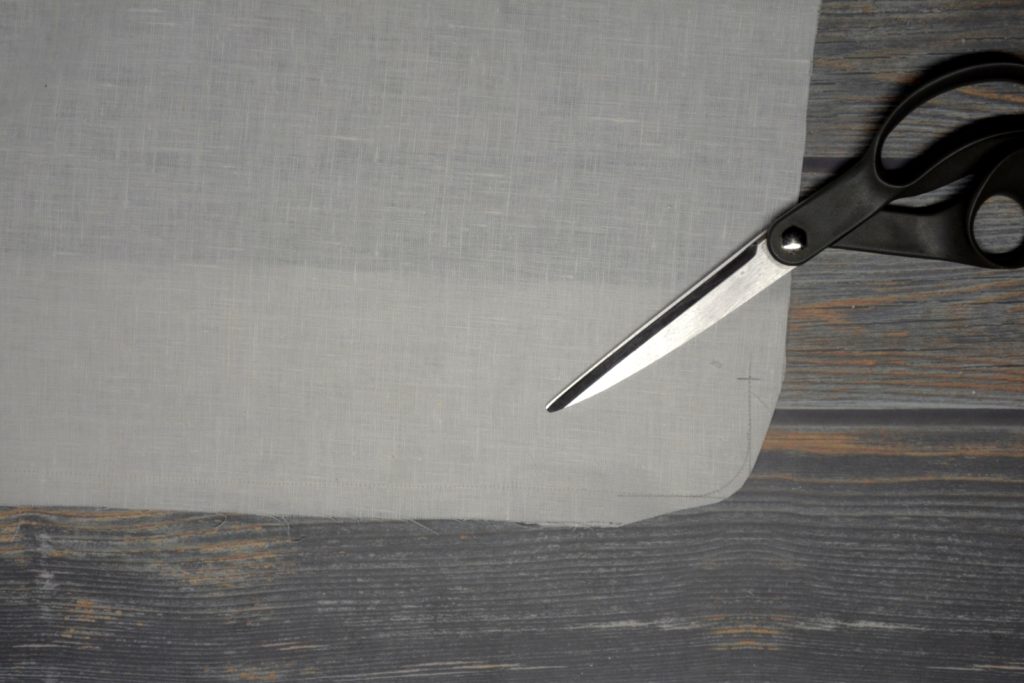
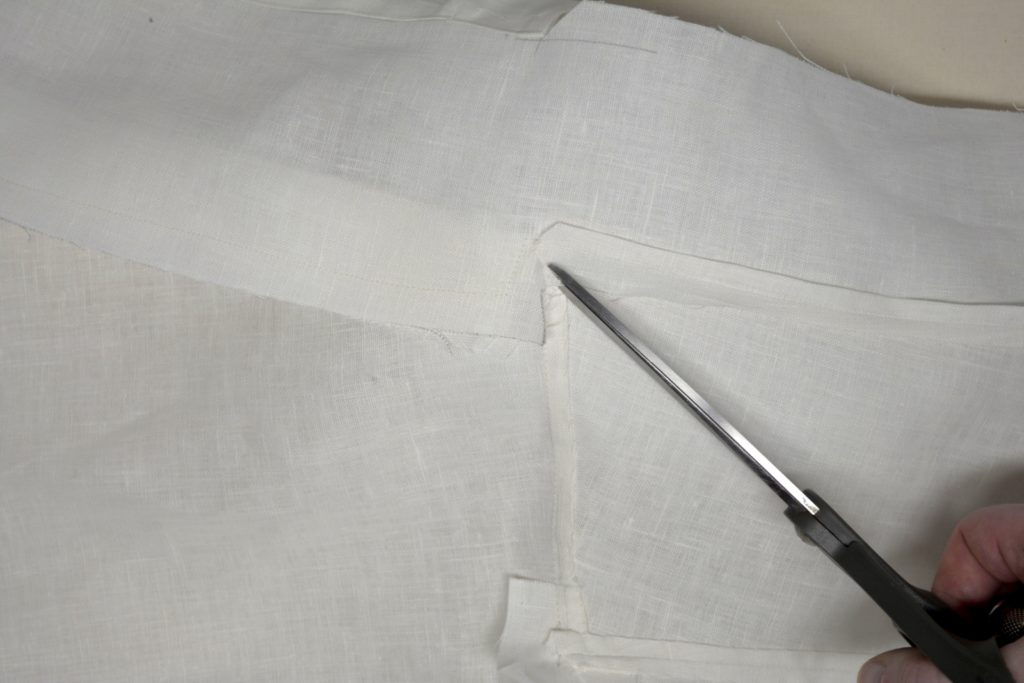
Here’s the left side of the coat’s back, wrong side up. Begin by marking out the seam line in pencil (lightly!) near the vent, 1/2″ from the edge as shown.
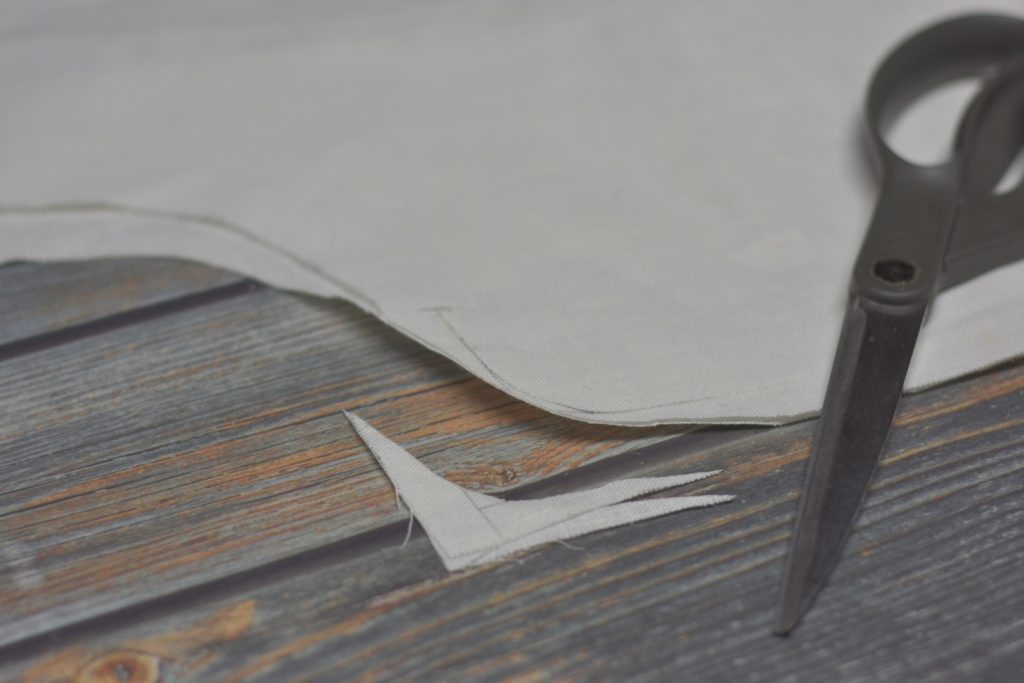
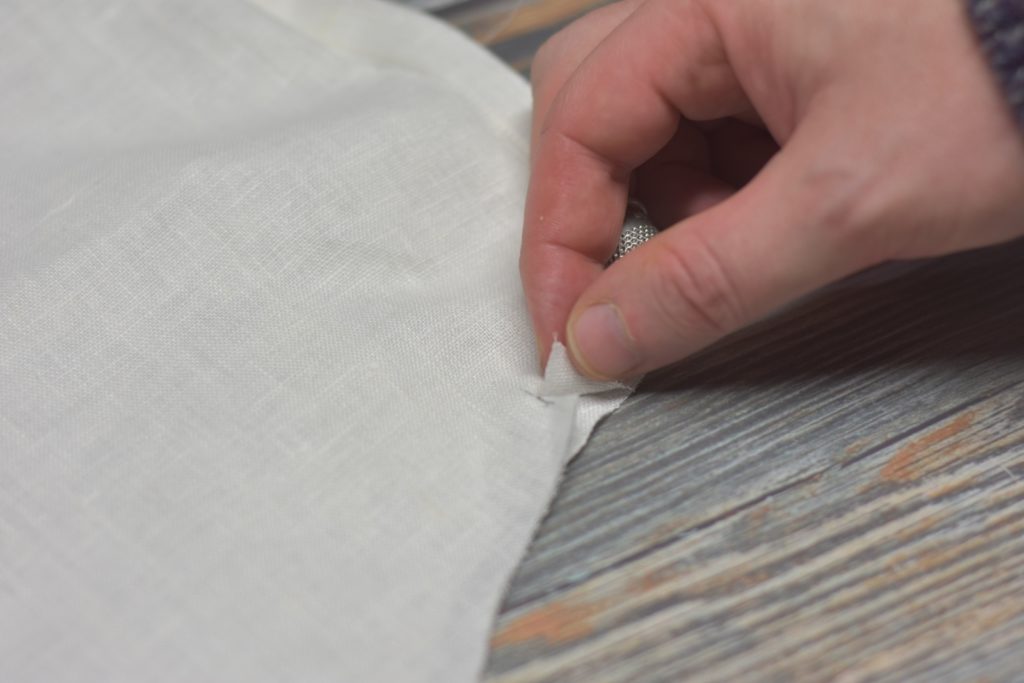
Clip to the corner at a 45 degree angle.
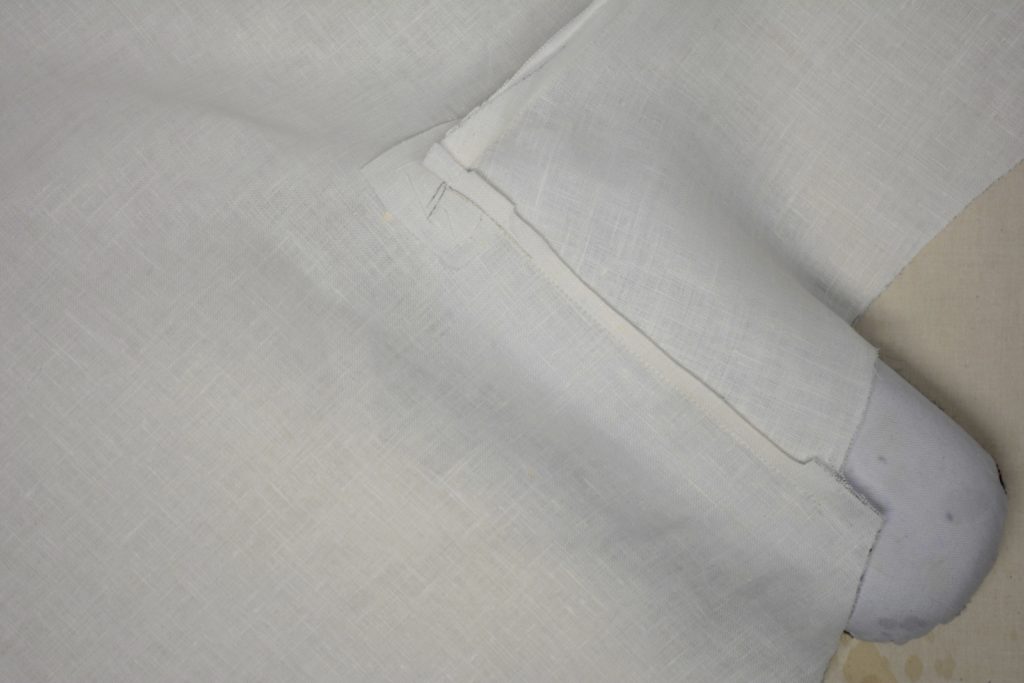
Now draw one more line 1″ below the vent.
Along the length of the skirt at the center back, draw two lines parallel to the back edge. The first one is at 1/2″, the second line is about 2-3″ from the edge, or about 1/4″ beyond the edge of the center back seam at the waist. It really depends on the width of your own back piece. I hope that makes sense!
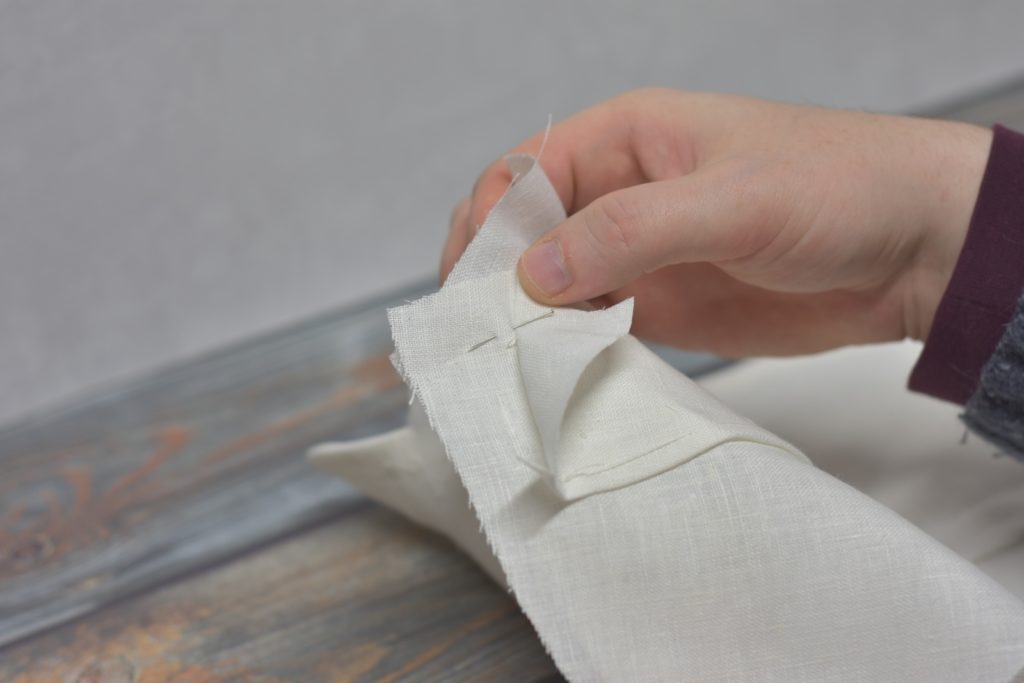
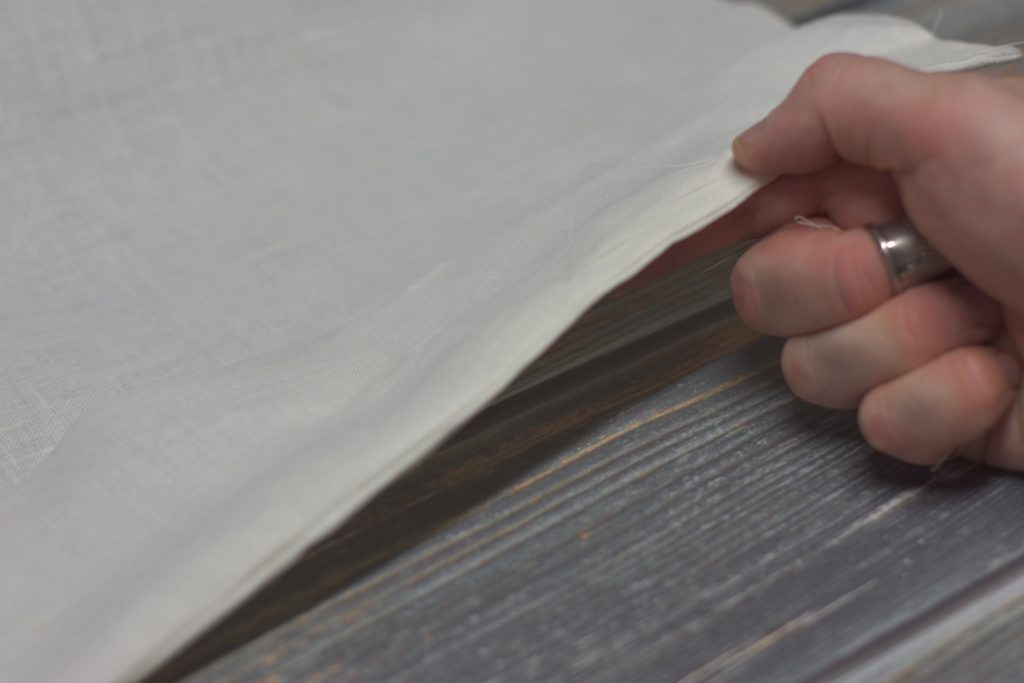
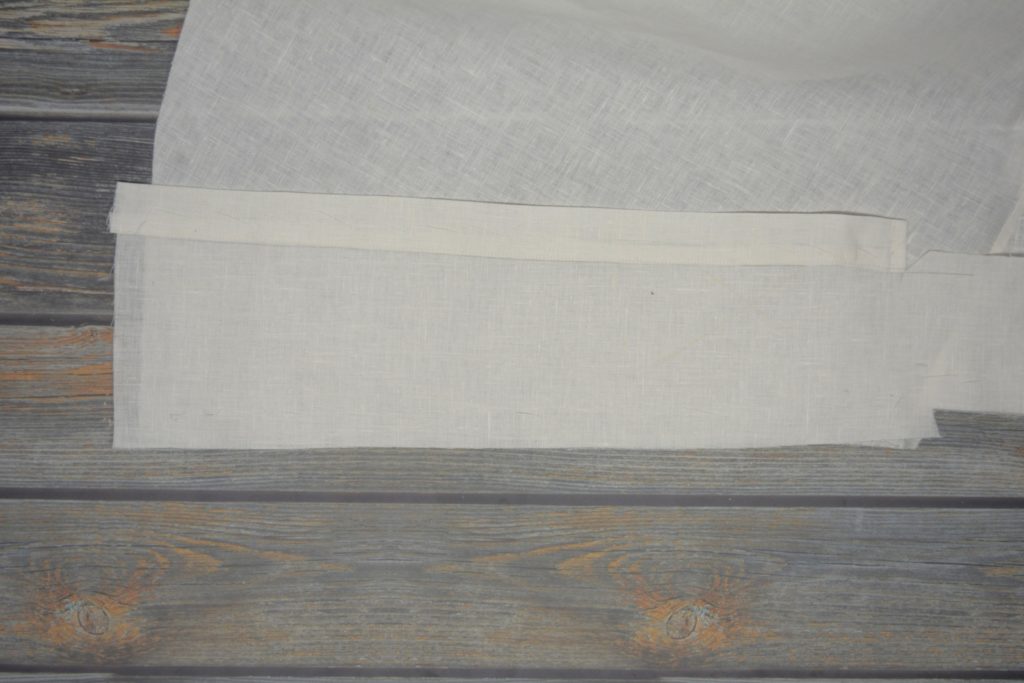
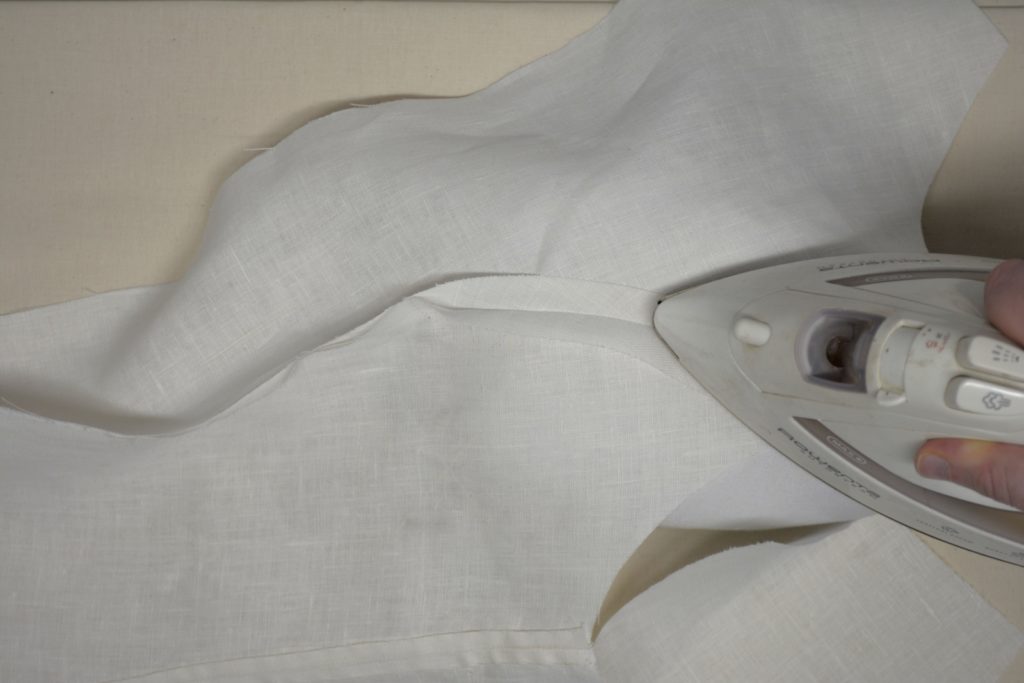
Press the top edge of the vent down 1/2″. The raw edge should align with the line you drew earlier.
Fold the raw edge under the seam, press, and fell as you did with the side seam.
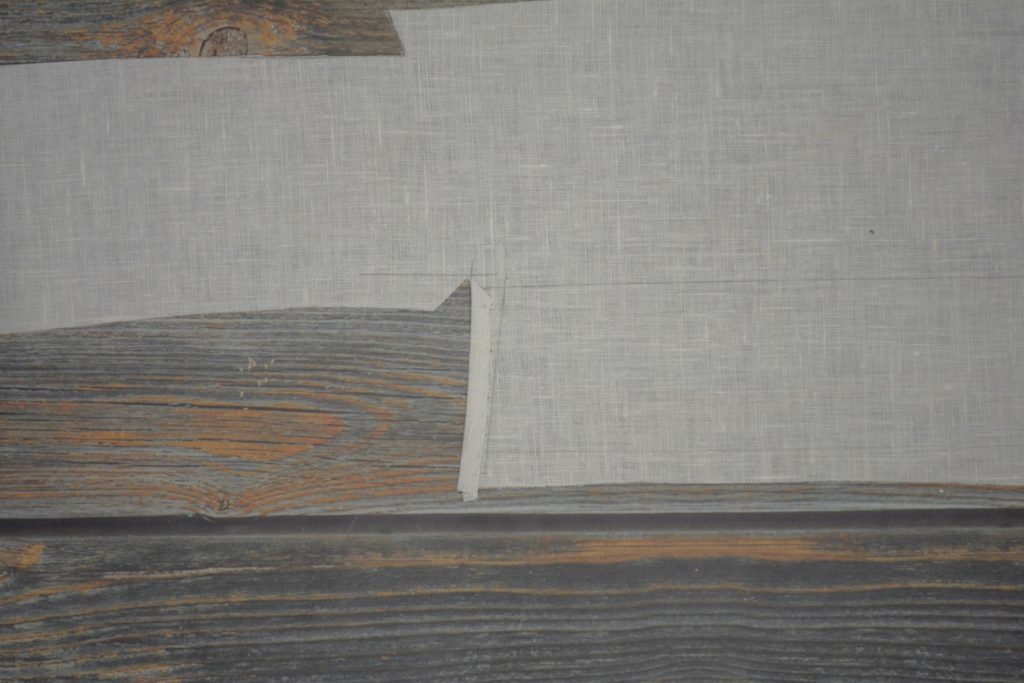
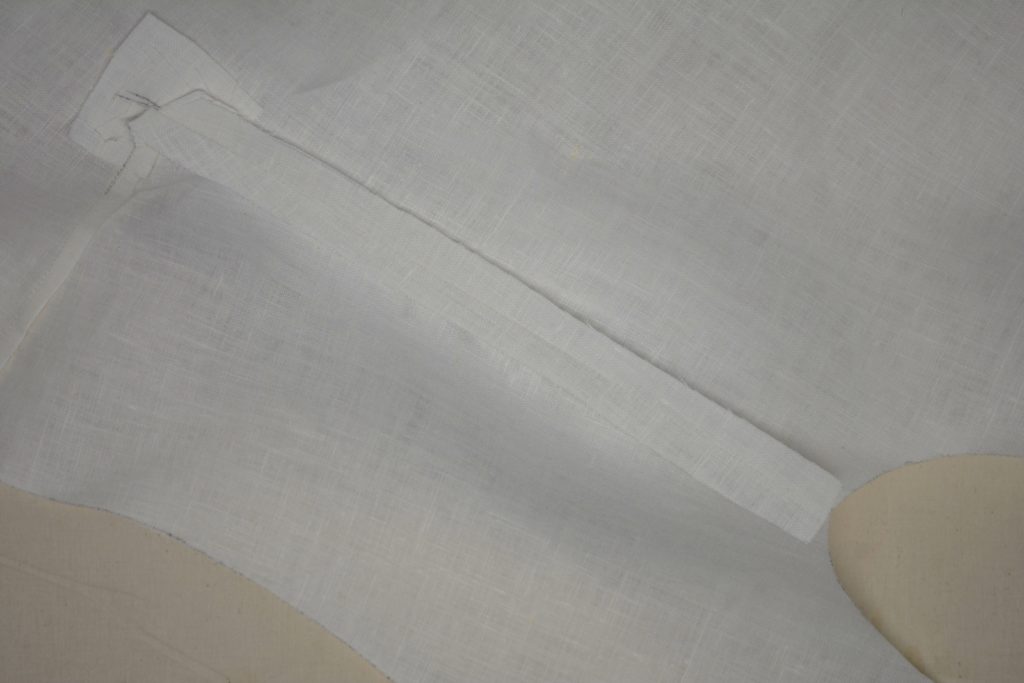
Press over the raw edge of the vent along the back, 1/2″, using the line you drew as a guide. If you want you could draw an additional line at 1″ away from the edge to aid in this.
Fold and press the back again to the inner line you drew. This seems to get as close as possible to the original, and I find the width of the doubled fabric acts almost like a stay in the back, strengthening the area further.
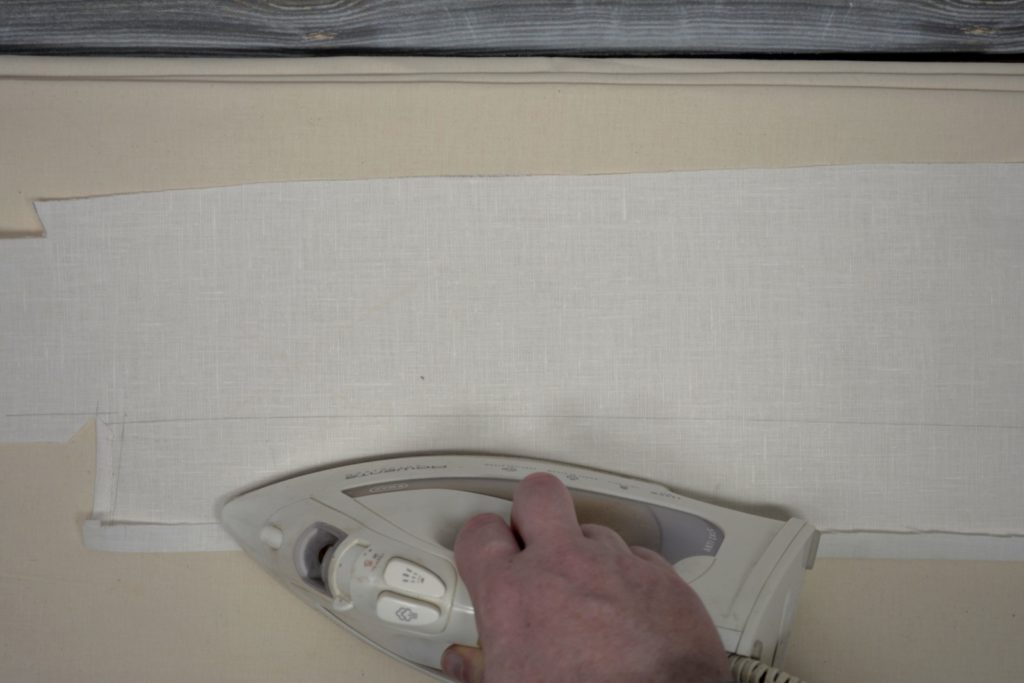
Baste the vent closed, making sure the inner edge at the top is hidden behind the outside edge. This may leave some excess fabric, as you can see, but you can rub the iron over them with a little steam and shrink them away.
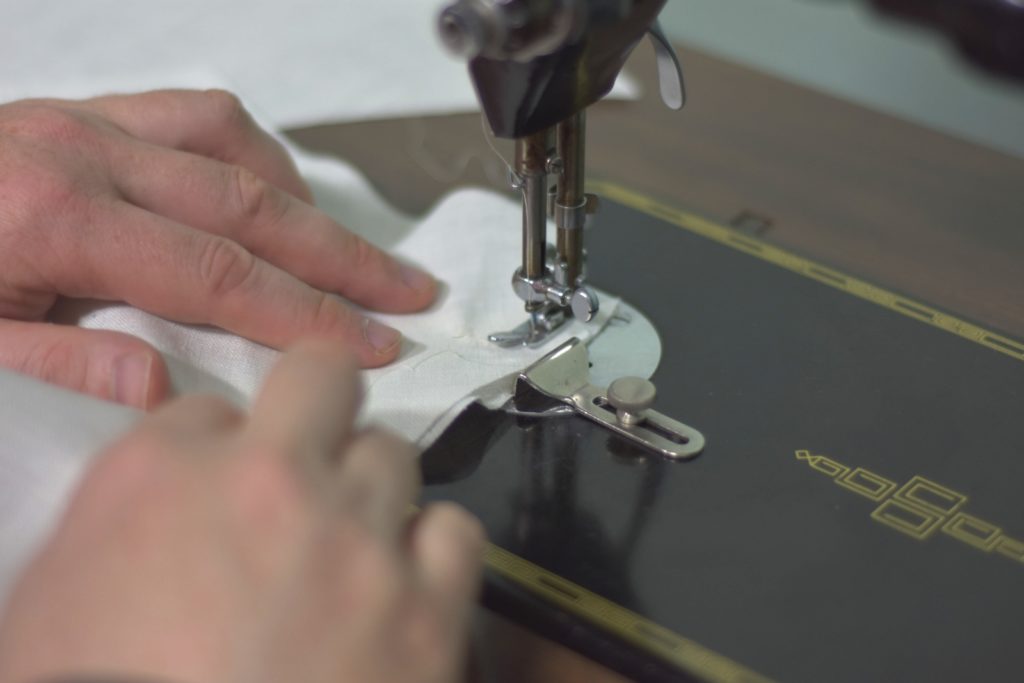
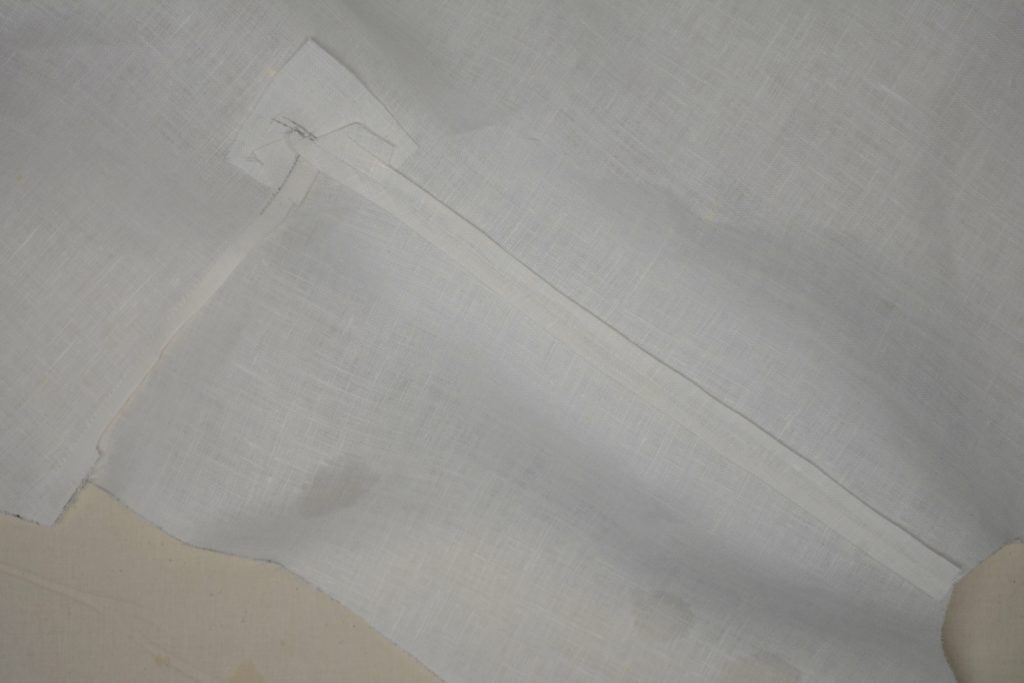
Now sew the pleat closed with a machine stitch, about 1/16″ from the edge of the fold. You could do this by hand with a felling stitch if you want, but from what I can tell the original was done on machine.
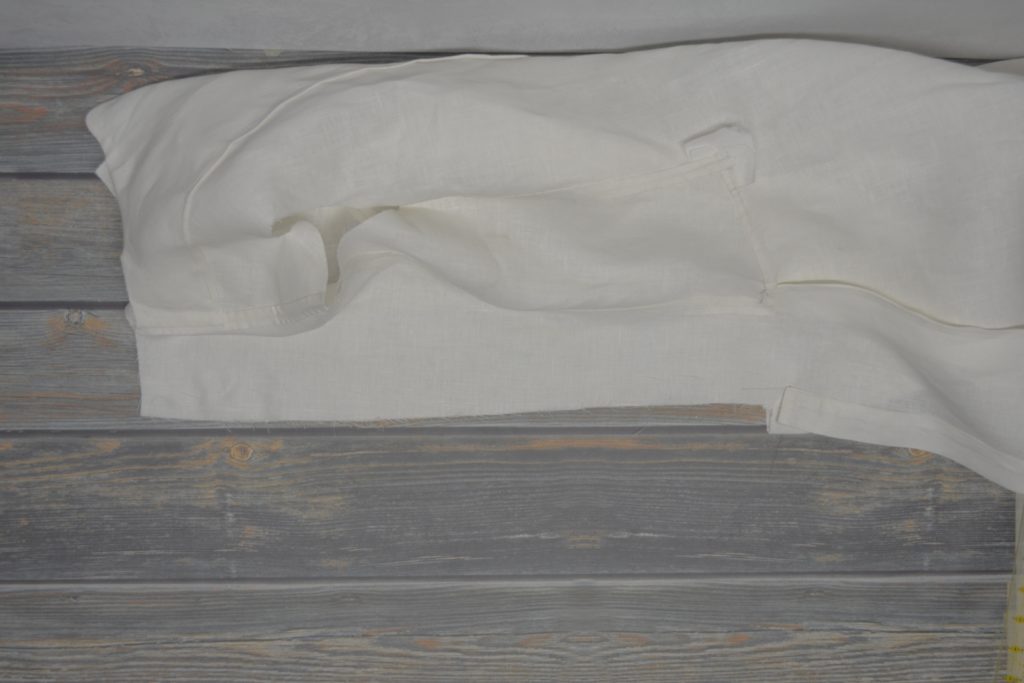
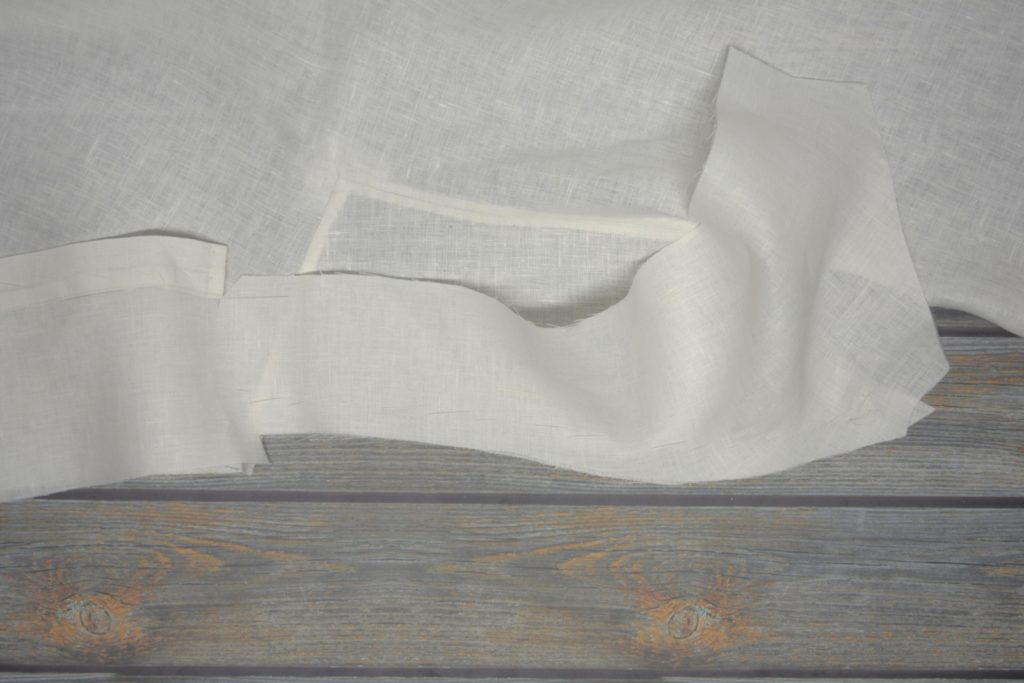
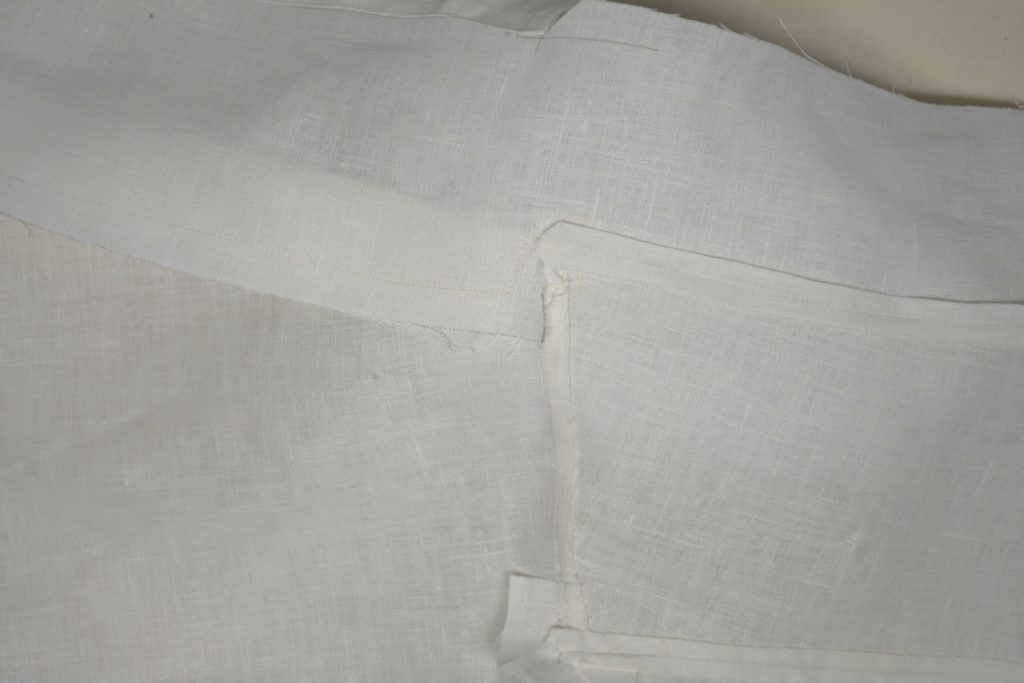
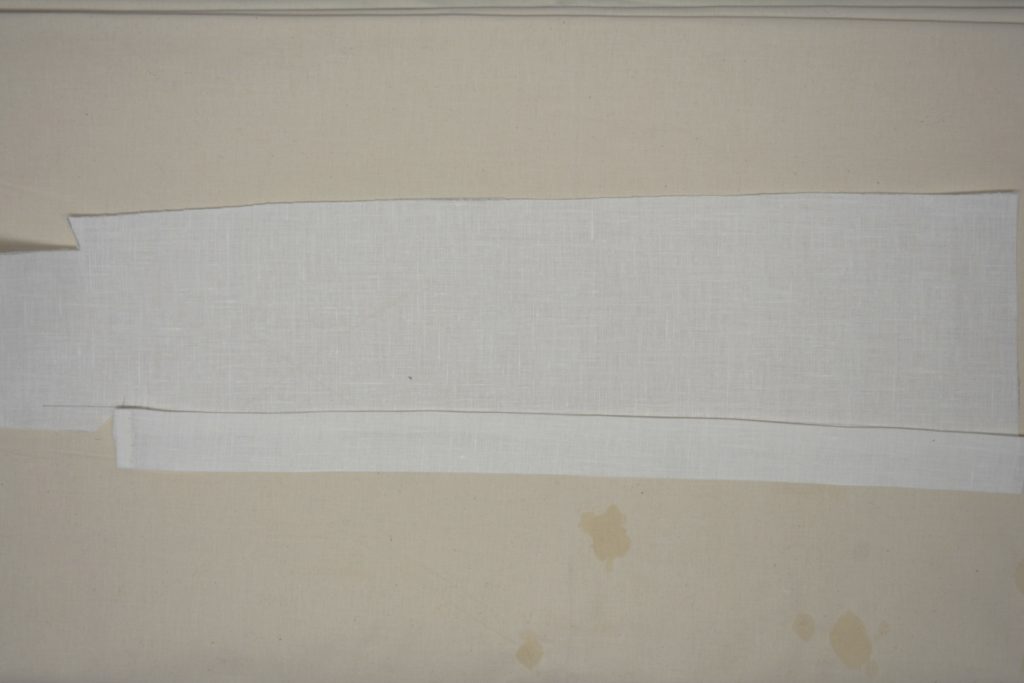
Now turn to the right back piece. This is very similar in construction except there is no cut or folded edge along the top of the vent.
Mark the folds at 1/2″ and 2 – 3″ (corresponding to the other side). Fold, baste, press and stitch.
You can see how the top of the vent is left raw.
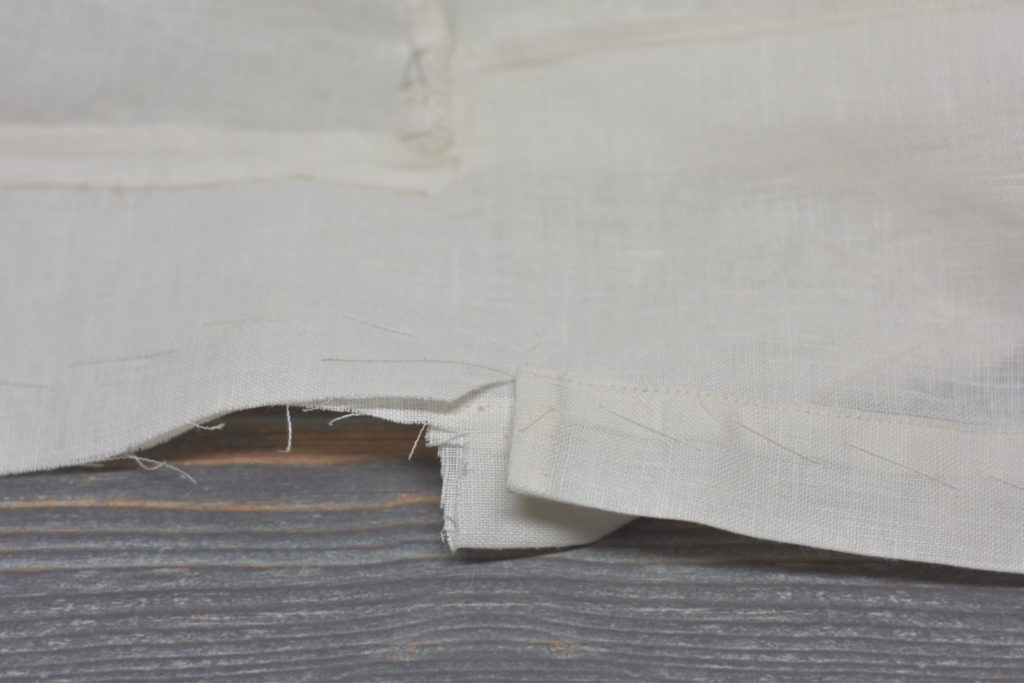
You can fit the two halves of the back and see how they’ll eventually interact with each other. By only snipping one corner, we’ve significantly strengthened the back vent area.
The Side Body
With everything cut out, we are finally ready to start construction on the linen paletot.
This first step is optional, because I don’t think it was present in the original coat from what I could tell. The intersection of the side seam and the waist seam at the side body and front is potentially weak, so I like to add a small linen stay to give it strength and help the coat last longer.
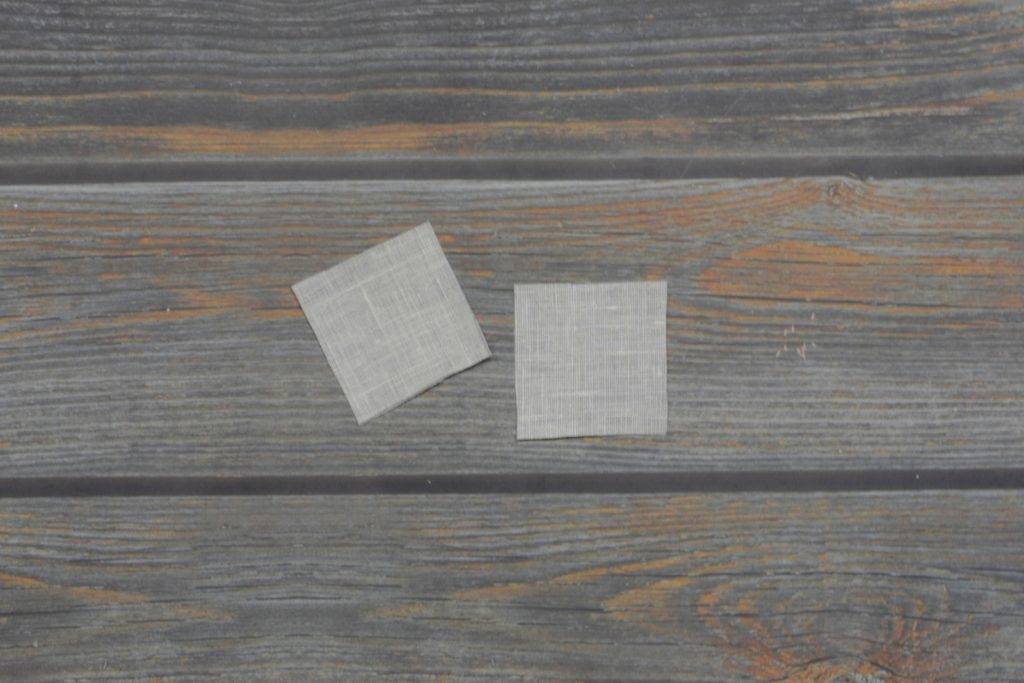
Cut out two 2″ square pieces of linen.
On the wrong side of the front piece, mark the seam allowances lightly in pencil of the side and waist seams, to get the point of intersection.
Now place the square of linen onto the wrong side of the front, aligning things so that the center of the square is above the intersection of the two lines. Baste in place securely using a side basting stitch.
Trim the excess linen flush with the edge of the coat front.

Now redraw the seam lines over the linen stay to get the precise intersection giving us the end of the seam lines.
Trim on the diagonal just to the intersection of the two lines. You don’t want to go further than the lines, or you’ll end up with a small hole in your coat, so stop just as you get to the intersection.
Baste the side body to the front of the coat, right sides together. The pieces should be aligned at the armscye, and the sidebody should extend 1″ below the top of the waist seam on the front, or 1/2″ below the cut you just made.
You’ll notice I prefer to use basting stitches rather than pins in my sewing. I find the basting gives a firmer hold without the distortion made by the pins. And there’s no danger of sewing over them with your sewing machine.
Sew the side seam using a machine stitch, from the armscye to the intersection of the two lines and end of the cut. The more precise you can be here, the better. Remove the basting stitches.
You can also sew this by hand if you prefer, using a back stitch. I’m pretty sure the original was sewn by machine mostly, but I could be wrong.
Sorry the photo isn’t very clear here. The method is exactly the same as for the toile, if you’d like to refer back to that.
Arrange the sidebody waist seam so that it is aligned with the front, right sides together. Ensure that the end of the skirt extends beyond the side body by about 3/4″, though you could check the fit with the back piece to make sure.
Baste securely and sew the waist seam, ensuring that the inner end of the seam aligns with the previous seam and the cut in the fabric.
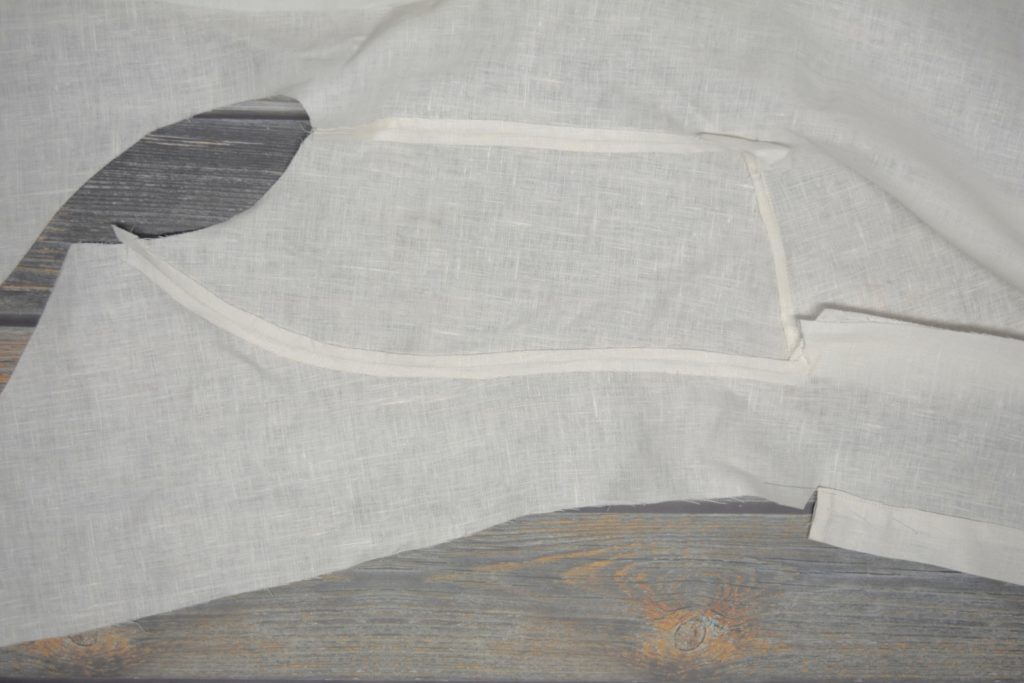
Here’s what the seams should look like from the right side.
Now flipping to the wrong side, open up the waist seam using your fingers, giving it a slight press as you go.

Being careful to trim the waist seam of the side body only, trim this seam down to 1/4″ in width. You can measure this out first but I usually estimate with my eye.
The seam after trimming.
Now press the seam open.
Then press the waist seam of the front upwards, covering the sidebody waist seam. I suspect this was done to give more strength to this horizontal seam.
Make a small cut at the end of the waist seam, just under 1/2″ from the end, and 1/4″ in depth to allow the majority of the seam to fold under itself.
Fold the larger seam under the 1/4″ seam below it, pressing firmly into place. Note how the outer end of the seam beyond the cut is still laying flat, ready for the back piece to be attached later.
Move to the side seam now, and press the seam open.
Using your fingers, turn under the raw edges of each seam, giving you what is effectively a 1/4″ seam allowance.
Now sew all three seams down using a small felling stitch. The needle should go into the fabric perpendicular to the seam, catching just a thread or two on the outside. On the wrong side of the fabric (facing you) the thread will be visible on the diagonal between stitches. Keep about 1/4″ to 3/8″ between stitches.
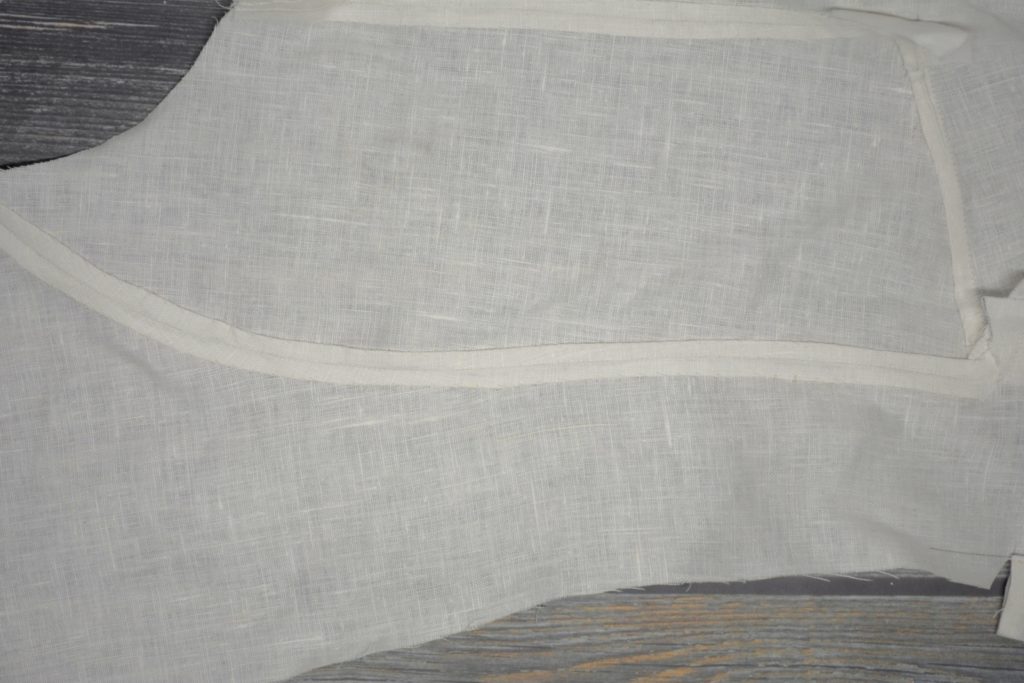
Here is what the completed seams look like from the inside of the coat.
And from the outside.
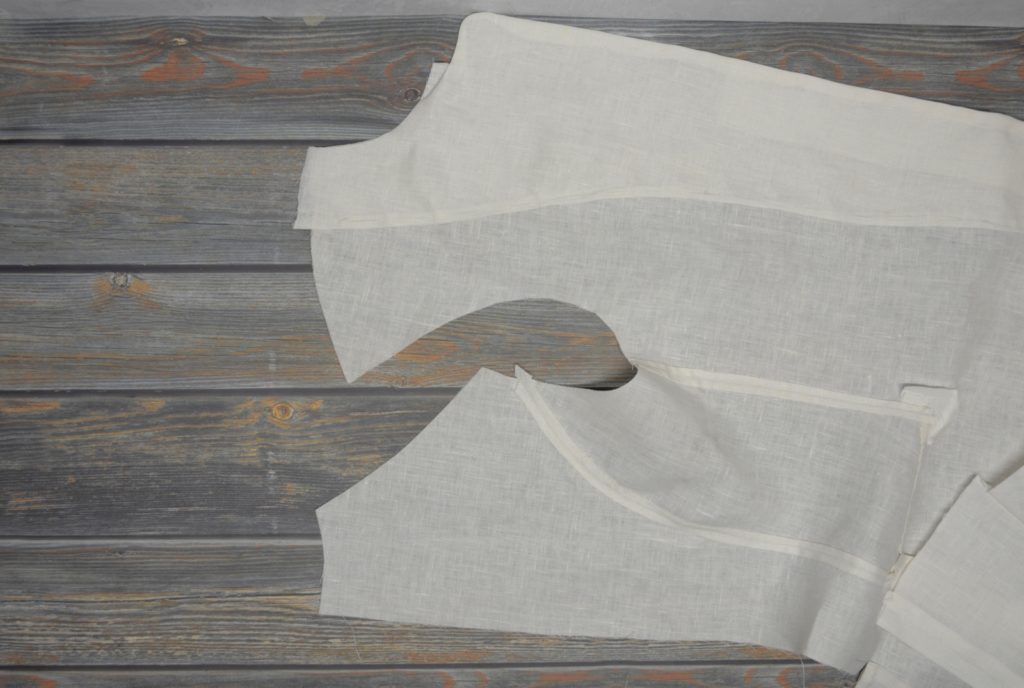
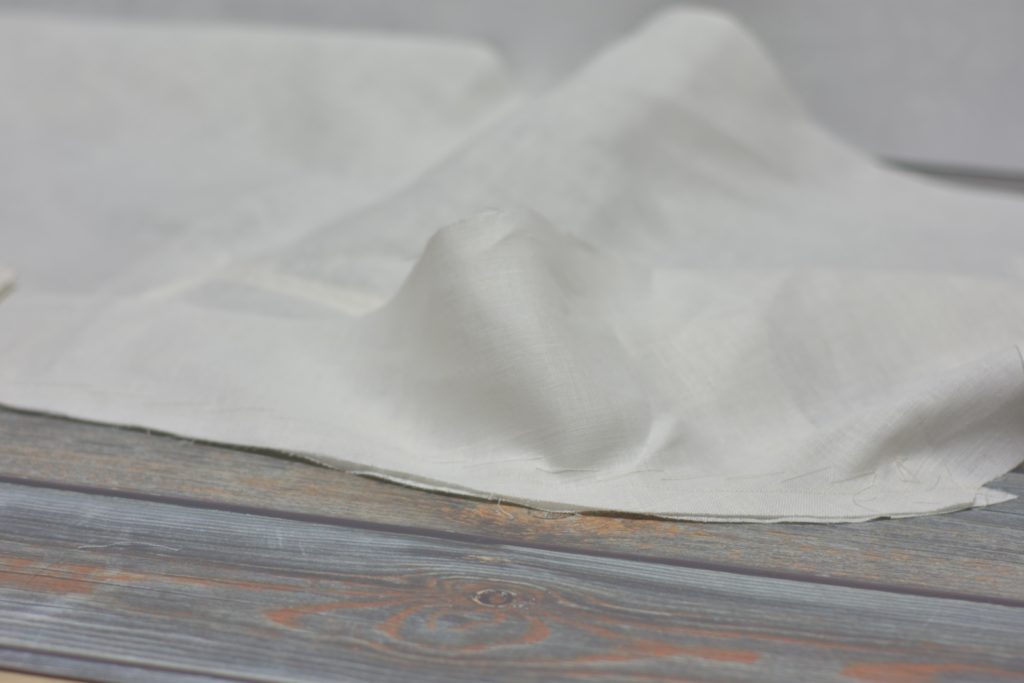
Laying Out and Fabric Preparation
Before cutting out your nice linen fabric, be sure that all the parts of your muslin toile are fitting properly. You can leave off the sleeves for now and cut them out later, or if you know how, you can put fit them with your toile.
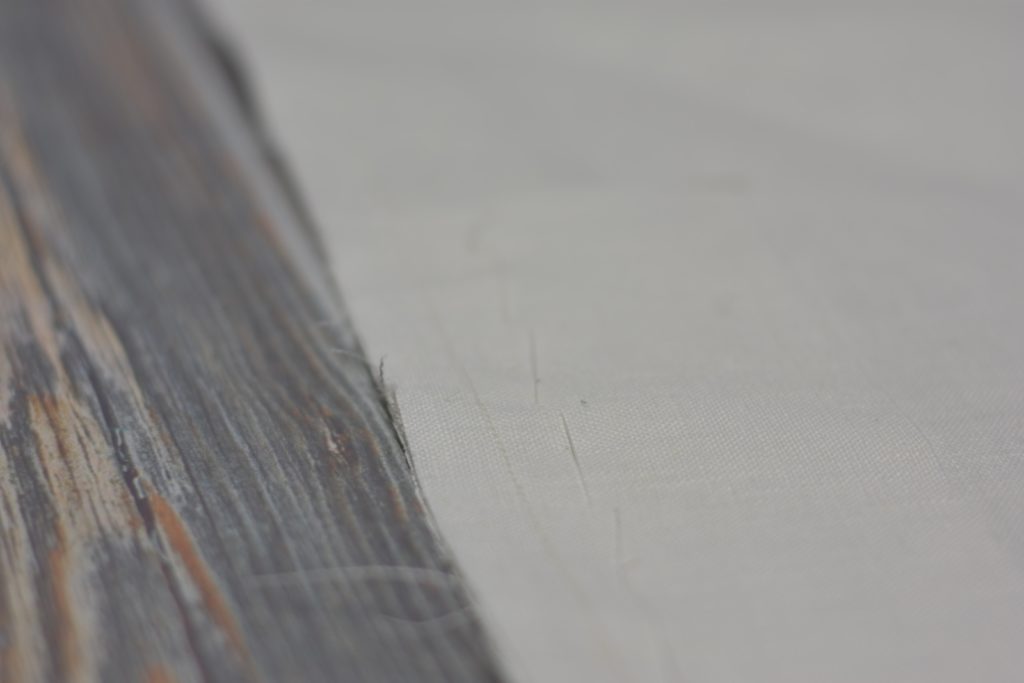
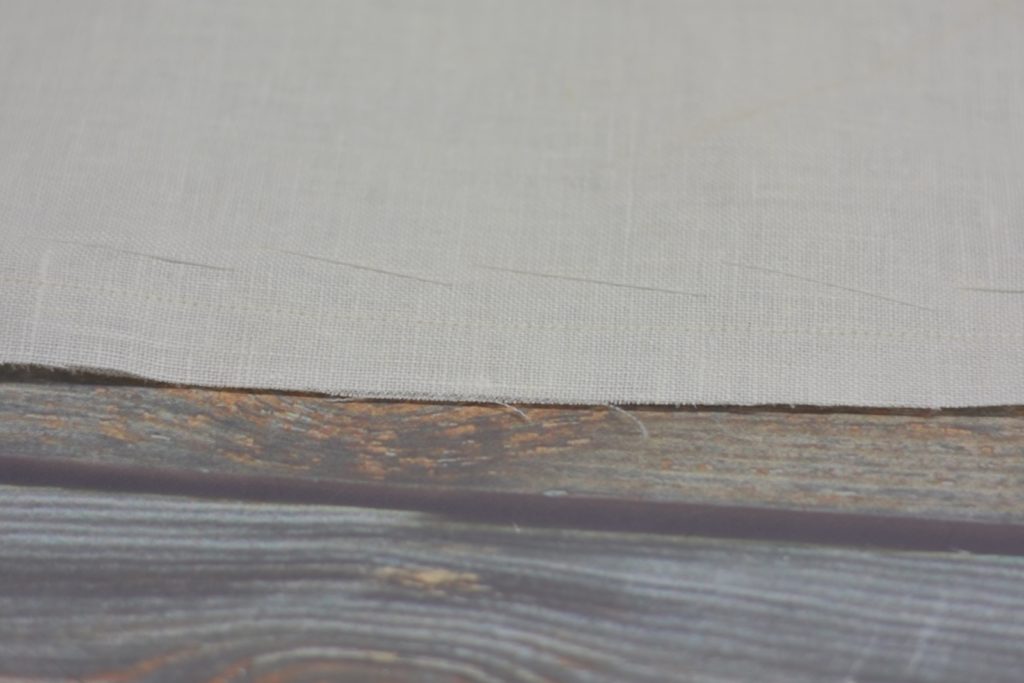
It’s also important to prepare your fabric before cutting to prevent unwanted shrinking. When fabrics are woven on the loom, they are put under some tension, and so that tension must be removed or your pieces may shrink in the future.
I like to place my roll of fabric on the table with a towel underneath, acting as an ironing board. Then spray the fabric with water, allowing it to get fairly wet. Finally, press the fabric dry with the iron. It’s also a good chance to align the selvage edges as they can sometimes get misaligned during shipping and whatnot.
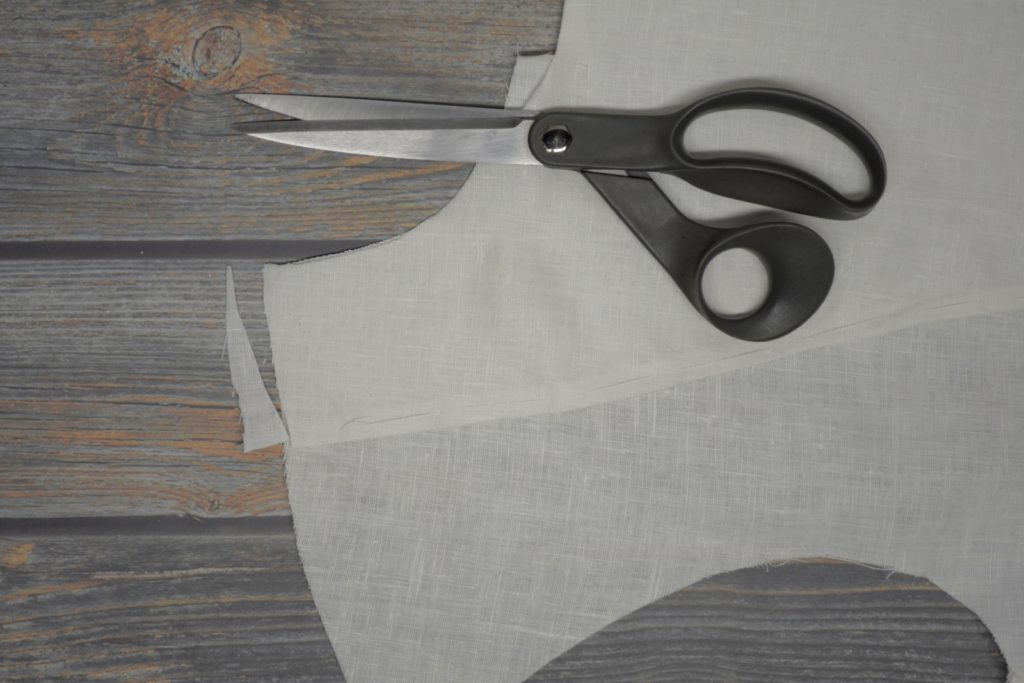
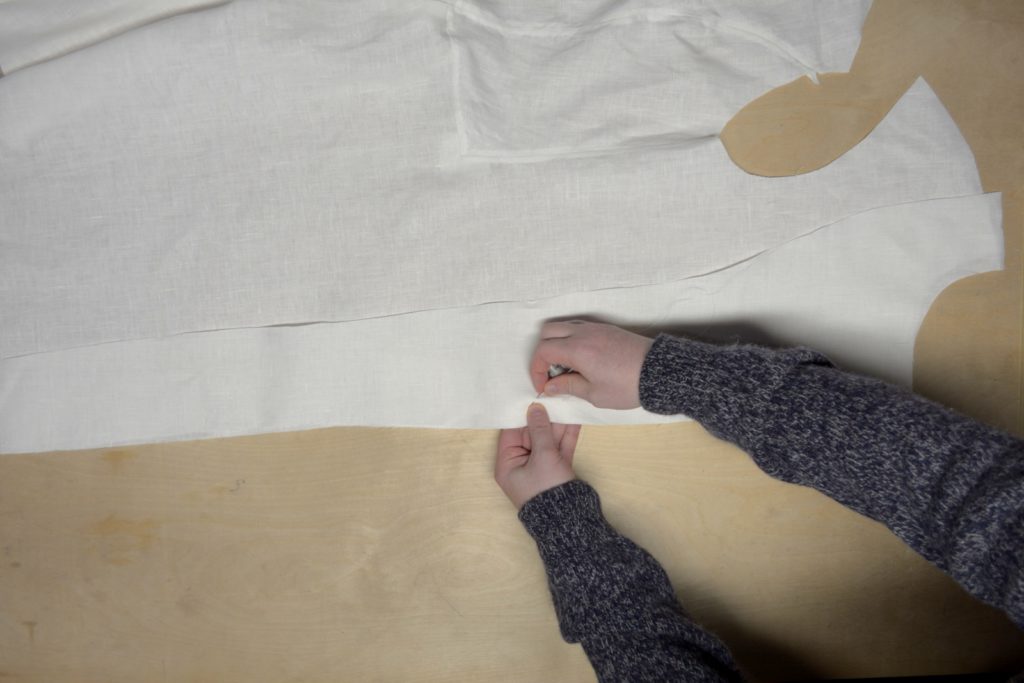
At this point, you’re ready to cut out the fabric. Lay your pattern pieces in place accordingly, weight them down, trace around them with tailor’s chalk (you could use a pencil if you don’t have the chalk), and carefully cut out each piece, keeping your scissors on the inside of each line.
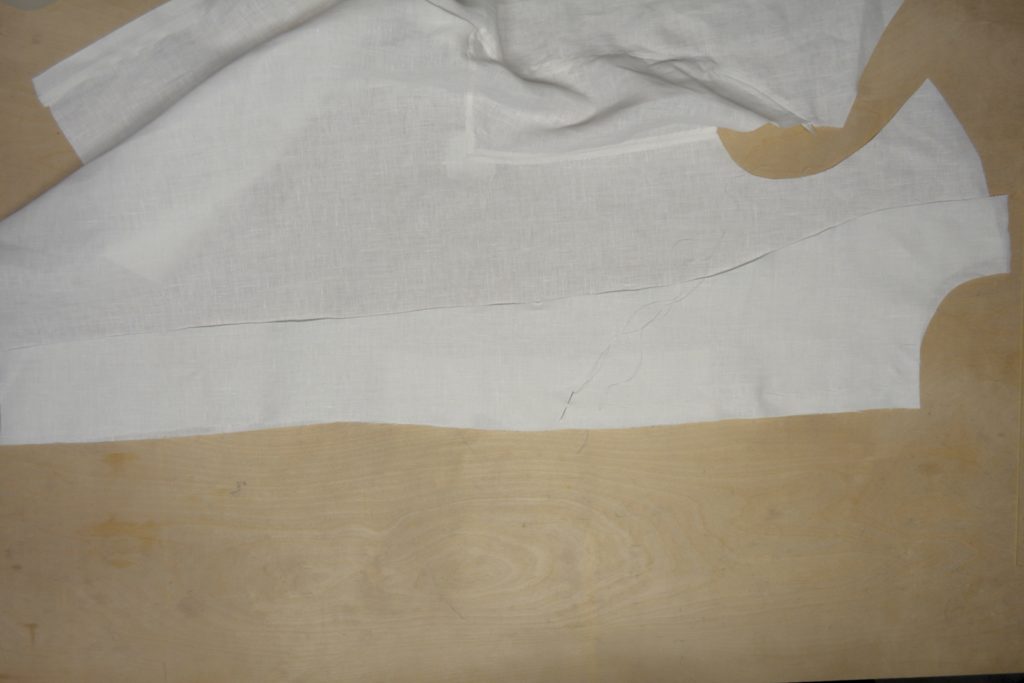
Back Skirt Inlay
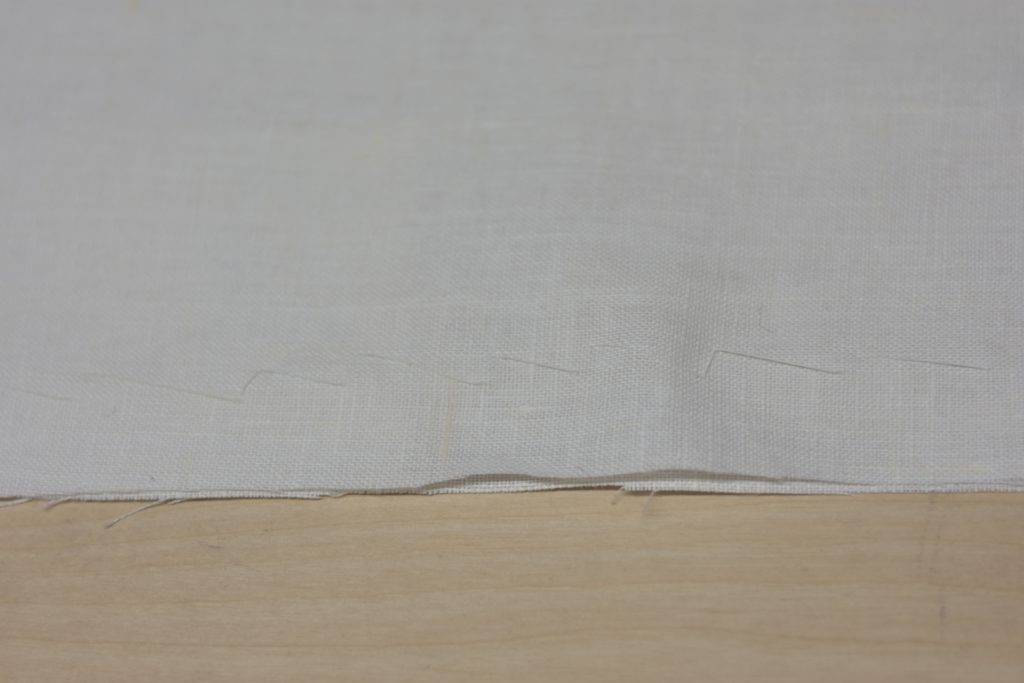
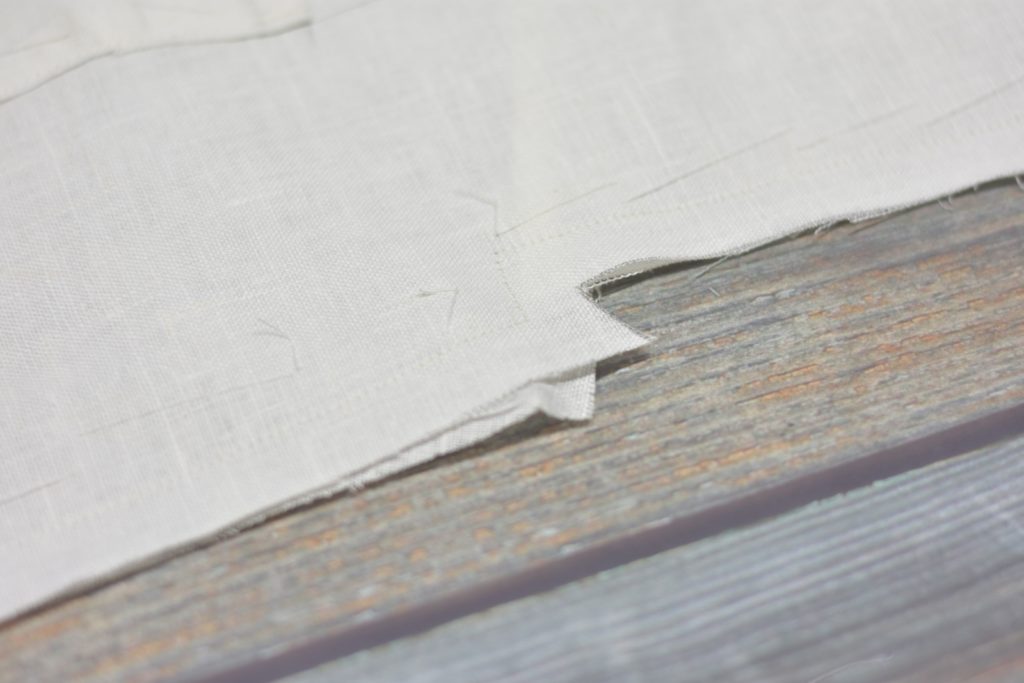
One thing I like to do to the back skirt, is add an extra 1/2″ to the length. You can do this on the pattern itself or just add it after you trace the pattern and before cutting. This way, if the pieces happen to stretch or get misaligned somehow during construction, you have that extra room to work with, and it’s easy to trim off later.
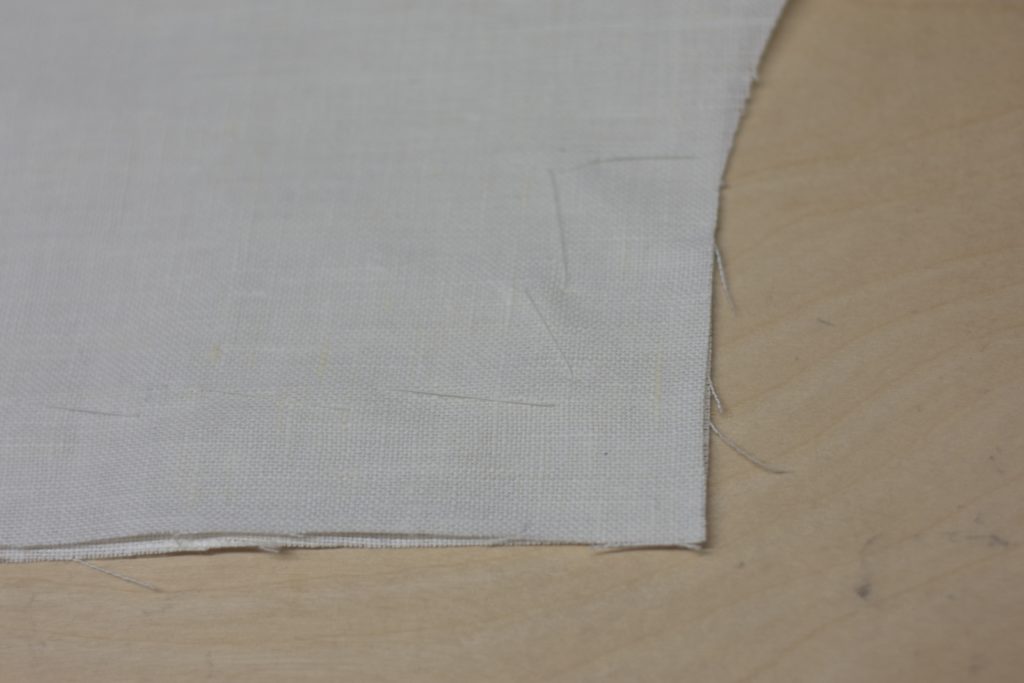
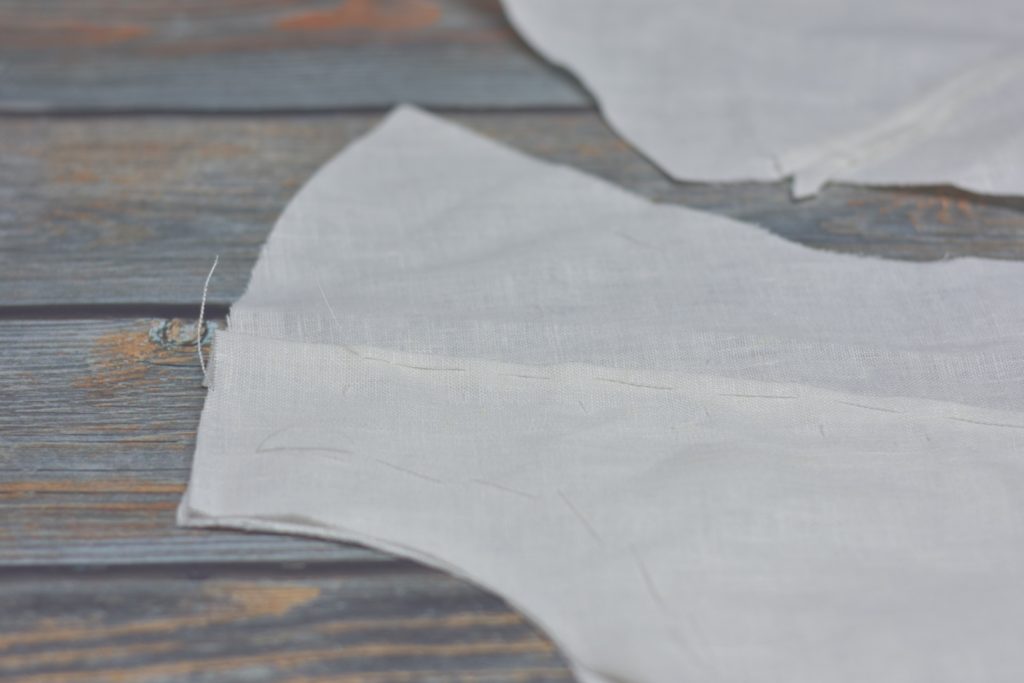
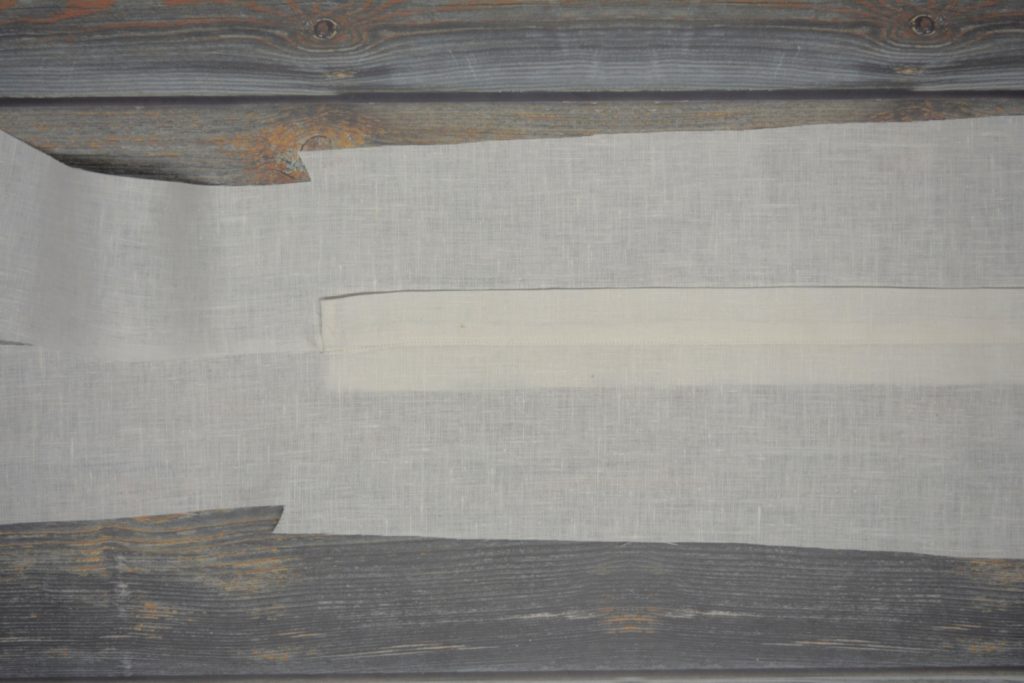
Mark the wrong sides of each piece with white chalk if you have it to make things less confusing. Also mark the roll line with white chalk or very lightly in pencil.
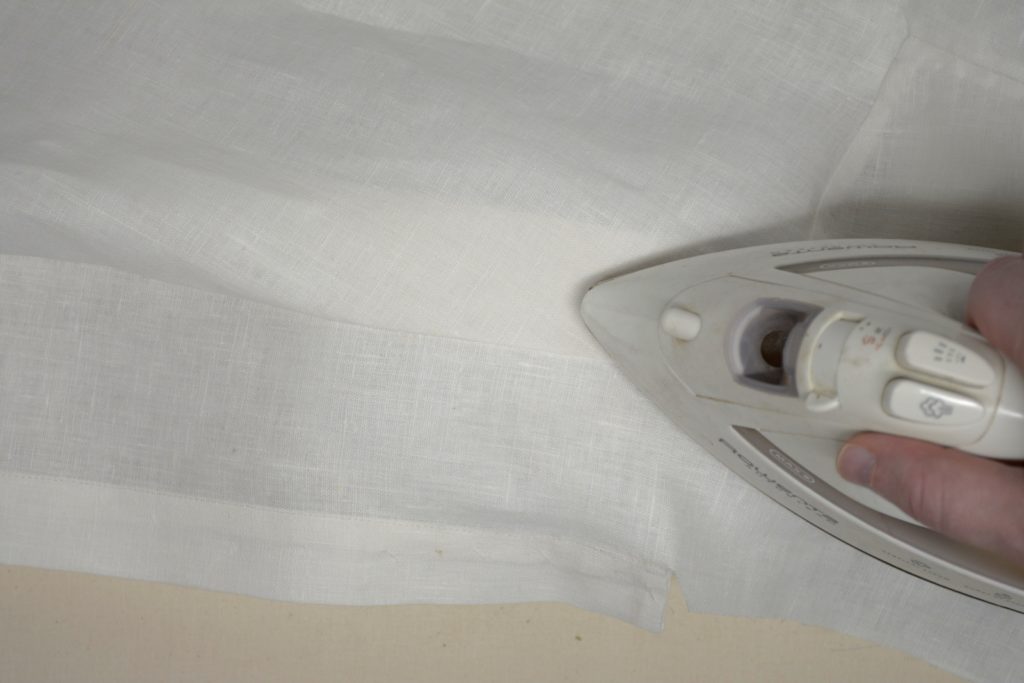
After everything’s cut out, I like to go over the linen with a good spraying of starch, followed by another pressing. Sometimes the linen is ‘pre-washed’ at the mill or shop, which makes it troublesome to work with. The starch stabilizes everything and makes sewing a lot easier.