Category: Double Breasted Frock Coat
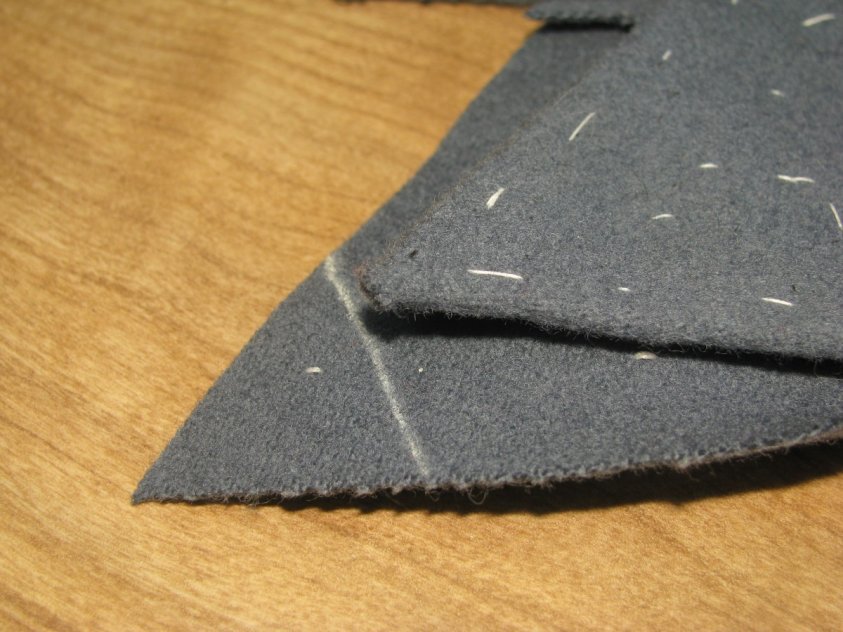
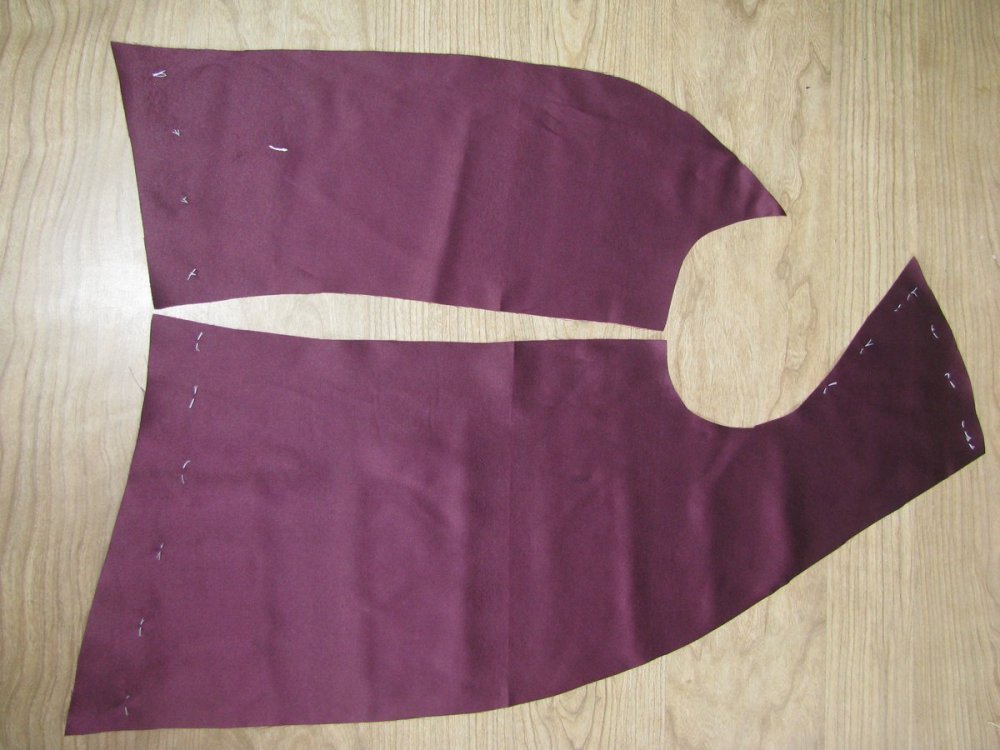
Lining the Skirt
Before lining the skirt, there is a decision to be made. The skirt lining can either be left hanging free at the bottom, or felled. The skirt should be allowed to hang free if you cut a fuller skirt, and did not press the plaits in the back. This will allow the skirt to drape freely, without the lining tugging on it.
Felling the skirt down is an option if you basted the plaits closed, and pressed them, as well as cut a closer-fitting skirt.
Either is correct for the period – it’s up to you to make the decision best for your situation.
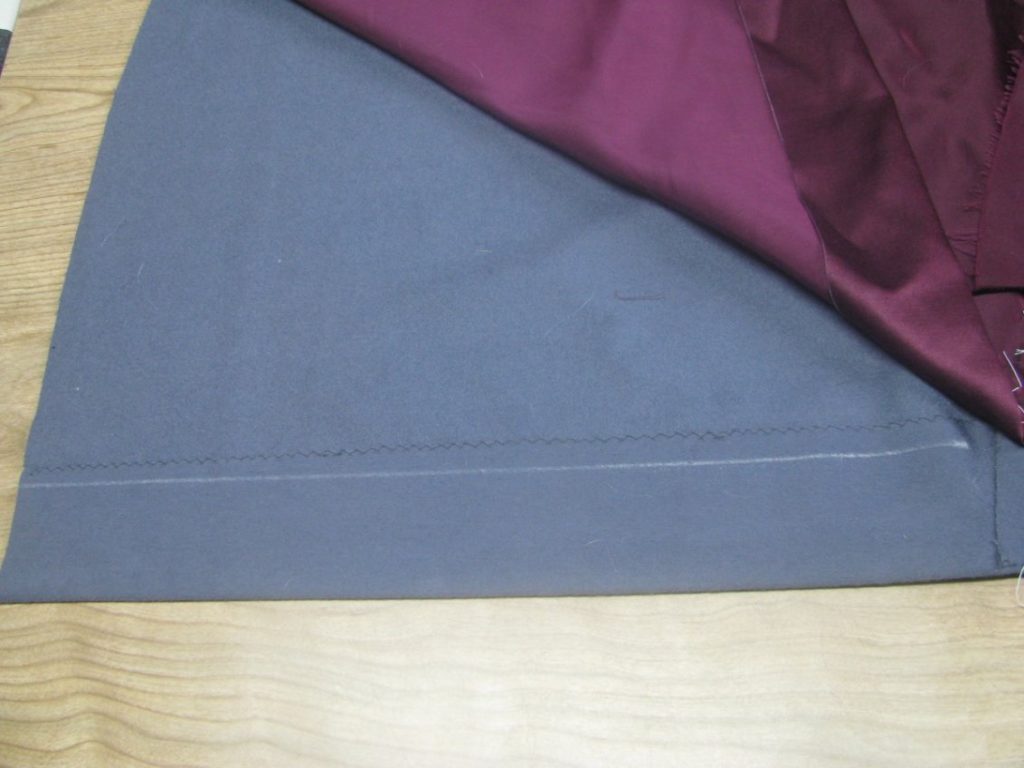
Hemming the Skirt –for Free Hanging Skirt Only
If you have decided to allow the skirt to hang freely, you must first hem the bottom. Press back the bottom by 1⁄4 inch, then press that back on itself an additional 1⁄4 inch so that the raw edge is hidden. Carefully fell the folded edge down to the wrong side, taking more of a diagonal between stitches so that the stitches are less visible on the right side.
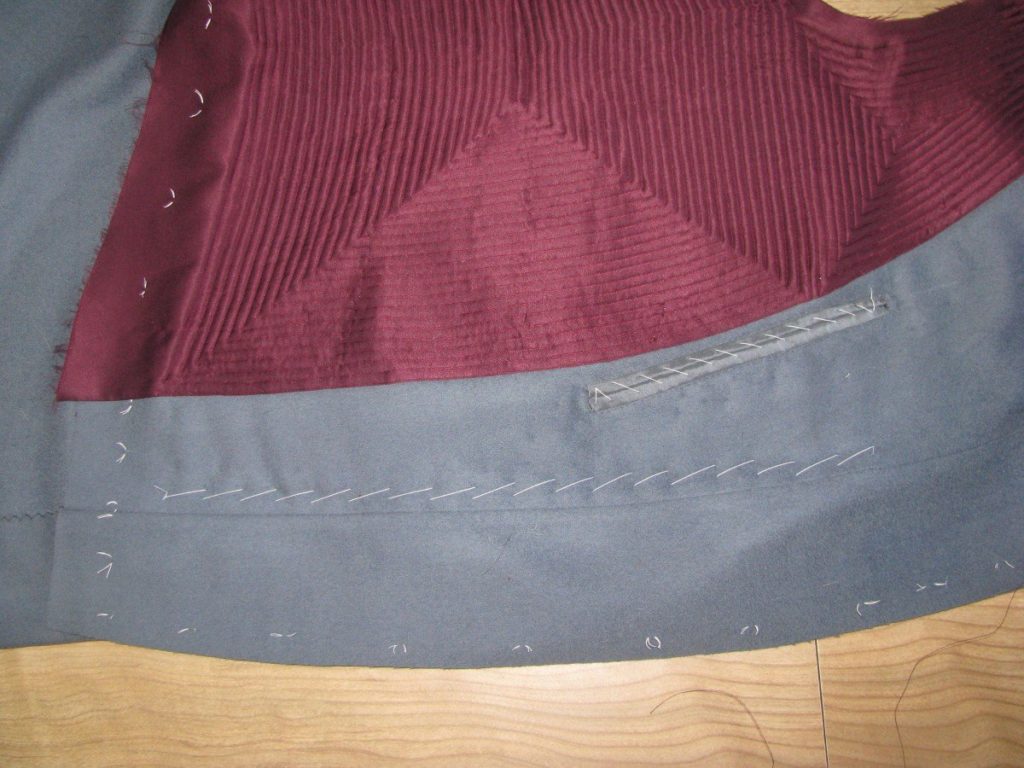
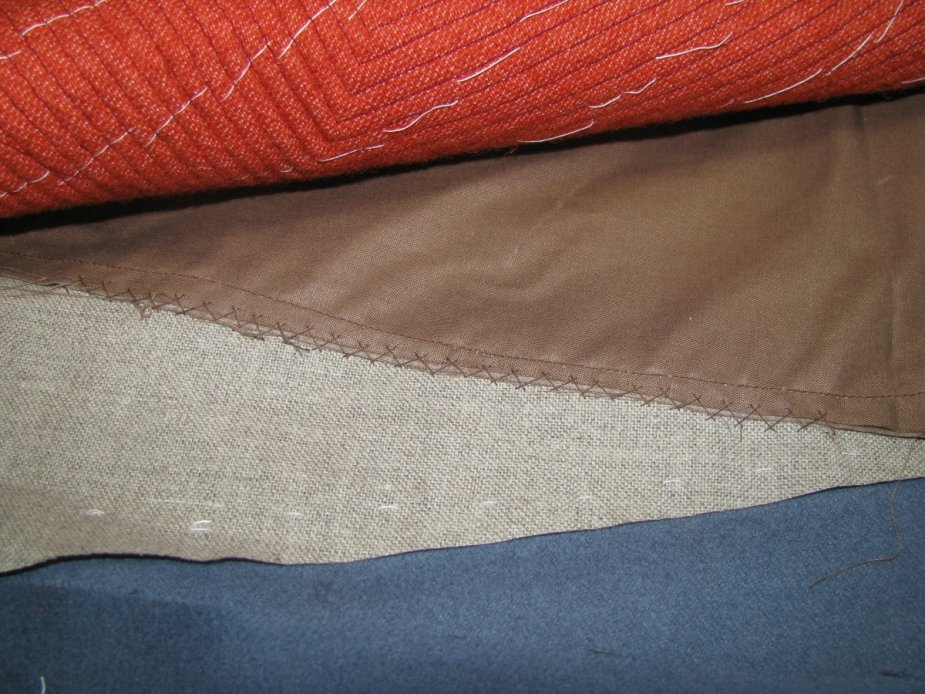
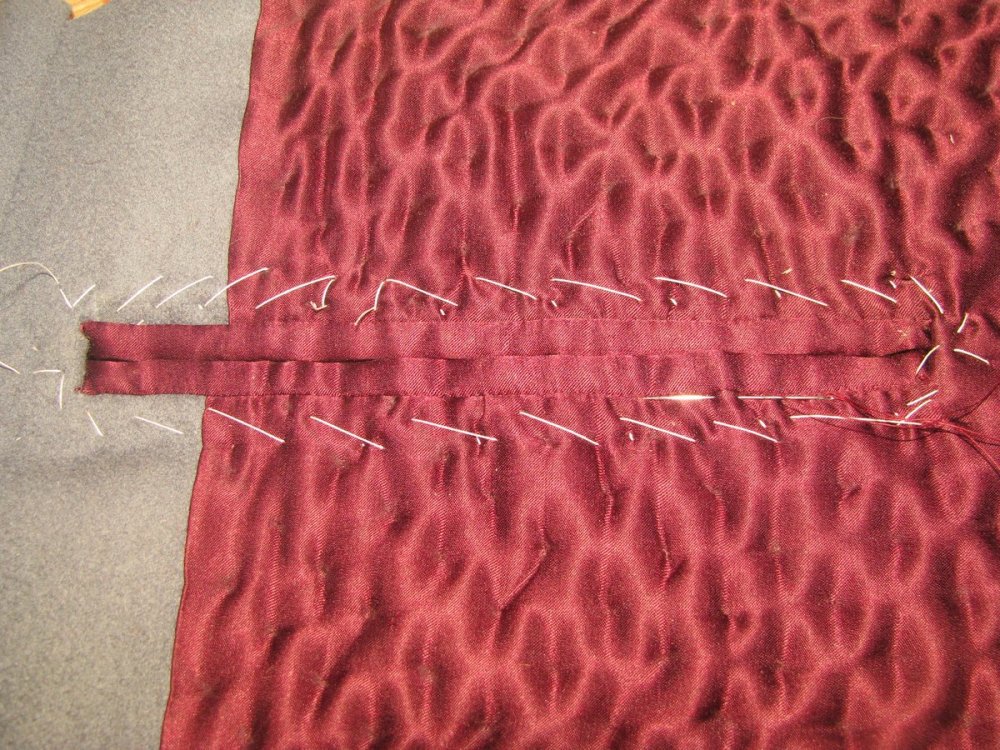
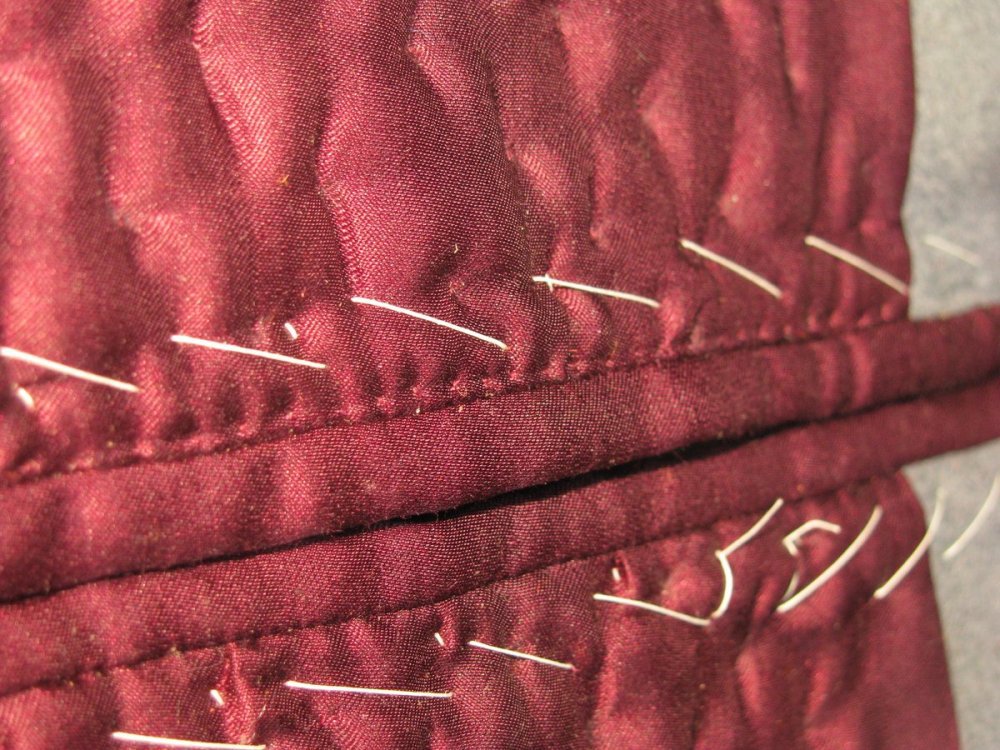
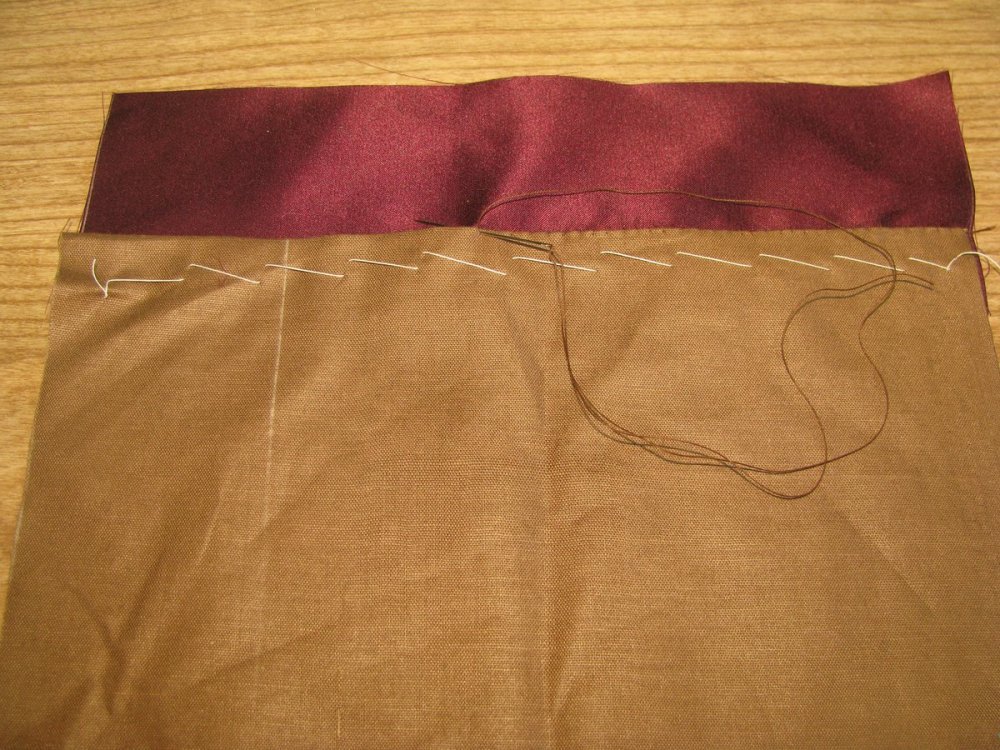
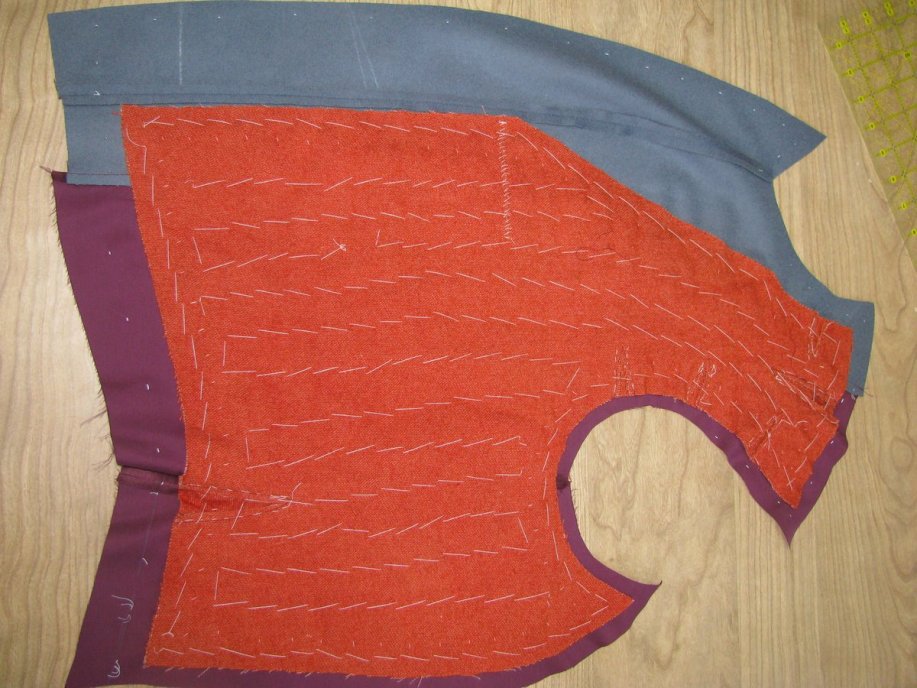
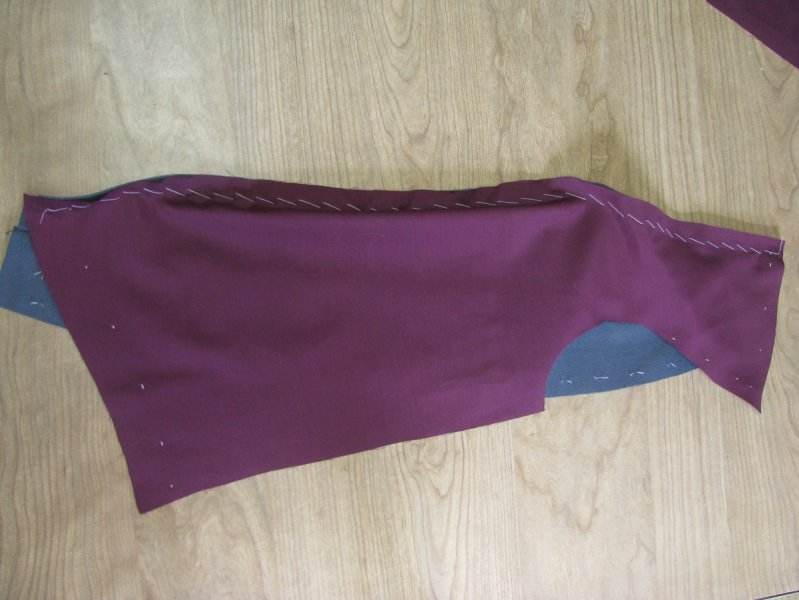
Waist Seam
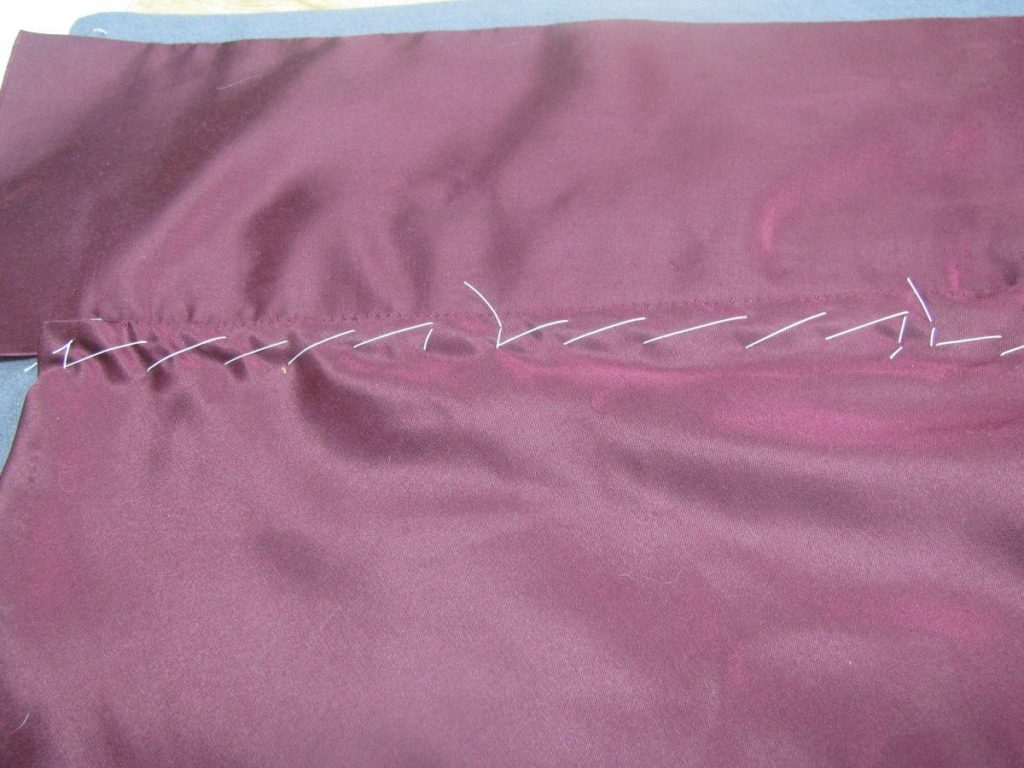
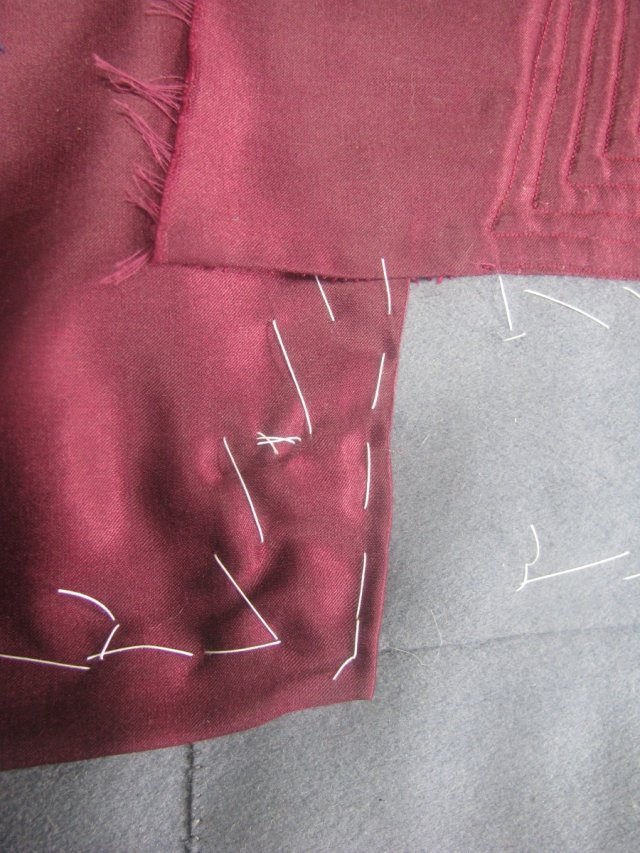
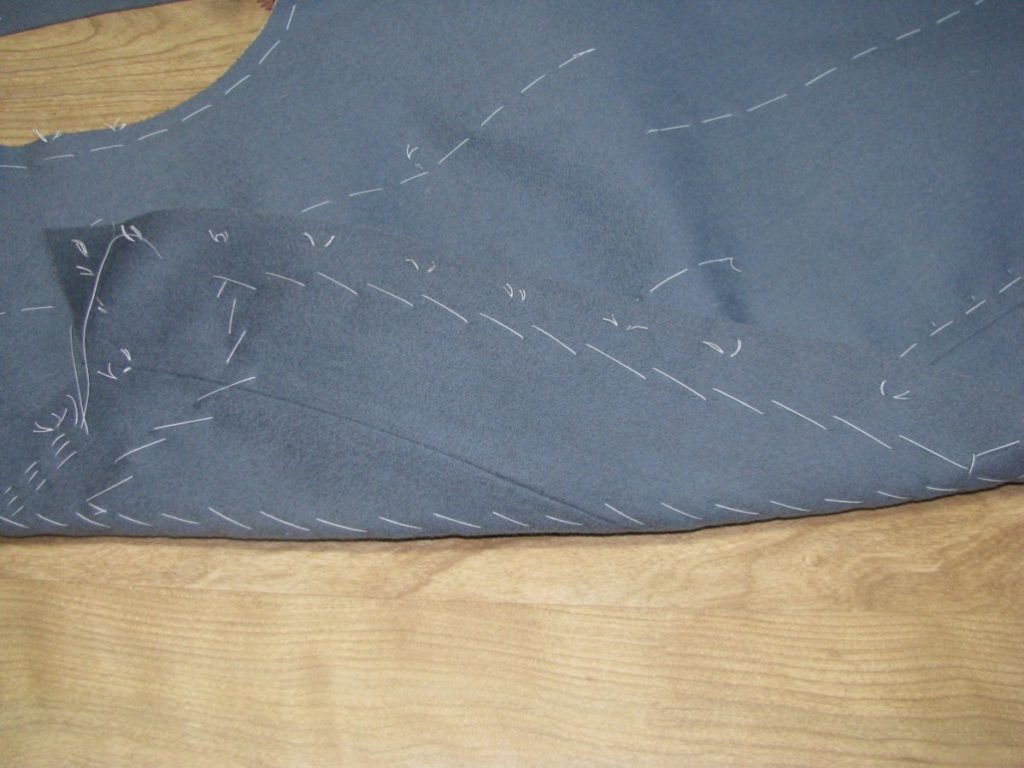
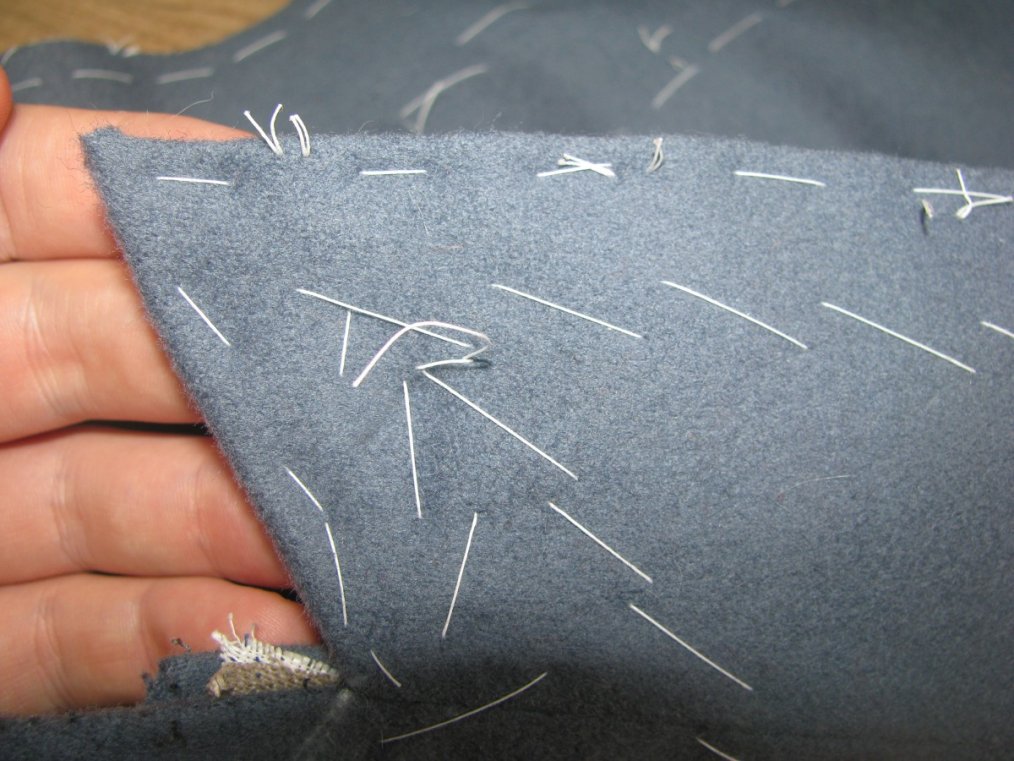
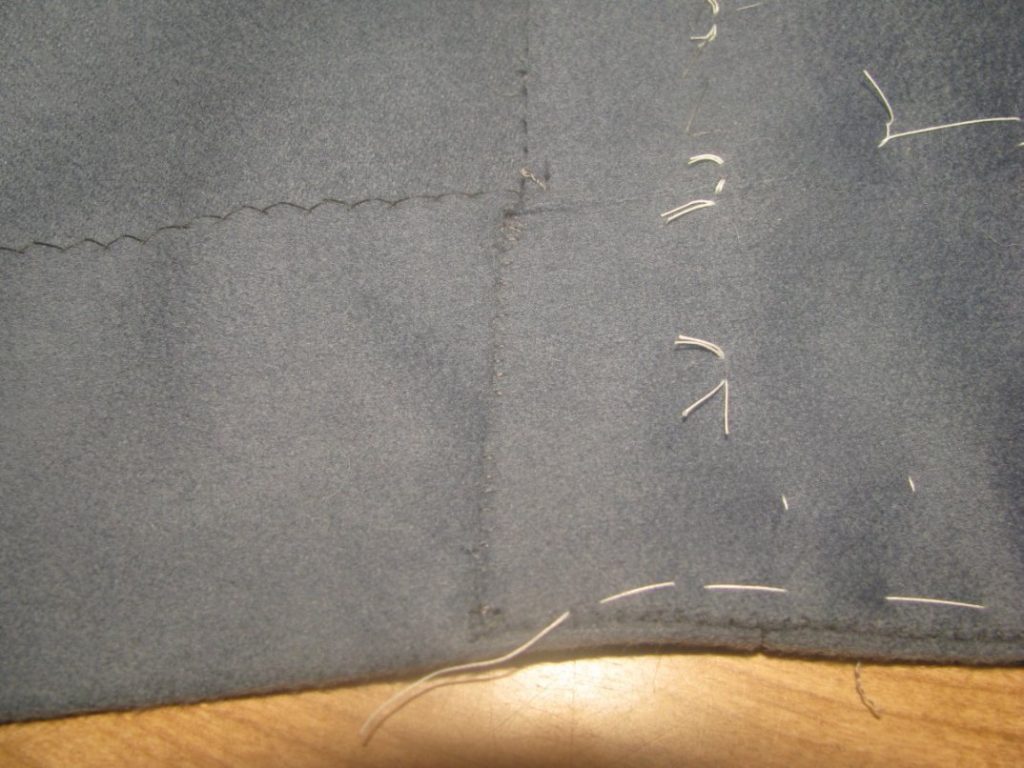
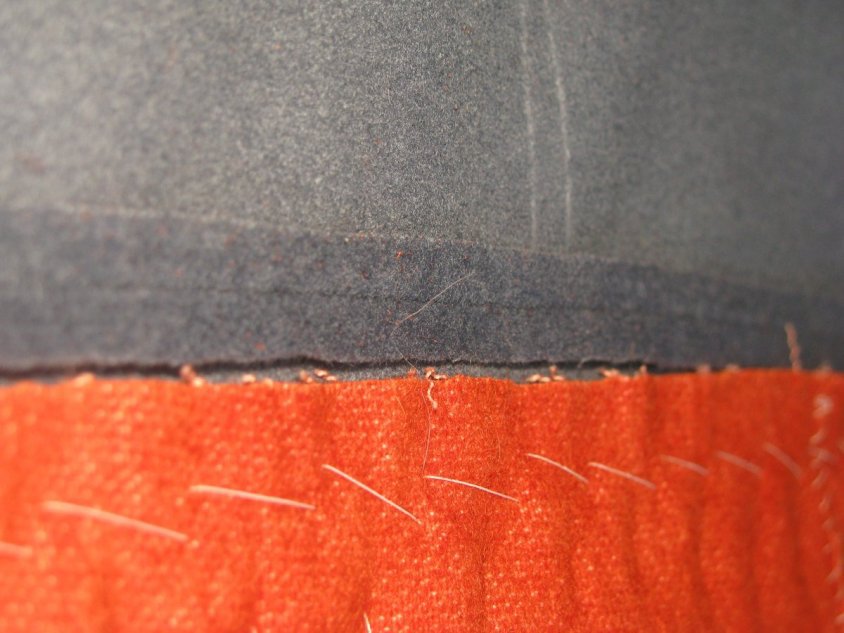
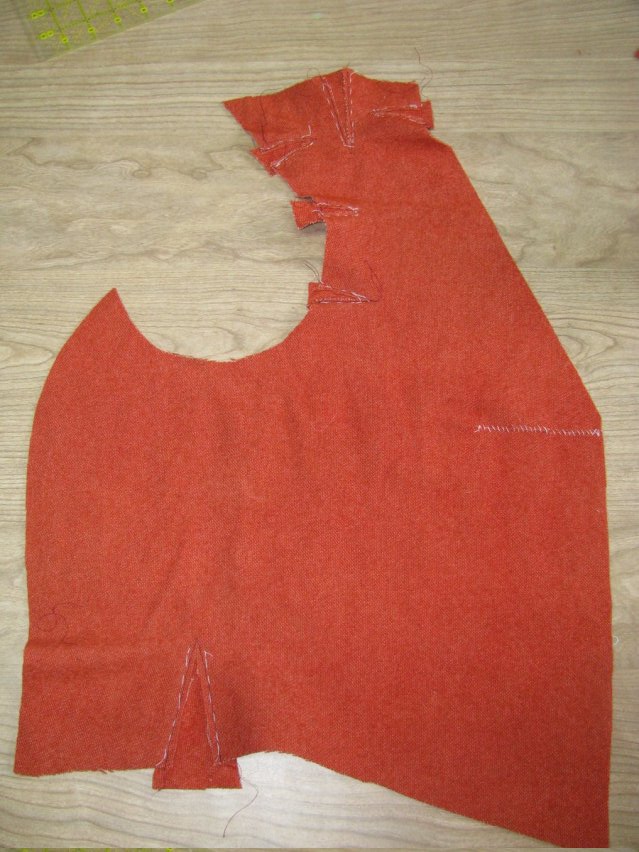
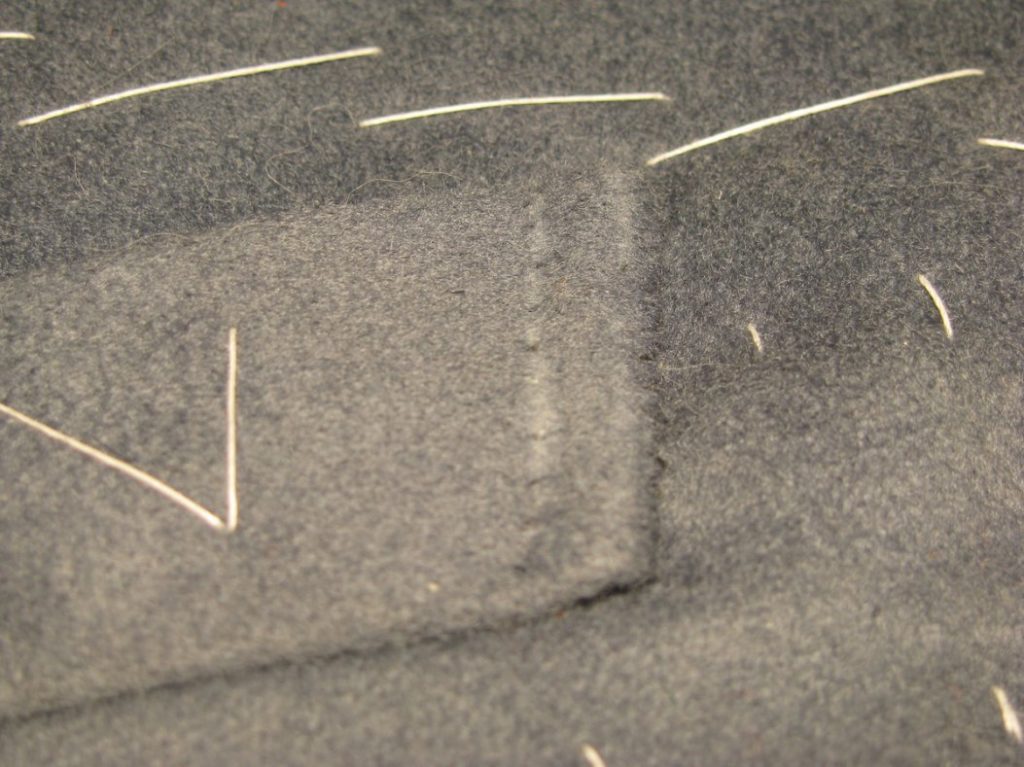
Line up the center of your quilting or dart in the skirt to the bottom of the side body seam. The skirt lining should just cover the seam allowance of the upper body. Baste from the dart or center of quilting, along the waistline towards the front. Then do the same towards the back. As you get near the ends of the skirt, turn them under so that an appropriate amount of facing is showing. I used about two inches.
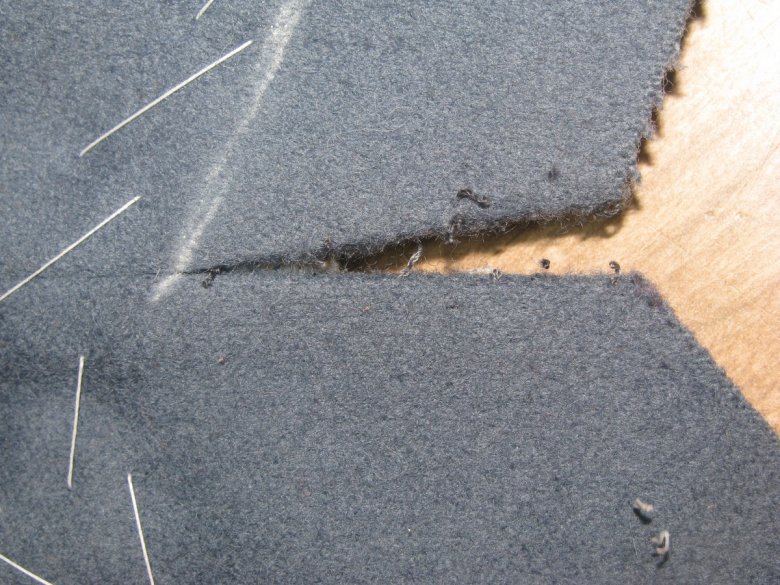
You can see here a little bit of fullness that was improperly basted. I ended up taking it out and rebasting.
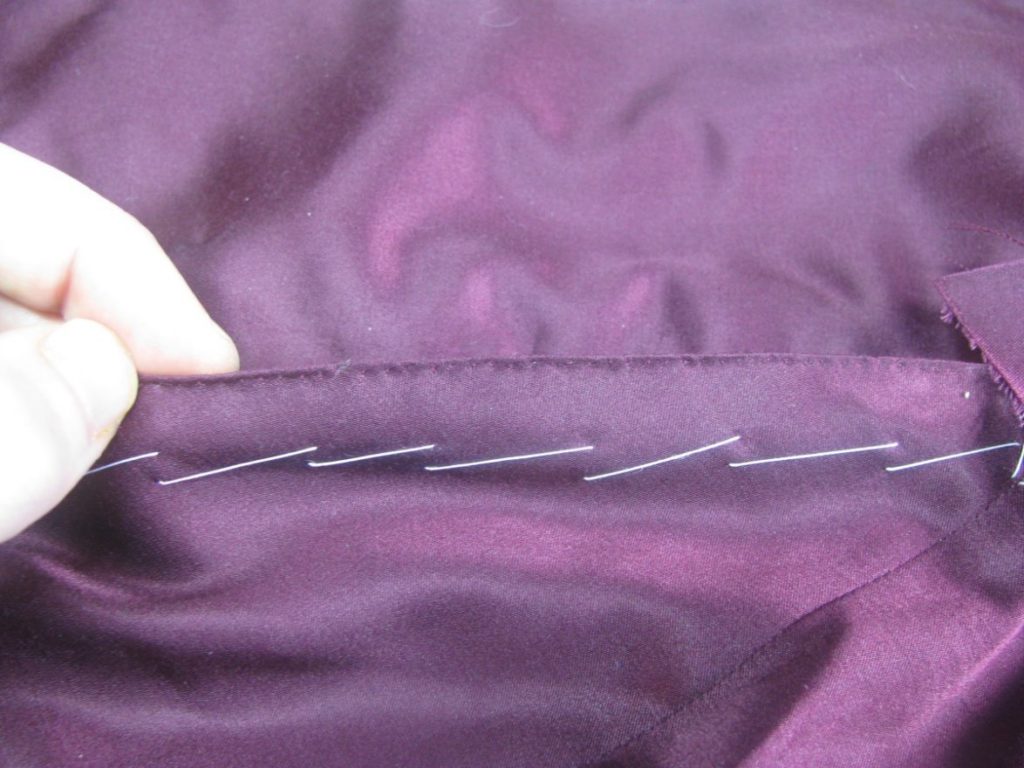
Basting the Front
Draw a chalk line down the front, equidistant from the front edge, and turn under the lining back so that it is aligned with it.
Baste down the lining along the front edge. I find it very helpful to hold the coat up before hand, and allow the lining to drape freely, to ensure everything is in its proper place.
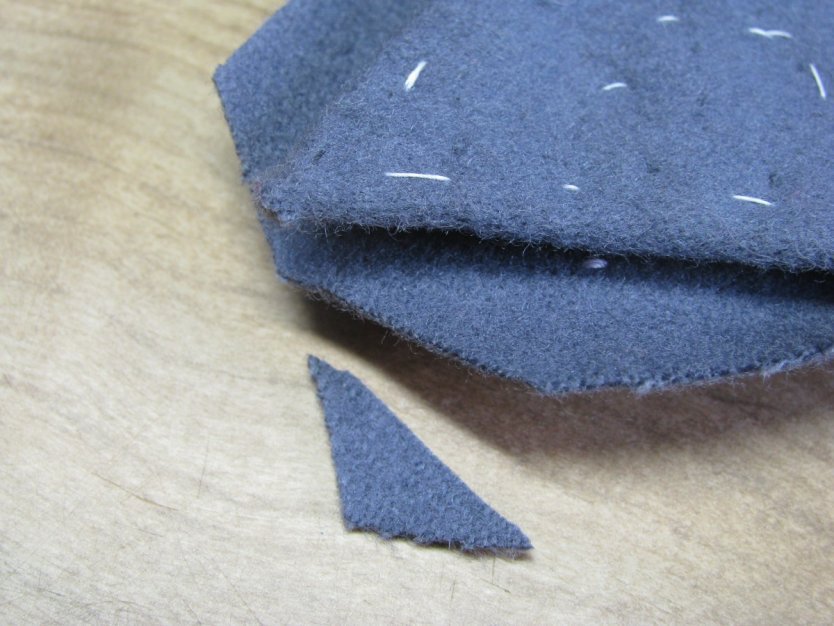
For coats that are using the free hanging lining, trim away some of the turned-under fabric, so that it does not show in the finished coat.
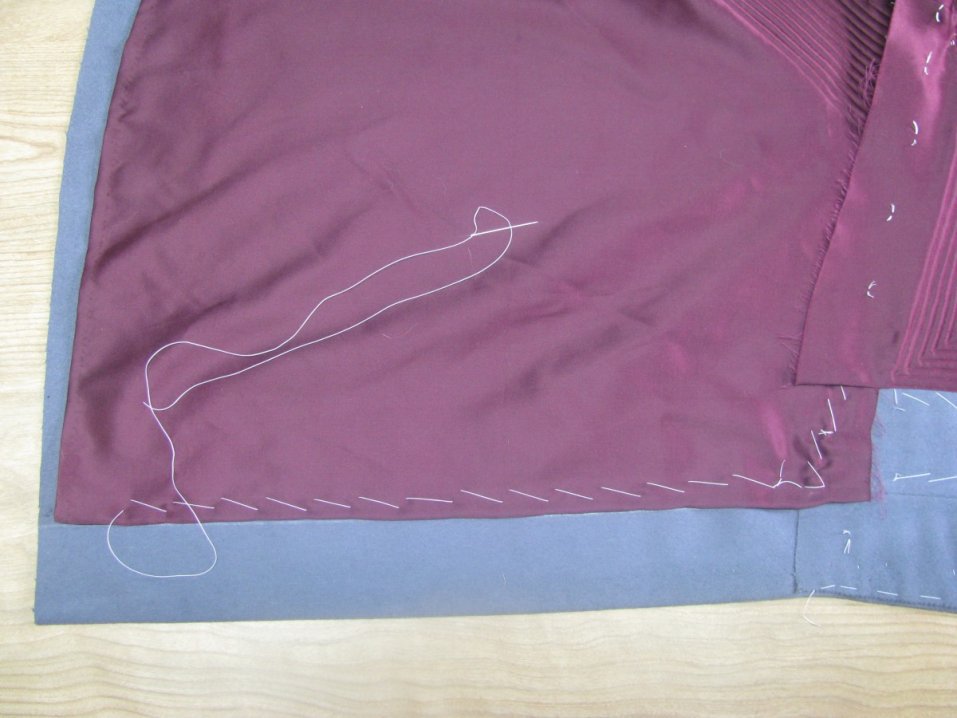
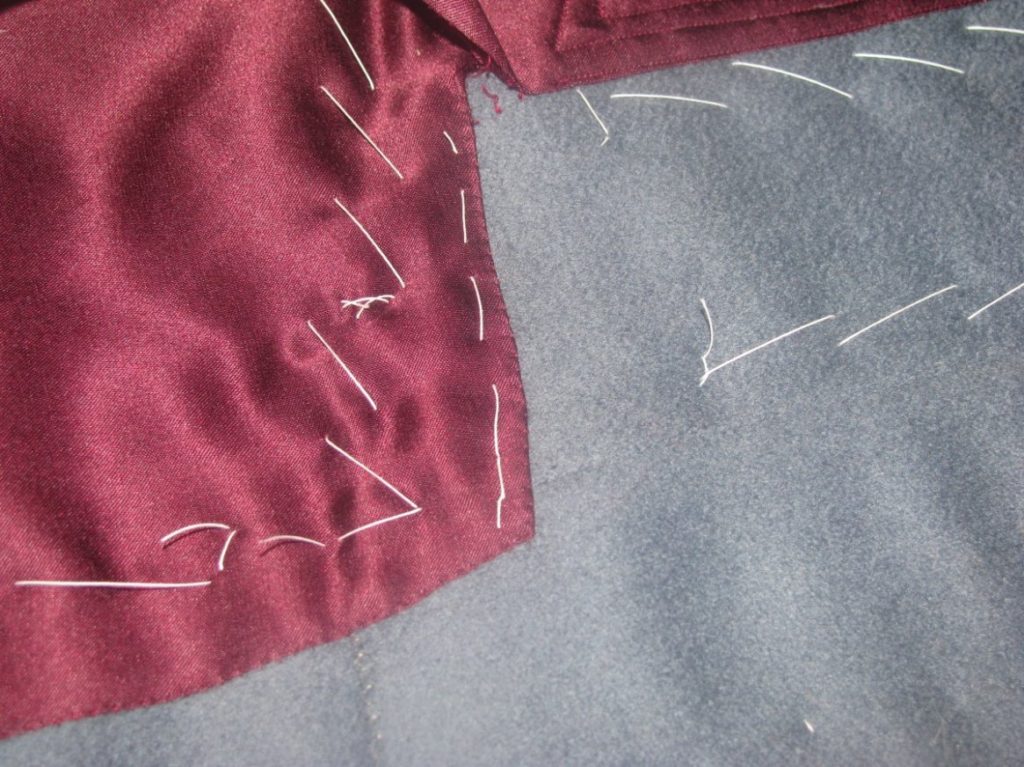
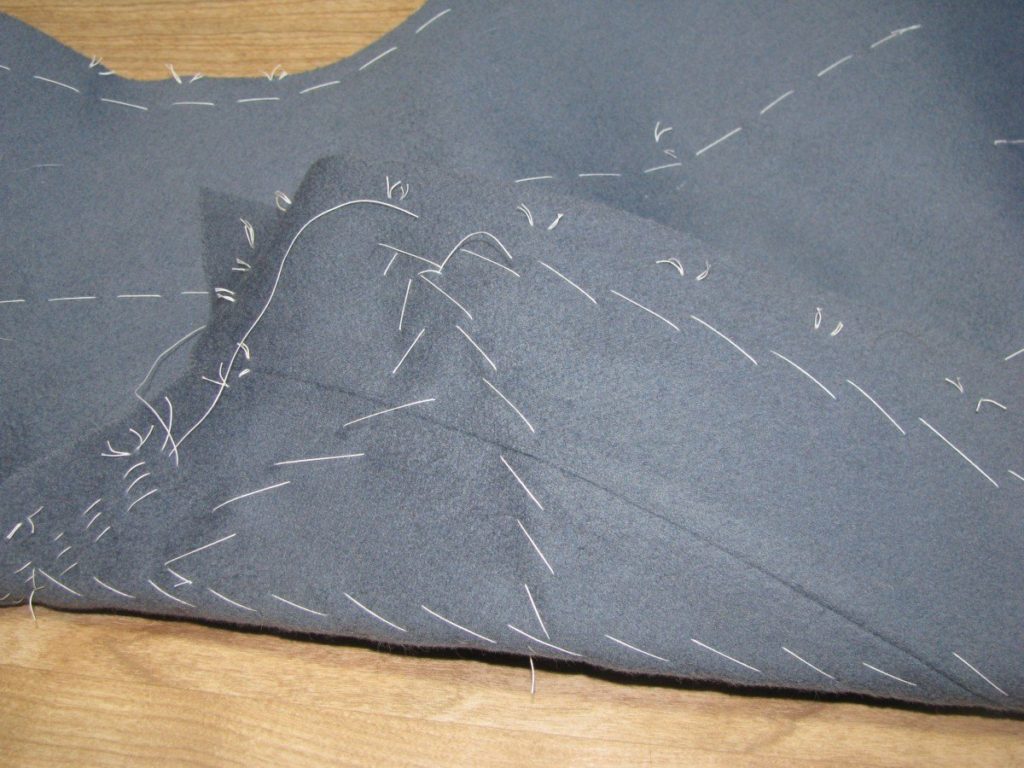
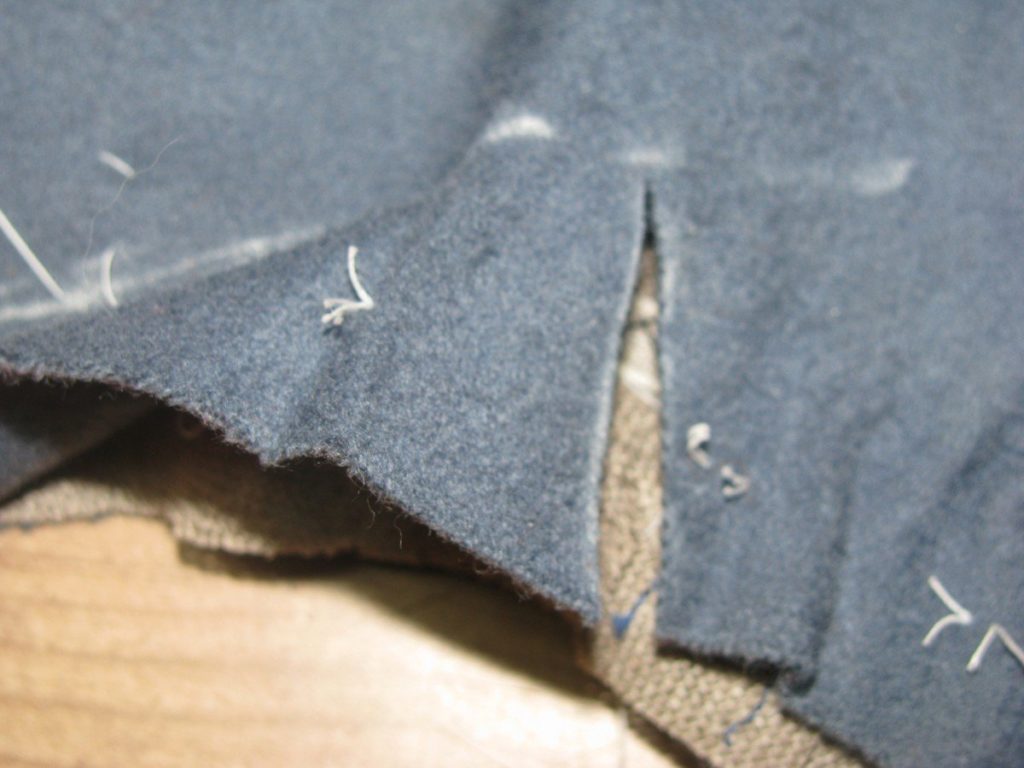
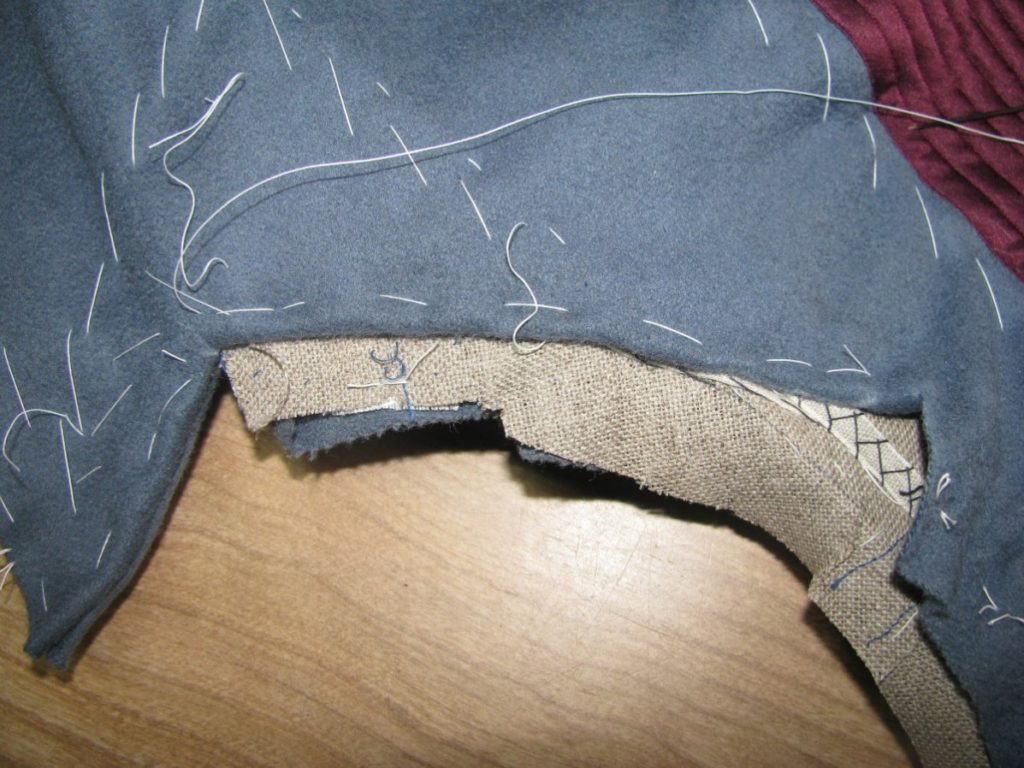
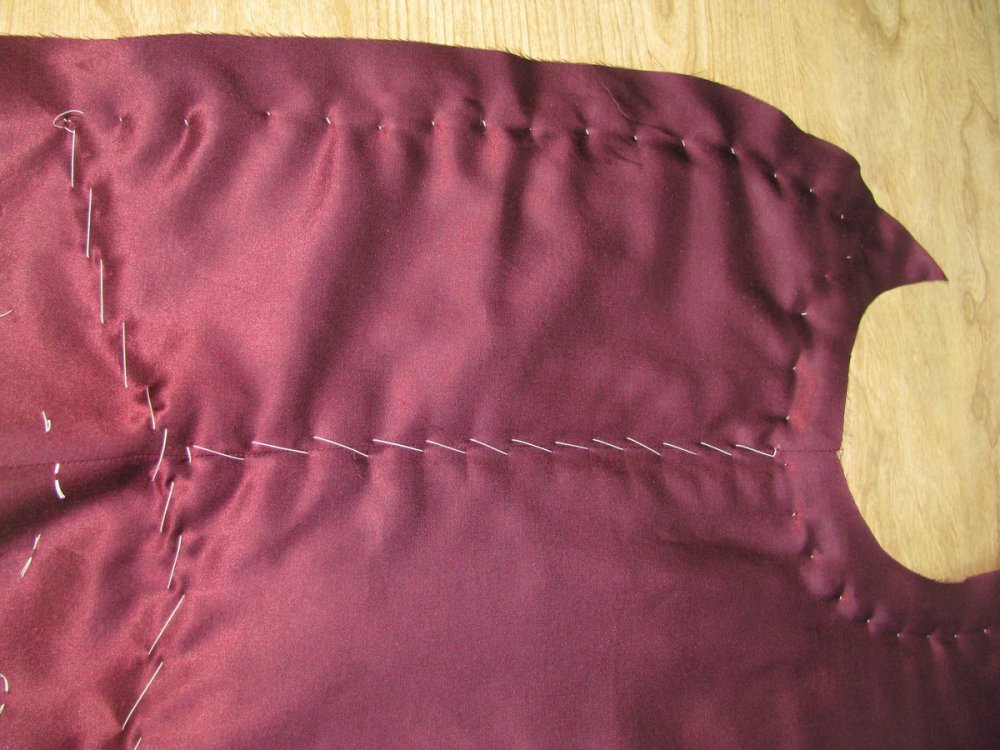
Basting the Back Skirt
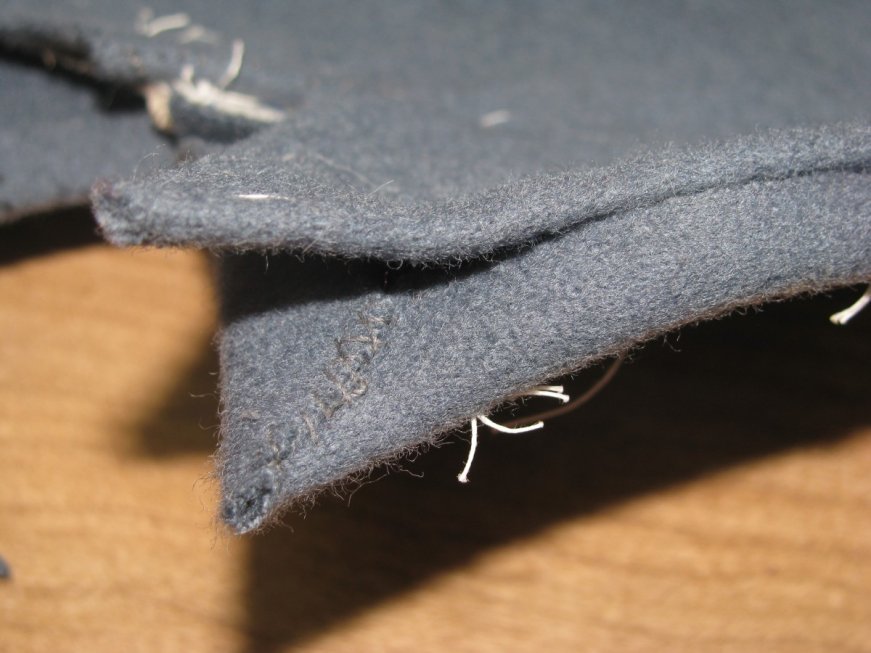
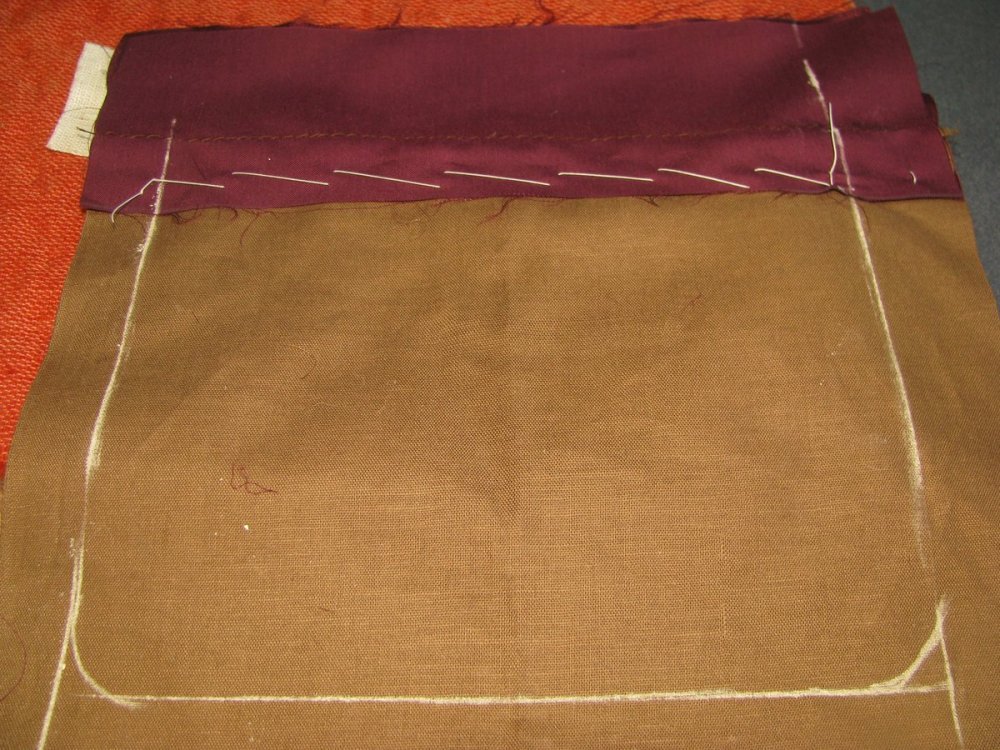
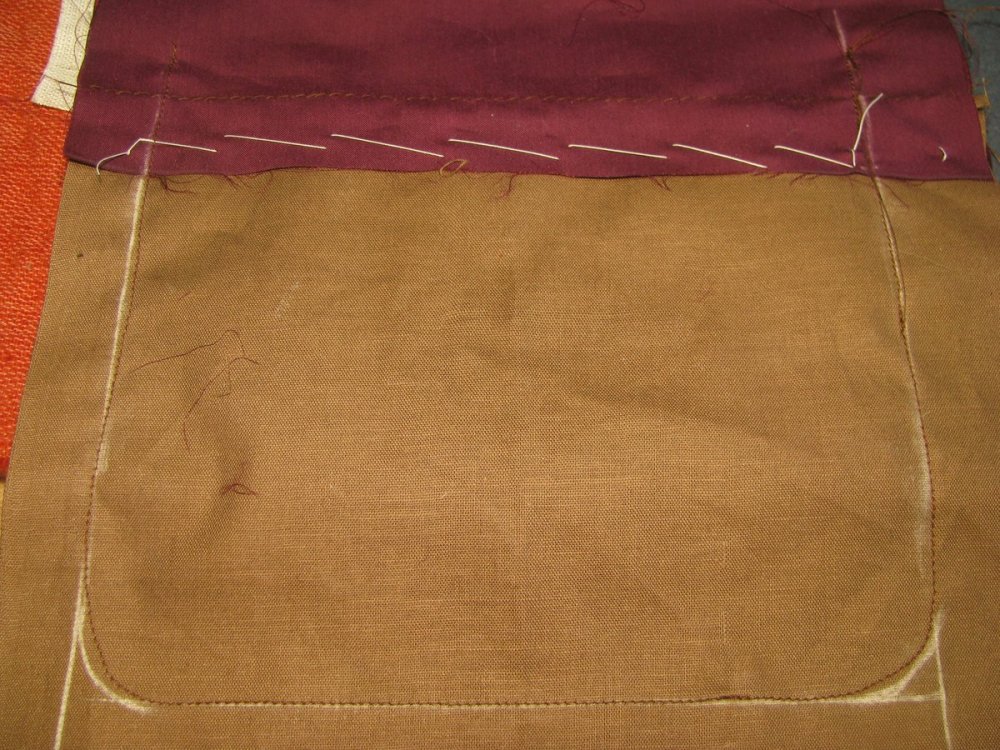
Fold under the back edge of the skirt lining, so that it overhangs the pocket by 1/8 of an inch. Baste carefully to the pocket, being sure not to accidentally close it up. If you made an external pocket you don’t have to worry about this issue.
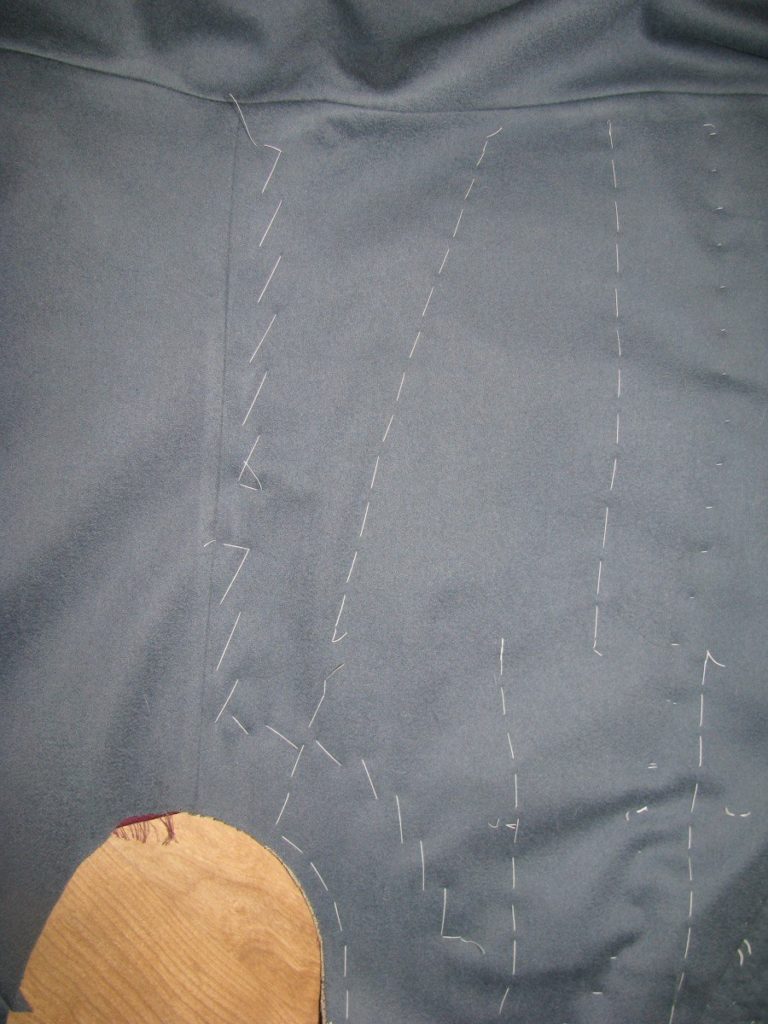
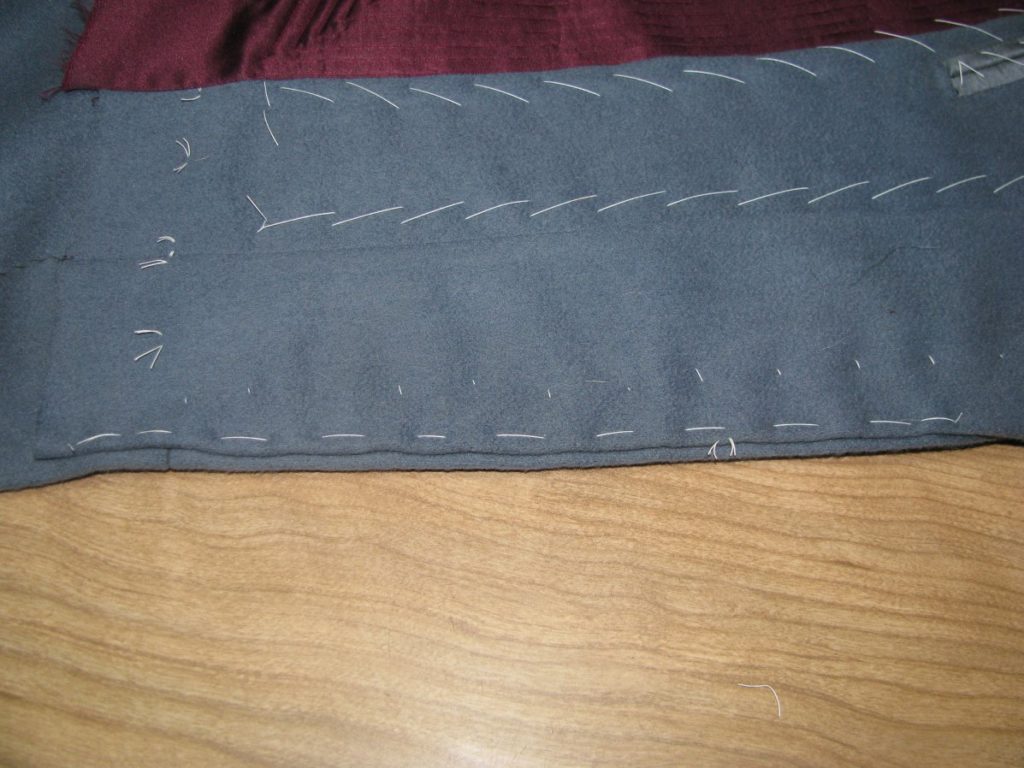
Baste the rest of the back lining down. At this point, you should lightly press the skirt lining at all folded edges.
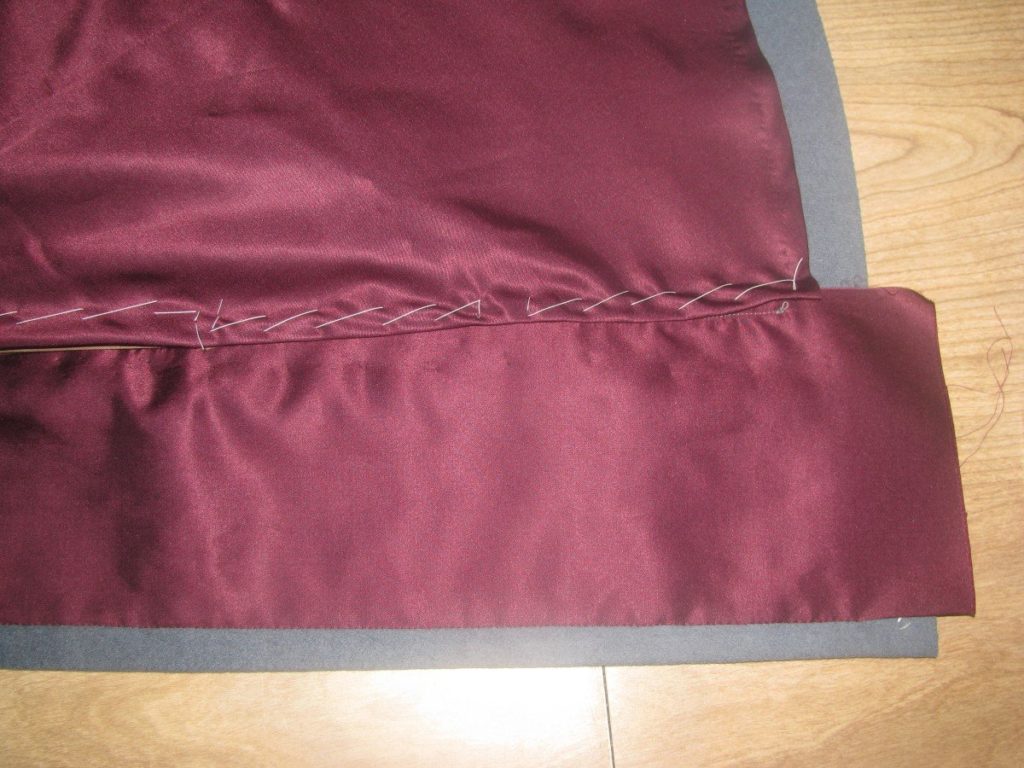
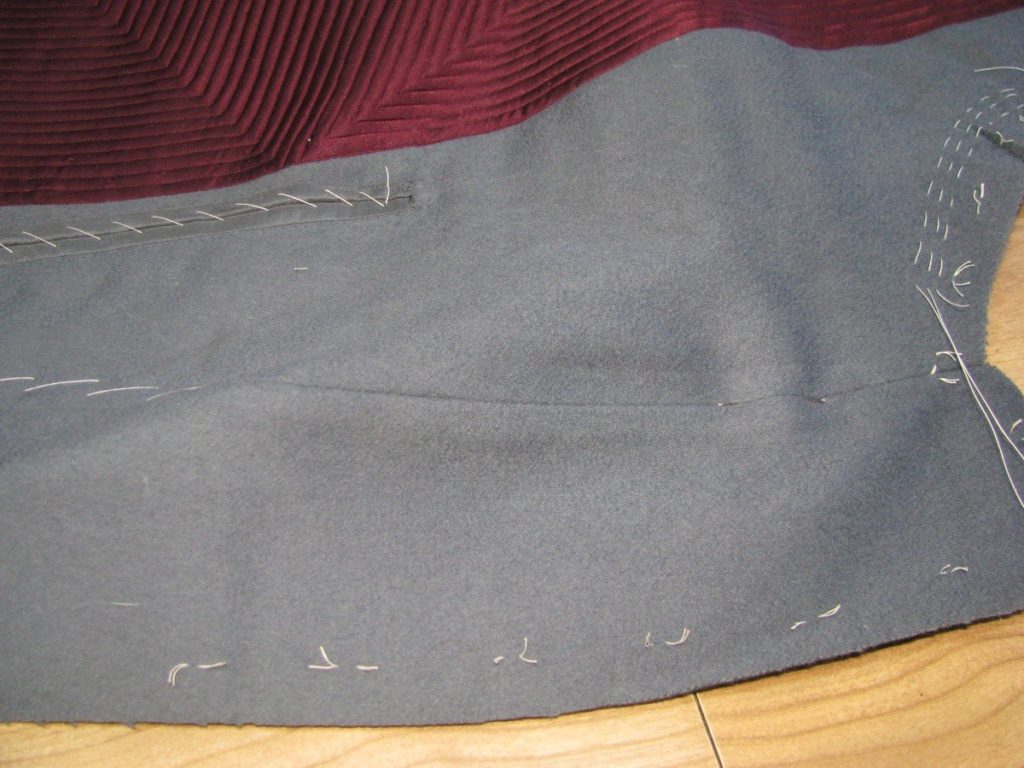
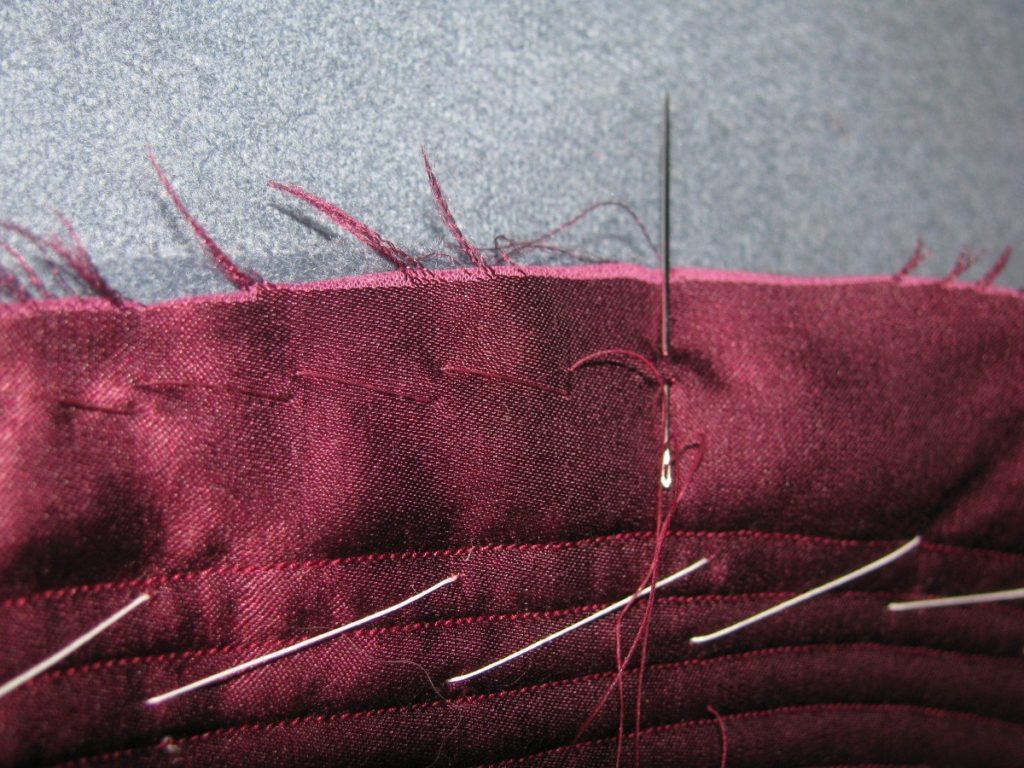
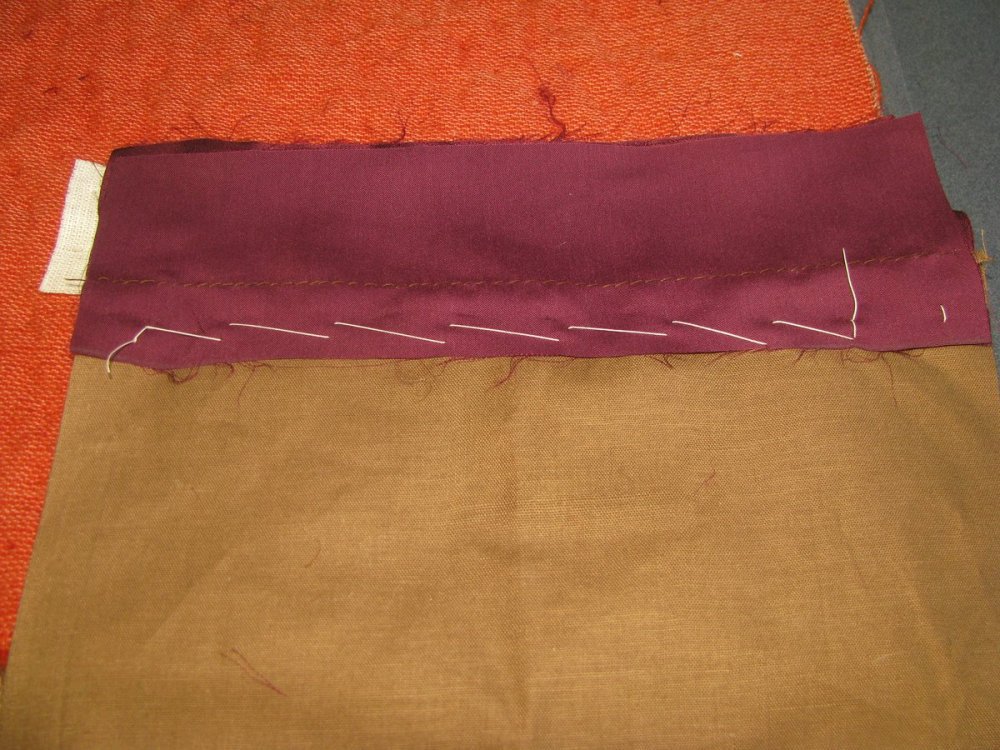
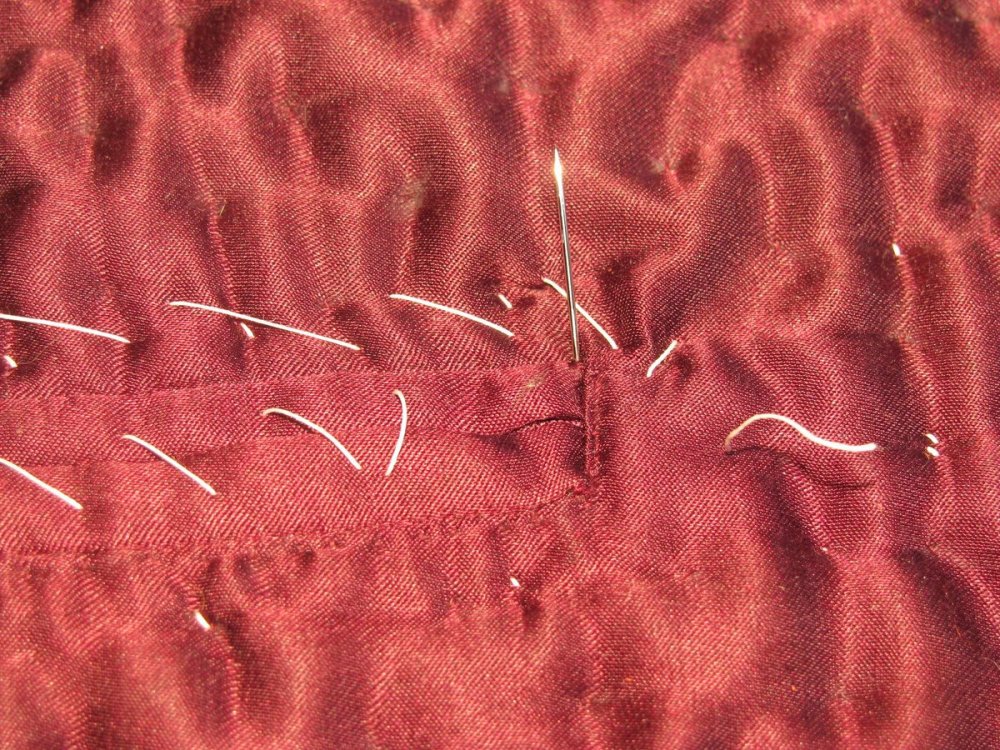
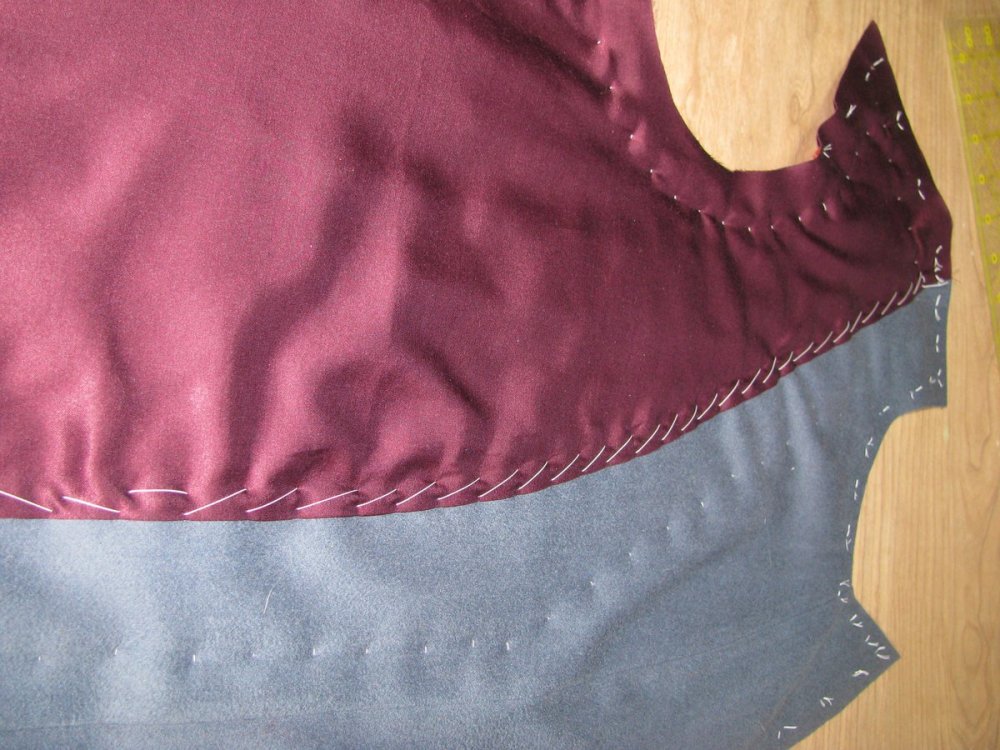
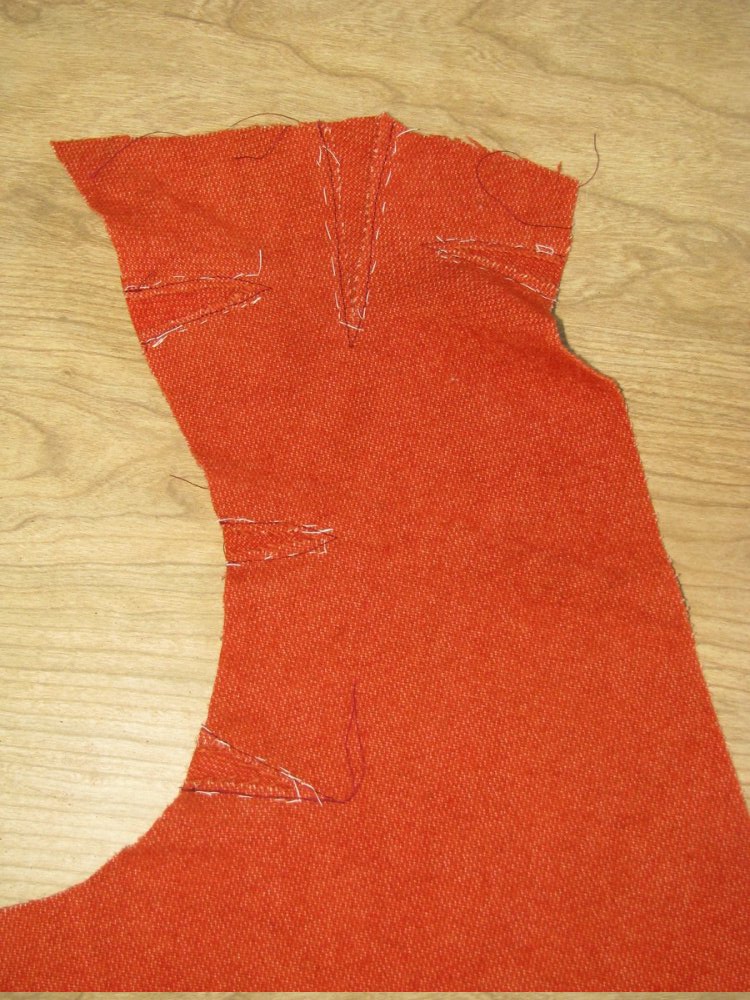
Securing the Skirt Lining
At the waist, fold back the upper forepart and side body lining so that it is out of the way. Using silk thread, carefully baste the skirt lining along the waist seam allowance, from front to back.
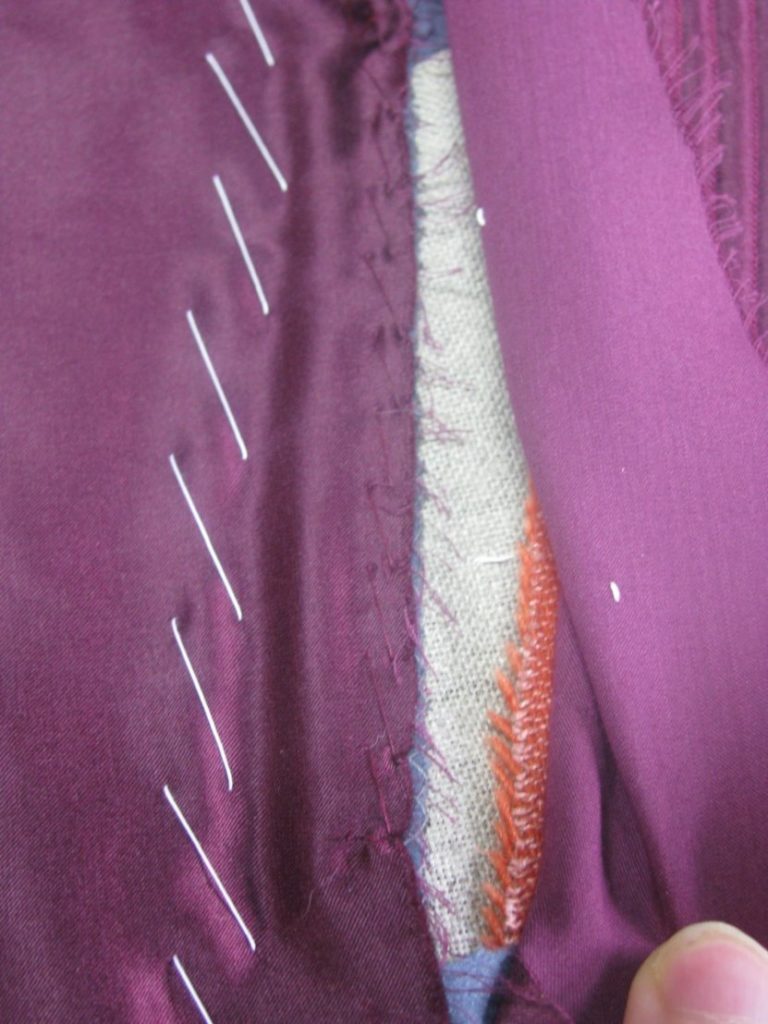
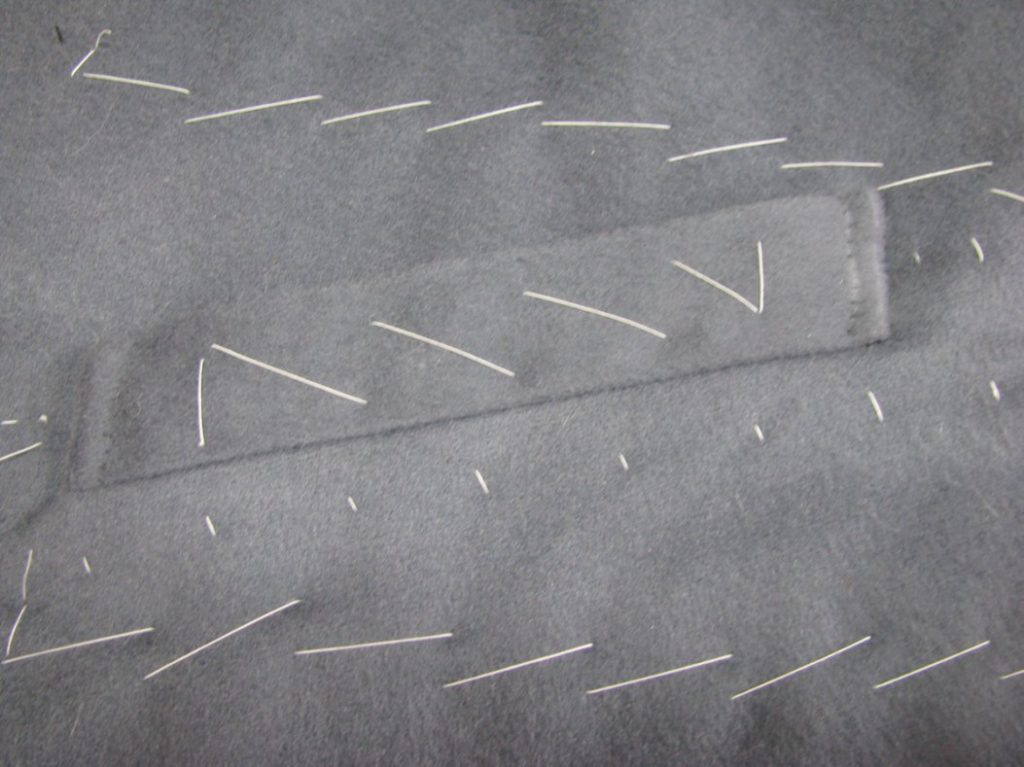
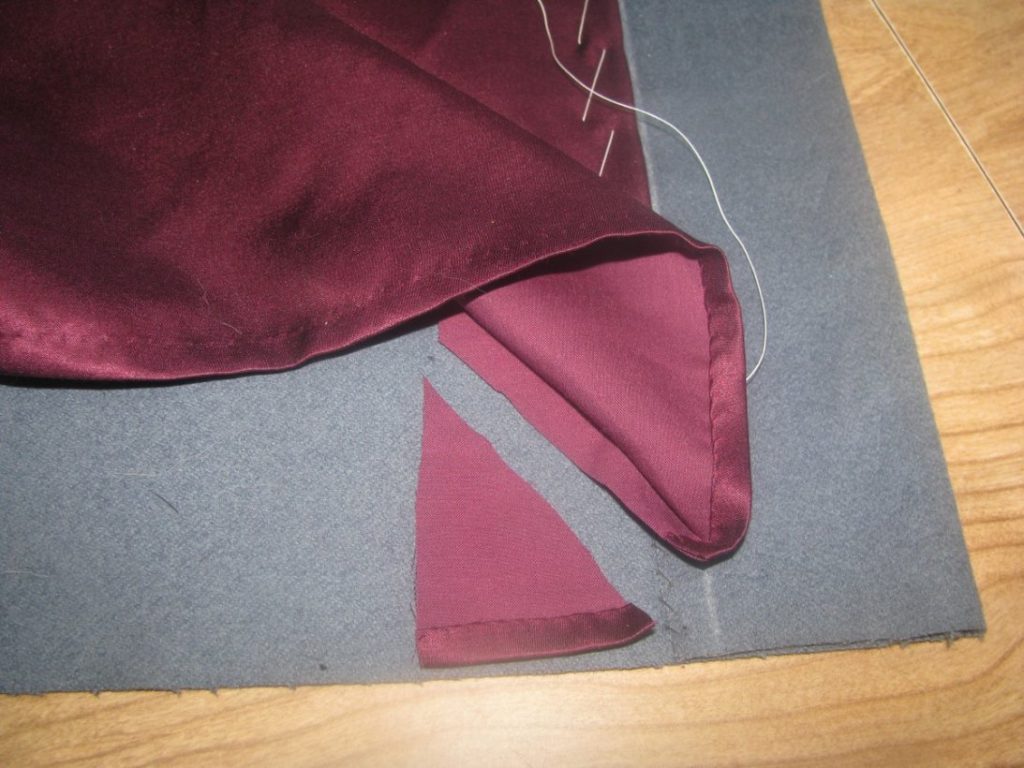
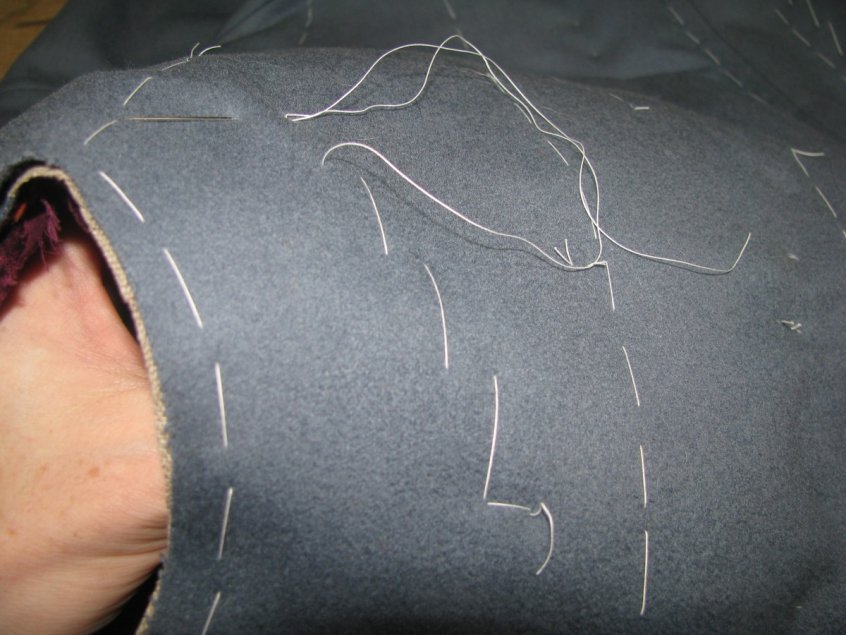
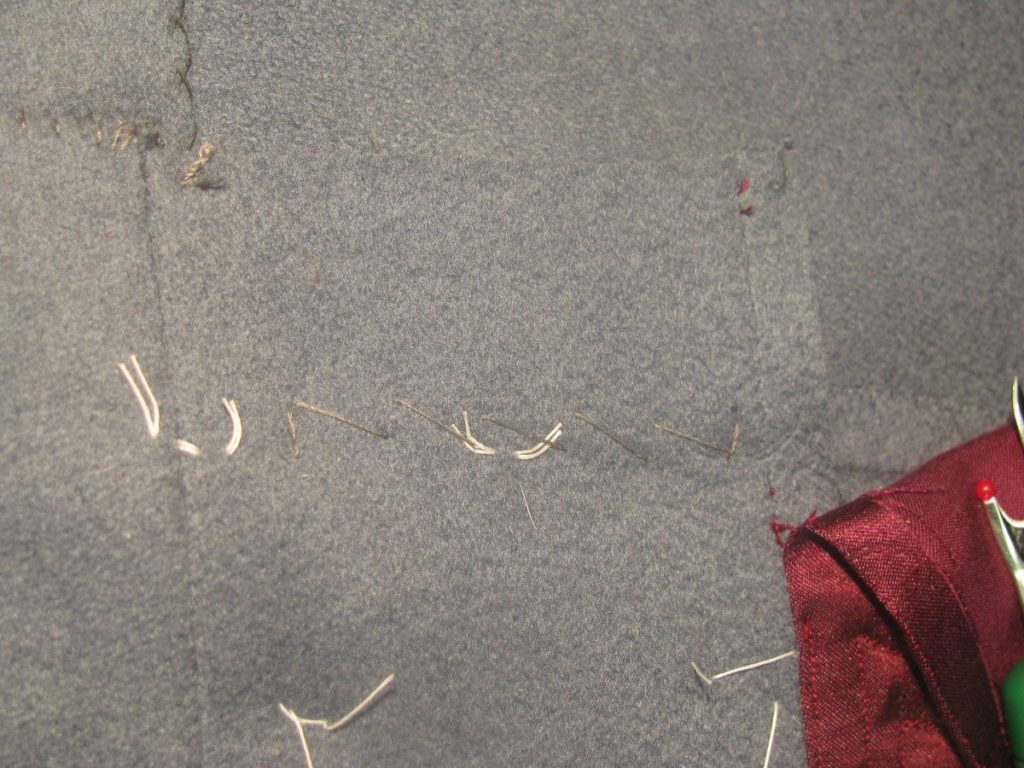
At the back of the skirt lining, starting at the top, fell down the top half inch or so of lining, until you get to the top of the pocket.

Use a side stitch to secure the lining to the top pocket bag.
At the bottom of the pocket, continue felling until about two inches from the bottom of the skirt. This area will need to be finished later.
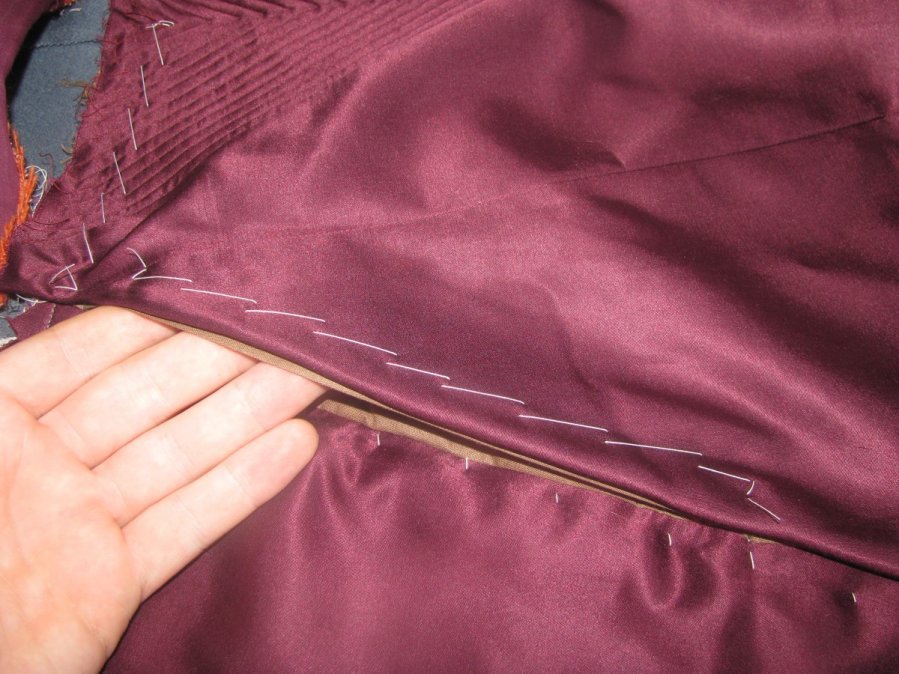
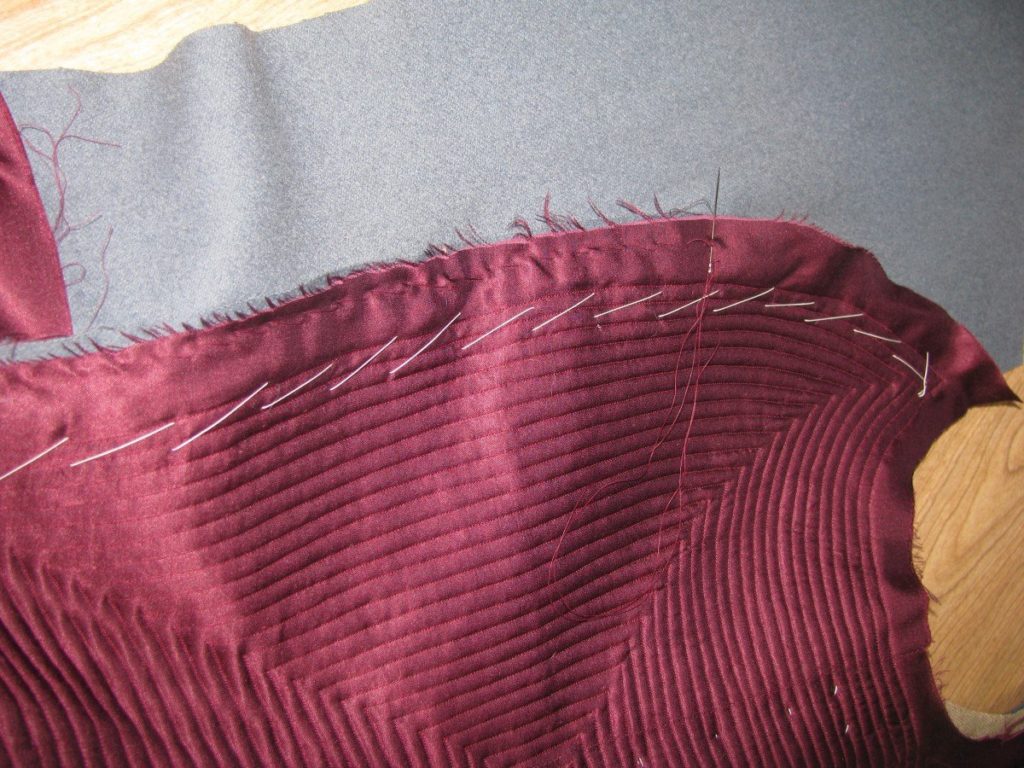
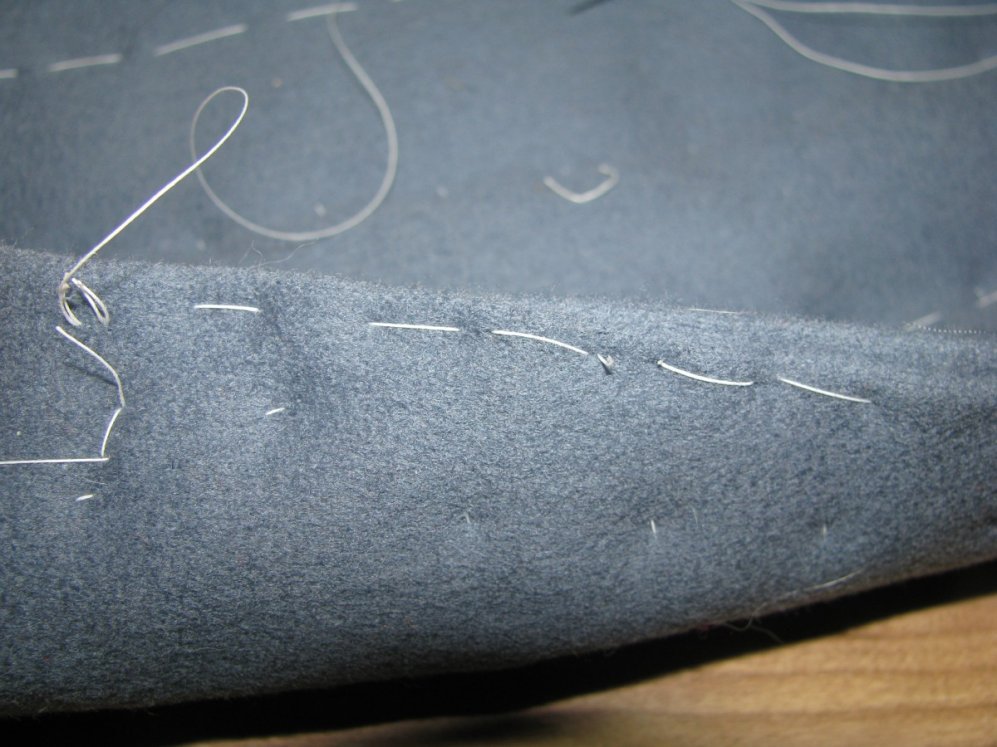
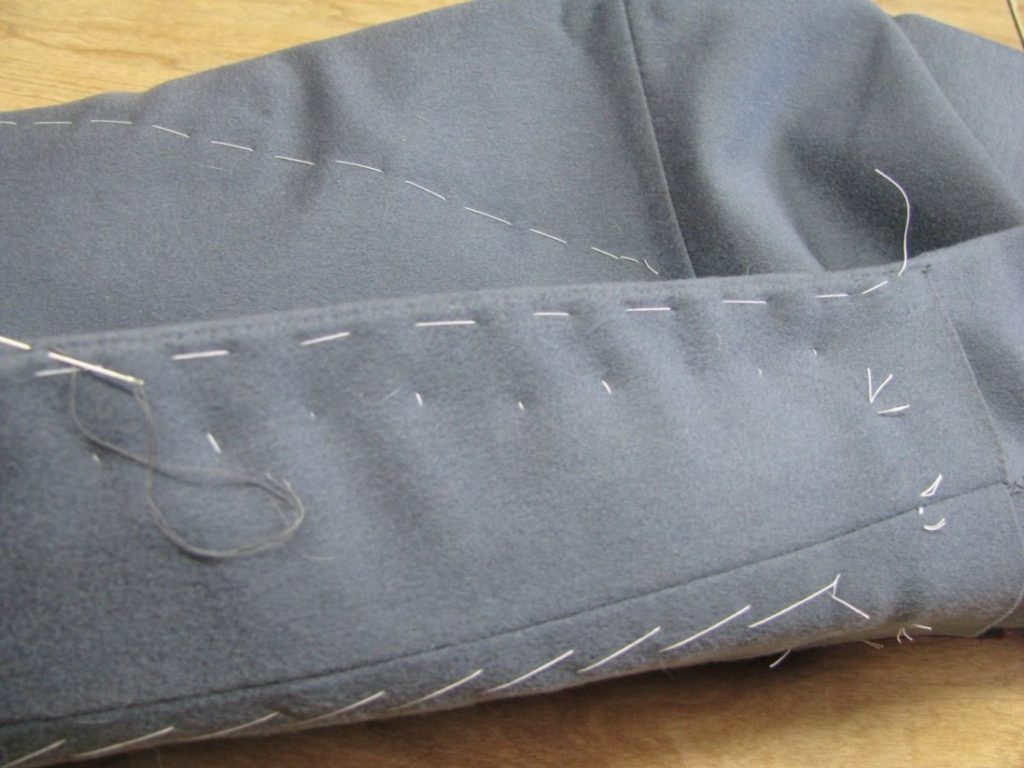
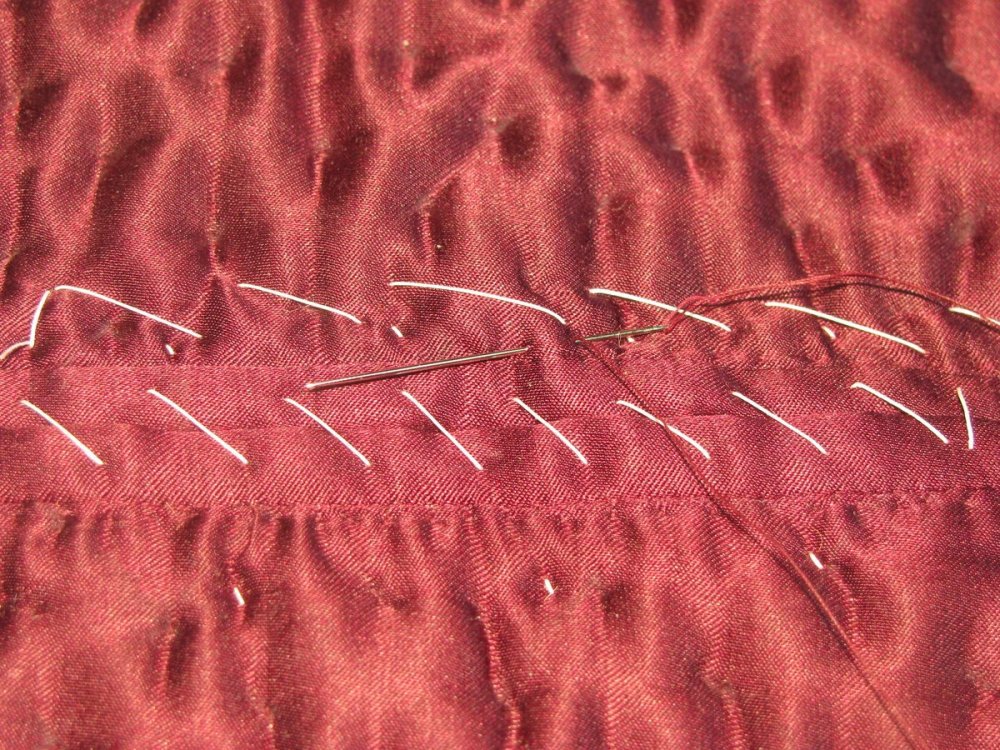
At the front of the skirt at the waist line, fold under the remaining raw edge until just under the forepart lining.
Fell from just under the forepart lining, across the rest of the waist, and down along the front edge, all the way to the bottom of the skirt lining. If you are securing the bottom of the skirt, stop an inch from the bottom. If you are doing a free hanging skirt, continue felling along the bottom for the first half inch to one inch.
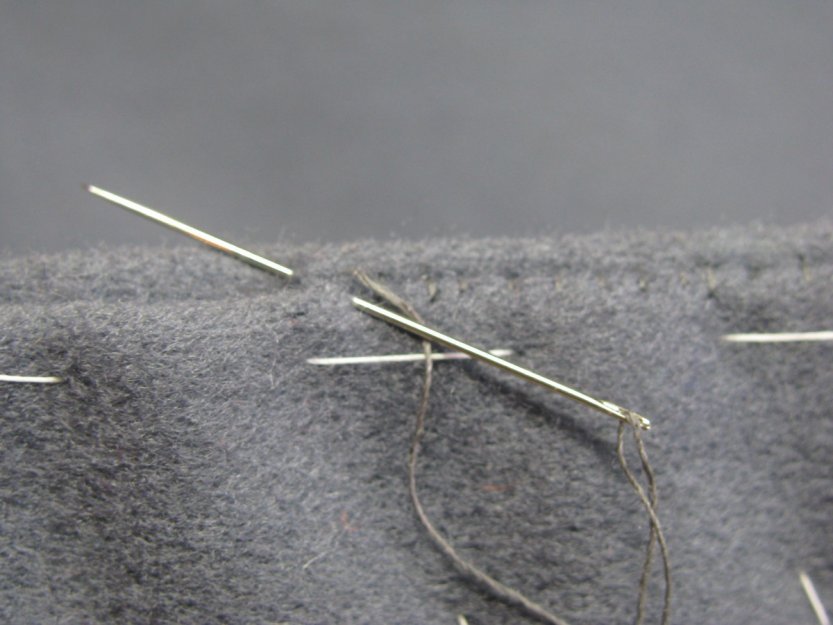
As you are felling, remember that the stitches should be small and almost invisible.
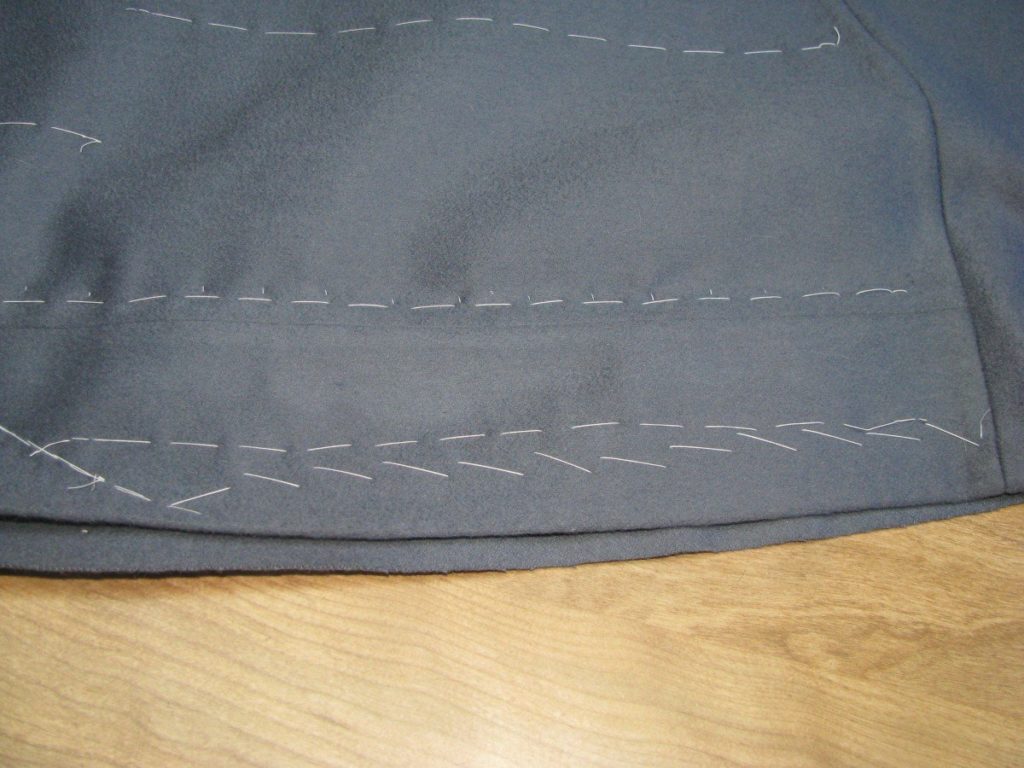
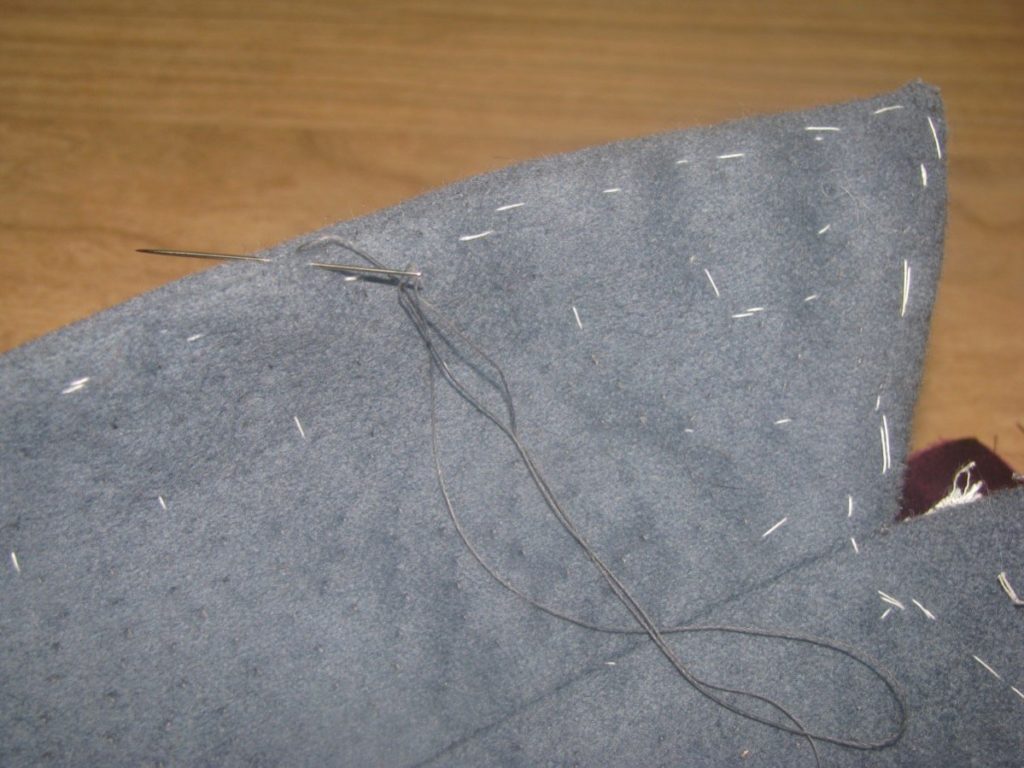
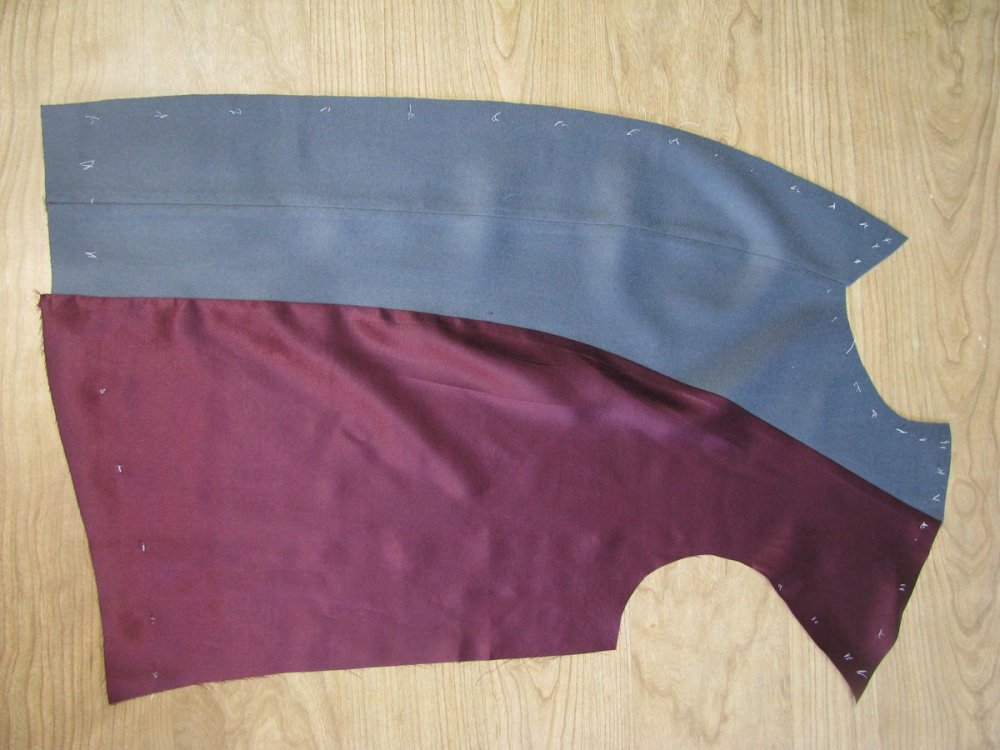
Securing the Forepart Waist
Baste under the raw edge of the forepart lining at the waist, lining everything up so that there are no wrinkles or pockets of fullness.
Fell along the waist line from the front edge of the forepart lining to the back of the lining.
Installing the Chest Lining
In this module, you will learn how to install the lining assemblies you’ve worked so hard on. This will use the higher end method of construction, to give us much more control over our work. The linings are secured in more locations, giving the strength necessary to support the heavy quilting.
Installing the Forepart Lining and Facing
The first step in installing the facing is to run three rows of shirring stitches along the neck edge. We’re trying to avoid putting a dart here, to give a cleaner appearance to the finished lapels. Tie the three threads together at one end, and draw from the other end of the threads.
Place the neck area over a tailor’s ham and shrink out the excess fabric that forms. This may take a few passes, so don’t worry if it doesn’t happen all at once. Even afterwards, you’re likely to still have a bit of excess, which is okay.
Lay one half of the coat down on the table, wrong side up. Place the corresponding lining assembly on top. The inlays of the lining and facing should line up with the seam allowances at the waist, and overshoot the front edge and top by 1⁄4 inch or more.
Aligning the Facing
One of the most important steps while installing the facing is making sure it is properly lined up with the coat. Since this is a double breasted coat with a cut on lapel, our life is made slightly easier. We simply have to line up the seam running up the middle of the facing with the seam on the center front of the coat. I usually start by inserting a pin through both seams to make sure they are aligned, and starting my basting stitches. Every two or three stitches, reinsert the pin to make sure things are still lined up. Basting should continue in this manner until just before you reach the roll line.
The area above the roll line needs to be aligned, but not in the same manner. It needs to still be free to manipulate with the hands later on. Instead of basting, place a pin near the top, right in the seam lines of the facing and forepart.
After this is complete, check your coat to ensure the lining is in the proper position. It should reach all the way to the armscye, and over to the side body seam. If there is a little shortness, it is acceptable, and will be taken care of when basting the lining to the forepart.
Securing the Facing
A series of basting stitches will be used to hold the facing in its exact position. Turn the coat over so that the right side is facing up. Be careful to support the lining and armscye as you’re doing so, in order to avoid any stretching. Starting a little above the waist seam, about one inch from the edge of the coat. Baste from this point up until just below the roll line.
Baste precisely along the roll line, again staying about 1 inch from the edge of the coat along the front. Baste right to the edge of the neck.
Roll the lapel over into its finished position, and make a row of basting stitches parallel to the roll line as shown. It’s important to have the lapel in its finished position, because the length of the outer cloth is greater than the inner cloth, which must be accounted for.

Baste along the outside of the lapel, and across the top, from the bottom of the roll line to the top. Stay about an inch from the edge of the coat, as you’ll be folding the facing under and need some space to work with.
Still holding the lapel in position, baste from the corner of the lapel, towards the roll line, meeting at right angles. Baste just a little beyond the roll line.
Securing the Lining
Carefully turn the coat back over so that the lining side is face up. Making sure to keep a neutral tension on both the lining and coat, baste from just above the waistline, up along the edge of the facing. As you get towards the top, ease the excess fabric in as you go. Continue basting until about two inches from the top of the shoulder.
At this point, if you carefully put your hand underneath the coat, supporting the shape (you may want to wear an oven mitt), carefully shrink out any remaining excess. If you left a large enough inlay, you may be able to distribute the ease so that less shrinking is necessary here. Be patient.
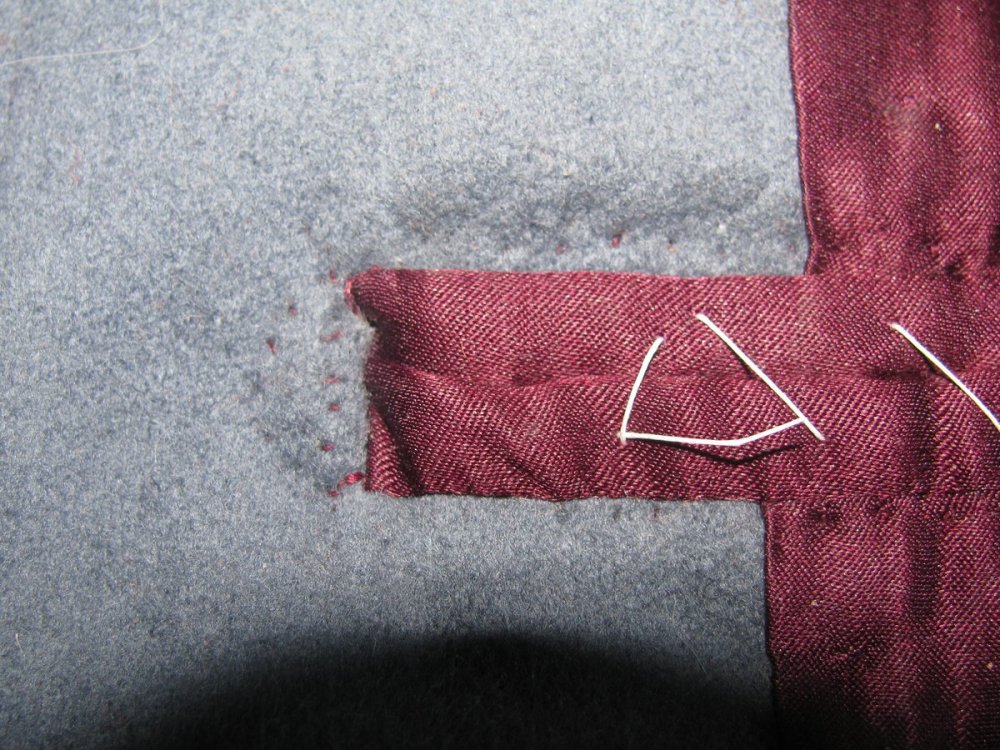
Tacking the Pockets
To prevent the pockets from moving out of place during use, you should sew the seam allowance of the pocket to the coat canvas, using a cross stitch. Move the lining out of the way for better access.
Completing the Basting
Starting at about the middle of the armscye, 2 inches from the edge, baste the lining to the coat around the bottom of the armscye until you get to the side seam. Then baste down the side seam to just above the waist seam.
You may want to support the shape of the coat with your hand underneath, especially in the armscye area. Each coat is different, so the amount of shape you need to support may vary.
Finally, baste along the back sidebody seam, from the lining side of the coat. The lining should line up with the edge of the back seam. If you find a slight shortness in the lining, it’s due to the coat not being held in its proper position while basting. You may need to redo the last row of basting and try this step again for good results.
Securing the Lining
Now that the lining has been fully basted down, you need to permanently secure it. Using silk thread, baste the lining edge of the back sidebody down, using smaller basting stitches than normal. This will help prevent the weight of the lining from tearing itself or sagging.
Marking the Gorge Line
On the facing, mark the gorge line carefully in chalk. It begins at the facing seam, exactly level with the edge of the stay tape underneath. Continue this line towards the roll line, continuing 1⁄2 inch beyond. At this point, draw a line at 90 degrees towards the neck. You should do this to both halves of the coat at the same time, to ensure they are exactly the same.
On the underside of the facing, make a few stitches in place to hold the seam securely. This location is called the collar notch, and is where the lapel and collar meet.
The stitches should be placed just beyond the edge of the coat underneath.
Snip carefully along the chalk line you made at 90 degrees to the gorge line.
Also remove the stitching holding the facing together, stopping just at the stay stitches you put in place.
Measure 3/8 inches away from the edge of the coat on the facing, along the top and center front of the coat. Trim away the excess. Note here I only need to trim away at the top, because I left a smaller inlay at the center front.

Closing the Facing
Starting at the area below the roll line, fold under the facing so that it is set back 1/16 of an inch away from the edge of the coat. Baste this securely as you move along. This ensures the facing is not visible from the outside on the finished coat.
When you get to about 1 inch from either side of the roll line, make the facing and coat front exactly even. This will be exposed, and having either side offset will be easily noticeable.
Above the roll line, the facing should extend off the edge of the coat by 1/16 of an inch. This is because when the lapel is rolled over in place, the facing side ends up showing. Stop basting about three inches below the lapel point, as this needs extra care.
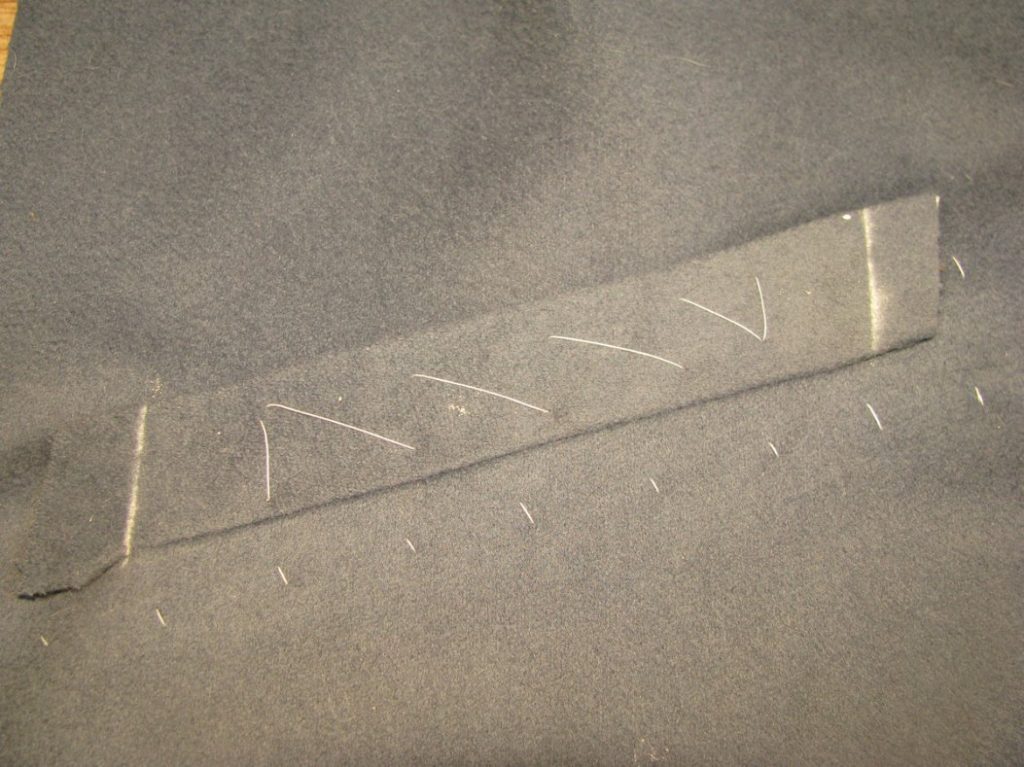
The Lapel Point
Getting a smart looking point on the lapel can be a challenge. I highly recommend practicing on some scraps a couple of times beforehand to get a feel for the technique. First, draw a chalk line straight across the wrong side of the facing. The actual angle isn’t precise, but should be roughly balanced from the lapel point on both ends of the line. The line should be drawn exactly even with the tip of the lapel. This is extremely important.
Trim just to the inside of the chalk line. This makes the facing just slightly shorter than the lapel itself. At most, it’s 1/32 of an inch. The reason for this is that when forming the lapel point, the cloth tends to extend slightly out of shape at the tip. By reducing the amount slightly, you’ll get a perfect fit.
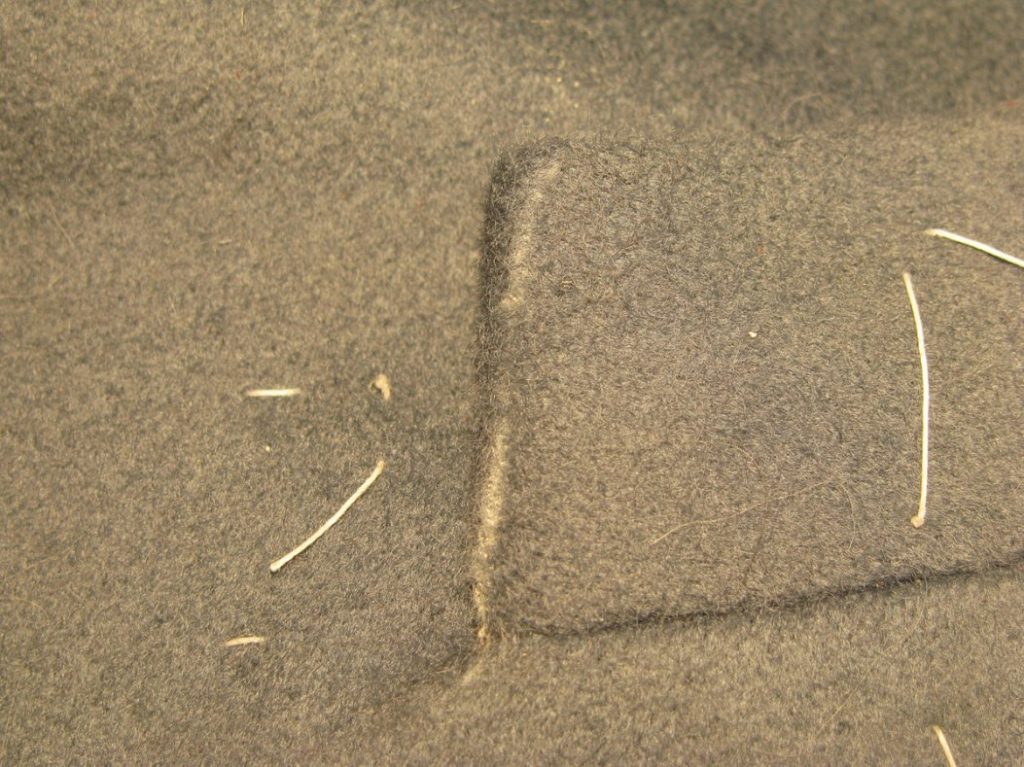
After trimming along the chalk line, fold both seam allowances inward, leaving 1/16 of an inch of the facing showing. Trim off the excess fabric that appears in the tip of the lapel facing, as shown above.
Stoat the corner securely closed, forming a nice point at the tip. You will never get a sharp angle to the point – it will always be slightly rounded due to the nature of fabric.
Baste the remaining facing down around the top of the lapel to the collar facing seam.
The Gorge Line
The area on the neck line that you chalked out will form the gorge line. Fold under the fabric to the chalk line. It should just cover the stay tape underneath. You may need to remove a few basting stitches to make room for the folded fabric underneath. Baste it securely in place.

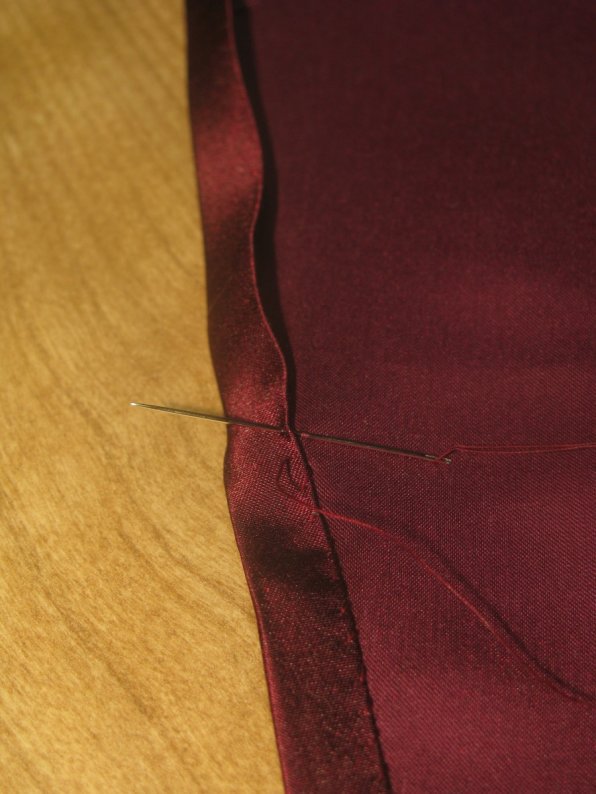
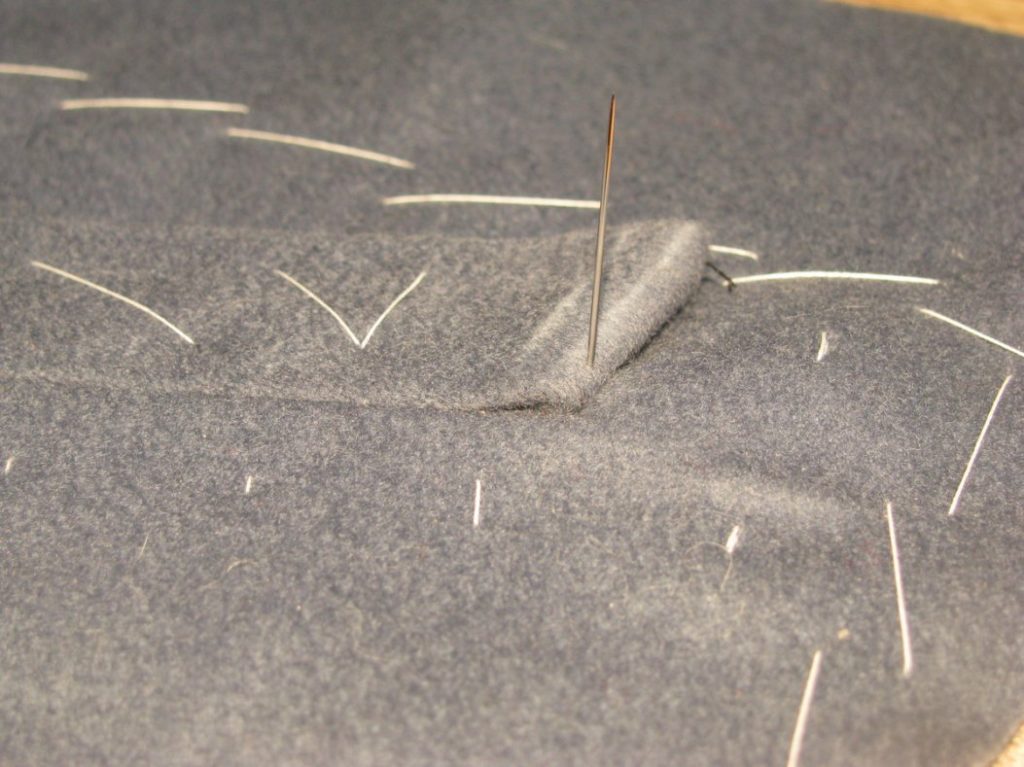
Felling
Starting at the waistline, fell down the facing using tiny, nearly invisible stitches, about 10 per inch. Continue upwards towards the roll line. At this point, I like to stop, and continue again from the collar notch at the top.
Continue felling, around the point of the lapel, down the front. When you get to the roll line, be careful to take very tiny stitches, so that no stitching is visible from the outside of the coat.
Fell across the bottom of the facing at the waistline.
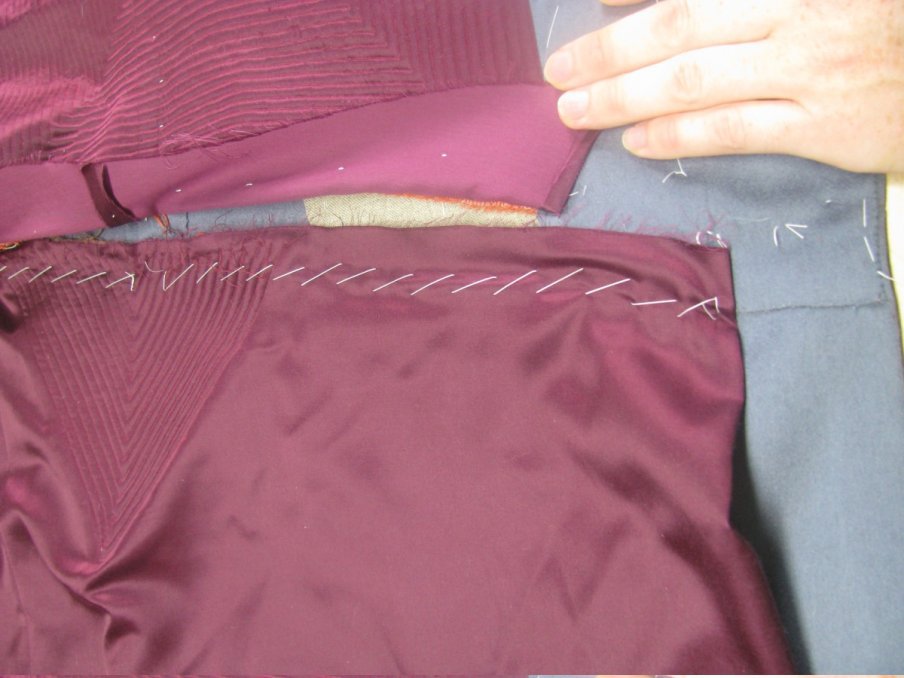
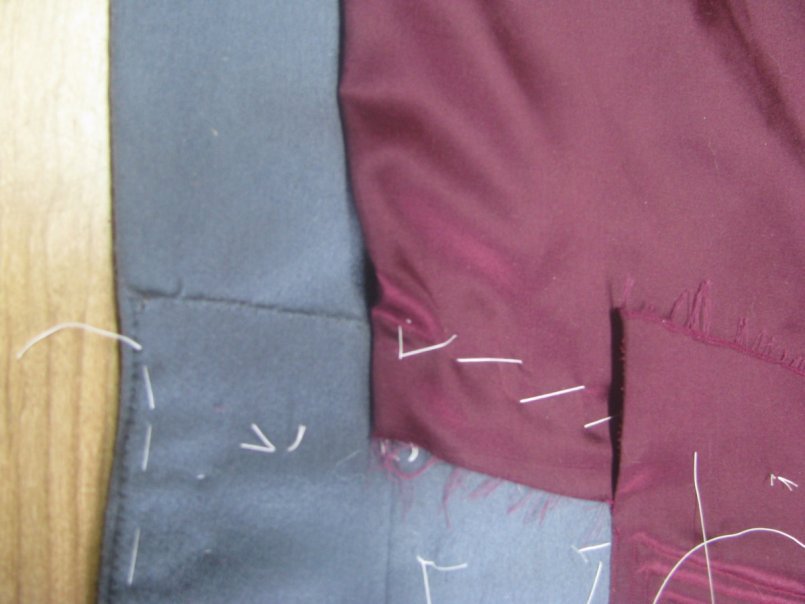
At the bottom of the inner half of the facing, remove the stitches holding the lining in place, to about an inch above the waist. This gives us room to do some other work in this area. Using a basting stitch, and silk thread, secure the rest of the facing to the skirt seam line. We do this instead of felling, in order to avoid stitch marks from showing through to the right side.
Give the front edge of the coat a good pressing, from the point of the lapel, down to the waist line. Be sure to use a ham in order to preserve the shape you so carefully worked in.

Fold the lapel across the roll line, and press well. Stop pressing three or four inches above the bottom of the roll line. You want it to roll naturally
at this point.

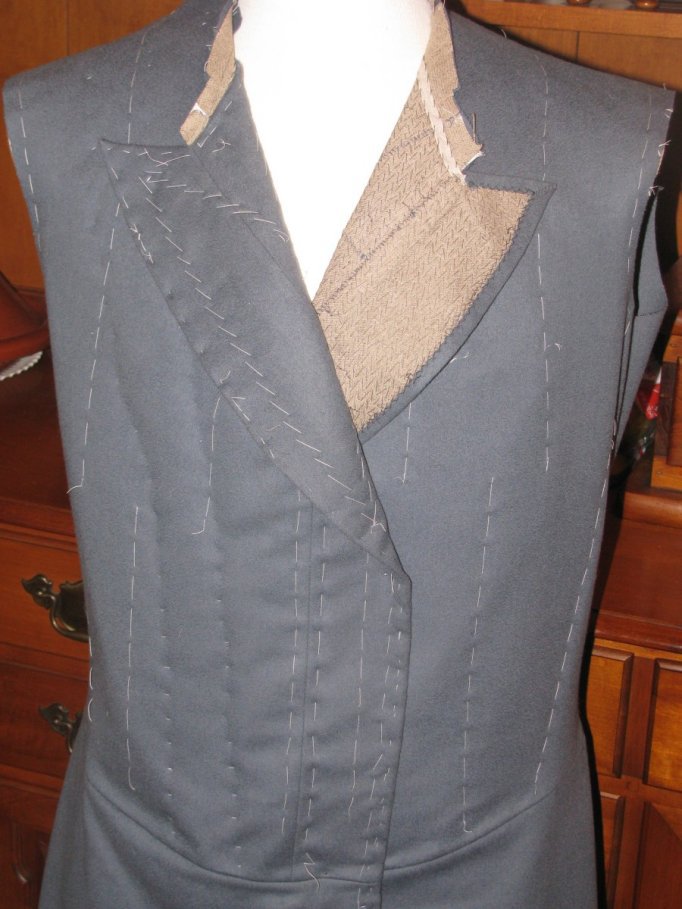
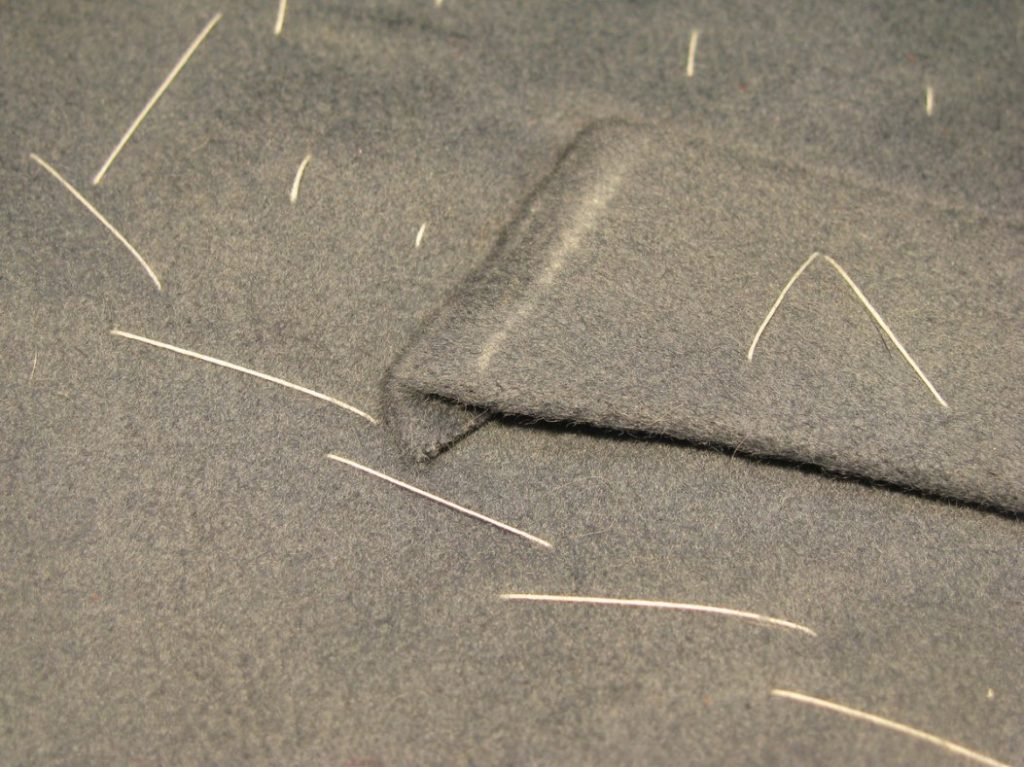
Here you can see the progress so far. Repeat for the other half if you haven’t done so already!
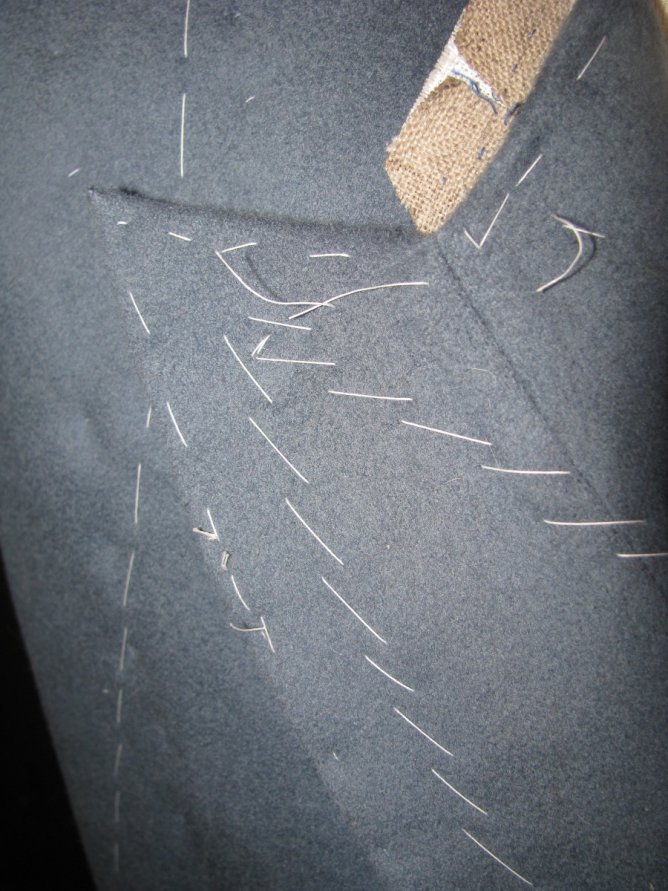
Note the sharp point on the lapel – yet still slightly rounded.
Here is the coat flat on the table – work on the shoulder seams will continue after completing the skirt lining.
Constructing the Buttons
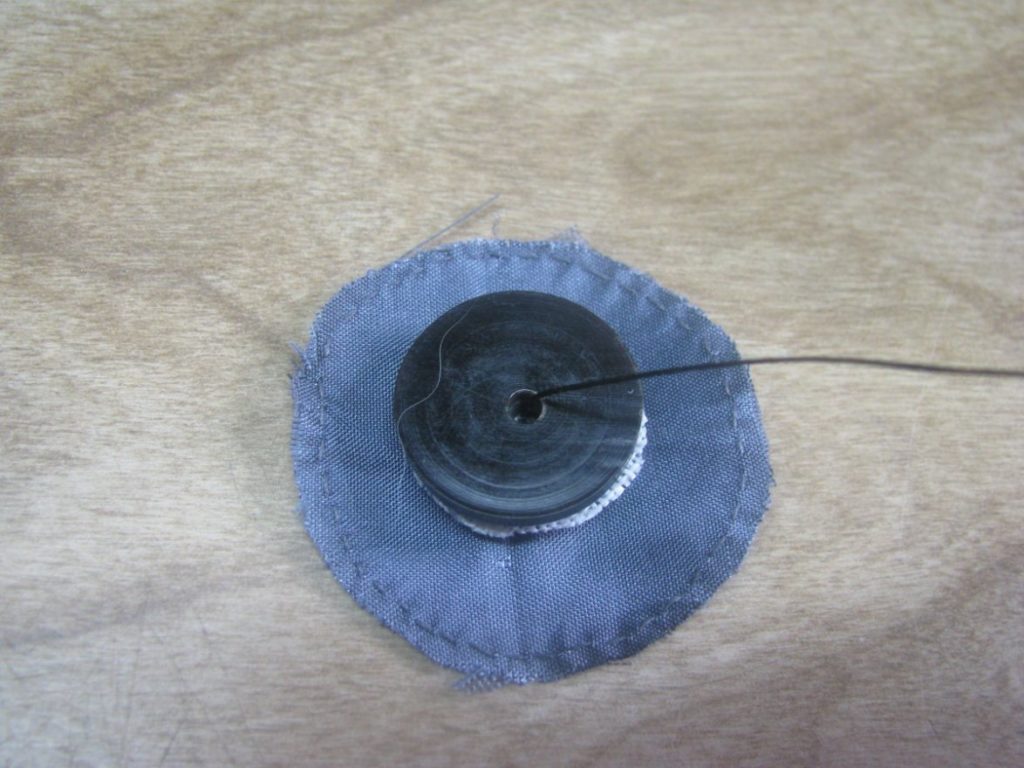
For each button, cut out the main silk piece. If desired, you can add a 1⁄4 inch seam allowance, to turn and press under, especially if your fabric frays easily. Cut a piece of linen the same diameter as the button. Finally, cut a piece of broadcloth slightly smaller than the button mold, used for a secure backing.
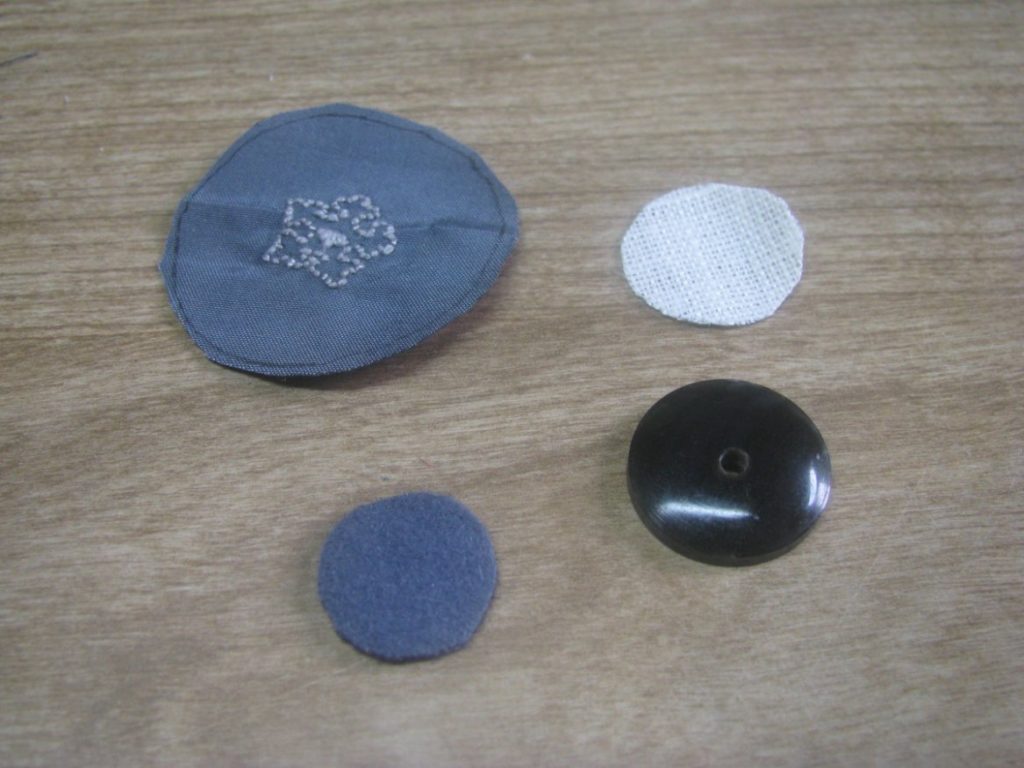
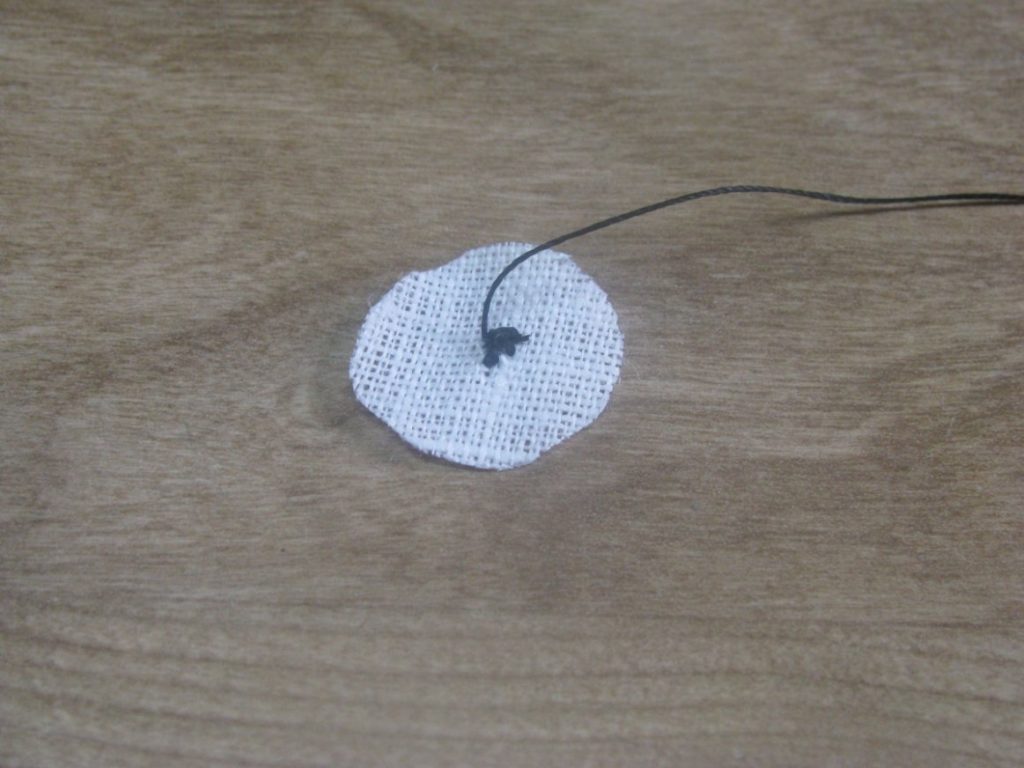
Wax and press a length of buttonhole twist – about 10 to 12 inches per button is good. Make a few back stitches in the center of the linen. These should not be on top of each other, but slightly spaced out in order to reduce bulk.
Make a small series of running stitches around the edge of the silk. Be sure to leave 5 or 6 inches of thread free at the ends. The smaller the stitches, the finer you can gather the silk around the button mold. If you have left a seam allowance, this should have been pressed under, with the running stitches going through both layers. The stitches should be 1/8” to 3/16” away from the edge, depending on how much the material frays.
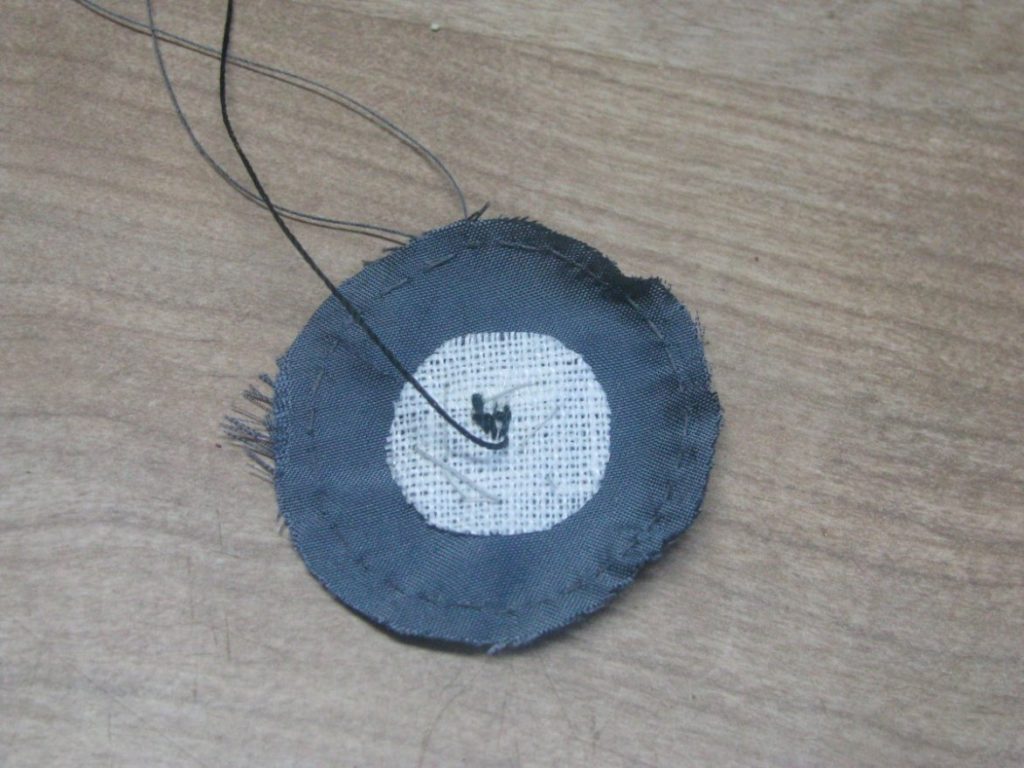
Baste the linen to the wrong side of the silk cover, making sure that they are centered upon each other. Use stitches of a large enough size that they can be removed easily after completion, but secure enough that there is no movement. I’d use a thinner thread for basting, as the larger normal basting thread can leave holes in the delicate silk.
Place the button mold on top of the linen, rounded side face down, and thread the buttonhole twist through the hole in the mold.
Carefully pull both ends of the gathering thread, wrapping the silk along the back of the button mold. Be careful not to pull too strongly, or you’ll pull the stitches out through the edges. Instead, work slowly with light pressure, gathering little by little.
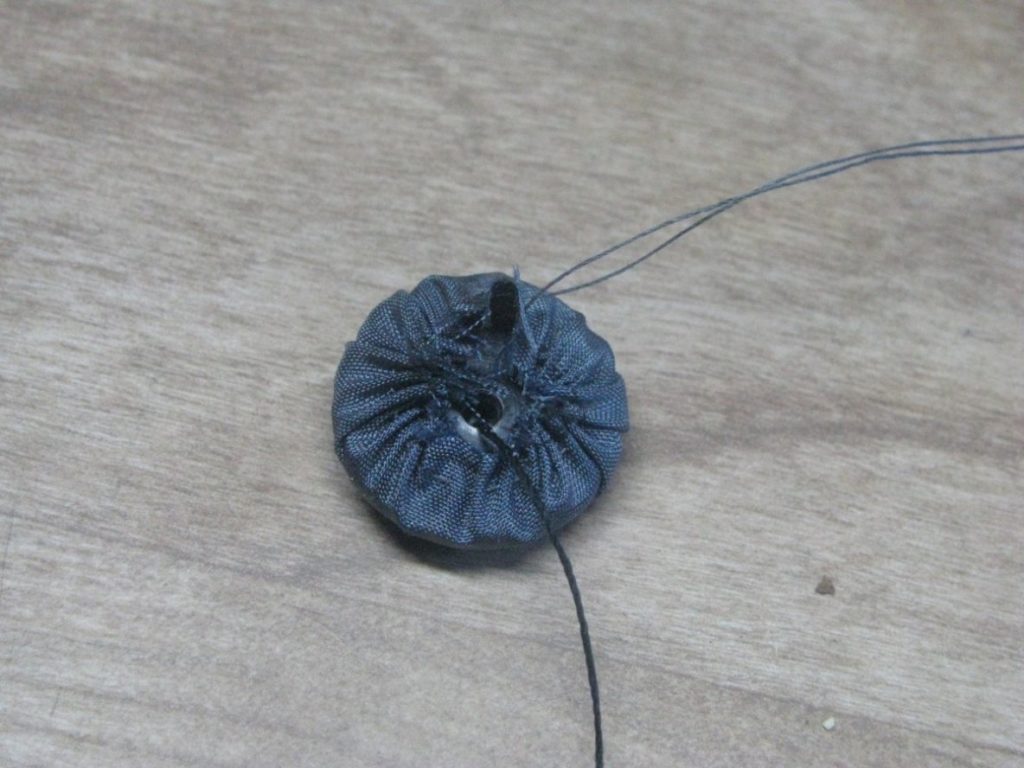
Pass the buttonhole twist through the circle of broadcloth, at the center.
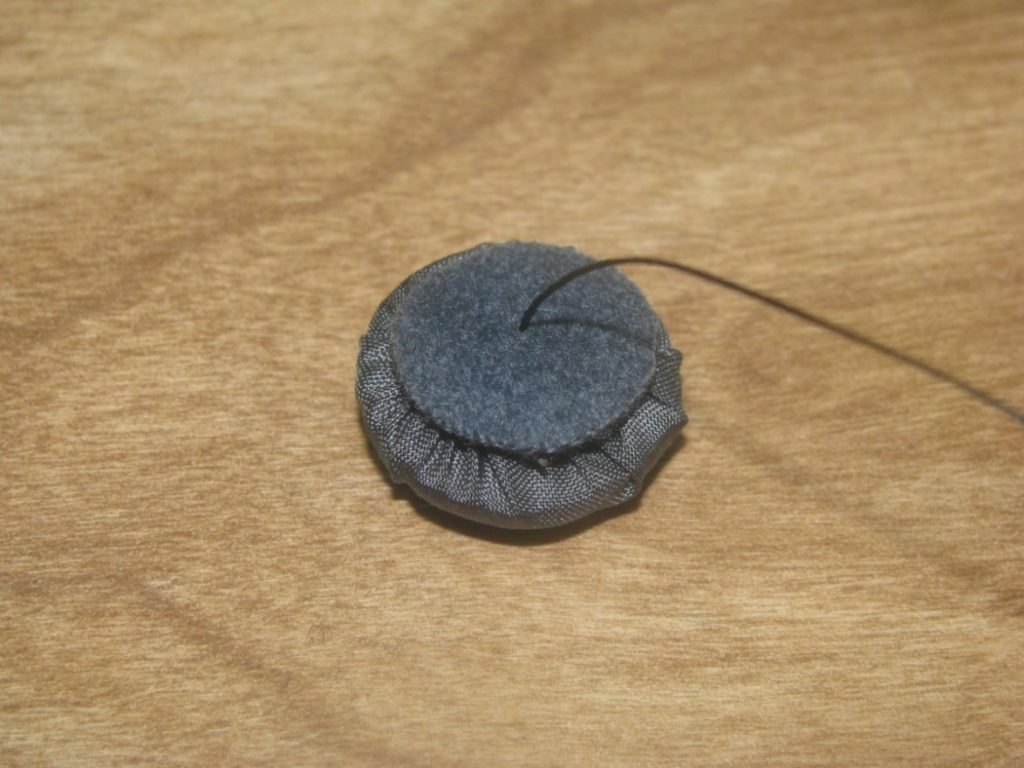
Now, carefully fell along the edge of the broadcloth, catching the silk underneath. I like to make two passes around the circle. On the first pass, just concentrate on getting everything neat and tidy, and catching all of the silk. Don’t pull too hard, or the opposite side of the circle will be pulled towards your stitching, making your button off-center.
On the second pass of the felling, you can be a little firmer, making sure those stitches will stay permanently.
At this point, the button is complete. You should have about 8 to 10 inches of buttonhole twist left on the button, to be used to attach to the coat later on.
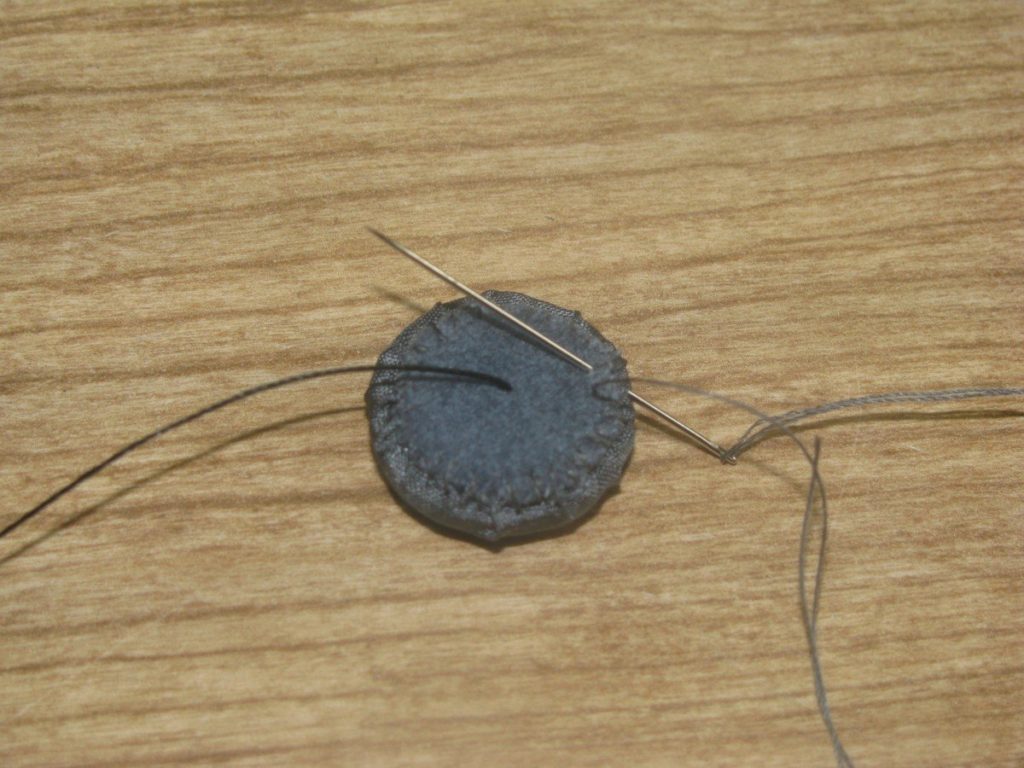
Go ahead and construct the other buttons at this point, or whenever you need a break during the rest of the coat construction.
Cloth-Covered Button Embroidery
We’ll take a detour from the coat itself, and focus on constructing cloth covered buttons in this module. Cloth buttons were very commonly used on frock coats during the period. Of about one dozen original frock coats I have examined, all of them had cloth covered buttons, either in self fabric, or a matching silk.
The first step is to determine the diameter of your button mold. Since they are curved on the top side, they therefore have more length there. Wrap your tape measure around the center of button mold, and divide the measurement in half. This gives you some additional room, since it accounts for the curvature of the mold.
Embroidery
An additional feature present on some buttons were custom embroidery. Keep in mind this step is completely optional, and plain buttons were the most commonly used. This embroidery could range from simple geometric patterns, to initials, to more elaborate designs. While the embroidery itself is outside the scope of this workshop, I will go through the process that I used, so that you may have a place to begin your own research from.
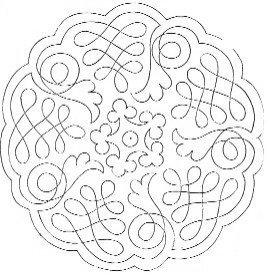
Now that you have the diameter, it’s time to locate an appropriately sized pattern. With today’s computer technology, it is easy to scale patterns to the correct size, but you should find something approximately the correct size. I found an embroidery pattern in a Godey’s Magazine issue from 1860. The pattern was originally for a pincushion, but I noticed the middle was the perfect size for a button.

Taking that, I digitally cropped and attempted to clean up the pattern as best I could. Next, I placed it into an illustration program called Inkscape (free to download and use), and added the appropriate sized border around the pattern, using twice the diameter measurement. From there, the pattern was copied and spaced so that I could print it out to use as my pattern. Note that four were scaled down further, for the cuff buttons. I’ve included this pattern here so that you’ll be able to see and follow the process in its entirety.
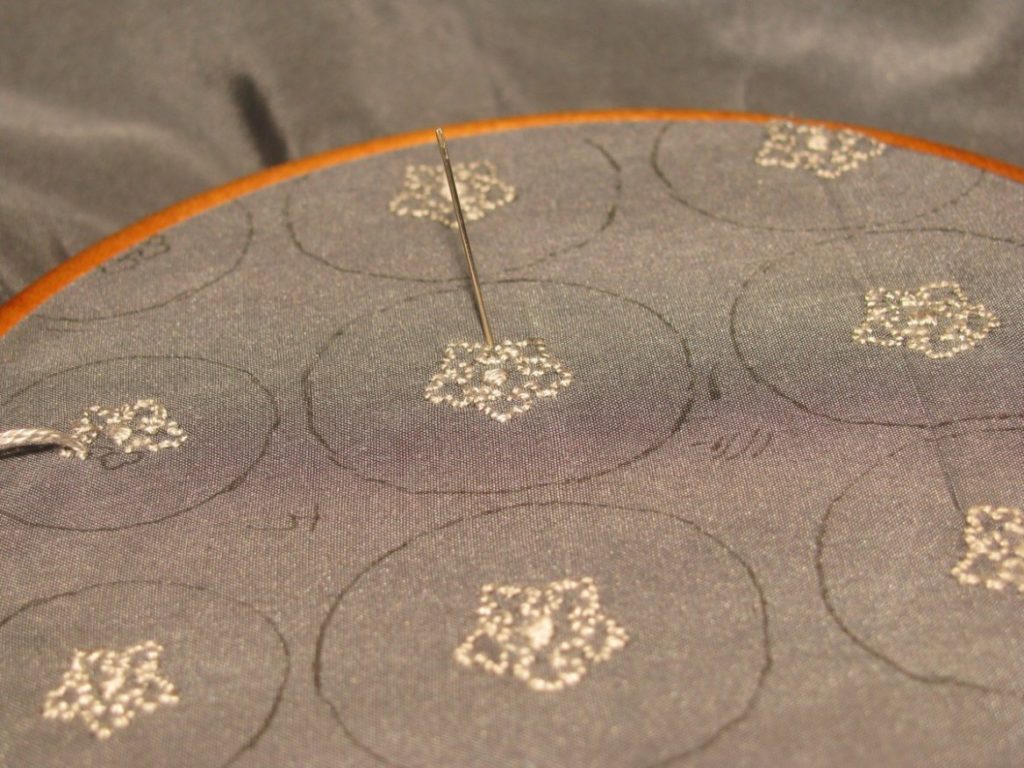
I placed this pattern under my silk taffeta, and outlined the pattern with a fabric safe pen over a light table. There are other ways to do this, such as special transfer paper that you can embroider over, tearing it away afterwards, and other methods, but this is what has worked for me. I encourage everyone to experiment on their own before committing to a method.
Finally, the buttons are ready for embroidery. This again is outside the scope of the course, but I’ve included my work as inspiration for you. My buttons are simply backstitched with silk embroidery floss, with a satin stitch in the middle.
Interior Breast Pockets
It’s time to construct the interior breast pockets. These are known as ‘jeatted pockets’ in the tailoring trade, and consist of two ‘jeatings’ on the top and bottom of the pocket opening. These are one of the most basic pockets, and with practice, you’ll be able to create all kinds of variations. I highly recommend practicing this type of pocket at least 10 times on a variety of scrap fabric. Accuracy is, as usual, of utmost importance.
First, cut two pocket jettings out of lining material, both 1 1⁄2 inches wide, by 1 inch longer than the desired pocket width. Baste the jettings, right sides together, to the quilted lining. The pocket should extend slightly on to the facing, which should have been marked already.

Mark the precise ends of the pocket with chalk.
Machine stitch between the marks, two parallel rows of stitching. The stitching is 1⁄4 inch on either side from the pocket cut line. Use your presser foot as a guide. Note here how my stitching is not equal on either side. If this happens to you, remove the stitches and try again, as there is no way to correct the mistake later on.
Note how the stitches line up at each end.
Cut open the pocket down the middle line. Stop 1⁄2 inch from each end. From here, cut diagonally, directly to the ends of the stitches. This will give you two little triangular flaps at each end, which will be used to secure the ends of the pocket. Do not cut through the jetting pieces – these must remain whole, or you will weaken the pocket.

From the underside, you can see the cuts more clearly. I had to retrim the upper left corner to get it closer to the stitching. If you do not trim to the end of the stitching, you’ll get ripples in the pocket. Likewise, if you trim beyond the stitching, you’ll end up with a hole in the pocket.
Fold the jettings to the inside, one at a time, and baste them securely. I like to begin basting from the middle of the jetting to one end, then start at the middle and work to the other side, as the ends are the trickiest part to do. Tuck the triangular ends under, and baste them as well. This step takes some practice, but if you take your time and think analytically, you’ll get it.
Here is a view from the underside, showing how the triangular piece should be pulled under, and the jetting resting neatly on top.
Using a side stitch, stitch along 1/16 below the bottom jetting. The stitches should be almost invisible, and about 10 per inch. This may also be done by machine if desired.
Cut two pocket bags, about 8 inches deep, and 1 inch wider than the finished pocket. Fold the top edges to the inside by 1⁄4 inch.
Baste the top edge of the pocketing so that it lays just below the level of the top stitching you put in. In this photo, I put the pocketing too far below.
Fell the pocketing to the jetting using 8 – 10 stitches per inch. Remove the basting stitches.
Cut another piece of lining fabric, with the same length as before, and about 2 inches wide. Baste the pocketing to the facing, right sides up, and fell. Remove basting stitches. Trim about 1⁄2 an inch off the bottom of this pocket bag. This way, the facing will fall over the pocket opening.
Place the pocket bag and facing, right sides together, on top of the other pocket bag, aligning them at the sides and bottom.
Baste the two pocket halves together, being sure just to catch the pocketing, not the quilting underneath.
Draw the pocket seam lines with chalk. The outer edges should align with the edges of the pocket opening, and be parallel to the center front line of the coat. The bottom should of course be horizontal. Finish off the corners with a nice curve.
Stitch the pocketing by machine or by hand, as desired. At the top, it’s often easier to finish by hand.
Baste the pocket mouth closed from the outside, catching all layers of the pocketing and quilting, and side stitch the ends, as shown. These should be about 12 to 16 stitches per inch, for extra security. You’ll have to do this as a prick stitch – passing the needle all the way through to the bottom for each stitch. Make sure the flap is pushed under properly for a nice clean finish. This will secure the edges of the triangles.
Top stitch using a side stitch, going through all layers of the pocketing.
At the ends, using a side stitch, tack the flaps of the pocket down with a nice ‘D’ shaped stitch line. The stitches are exaggerated here for more clarity – they should be just pinpricks. Again, use 12 to 16 stitches per inch.
As an alternative to the side stitching, it was also common to finish the pockets by machine. The stitches could fall 1/16 inch below and above the jettings, or could be placed on the jettings themselves.
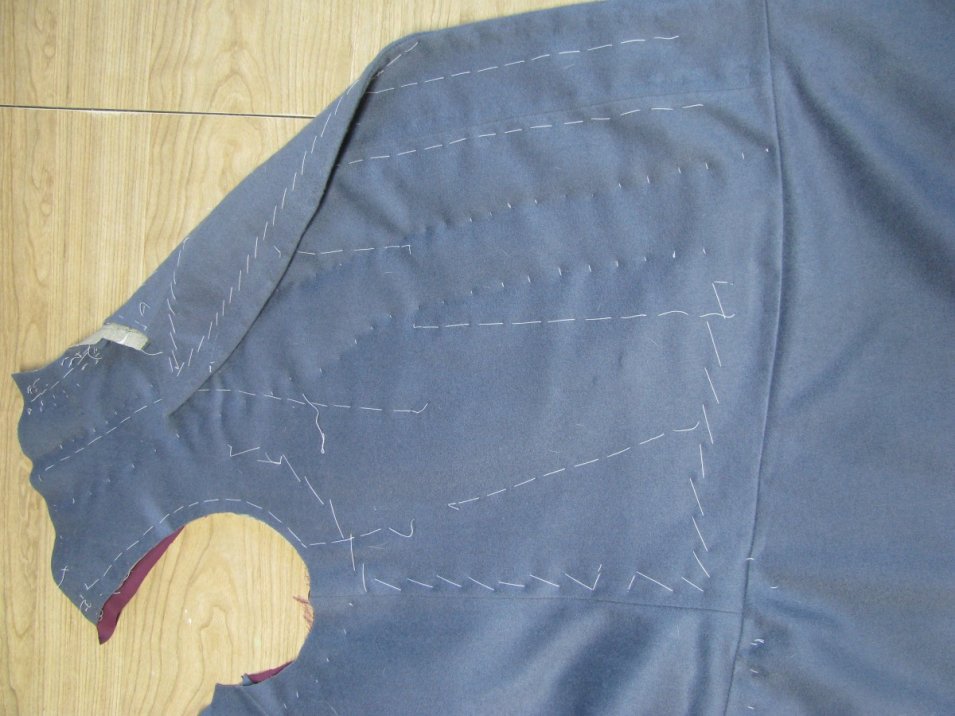
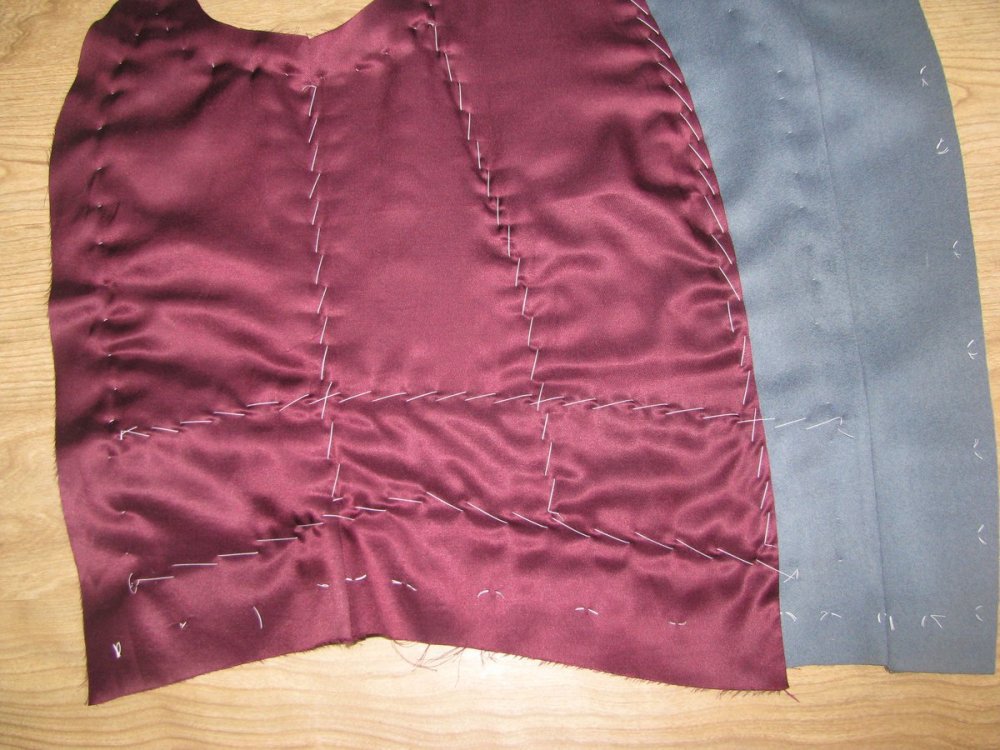
Quilting the Lining
There are many different quilting designs you can do for an 1860s coat, and I will demonstrate a few of those for you. The quilting will go from the most basic, to much more elaborate, so do what you are most comfortable with. You can always practice on scraps, if you wish. Quilting should stop at the edge of the lining, or at the edge of the interlining underneath, although I’ve seen some quilting extend into the facing.
If you are machine quilting, the stitches length should be at about 20 stitches per inch. The goal was not to see the individual stitches, but to get the appearance of a solid line of quilting. Lines may be drawn in chalk, but with the more elaborate designs, this is not possible, and you will have to use your eye.
If sewing by hand, the proper stitch to use is the side stitch. Since the side stitch locks in place the previous stitches, it is more secure, and almost invisible to the eye. Stitches should be about 8 per inch.
Note that coats made at home by those untrained in proper tailoring methods, or produced for the military often used a basic running stitch for quilting. It’s up to you to do what is most appropriate for your specific project.
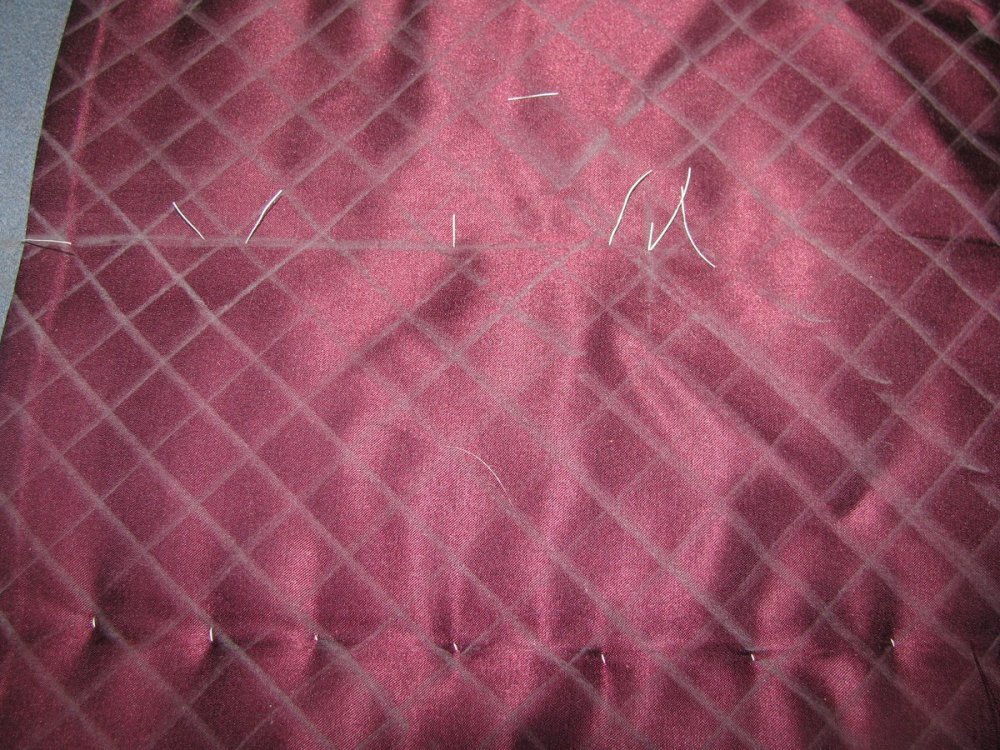
Horizontal Lines
This method of quilting is one of the most basic, and consists of rows of horizontal stitching spaced at intervals down the front of the coat. I like to begin by drawing a horizontal line in chalk just below the scye. Do this for both halves of the lining at the same time so that they are at the same location, and try to have the lines follow parallel to the weft, if possible.
From there, space the remaining lines at equal intevals. I find 2 inches is a good distance to start with. If you have a very large coat, you can increase the spacing to get a more balanced look. Likewise, with a smaller coat, you can decrease the spacing to about 1 1⁄2 inches to fit the same amount of rows on the coat.

This style of quilting can be done by machine or with a side stitch.
Hand Quilted Diamonds
This is an interesting method of quilting that I found instructions for in Garment Making, a Treatise, by J. Williamsson, published sometime in the 1880s. It’s a little late for the time period but I chose to include it here since it’s the only instructions I’ve been able to find.
Begin by drawing horizontal lines across the lining, spaced at whichever interval you prefer. Next, draw biased lines with the same spacing, either at 45 degrees, or at your preference giving a diamond-shaped pattern. The material is then supposed to be pressed along the lines, though I left that step out.
Instead of quilting rows of stitches, you simply make a single side stitch at each intersection. This gave a very interesting affect, and is extremely soft and luxurious compared to the machine stitching. I encourage you to experiment with this method. If you do use this method, be sure not to press the quilting, during pocket construction or at any other time. The quilting will flatten into a wrinkled mess, ruining all the work you did. Don’t ask how I found this out . . .

The original instructions:
Quilting is of two descriptions, the one consisting of rows of side stitching crossing each other so as to throw a diamond pattern, of which we need say little here. Then there is Quilting that is preceded by the use of an iron to crease the material to the pattern to be represented, after which it is basted on the interlining, consisting of either Wadding or Domett, and sewn with a Side stitch at each corner only. This kind of Quilting is used for linings of Dressing Gowns, and some times for extra warm Overcoats, the pattern being produced by first creasing the silk or other material straight with the warp from top to bottom in rows from two to three inches apart, and then creasing other rows across th woof at any desired degree of inclination, the same distance apart as the straight ones, by which a diamond pattern is given. A Quilting of the same description is also used for the body linings of Military clothing, and the side linings of dress and frock coats, in which cases how ever the creasing is not more than three eighths of an inch apart each way, so as to give a square in stead of a diamond pattern. In this Quilting the appearance of the cross creasing can be produced by the method of sewing, but if made with the iron, the one used for the perpendicular rows will be hot enough to crease the cross ones after the former are done.
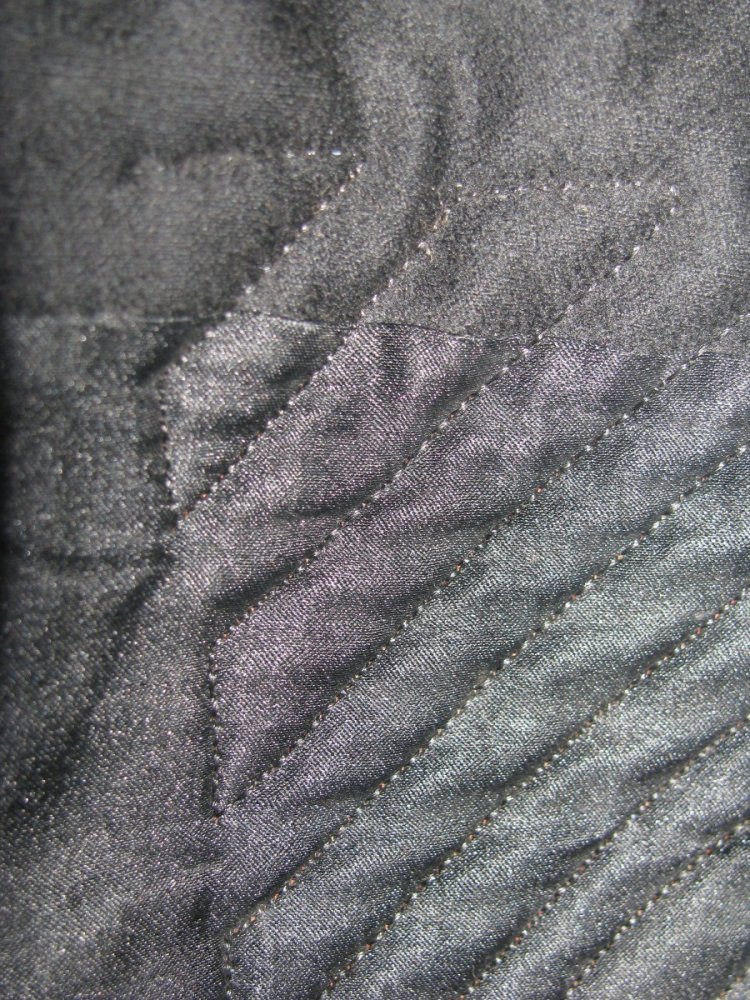
Bias Rows
This style of quilting is the next step up in terms of difficulty. Begin by drawing a line on the bias, from the bottom front edge of the lining, to about the armscye, or wherever it ends up. From here, draw parallel lines spaced anywhere from 3/8 to 3⁄4 inch apart, depending on your preference. At the ends, connect the lines alternately, so that the quilting can be done at one time without stopping. These end lines should flow harmoniously with the edge of the lining.
This quilting, being more elaborate, should be done by machine.
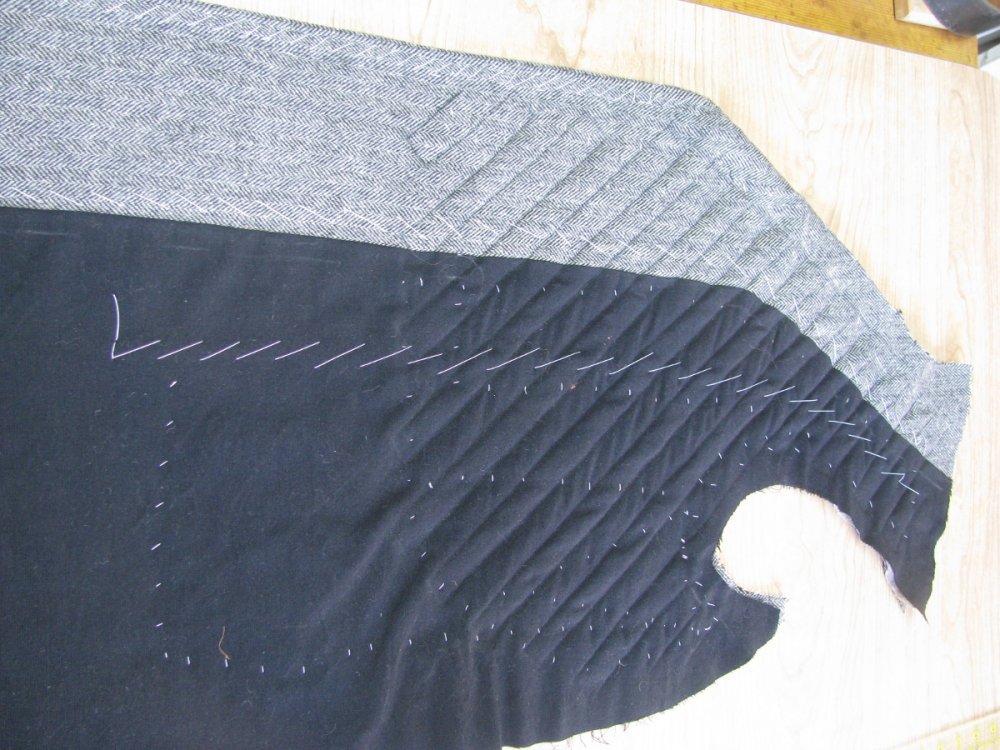
Here is a photo of an original coat quilted in this manner.
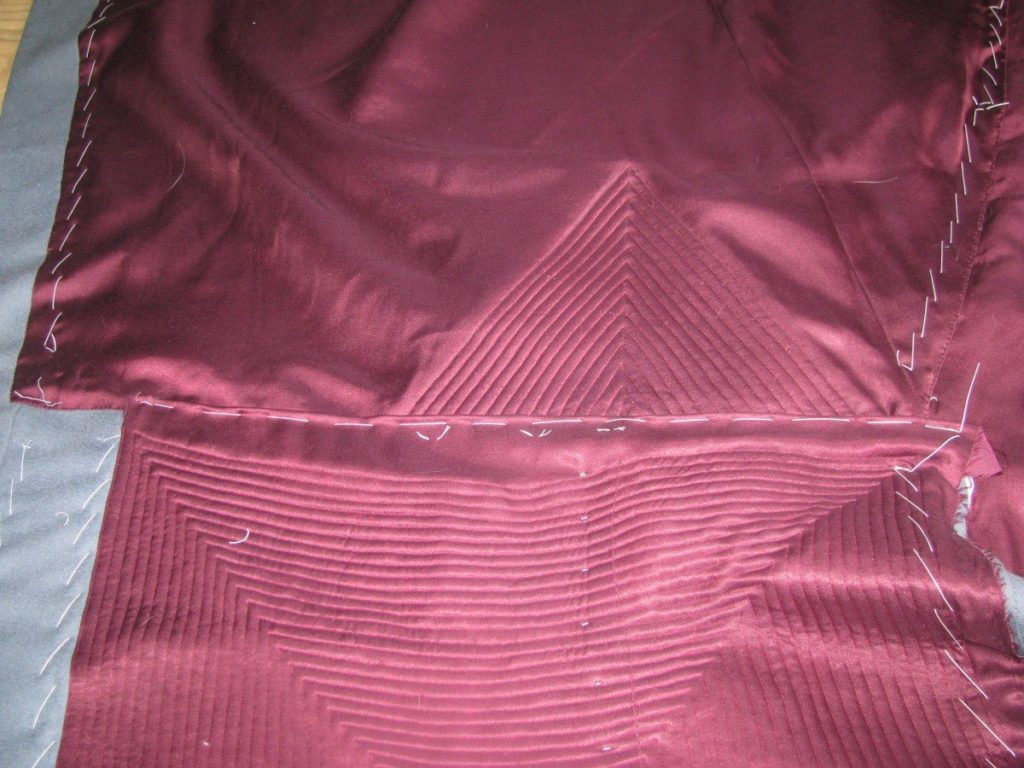
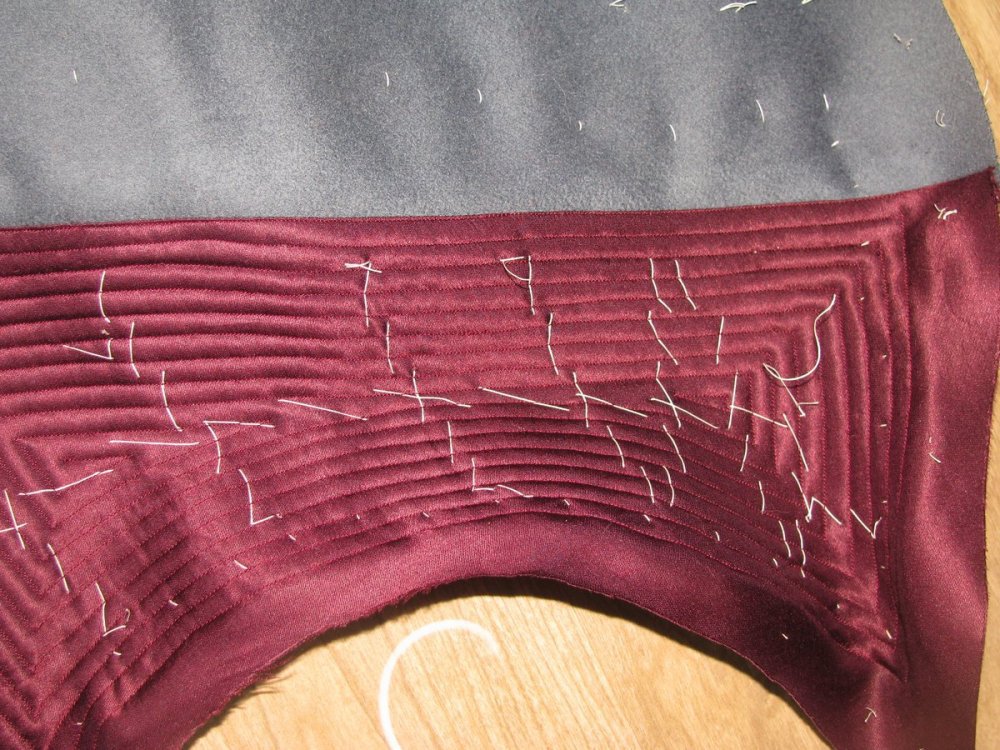
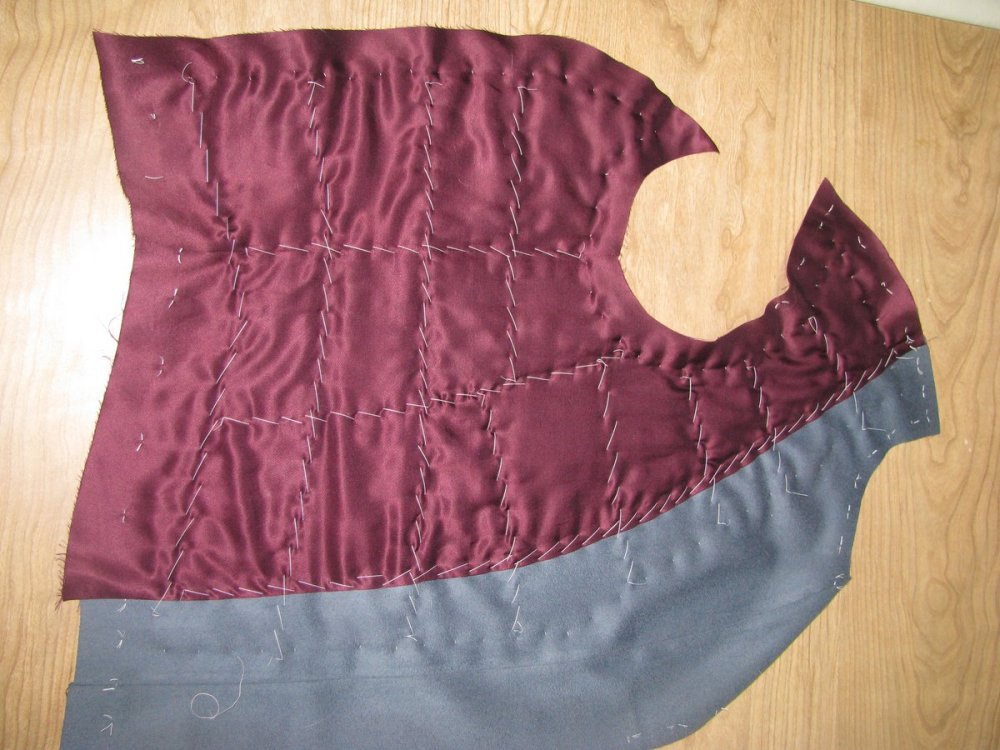
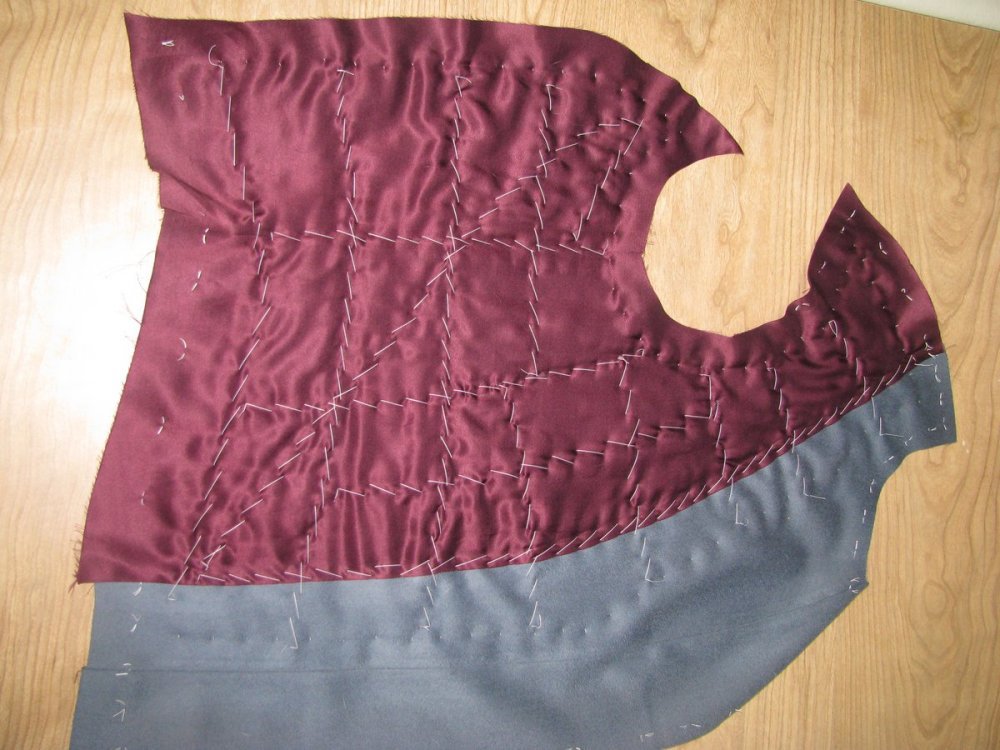
Elaborate Quilting
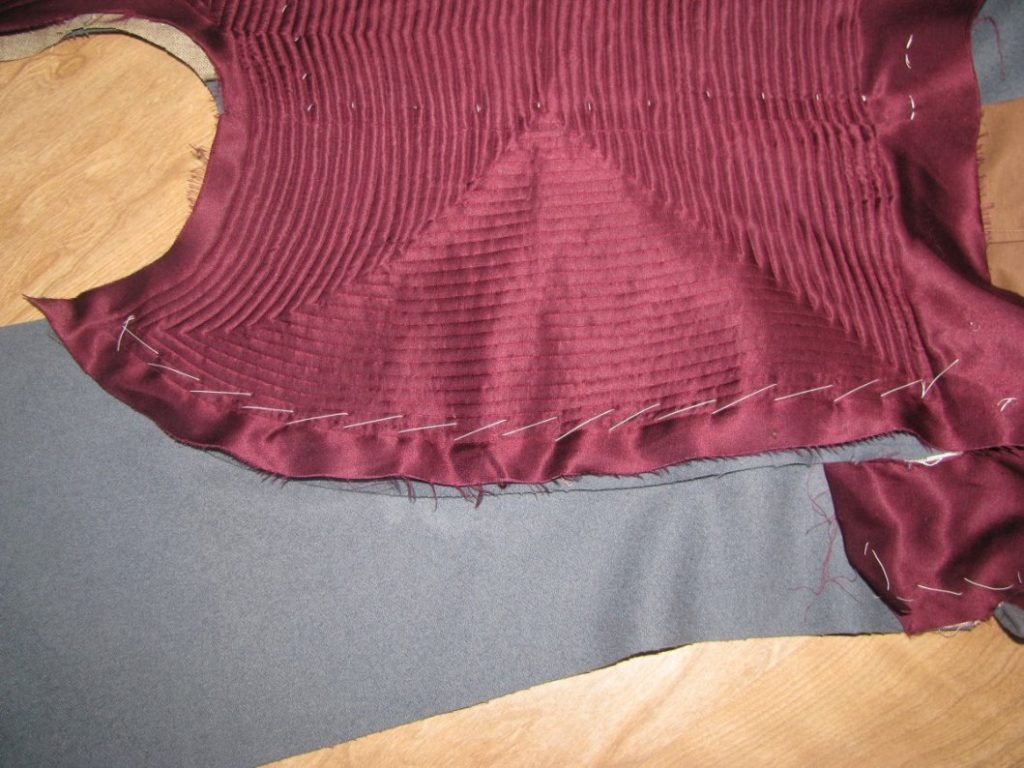
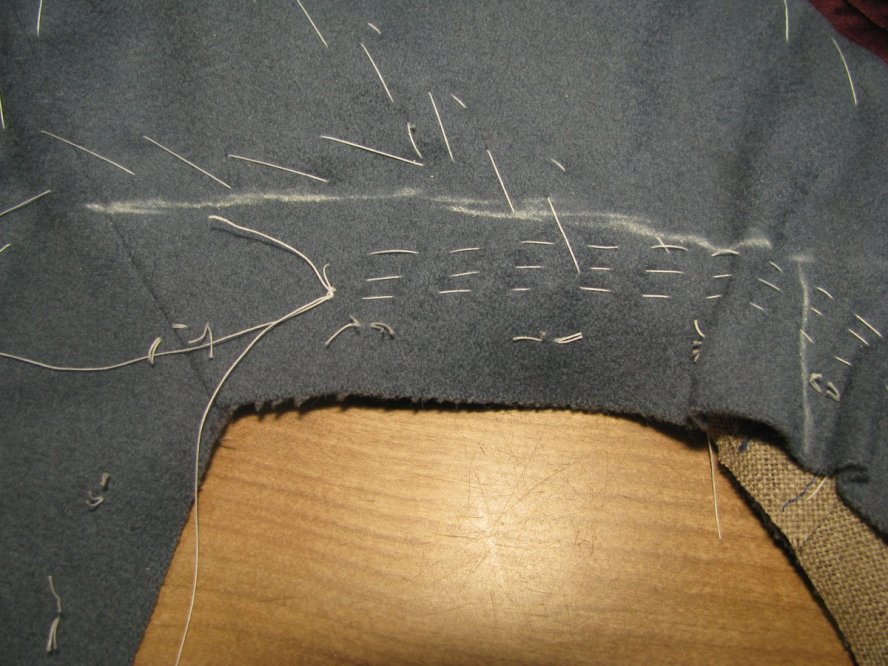
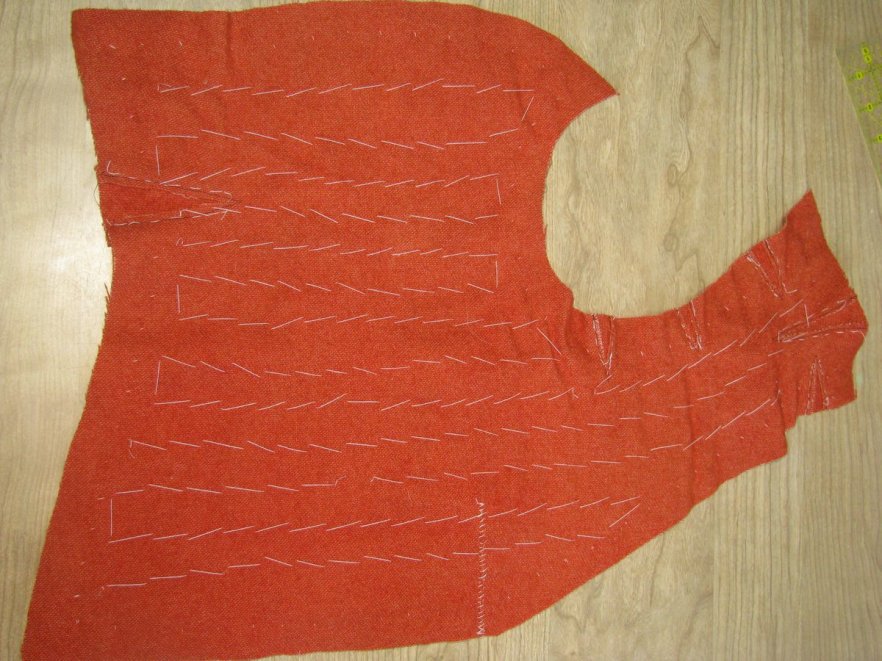
This is the most challenging design, and the one I actually used on my coat. To begin, make sure the position of the breast pocket is marked. First, sew one or two rows of stitching down the front of the lining, next to the facing. The first row should be right on the edge, 1/16 from the edge of the facing. The next row, should be 1⁄4 inch away, parallel with the first row.
Next, a 1⁄4 inch above the pocket line, start a row of stitching going from the edge of the interlining at the armscye, towards the facing. When you get to within 1⁄4 inch of the first rows of stitching you made, turn upwards towards the top of the shoulder. Turn just before you get to the edge of the interlining, and continue in the same manner along the armscye. When you get to within 1⁄4 inch from where you started, turn, and start a new row. Continue quilting in this manner until you get to the middle.
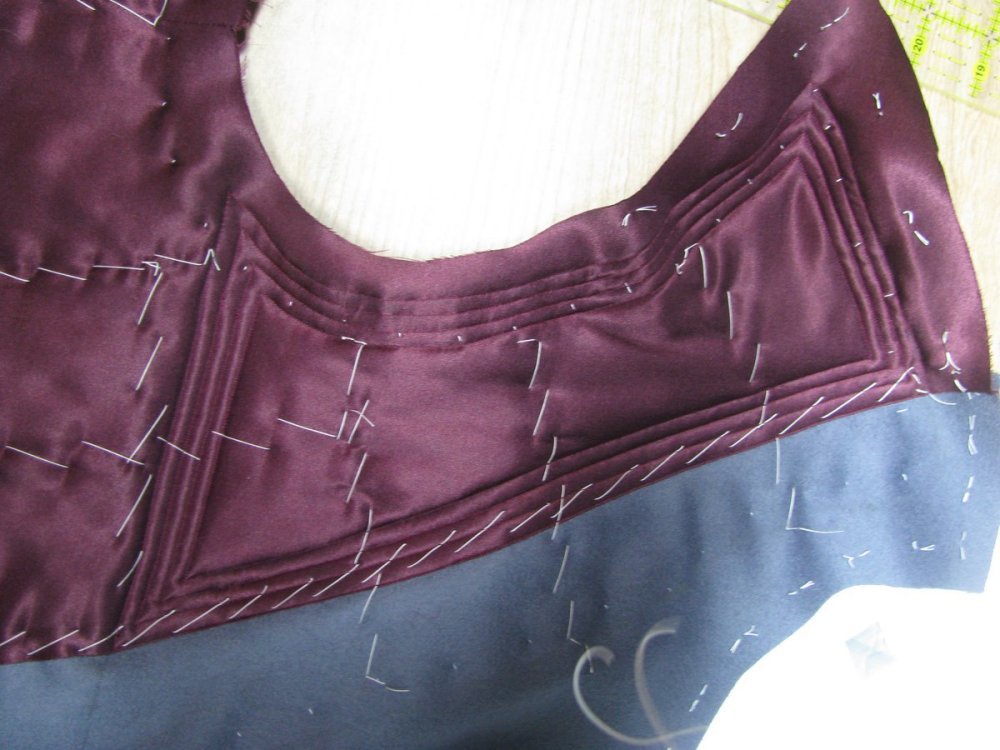
Do the same process with the bottom half of the lining. I did the this piece of lining all in one section, but the second piece I did it in two separate halves, splitting at the side seam. I liked the results better when it was split up this way.
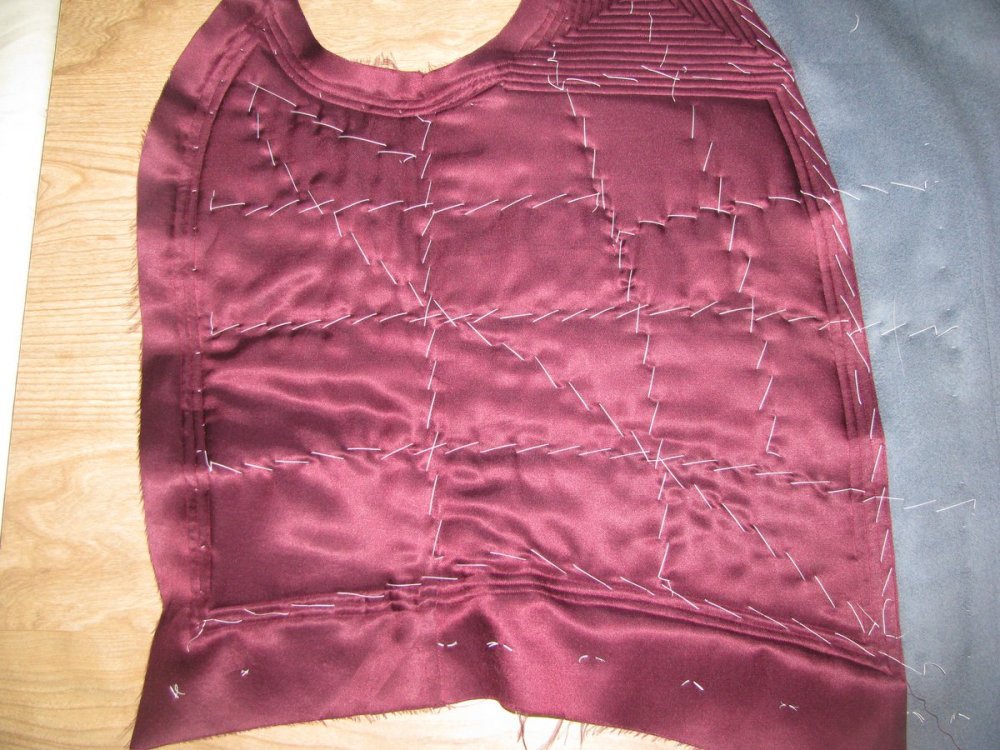
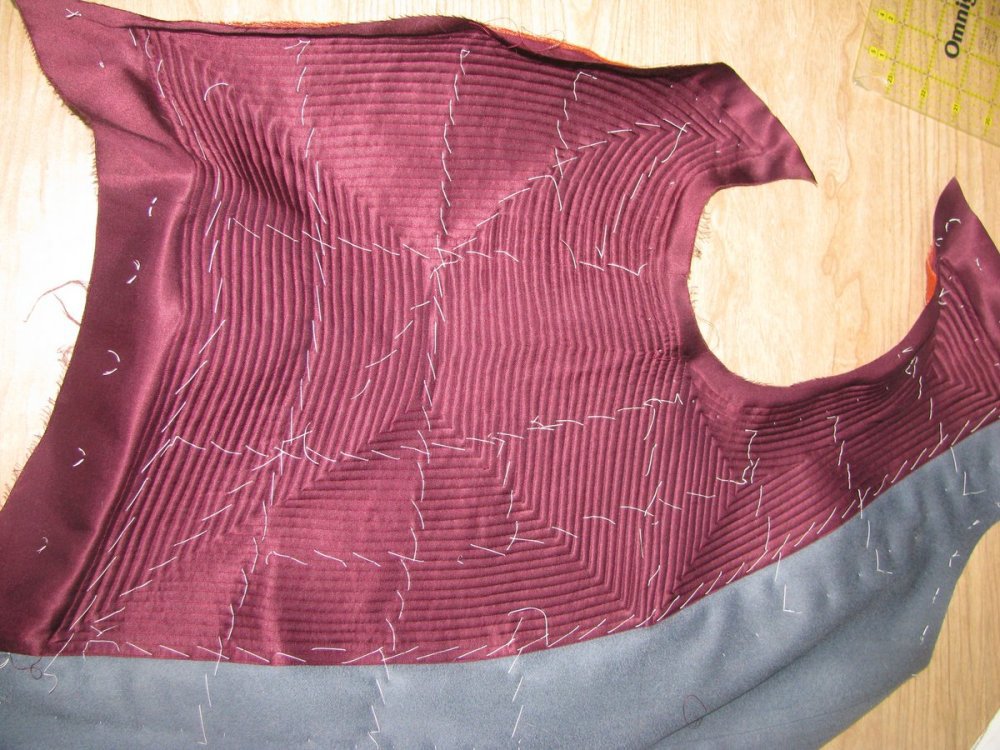
The rows of stitching can be placed further apart if desired. 1⁄4 is good however, because you can use the edge of the sewing machine foot as a guide.
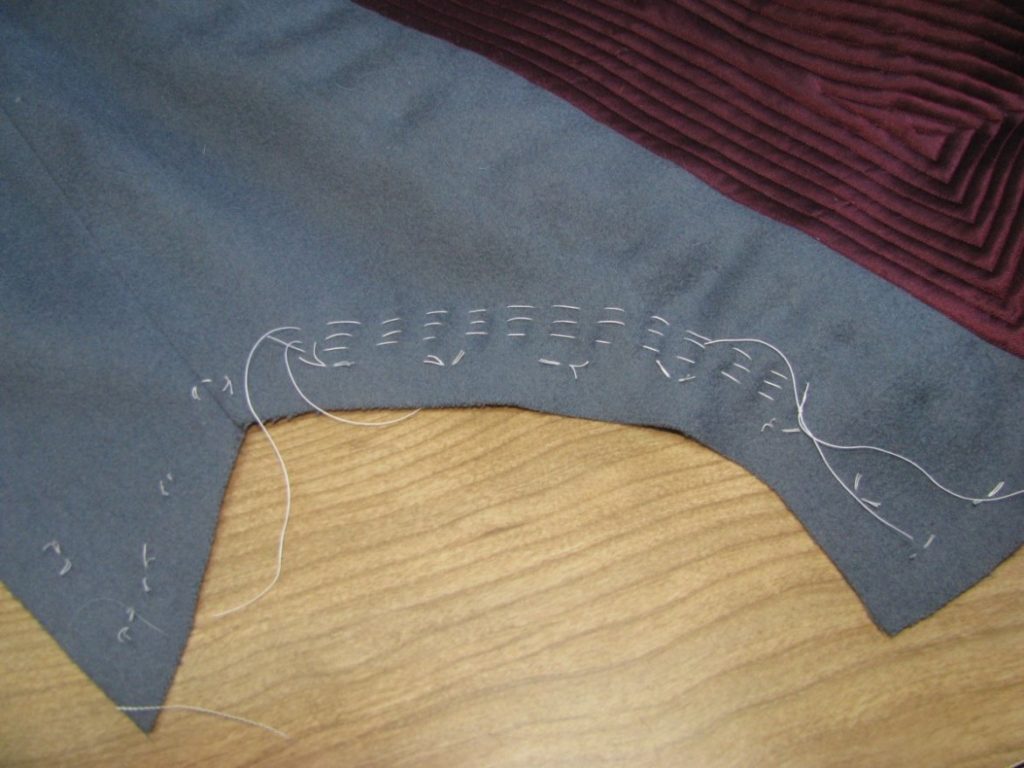
Cross Stitching the Interlining
The front edge of the interlining is not held down, except by the temporary basting stitches. At this point, it is necessary to cross stitch the edge of the interlining to the seam allowance of the center front seam.
Remove the Basting Stitches
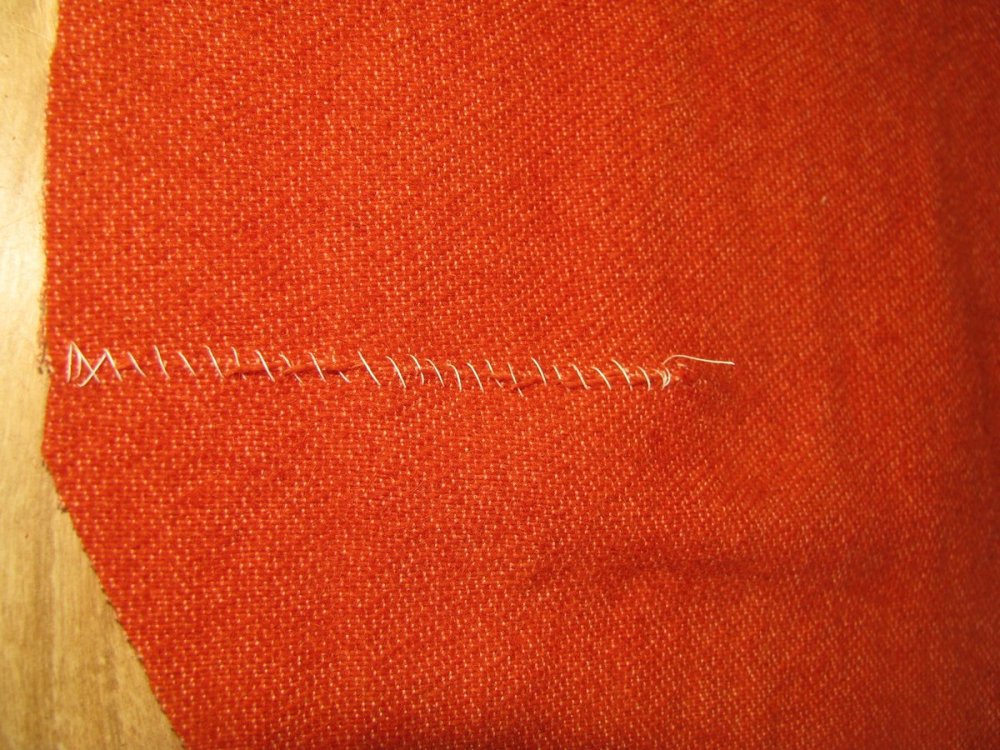
Now you must go through the tedious process of removing all of the basting stitches. If a thread is caught in the machine stitching, snip close to the stitching, and pull from the other side, and it should come out. This step took almost as long as the quilting itself did!
After removing the basting stitches, give the linings a light press from the right side. They’ll be inclined to curl inwards, but that is okay, as it will aid in shaping the coat.
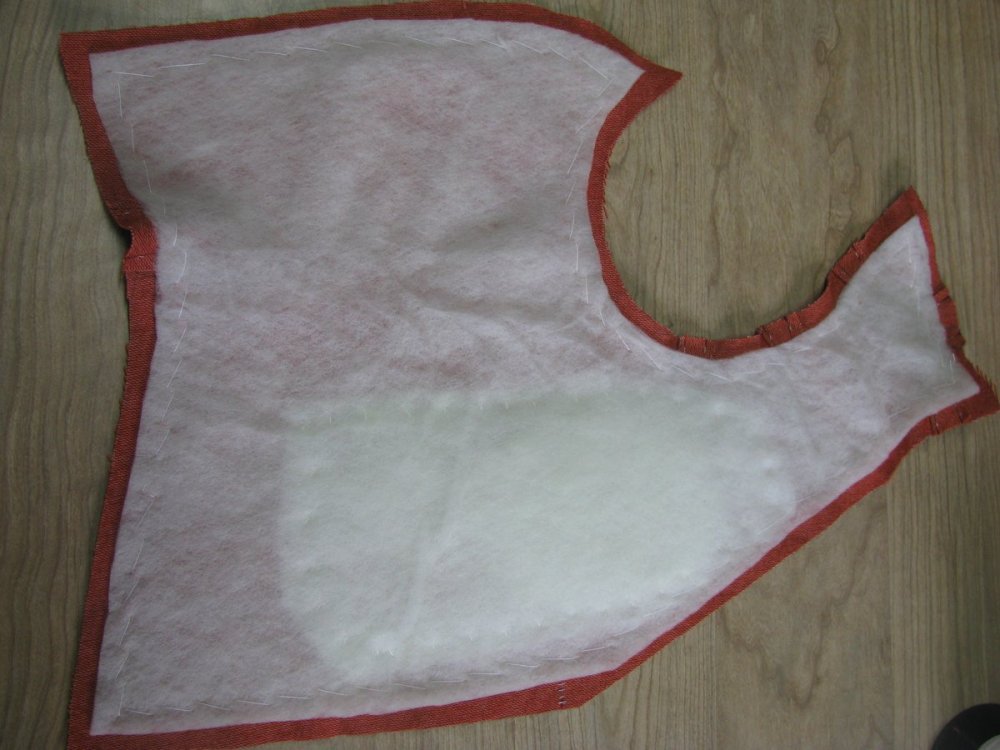
Assembling the Lining
Begin by placing the smallest piece of padding onto the middle sized piece if you have one, and basting around the edge to hold it in place. If not using the middle layer of padding, baste it directly to the main padding piece, about at the level of the armscye, where the chest is fullest.
Baste the middle layer of padding to the large layer. If possible, the smallest piece should be between the two layers – something I overlooked when constructing mine.
Baste the padding to the interlining, sandwiching the smaller layers on the inside. The basting should be done along each edge. Near the armscye and bottom of the side seam, you’ll need to stretch the padding slightly by hand to match the interlining, but this shouldn’t be difficult. The padding stretches very easily, and will be held in shape with the quilting. Notice how the sacking extends a half inch in all directions past the wool batting.
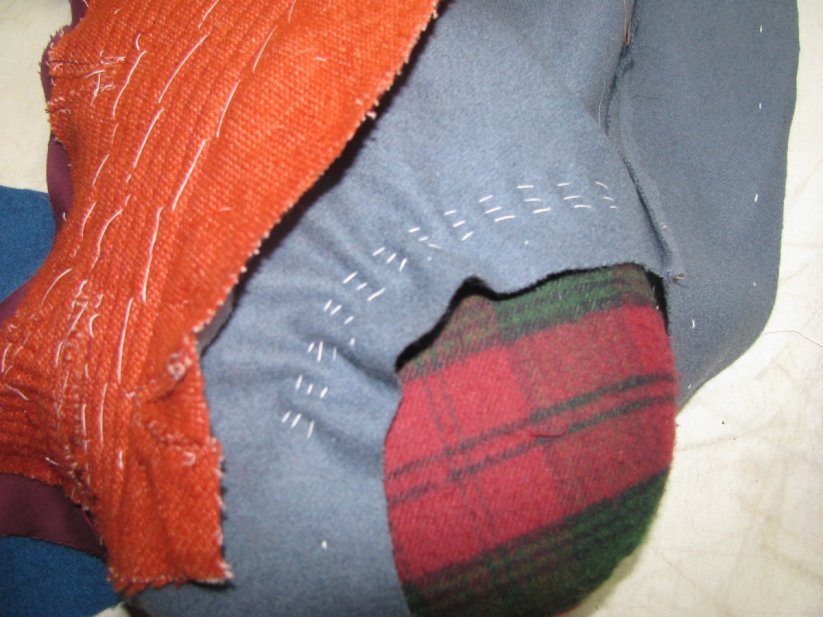
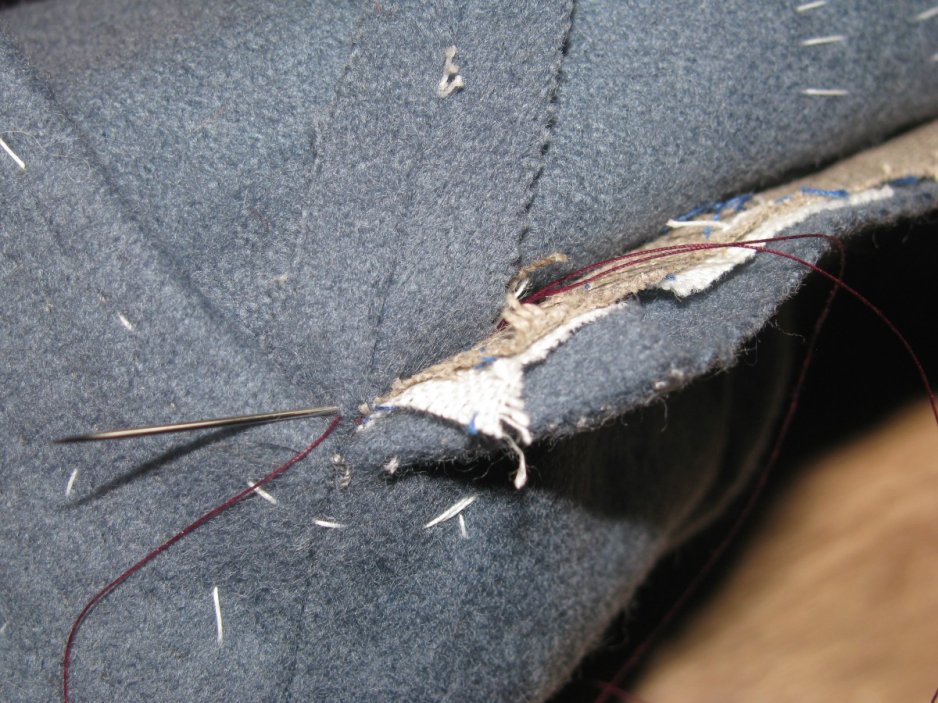
From the right side, locate the position of the inside breast pocket. This should be about 6 inches wide, and located at the bottom of the scye. The pocket should slope downwards slightly to make it more accessible. After marking the pocket position, you will need to carefully trim away the padding from within a half inch around the pocket position. This will make the pocket construction process a lot easier, giving us less bulk. This step is a pain, in that you are removing some basting stitches, but it’s the most accurate way.
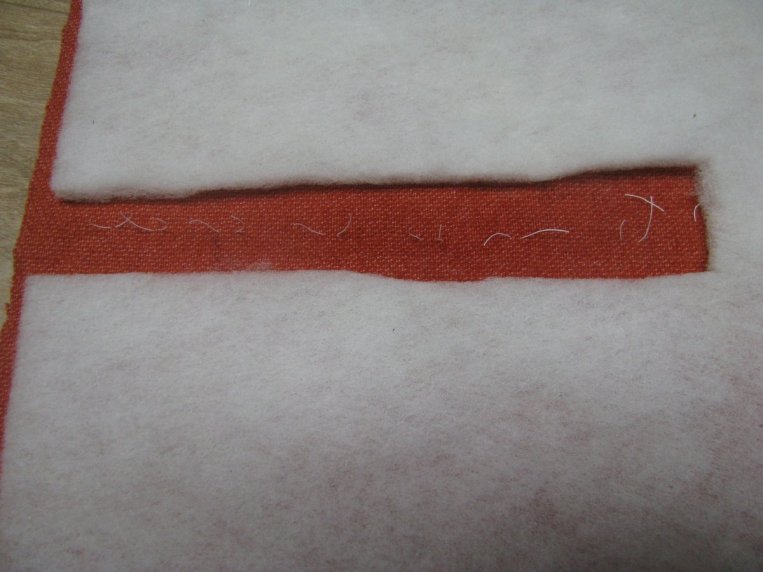
Afterwards, baste in a strip of linen 1 1⁄2 inch wide by 7 inches long to the interlining, covering the position of the pocket. This will give some additional strength and prevent the pocket mouth from gaping open or getting out of shape.
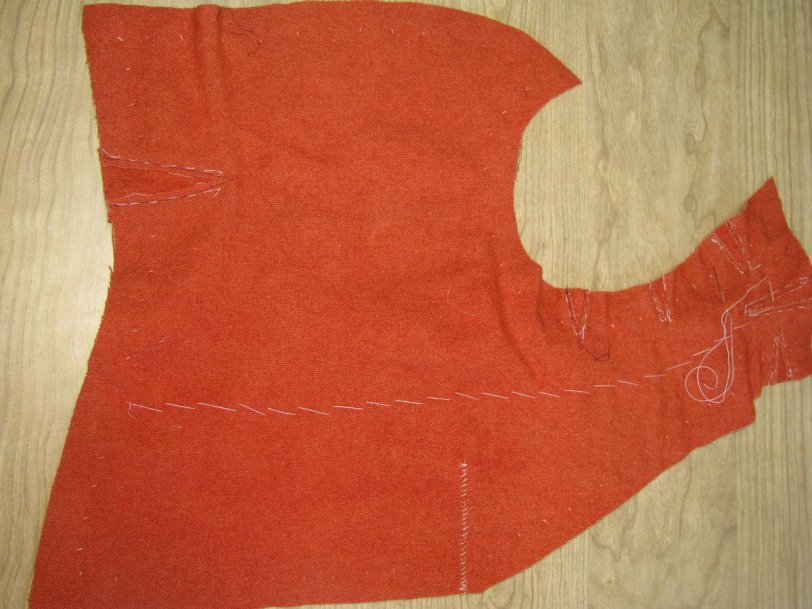
To hold the layers in place for quilting, and also to give some additional shaping to the chest area, we will pad stitch the assembly from the interlining side. Begin at the middle of the shoulder, and work your way down the front, splitting the chest roughly in half. Pad one side of the chest. Turn the work around and pad the other side, until you get the results pictured. The stitches should be 3⁄4 to 1 inch in length, and the rows spaced about an inch apart. This is actually the beginning of the development of padding the chest, found in modern coats to this day.
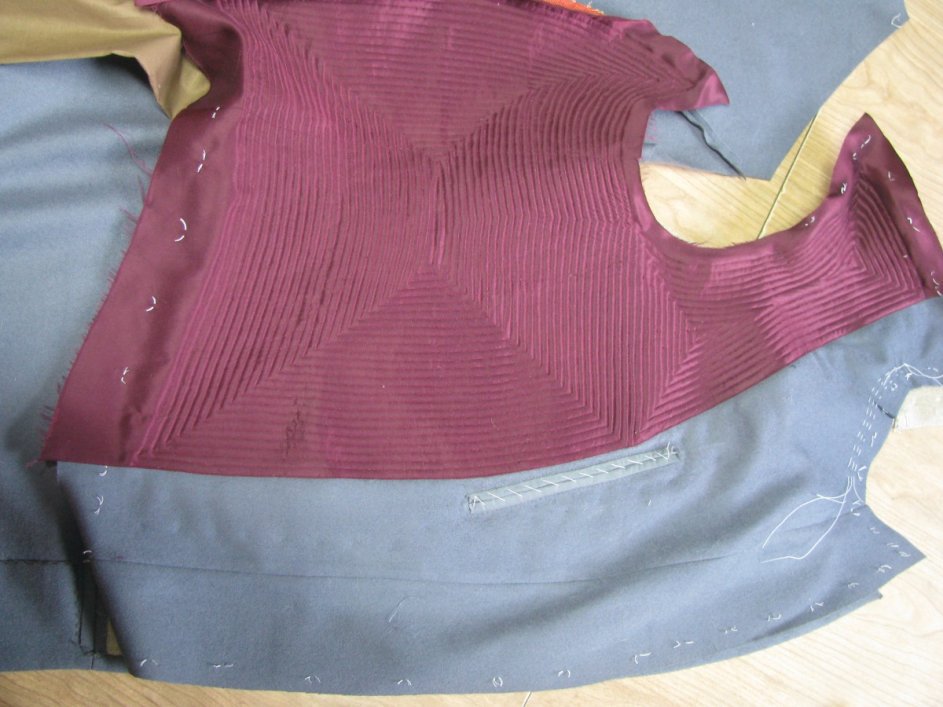
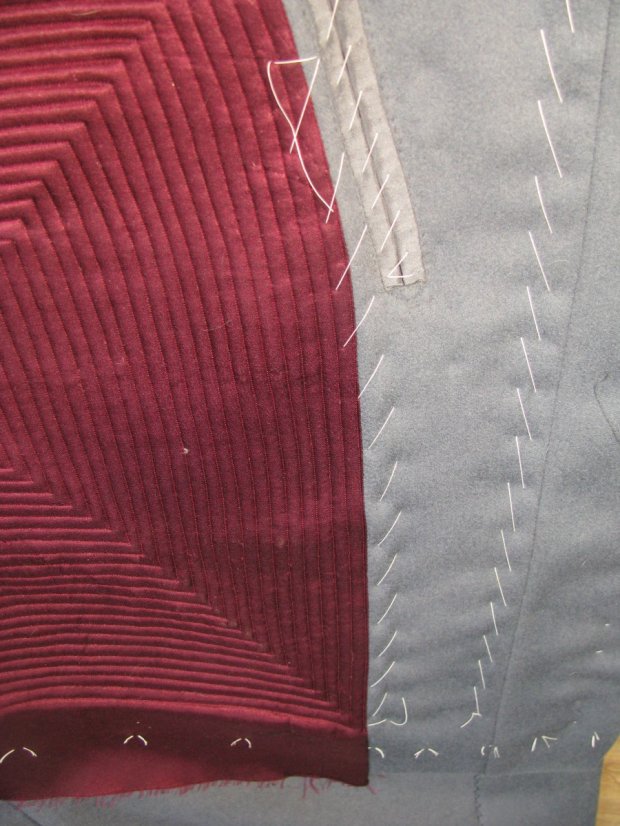
Next, the interlining assembly is placed on top of the lining pieces, with the wool batting in the middle. The interlining should be half an inch from the edges of the lining and inlay markings. At the front, the interlining should lie flush with the seam allowance of the lapel.
Baste around the edge of the interlining, making sure the lining underneath is smooth. Turn the lining assembly over and make sure this is the case. If not, remove basting stitches as necessary and baste again until you are happy with the results.
The next few steps will secure the lining to the interlining. It is important that there is no excess fabric in either the lining or interlining below. These stitches will prevent movement when quilting.
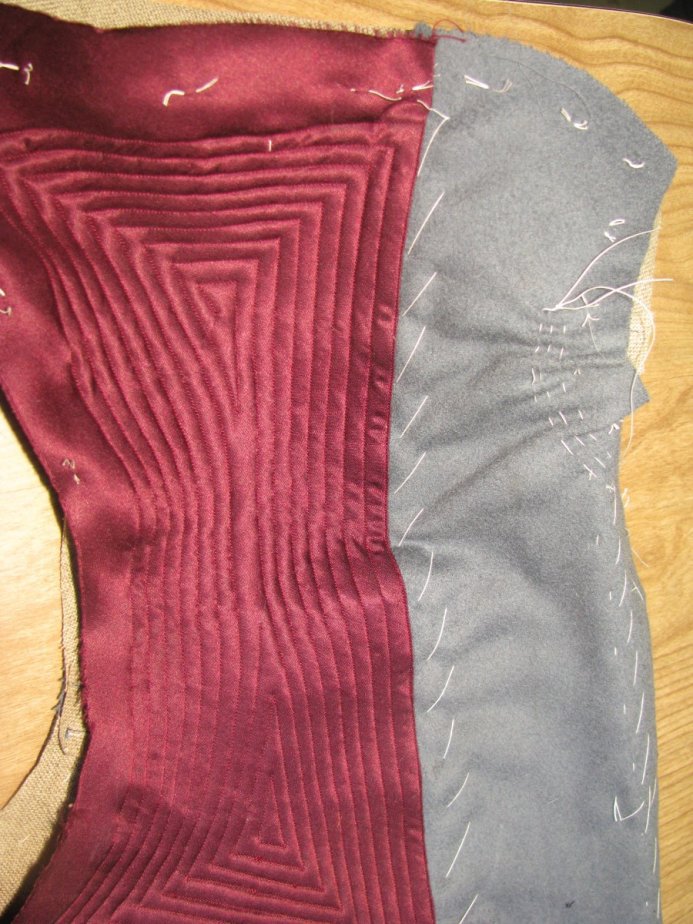
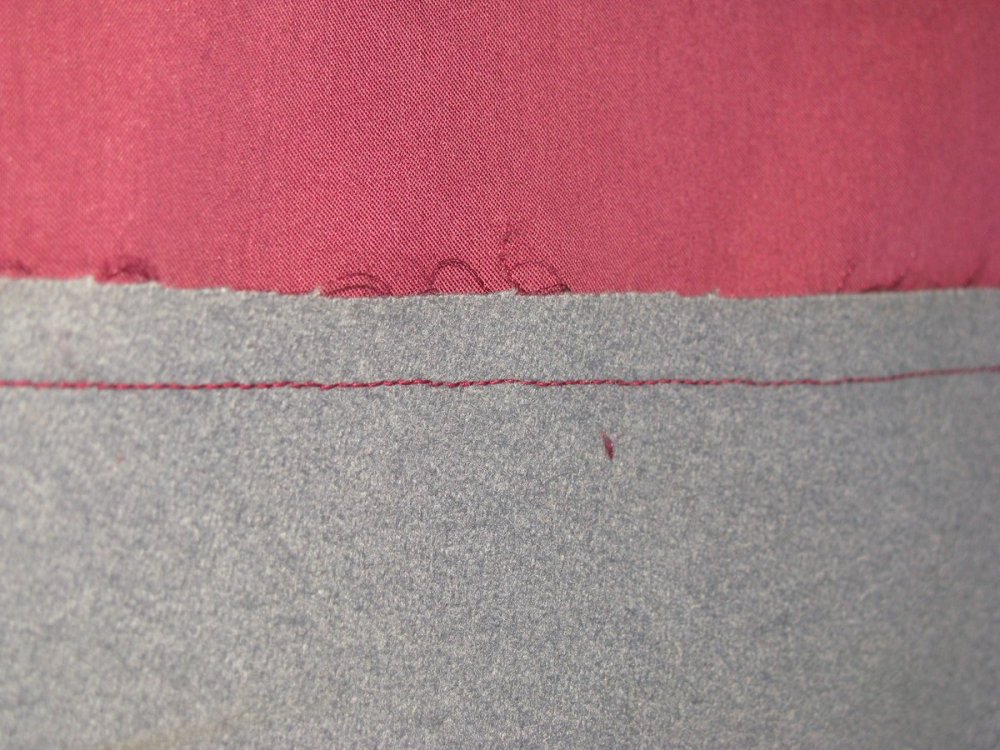
Baste from the lining side, a row of stitches along the side seam. In this photo you can also see where I rebasted along the waist, to remove some extra fullness.
Baste along the edge of the lining, next to the facing.
Do one more vertical row of stitching from the front of the armscye, to the waist, halfway between the two rows of basting you already made. Then begin making horizontal rows of basting, starting at the bottom, and working your way up to the top of the shoulder.
The more basting you do, the less movement there will be while quilting. Now make some vertical baste lines, spitting the squares in half and basically filling in any large gaps that are left.
Preparing the Interlining
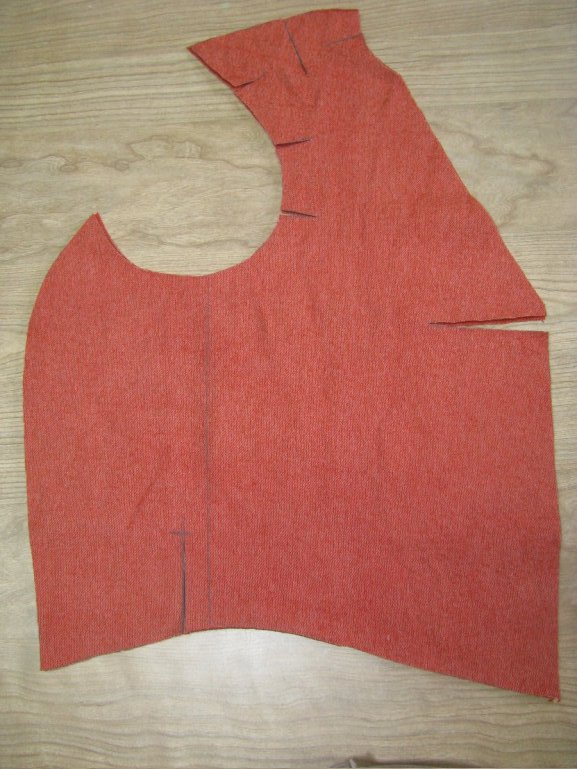
Now we will form the pattern for our interlining. First take your forepart pattern and tape it back to the facing piece, not including the seam allowance you added there. Do the same with the sidebody pattern, and tape it to the forepart as well. Align the seam allowance here, not the edge of the pattern pieces. Where it springs out at the bottom, continue taping as if the spring was not there. You want the pattern pieces to be lined up straight with each other.
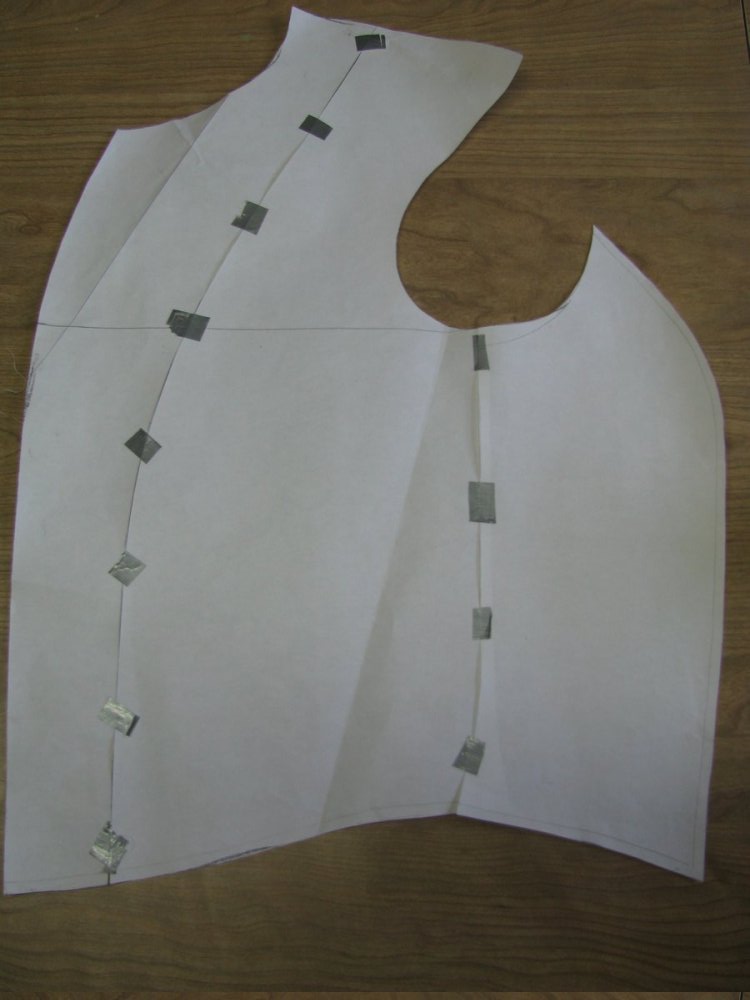
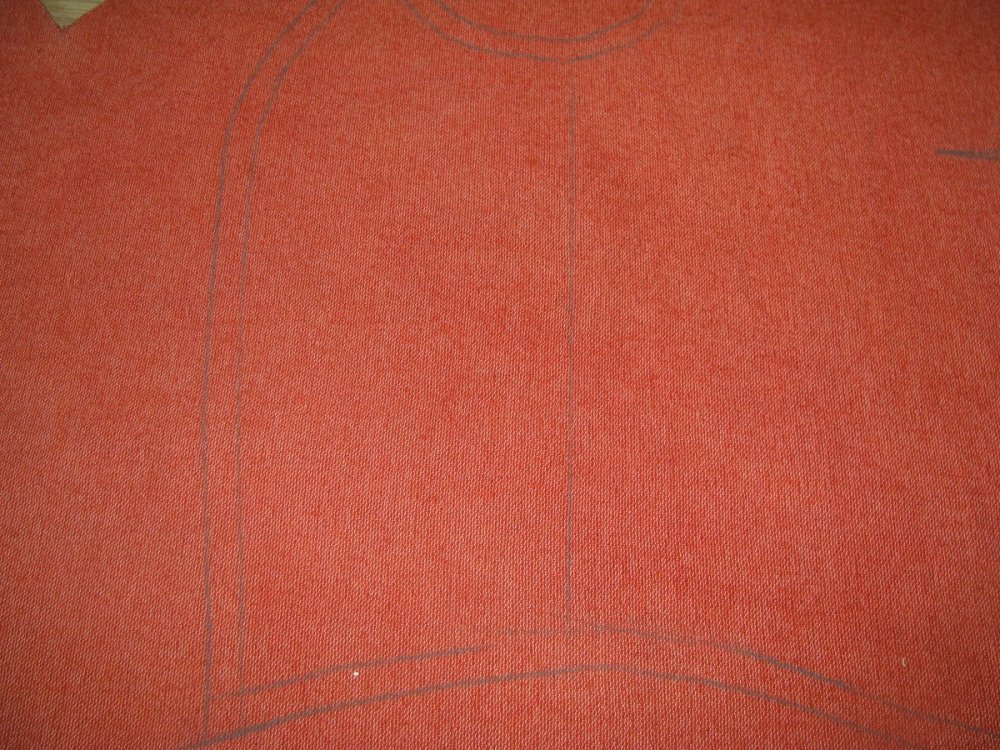
Trace the pattern onto the red interlining. You need to take out half an inch all the way around the pattern. This can be done before hand on the pattern itself, or afterward by measuring and chalking the allowance. Note that the lapel on the pattern was folded back across the roll line before tracing – we don’t want any added bulk in this area. The purpose of trimming half an inch off is to reduce bulk at the edges. You’ll get a nice transition this way.
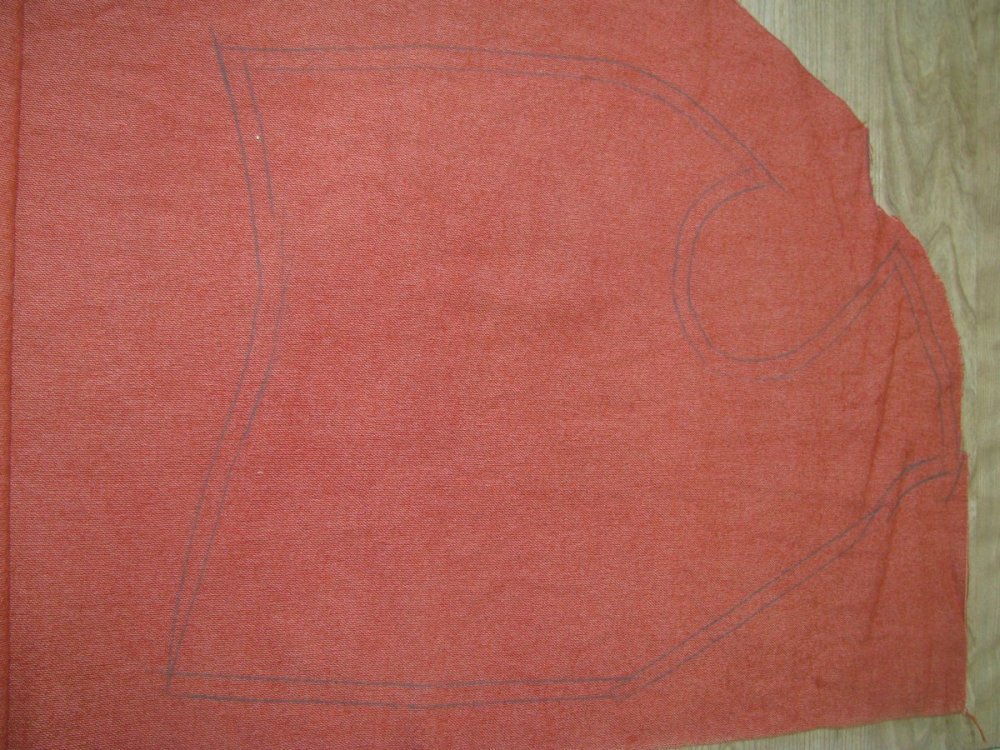
At the bottom of the center front, I actually did not take any seam allowance away. This is because we’ll be adding a dart to the front, and the length will be taken up there. Taper the seam allowance back out to half an inch along the bottom edge.
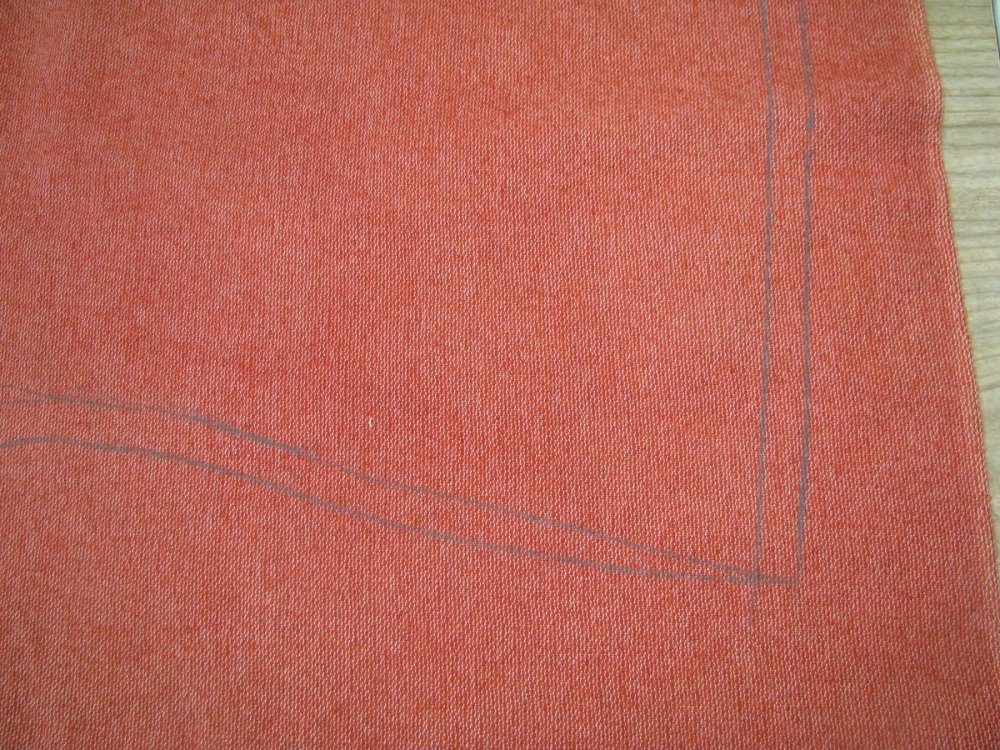
Along the center front, add a dart in the same way that you added it to the canvas. Only the dart below the roll line is necessary here. The other one will have been cut too short due to trimming at the roll line, and would not make much of a difference, so we can leave it out.
Also mark the side body seam line for future use.
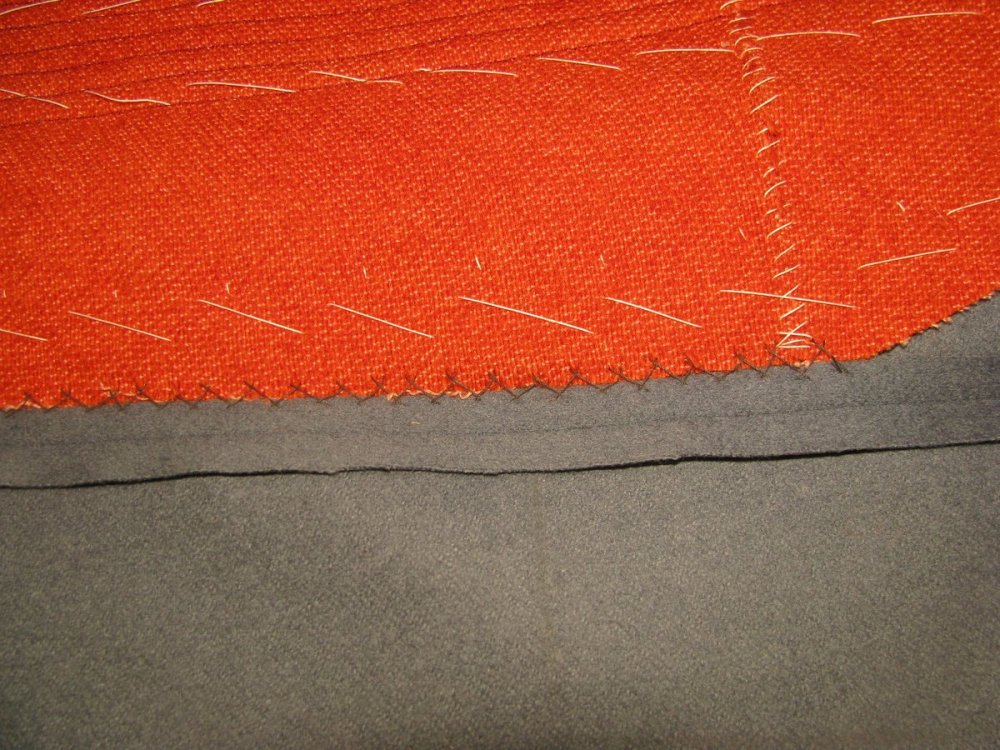
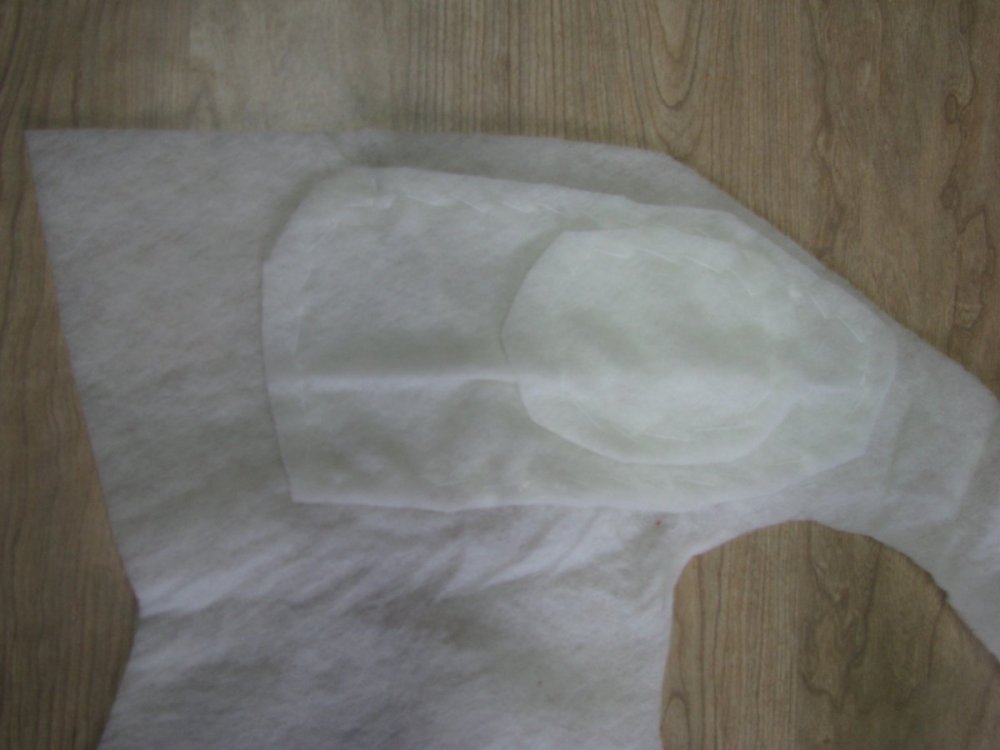
The Padding
Lay out your wool batting, and give it a light press if necessary to remove any folds in the material. Place your interlining on top, and cut around the edge, through the batting. Since the batting is very hard to draw a chalk line on, this is the easiest method. After it is cut out, trim an additional 1⁄2 inch off the outside of the batting, again to reduce bulk.
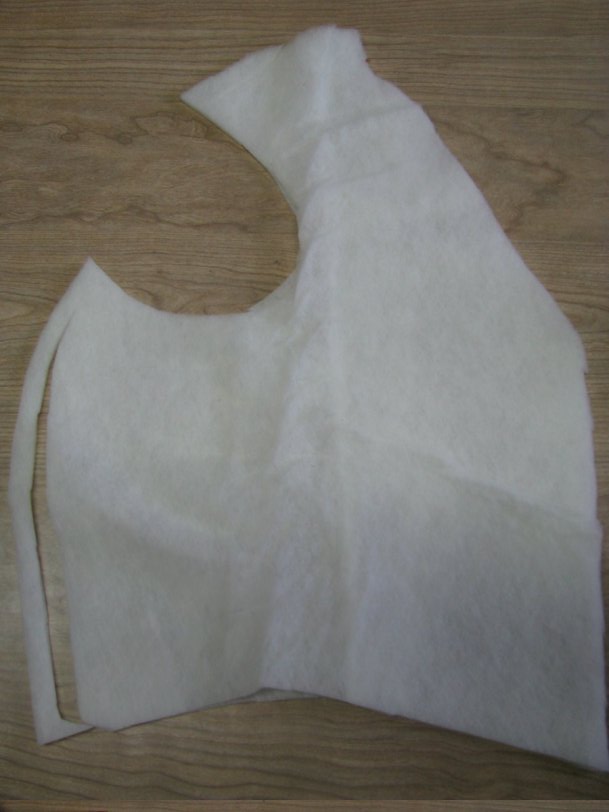
Save the section that is removed from the armscye for padding later on.
Depending on how full you would like the chest to be, you can cut an additional layer of batting, in a rectangular shape, to cover the chest area. Cut two layers of padding at once so that they are the same size, and trim so that they are rounded off, and slightly smaller than the main layer of padding.
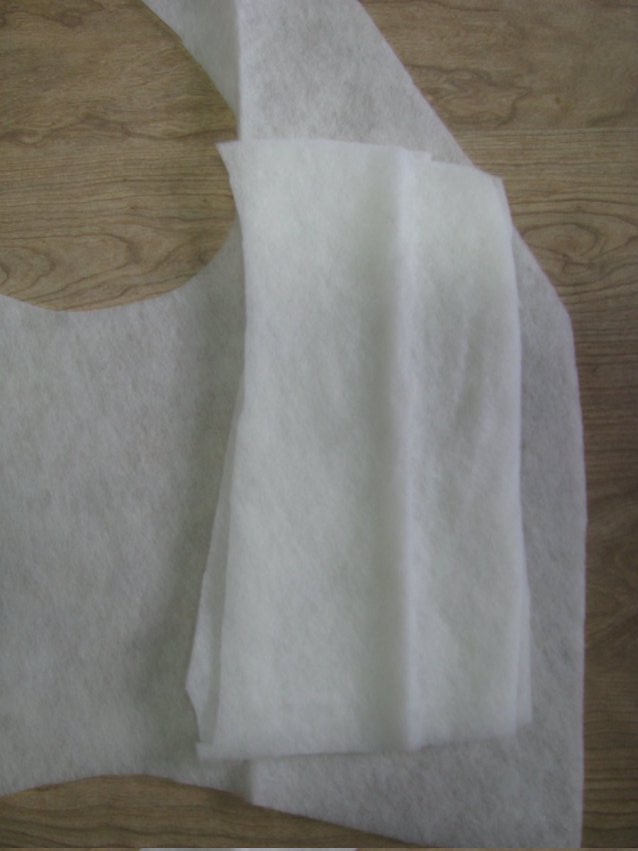
Finally, cut a smaller shaped piece of padding, using the area cut from the armscye, if possible. Again, this should be trimmed slightly smaller than the piece below it, to reduce bulk and noticeable edges in the finished lining.
Preparing the Interlining
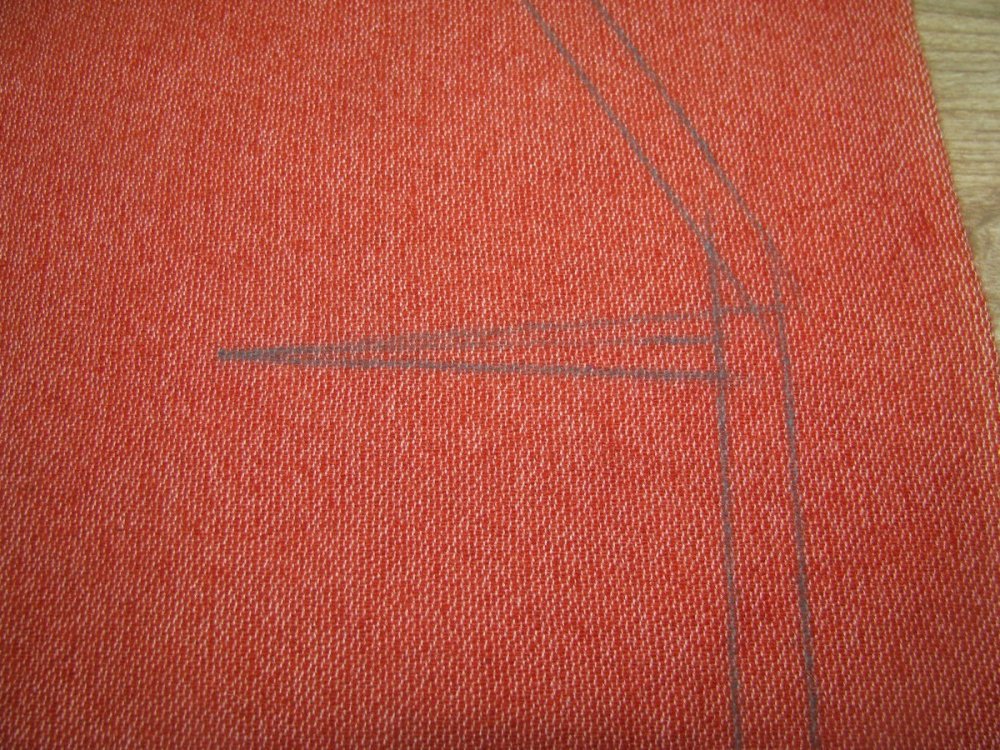
Cuts are now made in the shoulder and neck in the same manner as you did for the canvas. In this case, they can be 1⁄2 inch shorter, accounting for the amount we trimmed off of the interlining.
Also place a two or three inch cut at the bottom of the side seam. We will be adding a gusset here to give the spring for the hips.
Also cut open the dart, directly on the chalk lines.
On a bias cut, cut out 5 pair of wedges as you did for the canvas. Cut out one larger pair – 5 inches long, 3 inches wide on the bottom, and one inch wide at the top – for the hip gusset.

Close up the chest dart with a stoating stitch. This will be held very securely by the quilting, so it’s not necessary to place linen over the dart.
Place the gussets into the cuts as you did for the canvas. The bottom of the side seam should be opened about 1 to 1 1⁄2 inches, depending on how much spring you put in your pattern. By using this method, you avoid having a side body seam, reducing bulk in this area.
Trim off the ends of the gussets, flush with the interlining edge.
The Facings and Lining
In this module, we will construct and quilt the lining for the frock coat. Quilting the lining has couple of purposes. One is to give more shape to the chest. As you layer the pieces together, you will be helping to get that pigeon-breasted look so common to the period. The quilting itself will also shape the fabric, as you will see. Quilting the lining also gives the coat structure, avoiding the saggy appearance often found in reproductions.
The Facings
Before quilting, we must cut the appropriate pieces, starting with the facings. Draw a line on the forepart, as shown. At the shoulder, the line should be about two inches from the neck edge, and at the bottom, about three inches. The line follows the roll line for the most part, in a graceful curve down the front of the coat. At the top, try to keep the edge slightly curved towards the armscye, hollowing out at the chest line.

Cut out or trace this facing piece, as shown. All seam allowances for the facing are included.
Also make sure you have the lapel pattern piece. You will have to add the seam allowance back to the inner edge, if you trimmed it away while cutting the canvas.
Lay both pieces out as shown. Add the same inlays you did for the forepart and lapel originally – half an inch along the top neckline and, and 1 inch at the bottom of each. The one difference is along the outer edge of the lapel. Here, add 3⁄4” inlay. Since the turn of the lapel is longer on the outside, it’s nice to have a little extra fabric, just in case.
Another important inlay to add, (not shown) as I’ve discovered through some experimentation, is to the neck edge on the facing. Adding about 1 inch will allow you to lay the facing onto the coat without adding the lapel dart, or excessive ironwork, giving us a smooth appearance in this area.
Though very hard to see, the same ironwork you performed on the forepart must be mimicked in the facing, at least along the front edge. Try to work it as best you can into a straight line. Note that there is no lapel dart put in the facing.
Baste the facing to the lapel and machine stitch, using a 1⁄4 inch seam.

Press both open in the usual manner, using a tailor’s ham for the curved areas.
The Lining
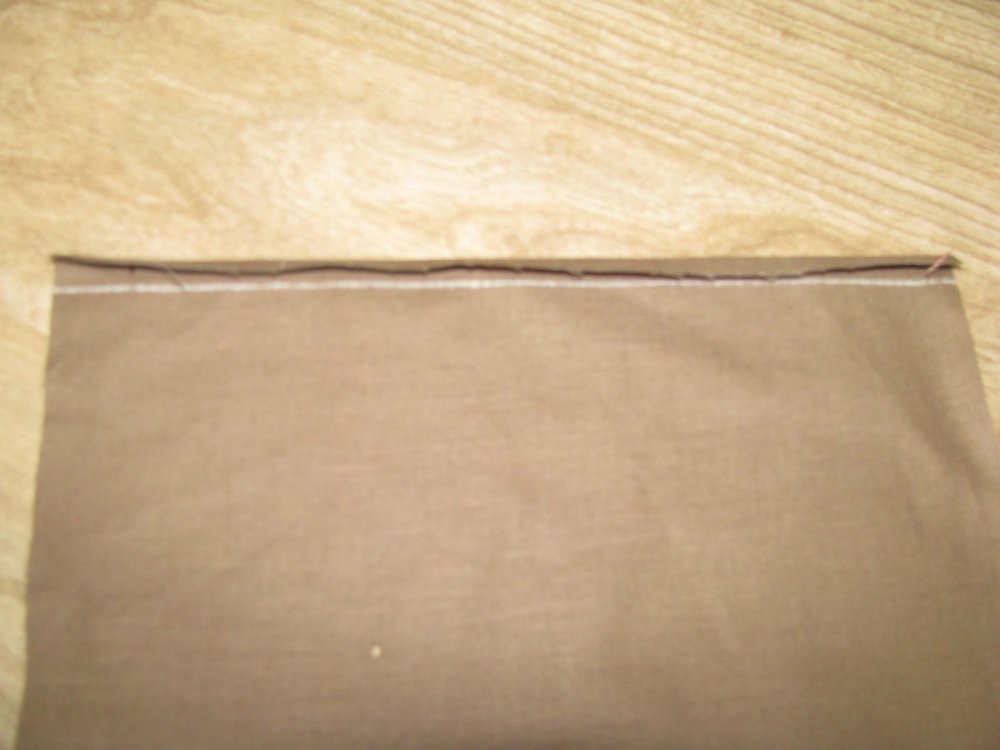
It’s now time to cut the lining for the forepart and sidebody. The sidebody piece is cut out as usual. On the forepart, however, you must add twice the seam allowance, so 1/2 inch total, along the front edge that you cut for the facing pattern. I ended up just adding it on after tracing the piece with chalk, but I recommend you add the seam allowance to the pattern itself, if possible.
Add the usual inlays – 1 inch along the bottom, and half an inch at the shoulder seam tapering down the armscye. If you wish, you may add inlays to the top of the sidebody, but as I had cut them off of the wool, they were not necessary here. Add tailor tacks to make sure the inlays are accurately preserved.
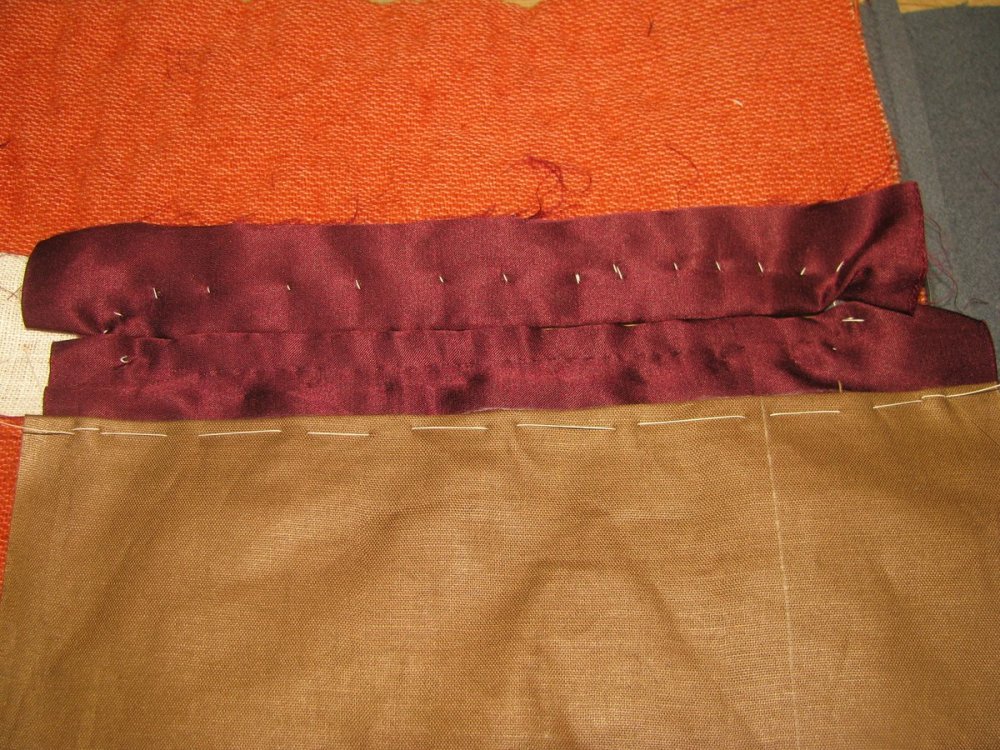
Baste the front of the lining to the inner seam of the facing, right sides together. I recommend pinning one end while you baste from the other, to ensure the fullness is worked into the seam properly. Since these are both curved seams, it will take some work getting everything to line up properly. After you are satisfied with the results, sew the seam using a 1⁄4 seam allowance.
Press the lining over towards the back. We’re not going to open this seam, as the double thickness of wool would make this area too bulky.
Here you can see the results from the wrong side. The wool is flat, and the lining fabric is pressed back.
Now baste and sew the lining sidebody to the forepart assembly. I forgot to photograph this step, but you should know how to do this by now.
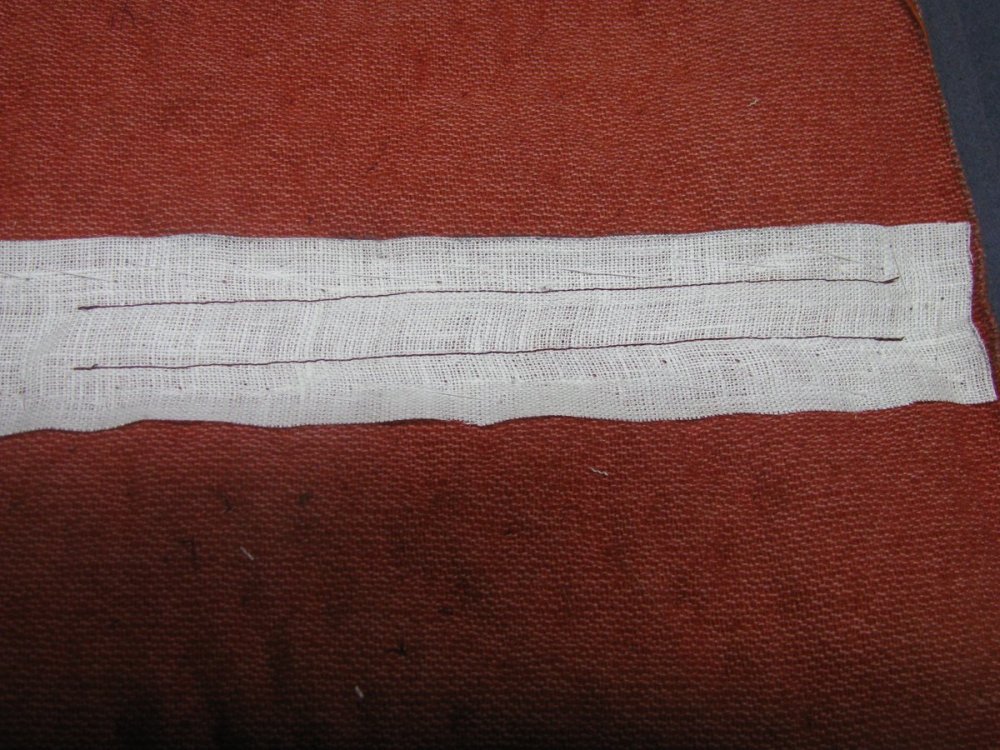
Securing the Breast Pocket
If you recall, we left the breast pocket in an unfinished state while we inserted the canvas. Now that the canvas is in place, we have a firm surface to tack the ends of the pocket to.
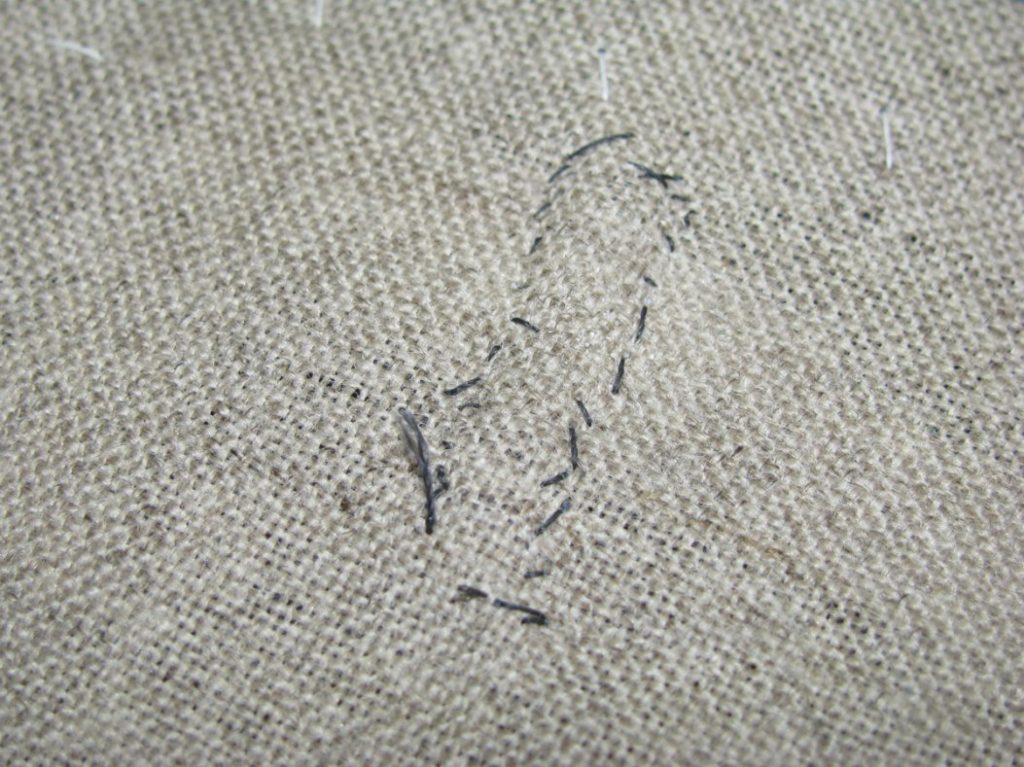
Begin by chalking the ends of the pocket. These can either be parallel to the grain line, or extend slightly outward, into a ‘boat’ shape.
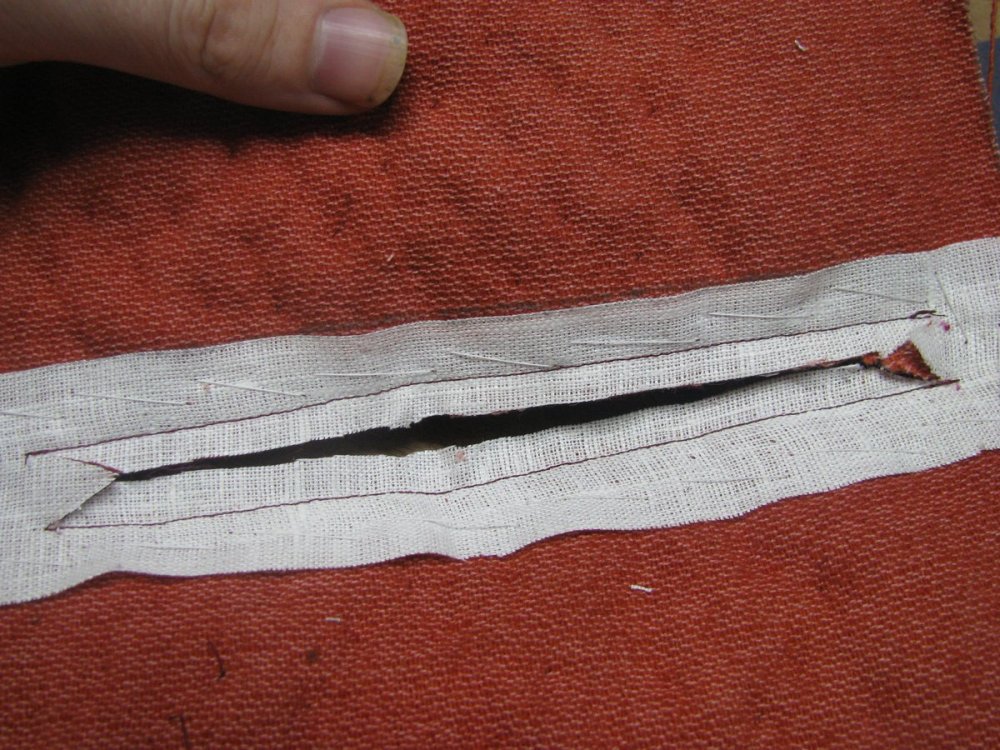
Fold the ends of the pocket under, and press well on a tailors ham, so as not to ruin any of the iron work or other shaping of the coat body.
After pressing, trim the seam allowance at both ends to 1⁄4 inch, or even slightly less.

Holding the end of the pocket in place with your thumb and fingers, fell down the end of the pocket, starting at the bottom and working your way to the top. These should be small stitches, and not visible in the finished pocket. The stitches should be ‘pricked’ – that is, pass the needle all the way through to the bottom. The layers are too thick to take a normal stitch here.
You may notice on the upper end of the pocket, that the seam allowance extends above the height of the pocket. This needs to be carefully trimmed, making sure not to get too close to the seam allowance, or the cut edge will show in the finished pocket. I generally trim in to just slightly higher than the top of the pocket, and push the rest inside as I stitch.
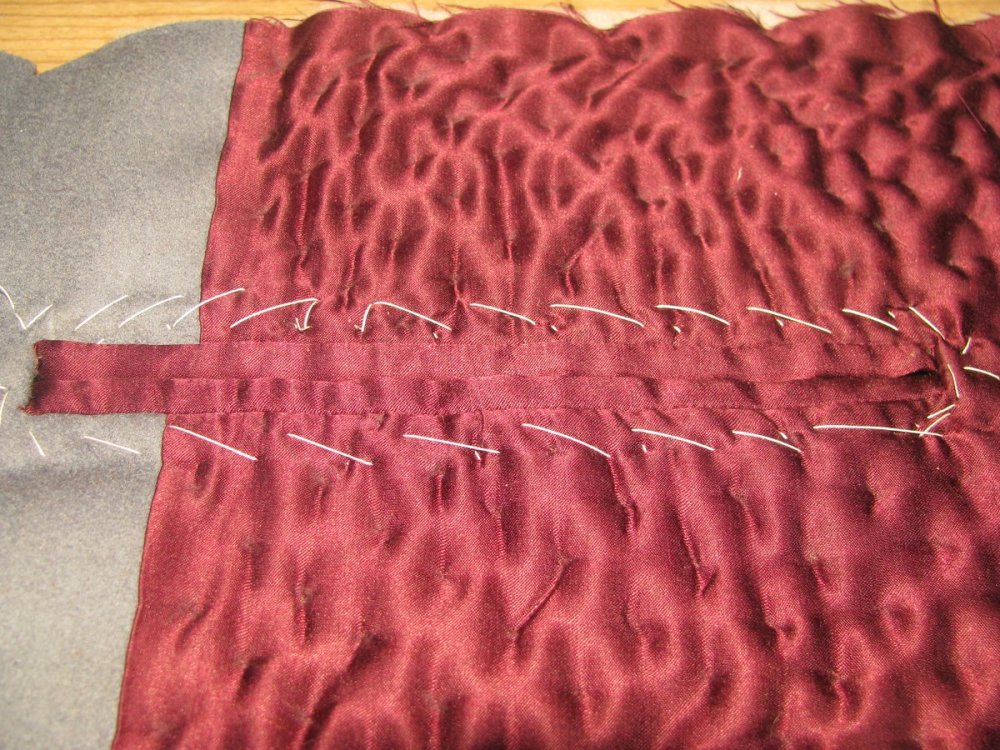
Continue felling around to the top of the pocket, to just past the cut edge which you can feel underneath. This is about 1⁄4 from the end of the pocket.
Then, continuing at this same distance from the pocket end, side stitch down the pocket, towards the bottom, in a straight line. I’ve somewhat exaggerated the stitches for clarity here, on your pockets, the stitches should be invisible, showing only a slight indentation.
On the canvas side, you can see the shape the stitches make. These should be neat and tidy, and fairly small.
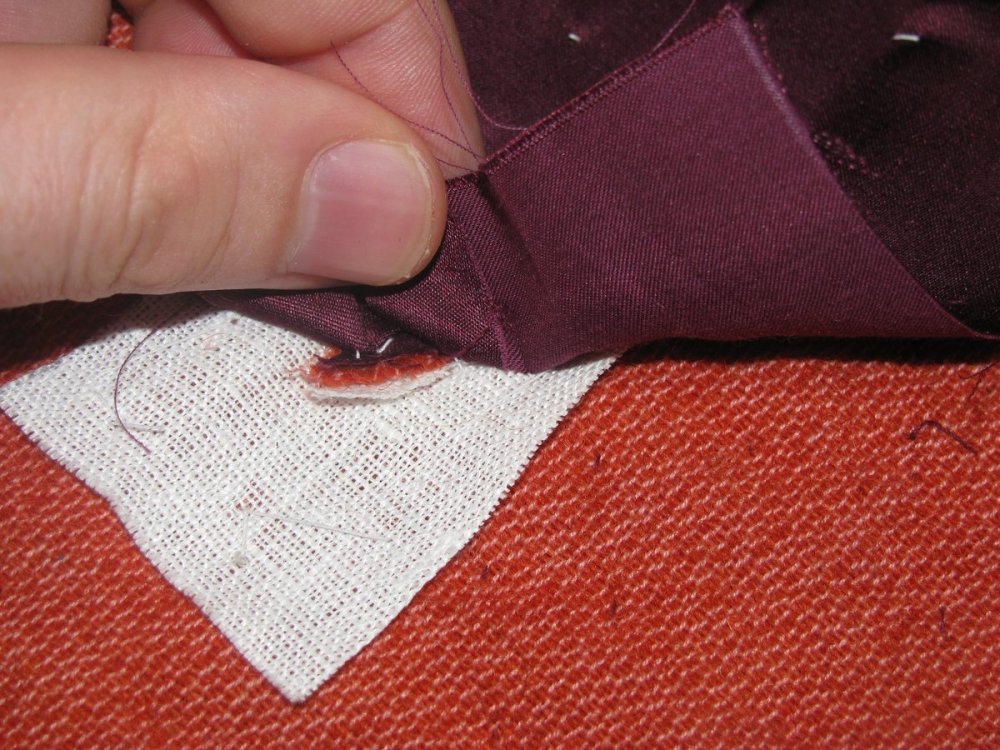
Turning back to the right side, the pocket is complete. If you wish, you may put in a bar tack on either end at the tops, using silk buttonhole twist. This is optional, and gives a bit of extra strength to the pocket.