Author: James Williams
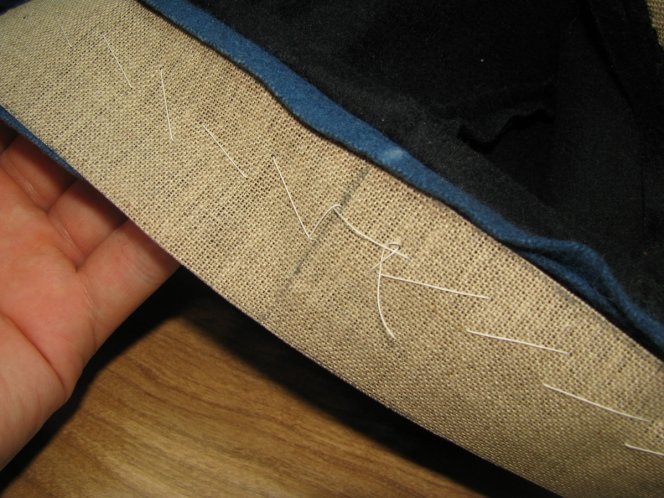
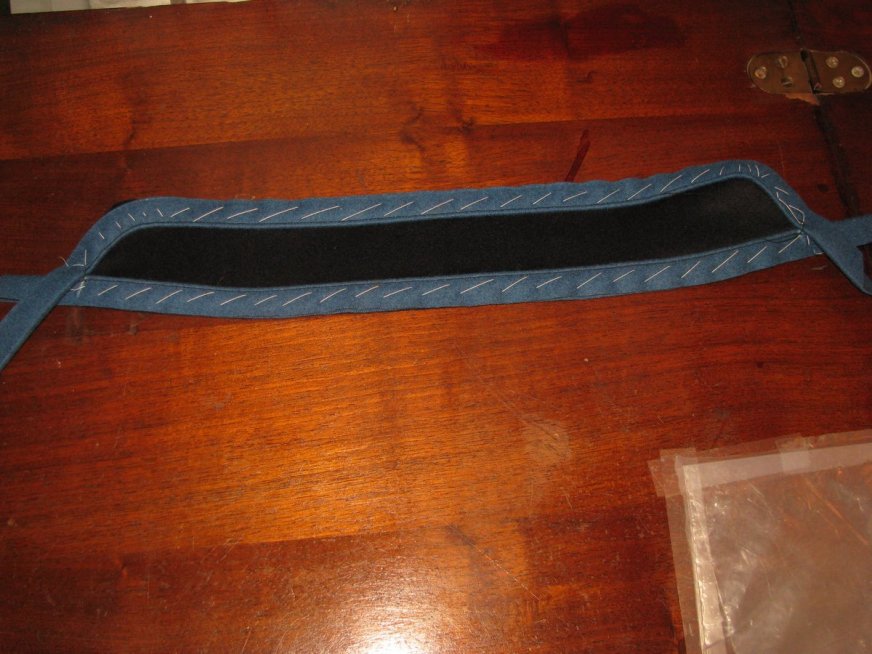
Taping the Front Edges
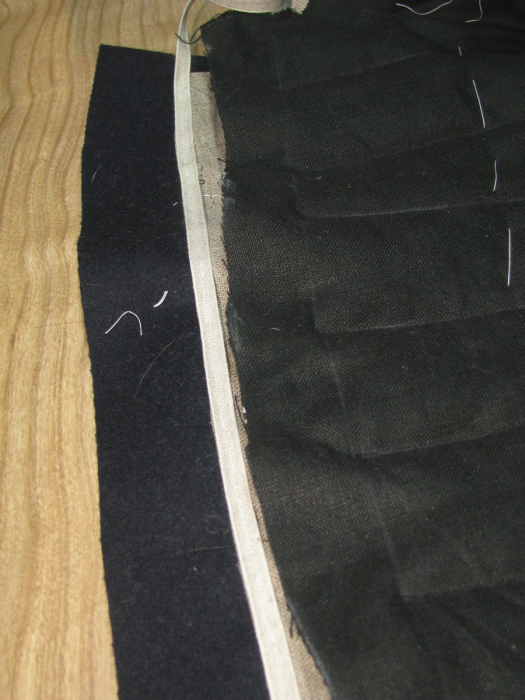
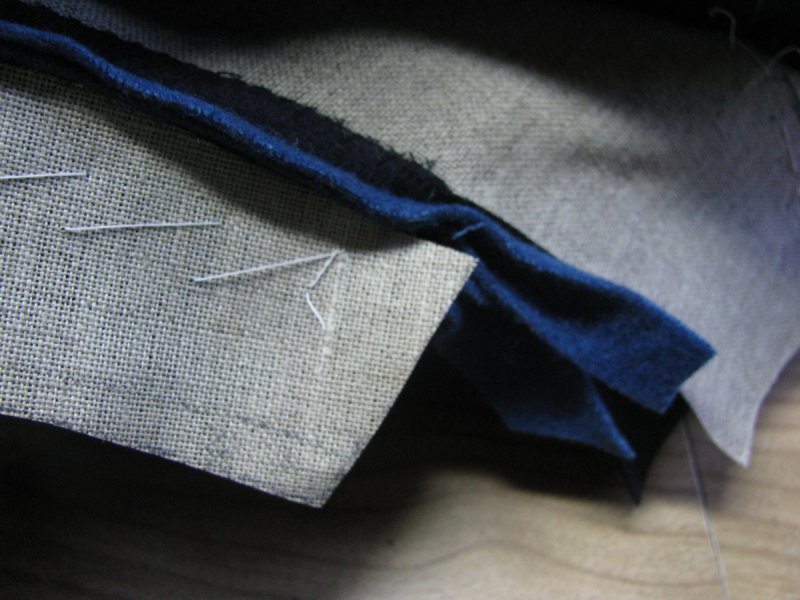
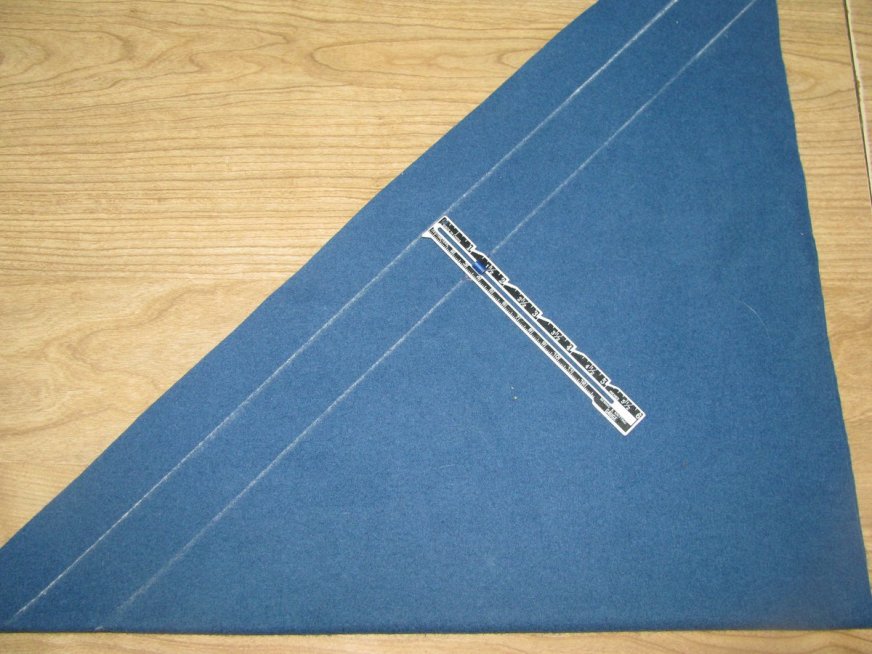
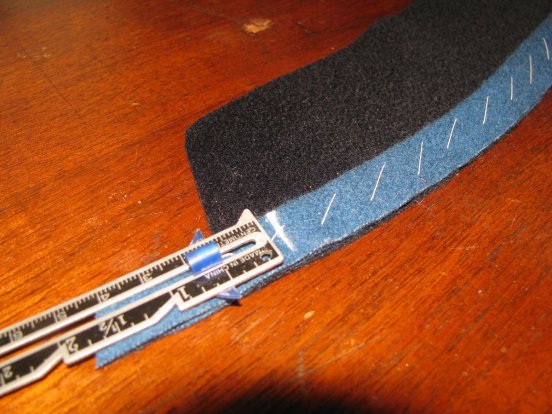
Using a ruler, draw a line from the bottom edge of the canvas tothe bottom of the skirt. It should be the same depth as the canvas, and should stay parallel to the front edge of the skirt.
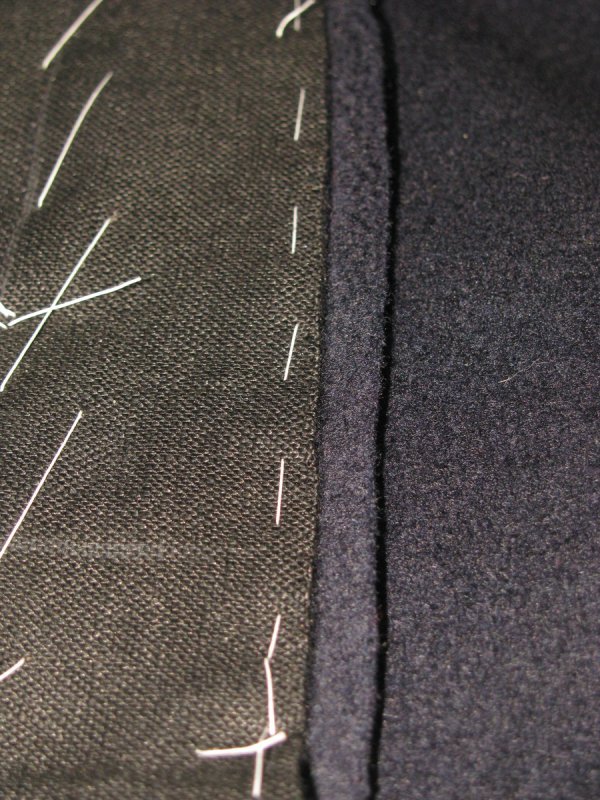
Lay your linen stay tape along the inner edge of the line, starting at 1/8 inch away from the bottom of the skirt. Baste the tape to the skirt with neutral tension, and continue basting the tape up past the waist seam, onto the edge of the canvas. The tape should be on the canvas, and on the outer edge, should be a scant 1/16 of an inch off the edge of the canvas. This will allow the outer edge stitching to catch the wool only.
When you get about 8 inches from the neck point, or wherever the most fullness or roundness is, you will need to hold the stay tape on tightly, gathering about a half inch to one inch (depending on your size) of fabric between that point and an inch from the top of the canvas. This will make the front edge inclined to pull in towards the body, and also affects the balance of the coat, allowing the front edges to hang straight, parallel to each other.
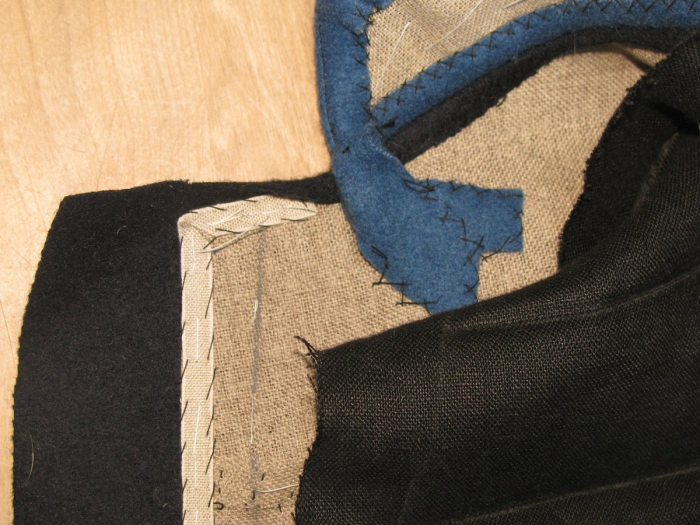
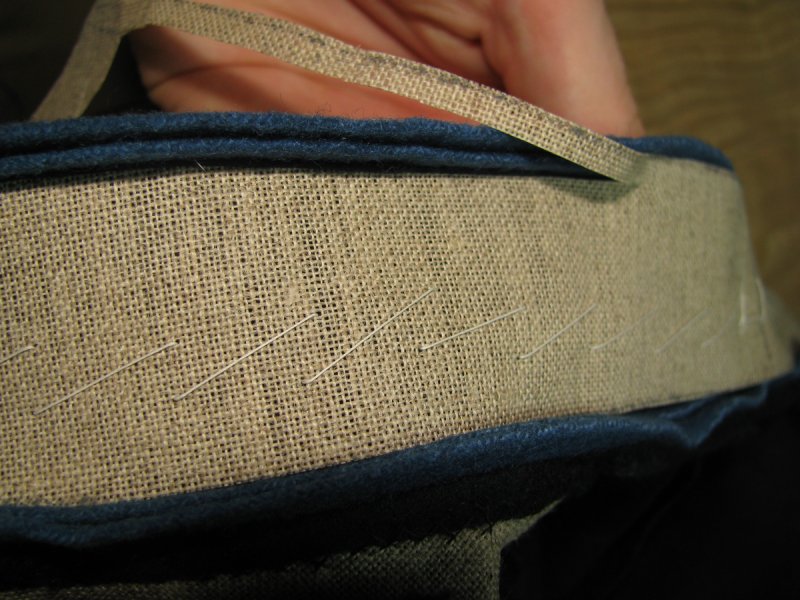
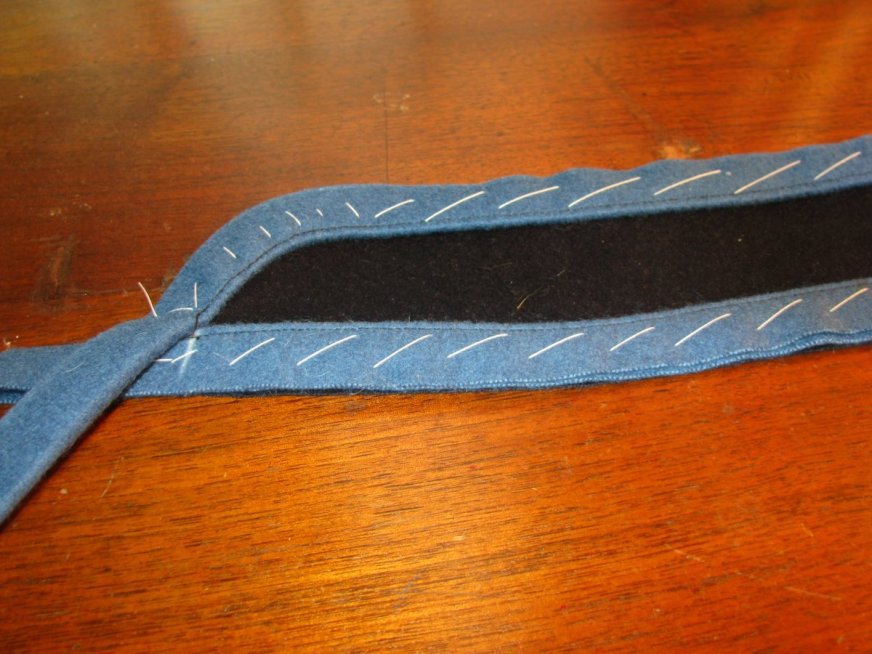
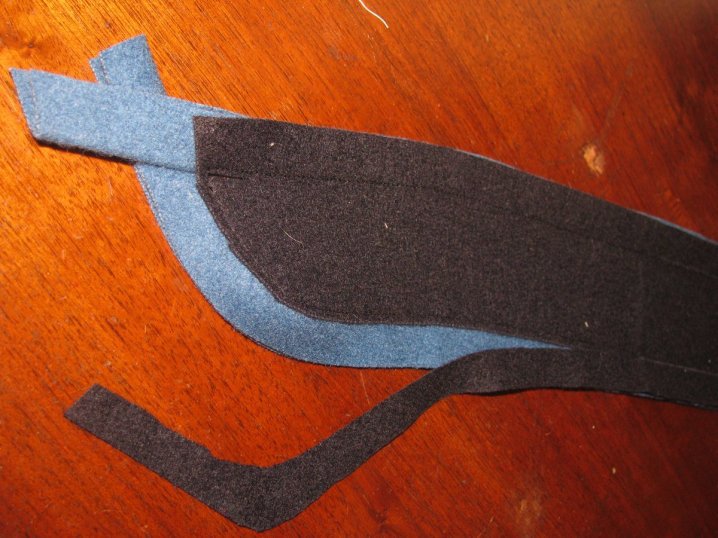
At the top of the coat, miter the stay tape so that it takes the corner without overlapping. To do this, first make a cut at about a 45 degree angle, aiming right for the outer corner of the canvas. Trim just to the edge of the stay tape, not all the way through.
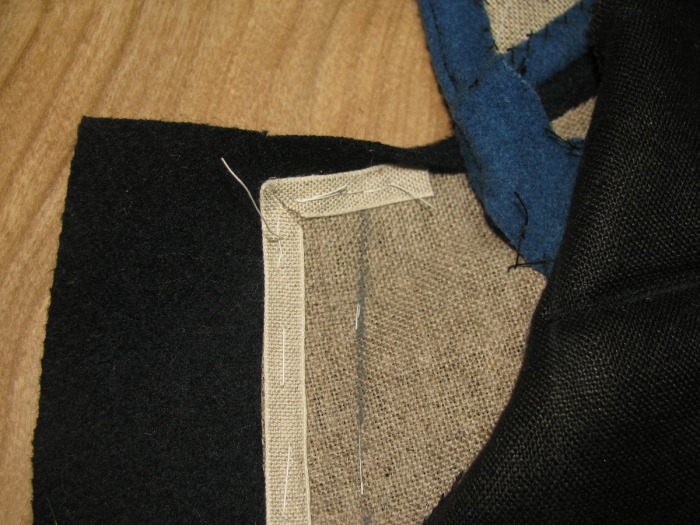
Then move the tape into position on the neck edge, and trim off the excess at the corner. Baste the tape along the neck edge until you reach the piping.
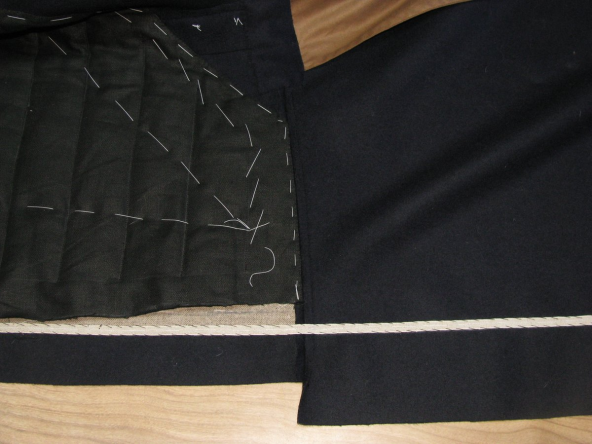
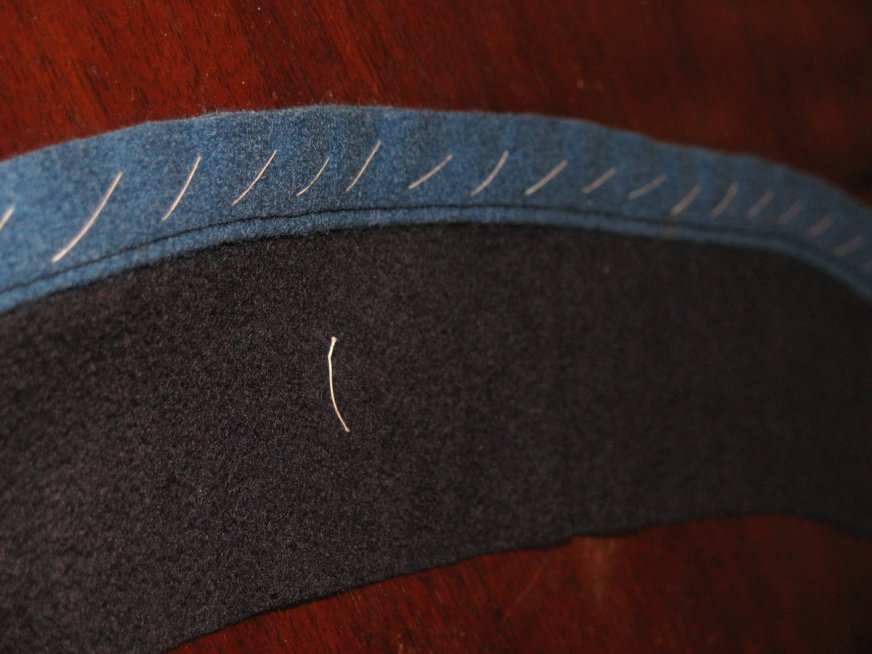
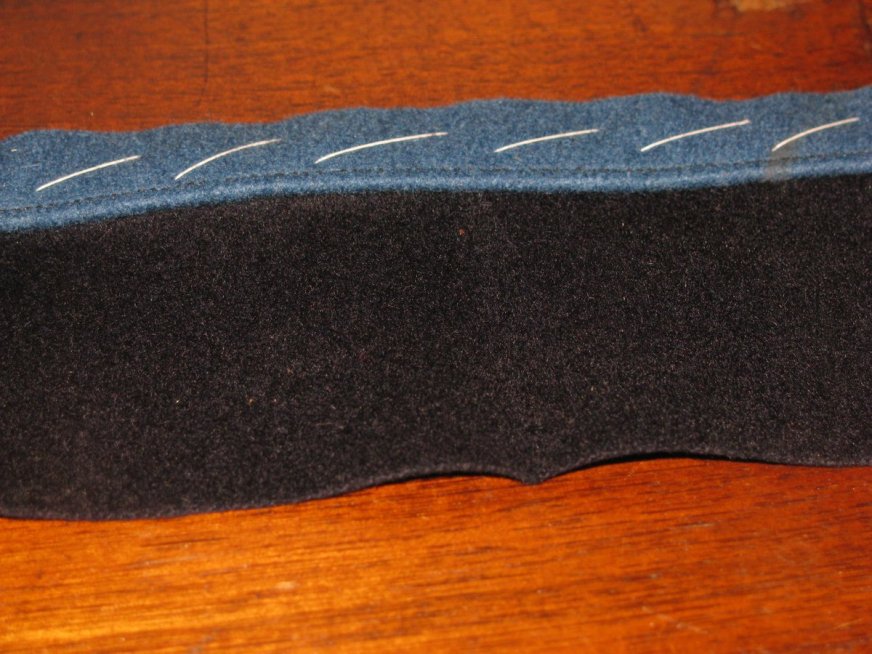
Now slip stitch the stay tape to the wool, making sure the stitches do not show through to the right side. When you get to the area with the canvas, the inner side of the stitching should catch only the canvas, while the outer side should catch only the wool. At the area with the fullness worked in, you should see the ripples disappear as you stitch the tape down.
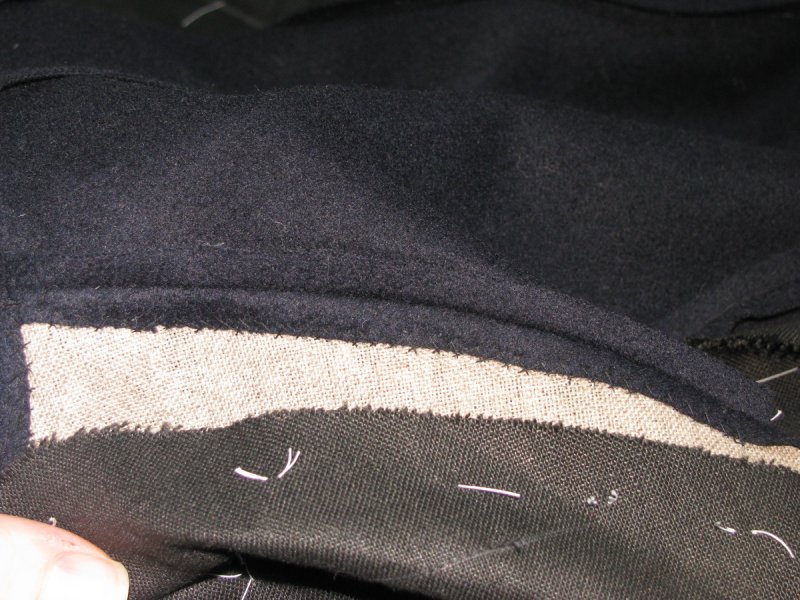
Trimming the Lining
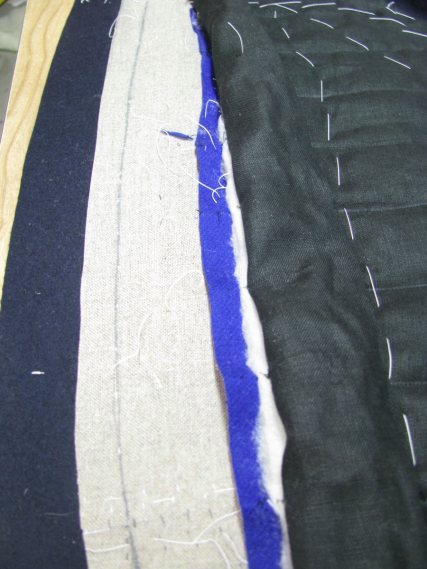
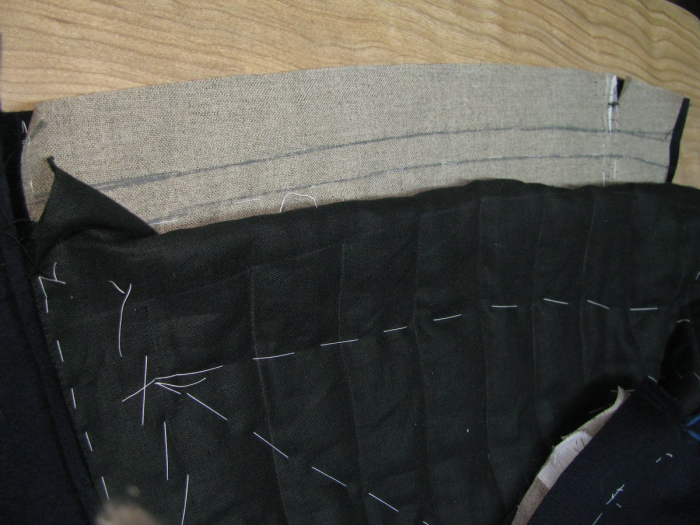
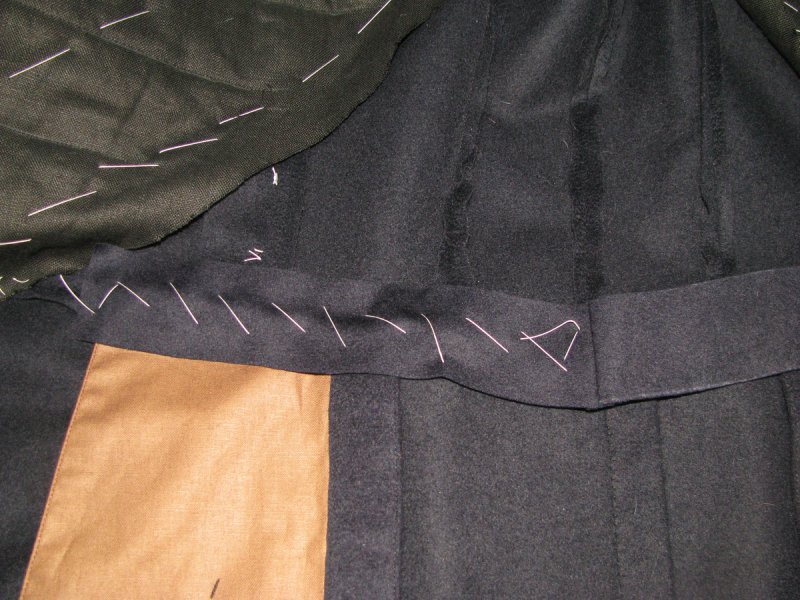
On the left side of the coat, the wool batting and sacking or interfacing should be cut back to prevent bulk in the buttonhole area. Fold just the lining back – you should have room to do this because you stopped the quilting four inches from the edge of the front.
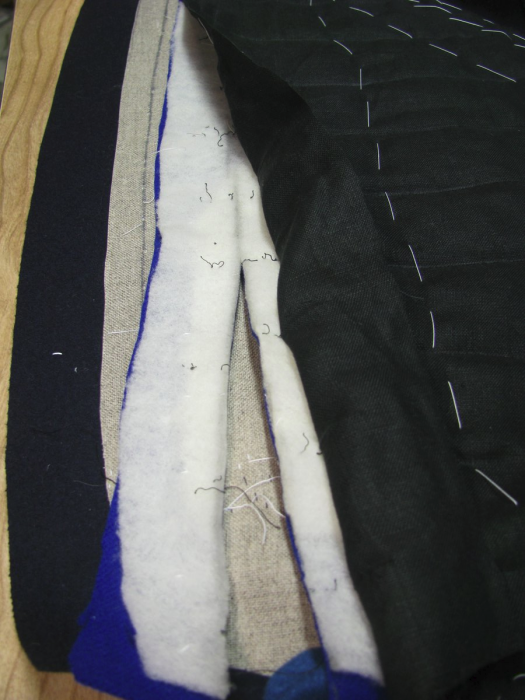
Draw a line on the wool batting an inch and a quarter away from the center front. Trim both the wool batting and interlining along this line, as shown.
Next trim back just the wool batting, so that the layers are stair stepped. Fold the lining back into place, and trim back about a half inch away from the edge of the canvas. The lining itself should be caught in the buttonholes, to prevent movement.
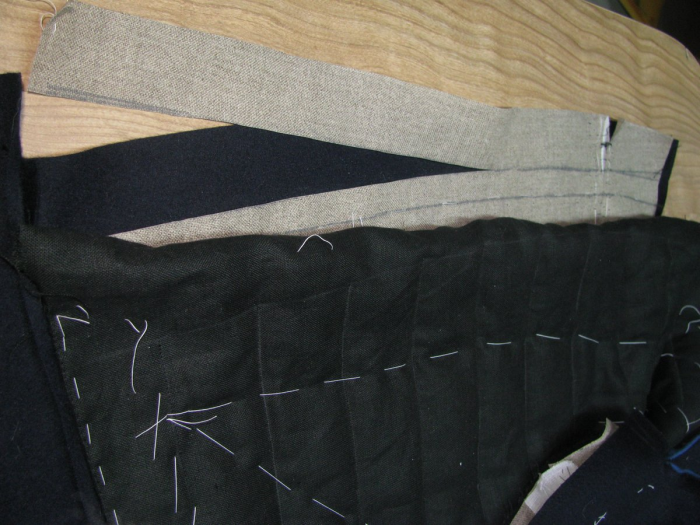
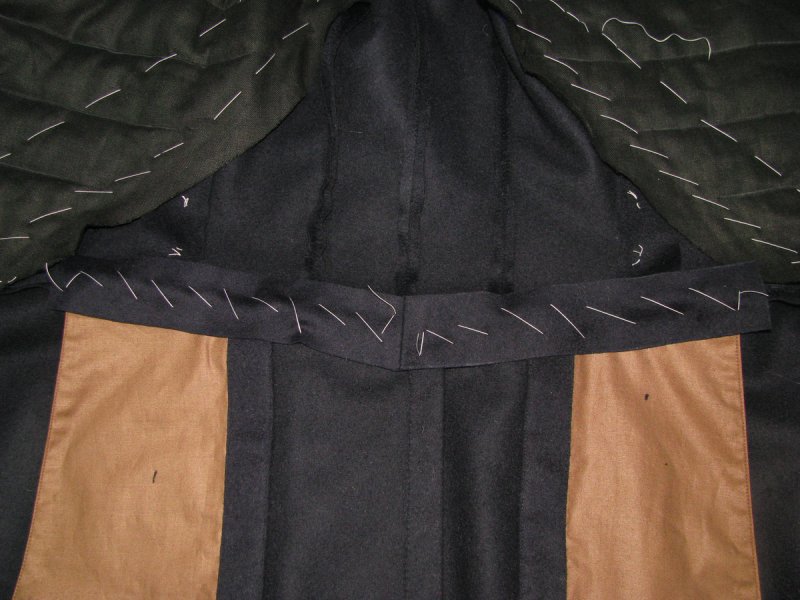
Repeat the process on the right side of the coat, only you do not have to trim the lining back so far.
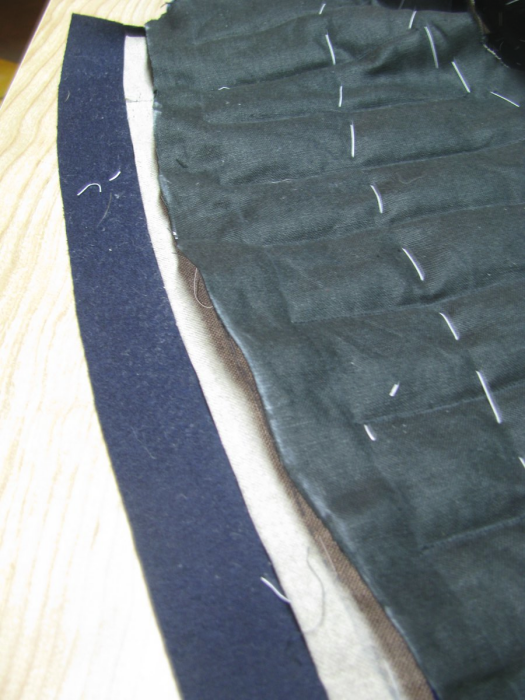
Trim everything just slightly shorter than the canvas, then layer the interlining and wool batting as before, about a half inch for each.
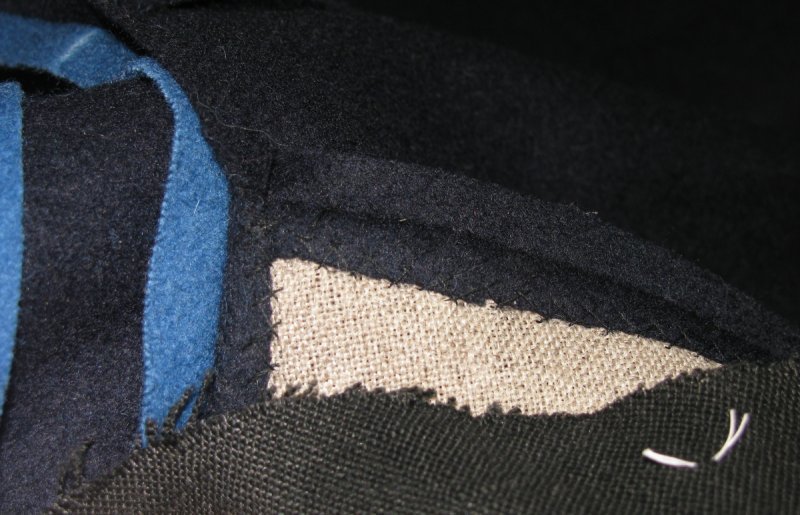
Trimming the Canvas
It’s now time to finish the front edge of the coat, and install the facing. The facing is used to protect the lining from wear, as well as give a sturdy front edge to the coat. At the same time, it should be as thin and compact as possible. During the installation of the facing, there is also some shaping added to the front of the coat.
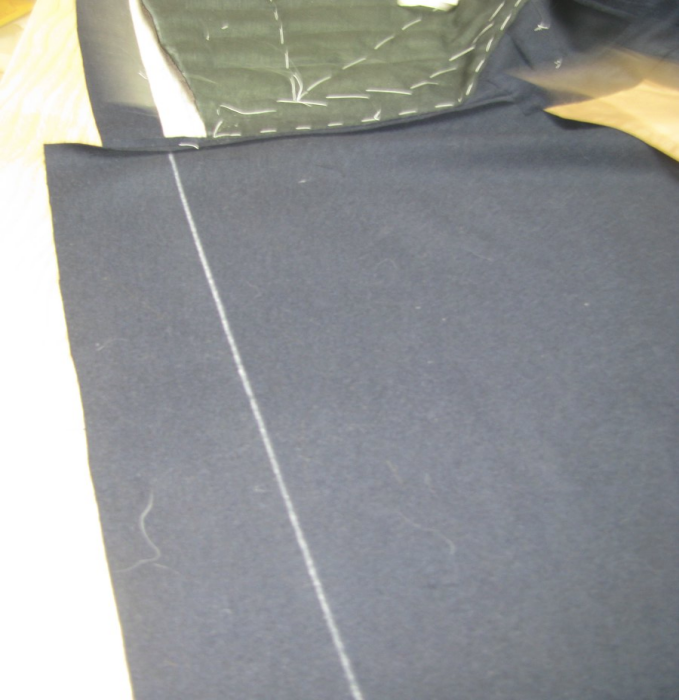
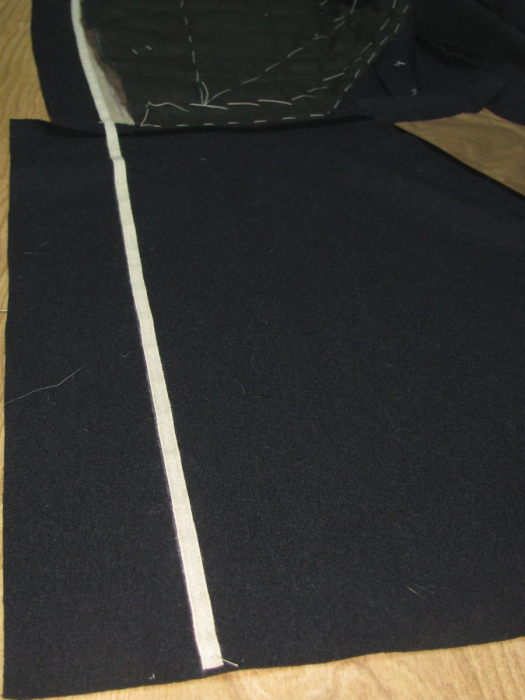
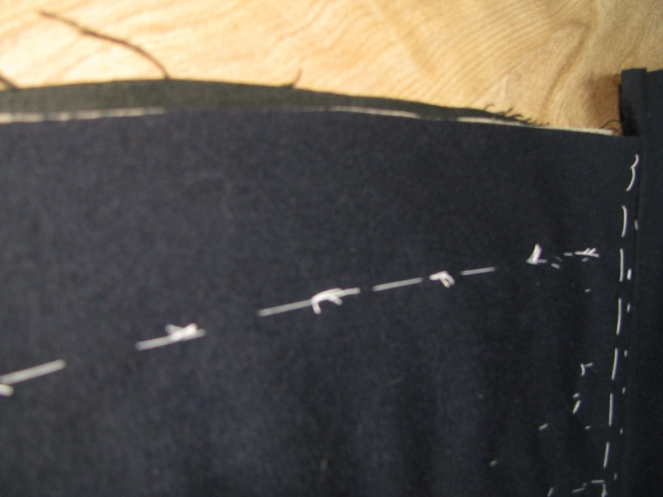
Begin by noting the basting line that was used to secure the canvas to the forepart at the center front. These stitches should be going directly along the center front line, which is two inches away from the front edge. You should still have tailor’s tacks there, as well. If the stitches do not align with the center front line, add some more basting stitches that do, catching the forepart wool and canvas only – not the lining.
On the canvas side, fold the lining underneath itself so that it’s out of the way. Using black chalk, chalk over the center front line that you just basted. This line, being the center front, is where the outer edge of the buttonholes will be placed on the left side, and where the buttons will be placed on the right.
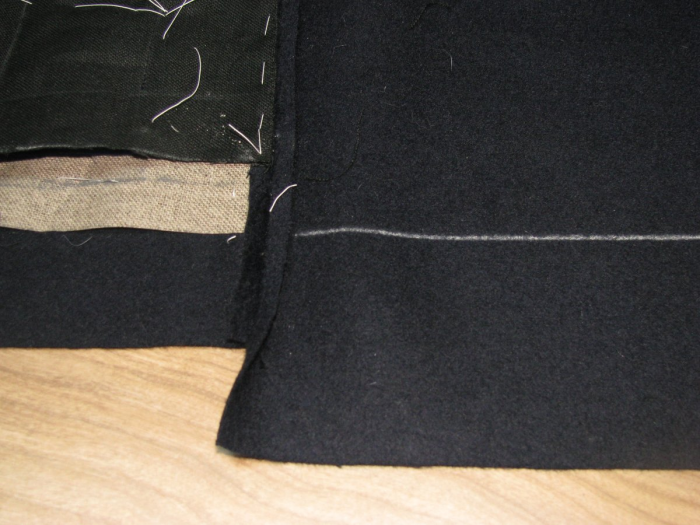
You don’t want the buttons and buttonholes to be on the direct edge of the coat, so an allowance will need to be added to the canvas so that they are spaced 1⁄2 inch from the edge. With your chalk, measure out half an inch beyond the center front line and draw another line. This is where the canvas will be cut, marking the edge of the coat.
Carefully trim the canvas along this outer line, ensuring you do not cut through the wool or lining at any point.
Felling the Lining
It’s now time to permanently sew down the lining. At the shoulder, baste about 1 inch from the shoulder seam. Then turn the raw edge of the seam allowance over, and baste that down as shown.
Along the waist line, and diagonally up towards the side piece and armscye, turn the raw seam allowances over as well, and baste. The basting and turning over ends at the armscye, which remains as it was.
Finally, catching only a stitch or two of the lining, fell the lining down using 8 to 10 stitches per inch. The stitches should be almost invisible. Remember not to let the stitches show through to the right side of the coat.
Pocket and Vent Facing
Enlisted frock coats had a strip of cloth covering the tops of the pockets and vent. This served two purposes: one, to cover the untidy areas of the coat, and two, to aid in the drape of the coat back.
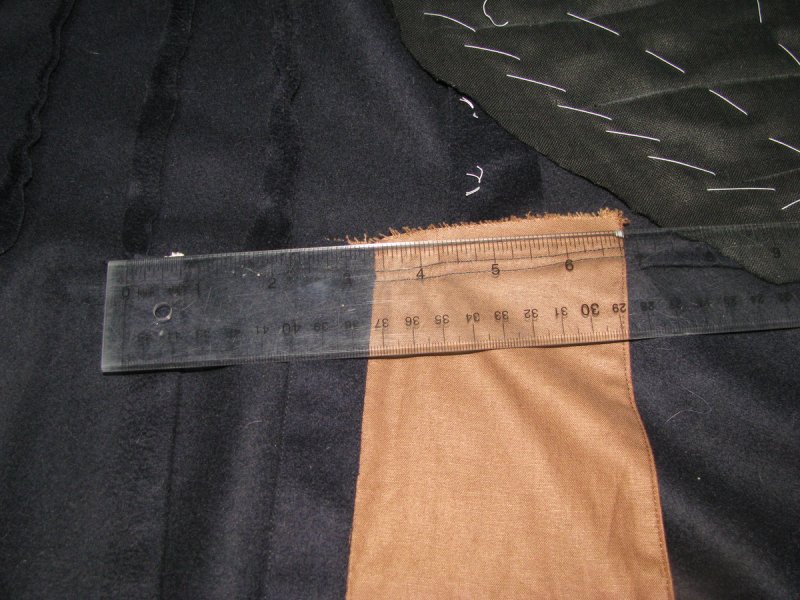
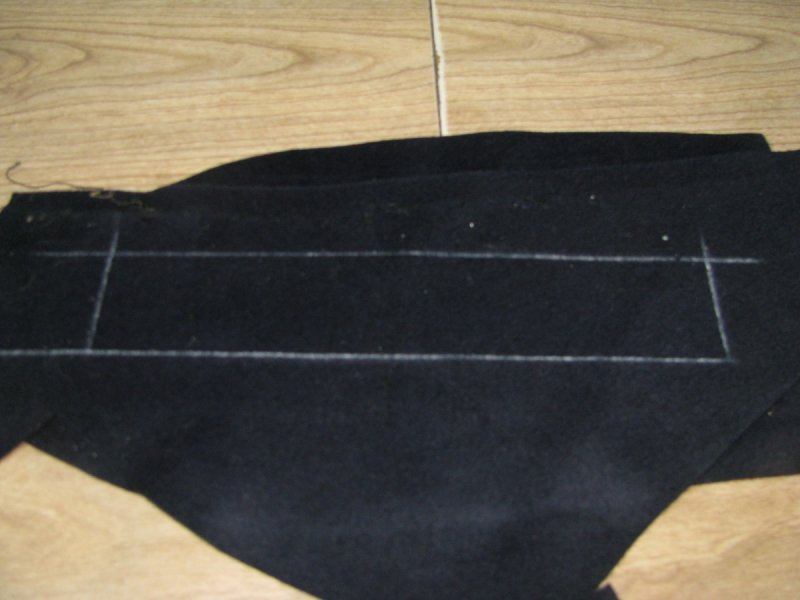
To begin, measure the distance from the center back seam, to the end of the pocket, then add one inch. In my case, I my measurement was 8 inches. On wool fabric, draw a rectangular piece 1 1⁄2 inch wide, by your measurement in length. These should be cut on the bias if possible, or at least semi bias. Use up those scraps of fabric you indubitably have.
Cut out both pieces, and with right sides together, lay both pieces on top of the waist seam. There should be some extra space on the vent side for a seam allowance. Now draw a chalk mark continuing in line with the center back seam, on the facing piece. This is the stitching line, and should be at an angle corresponding with your waist seam.
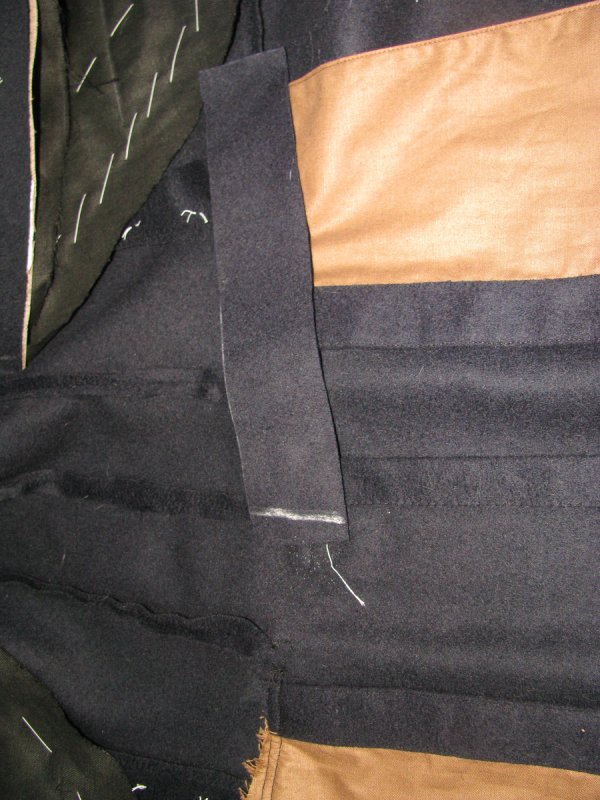
Sew this seam, trim the seam allowance to 1⁄4 inch, and press the seam open.

Next, lay the facing piece wrong sides together on the coat, centering the center back seams. Starting from the center back, baste one side to the coat. When you get to the end, the lining may be in the way. Remove a few basting stitches from the lining if necessary, and ensure that the facing will lie beneath the lining.
Repeat the basting for the other side.
Carefully fell the facing to the coat. When sewing, be sure your stitches do not show on the right side of the coat. Also, when you get to the edge of the pocket facings, it’s a good idea to take a few extra stitches in place, for strength. You don’t want the stitches tearing open when reaching into your pocket.
If you have any bubbles or loose areas that appear in the facing piece, you can very carefully shrink those away with the iron. Don’t use too much pressure, as you don’t want to affect the coat body.
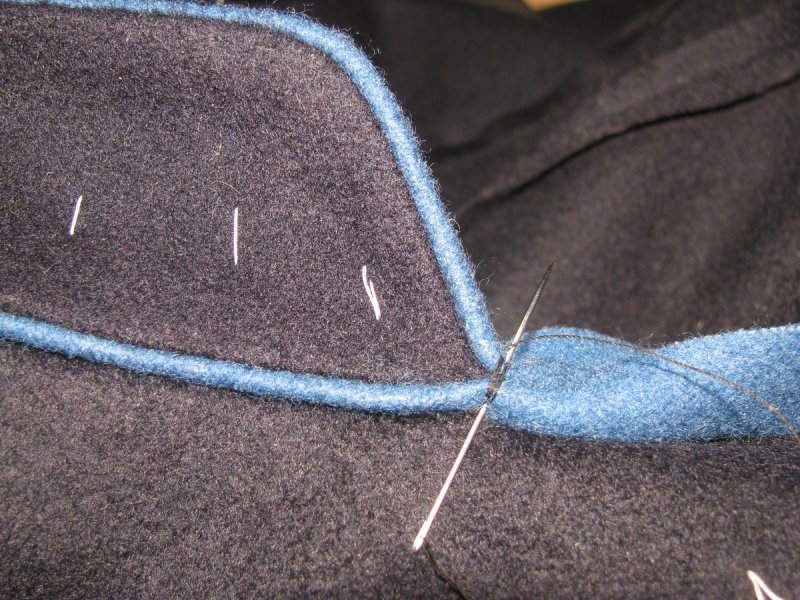
Securing the Piping
At either end of the collar, where the piping meets, you may have noticed that the stitching does not meet. Yyou need to sew a bar tack there for extra strength. Knot your thread, insert the needle between the layers of piping, and sew about 5 or 6 stitches in place, catching both layers of piping, and the collar fabric itself. This will be very difficult to see later on, and will be further strengthened when the facing is attached.
Piping Ends
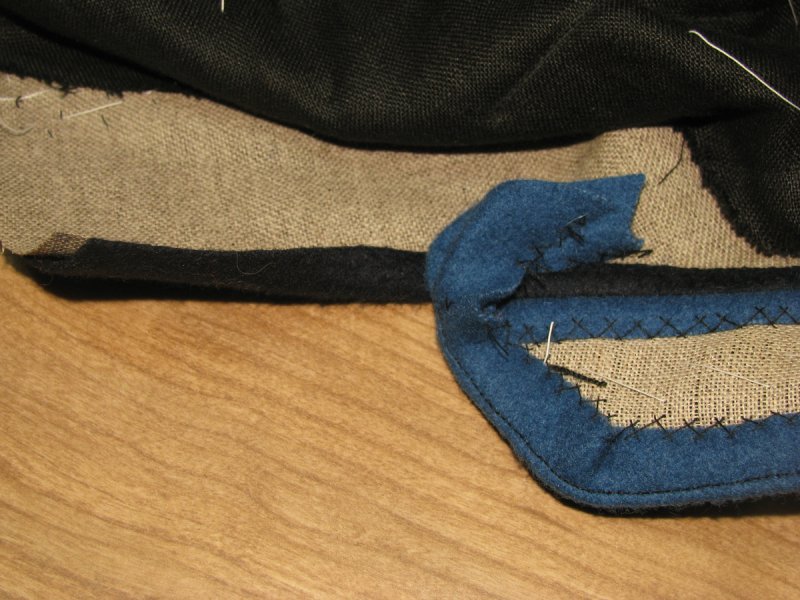
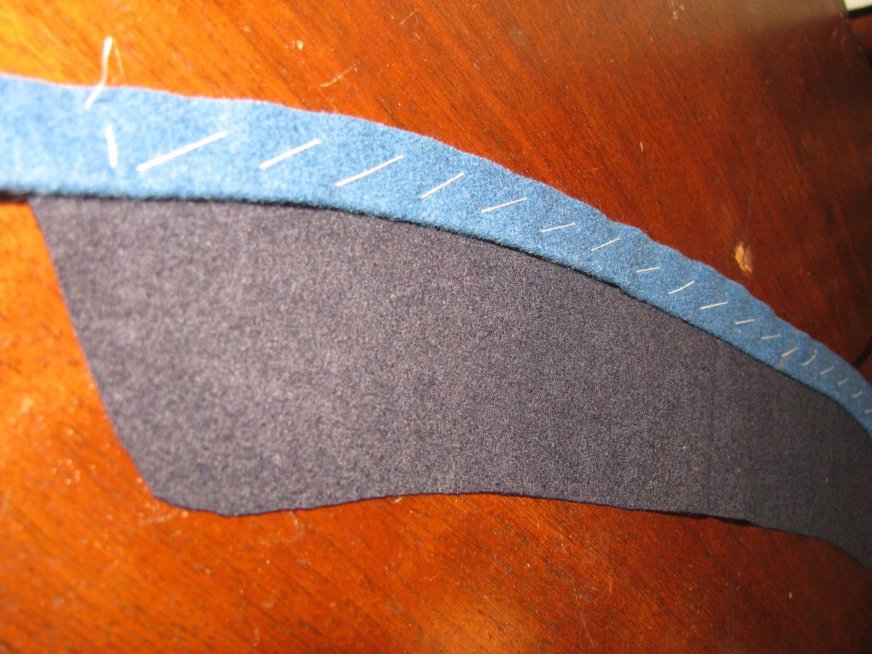
The loose ends of the piping must now be sewn down to the canvas with a cross stitch. Sew down one piping, then the other, catching only the canvas, not the forepart. Again, do not allow any tension to form here, or it will be noticeable on the front and collar.
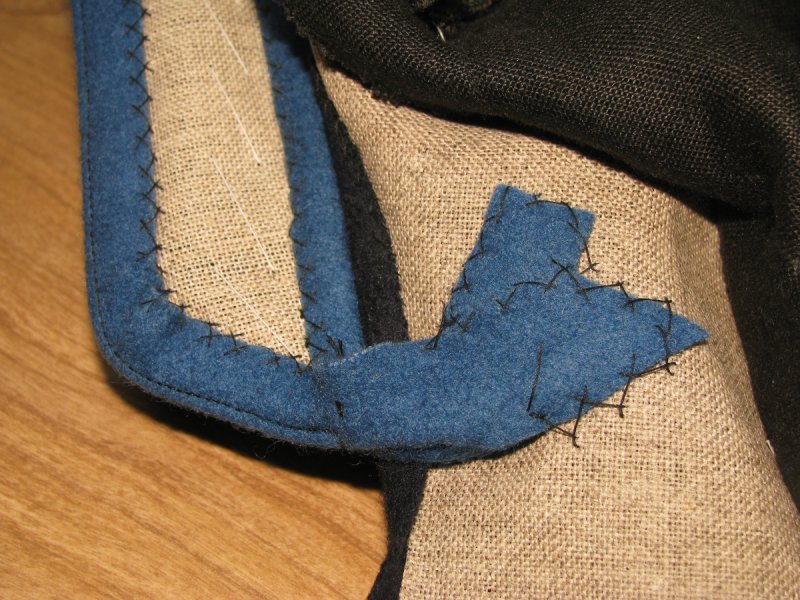
On the left side of the coat, where the buttonholes will be, you need to leave room for them. I try to cross stitch these ends as close to the collar as possible, and only from the top edge of the piping. This allows me to move the piping later on if it is in the way of the buttonhole. Sewing buttonholes through multiple layers of piping is not fun to do.
The Collar Canvas
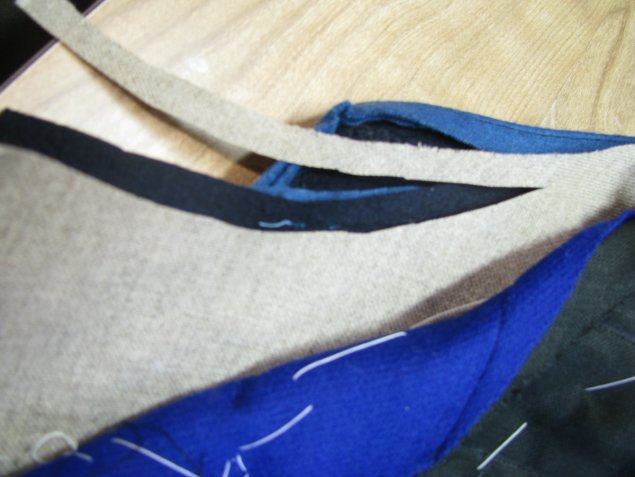
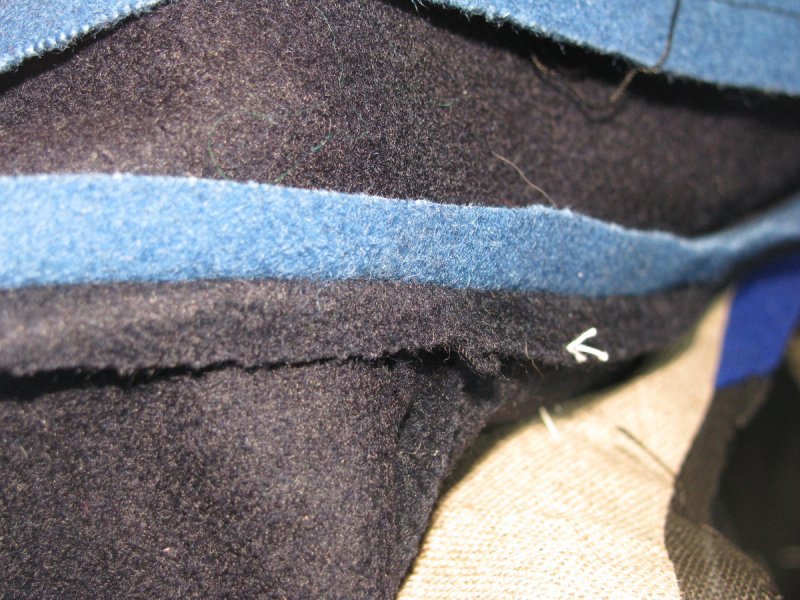
There is more work to be done on the collar at this point. First, you must trim the seam allowance off the canvas at the neck, and shoulder seams. The best way is to measure and draw out the seam allowance with pencil on the canvas, then carefully cut away. On the shoulder seam, you can either rest the scissors ‘in the ditch’ and cut carefully by feel, or you can fold the canvas under the seam, creasing well. Then just cut along the crease line. Either way, the canvas must end just about right on the seam line. It’s probably best if it’s a 16th of an inch off, to allow the wool to turn in though.
Using a tailor’s ham, press open the collar and neck seam from the wrong side of the coat. This needs to be pressed well, or you will have a collar that pulls up the neck area. Press carefully, as you don’t want to shrink or distort the neck area.
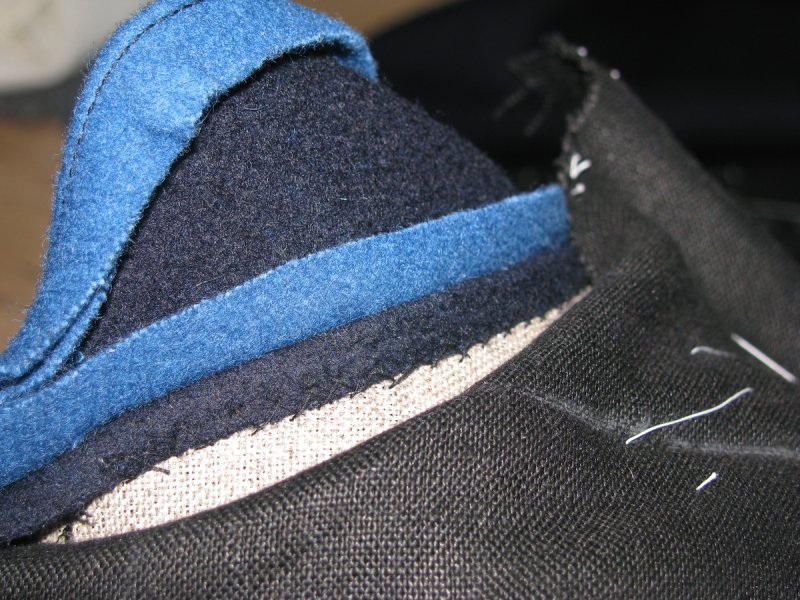
Place the canvas flush against the neck and shoulder seams, and baste to hold it in place. Using a cross stitch, secure the canvas from the ends of the collar, to the shoulder seam, across to the armscye. End the stitch just before you get to the inlay that should still be in the armscye.
Next, find the collar pattern you drafted without seam allowances. To test the fit, put it inside one half of the collar, underneath the piping. Take note of any adjustments that are needed.
Lay the collar on your canvas, following the grain lines as with the wool collar. It should be placed with the center on the fold. Trace around, but this time, keep the corners square. You’ll trim them after to get a perfect fit.
When cutting out the collar canvas, cut on the outside of the chalk lines, to make the canvas slightly larger than necessary. This is to prevent making it too small, which would cause issues with the collar stance.
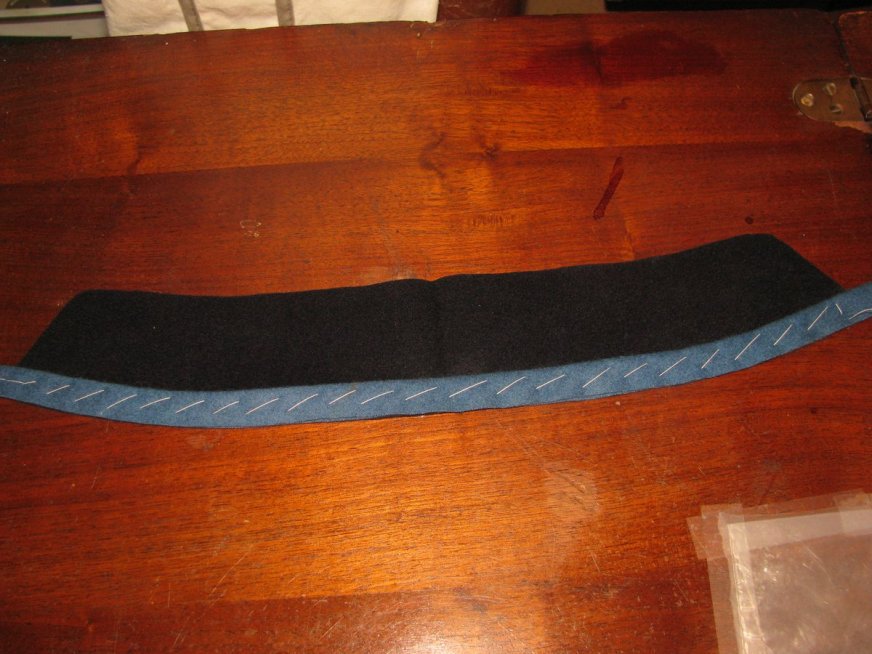
Mark the center line of the canvas, and insert the canvas into the collar underneath the layers of piping, as well as the trimmed and turned edge of the collar (you trimmed that very close to the piping seam line). Starting from the center, baste to one side, then do the same for the opposite. When basting, you want the bottom side of the canvas to be perfectly flush with the bottom row of piping. This way, you only have to trim the top.
With your scissors ‘in the ditch’ of the upper piping seam, carefully trim away the excess canvas, starting at the front, and working your way to the other side. The canvas should end up being 1/16th shorter than the seam line.
Using a cross stitch, stitch the lower piping down to the canvas. As you are doing this, try to keep a neutral tension on the canvas and collar. You don’t want pulling or pushing of the canvas, or the collar will not stand straight. Also, catch only the canvas, and try not to go through to the wool, or it will be seen.

After the bottom piping is cross stitched, move on to the top piping. It’s helpful to flip the piping layers around at the ends so that the upper piping is overlapping the bottom piping. Cross stitch along the top piping, again keeping a neutral tension.
Attaching the Collar
Fold the collar in half, right sides together, to find the center of the collar. Mark this with chalk.
The center back of the collar is placed over the center back seam of the coat. Make sure that the piping extends 3/8 of an inch below the top of the coat. This will put the seam line at 1⁄4 inch – our seam allowance. Baste a few stitches in place here, and working towards the left side, baste the collar in place, stitching just above the piping.
Make sure that when you are basting and sewing the collar to the coat, that you fold the lining and canvas out of the way. These cannot get caught in the stitching.
When you get to just past the shoulder line, hold the collar on loosely while you’re basting, so that you can baste in about 1⁄4” inch of fullness into the collar. This again will help the collar stand up nicely. After you get past the most curved section of the neck, hold the collar on normally, with no tension.
The front of the collar should meet just behind the center front basting marks – not past them.
Now baste on the other side of the collar, starting at the center and working your way to the other side of the coat. Baste some ease into the collar in a similar manner, and ensure the ends meet at the same place on both sides.
After ensuring the collar fits and is in the correct place, proceed to sew it down.
For most control and accuracy, hand-stitching is the way to go. Use a pricked side stitch, placed ‘in the ditch’, right where the fabric meets the piping. Stitches should be 8 to 10 per inch, and should go straight through the piping, 1/8” from the edge. On the underside, make sure the stitches line up at 1⁄4” away from the edge. If they are uneven, you will have trouble pressing open the seam allowance there later on.
Also, while taking each side stitch, pull snuggly on the thread. This will pull the collar a miniscule amount inward with each stitch you take, giving more shape to the collar area, and helping it hug the neck.
The side stitching should be pretty much invisible, save for some slight indentations in the piping, perhaps. Technically, you should be able to use a hot pink thread and still not see it. Try it as a good exercise!
If you prefer to use the sewing machine, this can be tricky in its own way, in that the foot is apt to slide off of the piping. You’ll need to use a zipper foot so that the needle can get in snug to the collar fabric.
With either method, start sewing the collar on at the point where the upper piping meets the bottom piping.
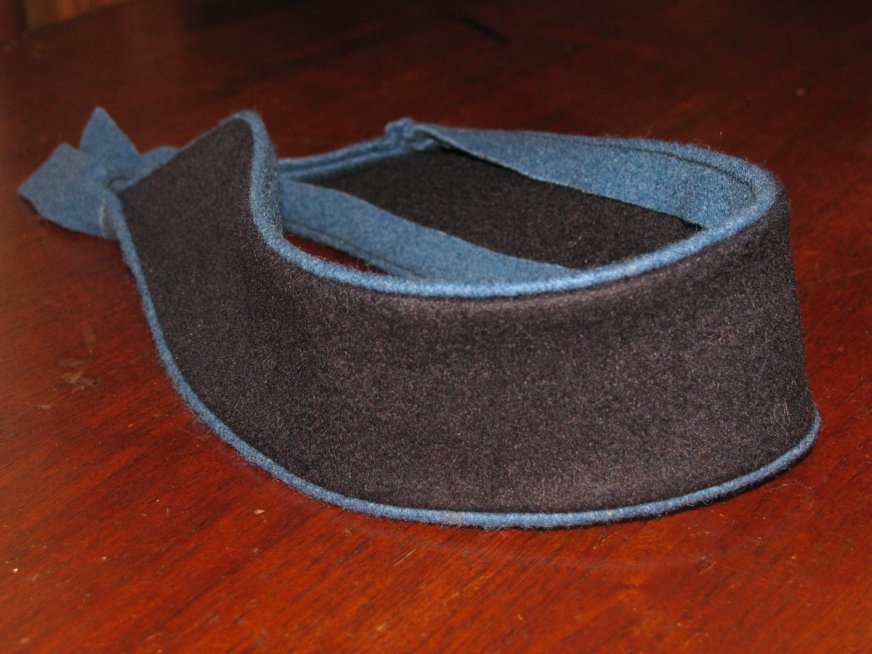
Pressing the Collar
Begin by pressing the entire collar flat, using a press cloth and a lot of steam. Then turn under the bottom piping a little section at a time, pressing it as you go. Weigh it down with a heavy iron or clapper if you can.
Press the entire collar again just to get some steam into it before you begin pressing the top piping under.
To press the top piping, start with one end and press that corner under. Then do the same with the other end. You can then press the middle section with more ease. Turn the entire collar over, wrong side up, and gently press out the ripples in the upper piping at the curved areas.
Finally, turn the collar right side up, and using a press cloth, give the whole collar a final pressing.
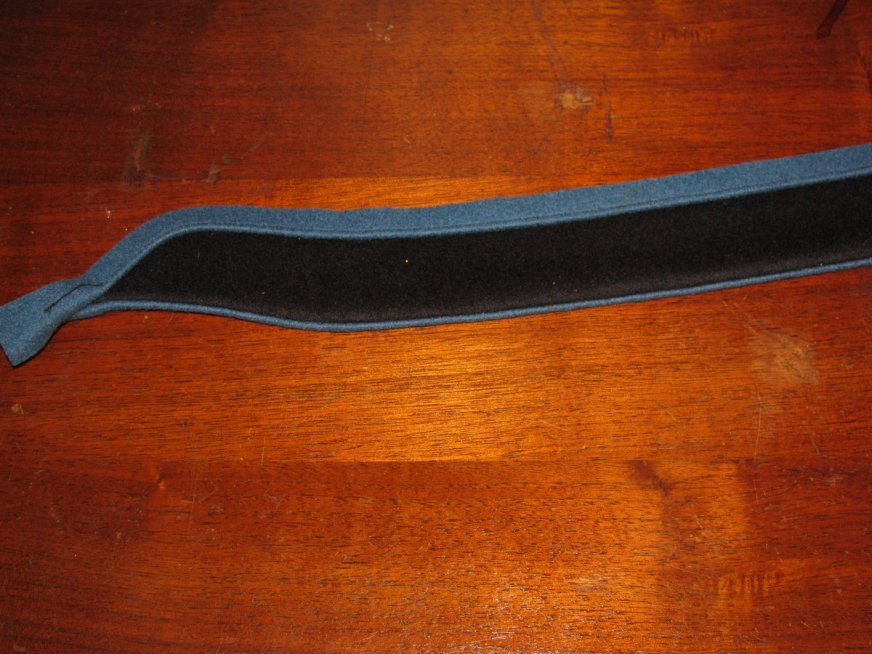
Constructing the Collar
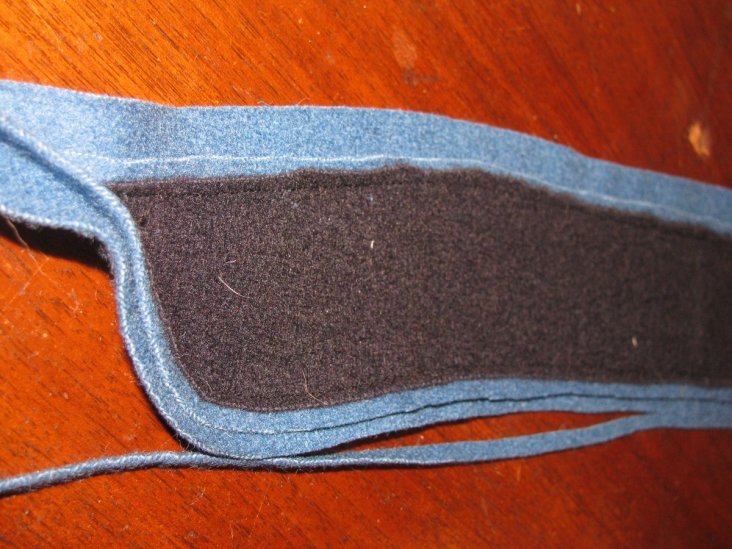
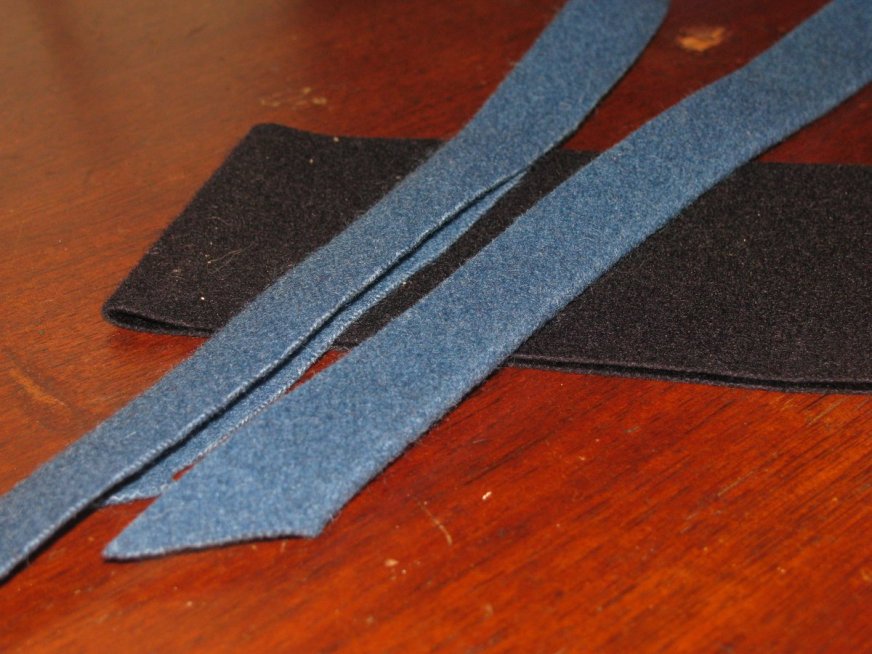
Begin by cutting some bias strips of light blue wool. These should be at a 45 degree angle to the selvage, allowing them to stretch easily. Each strip should be 1 1⁄4” wide. You should cut four pieces so that you have enough for the collar and sleeve cuffs. 24” is a good length.
Cut out these strips, fold them in half, and press well, so that they retain their shape. The finished piping should be 5/8” in width.
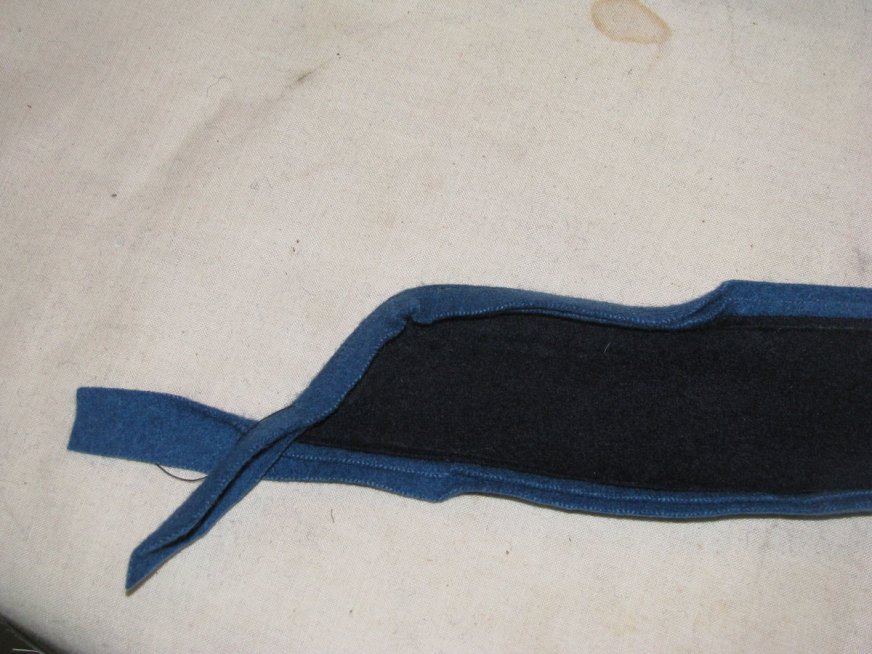
Baste one strip of piping, with the folded edge facing the inward side of the collar, to the bottom edge of the collar. The edges should be lined up with the edge of the collar. Using a ruler, mark half an inch from the edge of the collar on both ends of the piping. You will stitch to and from these chalk marks.
Make sure to leave about 2″ of extra piping at either end.
Mark a line on the piping about 5/8″ from each end of the collar to help guide the next piece of piping into place and to mark the end of the stitching line.
Carefully stitch down the piping, using a half inch seam allowance. This will give you piping that is 1/8 inch wide when finished. This can be tricky to do, so go slowly, turning the wheel by hand if you like. If you make the piping too narrow, it will not be able to fold under, and will disappear from view. If it is too wide, it will look bulky and flap around on the finished coat. Definitely not elegant.
Baste on the upper piping, making some extra stitches around the curved areas. You’ll have to stretch and gather the piping in this area as you baste, with your hands. After basting, carefully sew again a 1⁄2 inch seam. The stitching should start and end at just past where the upper piping overlaps the bottom piping. You don’t want to catch the bottom piping in the upper piping seam.
At this point, the sewing is done, and you should remove the basting stitches.
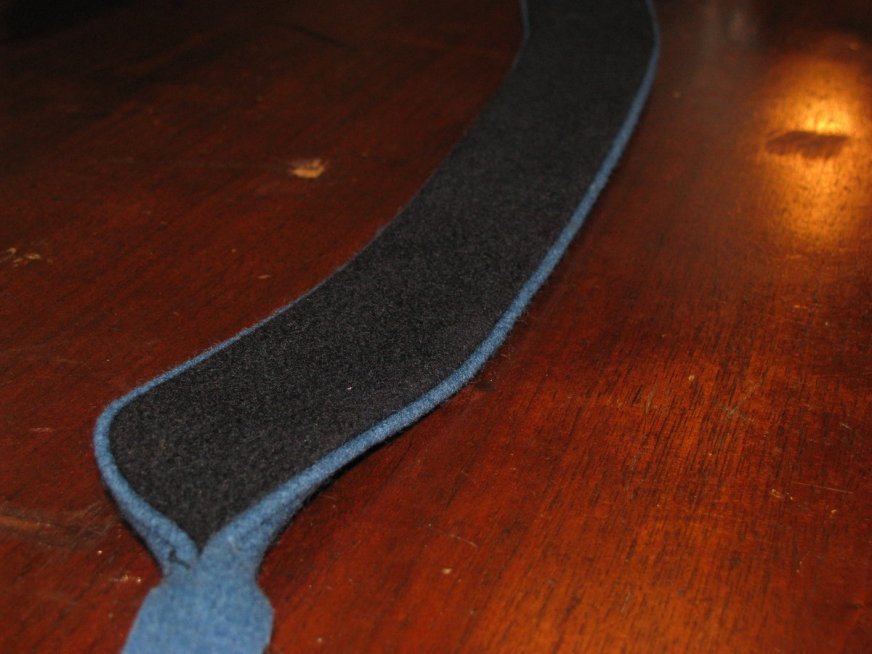
Turn the collar to the wrong side, and carefully trim away the entire seam allowance of the collar fabric. If you angle your scissors in, you can get very close to the seam without worry about cutting through it.
Next trim the upper layer of piping, about 3/16” wider than the collar fabric. This is ‘stair-stepping’ the fabric to reduce bulk and make pressing a lot easier. Finally, trim the bottom layer of piping so that it is just 3/16” wider than the upper layer of piping.