Category: Shawl-Collared Waistcoat
Buttons
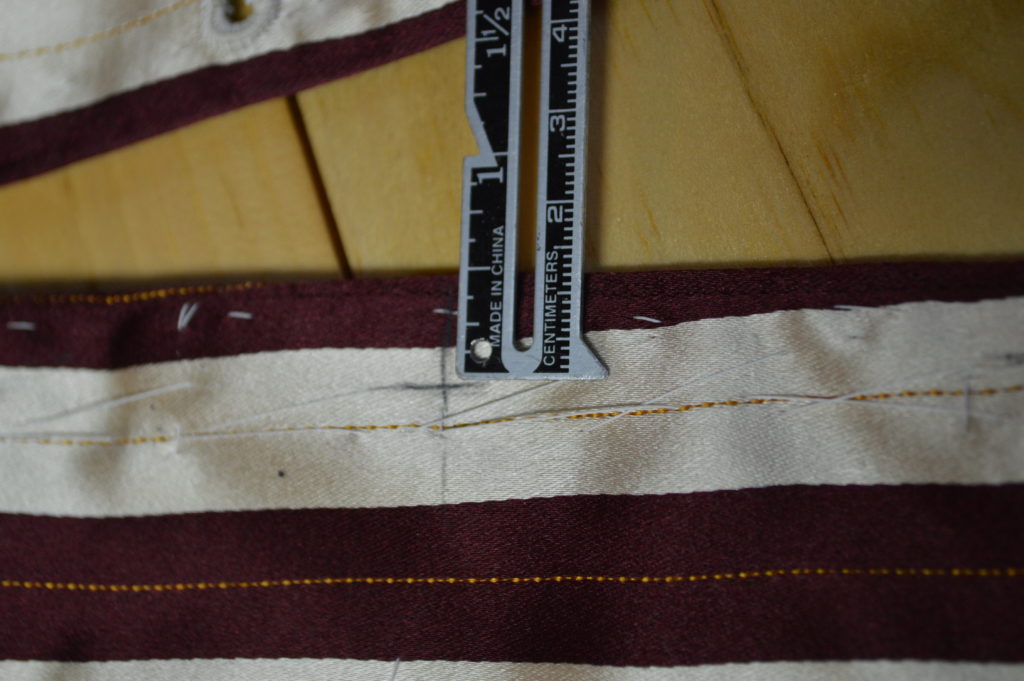
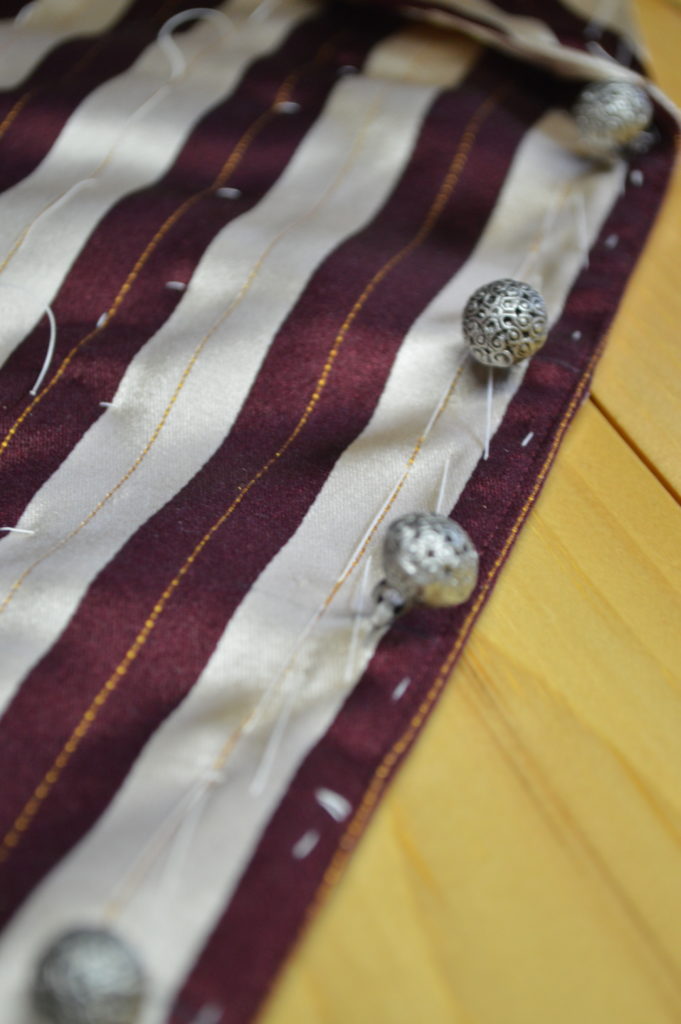
The easiest way to lay out the buttons is to simply align the fronts of the waistcoat as shown. Mark the vertical position of each button, directly across from the buttonhole.
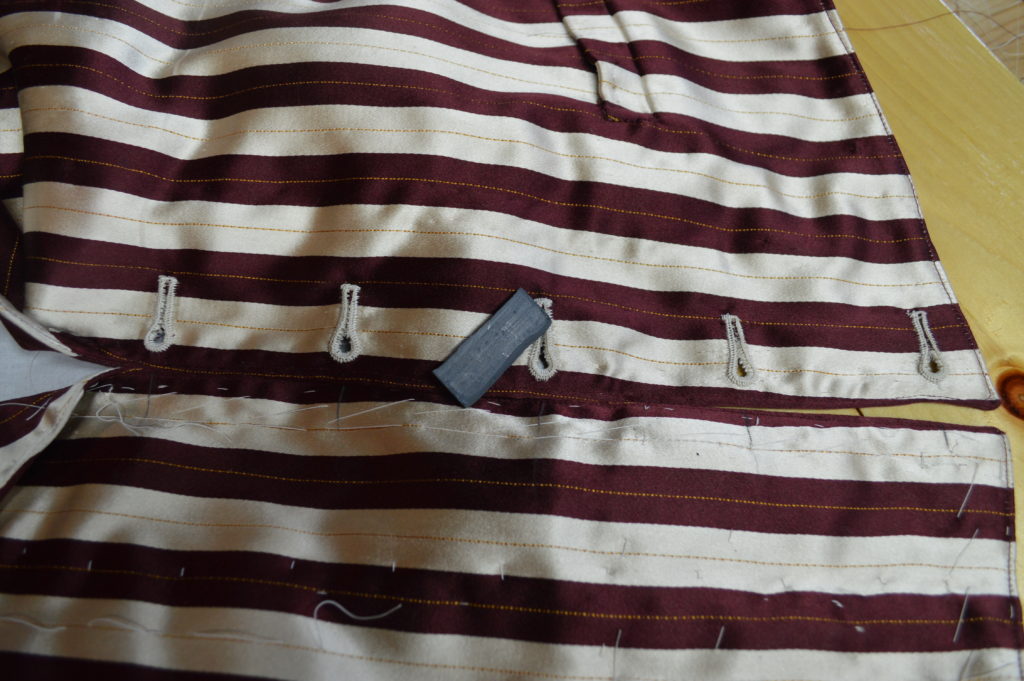
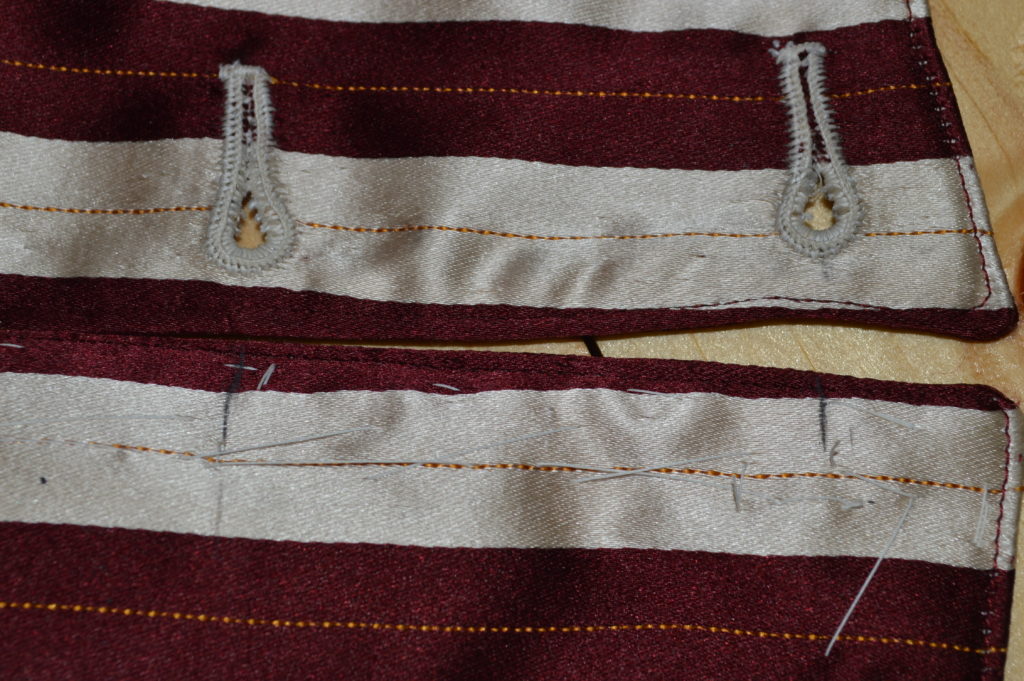
Now mark the horizontal position of the buttonhole using a ruler. I usually make mine 3/8″ to 1/2″ in from the edge.
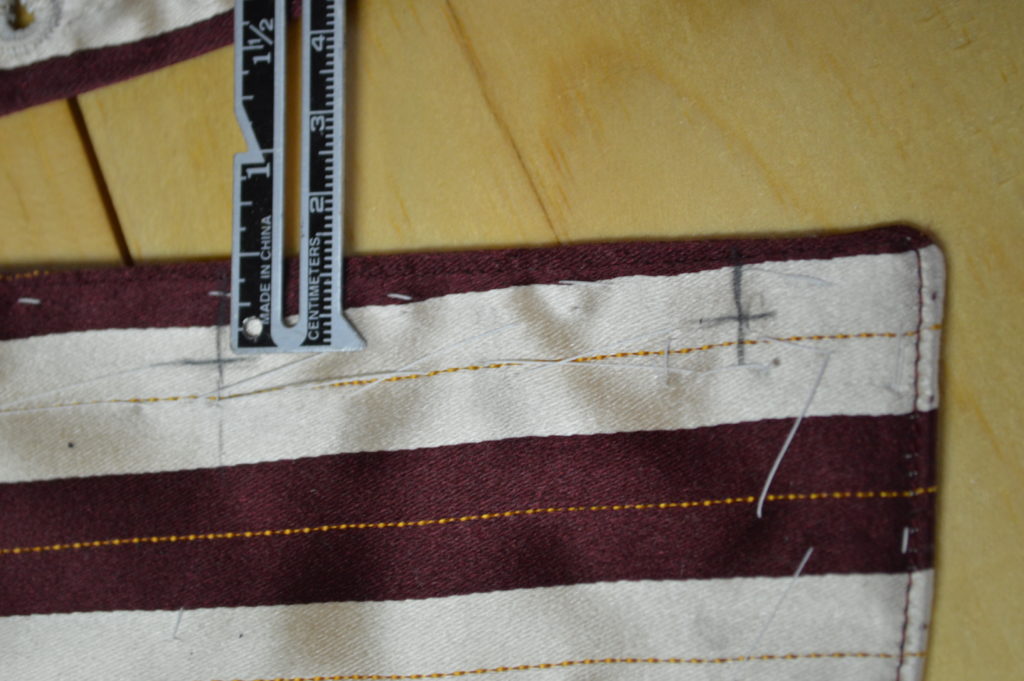
Pass a waxed piece of thread from the underside of the waistcoat, through to the top side, through the button, and back to the underside. Leave a little slack for the thread shank if you’re using one. I like to make 6 stitches through the button.
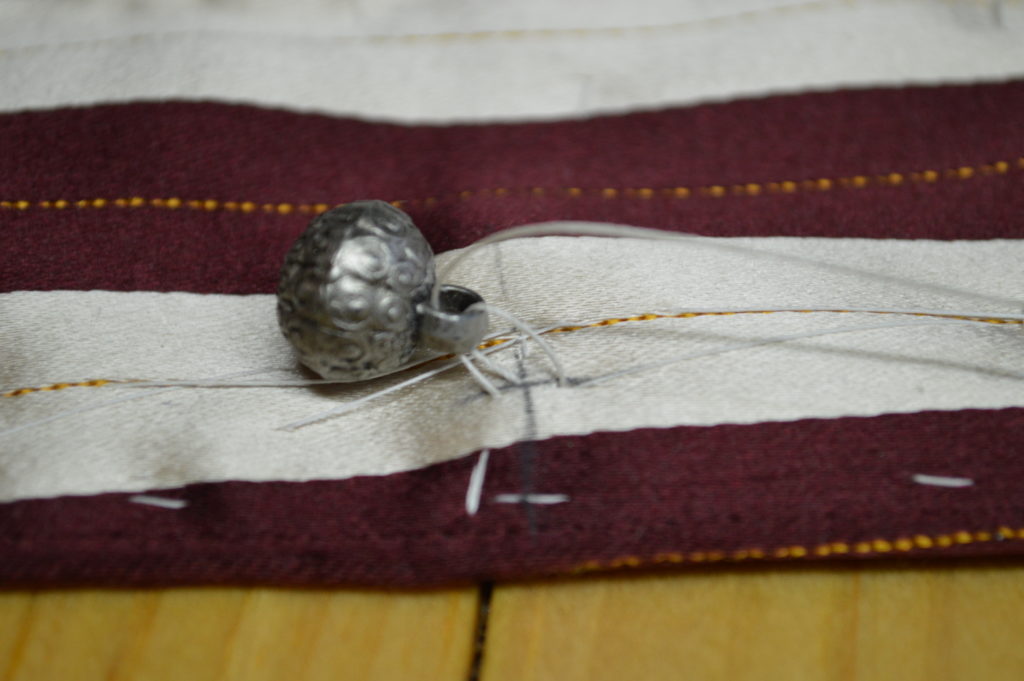
After the stitches are made, wrap the thread around the stitches about 4 to 6 times, depending on how much slack you put into the stitches and how long you want the shank to be. Since these buttons already have a metal shank, I just went with four wraps around.
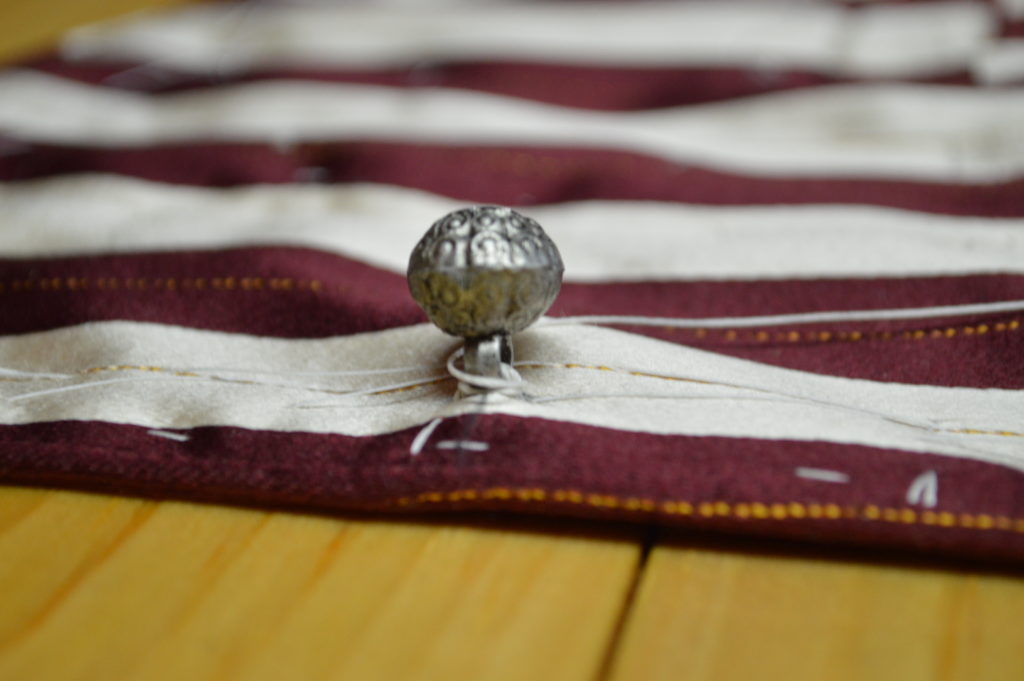
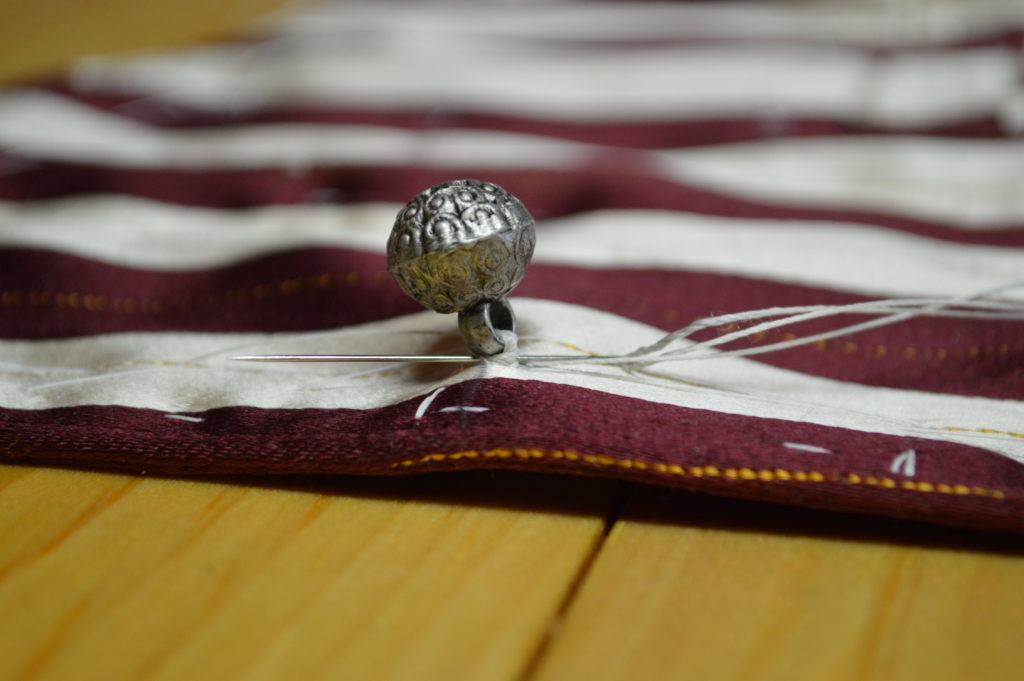
Pull the wraps taught and then pass the needle through the tightened stitches 3 times, from a different direction each time.
The Back Buckle
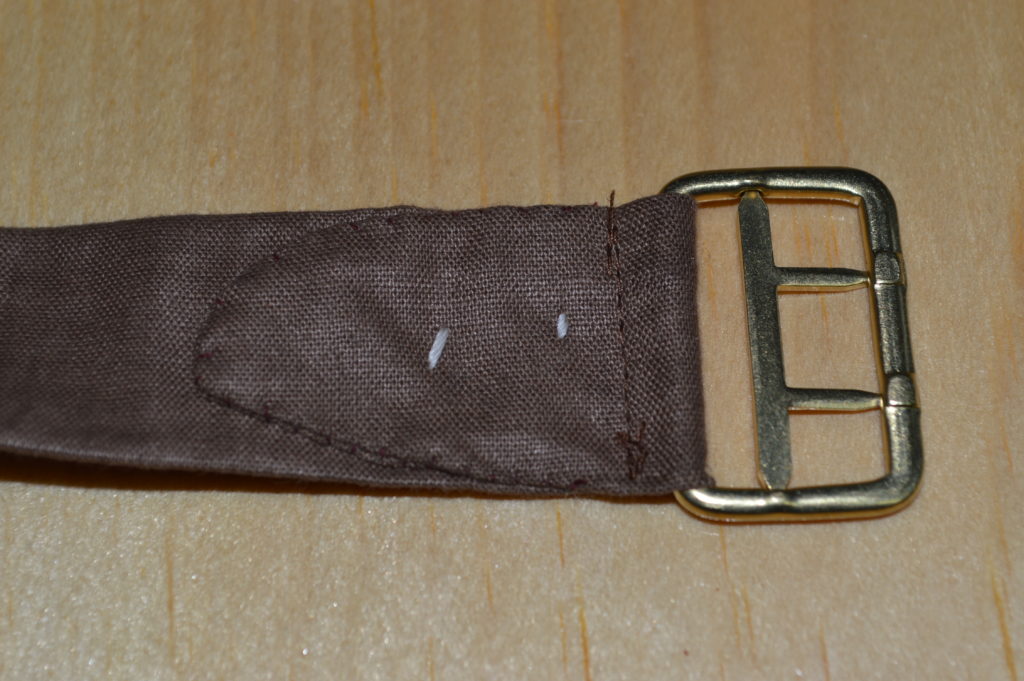
The final step in making your waistcoat is to attach the buckle. On the left side of the belt, wrap the belt around the buckle and baste in position.
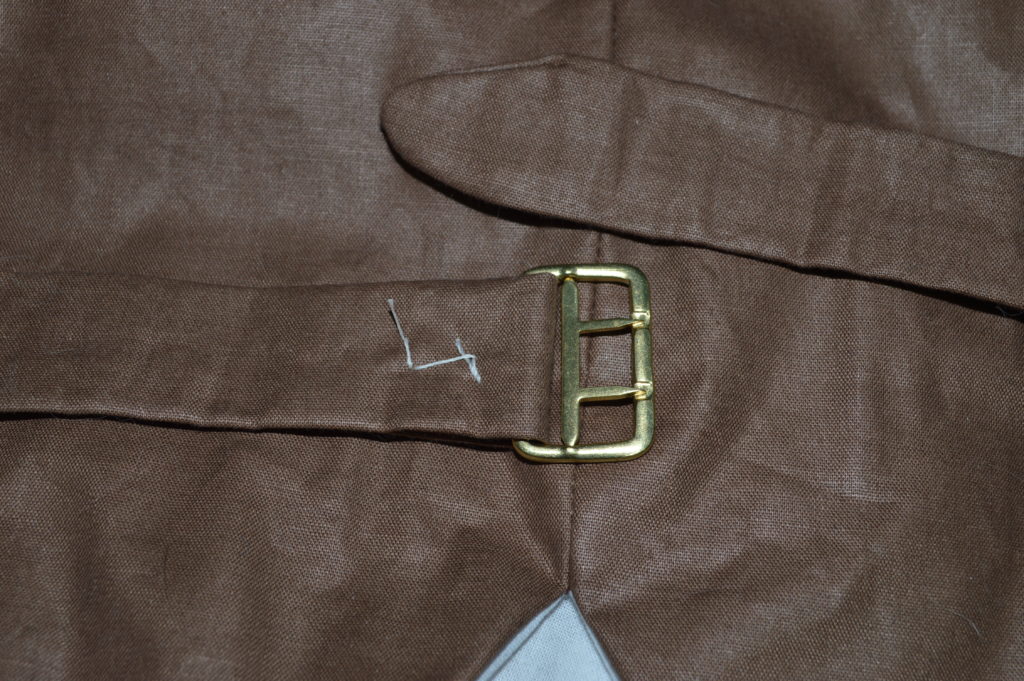
Machine or hand stitch a line parallel to the buckle, as close as you can to it.
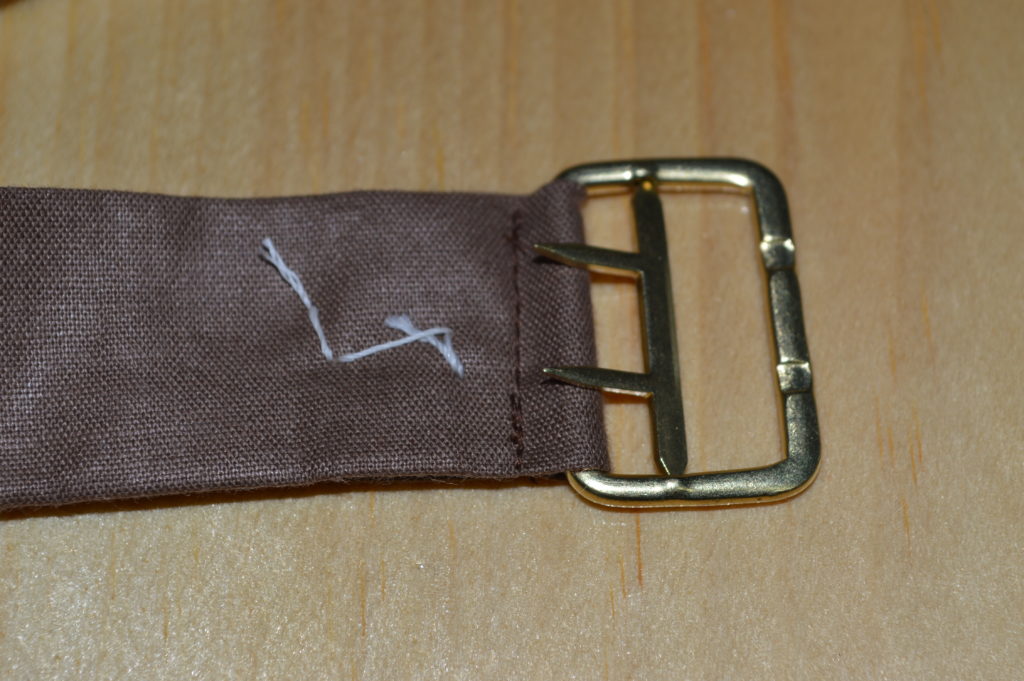
Finally, sew around the edge of the belt underside, further securing it in place.
Buttonholes
This section is just an overview of what I did for the buttonholes, for a much more extensive tutorial, please see my other course, The Art of the Buttonhole.
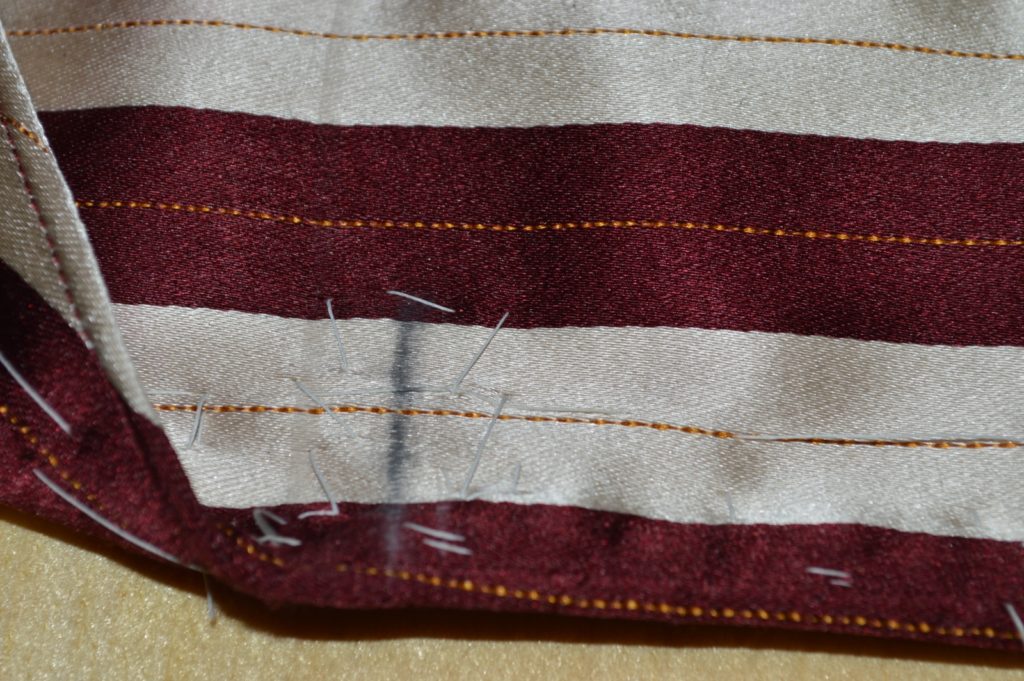
To begin, you need to lay out your buttonholes vertically along the left center front. The top buttonhole should be about 1/2″ below the bottom of the collar, and the bottom buttonhole should be the same distance from the bottom of the waistcoat.
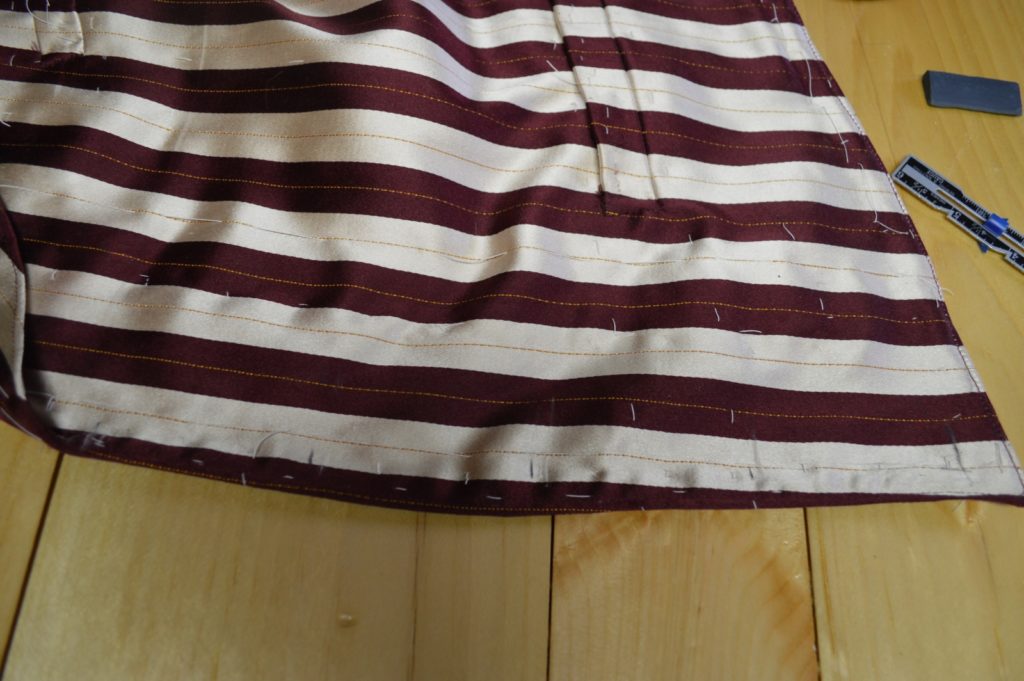
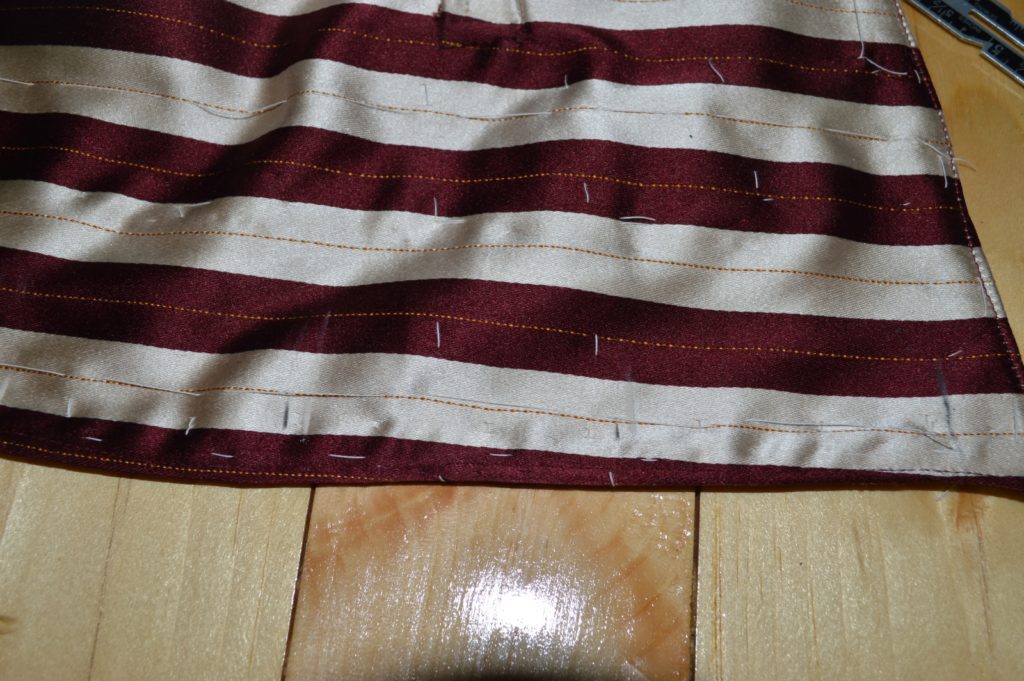
Next mark the angle of the buttonholes, and then their widths if using a hollow punch and chisel.
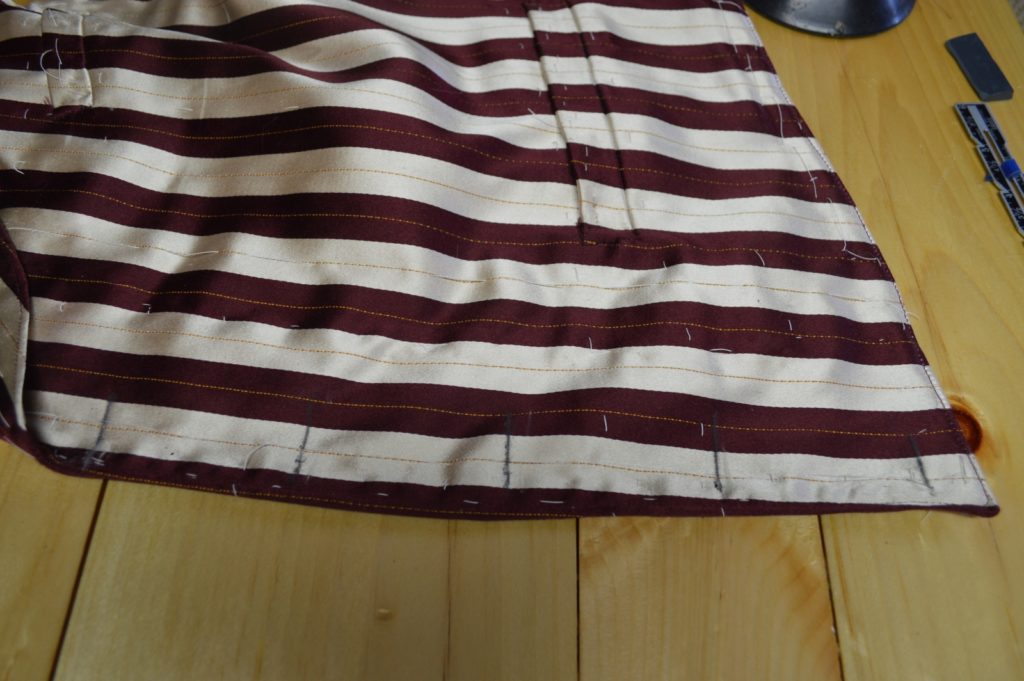
Baste firmly around each buttonhole.
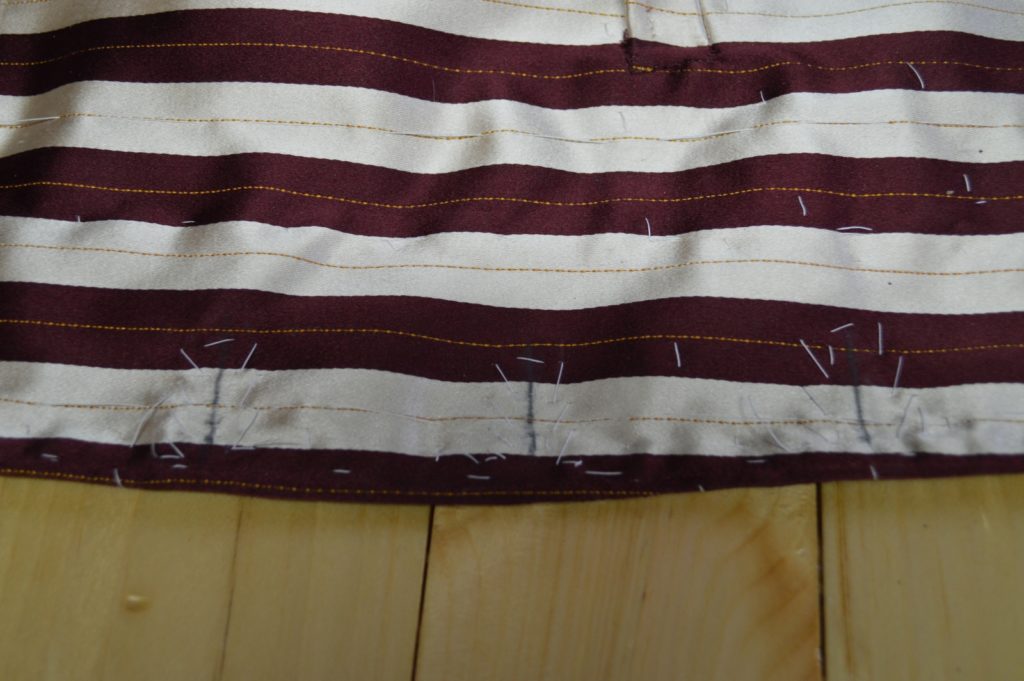
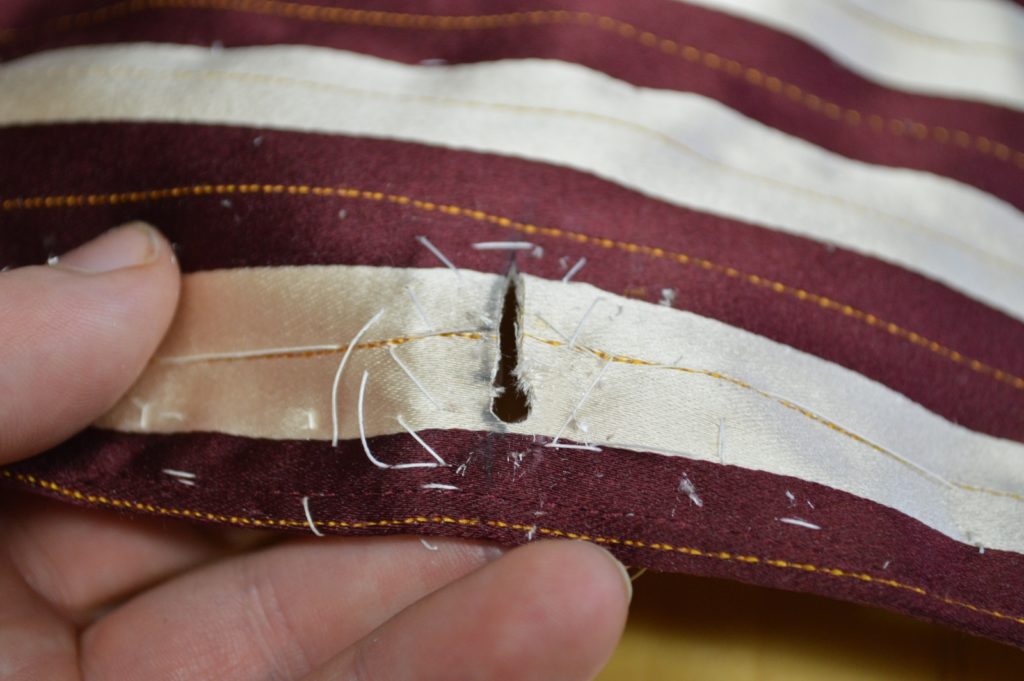
Cut open the buttonholes using a hollow punch and chisel, or a buttonhole cutter if you have one. Trim the points next to the hole if desired to get more of a tear drop shape.
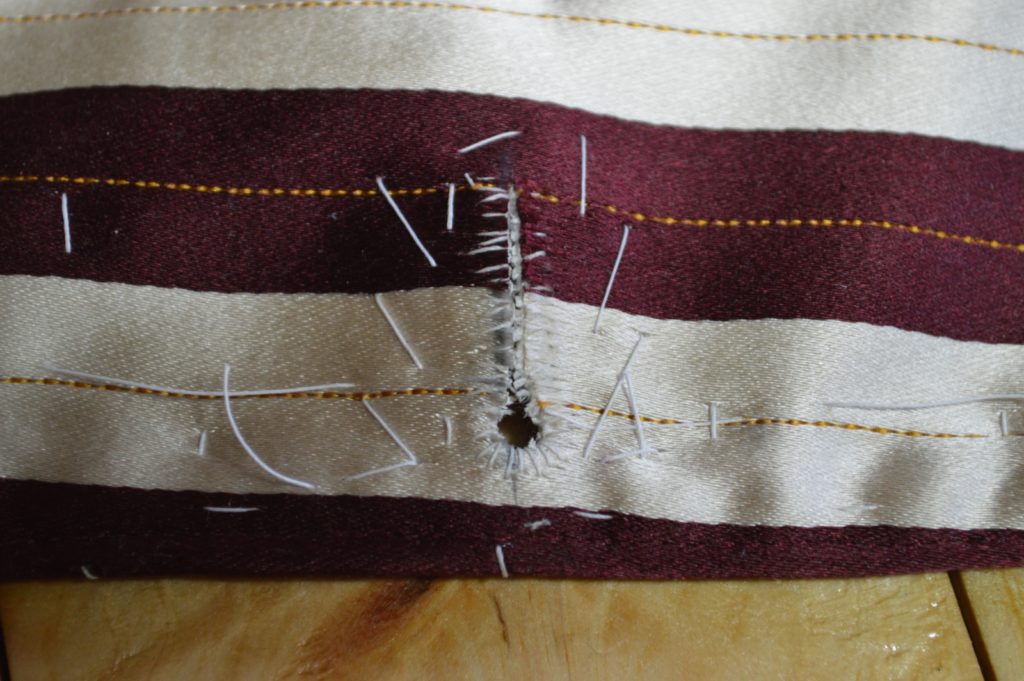
Firmly overcast the raw edges of the buttonholes.
Apply the gimp or four-cord to strengthen and give shape to the buttonholes.
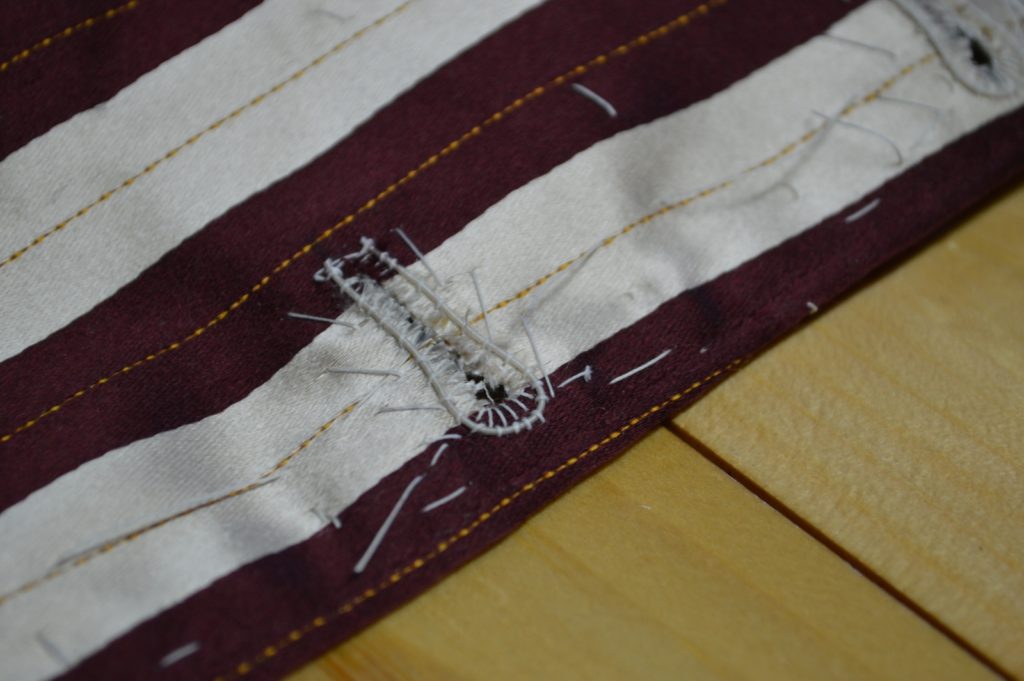
Finally, work the buttonholes with a buttonhole stitch using silk buttonhole twist.
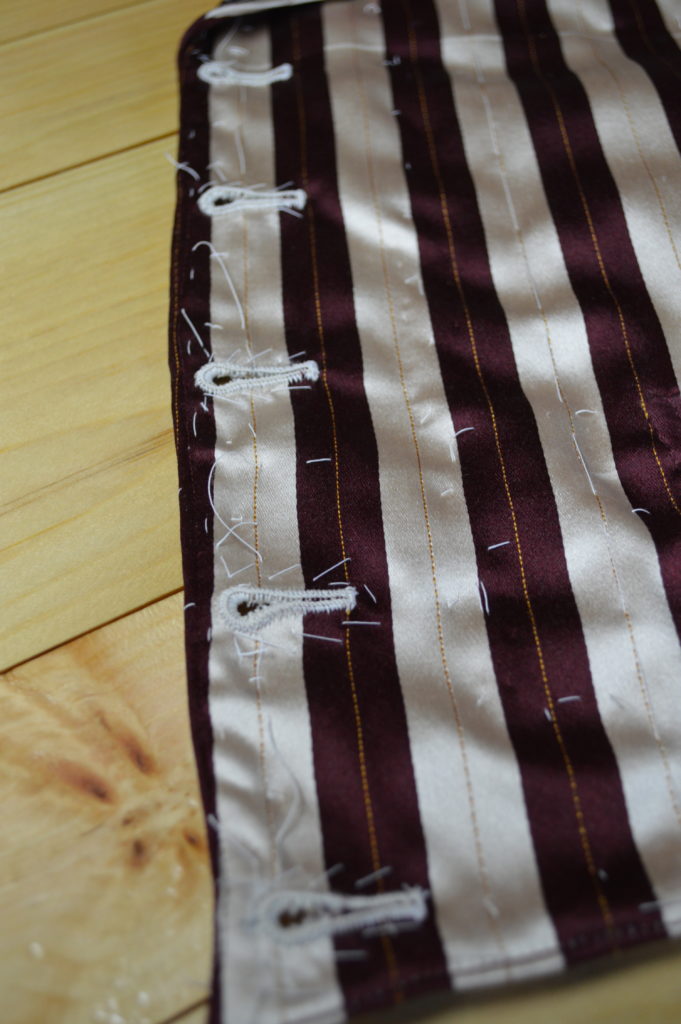
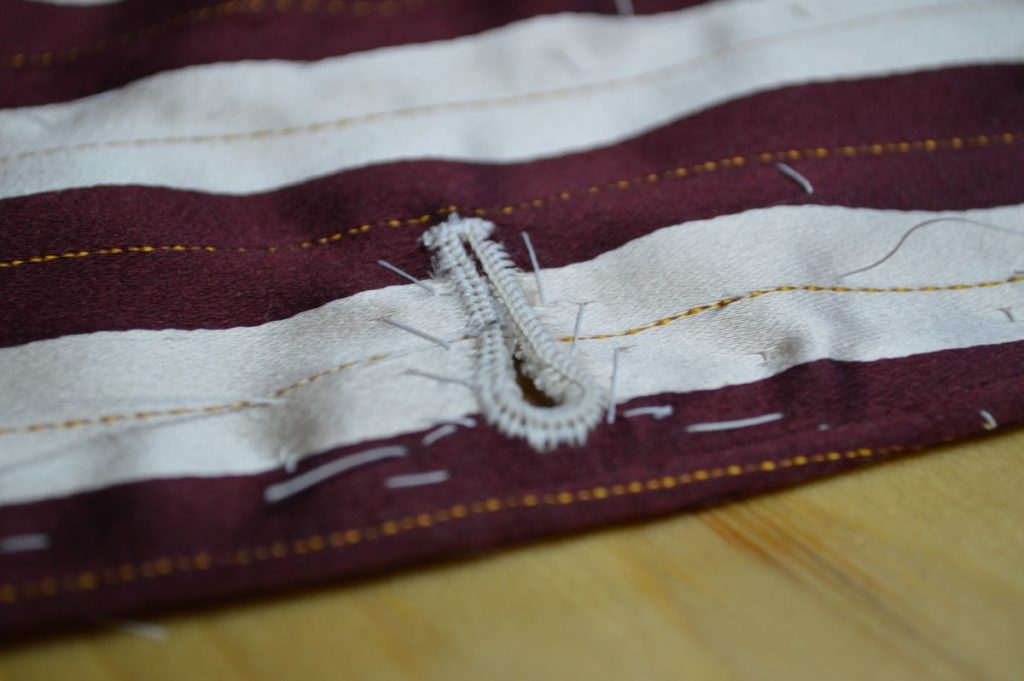
Here’s a video demonstrating the buttonhole stitch itself.
Completing the Collar
We’ll now focus our attention on the collar in order to finish closing up the waistcoat.
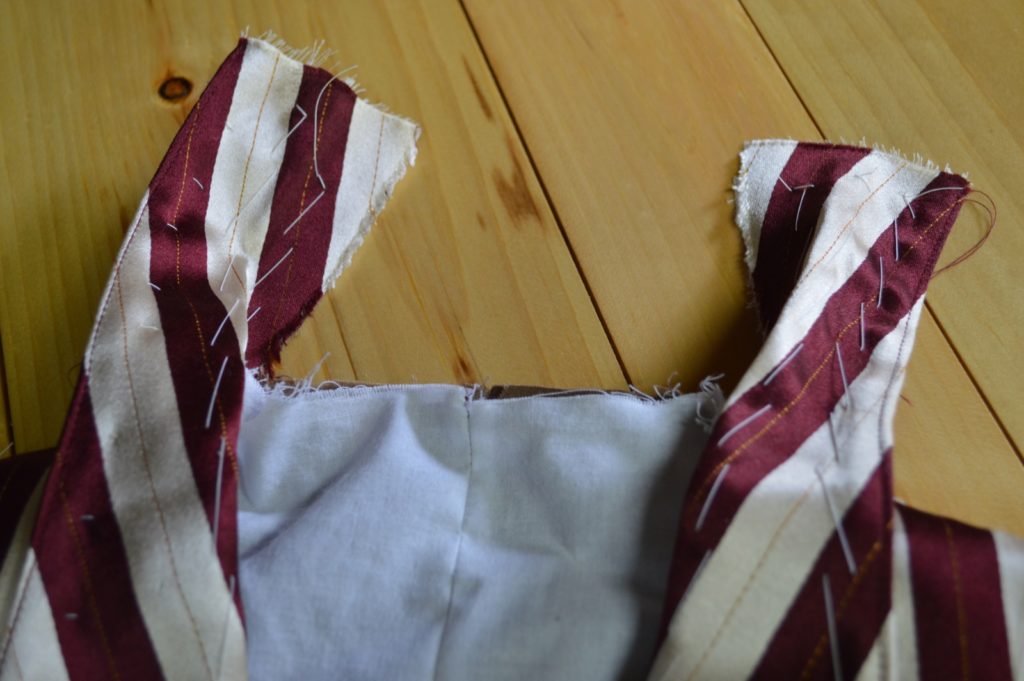
Opening up the collar at the shoulder area, the stitches closing the shoulder seam should end right at the collar.
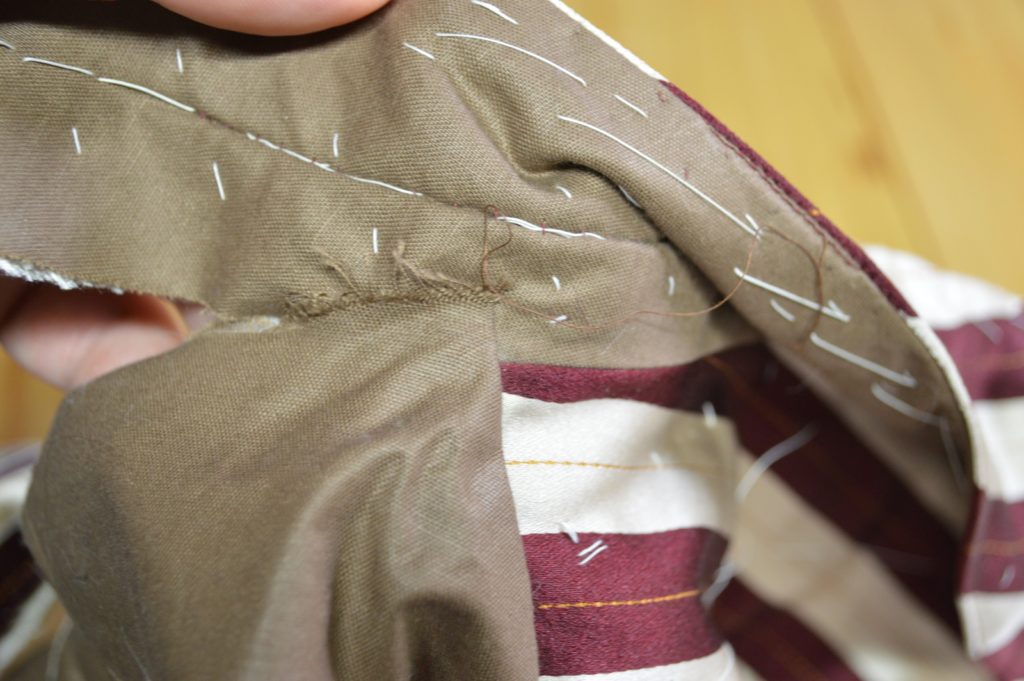
Turn under the raw edge of the back neck at this point 1/4″. Depending on your sewing accuracy, it may be a little more or less. You’re really just checking for accuracy here. If you’re way off with the stitching (more than 1/4″), you may need to turn the waistcoat back inside out and adjust the stitch line.
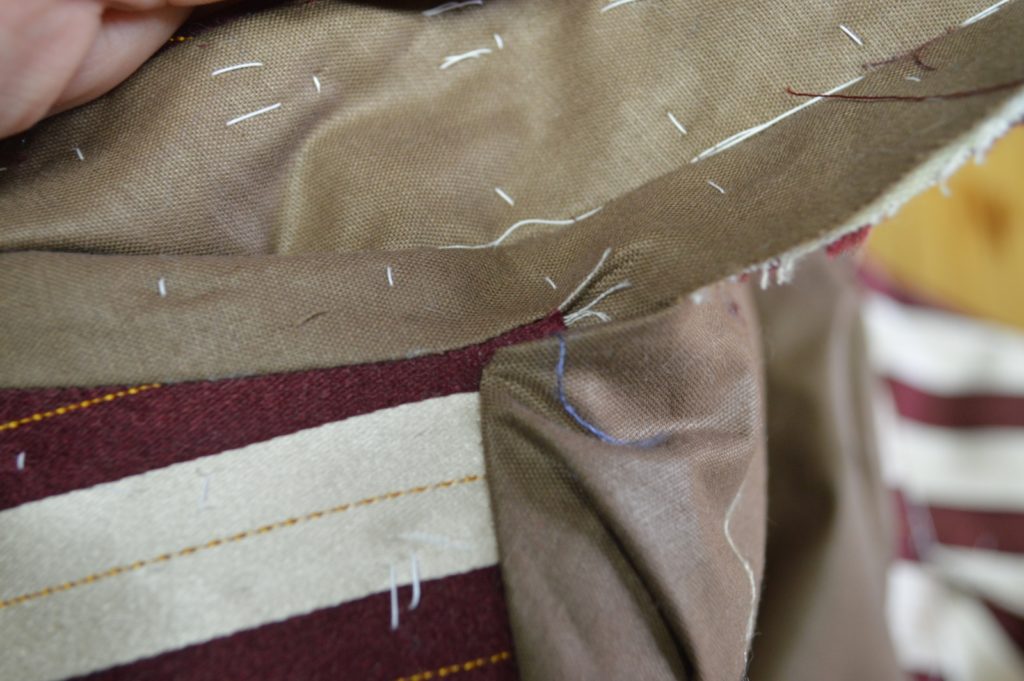
With the waistcoat backside up on a flat surface, lay the collar smoothly into place and mark the center line on the collar. This gives you a very accurate length to work with.
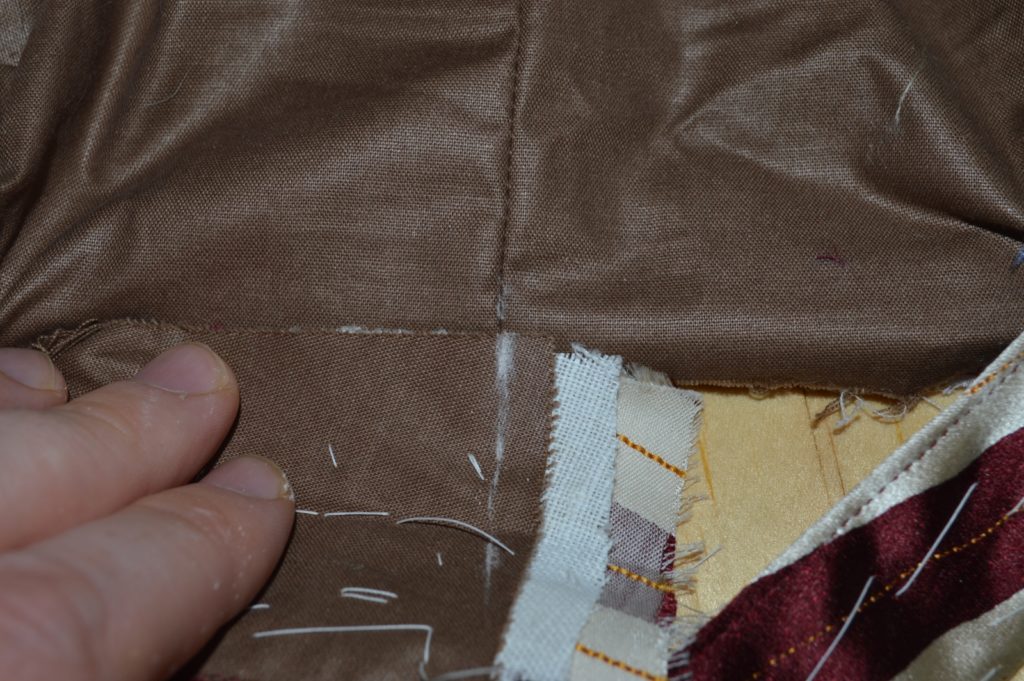
Repeat with the other half of the collar.
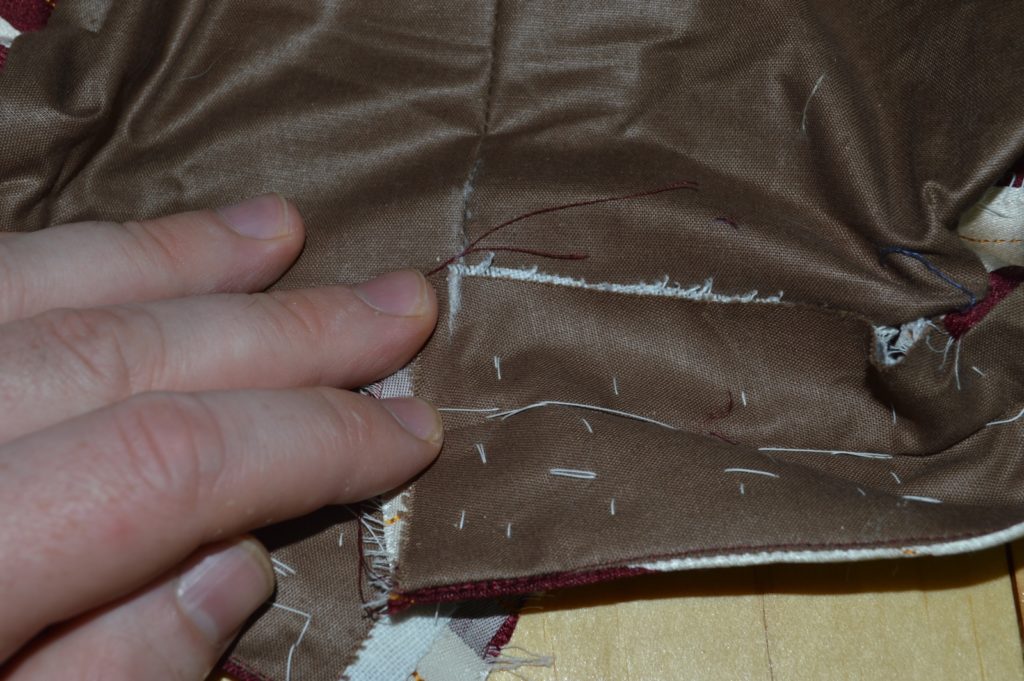
Next, square the marks across the width of the collar to get the stitching line.
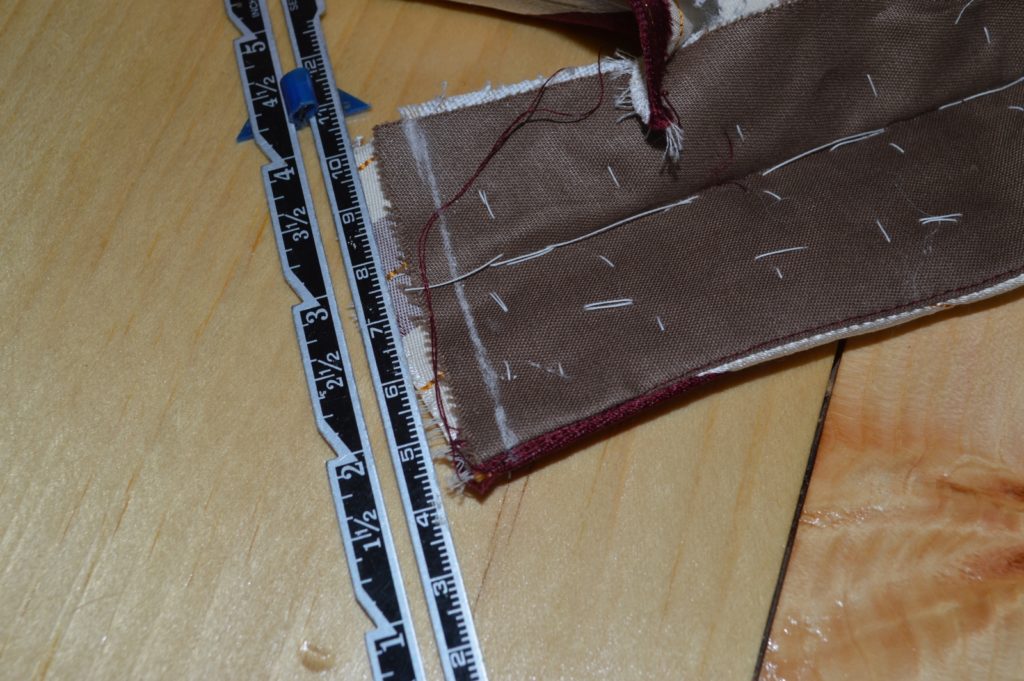
Here’s what I have so far with the stitching lines marked square across, referencing from the bottom of the collar.
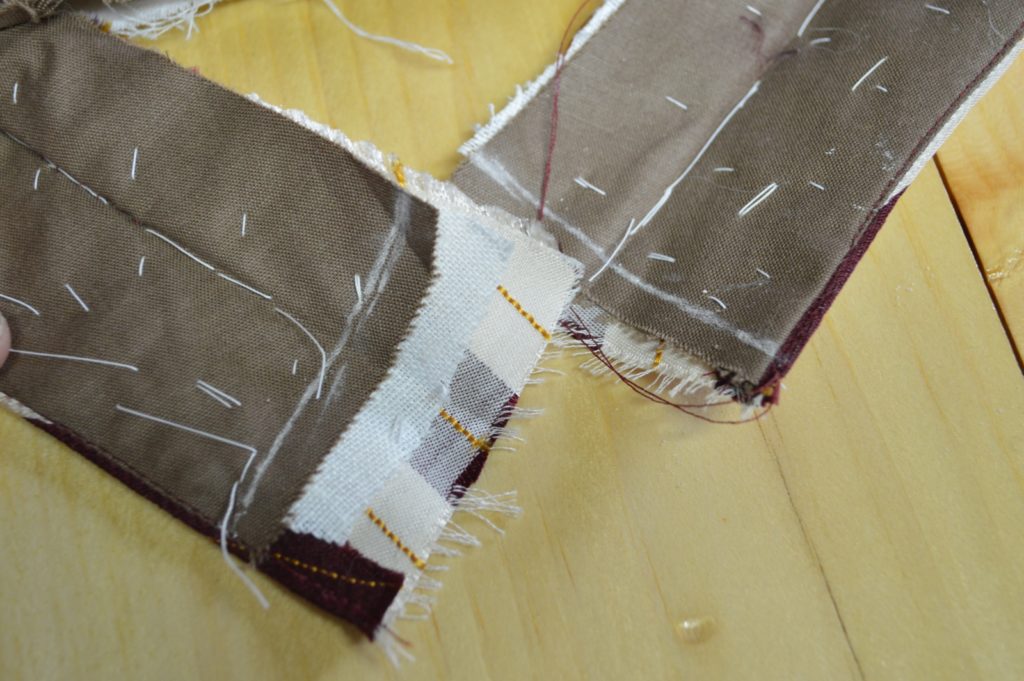
Next, add a 1/4″ seam allowance on each collar end and trim off the excess.
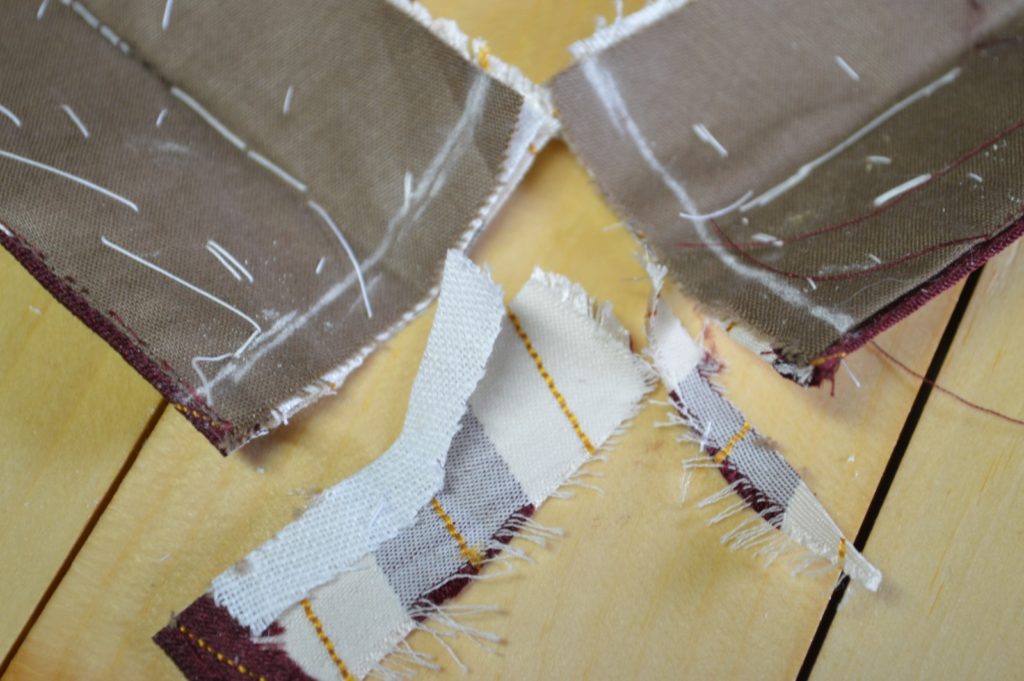
Remove any basting stitches and top stitching (if you’ve done that already), and open up the collar so that the insides are accessible for sewing. You’ll probably have to remove an inch or two from each side.
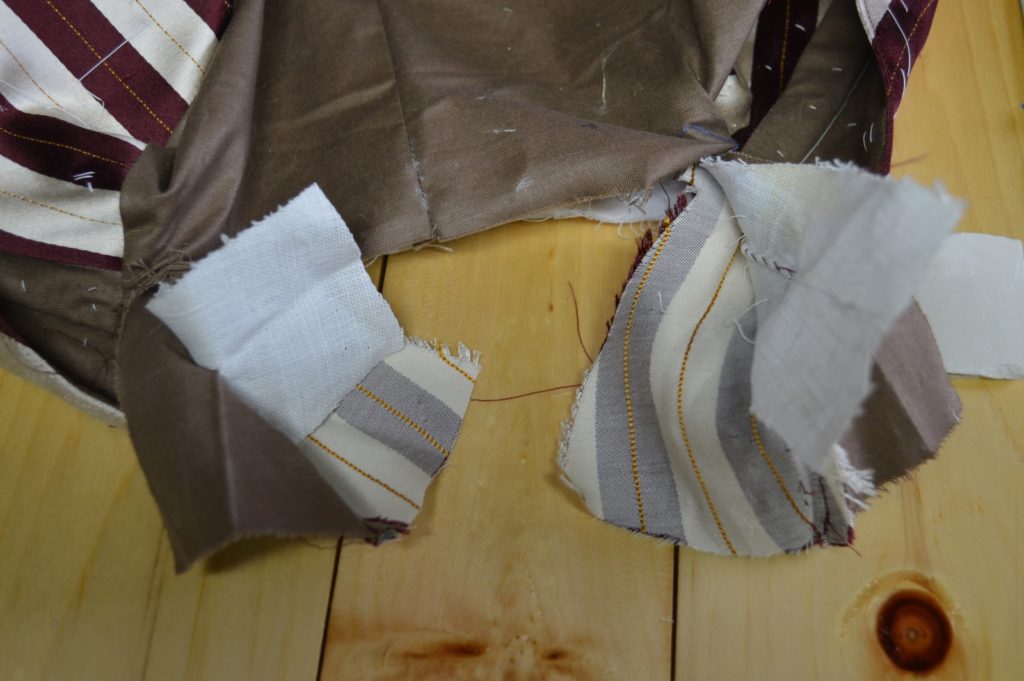
Baste the opened collar halves right sides together, ensuring that the edges and seam are all properly aligned.
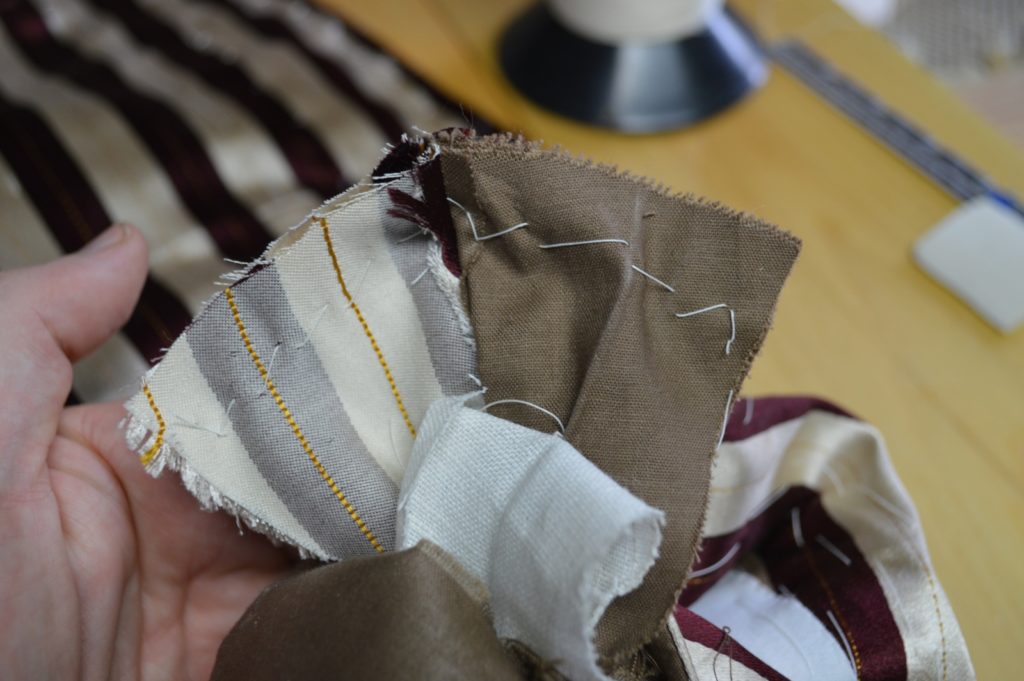
Sew the collar halves together using the 1/4″ seam allowance you marked earlier. Remove the basting stitches.
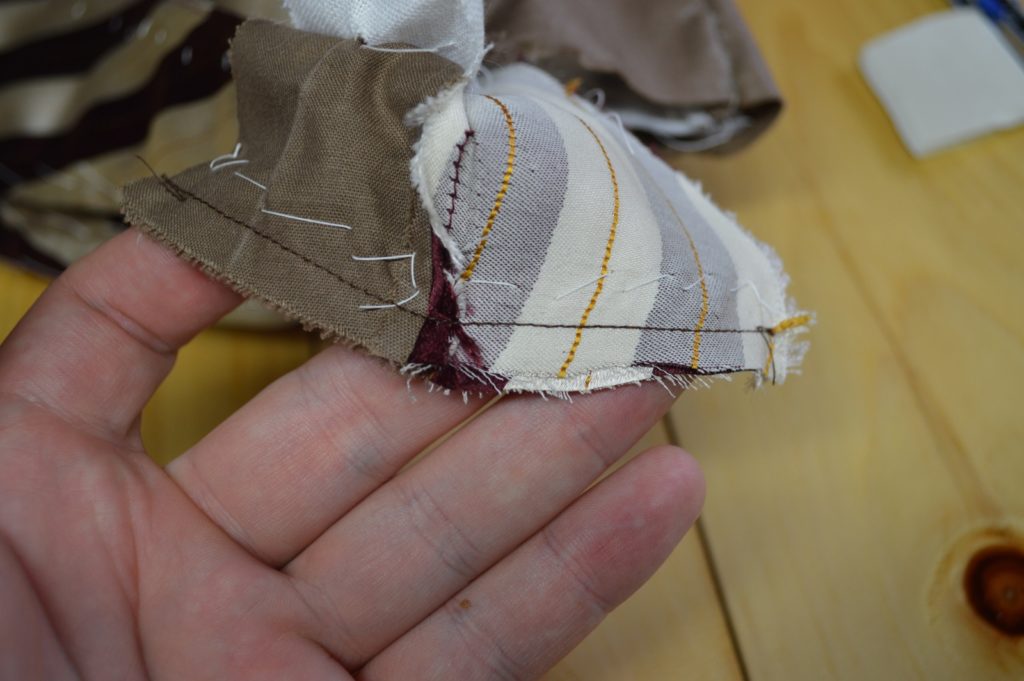
Press open the collar seam. You may need to use a tailor’s ham or sleeve roll to get into this tight area.
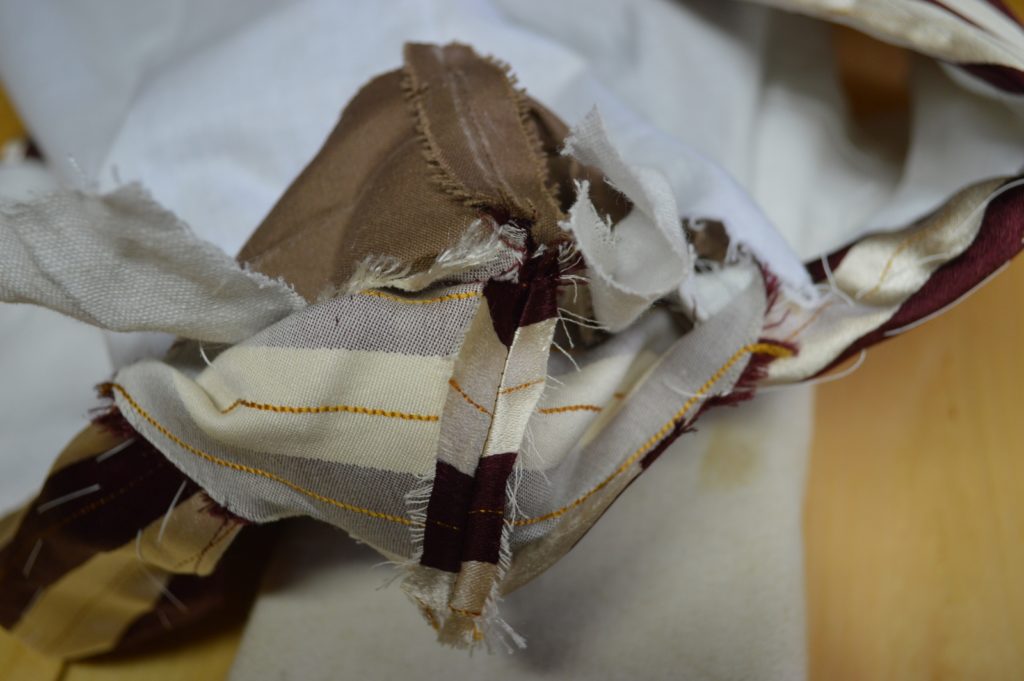
Fold and press the collar lining back into place. There should be a 1/16″ to 1/8″ reveal of the top collar.
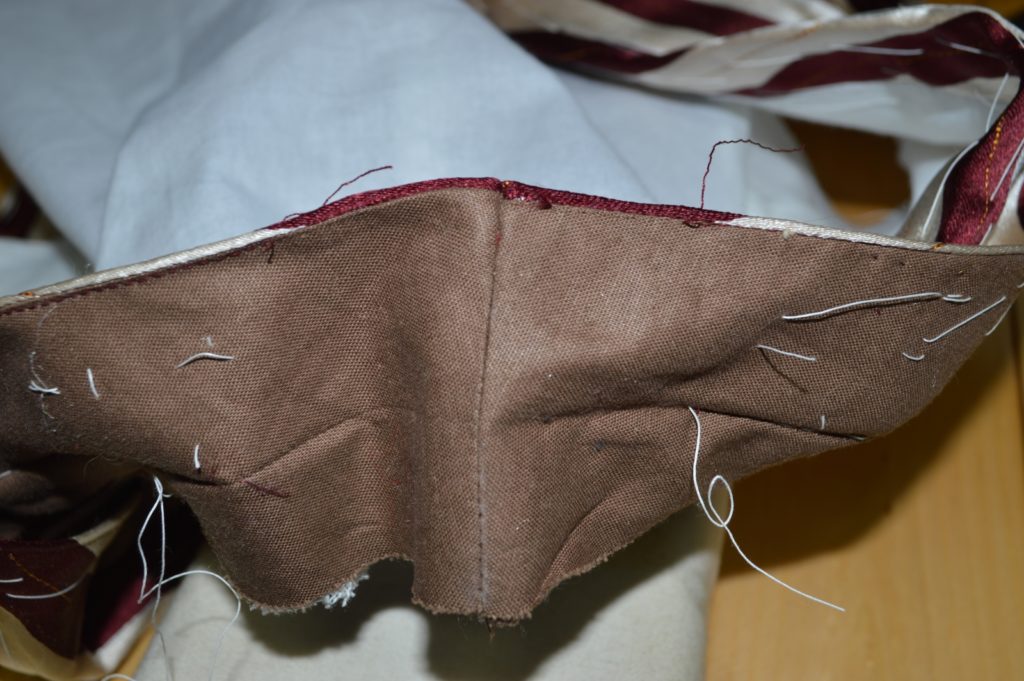
Here’s what the collar looks like so far from the outside. I was slightly off with the stripe matching, something to improve upon next time!
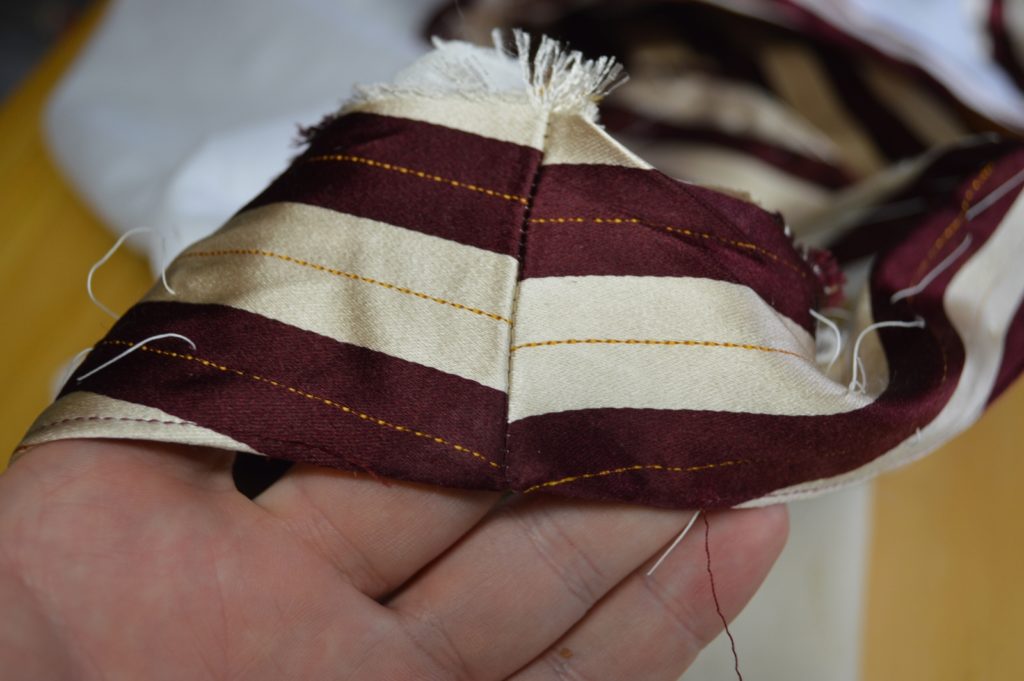
Now lay the collar canvas back into place on one side.
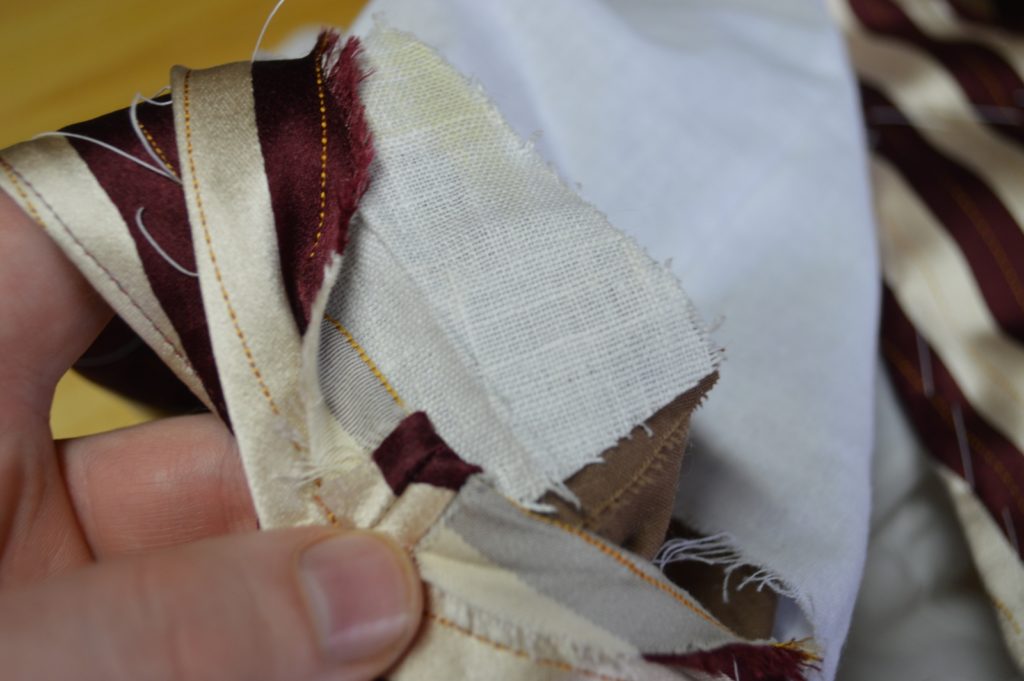
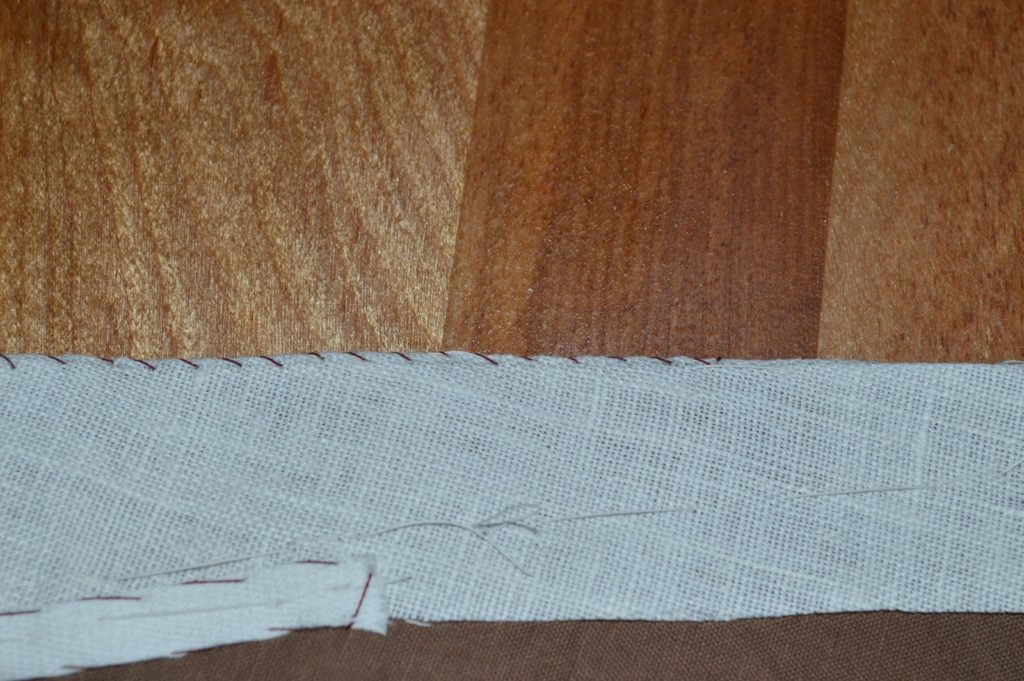
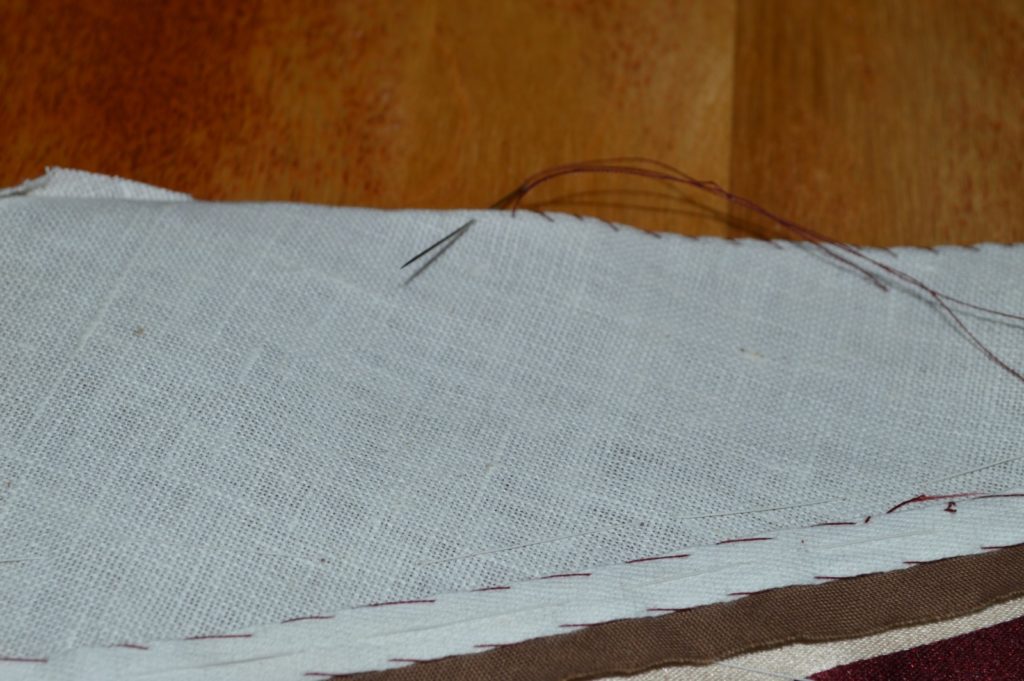
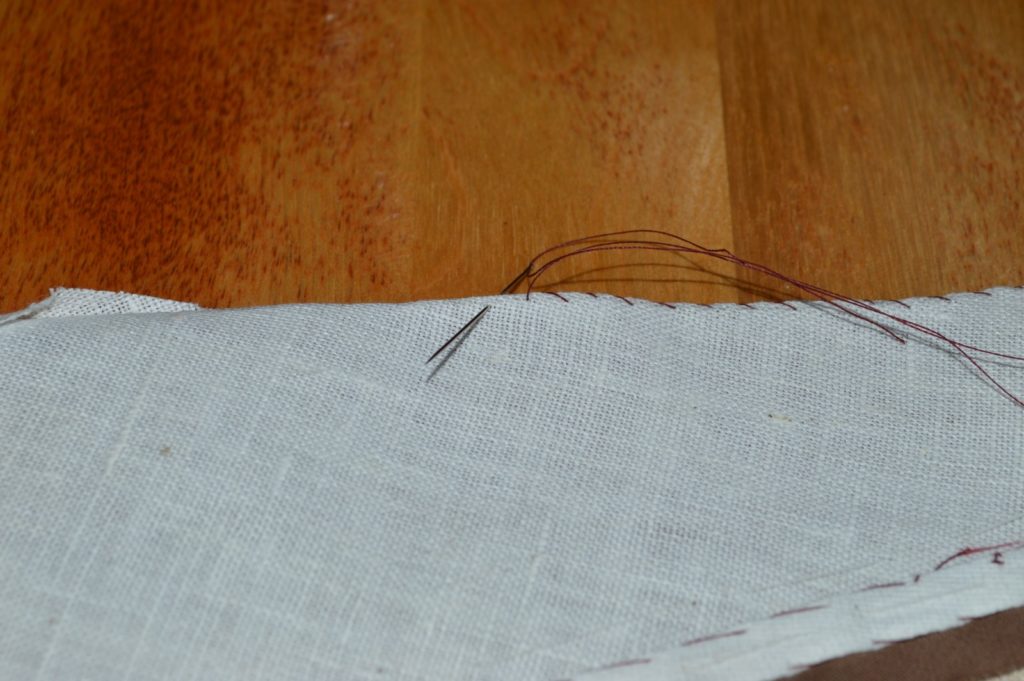
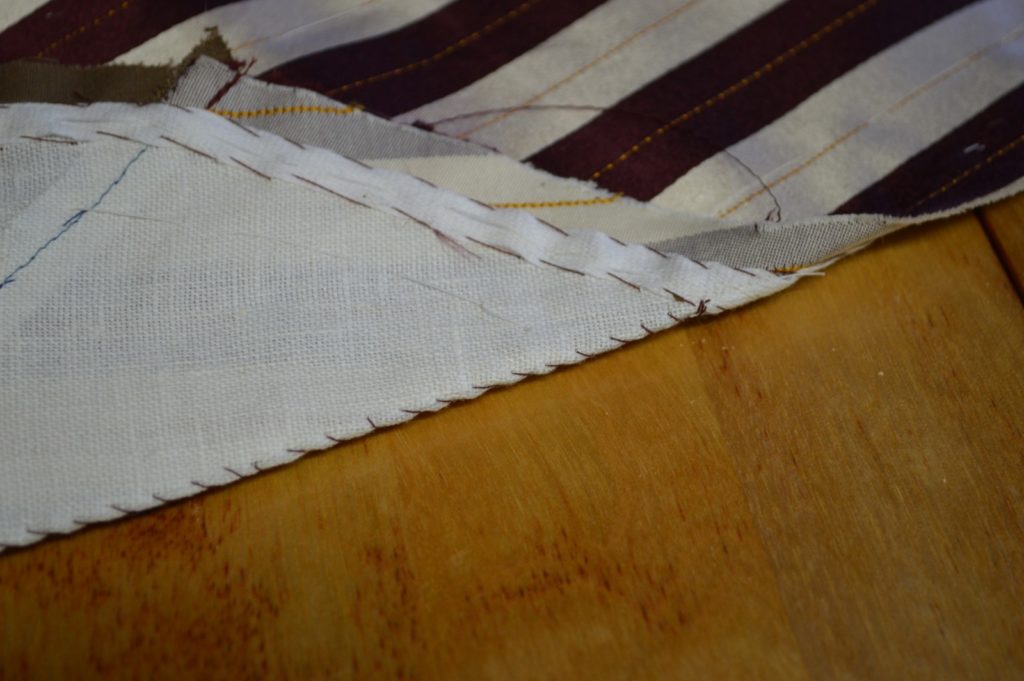
Crease the collar and linen with your fingers, and overcast along the roll line.
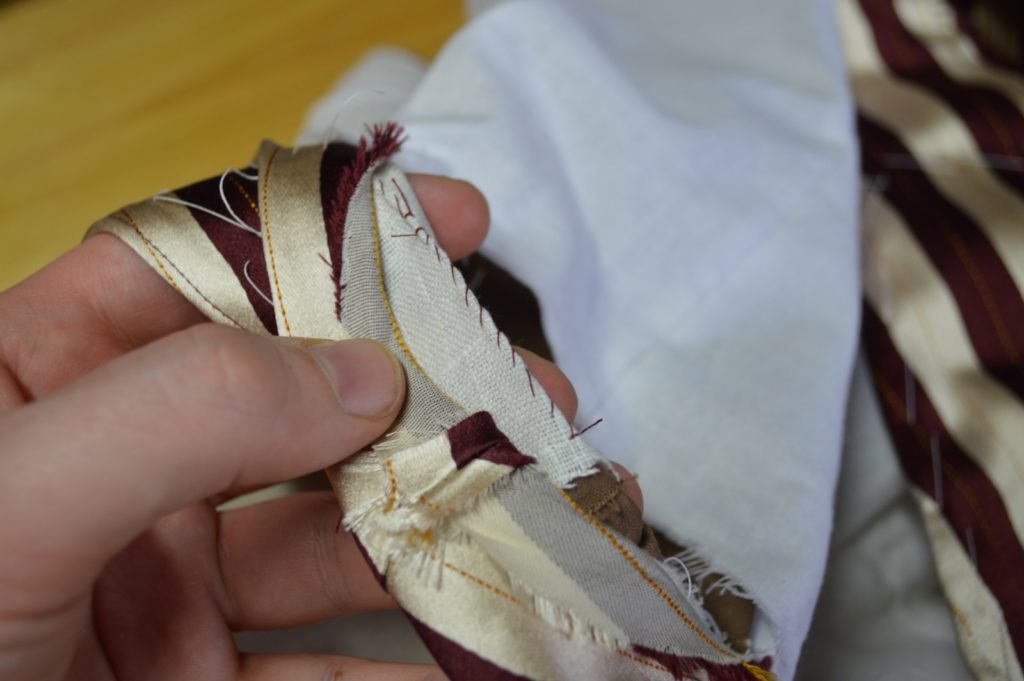
Lay the other half of the collar linen into place in the same manner, creasing the roll line and overcasting.
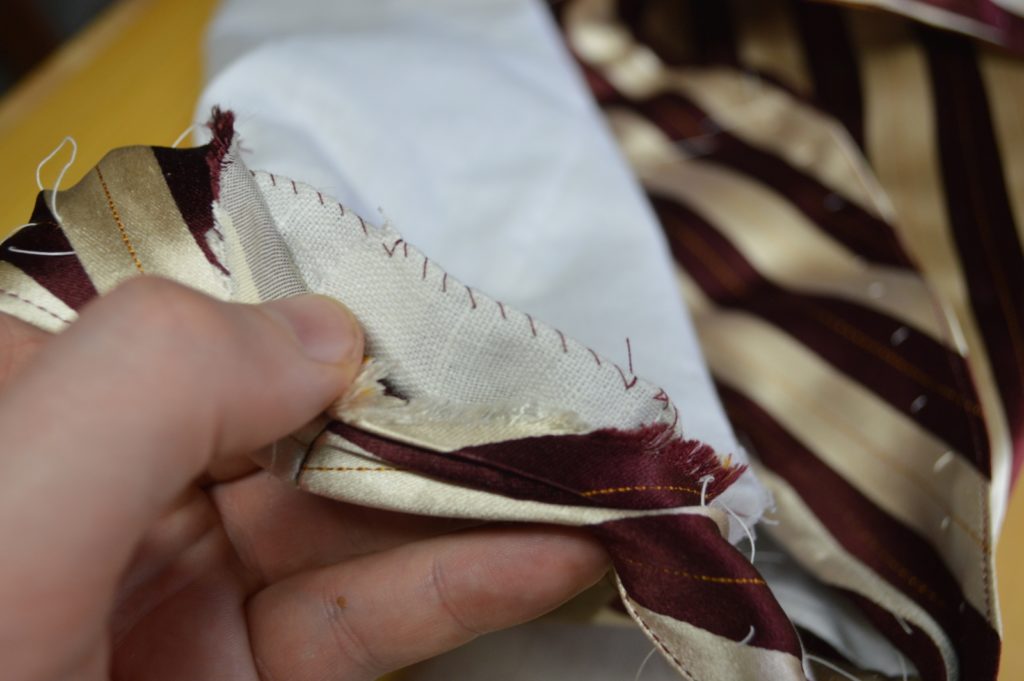
Now manipulate the undercollar layer and the back of the waistcoat so that the two are right sides together, seams aligned, and baste securely together. Then baste the linen into place as well.
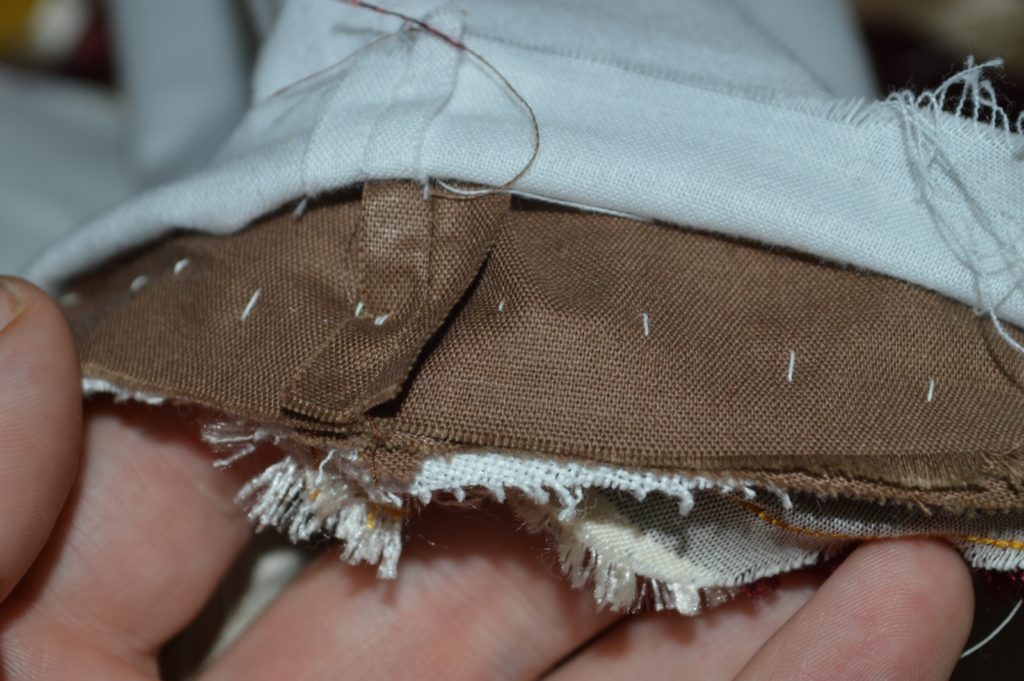
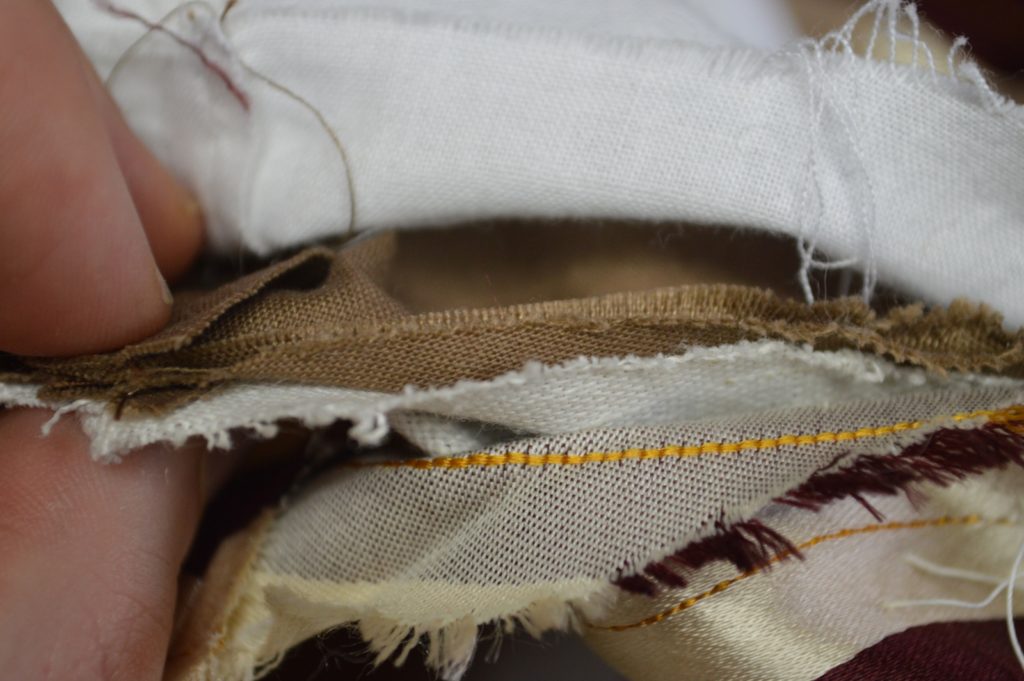
Sew through all three layers across the back of the neck, through the collar lining, the collar linen/canvas, and the back of the waistcoat using a 1/4″ seam allowance.
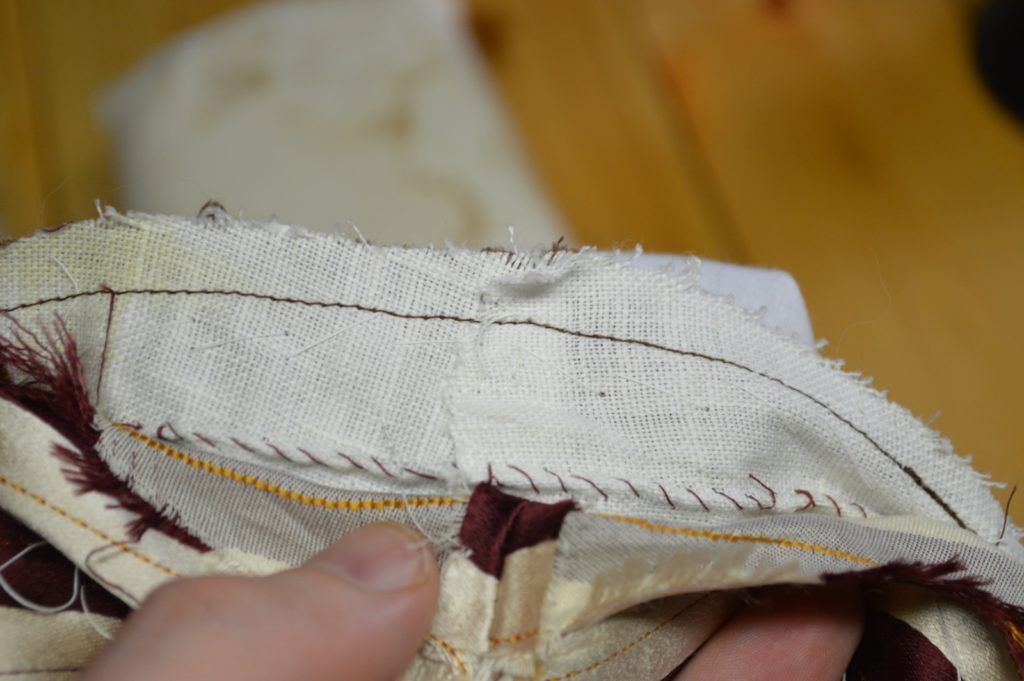
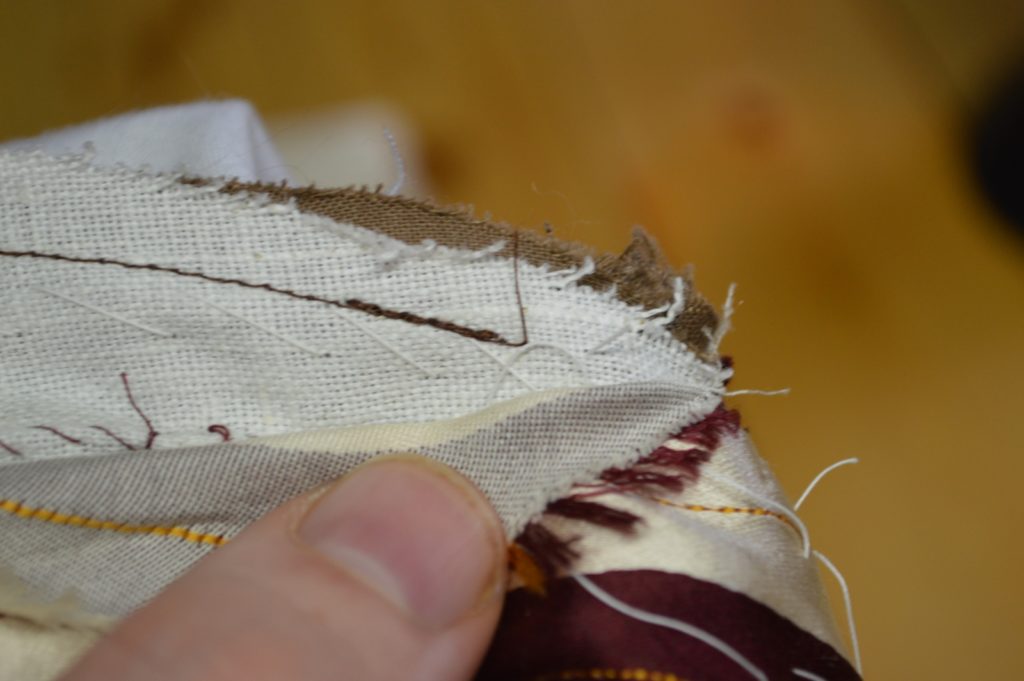
Near the ends of the back neck on the underside of the collar, you may not have been able to get all the way across with your stitching.
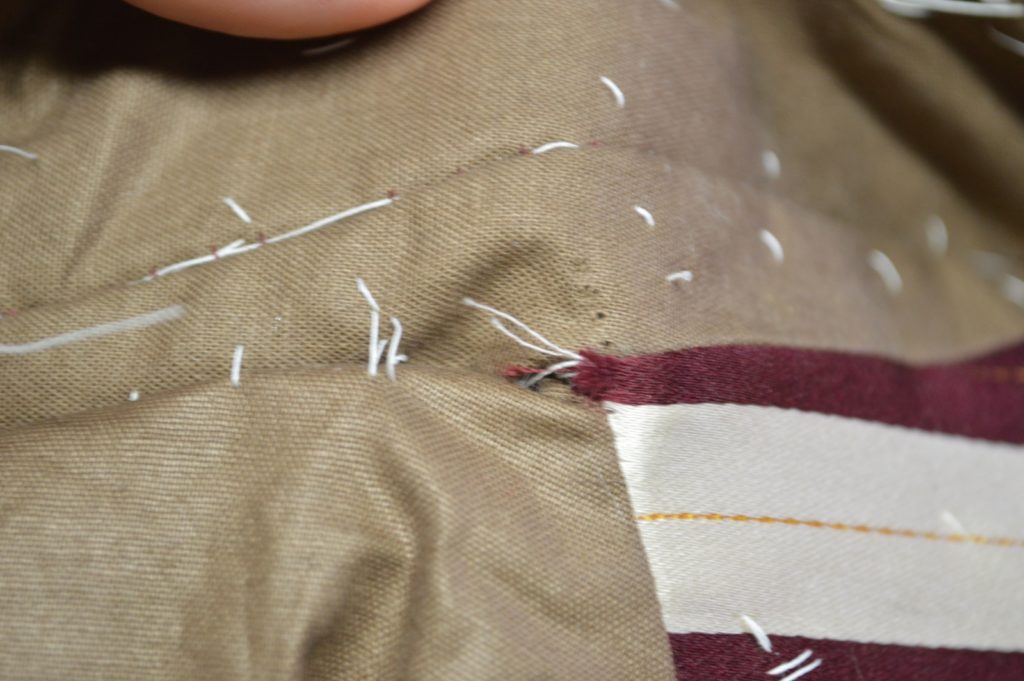
Manipulate the fabric with your fingers to give it a tidy appearance.
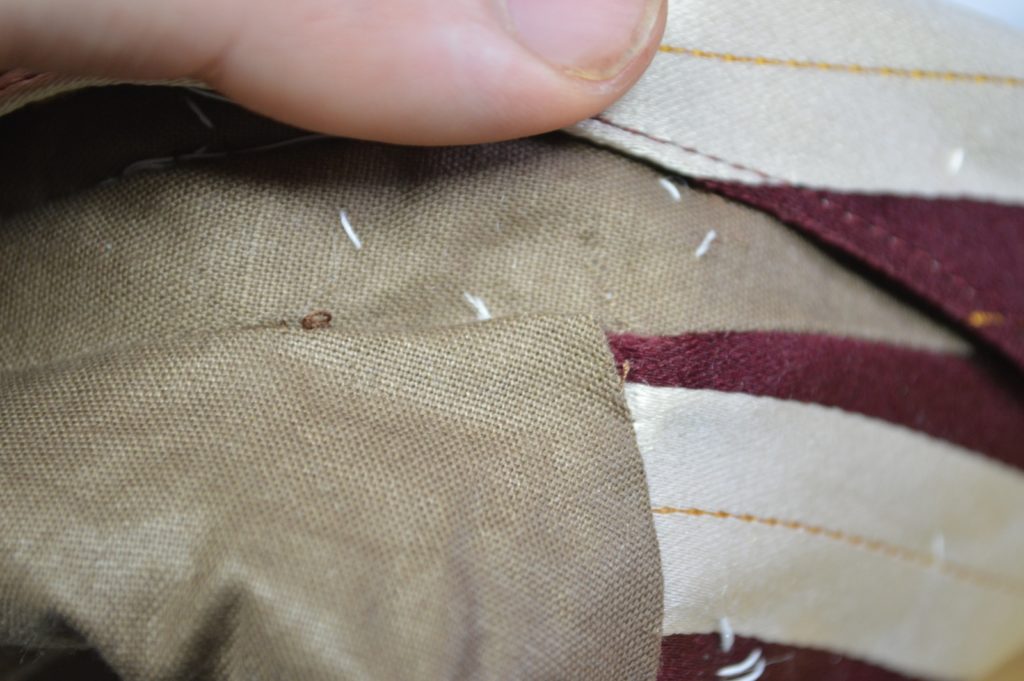
And fell the remaining back neck to the underside of the collar.
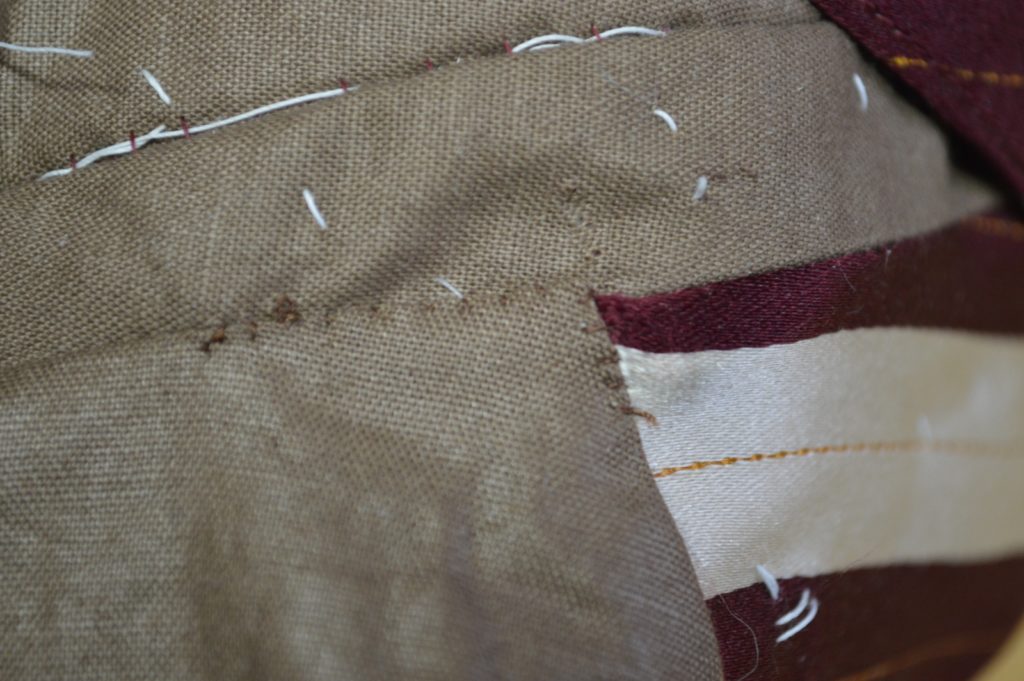
Here’s what the collar looks like so far from the underside.
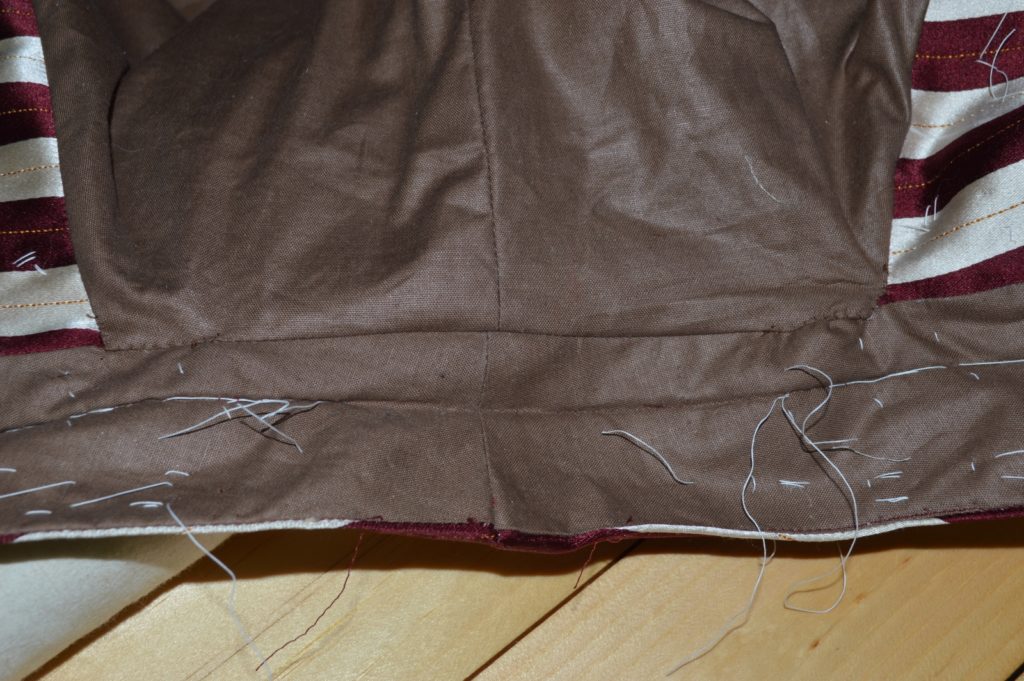
Now it’s time to focus on the top side of the collar.
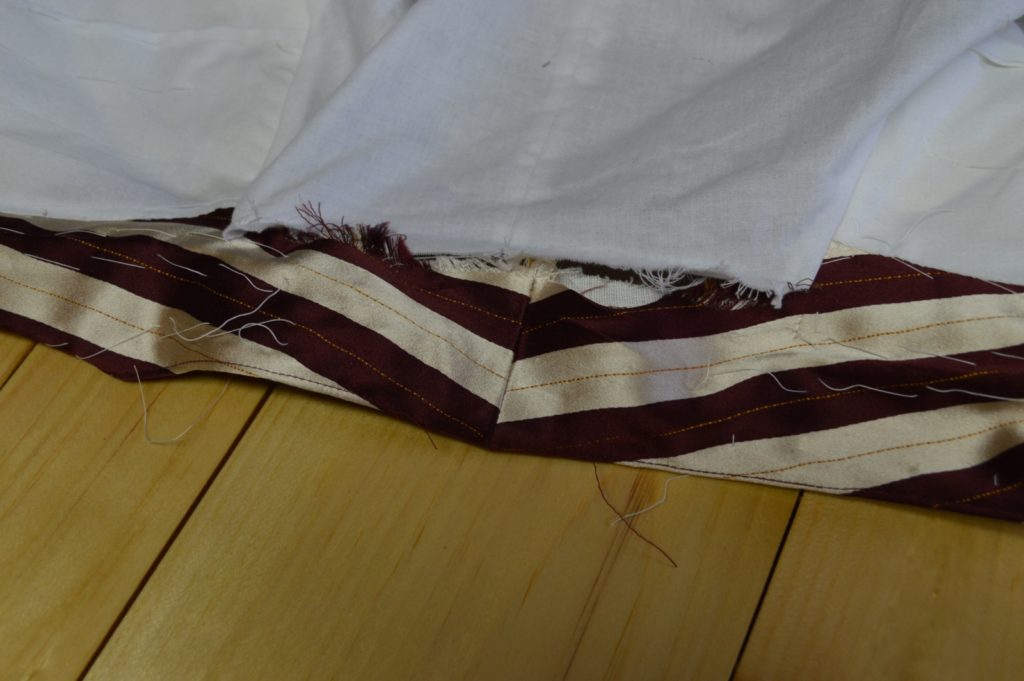
Baste the top collar into place along the folded edge.
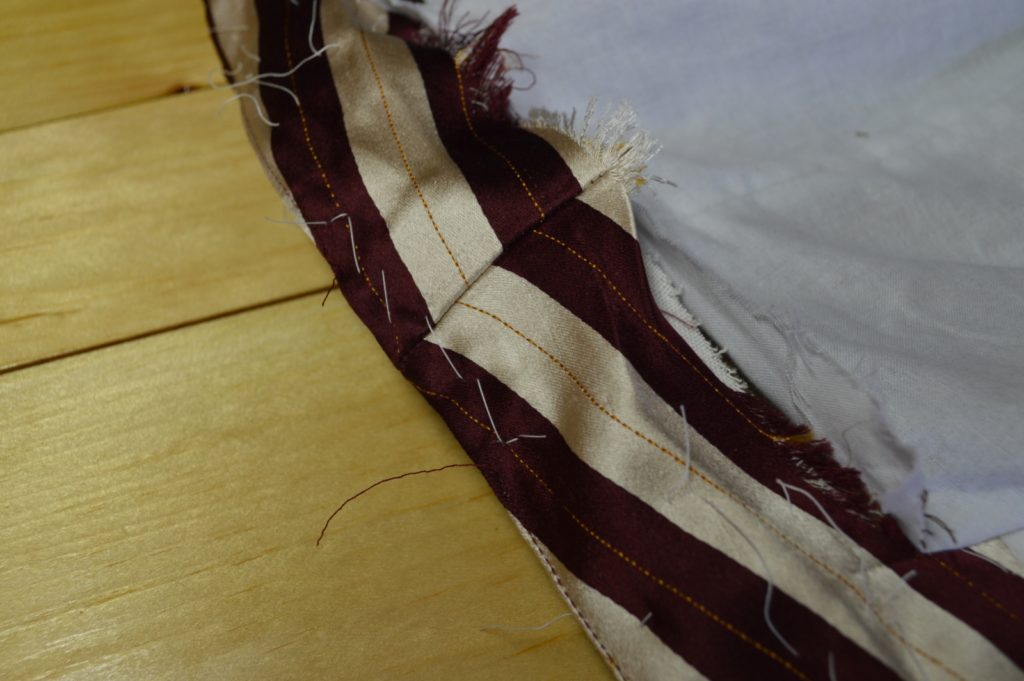
Now run a second row of basting stitches right above the roll line to help you keep the correct lack of tension in the top collar.
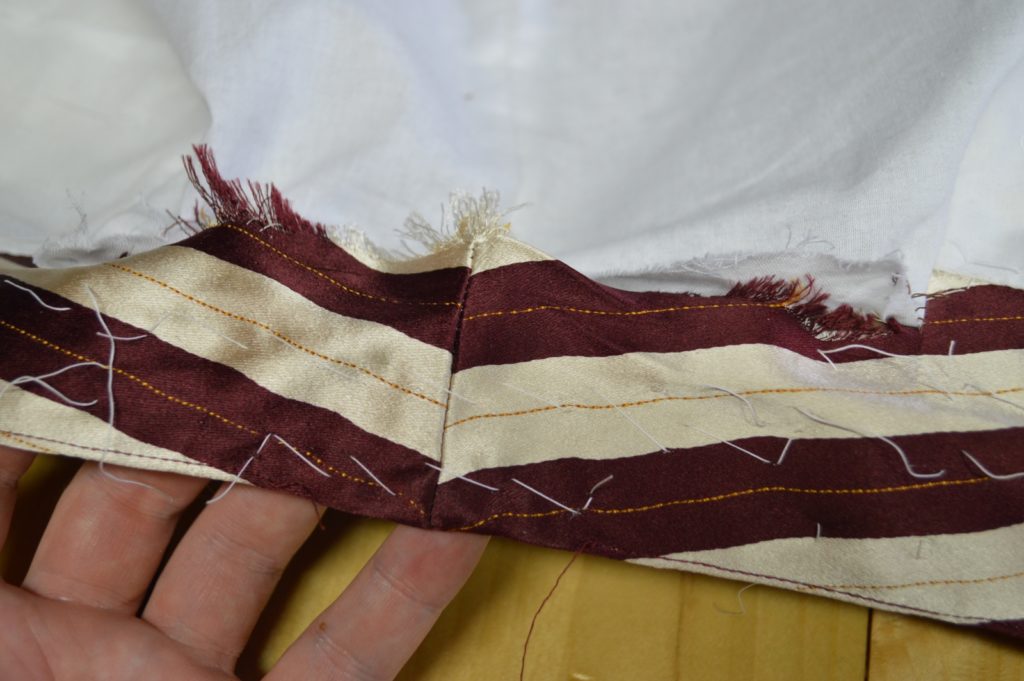
Finally, while the collar is folded in place (sorry, I didn’t photograph that detail), baste about 1/2″ away from the raw edge of the collar. This should keep everything firmly in place while we complete the final details.
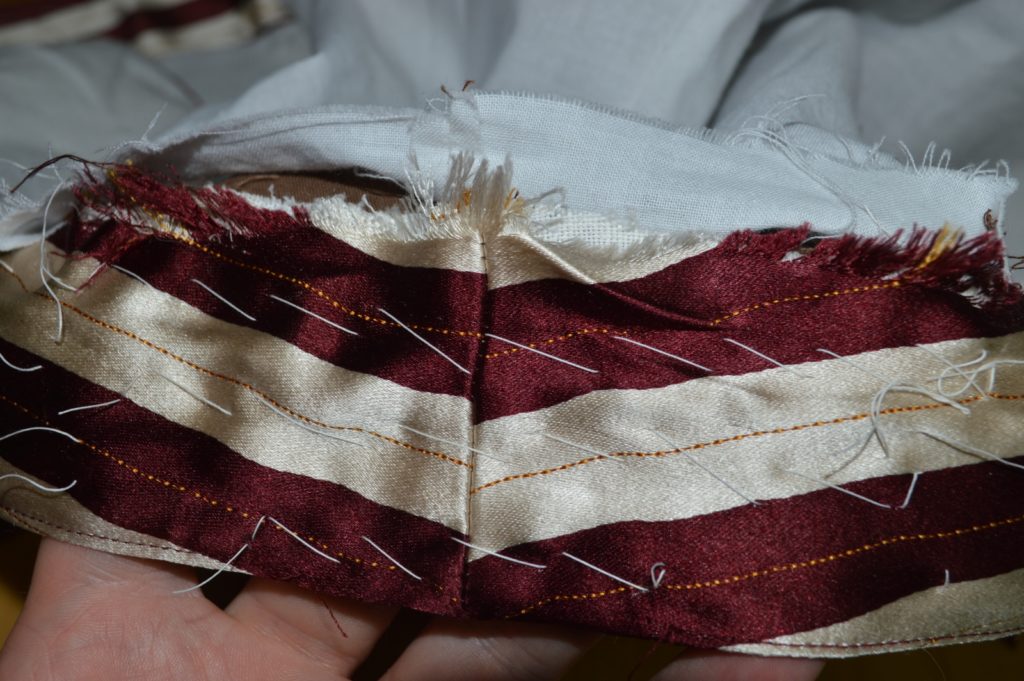
Lay the lining on top of the collar, folding under the raw edge of the neck. If you’ve lined up things correctly, the back lining should align with the front edge of the neck lining. Not sure what I did in my case.
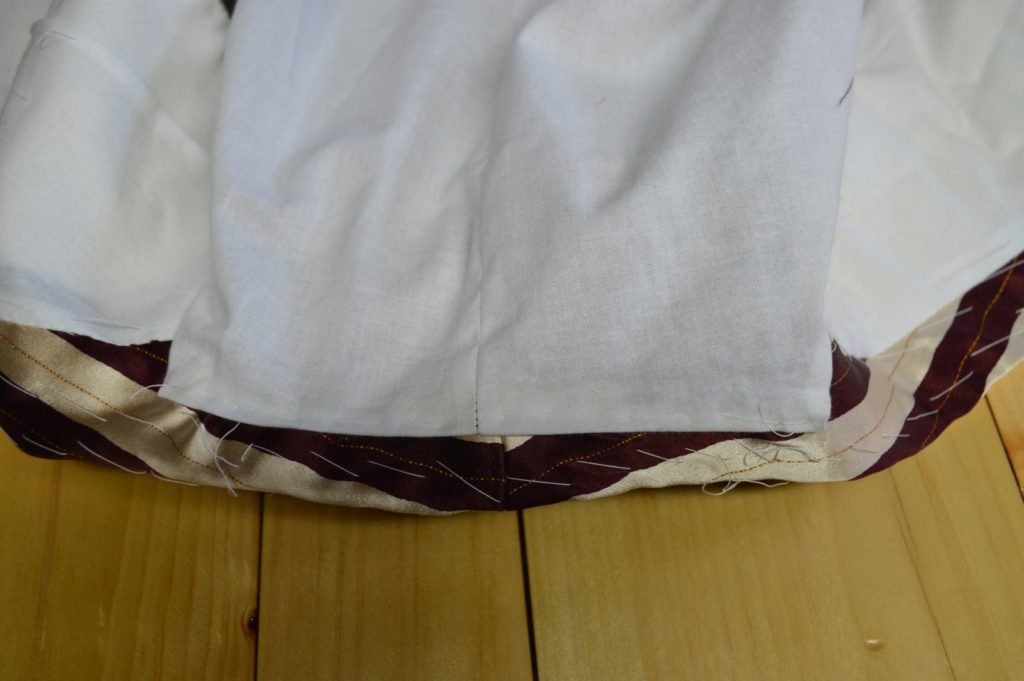
Fell down the lining along the neck using a matching thread.
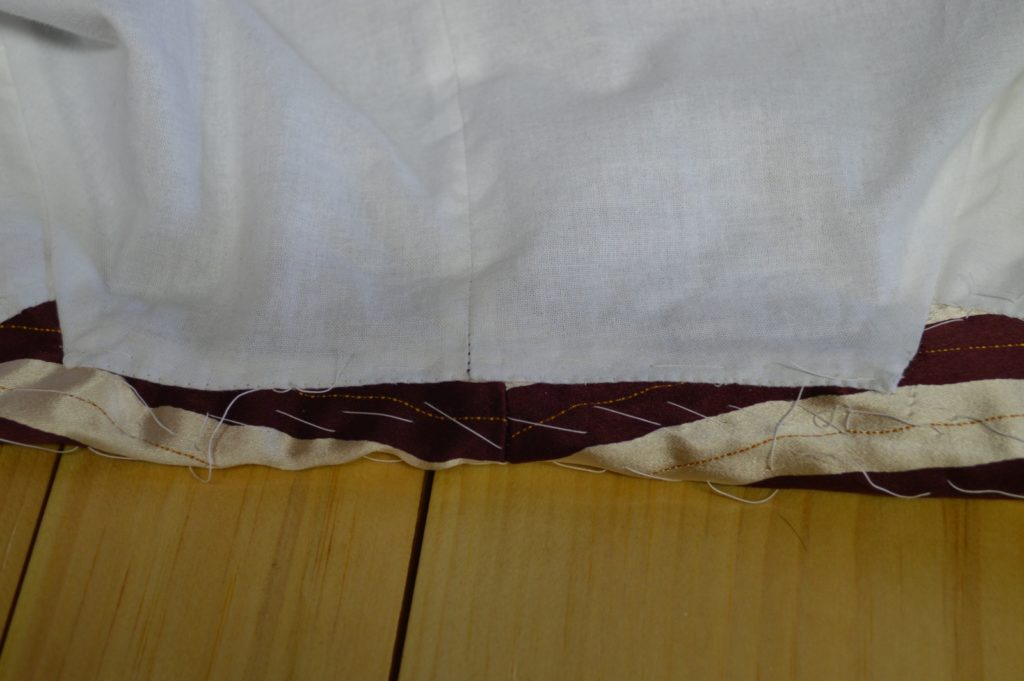
This completes the collar.
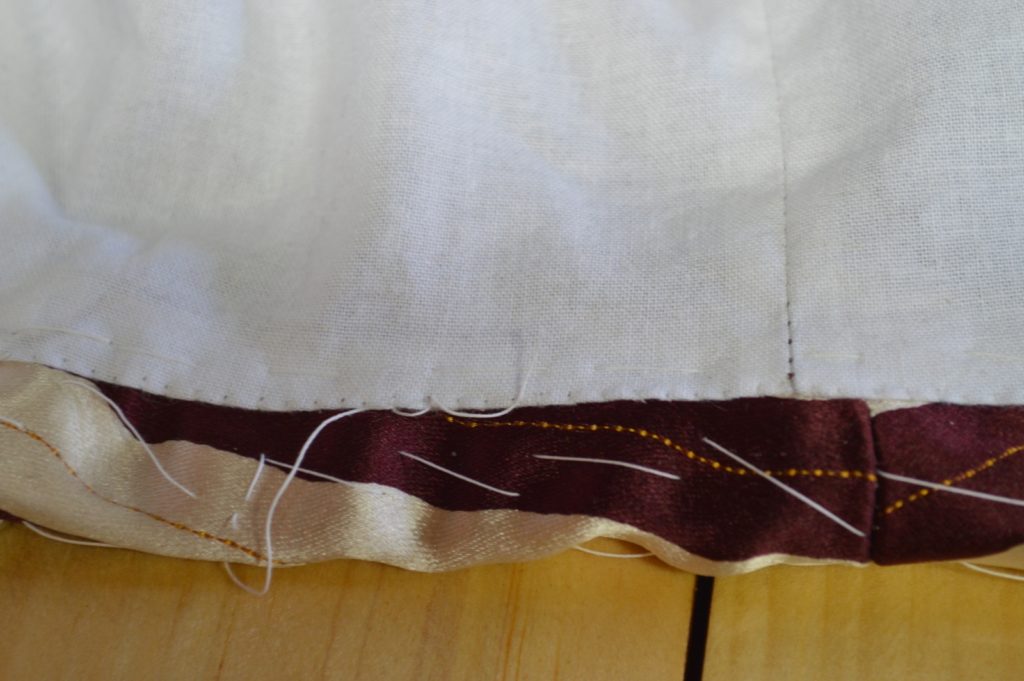
Bagging the Waistcoat
We will now begin the process of bagging the waistcoat, which is a process used to assemble the waistcoat pieces into one unit.
Begin by sewing the two halves of the back lining together, if you have not done so already. Press open.
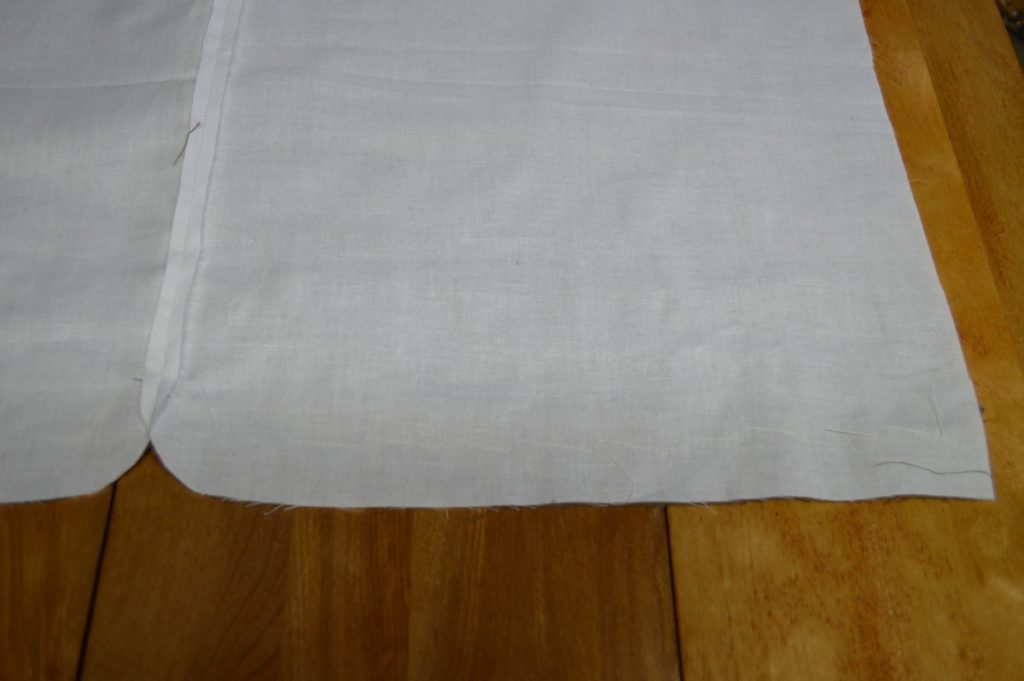
Lay the lining and back pieces right side together and baste along the bottom waist edge. Fold the seam allowance to one side on both top and bottom. The end of the center back seam should line up precisely between back and lining.
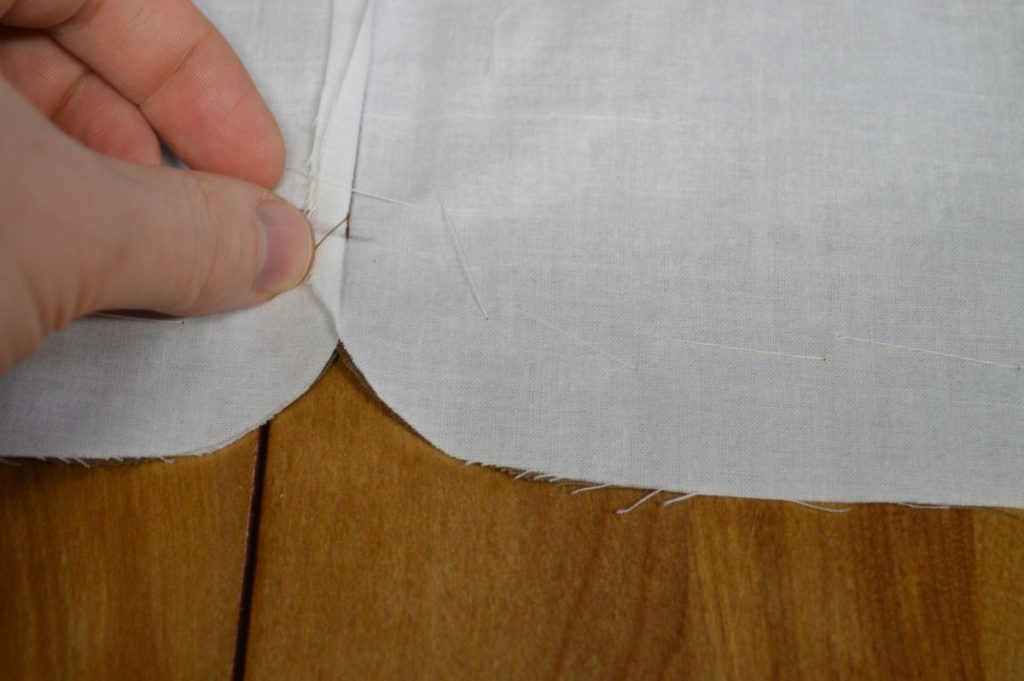
Using a quarter inch seam allowance, sew from the side seam, along the bottom waist, stopping at that point in the center back. Remember that it is very important that the seam allowances are folded out of the way and not caught in the stitching.
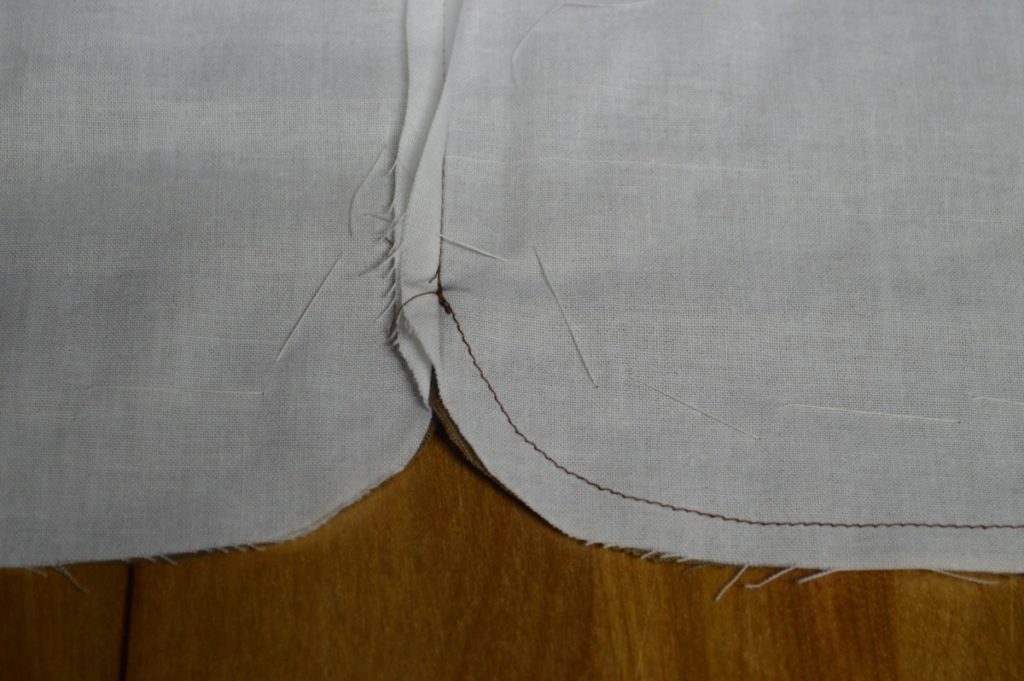
Repeat from the other side. Here is the result from the back side.
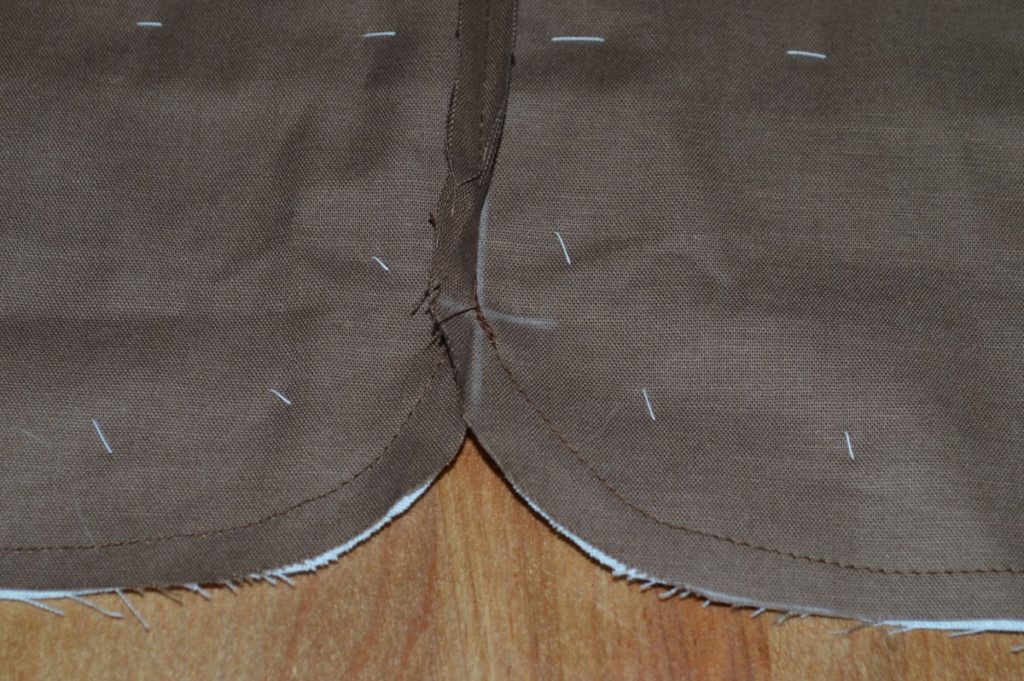
Remove the basting stitches along the waist and open up the back assembly, press open the curved areas (not shown for some reason), placing the back facing away from you, right sides up, as shown.
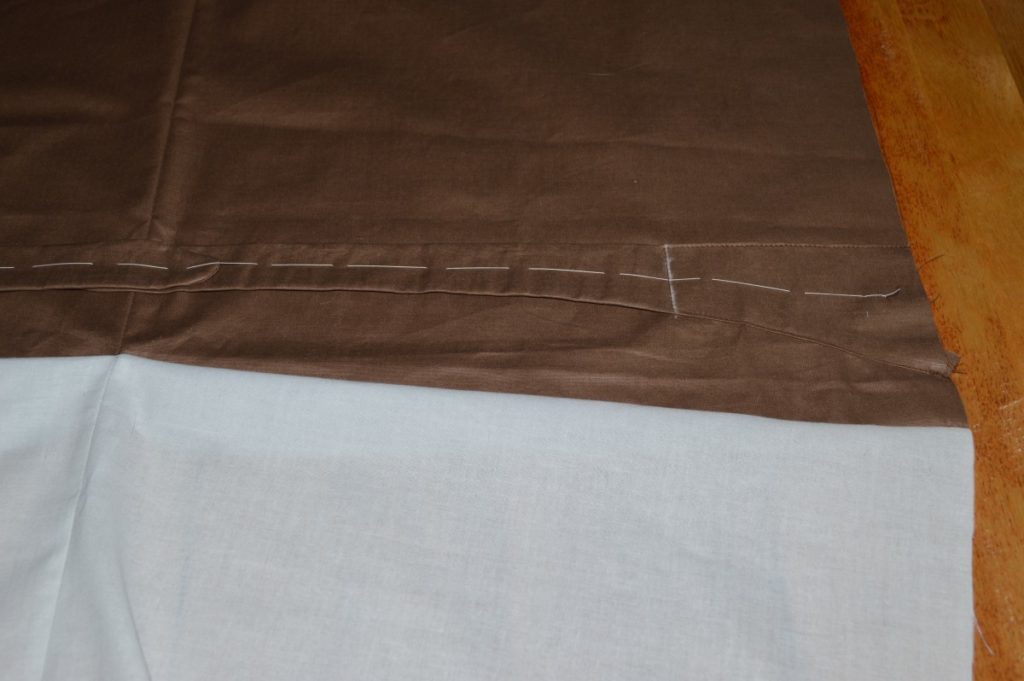
Lay the appropriate half of the forepart on to the back piece, right sides together.
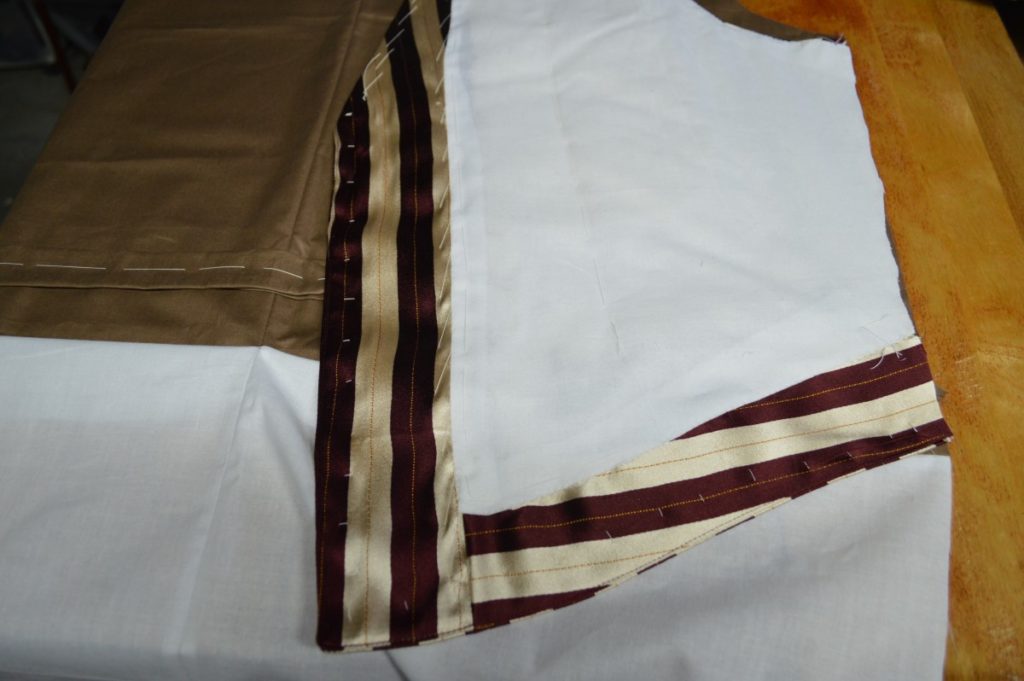
I thought I had taken a clear photo of this, but there should be 1/4″ to 3/8″ of the back appearing beyond the top of the side seam. And at the bottom of the side seam, you can just see a small triangle of the brown fabric peaking through. Try to leave at least 1/8″ there so that the back lining can roll around to the inside of the finished vest at the waist seam.
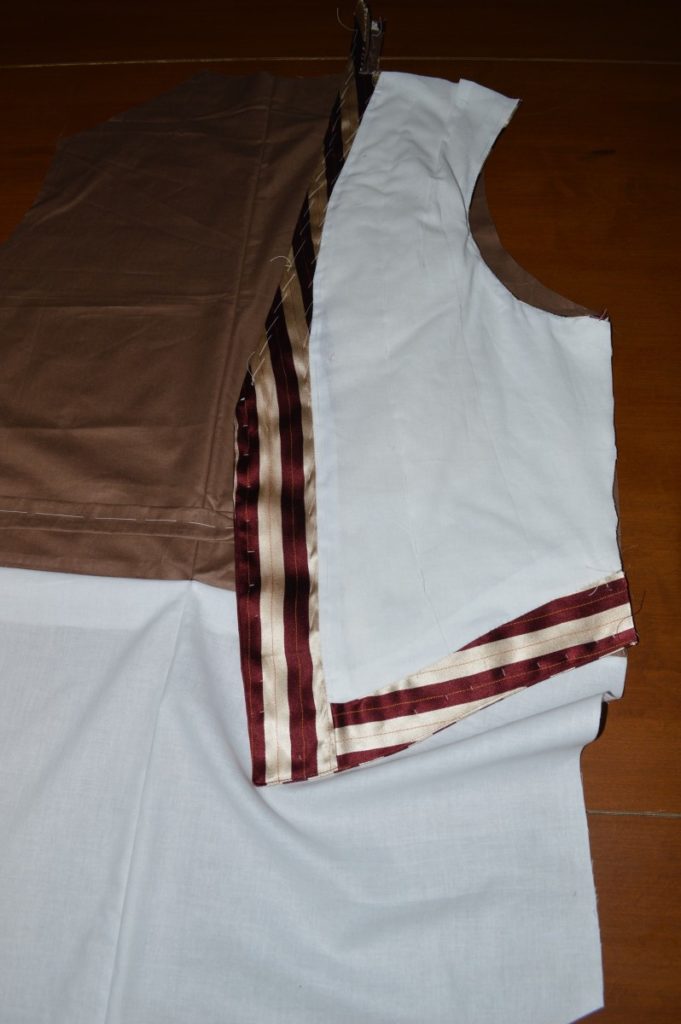
Baste the forepart to the back along the side seam.
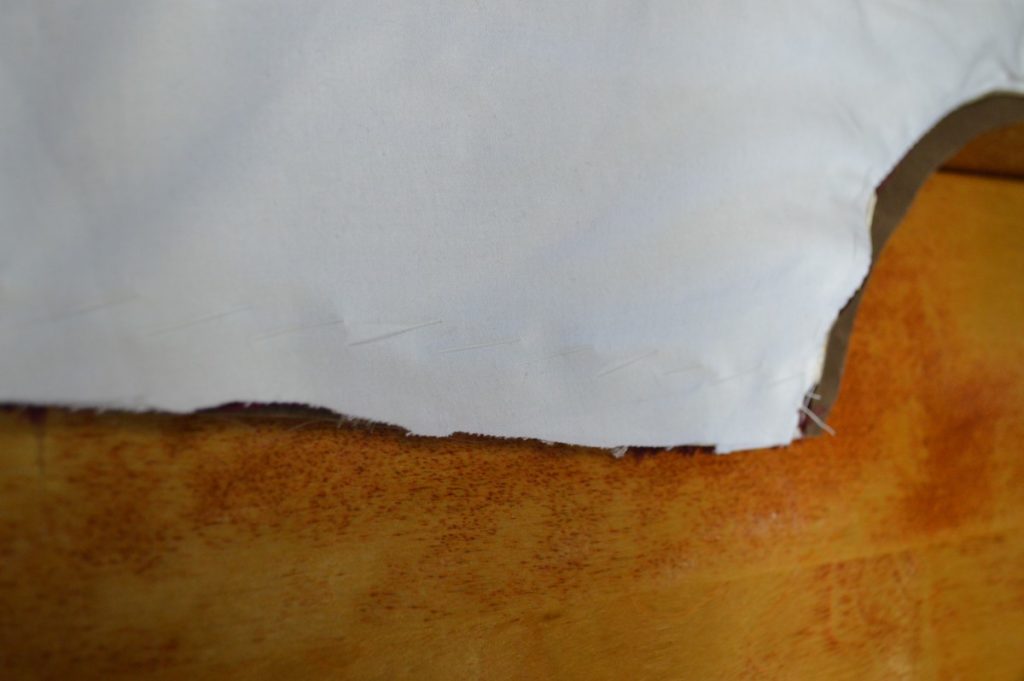
At the top of the shoulder seam on the back, mark a quarter inch, indicating the seam allowance of the neck and shoulder seam.
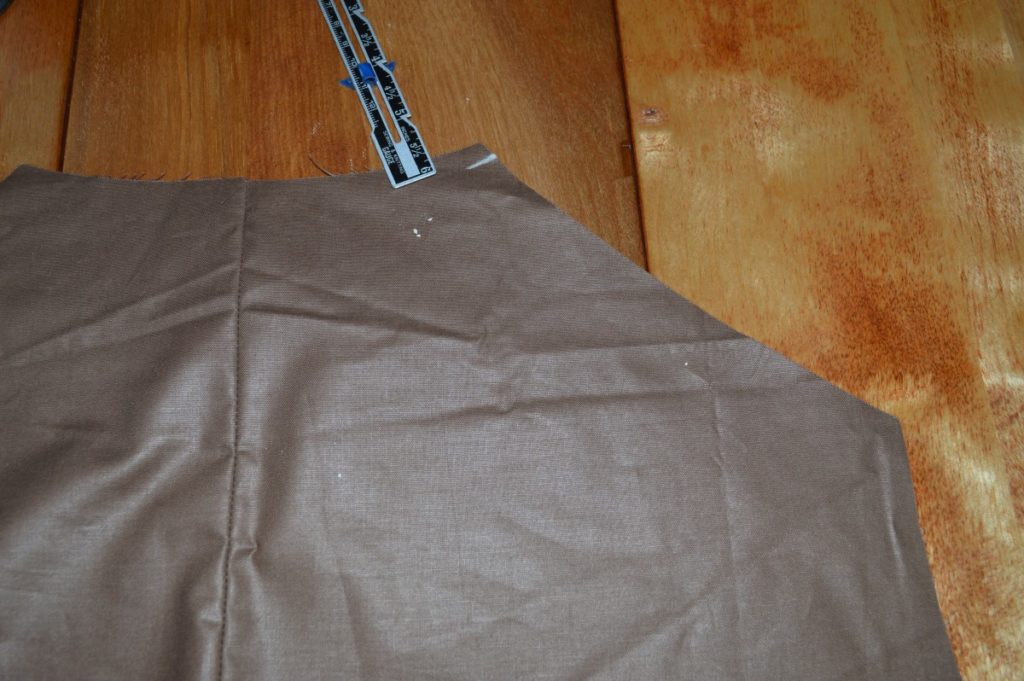
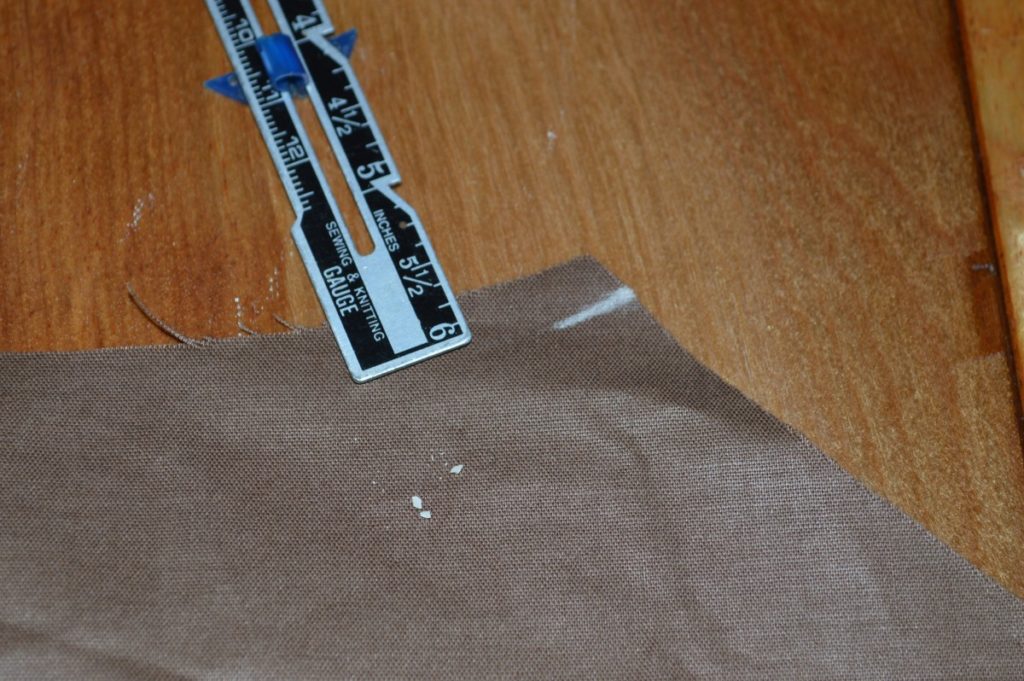
This corresponds to the point where the forepart meets the collar.
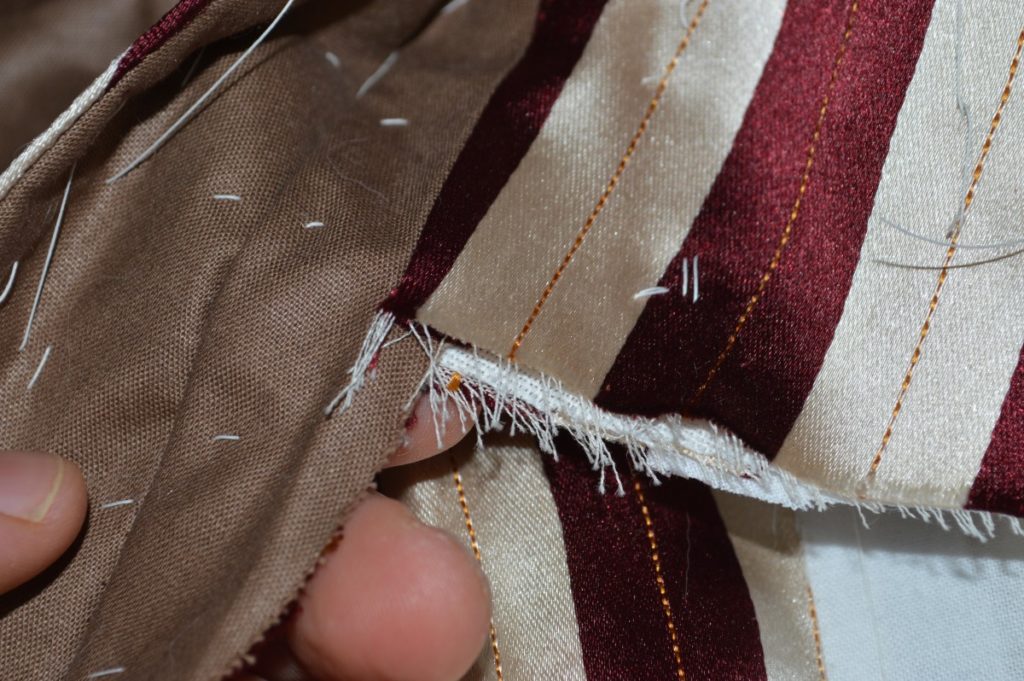
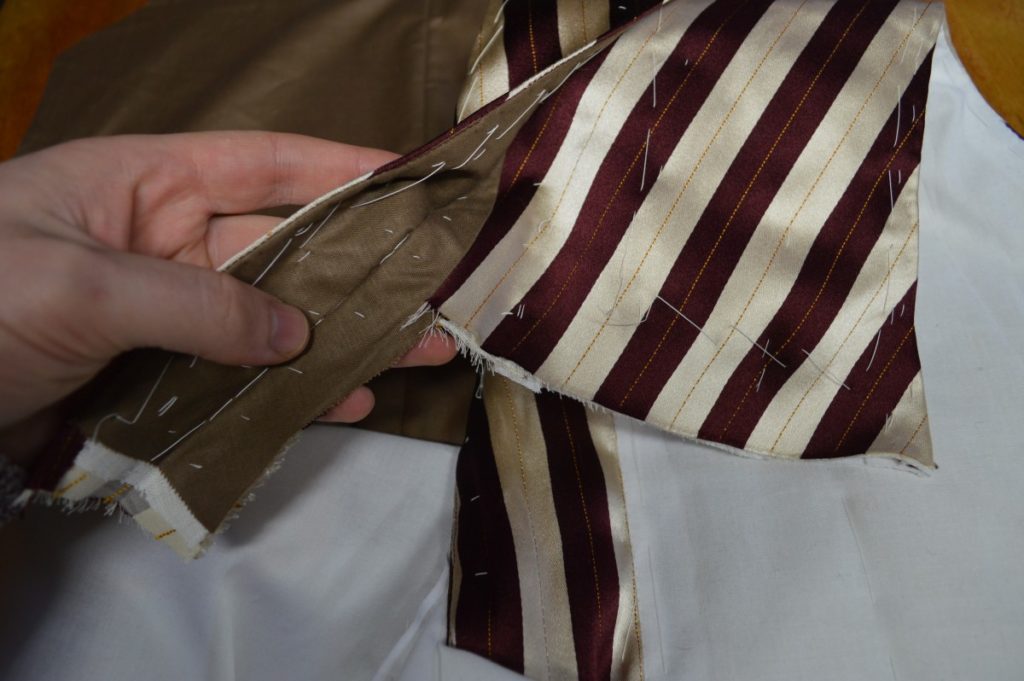
Pin the corner of the forepart at the top of the armscye to the corresponding point on the back. I rarely use pins, but this is one place where they are useful. Note how the forepart seems to extend beyond the edge of the back — this is so that the seam lines will match up properly.
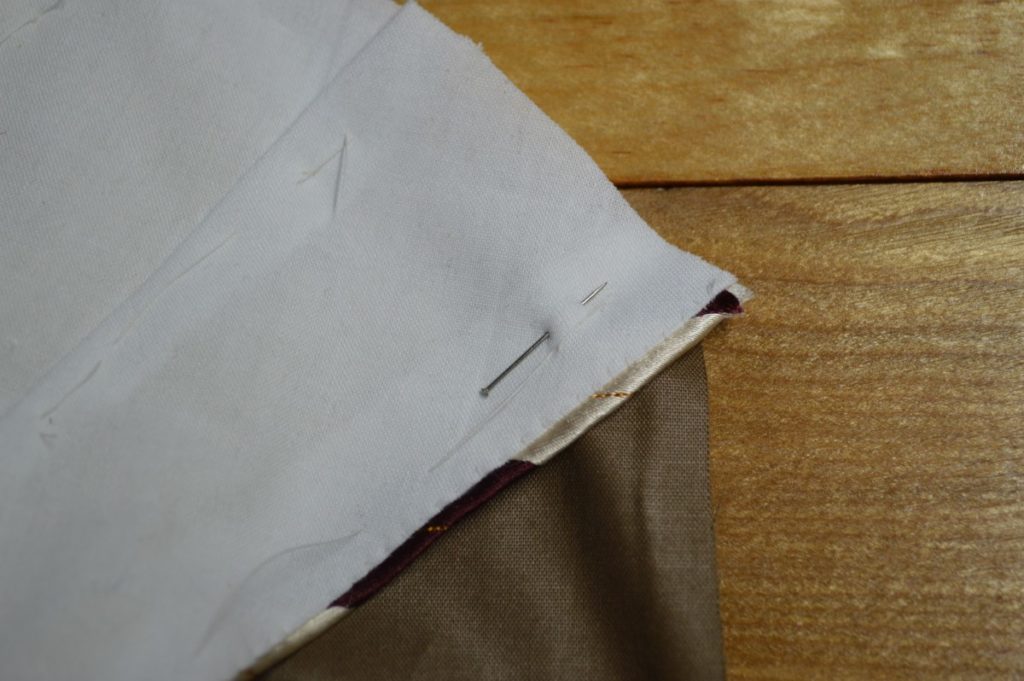
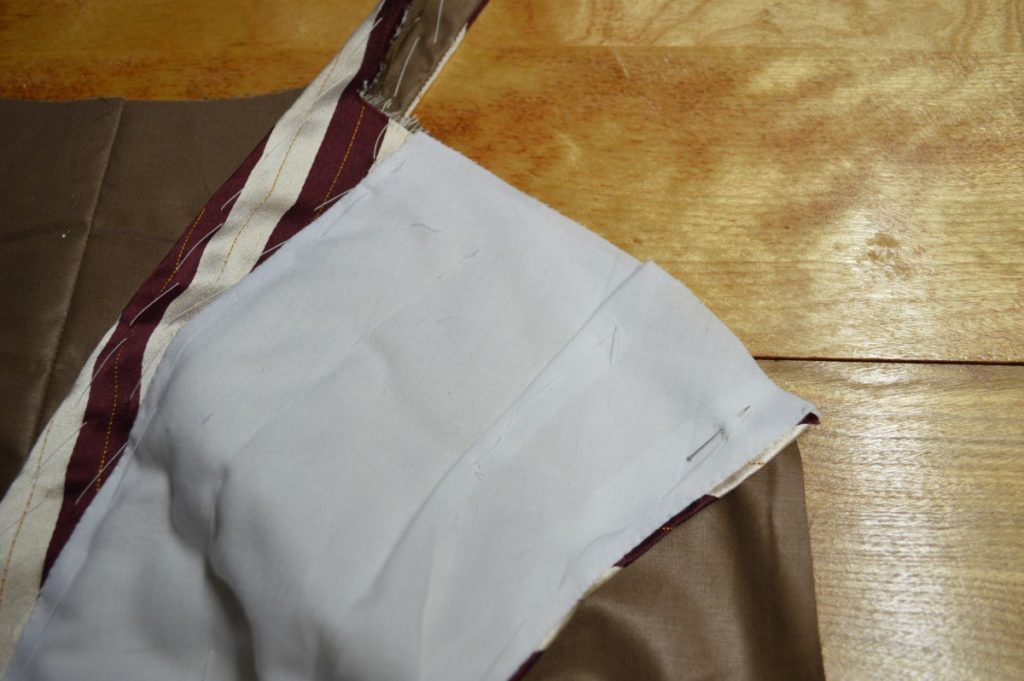
Now match the other end of the shoulder seam on the forepart with the mark you made on the back. This is kind of confusing, especially if this is your first time trying this method, but just think things through and it should work out. Pin in place.
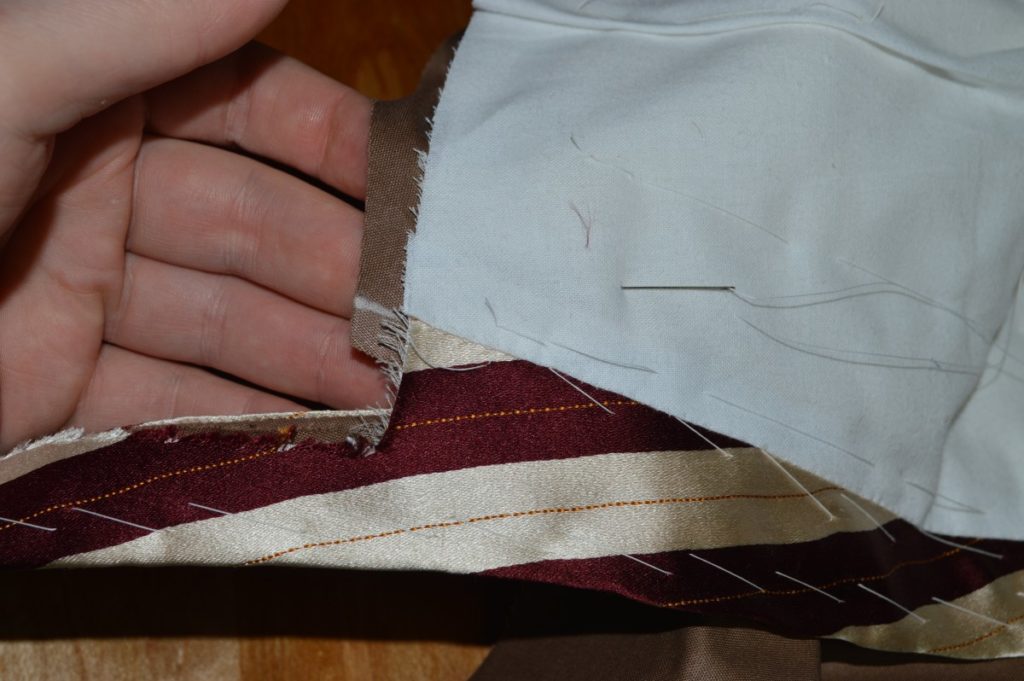
Here’s the same point from the right sides, with the mark lining up with the edge of the forepart and collar seam.
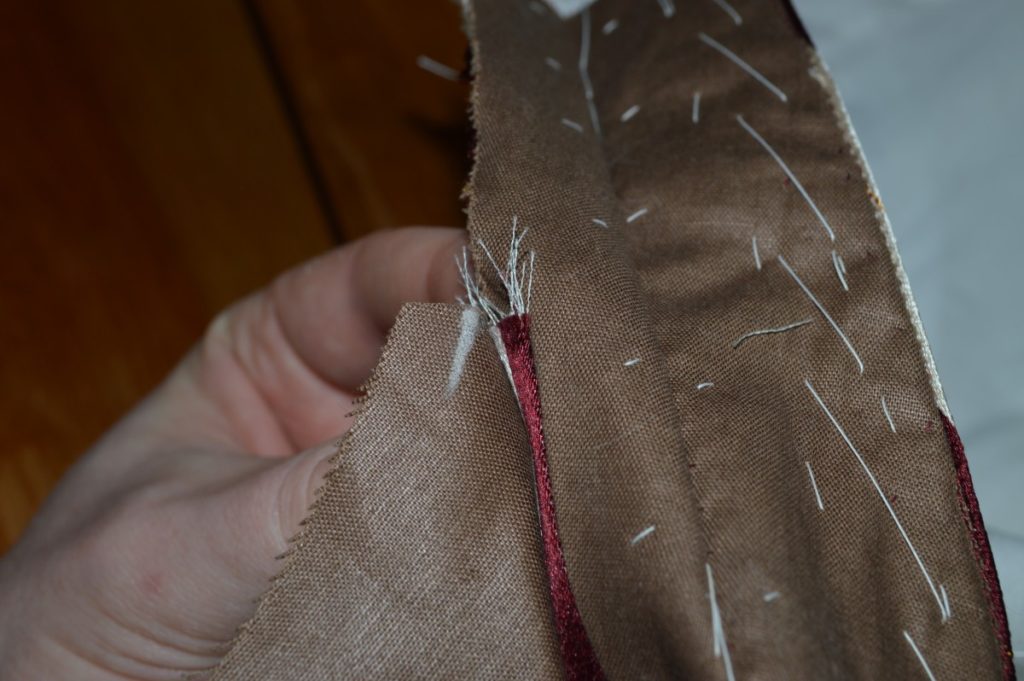
Now baste across the top of the shoulder seam, distributing the fullness as you go. Remove the two pins.

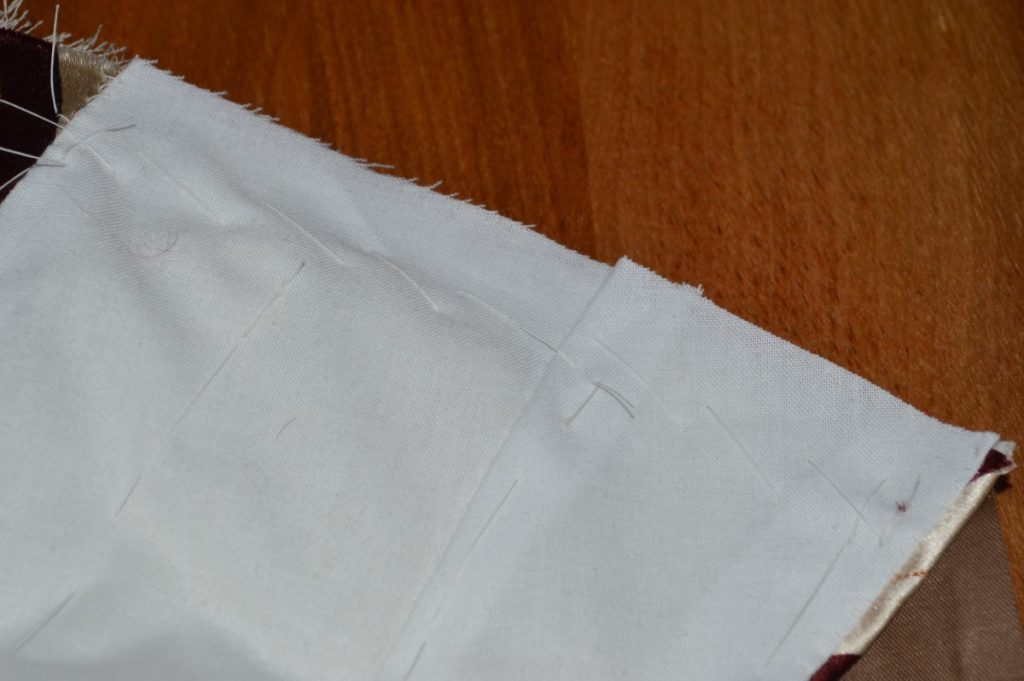
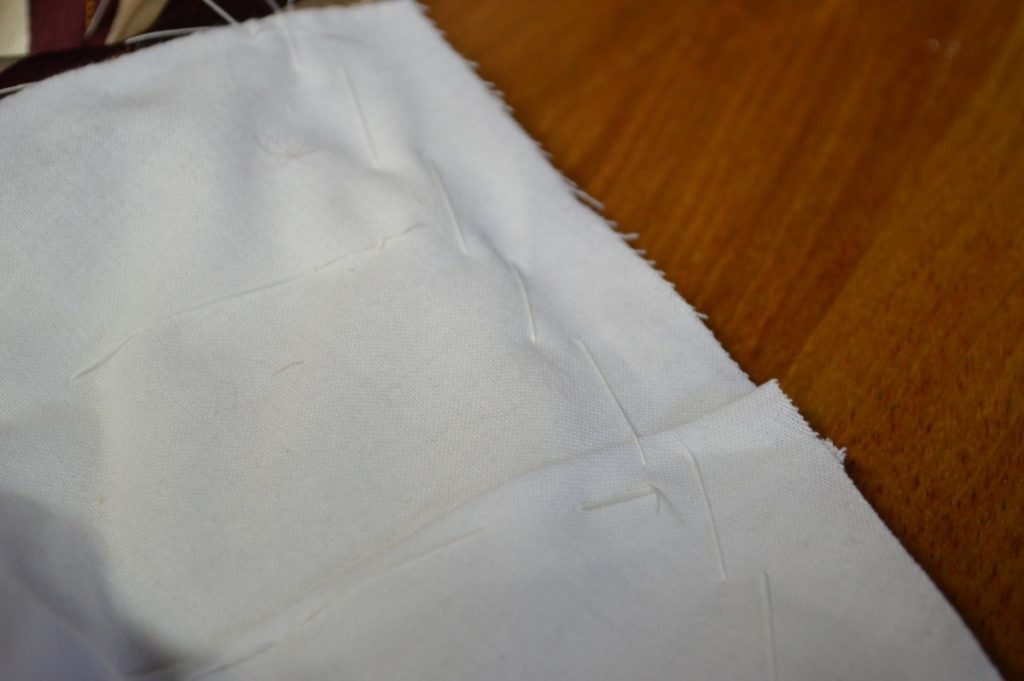
Repeat the process for the other forepart.
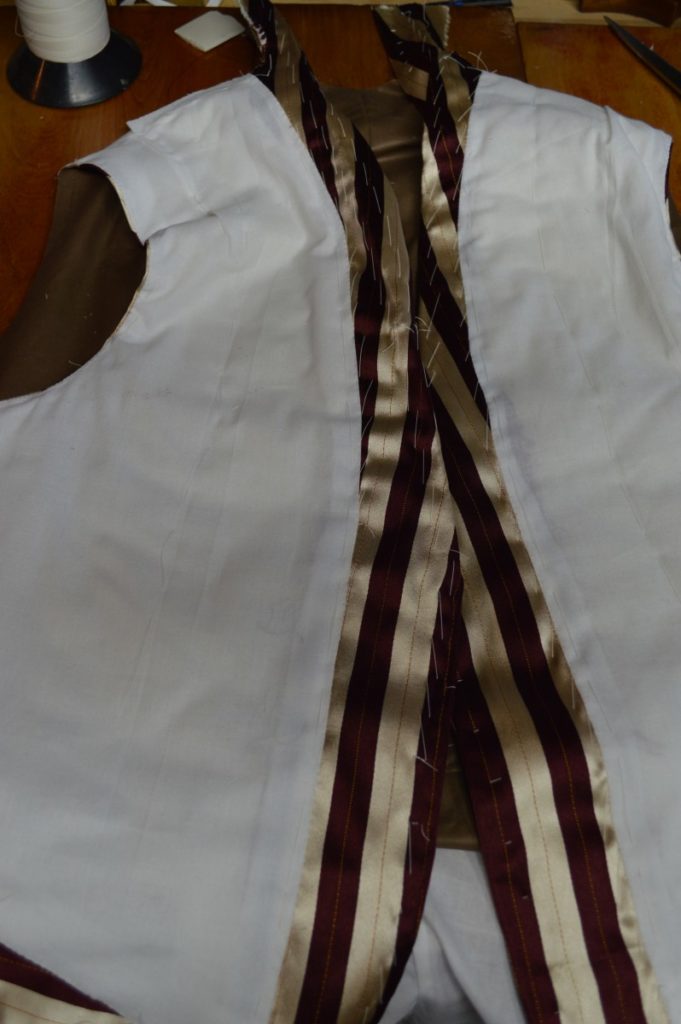
It is likely that the forepart extends below the waist seam. If this is the case, simply fold the bottom points upward and out of the way so that you are free to work on the next steps.
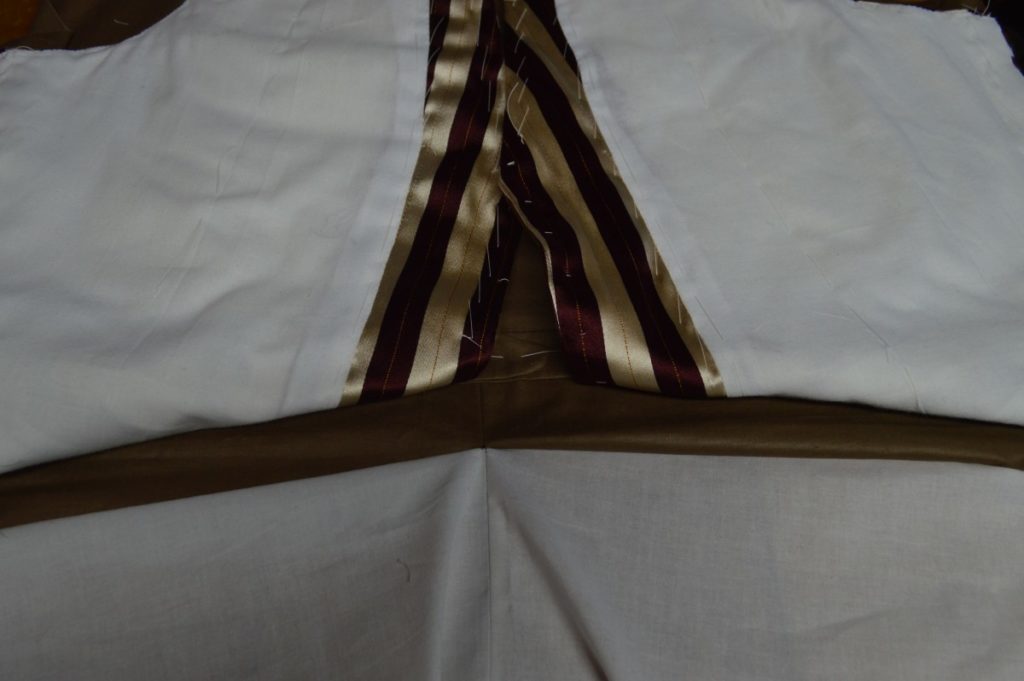
Fold the lining up over the forepart, sandwiching the forepart between the lining and the back. Baste along the side seam.
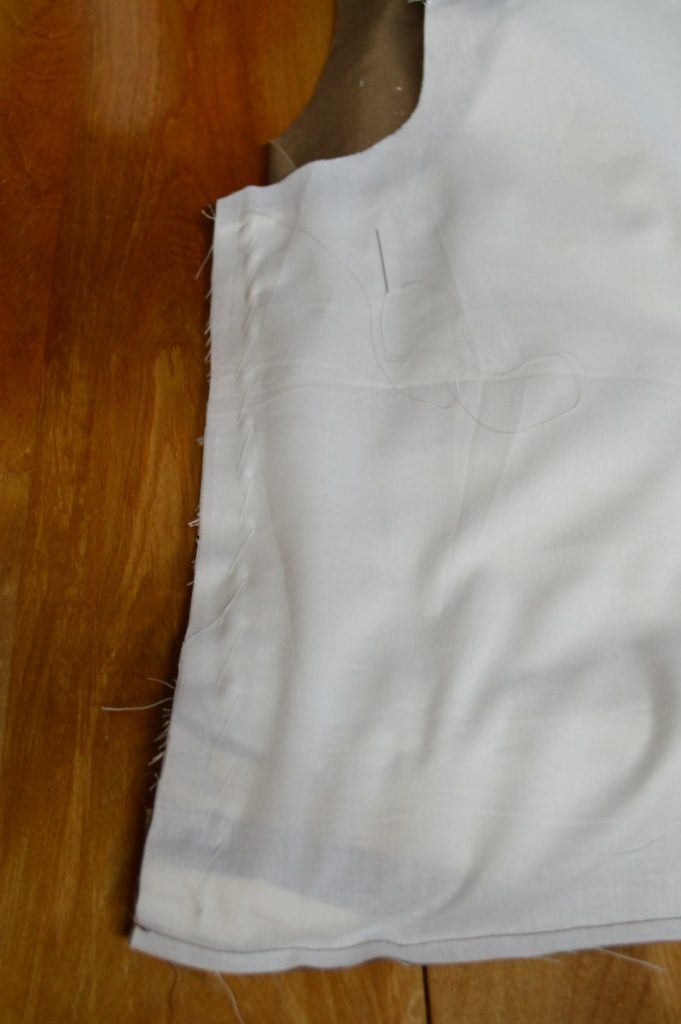
I don’t usually do this, but for clarity, you can mark the top of the side seam, precisely at the edge of the forepart underneath.
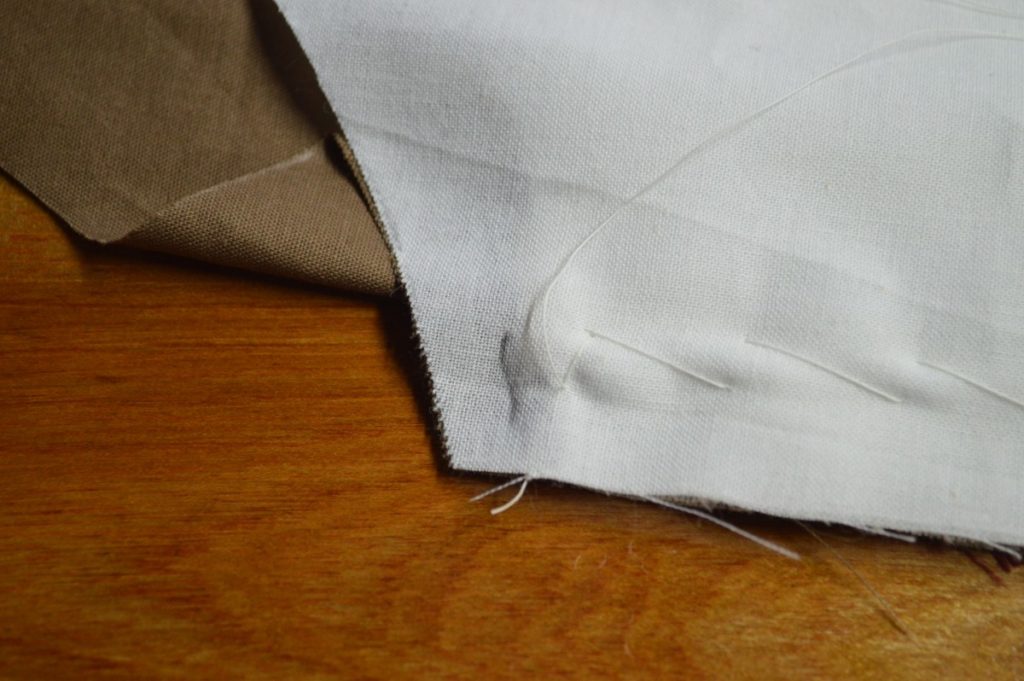
Now baste the armscye of the lining and back together, making sure not to catch the forepart underneath.
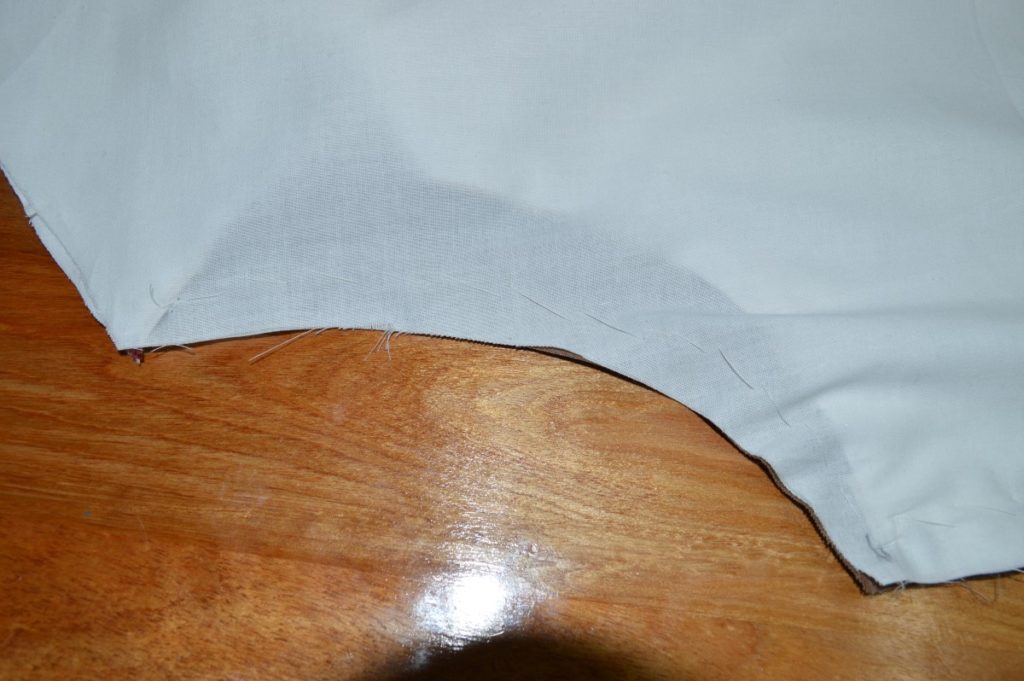
At the top of the armscye, you can again mark the edge of the forepart, indicating where the stitch line should turn. The edge of the forepart should ideally meet the 1/4″ seam allowance of both back and lining at the same point.

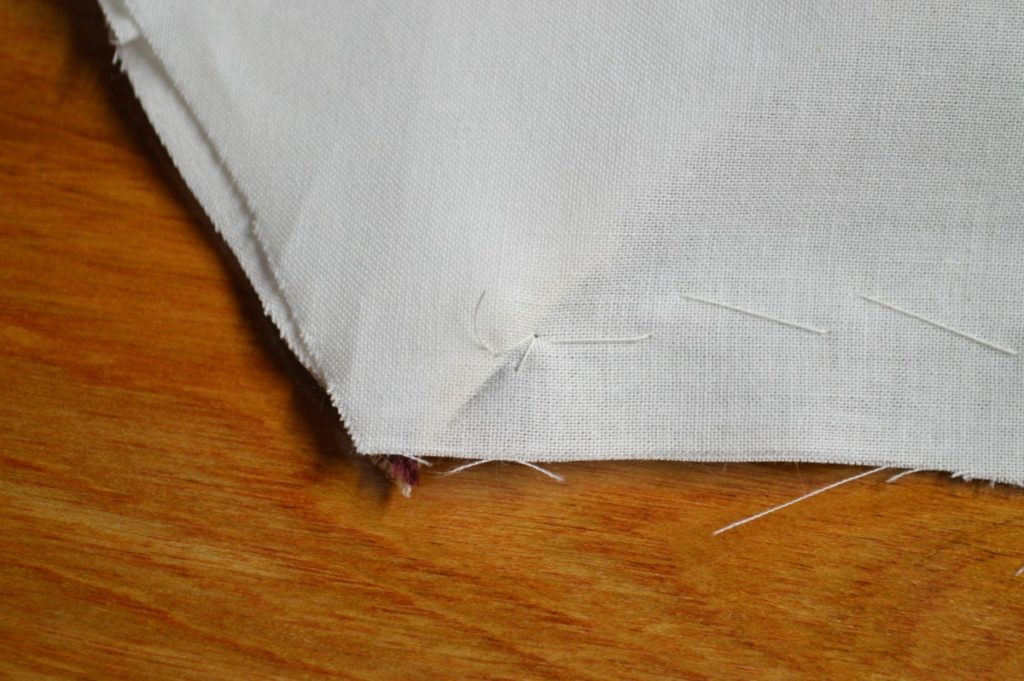
Baste along the top of the shoulder seam.
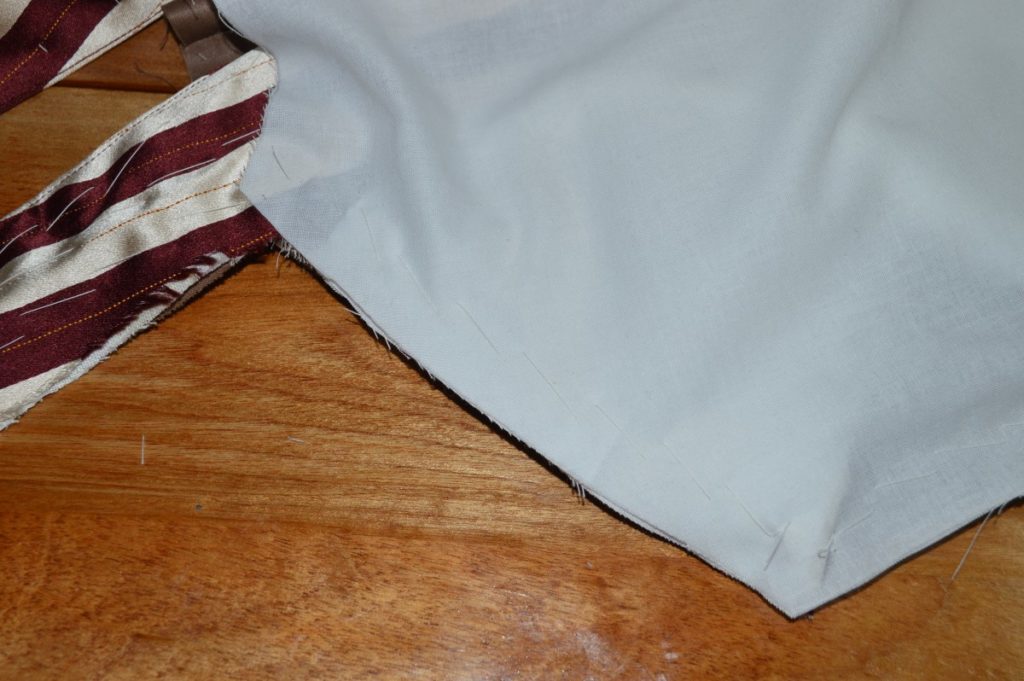
The neck edge of the lining should extend 1/2″ beyond the collar and neck seam.
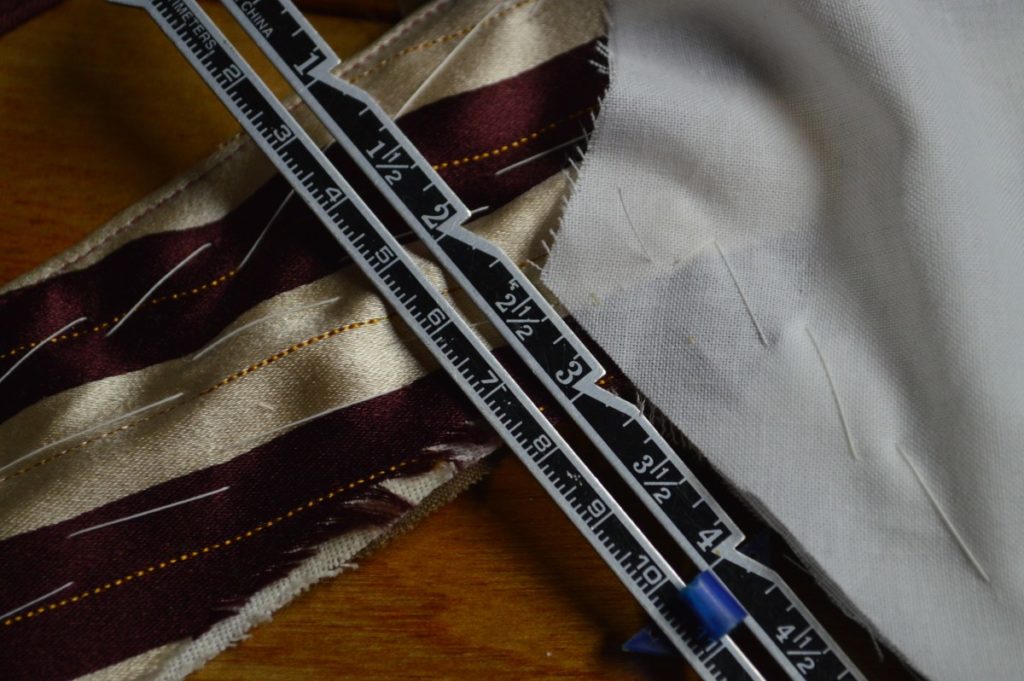
Then mark a quarter inch away from the collar and neck seam of the forepart, indicating the end of the stitching.

Repeat for the other side. Believe it or not, this will actually turn into a waistcoat!
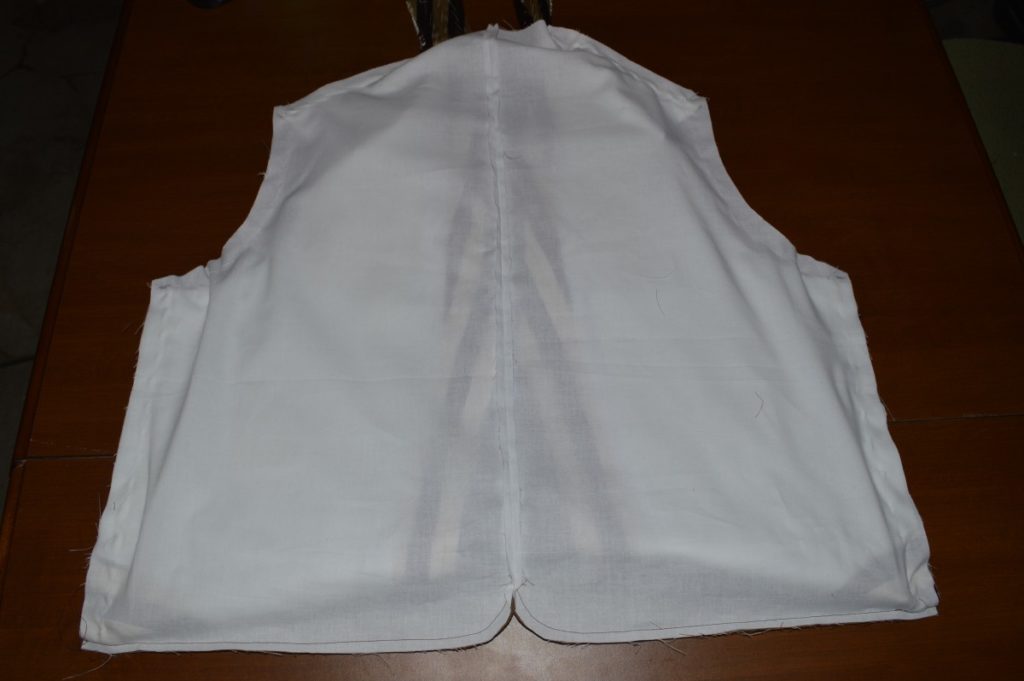
Now stitch from the bottom of the side seam, to the top of the side seam where you made the mark . . .
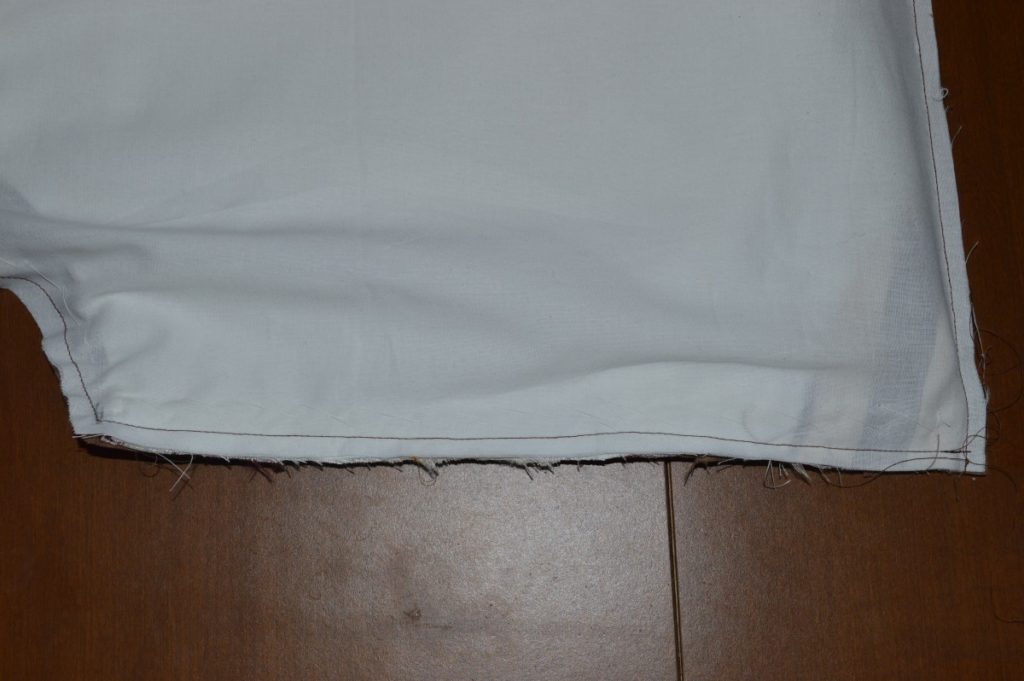
Along the armscye to the next mark . . .
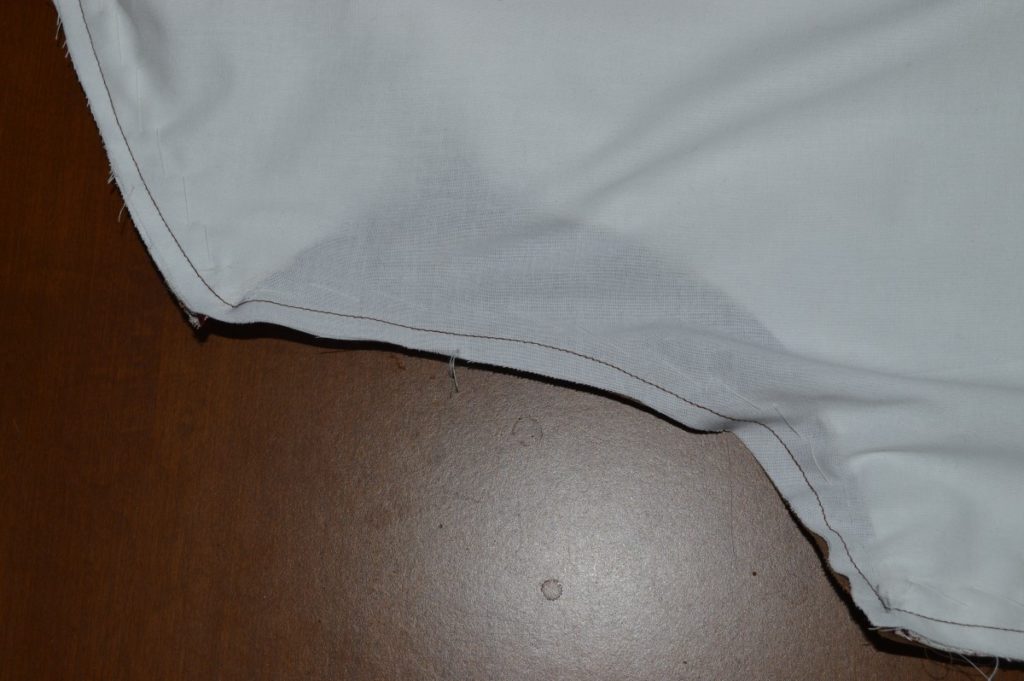
And across the shoulder seam to the final mark. You need to be careful here, because it is very easy for the lining fabric to stretch slightly, hence why I did not go all the way to the mark.
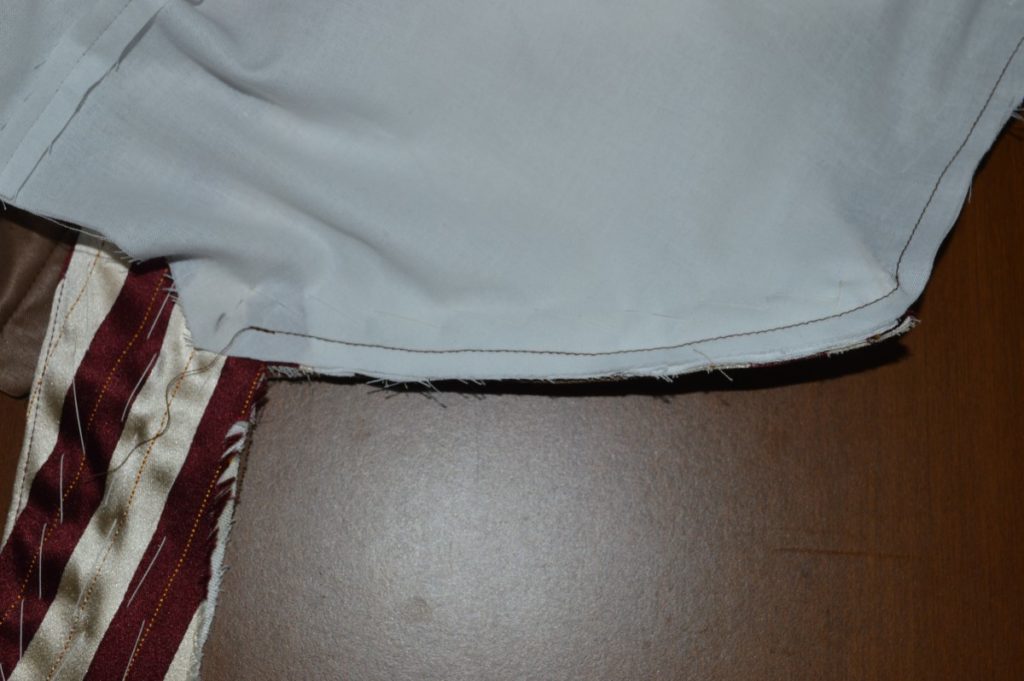
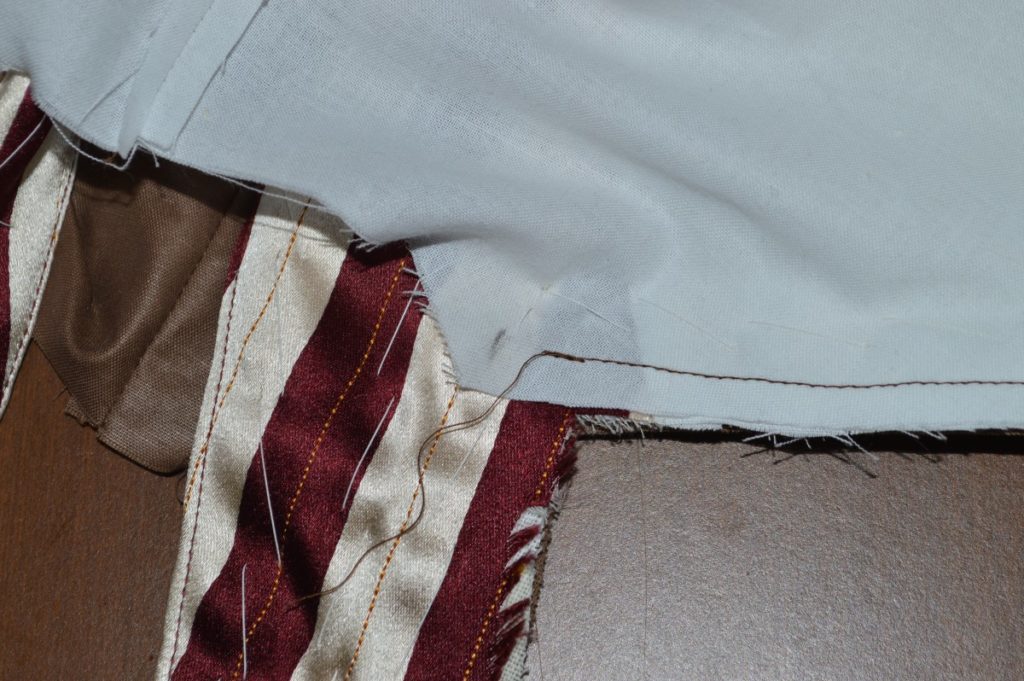
Repeat for the other side of the waistcoat.
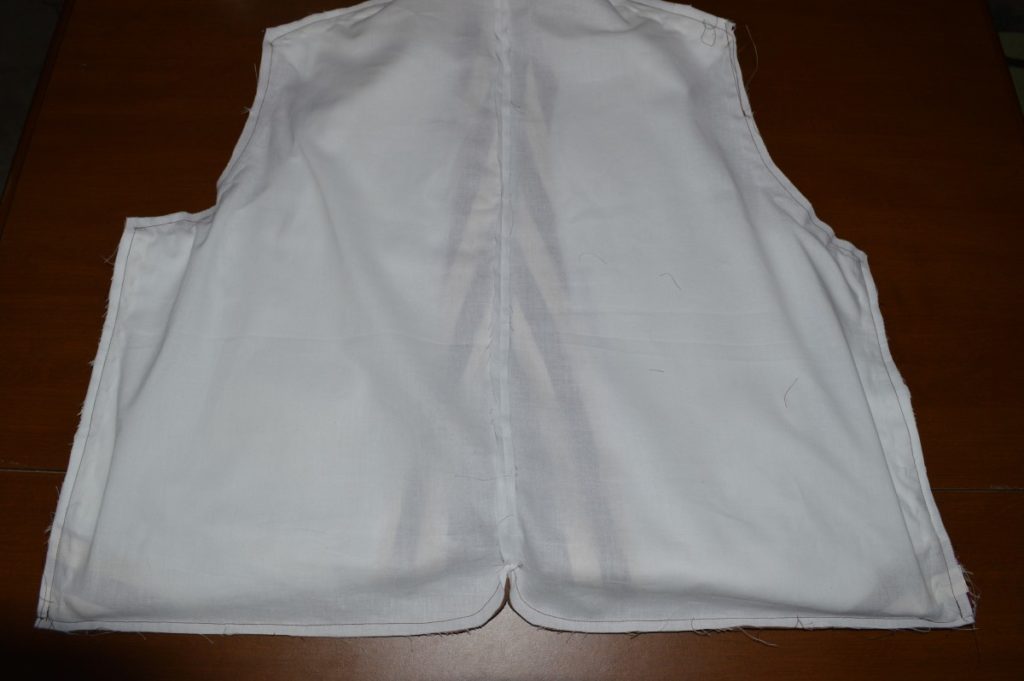
Before moving on, you must remove all of the basting stitches you just put in. Some of them are hidden from the lining side, so I like to work from the back side. Make sure to get them all, I always seem to miss a few.
This is sadly not pictured, I couldn’t figure out the best way to photograph it, but after removing the basting stitches, carefully pull the forepart out through the neck opening. Make sure not to stretch the fabric in the neck area — be gentle!
Then smooth out the bottom of the back pieces, and press the back waist, side seam, armscye, and shoulder seams.
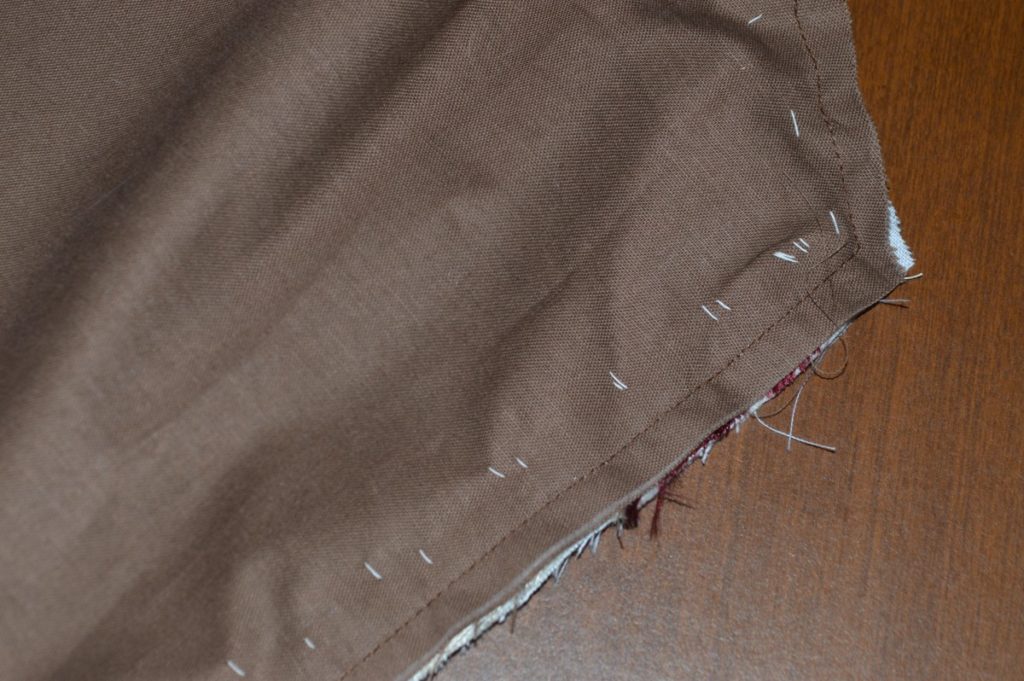
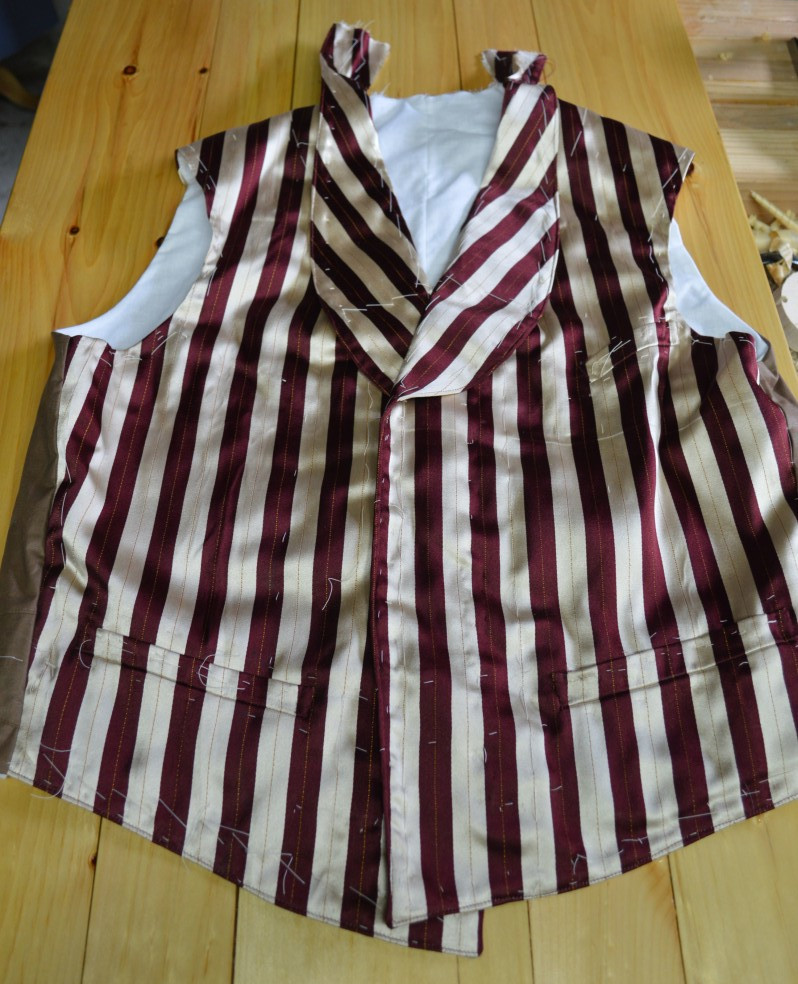
If everything has gone according to plan, you should have a similar result. All that is left is to close up the neck.
The Back Belt
Onto the back belt! This is a fun little bit that I’ve always enjoyed doing, as it means the vest is nearing completion. Begin by measuring the width of the vest back, at about 3 inches above the waist. My pattern is pretty much parallel, hence putting the ruler at only 2 1/2″.
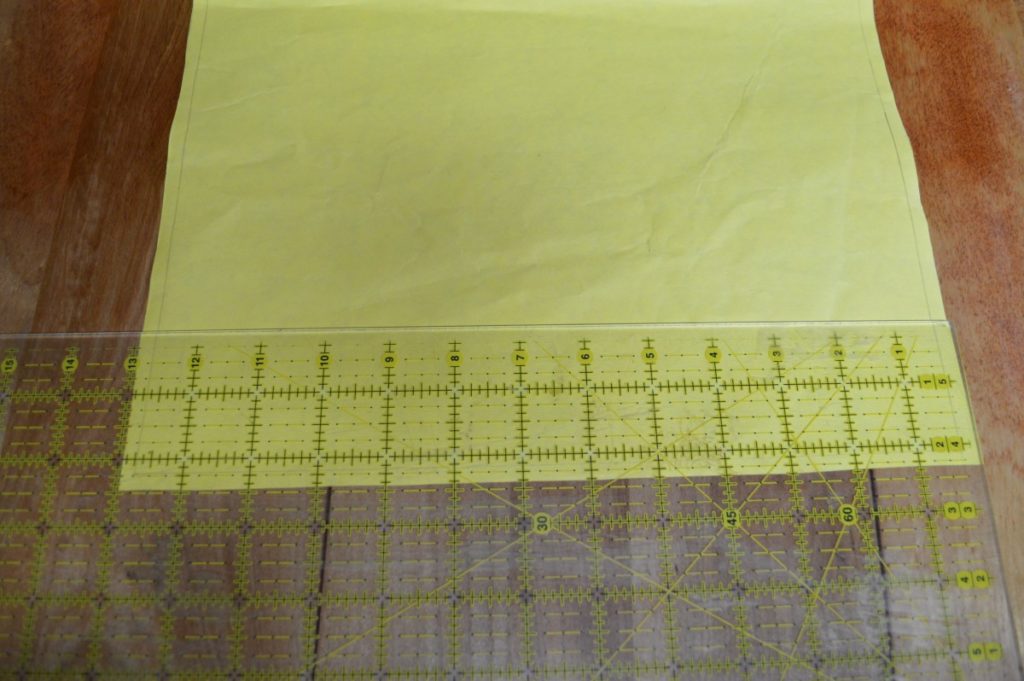
To draw the pattern, make a horizontal line equal to the length of the back plus 1″. The extra inch gives us a bit of extra room for adjustment, if necessary.
On one end, make a perpendicular line 3″ in length, and on the other, a line 1″ in length. The narrow end should be equal to the width of your vest buckle.
Draw a parallel line along the bottom edge, 1″ from the top. Complete the curves as shown in red.

Complete the pattern by adding a 1/4″ seam allowance along the rounded end and bottom of the buckle. The top edge is cut on the fold.

Place your pattern on the fabric, matching the top edge of the pattern to the fold in the fabric, and trace.
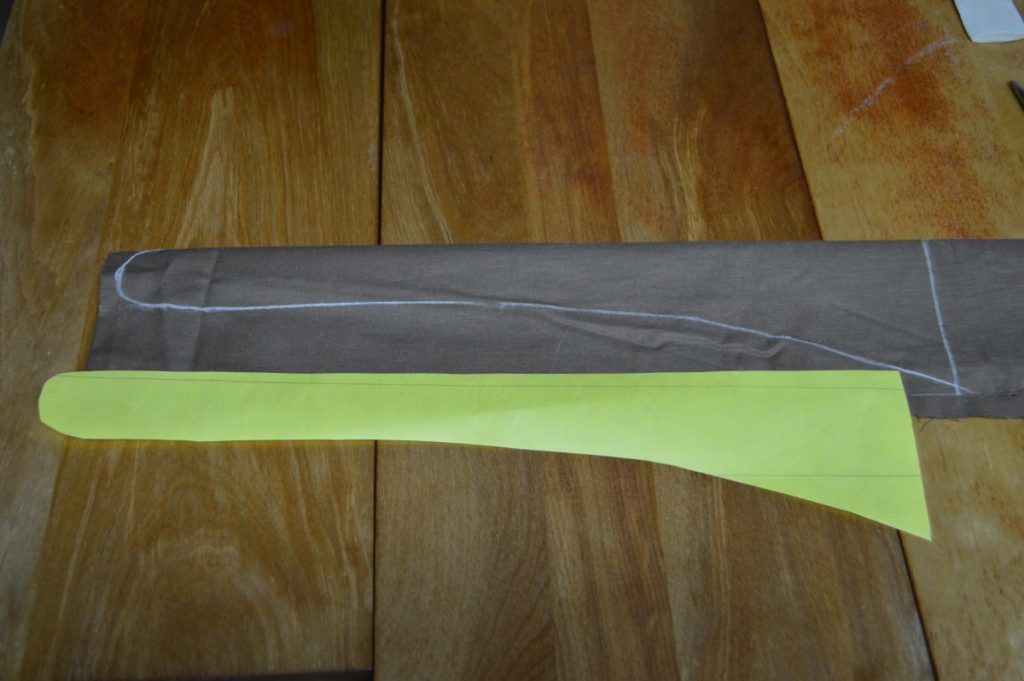
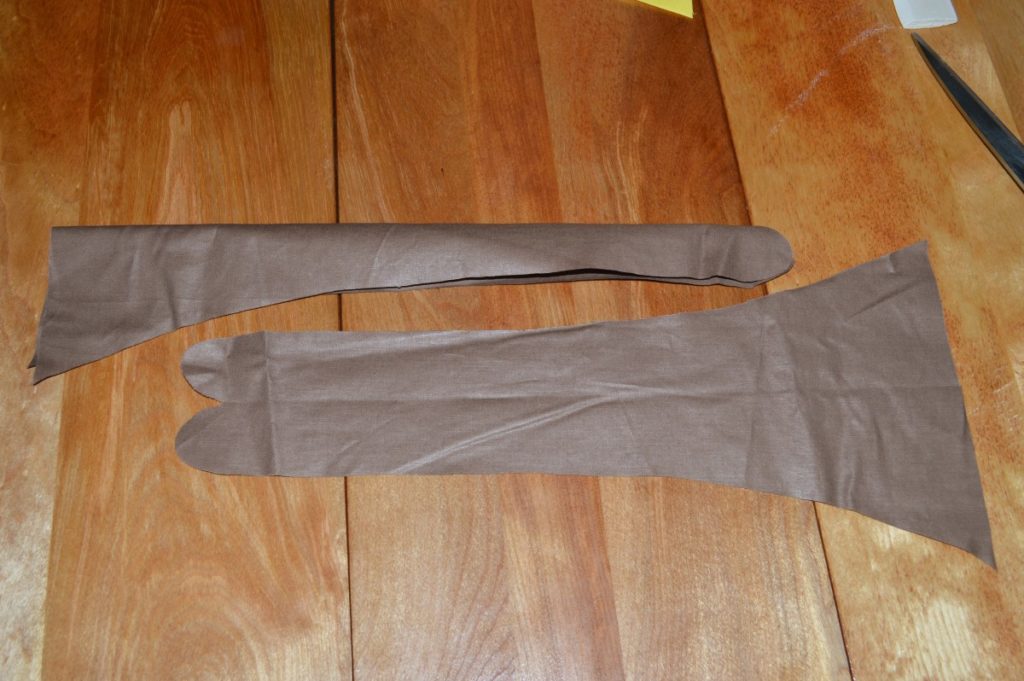
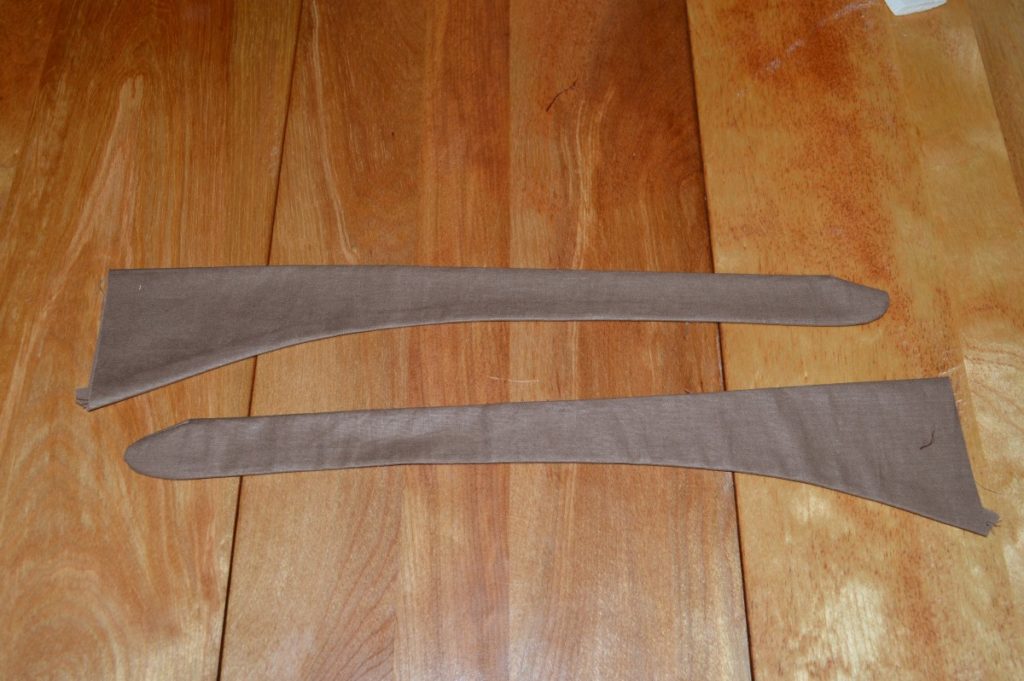
Cut out two belts, as shown.
Baste the belts along the center, right sides together, and sew along the rounded corner and bottom edge using a 1/4″ seam allowance.
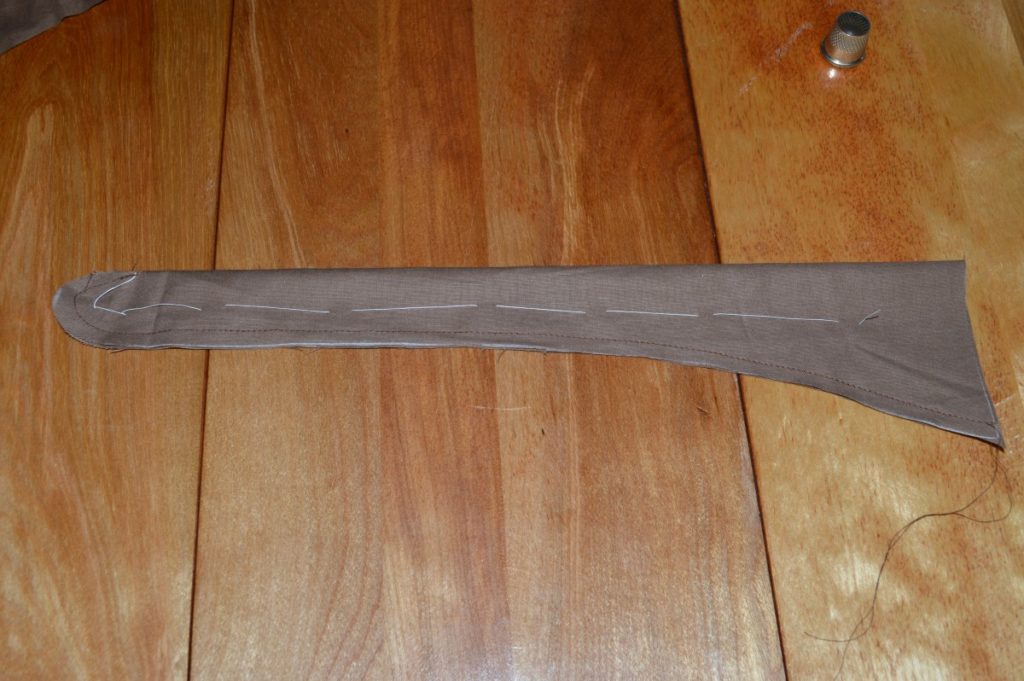
Trim the rounded edge to about 1/8″, as shown. Down get any closer, as it will have a tendency to fray.
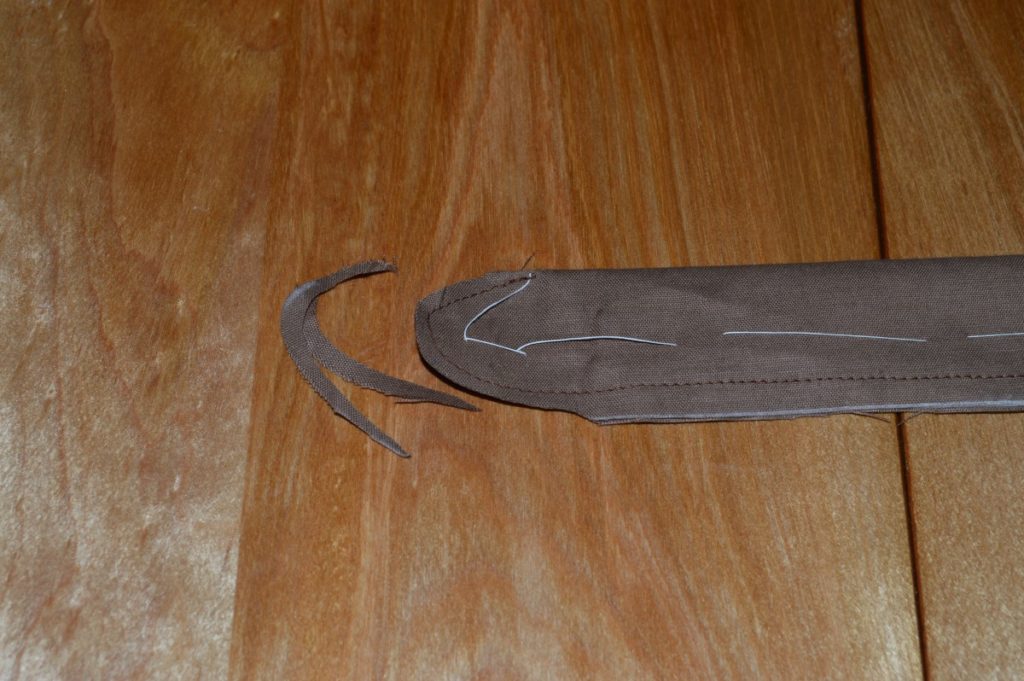
Remove the basting stitches, and turn right side out. I usually use a pair of blunt scissors to aid in this step. Press so that the underside of the seam is not visible from the visible side.
The pattern for the back as drafted gives us a straight edge across the bottom. If you wish to have the center back curve upward slightly, the following instructions can be followed.
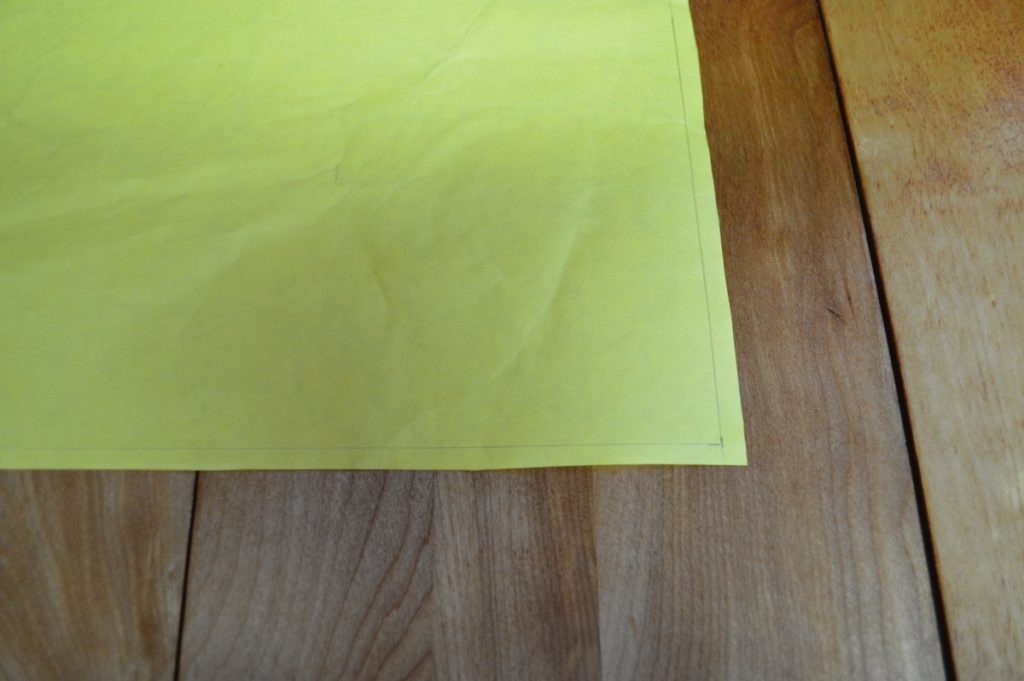
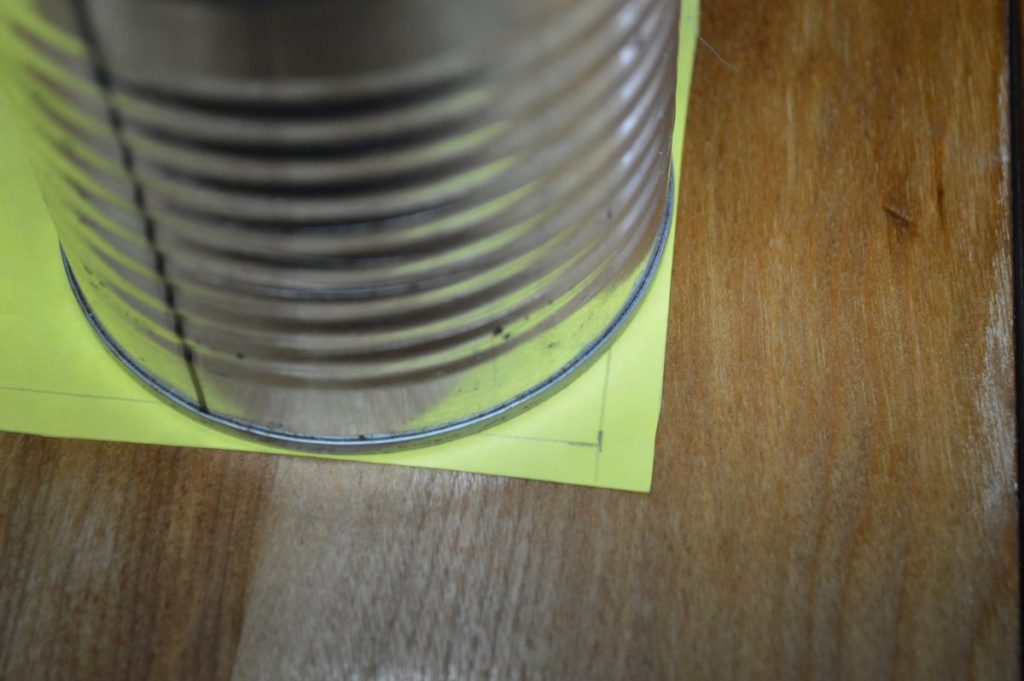
Draw a curve along the center and waist seam intersection of the back. This can be done freehanded, or you can use a tin can or some other round object, like I did.
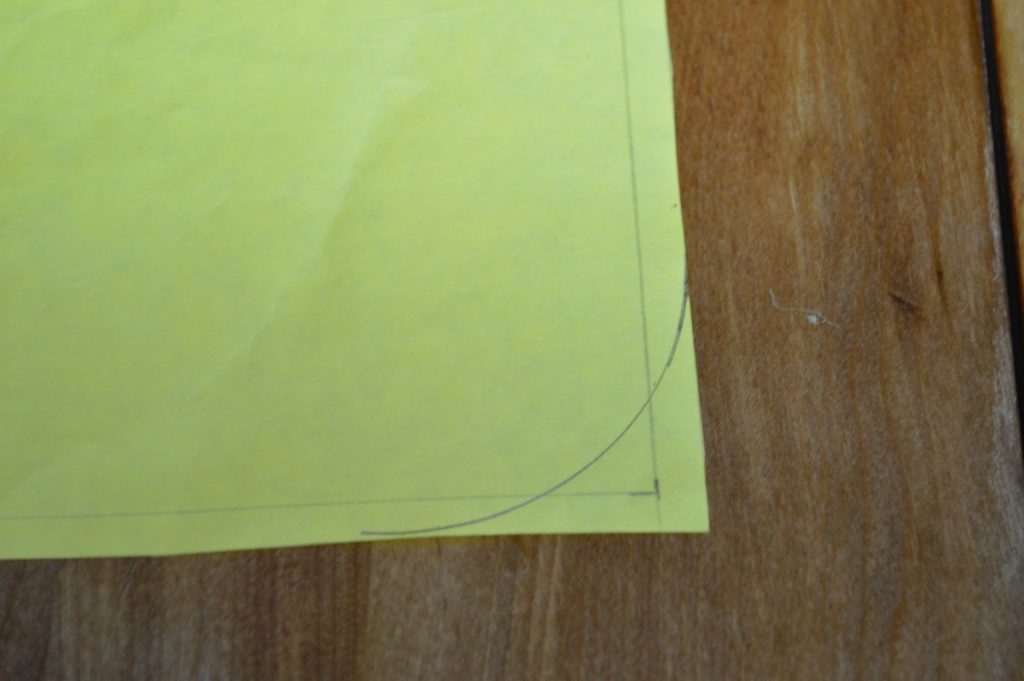
Trim the altered pattern.
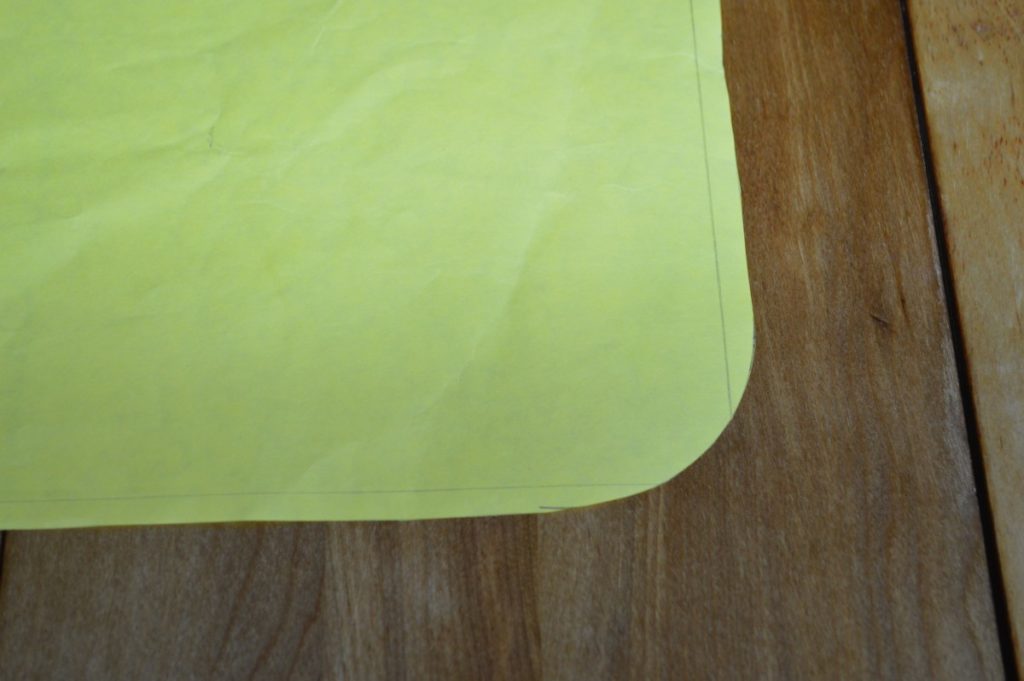
This next step is extremely important in terms of accuracy, and affect how the center back will lay when completed. First, draw a line parallel to the center back, 1/4″ from the edge, indicating the seam allowance. Draw another shorter line intersecting the first line, at the precise location where the curve begins. Do this to both pieces of both the lining and back.
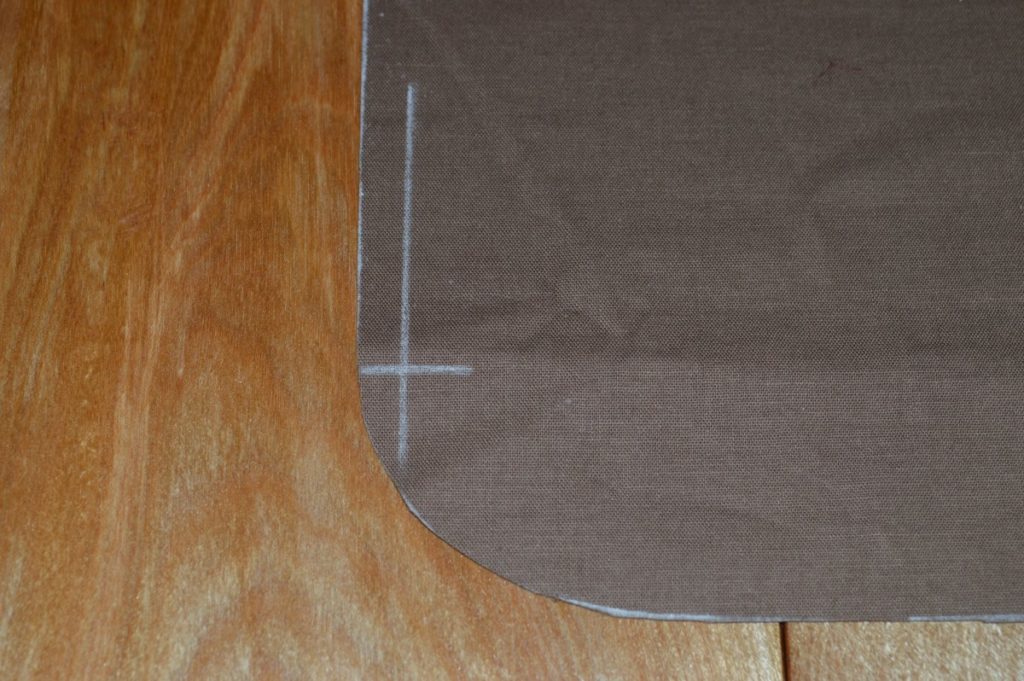
Sew the center back seam together, from the neck to the intersection of the two lines. You can baste the pieces first but I find the natural tension of the fabrics is enough to hold things together.
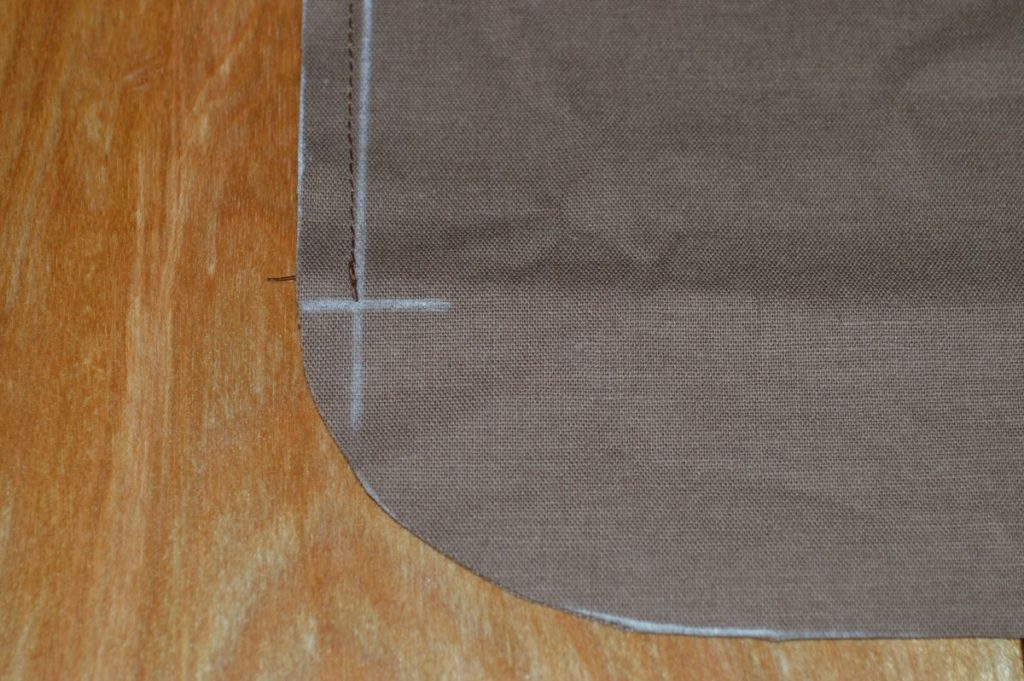
You can see how the marks where transferred to the lining as well.
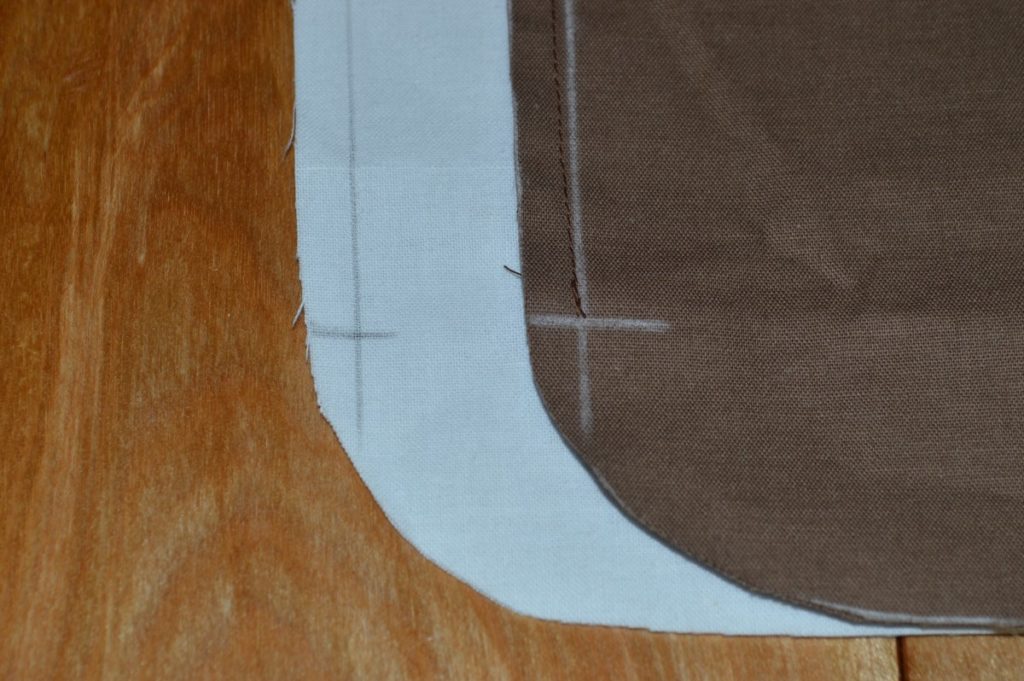
Press the center back seam open, and then lay the belts into position on the backs. The position of the top edge will vary, but it should be at the position of your natural waist. In my case, it was about 5″ from the bottom. Make sure the top edge is square all the way across.
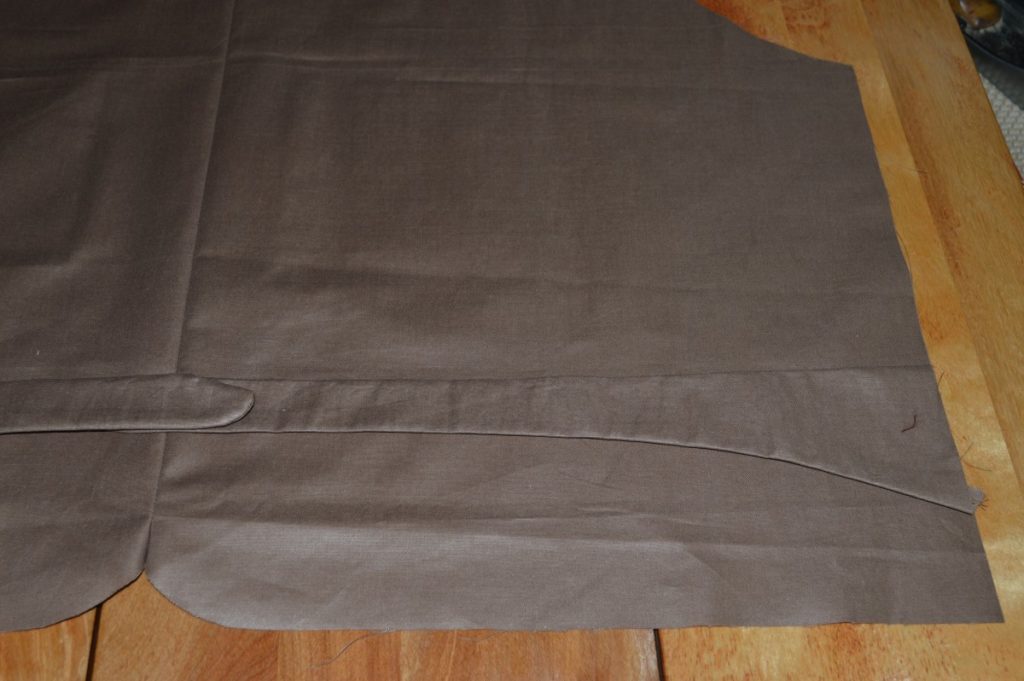
Baste the buckle in place across the width of the back.
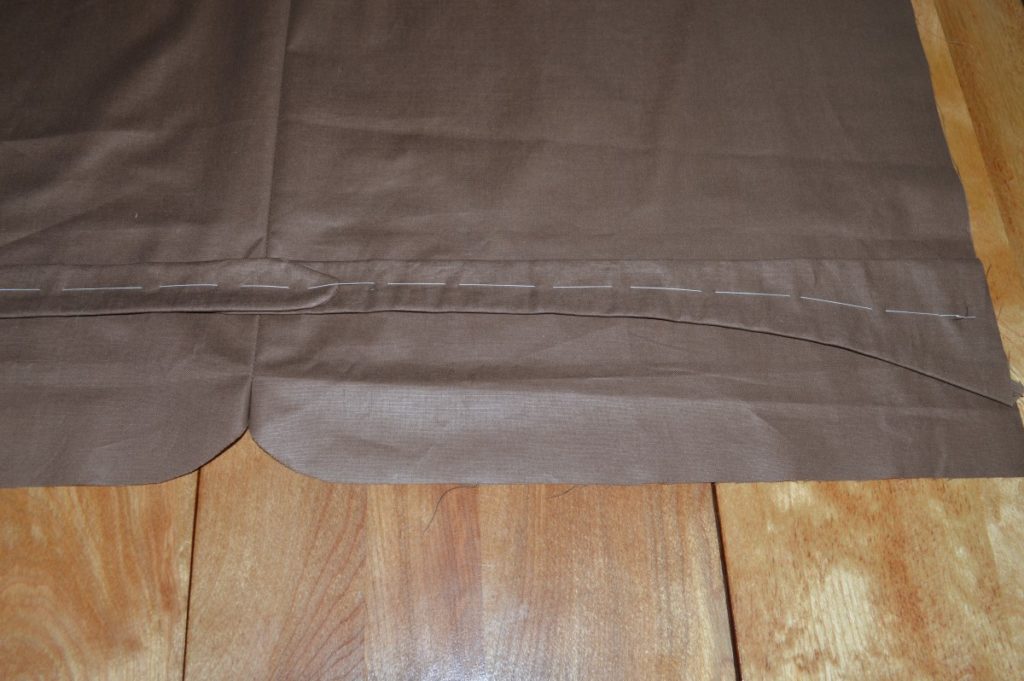
About four or five inches from the side seam, mark a vertical line across the height of the belt, indicating the stitch line.

Top stitch, either by hand or machine, along the top edge, down the chalk line, and along the bottom edge, staying about 1/16″ away from the edge of the belt.

This completes construction of the belt. All basting stitches remain in place until the vest is finished.

Installing the Lining
Now we are ready to install the lining. Lay the lining into place onto the inside of the forepart, wrong sides together, ensuring there is enough overlap on the edges to turn under and cover the facing edges.
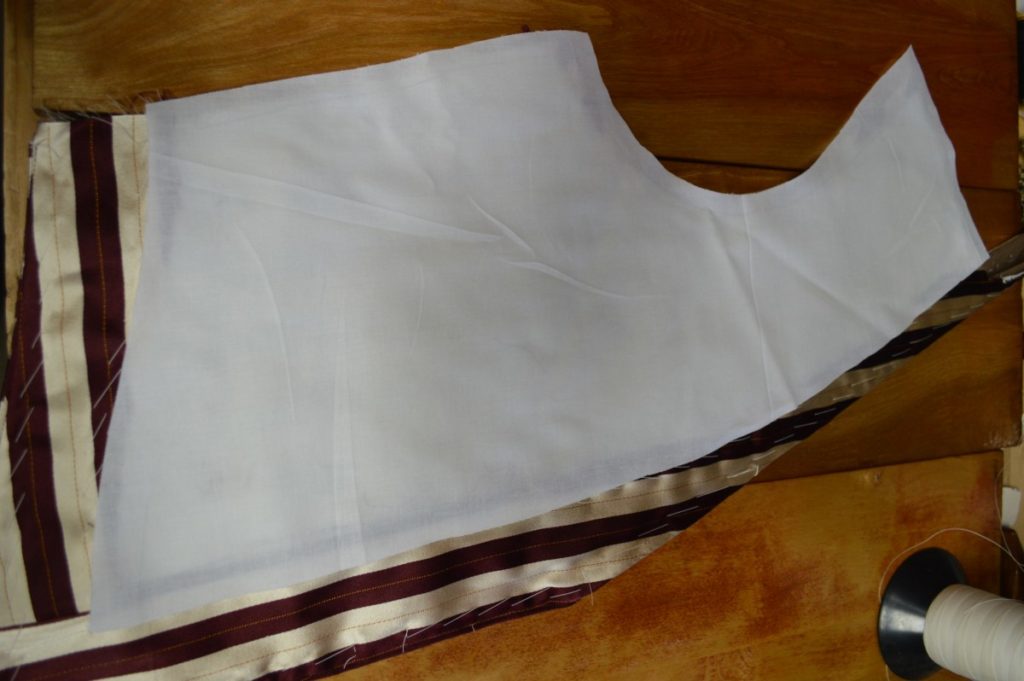
Baste from the top of the shoulder, slightly off center, down to the waist.
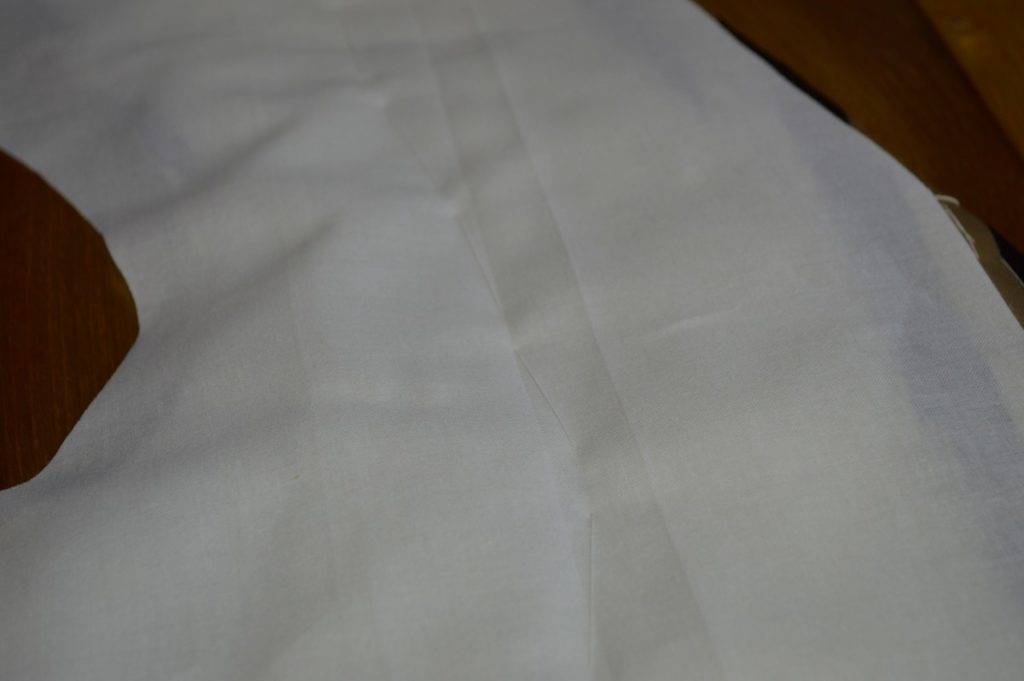
Turn under the raw edges 1/4″ (feel free to adjust that if necessary), and baste in place along the waist and front edge of the lining.
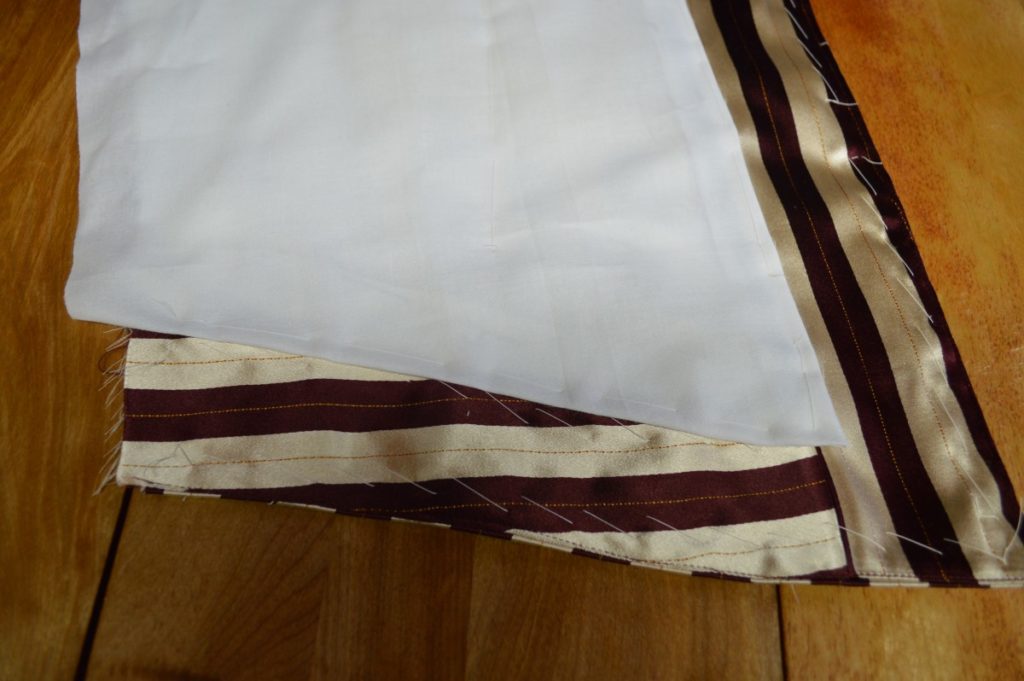
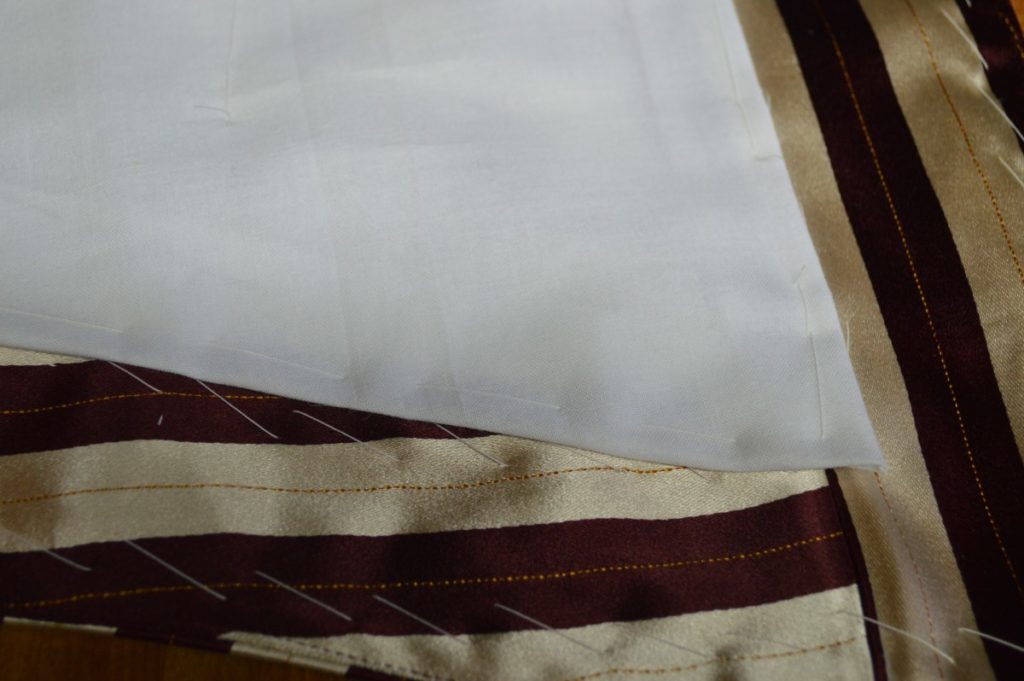
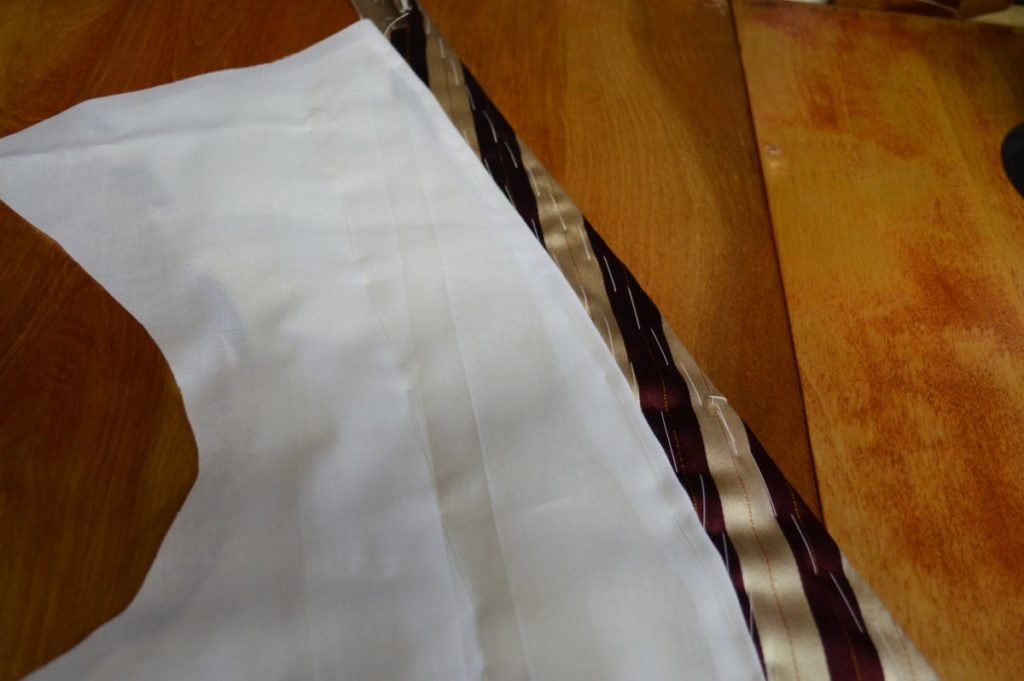
To the side of the basting stitches in the shoulder, form a small pleat, about 1 inch in total width (1/2″ on each side), and about 5 inches long. This gives some extra room for movement in the lining, both for comfort and to avoid the lining pulling on the forepart.
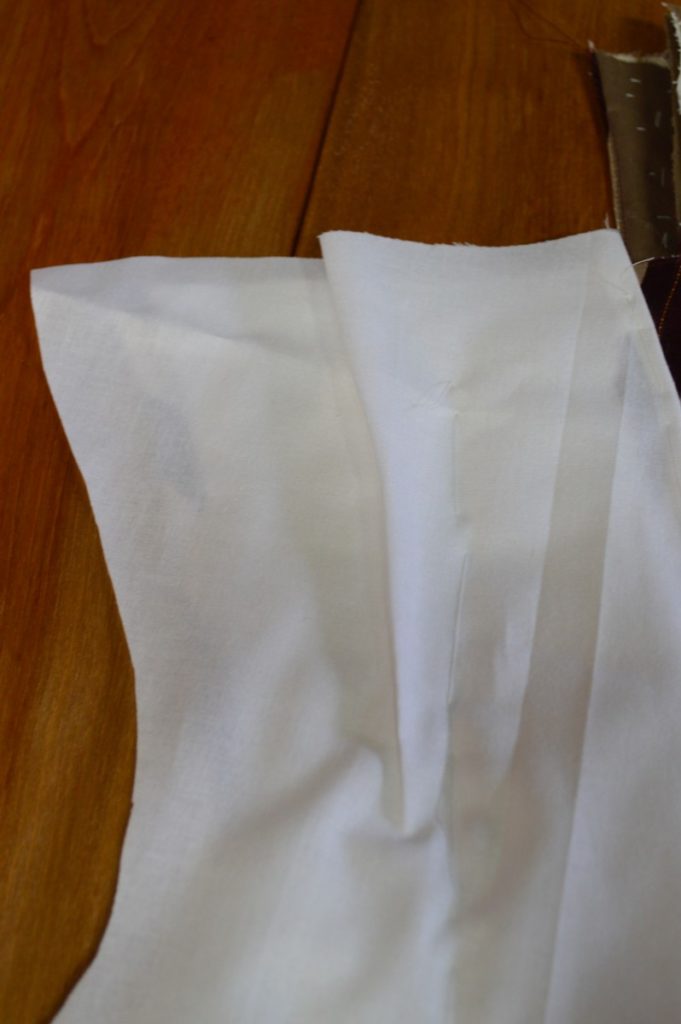
Baste the pleat and press lightly.
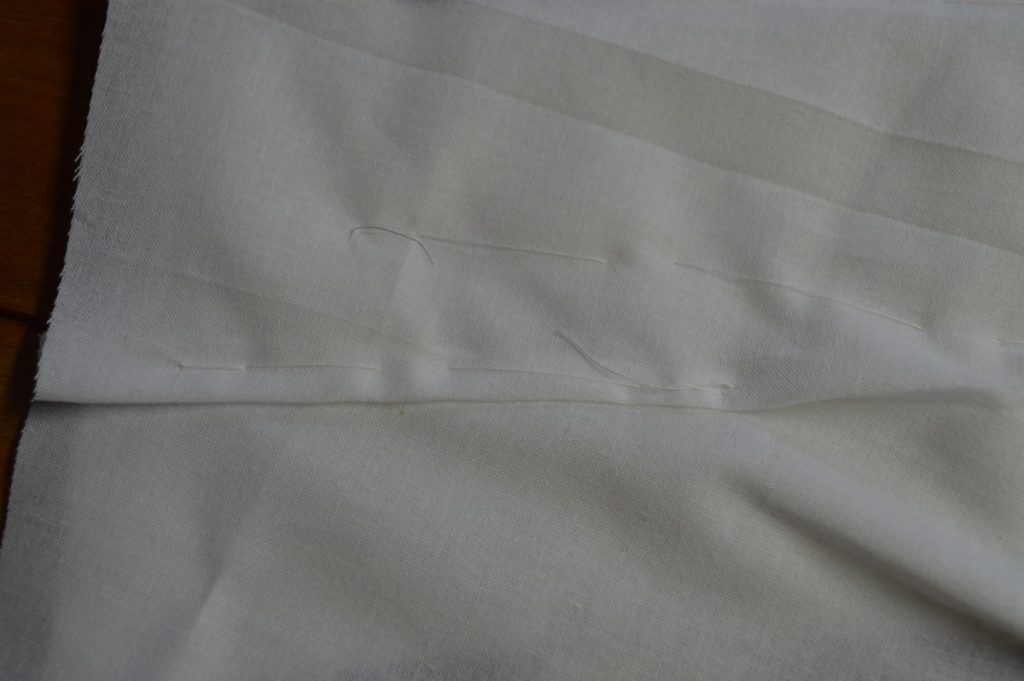
Along the armscye, again turn under the lining fabric and baste it in place, the folded edge being about 1/8 from the edge. You may have to stretch the lining with your fingers around the tight curve of the armscye.
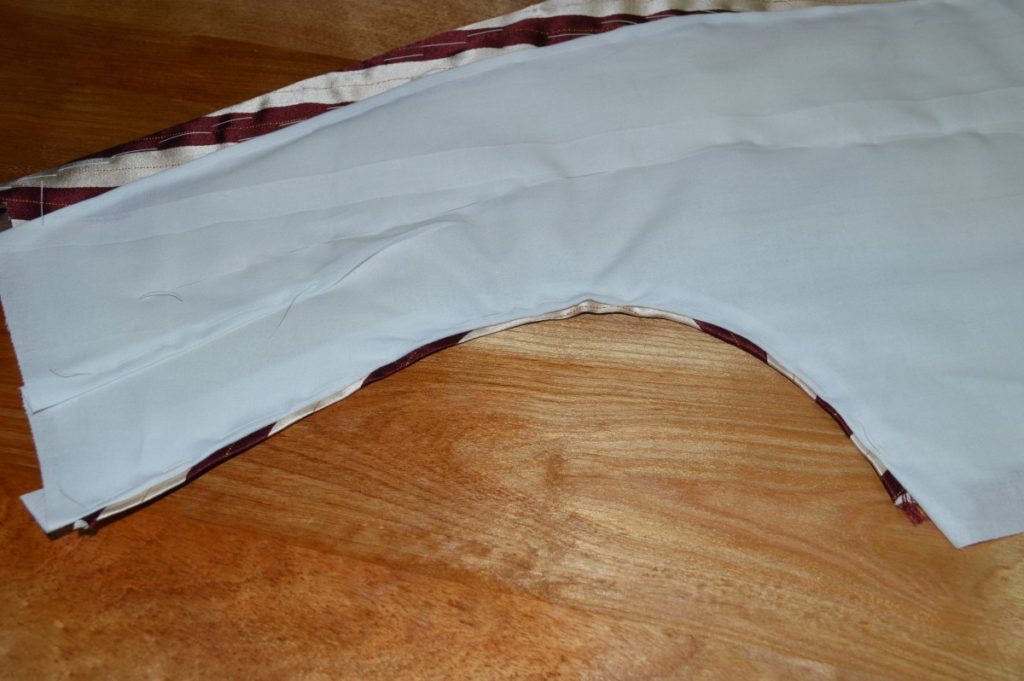
Fell down the folded edge of the lining along the armscye, waist, and front edge.
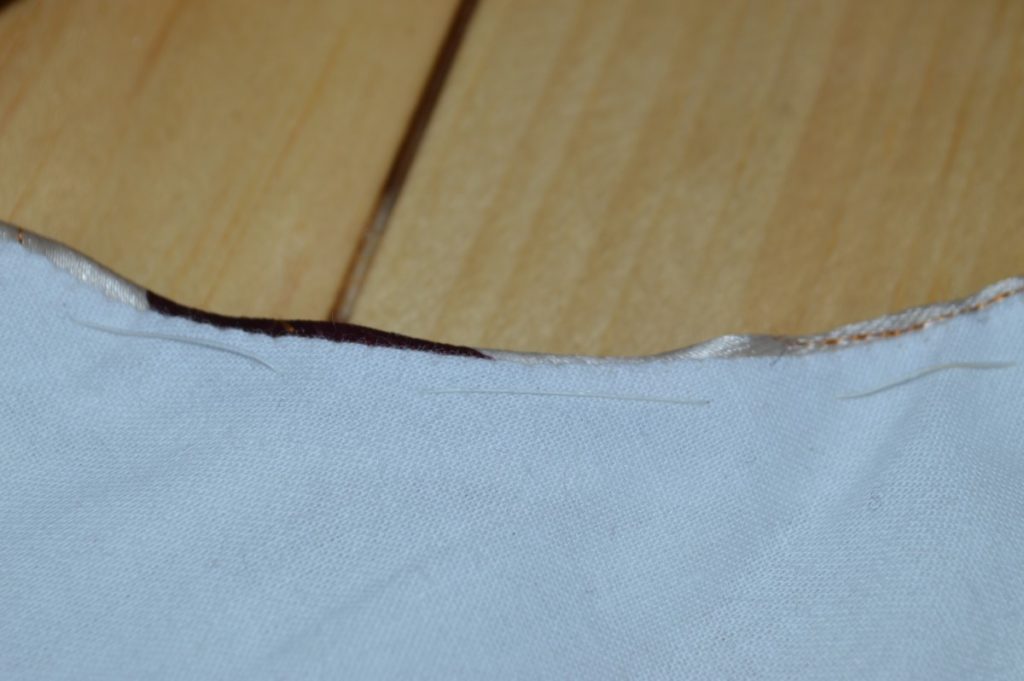
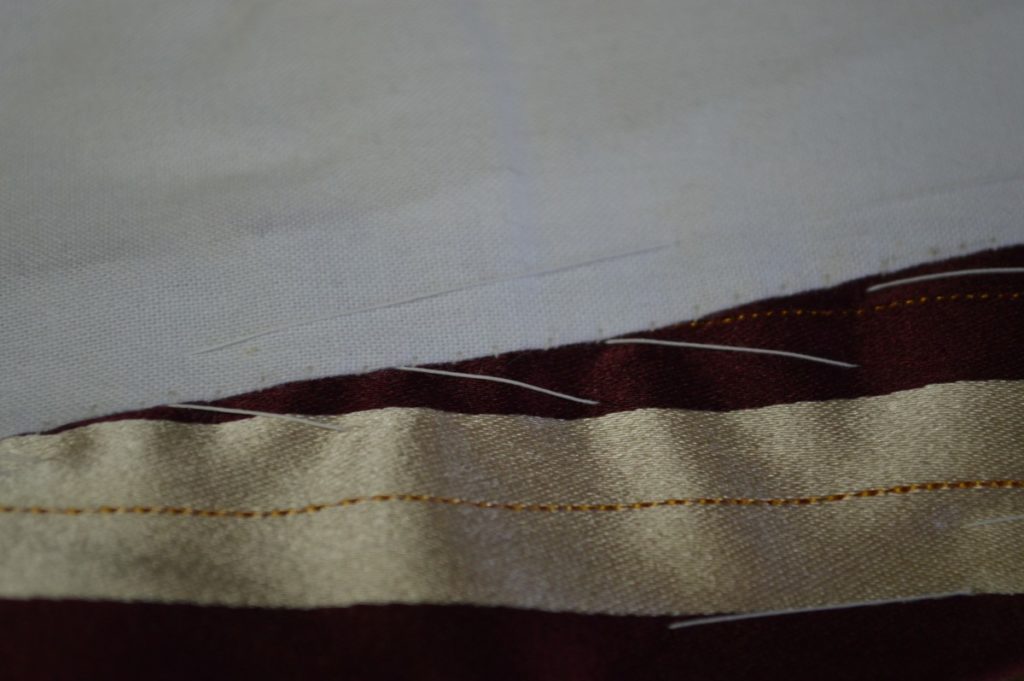
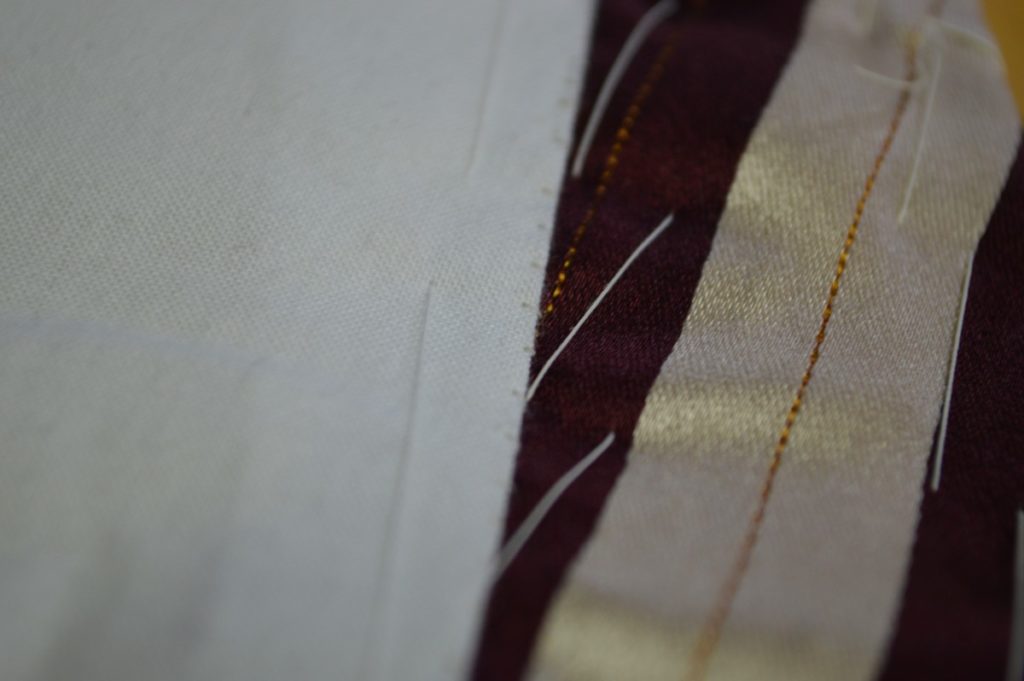
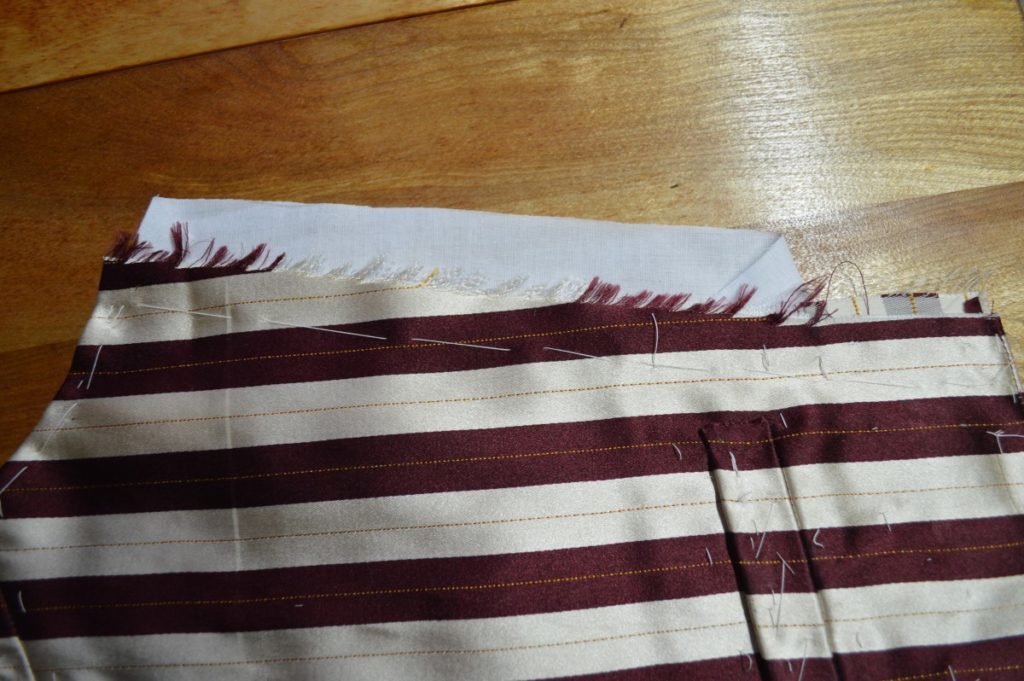
On the side seam and shoulder seam, trim off any excess fabric and facing, and cleaning up the edges if they are fraying.
The Armscye
Just after attaching the facings, I like to finish off the armscye before adding the lining in.
First, mark around the canvas on the armscye at a distance of 3/8″.
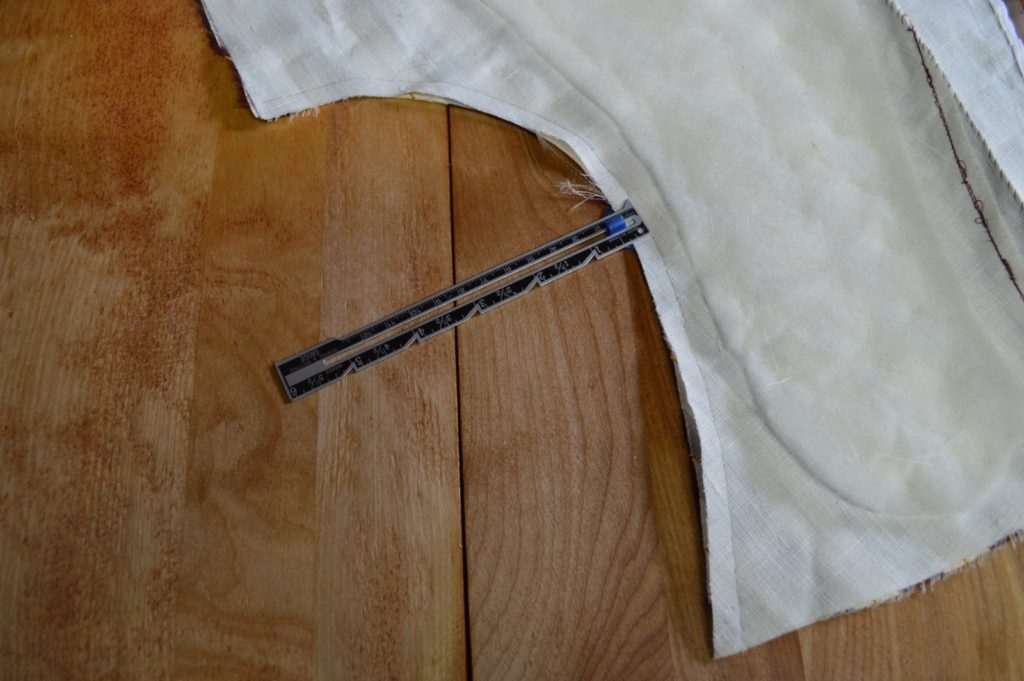
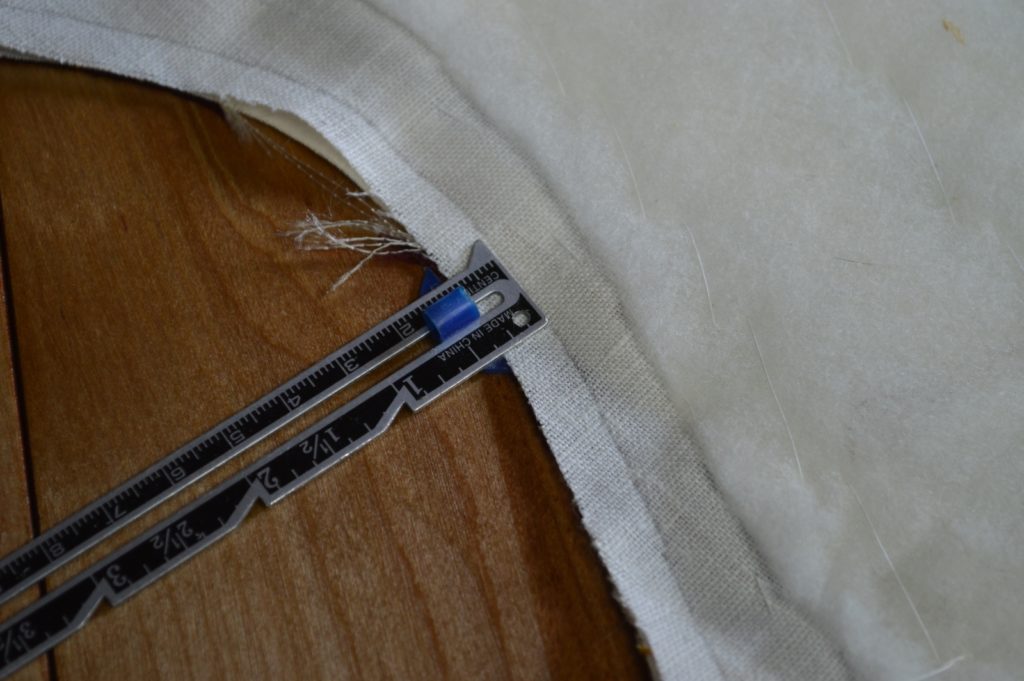
Now, carefully trim away the canvas around the outside, making sure not to catch the fabric underneath.
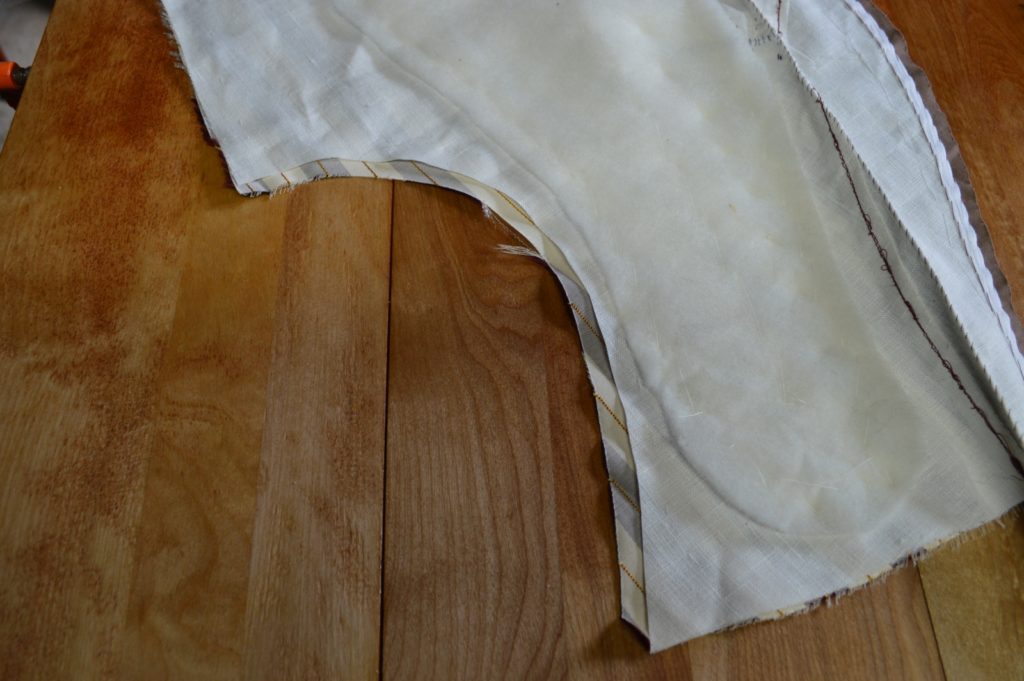
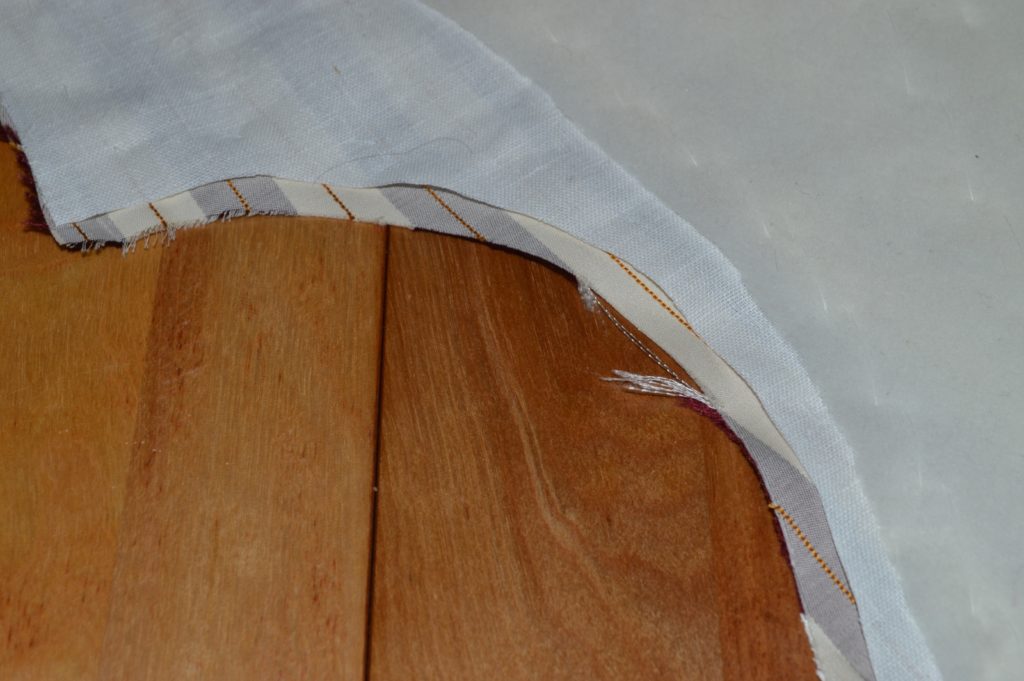
Now, fold up the fashion fabric over to the wrong side of the canvas and baste. Then press flat.
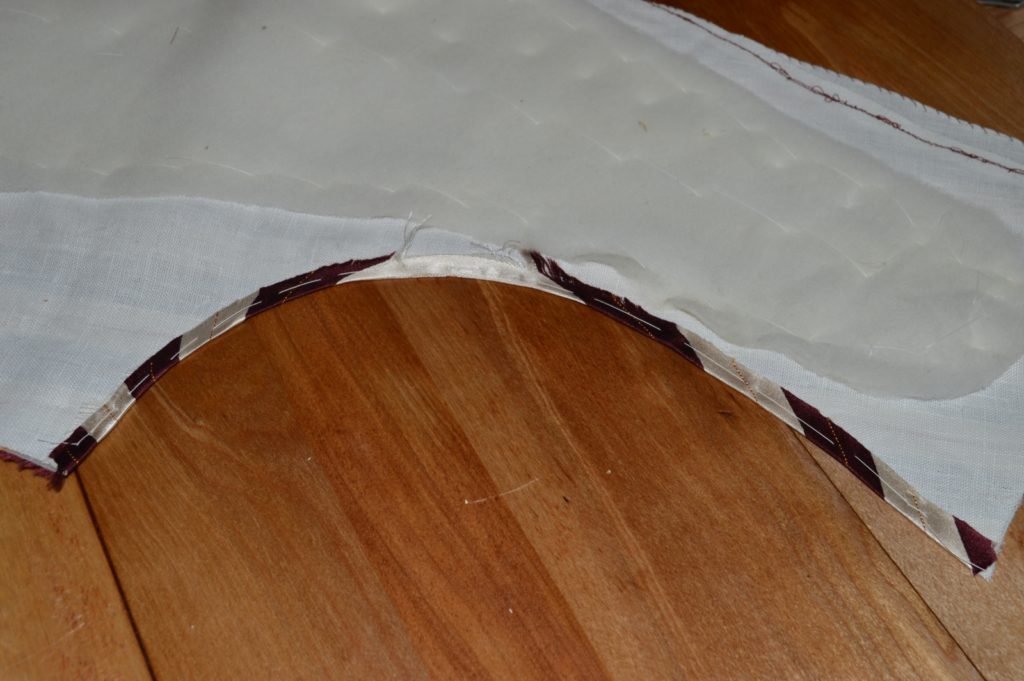
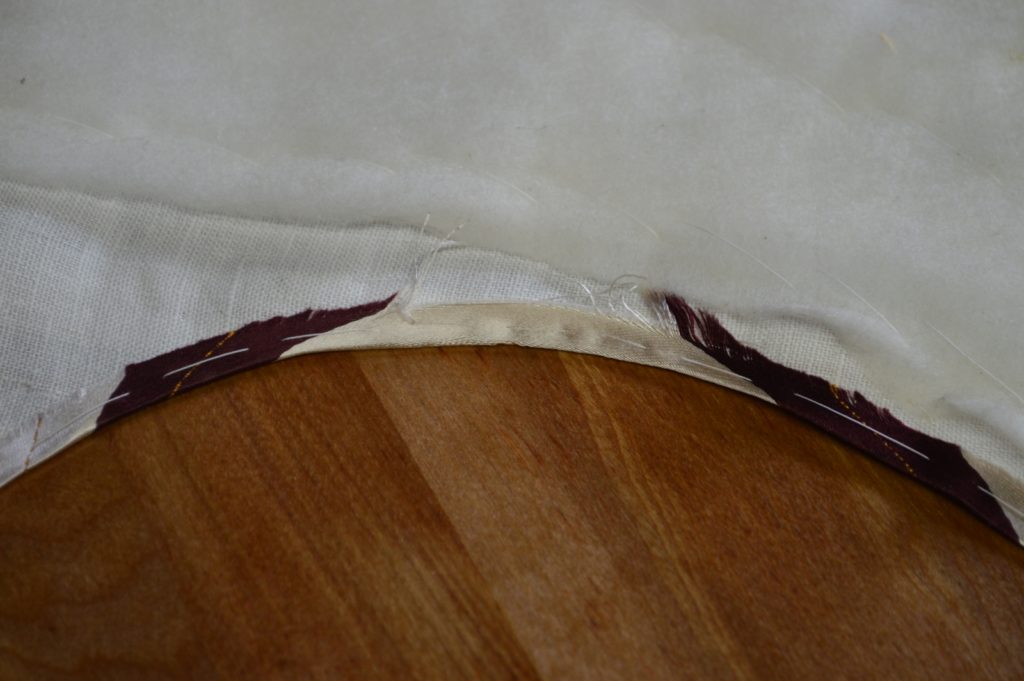
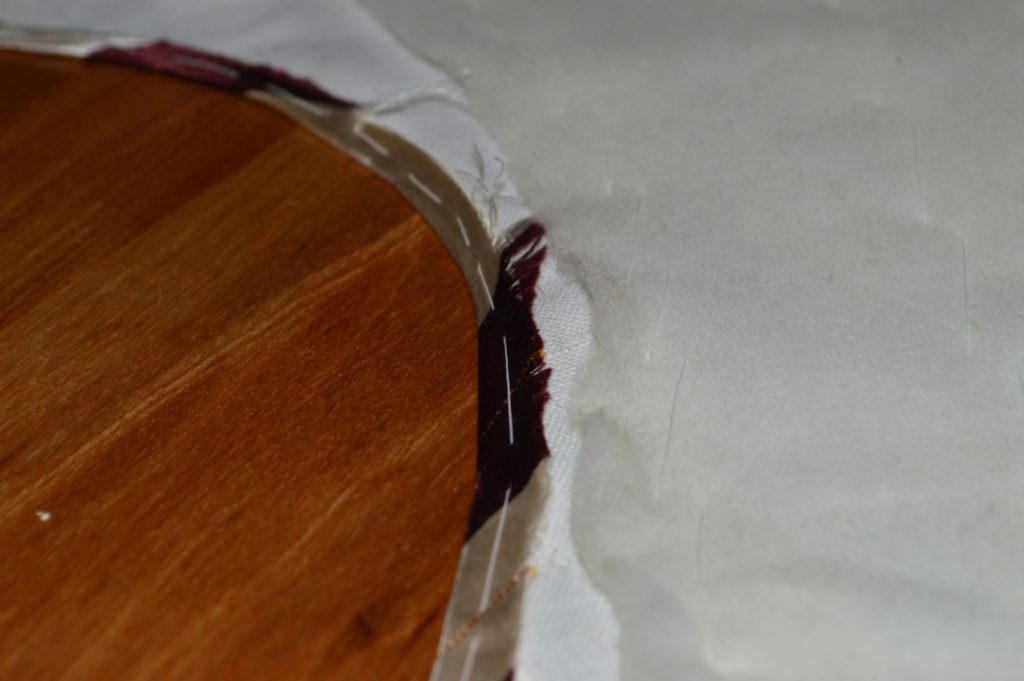
Now using a cross stitch, working left to right (or the other way if you’re left handed), stitch the folded edge of the armscye to the canvas below. Try not to let your stitches show through on the right side.
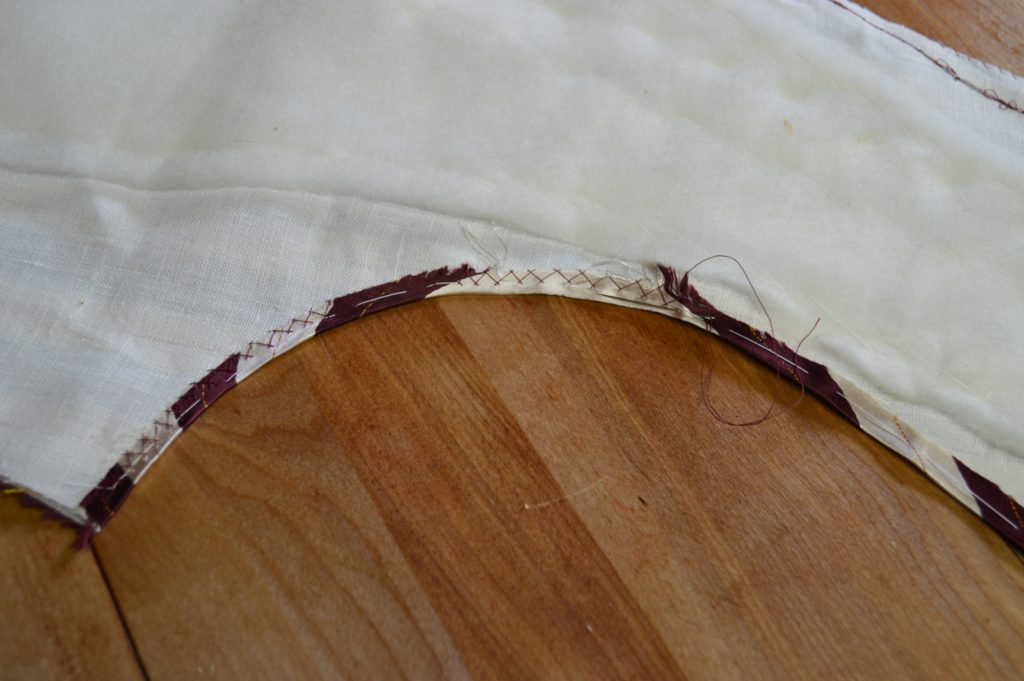
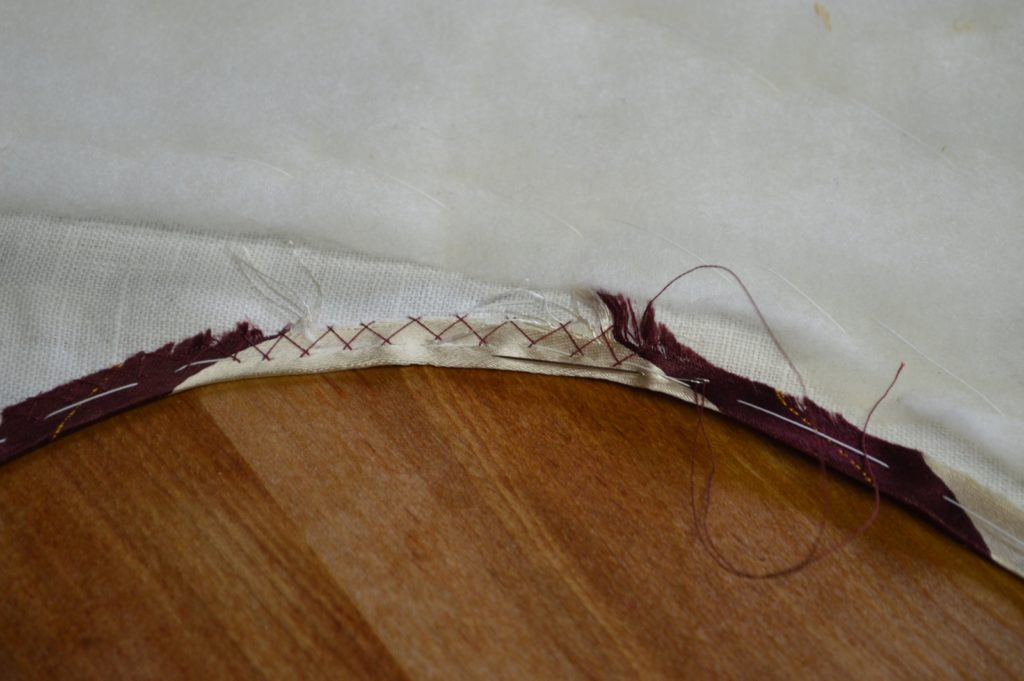
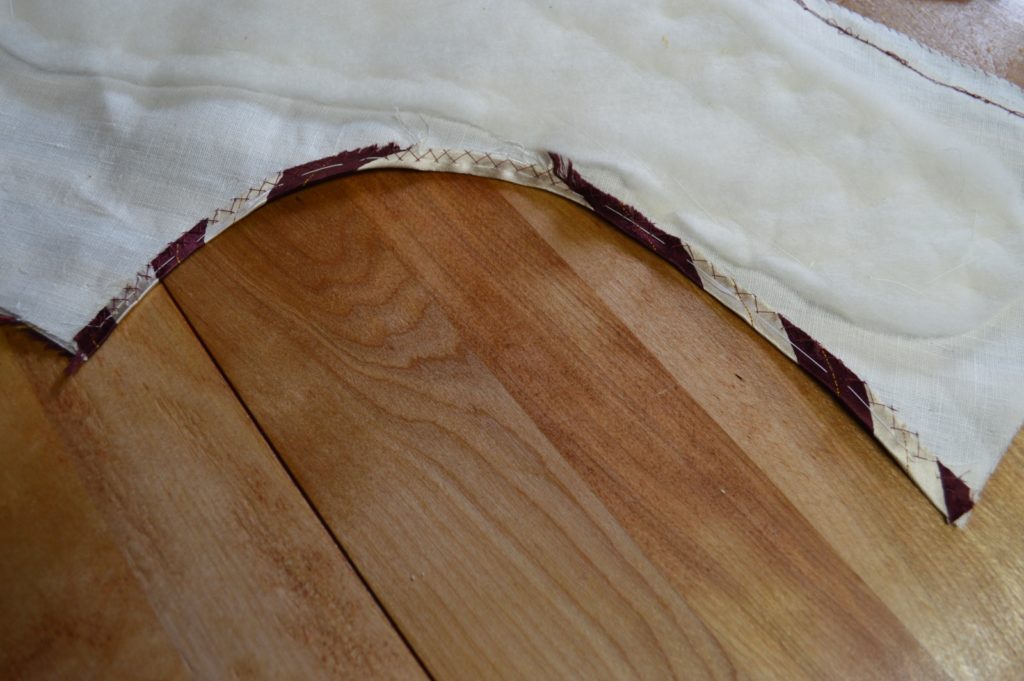
Repeat for the opposite armscye.
The Facings
To begin construction of the facing, first lay out your parts as shown. It’s easy to get the waist facing facing the wrong way, leading to a misalignment when attaching it to the forepart.

With right sides together, baste the facing pieces together along the inner edge of each.

Sew with a 1/4″ seam allowance. While we originally added a 1/2″ seam allowance, that extra 1/4″ is taken up by the front facing.

Press over the waist facing. The seam is not opened up, rather, the front facing lays completely flat.

Lay the facing into position on the forepart. Remember that you added an extra 1/2″ around the front and bottom edges, so they should extend off the edge of the forepart. Baste everything in place along the waist, center front, and collar.

As you get to the roll line area of the collar, hold the facing slightly loose as you baste, to give some ease when everything is turned right side out. This will help the collar lay flat. I give about 1/4″ of ease, spread out about 1/2″ on either side of the roll line. You can just make it out in the photo, with the two ripples that are showing in the facing.
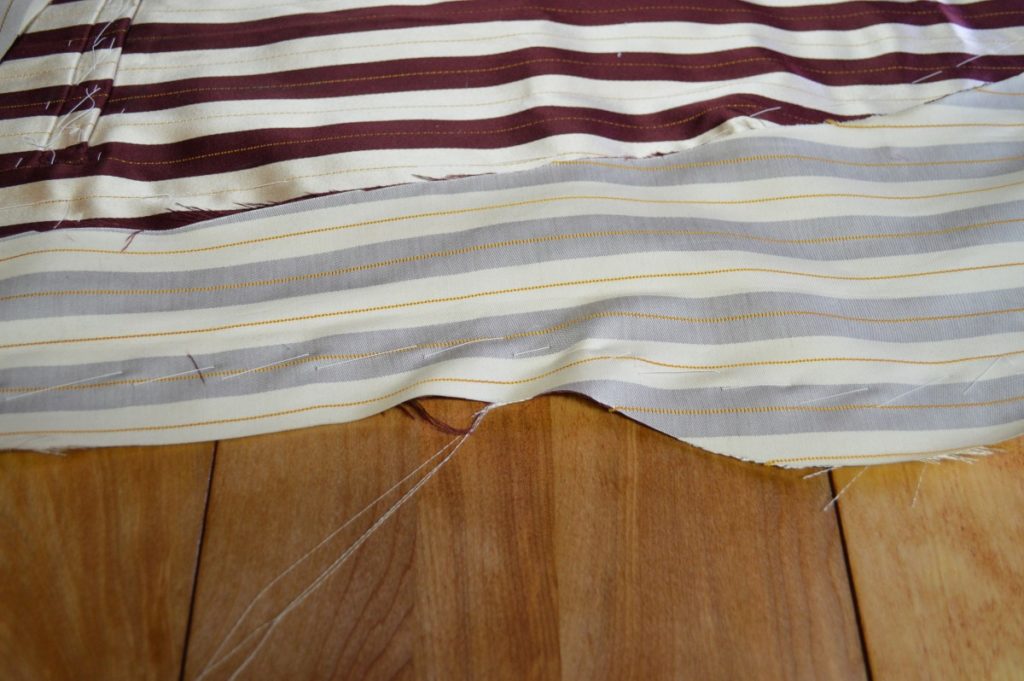

Continue basting up to the top of the collar.

After the basting is complete and you are happy with everything, turn the forepart over and trim off the extra bit of facing along the collar, center front, and waist.

Sew along the collar, center front, and waist with a 1/4″ seam allowance.

By sewing with the facing on the underside, you will help ensure the fullness near the roll line is distributed evenly. By machine, the feed dog will aid you. By hand, use your fingers to fine tune the distribution for each stitch.

When you get to the center front and waist corner, take two stitches on a diagonal, instead of making a sharp turn. This will give the seam allowance more room when you turn everything right side out.

Trim the seam allowance at the corner to about 1/8″. It’s not a good idea to trim further, as the material has a tendency to fray through to the other side of the stitching, shortening the life of the waistcoat.

After removing the basting stitches you just put in, carefully turn the facing right side out, smoothing with your fingers. You want the facing to stop about 1/16″ to 1/8″ from the underside, so that it will not be visible on the right side. Baste about 1/2″ from the edge as you work along. At the bottom corner, you might have to use something to help you get a crisp corner, such as an unsharpened pencil or pen, closed scissors, etc.
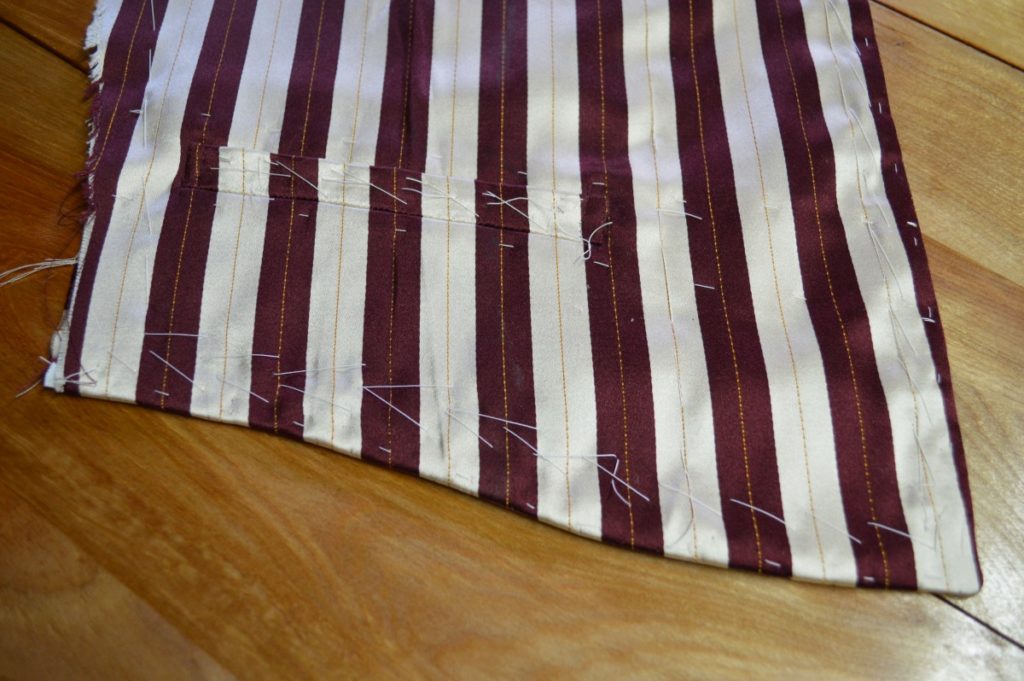
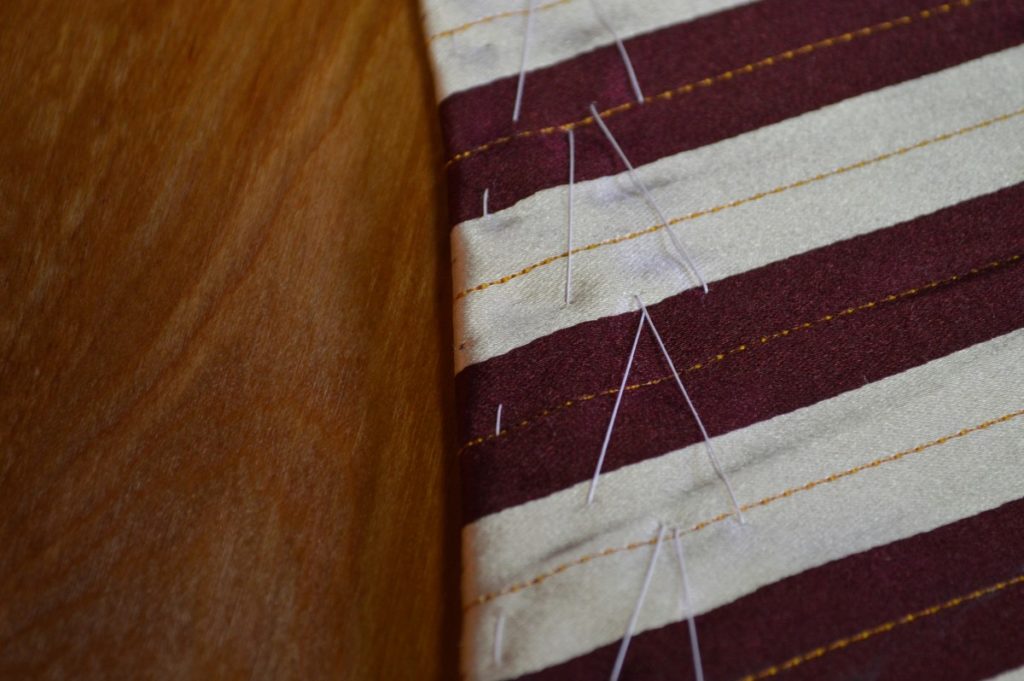
Keep up with the basting. When you get to the roll line, you’ll want the facing to now extend 1/16″ to 1/8″ beyond the forepart, as when it is folded over, it will hide the seam underneath.
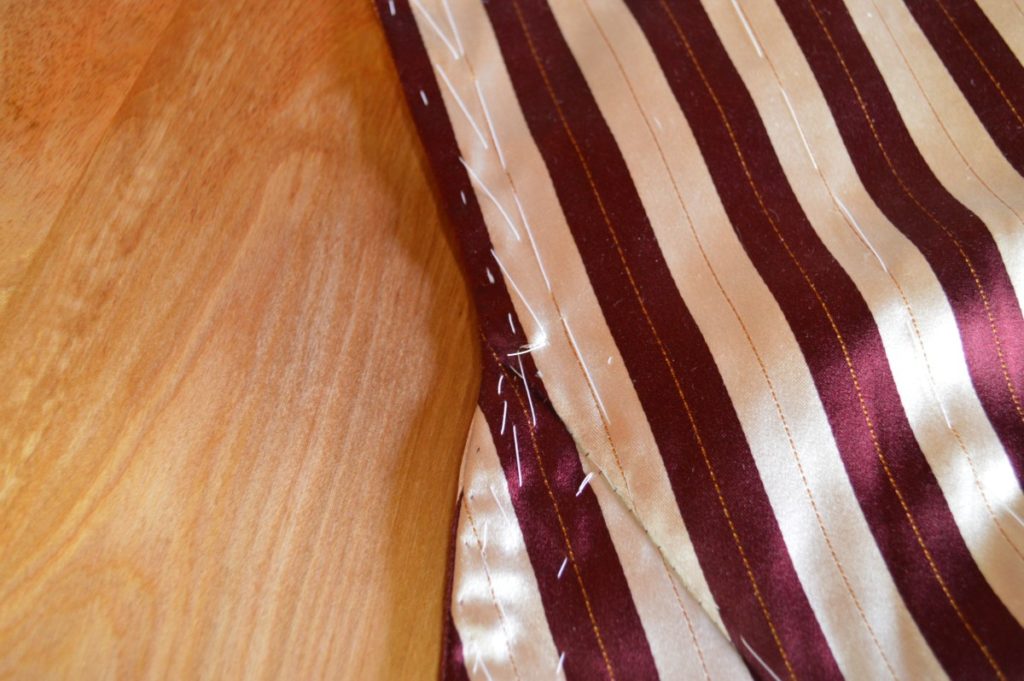
Here’s a closeup of how the facing is extending beyond the forepart, above the roll line. Below the roll line, down the center front and across the waist, it is the opposite.
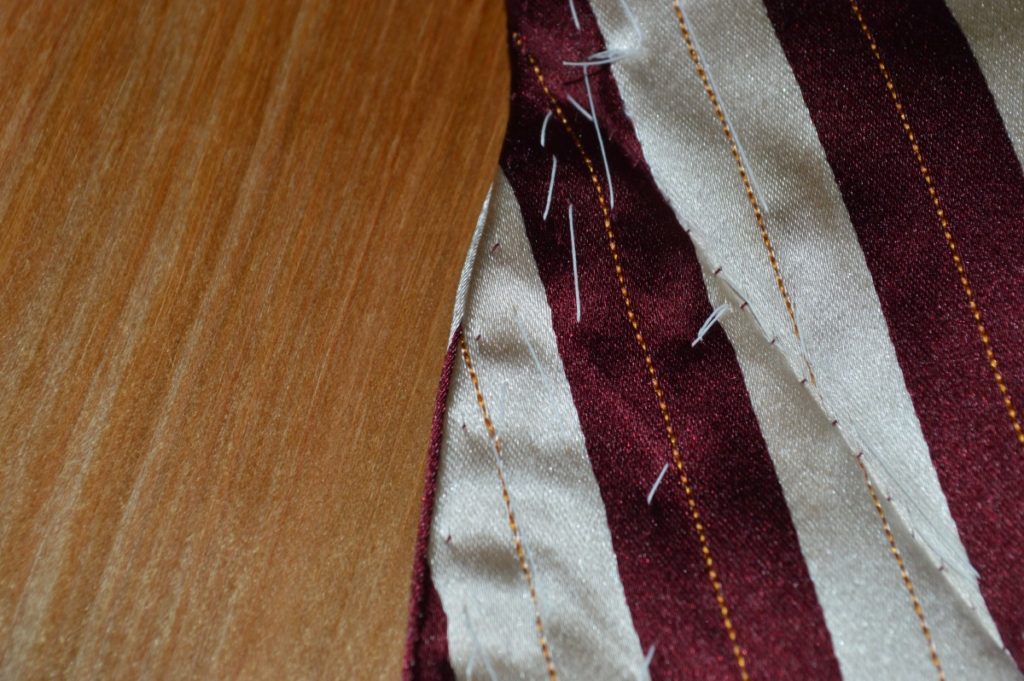
Continue basting up to the top of the collar, keeping the facing extended beyond the collar.

Now, we need to ensure that the collar rolls (or in the case of a waistcoat, folds) properly over the forepart. Since the facing is on the outside, the distance around the roll line is longer than that of the forepart.
Holding the collar in its finished position, begin basting at the fullest section of the collar, about 1/2″ from the edge, towards the roll line, and finishing 1/2″ beyond the roll line.


You’ll have to open up the collar as shown to get the last stitch in beyond the roll line.
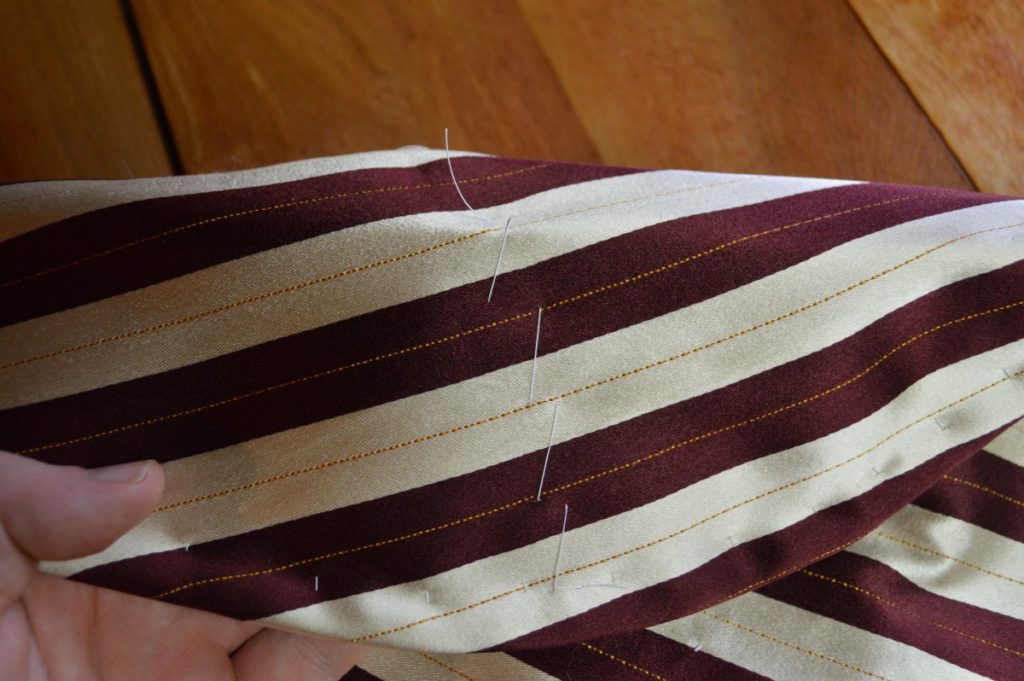
With the collar still in its final position, baste along the roll line on the collar side, 1/2″ from the roll line.

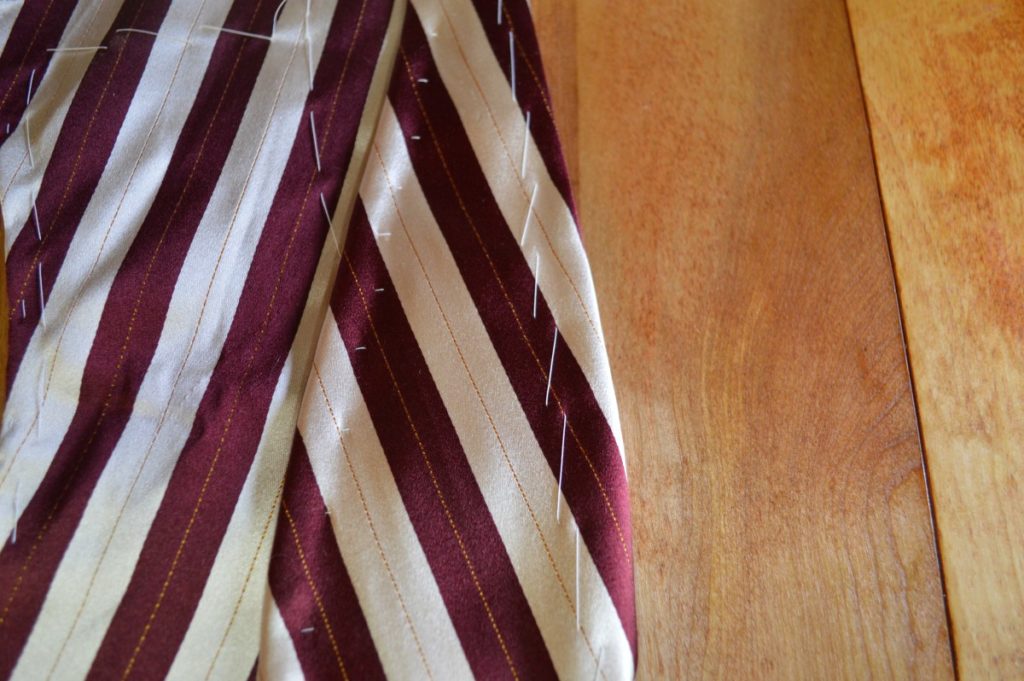
Finish the basting about 1″ from the end of the collar. I basted too far and had to unpick a few stitches when I went to finish the collar in the next module.
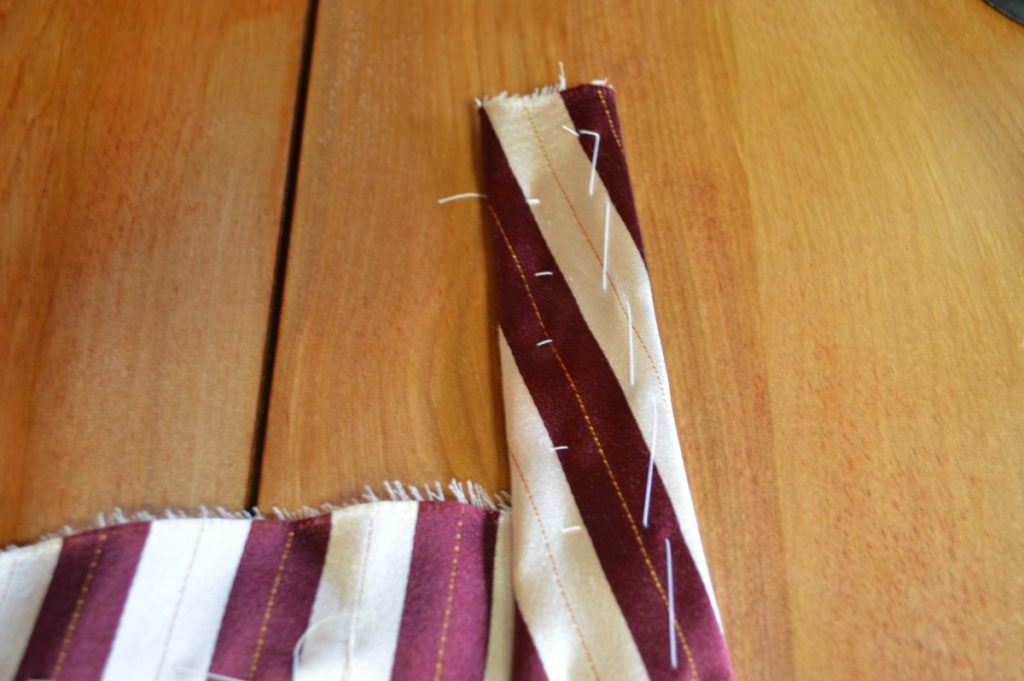
Open the collar and with the front of the forepart facing down, baste 1/2″ from the roll line on the facing side in a similar manner as above. The previous row of basting stitches holds the facing in place along the collar, at the right tension.
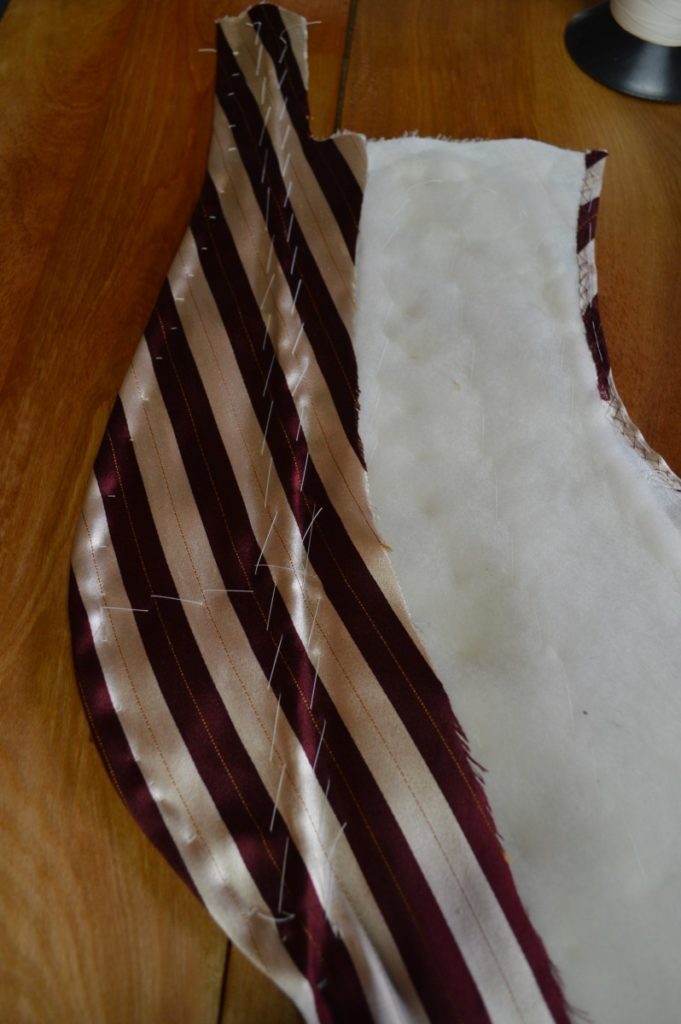
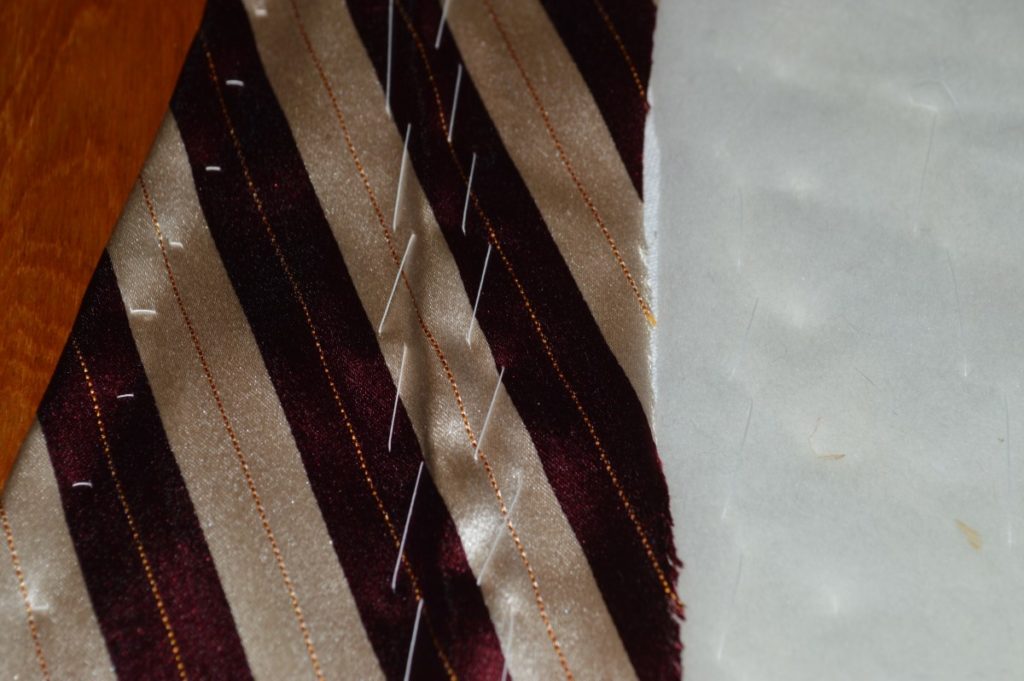
Now baste the inner edge of the waist facing down as shown. Distribute any fullness near the front corner with your fingers.
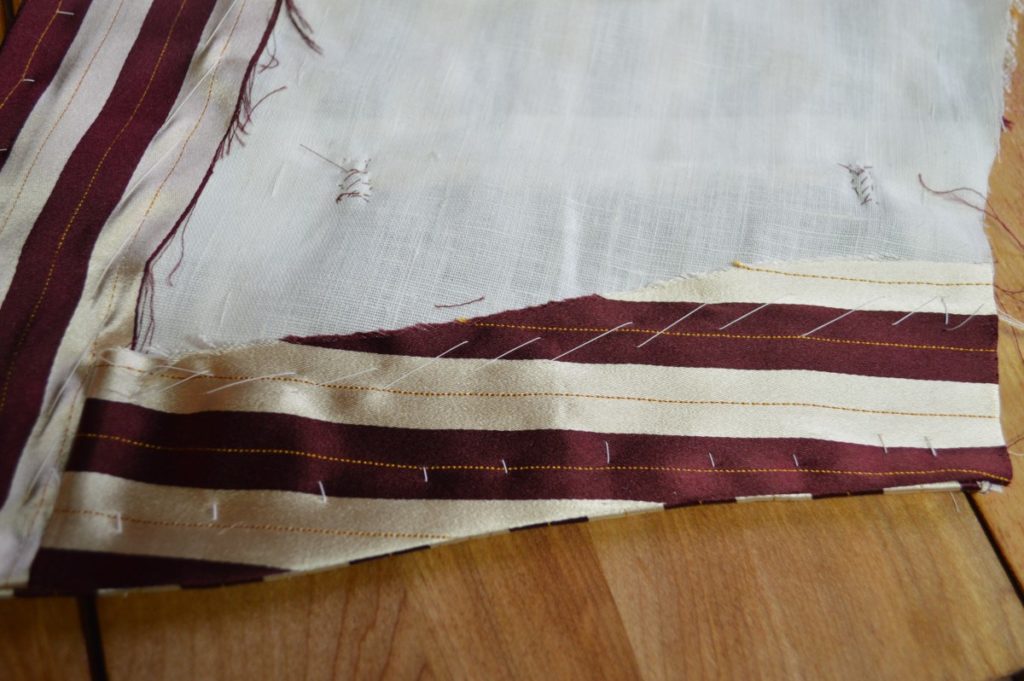
Continue basting along the inside edge of the front facing, through all layers, about 1/2″ from the edge.
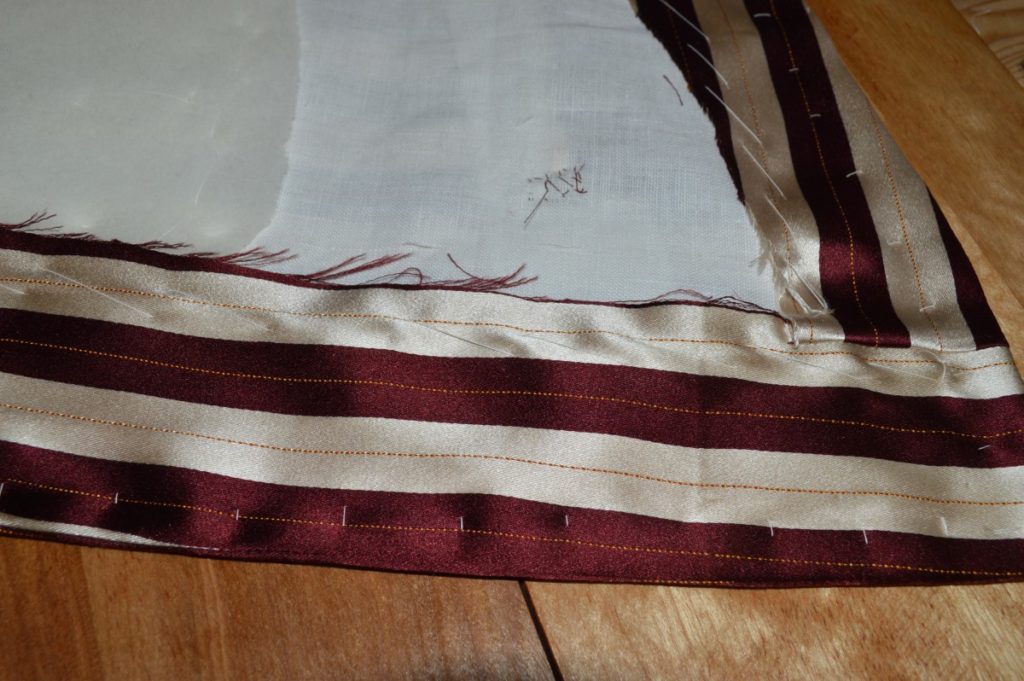
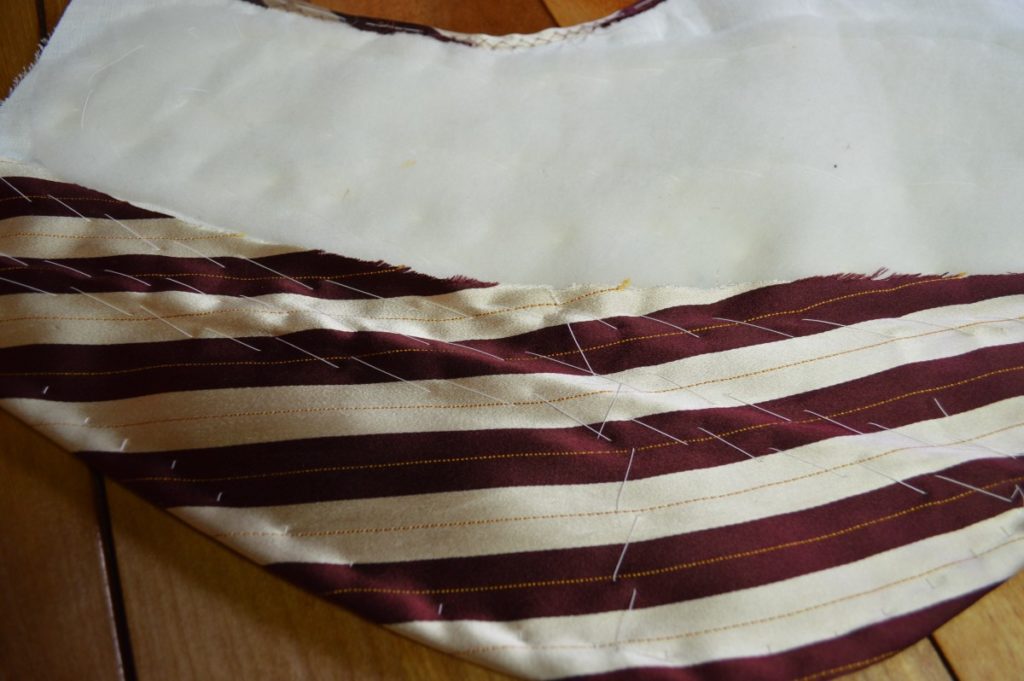
Continue basting to the shoulder seam, stopping about 1″ from the end.
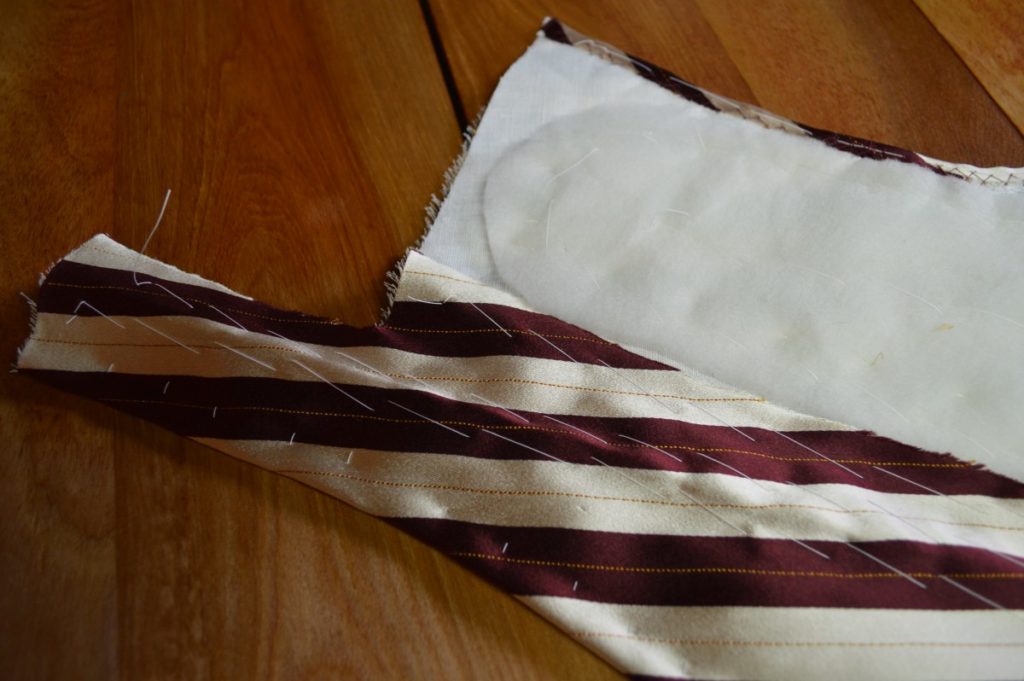
Here is the result so far. The collar should almost feel like it wants to pull itself into position atop the forepart, thanks to all of the work we did basting and distributing the tension properly.
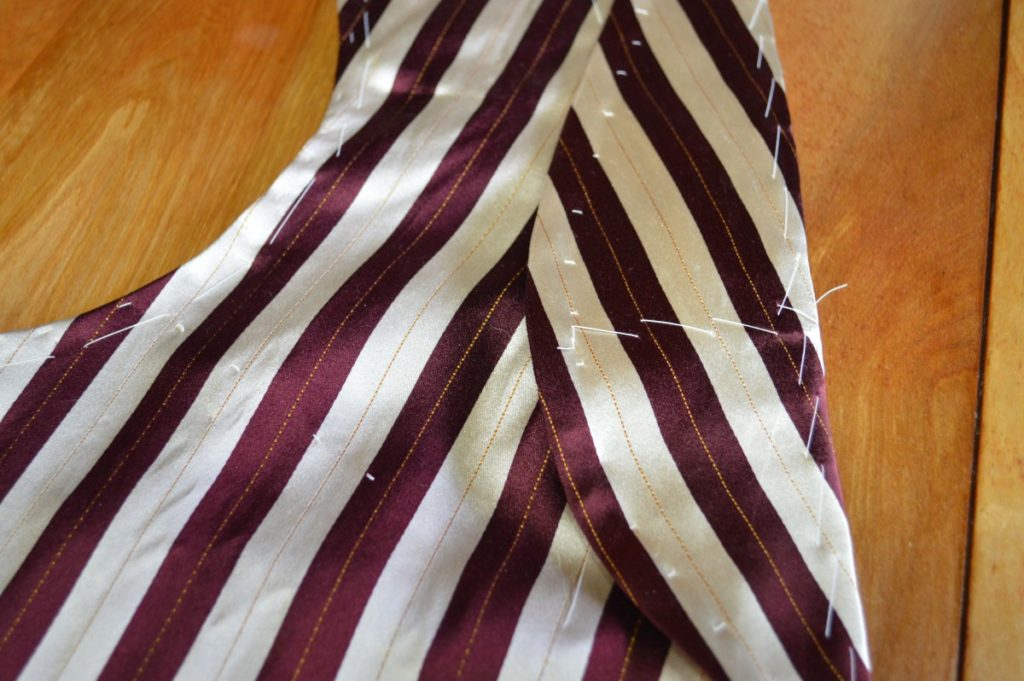
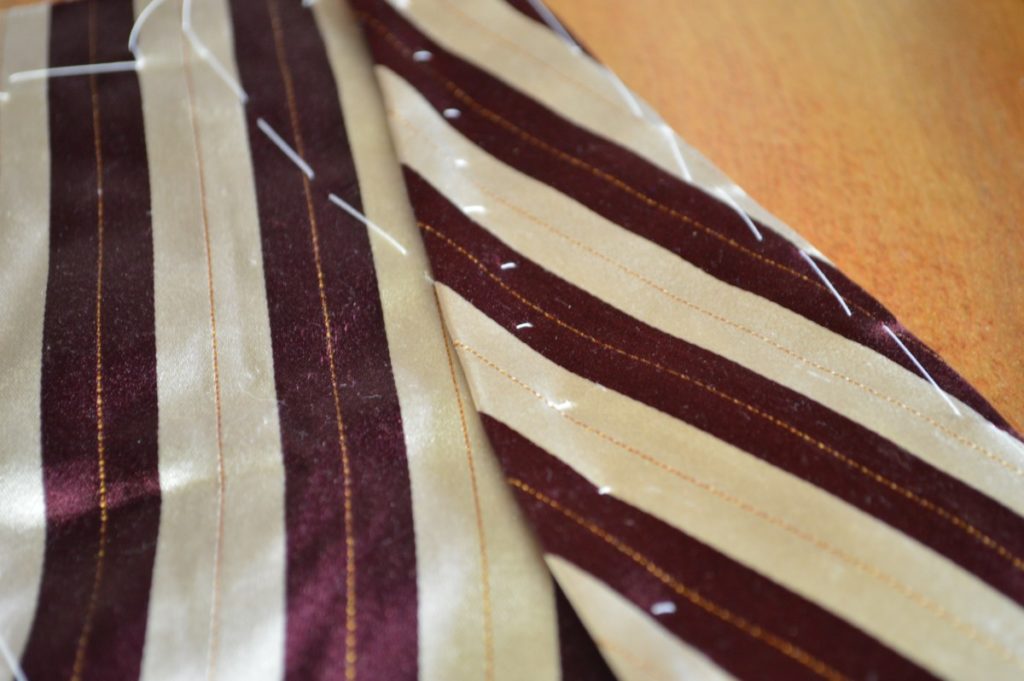
With either a machine stitch, which was very common, or a side stitch by hand, top stitch along the waist, center front, and collar, 1/8″ from the edge. This firms up the edge and makes it much more durable, as well as helps to prevent it from rolling one way or the other.
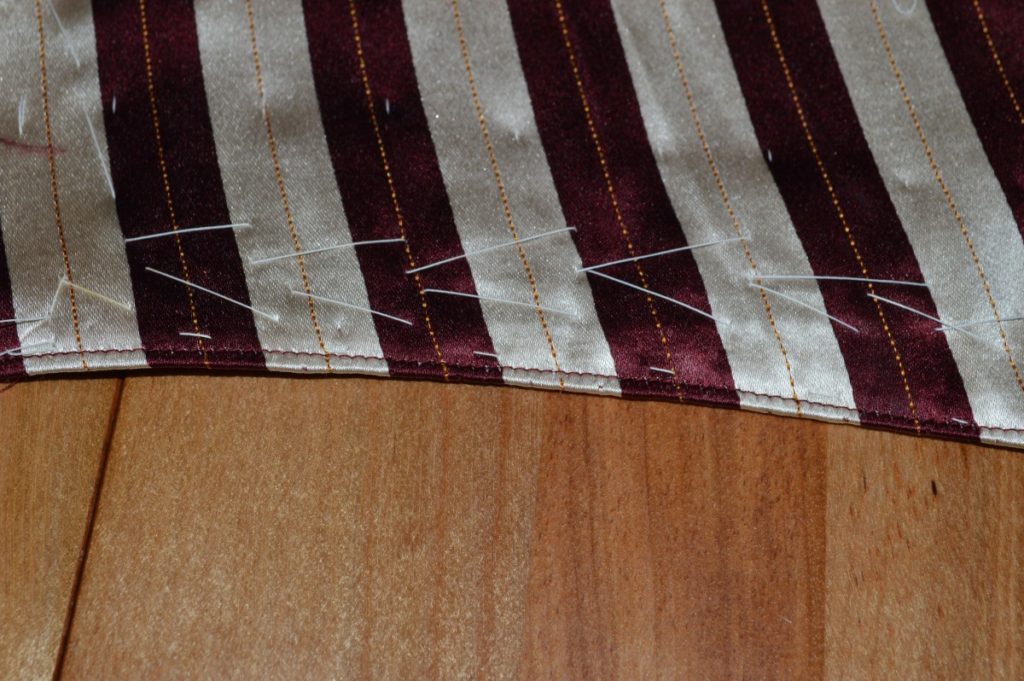
When you get to the collar, the right side will be underneath, so it’s important to keep an accurate distance from the edge for a good appearance.
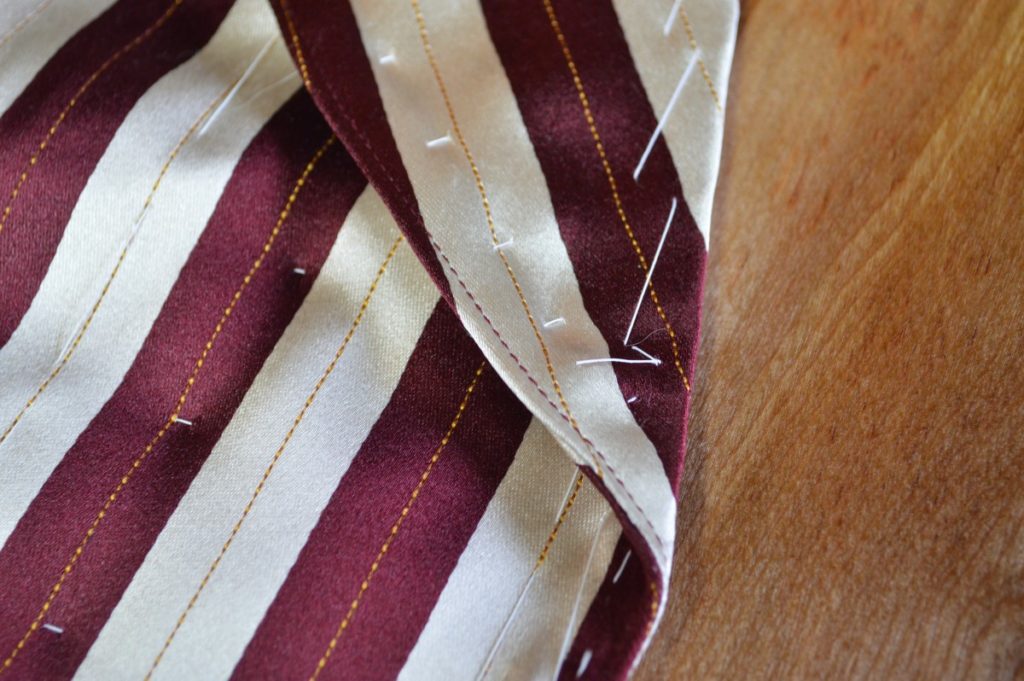
End your top stitching 1″ from the end of the collar, unless you wish to join me in picking out stitches later on.
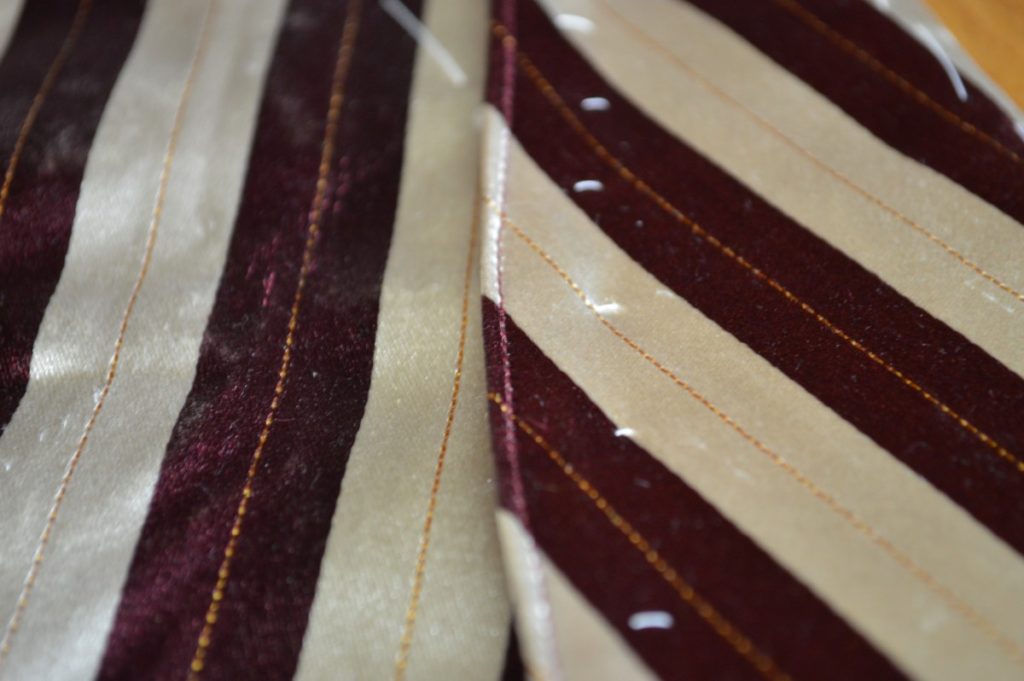
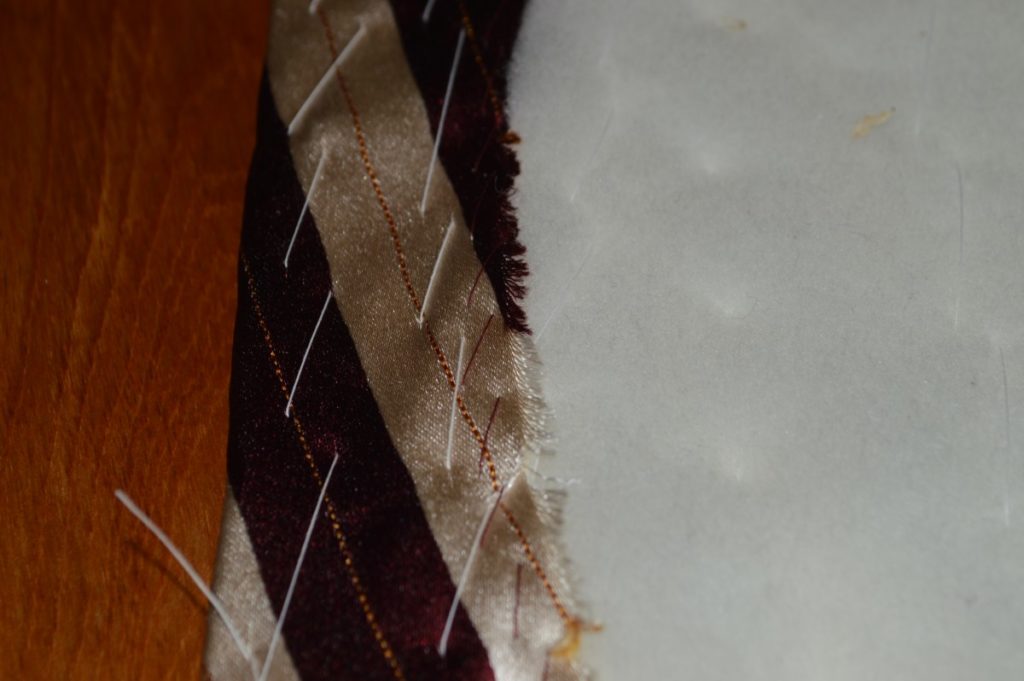
With the basting and top stitching complete, we’ll now permanently baste the inner edge of the facing in place, with smaller stitches and matching silk thread. The stitches go through the facing and canvas only (and the padding, when you get to it). Be sure not to let the stitches show through to the right side.
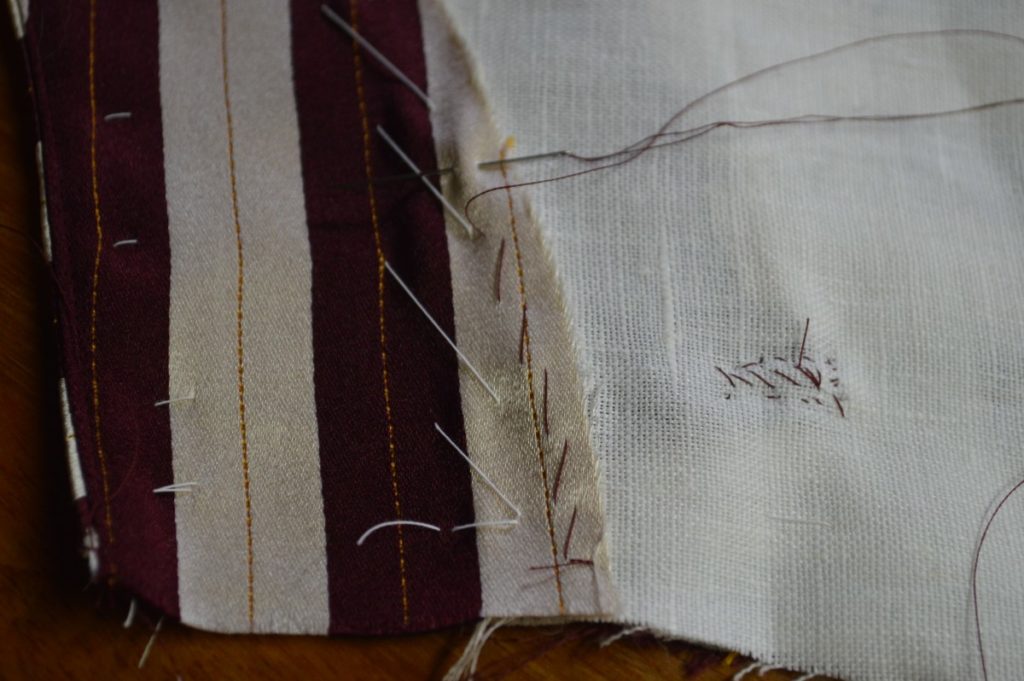
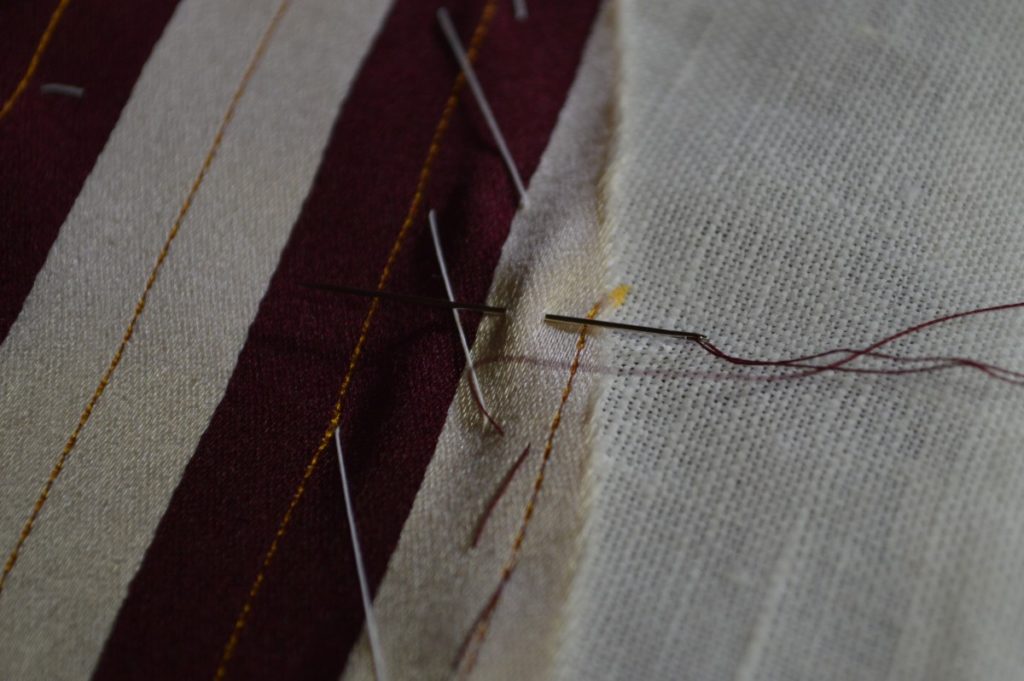
Baste along the entire inner edge. The stitches should be within 1/4″ from the edge.
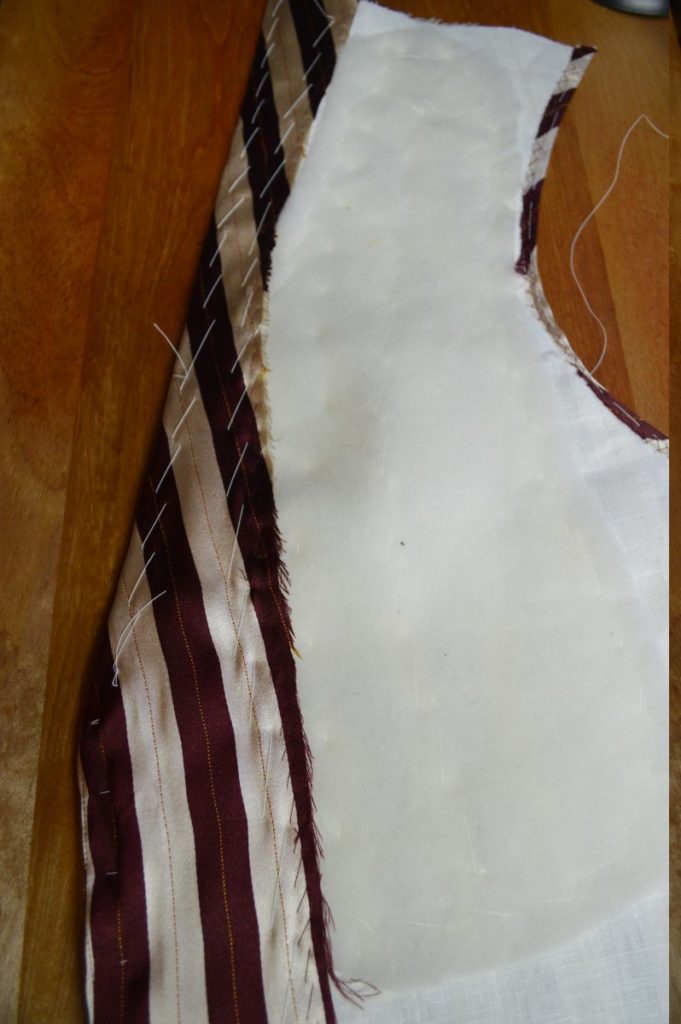
This completes the installation of the facings.
Cutting the Facing and Lining
It is now time to cut out the facings and lining pieces for the waistcoat. While one could use a paper pattern derived from their original draft, I find it is often easier, especially for one-off projects, to simply take the pattern from the forepart itself. In addition, facings were usually constructed without and darts or seam lines between the collar and forepart sections, so as to give a more continuous look to the finished vest, which makes using a paper pattern slightly problematic.
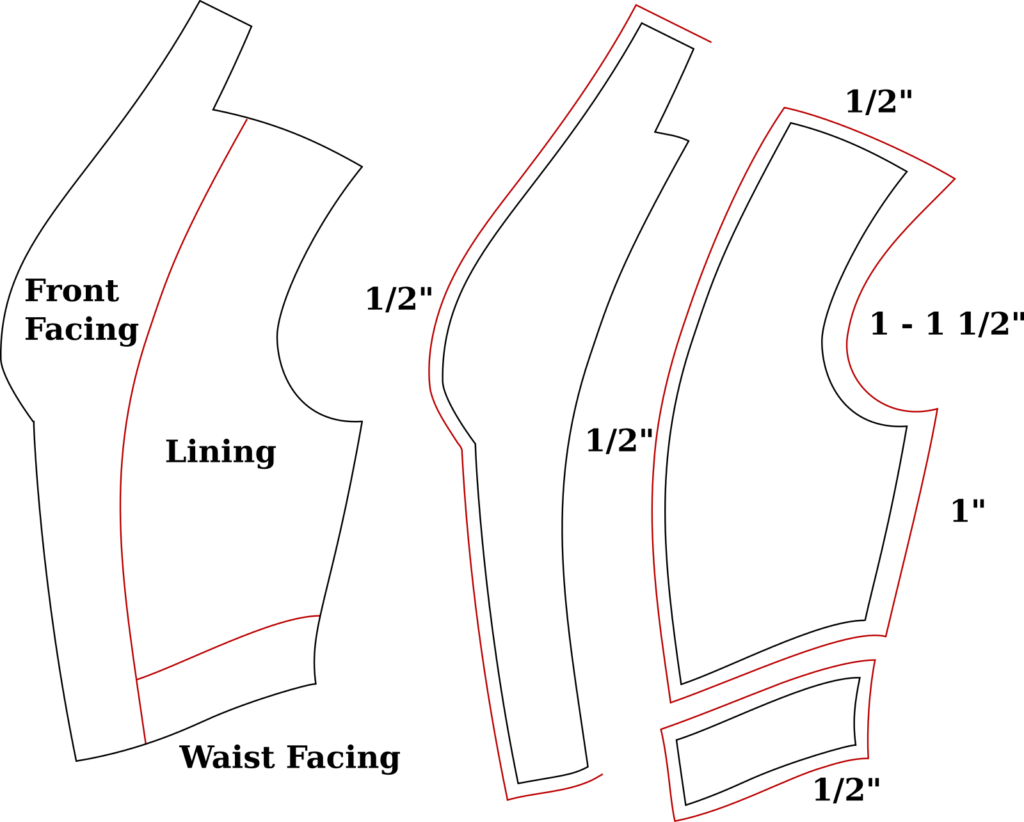
Here are two diagrams showing the result we are looking for. The first shows the exact seam line of the facing and lining. The second shows the seam allowances added. We need to add extra allowance to allow the facing to drape properly over the darted forepart and give us some extra ease to work with.
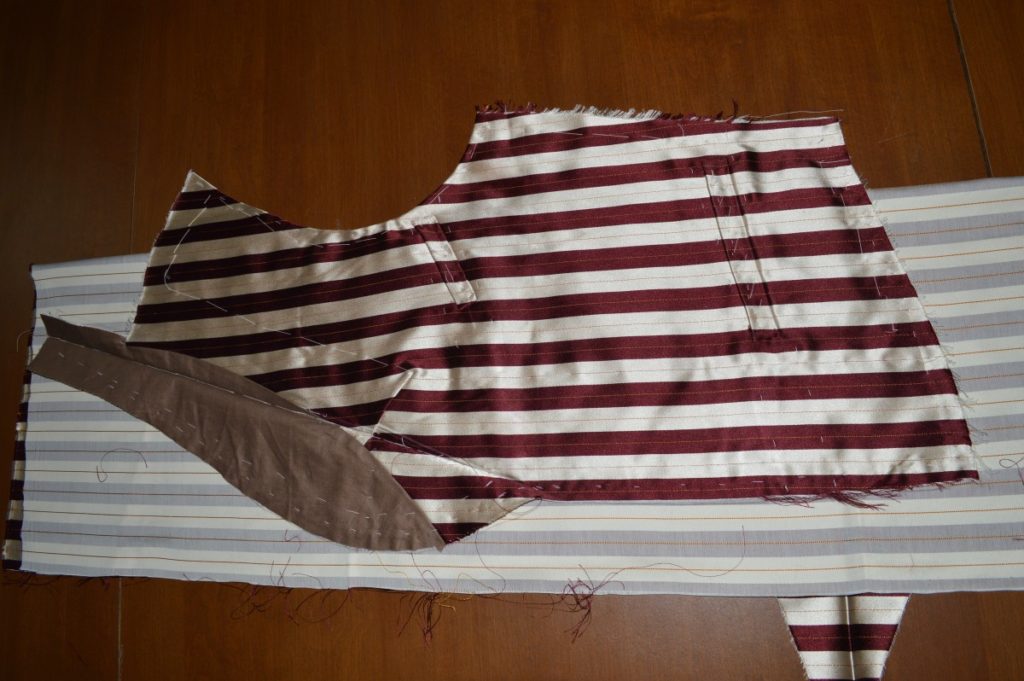
To begin, align your fabric fabric on the table, right sides together, and place the forepart on top, as shown. Along the center front, try to have the seam line, which is 1/4″ from the center, fall in the middle of a stripe, for a better visual appearance.
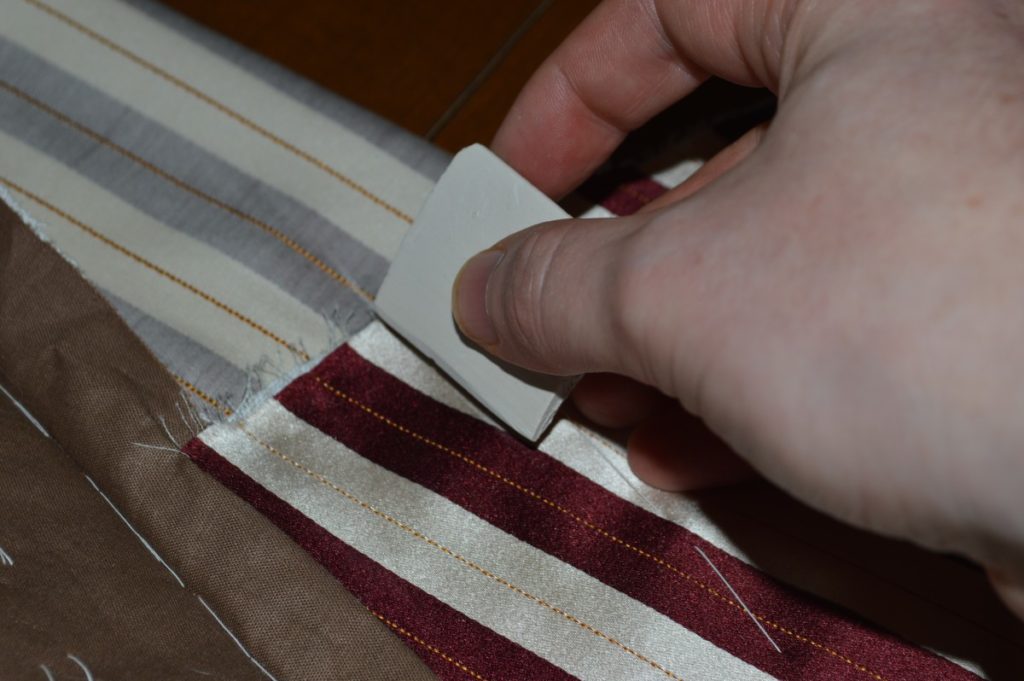
Along the shoulder line, at a distance about 1 1/2″ from the collar, make a chalk mark. This denotes the width of the facing. Note that this measurement can vary depending upon preference, originals you are copying, etc.
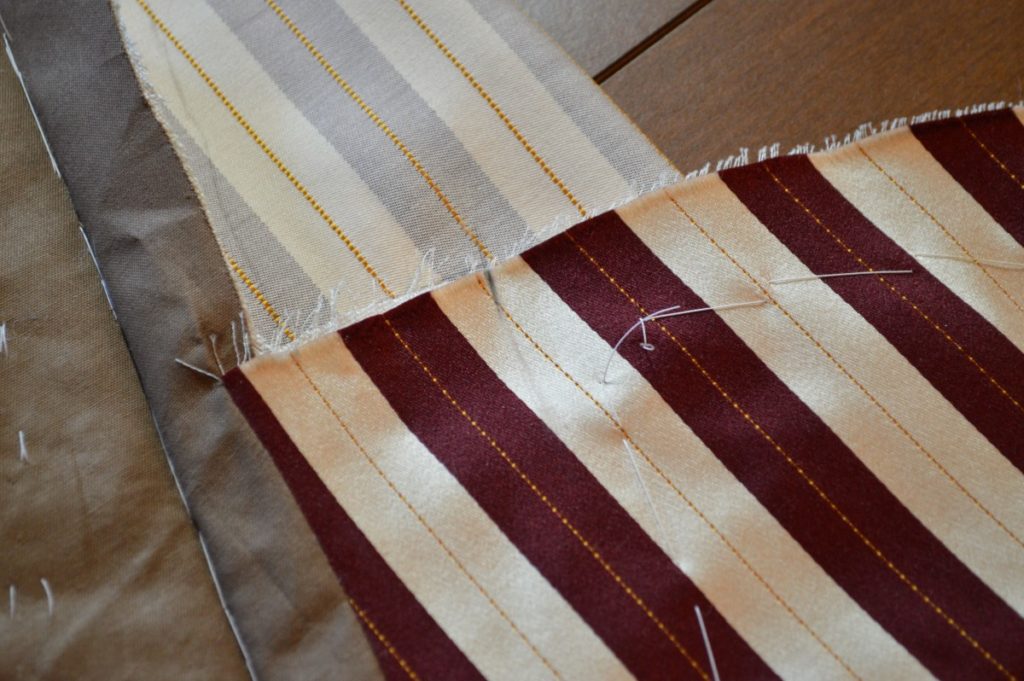
Along the bottom waist, about 3″ from the front edge, make another mark for the bottom of the facing. Again this can vary.
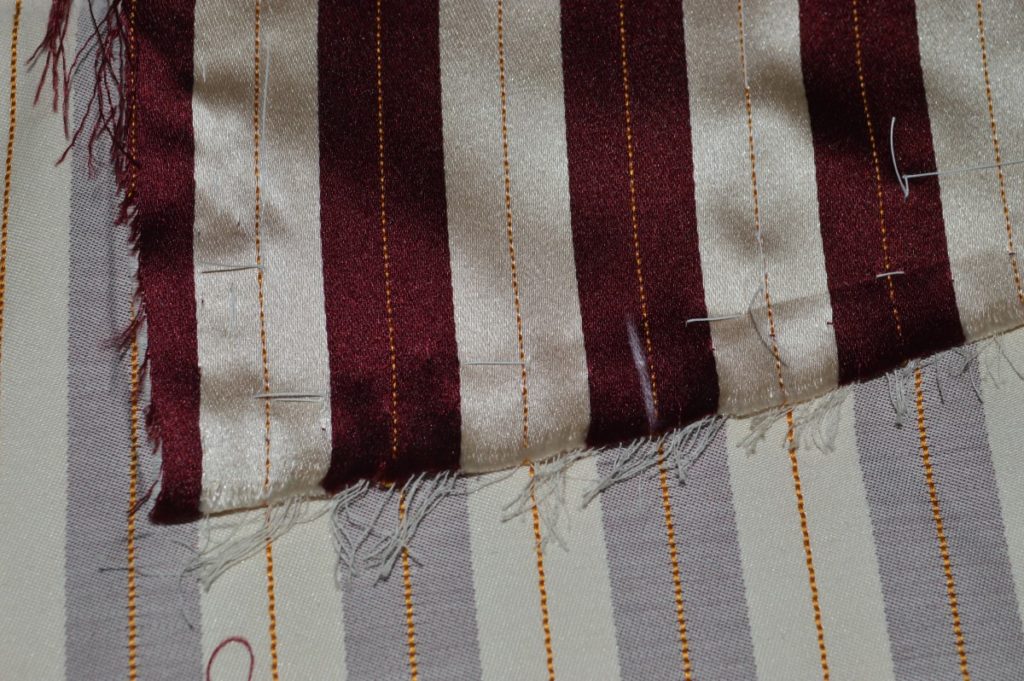
Now trace around the forepart, from the shoulder mark, around the collar, and down the center front to the lower mark. I removed the forepart here for more clarity in the photo.
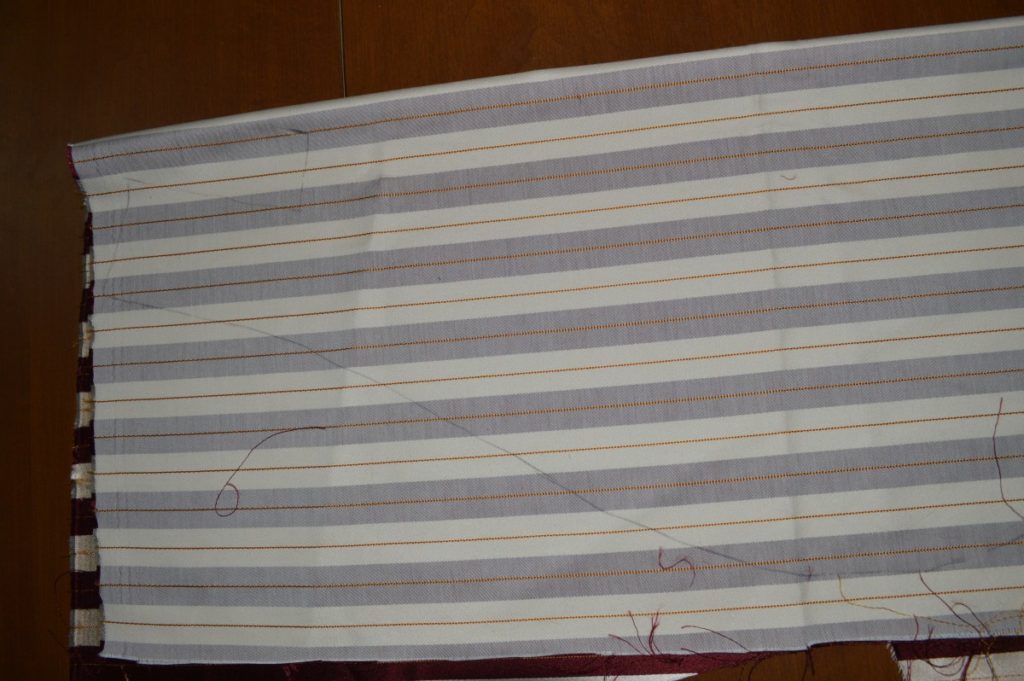
Now connect the two dots with a graceful curve, completing the inner edge of the facing. Refer to the diagrams above for more clarity.
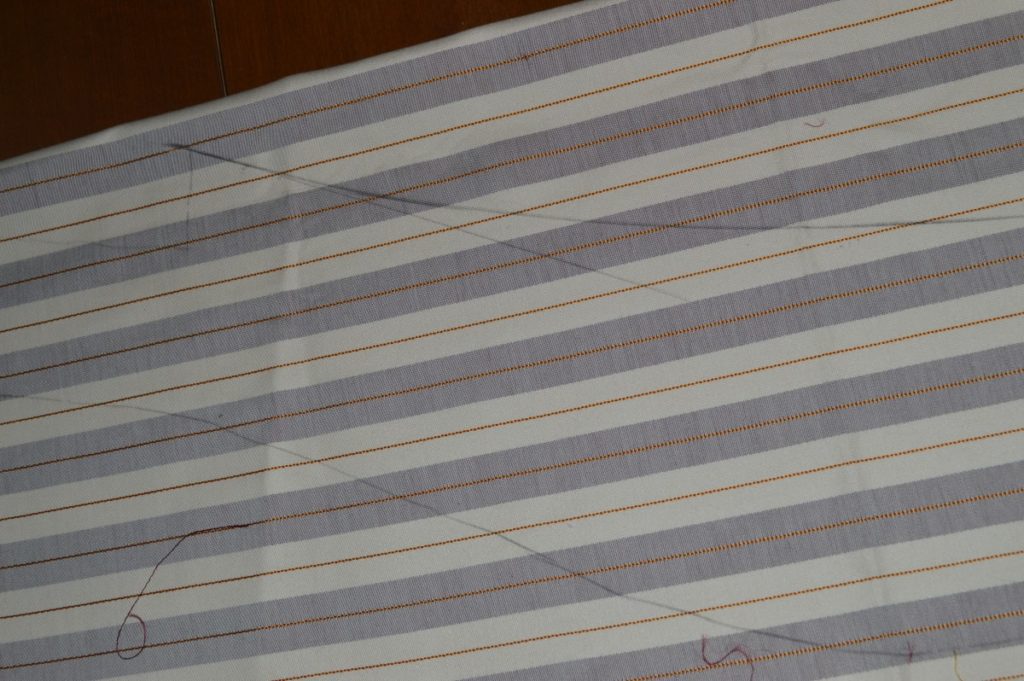
The lower end of the facing should be pretty much parallel with the front edge of the forepart.
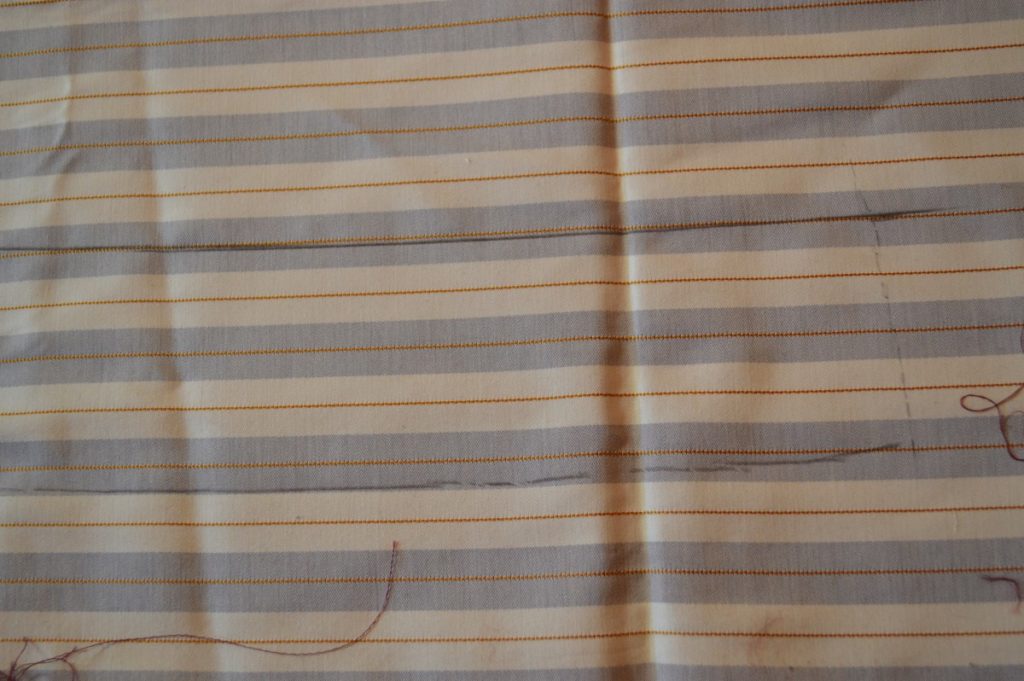
Along the top edge and front of the collar section, and the bottom of the facing, add a 1/2″ allowance (or more if you feel nervous about it), to give us some ease when putting everything together later.
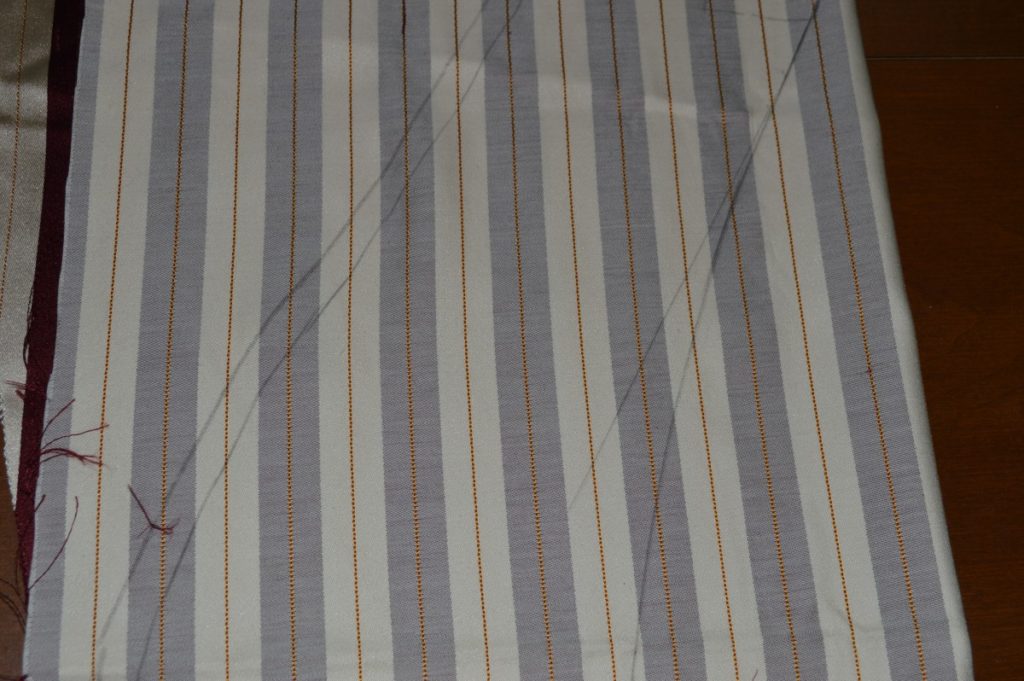
When you are satisfied with the shape and allowances, cut out the front facing.
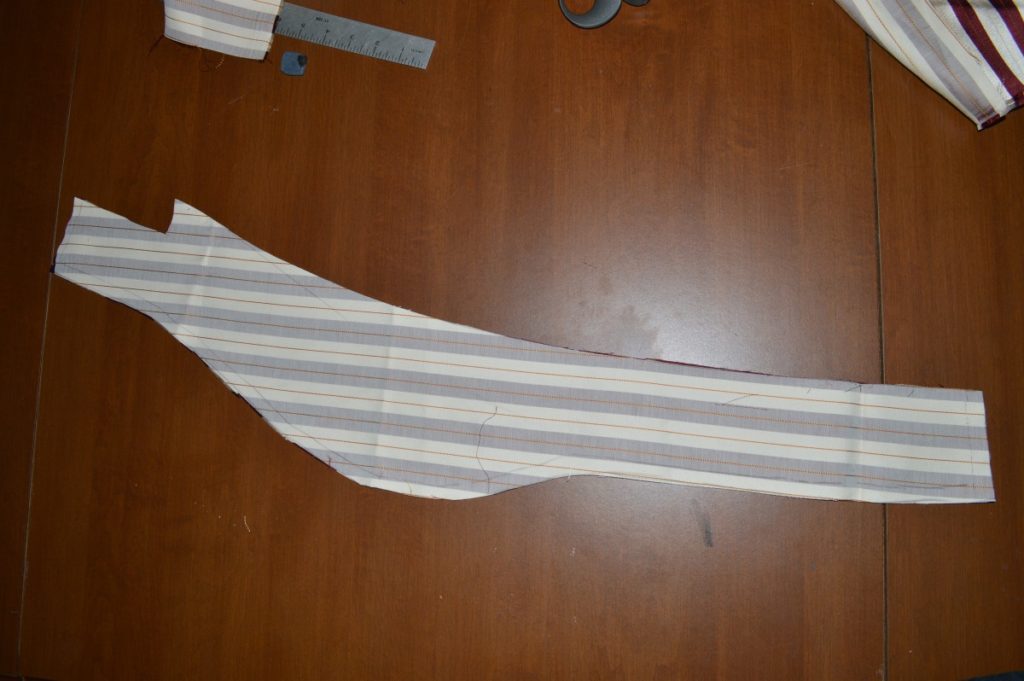
The waist facing piece is now cut out in a similar manner. Lay your fabric out as before, and place the bottom of the forepart on top. While you could align the stripes between the facings, it is not necessary. I chose not to match the stripes so as to save fabric.
Transfer the mark you made for the bottom of the facing onto the cloth.
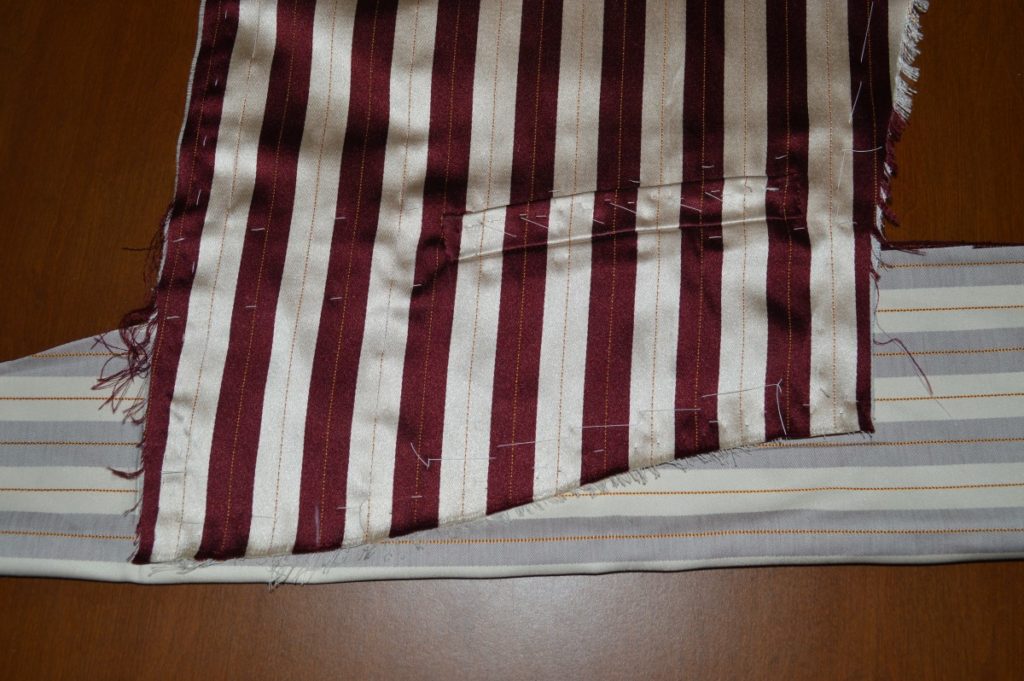
About two or three inches from the bottom of the side seam, make another mark, denoting the top of the waist facing. Trace around the bottom of the forepart, from this mark, along the waist, and partway up the center front.
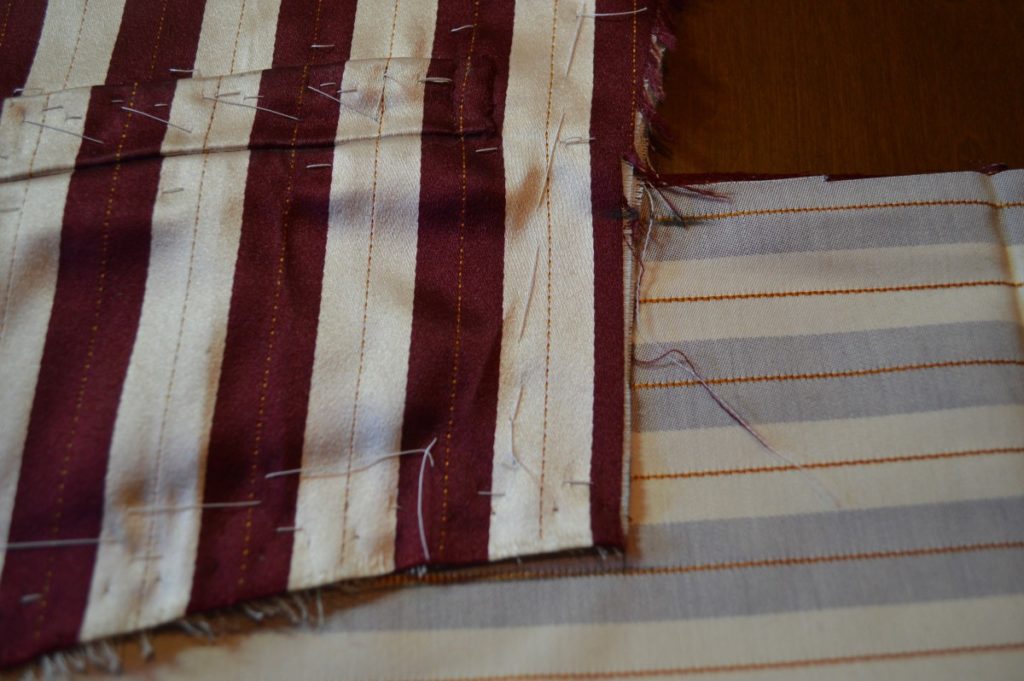
Now lay the front facing in position on top of the outline you just drew. Remember you added an allowance to the center front, so make sure to offset it the same distance.
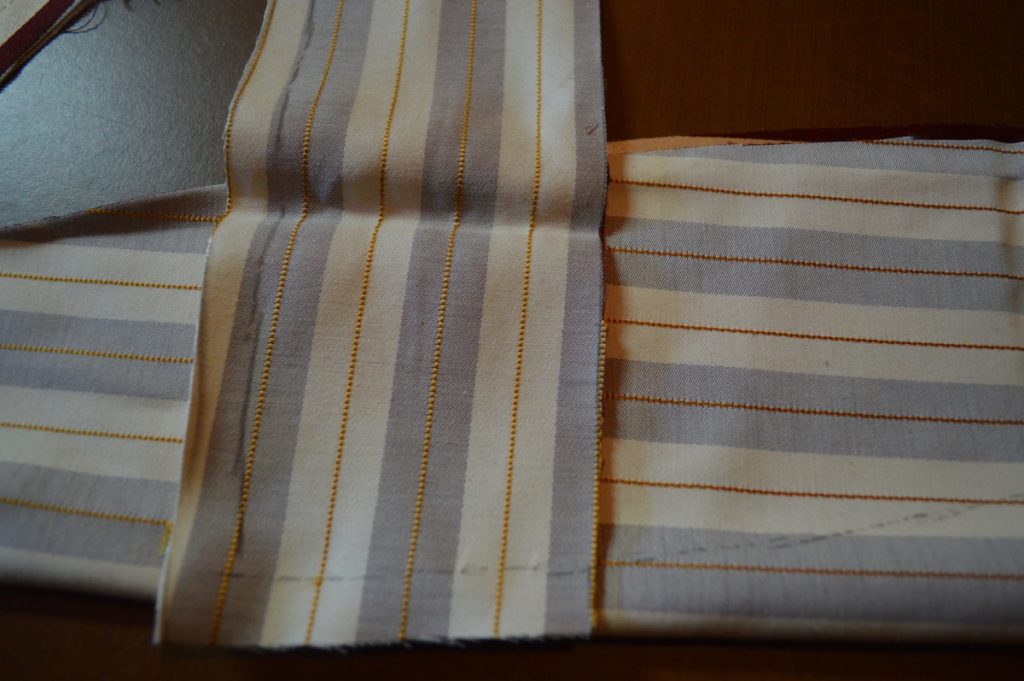
Trace along the inner edge of the front facing, as shown.

Add a seam allowance equal to twice the seam allowance you are planning on using, which would be a total of 1/2″ in this case. This allowance extends towards the front of the forepart. Also add a 1/2″ allowance along the bottom and side seam (not shown).

Now draw a line for the top of the waist facing, following the general curves of the waist. I have two lines here only because I was not happy with my first try.

Cut out the waist facing. Note that I added an extra 1/2″ allowance along the bottom and side seam.
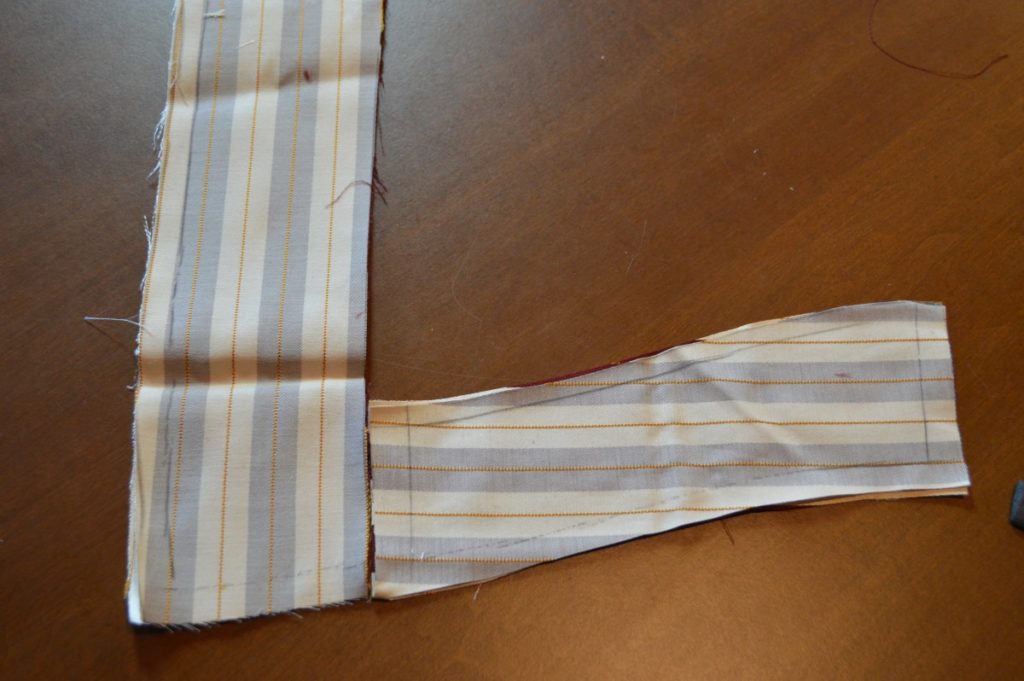
Cutting the Lining
Lay the forepart on top of your doubled lining fabric – in this case I am using a cotton muslin.

Transfer the mark you made on the forepart shoulder to the lining fabric and begin tracing around the shoulder, armscye, and side seam.
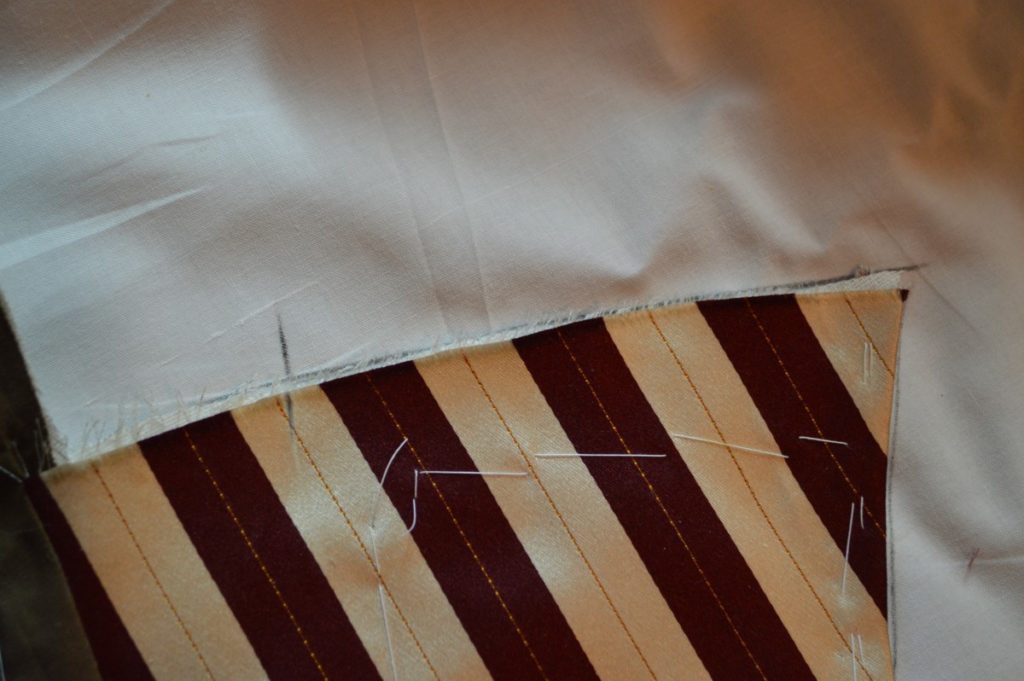
Transfer the mark on the side seam indicating the top of the waist facing to the lining fabric.

Continue along the bottom of the waist, ending at the mark you made on the forepart for the front facing. Transfer that mark.

Here is the result so far. Note how the three marks are clearly indicated.

At the shoulder mark, add an additional 1/2″ to give yourself a seam allowance. This 1/2″ is twice our normal seam allowance of 1/4″.

Add a similar amount along the bottom waist.

Now lay the cut out front facing on top of the lining fabric, lining up the inner edge of the facing with the two marks you just made. Trace along this edge, giving you the front edge of the lining.


Now we must determine the position of the bottom seam of the lining. Along the side seam, lower the mark 1/2″, giving us a seam allowance. Lay the waist facing in position, and trace along the top of the facing, giving us the lower edge of the lining.
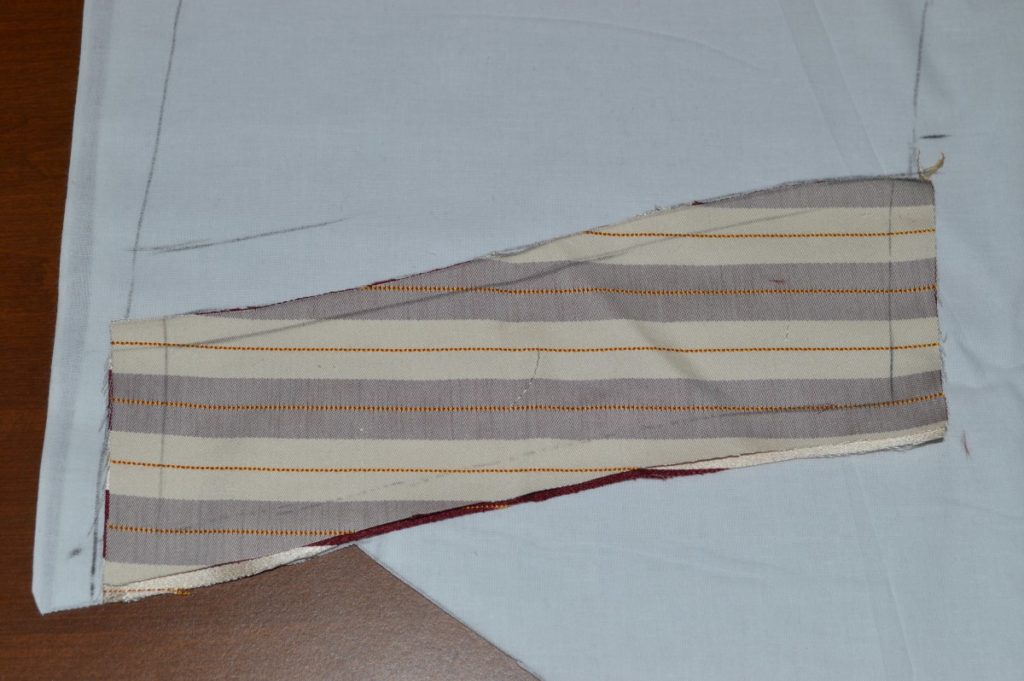
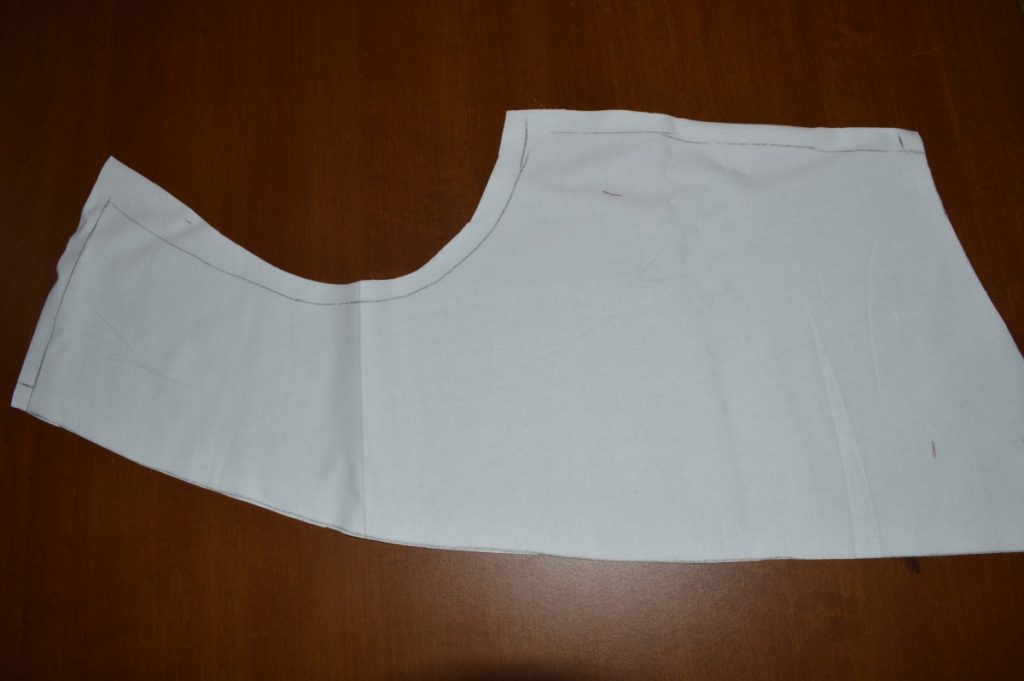
Here is my progress so far.
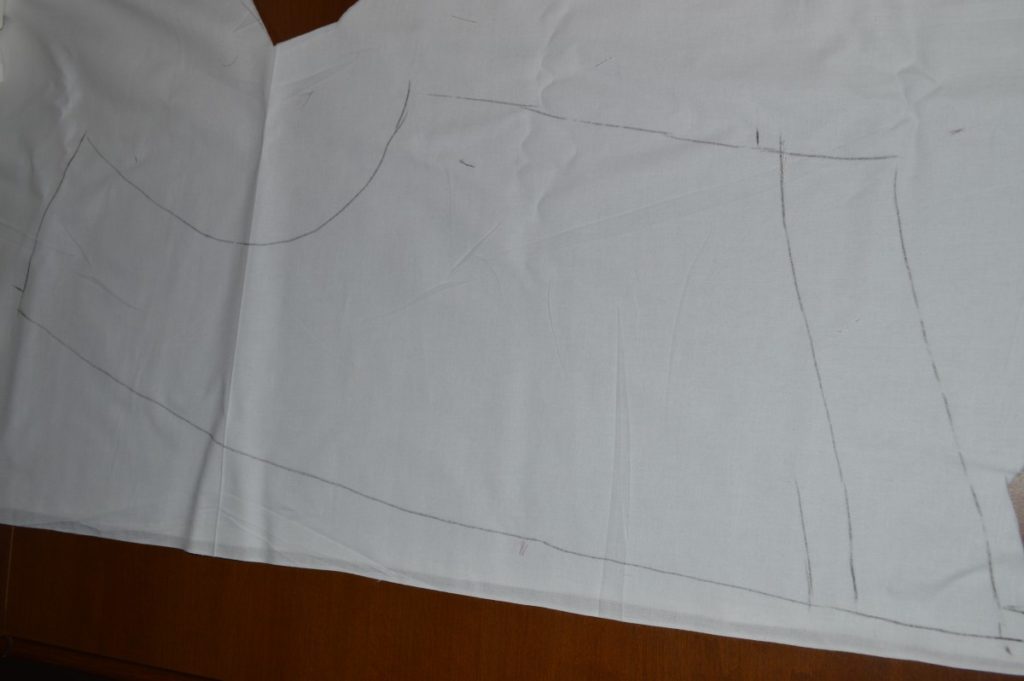
Before cutting, add at least 1″ allowance to the side and armscye, enlarging that allowance to 1 1/2″ at the top of the armscye. I also added 1/2″ along the shoulder seam. These give us some room for error, and can be trimmed after the lining has been installed. Cut out the lining.
Creasing the Collar
Now is the time to crease the collar along the roll line. Unlike a coat, in which the collar rolls over gracefully, the waistcoat is creased firmly with an iron to decrease the bulk under the coat. Lay the collar on your ironing board, and fold along the roll line. Press with the iron. It’s not necessary to use a tailor’s ham here, as the roll line is straight – though you’ll want to keep the iron along the edge of the roll line, no more than 1/2″ onto the collar.
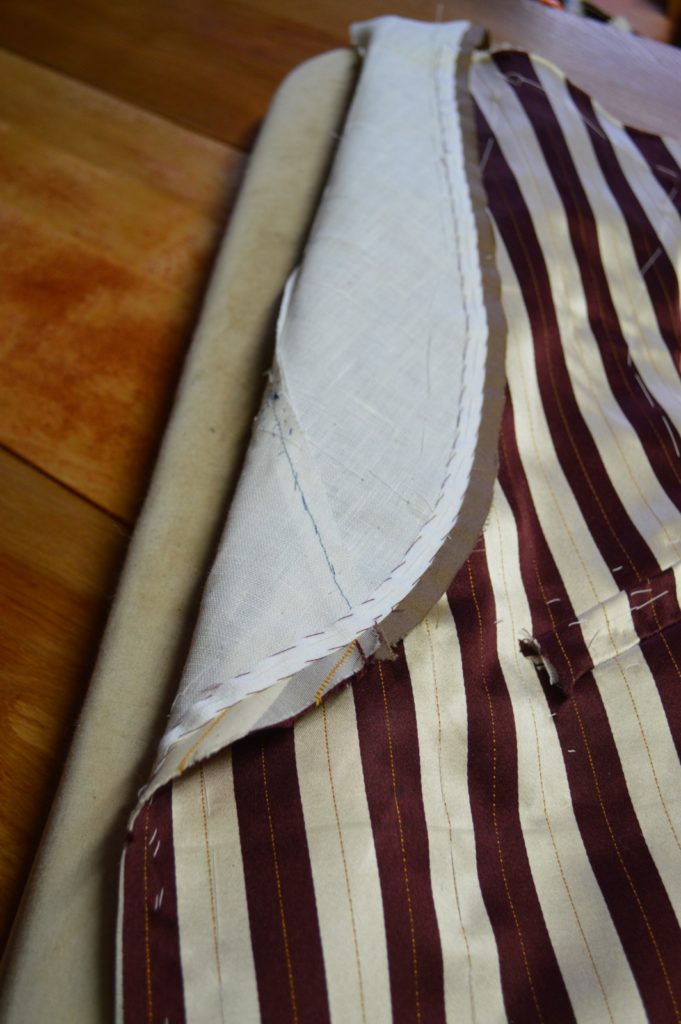
Here is the collar after pressing.
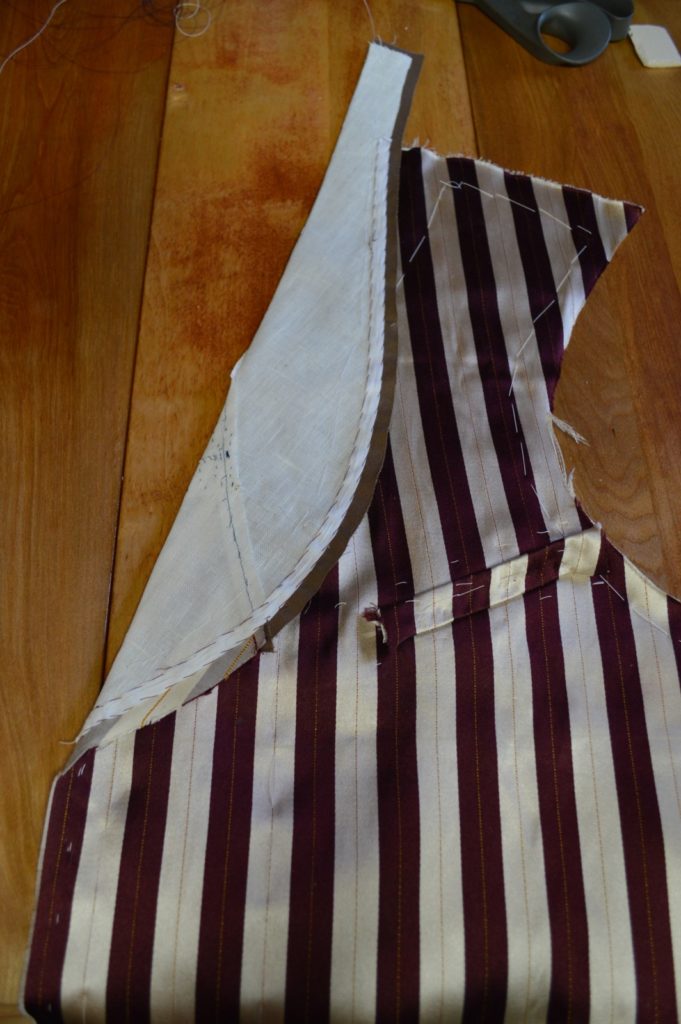
To make this crease more permanent, a row of felling stitches are placed along the roll line. Begin about two inches from the top end of the collar, and stitch all the way to the bottom of the roll line, ending just before you hit the stay tape. The stitches are about 1/16″ in depth through all layers, and are spaced about 1/8″ apart, or slightly more.
