Category: Plain-Cut Trousers
Cutting Plaids
Now that we’ve got the plaid or stripe pattern aligned between the two fabric layers, it’s time to finally lay out the pattern pieces. Depending on the width of your fabric, and also the specific design of your plaids, you may have to lay both the fronts and backs in the same direction, or in some cases (I was able to do this), you can reverse one of the pattern pieces end-to-end to save fabric.
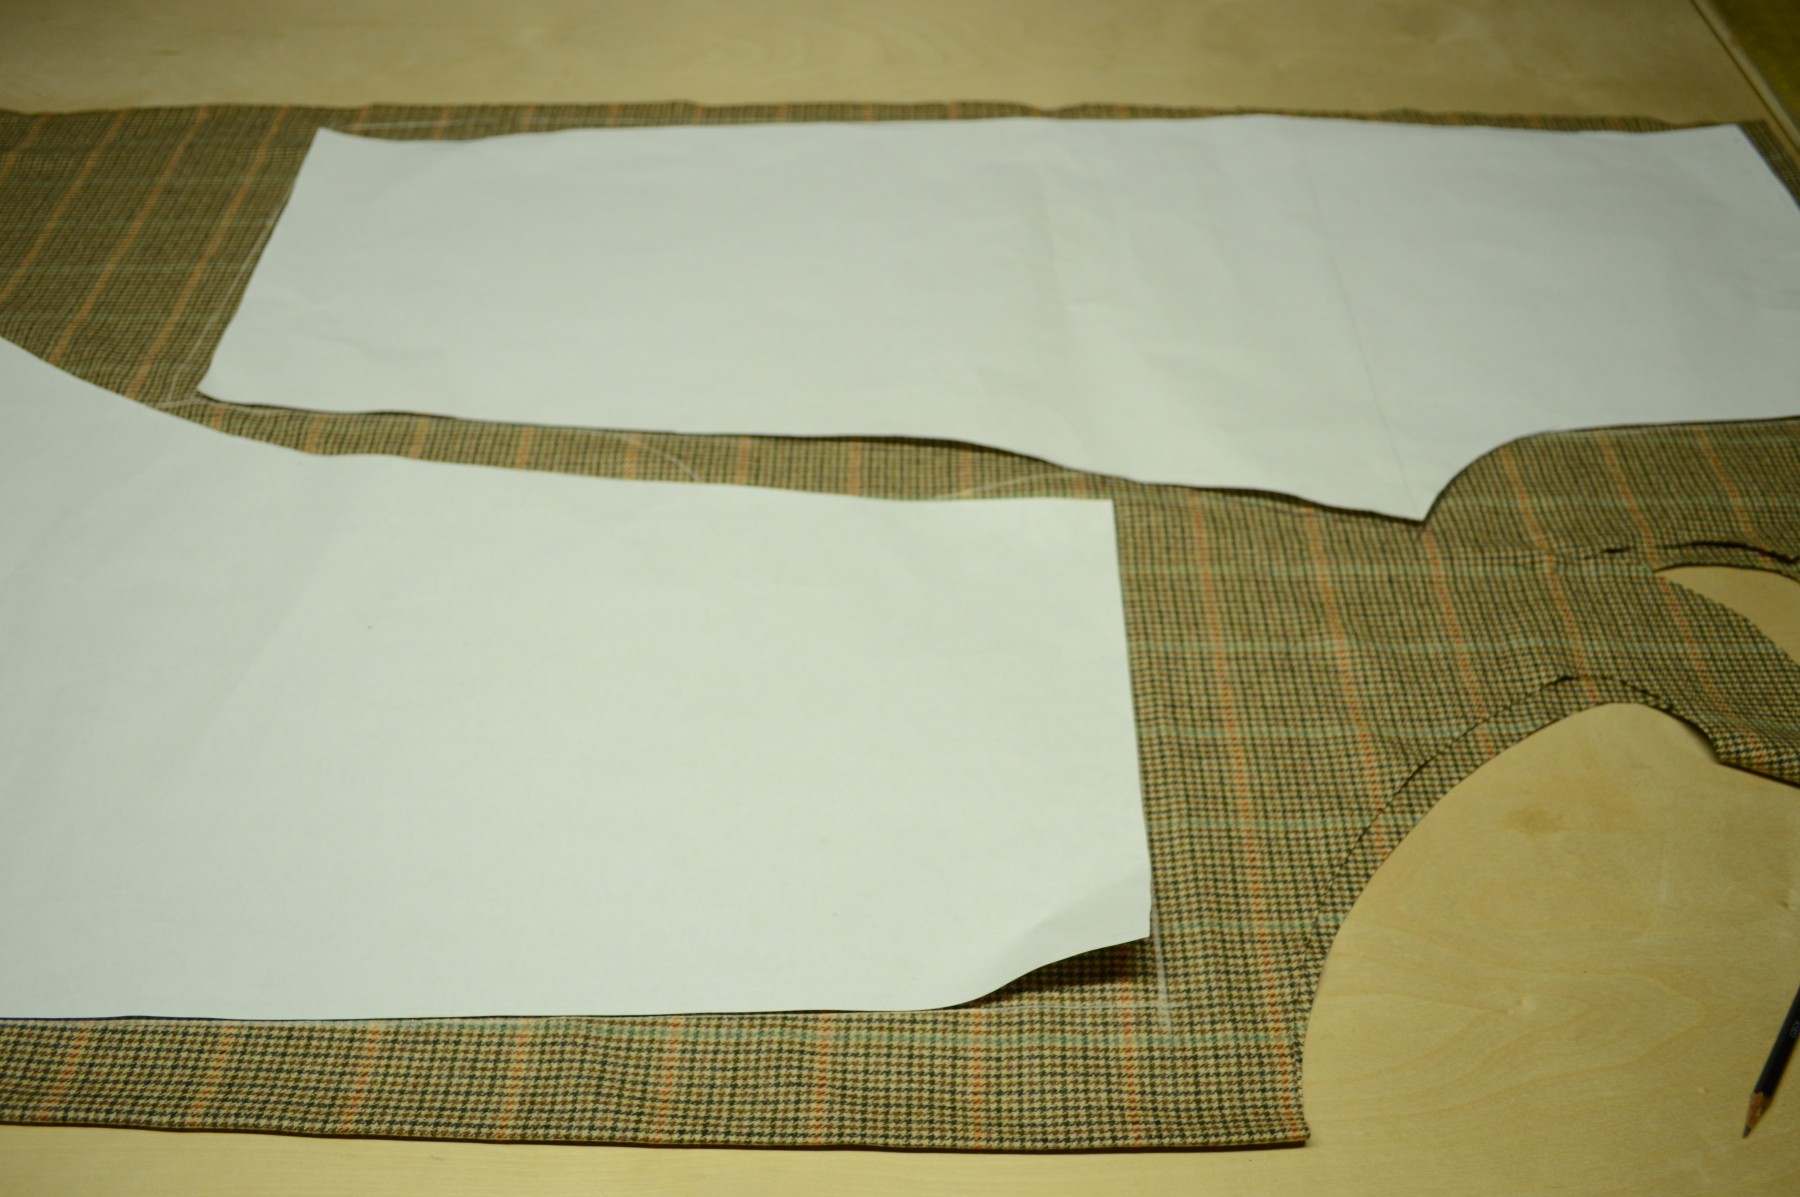
Here’s the basic layout. If you do end up flipping a piece, transfer the plumb, seat, and knee lines to the other side to help in layout.
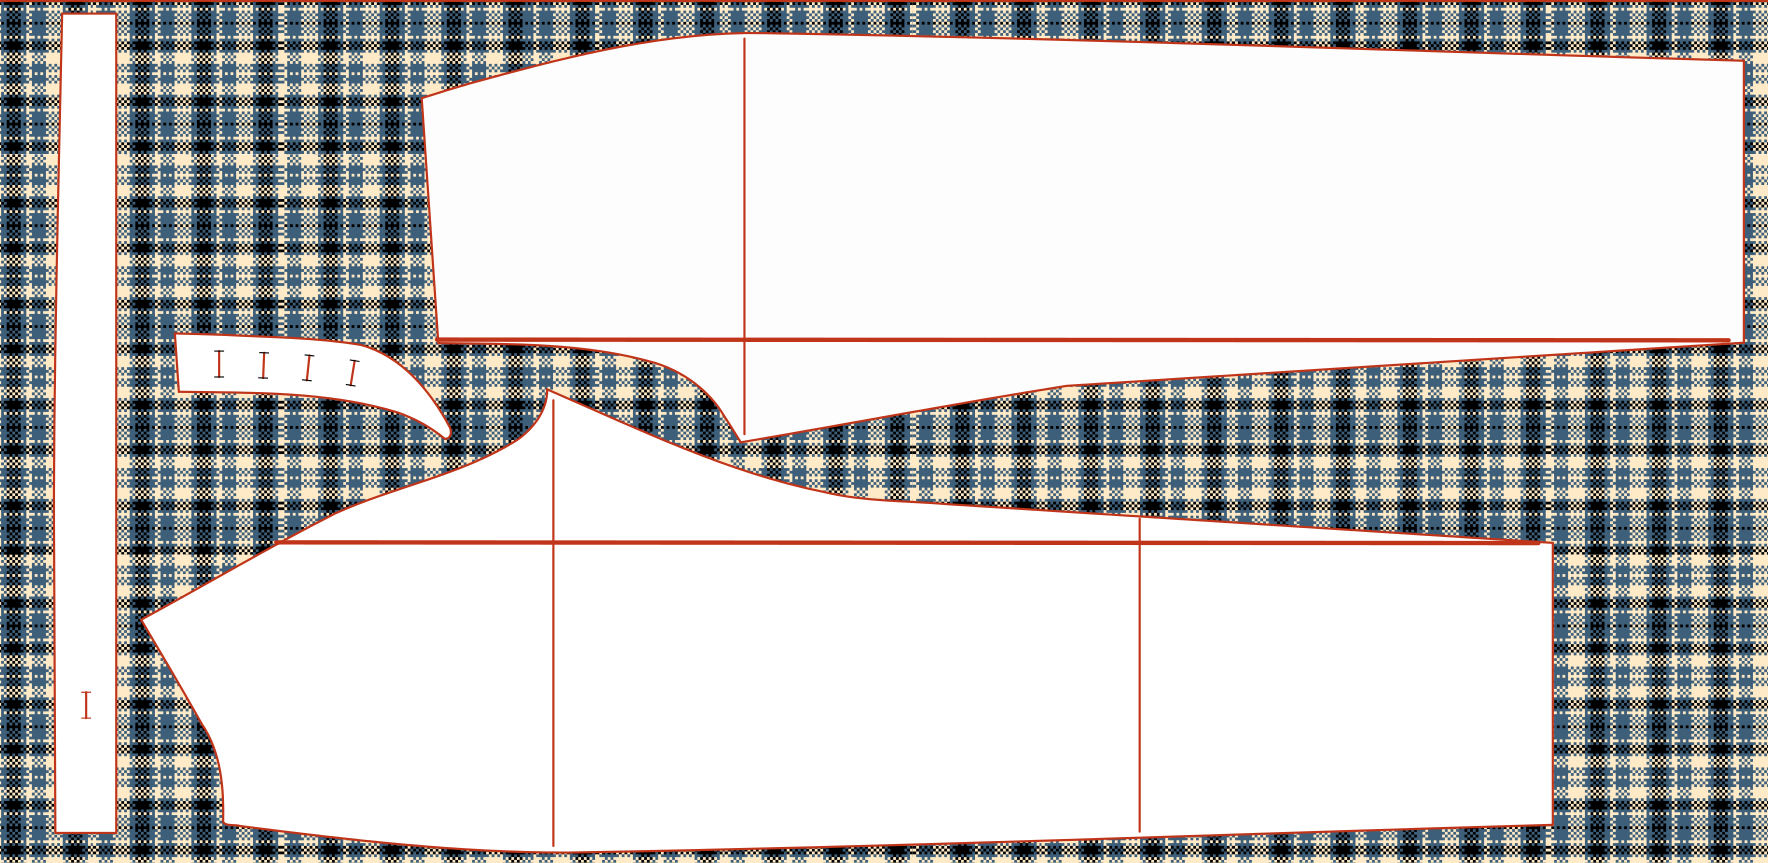
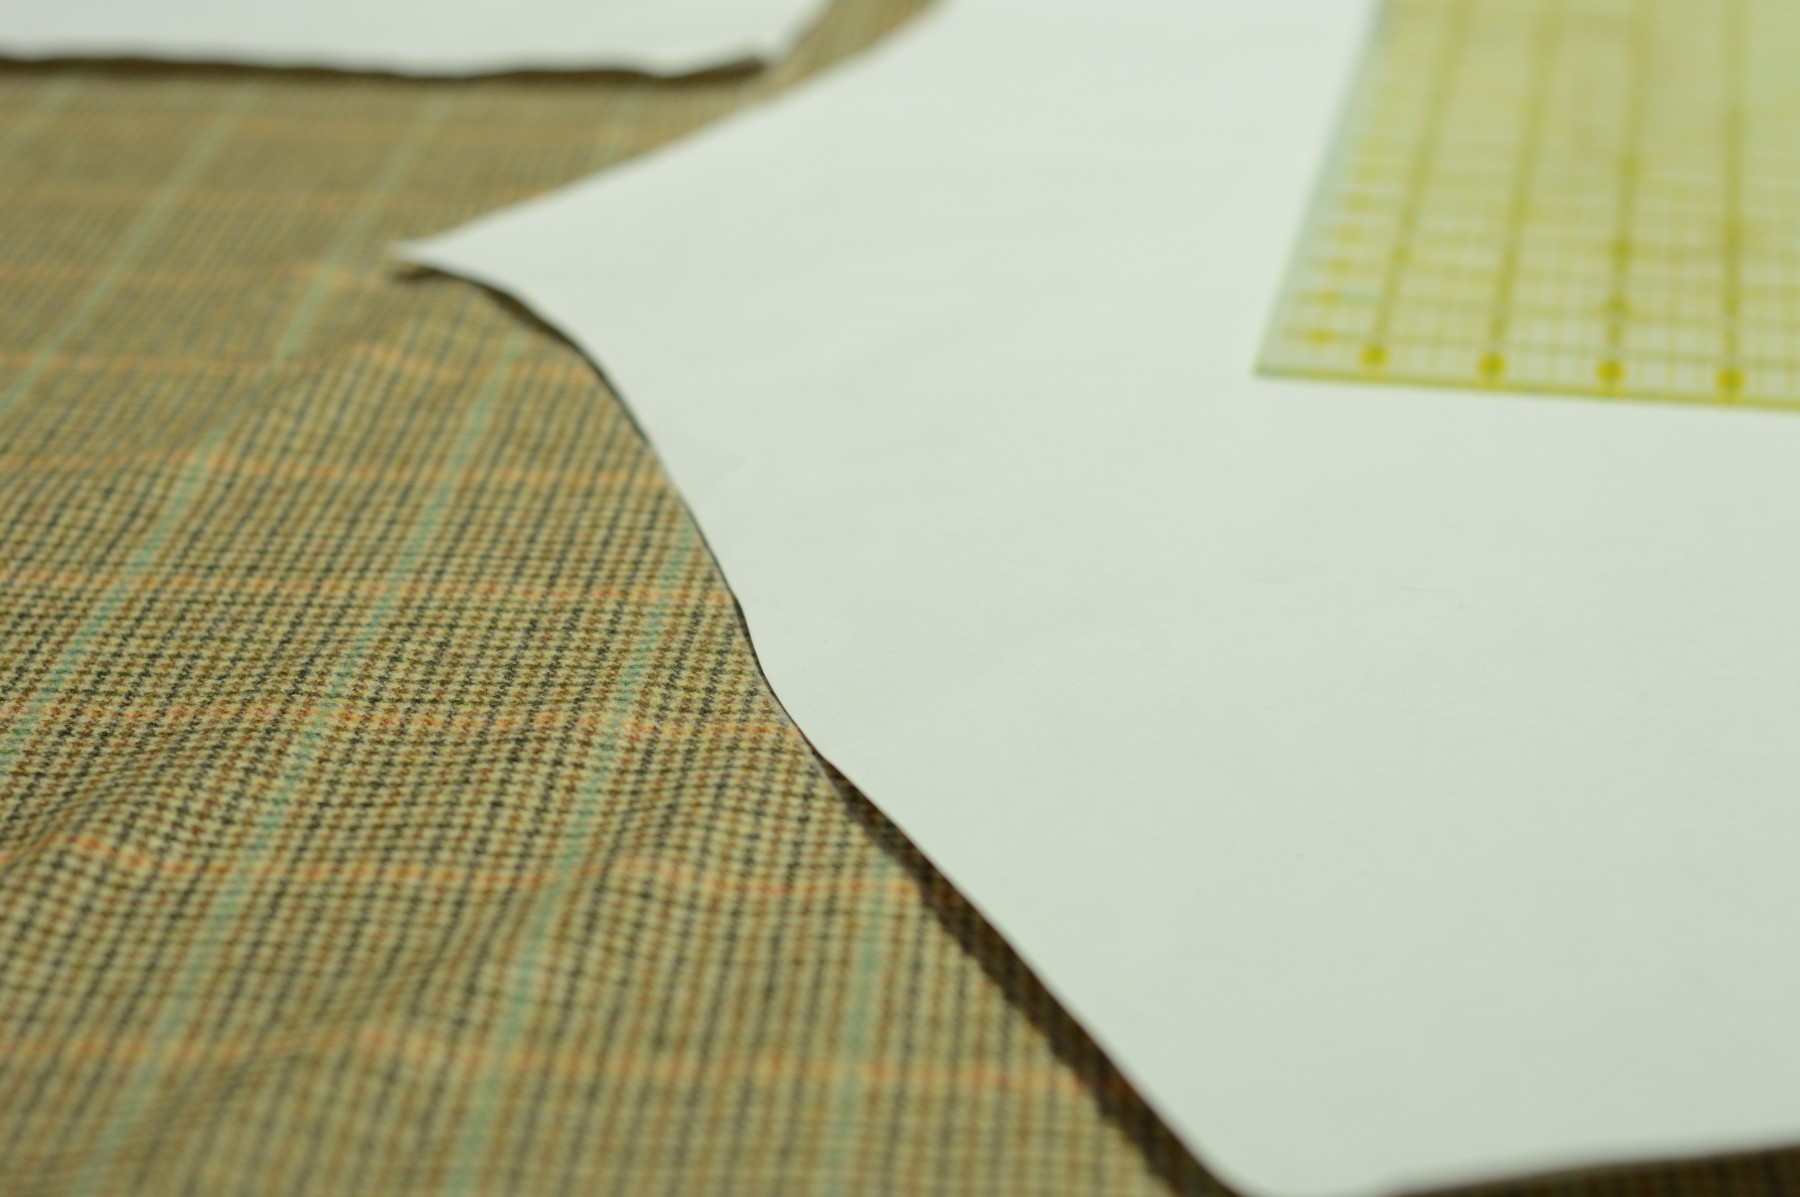
Studying the layout, I first aligned the plumb line with one of the plaid stripes, the same one on both pieces. In the example above I aligned both with that thin strip of white next to the larger blue stripe.
Next, align either the seat or knee line on each pattern piece in the same manner. In the example, I aligned the seat line along the bottom edge of the thin blue stripe. It will of course be different for you, but as long as you are consistent, you’ll have plaids or stripes that match up very closely.
A few pointers for when you are laying out:
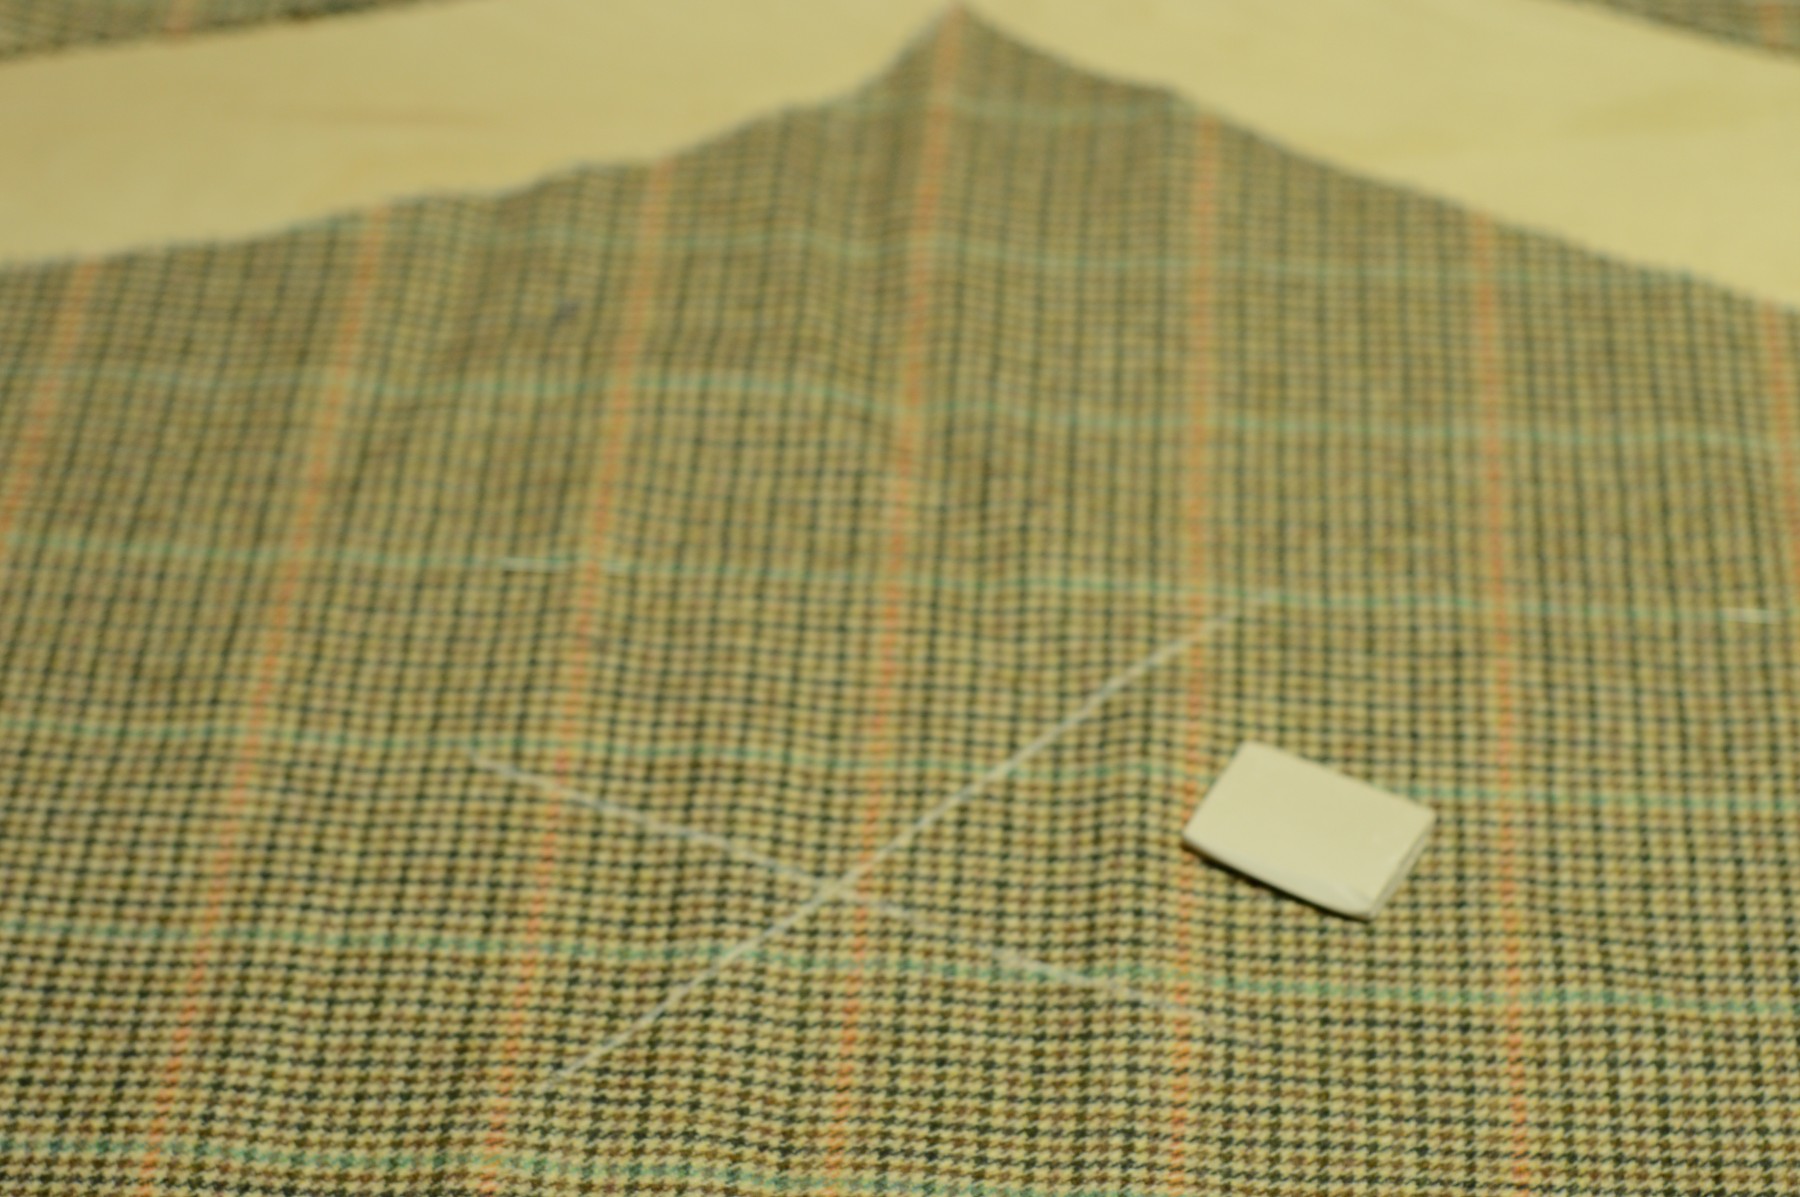
Here’s the seat line on my pattern. Note how I aligned it with the bottom edge of the orange stripe. Do the same with the other pattern piece to be consistent.
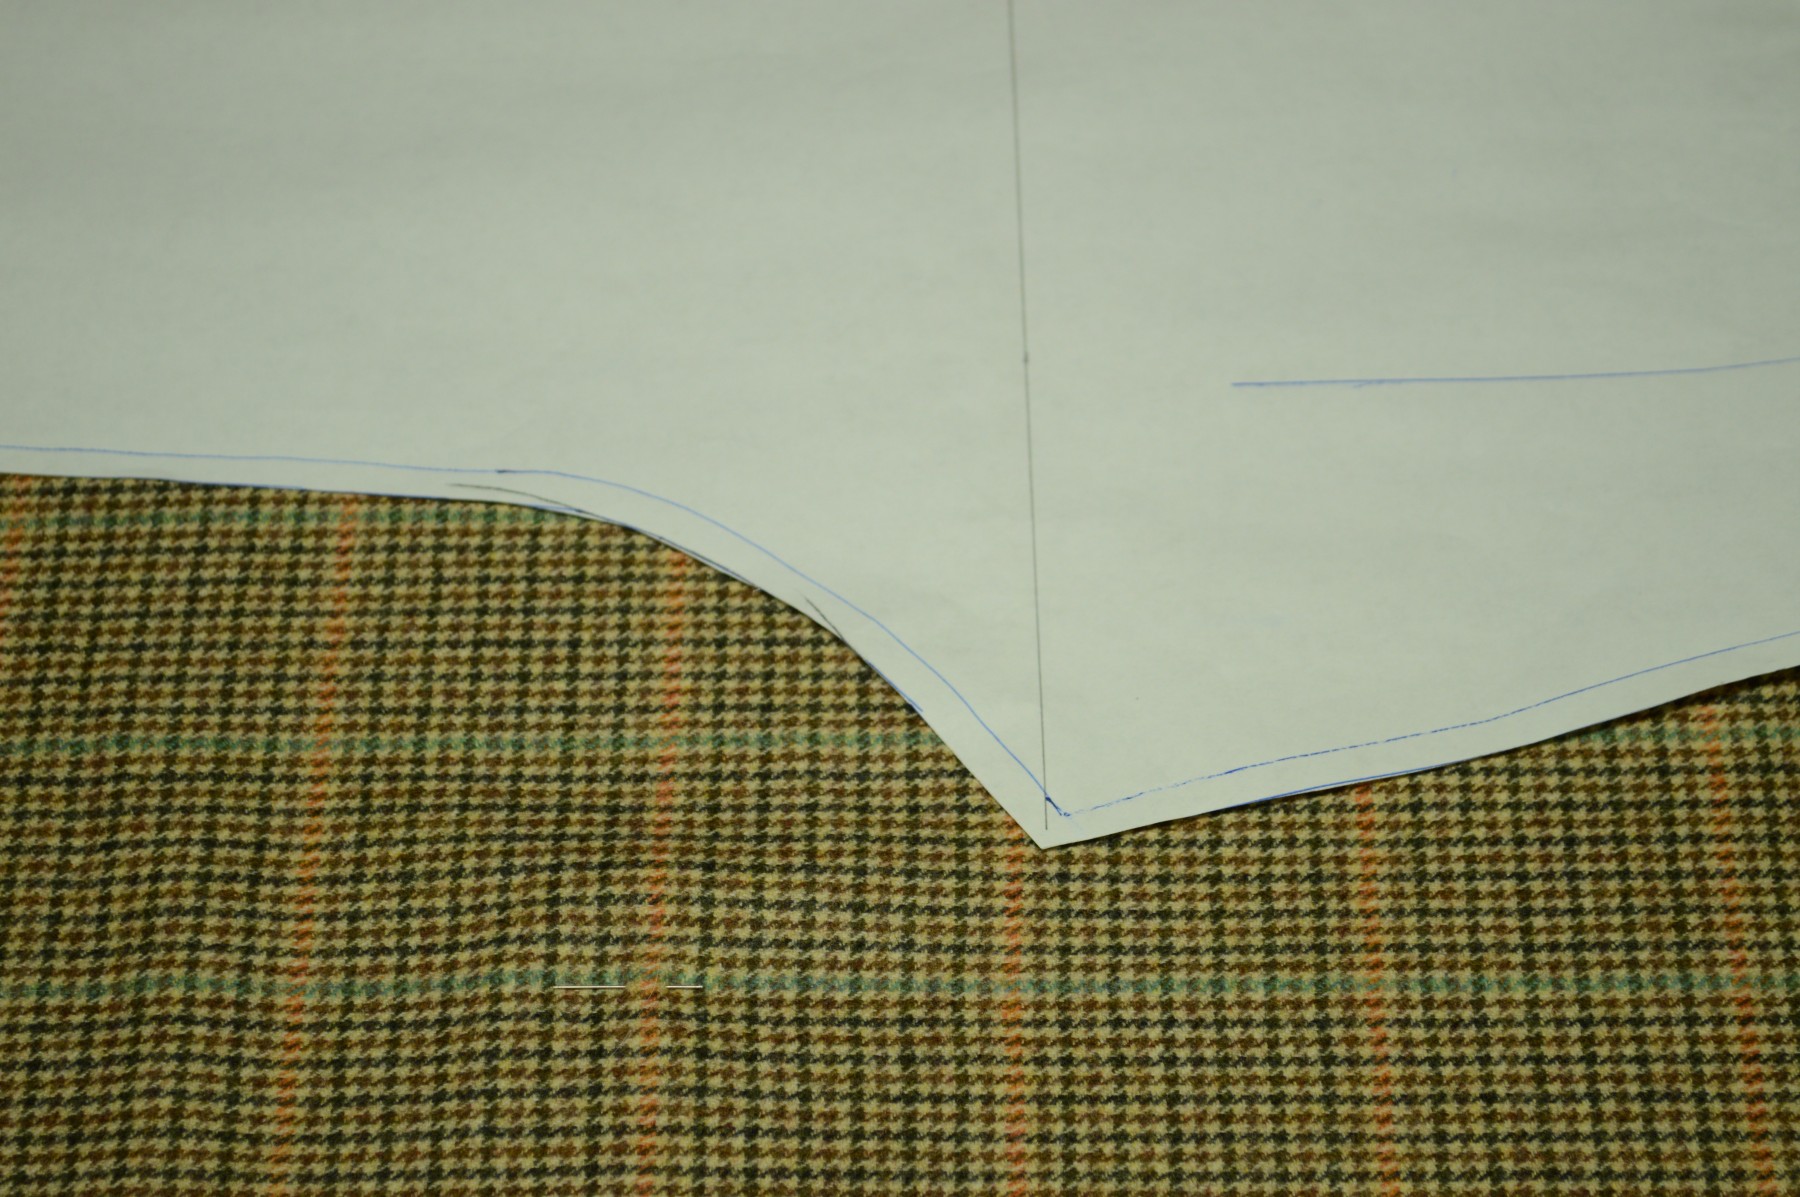
When figuring out how to lay out the pattern pieces, try to align things so that the front fly area lands between major stripes, which helps to avoid having two of those major stripes end up too close together on the finished trousers.

More than likely, you’ll only be able to align either the seat seam or the knee line unless your fabric pattern happens to coincide with your draft. In my case, the knee line is somewhere between the orange stripes. You can still make sure things are visually aligned though.
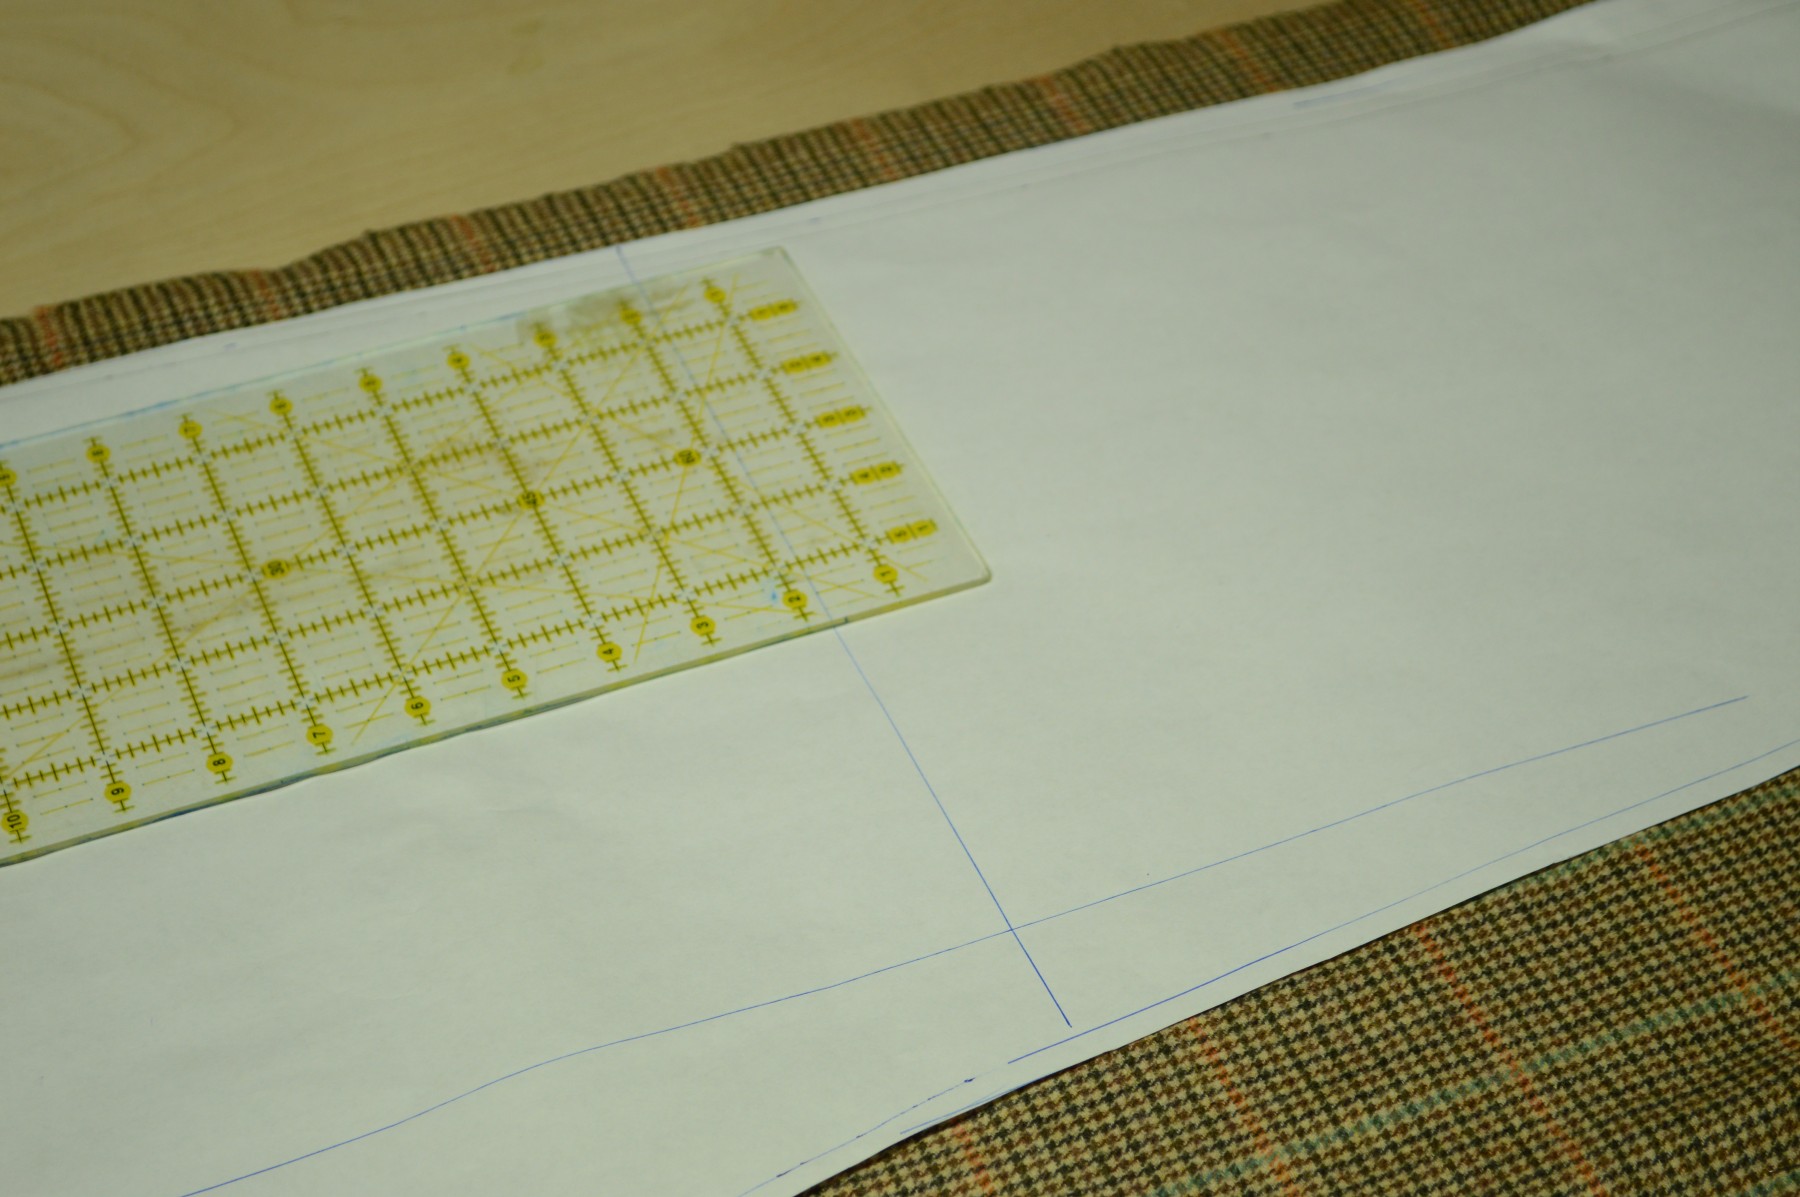
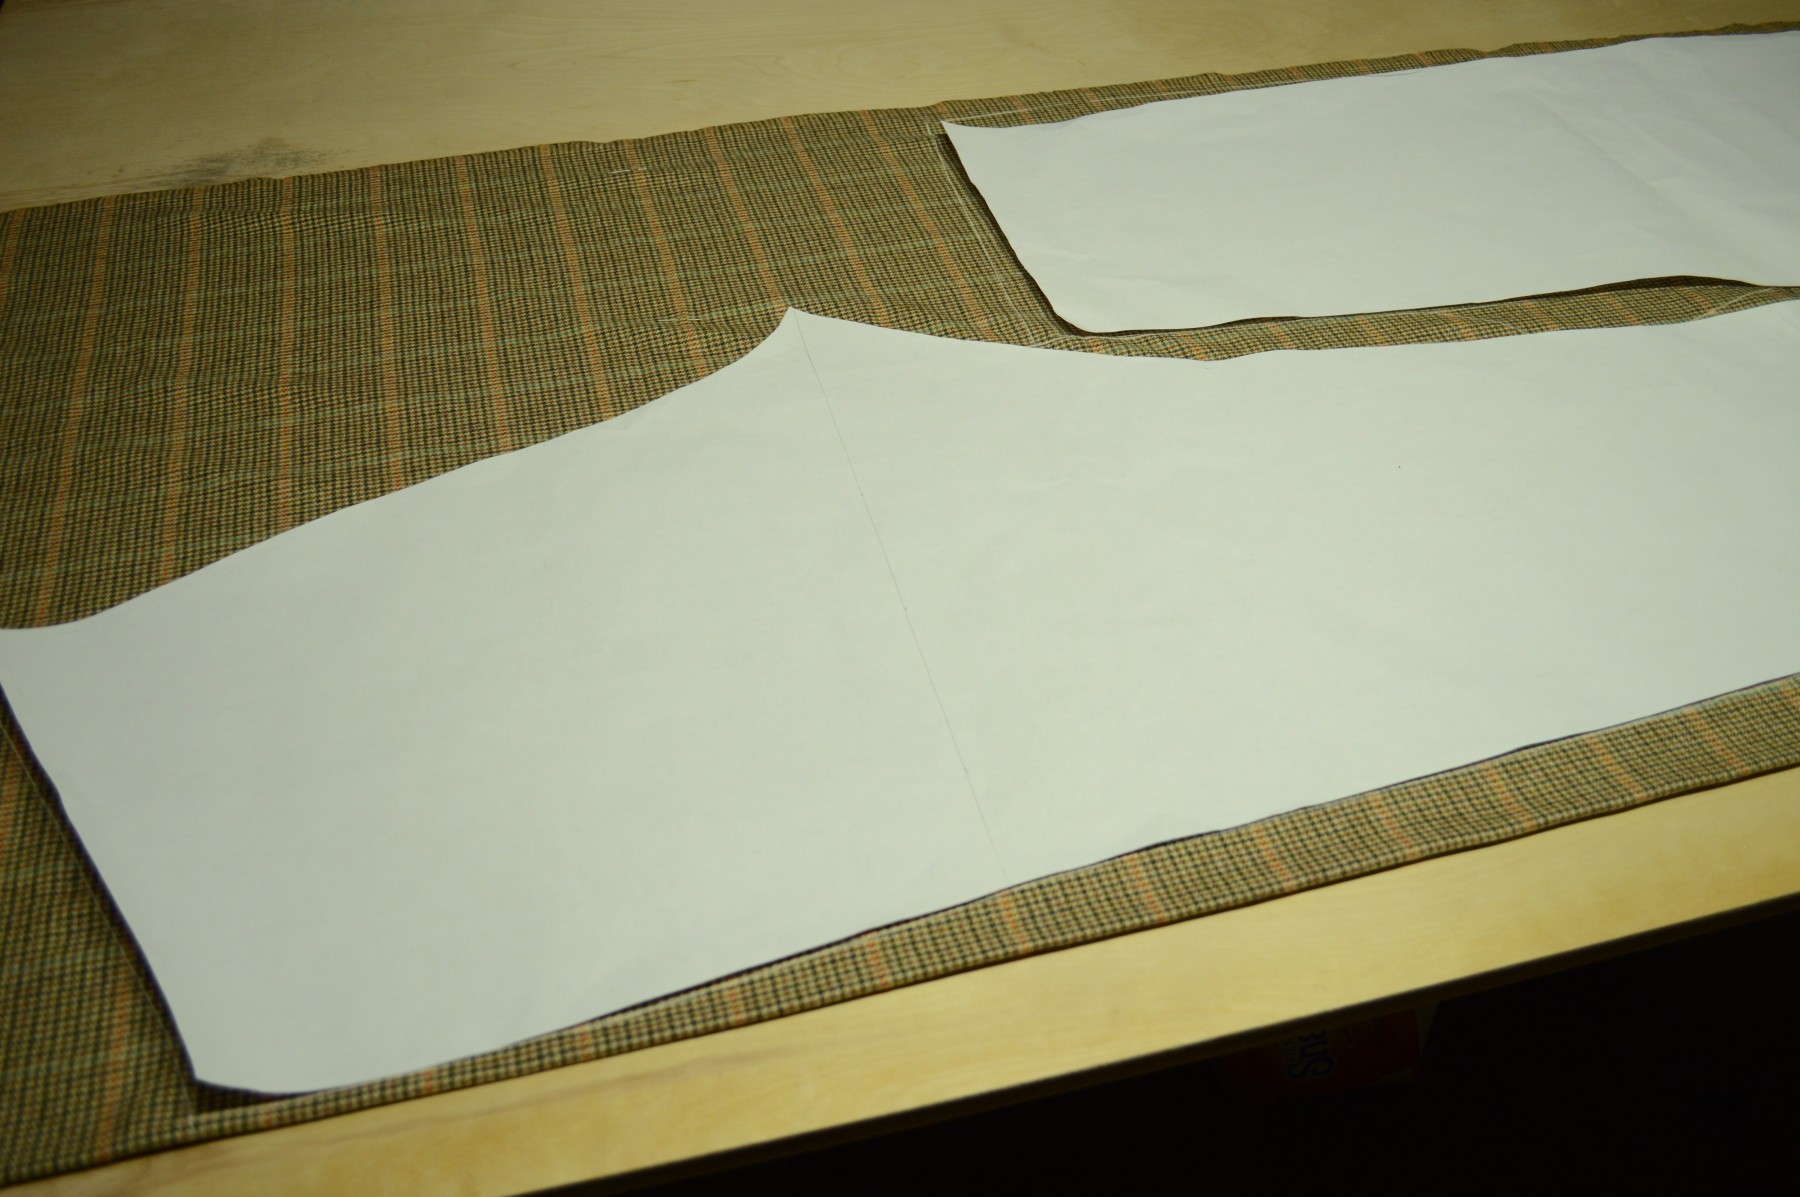
When you are happy with the layout, draw around the patterns using a sharp piece of tailor’s chalk.
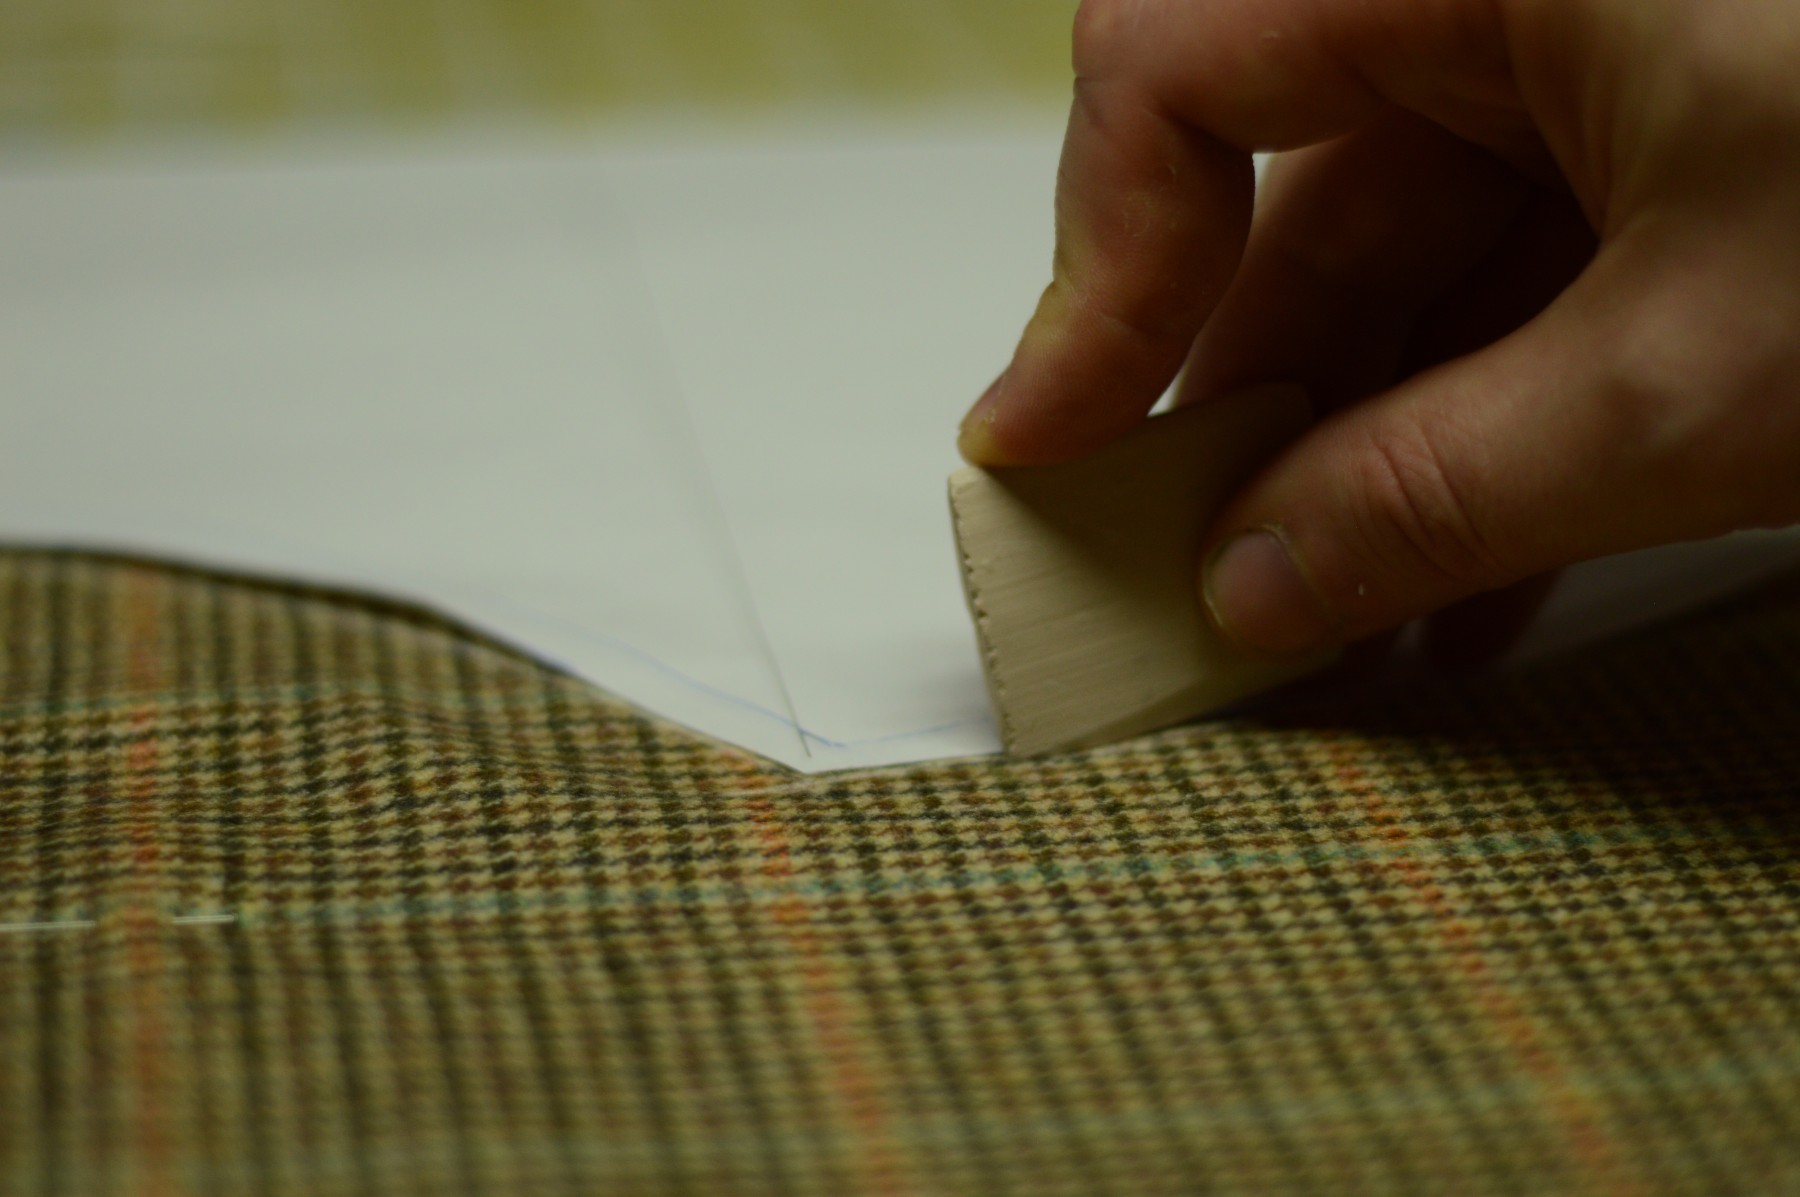
Here’s how I ended up laying out my pattern pieces. As you can see from the extra chalk lines, I tried a few different variations.
The Waistband
Matching the waistband and fly are optional, but I’ll go over the basics just in case you want to try it. Only the front of the waistband is possible to match up with the trousers, as the trouser waist angle prevents any matching. The front can be iffy as well depending on the cut. Luckily, the waistband will be hidden by the waistcoat, anyhow.
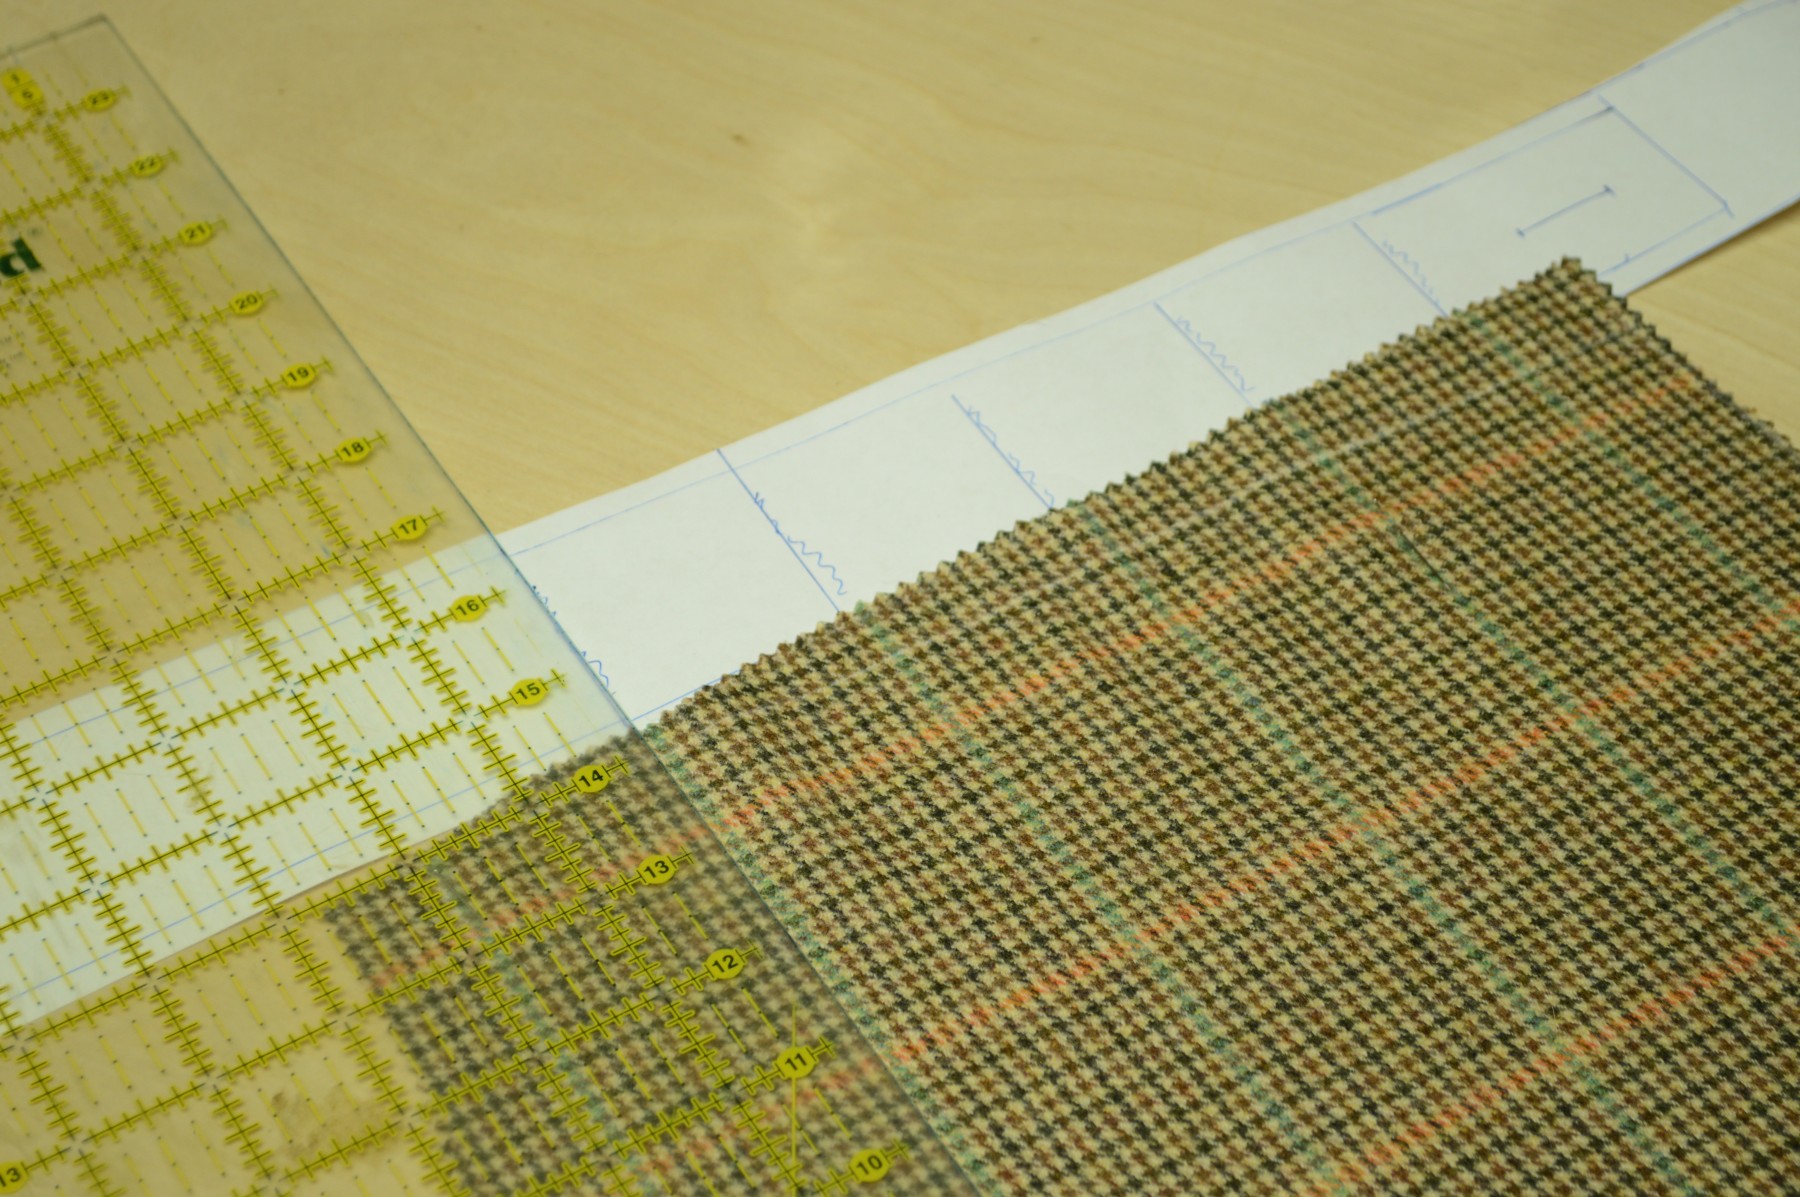
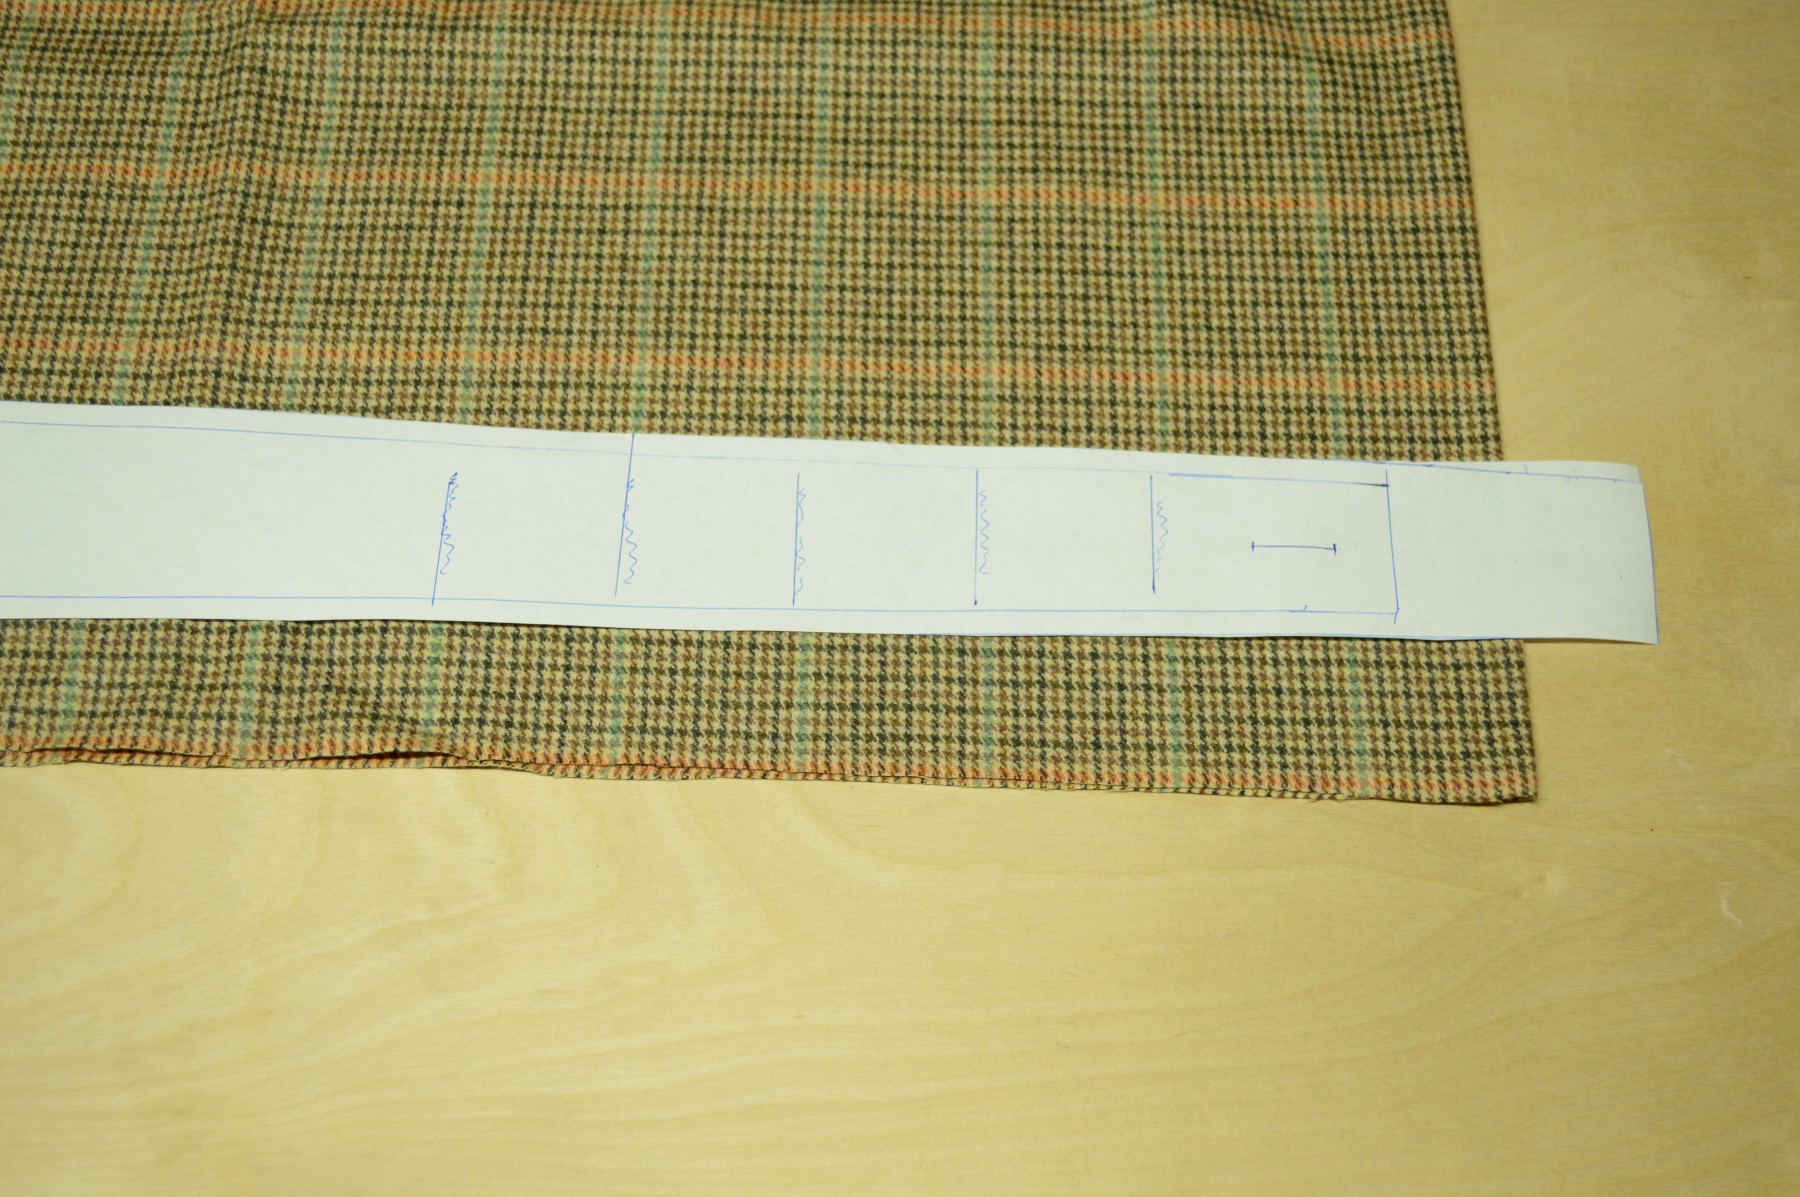
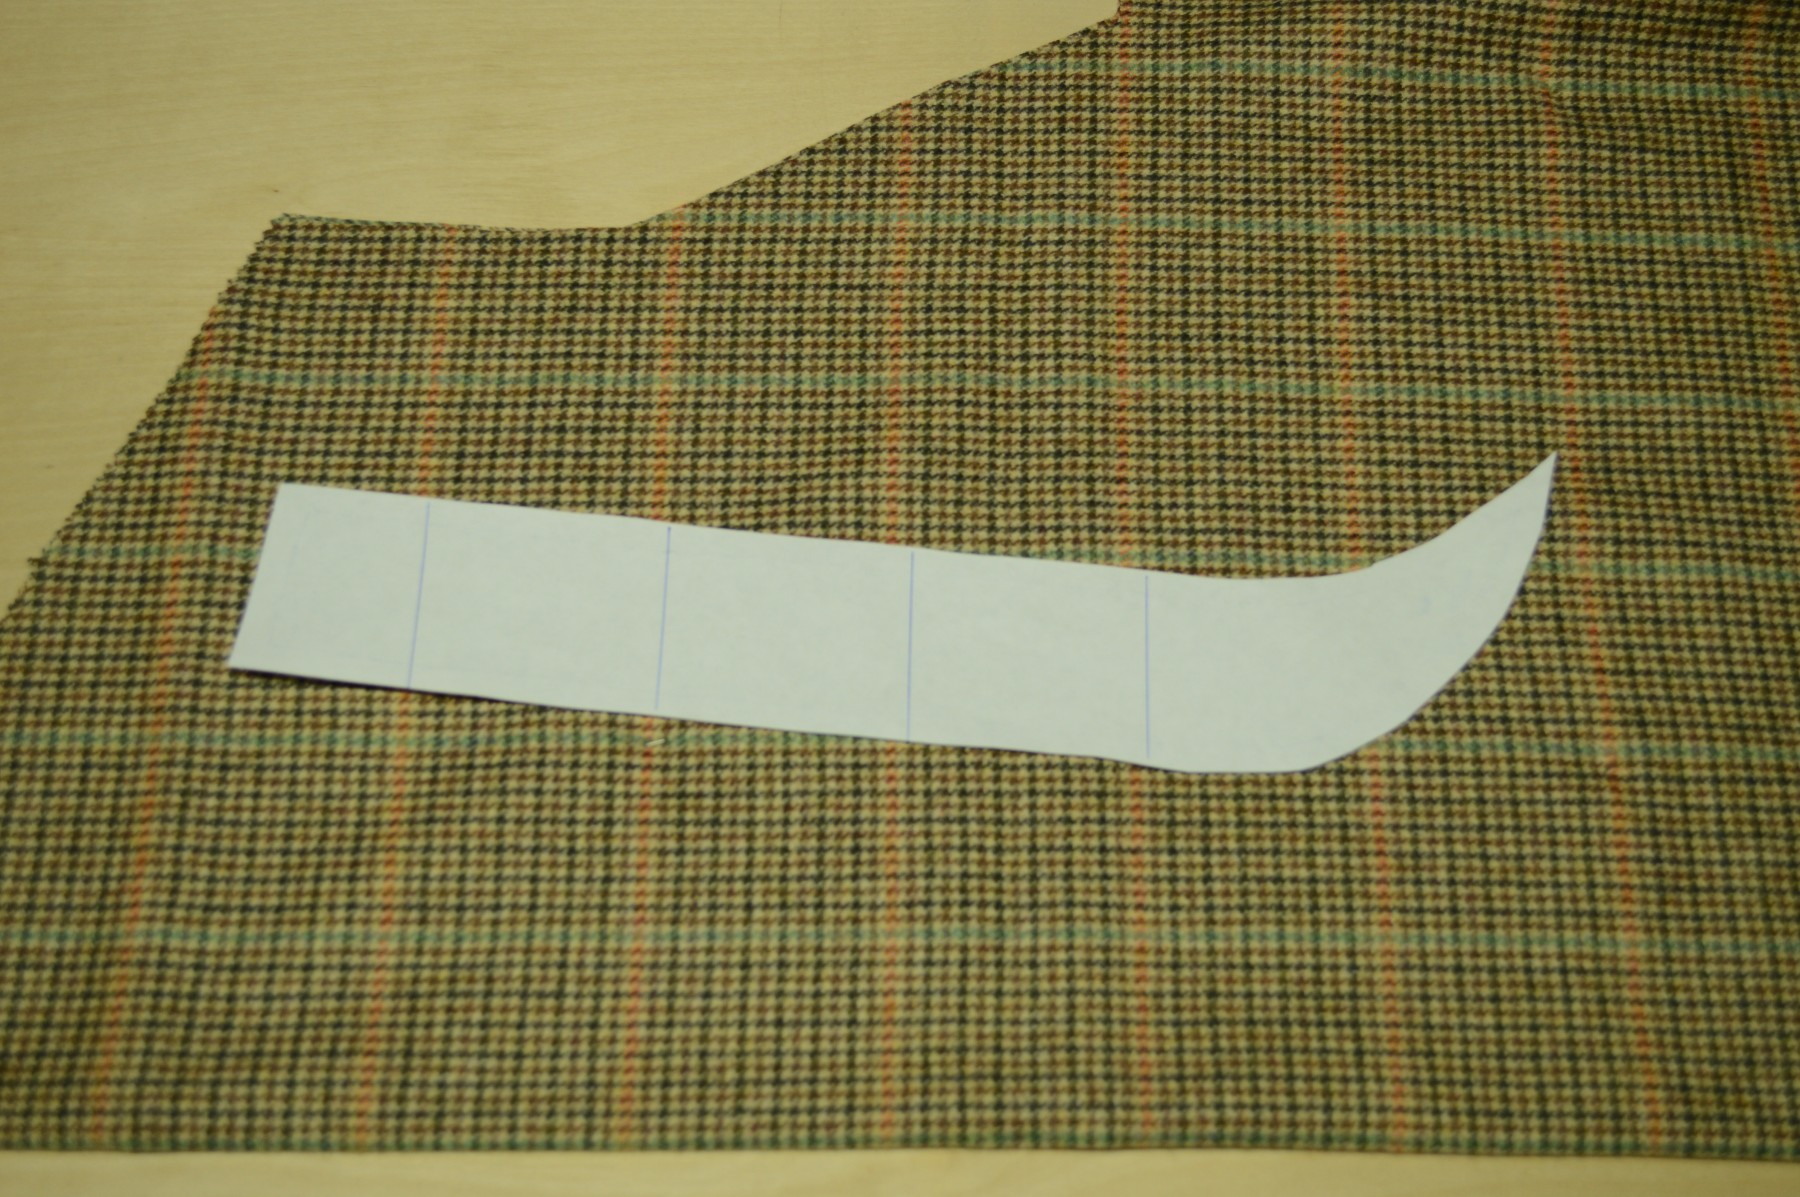
First lay out the trouser front on the workbench, placing the waistband into position at the top. I offset mine 1.5 inches to account for the fly. Then extend the lines from one edge of a stripe to the paper pattern, as shown.
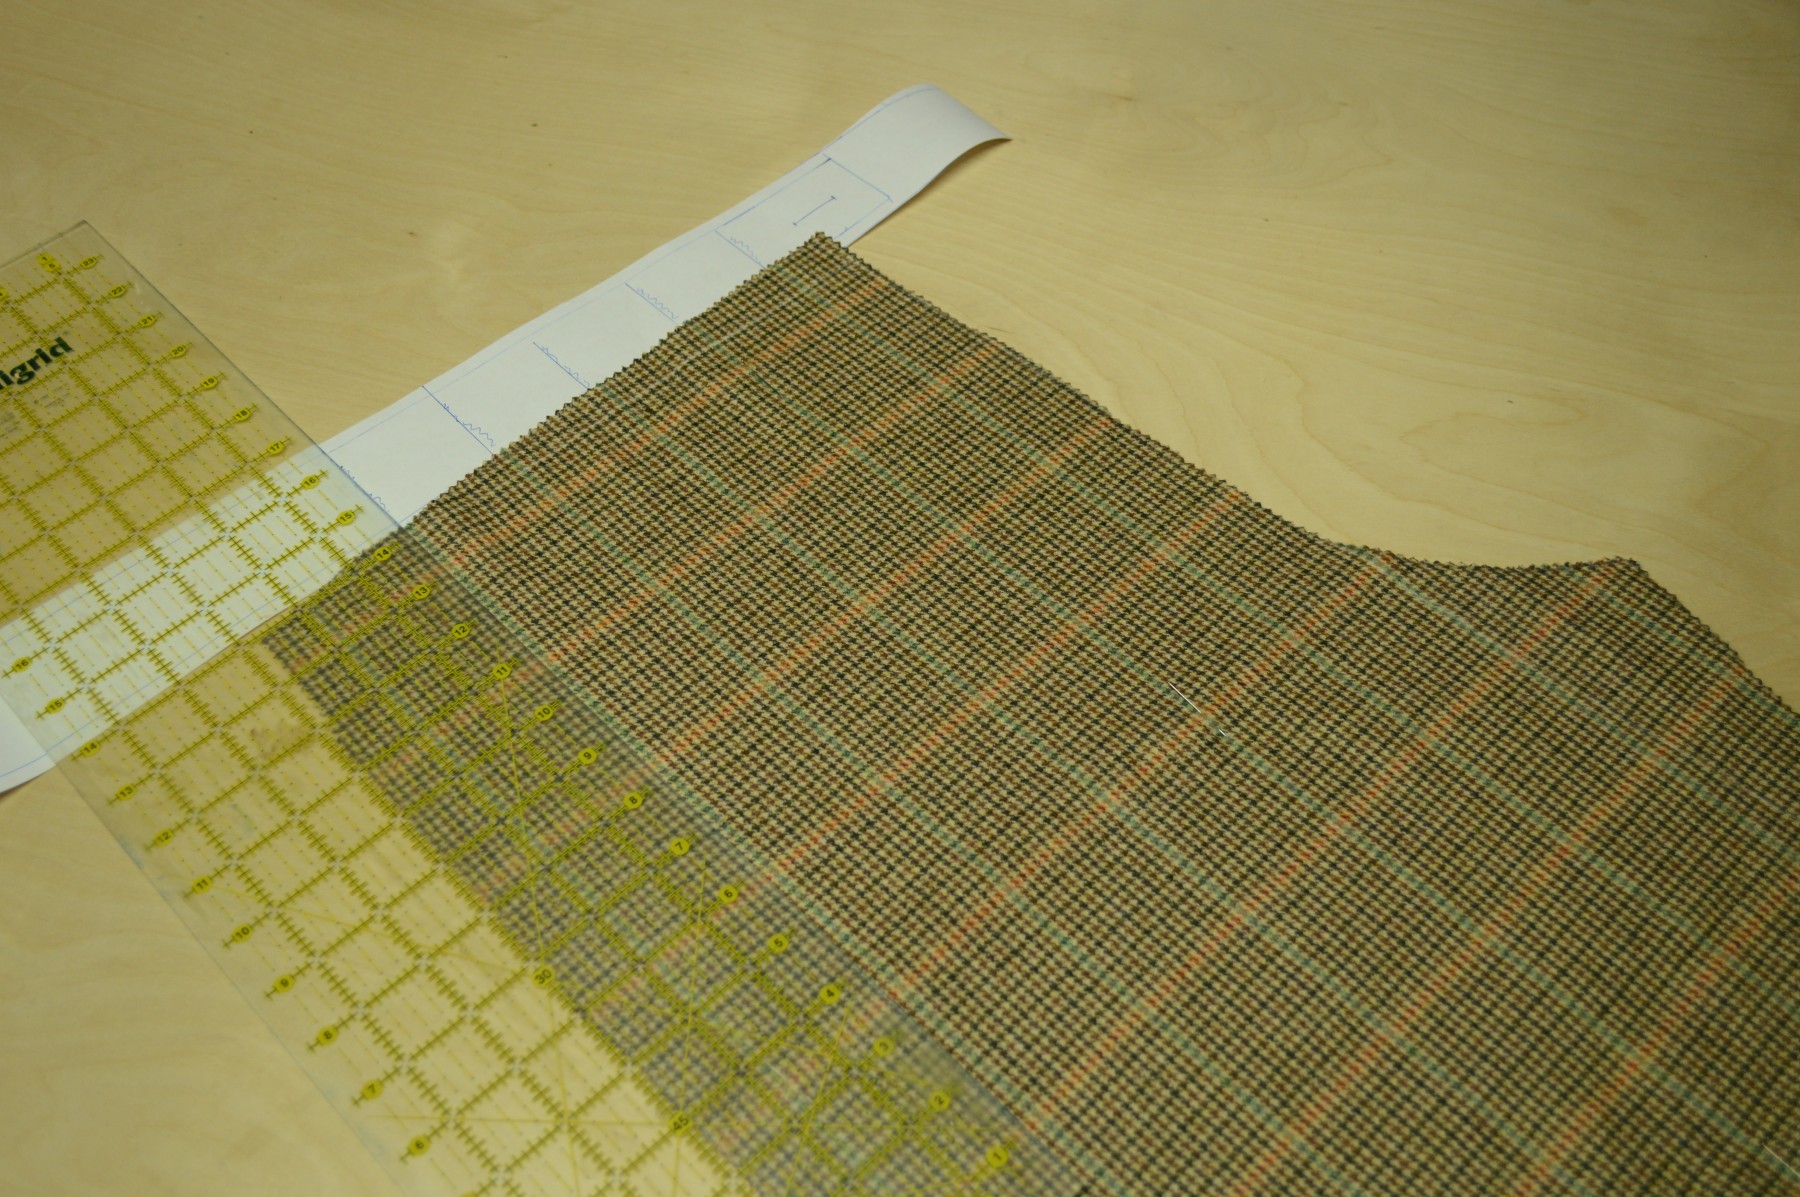
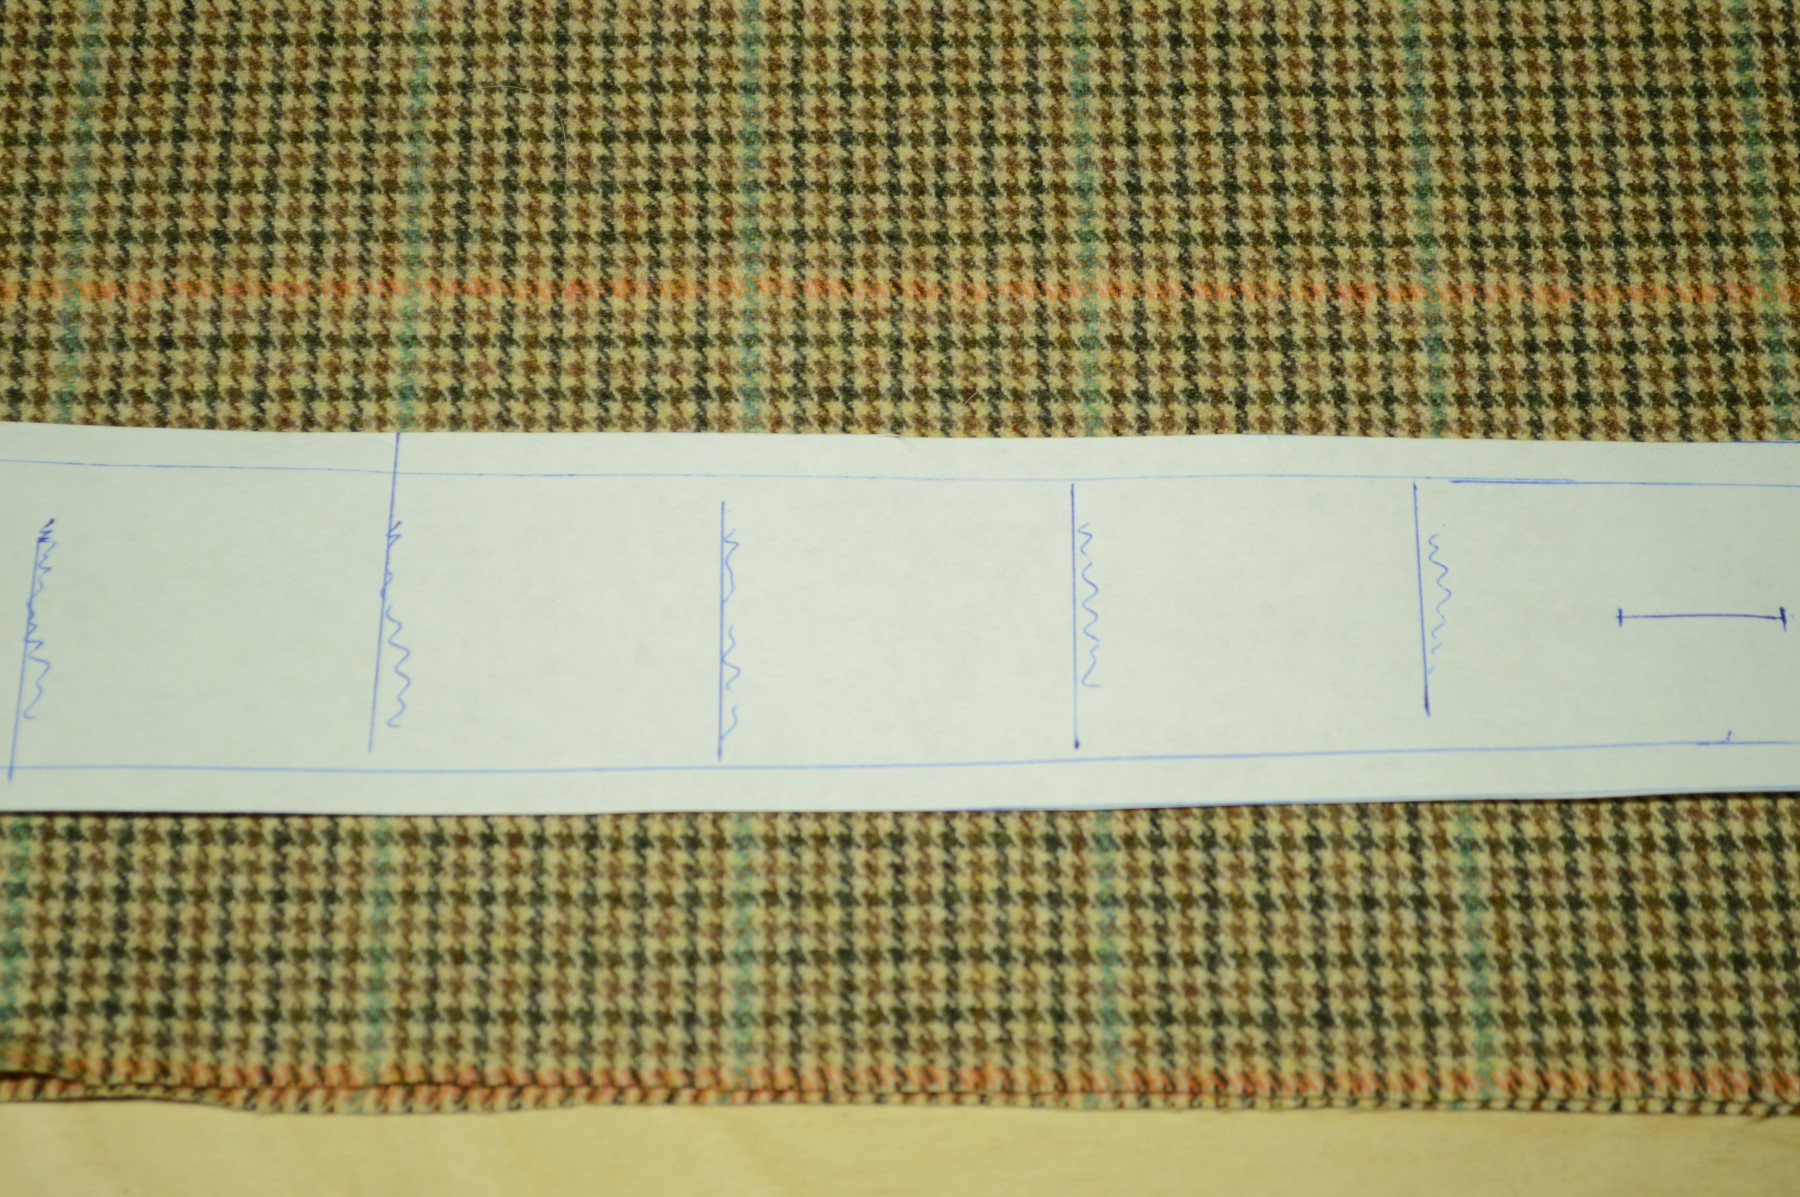
I drew a few squiggles to indicate which side the stripes fall on.
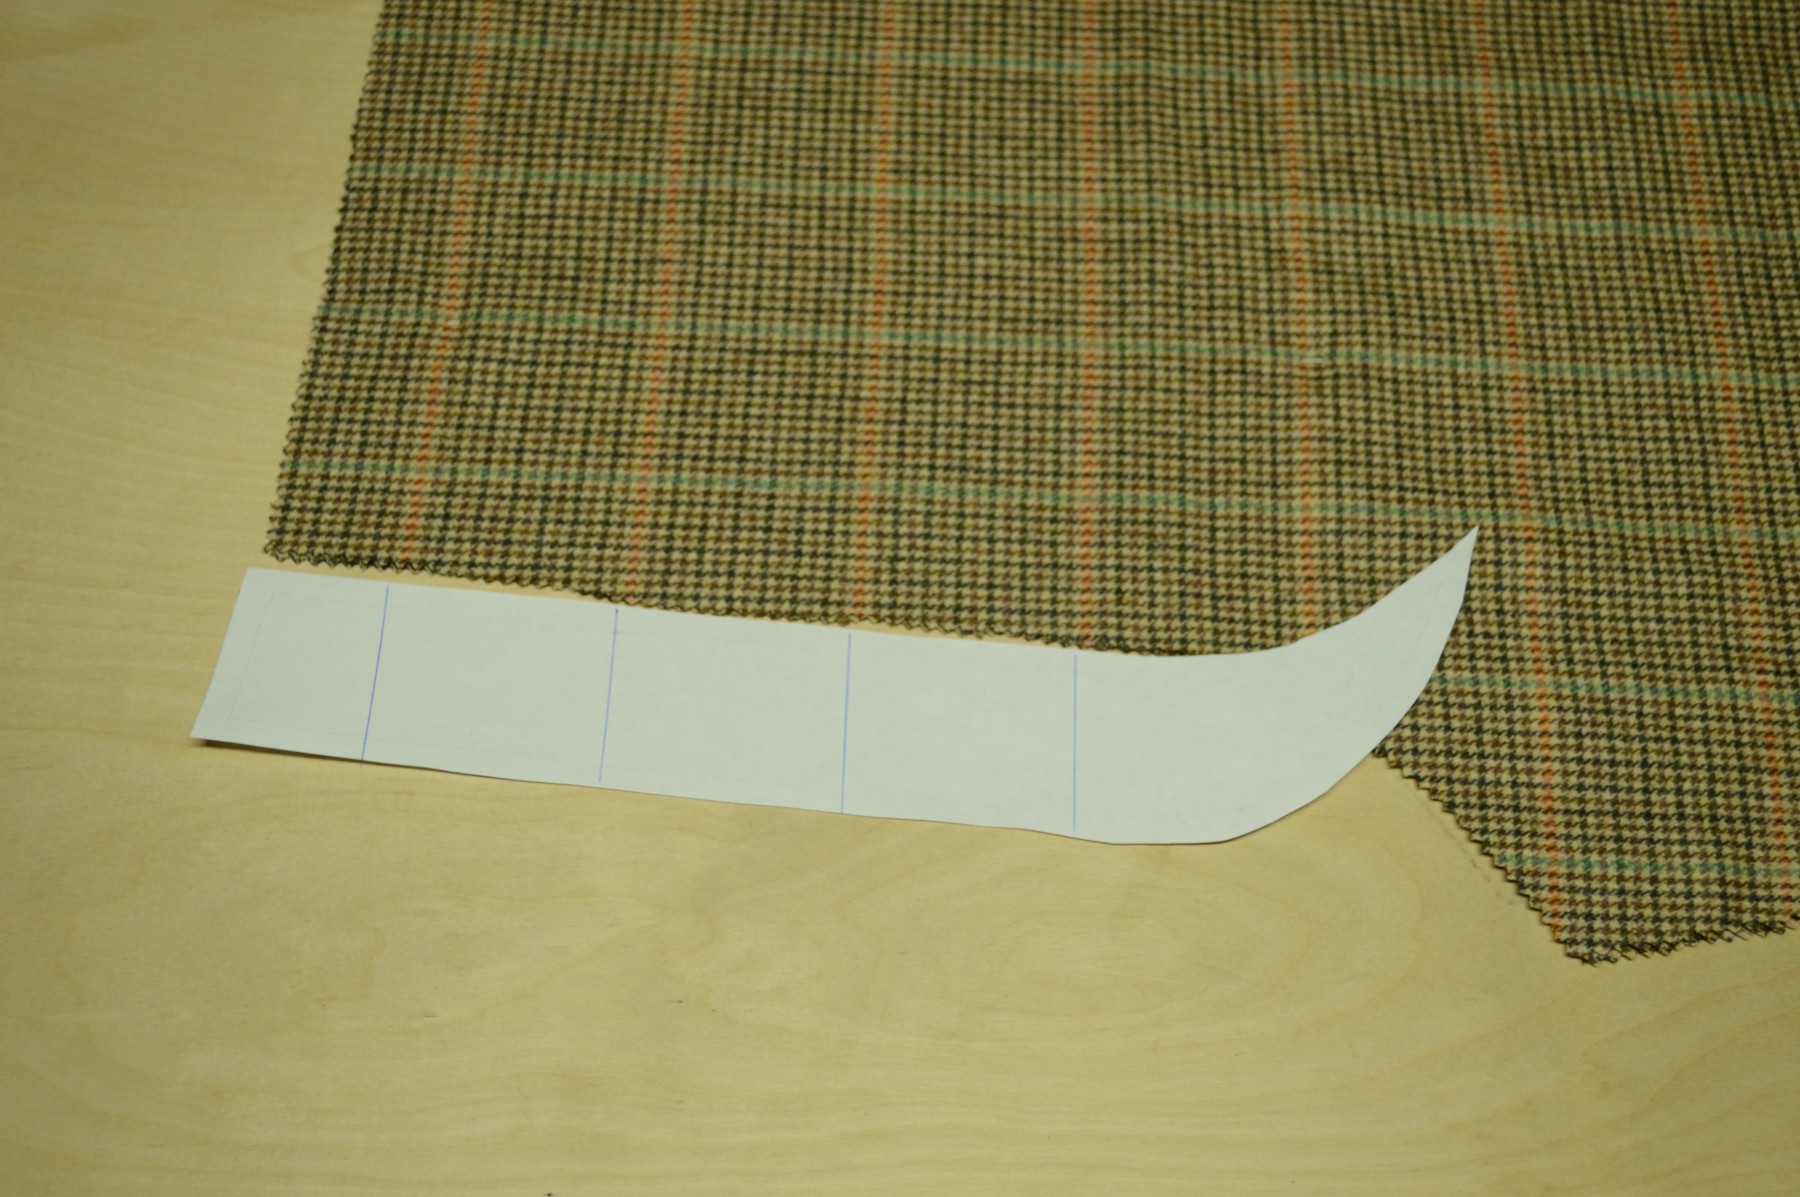
Now lay your pattern piece horizontally on the fabric, matching the stripes. As you can see at the diagram at the top of the page, the waistband is cut across the grain for two reasons, to aid with the alignment of any patterns, and more importantly, to prevent shrinkage. If the waistband is cut along the grain, the fibers, being under more tension, will shrink more than the trouser tops, leading to ugly results.
Now, depending on the size of your waistband and the width of your fabric, you may not be able to get the waistband to fit. As you can see I’m about an inch or so too long. If this happens, you’ll have to either unfold the fabric and cut the waistbands one at a time, or as I chose to do, forget the pattern matching and slide the waistband over a little. The section hanging off the fabric is inlay anyway and I should have enough for turning in later.
The Fly
Matching the fly is very difficult to impossible, at least with plaids, and as it’s not even seen, mostly not worth worrying about. Nevertheless, you can at least get the stripes to meet at the seam, but that’s about it.
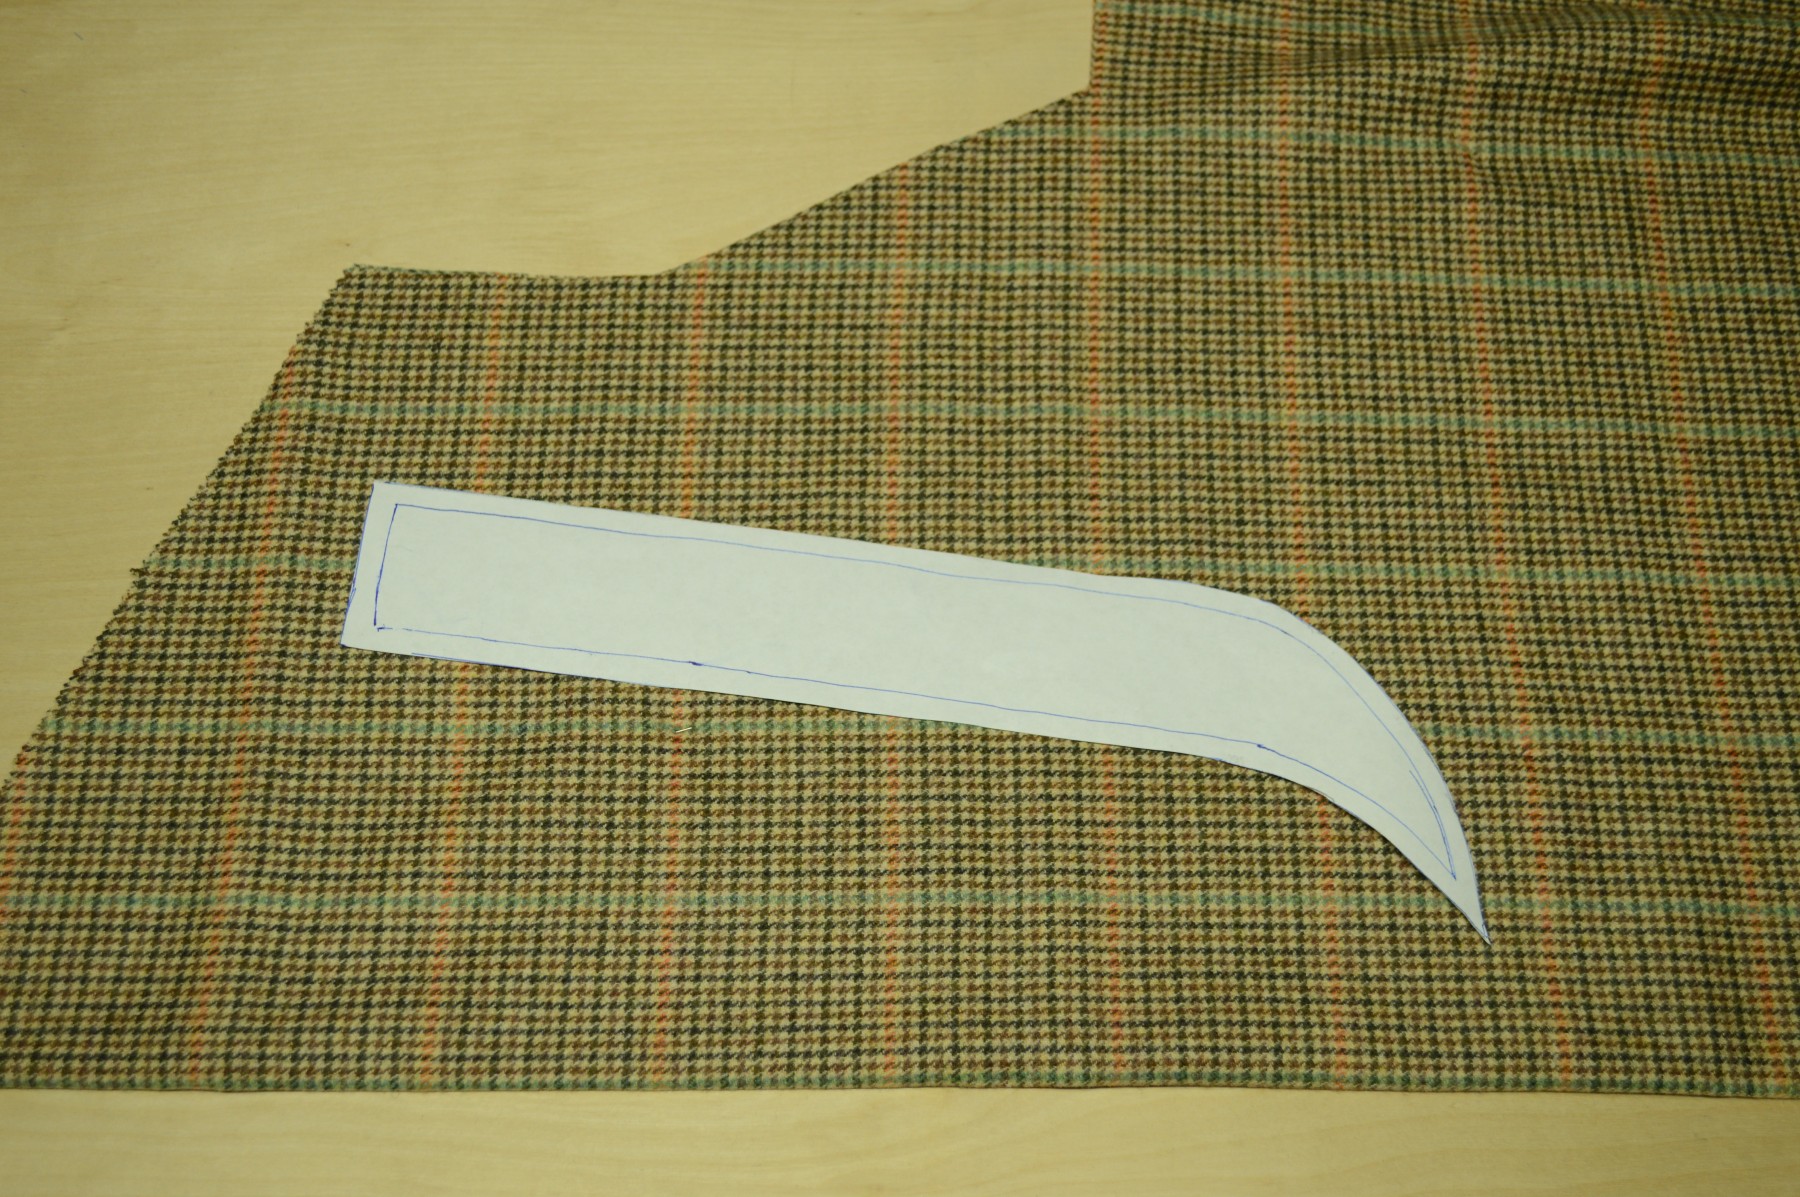
Lay the fly pattern next to the fly area on the left forepart. Transfer the plaids to the pattern as with the waistband.
Now, if you lay this pattern on the fabric, the grain line will be completely off, which is a very bad idea. It should be positioned as in the diagram above.
Instead, if you turn the fly over, and match just the edge of the pattern to the fabric, you’ll have something you can at least work with and get the stripes to align at the seam.
Cutting
Cutting out your trouser pieces, you have two different options. The first and more time consuming, though most accurate, is to cut using normal scissors and then fell the edges to prevent fraying. I’ll go over that method specifically a little later. If you’re lucky enough that your fabric does not fray, then you can skip the hand serging.
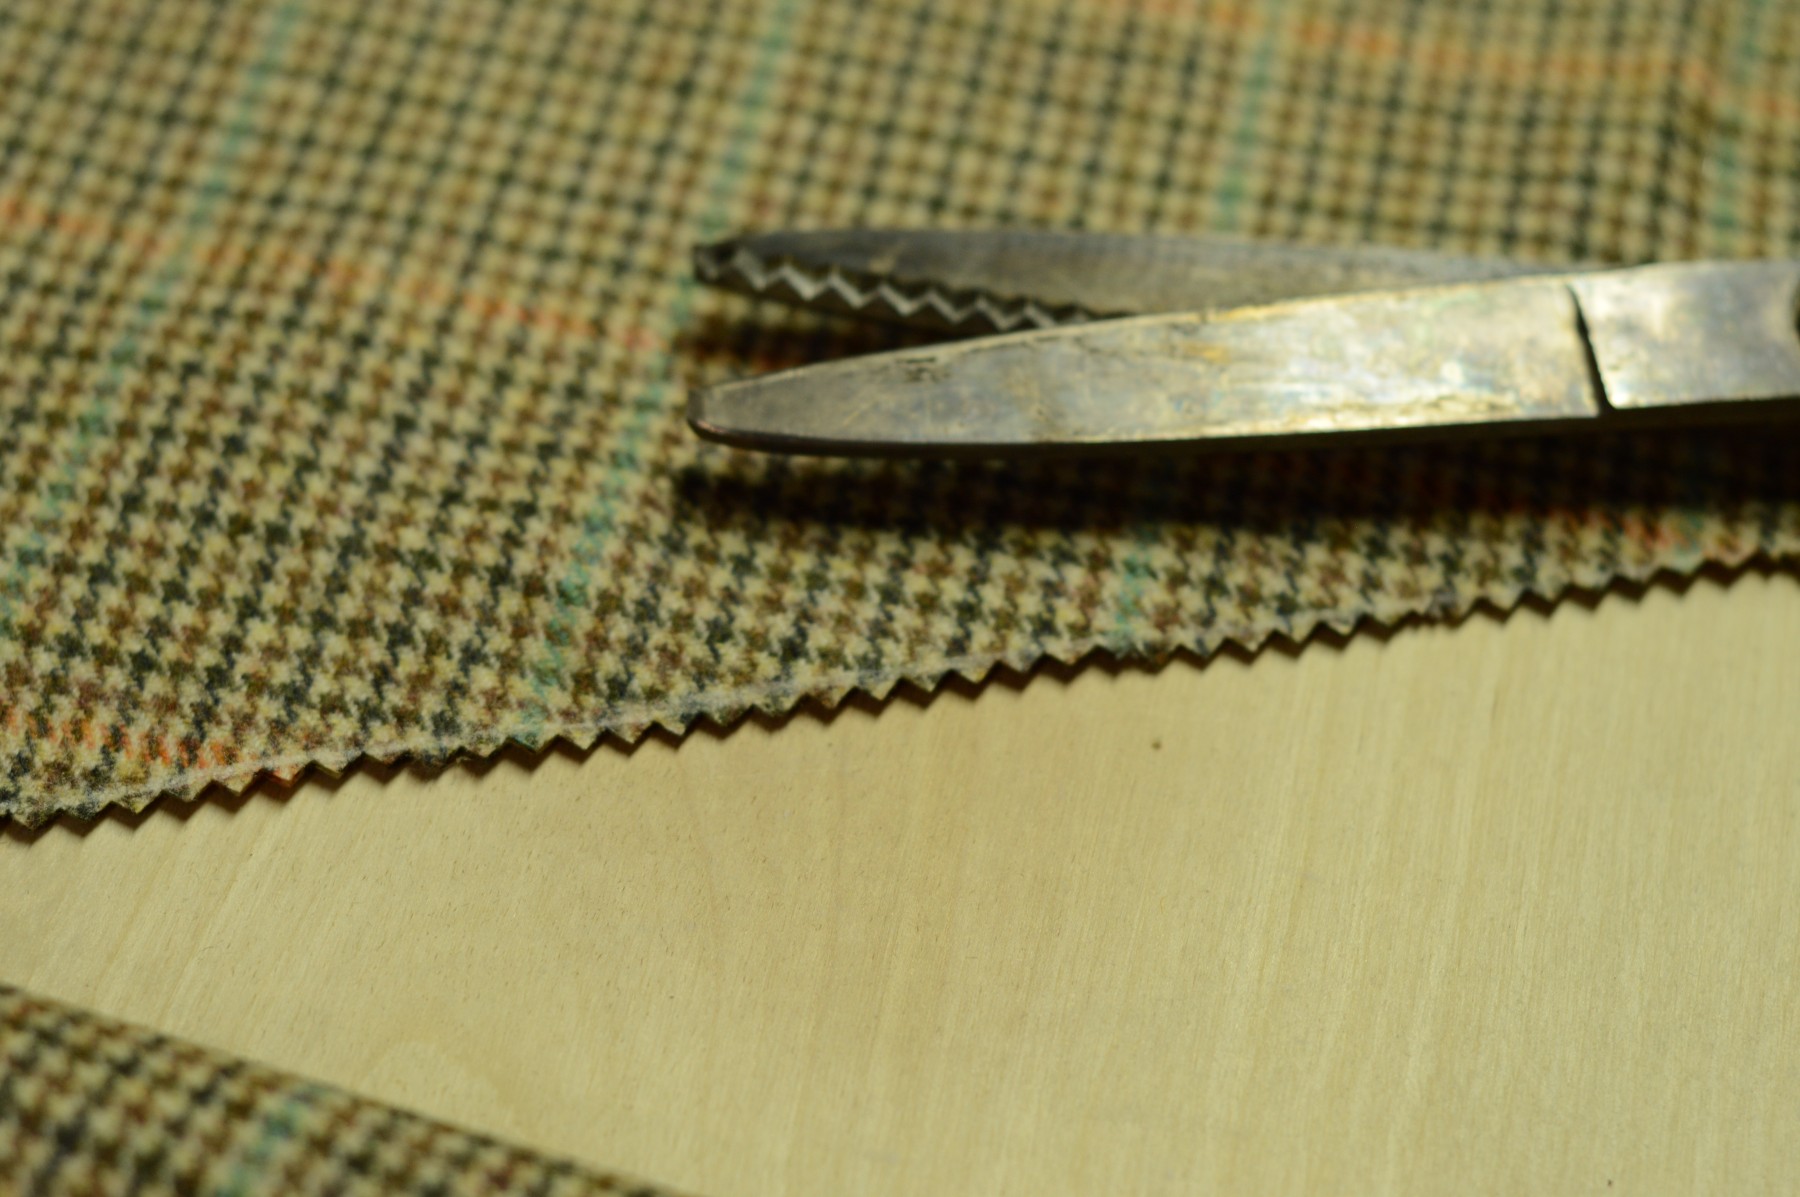
The second and the method I prefer is to simply use a pair of pinking shears. The cut of the shears helps prevent fraying, so no further action is necessary. Pinking shears were invented in 1896, so they’re not period correct, but I’ve chosen to compromise in this area to save time and sanity, especially since no one ever sees the inside of one’s trousers. You’ll have to decide for yourself.
I suppose the third and totally modern, farby method would be to use one of those sergering machines. O the horror!
After you’ve cut everything out, mark the wrong sides of each with a nice big X to avoid confusion later on.
Matching Plaids
Looking at original garments, there is a wide spectrum of how well stripes and plaids were matched in the 1860s. On the one hand you could have a pair of trousers with everything laid out perfectly, and on the other hand, garments with seemingly no care to matching the plaids at all, especially with pockets, facings, and such.
In general though, I think it’s a good idea to have some degree of pattern matching, and the process doesn’t really take too long to give nice results.
The first step is to match the plaids themselves between the two layers of fabric as it comes off of the bolt. Usually, mills are not to careful in their folding, and so the plaids and stripes will not be lined up. To fix this, I use a series of pins at the intersections of the plaid in a grid like pattern along the fabric, anywhere from 6 to 10 inches apart. This lines up all of the plaids and ensures good pattern matching.
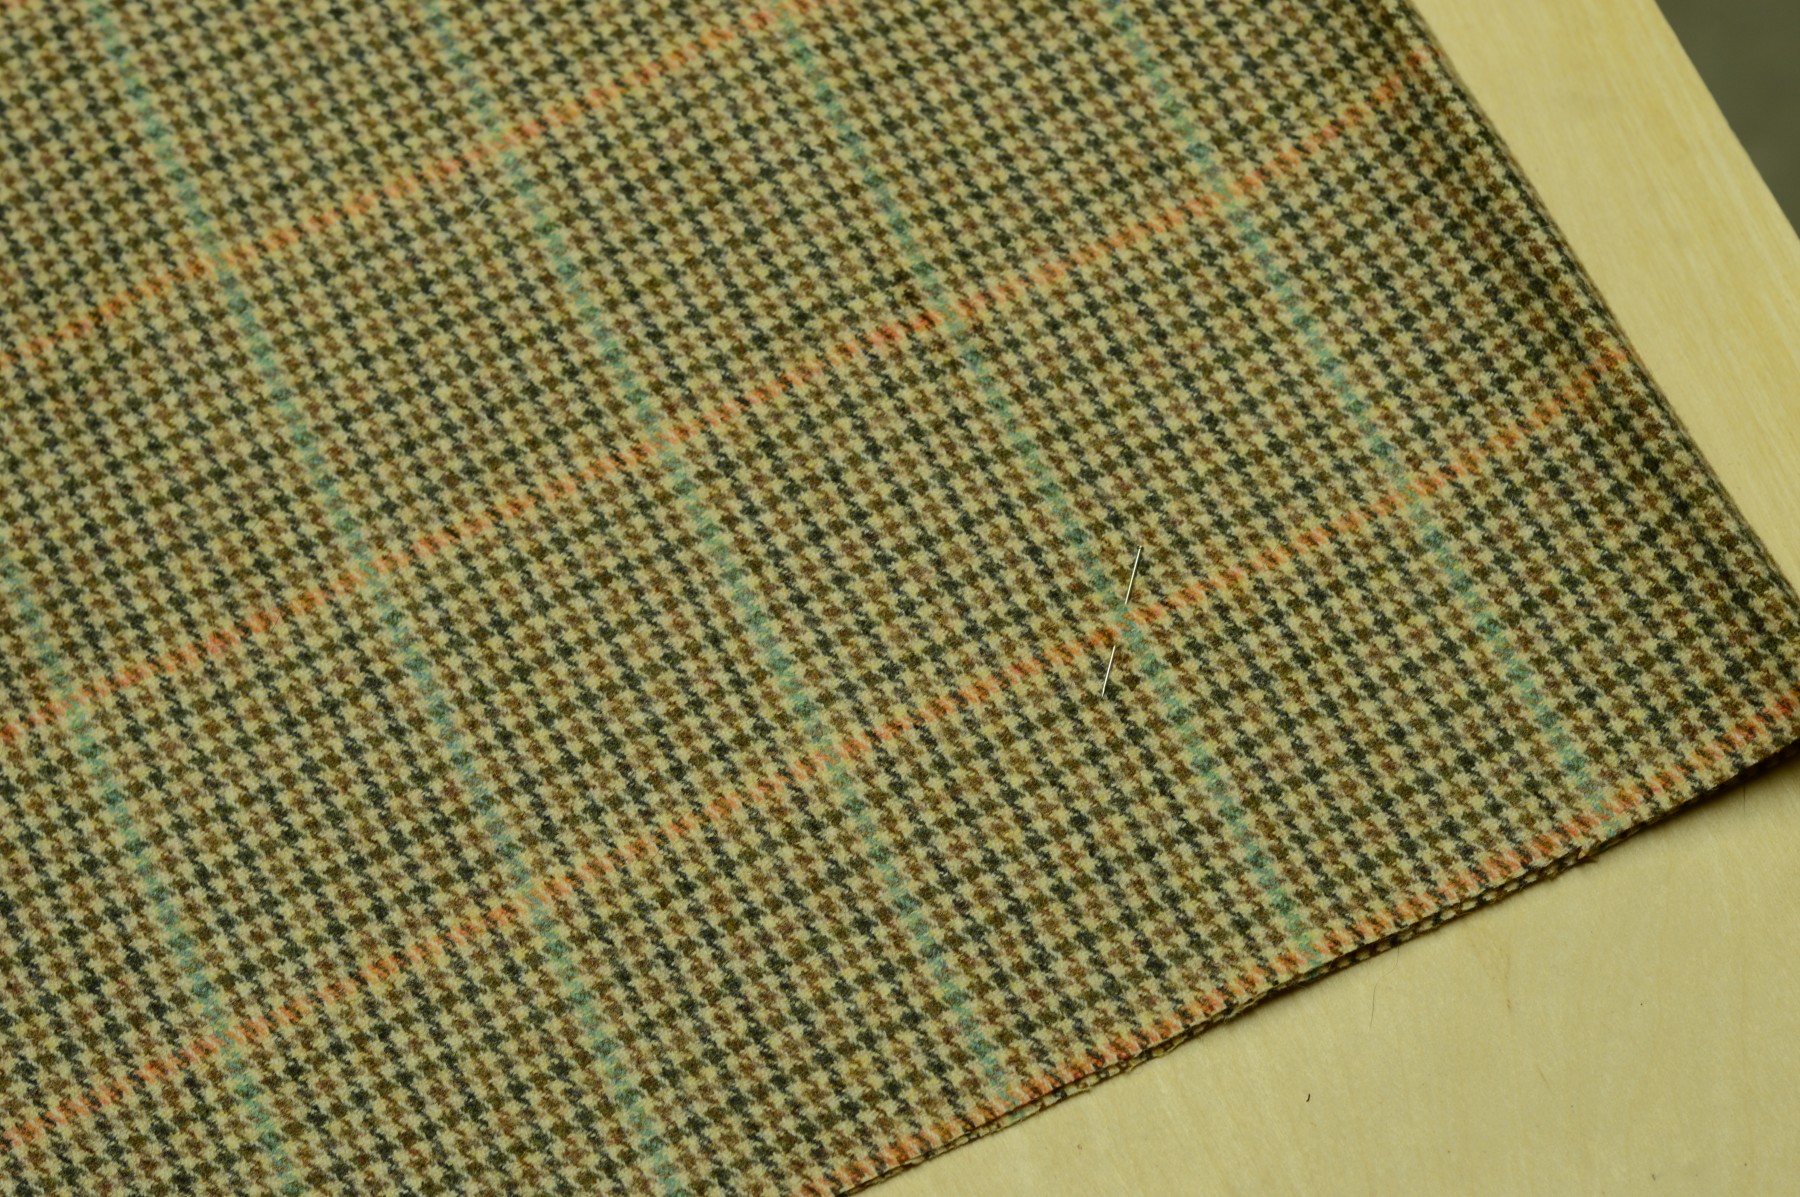
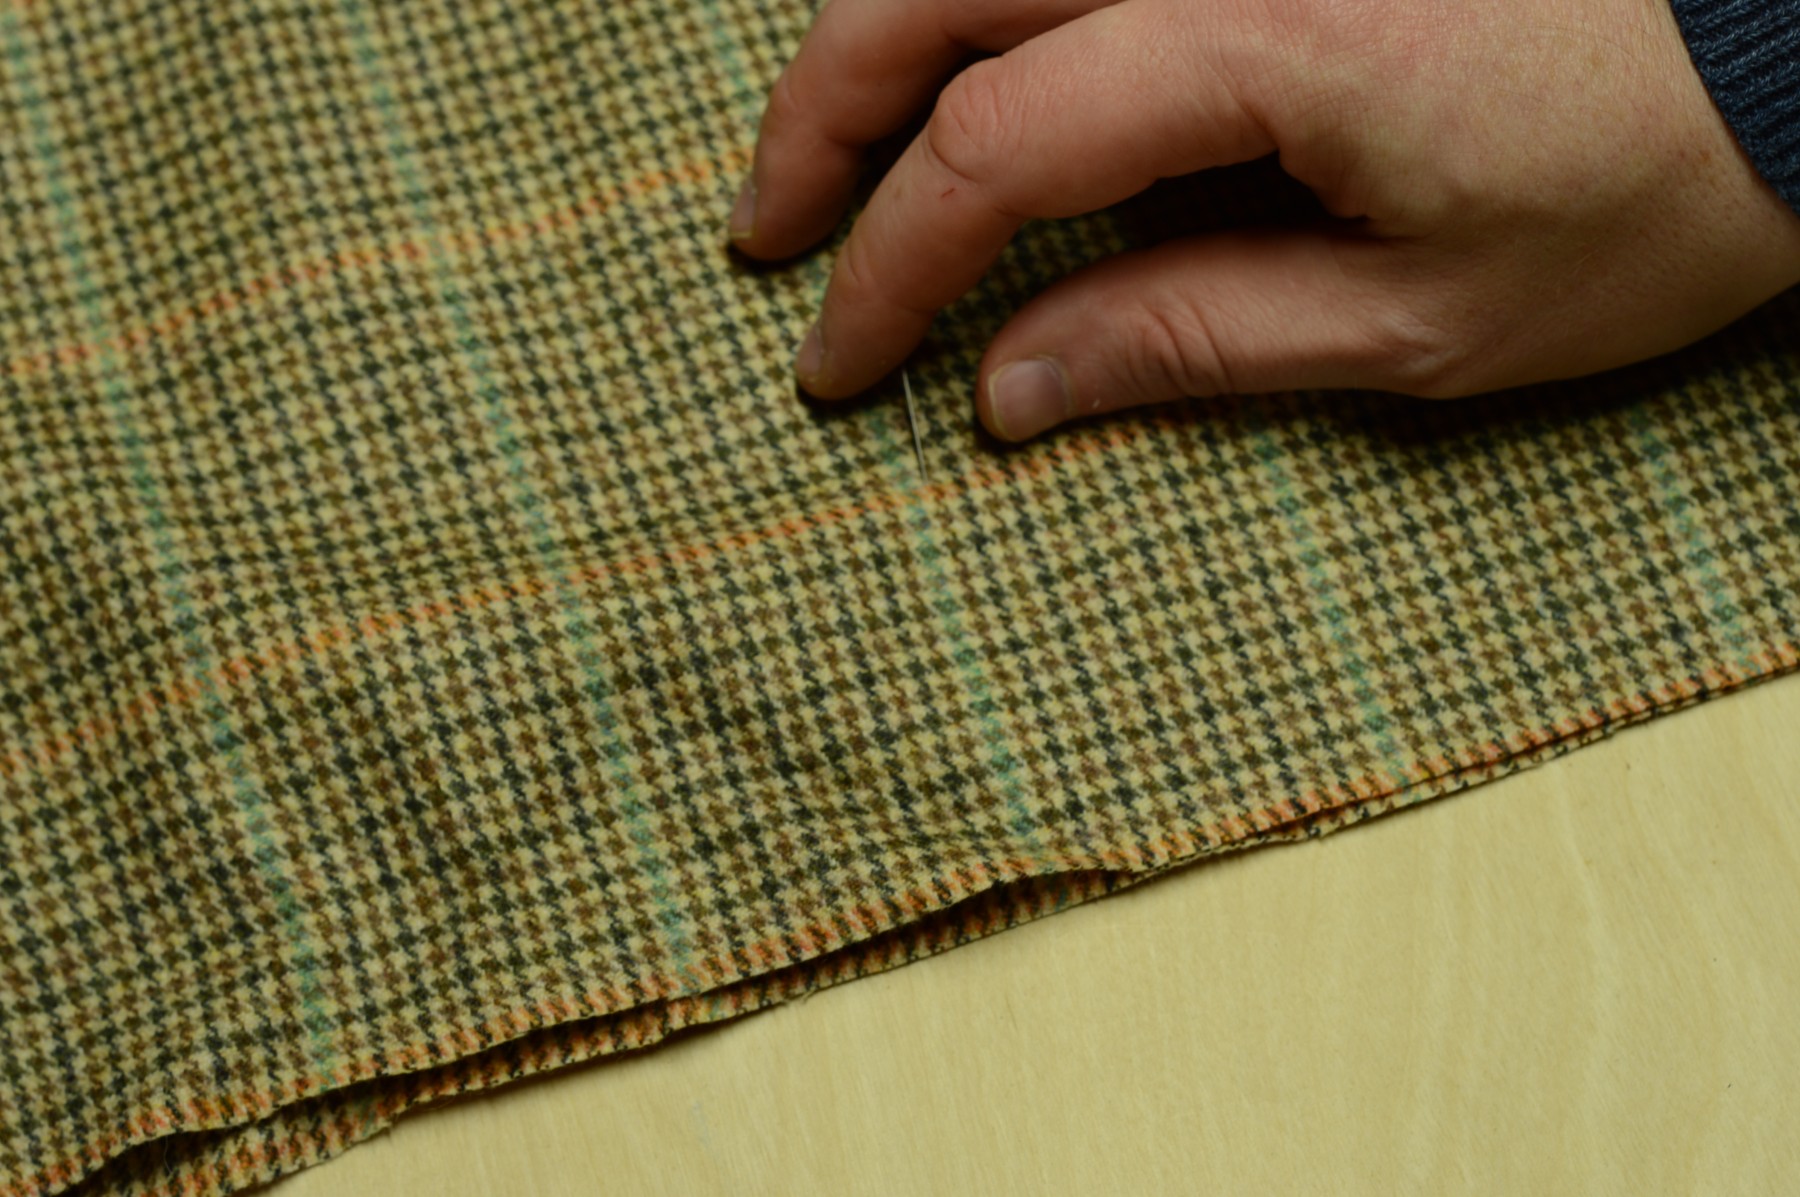
At each intersection, place a single pin, going through the same position in each layer of fabric. Begin along the folded edge, working your way along the length of the fabric. Then start another row parallel to that and so on, continuing until the whole width of the fabric is pinned together.
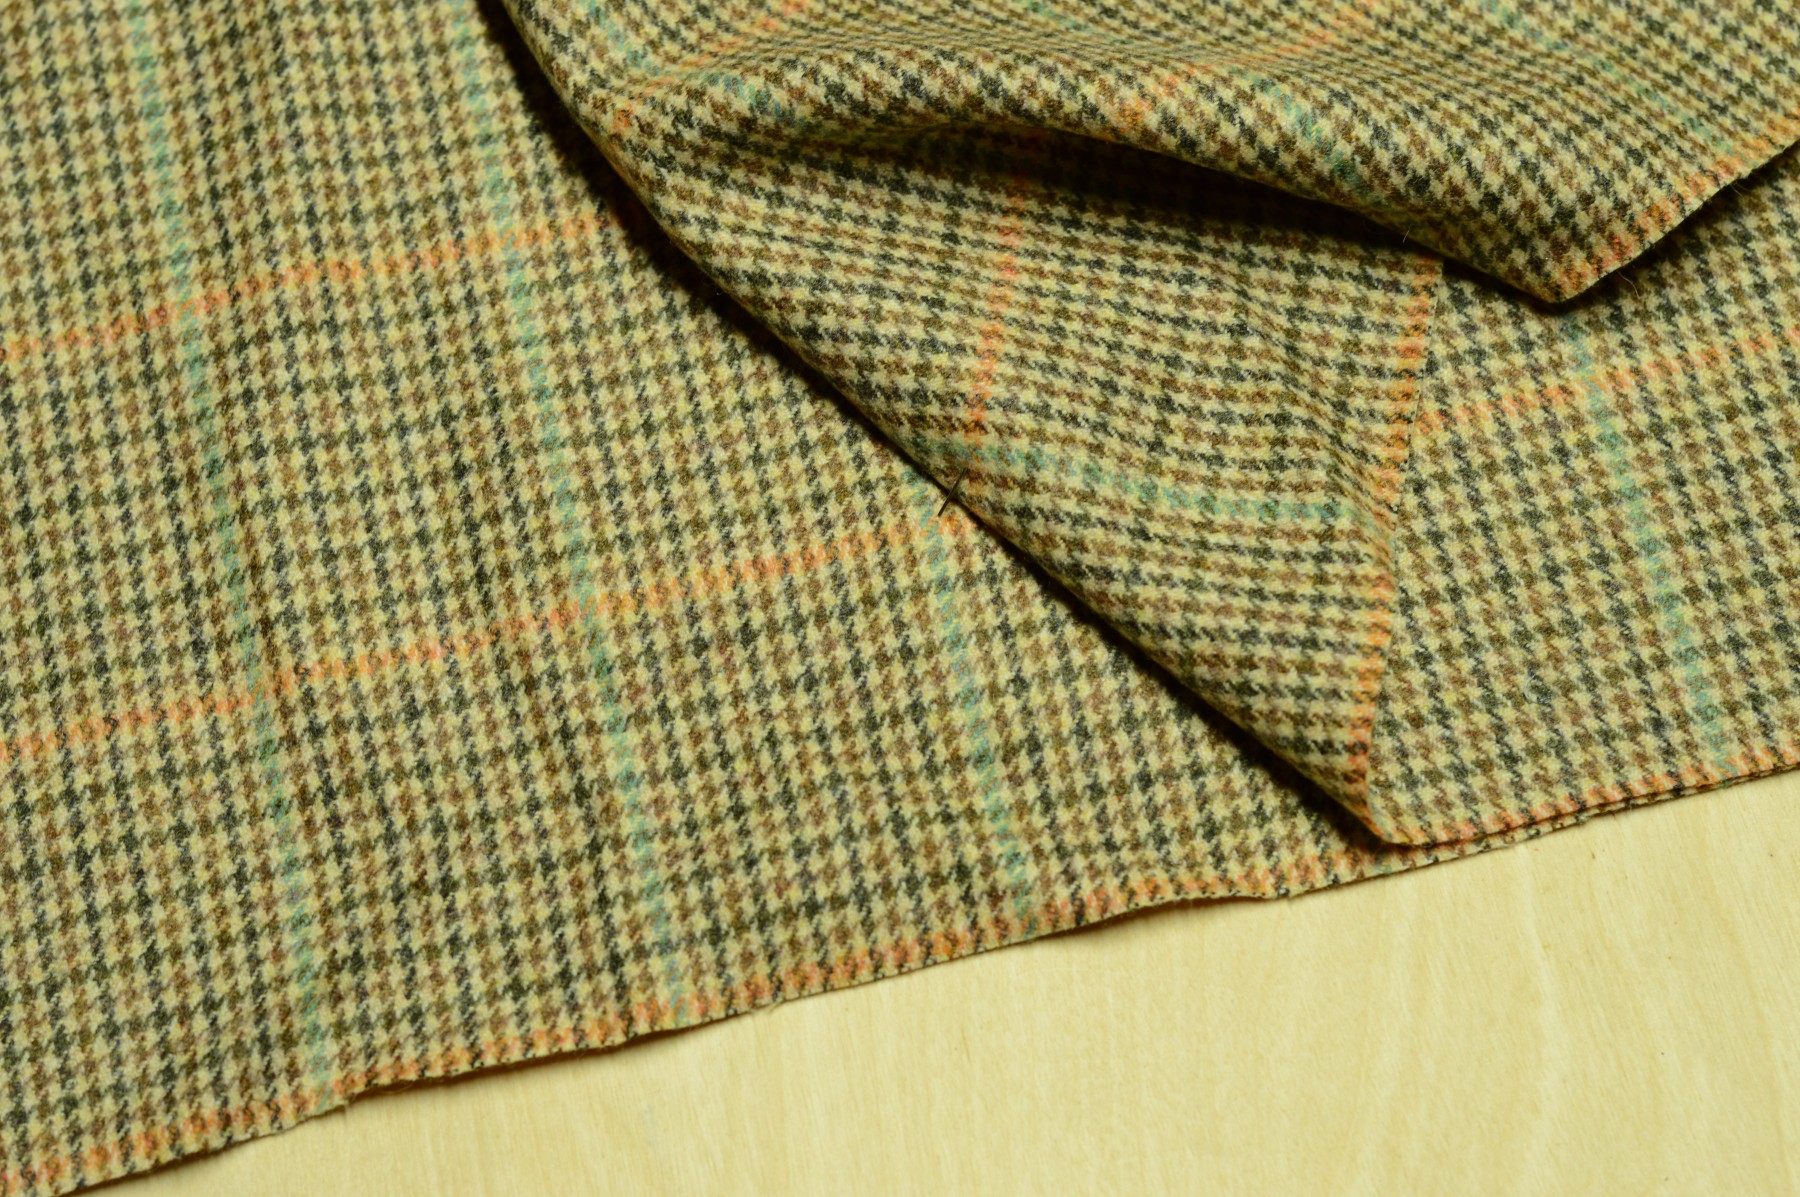
I demonstrate the process better in the following video. Note also that I press the newly formed edge after all the pins are in place.
Preparing the Fabric
Before cutting into your nice woolen or linen fabric, it’s important to prepare the fabric by pre-shrinking in order to avoid shrinkage later after you’ve completed your trousers. There are several different methods you could use, but I’m going to focus on the one that works best for me.
When fabric is woven, there is a certain amount of tension that is put on the yarns in order to keep everything running smoothly on the loom. Our goal is to relax those fibers, with a bit of steam, so that we are free to work on our project without worrying about things shrinking after they are finished.
Lay your fabric out on your work surface or ironing board. For now, I’m using a towel placed on top of my table as a temporary ironing station until I get something better built. The board is underneath to protect the unfinished plywood. As you can see I’m using a basic home iron with a separate spray bottle for more control of the steam.
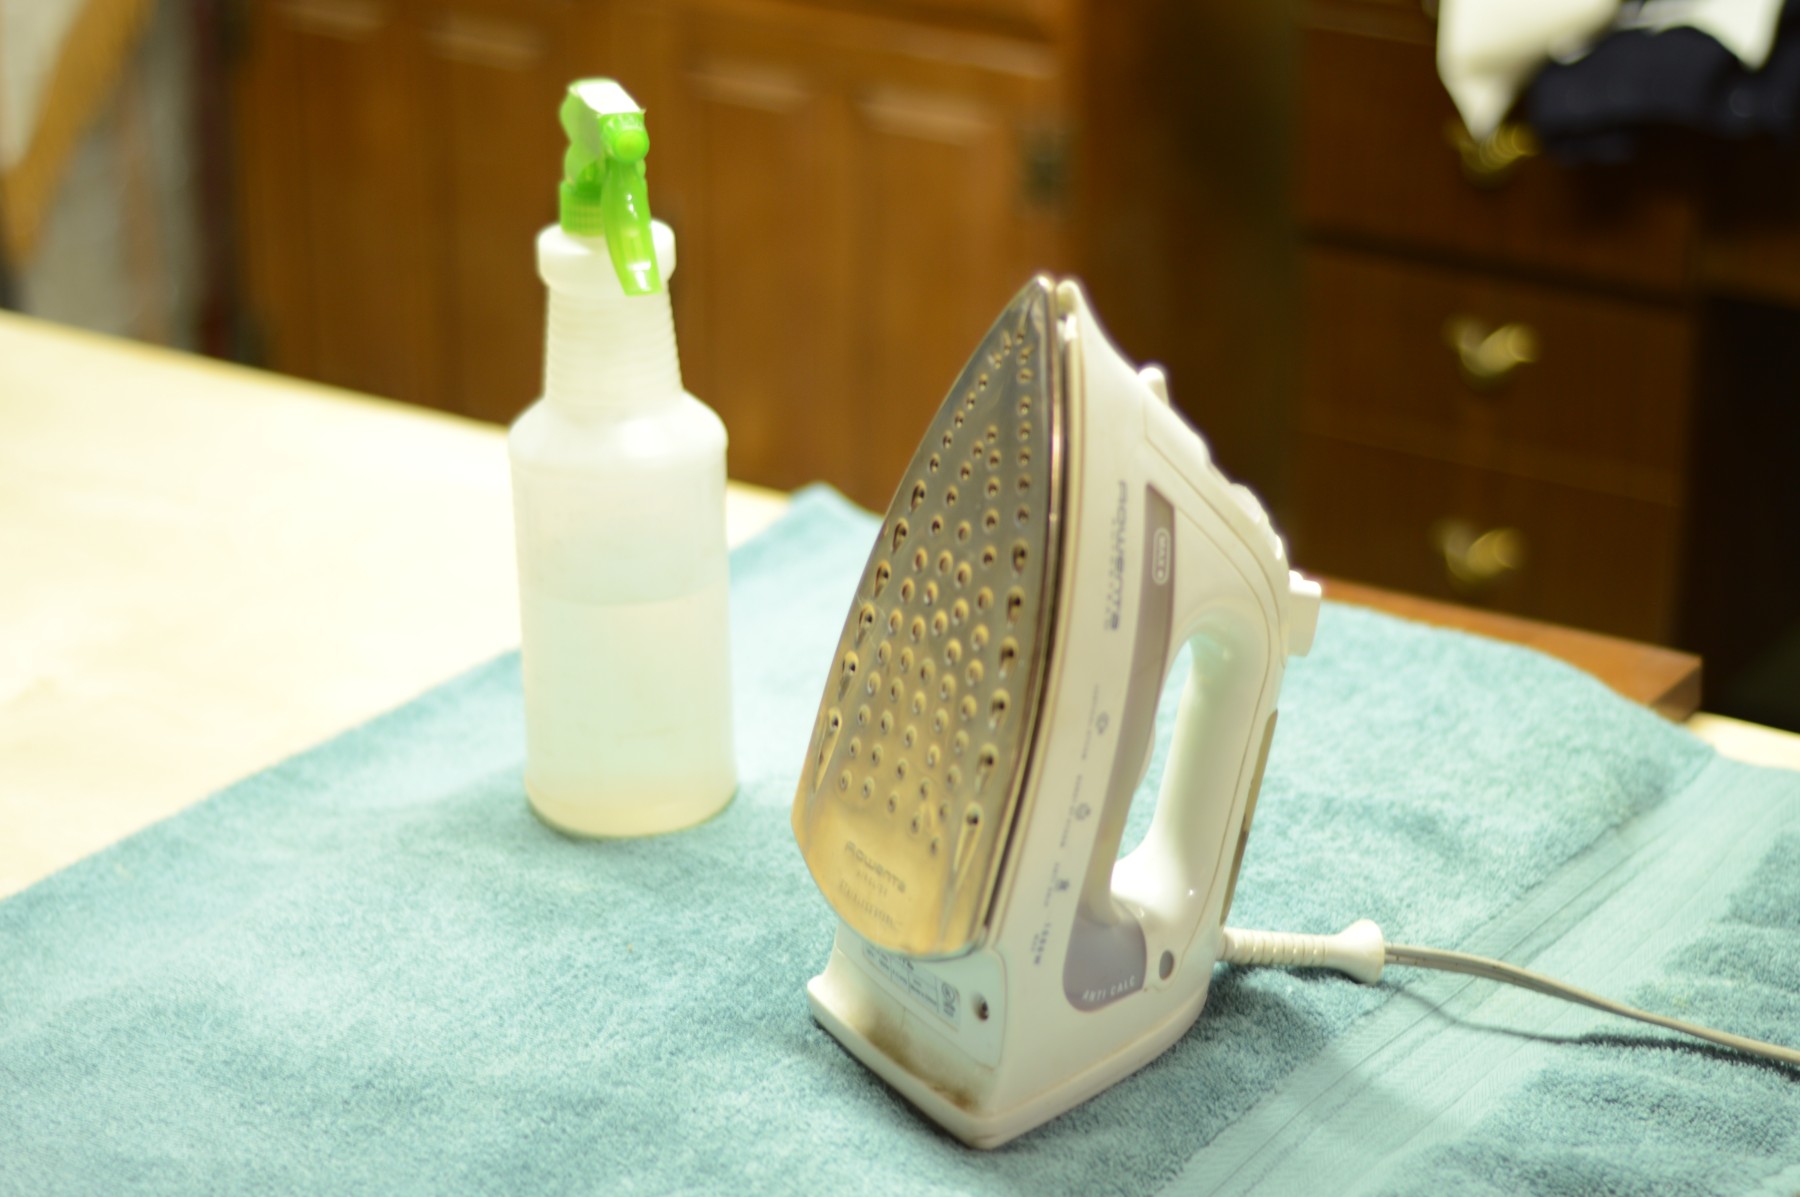
The basic idea is to wet the fabric with the water bottle, just enough to create some steam with the iron. That steam is what will relax the fibers and help get out any wrinkles. As you’re ironing, try to move lengthwise along the fabric in order to prevent stretching the fabric out of shape. Here is a video illustrating the process.