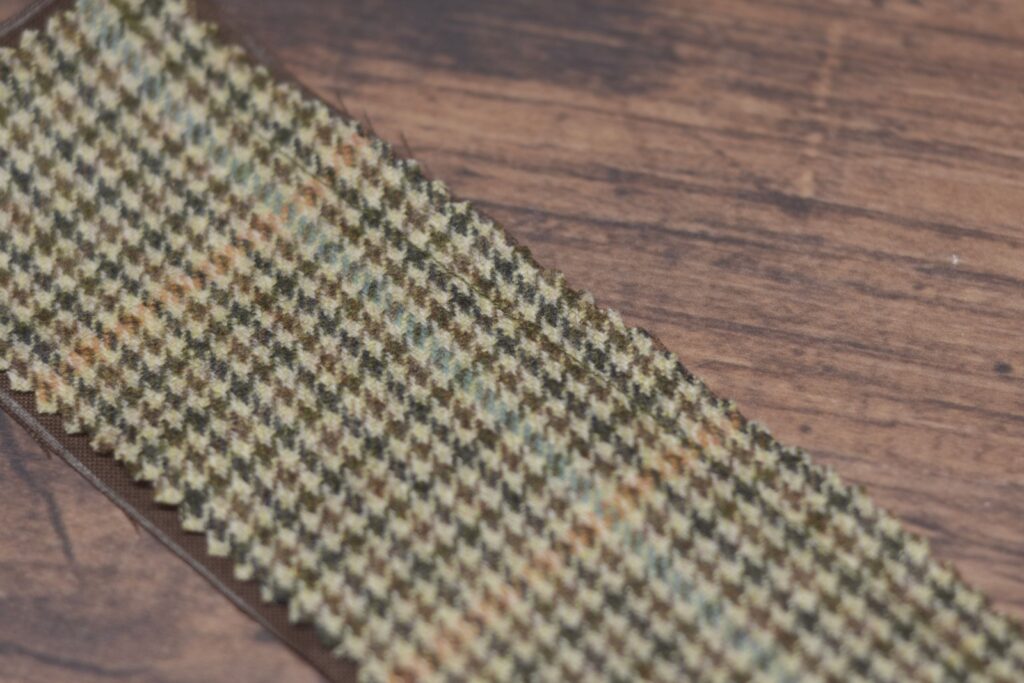
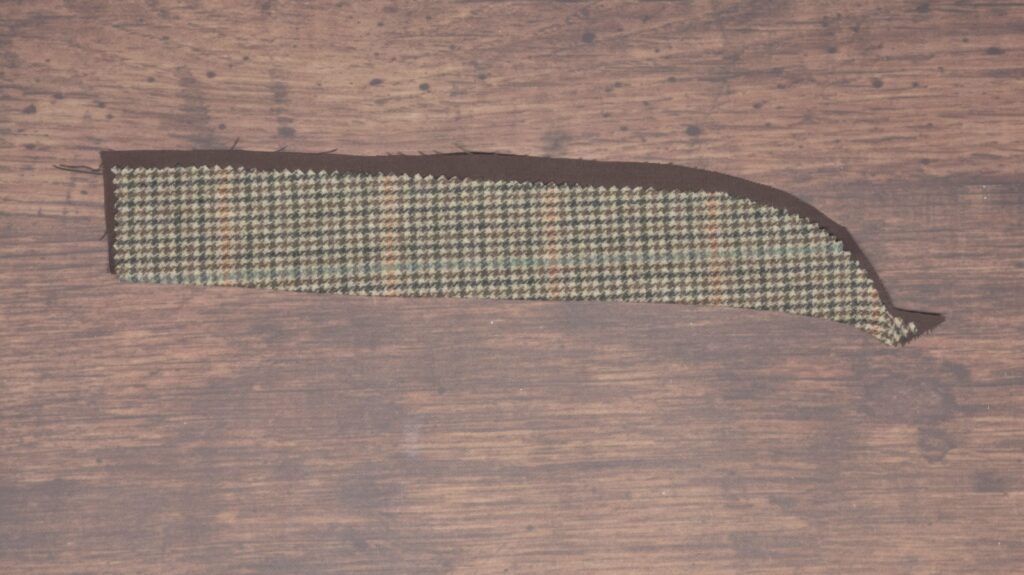
Category: Plain-Cut Trousers
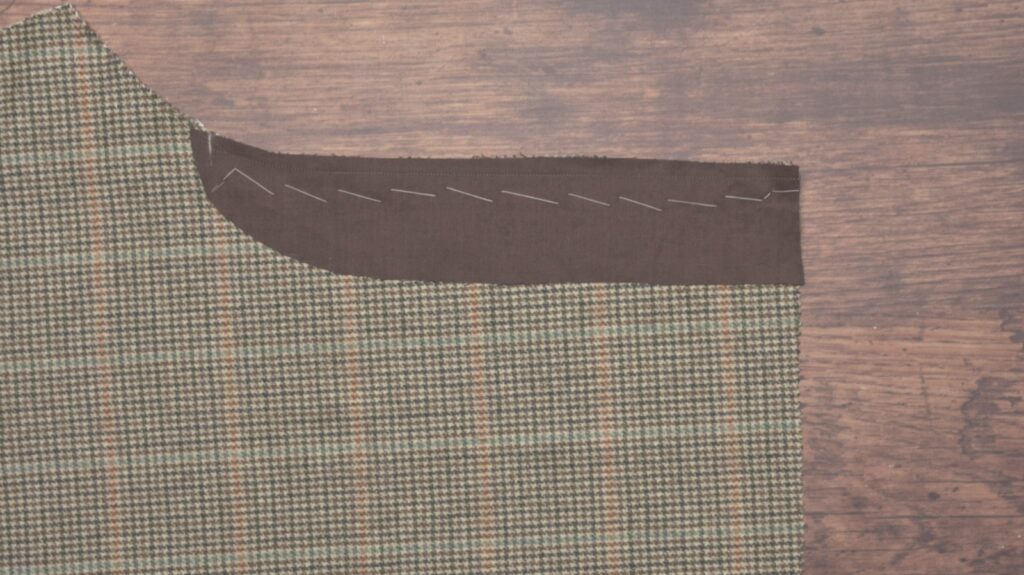
Fly Facing
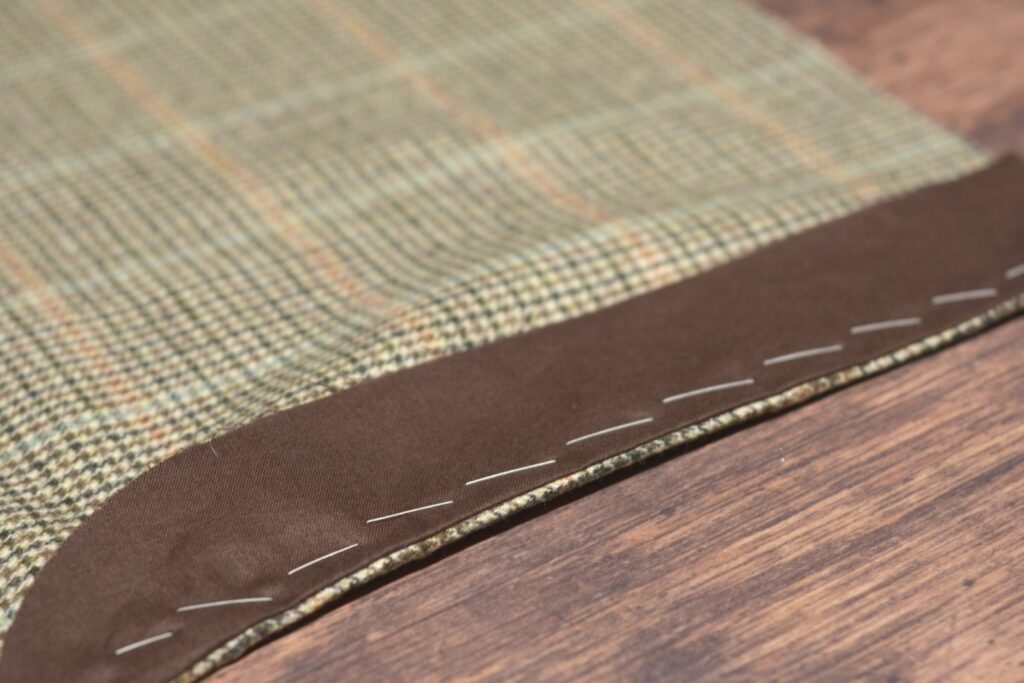
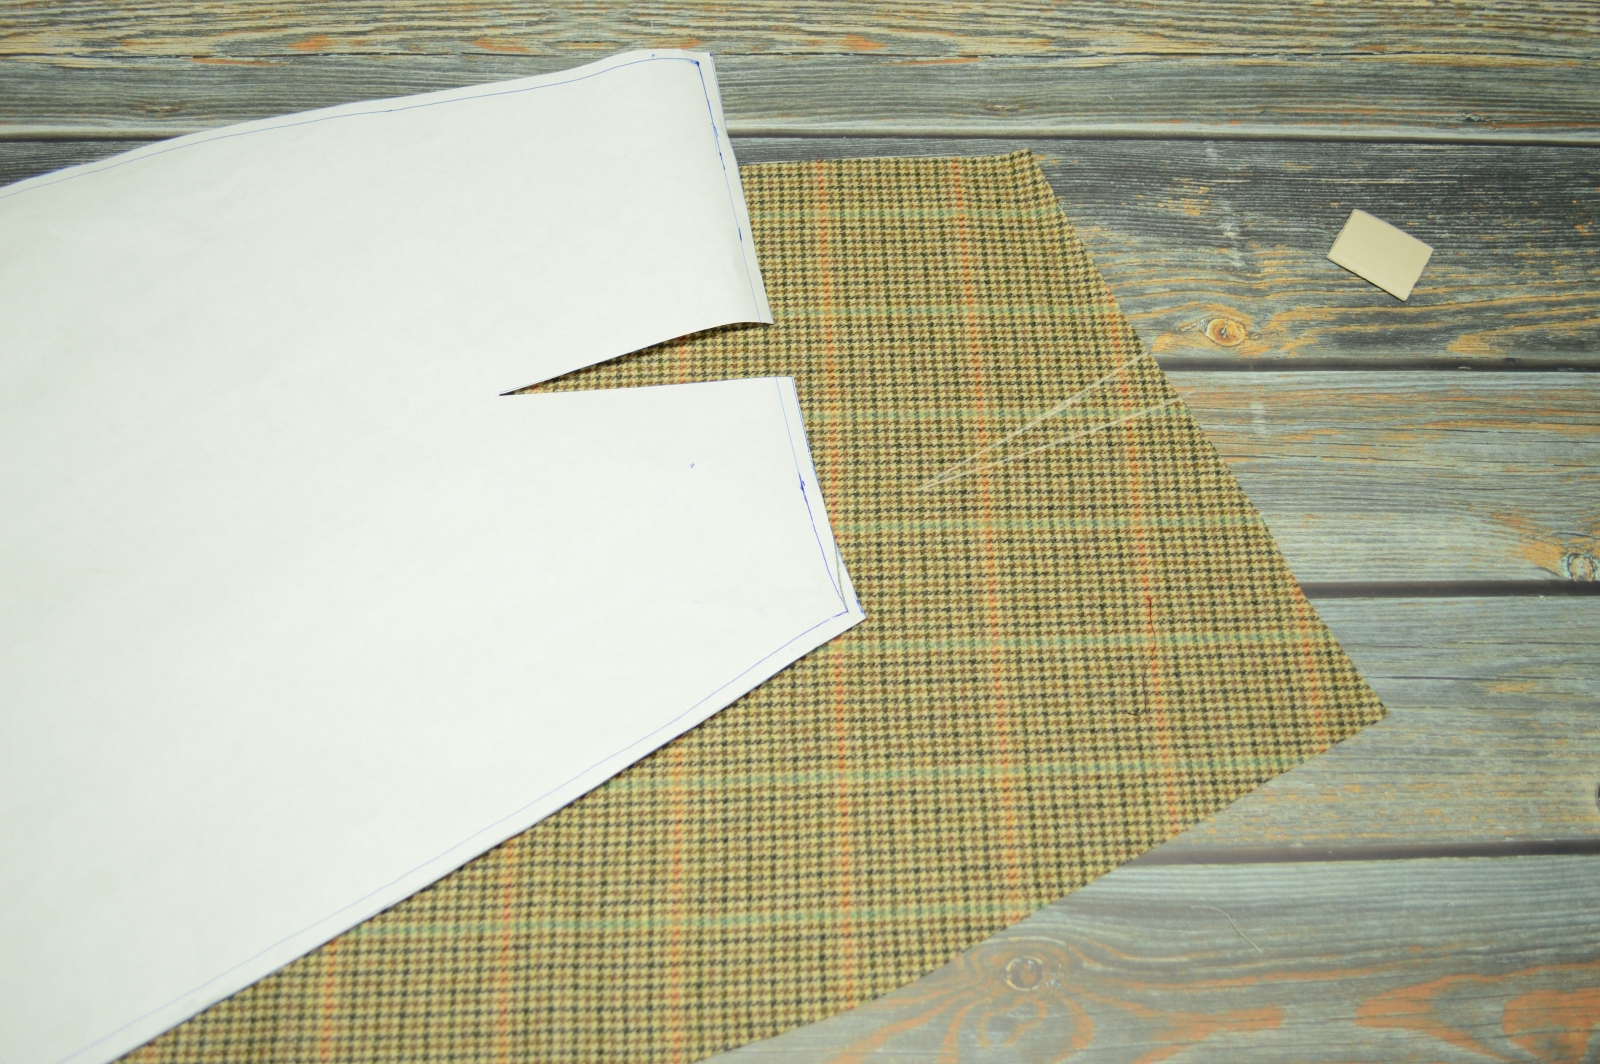
Before attaching the fly to the trouser front, we need to add the fly facing, which will prevent the buttons from wearing through the front of the trousers. You’ll need one fly lining piece as well as an optional length of stay tape.
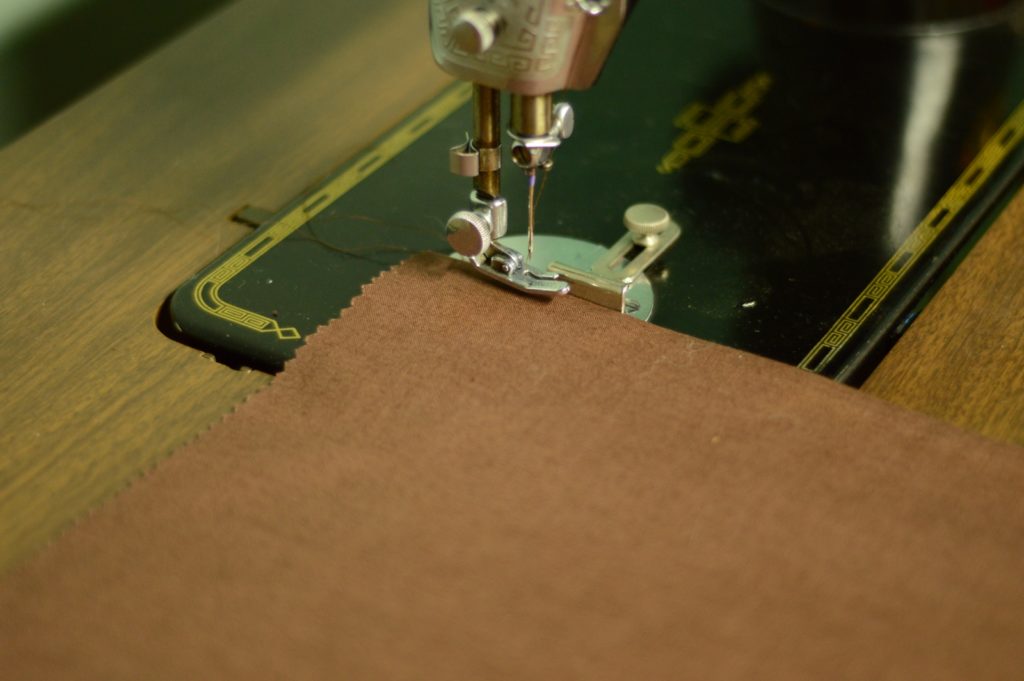
Baste the lining fabric to the front of the trouser, right sides together.
Mark the seam allowance at the bottom of the fly facing, 1/4″ from the bottom.
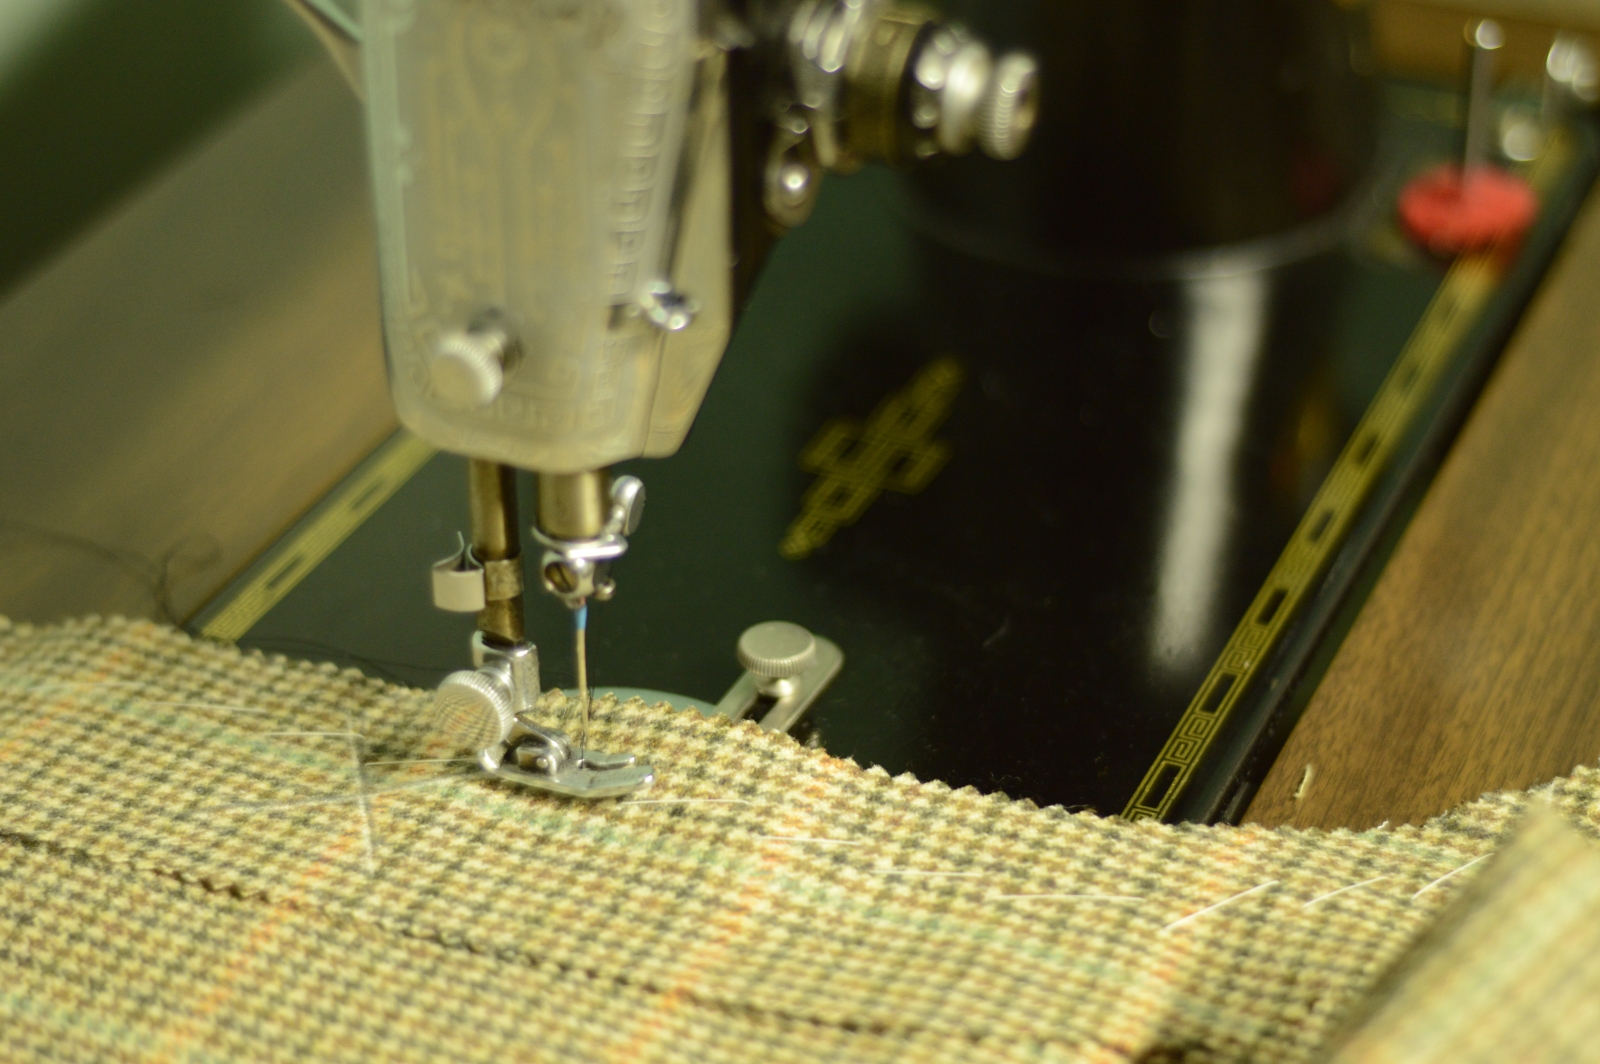
Machine or back stitch the fly facing to the trouser front, from the mark to the top of the fly.
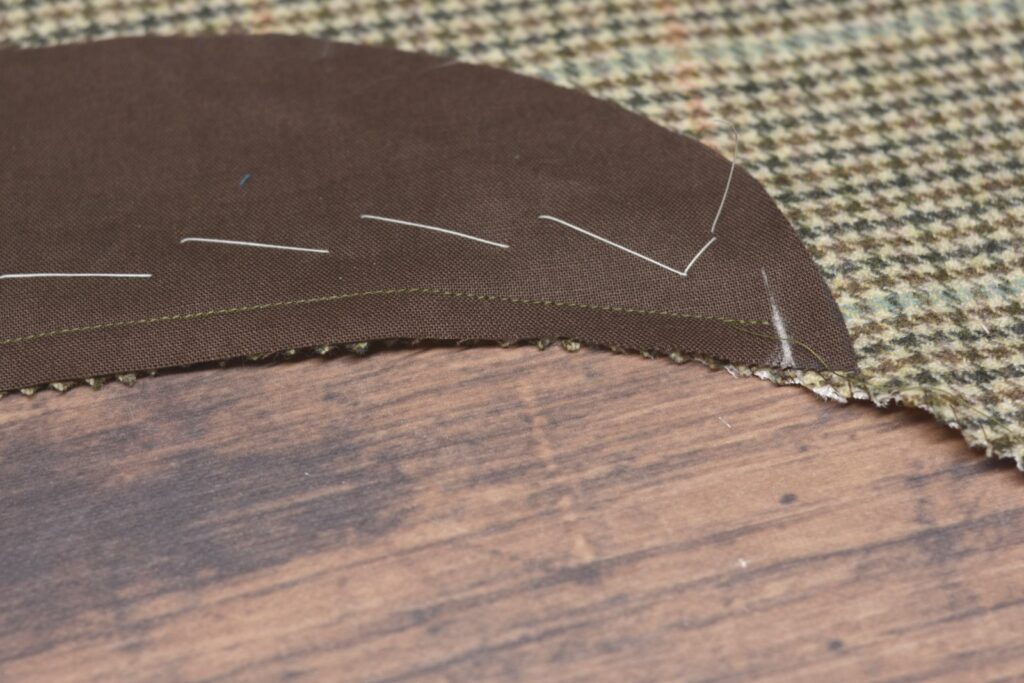
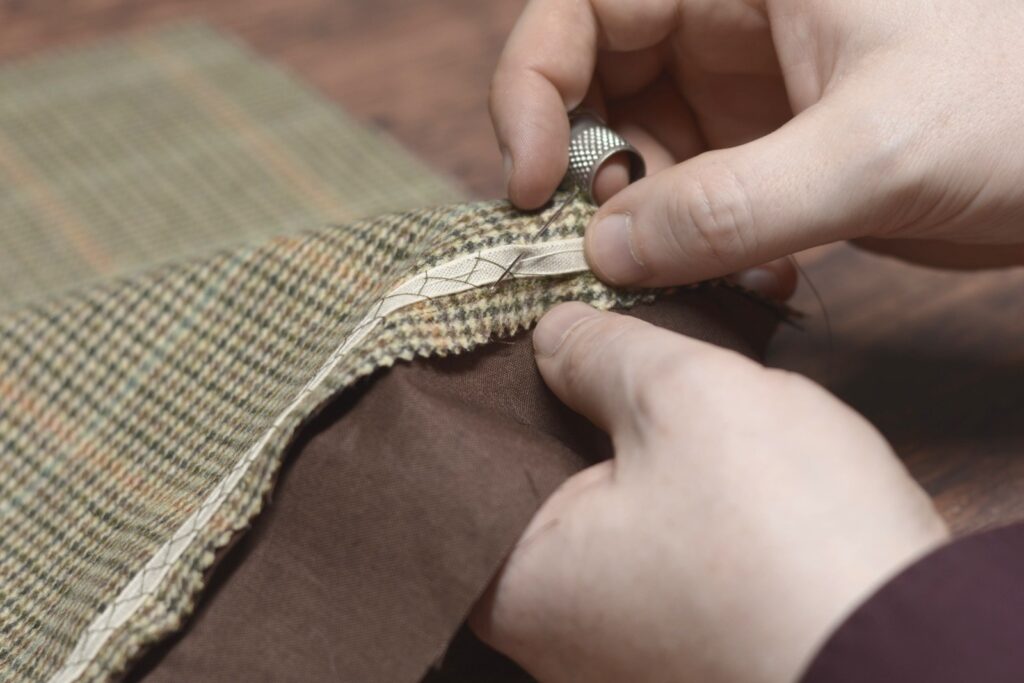
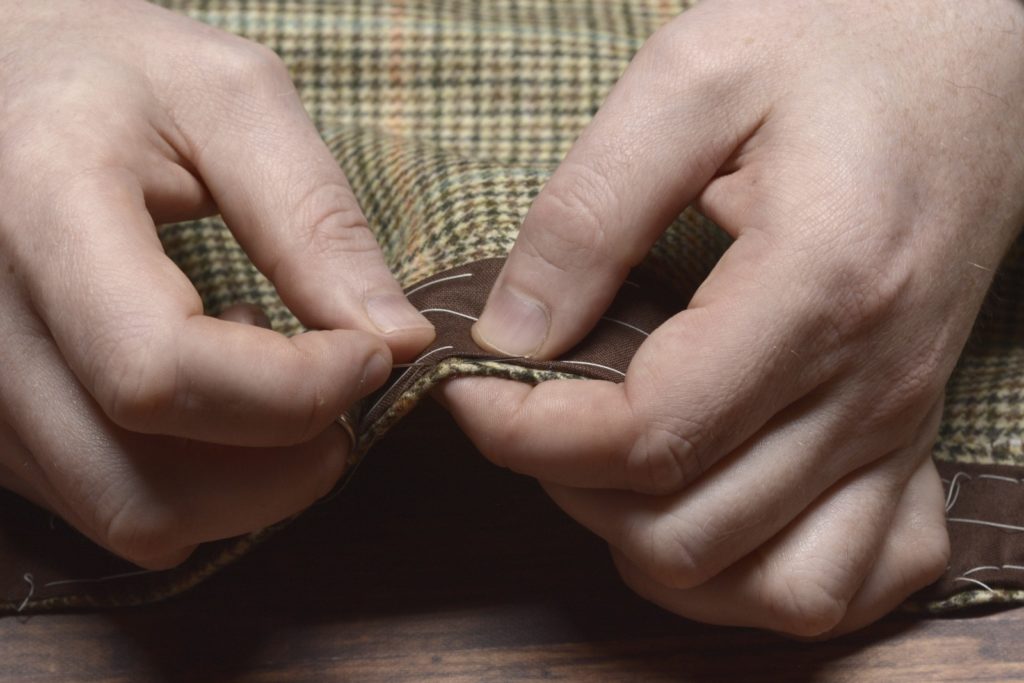
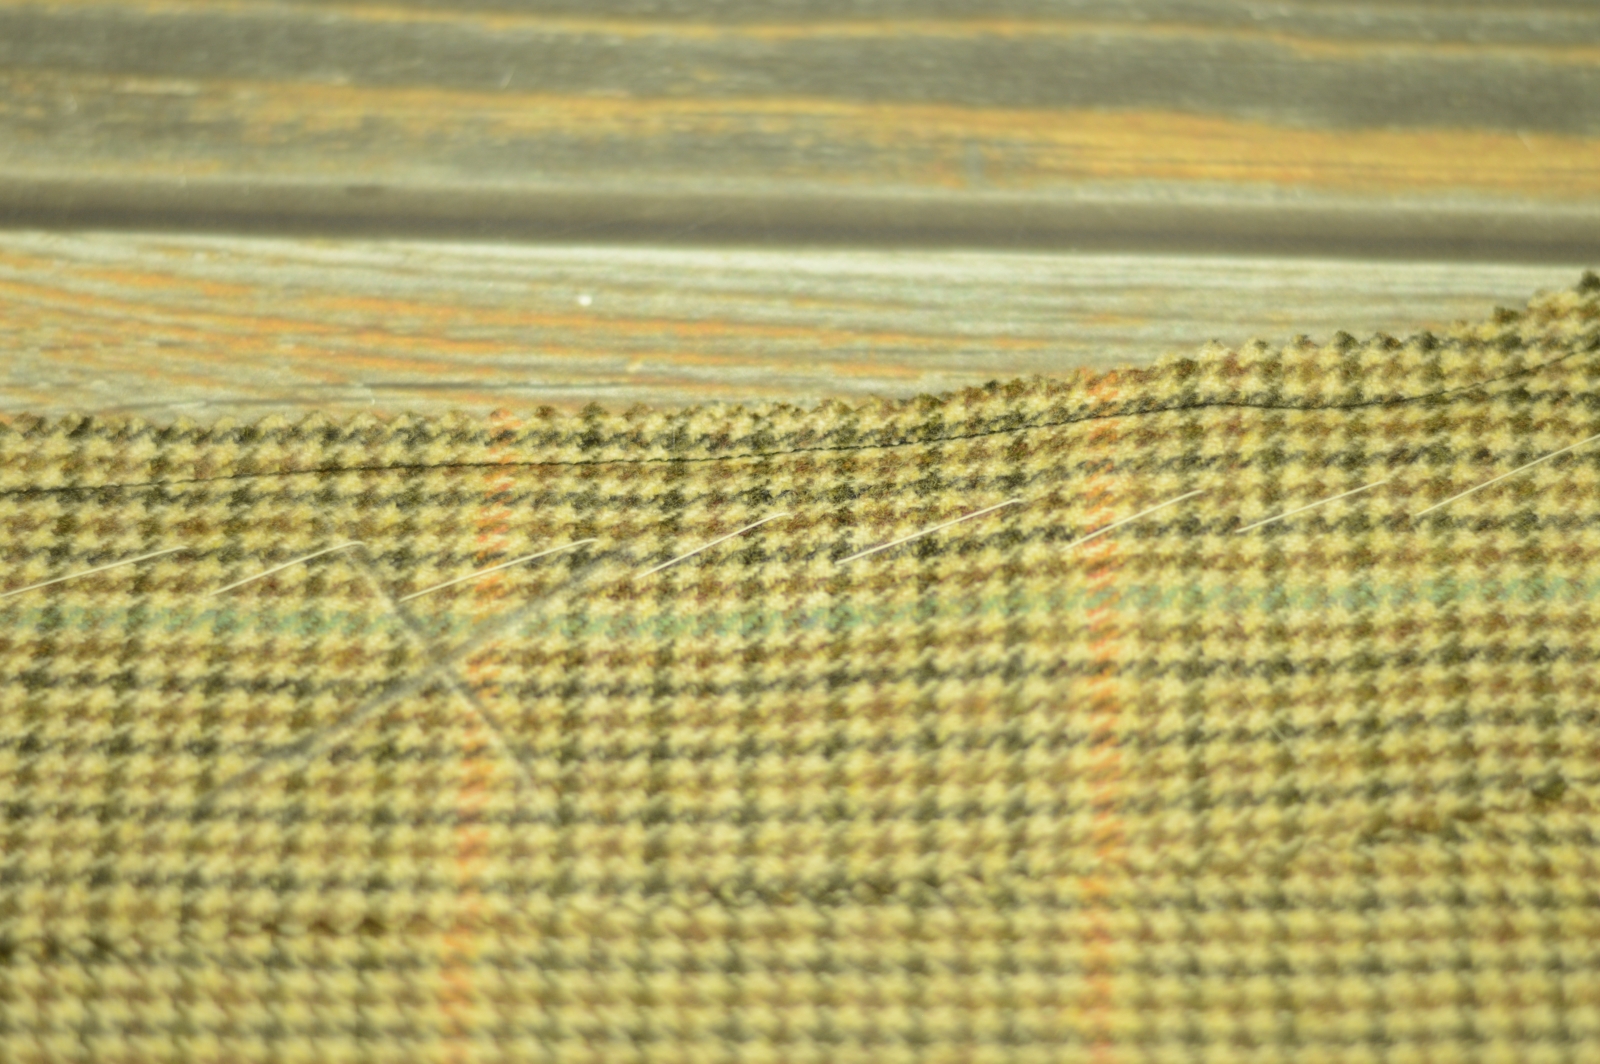
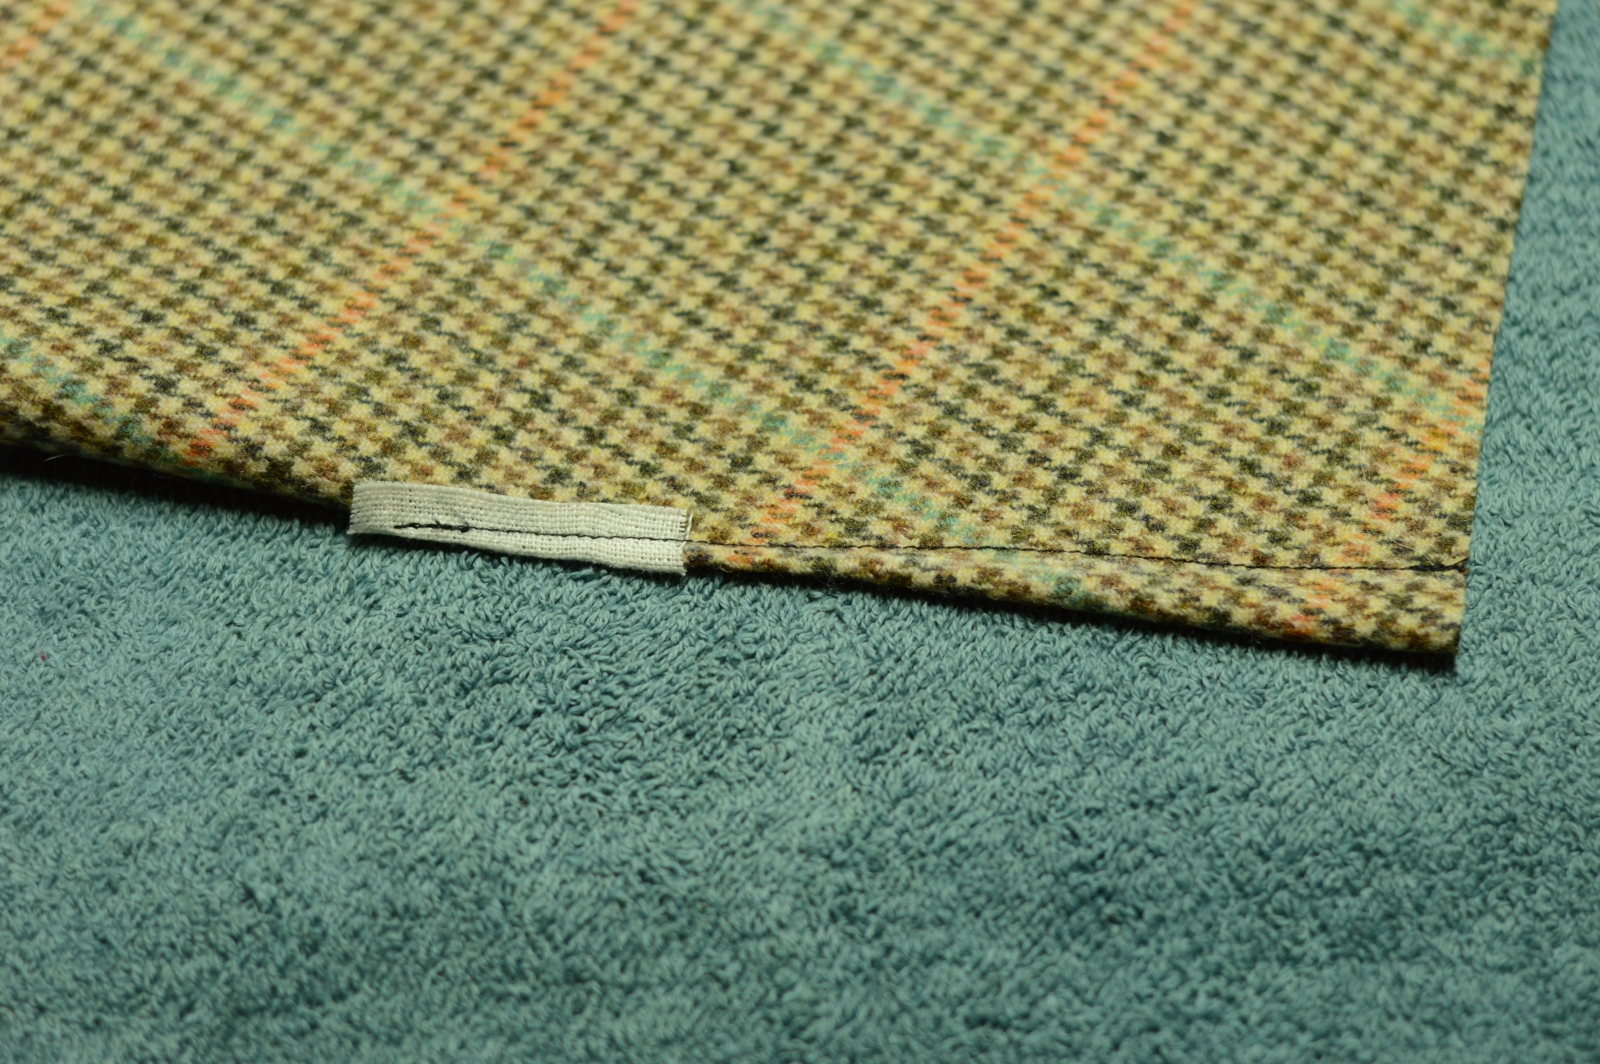
Remove the basting stitches, and open up the seam with your fingers. On the wrong side, baste in the optional stay tape about 1/16th from the stitch line.
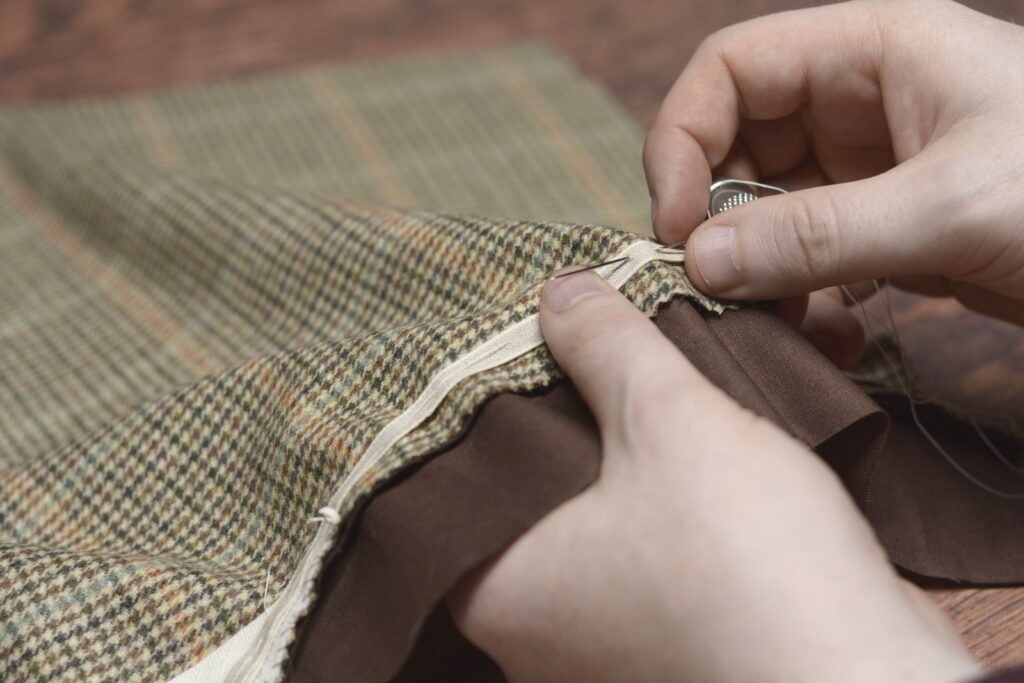
As you get towards the bottom of the fly, hold the stay tape with more tension than the fabric underneath, continuing to baste as you go. This will serve to pull the fly area in towards the body.
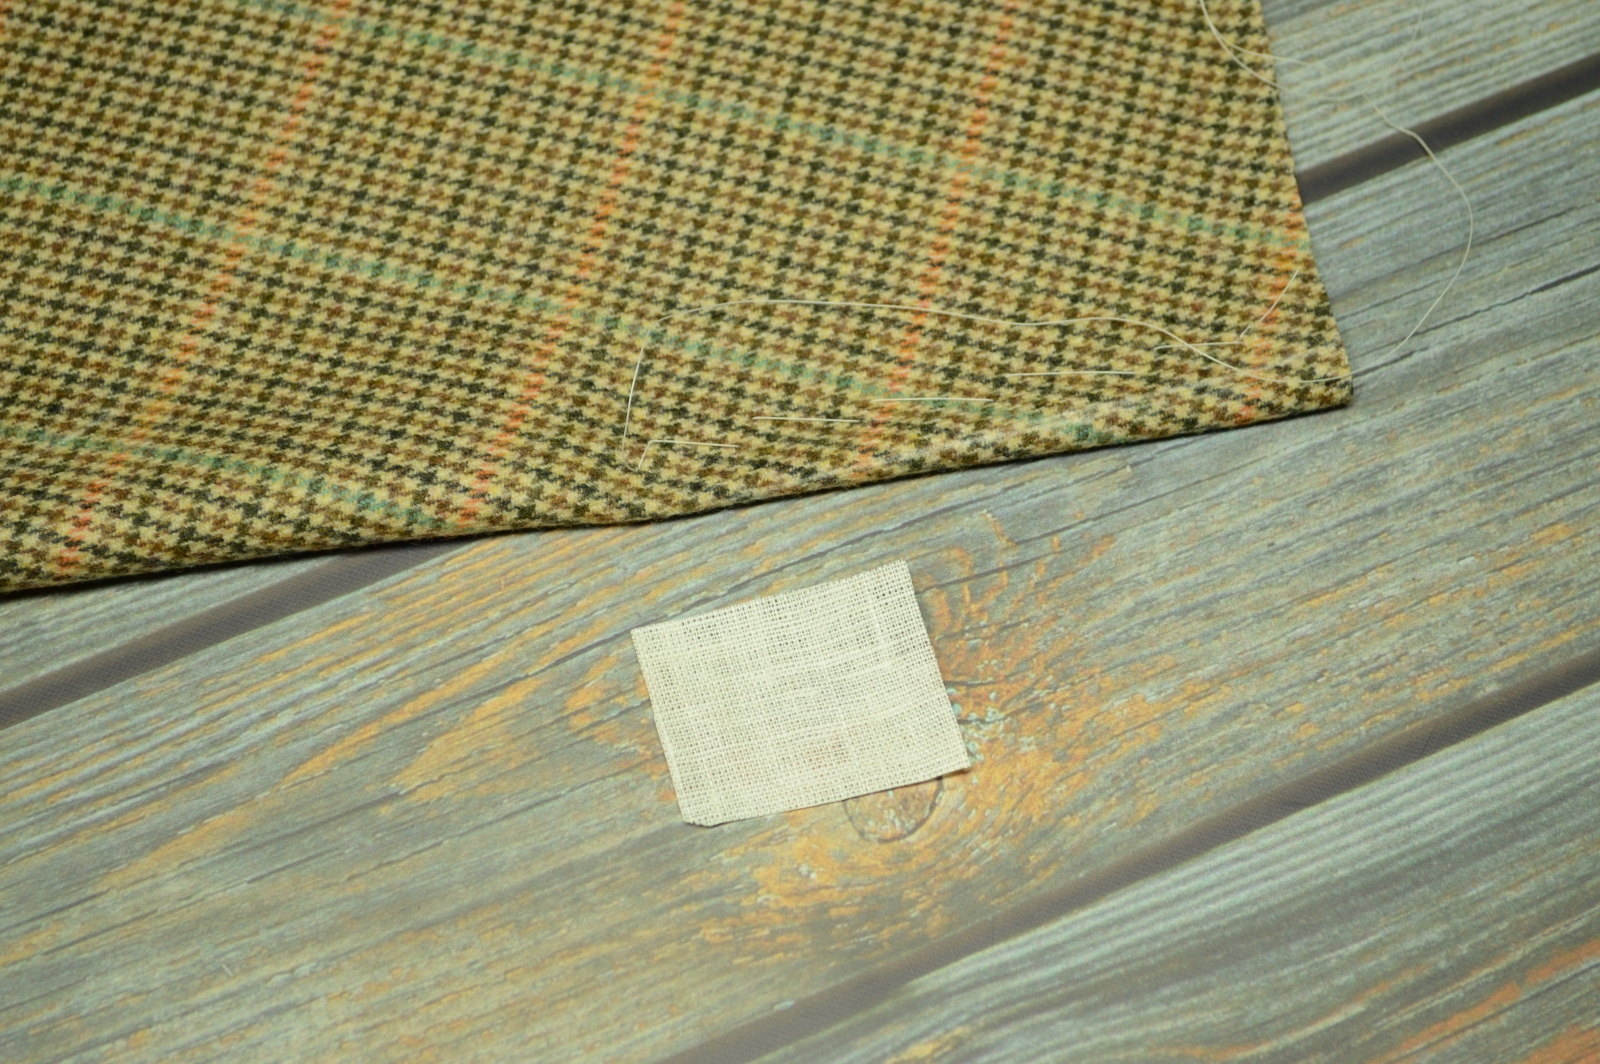
Trim off the excess stay tape along the bottom and top as necessary, even with the stitching.
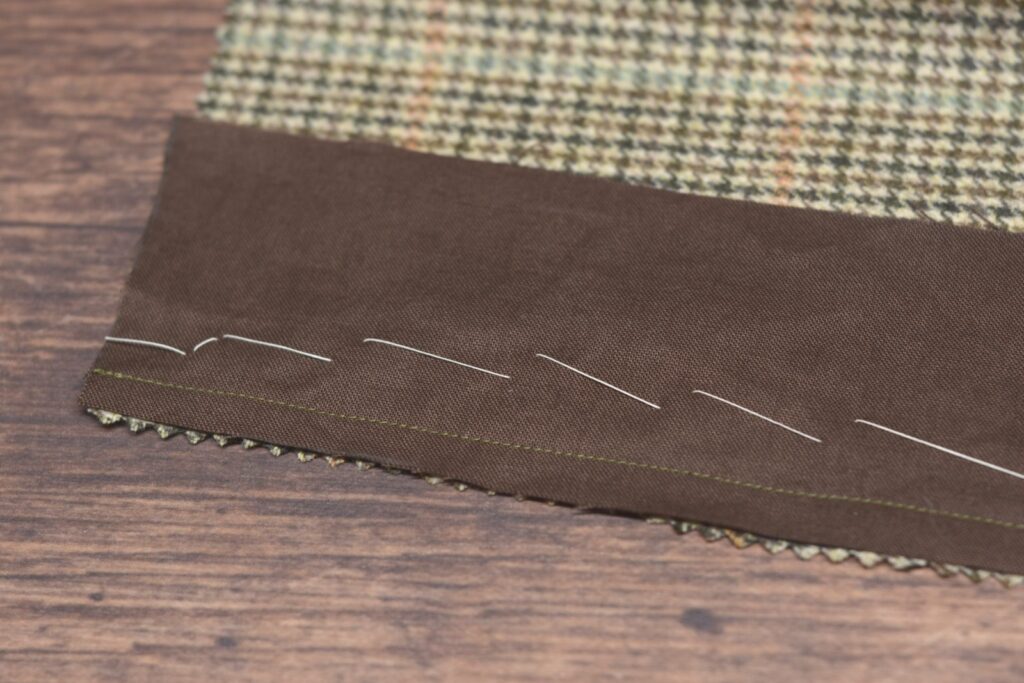
Now cross stitch the stay tape to the trouser front, being careful not to let the stitches show through to the right side.
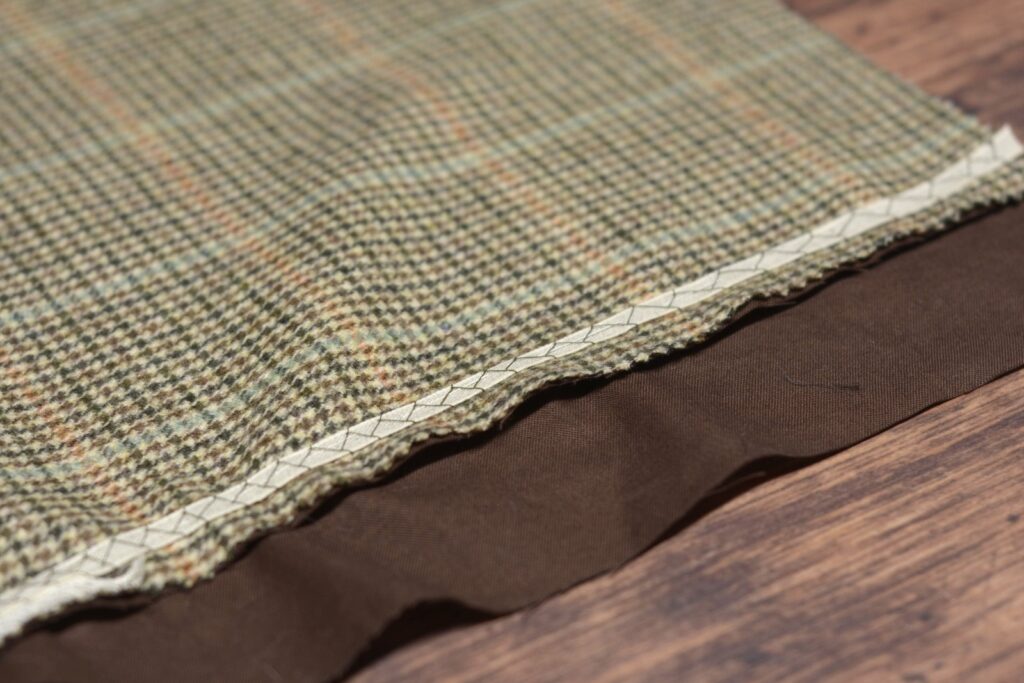
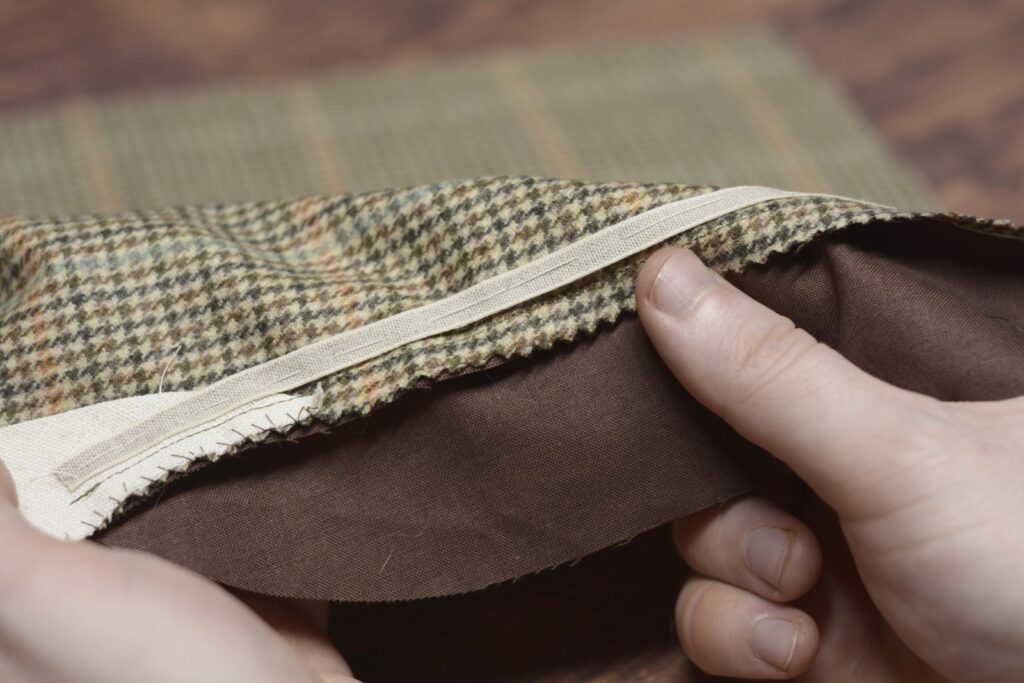
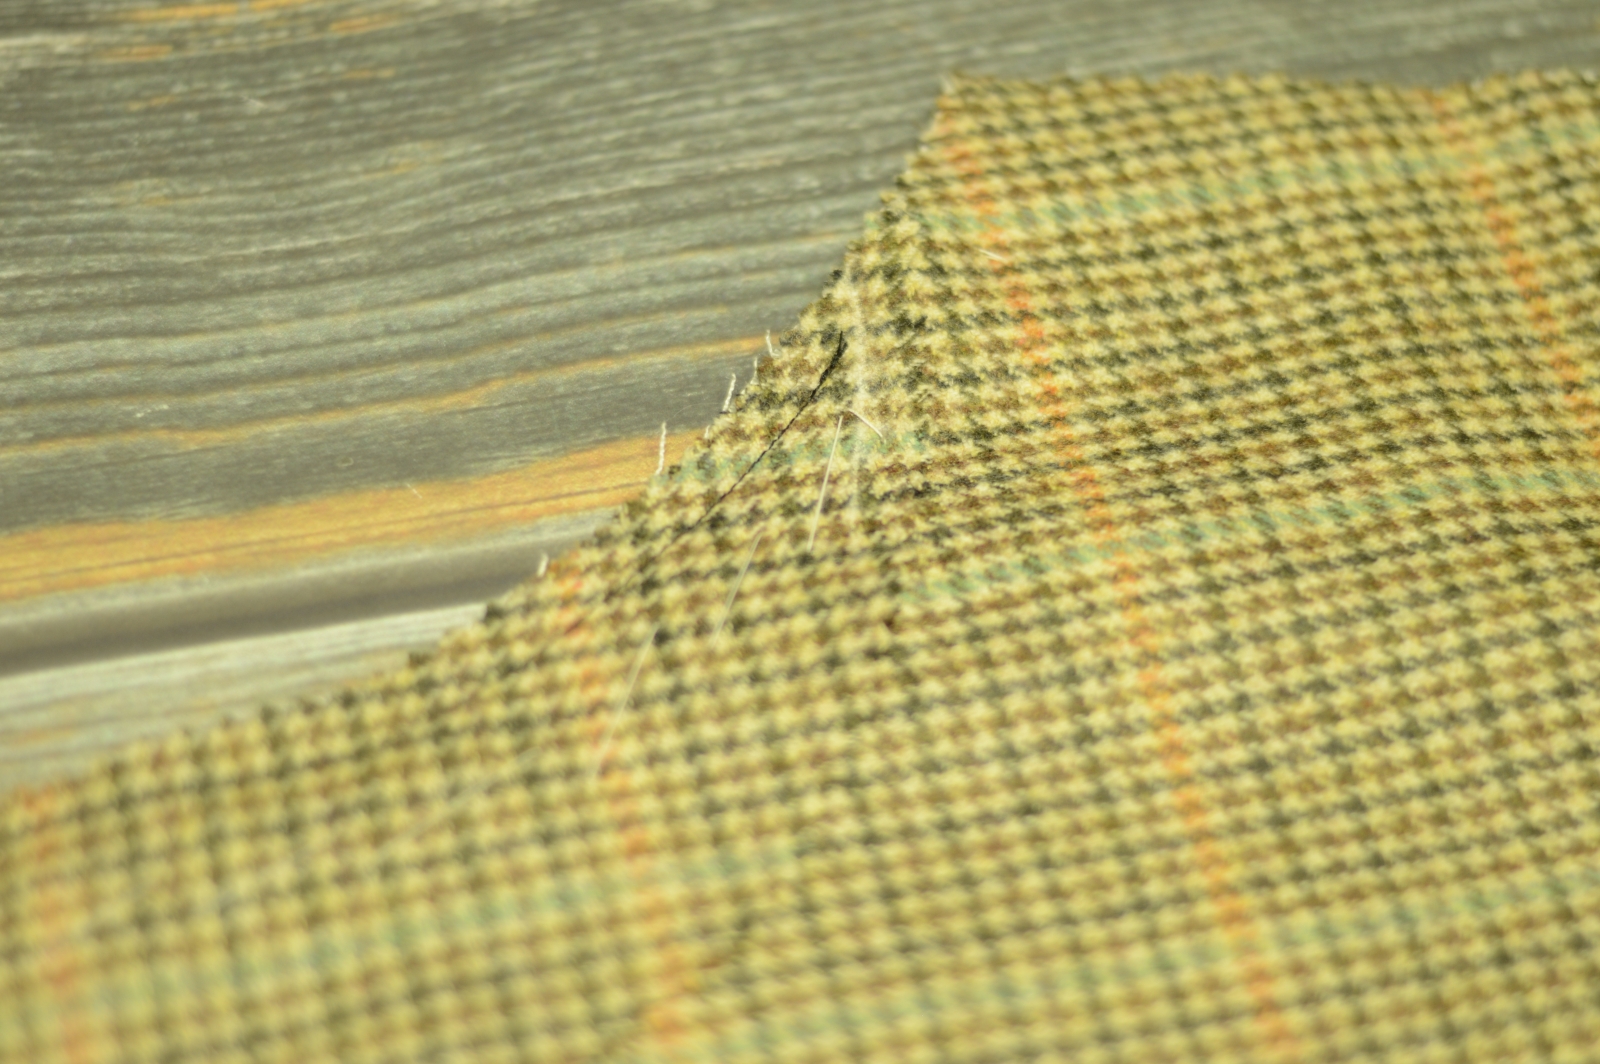
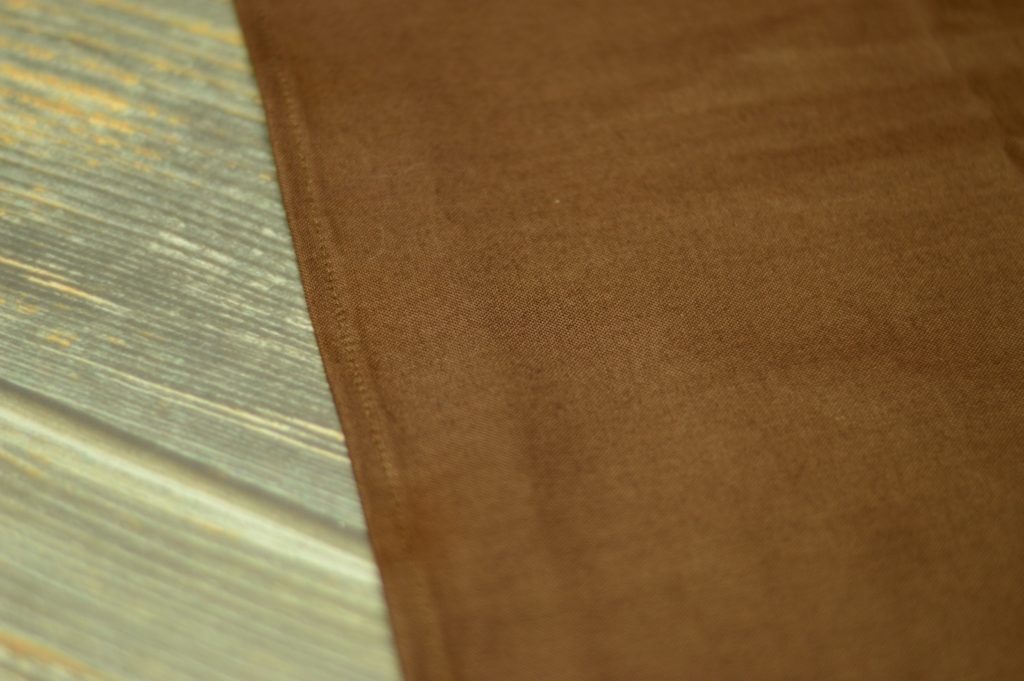
With the tape stitched in, fold the fly facing back into place, allowing the facing to be rolled back 1/16th or so away from the front edge. Baste securely in place.
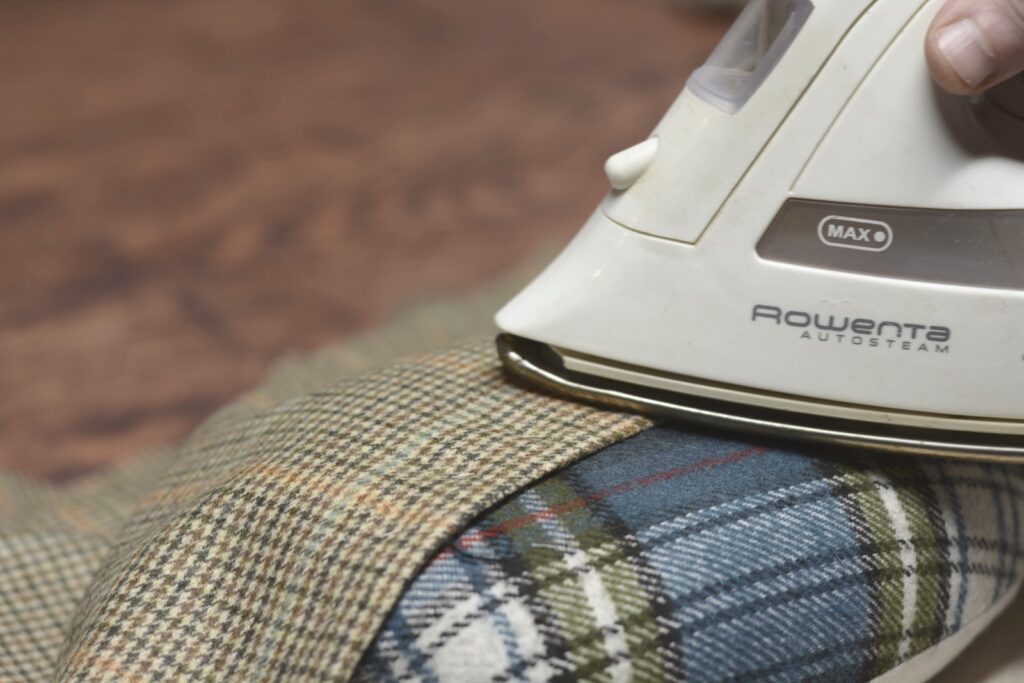
Now press using a tailor’s ham so as not to disturb the fulled in section. You’ll want to smooth out any wrinkles that formed when you held the stay tape tightly to the fabric.
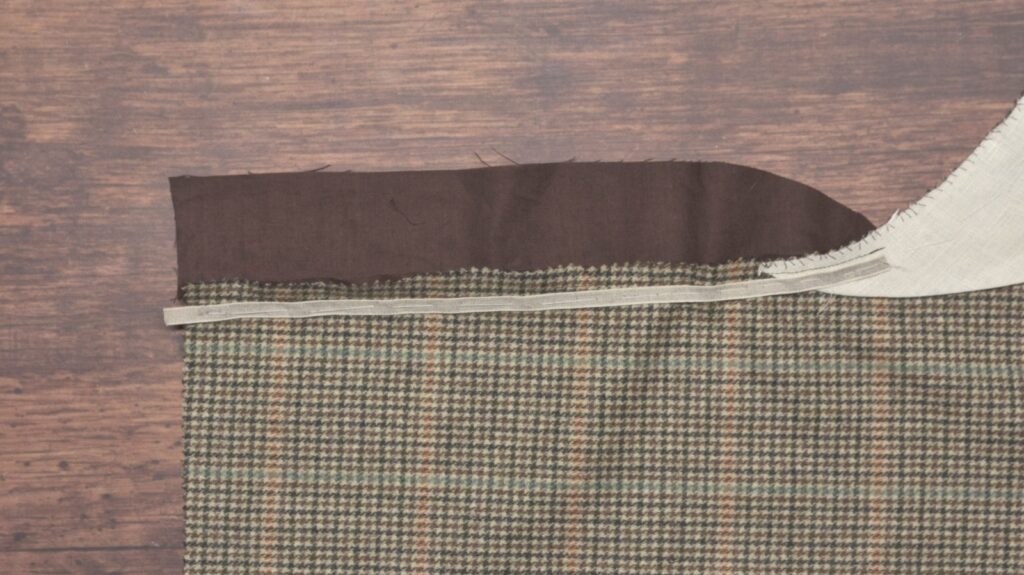
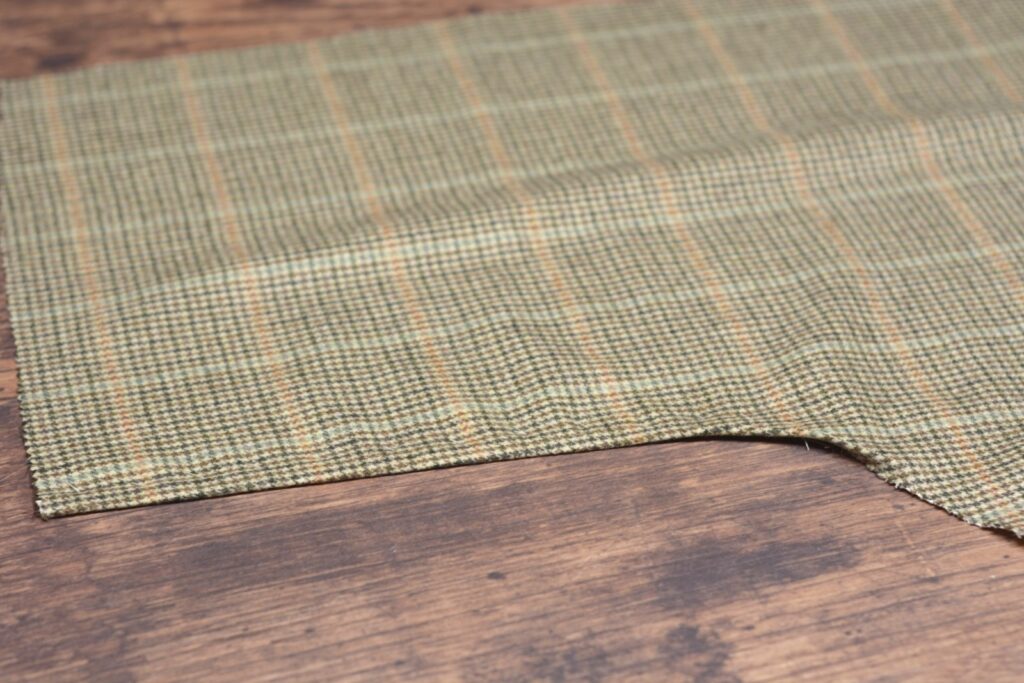
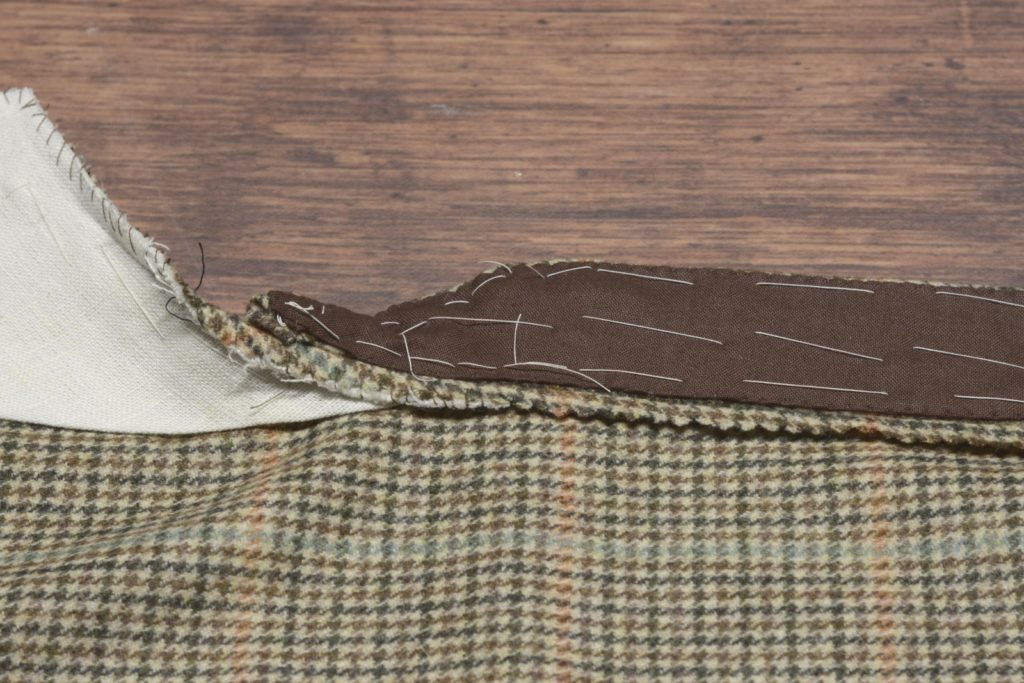
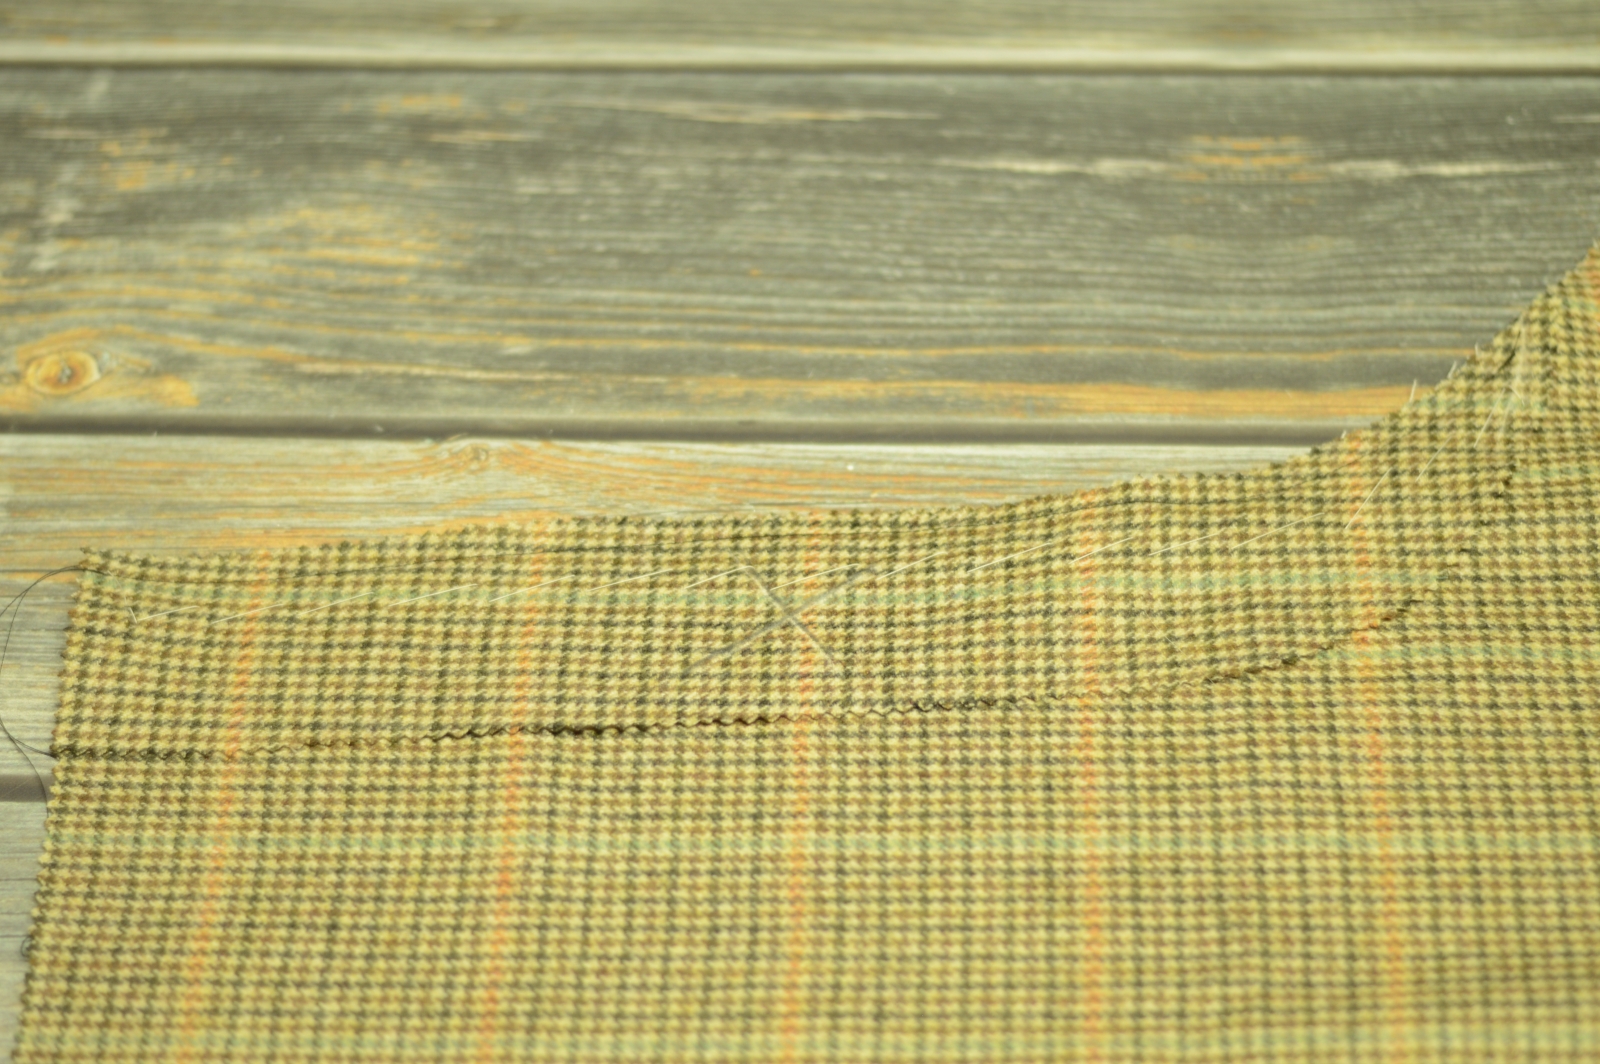
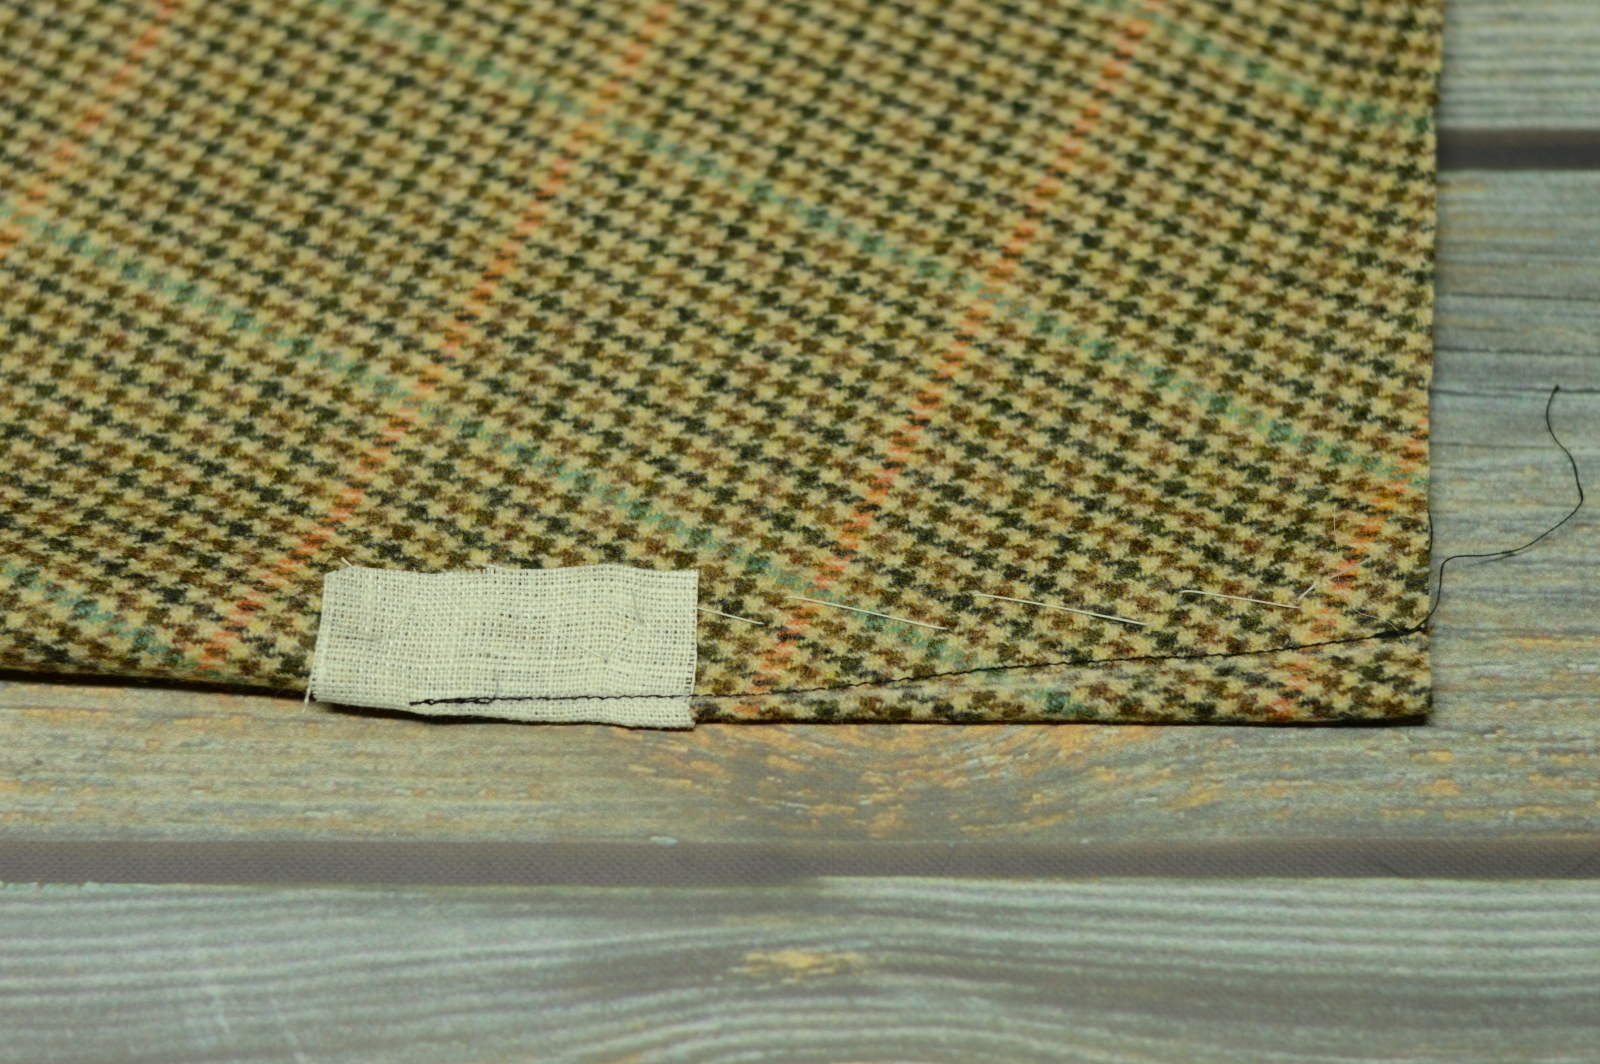
Here’s the completed fly facing. Notice how it naturally pulls in towards itself near the bottom of the fly.
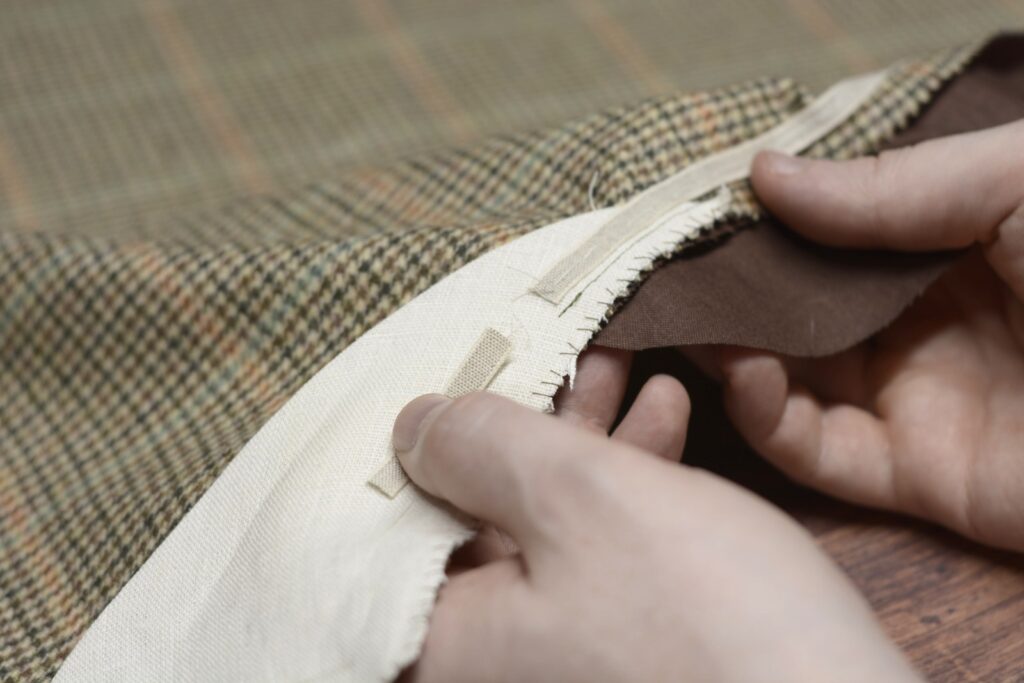
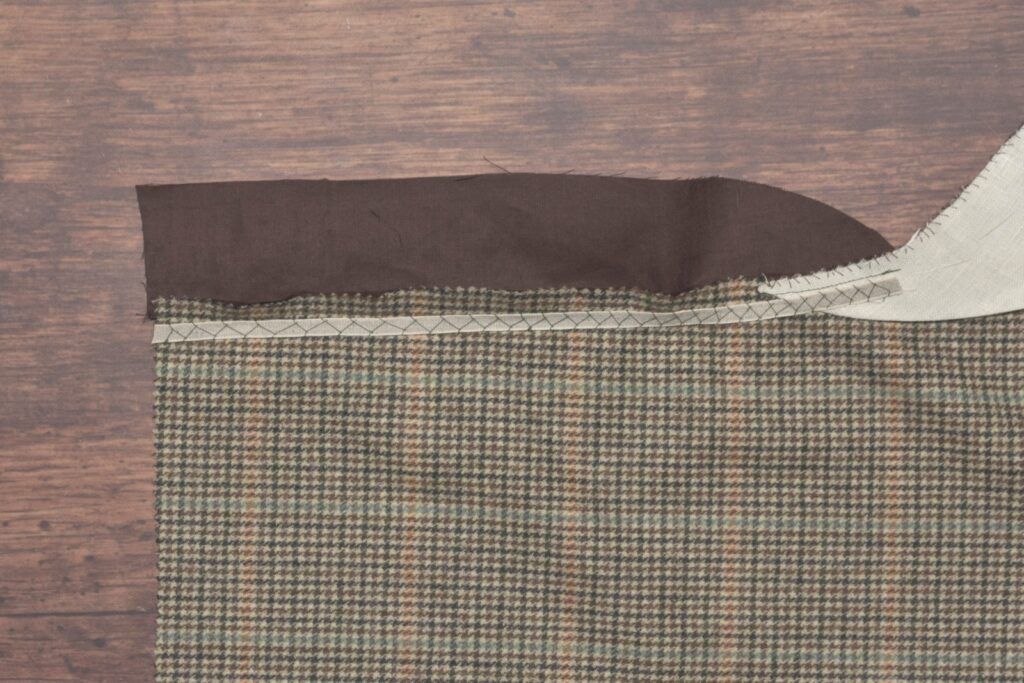
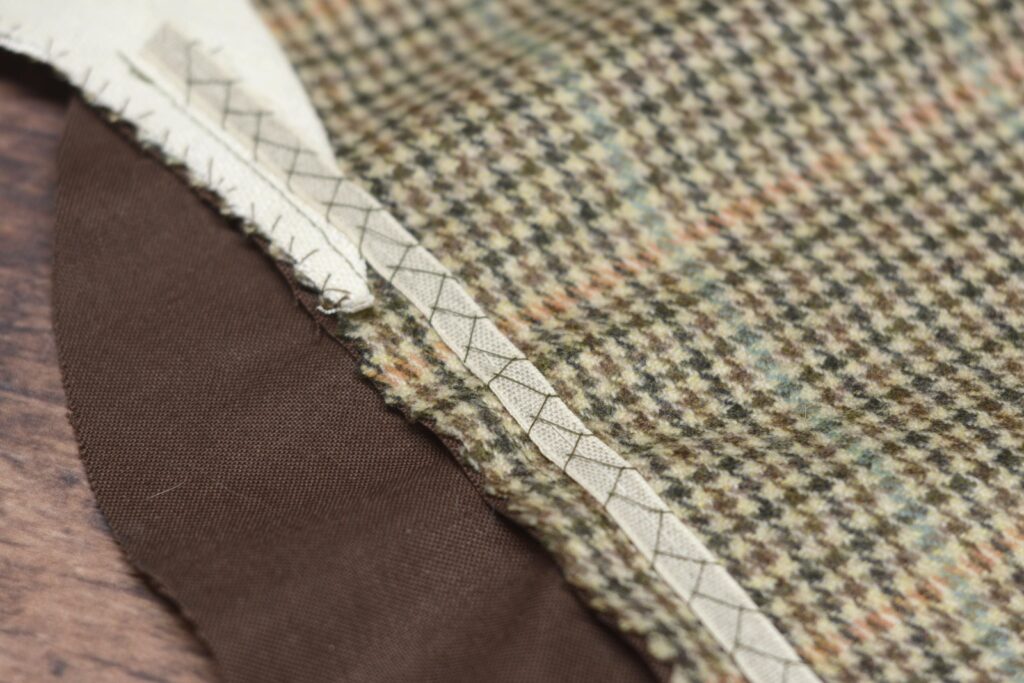
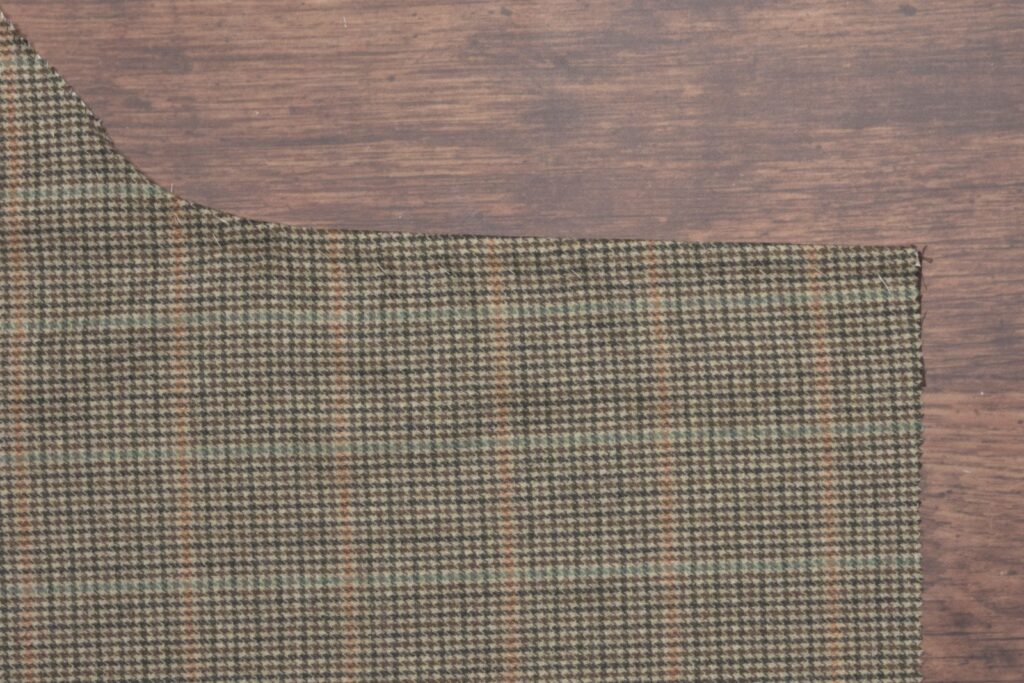
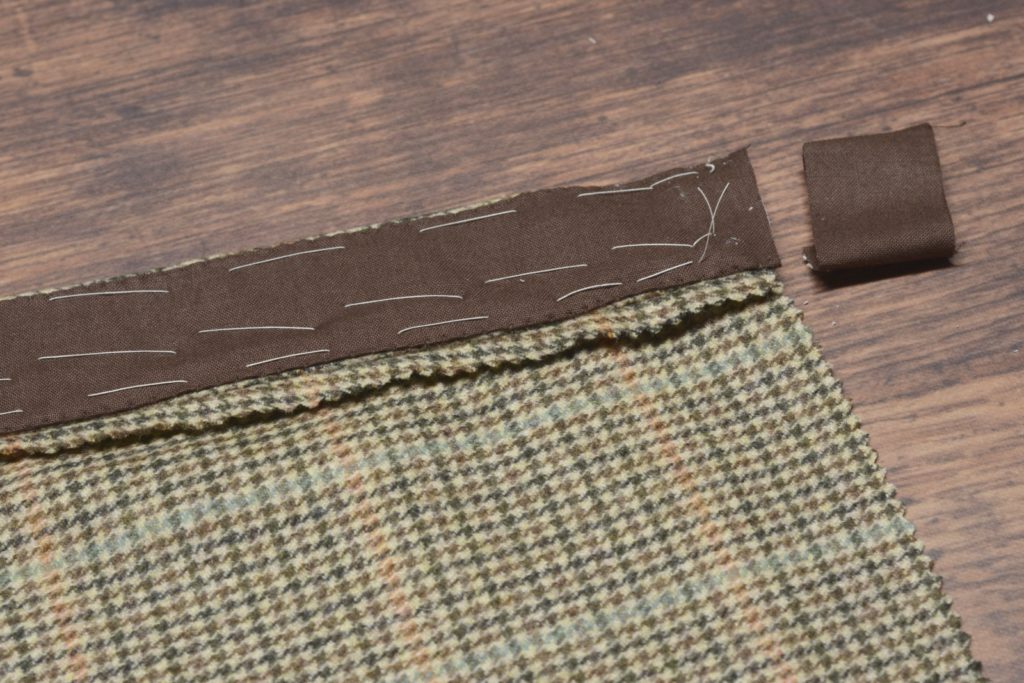
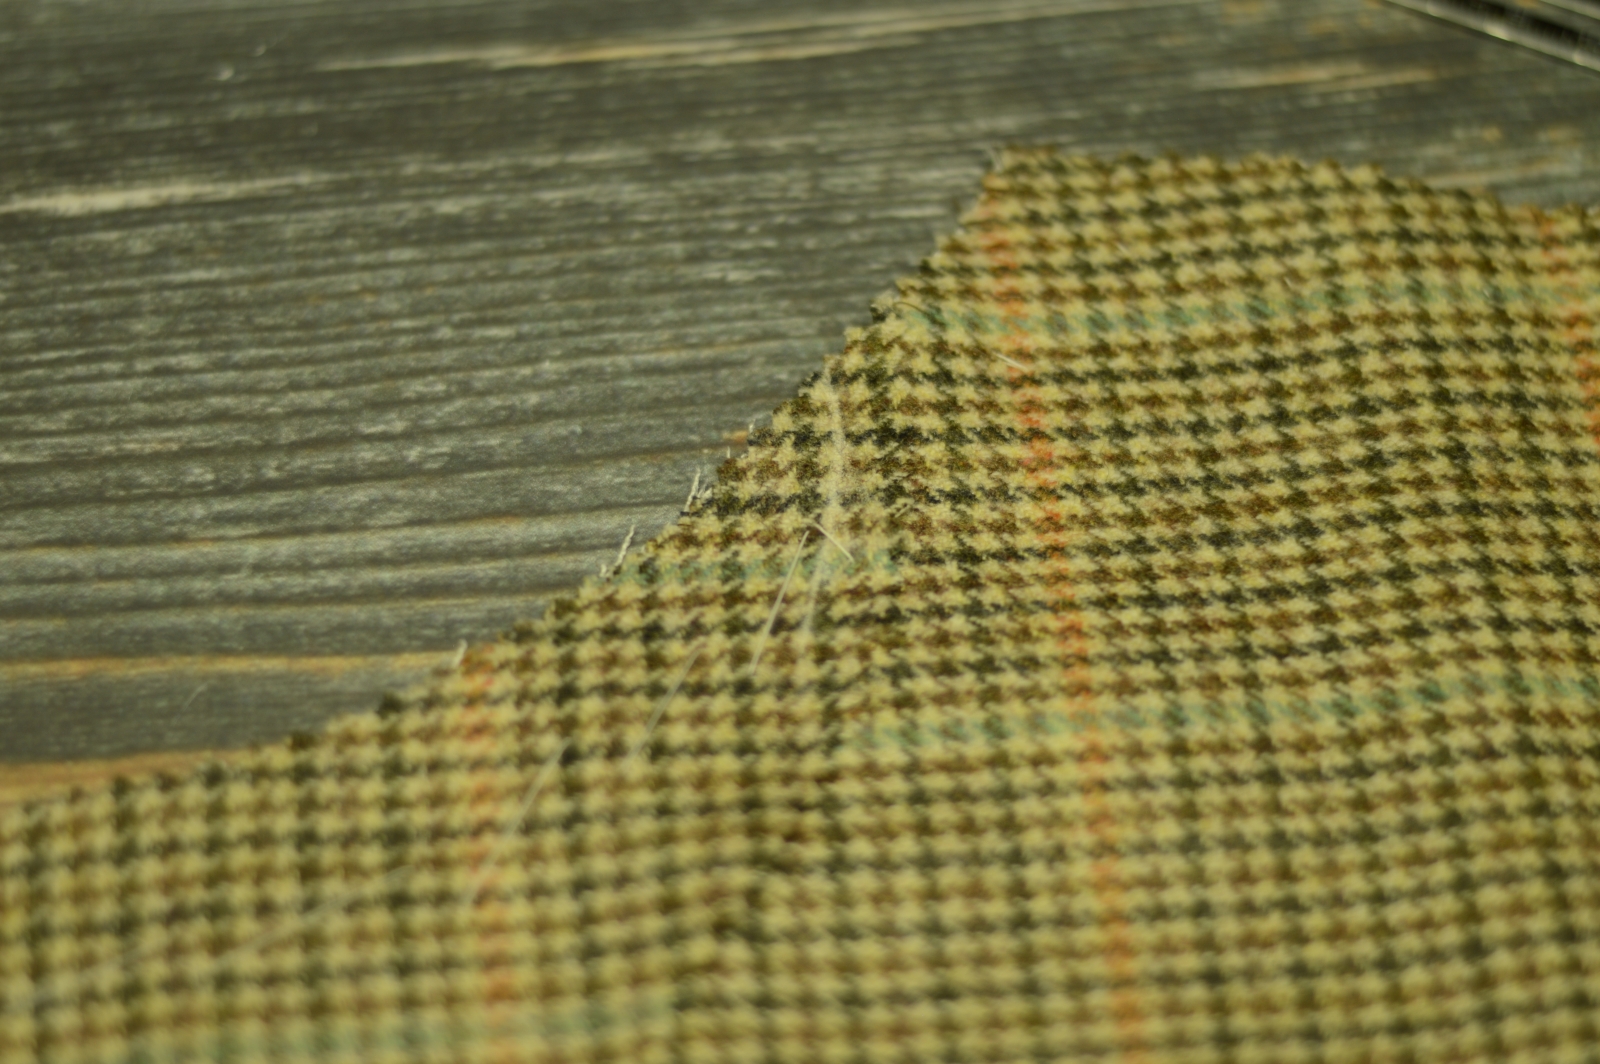
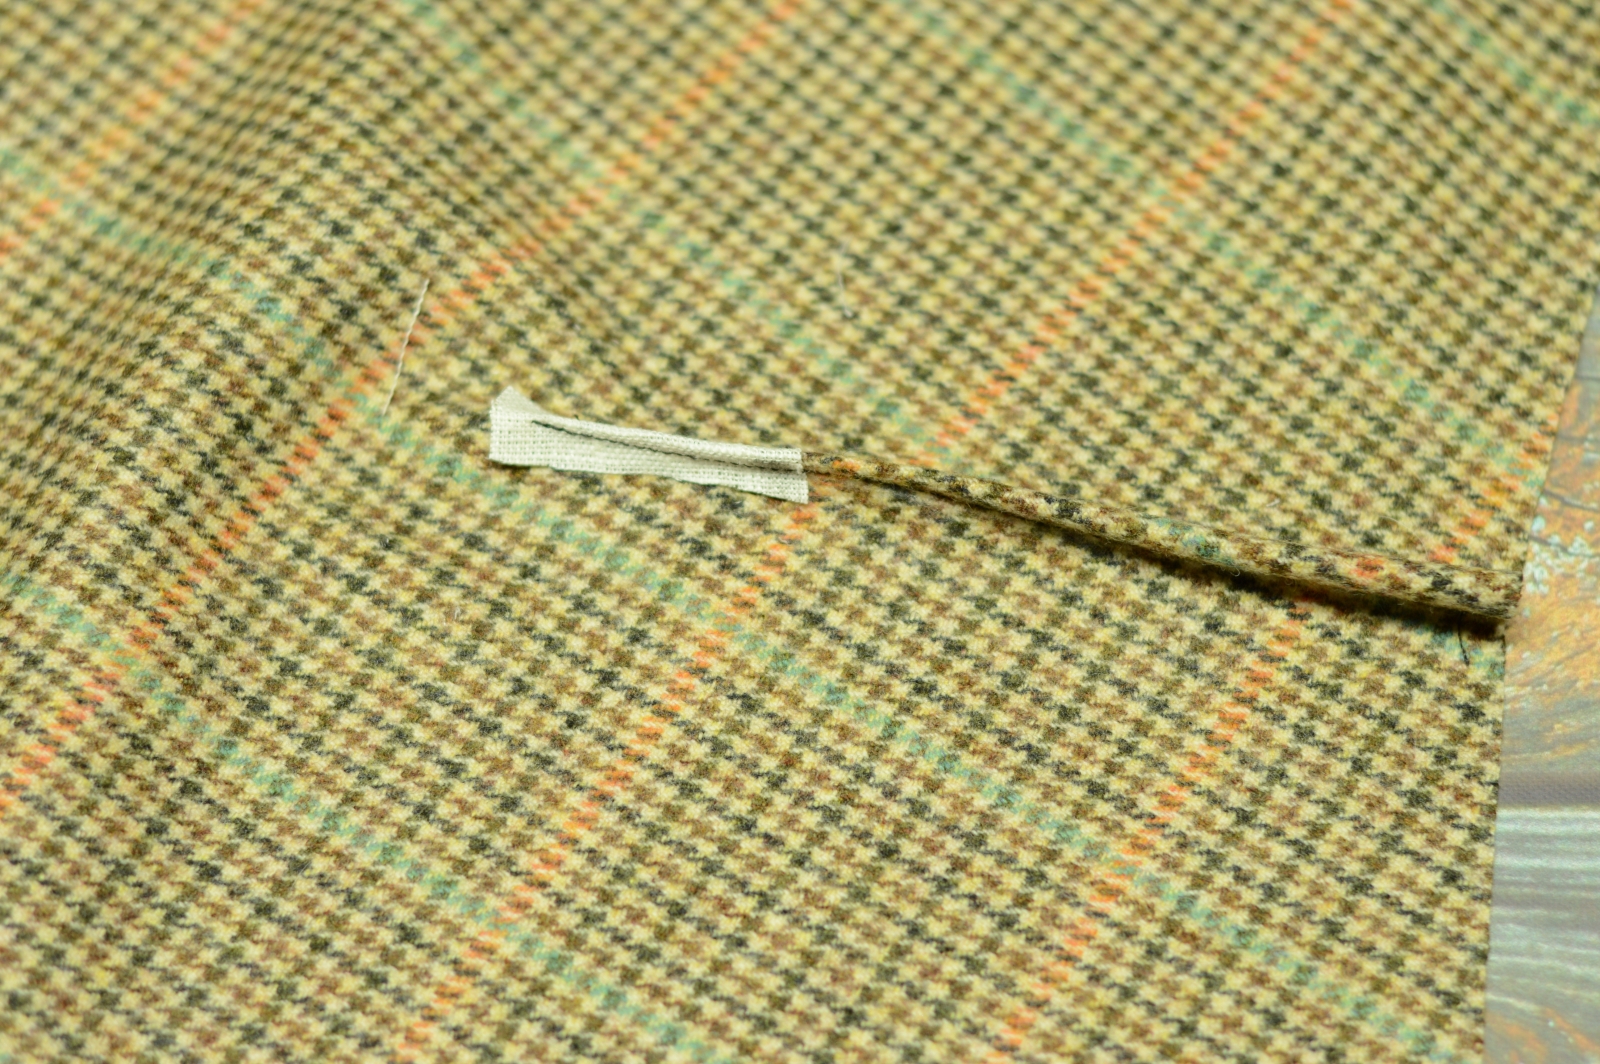
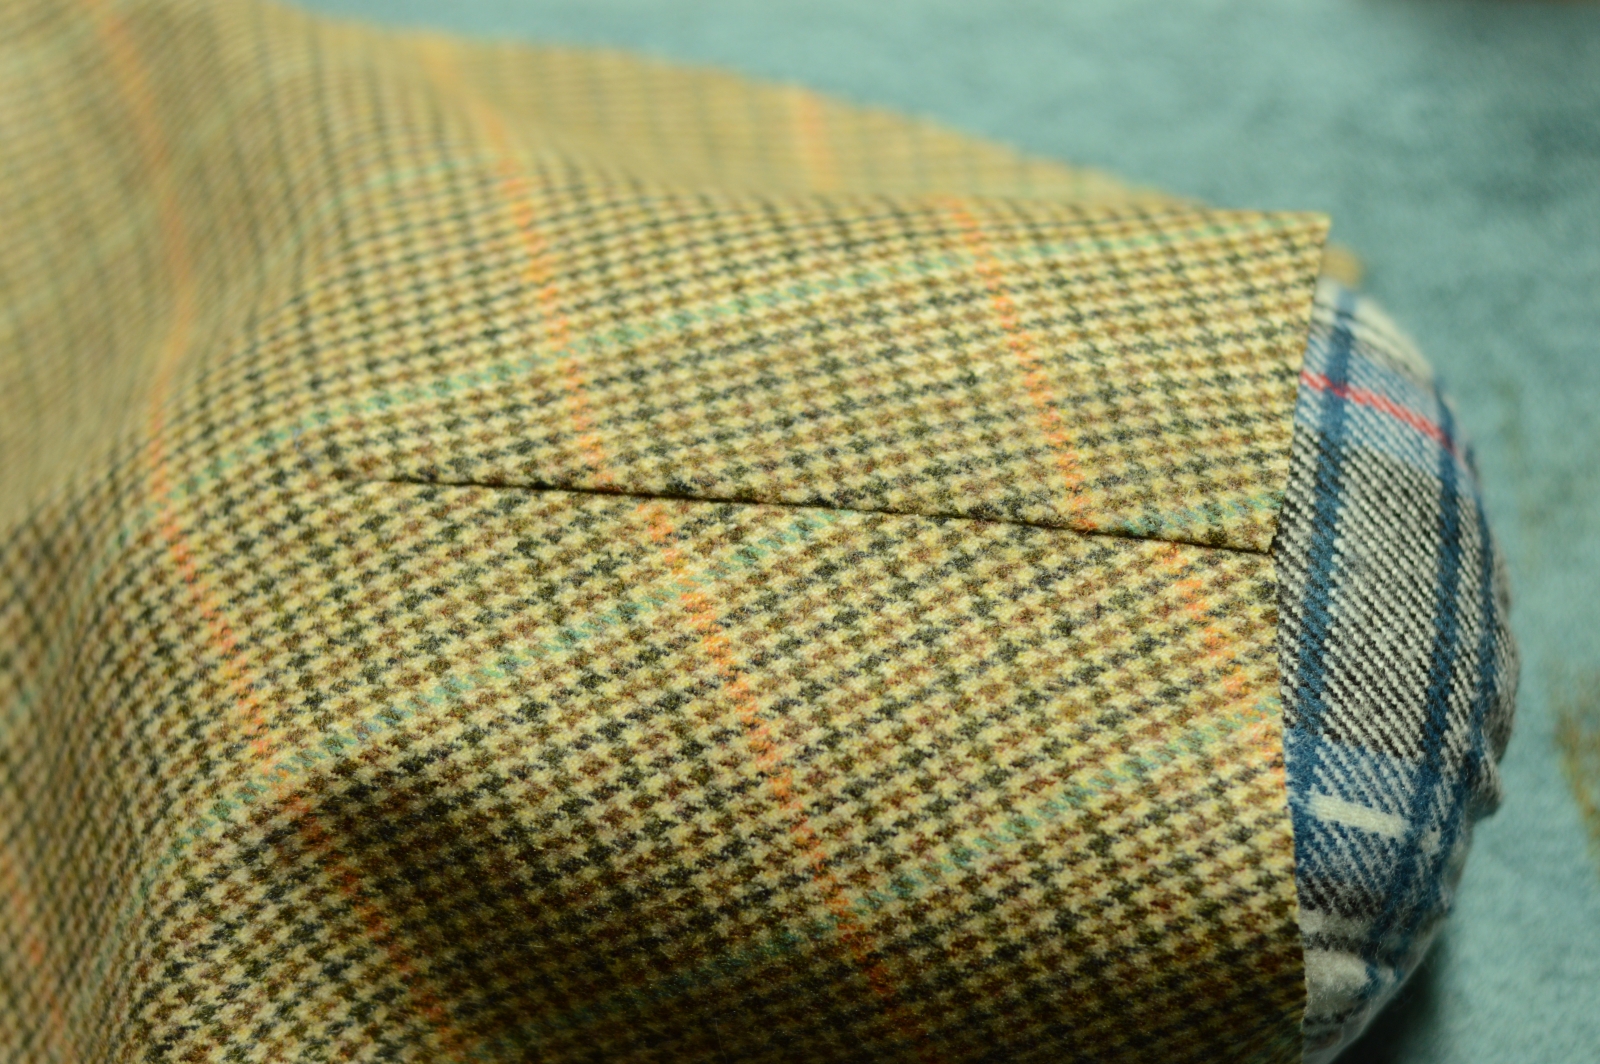
Finally, you need to trim the very bottom of the fly area directly to the bottom of the fly facing stitching.
This allows the fork area to open up and lay flat for stitching later on. I try to trim to within about 1/32″ of the bottom of the stitching, to prevent any potential fraying. Press the fork area back open.

Fly Buttonholes
It’s time to work the buttonholes on the trouser fly. If you’ve never made a buttonhole before, please see my course The Art of the Buttonhole and practice on some scraps first, as this will just be a general overview.
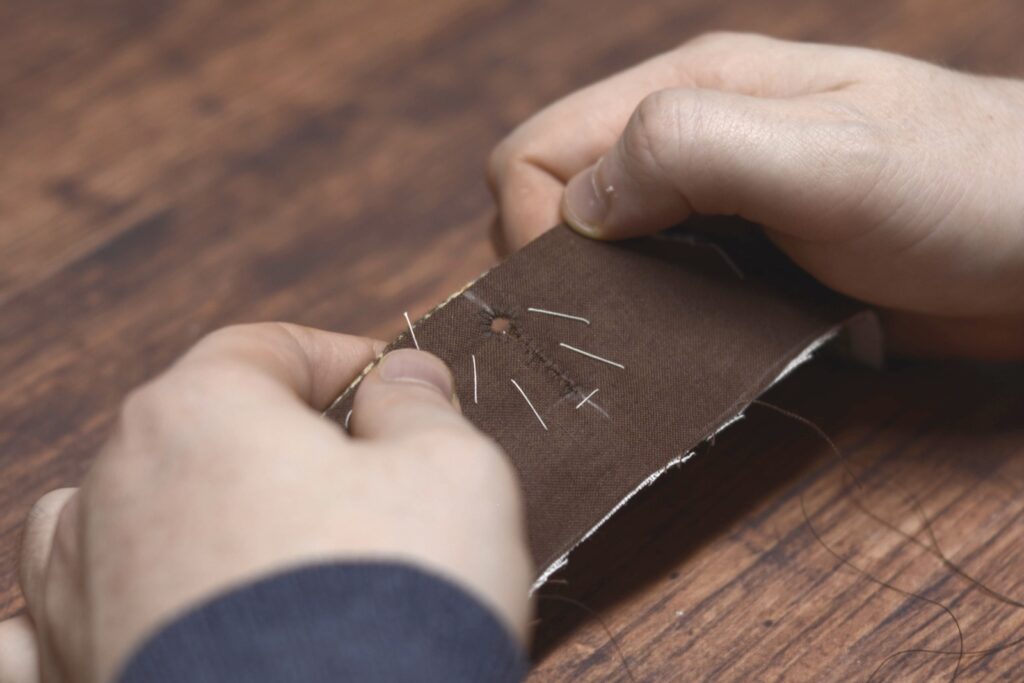
Begin by laying out the buttonholes on the fly. The top buttonhole I usually place about 1 1/2″ below the top edge, and the bottom buttonhole about two inches from the bottom. Then fill in the remaining buttonholes equally (you may have more or less than I do, according to your size). Mark the width as 1/4″ to 3/8″ from the edge, and 1/8″ to 1/4″ wider than your buttons.
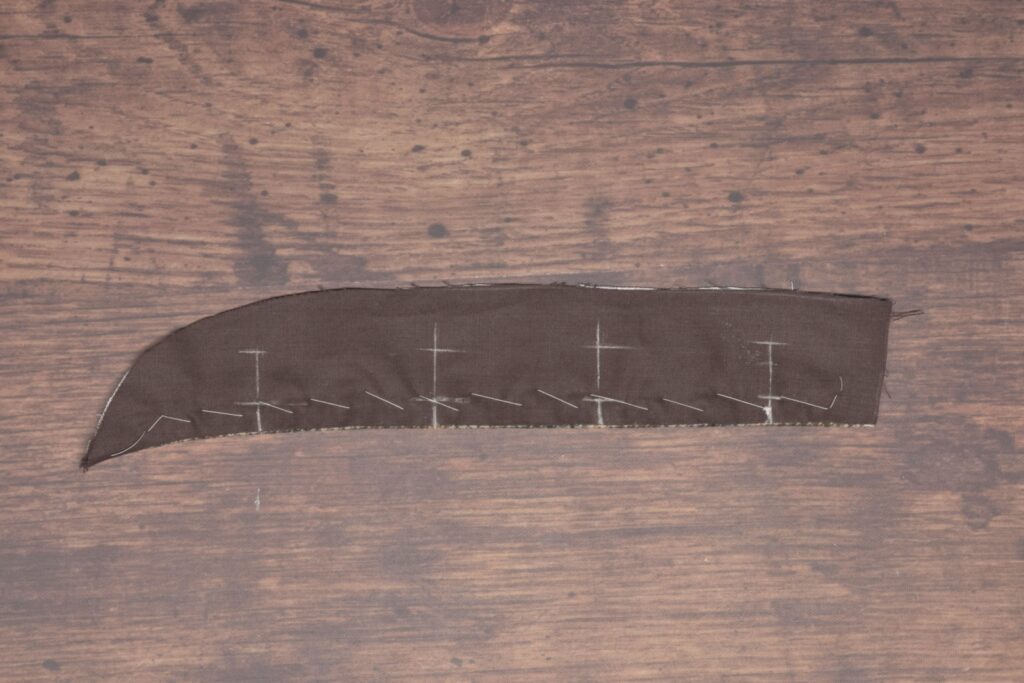
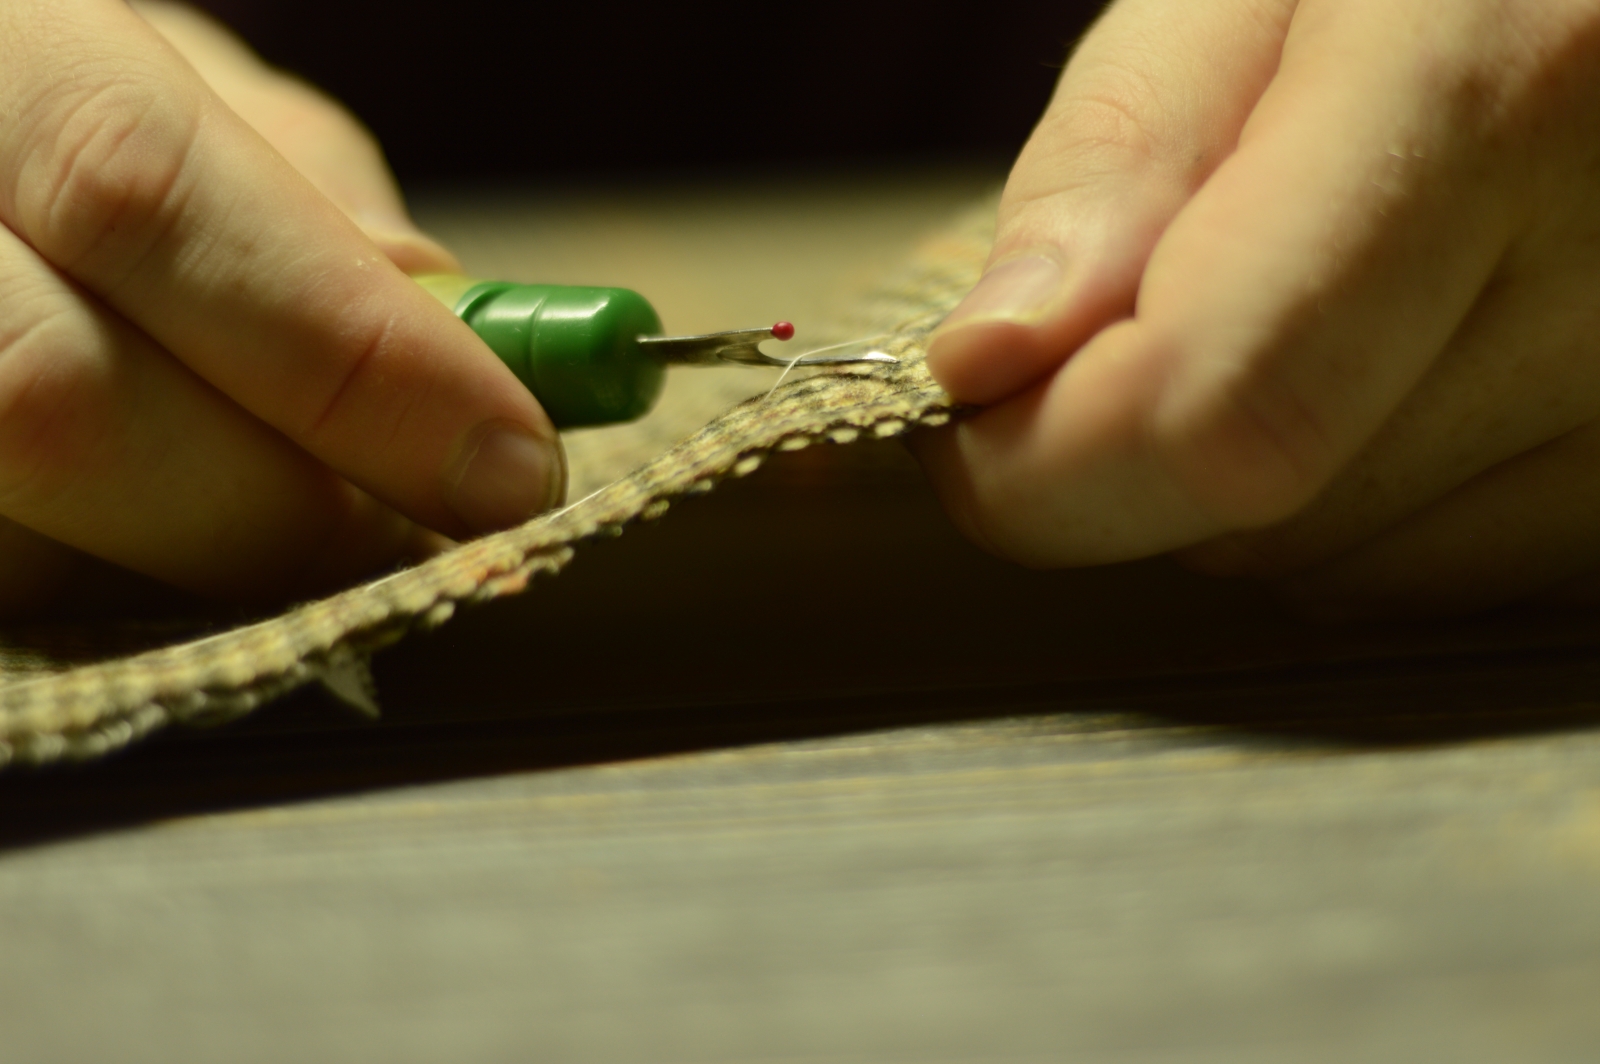
Baste around each buttonhole with a diagonal basting stitch to secure the layers.
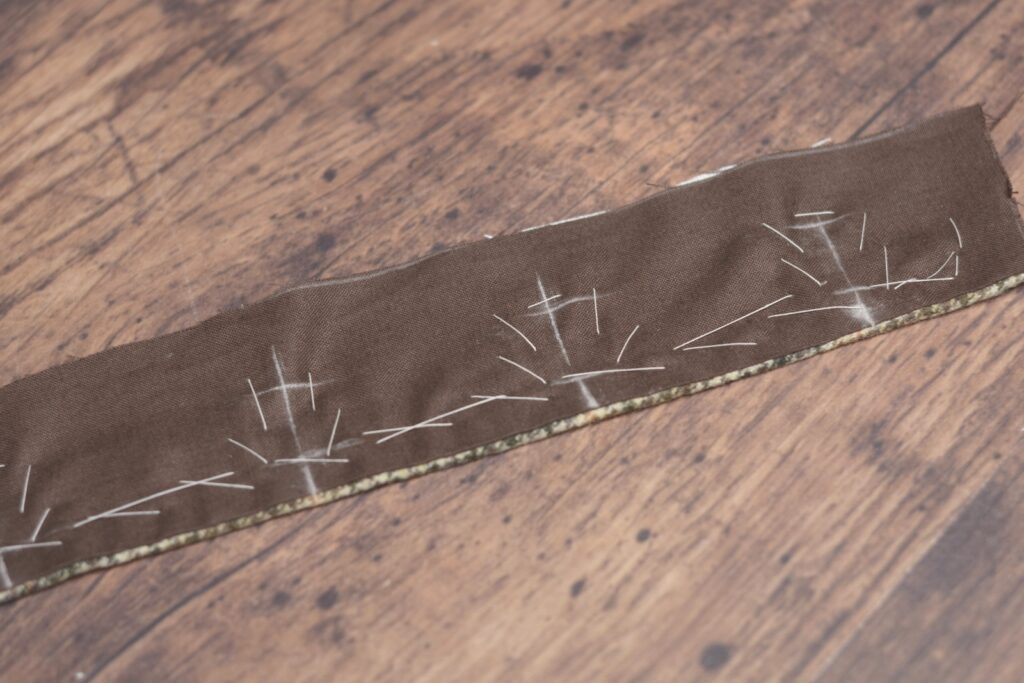
Fell along the edges of the buttonholes to secure the edges permanently.
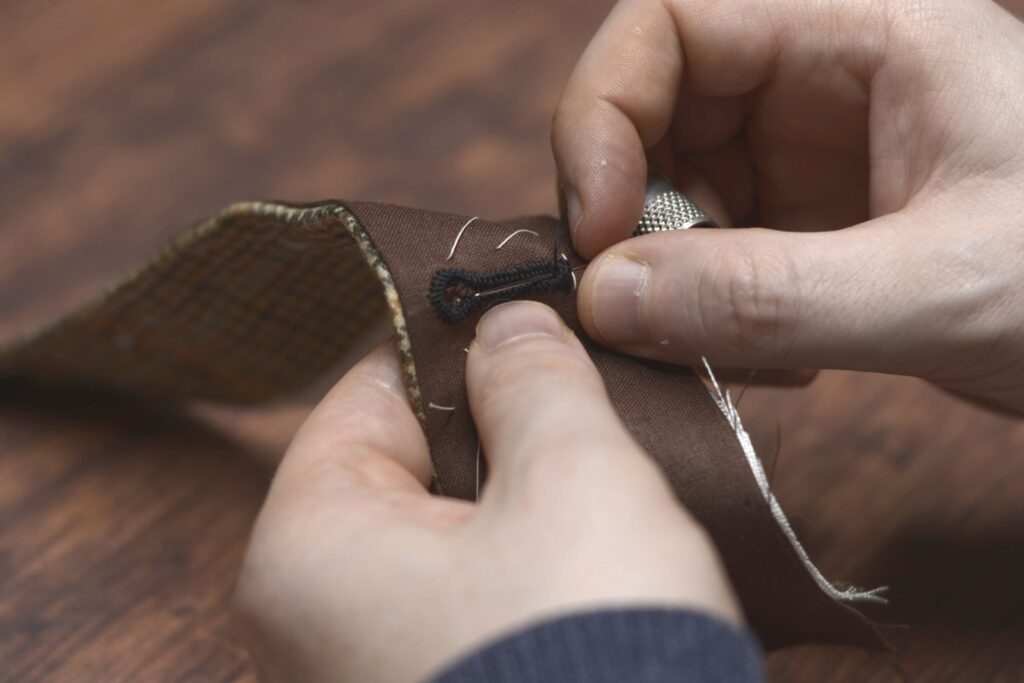
Attach the four-cord or gimp along the edge of the buttonhole using a couching stitch.
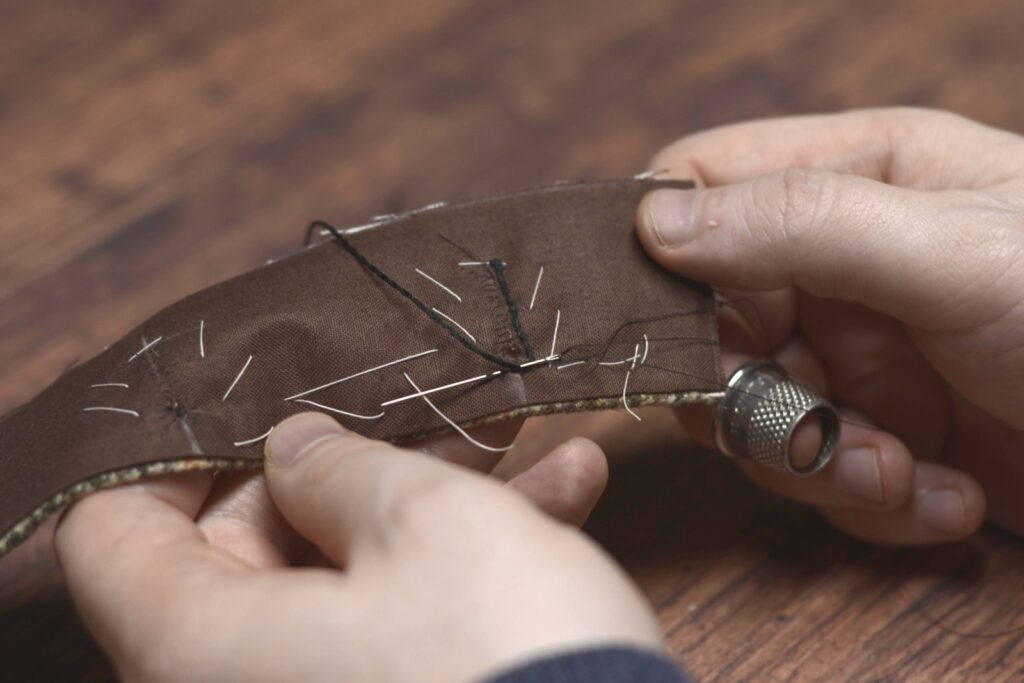
Now work the buttonhole stitch evenly around the edge.
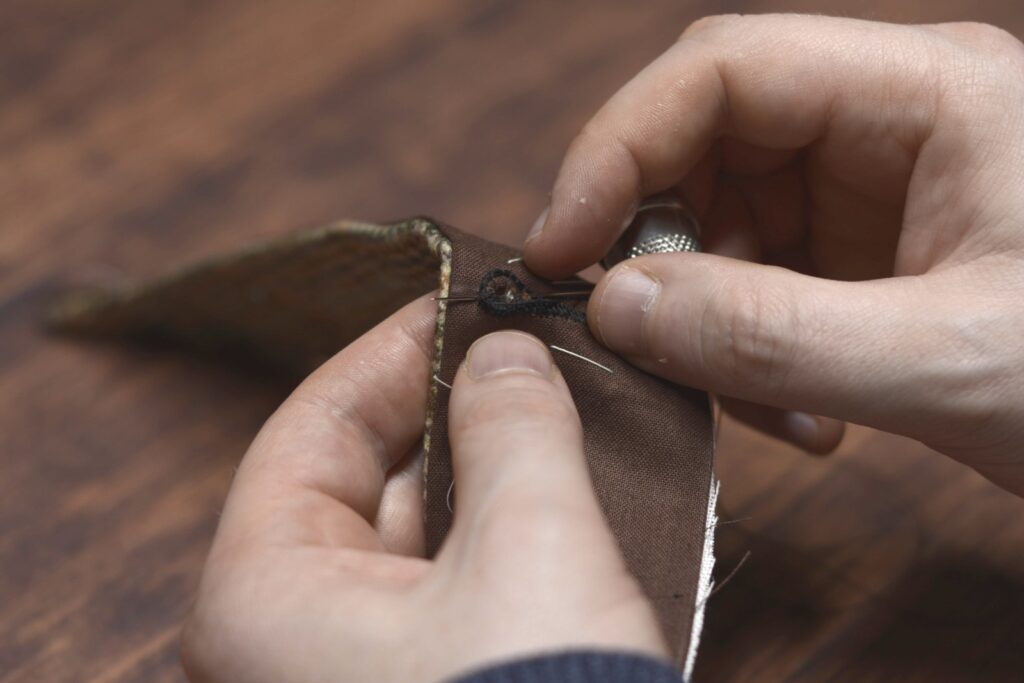
Finish up the buttonhole by working a bar tack across the end.
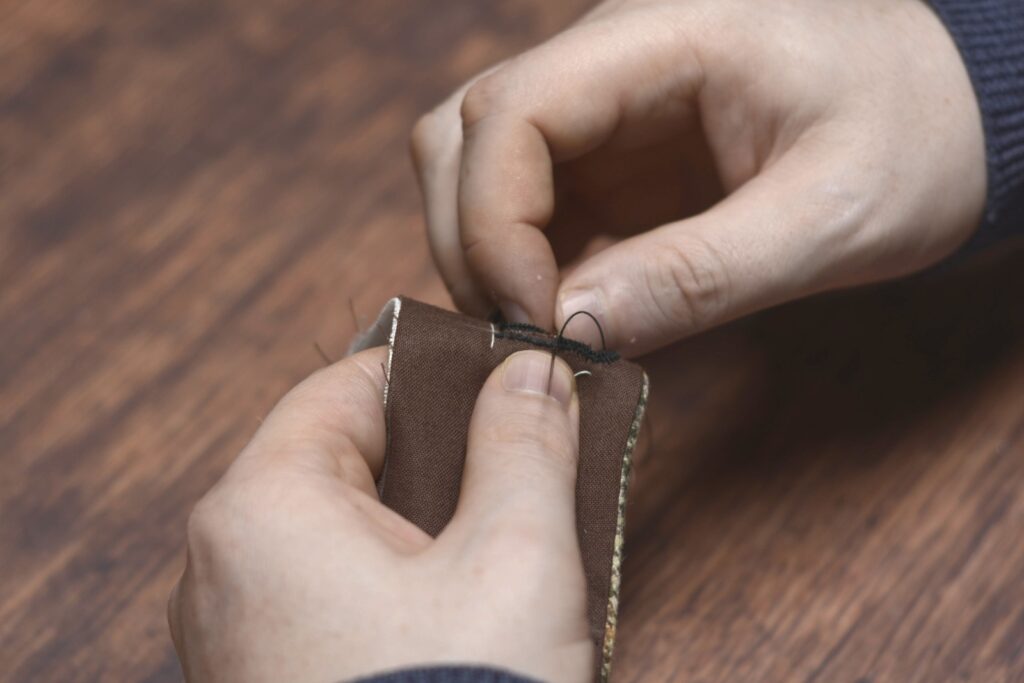
And finally secure the thread by passing it beneath the stitches in multiple directions on the wrong side.
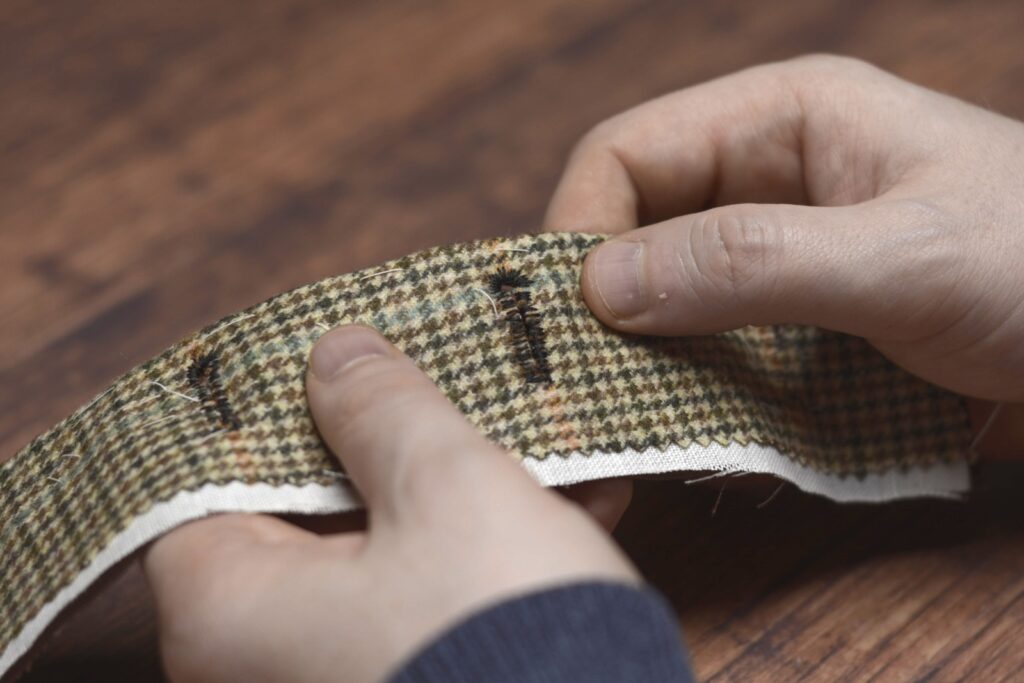
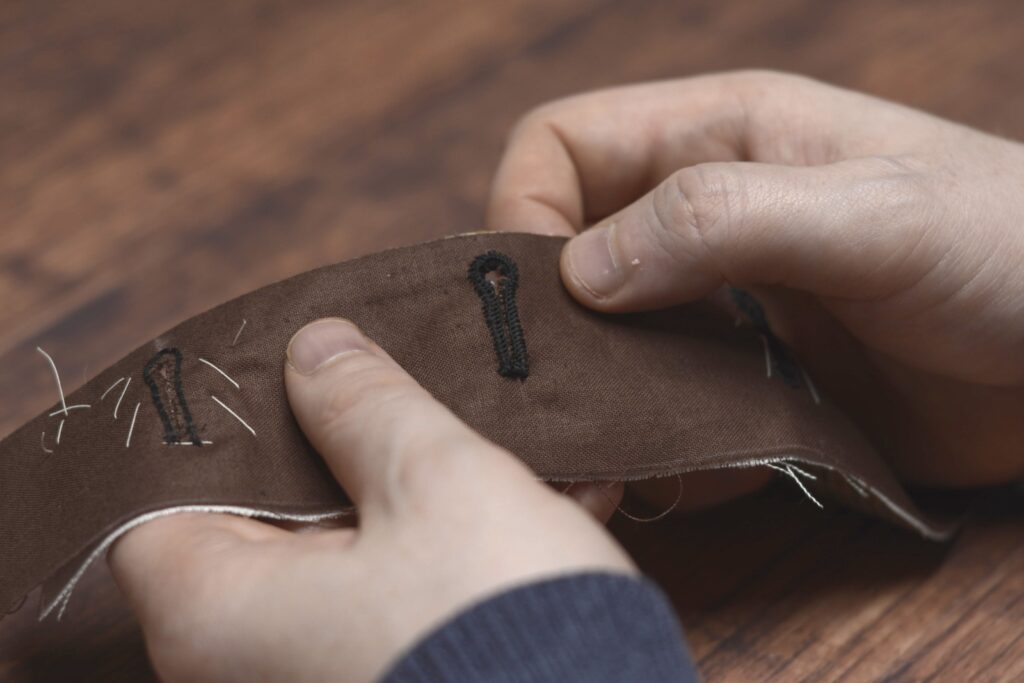
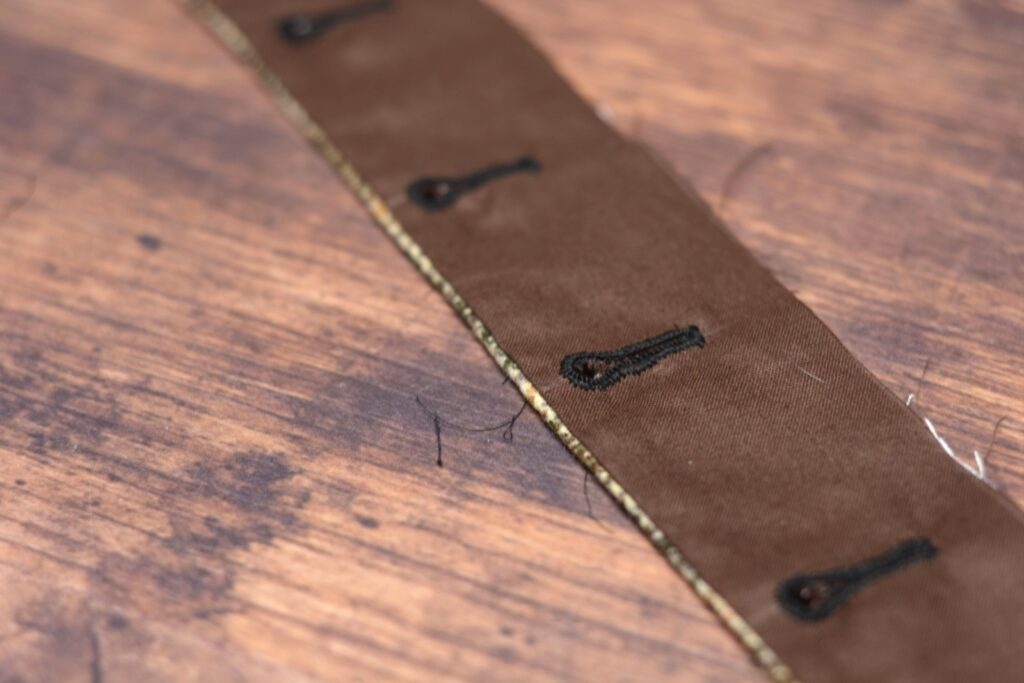
Here are the completed buttonholes. I find these go a lot faster than usual because the layers are (usually) thinner than on a coat and they’re typically smaller as well.
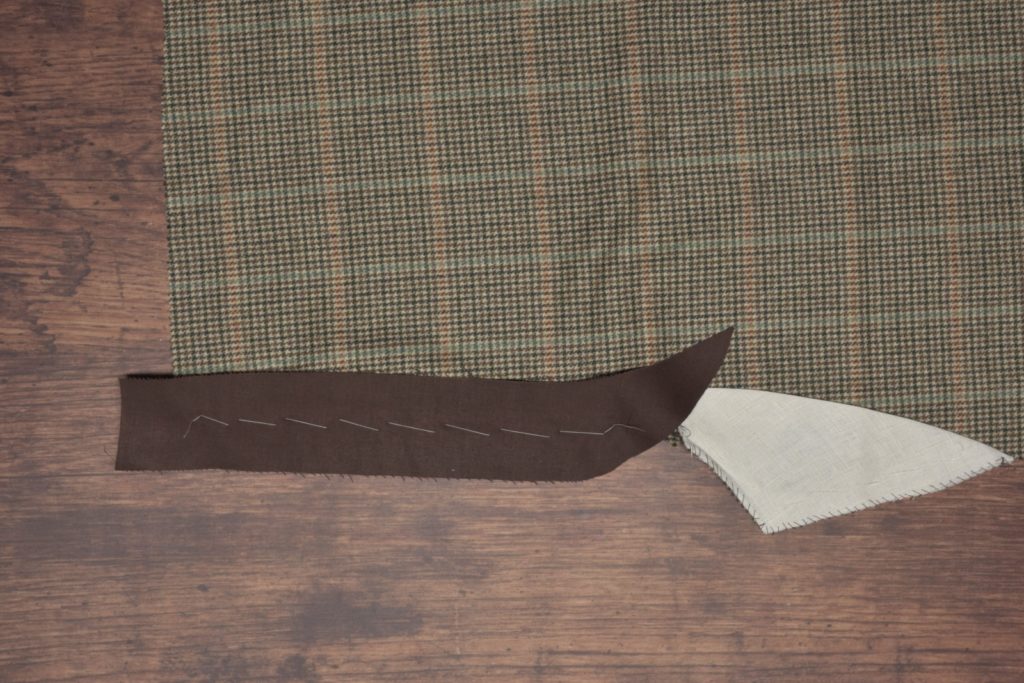
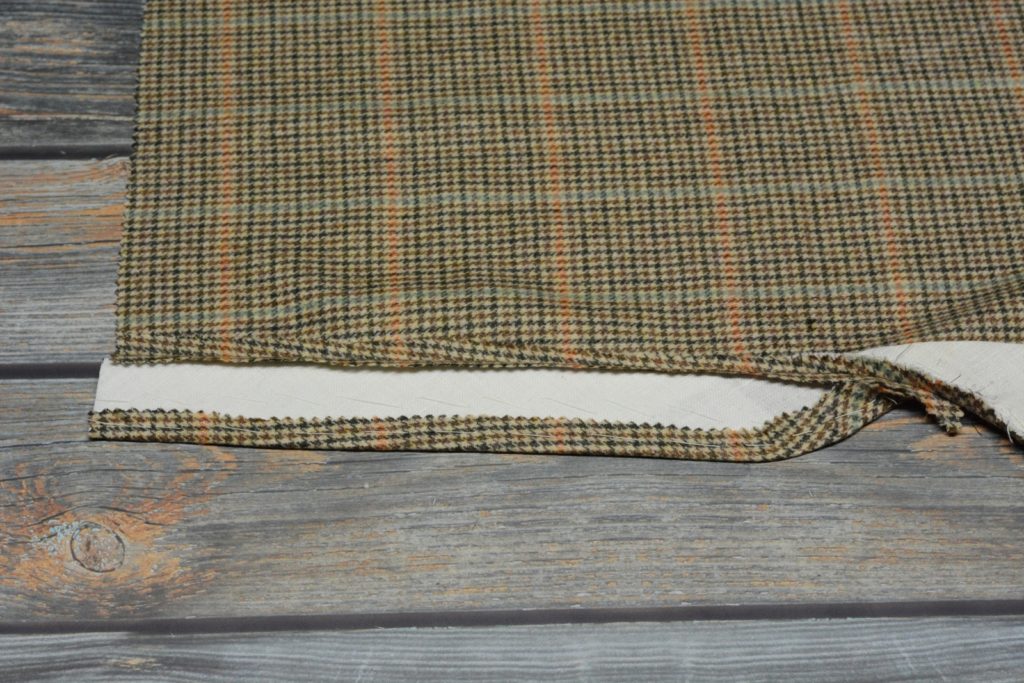
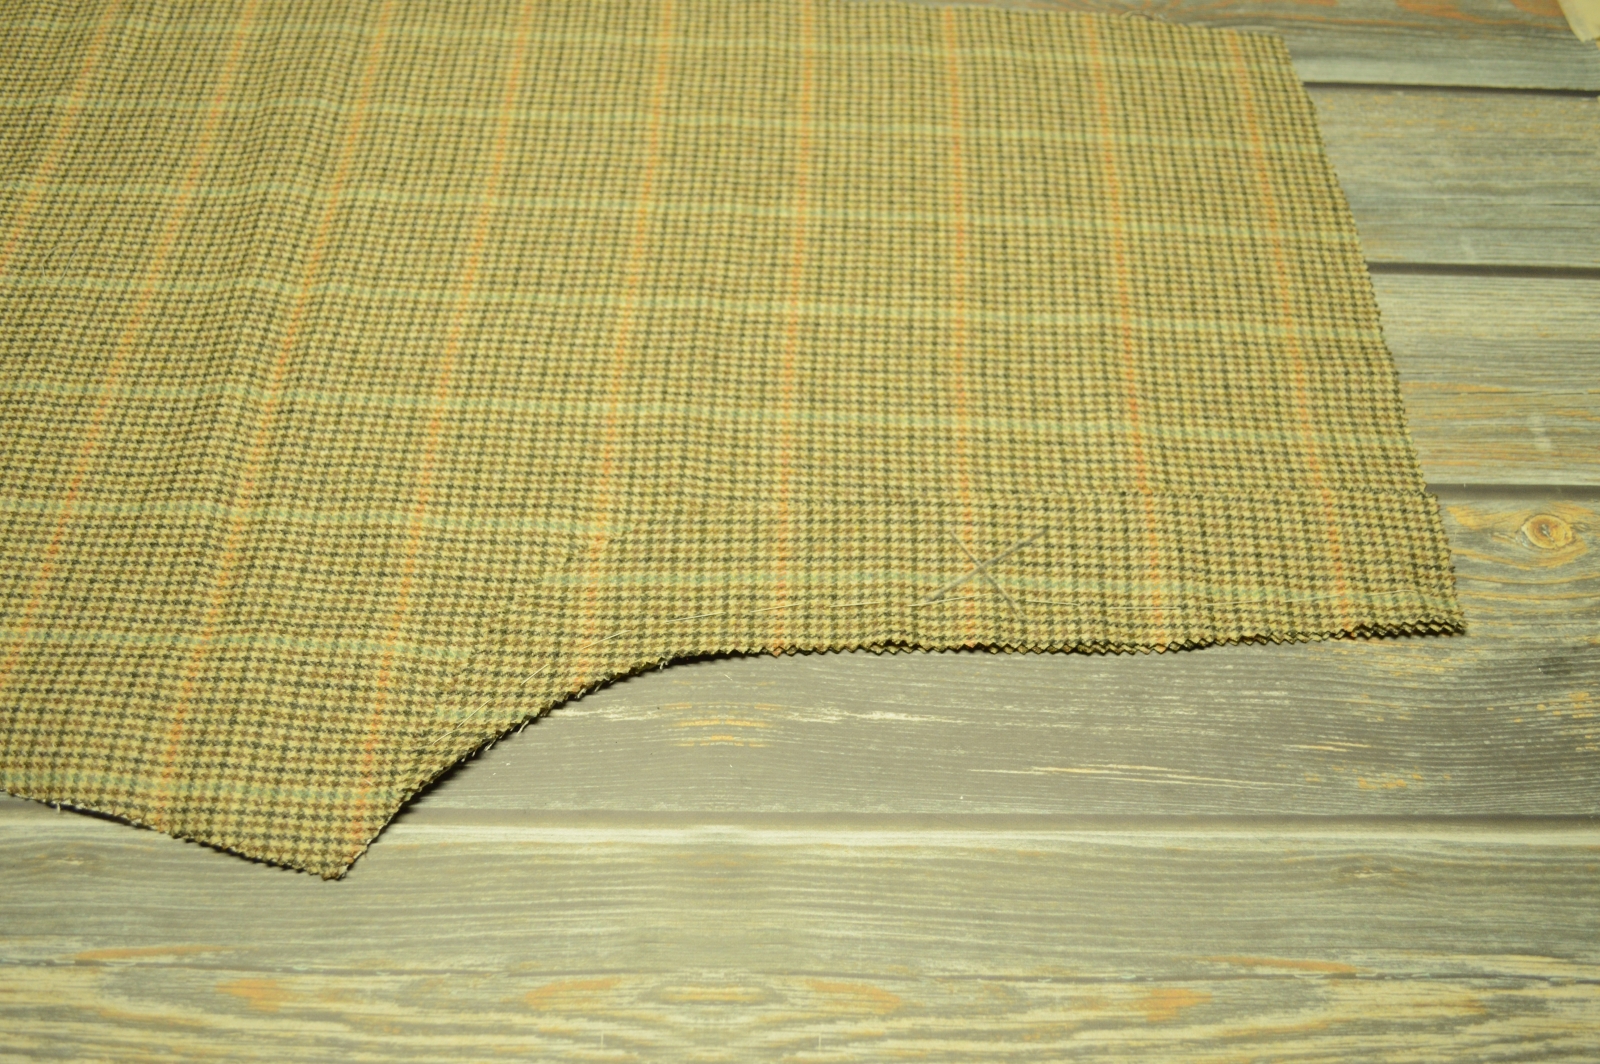
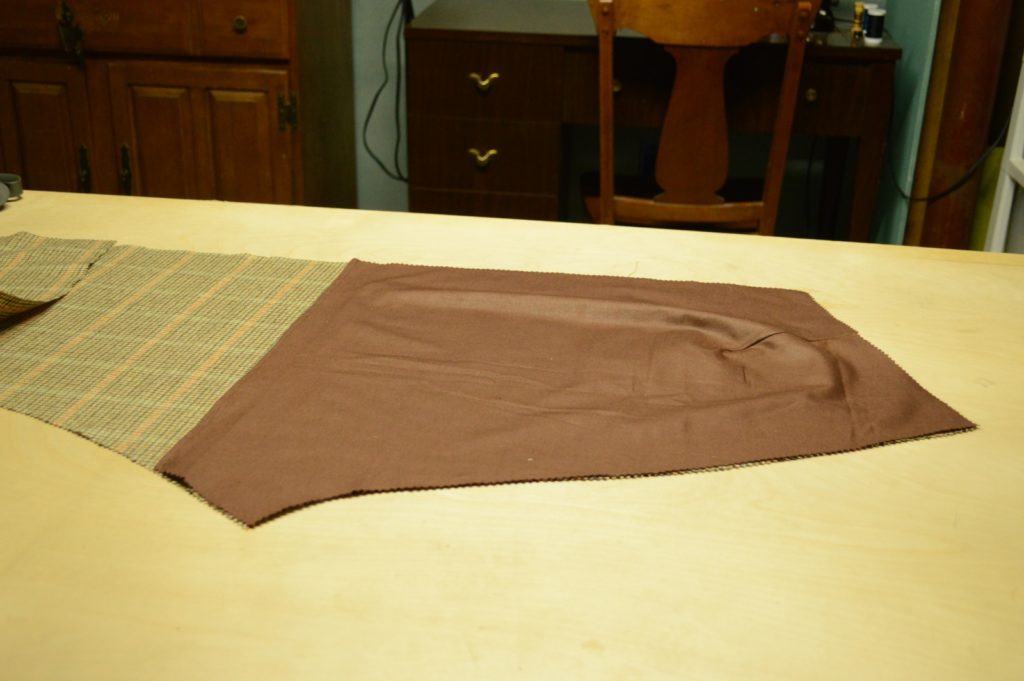
Fly Construction
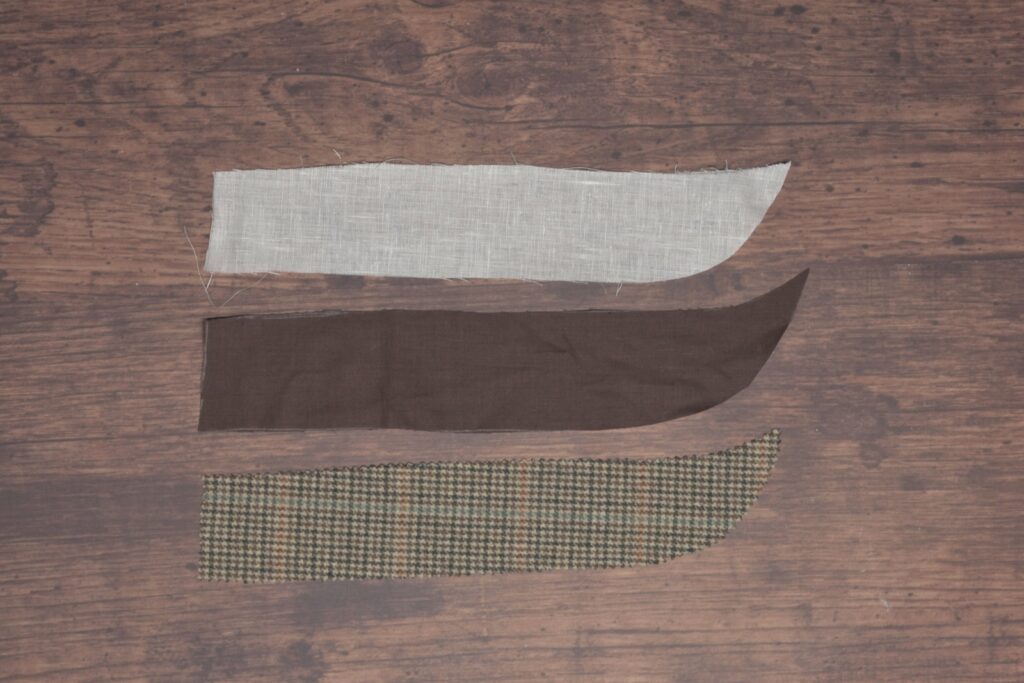
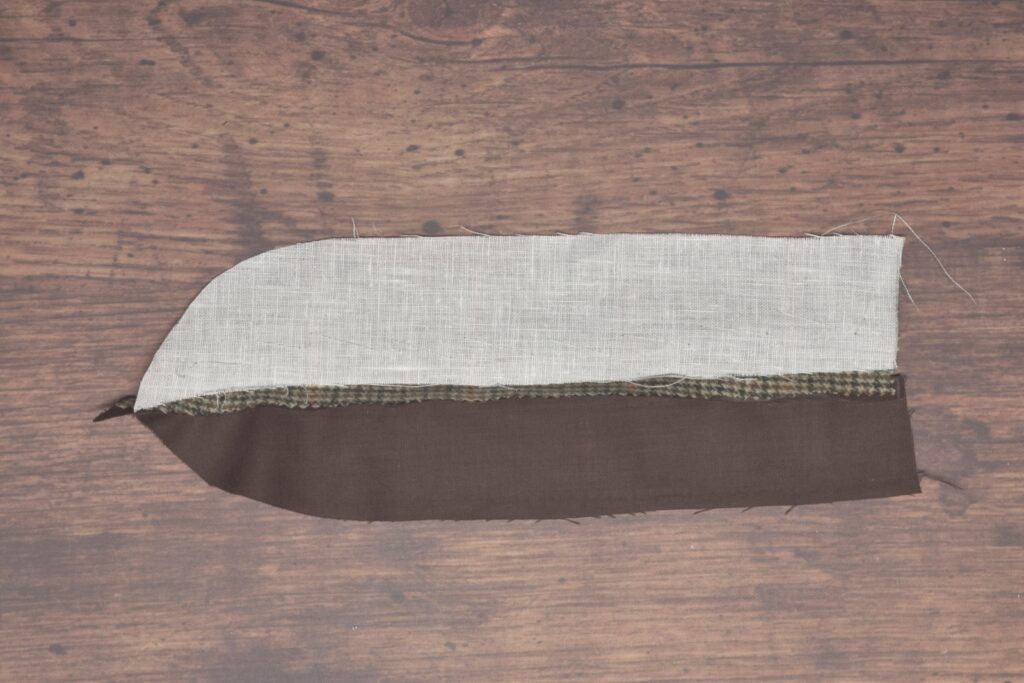
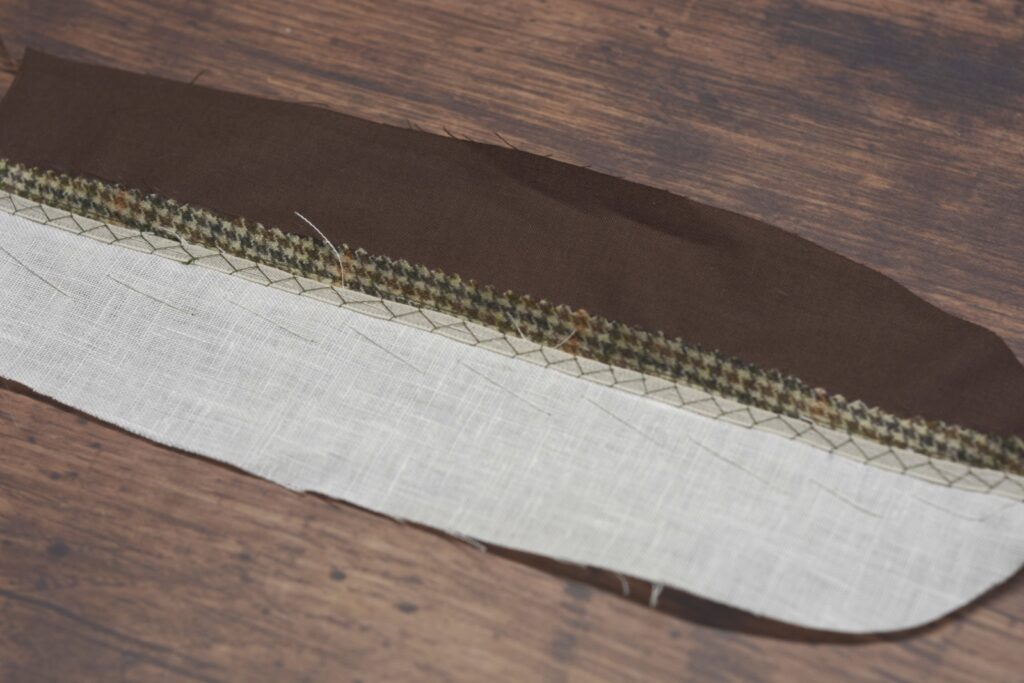
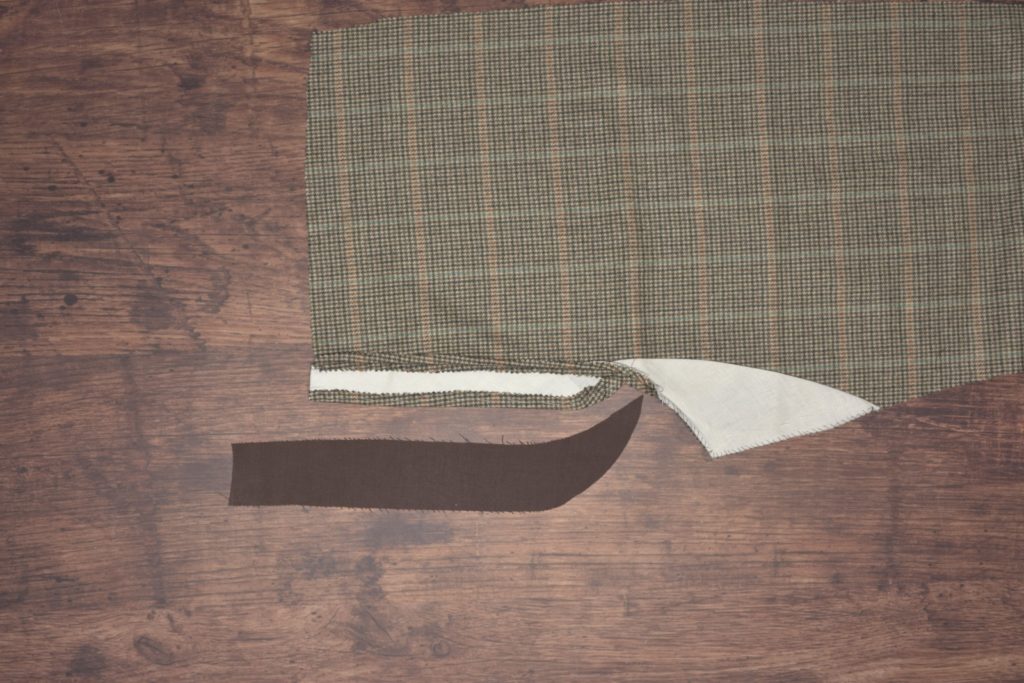
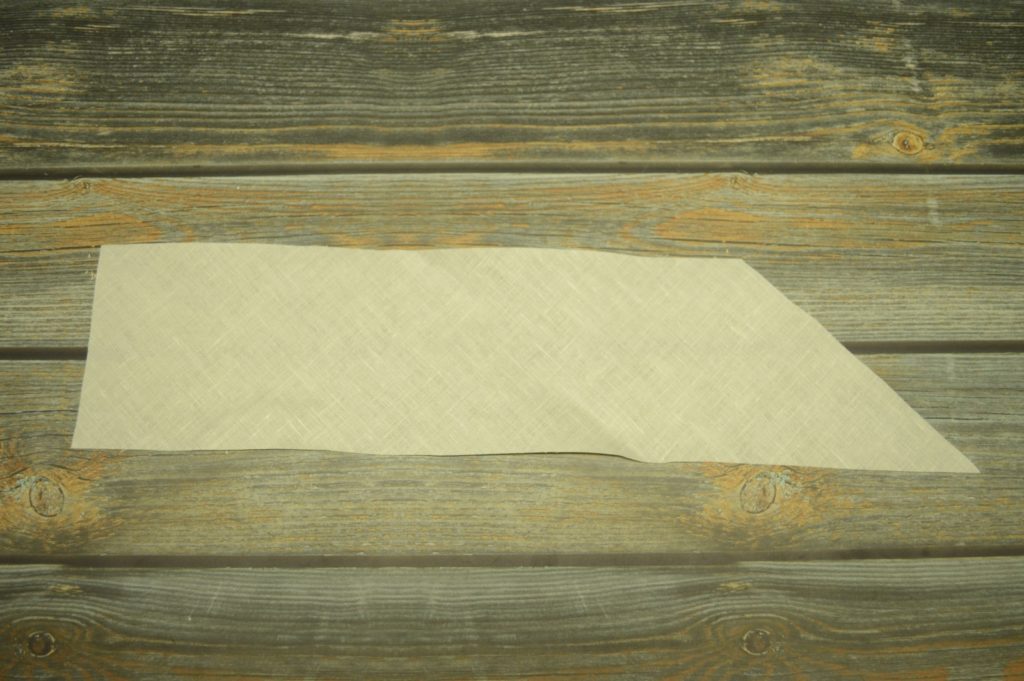
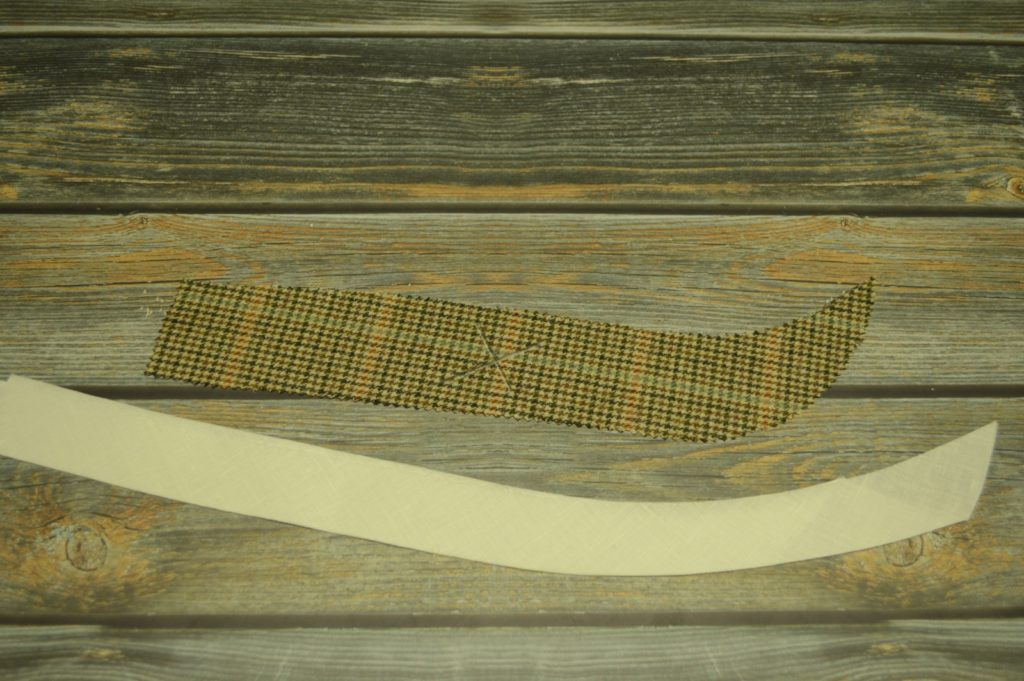
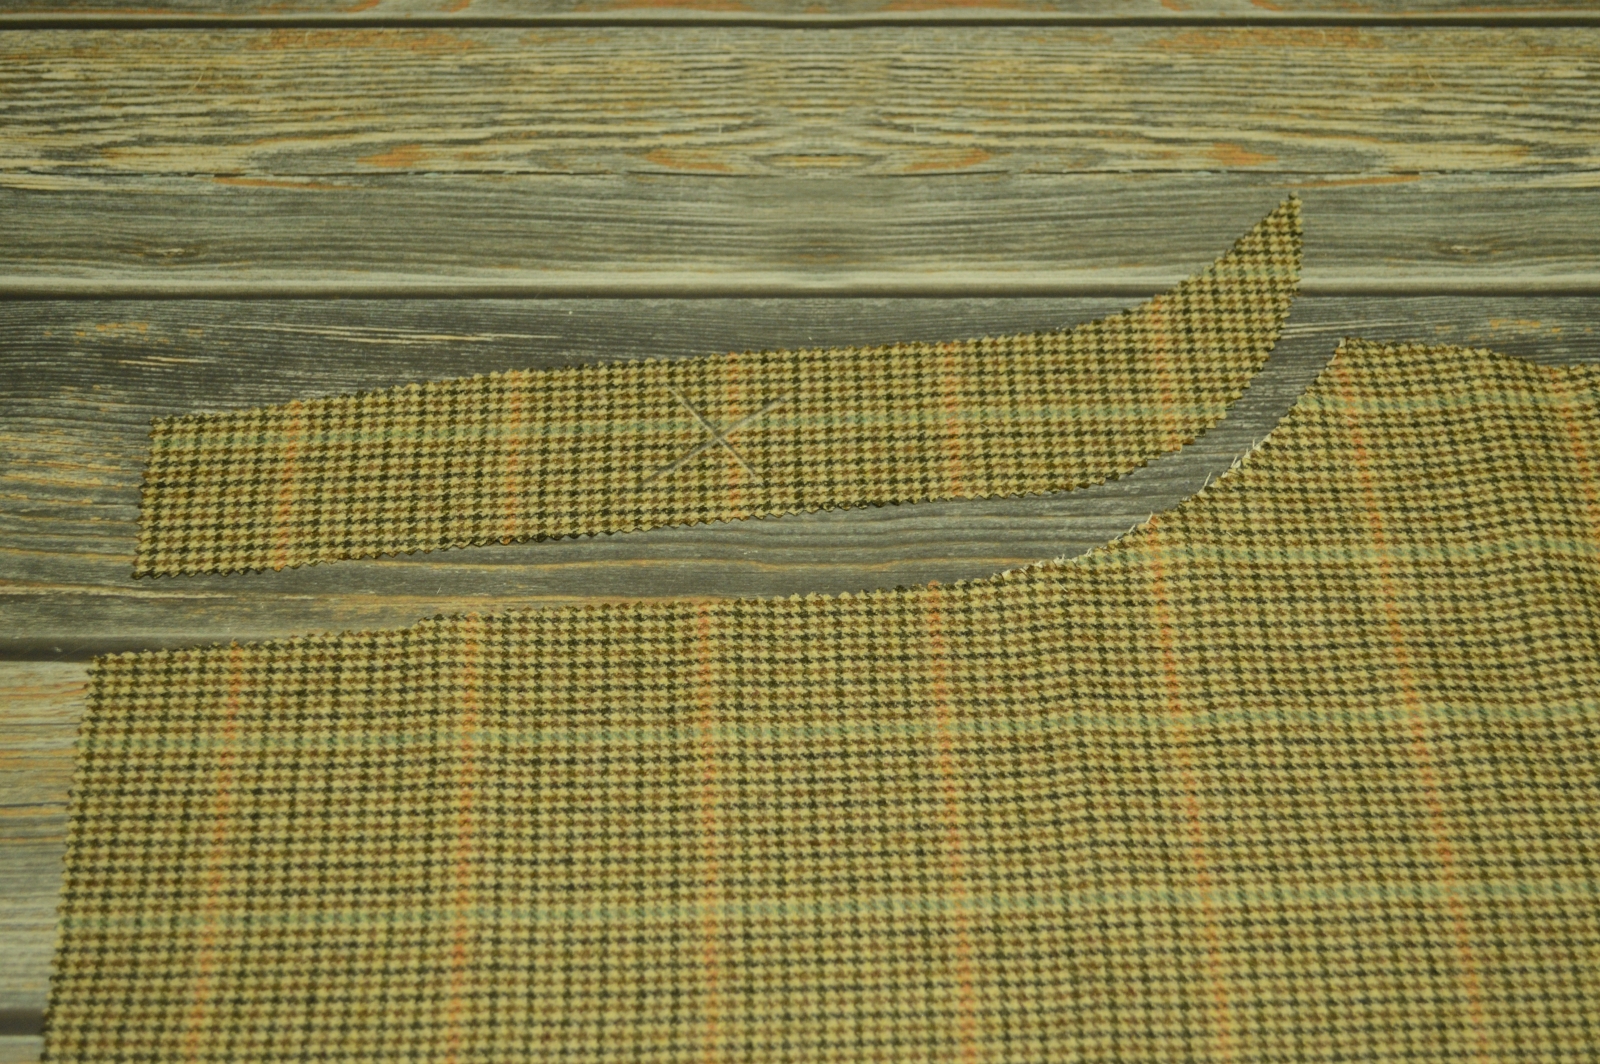
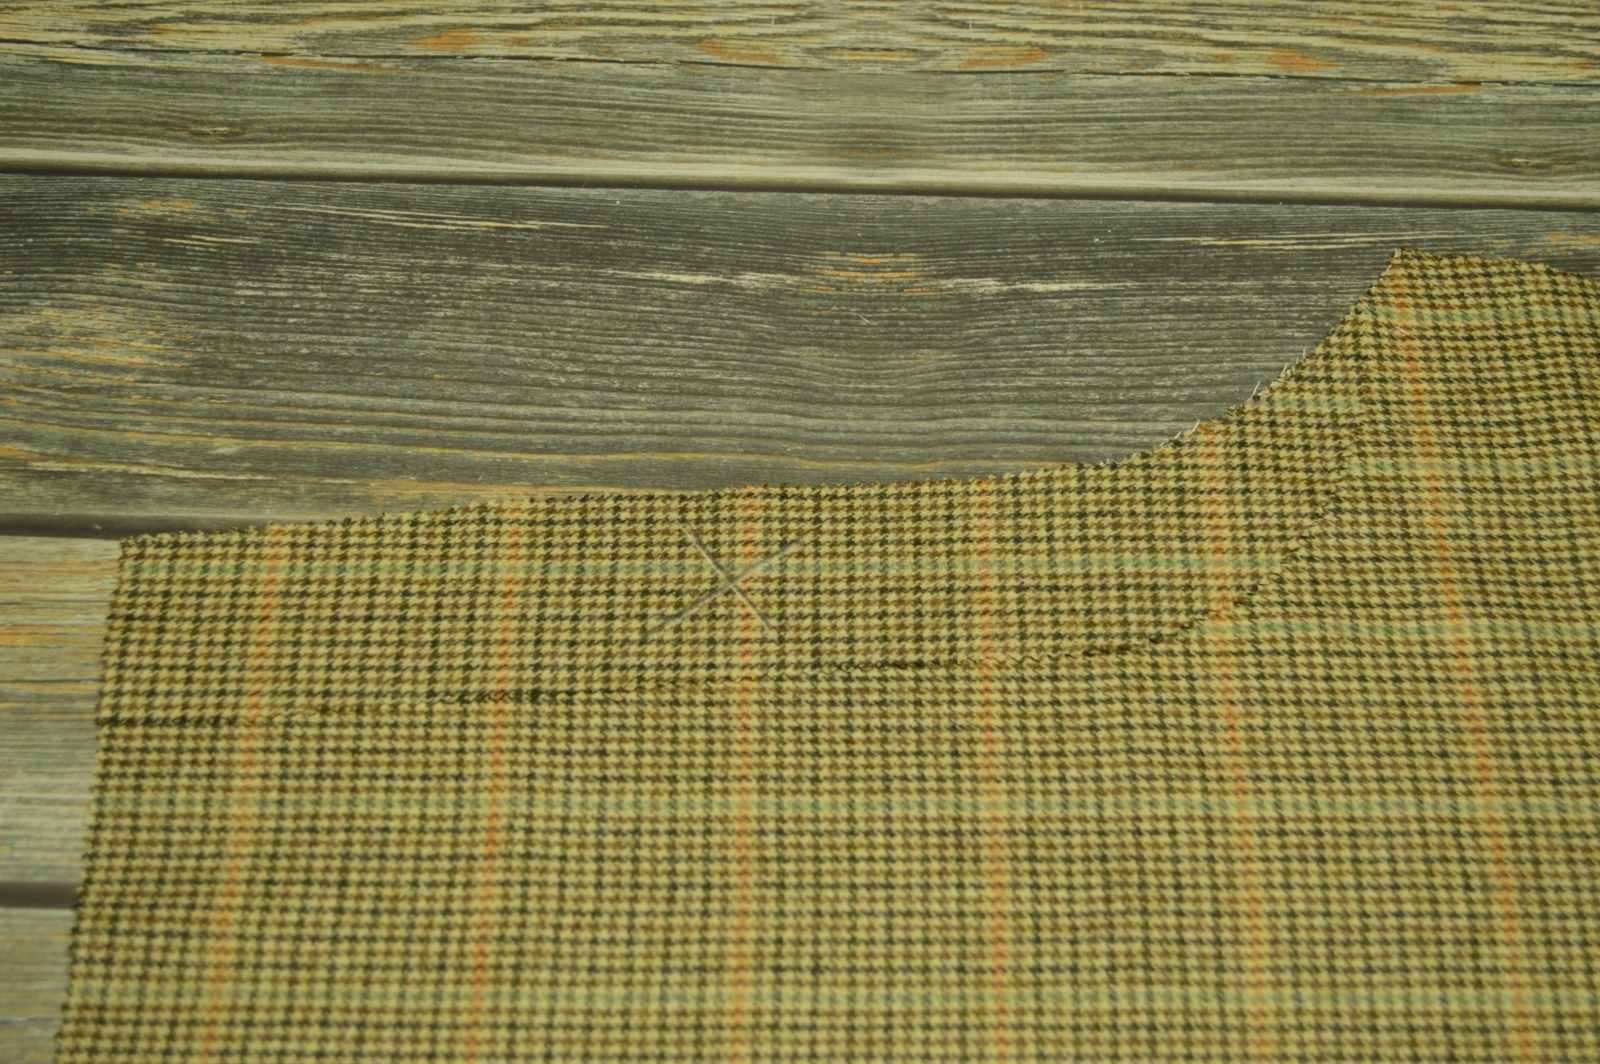
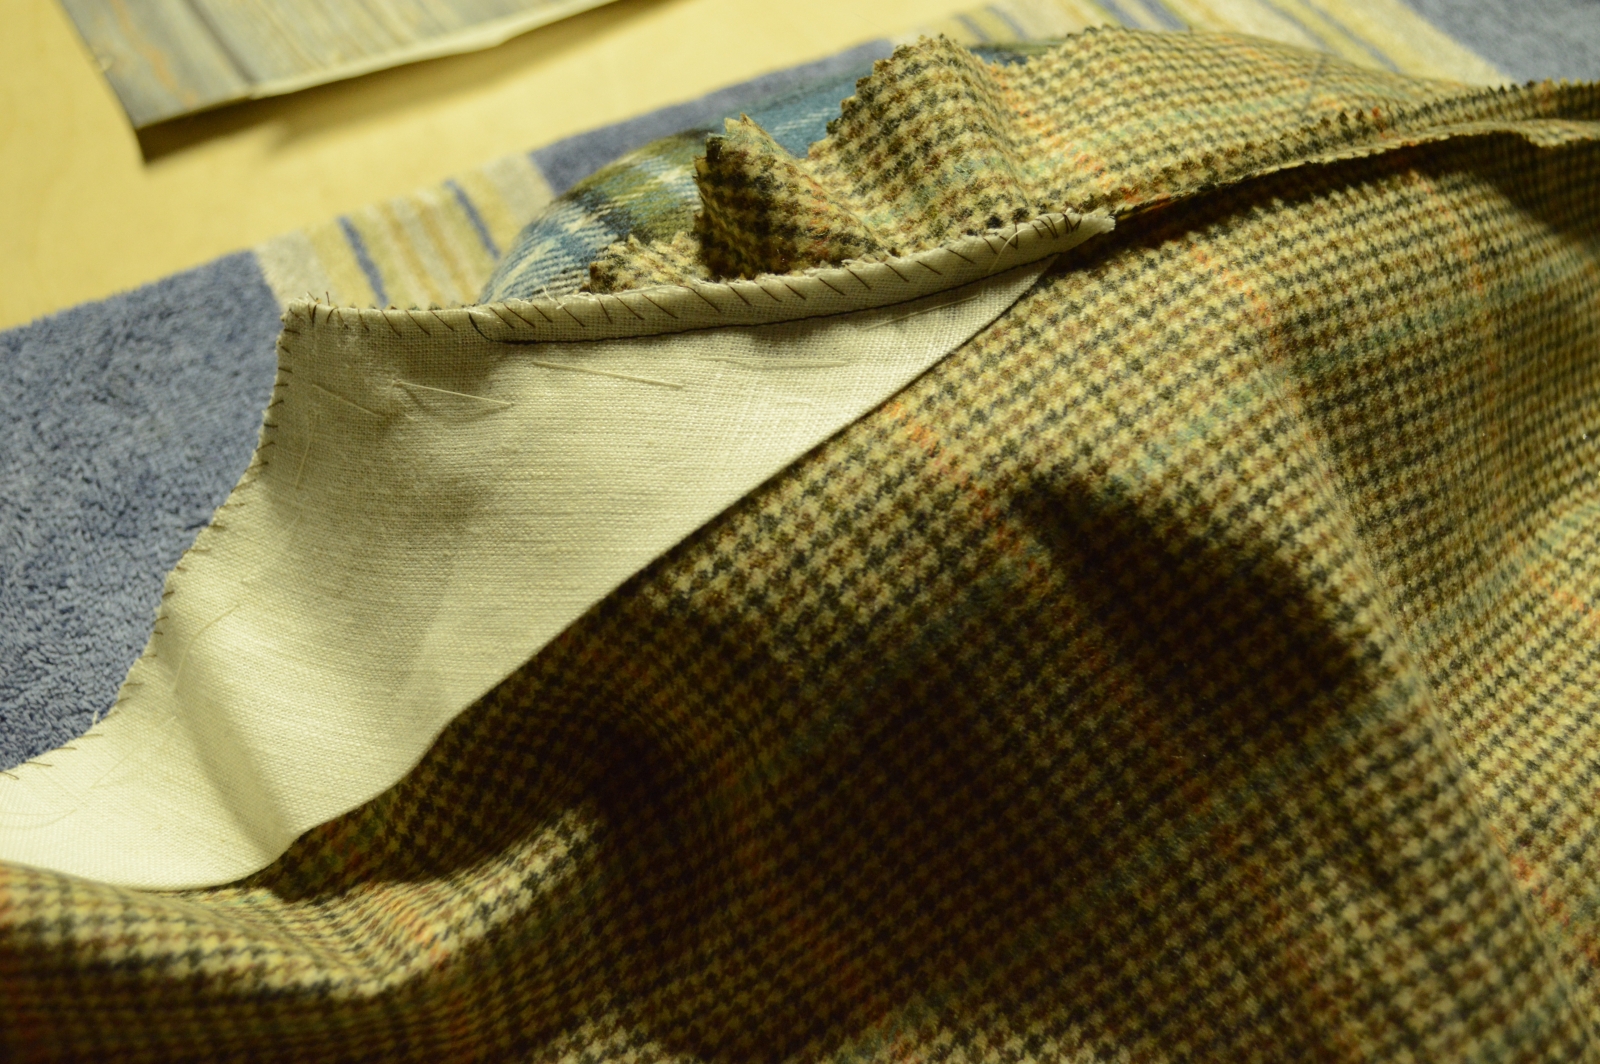
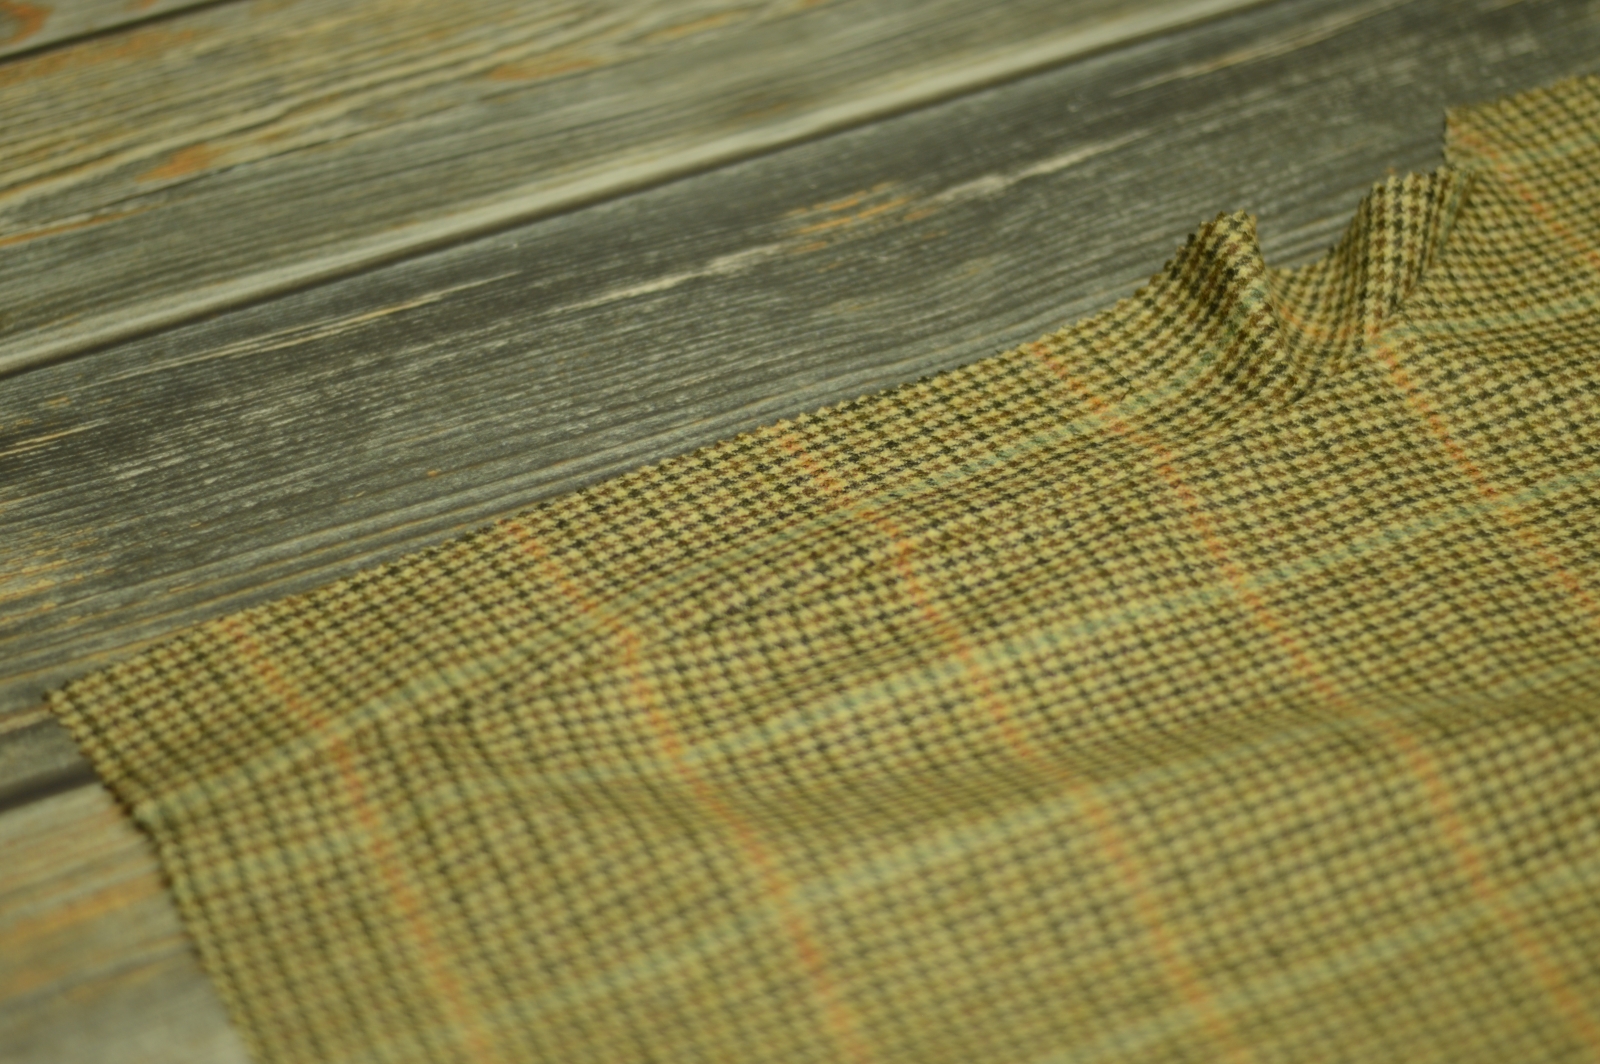
Now that the button catch is complete, we can start on the fly itself. You’ll need three pieces as shown: the fabric itself, the lining, and a linen interfacing. These are all right sides up in the photo, the lining should be closest to the body when this is complete so you need to make sure they’re cut the correct way.
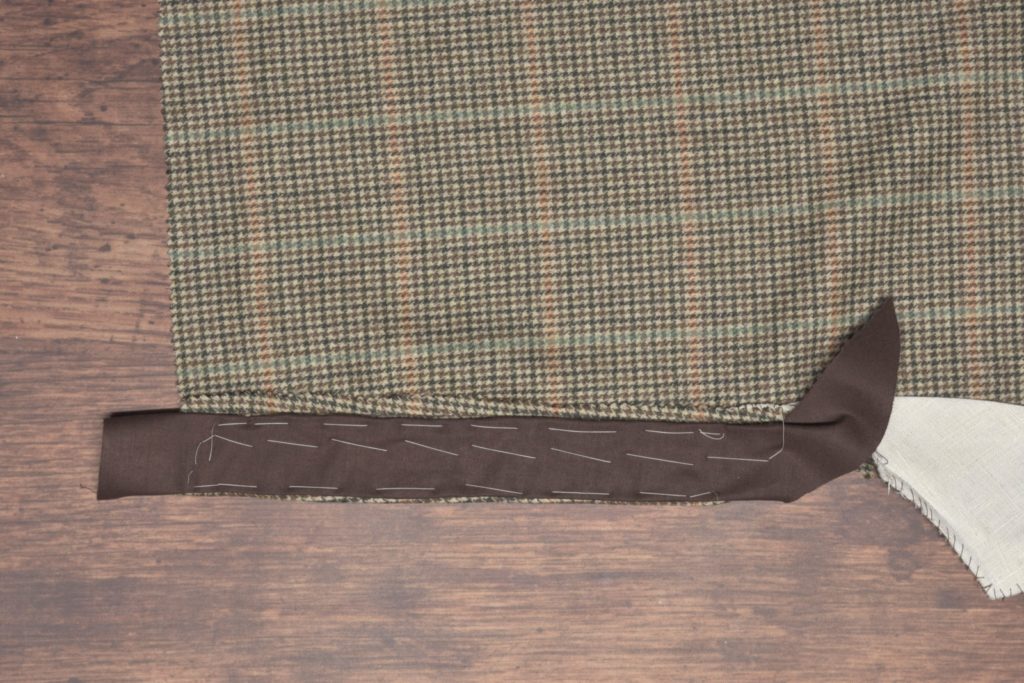
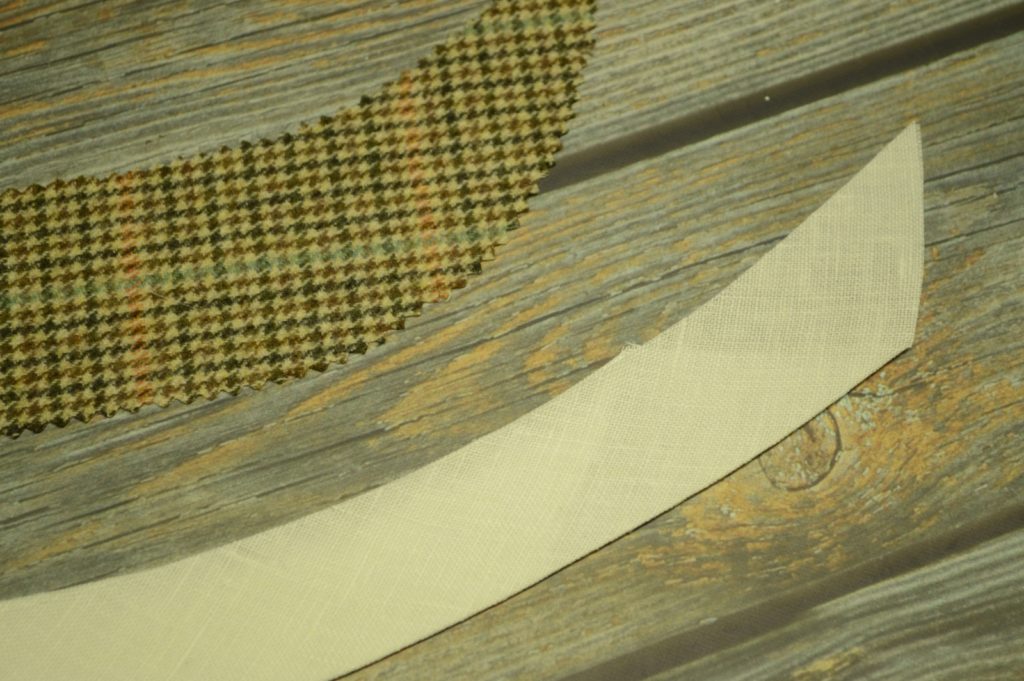
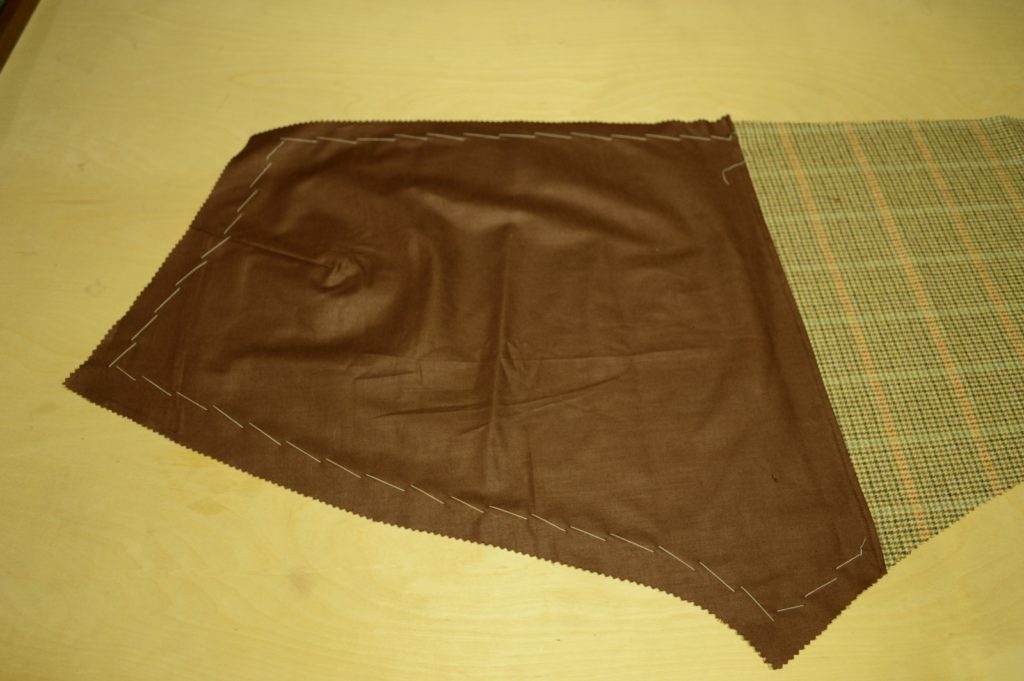
Lay the trouser fly and lining pieces right sides together, and baste along the outer (straighter) edge.
At the bottom end of the fly, mark the seam allowances at 1/4″ from the edge to get the position of the end of the stitching.
Stitch from the top of the fly to that mark along the straighter edge. Remove the basting stitches.
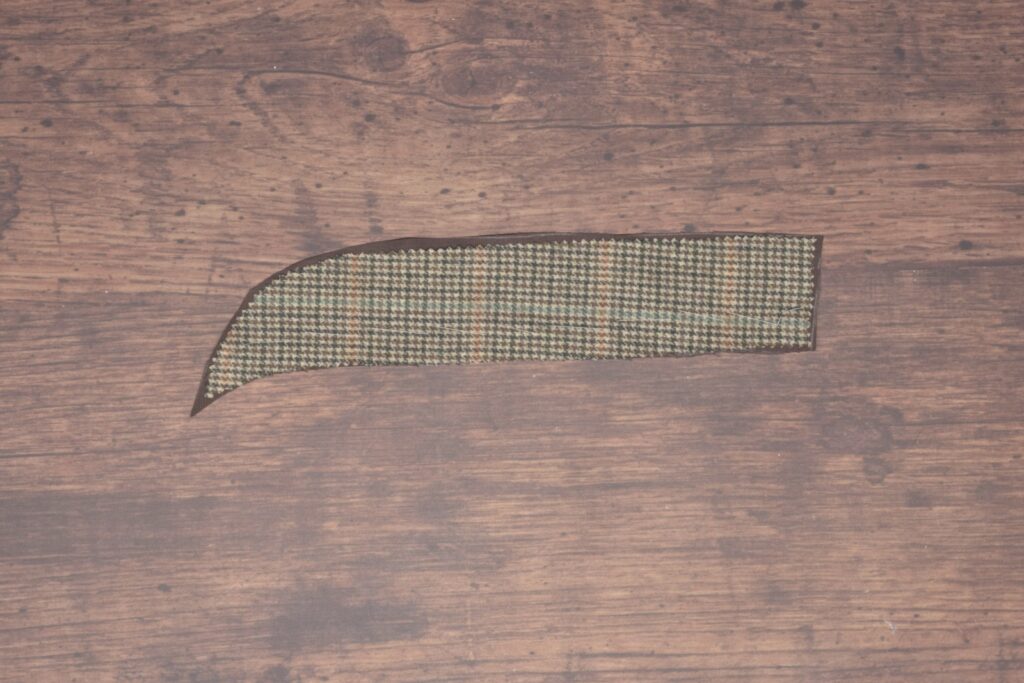
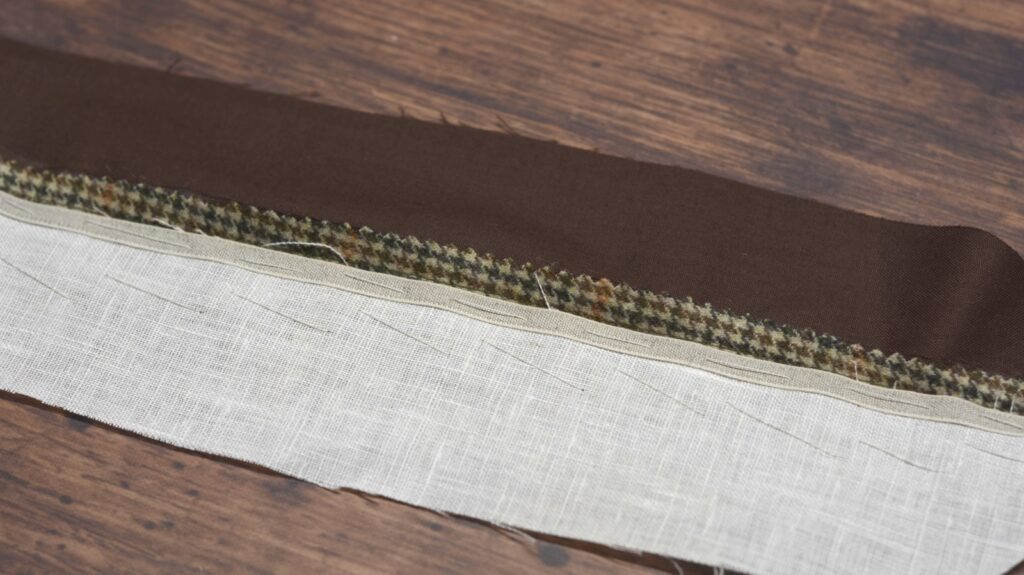
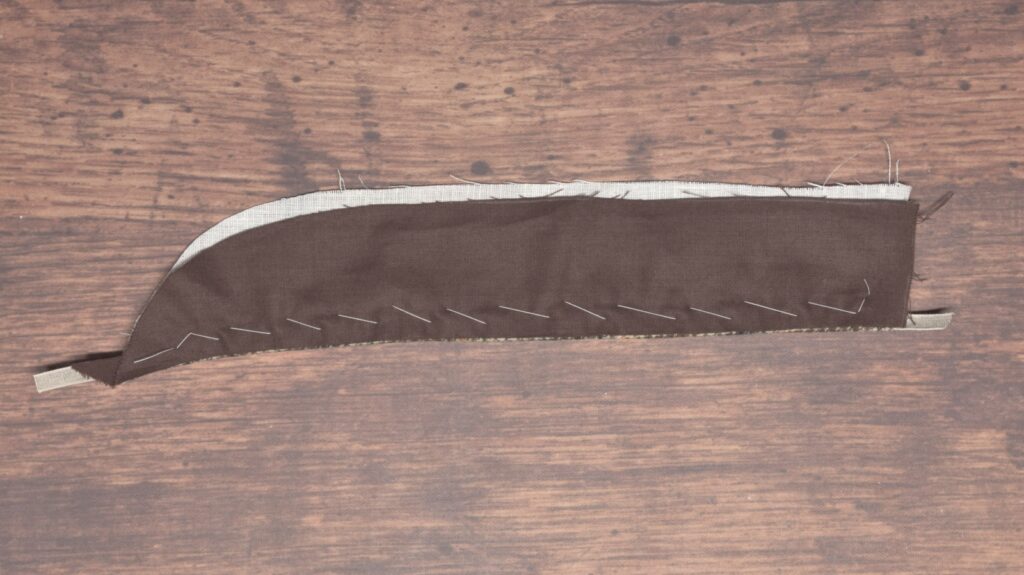
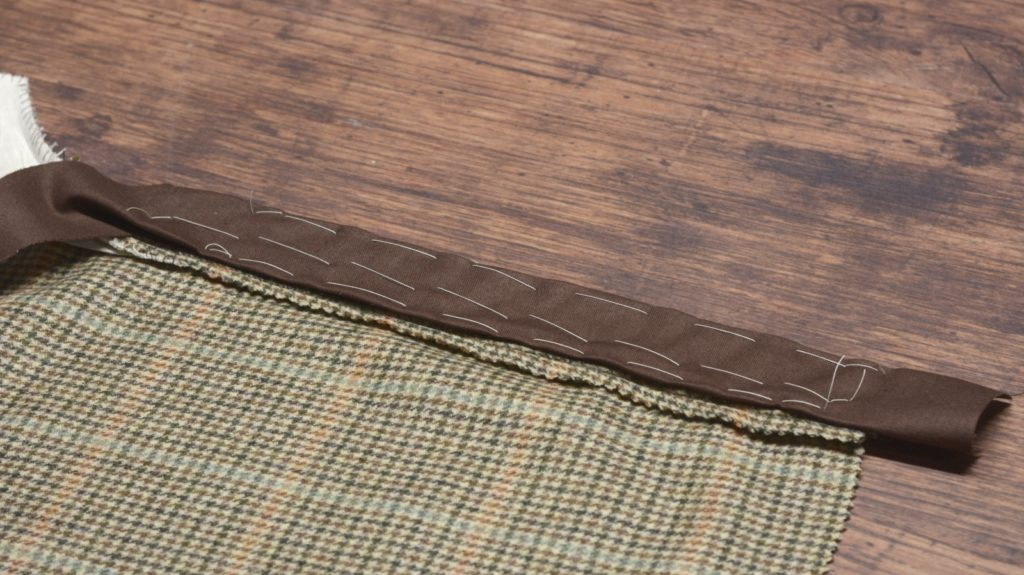
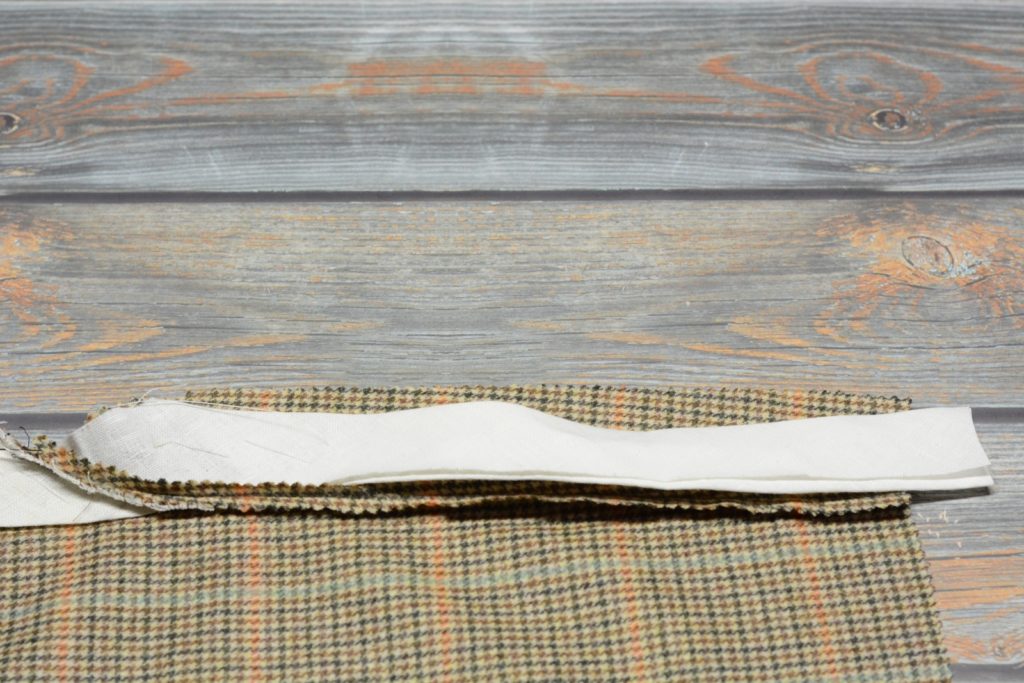
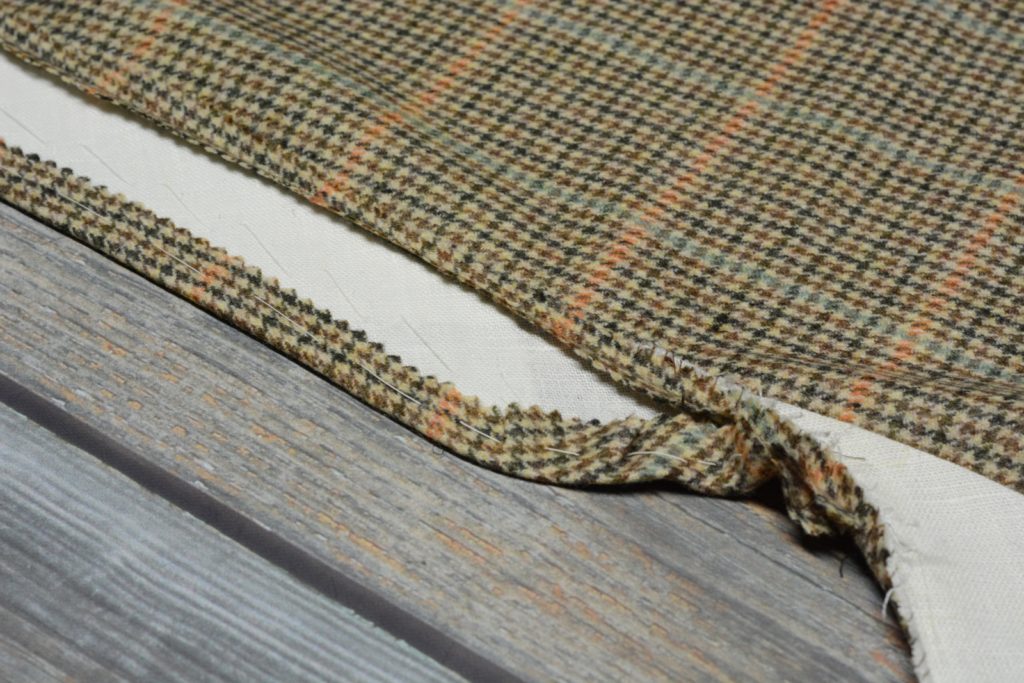
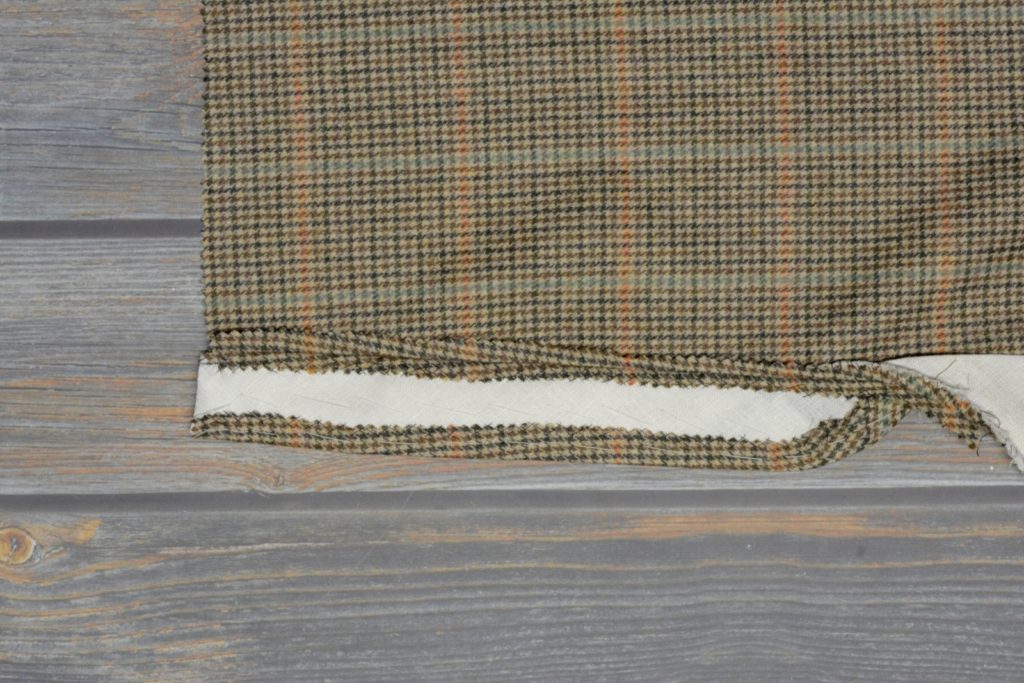
Now press the fly into its final position, wrong sides together. The lining should be pressed back about 1/16″ to 1/8″ as shown below.
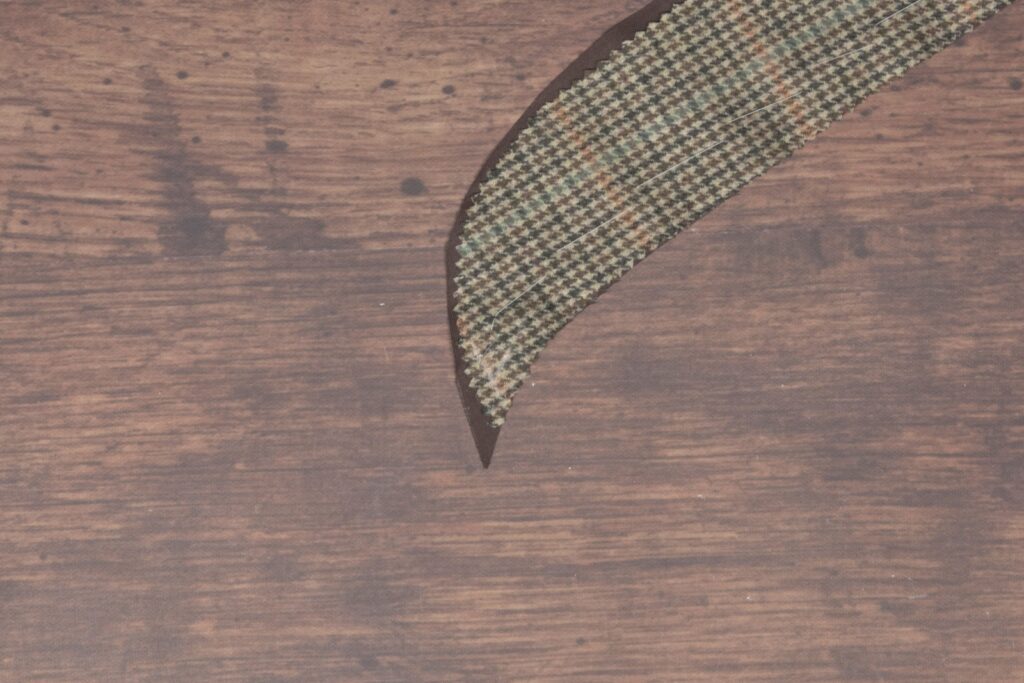
The bottom can be a little fiddly because of the curve, so I had to go back and straighten things out with my fingers before pressing again.
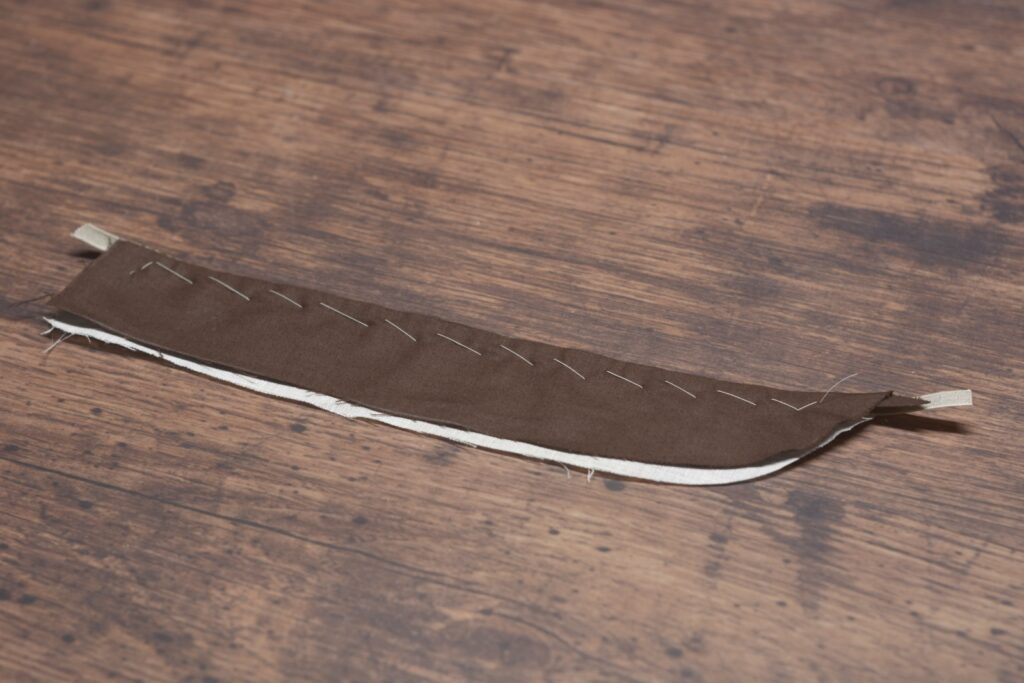
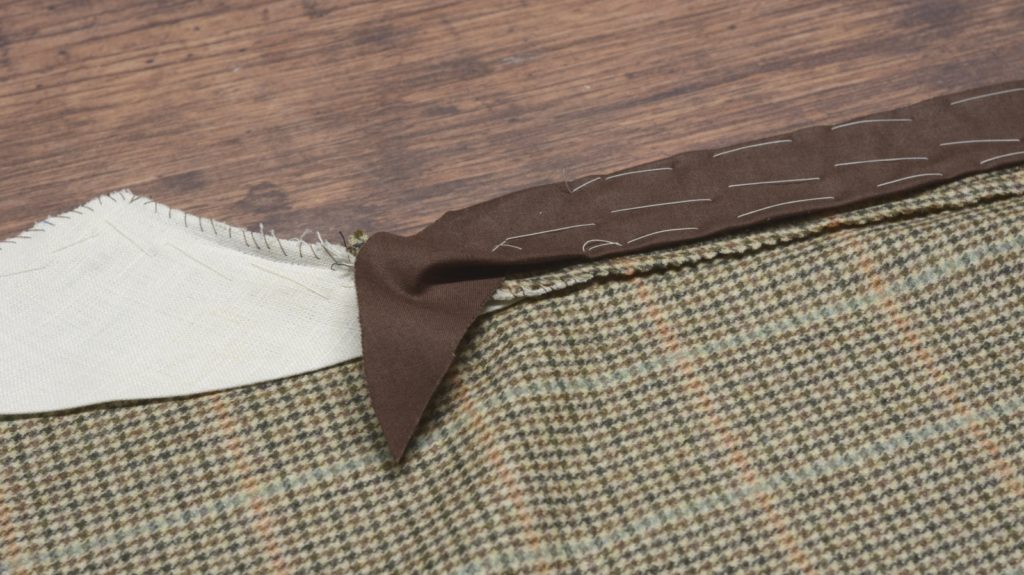
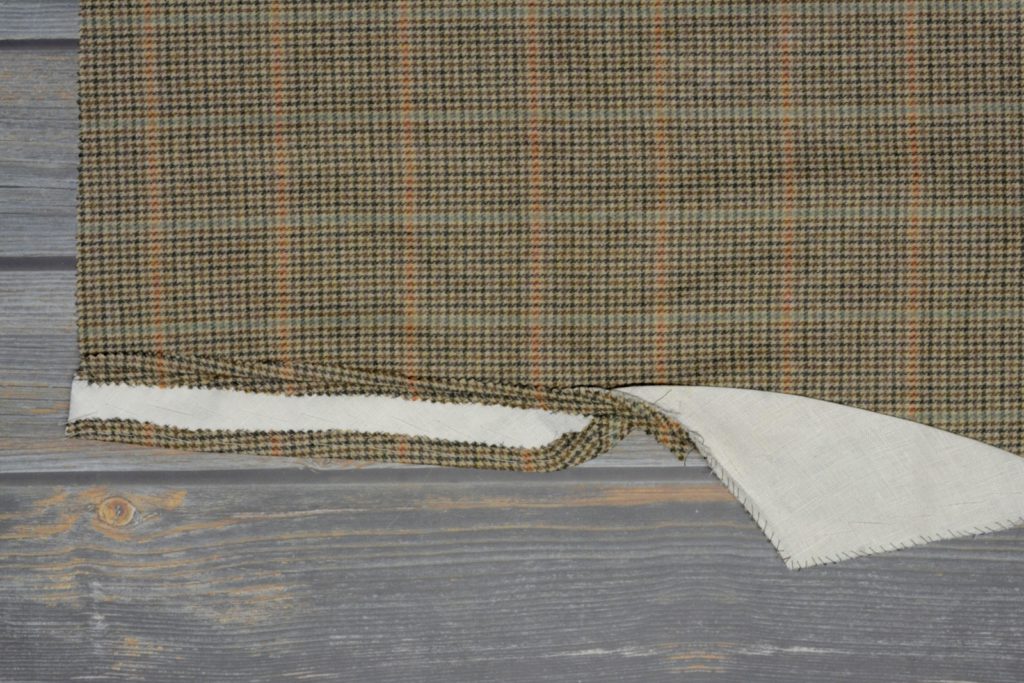
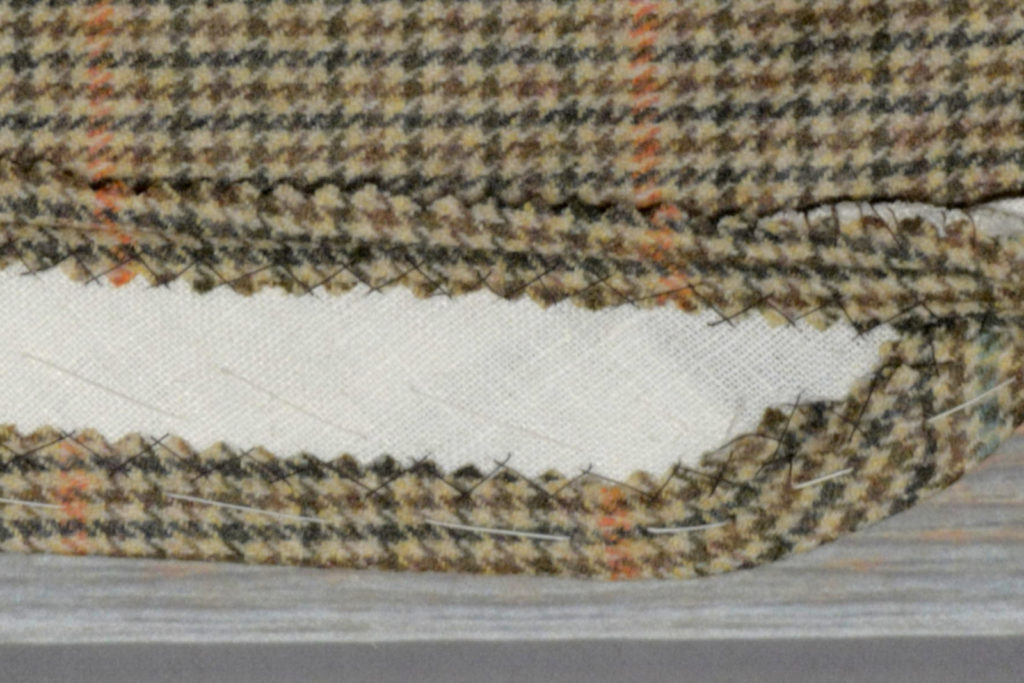
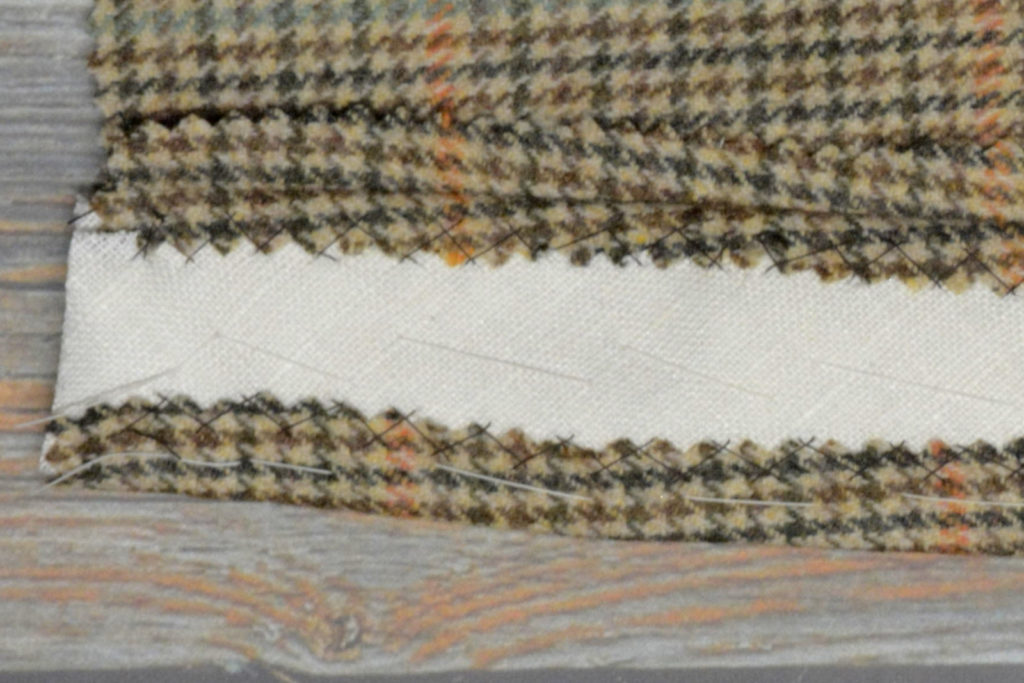
Now open up the fly again and baste the linen piece to the wrong side of the fabric.
Next, baste in a piece of linen stay tape along the length of the seam. This is optional, and I’m not sure if all trousers would have had this added during the 1860s period, but it adds a nice firmness to the edge and more durability. If your fabric is on the thicker side you could leave it out as well.
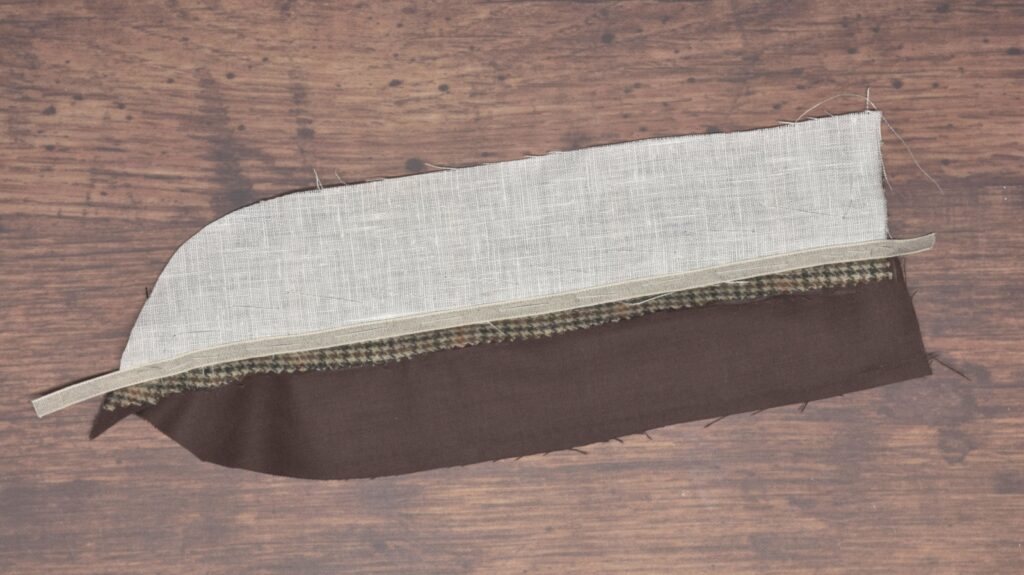
Stitch the stay tape in place using a cross stitch.
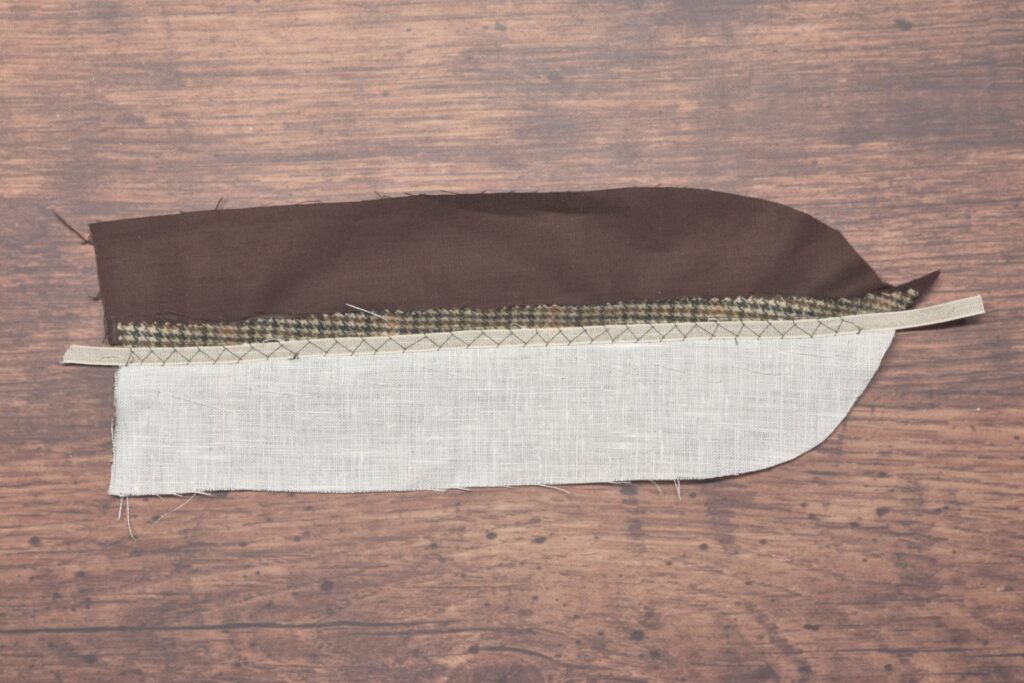
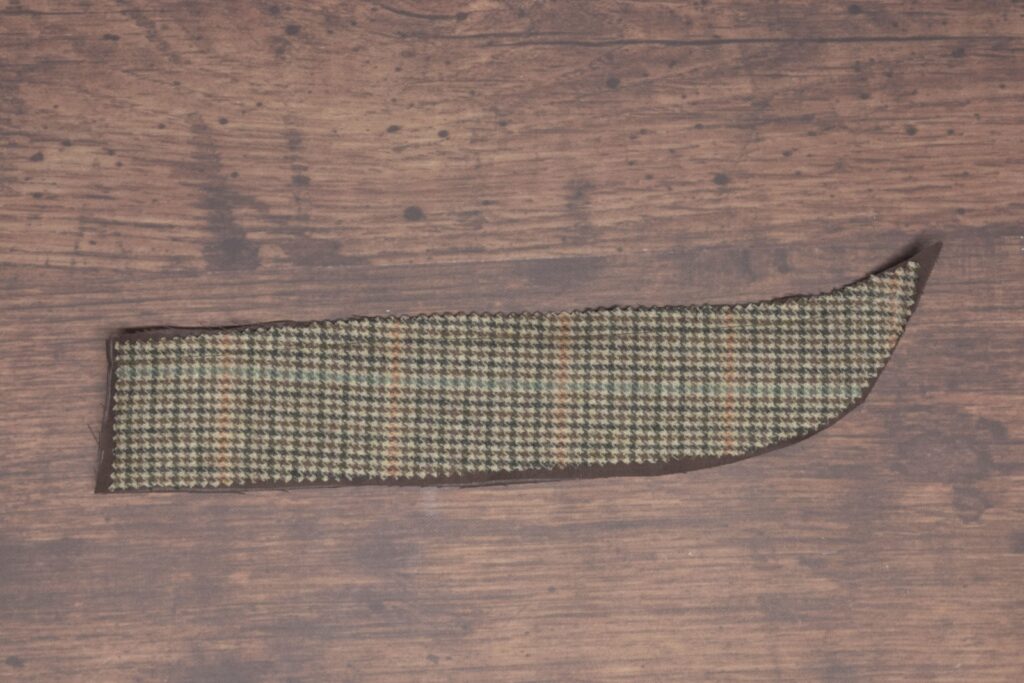
Finally, fold the lining back over the fly and baste it securely closed along the edge. We are now ready to move on to the buttonholes.
Button Catch Lining
After cross stitching, it’s time to install the button catch lining. Lay the pieces wrong sides together.
Baste down the center of the button catch, stopping an inch or two from the bottom so that there is room to turn under the edge after.
Turn under the raw edges and baste securely closed. I like to start with the straight edges and work my way down towards the curved bottom, which is a bit fiddly to get it looking just right.
Finish turning under the edges at the very bottom.
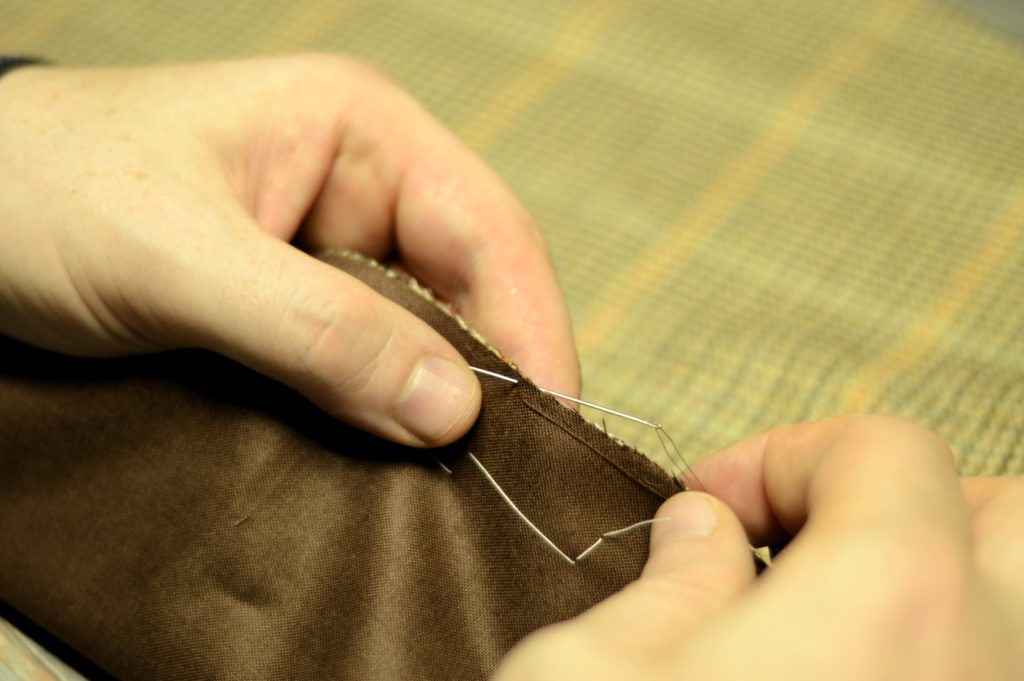
Using a small felling stitch, fell the folded edge of the lining to the button catch. I use about 8 stitches per inch, entering the lining fabric with the needle from the top, catching the wool underneath on the diagonal, keeping the visible part of the stitch very small and straight. This also gives better tension to the lining when sewn in this manner.
I like to start at the waist, sewing down towards the bottom of the button catch, and back up the other side.
Trim off any excess lining.
Interlining
An interfacing of linen is now added to the button catch to provide additional strength to the area and keep the buttons from tearing out over time. In the past, I’ve used a single layer of linen cut to the shape of the fly pattern piece, but these days I’ve taken to using three layers.
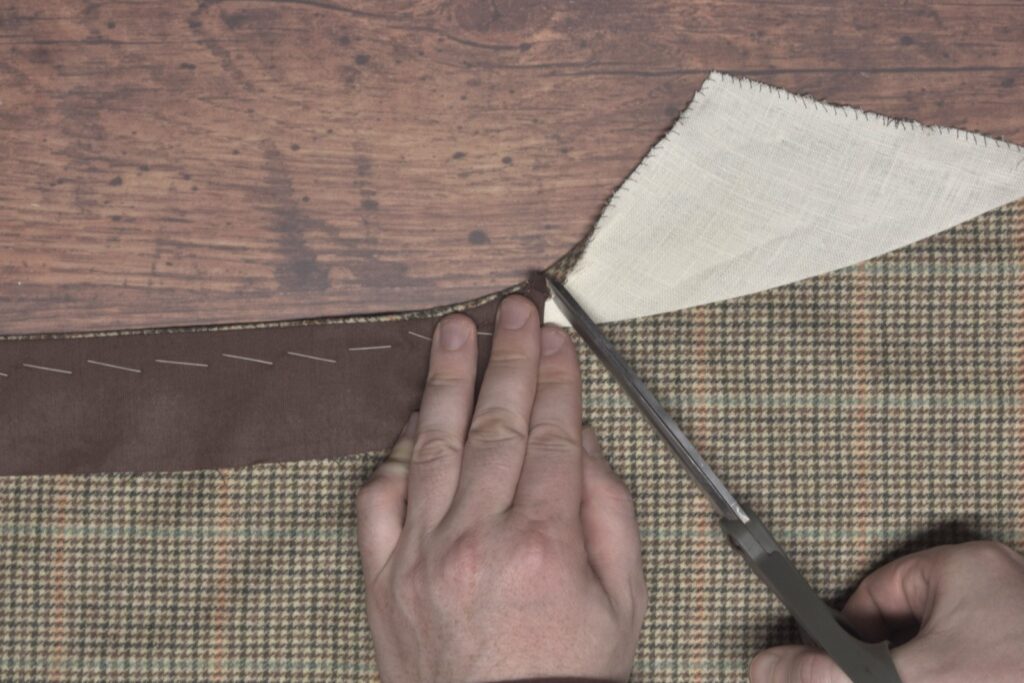
Begin by measuring the width of the button catch, subtracting the seam allowance from that measurement. Then cut a bias piece of linen three times that width, and a little longer than the fly itself.
Cut out the linen. Note how I left the triangular piece on the end rather than cutting it square.
Now fold the linen into thirds, pressing firmly. The pointed section should be towards the bottom of the fly to gradually reduce bulk in that area. Stretch the lower end on one side to match the curve of the button catch as best you can. Sorry I didn’t get photos or videos of this for some reason!
You can see how the layers thin out towards the bottom. We’ll be top stitching through the button catch and fly later on, and if all three layers were present there, it would be very difficult to almost impossible to sew through all of the layers.
Lay the linen interfacing into position on the wrong side of the button catch. The inner edge should fit underneath the seam allowance, while the outer edge should be 1/4″ from the edge. If that’s off, however, you can trim it after basting.

Starting from the bottom of the button catch, baste the interlining into place. Trim any excess out of the seam allowances if necessary (shown in the video below).
Now fold the outer seam allowance on to the linen and baste securely in place. You’ll have to fiddle a bit with the bottom of the button catch where the two seam allowances meet.
Now cross stitch the seam allowance to the linen, being sure not to let the stitches show through to the right side.
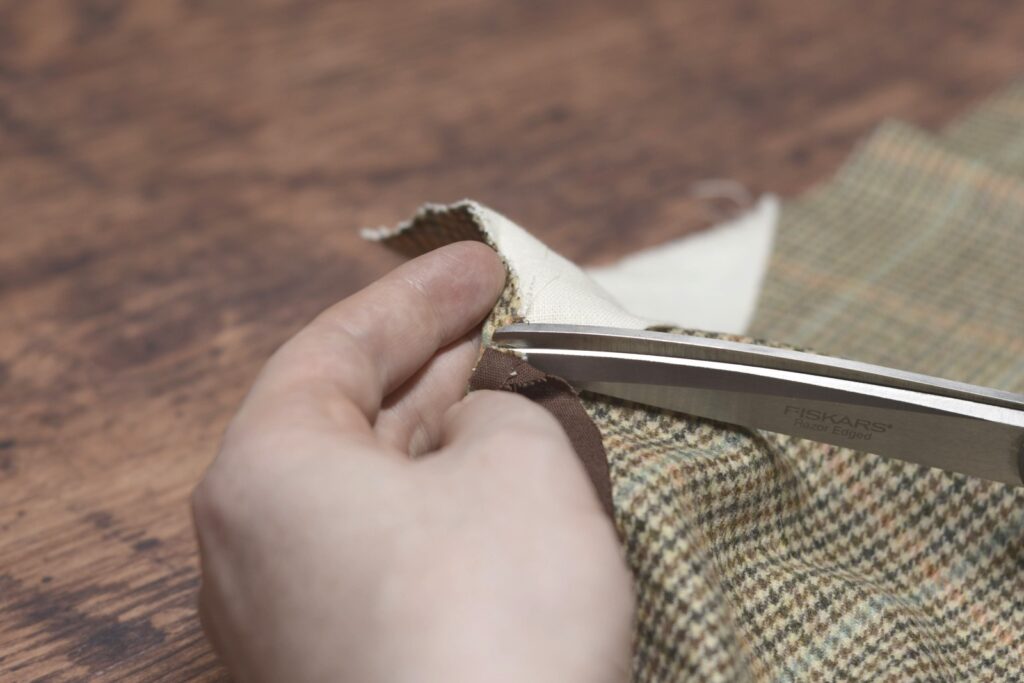
Trim any excess linen off the top edge, if you haven’t already.
The Button Catch
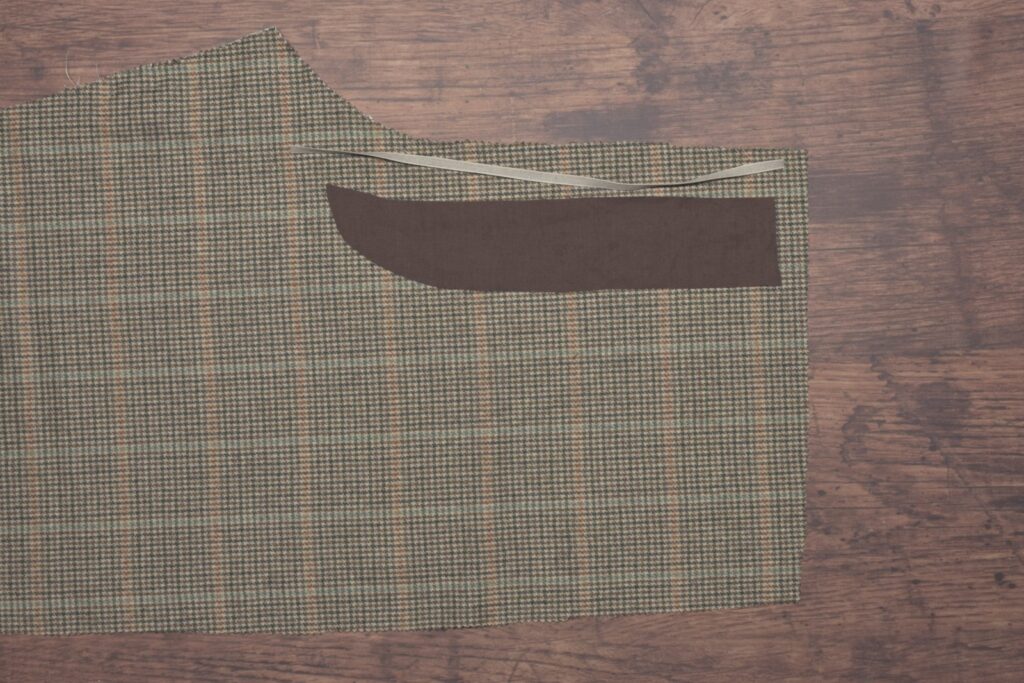
Now it’s time to begin work on the trouser fly, starting with the button catch. This is where you’ll be attaching the buttons later on. Begin by laying a trouser fly piece on to the right half of the trouser front, right sides together.
Make fine adjustments as necessary to ensure that the stripes will line up as closely as possible.
Baste the button catch to the trouser securely.
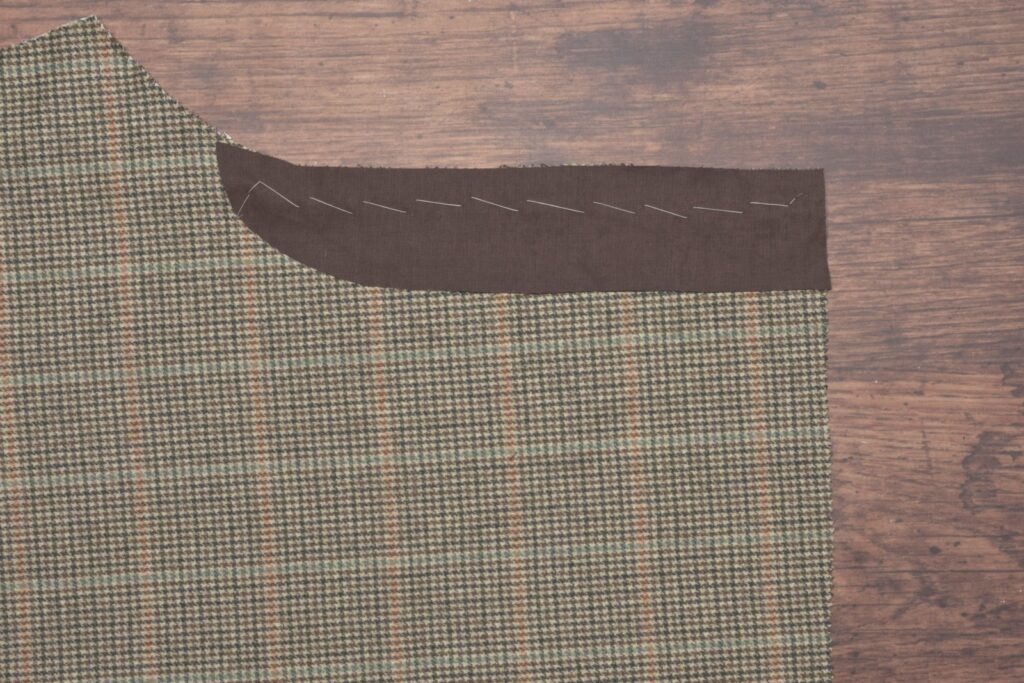
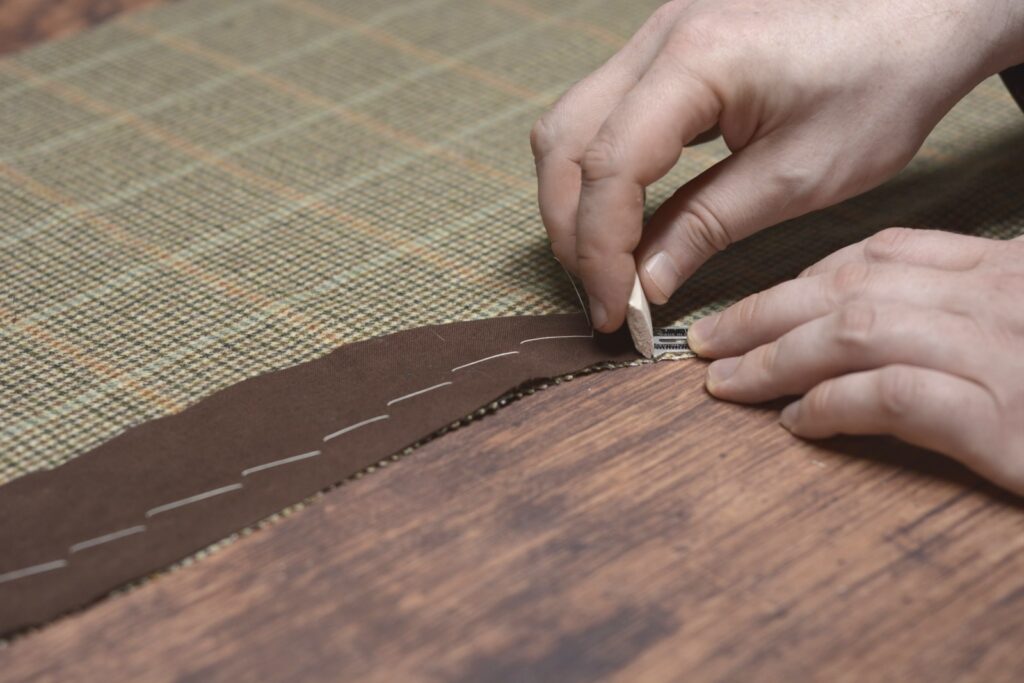
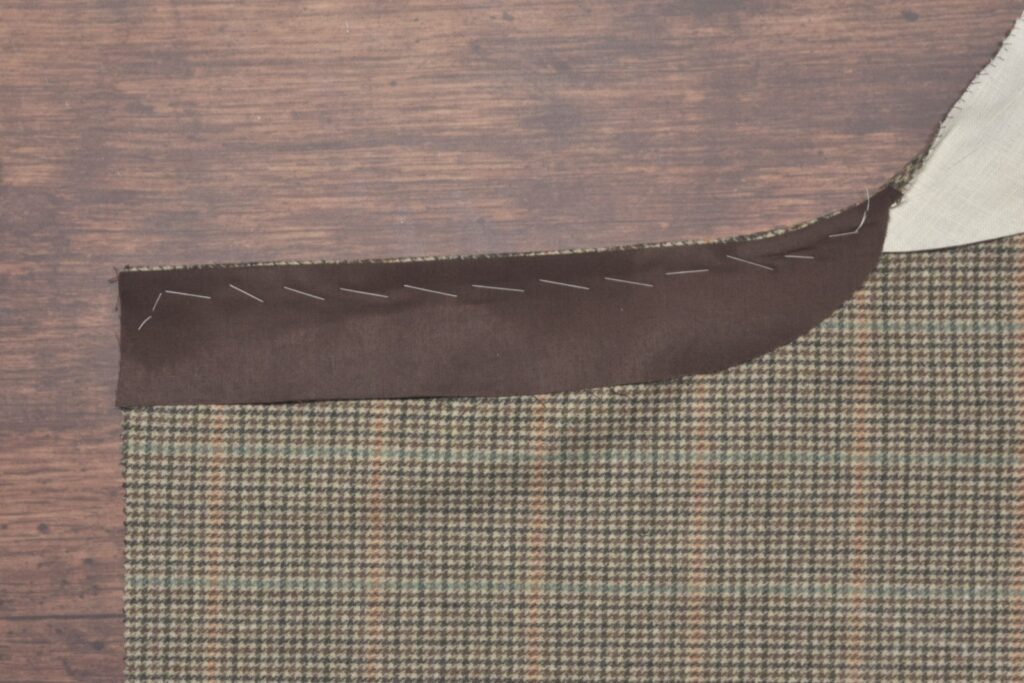
On the bottom / outer edge of the button catch, mark the seam allowance as shown. This is just to show you where to stop sewing in the next step.
Using a machine or back stitch, stitch the button catch to the trouser front starting at the waist band, through to the mark you made previously, using a 1/4″ seam allowance.
Try to stop as close as you can to the chalk mark. I’m slightly short of it here but it’s close enough. If you’re too far off you may run into trouble fitting the fly to the button catch.
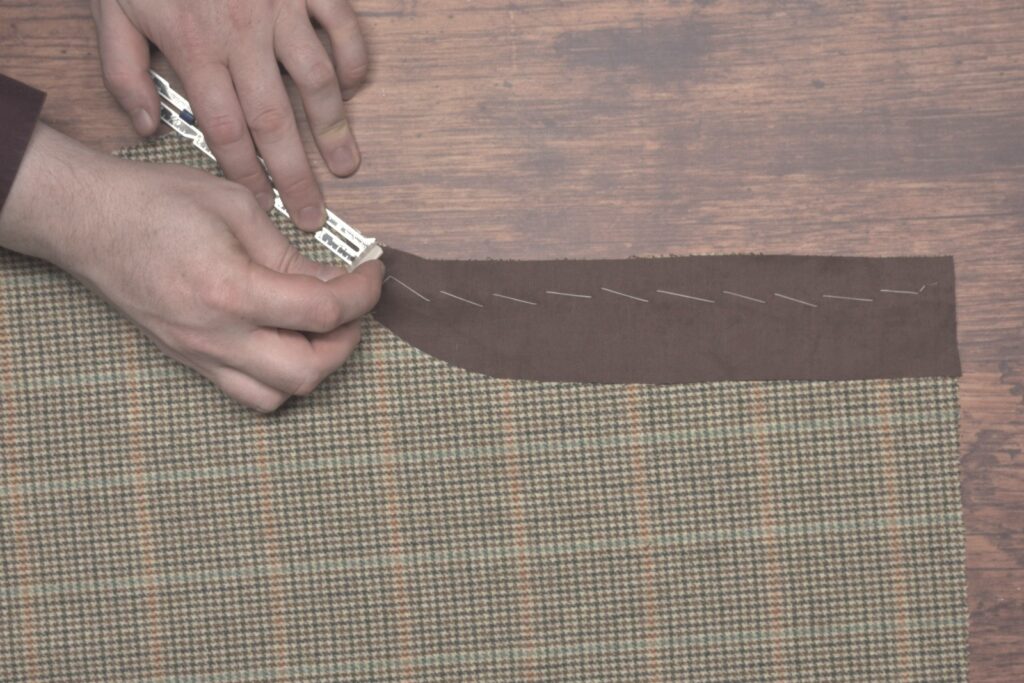
Remove the basting stitches.
Press the button catch seam from both sides with a bit of steam to set the stitches and make the fabric more supple.
Turning to the inside, press the button catch seam open, using a tailor’s ham for the curved areas as necessary.
Press again from the outside to get a firm, crisply pressed seam.

Here’s my final result. I ended up removing the button catch and shortening it by an inch or so to get rid of all those puckers near the end. While you’ll always have a few, due to the curved seams, this told me my fly was just a bit too long.
This is about as close as I could get the seams to match. If I finessed it a little more during the basting stage, it’s possible to have lined up the orange stripes a little better. Really though, no one is ever going to see the button catch so it’s not that important. Just good practice for that stripe matching!
And here’s the video showing the entire process so far.
Overcasting
Finally, the last of the preliminary work is to overcast the raw edges around the entirety of each trouser leg (if you have not used the pinking method). This can take a while, but it’s pretty mindless work so I usually put on a movie or podcast while I’m working.
There are certain sections you don’t have to overcast, such as the top edge where the waistband will be, as well as the section that will be covered by the pocket on the front leg (the first 10 inches or so).
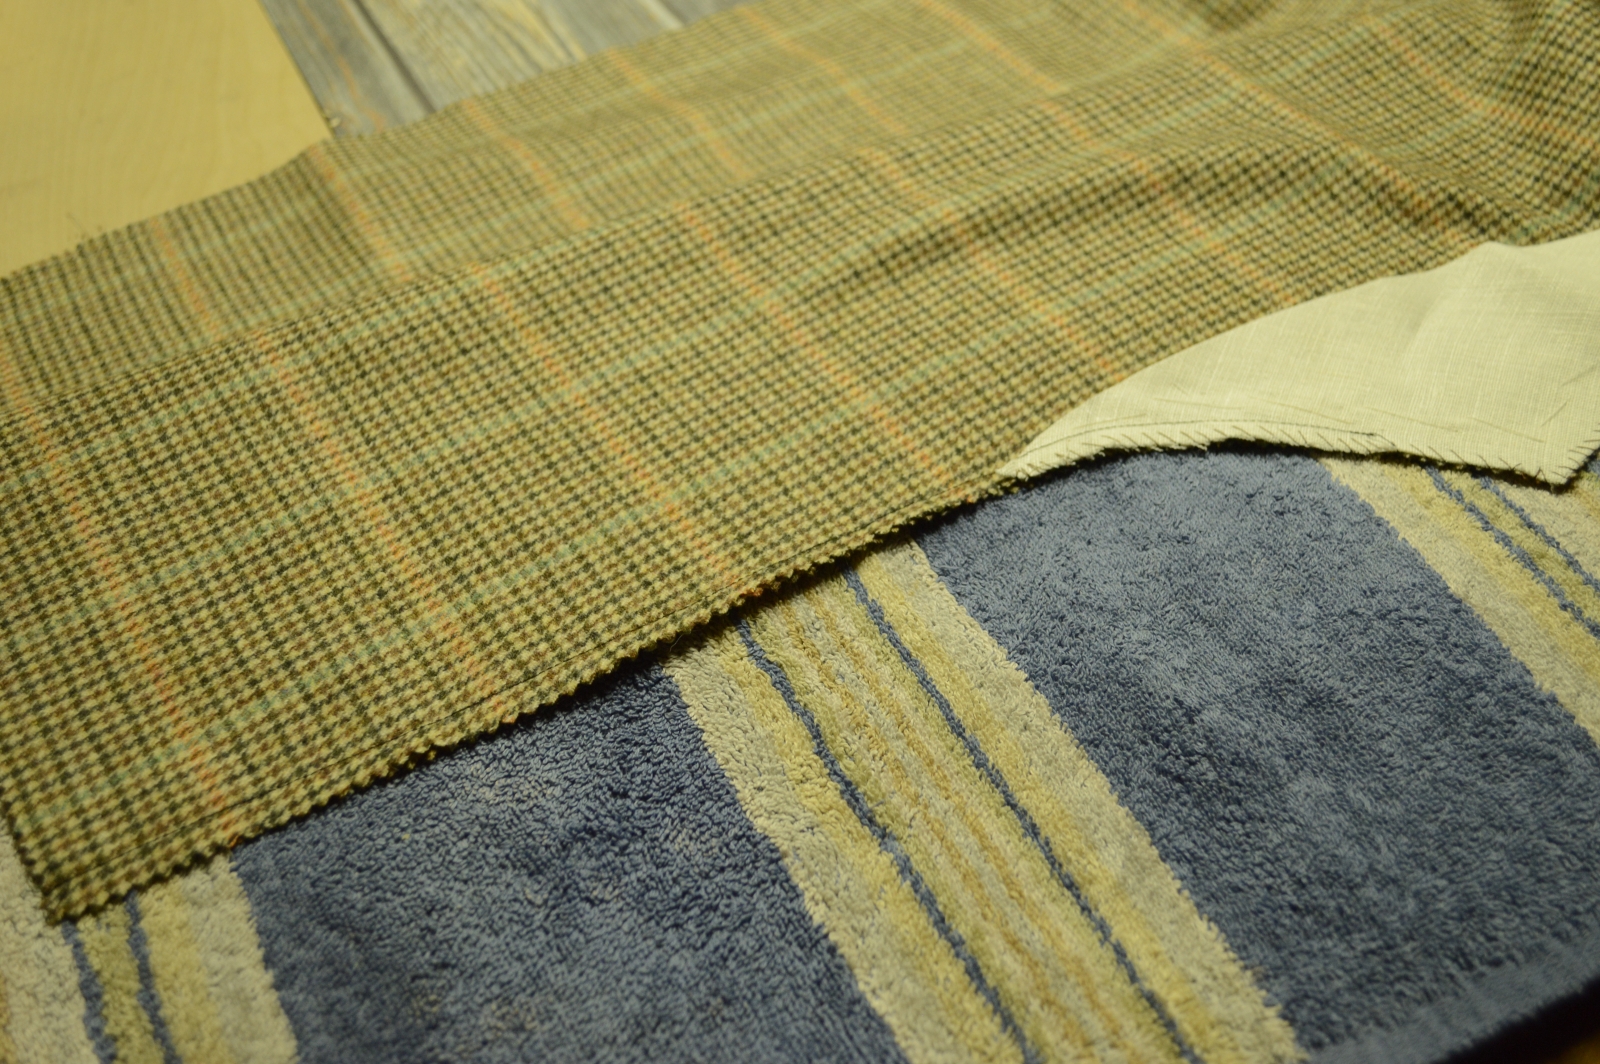
Trouser Lining
Trouser linings were common but optional during the 1860s period. A lining adds a little bit of warmth to the trousers, but most importantly, more strength and longevity to the seams and various areas of the trousers.
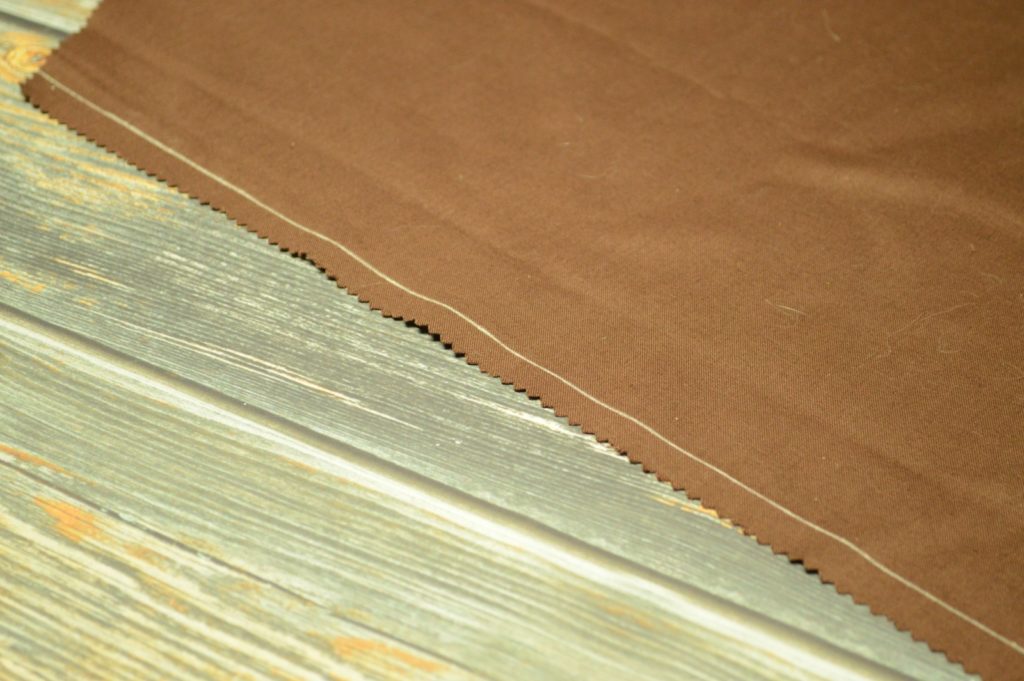
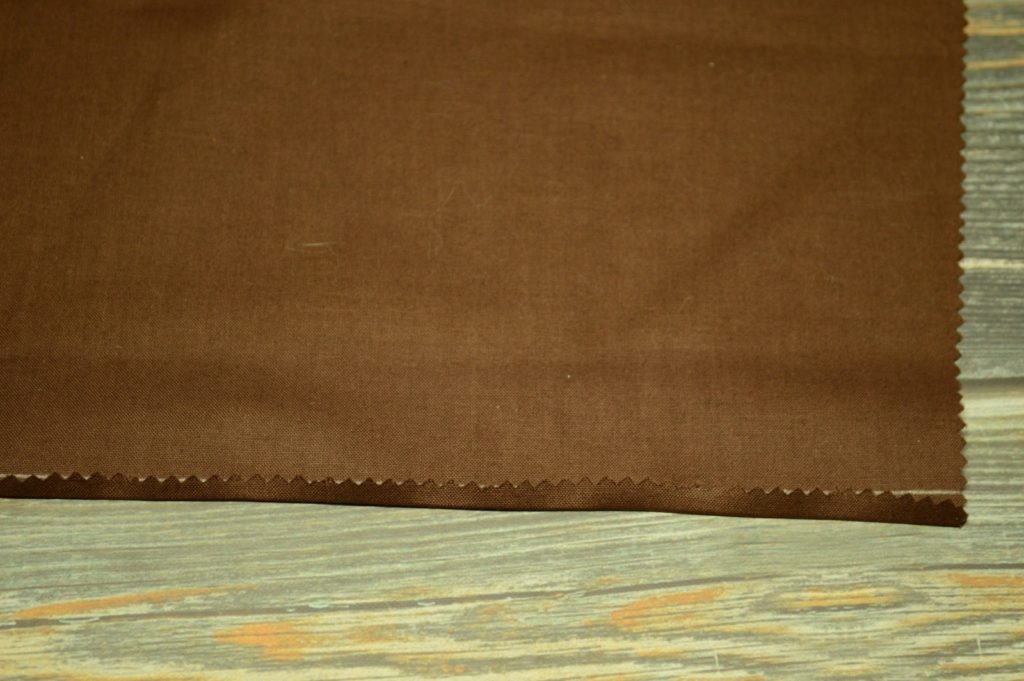
There are several possibilities and combinations for a lining. You can line the seat, the fronts down to just below the knees, or the entire pair of trousers down to the cuffs. Here I’ll be using a brown polished cotton for the lining.
In any case, the lining is created in the same manner with a process known as flat lining. After putting in any necessary darts, the linings are basted to the inside of the trousers, and from then on treated as one piece.
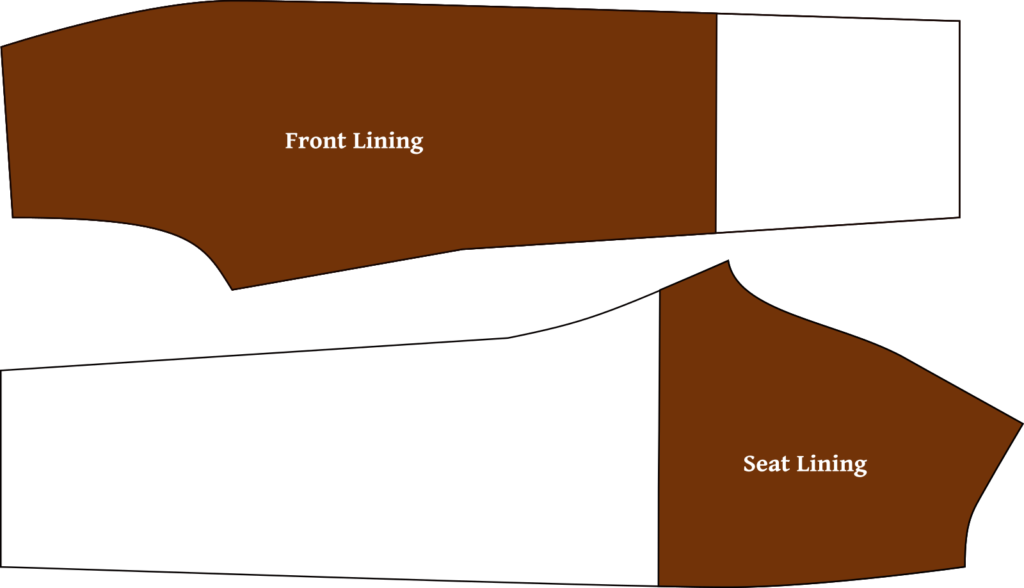
Begin with cutting out your linings as desired using the diagram above for reference.
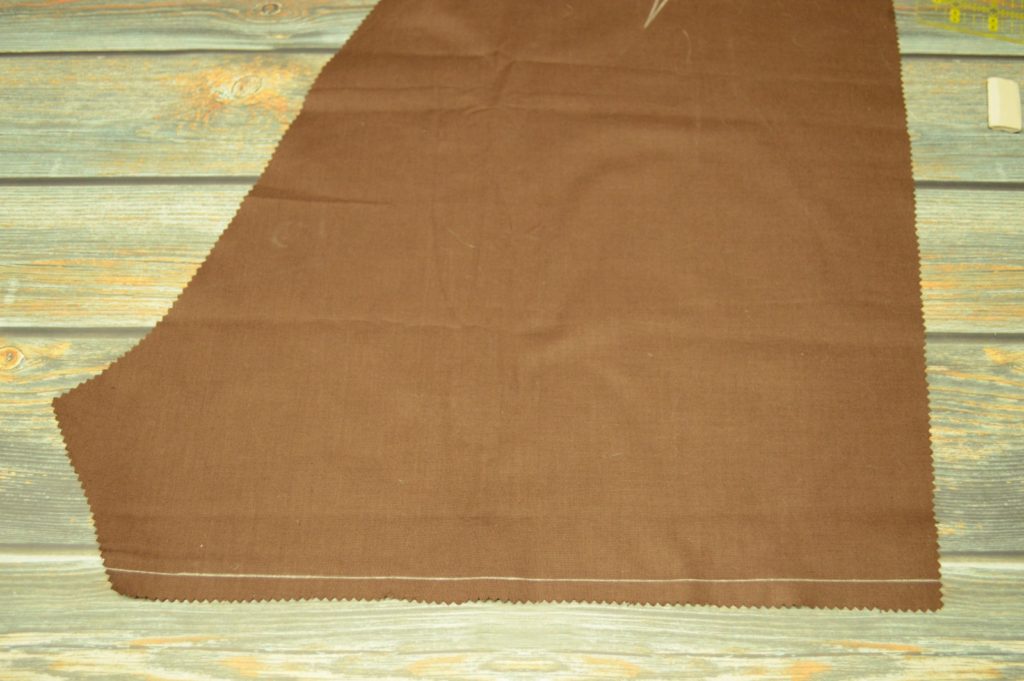
I’m going to just line the seat, but the techniques are the same whichever way you choose. Be sure to mark any darts as well. The bottom of the lining is about 3 or 4 inches below the fork.
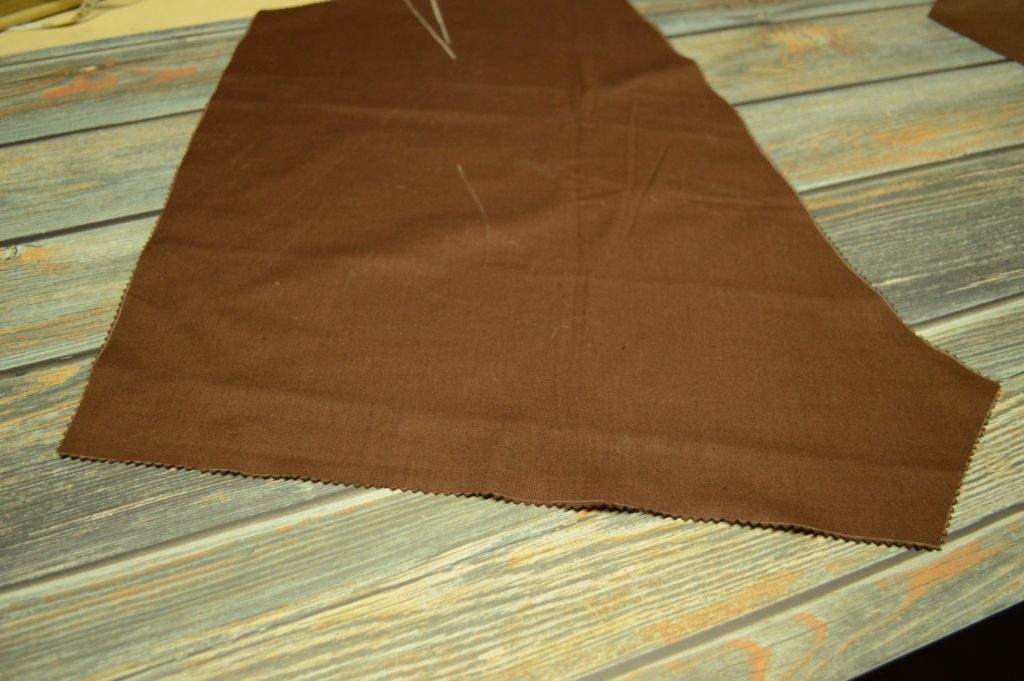
On the wrong side, mark a line 1/2″ from the bottom of the lining.
Fold up the bottom edge to the line, pressing as you go.
And fold that over itself one more time, hiding the raw edge.
Sew the 1/4″ hem with a machine stitch or with a felling stitch by hand.

Note that if you are installing a full lining, the bottom would be left raw and not be hemmed at the cuffs.
Installing the Lining
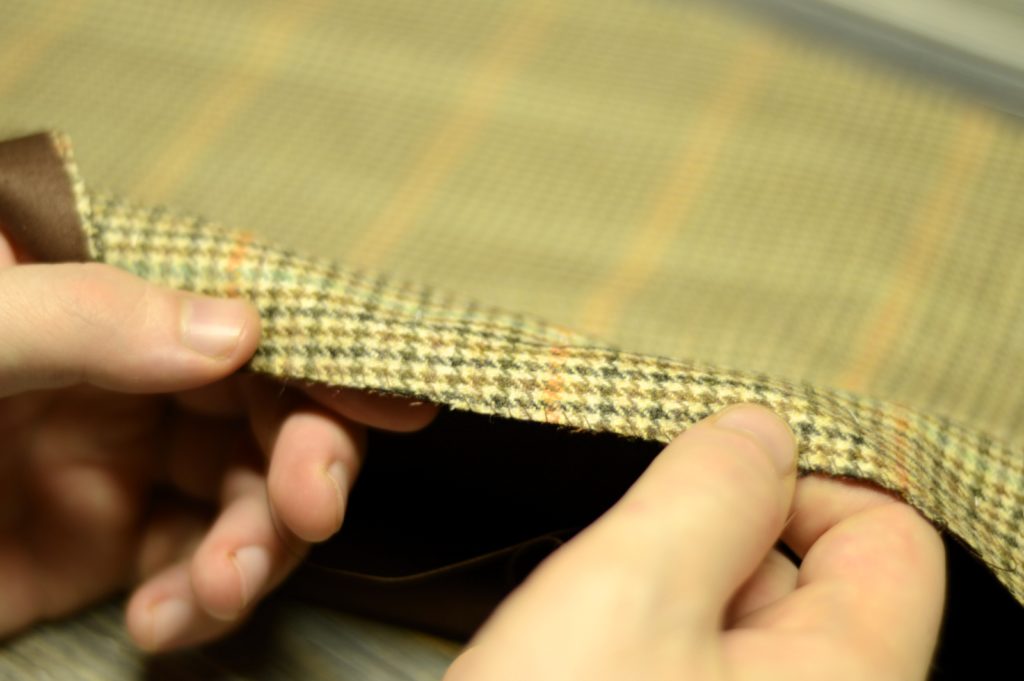
Lay the lining and the trouser backs wrong sides together. Ensure everything is aligned accurately, especially the area around the dart.
Staying about 1/2″ away from the edge, baste the lining to the trouser backs around the outside edge using a diagonal basting stitch for extra security.
Here’s a video demonstrating the entire lining process.
Dart Construction
If you have any darts in the back of your trouser pattern, now is the best time to construct them, so that both fronts and backs are ready at the same time for the pocket construction later on.
Begin by transferring the dart lines to the wrong side of each trouser piece.
Next, fold the dart in half lengthwise so that both sides are equal in width and the seam lines are aligned with each other. You can poke a pin through the layers to make sure they’re accurately aligned if you wish, but after a while you’ll get a feel for it and can do this by rock of eye. Baste along the length of the dart, about a quarter inch from the seam line.
Also cut out a 1″ to 1 1/2″ square of linen if you are using thinner wools or less durable fabrics for your trousers, to reinforce the tip of the dart.
Fold the linen in half and place it firmly against the folded edge of the dart, with the tip of the dart being near the middle of the linen. Baste the linen, and then redraw the seam line on top of the linen piece if you need to.
Note how the tip of the dart is located more towards the bottom edge of the linen, so that we don’t waste any of the linen and get more strength.
Sew the dart from the wide edge down to the tip either by machine or with a backstitch. At the very tip, the idea is to catch just a thread or so of the fabric in the stitching, rather than going off the edge. This gives a crisper and firmer finish to the tip of the dart.
Now trip the excess linen to about 1/4″ from the stitching. I cut a little too closely in the photo than I’d like due to being distracted by filming at the same time. Shouldn’t be a problem though.
Now press the darts from both sides to first set the stitches.
Then press the entire dart to one side, towards either the seat seam or side seam. Try to be consistent between both sides of the trouser. Make sure to use a tailor’s ham in order to preserve the shaping this dart creates.
I typically do not cut and press the dart open unless the dart is wider than 1/2″.

Turn to the right side and press the dart again. Just below the tip I like to gently shrink away the excess fabric to create a clean transition and better appearance.
Don’t miss the video for additional instruction.
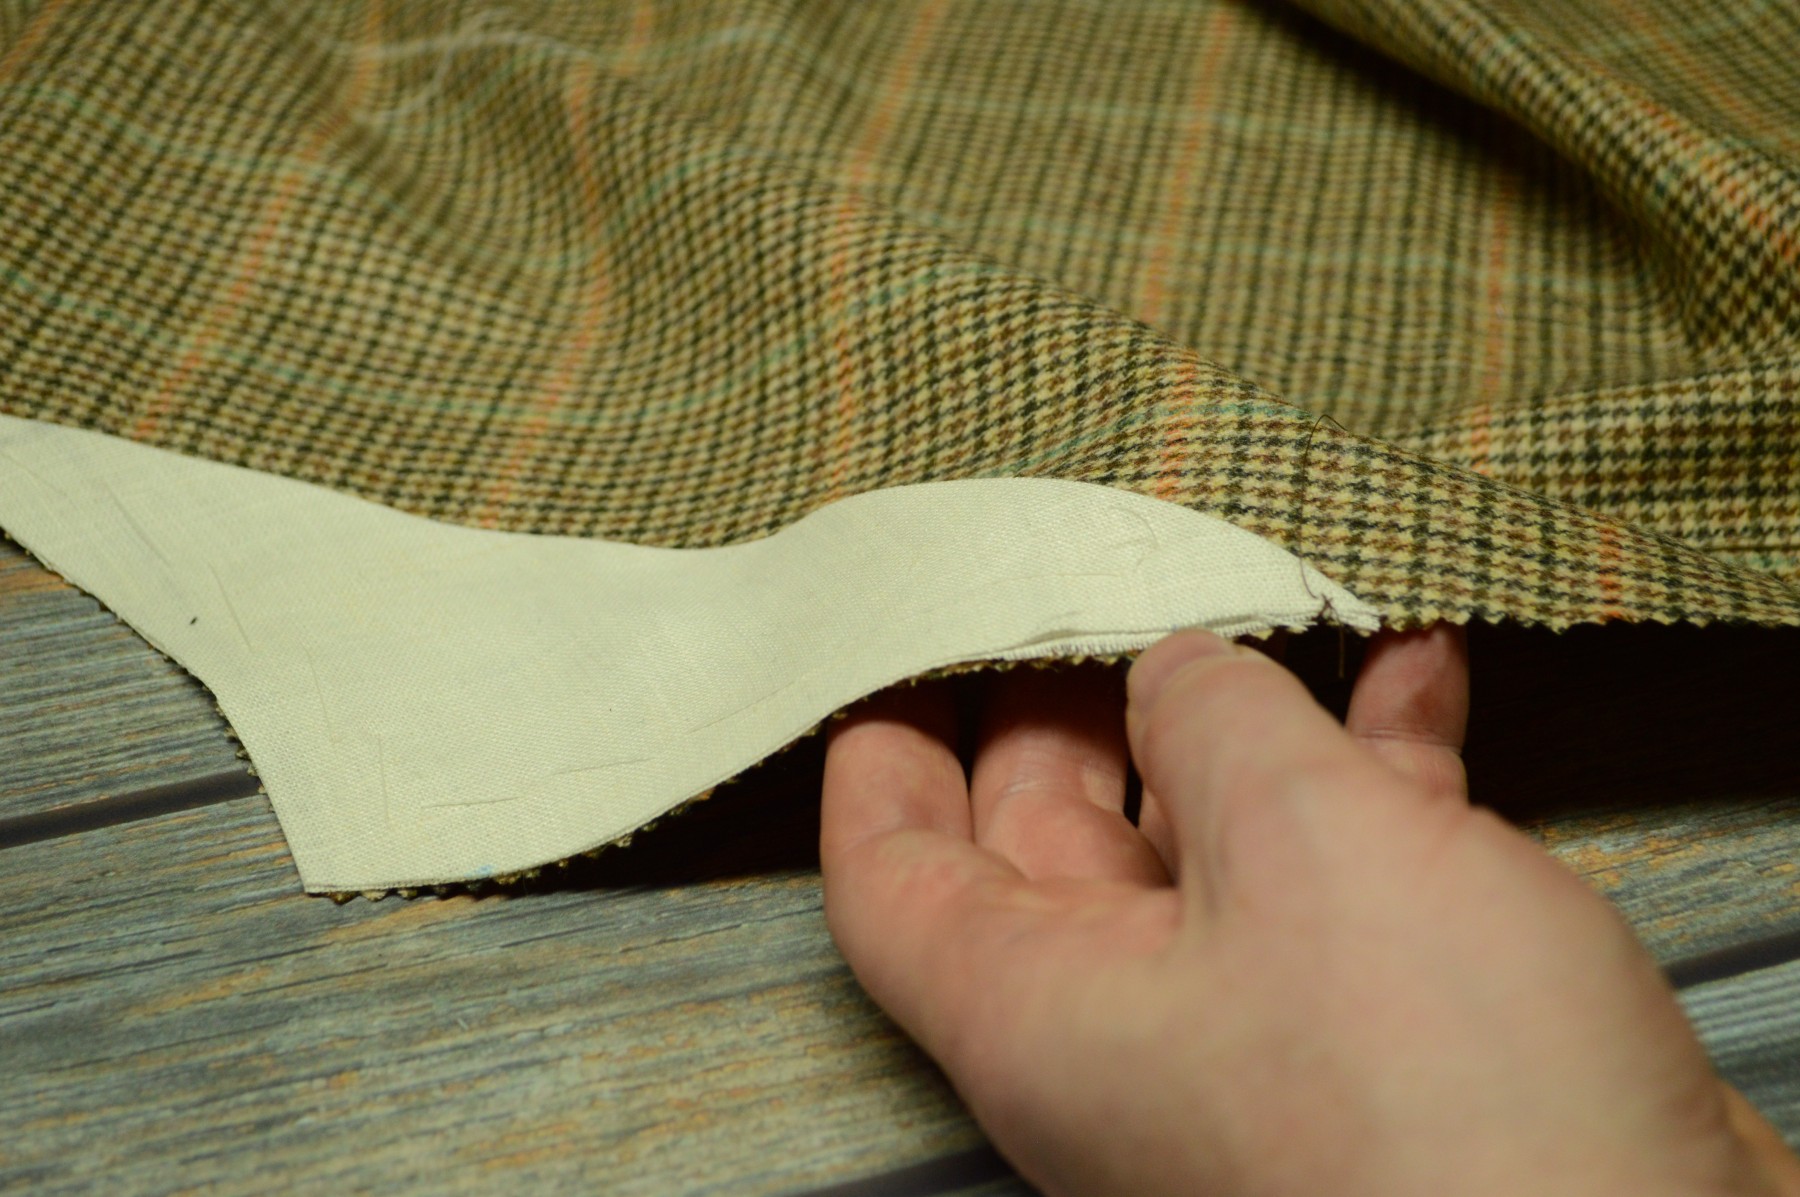
Staying the Fork
This technique of staying the fork is more appropriate for later period trousers, say mid-1870s and later. I choose to do so on all of my trousers unless asked not to by a client, as the added durability and strength to the fork area are worth the compromise to me. I’d like my trousers to last for years rather than wearing out in the next season! So again you’ll have to decide for yourself.
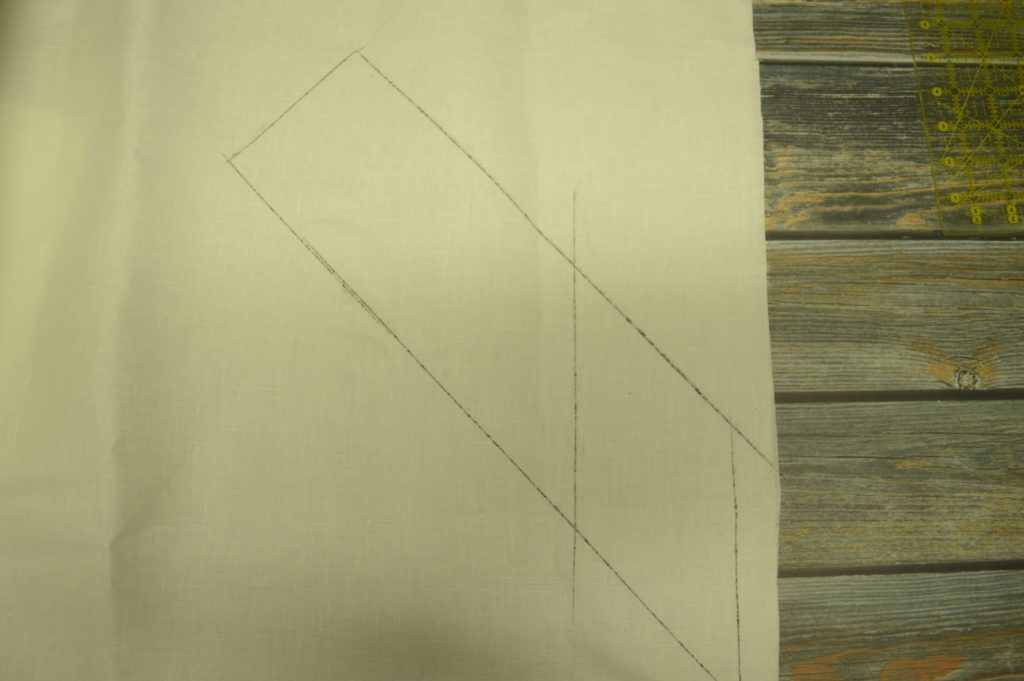
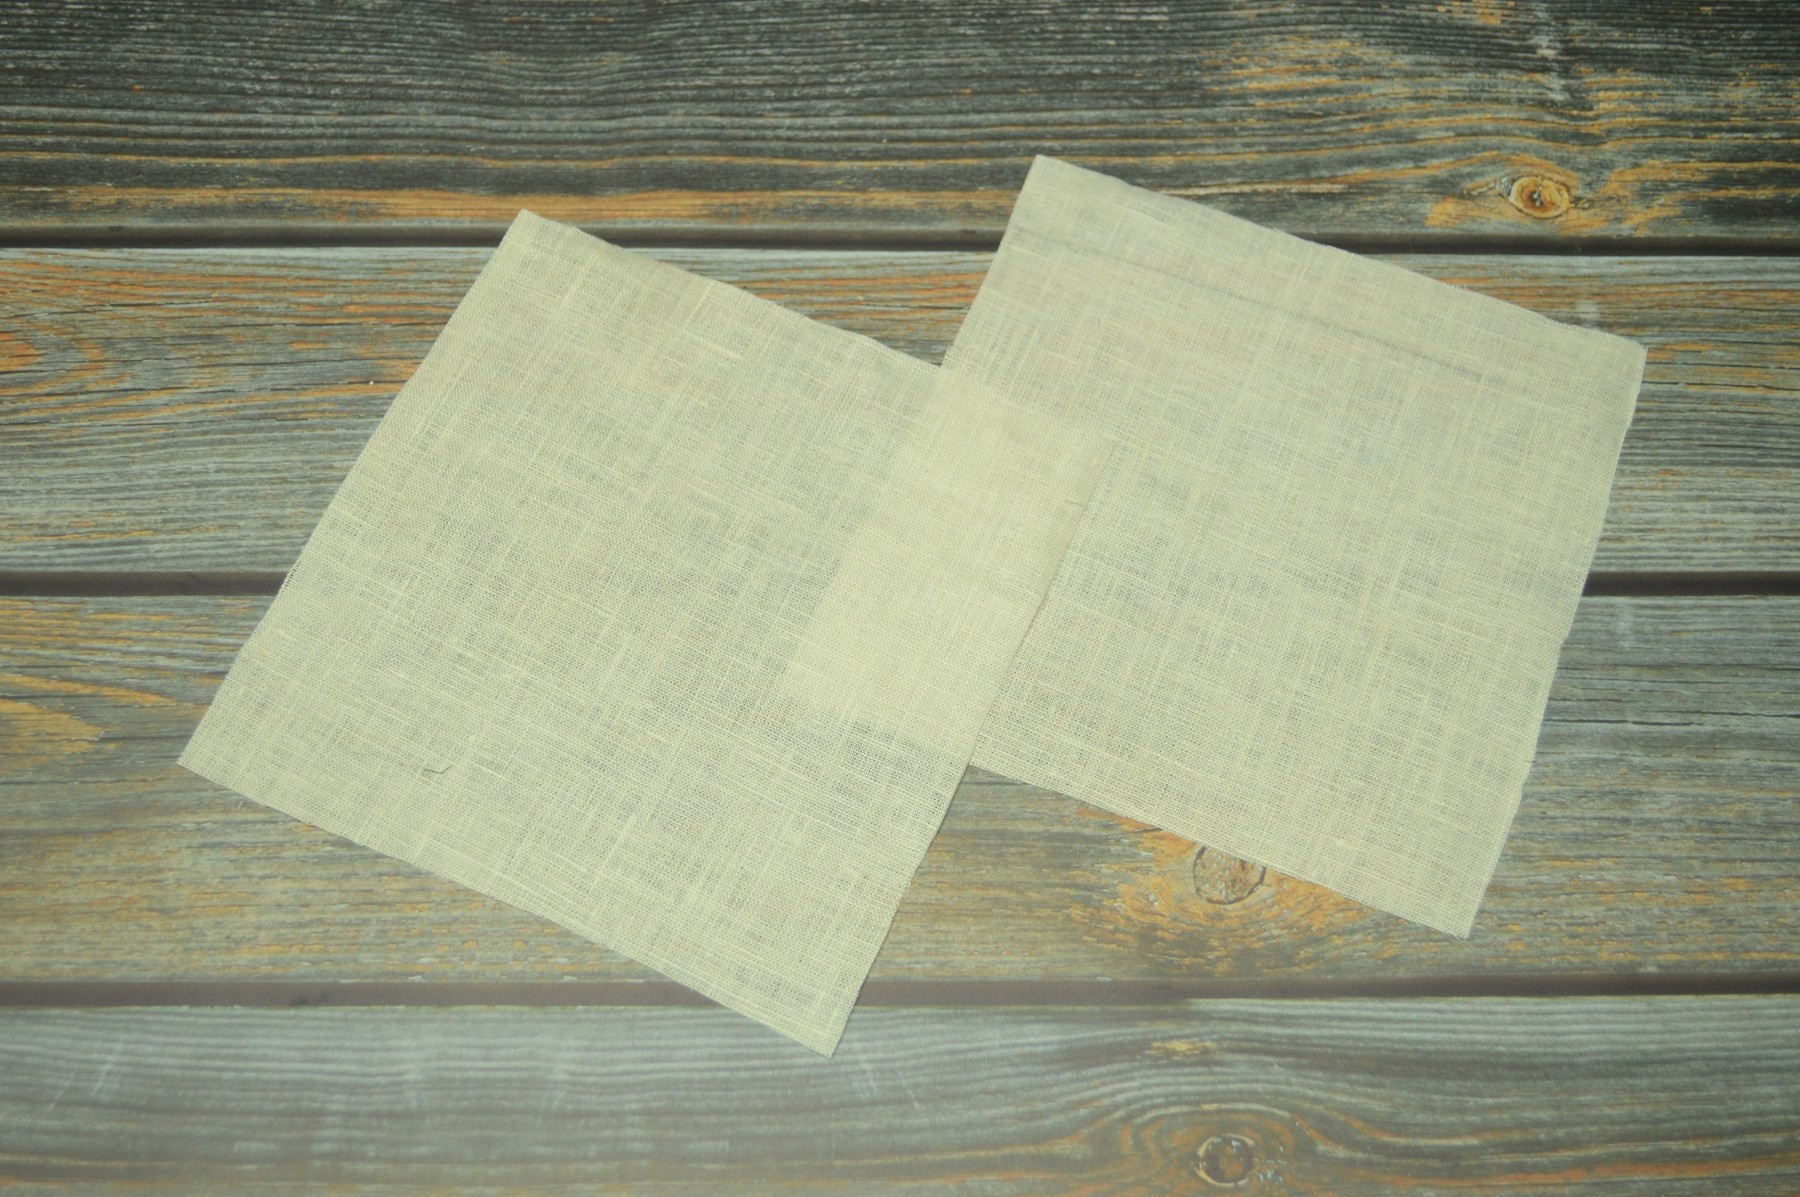
To begin, cut out two pieces of linen, about 7″ square.
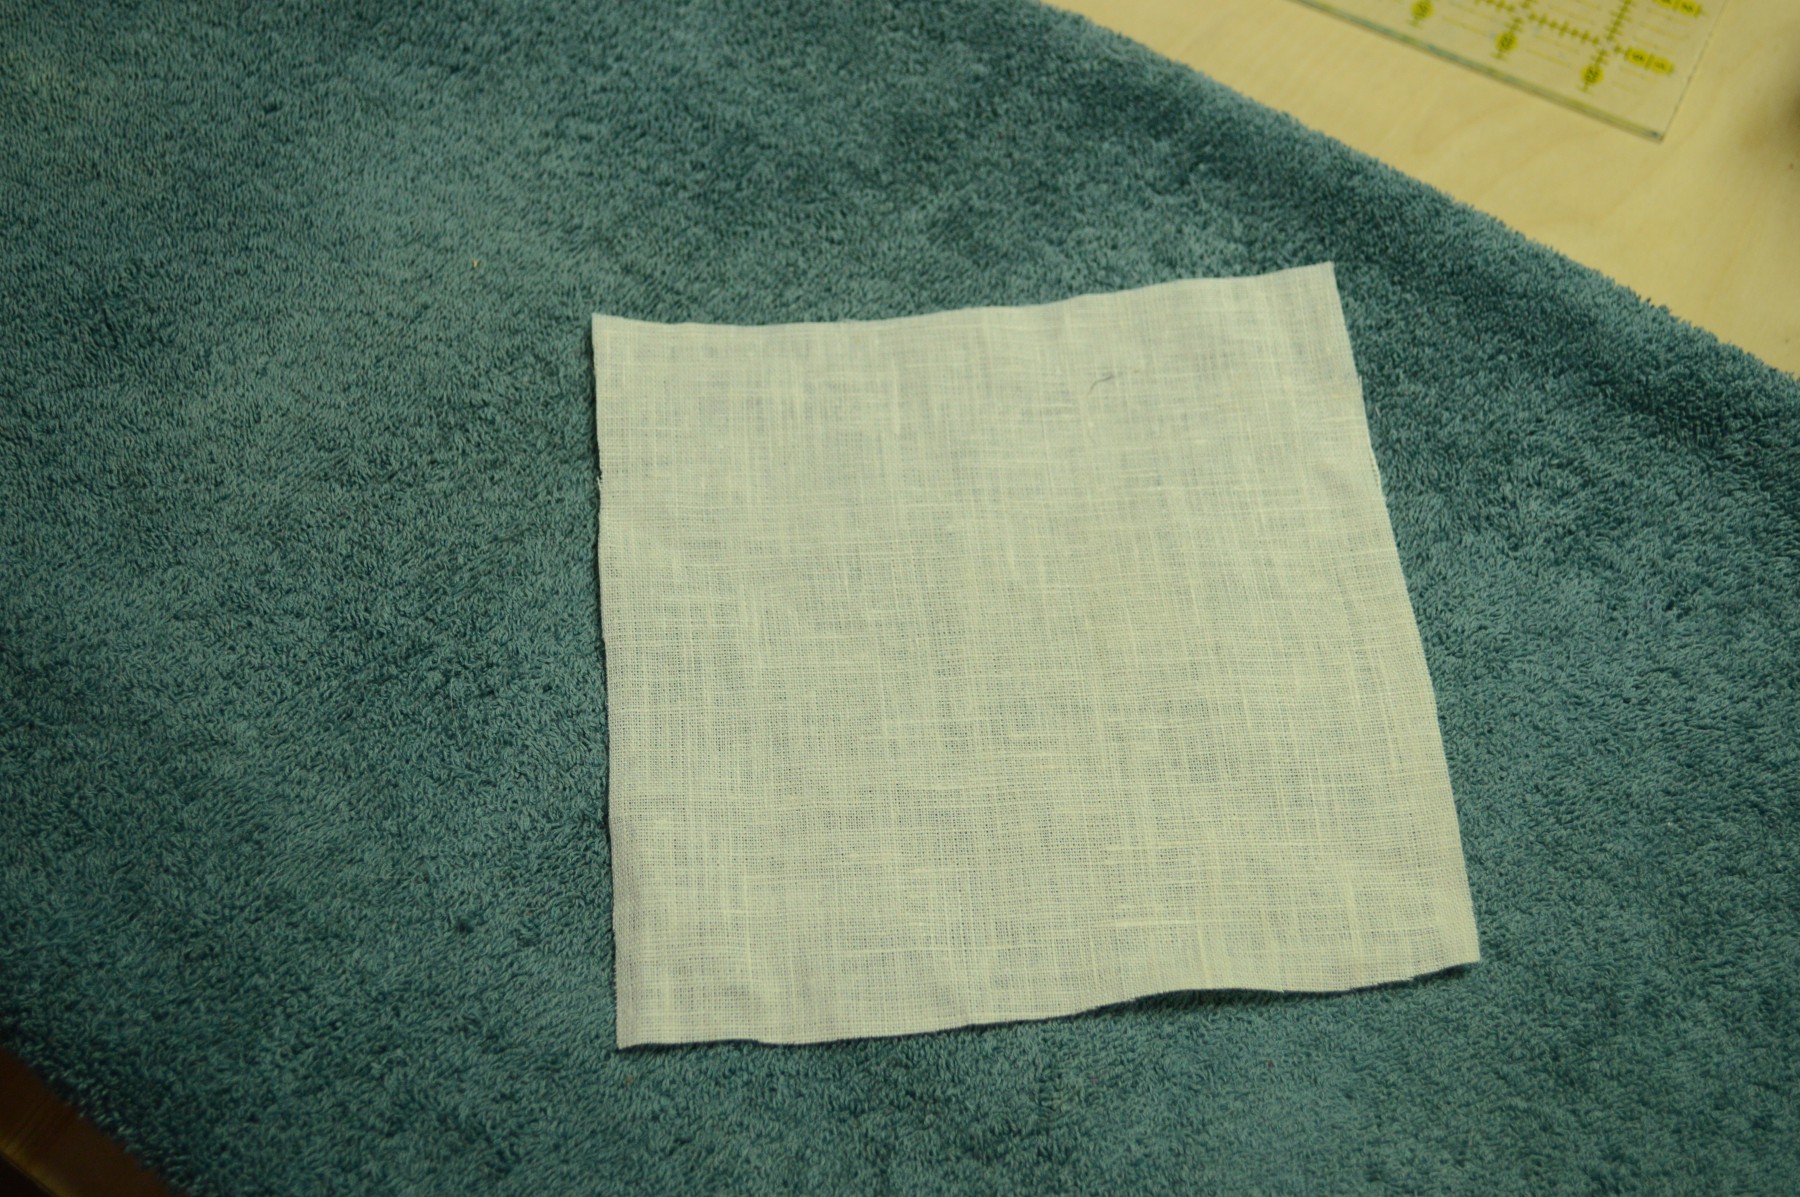
Press each piece in half diagonally across the bias.
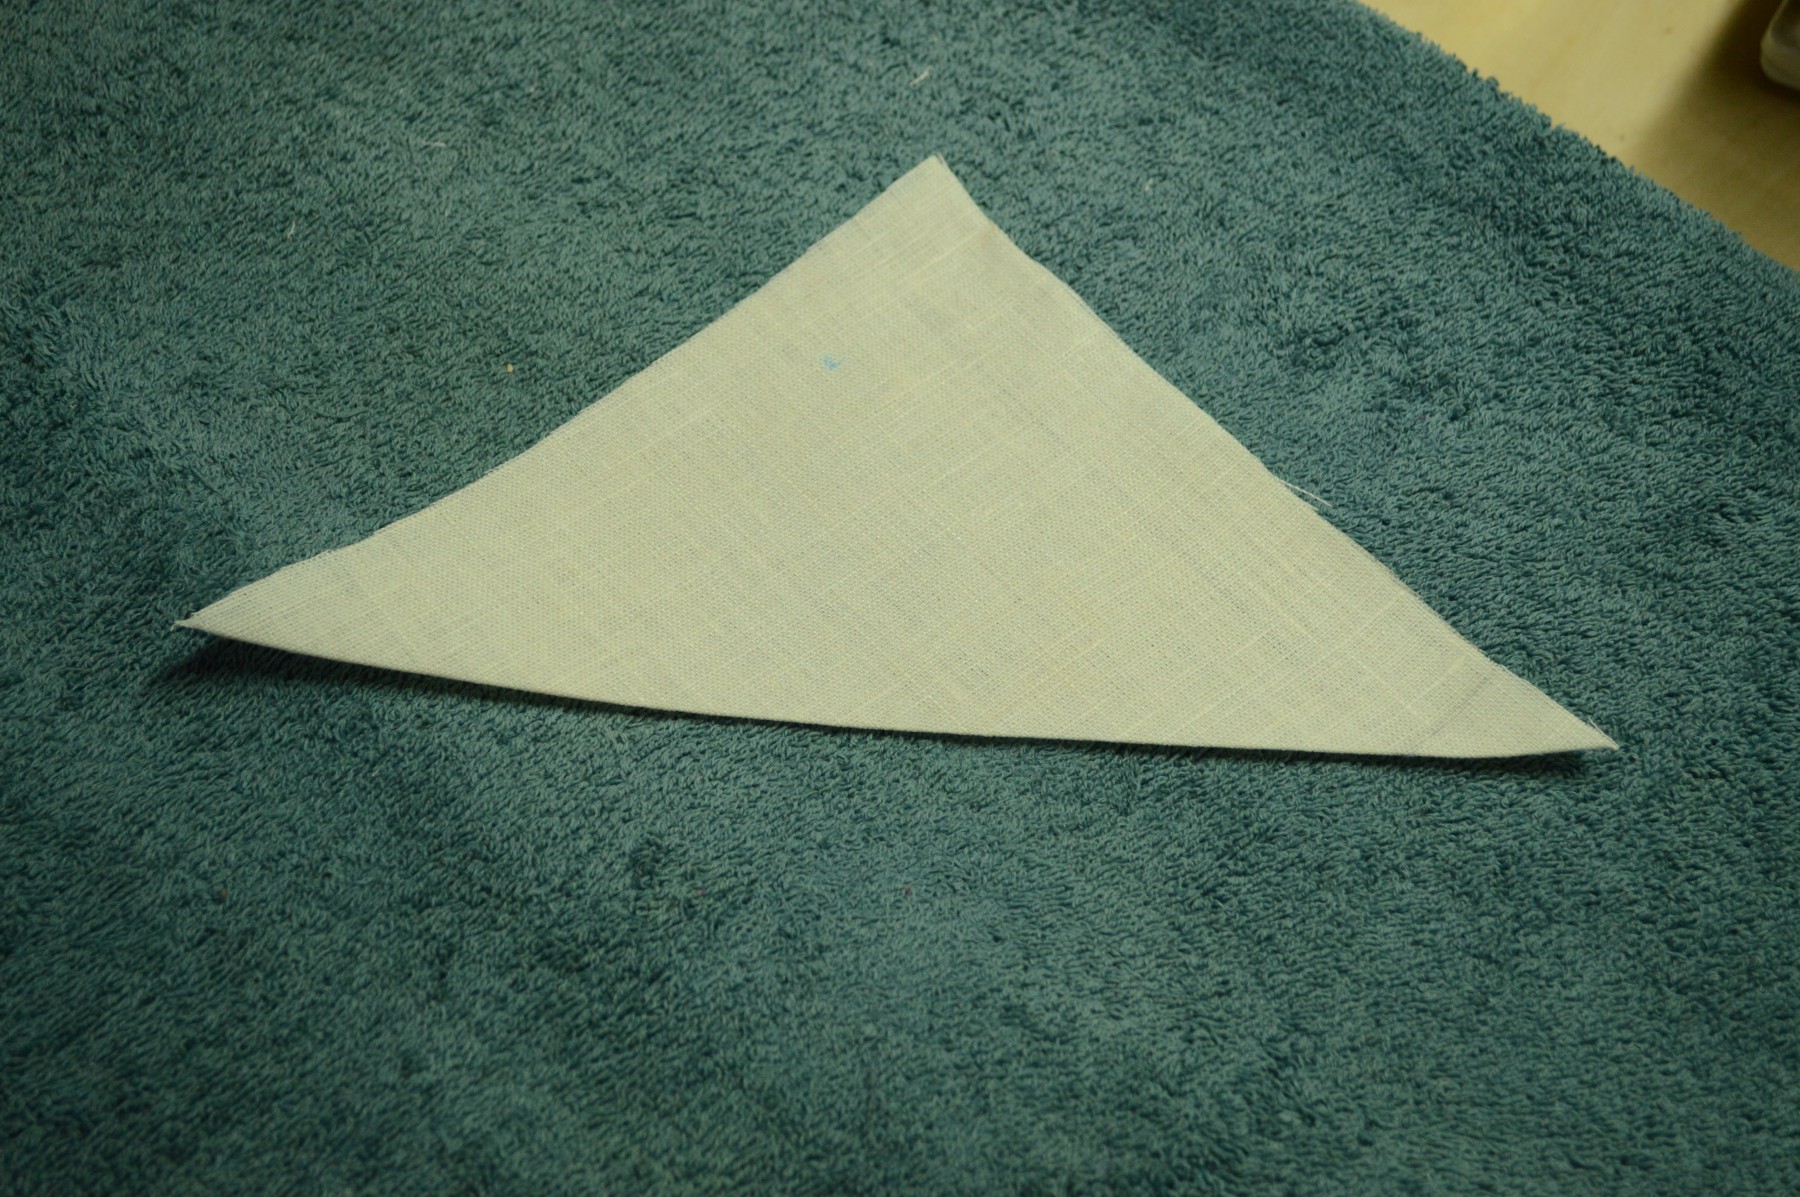
Now, holding one corner of the folded edge, use your iron to stretch the fold by pressing firmly and pulling with your hand at the same time. It’s best to stretch a little bit at a time over many passes, than to try to stretch the entire seam at once.

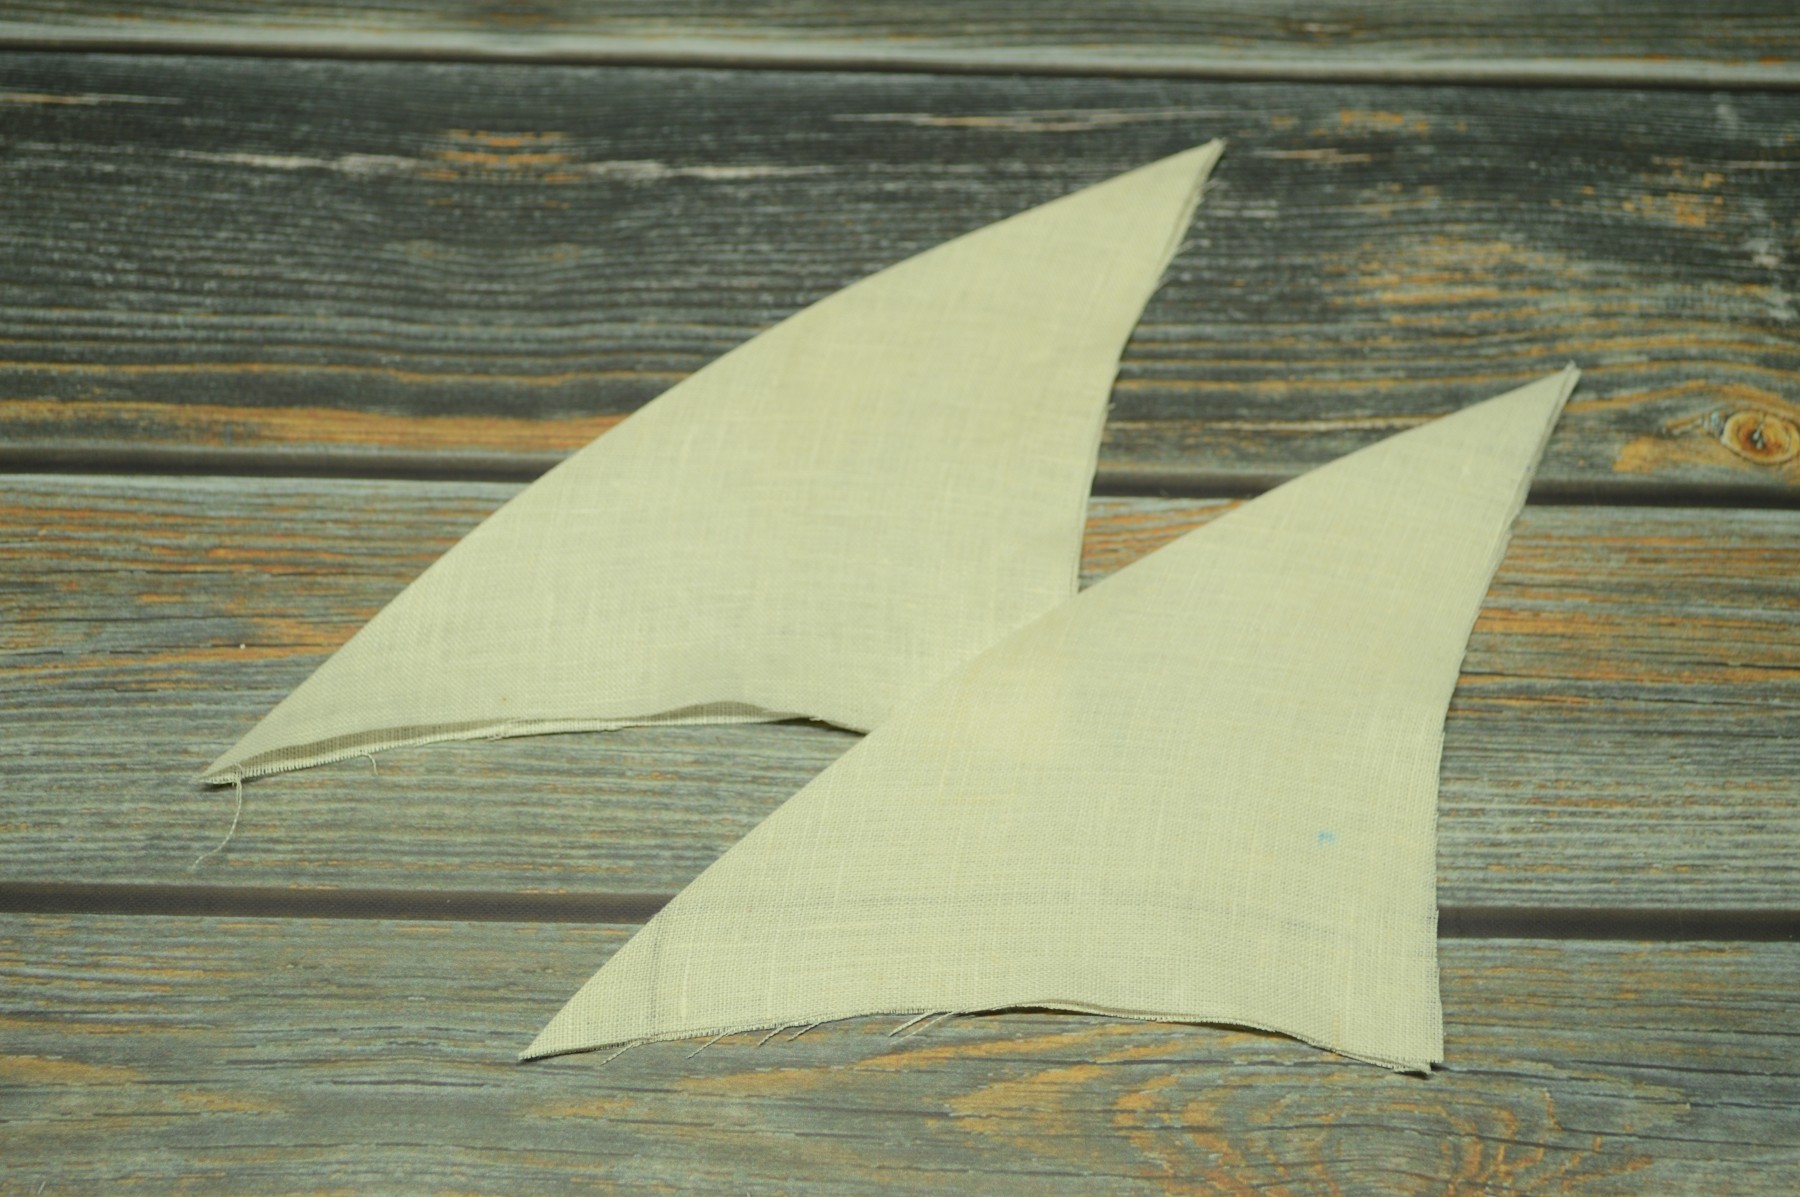
You’ll notice the folded edge starts to take on a bit of a curve. Press everything flat after you’re done stretching.
Lay your front trouser piece on the workbench, wrong side up, and place the linen stay in the fork area.
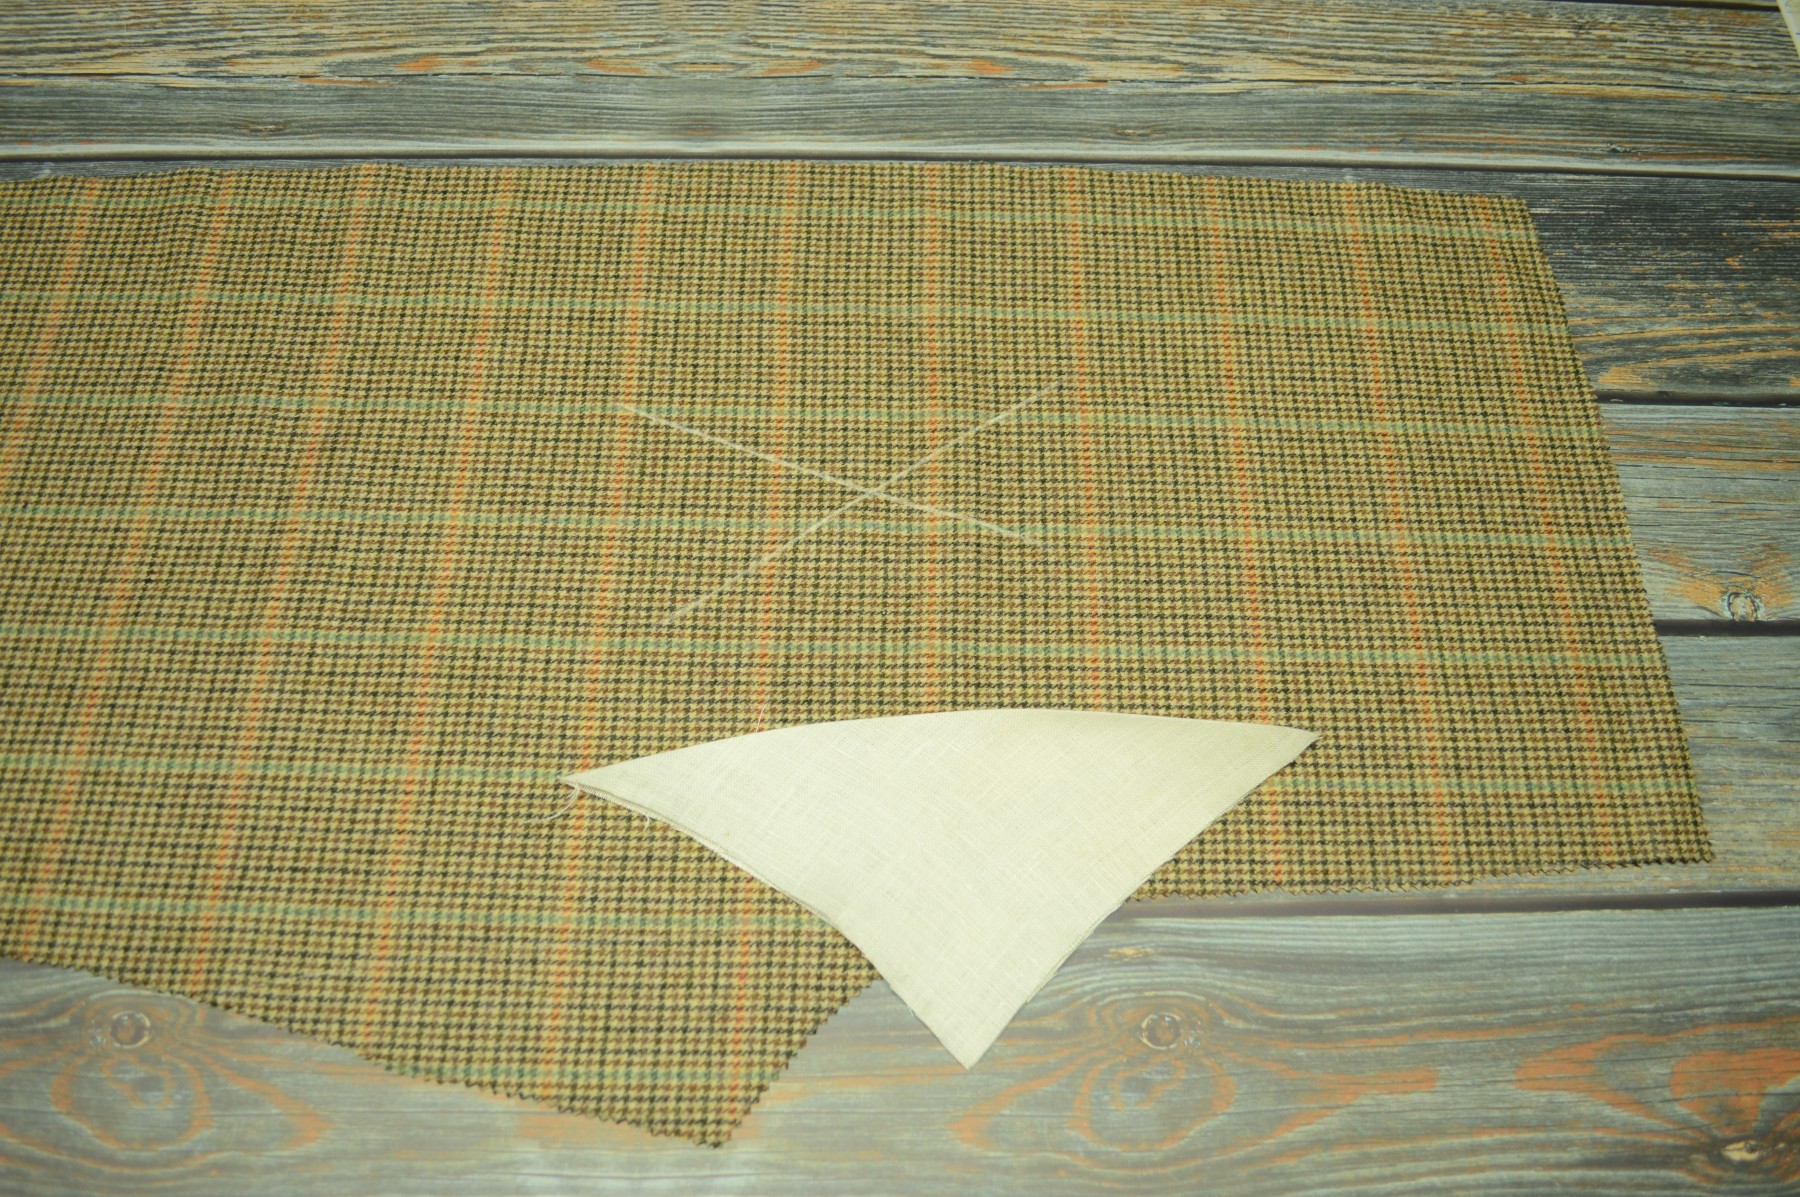
The positioning is shown in the diagram below. The central point of the linen stay roughly corresponds to the point of the fork. The other two points lay against the edge of the trouser front.

Here is mine in position.
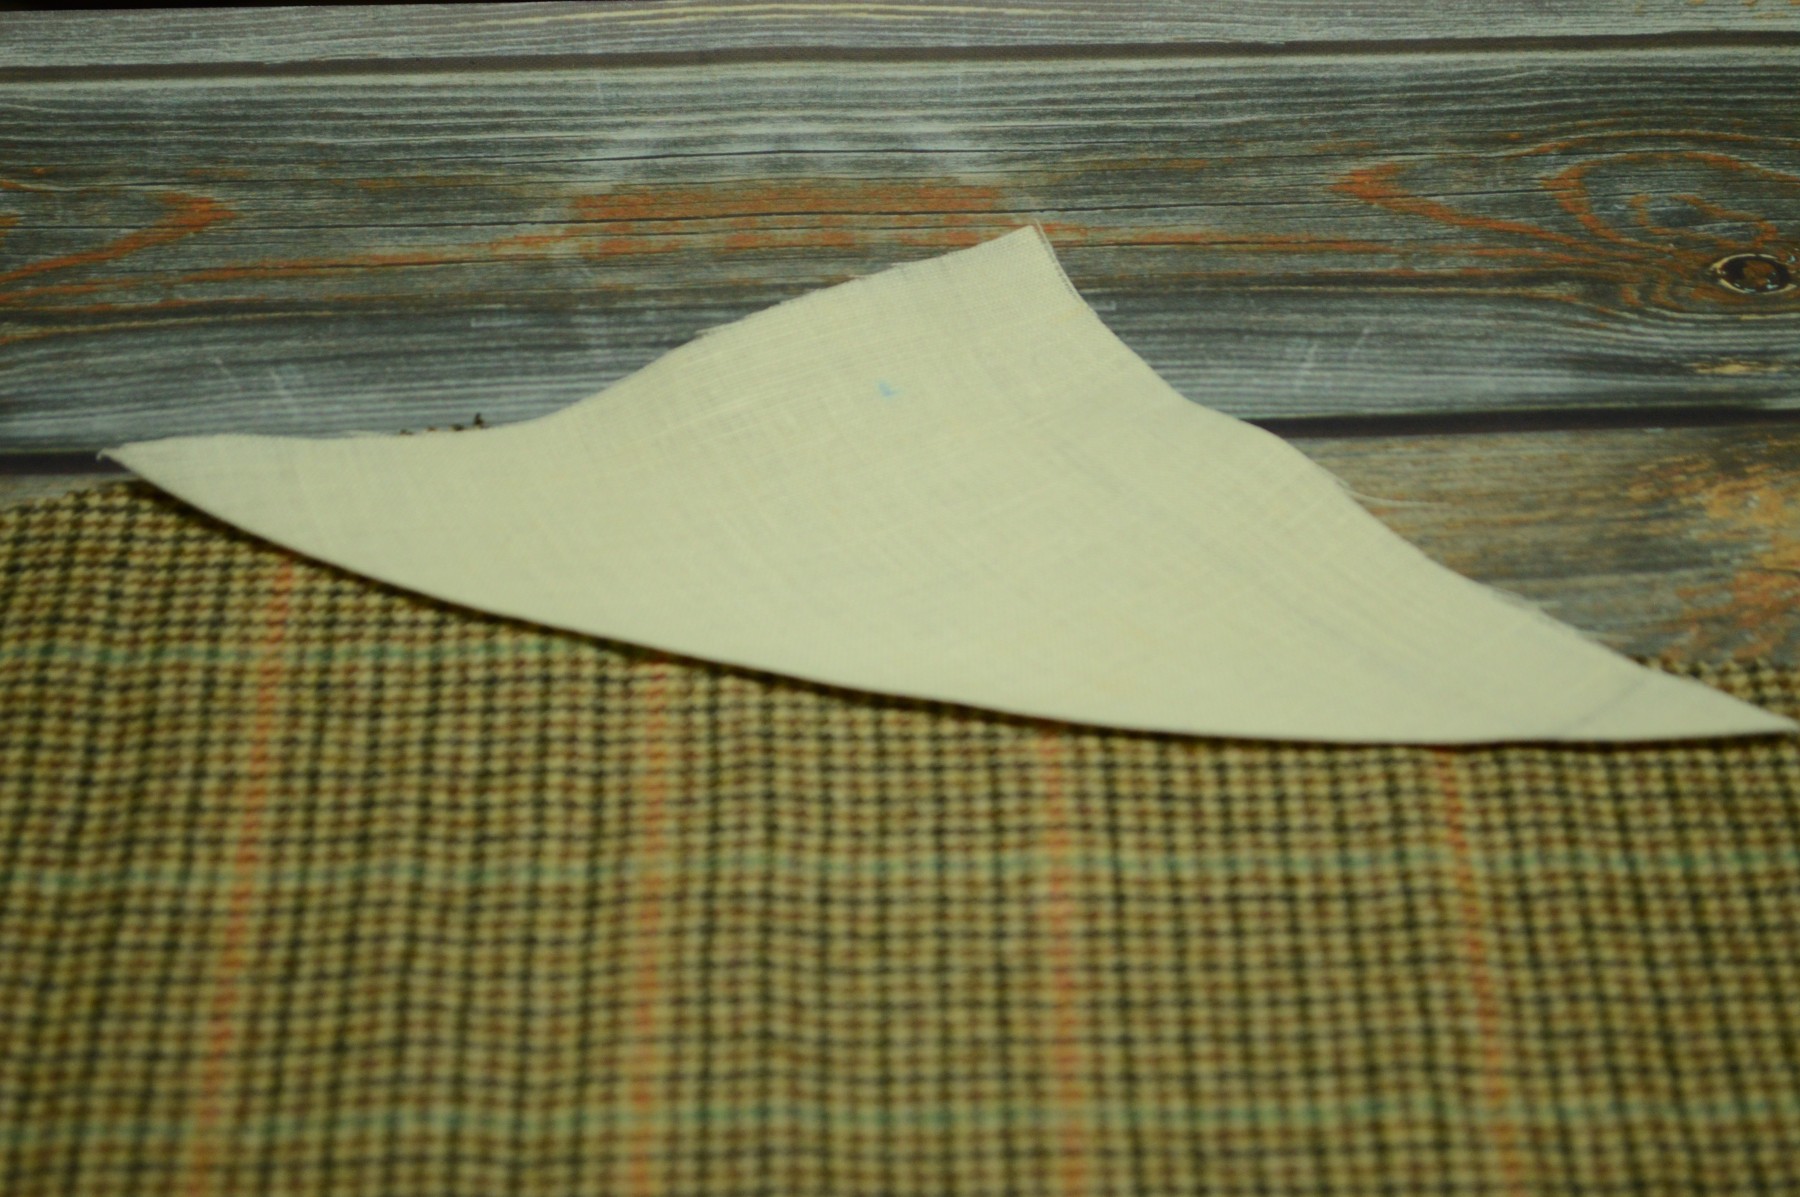
Next, baste along the edge of the stay, keeping your stitches out of the seam allowance of the trouser front below if possible. Use one hand underneath to help you find the edge of the trouser and guide your stitches.
After basting, flip over to the trouser side and trim off the excess linen from the stay.
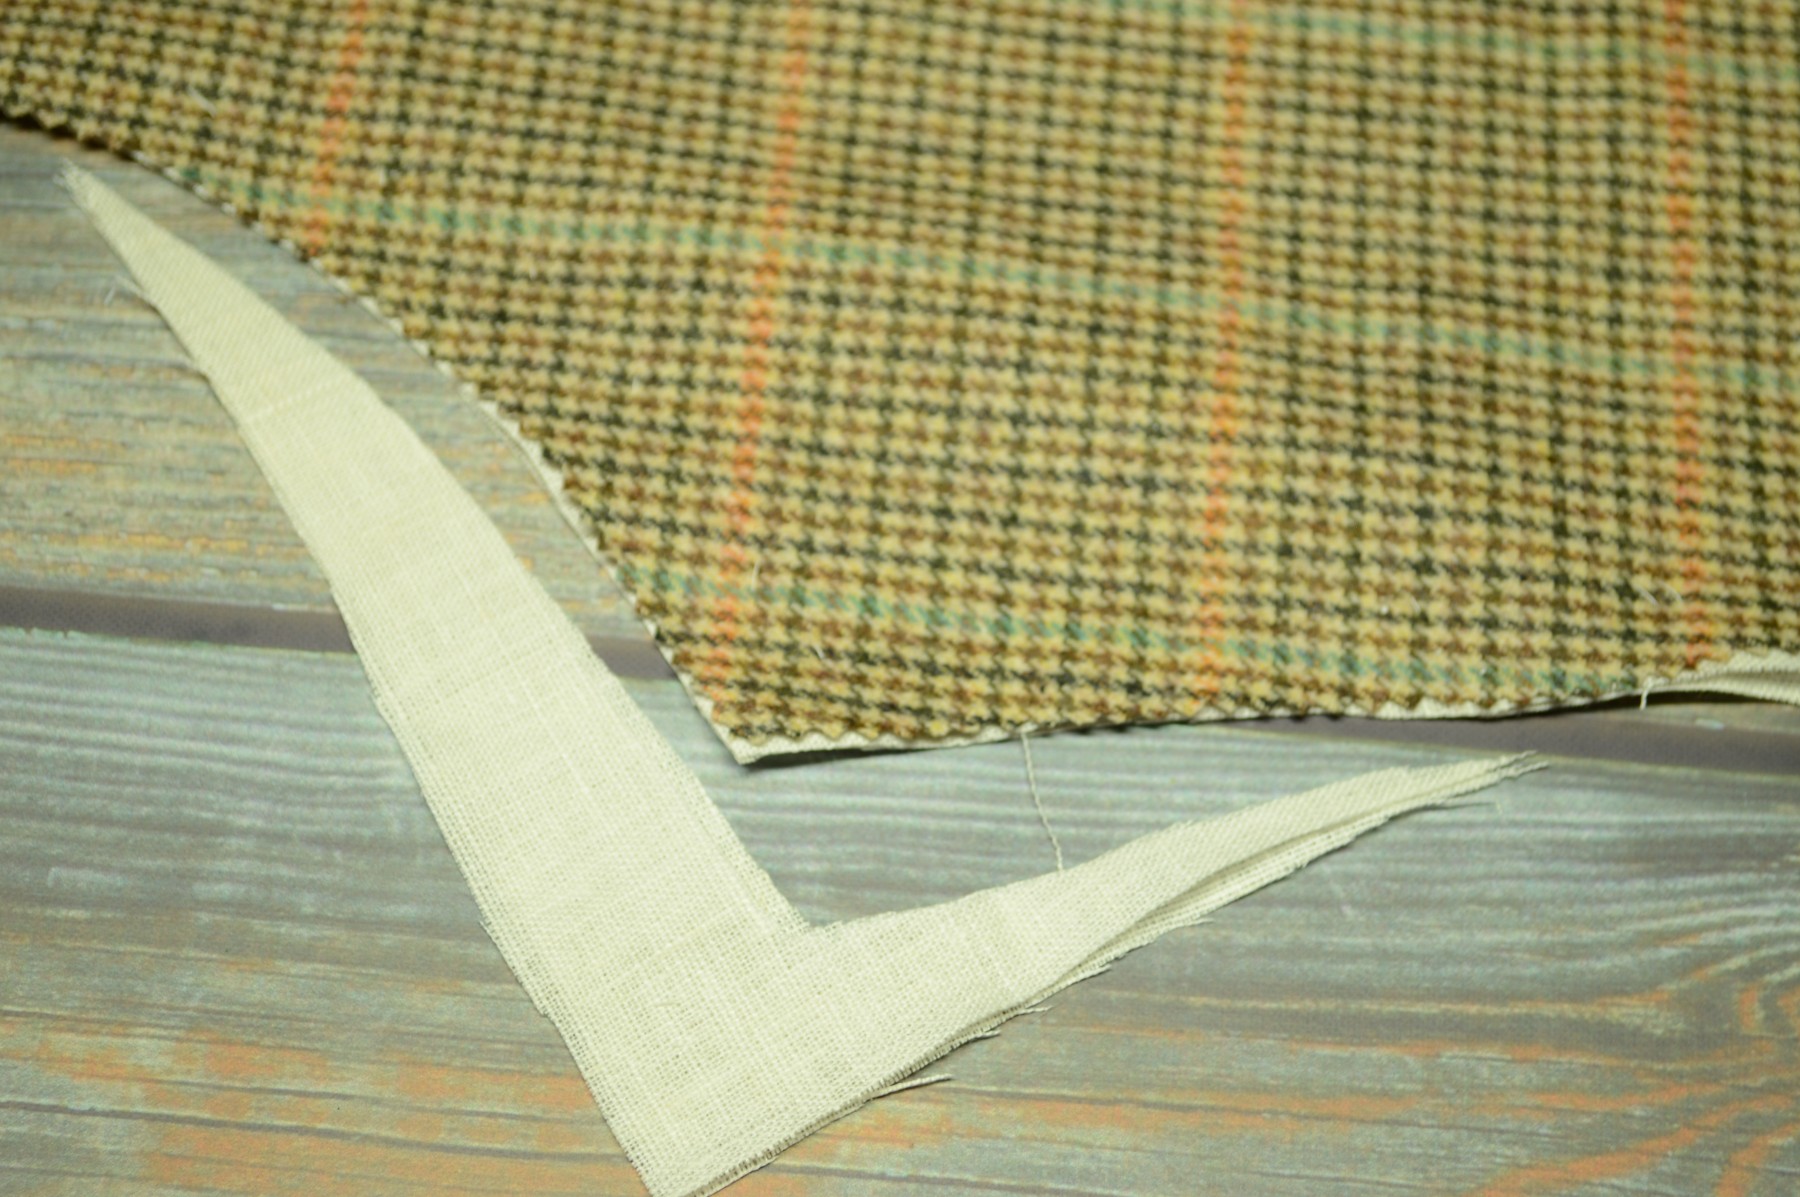
Here you can see how I was successful in keeping the basting stitches out of the seam allowance. That will make it easier to pull these stitches out later.
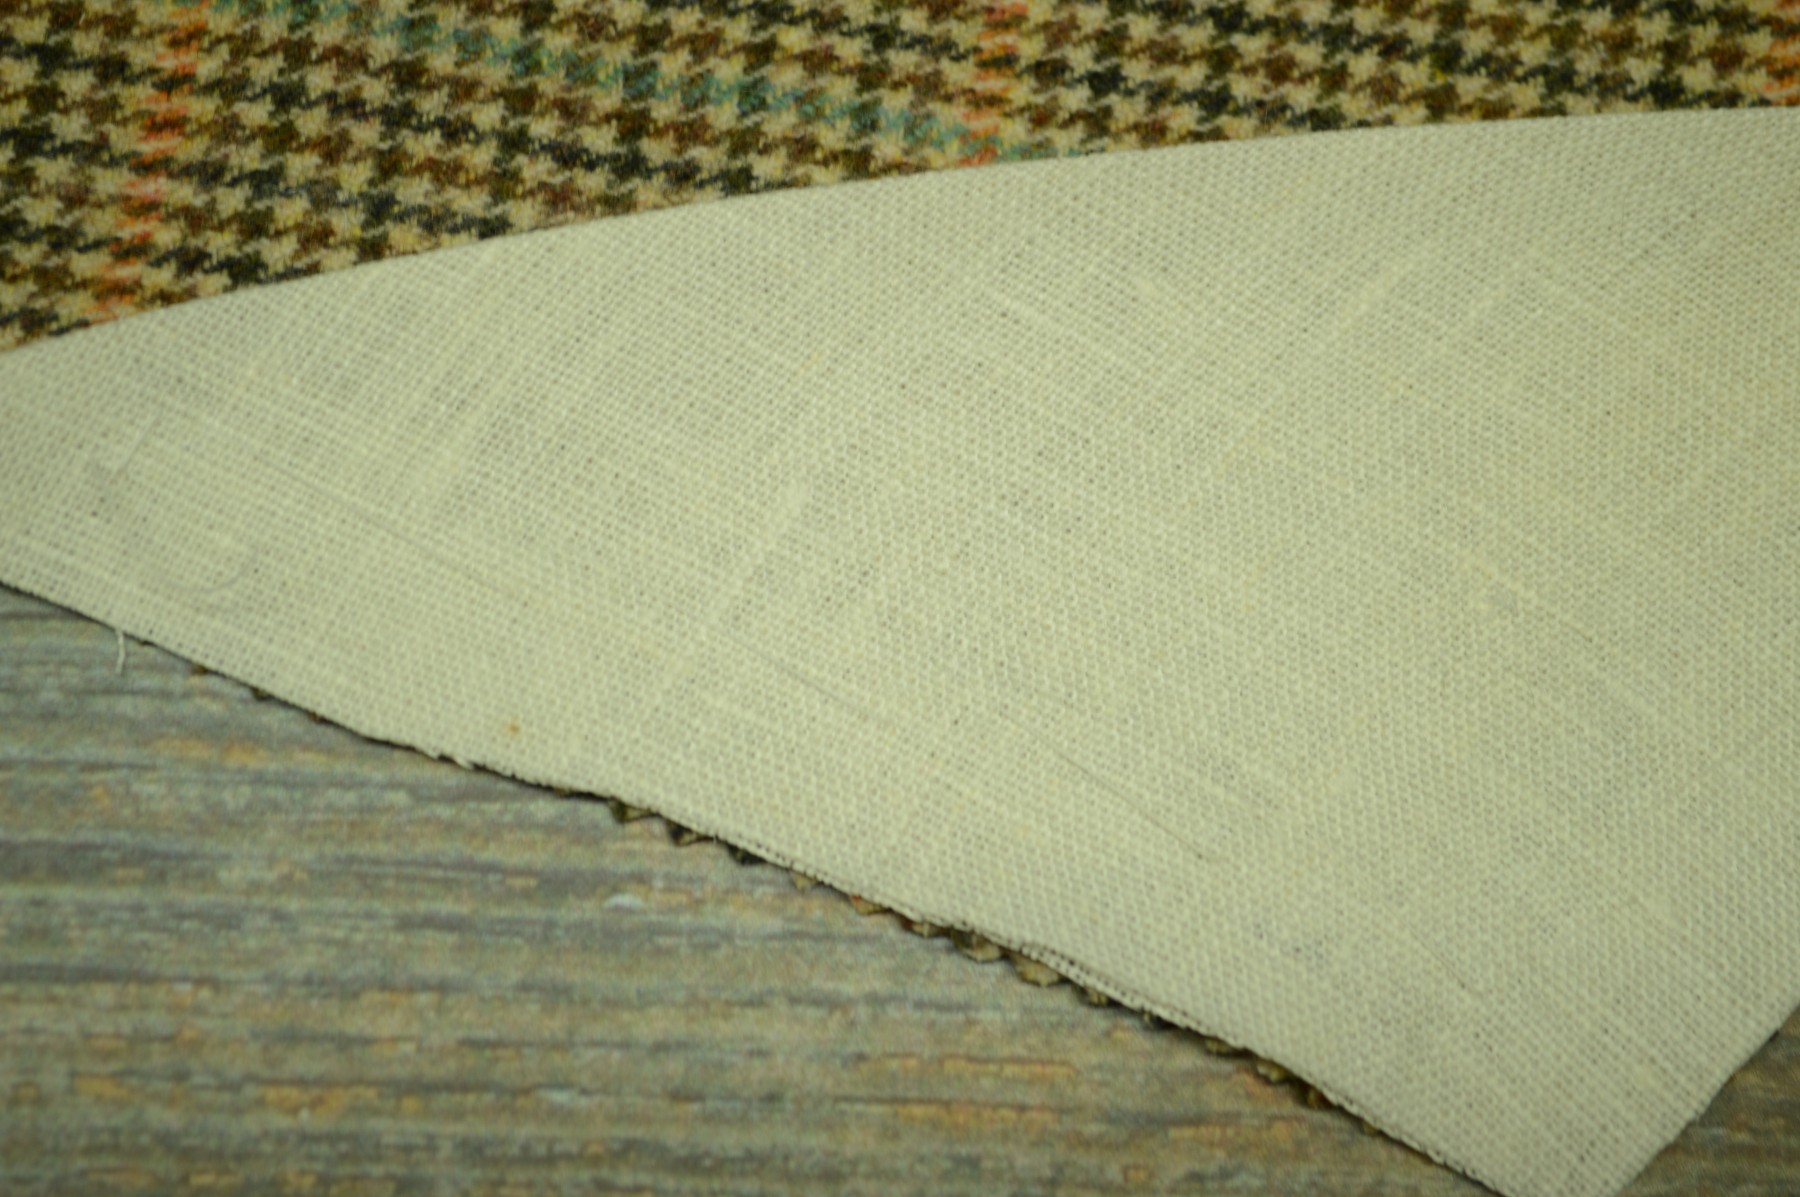
Finally, using a simple whip stitch, serge the three layers of the trouser and stay together along the two edges to prevent fraying and keep everything in place.
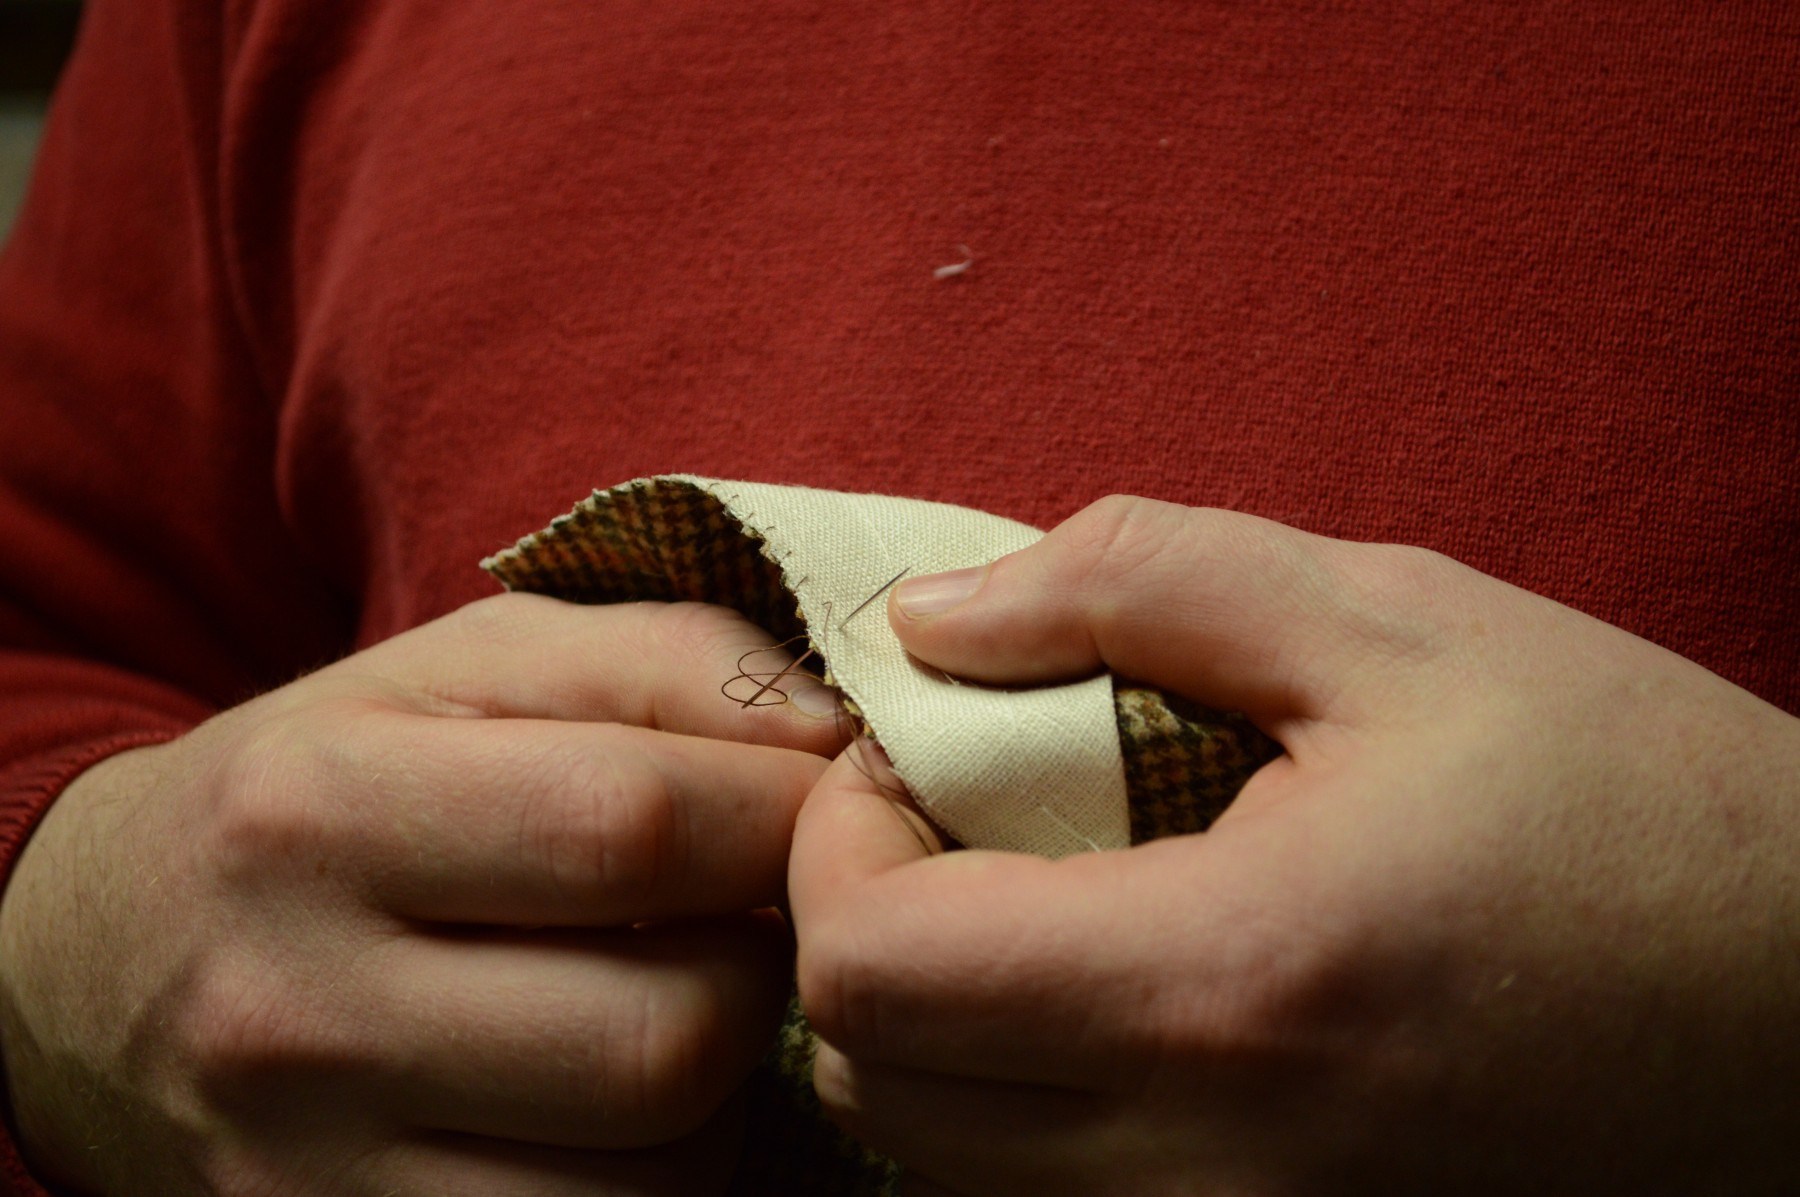
I should have been neater with the stitches but was concentrating a little too hard on the filming!

Give everything a good press after you’re done with the serging.