Category: Linen Frock Coat
The Back
It’s time to attach the back of the coat to the forepart assembly. Begin by laying the back piece right sides together to the forepart. Pin together with a single pin at the top of the pleats.
The pockets should align at the top. I’m not sure why they don’t in this photo, but apparently I fixed the error before moving on!
Starting at the top at the armscye, align the back and side-body together with a half-inch seam allowance. Begin basting these together, and as you are working your way towards the waist, work the extra fullness in with your fingers just before you baste it. If you feel the need, you can pin this seam beforehand, but I believe with a little practice, you can do without. It makes for much quicker assembly and actually gives a smoother appearance, I’ve found.
This step is difficult to explain in words, so I made a quick video of it. Hopefully this is helpful to you.
Baste around the top of the pleats, following the edge of the back piece.
When you get to the pin, do a back stitch in place for security, and move the pin to the bottom of the pockets, making sure they are aligned.

Continue basting along the back skirt. You need to make sure it is aligned perfectly with the front skirt below it, but this is difficult as the pockets are blocking your view. What I do is feel for the pressed back edges of the pocket and align those instead, while I’m basting.
About 1 1/2″ from the top of the pleats, mark a line signifying the top of the pocket opening. The ruler says 1″ in the photo but I later changed that after realizing it wasn’t enough room.
About 8″ below this, mark the bottom of the pocket opening. I’ve found 8″ gives me comfortable access to the pocket, but if you have smaller hands or a smaller coat, you could reduce this by up to an inch.
Now that the back has been completely basted, hold the coat with the side body facing up and begin sewing the seam 1/2″ from the edge, from the armscye to the top of the pocket mouth. The ‘right’ side of the stitching should be on the side body, so that we can press it towards the back piece, where it will lay better.
When you get to the top of the plait, remember to follow the contours, remaining 1/2″ from the edge at all times. End the stitching at the top mark with a few stitches in place. Sorry this photo is such a mess.
Beginning at the bottom of the pocket opening, continue stitching all the way down to the bottom of the skirt. The seams of the pocket should be just inside the seam allowance, so as to be hidden from the outside view.
Plait Pockets
Having drafted and cut out the pockets, we are ready to begin the construction and installation process. It is somewhat involved, as the pockets are integrated into the back seam and have to be installed at the same time.
To begin, the darts must first be sewn into the pockets. These darts help the coat sit better around the seat, and allow the skirt to drape more freely. The darts are sewn as before, and pressed in opposite directions, so that the bulk of the material is distributed more fully.
There’s an option to think about here: you can place the darts on the wrong side of the pockets, which would mean they are visible when the coat is completed. The inside of the pockets would be free of any obstructions caused by the darts. On the other hand, you can place the darts on the right sides of the pockets, which would mean they are hidden from view on the finished coat, yet you would feel them when placing items into the pocket. I chose to have my darts on the wrong side.
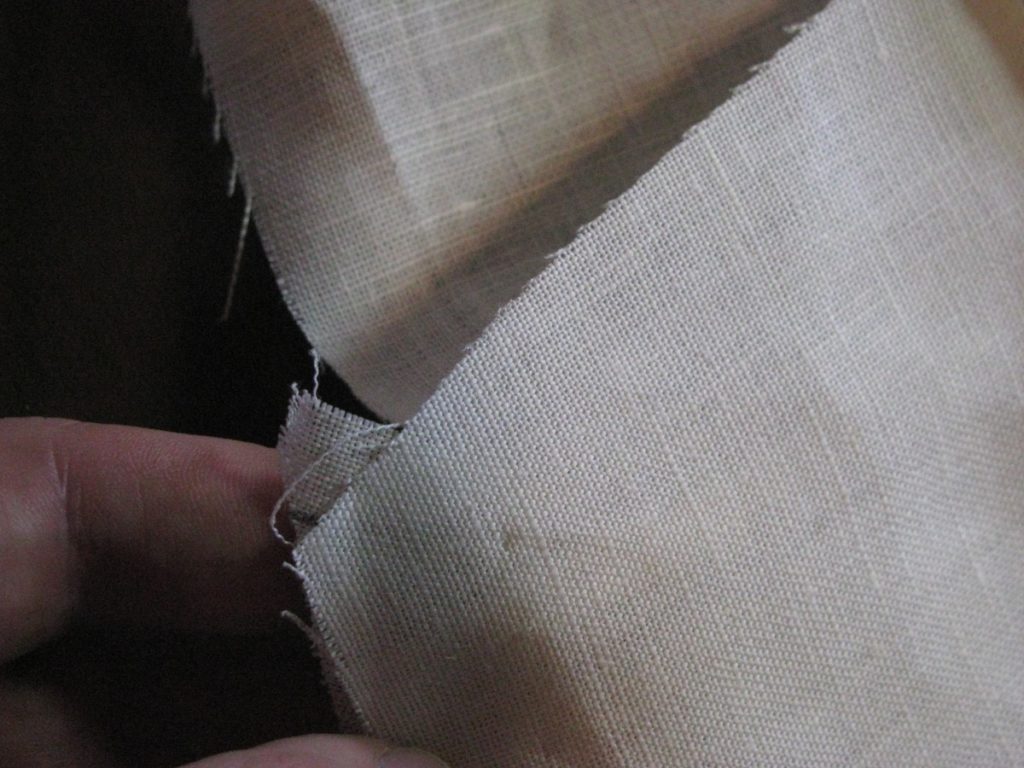
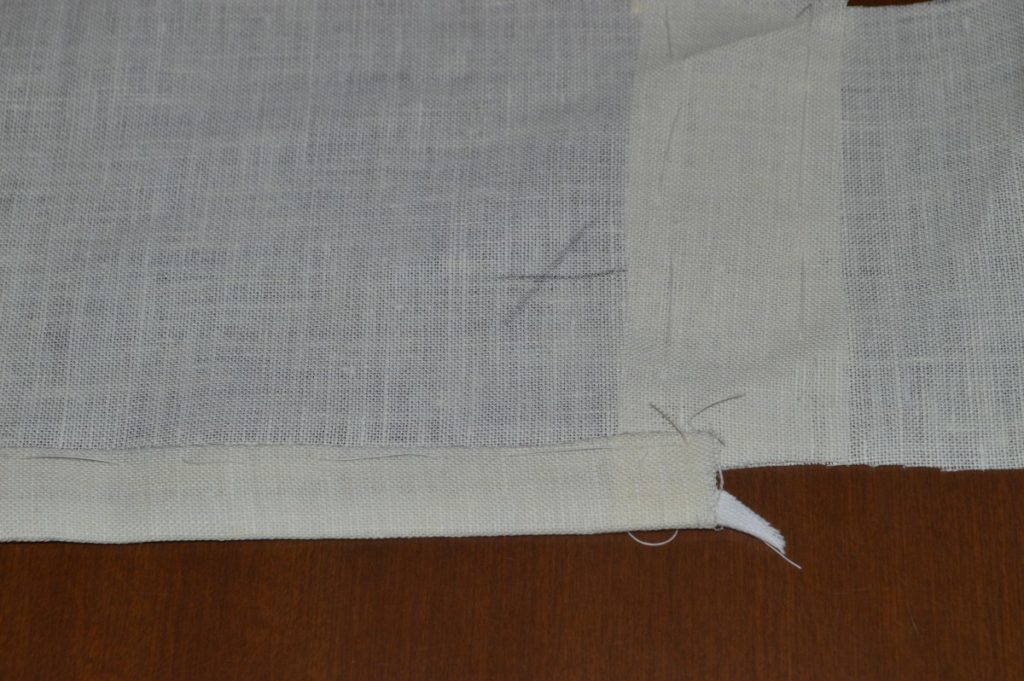
With right sides together, carefully lay the back piece over the forepart assembly, being sure that the inner corner of the pleats lines up properly.
The angles of each pleat are most likely different.
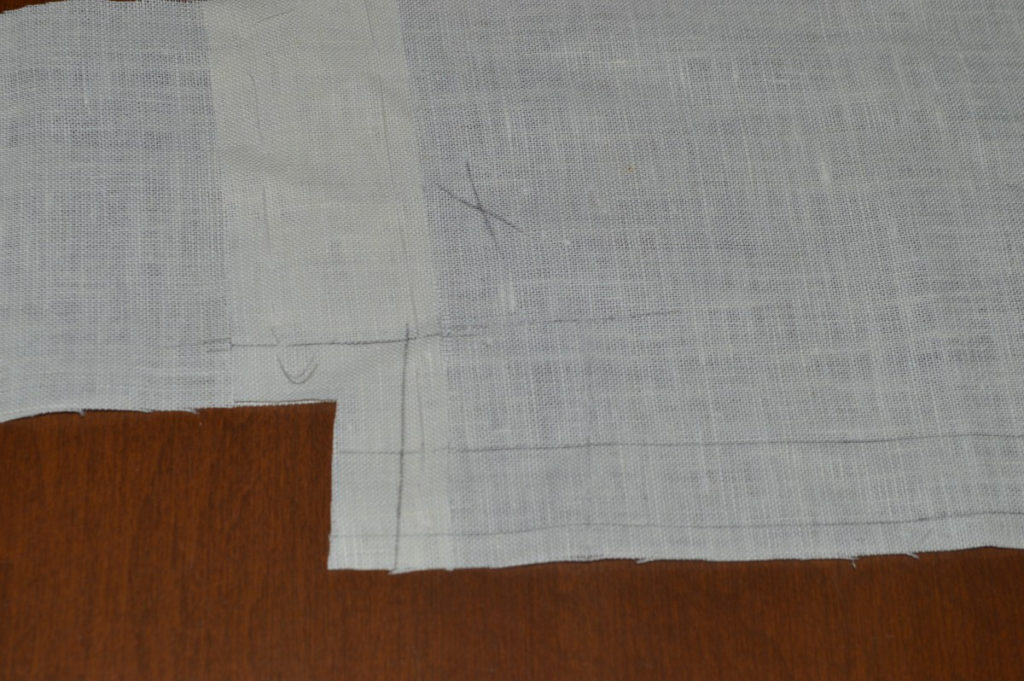
Using the angle of the back piece as a guide, draw a line across the top of the pleat as shown. This marks the position of the top of the pockets.
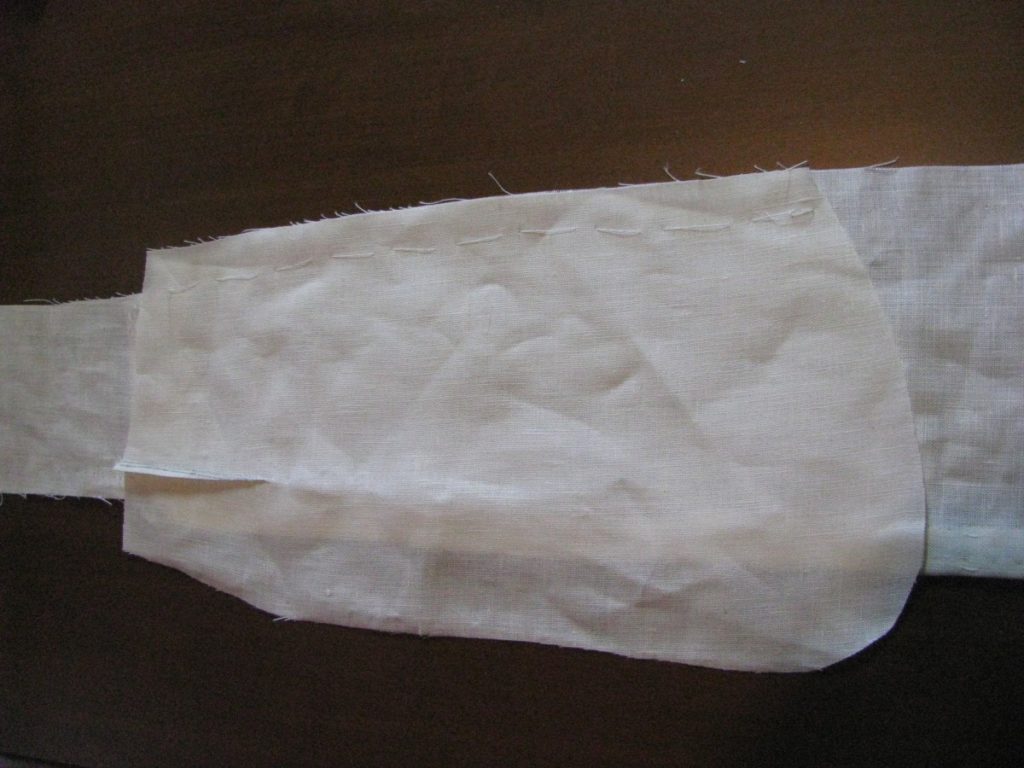
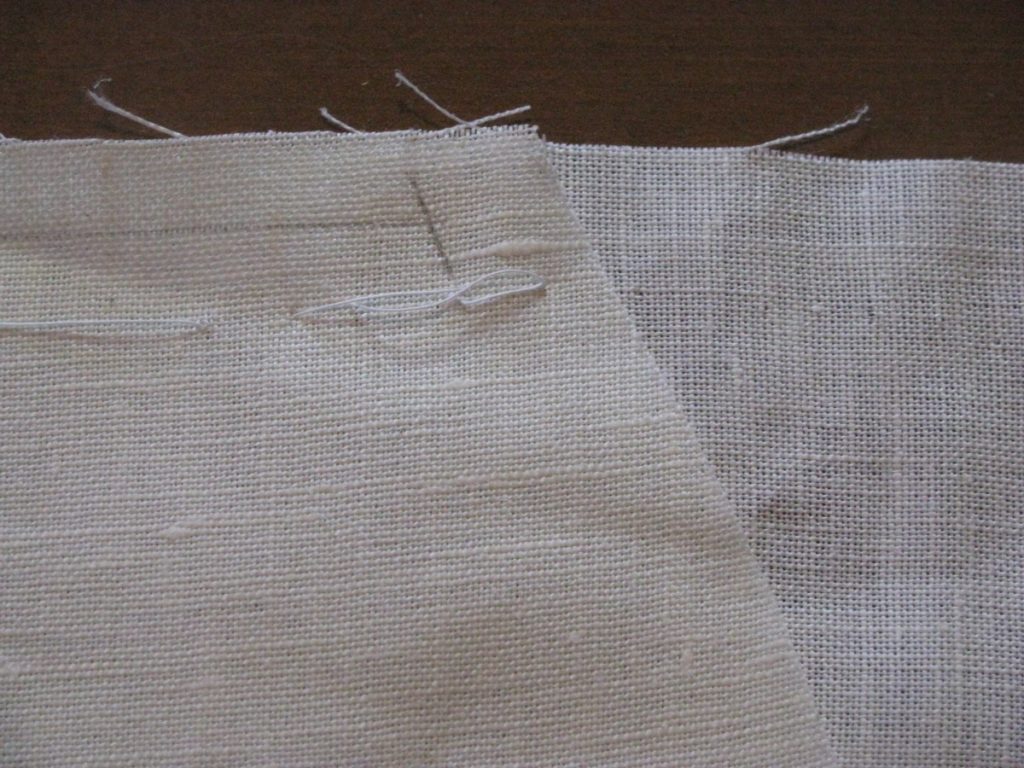
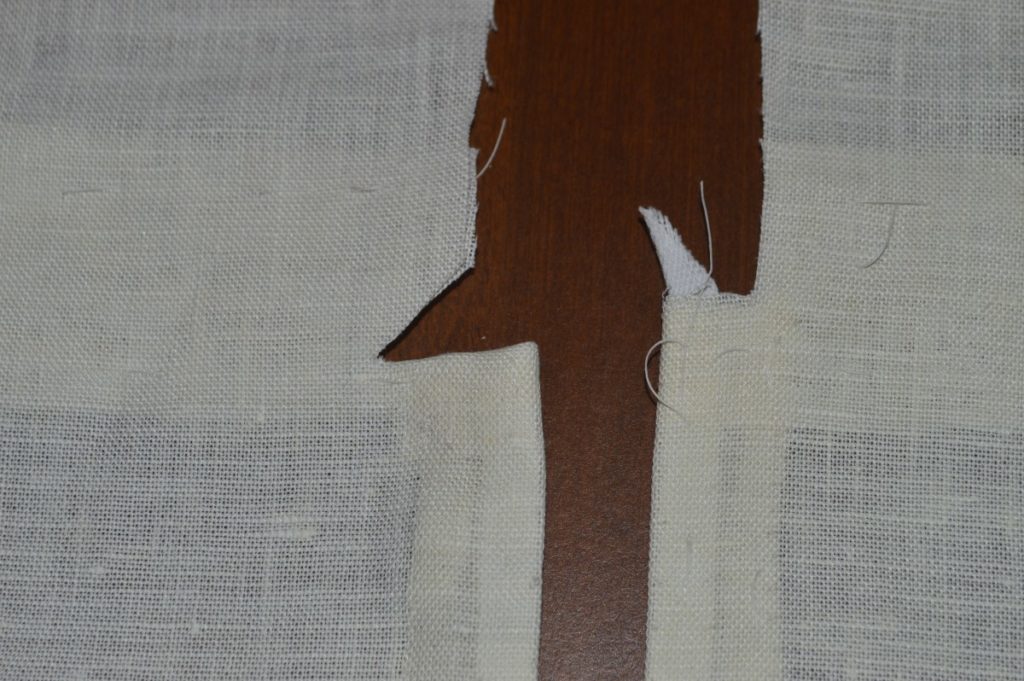
Lay one of the pocket halves onto the skirt, aligning the top of the pocket with the mark at the point where it meets the edge of the cloth. You can do right sides or wrong sides together, as noted above. Baste the pocket in place along the edge, about 5/8 from the edge.

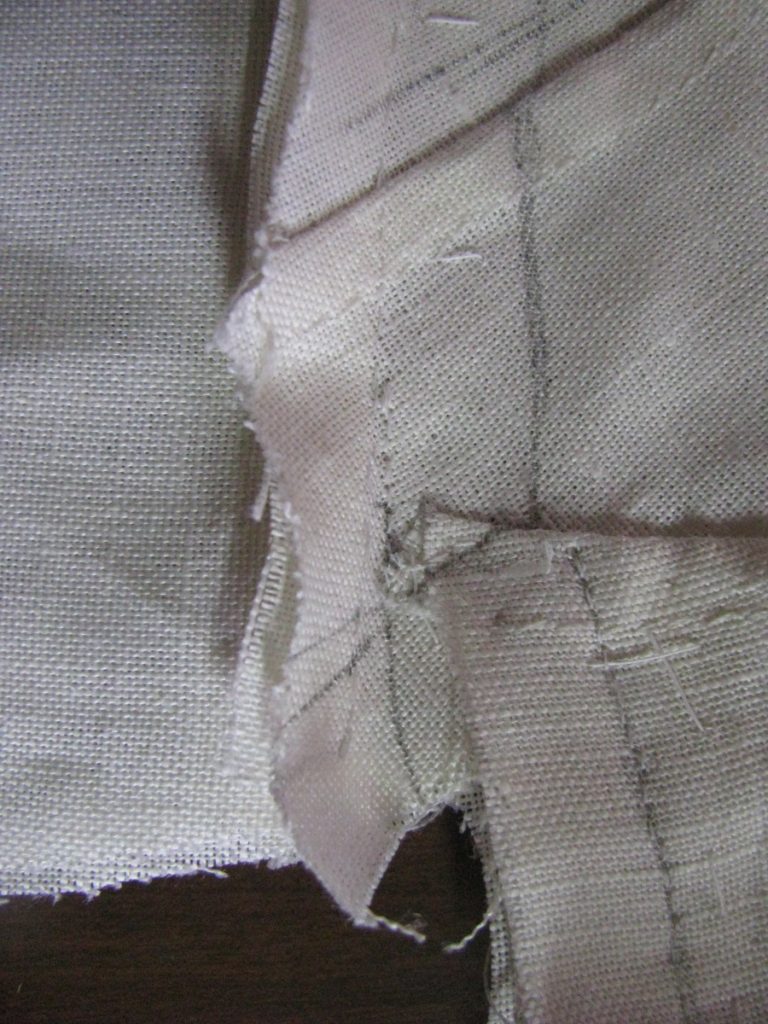
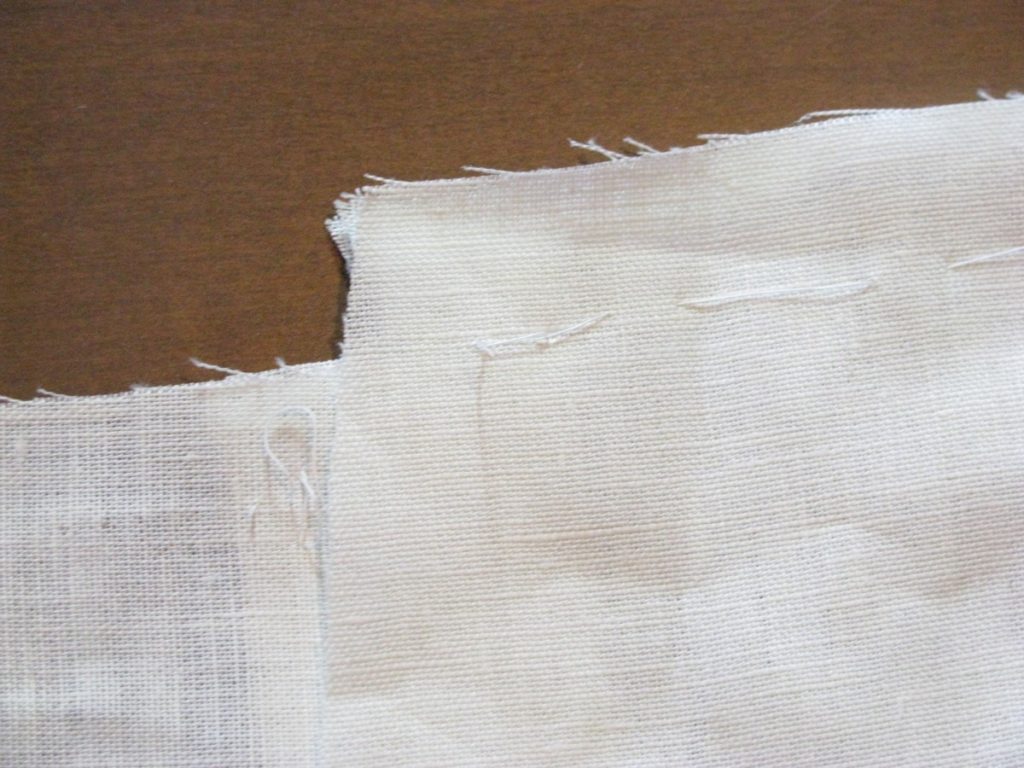
Here’s a closeup showing the alignment of the pocket.
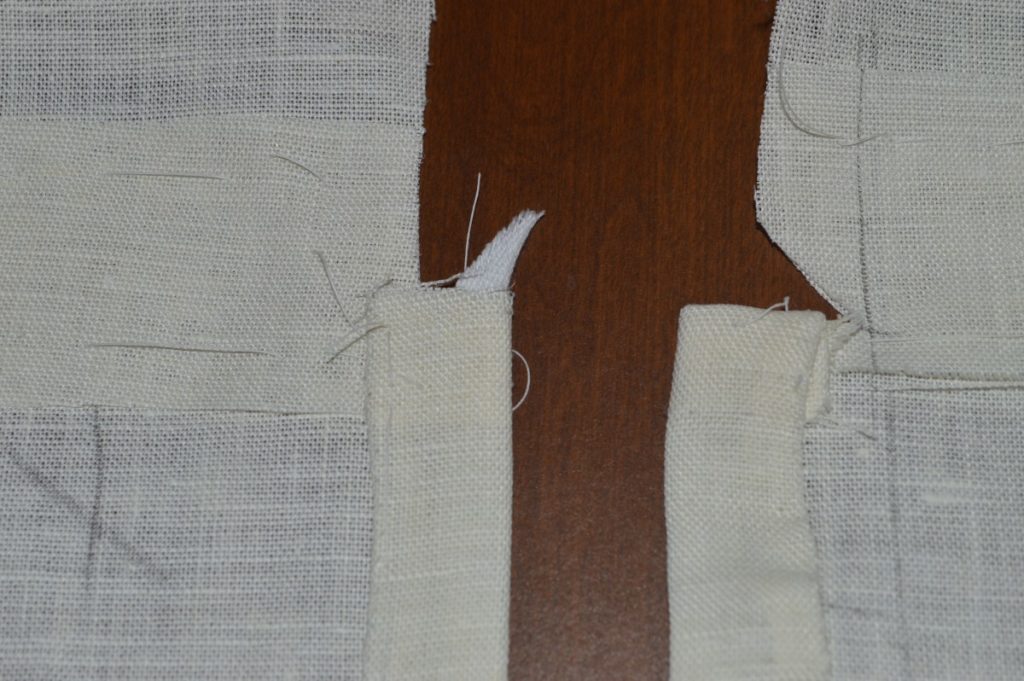
Repeat the process, attaching the other half of the pocket to the back of the coat. The pocket should align with the top of the pleat. Baste into place.
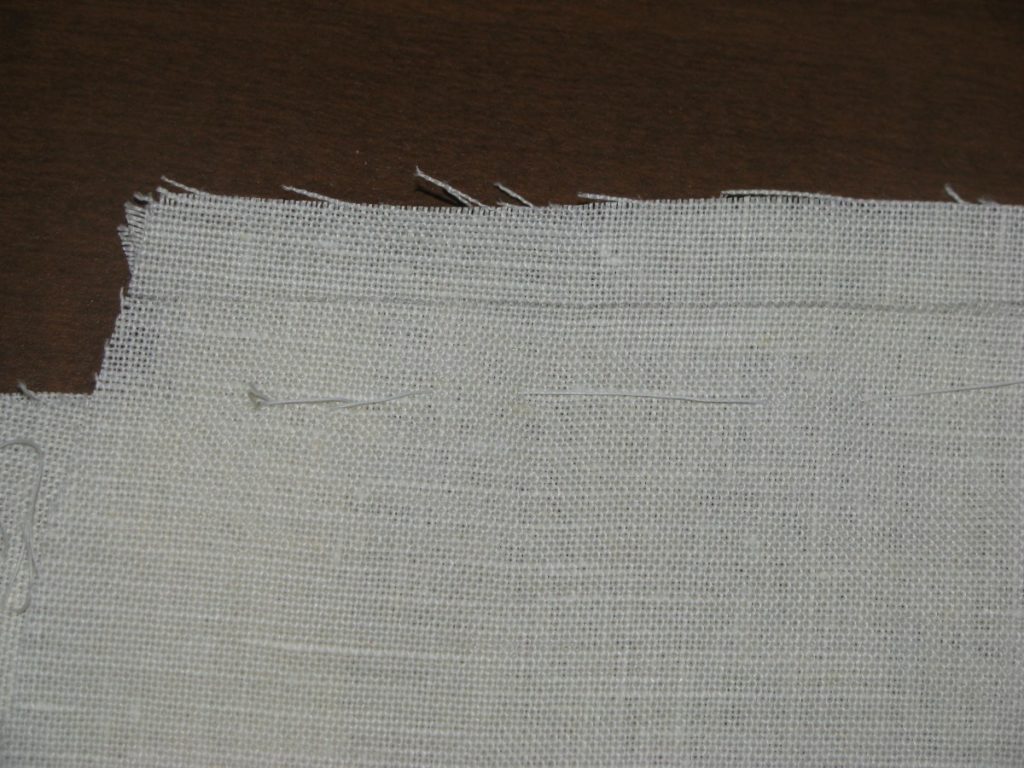
Here is the alignment of the pocket at the top. You may wish to lay the back onto the forepart again to check the alignments of the pockets, especially at the bottom. They should all line up if you worked with accuracy.
Now mark out a seam allowance just slightly under 1/2″ away from the edge, or 7/16″. This seam needs to be slightly smaller than normal so that it will be hidden from view when the back is sewn to the main skirt. The seam starts at the very top of the pocket . . .
and ends 1/2″ from the bottom. This gives room to turn in the raw edges later.
Sew the seam with a backstitch or back and fore stitch, and press the pocket back.
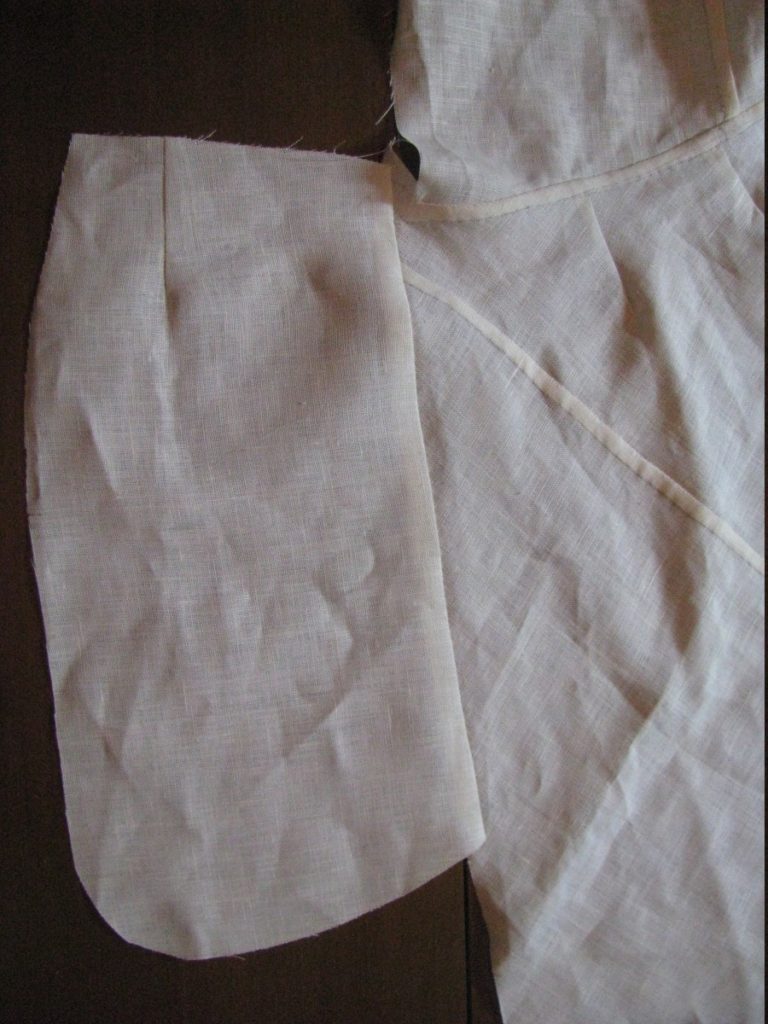
Repeat the process for the other half of the pocket.
Here is the inside view. Note that the pocket is merely pressed back – the seam is not opened.
Drafting the Plait Pockets
Begin by drawing a vertical line 14 inches long. On the right, or bottom of the pocket, square out another line 6 to 7 inches wide. These numbers are both variable according to how long your skirt is, and how large your coat is, but this is a good starting point. Also include the seam allowances in this measurement, so an extra 1/2 inch total.

On the left, or top of the pocket, draw a line square across that is about 1/2″ to 1″ smaller than the bottom width. Connect the two end points with another line, extending this line past the top of the pocket.

At the top, extend the first line about 1 inch, and redraw the top line at an angle.

At the top and right sides, add curves to each. This will add fullness to the pockets, and allow them to hang freely without affecting the drape of the skirts.

Again at the top, add a dart to the pattern. This should be placed roughly in the middle of the pocket. The construction line of the dart comes down vertically about 2 to 4 inches. The total width is 1/2 inch. Finally, redraw the top seam so that the seams of the dart agree in length.

Finally, round the bottom outer corner to give a pleasing look and make it easier to retrieve items from the pocket.

Finally, curve the bottom of the pocket as shown, if desired. This shaping allows items in the pocket to roll down, away from the pocket opening, which in turn gives a better drape to the skirts.

Here is my completed pattern, and one pocket cut out. Cut two halves for each pocket. Note that as before, I did not cut out the dart from the cloth.
Waist Seam
Before starting on the skirt seam, you’ll want to trim off any unused inlays from the bottom of the forepart and side-body. This makes it a little easier to line things up properly.
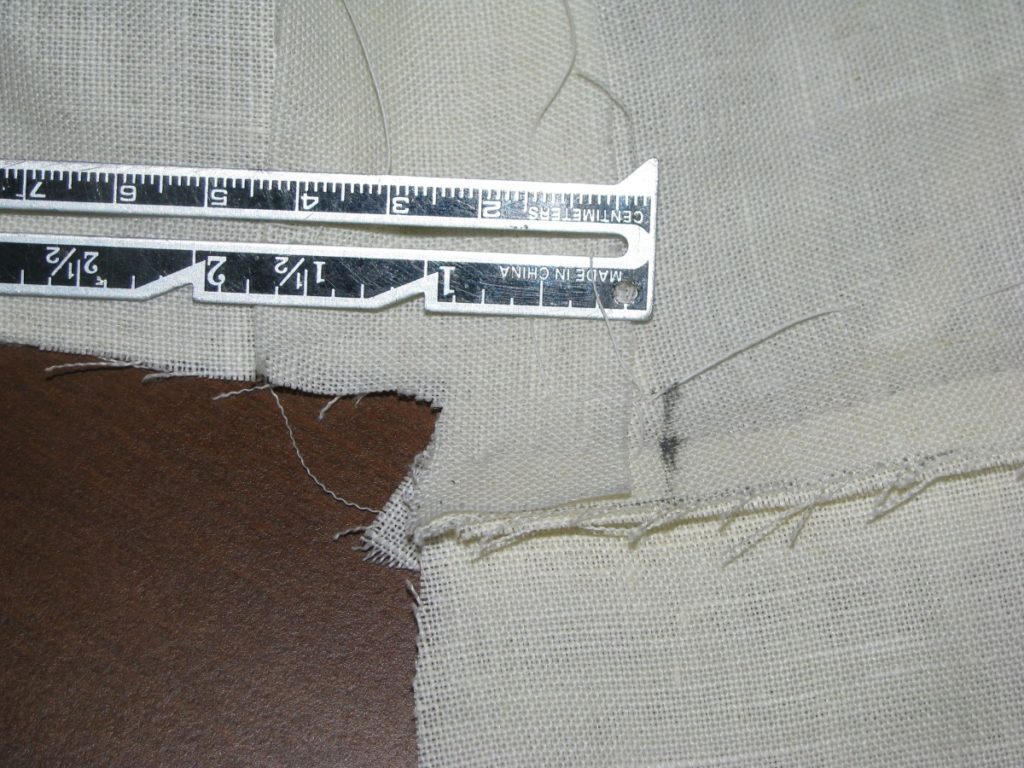
On the right side of the skirt piece, lightly draw the seam allowance and a line 7/8″ (or whichever distance you used) from the back of the skirt, parallel to the back. You’re looking for the intersection to give you a reference point when assembling the waist seam.
On the side body, right side, also draw the seam allowance along the bottom and rear seams to get that intersection. These two points will line up with each other when you align the skirt and forepart and side body.
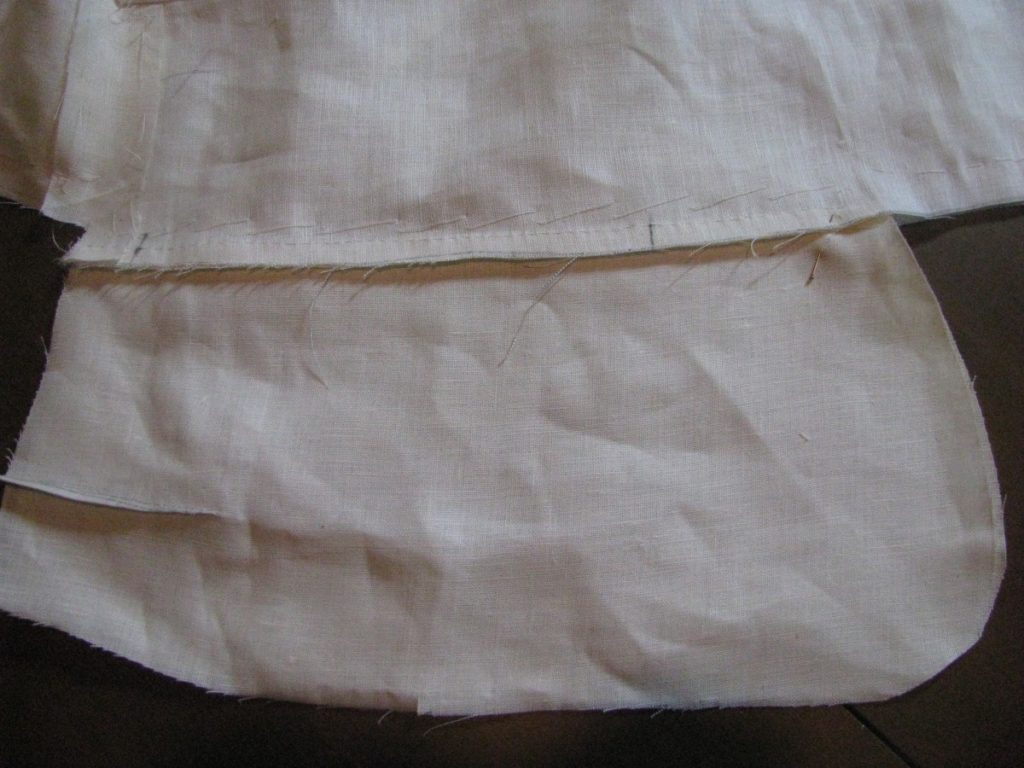
Lay the skirt on top of the forepart assembly, wrong sides together, aligning the main dart and the side seam. You may need to offset them slightly to account for the seam allowance. Baste from the side seam towards the back of the skirt, making sure the two crosshairs are lined up on top of each other.
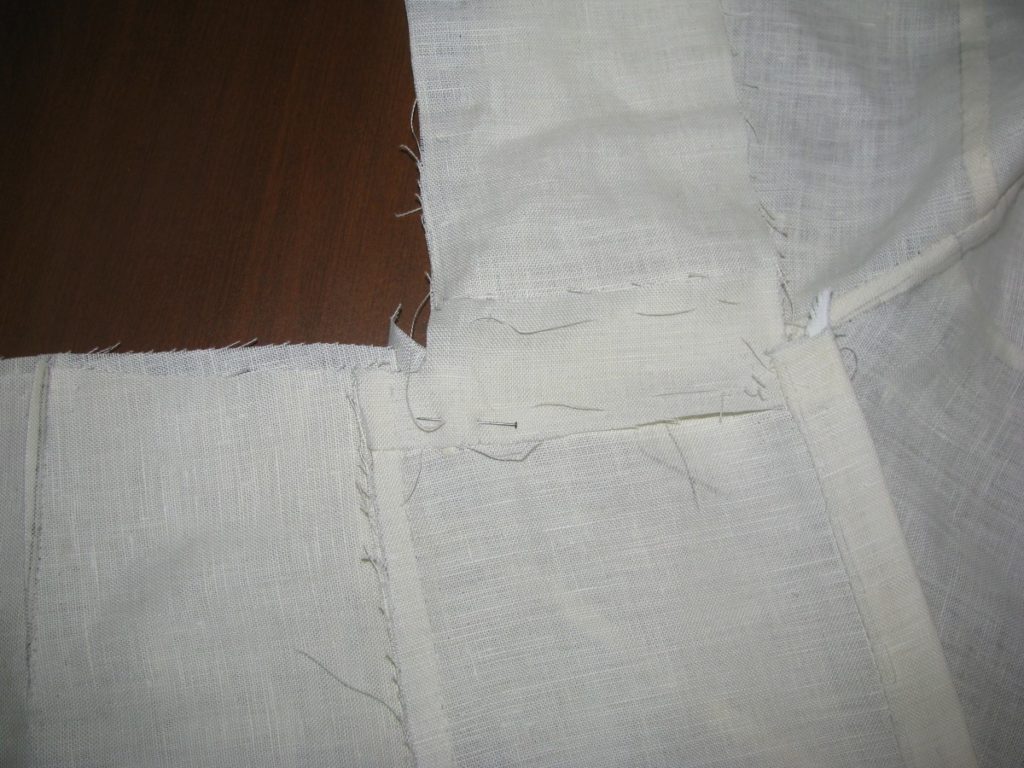
Open up the coat, wrong side up, and lay the back piece on top just to check the fit of this important area, where three pieces come together. If you’ve worked accurately, the pieces should align perfectly.
When satisfied with the alignment, continue basting across the front of the skirt and forepart.
Draw out the 1/2″ seam allowance if you wish. I did so here for clarity. At the back of the skirt, the seam line continues along with the bottom of the forepart, it does not spring upward with the skirt.
It’s almost impossible to photograph well, but sew the seam as per usual, using a back stitch, or back and fore stitch, with the right side of the stitch showing on the skirt. I definitely recommend switching to a back stitch at least for the areas around the darts, where the layers are thicker, and the back of the skirt. It just gives a little more strength and security.
Trim the seam allowance of the forepart to 1/4″. We’ll baste the seam up towards the forepart so as to allow the skirt to drape more freely.
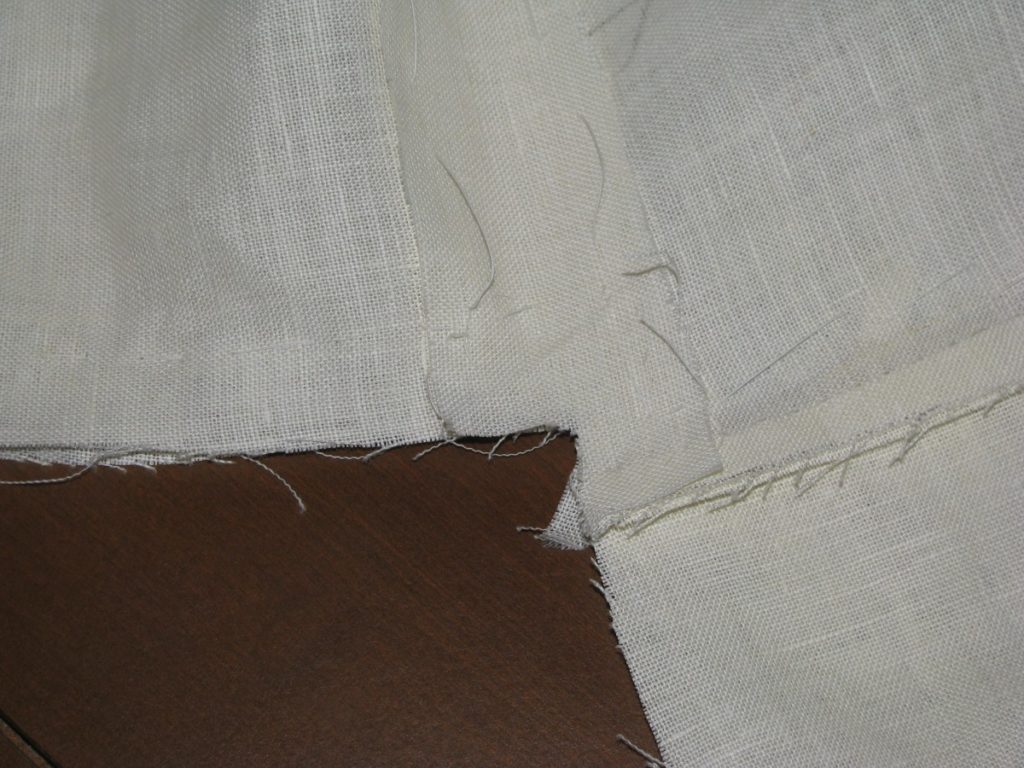
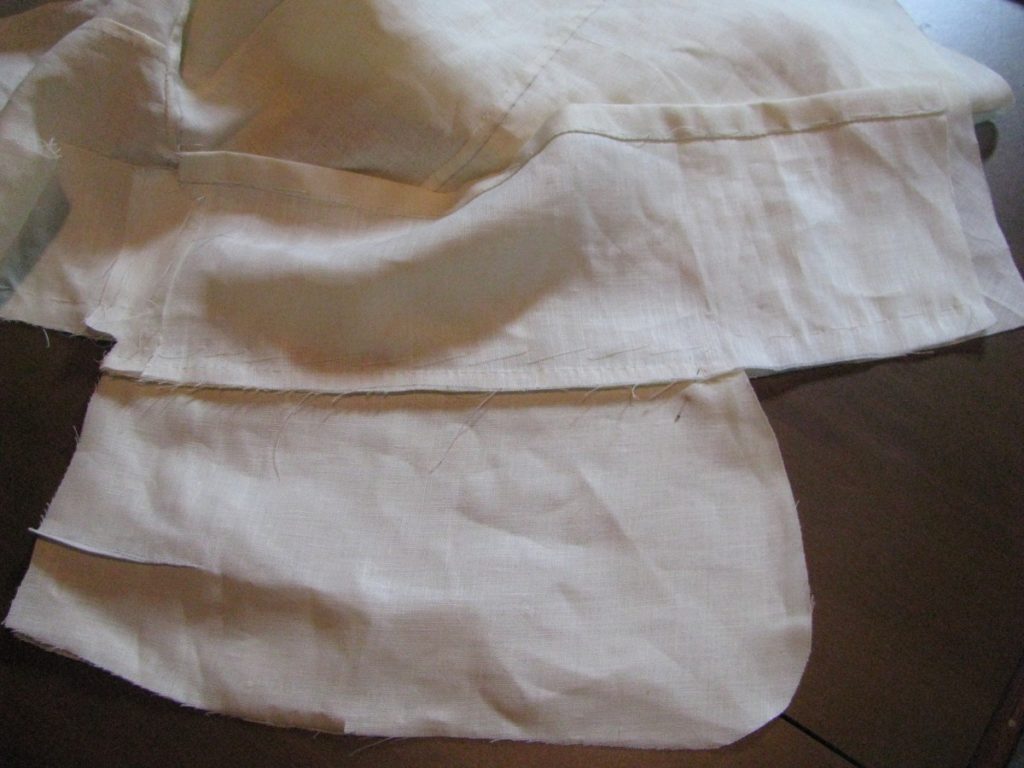
Here’s the back edge of the skirt and forepart.
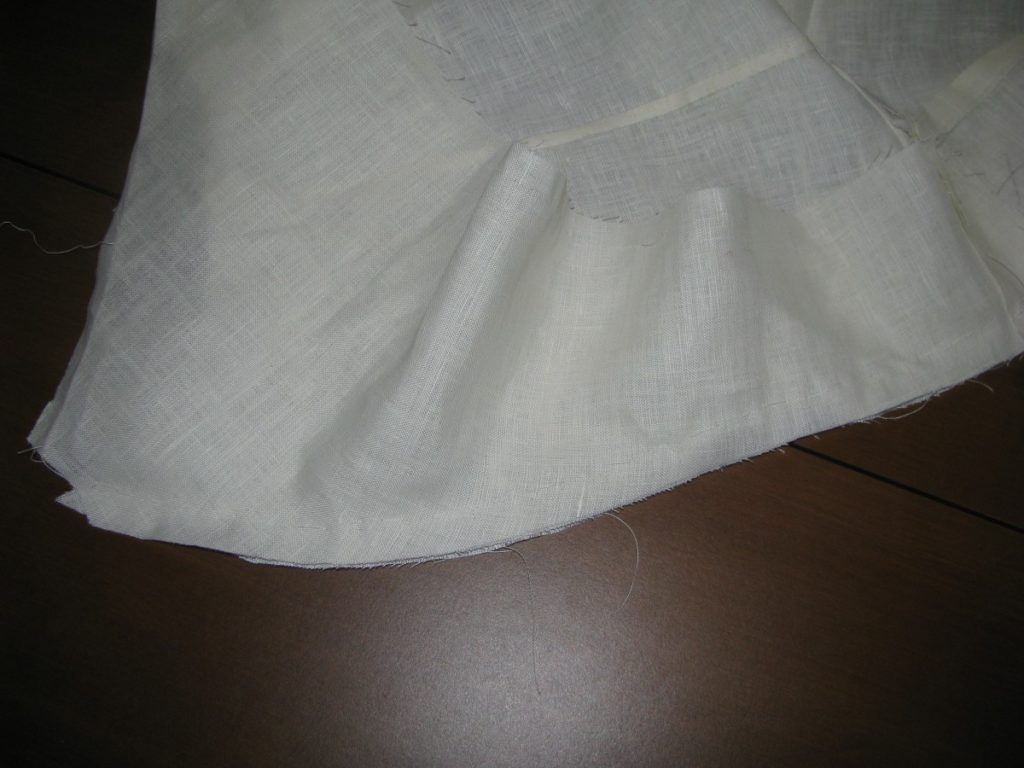
Baste over the seam allowance of the skirt as usual. You’ll notice when you get to the back of the skirt, that there is an issue, as the ‘sprung out’ fabric does not want to lay flat after folding over the seam allowance.

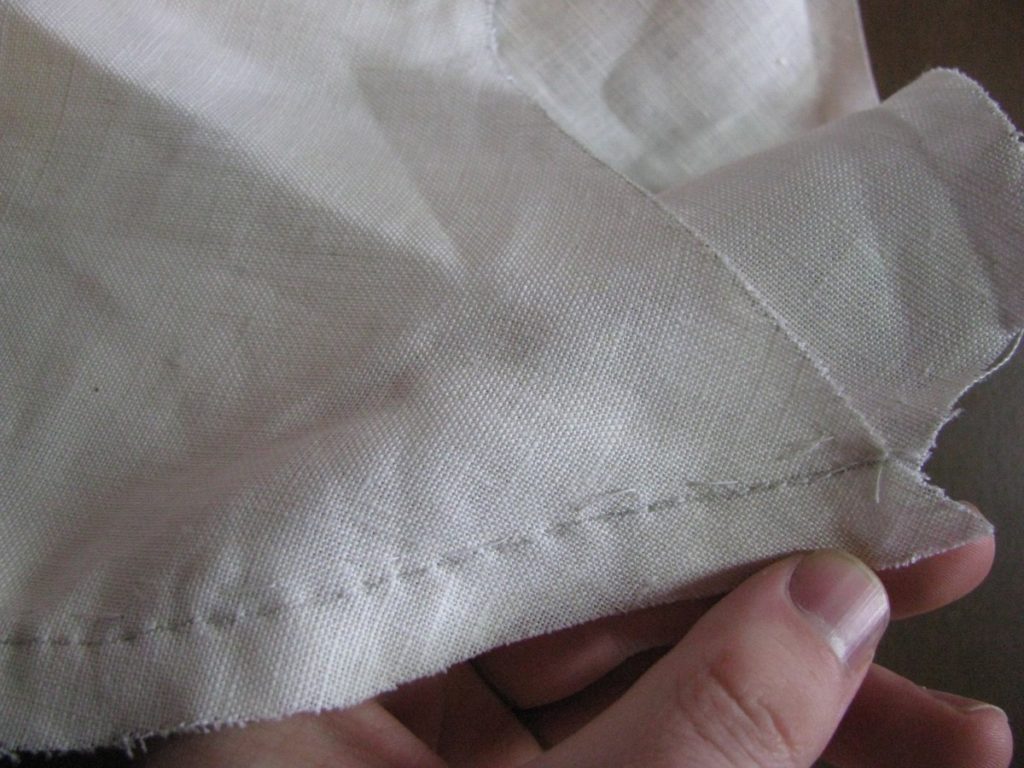
To alleviate this tension, snip the seam allowance right where the spring begins to just over 1/4 inch.
Fell down the folded seam allowance. This completes the skirt seam.
Side Seam
The first thing to do is complete the side seam. Begin by basting 5/8″ from the edge, right sides together, and sewing with a back and fore stitch, with the right side of the stitches being on the side-body.
Trim off the unused inlay from the forepart. You can do this before basting if you wish, I just ended up doing it now.
Trim the seam allowance on the forepart down to 1/4″, or slightly smaller.
Press the seam towards the forpart. The discrepancy in lengths is due to me forgeting to add an inlay to the side-body.
Press and baste the 1/2″ seam allowance under the forepart seam. I basted it because the seam is slightly curved at the bottom, and it gives me more control and less to worry about while sewing. Fell down the folded edge.
Remove the basting stitches before you forget. Here is the progress on the coat thus far.
Second Fitting
Before assembling the coat permanently, it’s a good idea to baste together all of the pieces to ensure that everything fits properly. In this particular fitting, we’ll be most concerned about checking the side seam, and the height of the waist seam. Normally, the muslin sleeves would also be fitted here, but we will leave those out for now to simplify things. This fitting also serves as a ‘dry run’, so that there are no surprises when it comes time to sew things together.
Begin by basting the coat together, wrong sides together, in the same manner as you did the muslin toile during the drafting process. The end result will be a coat with all of the seam allowances on the outside. This makes it extremely easy to have someone fit you while you’re wearing it. Remember that everything has a 1/2″ seam allowance.
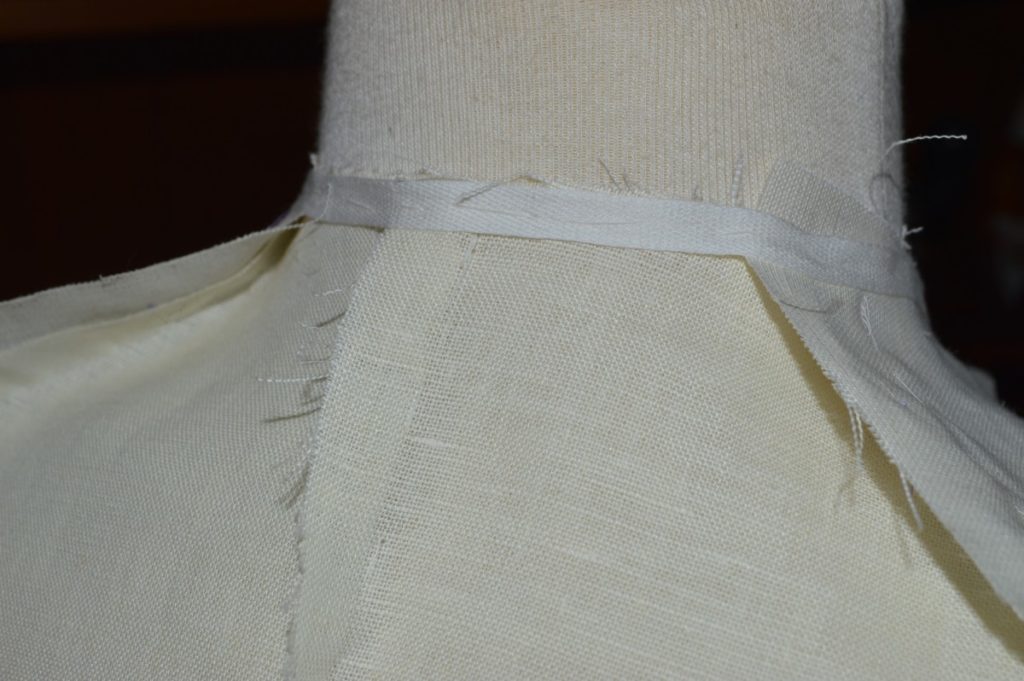
Before trying on the coat, it’s a very good idea to baste a length of stay tape around the neck seam and the armscye. This will prevent any unwanted stretching.
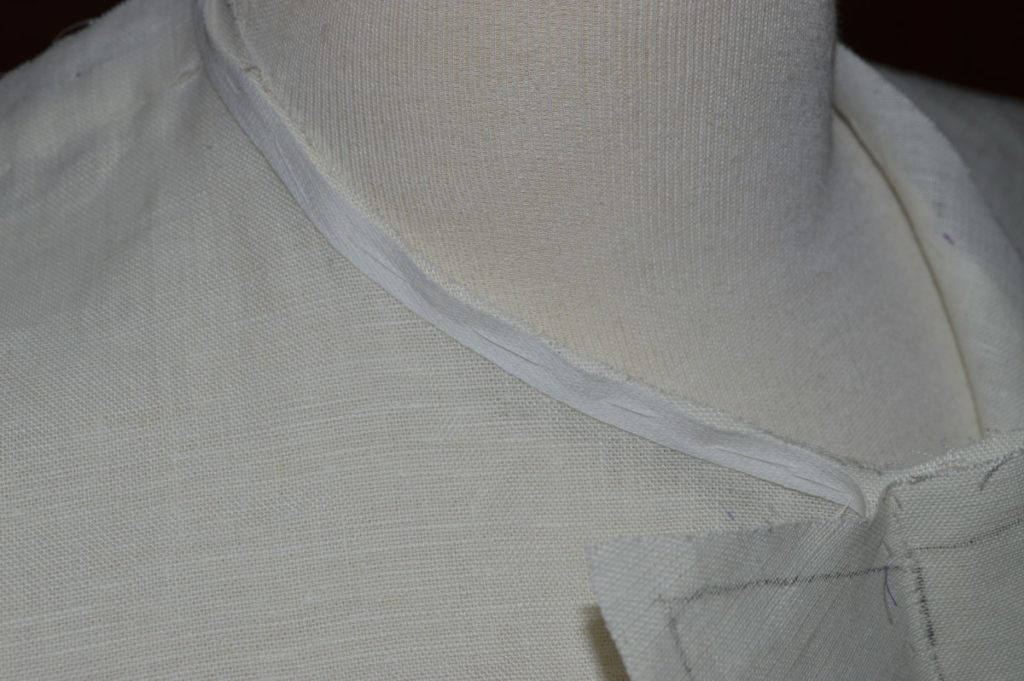
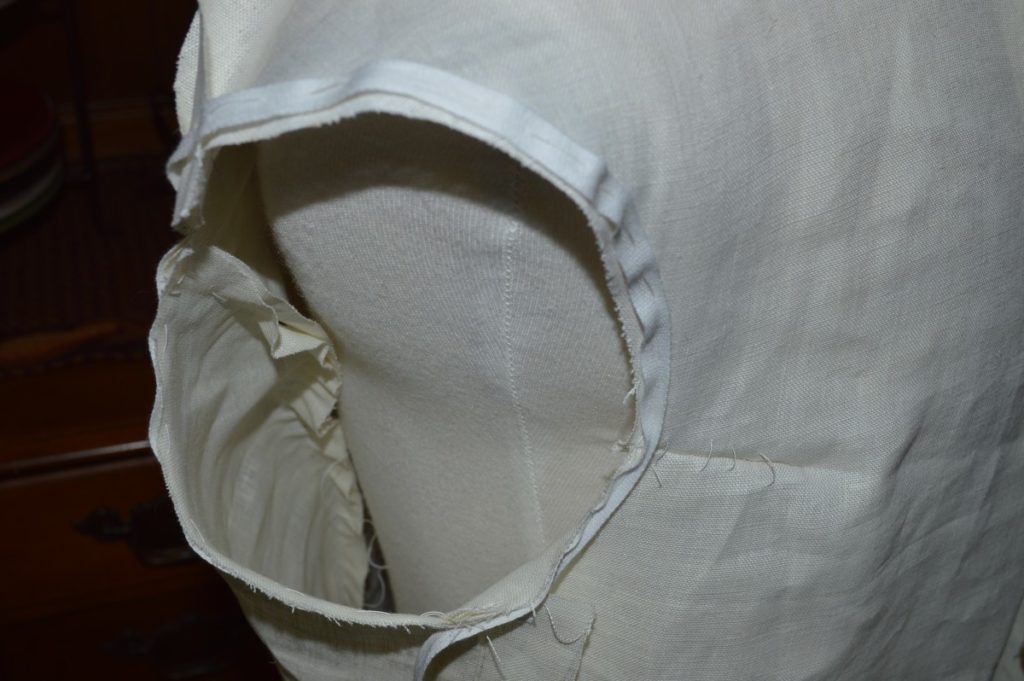
Here’s the side seam, showing the inlay next to it. Remember to treat the tailor’s tacks as the edge of the cloth. If necessary, you can use this inlay to expand the fit now. That’s a piece of stay tape hanging down from the armscye, if you were wondering.
Here’s the back seam and the vent area. Baste the left side of the vent over the right side to secure it and prevent tearing of the fabric. For the back piece, feel free to sew it right sides together with the rest of the coat to make things easier.
Here’s the shoulder seam, again showing the inlays. We will not be fitting the shoulder seams at this point, so don’t worry too much about them yet.
When the skeleton baste is complete, try it on, and besides the side seam, take a close look at the waist in the front. It should be about an inch below the natural waist, or just slightly below the waist coat. If it’s too low, that is most likely a balance issue – the front of the coat is too long – and you may want to add add a gorge dart, and move the waist line up slightly. As long as you’re just basting, it’s a good time to experiment with both of these. Post a photo of your fitting in the forum and I’ll help you determine what to do.
Right Back Skirt
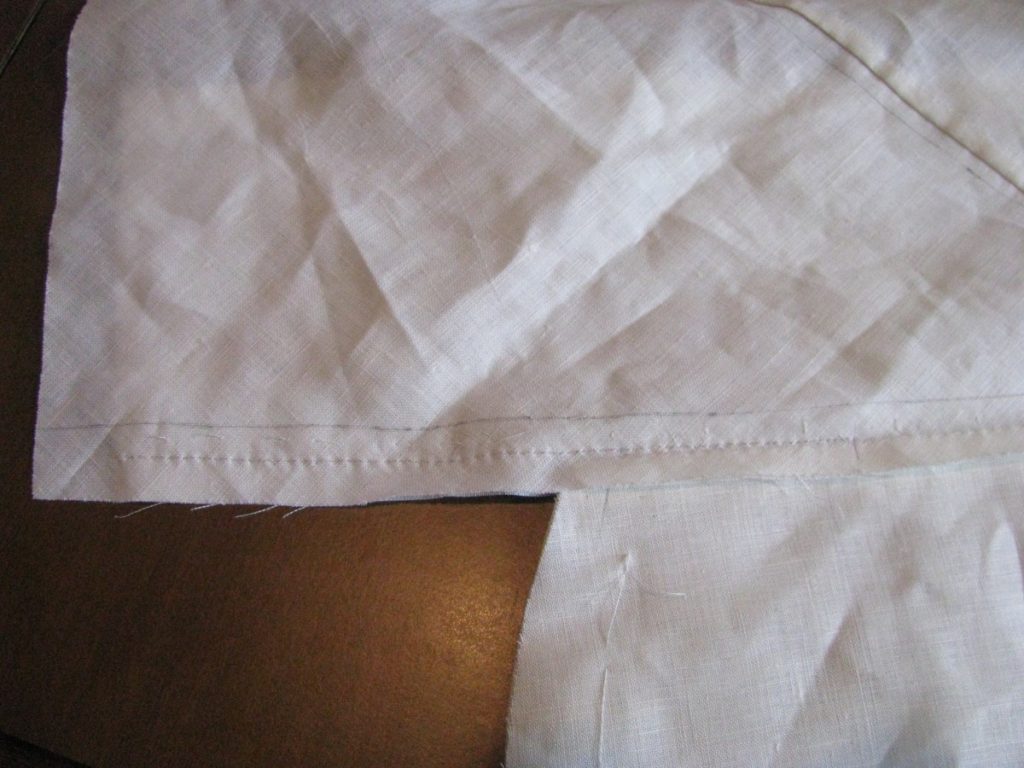
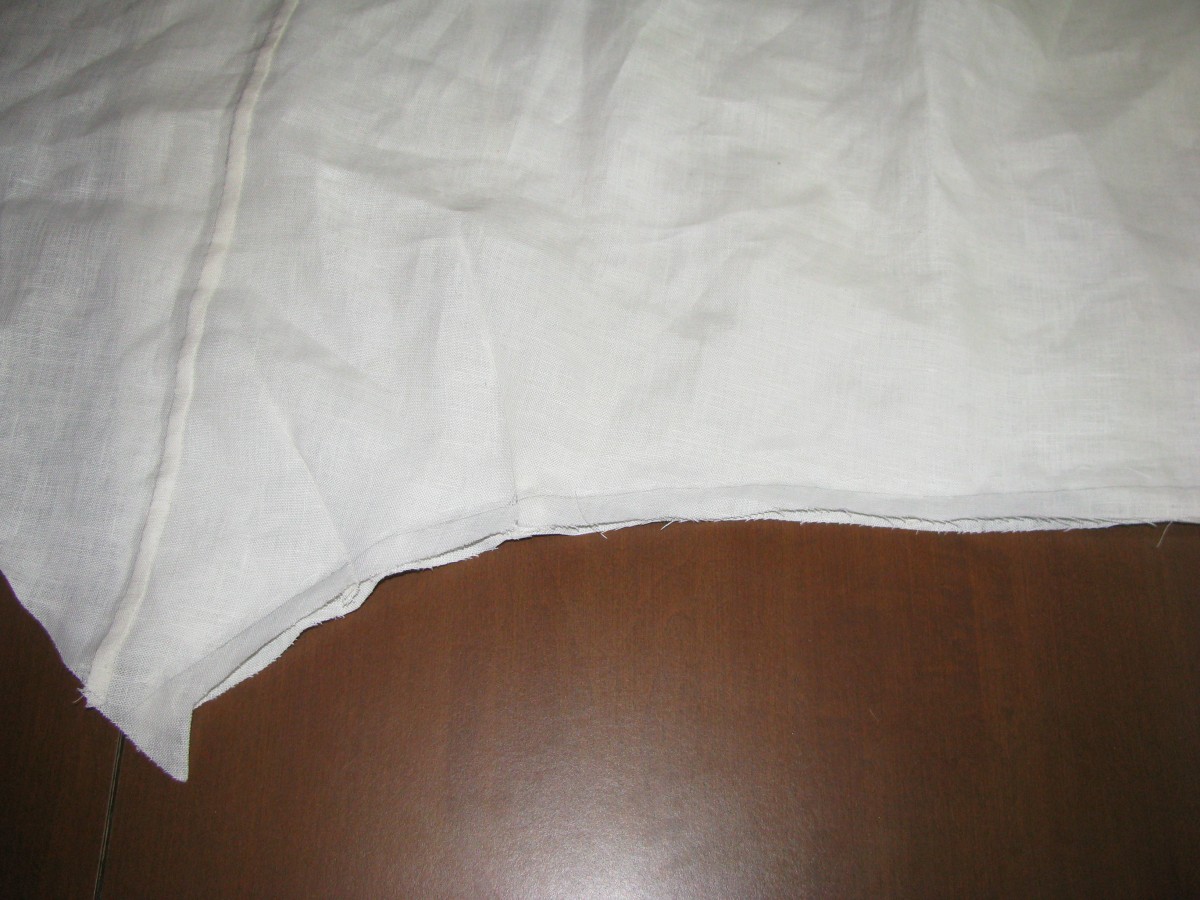
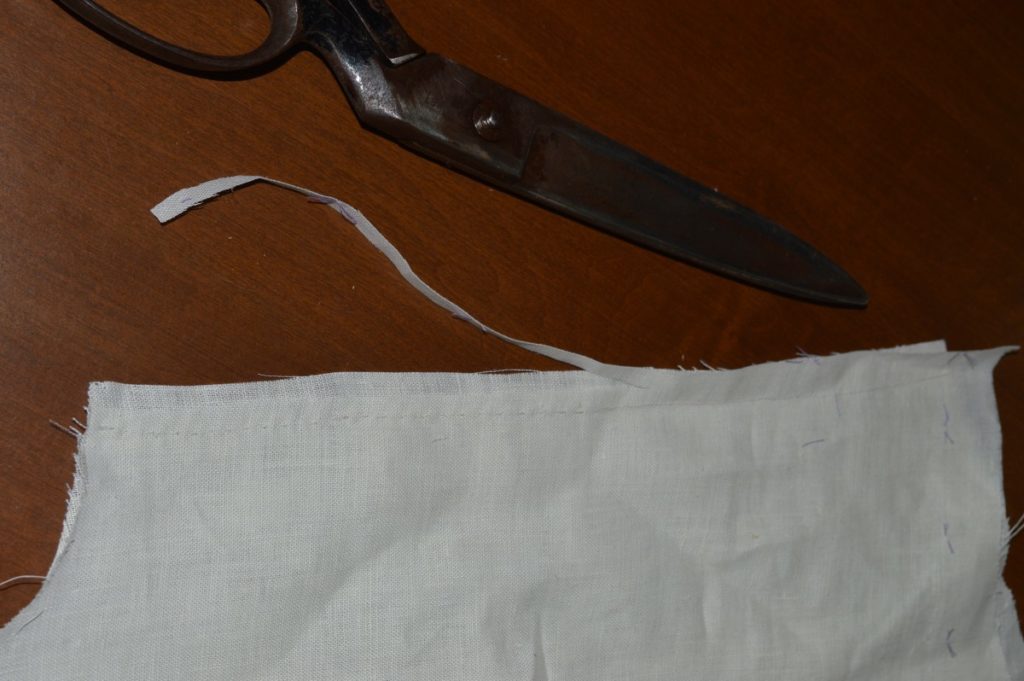
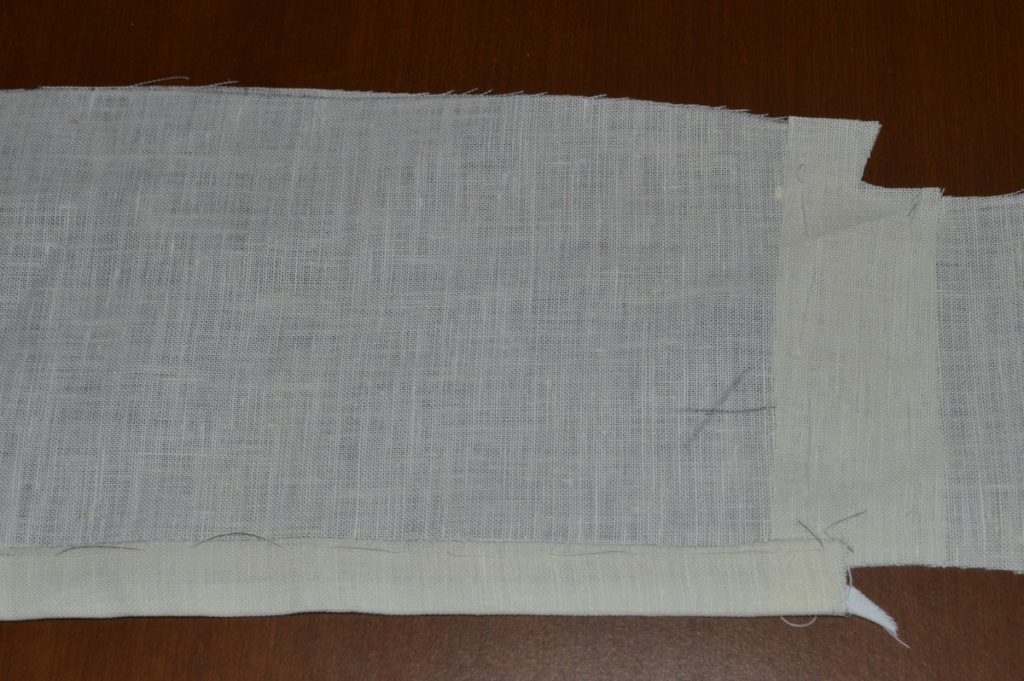
The right side of the skirt is even easier to construct. This time, no diagonal cut is made at the top of the step. Begin by marking out your lines 1/4″ and 7/8 or 1″ from the edge. Lay out the stay tape from the top (it can extend off the edge here), to 1/2″ from the bottom and baste as before. Be sure to add the same amount of fullness to ensure the two sides are the same length.
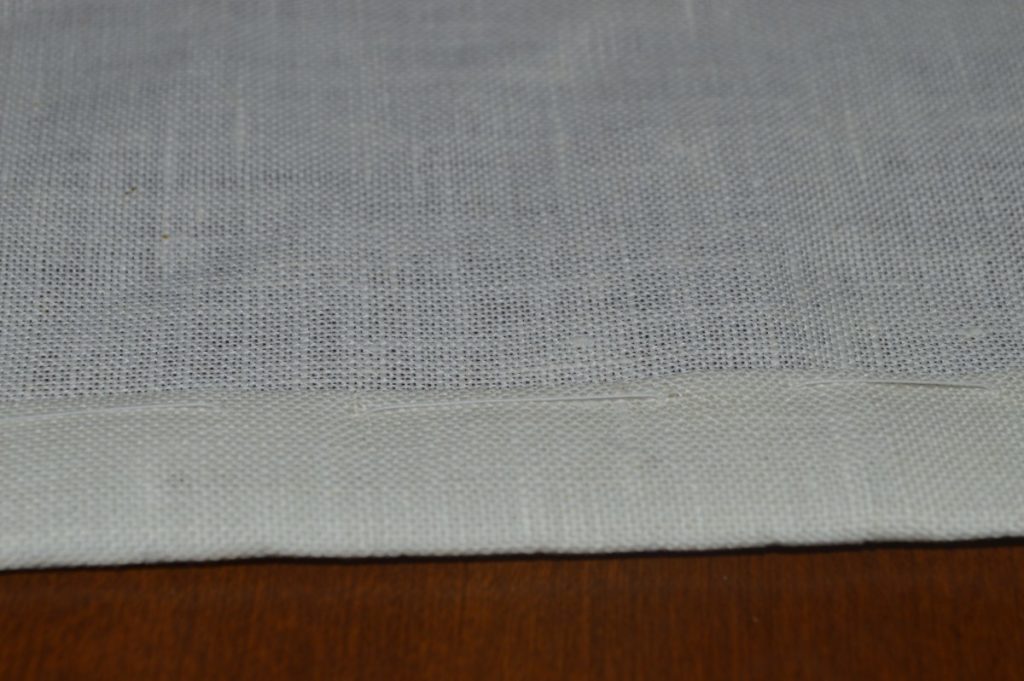
Fold over the raw edge, and then fold over at the stay tape as before, press, and finish by felling.
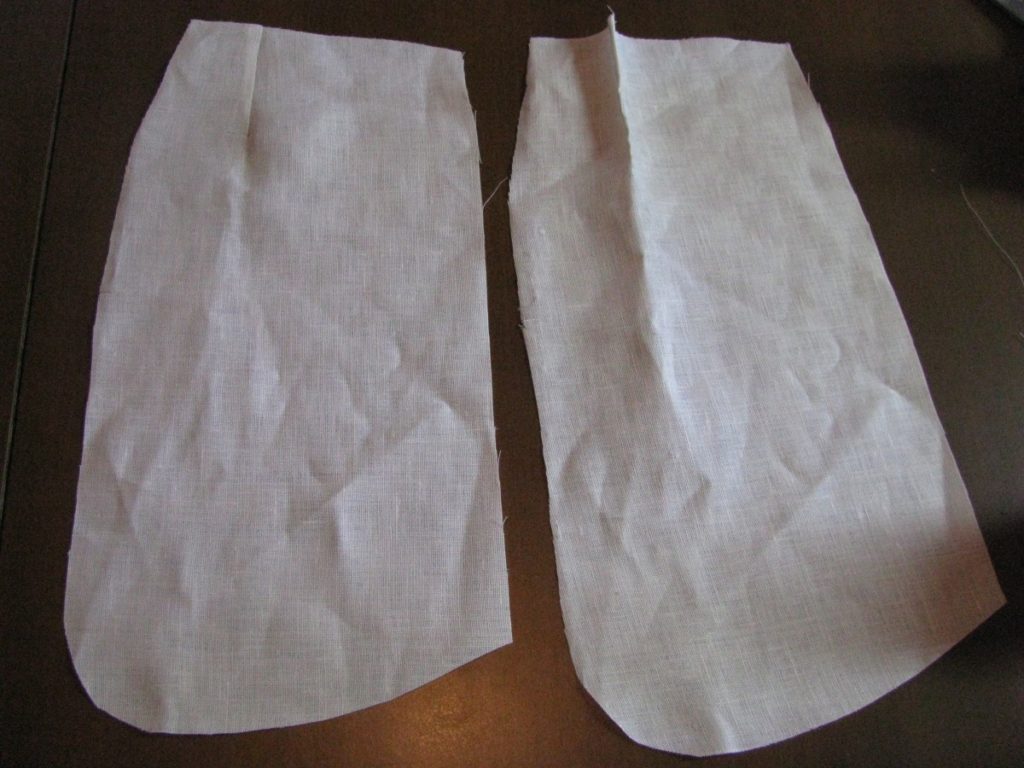
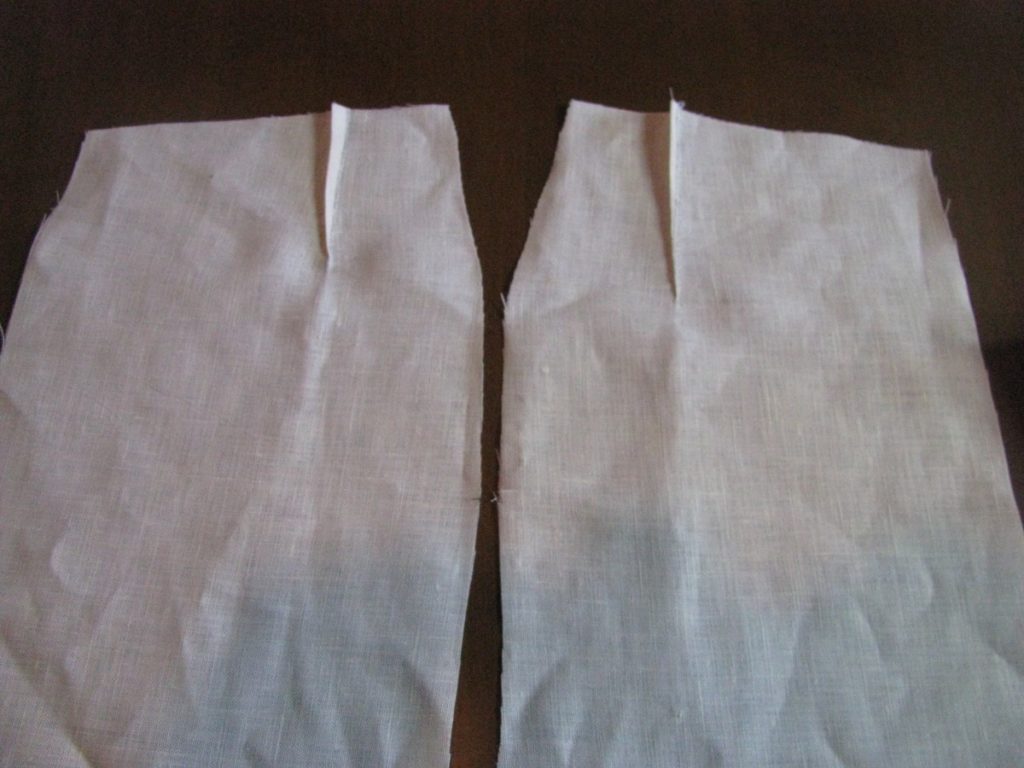
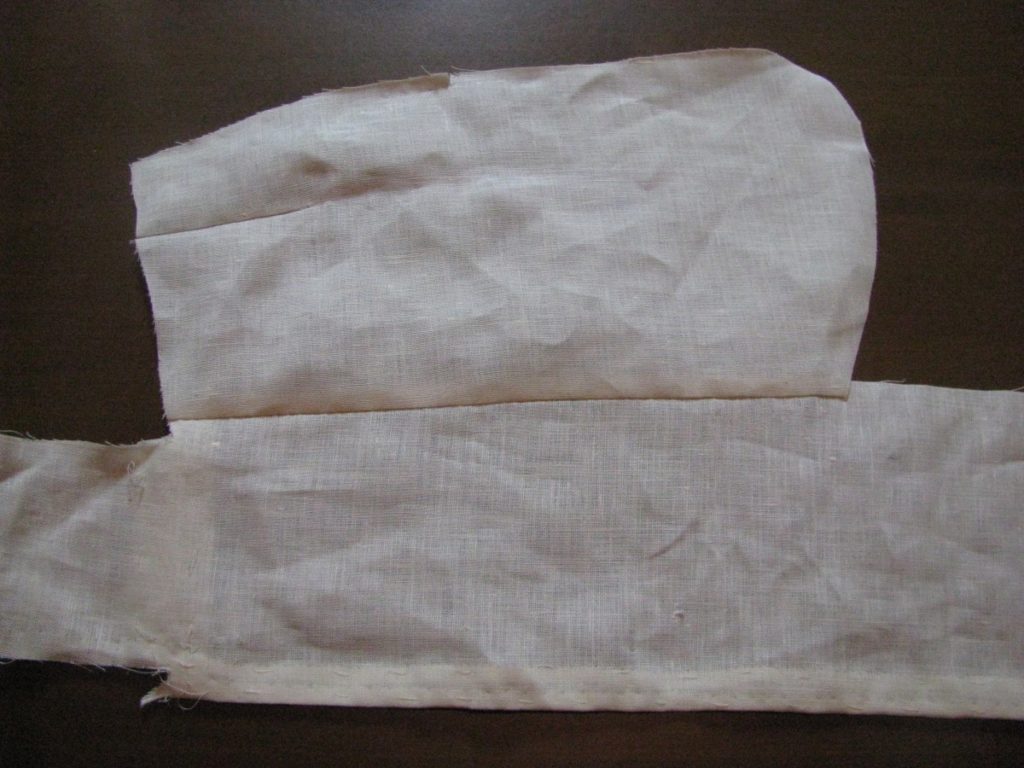
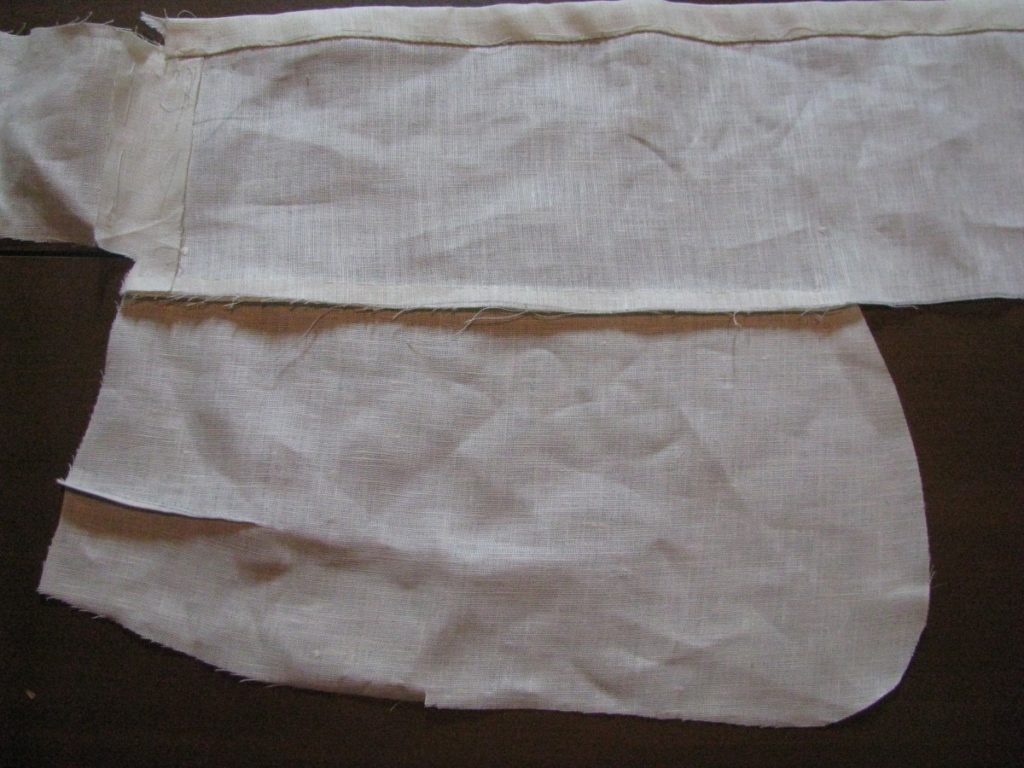
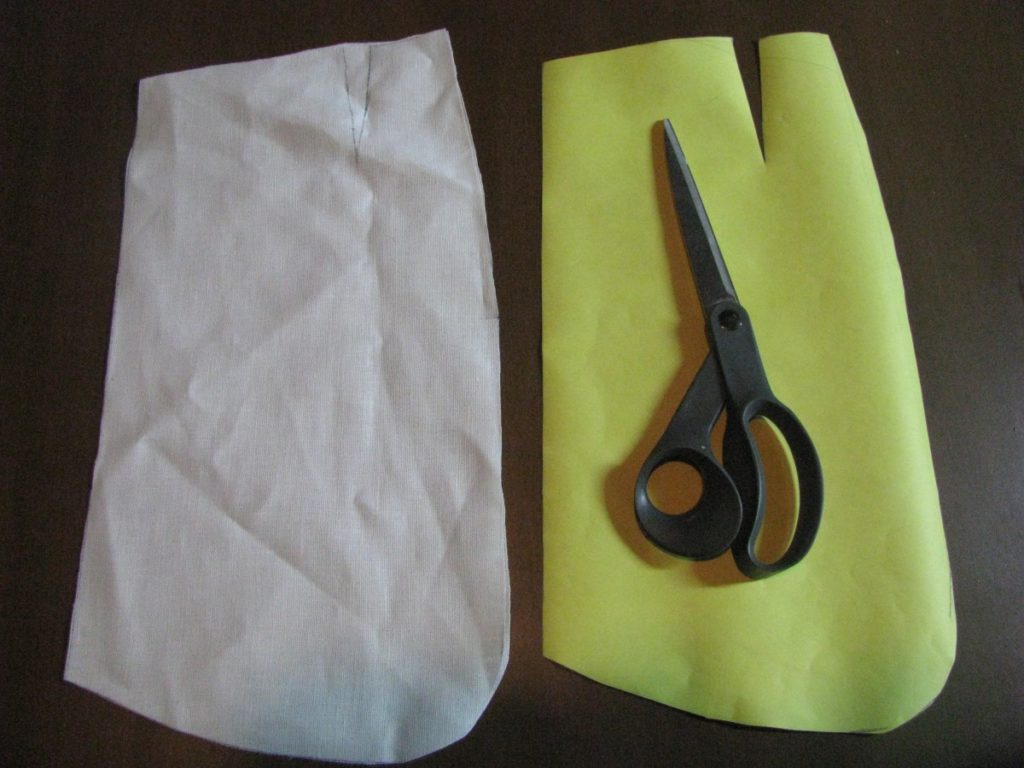
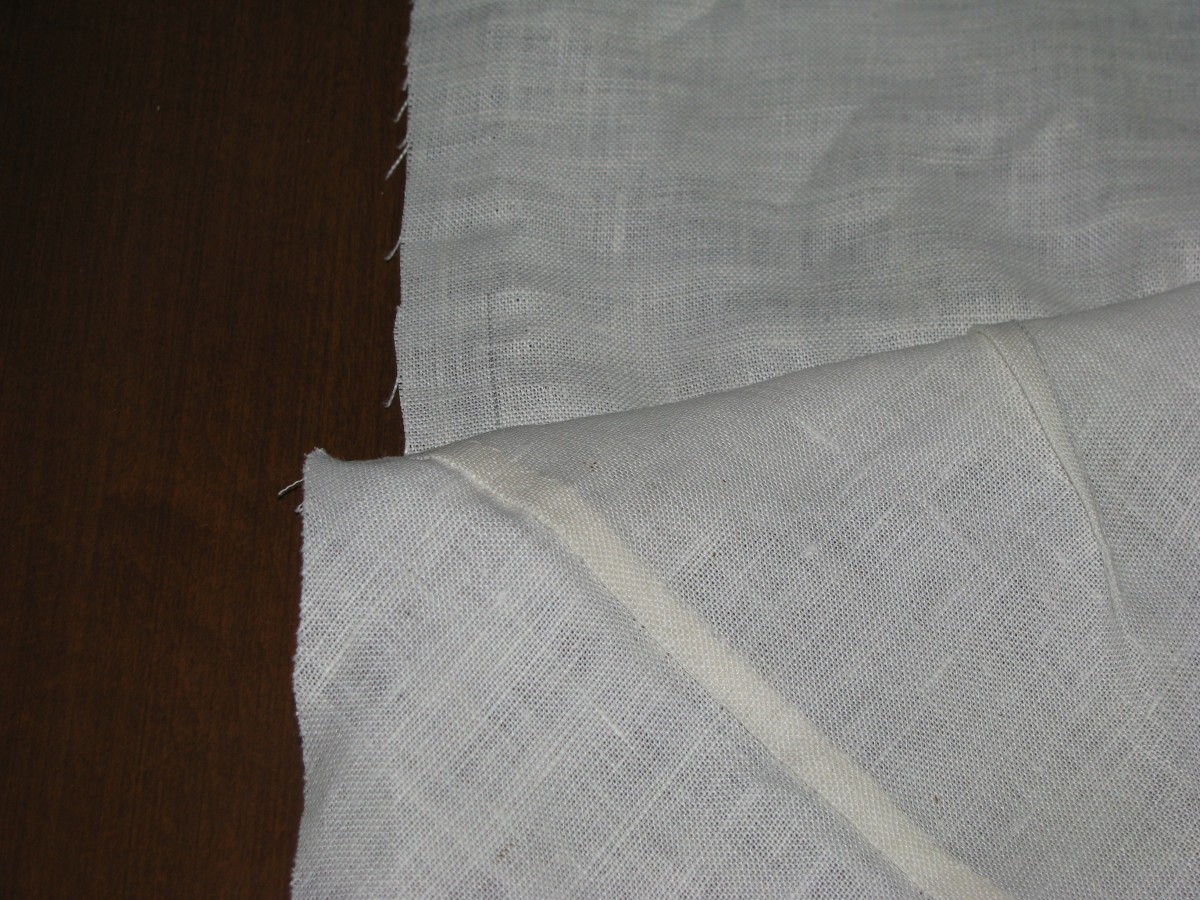
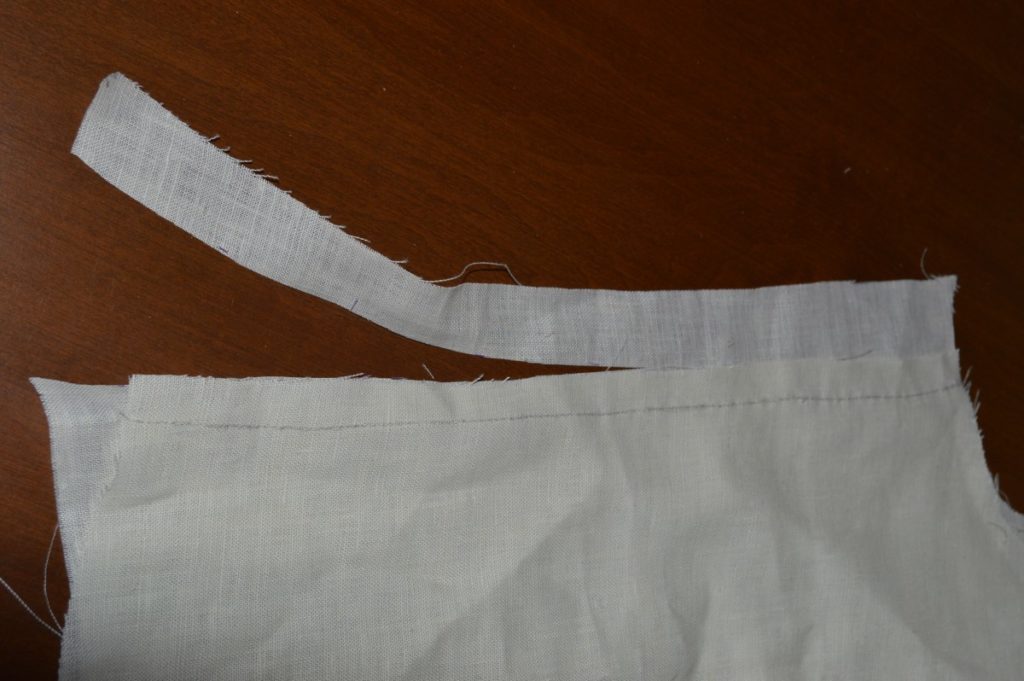
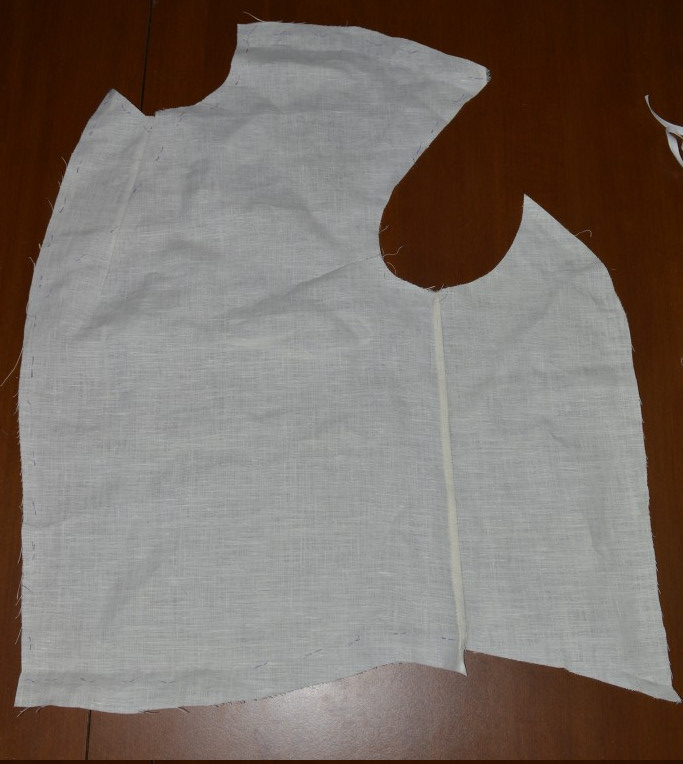
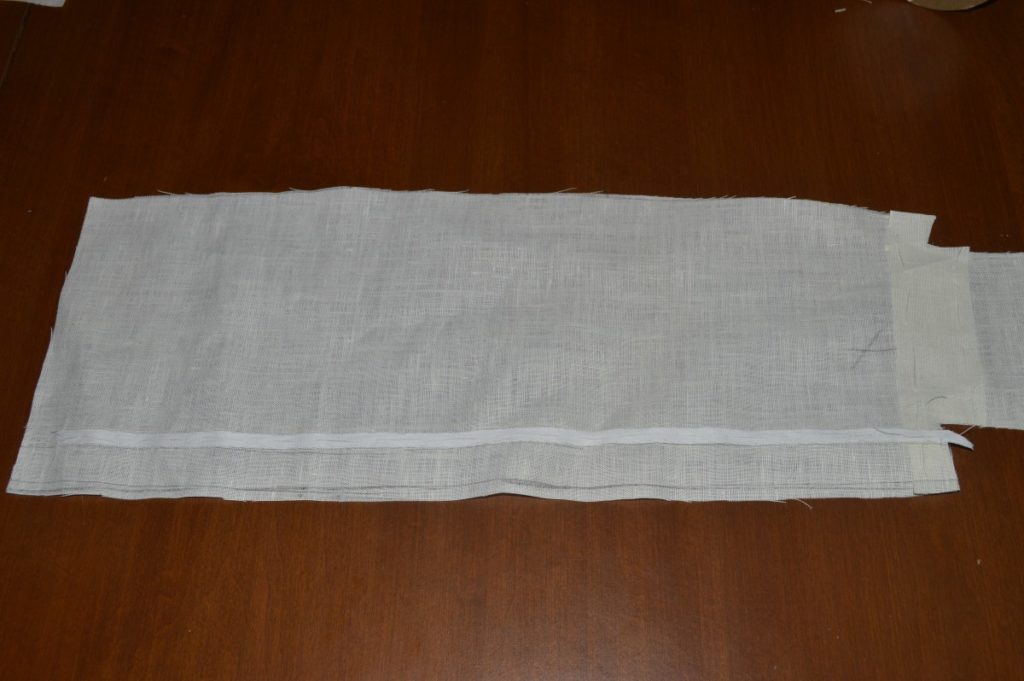
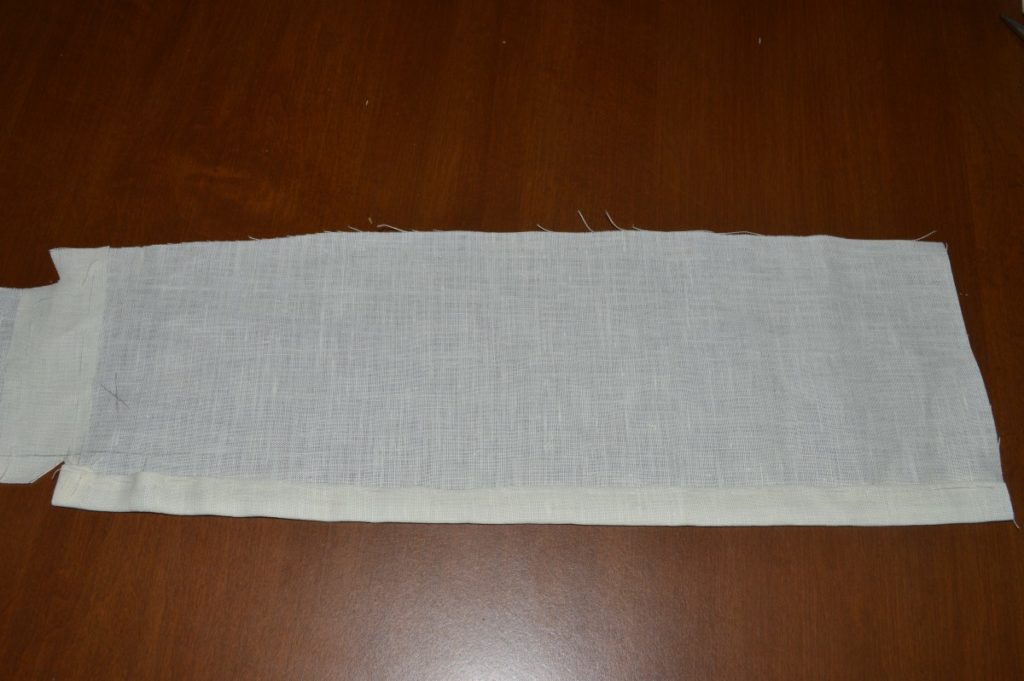
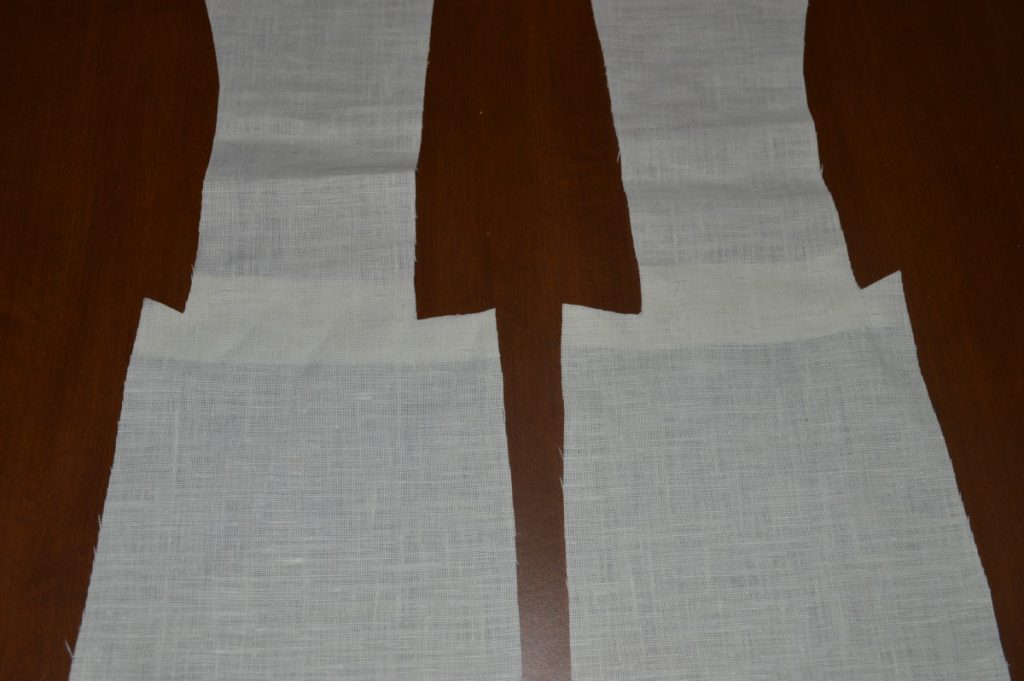
That completes the back skirt construction process. This is exactly the same as for a wool coat, except that there is no lining. Here are the two pieces next to each other from the wrong side for comparison.
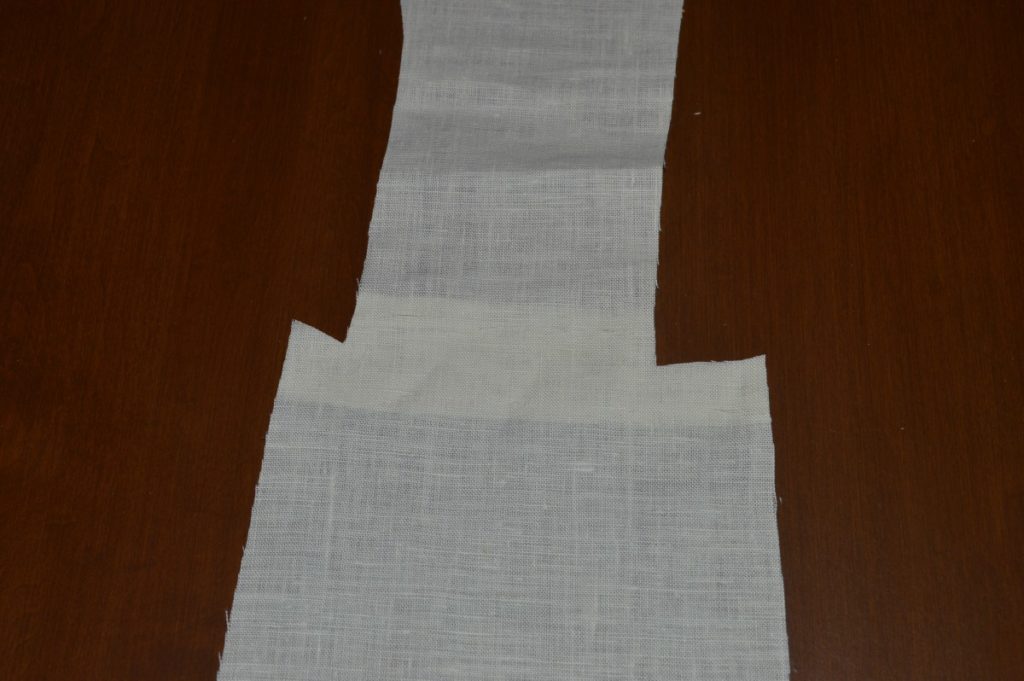
And the view from the right side. The left side will eventually overlap the right in the finished coat.
Left Back Skirt
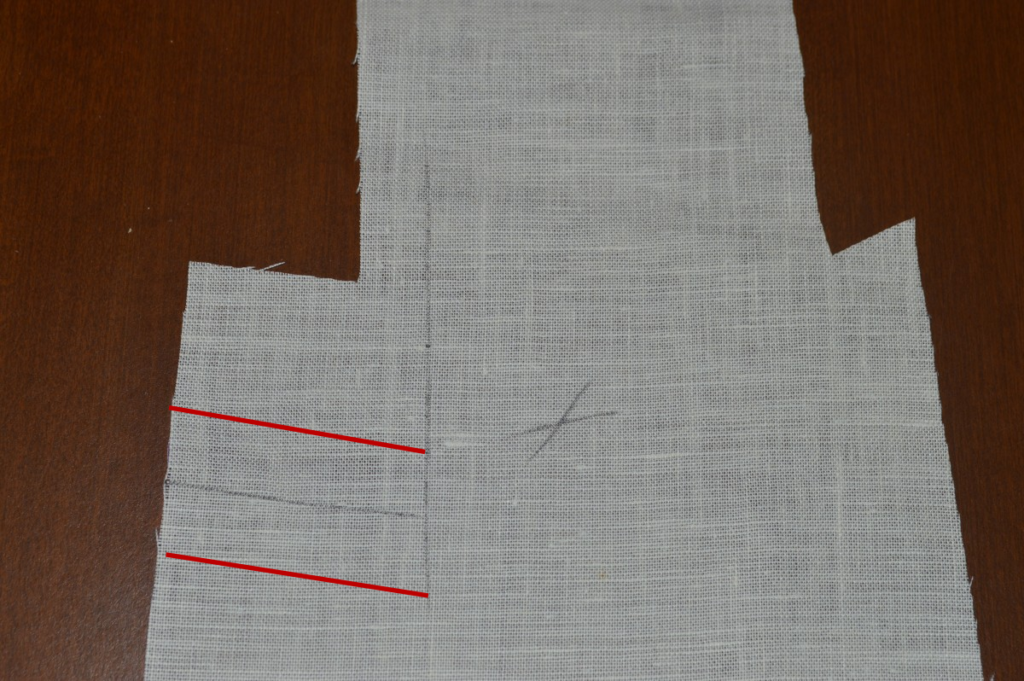
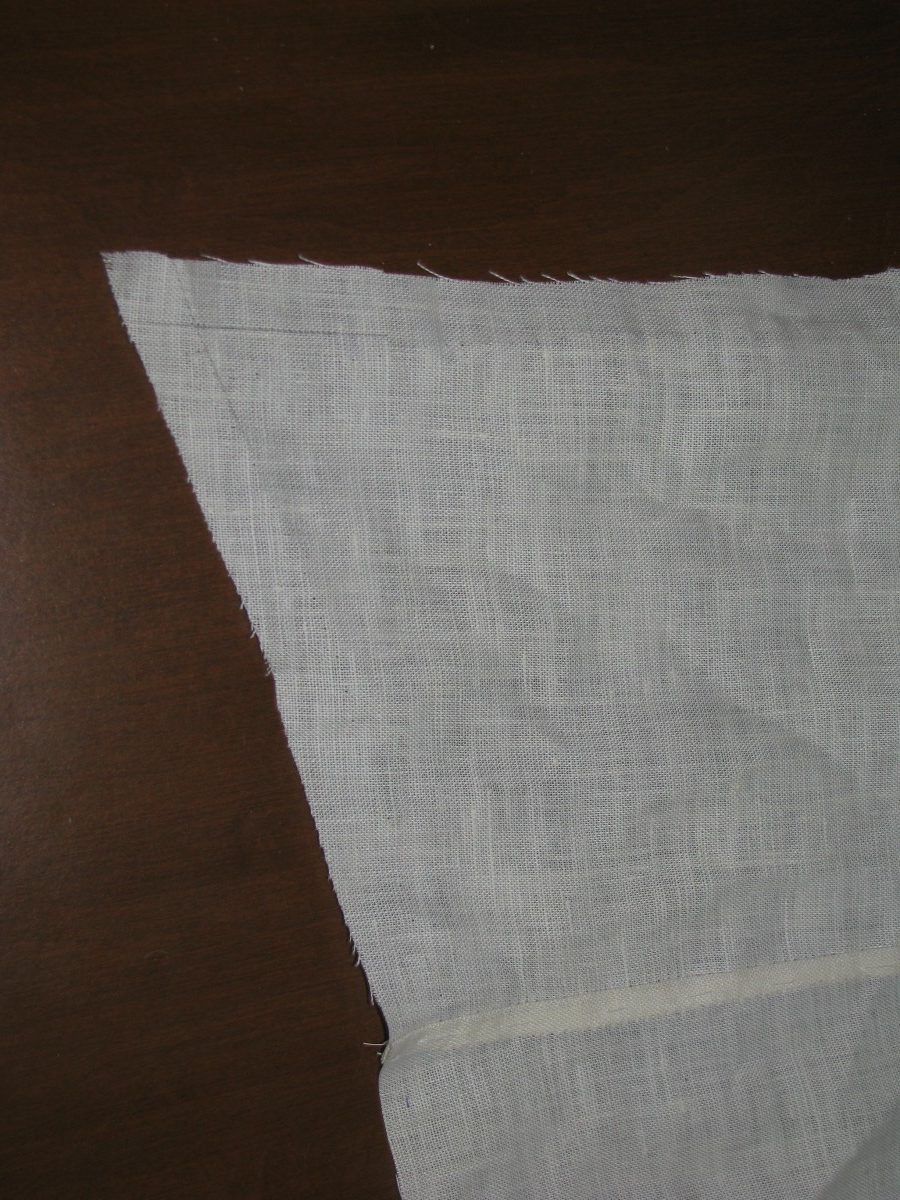
Begin by marking about an inch or two of the back seam allowance, at the waist, and also mark the seam allowance across the ‘step’ at the center waist, as shown. This will give you the positioning for making a small cut, later on.
Along the edge of the skirt, at what will be the center back, draw out a line 1/4″, which will be turned under to hide the raw edge. Draw another line 7/8″ to 1″ from this first line, which will be the fold line for forming the back vent.
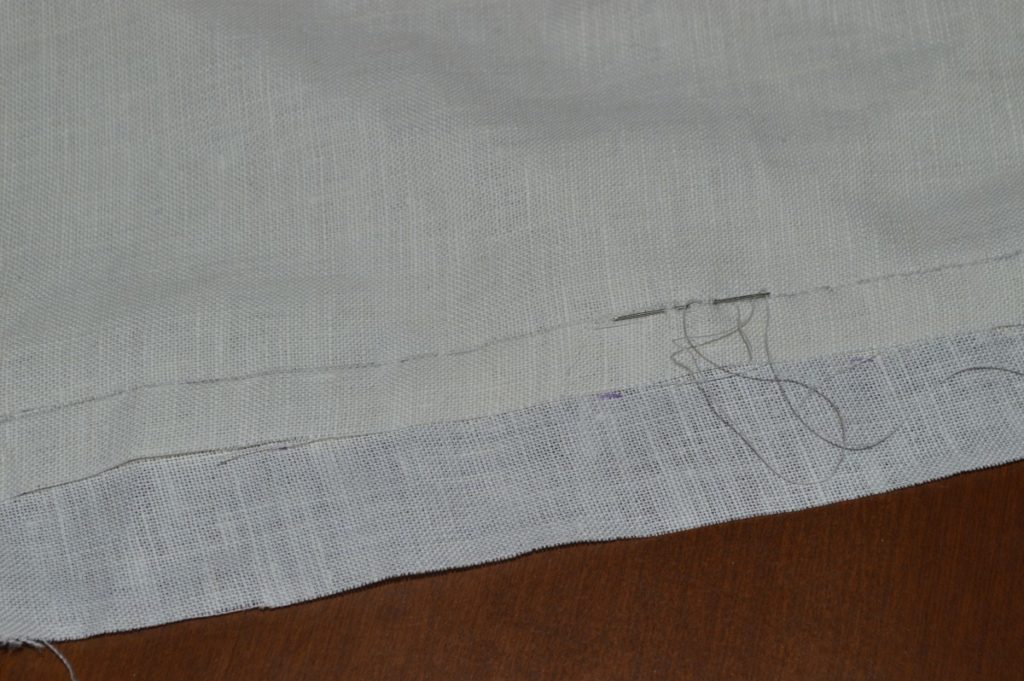
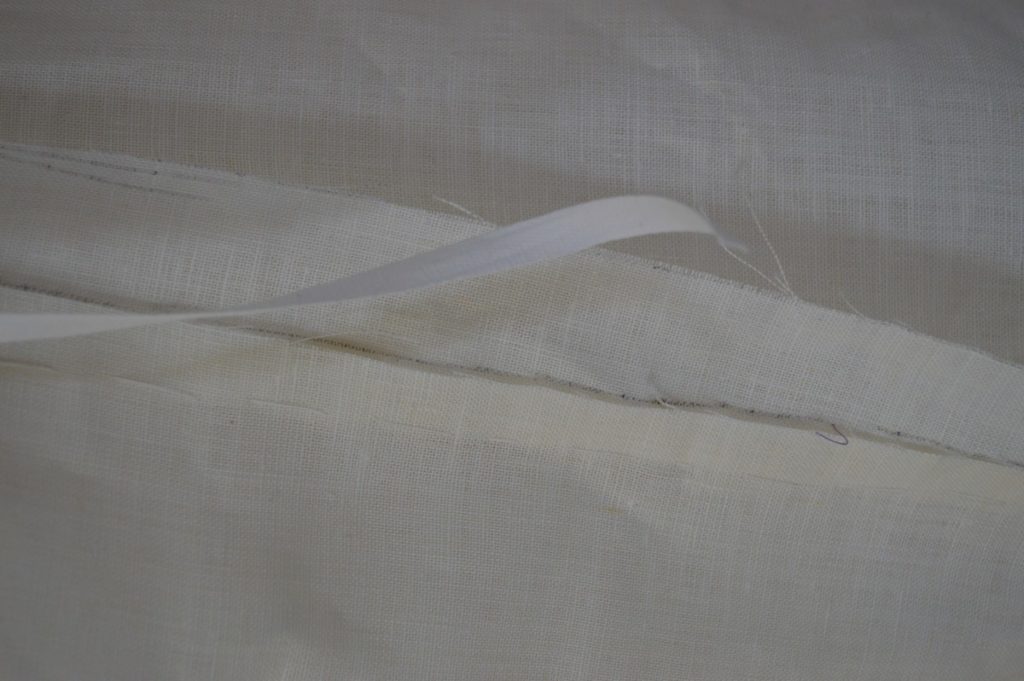
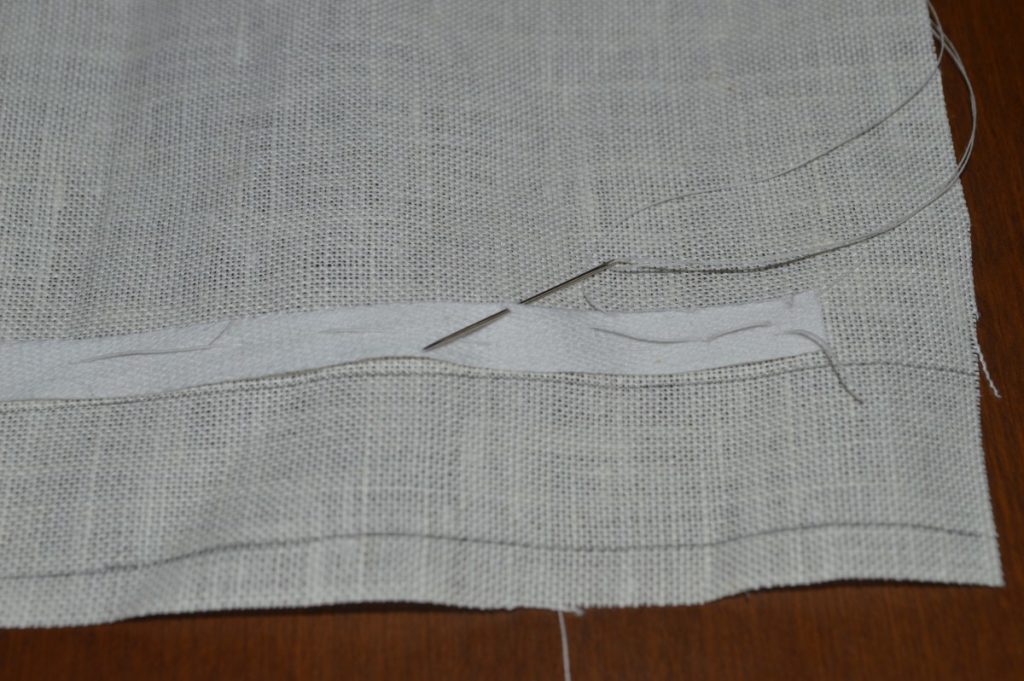
Add a length of stay tape along the inside edge of this second line, beginning just at the seam allowance at the top, and extending to about 1/2″ from the bottom.
It’s a good idea to treat the stay tape for shrinkage prevention before using it. I like to put mine in a bowl of hot water, let it cool, and then press it dry with the iron. If you do a bunch at once you can get it over and done with for a good long while!
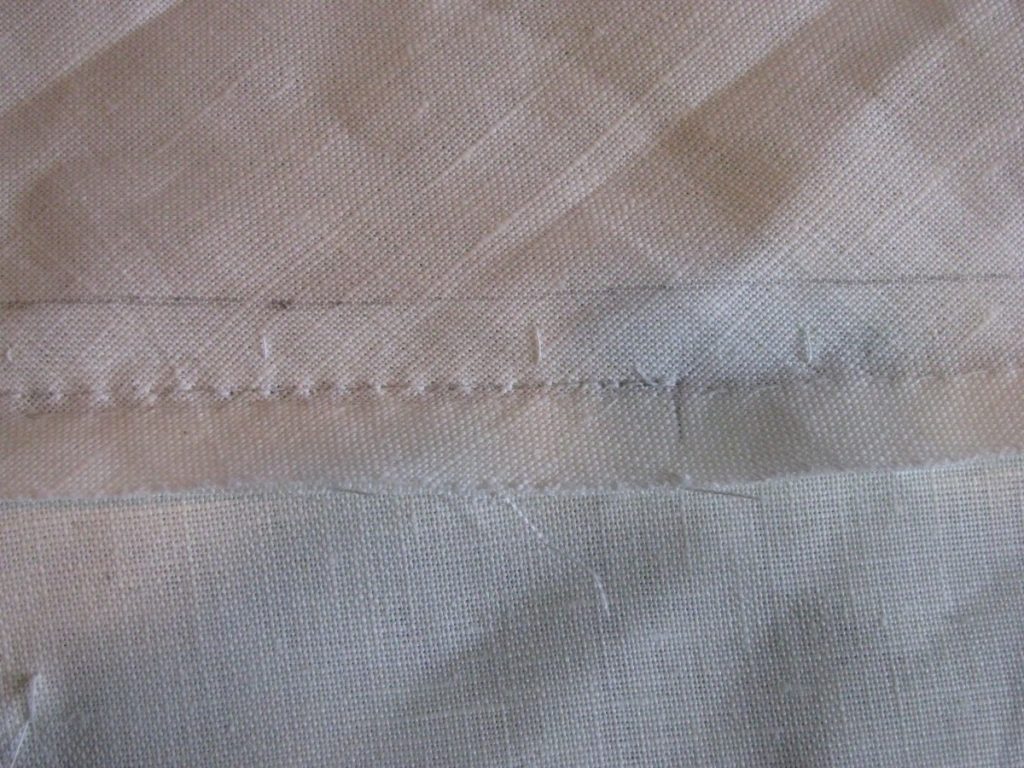
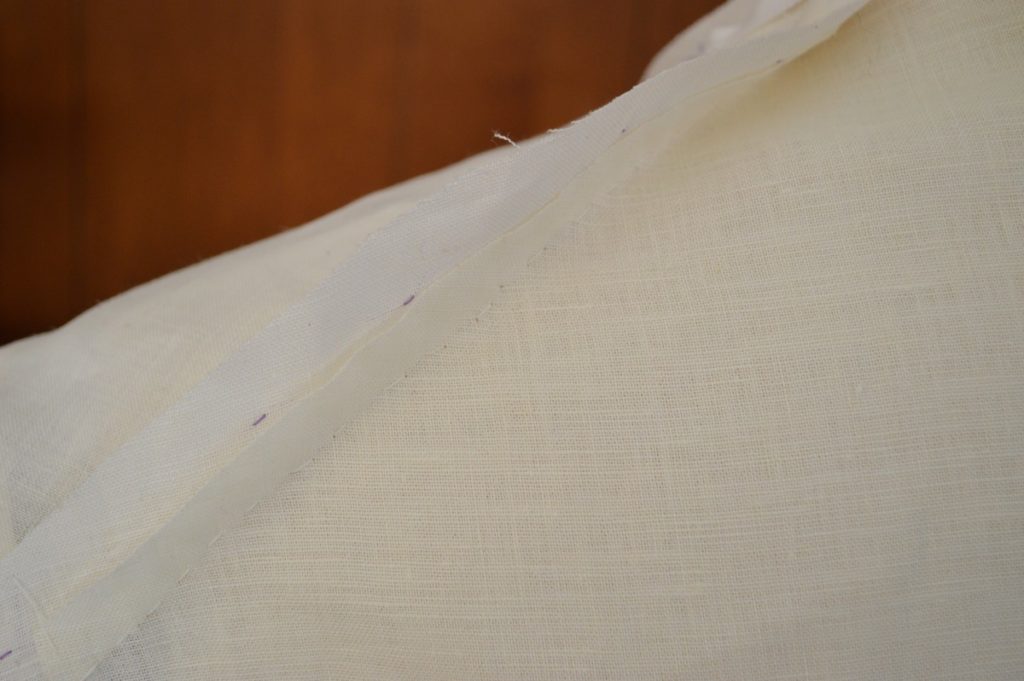
Baste down the stay tape. For the first 6 inches from the top, hold the tape slightly tight with your thumb in relation to the cloth. This will cause some visible ripples in the cloth. The purpose is to take the excess we added with the curved edge and move it towards the fuller part of the seat.
The tightness introduced is very slight, maybe 1/4″ over the enter six inches. This is about as much as we can get away with in linen or cotton, which does not shrink. This minimal fullness will not be noticeable, however.
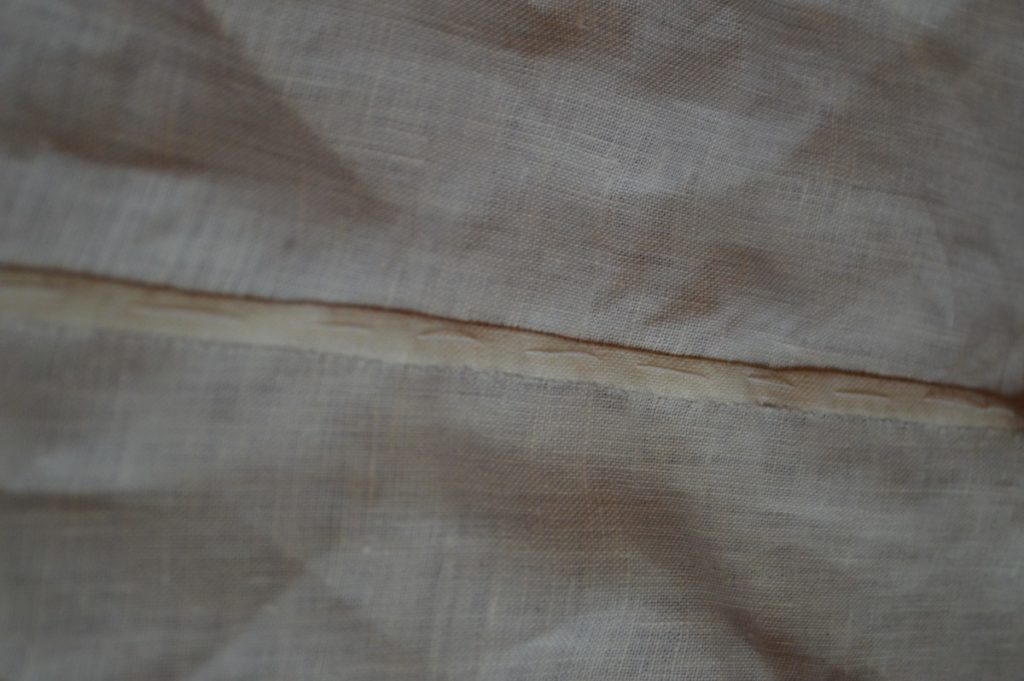
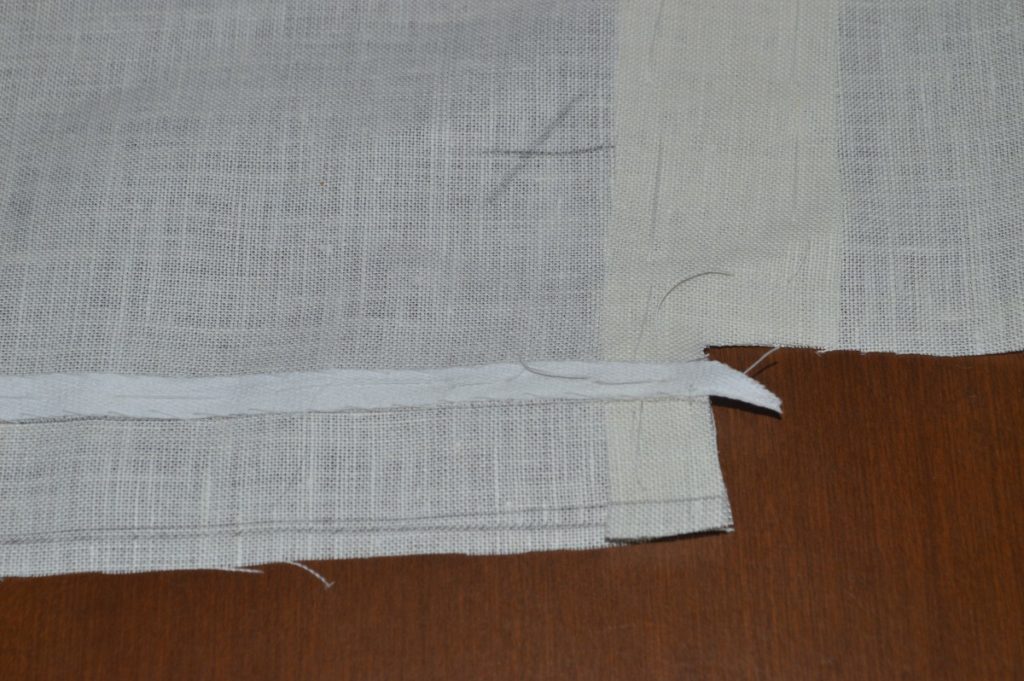
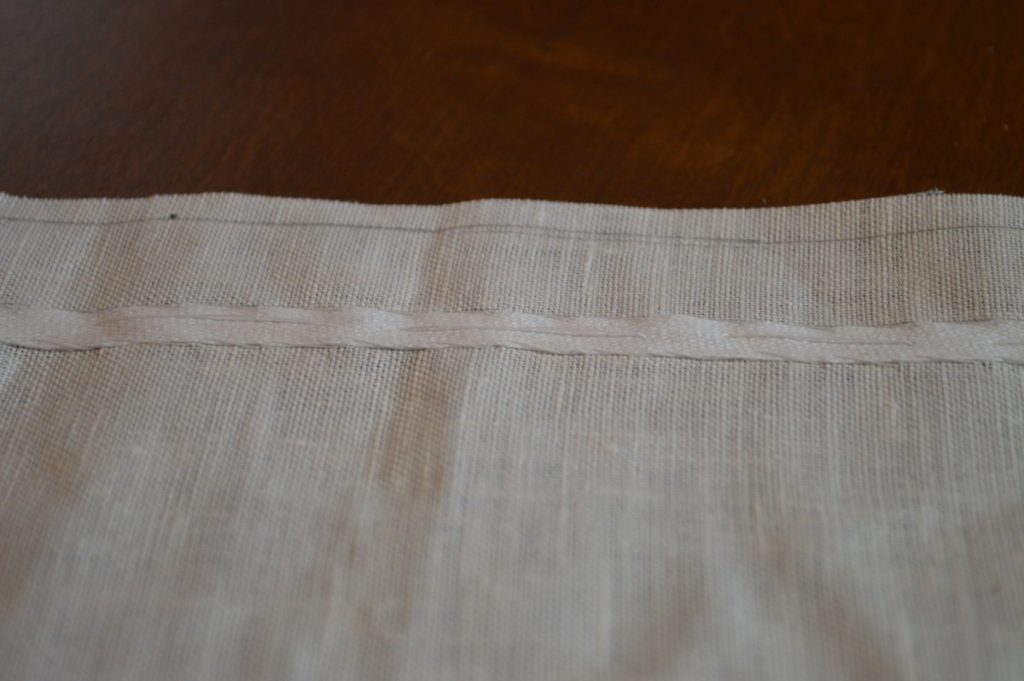
Now fell down the stay tape with a slip stitch. Try to catch only a thread or two of the linen, as it does show through. I make my stitches about 3/8″ apart, slightly closer together when stitching down the shortened tape at the top.
Hopefully you can see this!
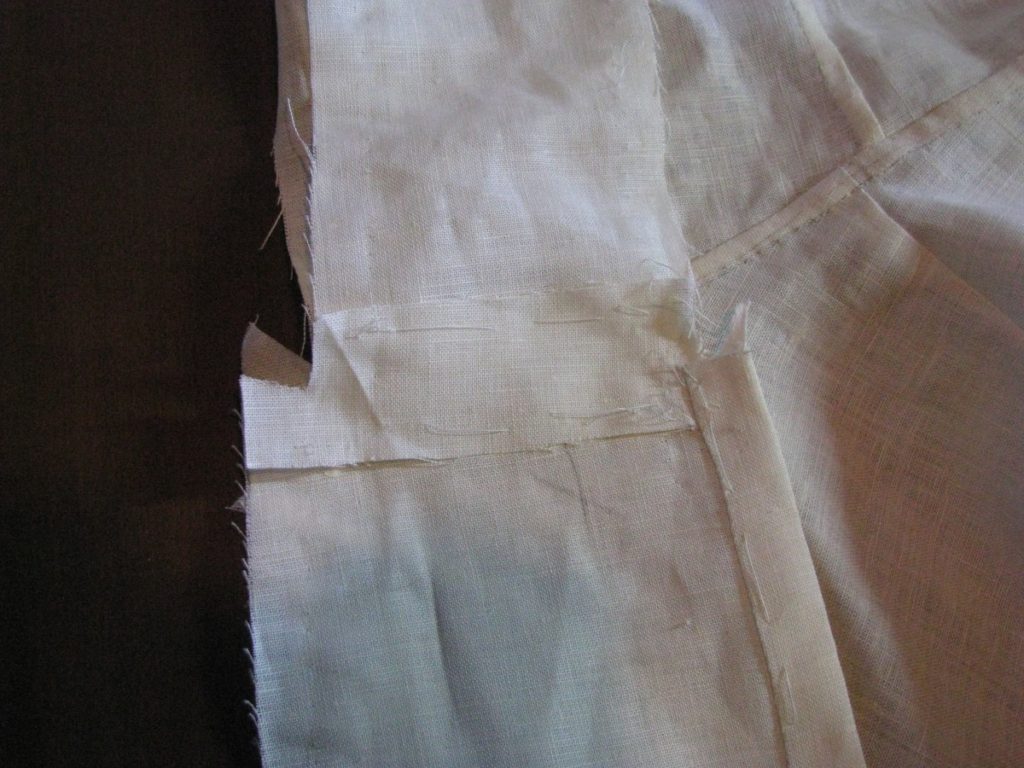
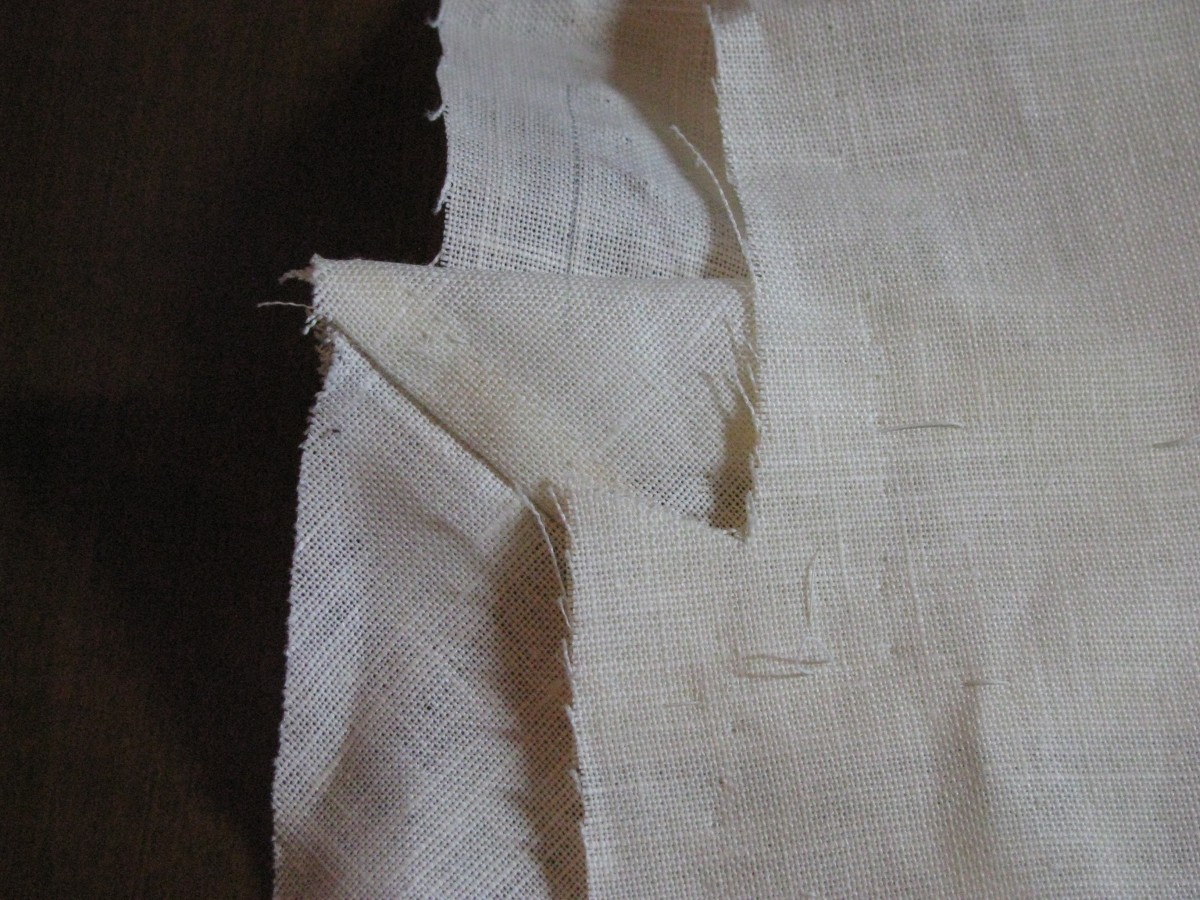
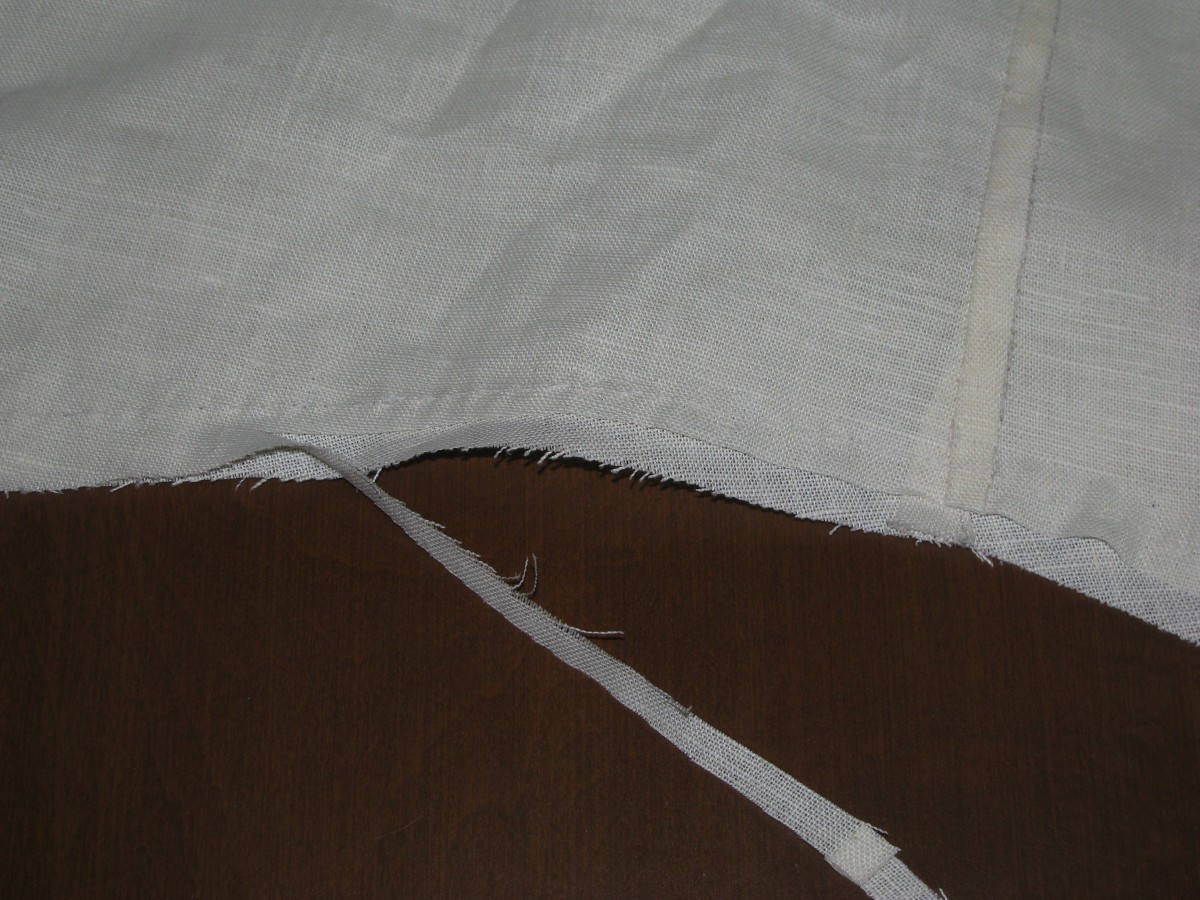
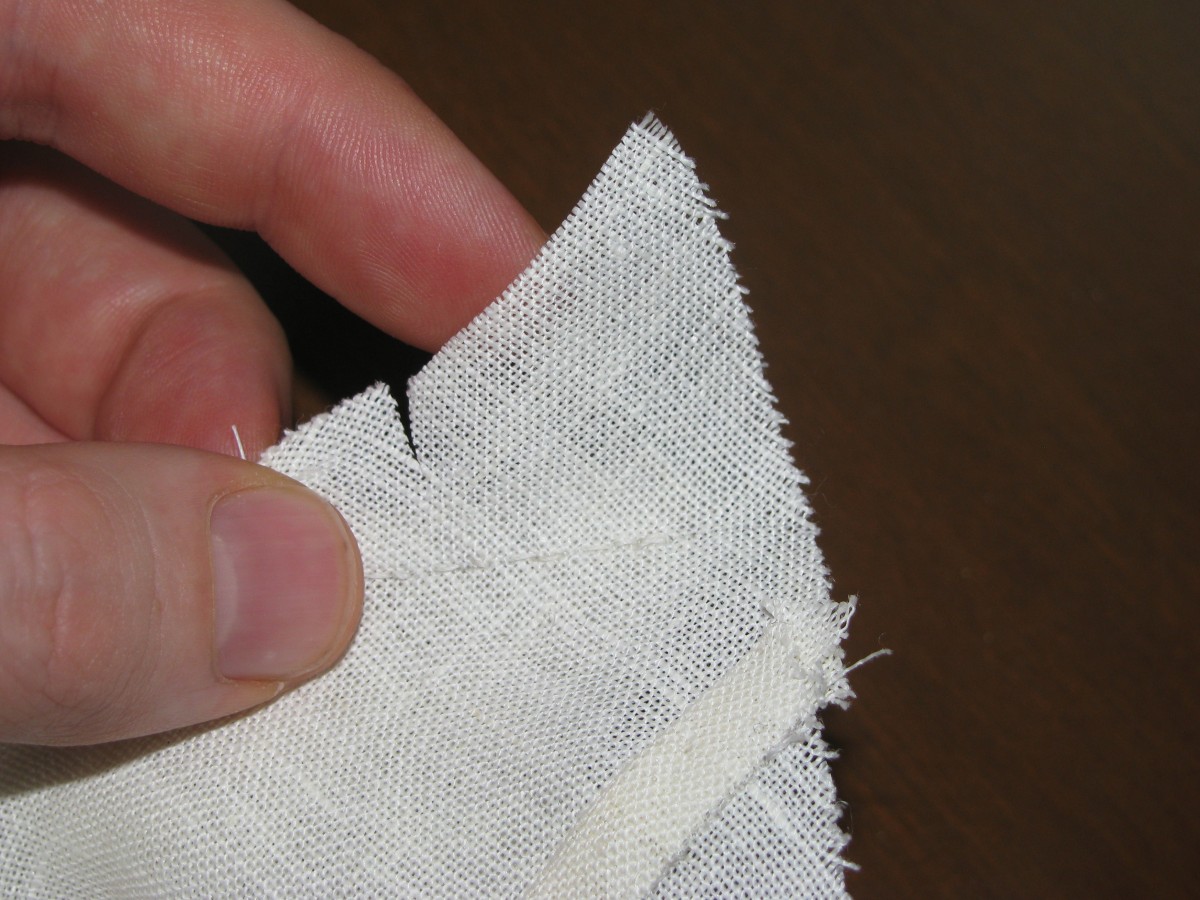
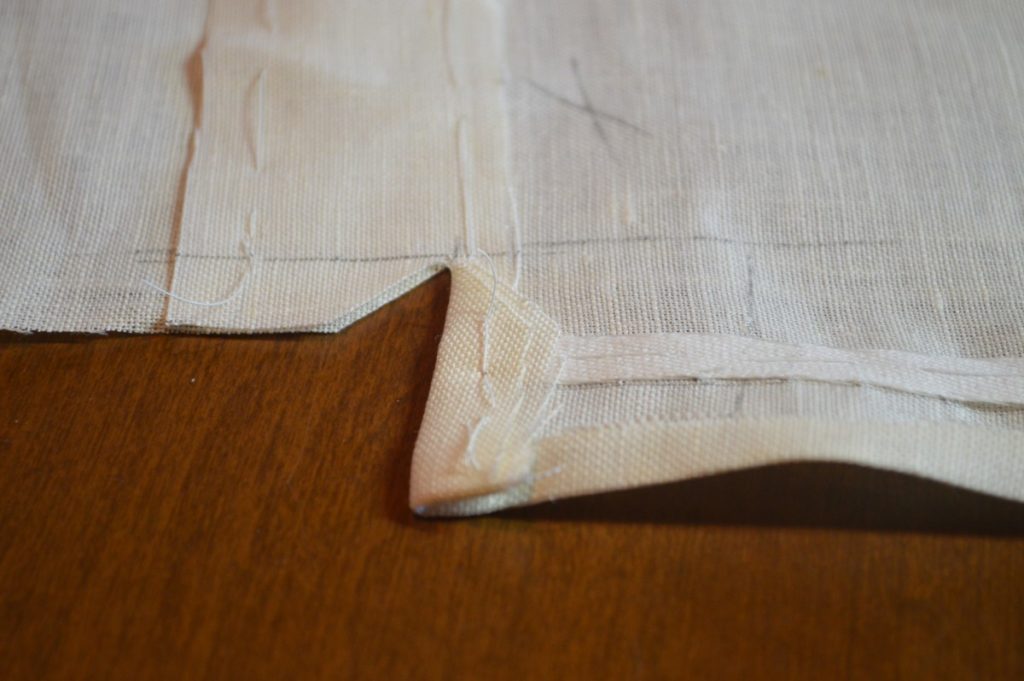
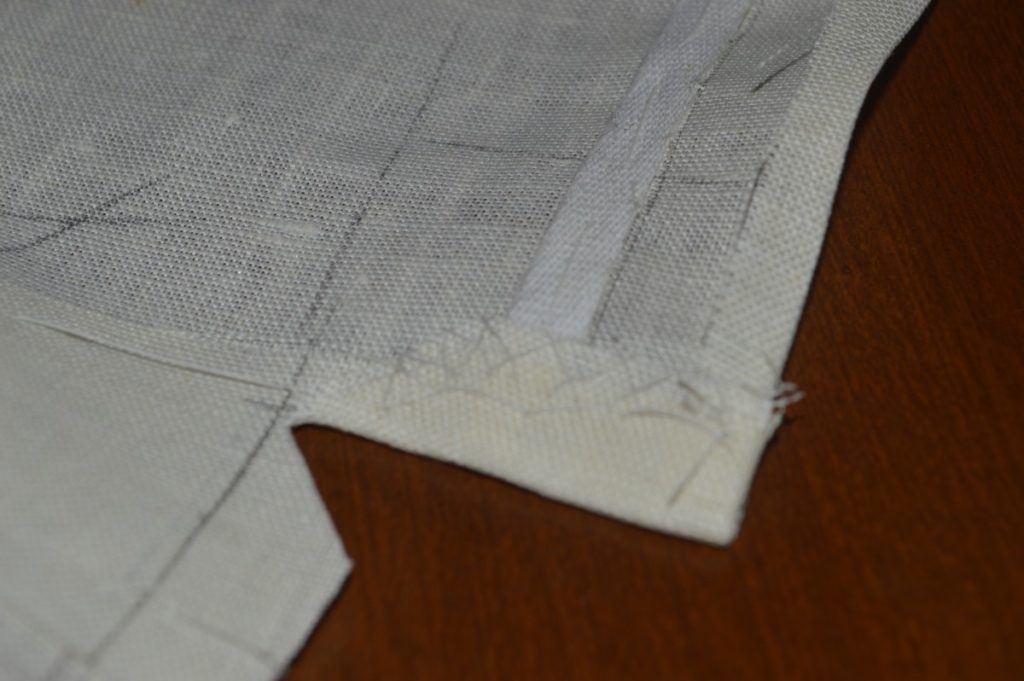
Now, carefully snip through all layers at the corner of the ‘step’ just to the seam allowance you marked earlier. This will help the seam lay nicely when completed.

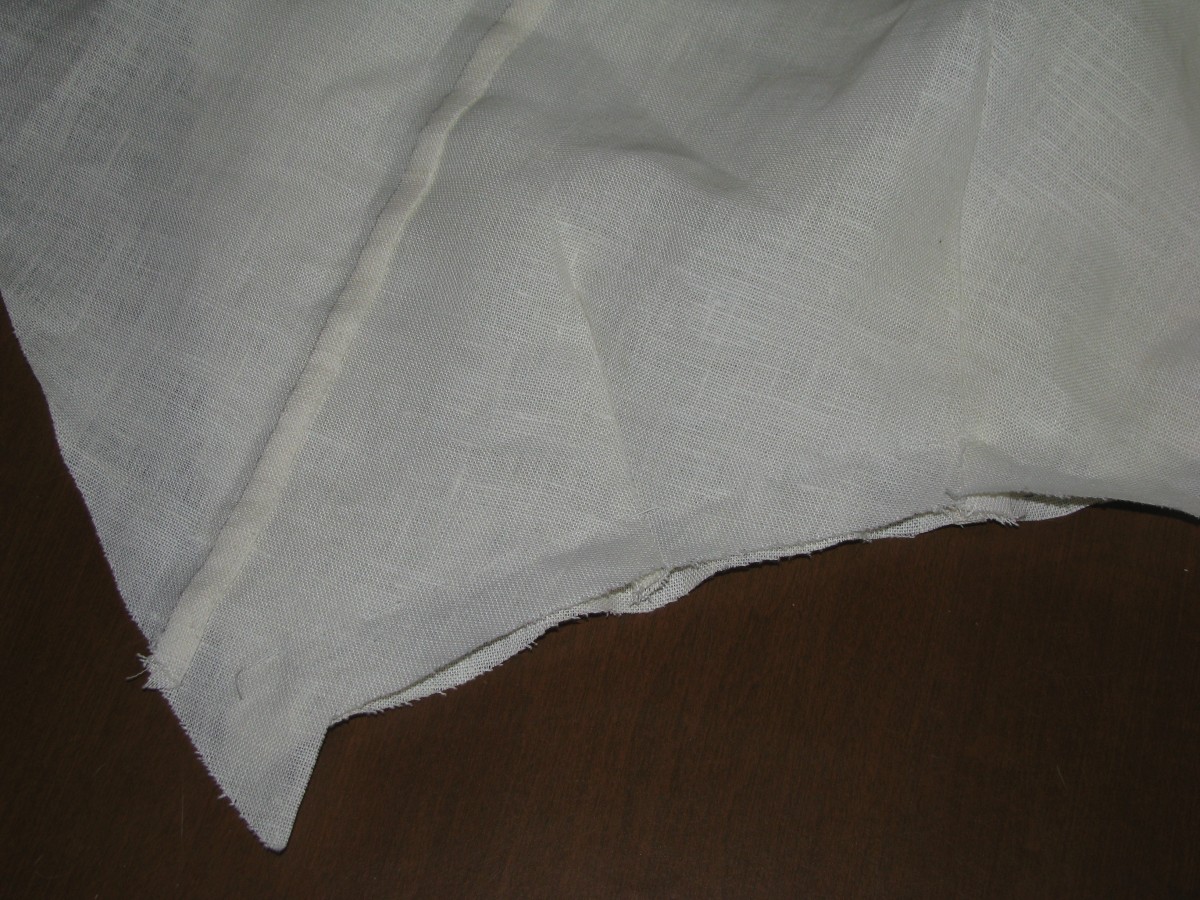
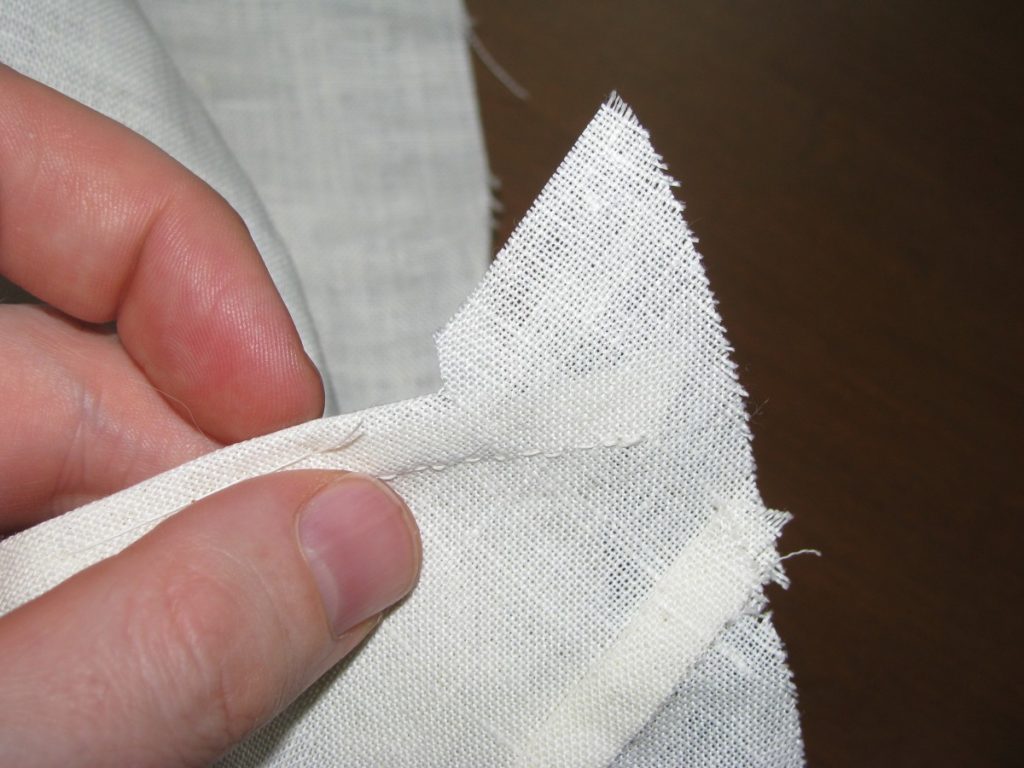
Fold over the edge at the center back skirt 1/4 inch. I usually just press it with my fingernail as I go, but you could use the iron as well.
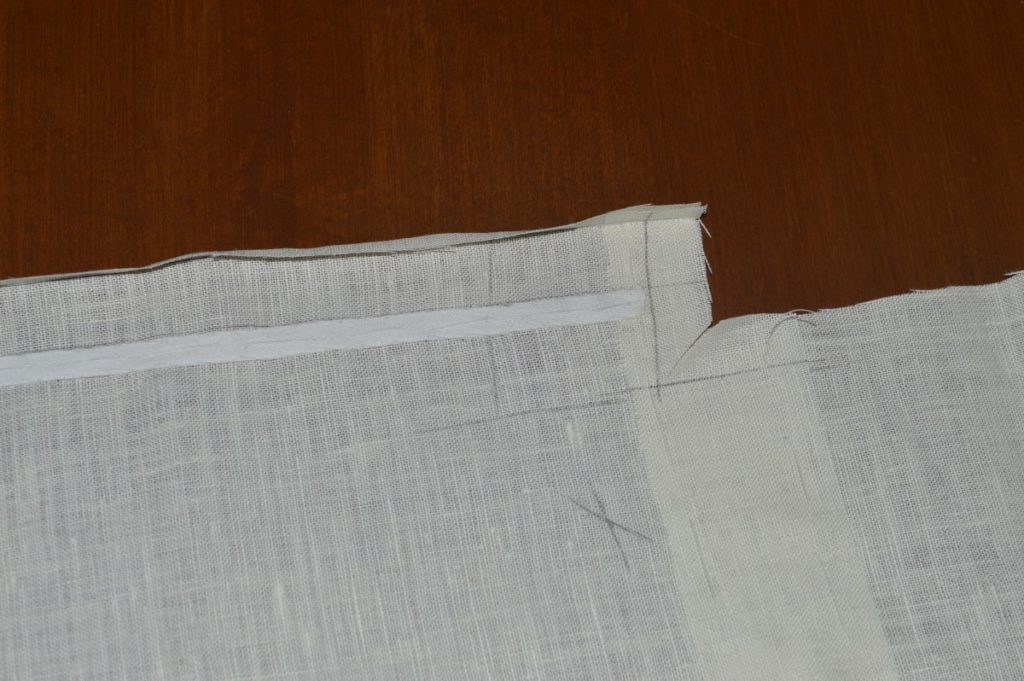
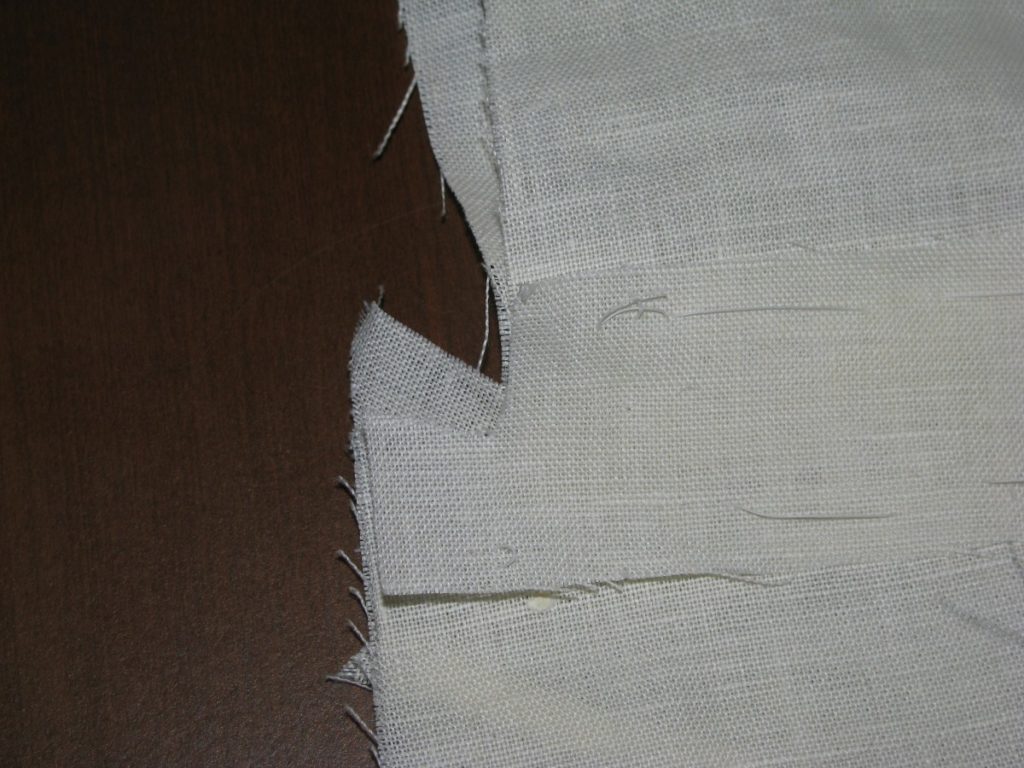
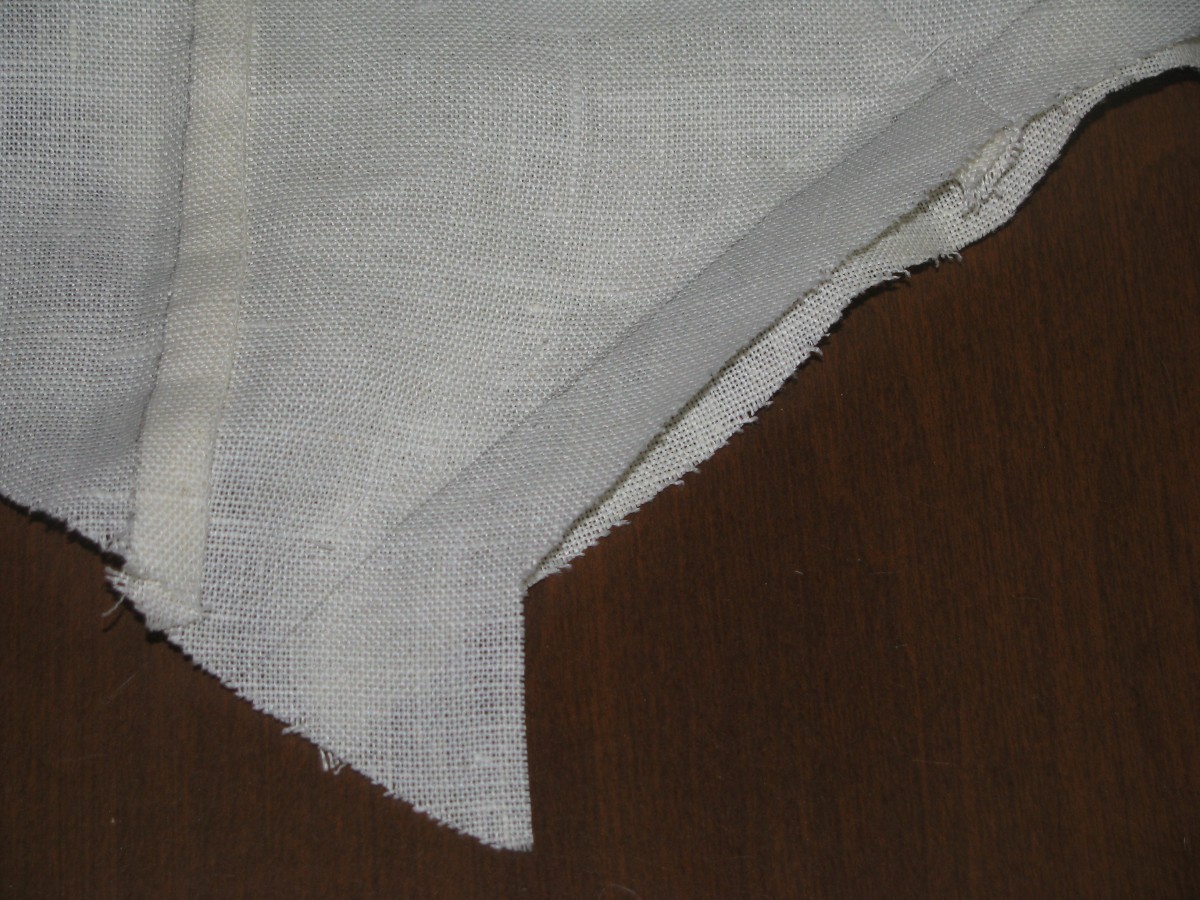
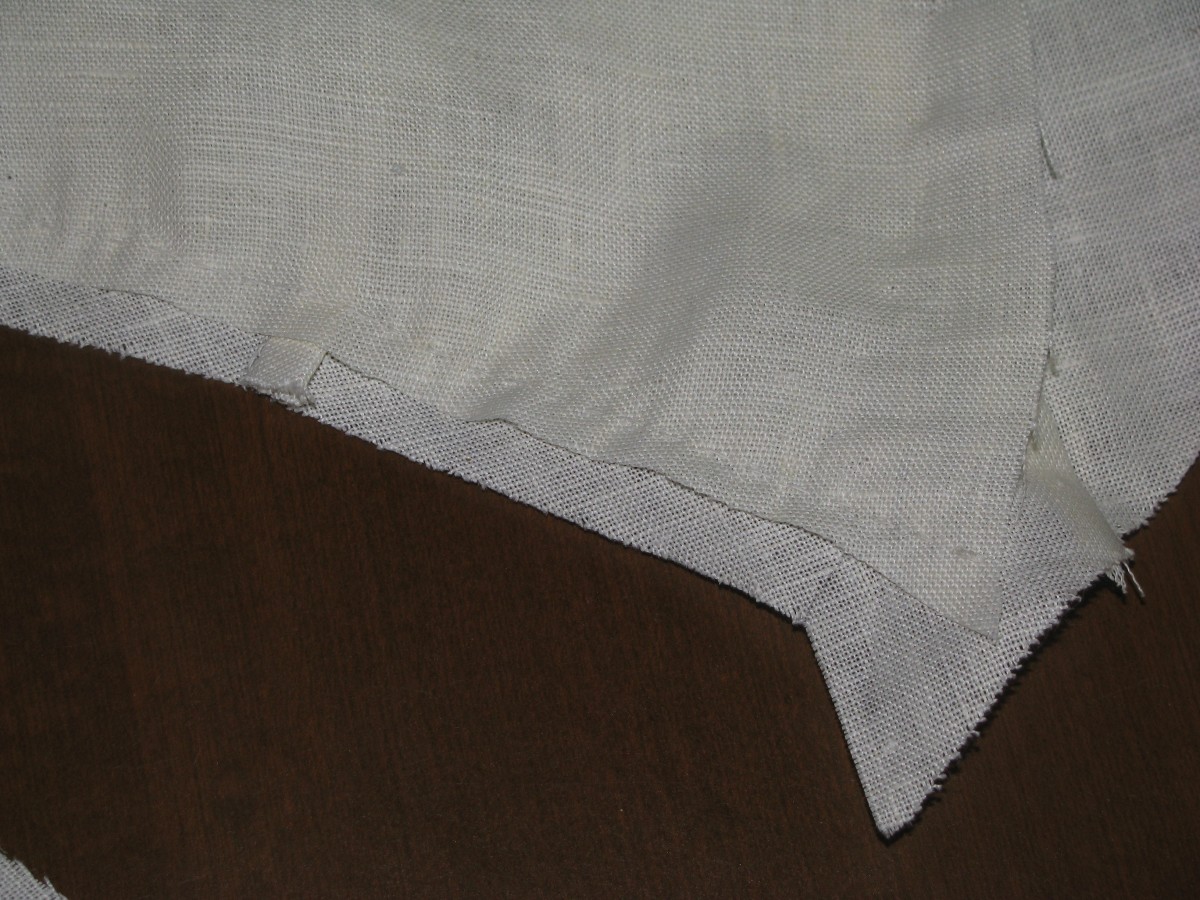
Fold over the seam allowance at the step by 1/2 inch. If you look carefully, you’ll note that this seam line is at a slight angle. You may wish to adjust this to make it perpendicular to the center back of the skirt, or it will produce some extra fullness in the next step. On a wool coat it’s not an issue – the fullness can be shrunk away – but it’s troublesome in linen or cotton.
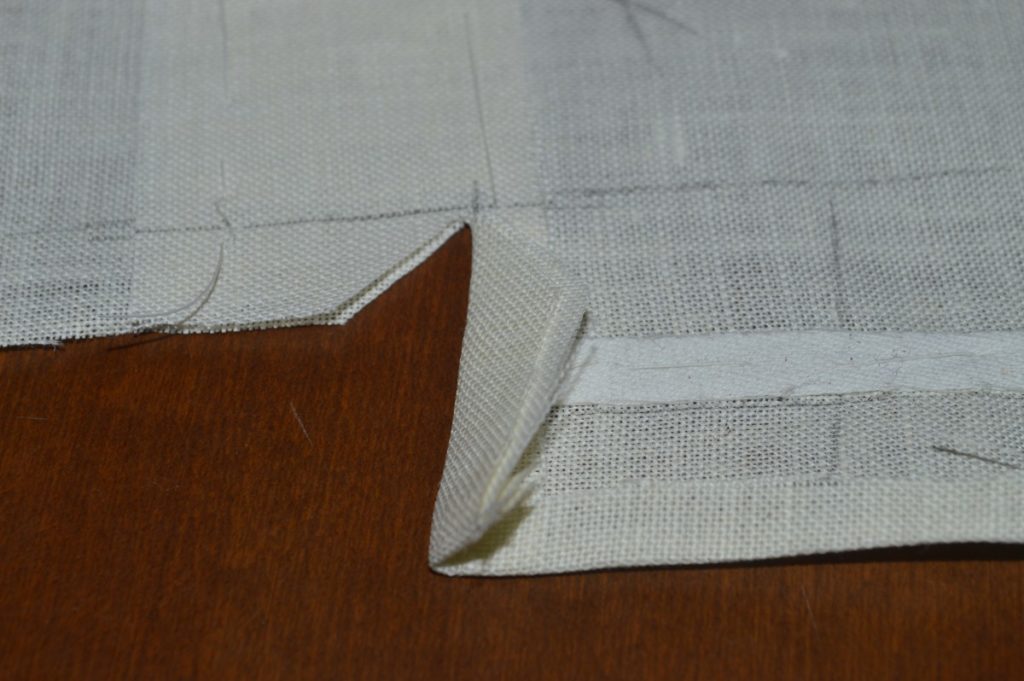
Baste across this fold to secure it temporarily.
Secure the folded edge with a cross stitch.
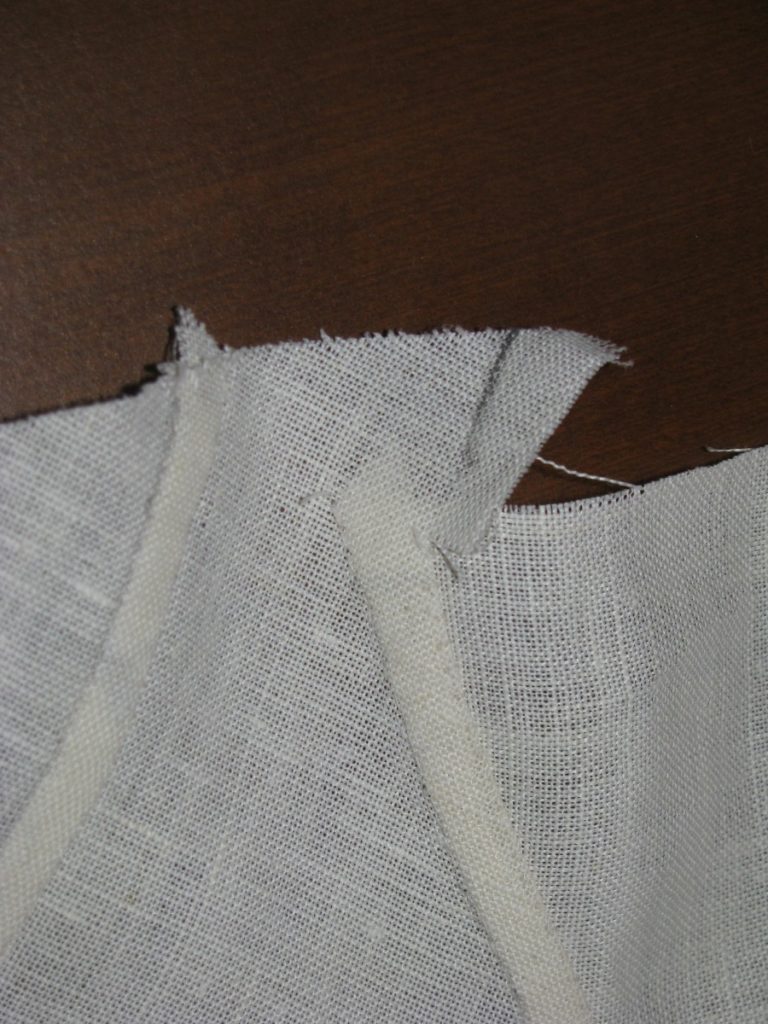
Fold over and baste the center back of the skirt just next to the stay tape. Press from the right side only, being sure to use a curved tailor’s ham near the top.
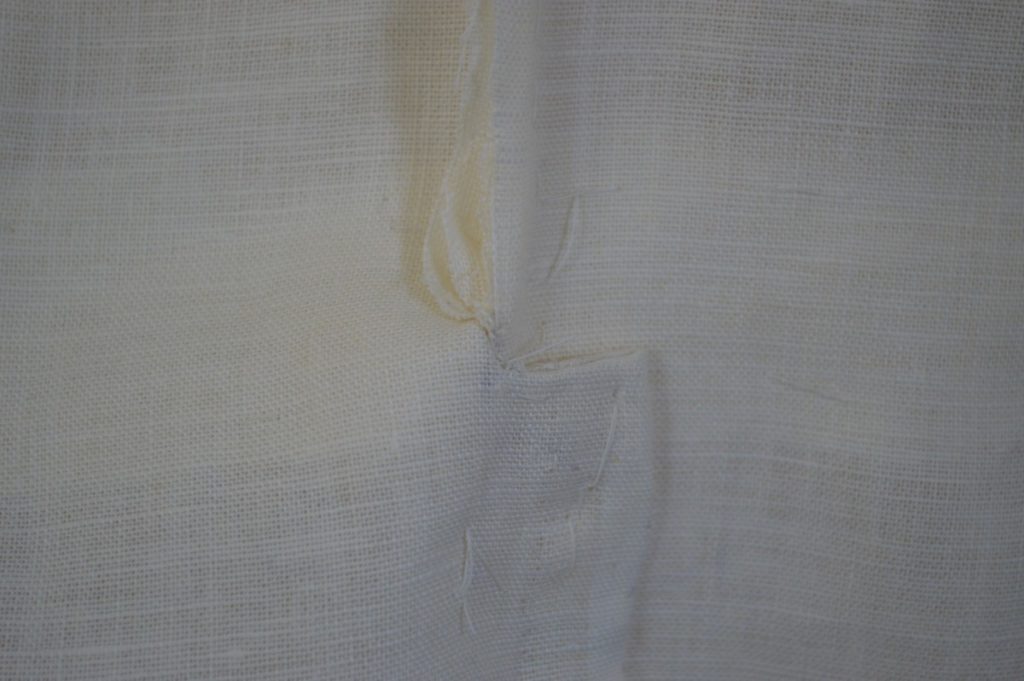
Here’s that fullness I warned you about earlier. I had forgotten about this little issue, so had to go back and redo that.

Fell along the folded edge, being careful to catch only a thread or two of the right side.
Back Skirt Construction
The center back of the coat, where the two halves meet at the back vent, is probably the weakest part of the entire coat. The forces pulling on this area while sitting or walking can be quite a strain on the fabric, particularly when it’s very thin.
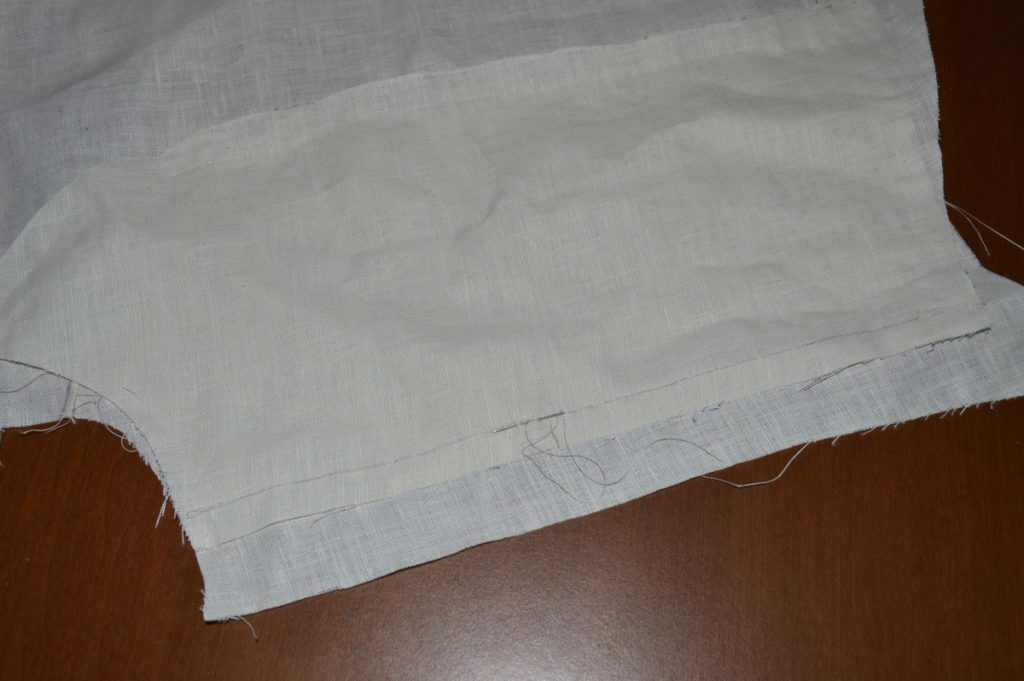
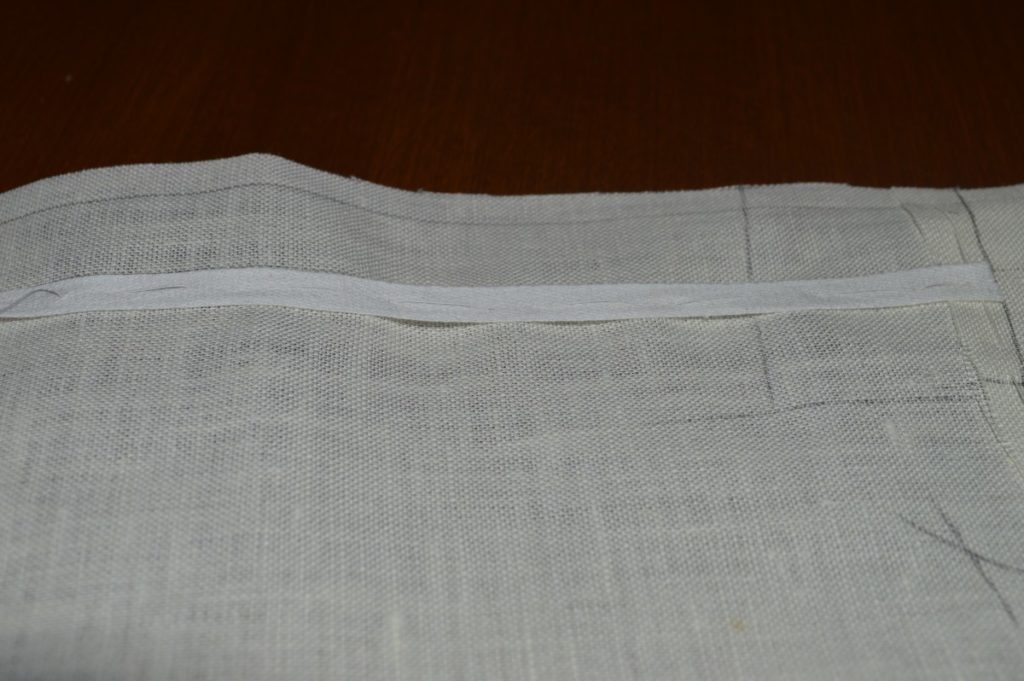
To help with this problem, we add a strip of linen over this area to distribute the stress and provide a firmer area for the stitching.
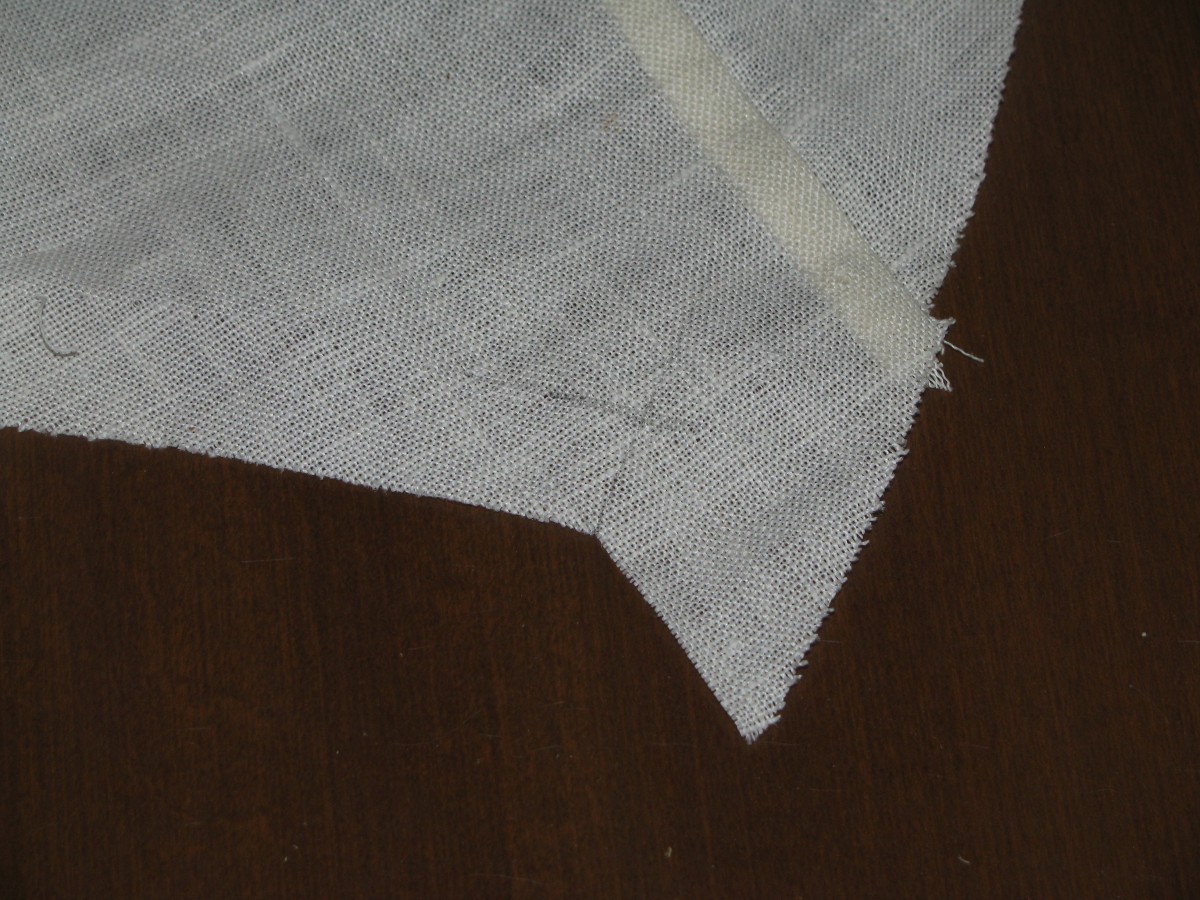
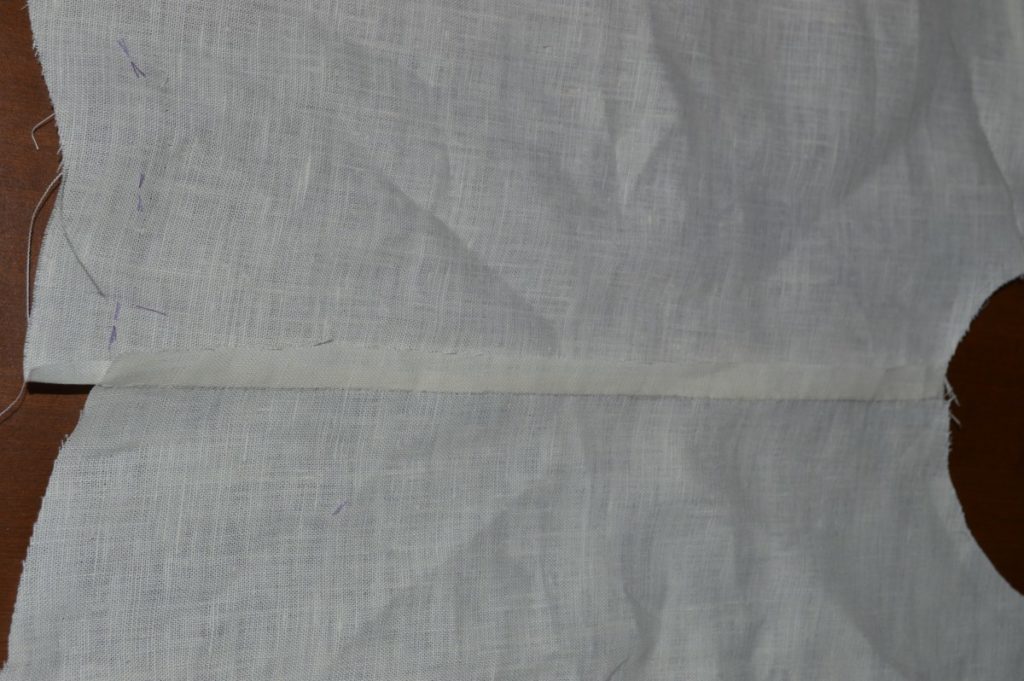
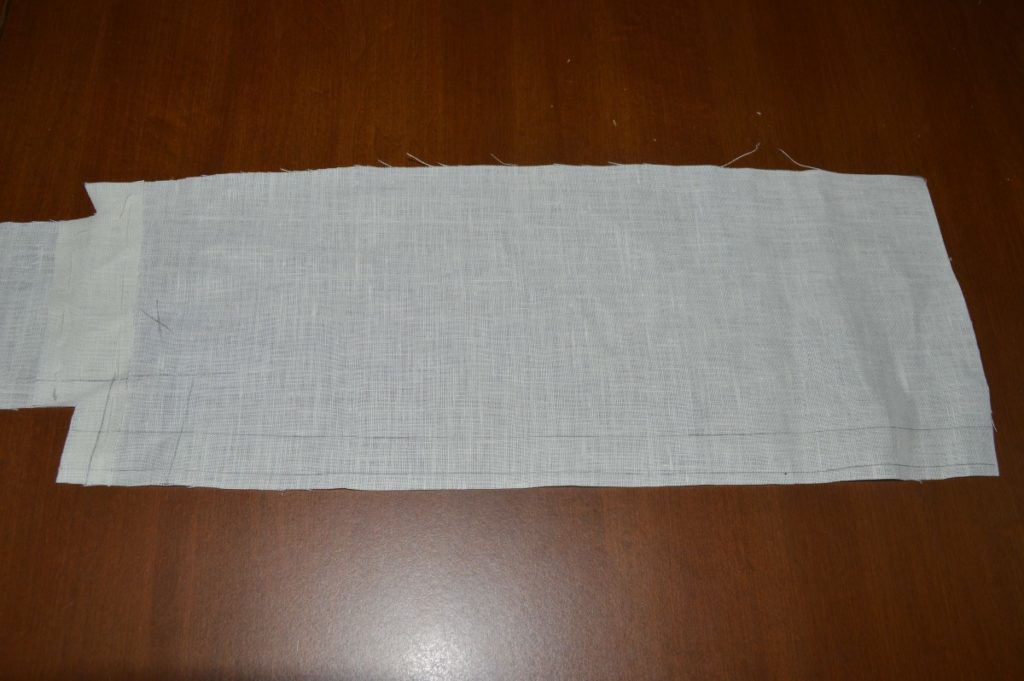
Cut two strips of linen about 1 1/2 inches in width and a little longer than the width of the back piece at the waist area.
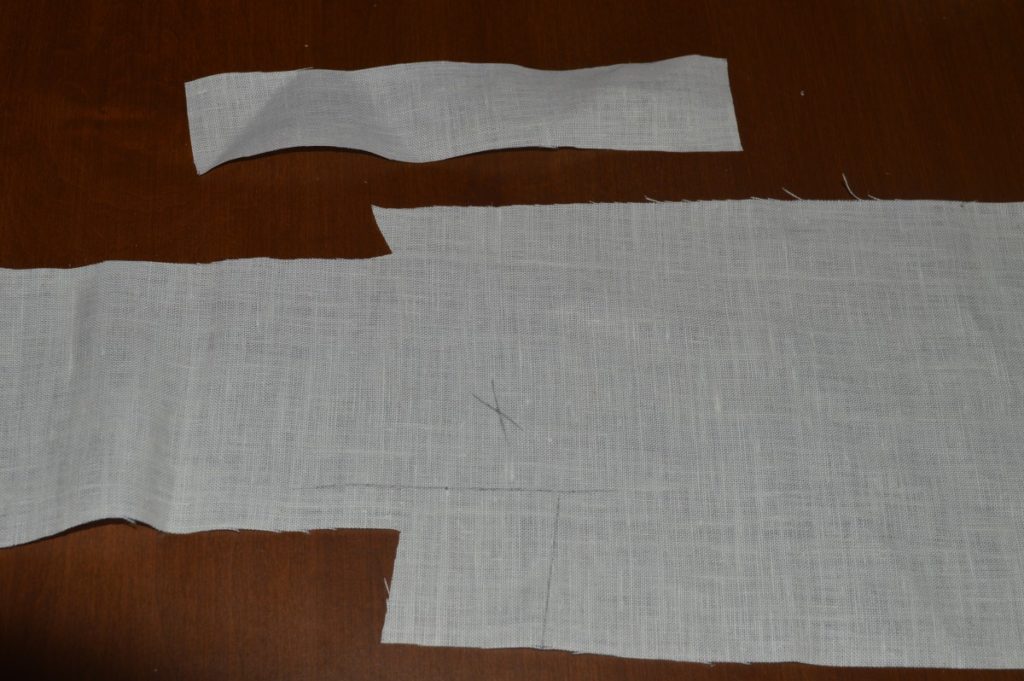
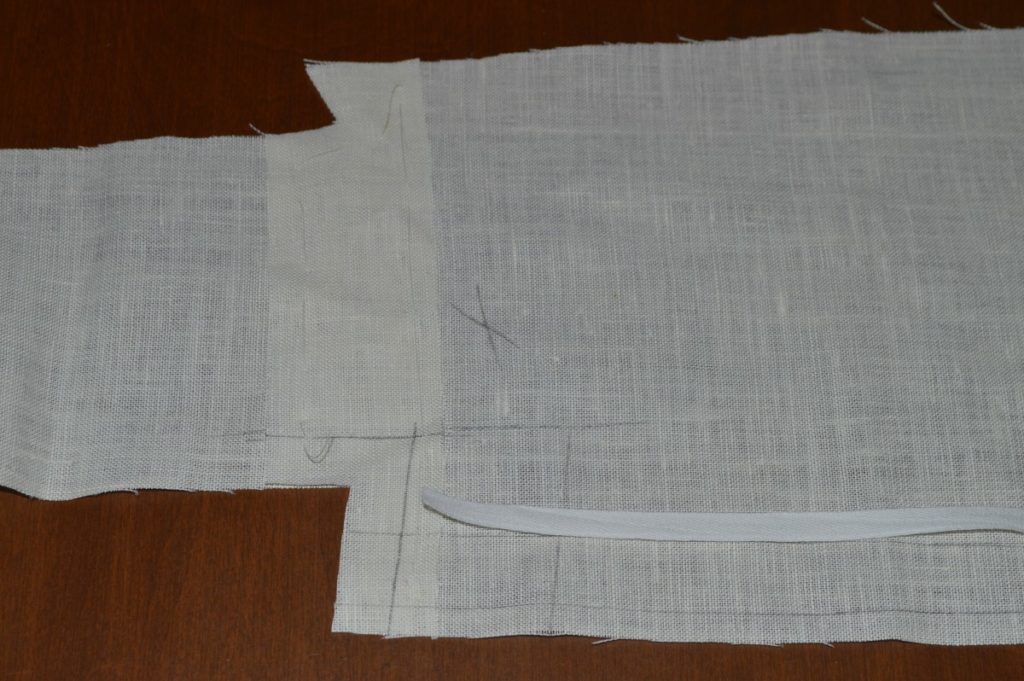
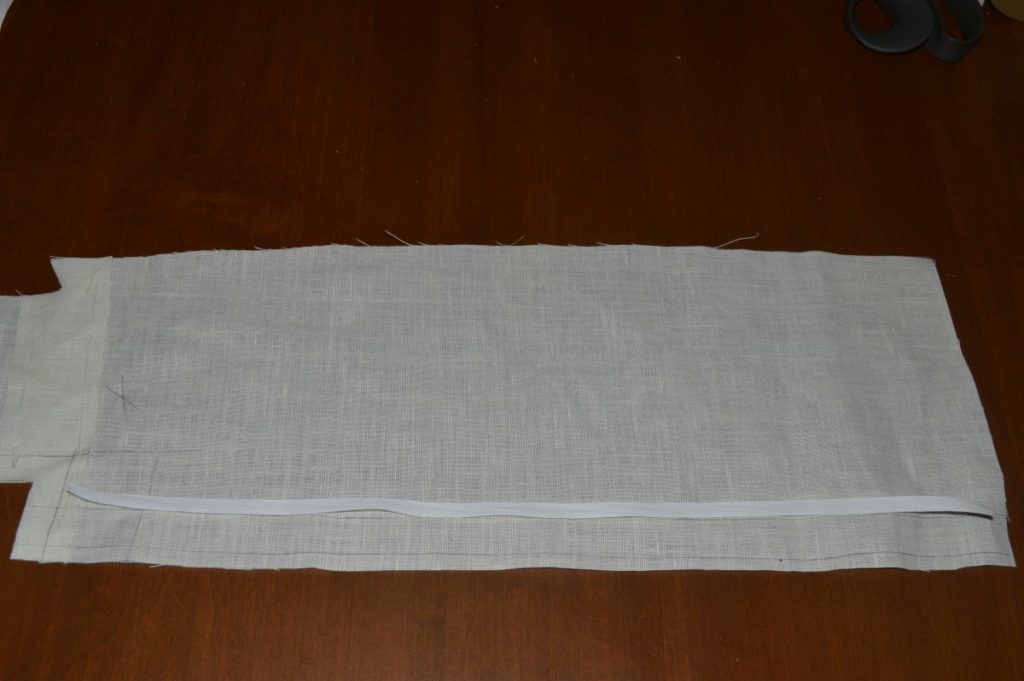
Place the linen on the wrong side of the back piece, centered at the waist or even slightly below, and baste it firmly in place.
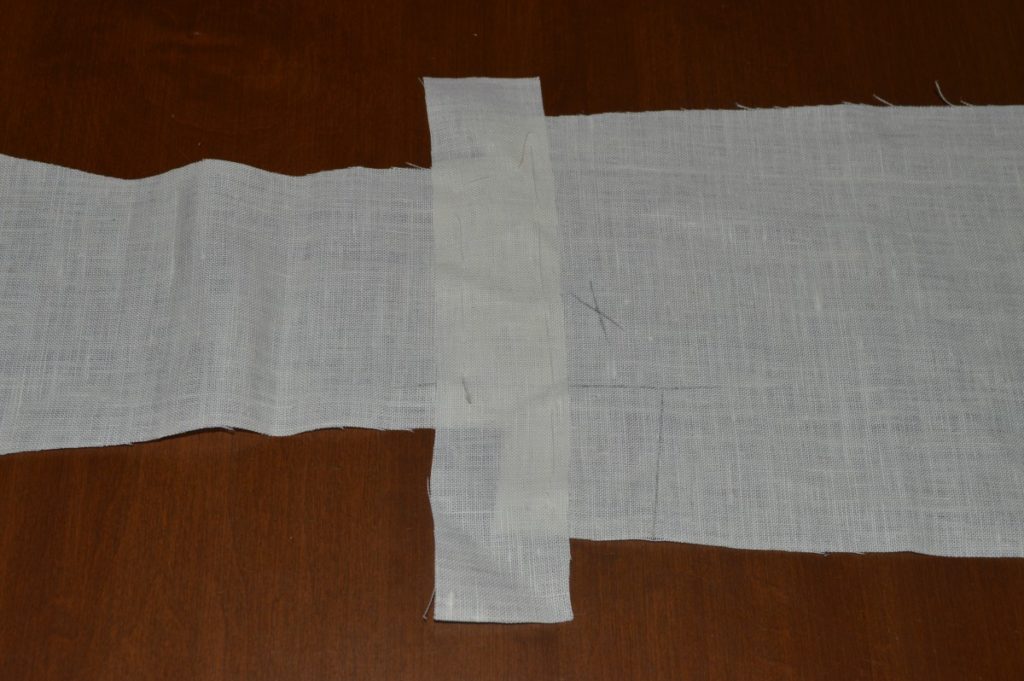
Trim the linen flush with the back, from the right side.
Layout
This next step is seemingly simple, yet extremely important! You don’t want to get your two sides mixed up in the construction process, so this is a fairly foolproof way of knowing you are working on the correct piece.
Lay out both halves of the back, right sides up, next to each other. This is the same way they will be on your body, left is on the left, right is on the right.
Pick up the left half and set the right side away for now. The following steps apply to the left side only.
First Fitting
Before moving on to the construction of the back skirt, this is a good opportunity to check that the back plait buttons are at the proper location, by basting up the coat as you did for the full muslin. The buttons should be about one inch below the natural waist, or small of the back, for an 1860s era frock coat. This fitting is optional – if you were satisfied during the muslin fitting, feel free to skip this.
If you do find the need to adjust the height of the buttons, you can do so by use of the inlays, and redrawing the line above or below the original inlay as necessary. Then make the corresponding adjustment on the side body seam.