Category: Double-Breasted Waistcoat
Graduated Rulers
Before drafting your pattern, you’ll need to print out a set (or at least your size) of graduated ruler. You’ll want to use the ruler corresponding to your breast / chest size. So for example, a 42″ chest would use the size 42 ruler to draft the pattern.
The most important part of printing is to ensure the files are printed at 100% scale. These are 11×17″, so that means if you’re on a home printer with letter sized paper, a good deal of the rulers will just be cut off and not printed. I’ve never had a problem with that and just use the portion of the ruler that does print.
Double check that the ruler is printed out correctly by comparing the size 37 1/2 to a regular ruler – they should be exactly the same.
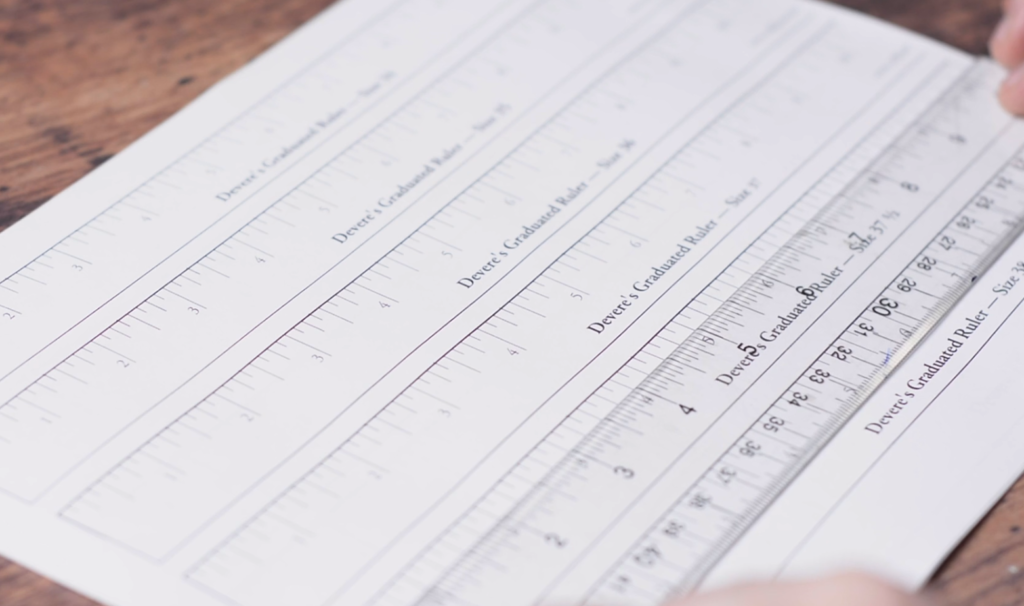
You could also bring it to a copy shop or office supply store and have them print it out for you.
Here’s a short video explaining the rulers in more depth.
Final Pressing
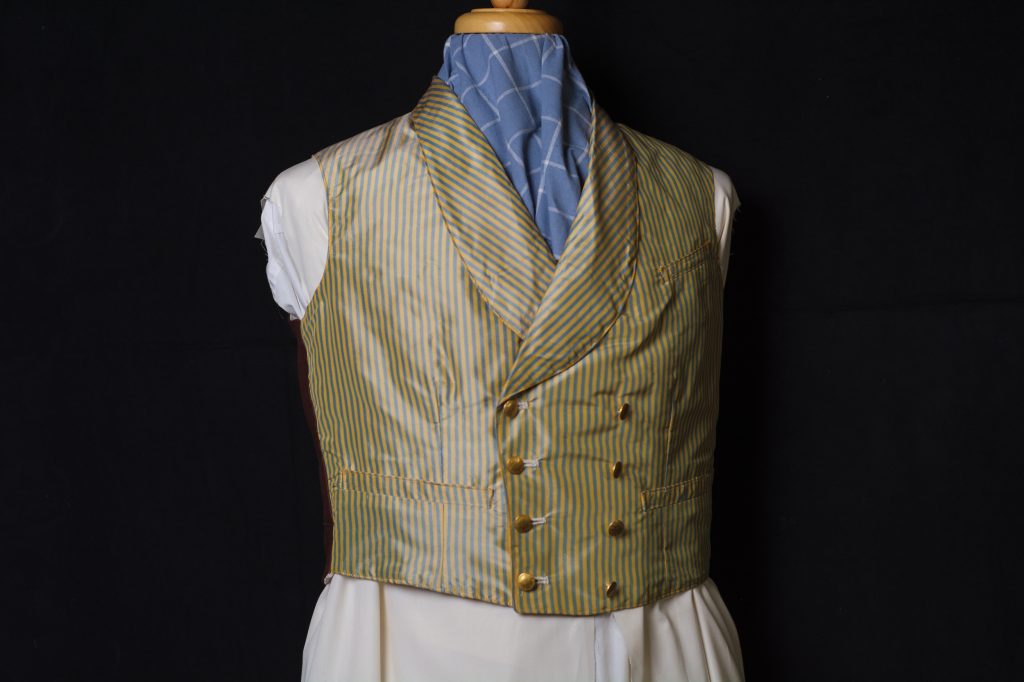
Finish up the waistcoat by carefully removing all of the basting stitches. Then give the waistcoat a final press, working first on the forepart, and collar area, the side and shoulder seams, and working your way around to the back.
Congratulations for making it this far!
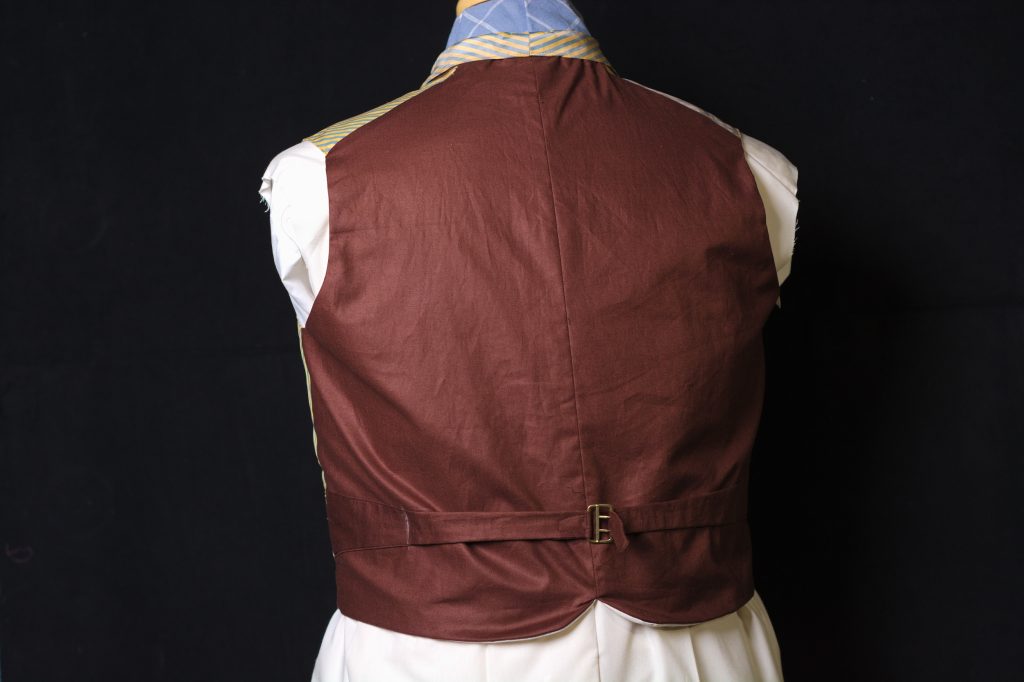
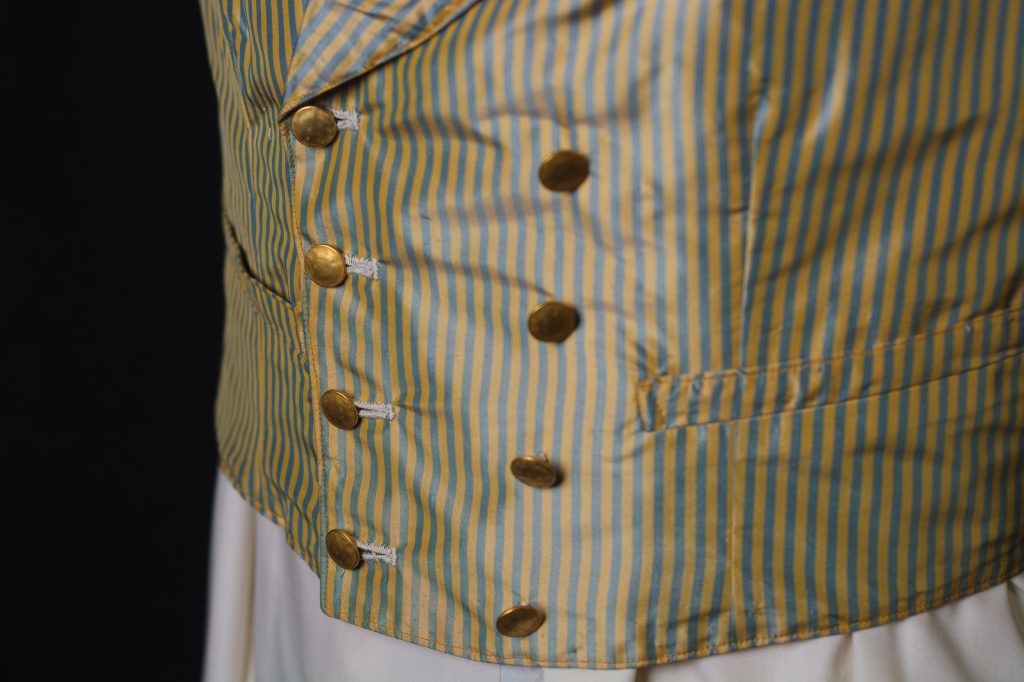
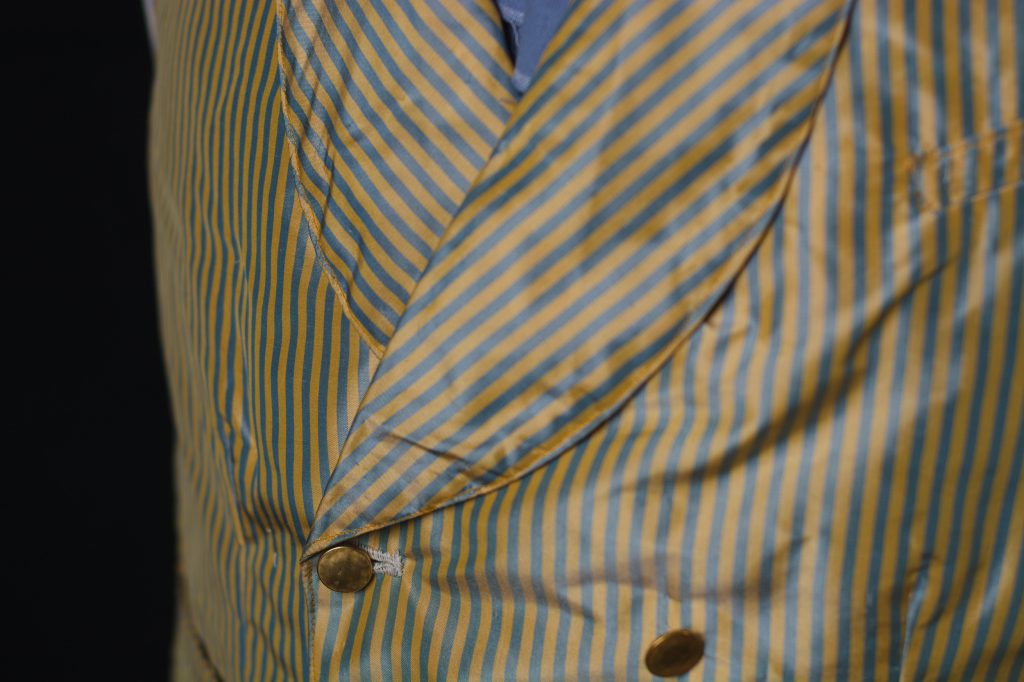
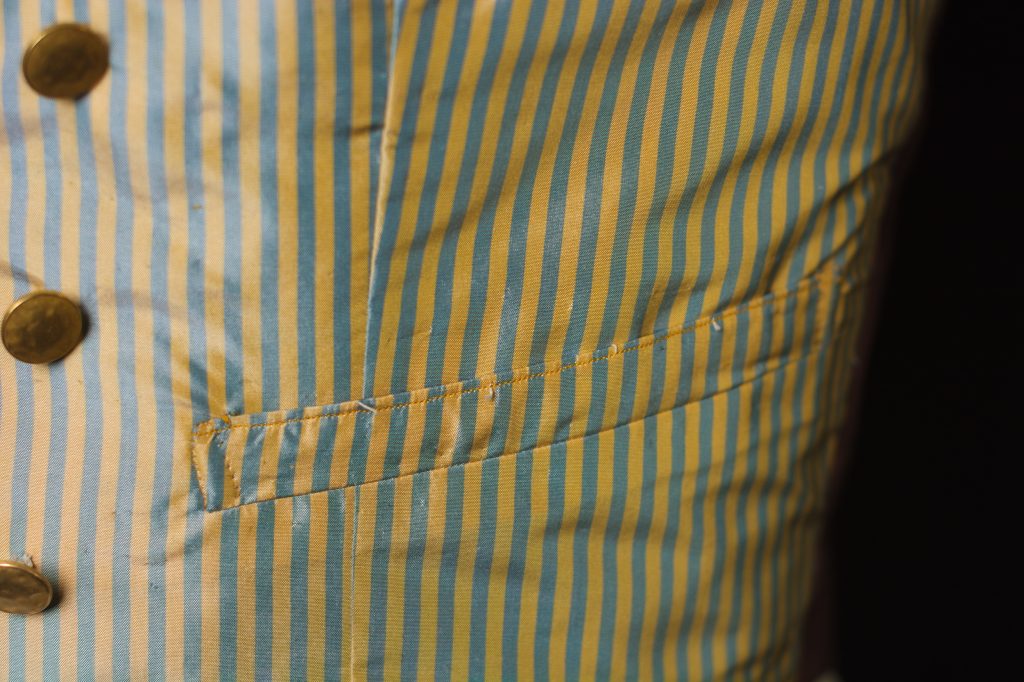
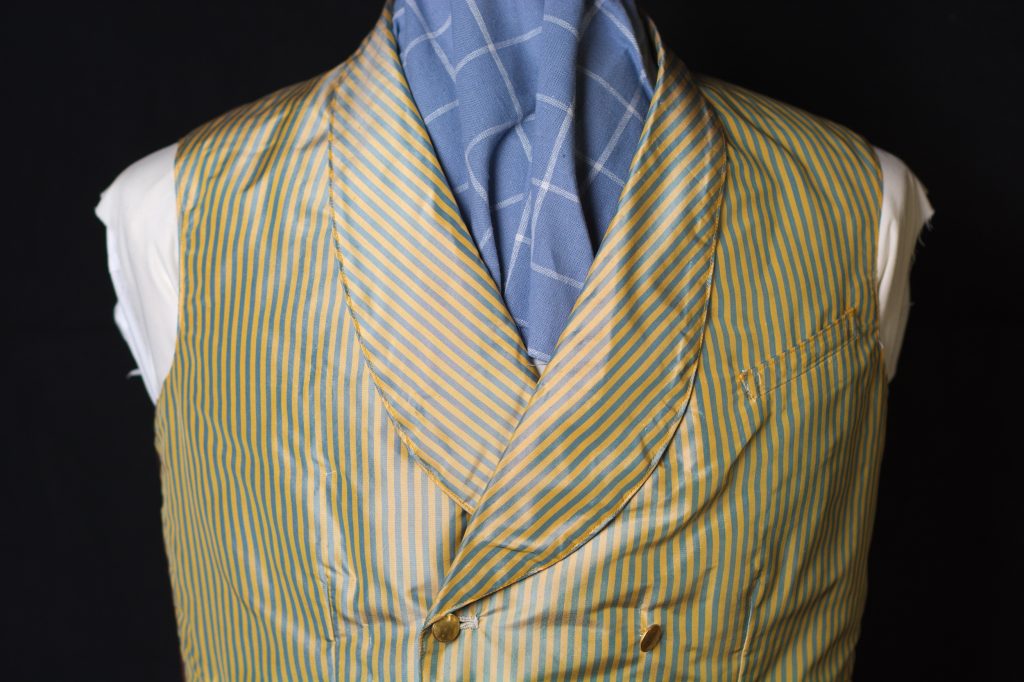
The Buckle
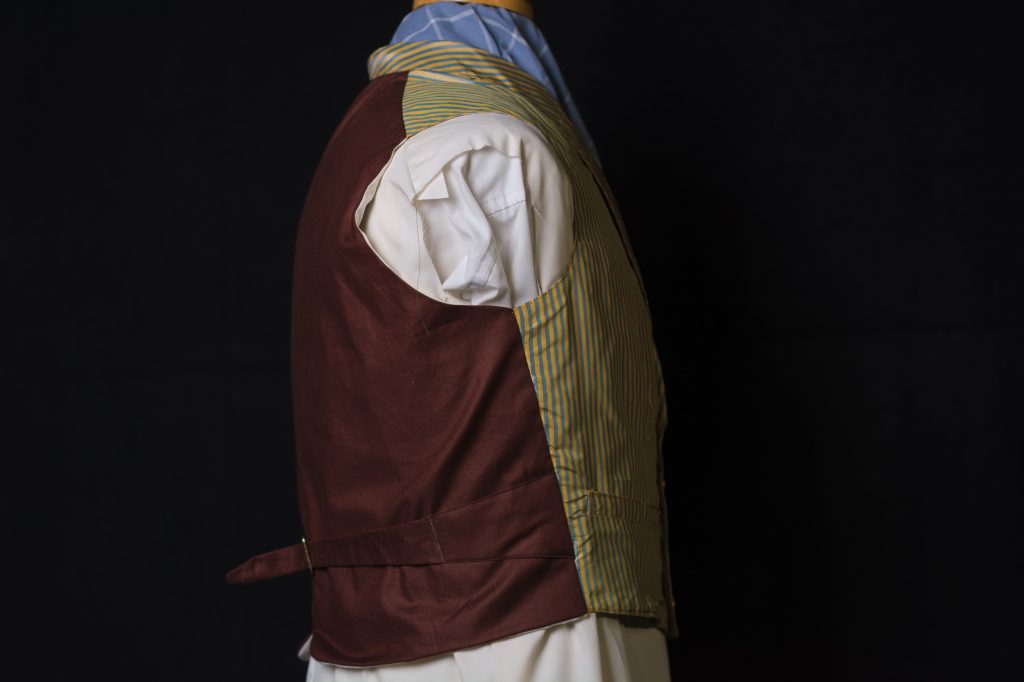
The last thing to do construction wise is top stitch the back belt and attach the buckly.
First, make sure the belt is basted securely in place – I had a few stitches come loose during construction that I had to redo.
Measure in from the side seam along the top of the belt about 4 inches or so (whatever looks good, this is not an exact measurement.
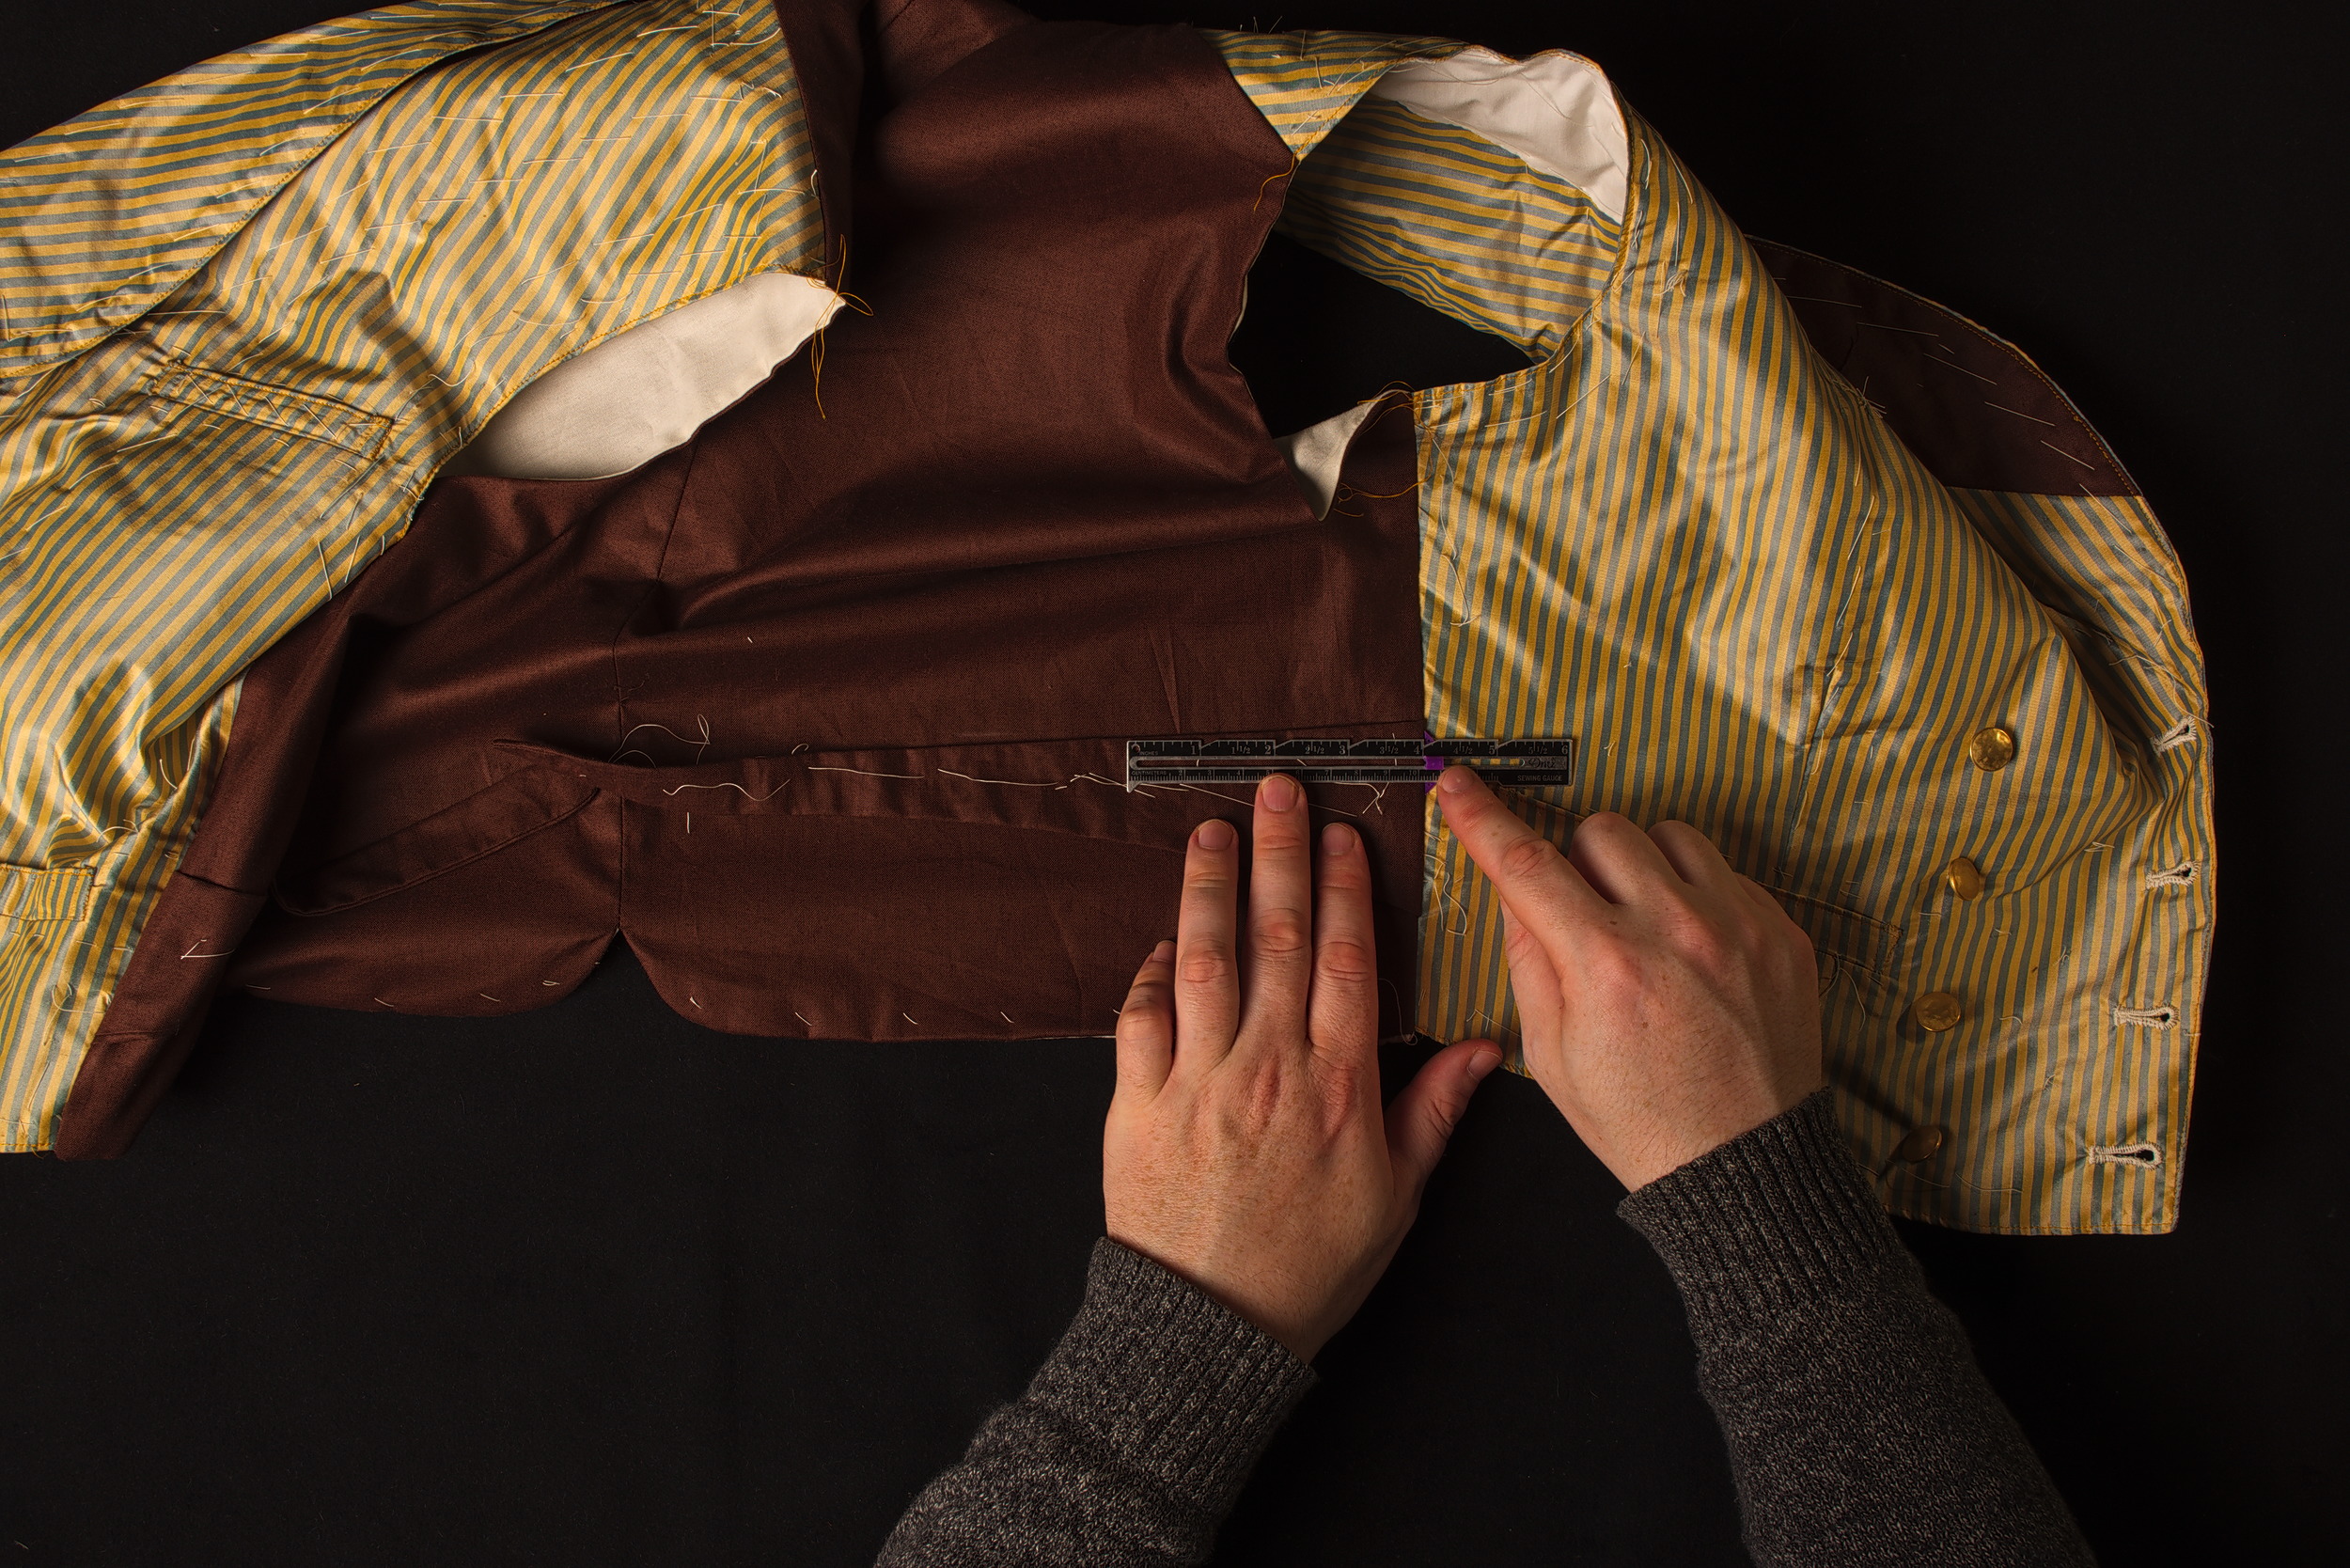
Mark that position with a vertical line, perpendicular to the top of the belt.
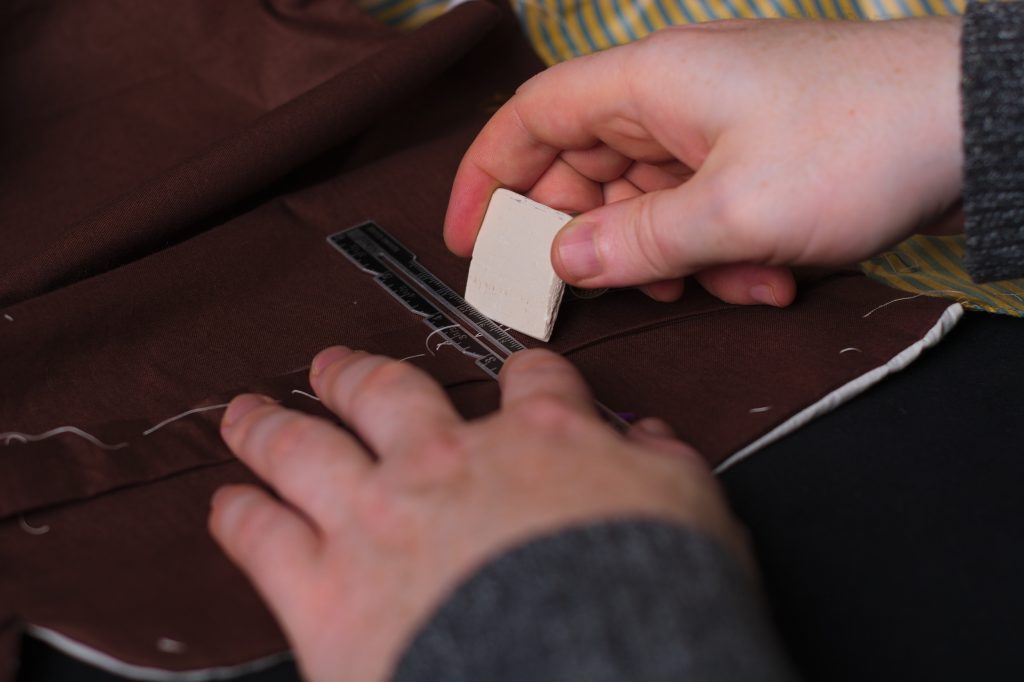
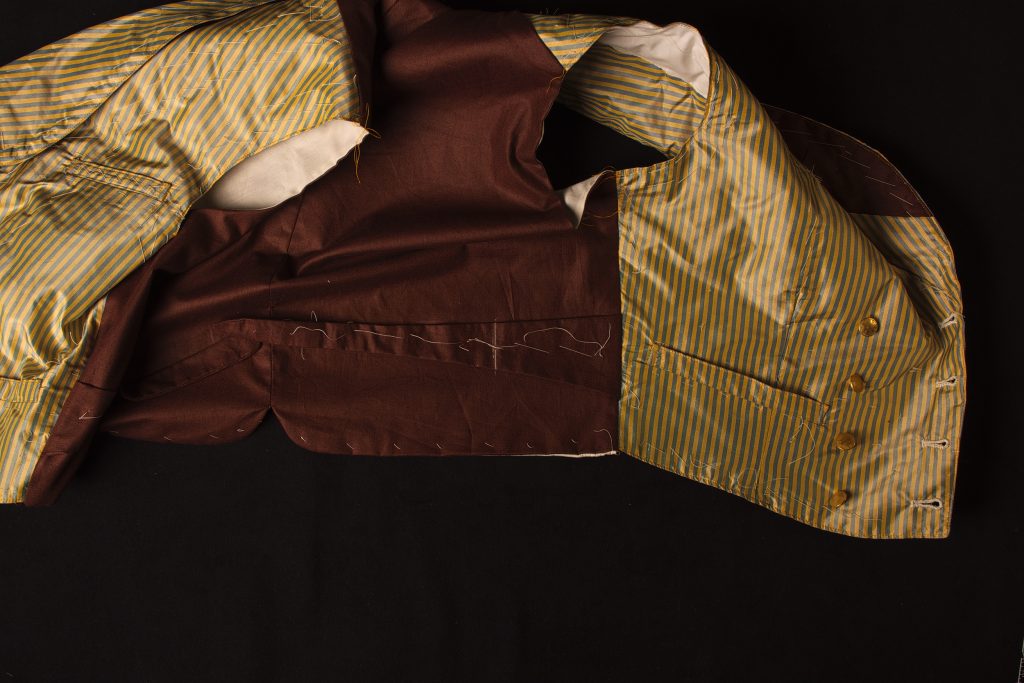
Now top stitch along the top of the belt from the side seam, along the chalk line, and along the bottom back to the side seam, through all layers. Alternatively, you could do this top stitching before bagging the waistcoat so that the stitching was not visible from the inside. I just tend to like the extra strength here.
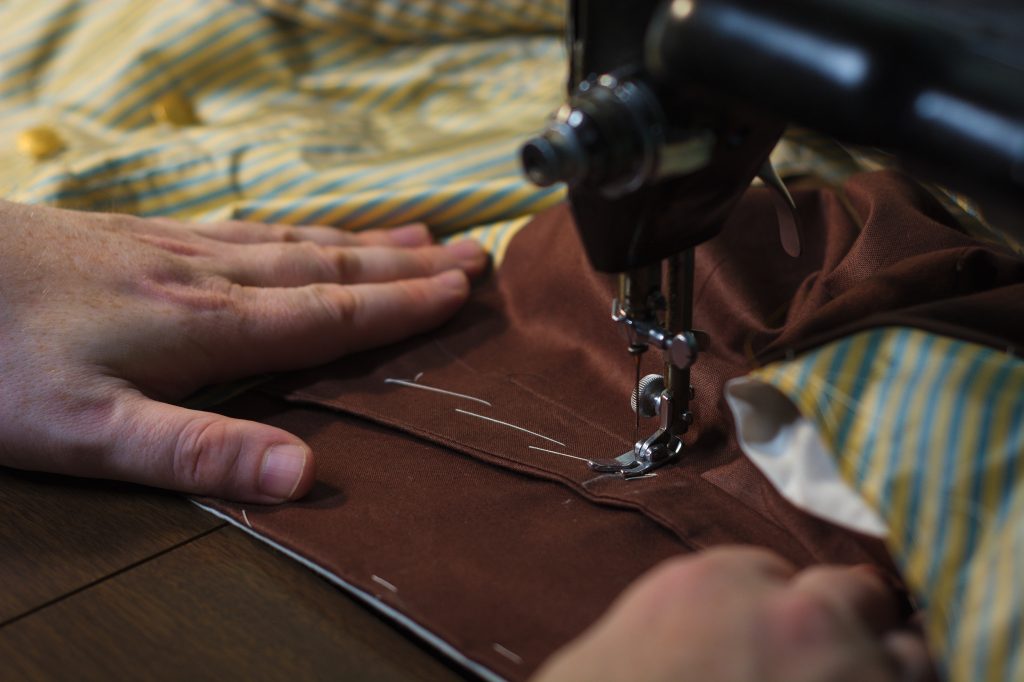
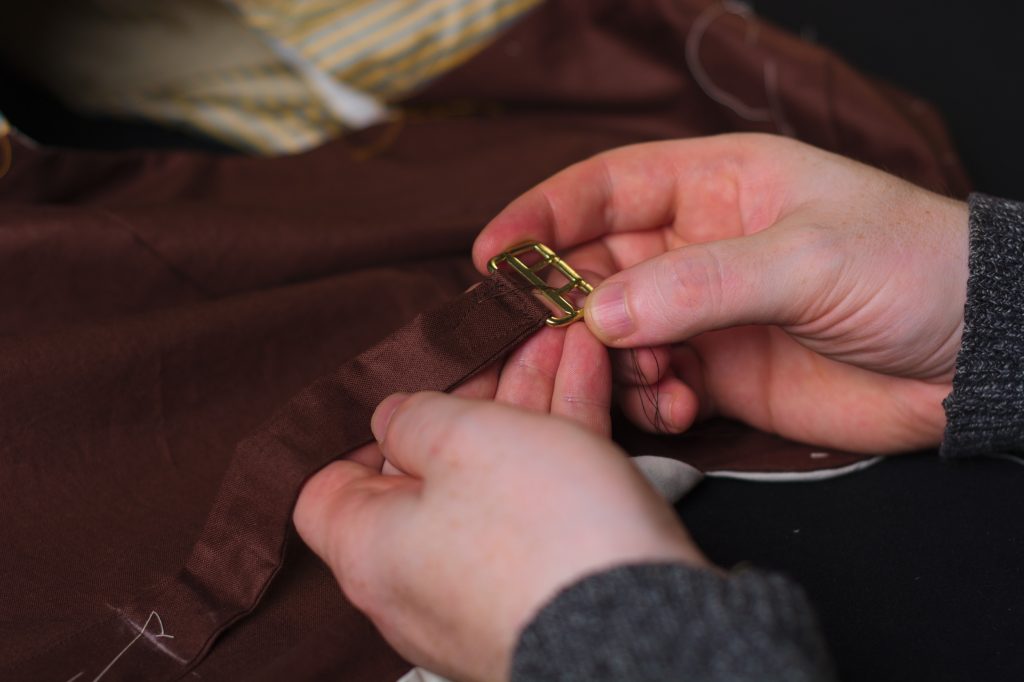
Finally, attach the back buckle to the left side of the belt, folding the end of the belt to the wrong side. Baste in place, then top stitch through all layers in sort of a rectangular shape, getting as close as you can to the buckle without stitching through it.
The Buttons
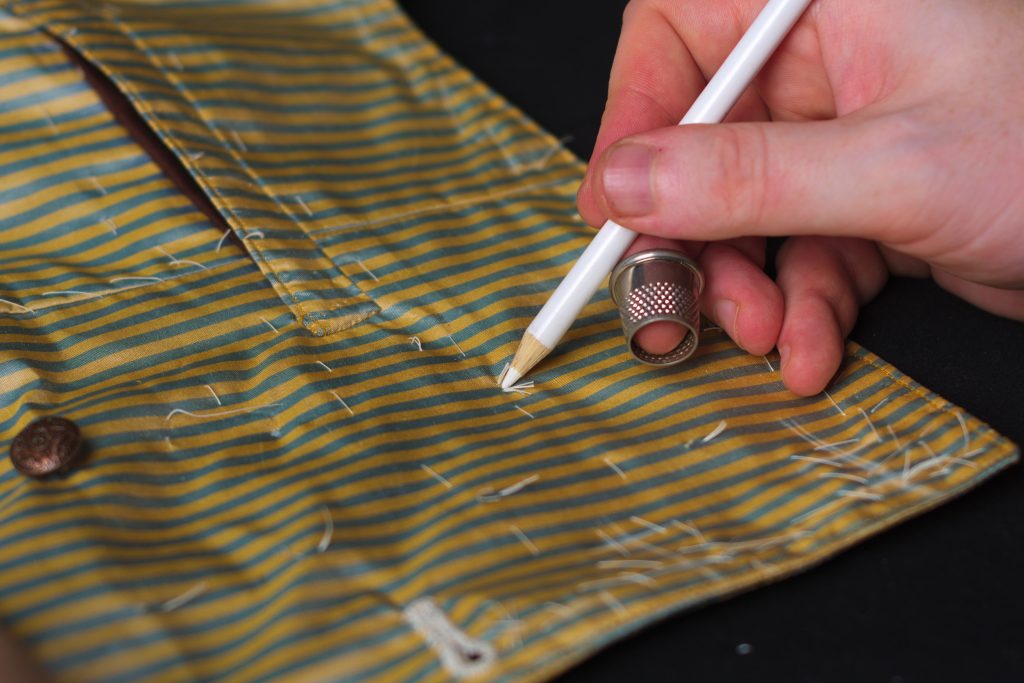
Begin attaching the buttons by first marking their position with a pencil and removing the tailors tacks.
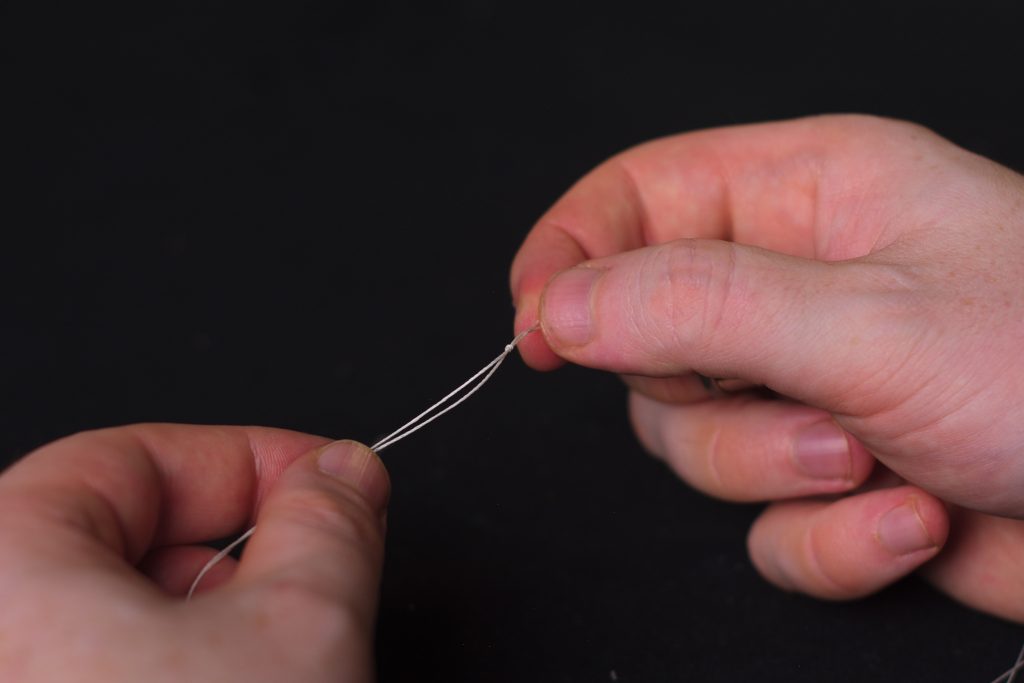
Double your buttonhole twist and knot it at the end.
Pass the thread from the underside, through the button, and back through to the underside twice, keeping the stitches on the looser side. After the second stitch you can gently loosen or tighten the button to leave room for tying the shank underneath. Make a third and possibly fourth stitch, keeping the same tension. The number of stitches depends on your fabric, how thick the thread is, and so on.
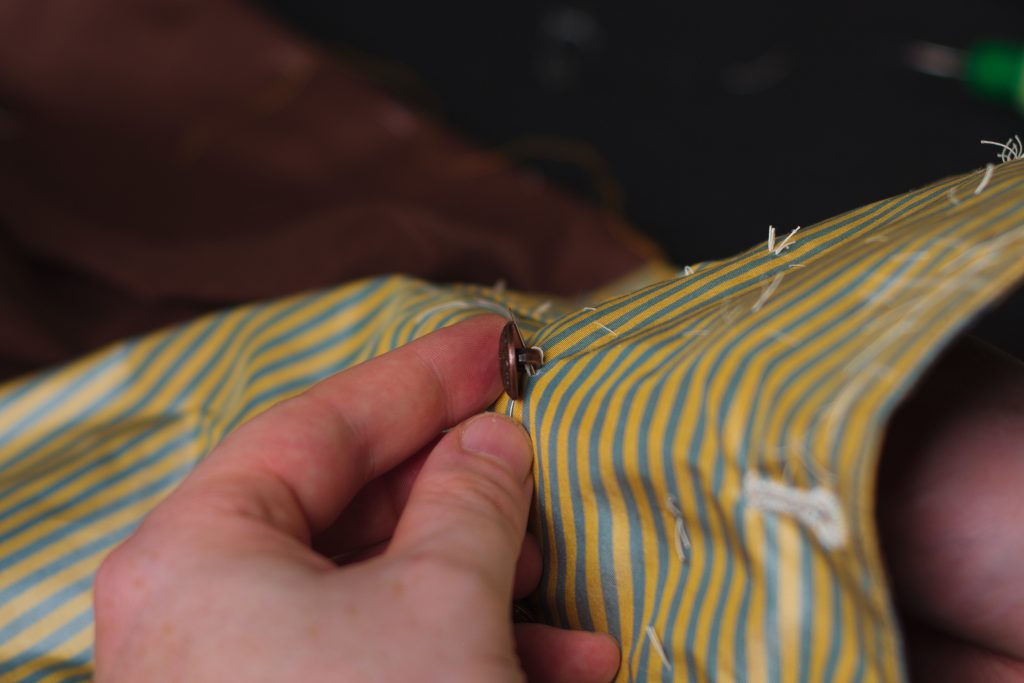
After your final stitch, wrap the thread around the button stitches 3 or 4 times and pull rather tightly to form the shank. This makes the button more durable.
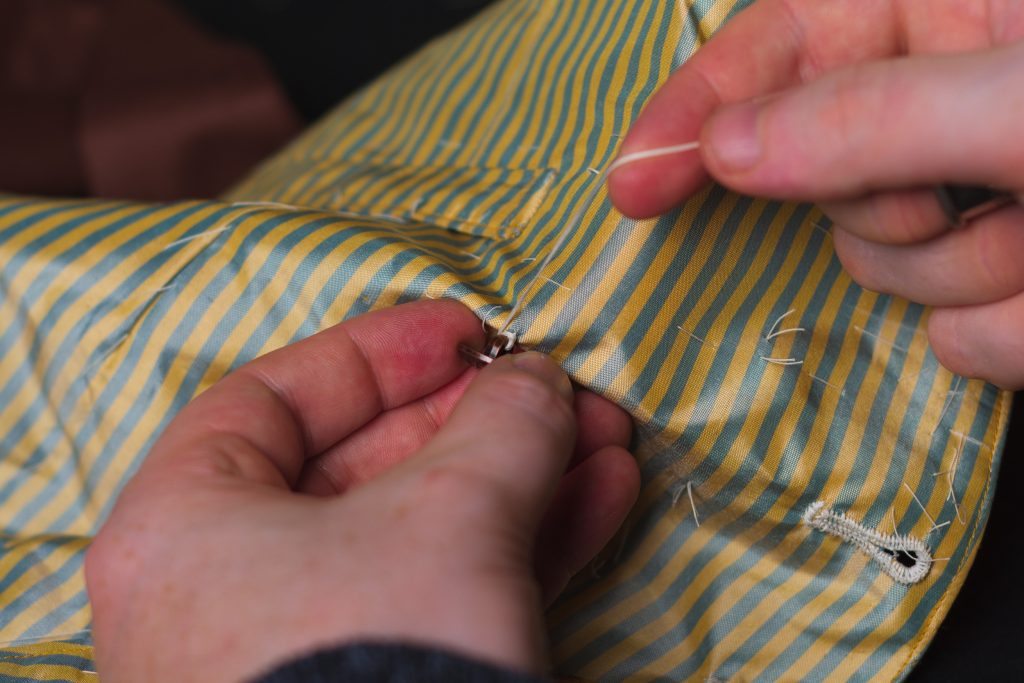
Finally, pass the needle and thread through the shank three times in alternating directions to secure the thread, and trim the thread.
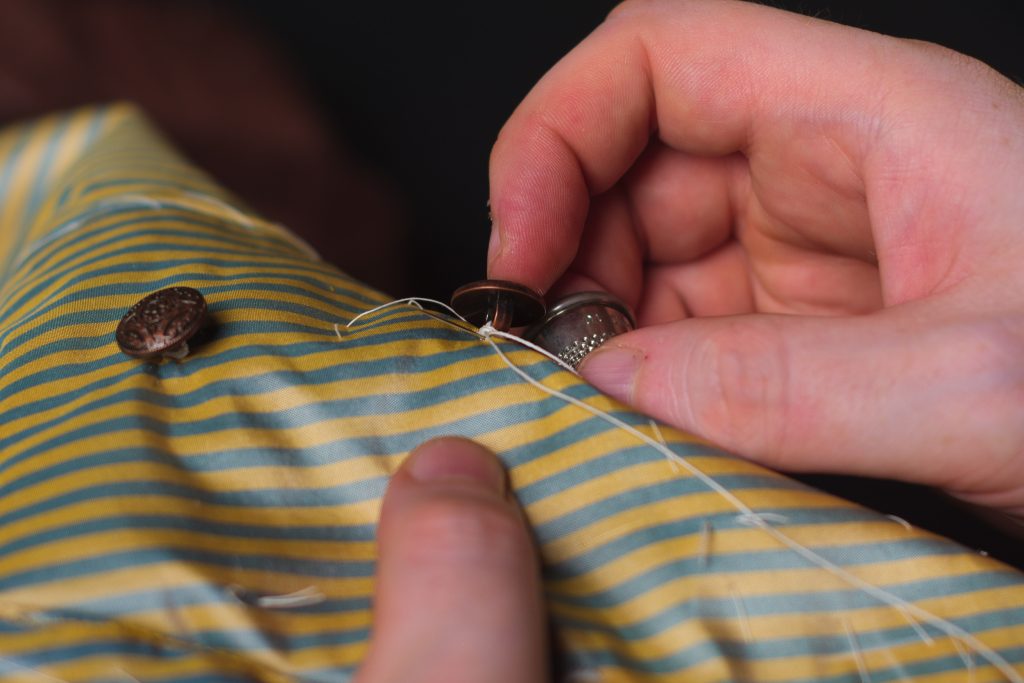
Inside Button
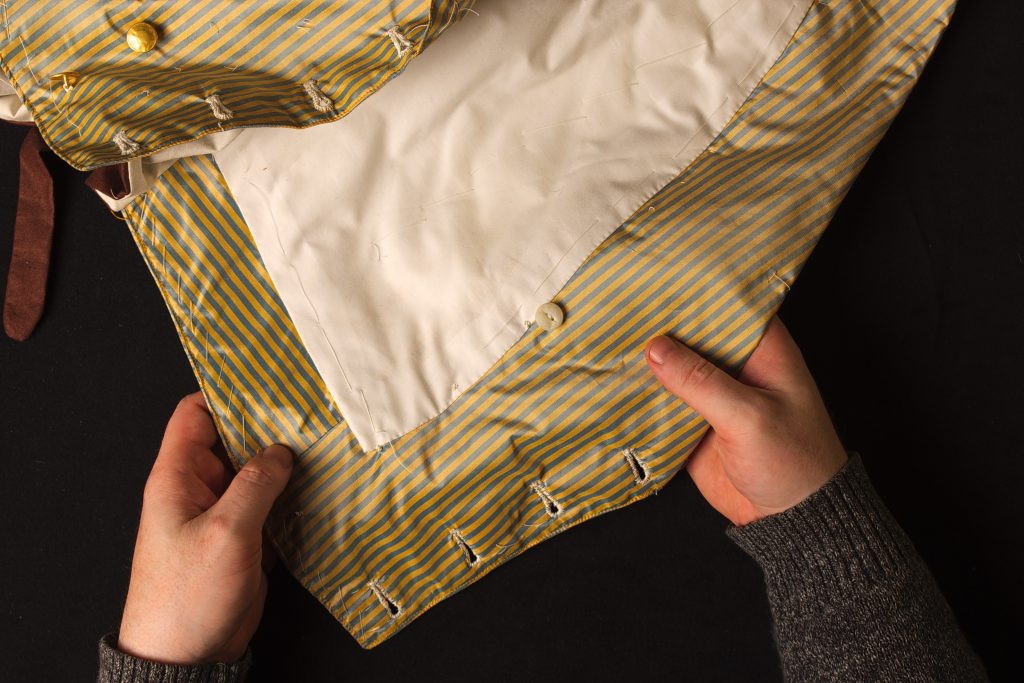
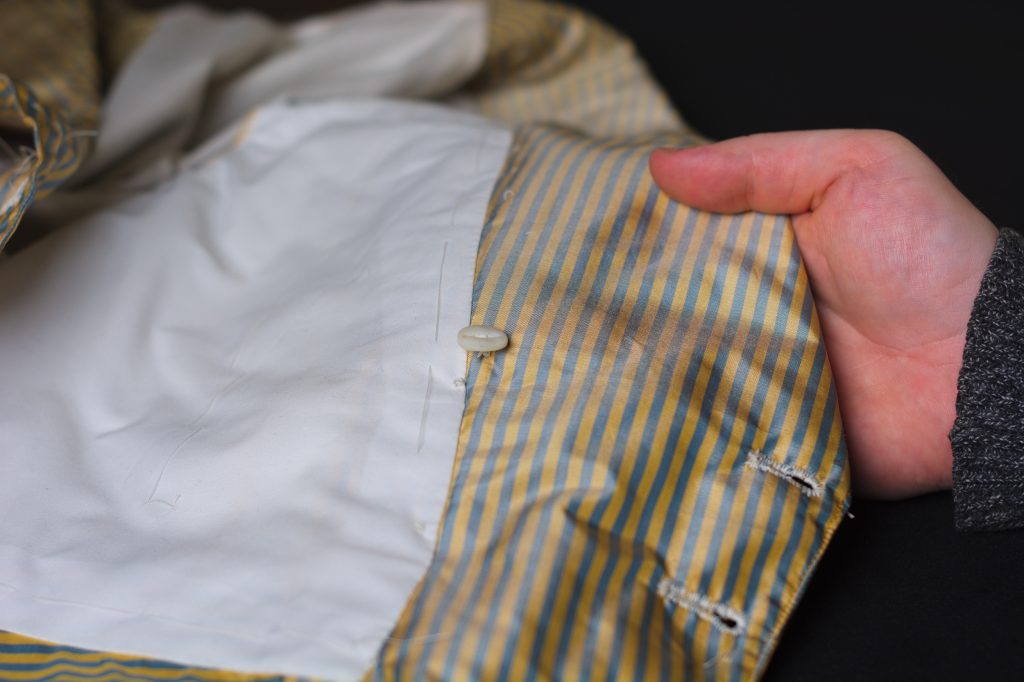
Because the waistcoat is double-breasted, the inner layer of the front will tend to droop out of position unless it is secured in place. You could use a button, a hook and eye, or in more modern applications, even a snap to hold the inner layer in position.
The easiest way to do this is to button the entire waistcoat, pulling the buttons snug against the front of the buttonholes, and then from the inside, make a mark with a pencil through the top inner buttonhole to denote the position of the inner button.
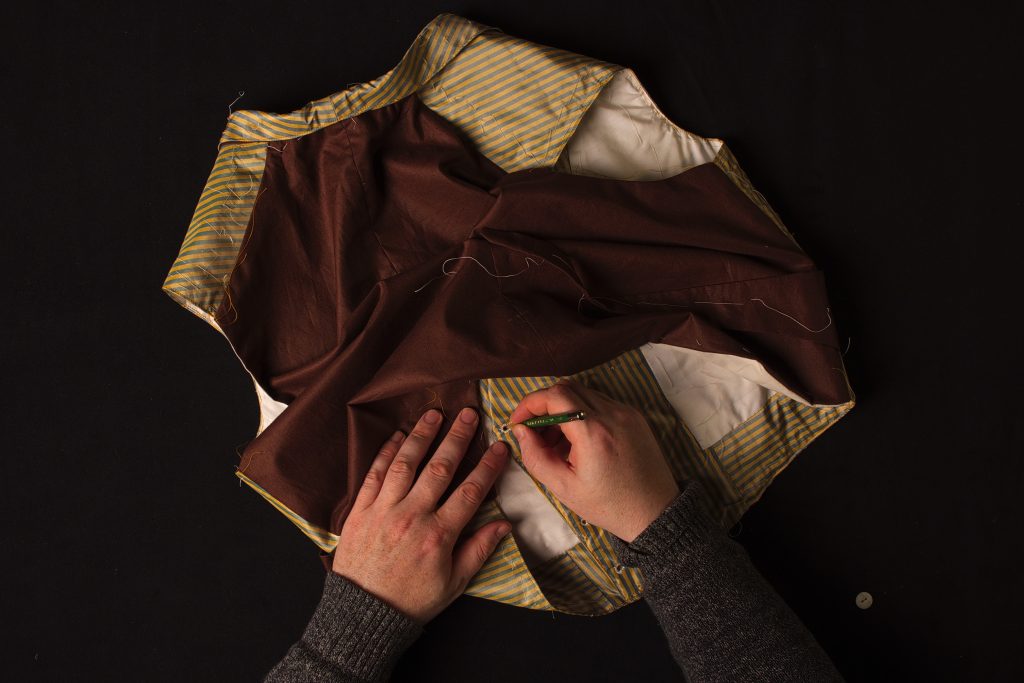
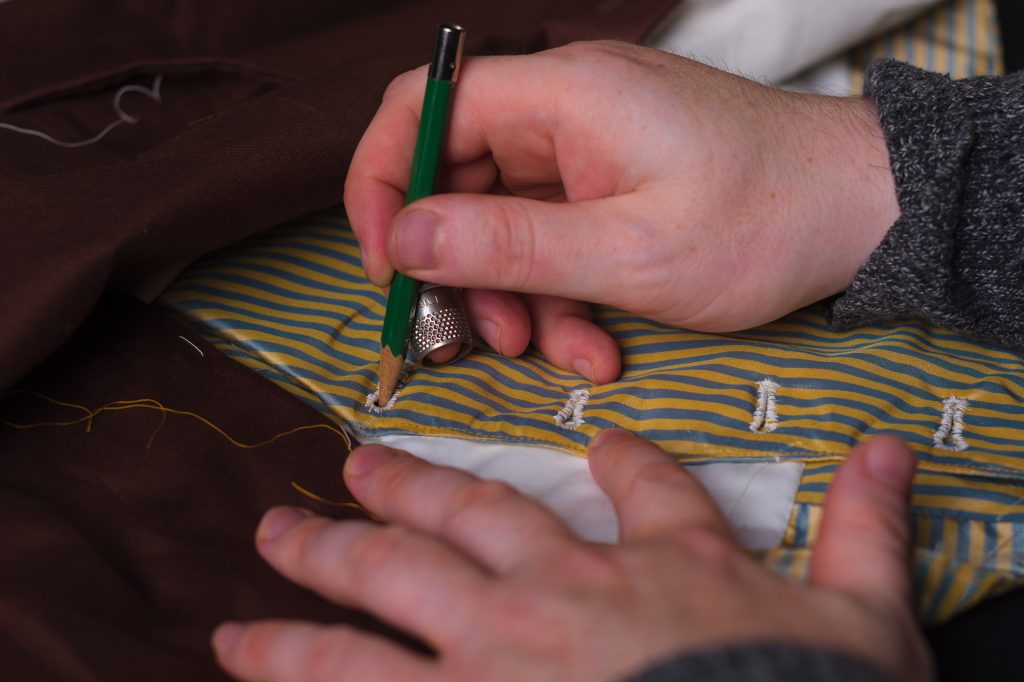
And then sew this button on in the same manner, though without letting the threads show on the right side – maybe catch just the canvas underneath for support if you can.
If you worked accurately, this should be directly behind the upper button on the front but in my case I was about 1/2″ off – not sure what happened.
The Buttonholes
At last we come to the buttonholes. I’m just going to do a brief overview here, though you can follow along with my in-depth tutorial The Art of the Buttonhole if you’ve never made them before.
Your buttonhole positions should have been marked out in the pattern and transferred to the cloth as you were cutting out the waistcoat. Unlike a single-breasted waistcoat, the double-breasted version has buttonholes worked on both foreparts along the edge.
Baste around each with a diagonal stitch to keep the layers from shifting Cut the buttonholes open with a hollow punch and a chisel, making them about 1/8″ longer than the button you’re going to use.
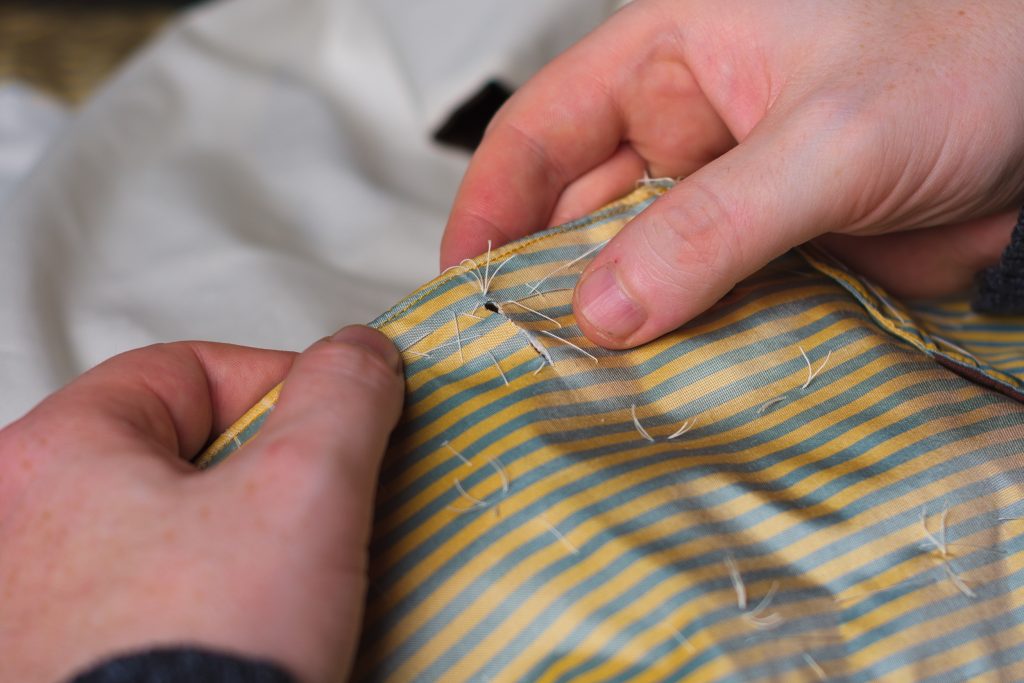
Overcast around the cut edge of the buttonholes to keep them from fraying.
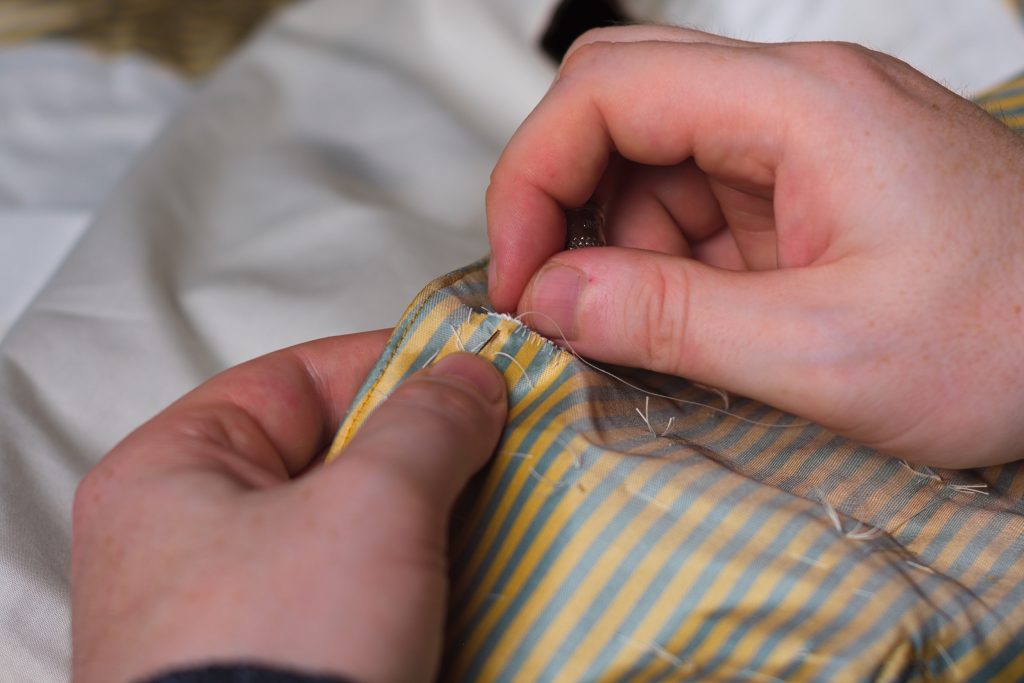
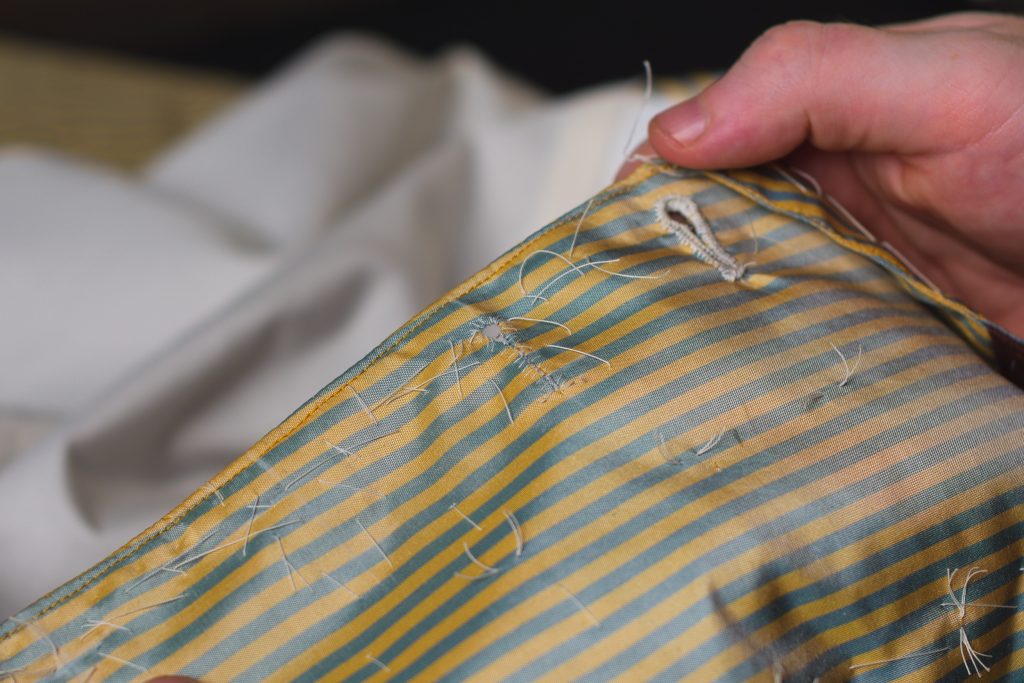
Now attach your gimp or four-cord to the top of the button about 3/16″ from the edge using a couch stitch.
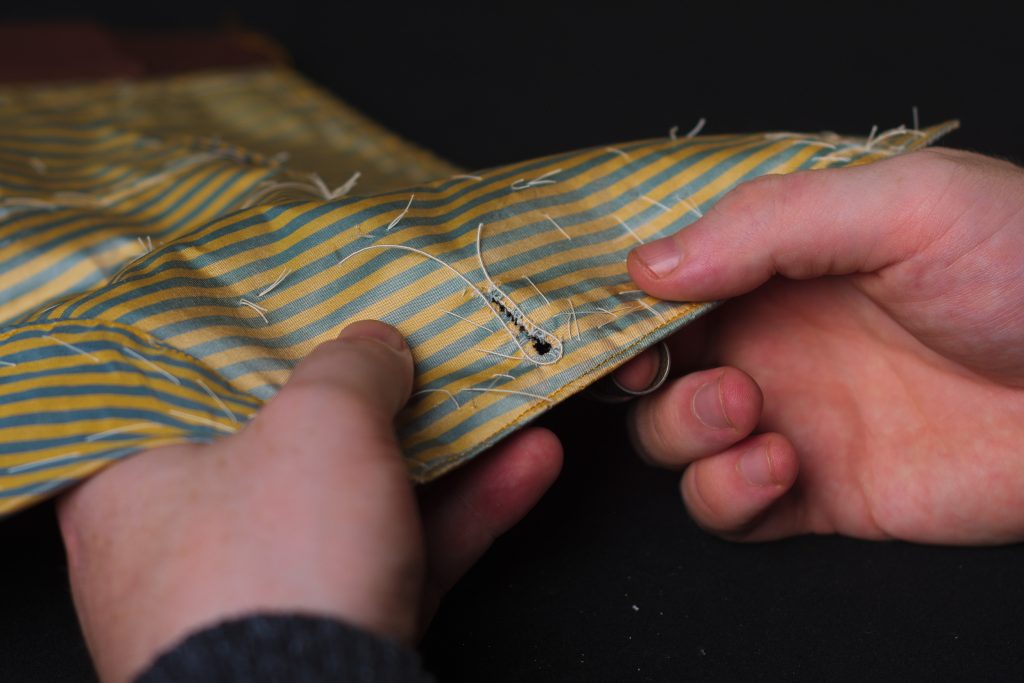
Work the buttonhole stitch around, passing the thread from the needle end clockwise under the needle to form the purl.
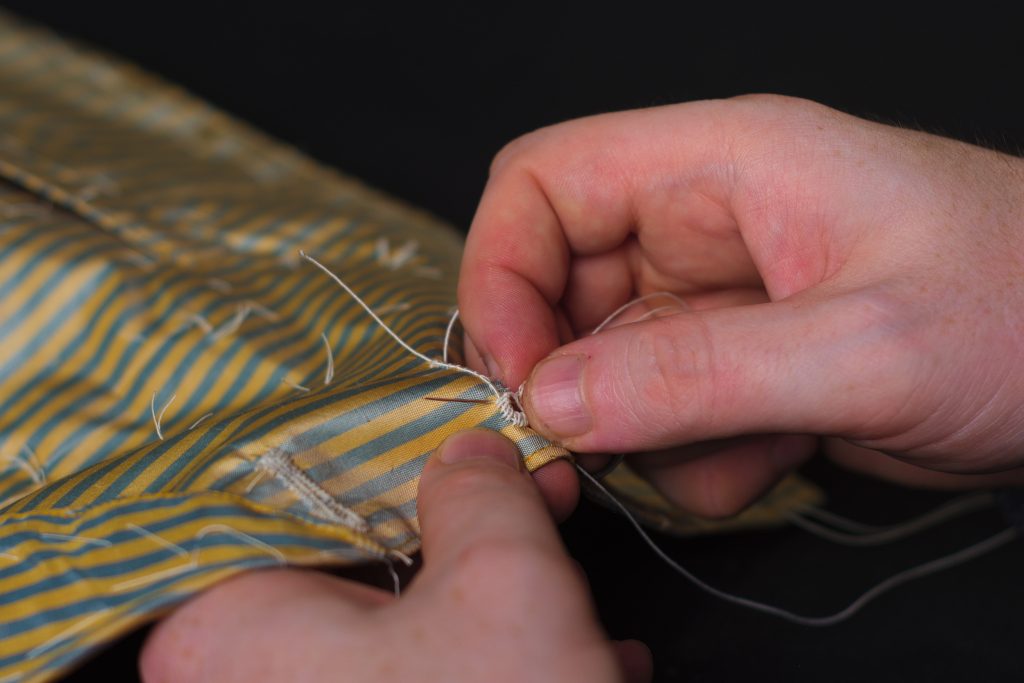
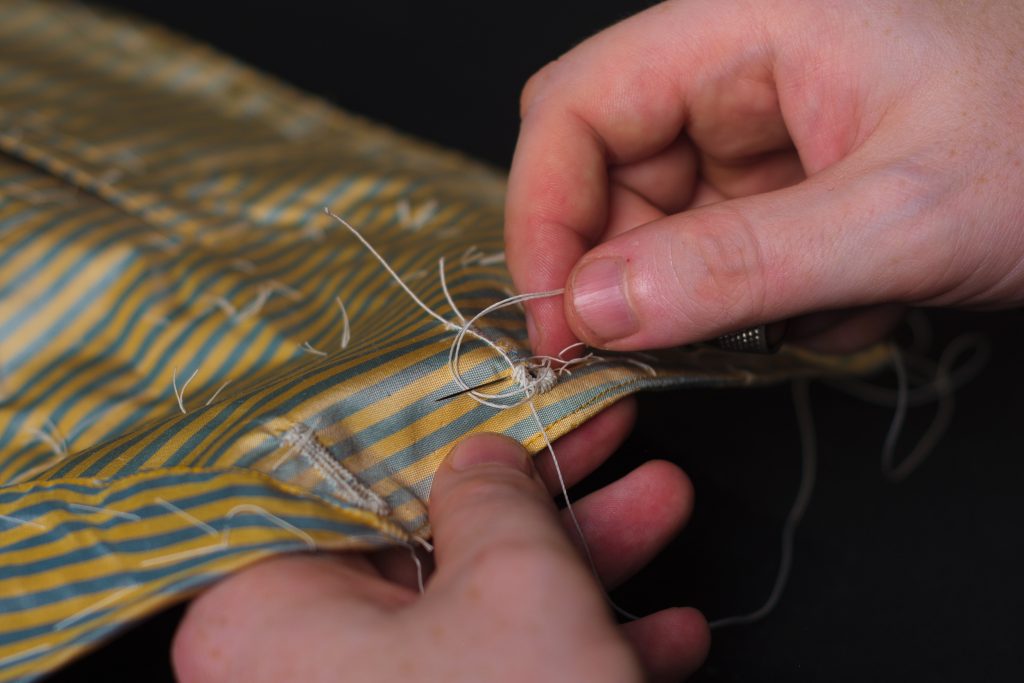
And continue finishing the buttonhole as normal with a bar tack at the end and passing the needle along the underside of the stitching.
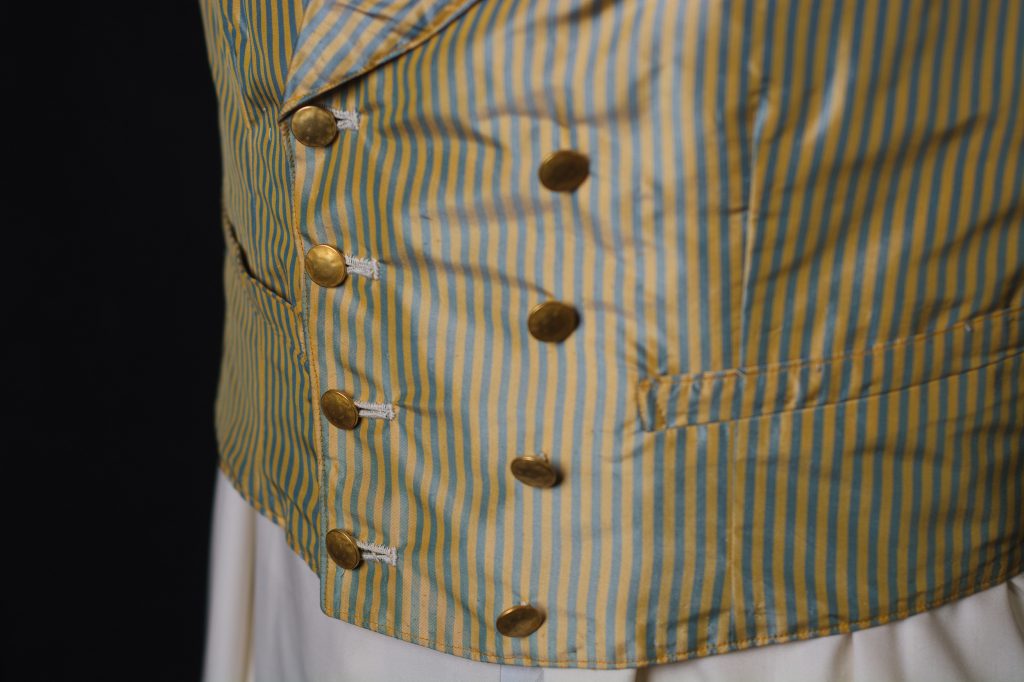
Top Stitching
With the neck complete you can now top stitch the edge of the waistcoat to keep everything in place during the life of the garment and prevent the seams from rolling. Start at the bottom of the side seam, stitching along the bottom edge, with a 1/8″ seam allowance.
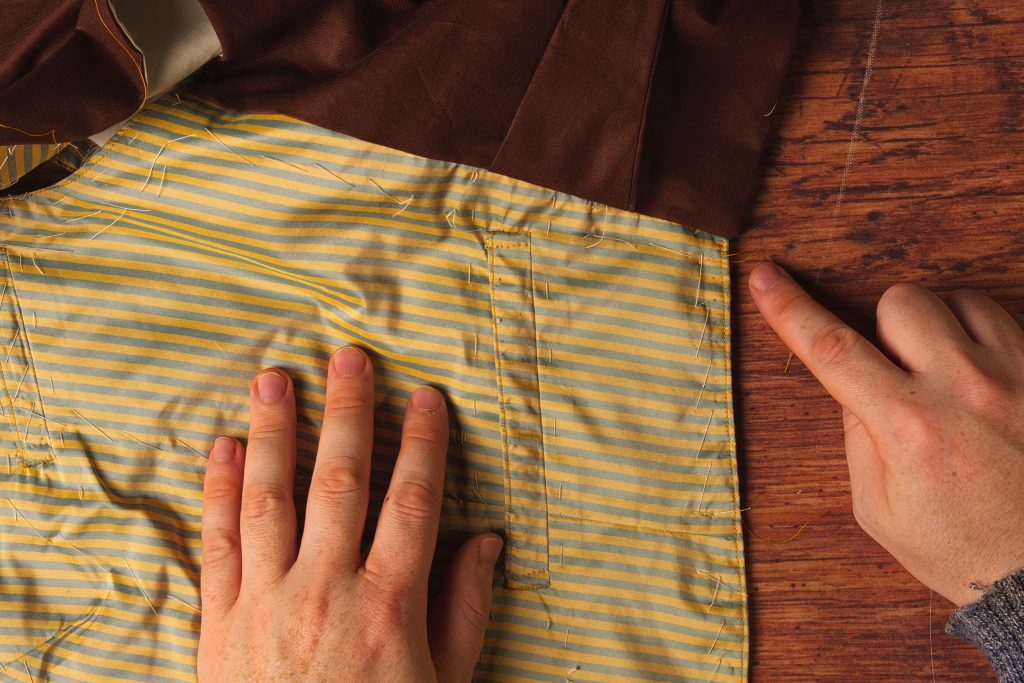
Continue along the front edge.
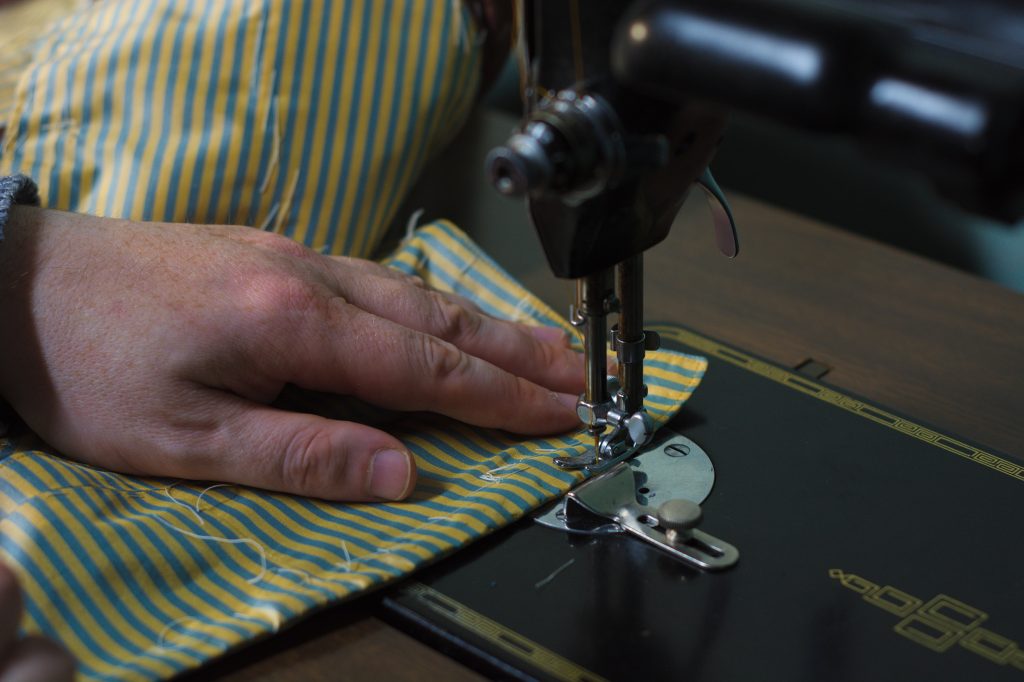
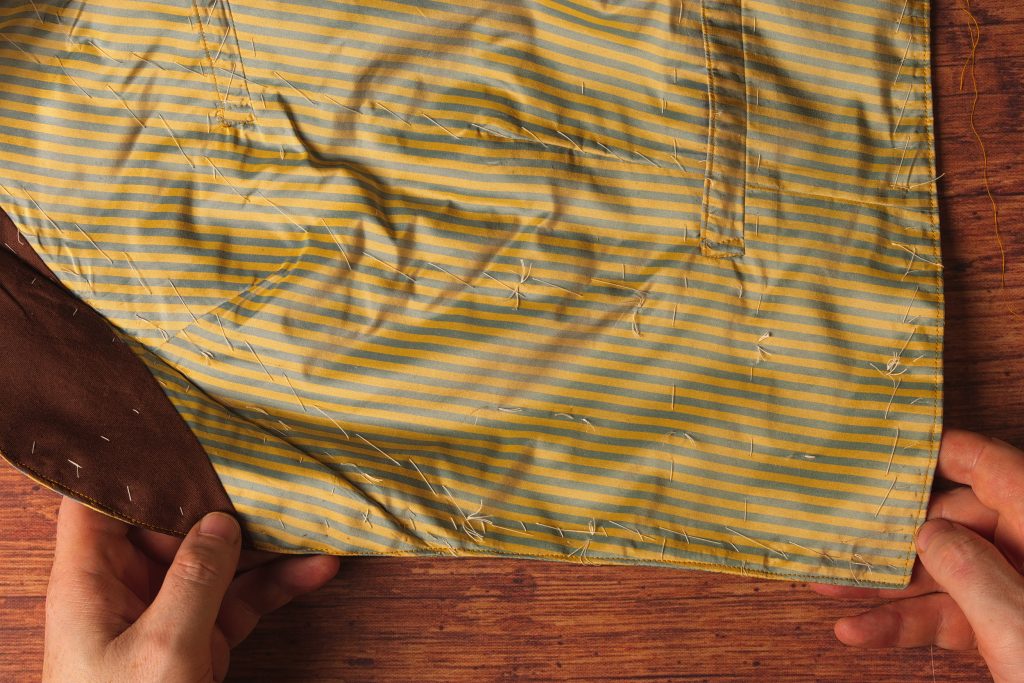
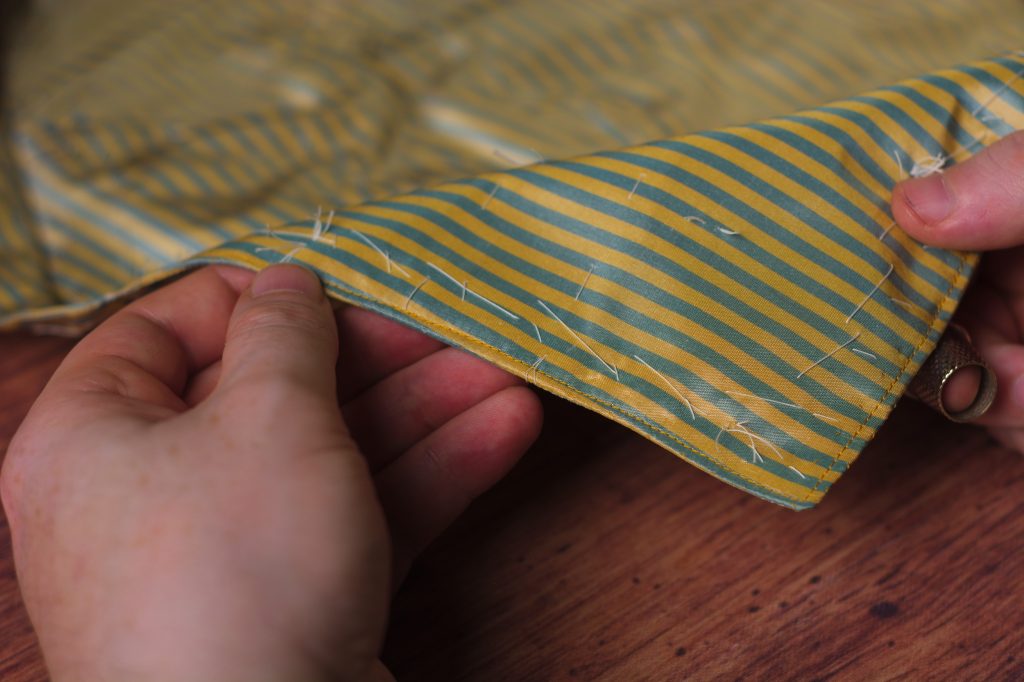
And along the collar and back down the other side.
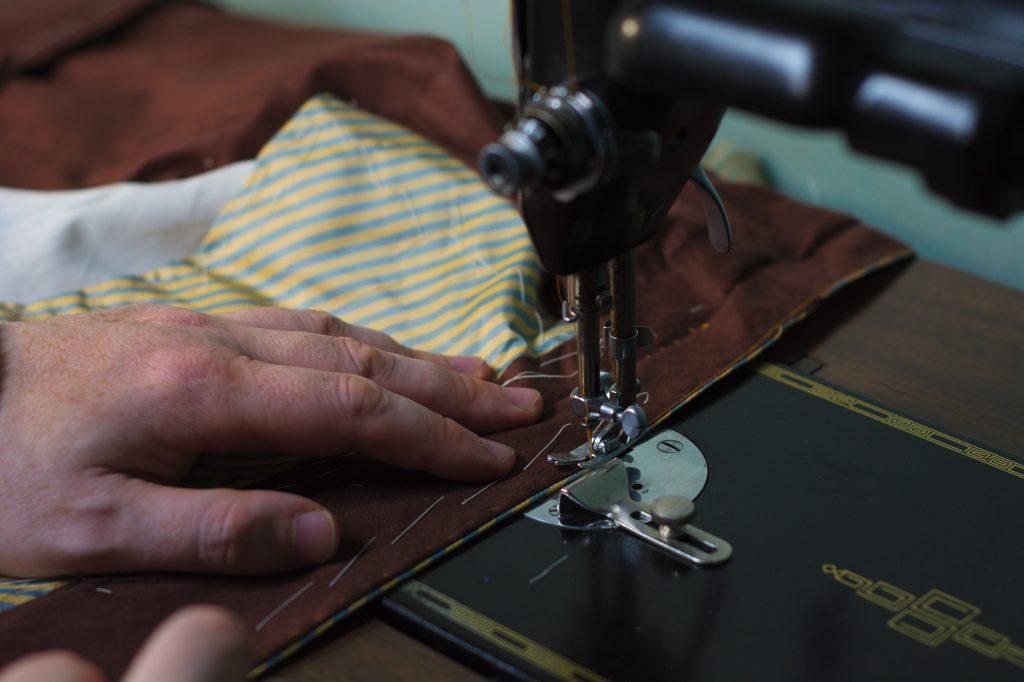
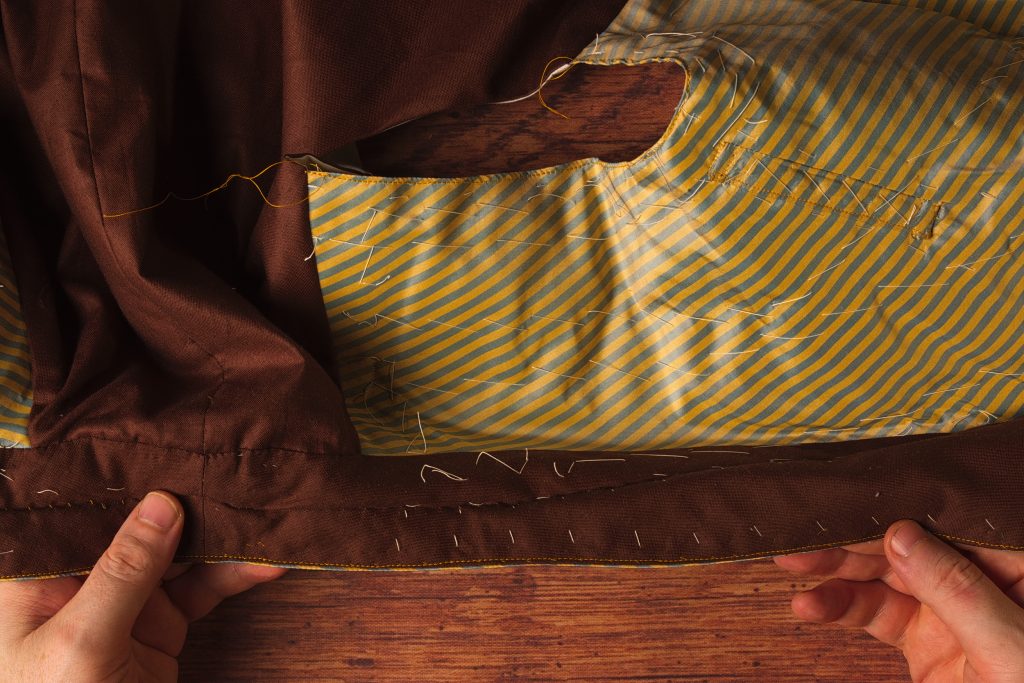
Top stitch the armscye as well. Alternatively, you could have done this before attaching the back assembly, to keep the ends of the stitching hidden.
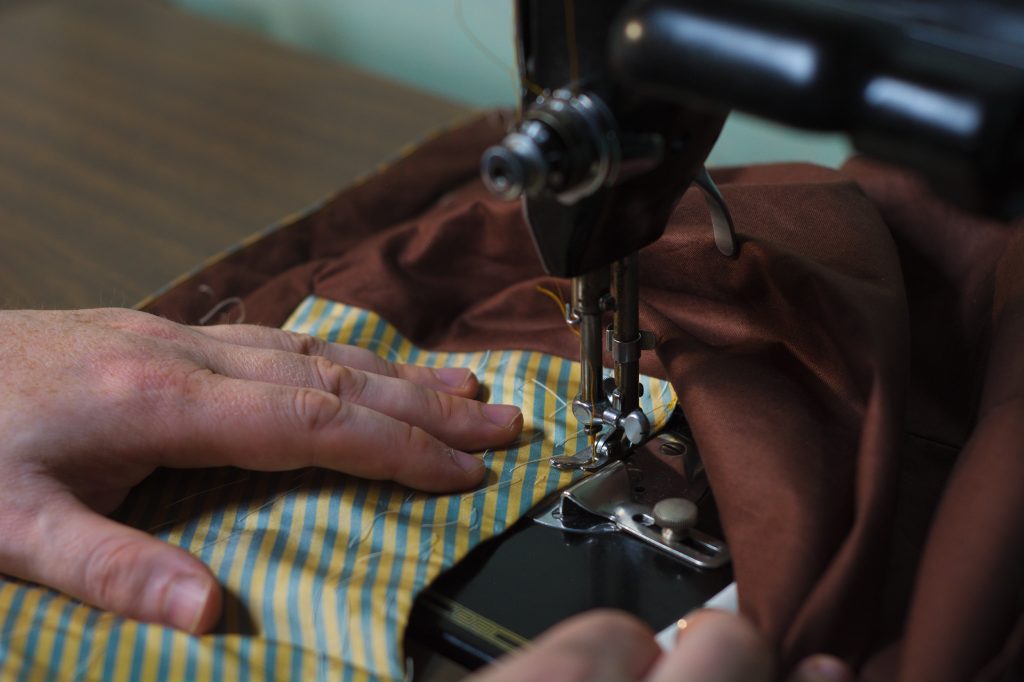
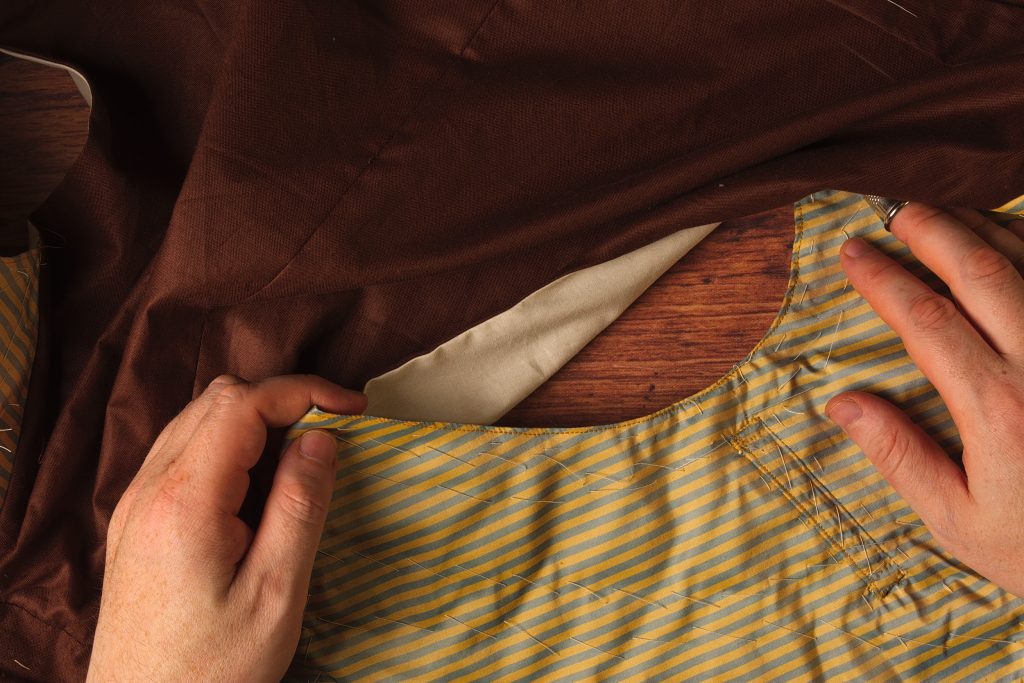
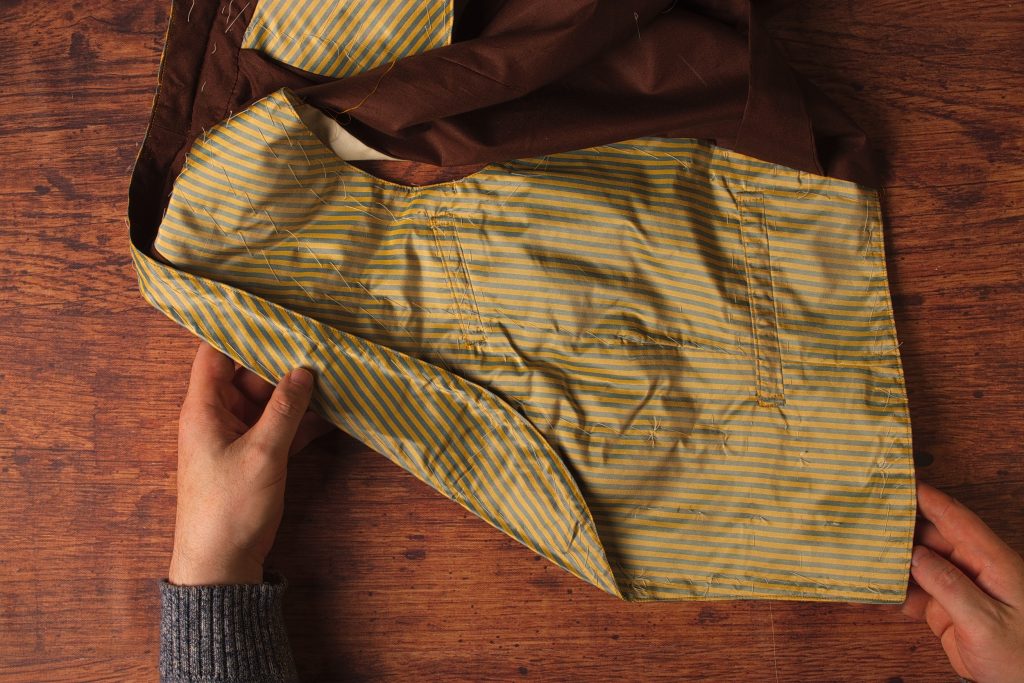
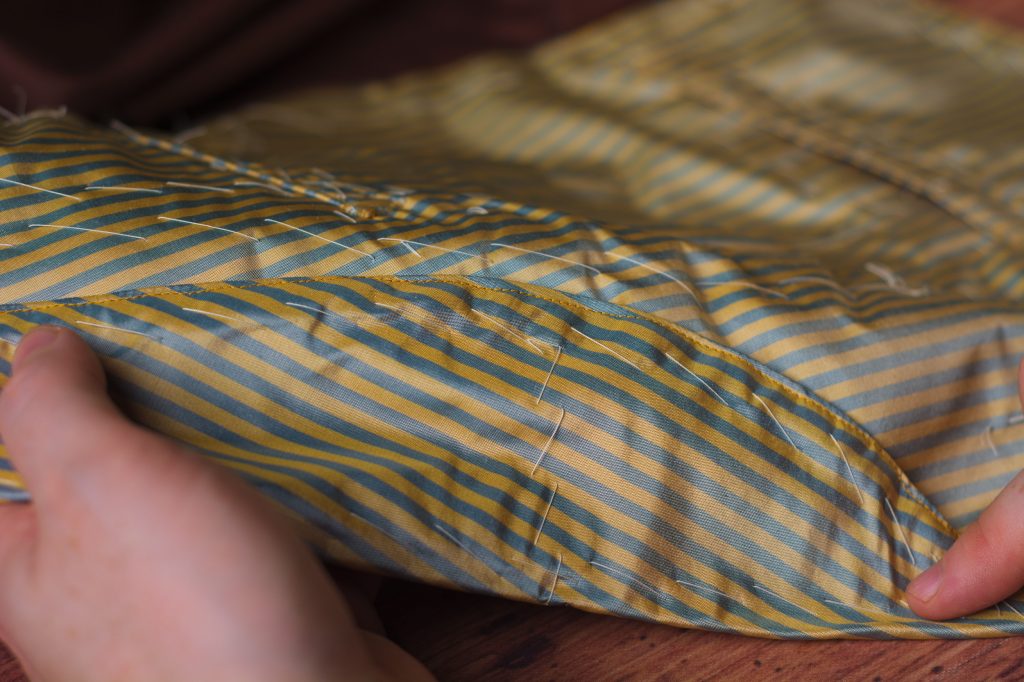
We’re nearly there! Here’s the waistcoat after top stitching.
The Back Neck
With the vest turned right side out, we can being work on closing up the back of the collar. This isn’t very difficult, though there are a lot of small steps, the accuracy of which depends on how well you’ve sewn the previous step.
First, remove the basting stitches from the center back of the collar to just beyond the shoulder seam.
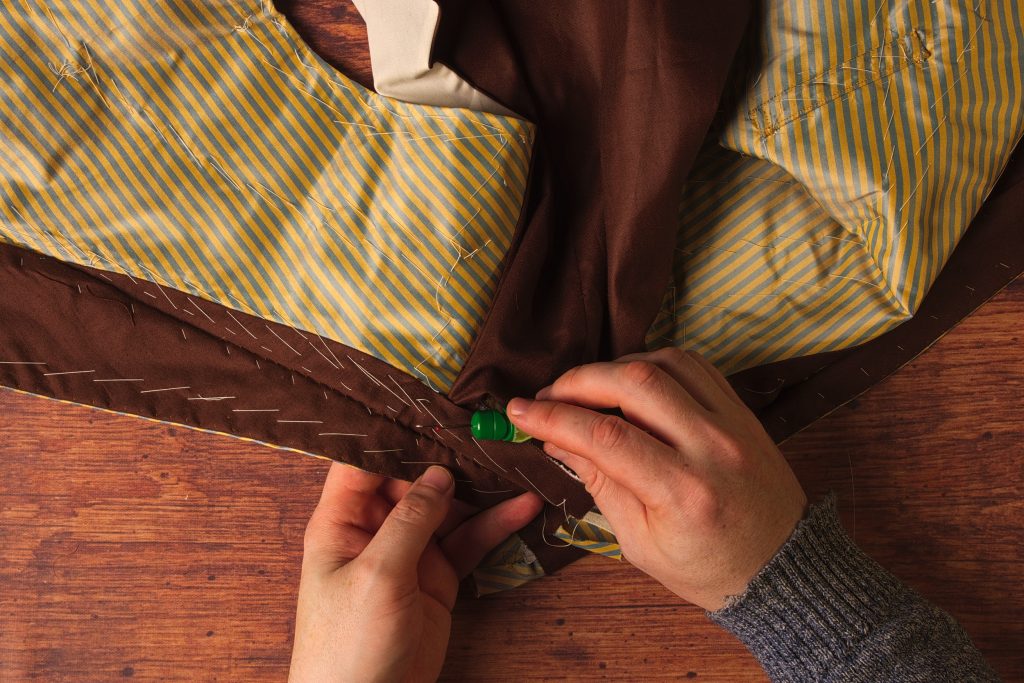
Lay the waistcoat on the table with the back facing up. Open up the collar ends flat, and lay them smoothly on top of the back neck. There should be a little extra collar that we added to the pieces that needs to be trimmed off now.
With the collar laying in place, mark the center back of the collar where it hits the center back seam. You can square this across the entire collar lining if you want.
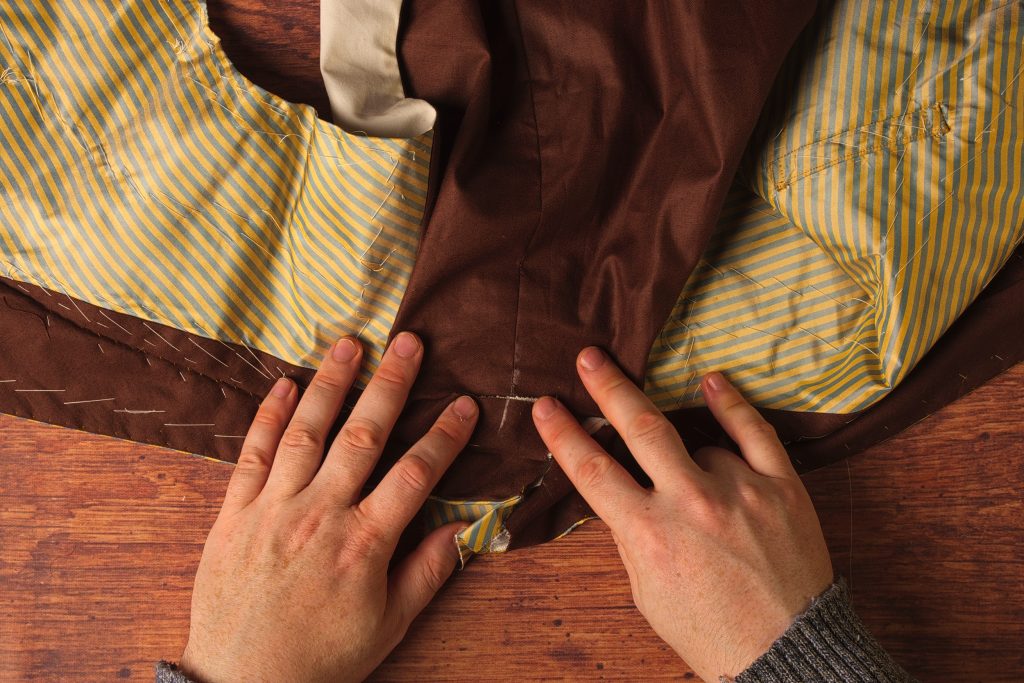
Then use your ruler to draw a line square across the end of the collar, 3/8″ beyond the mark you just made.
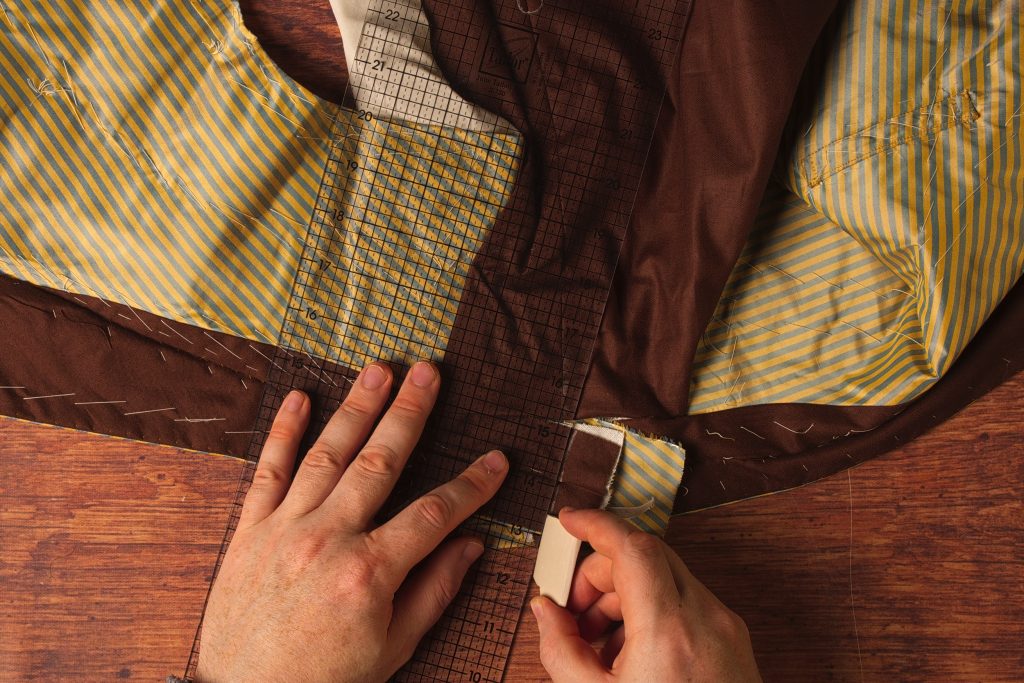
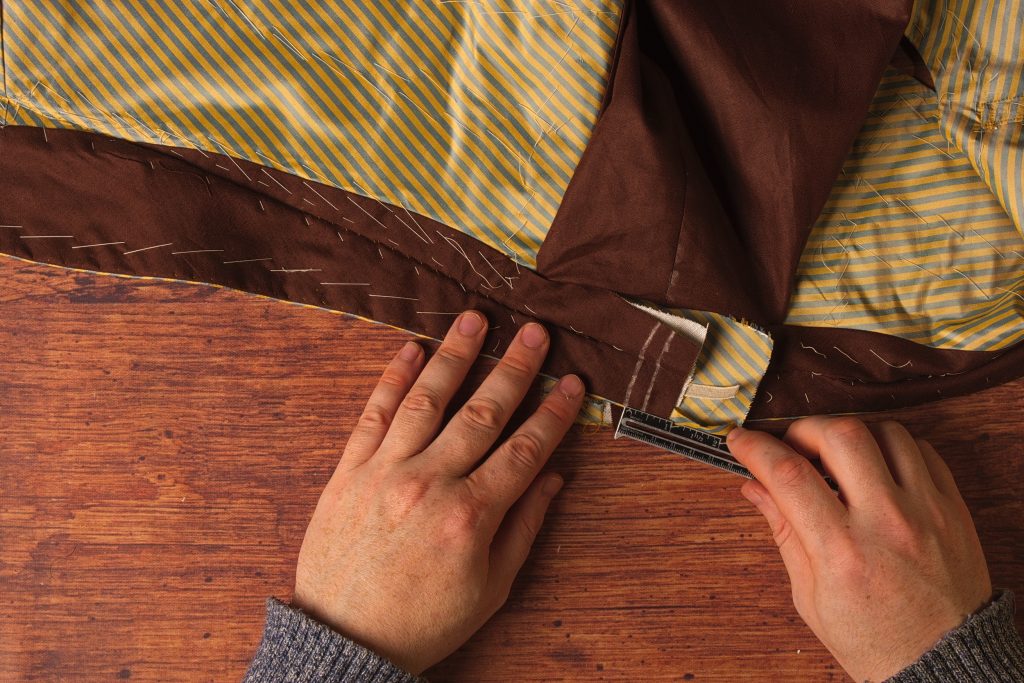
Trim the collar through all layers to this second line. Repeat the same process to the other half of the collar as well.
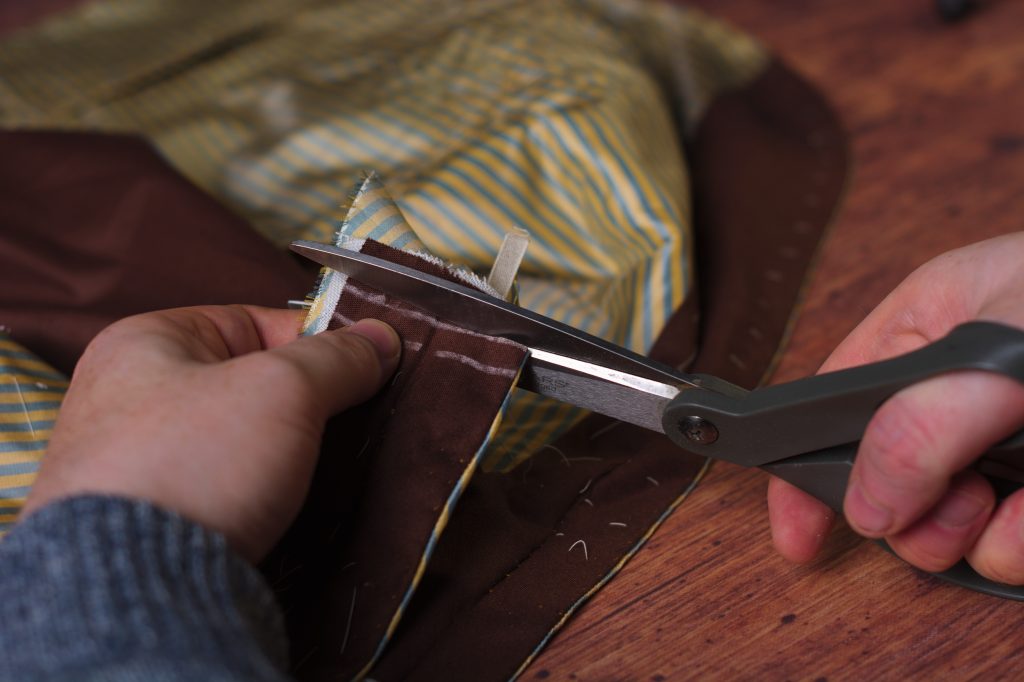
Open up both halves of the collar and place them right sides together, aligning everything as closely as possible. Baste across the center back of the collar, and sew using a 3/8″ seam allowance.
It’s tricky to get into this small area though it becomes easier with practice.
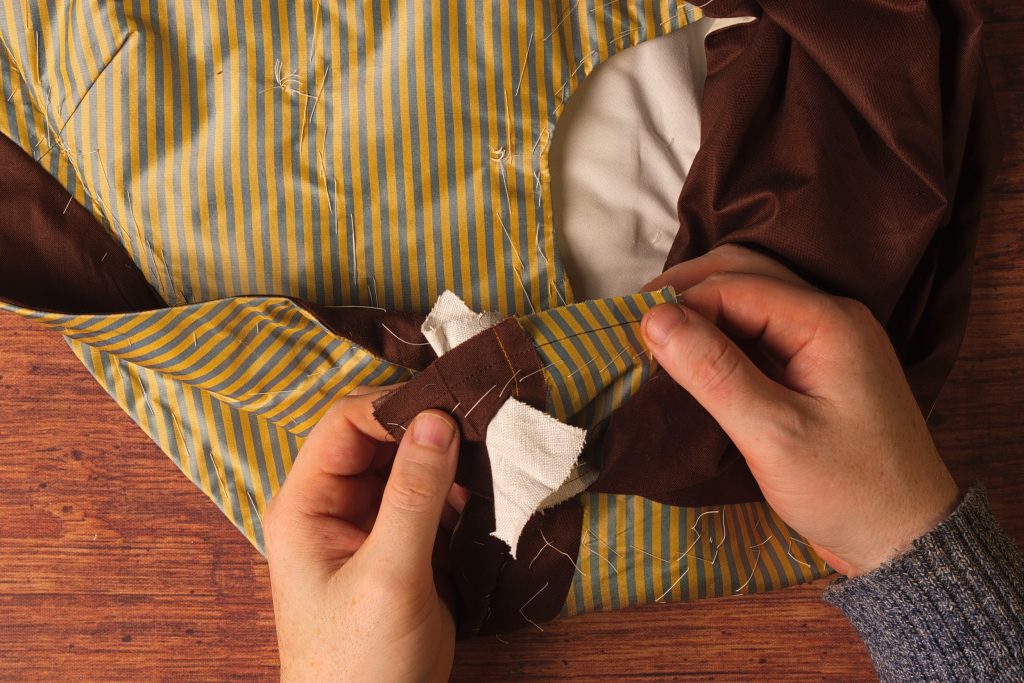
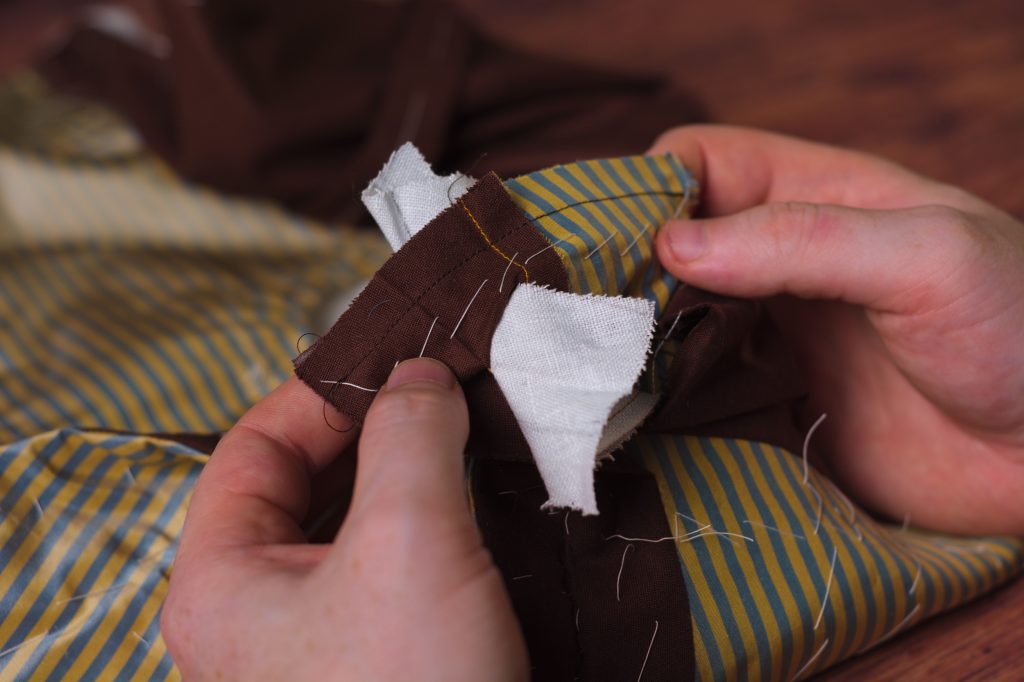
Press the center back of the collar seam open.
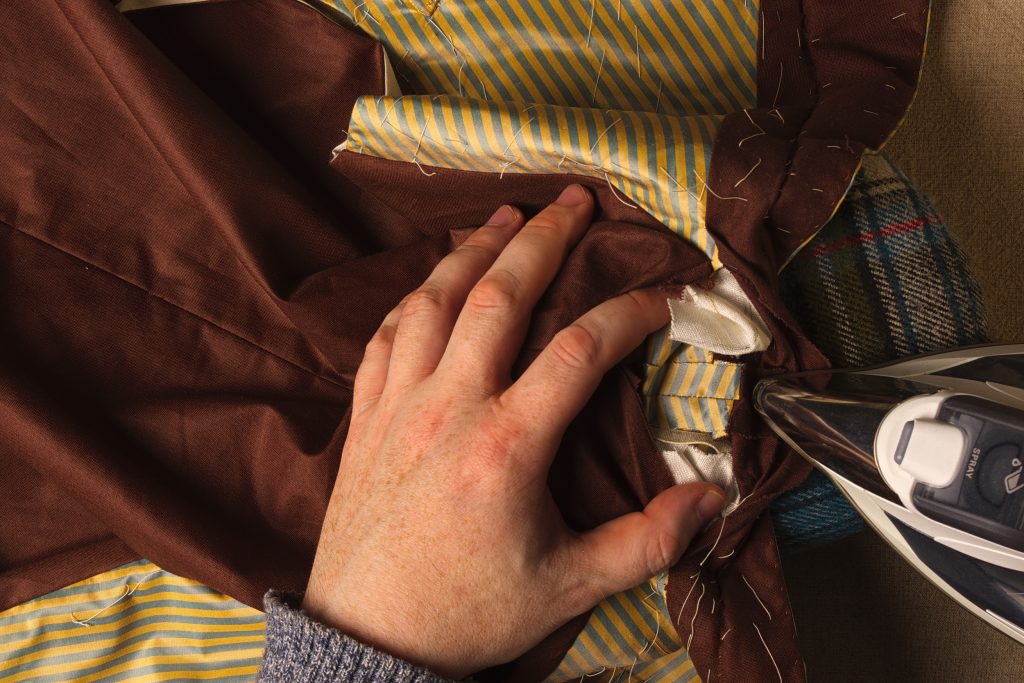
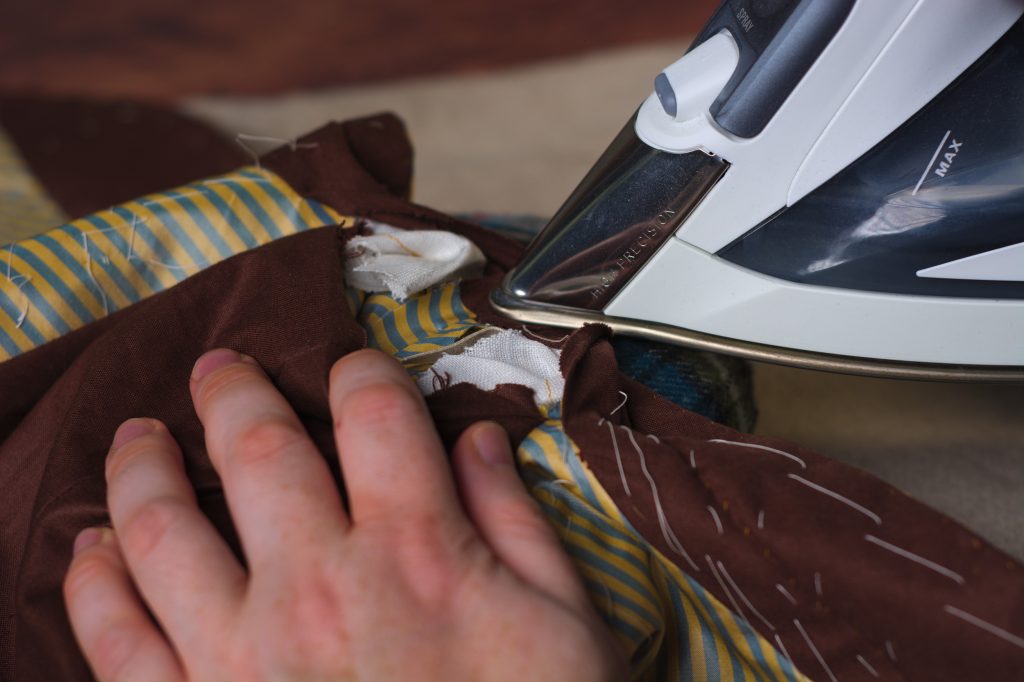
Working on one half at a time, lay the collar canvas in position on top of the wrong side of the collar lining. Crease the canvas along the roll line, and overcast along the roll line, catching a couple of threads of the lining underneath.
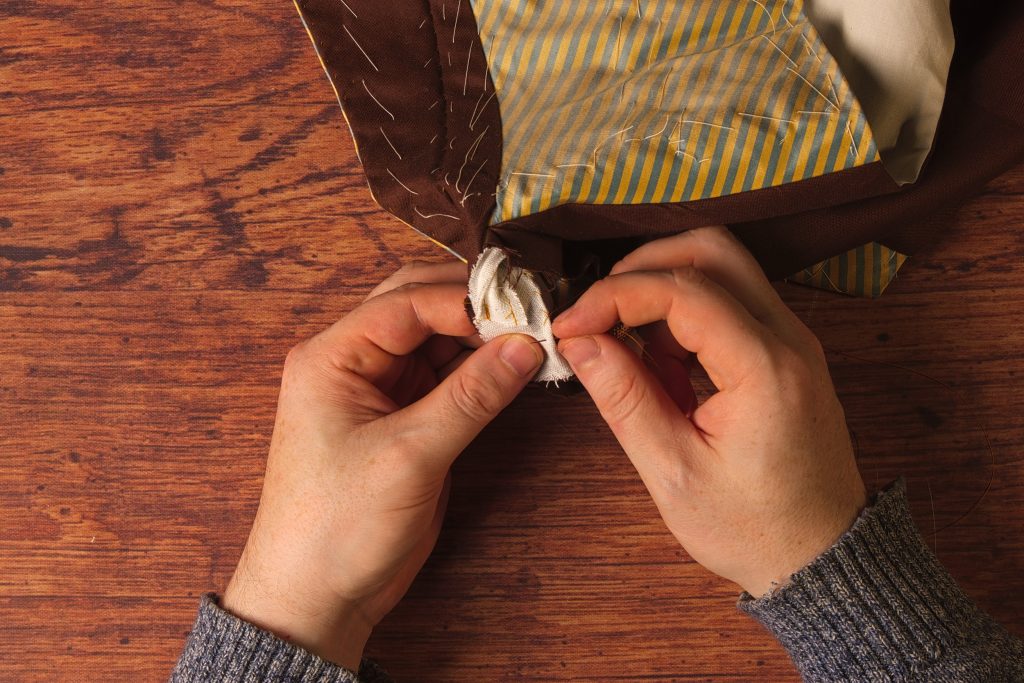
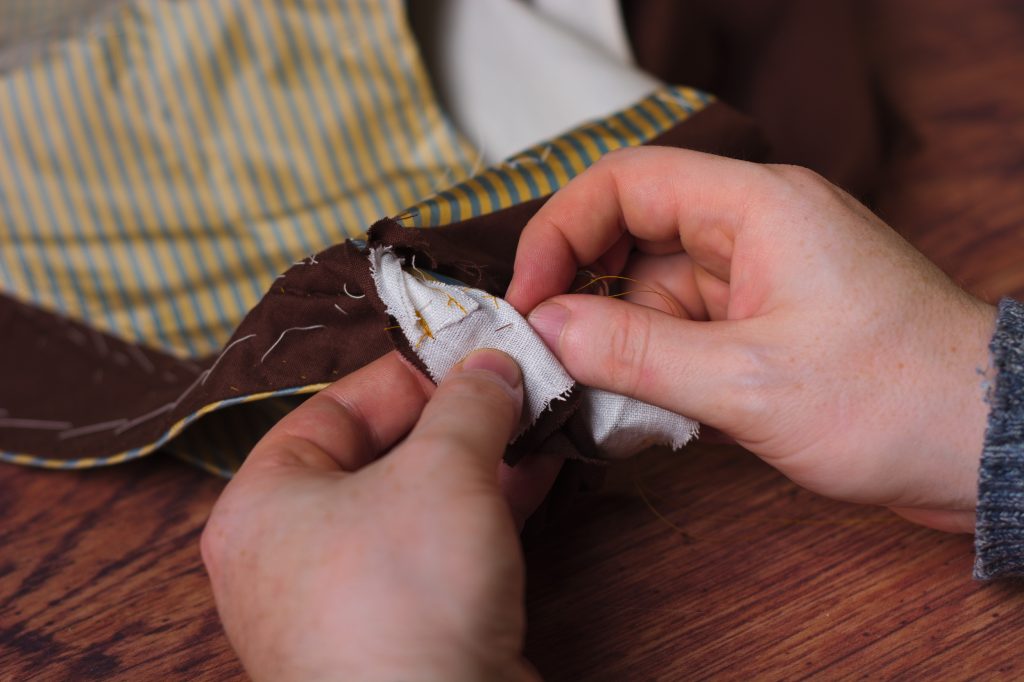
Lay the other half of the collar canvas into position, overlapping the other canvas, crease, and overcast the roll line.
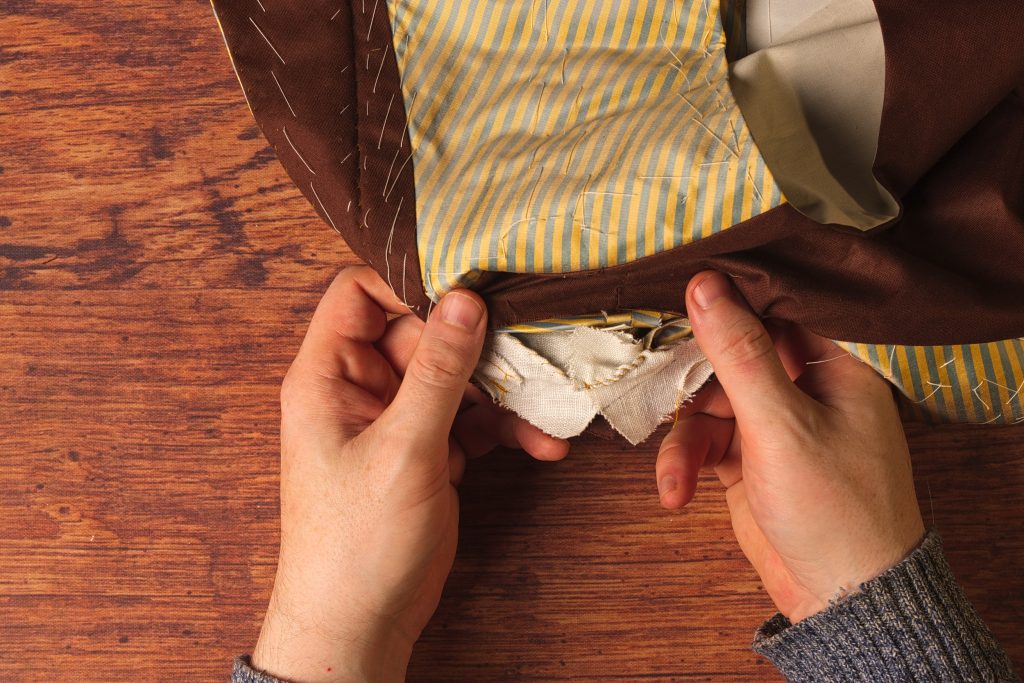
With the collar canvas in position, you can secure the loose ends together with a small diagonal stitch, catching both layers of canvas and the seam allowance of the collar lining underneath.
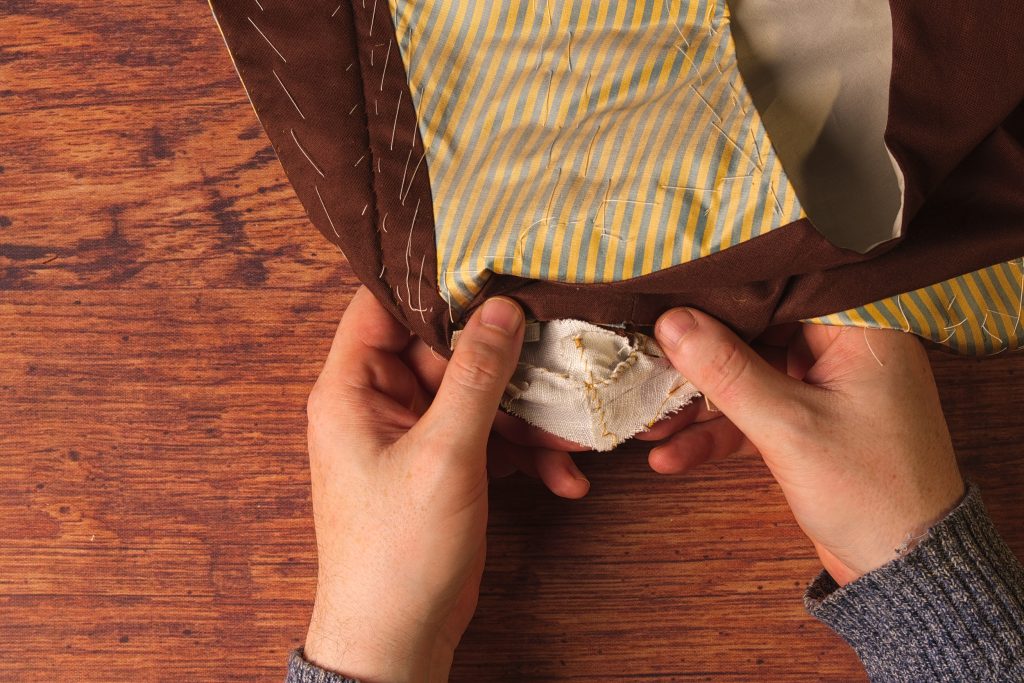
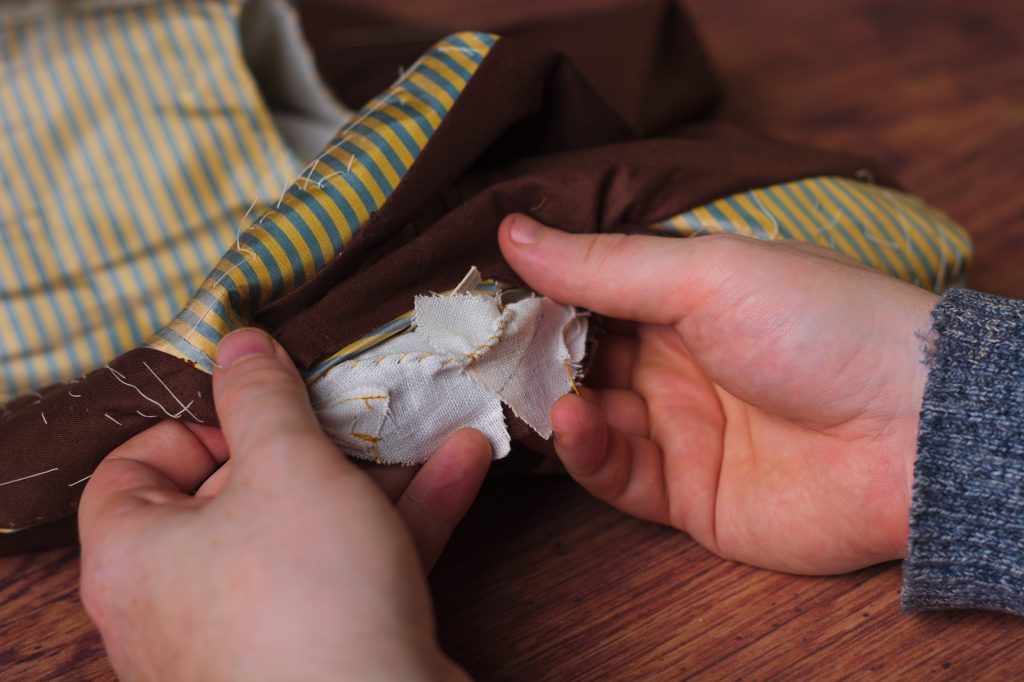
Now lay the loose stay tape in position along the outer edge of the collar, baste, and stitch down using a small felling stitch.
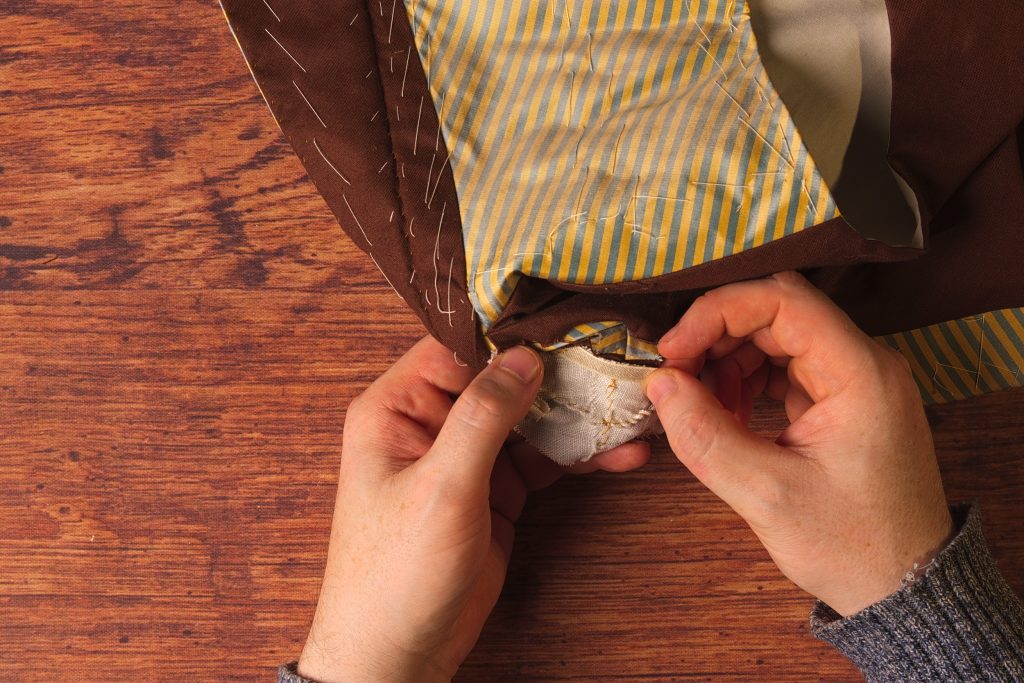
Fold the remaining tape in position and repeat the basting and felling. This should conclude all of the inner details that are so difficult to work with.
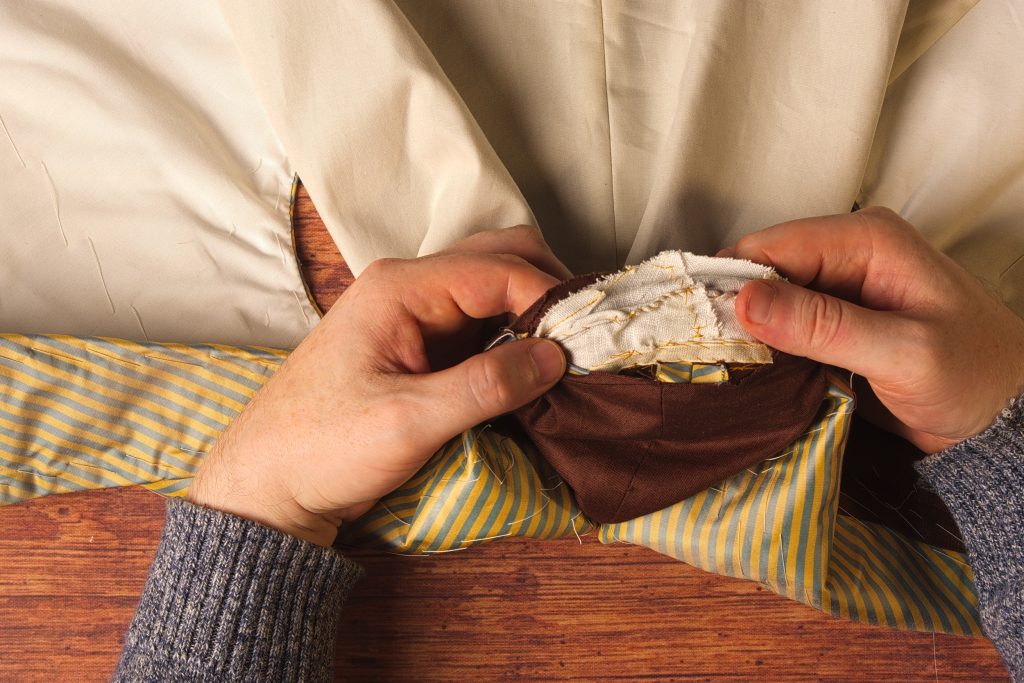
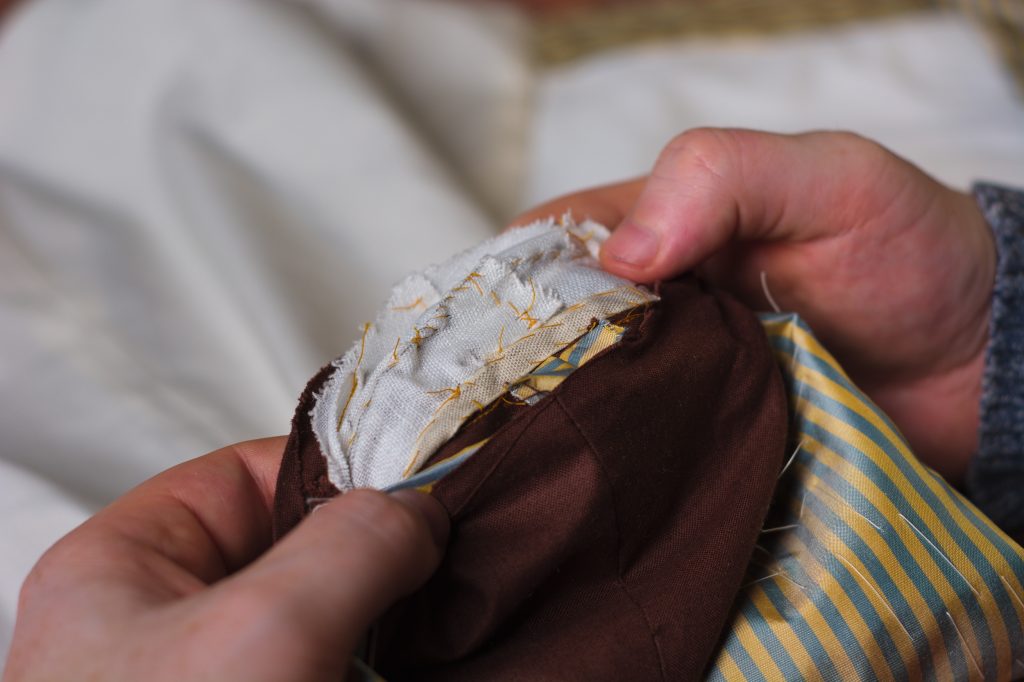
Turning to the outside of the collar at the back, crease the back seam allowance under at the neck 3/8″ (not pictured).
Then baste the back onto the collar lining using a 3/8″ seam. This can be a little fiddly, and accuracy will pay off here.
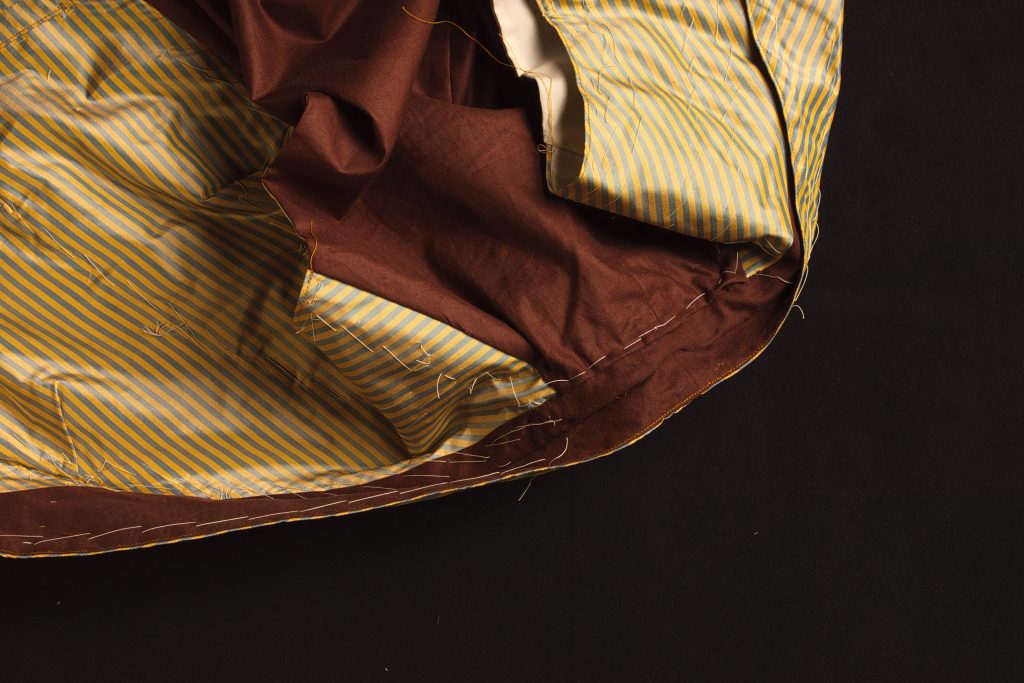
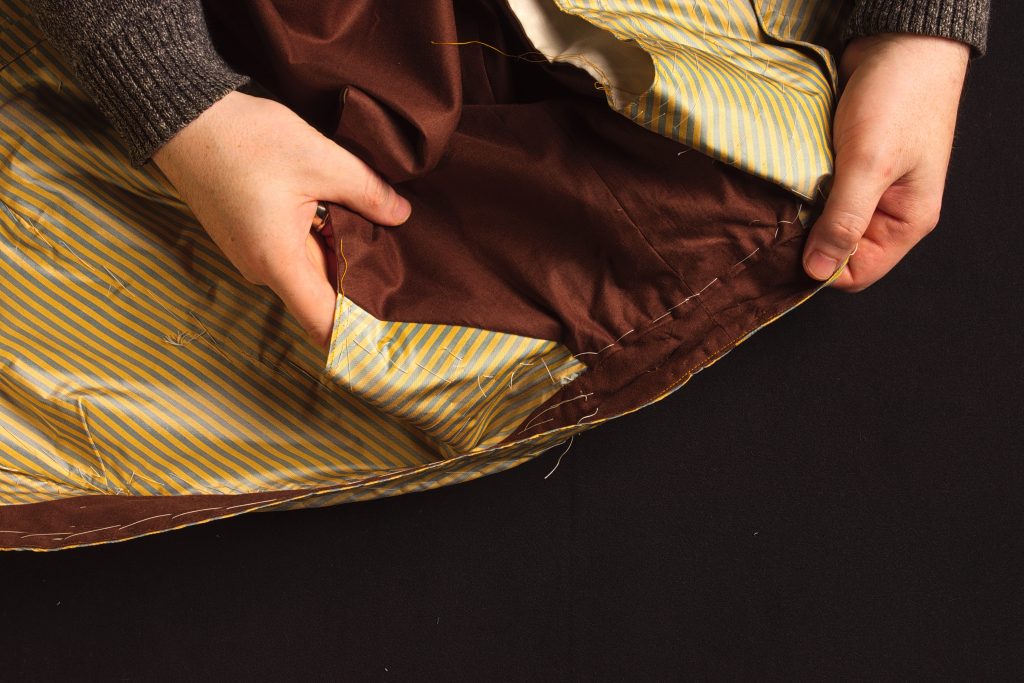
Fell along the back neck, including about 1/2″ of the seam on each shoulder.
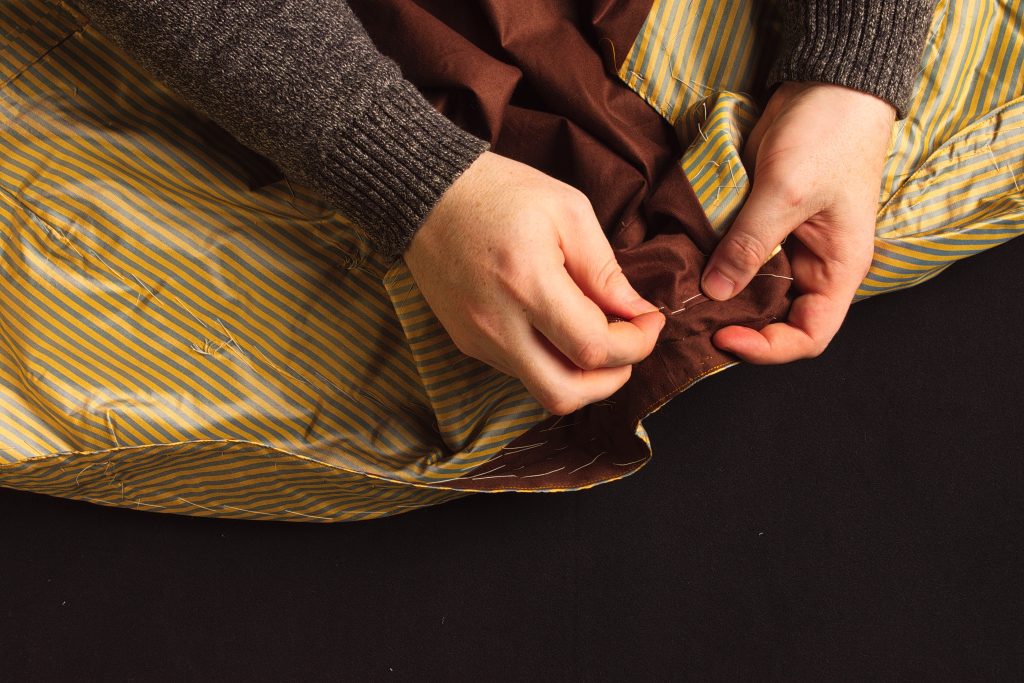
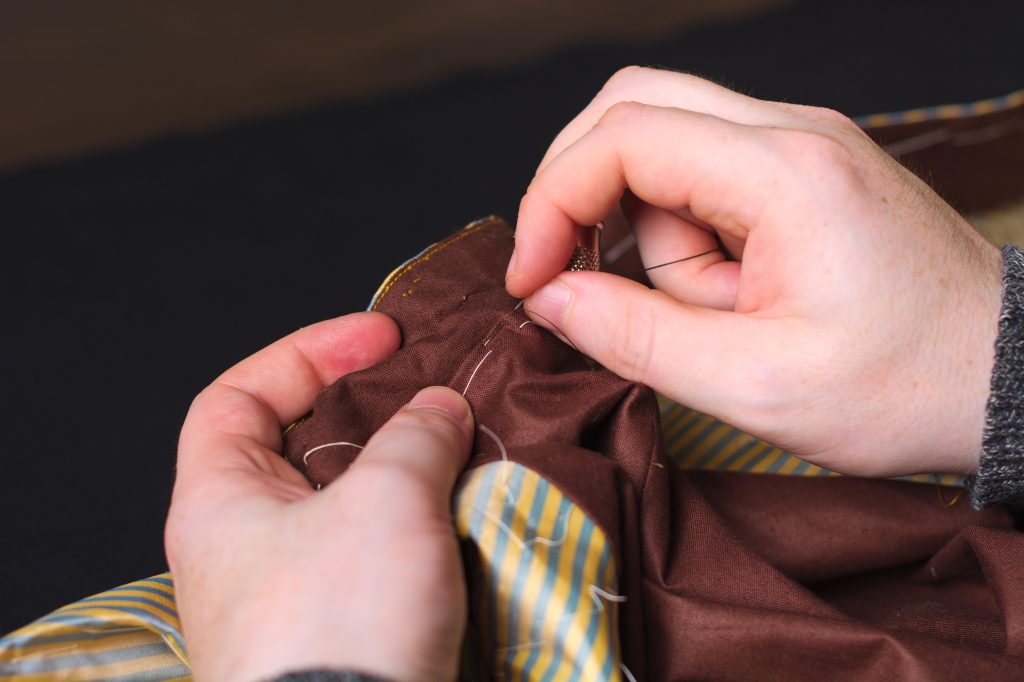
Now turn to the inside, fold under the lining seam allowance, and baste that to the collar in the same manner.
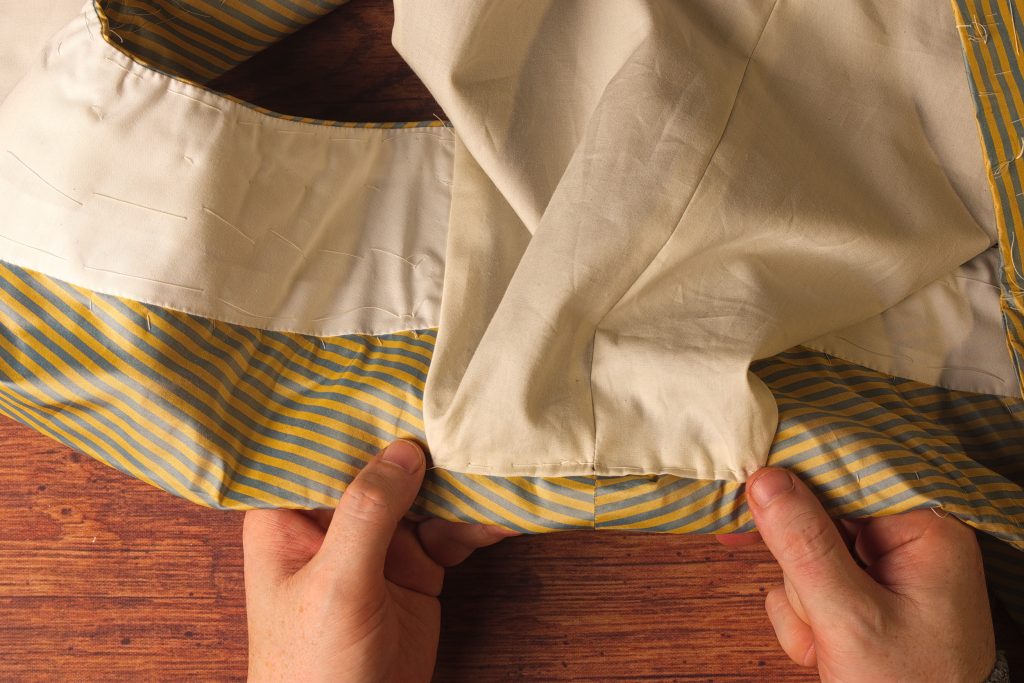
Fell the lining, being careful not to let the stitches show through to the other side.
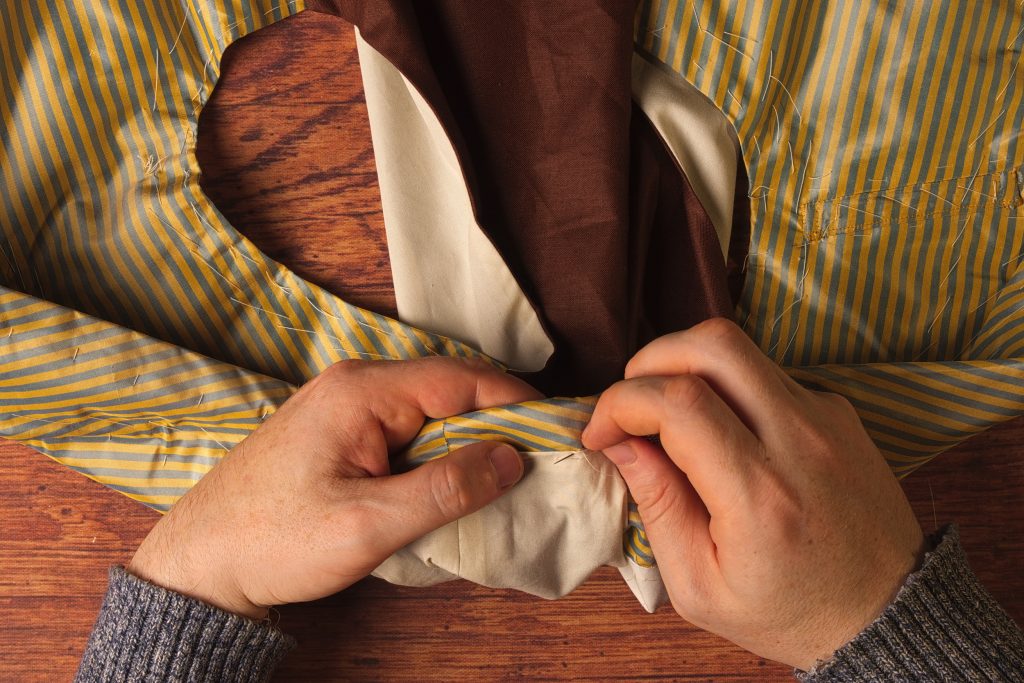
And that completes the neck and the closing up of the waistcoat.
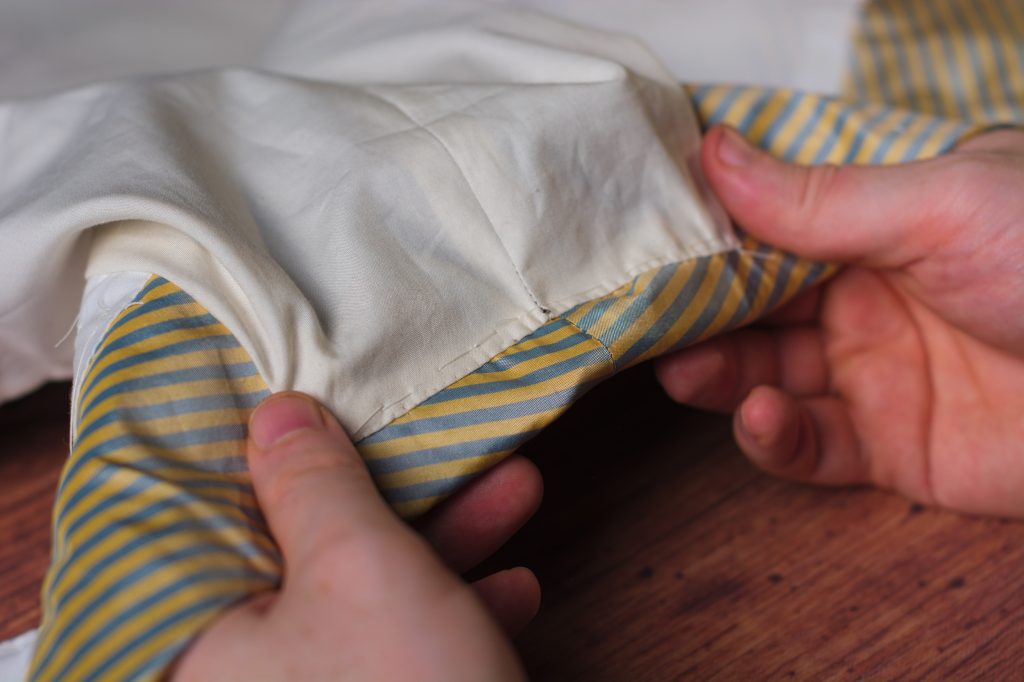
Bagging the Waistcoat
With all of the components of the waistcoat complete – the forepart and back – we can now begin assembling them into the final piece. Begin by laying out the back lining, unfolded, with right sides up.
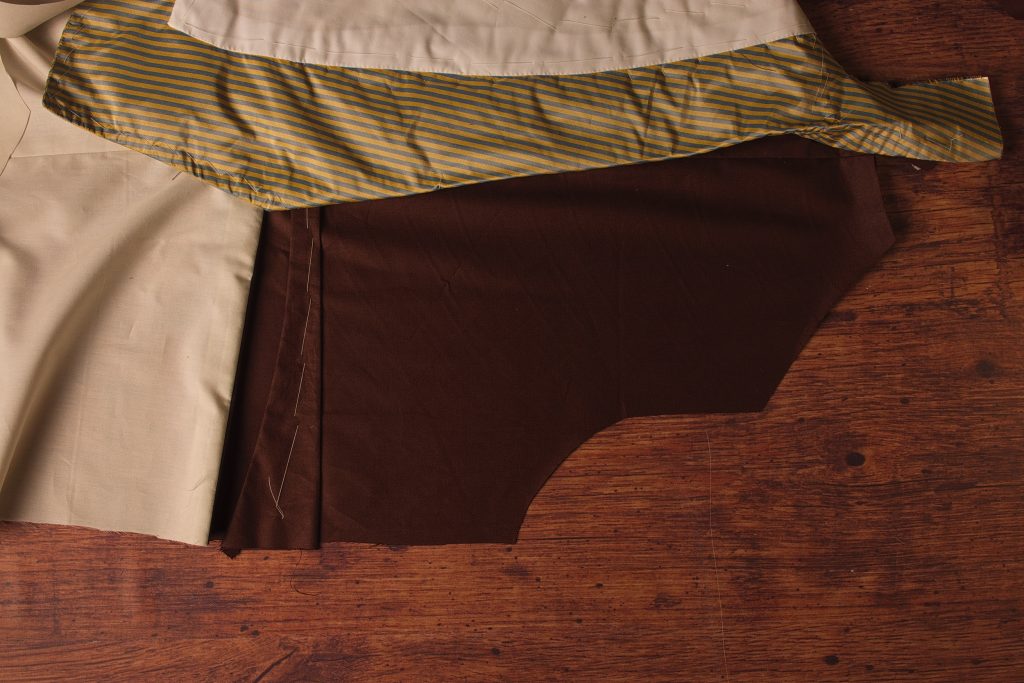
Place the corresponding forepart half in position, aligning the side seam. You want the seam line, 3/8″ from the edge of the forepart side seam, to align with the creased edge near the waist, and also align 3/8″ from the armscye.
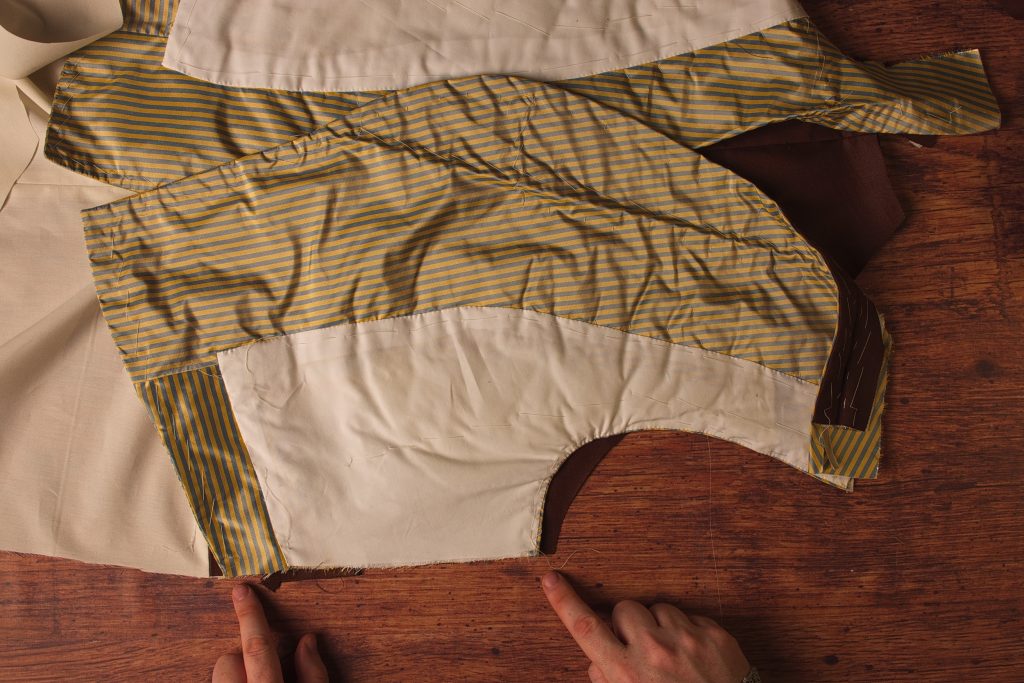
Baste the side seam using a diagonal stitch, keeping about 1/2″ from the edge, through the forepart and back.
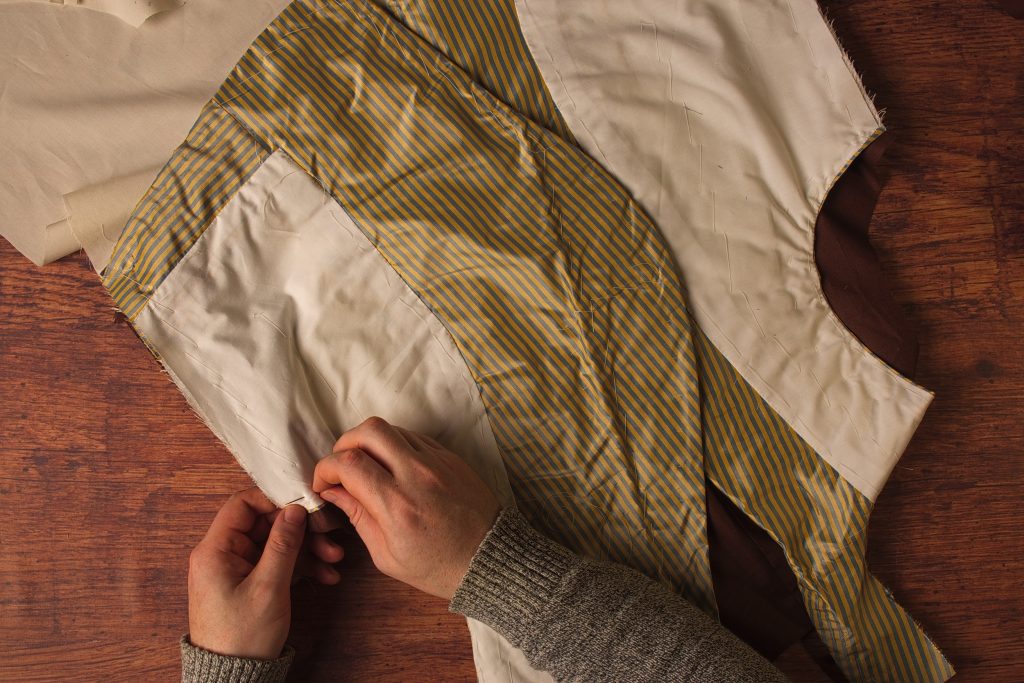
Now position the shoulder seam, keeping the forepart armscye 3/8″ from the edge of the back armscy where the seam would be. Then pin the other edge of the shoulder so that the back extends 3/8″ onto the collar.
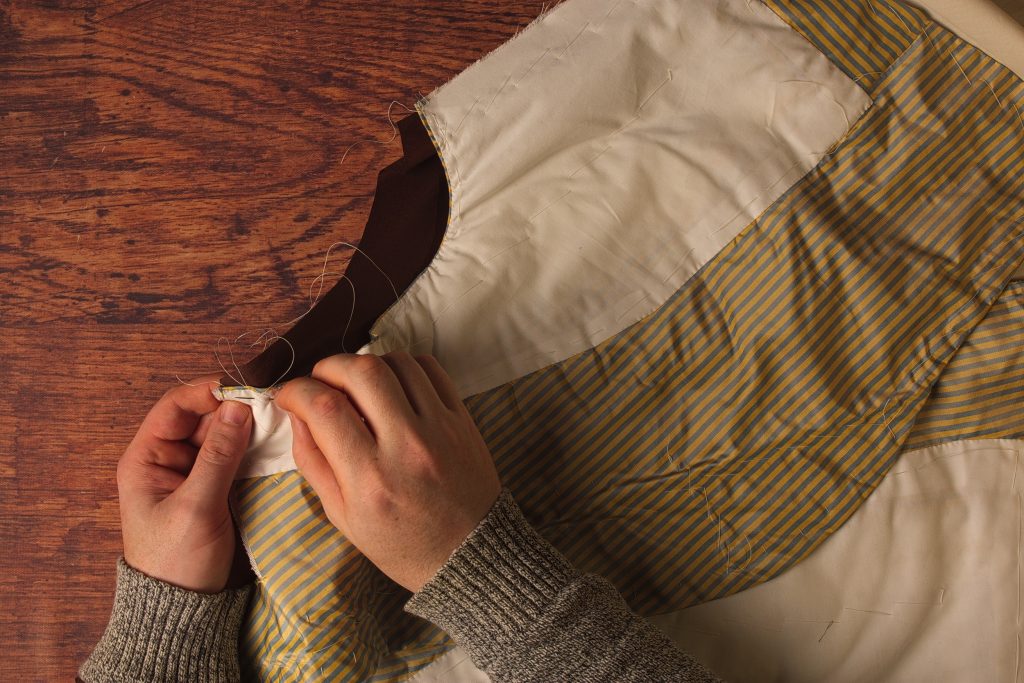
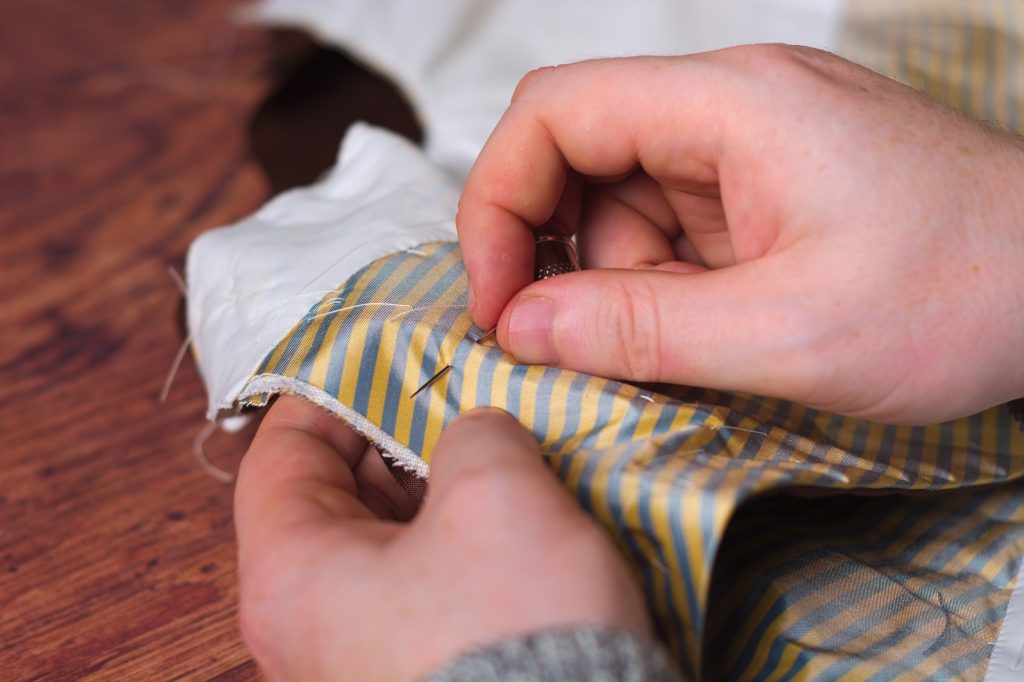
Here’s where the back shoulder seam should align 3/8″ beyond the lower edge of the collar.
You can see my mistake here that I mentioned previously when attaching the collar lining originally. The collar lining should be sewn all the way up to the edge of the shoulder, so that it can not be turned back as shown in this photo. Then the back lining simply overlaps the collar lining.
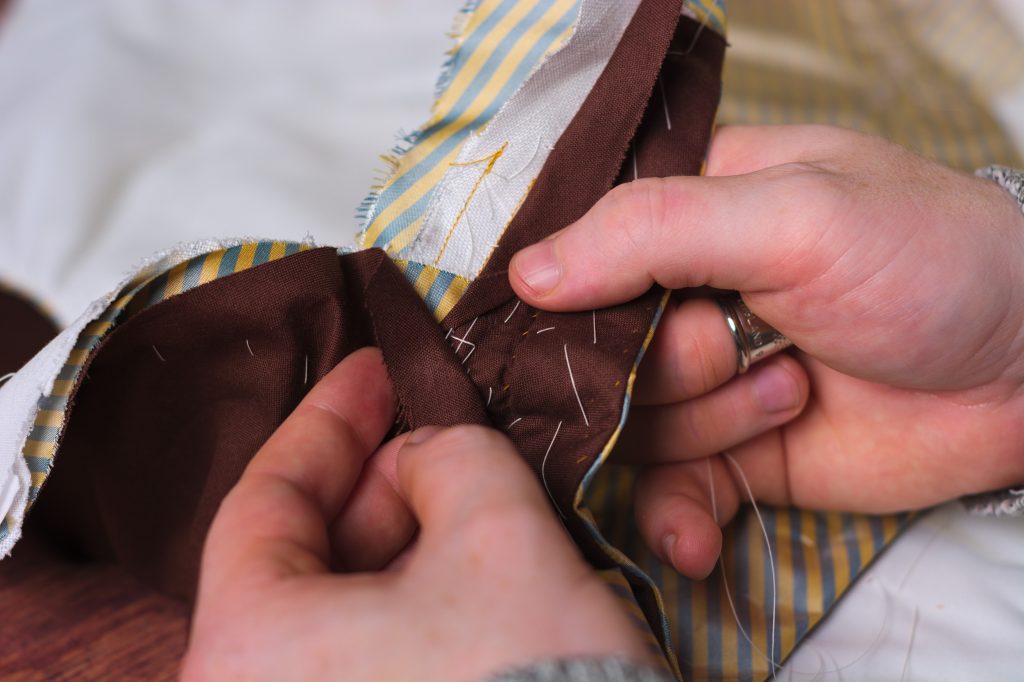
Here’s the waistcoat so far with the side and shoulder seams basted. The back lining should still hang free at this point.
Now turn under the lower front edge of the waistcoat just to get it out of the way.
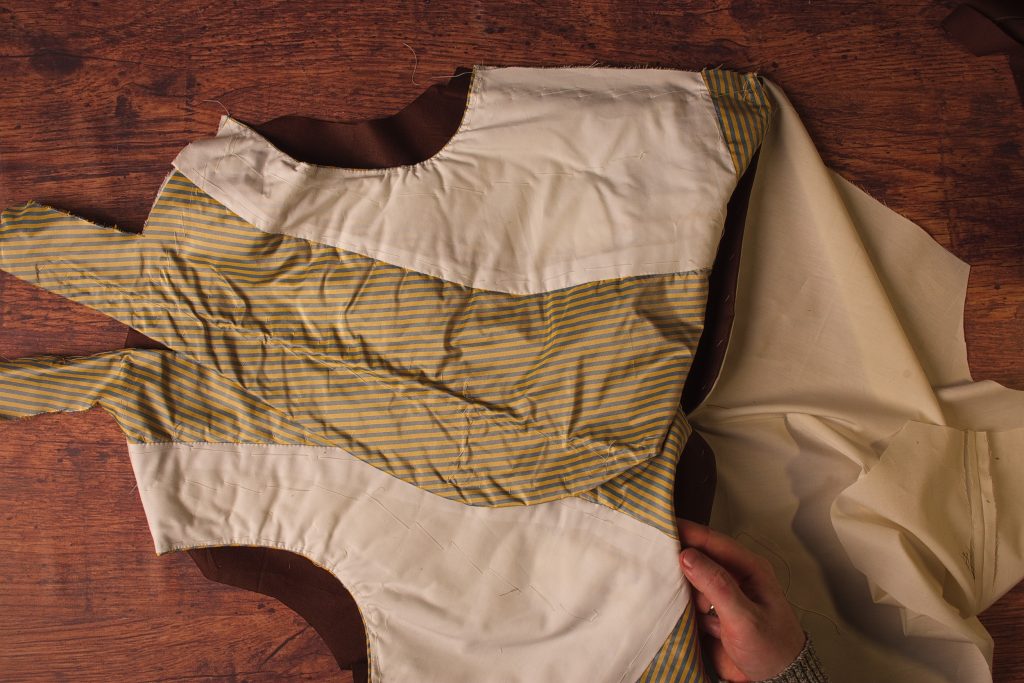
Fold the back lining into place, sandwiching the forepart between the two back layers. The wrong side of the back should be facing up at this point. Align the center of the back and the back edges as best you can.
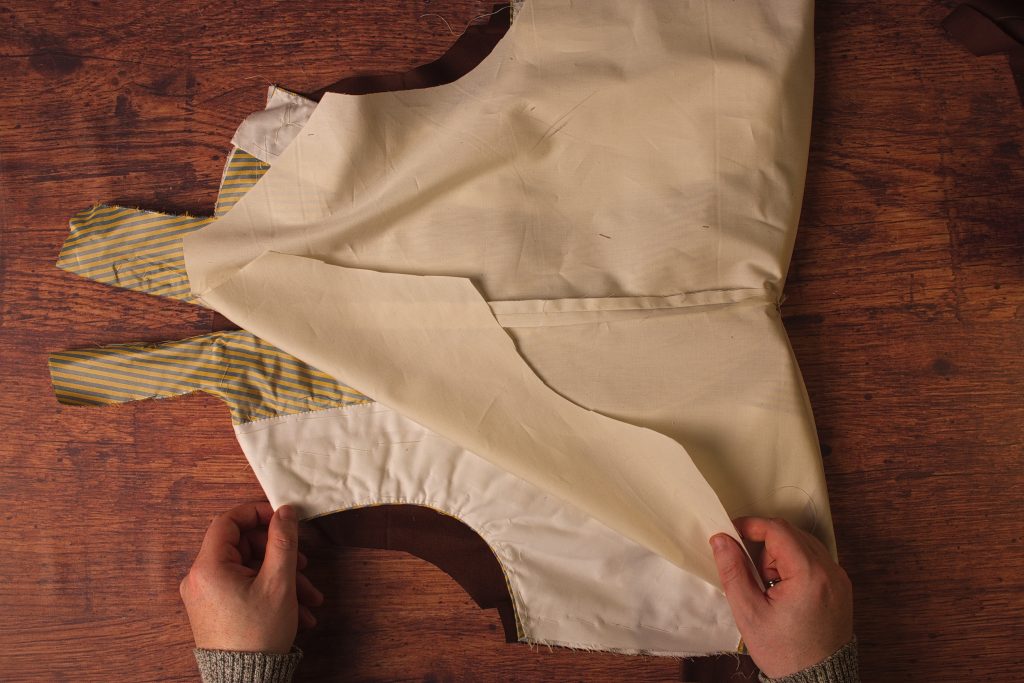
Now baste the back lining to the rest of the waistcoat assembly. I like to do this in stages for better control. Start at the top of the side seam and baste the side seam closed. Make sure the layers are aligned as closely as possible.
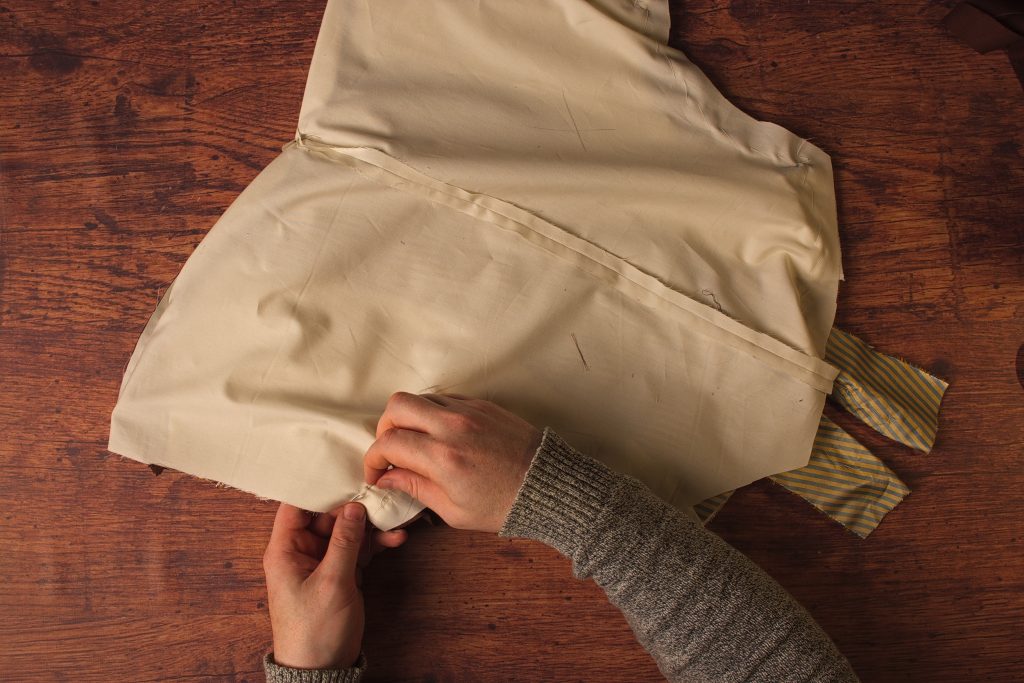
You may have to make some slight adjustments as you work to keep everything aligned.
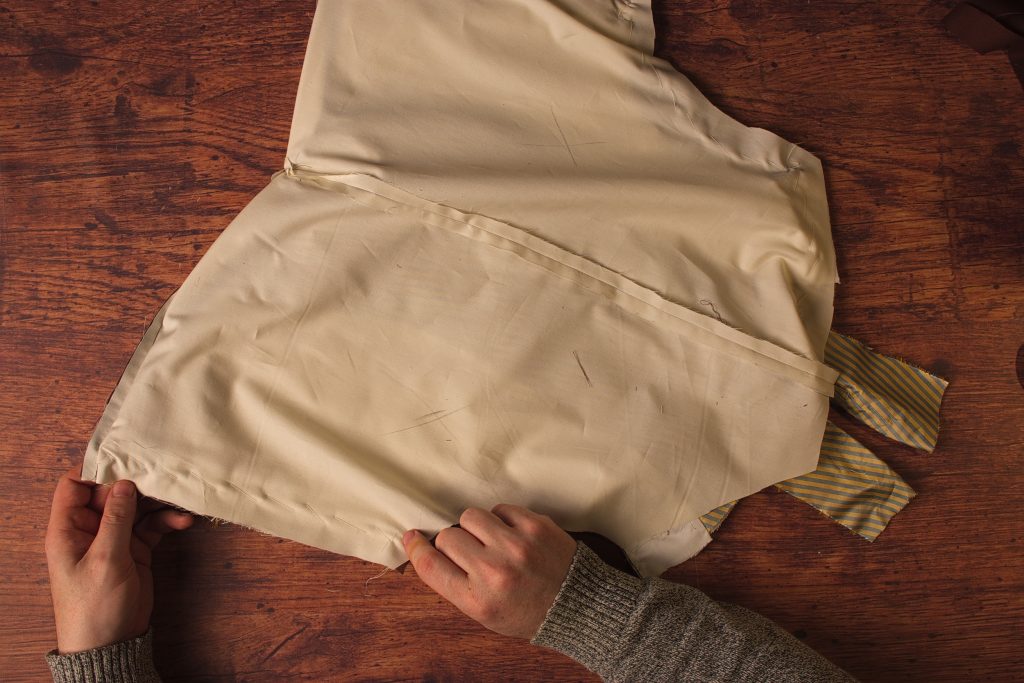
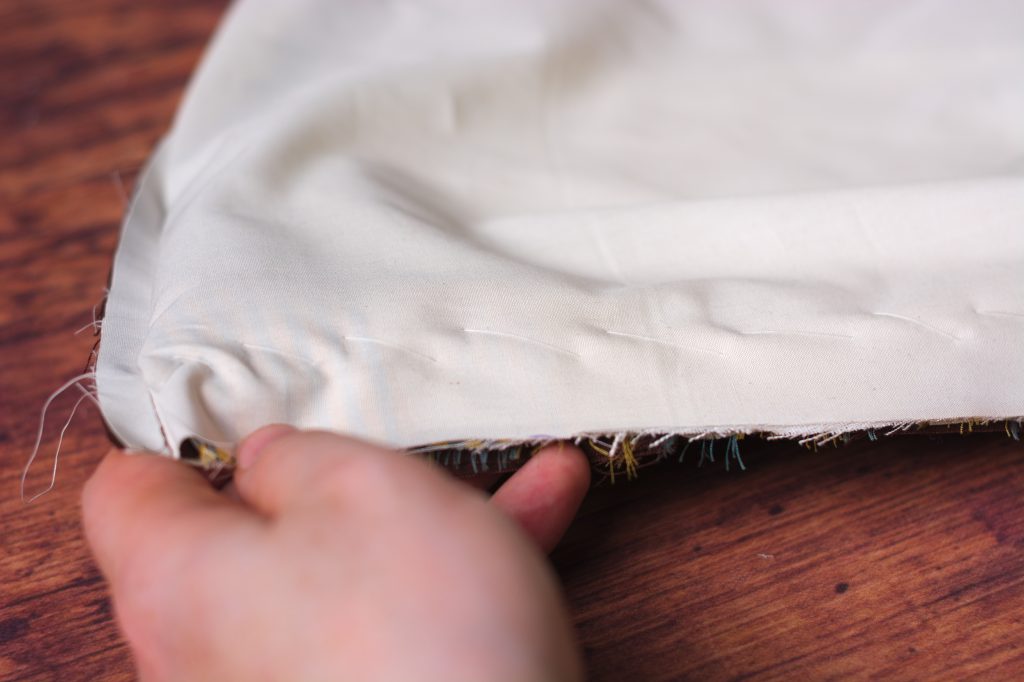
Now baste the shoulder seam from the armscye to midway along the back neck just to keep everything in place.
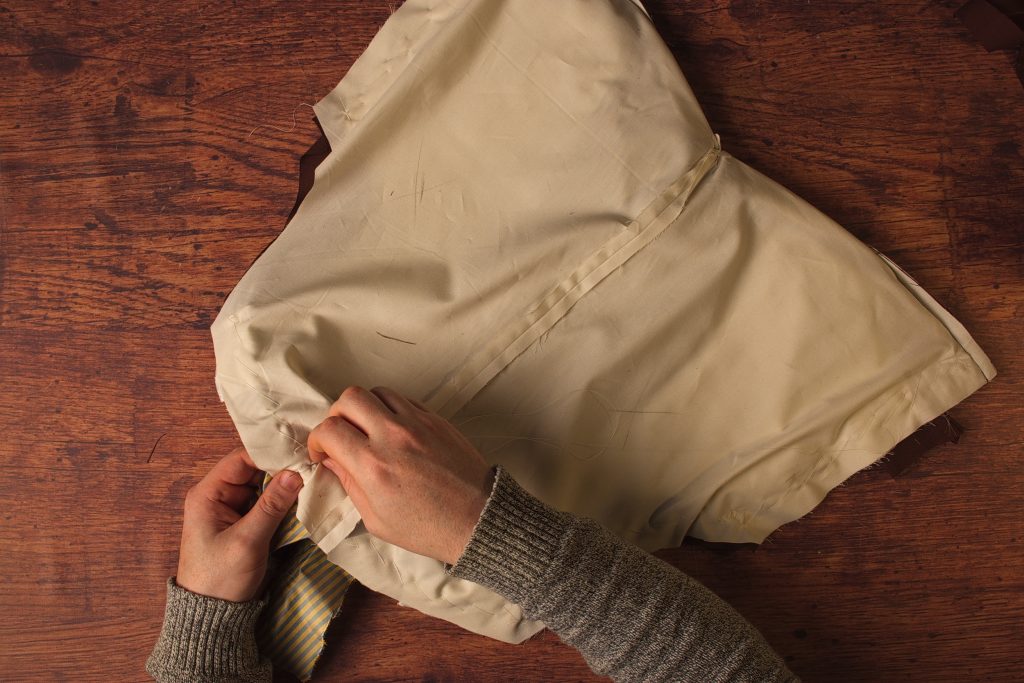
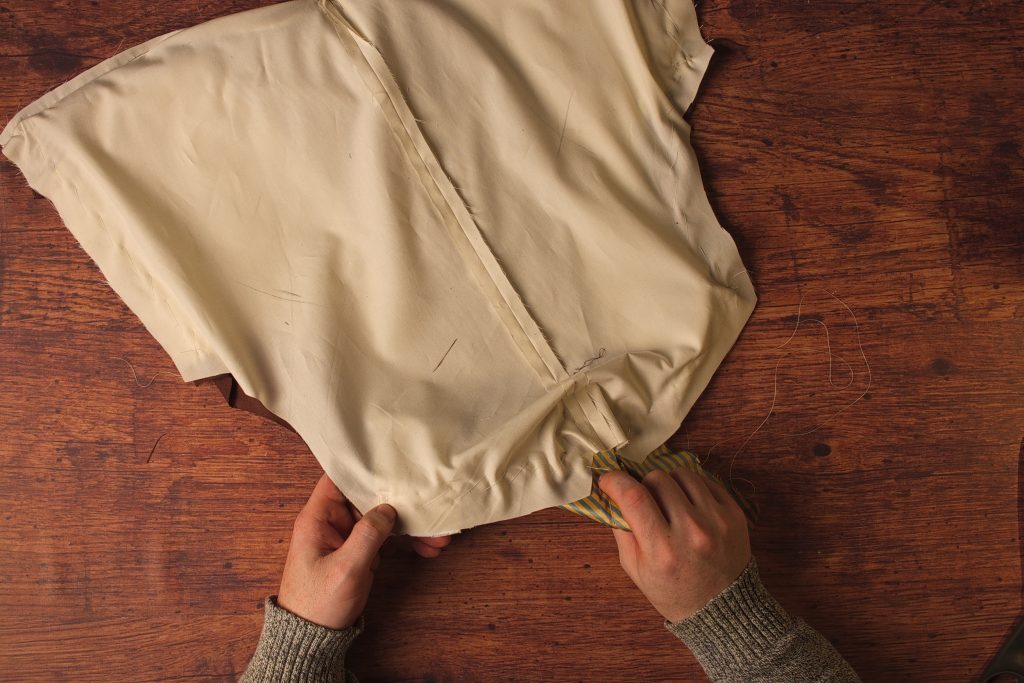
Finally, baste the armscyes together. You’ll want to make sure the forepart is kept away from the stitch line here (3/8″ from the end), which can be a little tricky near the bottom of the armscye. Also, the layers sometimes want to pull away from each other and not align properly, so you can gently pick up the waistcoat and give it a gentle tug to help align the layers.
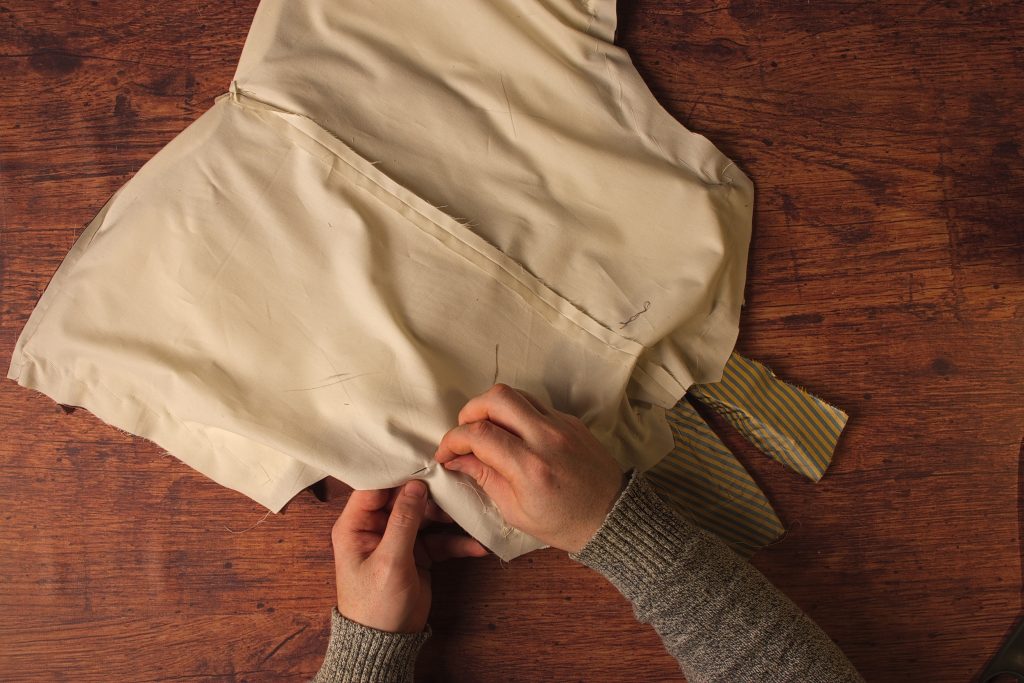
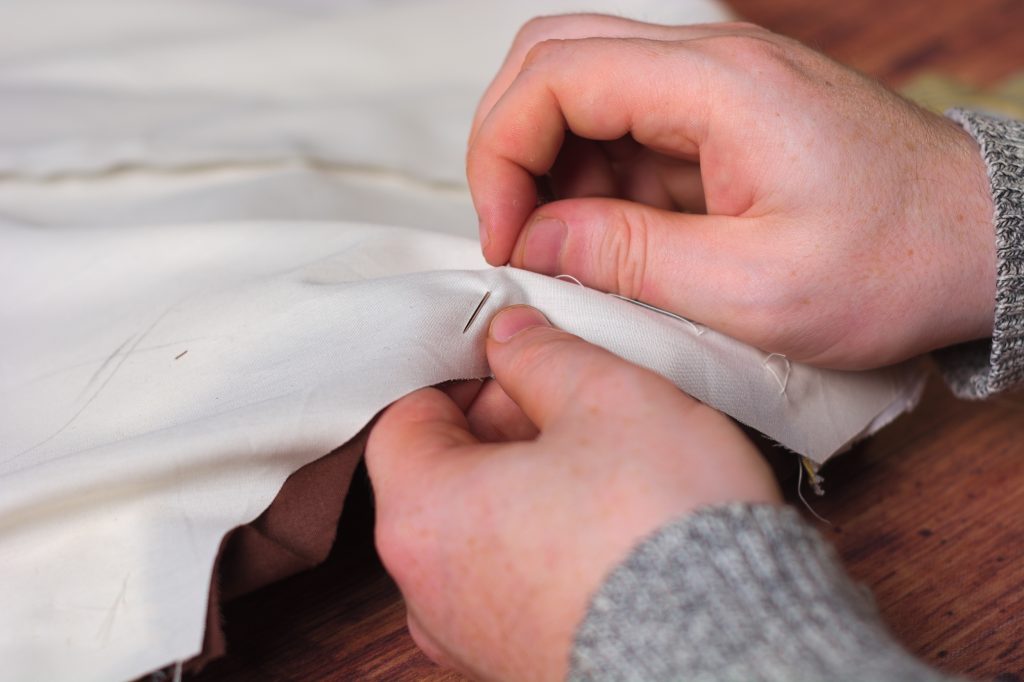
Here’s the armscye and waistcoat in general after completing the basting.
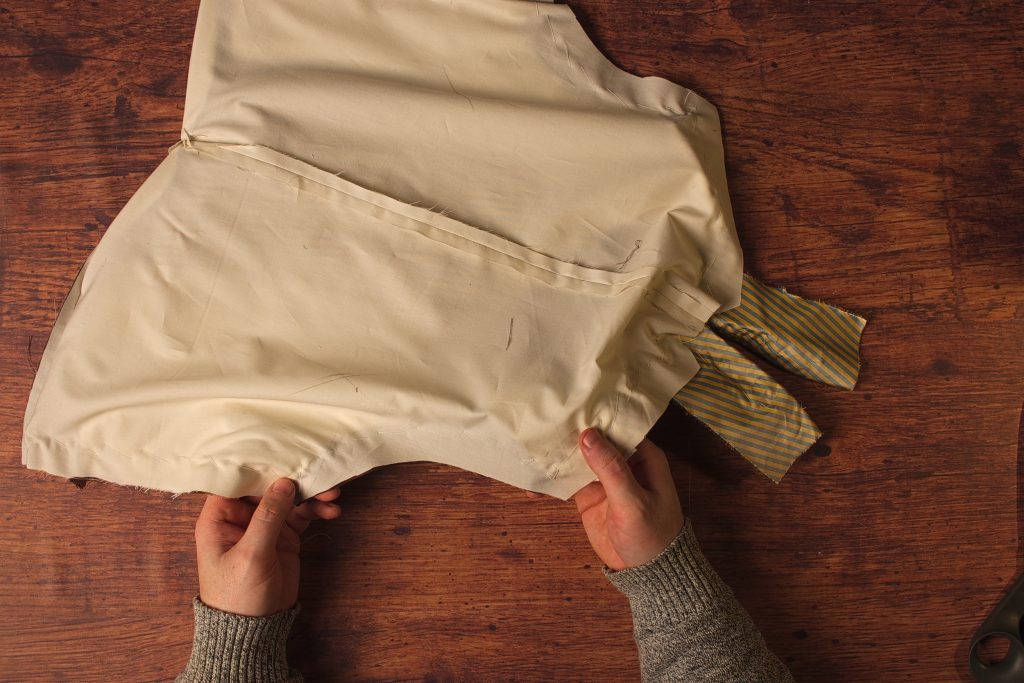
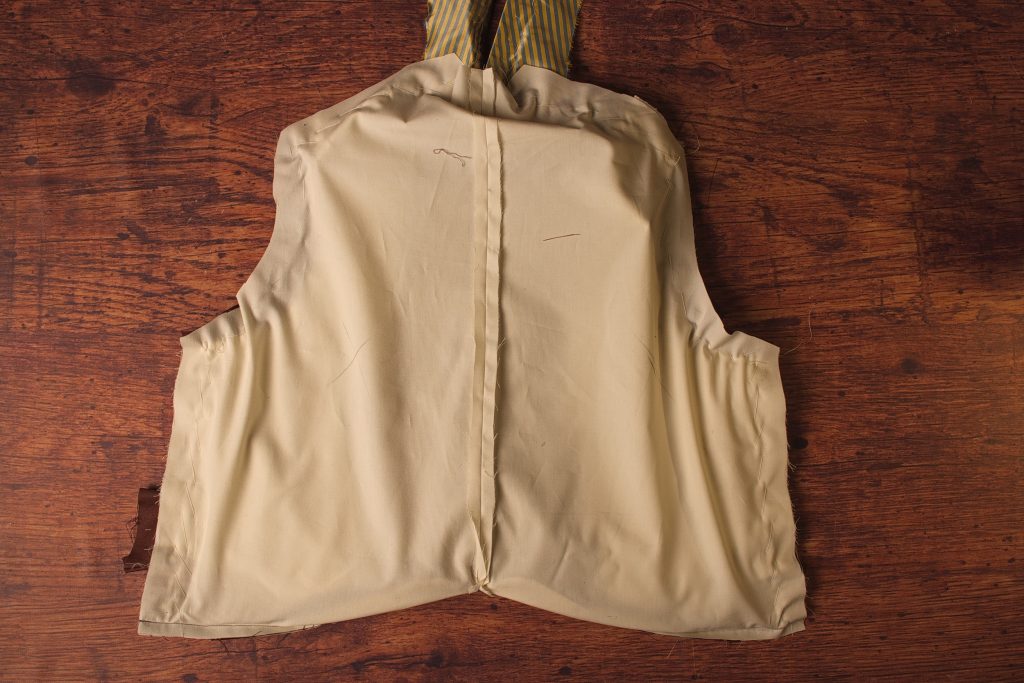
Trim away any excess fabric from the back belt, if necessary.
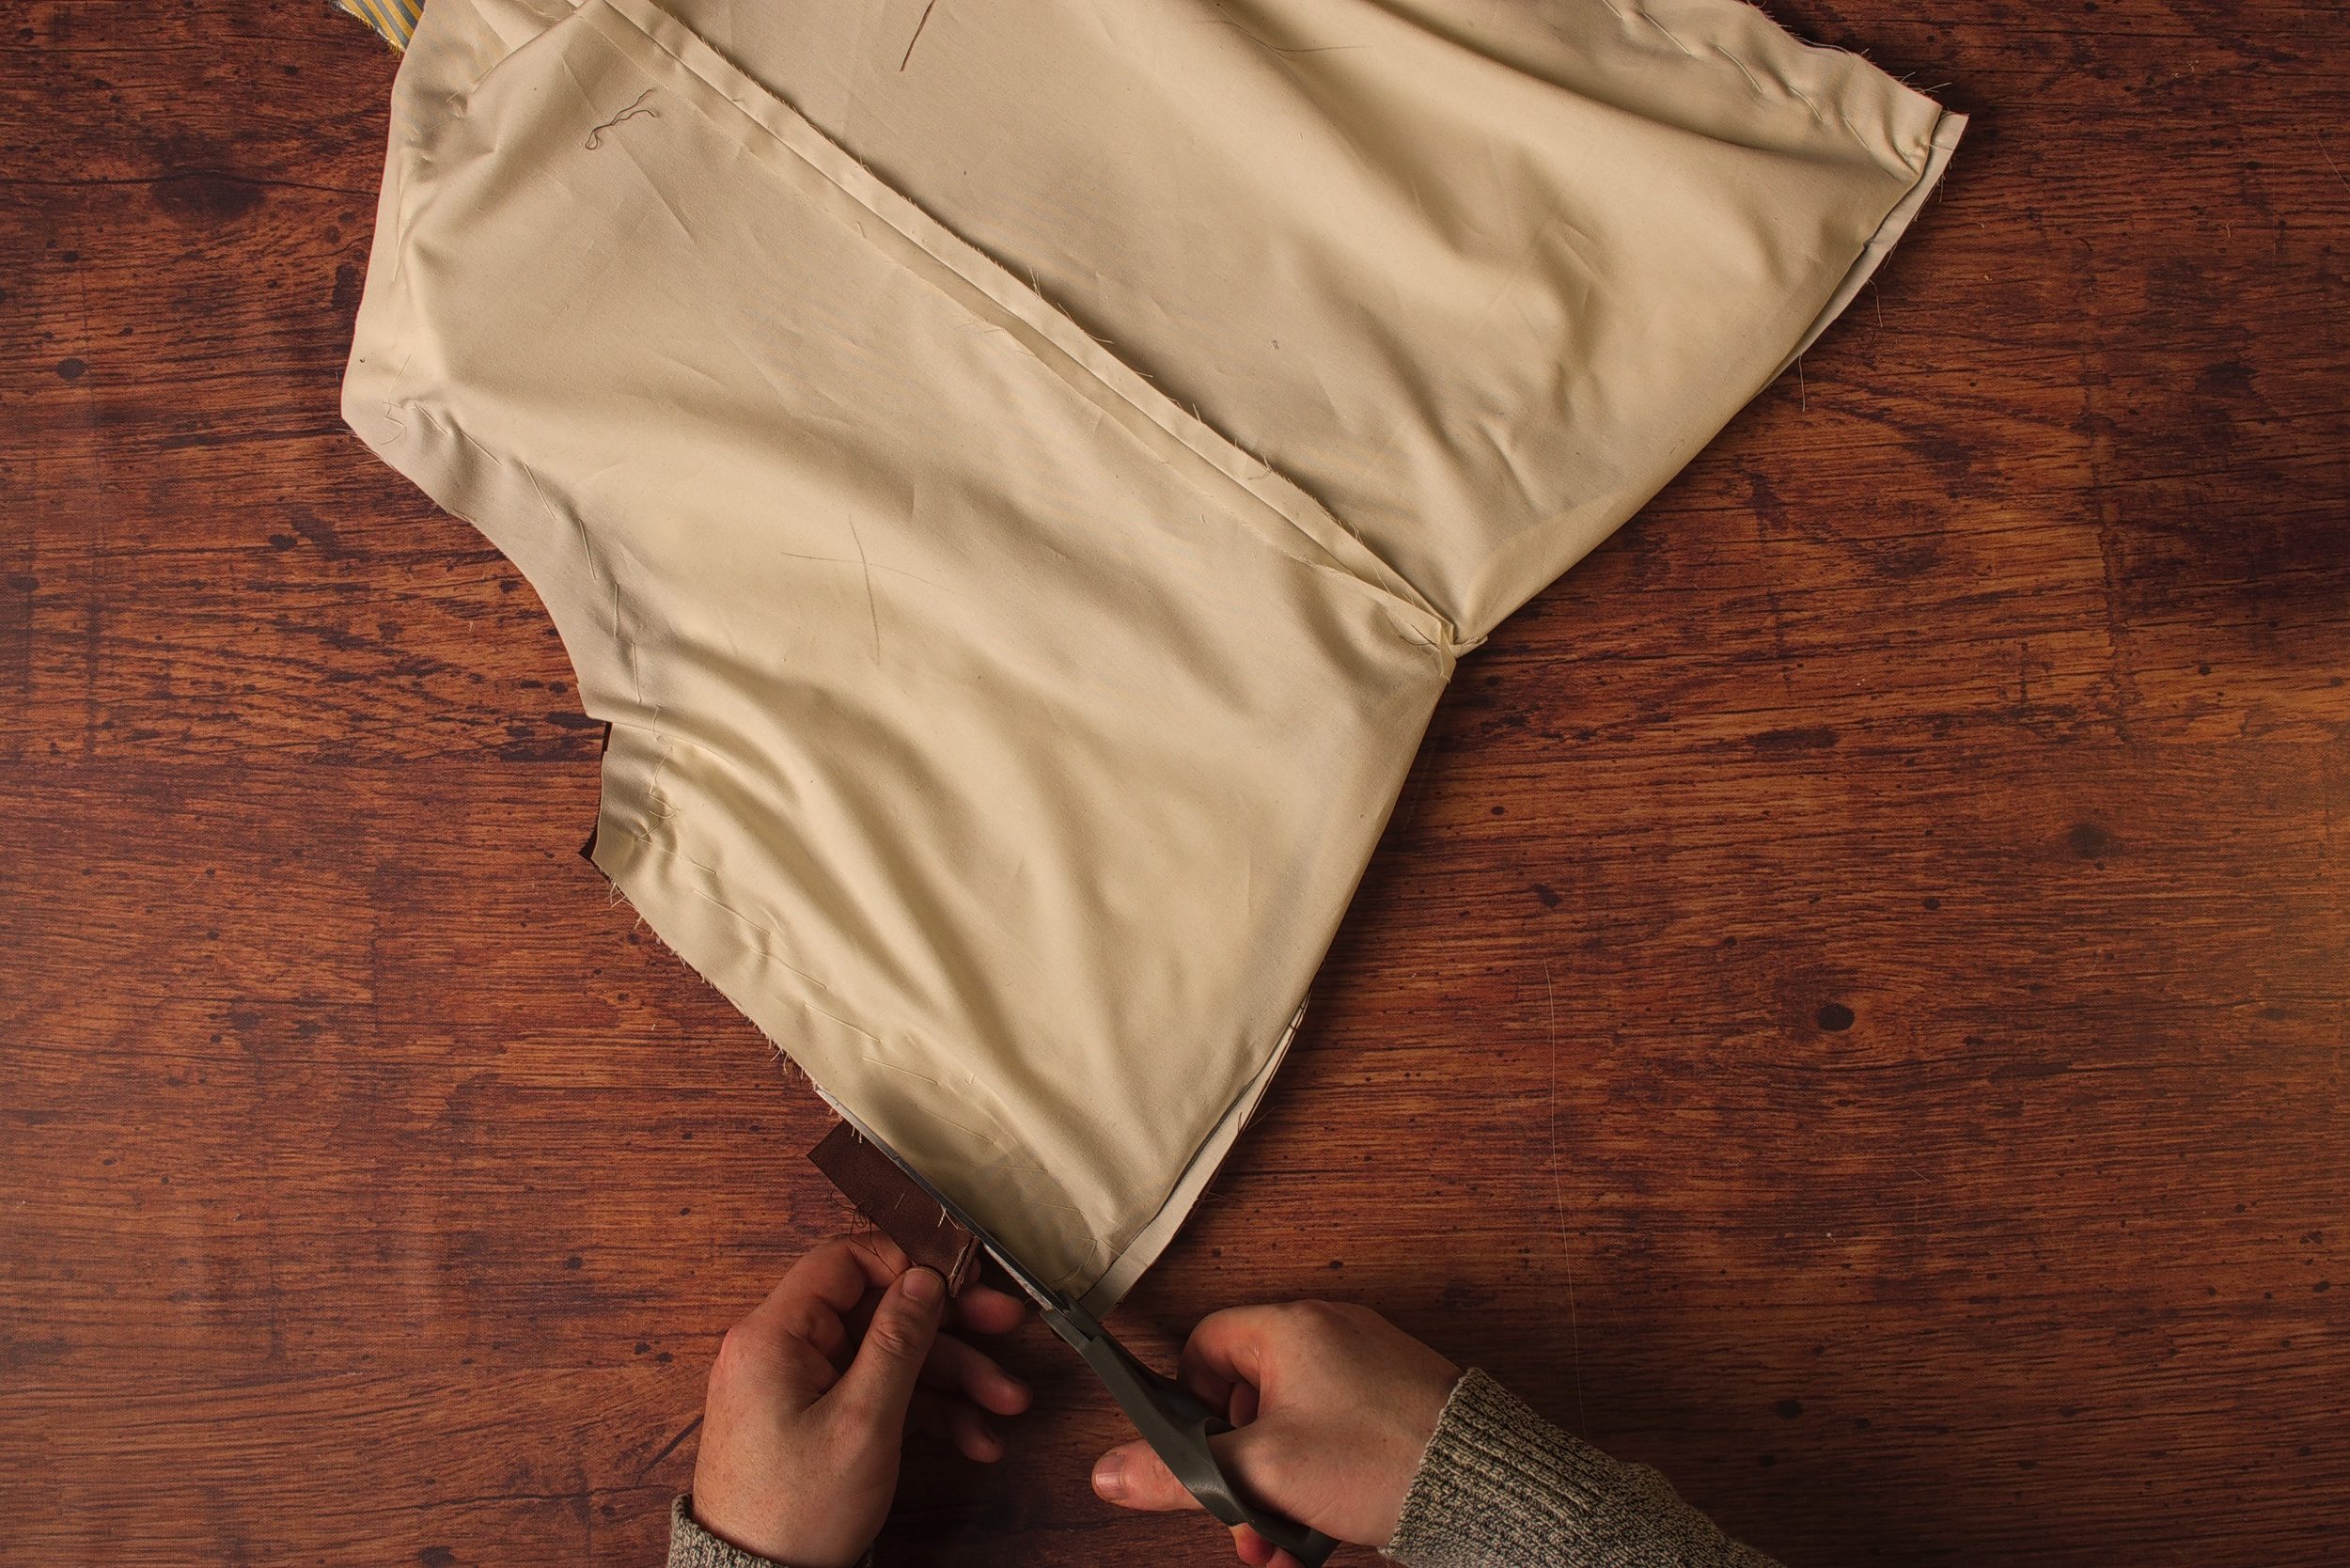
Now we have to mark the points where the stitching will turn or stop. Flip the waistcoat so that the back of the waistcoat is up (not the lining side).
At the top of the side seam, use your fingernail and crease the fabric along the edge of the forepart that’s underneath. If you’ve worked accurately this should be 3/8″ from the armscye.
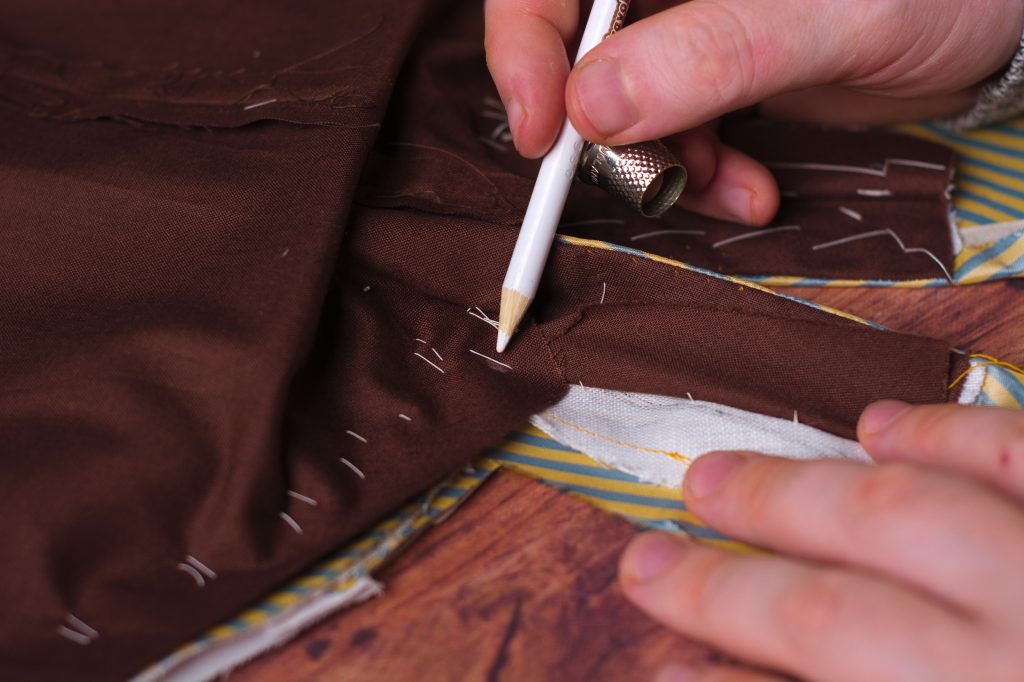
You can also use a white colored pencil to make the mark more visible.
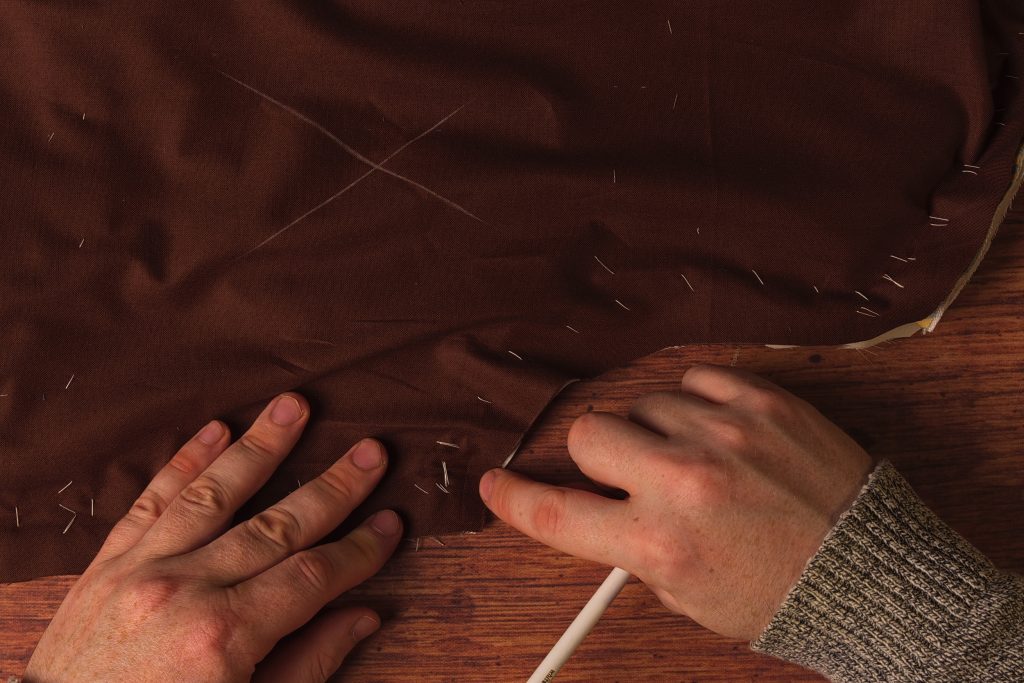
Do the same at the top of the armscye near the shoulder. Crease right next to the forepart edge and mark with the pencil.
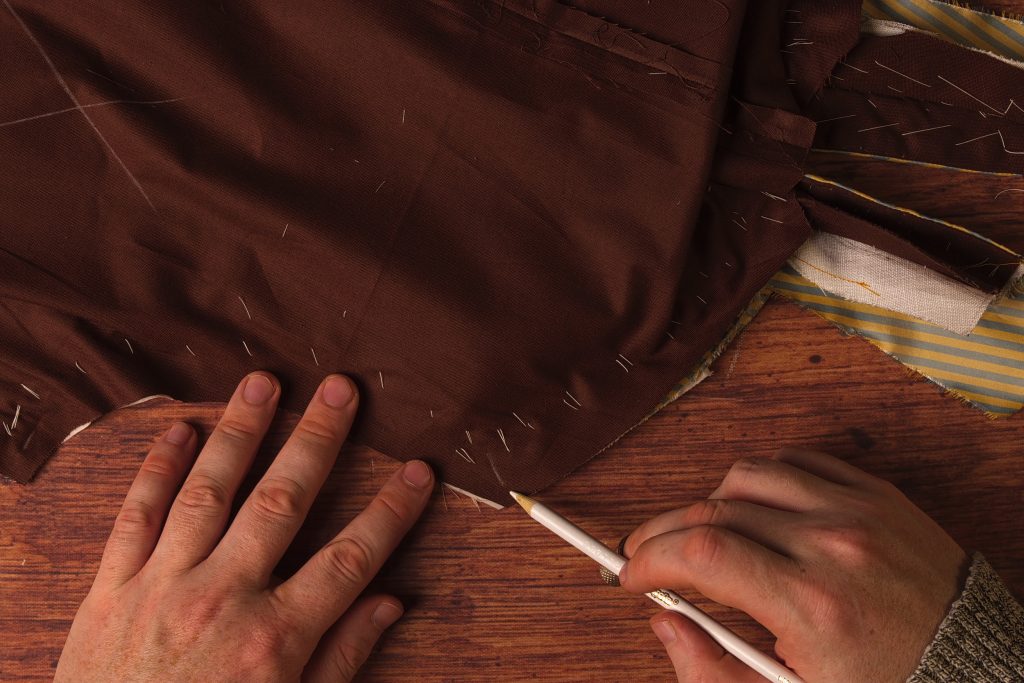
And finally, mark the neck side of the shoulder seam, 3/8″ past the bottom edge of the collar lining. Again my mistake here and the collar lining should not be folded out of the way here.
Now begin sewing through all layers using a machine stitch from the bottom of the side seam, pivoting exactly at the point at the armscye that you marked.
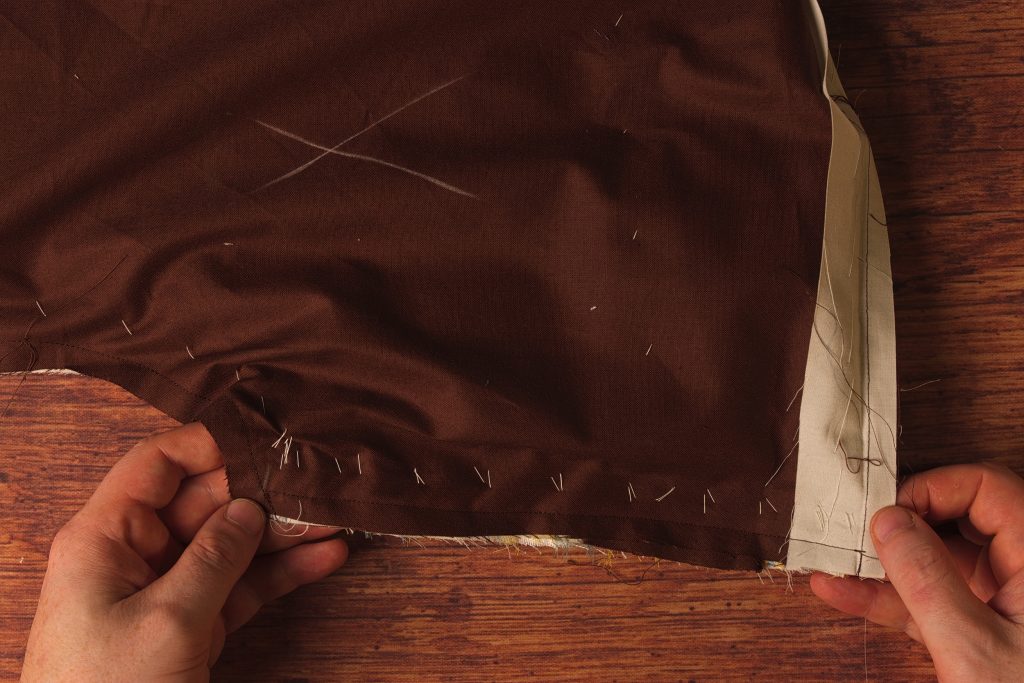
Continue sewing the armscye to the shoulder point.
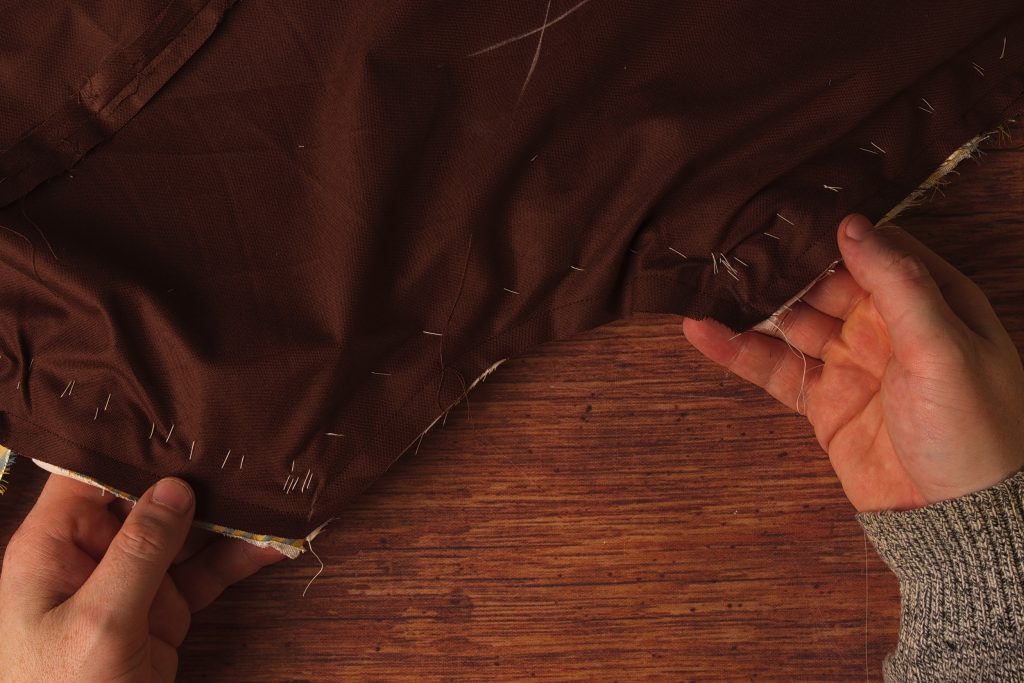
And continue sewing across the shoulder seam to that point 3/8″ beyond the collar. If you look carefully in the photo you can see my mistake again with the collar lining being folded out of the way of the stitching. If you’ve correctly sewed the collar lining to the edge of the shoulder, this is not possible, and your stitch line here will encase the collar lining instead.
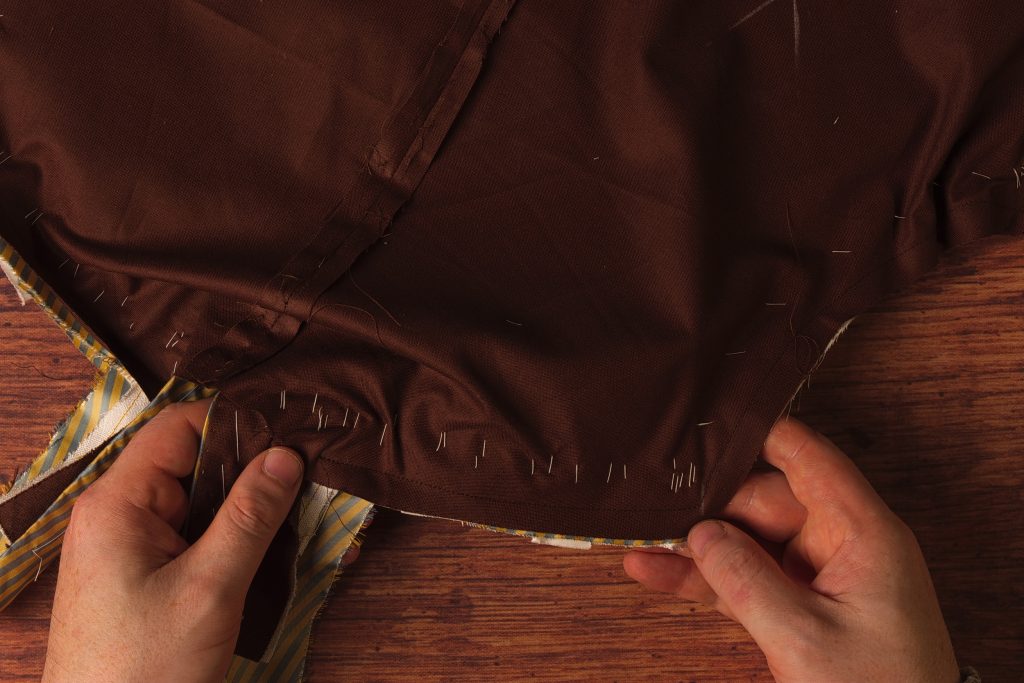
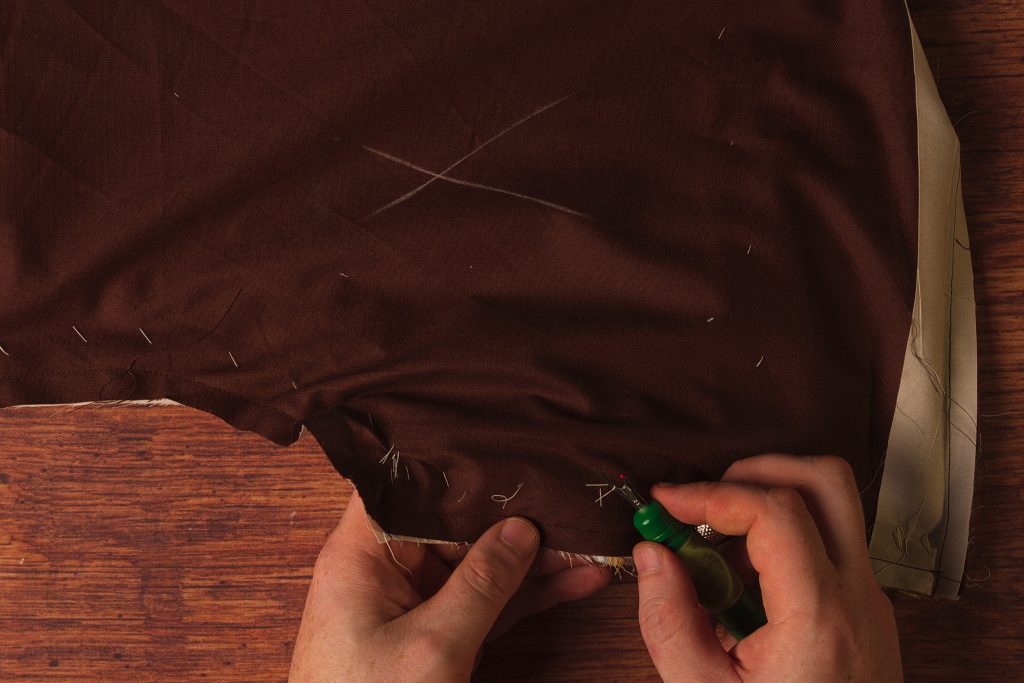
After sewing both sides, remove all of the basting stitches you just put in.
At the top of the side seam, trim the seam allowance at a diagonal, about 1/8″ away from the stitching.
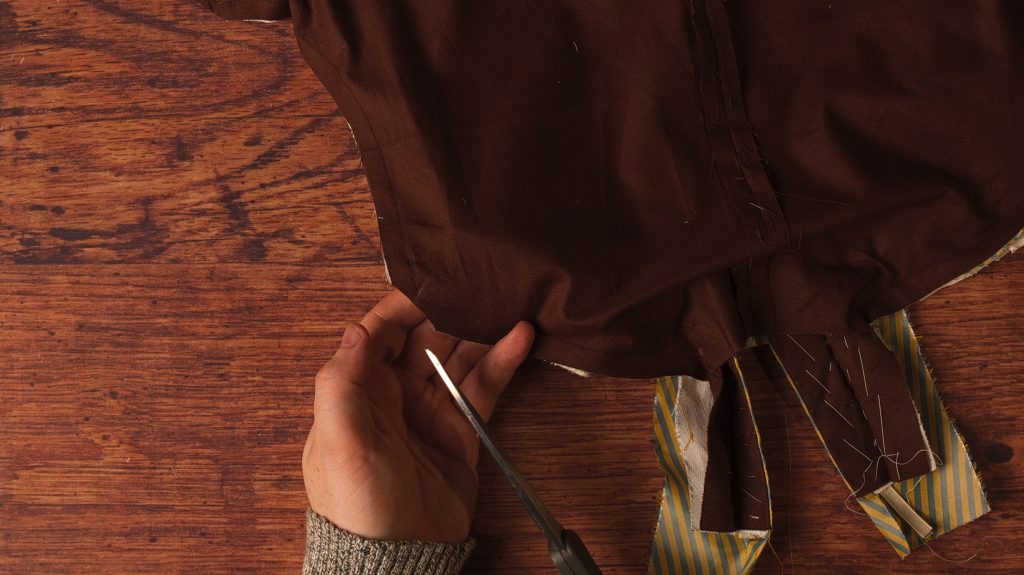
Do the same at the bottom of the side seam.
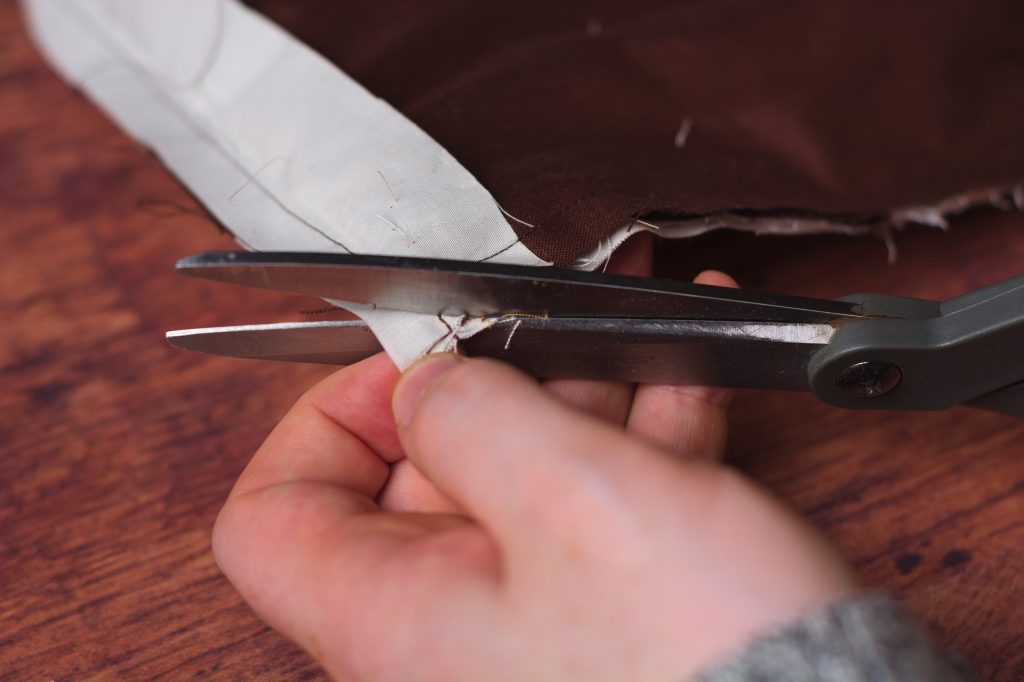
Trim the armscye seam allowance down to 1/8″ or 3/16″ if your material is more delicate and frays easily.
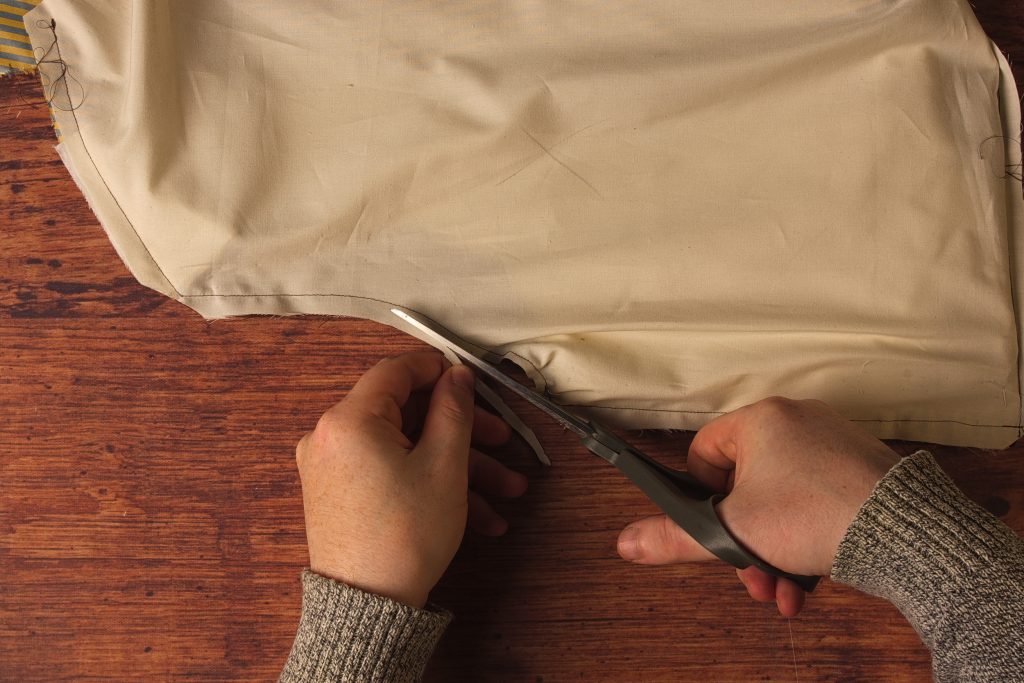
With all the stitching complete and the basting stitches removed, we finally get to the fun part! Turning the waistcoat right side out. Being very careful not to stretch the neck area, pull the forepart out from between the back and lining. Use a point pressing tool to get into all the various areas near the waist and side seam to ensure they are completely turned.
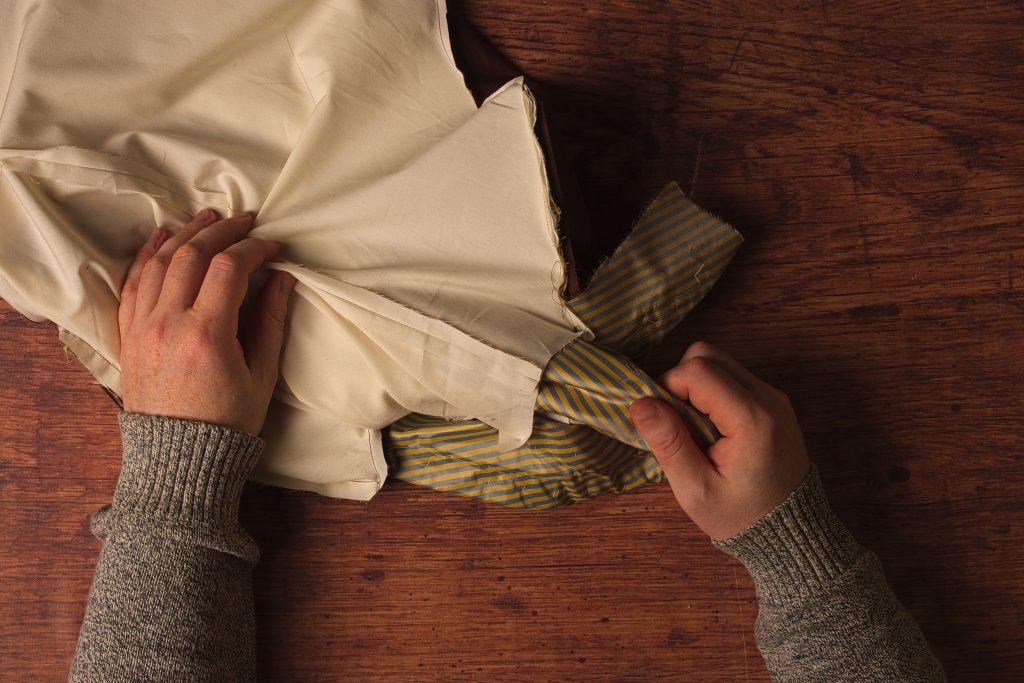
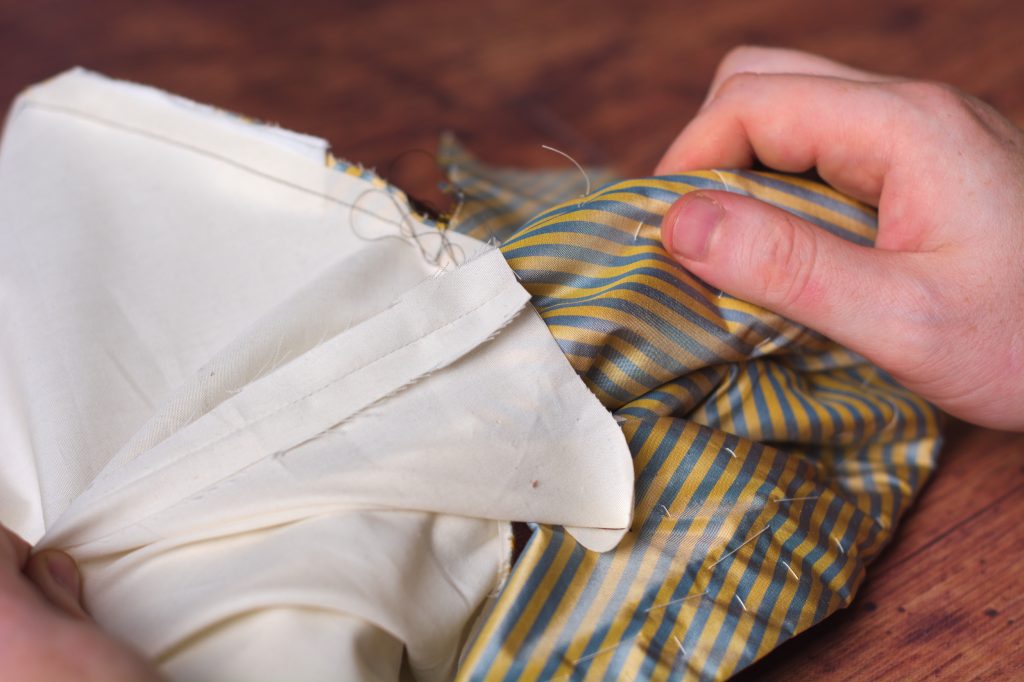
If you’ve done everything correctly, you should end up with something that looks like a waistcoat now.
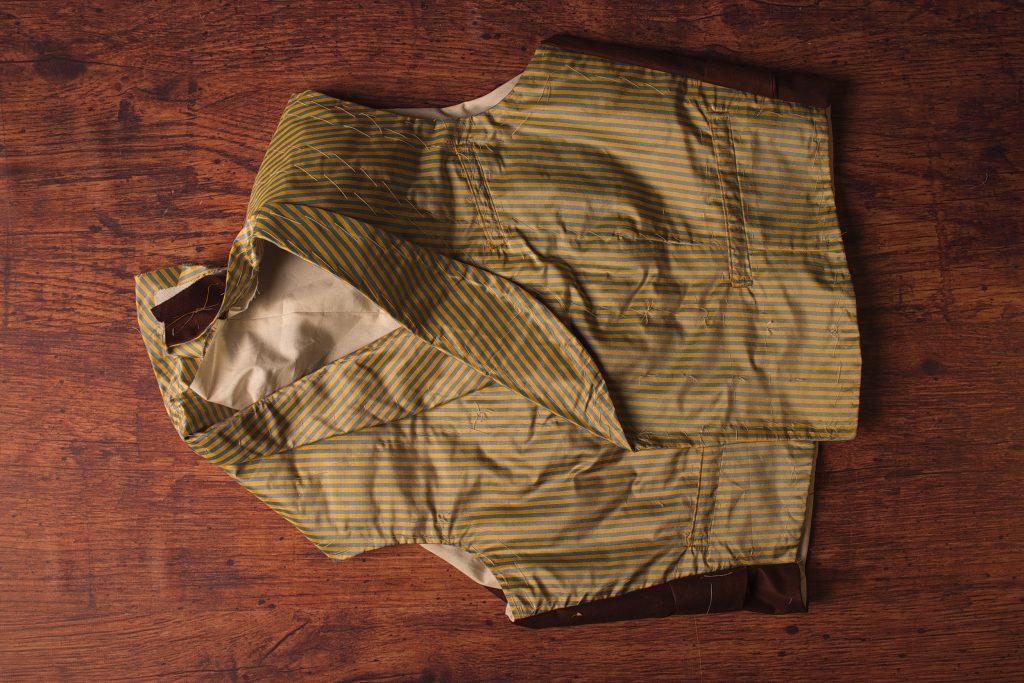
Now begin pressing the waistcoat at the shoulder seam, using a tailor’s ham underneath since it’s a curved seam. Again, my mistake here – if you’ve done everything correctly the collar will be underneath the back lining here.
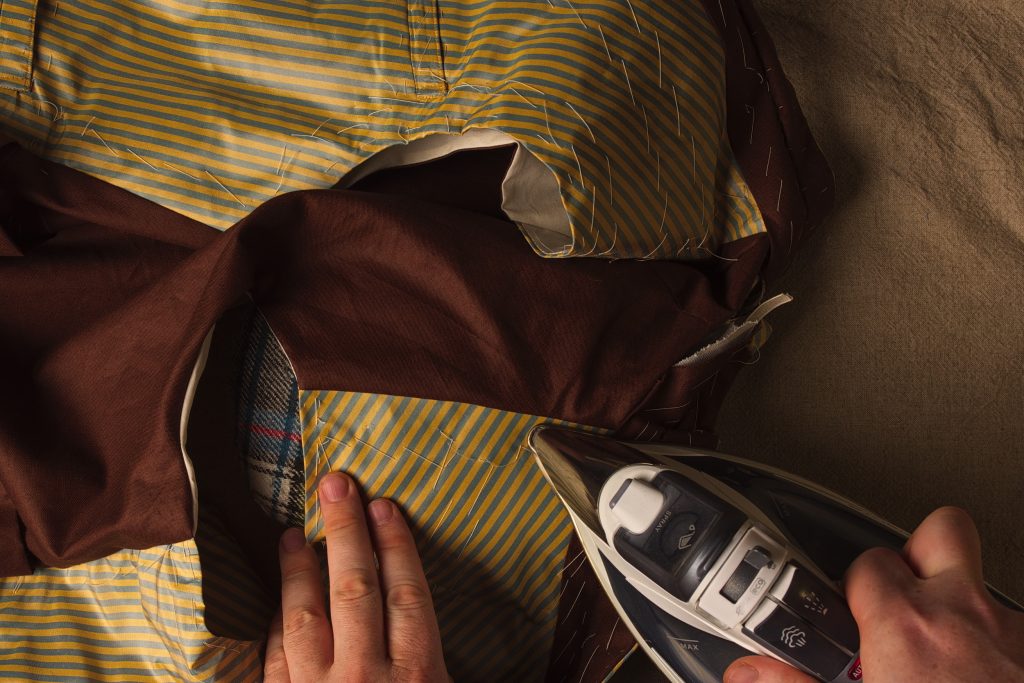
Press the side seam open as well.
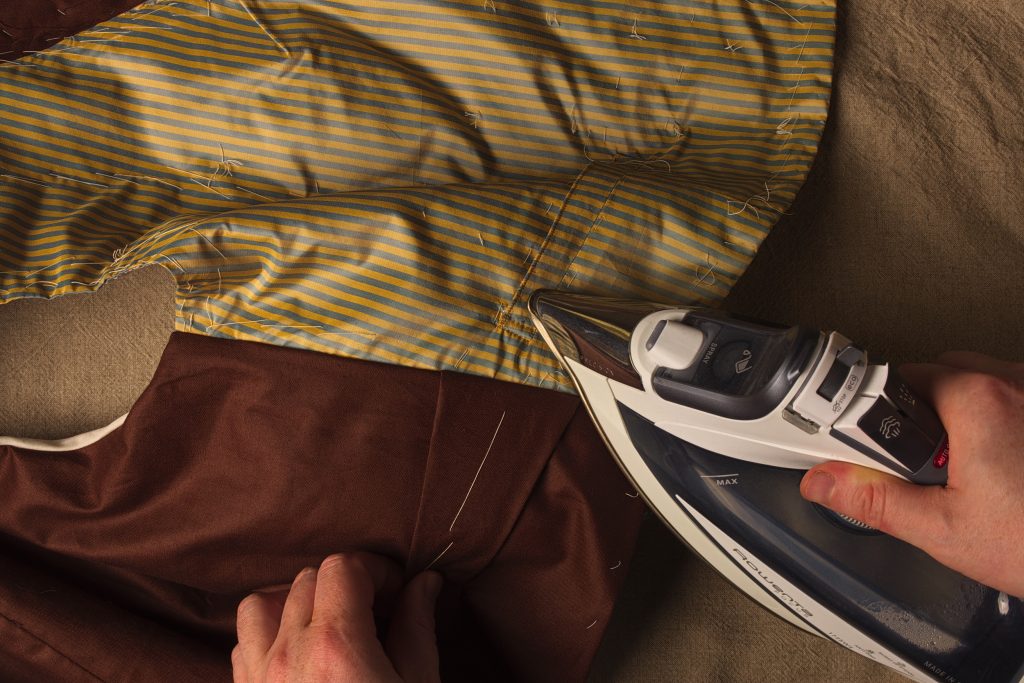
And finally, press the armscye as well, keeping the lining side slightly to the underside so it is not visible when the waistcoat is worn.
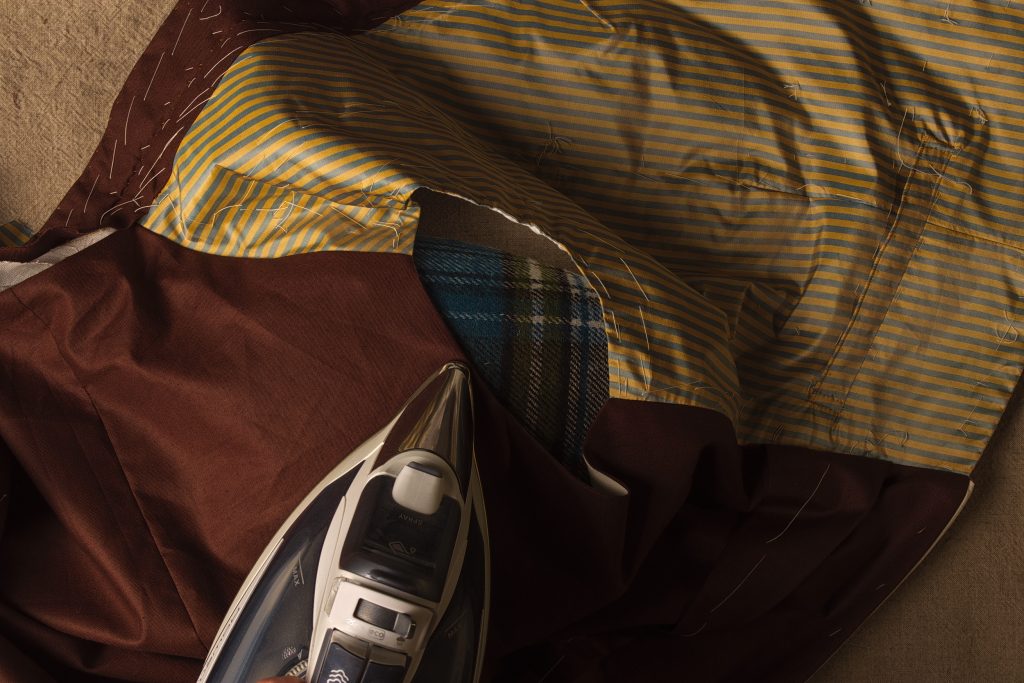
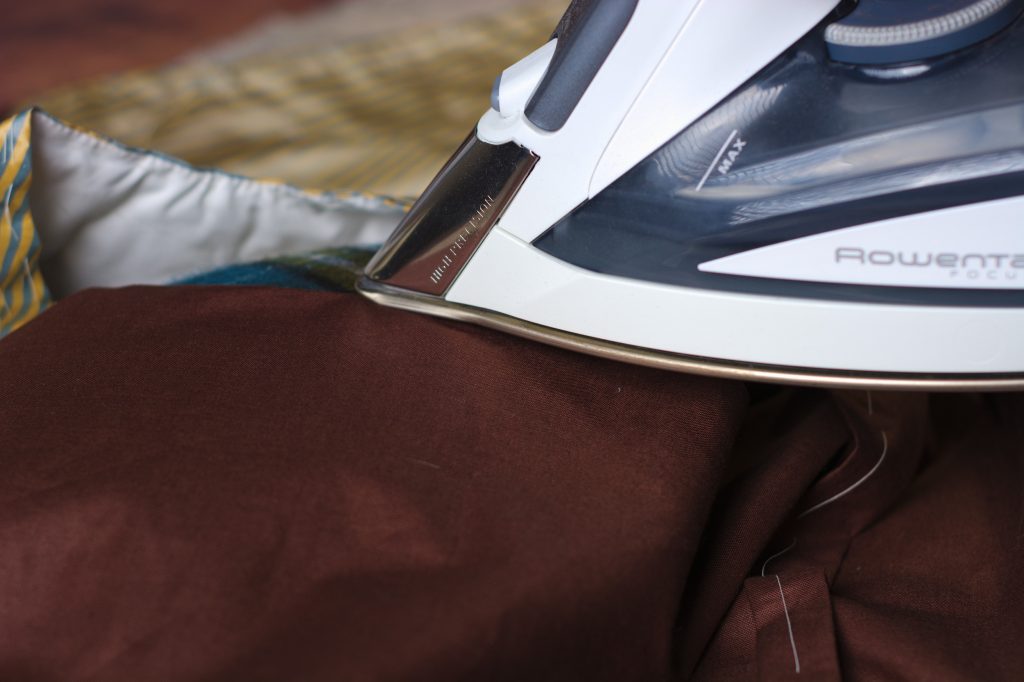
The Back Belt
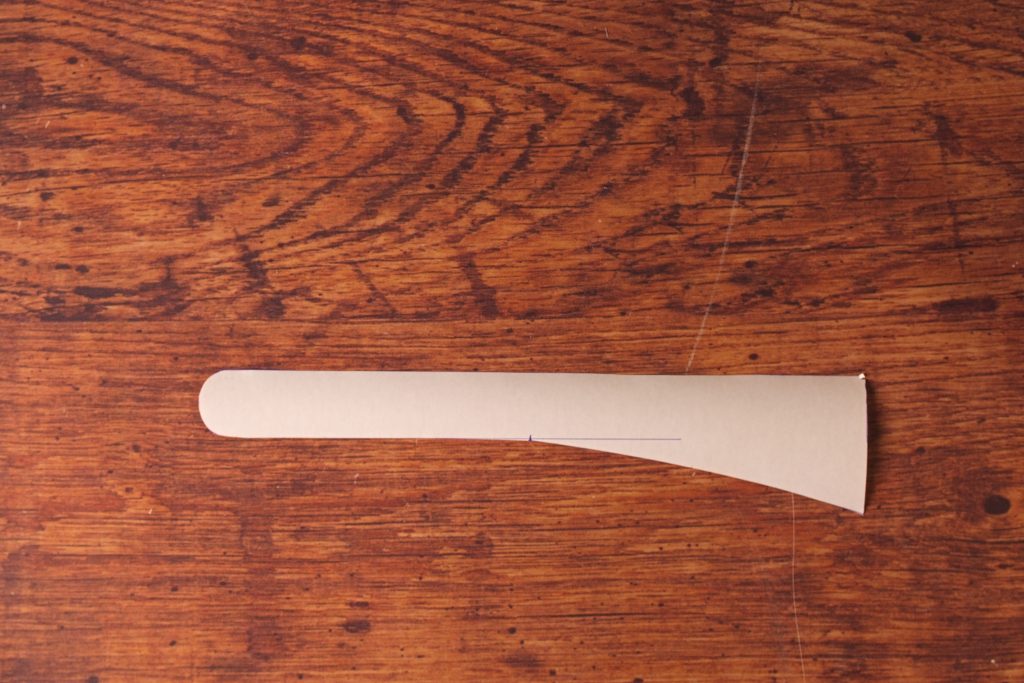
To draw the pattern for the back belt, make a horizontal line equal to the length of the back plus 1″. The extra inch gives us a bit of extra room for adjustment, if necessary.
On one end, make a perpendicular line 3 graduated inches in length, and on the other, a line 1″ in length. The narrow end should be equal to the width of your vest buckle.
Draw a parallel line along the bottom edge, 1″ from the top. Complete the curves as shown in red.

Complete the pattern by adding a 3/8″ seam allowance along the rounded end and bottom of the buckle. The top edge is cut on the fold.

Here’s my completed pattern. I ended up including the seam allowances as I drafted, so there are no indications for that.
Lay your pattern on the folded edge of the fabric, trace, and cut out two belt pieces. I actually like to double the doubled fabric, if that makes sense, and cut out both belts at once to save a little time. Here they are after unfolding.
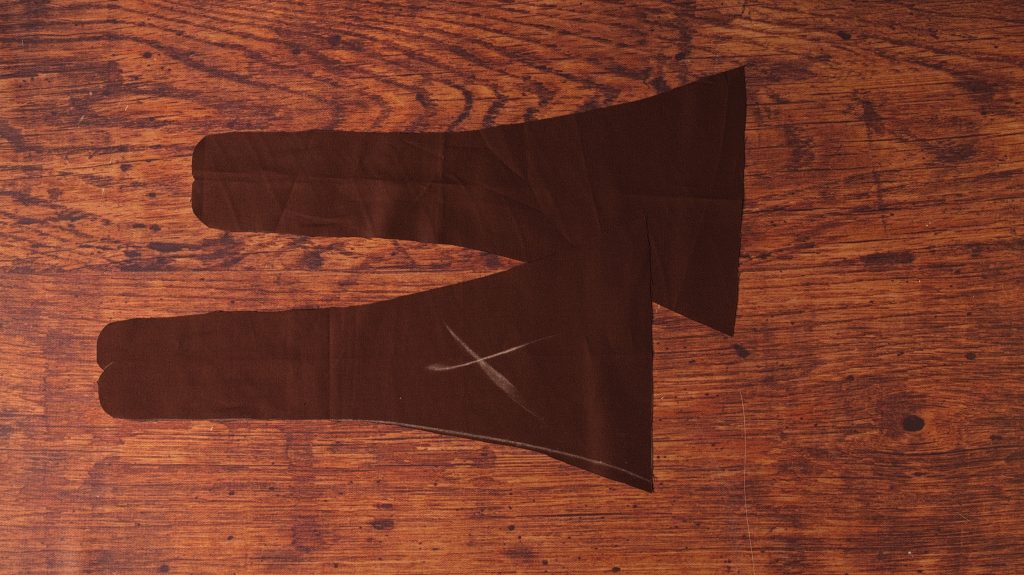
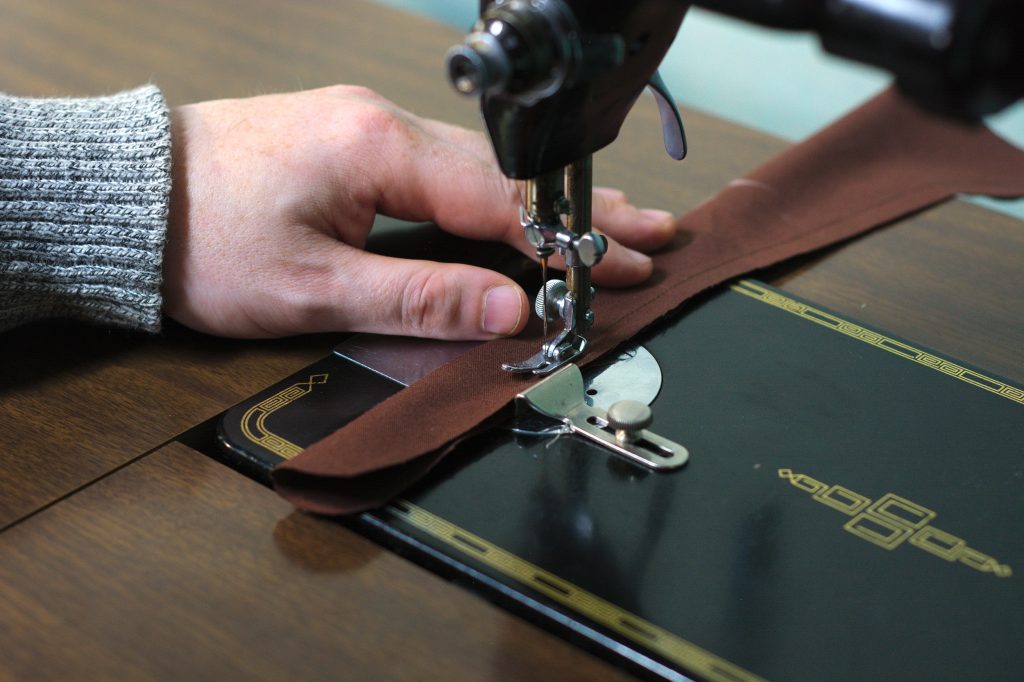
Sew the belts along the bottom and curved end using a 3/8″ seam allowance.
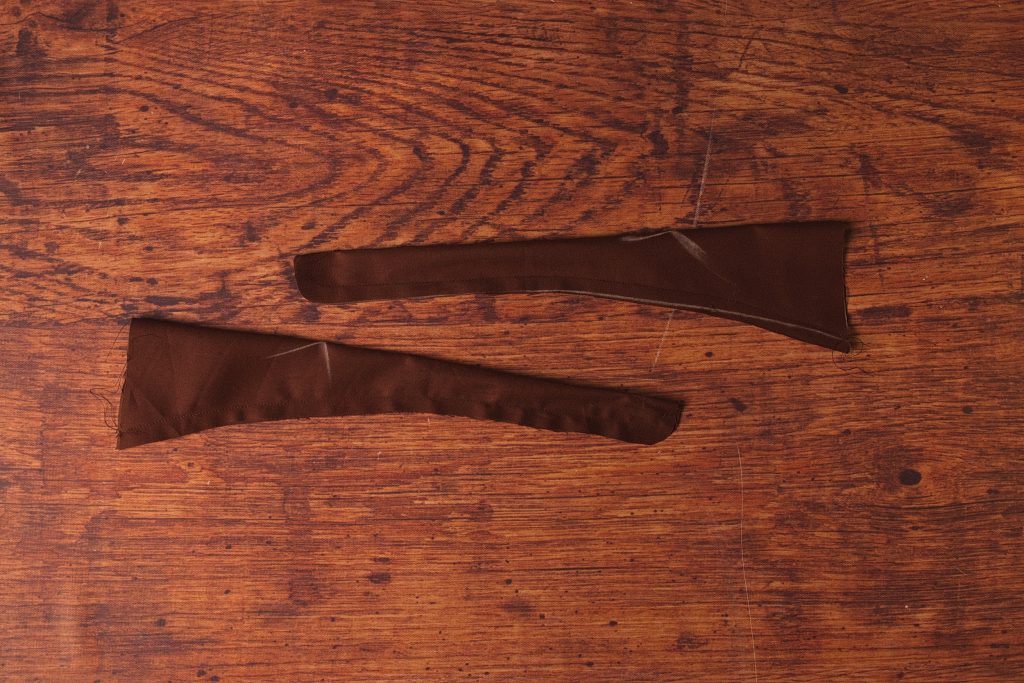
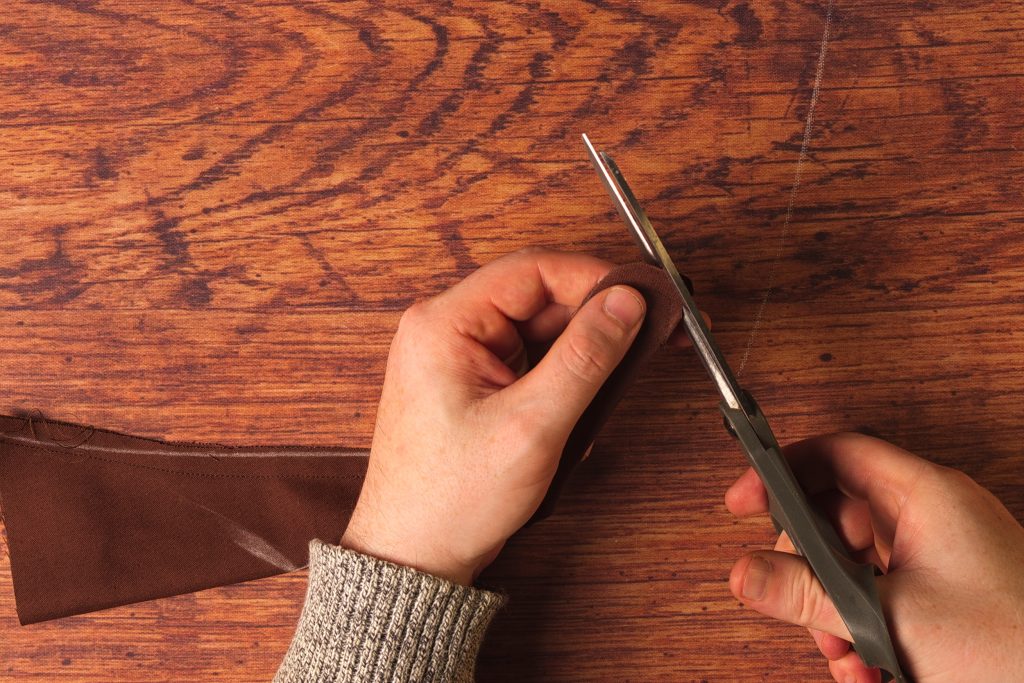
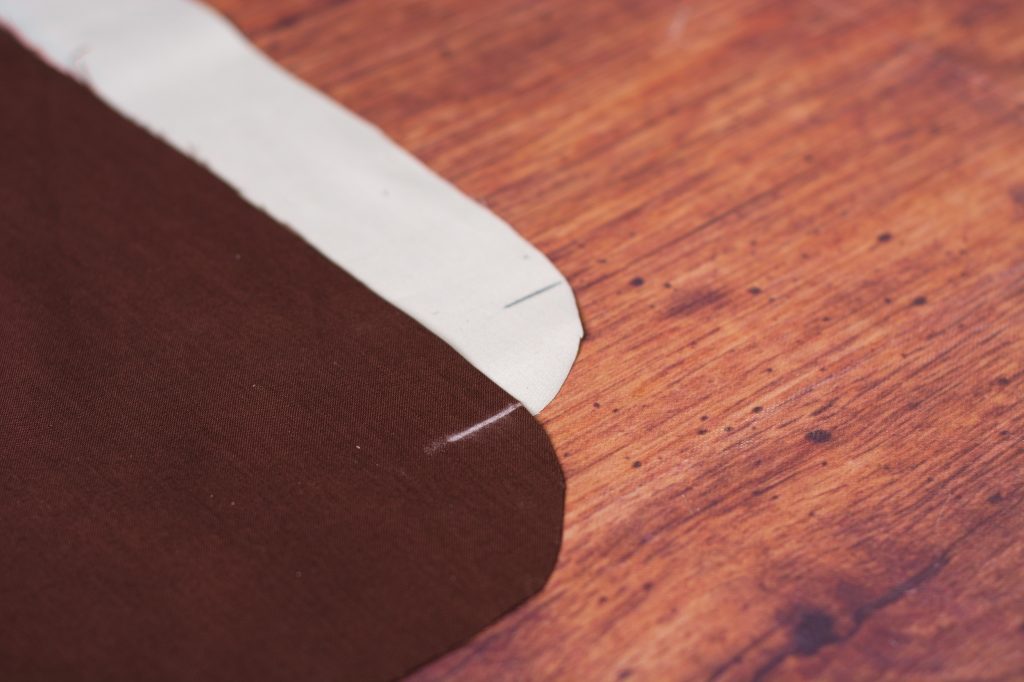
Trim the seam allowance to 1/8″ around the curved end.
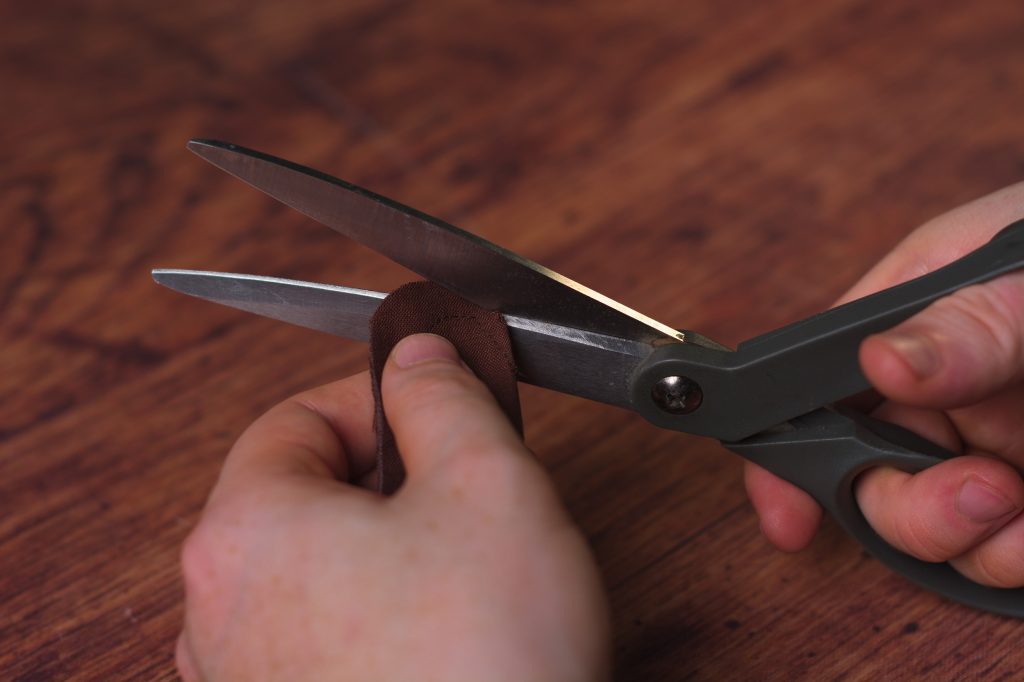
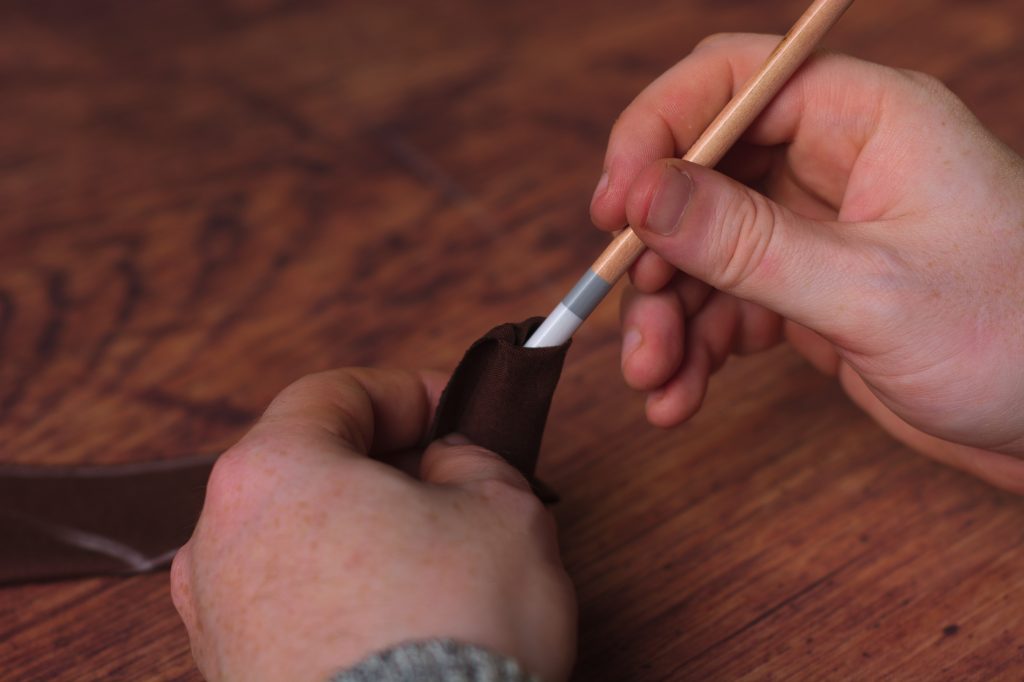
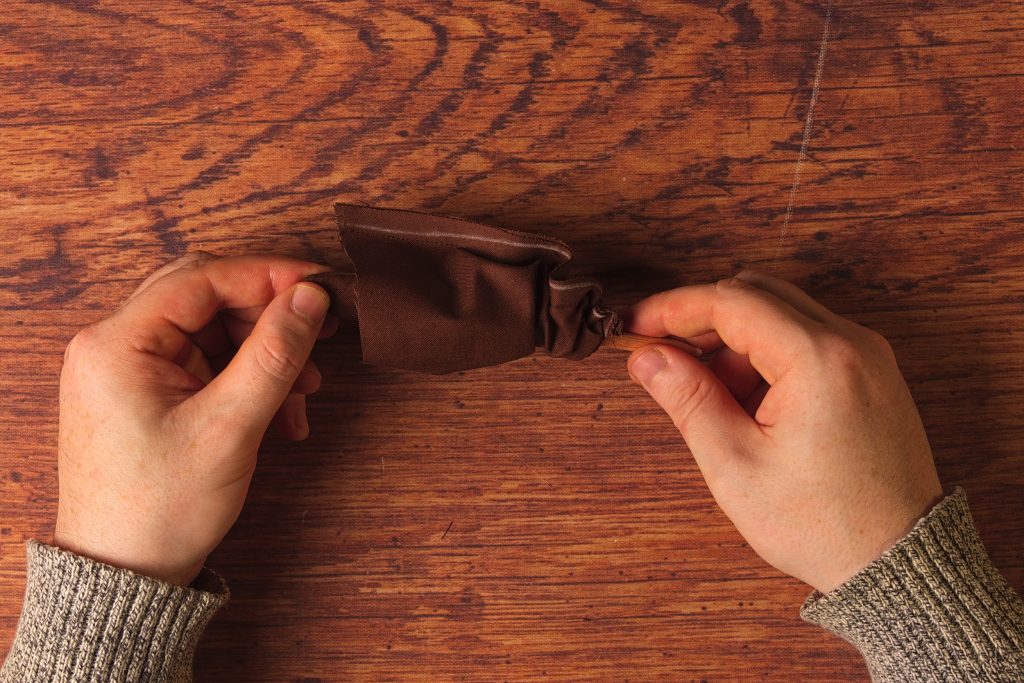
Turn the belt right side out. I like to open up the rounded end and use a blunt pencil to help with this. Press firmly.
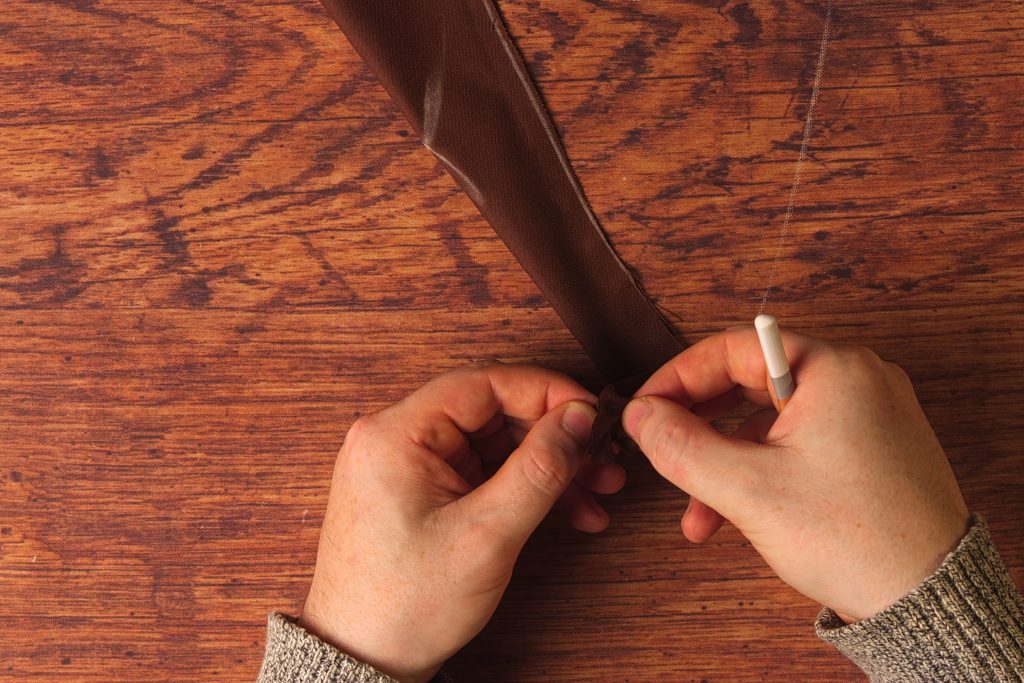
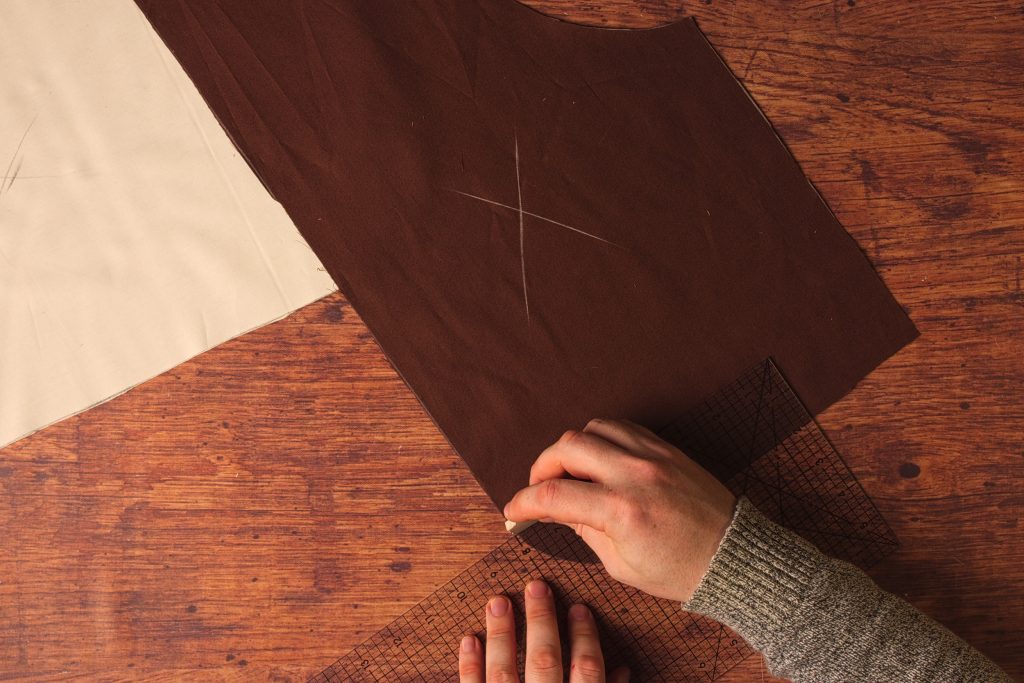
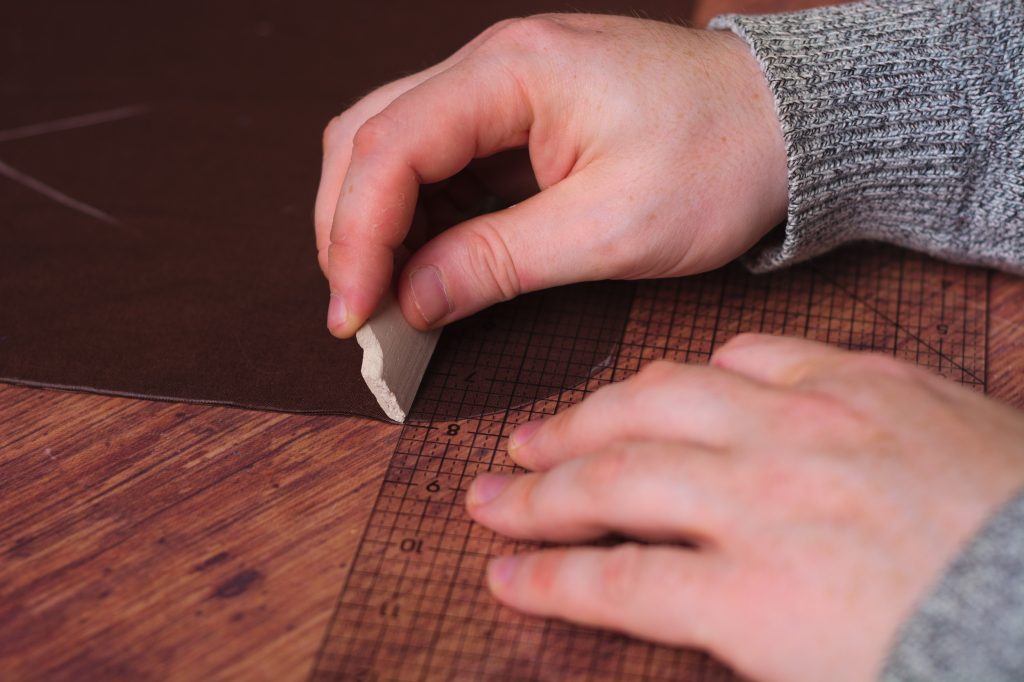
Then lie the back flat on the table and determine the position that you want the belt – usually at the height of the natural waist or slightly higher. Then draw a line across the back lightly with chalk, or just make a few dashes to keep it less visible.
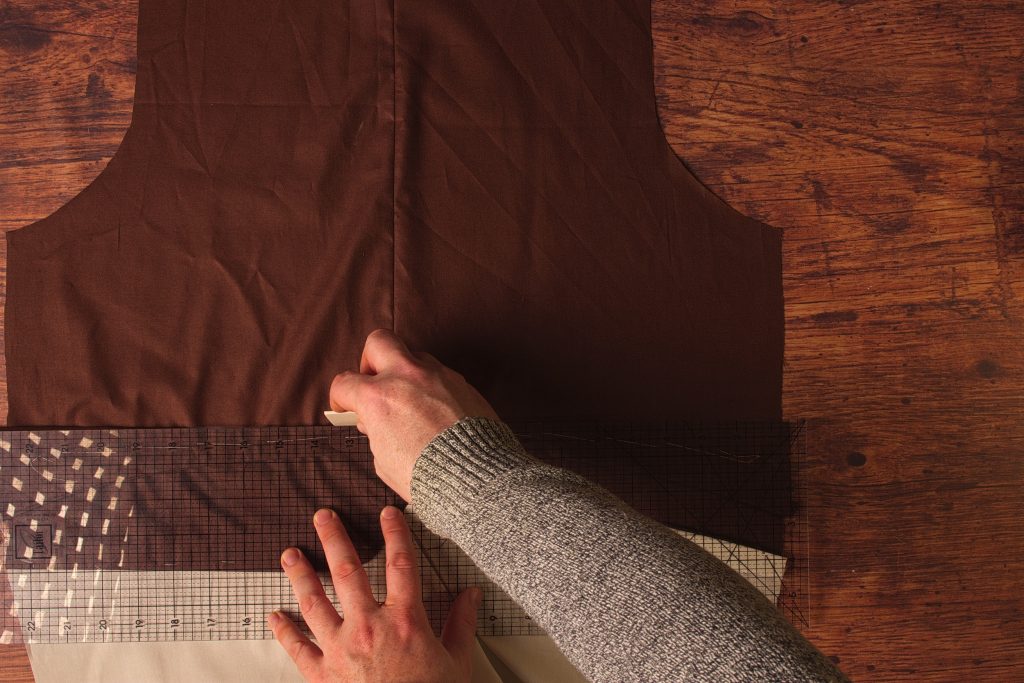
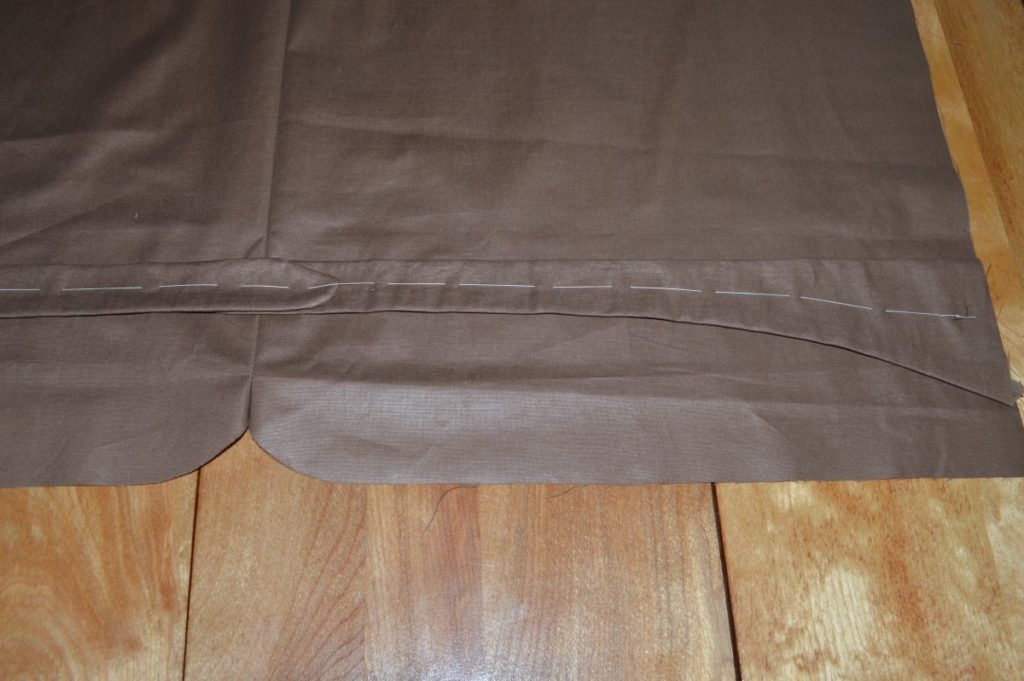
With the back belts in position, baste across the width of the belts to keep them secure while we finish everything else.
I forgot to take a photo of this somehow so he’s a shot from my other waistcoat course.
The Back
With the forepart completed, we can finally turn our attention to the back of the waistcoat and putting everything together.
First, cut out the back piece (in brown polished cotton) to the size of the pattern.
Next, cut out the lining piece, keeping the center back and waist seams the same size, while adding about an inch or so to the neck, shoulder, armscye, and side seams. This will allow us to trim the lining later to the exact size of the back.
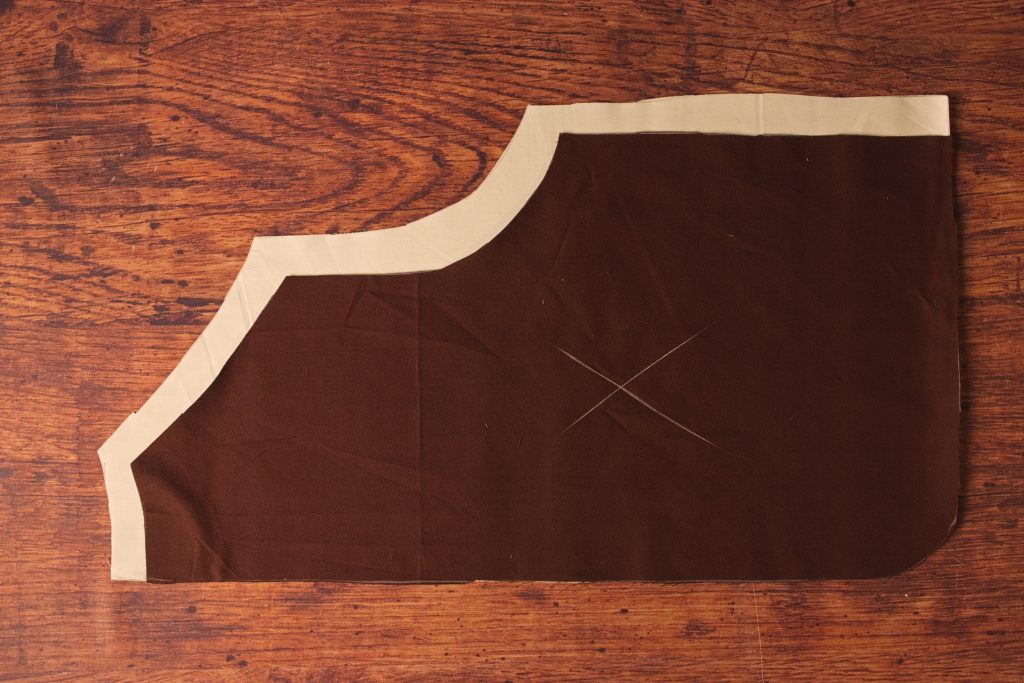
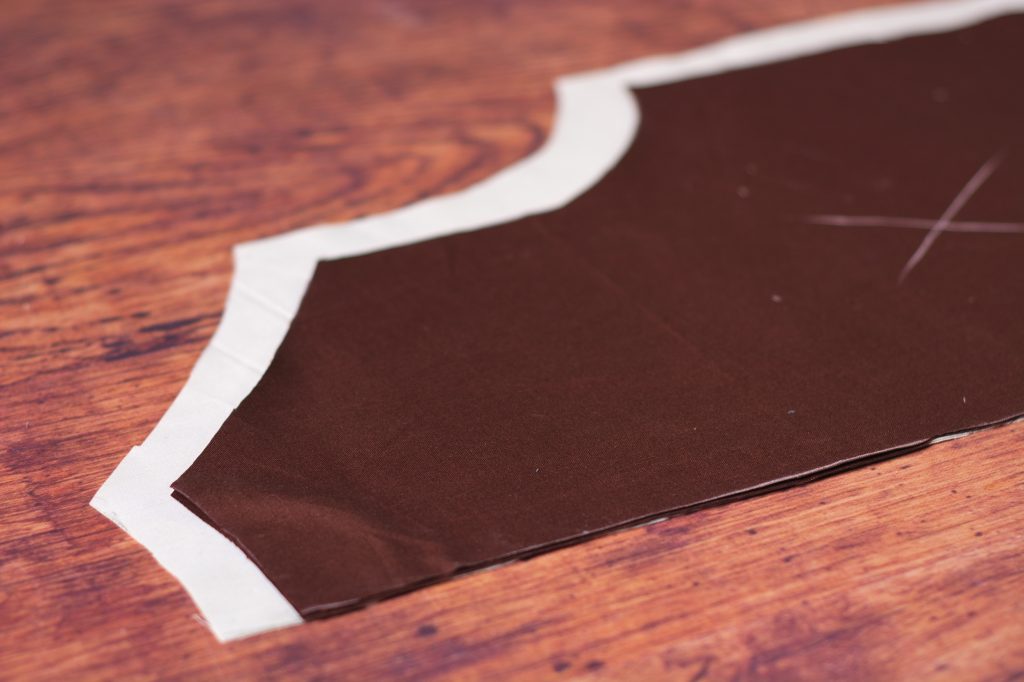
At the center back, just where the curve begins, measure and mark a point denoting the bottom of the center back seam, and apply this same measurement to both halves of the back and lining.
Sew the back seam from the neck to the mark, using a 3/8″ seam allowance. Press open. Repeat for the lining.
Cut two strips of cotton from your scraps, about 1 1/4″ wide and a couple of inches longer than half of the back waist. Lay them in position on the wrong side, flush with the waist seam.
These will help the back of the waistcoat maintain its folded edge without top stitching.
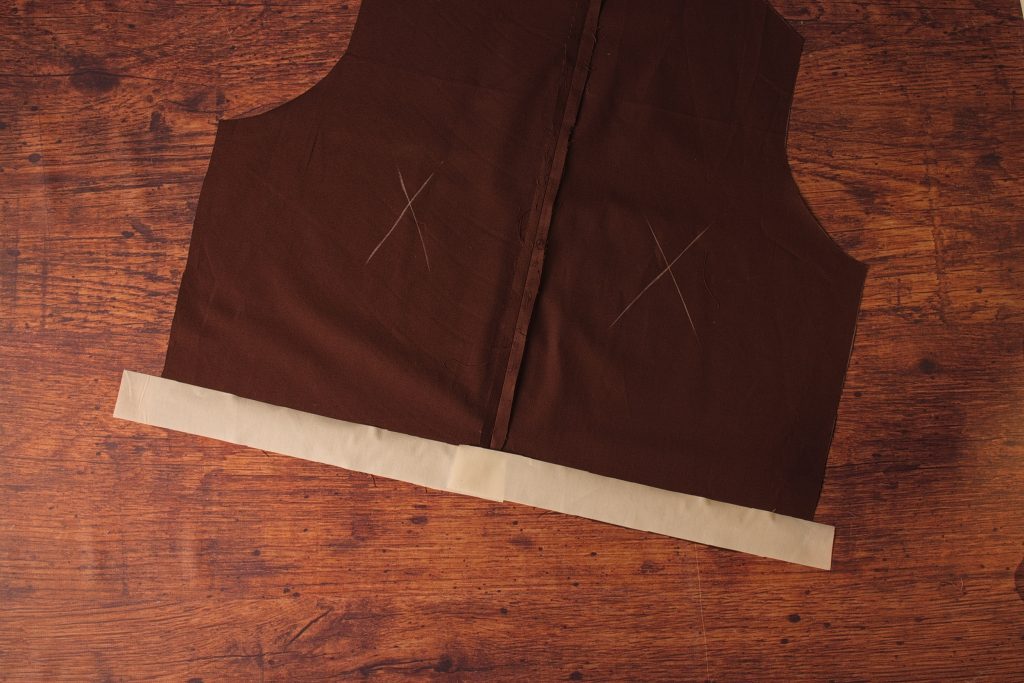
Baste each strip across the back, then trim the excess off each end.
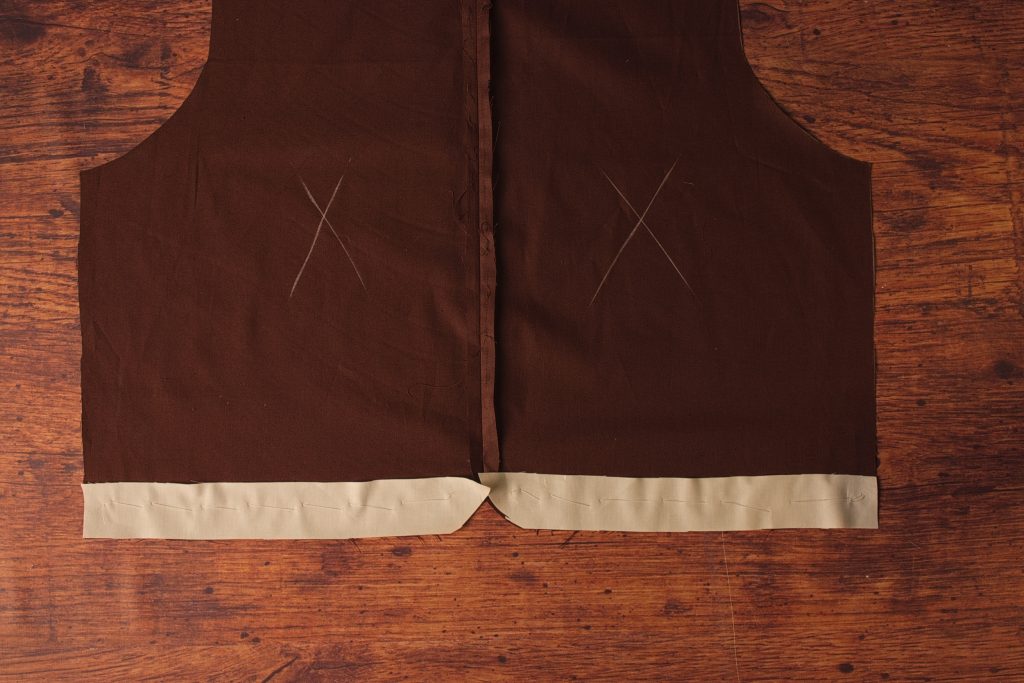
Now pin the lining to the back, right sides together. Begin at the center back, ensuring that the bottom of the center back seam aligns through both pieces. Then work your way out, pinning towards the side seams.
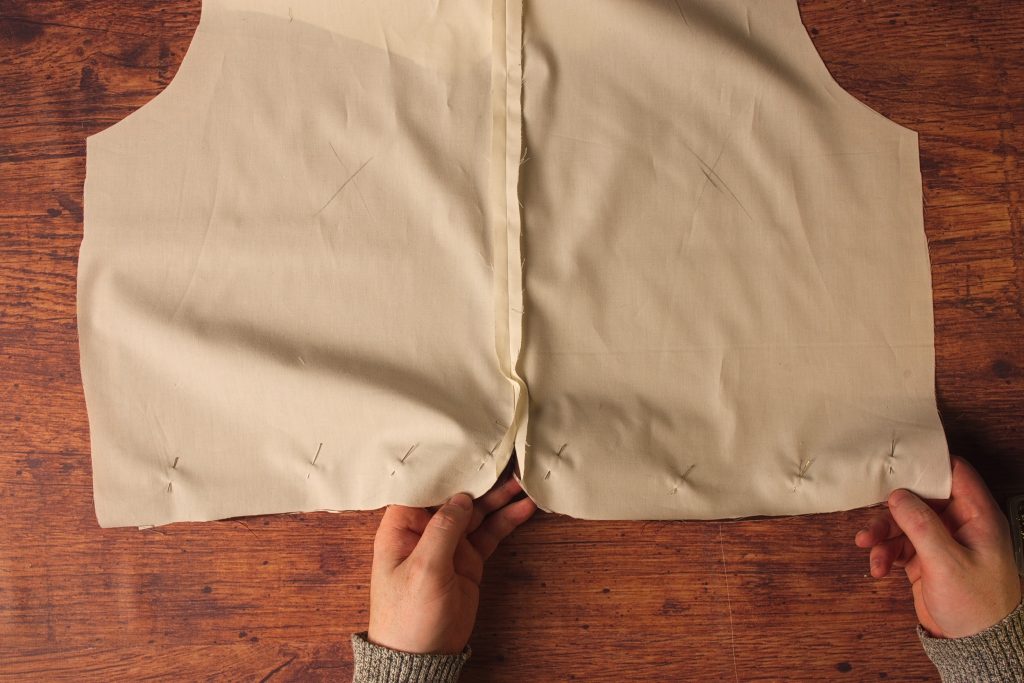
Now this is the tricky section. We’re going to sew each half of the back waist seam one at a time. The stitching begins at the bottom of the center back seam. Fold all of the seam allowances out of the way so that you can properly sew the seam.
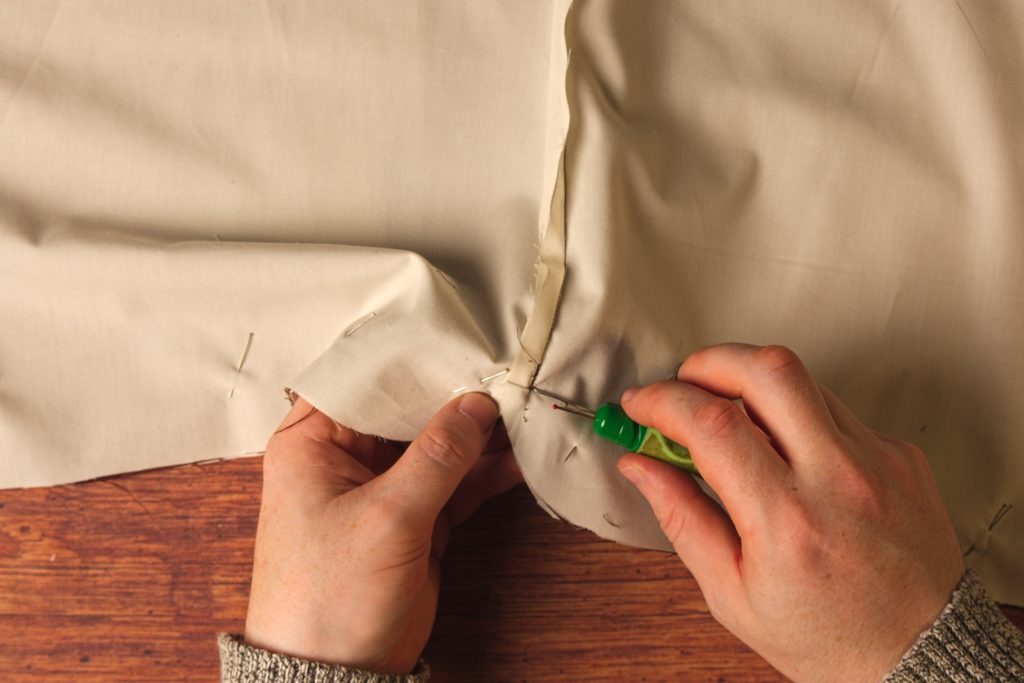
Make sure the strip is lying flat as well.
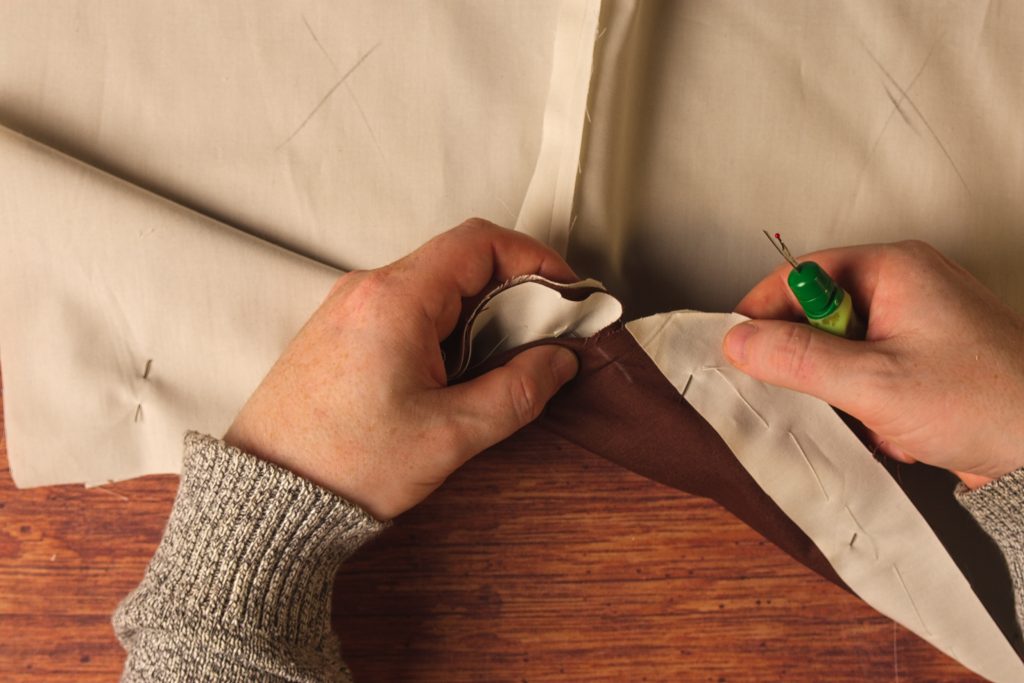
Sew from the mark to the side seam. Repeat for the other half, and then trim the curved areas to about 1/8″ to help turn neatly right side out.
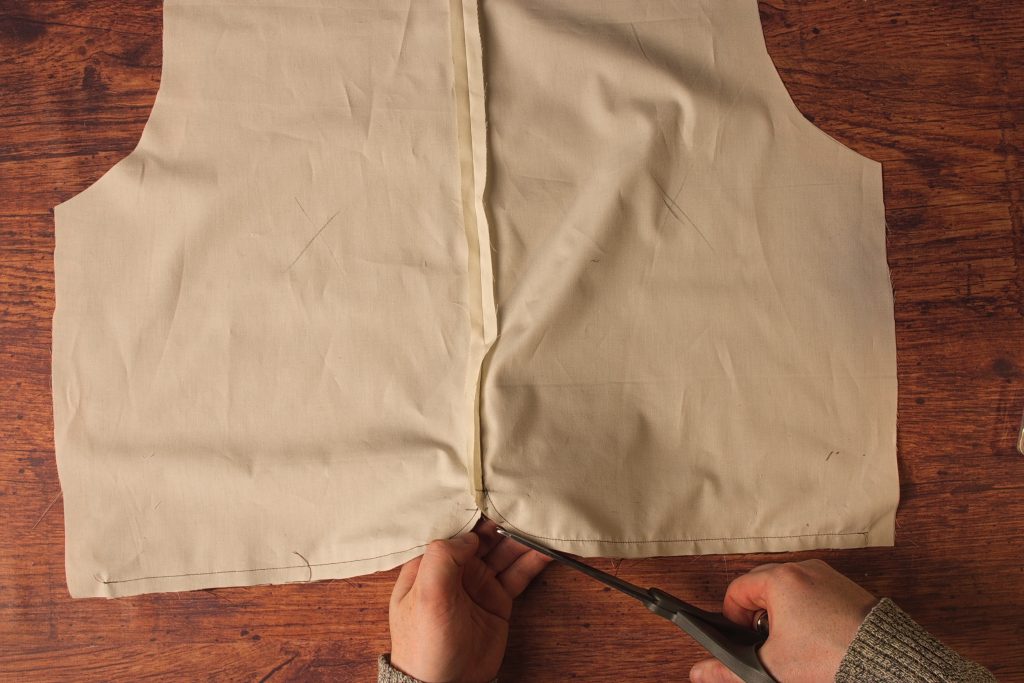
Turn the back assembly right sides out, pushing the underside reveal back about 1/8″ so that no lining shows on the right side. Press firmly.
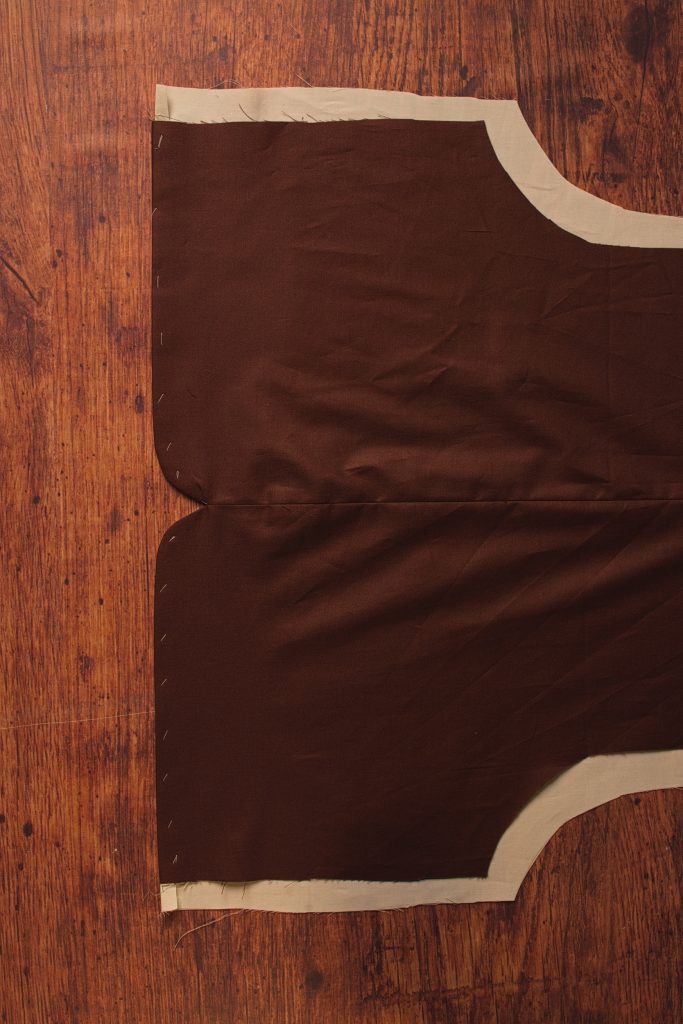
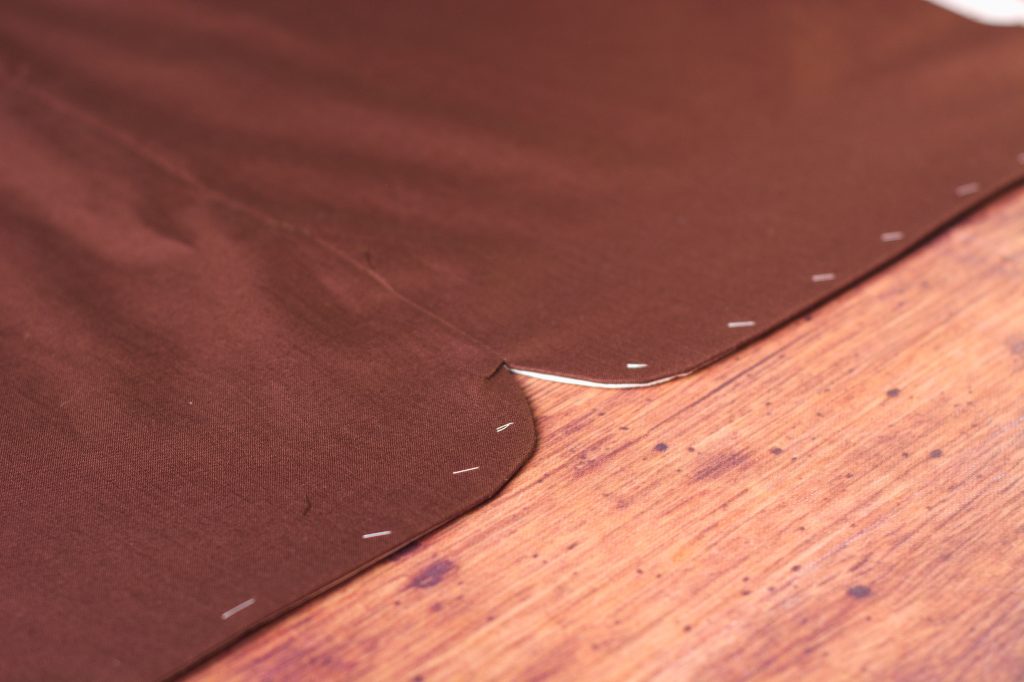
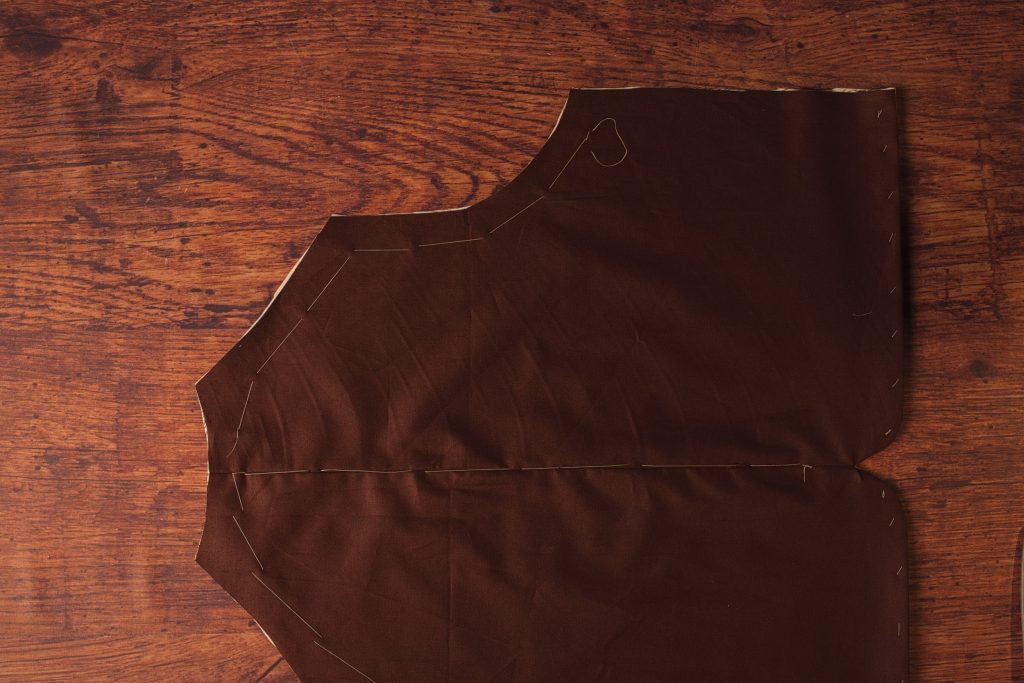
Now to help ensure that the lining is the same size as the back itself, baste up the back seam using fairly large stitches, making sure everything lies smoothly.
Then baste each half across the neck, shoulder, and armscye in the same manner.
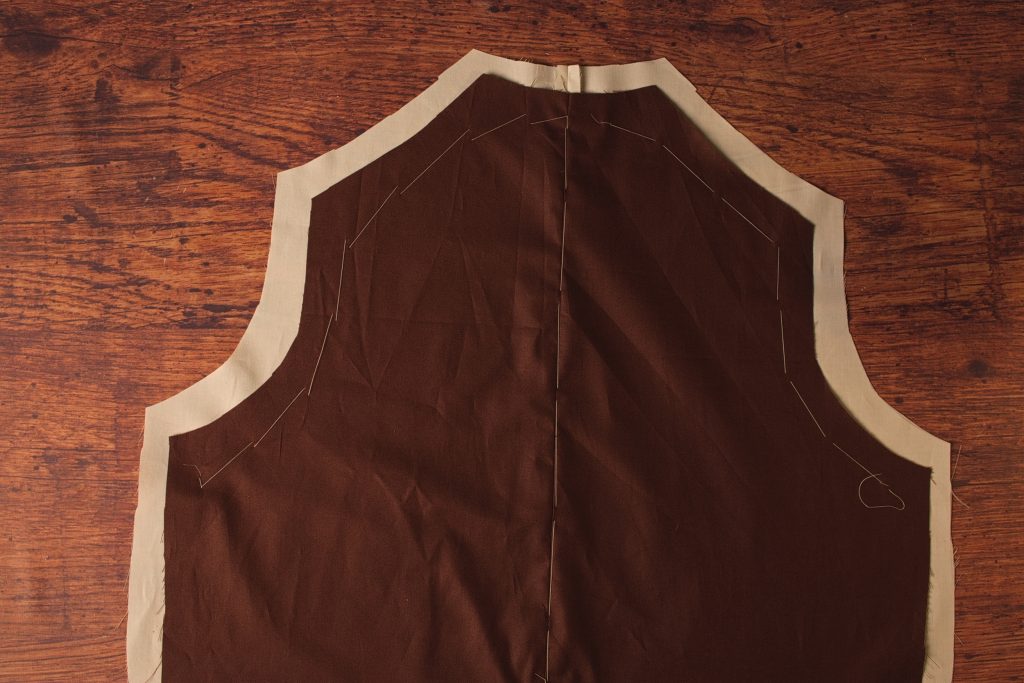
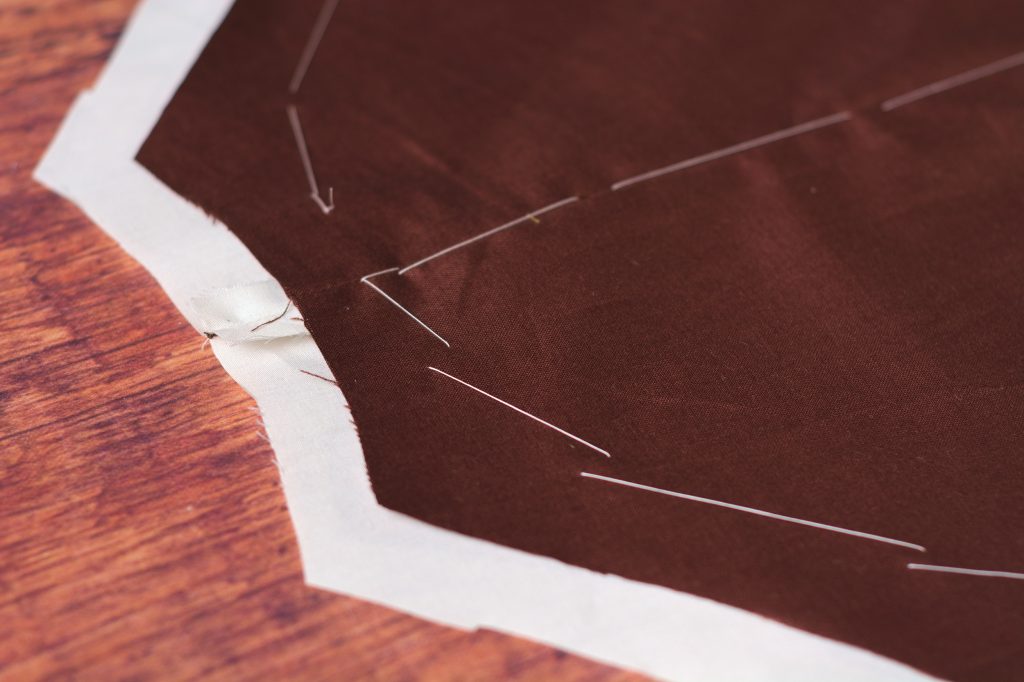
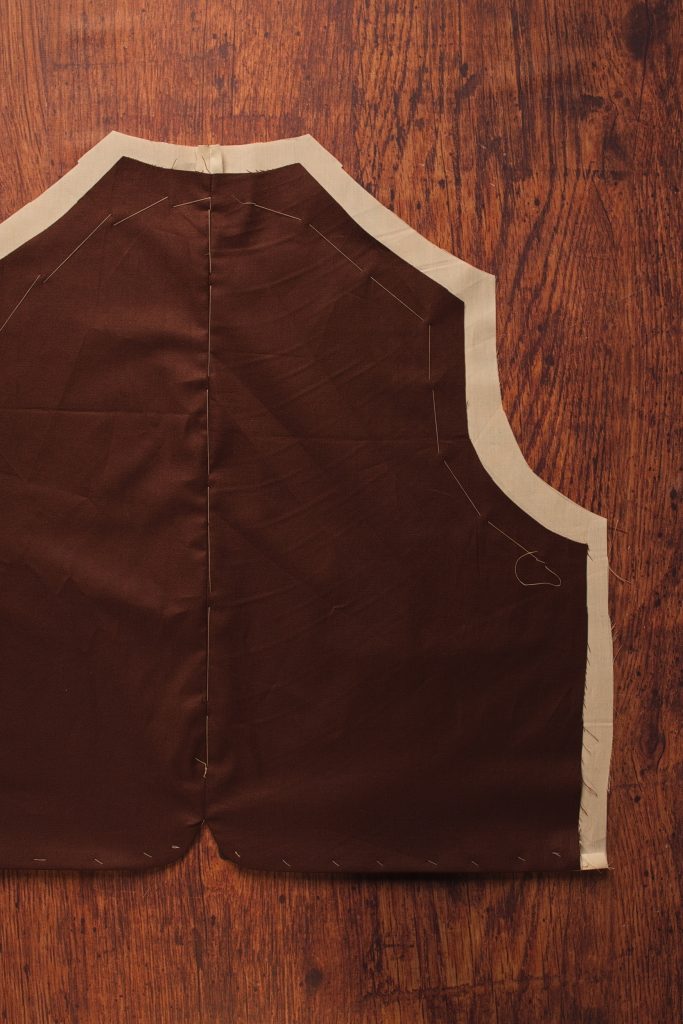
Trim the lining flush with the back.
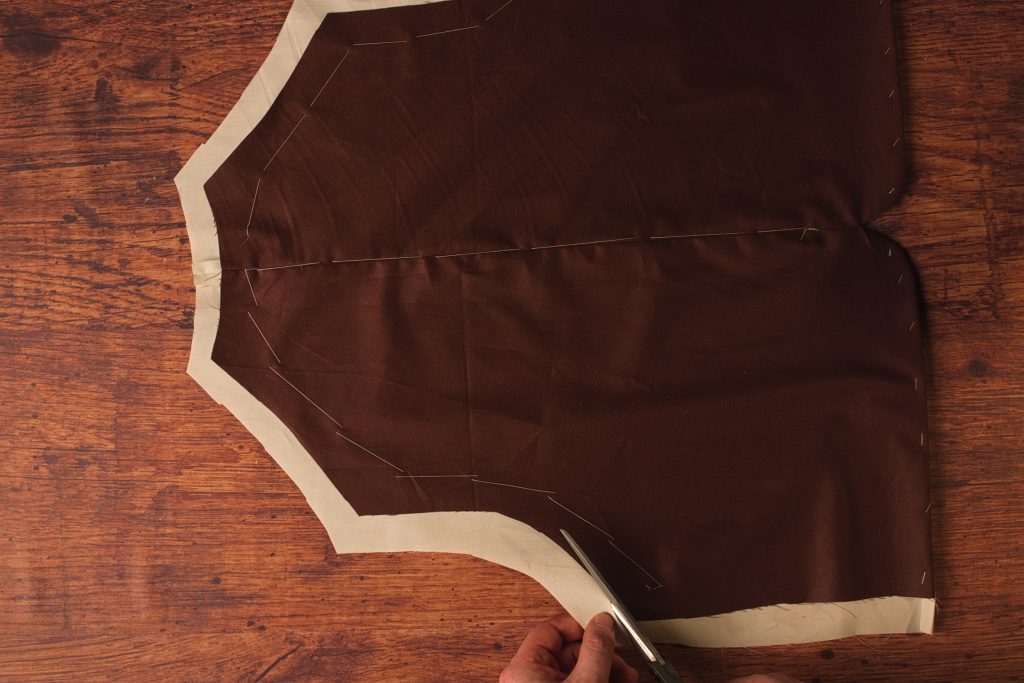
And this completes the back assembly.
