Author: James Williams
Drafting the Collar
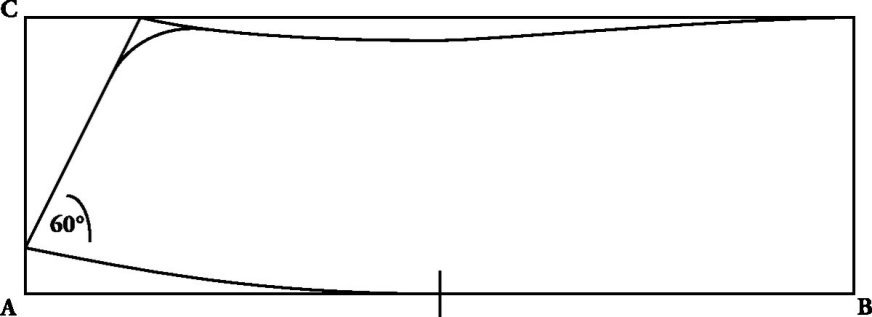
To begin drafting the collar, measure the length neck seam allowance, from center line to center line, then divide by two. Write down that number to use when drafting the collar.
A–B
First mark a construction line from A – B, equal to half the neck length that you just wrote down. In my case, it was 9 inches.
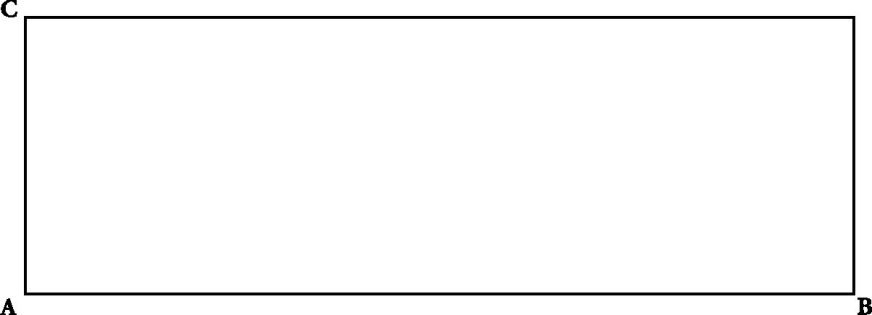
A–C
Mark from A – C the height of the collar. The average collar was about two inches in height, but they became shorter as the war went on. I find that two inches is too high on some client’s necks, and move it down to 1 3/4 inches. That is the minimum that will look good, however.
Complete the rectangular shape as shown.
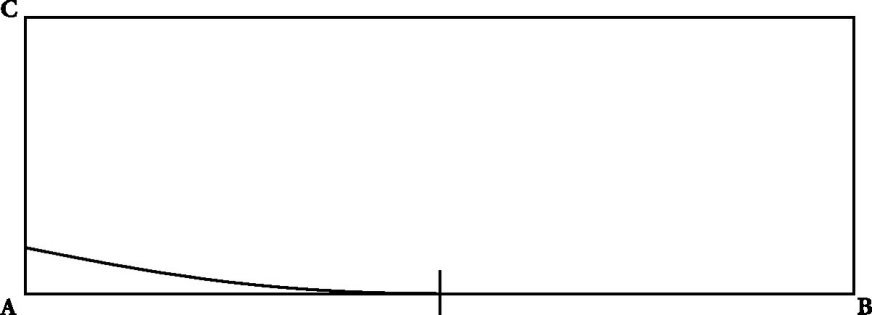
Midpoint
Mark the midpoint between points A and B.

Bottom Curve
Draw a shallow curve, starting from the midpoint, and ending at a point half an inch above point A. The purpose of this curve is to give the collar a little tension, making it stand up and hug the neck more naturally.
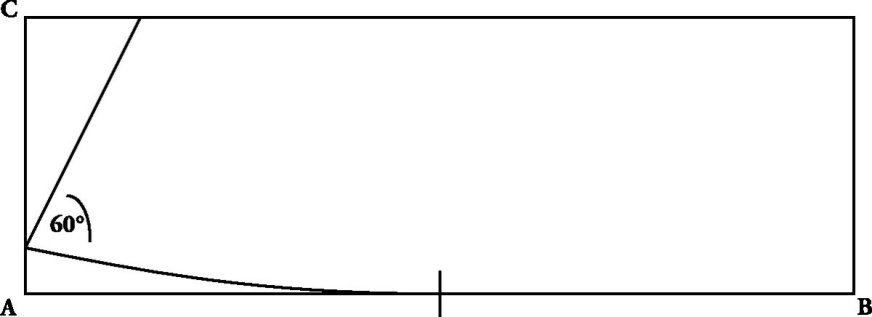
Front Edge
Draw a line at a sixty degree angle from the front of the collar. When finished, this will leave a 60 degree gap between the collar halves as per regulations. This line should be a quarter inch shorter than the height of the collar.
Collar Top
Draw a curved line along the top. When you get to the midpoint, the line should curve back up and reach the end in a right angle with line B.
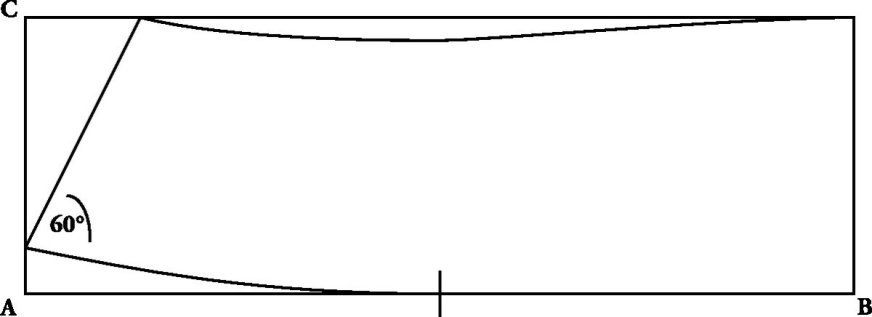
Curve
Draw a nice curve along the top front edge of the collar. This will make it easier for the piping to be attached in this area.
Seam Allowances
You’ll need two copies of the pattern – one with seam allowances, and one without. Add a 1⁄2 inch seam allowance around the entire collar, except for the middle, which will be placed on a fold. Note the arrows for placement on the cloth.
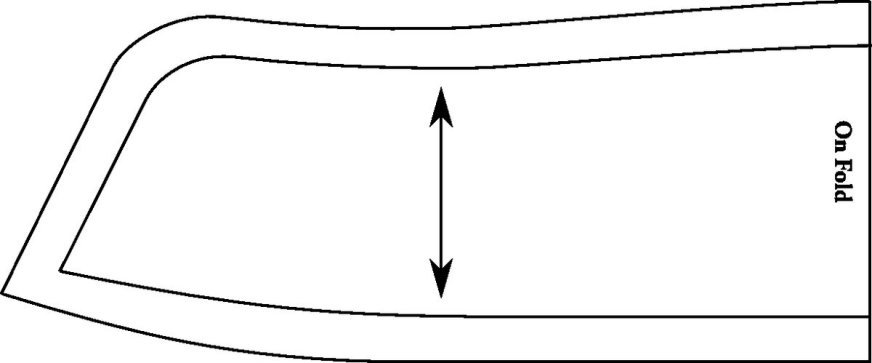
Place the pattern with seam allowances on the wool, carefully lining it up so that the folded edge will be at right angles to the bottom and top of the collar.
The Back Vent
From the right side, place the left, finished vent over the right side, and carefully line it up so that the vent falls straight and square to the pleats. If possible, have a quick fitting, and pin the vent in place. Then thoroughly baste the vent in place, ensuring no movement.
At this point, you can sew by hand the vent in place from the inside, using a series of backstitches in a rectangular formation. The stitching should not show through to the outside of the coat. This gives a very nice appearance.
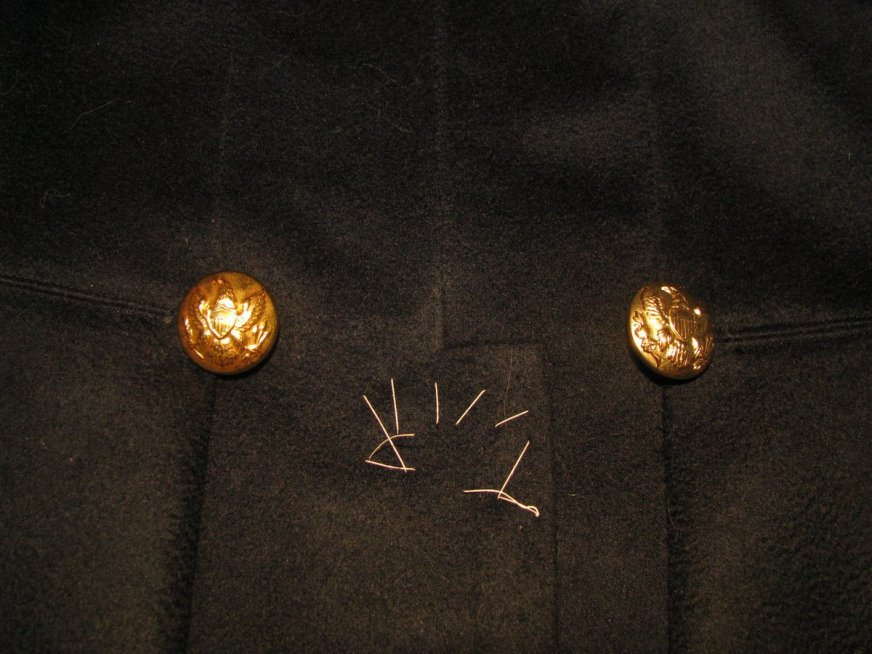
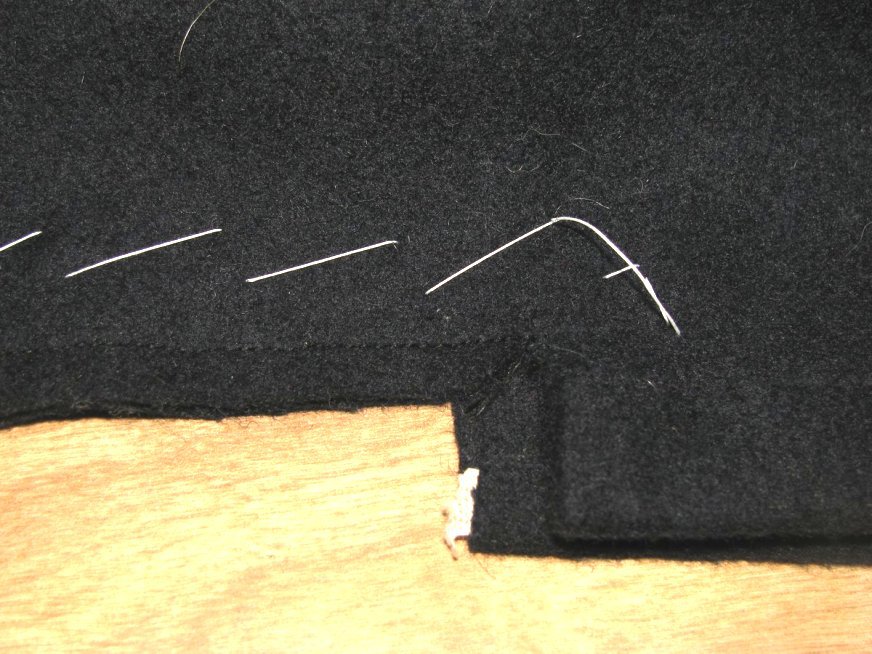
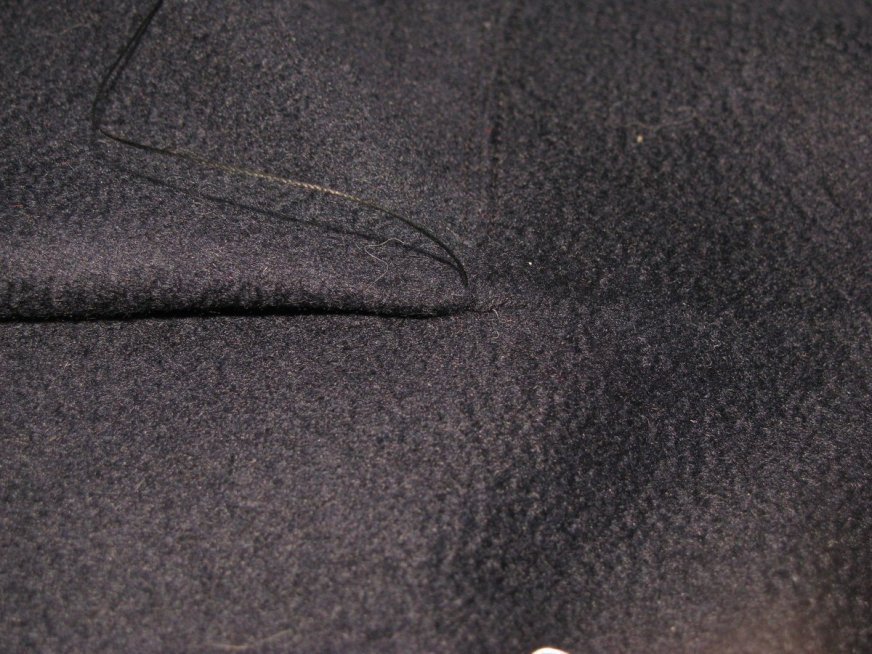
Alternatively, you can sew a box stay on from the outside, to match the finish of the pocket stays. I recommend drawing the rectangular box in black chalk first, then very carefully stitching. This is very difficult to do properly, and the results can easily be lopsided and uneven, as demonstrated in the photo below – one of my earlier attempts. I prefer the first method now.
Center Back Seam
Take both halves of the coat, right sides together, and baste the center back seam together. At the top, the ends should be flush together. At the bottom, remember there are two differently made vents. Finished vent should be a quarter inch below the top of the unfinished vent. You can also line it up by using the cut corner area as a guide.
Sew the back seam with a quarter inch seam allowance. At the bottom, make sure to sew exactly to the end of the clipped corner.
Any further, and the fabric will pucker. Any less, and there will be a hole.
Let the right, unfinished vent come to the inside of the coat, while the left side goes to the outside.
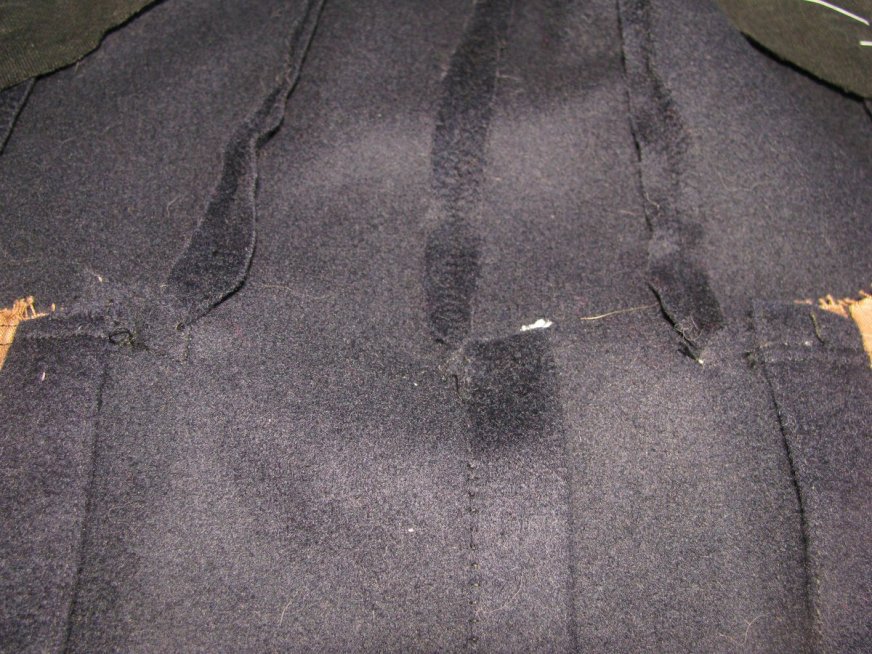
Press as usual. When pressing this seam at the bottom, you will need to have the seam allowance roll over to accommodate the unfinished vent. By doing this, instead of clipping the corner, you add strength to this area.
Shoulder Seams
Lay the shoulder seams, right sides together. Note how the back seam is longer than the forepart. This will need to be eased in as you baste. Starting at one side, make a few stitches in place with your basting thread, about 3/8 from the inlay. Then carefully baste across, easing the excess fabric in as you go. End with a few stitches in place.

Take your iron and gently iron away the ripples that appear in the fabric. Don’t let the iron go more than one inch away from the seam, or you will press all of the ease out and your work will have been for nothing.
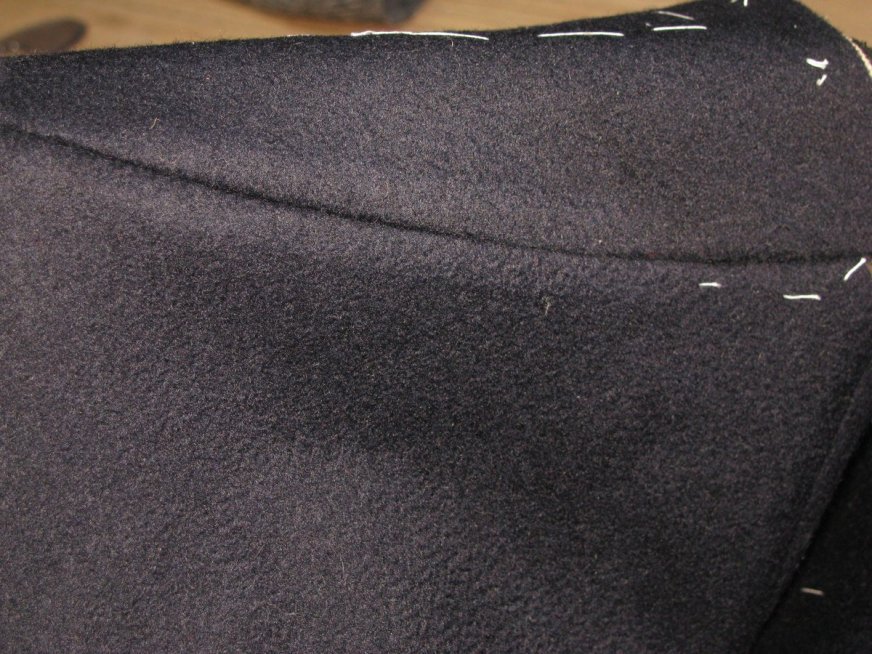
Now sew the seam, with the full side down. Keep the lining and canvas out of the way as you are sewing. Press on both sides to set the stitches, press on the wrong side, and press on the right side with a press cloth. Note the curved appearance and downward angle to the seam, something lacking in many reproductions.
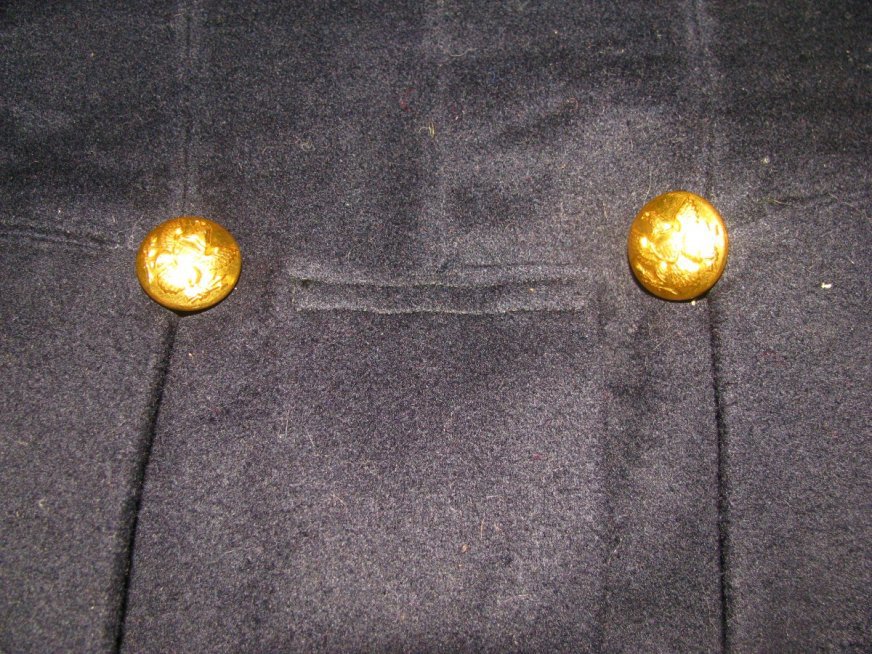
Plait Buttons
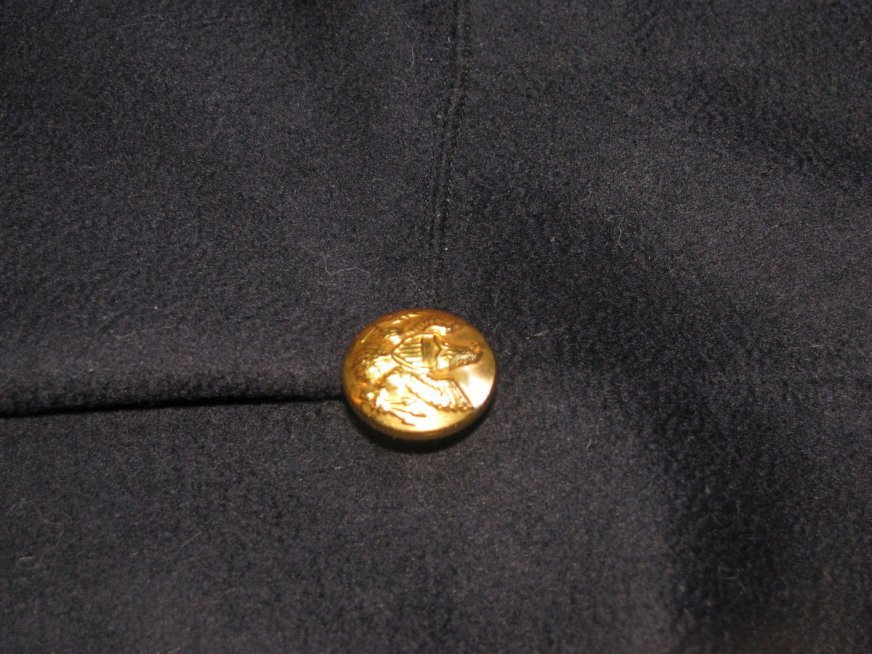
It’s now time for a change of pace, sewing on some buttons! The two center back buttons are both decorative, and help hold the junction of the side, back, and skirt together. They add a bit of extra strength. Begin by cutting a length of buttonhole twist, waxed and pressed. Make a knot, and insert your needle from the underside, coming out just below the waist seam in the skirt.
Place the thread through the button, and back into the cloth, just above the waist seam, in the side piece. On the underside, make sure the thread comes out at just about the same place it went in. Repeat this process for a total of six times through the button shank.
Bring the needle back out as if you were going to do a seventh stitch, but this time, wrap the thread around the stitches you have made already, pulling snuggly as you go. Wrap four times.
This gives extra strength to the button threads, preventing wear and tear. After the fourth time around, insert the needle into the middle of the threads, coming out the other side. Repeat that a total of three times. Then snip the extra thread closely. This prevents the need for an ugly knot on the outside of the coat, and is quite strong. I haven’t had any complaints of buttons falling off in the three years I’ve been using this method.
Installing the Lining
It is now time to insert the lining into the coat. Since we have not closed the shoulder seam, the coat is still flat, allowing the work to progress rather easily. This used to give me a huge amount of trouble when I tried installing the linings after the shoulder and back seams were sewn. It could easily take two hours per coat, whereas now it’s down to about 20 minutes.
Lay the lining onto the wrong side of the coat. If done properly, everything should line up nicely with the forepart, reaching over to the side rear side seam. Baste from the shoulder seam, starting about three inches from the inlay, down to about one inch above the waistline. Then sew towards the top of the side piece, staying in center of the lining as you go. When basting the area over the side piece, don’t forget that this has been shaped with the iron. You may need a hand underneath to support the fabric properly.
Next, baste all around the lining, staying one inch from the edge. At the front, stay on the inside of the tailor’s tacks. At the top of the shoulder, stay three inches from the shoulder inlay.

Hold the coat up at this point, carefully supporting the neck and armscye to avoid unwanted stretching. Check that the coat still drapes nicely, and that the lining is not causing any constrictions in the coat. If so, remove the basting stitches and try again.
Quilting the Lining
Begin by drawing a line four inches parallel from the center front. This is the point at which to stop quilting. Anything in front of in should not be quilted, as we need room to work in there later on.

Next, draw the quilting lines, in black chalk. It’s better to use black chalk here so that it won’t be seen in the finished coat. The first line should be drawn, on the grain line, about one inch below the armscye, across the entire lining.
The other lines are spaced from 1 3⁄4 to 3 inches apart, depending on the size of your coat. Don’t forget to mark the top of the scye for quilting.
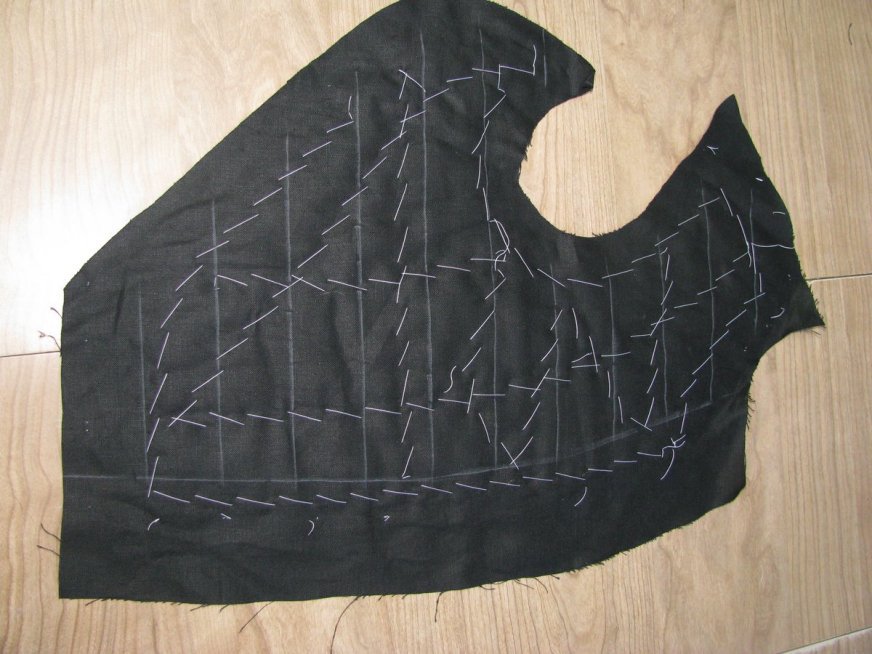
Finally, quilt the linings. This can be done by hand with a side stitch, for a more flexible, free flowing lining.
If done on machine, use a small stitch length – 12 to 14 stitches per inch. As you are quilting, make sure the pieces are not bunching up or sliding around. While the basting should take care of most of that, it can still happen. Sew each line, stopping at the center line you drew. Finish the end of each row by hand with a small knot.
Remove all visible basting, cut any stray sewing threads, and give the lining a light press. At the shoulder area, gently stretch the armscye, shoulder seam, and neck as you did for the forepart and canvas.
Assembling the Lining
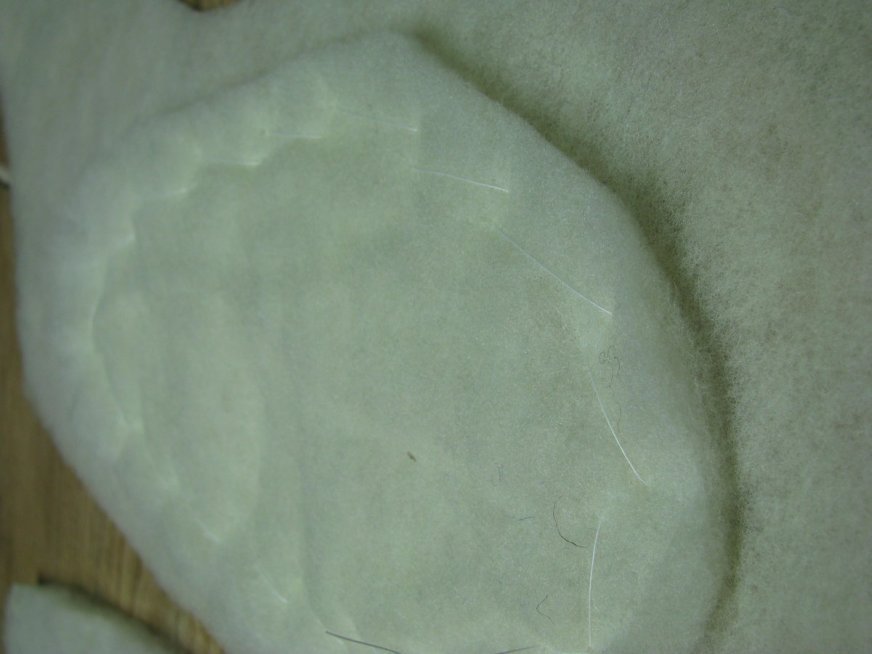
To begin, ensure you are working on opposite sides of the batting, by arranging the pieces as shown. Place the oval shaped pieces on top, and baste them down around the edges as shown.
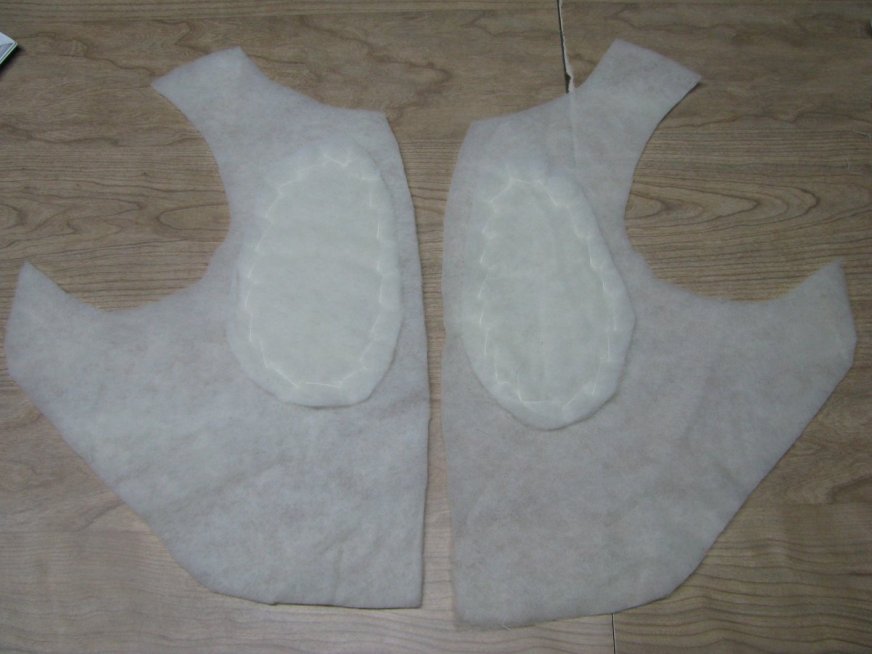
Lay both pieces of batting right down on the sacking, with the smaller piece of batting sandwiched in between. Baste around the edges of the batting. Notice how the sacking extends a half inch in all directions past the wool batting.

Note: I’m using a blue wool flannel for the interlining / sacking here because the client needed to save some money. While not completely authentic, there are cases of coats being interlined with scraps of fabric, and even carpeting material.
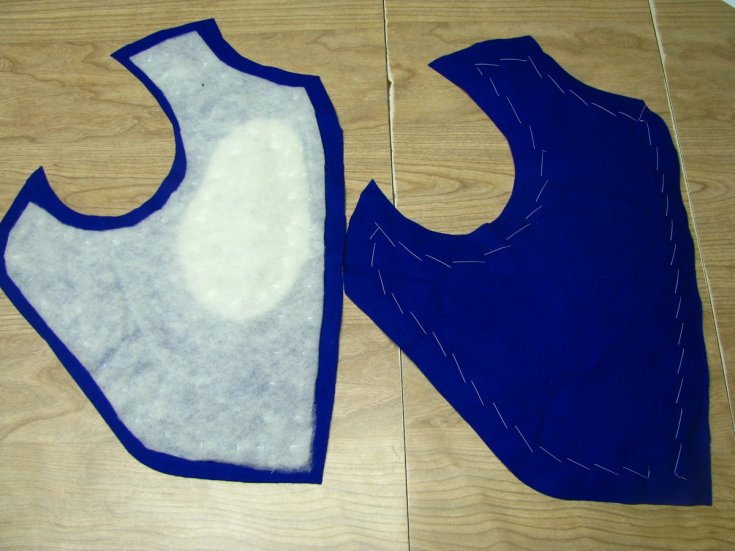
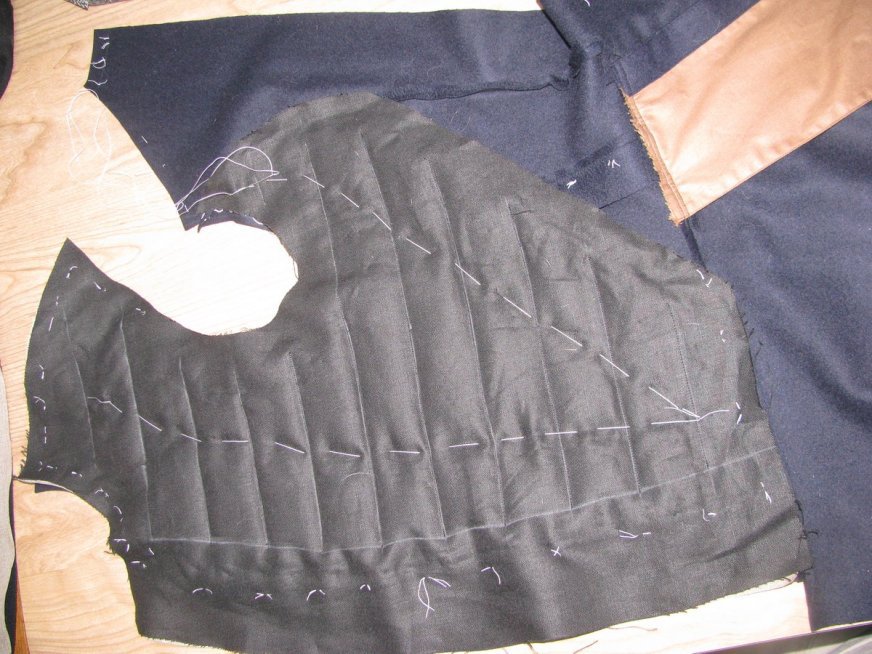
Next, the interlining assembly is placed on top of the lining pieces, with the wool batting in the middle. The interlining should be half an inch from the edges of the lining and inlay markings, except at the bottom, where there is an inch to the inlay. At the front, there should be a half inch between the interlining and inlay, not shown in the photo (a mistake on my part), followed by the two inch inlay on the center front.

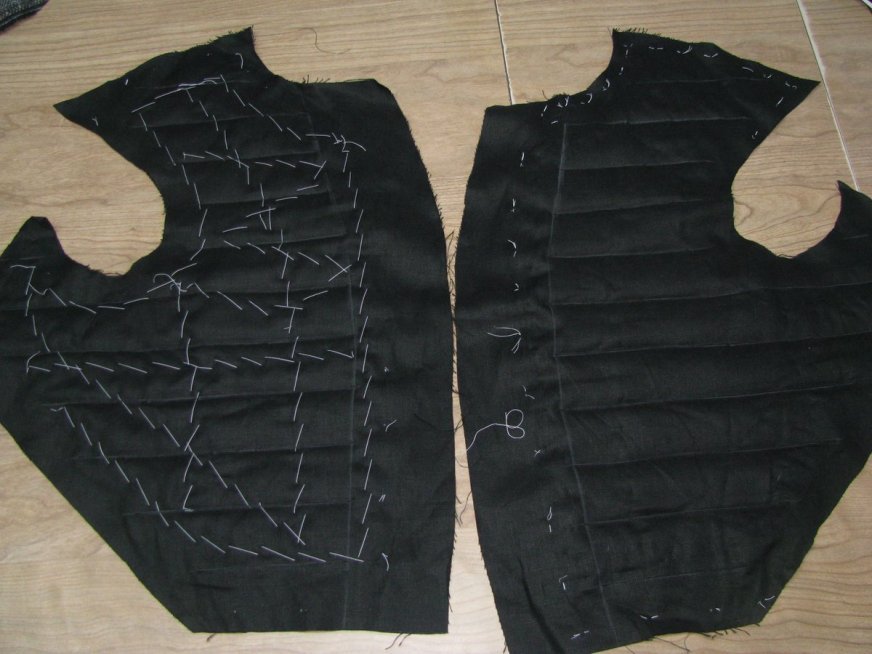
Turn this lining assembly over so that the lining is on the top, and baste down the middle of the lining, from the middle of the shoulder seam, down the front, and back up towards the top of the side piece area, as shown.
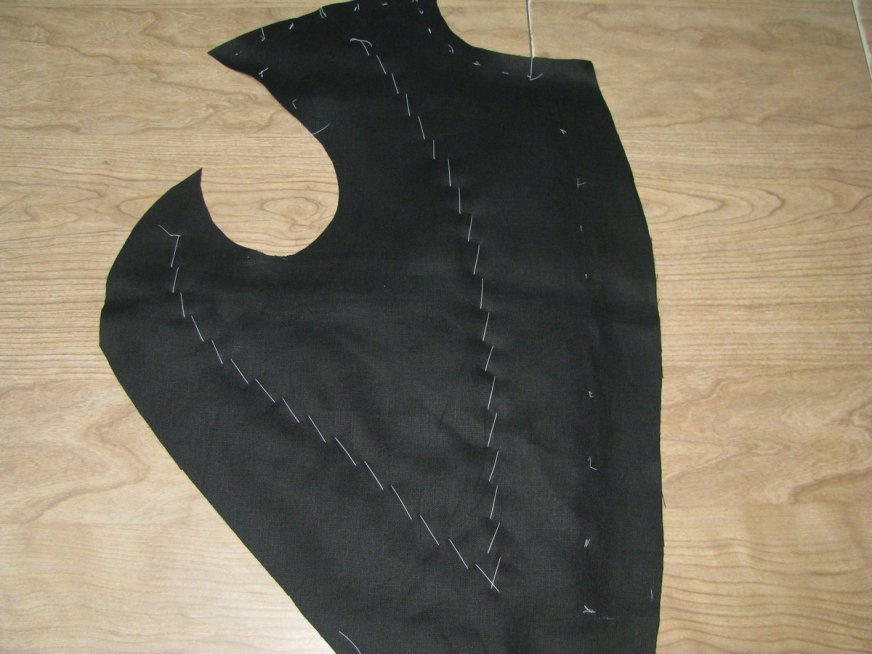
Then baste completely around the edges of the lining, catching all layers.
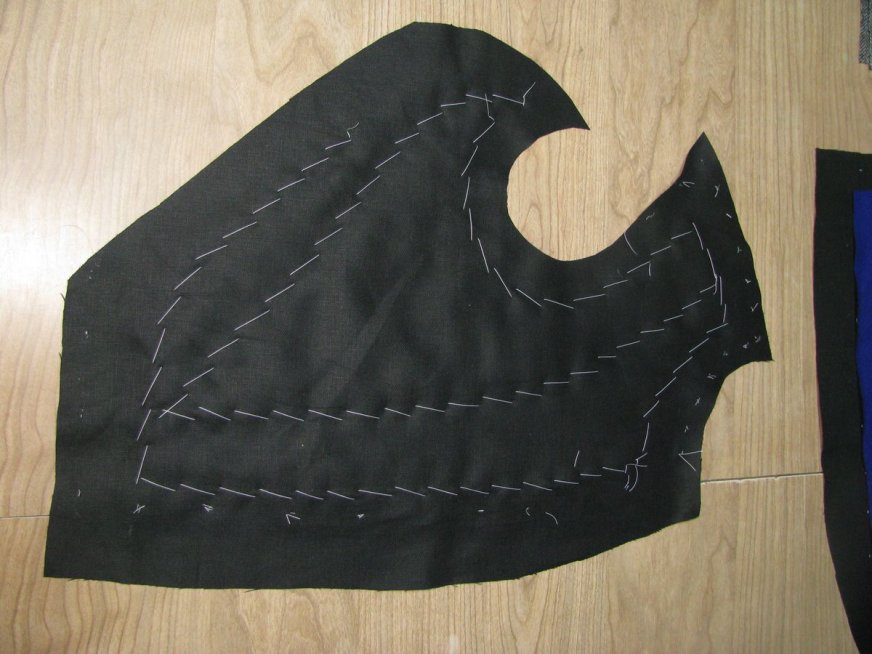
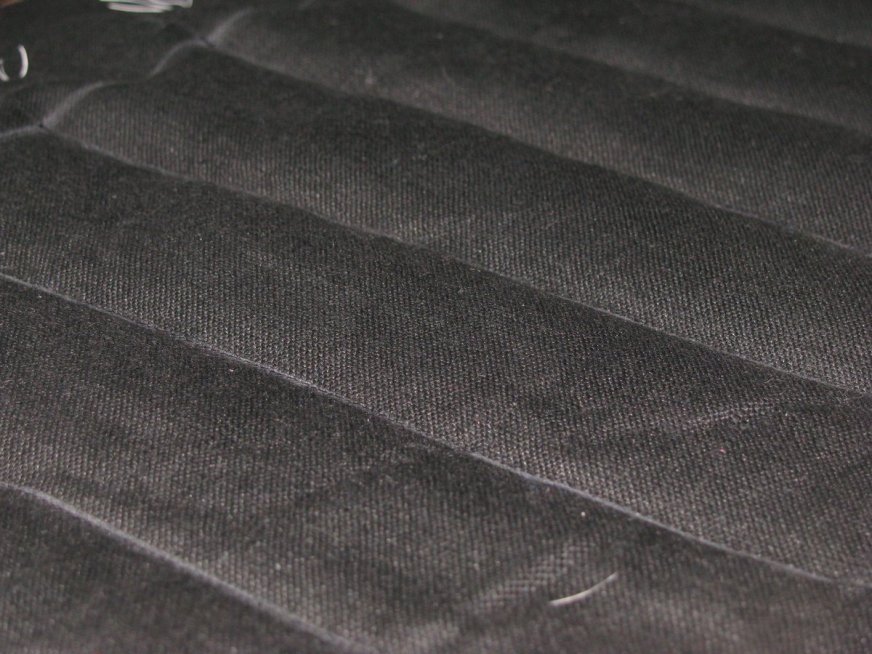
Finally, baste across the middle in a zig-zag formation, ensuring there will be no movement while quilting the layers. The exact pattern for this will vary according to each person’s individual pattern.

Cutting the Lining
Linings in enlisted frock coats for the most part only covered the fronts and sides. Full linings were sometimes seen in private purchase uniforms, however, they change the method of making up extensively and are outside the scope of this tutorial.
Here is the shape for the lining recommended by Devere. Begin by taping the forepart and side pieces together, making sure the seam allowances are overlapping properly. The pencil marks should be on top of each other.
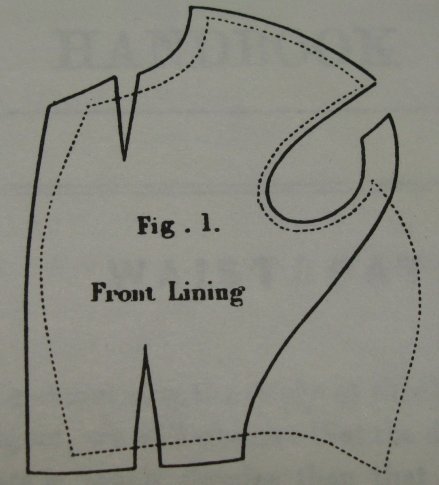
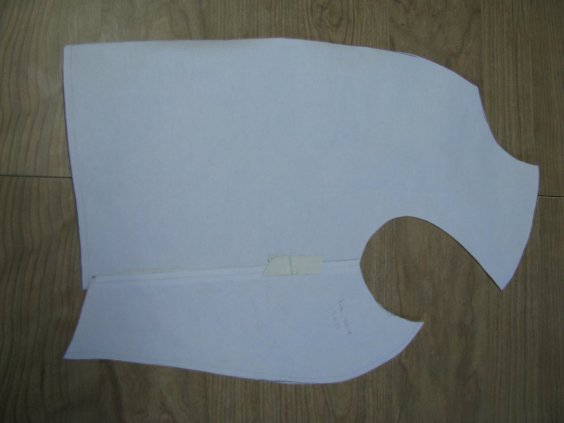
Fold up the bottom corner as shown. This is a matter of preference, as you can change the angle. The amount shown turned back in the photo is a good starting point, however.

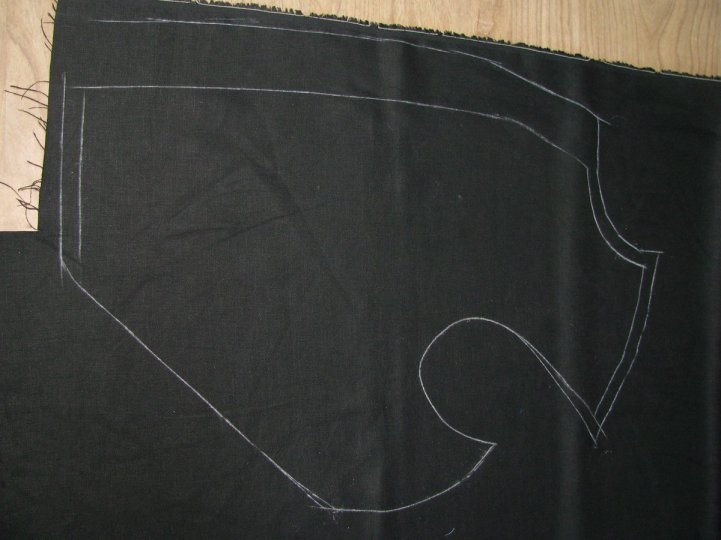
Trace the pattern on to your black alpaca lining. Then add the same inlays you used when cutting the forepart. Check back to the module on cutting for a reminder if necessary.
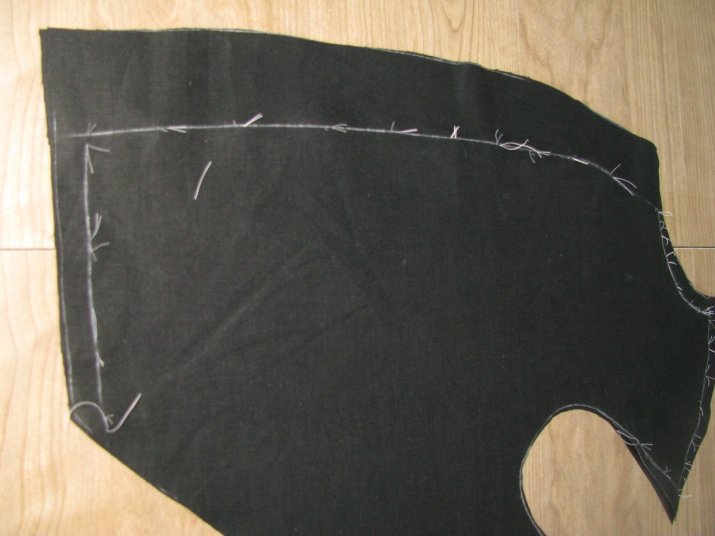
Add the tailor’s tacks to mark both pieces of lining.
Next, lay the pattern on the red interlining or sacking, and trace around the pattern. Make sure the pattern is properly aligned with the grain. Next, subtract a half inch allowance from all sides, and one inch at the bottom waist seam. This will make the sacking smaller than the pattern.
Lay a piece of the sacking on top of the wool batting, and trim so they are the same size. Then carefully trim an additional half inch from the wool batting, thereby making it smaller than the sacking, and a full inch smaller all around than the lining. The reason for this is to help reduce bulk. If we left the pieces the same size, you would have a very bulky line where the edges met under the lining.
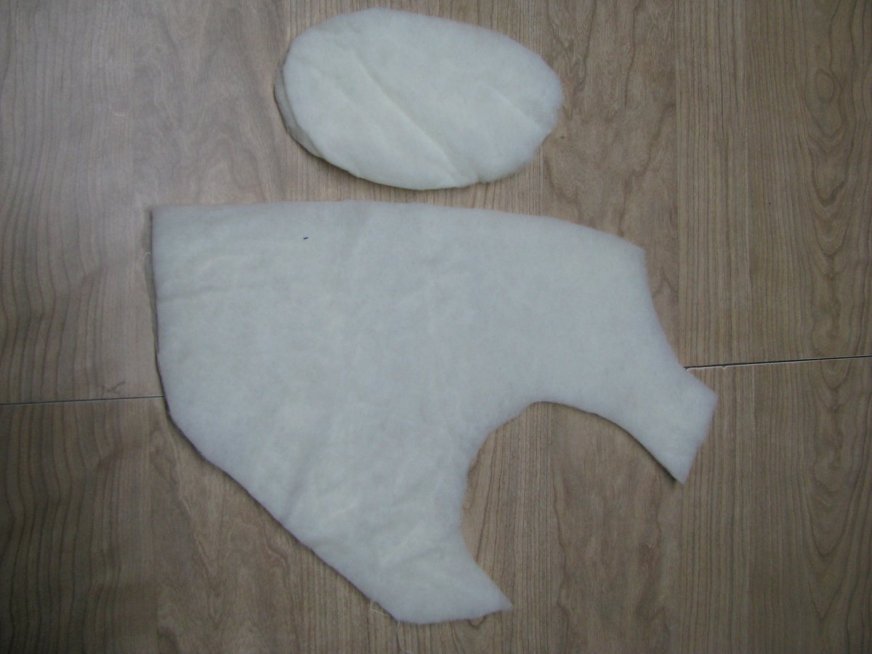
Finally, cut a smaller oval sized piece of wool batting. This piece should be small enough to stay at least half an inch away from the edge of the main piece of batting, again to reduce bulk. The shape is different for everybody, but should roughly correspond to the hollow you made in the forepart when shaping with the iron. If there is a large amount of hollowing in the chest, it’s possible to use even three layers of wool batting, all with stepped seam allowances. This is more likely to be necessary in the larger sized coats, or someone with a very thin waist.
If you find your batting is a bit wrinkled, give it a light ironing. Don’t press too hard or too long though, or you will flatten it, rendering it ineffective for padding the chest.
Second Fitting
Before beginning actual construction, you should do a forward fitting, to catch any last issues with the body and collar. Go through the following steps, but with basting only. Then go back and repeat the process with the actual sewing. You’ll want to baste the lining together as shown, but not quilt. Baste it into the coat. Baste the back and shoulders together. Then make a collar without the piping and baste that on. At this point you can still adjust the shoulder seams if necessary, and move the collar higher or lower. After fitting, remove all unnecessary seam allowances from the neck, shoulder, and back neck.
Added August 23, 2023:
Finding the Center Front
I’ve found that often times the way the historical pattern is drafted does not account for say having more of a belly or needing more room in the back waist or vice versa, and the center front is not where it actually needs to be. So to fix that, I give a very generous inlay of 2″ to the front, and after the canvas and lining are temporarily basted in, try on the coat.
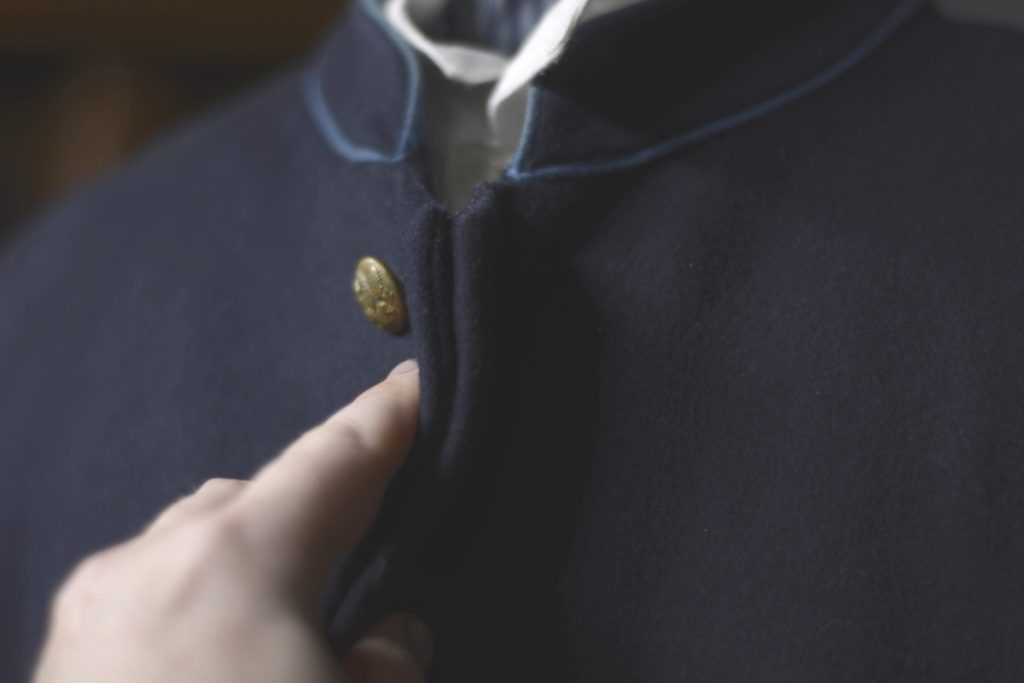
Gently pinch the center front together, wrong sides together, so it is snug but not overly tight. Do this at the waist and then every two or three inches as you work your way up, marking the point on each forepart where the fabric is pinched together.
I’m demonstrating here on a finished coat, but on your coats the front edges will still be unfinished at this point.
Here I’m pinching the coat together at the center front, wrong sides together.
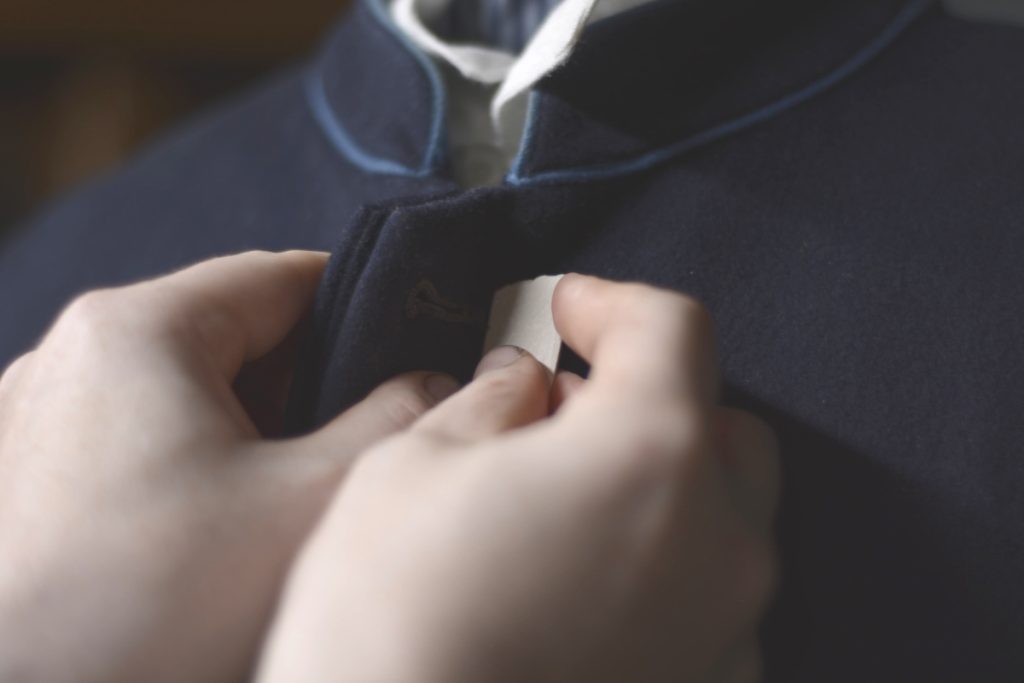
Mark each side of the coat at the base of the pinch.

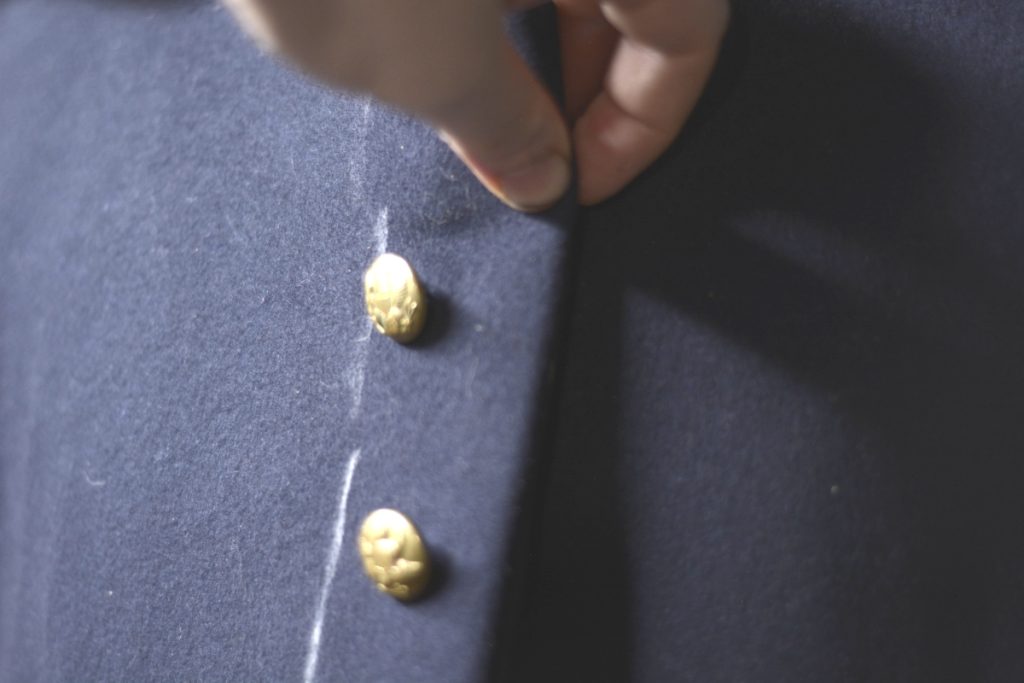
Here is the collar area on an unfinished coat after I’ve done this process.
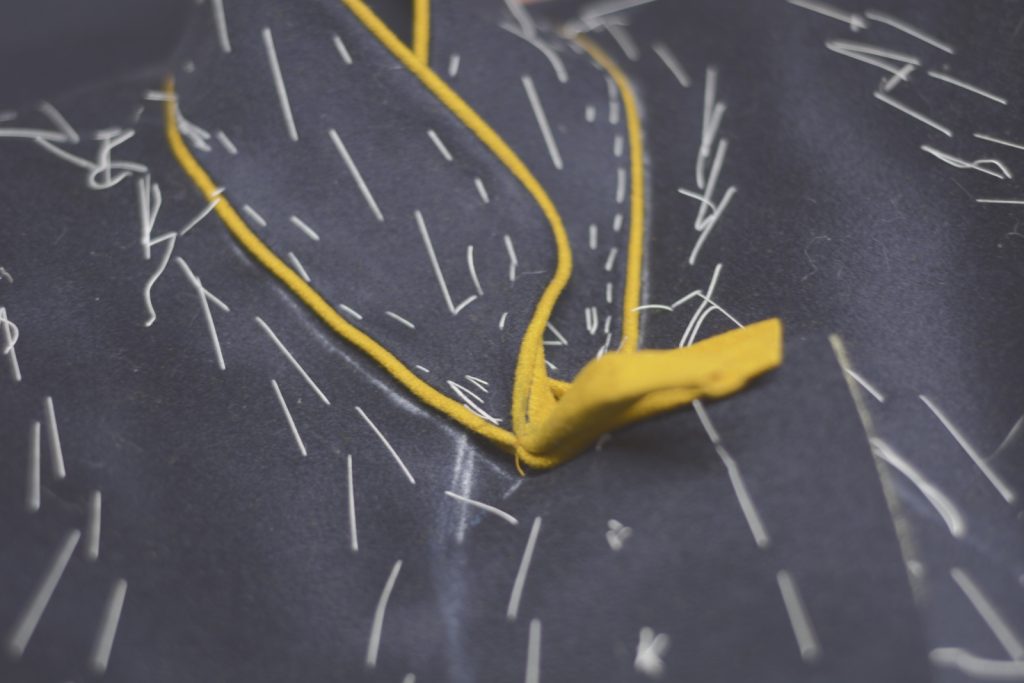
Next, I’ll connect the markings with a hip curve, as well as correct any slight inconsistencies in my marking – something marked a 1/4″ outside of the curve for example, or making sure both sides are identical.
This line keep in mind is the center front. After I’m happy with the corrected center front line (you can try it on again and pin along the lines instead of pinching), add 7/8″ to the center front on each side, 1/2″ for the space in front of the buttons and buttonholes, 1/4″ for the seam allowance, and 1/8″ to account for the turn of the cloth.
Leave the extra fabric on for now, but when you get to the appropriate section, you’ll trim the center front to this outer line and continue on from there.
If you have any questions about this section, please let me know. It’s really one of the most important parts of the fitting process, I’ve found.