Author: James Williams
Cutting the Canvas
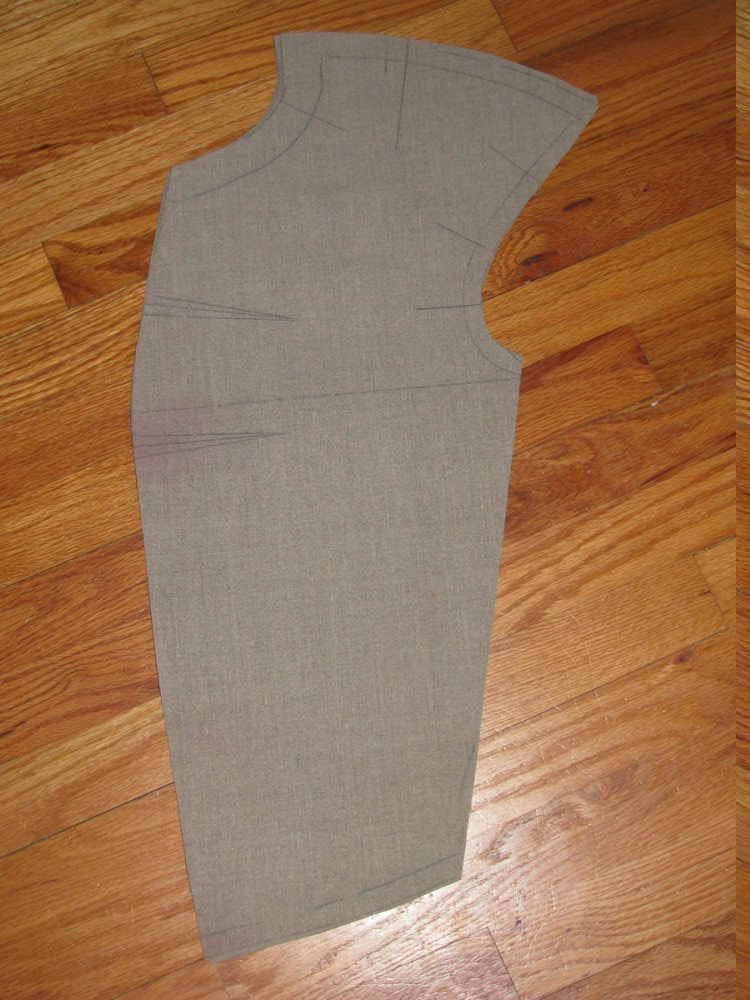
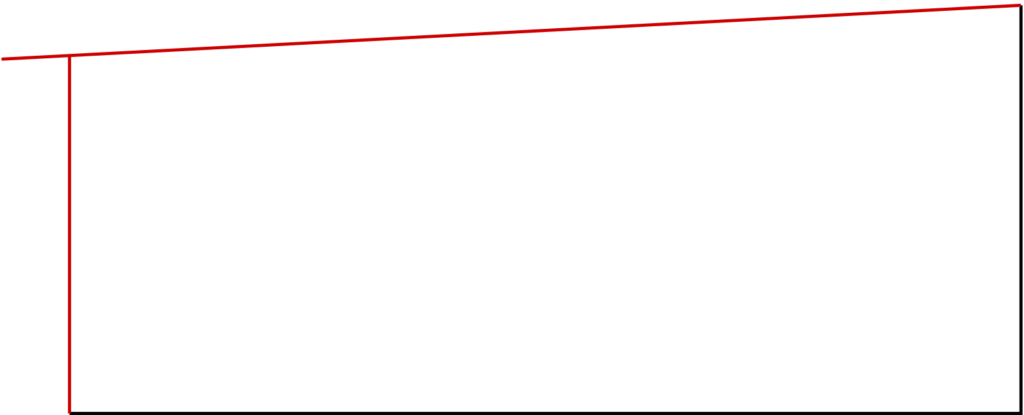
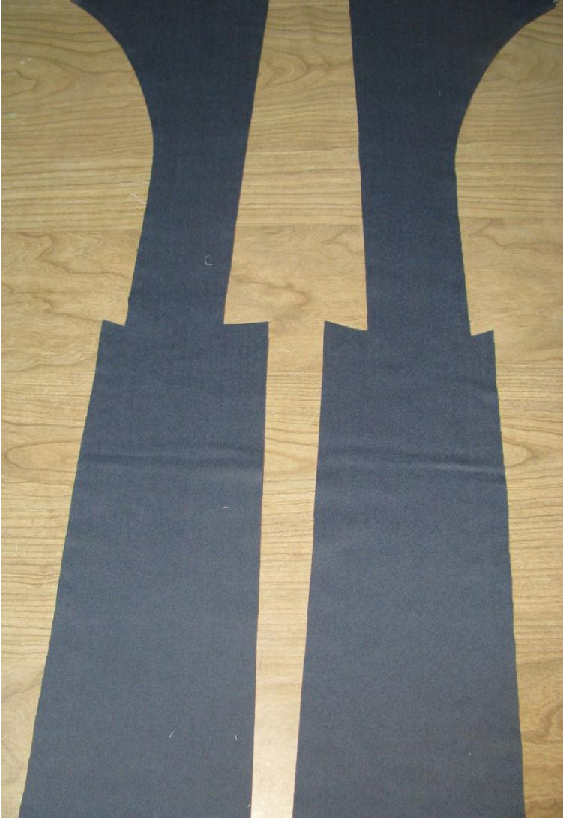
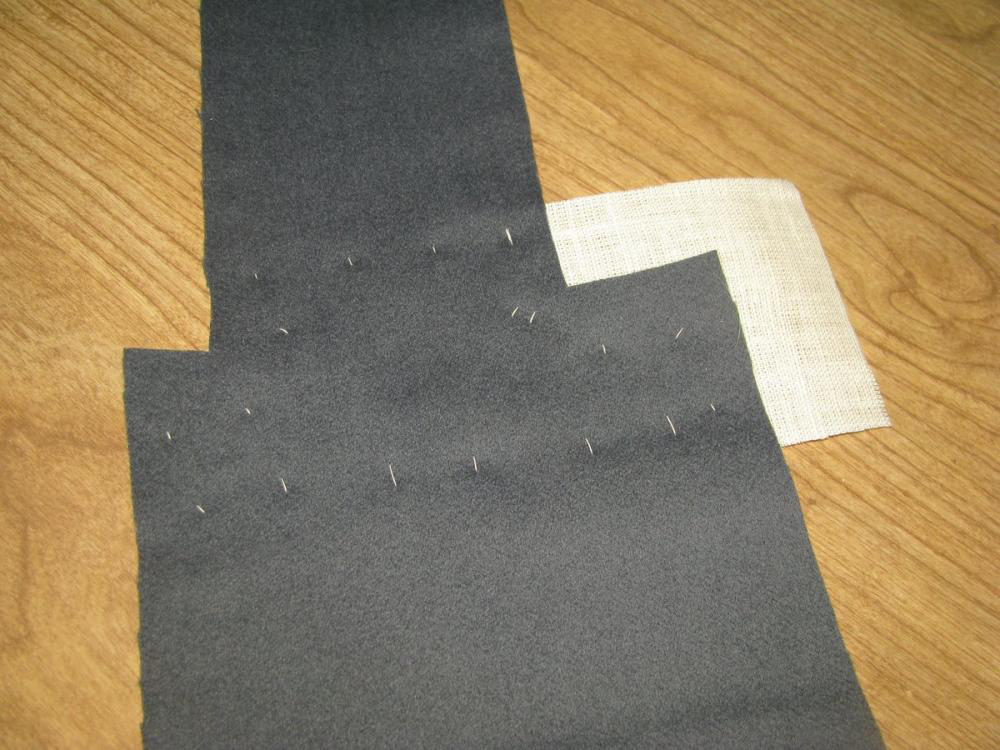
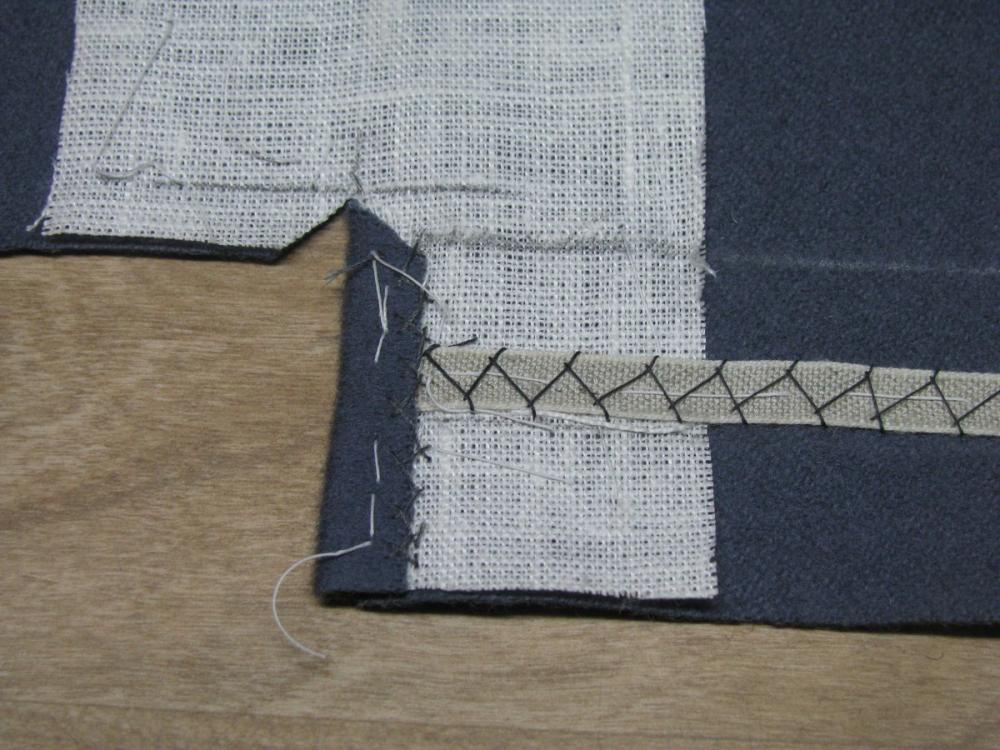
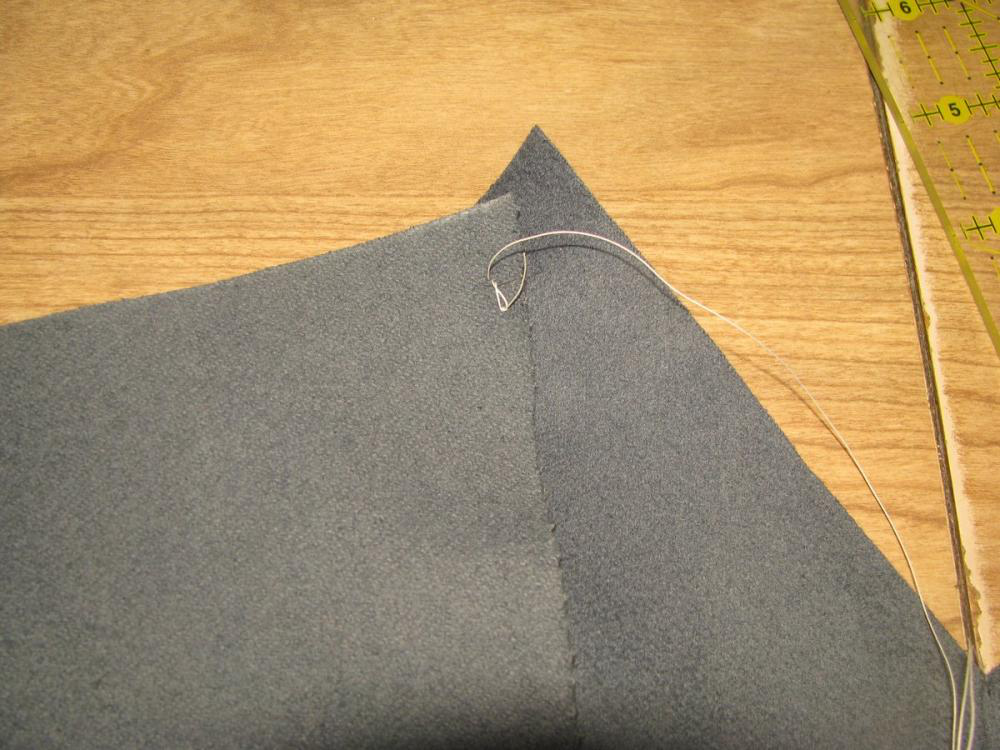
It is time to prepare and install the Canvas. All of the iron work you put into the forepart of the coat needs to be reinforced and secured by shaping in the canvas, making it a very important part of the coat. To begin, place your paper forepart pattern on the pre-shrunk canvas. You should trim off the seam allowance from the center front edge. Fold the side seam over as shown, so that about an inch is taken from the armscye, tapered down to the waistline, which should be 4 to 6 inches in width. The new side seam may be drawn with a concave line, curving in towards the belly of the forepart.
Next, allowances need to be made – both for the inlays and a bit extra. At the neck seam, shoulder seam, armscye, and waist, add the same amount you added for the inlays in the forepart, plus half an inch. Even if you’ve cut the inlays from the waist, for example, you still need to add them to the canvas. This will give you room for error and adjustment when installing the canvas.

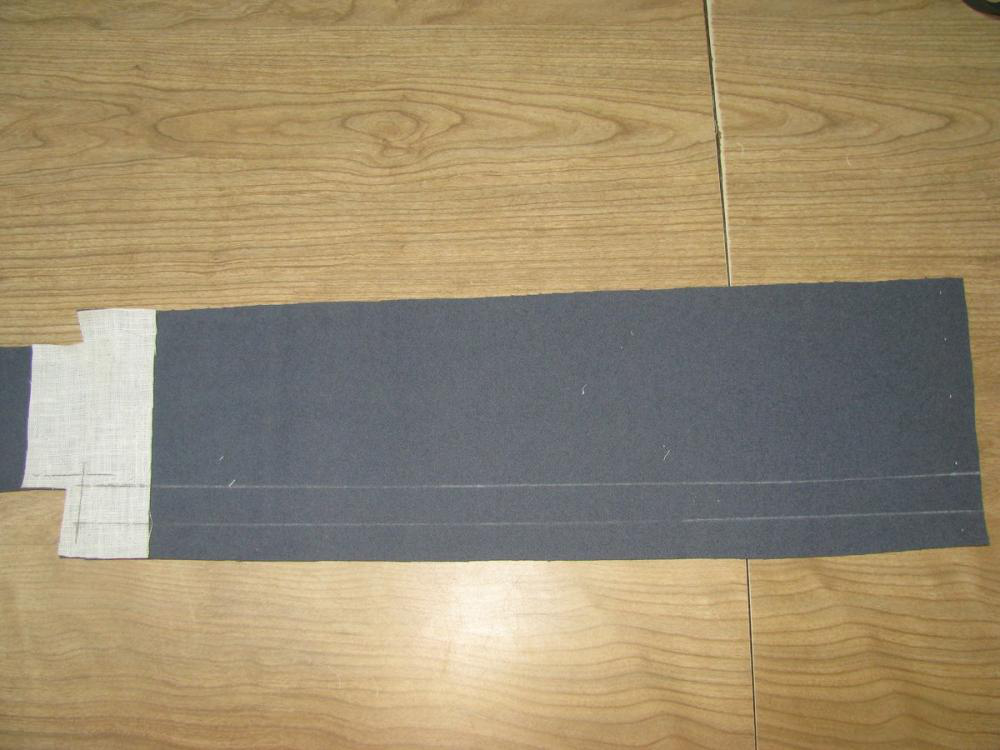
I also like to draw the chest line, transferred from the pattern.
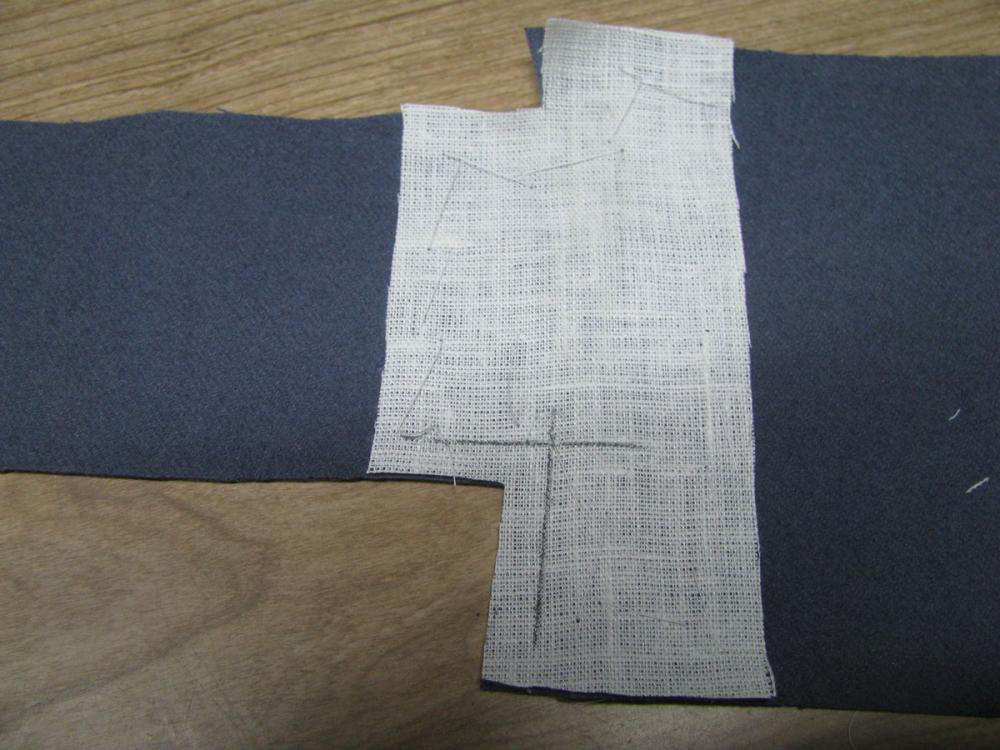
For the lapel canvas, add the same inlays plus half an inch to the bottom, front, and top. The center front seam allowance needs to be trimmed off before transferring to the canvas. The lapels and body canvas will be joined with no seam allowance.
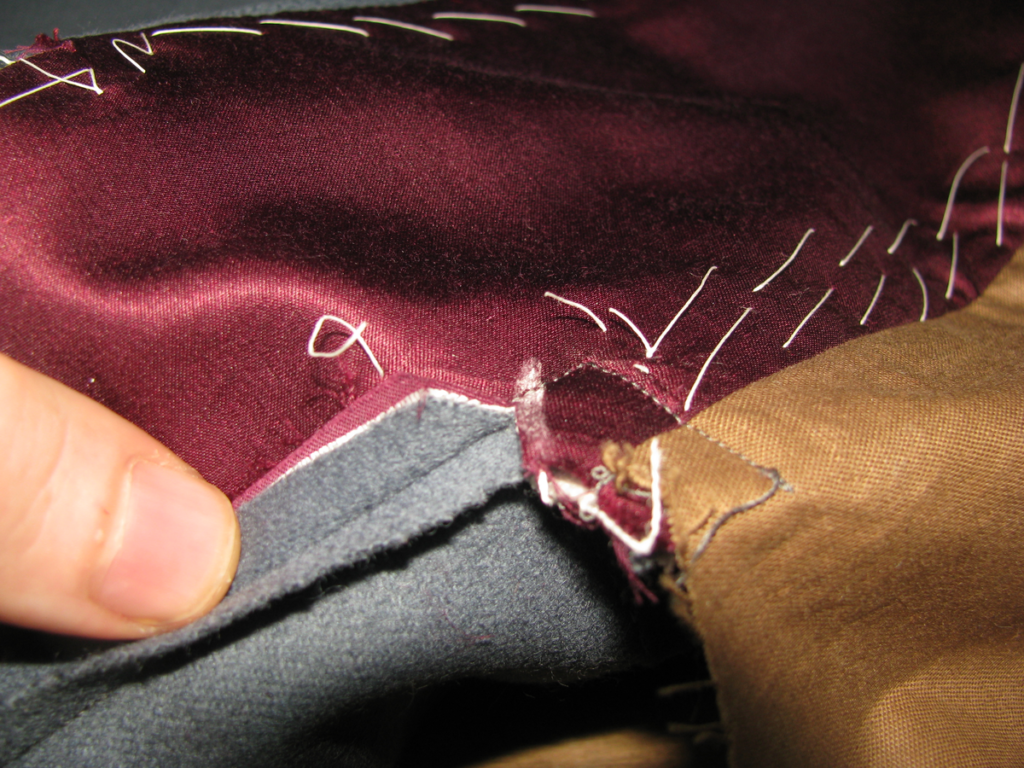
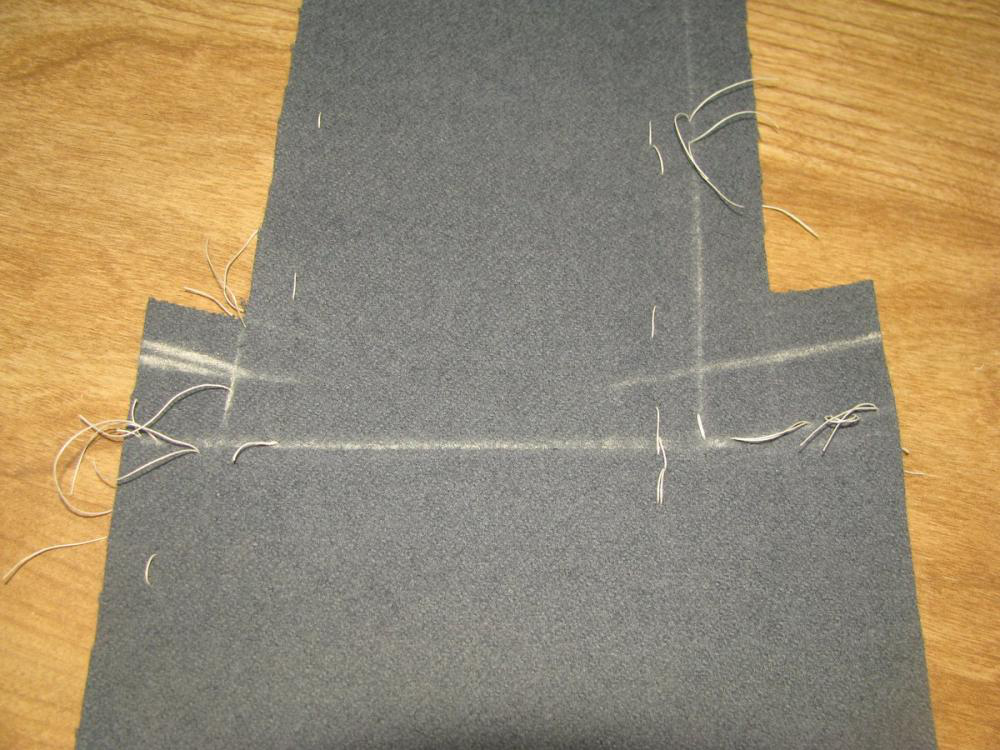
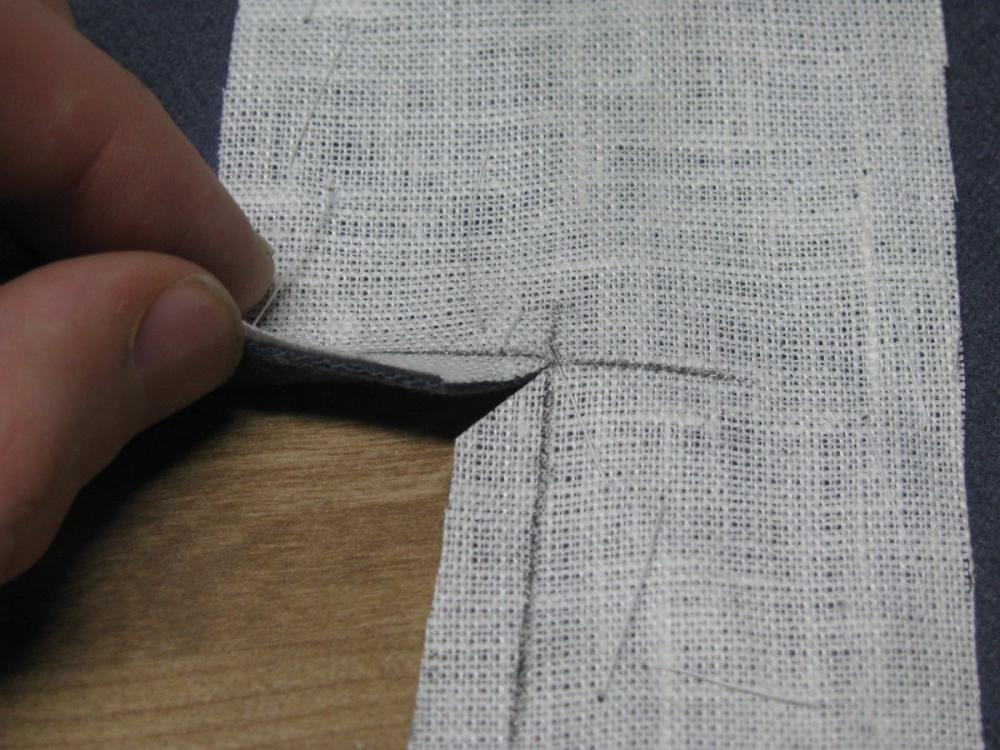
At the center front of the body canvas, one or two darts must be drawn. Two darts will give you more fullness in the chest compared to just one. These are about 4 inches long, and 1/4 to 1⁄2 inch wide at the center front, and should be placed at the fullest part. The width also depends on how much fullness you need.
Another dart needs to be added to the place on the canvas corresponding with the gorge dart you stoated in the previous module. It’s not shown in the photo as I mistakenly left it out.
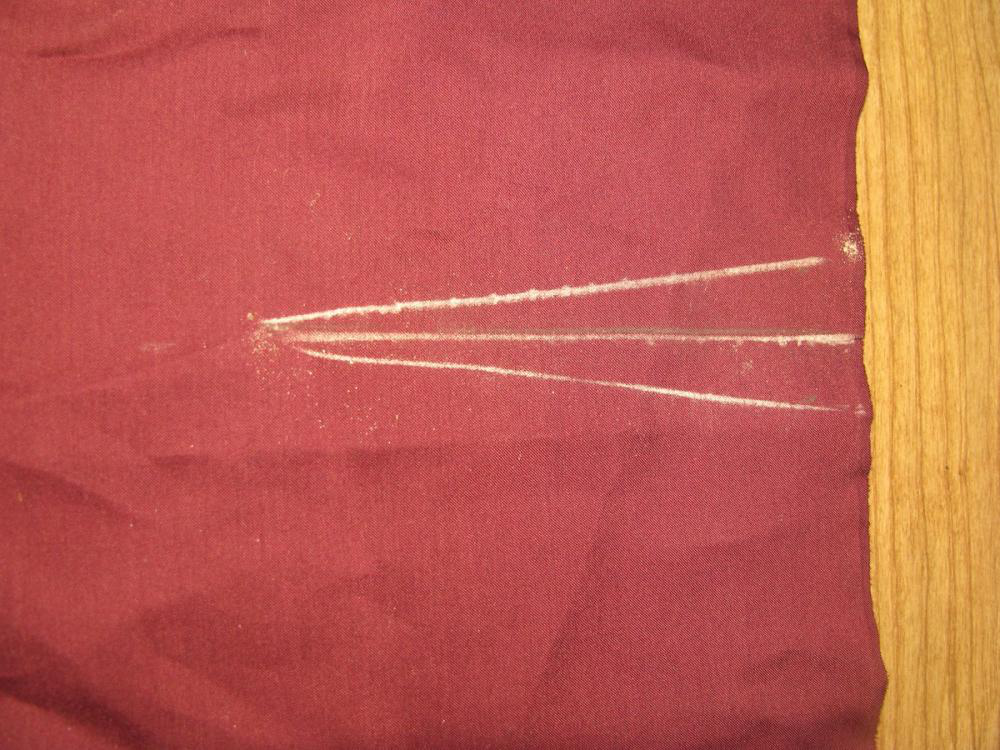
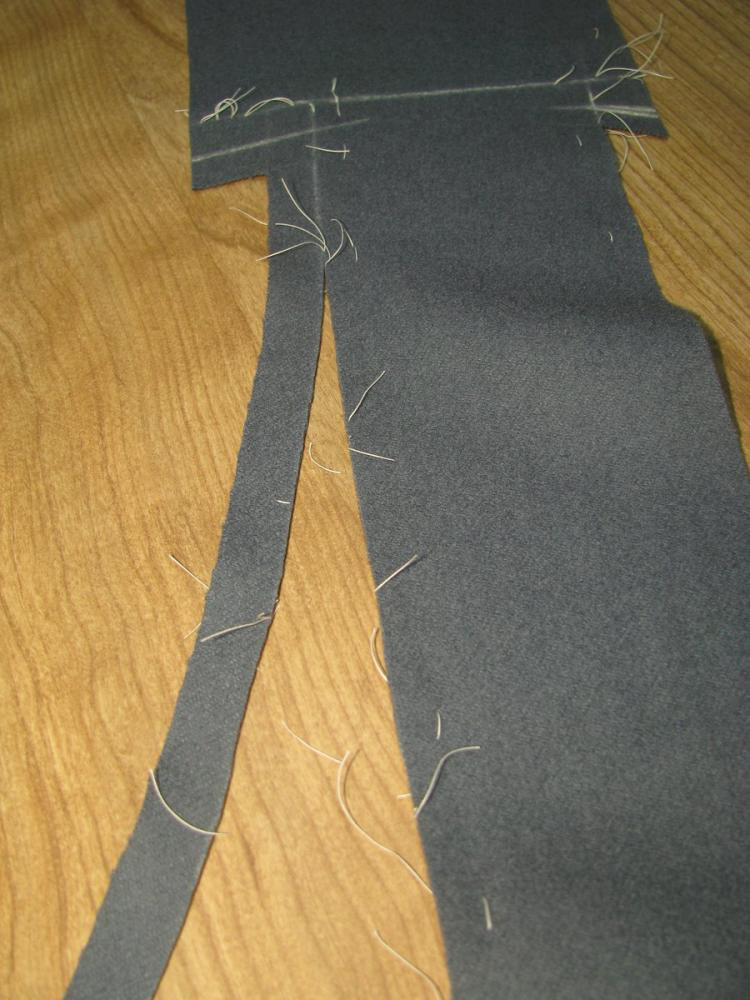
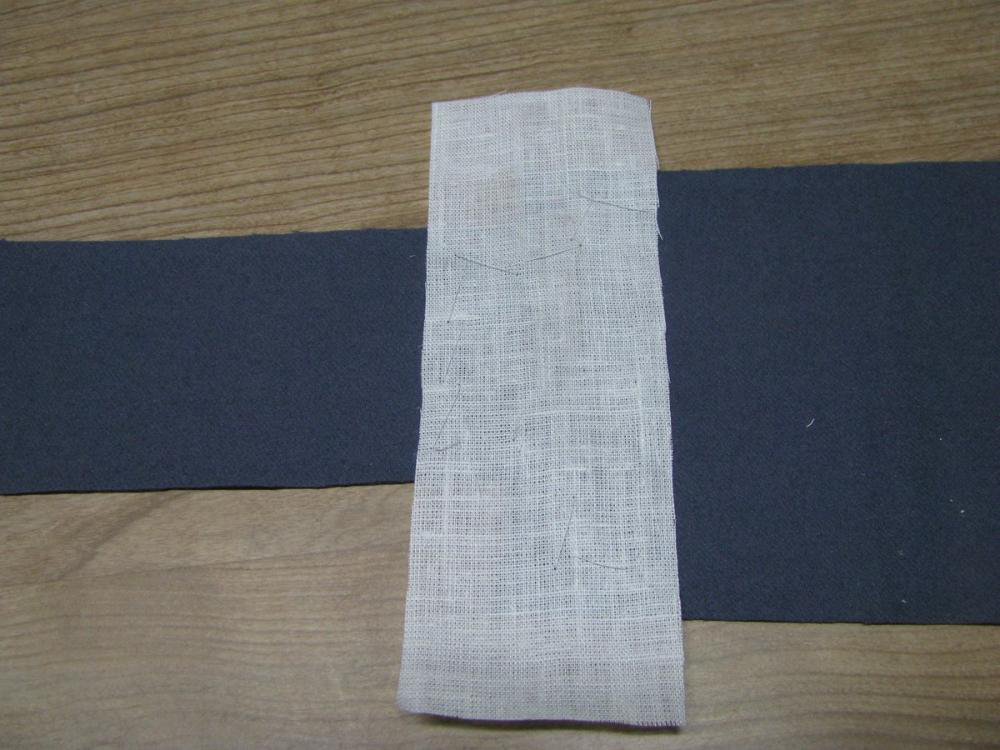
At the armscye, three lines are drawn from the edge, to about 1 1⁄4 inch past the seam line. These lines should be at right angles to the edge of the canvas. These will be later cut open and held open with a piece of canvas, mimicking the stretching to the armscye present in the forepart.
Divide the shoulder seam into thirds. At the first third from the neck, draw another line at right angles to the shoulder, about 3 inches past the seam line.
Do the same at the hollow of the neck, making this line about 1 1⁄4 inch long.
Finishing the Pockets
Now turn the coat to the right side, and baste the pleat closed. If you want a pressed pleat, now is the time to give it a good pressing over a ham. I have chose not to press mine, and will instead leave it to hang freely.

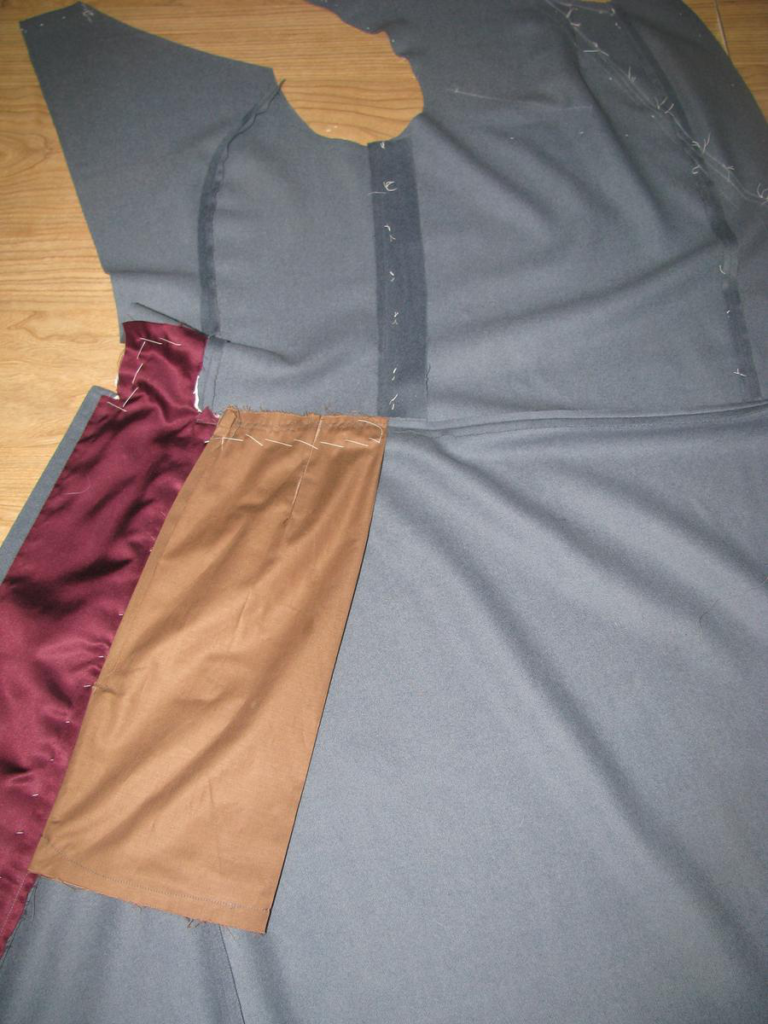
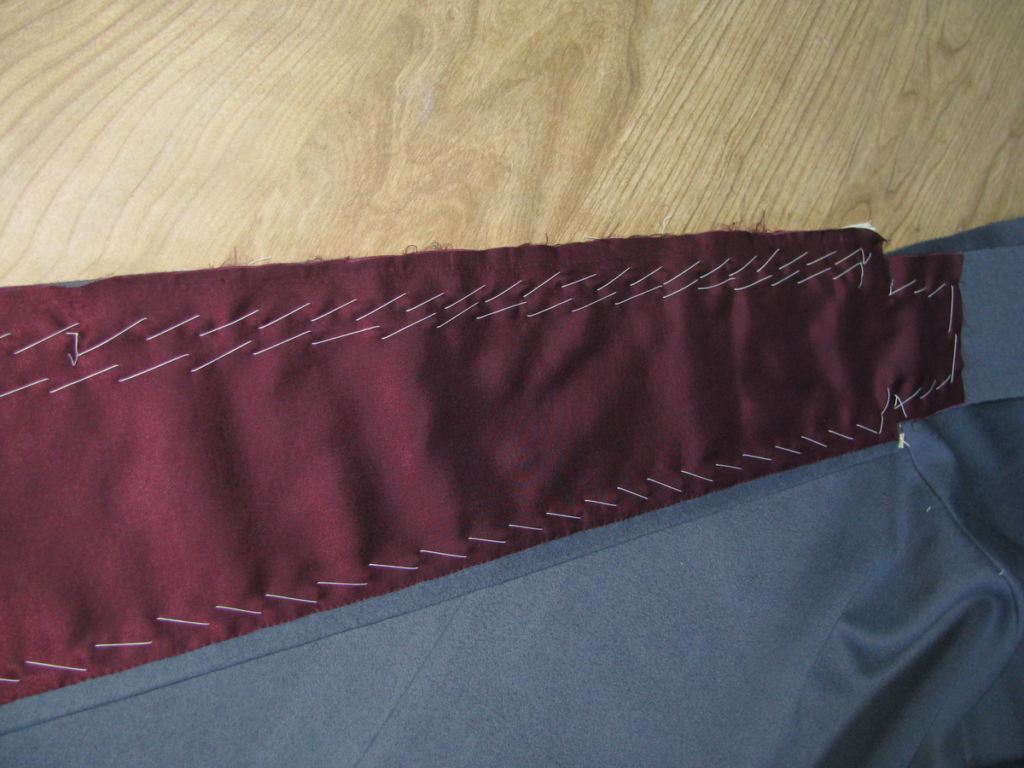
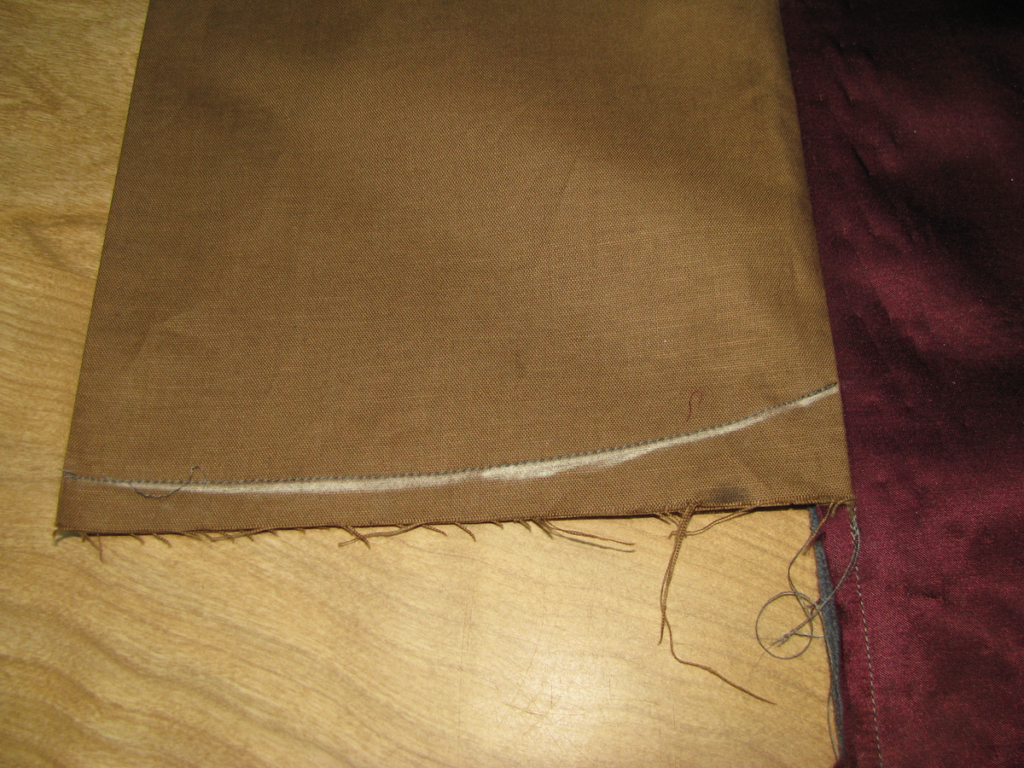
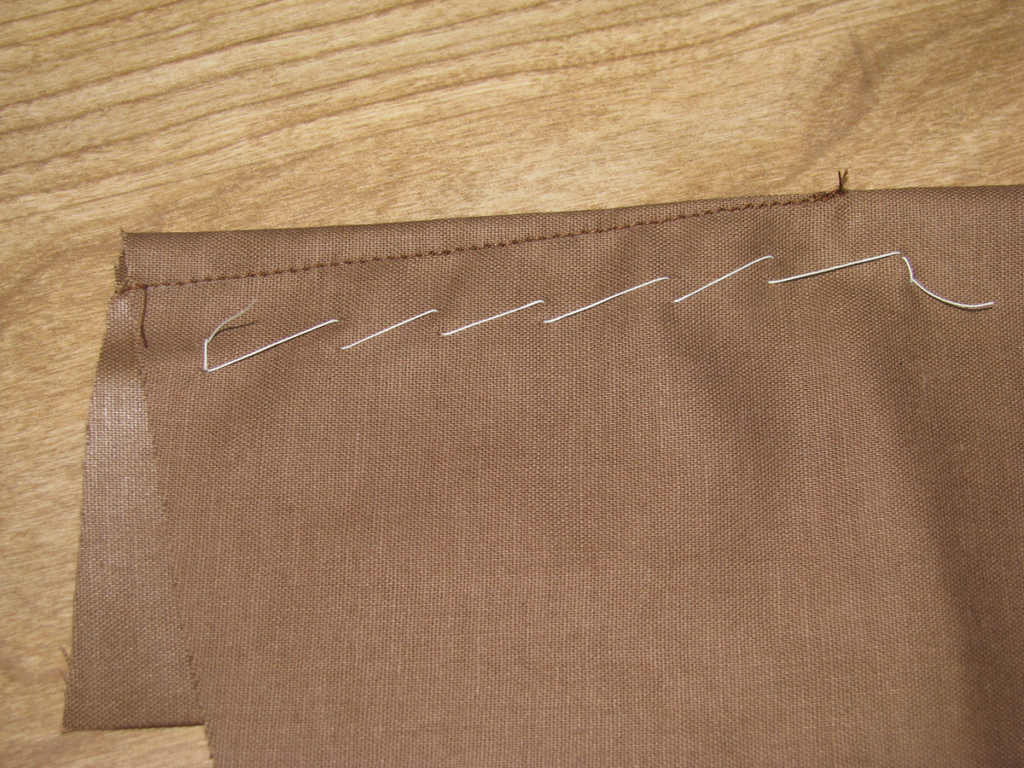
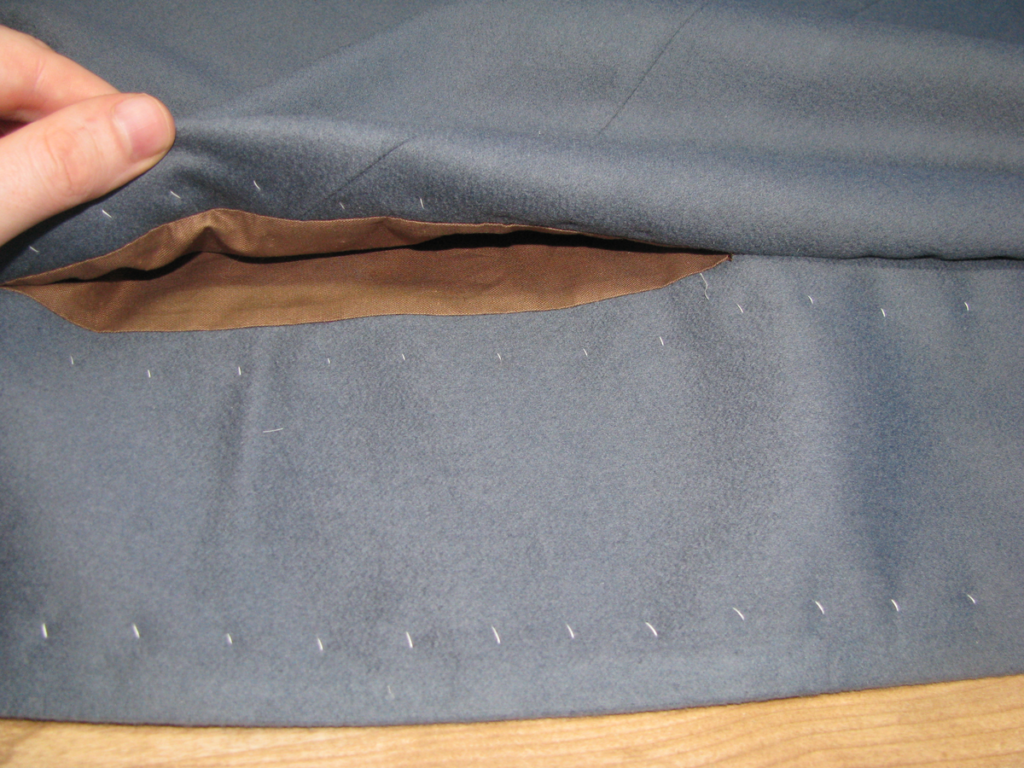
Turn to the inside of the coat, and baste the pocket across the top, just below the waist seam. You want the pocket to hang without affecting the drape of the skirts, hence the angled cut of the pocket tops.
Cross stitch the pockets to the waist seam, being sure not to let the stitches show through to the right side.

At this point, the pockets are completed, and you should remove all basting stitches from the pockets and the back lining, except for the outer edge near the waist that has not been sewn yet.
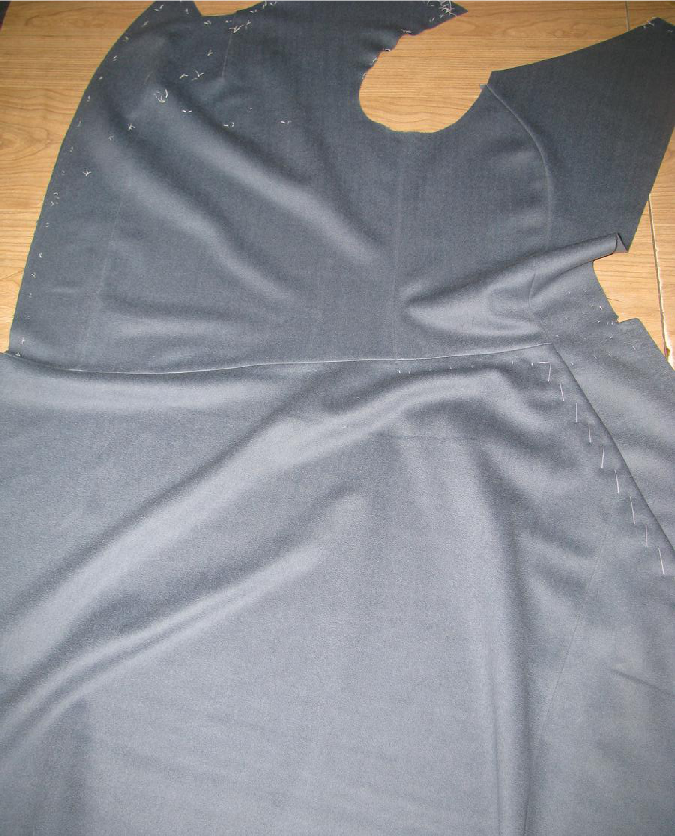
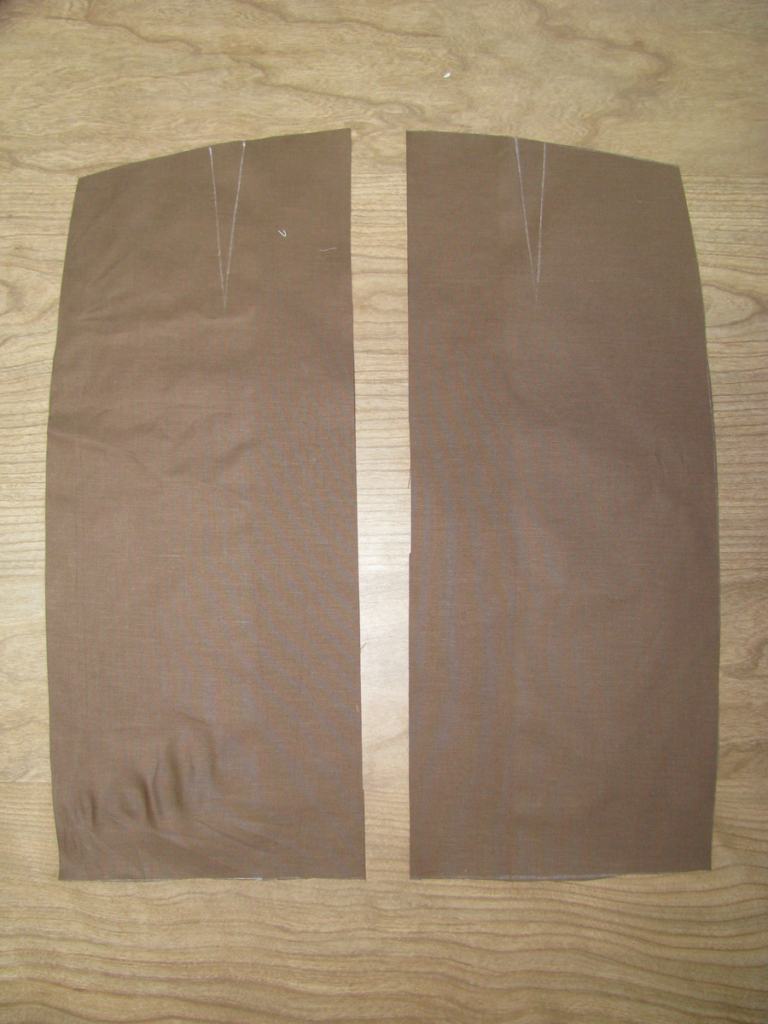
You should have two nearly identical halves of the coat now. Our next step in Module 9 is to shape the canvas and install it into the coat.
Interior Plait Pockets
Interior Plait Pockets
The interior plait pockets are a little more involved, construction wise.
At the top, very carefully clip the skirt seam allowance, 3/16 inch from the edge of the center back seam. This will help reduce bulk in this area, as otherwise you can have 6 or 7 layers in this area, giving an unflattering look.

Now baste the upper halves of the back piece and side body together. These seams must be eased together so that no ripples show on either side. The fullness will appear on one side or the other, depending how deeply you drafted the curves on these pieces.

Then baste starting from the waist down to the bottom of the skirts.
Cut a square of polished cotton twice as wide as the finished pocket pattern. Press it in half, right sides together, place your pattern along the fold, and form the darts on both sides, as explained in the exterior pocket section. You’ll end up with two darts in each pocket, pressed in opposite directions. Also be sure to mark the curved edges.
Mark on each pocket halve, 9 inches down for the length of the pocket opening. Make a cut in one half of the pocket only at this point, ¼ inch deep. Press the seam allowance from this point to the top of the pocket back towards the wrong side. Repeat for the other pocket half, being sure to do the opposite. After pressing, tack the edges together by hand just below the cut, and all the way down to the bottom of the pocket.

Place one half of the coat right side down, and arrange it so that the back piece is facing wrong side up on top of the coat.
Place the pocket with the cut edge down onto the skirt assembly. The raw edges of the pocket should be aligned with the edges of the back skirt.
Baste the pocket down, working the curve of the pocket into a straight line. When basting the upper half of the pocket, above the cut, you want to move the bottom half of the pocket out of the way, so that it is not caught in the stitching.
You can flip the pocket over to make sure that this is the case.

Now sew a straight seam, starting from 1 inch from the bottom of the skirt, to the top of the ‘step’.
This will bind all layers together, except for the upper half of the lower pocket layer, which you moved out of the way.
Remove the basting stitches from the pocket, and press the seam flat to set the stitches.
You can see how the now upper half of the pocket is still free to open.
Press the pocket back over a curved ham. The pocket has some shape to it due to the curved seam, so a ham is necessary.
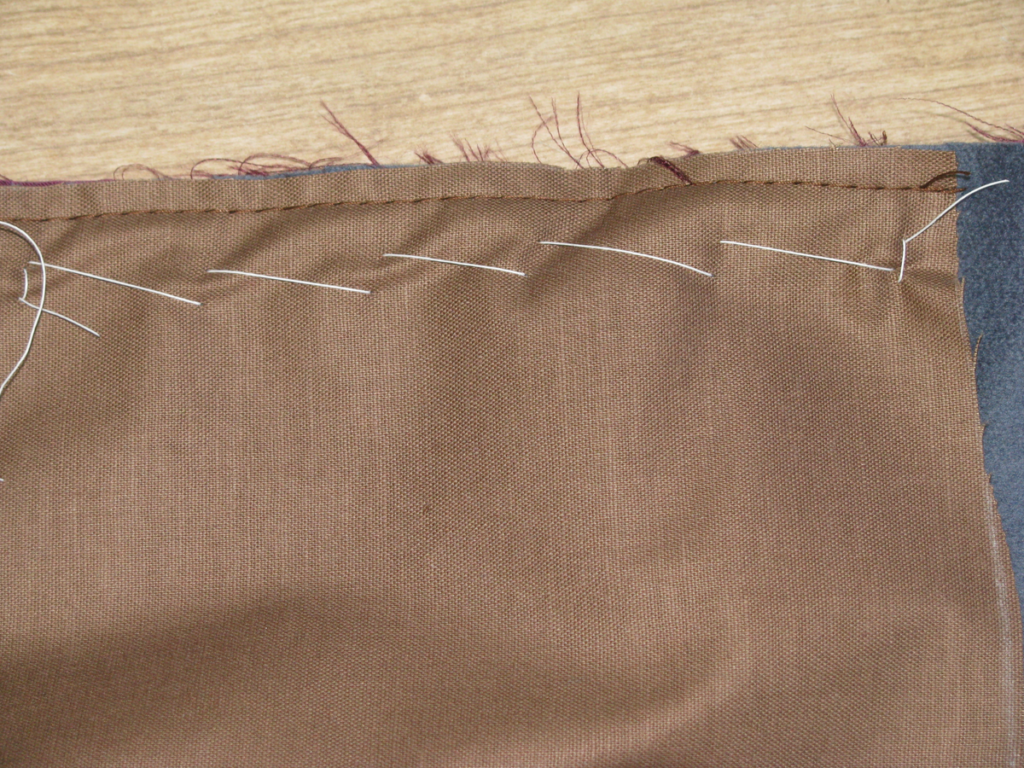
Sew a tack 9 inches below the top of the pocket, just above the chalk mark you made. The tack should be just above where the cut was made, and extends from the edge of the pocket, to 1/8 away from the wool.
Make another tack at the top, about half an inch from the top. Pull the pocket slightly tight to reduce gaping in the finished pocket. These tacks are made while the pocket is still in position after pressing open.
Sew the pocket closed along the bottom edge, giving a slight curve to the stitches to make it easier to retrieve items.
Sewing the Side Body to Back
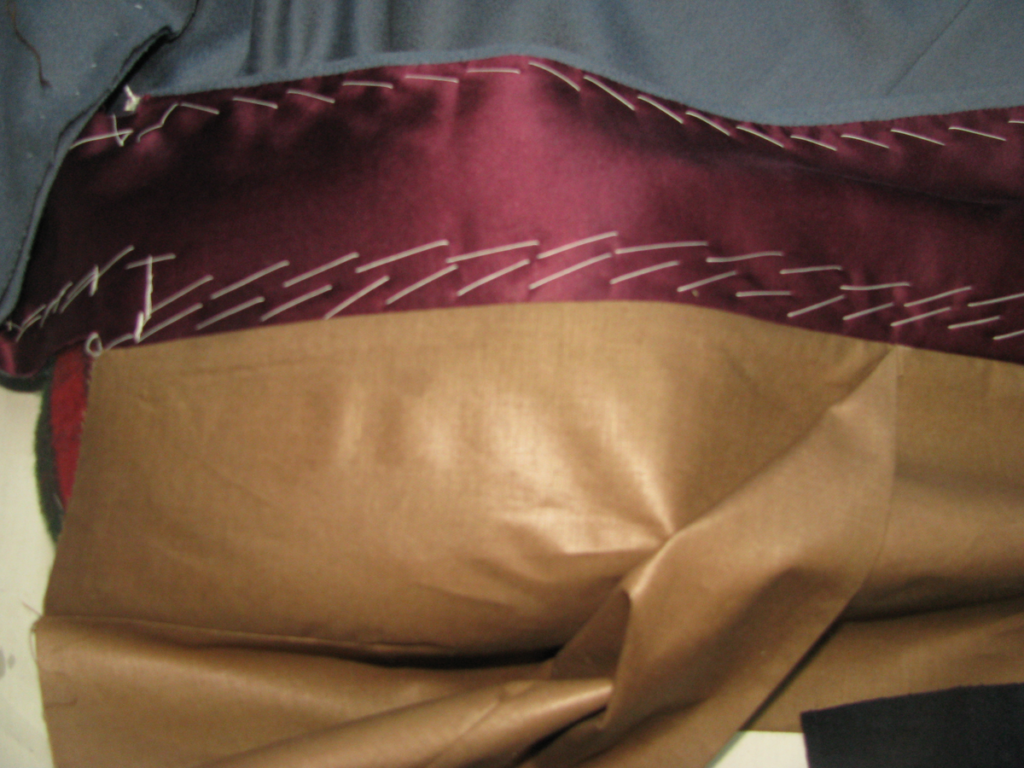
Sew the upper half of the side body to the back seam, making the little ‘step’ near the waist, and ending at the pocket, sewing all the way to the edge of the wool underneath.
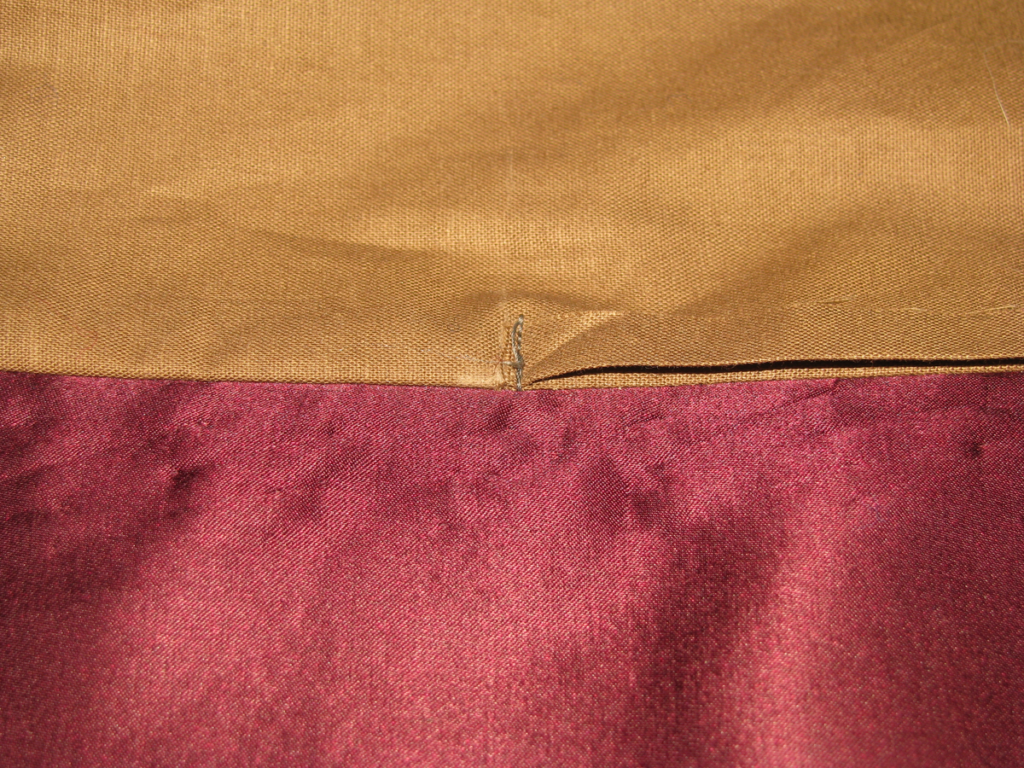
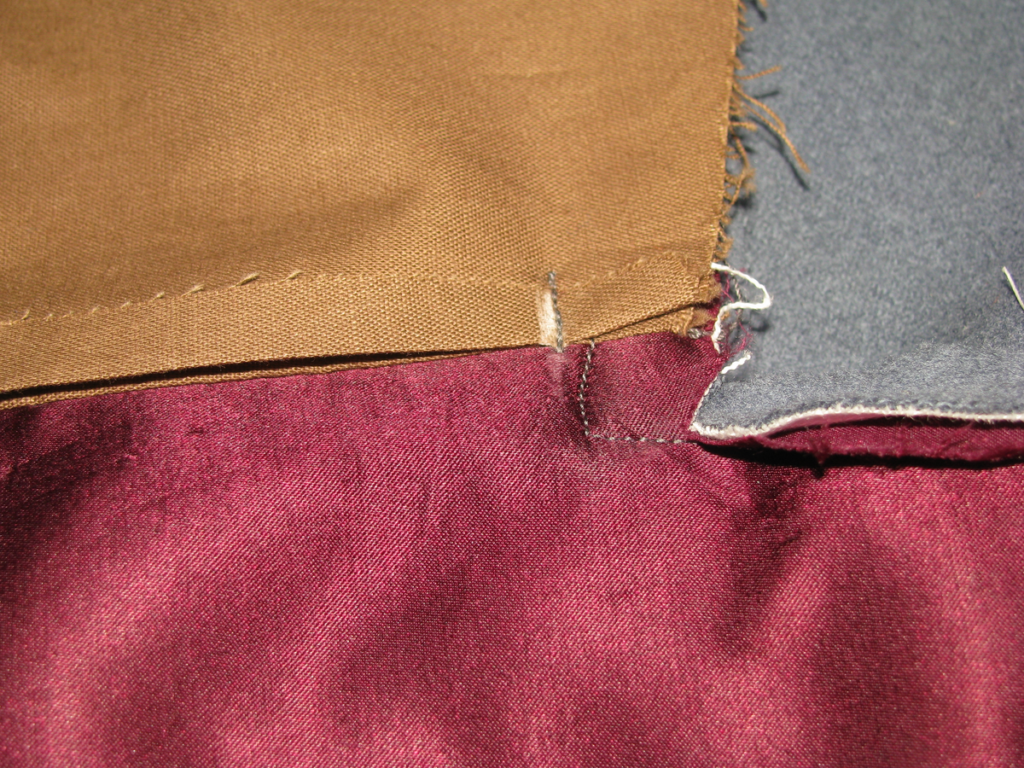
Near the bottom of this seam, near the waist, make a small clip in the back piece, almost to the seam allowance. This will allow you to press the upper back seam open without issue.
Press the upper back seam from both sides to set the stitches, then using a tailors ham, press the seam open. Be sure to press this on a curved surface, otherwise you will completely ruin the coat. There is ease built into this seam, which if pressed on a flat surface, will disappear, giving you a very poorly fitted coat.

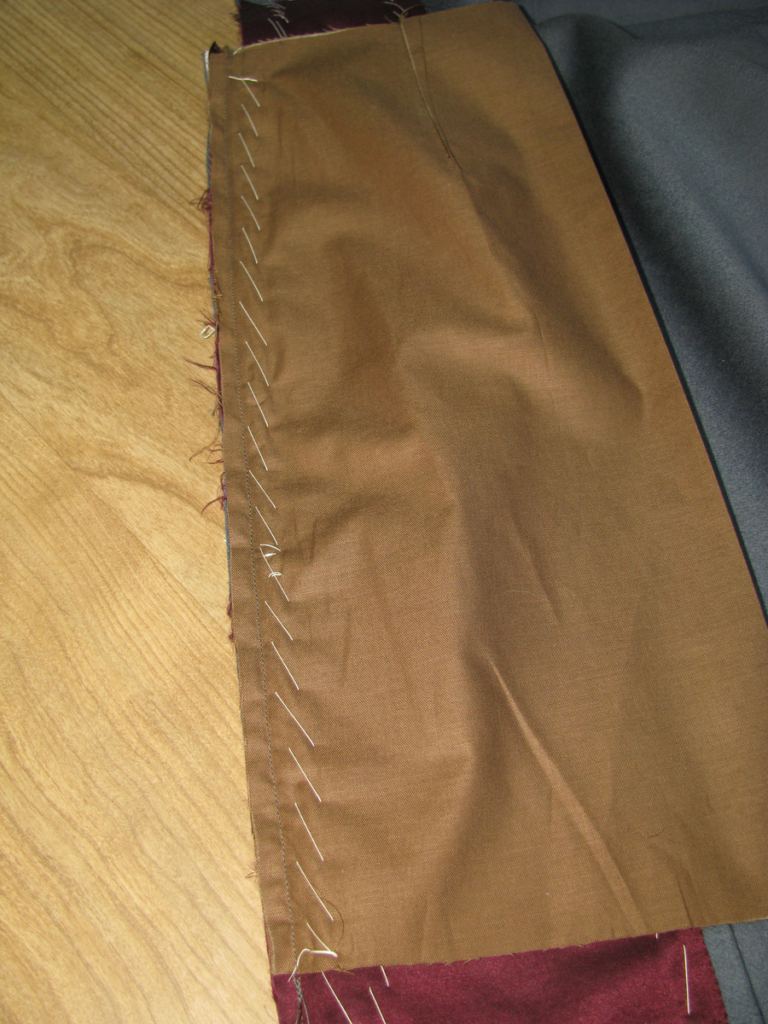
At the bottom one inch of the skirt, fold the lining out of the way, and sew the rest of the skirt closed. This will allow you to finish the lining more easily later on.

Exterior Pocket Construction
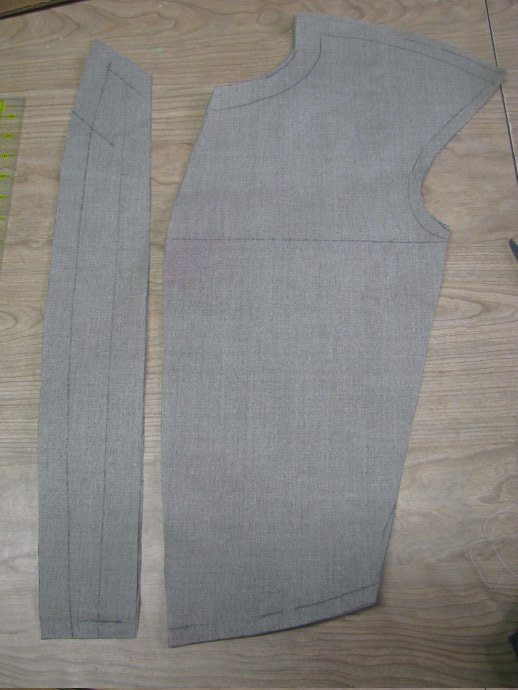
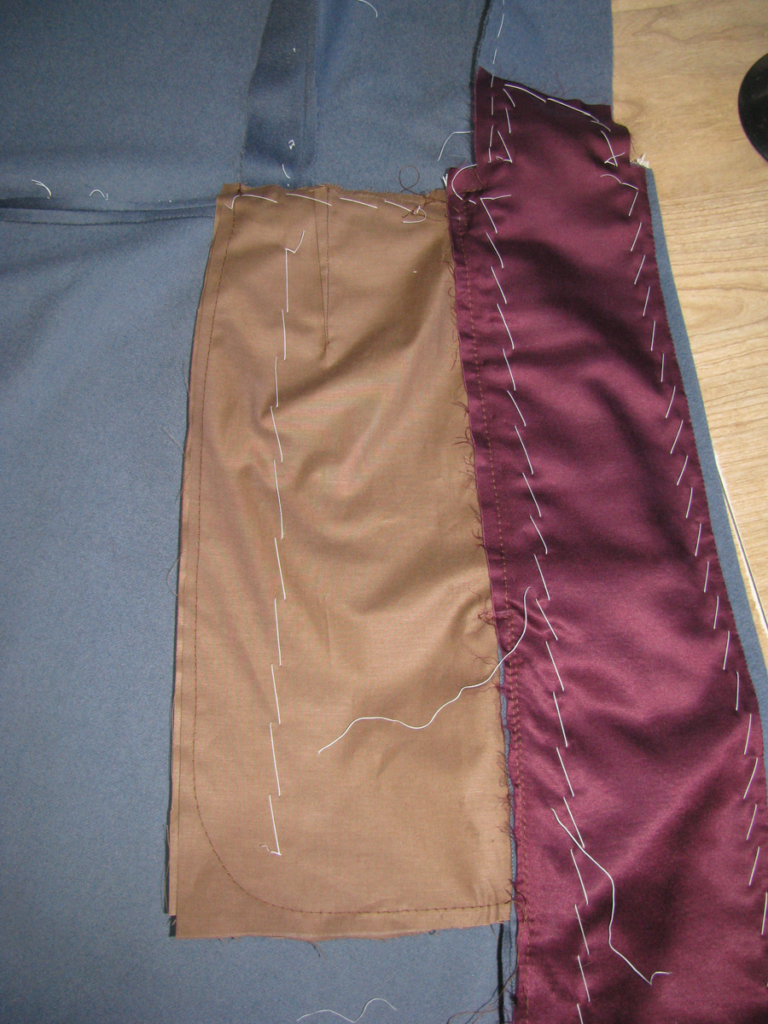
We’ll begin with the construction of the exterior plait pockets. Skip this section if you are doing exterior pockets. Begin by cutting out two pieces of polished cotton for each pocket bag. These are cut separate with the seam allowance you added when drafting. Make sure you mark the darts at the top in chalk, on both pieces.
Baste each dart closed, then stitch.
Press each dart to one side, and alternate the dart on the other half so that it is pressed in the other direction. This will help reduce bulk.
With right sides together, line the curved edge of the pocket up with the edge of the skirt, aligning each at the top. Baste firmly together.
Sew the seam with a 3/16 inch seam allowance. You want it to be slightly less than a quarter of an inch so that the seam will not be seen in the finished coat. Remove the basting stitches and press open the pocket bag.

Do the same with the other half of the pocket bag, sewing it right sides to the unfinished edge of the back skirt, again aligning at the top. Press open as you did for the other half.
Align the back and main skirts, right sides together, making sure that the pocket bags are lined up. Baste through all layers. It’s very important that the edges of the wool layers are perfectly lined up. It’s hard to tell, as you can’t see both at once, so you’ll need to rely on touch with your fingers.

Mark on the edge of the back seam 1 inch down from the top of the pocket, and again, 9 inches from the top. This marks the pocket opening, and where you do not want to sew (or else you’ll close up the pocket).
Sew the back seam as described in the section Interior Plait Pockets. You’ll want to have side body seam basted to the upper back seam before proceeding. The only changes are that you use a 5/16 seam allowance, and stop sewing at the marks. Sew the seam from 1 inch from the bottom, to the bottom mark, and from the top mark, to the top at the waist seam.
Next, baste the pocket halves together, and sew along the edge. At the bottom outer corner, you should curve the seam nicely. Sew from the top of the pocket all the way to the bottom, ending at the 5/16 seam on the wool body.
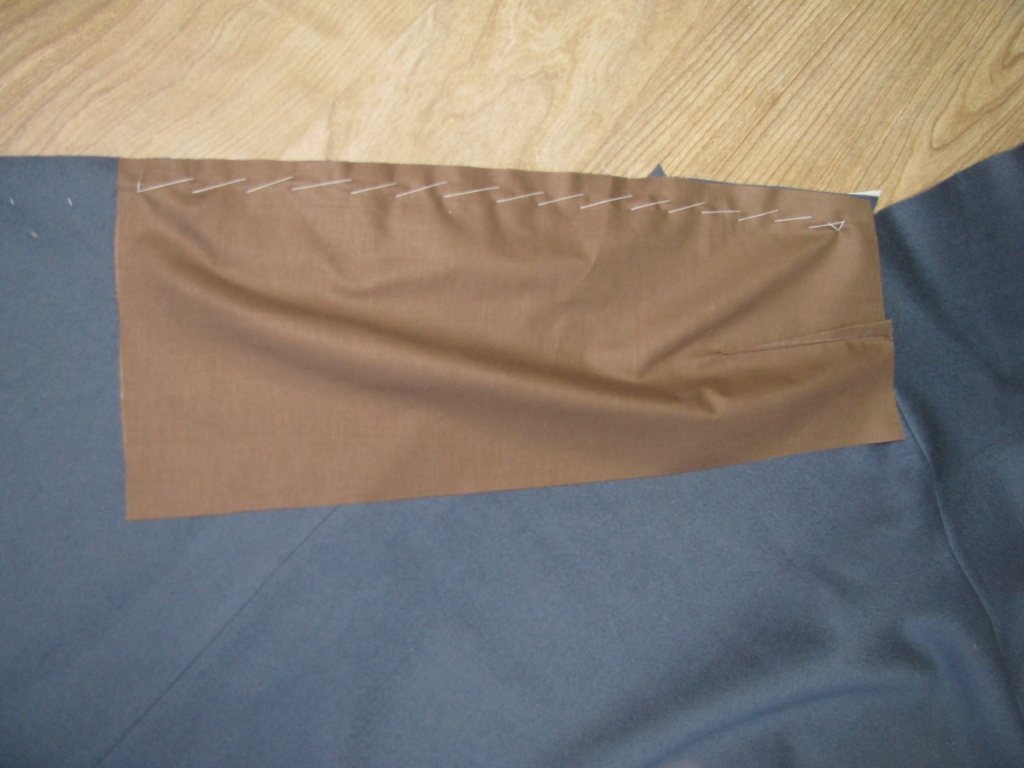
At both chalk marks indicating the top and bottom of the pocket mouth, tack each with a row of stitching. Start exactly at the seam line and ending just past the edge of the wool, on the pocket itself. This provides extra strength for the pocket, so that it doesn’t tear as you use it.

At this point the pocket is complete, and just needs to be cross-stitched at the top, as explained in the last section.
At the top, very carefully clip the skirt seam allowance, 3/16 inch from the edge of the center back seam. This will help reduce bulk in this area, as otherwise you can have 6 or 7 layers in this area, giving an unflattering look.
Now baste the upper halves of the back piece and side body together. These seams must be eased together so that no ripples show on either side. The fullness will appear on one side or the other, depending how deeply you drafted the curves on these pieces.
Then baste starting from the waist down to the bottom of the skirts.

Sewing the Side Body to Back
Sew the upper half of the side body to the back seam, making the little ‘step’ near the waist, and ending at the pocket, sewing all the way to the edge of the wool underneath.

Near the bottom of this seam, near the waist, make a small clip in the back piece, almost to the seam allowance. This will allow you to press the upper back seam open without issue.

Press the upper back seam from both sides to set the stitches, then using a tailors ham, press the seam open. Be sure to press this on a curved surface, otherwise you will completely ruin the coat. There is ease built into this seam, which if pressed on a flat surface, will disappear, giving you a very poorly fitted coat.
At the bottom one inch of the skirt, fold the lining out of the way, and sew the rest of the skirt closed. This will allow you to finish the lining more easily later on.

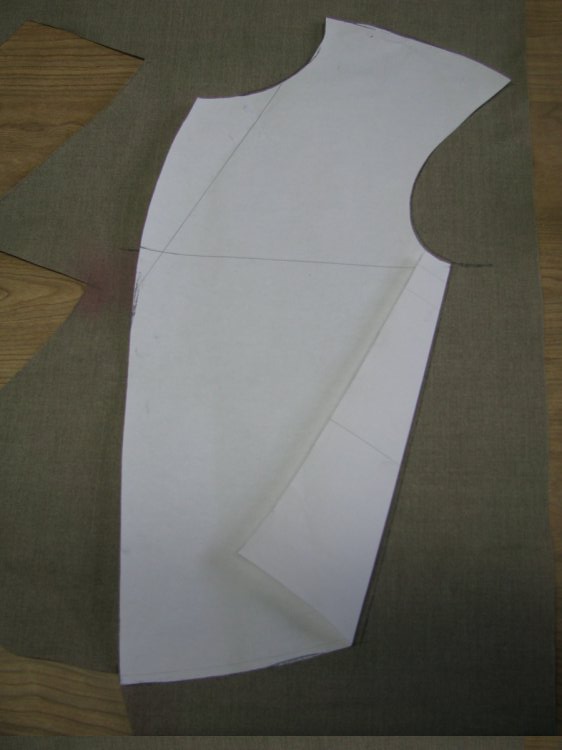
Drafting the Plait Pockets
Begin by drawing a vertical line 14 inches long. On the right, or bottom of the pocket, square out another line 6 to 7 inches wide. These numbers are both variable according to how long your skirt is, and how large your coat is, but this is a good starting point. Also include the seam allowances in this measurement, so an extra 1/2 inch total.

On the left, or top of the pocket, draw a line square across that is about 1/2″ to 1″ smaller than the bottom width. Connect the two end points with another line, extending this line past the top of the pocket.
At the top, extend the first line about 1 inch, and redraw the top line at an angle.

At the top and right sides, add curves to each. This will add fullness to the pockets, and allow them to hang freely without affecting the drape of the skirts.

Again at the top, add a dart to the pattern. This should be placed roughly in the middle of the pocket. The construction line of the dart comes down vertically about 2 to 4 inches. The total width is 1/2 inch. Finally, redraw the top seam so that the seams of the dart agree in length.

Finally, round the bottom outer corner to give a pleasing look and make it easier to retrieve items from the pocket.

Quilting the Skirt Lining
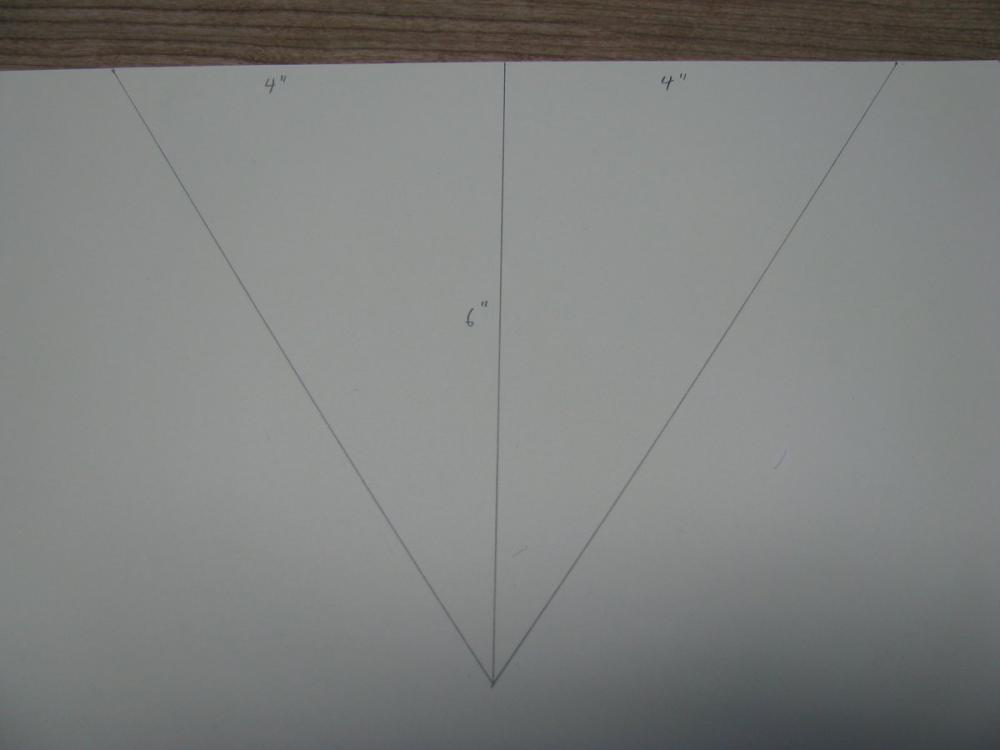
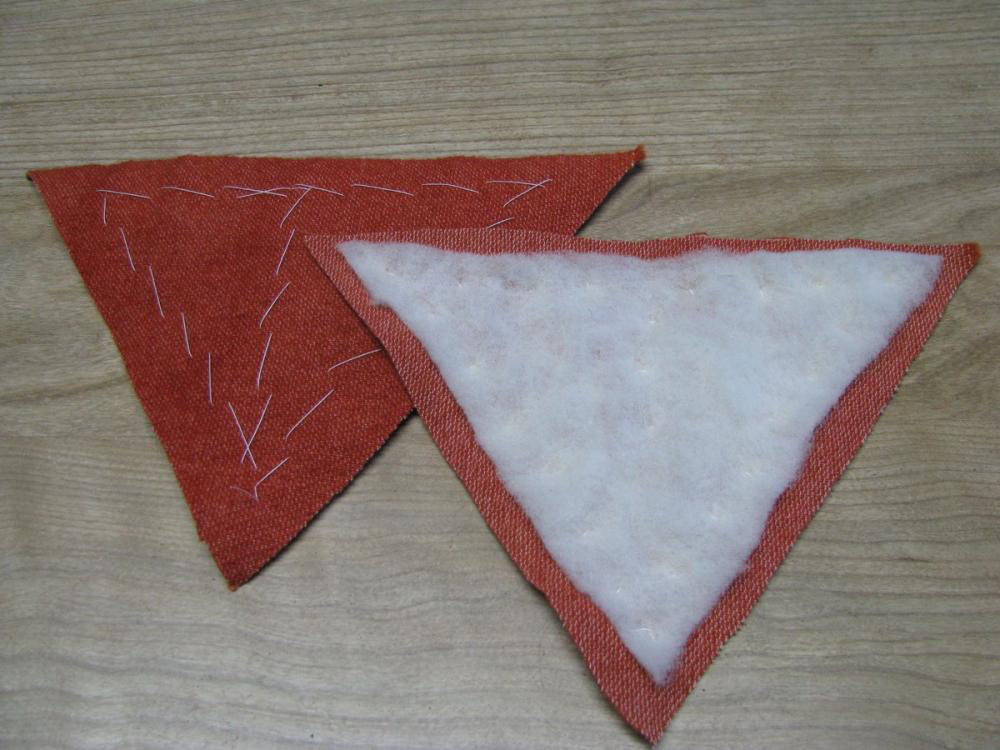
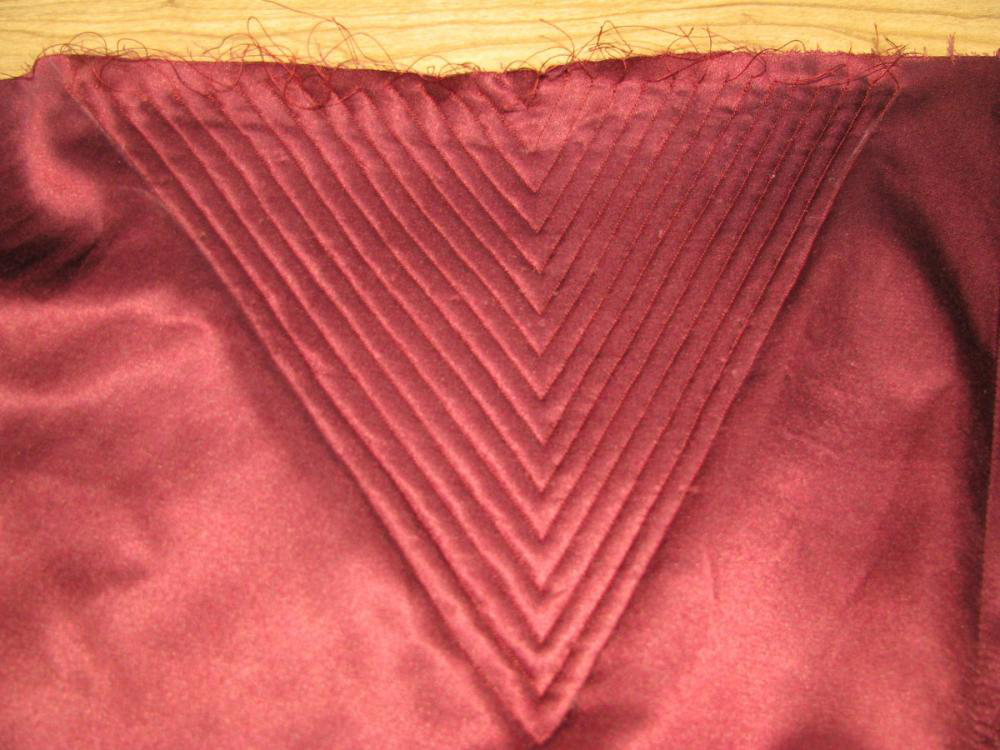
Begin by drawing the basic shape of the area to be quilted, on pattern paper. I drew the center line, and marked off 4 inches on either side at the top. The length is 6 inches, then I simply completed the triangle. These measurements are completely variable, and you should do what works best for your particular pattern.
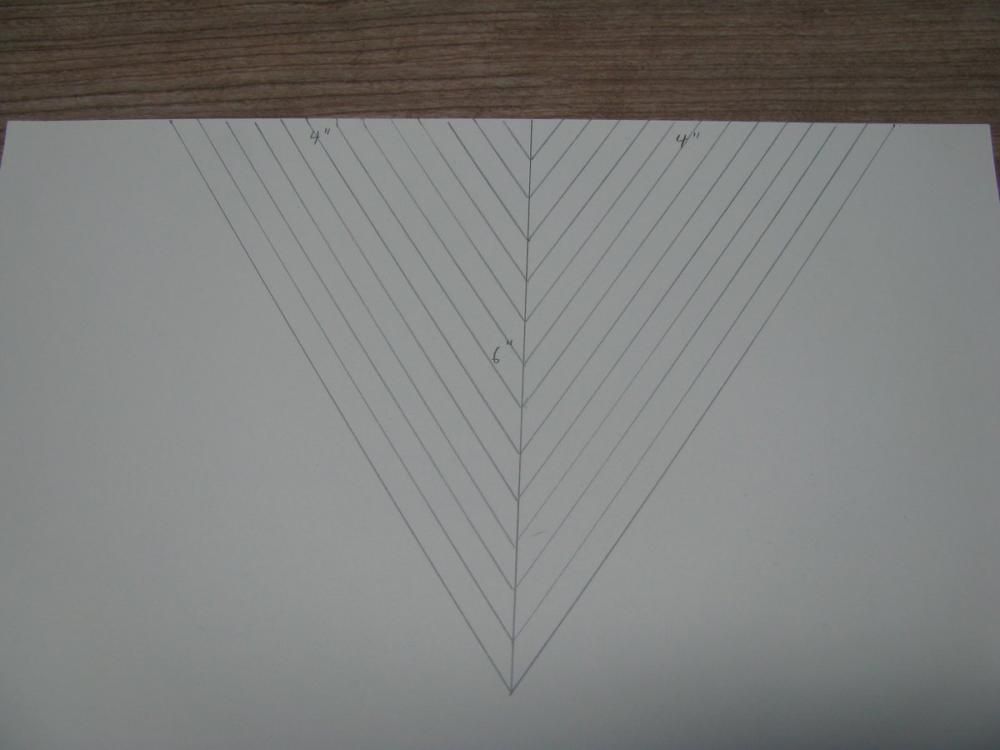
I next sketched out the quilting design I wanted to use. These are spaced 1⁄4 inch apart, which made quilting easier due to that being the width of my sewing machine foot. However, you can make yours wider if you want, for example, a half inch. The quilting should be done in the same basic design, however, as the lines actually help shape the lining to spring out over the hips.
Cut out two pieces of interlining, the same size as the pattern. Cut out two pieces of wool batting, and trim them 1⁄4 inch smaller all around. This will help reduce bulk near the edges, giving us a smoother finish.

Baste the wool batting to the wrong side of the interlining. If you’re using wool flannel, there’s probably not much difference between the two sides. Using this special interlining, as described in module 1, I do happen to have a right side, which is slightly rough. This will help grip the inside of the wool skirt, giving a little more structure. When basting, I like to go straight down the middle, then around the edges.
You should stretch the two sides with the iron slightly. This will give the top edge a slightly concave shape, helping it fit the top of the skirt better.
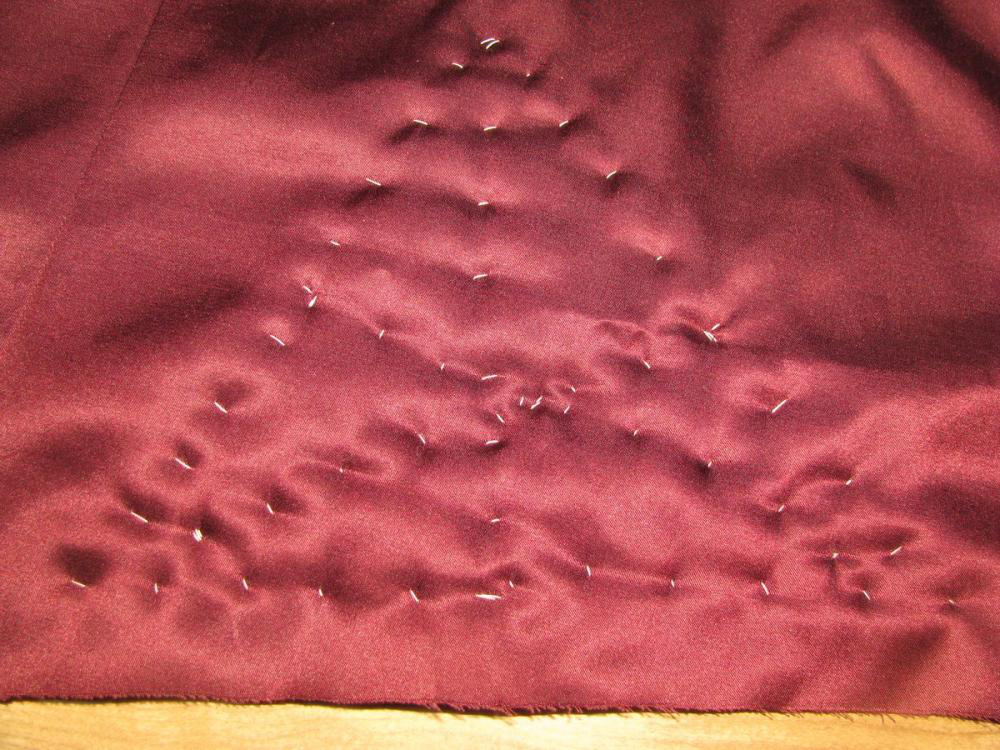
Baste the interlining assembly, with the wool batting side down, to the wrong side of the skirt lining. The interlining should be 1⁄4 inch from the top edge of the skirt, to leave room for a seam later on. Baste down the middle, and around the edges again. I like to add more strength by basting from the centers of the other two sides as well. Preventing movement while quilting is the goal here, and the more basting stitches, the better.
Here is the view from the right side of the skirt lining, showing the pin pricks of basting. Note how the lining is fairly smooth, with no excess fabric in between the basting stitches.
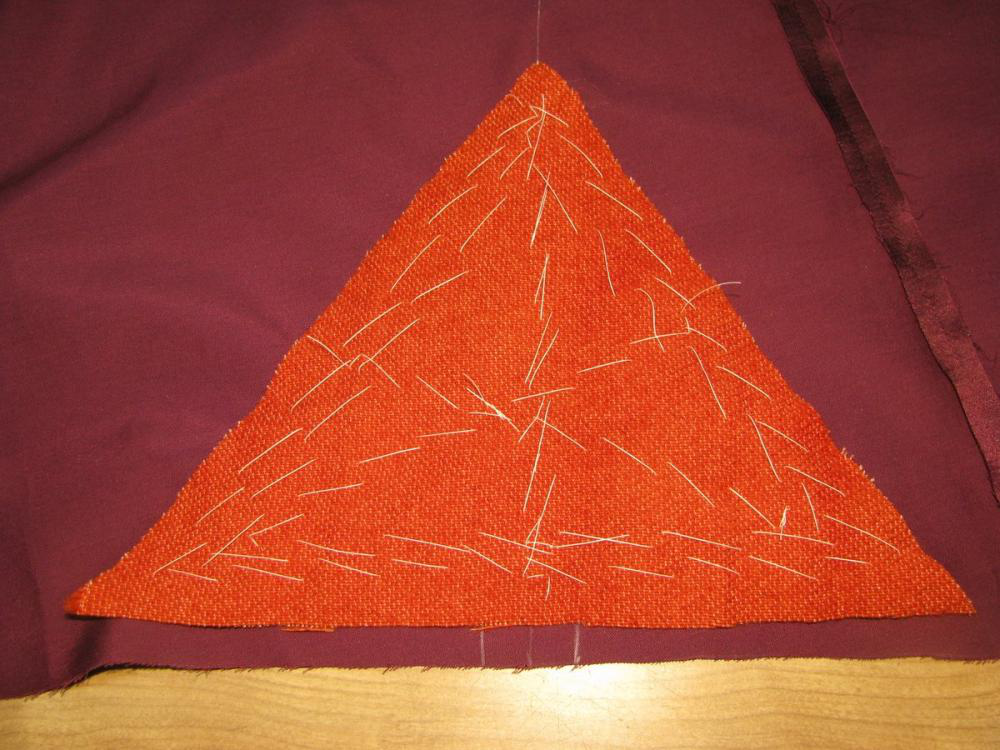
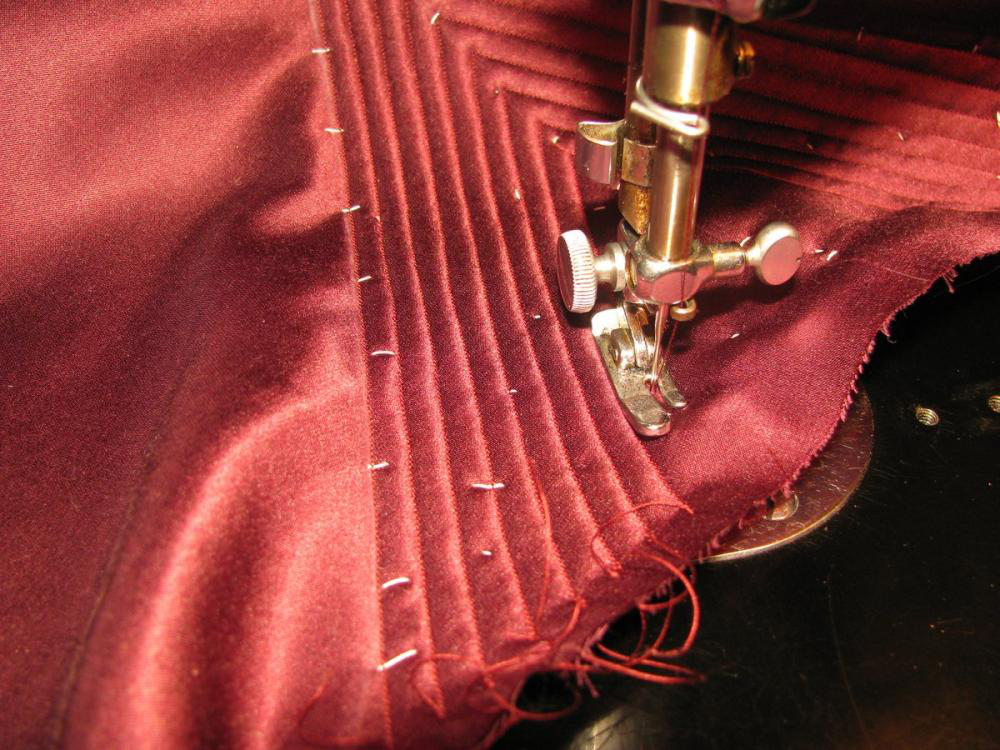
To help guide the first row of stitches, I like to draw two lines around the outer edges, using my pattern and ruler as a guide.
When sewing, you will start at one edge, take the corner, and finish the stitching at the outer edge. Cut the threads, and start over again for the next row, 1⁄4 inch inside. The quilting stitches should be done at about 20 stitches per inch if using a sewing machine. The idea is not to see any individual stitches, only a solid line of quilting.
If you wish, this can also be hand quilted, using a side stitch. In this case, the design should be simpler, perhaps using 1⁄2 inch rows. Use about 10 stitches per inch, slightly pulling each stitch taught, to curve the fabric inward.
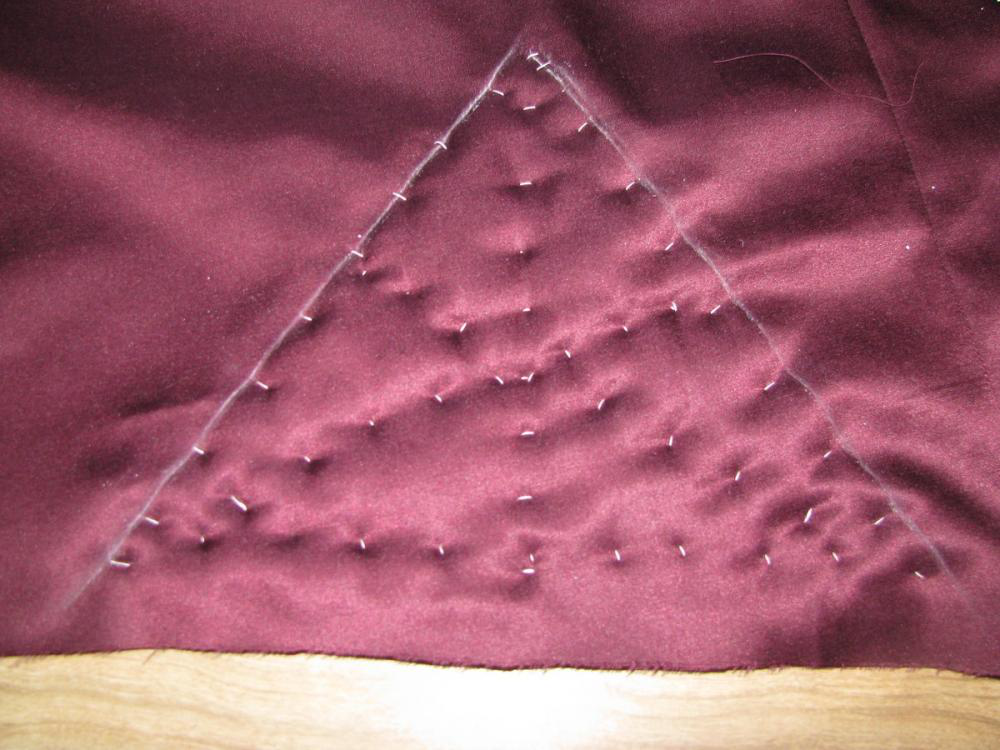
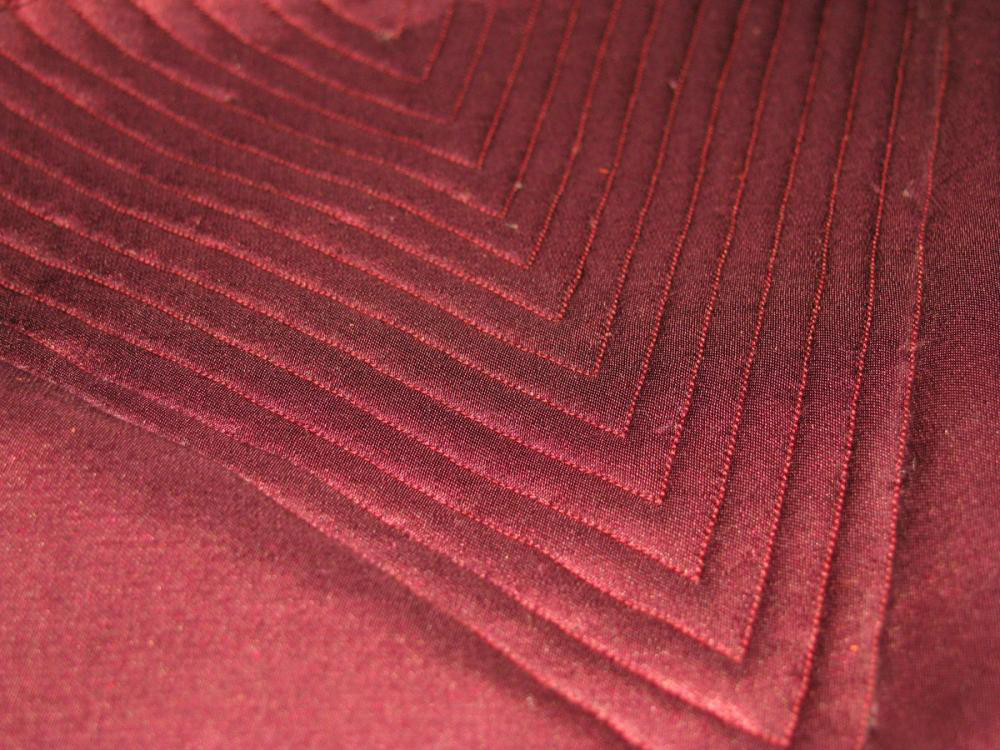
After the quilting is done, all basting stitches holding the interlining to the skirt need to be removed. I find it’s best to work from the wrong side, to prevent the seam ripper from catching the lining at all. Some of the basting threads may get stuck in the machine stitching. You’ll have to carefully remove those. Luckily, it doesn’t happen as much as you would think. Just take your time and don’t rush things. The basting stitches holding the batting to the interlining are not seen, and can remain permanently.
You’ll notice how the quilted area wants to pull inwards on itself. This is due to the feed dog on the sewing machine pulling the bottom interlining layer more than the lining material. This isn’t a bad thing, and will give even more shape to the area. After the basting stitches are removed however, this should be lightly pressed flat again. The lining assembly will still curve inward, but it will be much more subtle, which is what we’re looking for.
Pleating the Skirt Lining
Start with the construction line you marked in the beginning of this section. This line indicates the length of the pleat, and can be from 4 to 6 inches long, depending on preference.
At the top, mark 1⁄2 inch on either side of this construction line, and complete the dart shape.
Baste the dart closed, with right sides together, using the construction line as a guide.
From the right side, press the dart to one side.
Turning back to the wrong side of the lining, baste all three layers of the dart together, and remove the original row of basting stitches.
What this is doing is giving you a dart that is not permanently stitched down. The basting stitches are now visible on the outside, which will be removed when the coat is finished, leaving a pleat in place. This pleat will give the ease necessary to prevent the lining from pulling on the skirt.
Here is the completed pleat, showing how it should align with the side body seam.
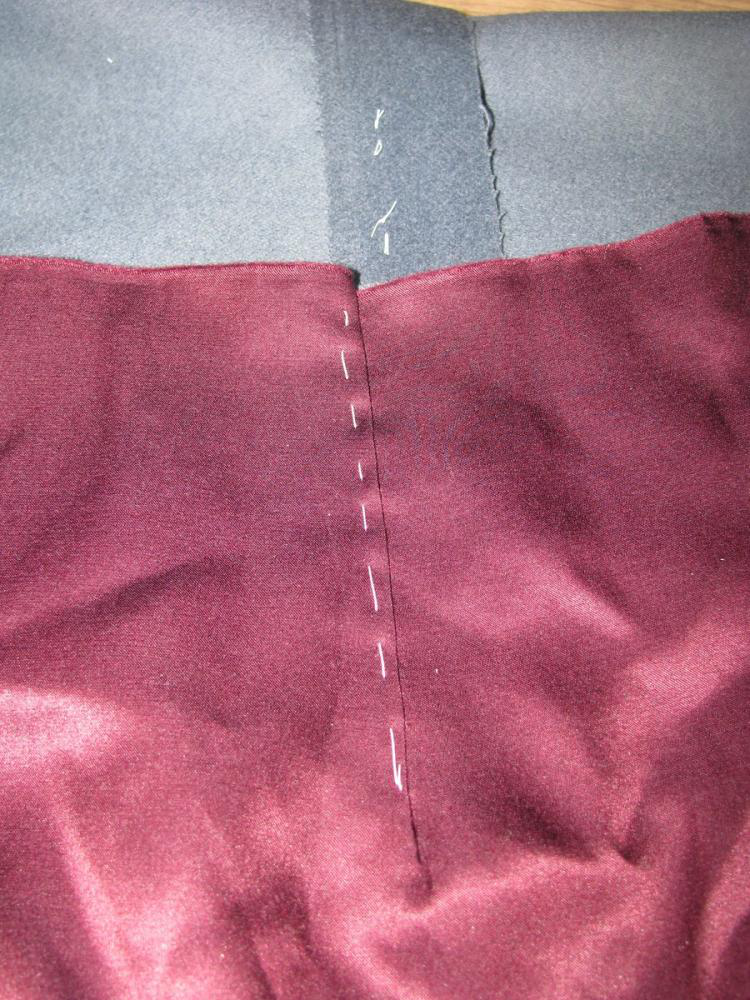
The Skirt Lining
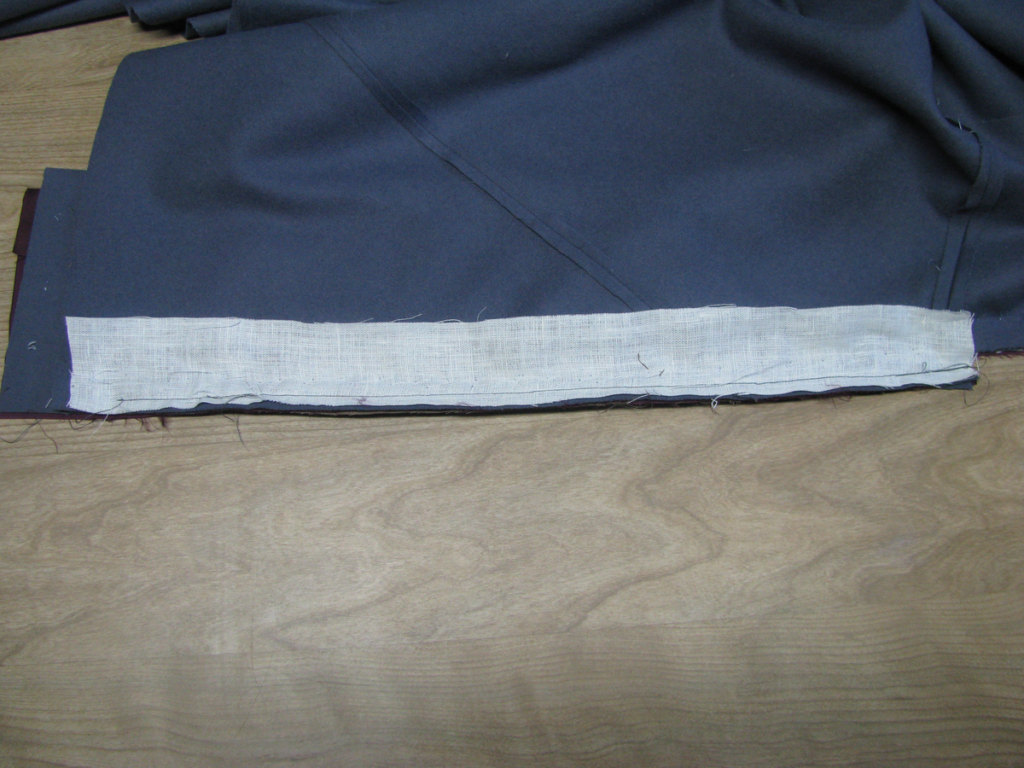
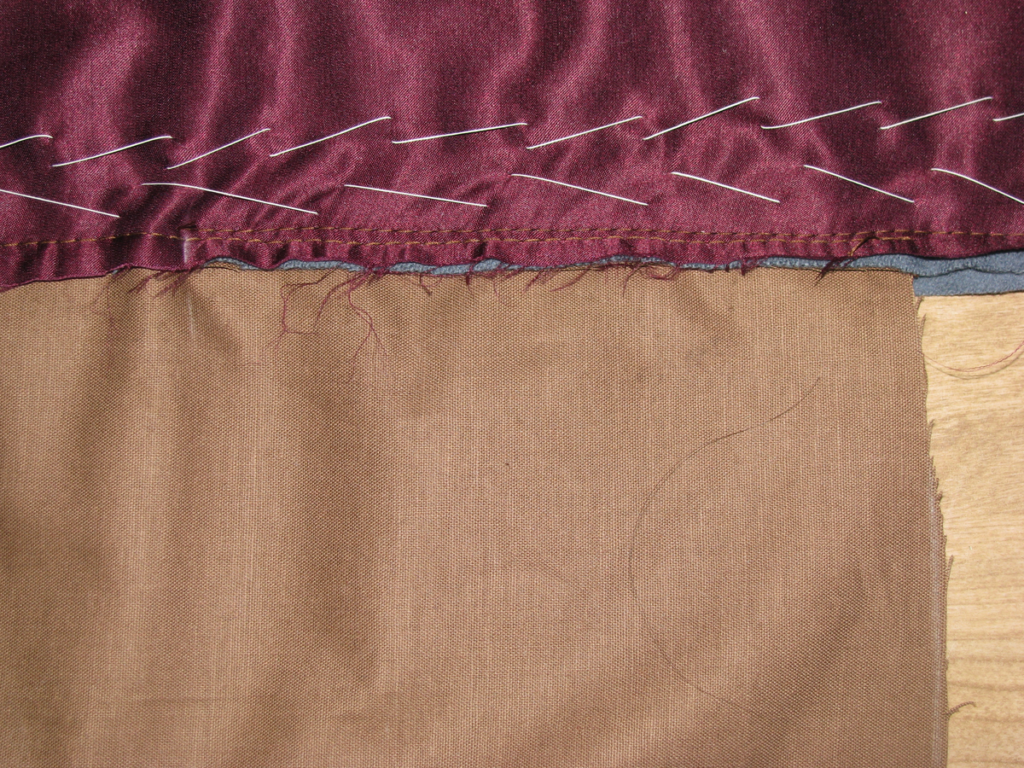
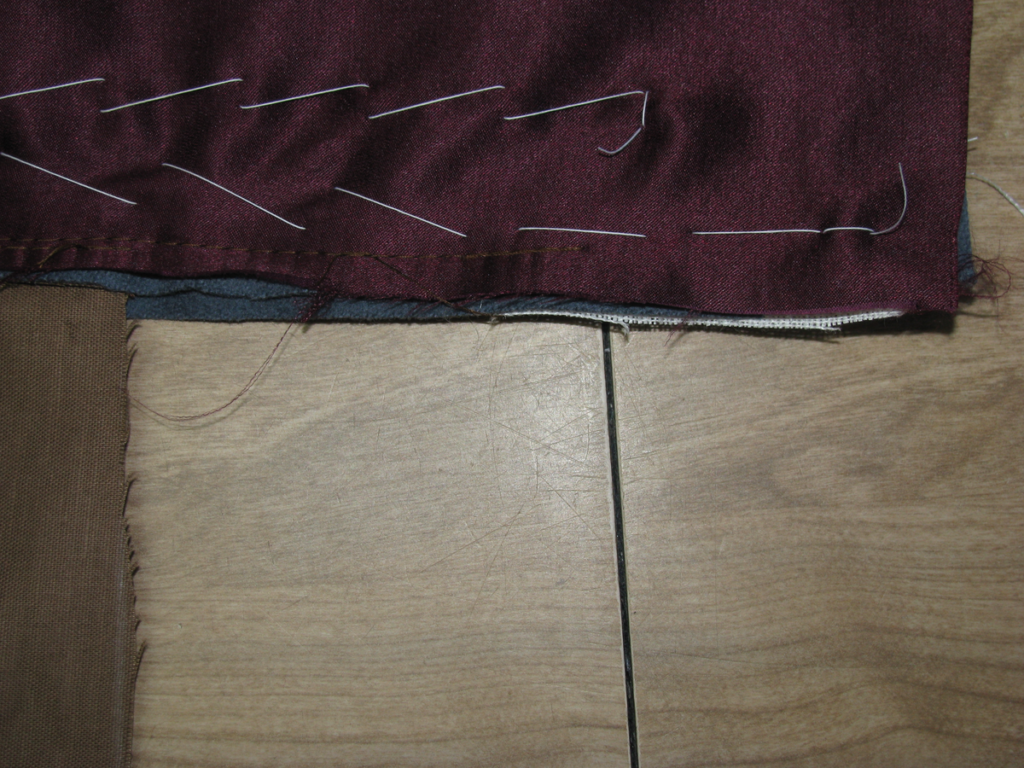
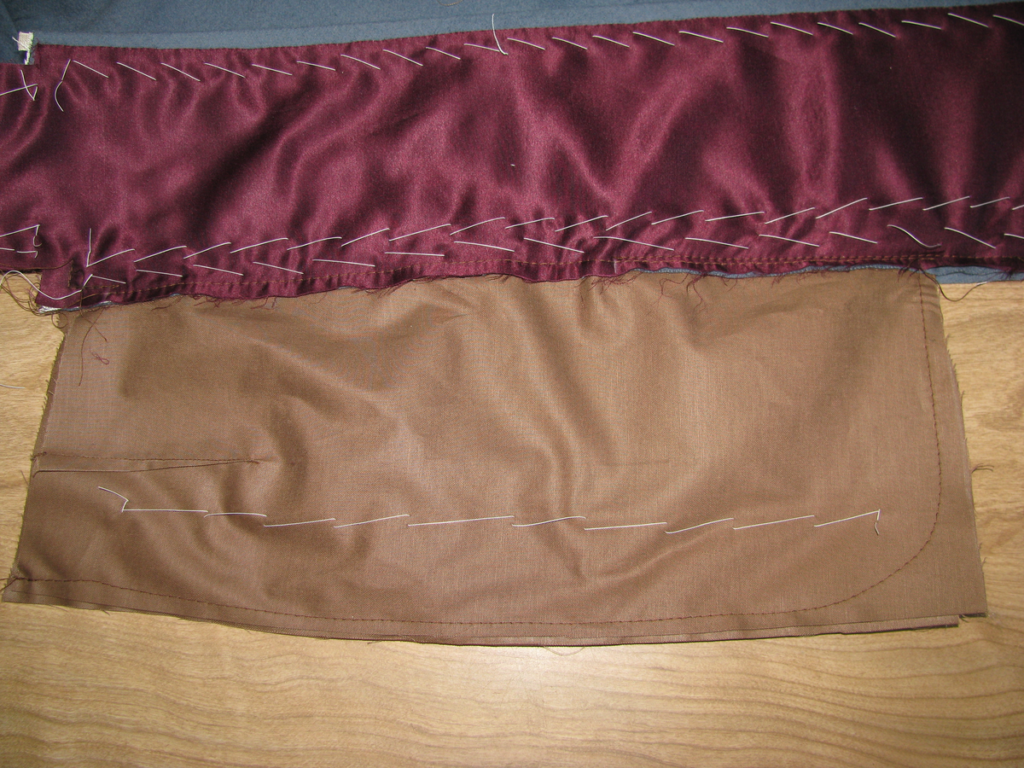
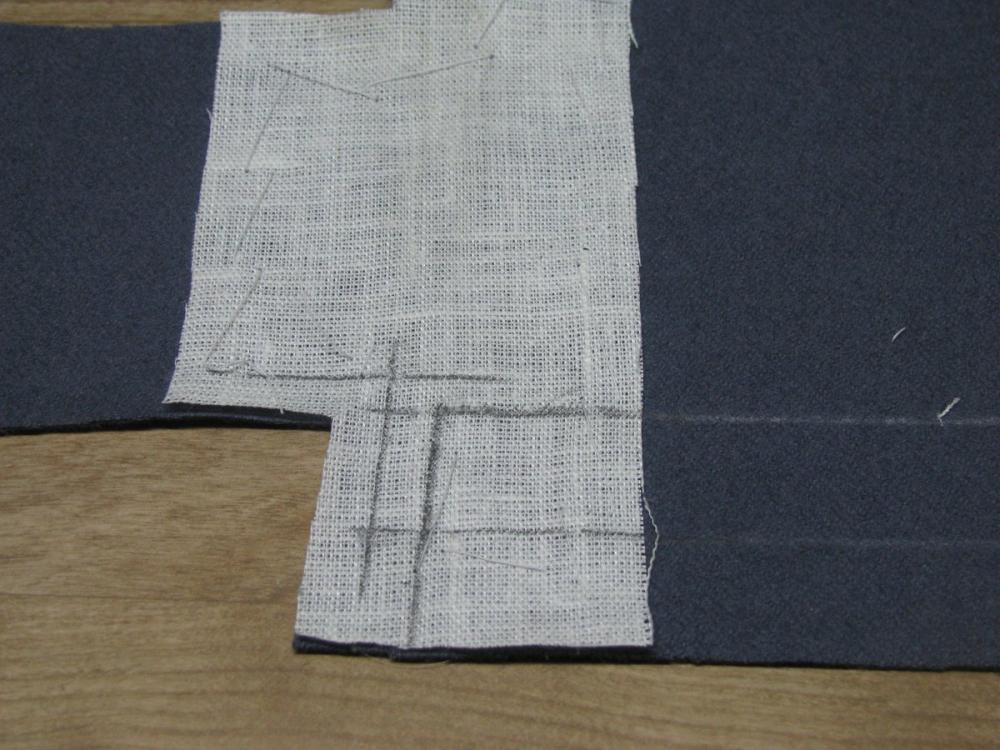
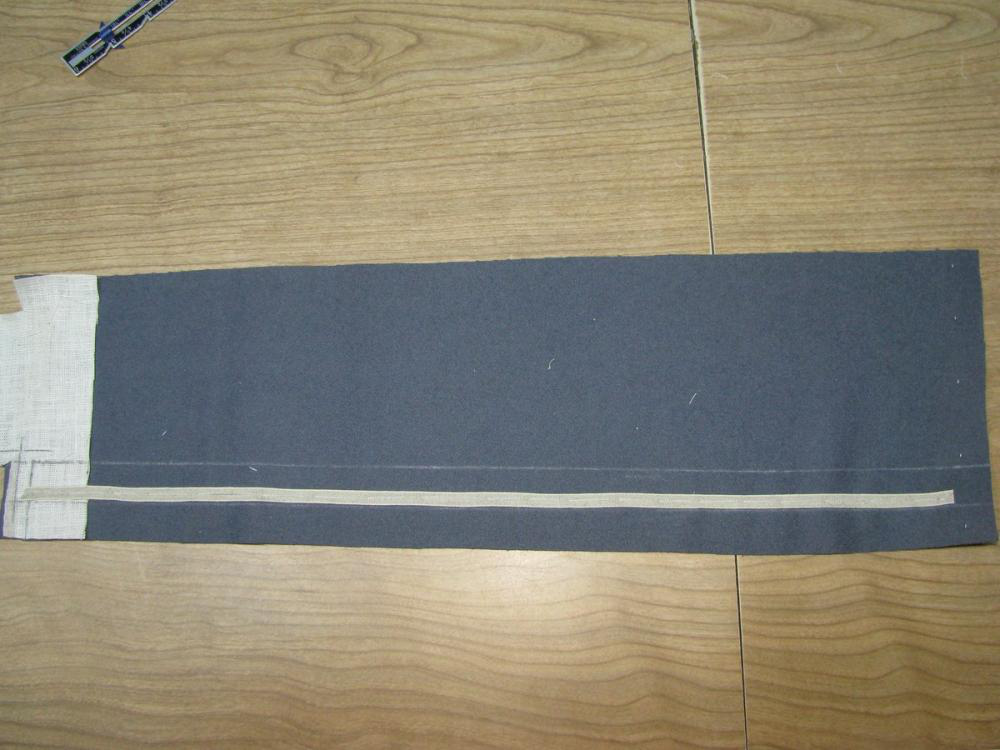
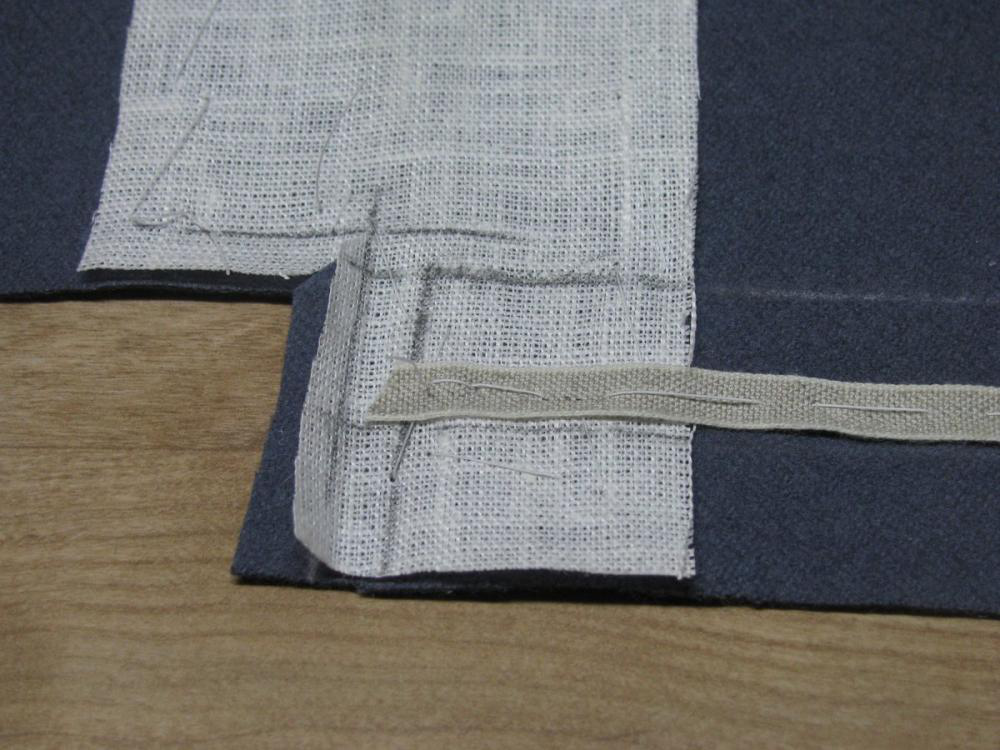
Since the back seam of the skirt is cut on the bias, it’s necessary to reinforce it with some linen. Cut a piece of linen about 1 1⁄2 inches wide by 2 inches longer than the skirt seam. Baste it on with a very slight tension.

Trim the bottom edge of the linen by about 1⁄2 an inch, so that it is out of the way when the lining is felled on later.
The top end of the linen should be trimmed to match the top of the skirt.
The Skirt Lining
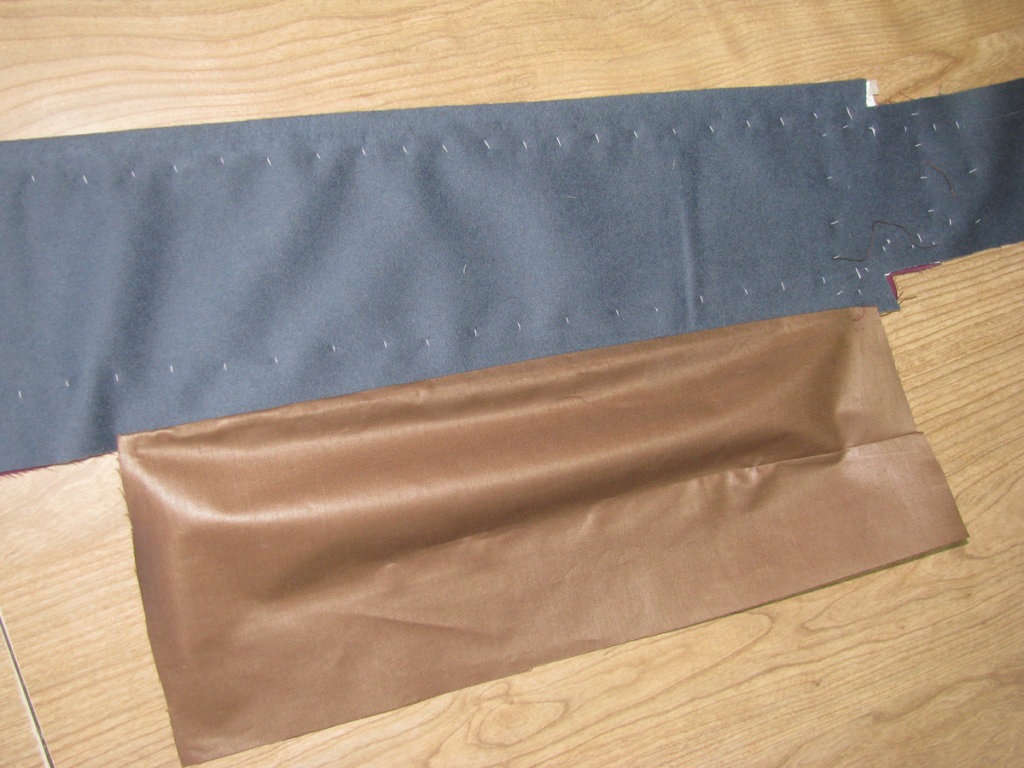
It’s necessary at this time to cut out and prepare the skirt linings, as they will be attached during the pocket assembly. There are two methods you can use, depending on your preference. The first method is to quilt the area over the hips, giving extra support and spring to the area. The second is to simply put a pleat into the lining, to give extra ease over the hip area.
Regardless of which method you use, the skirt lining must first be cut out. It is necessary to add a seam allowance to the bottom of the skirt lining, for turning in later on. Either 1⁄4 or 1⁄2 inch will work – it’s up to you.
The skirt lining is also pieced together in the same method as the main fabric. If the widths of the fabric are different, the seam will be in a different location. Just remember to add double the seam allowance to the main piece as you are cutting out.
Lay the skirt lining on top of the wool skirt, and draw a chalk line at right angles to the top of the skirt, at the location of the side seam on the coat body. This will give our placement for both the pleat and quilting.
On the following two pages, you can choose to do either or both adding a pleat to the skirt and quilting this area for some additional padding around the hips.
The Back Skirts
It is time to commence construction of the back skirt, consisting of a self-facing and, which protects the edge of the garment from wear, and a lining.
Begin by laying both back pieces, right side up, as shown. The left side should overlap the right on the finished coat.. Take this left piece, and set aside the right piece. It’s important because each side is constructed slightly differently. The following steps all pertain to the left side.
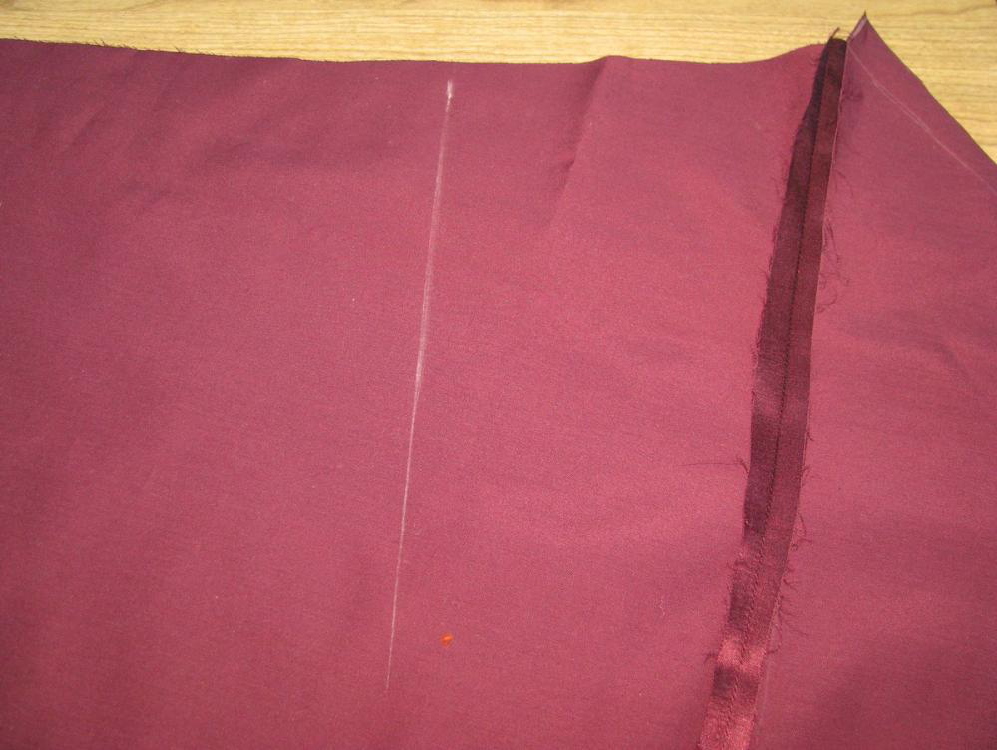
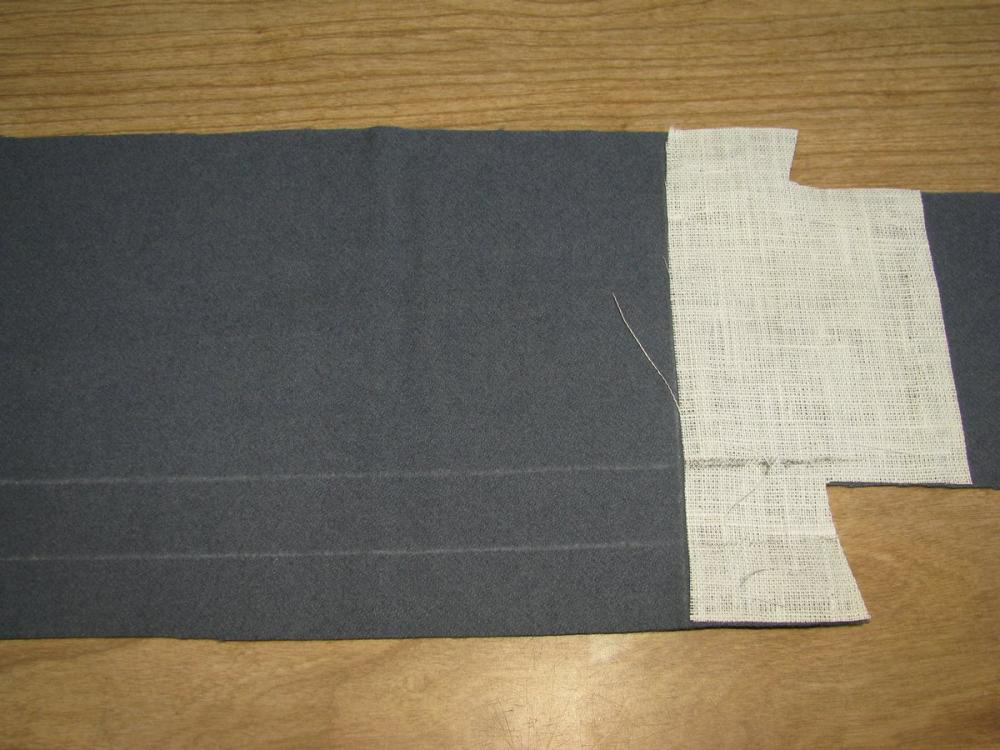
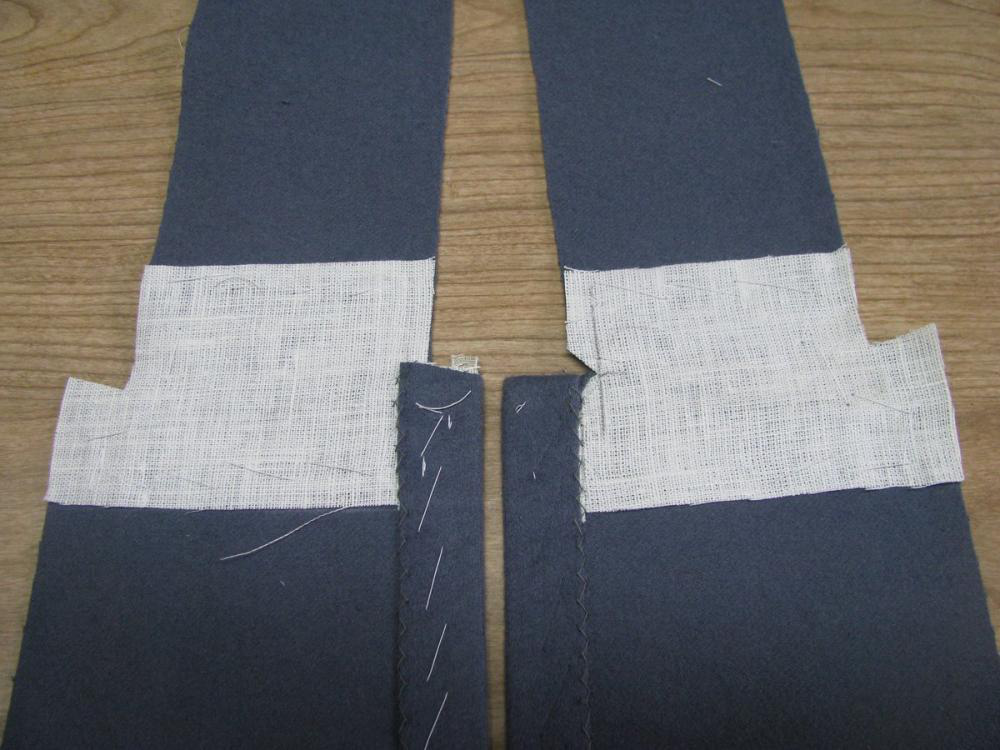
Turn the left side of the back so that the wrong side is facing up. Trim away the inlays around the waist area, if you did not need them. If you made any adjustments to this area, then trim only the excess amount. In my case, I raised the back up by half an inch, so it was necessary to mark the new trim lines on the fabric. Also trim the inlay from the center back if you did not need it.
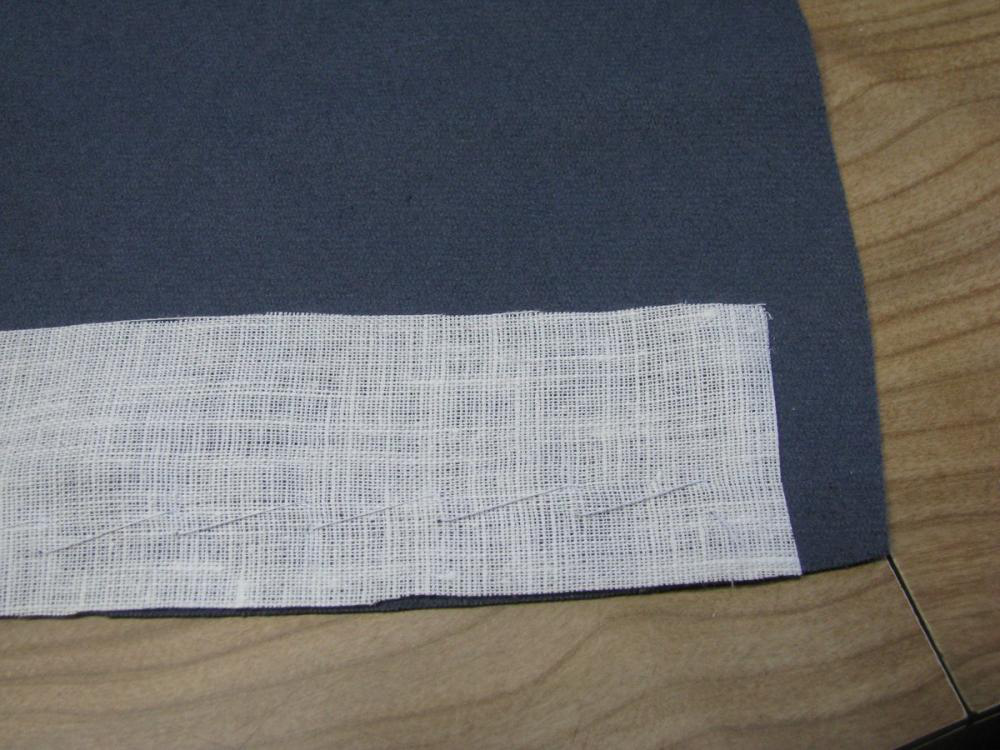
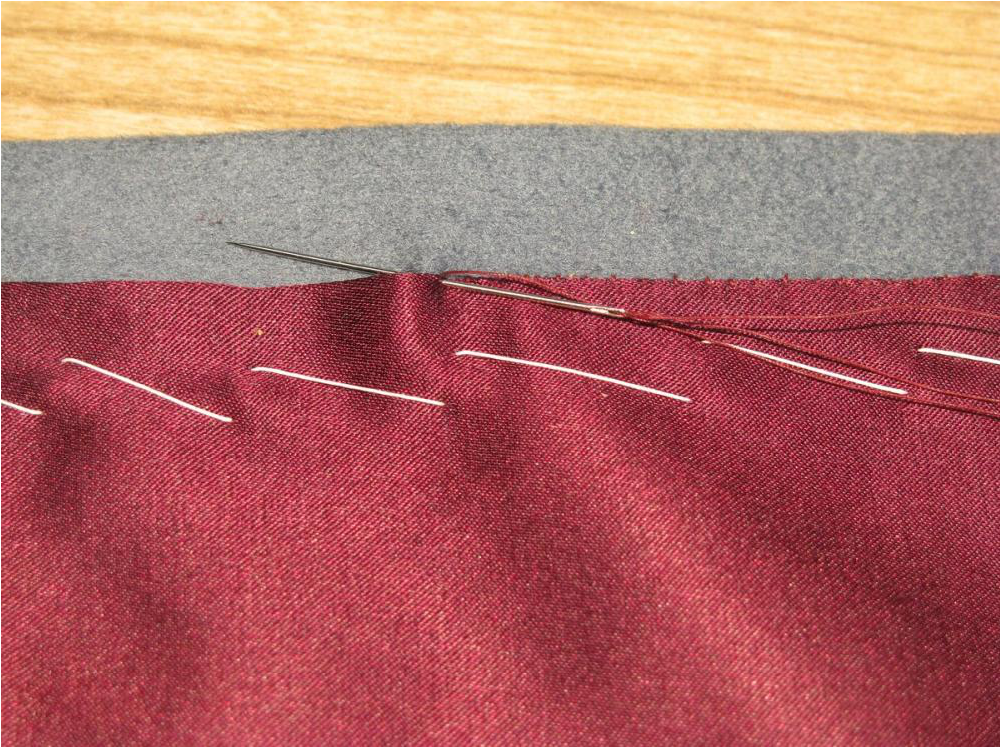
Cut a piece of linen two inches wide, by two inches longer than the back skirt at the waist. Stretch the linen with an iron to remove any sizing that might occur, and baste it to the wrong side of the skirt. Trim off the excess linen that shows from the right side.
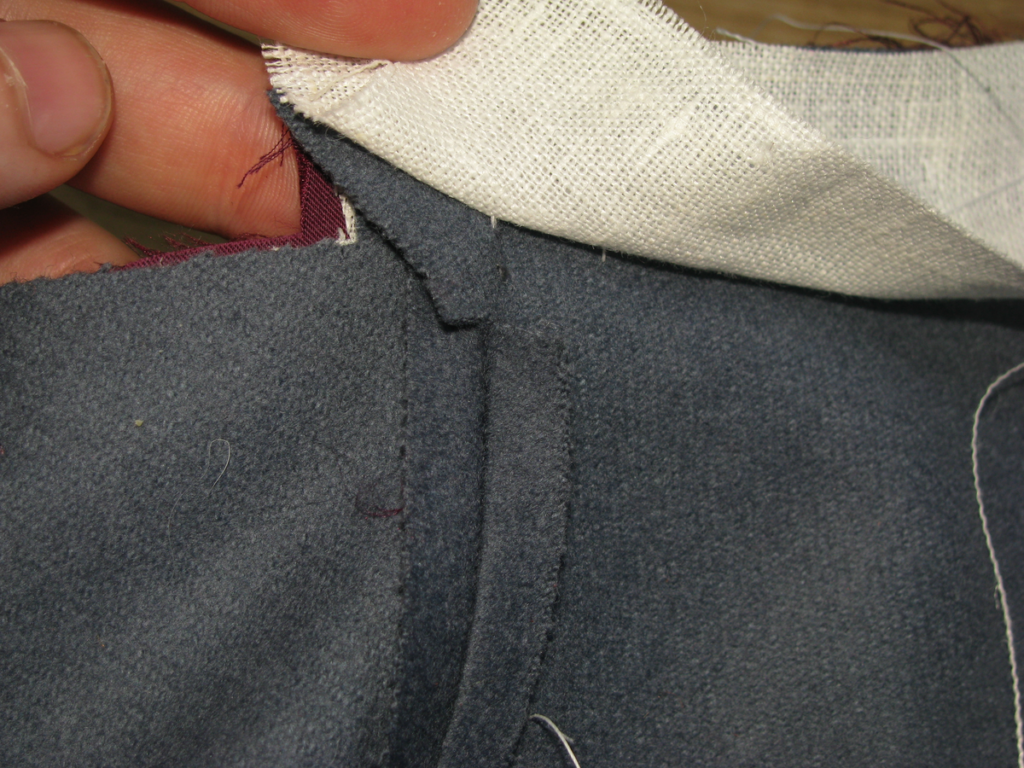
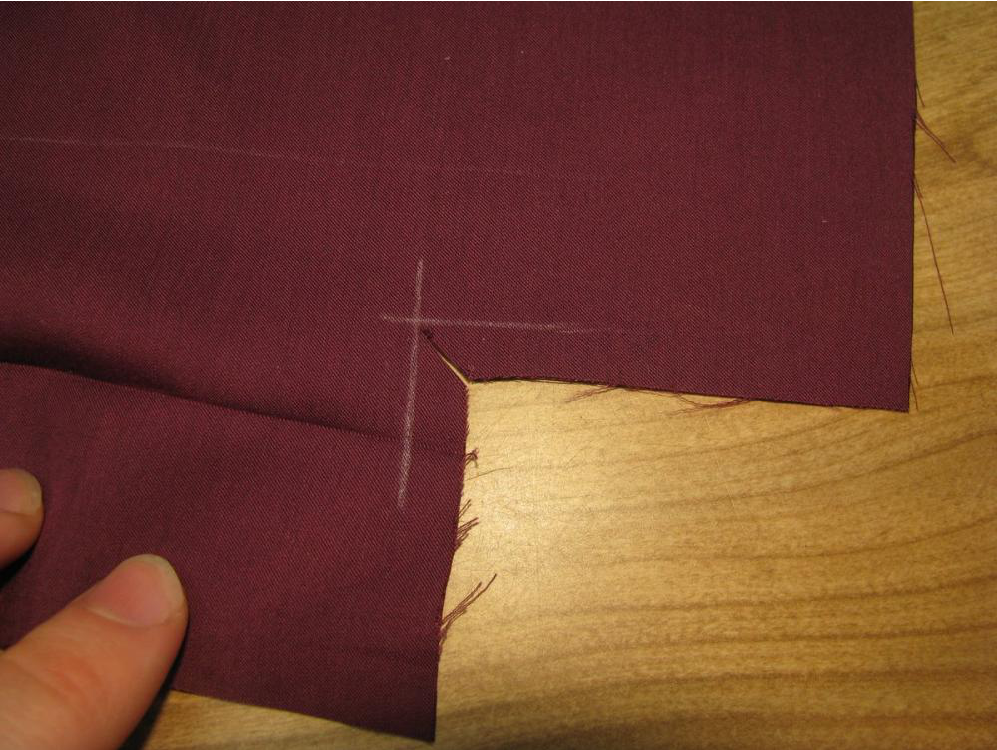
Measure and chalk a 1⁄4 inch line at the bottom of the center back, and across the top of the center back vent, as shown. Again, make sure you are working on the left side of the coat before you continue. Make a small cut from the corner of this area to the intersection of those two lines, as shown. The cut should be made just to the lines, not extending into it, as the chalk has a width to it, remember.
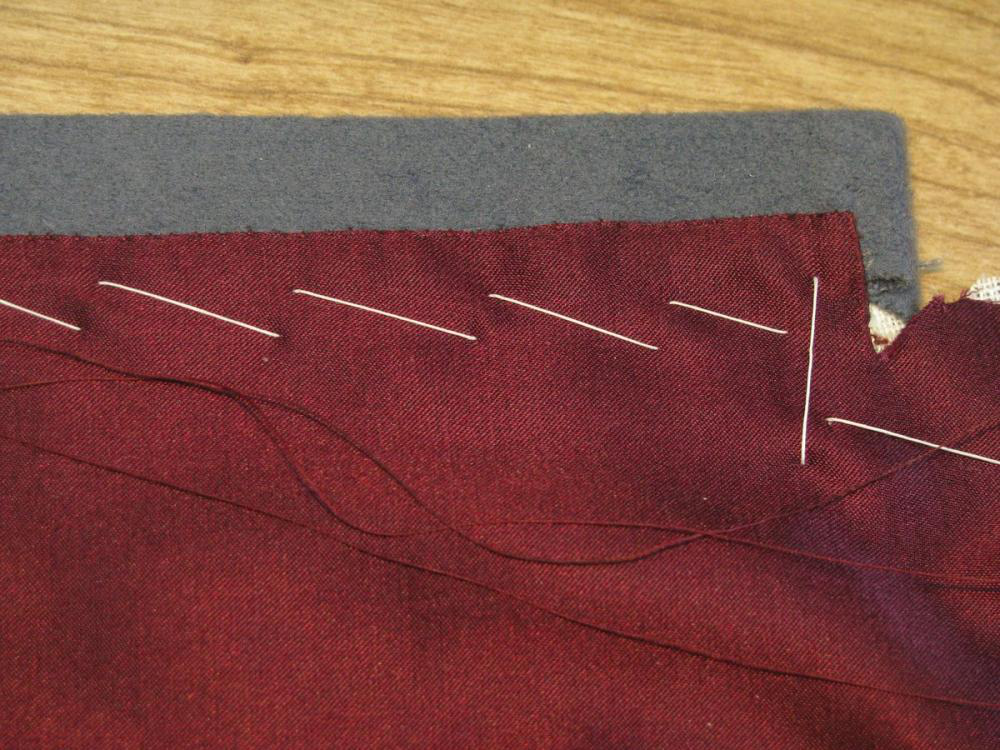
Mark a vertical line, parallel with the edge of the cloth, about 1 1⁄2 inches from the edge. This line is where you will fold the cloth to. This should line up with the edge of the center back. However, this is variable according to how wide you wish the center back vent to be. Draw another line half way between the cloth edge and the first line, which will be the fold line.
At the top, draw another line across the top vent, 1⁄4 inch below the first line you drew.
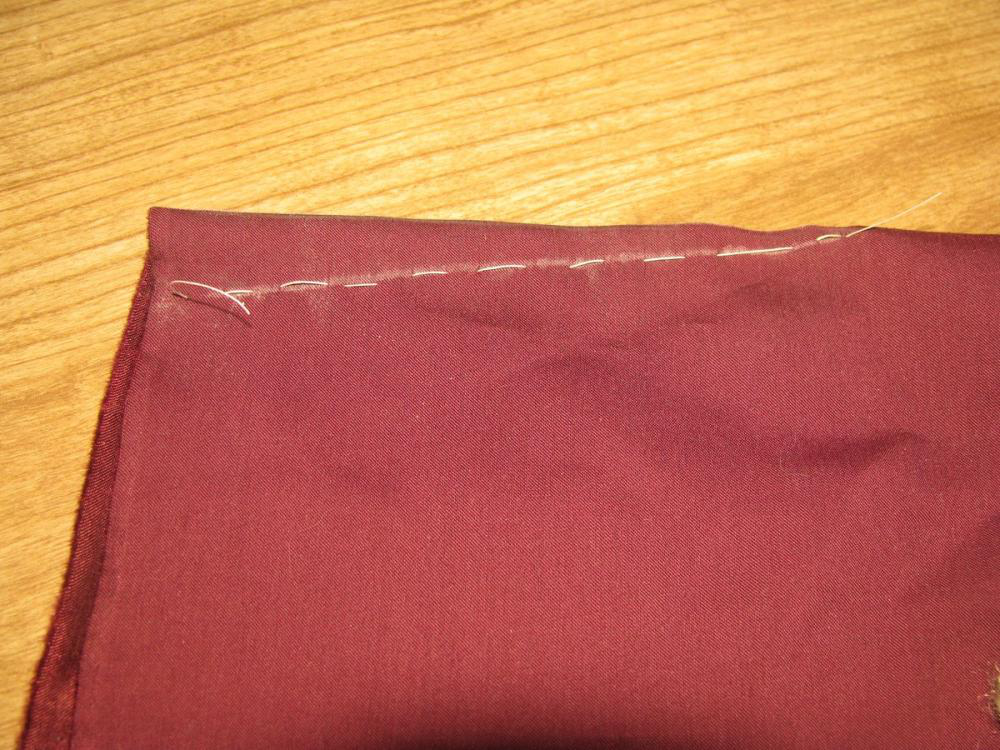
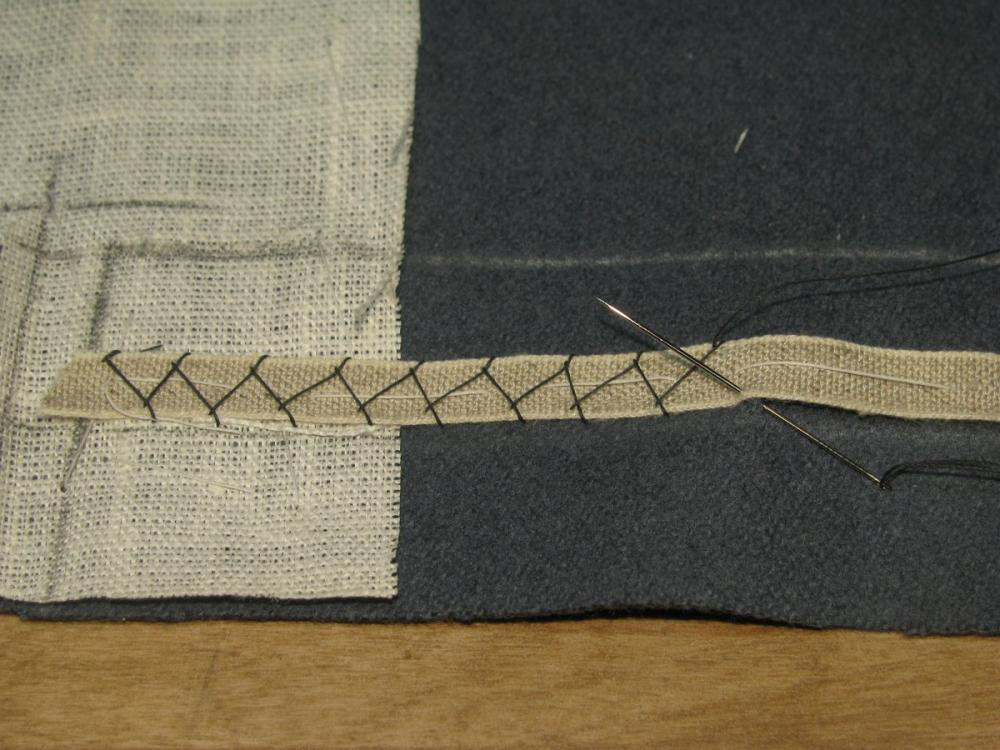
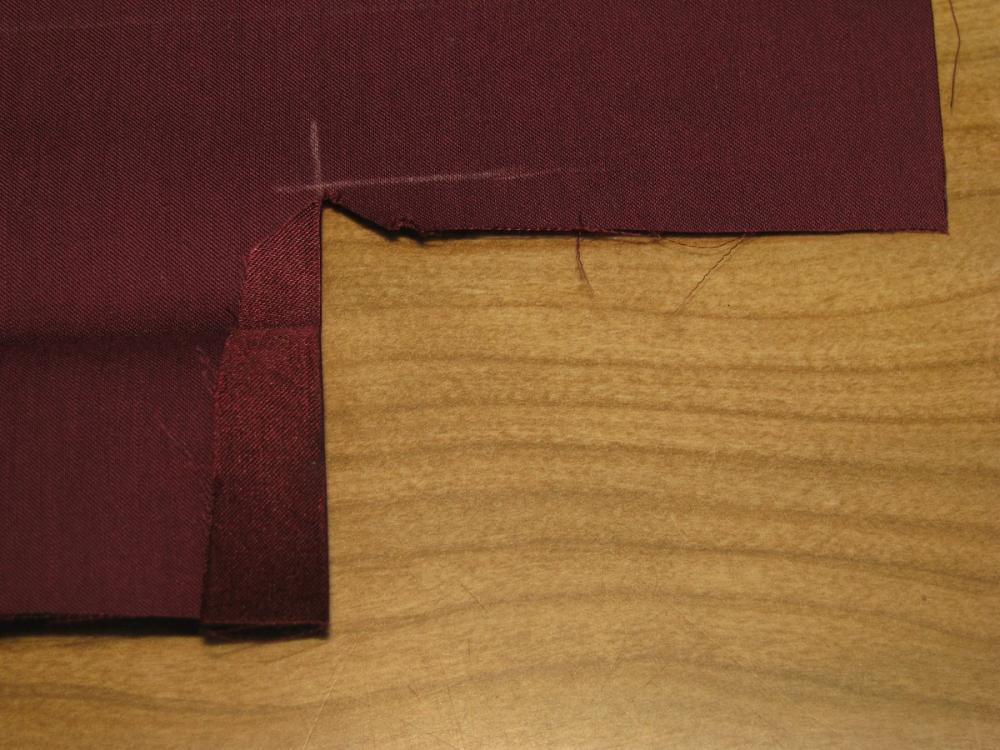
Lay a length of stay tape along the inner edge of the fold line, basting it down. The stay tape should begin about 1⁄4 inch from the top, and end about 1⁄4 from the inlay at the bottom. About 8 inches from the bottom, make a backstitch in place. From this point on, hold the tape a little tight compared to the fabric until you get to the bottom. The tape should be about 1⁄4 inch tighter than the fabric, which is distributed equally along the 8 inches, as you baste. At the bottom, end with another backstitch in place.
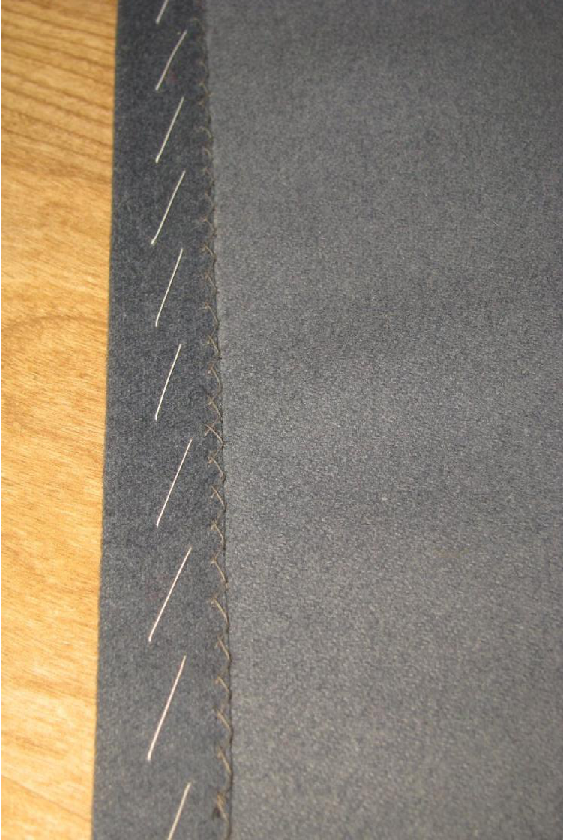
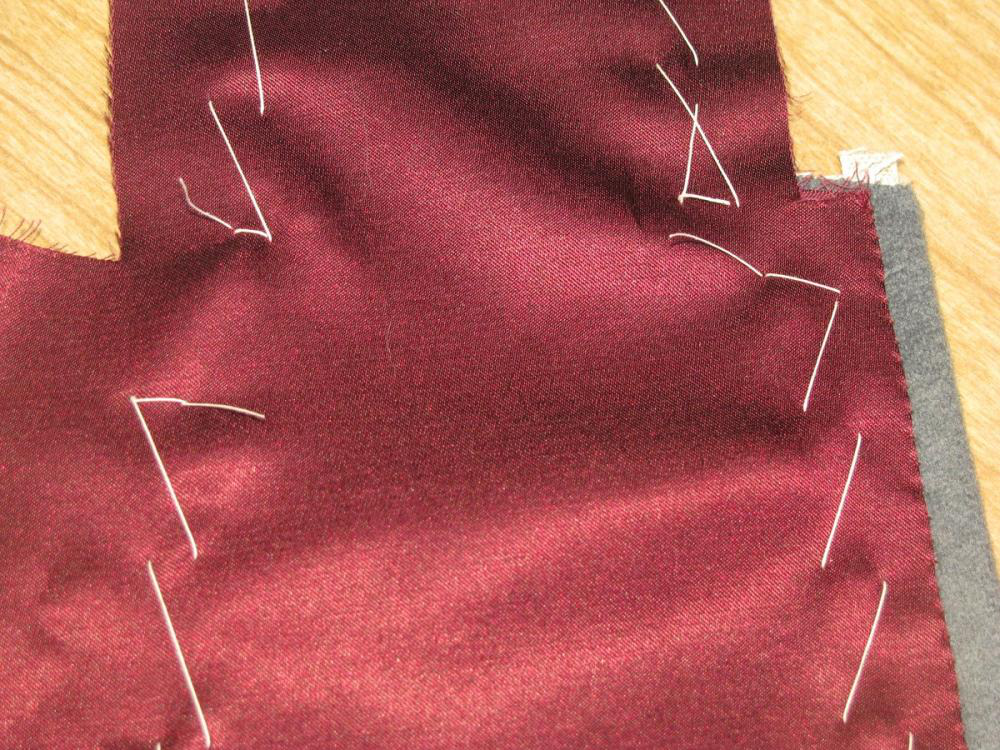
The stay tape is then cross stitched into place, making sure the stitches do not show through to the right side. Remove all basting stitches from the tape.
Baste the top of the vent closed, press, and cross stitch it to the linen.
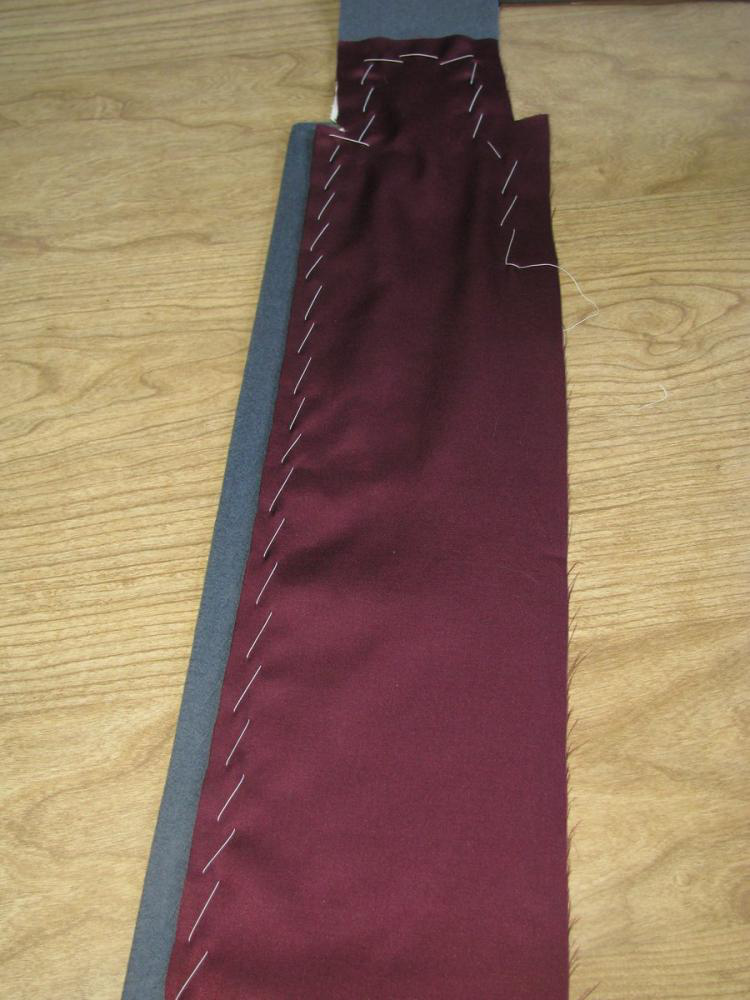
Next, baste the facing closed. When folding the facing over, do not pull hard. The fold should be very natural, with no tension, or you will get an ugly inward curl to the fabric.
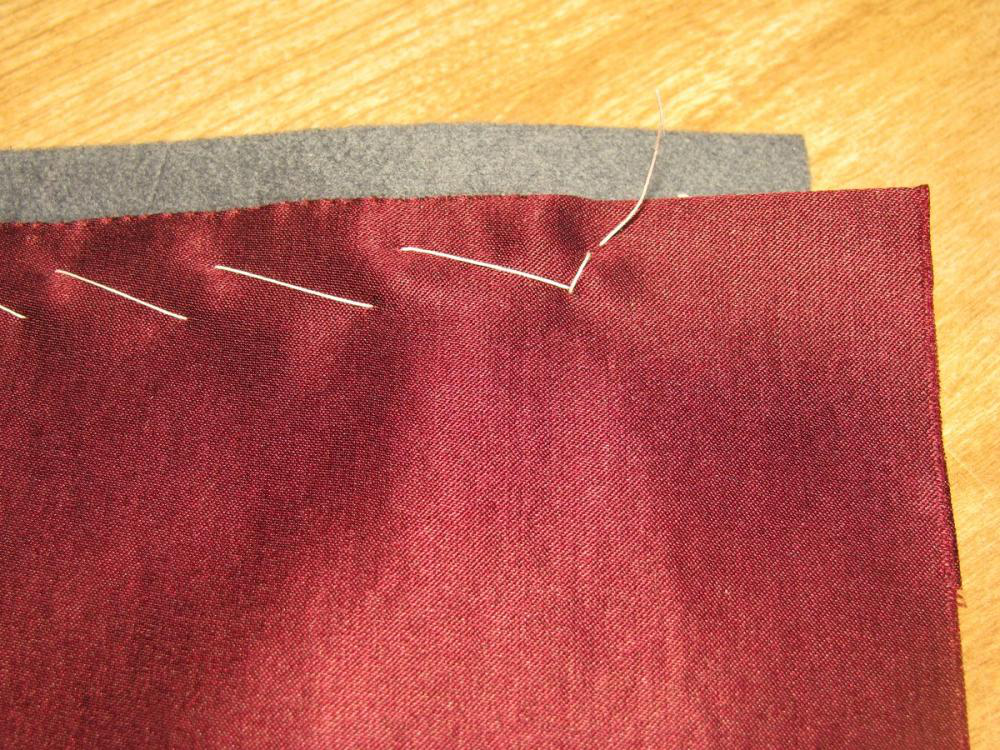
Cross stitch the facing to the wool, being sure that no stitches show through to the right side.
Finally, press the facing from the right and wrong sides on a flat surface, to remove any wrinkles and puckering. Do not press any further than the edge of the facing, because there should be a slight fullness here from holding the stay tape tighter. This is the same principle as when shrinking the front of the forepart. The result should be a back tail piece that curves slightly inward, and helping to avoid it pulling away from the body.
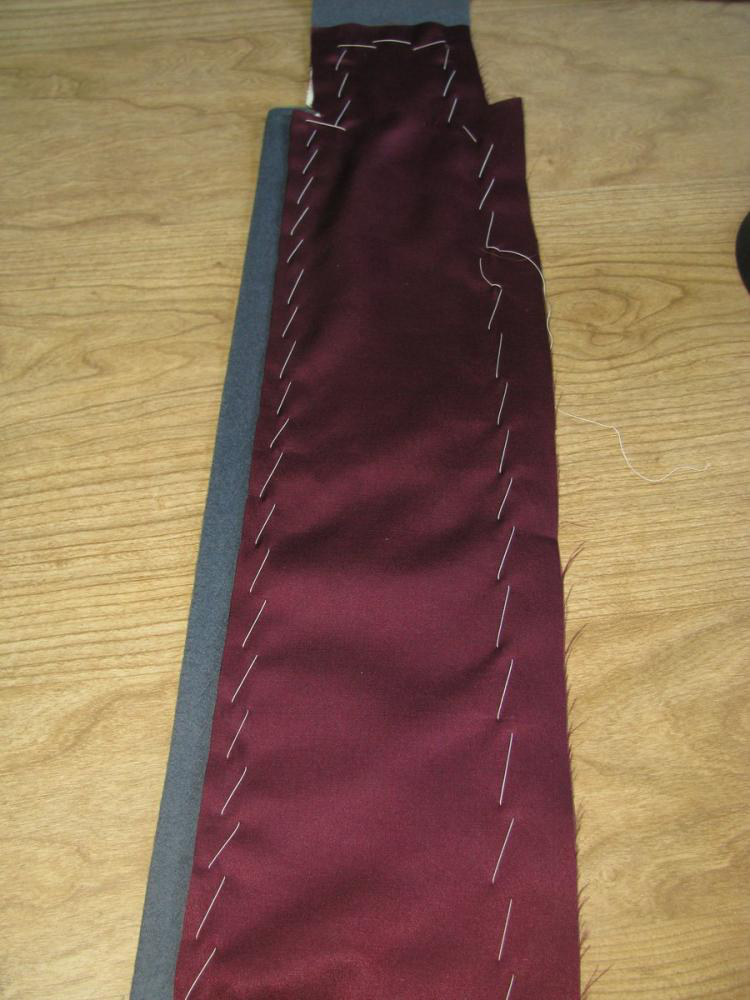
Pick up the right back piece. This time, do not make the cut, but proceed to making the two vertical lines.
When inserting the stay tape, this time it’s permissible for the tape to extend slightly above the end of the vent. It should still end 1⁄4 inch from the bottom.

Baste over the facing section, and cross stitch in place. Note how the top of the right back piece is unfinished, whereas the left side is. The benefit is that when sewing the back together later on, only one half is clipped at the corner, giving more strength to the area.
Now cut out two lining pieces for the back skirt. This is cut the same as the wool, but is cut off about two or three inches above the vent area, cutting across in a horizontal line at the top.
The Lining
The back skirt lining is cut from the same pattern, though ending about three or four inches above the vent area.
For the lining corresponding with the left side of the coat, measure out 1⁄4 inch from the top of the vent and center back, and clip the corner to match. Fold over and press the top of the vent.
Fold over and press the along the center back of the skirt. Draw a construction line to help ensure everything is straight. You want to fold slightly more lining over than you did in the wool, so that the facing will show.

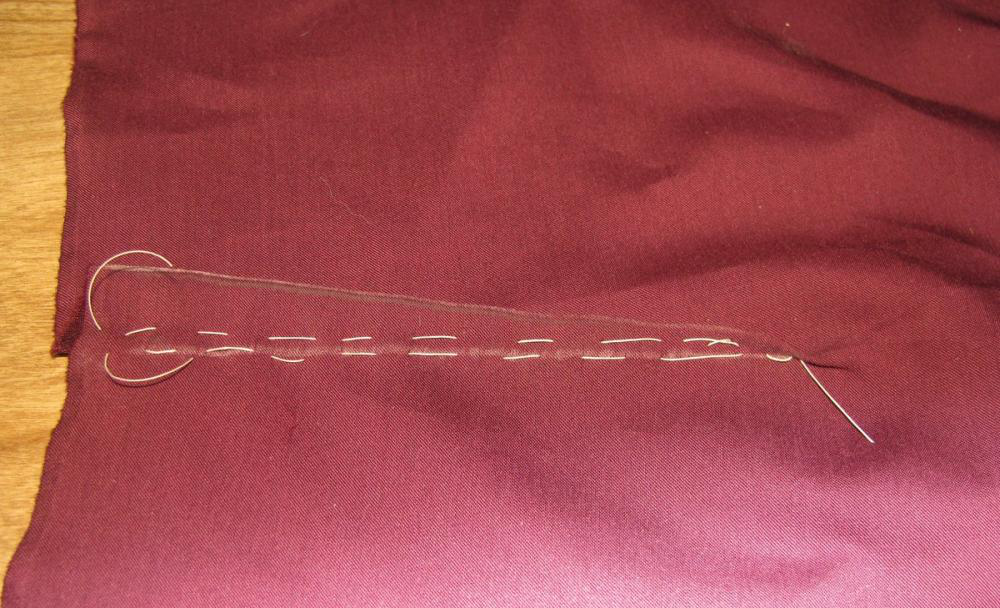
Place the lining on to the back skirt, wrong sides together. Baste along the folded edge, across the top, and then work your way back down the other side.
As you are basting, try to work in some fullness in the lining. You want the lining to be slightly looser than the wool, so as not to pull on the finished coat.
Finally, fell the lining down, using 10 – 12 stitches per inch, along the facing edge of the lining. On the side with the clipped corners, fell that down at the top, as well. It’s okay if the linen peaks out a little at the top, as it will be hidden by the upper lining later on.
The side without the clipped corner will be completely unfinished at the top.
The felling should end about 2 inches above the bottom inlays, allowing us to properly finish off the bottom after the main skirt has been lined.
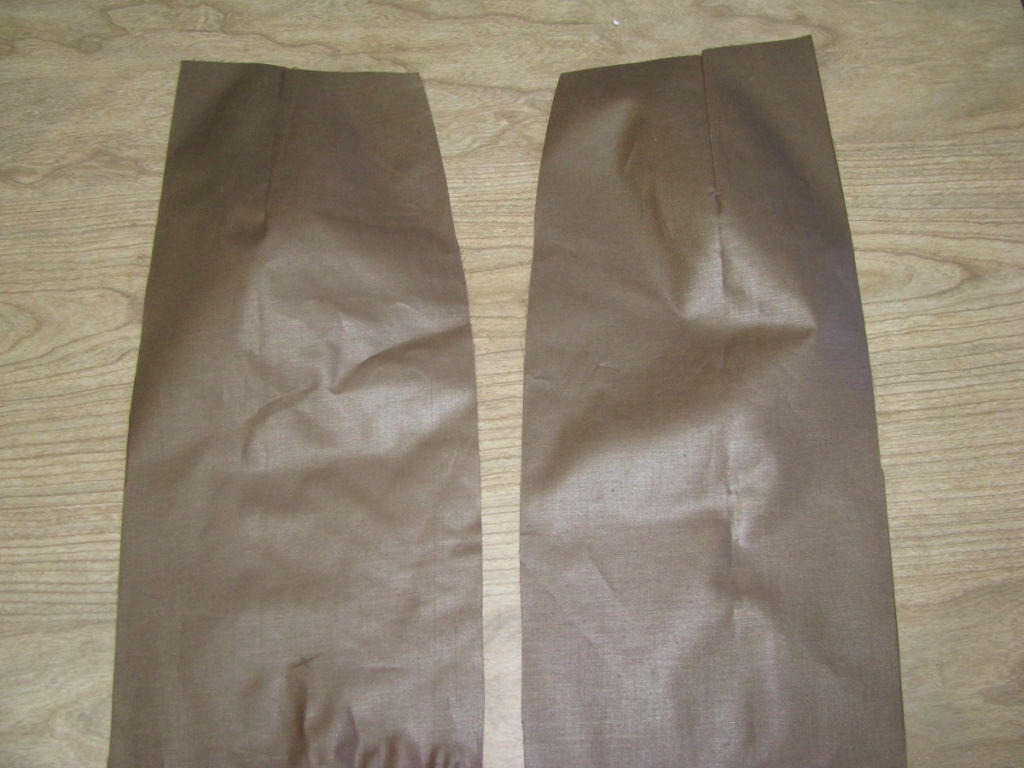
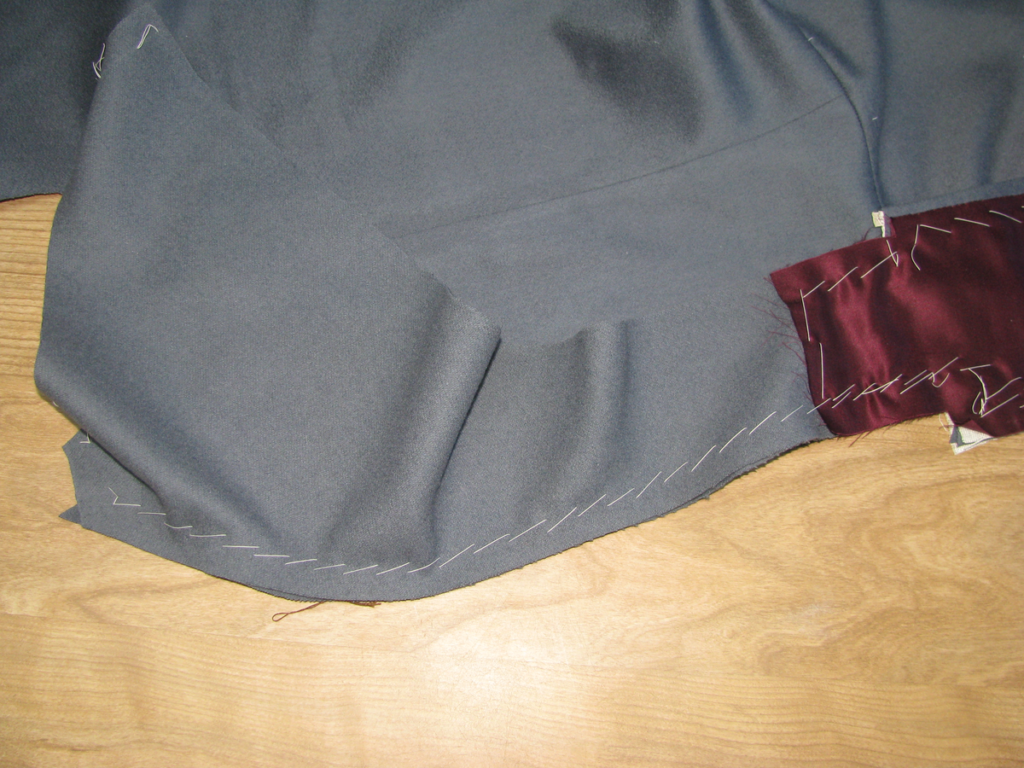
Here you can see the two back skirts, fully lined and ready to be sewn to the skirts.

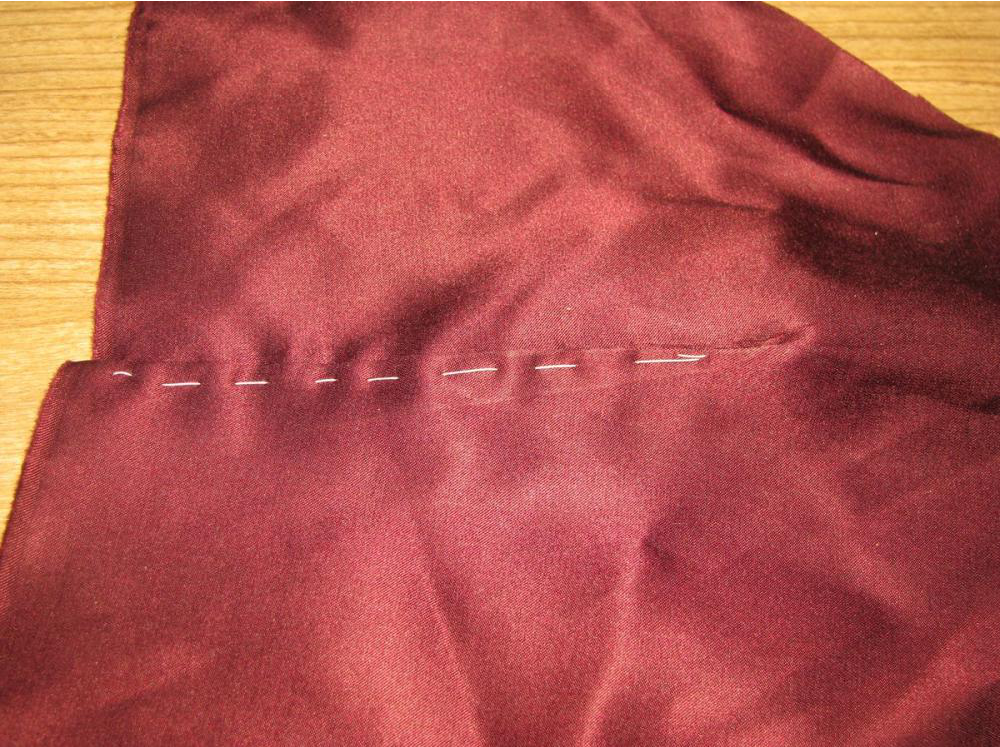
Attaching the Skirts
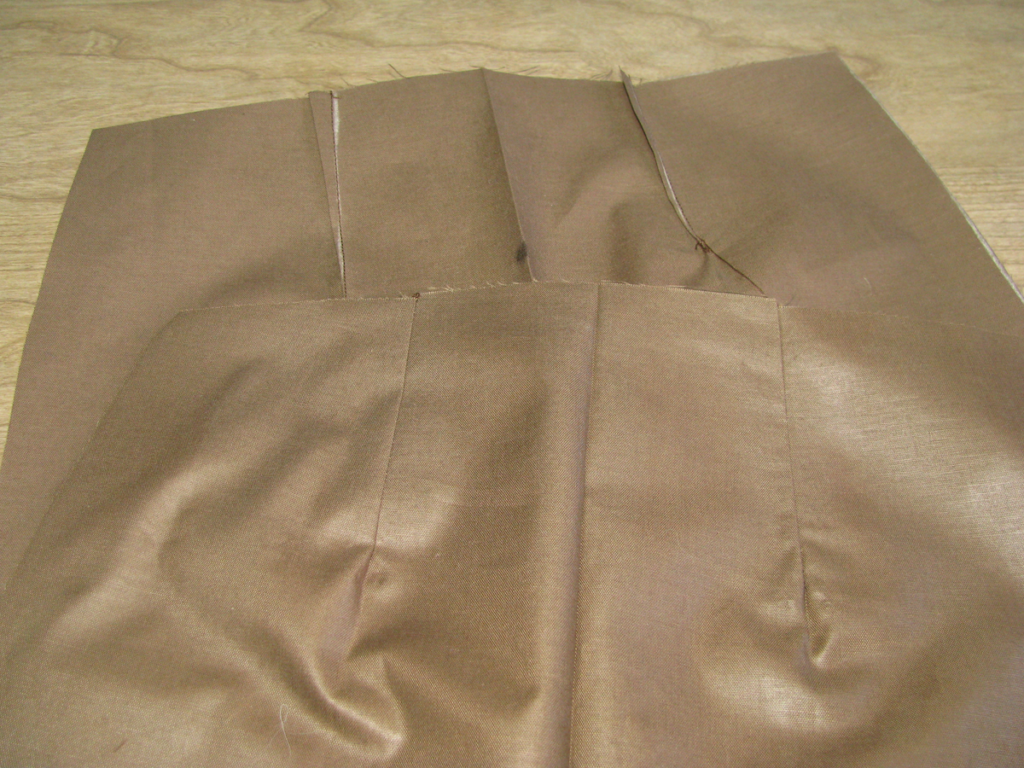
If you have not placed any darts into the skirt, it is then necessary to full some of the fabric at the hip area of the skirt. Place the skirt, right sides together, onto the forepart assembly, and tack down the end near the pleat area. Note how the side piece extends a 1⁄4 inch into the inlay area of the skirt. It should not follow the spring upwards, however, but instead continue in a line following the rest of the skirt.
Take up just the skirt. Using basting thread, start with two back stitches in place, about one inch from the side seam. Using small running stitches, sew about 4 inches towards the front of the coat, leaving the other end of the thread to hang free.
Repeat this process two more times, lining up the stitches with the first row. Doing the three rows of stitches will lock the gathering stitches into place, making it much easier to sew.
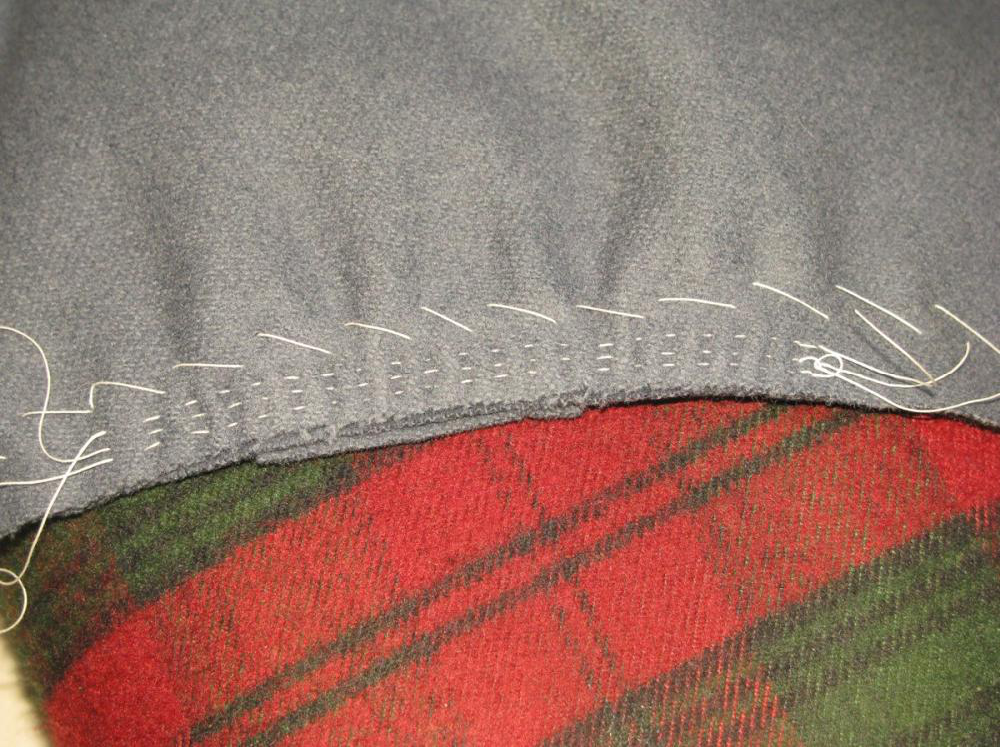
Baste the skirt from the back, stopping when you get to the gathering stitches. At this point, pull all three threads at once towards the front of the coat, gathering the skirt. The total amount gathered should be about one inch.
Baste across this area, locking the gathers in place. I use a smaller basting stitch in this area for extra security.
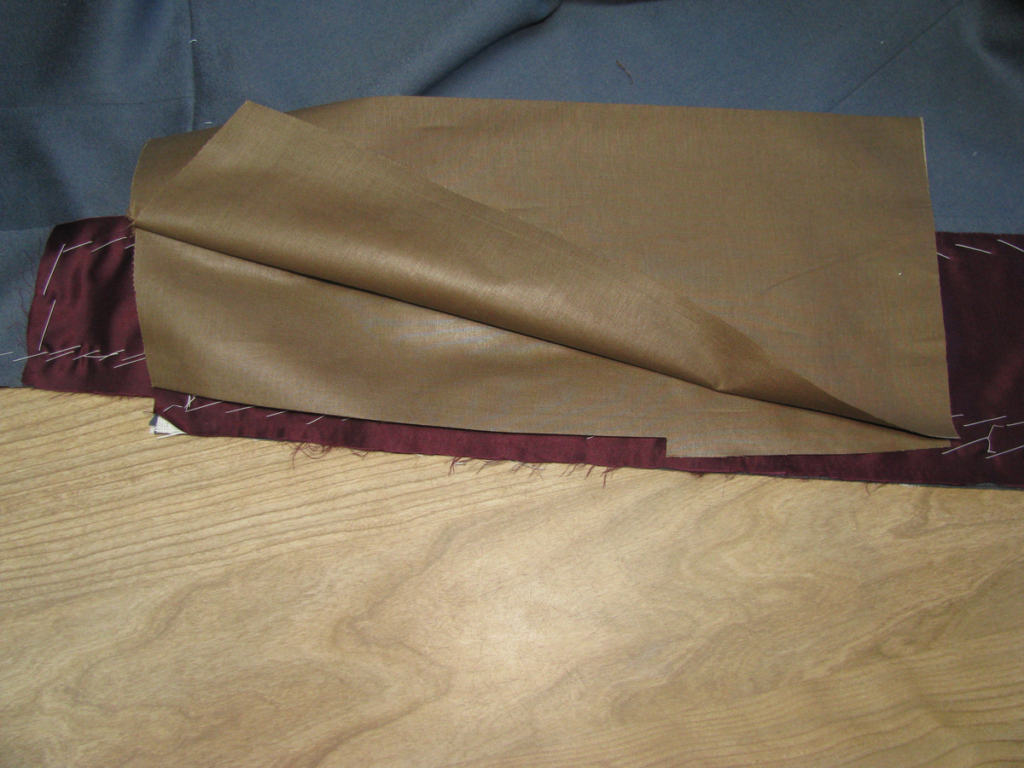
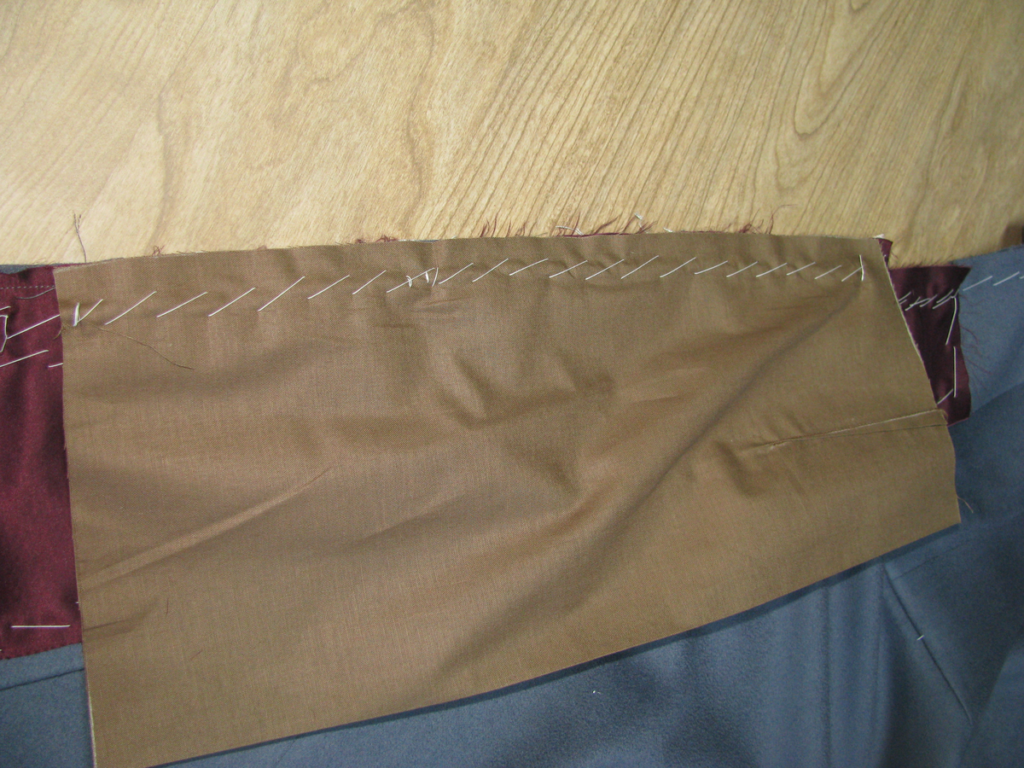
Continue basting the rest of the skirt in place. You should have about several inches of extra fabric at the center front of the skirt, which will be used later to self-face the skirt in the front. This also would be useful if you let out any of the inlays at the side seam or front.
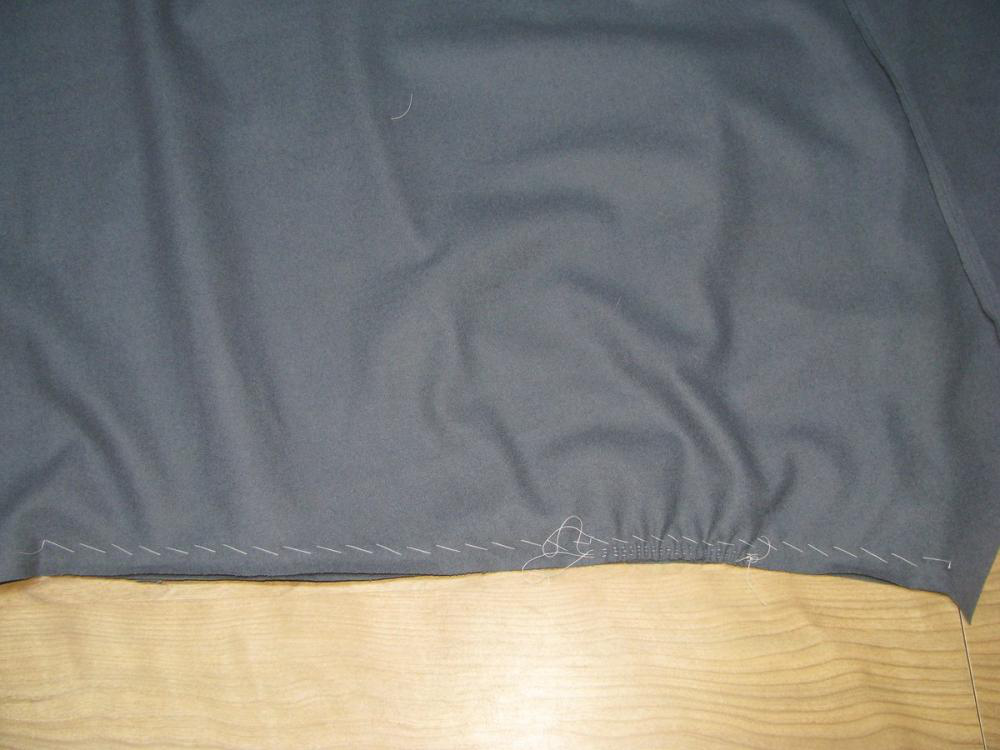
With the skirt side up, on a tailor’s ham, carefully shrink out the fullness you put in. The iron should not extend more than 1⁄2 from the edge of the fabric, or you will shrink out all of the fullness, thus rendering all that work you did useless.

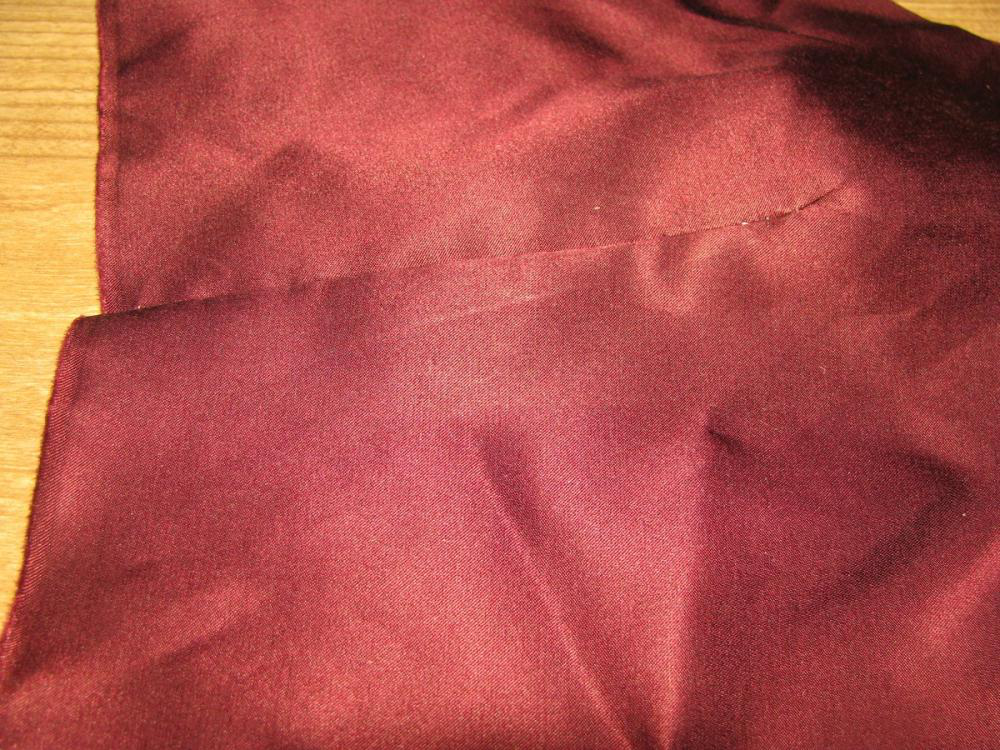
Sew the waist seam, skirt side down, from the front edge of the forepart, to the back edge of the side piece. Press to set the stitches on both sides. Open up the seam allowances on the wrong side, carefully using a tailor’s ham to press the curved areas. Press the right side.
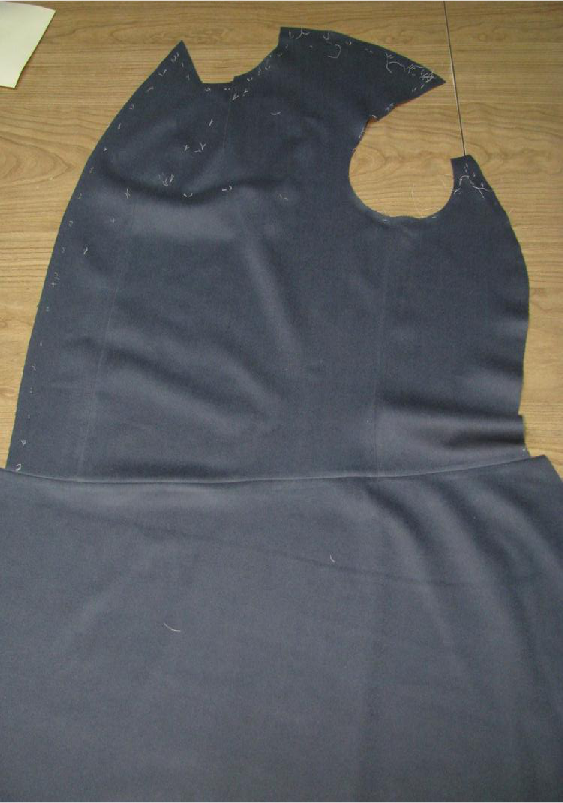
Note how the coat will not lay flat. This is a good sign, and shows that considerable shape has been worked into the coat.