Author: James Williams
Sleeve Seam Allowances and Inlays
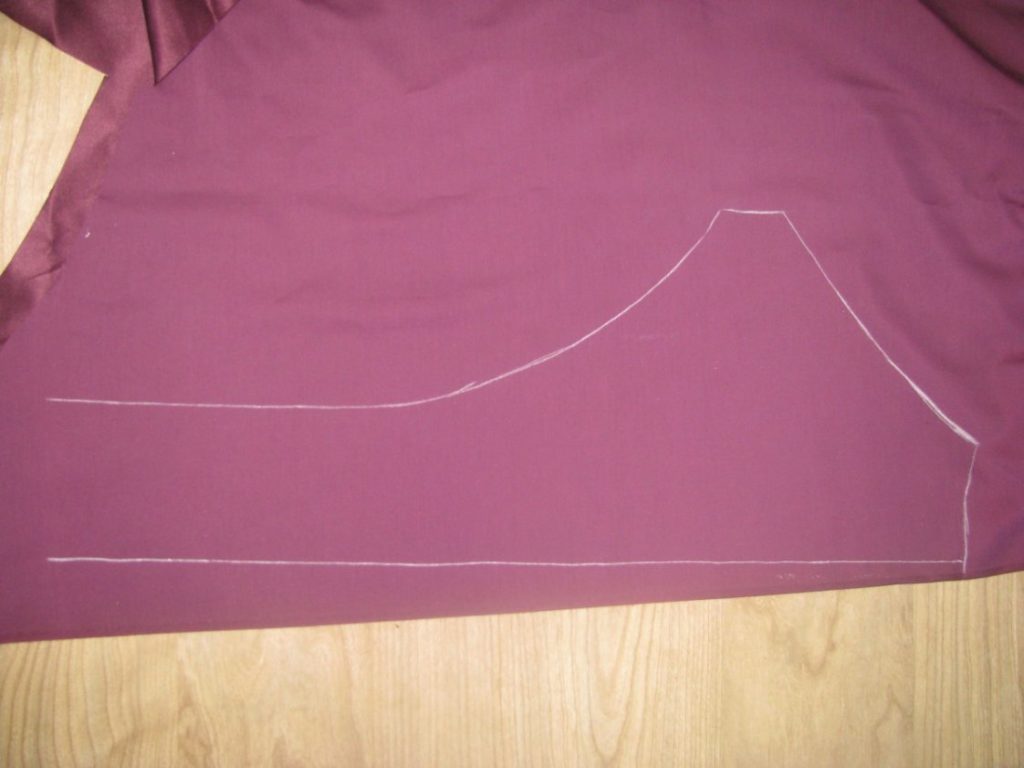
The sleeves should have already been drafted and fit when making your original frock coat pattern and should look something like this.

You should now add 1⁄4 inch seam allowances around the entire sleeve, on both over and under sleeves. At the rear seam of the under sleeve, near the cuff, an inlay must be added. I generally make mine 1 inch wider than the seam allowance, and 5 graduated inches long. At the left edge of the inlay, spring out about a quarter of an inch total.
Waxing and Pressing Your Thread
Have you ever been plagued with knots or fraying threads while doing some hand sewing work? It can be a most frustrating event to be in the middle of a line of stitching and suddenly have the thread break off. For many years now I’ve been not only waxing, but pressing my sewing thread as well, with great results. It may seem crazy at first, but it’s completely worth the effort.
Start by cutting several strands of thread about 20 to 24 inches in length. By keeping the threads on the shorter side, you further decrease the likelihood of the thread fraying because you use up the thread before that can happen.
Next, rub the threads one at a time over a cake of beeswax. I’ve even used beeswax candles if I can’t find my little cake for some reason. I like to coat each strand twice in the beeswax to ensure even coverage. While you’re doing this, plug in your iron and let it heat up.

After all of the threads are coated, iron each piece, ensuring all of the wax melts into the thread. You can use a piece of paper to keep your ironing board wax free, or perhaps use a spare or old sleeve board like I do that you don’t mind getting dirty with wax and pigment / fiber buildup.
Your threads are ready to use now! I like to store them in groups of ten or twelve which I prepare each day before starting the next phase of my project. It’s tempting to do more sometimes but then they have a tendency to become tangled no matter how carefully you store them. If you compare the treated threads to some normal thread, you should find it has a much fuller body to it, and when used, these threads will go through even the toughest fabrics like butter. It truly is amazing and worth the five minutes of preparation it takes.
Here’s a video I prepared on the subject showing how to do each step. If you give it a try, please let me know in the comments how it works for you!
Using a Tailor’s Thimble
We all must have that one friend, or perhaps it is our self that is guilty, who insists upon sewing without the use of any thimble. I will admit I was one of them when I first started sewing more seriously, and was so proud of the callous on the tip of my finger that could drive the needle through two or three layers with no problem. As one becomes more serious in his or her tailoring work, however, it becomes clear that a thimble is most necessary if you want to progress in your skills and proficiency. And more specifically, a tailor’s thimble will best help you develop and refine your hand sewing.
Why a Tailor’s thimble?
You may be used to a normal metal thimble often used by seamstresses and home sewers, that has the closed top. A tailor’s thimble, however, has an open top, and coming from a home sewing technique, they can seem intimidating, and indeed, you may have to alter your entire sewing technique.
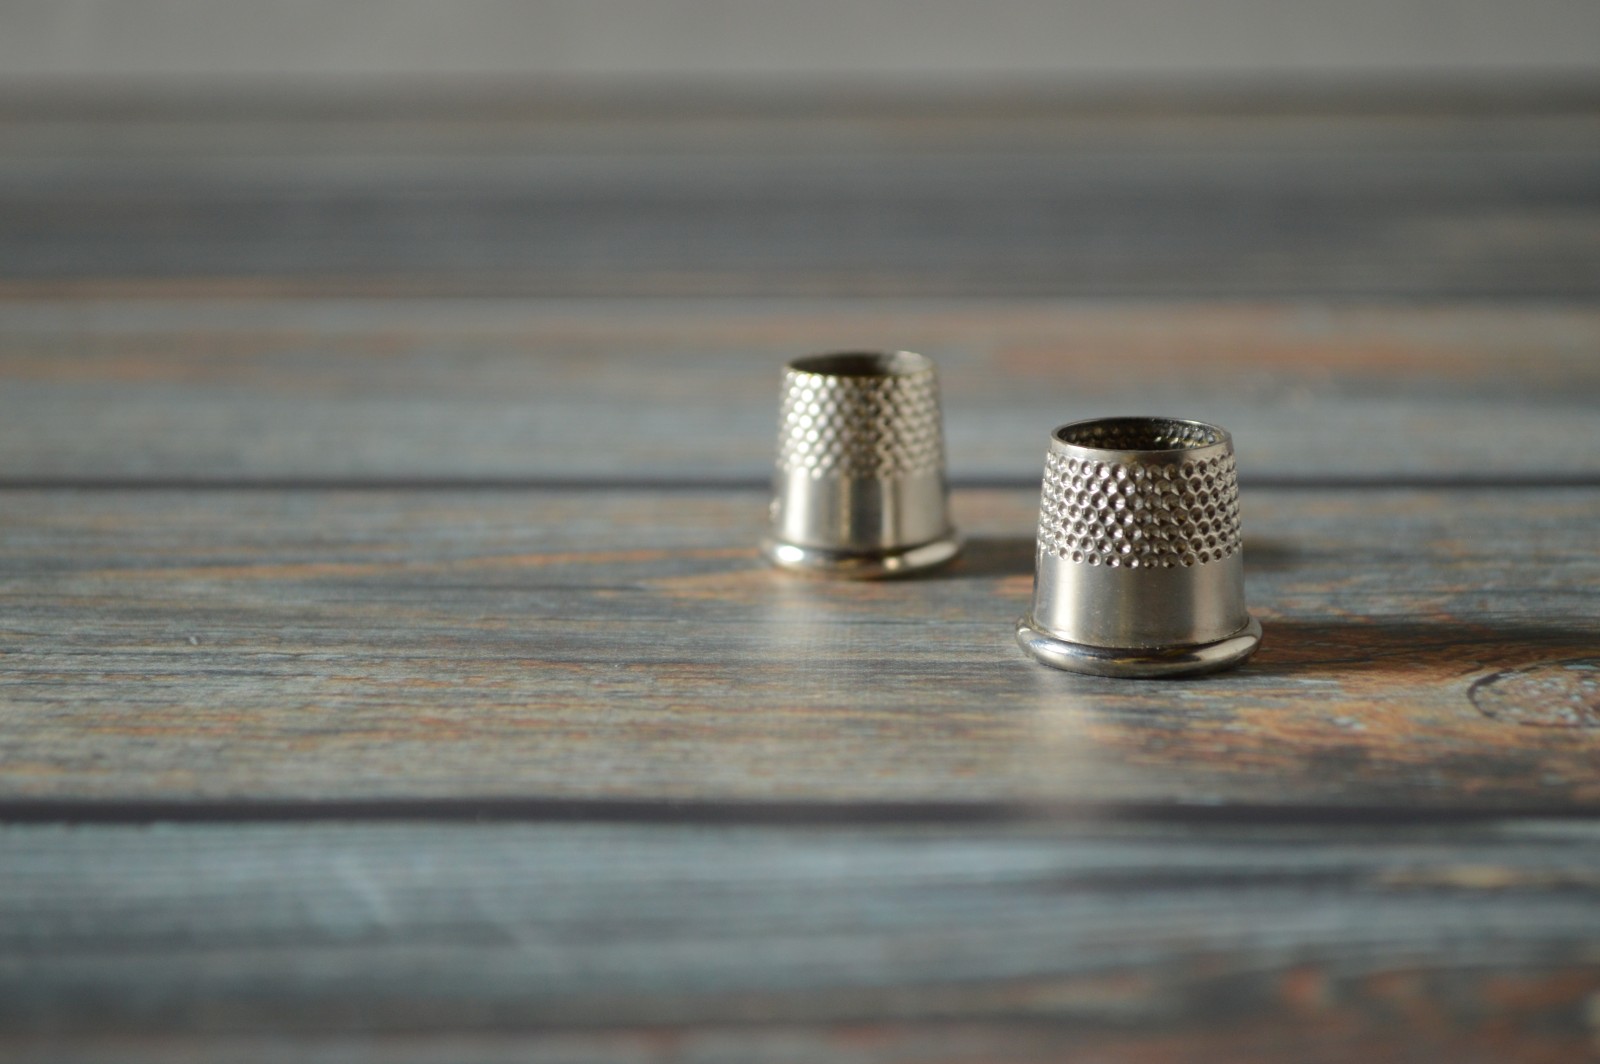
Tailor’s thimbles have an open top for two important reason. First, they allow the tailor to sew for long periods of time without condensation forming in the tip of the finger under the thimble. Second, and most importantly, the open top gives the dexterity and tactility necessary for a tailor. As one is sewing, the fabric is constantly manipulated with both hands, and having that open top allows you to use the tip of that covered finger to aid in this manipulation.
Choosing the right size
Choosing a thimble can be a bit of a challenge these days. Unless you have a higher end sewing store nearby that carries tailor’s thimbles, you’ll probably have to order them online and guess at the sizing. I found mine at B. Black and Sons, and since I have medium to large hands, I bought both a size 9 and 10. After some use, I found that the size 10 was a better fit for me, so you may have to order a couple different sizes and experiment for yourself.
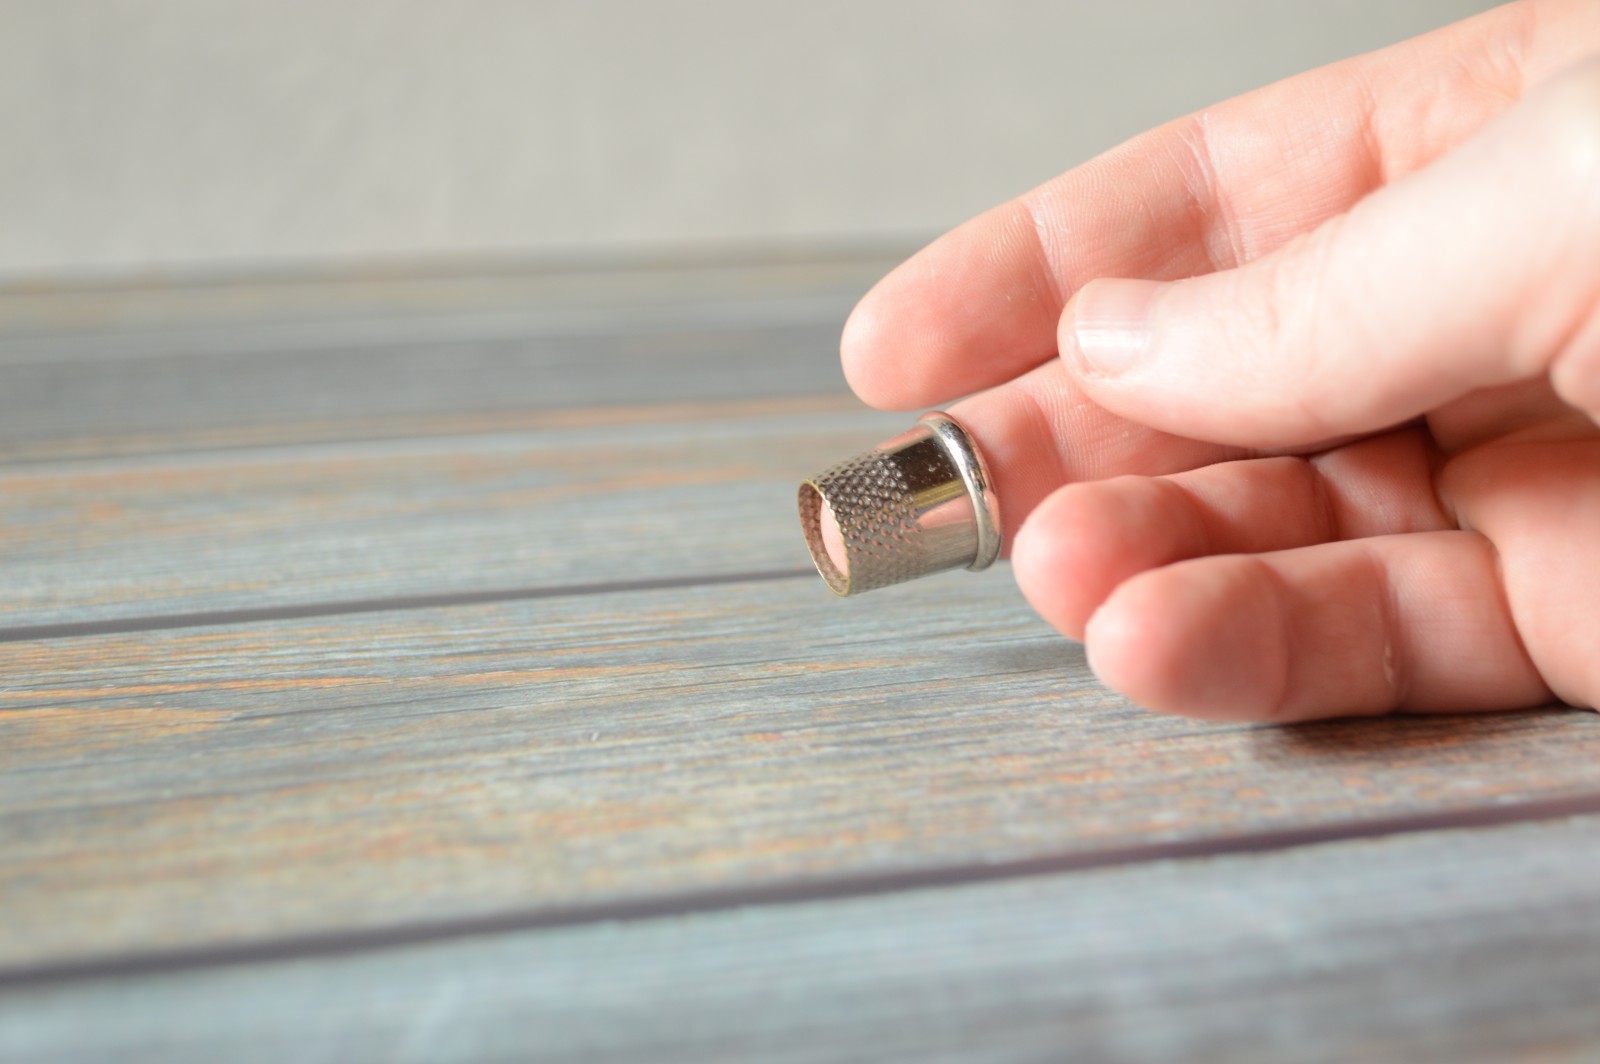
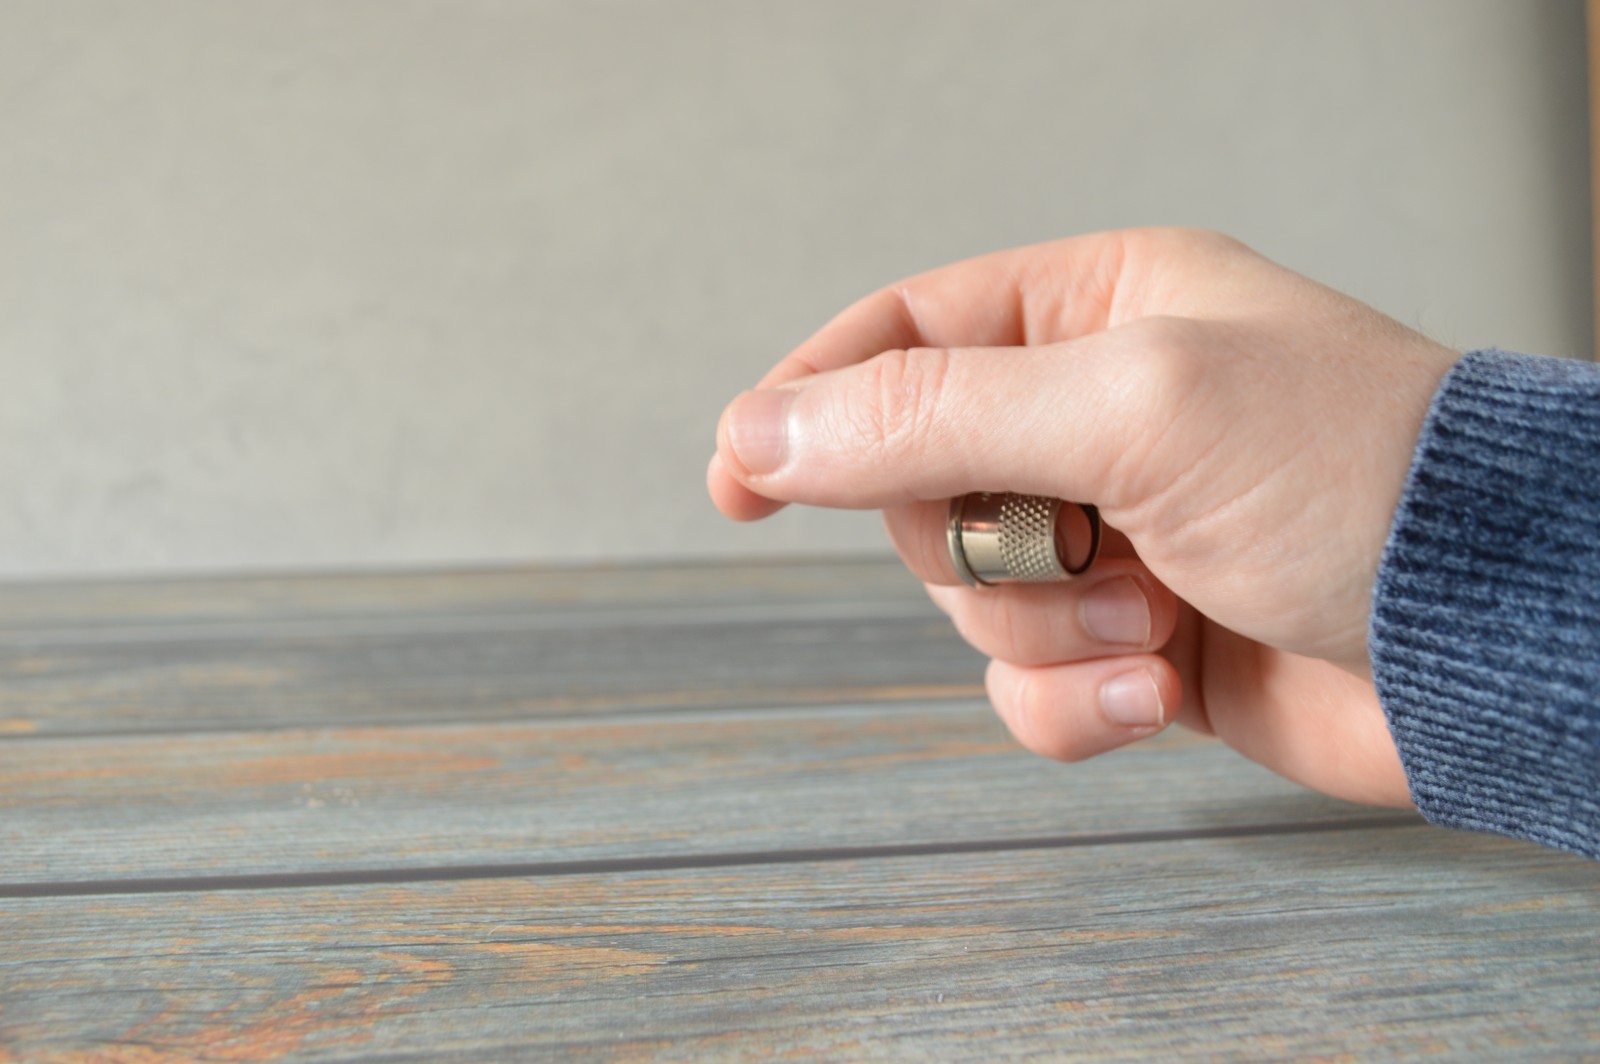
When determining a good fit, place the thimble on your middle finger of your dominant hand. The tip of your finger should extend past the top of the thimble by about 1/16 to 1/8 of an inch, allowing you to get a feel for the fabric as you are sewing. If the thimble is too small, your finger will not protrude enough and you’ll lose that sense of touch in that finger. Too big and the thimble will tend to slide around or even fall off.
Another point to keep in mind is the material of the thimble. Most of the new thimbles for sale today are made out of some kind of nickle alloy and for certain people this can give a slight allergic reaction. The only solution I can think of is to hunt down an antique thimble made out of sterling silver or find that rare source for a new one. Be prepared to spend a lot more money, though.
How to use the thimble
The first thing to remember when using a thimble is to always stay completely relaxed. The moment you start to tense up the muscles in your fingers, hand, wrist, or arm, you’ll begin losing a degree of control over your work and you will tire out more quickly.
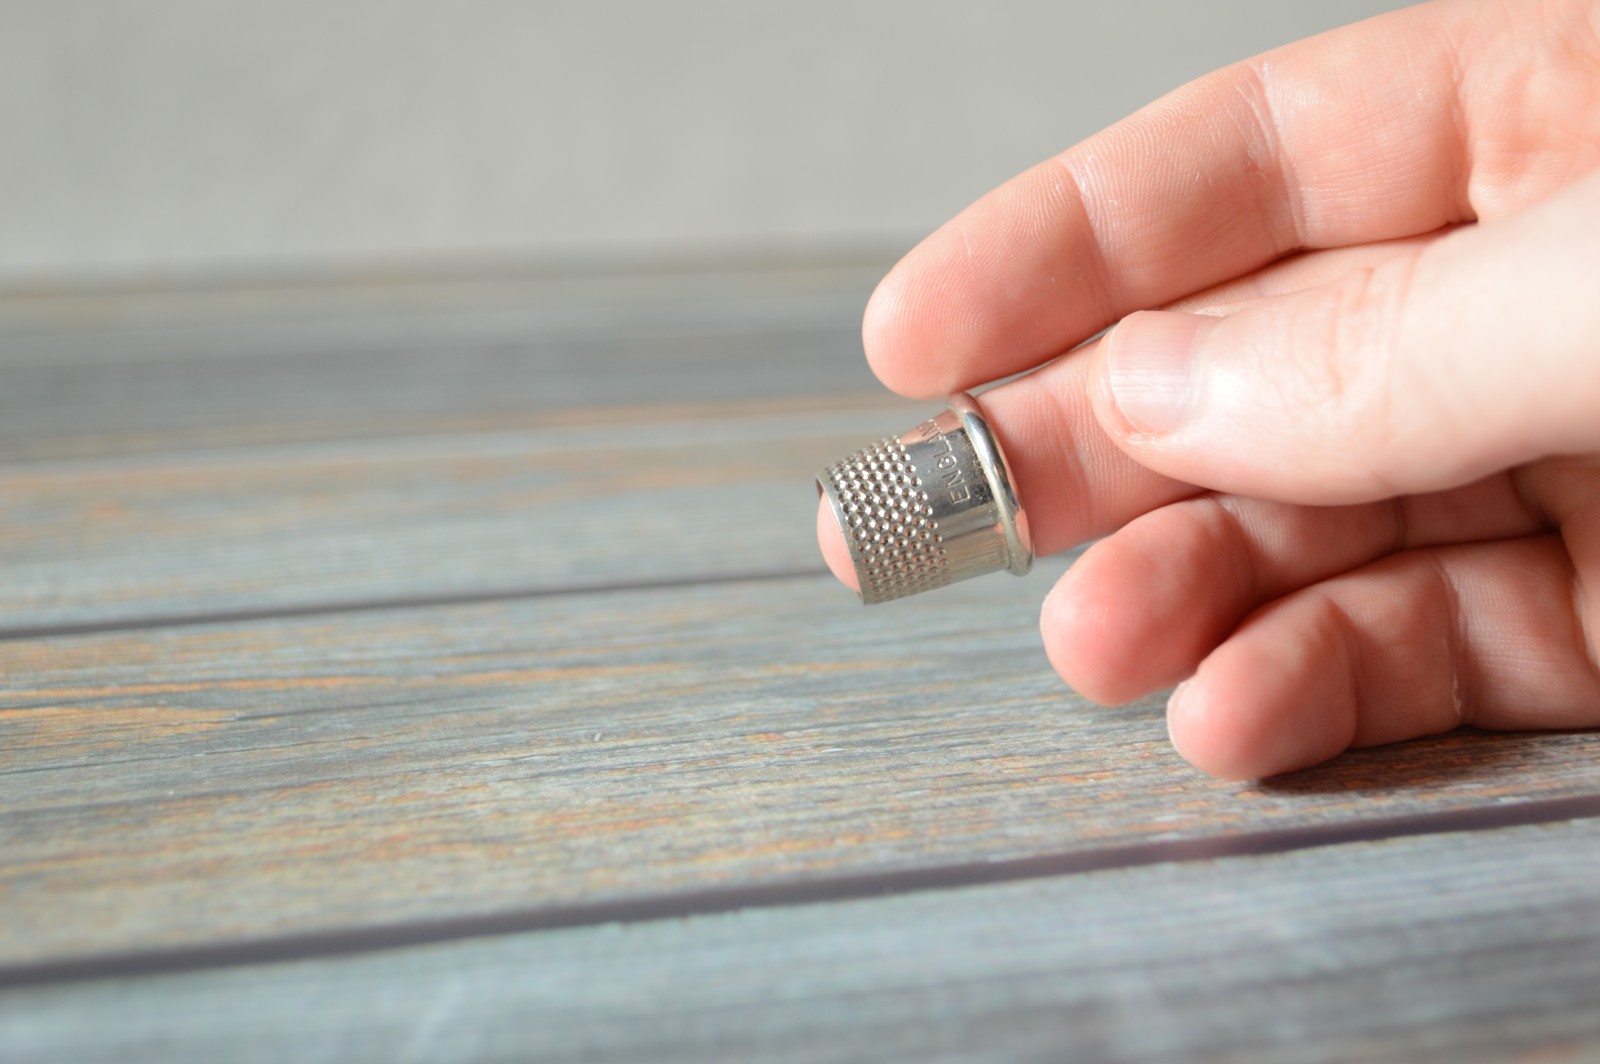
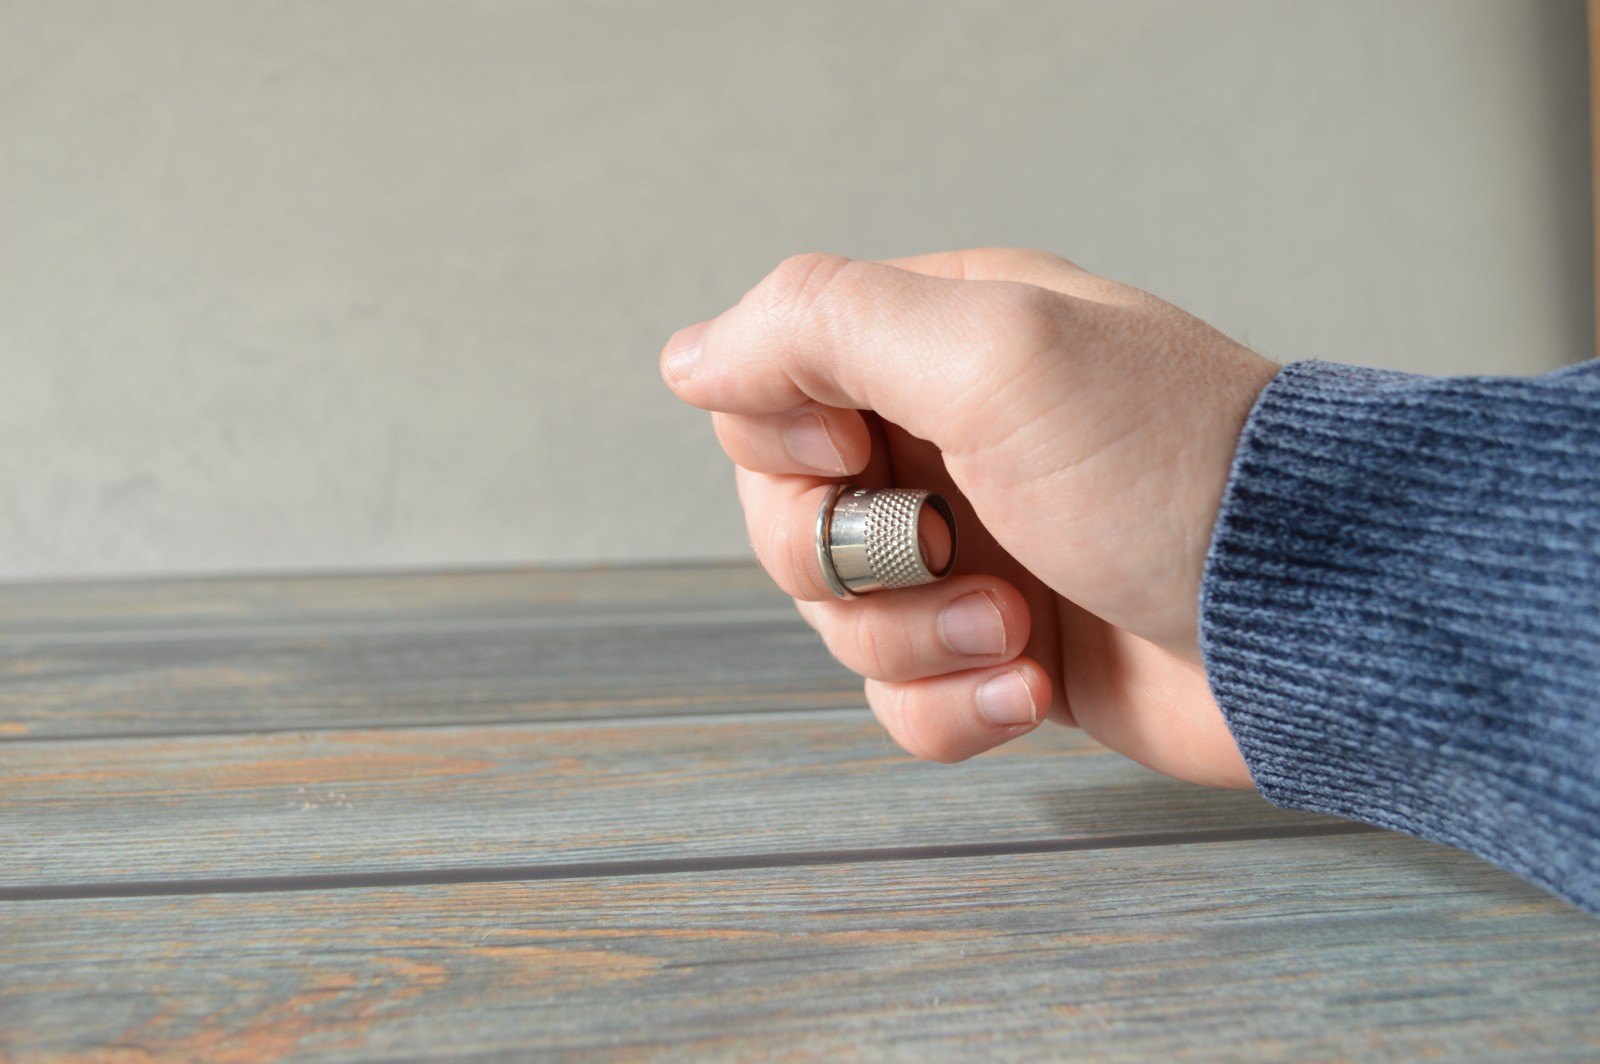
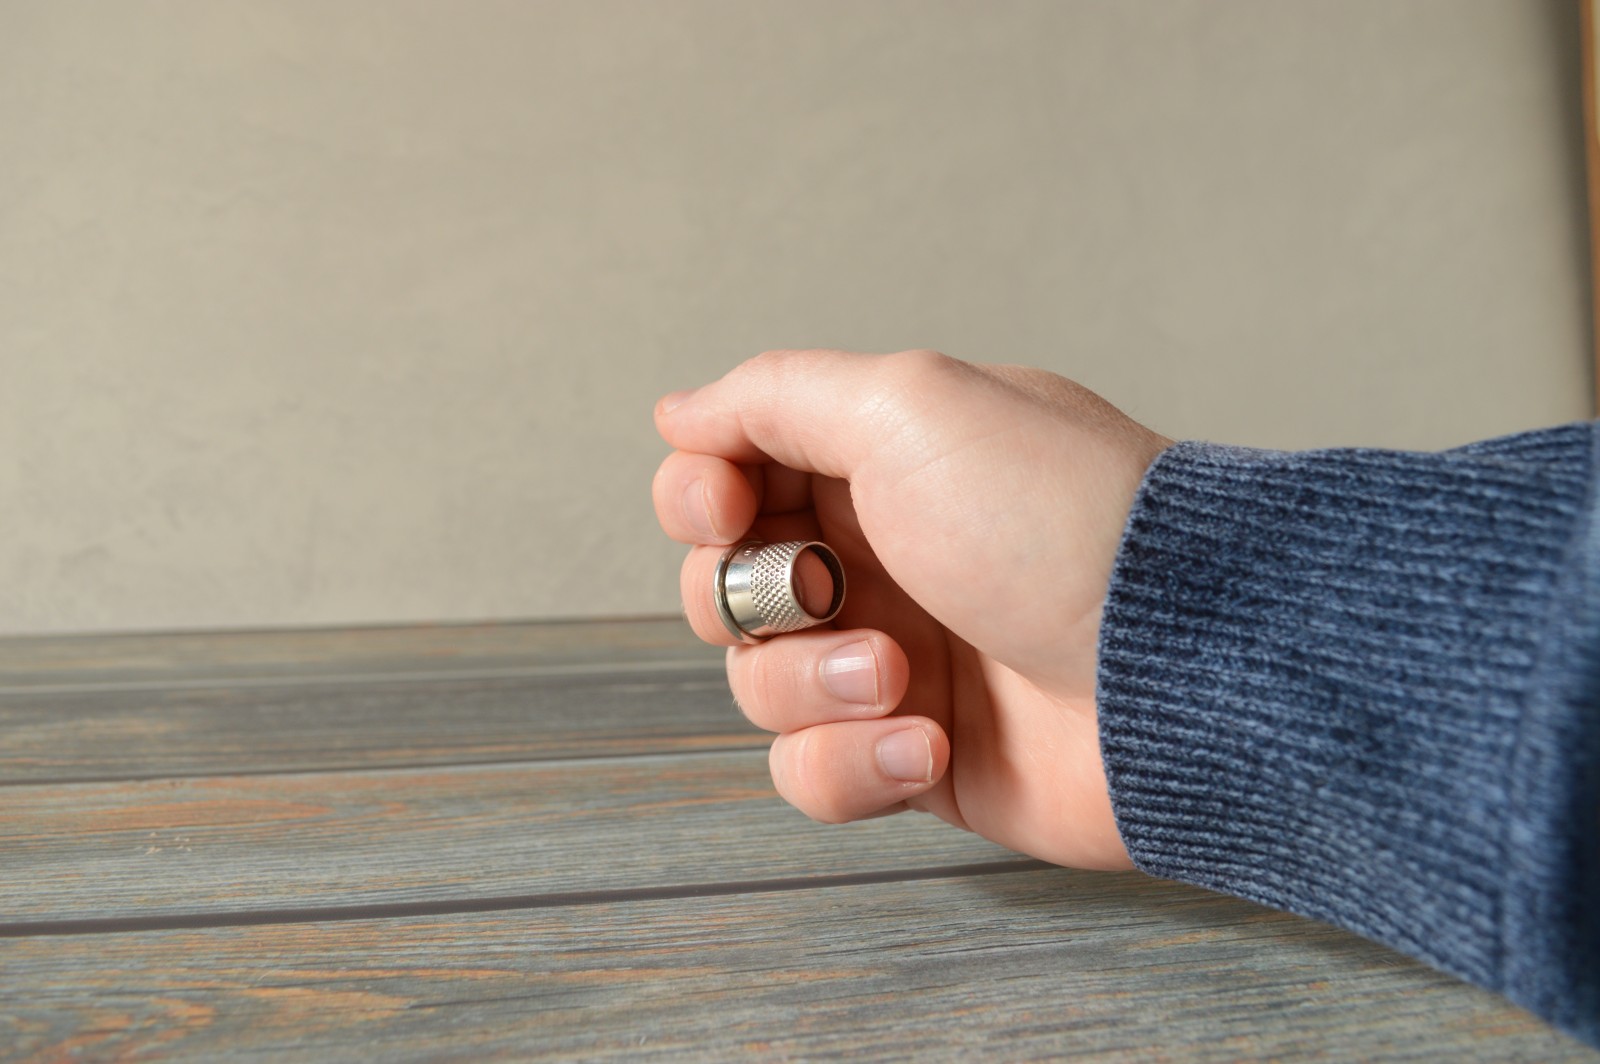
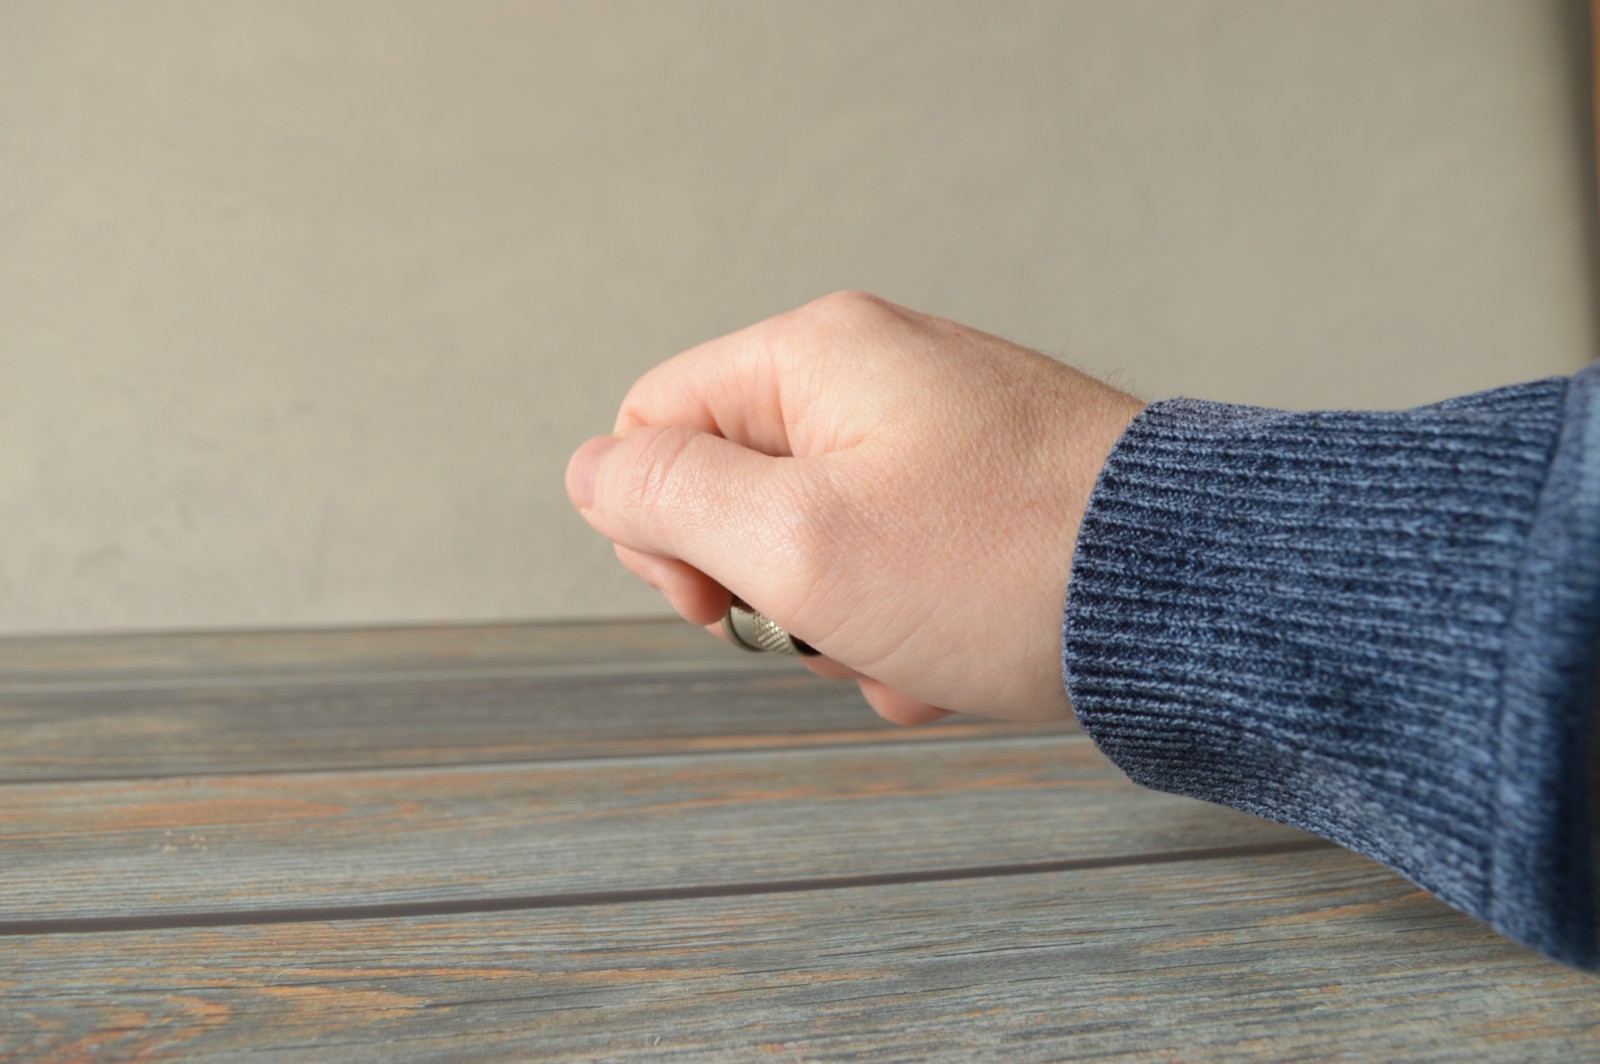
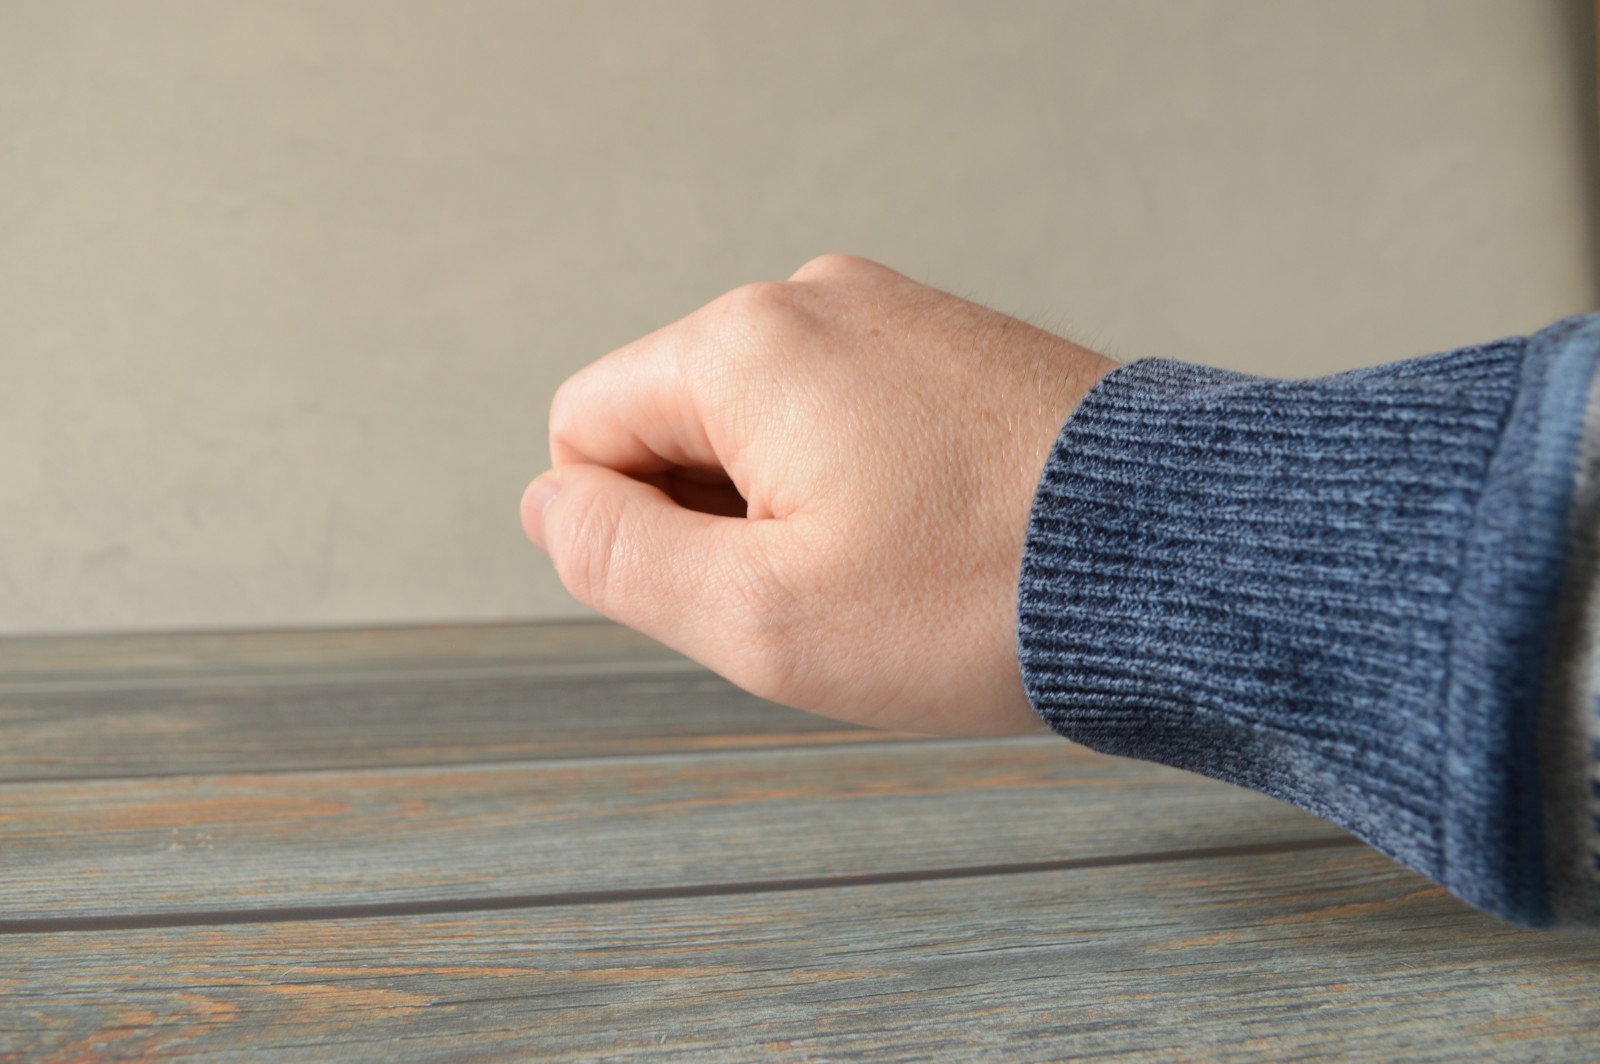
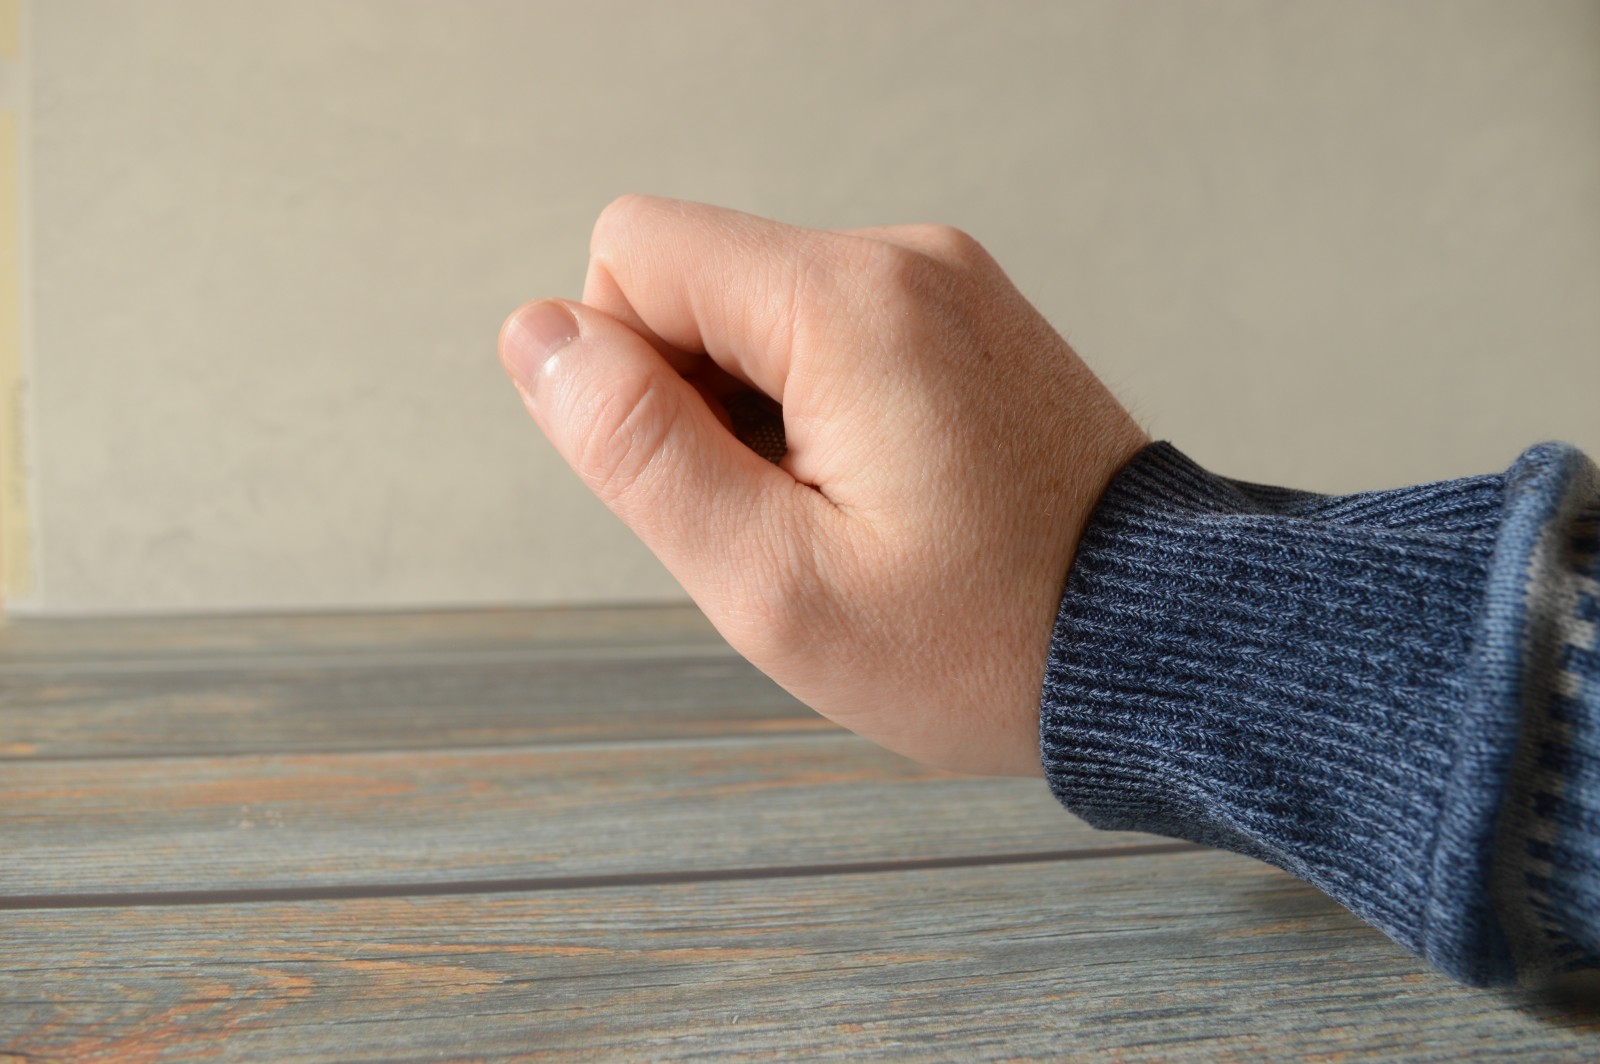
Hold the thimble on the middle finger on your dominant hand, and just let your fingers relax into a very loose fist, as pictured.
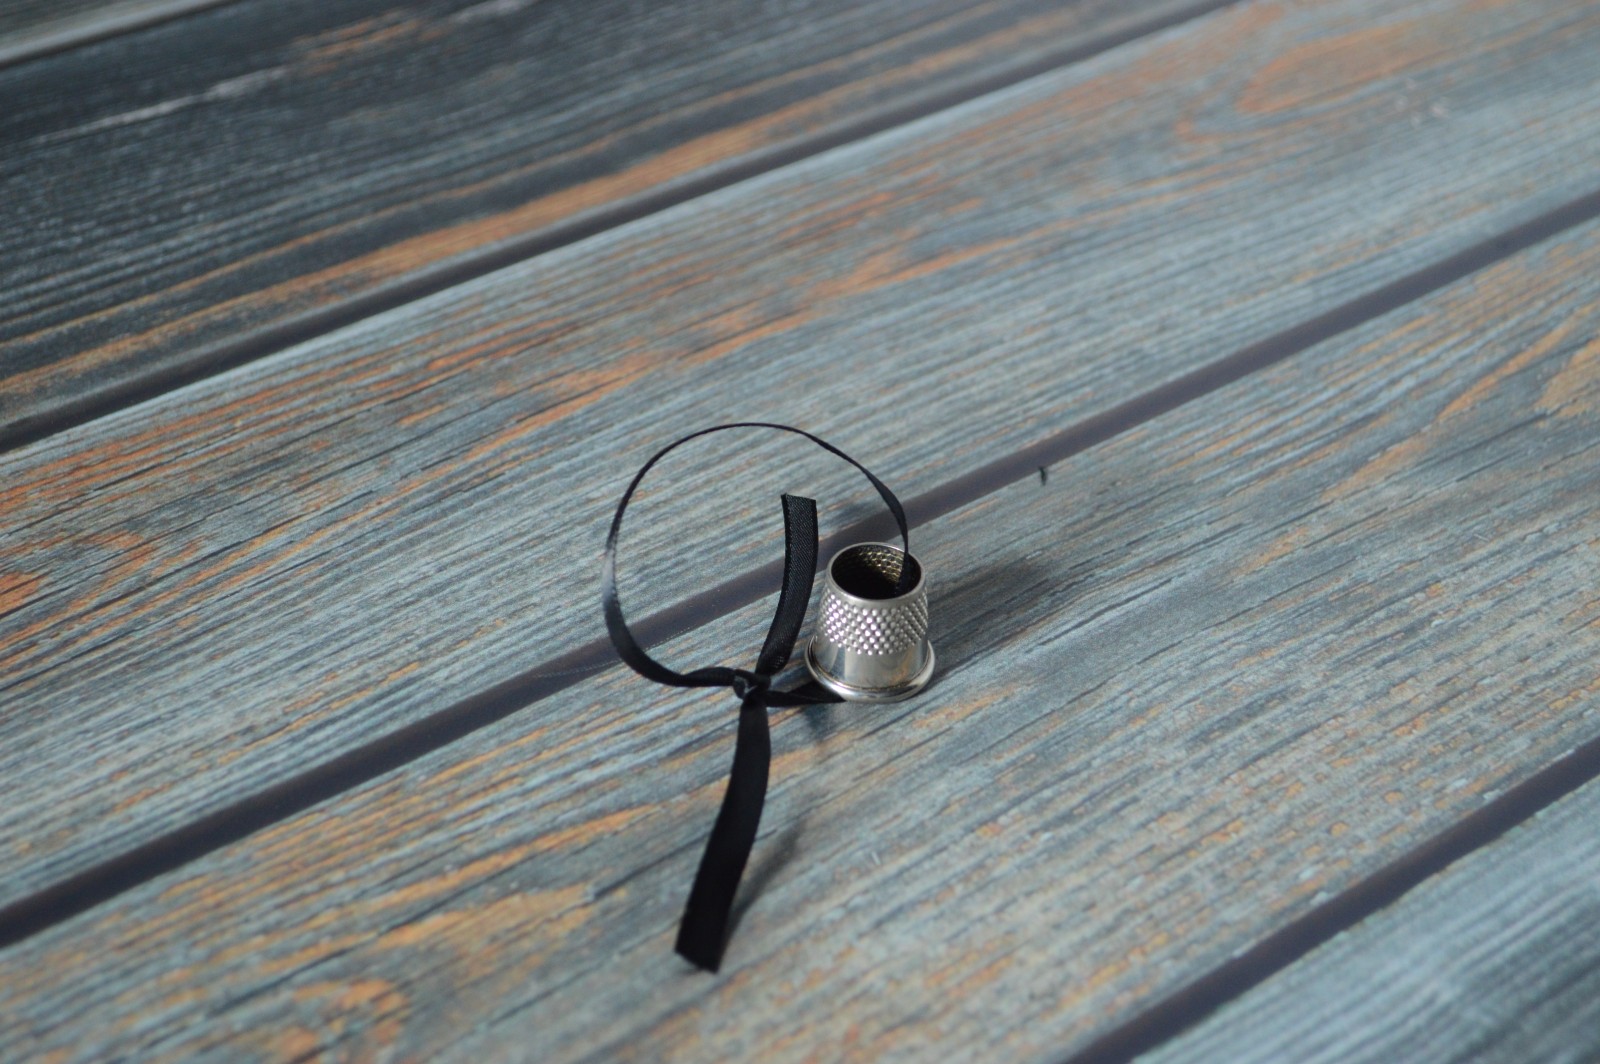
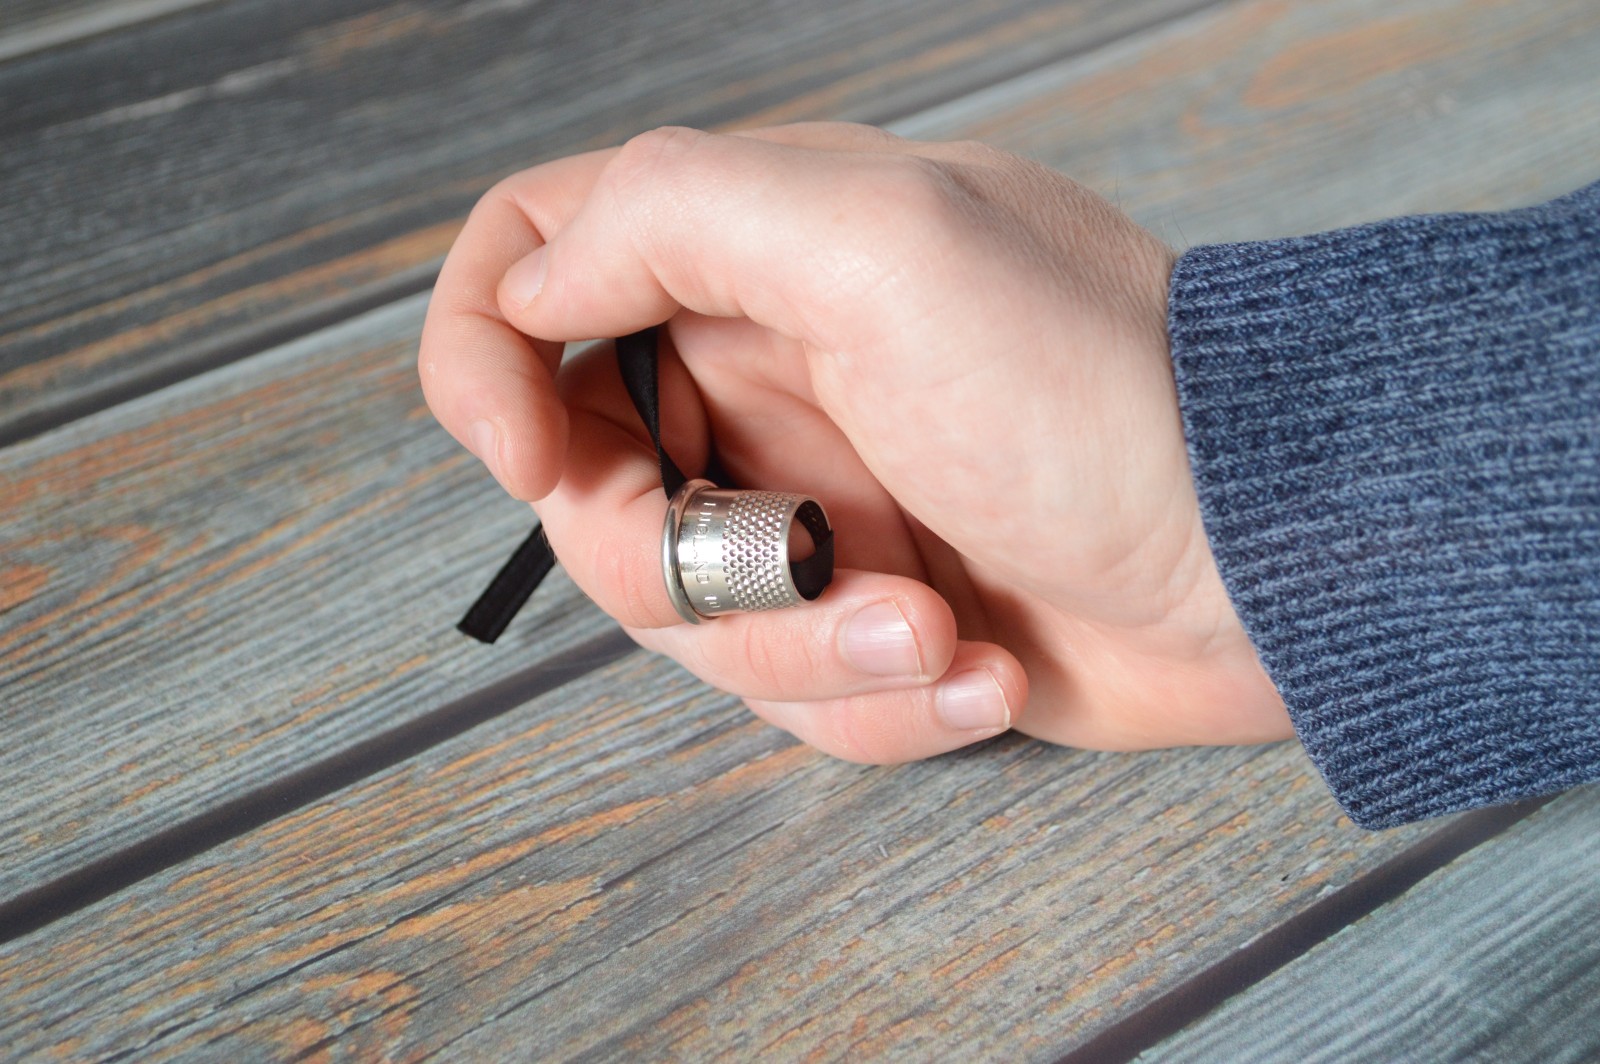
If necessary, you can try tying a piece of ribbon or string around the thimble and your finger in order to keep the thimble in the correct position. After a few days to a week you should be able to do without it. Remember to stay relaxed!
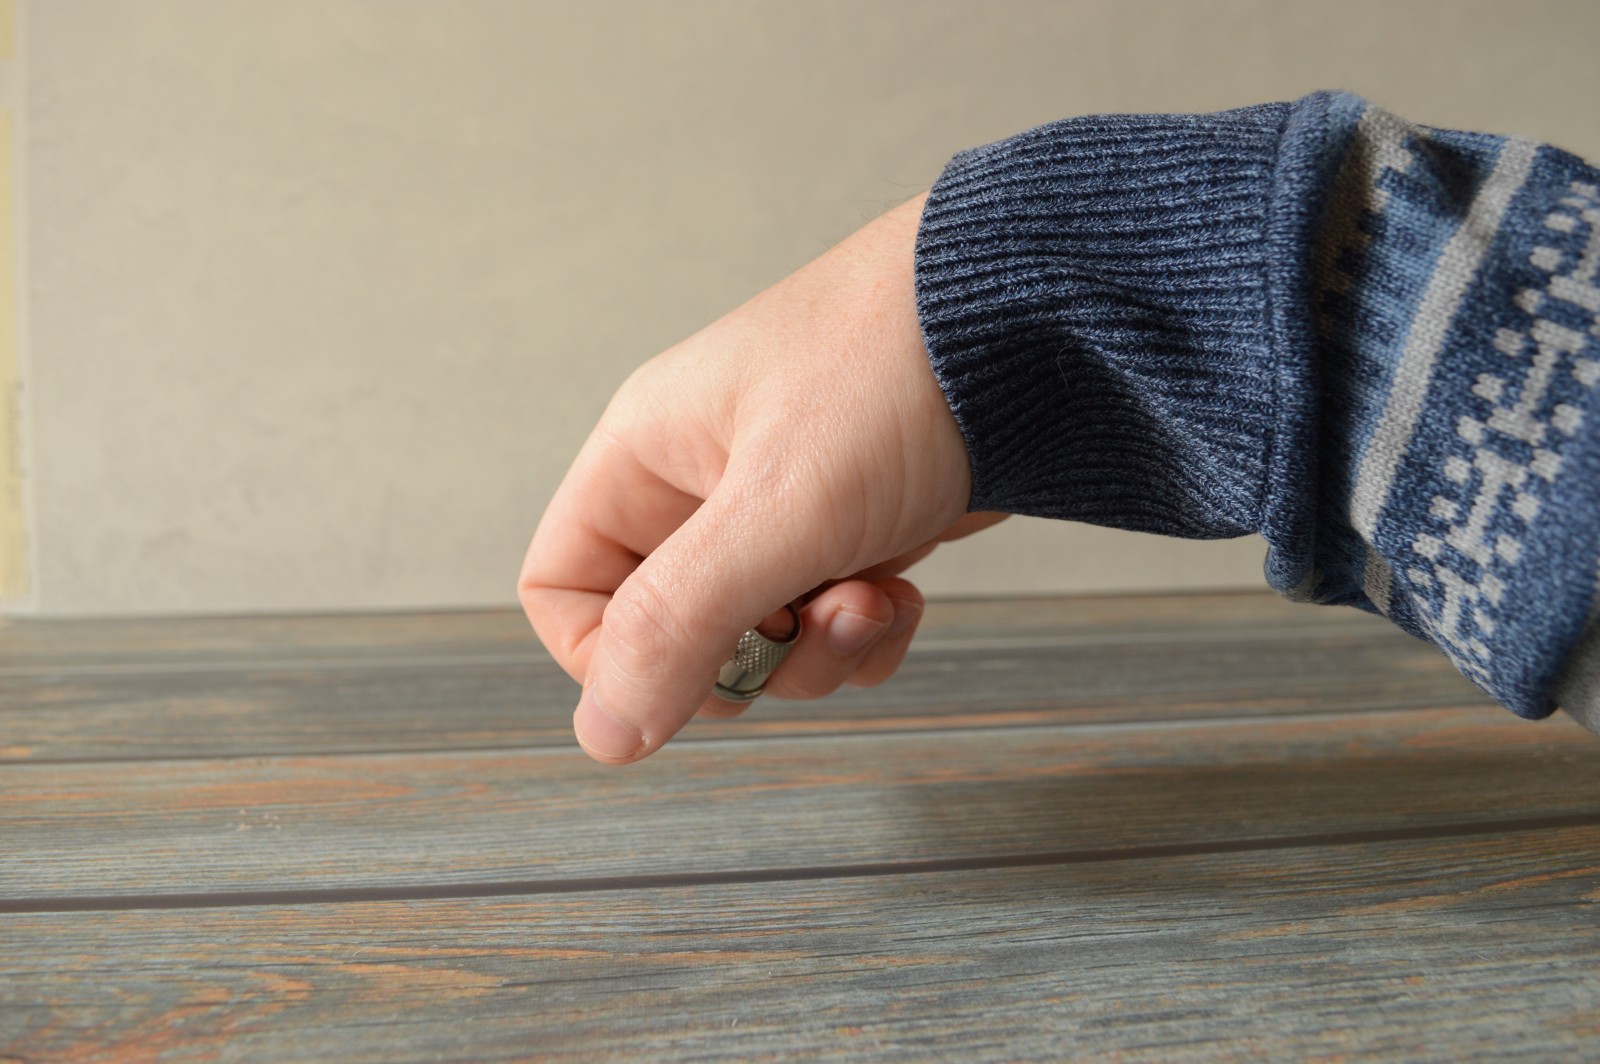
Rotate your hand, forearm, elbow and even your shoulder all as one unit, keeping your fingers in the same position. The fingers actually move very little while sewing. The larger muscles of your arms will propel the needle through the fabric, while your fingers will subtly manipulate the needle to position it perfectly for the next stitch.
Practice this rotational movement for a bit. You can work on it each day for about two to five minutes, just like any other exercise. When you are comfortable with the motions, start to pretend you are holding the needle between your thumb and index finger and continue doing these movements.
One very important thing to avoid is bending your wrist either up or down, or two the side. You need to keep it aligned with your forearm in order to prevent such things as tendonitis and carpal tunnel syndrome.
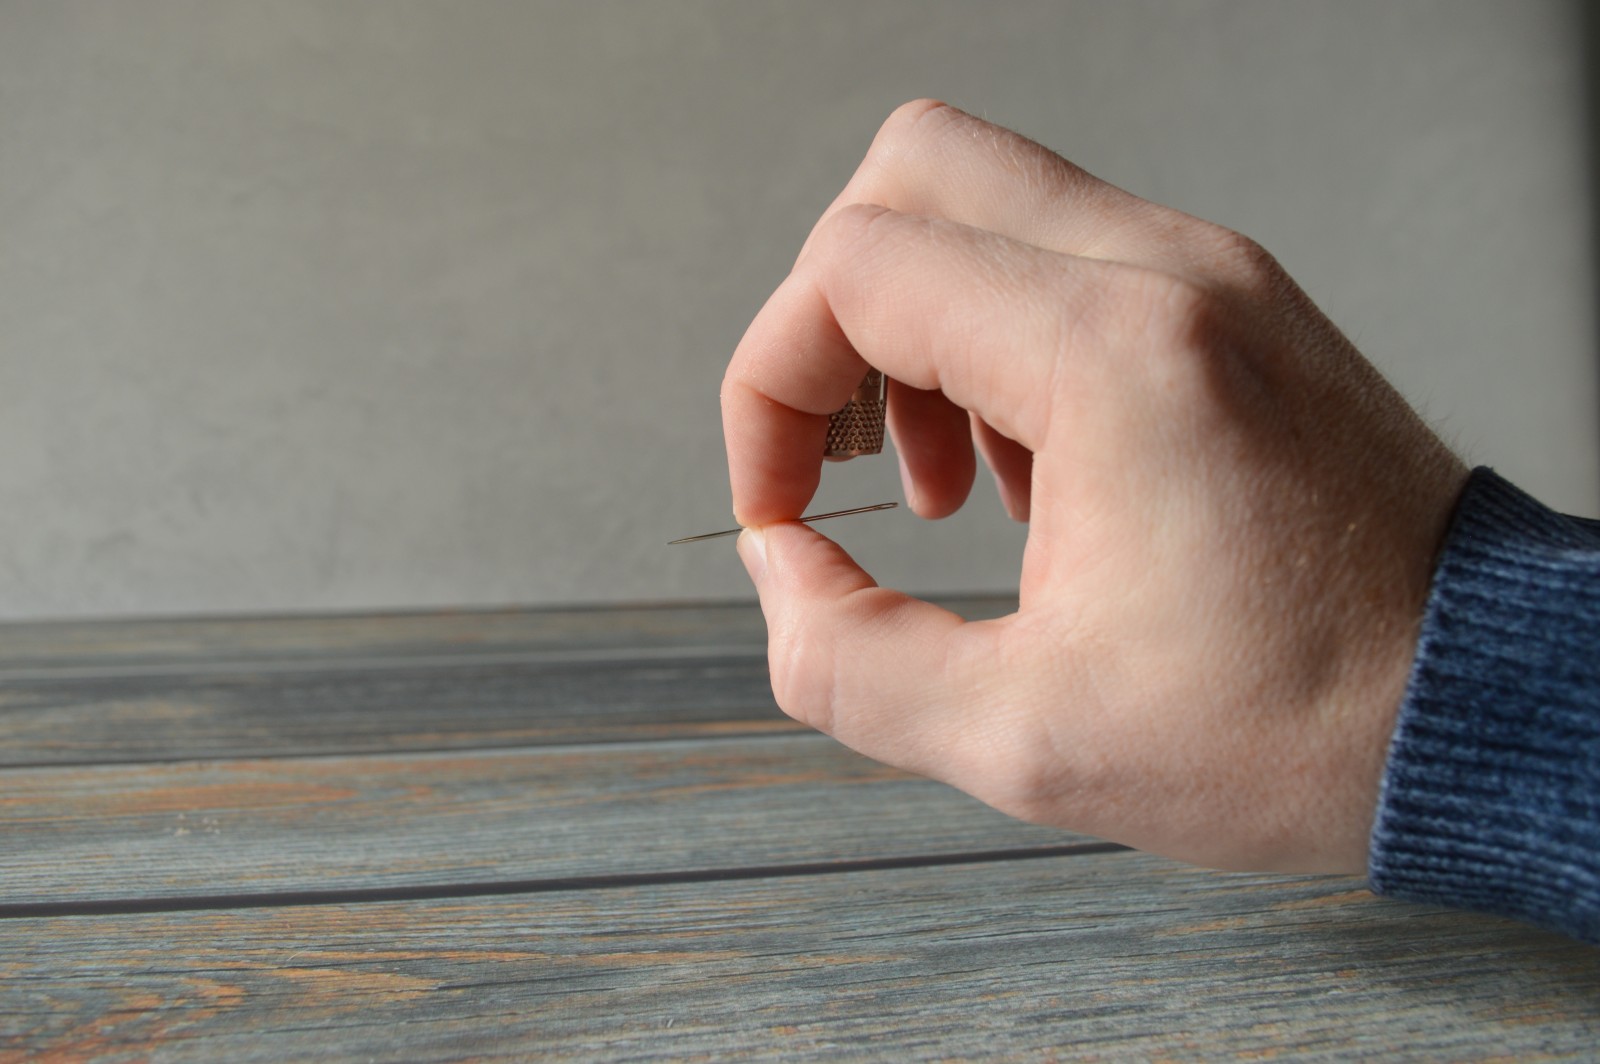
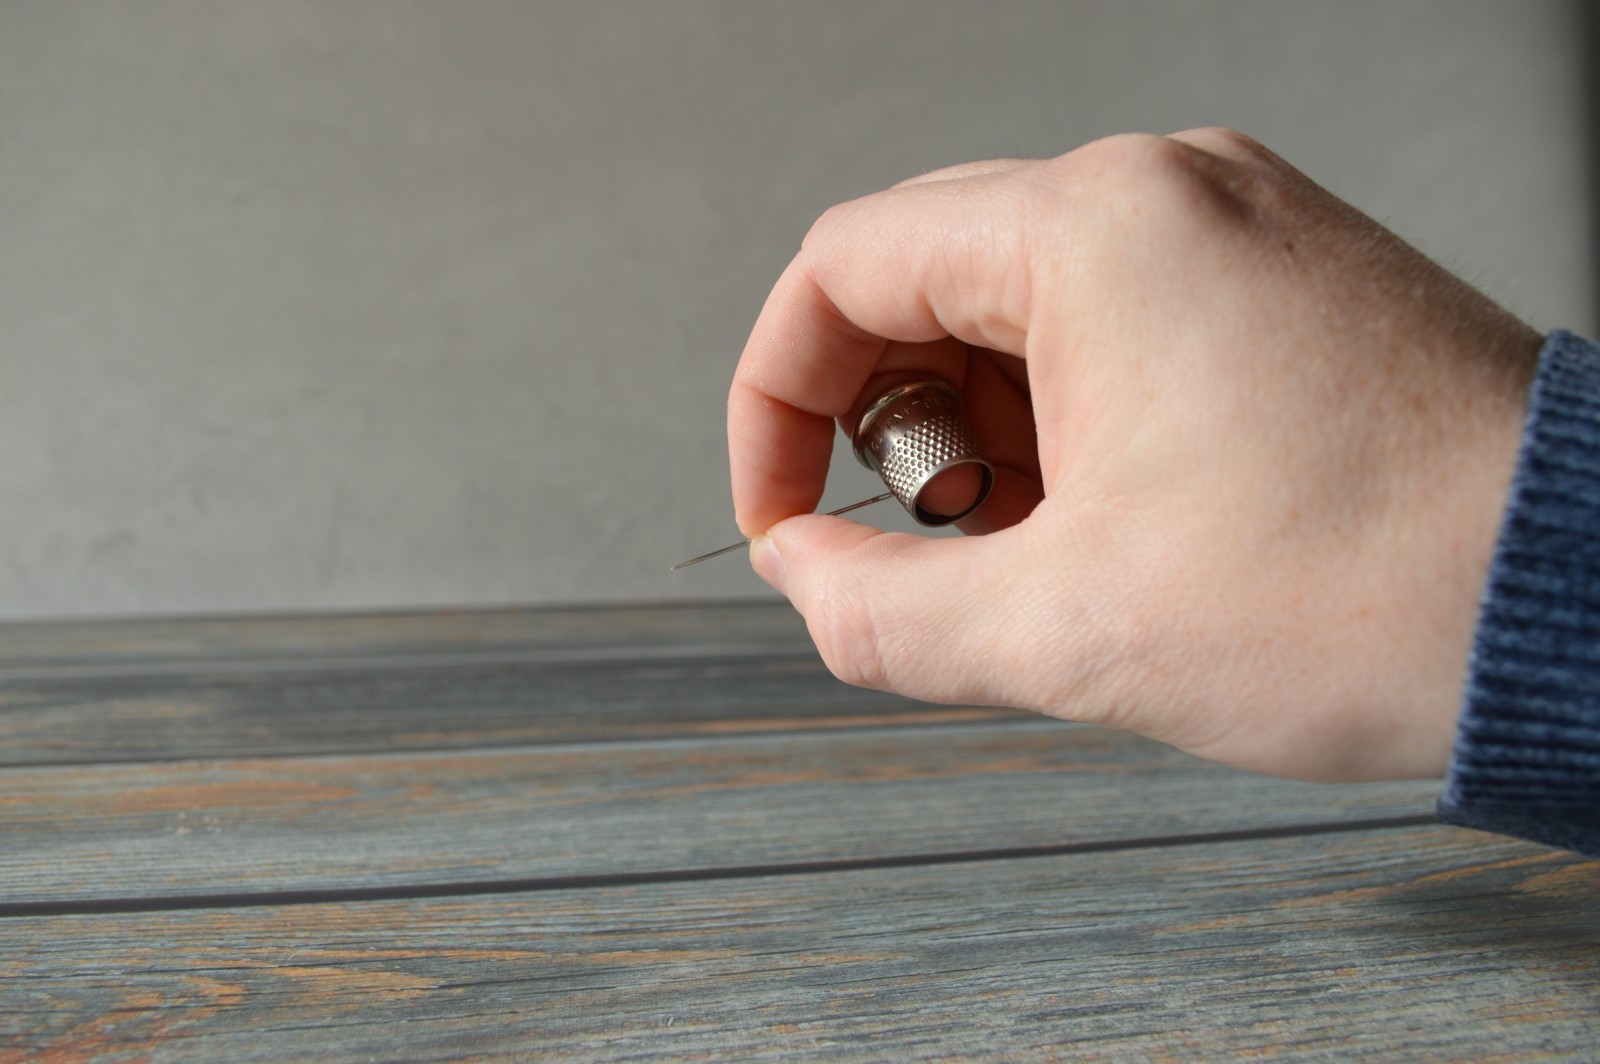
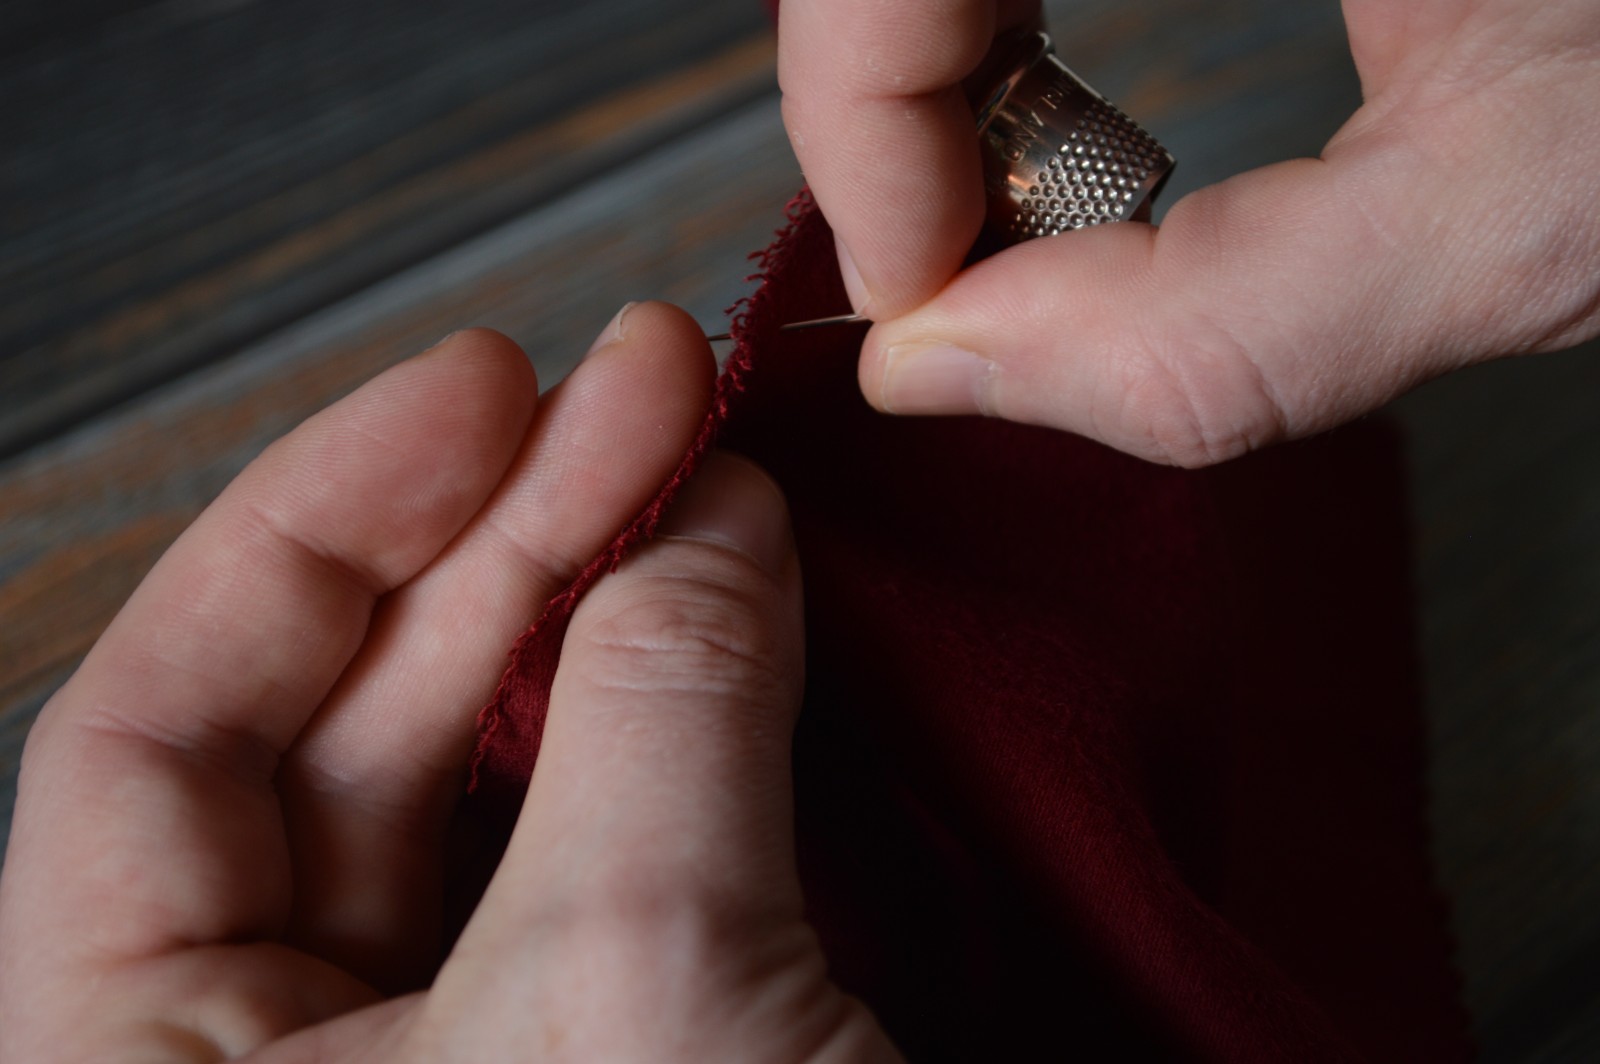
Finally, you are ready to try using the thimble with a needle. Start by placing the middle of the needle between your thumb and index finger. The eye end of the needle is placed on the thimble at a point above your finger nail. This is contrary to what a lot of home sewers and quilters do, so it may take getting used to. With that rotational movement, push the needle firmly through the fabric and up again all in one stroke.

You’ll find that the movement does not need to be as exaggerated as in the exercises you worked on, but the rotation is definitely still there. Remember to remain relaxed at all times!
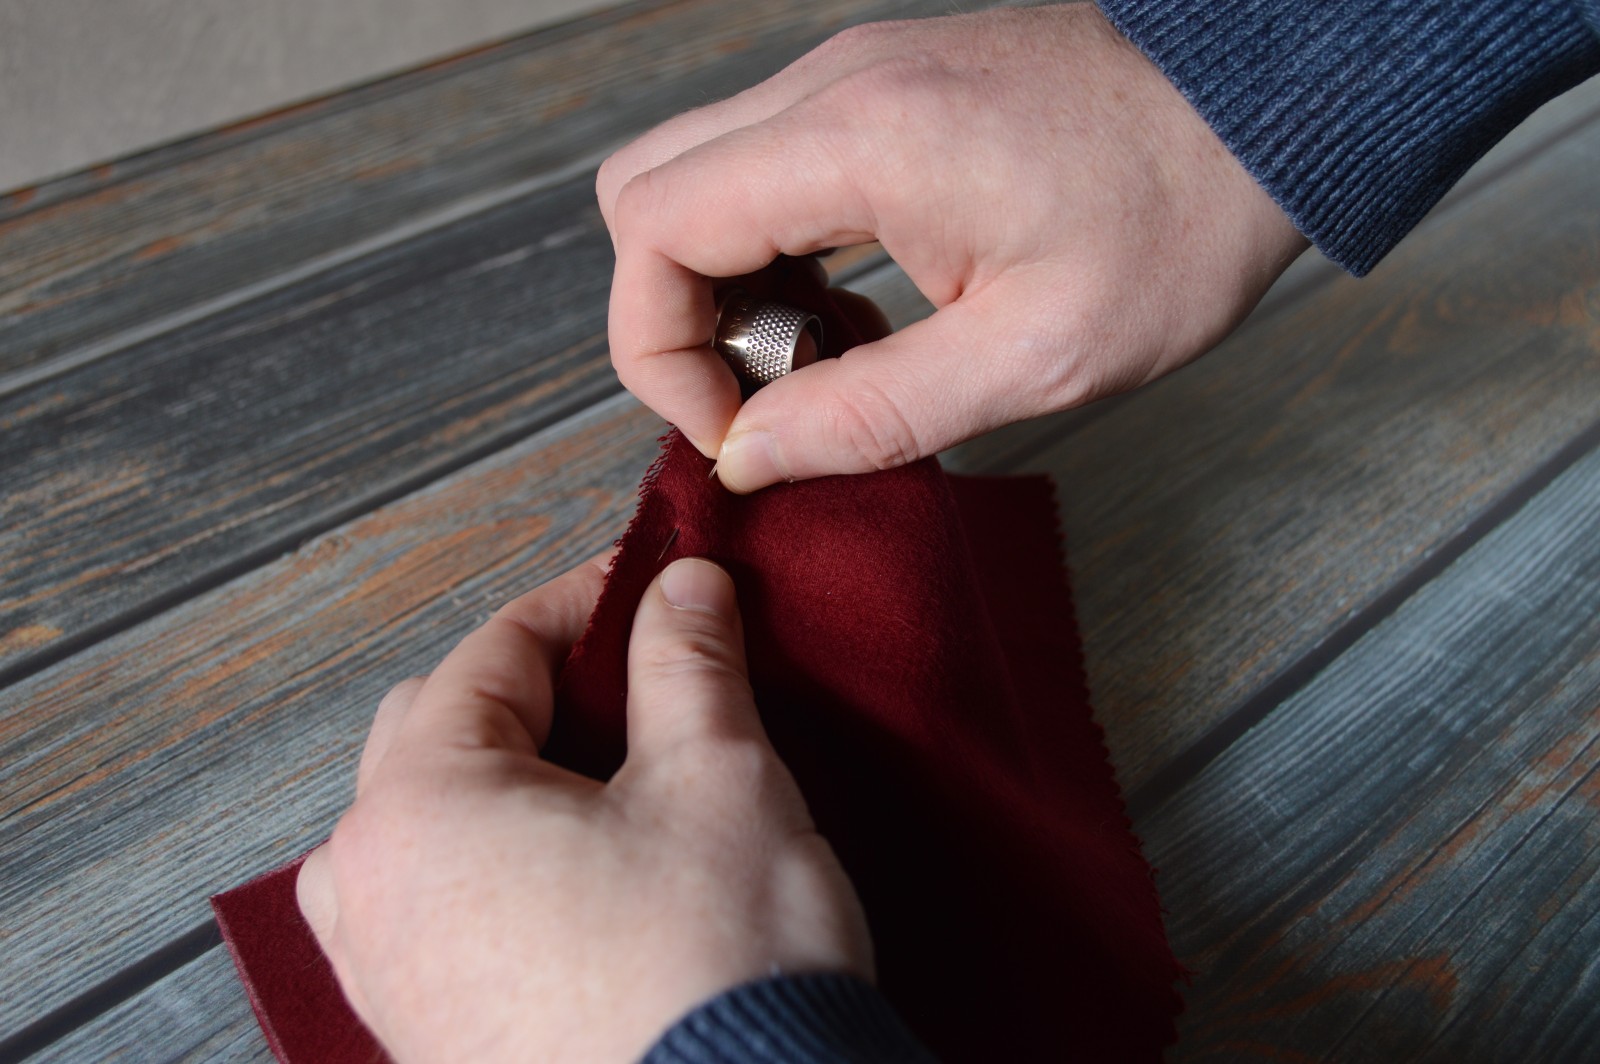
Another subtle point to keep in mind is that as the needle passes to the bottom side of the fabric, it should actually touch the index finger of your opposite hand in order to help you gauge the depth and length of your stitch. It should be just a light touch or prick, and you’ll quickly build up a callous on the tip of that finger. By doing this, you avoid having to look at the under side of your work with every stitch. It’s very exaggerated in the photo for clarity, but in reality it’s barely seen or felt.
After you are comfortable passing the needle through the fabric, you can start using your fingers more to control the point of the needle more precisely. The point between the thumb and index finger acts as a fulcrum point while the middle finger and thimble subtly move the needle as necessary.

Here’s a video demonstrating all of the above points. As with anything, it takes a bit of time and practice to get used to using the tailor’s thimble. Another thing that might help you speed up the process is to wear the thimble around the house as you go about your day. You’ll find you can do just about anything while wearing it, even typing, which helps to build your dexterity.
Hopefully this short introduction to the tailor’s thimble helps you with your sewing. Have you used a thimble in the past? Was the technique similar? Share your thoughts and comments below!
The Buttonhole Stitch
A proper buttonhole should be made with silk buttonhole twist. The twist is thicker than normal thread, and will aid in the formation of the purls. I’ve seen two sizes generally available. Size F is very thick, although that makes it easier to work with. Gutermann makes a thinner buttonhole twist which is closer to original buttonholes I have seen. Being thinner makes it harder to work with, however.
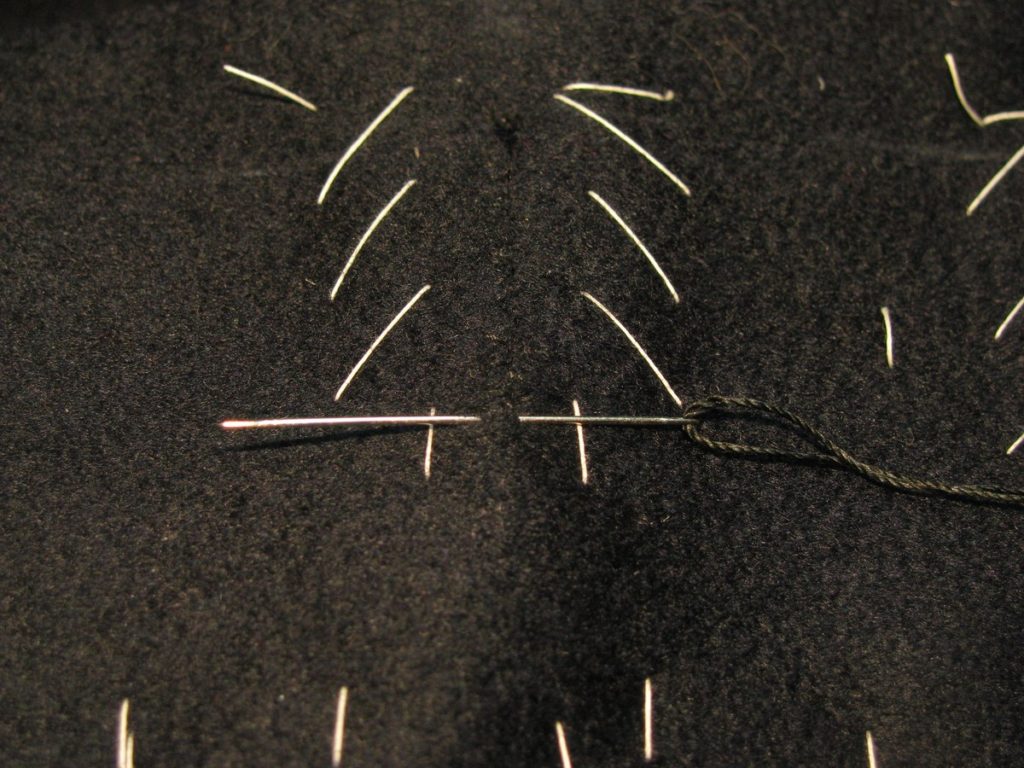
Cut a length about one yard long for a one inch buttonhole. Wax and press the thread, and knot one end. Holding the edge of the coat with the buttonholes away from you, insert the needle between the layers of wool, at the left bottom edge of the buttonhole. This will allow you to hide the knot inside. Poke the needle out 1/16 to 1/8 away from the edge, but do not take it out completely at this time. The length of the buttonhole stitch depends entirely on the fabric used. Each coat will be different, so you really need to experiment. If the thread is too close to the edge, it can pull out, especially on easily-frayed fabrics. If it is too far from the edge, you will see puckering and have a generally messy buttonhole.
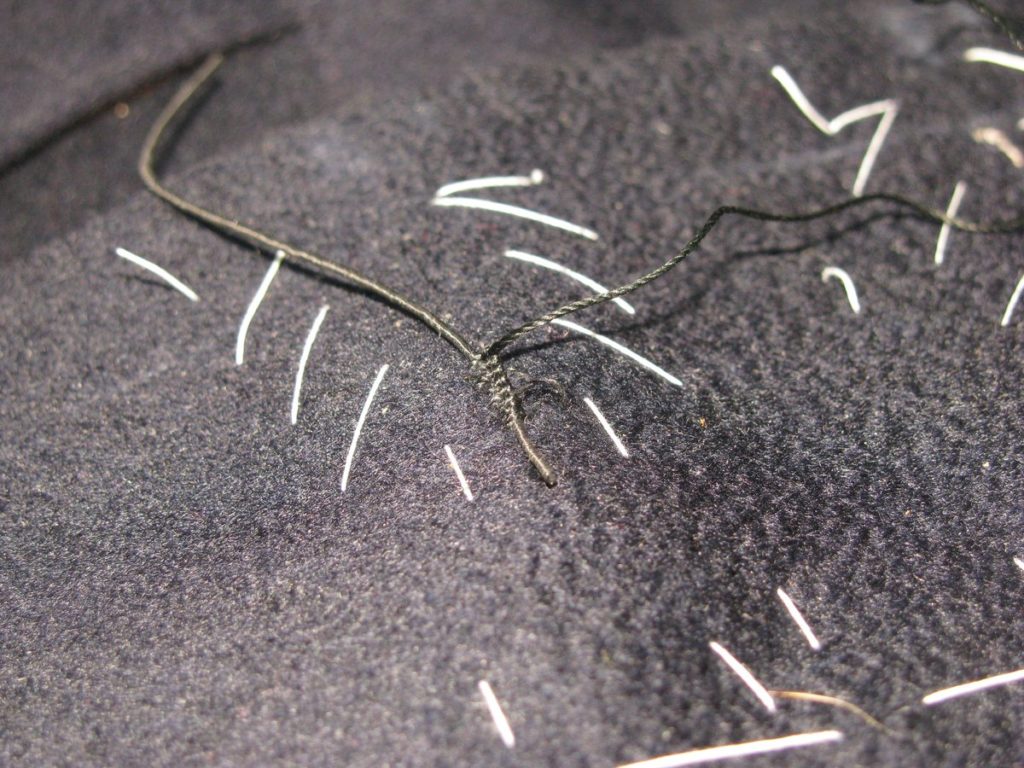
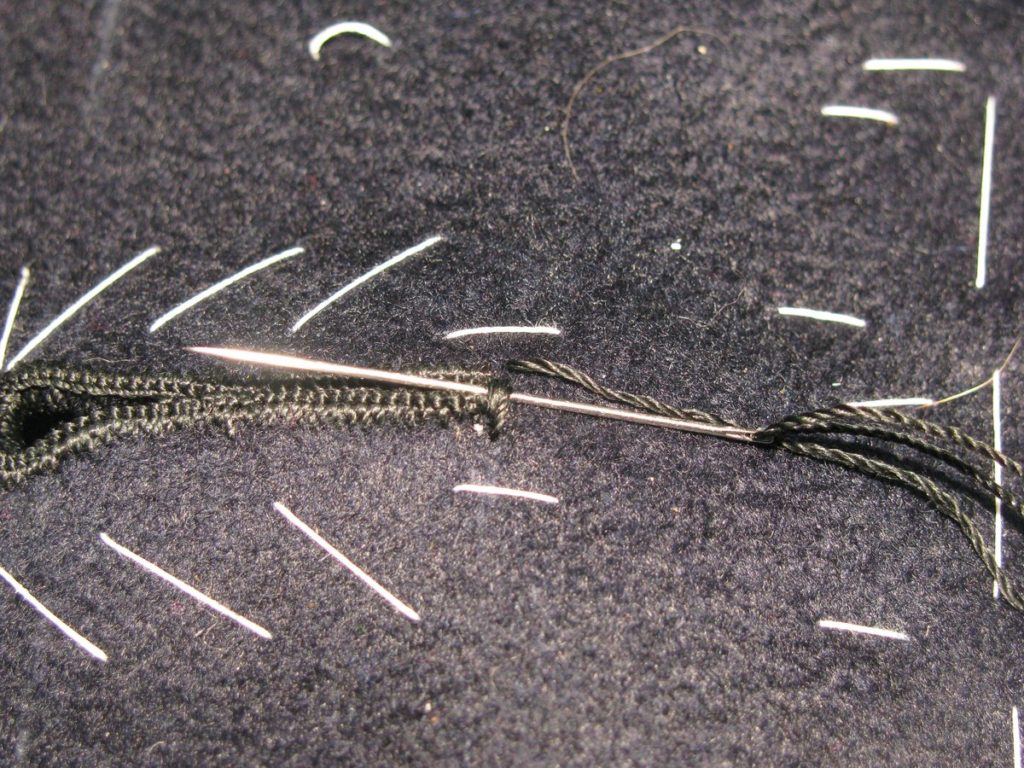
With the needle still poking out of the wool, take the doubled threads that come from the eye of the needle, and pass them under the needle to the left, forming a loop. Then draw up the thread so that there is about a ¼ inch of slack in the stitch.
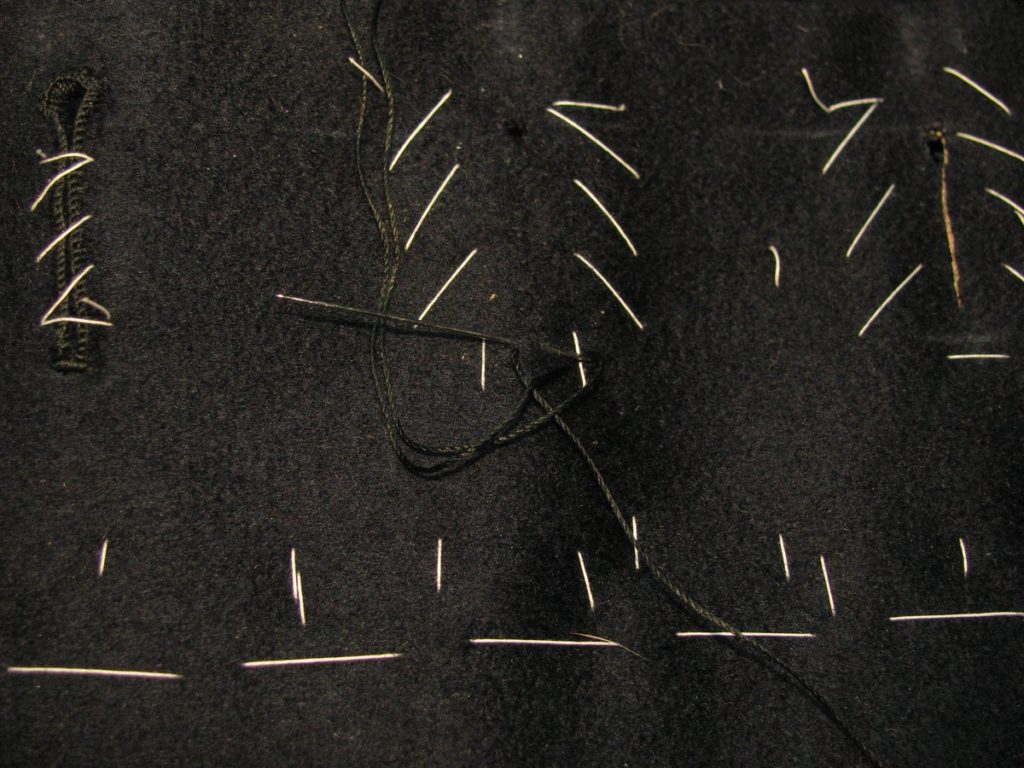

At this time, insert the buttonhole gimp between the threads, so that it lays on top of the fabric. If using four-cord, the knotted end should be placed away from you. Draw the stitch firm, moving the thread side to side to lock the stitches. The stitches need to be firm, but not tight. By forming the stitch in this manner, you create a double purl, rather than the single purl commonly done by home sewers. The benefit of this is a stronger stitch, and one that will stay in place longer, even if a stitch happens to break someday.
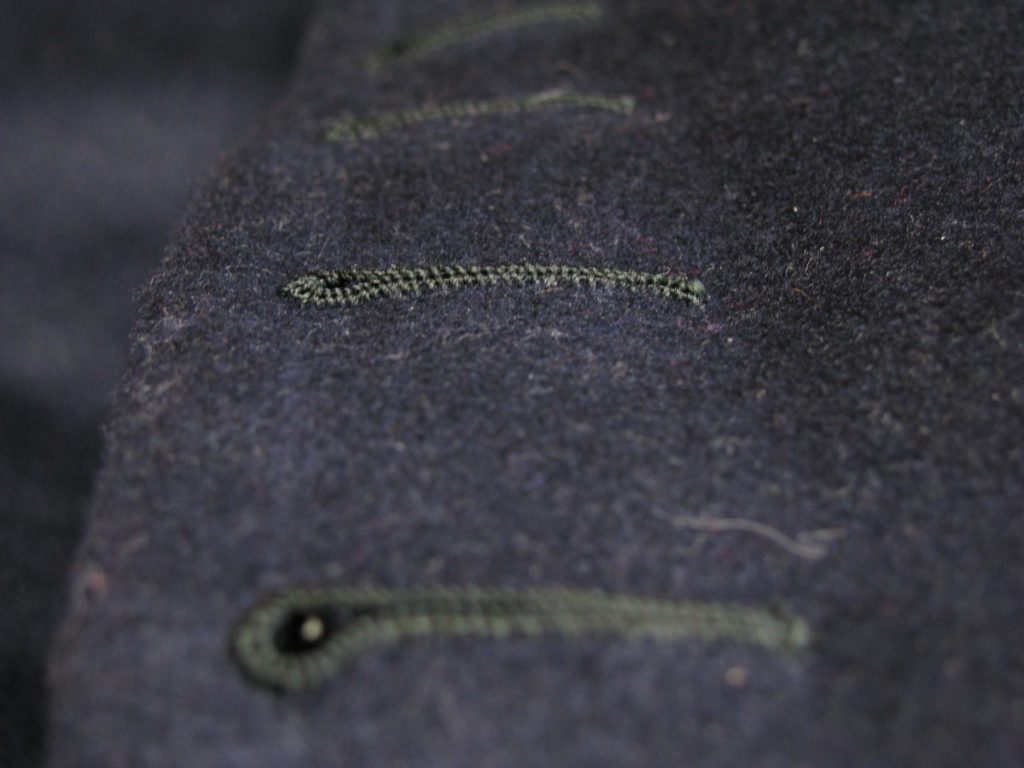
The purl should be placed either directly on top of the gimp, or slightly to the inner edge. The first method raised the stitches, giving a very firm buttonhole. The latter makes the buttonhole a bit softer, with a lower profile. Again, experiment and see which you like best.
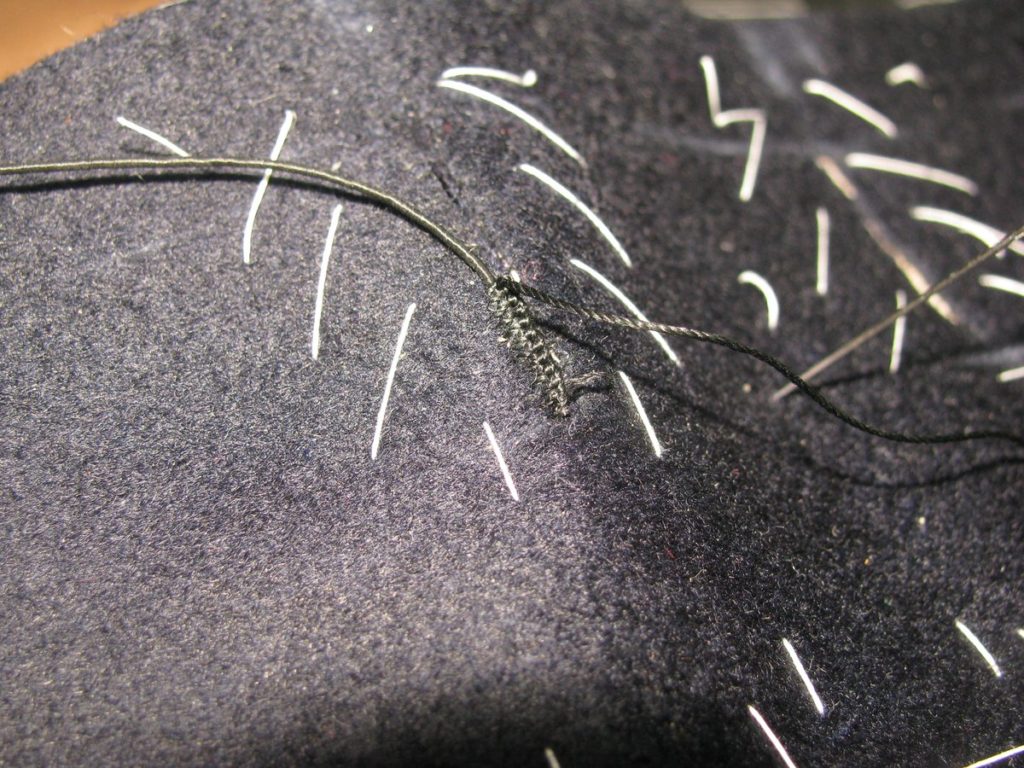
Continue working each stitch in the same manner across the lower edge of the buttonhole, making sure they are spaced evenly both in depth and proximity. Each stitch needs to be taken over the gimp, holding it in place. The spacing between stitches should be close enough that the purls touch, but not so tight that they interfere with each other.
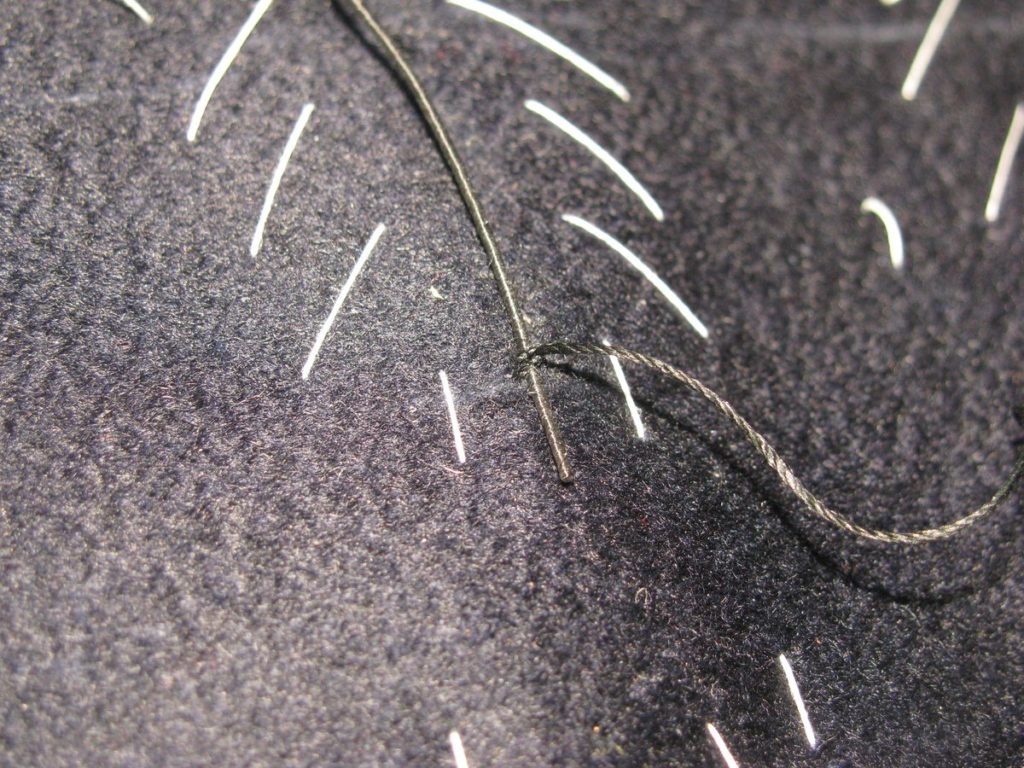
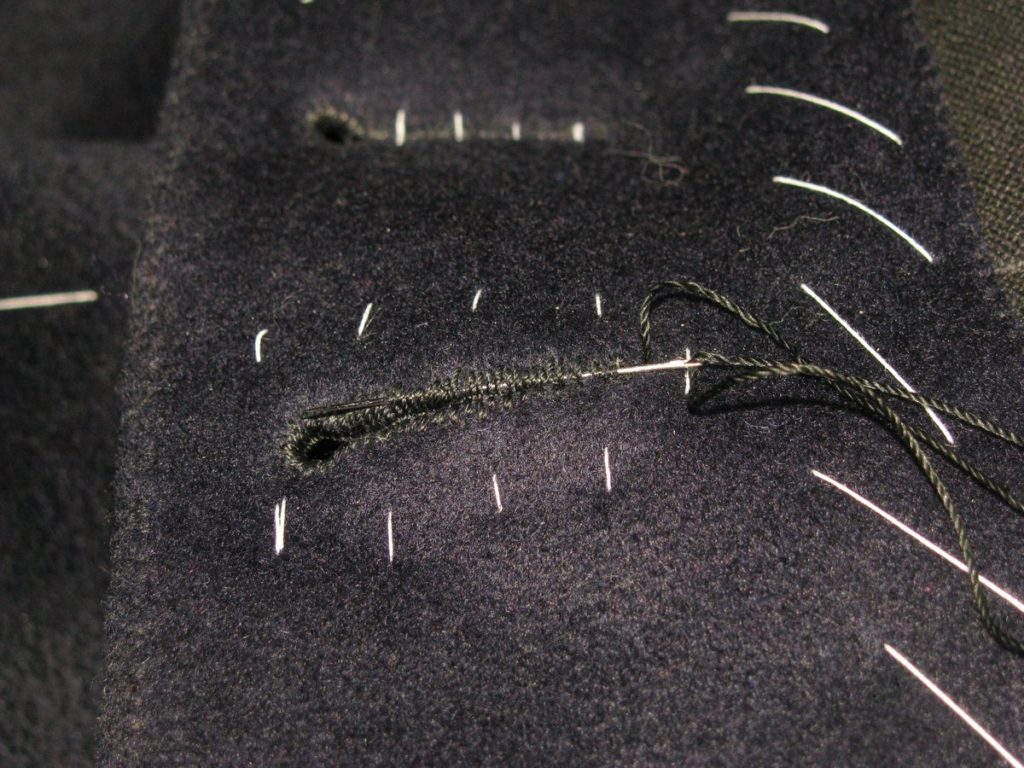
After you’ve made about five stitches, carefully pull the gimp so that the end lies flush with the first stitch of the buttonhole.
When you get to the tear-dropped area, the purls need to gradually be placed directly on top of the gimp, to make room for more stitches in the tightly curved area. The stitches can also be made slightly deeper, if desired.

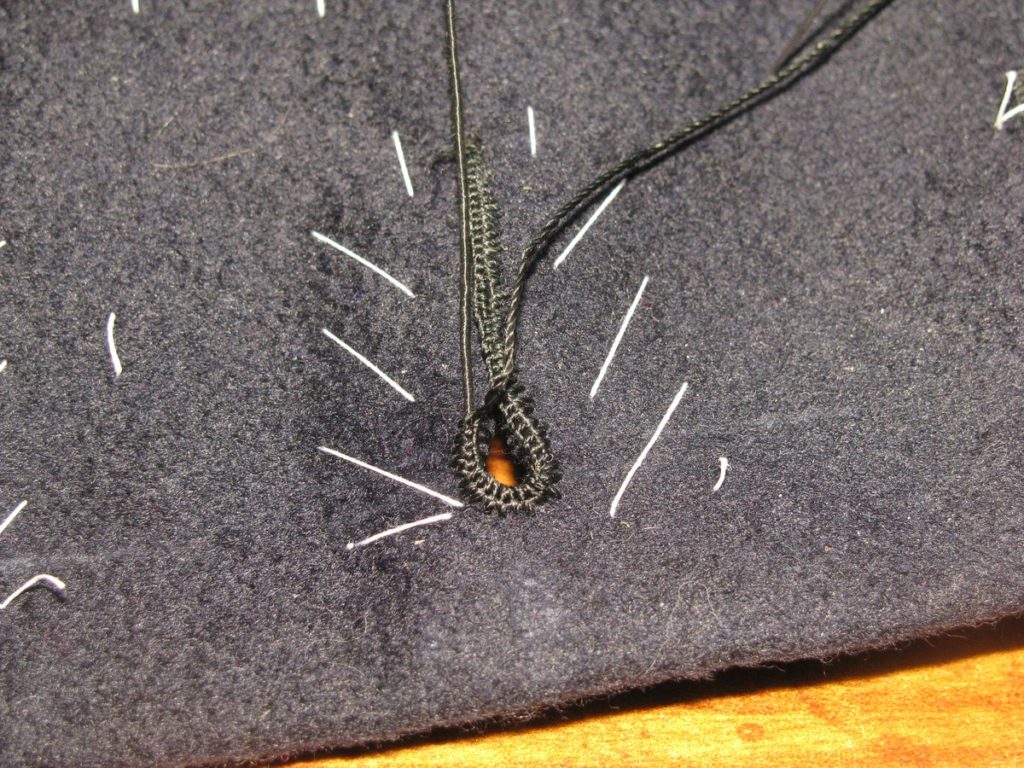
Continue on to the upper half of the buttonhole, turning the coat as you work. Make sure that the stitches are made similarly to the lower half, as it’s easy to space them slightly differently if you aren’t careful. When you get to the second to last stitch, carefully trim the gimp flush, then make one last stitch.
Bar Tack
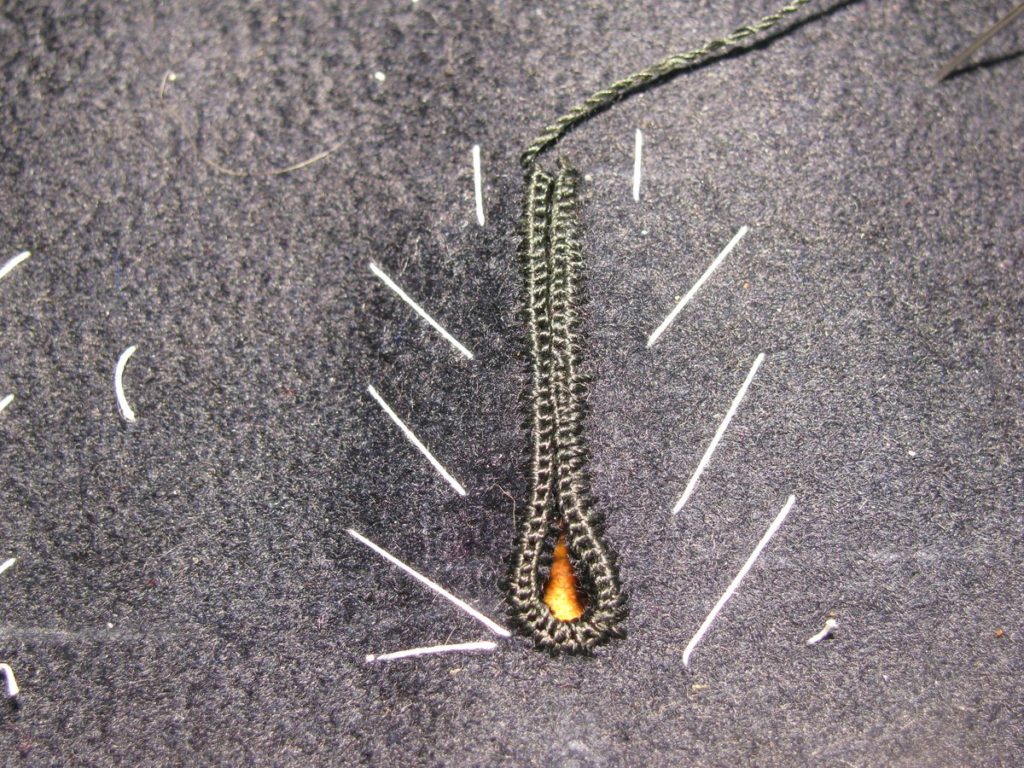
Bring the thread up as if you were going to make another stitch, but instead, make a bar tack across the end. This is done by taking three stitches across the end of the buttonhole. These should be the same width as the buttonhole, or slightly smaller, for a neat appearance. Bring the thread out to the right side as if you were going to make a fourth stitch, but instead, insert the needle under the three stitches, wrapping the thread around. This should be done across the entire length of the bartack, and if desired, you can make a single perl for each by bringing the single end of the thread under the needle, as per a blanket stitch.
Finishing
Pass the thread to the bottom, and insert the needle underneath the buttonhole stitches three times in alternating directions. This will finish the buttonhole without unsightly knots or stitches.
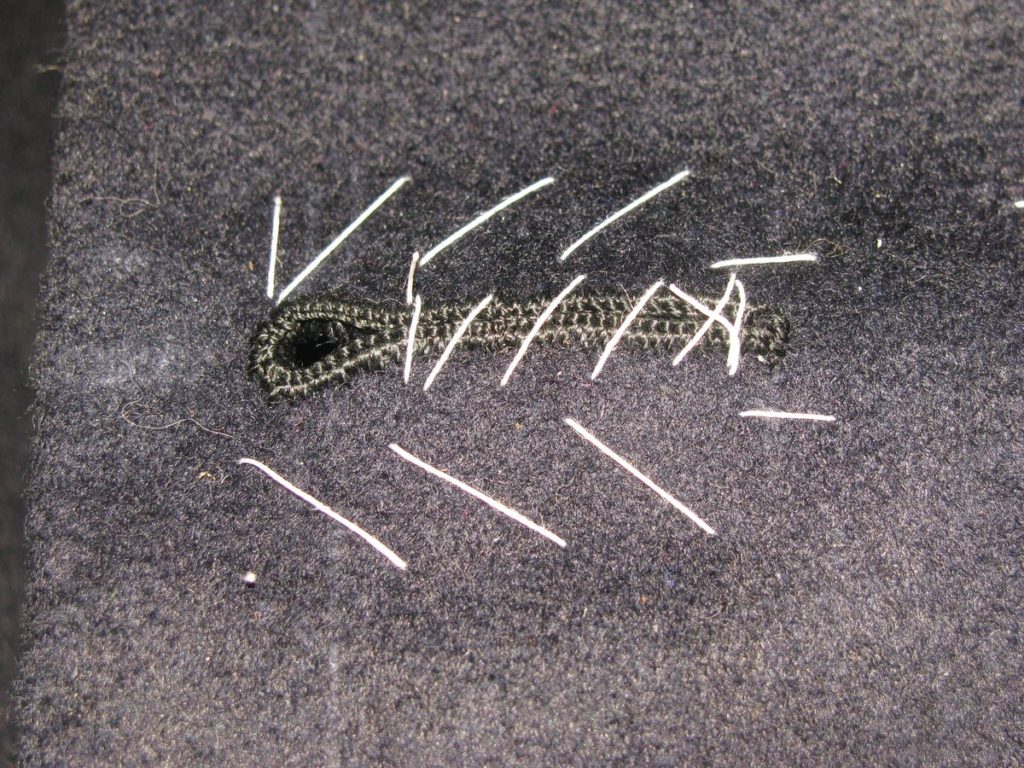
Basting Closed
At this point, the buttonhole is completed and should be basted closed to prevent it opening or stretching out of shape during the final pressing. All other prior basting stitches can be removed, however.
Here is the part of the video series, covering the buttonhole stitch itself.
Four Cord or Gimp
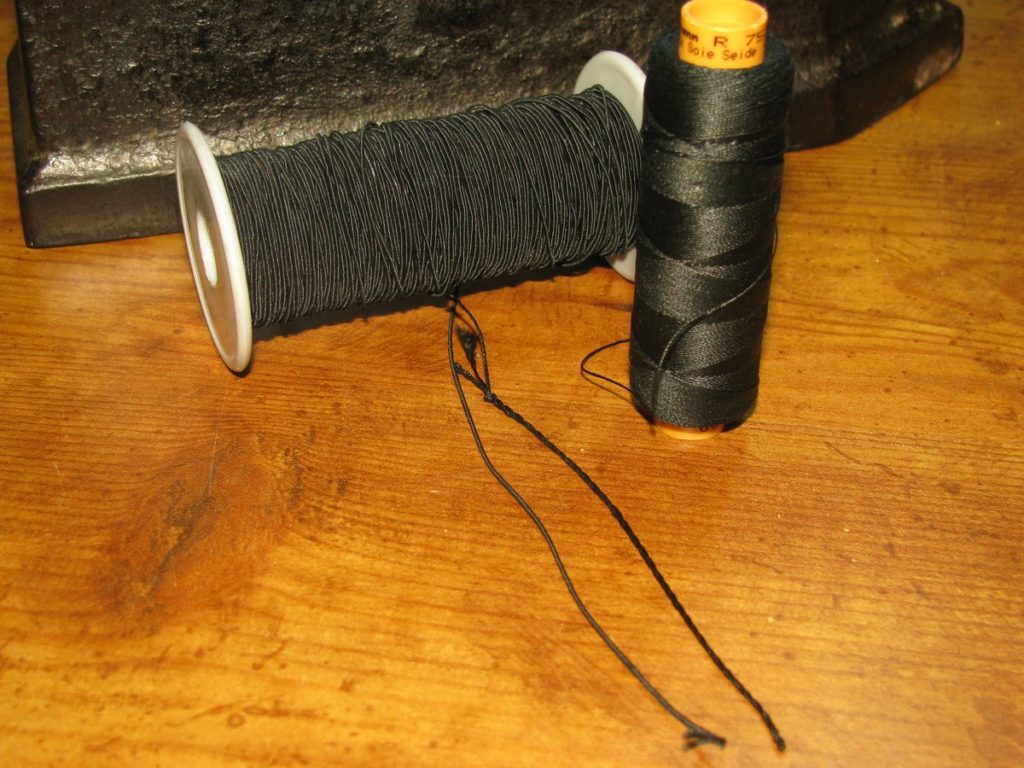
In order to prevent the buttonhole from stretching out of shape, and to provide firmness to the buttonhole, a thick strand of special silk thread called gimp will need to be placed underneath the buttonhole stitches.
There are a couple of producers of this gimp out there still, but I use one in particular called Agreman gimp, which is made by Gutermann. As far as I know, it is only produced in Spain. It is made with filaments of silk, which are then bound by another layer of silk thread, making it very strong and stiff. Other gimps I have seen have contained or been made with polyester thread, so I have avoided them.
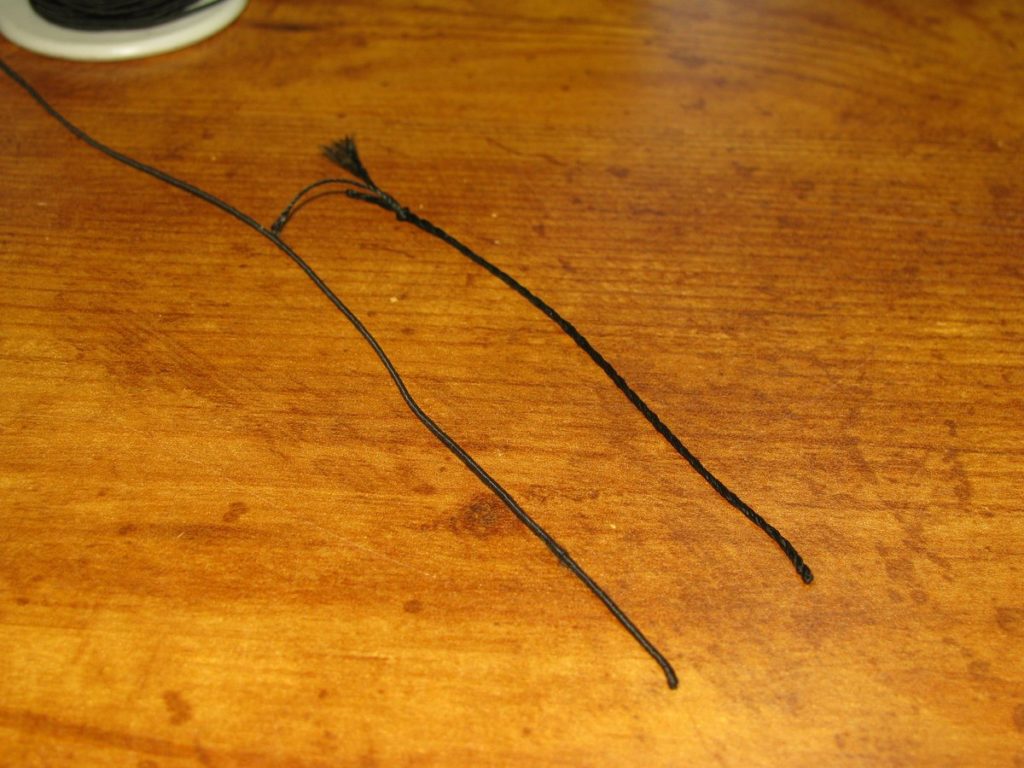
If you do not wish to use this type of gimp, it is possible to make your own, using a strand of silk buttonhole twist. Cut a length about 18 inches long, and double it. Secure the ends by weighing it down, taping it, or with your teeth. Begin twisting the thread around itself, stopping just before the point when it begins to form little tension knots.
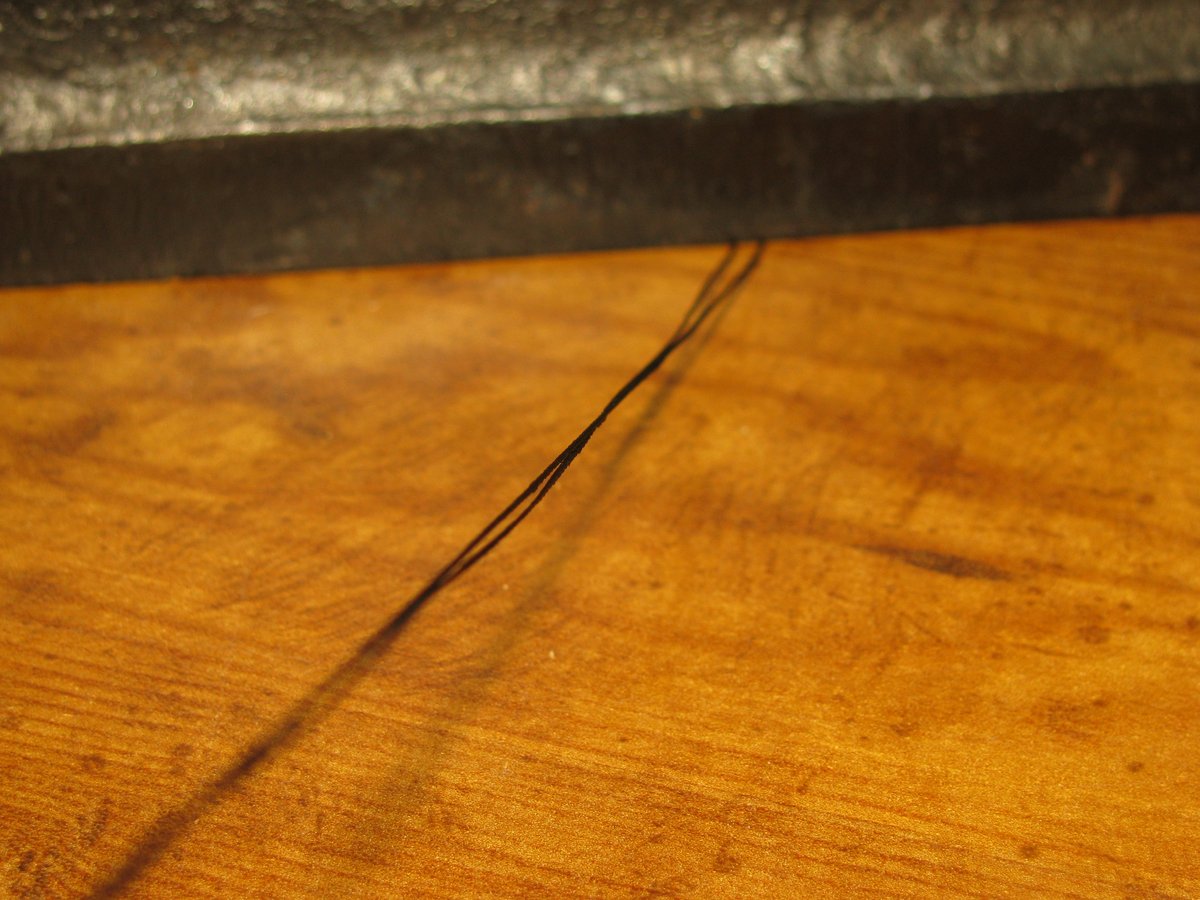
Take both ends in your hands, being careful to not let the ends untwist, and join them together. You’ll see both halves (really quarters) of the doubled thread begin to twist over each other. Help them along by smoothing the pieces together with your hands. When you are happy with the results, form a knot at the end where the cut ends are, securing the four-cord.
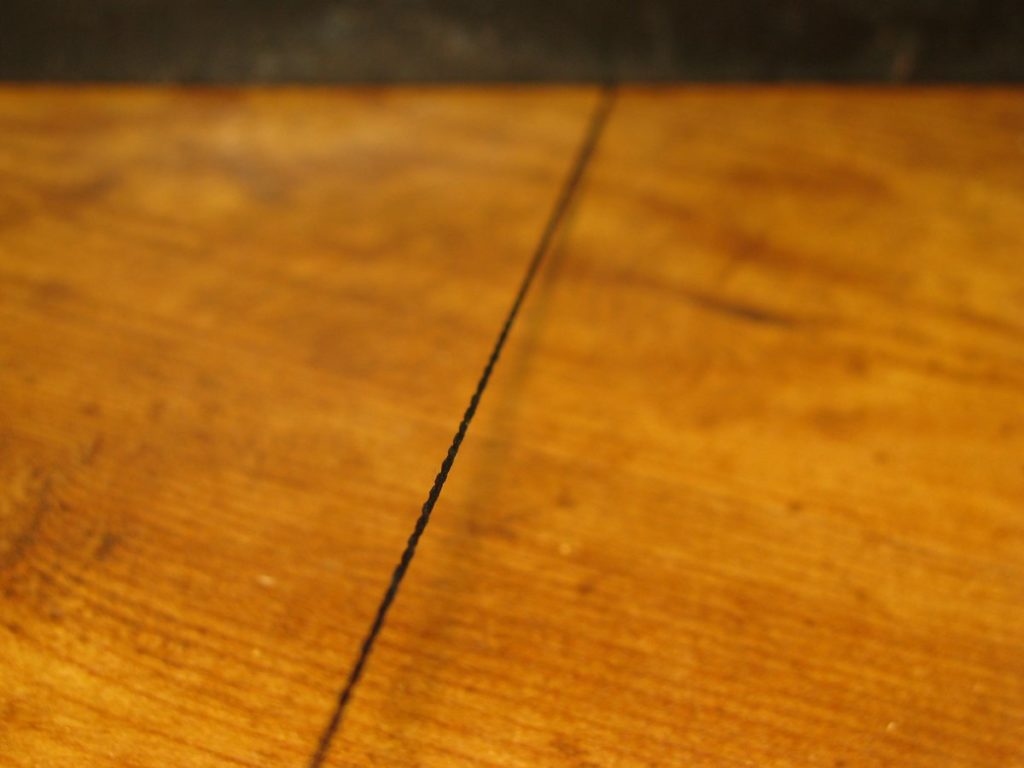
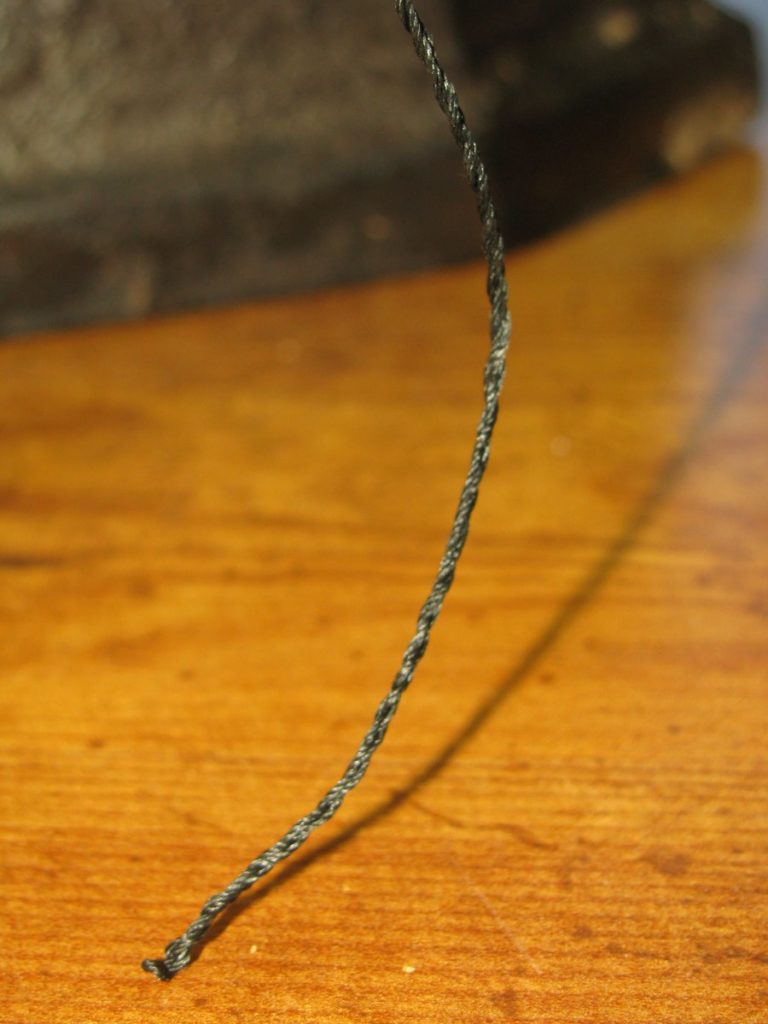
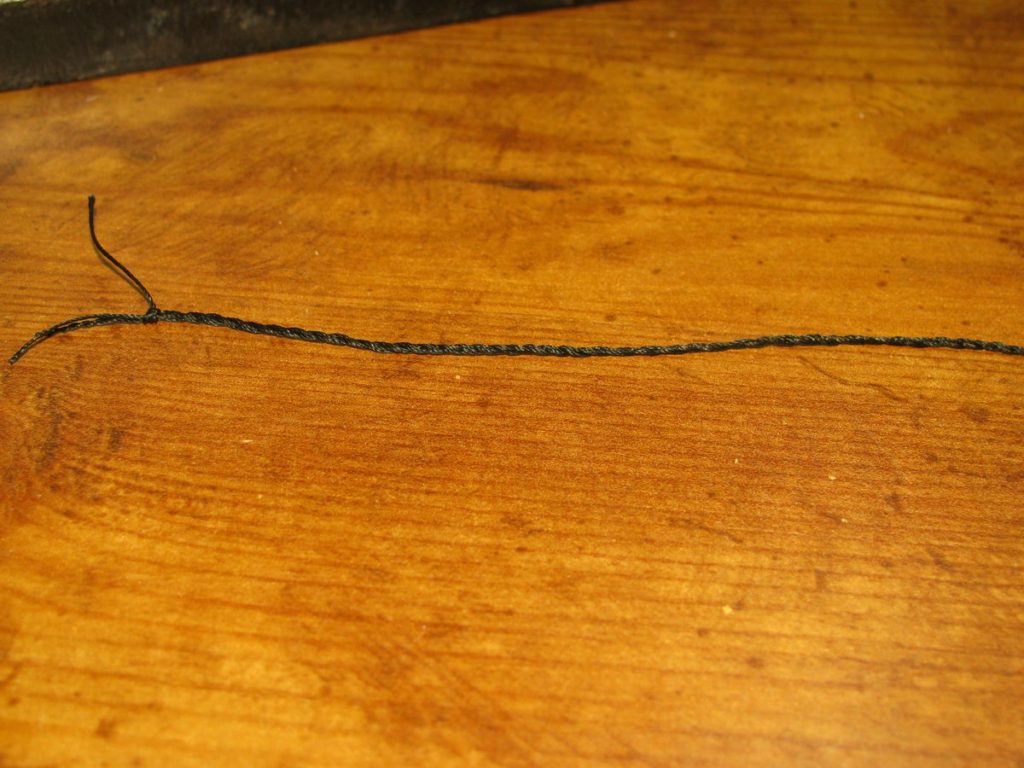
Now wax the four-cord by passing it over beeswax four or five times. Place it between a folded sheet of paper, and press, melting the wax into the threads. The four-cord is now complete. Repeat this process for each buttonhole. Here is the finished four-cord compared to the Agreman. Note how they are both fairly stiff.
Part II of my video tutorial covers making the four cord and overcasting the buttonholes.
Installing the Back Lining
Line up the back lining carefully, being careful not to stretch the neck area of the coat. Baste down the center of the lining, catching the center back seam. Check to make sure everything is lined up as you baste.
Baste the shoulder seams down, staying about an inch away from the edge. Make sure there is a neutral tension with the coat underneath.
Baste along the side seams of the lining, again staying an inch away from the edge.
Along the edge of the side seams only, baste under the raw edge, making sure the forepart lining and silk basting stitches are covered underneath. Also turn under the raw edge at the bottom of the back lining, being sure to just cover the back vent area. Don’t allow the lining to extend too far below the back vent – a 1⁄4 inch at the very most – or you will affect the drape of the plaits.
Fell down the lining along the side seams and bottom. Do not fell the shoulder seams down, there is more work to be done there.

The Back Canvas
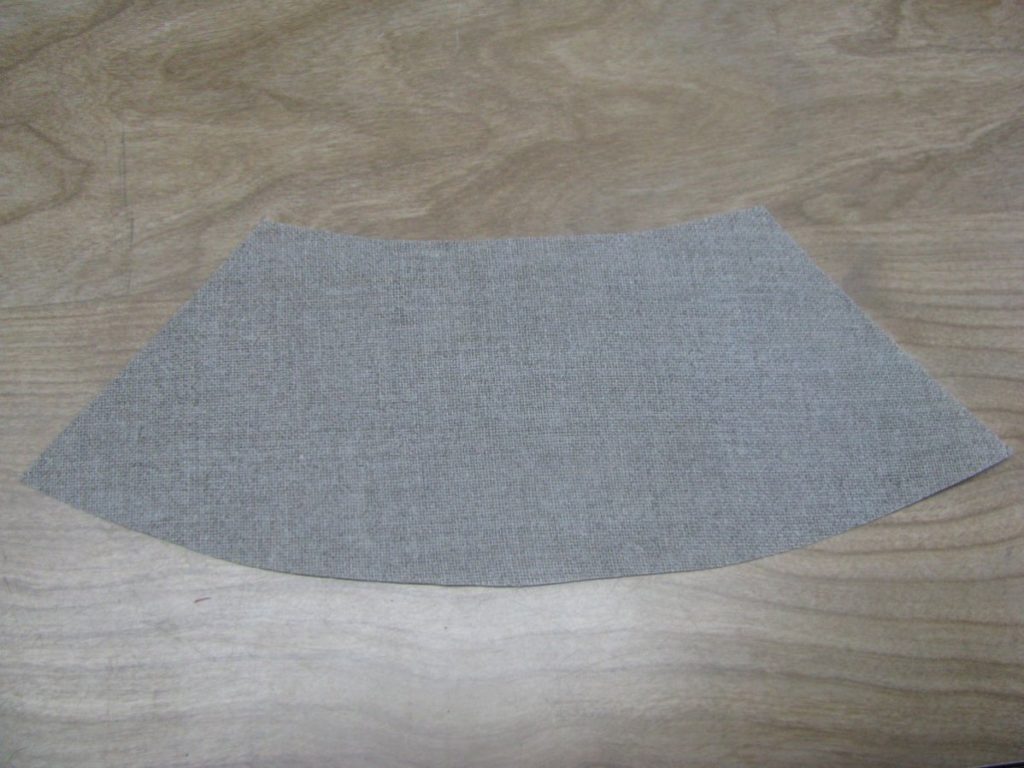
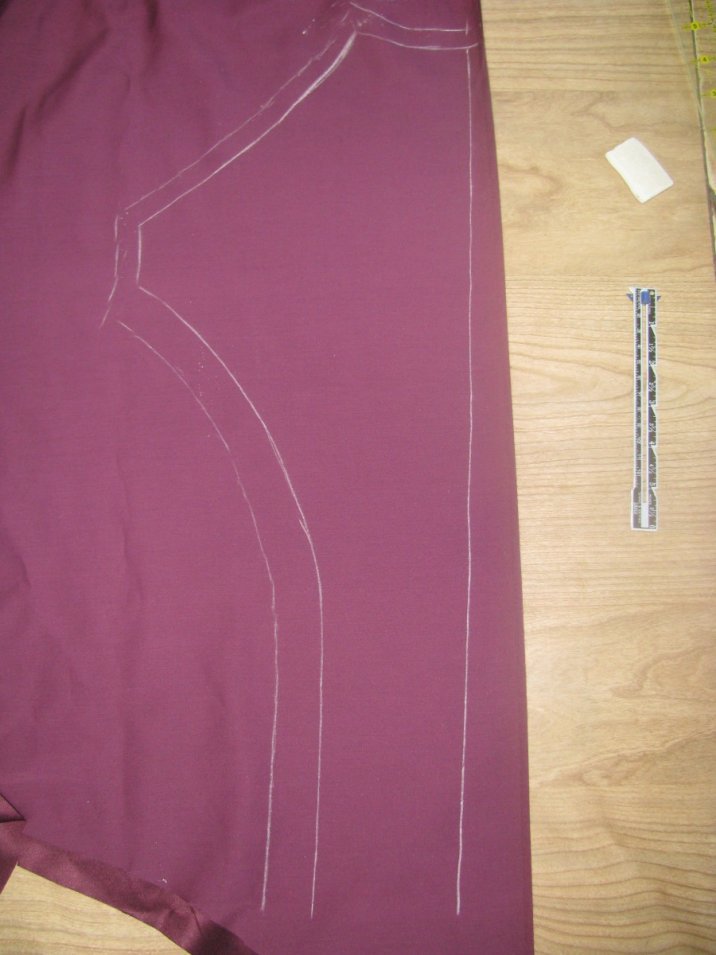
This is a feature I’ve never seen on a reproduction, but is sometimes found in originals. The purpose of the back canvas is to give a little more support and strength to the back. Trace onto paper the top of your back pattern. About 3 inches down the back and shoulder should be fine. Connect both with a graceful curve along the bottom, and trim off the seam allowance at the center back.
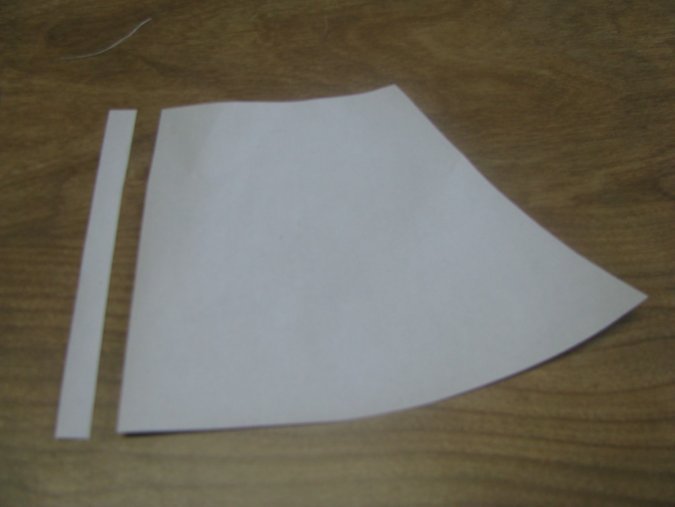
Cut out the canvas on the fold, and on the straight grain.
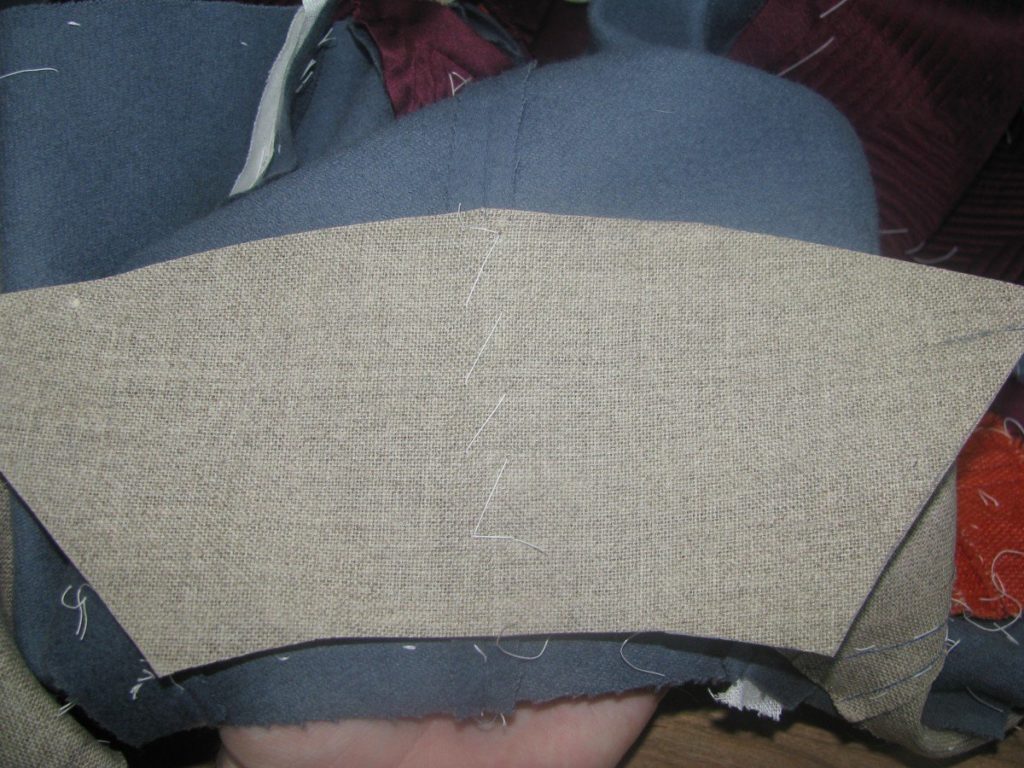
The canvas is lined up with the back, and basted down the center, securely along the back seam allowance.
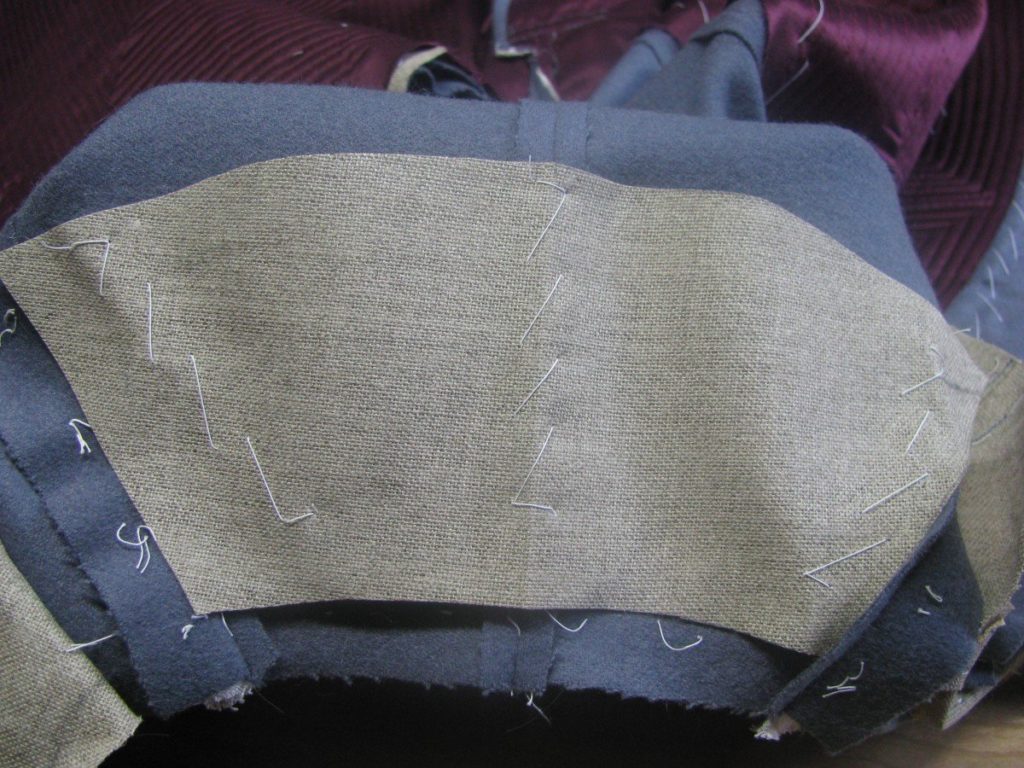
Baste each side to the shoulder seam, making sure not to catch the seam allowance underneath. You’ll want these free for later on.
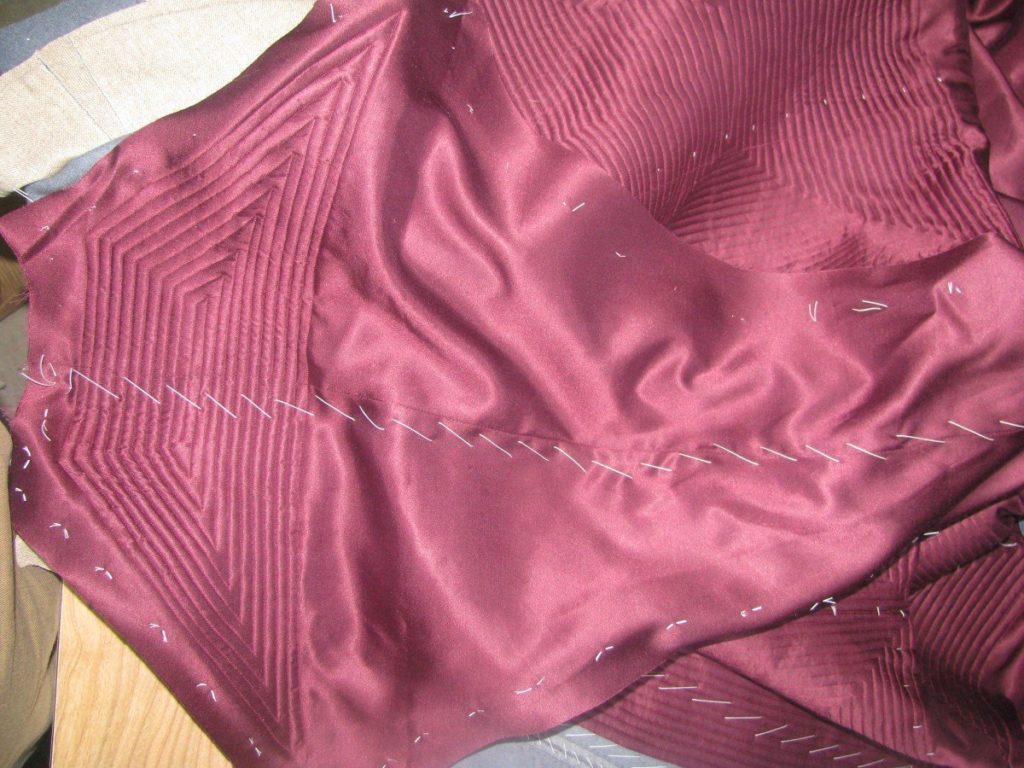
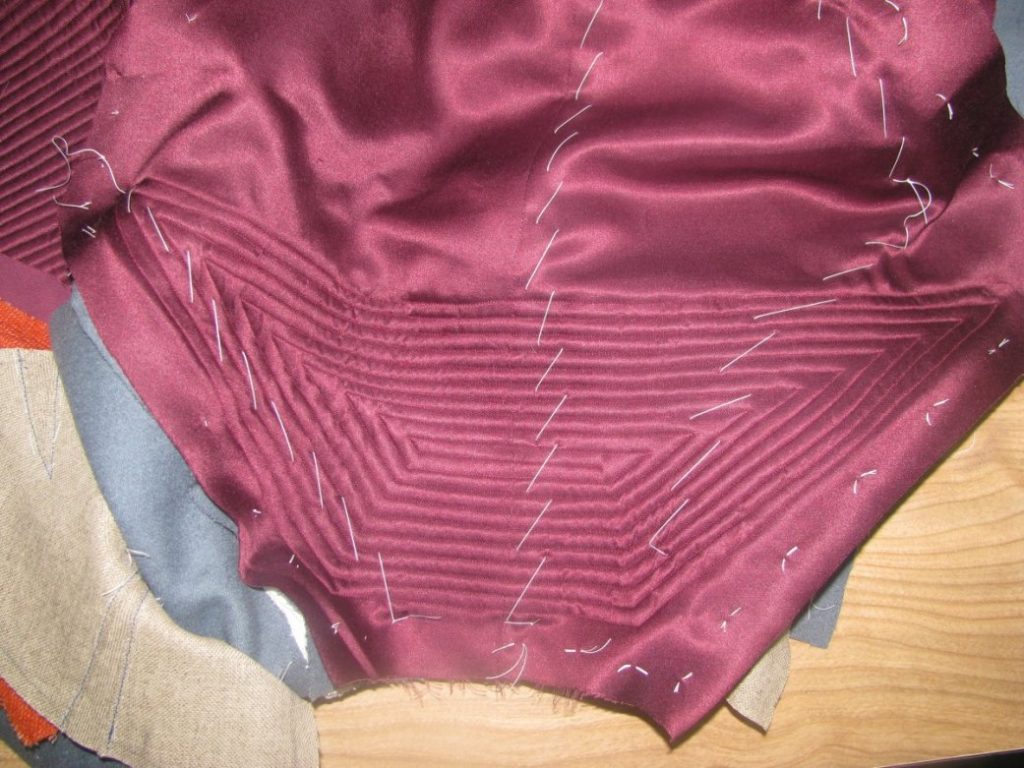
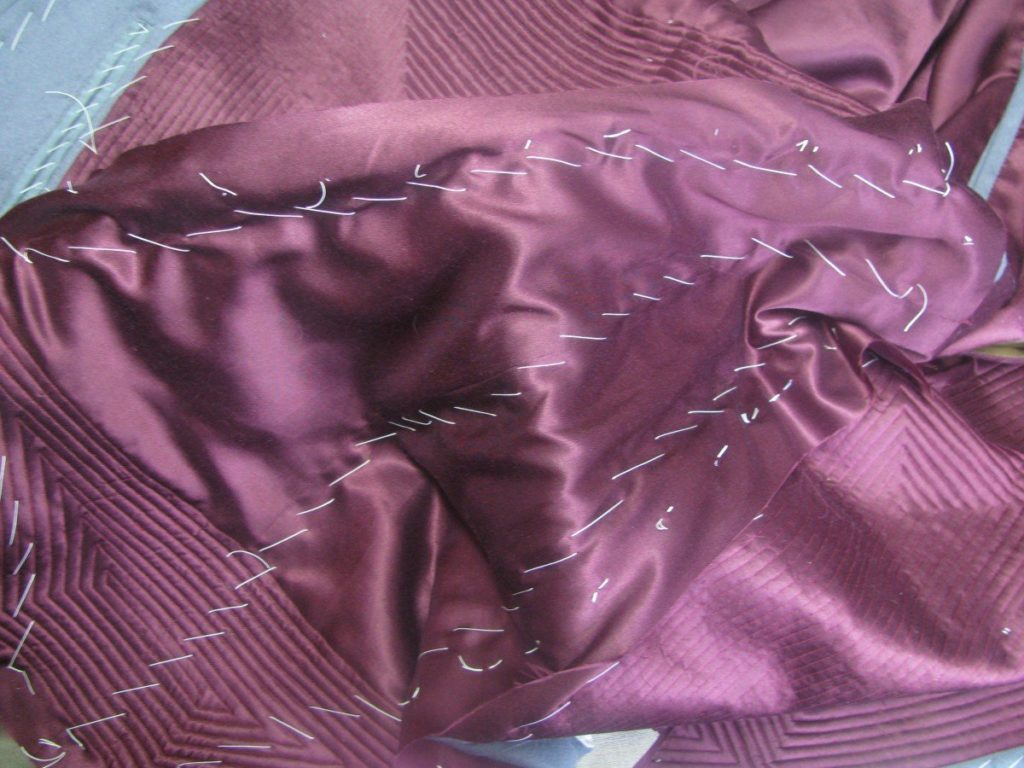
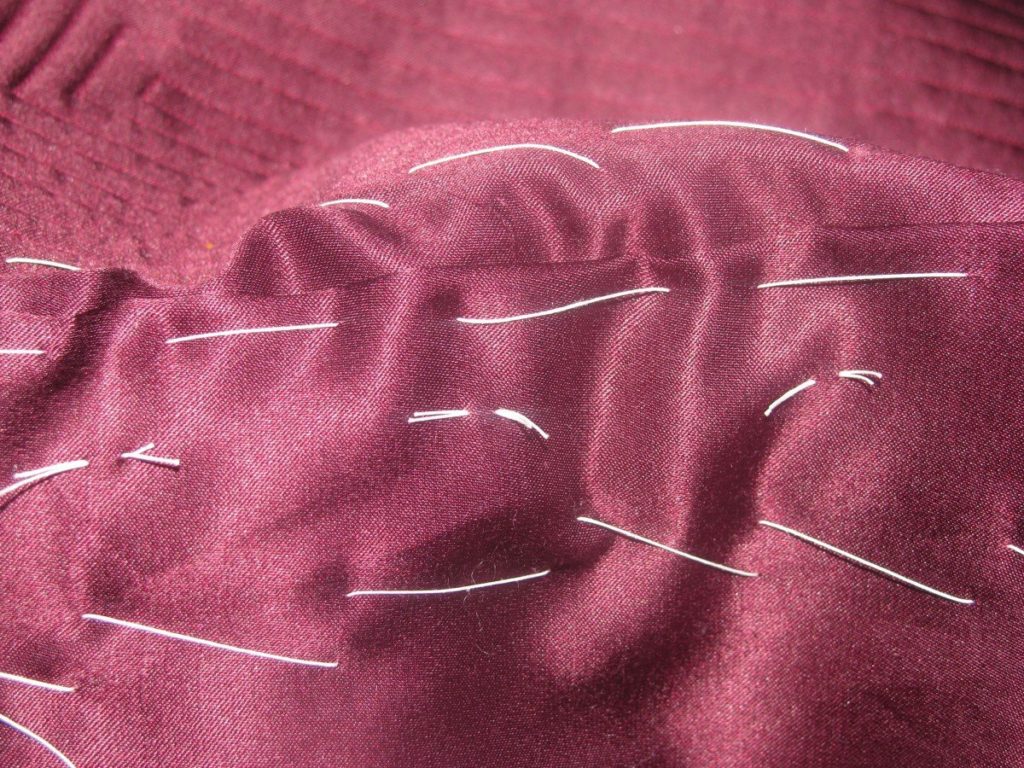
Quilting the Back Lining
This is an optional step. If you do not wish to quilt the back lining, just skip this section.
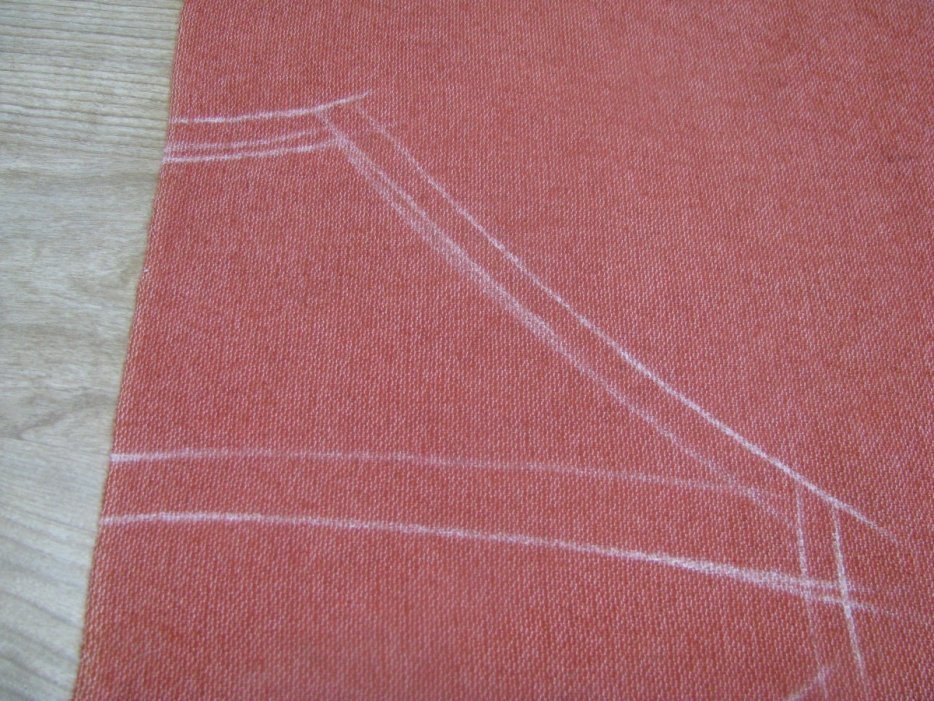
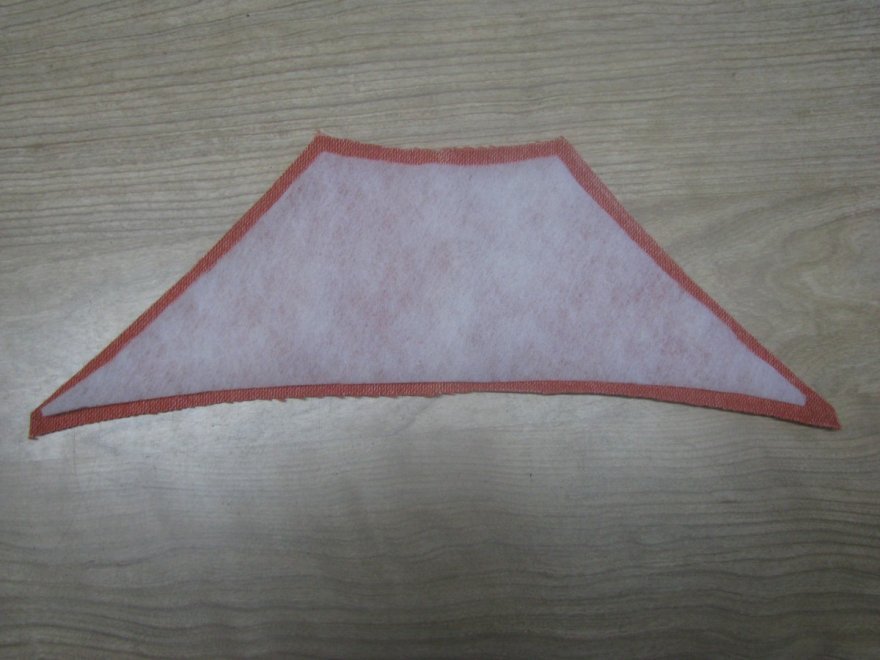
On the madder red interlining, trace out the upper half of the back, on the fold. Reduce the neck and shoulder seams by half an inch. The bottom should be approximately even with the middle or top of the armscye.
Cut this out, as well as some batting. You should be a pro at this by now if you’ve made it this far.
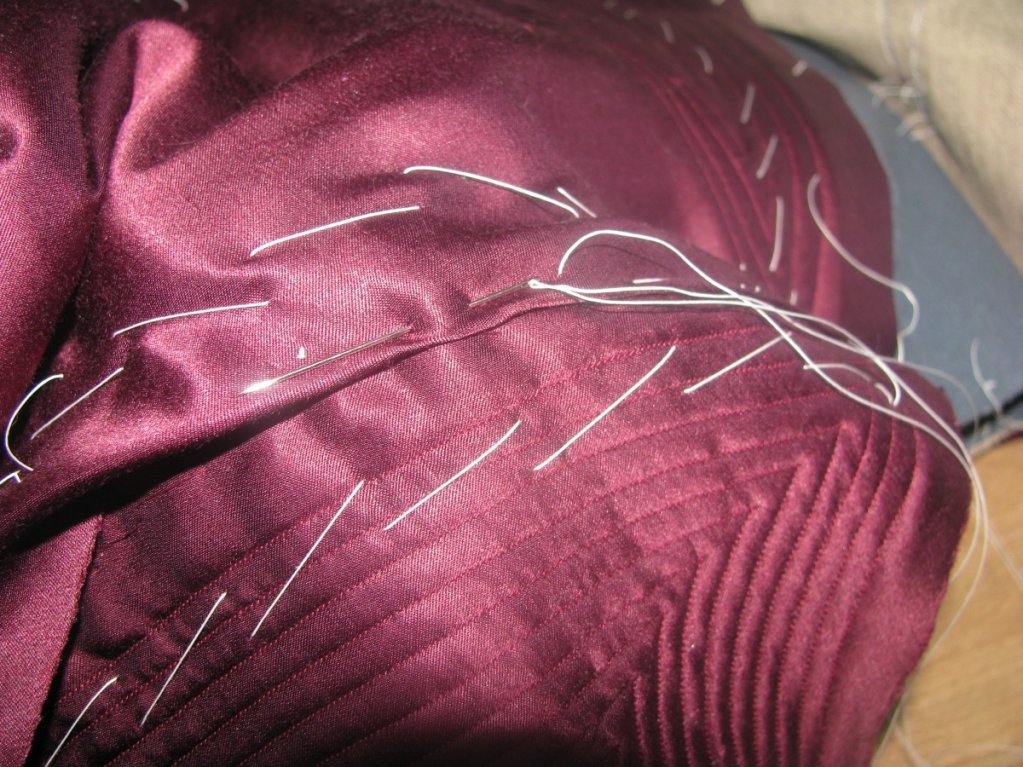
Baste the lining and batting together.
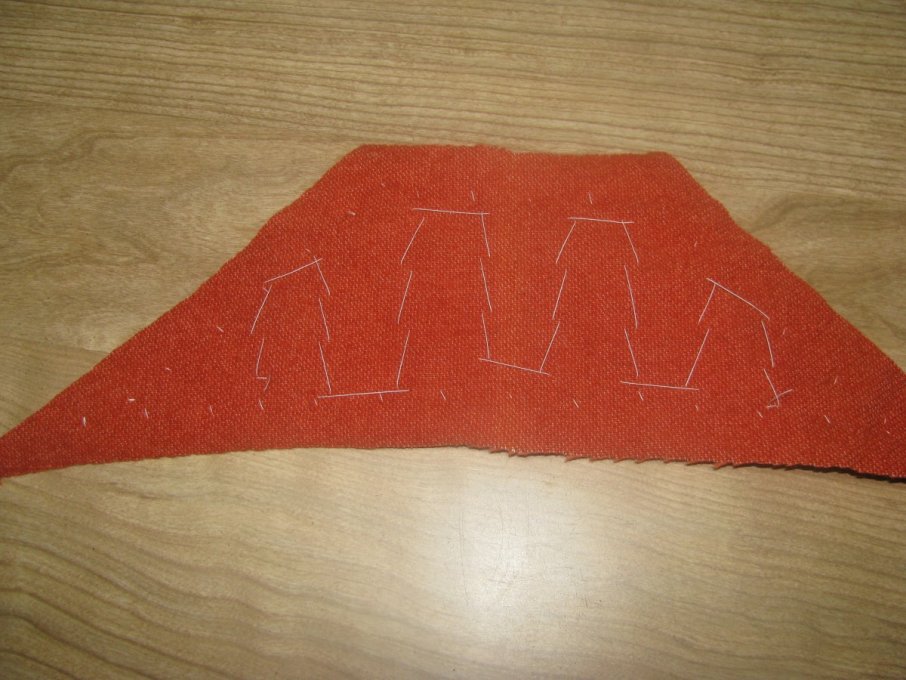
Baste the interlining assembly to the wrong side of the lining.
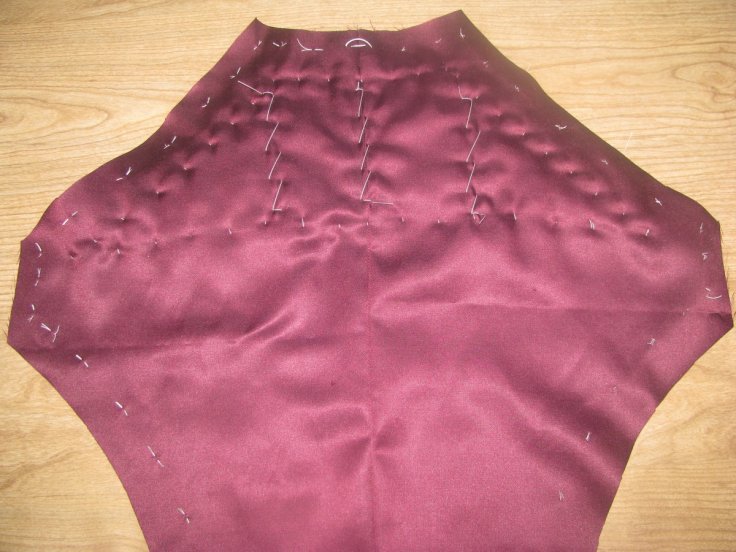
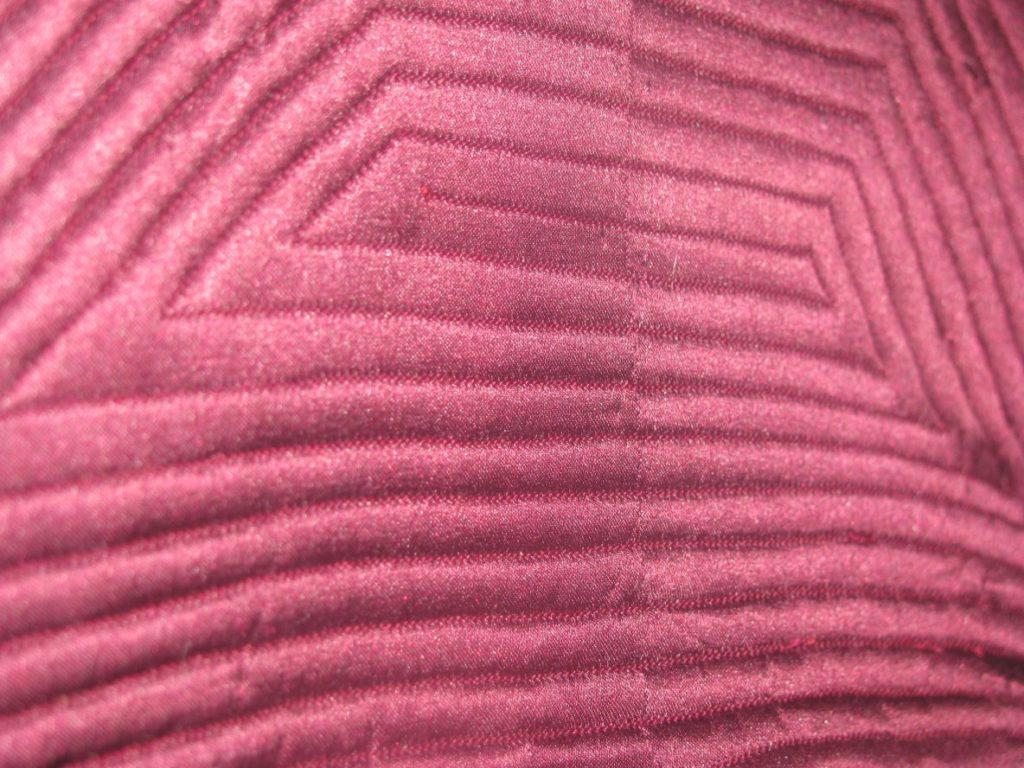
Quilt in a manner similar to the forepart of the coat.
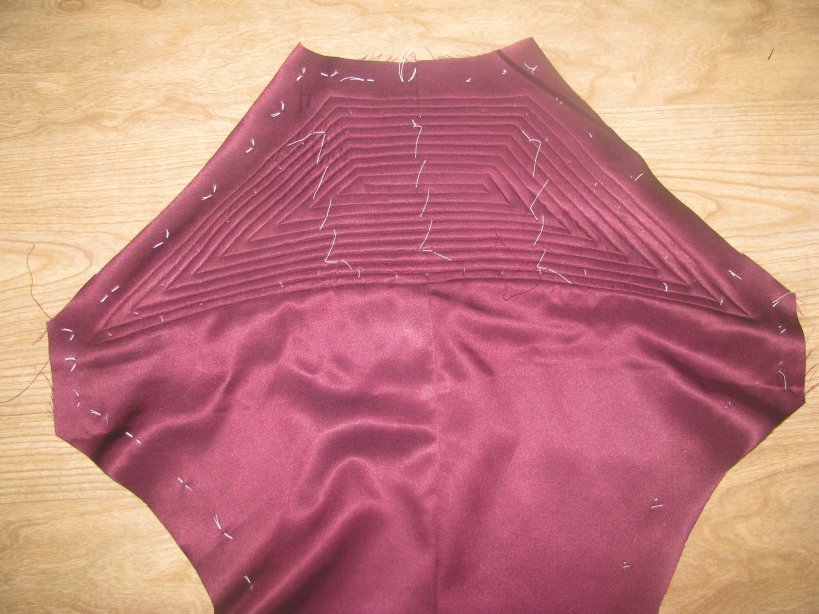
Remove all basting stitches.
The Back Lining
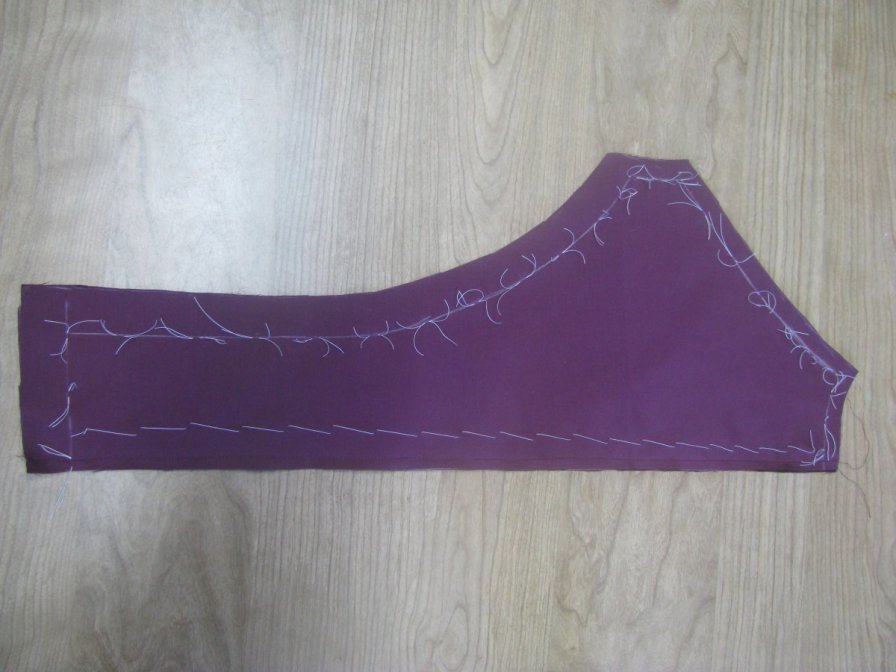
We will now begin the final piece of lining – the back. Using your pattern, draw out the back on your lining as usual.
It’s necessary to add some inlays, to make sure we have room to cover everything. I usually add 1⁄2 an inch along the neck, shoulder, and armscye, and an inch along the side seam.
Add about 1 1⁄2 inches at the bottom. You want to be sure you have enough lining to cover the back vent area.
Cut out the lining and add your tailor’s tacks as usual.
Baste the back seam, and machine or hand sew the back seam. Press open.
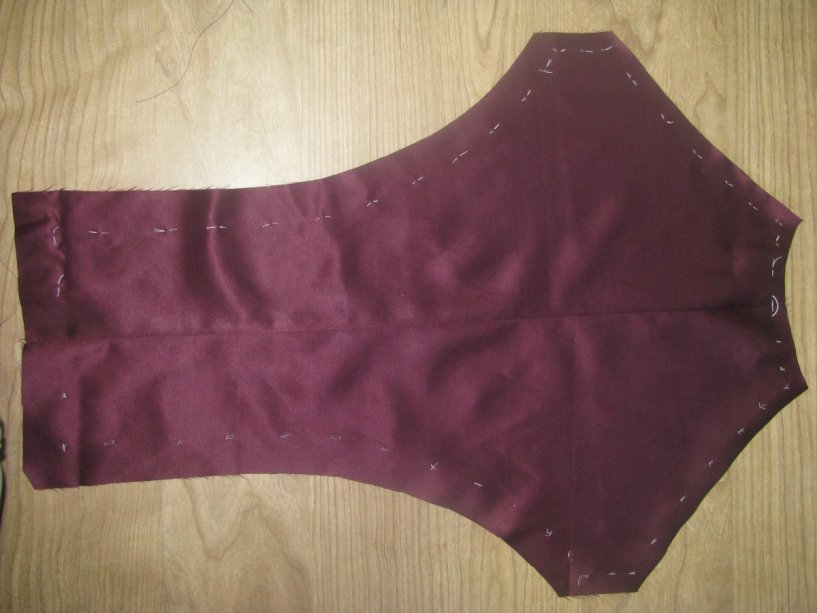
The Back Seam
It is time to finally close up the final remaining seam – the back. Lay the coat halves right side together, and baste the seam closed from the neck to the back vent.
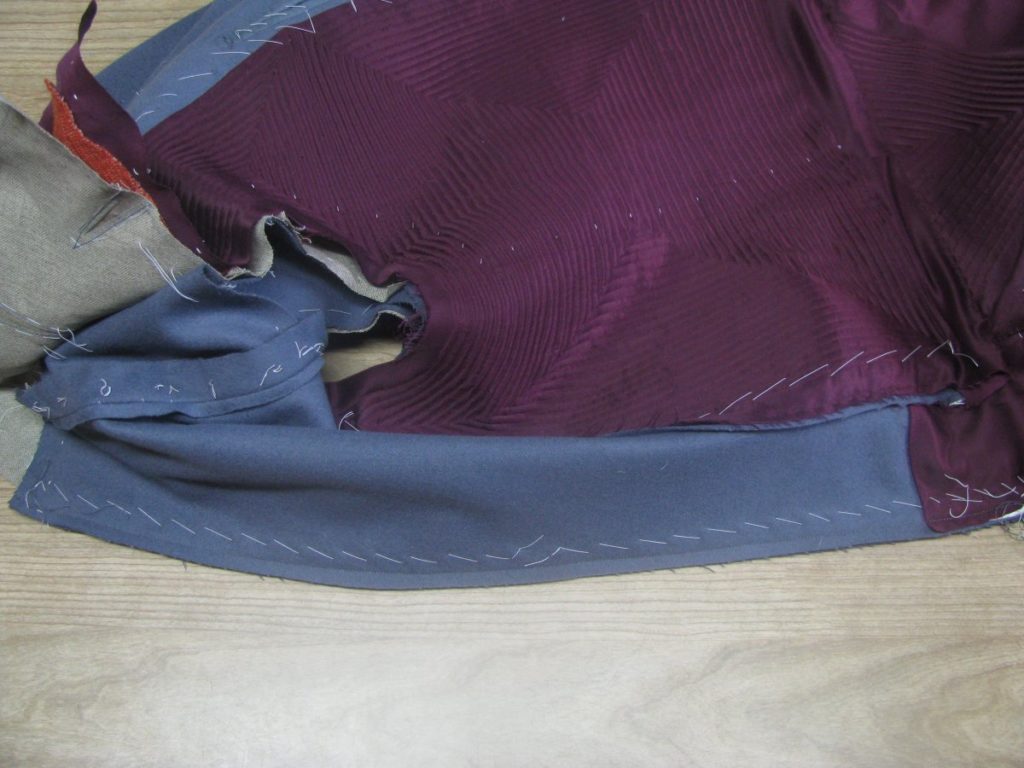
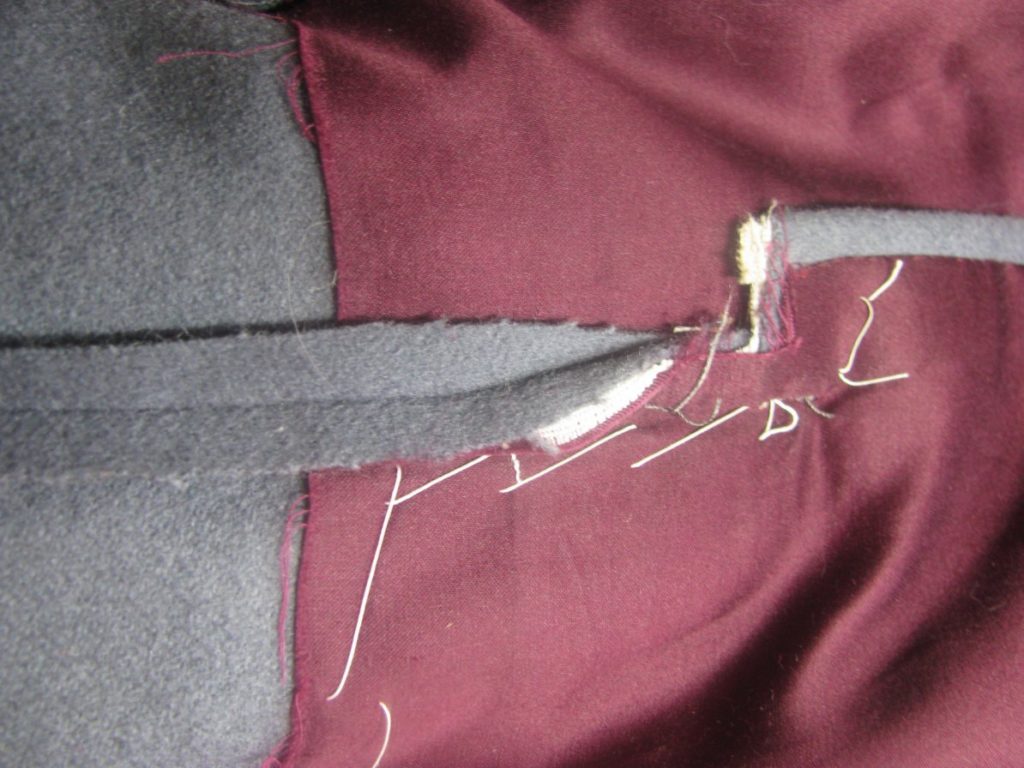
At the back vent area, you can see how the left half of the coat differs from the right half. The right half extends slightly above, and the left half was trimmed to the seam allowance. Sew the back seam, ending just at the end of the cut. It needs to be as precise as possible.
Press the back seam open as usual. However, as you get near the back vent, the left right half is placed over the left half, and the seams are both pressed to the same side. This gives a lot of additional strength to a potentially weaker area of the coat.
Preferably while wearing the coat, pin the back vent closed. You need to make sure it is balanced correctly. The vent should neither open up on itself, or want to close, but should hang straight down, all the way to the hem. After you are satisfied with the balance, baste the vent closed, very securely.
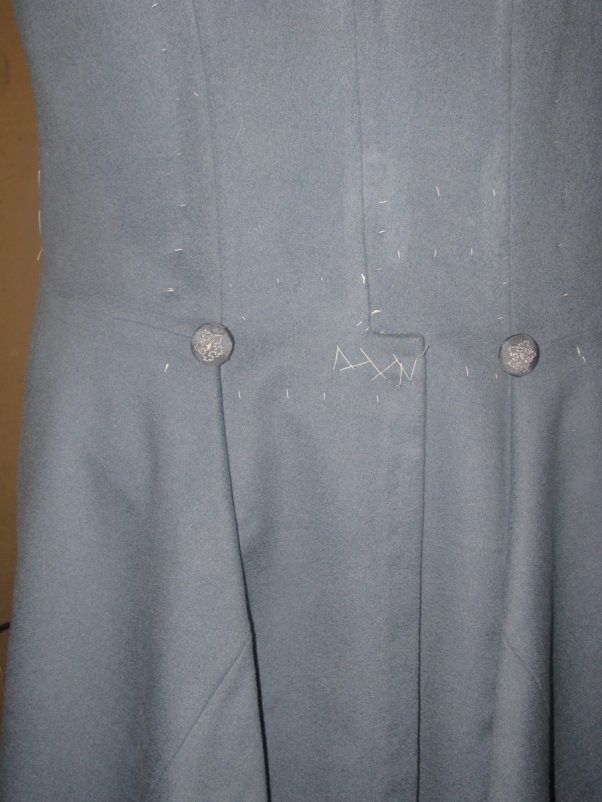
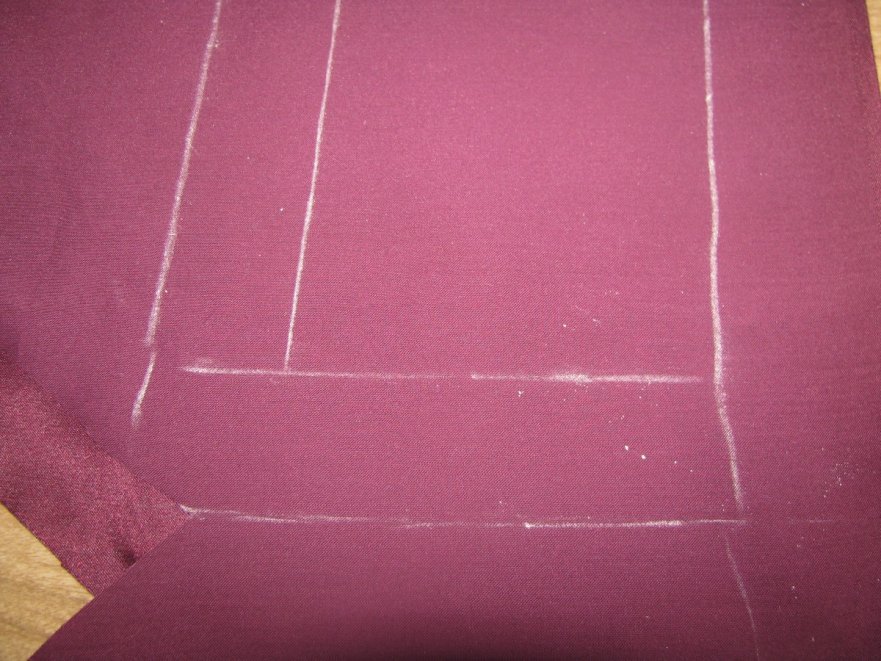
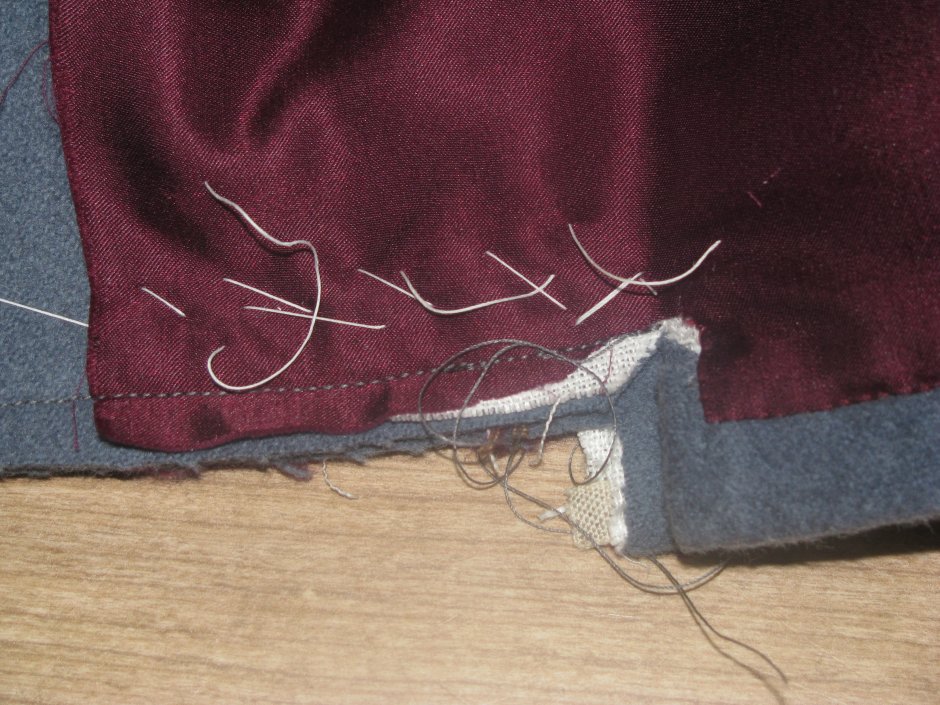
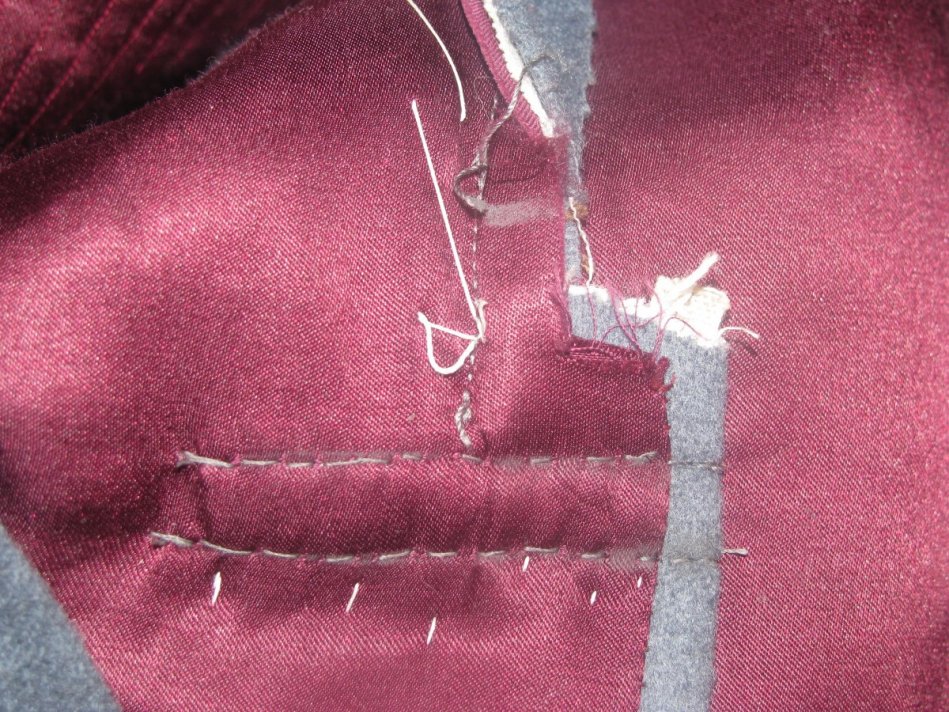
On the lining side, chalk out two parallel rows. The first is a hair below the top of the vent, and is perpendicular to the back seam. The second row of stitching is about half an inch below. Both rows are the length of the back vent. Stitch these lines using a back stitch, being absolutely sure the stitches do not show through to the right side. You only want to catch one layer of the piece below.
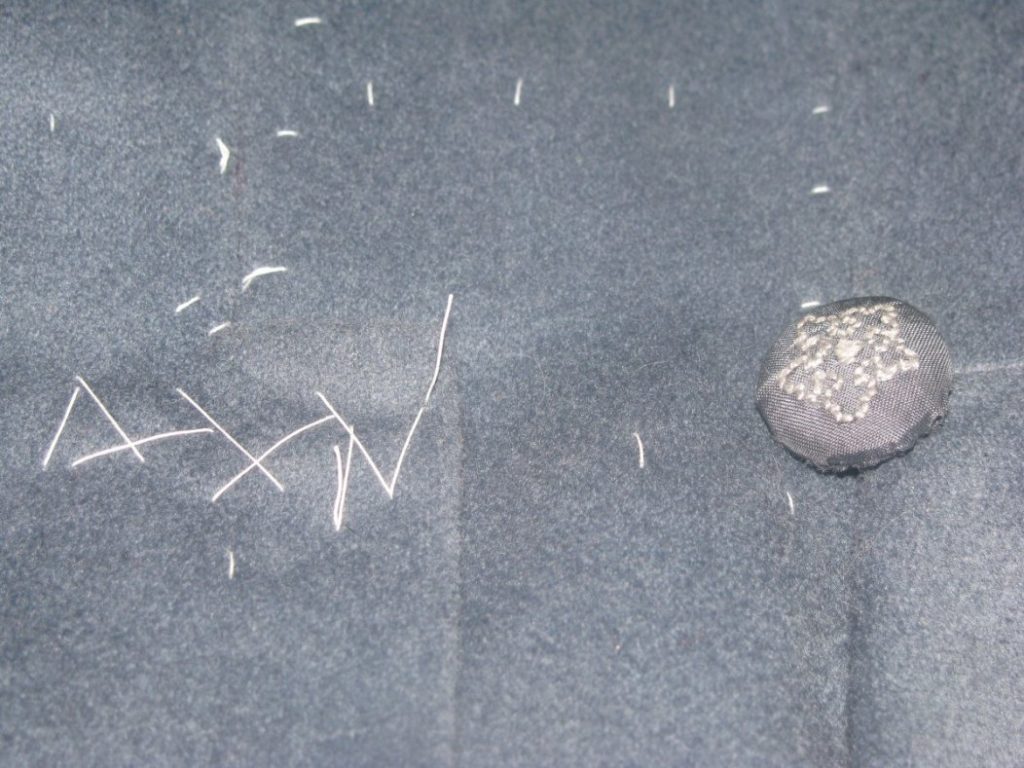
On the right side, chalk a line the length of the vent, just below the top. At either end, draw two 45 degree lines towards the center, each about half an inch long.
Although very hard to see (and that’s a good thing), use a side stitch, at about 20 stitches per inch, to secure the vent along the chalk lines. You really want these to be invisible and neat, as the area draws attention to itself.