Author: James Williams
The Back Pockets
Moving on to the back pockets, you’ll need a single pocket and optional lining for the 1873 pair, and two of each for the modern jeans. It’s possible the 1873 jeans used a pocket lining, but it’s not visible from any of the videos or images I’ve seen. I like to include it for additional strength but feel free to leave yours out if you prefer.
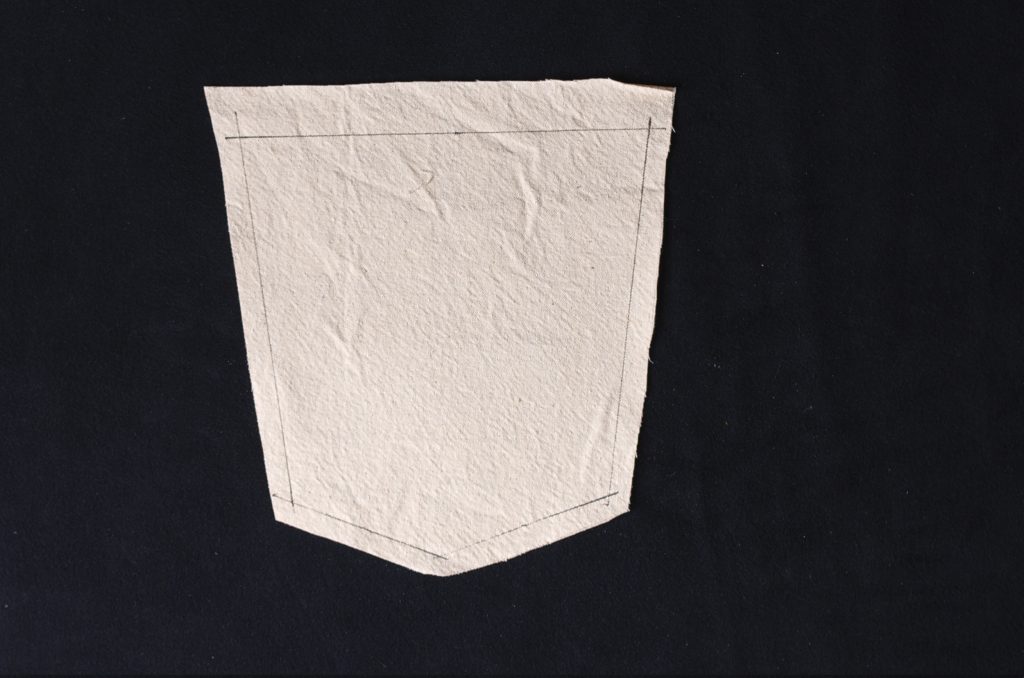
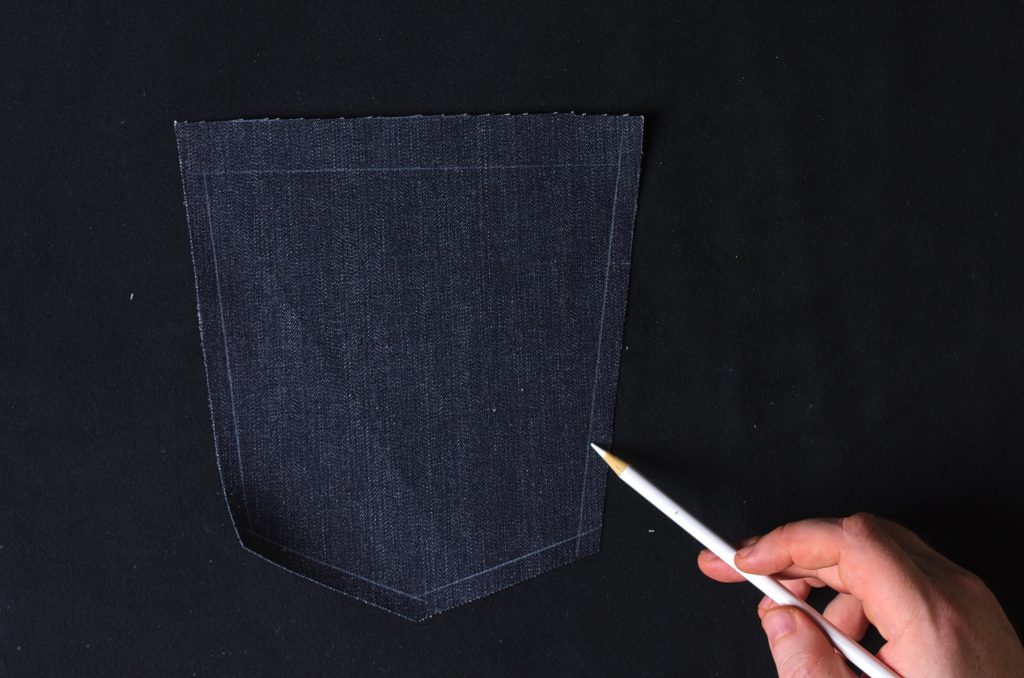
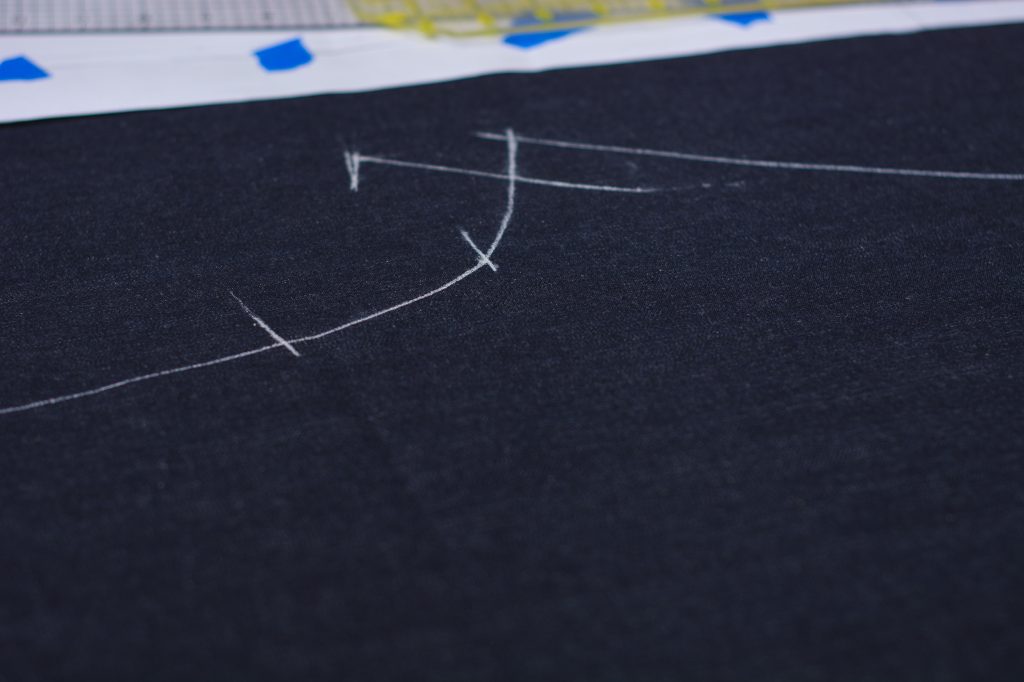
First, mark out a 7/8″ along the top of the pocket lining. Note I’m using a pen here for clarity but I’d recommend a sharp pencil for this.
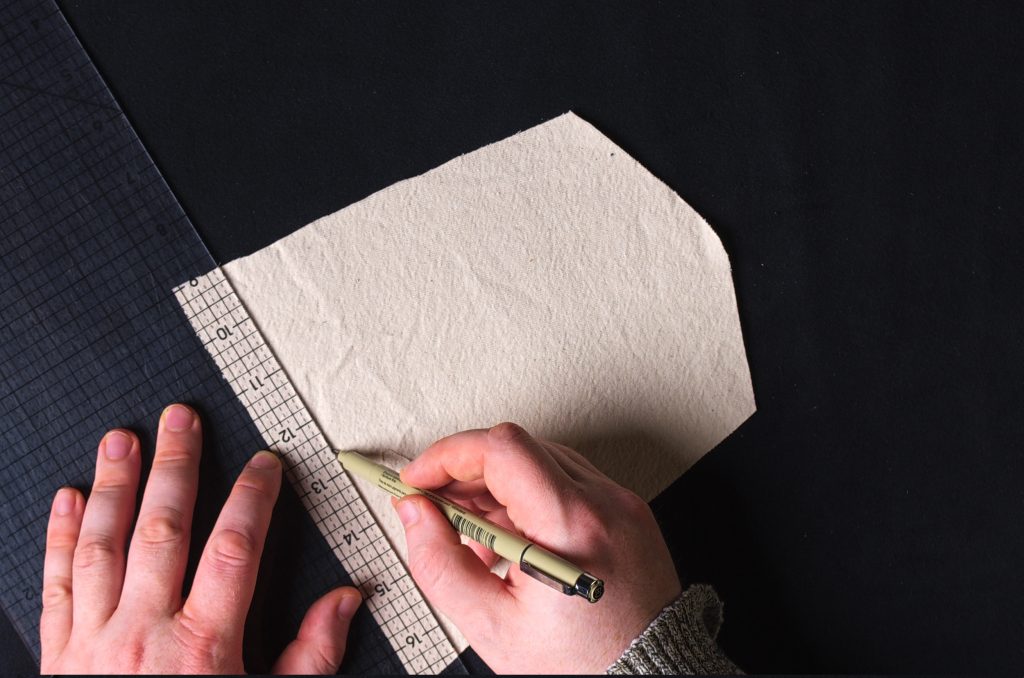
Then mark out 1/2″ seam allowances around the sides and bottom of the pocket. We’re using 1/2″ here rather than the 3/8″ seam allowance to ensure the pocket seam allowances will turn under cleanly.
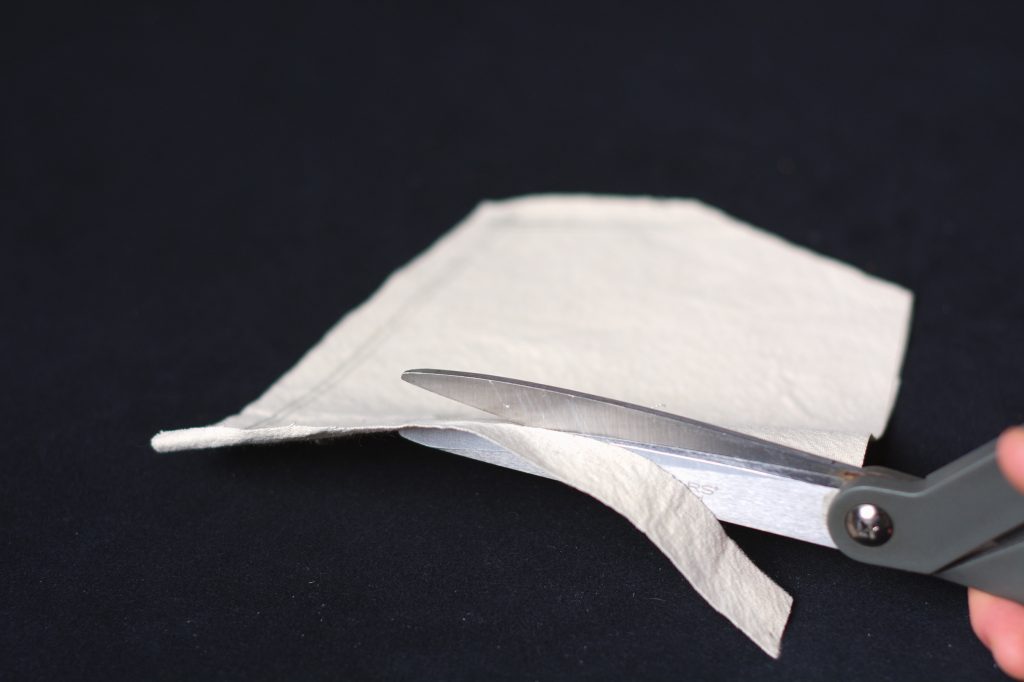
Trim away the seam allowances from the pocket lining.
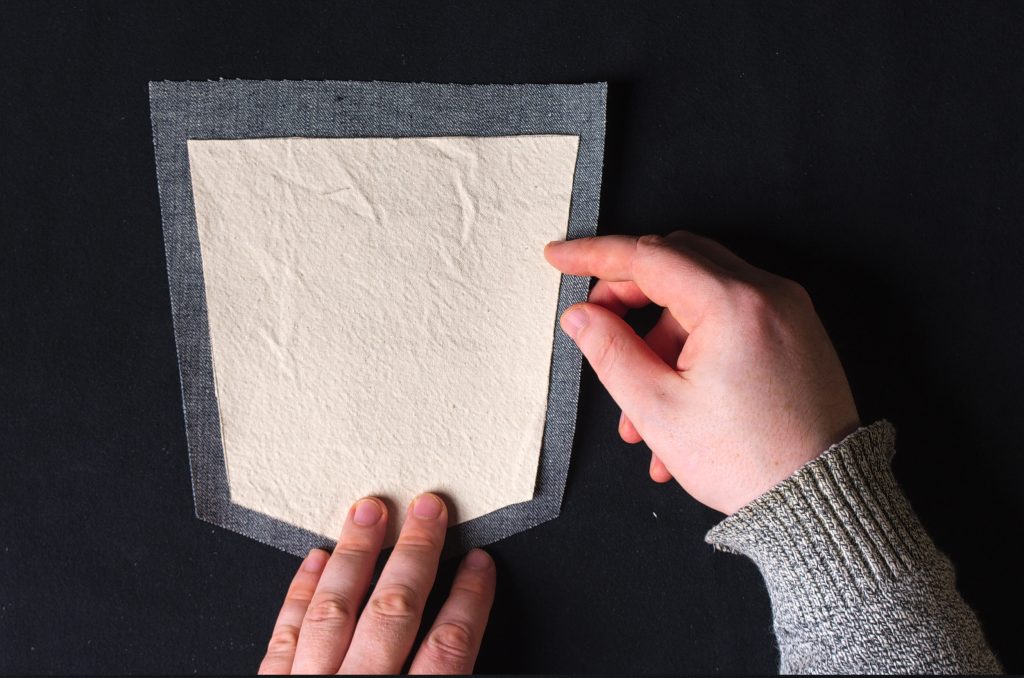
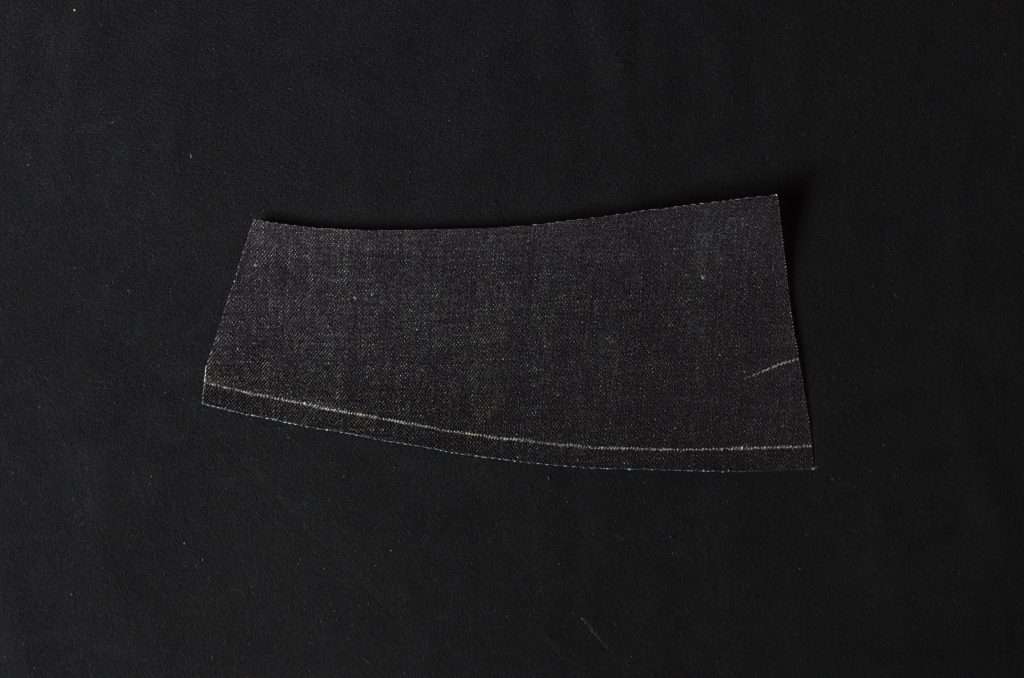
Here’s how the lining should fit on the wrong side of the pocket after trimming.
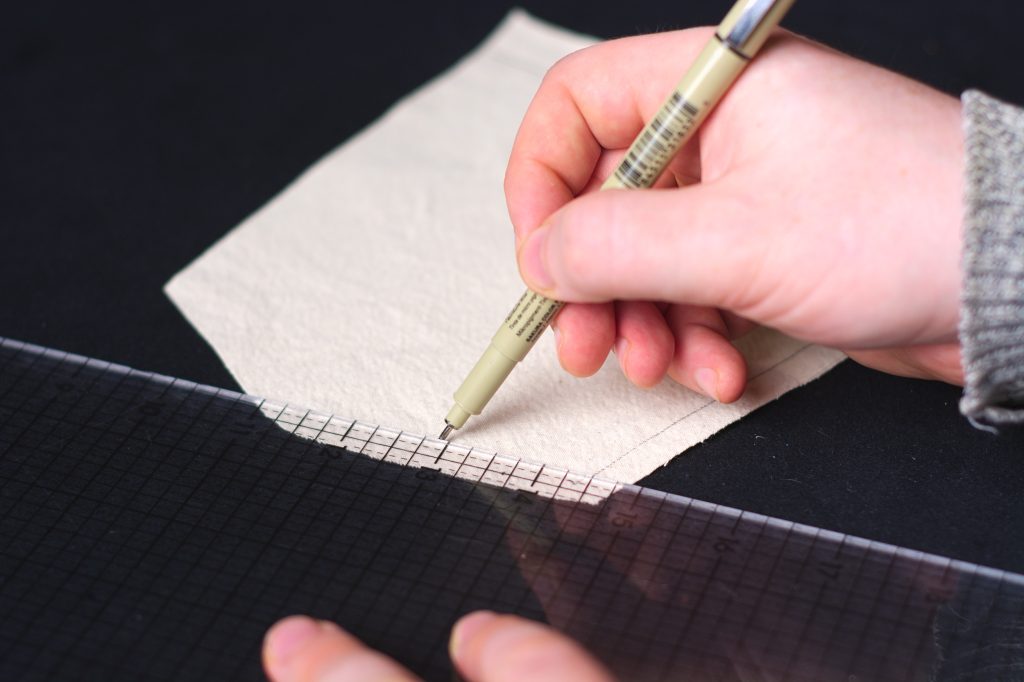
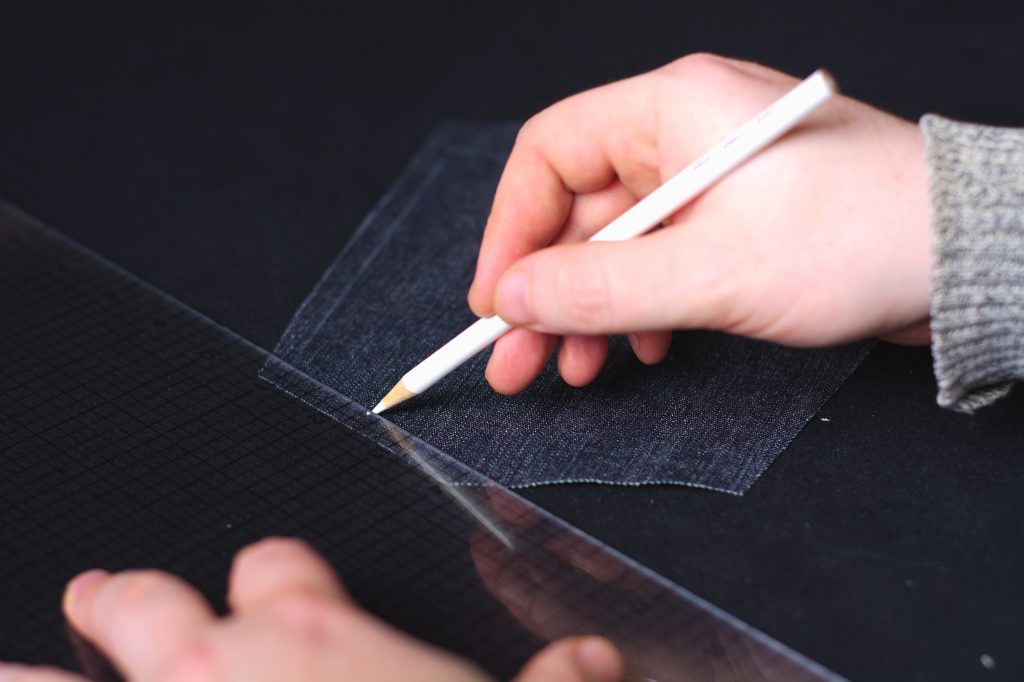
On the right side of the pocket, trace out the seam lines in a similar manner, only this time using 7/8″ along the top and 3/8″ along the sides and bottom. I like to use a colored pencil here for more precise work.
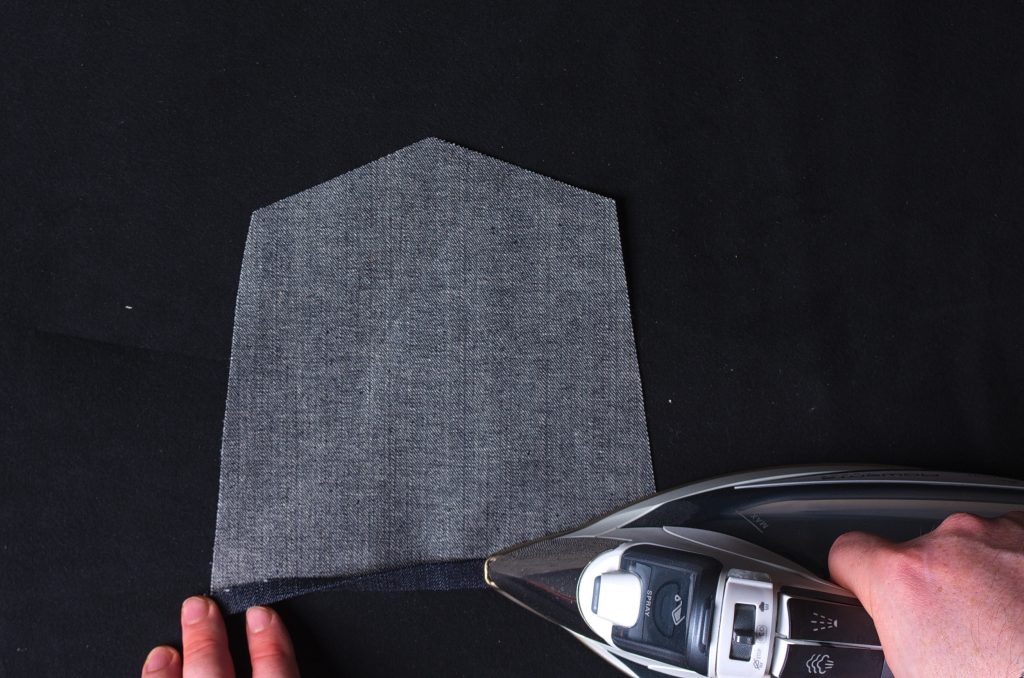
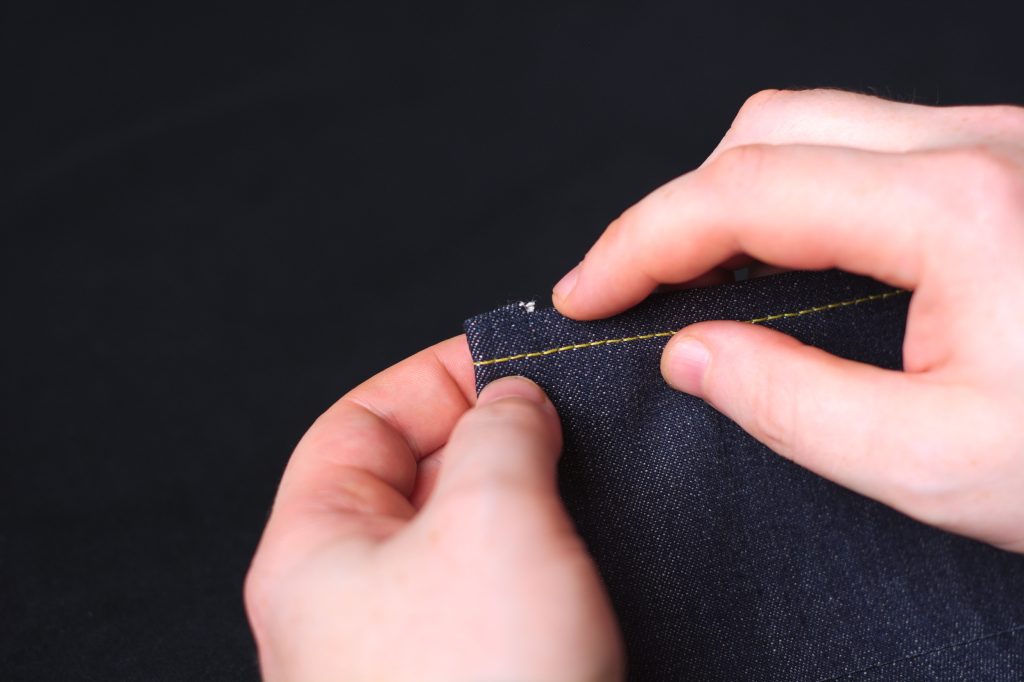
Working from the wrong side, press the top edge over along the seam line.
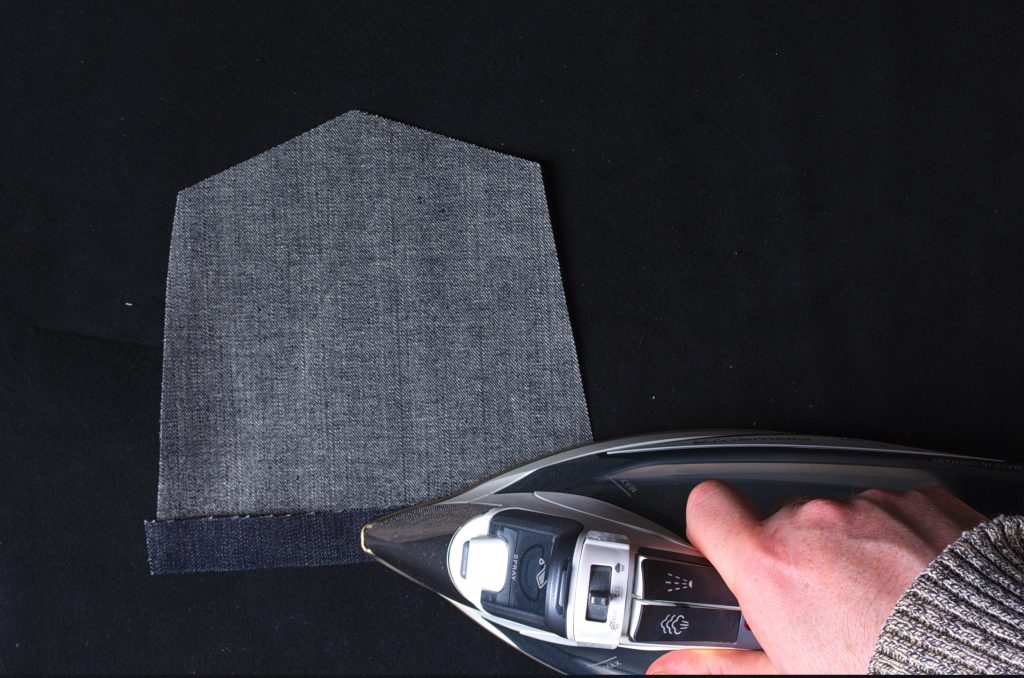
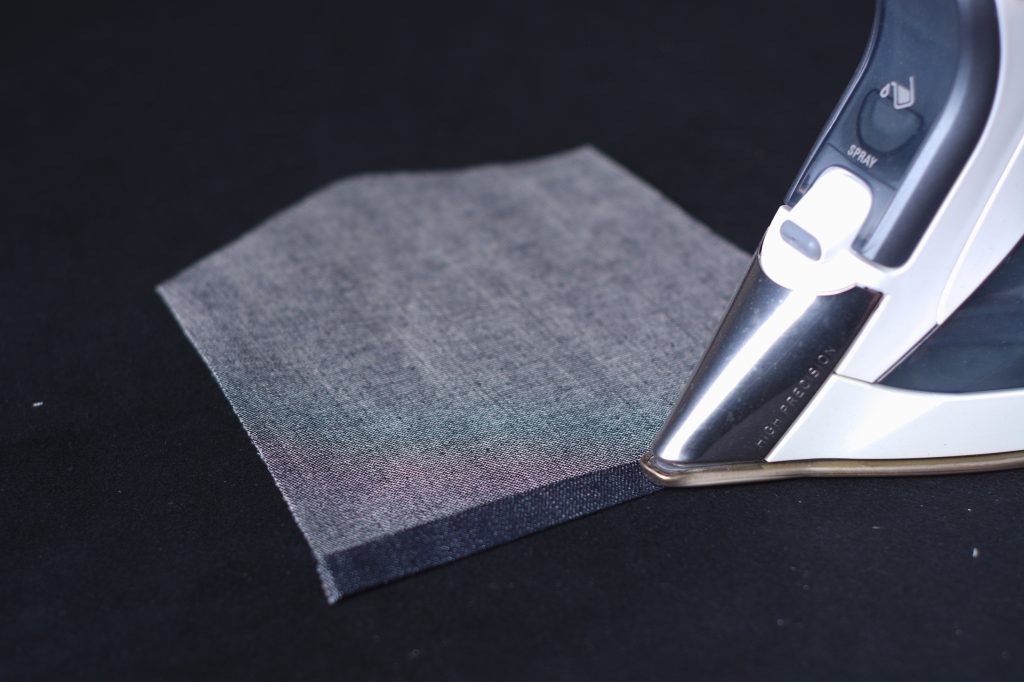
Tuck the raw edge under forming a nice finished 3/8″ seam (slightly over is fine), and press.
Here’s where you’d add in any arcuates or patterns to the back. I’ll be adding an entire lesson on that in the future, but for now I’m just going to stick with a basic line roughly centered across the pocket.
Again, I did not see these in the original 1873 pair, they seem to have been added a few years later, but I’m including them in my reproduction just for strength of the pocket.
For modern pairs, feel free to go as simple or as complex with your designs as you’d like.

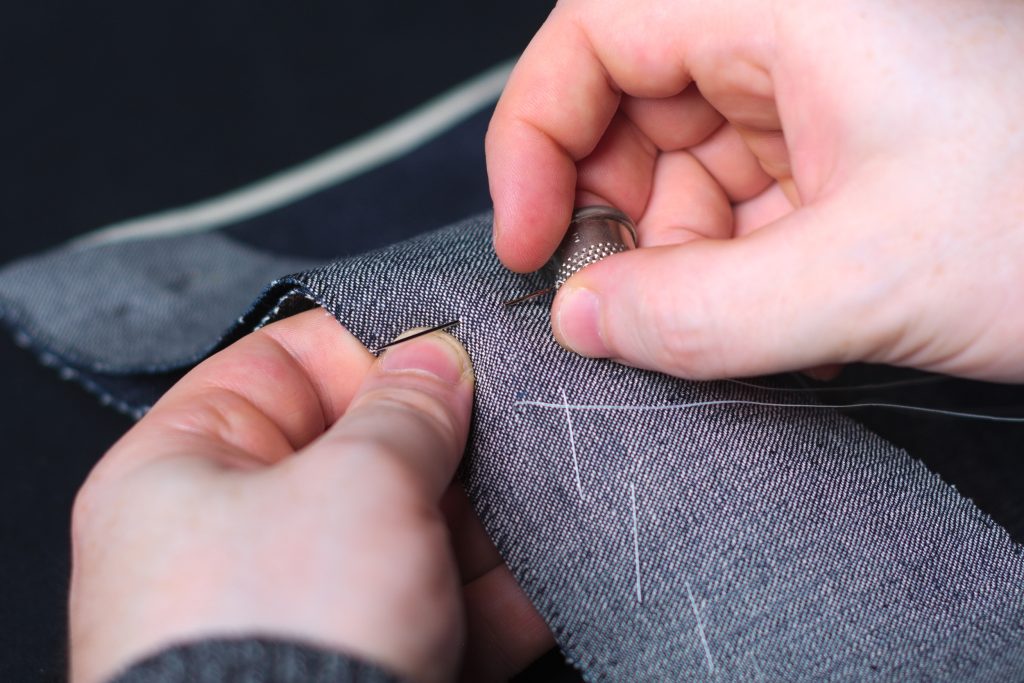
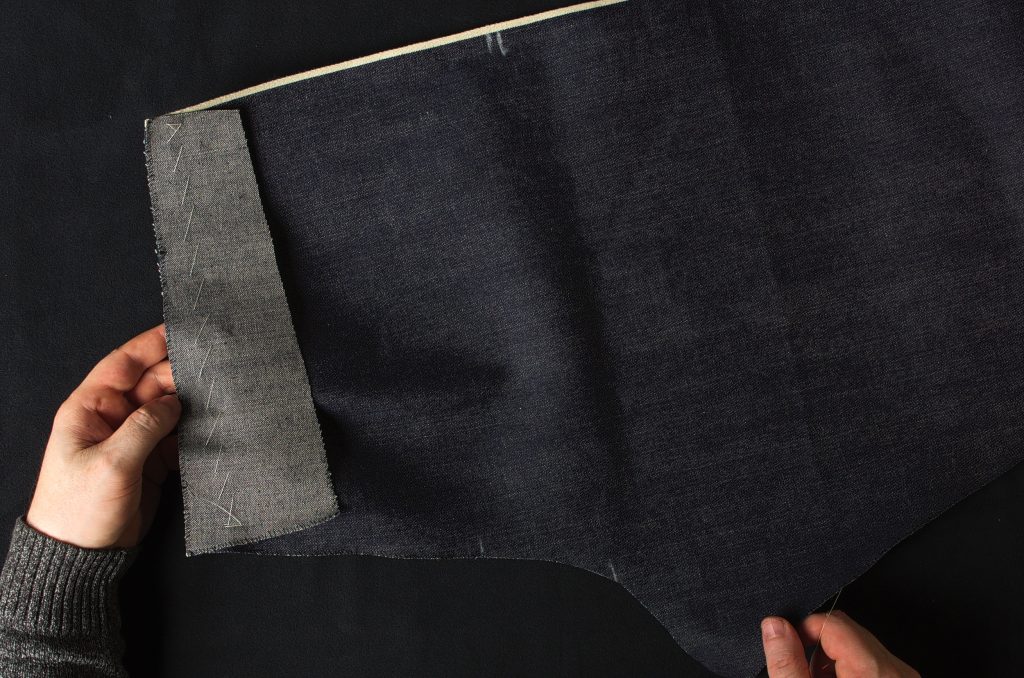
Center your lining on the wrong side of the pocket, tucking it closely under the top seam.
Stitch your arcuate from edge to edge, beginning and ending your stitching in the seam allowances.
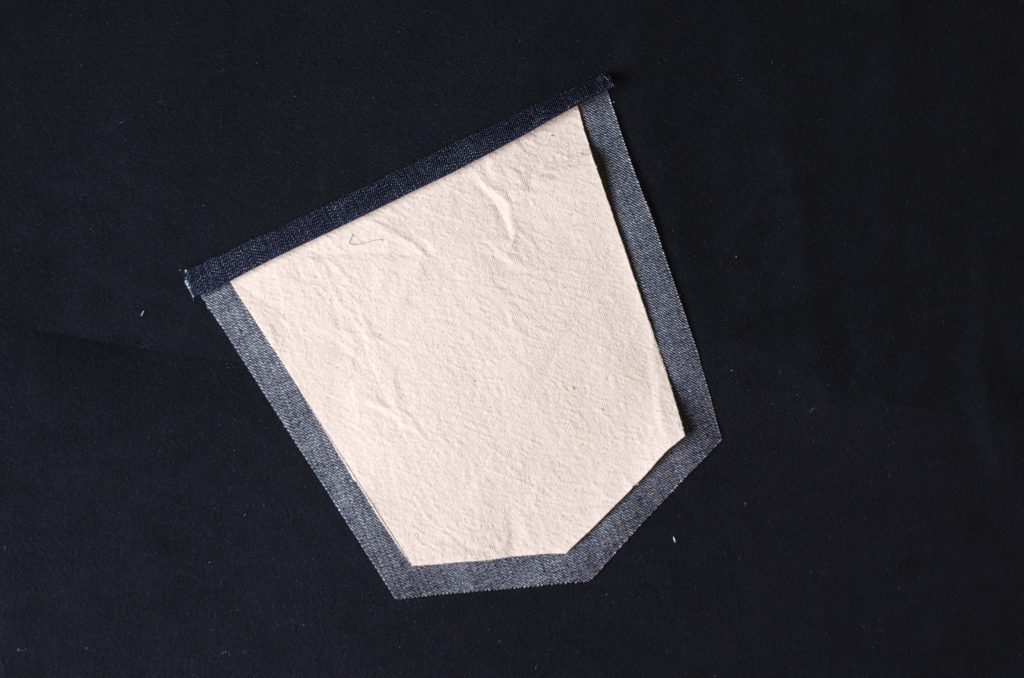
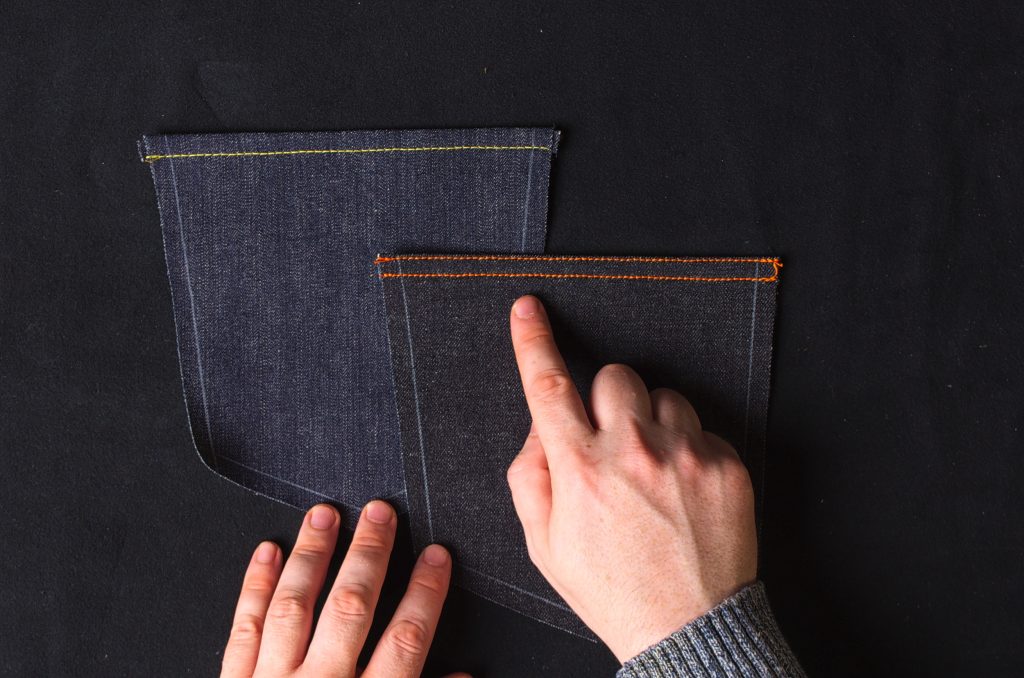
Here’s my pocket after stitching. I used a thin, matching thread to keep it subtle for the 1873 pair, but feel free to be as bold as you’d like here.
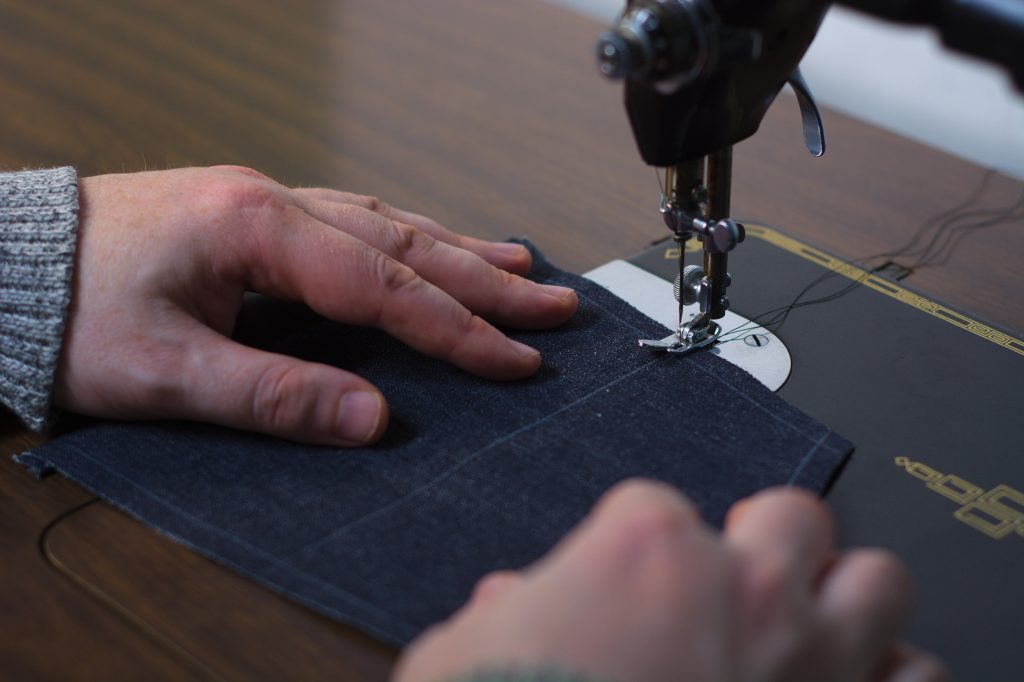
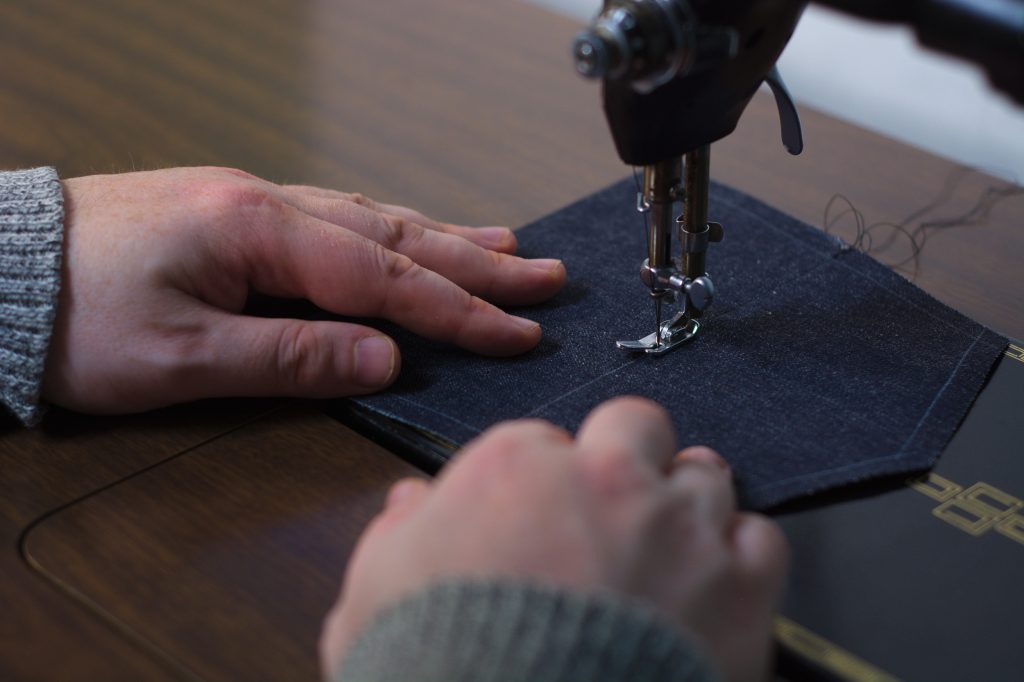
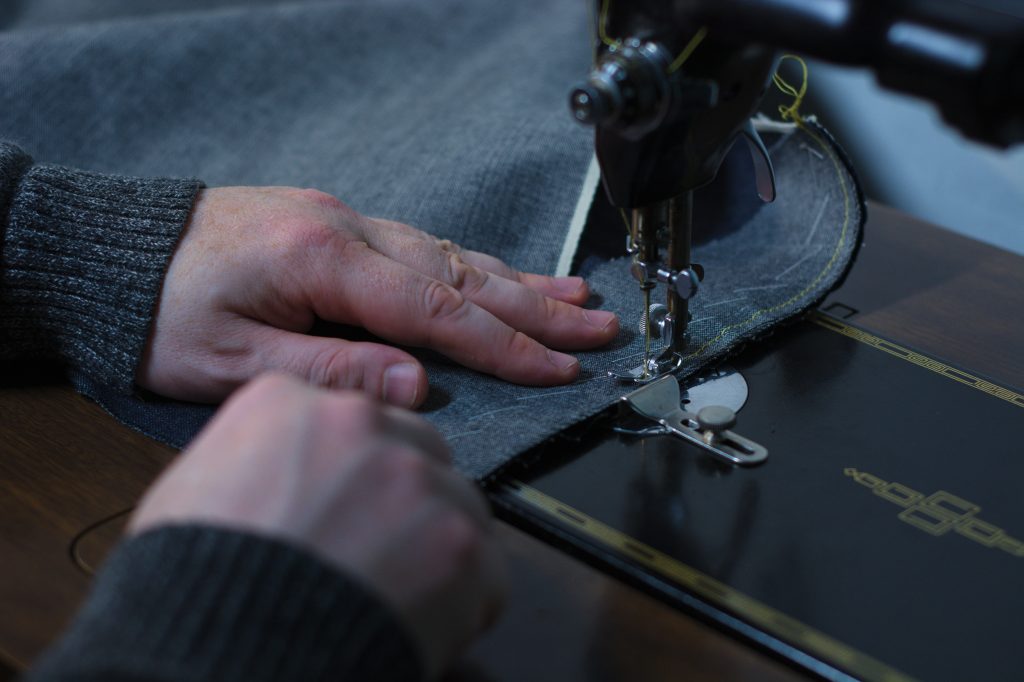
Now stitch across the top of the pocket, 3/8″ from the edge if making the 1873 jeans.
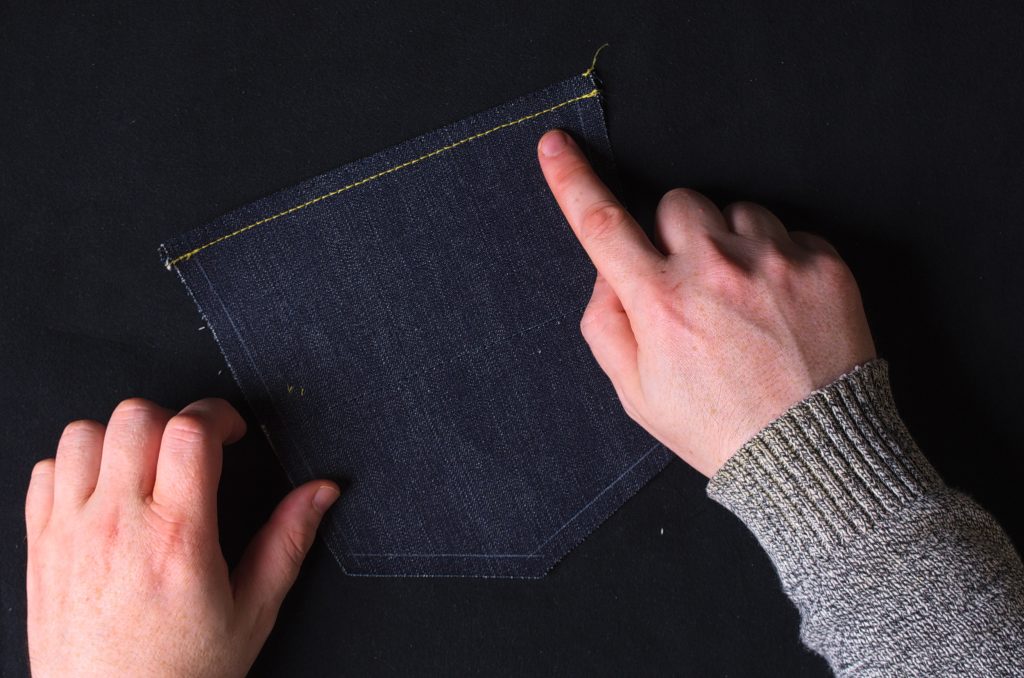
For the more modern jeans, two rows of stitching are used, the first about 1/8″ from the edge, the second about 1/4″ to 3/8″ from the first row of stitching. Try to match the spacing you used for the yoke seam.
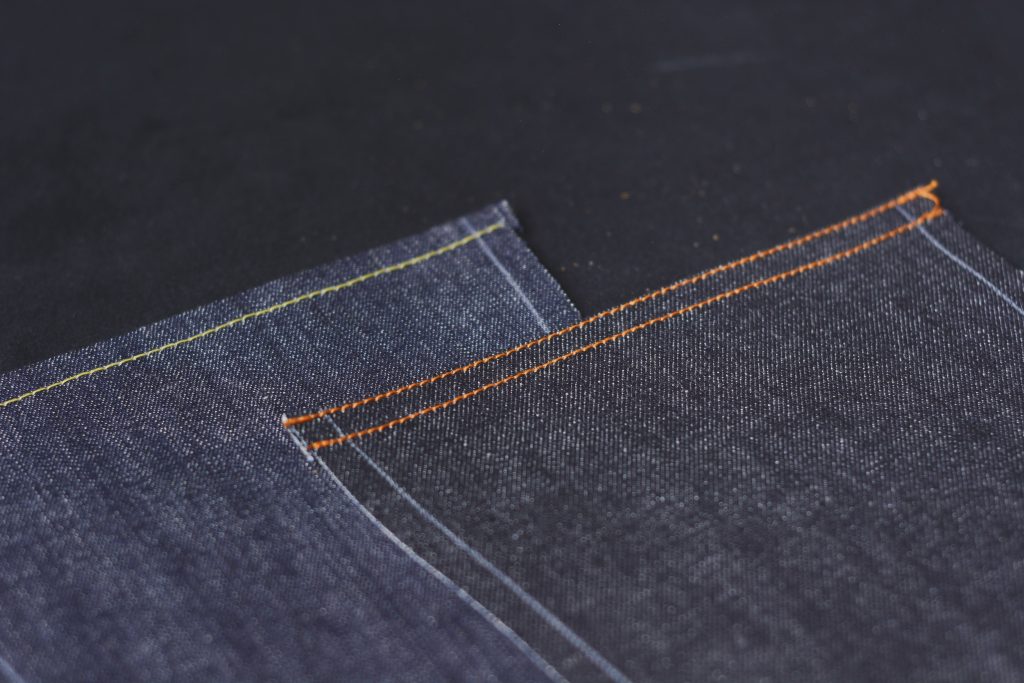
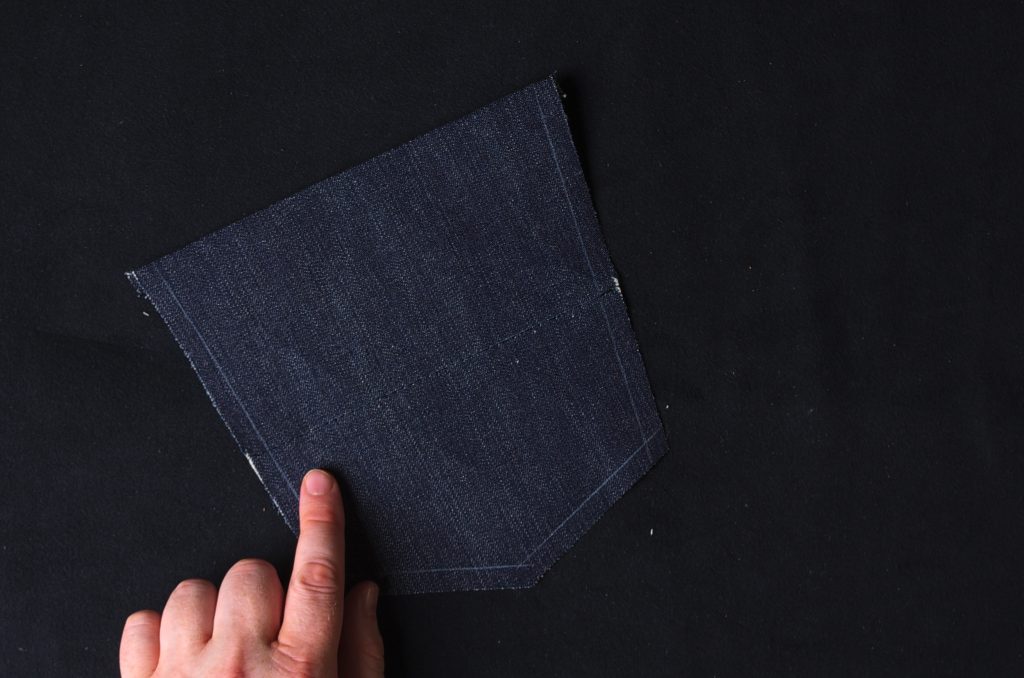
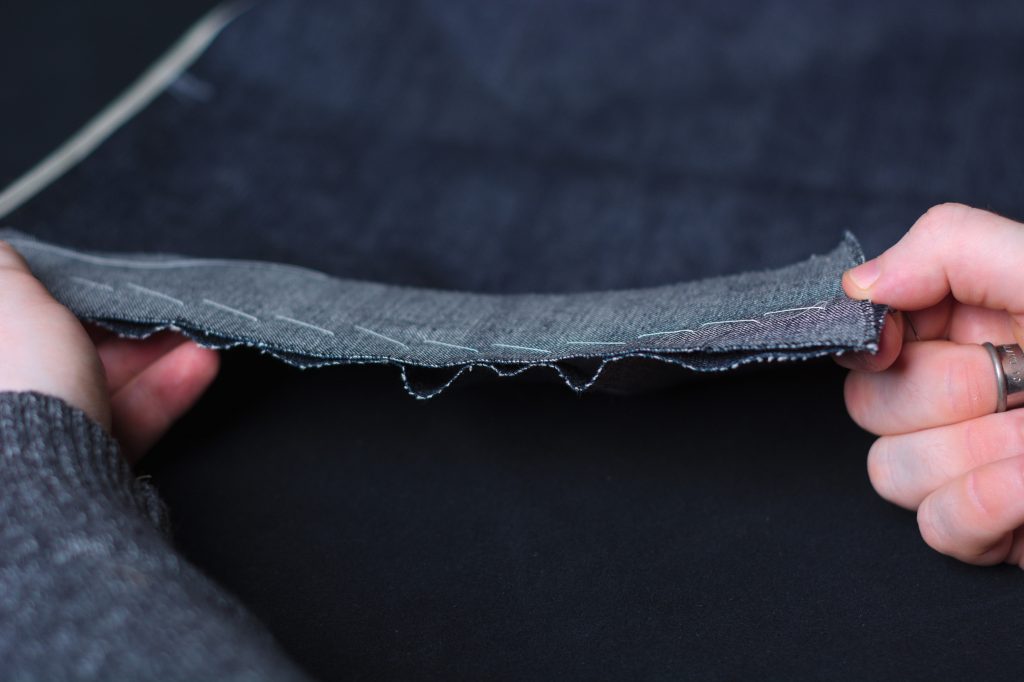
Here’s the wrong side after top stitching.

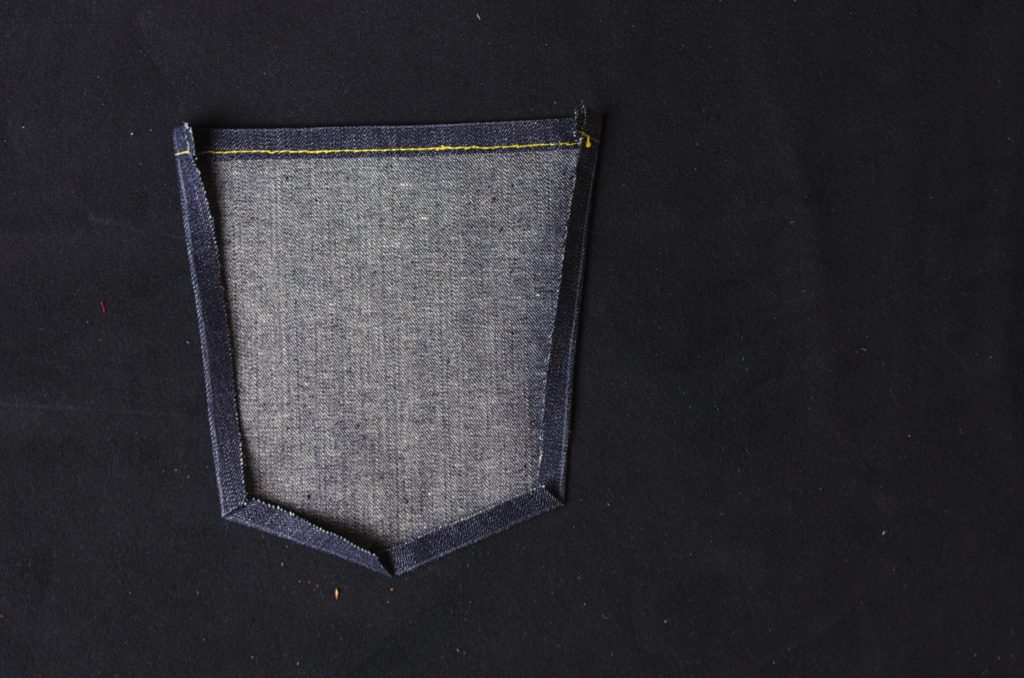
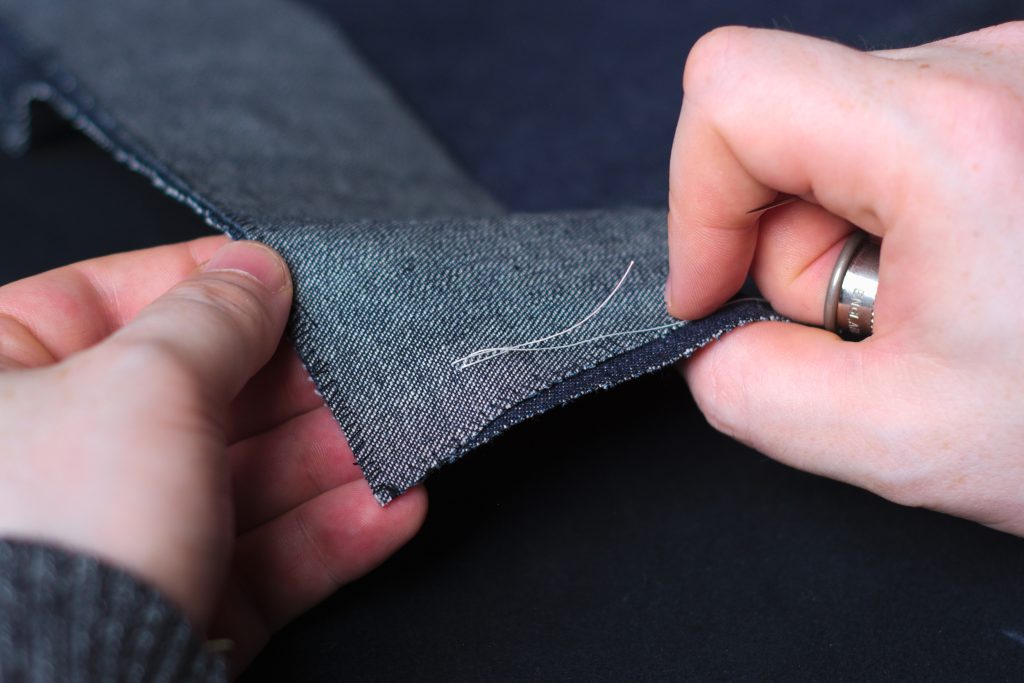
Now firmly press the sides and bottom edges of the pocket towards the wrong side, following the lines you drew in as closely as possible.
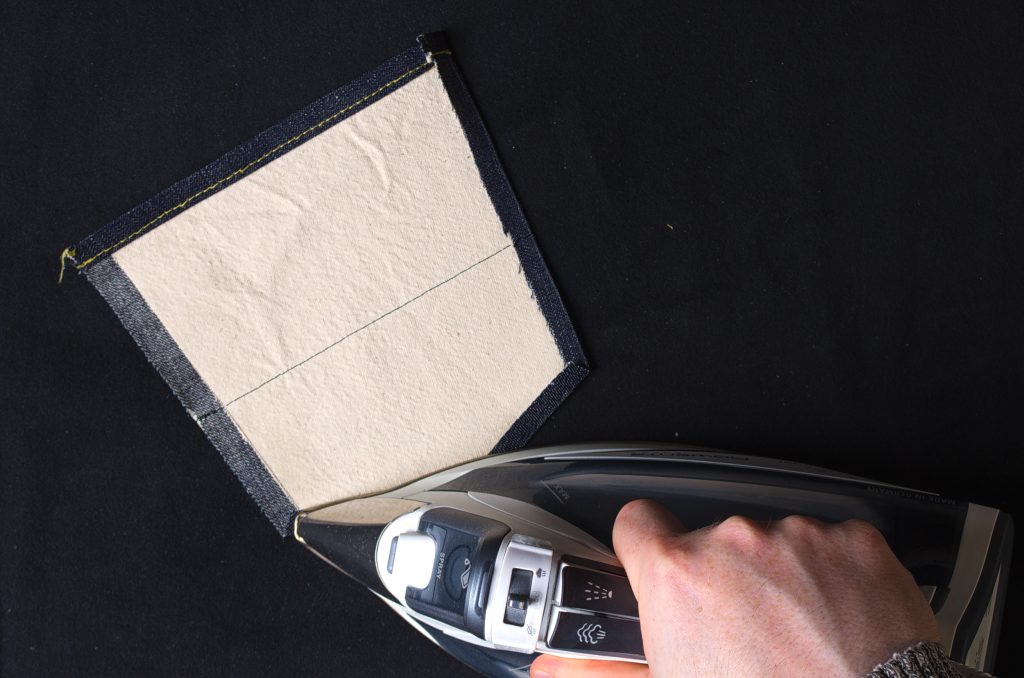
If you did not line your pocket you’ll end up with something like this.
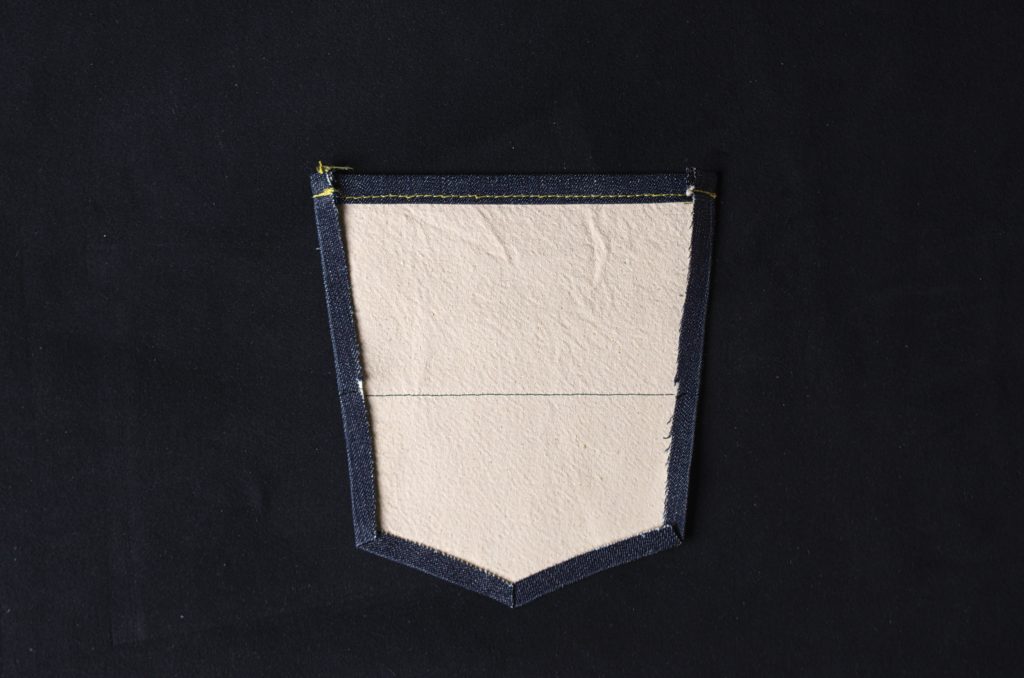
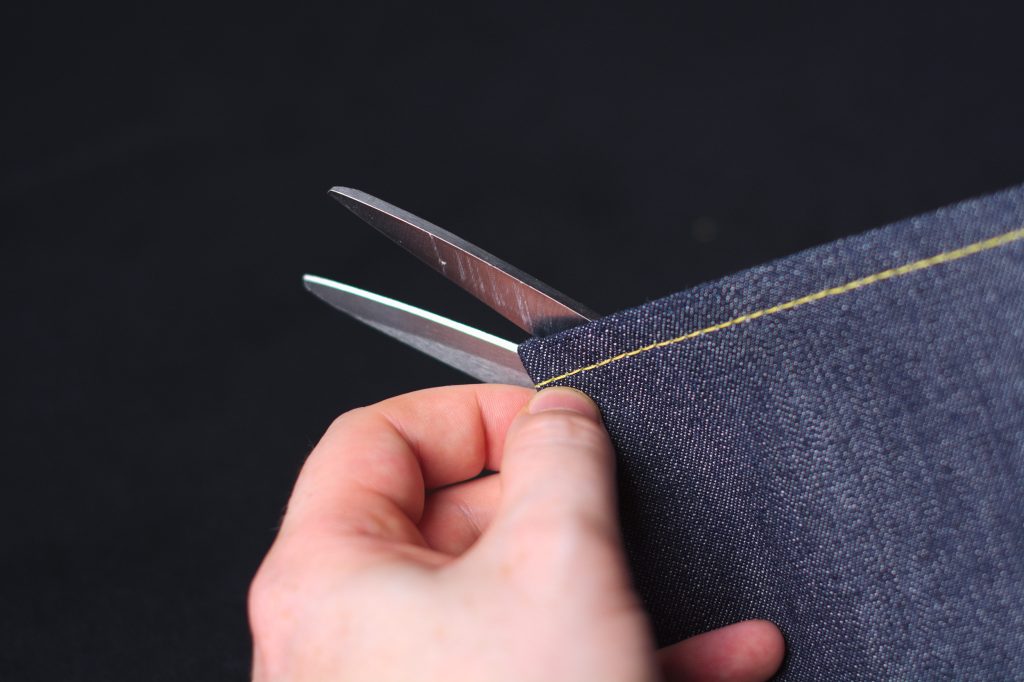
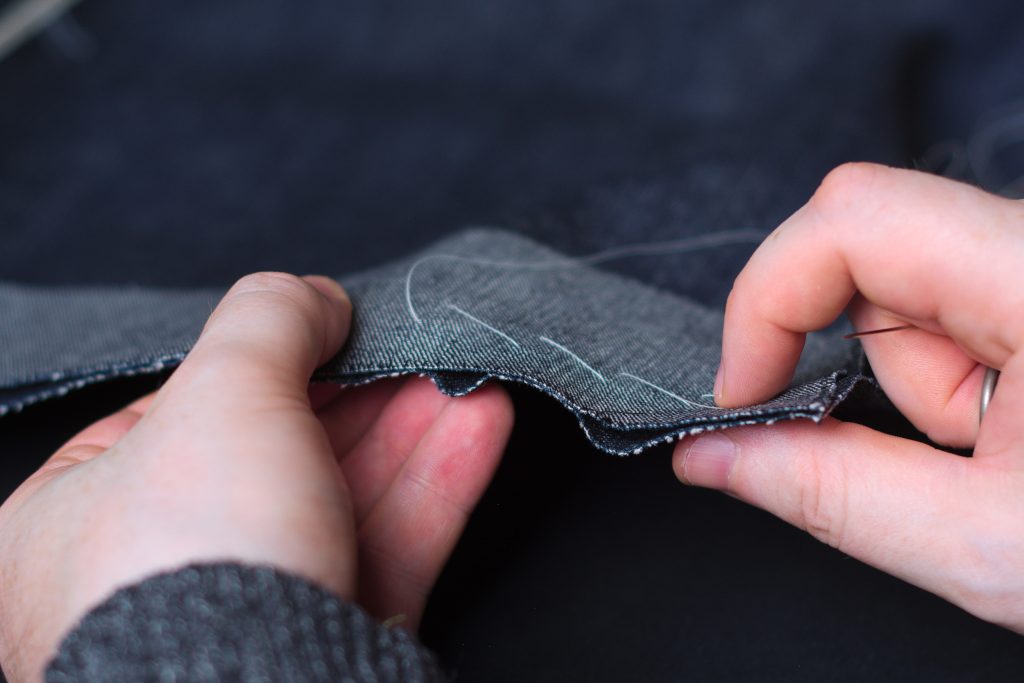
After pressing, you’ll notice this little bit of fabric poking out from the top edge due to the angles of the pocket. You could trim this slightly (don’t trim too close to the folded edge or the pocket will come undone!), fold it under, which may make it difficult to sew through all the layers, or just tuck it under after top stitching the pockets in the next section, which is what I chose to do.
Here’s how you might trim the seam allowance. I’d recommend doing this after the first row of top stitching though in the next section.
The Back Yoke – Modern
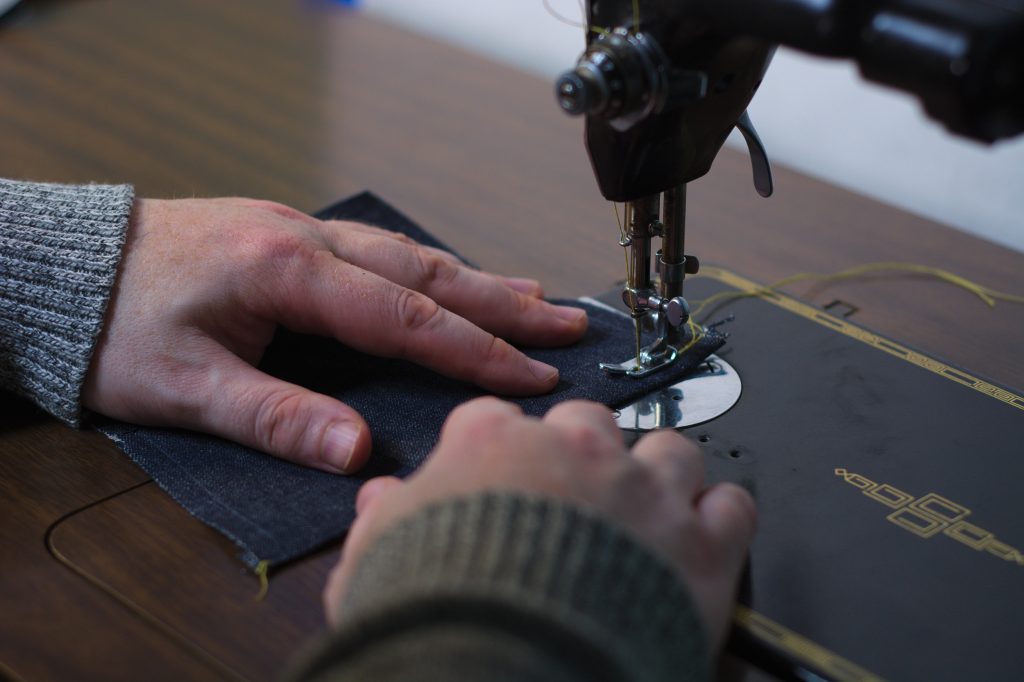
This is the construction method for the modern style jeans with flat-felled seams. Be sure your machine can handle up to 16 layers of denim before moving on with this method.
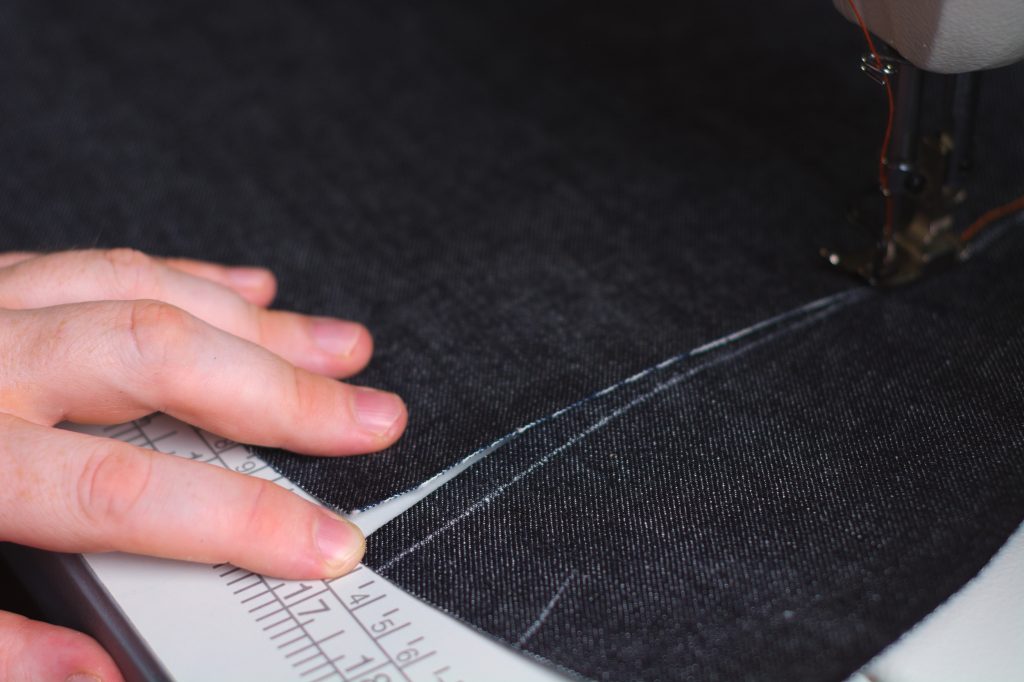
First, along the bottom of the yoke, draw in the 3/8″ seam allowance.
Moving over to the sewing machine, lay the back leg on top of the yoke, right sides up. Overlap the back leg so that it’s just touching the seam line you just marked in. Since it’s a curved seam, you’ll only be able to align a bit at a time.
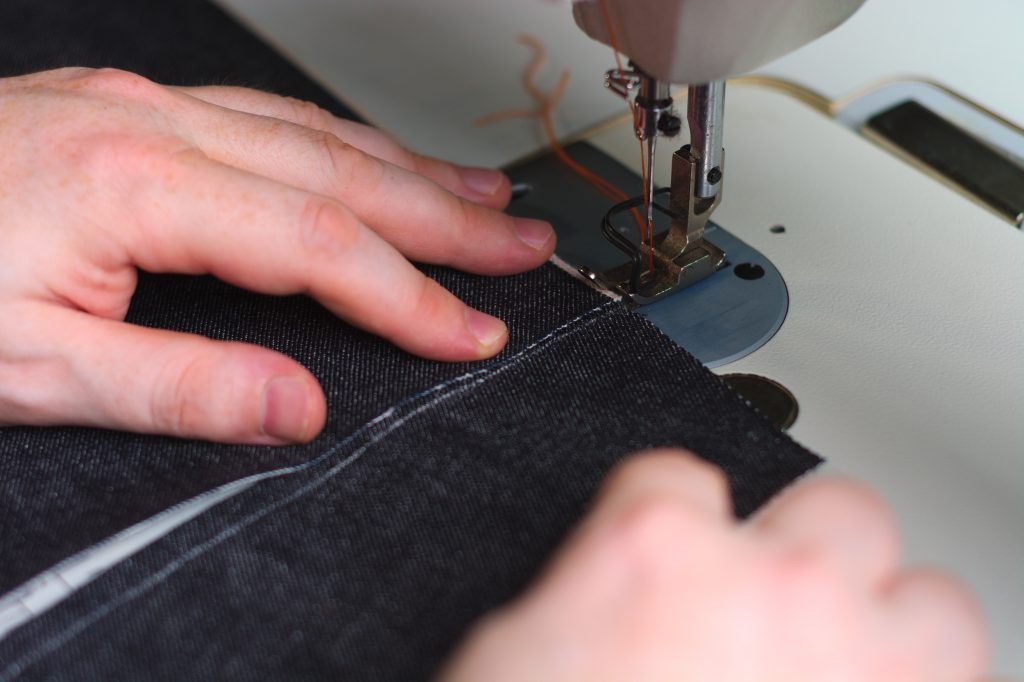
Sew down the middle of the overlap, about 3/16″ from the edge. It’s not really critical though, the main focus should be on aligning the denim.
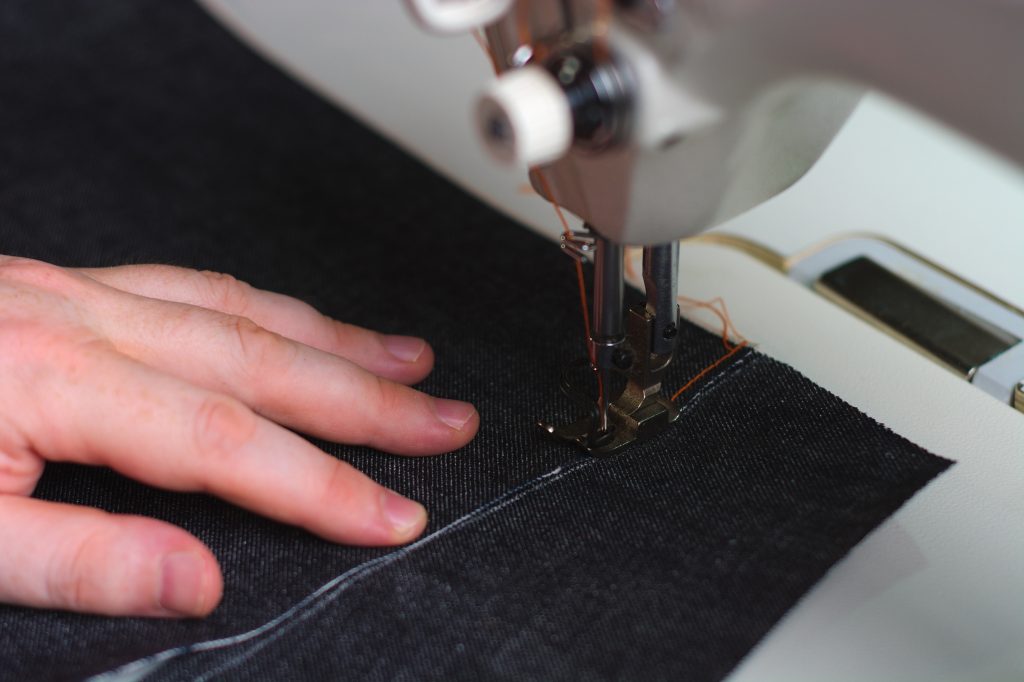
Continue aligning and sewing down the yoke seam until you reach the end of the seam. Ideally, seat seam should align perfectly between the two pieces, but you may have to trim some excess.
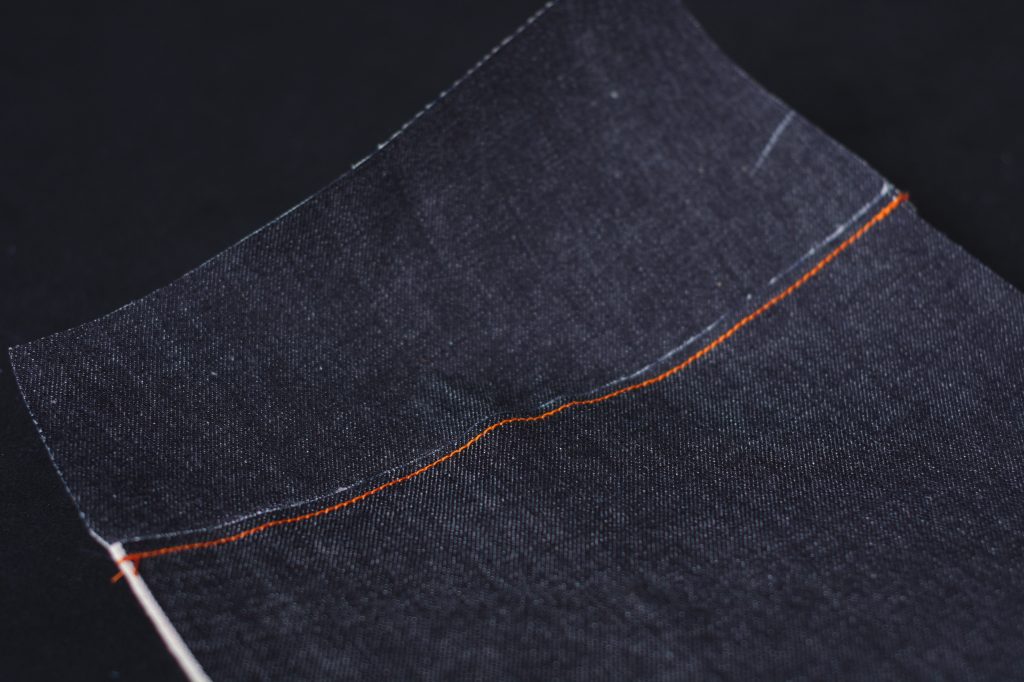
Here’s the seam so far, showing the shape built into the seam thanks to the curved yoke.
Pressing
Lay the back leg with the yoke facing you, wrong side facing up.
Fold over the yoke along the edge of the yoke seam that’s now underneath. You can kind of feel when the pieces are folded correctly when the fold his the edge of the yoke. Press with your fingers.
Press with the iron and a bit of steam, keeping the iron on the seam itself and not onto the leg and yoke.

Now fold the yoke back into its final position, again feeling for the cut edge now hidden between the layers. Press with your fingers and then the iron in the same manner.
Turn everything over and press from the right side.
Top Stitching
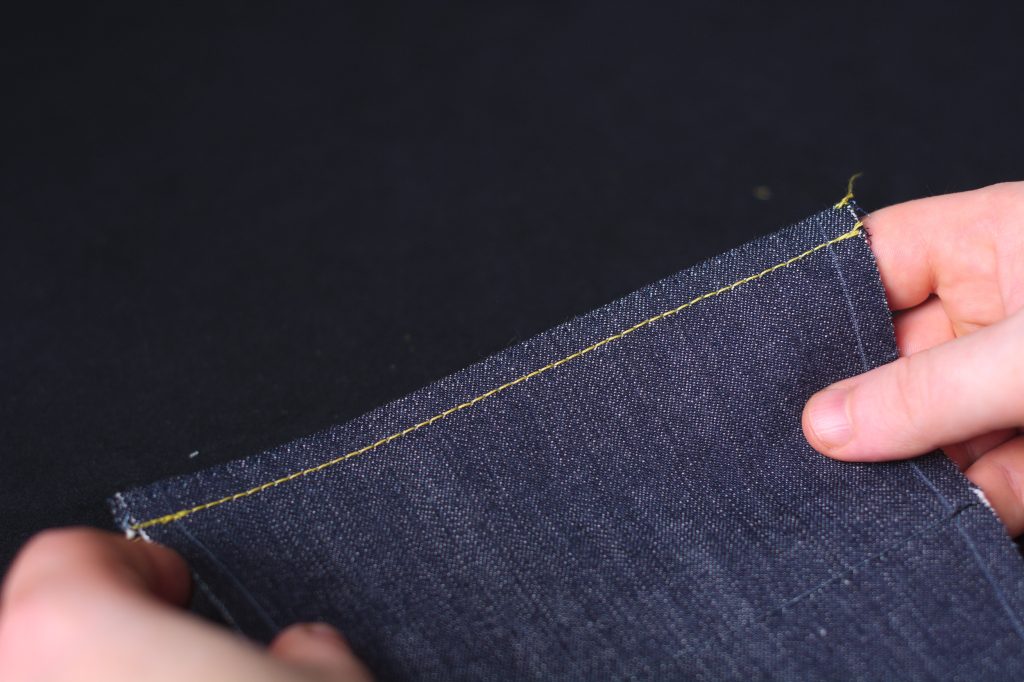
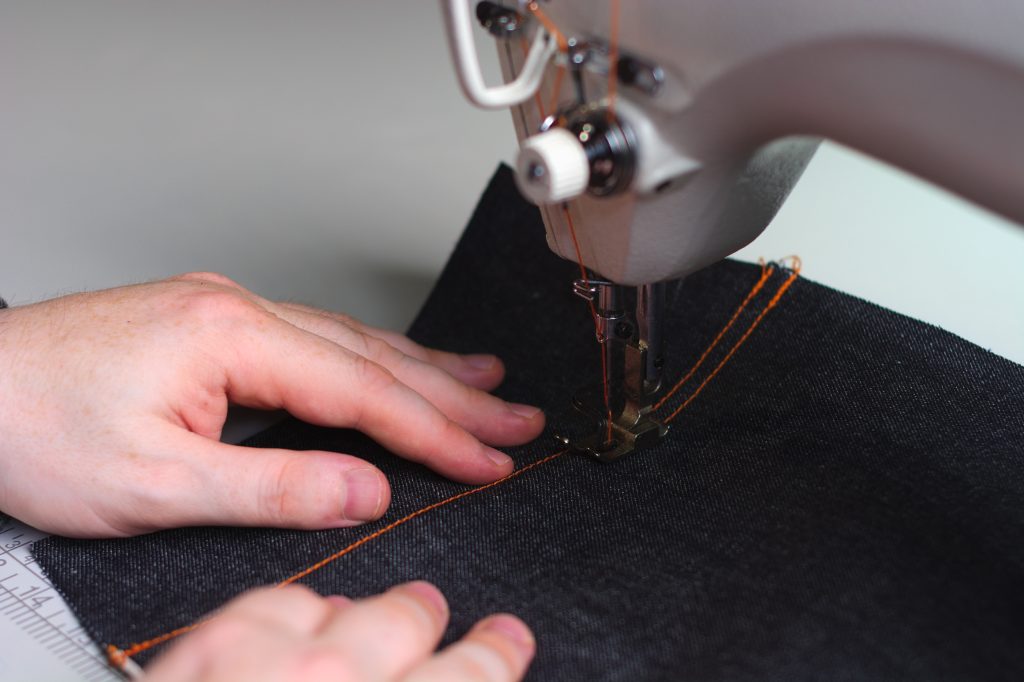
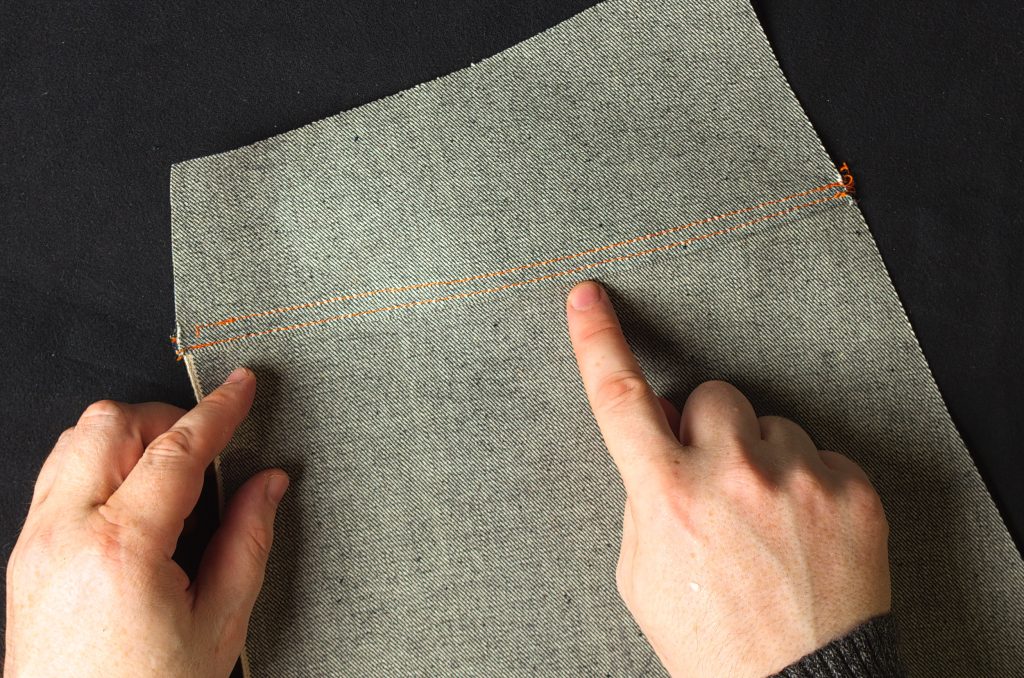
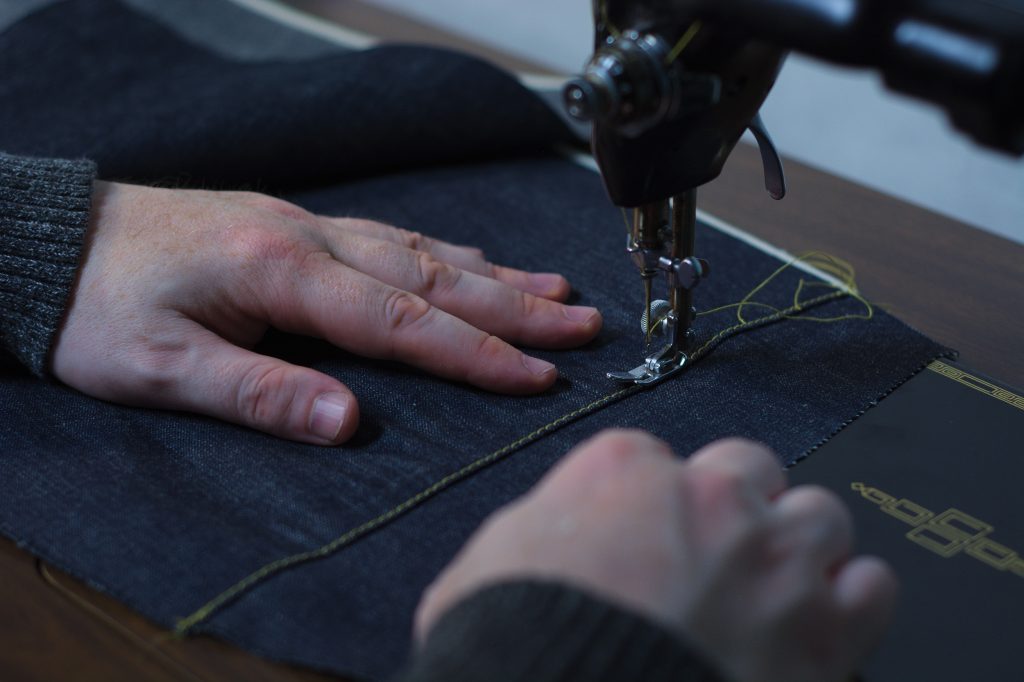
Holding the seam in place as you sew, top stitch the yoke seam through all layers, about 1/16″ from the folded edge.
I did okay here but got a little too far from the edge near my left hand.
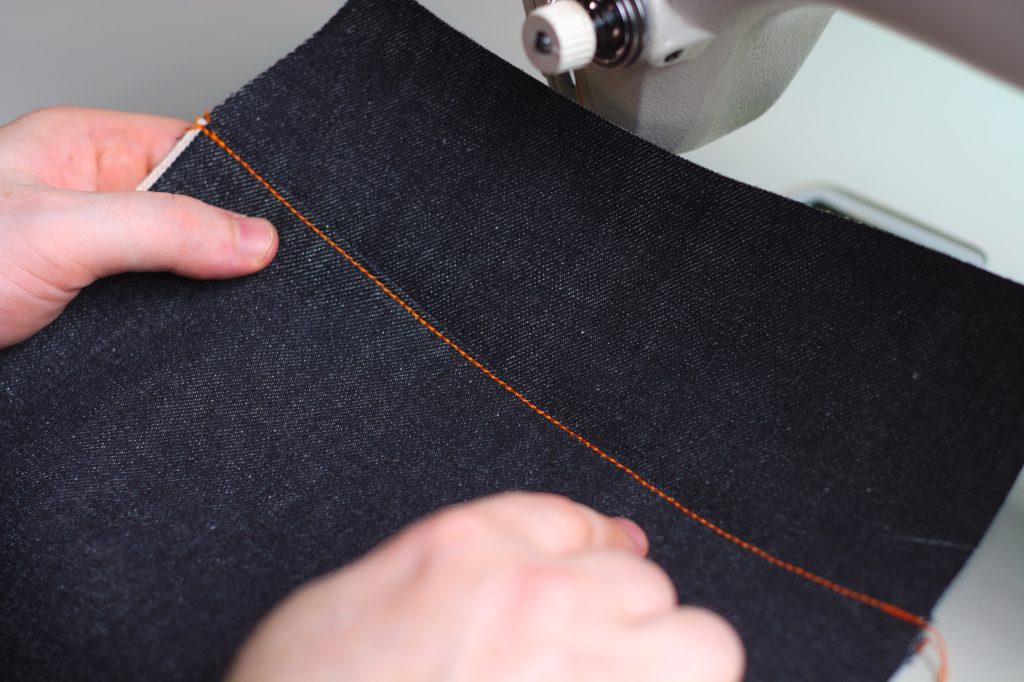
Then sew another row of stitches about 5/16″ (just under 3/8″) away from the first row of stitching. You’ll want to figure out what works best for your sewing machine in regards to aligning the stitching with the foot and so on.
Also keep in mind that you don’t want to accidentally run off the edge of the seam underneath as you sew. This really just comes with practice and if you’re like me, you’ll probably have to unpick some stitches as you’re learning.
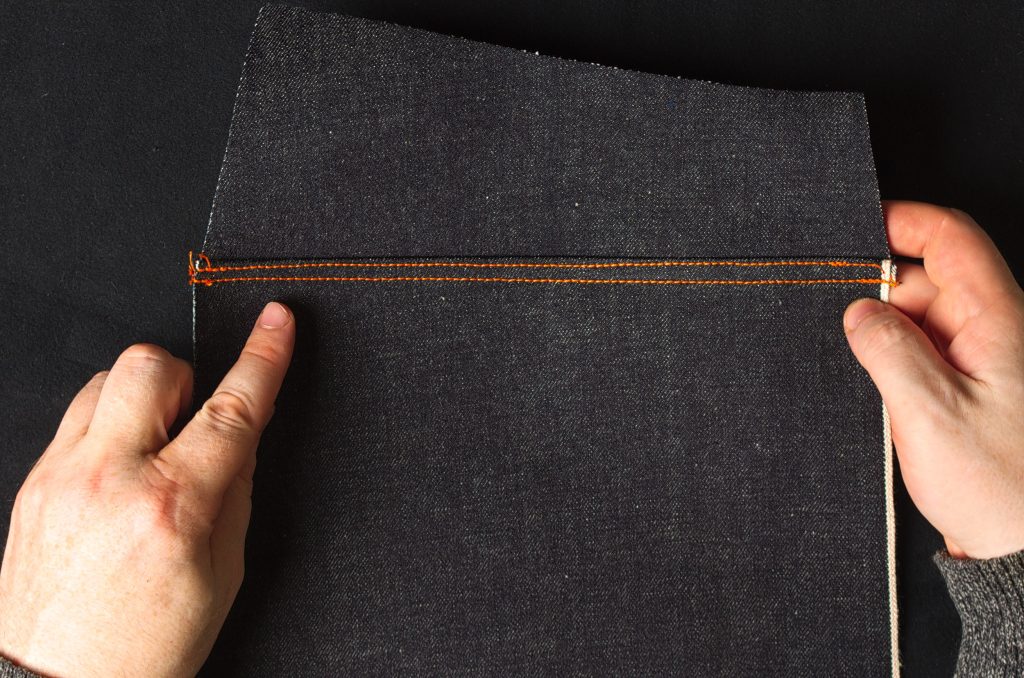
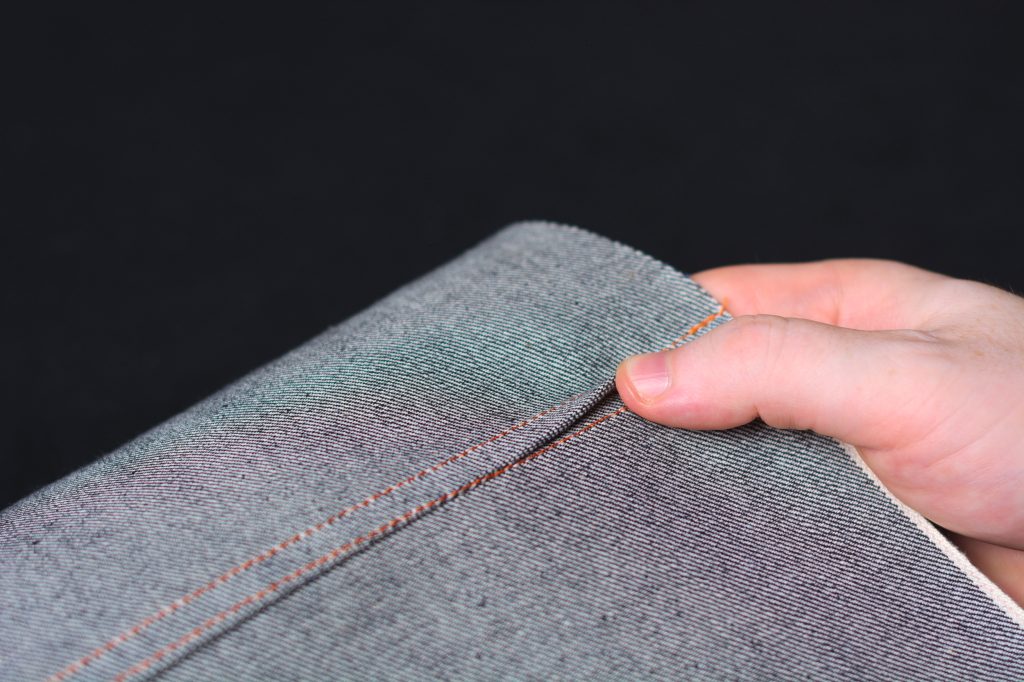
Here’s the finished yoke seam.
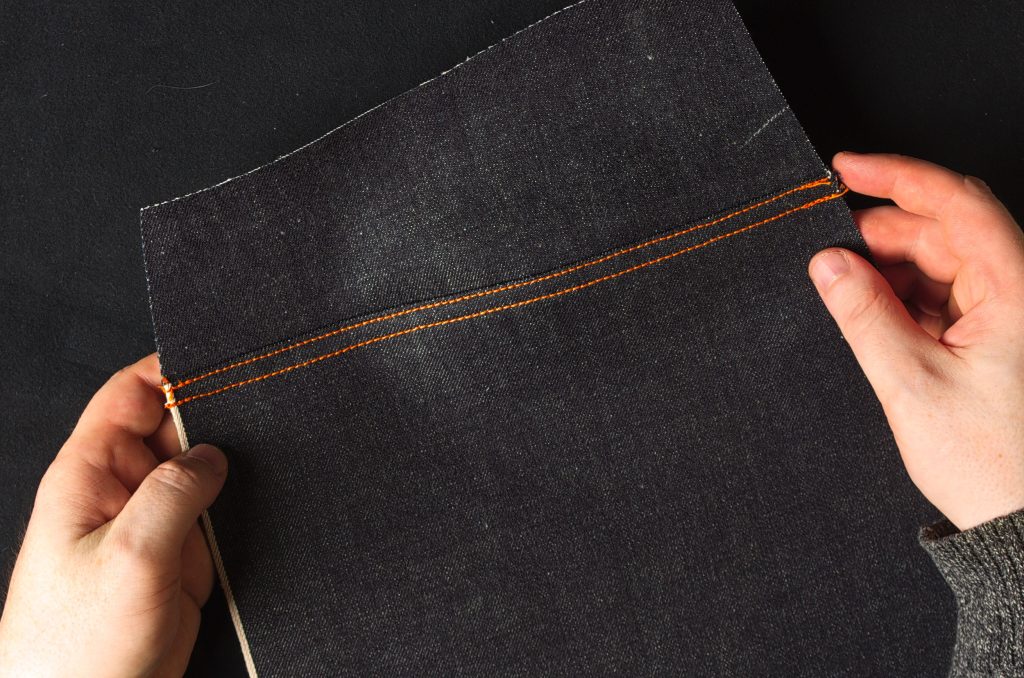
I’m just a little inconsistent with my stitching here, getting a little too far from the edge at the left side, and then overcompensating by narrowing the top stitching in that area. If this were an actual pair of jeans I’d probably unpick these stitches and try again.
From the wrong side of that same leg, you can see how far I was with the second row of top stitching from the edge – worried too much about running off of the seam.
Turning to the underside, you can see I failed to catch a part of the seam. So I’d definitely undo this seam as well.
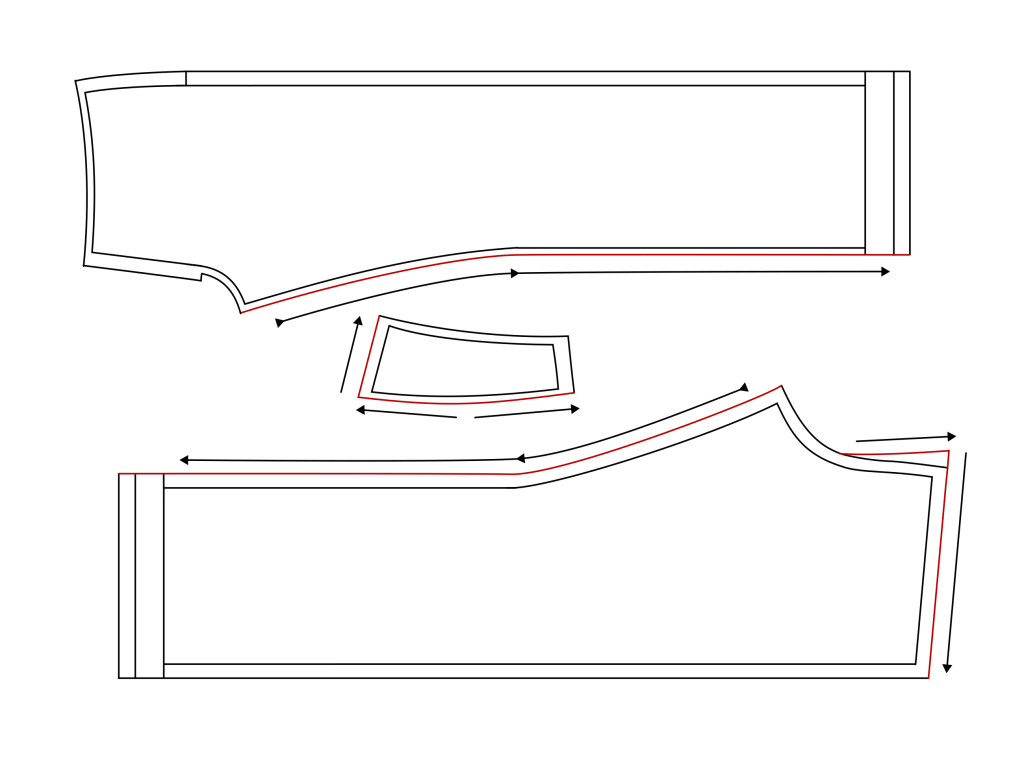
The Back Yoke – 1873
This lesson is intended for those making the 1873 reproduction jeans, or for those making the modern pair but who lack a powerful enough sewing machine to get through the thicker seam junctions. For the modern pair, use the curve modern yoke – you’ll just not have any excess fabric to ease in here.
Begin by laying out your back legs and yokes, ensuring you get the correct pieces corresponding to each side. The long side of the yoke is part of the seat seam.

Lay the yoke on top of the back leg, right sides together, pinning the end farthest from you.
Be sure that the seam lines up properly at the edge.
From the side nearest you, align the seam allowances and edges, and take three stitches in places with basting thread to secure this end.
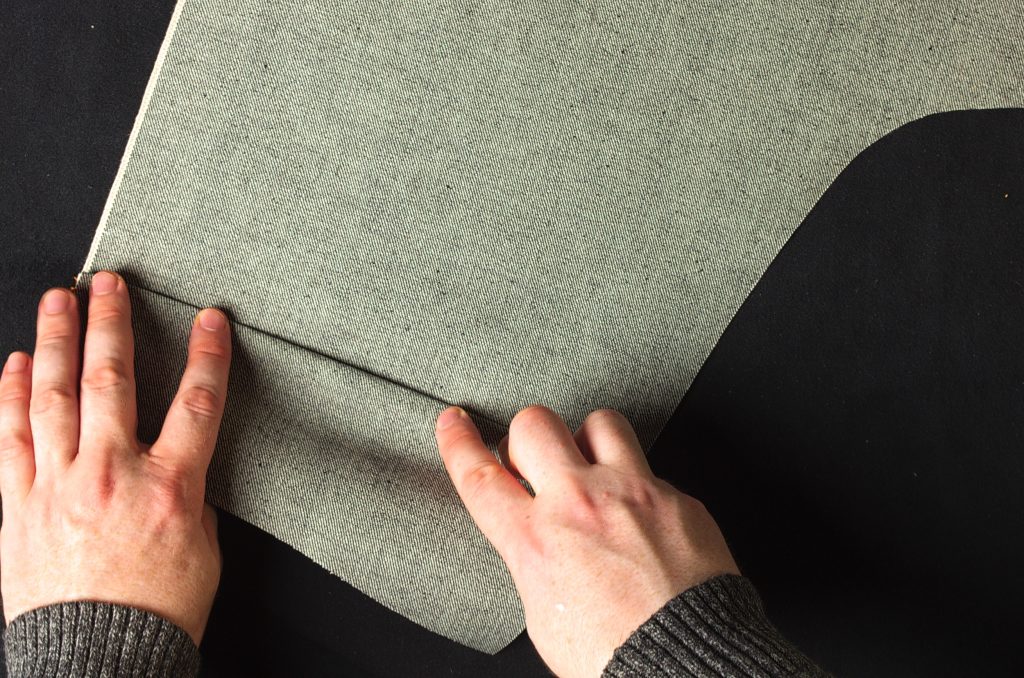
Using a diagonal basting stitch, baste the yoke seam together, keeping about 1/2″ away from the edge. As you baste, work in some of the fullness from the back leg below, evenly distributing it as best you can along the length of the yoke.
Here you can see some of that fullness I’ve basted into position.
Here’s what the yoke looks like after basting across the seam. There’s a little too much fullness under those two points – I probably should have gone back and fixed that, but it worked out well enough.
When you’re happy with your basting, sew across the length of the yoke seam on the machine using a 3/8″ seam allowance. Keep the leg side with the fullness down here and the yoke on top. The feed dogs will help distribute the fullness even further, giving you a better finish.
Remove the basting stitches.
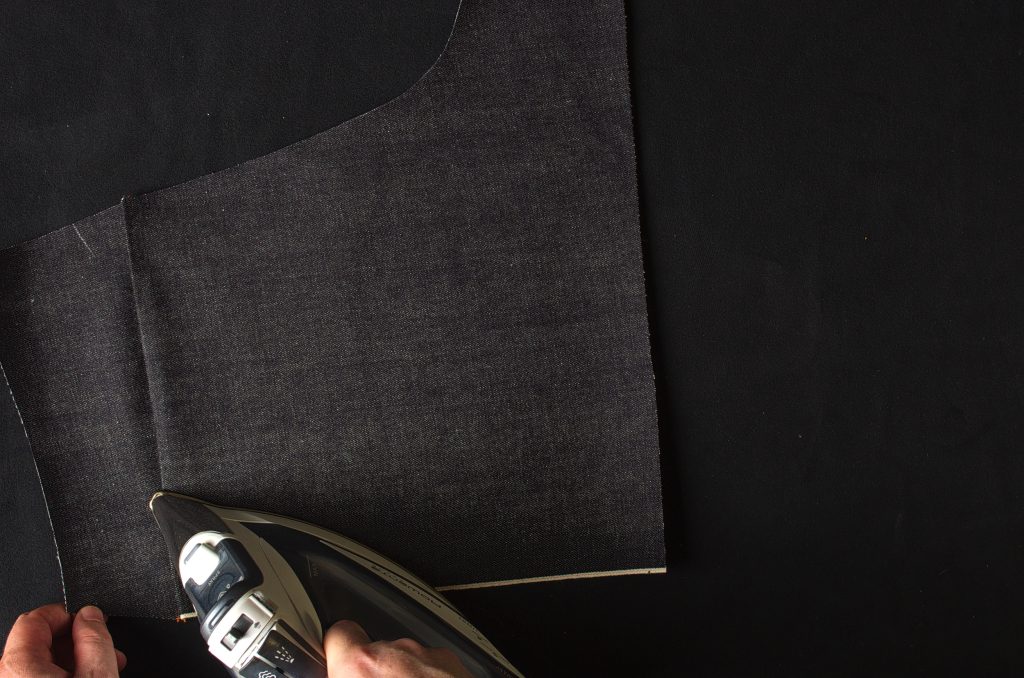
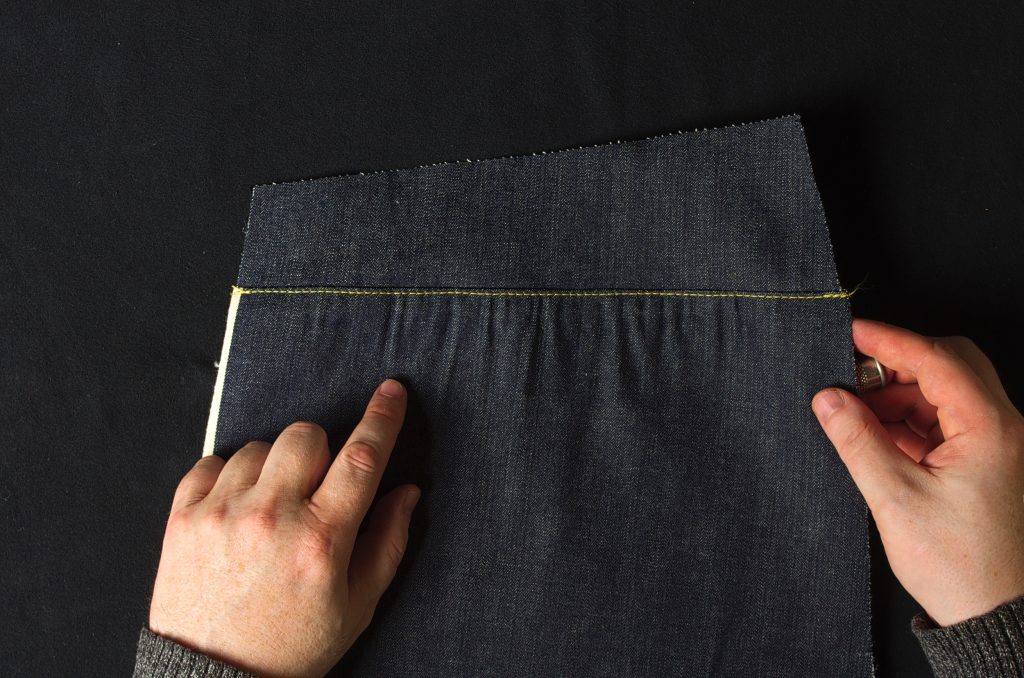
Press all of the yoke seams under and down towards the leg, away from the yoke. I forgot to take a photo of the underside but it’s in the video for clarity. Try not to let the iron extend too far down the leg away from the yoke – you don’t want to shrink away that fullness you just built in.

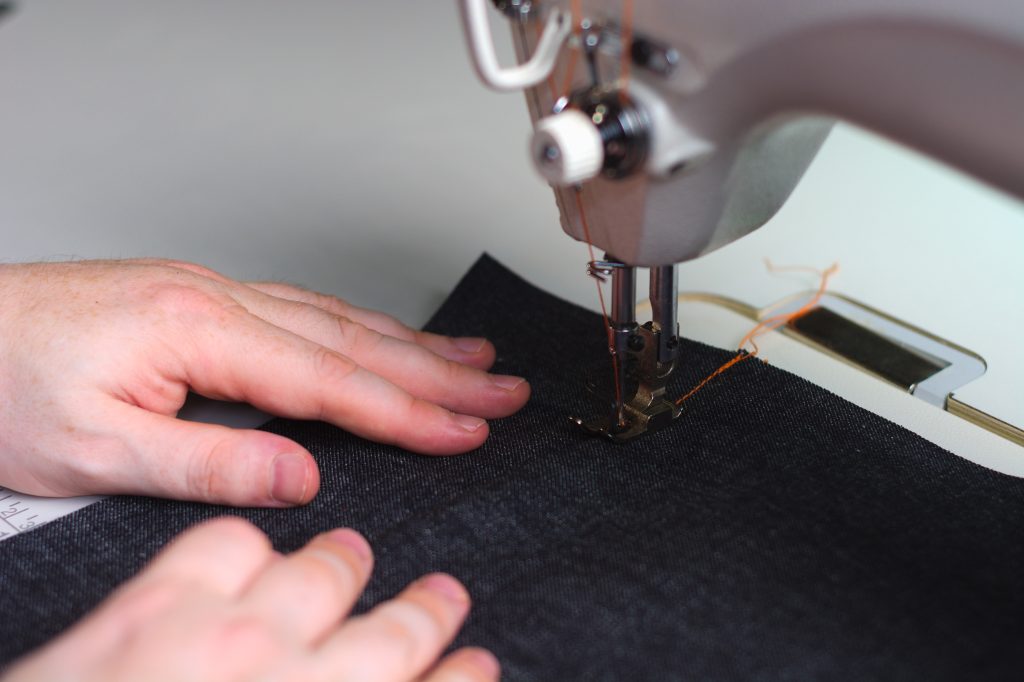
After pressing, top stitch the yoke seam with a single row of stitching, keeping the stitches just under 1/8″ away from the edge (you’ll have to use your judgement here as to what looks good to you and keep it consistent the rest of the project).
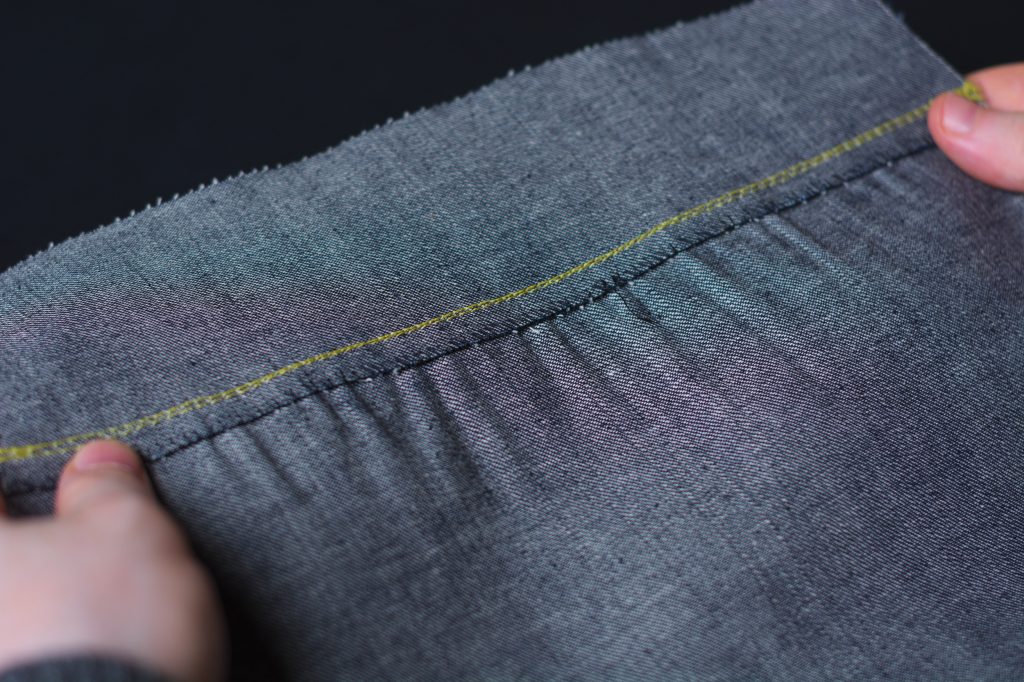
Here’s the completed yoke from the right side.
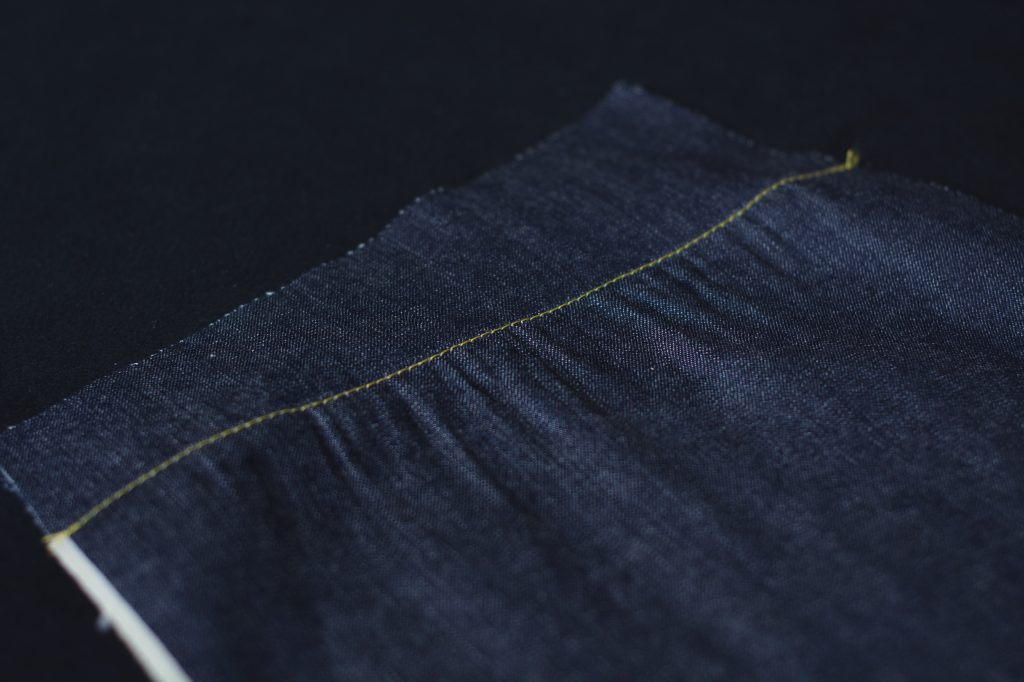
You can see the fullness that was worked in here.
From the underside you’ll see the hand overcasting, as well as two rows of stitching.
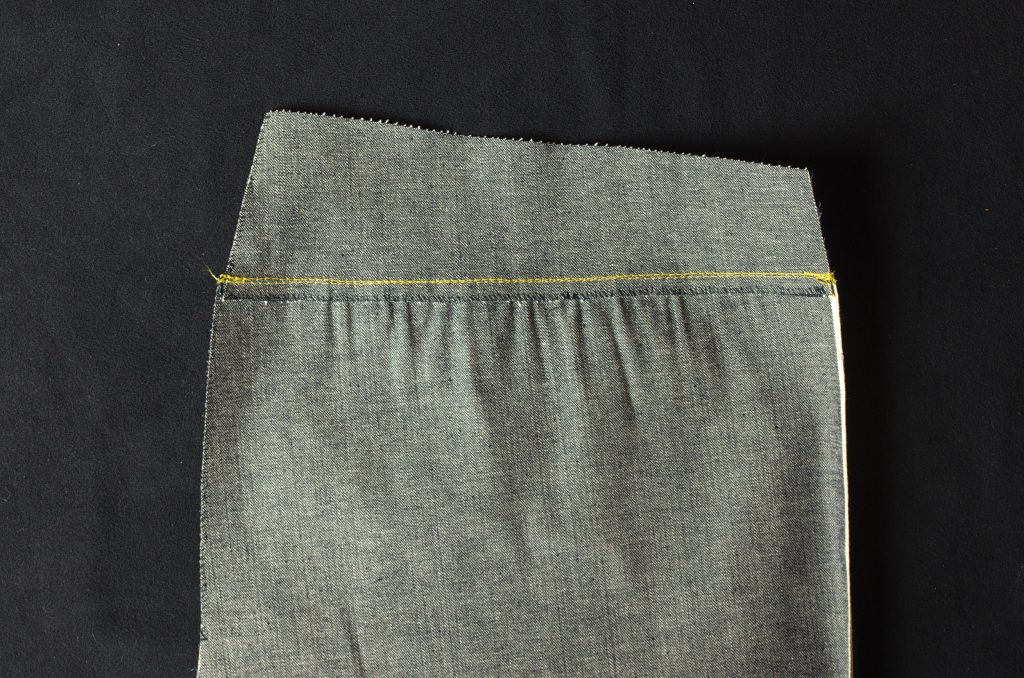
And repeat the process for the other leg. You can see here I got a small pleat in one area (if you look really closely). Normally that would bother me but the originals I have seen have various pleats like that themselves. I suspect these were simply done in a rushed fashion without too much care about making it look perfect.
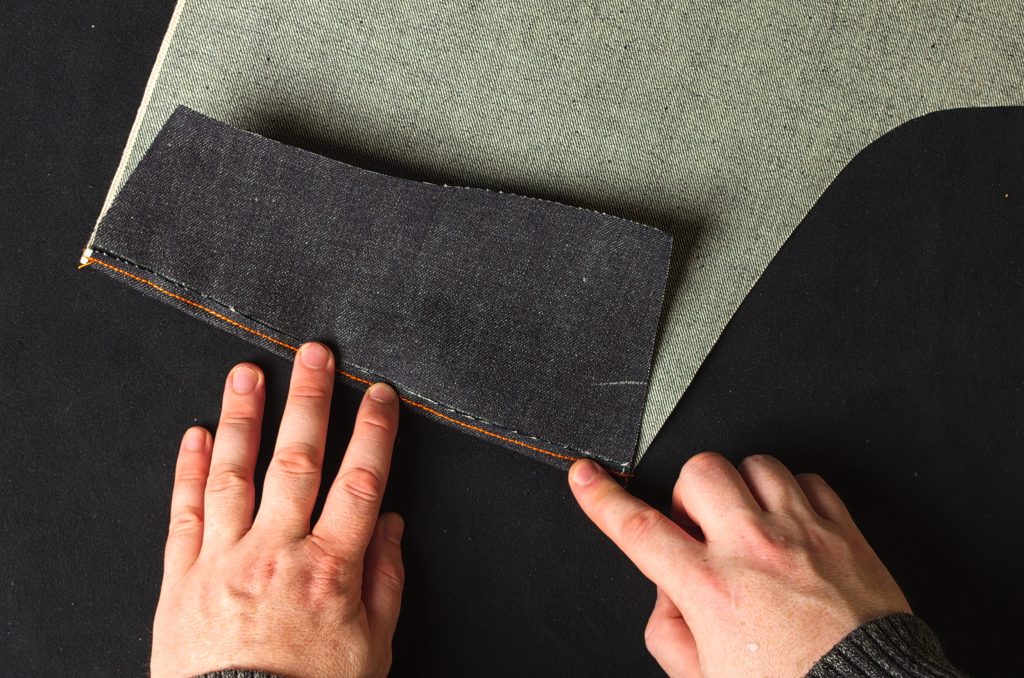
Finishing the Raw Edges
If you’re using the 1873 construction methods, either for the reproduction, or due to having a weaker sewing machine (explained more in the previous section), you’ll need to serge or overcast the raw edges of your jeans in order to prevent fraying. While using a serger is outside the scope of this class, feel free to use one especially for the modern versions. Otherwise, we’ll be overcasting by hand.
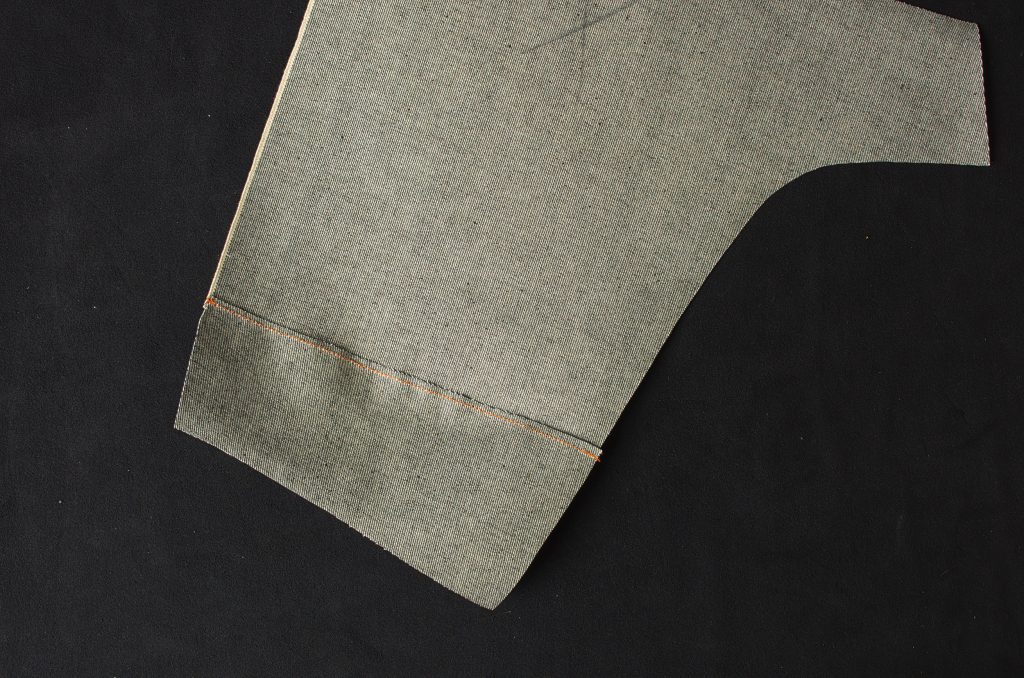
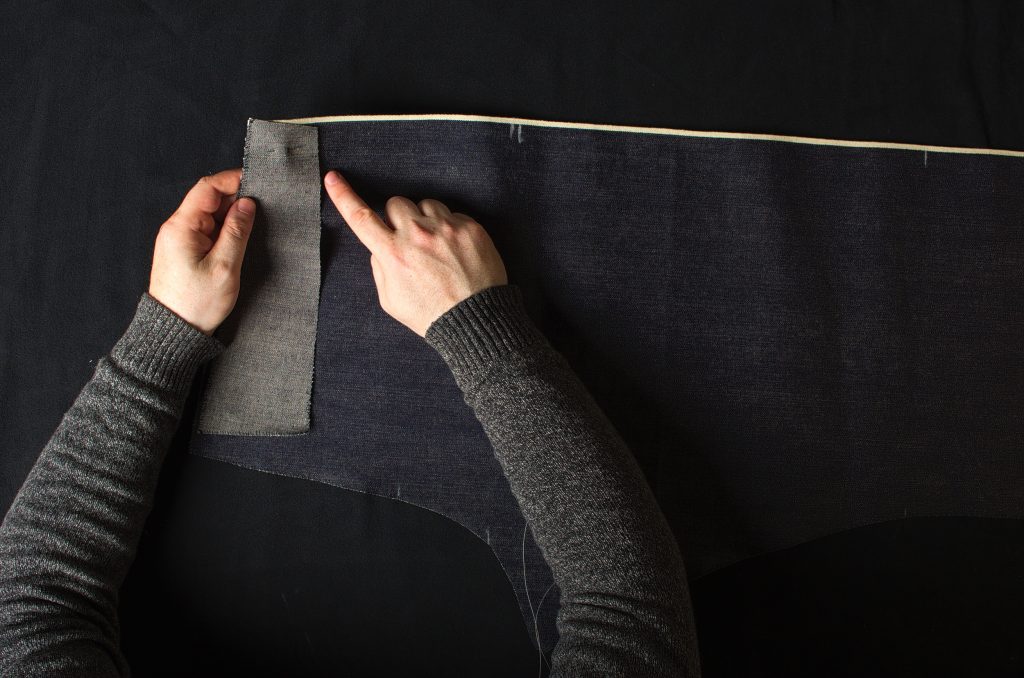
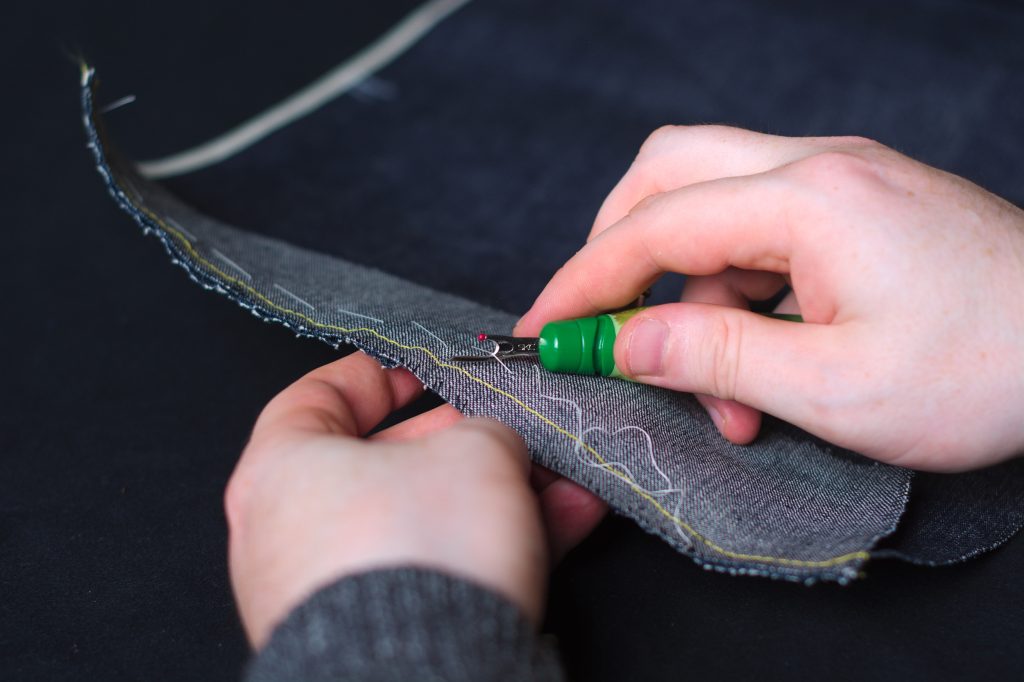
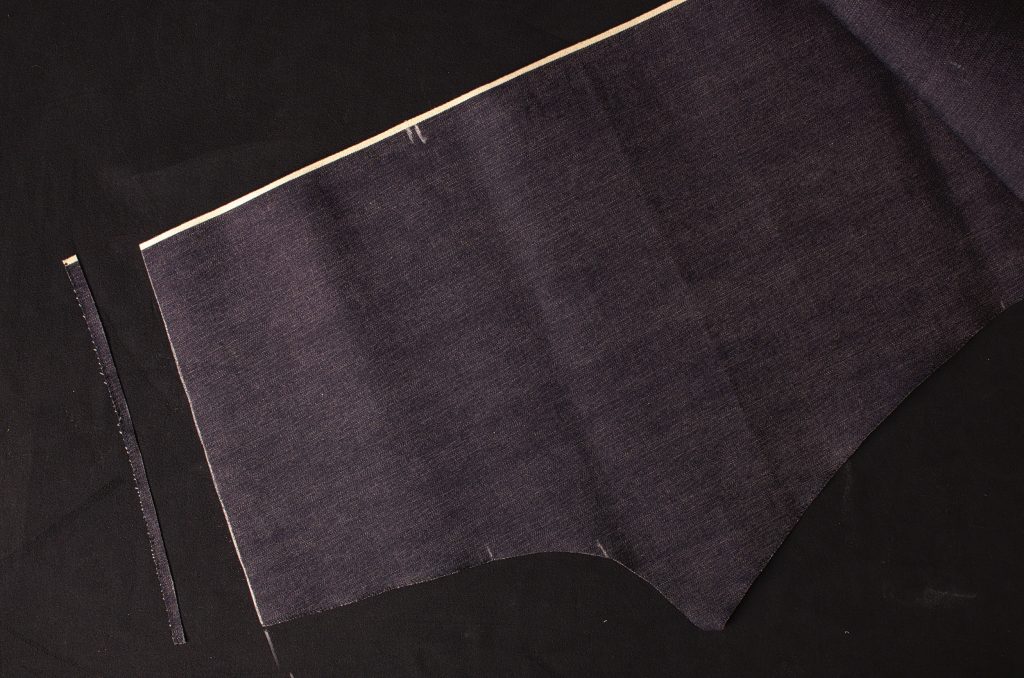
On the back legs, at the yoke seam, mark a line 3/8″ from the edge.
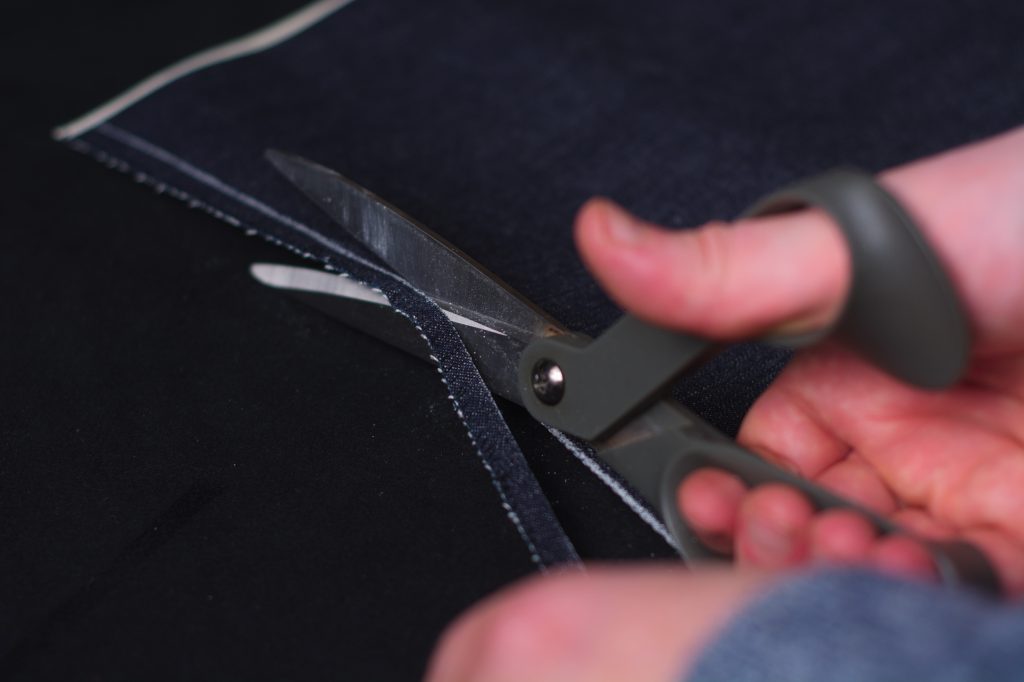
Trim this 3/8″ off, it’s only necessary if you’re doing the full modern construction with the flat felled seams.
You’ll need to overcast the following areas. The rest will be covered up by pockets, fly, or waistband and can be left raw.
Front Leg
- Inseam
Back Leg
- Inseam
- Seat Seam from lower hip line to yoke
- Yoke seam
Yoke
- Yoke seam (go straight across in one direction if using the 1873 pattern)
- Seat seam (longer side)
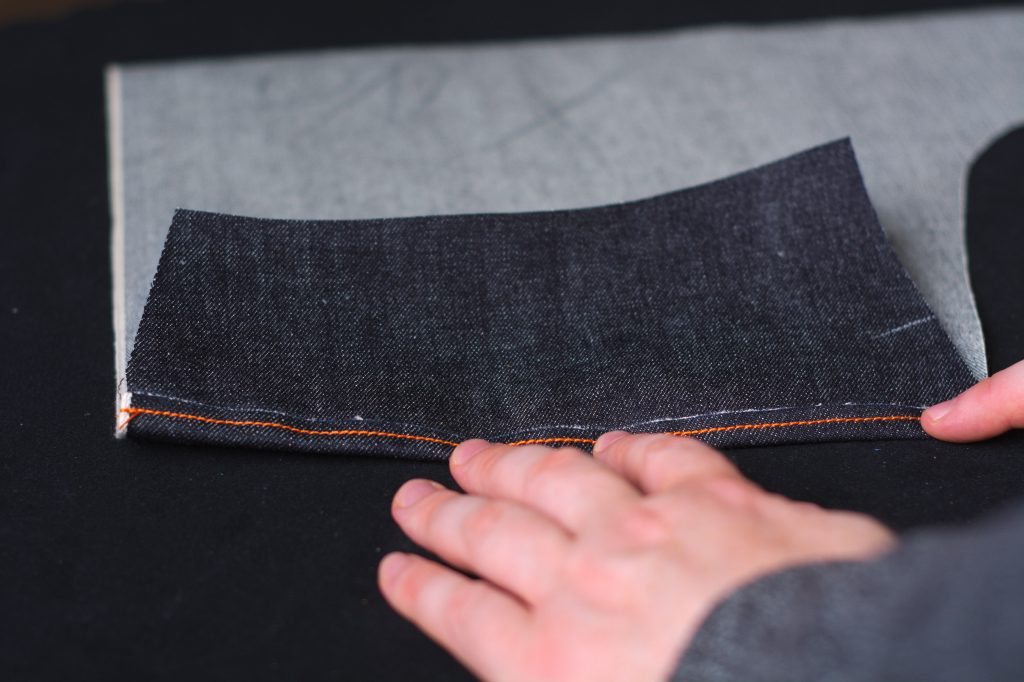
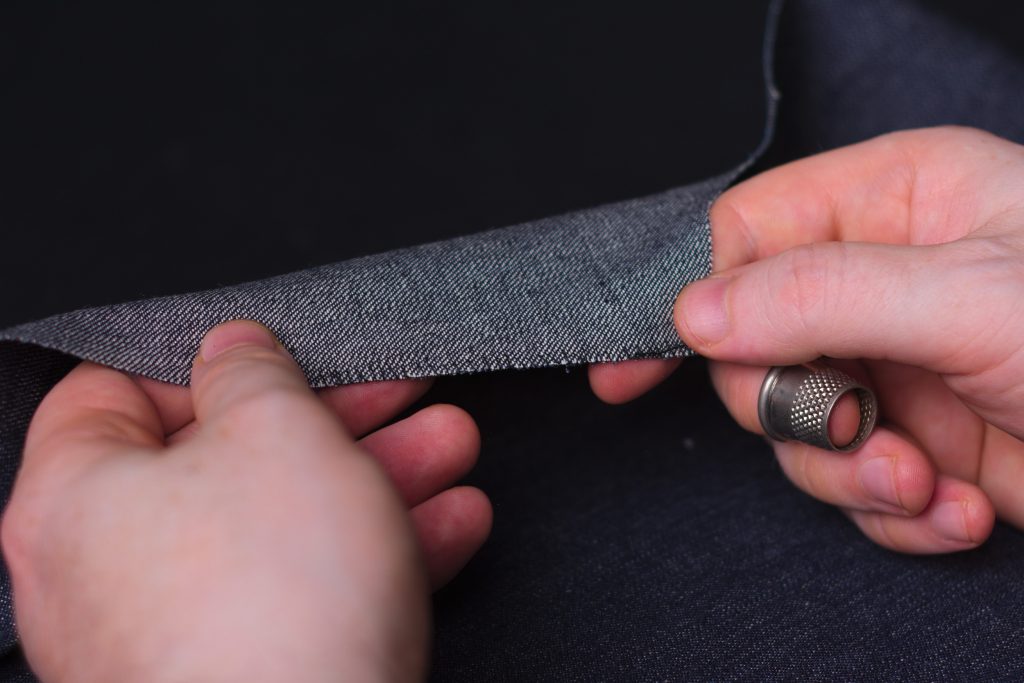
Now starting at the ‘uphill’ part of each seam and working ‘downhill’, overcast the raw edges, keeping about 1/8″ in depth and distance between stitches. By working in this ‘downhill’ manner, you avoid the thread catching at the raw edge and causing it to unravel, in addition to making the sewing process a lot easier.
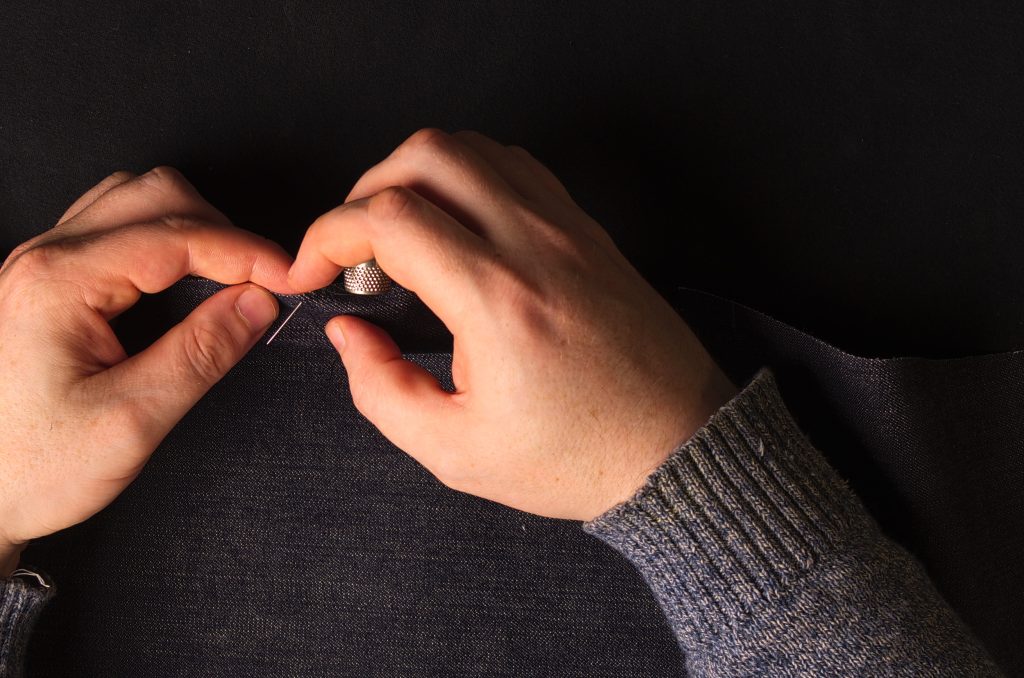
Use the finger behind the cloth to help guide the thread, making a neater stitch.
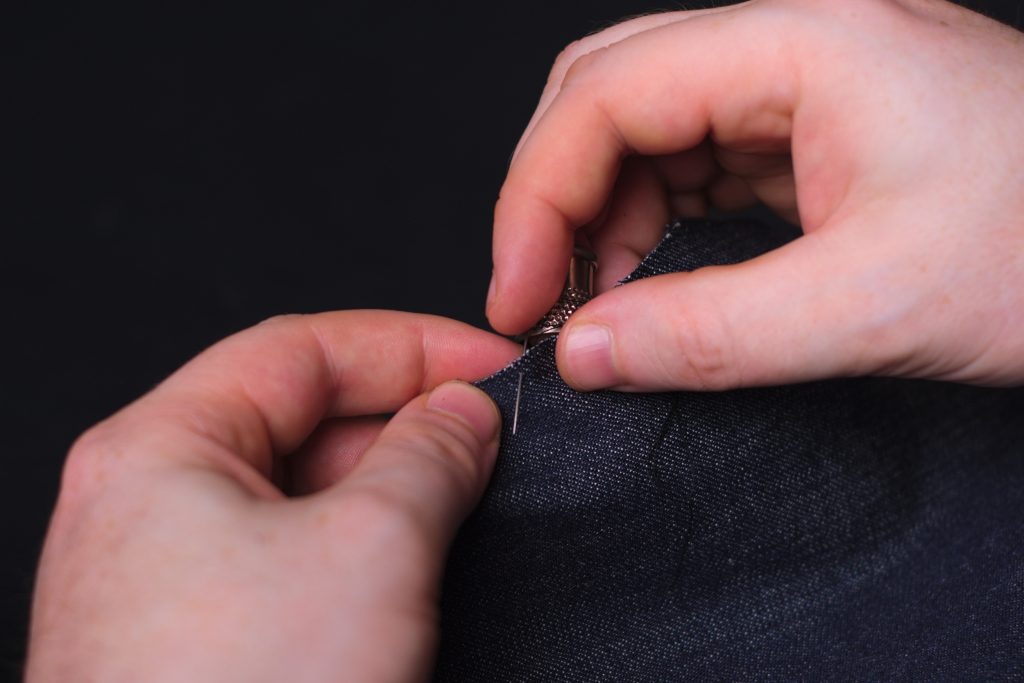
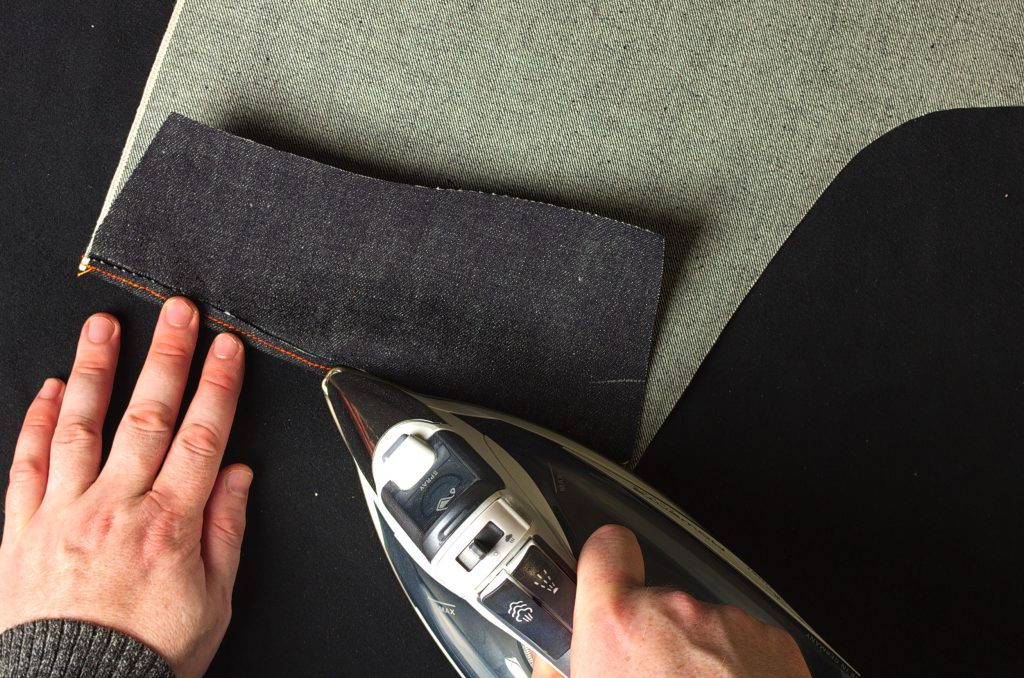
Here’s my overcasting stitch from the wrong side. This really does take a while, about 40 – 60 minutes per leg, but it’s also kind of mindless and you can turn on a film or podcast or music to help pass the time.
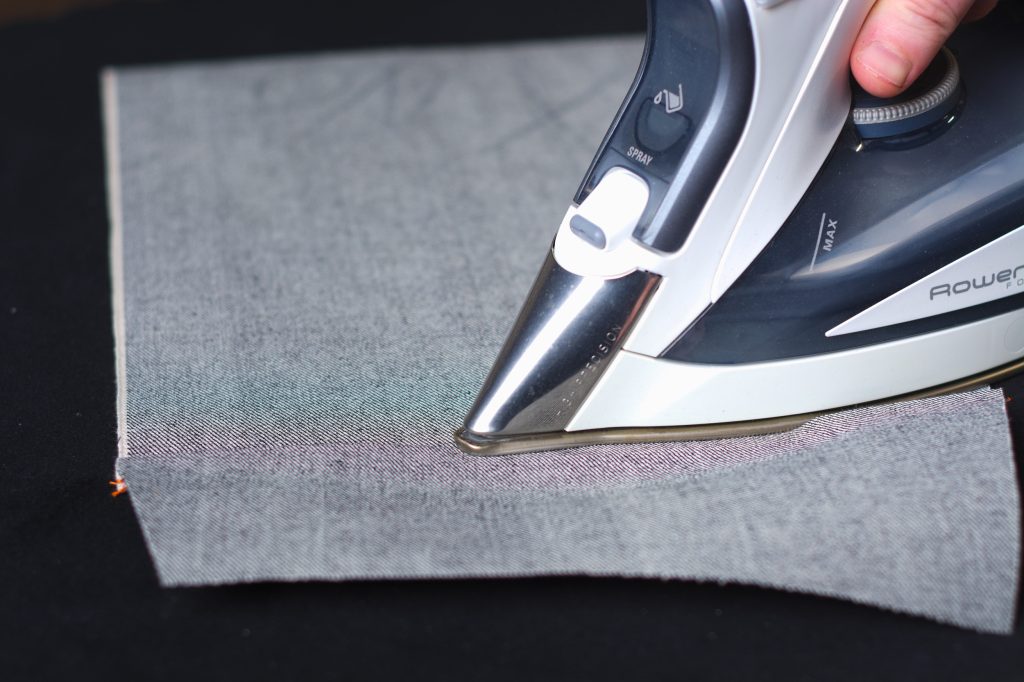
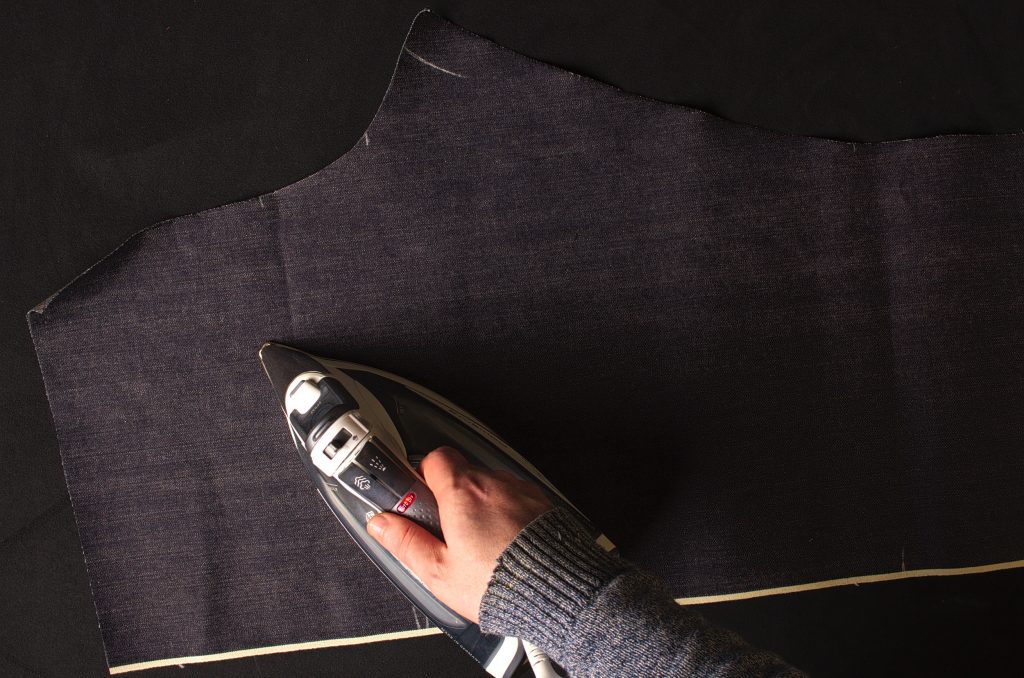
Finally, give everything a good pressing. The denim has a tendency to curl up or perhaps stretch out of shape slightly while overcasting.
Cutting the Jeans
When you’re satisfied with your pattern and have all the pieces ready, it’s time to finally cut out the denim! I’m assuming you’re adept at cutting out clothing patterns already, but I’ll give a few pointers pertaining to the jeans below.
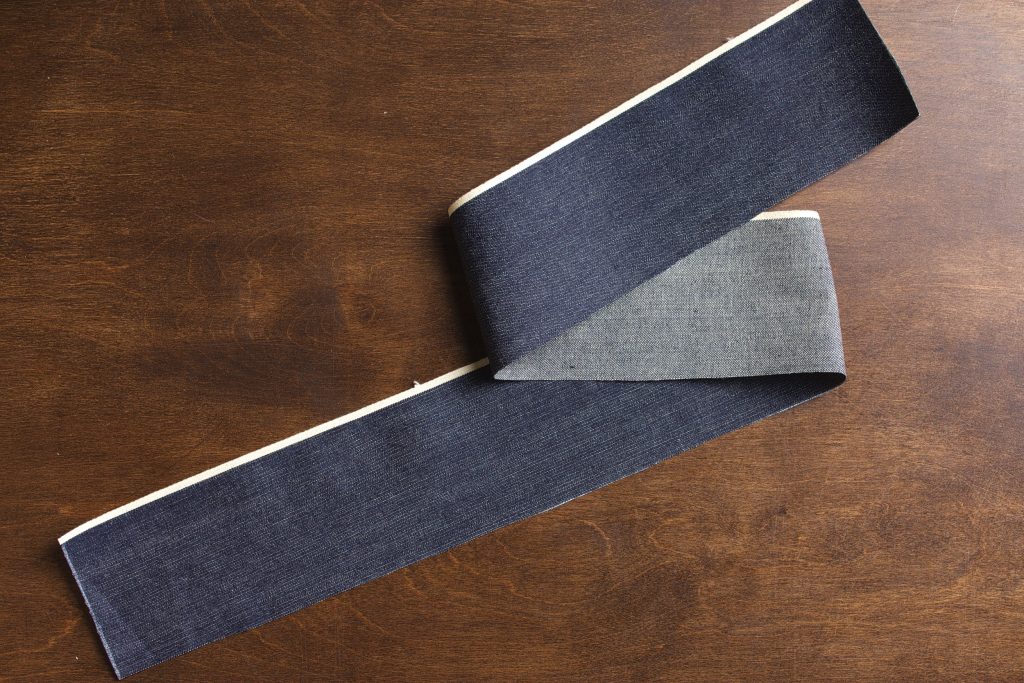
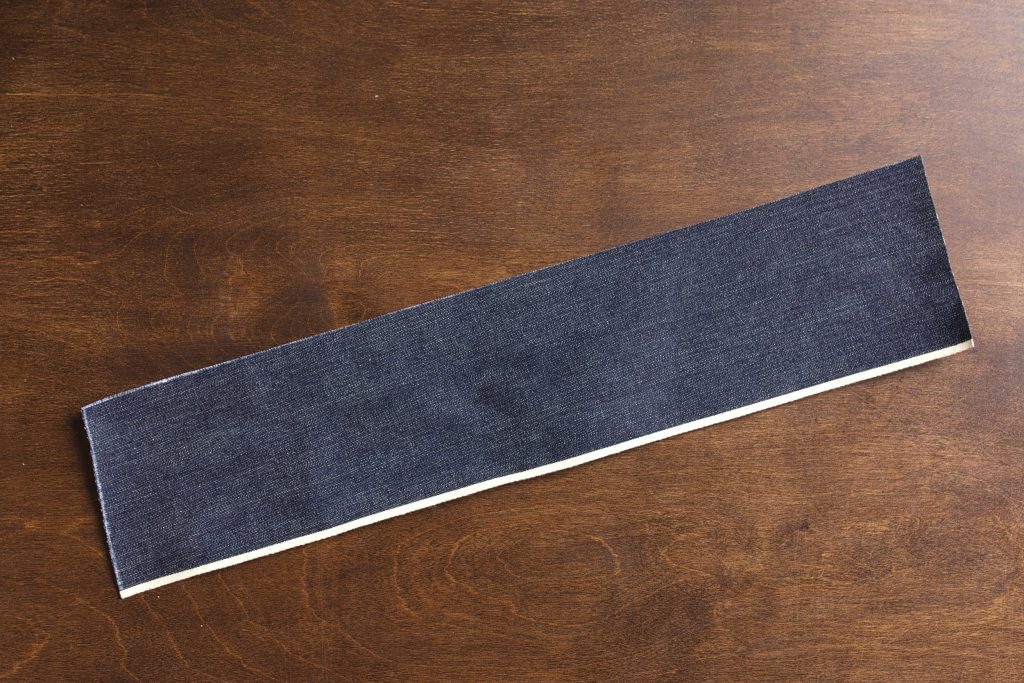
You’ll need the following pieces out of denim. The legs are cut on the selvedge. The waistband and fly can be cut on the selvedge as well if you have enough fabric, but as you can see, it does waste a lot of fabric. I’m not sure what they would have done with the extra back then, but you can use it for other denim projects like bags, vests, etc.
Also save any leftover selvedge to use for belt loops if you want them (for modern pairs).
Because of the nature of selvedge denim, you’ll want to trace out one pattern piece, flip it, and trace out the second side on the reverse, rather than cutting out both pieces at once. Try to keep the pieces facing the same direction if you can. While there’s no nap in denim, particular weaves may have a directional pattern to them. And depending on the width of your denim and size and shape of your pattern, your layout will look slightly different than mine.
Denim Pieces
- Front Legs
- Back Legs
- Yoke (straight or curved depending on your pattern)
- Back Pockets (only one for 1873 jeans)
- Front Pocket Facings
- Watch Pocket
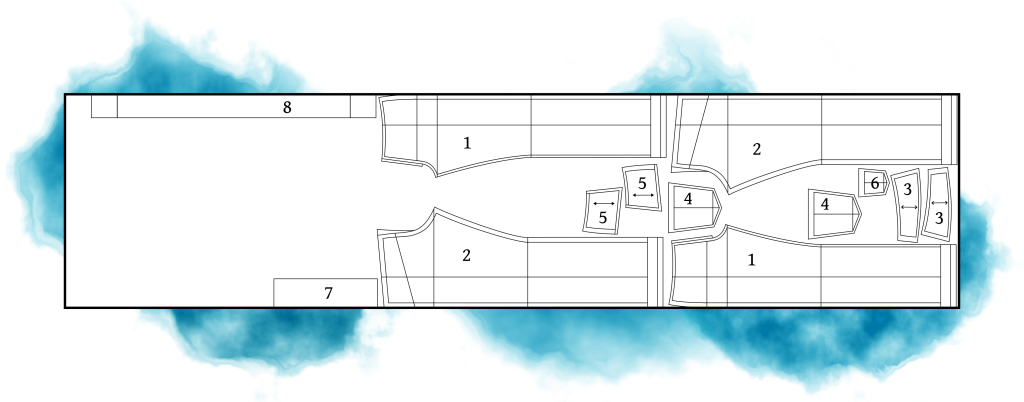
Pocketing Pieces
- Pocket Bags
- Back Pocket Linings (cut the same as the back pockets
Some Tips
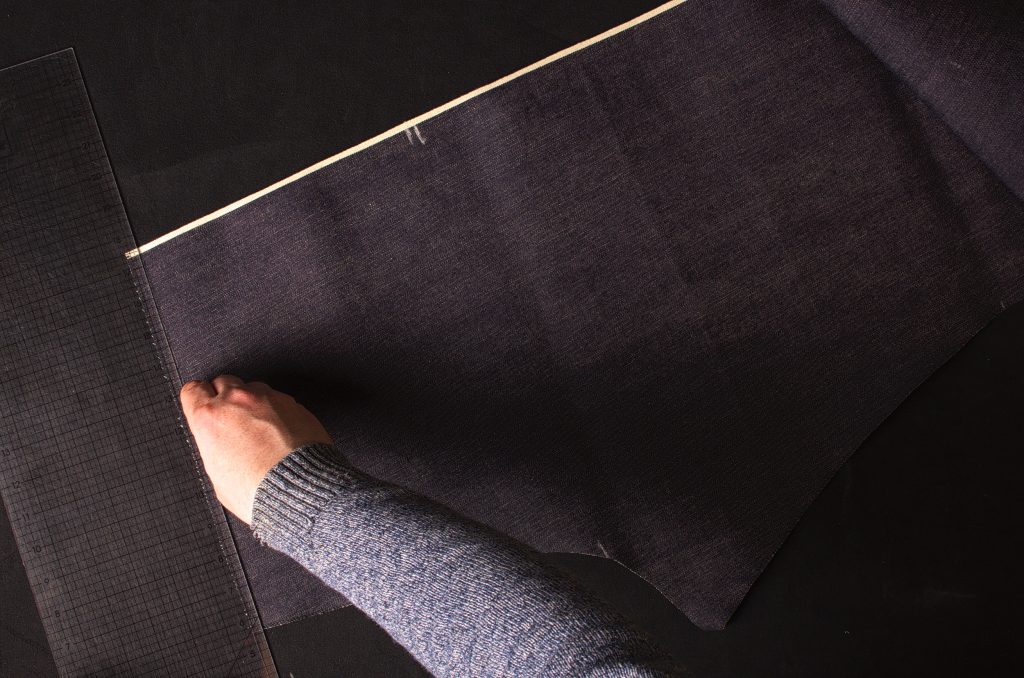
Weigh down the pattern pieces and use chalk to mark the edges for the most accurate cutting.

Lay the long side seams directly on the selvedge edge. This will keep those seams from fraying.
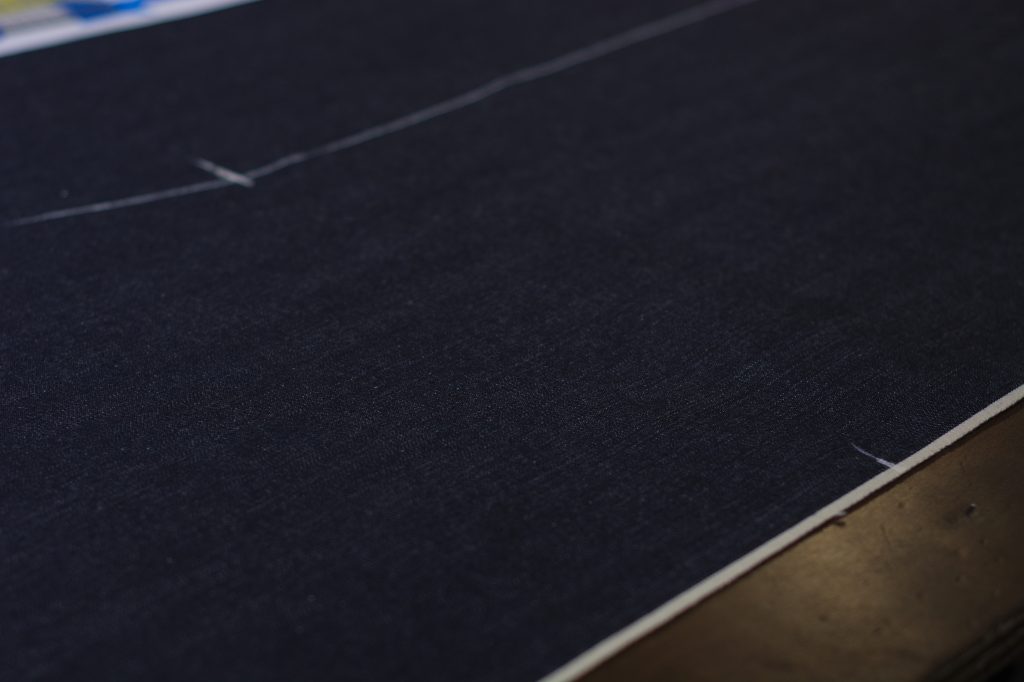
Make a small mark with chalk at the hem, knee, crotch, and hip lines just to aid in construction later on. I don’t recommend clipping notches as that will ruin the selvedge, and the marks are easy enough to add again if they fade.
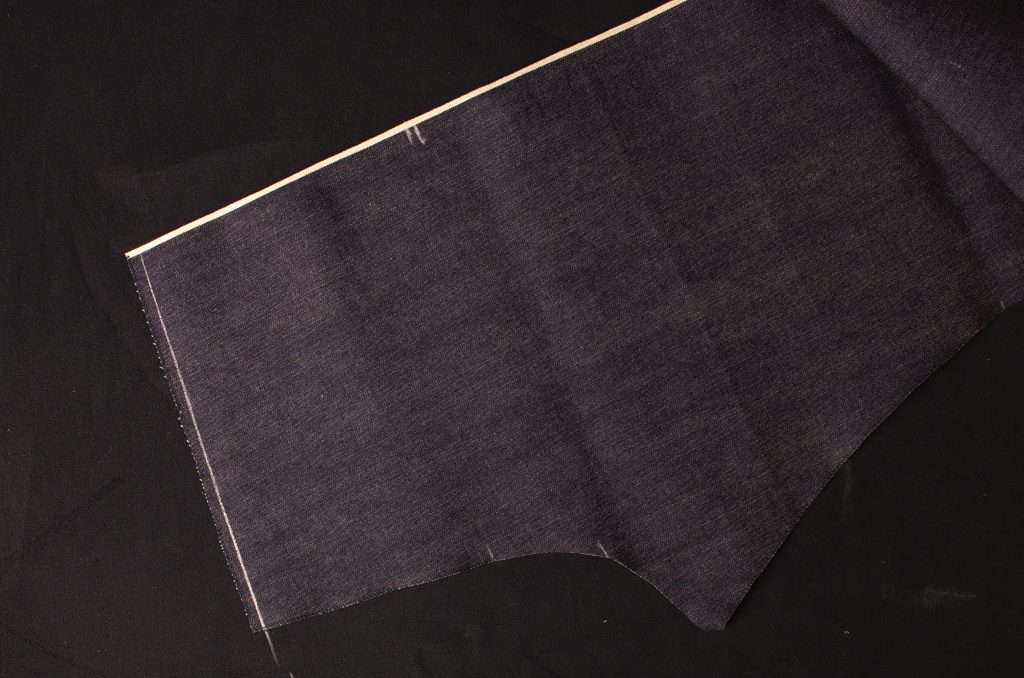
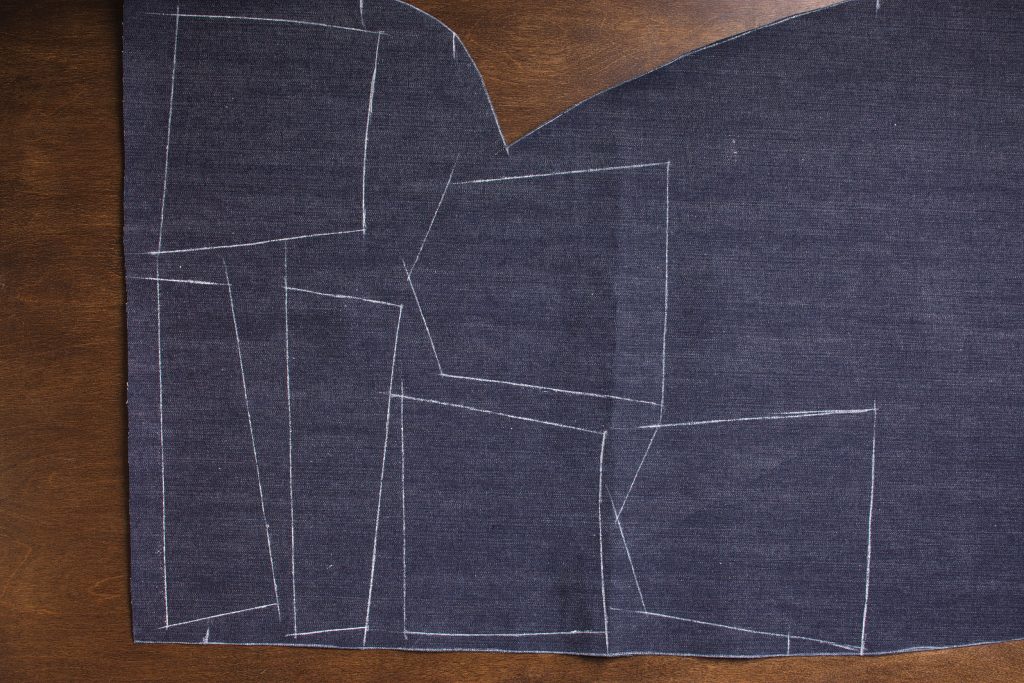
Cut the smaller pieces out of the areas between the legs.
The originals were cut with selvedge waistband and fly, though this does waste a lot of fabric. Worth it though if you want to keep as close to the original as possible.
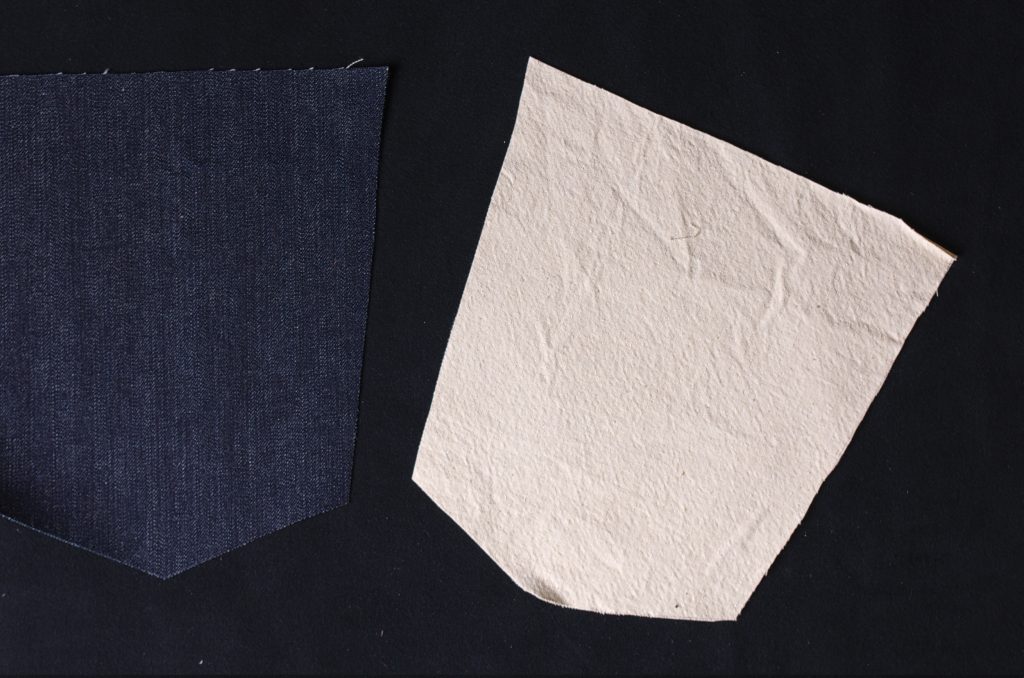
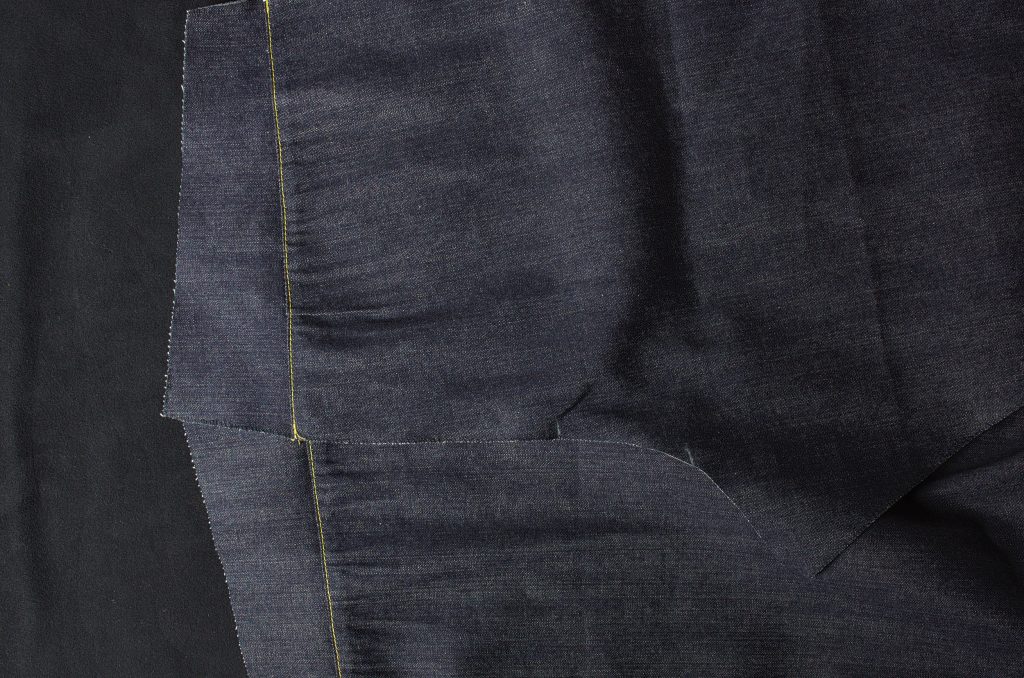
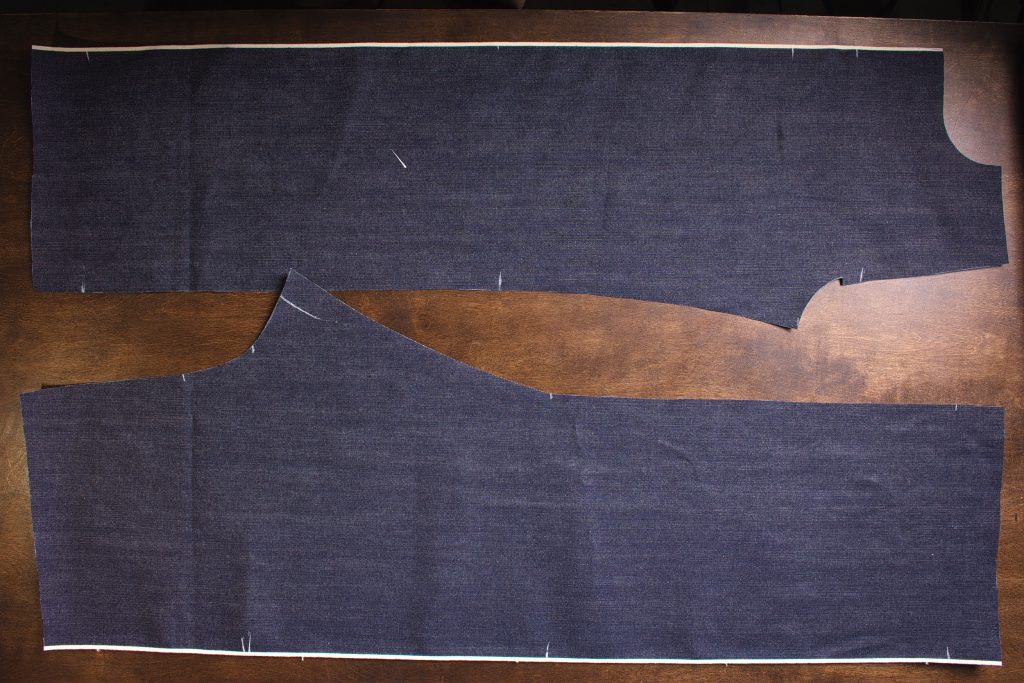
Here are all of the pocket pieces. The pocket bags are cut on the fold as indicated in the pattern. I’m not sure if the original jeans from 1873 had lined back pockets but I’ve cut them just in case (though we only need one pocket for the 1873 jeans). And the watch pocket I cut here with a selvedge top opening that I’ll fold under (more on that later).
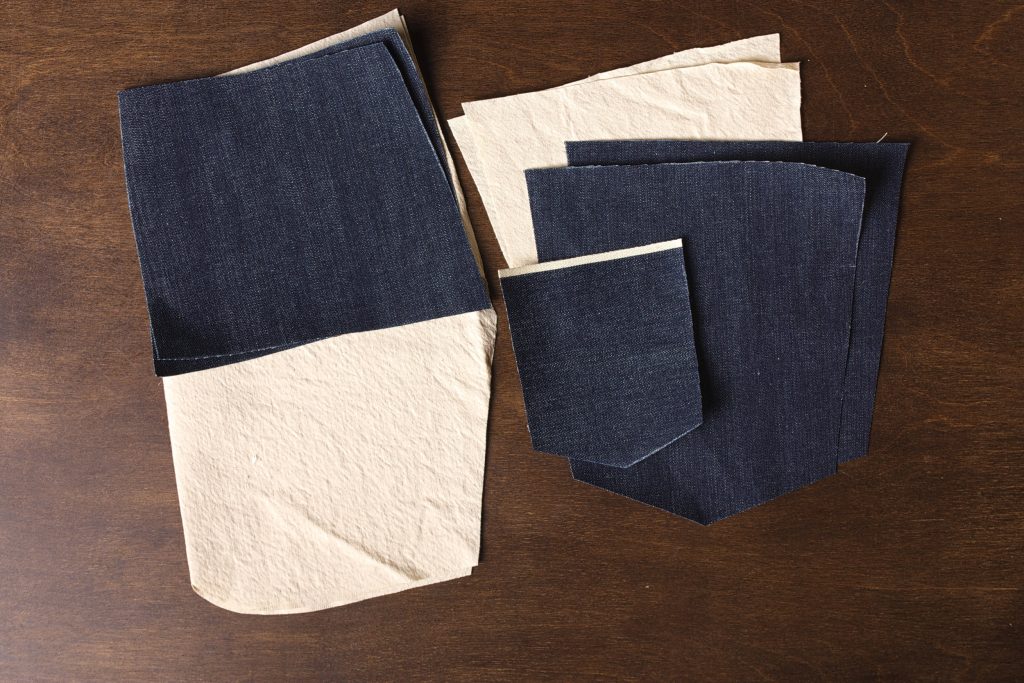
Here are all of the pieces after cutting them out.
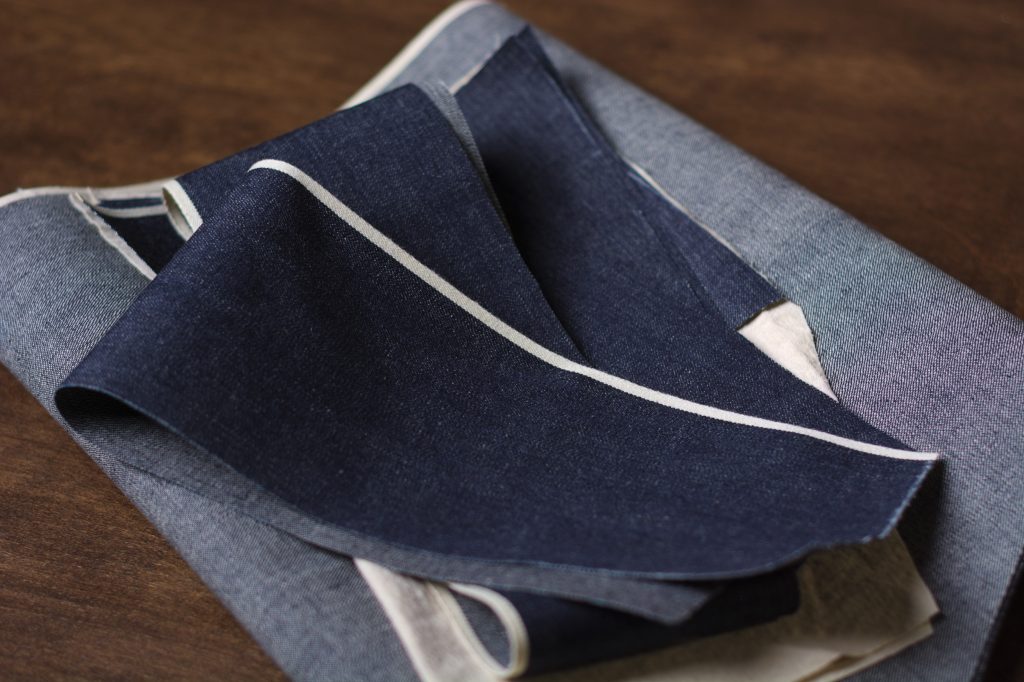
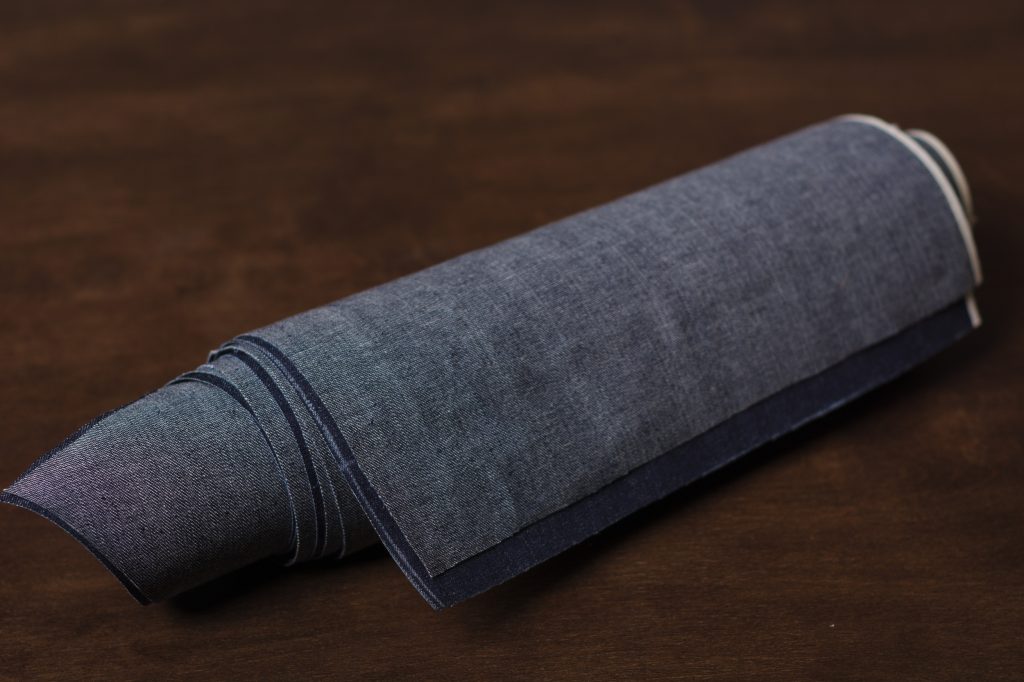
I like to roll everything up into a nice little package. This avoids creases, especially if you won’t be working on the project right away.
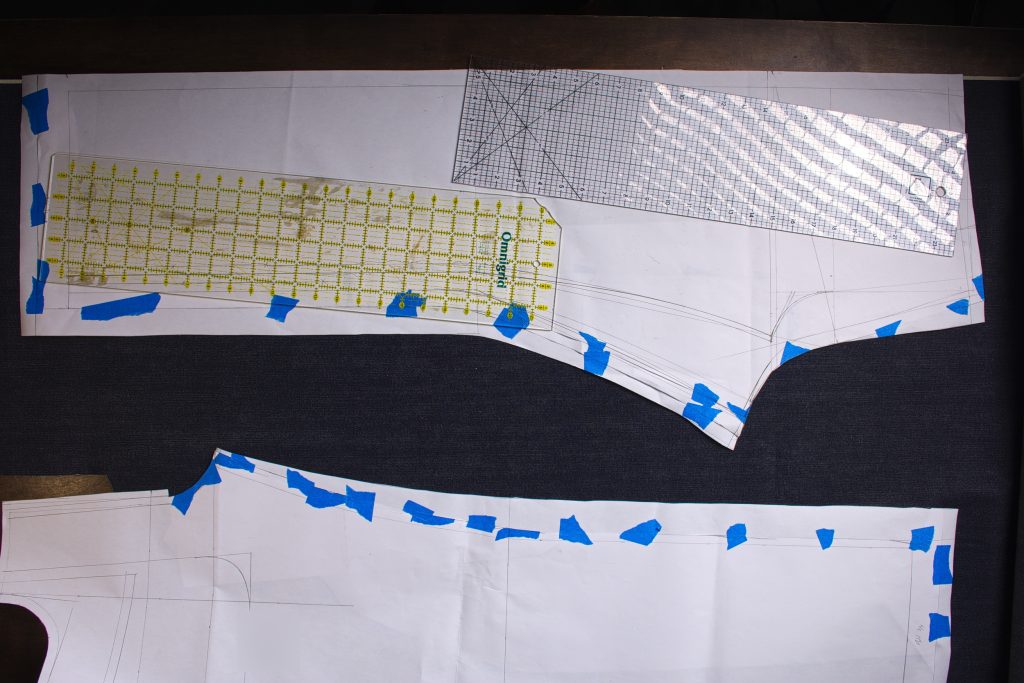
Restoring the Yoke Pattern
Sometimes during the process of altering the pattern, you need to restore the original yoke pattern or the entire back leg with yoke. If that’s the case for you, here’s how to do it.
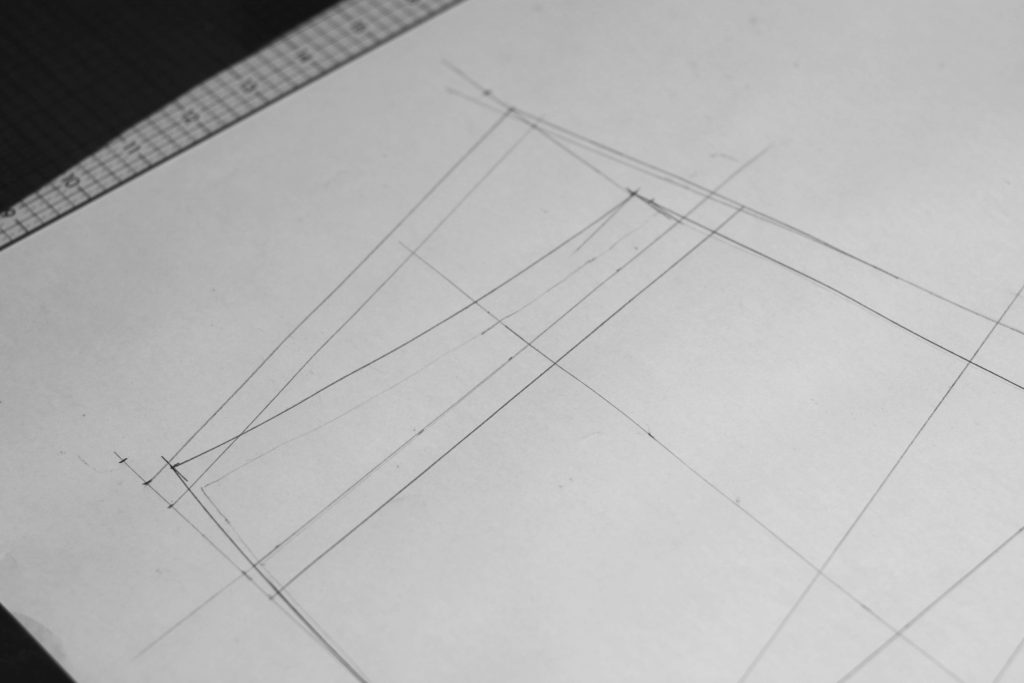
First, lay your back leg pattern on a fresh sheet of paper. Tape it if you’re trying to restore the entire back leg.
Then use a ruler to mark the yoke seam line (not the seam allowance) onto the fresh sheet of paper.

Then extend the side seam a little bit farther than you’ll need it.
And do the same for the seat seam line.
Lay your current yoke pattern on the new pattern and mark the lengths of the seat seam and side seam with the yoke pattern, not including the seam allowances. Or, you could simply measure and transfer the lengths.
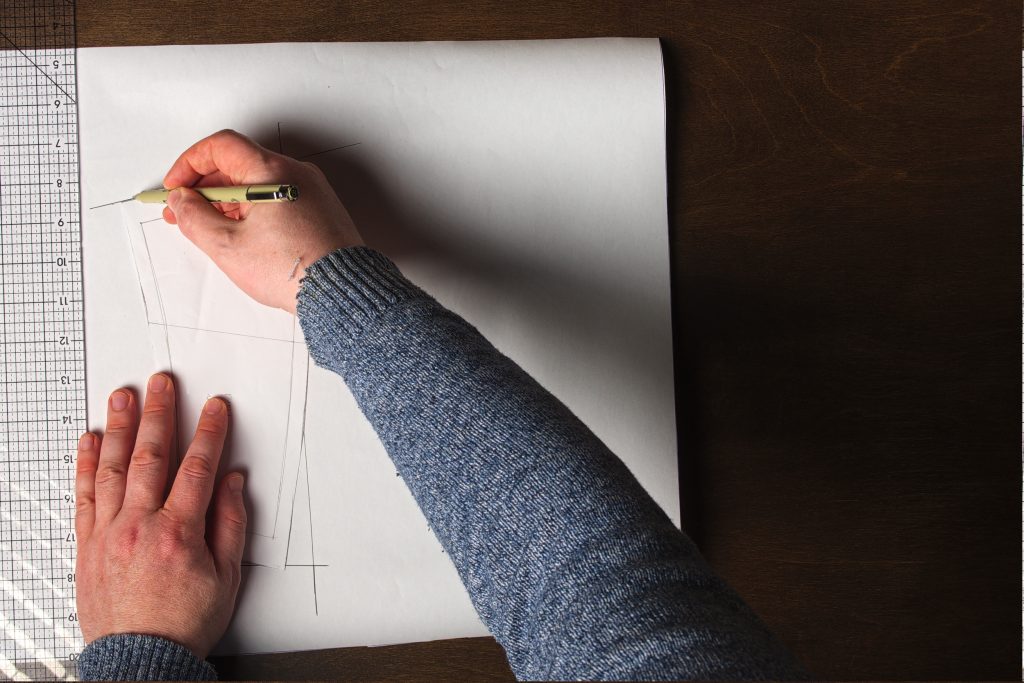
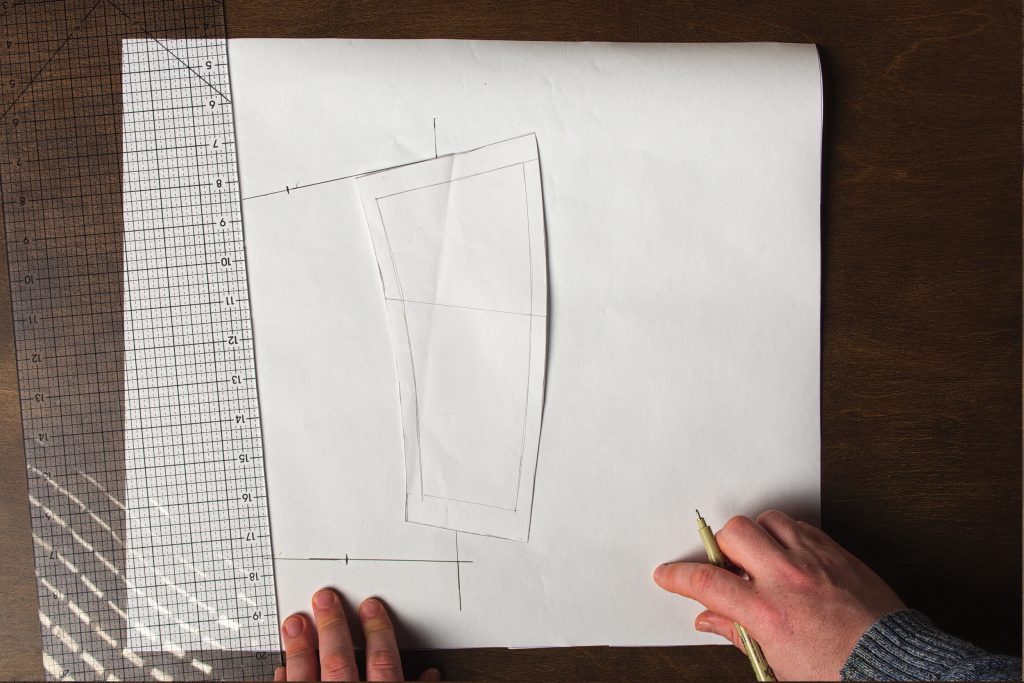
Then draw the waist line, connecting the two points.
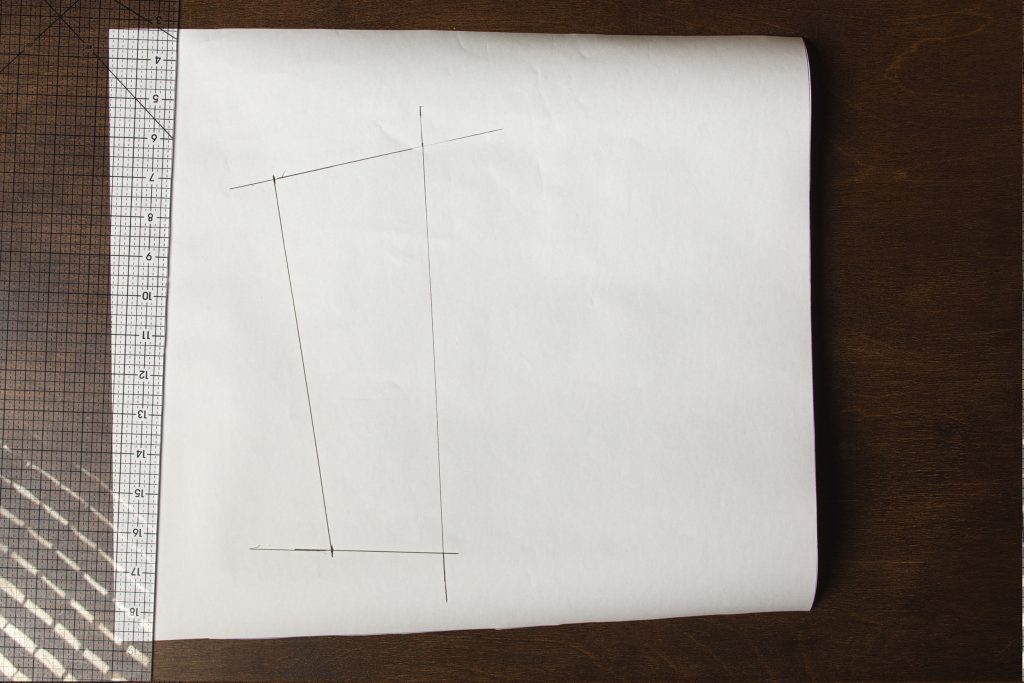
Then simply divide the waist line into thirds and add your darts in as appropriate (covered in the previous two lessons).

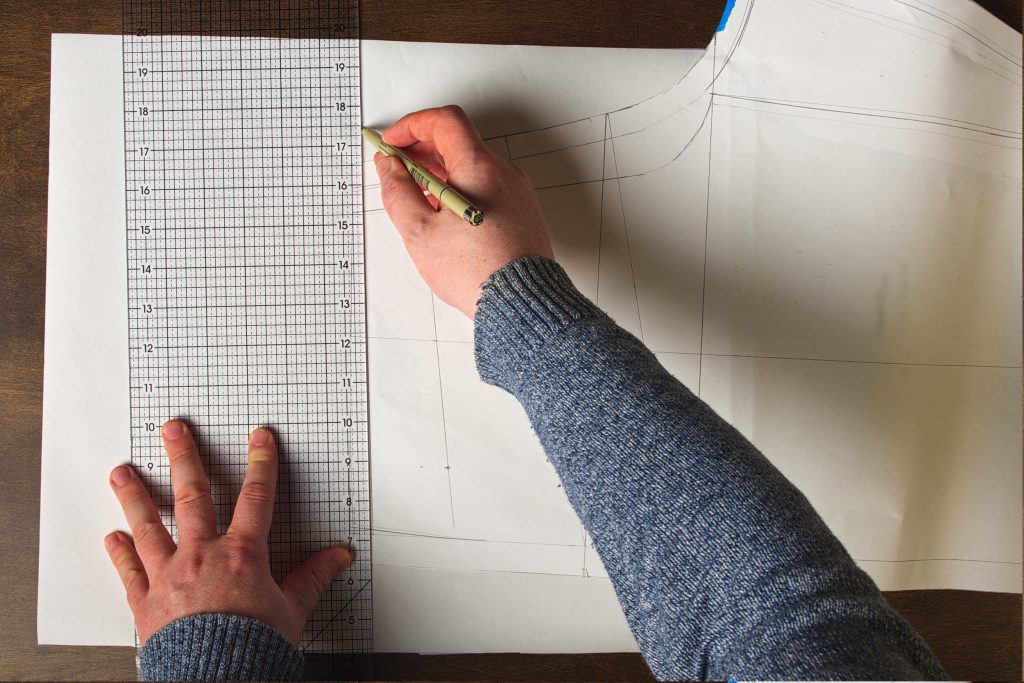
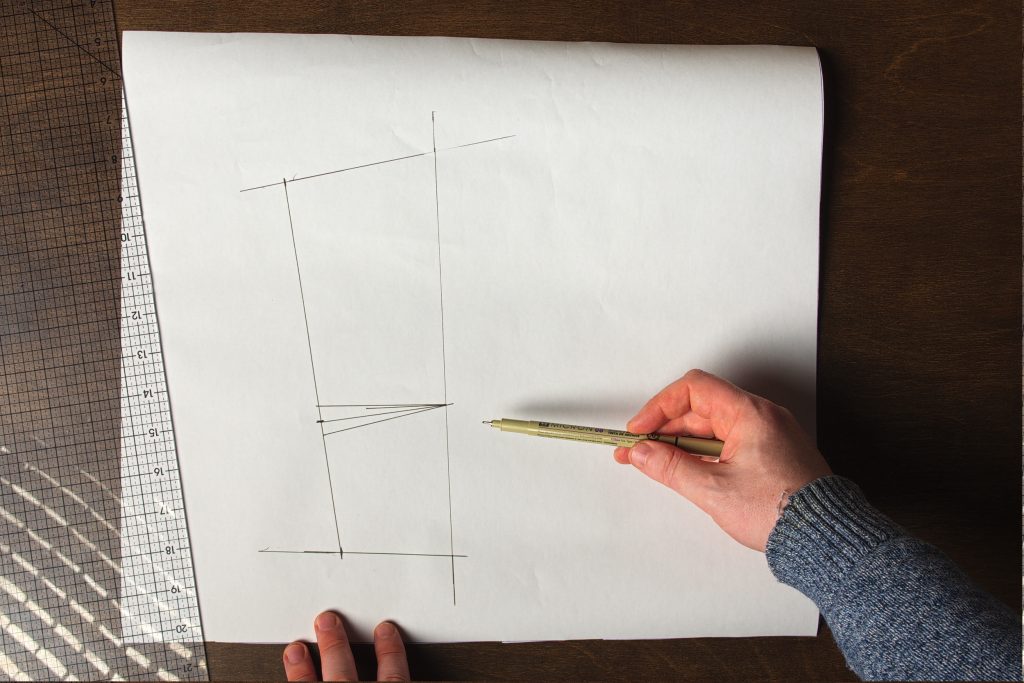
Drafting the Yoke – 1873
With the back complete, we’ve got to draft the yoke before cutting everything out and adding seam allowances.
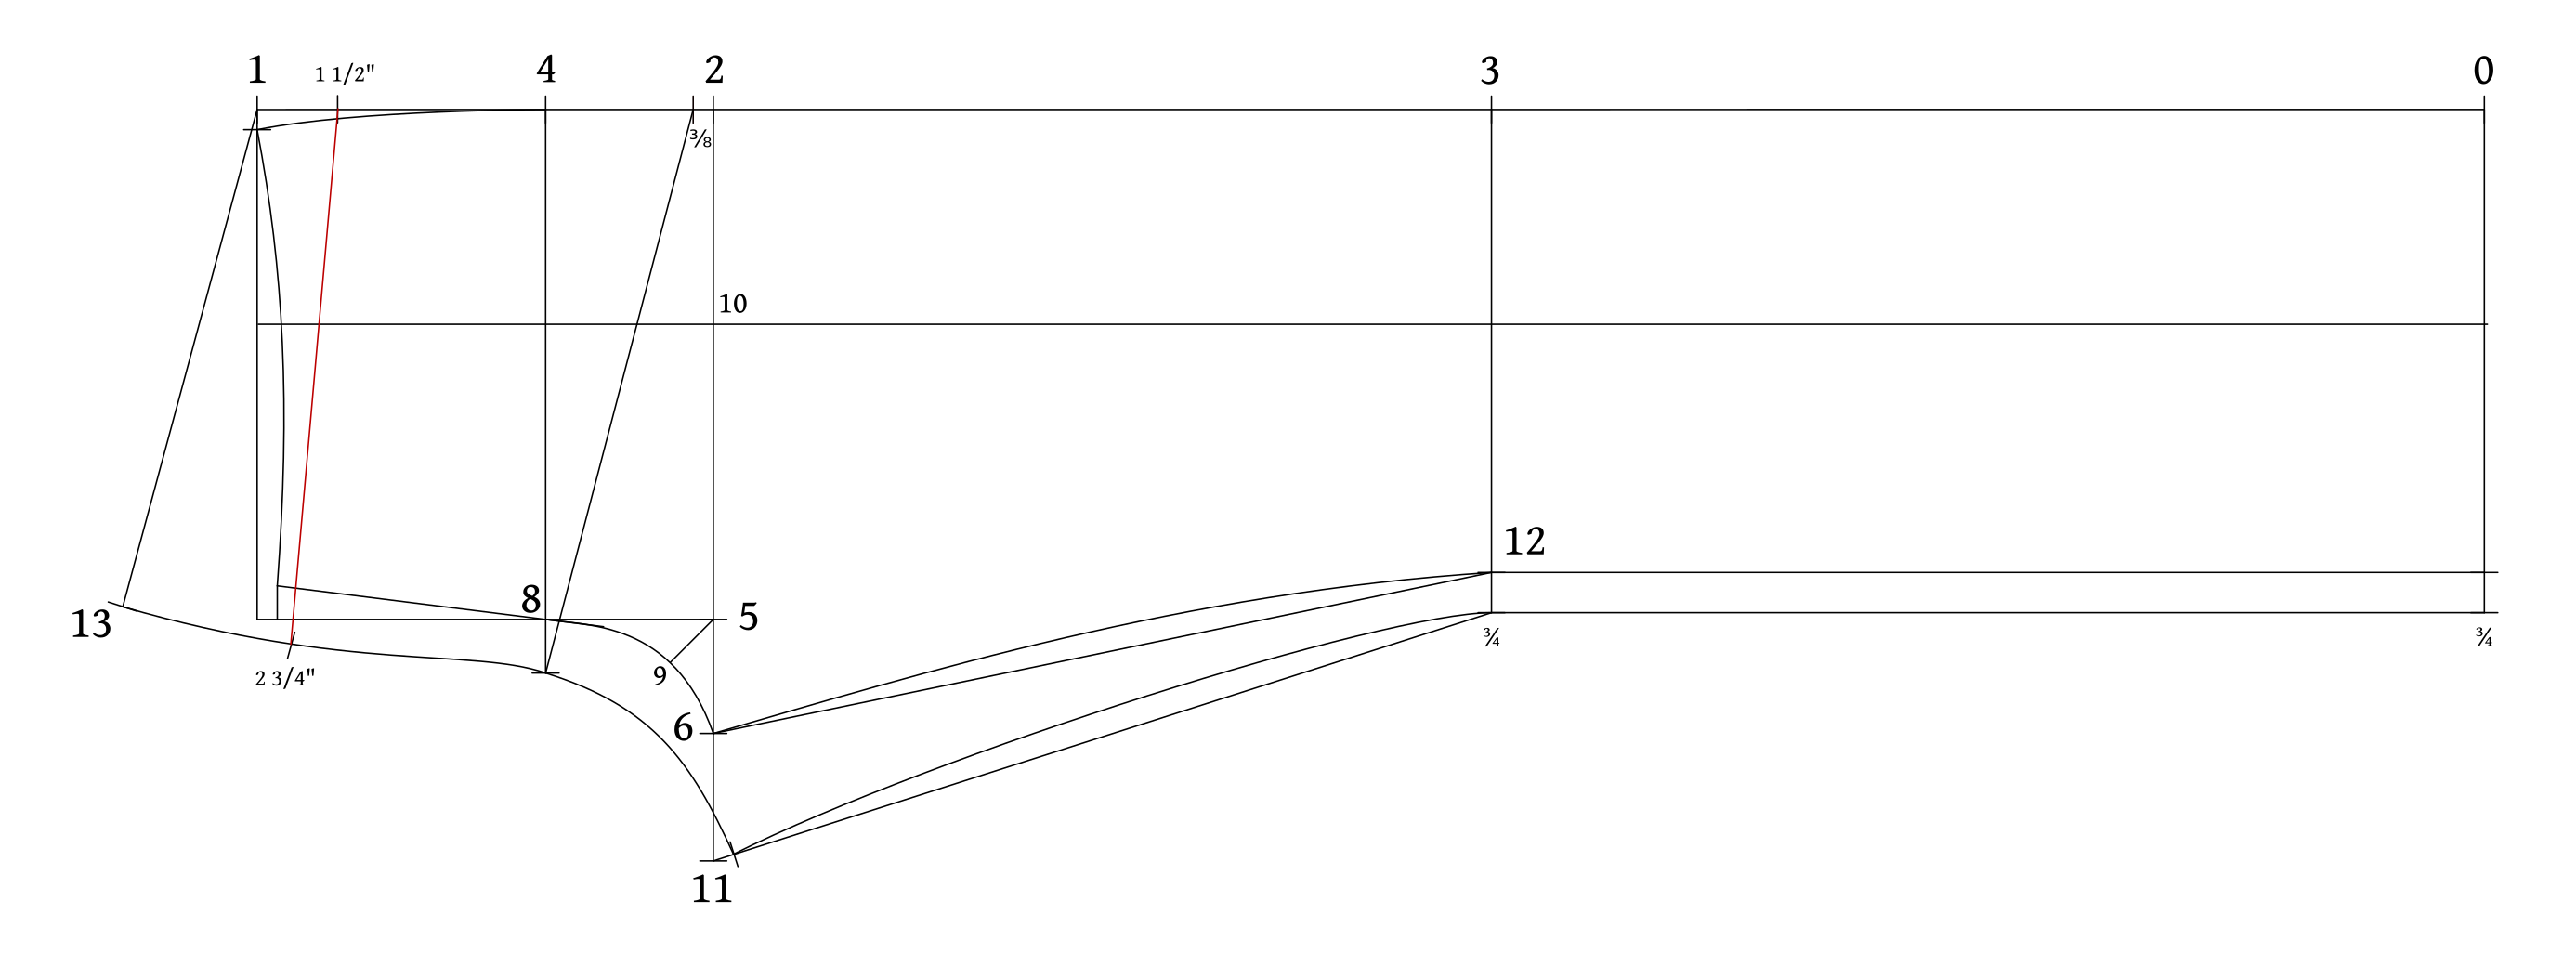
- First, measure about 1 1/2″ from 1 on the side seam and mark that.
- Mark 2 3/4″ from 13.
These widths are just a good place to start. If you have very high rise jeans, you may need to deepen the yoke for example. But this is best determined after your first fitting.
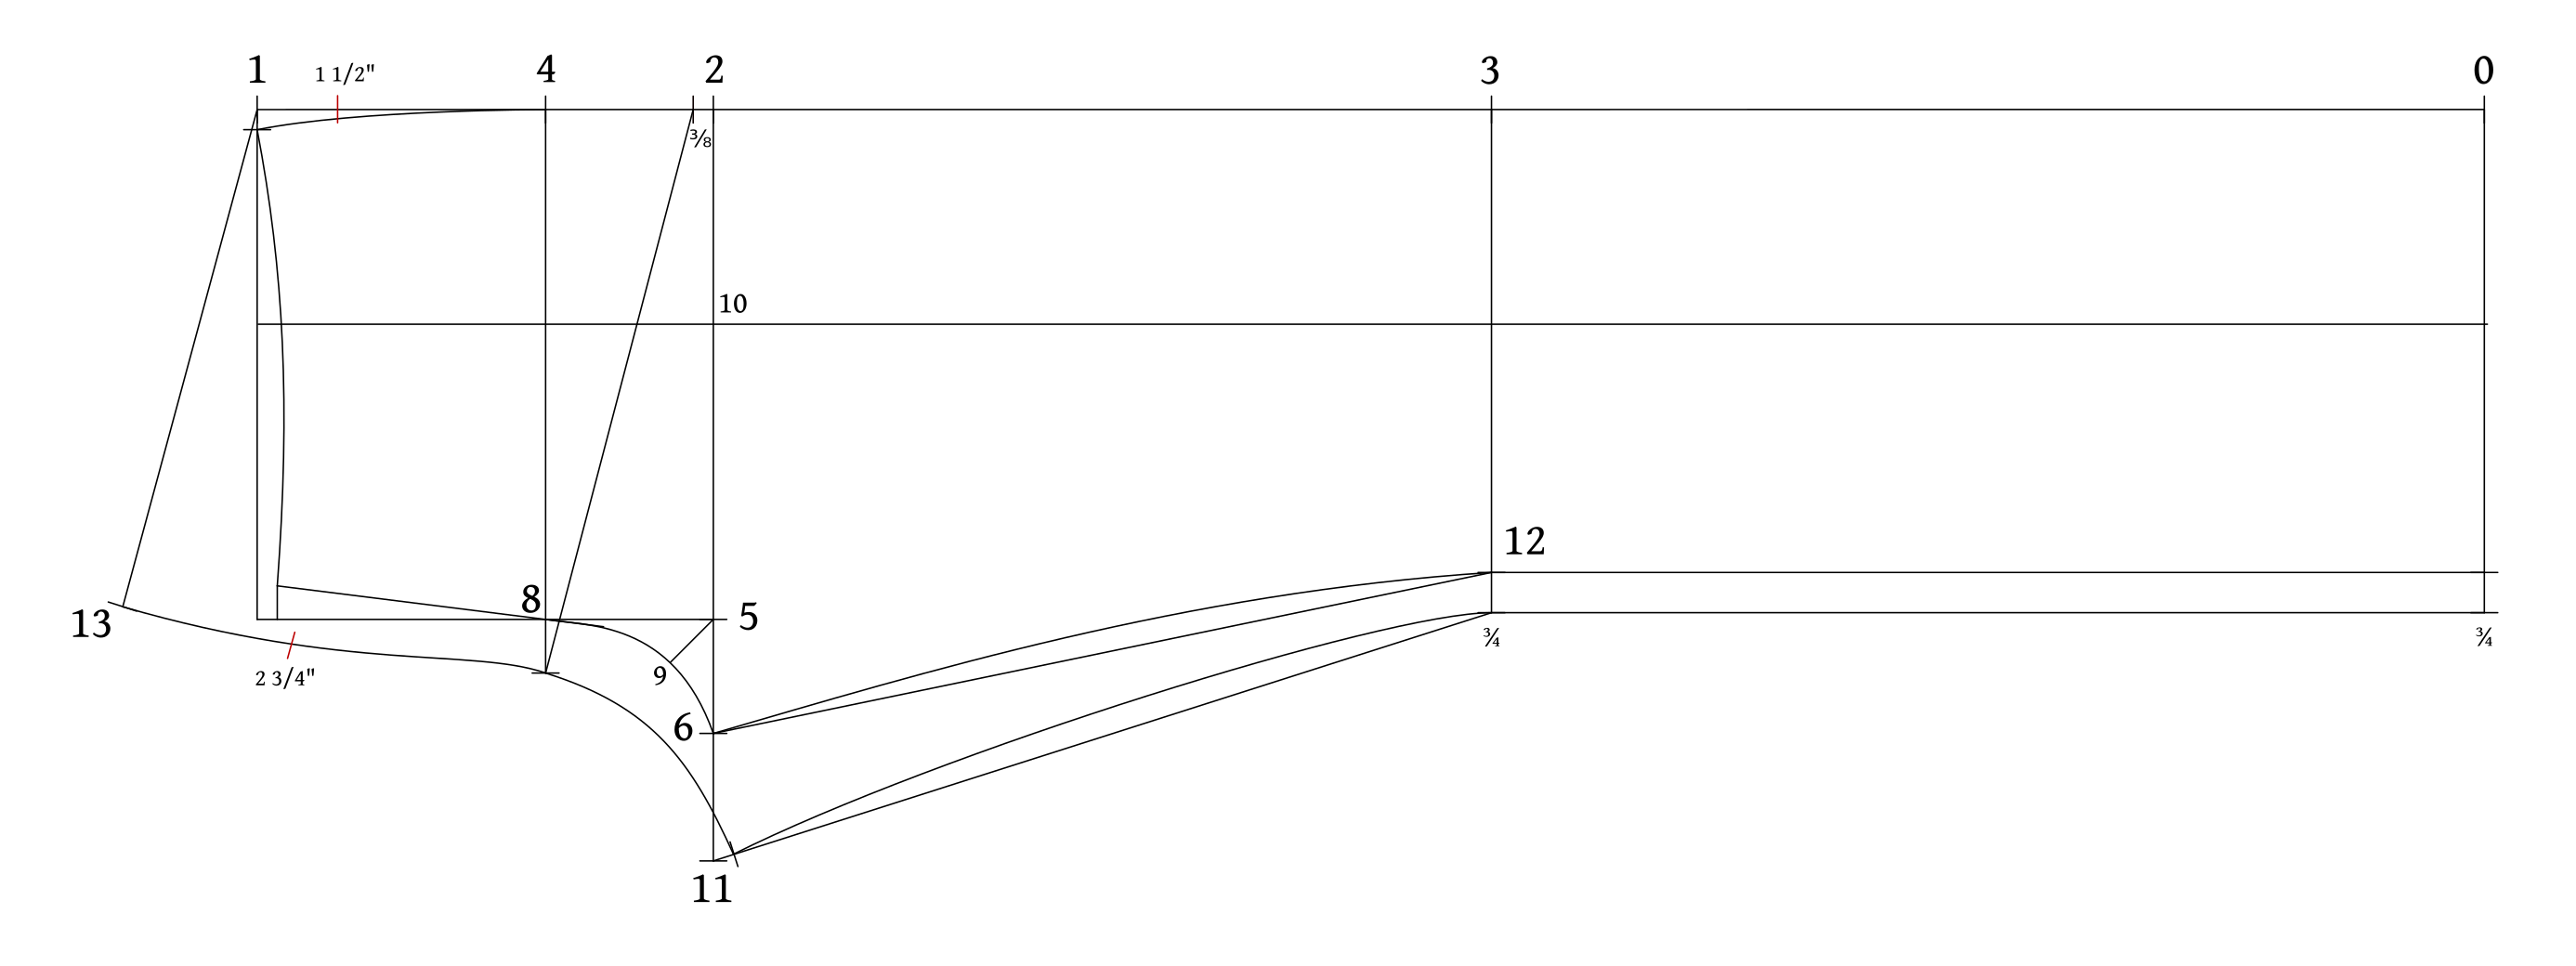
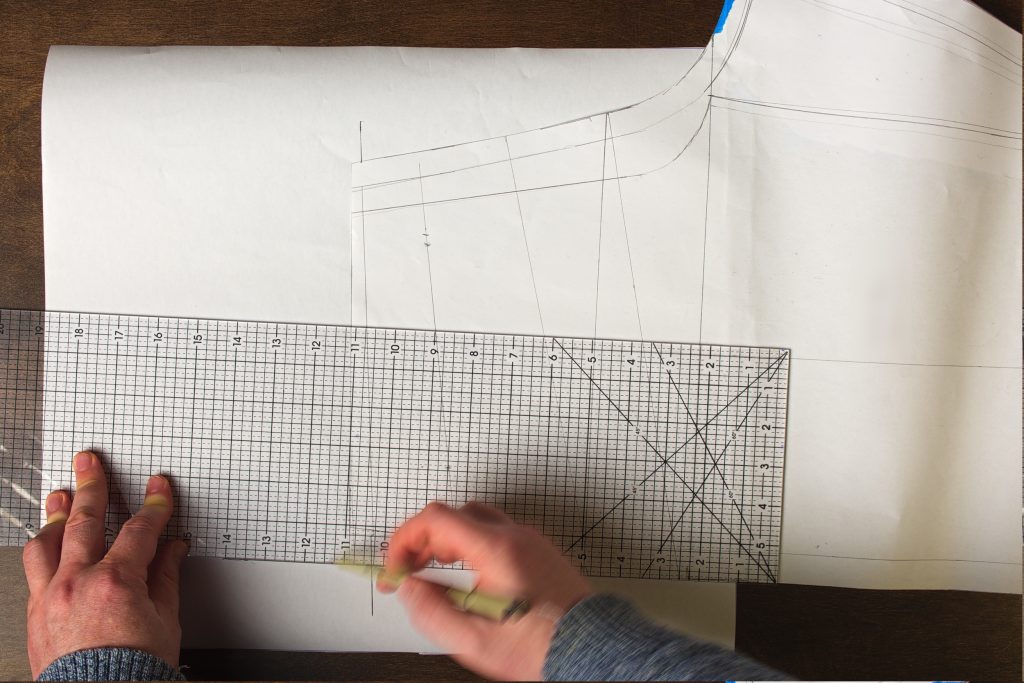
Draw a line connecting the two yoke points.
Now divide the waistband into 3 equal sections, marking the two division points as shown. These will give the position of the dart used to shape the yoke.
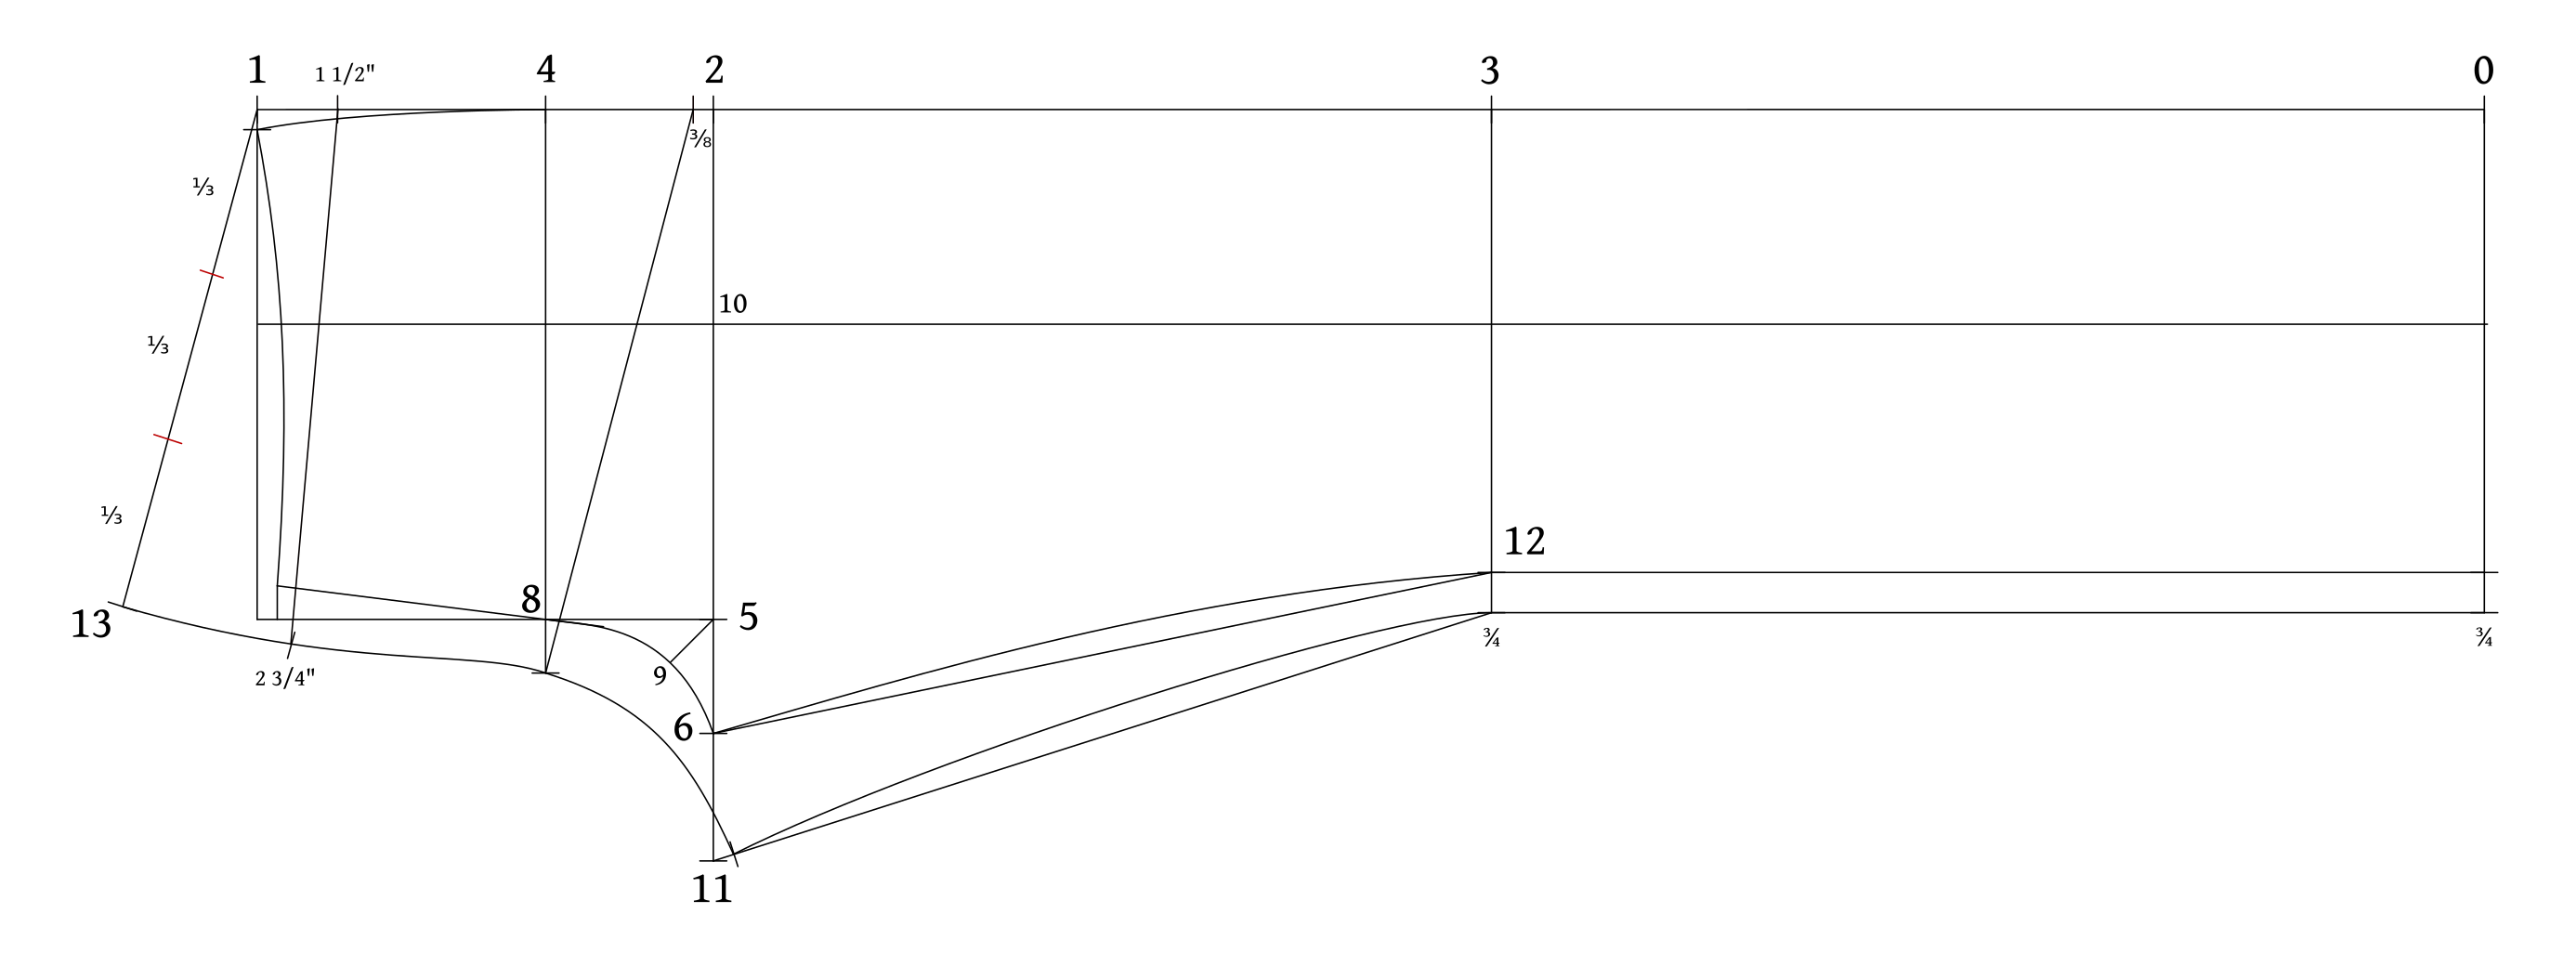
Draw a line square from the waist at the point closest to the side seam to the yoke line.
Draw in a 3/4″ wide dart centered on the guideline – 3/8″ on each side.
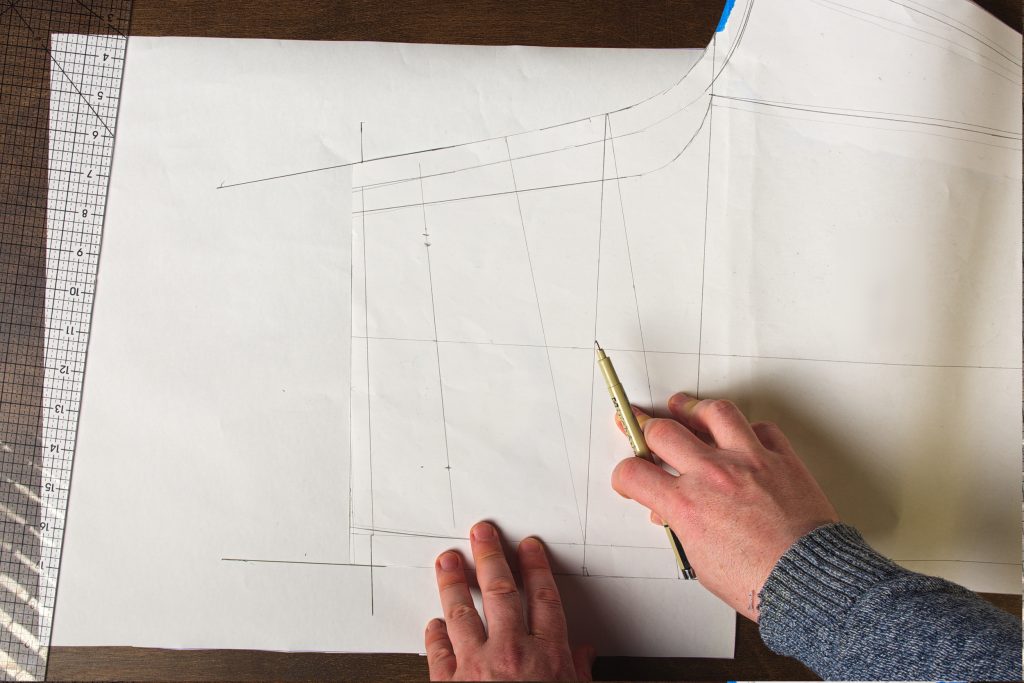
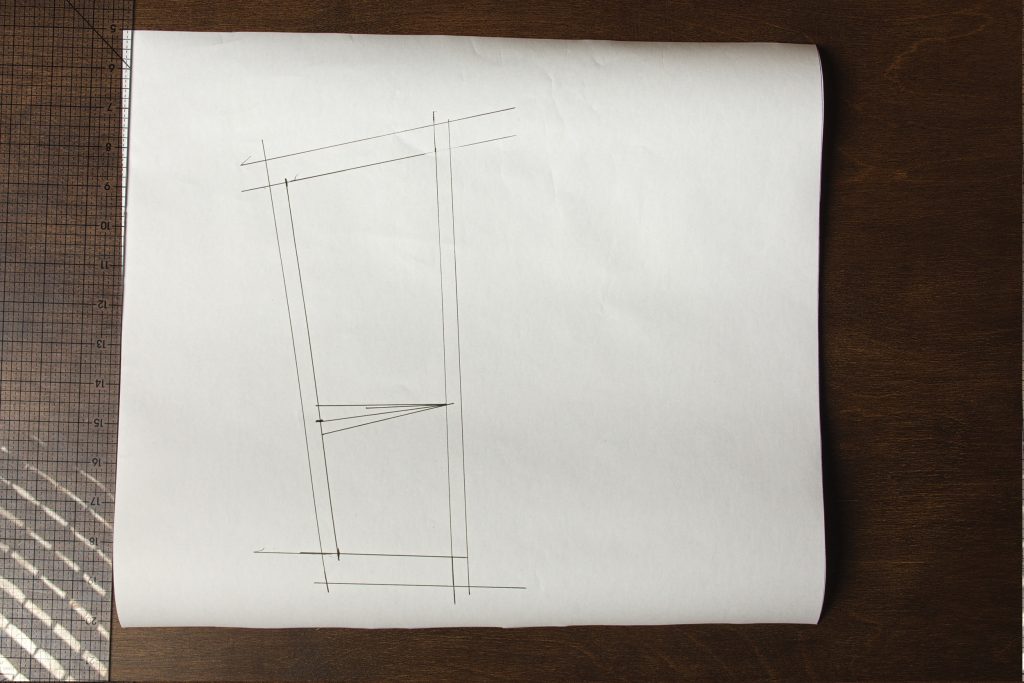
From what I can tell, the 1873 jeans were made in a couple of sizes and the size of the waist was determined by the size of the dart here. Though it won’t be a dart in the finished jeans, more of a simple pleat.
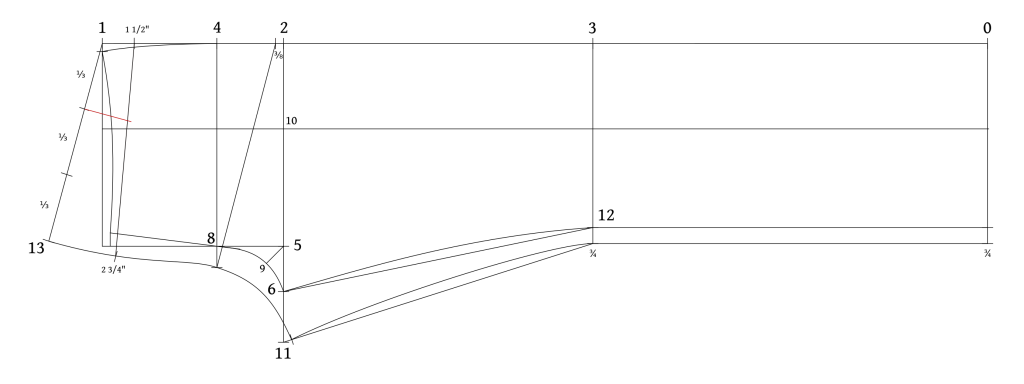
Trace out the yoke piece and dart (sorry mine is backwards!).
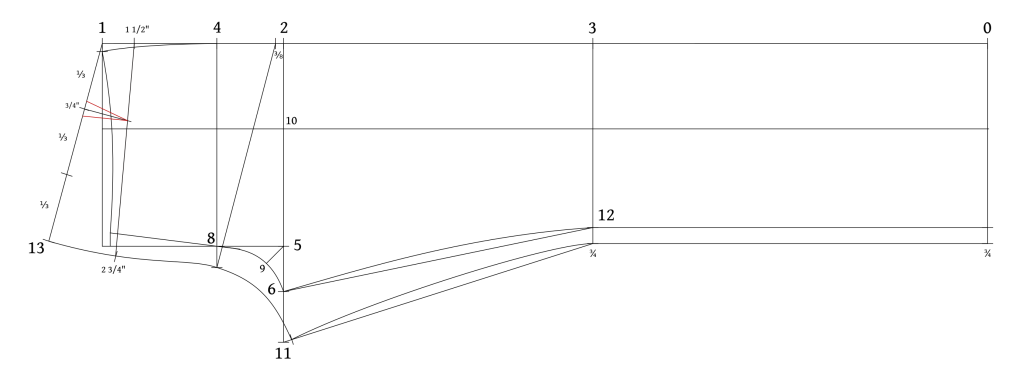
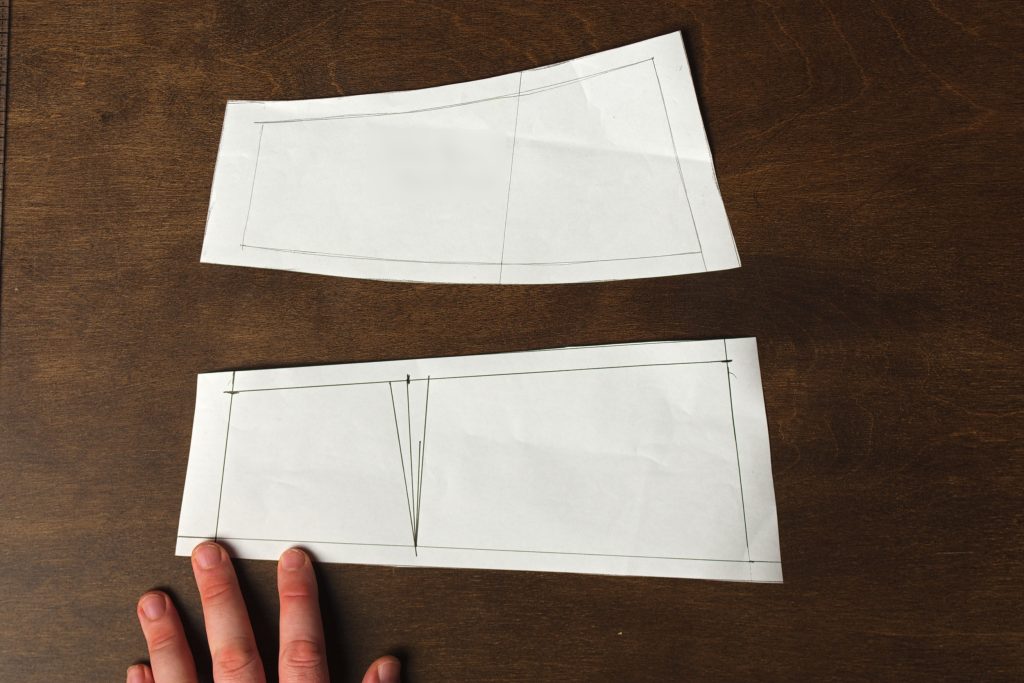
Seam allowances are now added and the yoke is cut out.
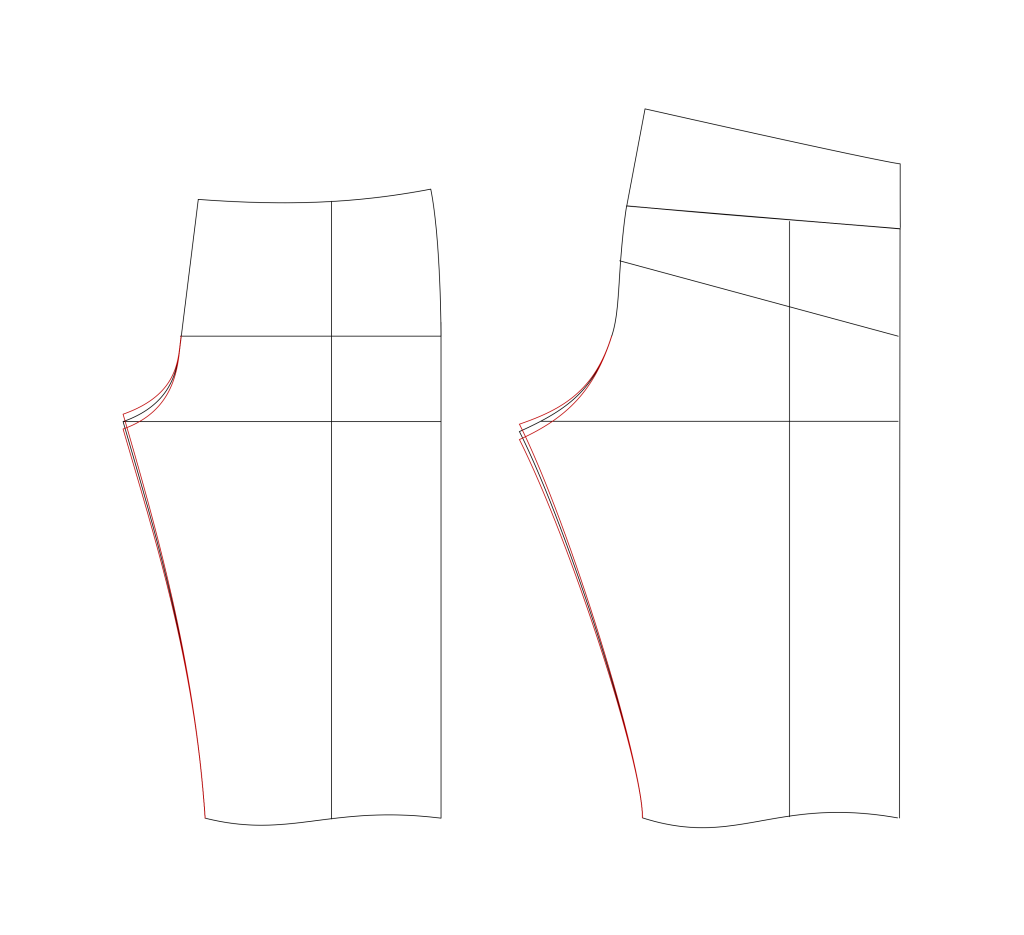
Here are the finished yokes, the modern one on top and the 1873 version on the bottom. It’s interesting to compare the two, and how the shape is already worked into the modern version as compared to the more basic 1873 yoke.
In the end though, both versions technically yield the same result – just how we get there is different.
Jean Alterations
Alterations for jeans in the fitting stages are at once easier than traditional trousers, and more difficult, due to the fewer places for adjustment. You can’t really do anything with the side seams, being on the selvedge, so all alterations take place at the waist, seat and crotch seams, and inseam.
If you’d like personal help with your fitting, please consider posting a new message in the support community with photos of your draft from the top down, along with photos of you wearing the muslin toile from the front, sides, and back. That way others benefit from your own work and corrections. Or if you prefer, you can email me the photos to james@historical-tailoring.com. Either way, I’ll get back to you with specific corrections to help your jeans fit as nicely as possible.
In the future I’ll be adding more diagrams and hopefully photos and video of fitting issues and their solutions.
When making the alterations, I like to make them on my original pattern and then trace them to new sheets of paper. You could also tape a fresh piece of paper to your pattern pieces and then add the alterations, redo the seam allowances, and trim the excess.
Crotch Height
Adjusting the crotch height is fairly straight forward, and becomes necessary when your inseam measurement is slightly off. Usually, it’s only a matter of adjusting by 1/4″, maybe 1/2″ in either direction.
Simply lower or raise the crotch point by an equal amount on both front and back legs, then redraw the curves as necessary, maintaining that right angle.
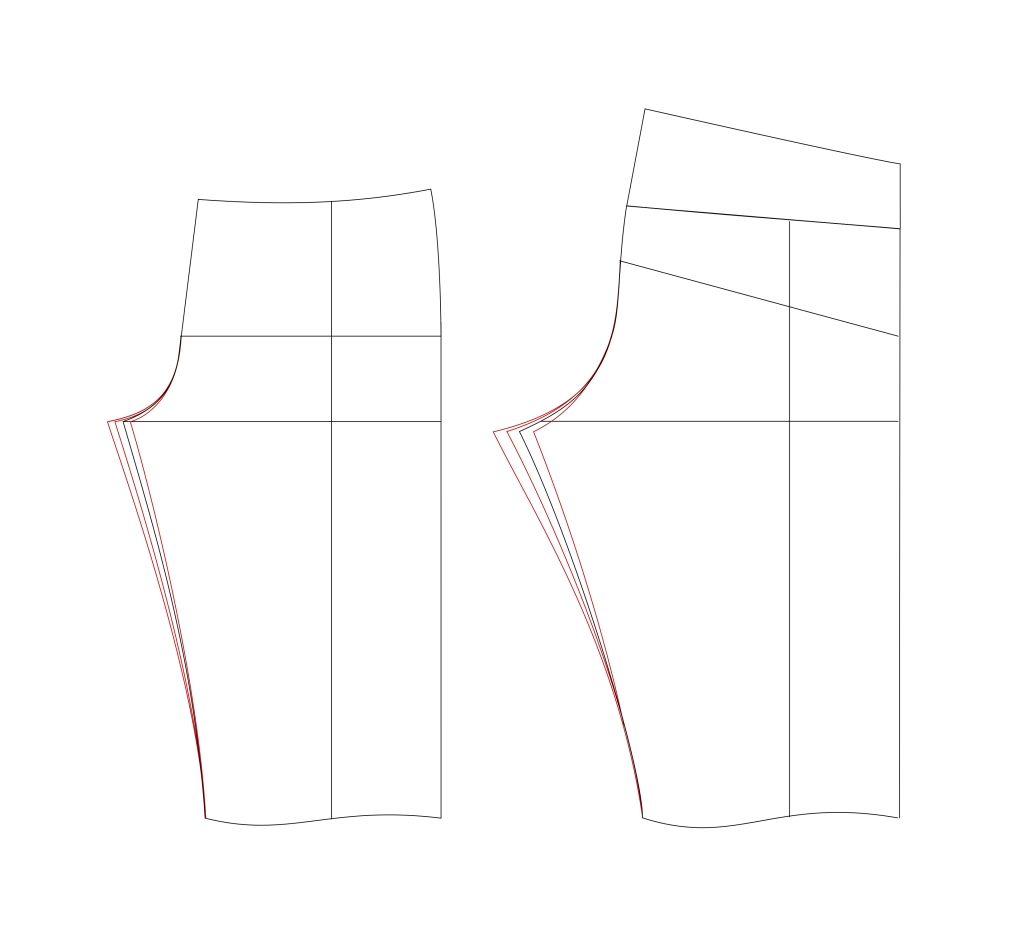
Crotch Width
In my experience the crotch width is the most common alteration. I’ve tried to minimize it in the jeans draft, so we’ll see what happens after you all have drafted yours.
The problem is most often shown as a tight seat, almost a ‘wedgie’ affect, and potential tightness in the front.
To fix, move the back crotch point as necessary (usually to the outside). Then redraw the curves, maintaining that right angle. I’ve needed to alter this as much as 1 1/2″ in the past – hopefully you won’t have to do that but it’s there just in case.
On the front, I’d be much more careful in the adjustments, moving 1/4″ at a time. Then redraw the curves as necessary.