Month: February 2020
The Sleeve Lining
We’ll now begin constructing and inserting the sleeve linings. These are cut from the same pattern as the sleeve, however some additional allowances need to be made on the seams. On the front and rear seams, add 1/8 of an inch to the seam allowance. At the very top at the sleevehead on both pieces, add 1 inch extra allowance. This is so the sleeve has room for movement, preventing the lining from tearing. It also prevents the lining from pulling on the outer sleeves, producing unsightly folds.
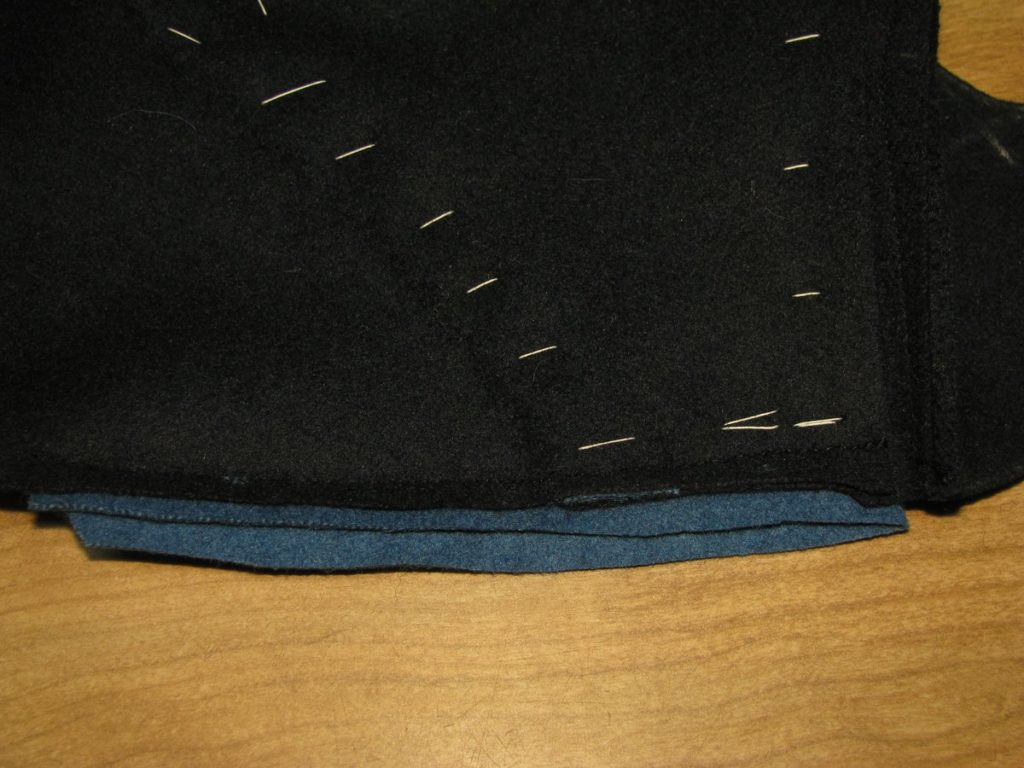
Construct the sleeve just as you did for the muslin sleeve. Make sure you add the inlay at the bottom cuff as per the wool sleeves. Press well. At the cuff end, trim off a half inch from the bottom, then turn under another half inch seam allowance. This will line the bottom of the lining up with the upper edge of the cuff facing, just covering the cross stitches.
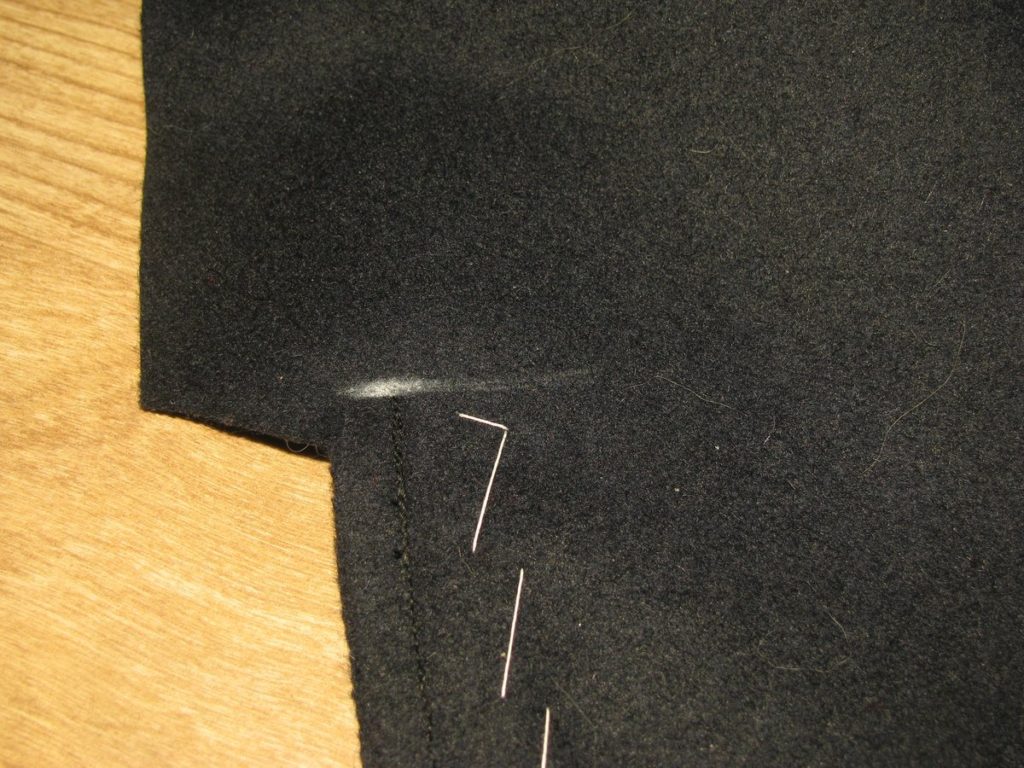
Turn the wool sleeve inside out, and the sleeve lining right side out. Insert the sleeve lining onto the wool sleeve, wrong sides together, and pin the two together at the bottom of the rear seam, just above the inlay area. This will help you align the rest of the sleeve sections together.
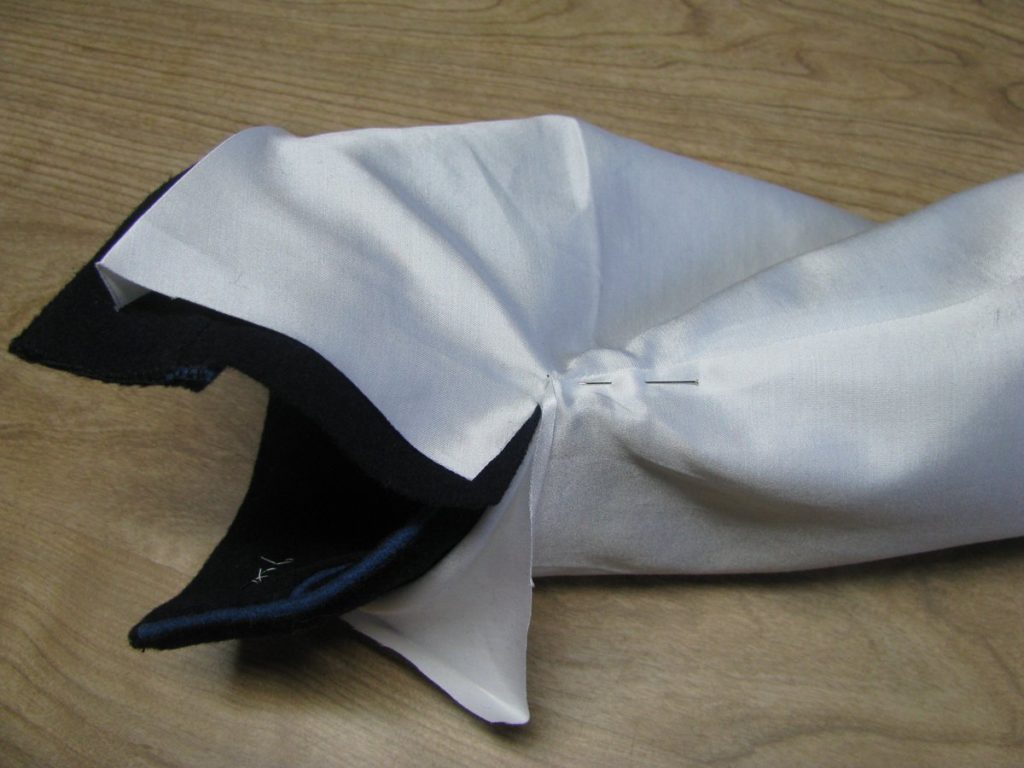
Make sure the lining is falling smoothly over the entire sleeve. You may pick up the sleeve and lining by the cuff and shake slightly to help distribute the fabric properly.
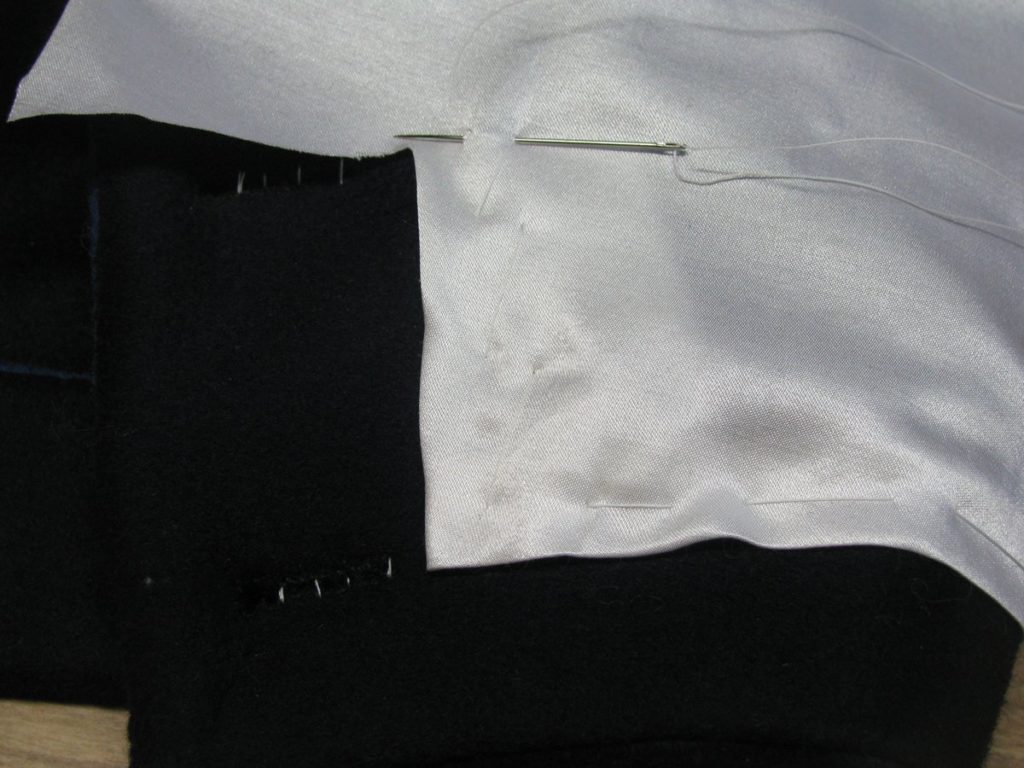
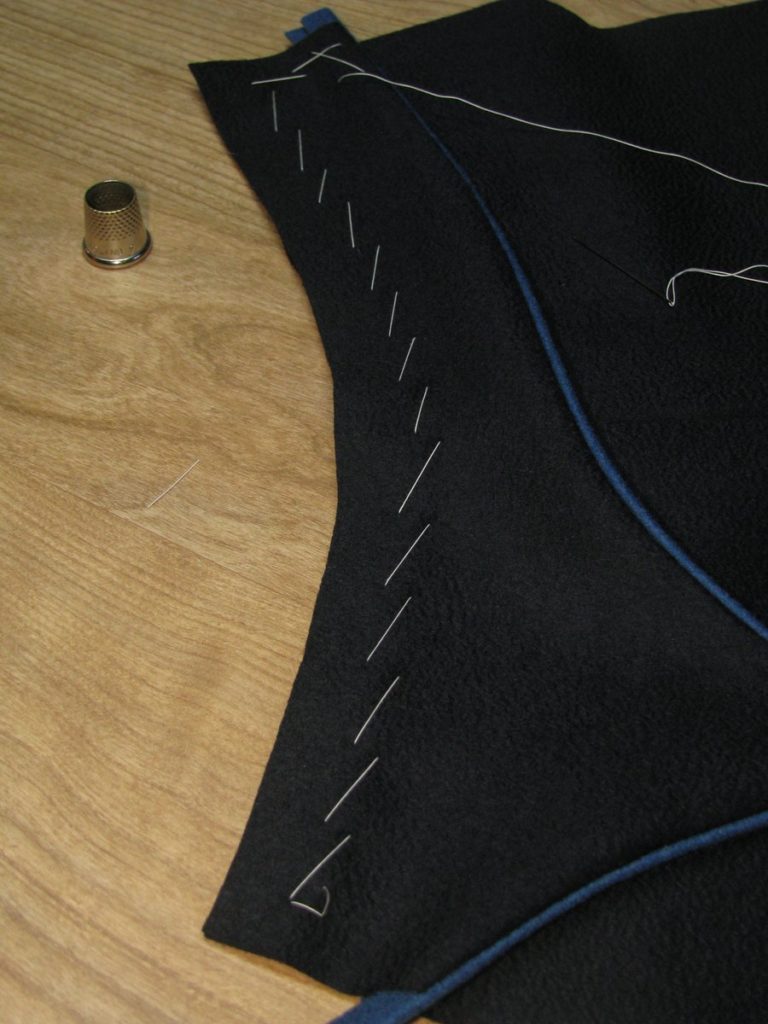
Starting at the side with the inlay, baste from the bottom of the sleeve lining, up along the edge of the inlay, and along the top edge of the inlay, folding the fabric under neatly as you go.

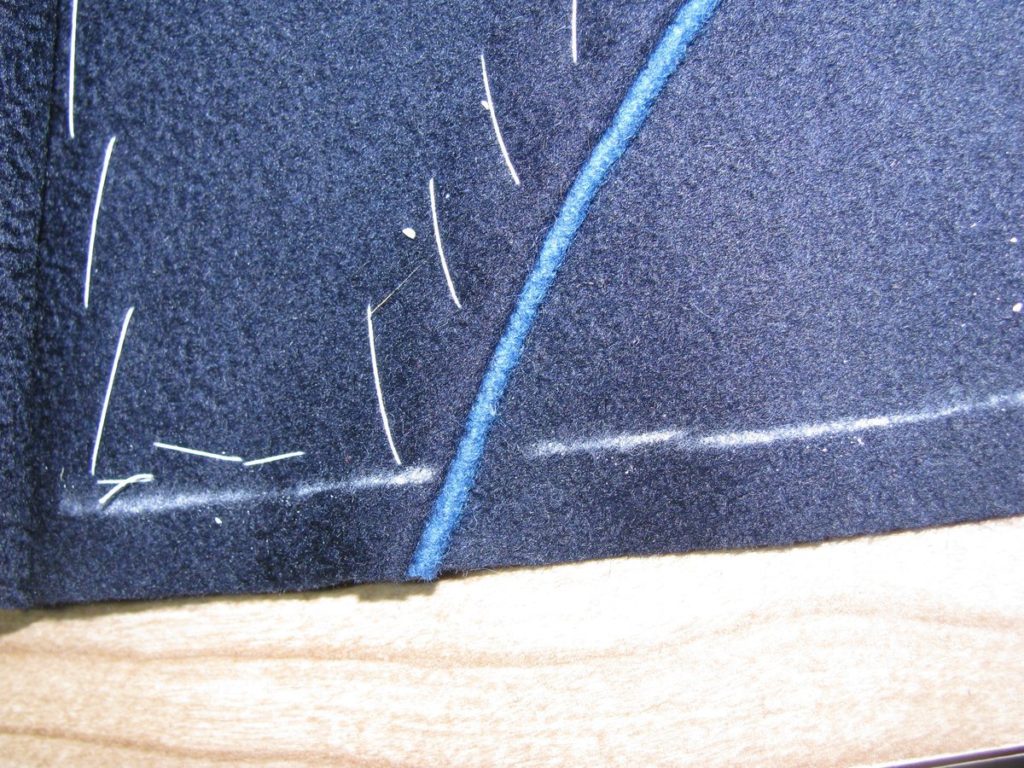
Now baste across the bottom edge, which should have already been pressed under. The lining should just cover the cross stitching by about 1⁄4 inch.
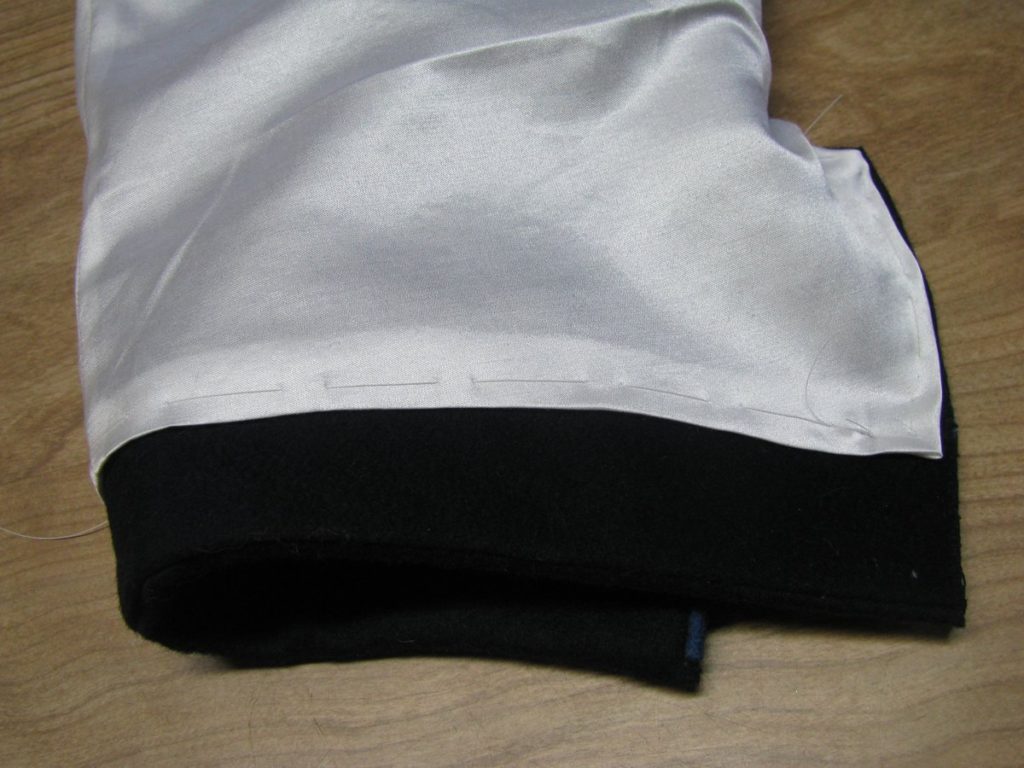
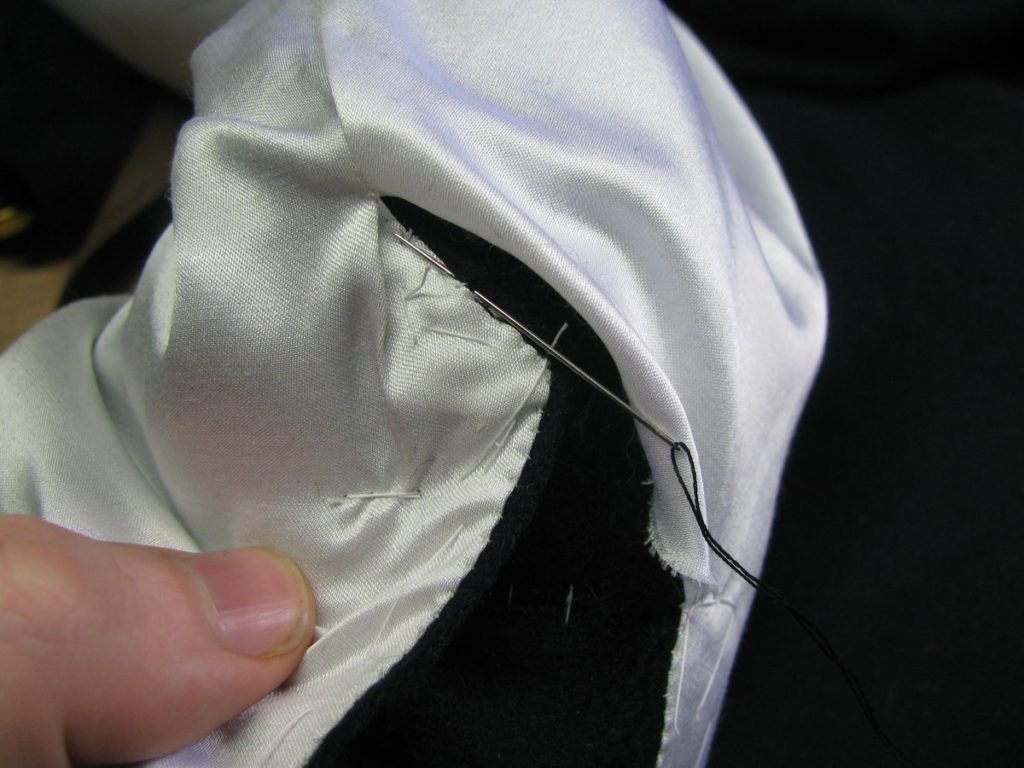
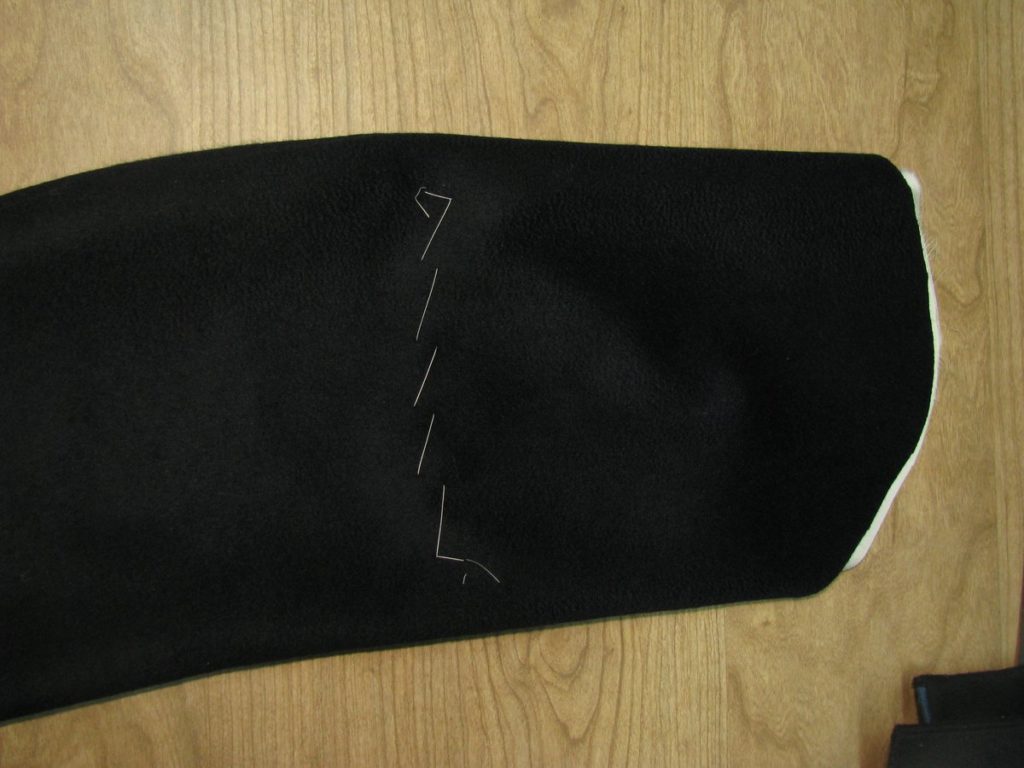
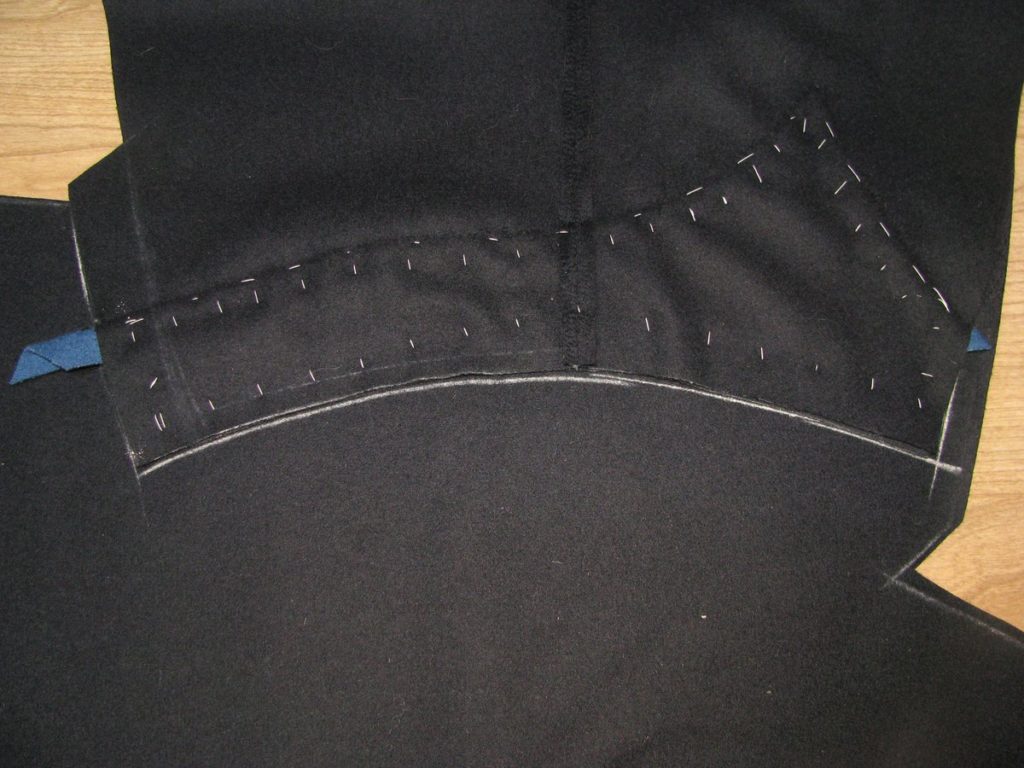
Continue basting across the bottom until you get to the area where the extension on the facing begins. At a location about 1⁄2 inch below the top of this extension, make a cut in the lining at right angles to the edge of the lining, and about 1 3⁄4 inch wide. The cut should be a bit shorter than the width of the facing extension.
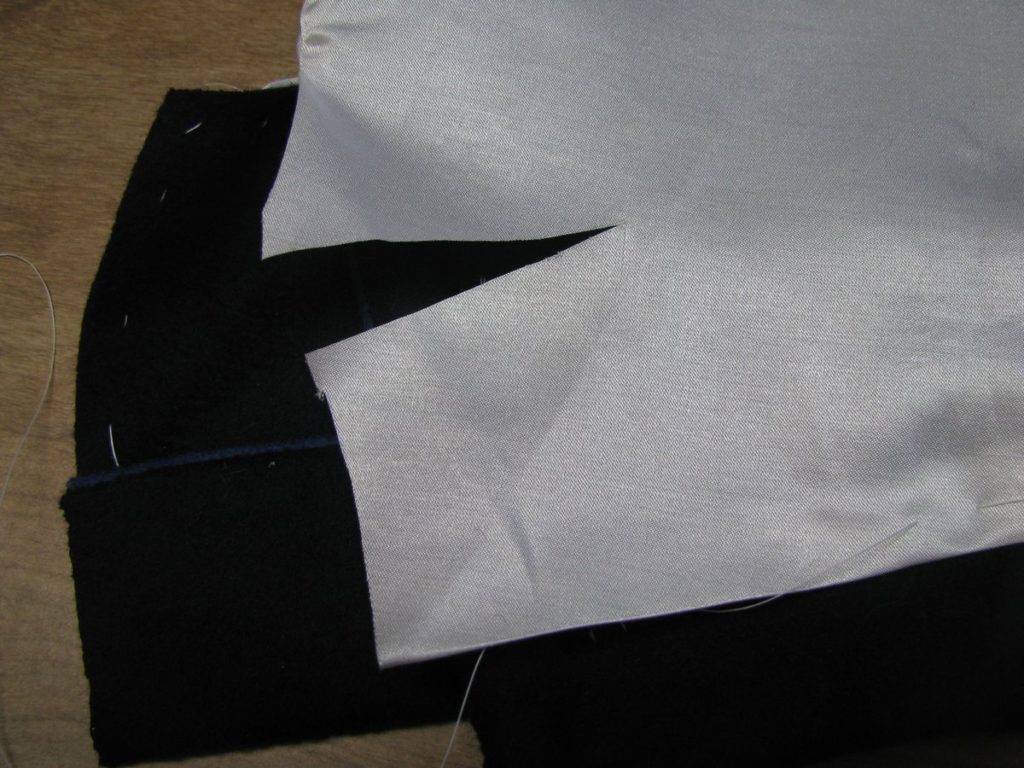
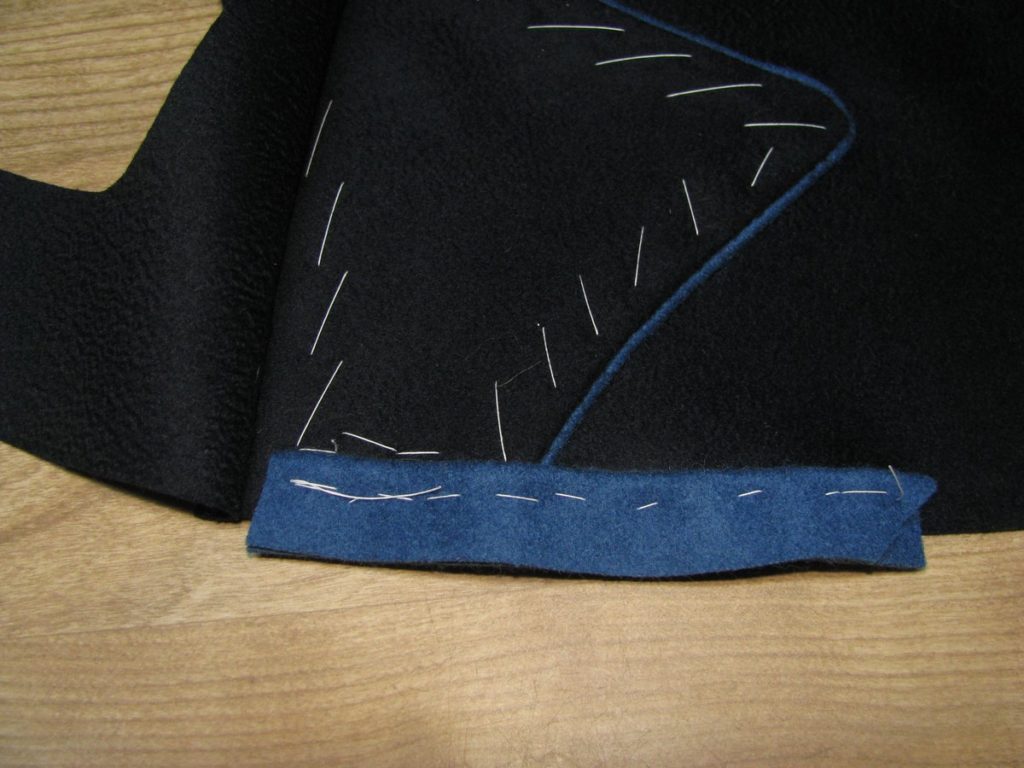
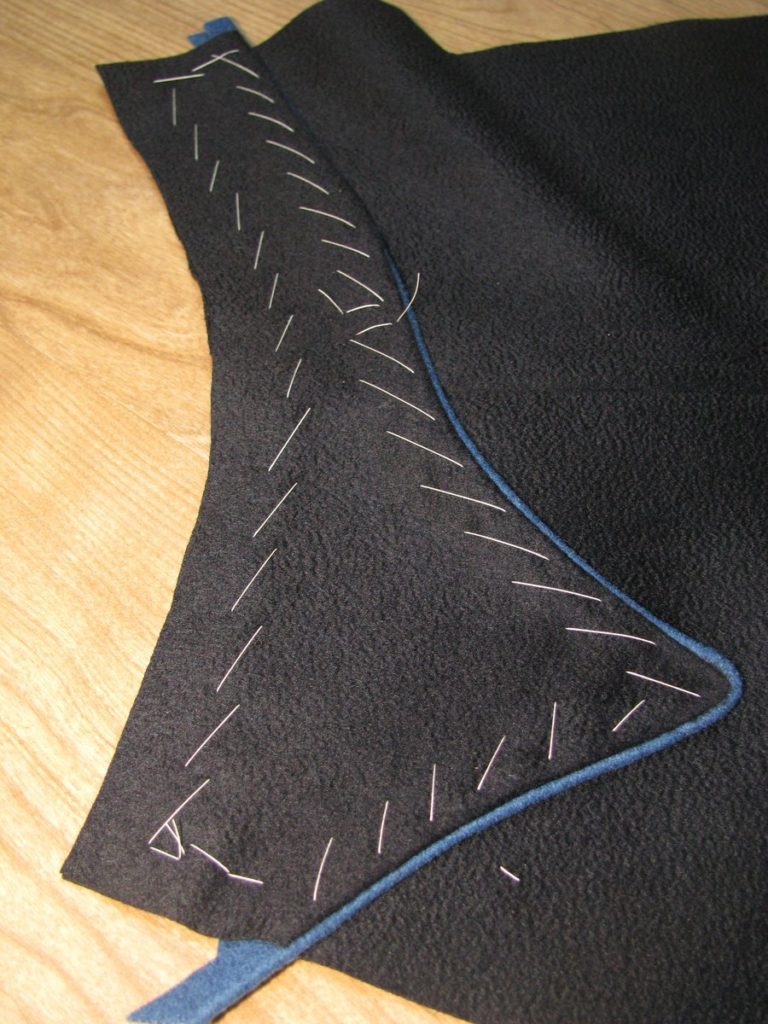
Now fold under this section of lining, exposing the buttonholes underneath, and baste down, stopping at the end of the cut you made.
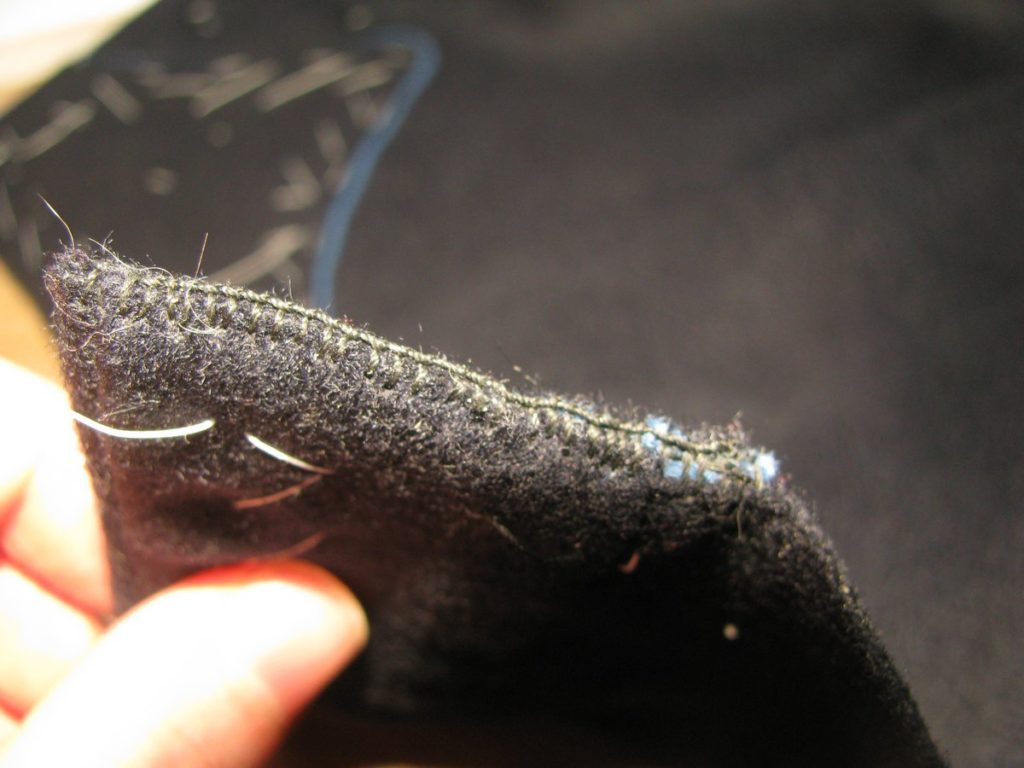
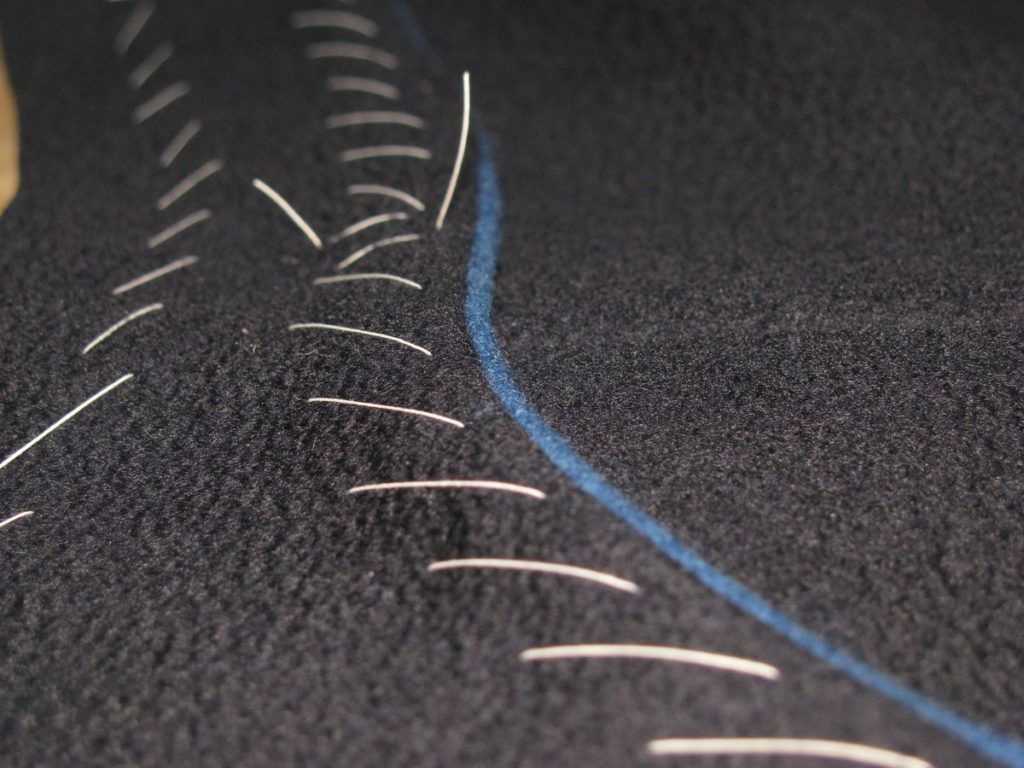
The lining is now felled down with white cotton thread at this point, using 10 to 12 stitches per inch. Using the white thread will help hide the stitches, making them almost invisible. Begin sewing at the end of the cut lining, down to the bottom of the cuff, across the bottom, and up the sides and top of the inlay area. When sewing the section near the inlay, be careful not to let the stitches show through to the right side, as it is only one layer.
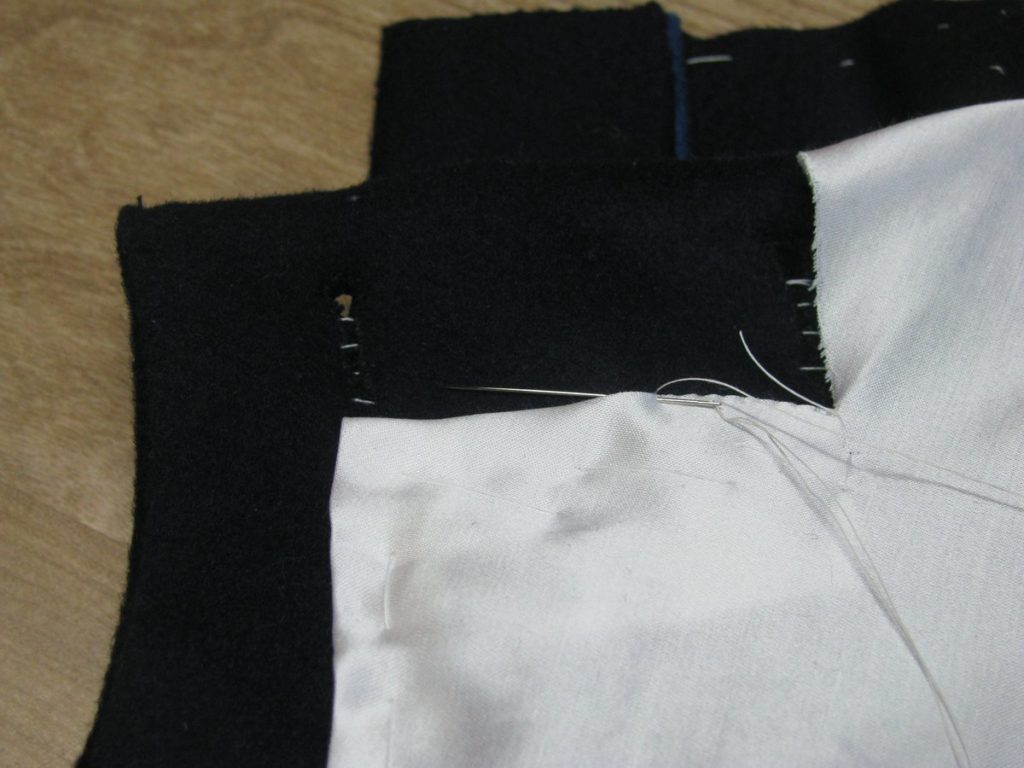
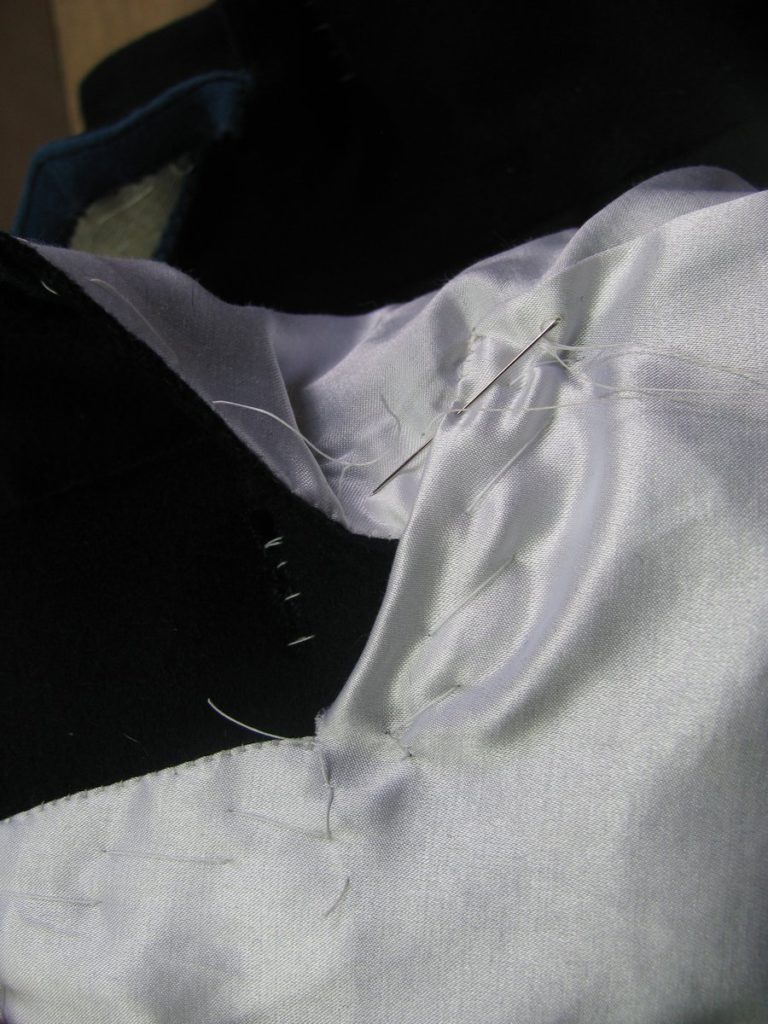
Now we are able to finish off the sleeve vent area. Align the inlay area of the sleeve over the buttonhole section with about a 1 inch overlap. Baste in place to keep in from moving.
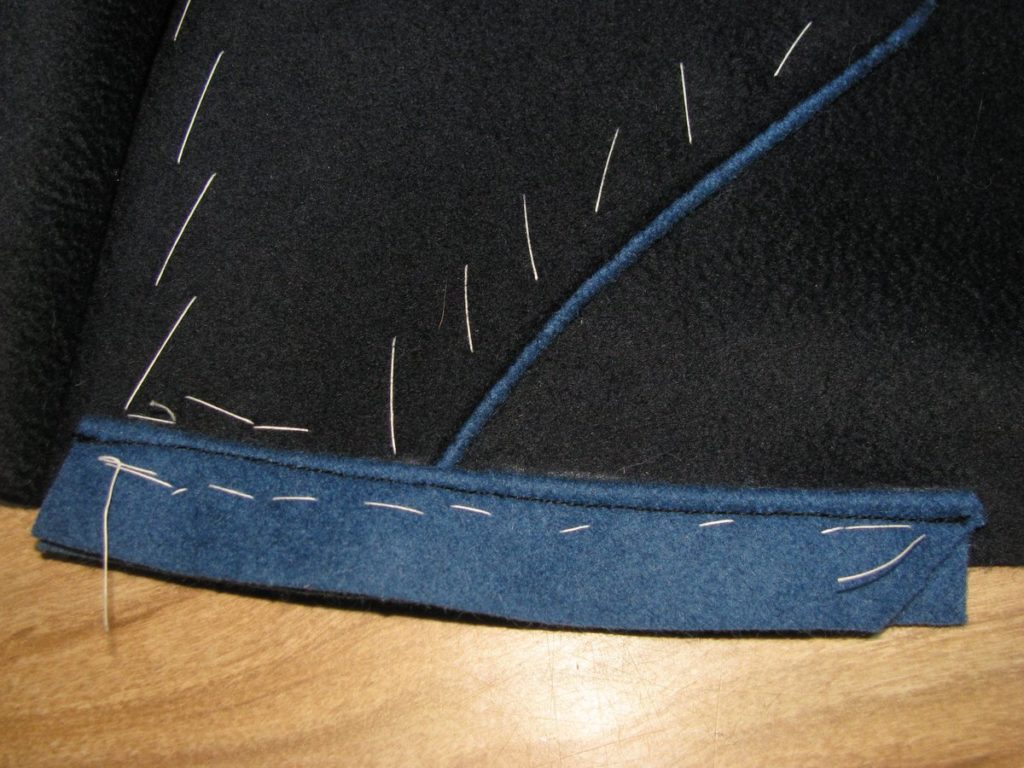
Stitch the top of the inlay down to the vent extension area on the other half of the sleeve. This is done using a back stitch. I use black silk thread for this for a little extra strength. Again, don’t let the stitches show through to the right side. Sew from the edge of the inlay, diagonally up towards the seam area. It’s okay if the stitches go through the lining a little. These will be covered up.
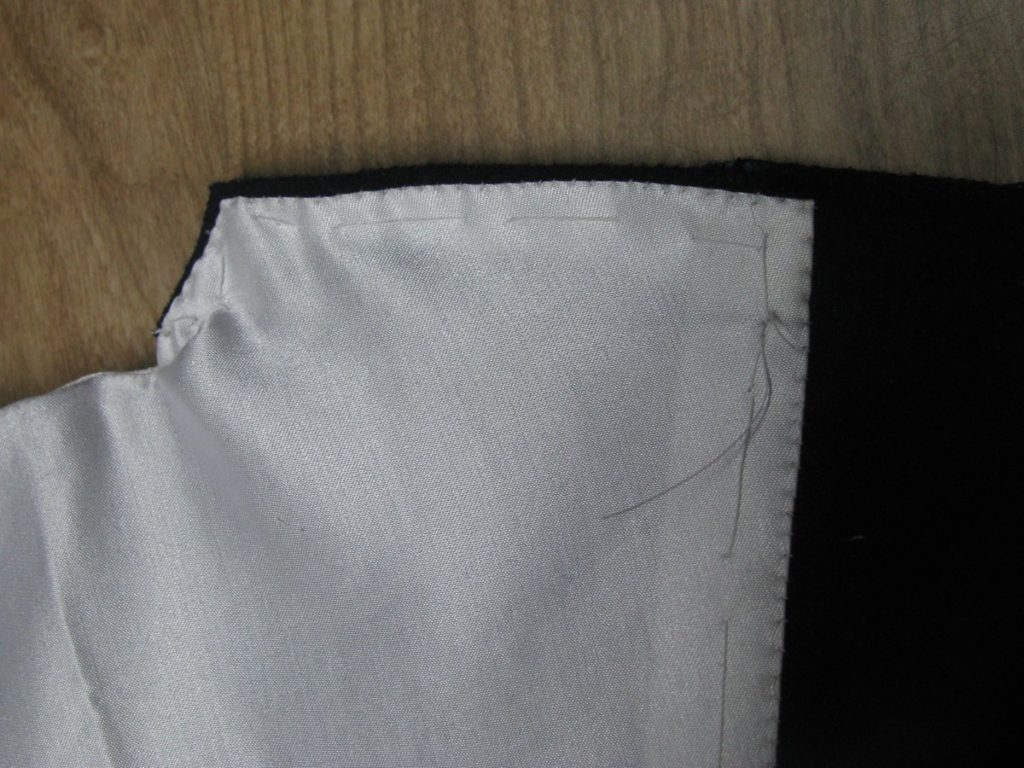
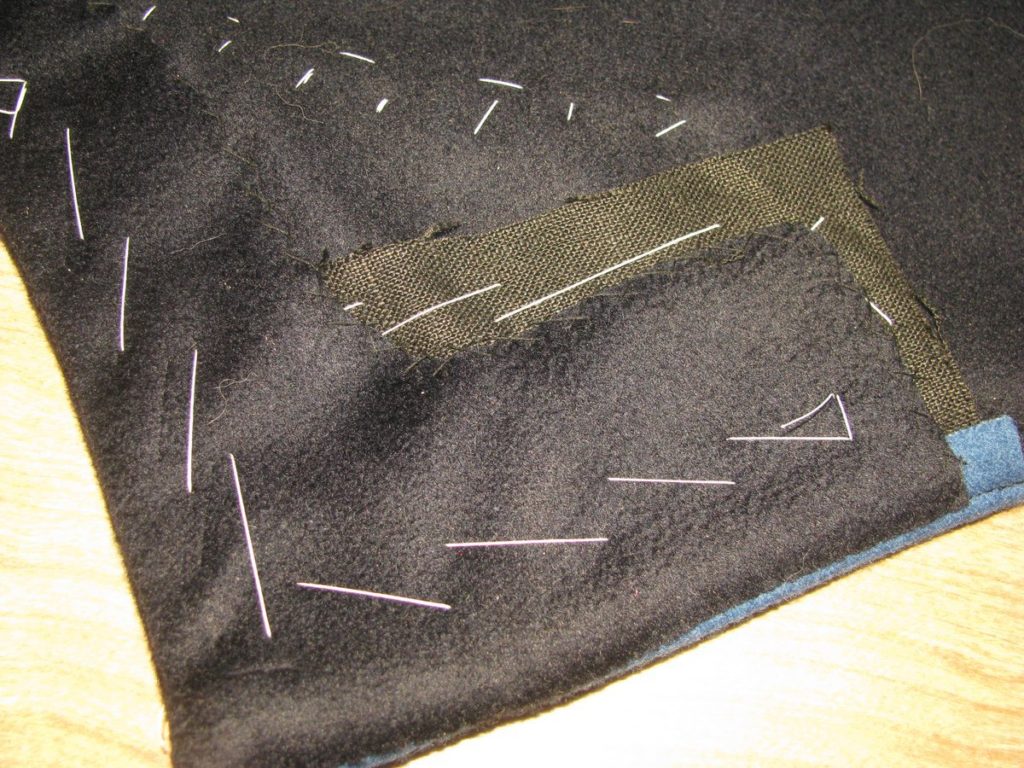
Fold the unfinished flap of lining under, and baste it in place. This should cover the stitches you just made, and provide a nice finished look to the sleeve lining. Fell this down with white thread as before.
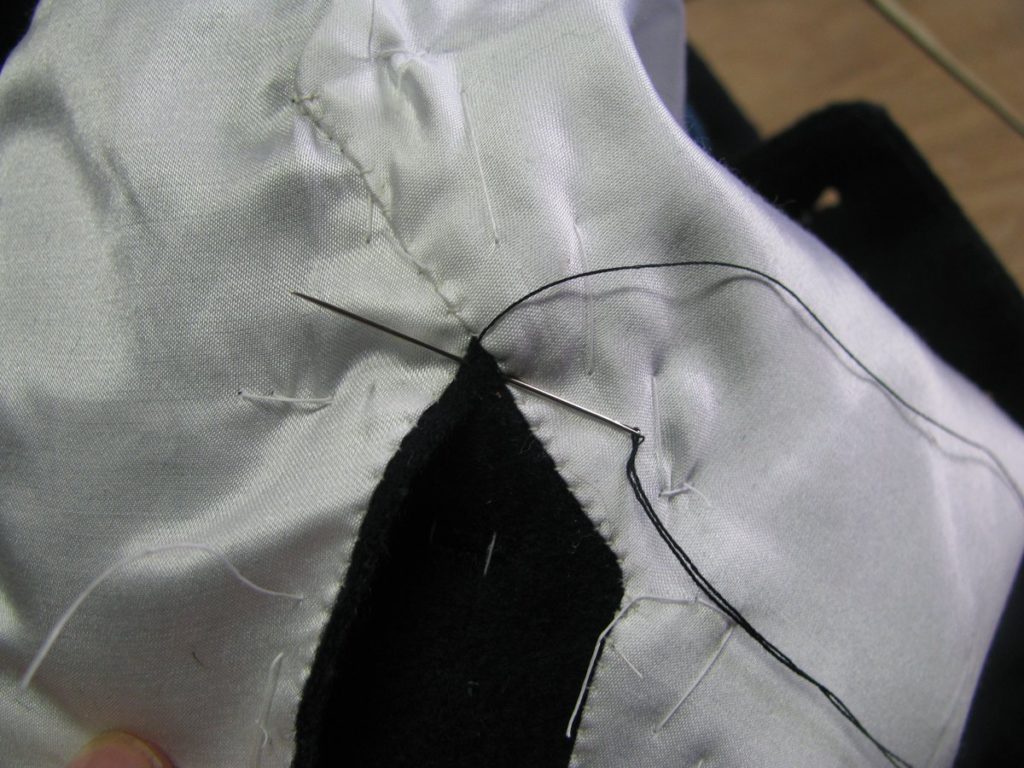
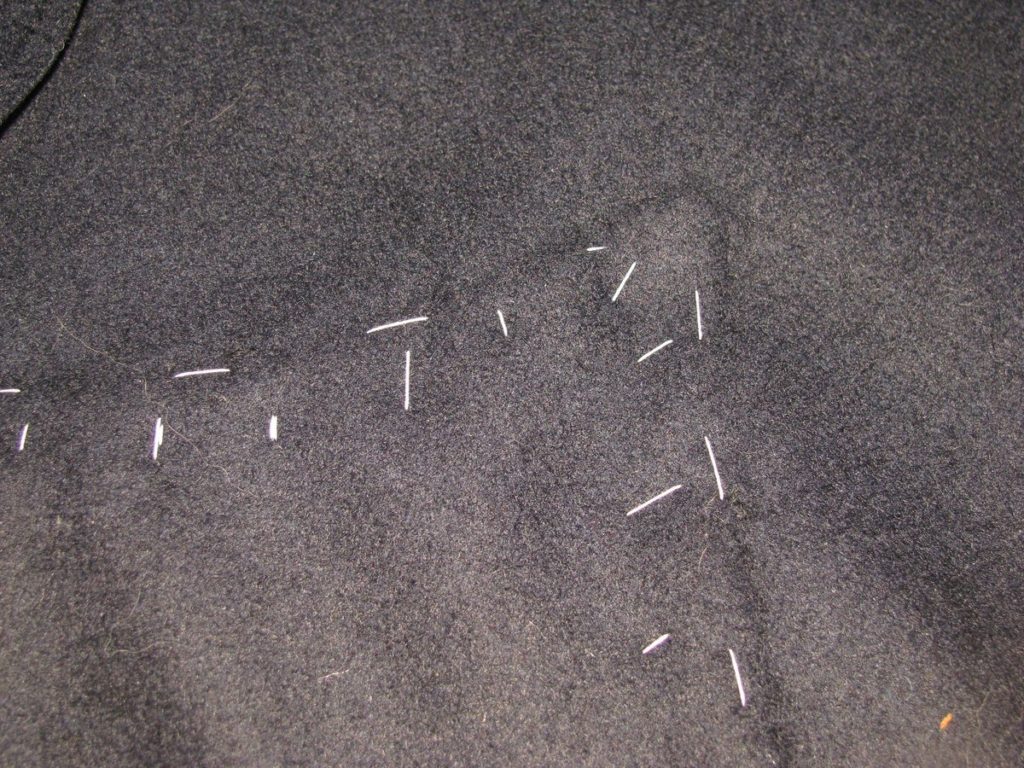
The section where the inlay meets the lining is potentially weak, and could tear the lining after extended use. To help prevent this, make a simple bar tack by making 5 or 6 stitches in place, just below the level of the lining. This should catch the edge of the inlay on the top, and the top layer of the sleeve facing below. I like to use buttonhole twist for extra strength here.
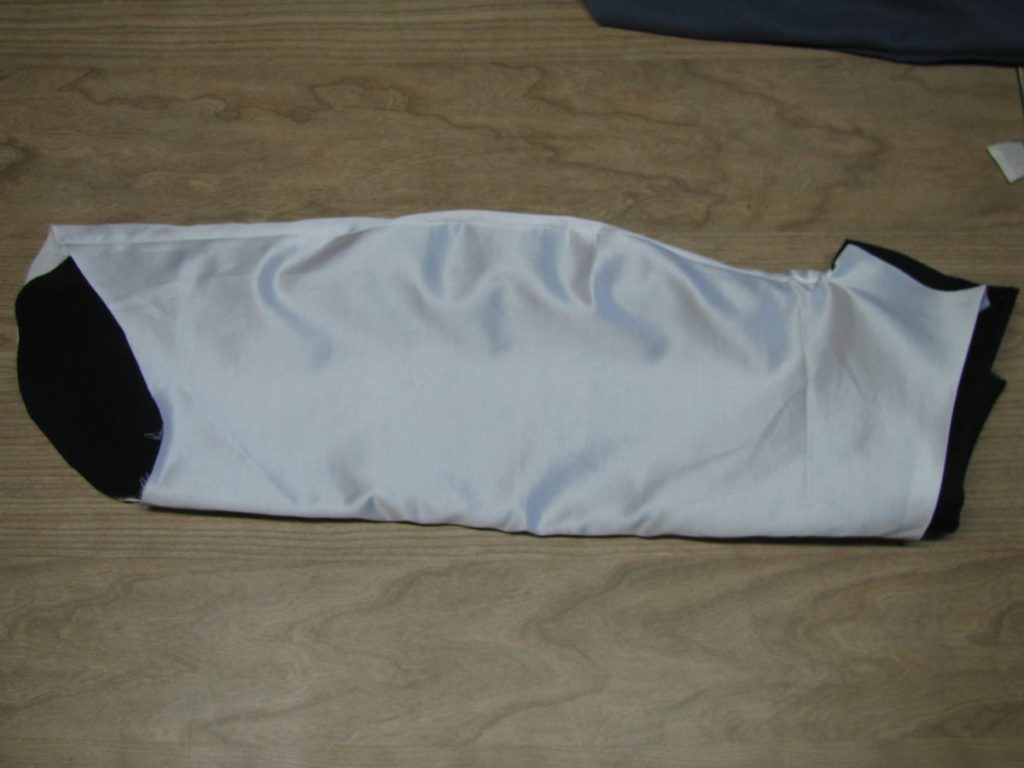
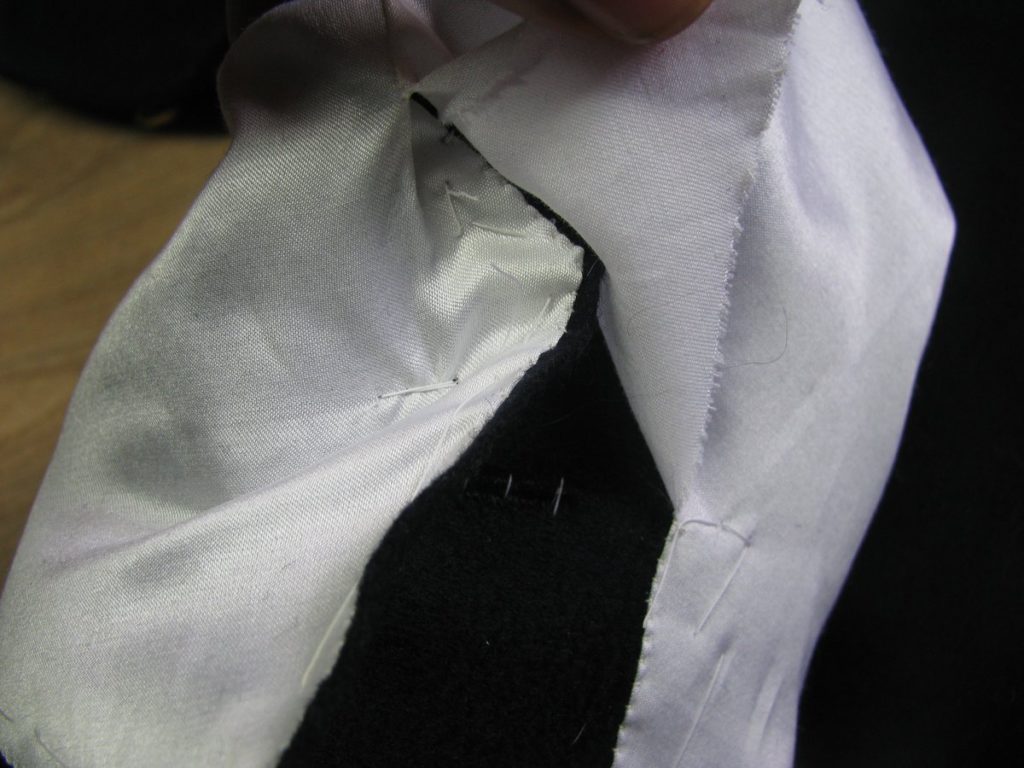
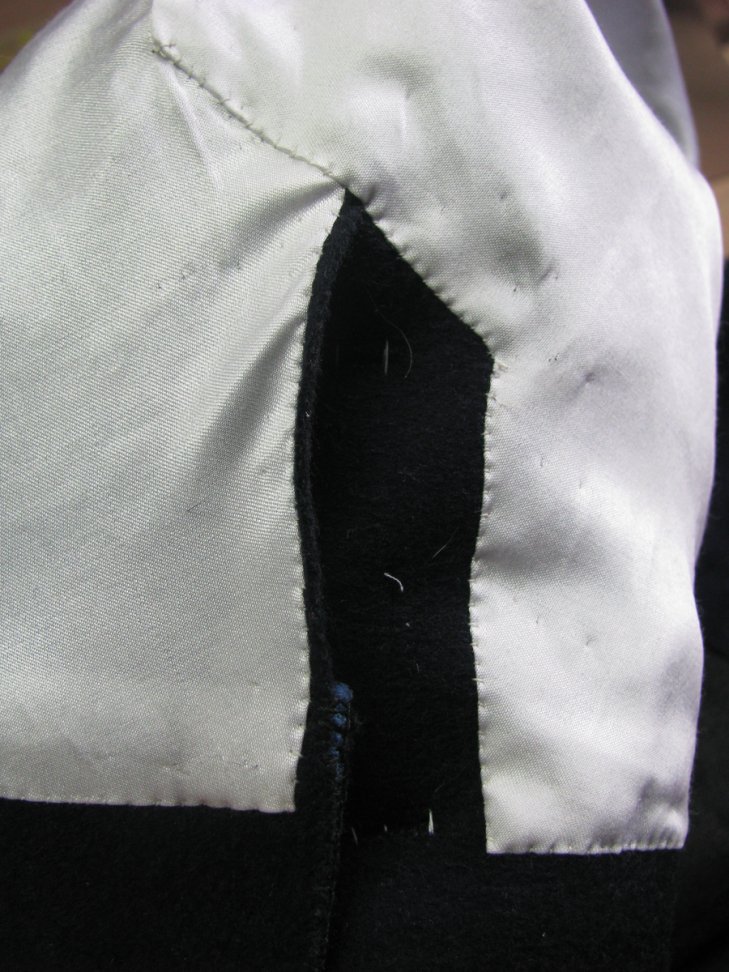
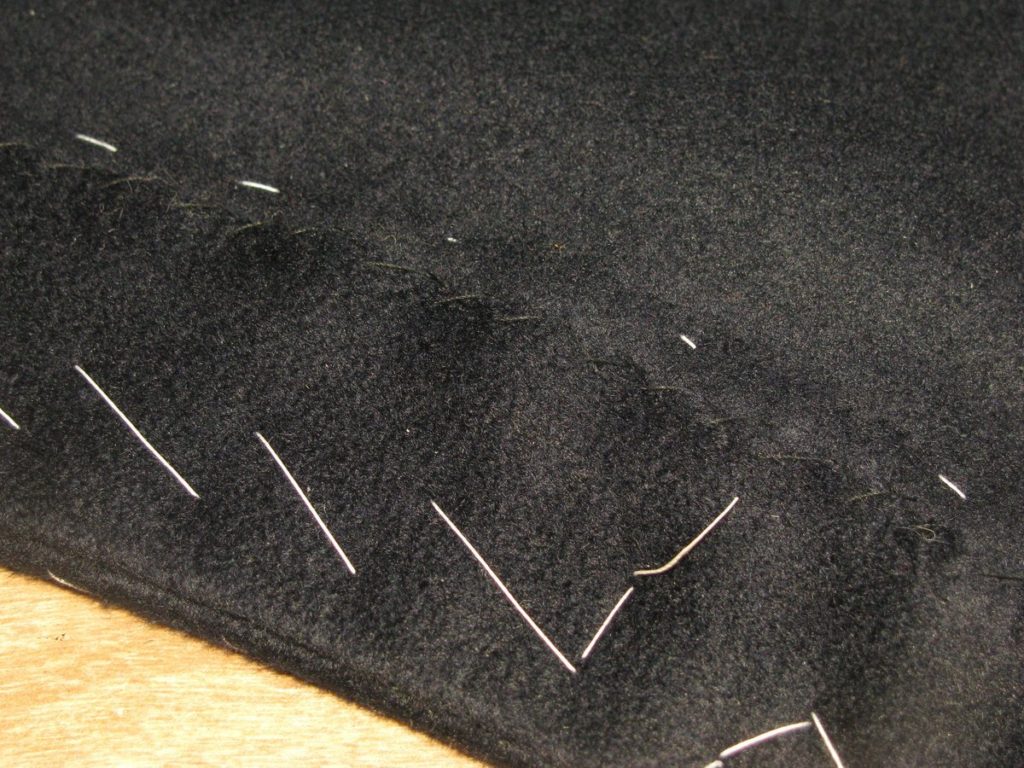
At this point, the sleeve vents are completely done, save attaching the buttons. Remove all basting stitches and turn the sleeve to the right side.
Again, shake the sleeve gently to make sure the lining is laying correctly on the inside. Based through the outer sleeve, catching the lining underneath to hold it in place.
Finishing the Sleeves
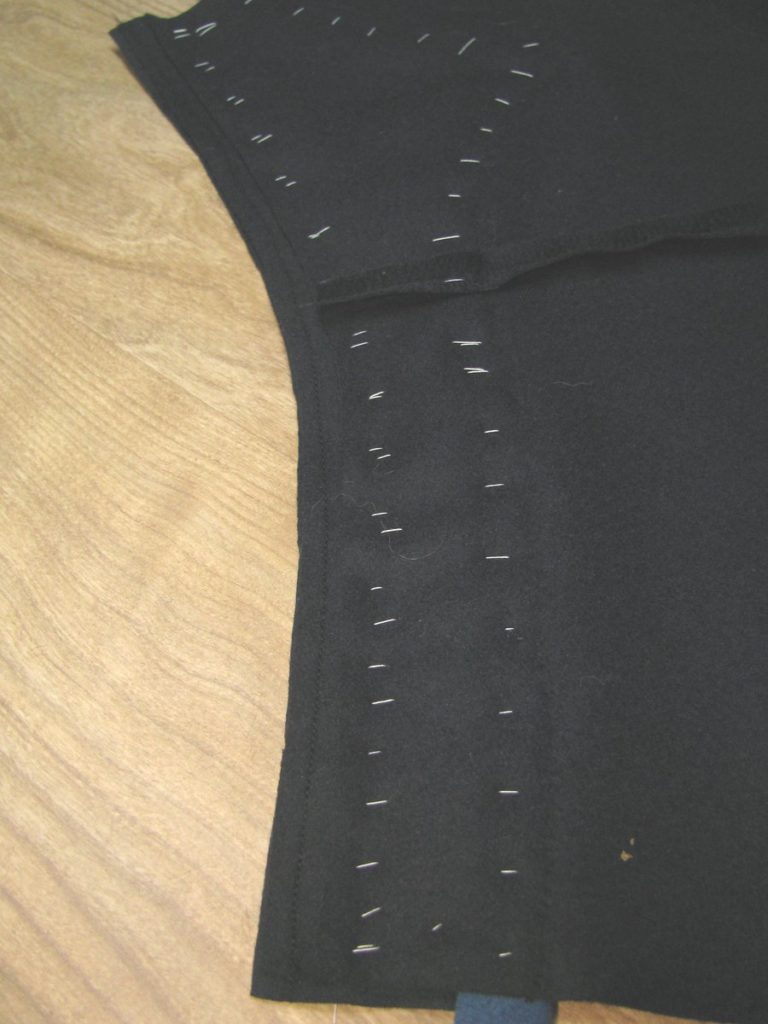
Turn the sleeves so they are laying wrong side up on the table. Trim the seam allowance from the seam that is holding the facing to the sleeve as shown. This will allow the facing to turn with as little bulk as possible.

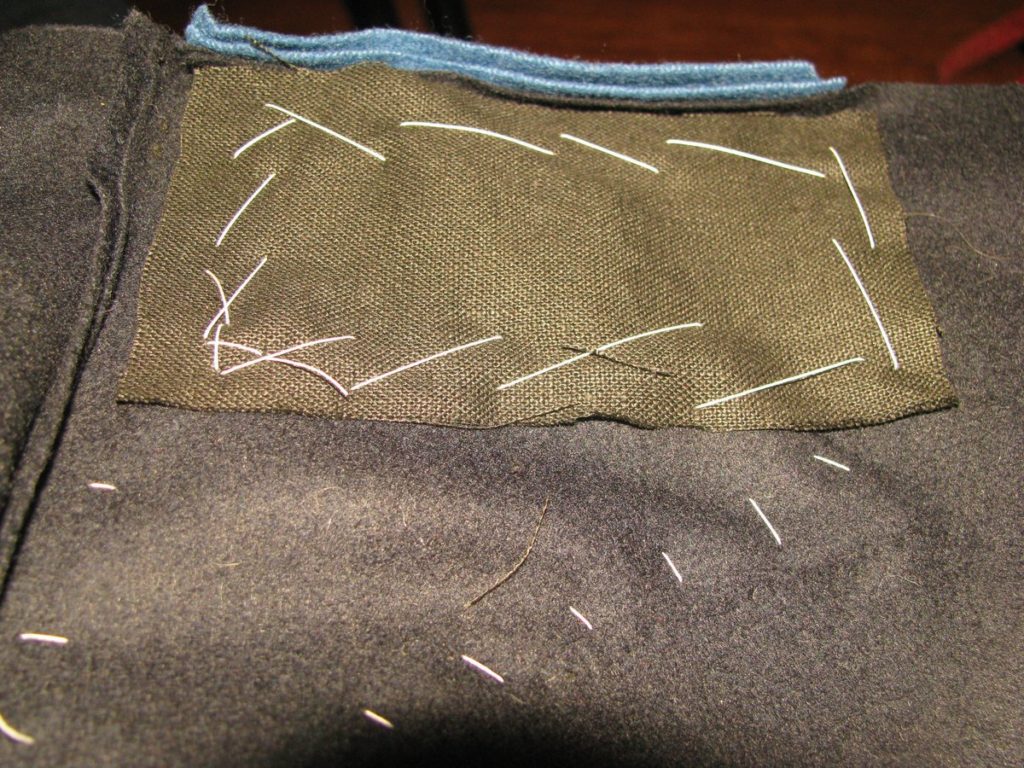
Baste in a piece of linen about 5 inches long by 2 inches wide. This should be inserted next to the strip of vent piping, and will give additional strength to the buttonhole area.
Turn and baste the sleeve facing over, basting along the front edge, and up along the extension on the side. Press well.
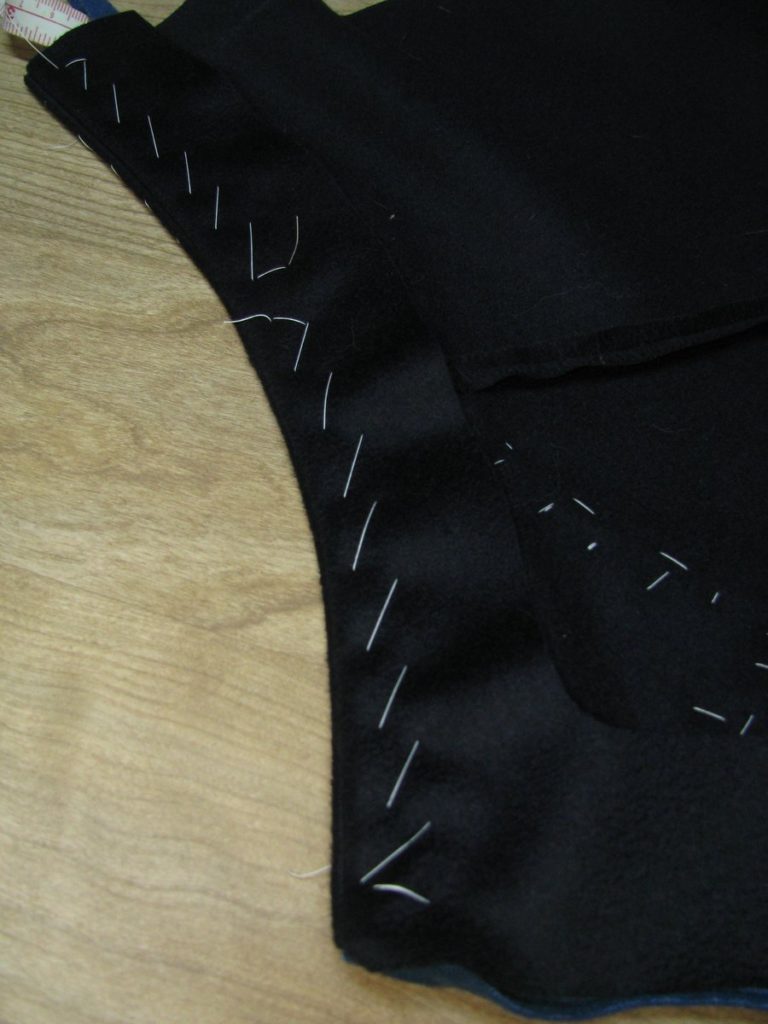
Trim a very slight amount – no more than a quarter inch – away from the edge of the facing directly above the vent piping. Fell down the vent to the piping, making sure the machine stitching holding the piping down is completely covered in the process.
On the other end, the edge is trimmed if necessary to make everything flush, and then stitched closed through all layers using buttonhole twist and and a buttonhole stitch for strength.
Turning to the wrong side of the sleeve again, cross stitch the inner edge of the facing to the sleeves, being sure to not pull the stitches too tightly. If you do, a fold of fabric will be visible on the right side of the finished sleeve – something that you want to avoid.
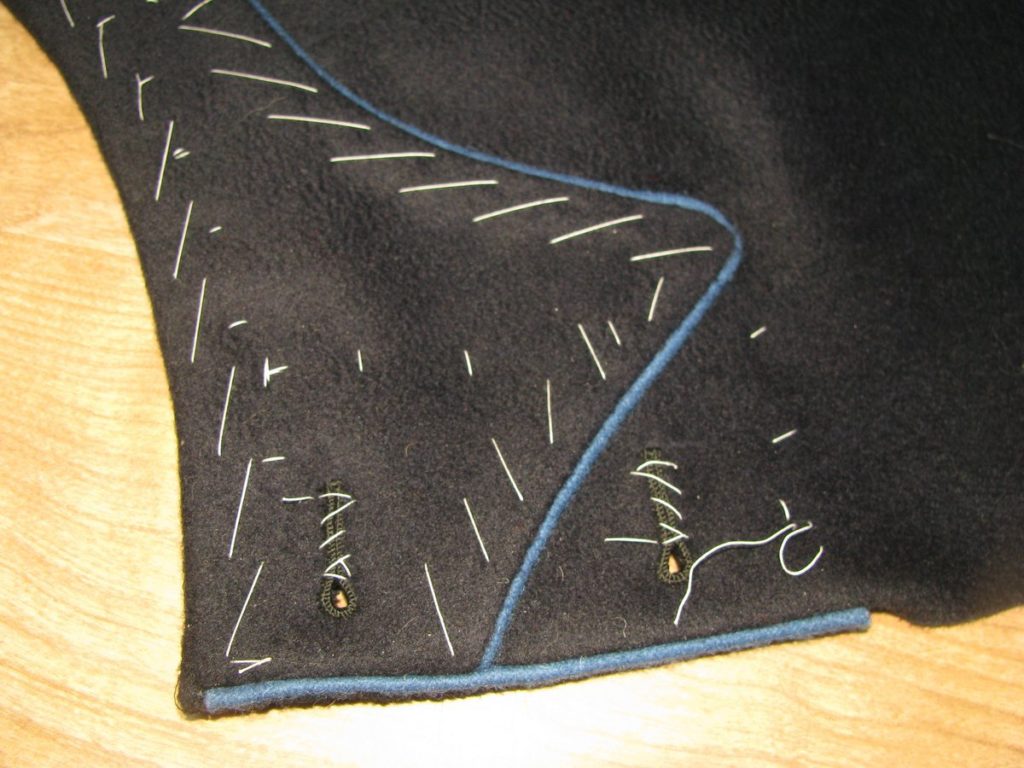
Now is the time to add two buttonholes to each cuff, on the piped side of the sleeve. Both buttonholes should be a half inch from the edge. The lower buttonhole is centered between the piping and the bottom of the sleeve, while the upper buttonhole is placed just high enough to avoid running into the piping of the chevron by about half an inch. Work the buttonholes as described in the buttonhole module. The lower buttonhole can be tricky a first, as it has to go through three layers of wool plus the linen layer. If you have to, pass the needle all the way through the hole first to make things slightly easier. With experience, you’ll find this is not necessary though.

After all that work, the sleeve cuff is finally done.
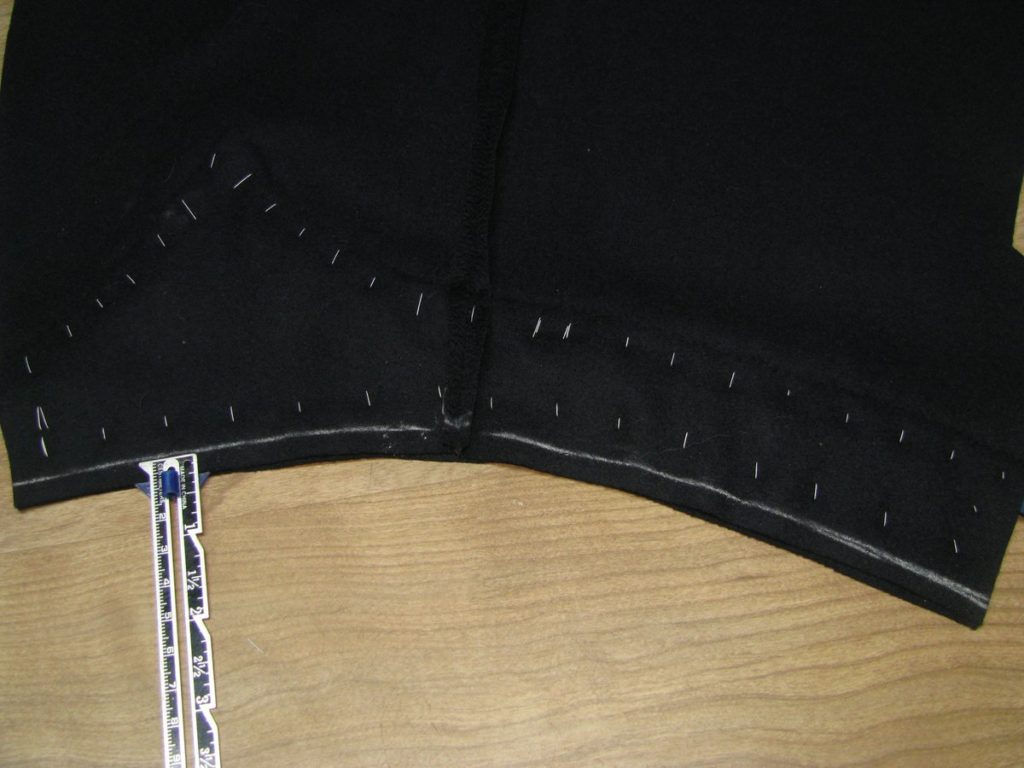
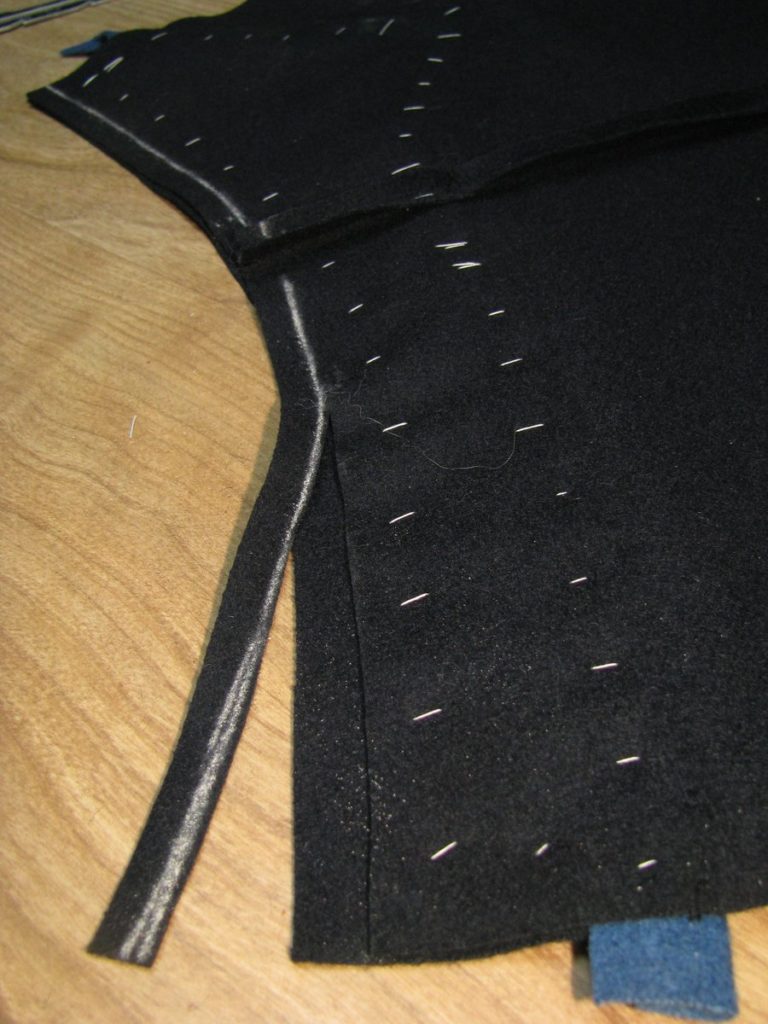
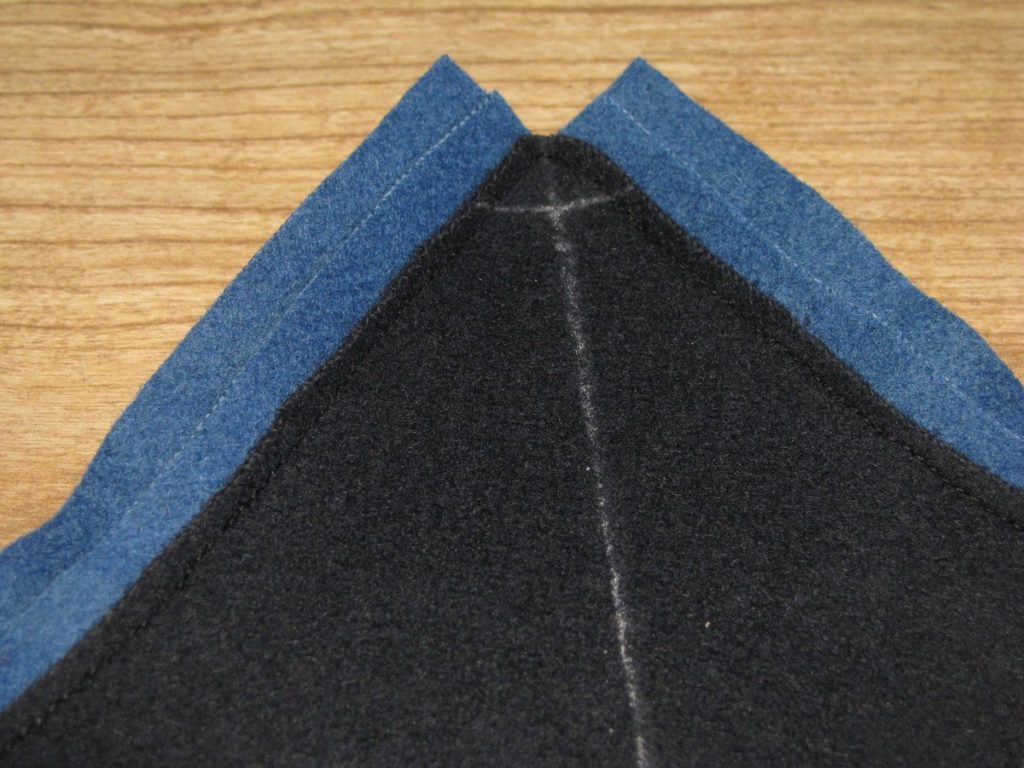
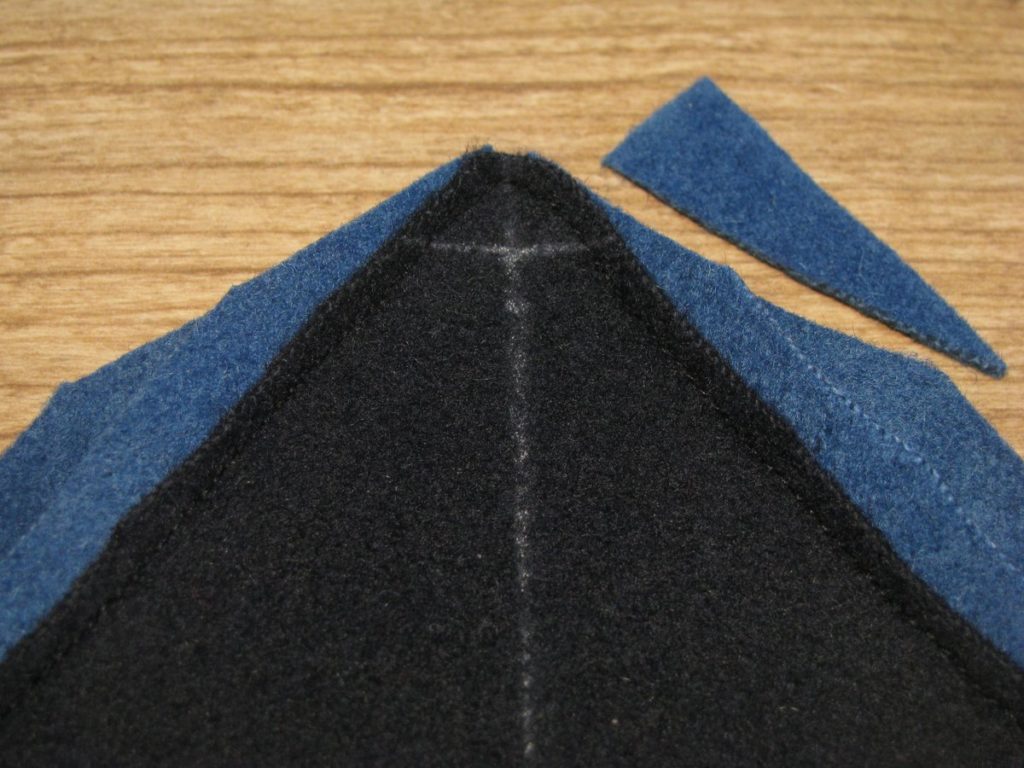
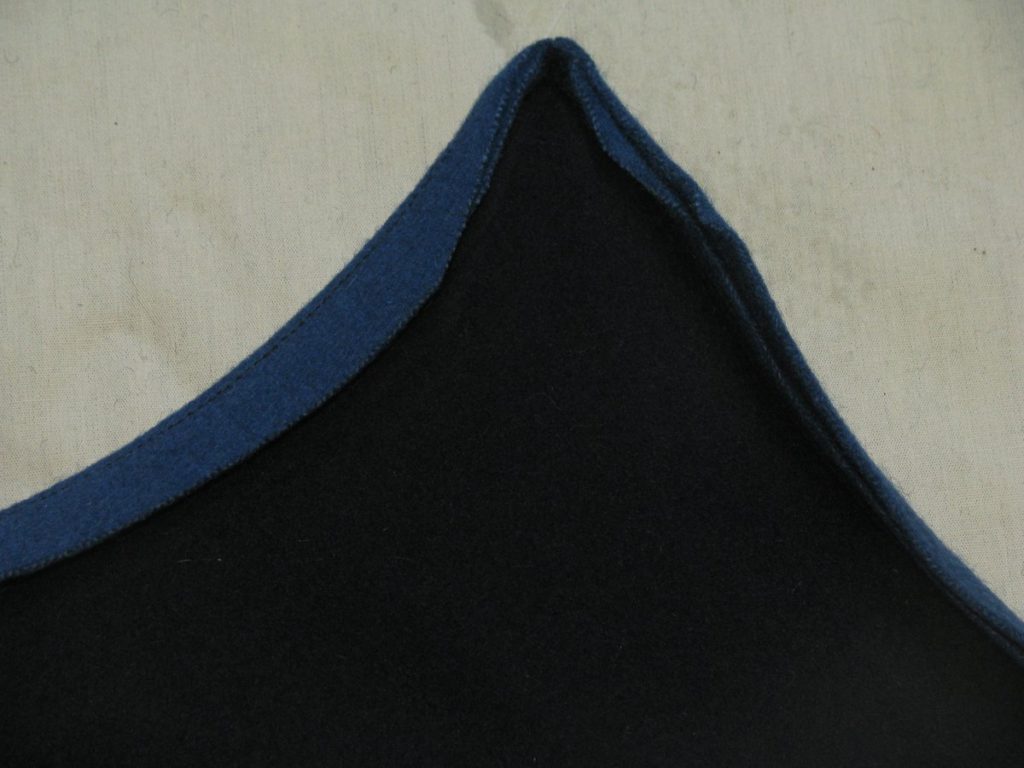
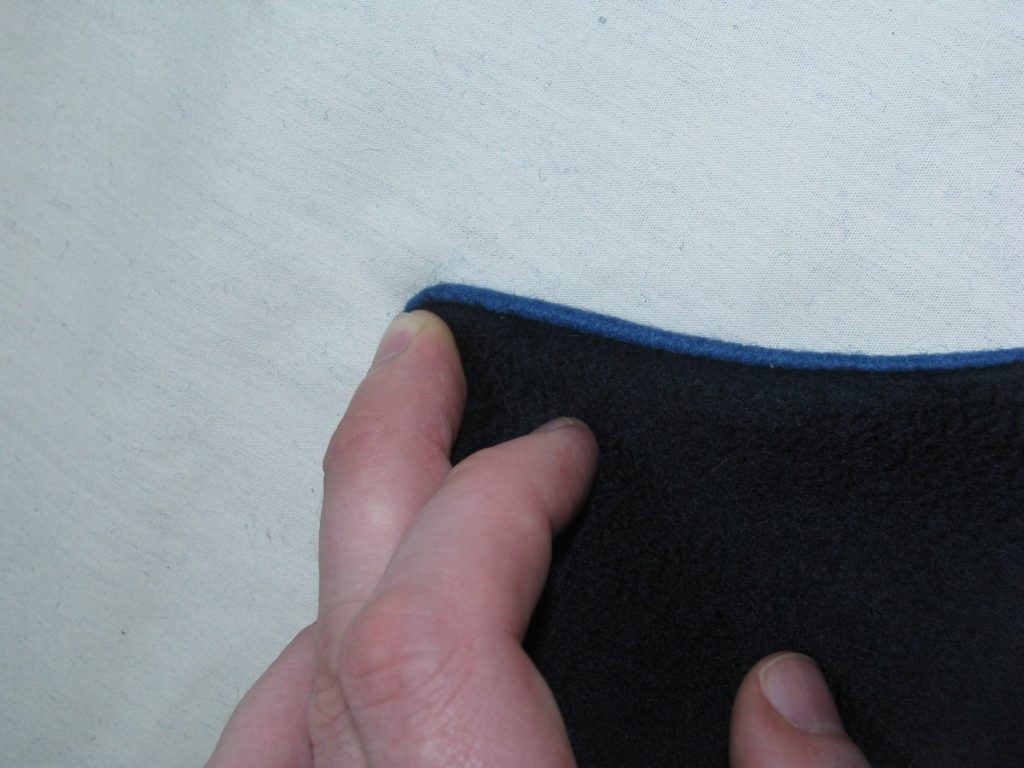
Line up the rear seams of each sleeve, right sides together. Baste and sew from the top of the seam, to just 1⁄4 inch beyond the edge of the sleeve inlay, as shown. Press well, using a sleeve roll or tailors ham inserted into the sleeve. This is sometimes tricky to press correctly due to the nature of the curved sleeves.
Vent Piping
Now we come to one of the trickiest places to sew on the entire coat. First chalk a line 3/8 inches away from the edge of the sleeve, on the chevron side.
Baste a 5 inch long piece of piping onto the sleeve at this point, lining the folded edge up flush with the chalk line.
Sew a 1⁄4 inch seam, counting from the edge of the sleeve, not the piping. It’s very difficult to sew over the point where the two pipings meet, being about 7 layers thick. Be sure you are using a size 100 needle for this. Once you get over that spot, it gets easier again.
On the wrong side, trim back the sleeve over the piping a little, tapering back out to it’s original width at the end of the piping. Do the same with the middle layer of piping.
This small strip of piping needs to be pressed to the underside of the sleeve now. Due to all the layers, this can take a few tries. Press from both sides to set the stitches well, then fold the piping under, and press well with a heavy weight if you have one. You’ll still end up with a slight bump no matter how well you press, but these are present on originals as well.

Cuff Facings
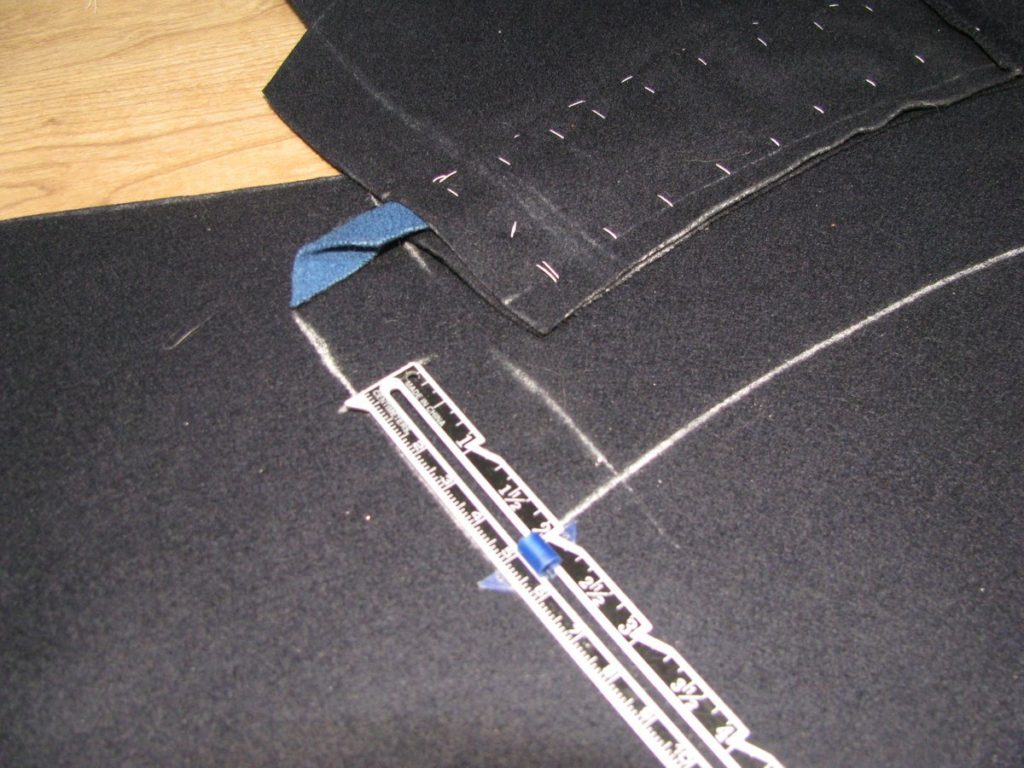
Place the sleeve face down on the cloth, making sure the grain is aligned. Draw a construction line if necessary to get a good alignment. Trace around the bottom, and the sides to just where the piping stitch line is.
For me, this happens to be two inches high. Draw a line indicating the top of the facing at this level, all the way across. When you get to the right side, strike upwards for 3 inches, two inches from the edge. Then close the top of the facing. Make the corners round, as shown. The height of this side extension piece should be equal to the inlay on the other side.
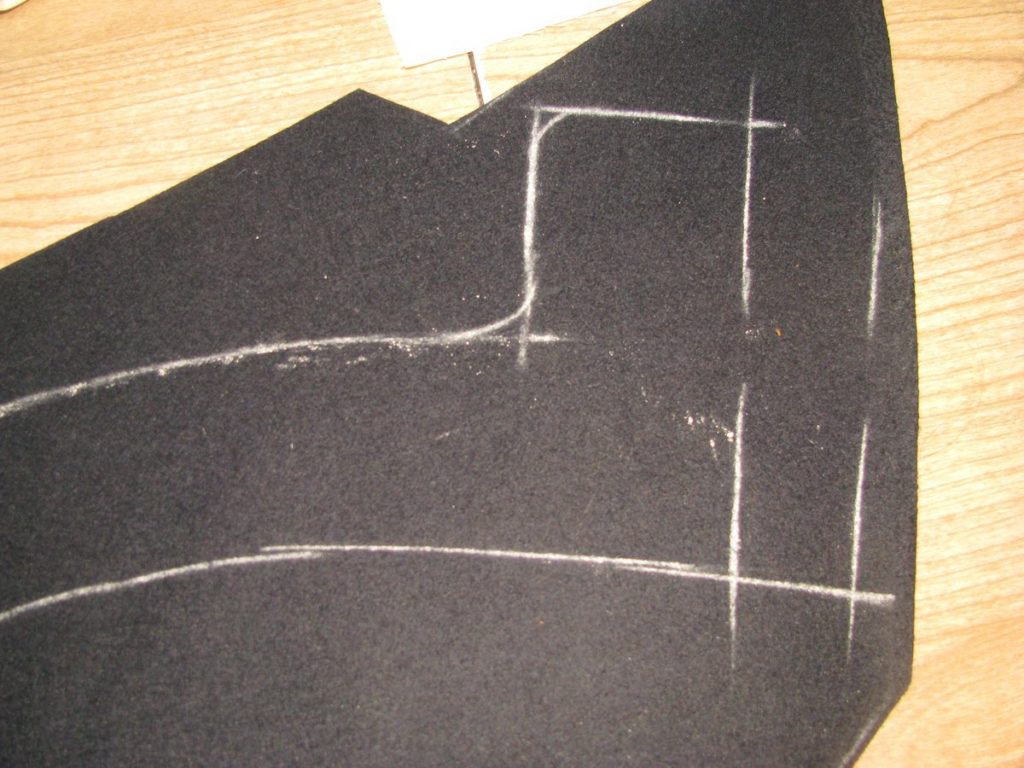
Cut out both facings, and check for fit if desired.
Turn the sleeve wrong side up. At the bottom of the cuff, mark a line 3/8” from the edge, all the way across.
Trim only the top layer, which is the sleeve layer itself. The cuff beneath is untouched by the scissors.
Place the cuff piece, right sides together, onto the sleeve, being sure that the side with the extension is on the same side as the chevron. Baste together along the bottom edge.
Sew a quarter inch seam, sewing the facing to the cuff piece. The sleeve itself should just miss these stitches by 1/8 of an inch.
Assembling the Cuffs
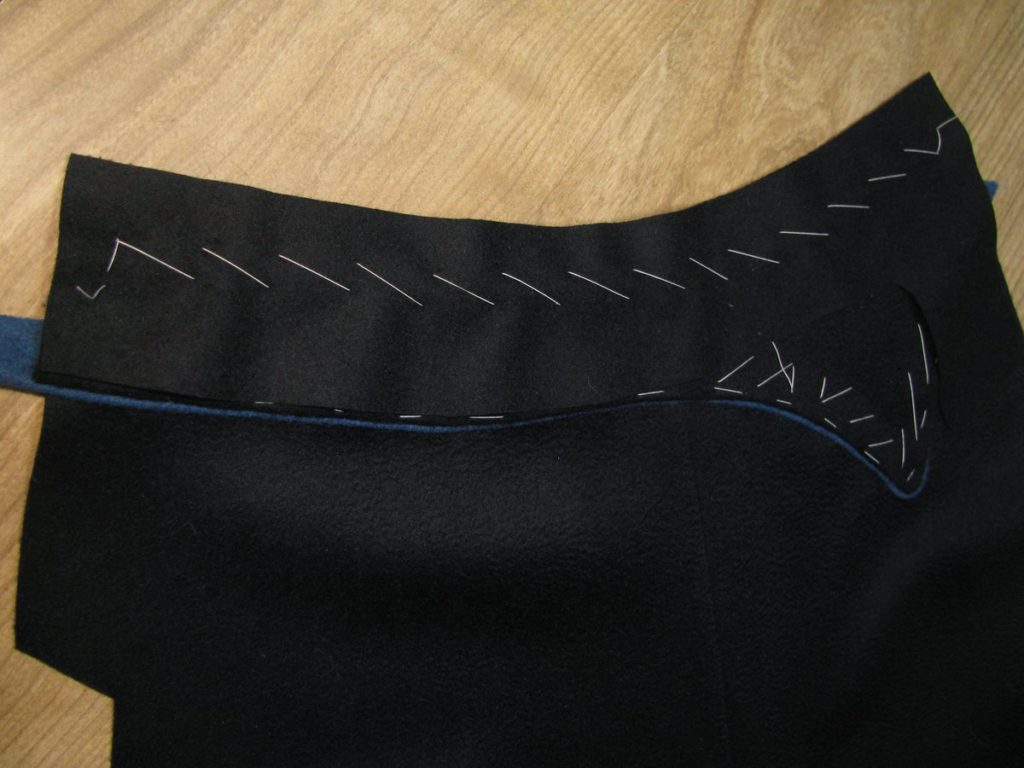
Place the cuff on top of the sleeve, with right sides of both facing up. The chevron should be on the opposite side as the inlay on the sleeve. Baste along the bottom, keeping 1⁄2 inch away from the edge.
Continue basting along the top edge of the cuff, just behind the piping. Try to get as close to the edge as you can without actually catching the strip of piping that’s showing.
Here comes the tedious part, more side stitching! Using 10 – 12 stitches per inch, side stitch the piping to the sleeve, using the same method as the collar. If you need to save time, you can use a machine and zipper foot, but I find the side stitching gives superior results.
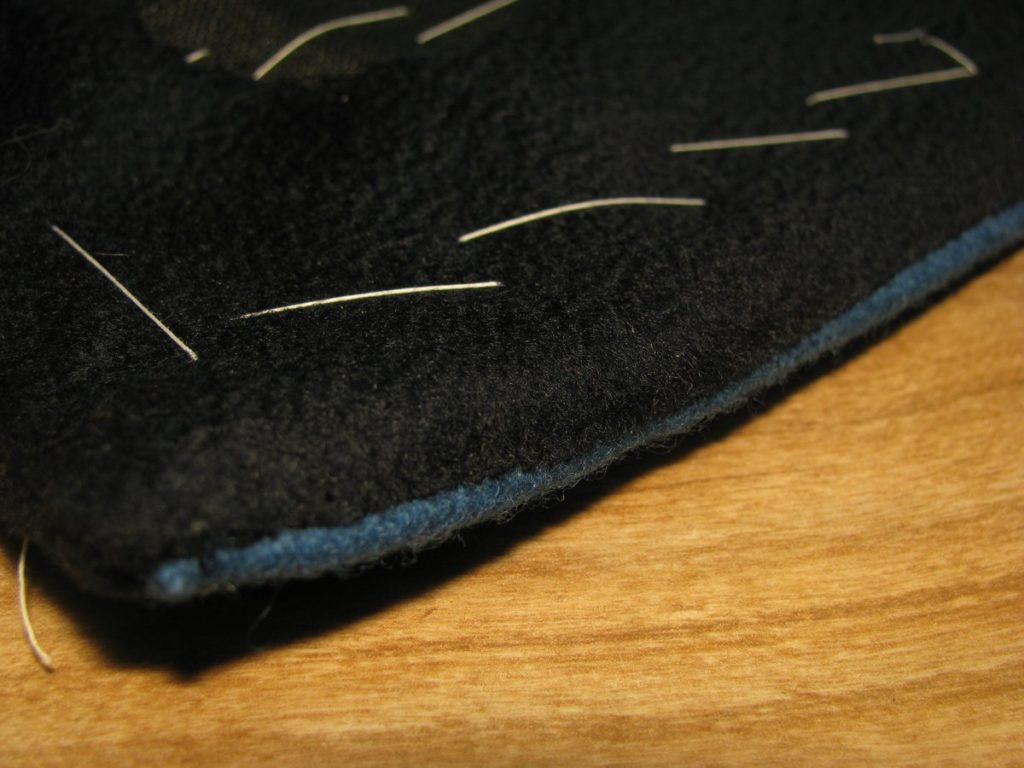
Here’s a photo of the underside after the side stitching. All you see are little pinpricks from the stitches, securely holding the piping in place.
Cuff Piping
Dealing with the point of the chevron needs some special consideration. First, you must trim off the piping, using an angled cut. The narrow end near the tip should be about 1/8 inch away from the stitching.
Press the cuff well from each side to set the stitches. I then like to press the piping over on both sides of the tip, saving the tip for last. The process is the same as for the collar.
To press the point, I like to turn the cuff over so that the right side is up, and roll the piping at the tip under with a finger. This is followed directly behind by the iron, keeping the tension so that the piping stays underneath. Don’t worry if it takes a few tries, you’ll get it soon enough.
Trimming the Coat
There are a few different methods of trimming the coat. I will go over them briefly, and you can choose whichever you prefer.
Bound Edge
The first is called the bound edge, and was often done in silk, or in wool. Since mine is a more upper class coat, I’ve chosen silk. Cut a piece of silk on the bias, 4 times the desired final width of the trim, plus 1⁄4 inch. This gives you room to get around the edge of the coat, which often has some bulk. In my case, I wanted trim at a final width of 3/8 of an inch, so I cut my silk at 1 3⁄4 inch wide.

Lay the trim right sides together on the outside of the coat. Do a combination of back and running stitch to save time, at the desired depth. Catch only the outside layer of the coat, as the trim will wear away after some time, and this will make replacement easier. A good reason not to use a sewing machine.

Then fold the trim under itself to the other side, and secure with a slip stitch. This gives a nice appearance, and is probably my favourite style of trim.


Piping
A piping finish must unfortunately be done as you are constructing a coat, so it is not an option for this present coat.
Begin by cutting some bias strips of light wool. These should be at a 45 degree angle to the selvage, allowing them to stretch easily. Each strip should be 1 1⁄4” wide and long enough for the area you are working on.

Cut out these strips, fold them in half, and press well, so that they retain their shape. The finished piping should be 5/8” in width.

Baste a strip of piping to the right side of your fabric, with the folded edge on the inside, and the raw edges all lined up.

Carefully stitch down the piping, using a half inch seam allowance. This will give you piping that is 1/8 inch wide when finished. This can be tricky to do, so go slowly, turning the wheel by hand if you like. If you make the piping too narrow, it will not be able to fold under, and will disappear from view. If it is too wide, it will look bulky and flap around on the finished coat. Definitely not elegant.

Press the piping to the wrong side, so that only the 1/8” of piping is showing on the outside. At this point, the canvas would be put in, and the raw edge of the piping sewn to it with a cross stitch.


Silk Cord
I’ve seen this on a couple of original coats, and the finish is subtle yet striking. From a distance, you can’t really see it, but up close, all of the detail comes out. Take a 1/16th inch silk cord, and simply lay it on the edge of your coat, securing it with invisible stitches as you go. Sorry, no photos due to lack of permission.
Where to put the trim
Trim can go along the front of the coat, the collar, the ends of the sleeves, and along the back vent. It is important for you to study originals, and photographs, so as to get a better idea of how to apply the trim. I will leave that as an exercise for you.
That’s it!
You have finally made it through to the end of this workshop! Hopefully you made it through with little error and confusion, but if not, please ask for some help at the support forum. I’d also love to see photos of your finished pieces!
Thank you,
James

Collar Tab
Bar Tack the Pockets
It’s a good idea to put a little bar tack at the bottom of each interior pleat pocket opening, if you have them. This will keep stitches from tearing out over time.
Sorry, I didn’t take a photo of this for some reason. Please let me know if you need clarification.
Collar Tab
Original coats had a tab made of lining or mohair in order to hang the coat on a hook. This is a feature rarely reproduced, sadly.
Cut a piece of lining 4 inches long, and a piece of stay tape 3 inches long – the finished size of the tab. Baste the stay tape 1⁄4 inch away from one edge, keeping a half inch seam allowance on either side.

Press over this smaller edge onto the stay tape.

Fold the wider edge in half, then fold that over the stay tape, giving you a finished edge.

Fell this edge down the length of the tab.

Trim off 1⁄4 inch from both ends, and press the remaining allowance under. Place this on the coat, and fell down along both ends, starting 1⁄4 inch from the edge and working your way around to the opposite side. Just past the spot where the folded under edge stops, side stitch across the tab for extra strength.

Completing the Skirts
There are just a few more steps until your coat is done! First, we’ll take a look at the bottom of the back skirt lining, which is still hanging free. The raw edge was cut a little longer than needed, in case of error during construction. Lay the coat out flat on the table, and carefully align everything so that it lays smoothly – particularly the back tails.
Lay a ruler across the back, and chalk a line from one end to the other, lining the ruler up with the bottom of the main skirt at each end.

Carefully cut the excess wool fabric off, but be sure not to cut the lining!

Fold the lining under, baste, and finish off with a slip stitch all the way around the unfinished edges.

At the center back, at the bottom, there is a folded edge of fabric that has been left raw. I like to use a buttonhole stitch and secure this so that it does not open up. The same thing goes with the front of the skirt, where you have that large facing. Securing that will make things just a little tidier.


Optional Skirt Finish
If you decided to leave the lining of your skirt hanging free at the bottom, ignore this section. If you prefer to close everything off, you’ll need to close the bottom. To begin, first smooth everything out, and baste a row of stitches about 1 inch from the bottom of the skirt, catching lining and wool. Go back, and now baste a row of running stitches at the bottom of the lining, only this time pushing the lining up away from the edge as you go. This will give the skirt some slack to avoid those awful pulls on so often seen on typical reproductions. Finish the bottom edge with a slip stitch.


Setting the Lining
Press the top edge of the sleeve lining over to the wrong side, using a 1⁄4 inch seam. Place shirring stitches along the top of the sleeve head. I only did one row, but feel free to do all three rows if you need more control.

Baste the bottom edge of the lining to the coat body, just covering the stitches holding the sleeve onto the coat.

When you get to the upper sleeve, gather the stitches as you did before, distributing the fullness. Baste in place. Because the lining cannot be shrunk away, you will naturally get a slightly messier looking lining. Try to smooth things out as best you can.

Fell down the sleeve lining to the body, using 10 to 12 stitches per inch. Congratulations, the sleeves are finally done, and we can move on to completing the coat!
