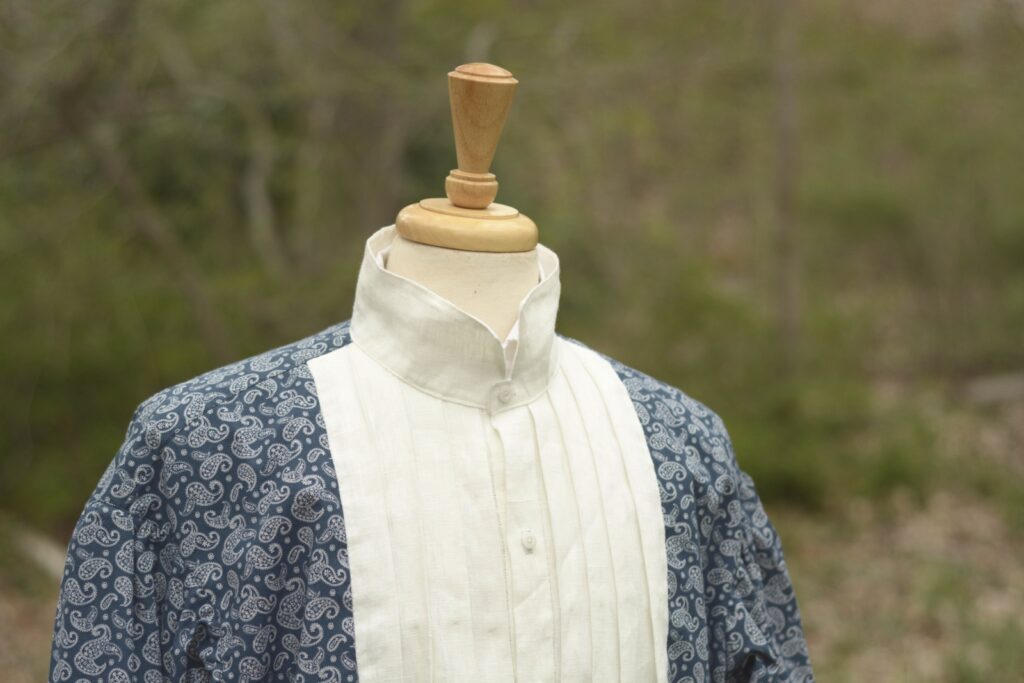
Pleated-Front 1860s Shirt Course
Register today for a five week online class on drafting, fitting, and constructing your very own pleated-front shirt.
Registration is open for my five week online shirt making course! The course covers all aspects of sewing an 1860s civilian style shirt with a pleated front, from drafting and fitting, to constructing the various parts of the shirt (with some customization possible such as pleat width and collar and cuff styles). Each week you’ll receive access to a section of the course, for a total of five weeks and sections.
Each section contains detailed step-by-step instructions, clear photographs, and accompanying HD video for those who prefer to learn that way. You’ll also have access to my new support forum where I’ll personally answer any questions you may have and be able to help with your fitting. It depends on your skill level of course, but I’m estimating each section will take from two to five hours to complete, for a total of about 10 – 25 hours of work. You should have some basic sewing experience, but in general the course is geared towards advanced beginner to intermediate sewer.
I get a lot of questions from people wondering about how long they have to finish the project, but never fear! Other than the material coming out over five weeks (just email me after purchase if you’d prefer everything at once), the class is entirely self-paced and you can work as slowly or as quickly as you like, and you have indefinite access to everything.
Supplies
For the Shirt
- 4 – 5 yards cotton print or linen for the shirt body (5 – 7 oz linen).
- 1 yard linen for the pleated front, collar, and cuffs (5 – 7 oz).
- Cotton or linen thread for construction.
- Silk buttonhole twist (to match cuffs and shirt front).
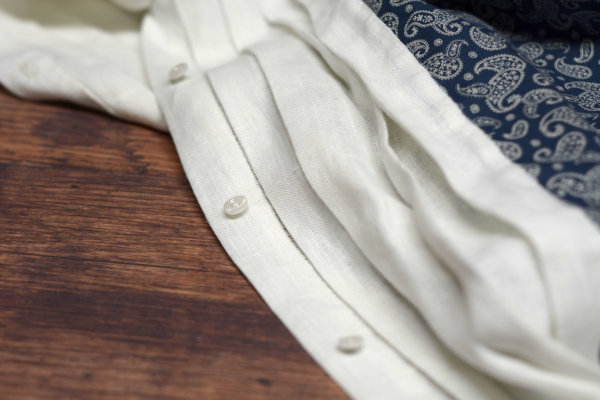
- 5 to 8 — 3/8″ bone, mother-of-pearl, or calico buttons (number depends on how many buttons on the front).
For Drafting
- Pattern paper or poster paper, ~36″ wide (you could also use the back of wrapping paper or even newspaper if necessary).
- Pencil
- Quilting ruler
- French curves or engineer’s bendable ruler (I found mine at Staples) if you don’t want to freehand the curves.
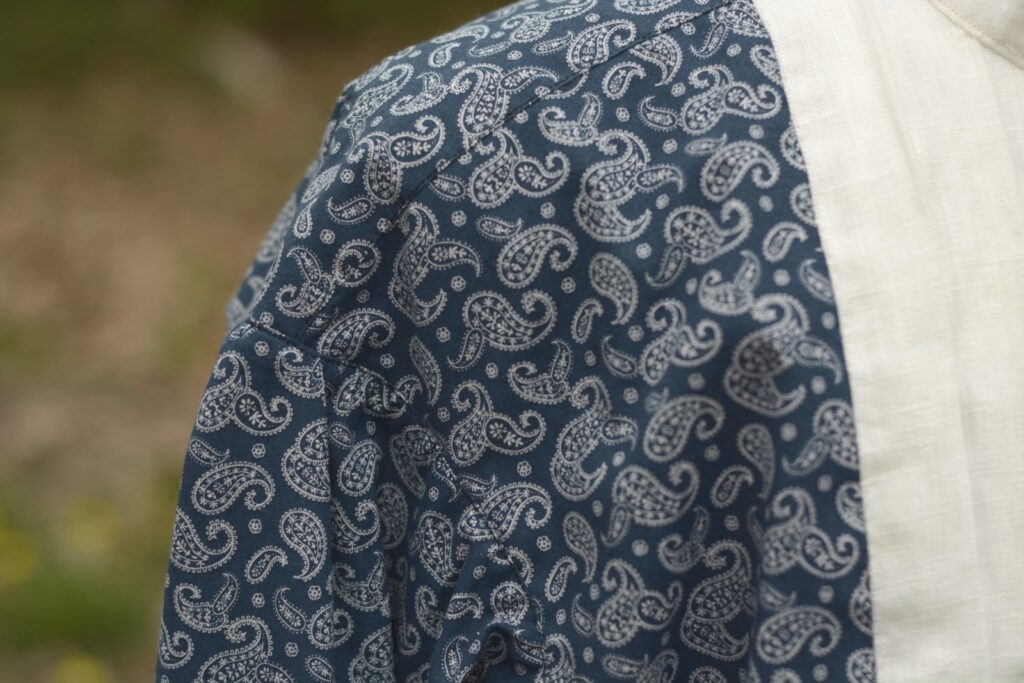
The shirt can be constructed in a couple of different ways. 1) 100% linen which is very cool but slightly more expensive. Also more uncomfortable while the shirt is breaking in. 2) 100% cotton. Prints in small repeating patterns are best. Most affordable and comfortable, good for lower class impressions. 3) A mix of both cotton print and linen for the cuffs, collar, and pleated front, which is what I’ll be doing. Best of both worlds in that it is affordable, comfortable and slightly more formal than the cotton variation.
For cotton prints, try searching for Civil War quilting fabrics on various sites like Etsy. I’ve had the most difficult time finding anything decent, unfortunately. Feel free to ask for advice or opinions on fabric.
Course Content

Module 1 – Drafting
In this first module, learn how to take the measurements for your shirt. It’s very easy as the shirt itself is not very fitted, at least around the body. Then take those measurements and apply them as you draft a pattern for the shirt front, back, yoke, sleeves, cuffs, and collar.
Module 2 – Muslin Toile and Fitting
Construct a toile out of muslin fabric for fitting purposes. This has two objectives: first, it allows you to make sure your shirt will fit properly and see where you need to make alterations to the matter. Second, it gives you practice in constructing the shirt so that you can work out any problems now rather than in the final shirt with your nice fabric.
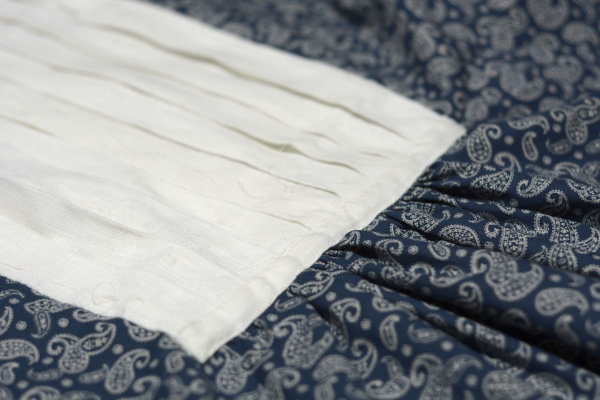
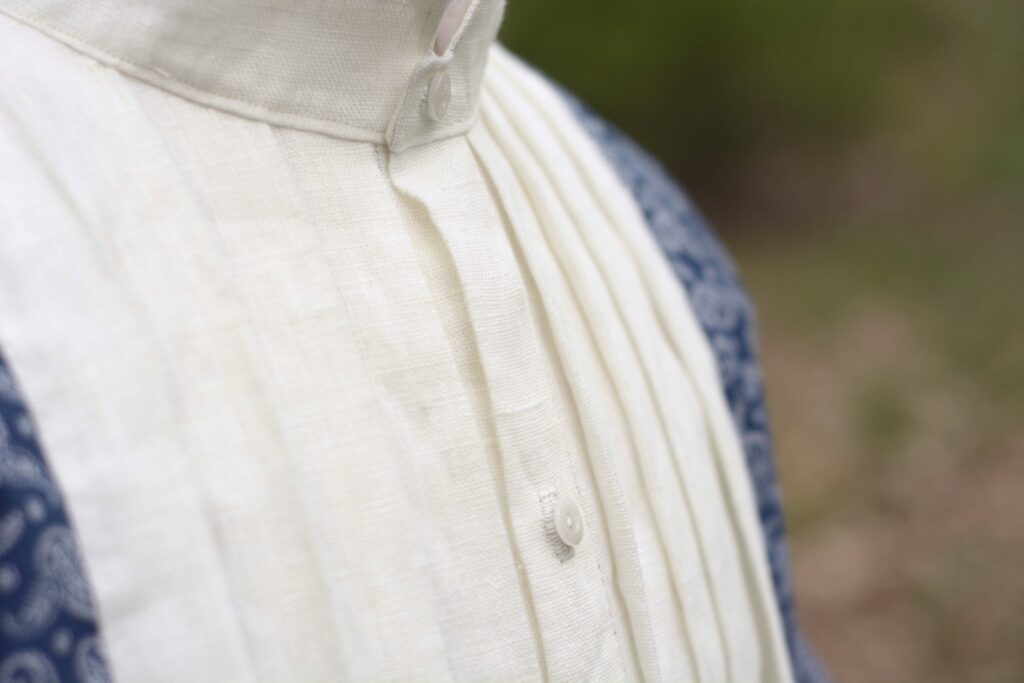
Module 3 – The Pleated Front
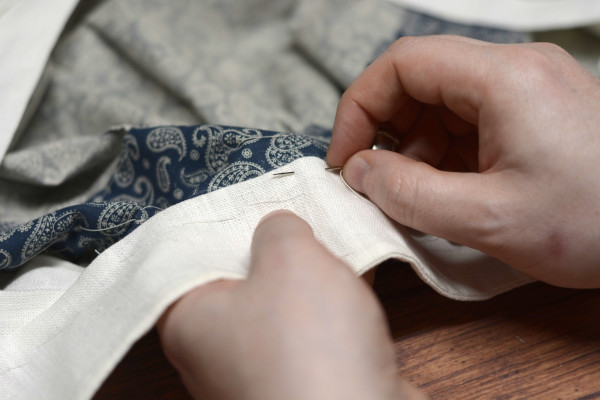
In this module, construct the front of the shirt. This includes some special period techniques to ensure that the pleated section is cut and folded accurately on the grain of the linen fabric. The pleated front is then attached to the front of the shirt and then the seam allowances are finished.
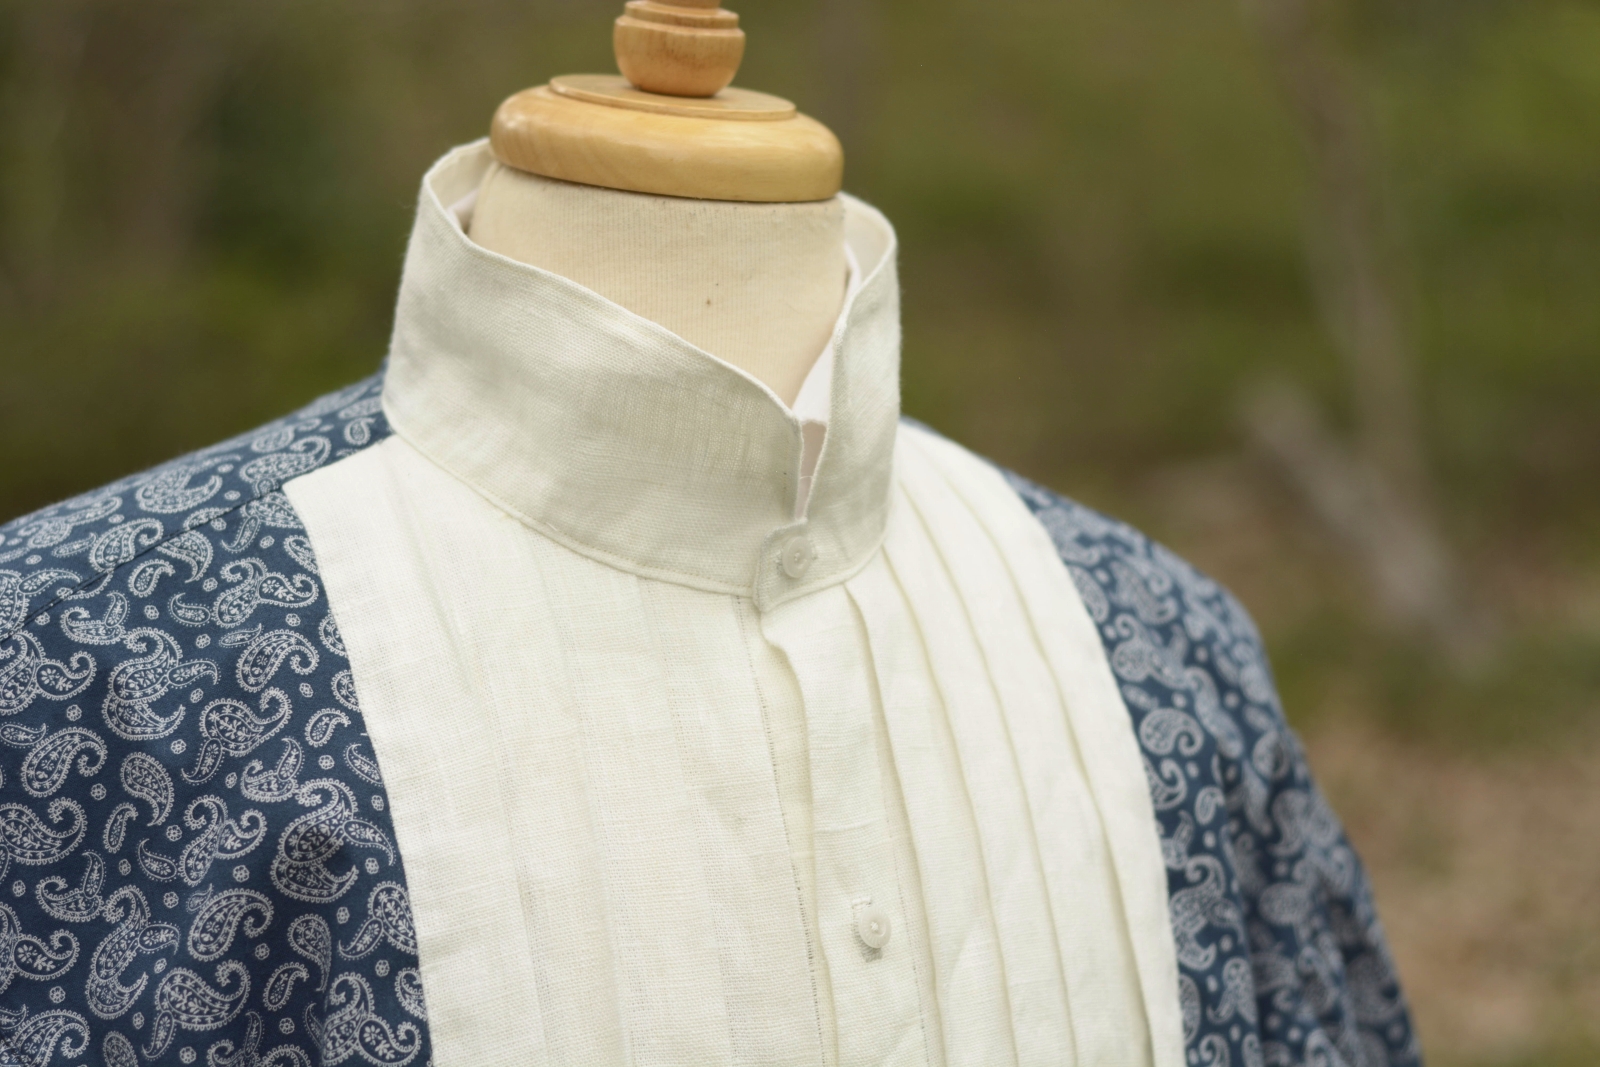
Module 4 – The Shirt Body
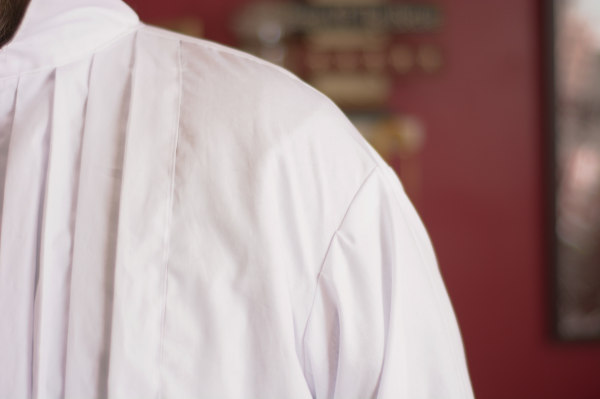
The shirt really starts to come together in this section, where you’ll learn how to construct the back and yoke sections, add a lining to your shirt, construct and attach the collar, and finish the raw edges of the various seams. Finally, the bottom of the shirt finished with a rolled hem.
Module 5 – Sleeves and Buttonholes
Finally, the shirt is completed with the construction and setting of the sleeves, buttonholes, and attaching the buttons.
30-Day Money Back Guarantee
When you join Historical Tailoring Masterclasses you are fully protected by our 100% Satisfaction Guarantee. If you don’t feel like you’ve received value and you decide you want to cancel any time within the next 30 days, just let us know and I’ll send you a prompt refund.