Category: Tailoring Basics
Felling Stitch
The felling stitch is very commonly used in tailoring, and is perfect for securing linings to fabric, facings, and various other tasks. There are actually three different variations of the stitch, each only slightly different from the other, that are important to learn so that you can choose the best one for your particular situation.
When choosing a thread, choose one that matches the lining to make the stitches nearly invisible.
Felling Stitch I
For each variation, I like to tie a knot first, burying it between the two layers of fabric, and then make a small stitch in place to secure the layers.
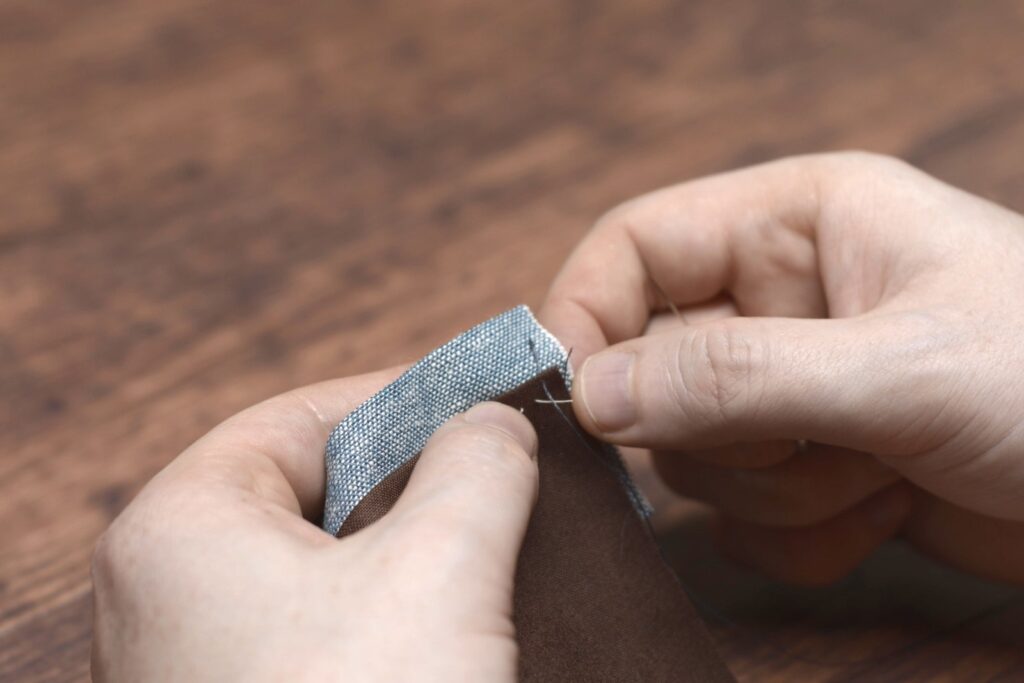
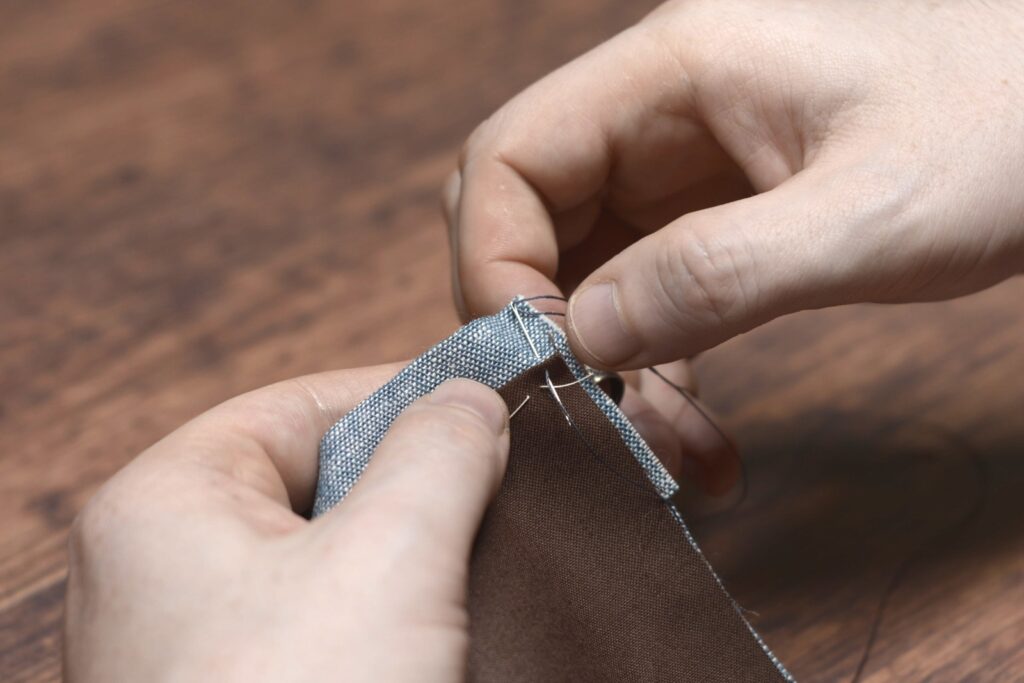
The stitch should be very small, catching only a few threads of the lining fabric at most, and perpendicular to the seam.
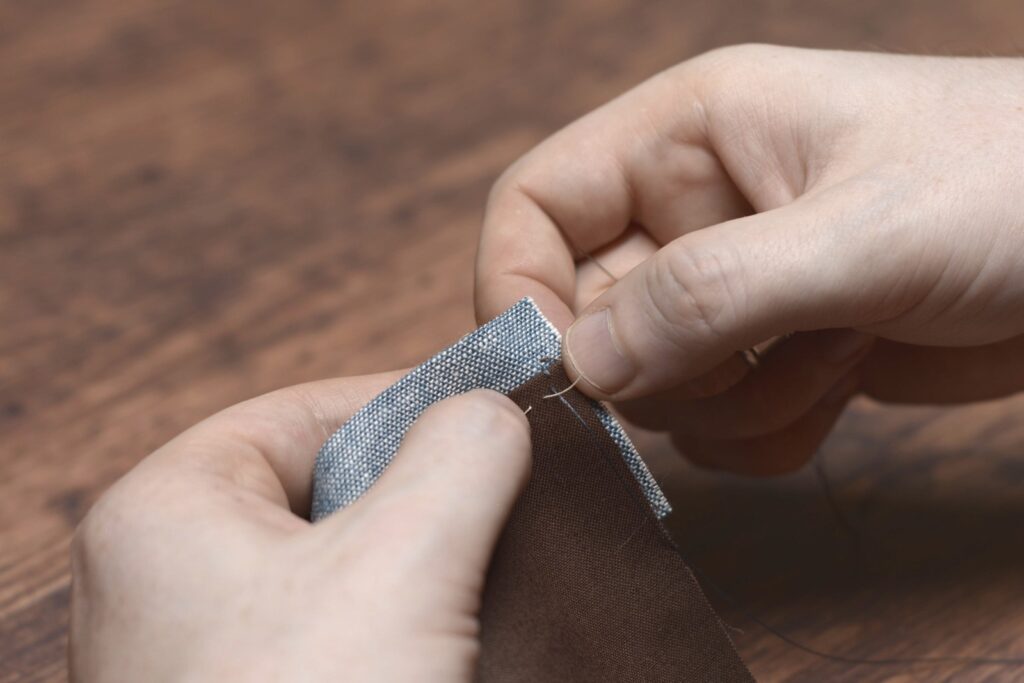
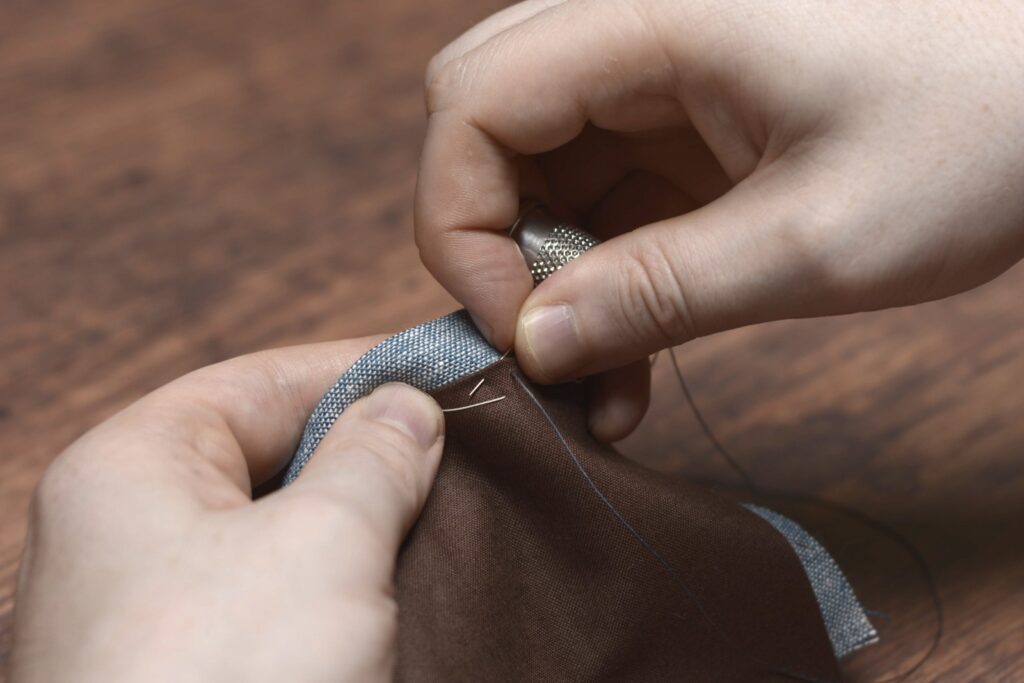
To form the first stitch, place your needle directly above the first stitch, angling the needle diagonally. Pass the needle through the fashion fabric, being very careful not to let the stitches show to the right side, and out the lining, about 1/8″ to 1/4″ away as shown.
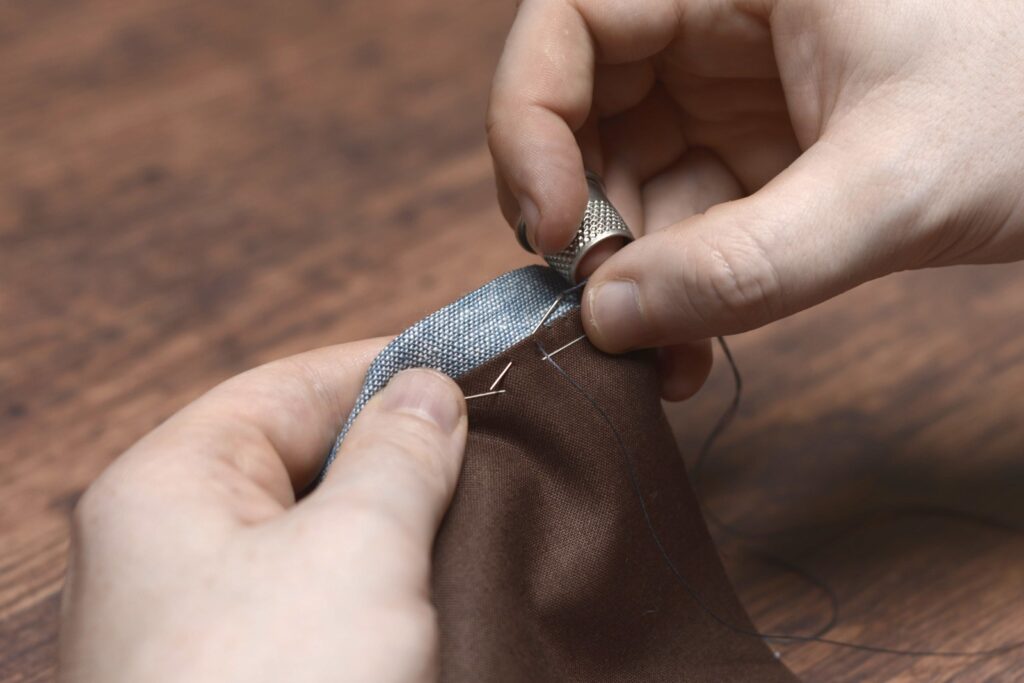
Again bring the needle immediately above this stitch to form the next one.
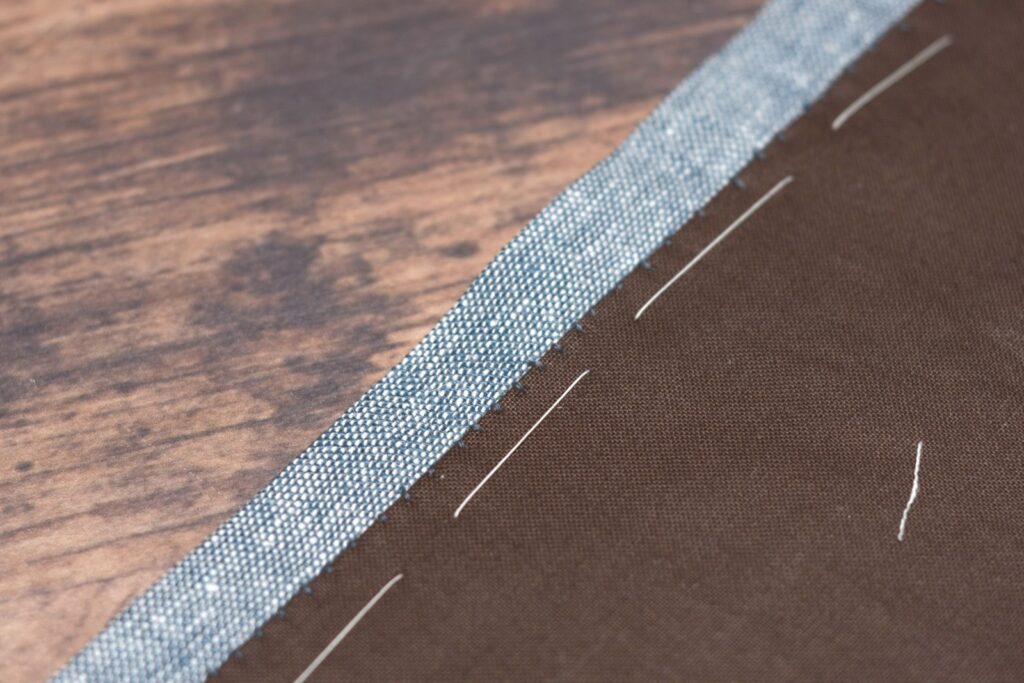
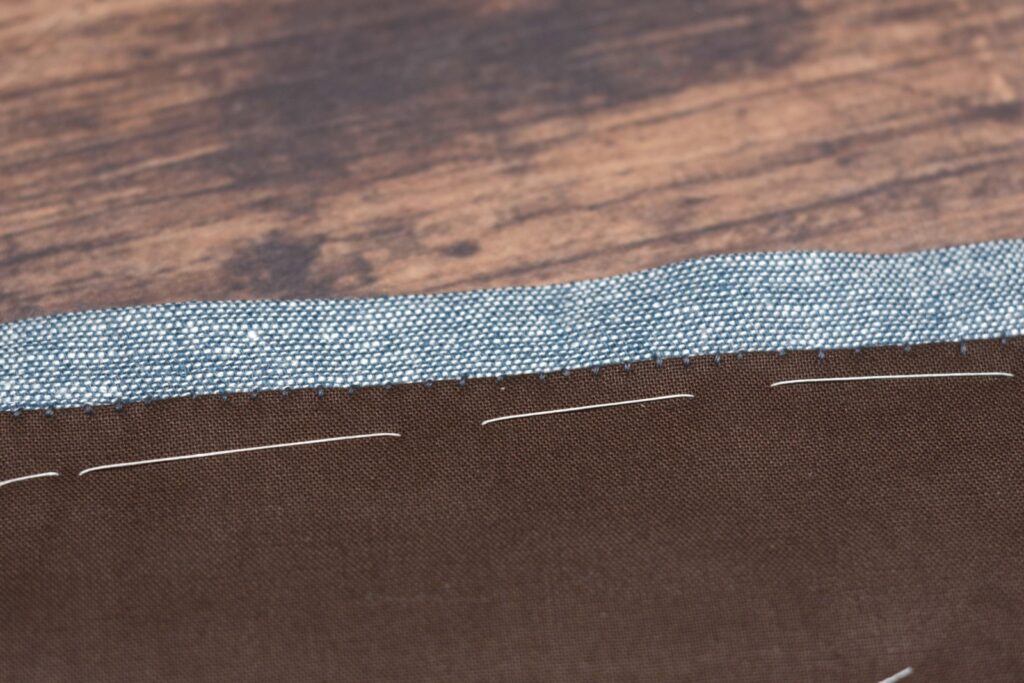
Here is what the stitches should look like after finishing the seam. I’m using a very thick thread here for demonstration purposes, but if you use a matching thread and a small stitch, these stitches should be almost invisible.
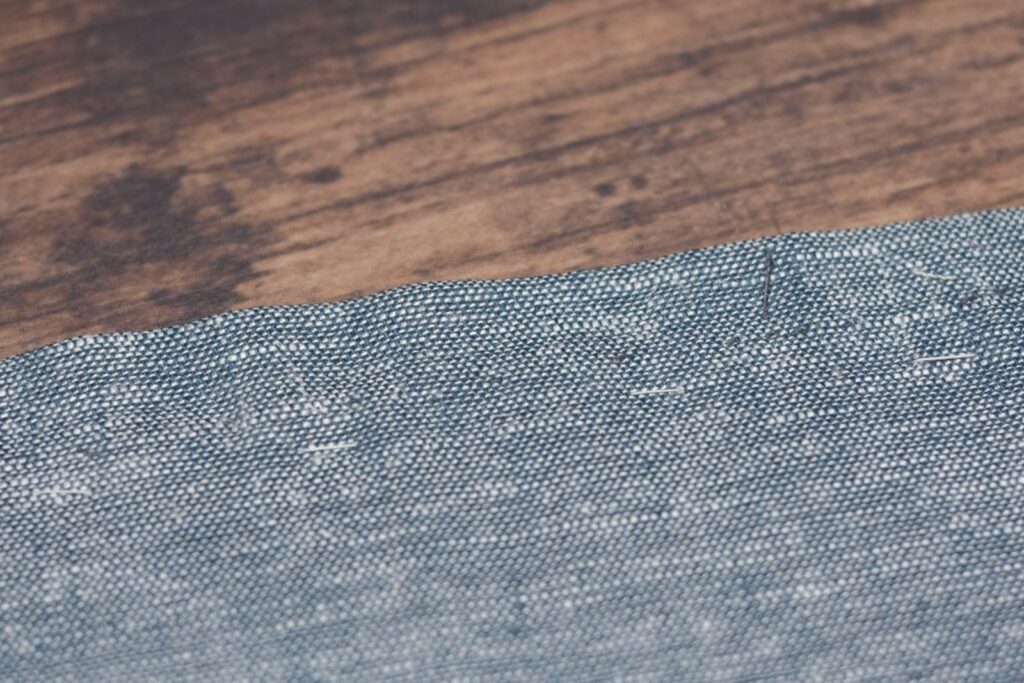
From the right side, you shouldn’t see any of the stitches, ideally. I’m using a thin linen here for the photographs so they did show through a little.
Felling Stitch II
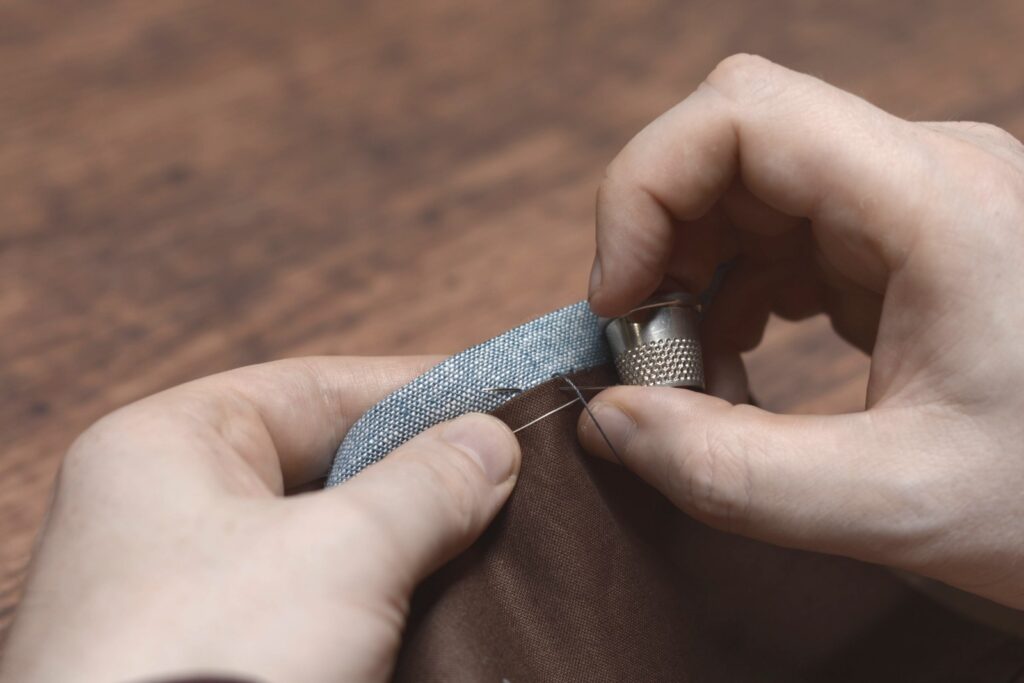
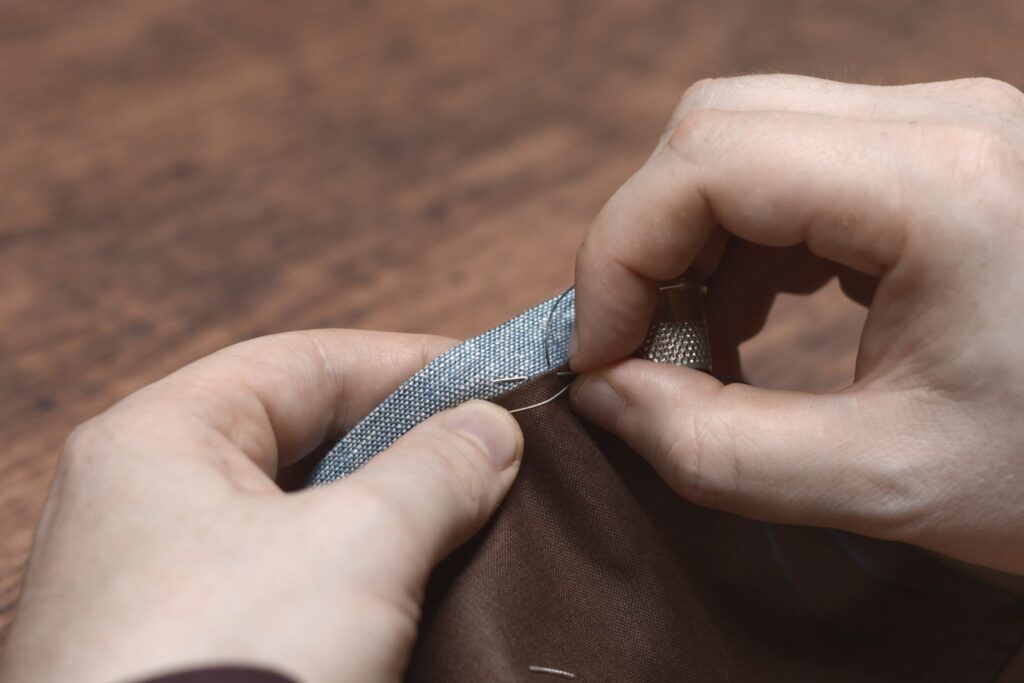
The second variation is basically the same, except the needle passes through the lining, directly above the first stitch, and into the fashion fabric below.
I’ll switch to this variation when sewing on linings in particular. It makes regulating the tension a little easier and helps to avoid puckering of the lining. It also depends a lot on the position of the fabric and hands that determines which variation I will use — sometimes it’s just easier to come from one direction than the other.
Felling Stitch III
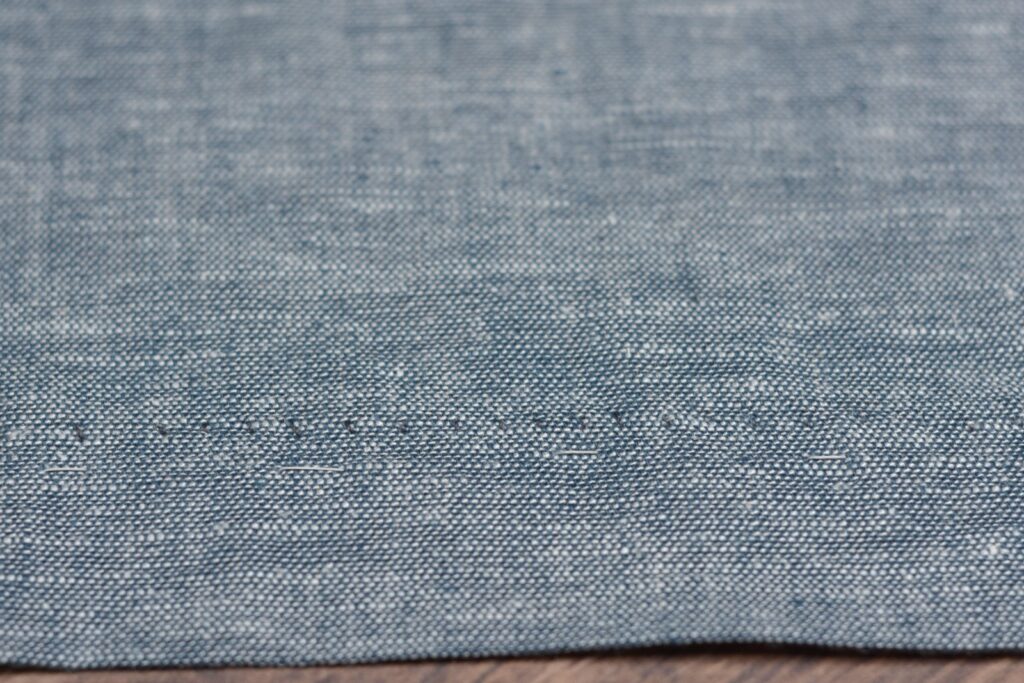
This third and final variation of the felling stitch is often used when felling down a seam or facing in a thinner fabric such as linen in which you need the right sides to look nicer but can’t avoid the stitches showing through.
I see this stitch used often in original military garments as well.
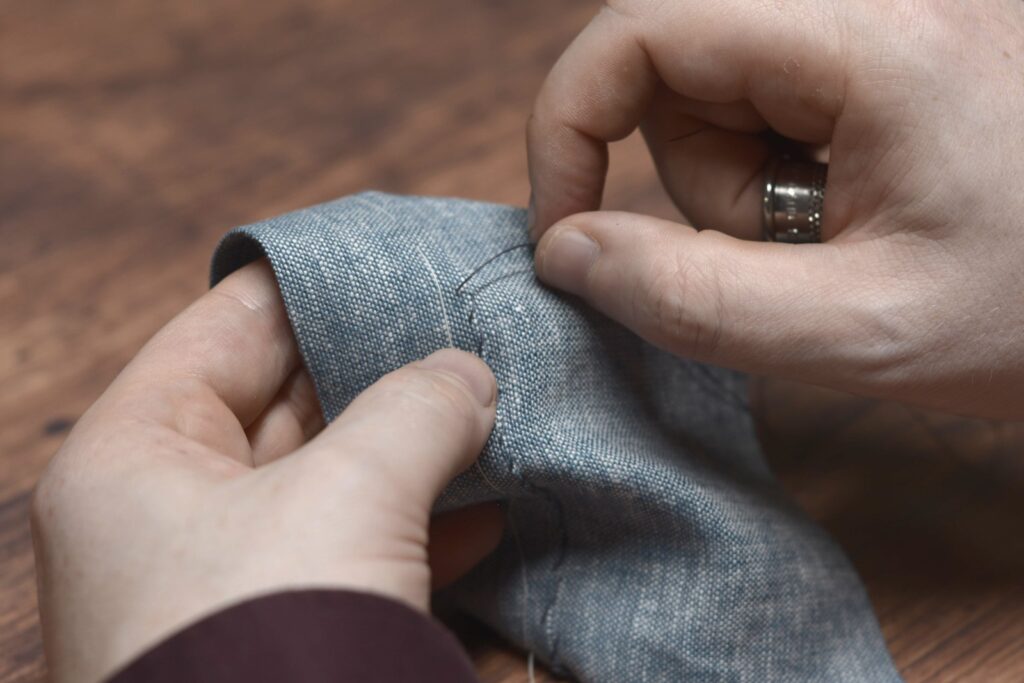
Begin with the knot and a stitch in place as usual. Then, move the needle 1/8″ to 3/8″ away from the first stitch and make a small stitch perpendicular to the seam through all layers.
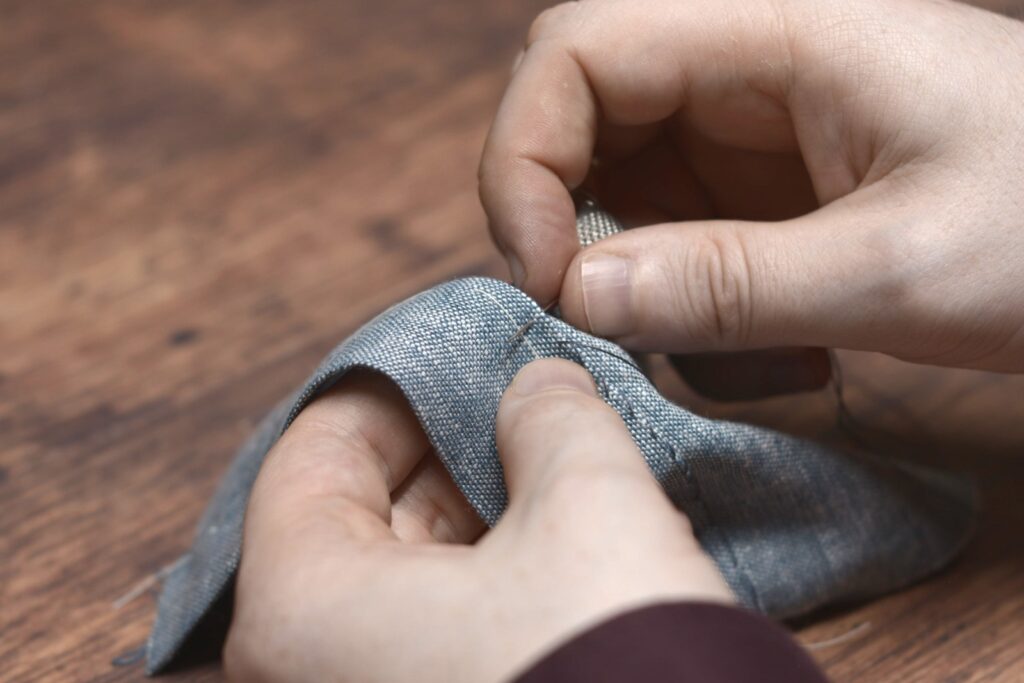
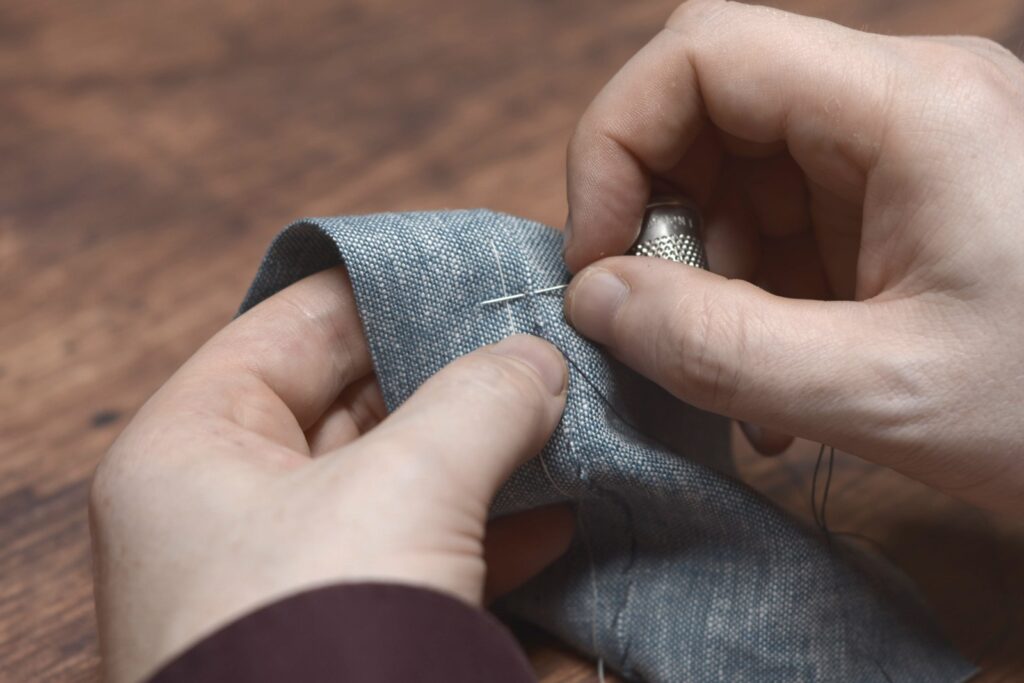
The result will be a diagonal stitch on the wrong side.
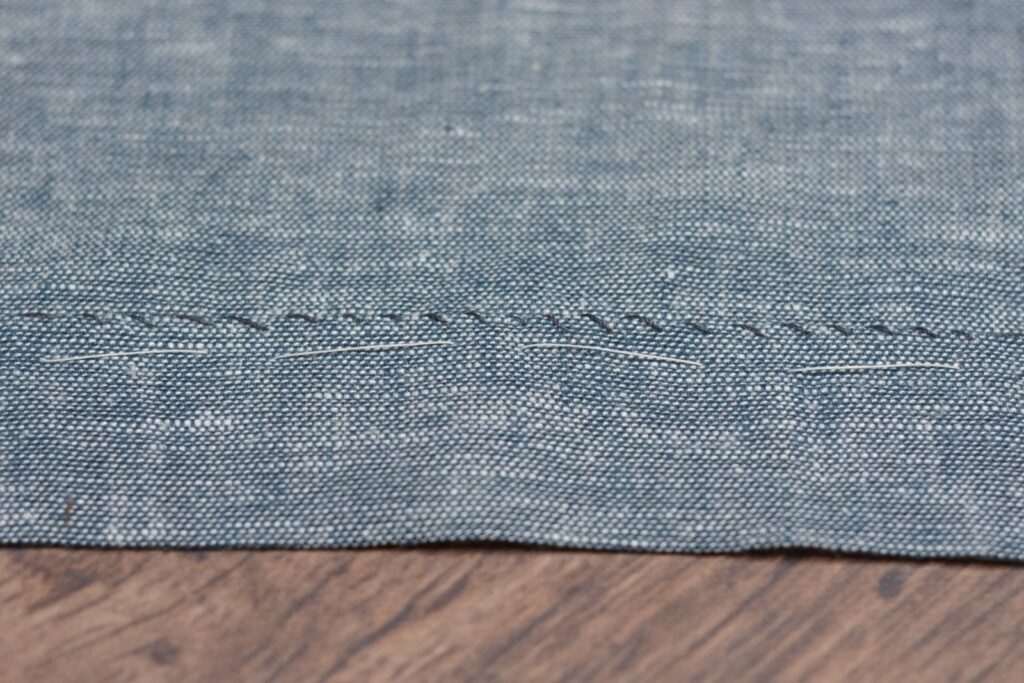
And on the right (out) side you’ll see just a row of small stitches.
Back and Fore Stitch
The back and fore stitch combines the strength of the back stitch with the speed of the running stitch. It’s not quite as fast or as strong as either, but it’s a good compromise for seams that do not take a lot of stress, such as trouser legs, skirt seams, and so on.
Start with a couple of stitches in place.
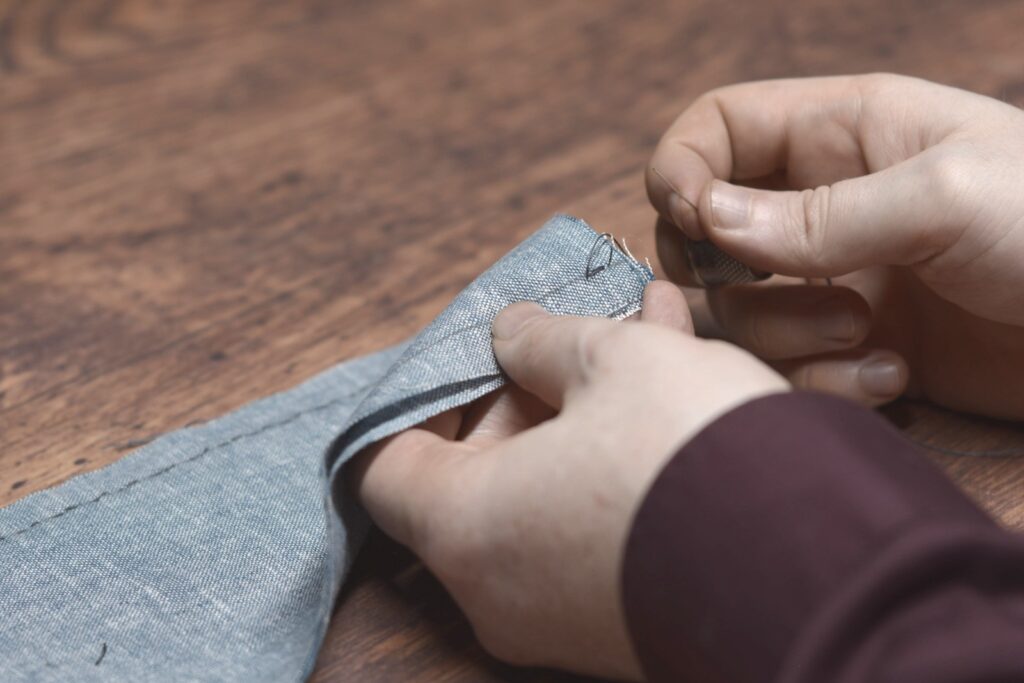
Form the beginning of the stitch as if you were going to make a back stitch, but do not pull the needle through yet.
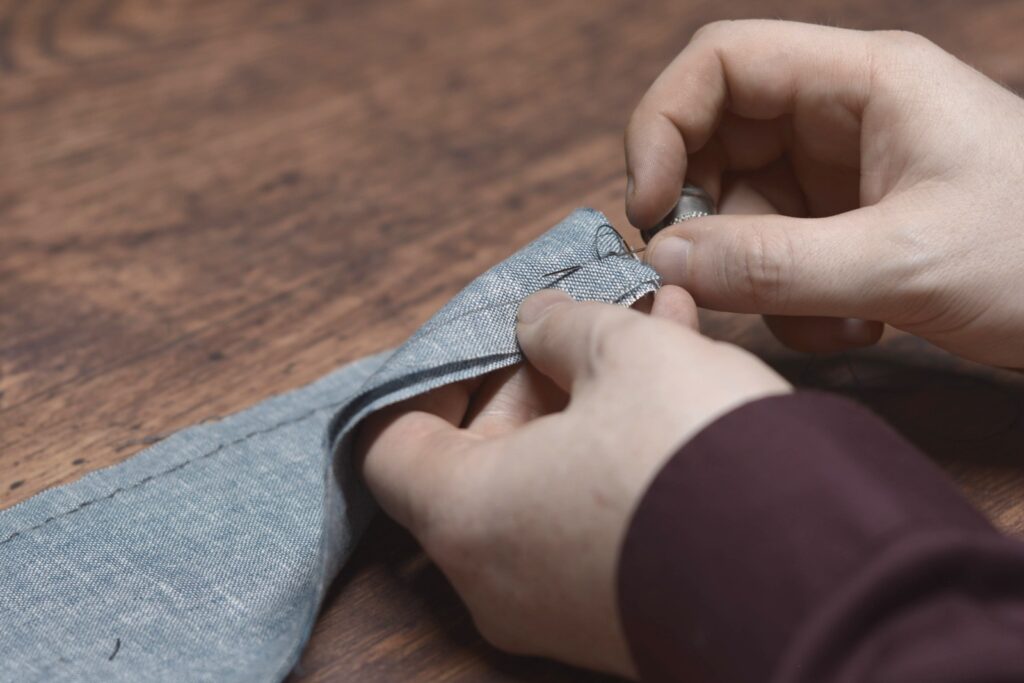
Instead of pulling the needle through, form a couple of running stitches by rocking your wrist and needle back and forth. Depending on what you’re sewing and the strength you need, you could do from one to three running stitches at this point.
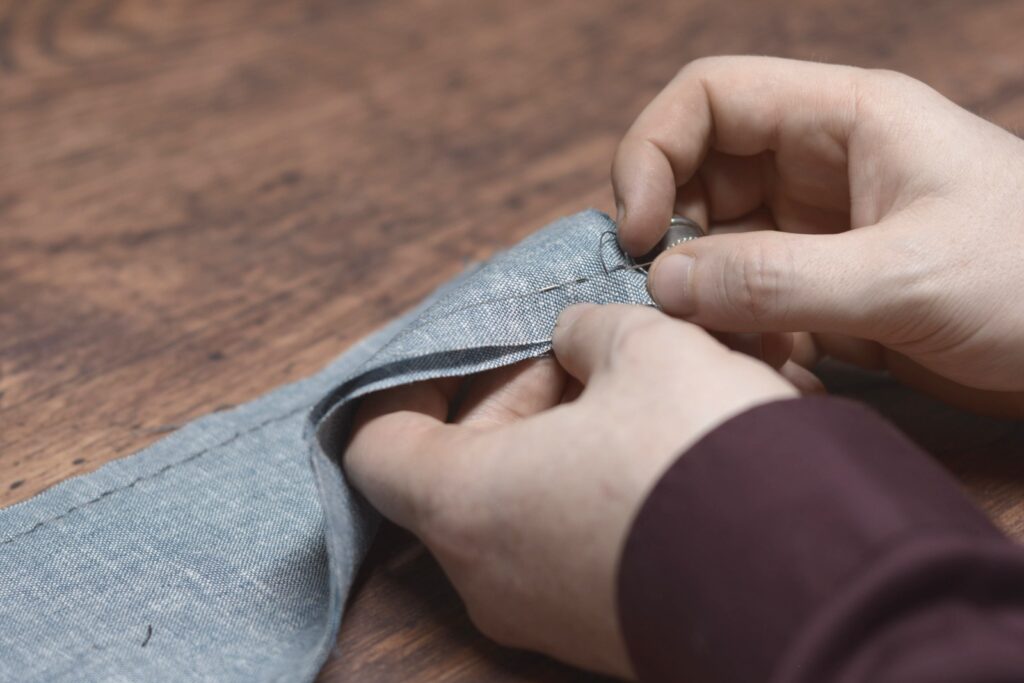
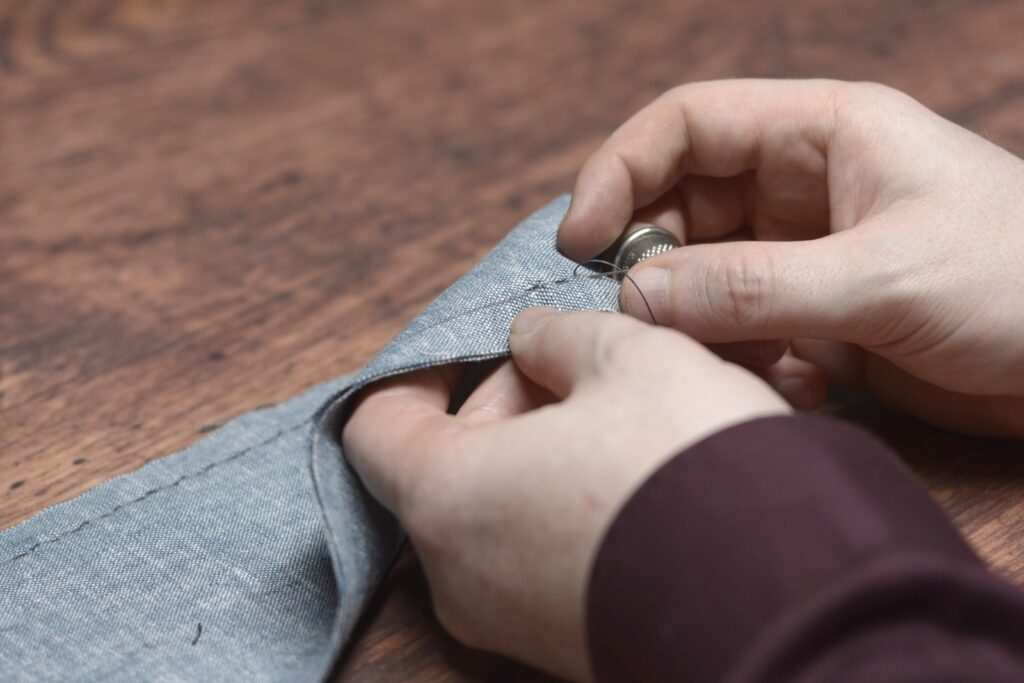
Bring the needle back to form another backstitch followed by the running stitches and continue on through the end of the seam.
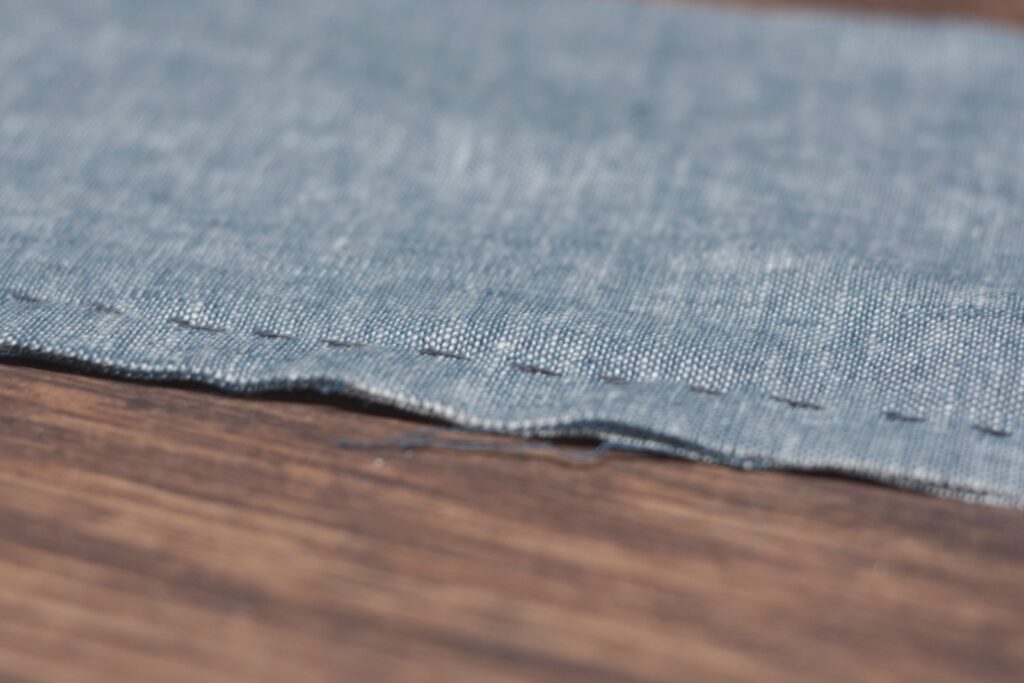
Here’s the finished seam from the right side. It leaves a pattern of two stitches followed by a space, single stitch, etc.
Tailor’s Tacks II
This second version of tacking is similar to the first, except it is meant to mark a single point on your cloth, such as a pocket position or a balance mark.
Begin by making a single stitch with a doubled piece of basting thread.
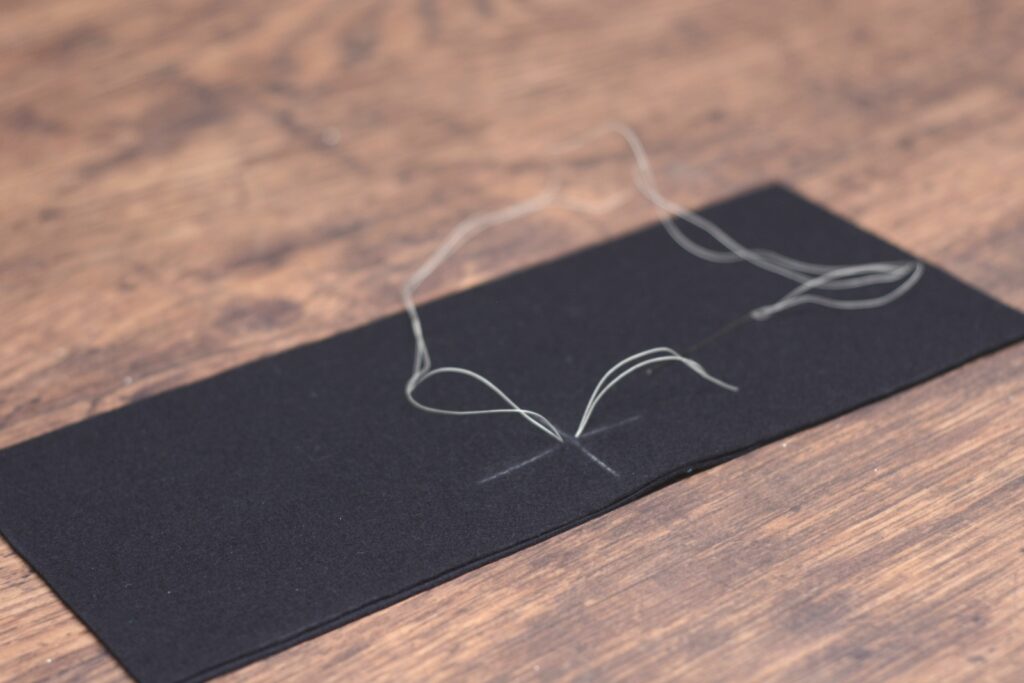
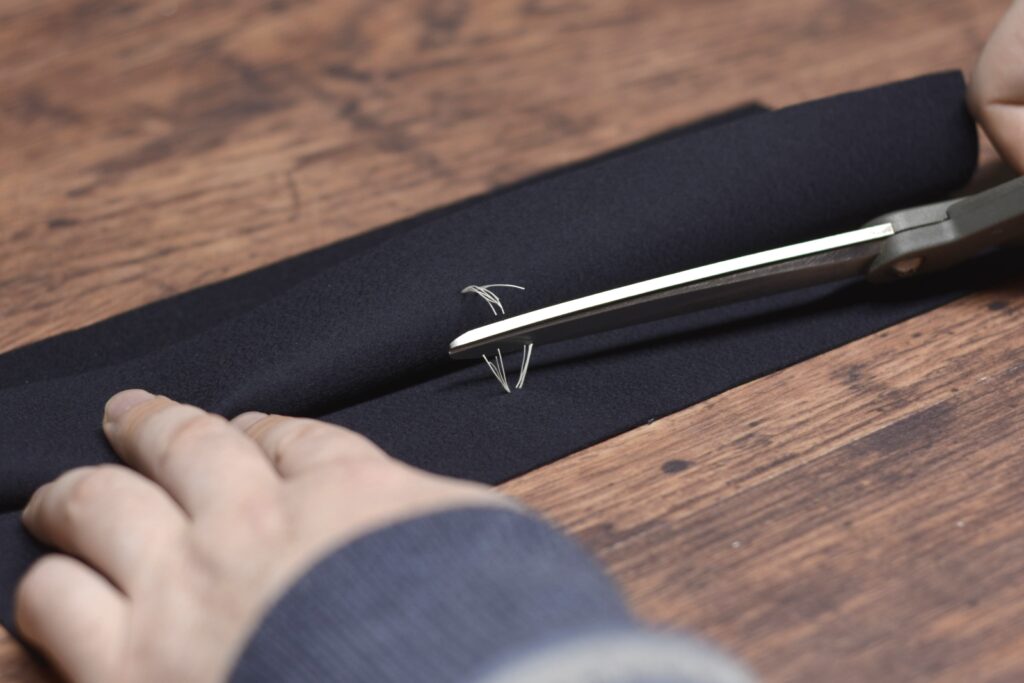
Make another stitch in place, forming a loop about an inch or so tall. Keep the ends of the thread slightly longer than the loop to avoid them pulling out later.
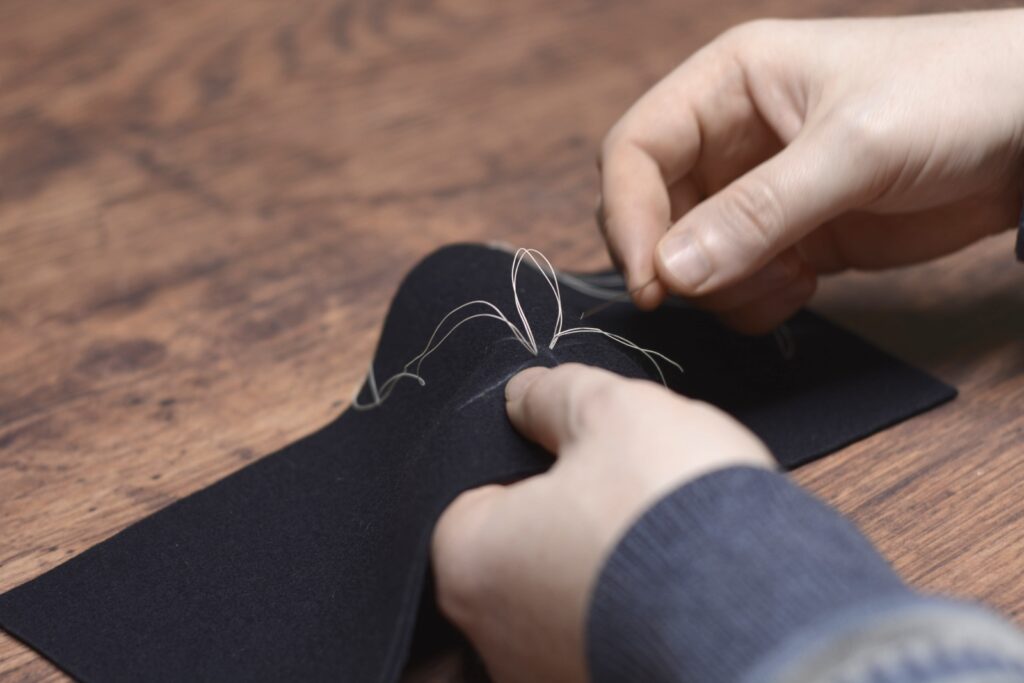
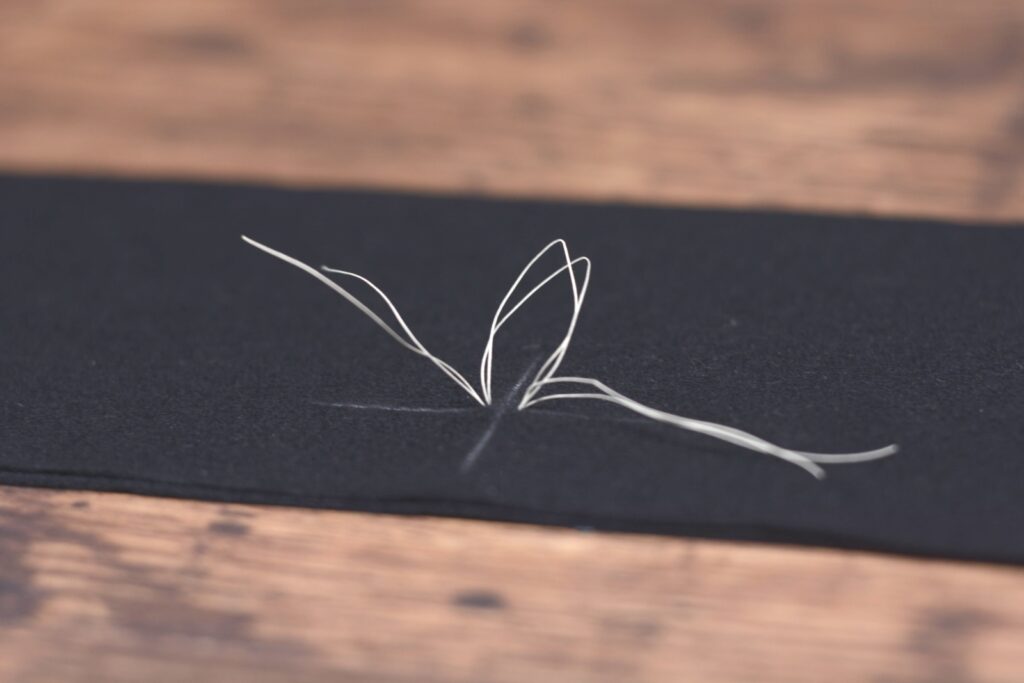
Pull the layers of fabric apart until the threads are taut.
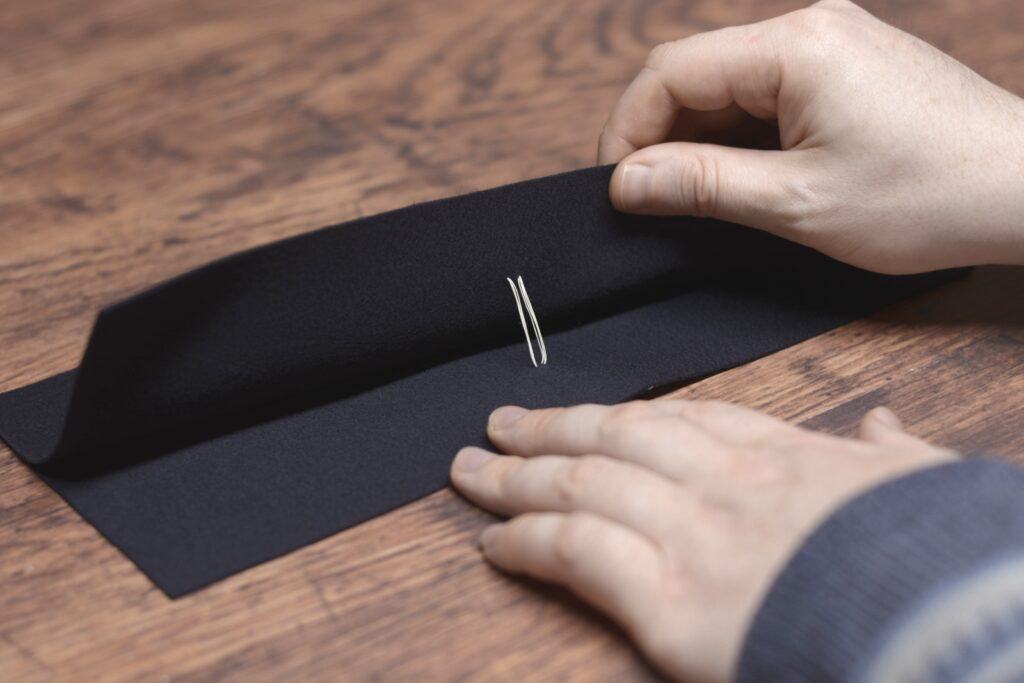
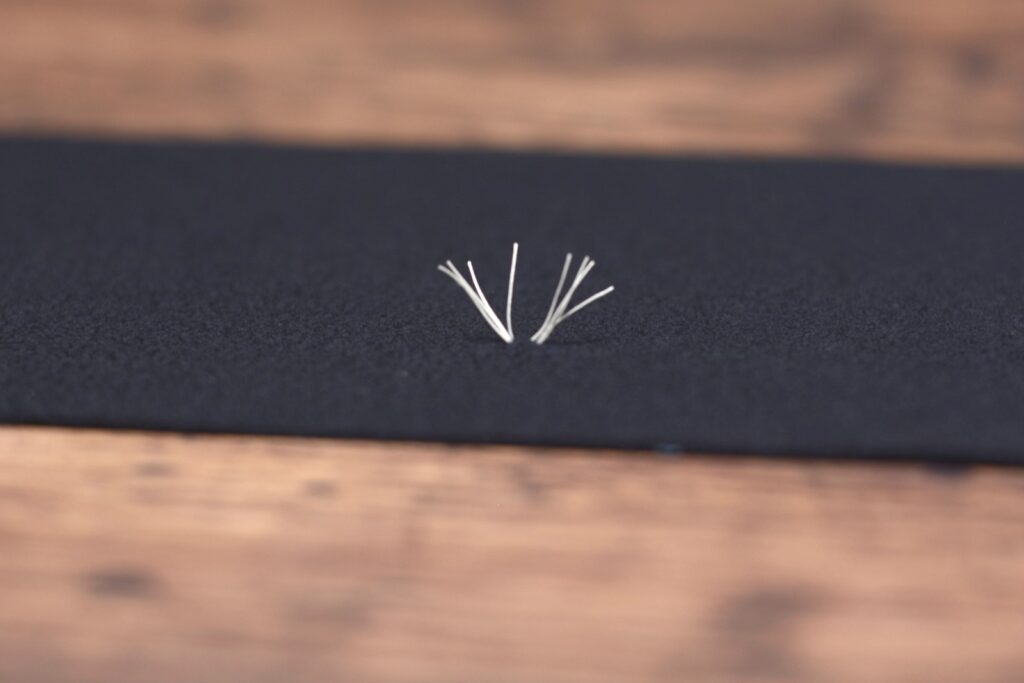
Finally, trim the threads between the layers, completing the tailor’s tacks. These are very durable and should hold throughout the construction process.
Tailor’s Tacks I
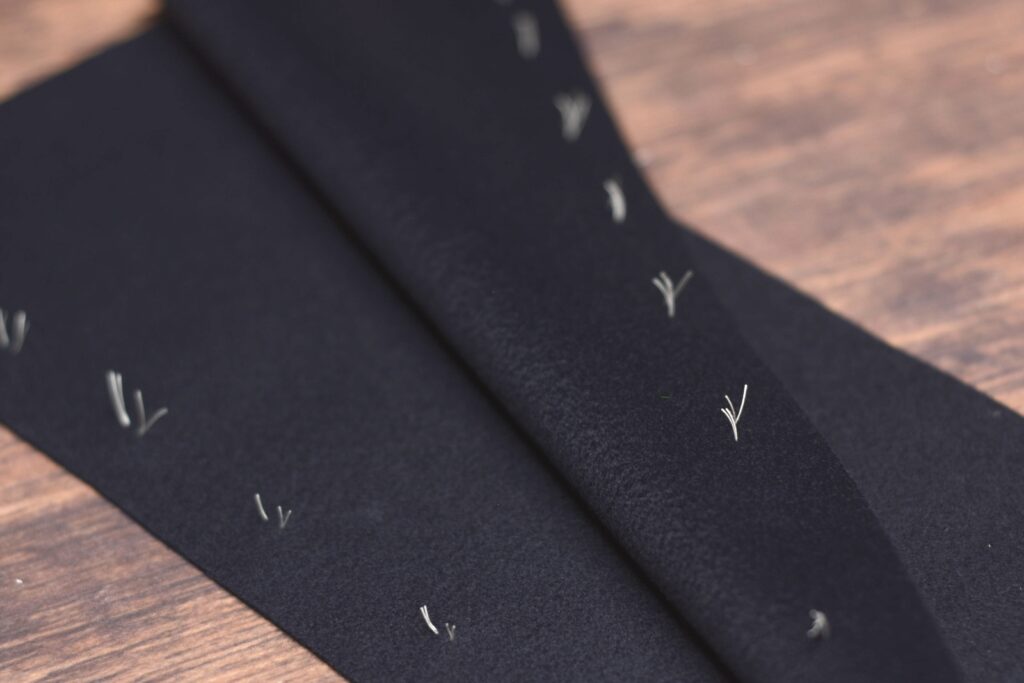
This first type of tailor’s tack is very useful for marking seams along inlays, darts, and other areas where a chalk mark may wear away too quickly, and for transferring these areas to the other half of the cloth when laying out your pattern. You typically need two layers of fabric to make this stitch useful.
Take a doubled strand of basting thread on your needle and make a stitch similar to a straight basting stitch along the seam – only keep the stitches further apart depending upon what you are basting.
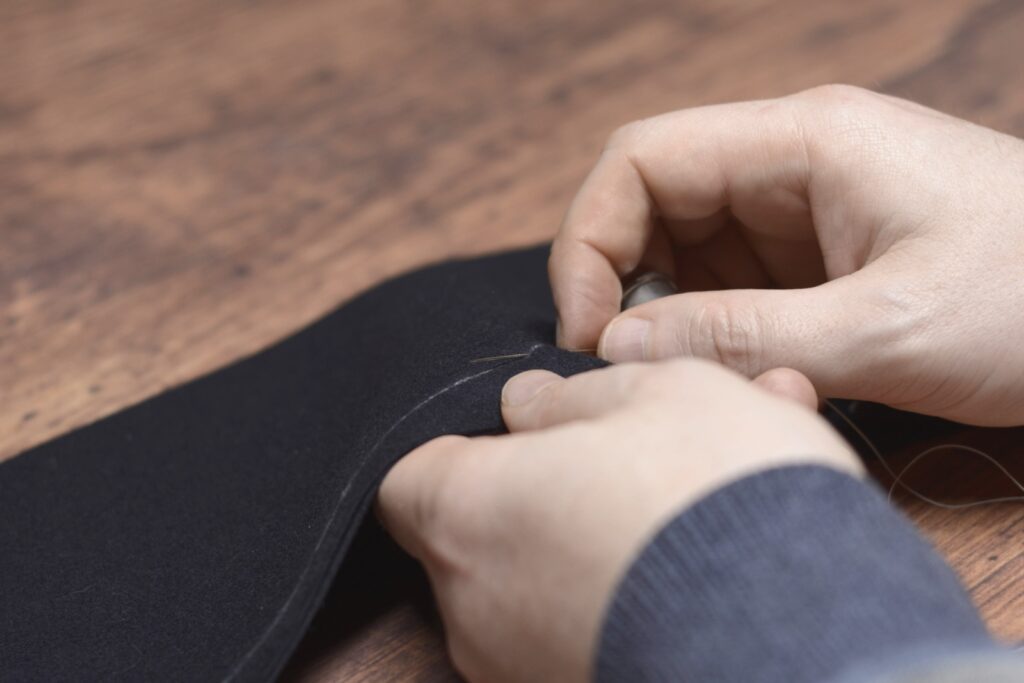
For straight seams, you can make the stitches up to 3″ or so apart from each other, pulling the thread snug between each stitch.
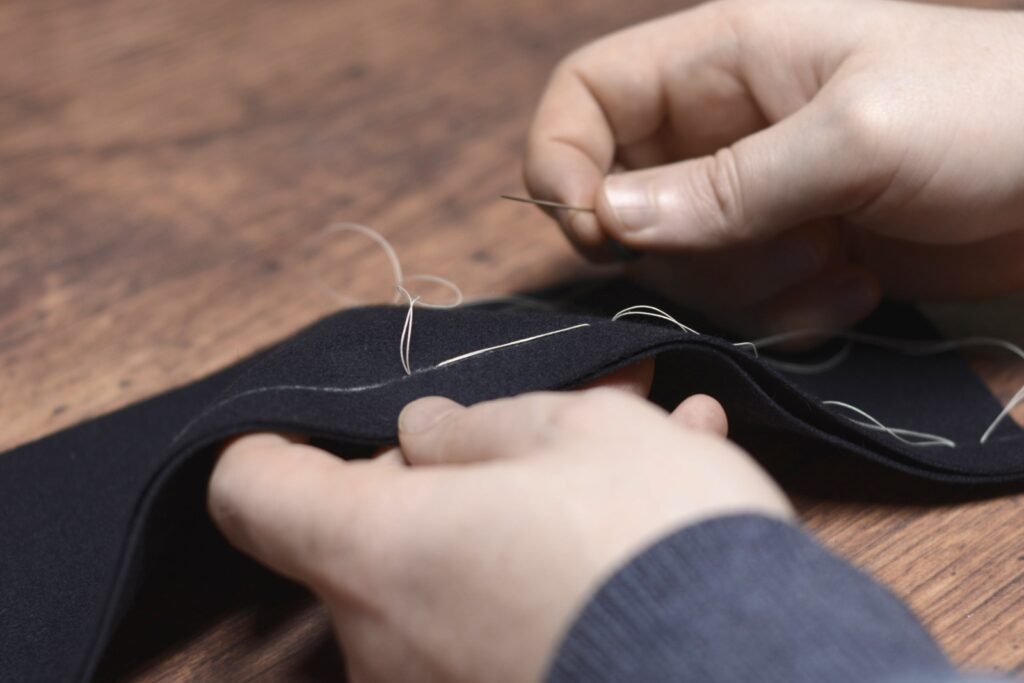
For curved seams, you’ll want to keep the stitches closer together, an inch or so apart or even closer, leaving a good bit of slack between each of the stitches.
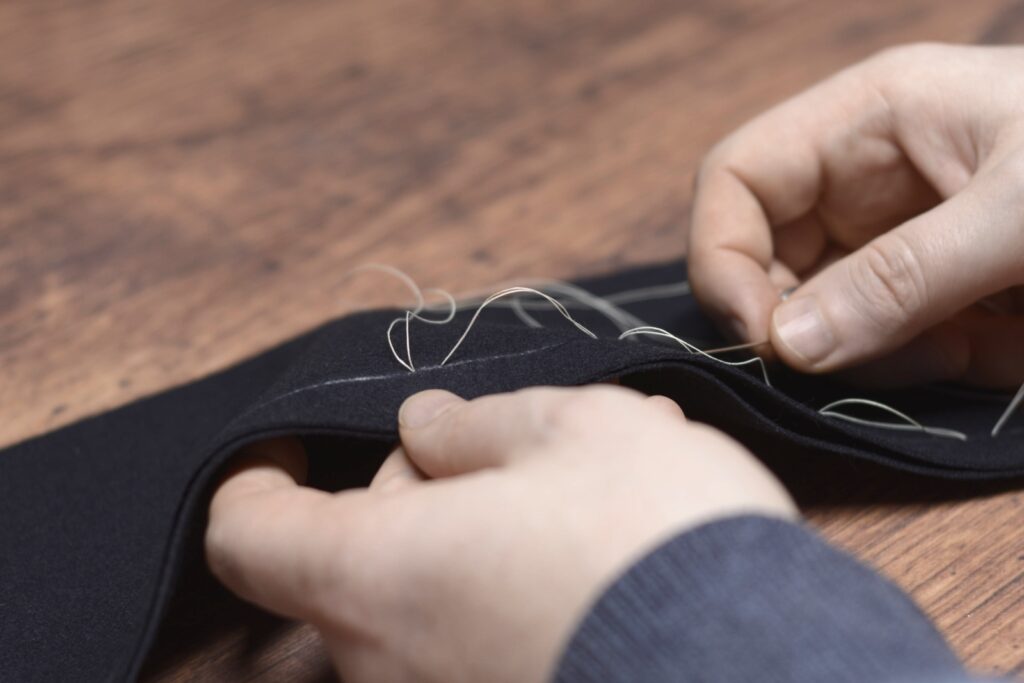
Here’s my seam marked with the stitches kept loose for demonstration purposes.
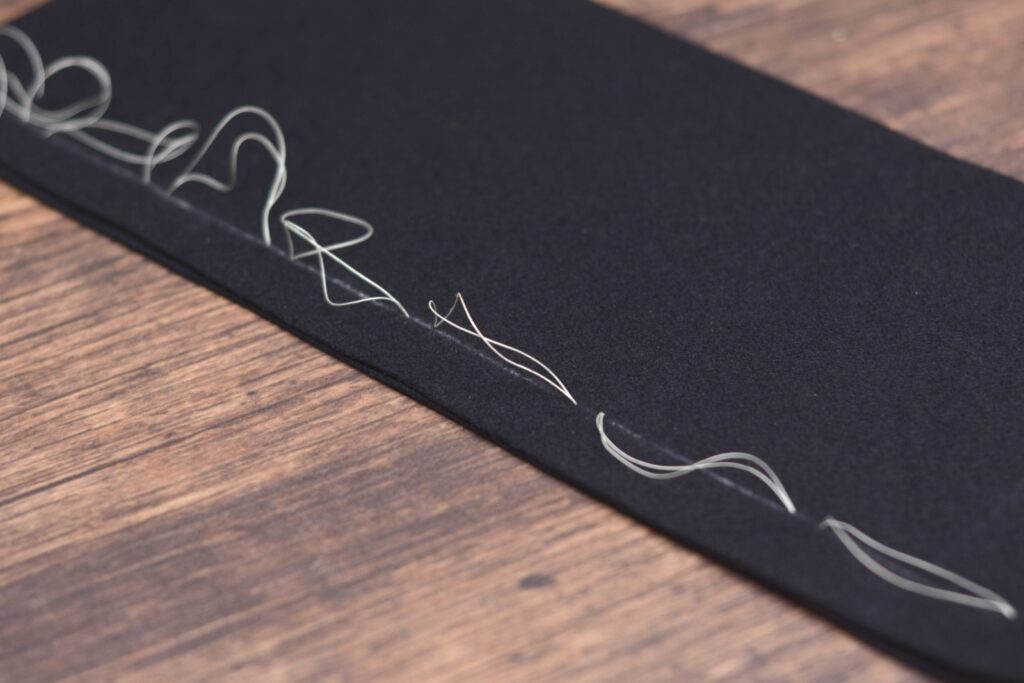
Next, you’ll want to trim the threads in between each stitch. You can see now why we left the slack in the stitches that were spaced closer together.
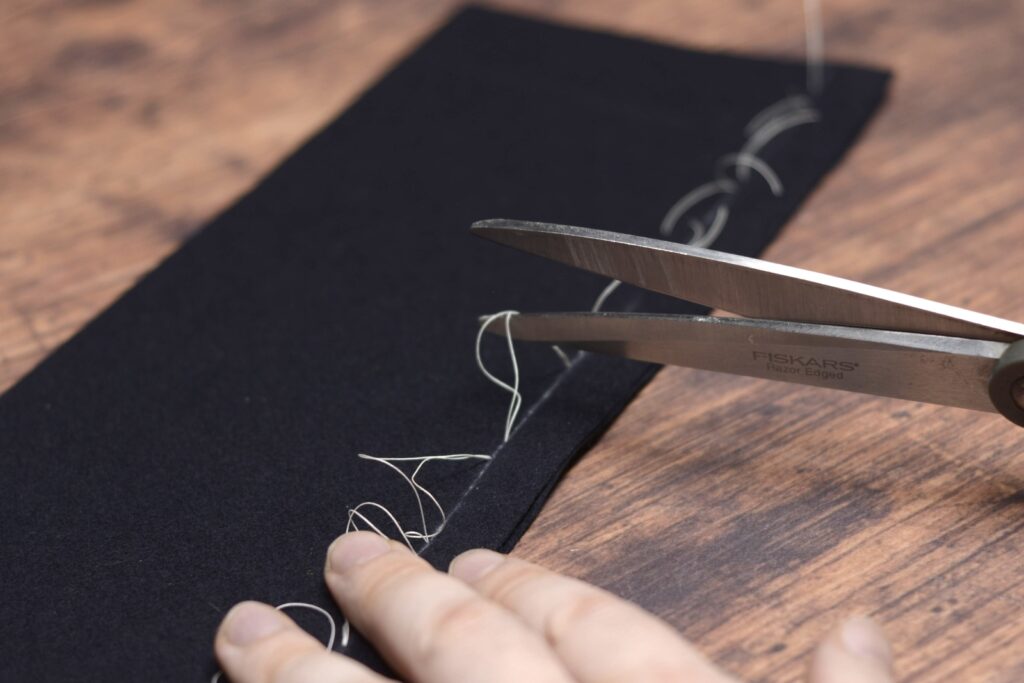
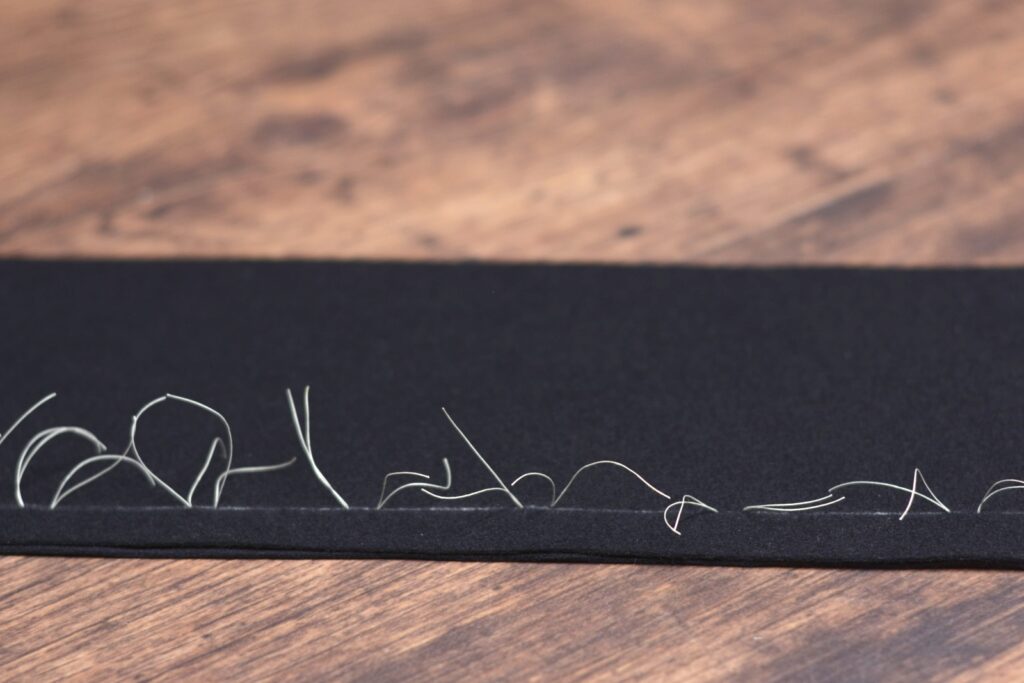
Now, carefully open up the two layers of fabric, being sure not to open it so wide that the stitches pull out of the top layer.
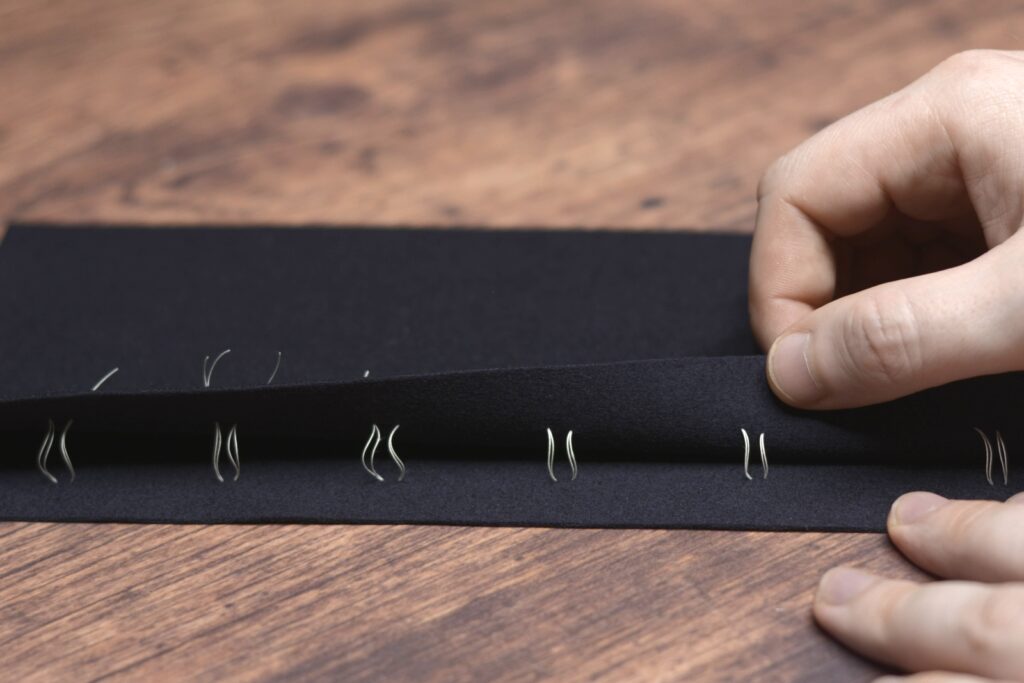
Finally, snip the threads between the layers.
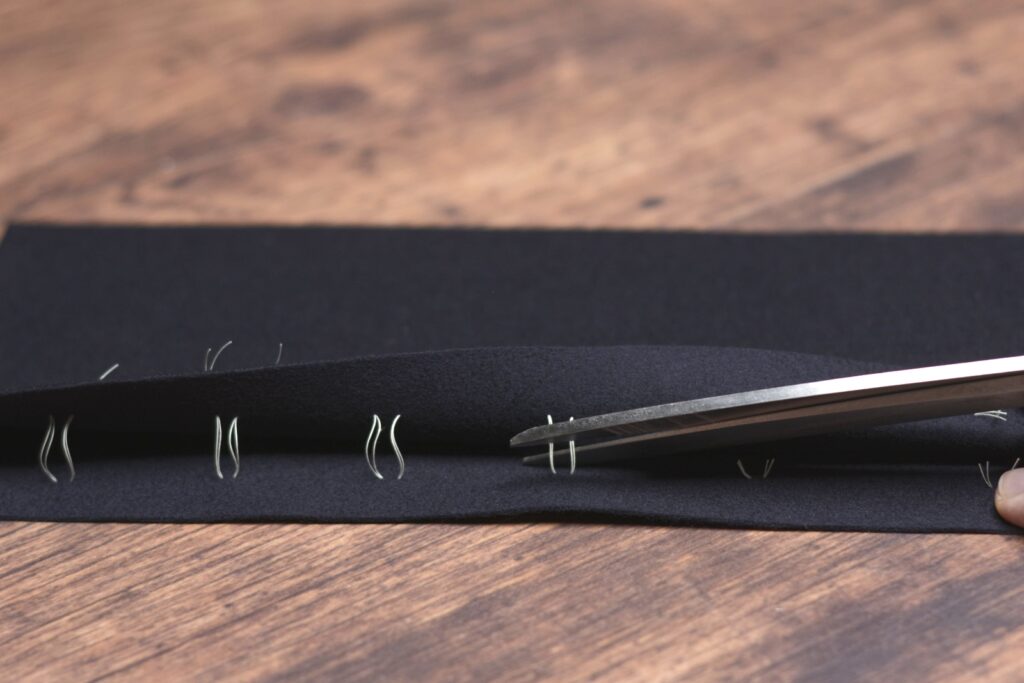
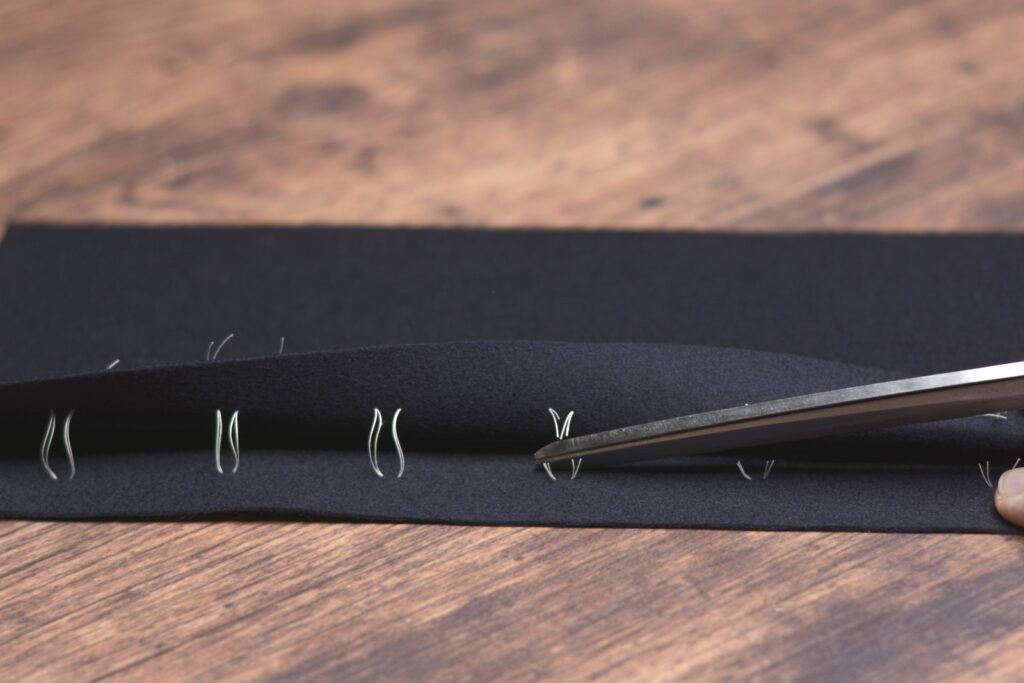
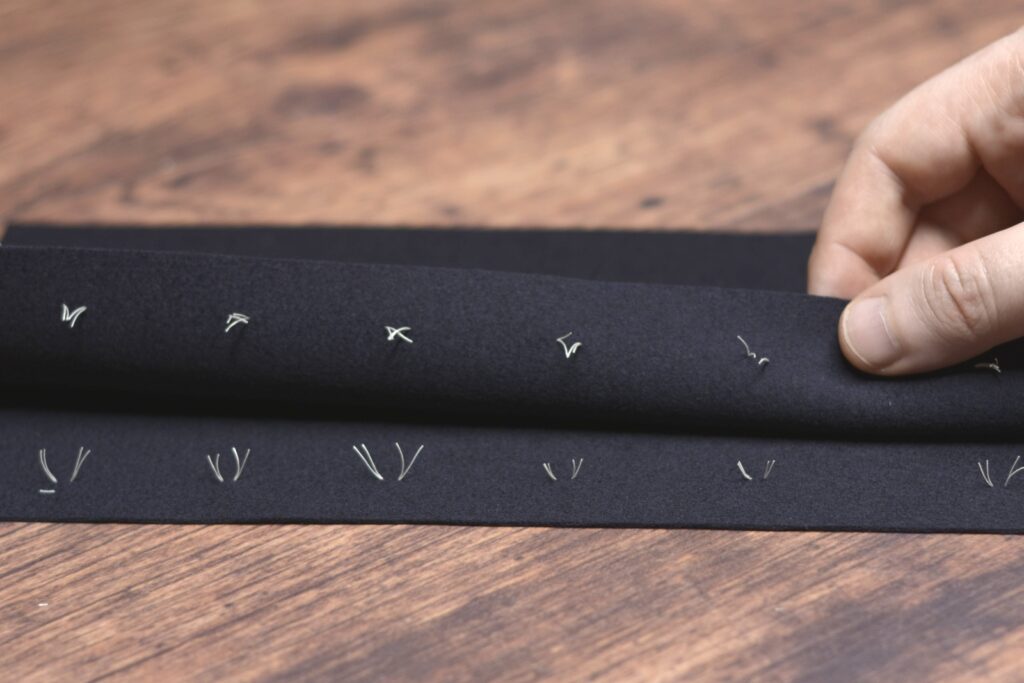
And here are the resulting tailor’s tacks. You’ll find that the top layer will come out a bit more easily than the lower, but they still last a lot longer than the chalk marks do.
Straight Basting
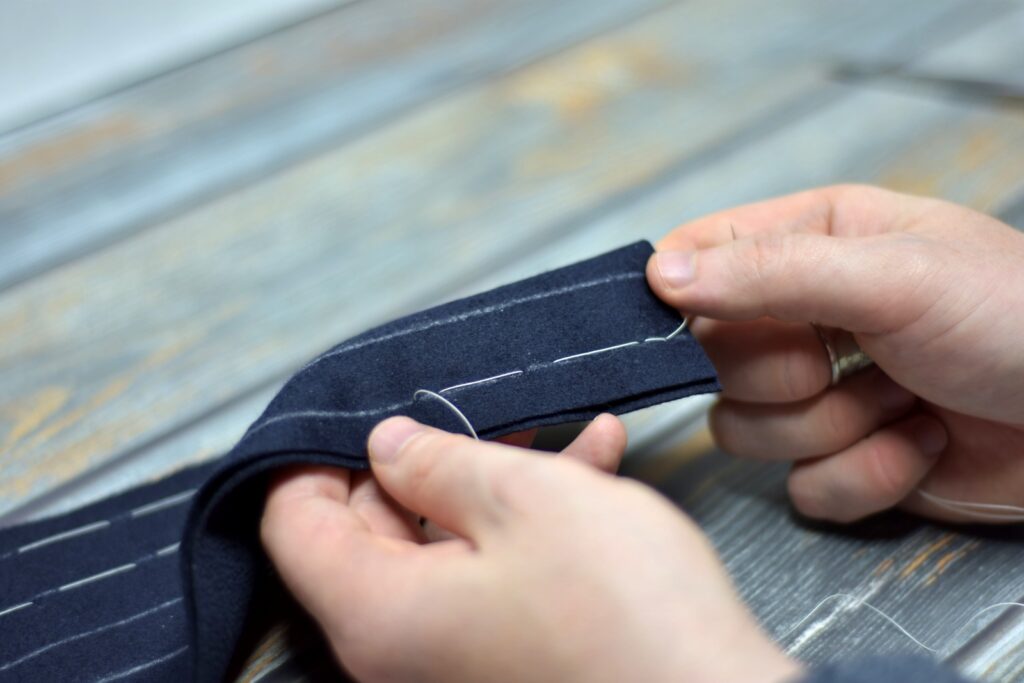
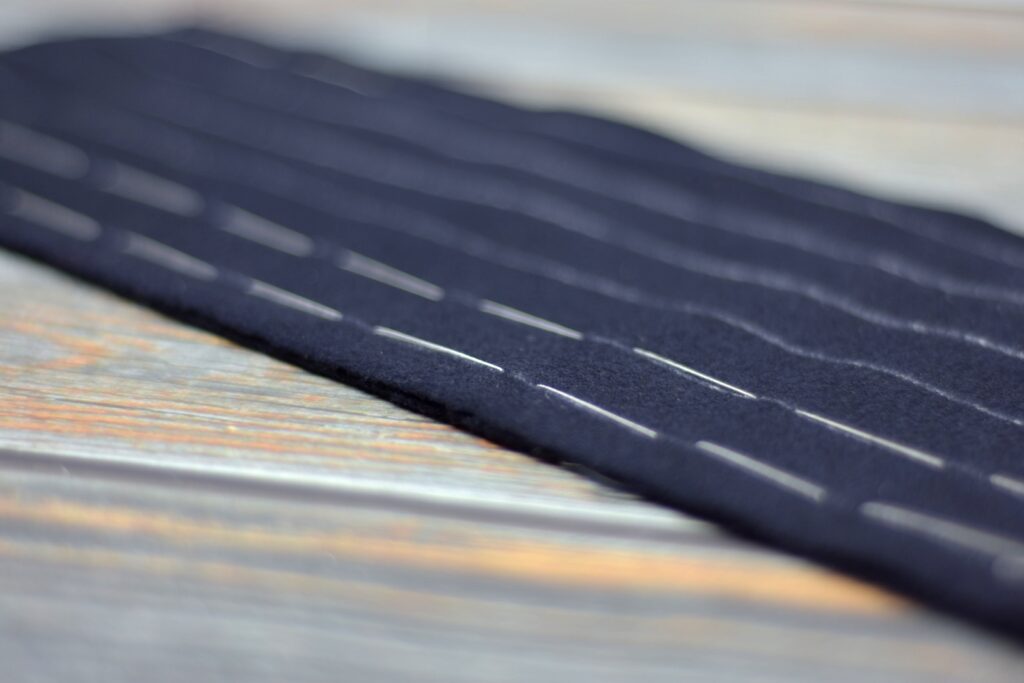
Straight basting is one of the most basic of stitches yet one of the most useful. It’s used when basting two or more layers of fabric together that you want to be able to remove easily later on. The straight basting stitch is quite similar to a running stitch, only the spacing is different. Each stitch is made rather small with a larger space between the stitches.
When doing any basting, it’s very helpful to use a specialized basting thread. This is usually made of cotton, and in such a way that the fibers help grip the fabric. You can get very large rolls that will last for years and years.
Begin by making a stitch in place.
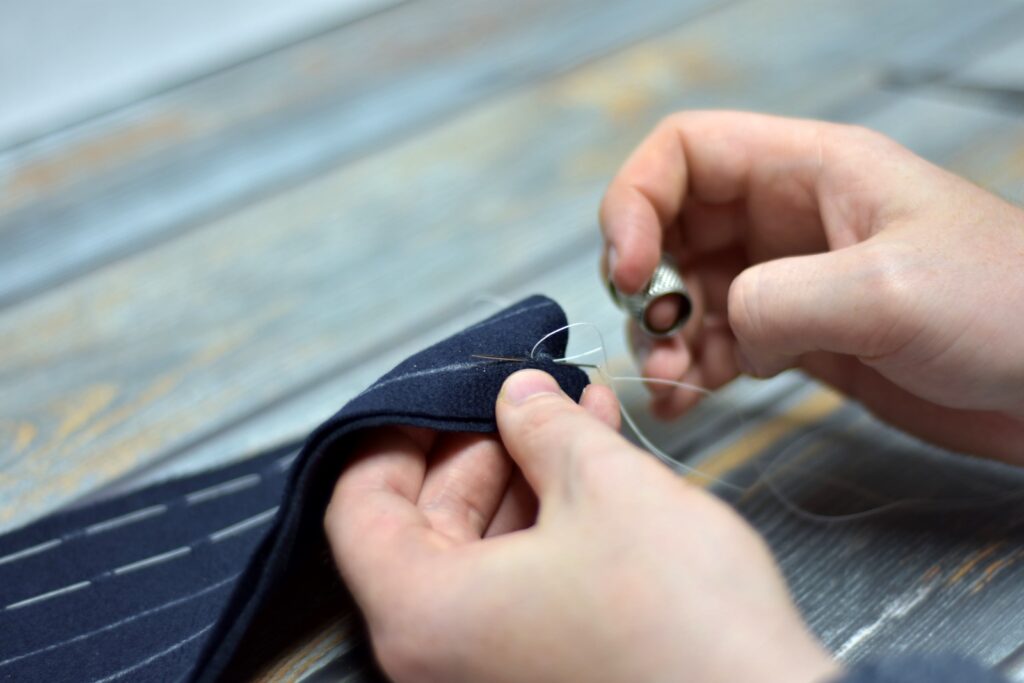
Skip about 3/4″ to 1″ down the seam to make your first stitch. Depending on the fabric thickness, this can be between roughly 1/8″ to 3/8″ in length.
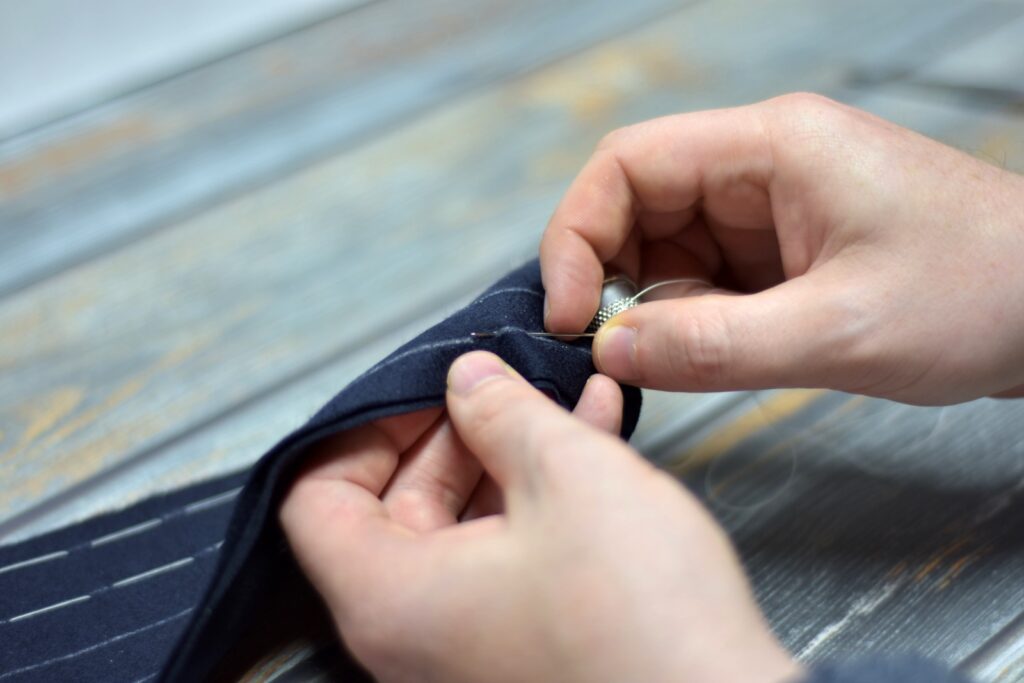
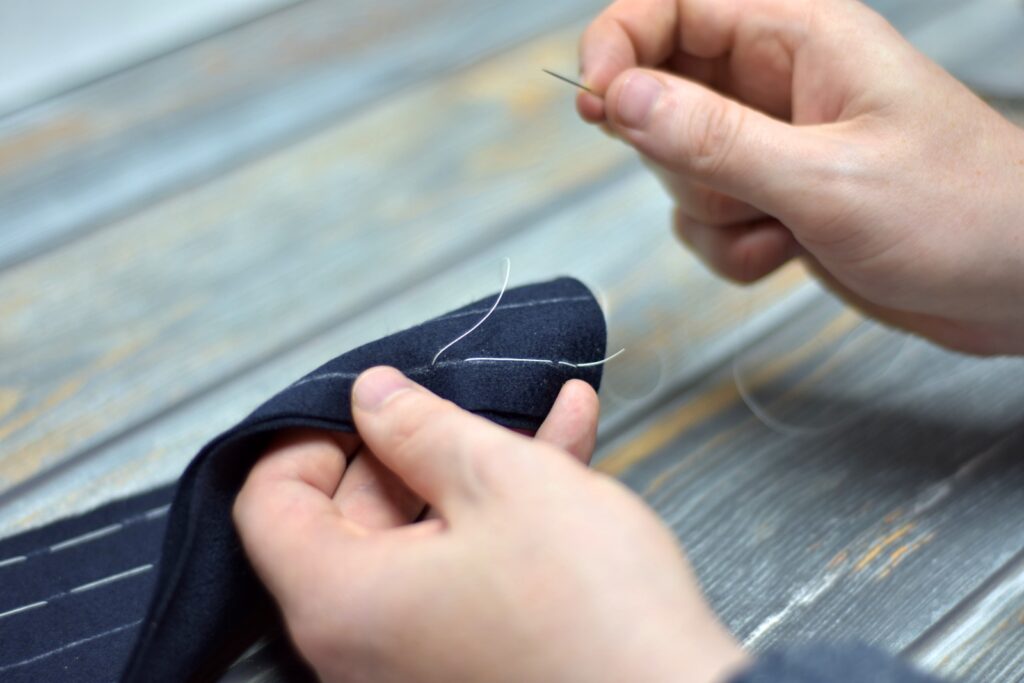
Continue making stitches in such a manner down the seam or area to be basted. The length between stitches will also vary depending on what you are sewing and how securely you need the stitches to hold, something that mainly comes with practice and experience.
Back Stitch
The back stitch is the strongest stitch you can use for a seam, and is great for those areas of a project that take a lot of stress. The downside is that it does take a little longer to stitch the seam, but it’s usually worth the effort if you need that strength.
Begin with a few stitches in place.
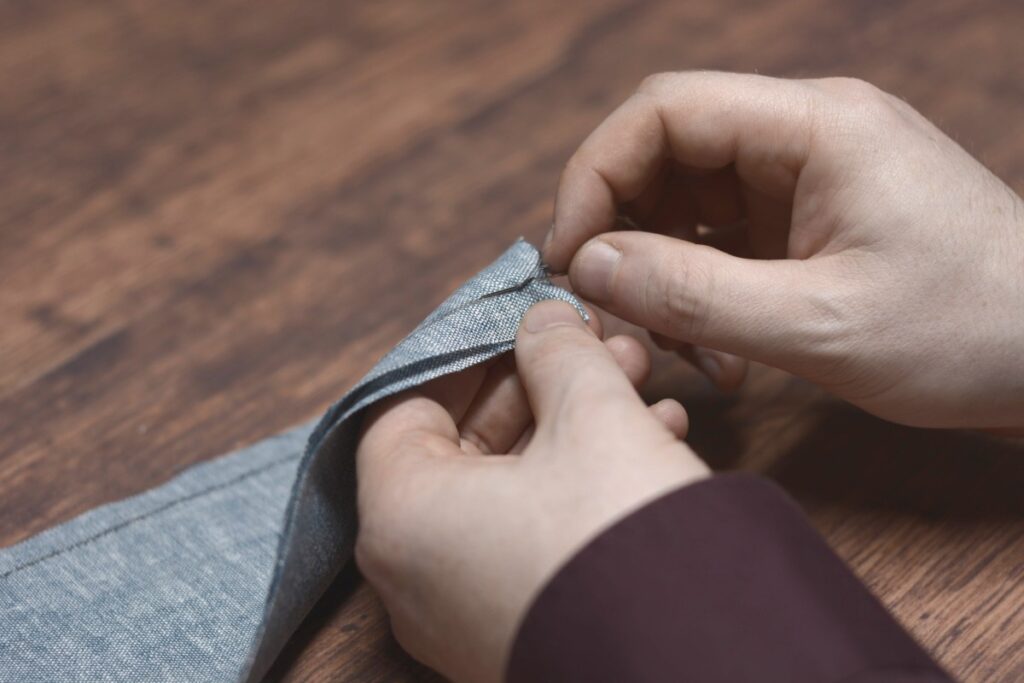
To form the first stitch, insert the needle into the original hole, passing it underneath, and bring the needle back to the top of the seam at an equal distance away from the end of the original stitches in place. This completes your first back stitch.
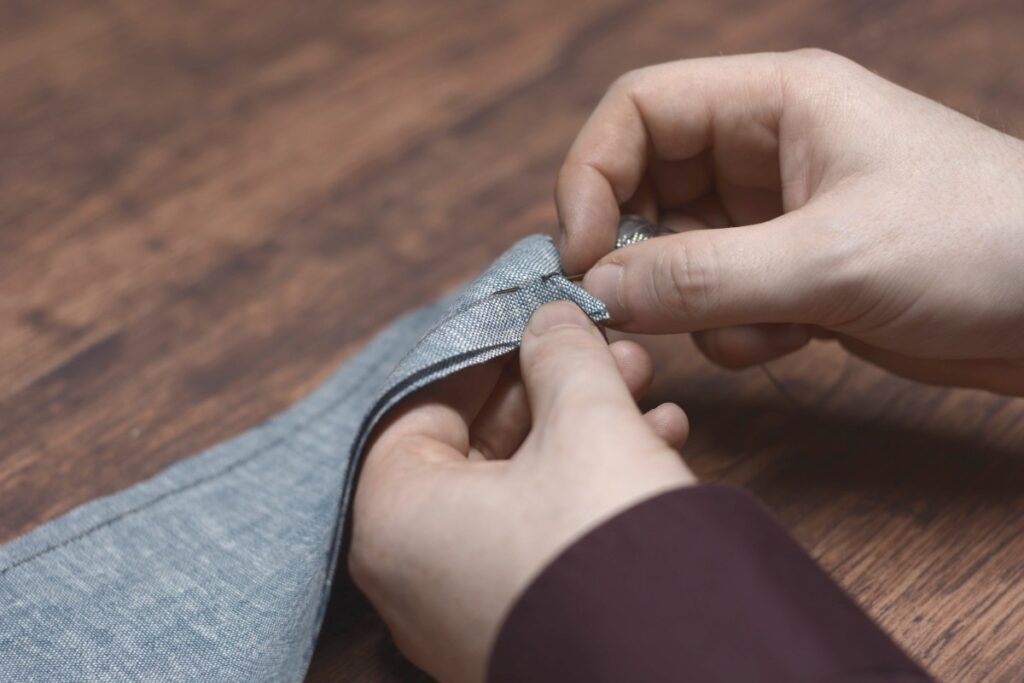
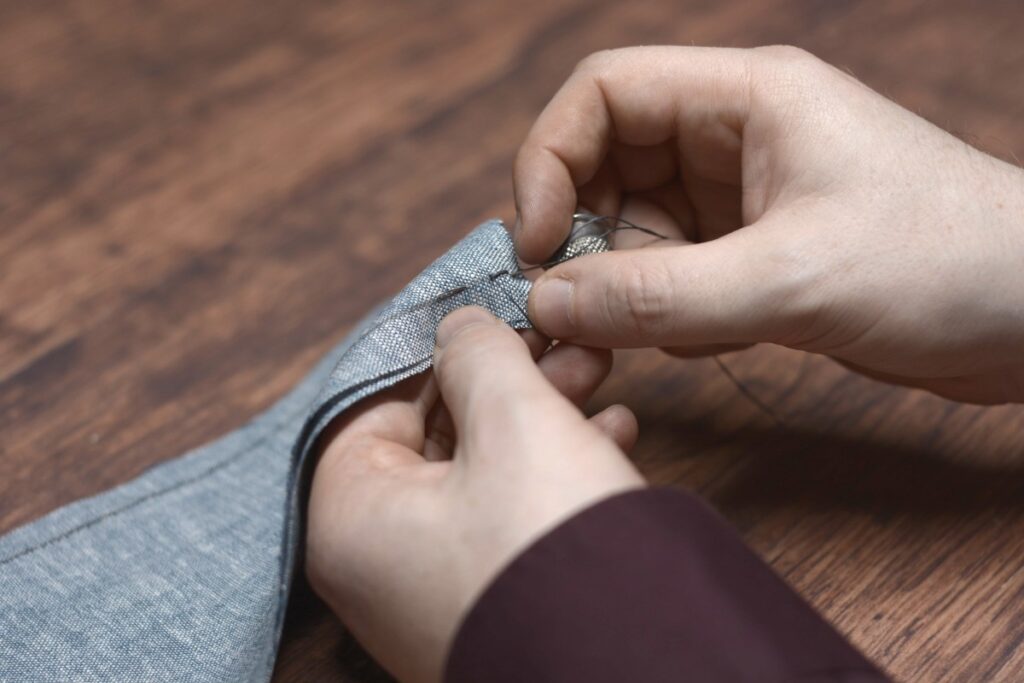
Form the next stitch by bringing the needle back to the end of the prior stitch and continuing as before.
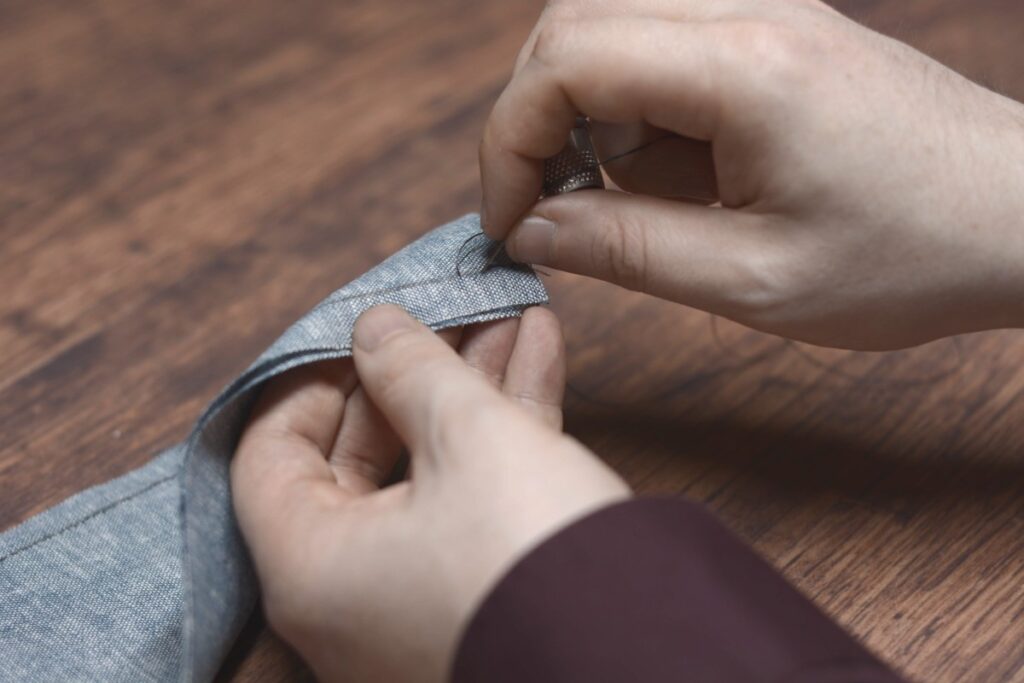
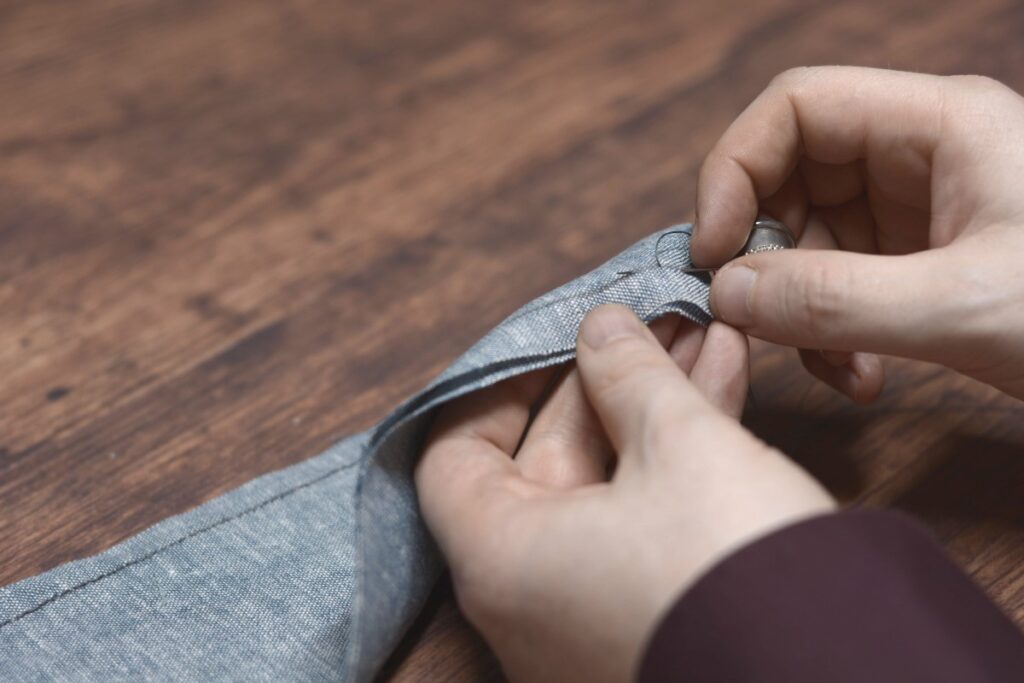
As usual, keep the stitches as evenly spaced as possible. Gradually allow the stitches to become smaller as you become more used to the process. But remember that the fabric will ultimately dictate the size of the stitches and how small you can make them.
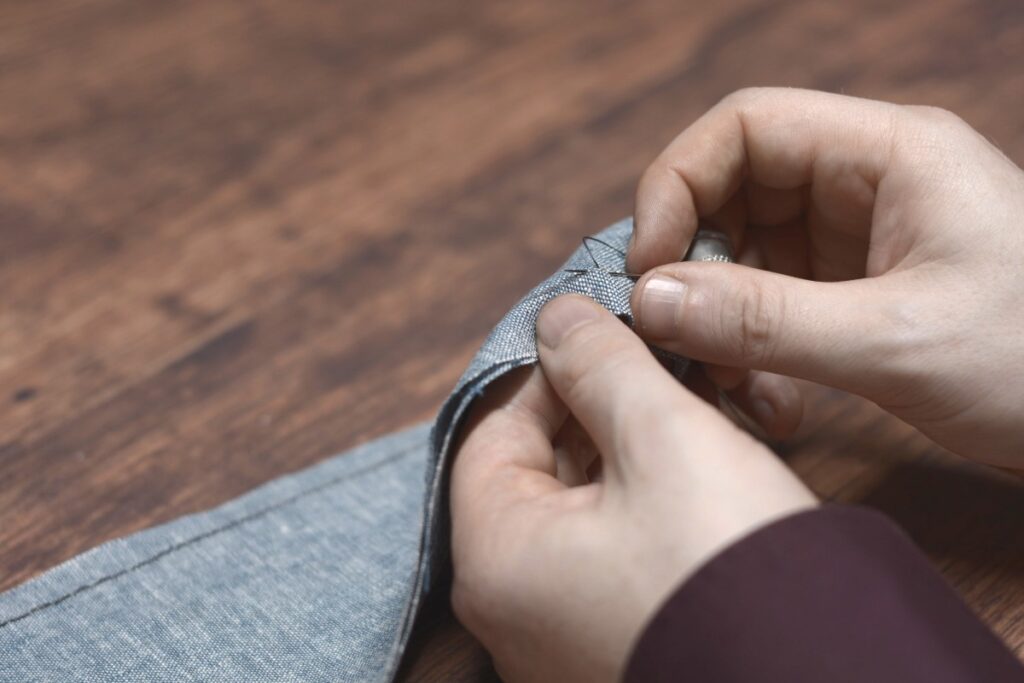
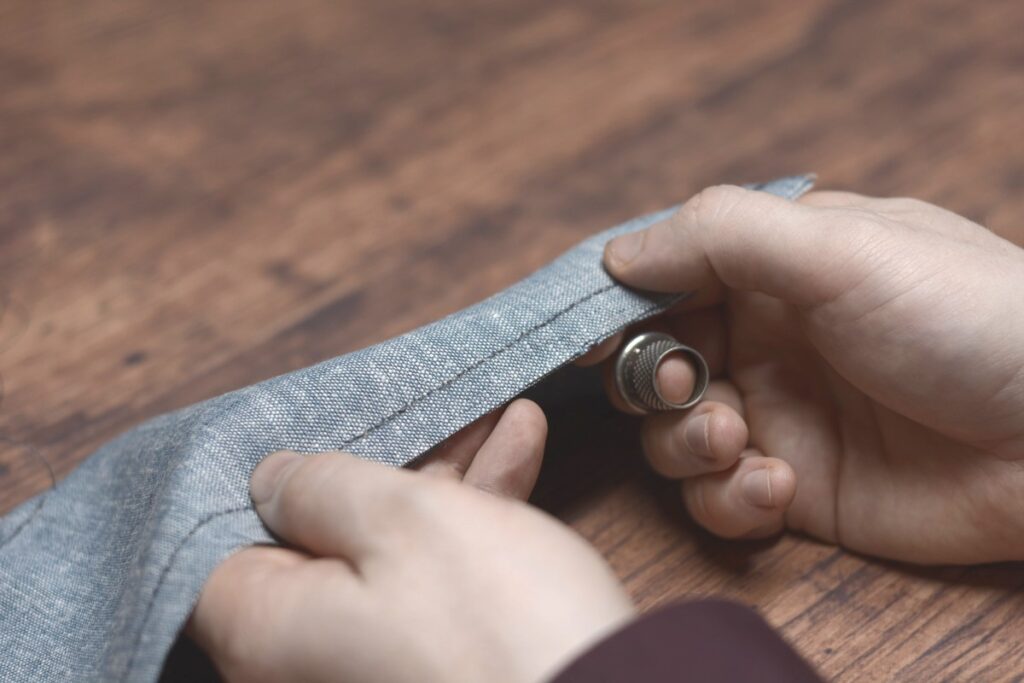
Here’s the row of back stitches after completing the seam. They look very nice and tidy from the right side.
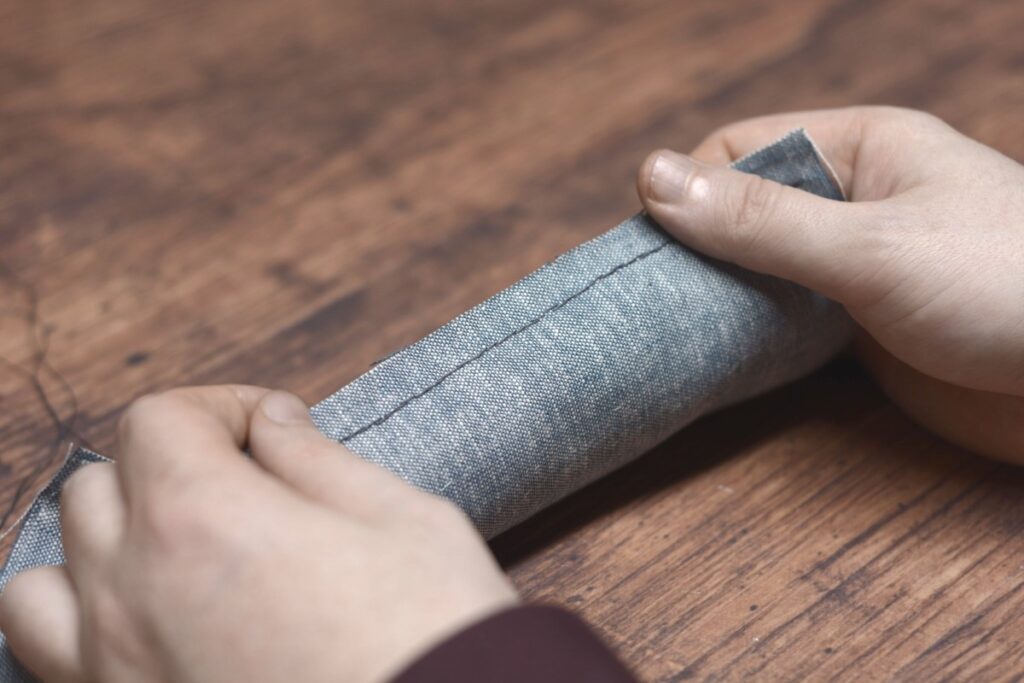
While the wrong side looks a little less tidy due to the overlap of the stitches.
Running Stitch
The running stitch is the most basic of stitches and forms the basis for a number of other stitches. Surprisingly, it’s not actually used all that much in tailoring, as it is a very weak stitch that will easily break under a little tension. The main uses within the tailoring world are for basting (covered later on), as well as in decorative top stitching.
Nevertheless, it’s an important stitch to master so that one may progress to the other stitches. When you’re starting, the most important thing is to keep an even and straight stitch, with the length being whatever you’re most comfortable with. The smaller stitches will come with time and practice.
Since we’re on the subject of stitch length, it’s easy to become a ‘stitch counter’ and try to replicate the exact number of stitches per inch used on an original garment, for example. However, we don’t have access to the same fabrics as they did, and I prefer to differ the length according to what the fabric I’m actually using can handle. So for this linen blend I’m using for these demonstrations, I can get quite a small stitch thanks to the thinness of the layers. If I’m sewing through layers of thick wool broadcloth, the stitches will a bit bigger and may take some effort to get through all the layers. Experience will help you make these decisions almost second nature, especially if you can practice diligently and with different fabrics.
I suggest marking out your seam lines in chalk or pencil at first to aid you in accuracy. In the example I’ve just marked out the one seam line but you should mark multiple seams across the fabric for extra practice, as shown previously.
To begin the running stitch, make a couple of stitches ‘in place’, or right on top of each other. The needle should enter and exit at pretty much the same place each time. These stitches serve to lock the end of the seam in place. You could also use a knot here, or a combination of the two, whichever you prefer.
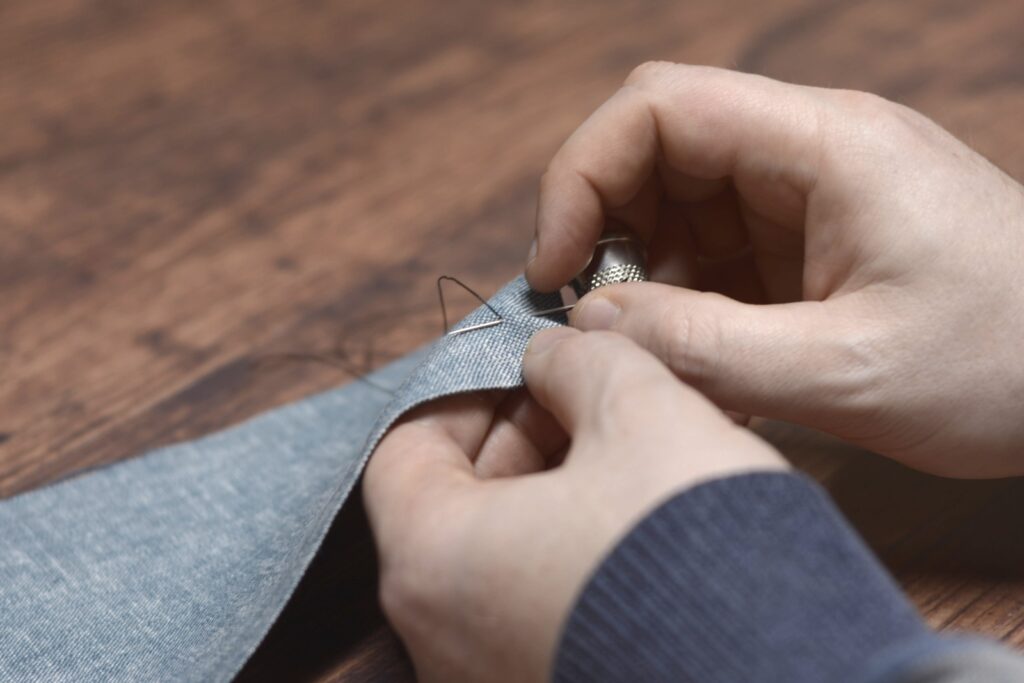
After making the two stitches in place. I could go in for a third stitch if I wanted extra security but two is generally sufficient.
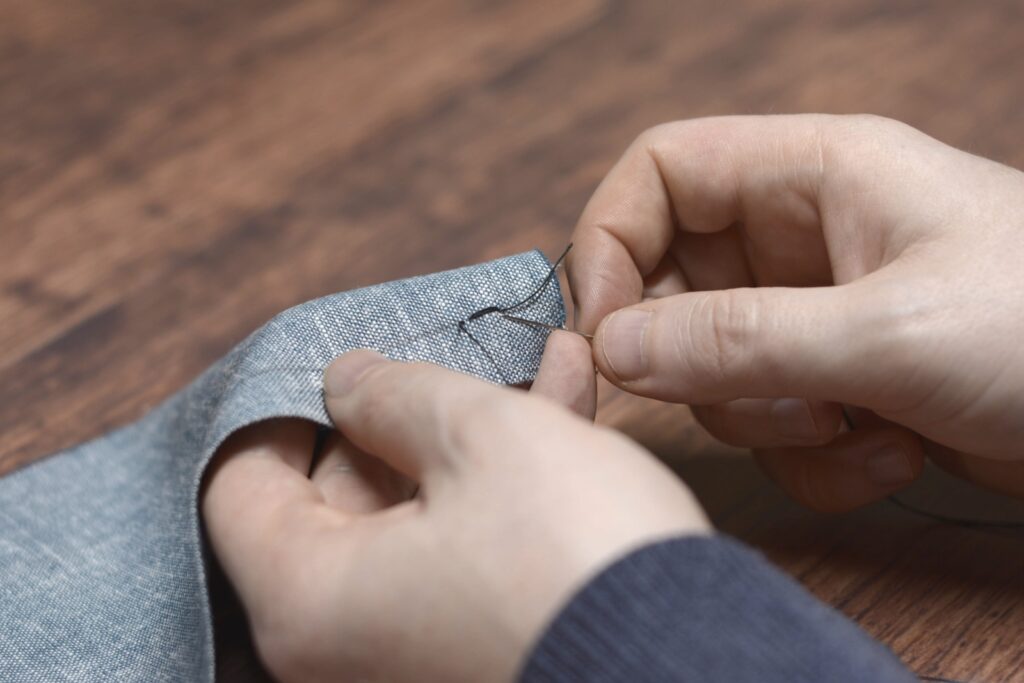
To make your first stitch, pass the needle into the fabric about 1/8″ to 1/4″ away from the end of the stitches in place, and pass the needle back to the top of the fabric keeping the distance the same. The entire stitch should be made in one smooth motion coming from the wrist rocking back and forth; the wrist giving the strength behind the stitch while the fingers giving the accuracy and fine control.
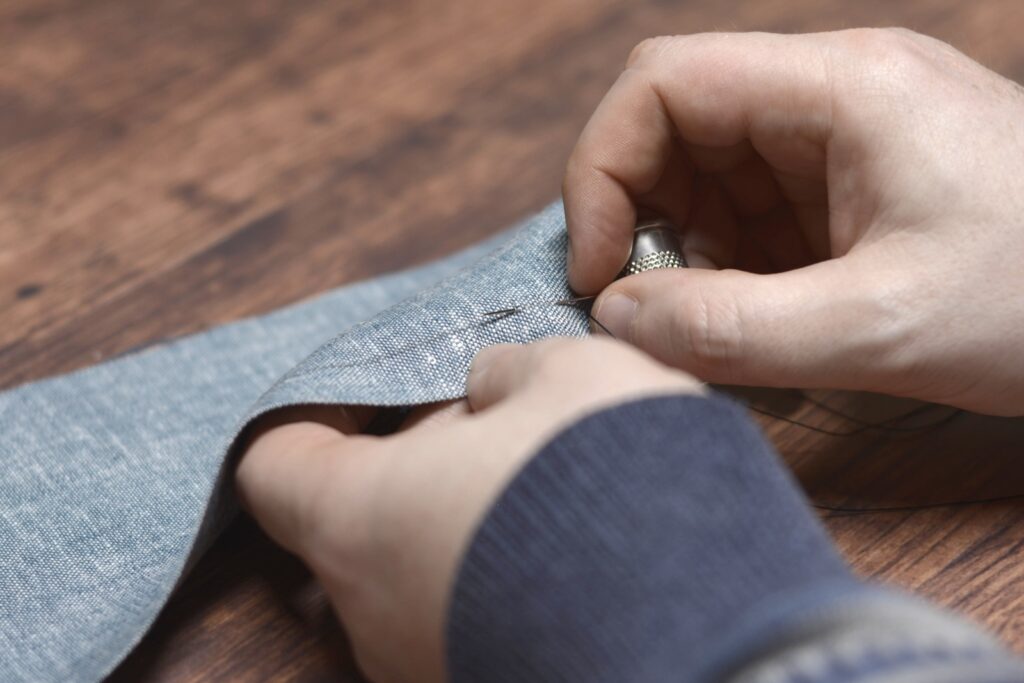
Here’s what my stitches look like after two have been made. I’m keeping them on the large side so you can see more clearly what I’m doing, but just keep a spacing that works for you.
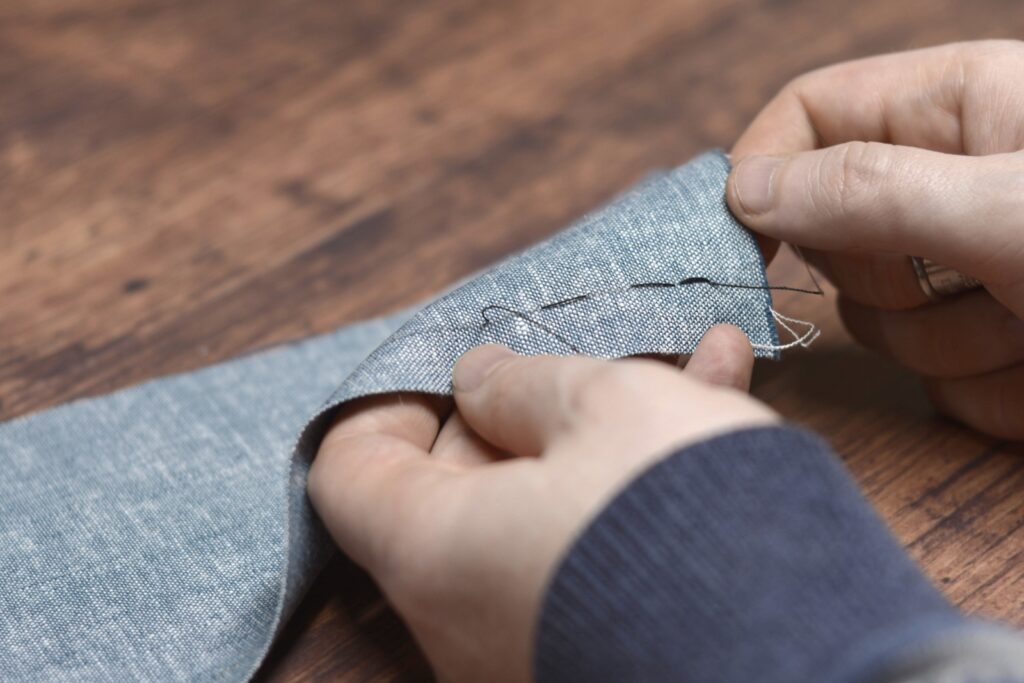
Another little detail that’s easy to miss is how I’m keeping tension on the fabric with the pinkie and ring finger of my left hand. I’ve got the fabric locked between them while simultaneously grasping the fabric near my current stitch between my thumb and index / middle finger. By keeping the fabric under tension, it makes it a lot easier to sew and pull the stitches themselves to the right tension – tight enough to be fully engaged without pulling on the fabric. After I’ve sewn enough of a particular seam, I’ll sometimes use my right hand to hold the fabric down on the table to create tension. I’ve also heard of some who prefer to pin the fabric to their leg or weigh it down on the table. You’ll have to figure out which method you prefer!
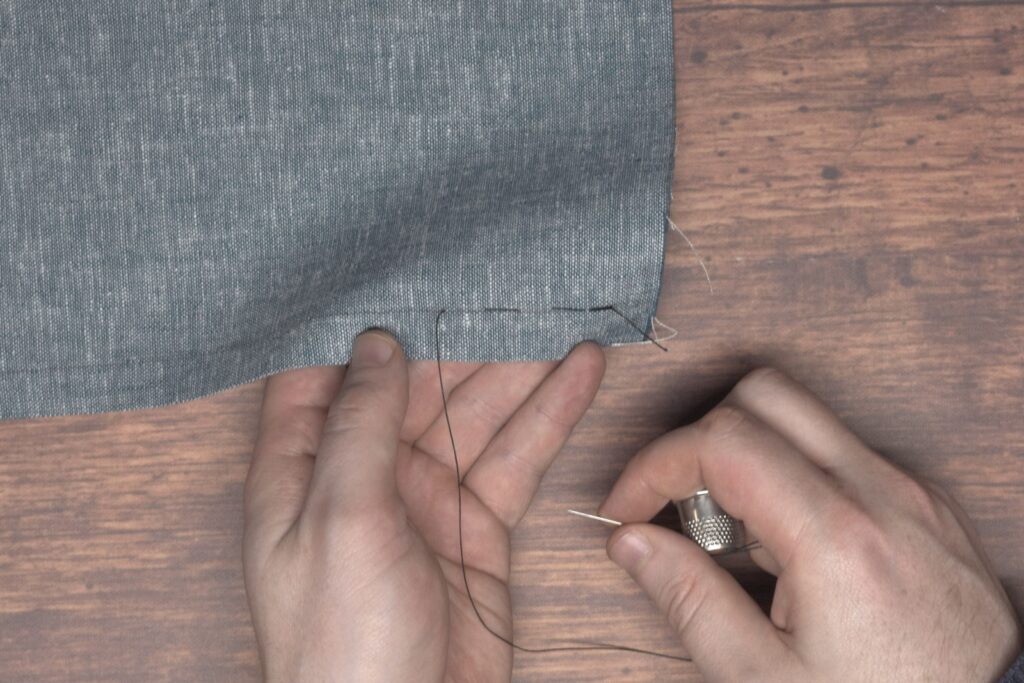
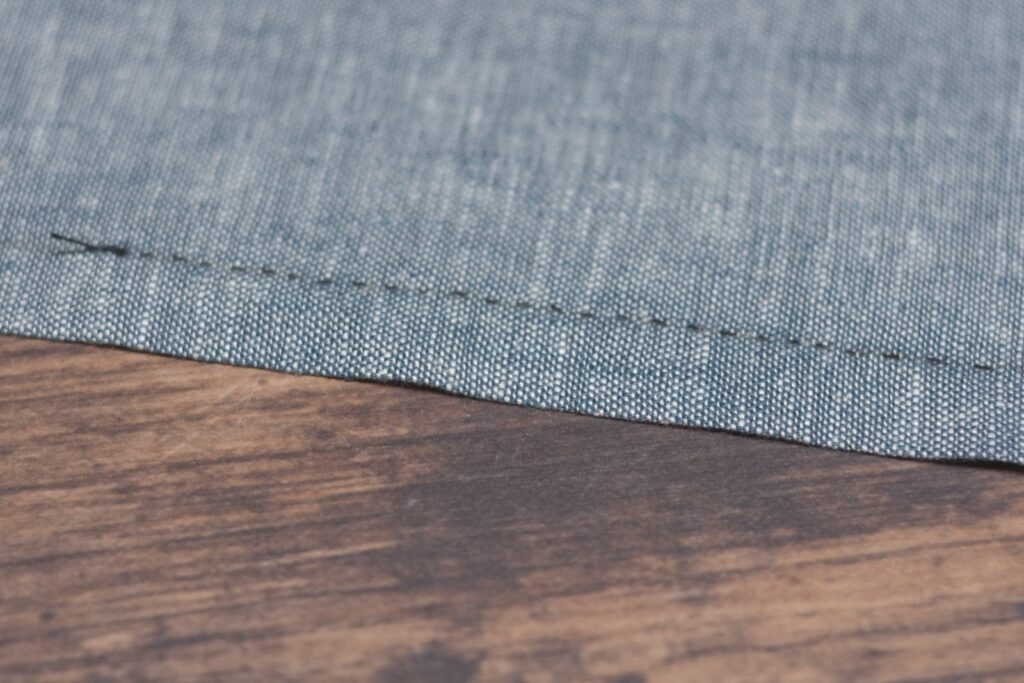
As you practice, you’ll naturally begin to make smaller stitches as shown here. Don’t try to force the size, just try to keep the stitches as even as possible as you work out your preferred stitch size.
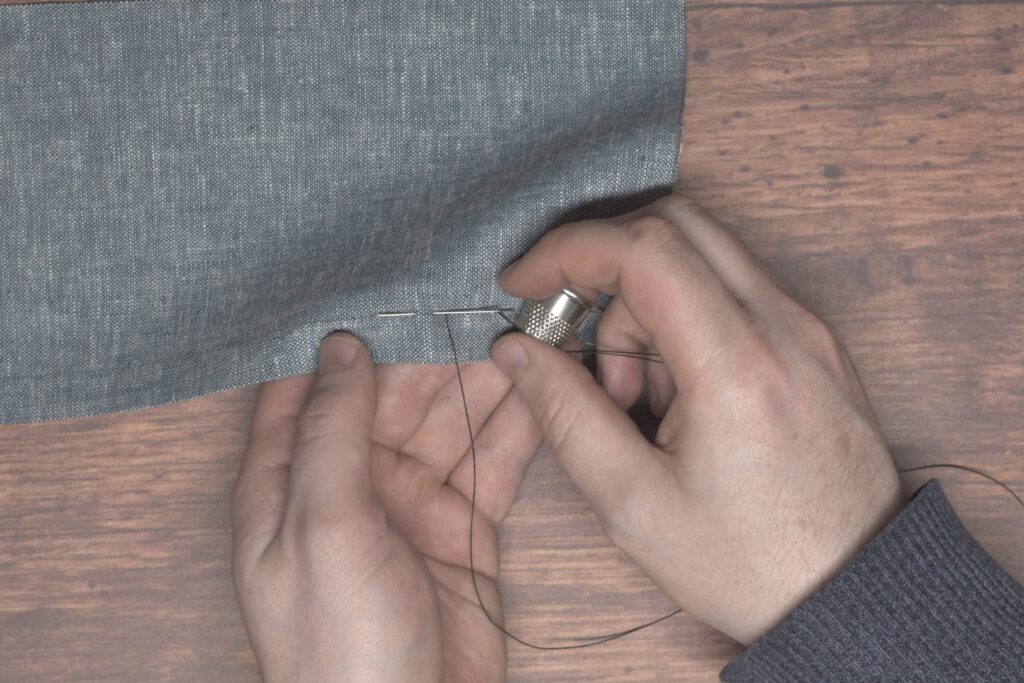
You can see how in a sense, you are actually weaving the two layers of fabric together, and why with a stronger stitch than a running stitch, hand stitching can easily be stronger than a machine sewn seam.
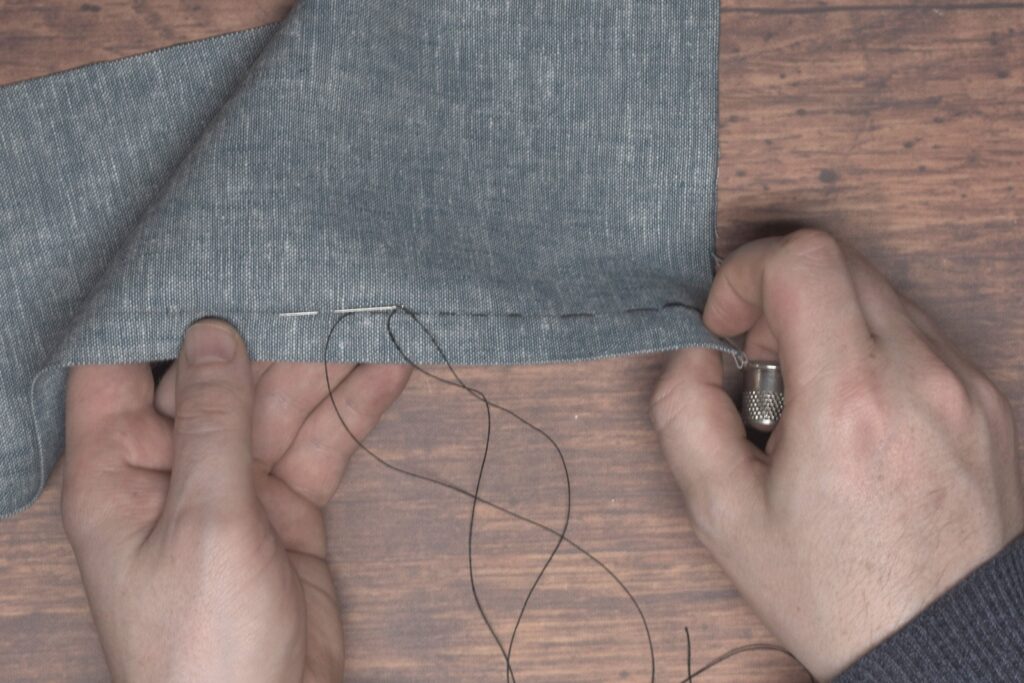
One of the main advantages of the running stitch is its speed. As you get more comfortable, you can begin to take multiple stitches as once. Two or three at once is good to start, more than that and the needle can get bogged down from the tension. Just rock the needle back and forth with the wrist, pulling the thread taught after all of the stitches have been made.
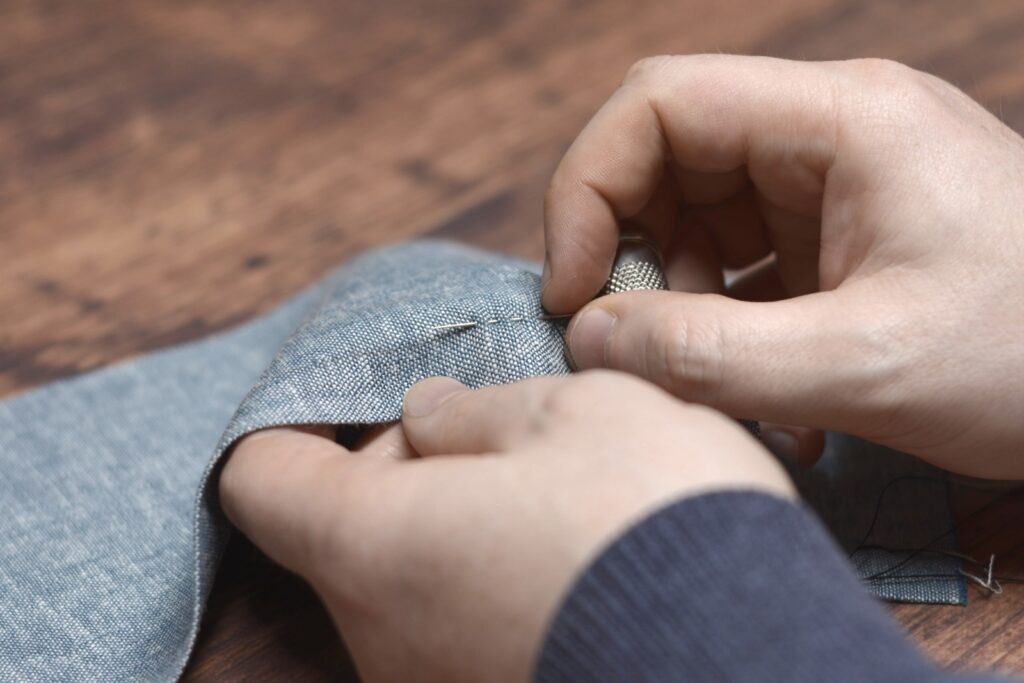
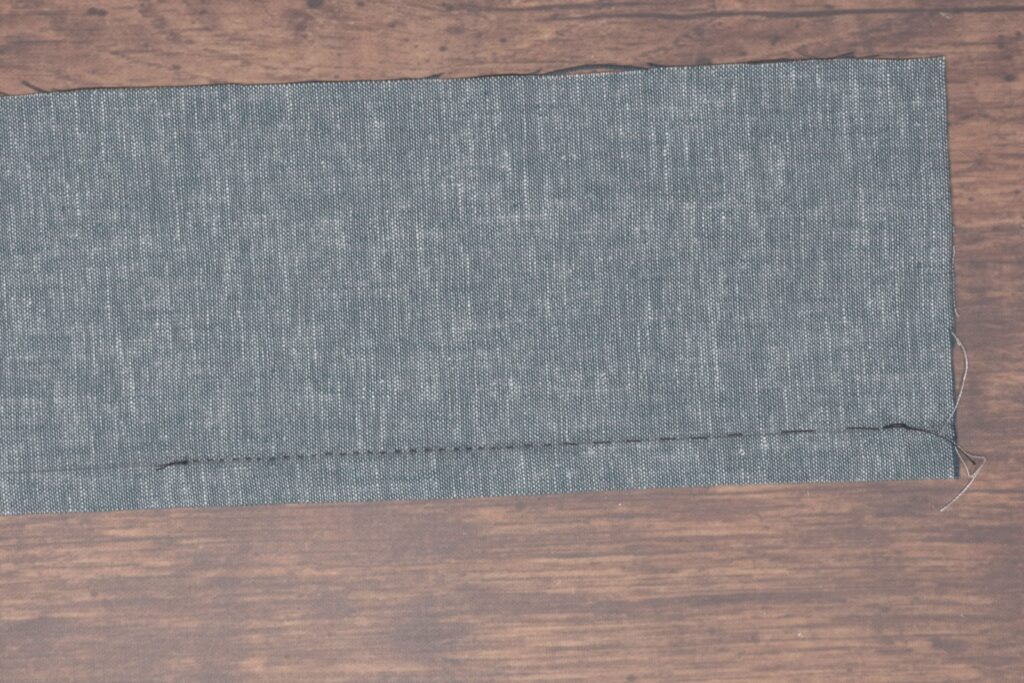
Finally, end the seam with another two or three stitches in place. Here you can see my finished seam line with smaller-sized stitches. Continue on with sewing more seams if you wish, or open up this seam and see how it looks!
Here’s a video demonstrating the running stitch for you.
Diagonal Basting
Diagonal basting is similar to the straight basting stitches in that it holds multiple layers of fabric together. However, this is a much stronger stitch for those times when you need absolutely no movement. Another benefit is that it allows you to baste awkward areas while maintaining a comfortable position for your hands.
Begin by making a stitch in place horizontally across the stitching line. The stitch itself can vary in width depending on the weight of the fabric, but generally 1/8″ to 1/4″ is good.
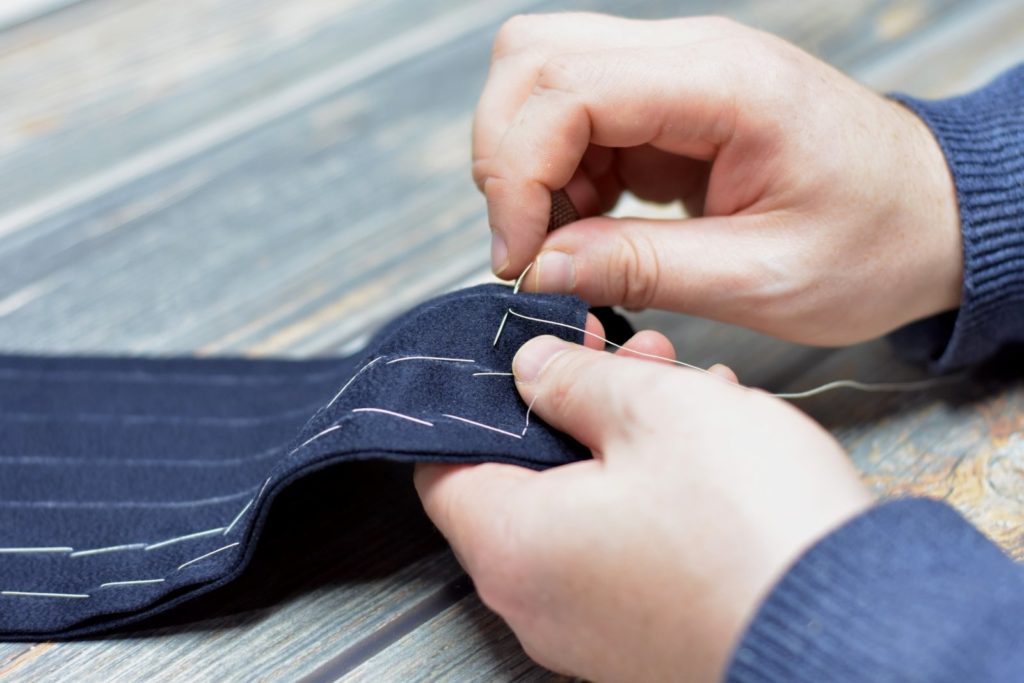
Continue by making further stitches about an inch apart from each other.
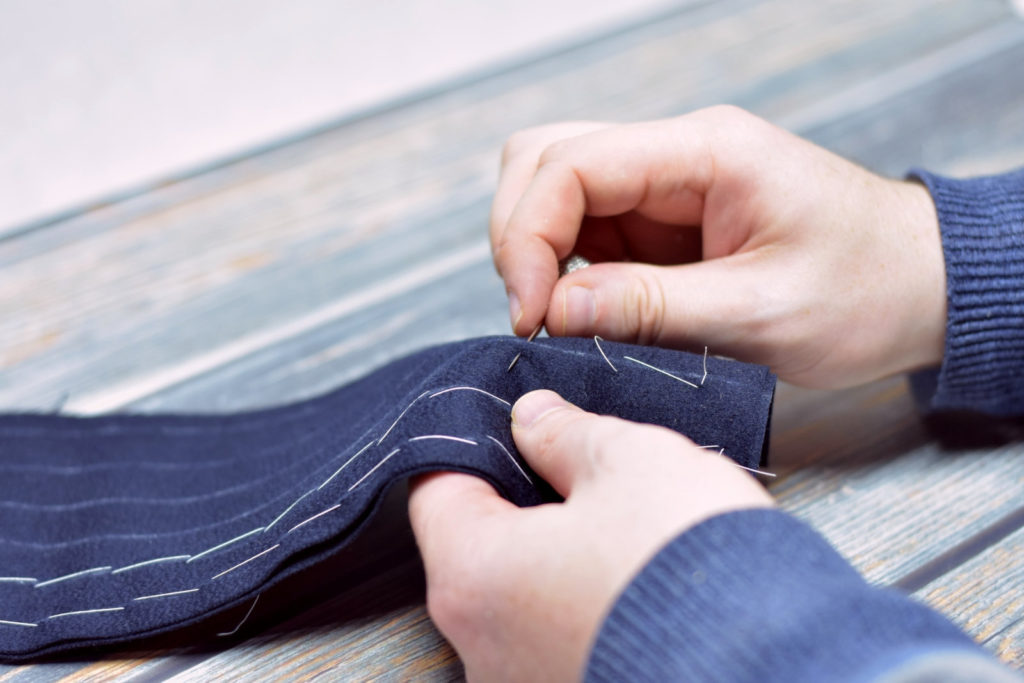
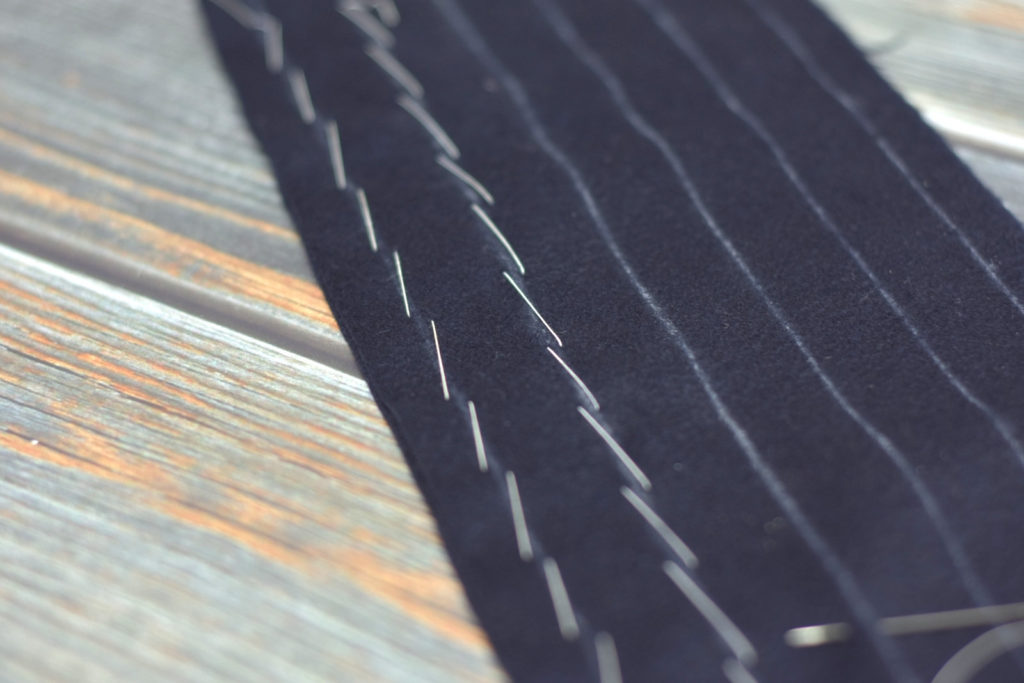
The stitch can be worked both towards and away from your body. As you can see it leaves a herringbone pattern when worked correctly.
Threading a Needle
Threading a needle can seem very difficult at first, but with a bit of practice it becomes second nature and the thread will go right through the eye on the first try (well, most of the time!).
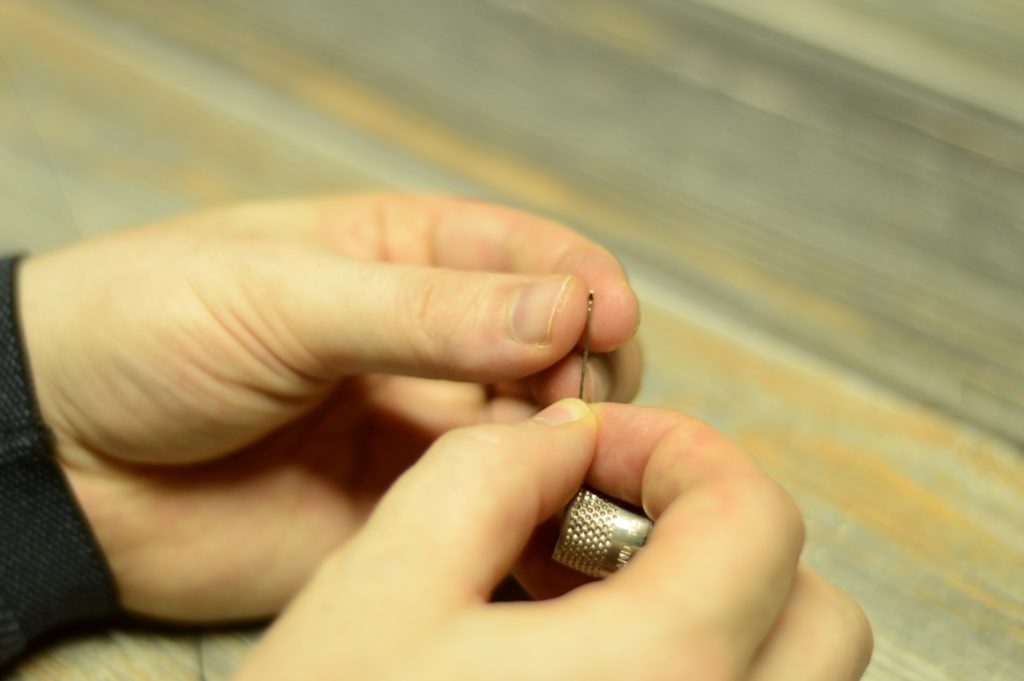
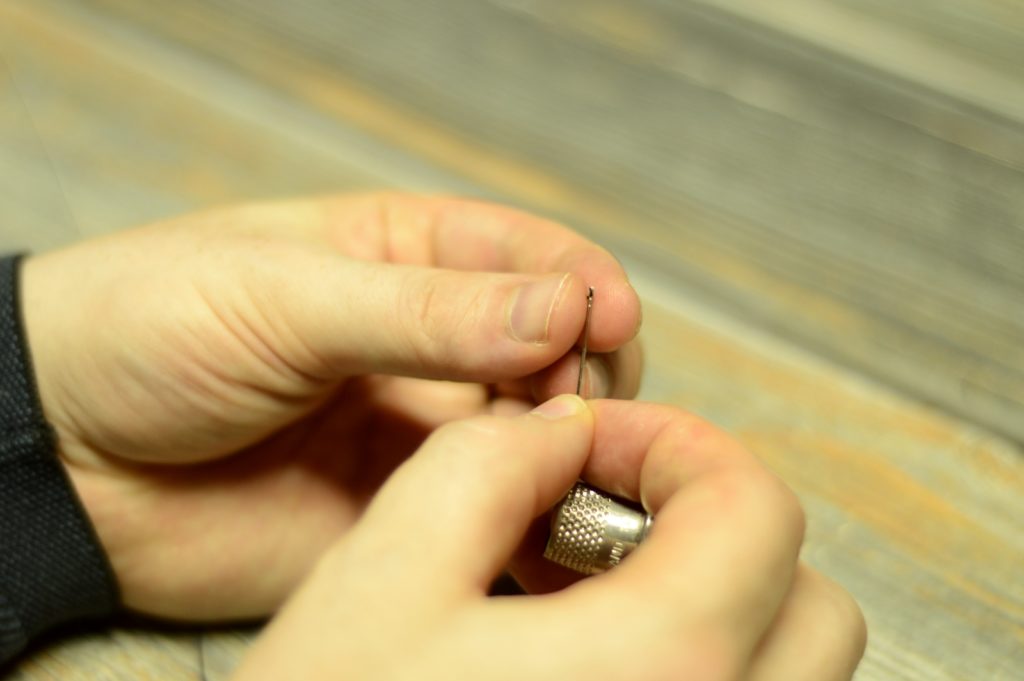
The trick is to pinch the end of your freshly cut (and waxed and pressed) thread between your thumb and forefinger. Then, rather than trying to get the thread through the needle, instead press the eye of the needle onto the thread while it is firmly between your fingers. The pressure will help keep the ends from fraying and the thread in one place.
Place the thread between thumb and forefinger.
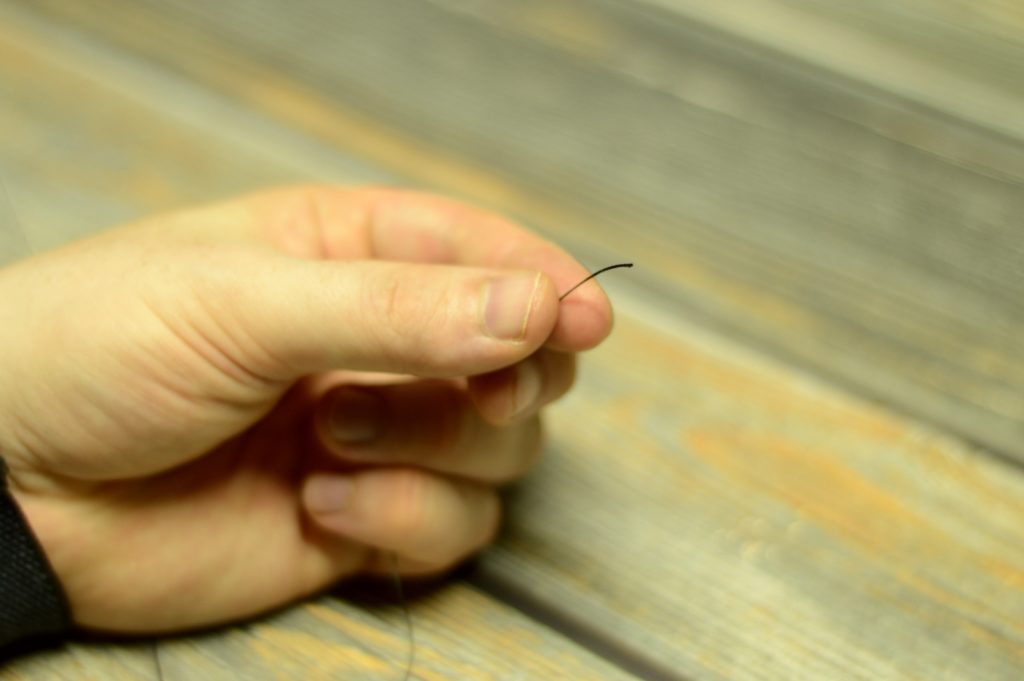
Pinch the end of the thread and press the needle on to the end.
If desired, and appropriate for the stitch you are using, tie an overhand knot in the other end of the thread.
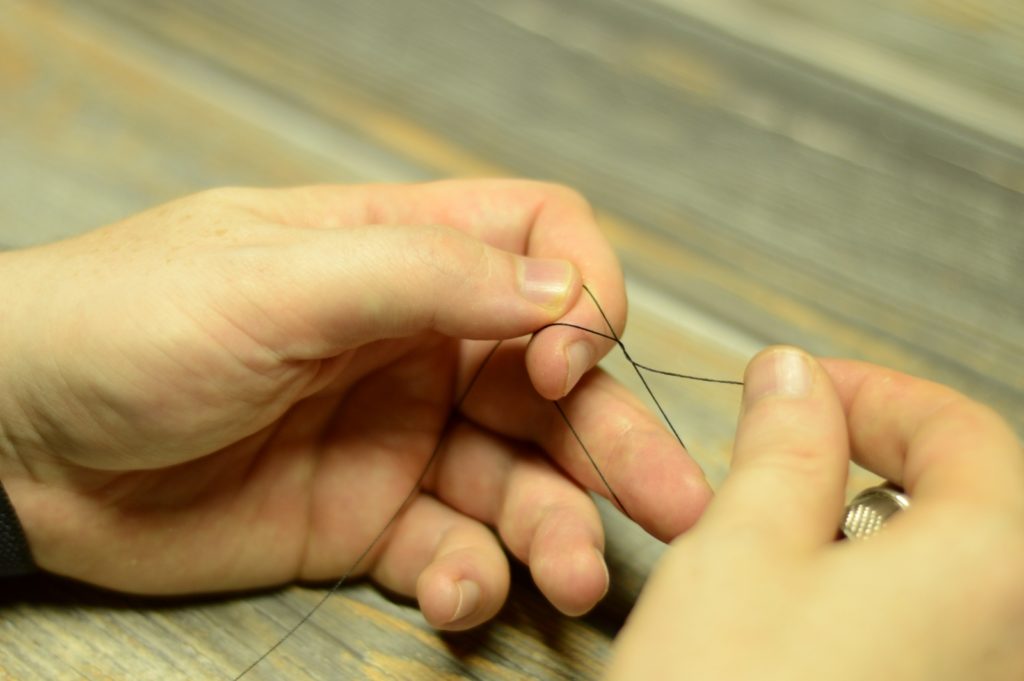
Tighten the knot.
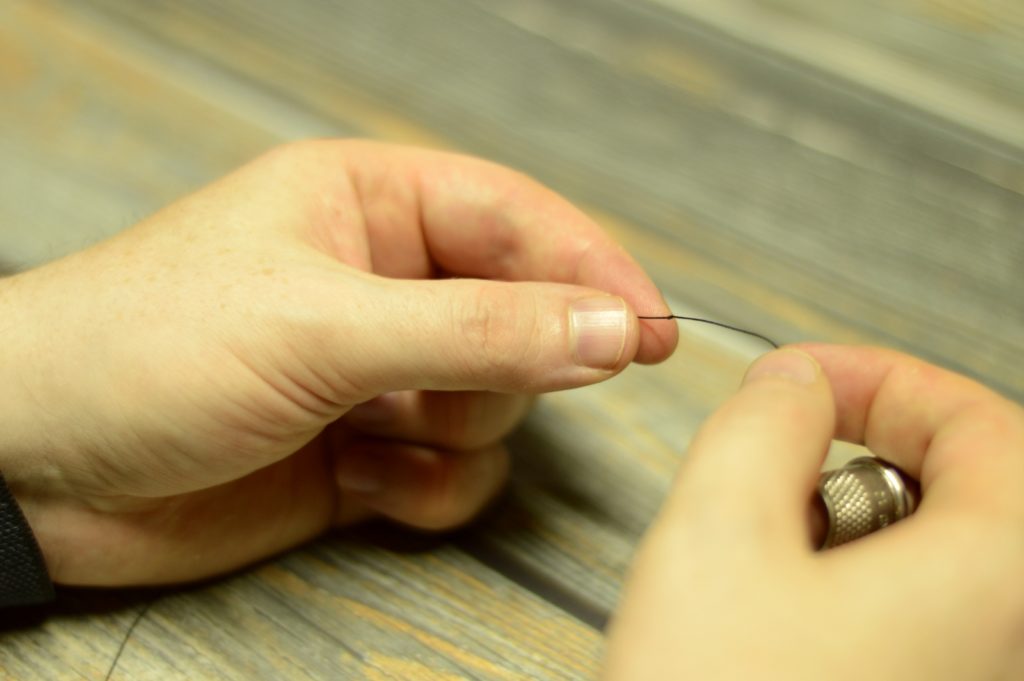
And trim the excess.
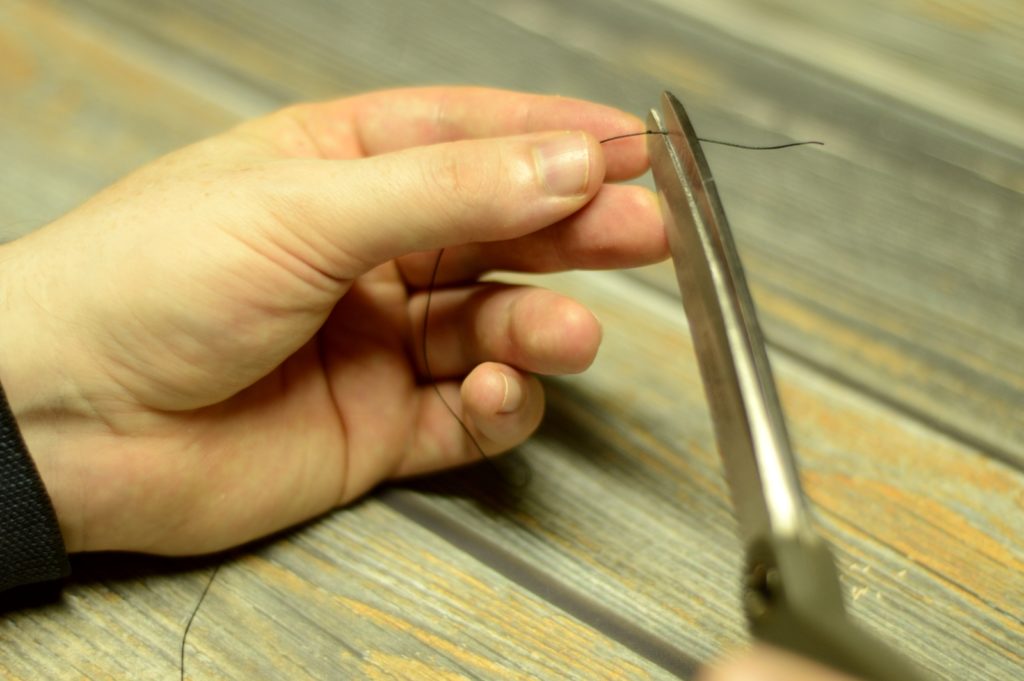
Generally when sewing, there should be about two thirds of the thread (the knotted end) on one side of the needle, and the other third on the other. As you sew, of course, the thread will get shorter, but try to keep this general proportion for best results. When the thread gets too short to work comfortably, it’s time to get a new piece.
In the video, I’m threading a small needle with the relatively thick buttonhole twist. While it doesn’t always go through this easily, you can see how the process works.
Pressing Open Seams
The most important aspect of tailoring by far is proper pressing technique. While poorly done seams can be hidden inside the coat, an unpressed seam can be spotted a mile away and ruin what could have been a nice coat. In this lesson, I’ll teach you how to press a basic seam, whether it’s been machine or hand sewn.
For irons, ideally I recommend a tailor’s dry iron, at least 12 pounds in weight, if you can find one that works. If you can’t find a decent one, then a good home iron will work. For extra heavy seams in wool, you can supplement the home iron with a cast iron ‘goose’ iron, which can be found all the time in antique stores, usually for a low cost.
While I’ve got an 18 pound electric iron, I’ll be demonstrating with a home iron combined with a goose iron, because a) the electric iron scares me and I don’t want to burn down the house, and b) most of you won’t have one.
Before starting, I recommend making a pressing cloth out of the same fabric you are currently pressing. This will help prevent scorching your fabric accidentally as well as prevent marking the fabric with the shape of the iron. It’s not necessary in all fabrics, but for those such as the blue wool doeskin I’m demonstrating with, iron marks will show up very easily. The press cloth should be slightly larger than your iron.
I also recommend using a spray bottle of water, rather than your iron’s built in steam system. This allows you to get the steam exactly where you want it, and in the quantity you need.
To begin, take the seam with both halves still right side together. Lay the press cloth over the seam, wet with water, and press until you get a good amount of steam. This technique sets the stitches deeper into the fabric, as well as makes the fibers more supple for pressing open the seam. Repeat from the other side as well.
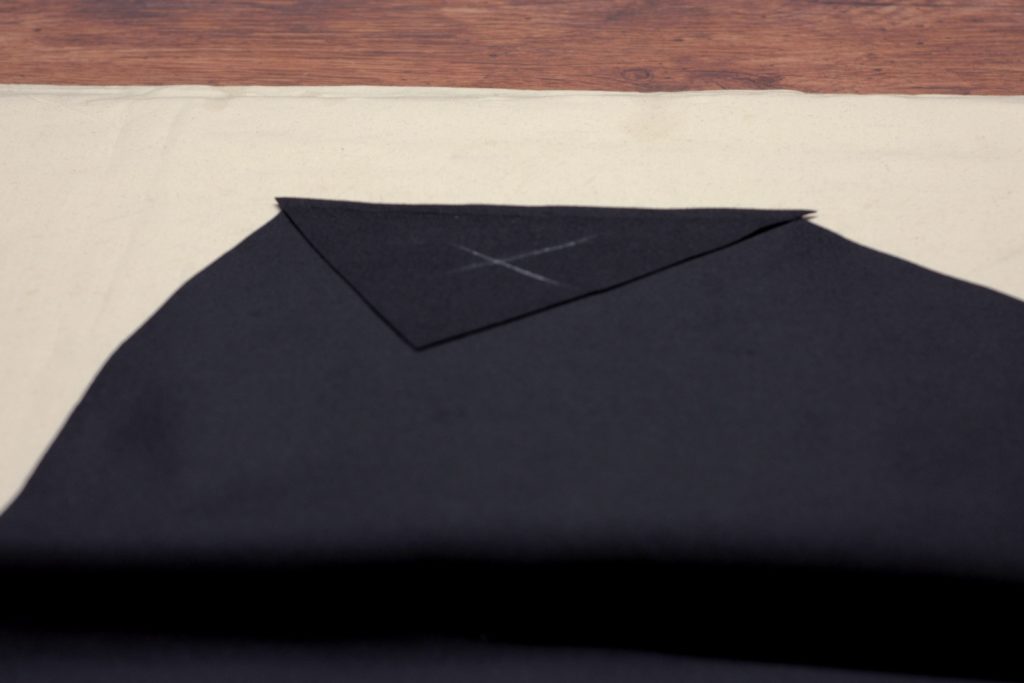
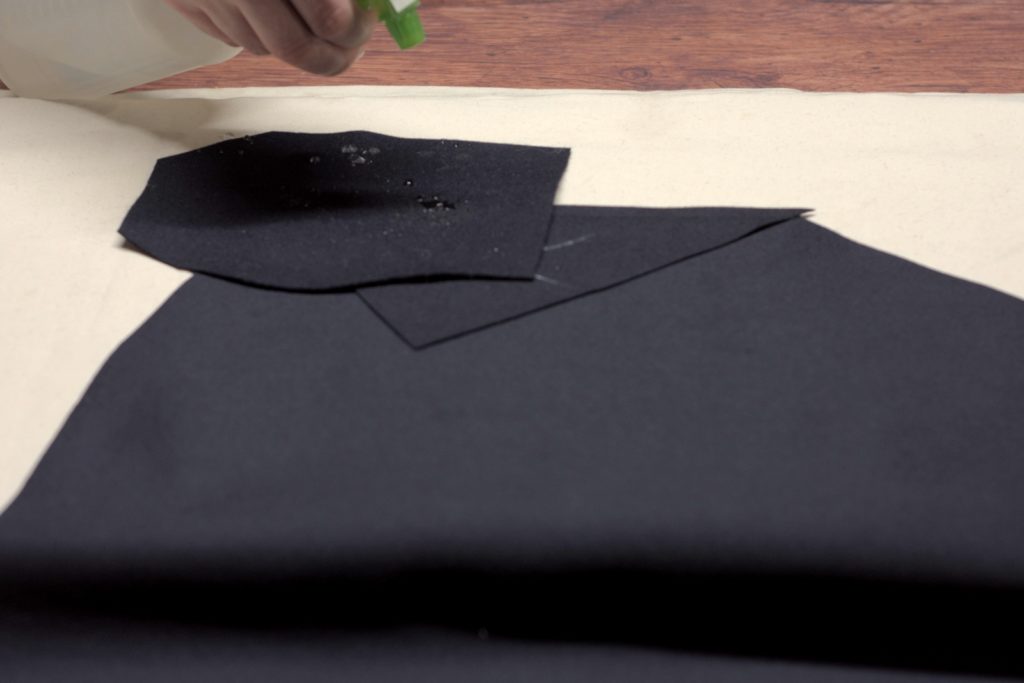
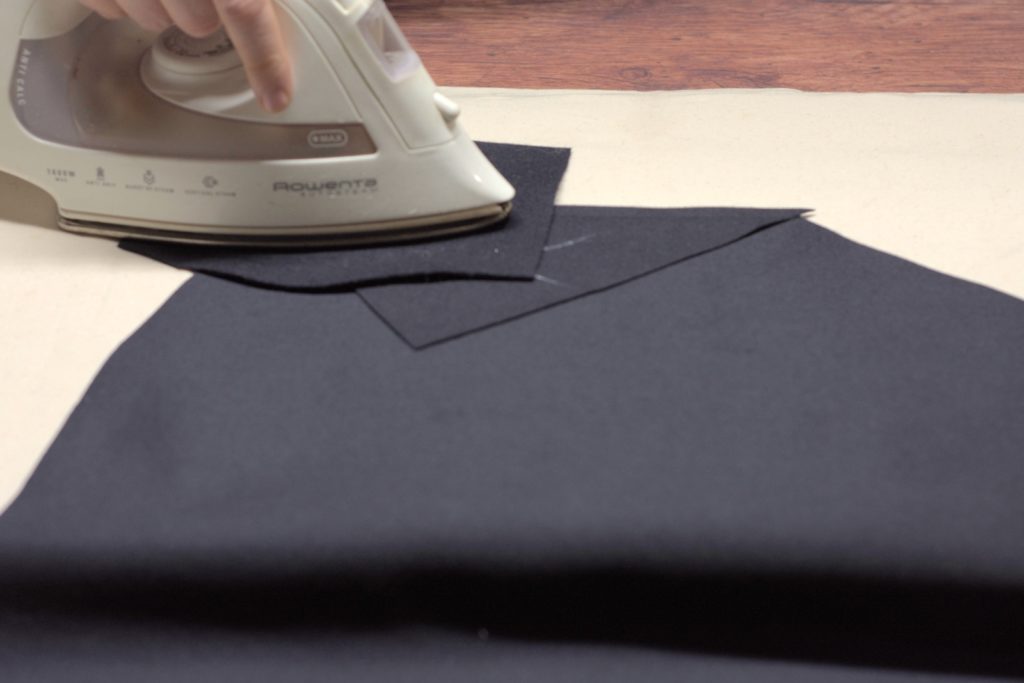
Next, working with the wrong side of the fabric facing up, open up the seam with your fingers, cover with the press cloth, add a bit of water, and steam until most of the water is evaporated. You want to avoid moving the iron in such a way that the fabric below is affected, but it’s okay to move it lightly in order to get good coverage of the heat and avoid scorching. When most of the water is evaporated, add the goose iron and leave it until the seam is cool.
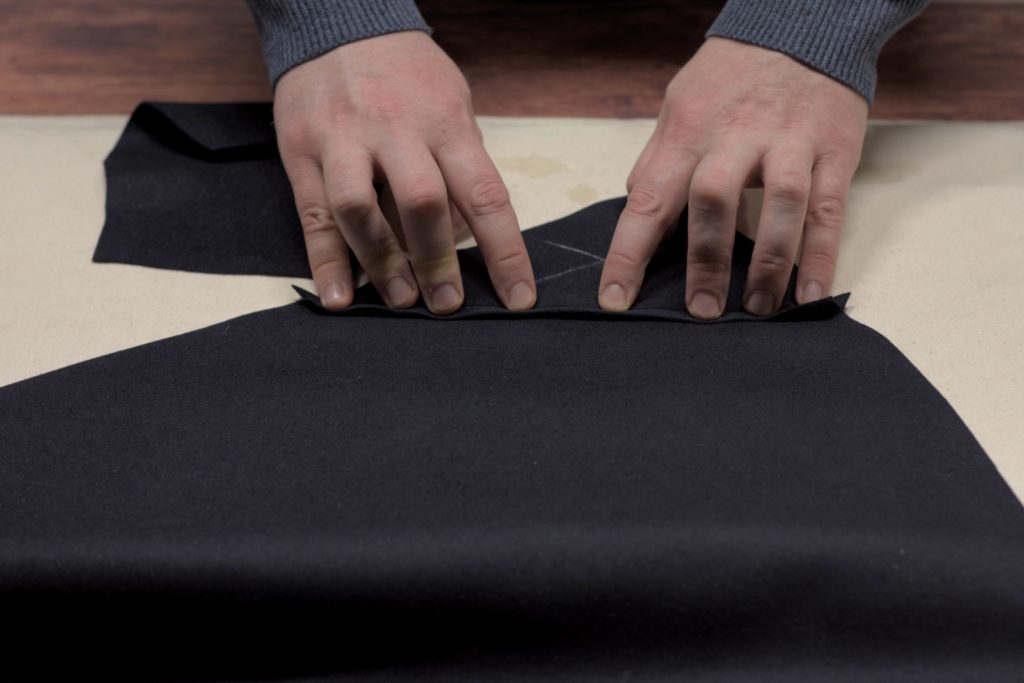
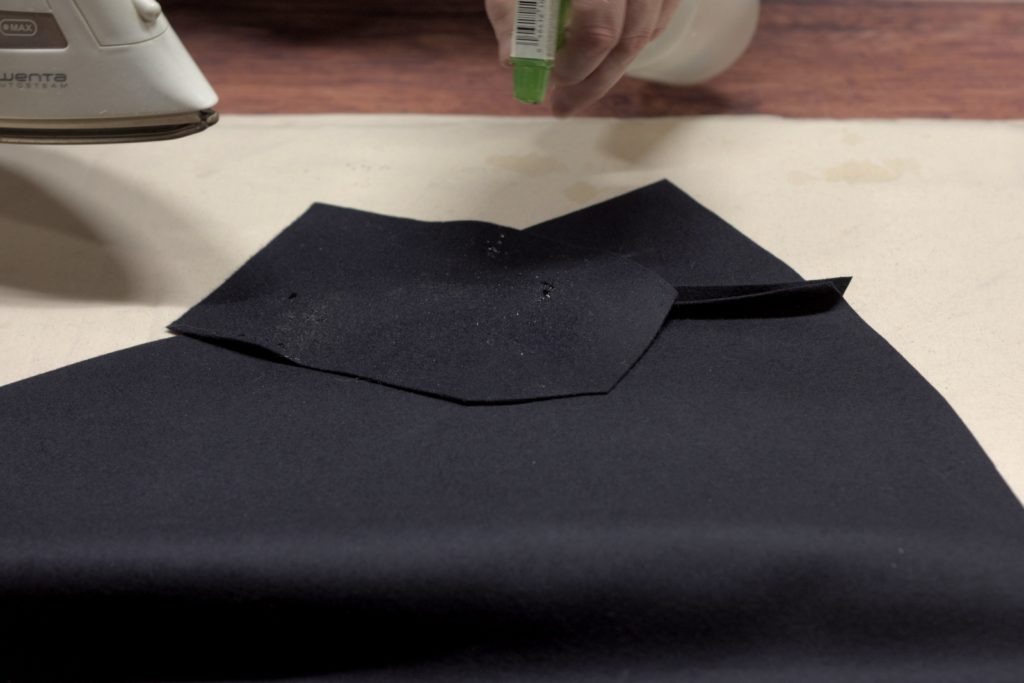
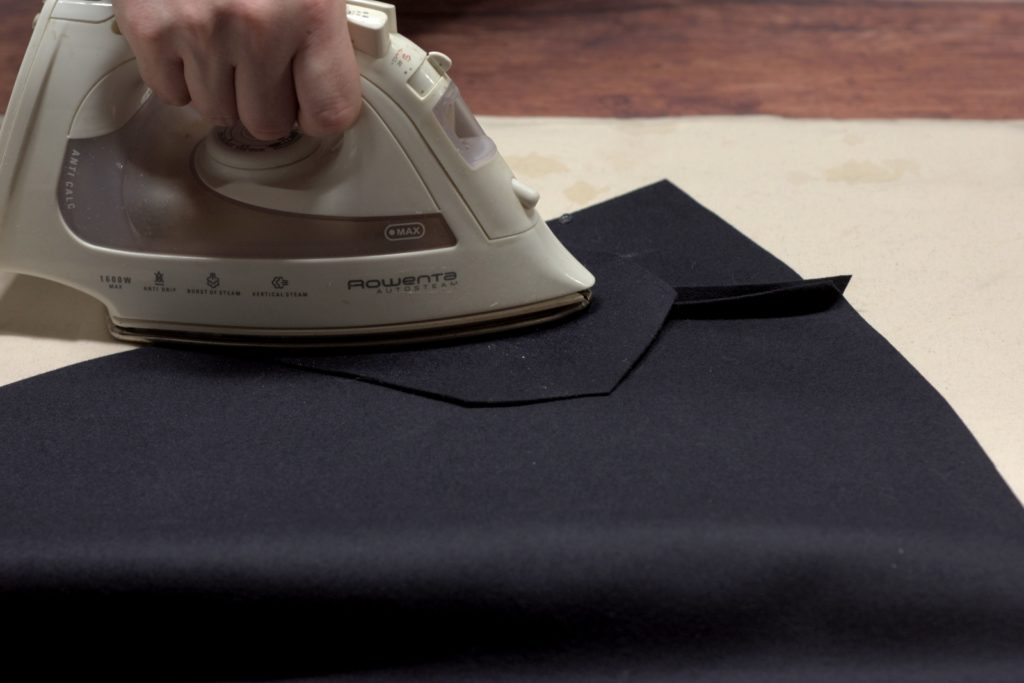
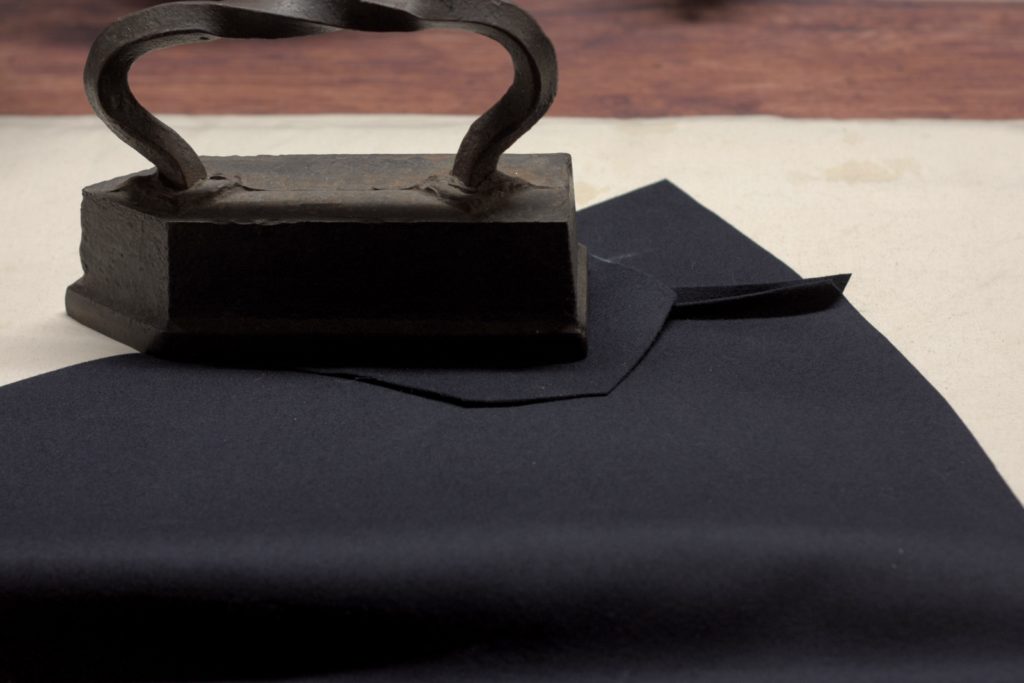
Finally, flip the fabric right side up and press the seam in exactly the same manner.
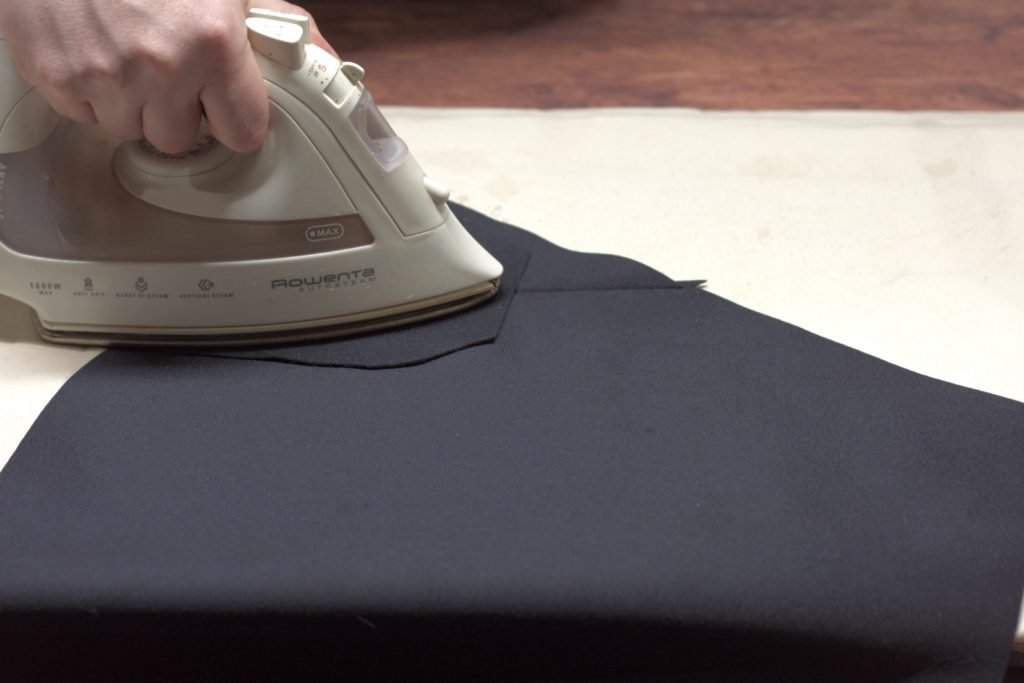
Sometimes with certain fabrics you may get a mark on the right side of the fabric from the edge of the seam underneath. In this case, you can insert a piece of card stock under both halves of the seam and press as usual, and this should solve the problem
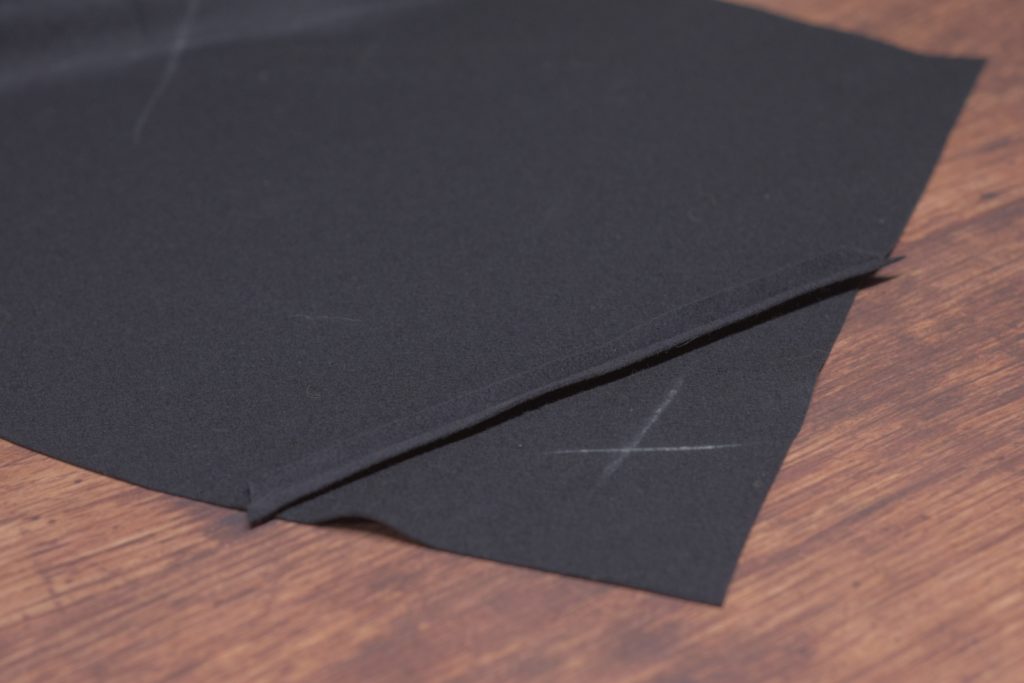
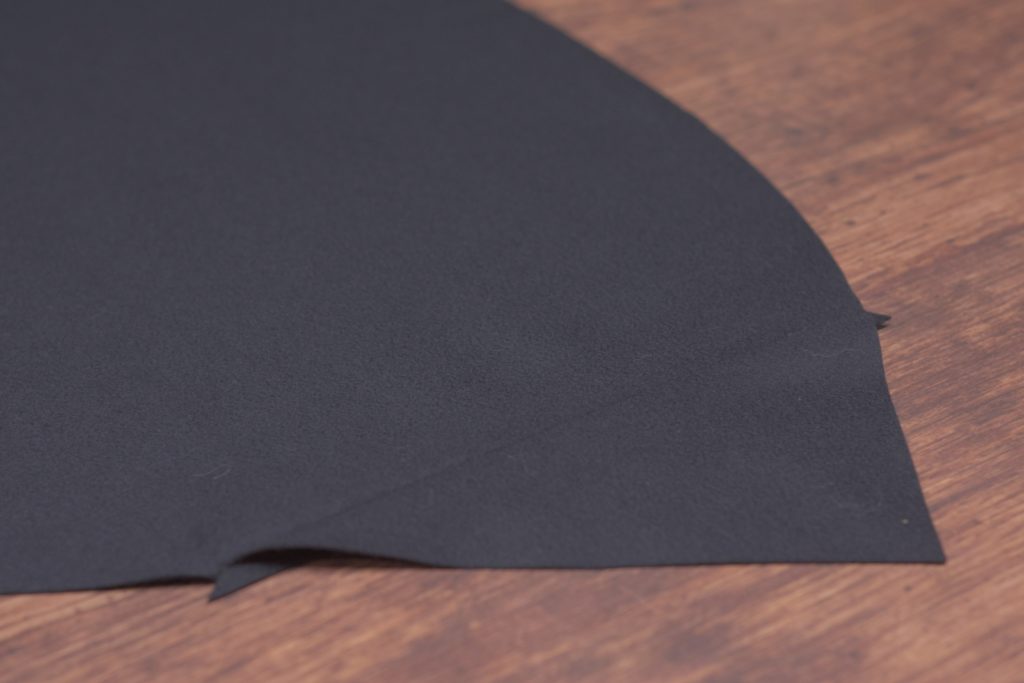
Here’s a video demonstrating pressing technique for a basic seam.