Category: Selvedge Jeans
Hip Width
The problem of an incorrect width of the hips becomes apparent when you try to walk or sit down — you’ll feel pressure and tightness in the hip area.
The solution is fairly simple. Add the necessary amount to the side seams. Then redraw the front fly area and seat seam at the waist to remove the excess you just added there.
The potential problem comes with the crotch area. You may need to adjust the crotch width to account for the added width in the hips. But I recommend doing a fitting first before making this determination.
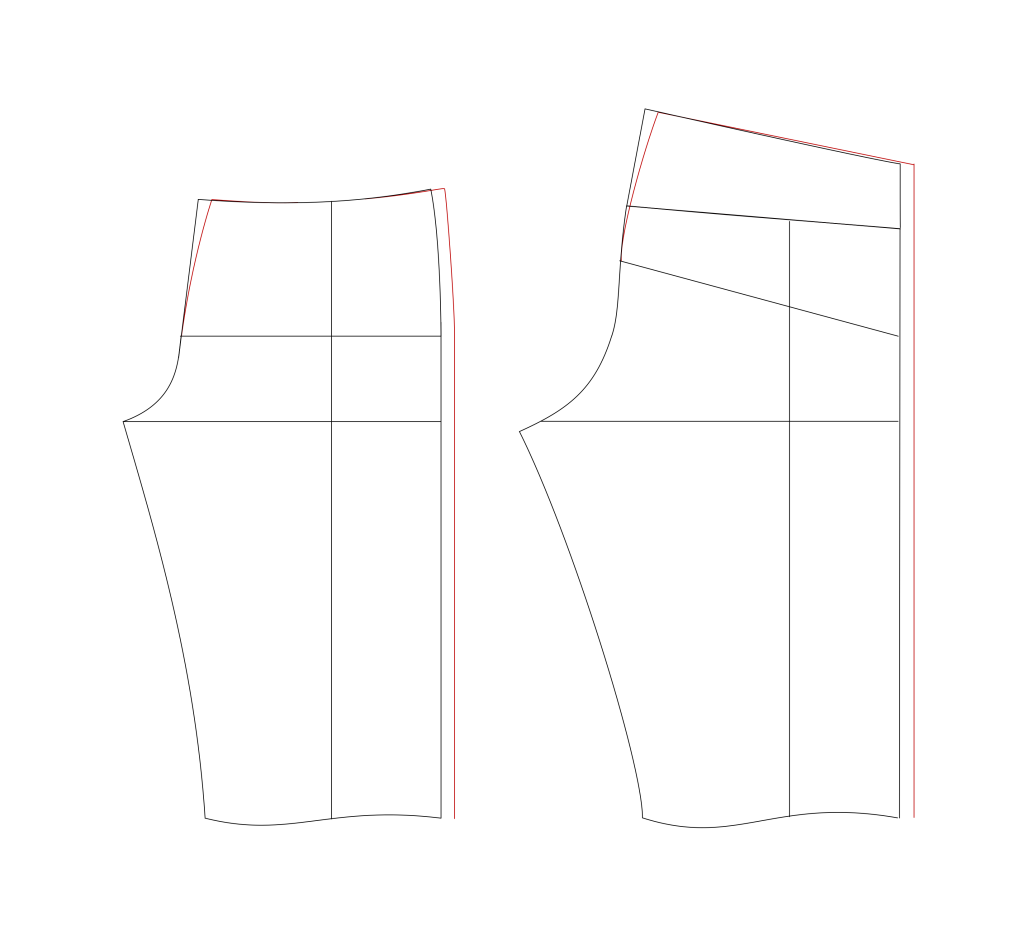
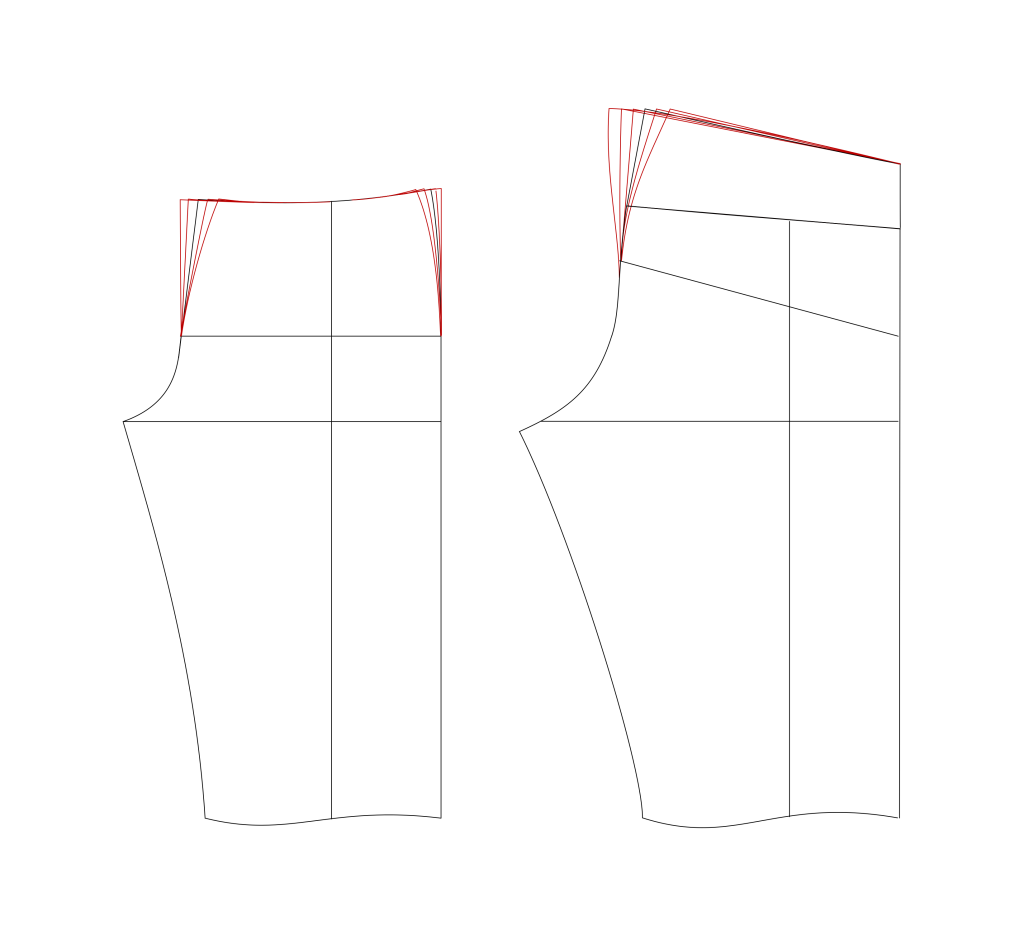
Waist Height
If your fitting appears to short or tall at the waist, you’ll need to adjust the waist height. Simply move the two waist points up or down the appropriate amounts, and taper the curves back into the original draft.
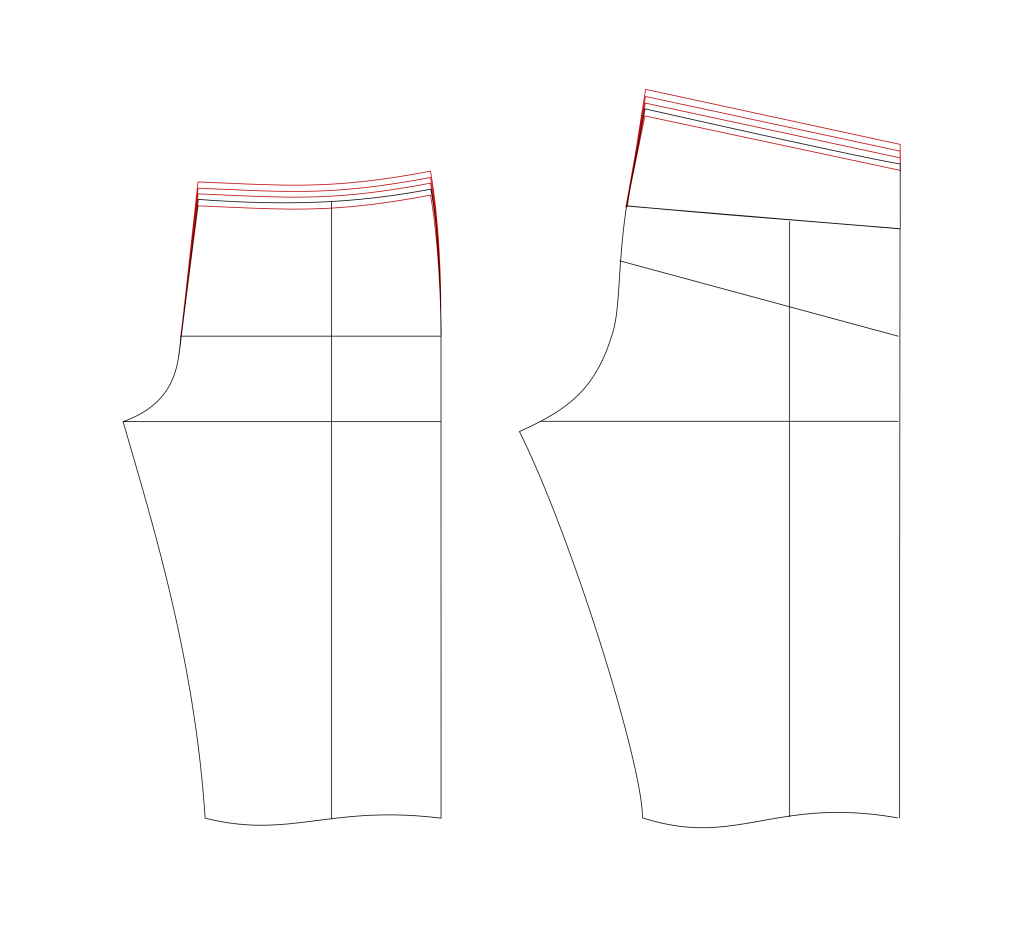
Waist Width
Changing the waist width is probably the most common alteration, and once you get used to the drafting process, you’ll probably account for this in the draft itself.
First, figure out how much width you need to add or subtract. Then divide that by four. A quarter of the width will be applied to the front fly, and another quarter to the back seat seam.
On the front leg, there are two places of alteration. On the front fly area you can add or subtract the given amount, tapering it back into the hip line. If you need a lot of room you could also adjust the curved side seam, but that should be done only as a last resort. Redraw the curves as necessary, making sure to keep as close to right angles as possible in each area.
The same goes for the back, add on the appropriate amount and redraw the curves.
For each alteration, you may need to curve the lines more or less depending on their position to get a smooth transition to the seams below the hip line, and to preserve the right angles.
Drafting the Pockets and Accessories
I’m putting the pocket drafts here to keep everything organized, but these should only be drafted after you have completely fit your pattern with a muslin and transferred any alterations to your main pattern. Otherwise you’re going to go back and forth redrafting the pockets, potentially. The front pocket is drafted directly on to your front leg draft and then traced to separate sheets of paper.
Front Pockets
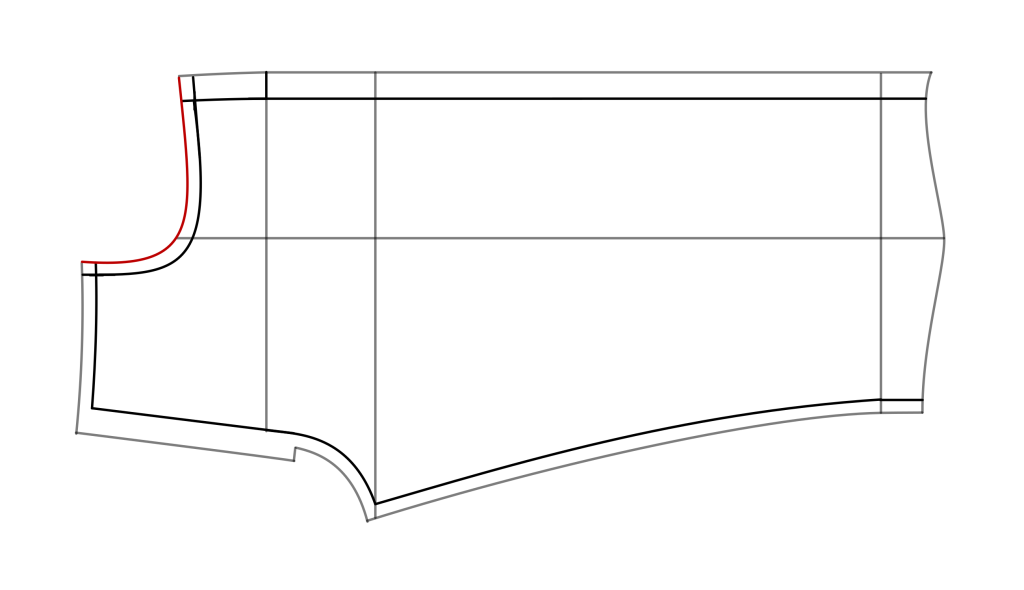
To draft the main front pocket opening, first mark 0 at the top of the side seam at the waist (the following marks are not on the seam allowance).
- Mark 3 1/4″ from 0 along the side seam for the lower edge of the pocket opening.
- Mark 4 3/4″ along the waist from 0 for the top of the pocket opening.
I recommend using Devere’s graduated rulers here if you’re above about a size 38″ hip. Simply print out the ruler at 100%, choosing the ruler that matches your hip size, and use that to draft the pocket opening. It will automatically scale it larger for you.
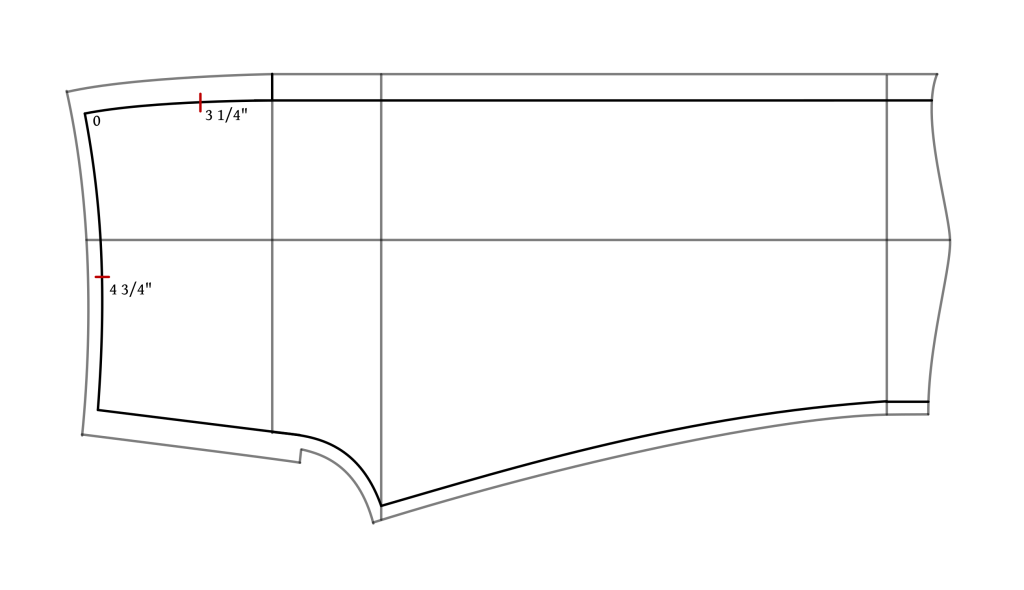
Now square out from the waist and side seams with a couple of construction lines. The lower line from the side seam should follow the basic angle of the waist. The lines should be extended through the seam allowance.
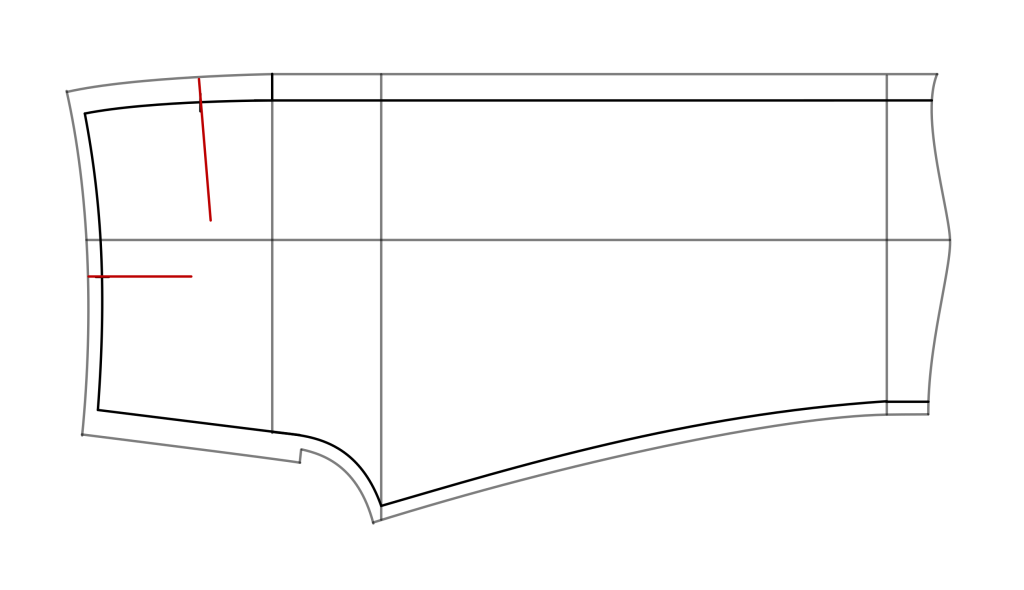
Add a curve to the pocket connecting the two construction lines smoothly. There’s definitely room for some variation here if you get into more more modern pocket styles but this is a good place to start from.
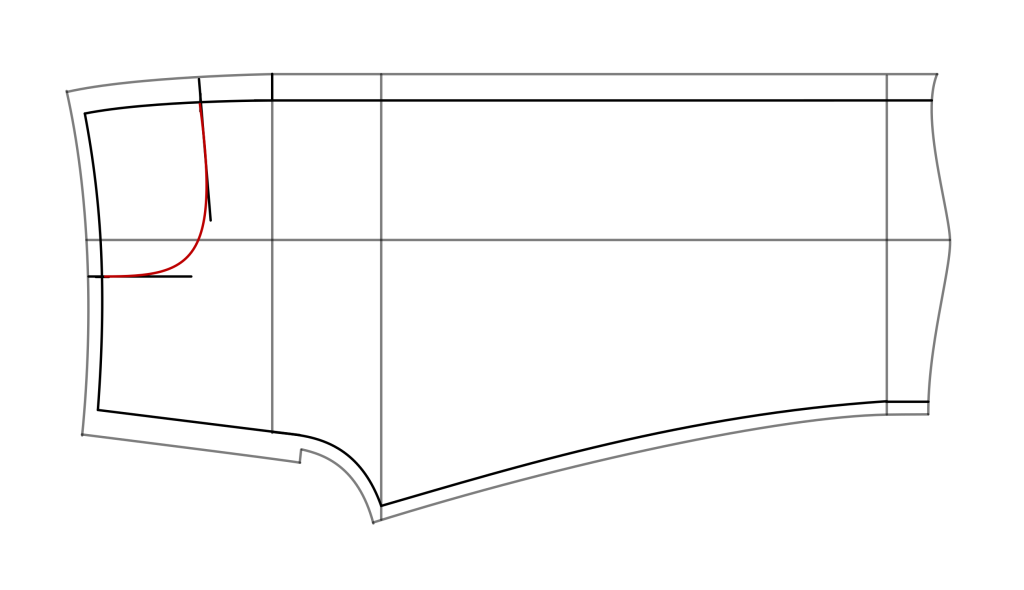
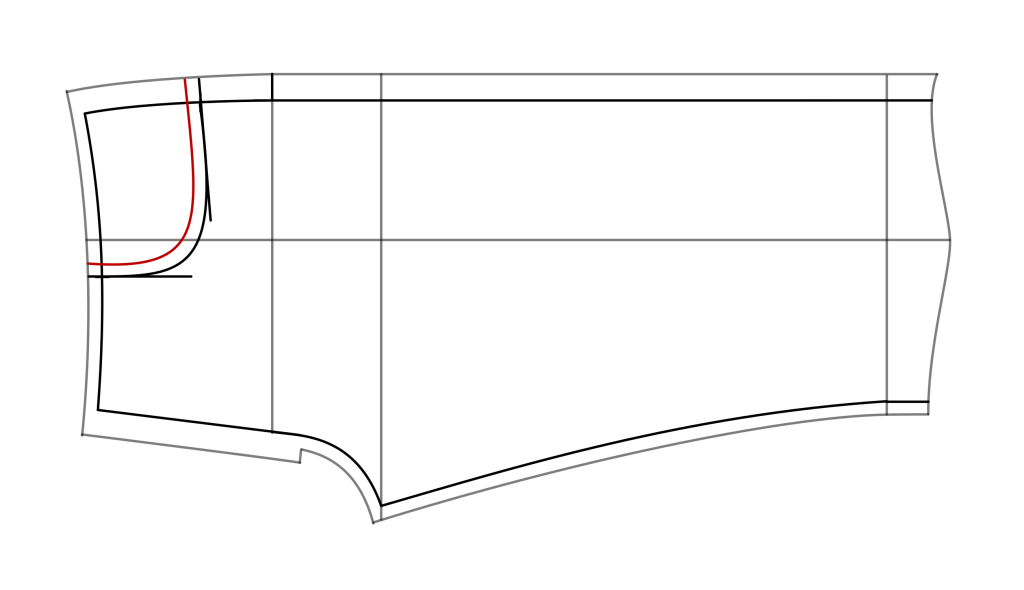
Add a 3/8″ seam allowance to the curved pocket opening.
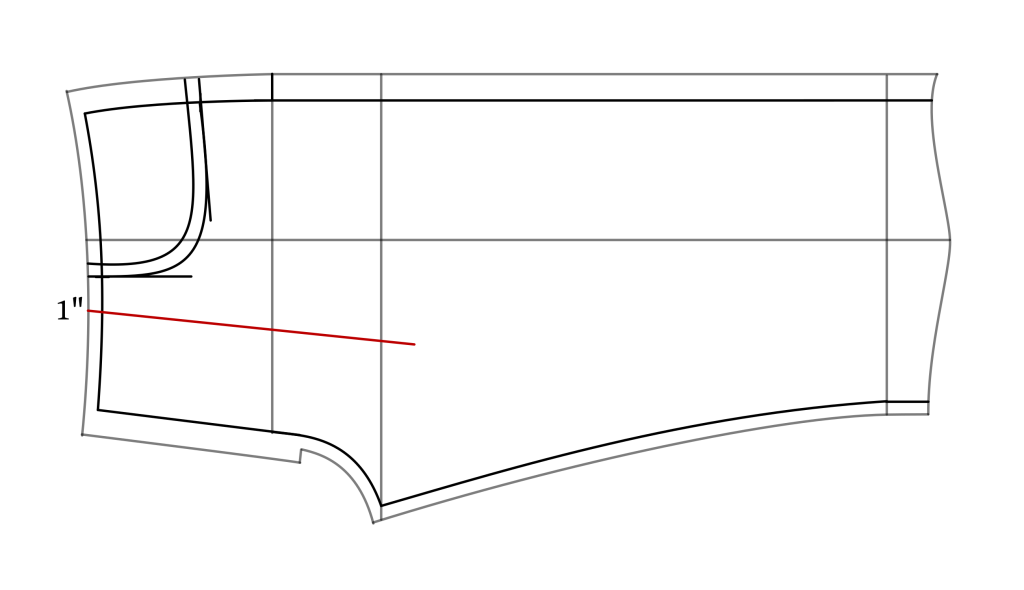
For the pocket bag, draw a line about 1″ away from the pocket opening (the original lines, not the seam allowance), roughly parallel to the front fly. The length is up to you really but about 10 – 12″ depending on the rise of your trousers is a good place to start.
Draw the lower pocket bag line towards the side seam, angling up slightly. This helps the things in your pocket to move towards the front keeping things more balanced and preventing them from falling out. End this line about 1 1/2″ from the side seam.
Then connect the bottom of the pocket to the side seam, about 2″ below the pocket opening, with a nice curve.
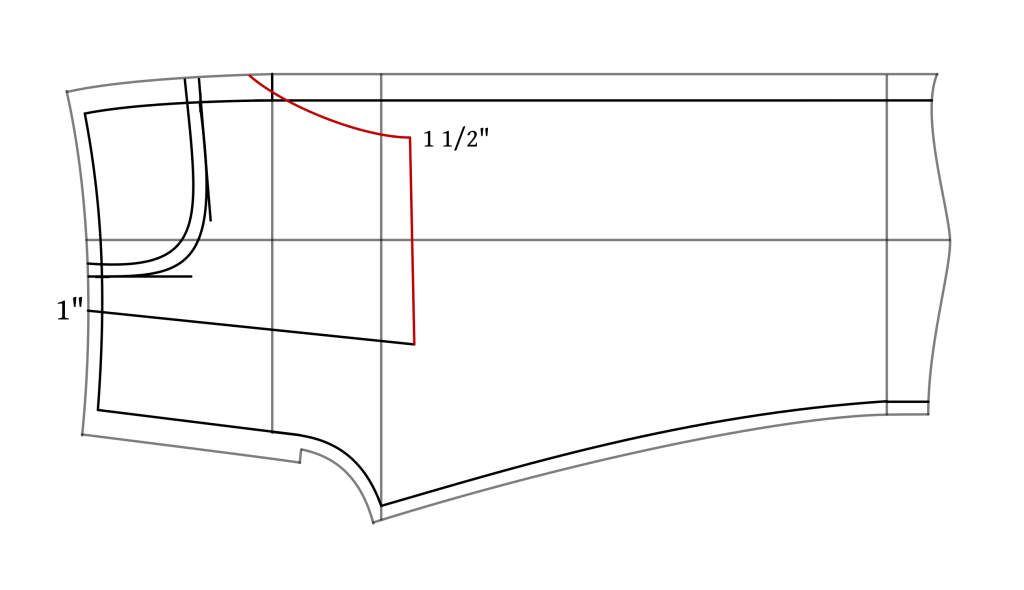
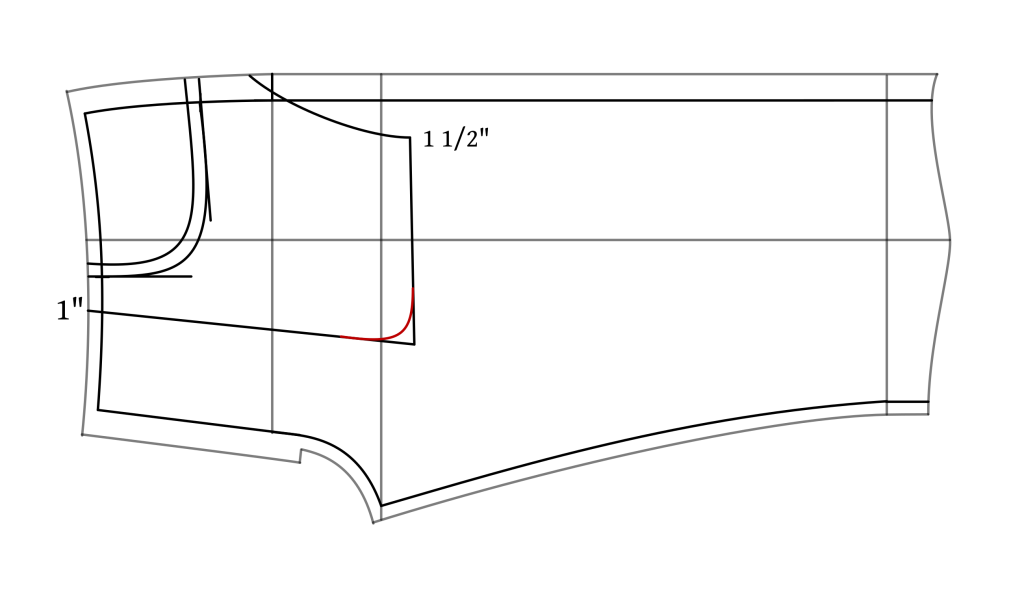
The original 1873 jeans appeared to have a square bottom to the pockets, but I do like to add a little curve to the front bottom edge – up to you.
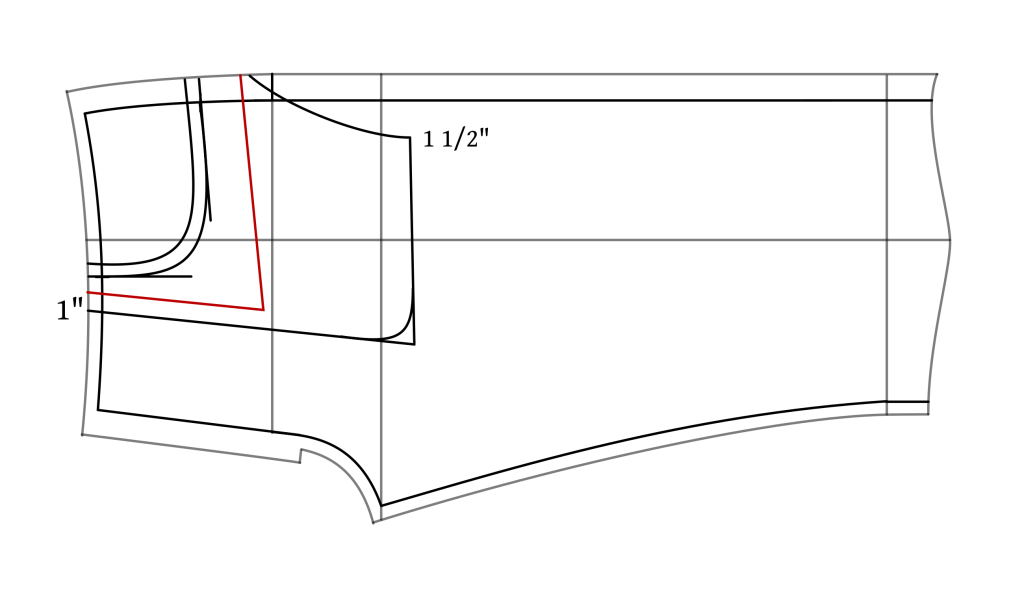
After drafting the pocket bag, I like to draft the pocket facing. Draw a line parallel to the front pocket edge, about 1/2″ away from both the opening and the pocket edge. Make this the desired depth, and inch or two below the pocket opening, and draw a line towards the side seam, meeting just above the top of the curved pocket bag line.
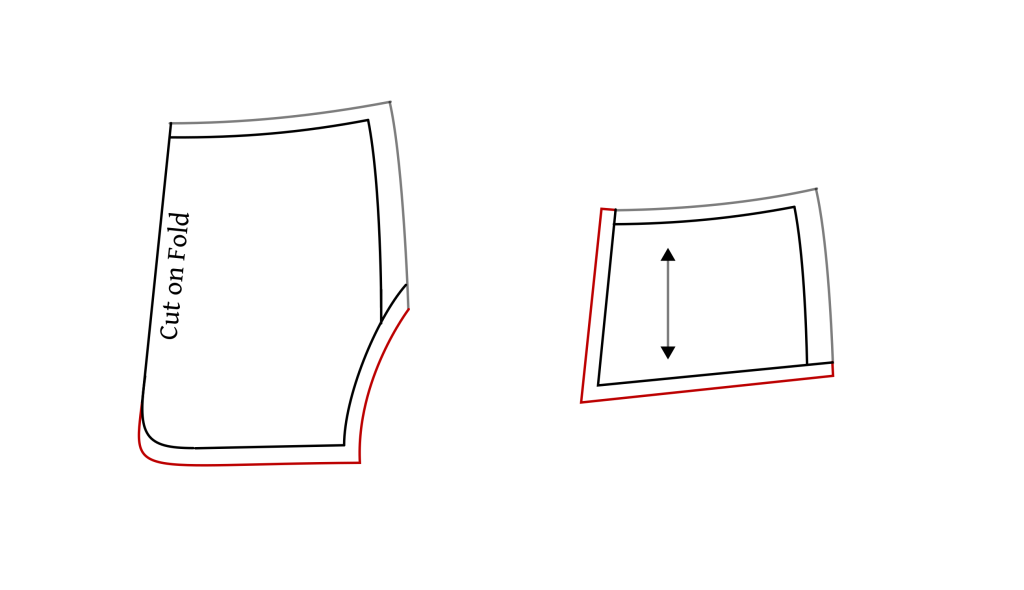
Now trace out both the pocket bag and facing and add the following seam allowances.
On the pocket bag, add 3/8″ along the bottom edge as well as the curved edge. The top and side should already have seam allowances from when you traced it. The remaining long edge is cut on the fold. If you’ve put in a curved corner, taper the seam allowance into the fold line.
For the facing, simply add 3/8″ along the inside and lower edges.
Finally, when you’re 100% happy with everything, cut out the front pocket opening from the front leg along the seam allowance line. I like to save the cut off piece just in case.
Back Pockets
The back pocket is easy to draft. For the average size up to about a size 38″ hip, I’d say the following measurements could be used as they are. Any larger, and I’d recommend using the graduated ruler corresponding to your hip measurement to enlarge the pattern as necessary.
At some of the larger sizes though, above around a 46″ hip, using the graduated rulers begins to break down and the pocket becomes outlandishly large. So you’ll have to use your good judgement, measure your wallet or hand size, to come to a good size in that case.
On the 1873 jeans there was only one pocket on the right side. Of course on the modern pairs, use one on each side.
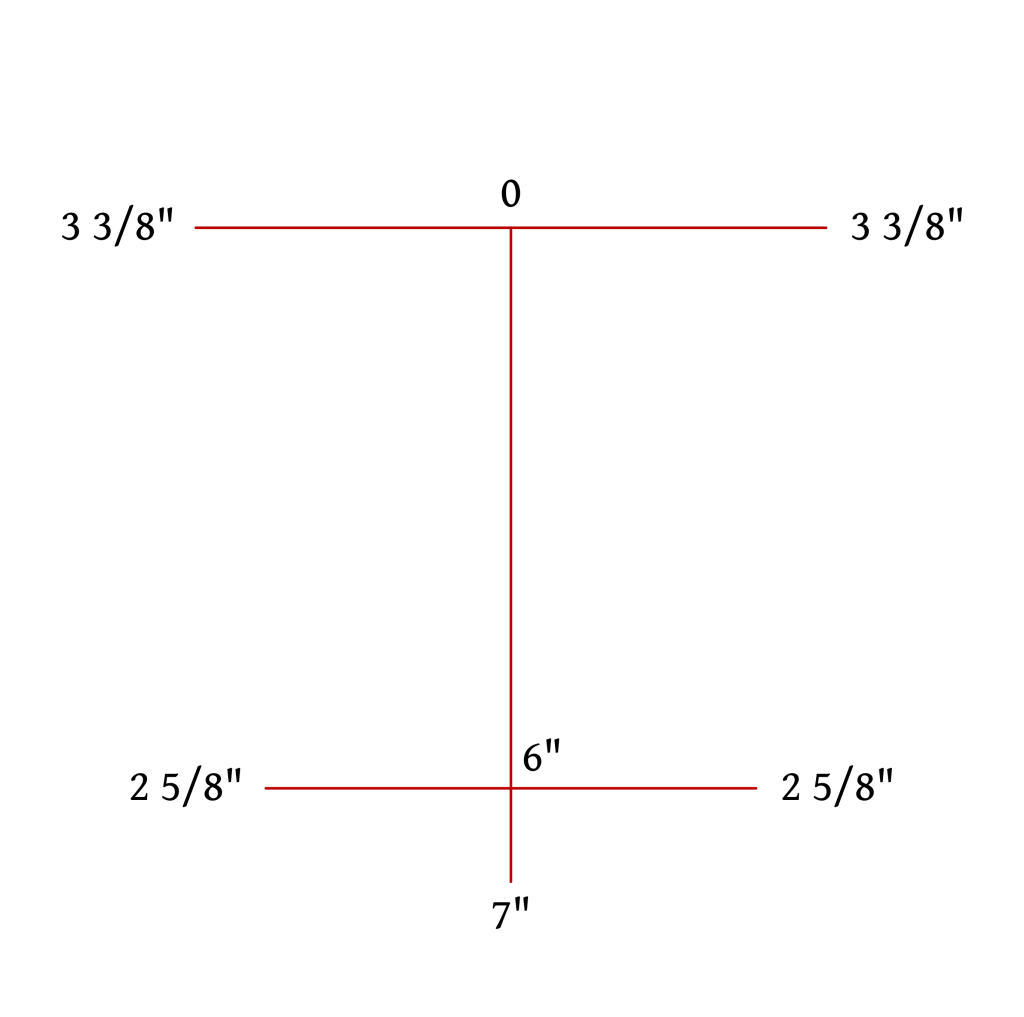
Begin by drawing a vertical line from 0 and measuring off 7″ and 8″ for the total length.
Then mark off the widths as shown.
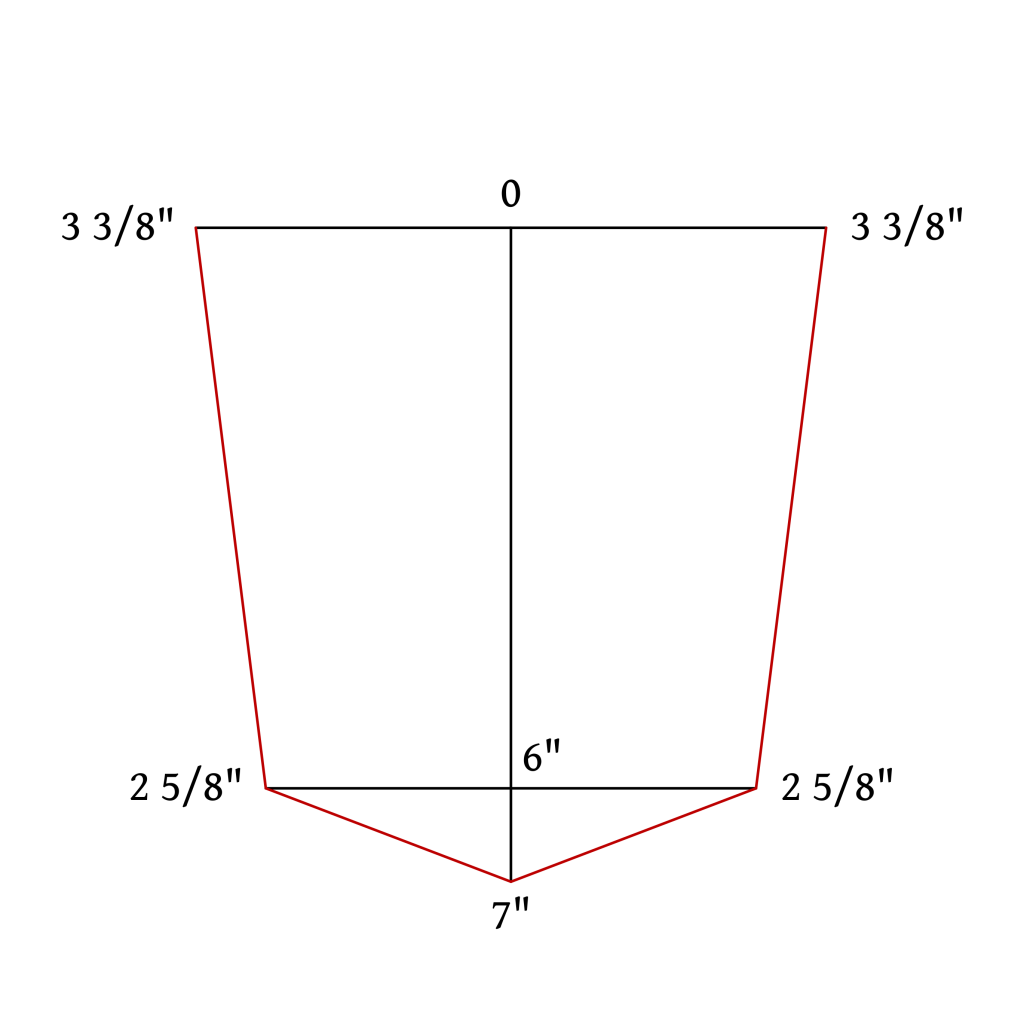
Then mark the outline of the pocket as shown.
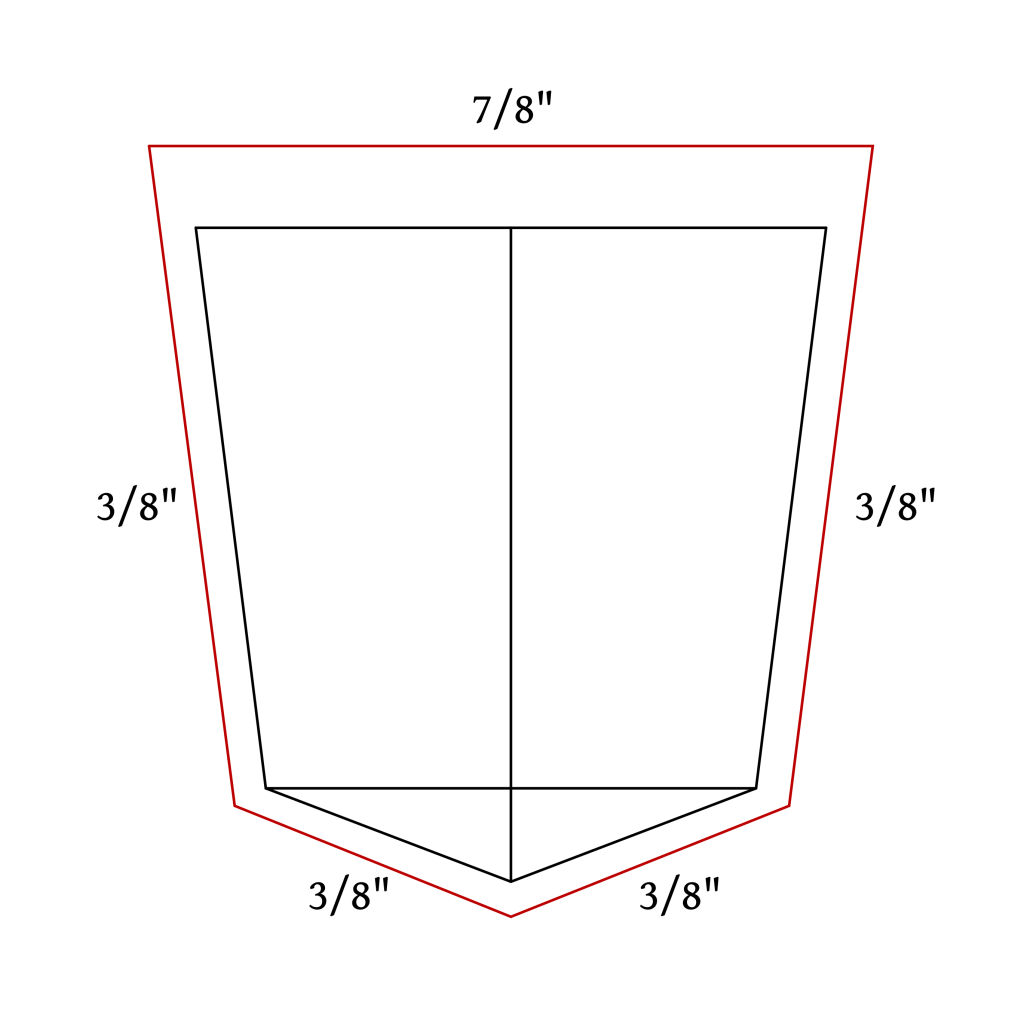
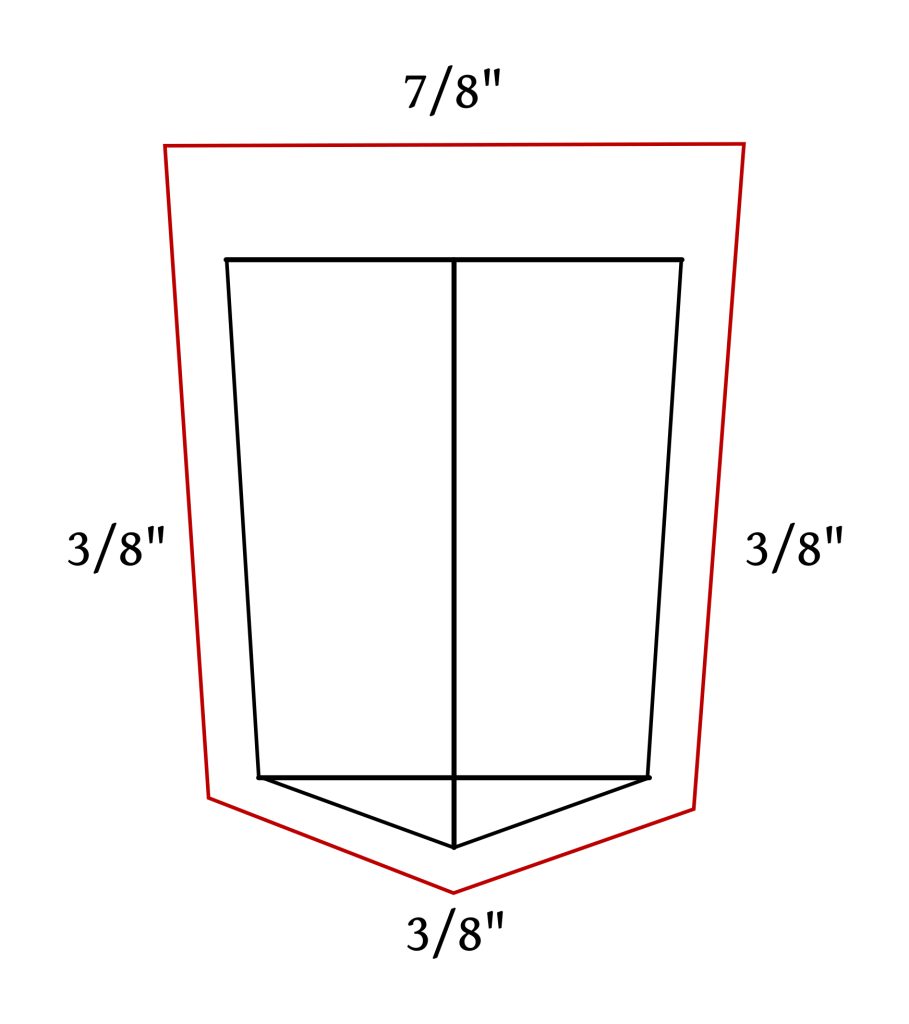
Finally, add 3/8″ seam allowances along the sides and bottom edges. Along the top edge use a 7/8″ seam allowances to account for turning under the raw edge twice as well as the thickness of the denim.
For the grain line, there are two options. You could use the centerline as the grainline, putting the mouth of the pocket on the crossgrain, though this puts the pocket itself slightly out of alignment with the surrounding fabric which could look slightly off in some cases.
Or you could put the grainline along the side using the arrows, which would help match the fabric better, but then the opening will be slightly off grain, making it prone to stretching.
I tend to use the first option but it’s up to you to determine for your own situation.
Modern Watch Pocket
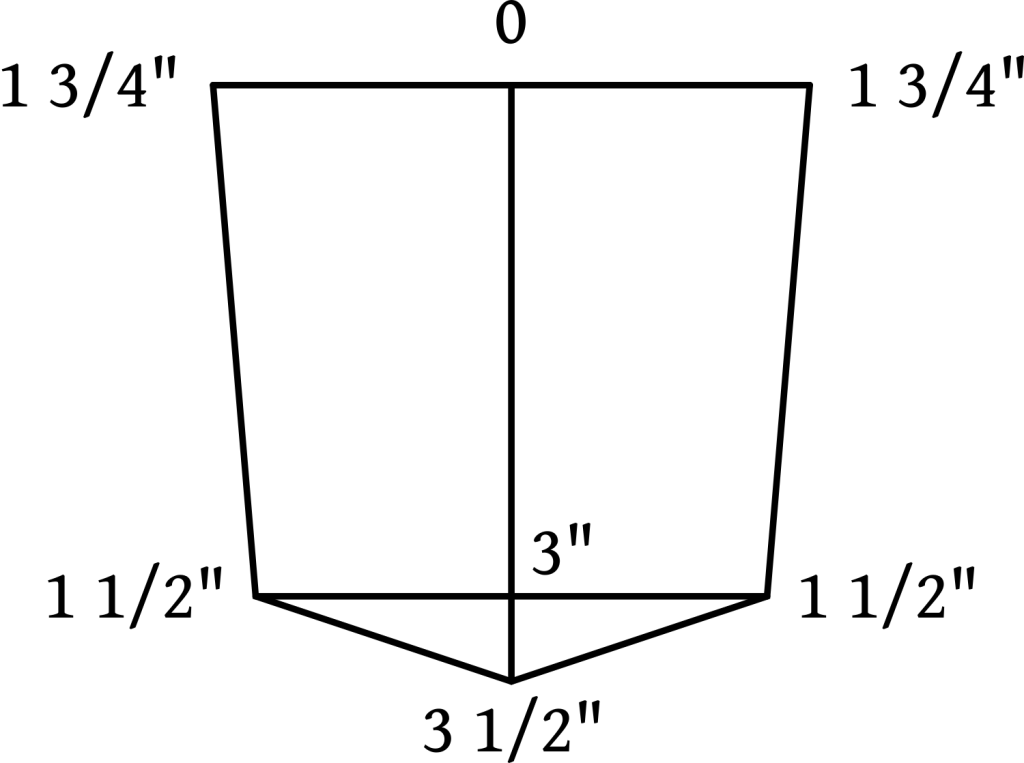
The modern style watch pocket is very similar. First mark out the distances as shown and draw the outline. I’ve also seen some with parallel sides, so feel free to adjust the 1 1/2″ measurements if you’d like.
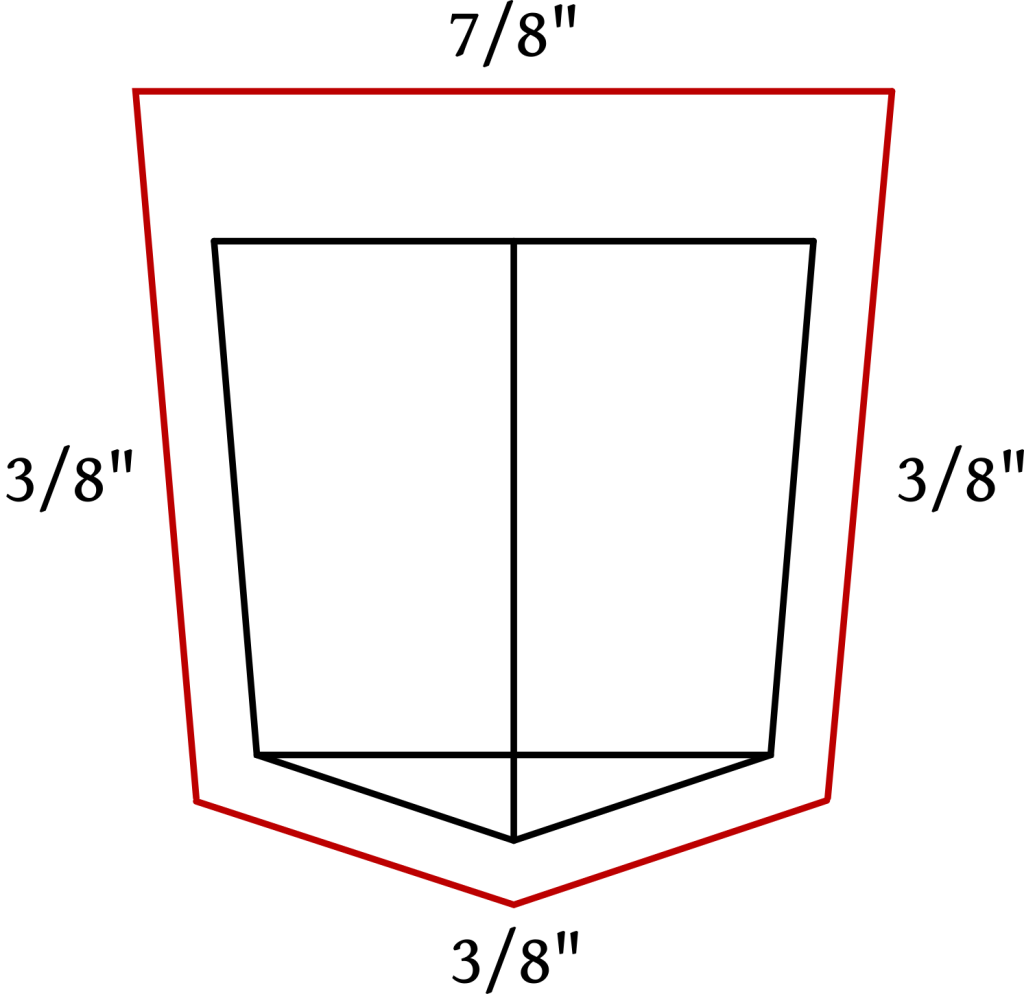
And add the seam allowances as before.
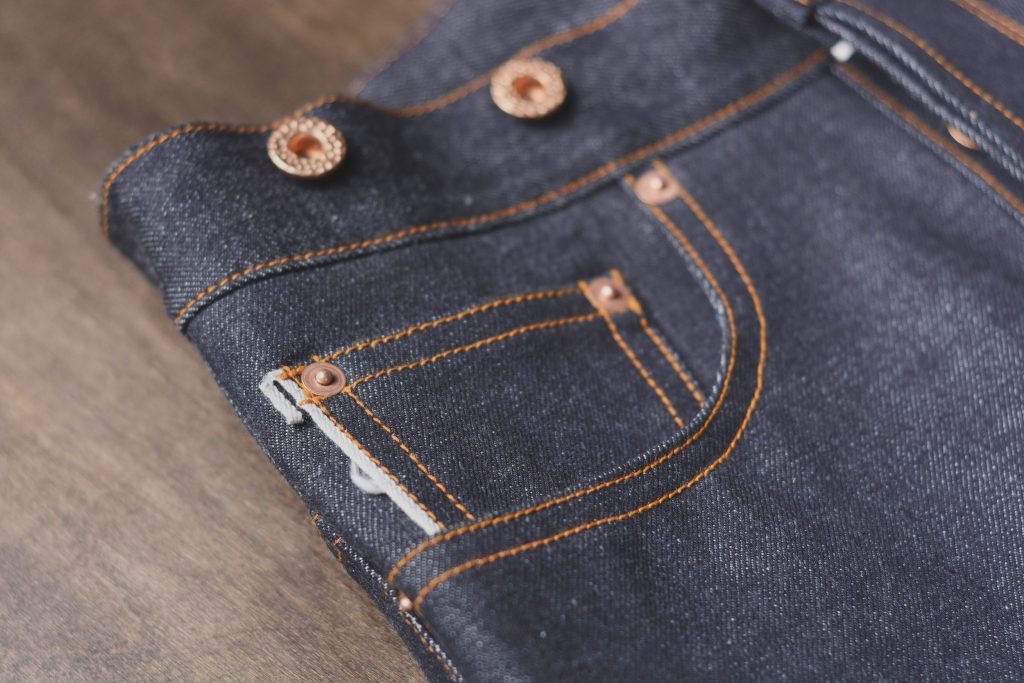
If you want, for modern jeans, you can cut off the seam allowance on the left side and use the selvedge grain instead to show it off a little as shown below.
1873 Watch Pocket
The 1873 watch pocket is quite similar to the modern version, only an inch or so longer so that the top of the pocket falls in the center of the waistband, and the bottom of the pocket is just below the front pocket opening.
Mark out the distances as shown below. The 4″ measurement can be adjusted to make the pocket height shorter or taller as necessary. Then draw in the outline of the pocket as shown.
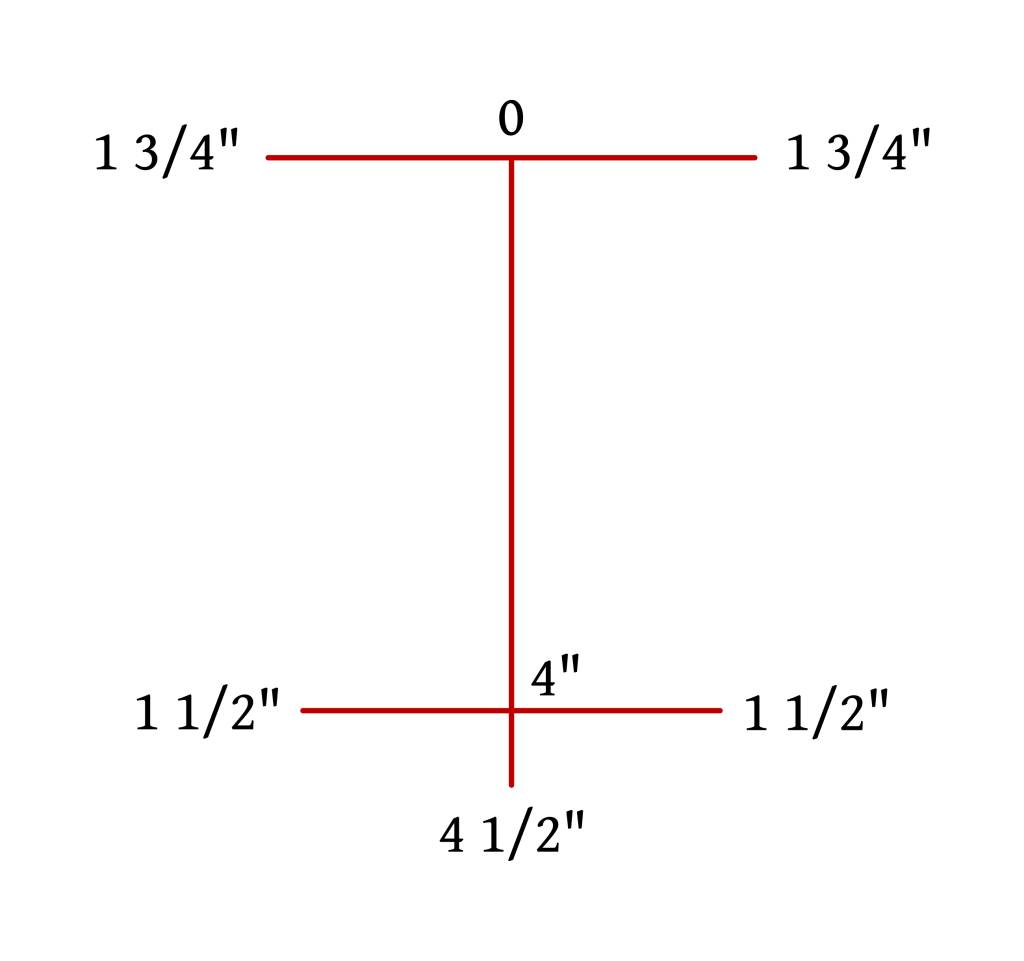
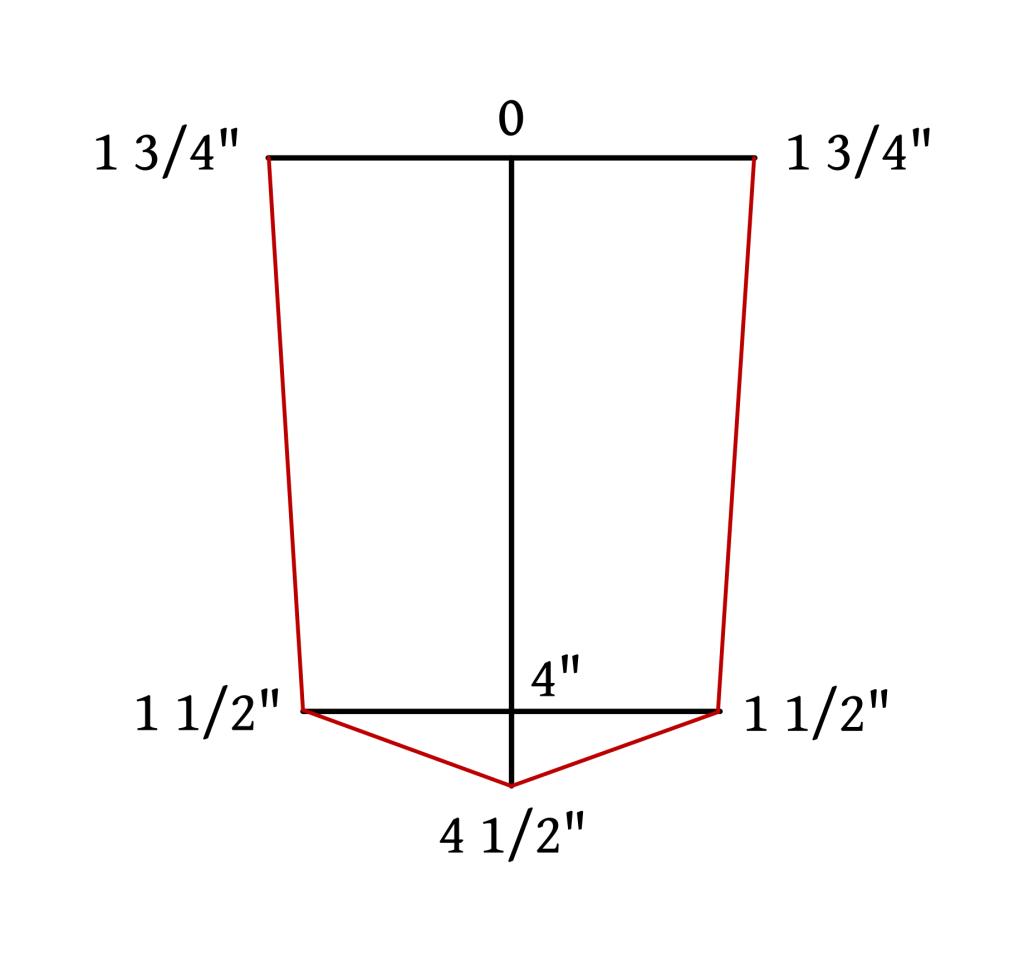
Finally, draw in the seam allowances as shown, 3/8″ along the sides and bottom, 7/8″ across the top.
Waistband
I’ve taken to sewing on the waistband without pinning or basting it on first as I have in the past. This is a little intimidating at first, so use pins if you’d like, but it’s a good skill to have and one that I think you can pick up with a little practice.
First find the left fly.
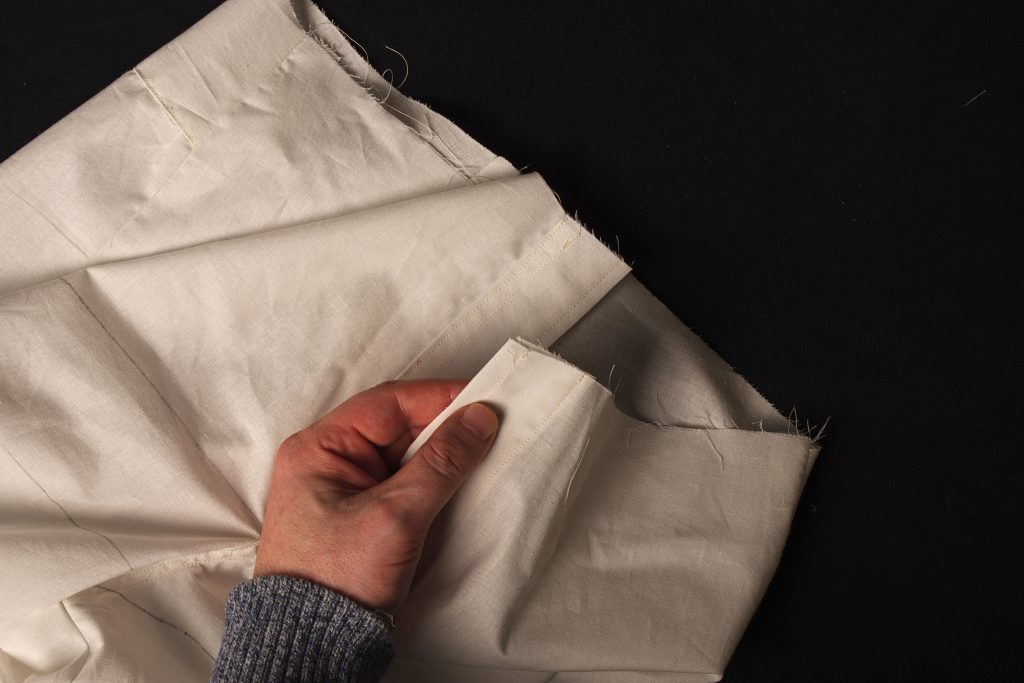
Place the waistband on top, right sides together, with a few inches extending beyond the fly.
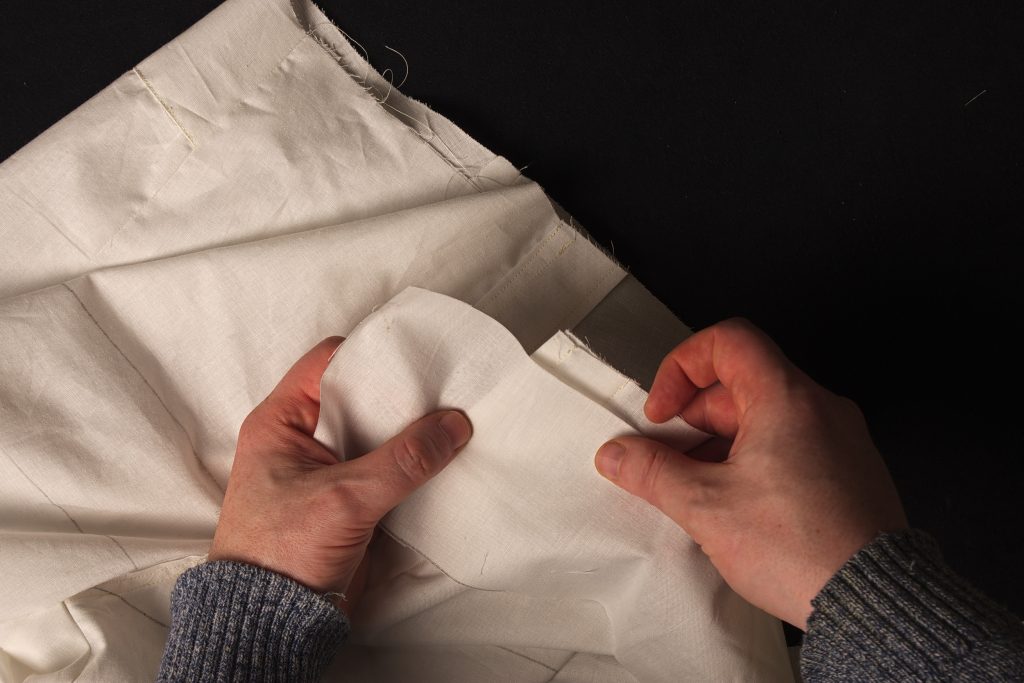
And align the top edge with the waist below it. Hold this firmly in your hands as you bring it to the sewing machine.
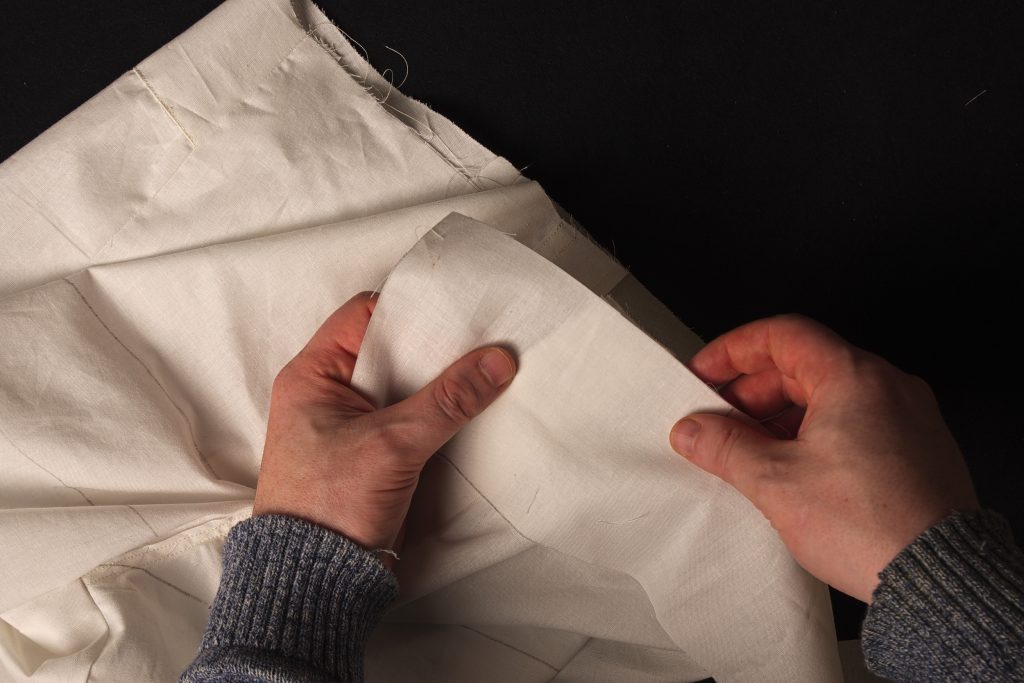
With everything still aligned, begin sewing from the left fly, laying the waistband on top and holding it as you sew. Sew about 2 or 3 inches at a time, aligning as you work your way around the waist. Use a 3/8″ seam allowance here.
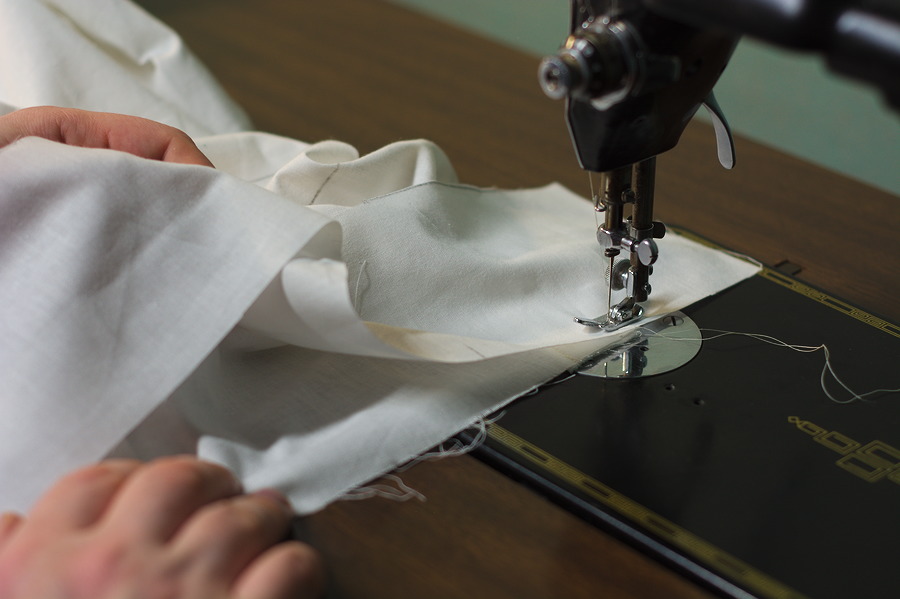
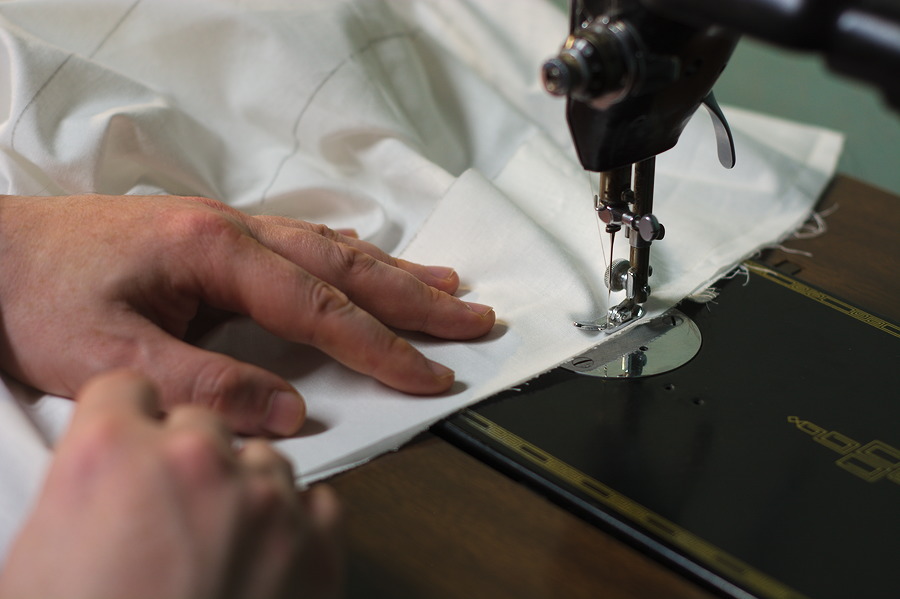
Continue sewing through to the edge of the right fly.
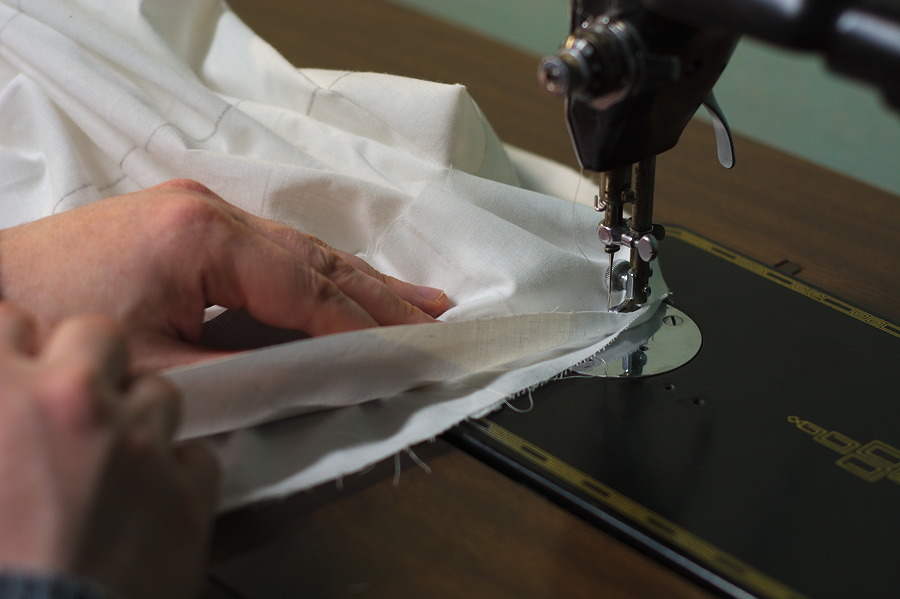
Here’s what the waistband should look like now. Verify that the fly lengths agree with each other before moving on. So much easier to fix one side being too long or short now, than later on.
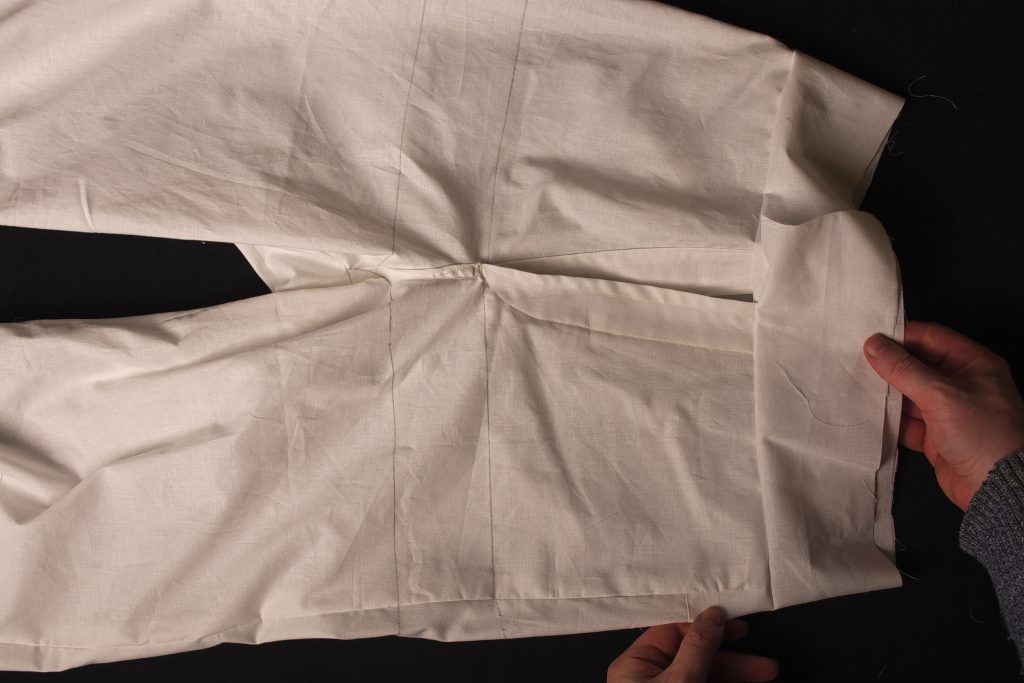
Press the waistband and seams up towards the top of the waistband.
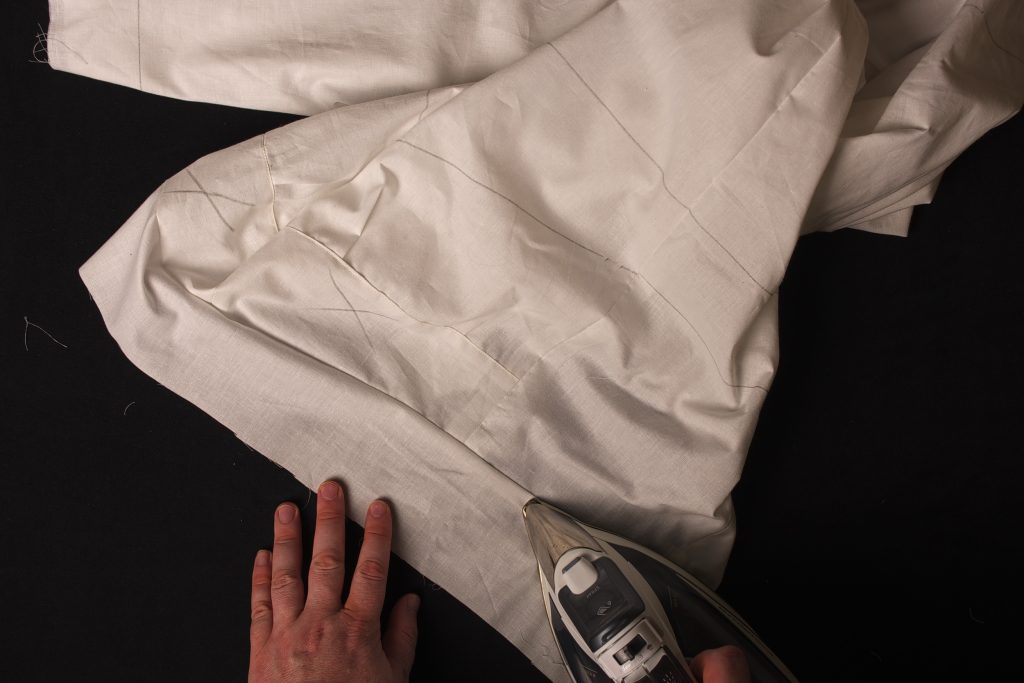
At each end of the waistband, square a line across the waistband from the edge of the fly. Keep this square to the waistband, rather than trying to continue the angle of the waistband.
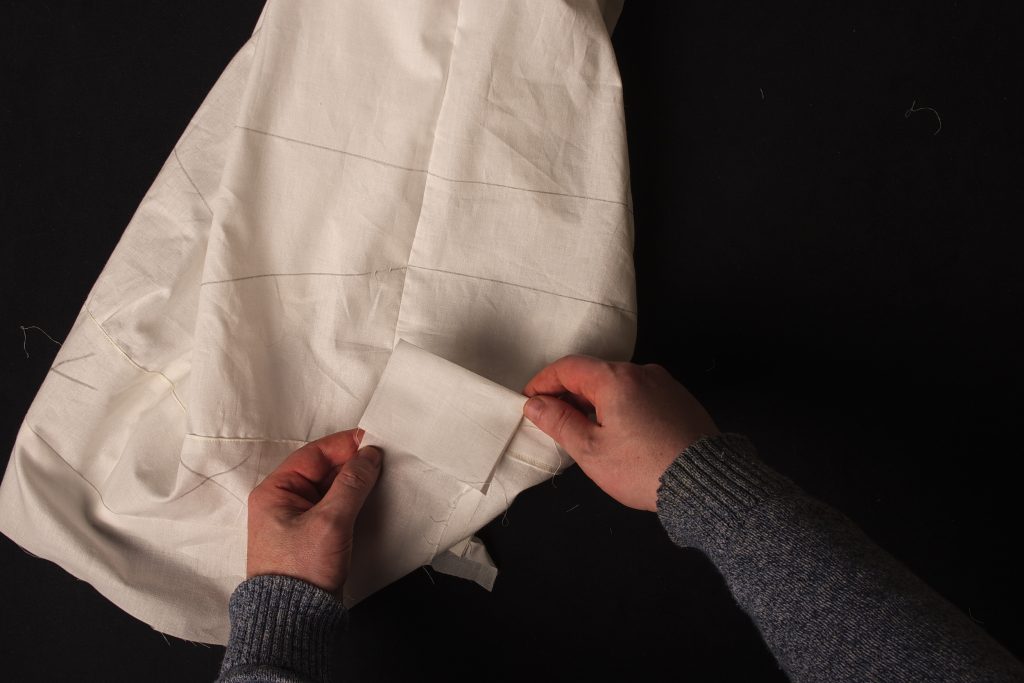
Press the excess under (trim first if you have more than an inch or two). Repeat for the other end of the fly.
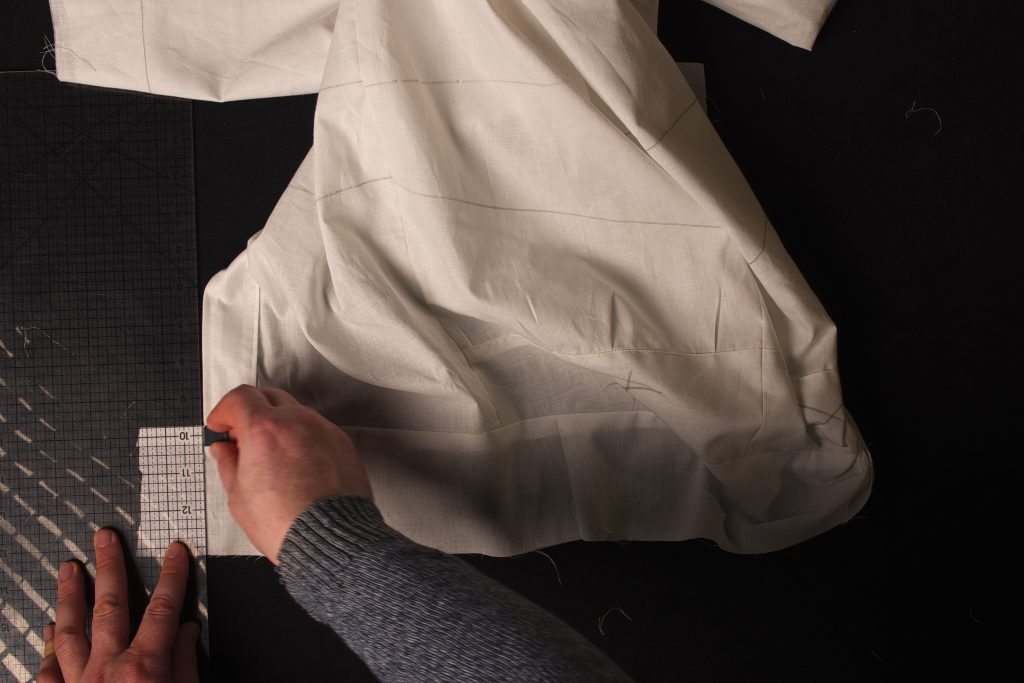
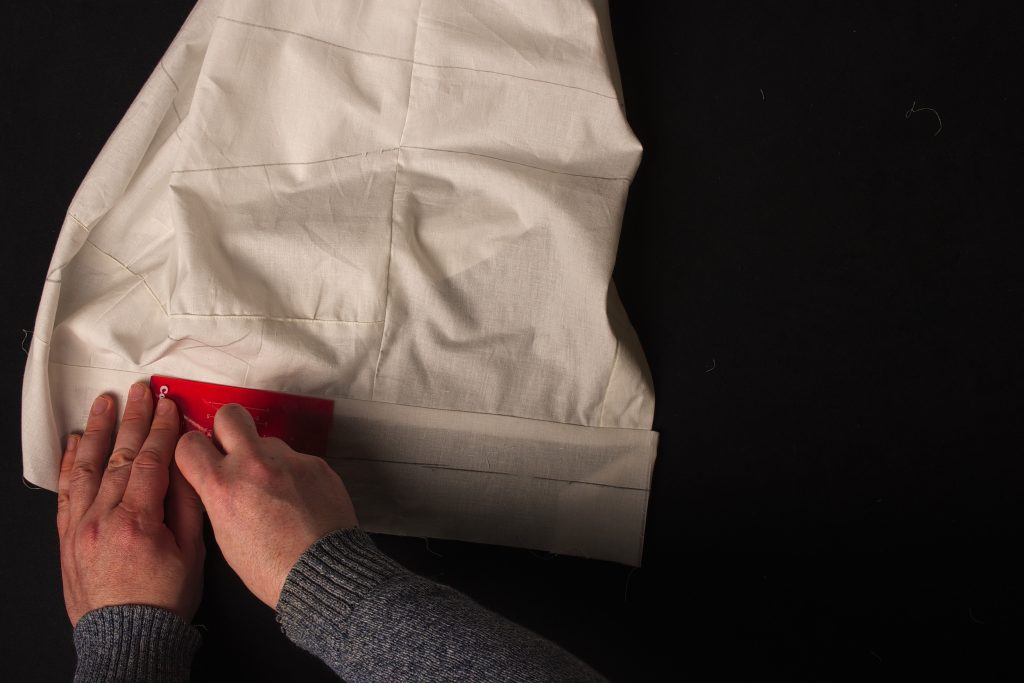
Measuring from the bottom of the waistband seam, mark a line 1 1/2″ from the seam, marking the top of the waistband.
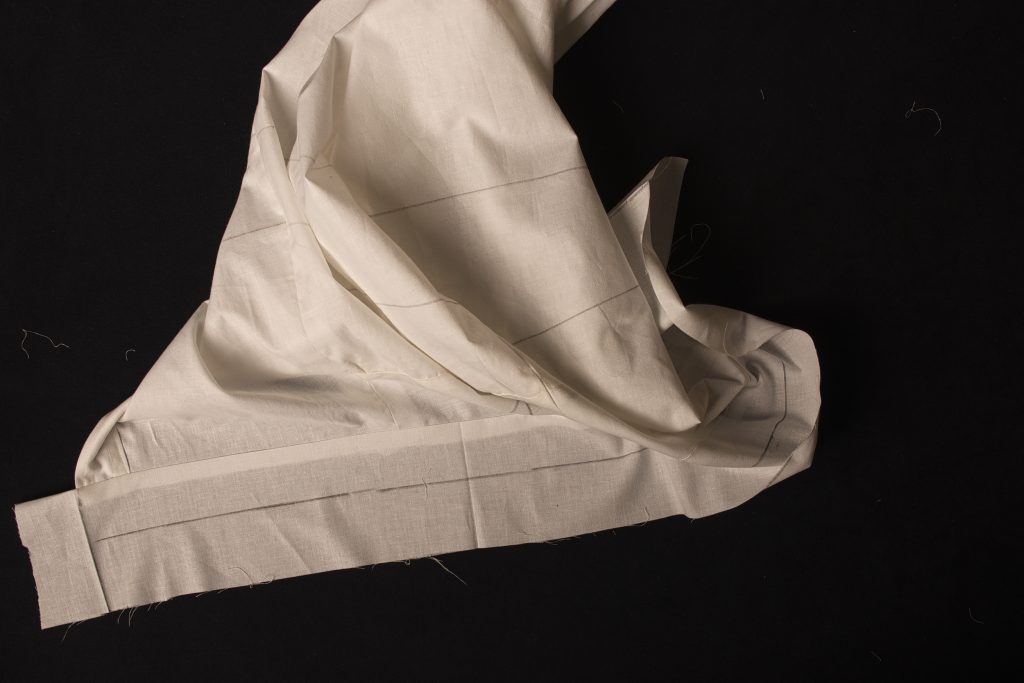
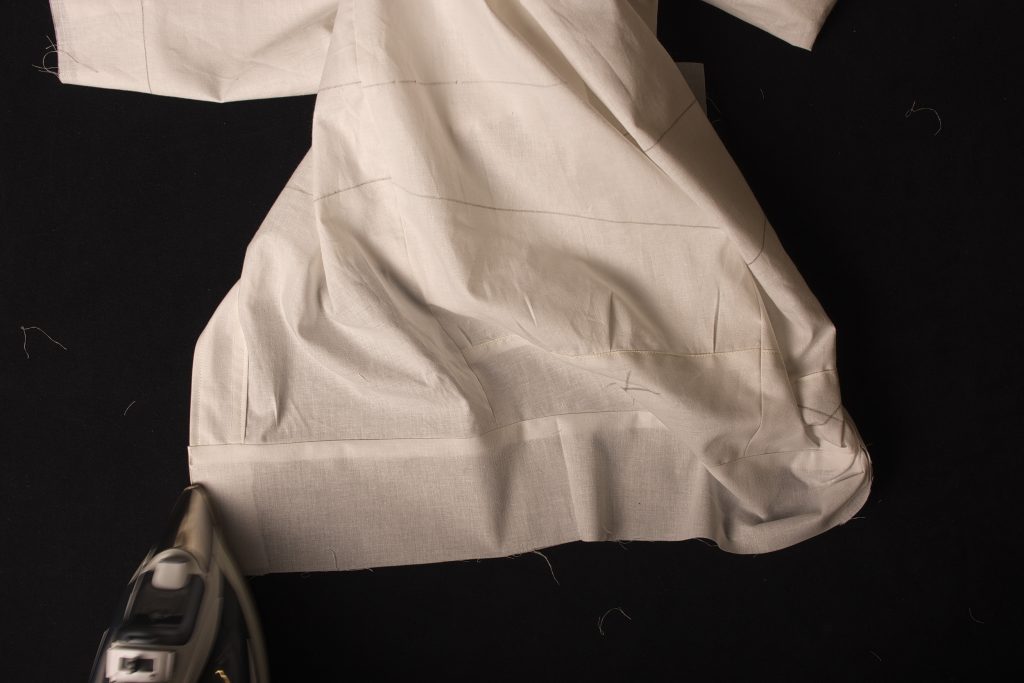
Fold and press the waistband under, along this line.
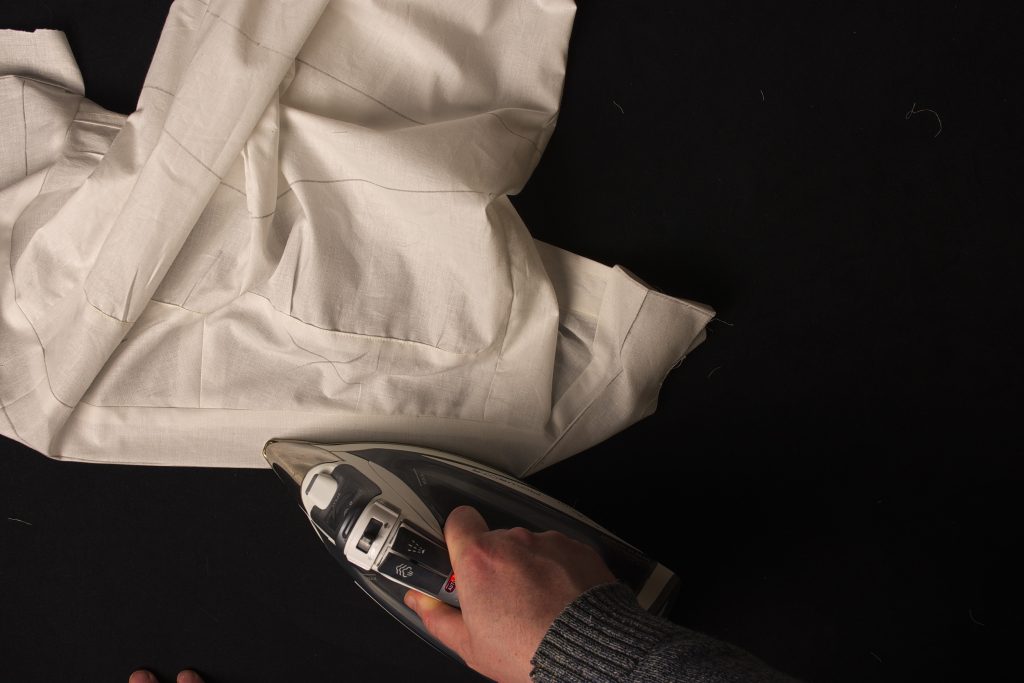
Fold in the ends and press as necessary.
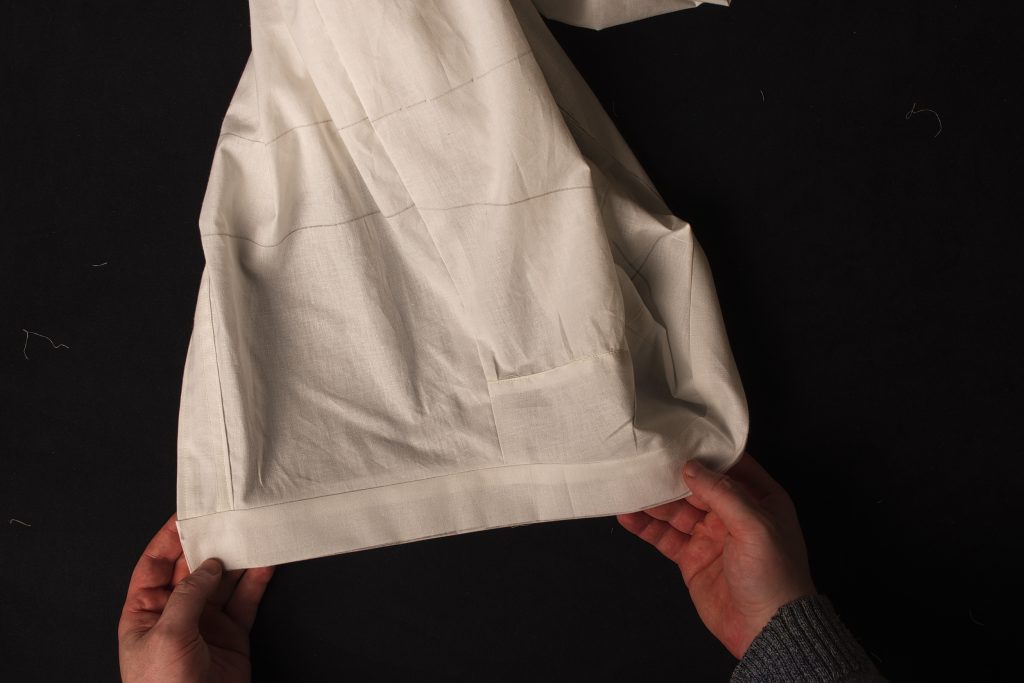
Starting from the left waistband again, top stitch about 1/8″ from the bottom of the waistband seam through all layers. If you’ve cut your waistband correctly, there should be enough fabric overlap on the inside to get caught in this seam.
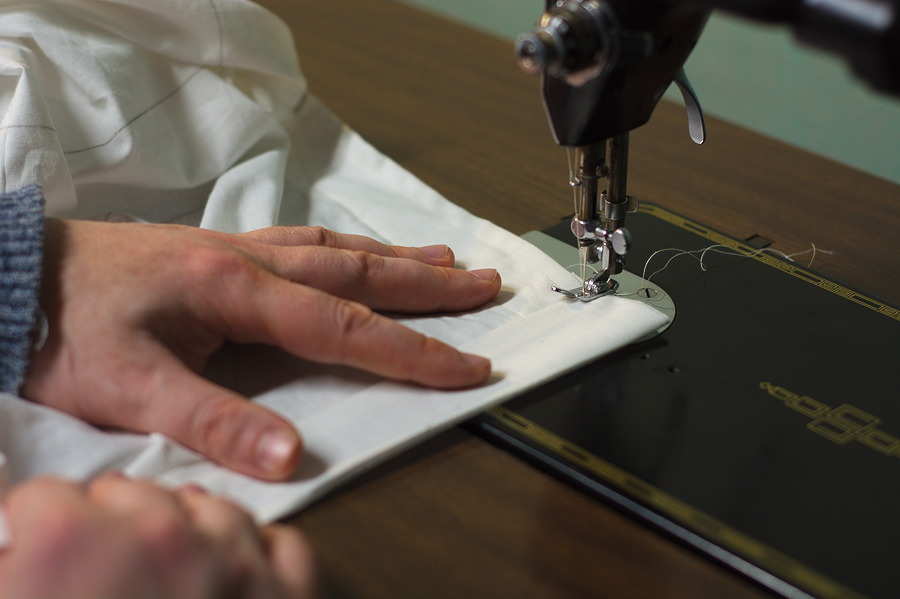
Smooth out everything as you go, every couple of inches or so.
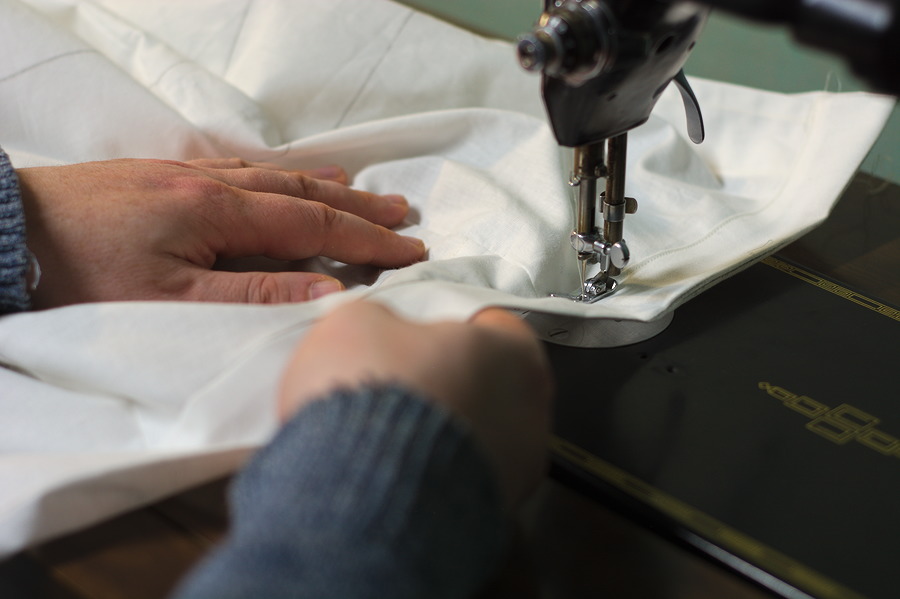
Be sure to adjust the ends as necessary so that they’re all folded correctly before you sew.
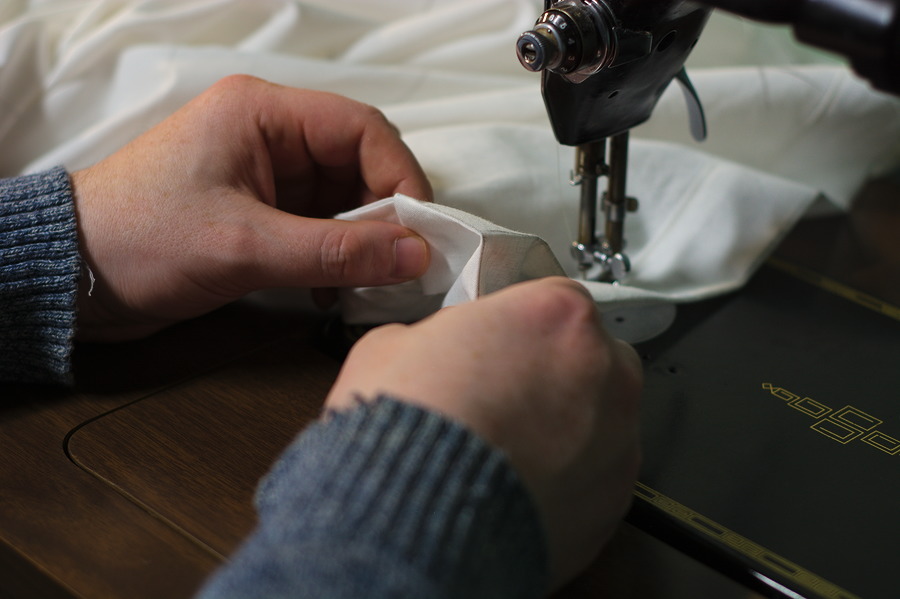
And finish your topstitching at the edge of the right fly.
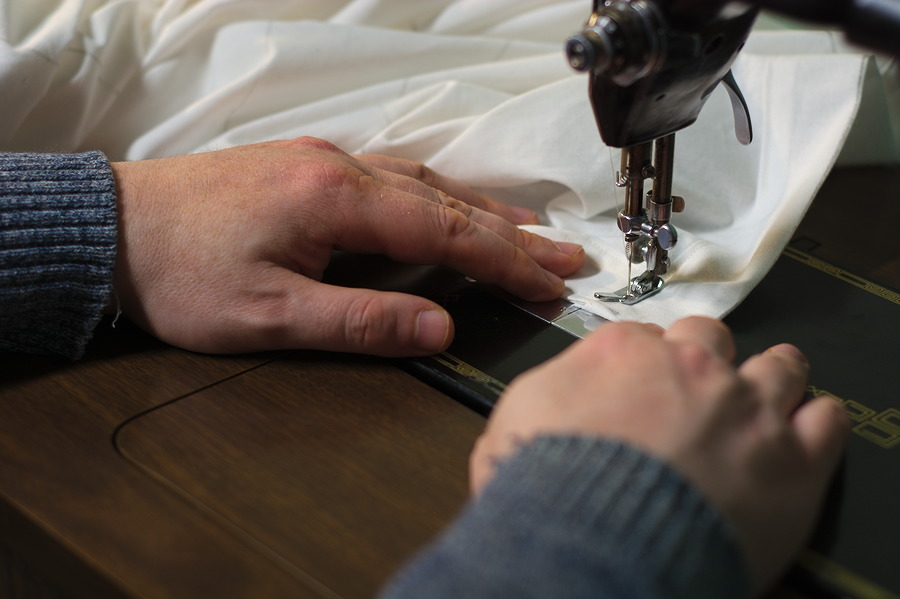
Hems
These types of jeans were typically left very long and turned up as necessary by the wearer, hence their being so ‘in style’ to this very day.
Fold the hems along the hem line that you’ve hopefully marked at the bottom of the legs.
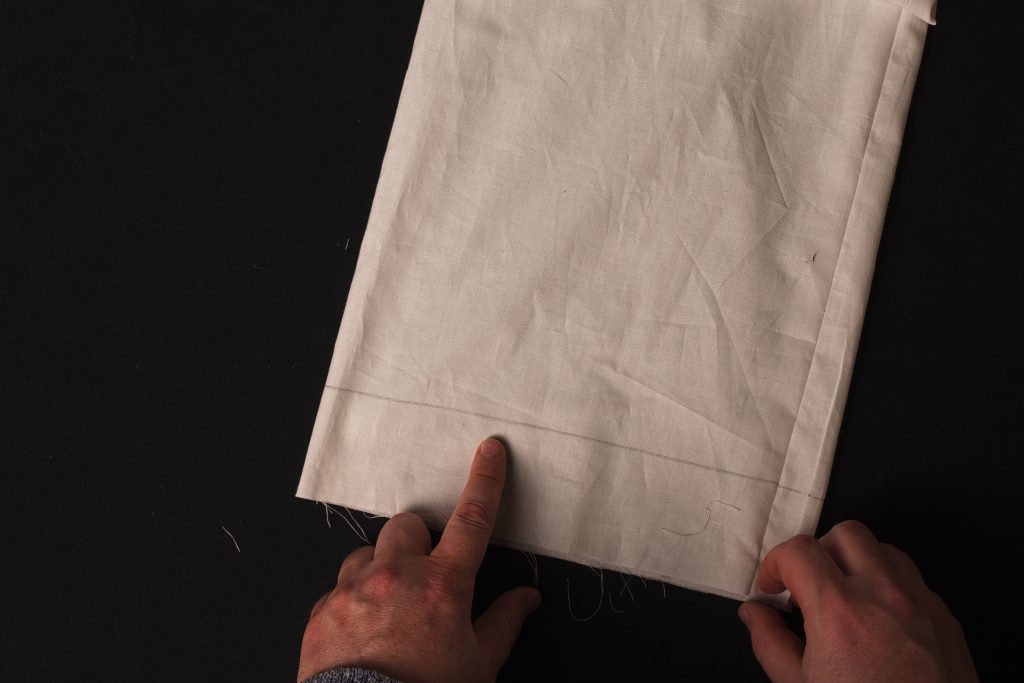
Turn and press the hem upward.
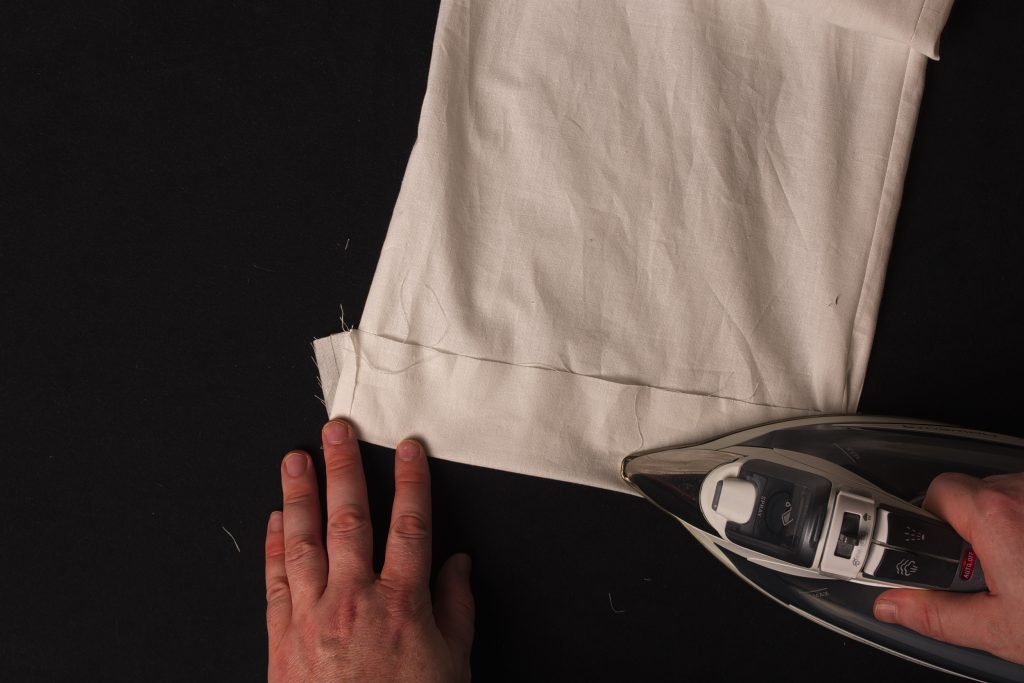
And this completes the construction of the muslin toile.
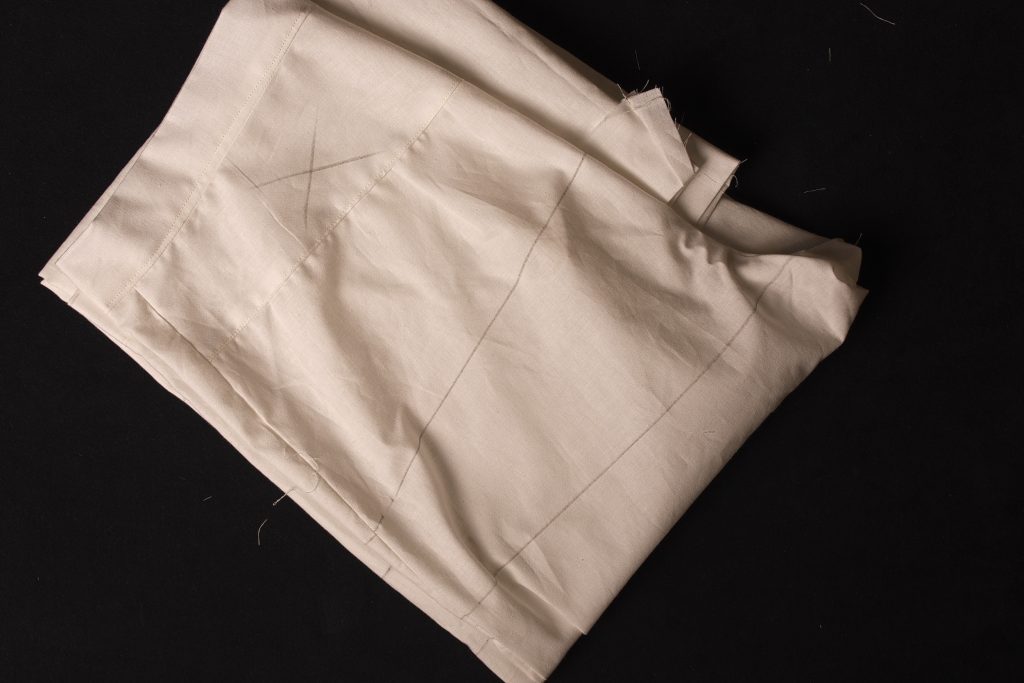
I’ll be adding a little bit more about closures such as snaps for the fly, but you can easily use a safety pin or two for that as well.
Try on your fitting, and if you’d like some evaluation, please take some photos from the front, sides, and back, as well as a top down photo of your pattern, and either email them to me, or share in the support community and I’ll offer some fitting suggestions for you.
Join the Legs
With the fly out of the way, we can begin joining the legs together and finishing up the toile. Begin by placing the back legs on the table, right side up.
Mark a 3/8″ line along the entirety of the inseam on both legs.
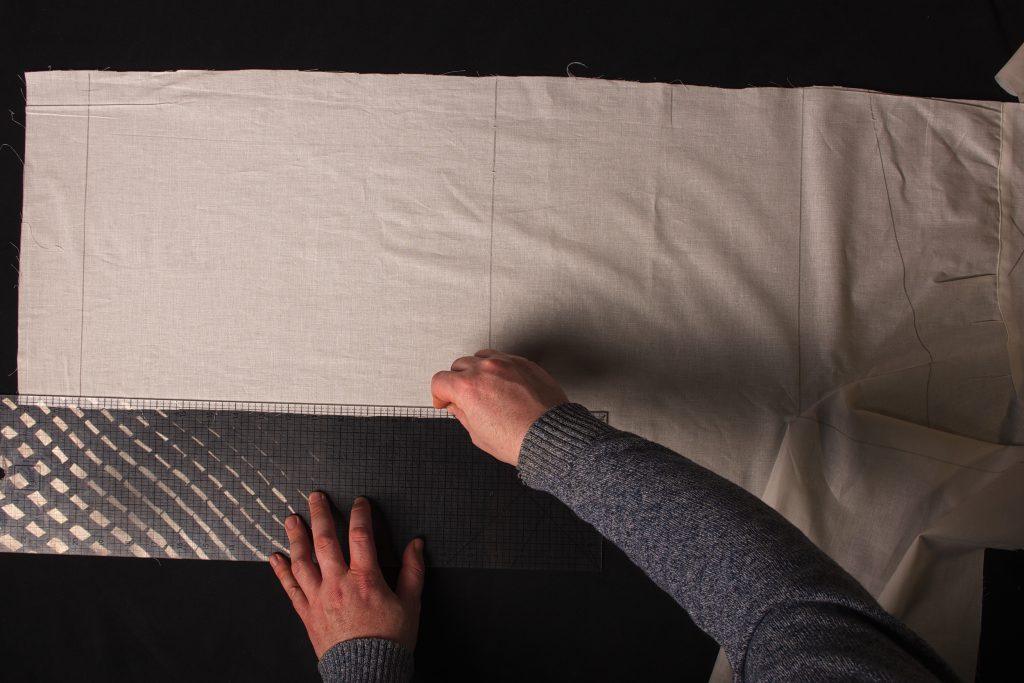
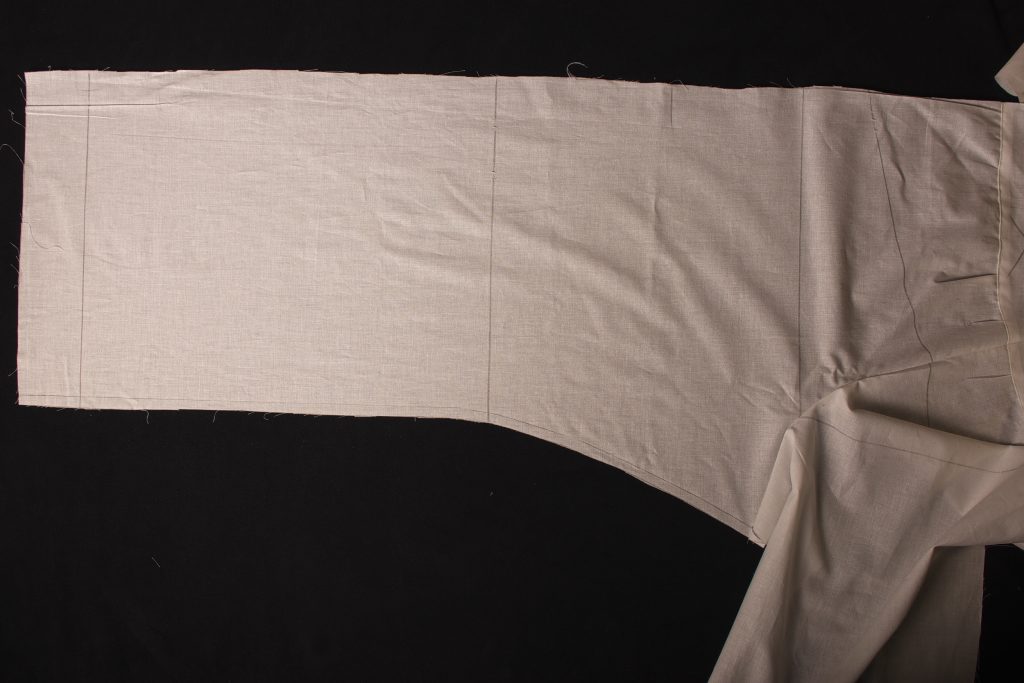
At the crotch seam, depending on you how drafted your pattern, you may have a bit of a point here. This should be tapered inwards by up to 1/4″ if necessary.
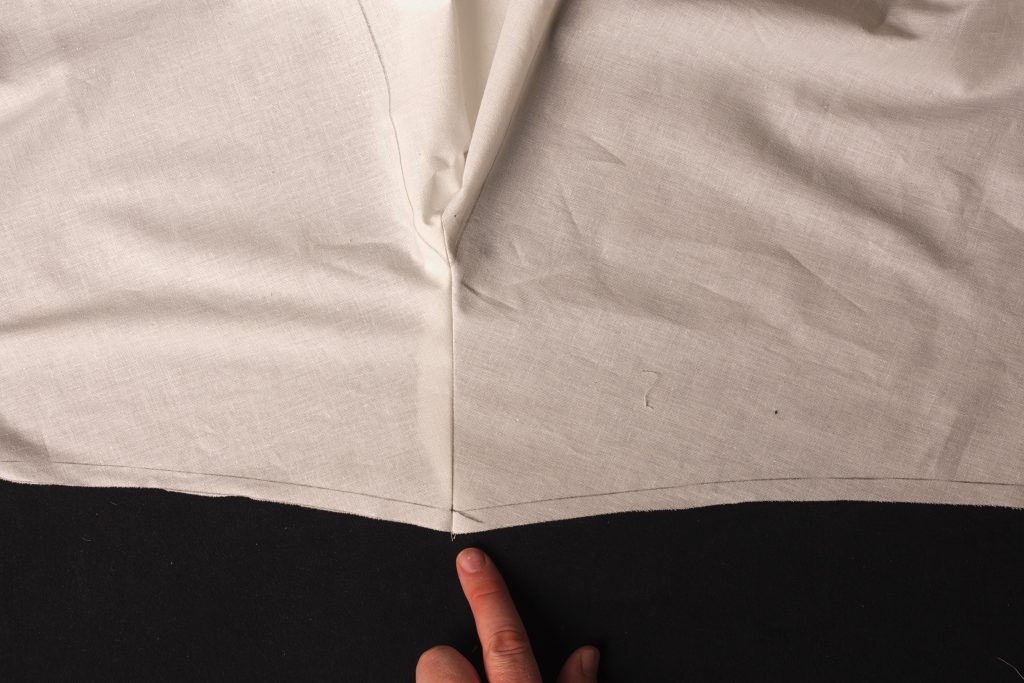
I just used a hip curve to smooth out the point.
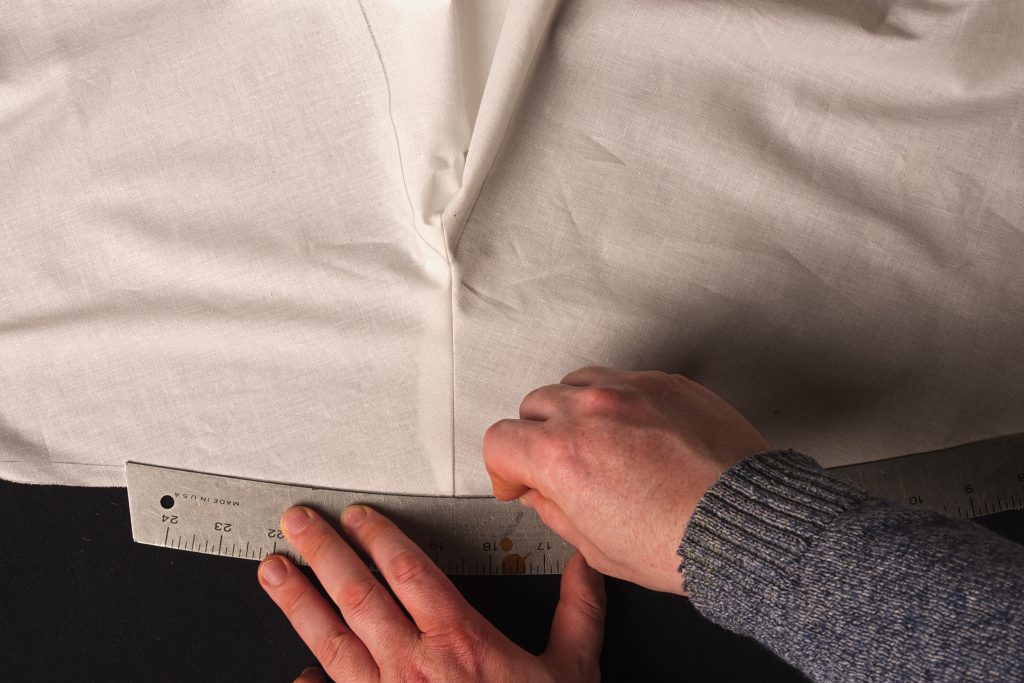
You could add 3/8″ to this line and trim the excess, but it’s not really necessary for a toile.
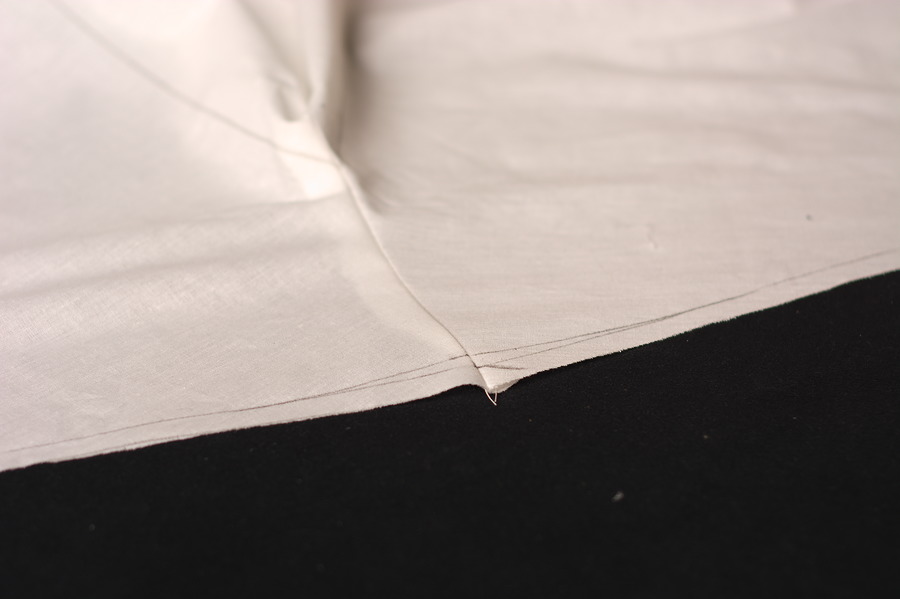
With the 3/8″ line marked, place the front legs on top, so right sides are together. Align the center of the front crotch seam with the back seat seam. The edge of the front leg should align with the 3/8″ line you just made.
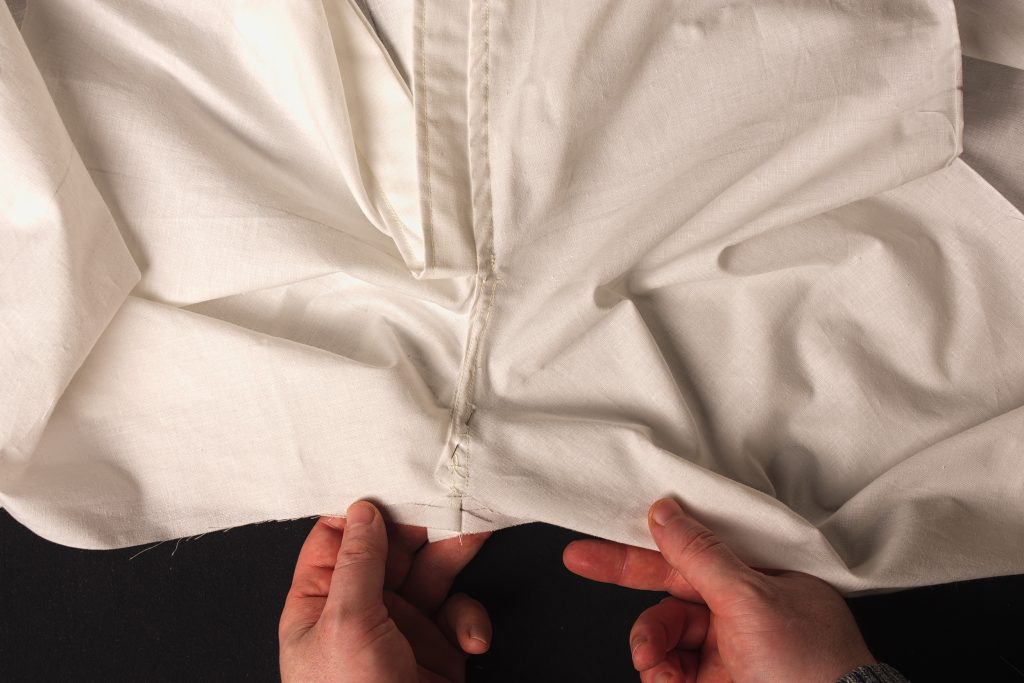
Pin the knee line together, maintaining that same spacing from the edge.
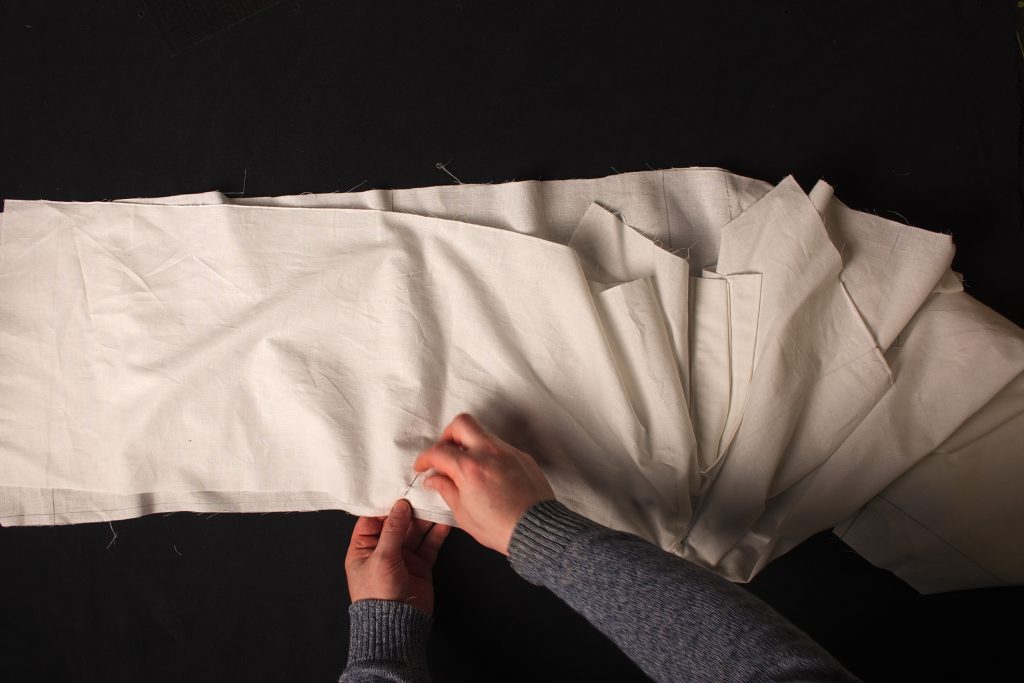
Pin the hem.
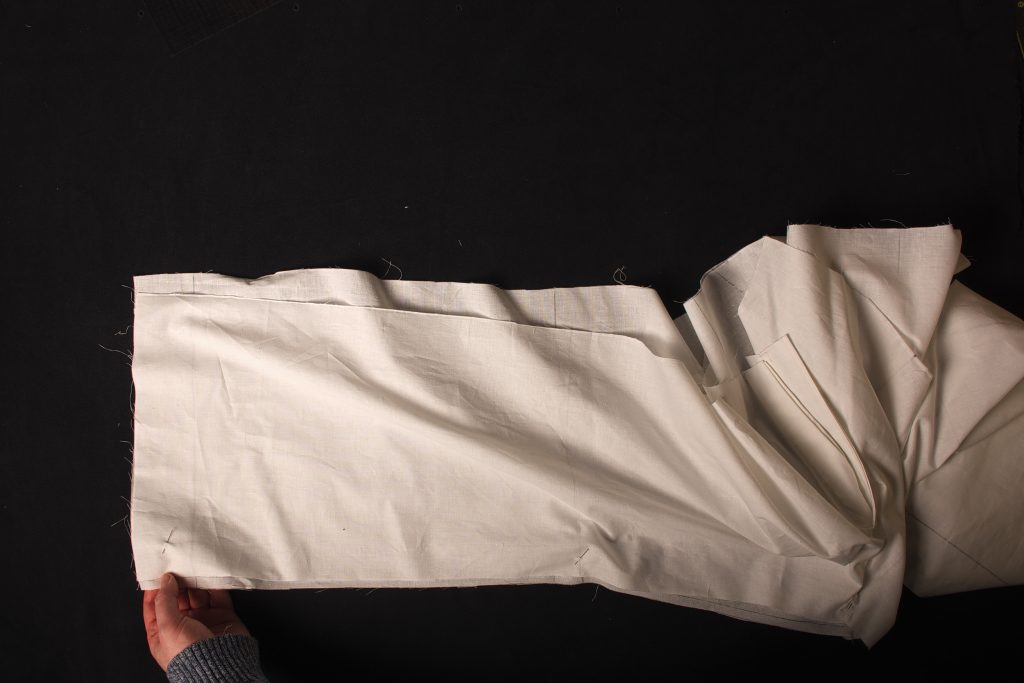
Now pin in between each of these pins as necessary. You may find there is a difference in length between the two sides. I just gently stretch the back inseam a little until the pieces match, and pin together.
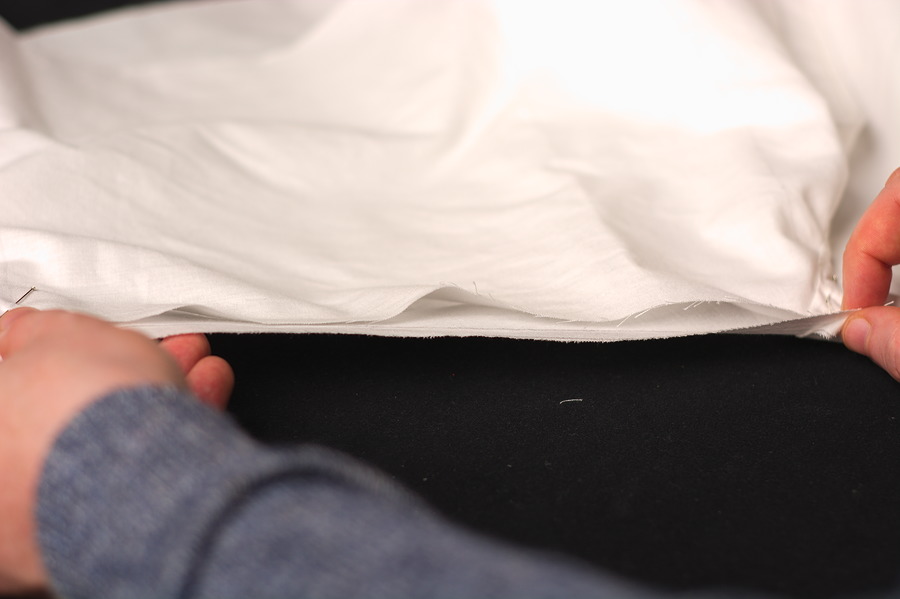
Here are both inseams after pinning.
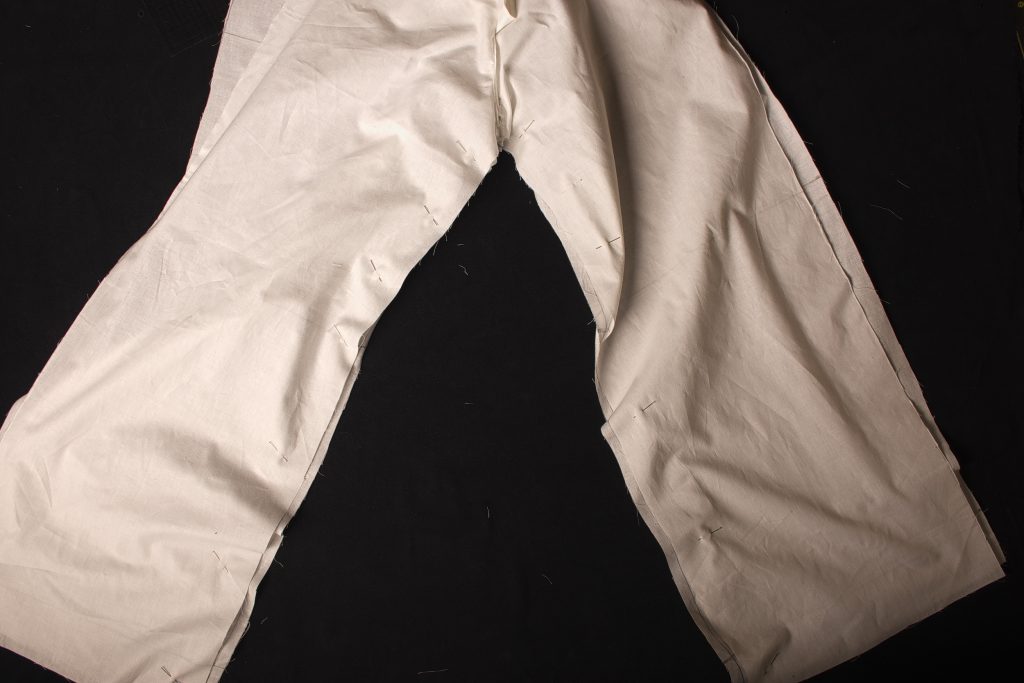
Sew the inseam from one hem, through the crotch to the other hem, using a 3/4″ seam allowance, or 3/8″ from the edge of the upper layer.
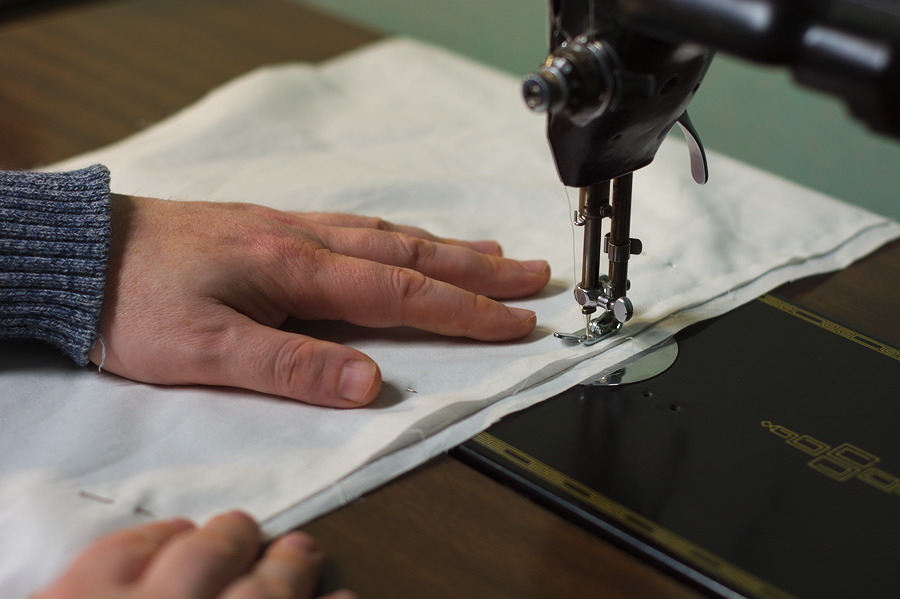
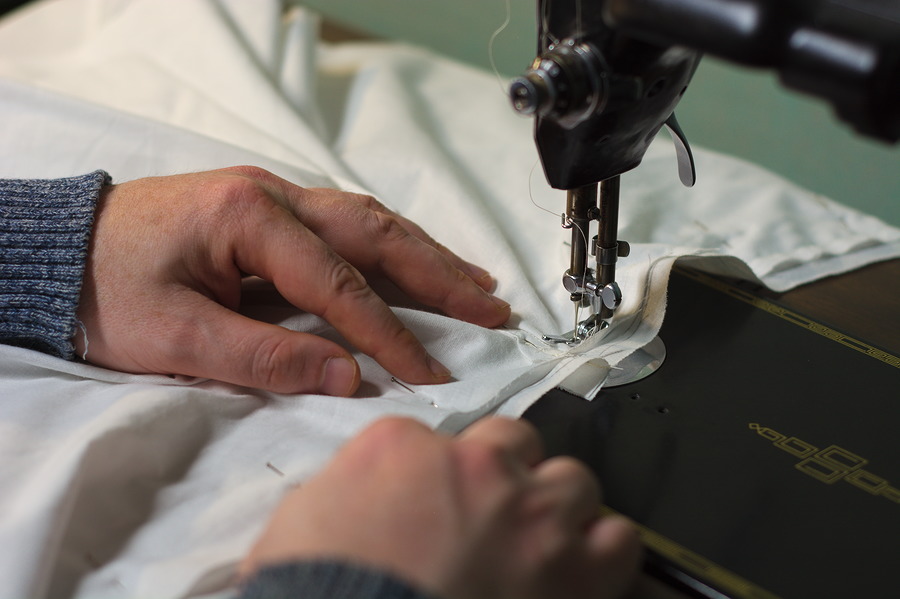
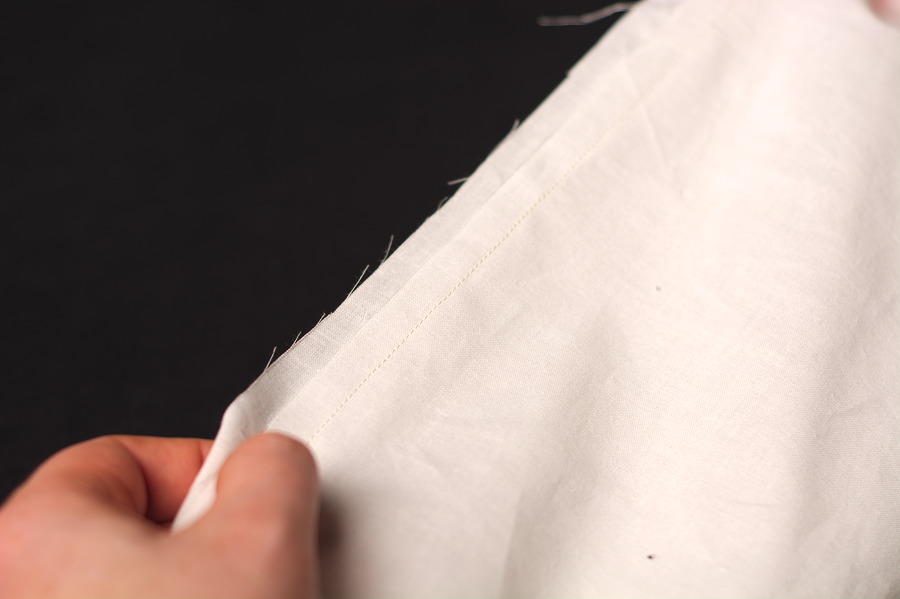
Press the inseam open.
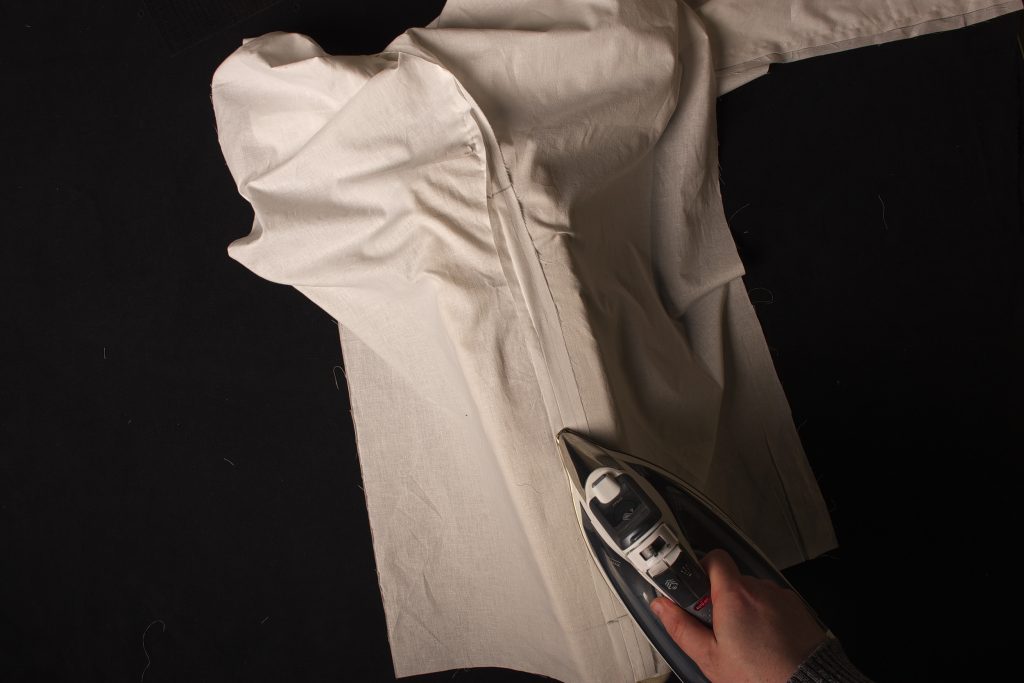
Almost impossible to take a photo of, here’s the inseam from the right side after pressing.
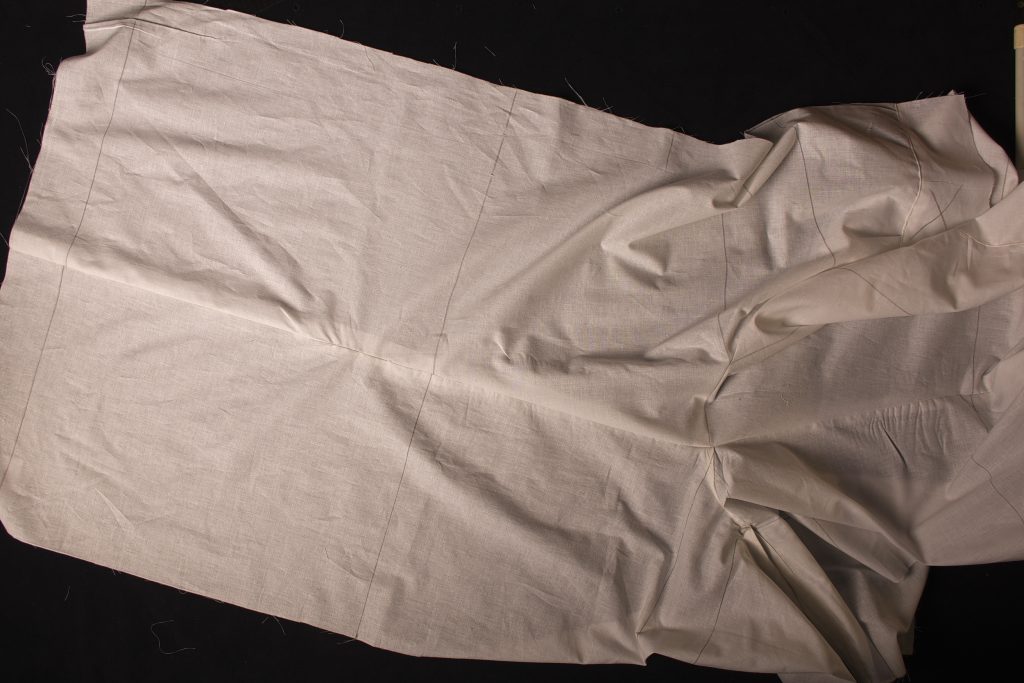
The Side Seams
The side seams are very straightforward. Simply pin the top, hem, and knee and crotch marks together, then fill in the other pins as necessary. Sew the seam using a 3/4″ seam allowance (for both pieces).
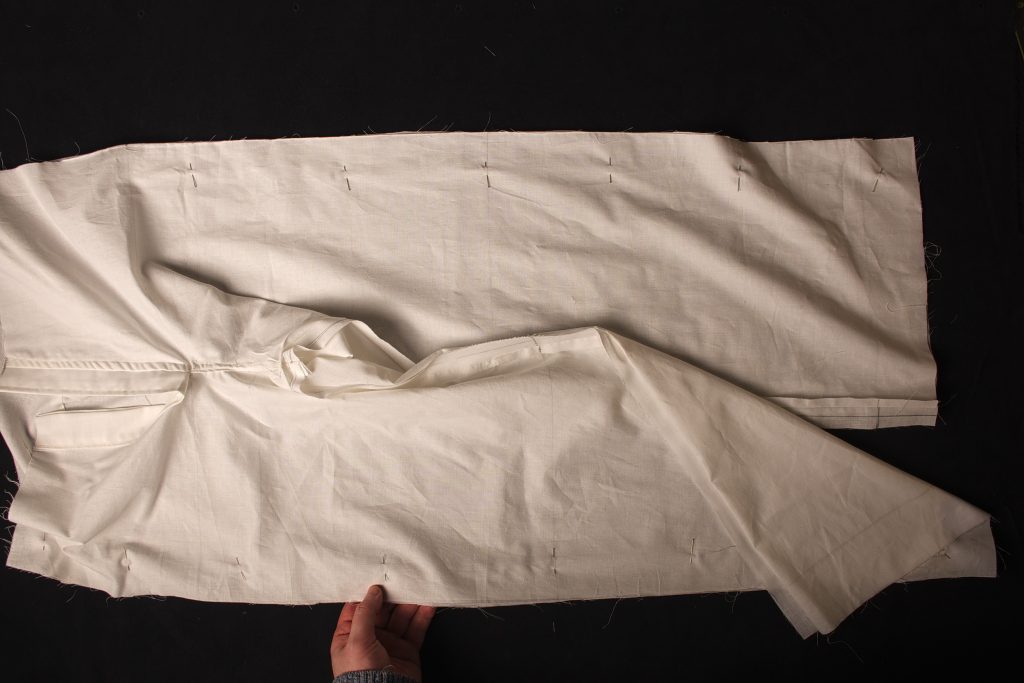
The side seams after sewing.
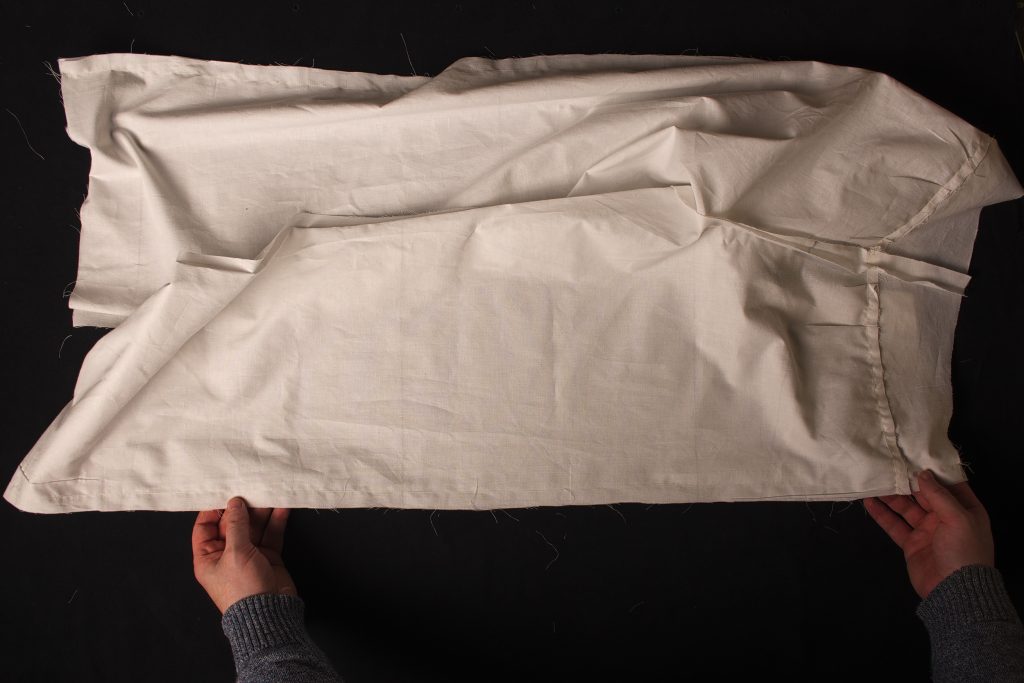
Press the side seam, then turn the toile right side out.
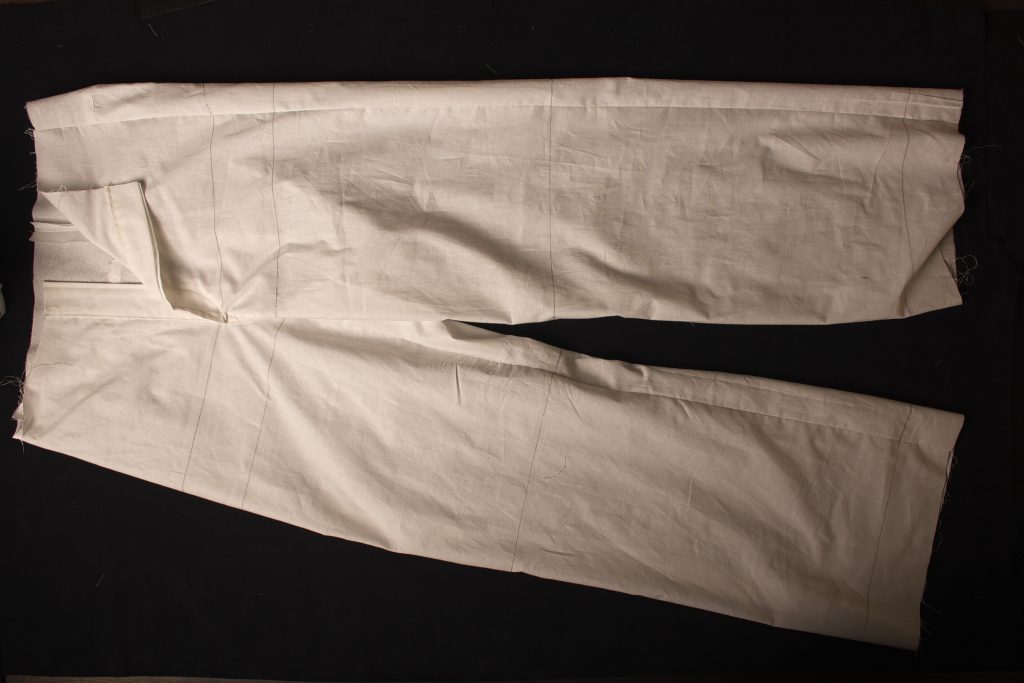
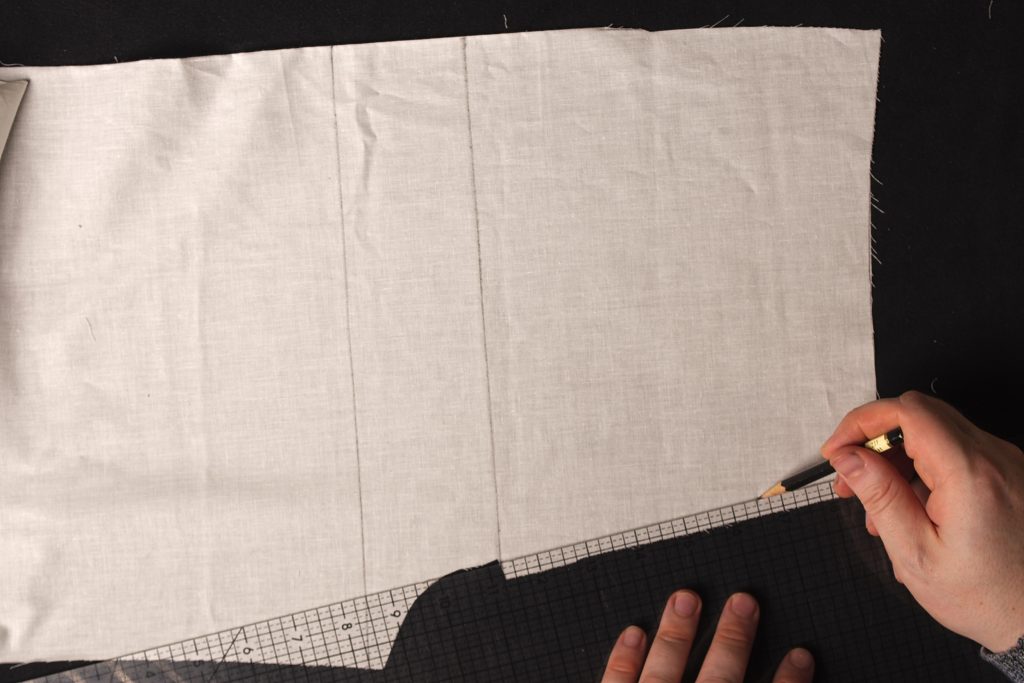
The Right Fly
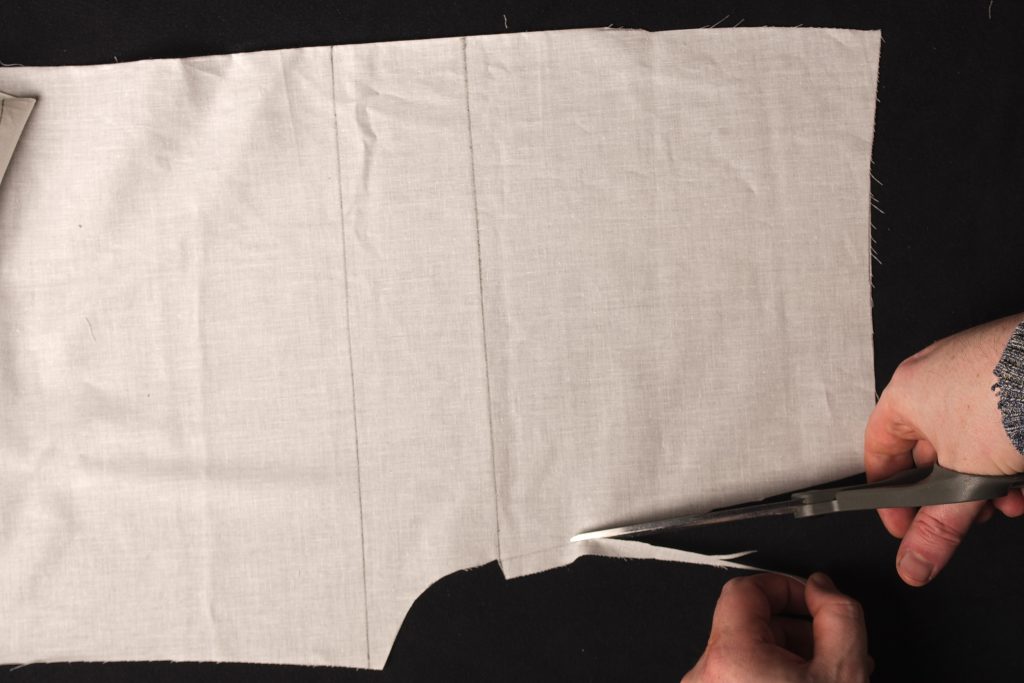
Moving on now to the right half of the fly, take the right leg and mark out the fly extension, 3/8″ from the edge.
Cut off the fly extension.
This is the trickiest part of the entire process. Lay the left leg assembly right side down on the table. Fold the fly up towards itself. And then lay the right leg wrong side down on top of everything, aligning especially the fly area and waist seams between right and left leg.
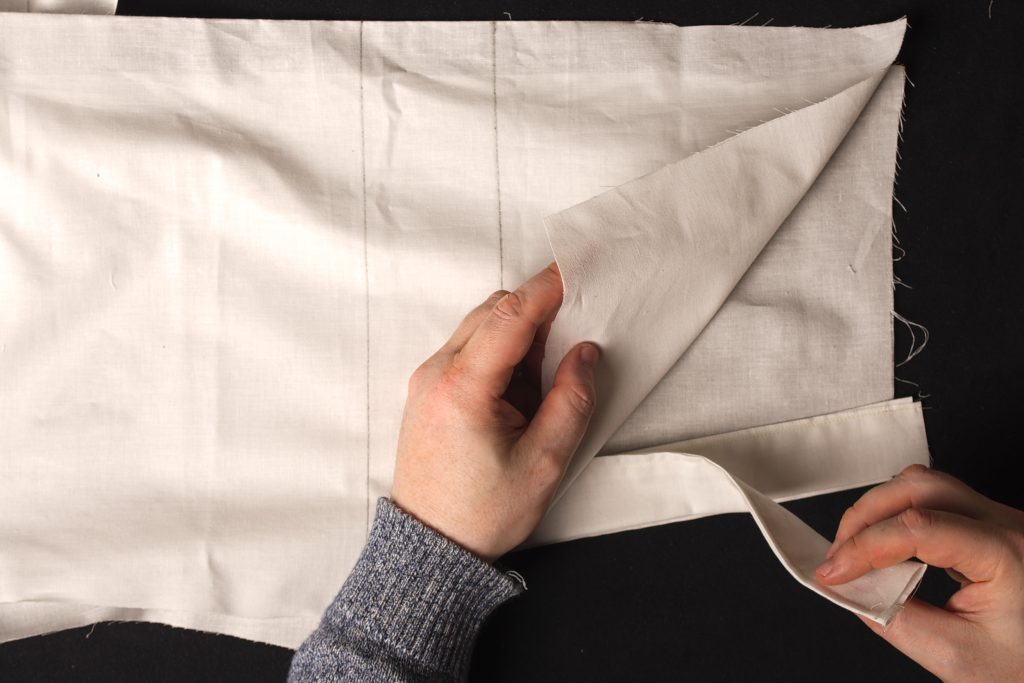
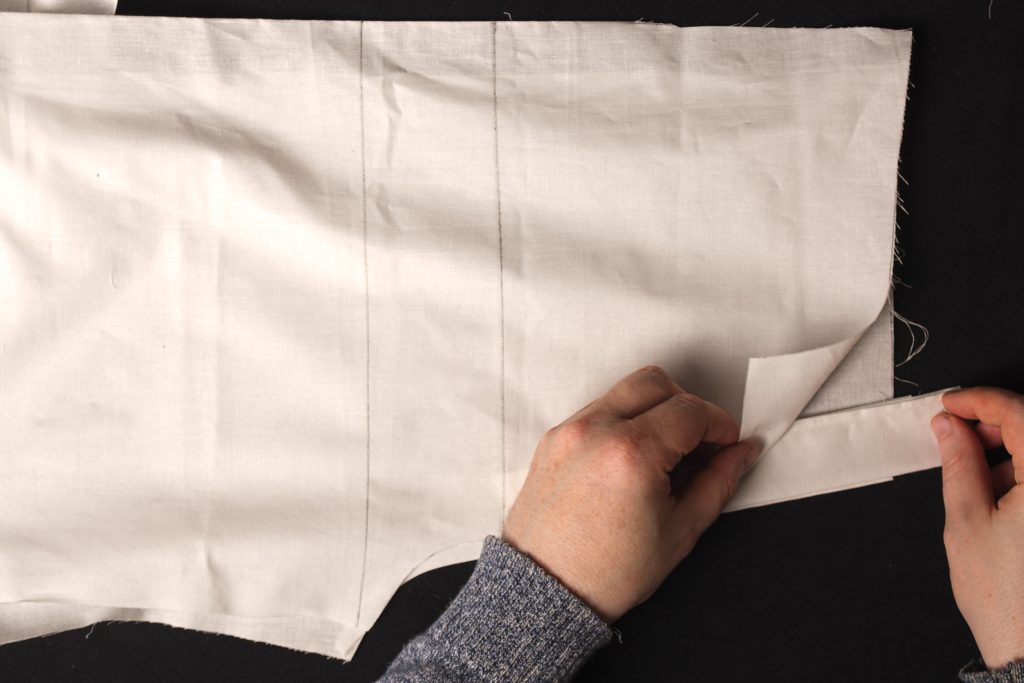
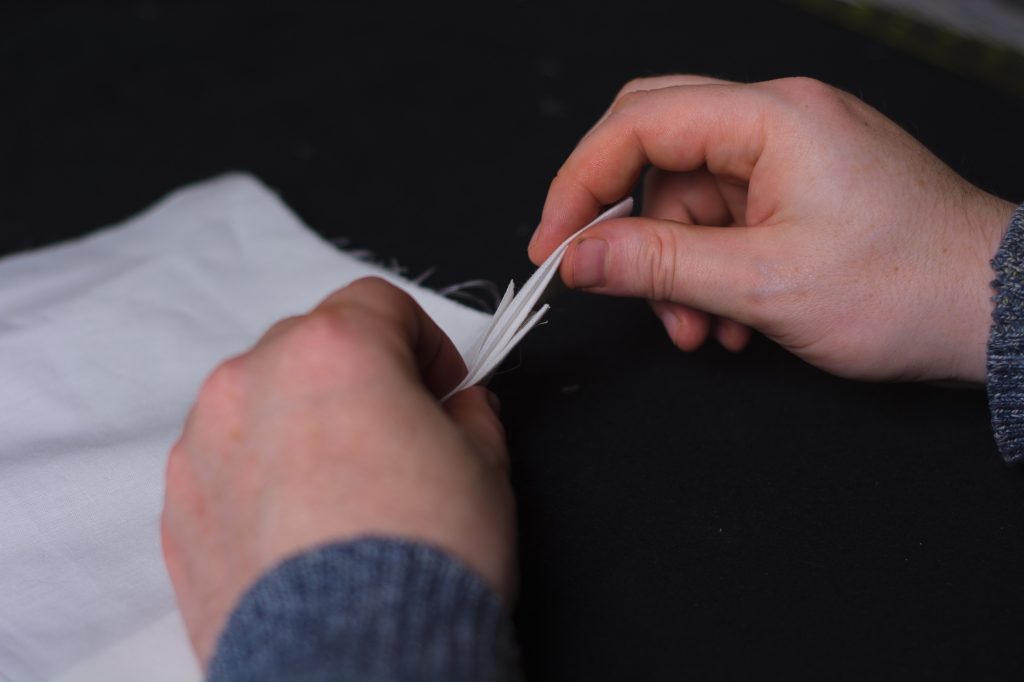
When you’re happy with how everything is aligned, mark the top of the fly just above the right leg waist seam. Just in case things move out of alignment, you now have a way to get everything back in place easily.
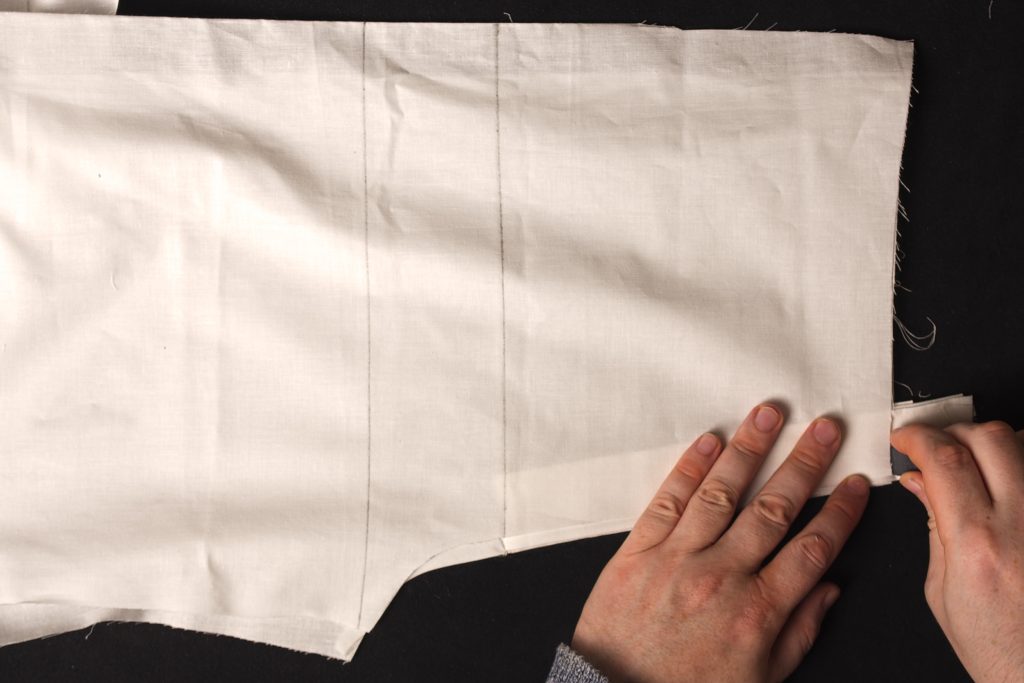
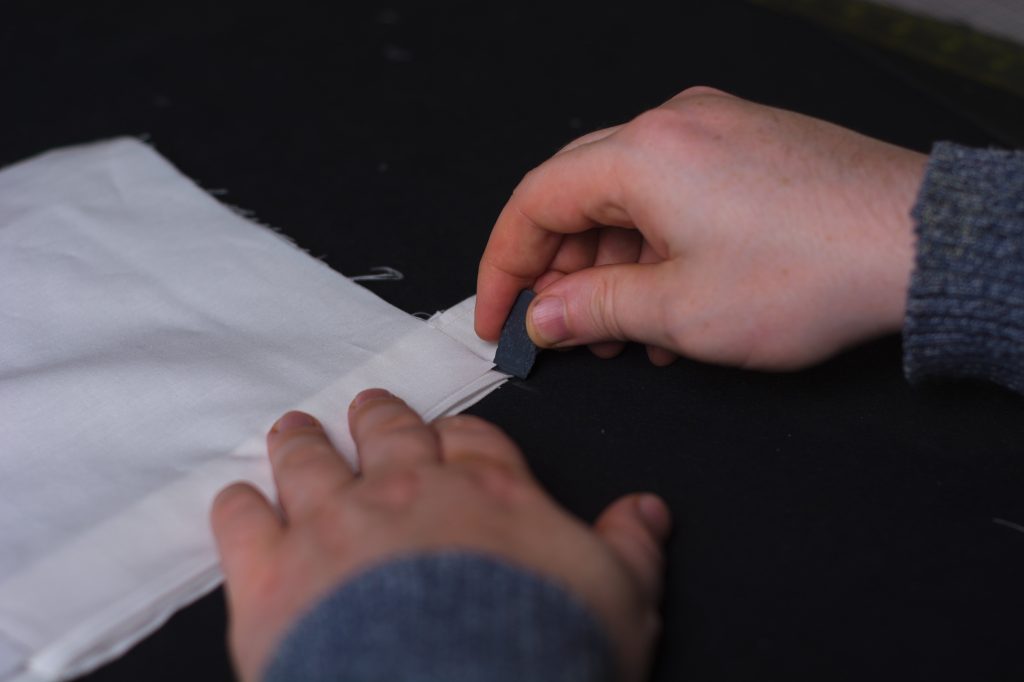
Without shifting anything, pick up the right leg on top and the free end of fly just below it. The left leg below is not needed and can be moved out of the way.
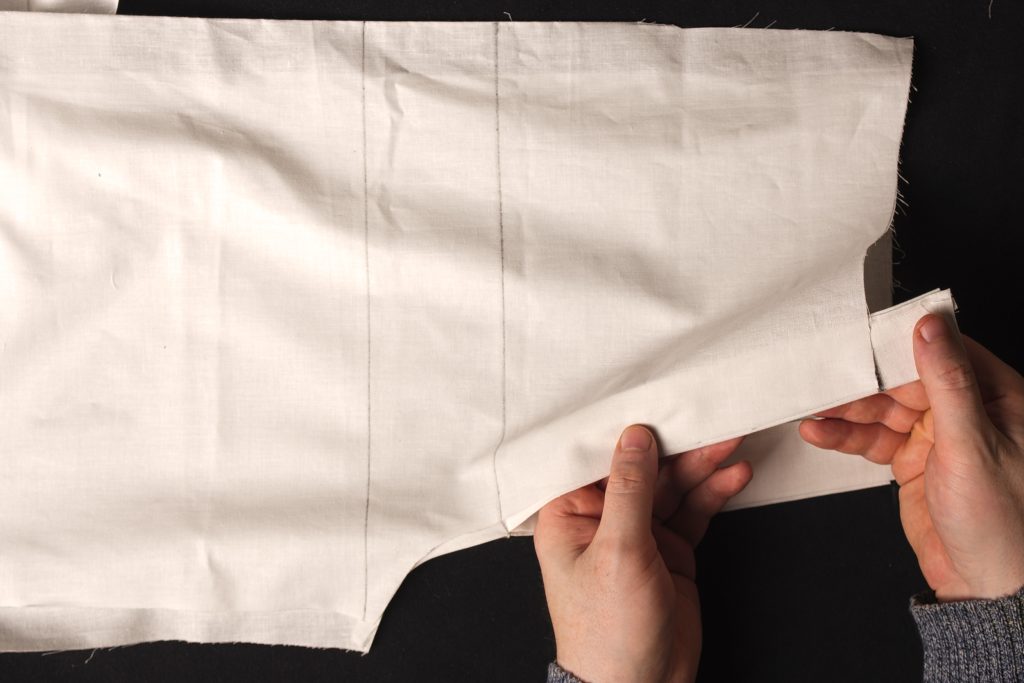
Bring the assembly over to the sewing machine and double check the alignment of the fly and right leg. You want the right leg to align with the chalk mark as it was originally, and set back from the edge of the fly about 1/8″.
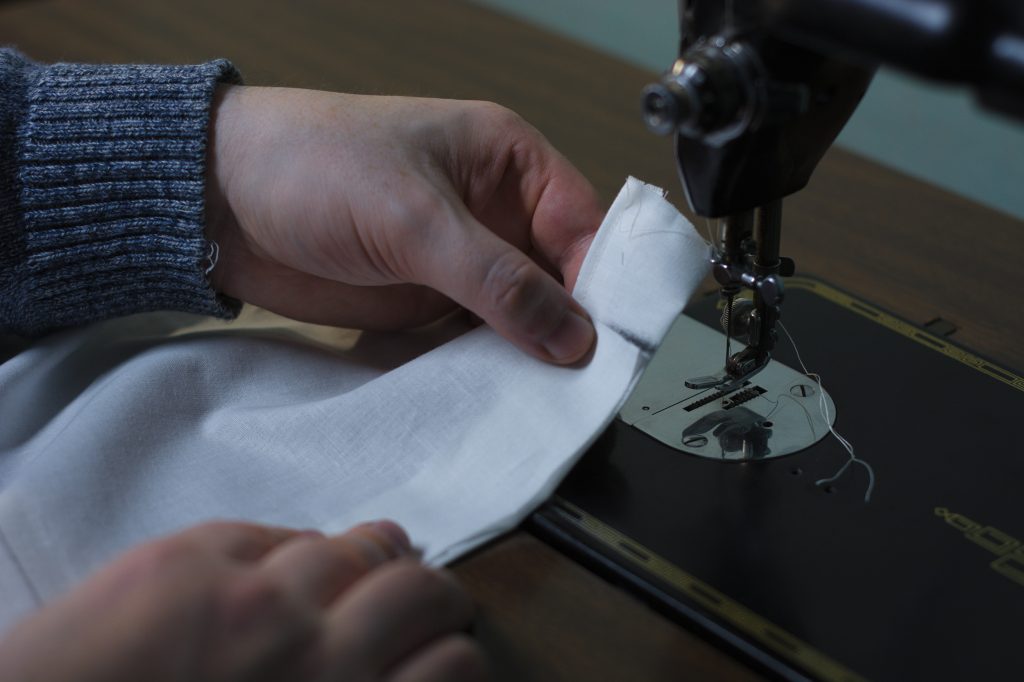
Now sew a 3/8″ seam through the right leg and the fly from the waist down to the bottom of the fly, or where the fly extension used to end. You should feel the layers thicken just below the point where the stitching ends.
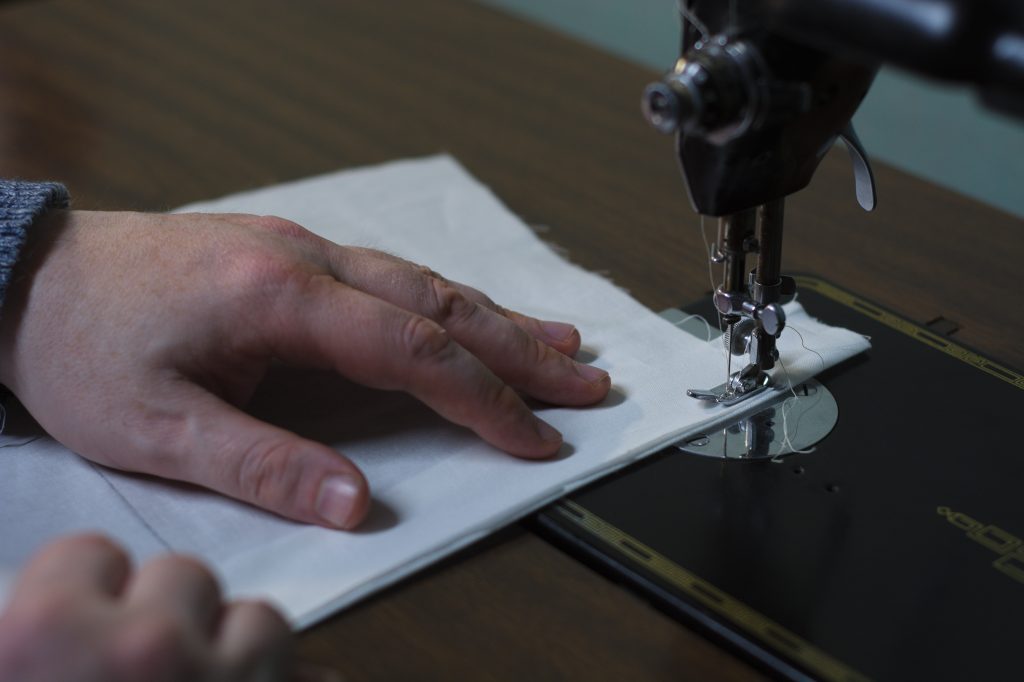
Align the layers as you sew, keeping the right leg 1/8″ behind the fly.
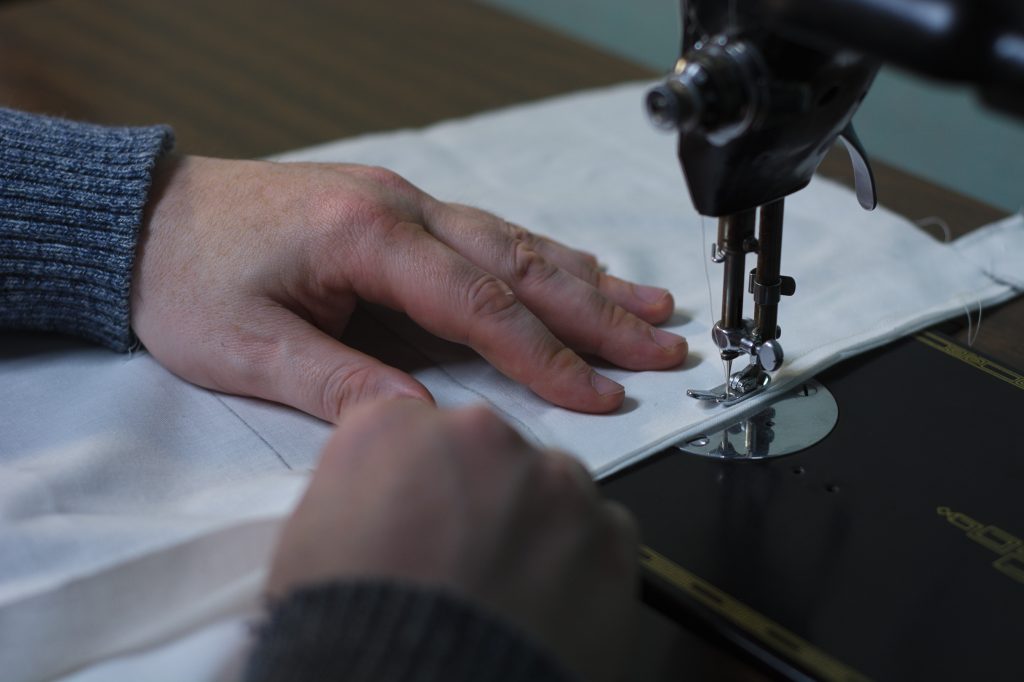
Stop just at the bottom of the fly extension.
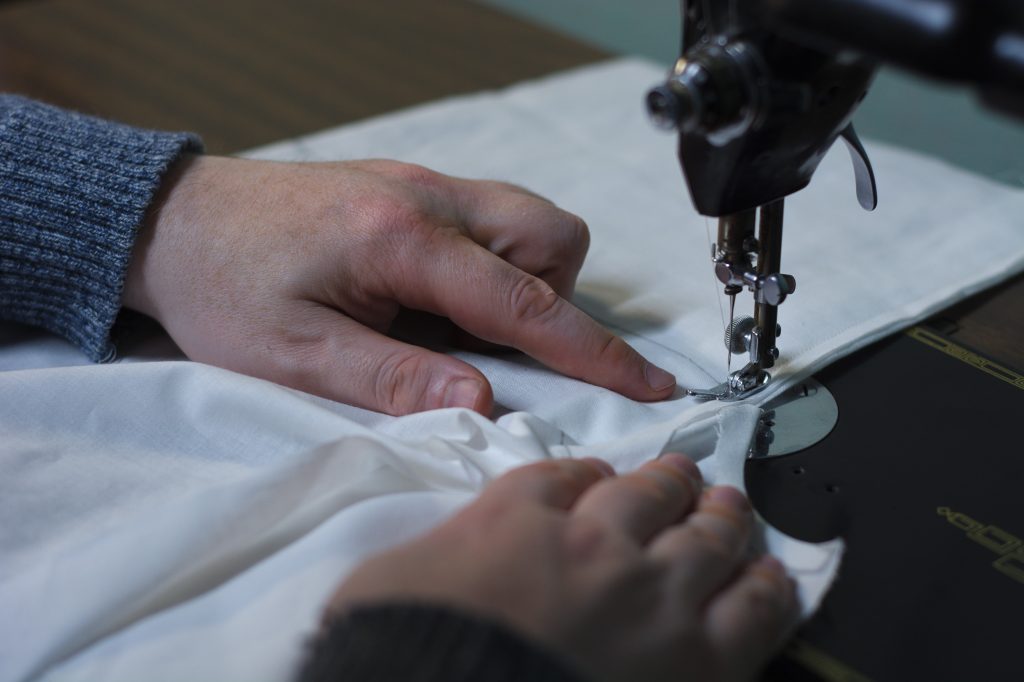
Here’s what the right fly should look like now.
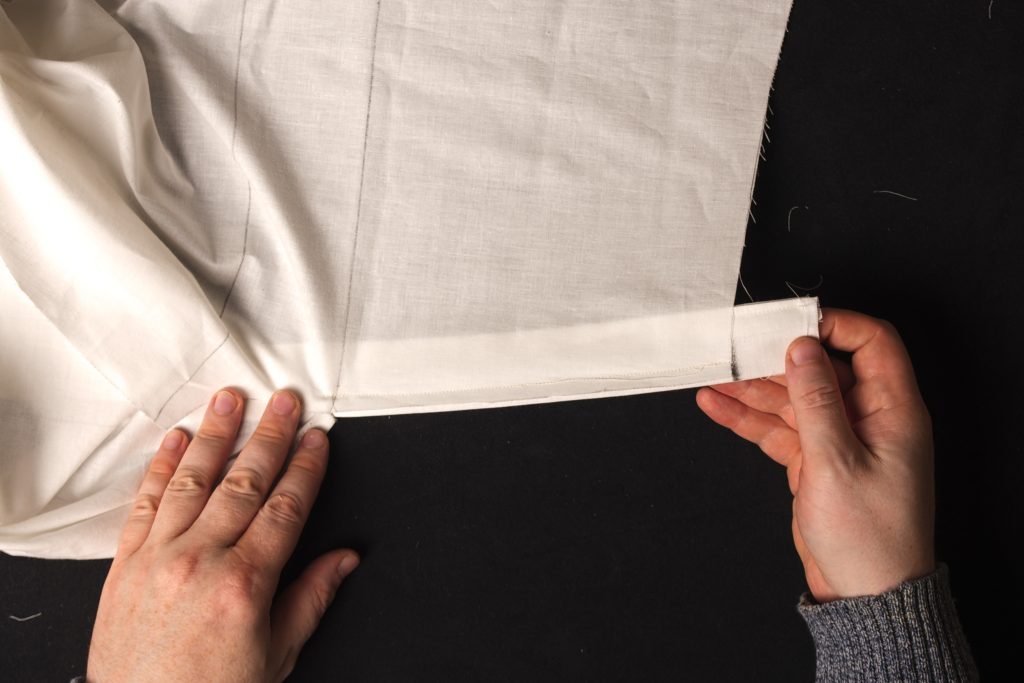
Now without moving the right leg, open the right fly. The narrow 3/8 seam you just made should fold nicely on top of the right leg.
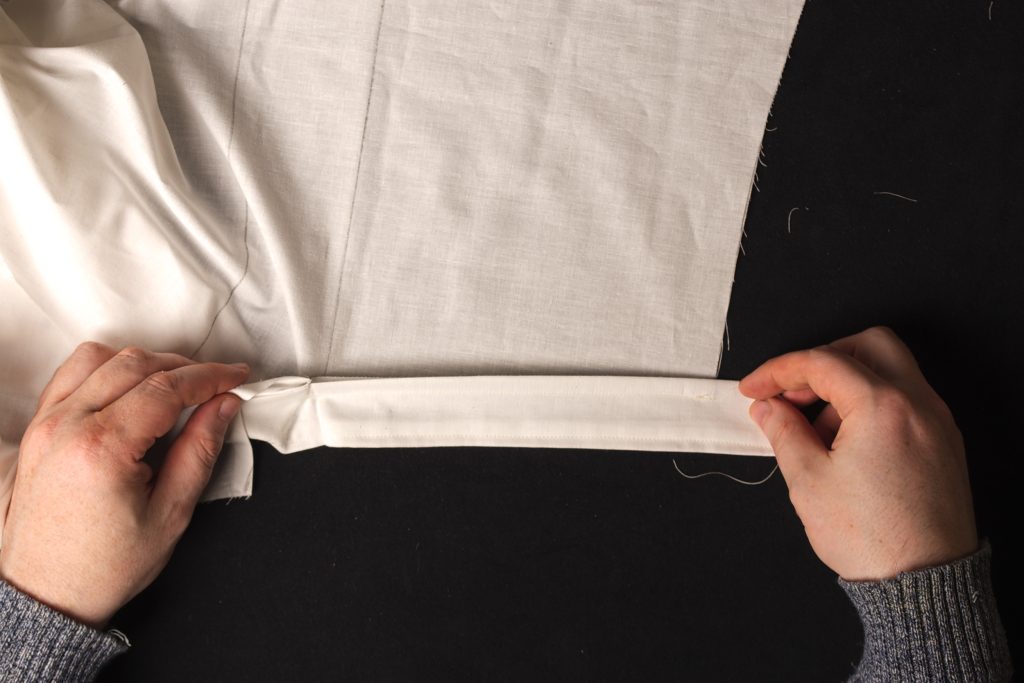
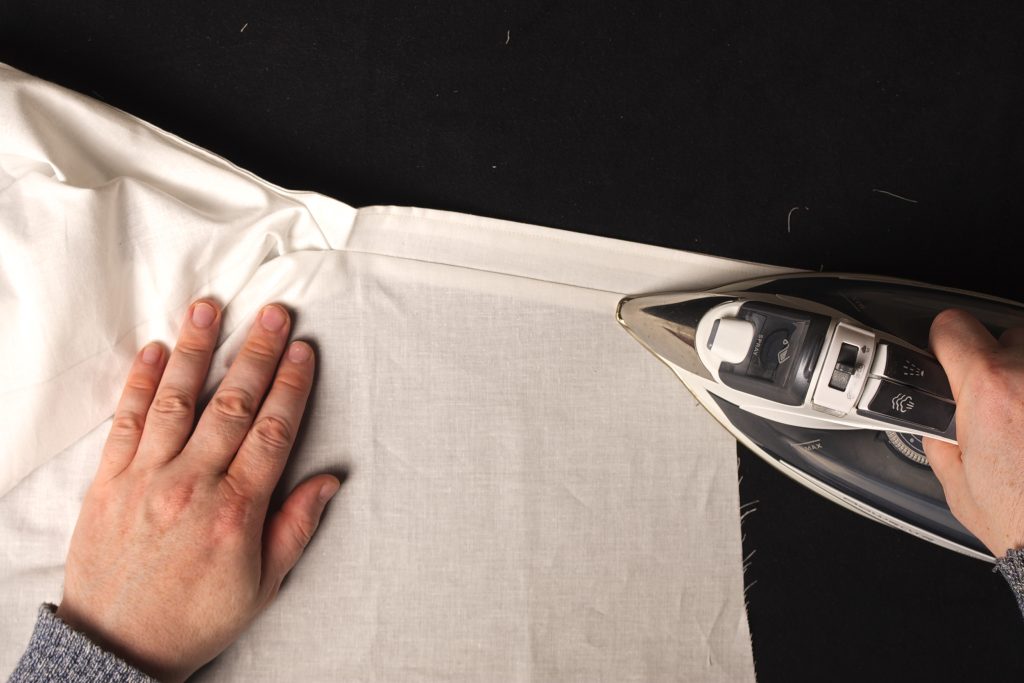
Flip over the right fly and give it a good pressing at this seam.
Back to the right side, sew a line 3/8″ from the original line of stitching along the edge of the fly.
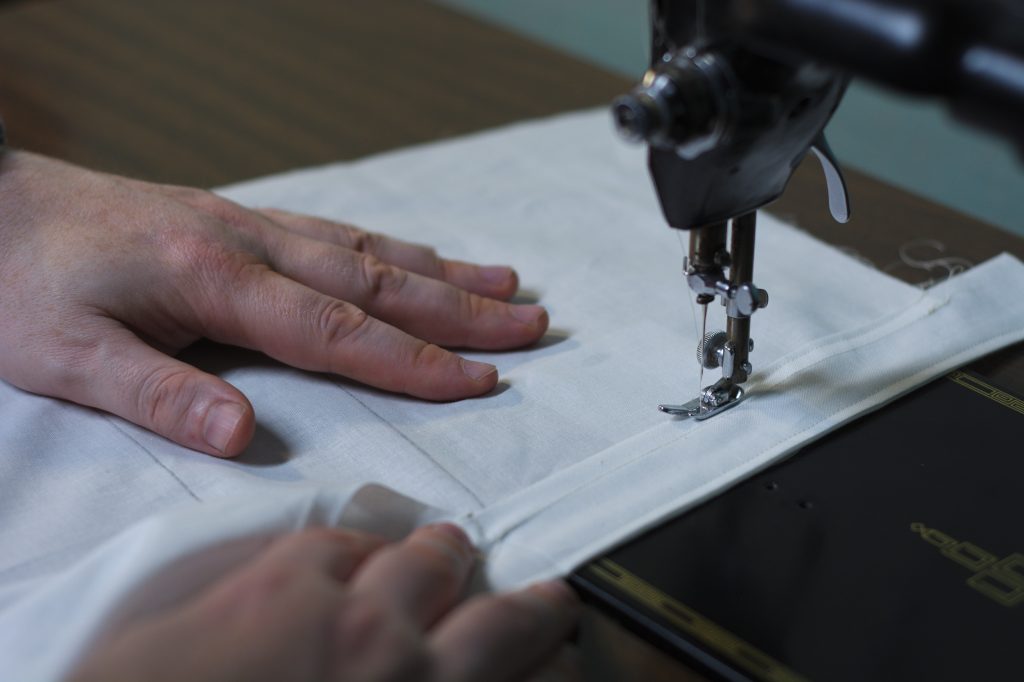
The stitching again ends just at the bottom of the fly before it gets bulky.
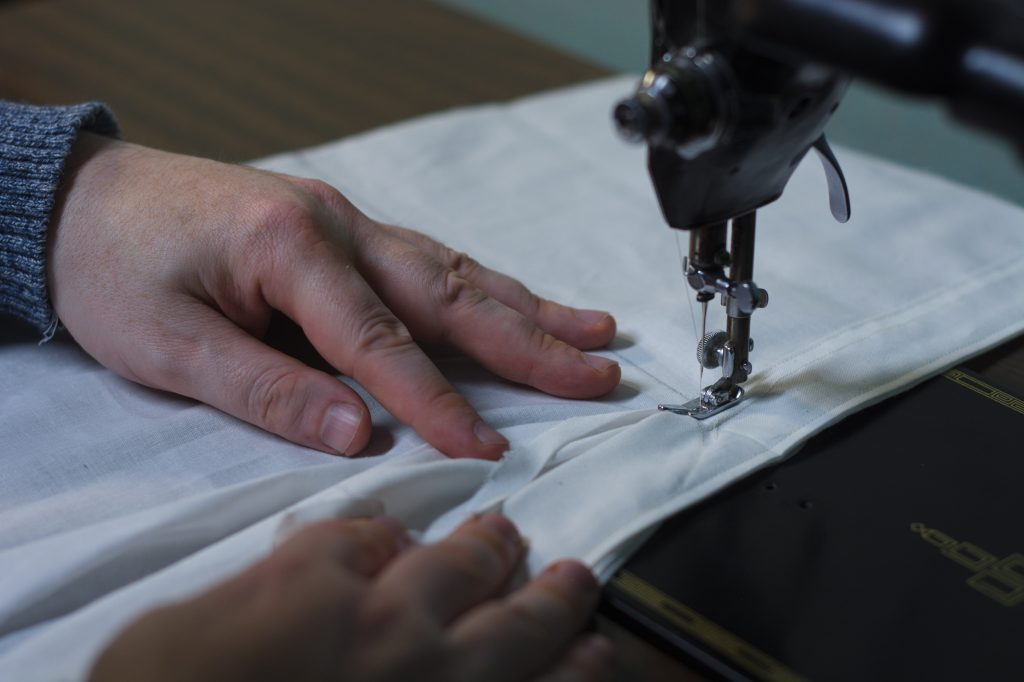
Here’s how the fly looks now.
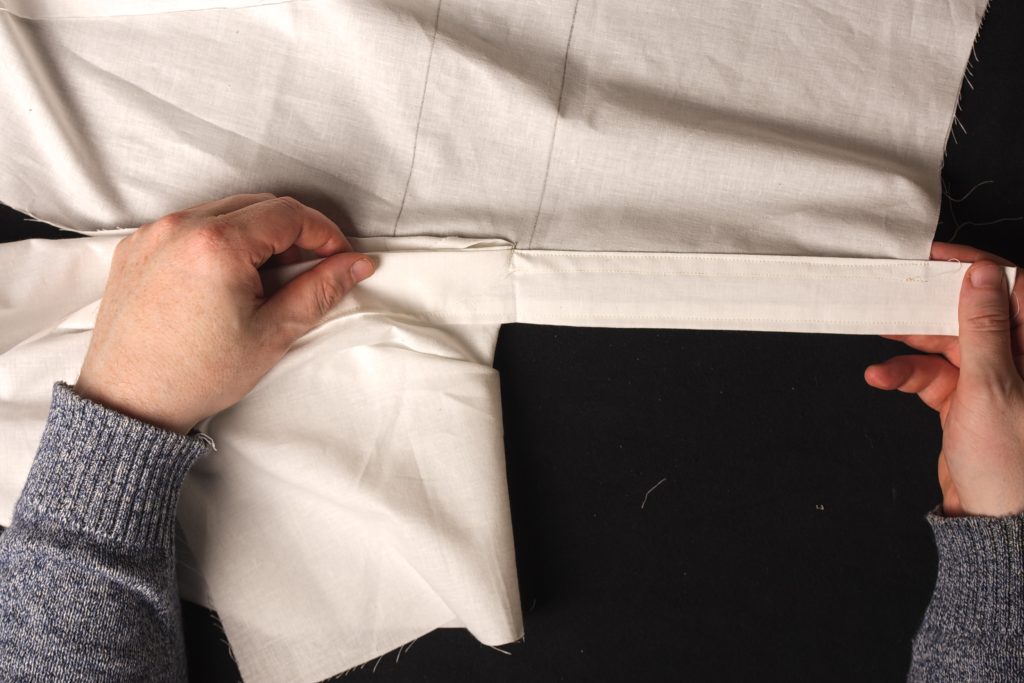
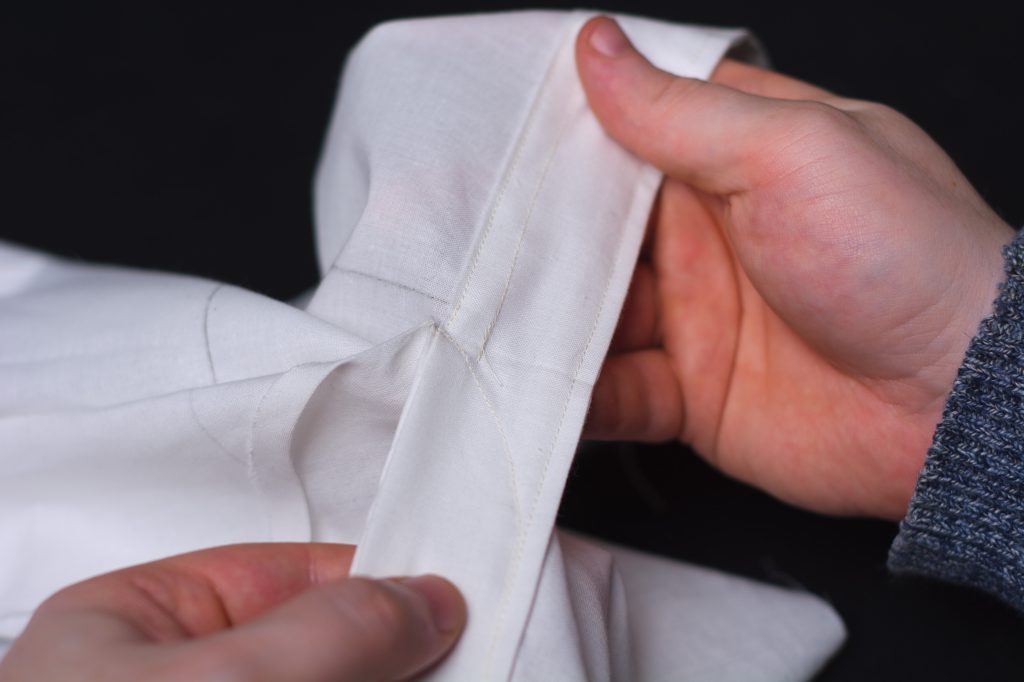
Now fold the left fly half in place. The fly is completed. As you can see, it’s sort of confusing getting all the layers correct, but once you get that down, the fly is super easy to make and so elegant in construction.
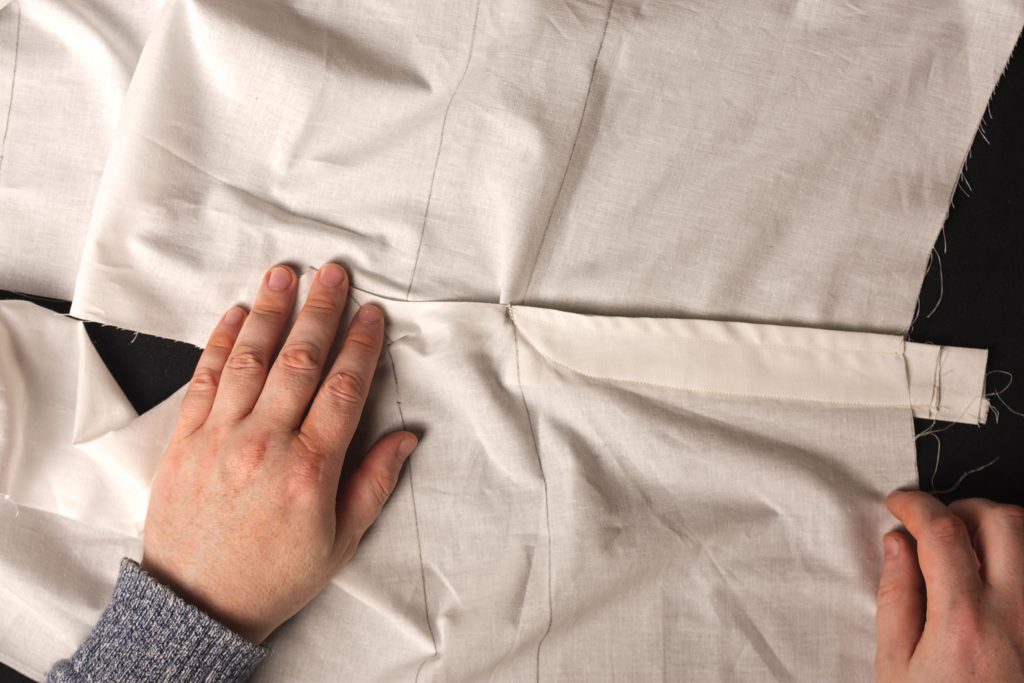
The Front Crotch Seam
Now we must turn our attention to finishing up the front crotch seam. If you look on the curve of the right leg, you can see part of it has been turn back due to the sewing. We need to turn the rest back by this same amount.
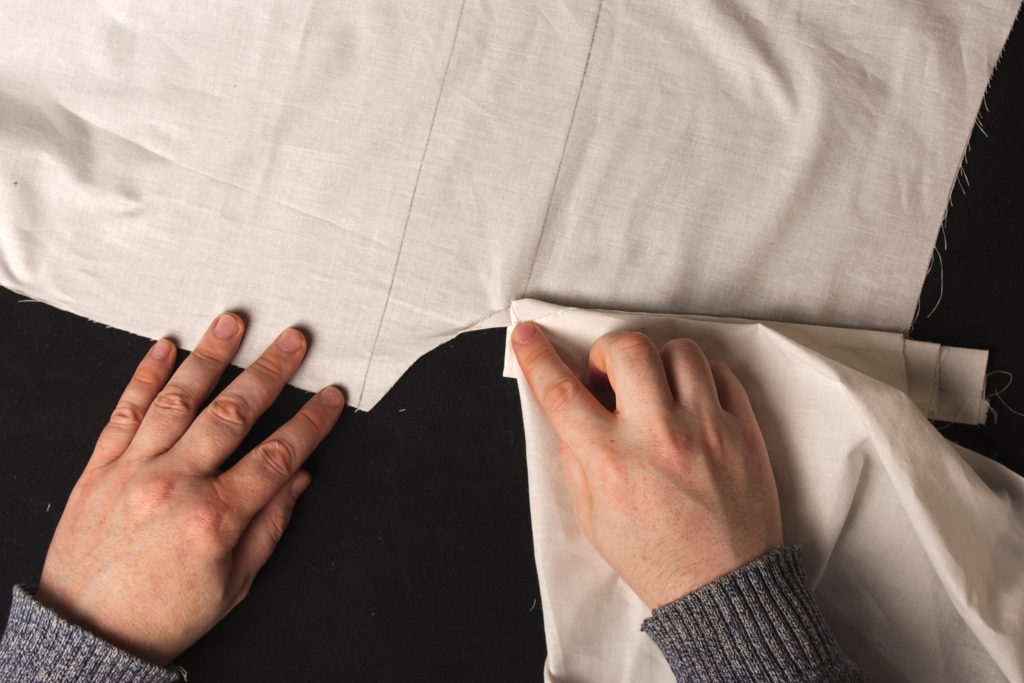
First give the seam a good stretch with your fingers to give the fabric room to fold over nicely.
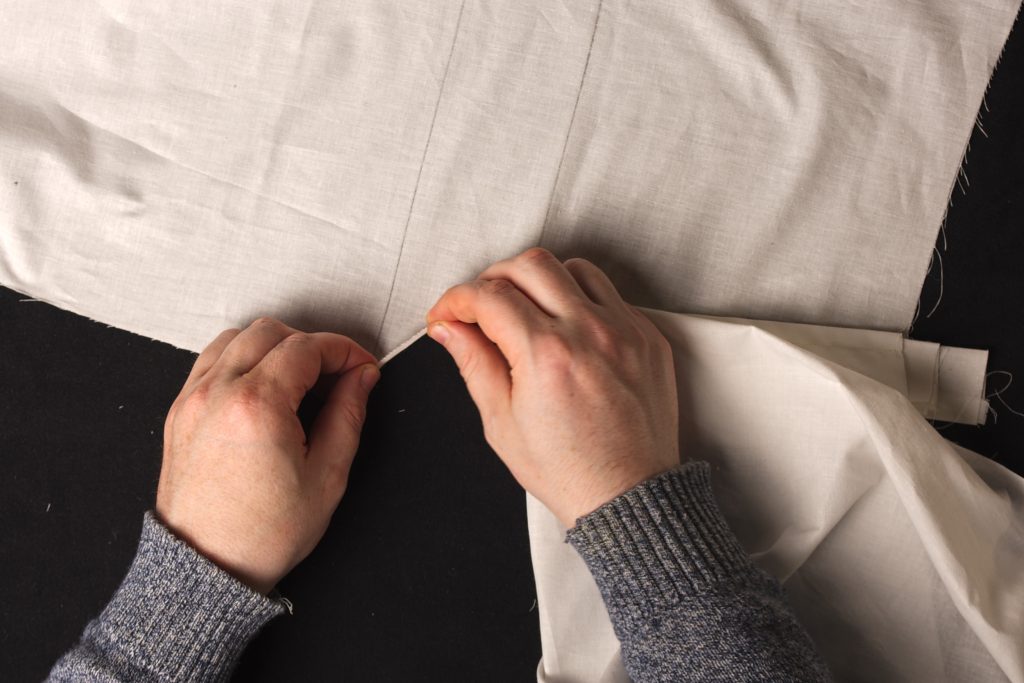
Press the seam over. It’s not really 3/8″, just focus on getting it the same width all the way around the curve.
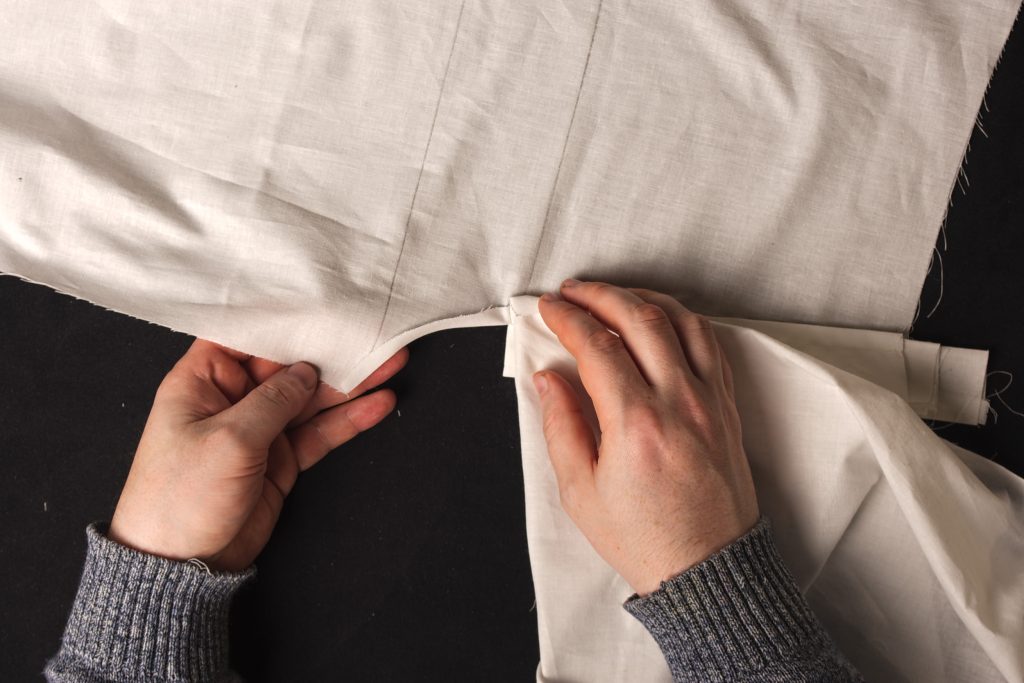
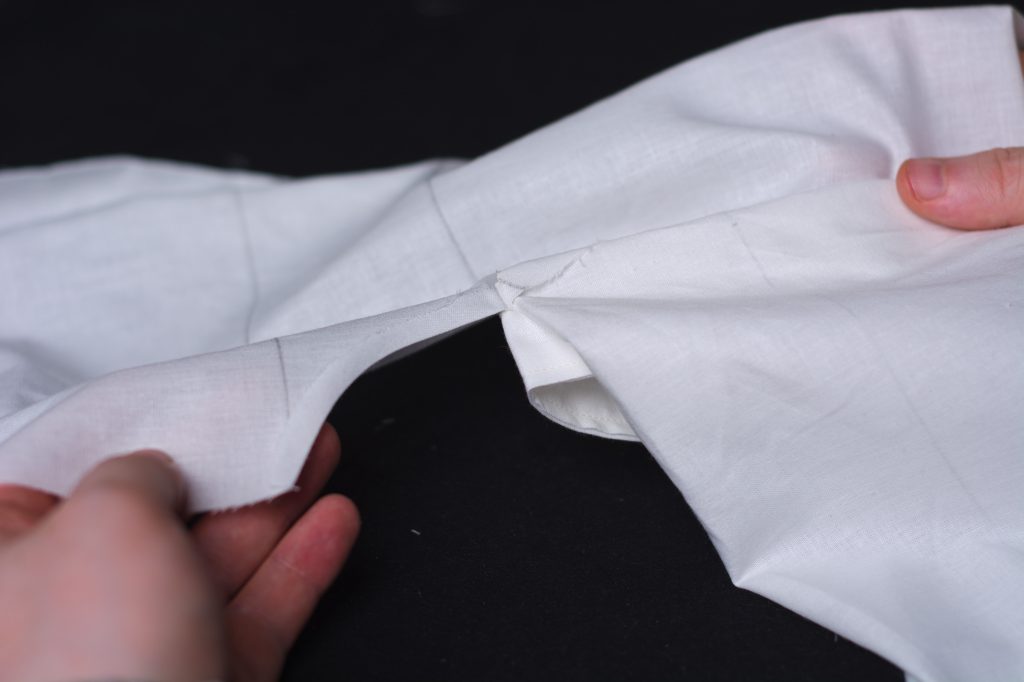
Now take a look at the left crotch seam and it’s relation to the right side, how they naturally want to overlap.
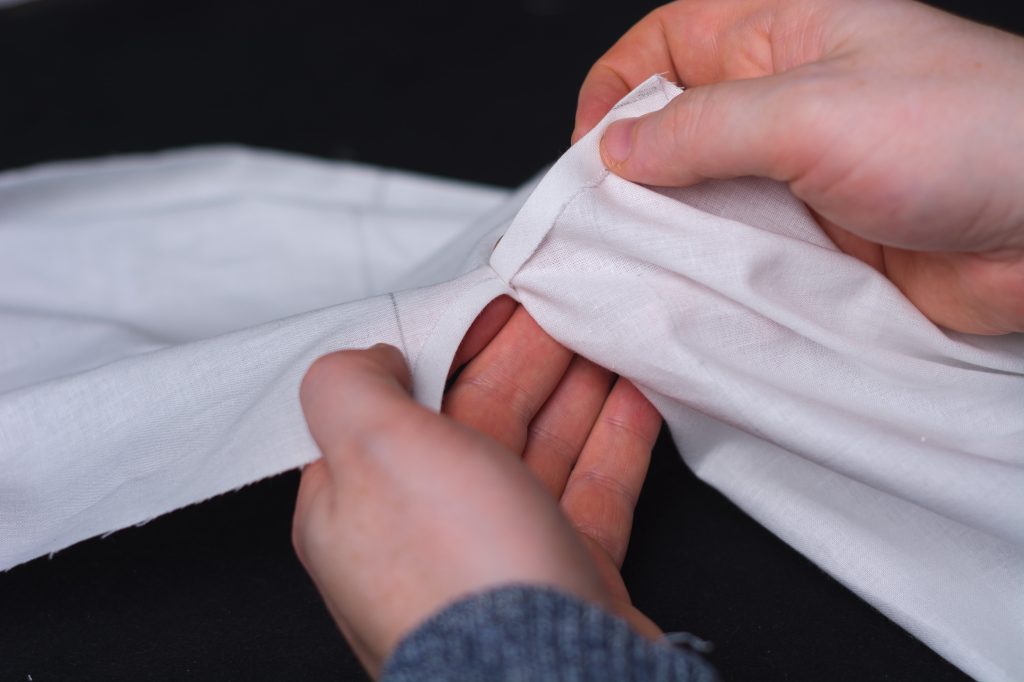
You want to maintain that distance and relation between the two as you gradually overlap the two layers, moving towards the bottom of the curve.
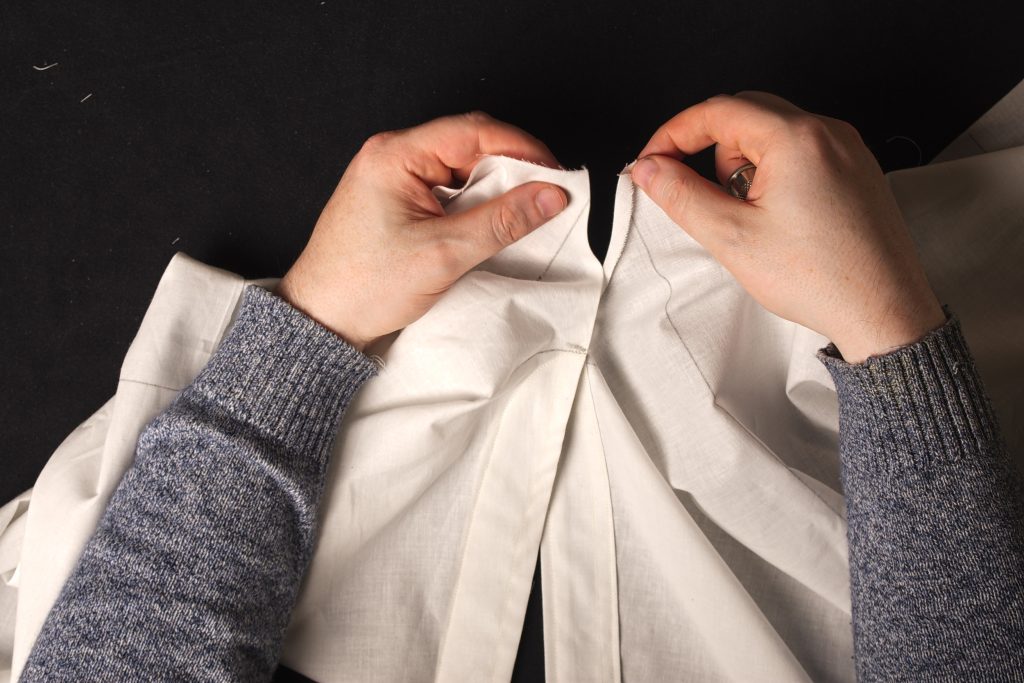
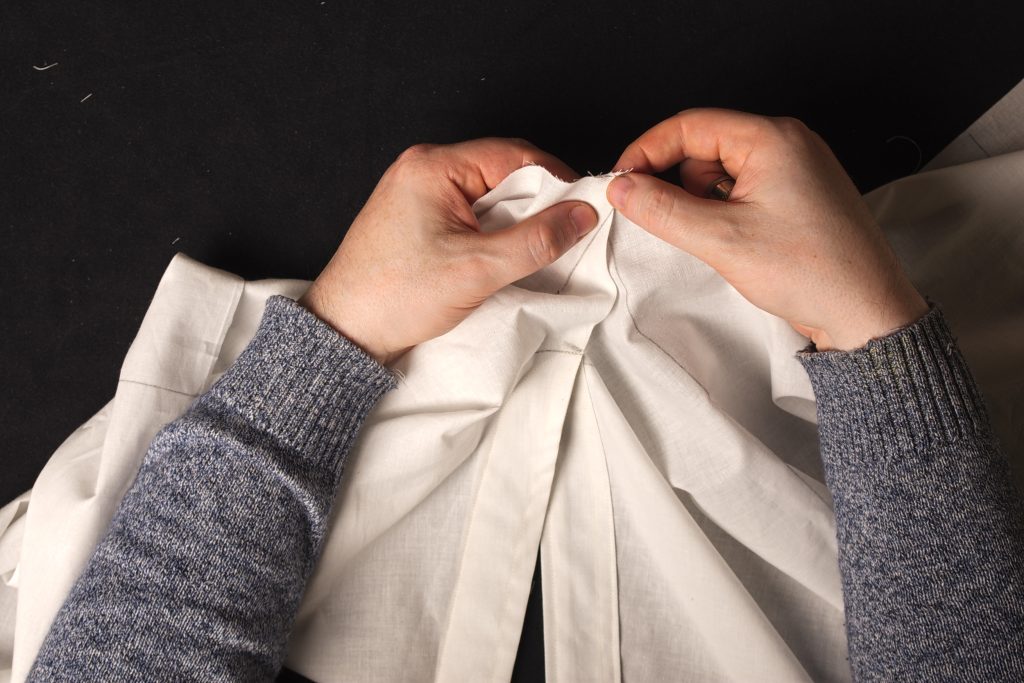
With the two layers overlapping with the correct distances, begin basting the seam closed from the bottom edge towards the fly, using a diagonal basting stitch. Before taking each stitch, manipulate the fabric as best you can to maintain that original spacing as it is just below the fly.
It definitely takes some practice but will eventually become second nature.
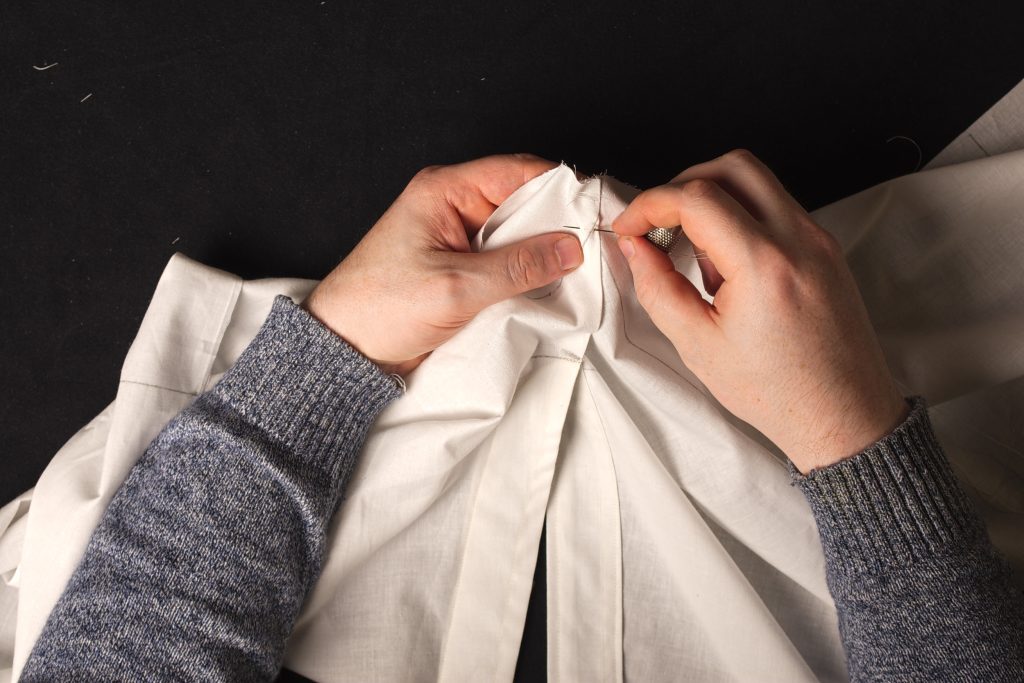
You can almost see through the fabric here which helps maintain the correct spacing.
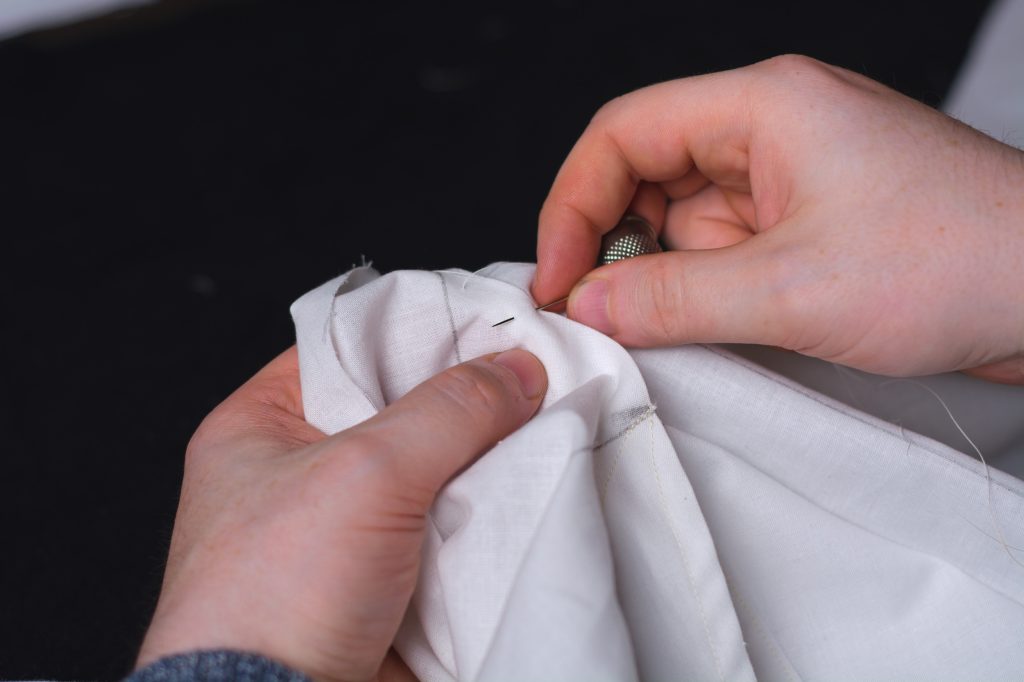
Here’s the crotch curve seam after basting. It still wants to open up so you’ll probably have to manipulate it a little as you machine stitch.
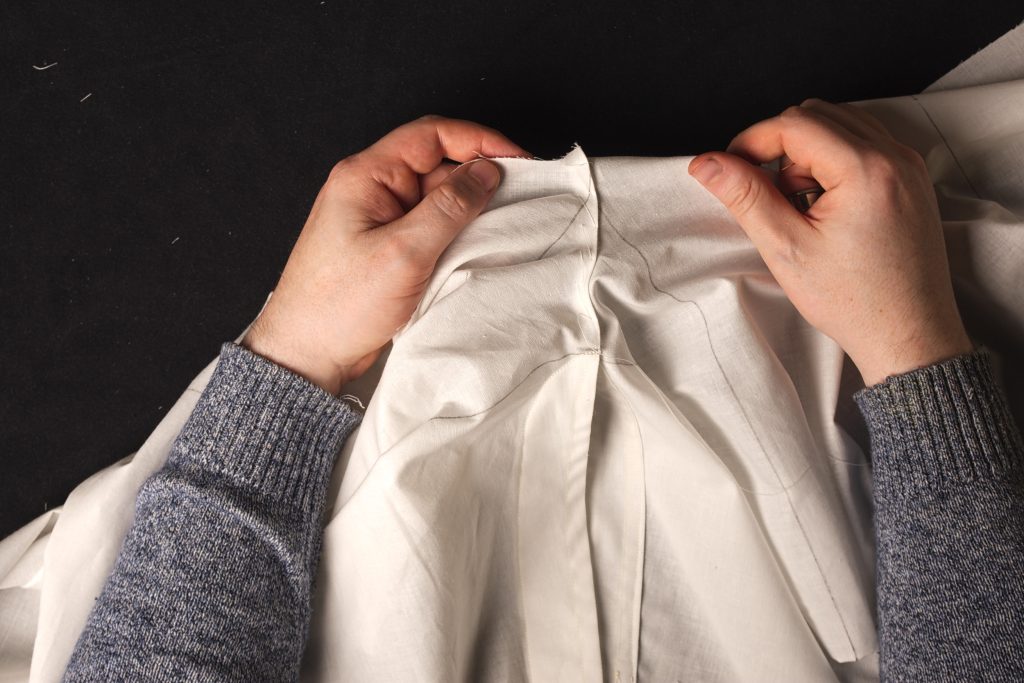
Machine stitch from the bottom of the curve towards the fly, about 1/8″ from the edge of the seam.
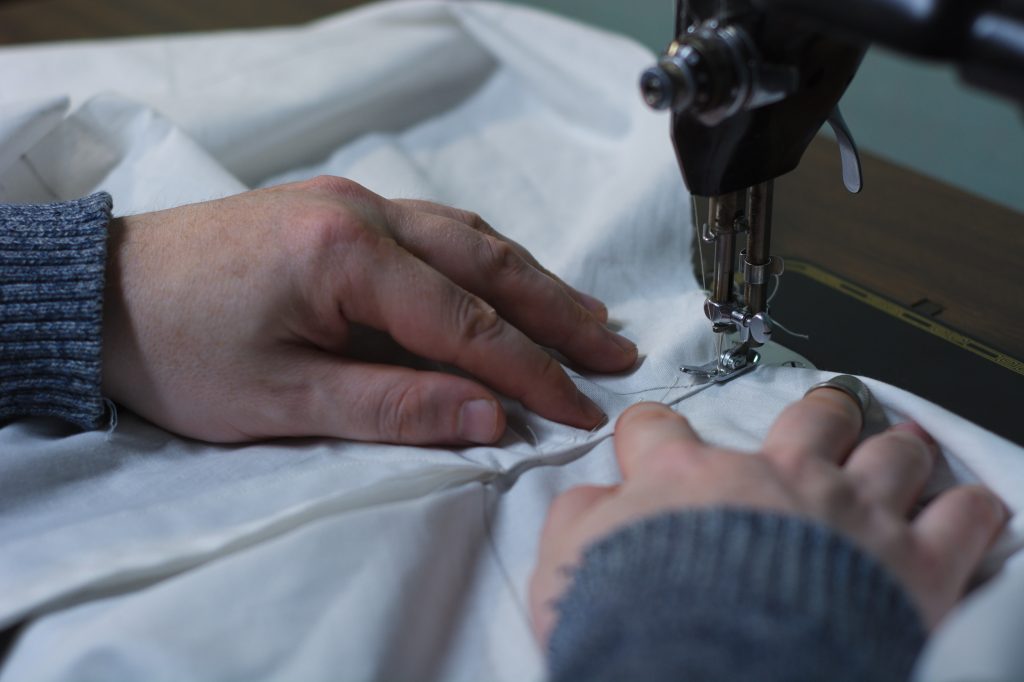
Stop sewing just before you get to the fly.
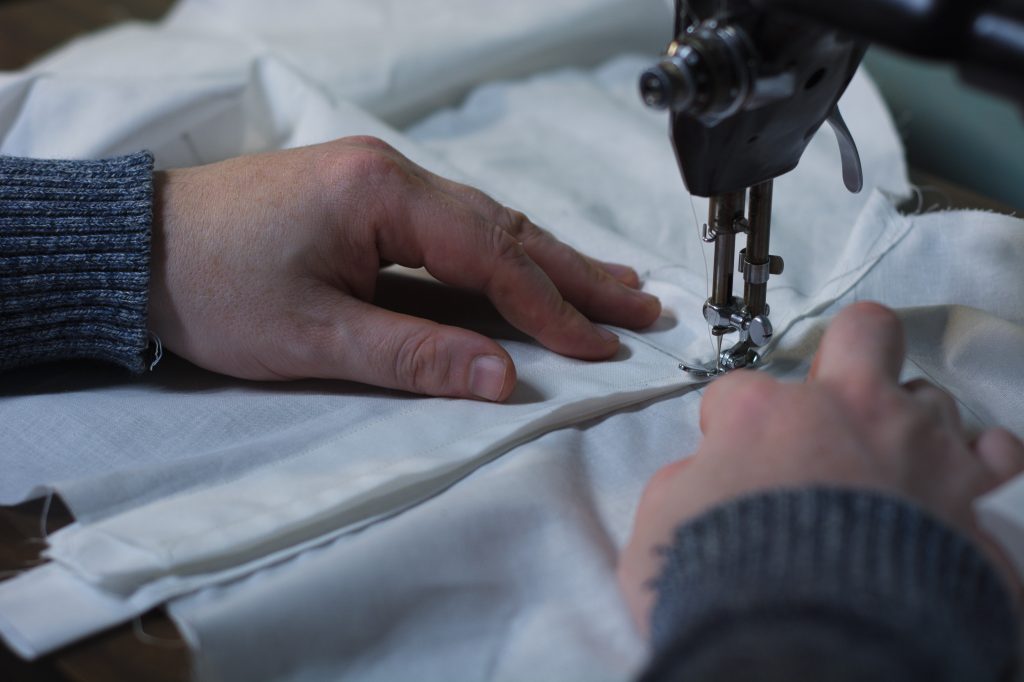
Stitch another row ideally 3/8″ from the first line of stitching. But in practice, unless you’ve got the seam perfectly done, it’ll probably be a bit less than that. The important thing is to catch all of the layers.
Definitely easier to do this on the heavier denim!
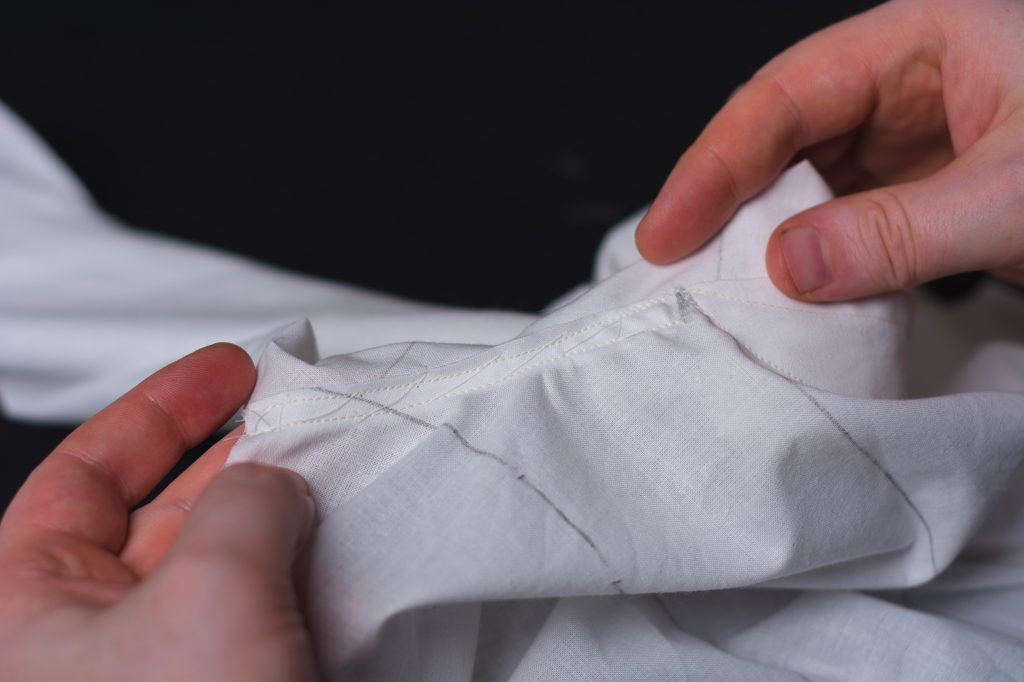
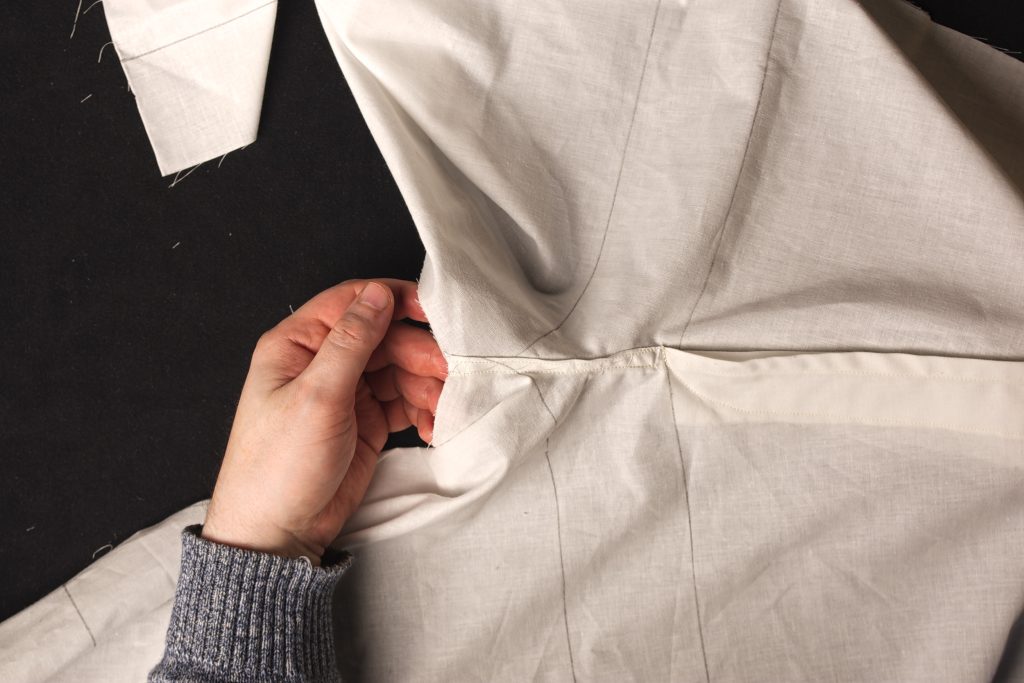
Finally, trim the tops of the fly flush with the waist. I like to cut both halves at the same time for consistancy.
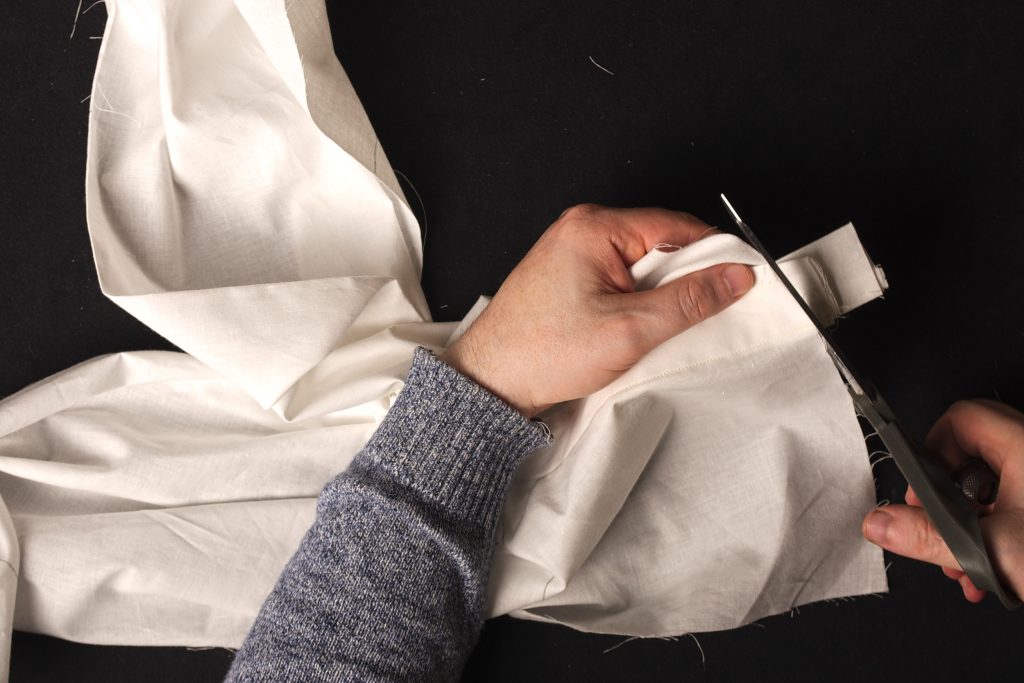
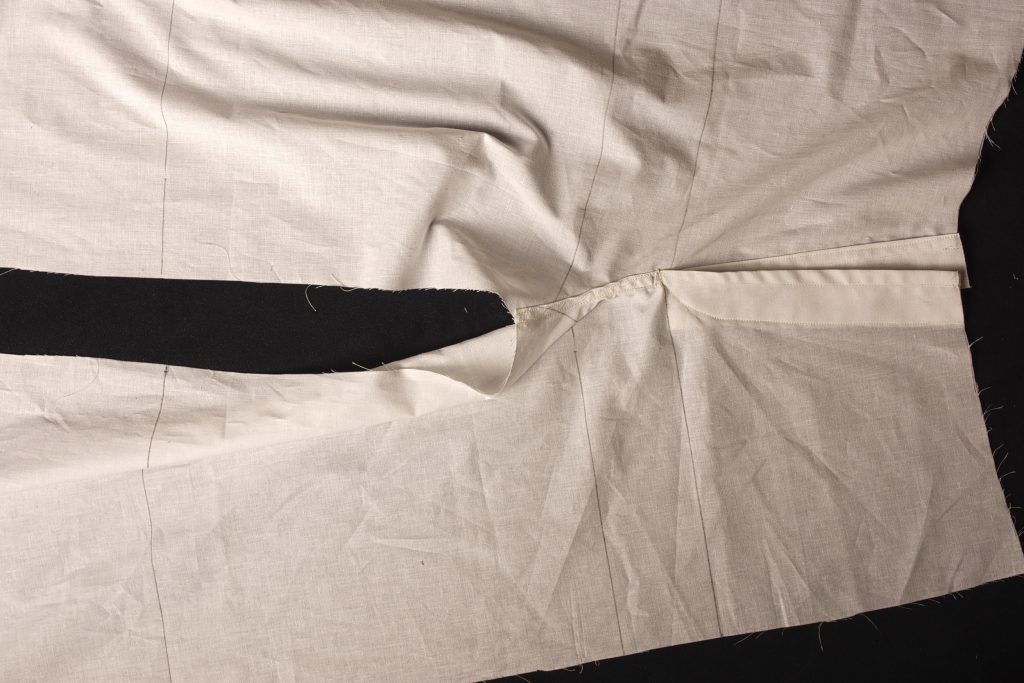
And with that the fly is complete! Although there are seemingly a lot of steps, it’s really quite easy to make once you get the hang of it. I wish I could use this for all of my trousers.
It’s also a lot stronger than typical flies, as being one piece, it’s almost impossible to split the pants below the fly unless the fabric itself gives out.
The Left Fly
Begin construction of the fly by pressing the long edges over by about 1/2″. It’s not super critical here since we’re not adding buttonholes or anything, just make it consistent.
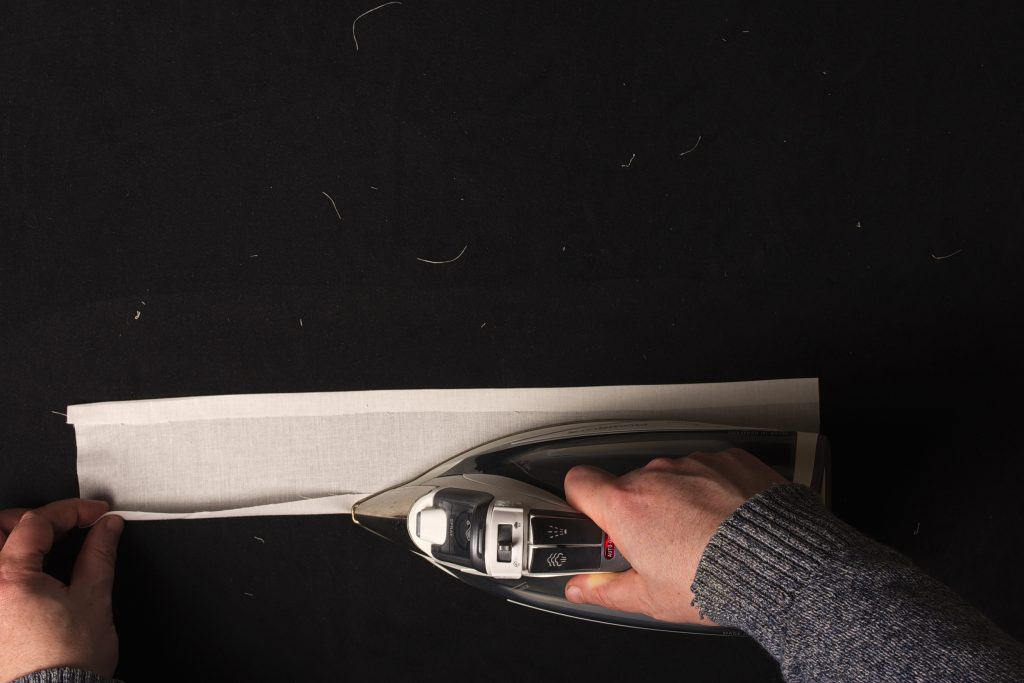
Press the fly in half lengthwise, aligning the folded edges.
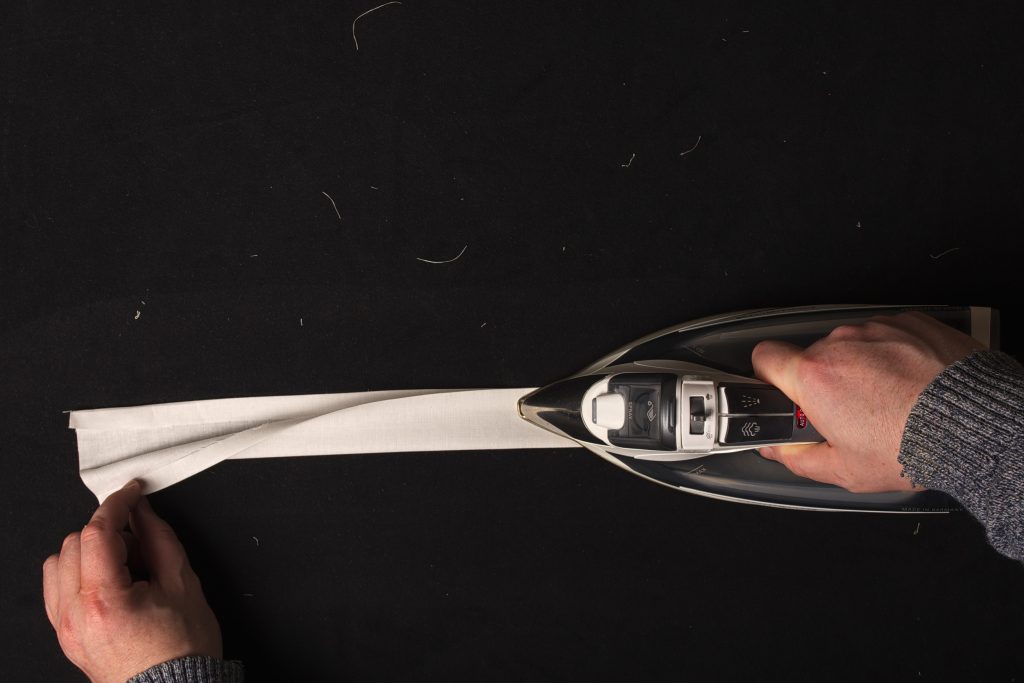
Sew the fly closed along the length using about 1/8″ seam allowance.
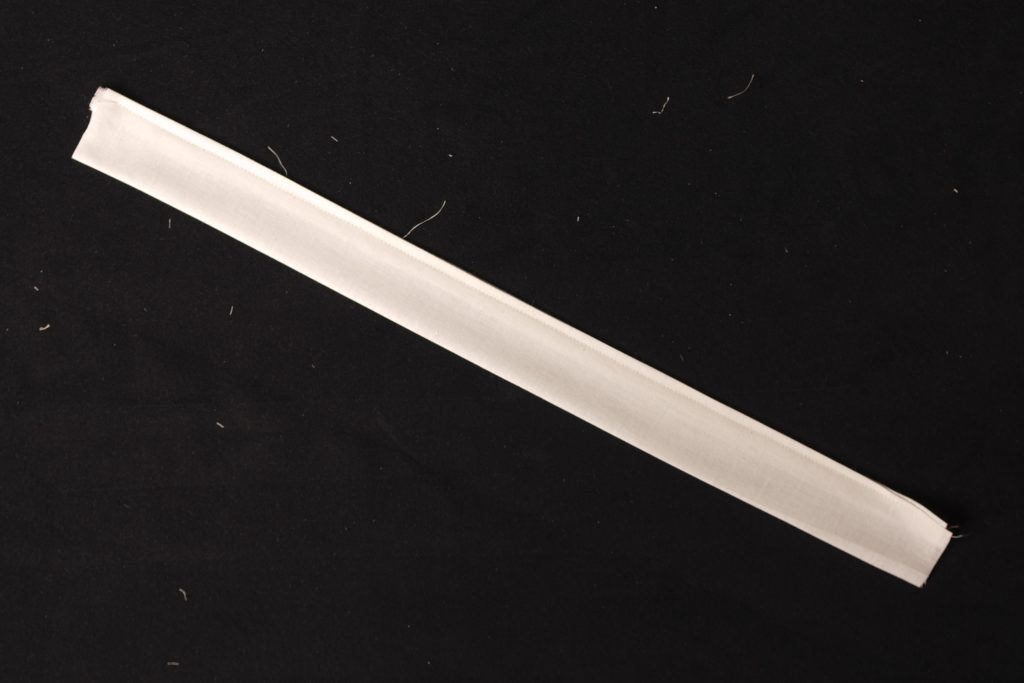
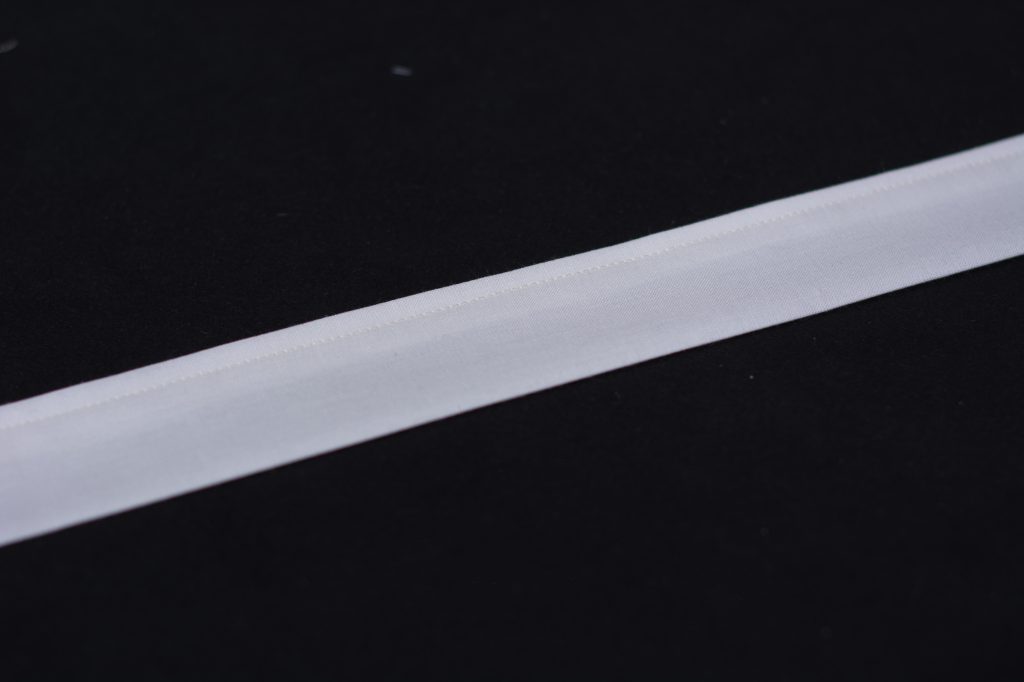
Lay the two front legs on the table in front of you, right sides up. Take the left side to work on, putting aside the right for later.
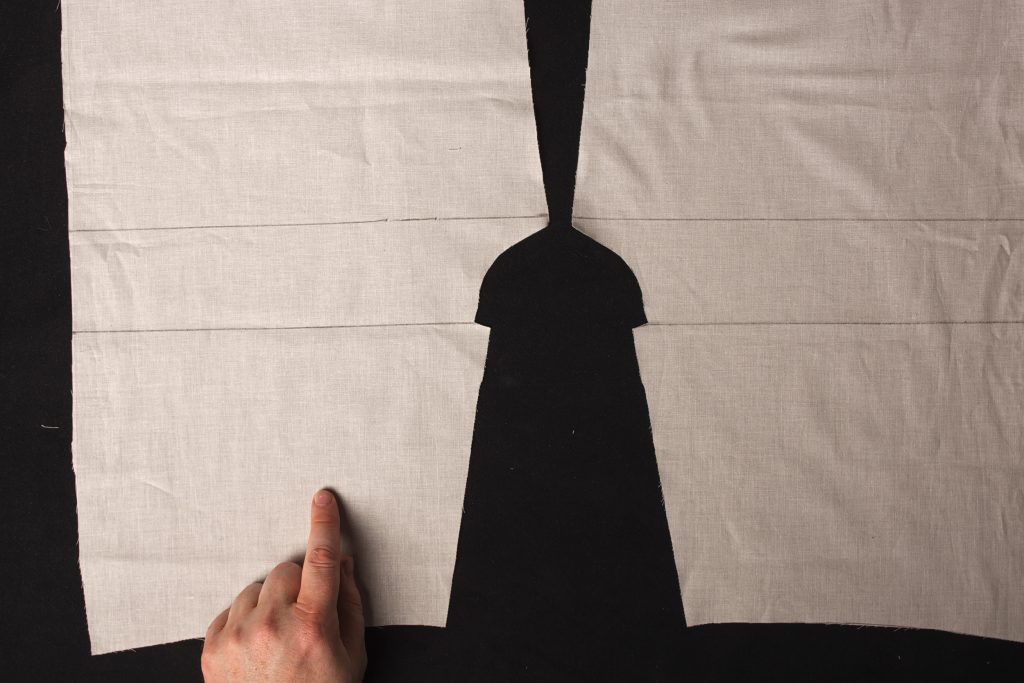
Working on the wrong side, fold back the fly extension by 3/8″ and press.
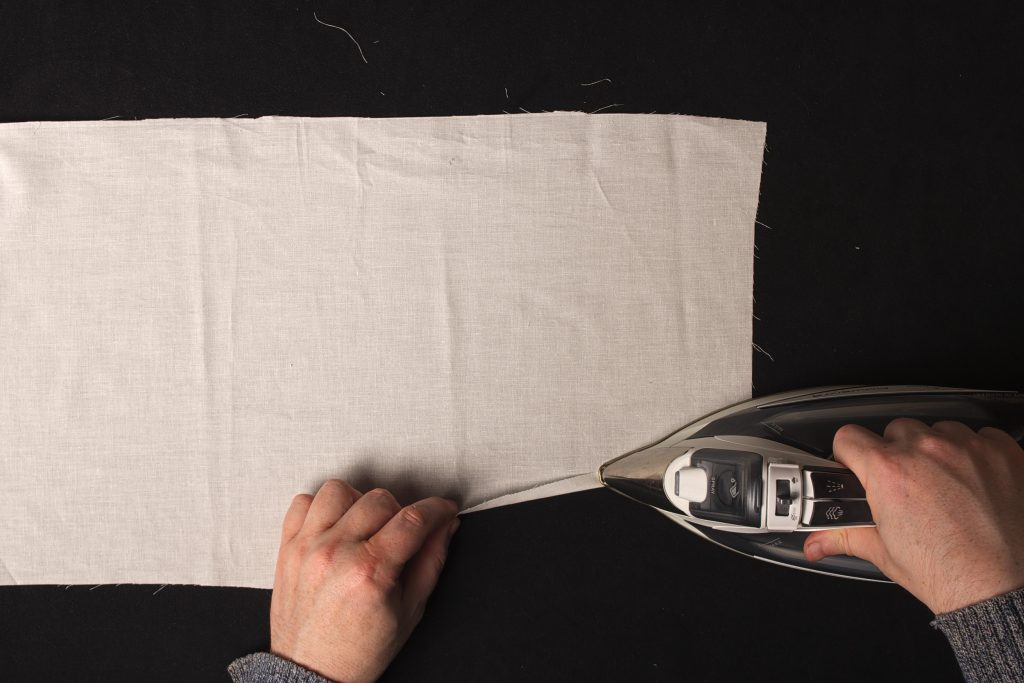
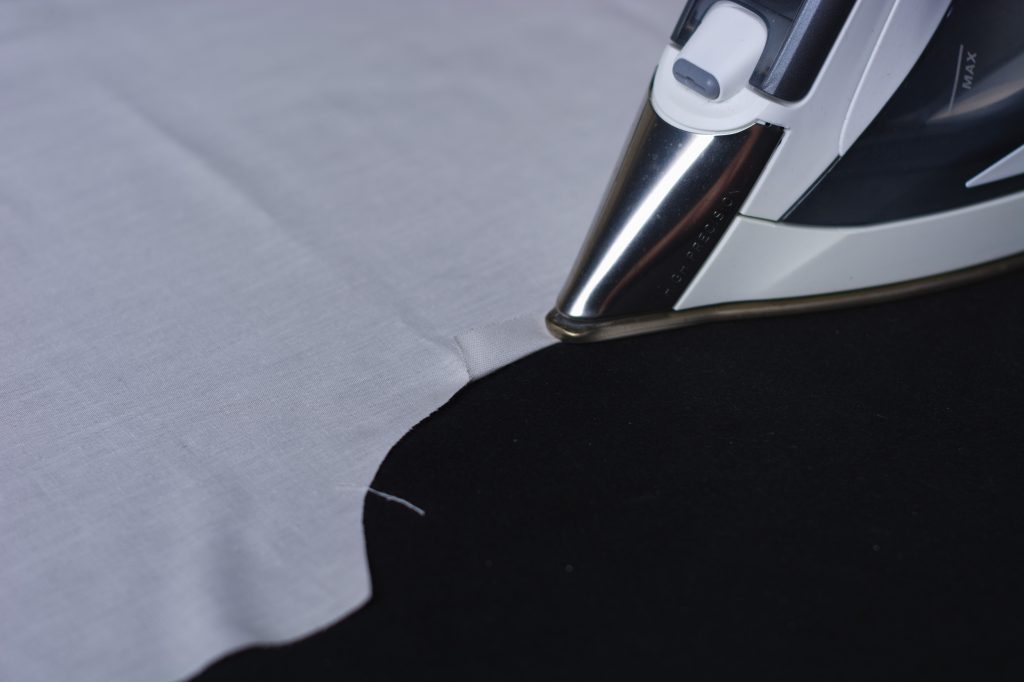
Now fold and press over the entire front fly edge from waist to crotch, by another 3/8″.
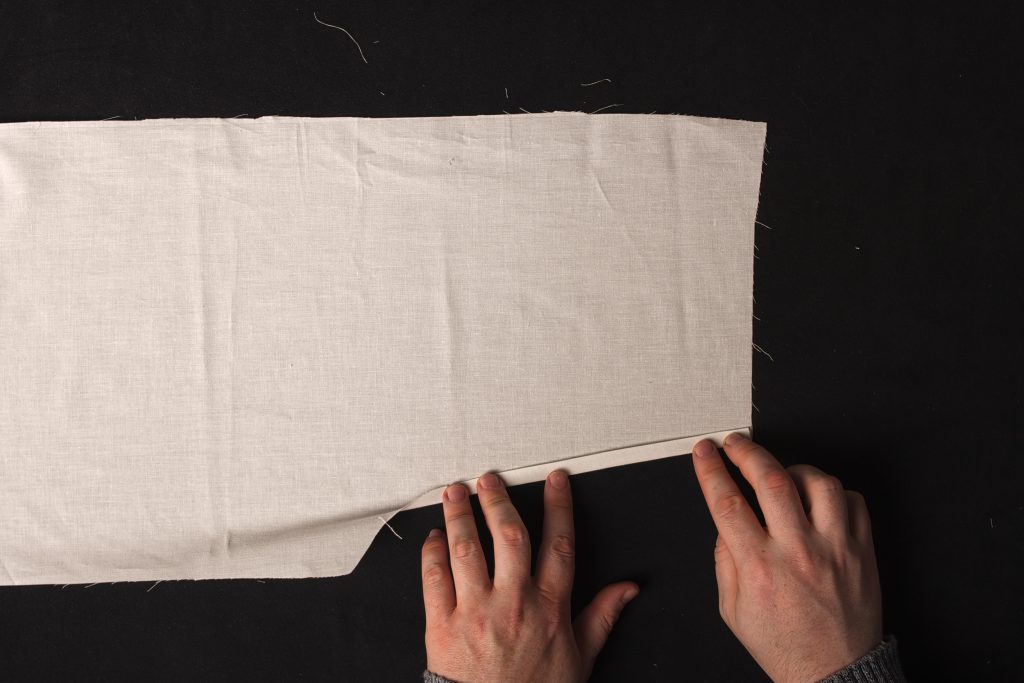
Give the seam allowance a gentle stretch with your fingers in the curved area.
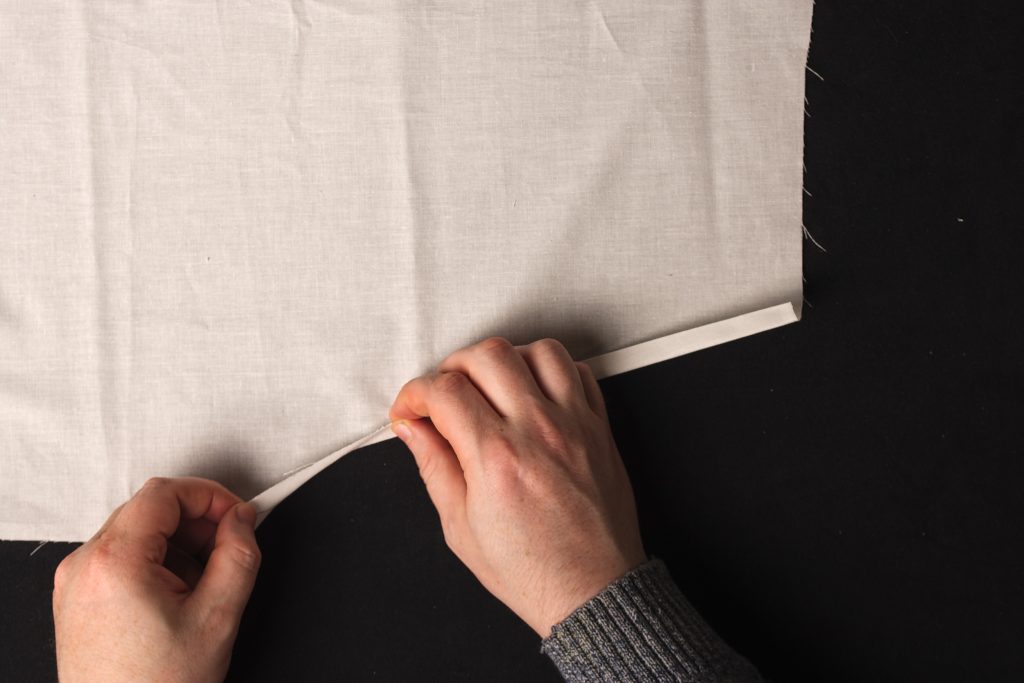
Here’s the left front edge after pressing. Use a little steam, especially in the curved area, to be sure everything stays in place.
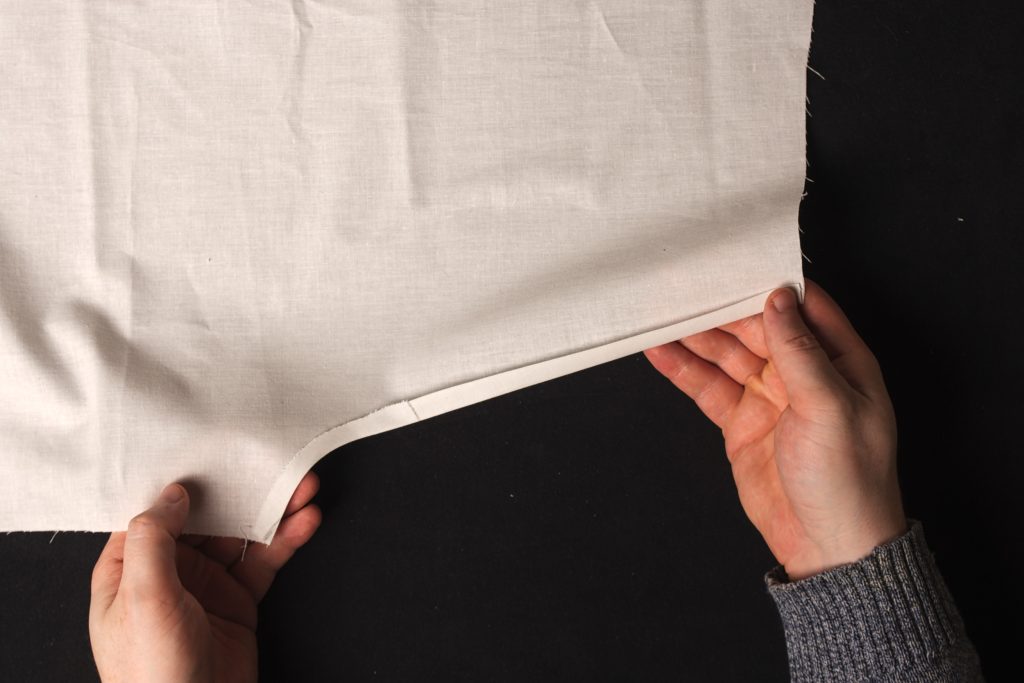
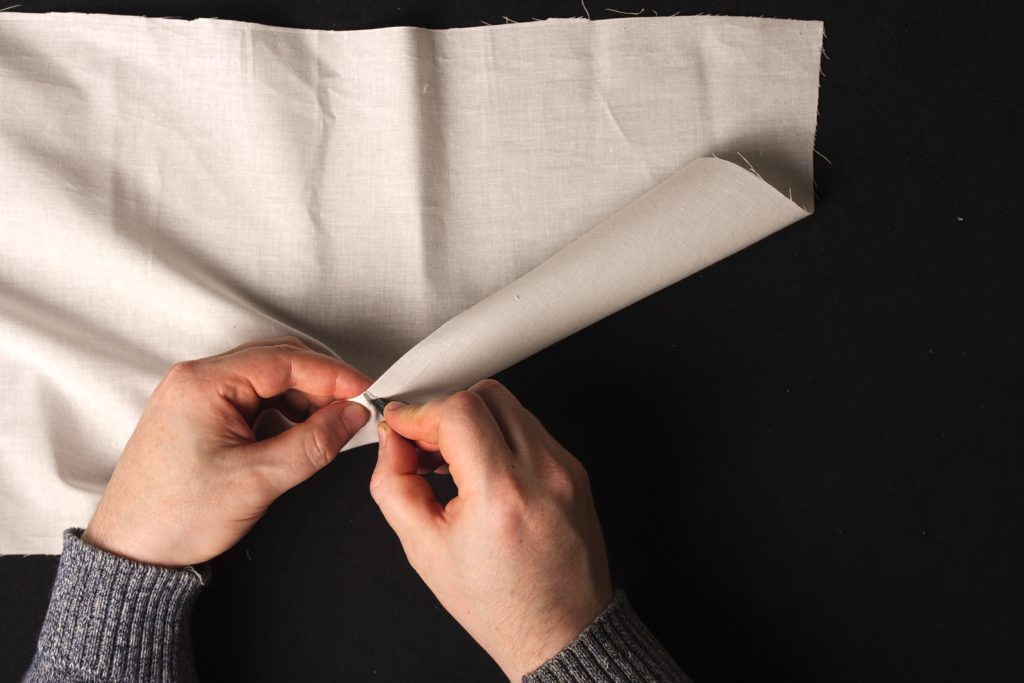
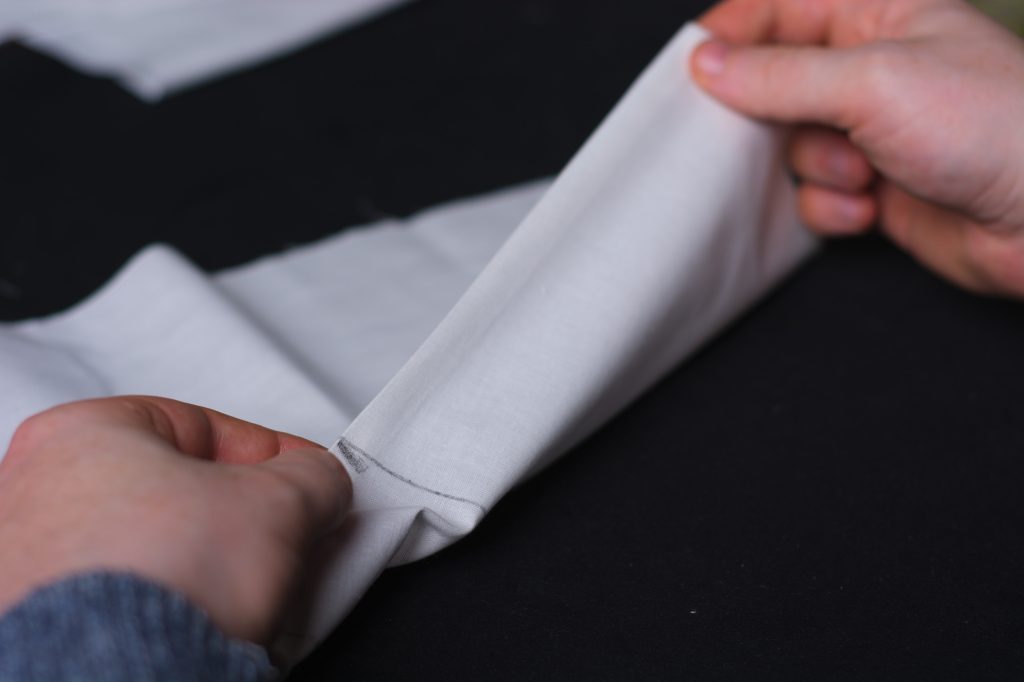
On the right side, mark the bottom of the fly extension. It happened to line up with my hip line here but your own pattern may differ. Just feel for the difference in fabric thickness to find the place to mark.
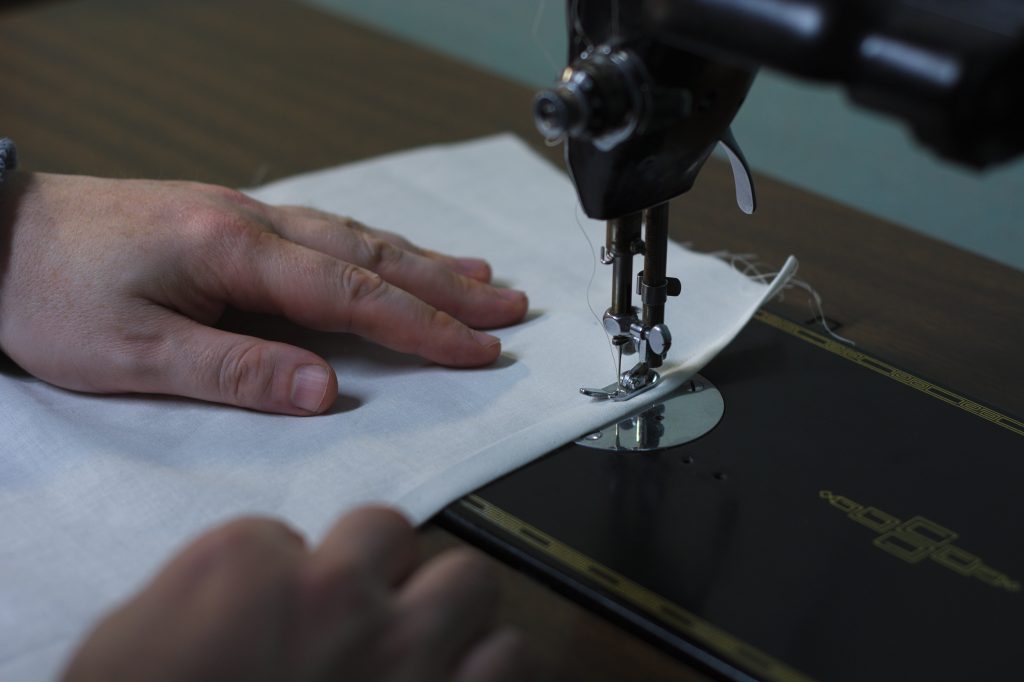
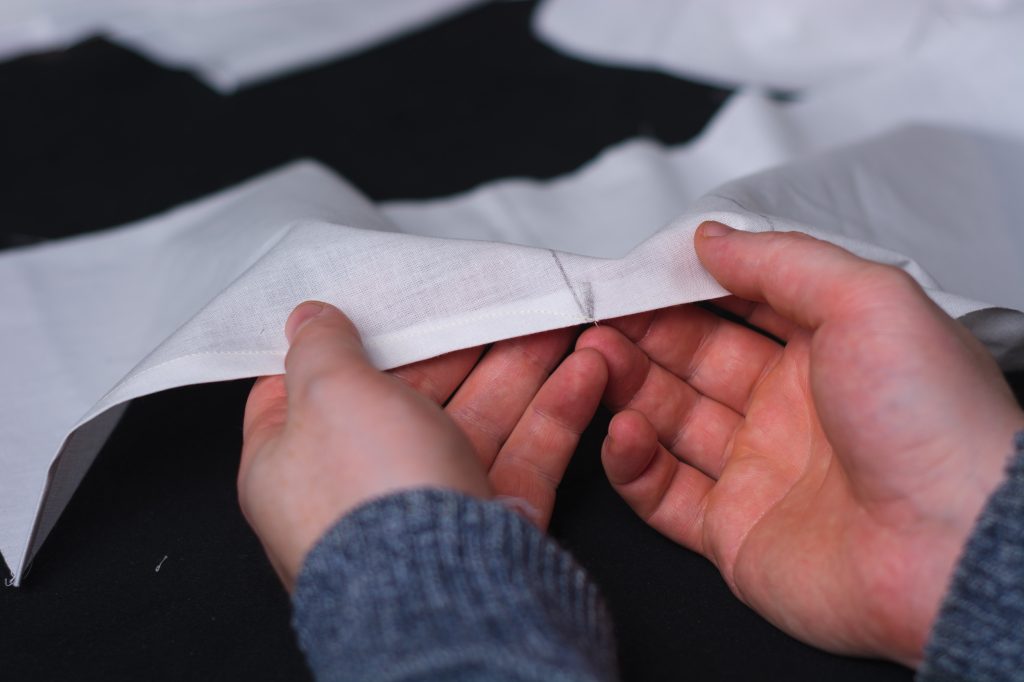
Sew along this folded edge using a 3/8″ seam allowance (or just slightly under), curving the seam near the bottom of the fly extension into that point you marked.
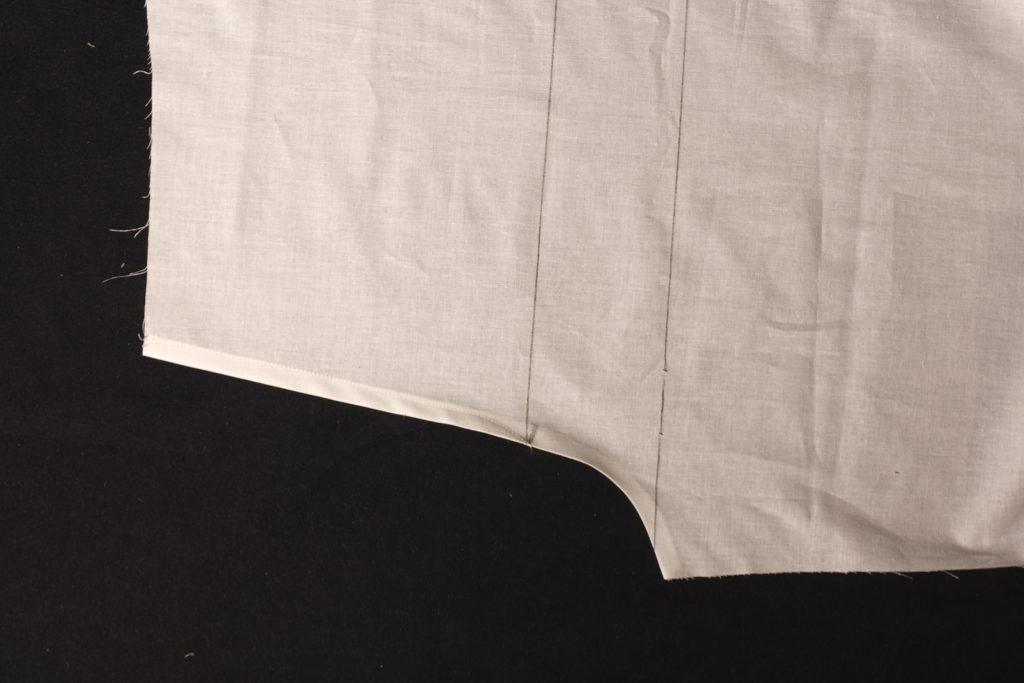
Installing the Fly
Lay the left trouser front on the table, wrong side up, and place the fly in position. It should be placed about 1/8″ behind the folded edge on the fly seam, and extend about 1″ beyond the waist. The lower end can just lay on the trouser as shown.
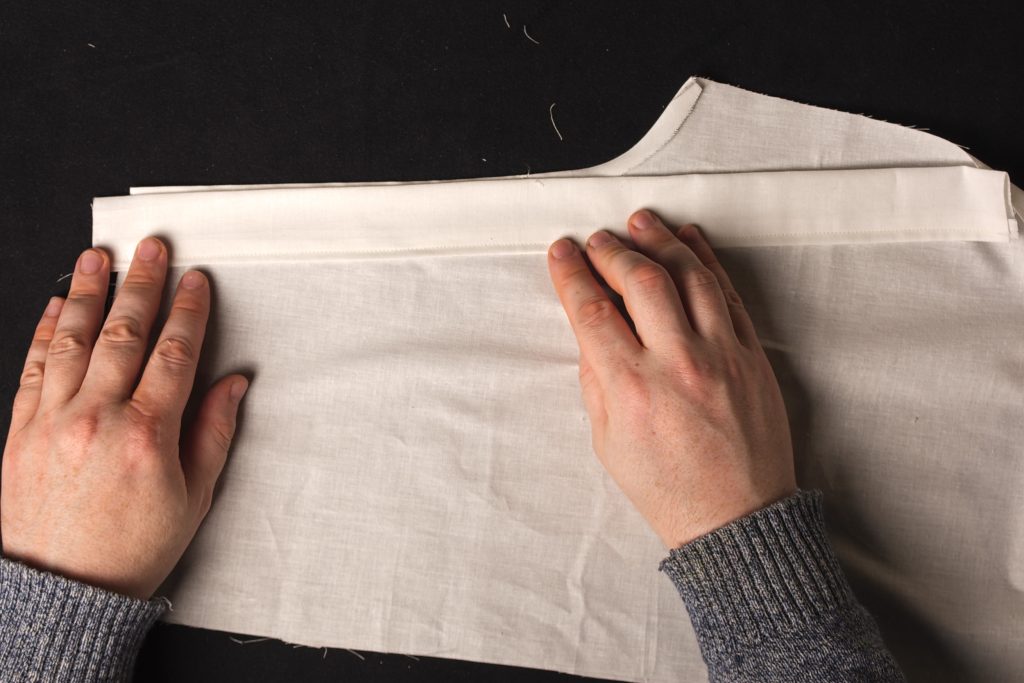
Pin the fly in place about an inch or so below the mark denoting the bottom of the fly extension.
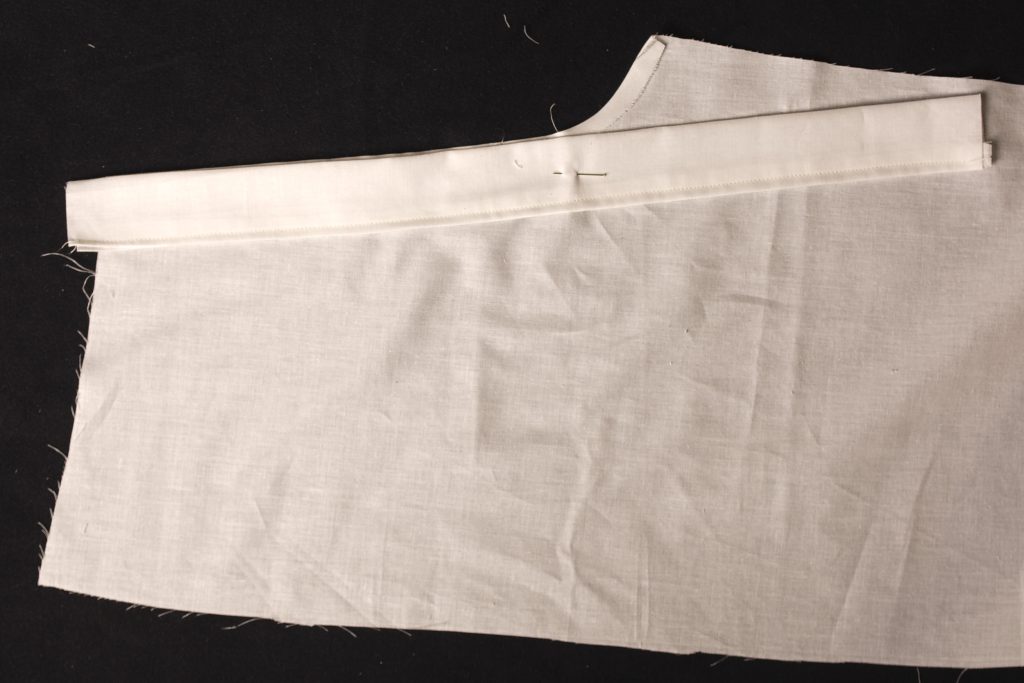
Turn the assembly over and realign the fly as necessary. You could pin the top of the fly if you wanted but I find it’s not really necessary.
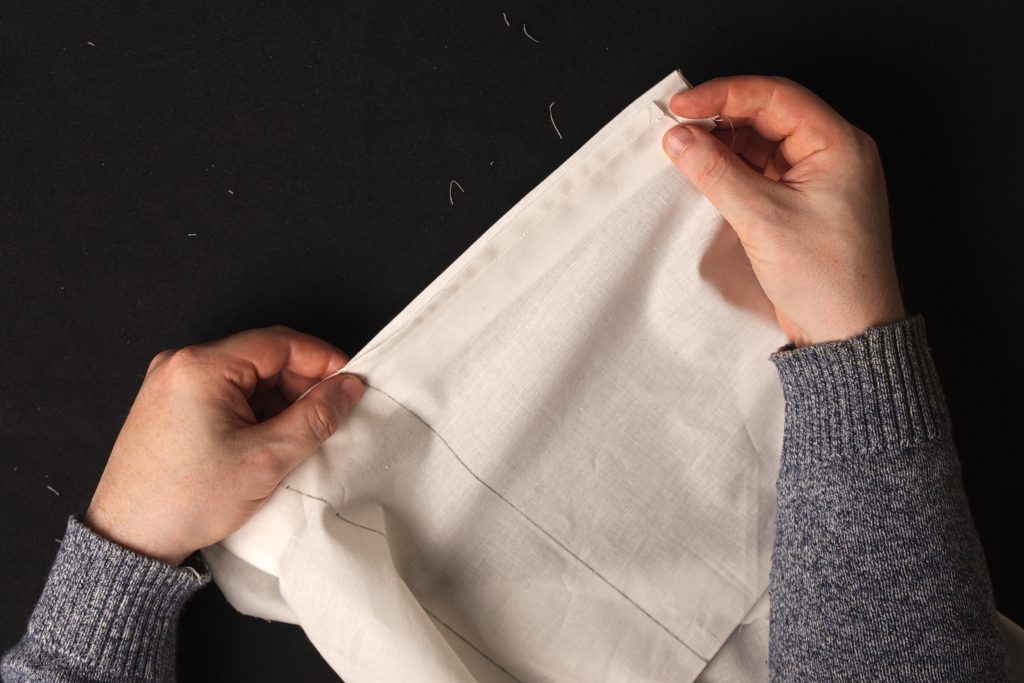
Keeping everything in position bring the fly assembly to the sewing machine.
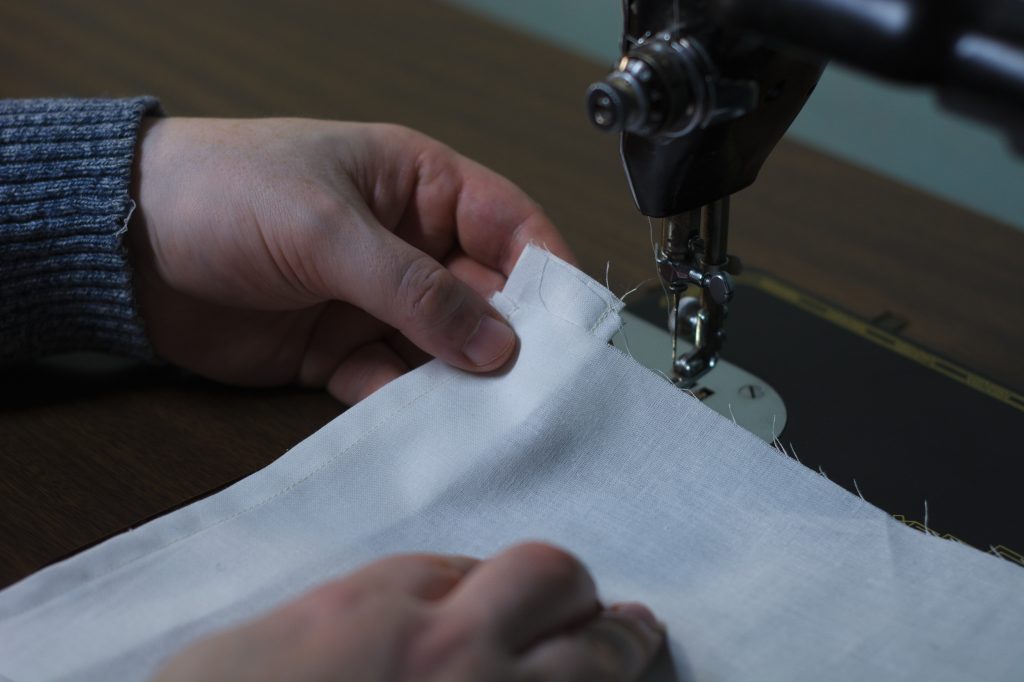
Top stitch from the waist through all layers of the fly, keeping about 1/4″ from the edge of the fly underneath. If you can’t really see the fly through your fabric, you may wish to draw the sewing line in beforehand.
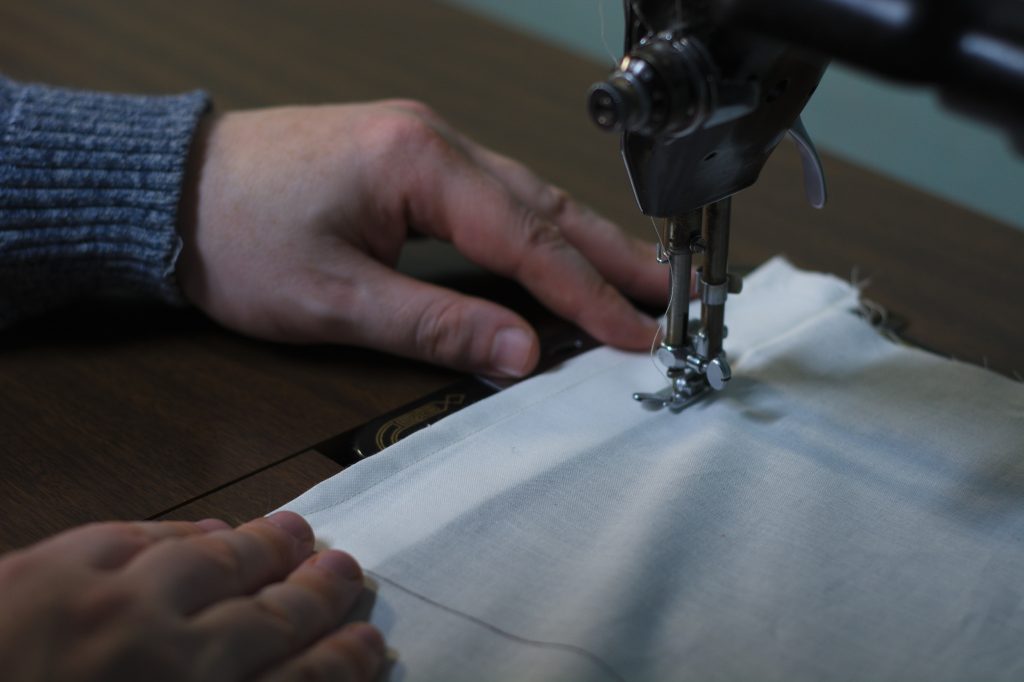
Continue sewing in a straight line along the edge of the fly until an inch or two above the mark you made earlier.
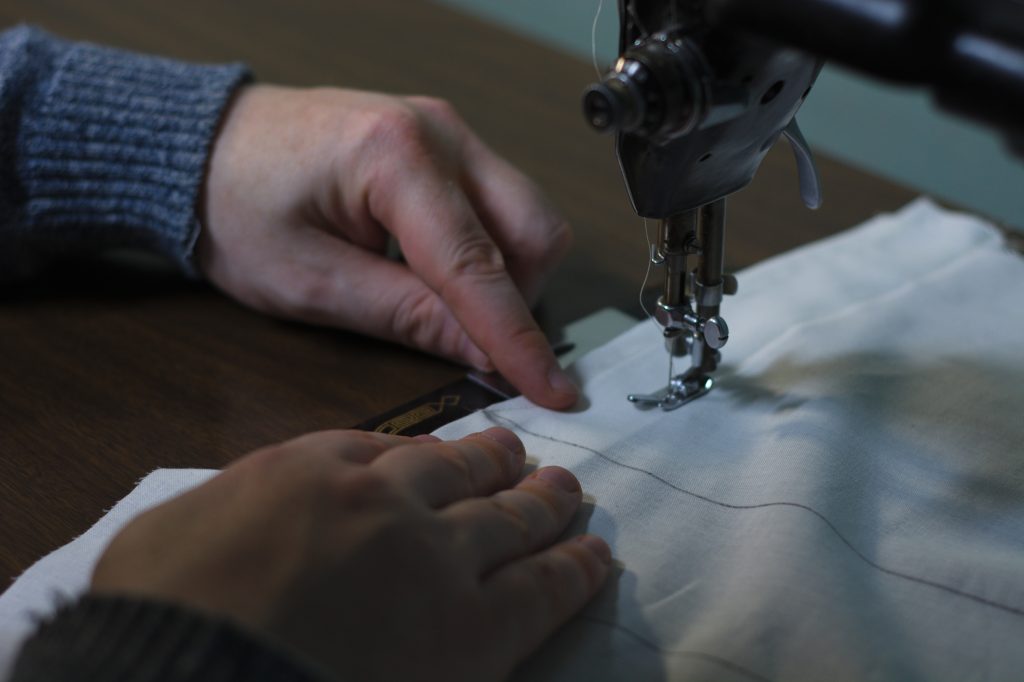
The make a nice curve towards the edge of the trousers, meeting up exactly where the previous stitches ended at that mark.
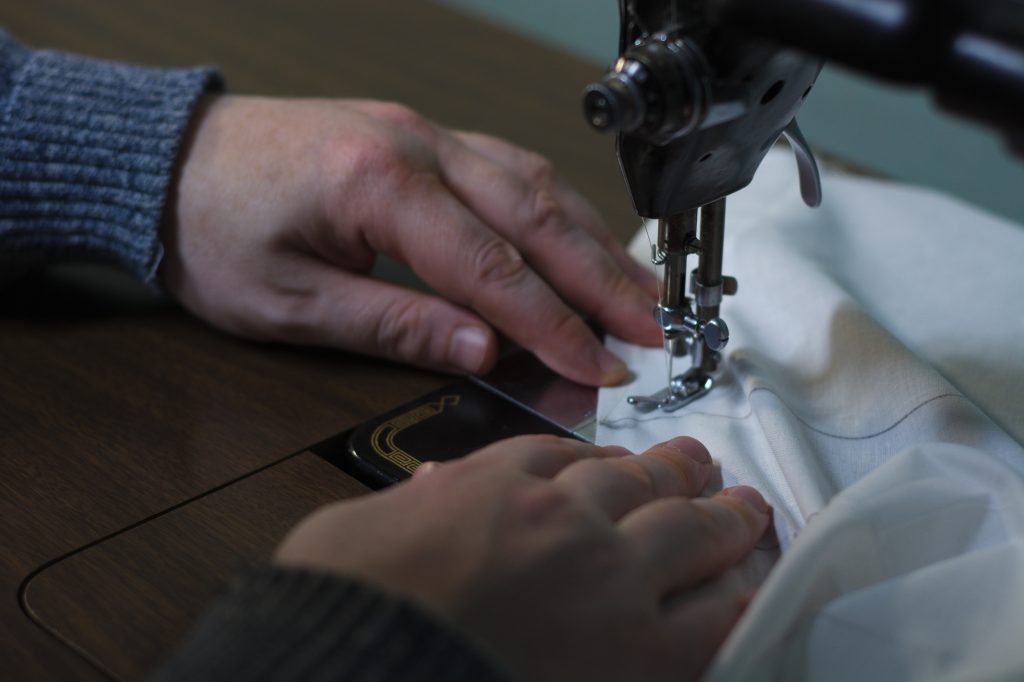
Here’s what the stitching should look like now.
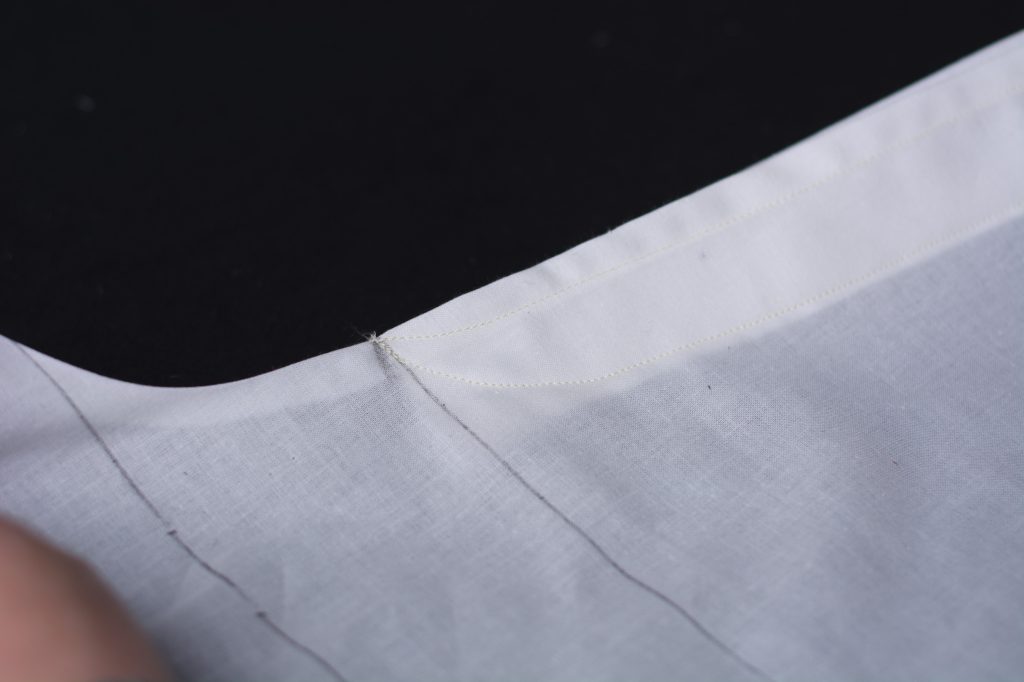
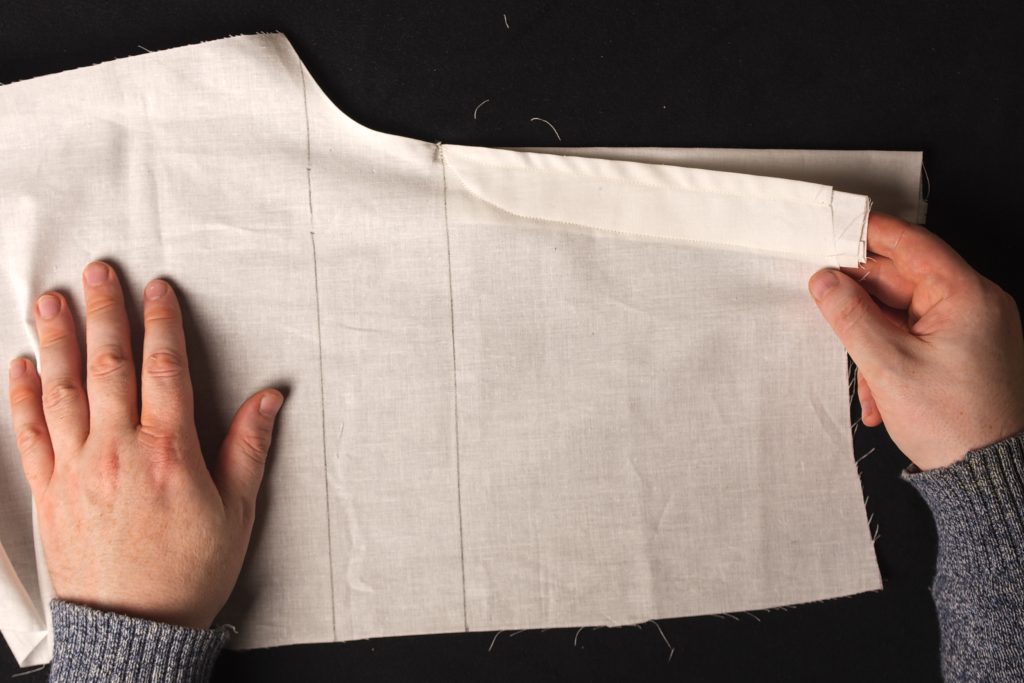
Finally, turn to the wrong side again and press the unsewn half of the fly up over itself.
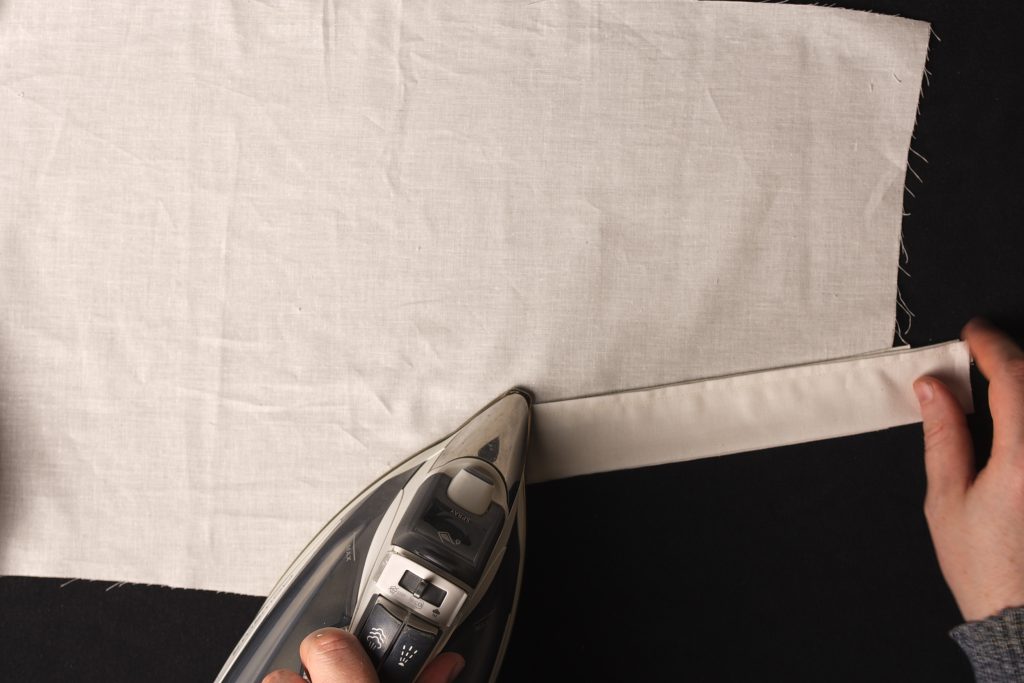
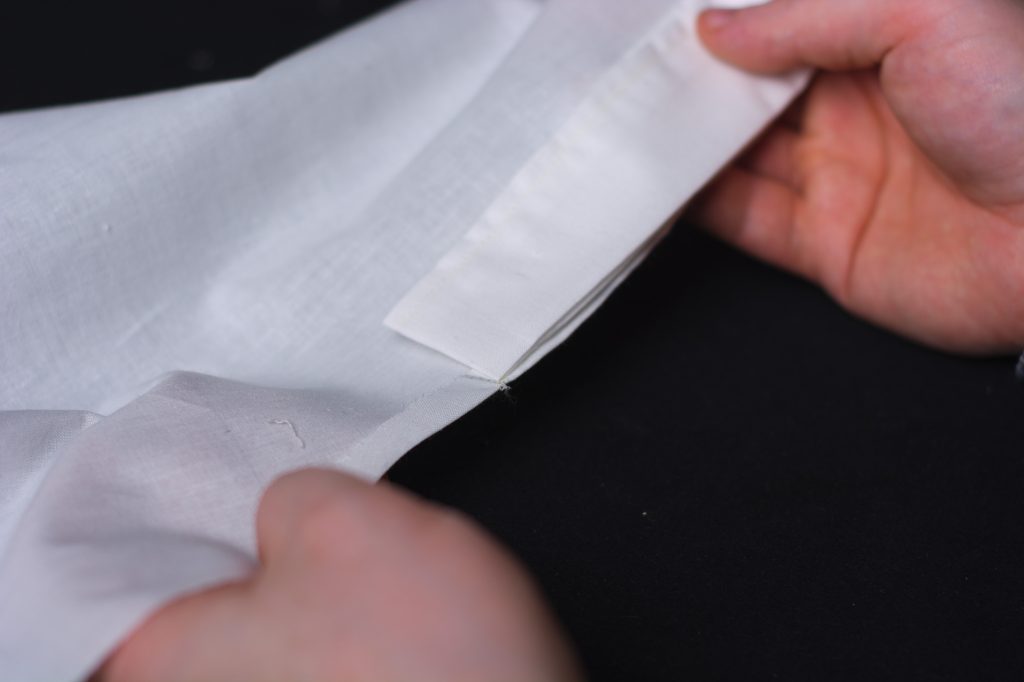
Sew the Back
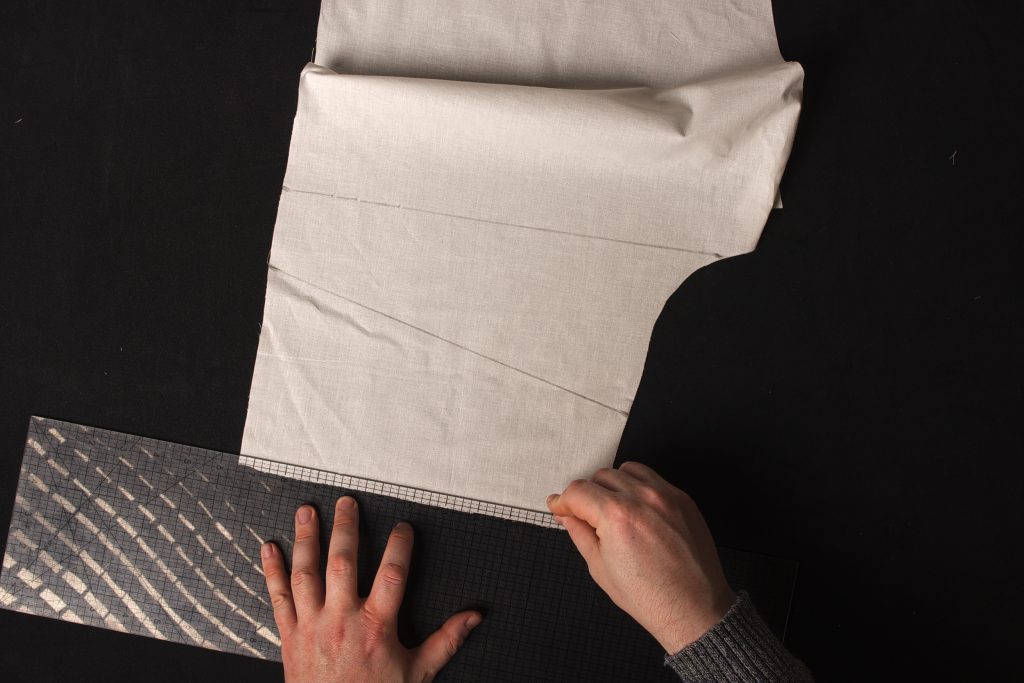
We’re finally ready to start putting together the muslin toile! First, mark 3/8″ along the yoke seam of the back.
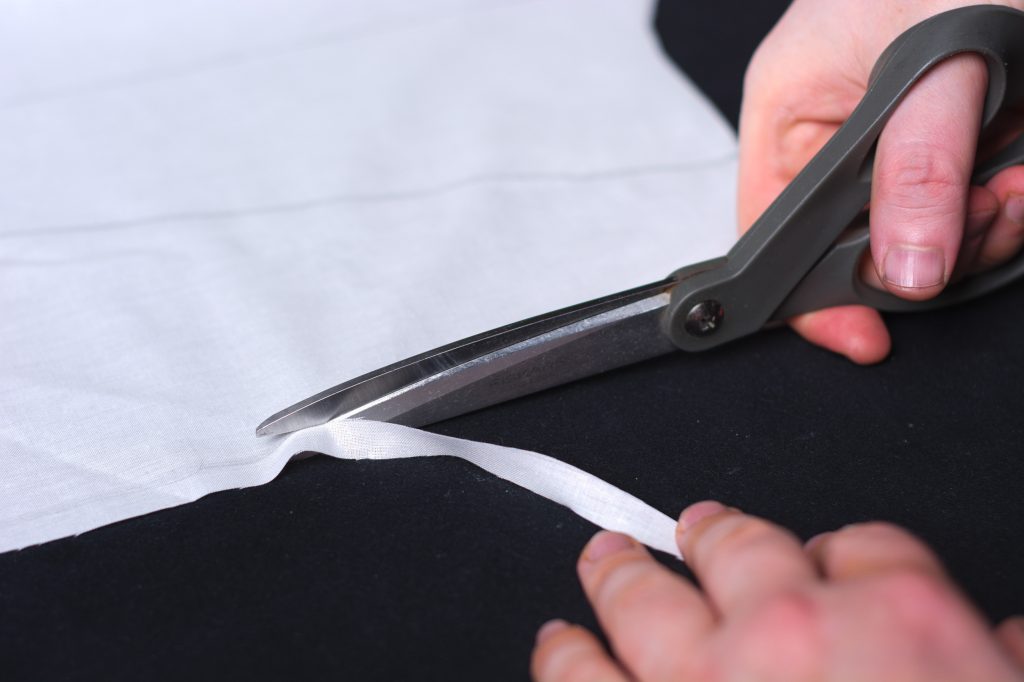
Trim off this 3/8″ from the yoke seam on the back piece. This extra is used in the modern jeans construction only.
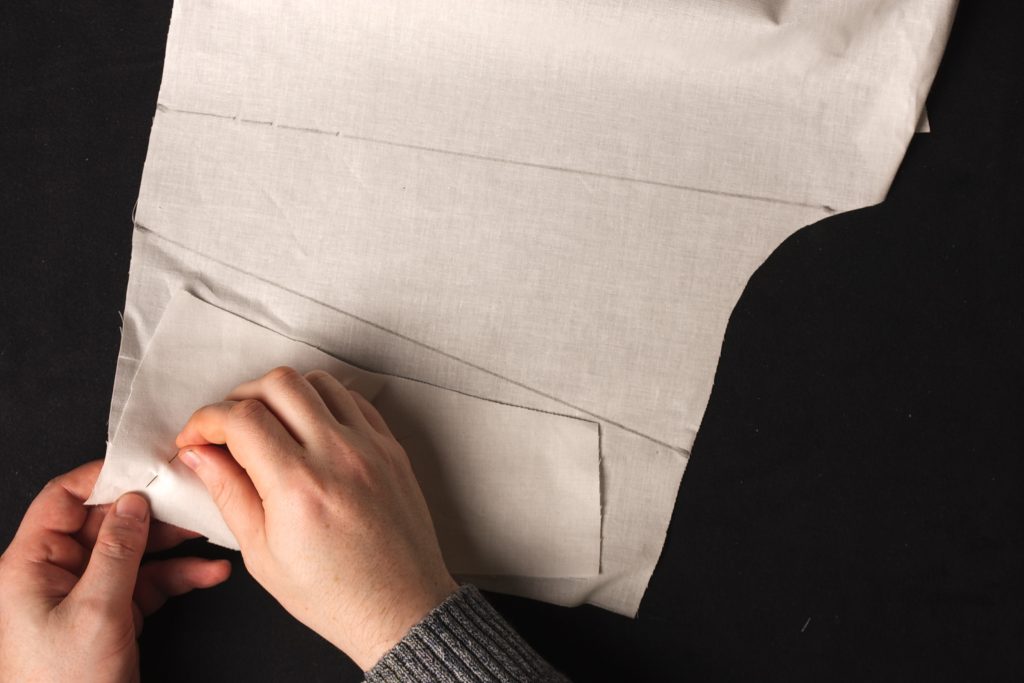
With right sides together, pin the yoke to the back leg on one side. Be sure the taller end of the yoke is on the seat seam, not the side seam like I’m showing! Even us experienced tailors can make mistakes . . .
Pin the other side of the yoke as well.
If you’re doing the historical 1873 jeans, you should have a bit of ease in the back leg at the yoke seam. The modern pair, the lengths should match up exactly.
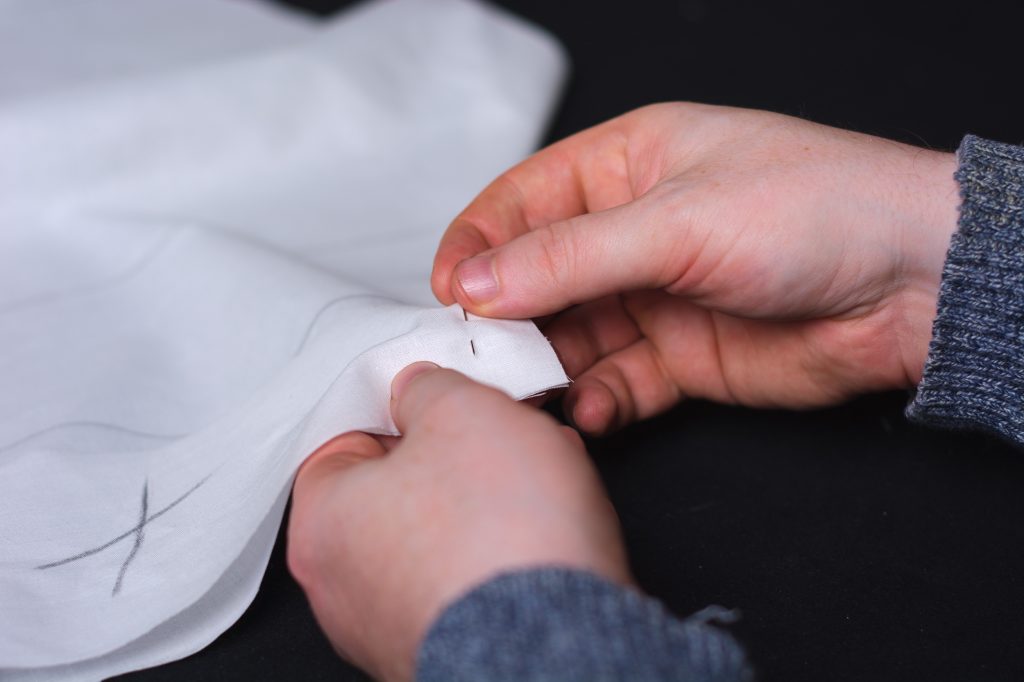
Pin the center of the back yoke seam, distributing the fullness equally on both sides. Then subdivide each half with a another pin in between.
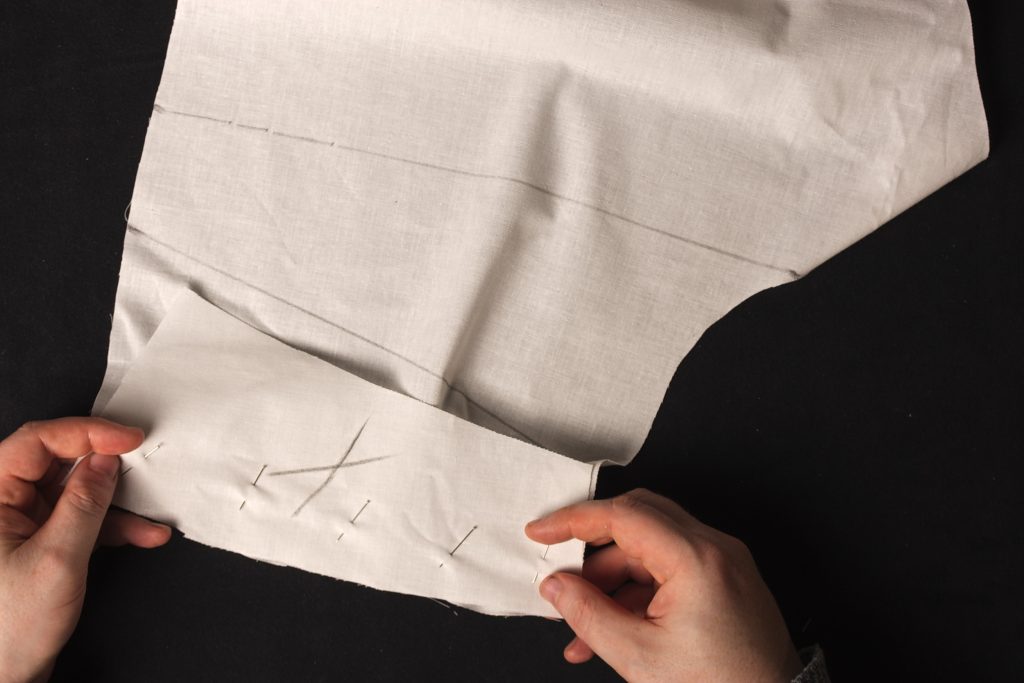
Here you can see the fullness distributed pretty much equally across the back.
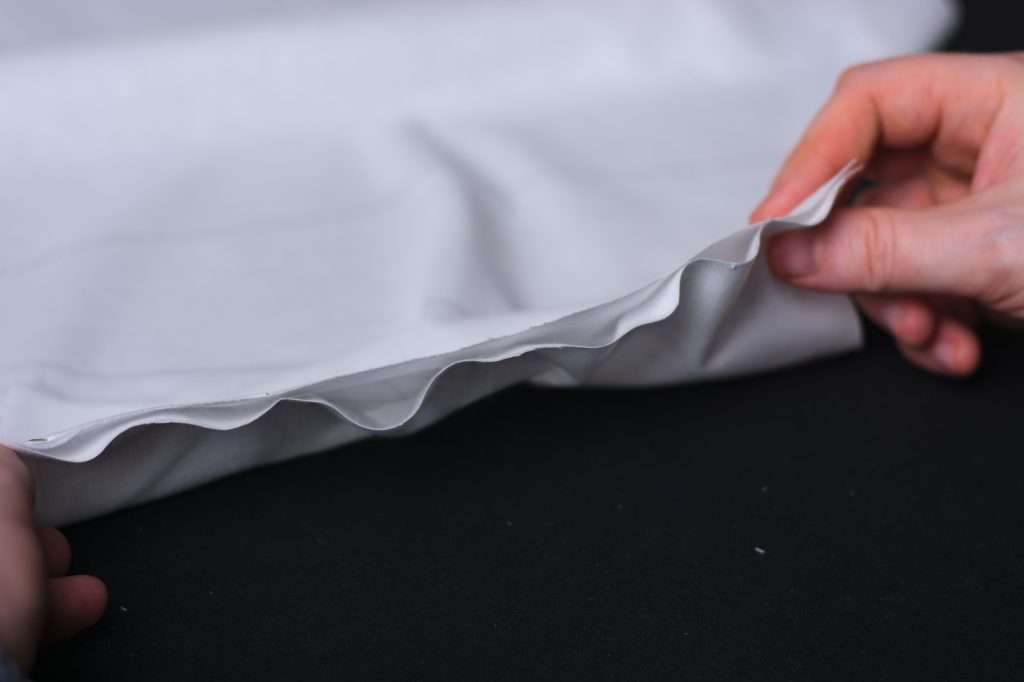
Sew the back yoke seam using a 3/8″ seam allowance. Keep the back leg on the bottom to help the presser foot distribute the fullness as you sew. It’s just a fitting though, doesn’t need to be perfect.
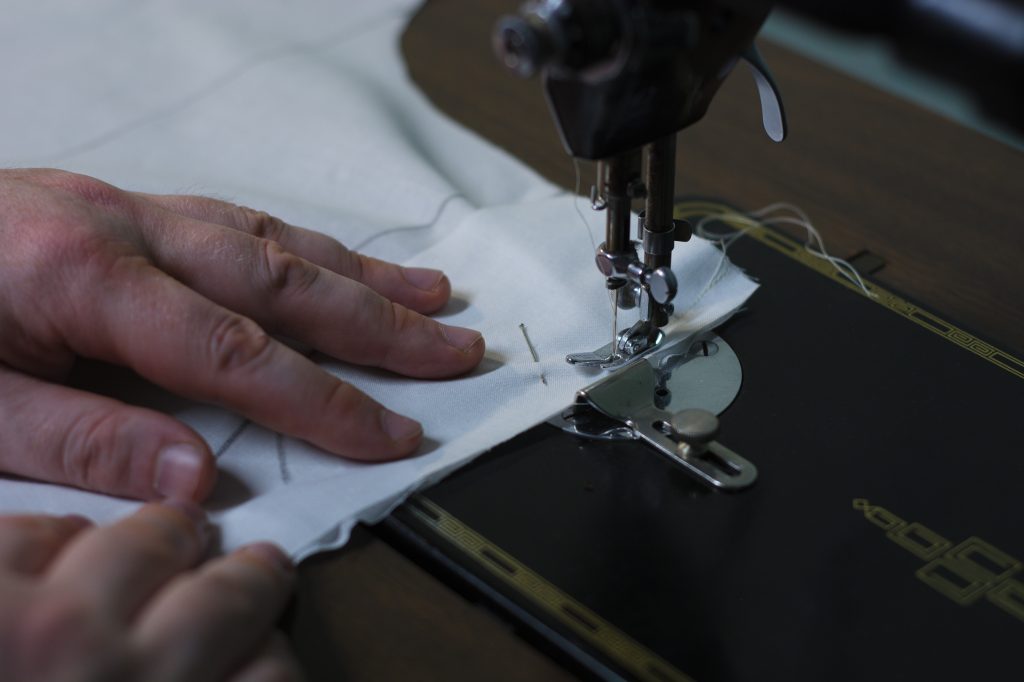
Here’s my yoke seam after sewing. It ended forming three little pleats which is perfectly fine for our purposes.
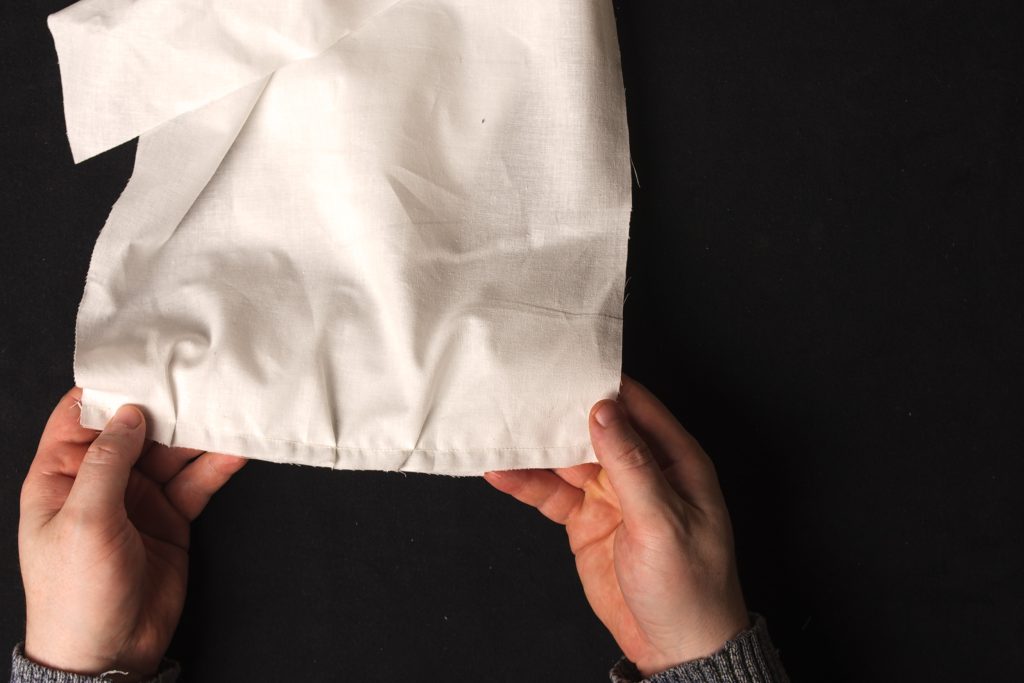
Open up the yoke and press the seam towards the yoke. Try not to press any of the fullness out that we just worked in. Keep the iron on the seam itself.
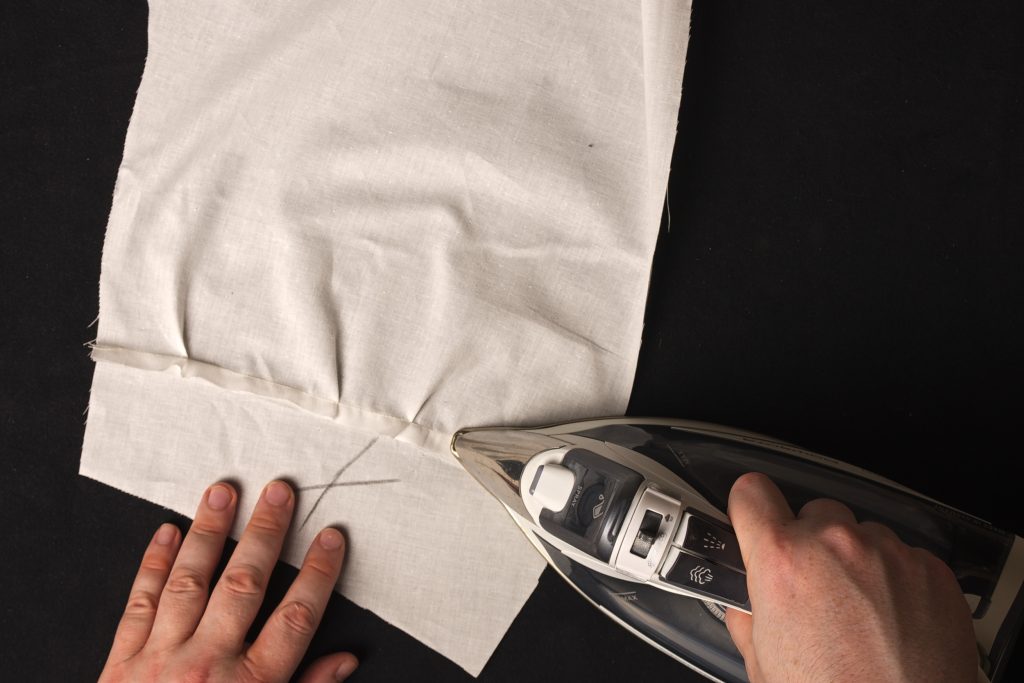
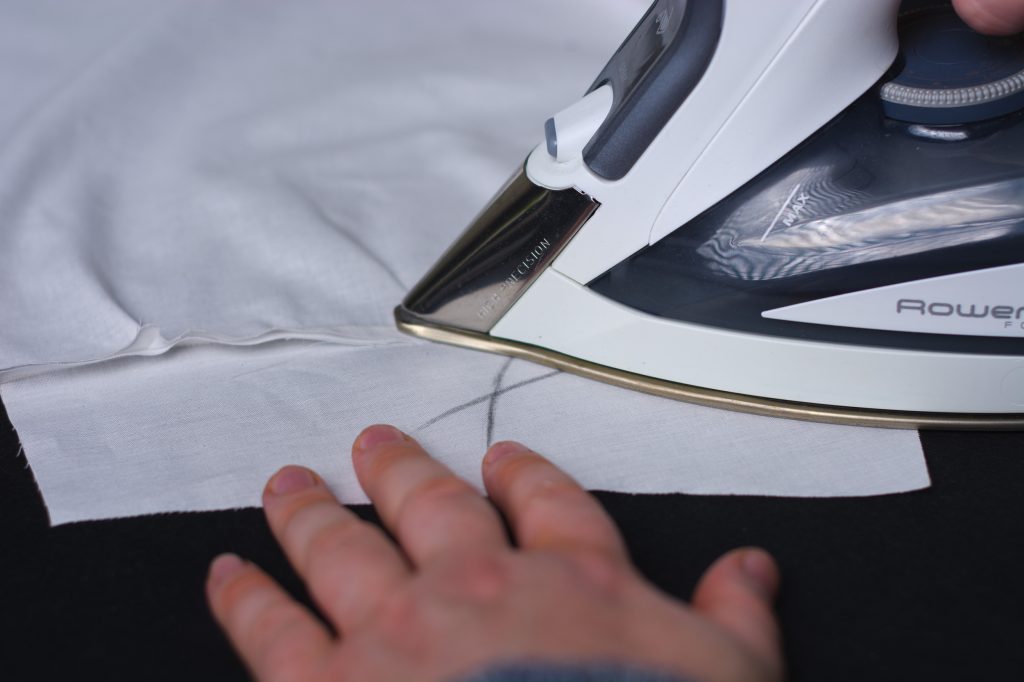
After pressing the yoke seam. (As I was sewing, I still hadn’t noticed my mistake of putting the yoke on the wrong direction).
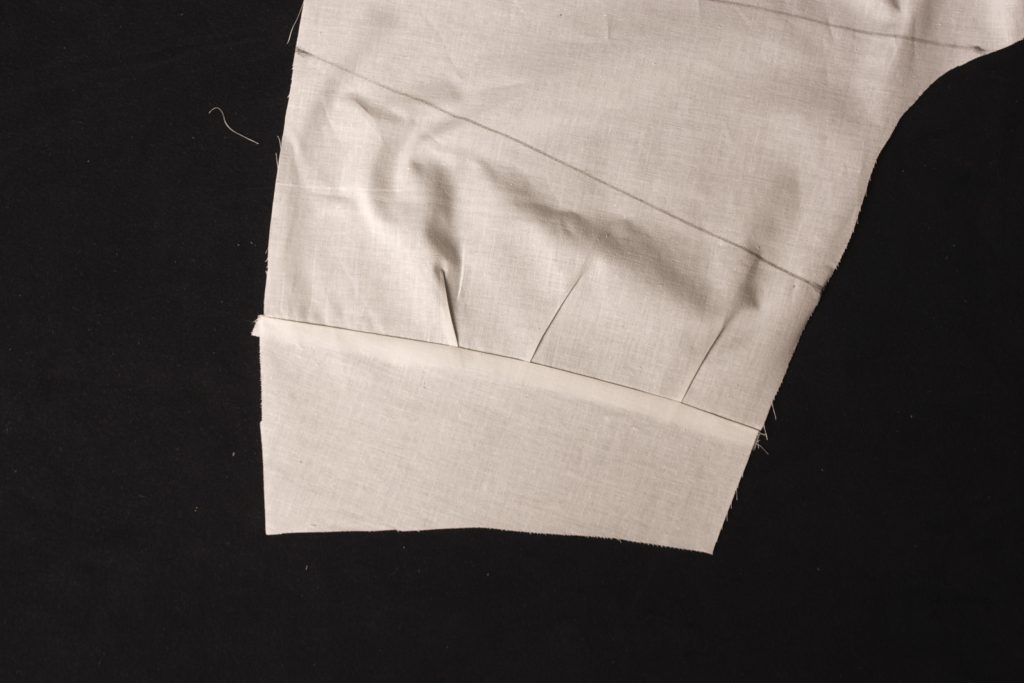
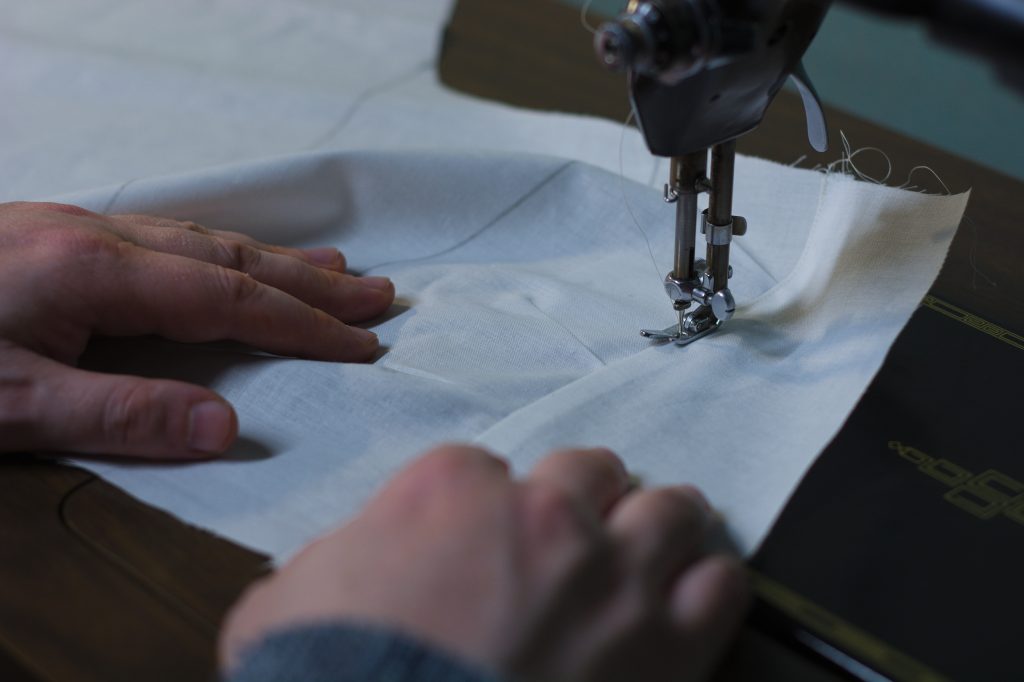
Top stitch the yoke seam about 1/16″ away from the seam through all layers.
As I was examining my work I realized with horror at how I had put the yoke on wrong and how I was going to have to make friends with the seam ripper. So don’t make my mistake! The tall end of the yoke goes on the seat seam.
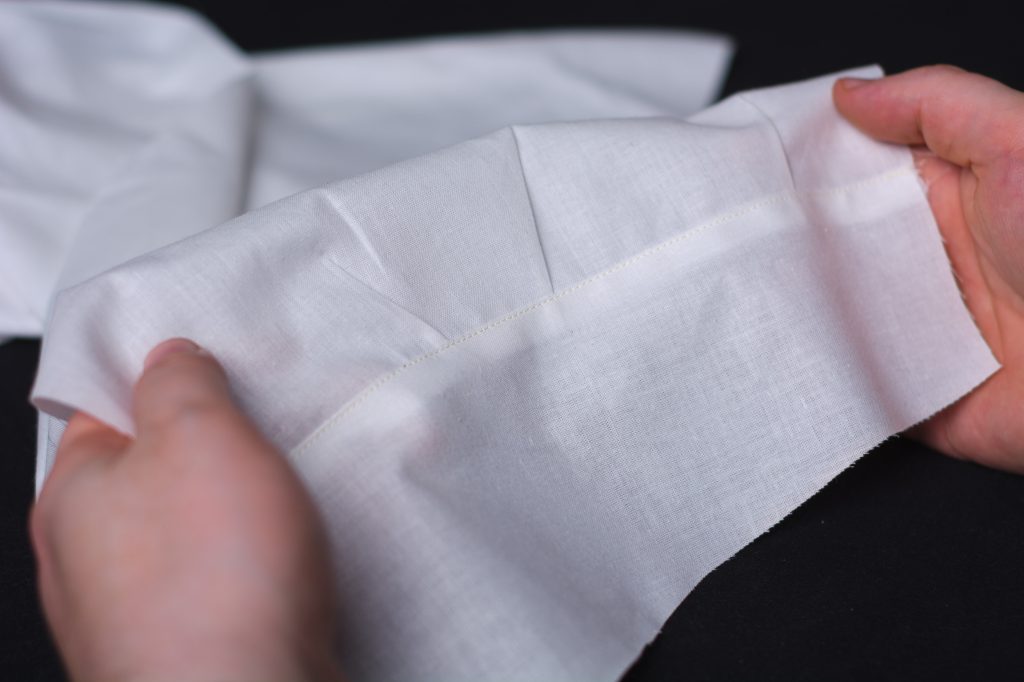
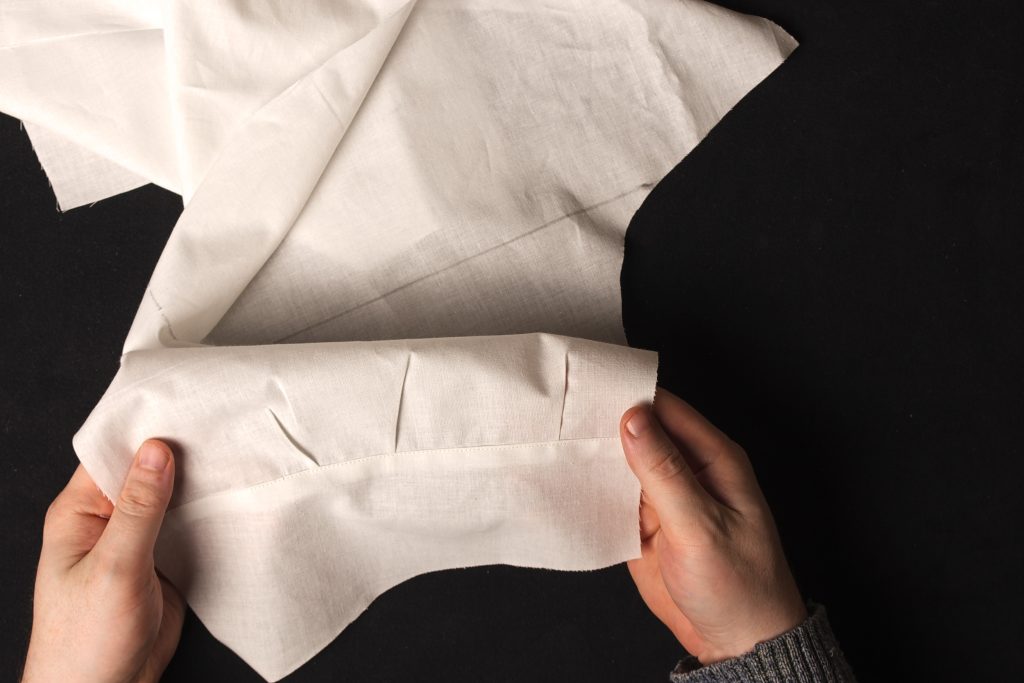
After fixing my mistake and sewing the other leg as well, this was the result.
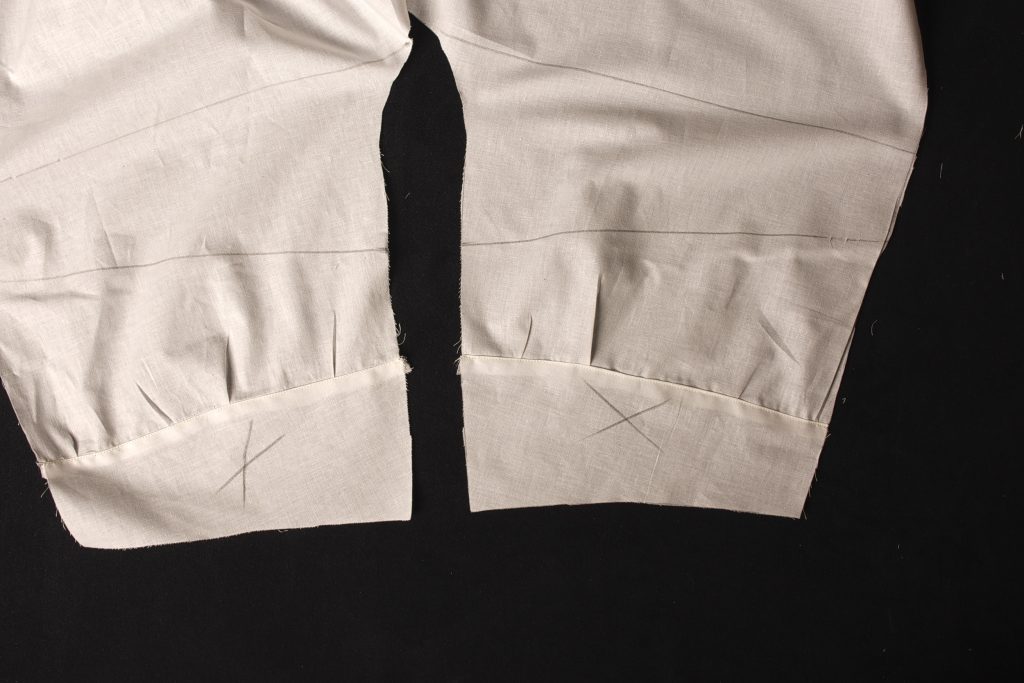
For 1873 Jeans Only
If you’re making the 1873 jeans you should be using the straight cut yoke here. If you accidentally used the curved yoke, don’t worry, the affect is the same for fitting purposes – just use the correct one for your jeans.
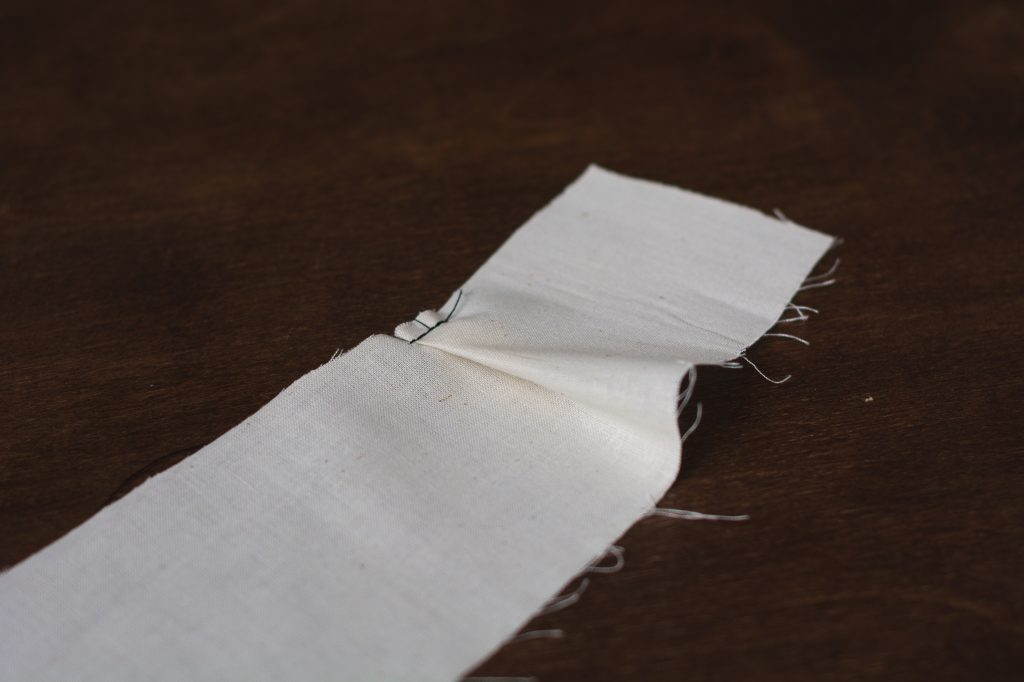
After attaching the yoke to the back legs as above, mark the top of the dart as shown. We’re making more of a pleat here, not a complete dart, so only the top marks are necessary.
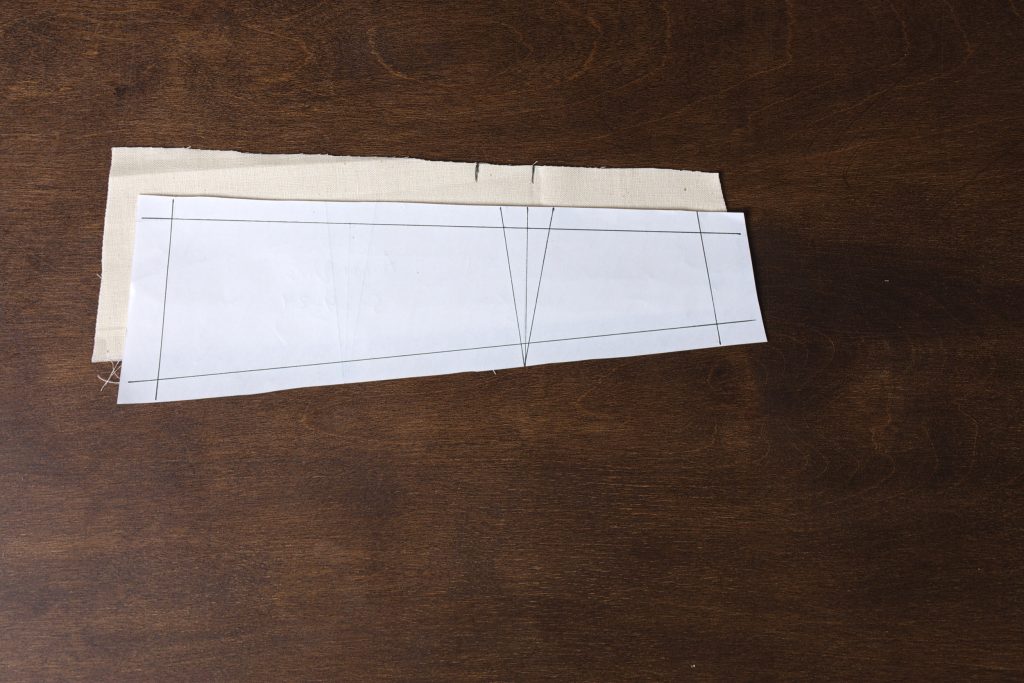
Fold the two marks together forming the pleat, with the right side of the pleat pointing towards the back of the yoke (the tall side). Stitch across the top of the yoke to hold it in place, 1/4″ from the edge.
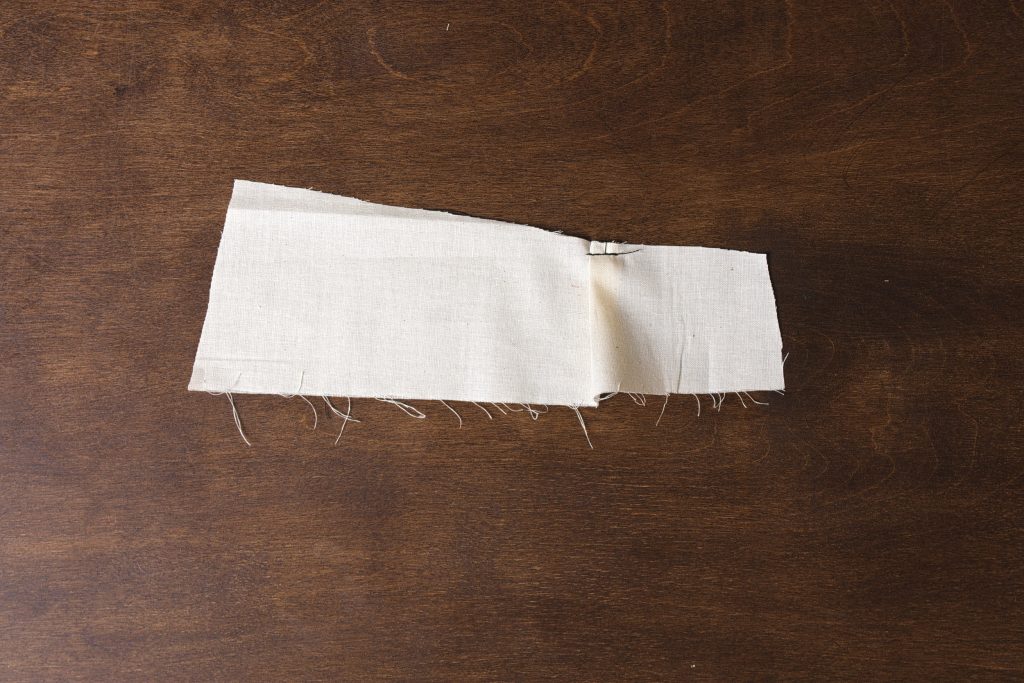
So in affect, both styles of yokes are doing the exact same thing and introducing shape into the seat area – just the modern yoke is a bit more refined.
Seat Seam
The seat seam is fairly basic, at least here in the muslin version. Place the two back legs right sides together and pin the seat seam, aligning the yoke seams and the hip and crotch lines as well.
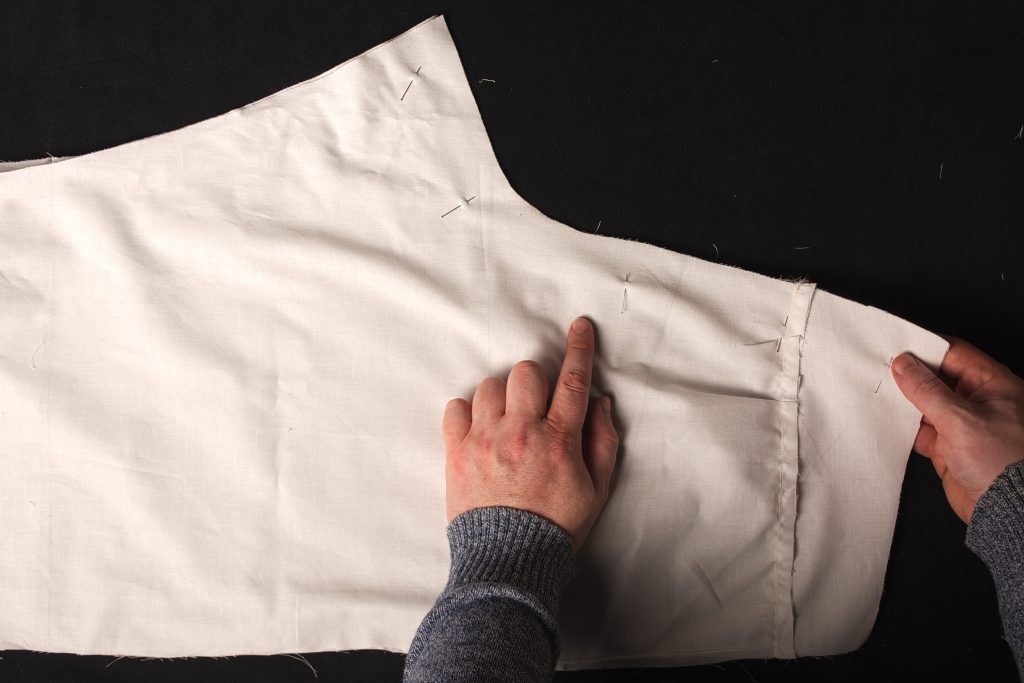
Sew the seat seam using a 5/8″ seam allowance.
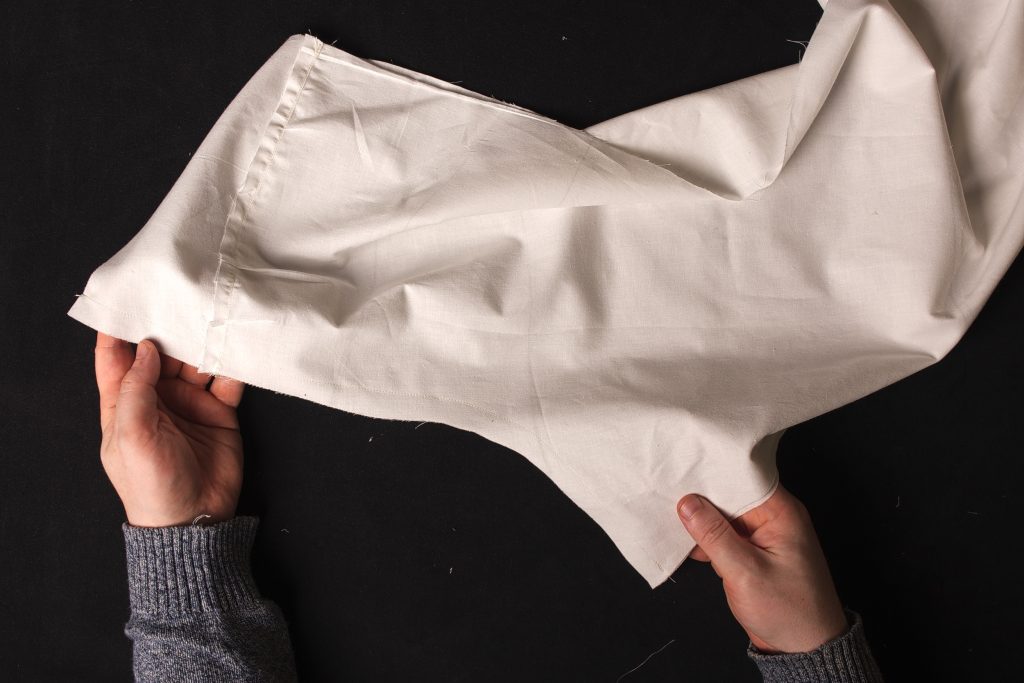
Now gently stretch the seat seam at the curve, in the seam allowance only, using the iron.
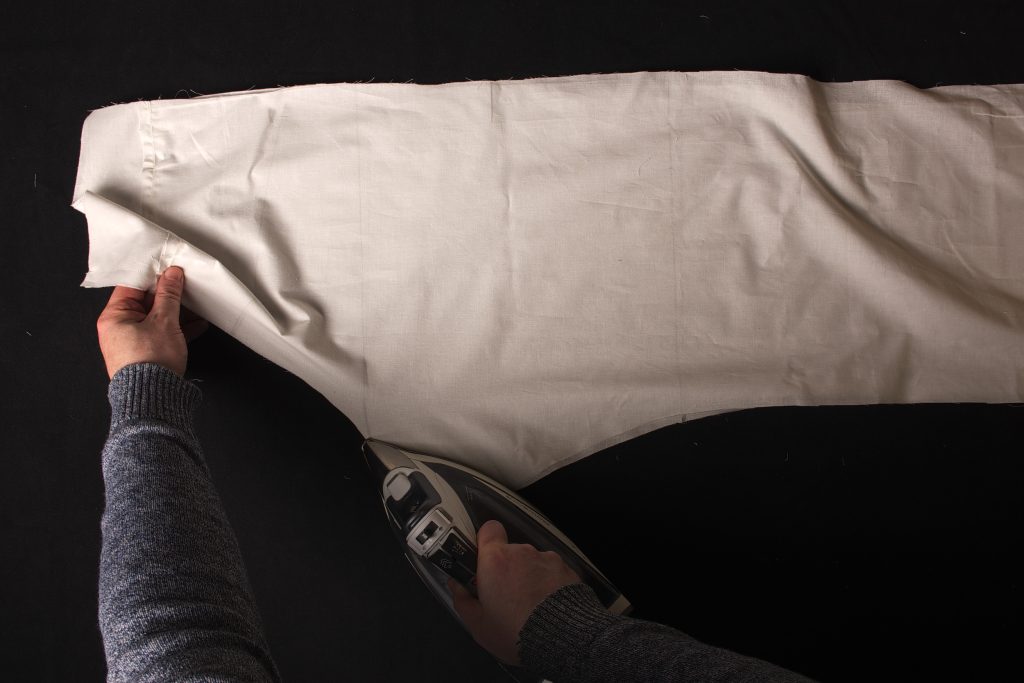
Stretch until the curve can form a straight line, or close to it. You’re basically putting in length to the seam allowance to allow it to lay flat when pressed in the curve area.
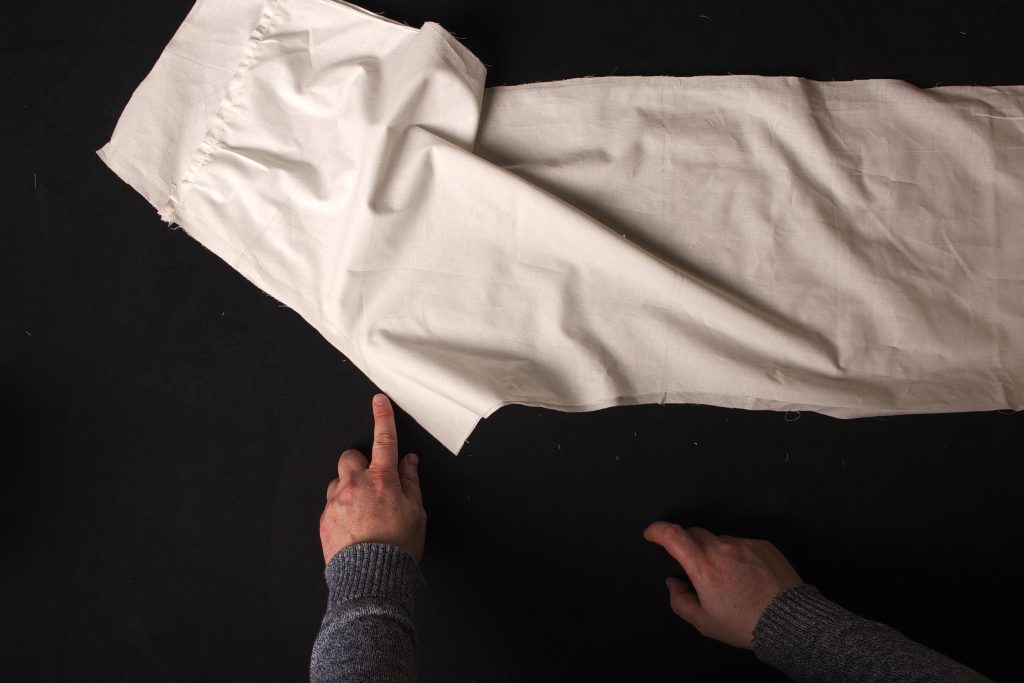
Press the seat seam open.
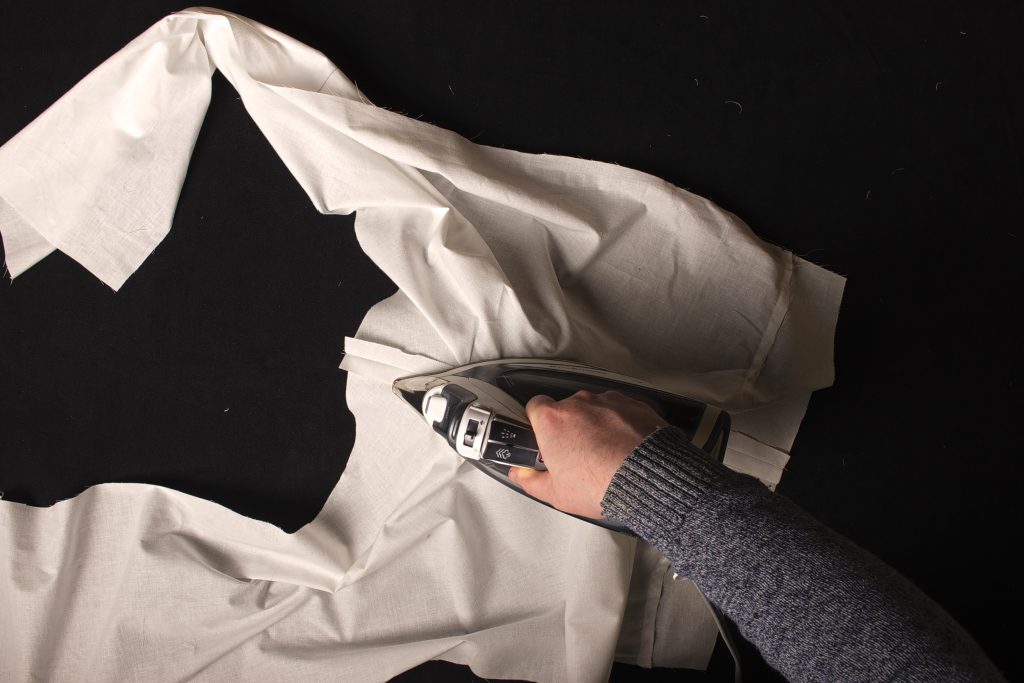
Here’s what the back assembly should look like at this point.
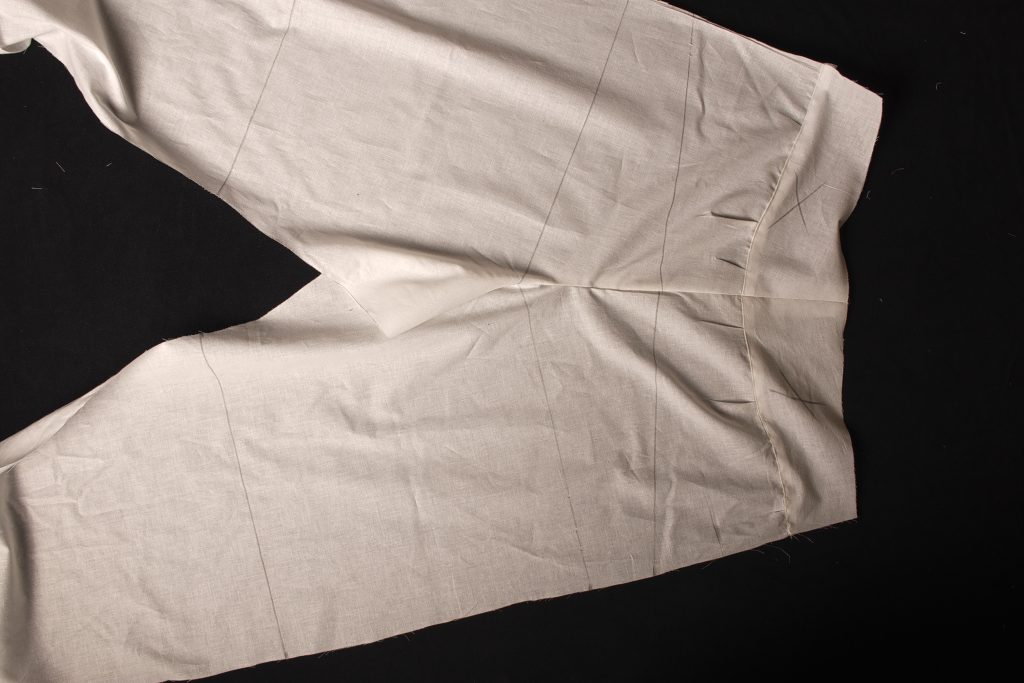
Also a good check to see if you’ve done everything correctly, is to check the hip line and see if it’s straight. If not, it’s possible your seat angle was changed (for alterations or mistakenly) or your sewing was inaccurate.
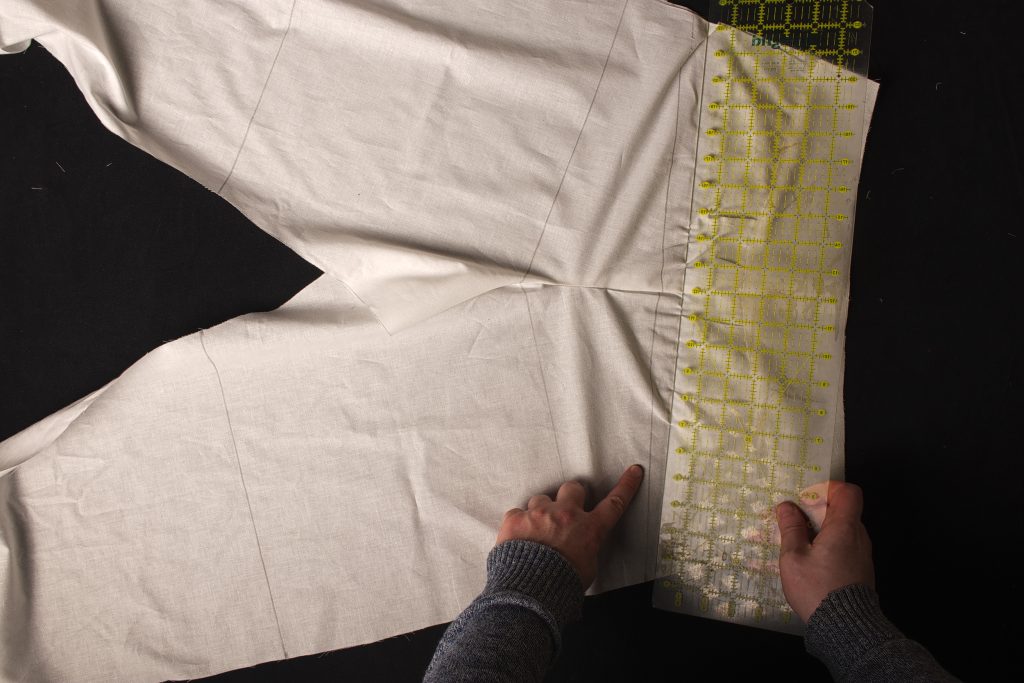
Drafting the Fly and Waistband
Drafting the waistband and fly are super easy, in fact I usually just draft them directly on the cloth. But it might be a good idea for a first try to draft them on paper.
Waistband
First, draw a horizontal line equal in length to the waistband plus 3 – 4″ on either side. The extra room will be used for turning under the ends as well as room for error if we have measured incorrectly.
The width should be about 3 3/4″. That gives you a 3/8″ seam, 1 1/2″ for the outside, 1 1/2″ for the inside, and 3/8″ for the selvedge edge on the bottom inside of the fly. If you’re not planning to use selvedge in the waistband (to save fabric perhaps), I’d add another 1/2″ just for safety.
One long edge is typically placed along the selvedge when cutting the denim.

1873 Jeans Fly
This is as close as I can get to the original 1873 fly, from the photos I’ve seen. It’s also a useful option for those who may not want to use the one piece fly (below) for some reason.
Begin by drawing a line parallel to the front fly line, 1 3/4″ from the seam line (not the two seam allowances).
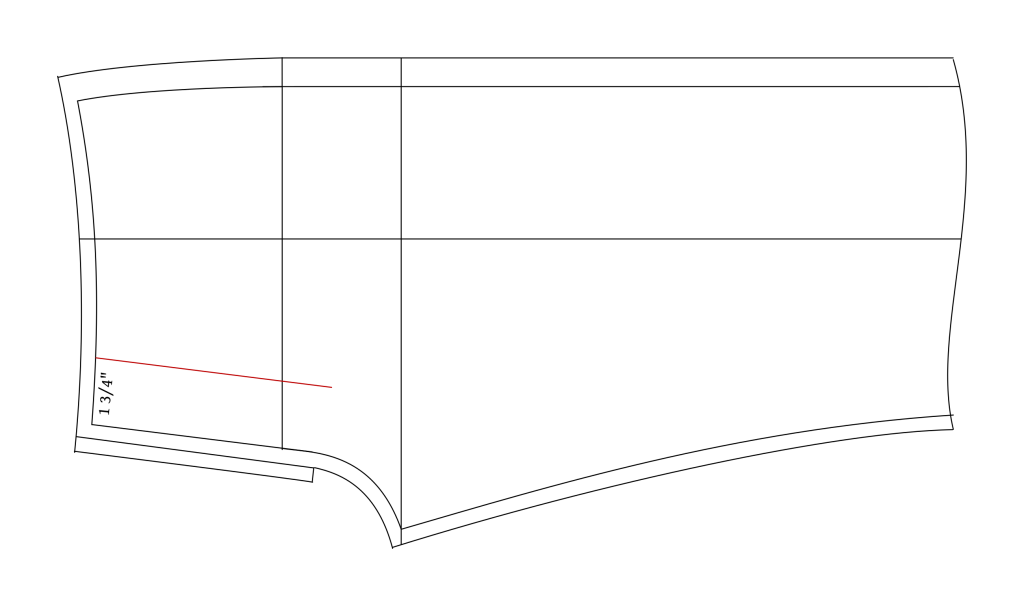
Draw in a curve as shown, starting at the bottom of the fly extension, smoothing into the construction line you just made.
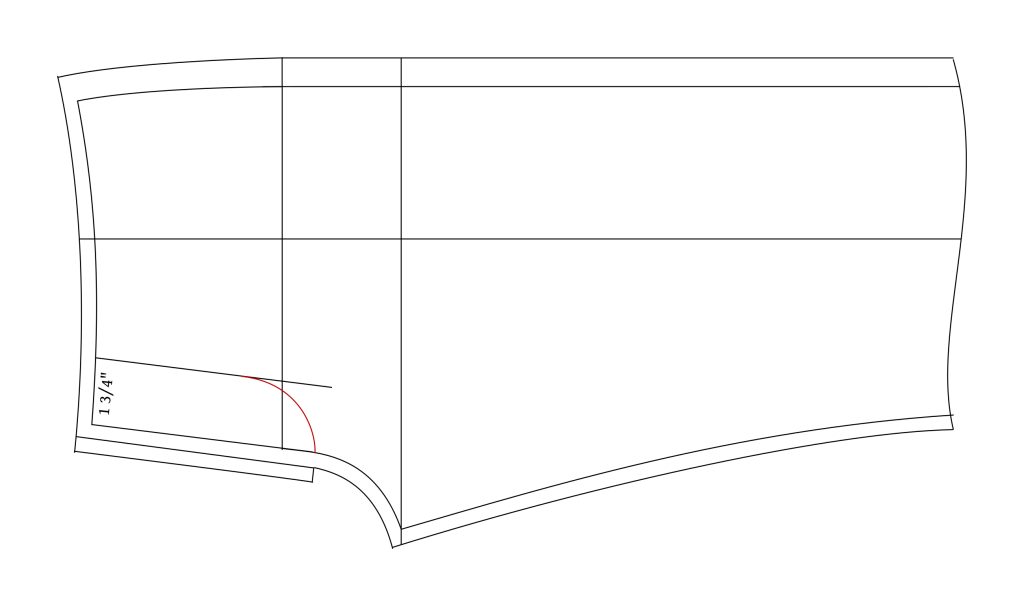
Copy the outline of the fly to a fresh sheet of paper.
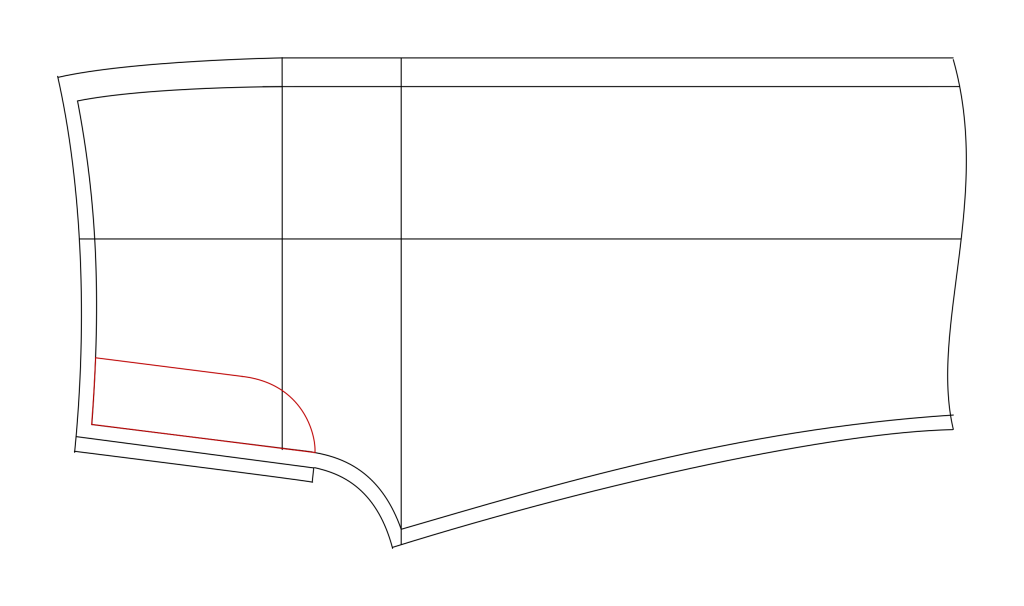
Here’s what the fly should look like. Add about a 1″ inlay at the top to trim later.
The fly is cut on the fold (or you can just flip the pattern over on the fold line and draw the other half). If you’d like, you can put one edge on the selvedge for a cleaner finish. The selvedge would go on the left side when the entire fly is opened up.
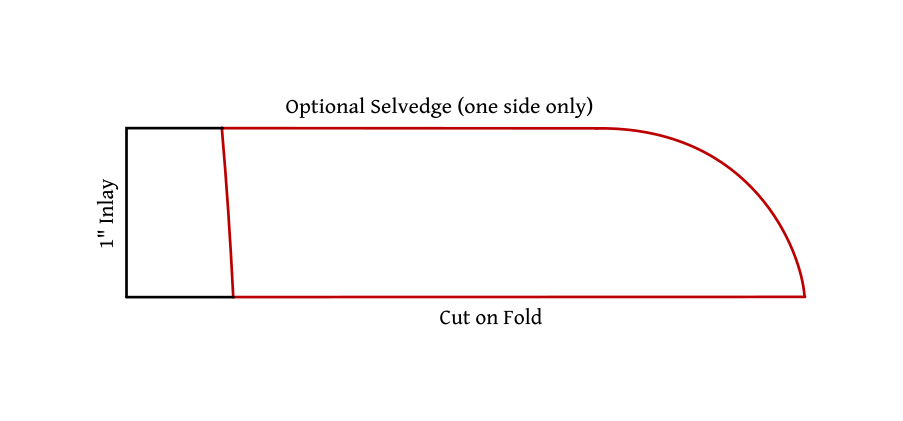
Here’s my fly after tracing it out in both directions. The left side here could be placed on the selvedge so that it’s visible in the finished fly.
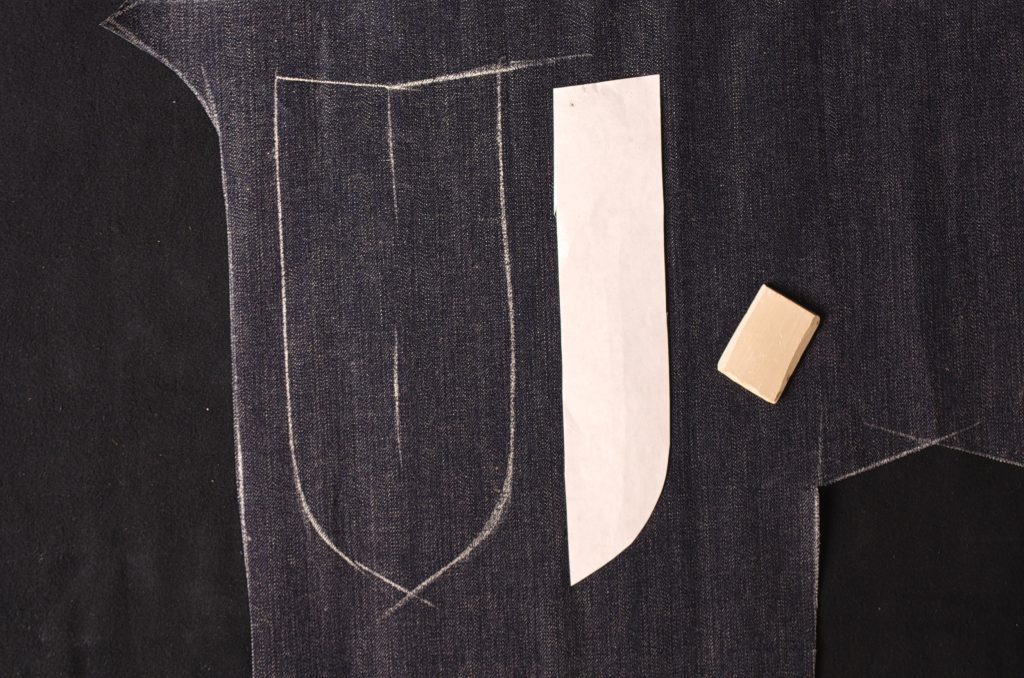
And here is the bit of inlay added to the top edge just to give us some extra room to work with.
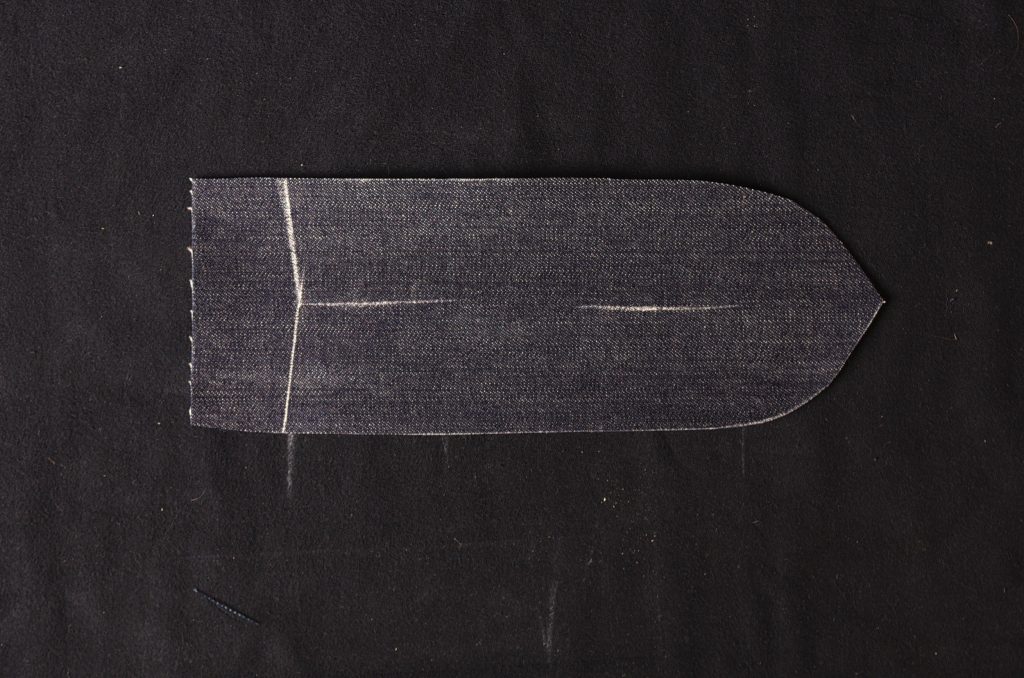
One-Piece Fly
The one-piece fly is very easy to draft, and the best and strongest choice for any type of jean after about 1877. First, measure the length of the little fly extension on the front pattern piece.
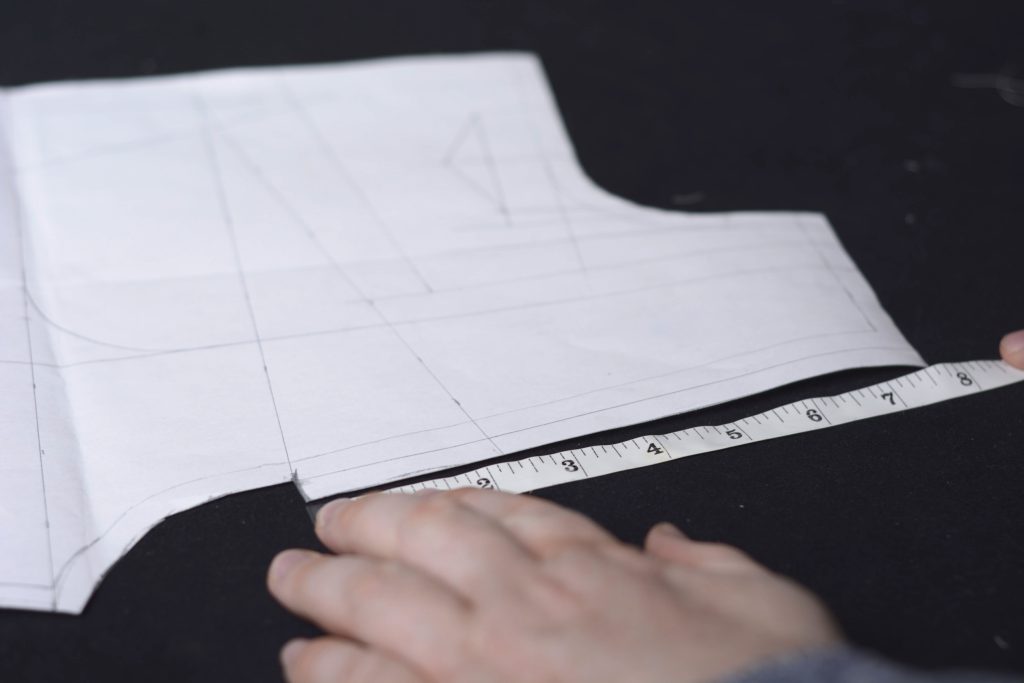
Now double that and add 2″ for ease. This is the length of the fly. Mark a line on the paper with this distance.
The final width of the fly is up to you, but I’ve found 1 3/4″ to be a good width. Feel free to adjust that though. So for the pattern piece we have the width equal to 4 1/2″, or 1 3/4″ for the front and back, and 1″ for seam allowances.
In practice I just draft out the rectangle with the final dimensions on the cloth and don’t draft any of the construction lines.
