Category: Inverness Cape
Top Stitching
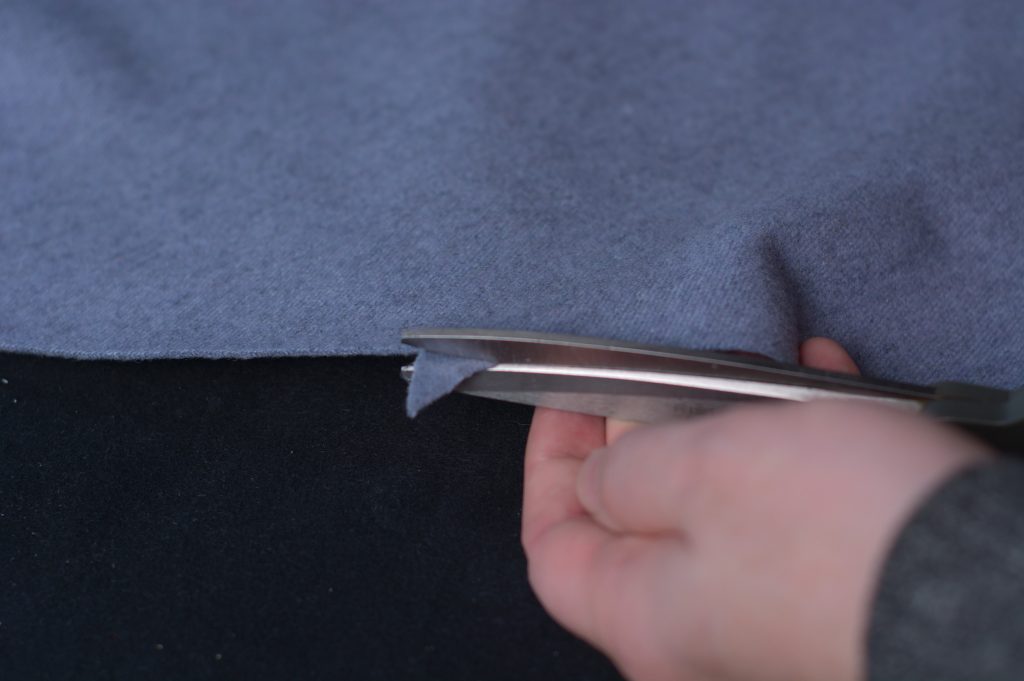
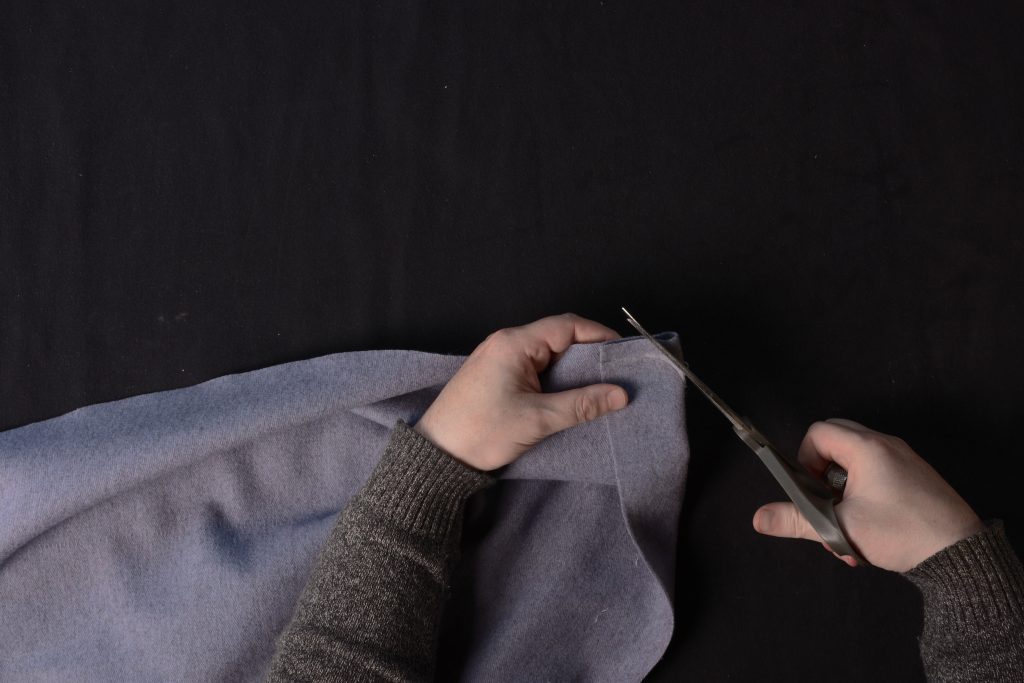
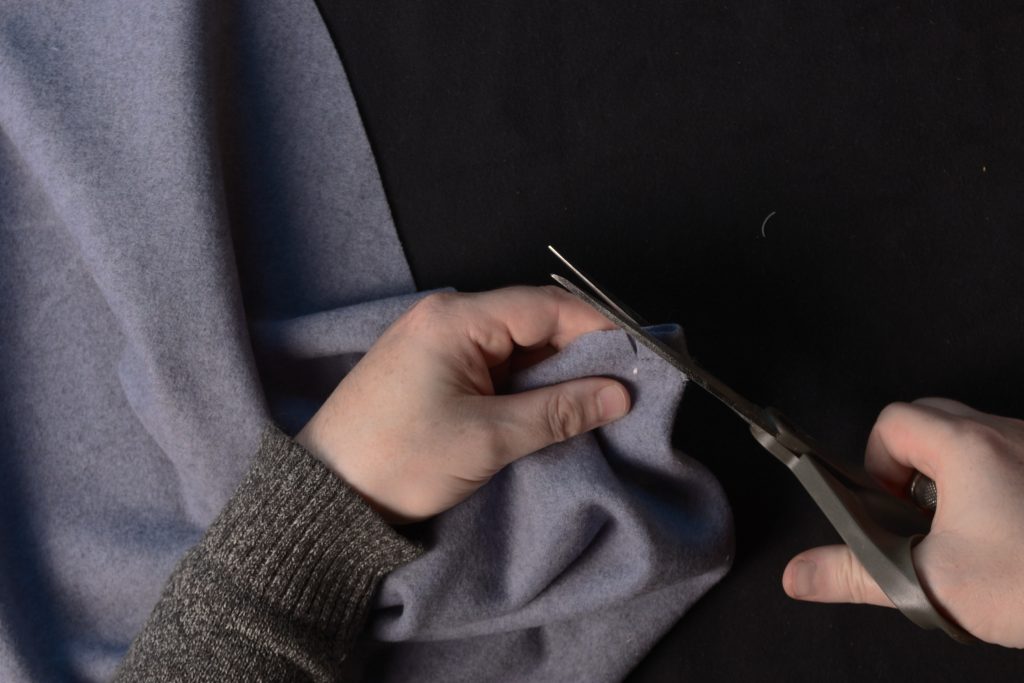
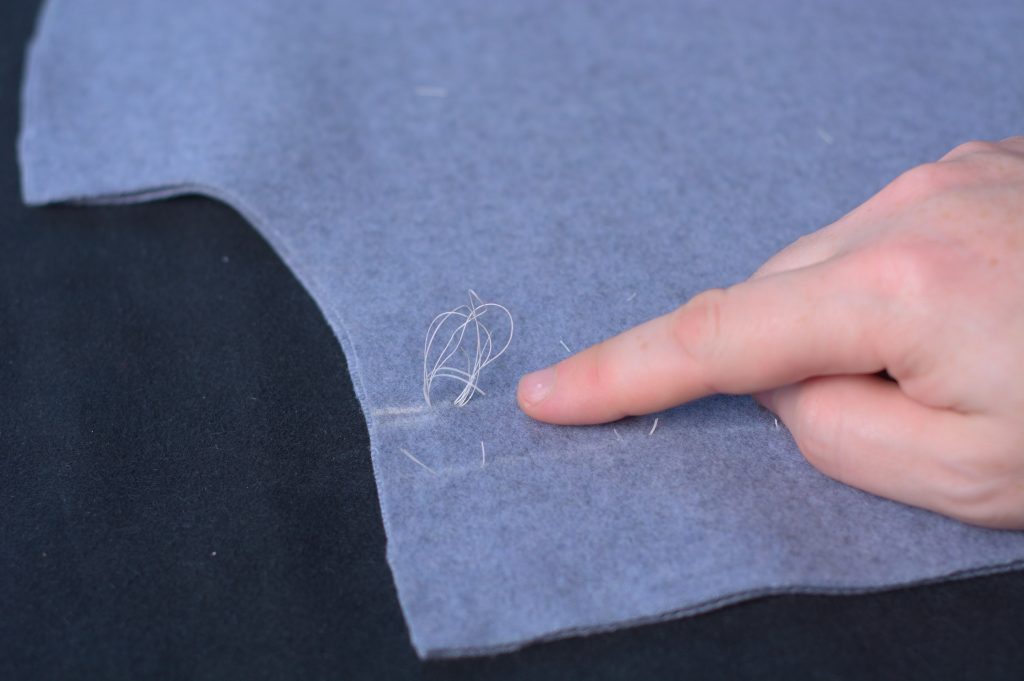
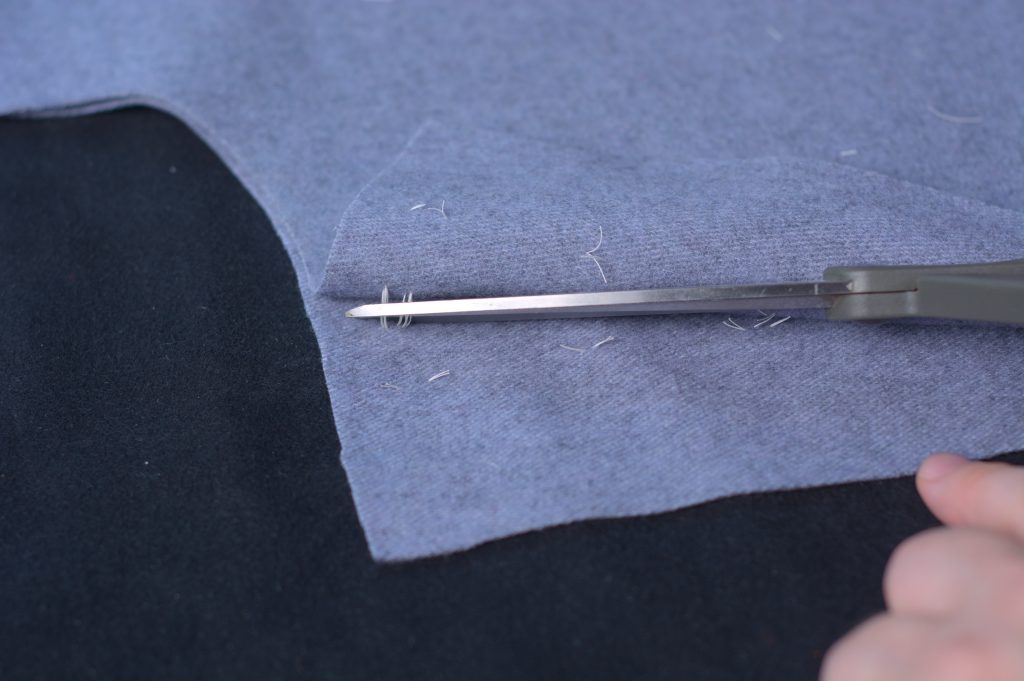
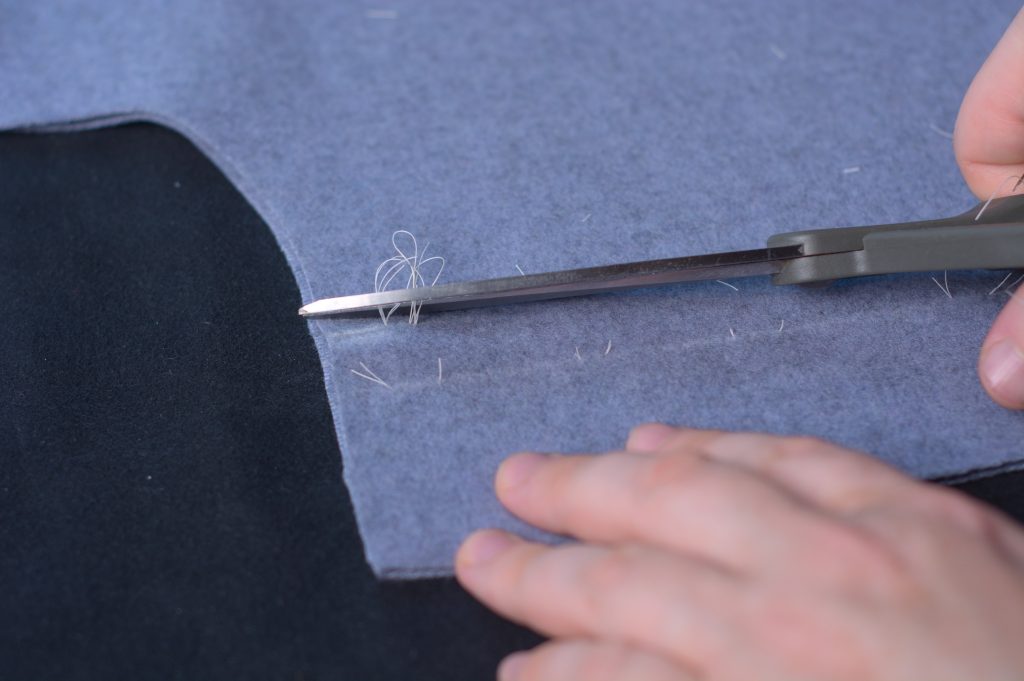
If you pieced together your cape, trim off any triangular bits of seam allowance if you haven’t already done so.

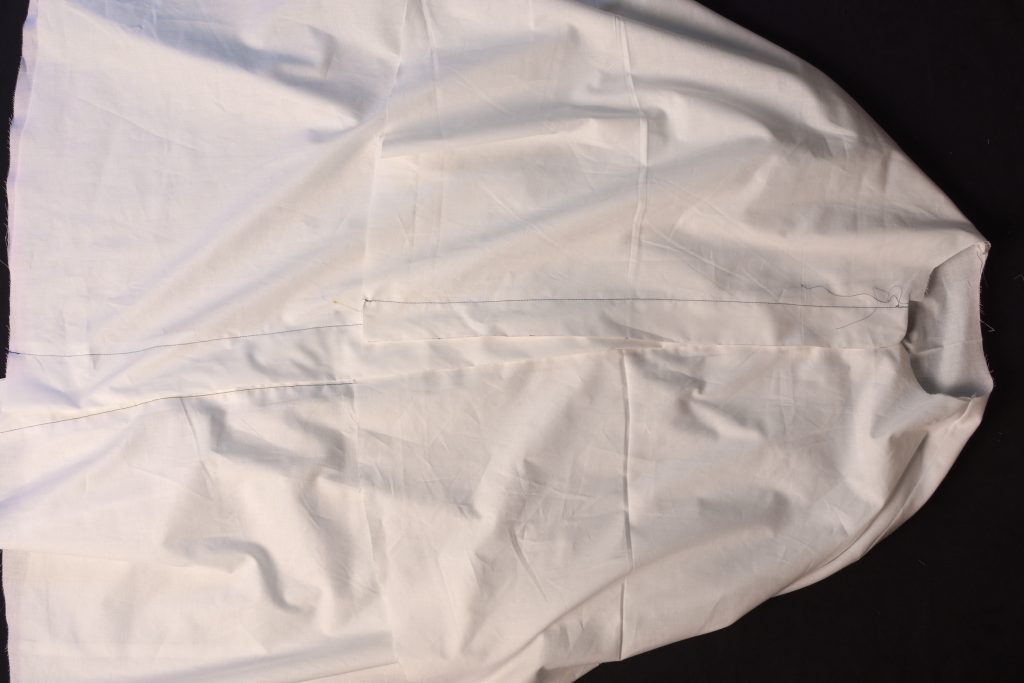
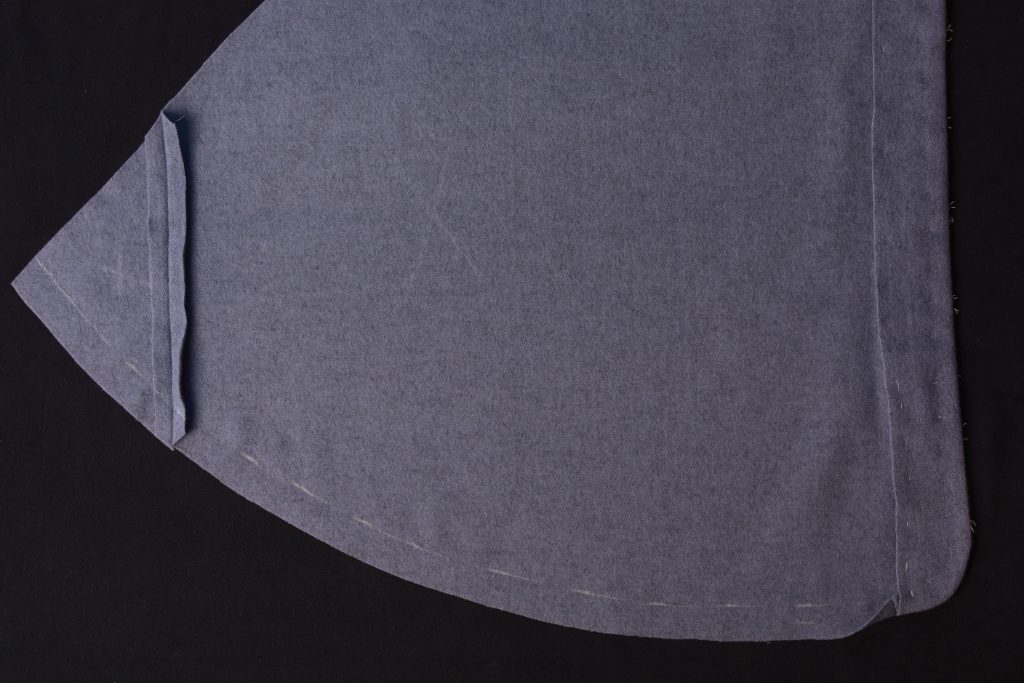
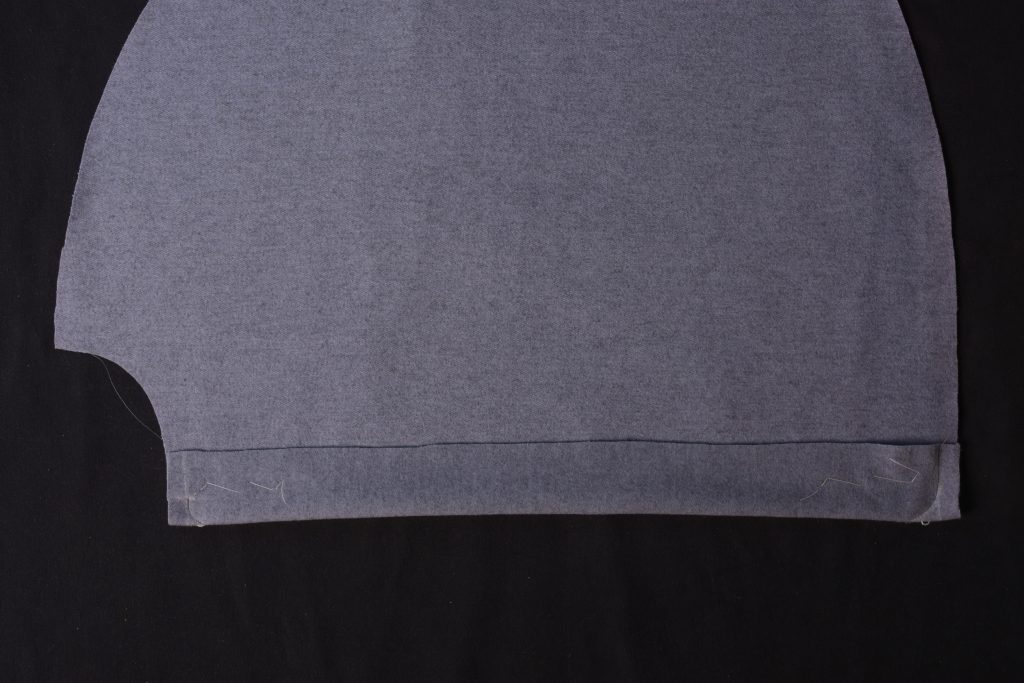
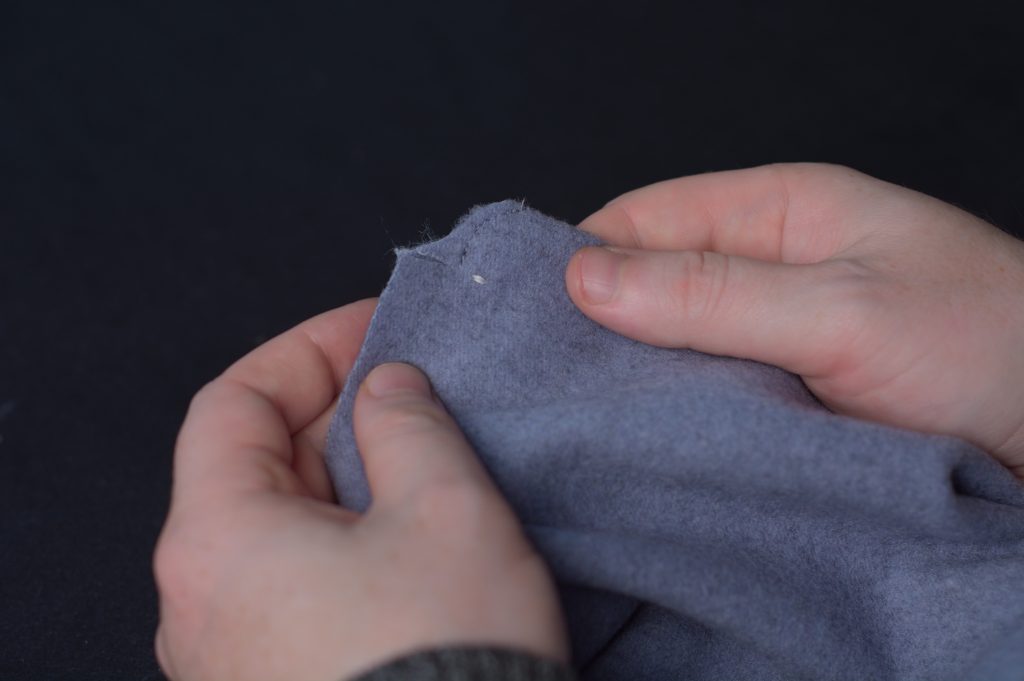
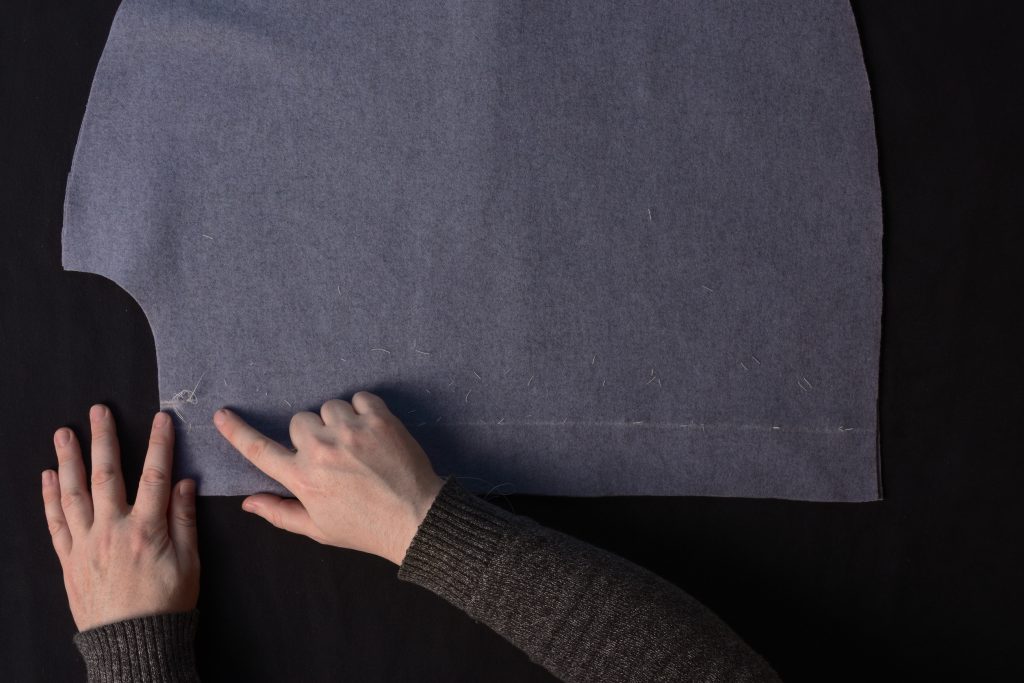
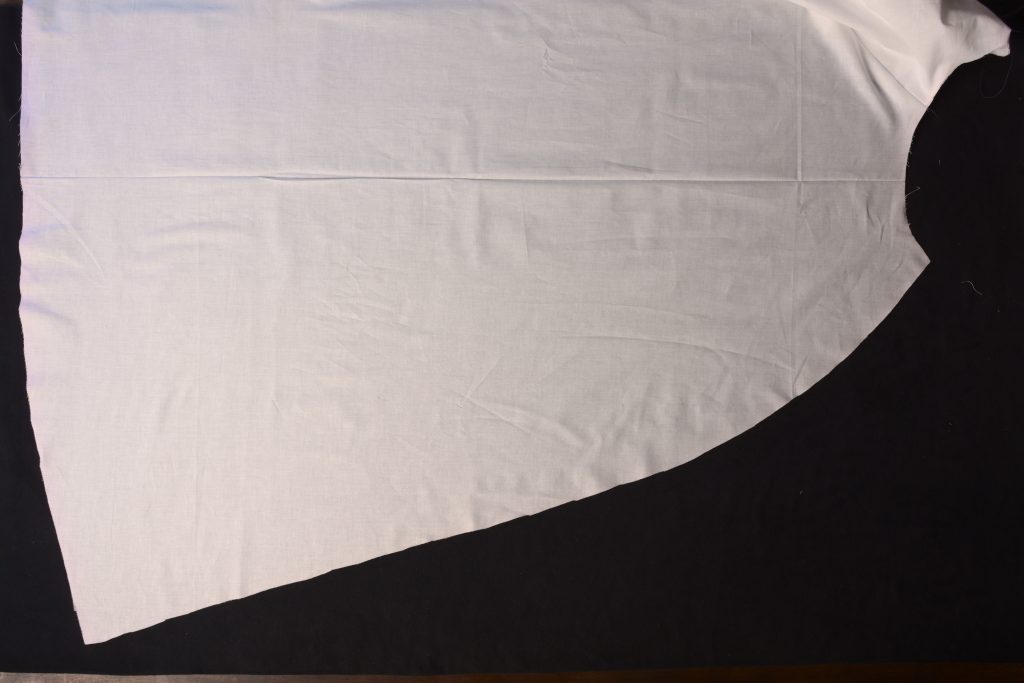
Here’s where we left off with the cape.
Turn to the wrong side of the cape and focus on the facing near the neck. Fold under the remaining part of the facing at the neck by about 1/2″, keeping it aligned with the crease as it comes out of the curve.
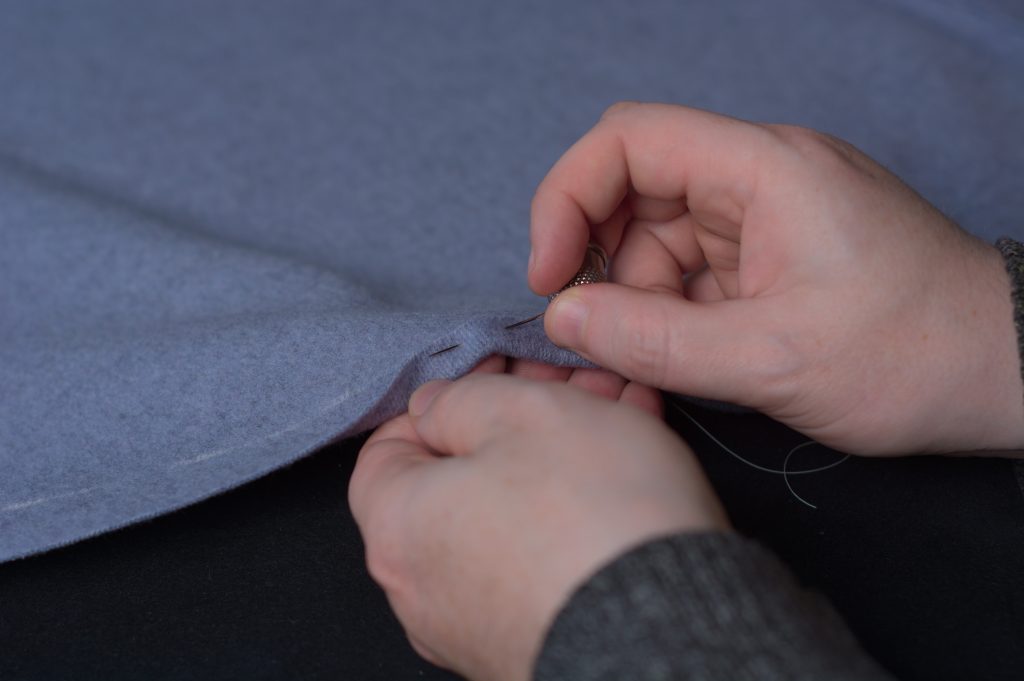
Baste the seam folded seam allowance in place with a couple of stitches.
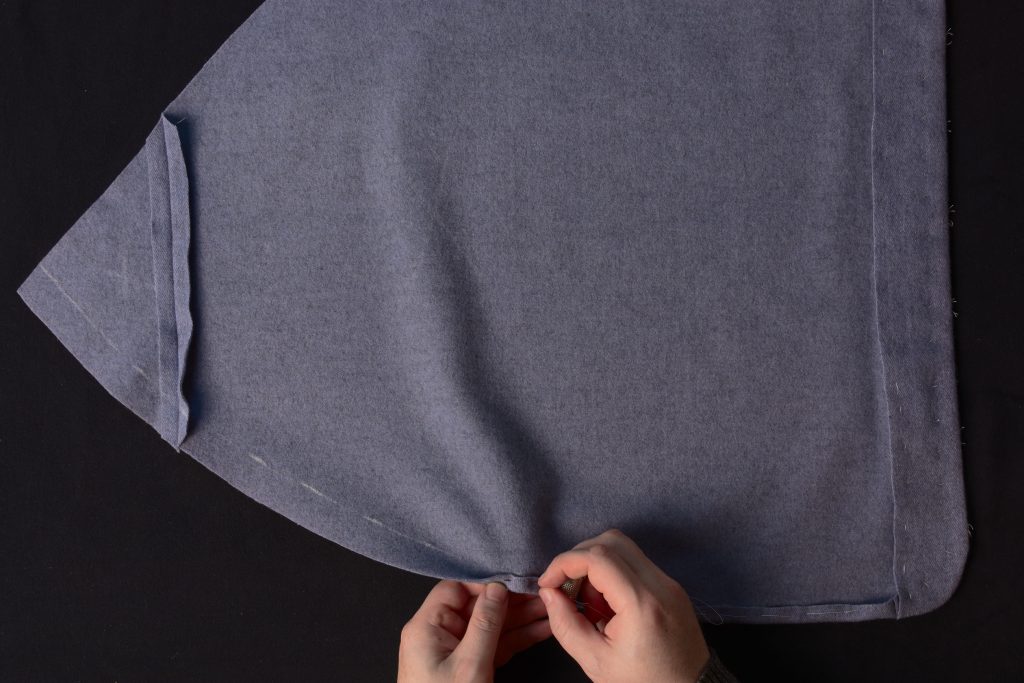
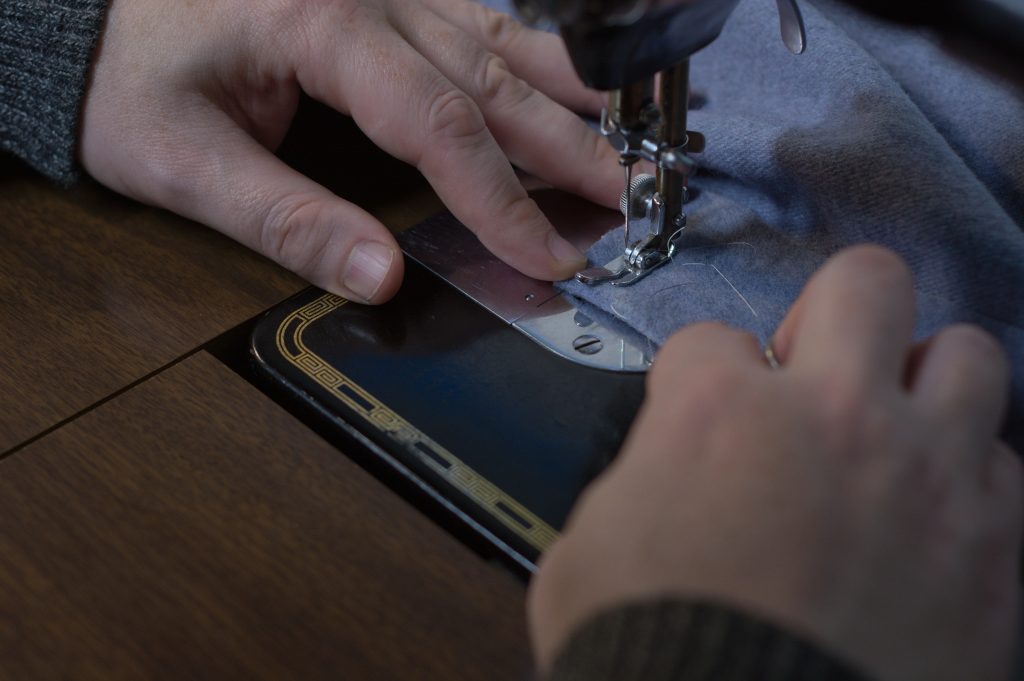
Now fell across the top of the facing from the inside edge to where the machine stitching starts at the cut. It’s only about an inch and takes just a minute.

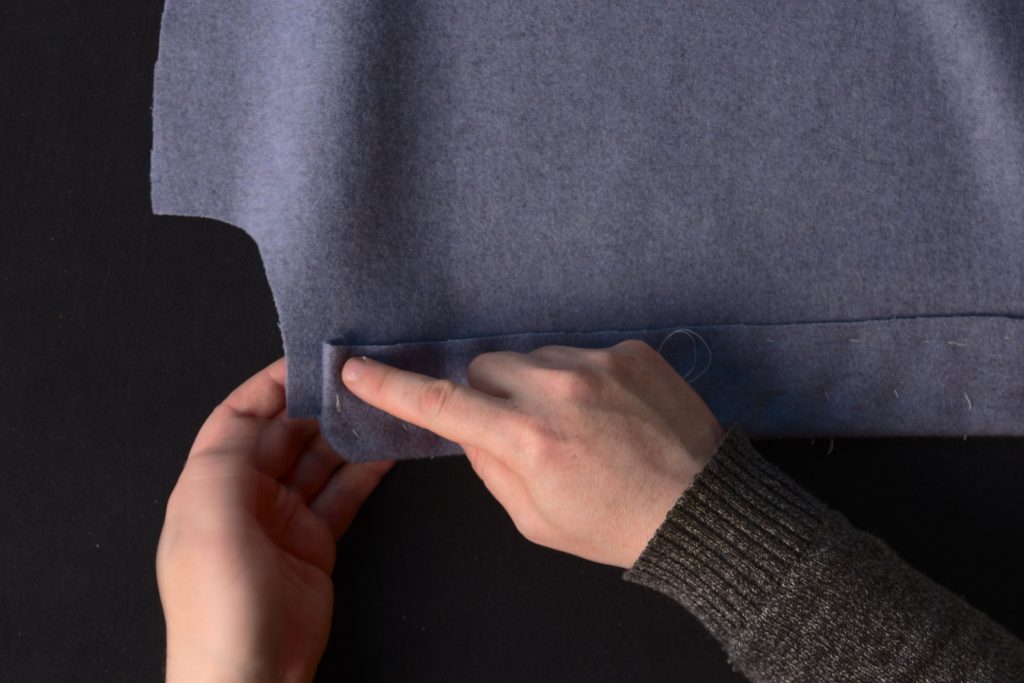
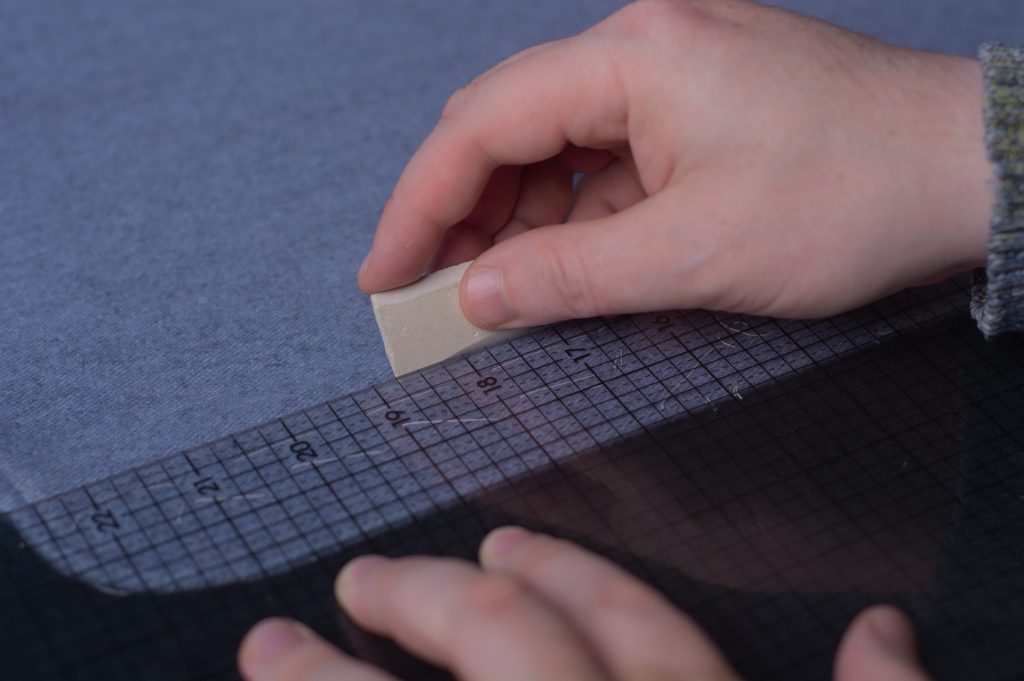
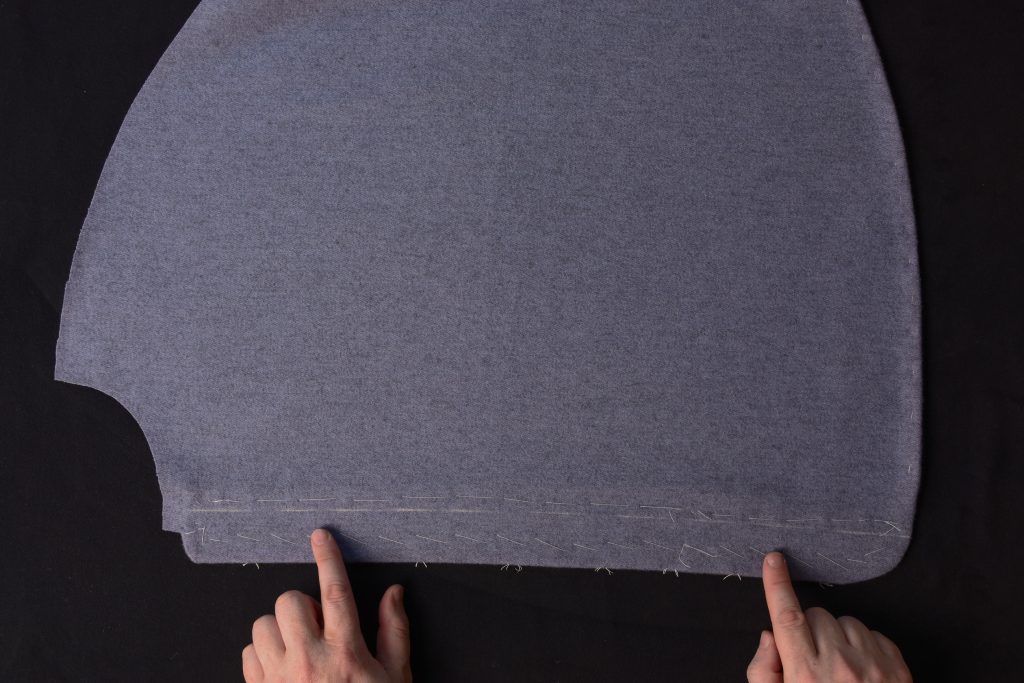
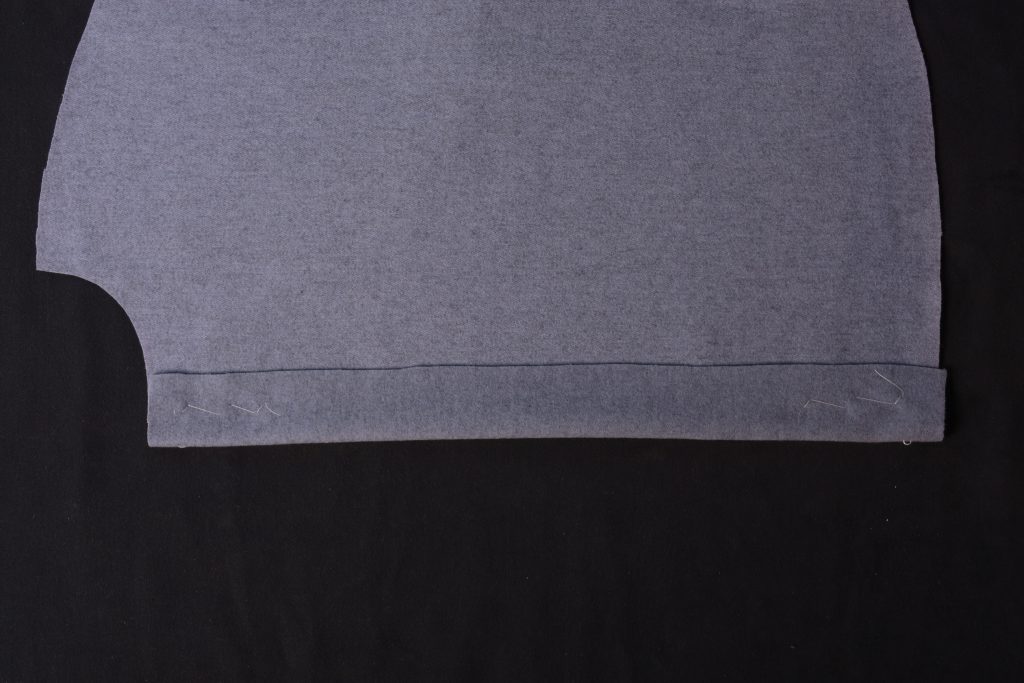
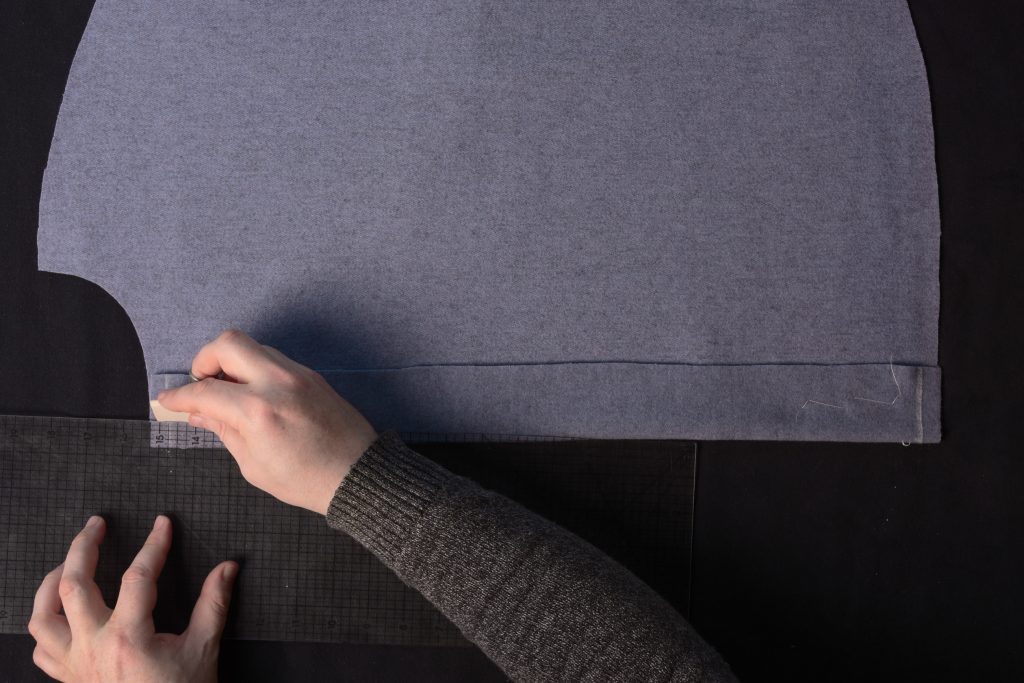
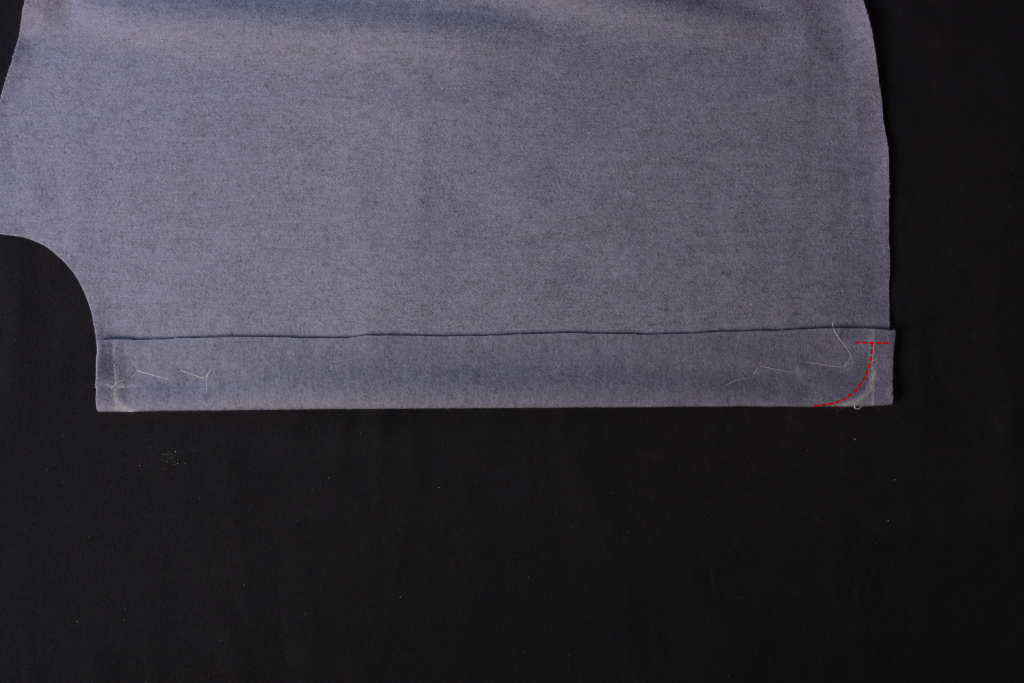
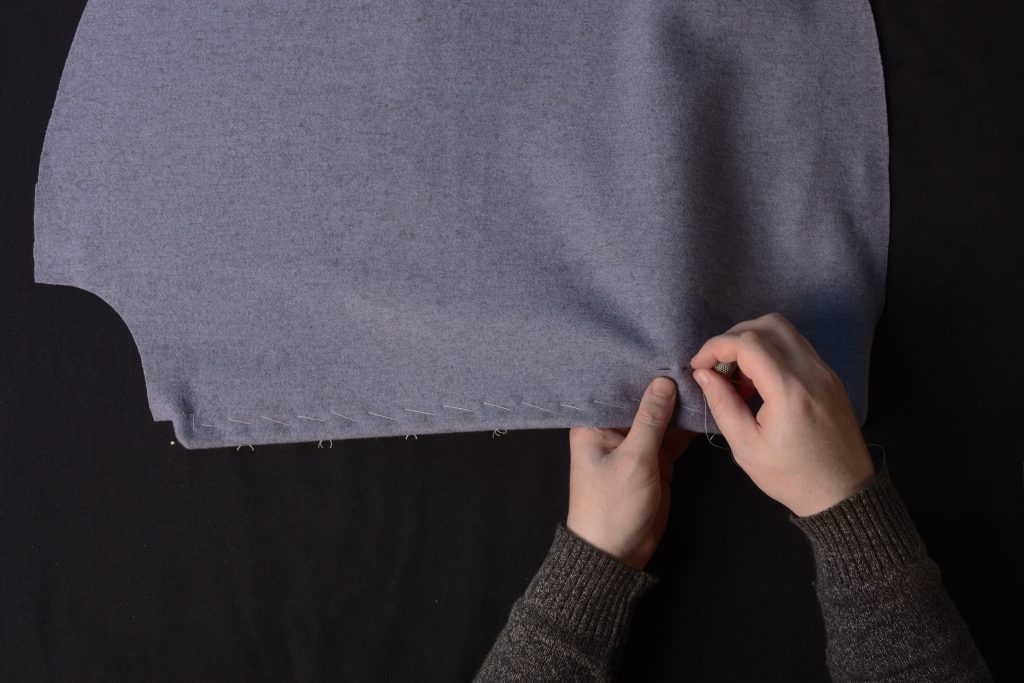
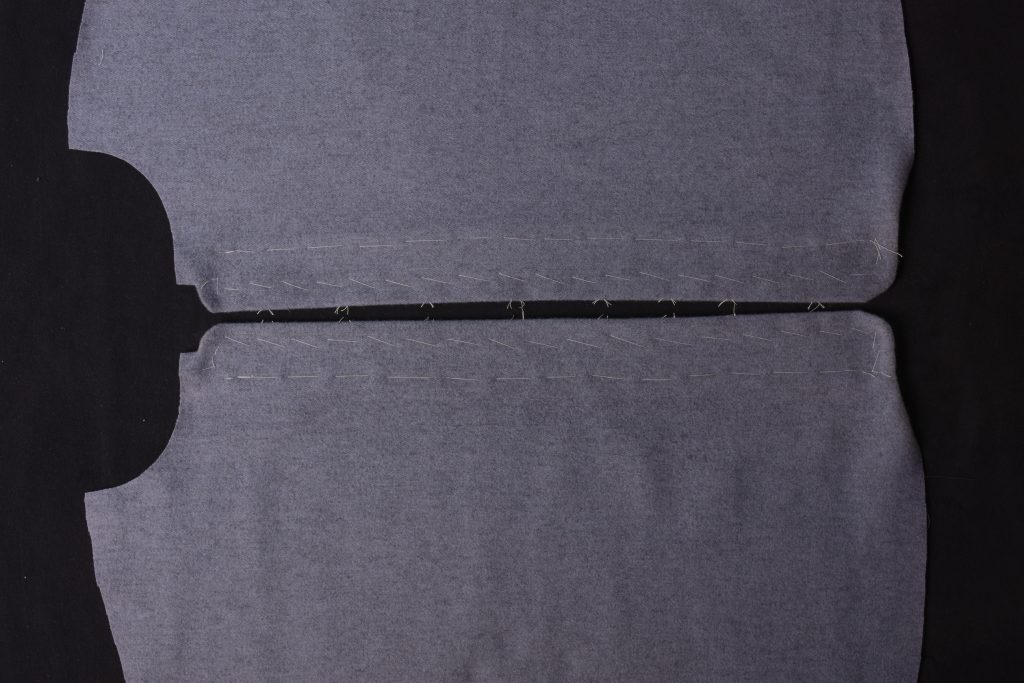
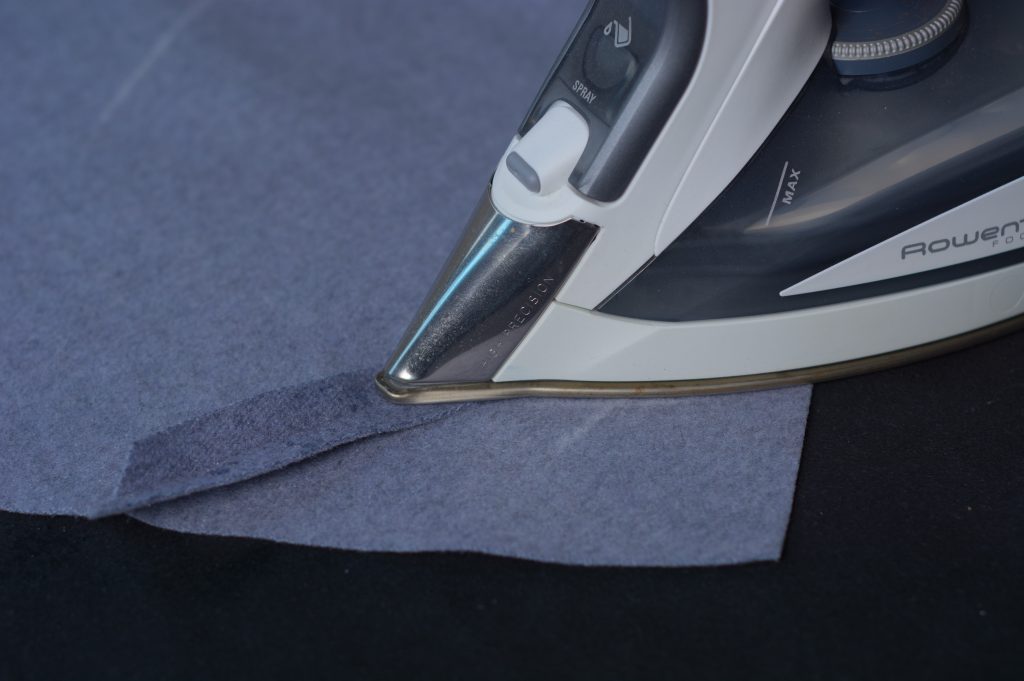
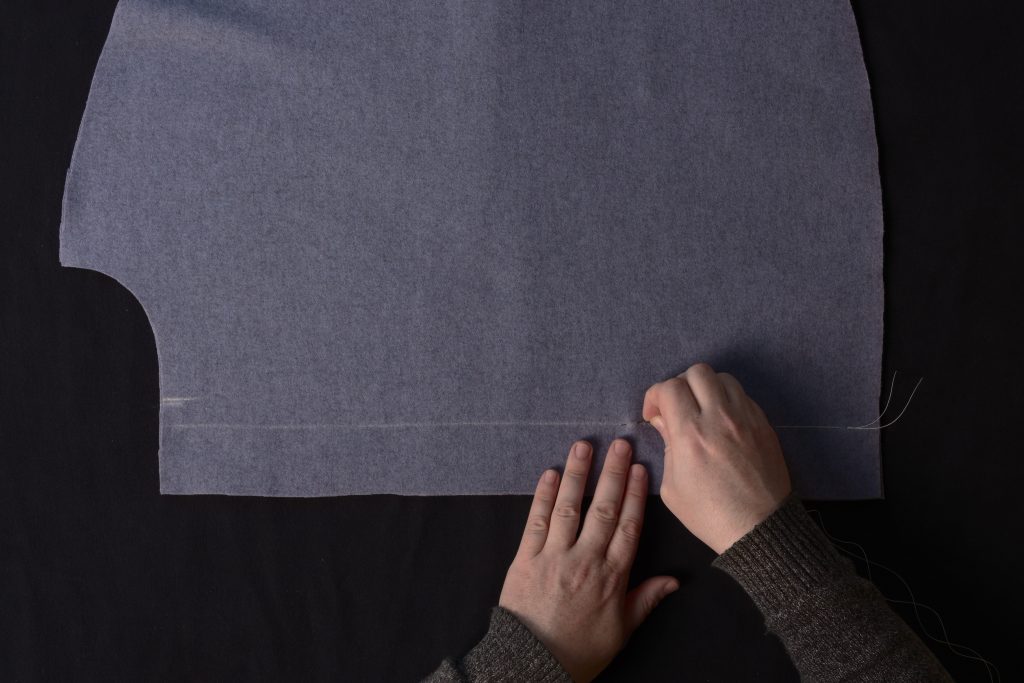
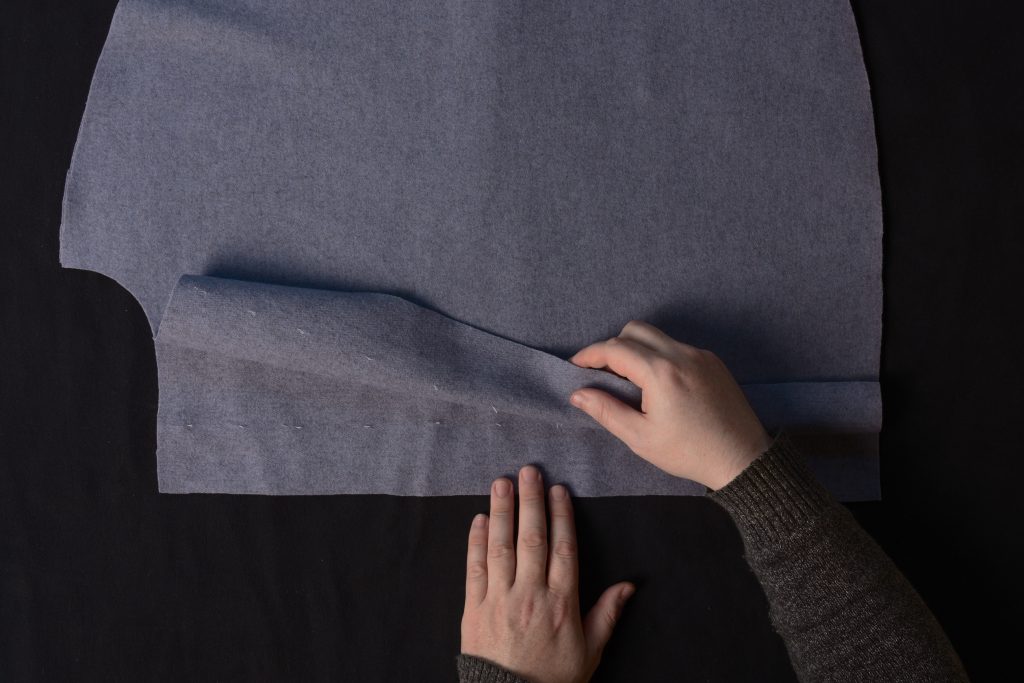
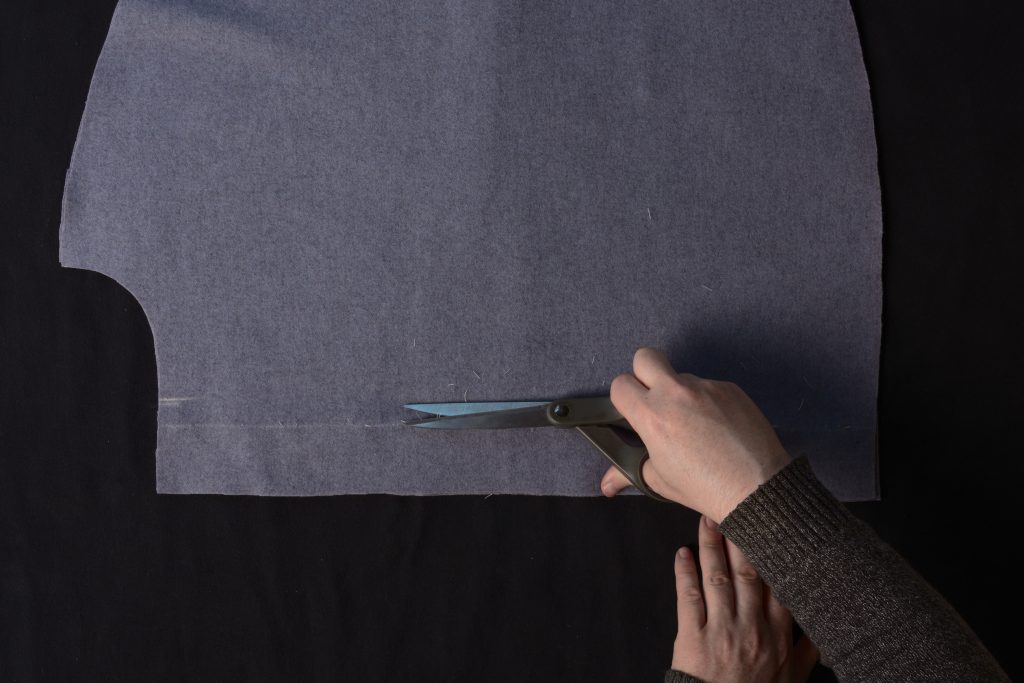
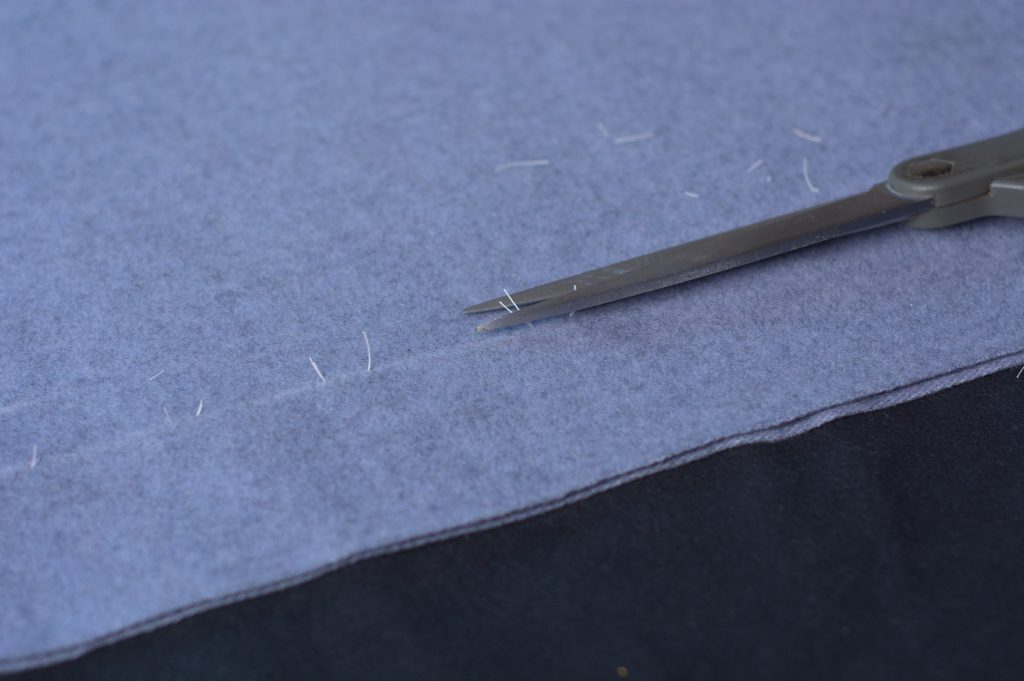
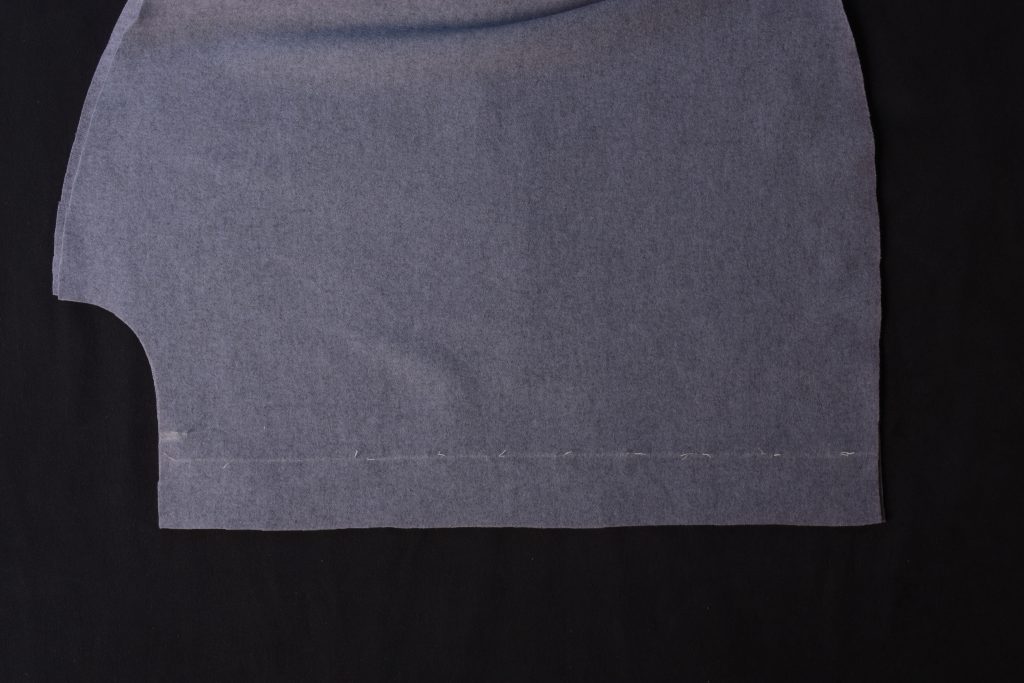
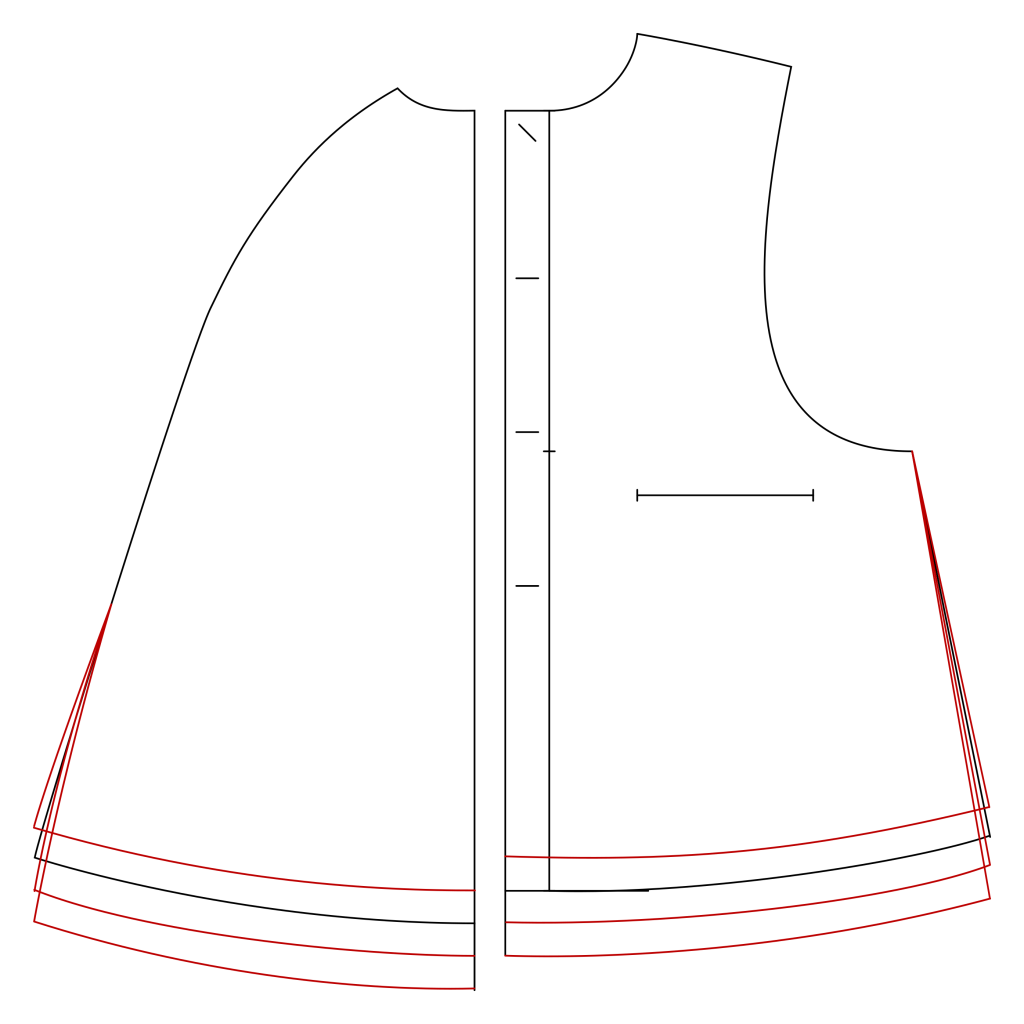
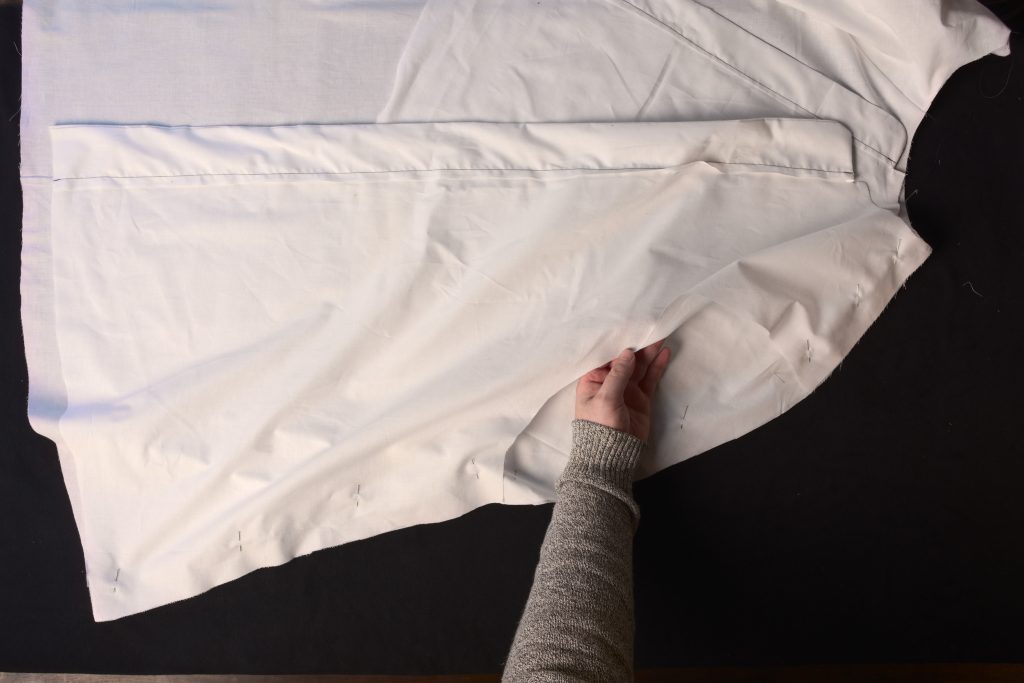
Along the bottom edge of the cape, mark a distance of 1″, or twice the width of the seam allowance.
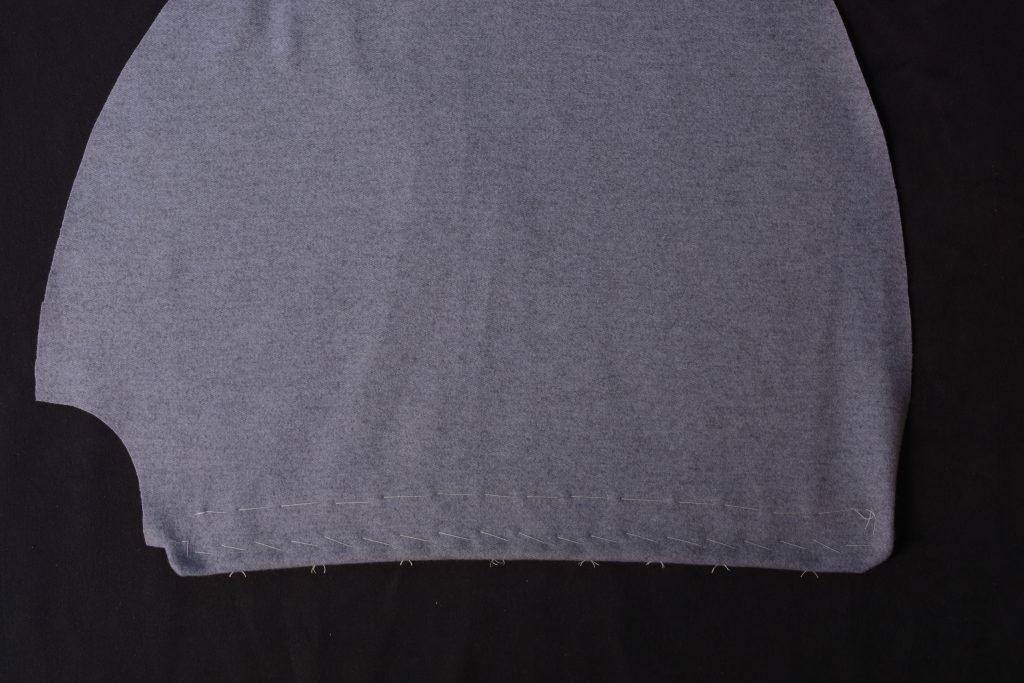
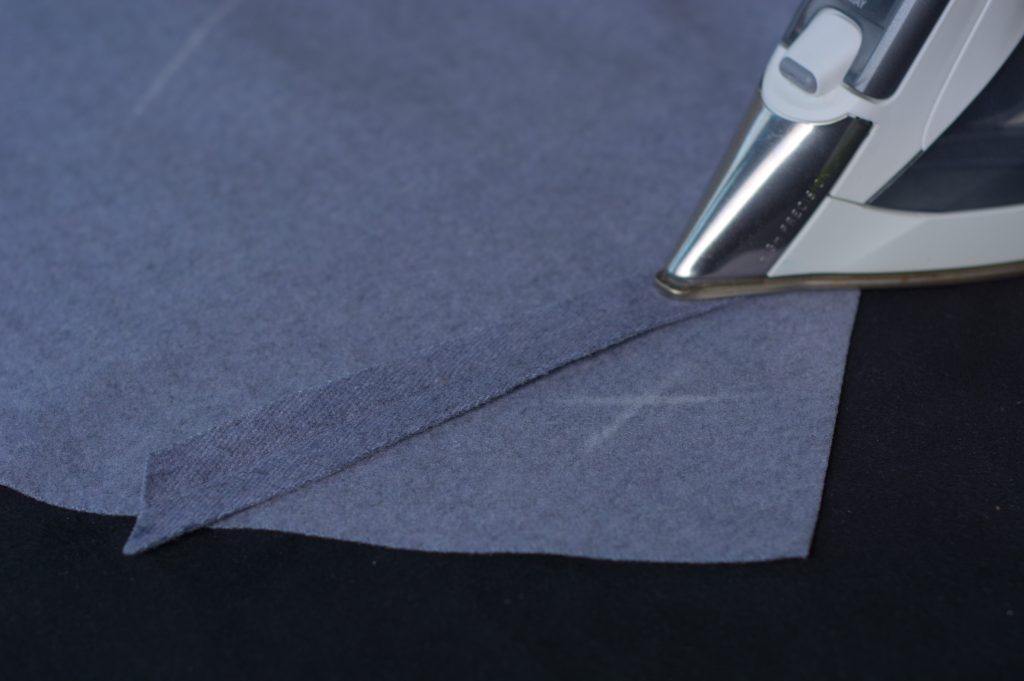
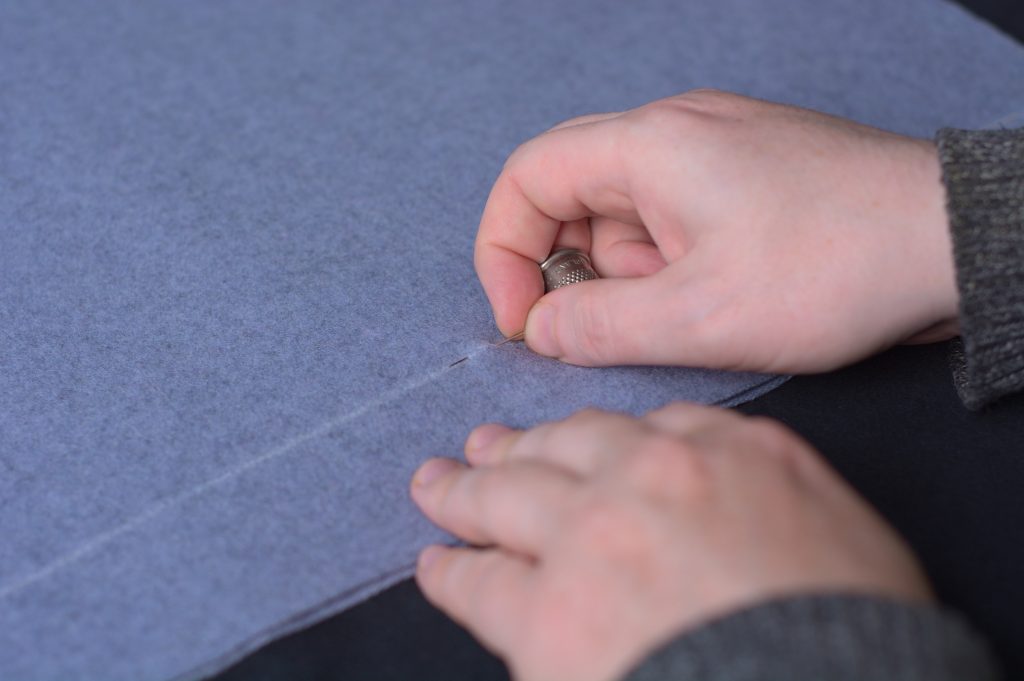
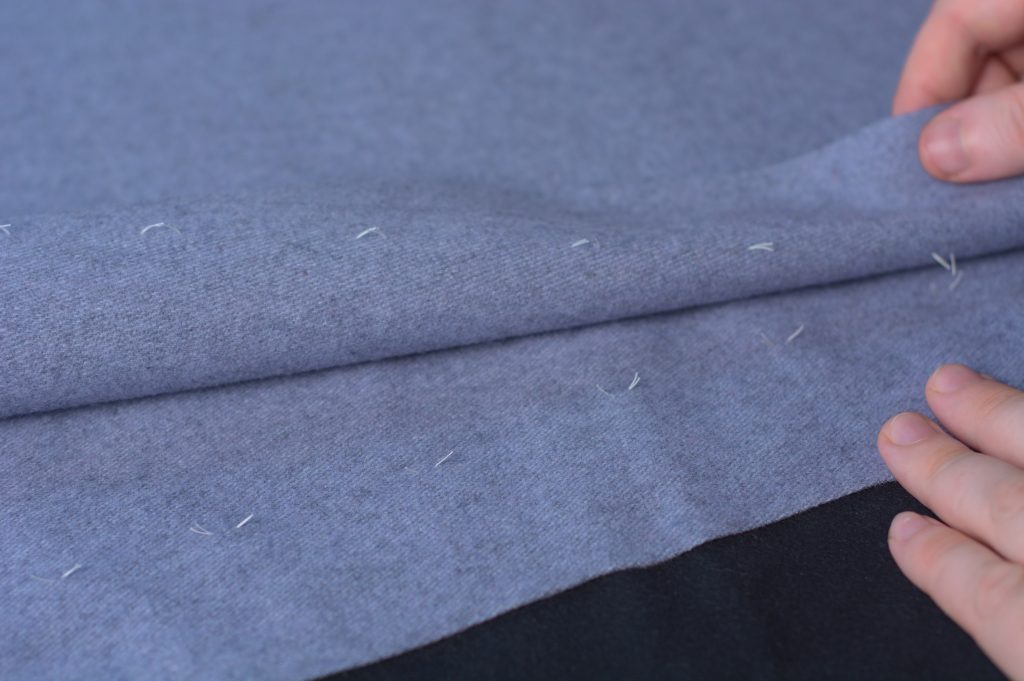
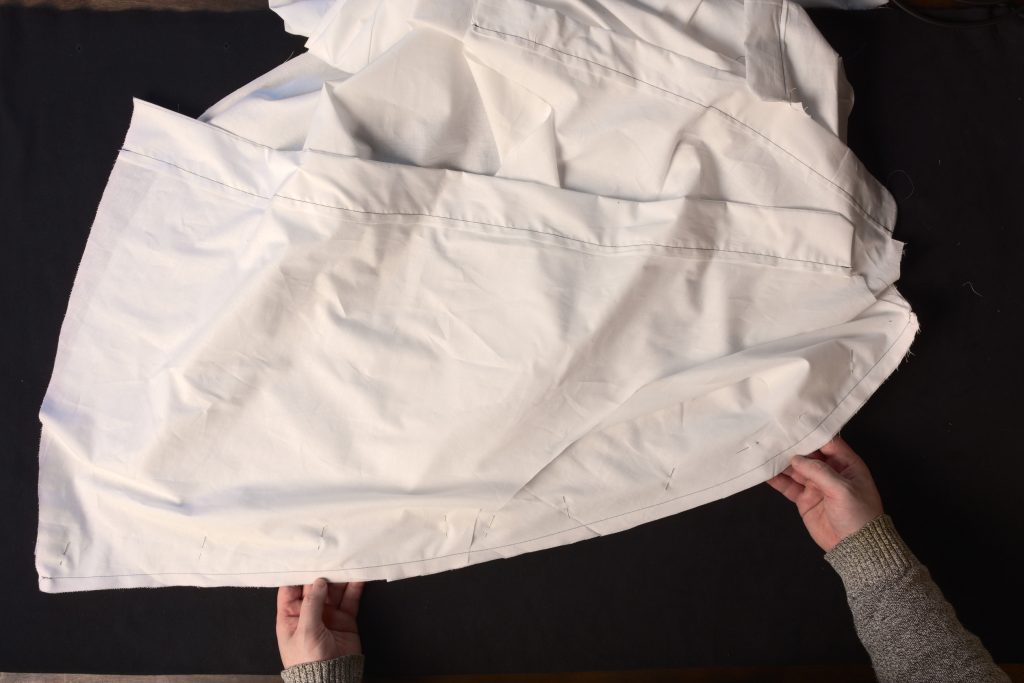
Using a straight basting stitch, baste the seam allowance to the wrong side along the bottom edge.
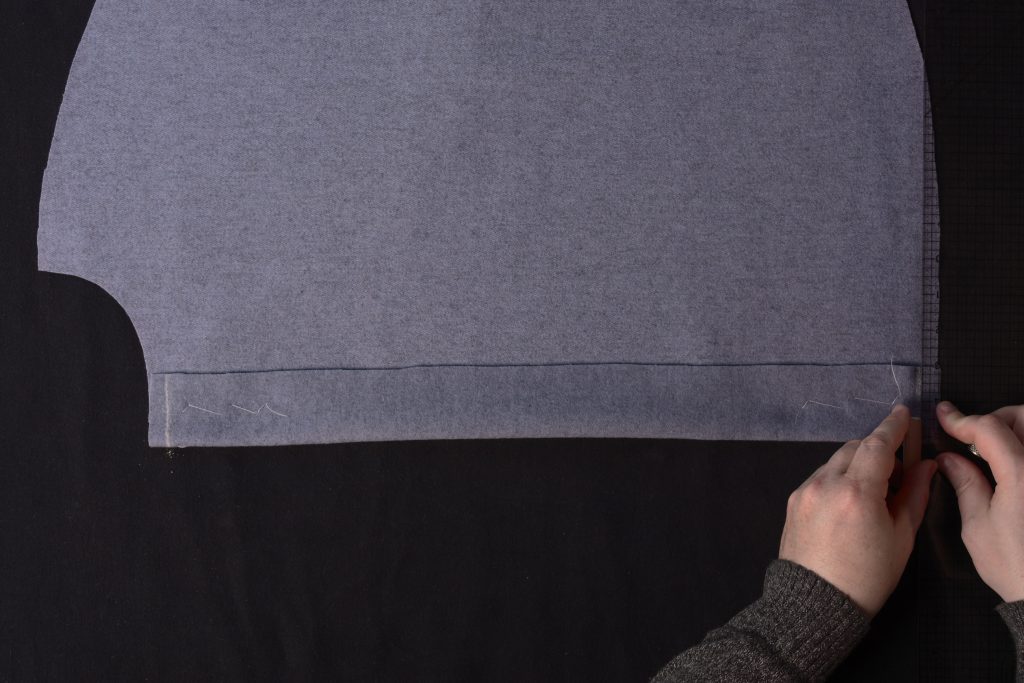
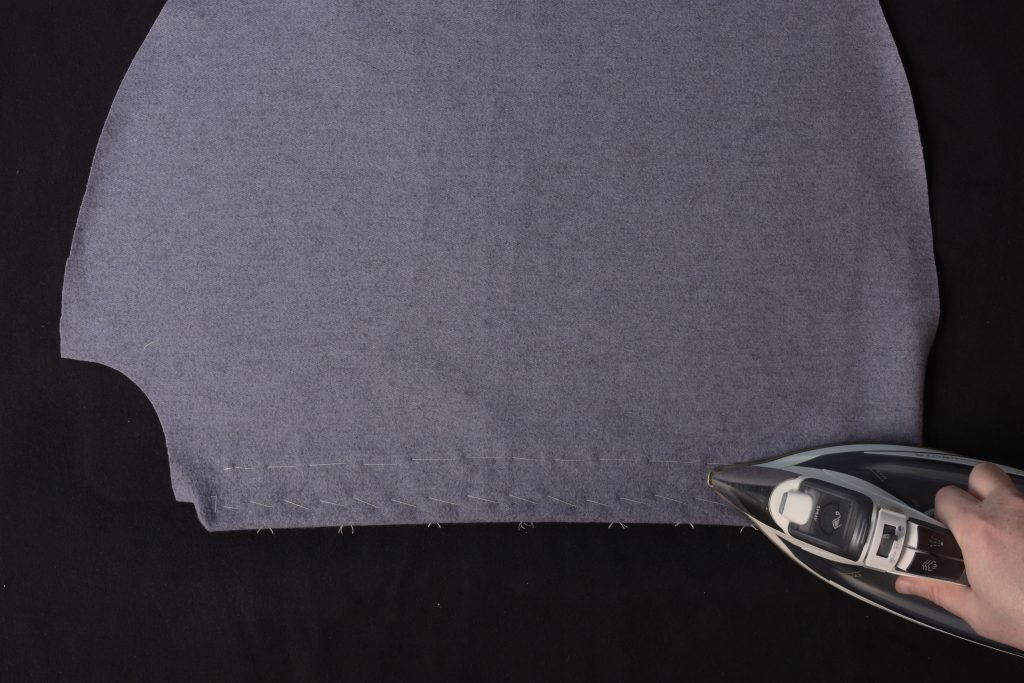
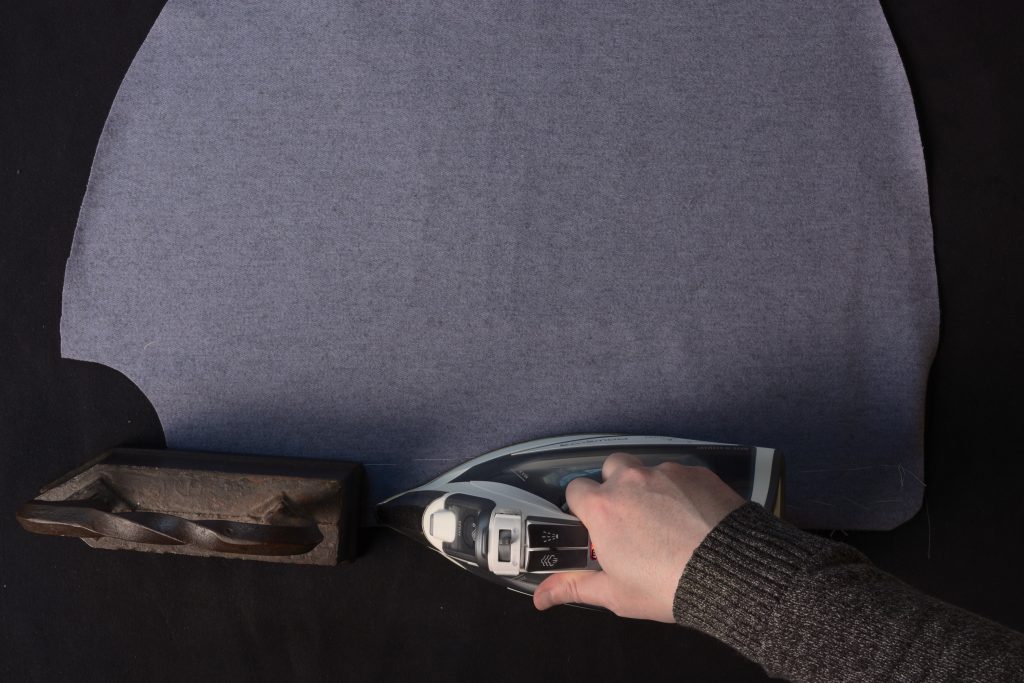
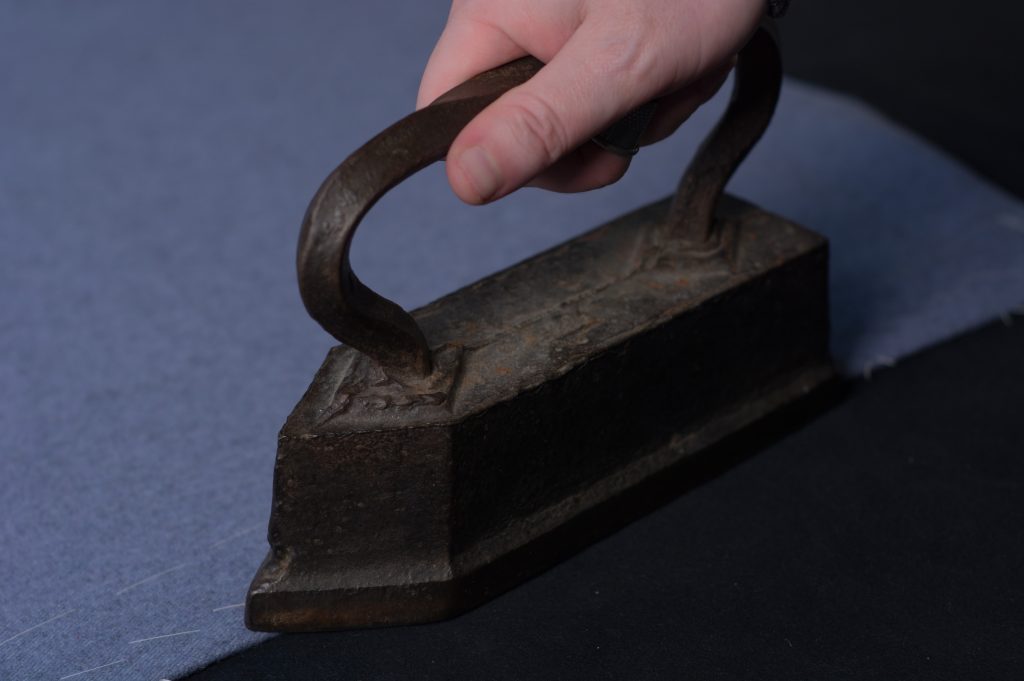
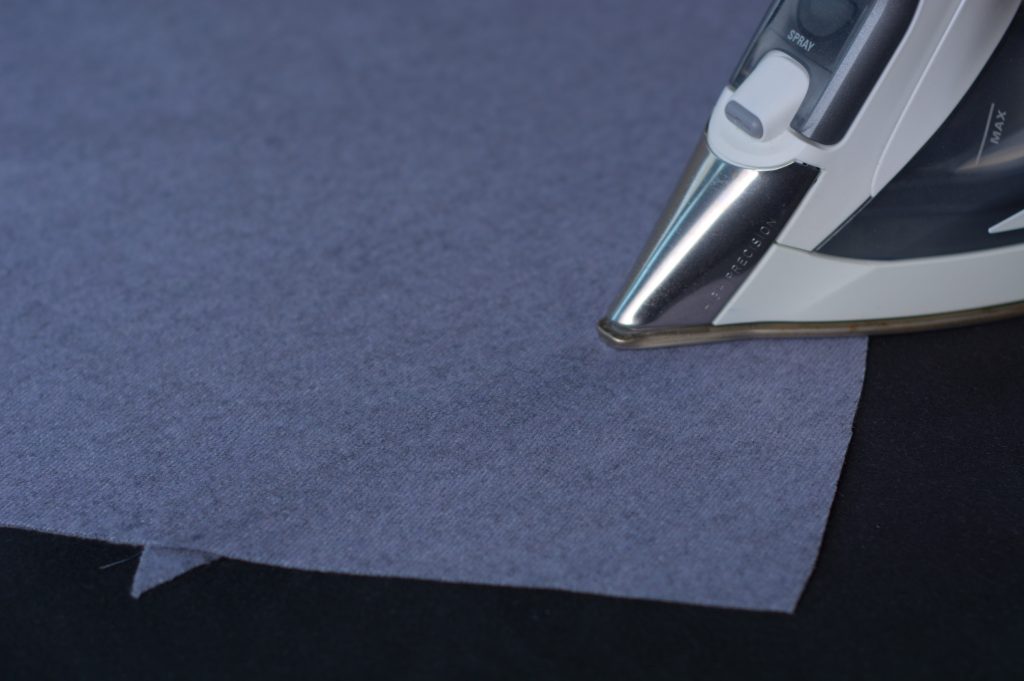
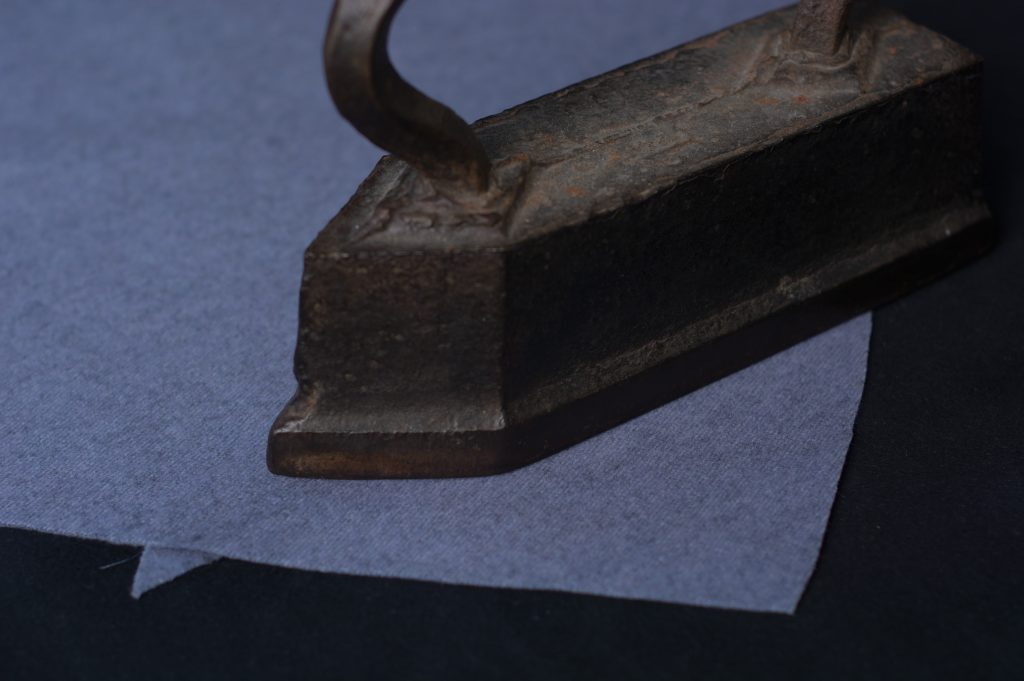
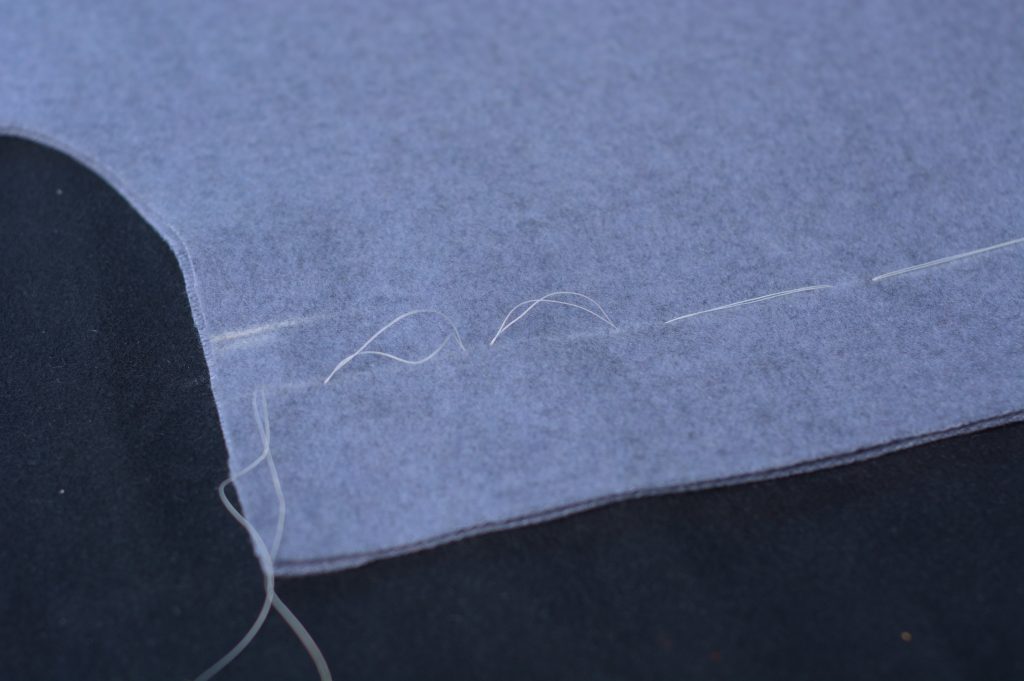
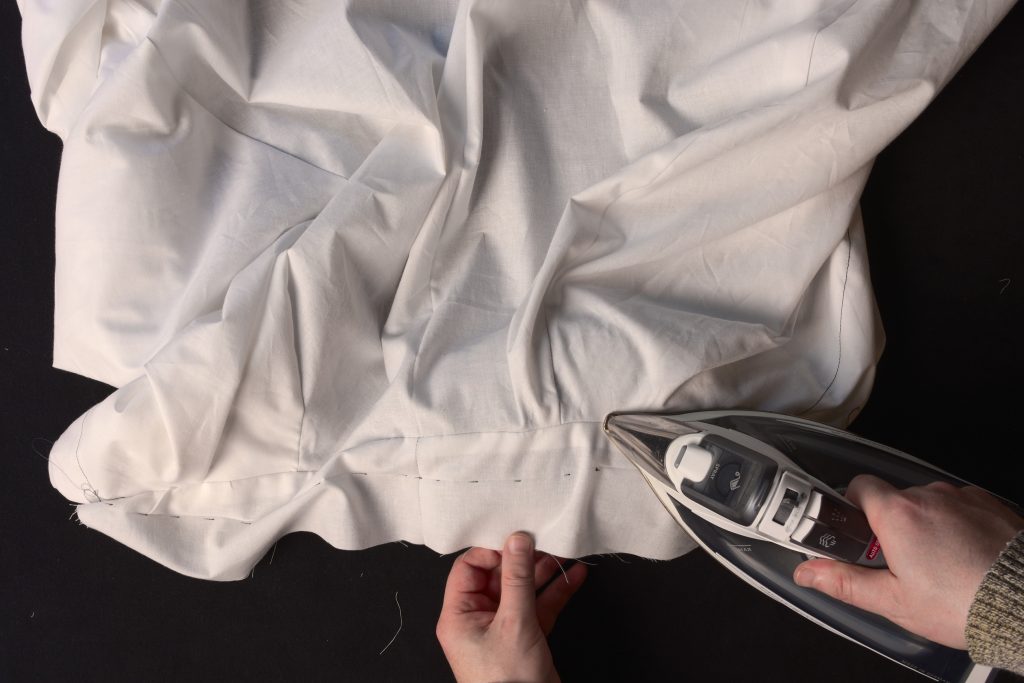
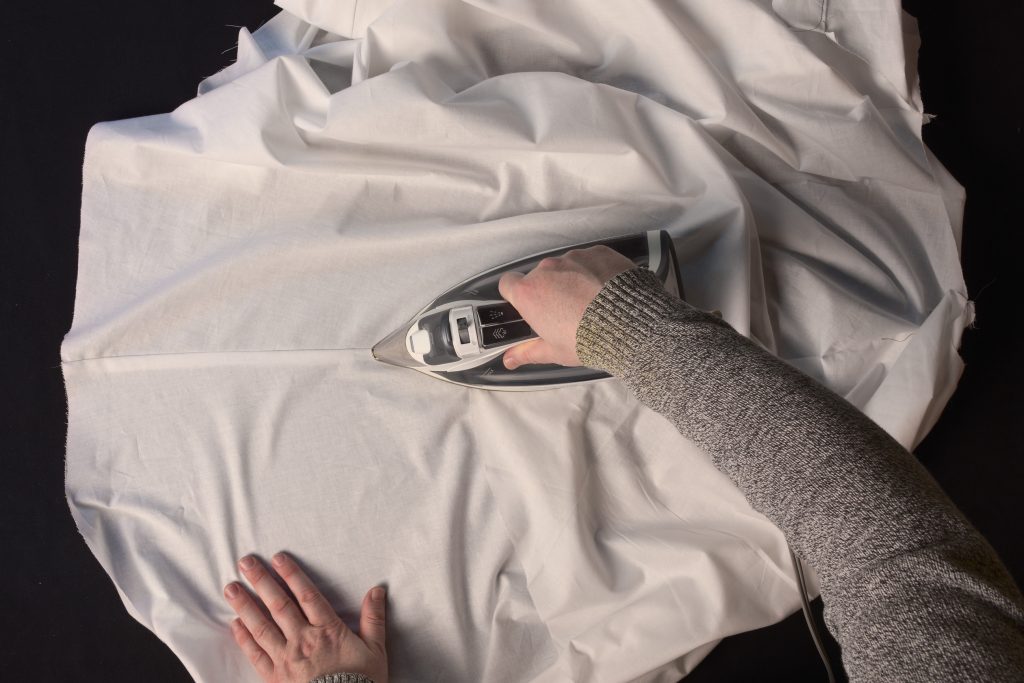
Give everything a good press to help hold the seam in position.
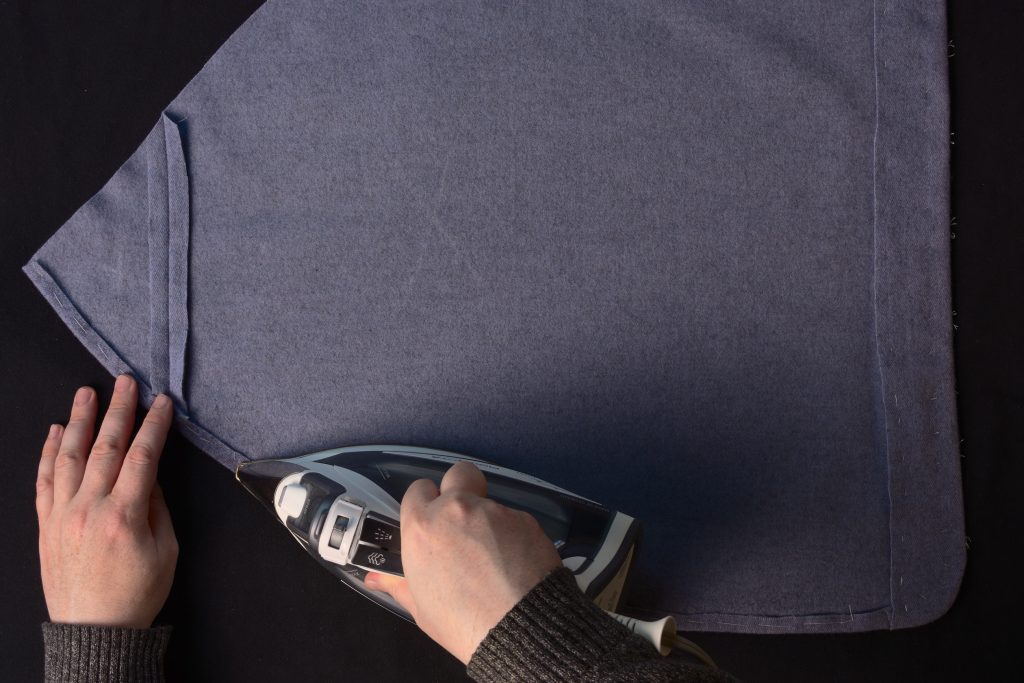
I used a bit of extra weight near the pieced section to make the seam even firmer.
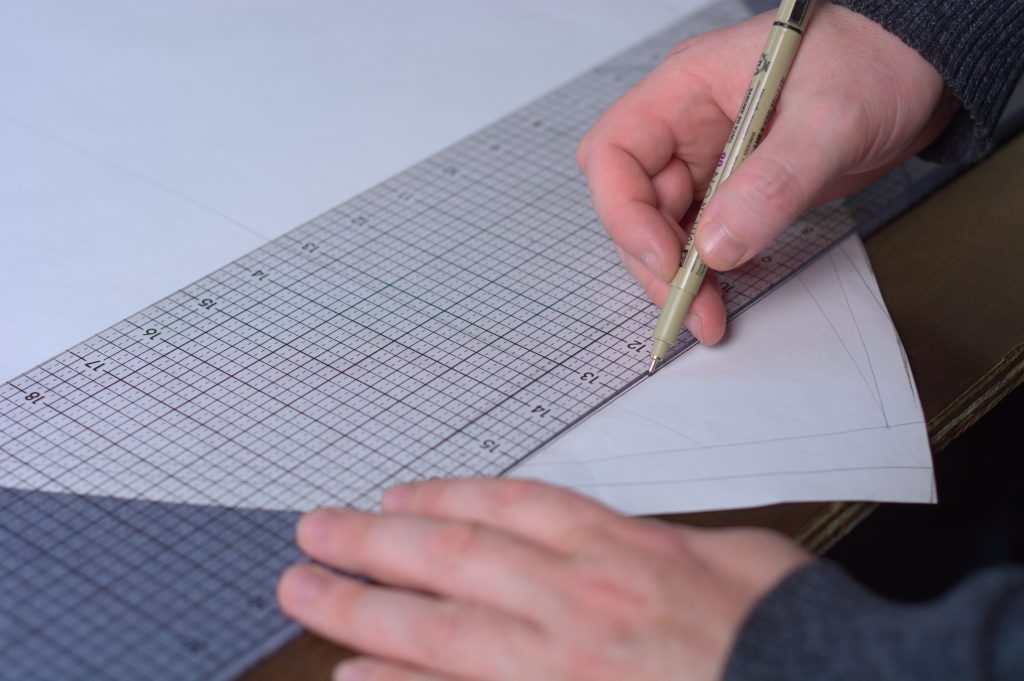
Now here’s something you’ll have to consider. In the original pattern from 1866, it indicates a 1 1/2 graduated inches width of the finished facing. For larger sizes (I’d say size 40 chest and above), it works out fine, but for anything smaller, I’d recommend 1 3/4″ (actual inches) as a minimum width. It just gives a little extra room with regards to spacing the buttonholes and such. One downside though is that the top stitching won’t align with the edge of the finished cape after they’re overlapped.
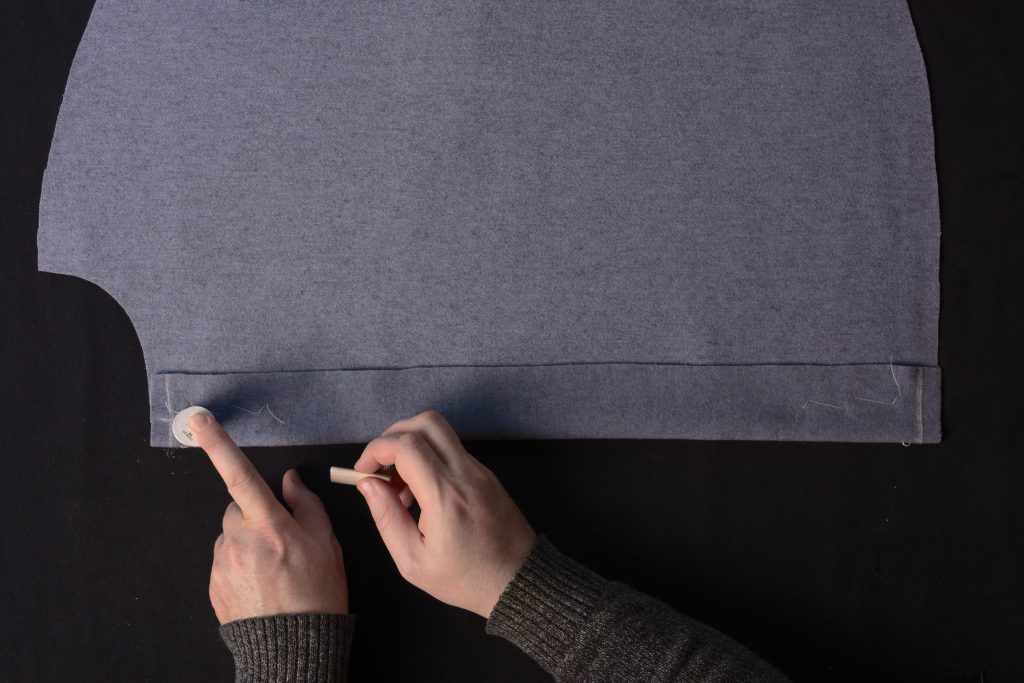
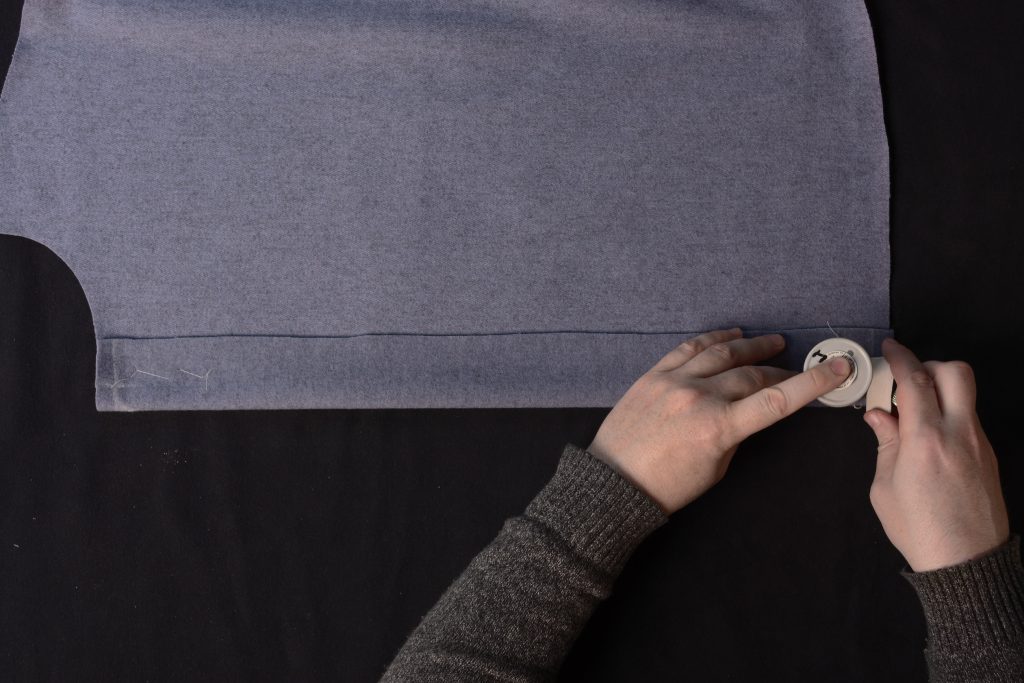
Mark a line 1 1/2 graduated inches from the edge. (Note: I’m using a regular ruler here because I’m using a 37 1/2 pattern to fit my tailor’s form, and the graduated inch is equal to a regular inch in this size).
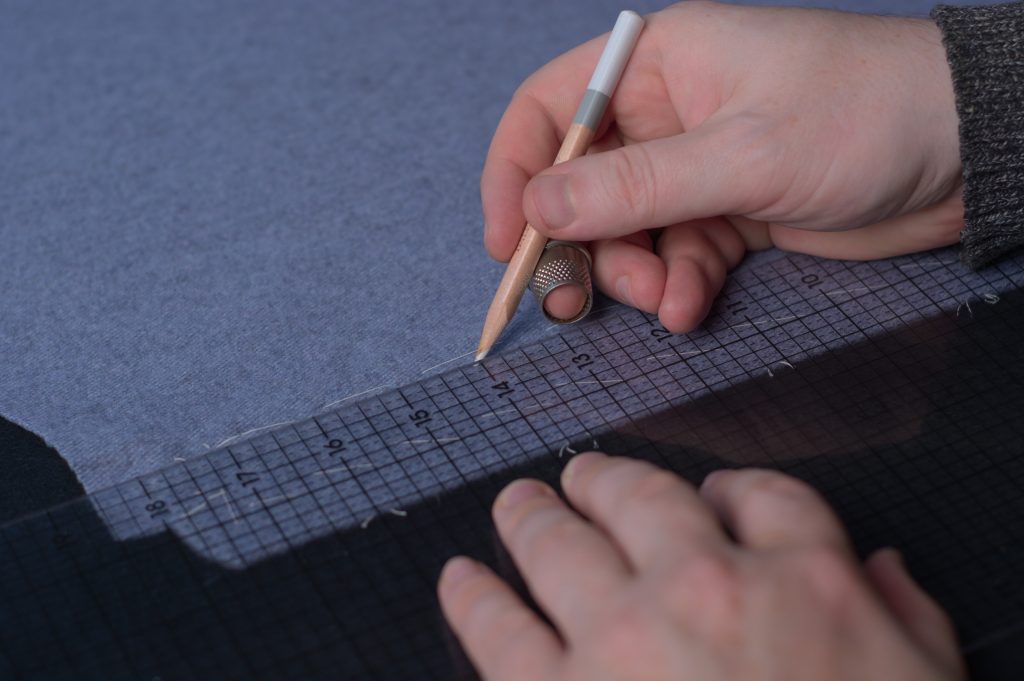
Or use a 1 3/4″ spacing if you prefer.
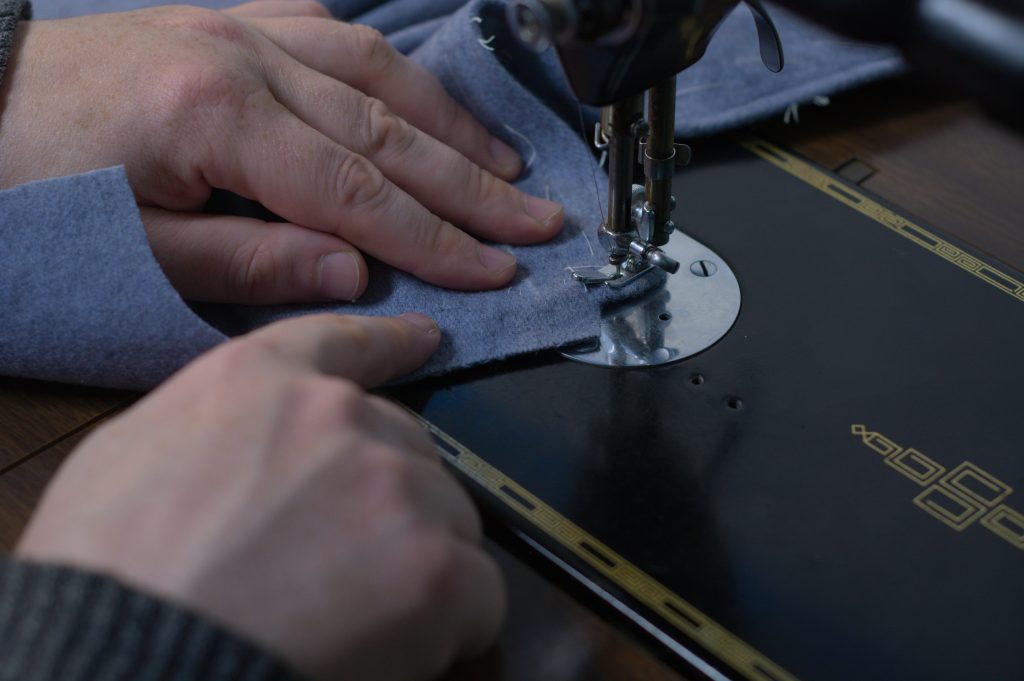
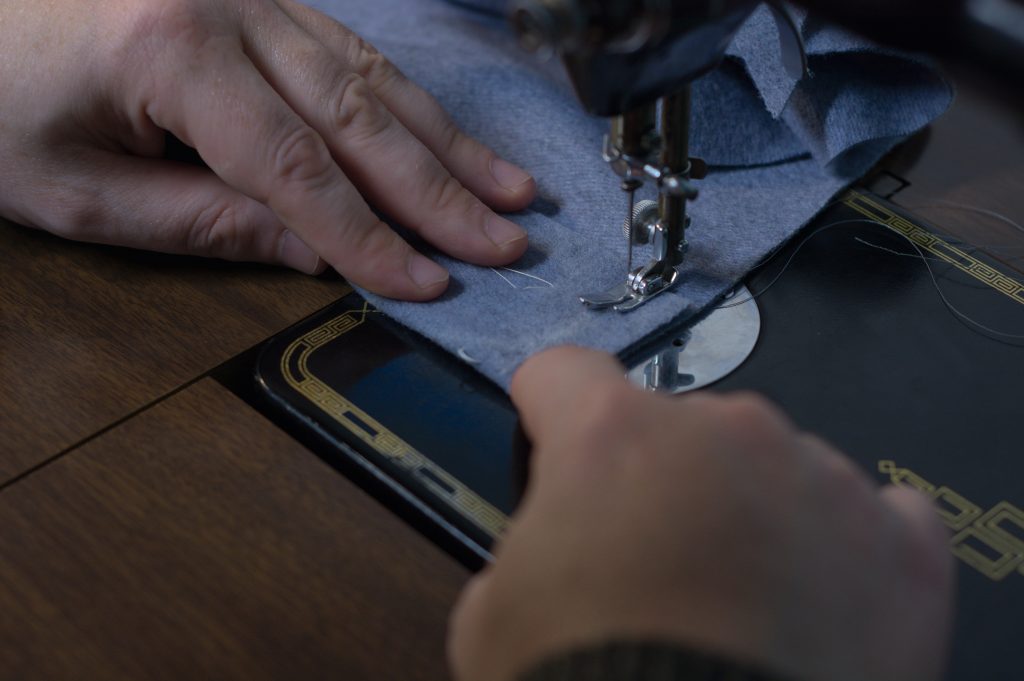
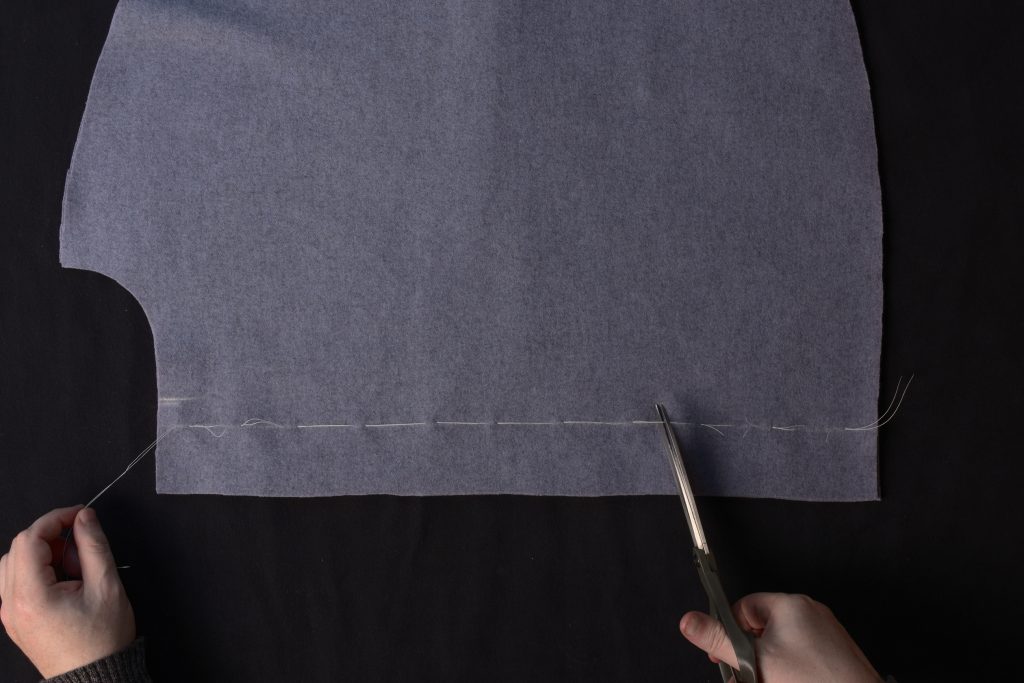
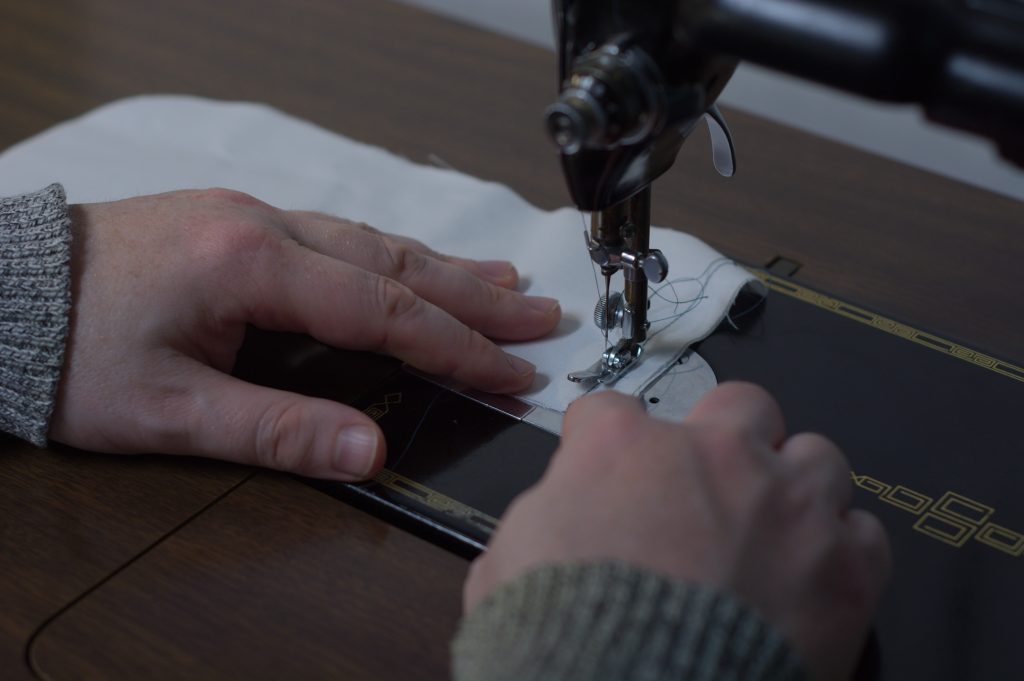
Starting along the bottom edge of the skirt near the side seam, begin top stitching through all layers, at about 1/4″ from the edge. Work from the opposite direction when you do the other cape half if it’s easier.
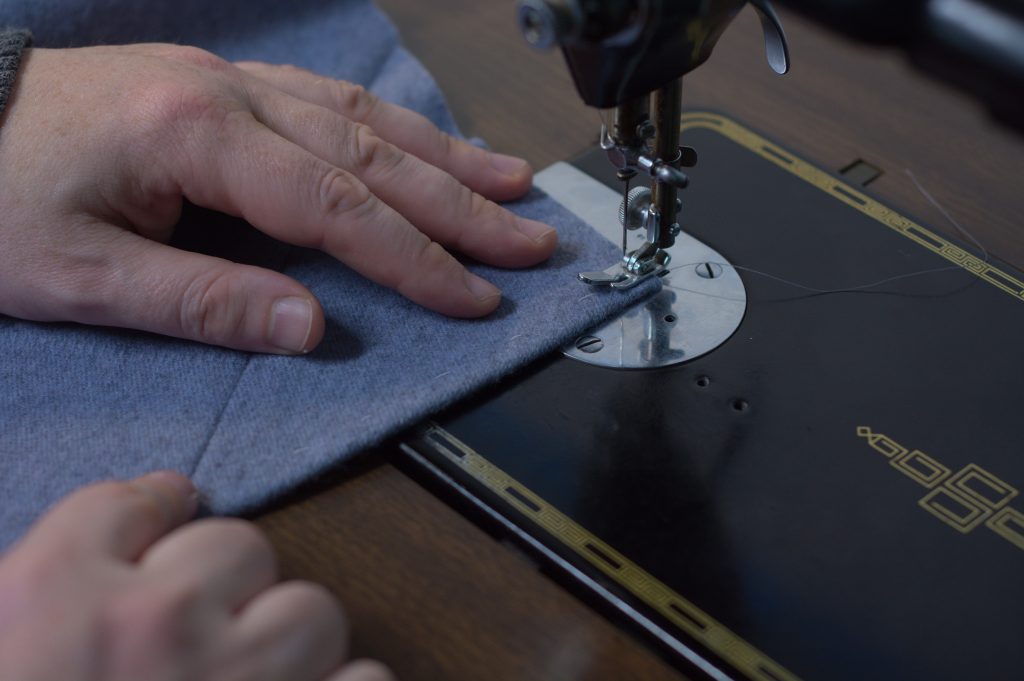

Maintain the same distance from the edge as you round the lower front curve.

Use your left hand as a pivot to help get around the curve smoothly.
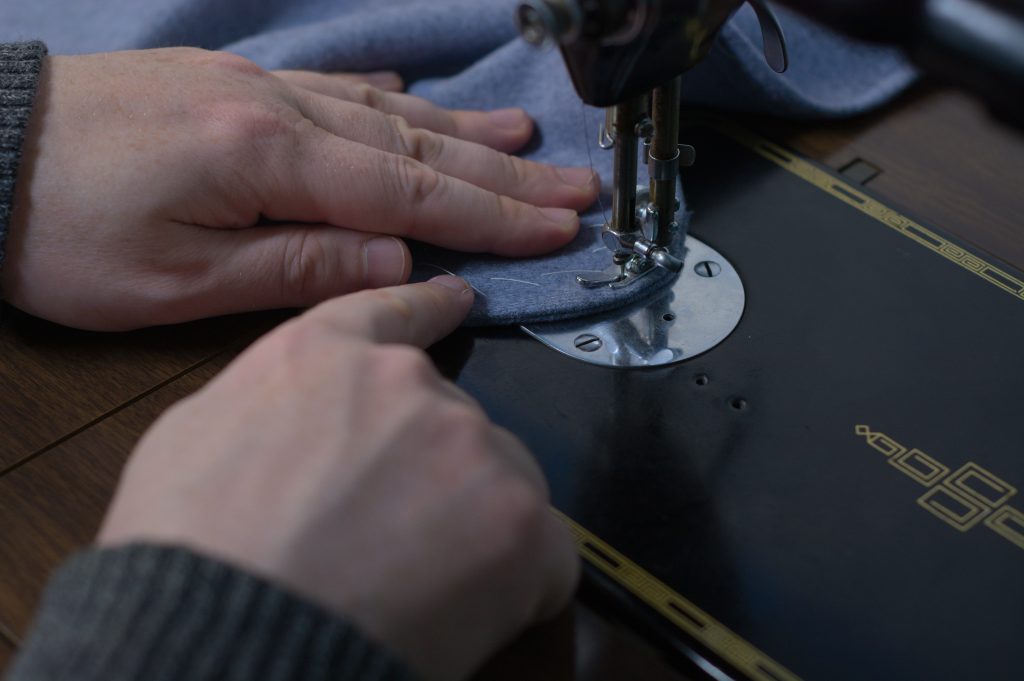
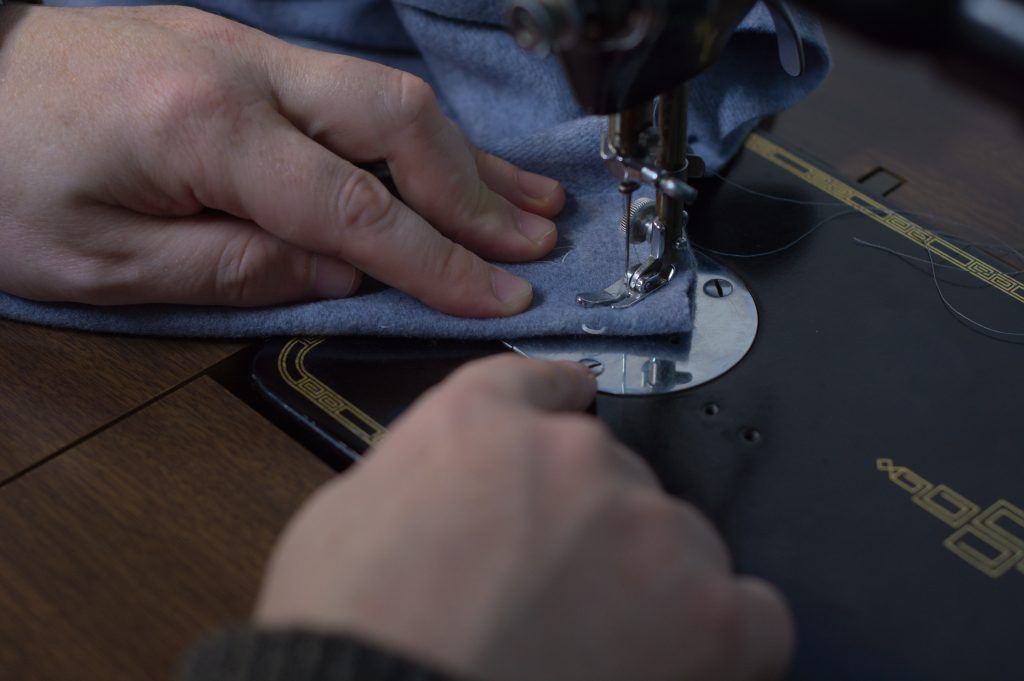
Continue sewing along the front edge.

Continue around the upper curve.
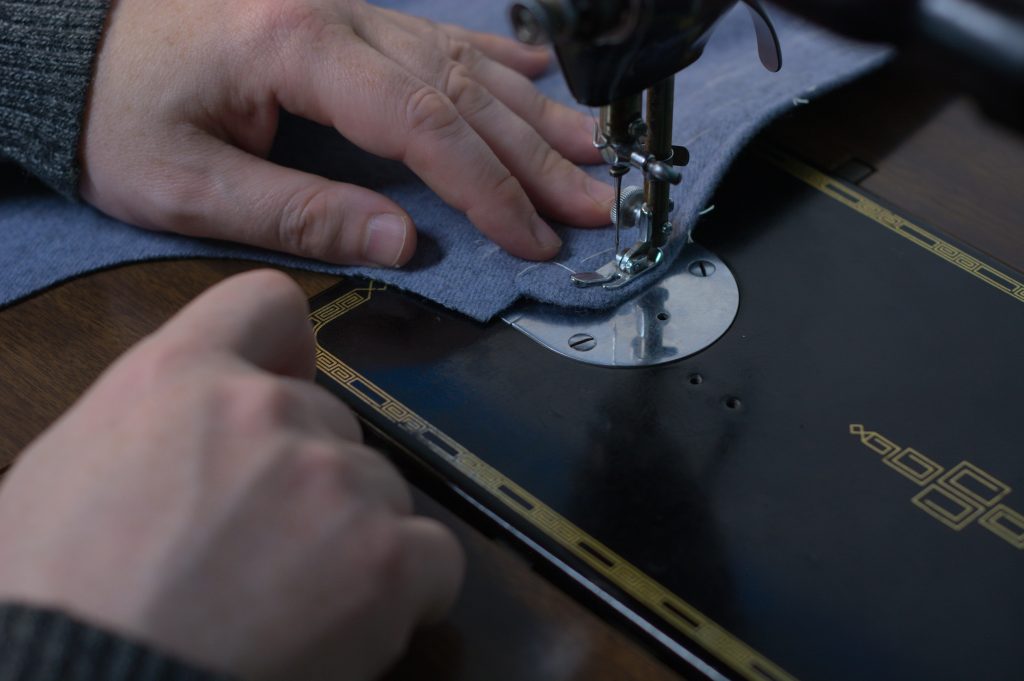
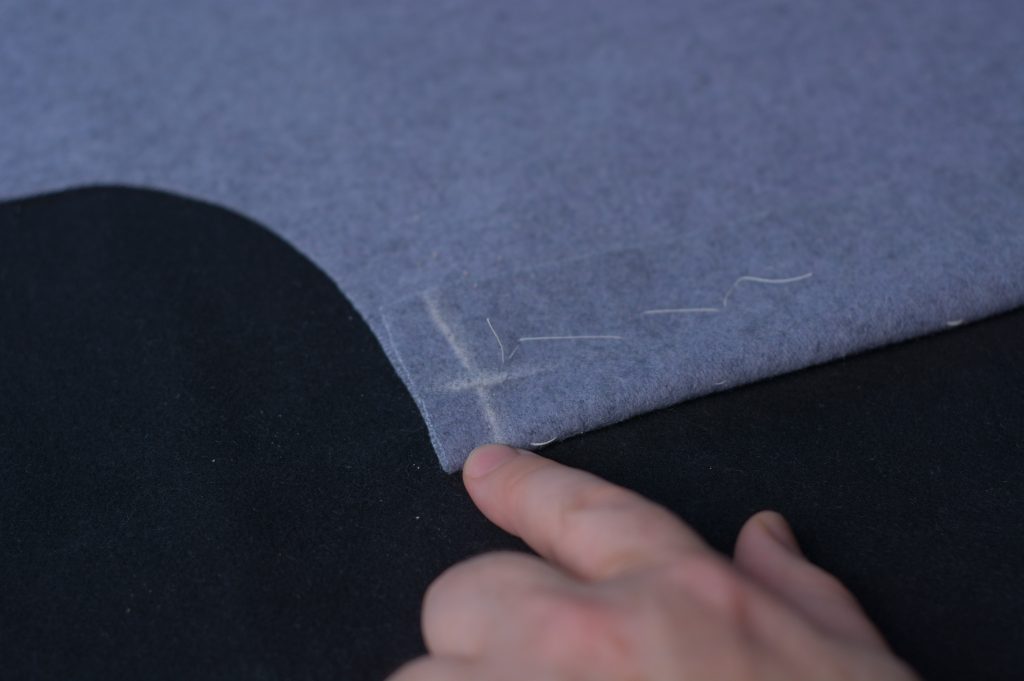
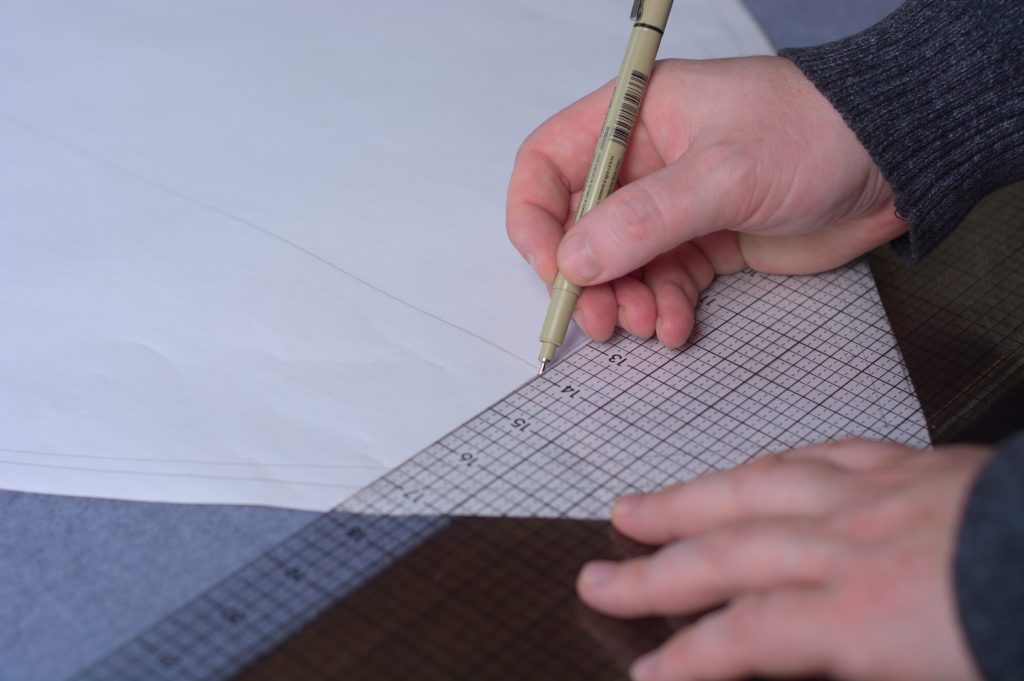
On the left cape only, stop your stitching just at the chalk line you drew in. We’ll continue the top stitching after installing the buttonhole fly.
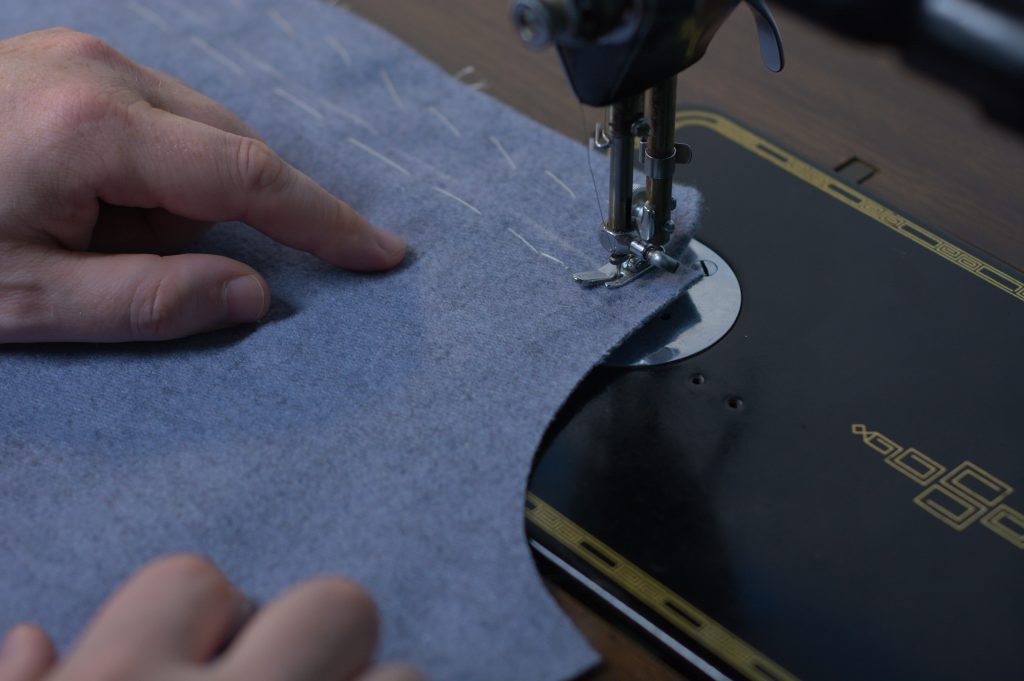
For the right cape only top stitch along the chalk line, 1 1/2 graduated inches (or whichever distance you used) from the front edge. End your stitching just as it meets the stitching at the lower hem.
(And sorry, this is the left cape in the photo, I had to make friends with the seam ripper after demonstrating this for the camera).

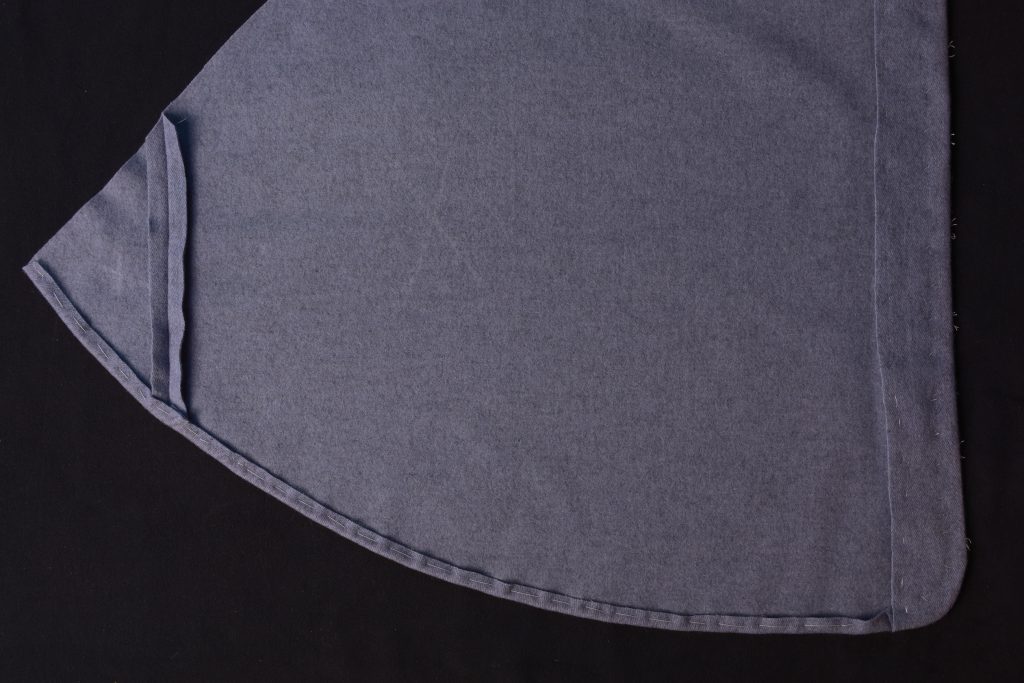
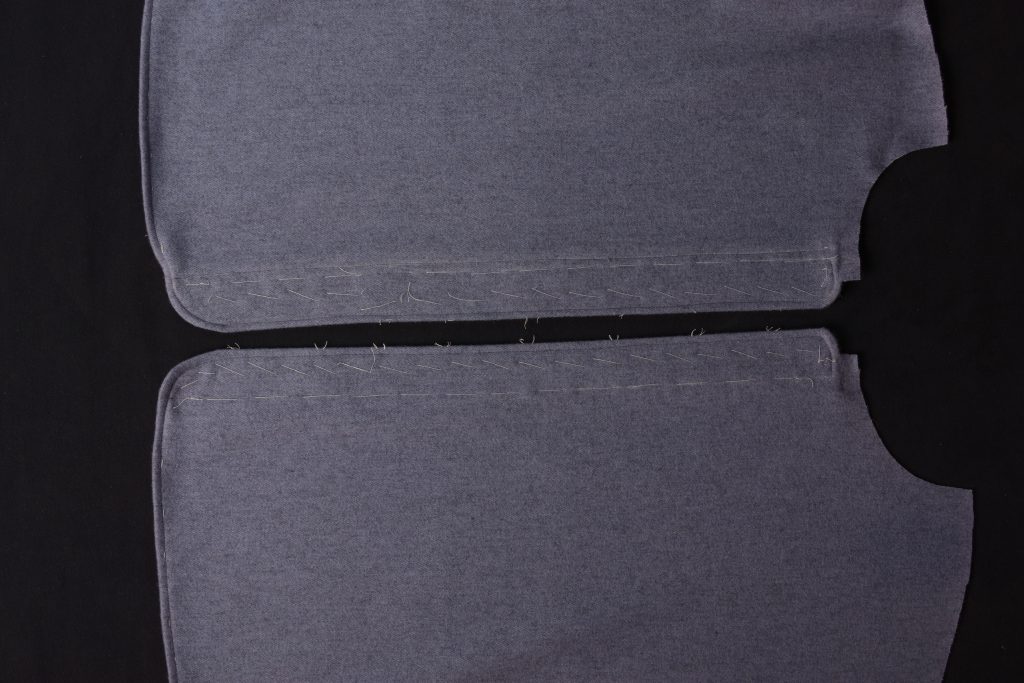
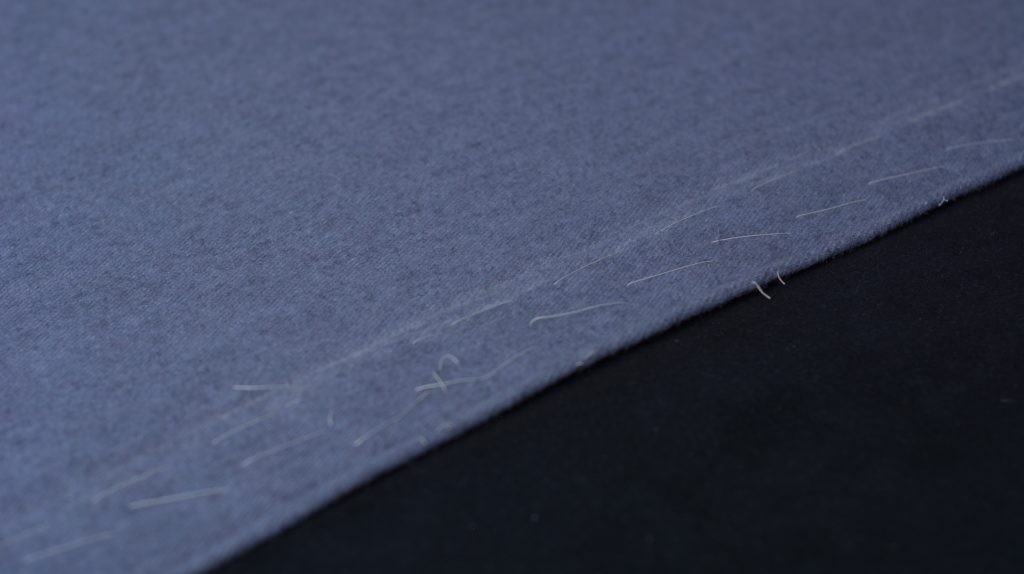
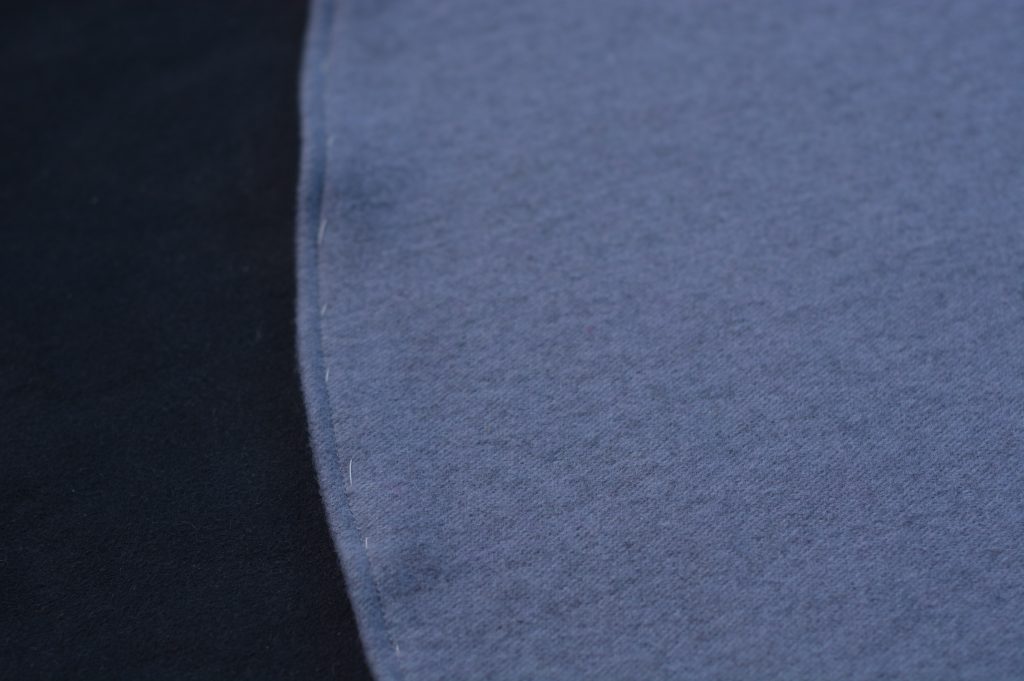
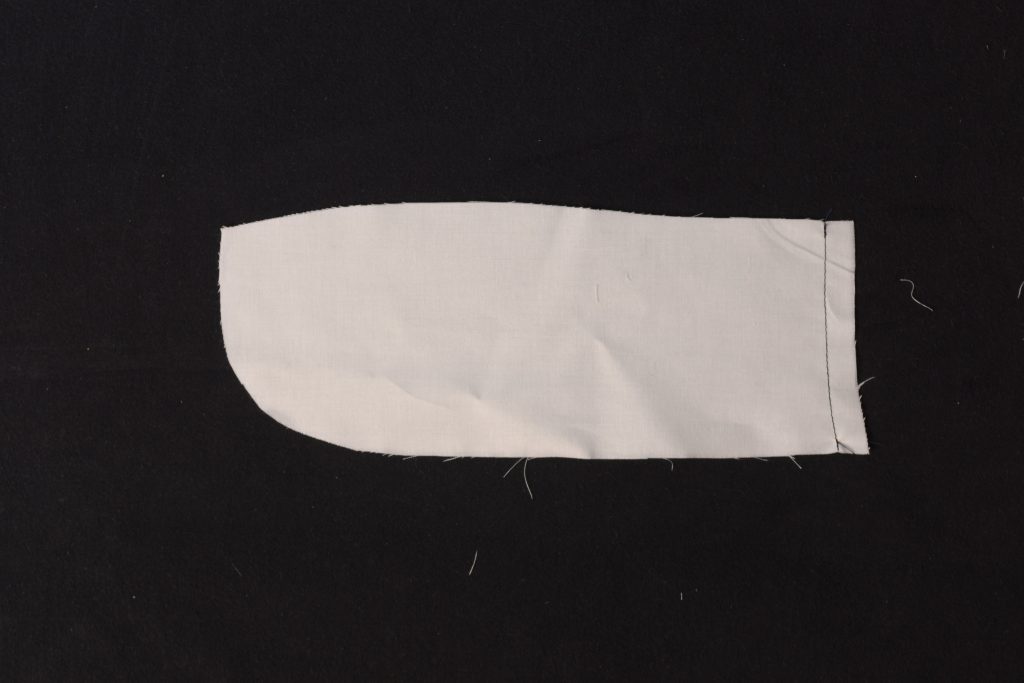
Here are the results after top stitching.
The Cape Facing
Begin the cape construction by turning over the extra fabric at the center front, right sides together, and folding along the mark stitched line.

Diagonal baste the two layers together at the top and bottom for a couple of inches.
Mark the 1/2″ seam allowance along the neck and bottom edges.
And then mark in from the folded edge 3/4 graduated inch for the center front marking. You’d actually be better off marking this and the seam allowance in the previous step on the other side of the cape so that you have the mark stitch available – a lot more accurate.
Now draw in a curve at the top near the neck, starting at the folded edge and ending at the mark stitches 3/4 graduated inches from the edge.
Repeat on the bottom edge, only this time with a larger radius. You want the curve to blend in to the bottom just as it reaches the seam allowance, 1/2″ from the cut edge of the facing (not the hem edge).
Here’s what mine looked line (in chalk). I went on to sew and turn it but was not happy with the results. You definitely want a larger radius as shown in red, and it’s more faithful to the original draft as well.
Sew the top curve from the mark stitched point, 3/4 graduated inches from the edge, to the bottom of the curve at the folded edge, blending it into the folded edge as smoothly as possible.

Sew the bottom edge from the cut edge, around the curve, again blending into the folded edge of the facing.
If you hold the fabric taught with your left hand, you can rotate your arm with the fabric and get a much smoother curve, rather than trying to force it perfectly on the guideline.
Here’s how my first attempt turned out – again, you want a larger radius here.

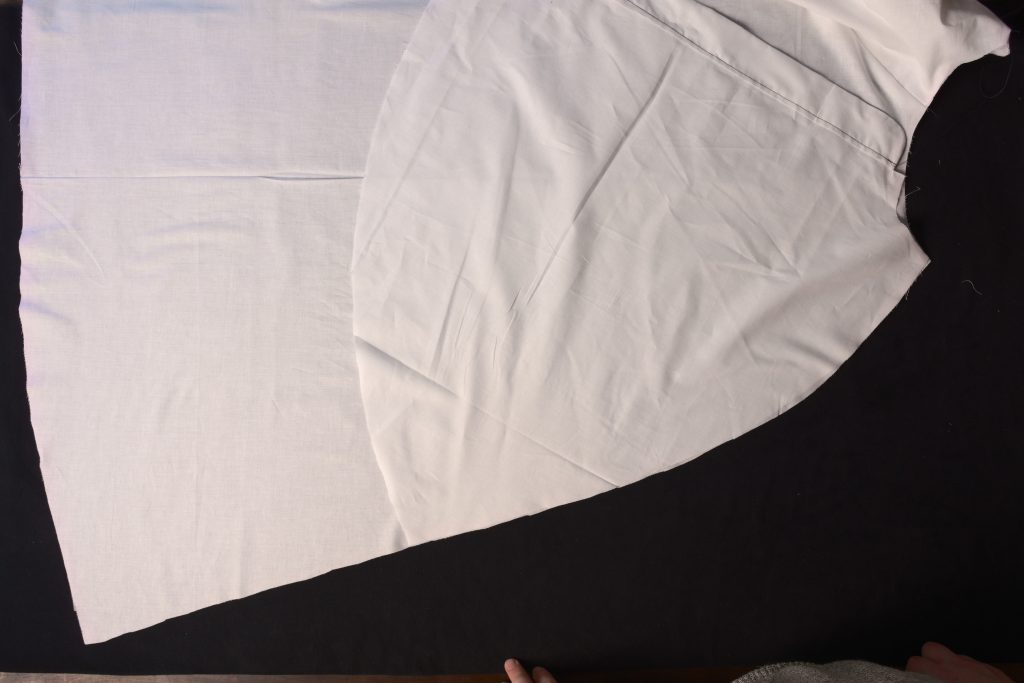
Here’s what everything looks like so far.
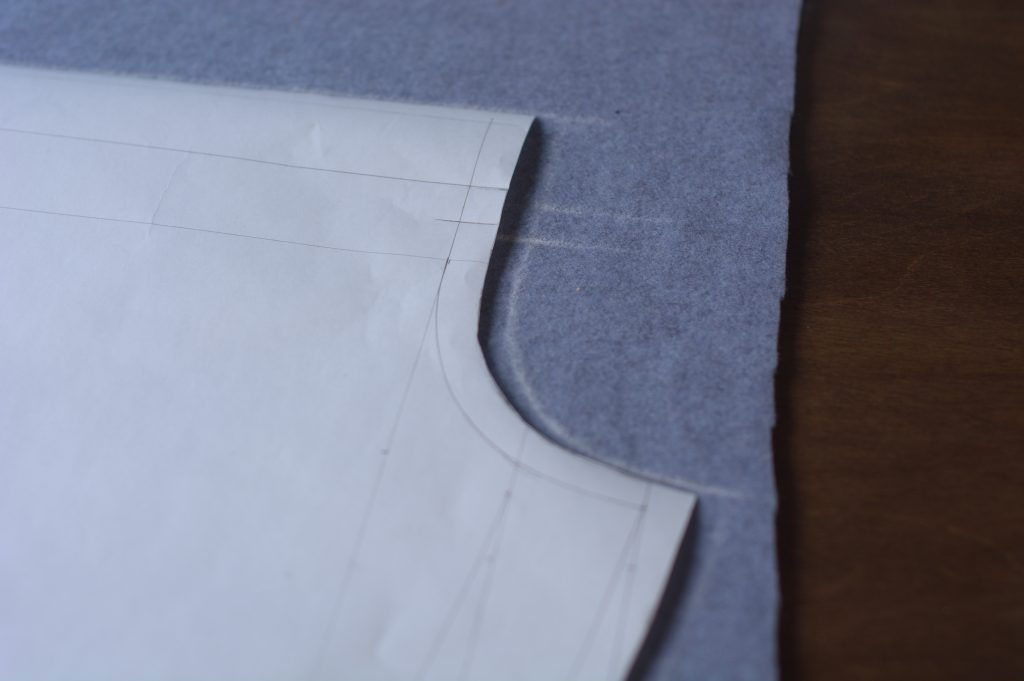
Now trim the lower curve to about 1/8″ away from the stitching. This does depend on your fabric though and how much it frays. You could keep a little more if necessary.
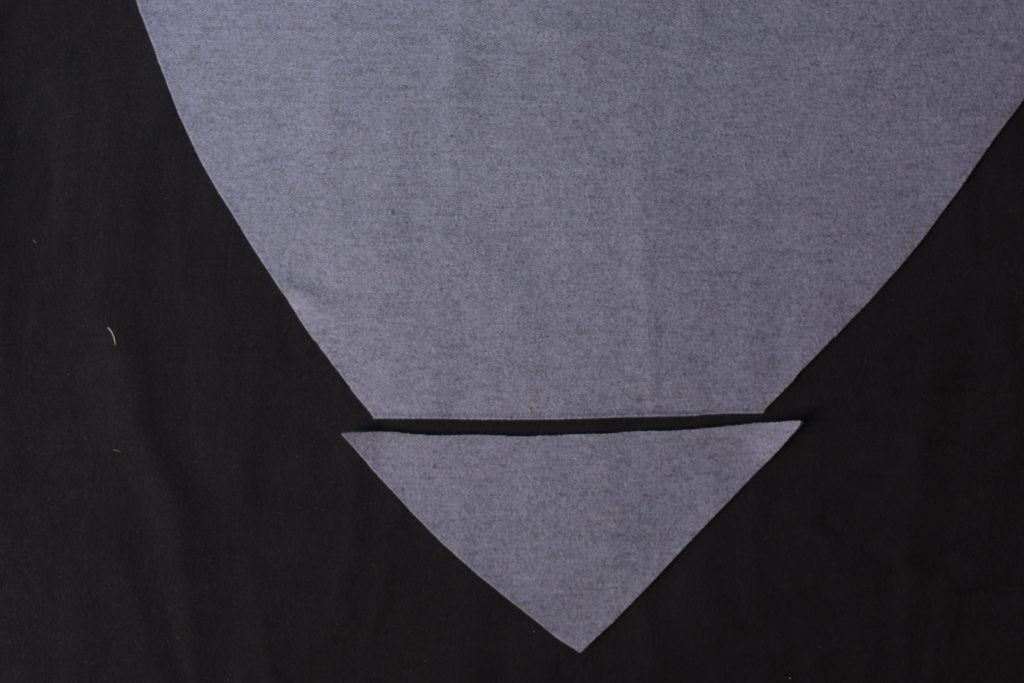
As you get towards the edge of the facing, curve outwards to the hem, forming a bit of an ‘S’ shape.

At the neck, cut through the main front layer only (not the facing) to the end of your stitching, which should line up with the mark stitched point.
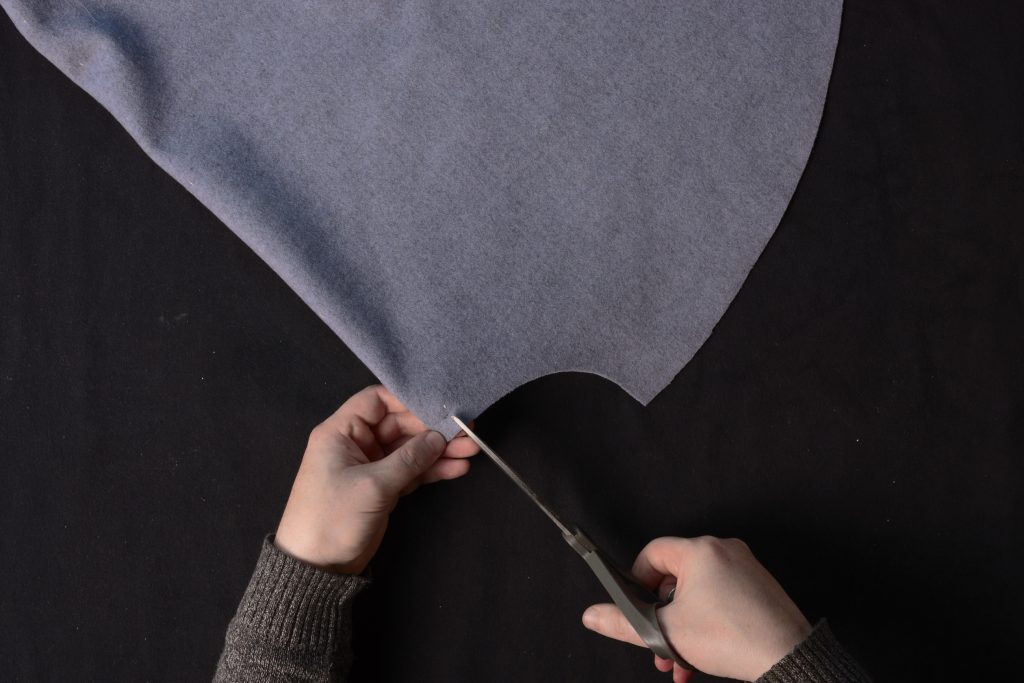

Trim the upper curve in the same manner, tapering up to the neck just at the snip.
You can also trim off that little excess to the right of the cut. Not sure if I did or not but I forgot to photograph it at least.
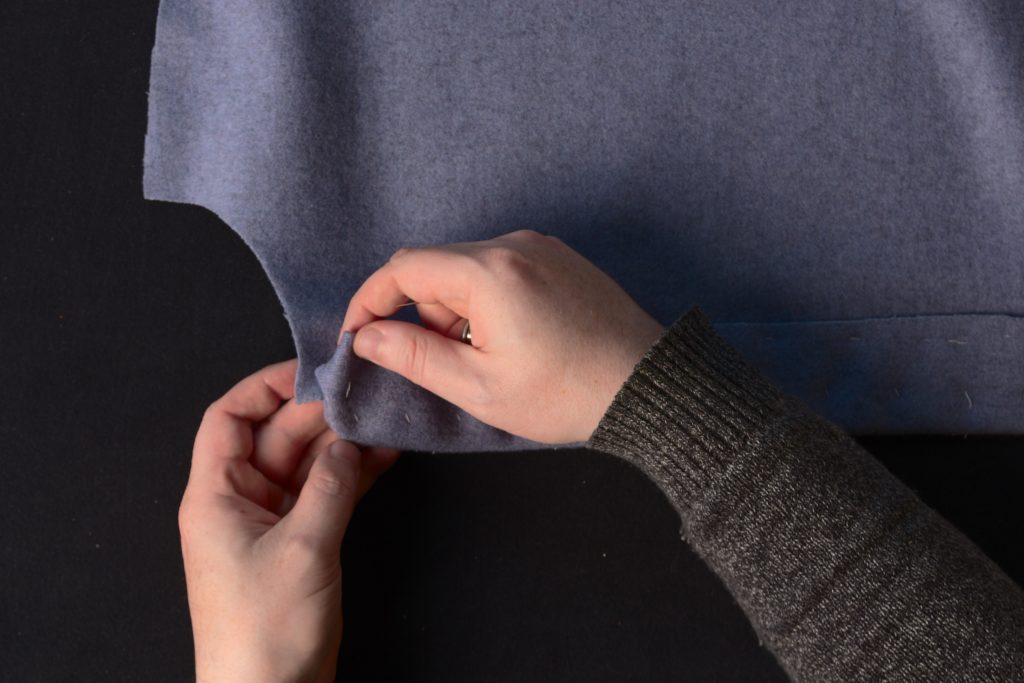
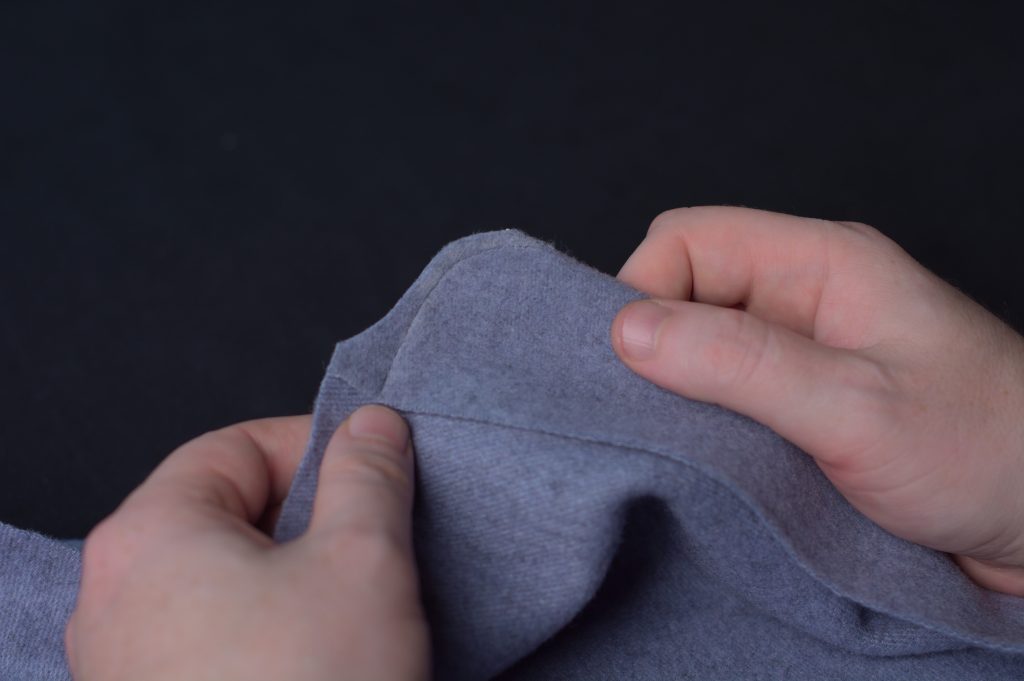
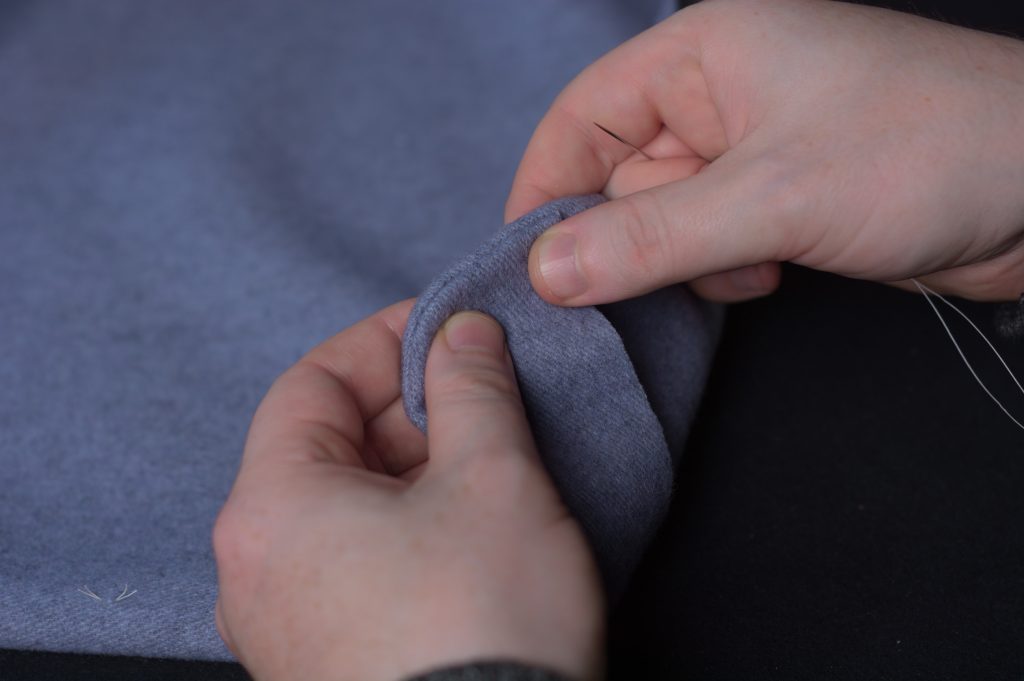
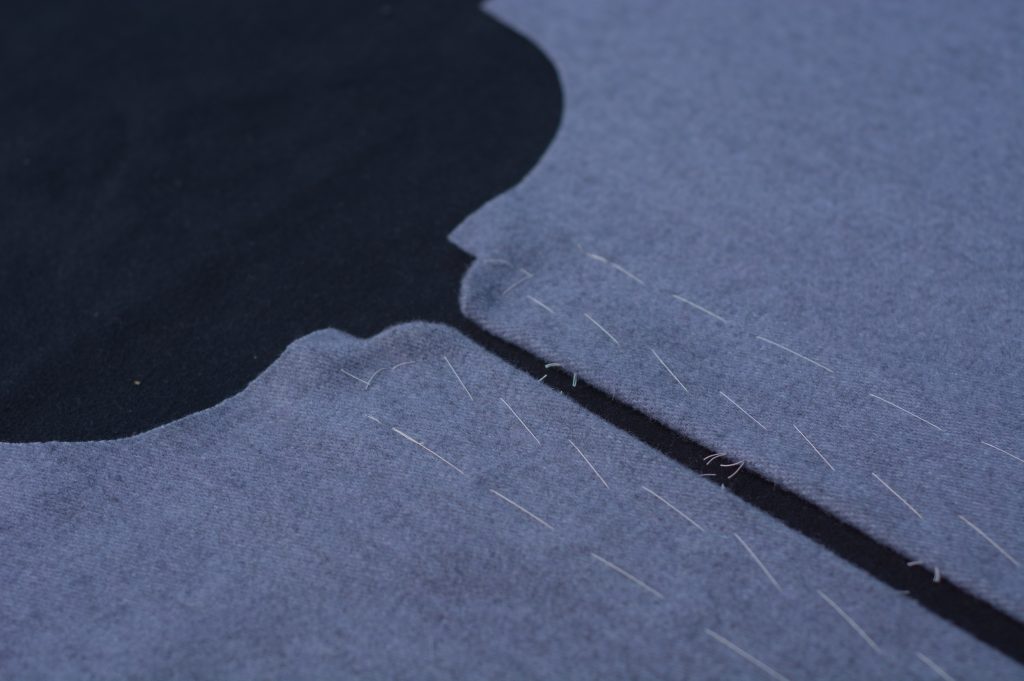
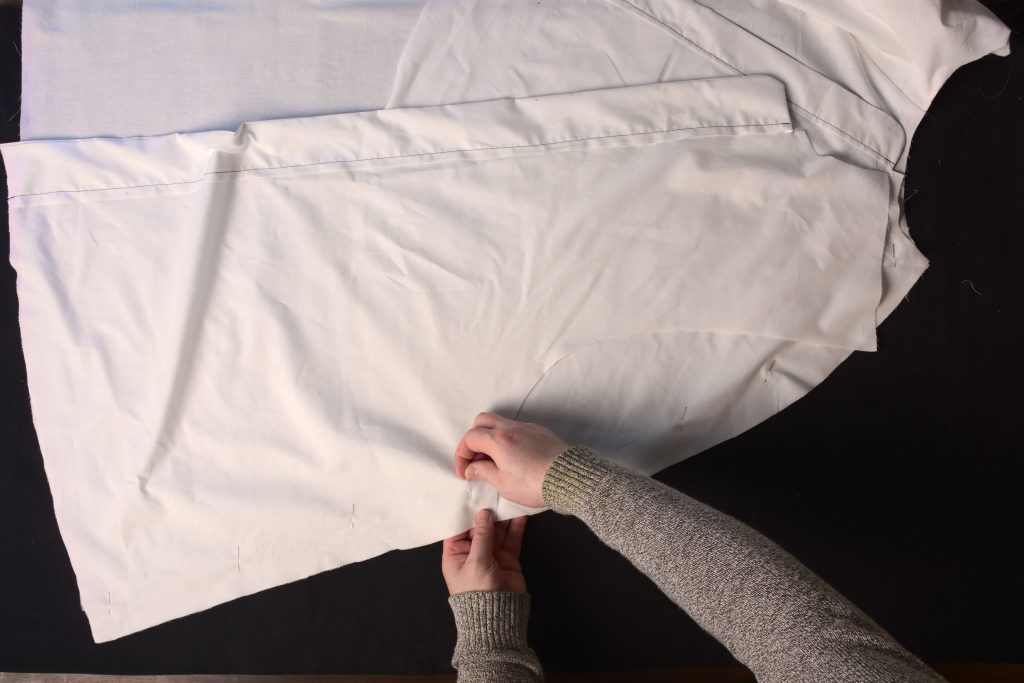
Remove the basting stitches and turn the facing right sides out, ensuring both curves are arranged smoothly.
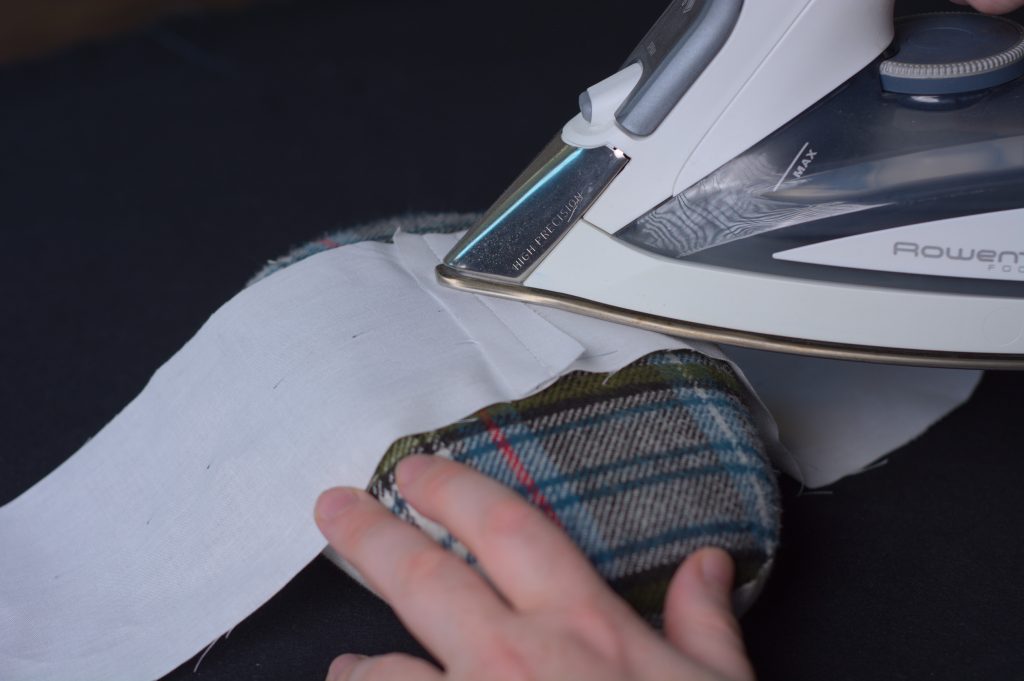
You actually want to roll the facing edge back behind the main edge ever so slightly, maybe 1/16″ to 1/8″, so that the facing is not visible from the right side.
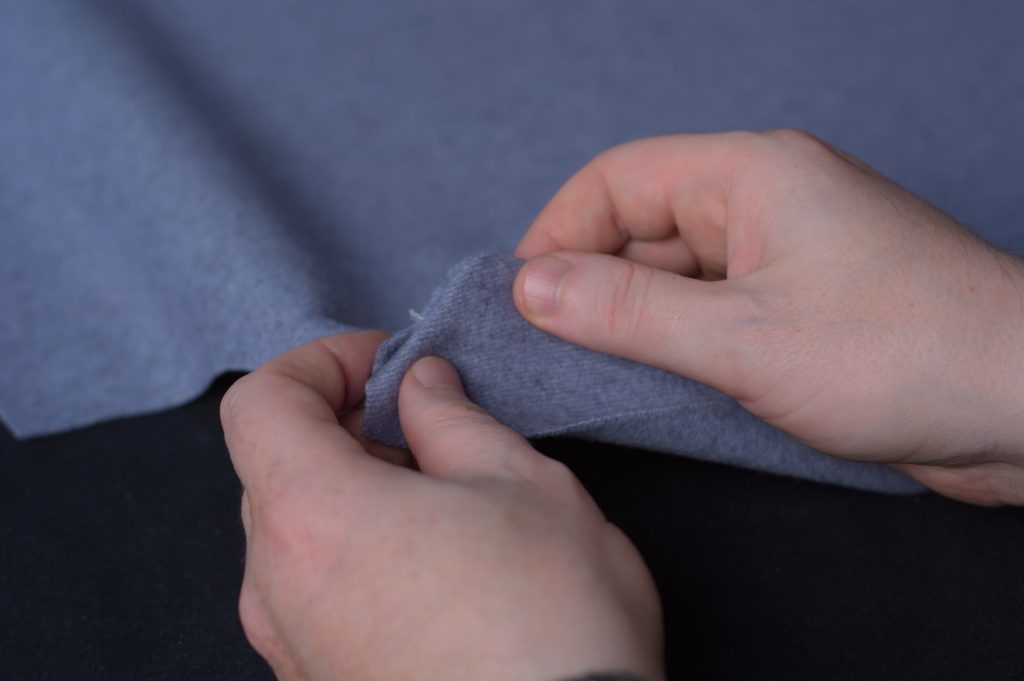
Here’s the bottom curve showing how it’s set back a little.
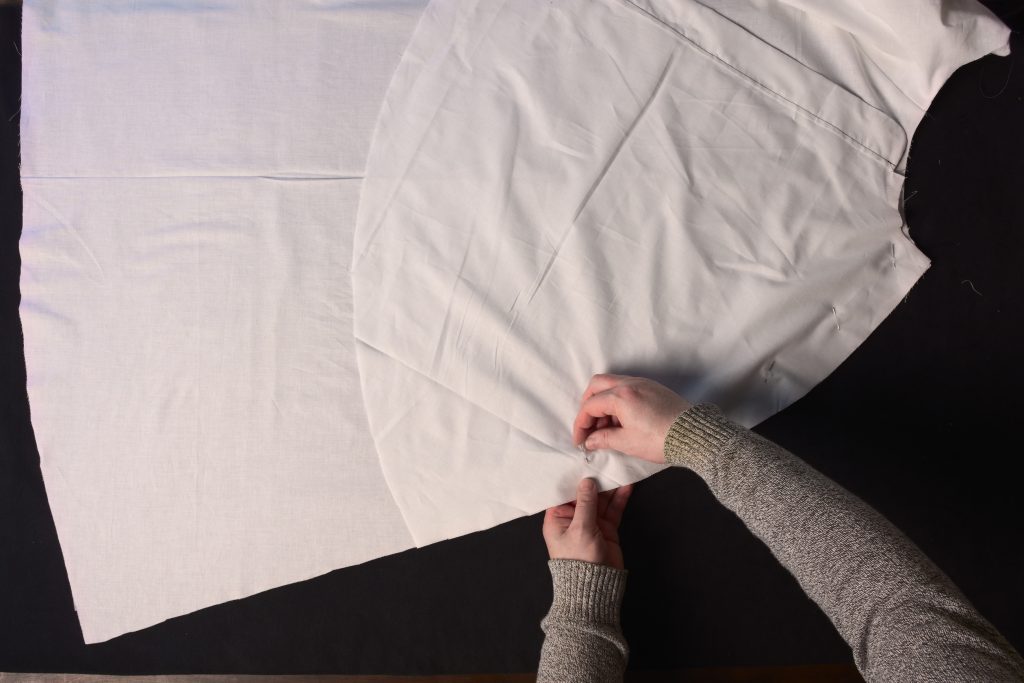
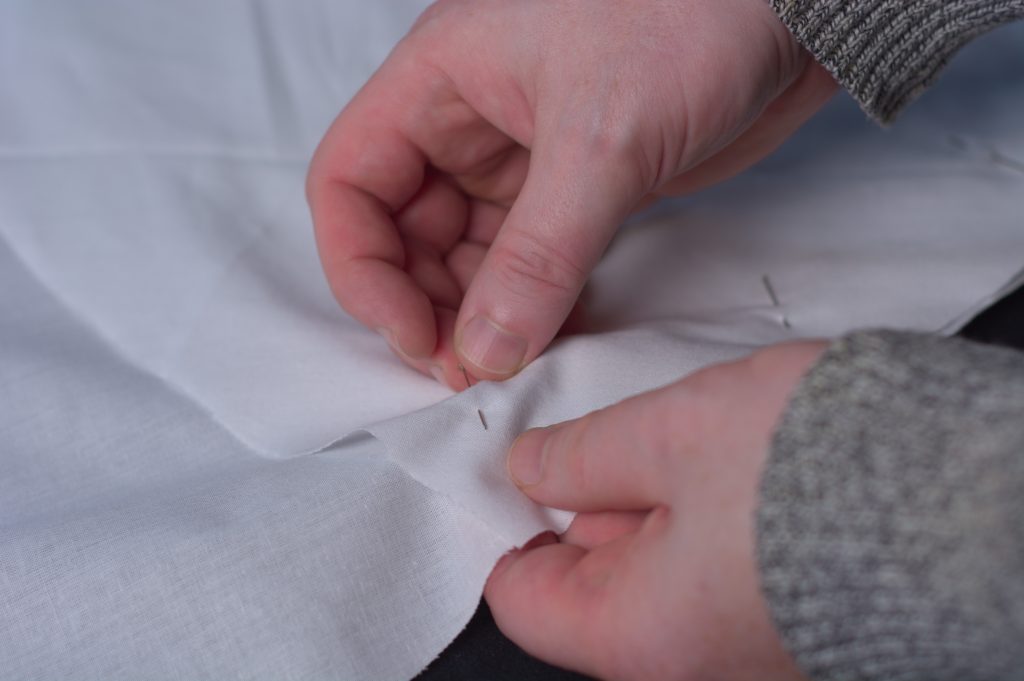
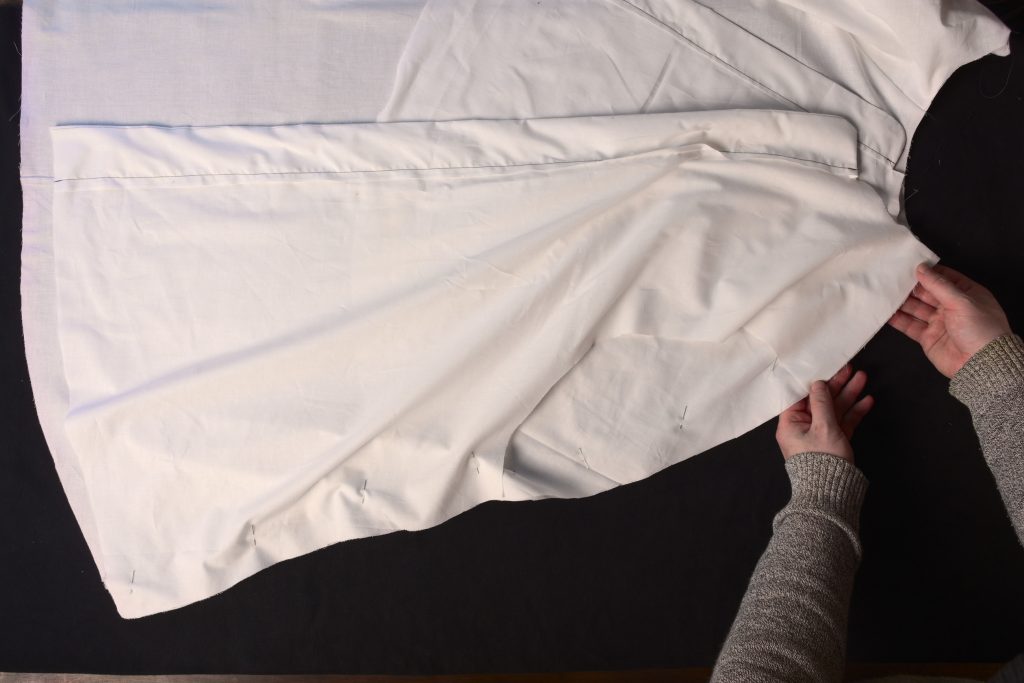
Baste along the entire front edge from the mark stitch at the neck, to the inner edge at the bottom. Arrange the fabric with your fingers as you baste, setting back the facing at the curves as discussed above.
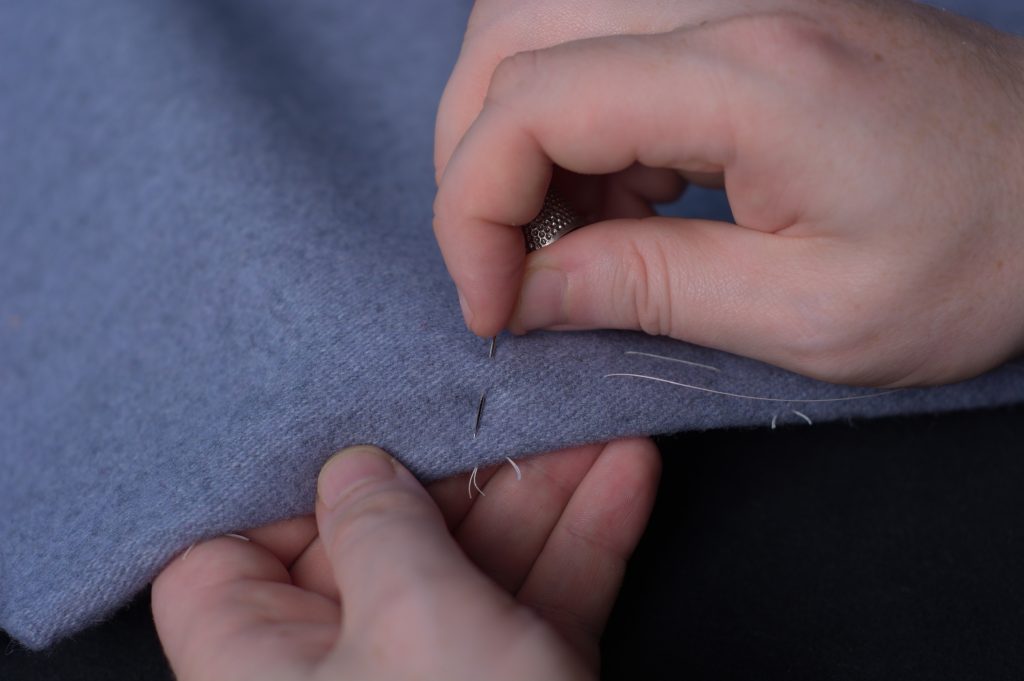
Now baste with straight stitches along the inner edge of the facing, about 1/2″ away from the edge. You’re doing this by feel – it doesn’t have to be perfectly accurate, just that the layers all lay smoothly in place after you’re done.
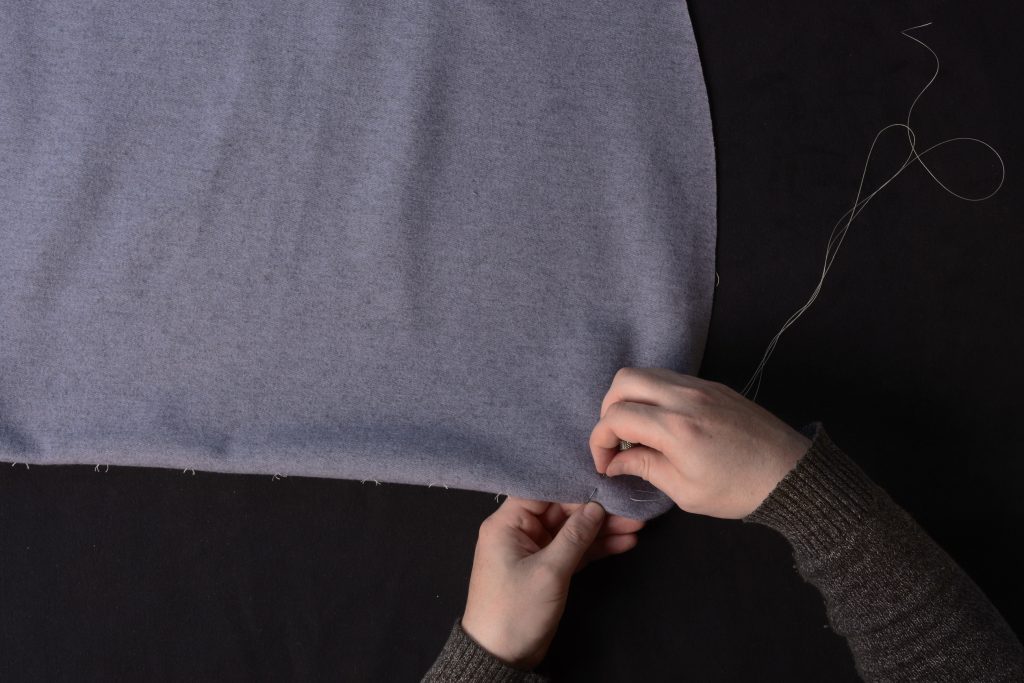
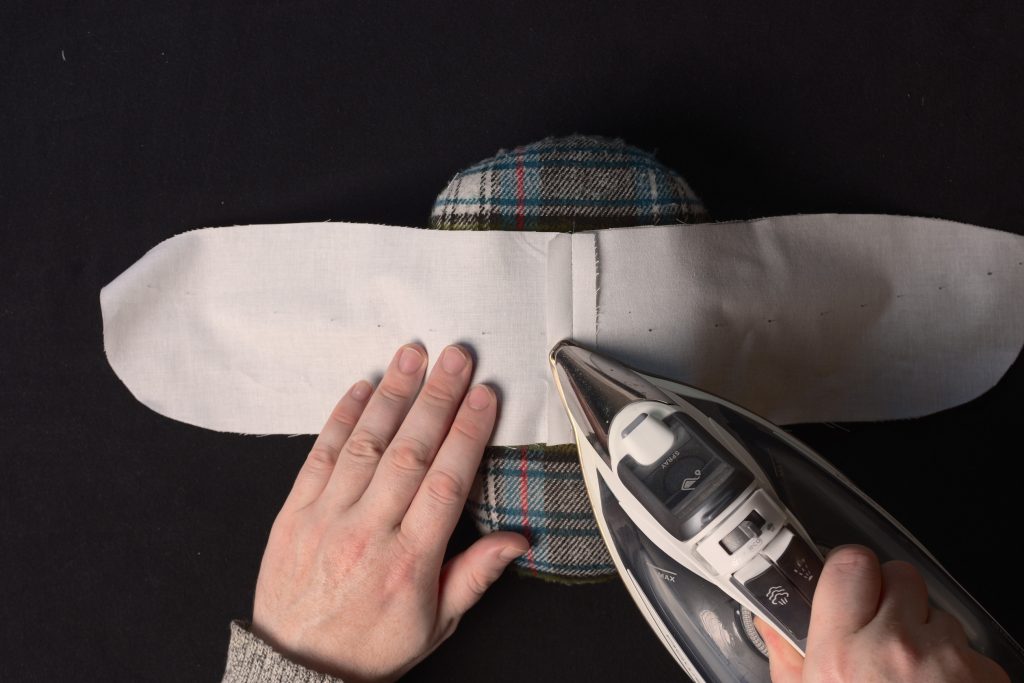
Now firmly press the folded edges.
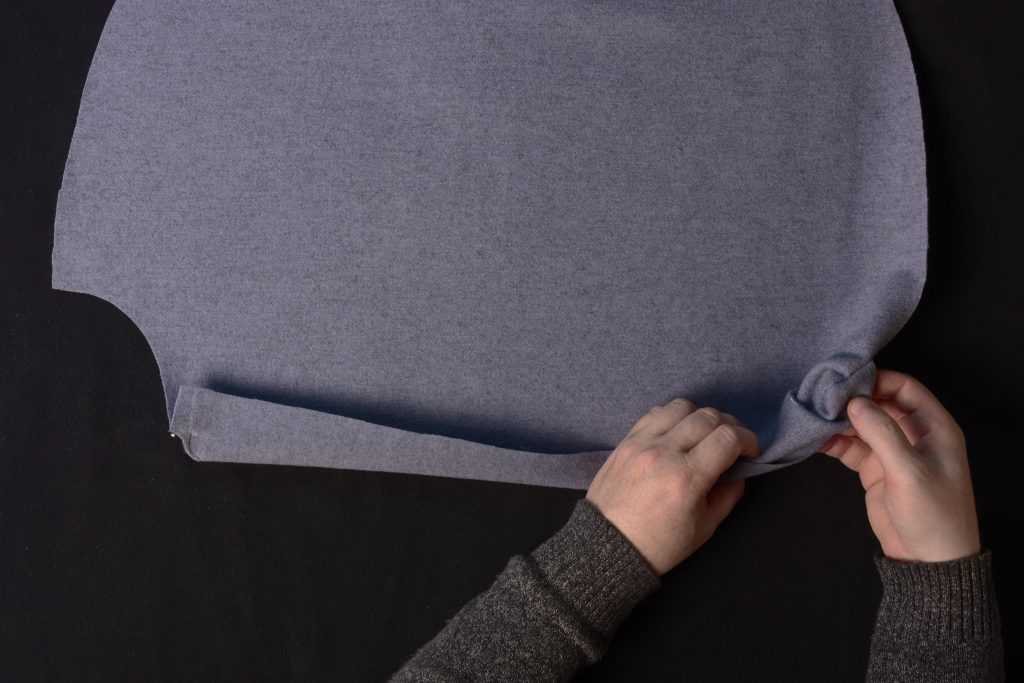
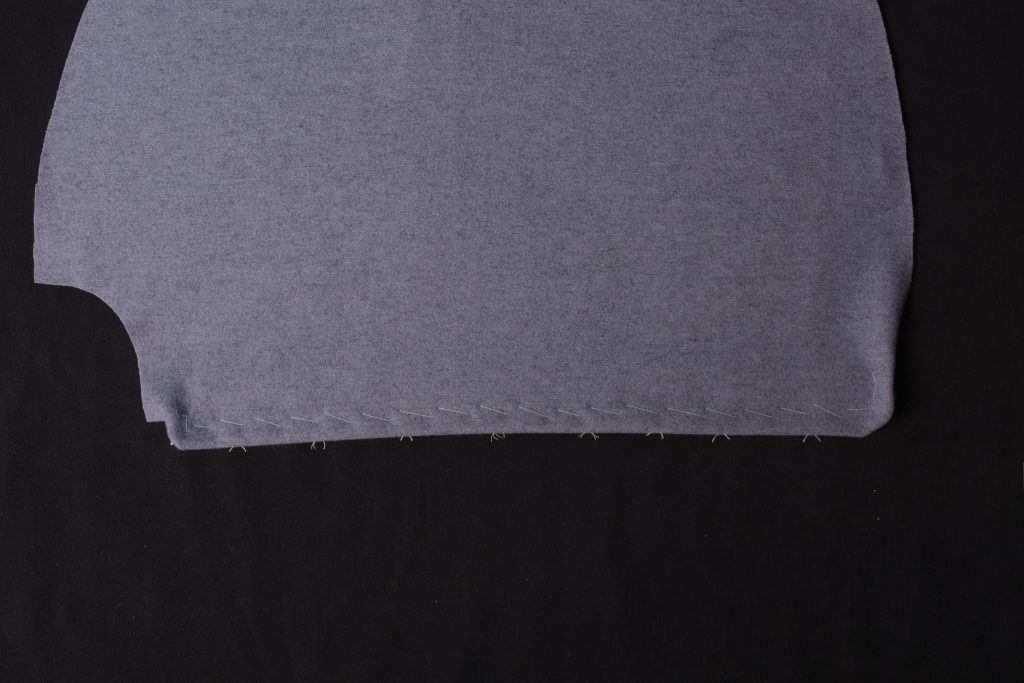
Repeat for the other half of the cape. Here are the results so far. Check and ensure that both capes are still the same length – with some fabrics things can shift out of place sometimes. Better to know that now than later!
Piecing
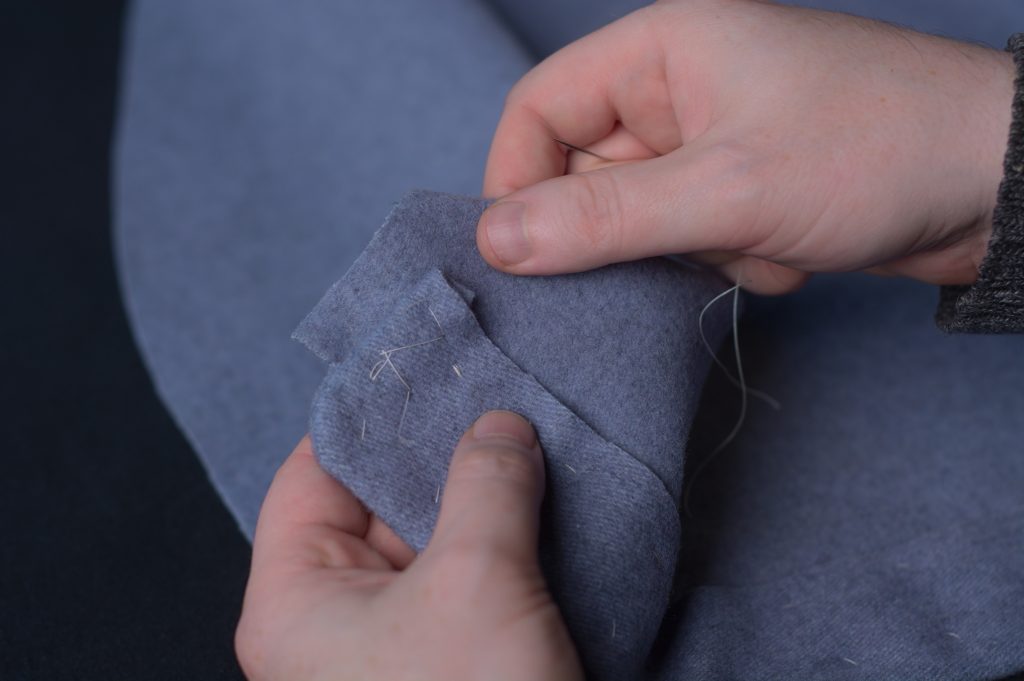
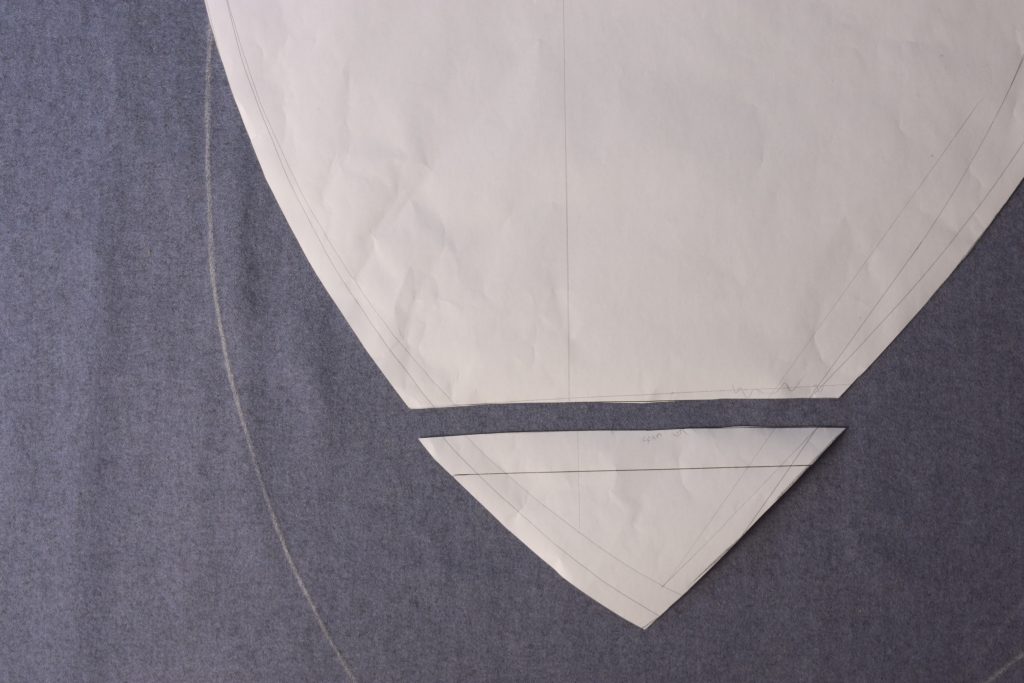
We’re now ready to begin piecing the cape, if you’ve cut yours in this manner. First lay the cape piece and the small triangular piece in position, right sides up. It’s easy to get the smaller piece turned around the wrong way so refer to your pattern if necessary.
Lay the small piece onto the cape, right sides together.
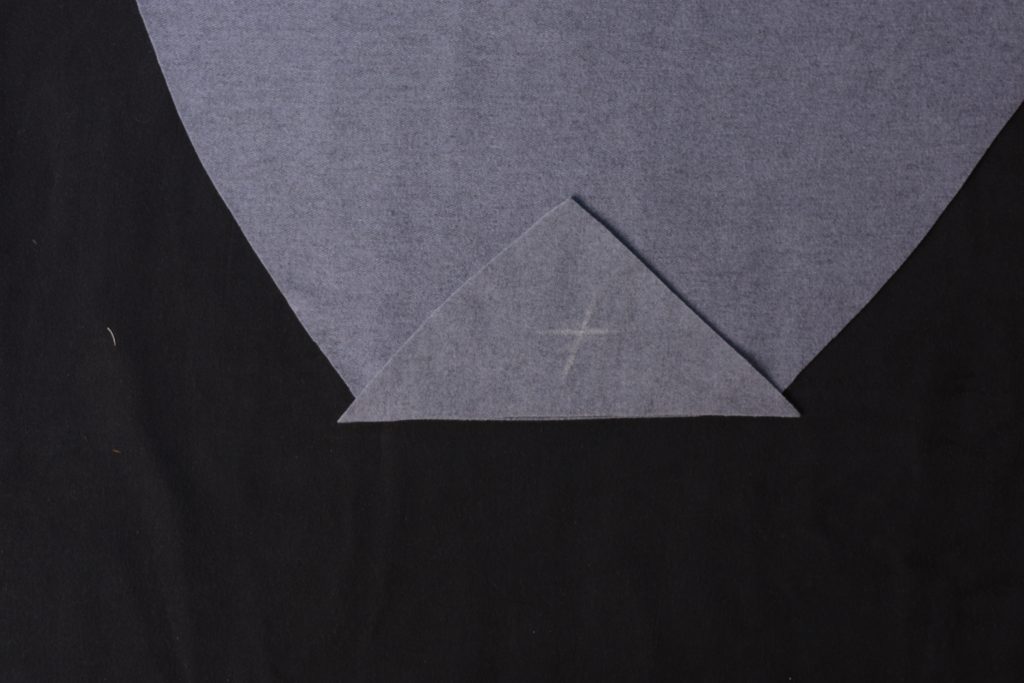
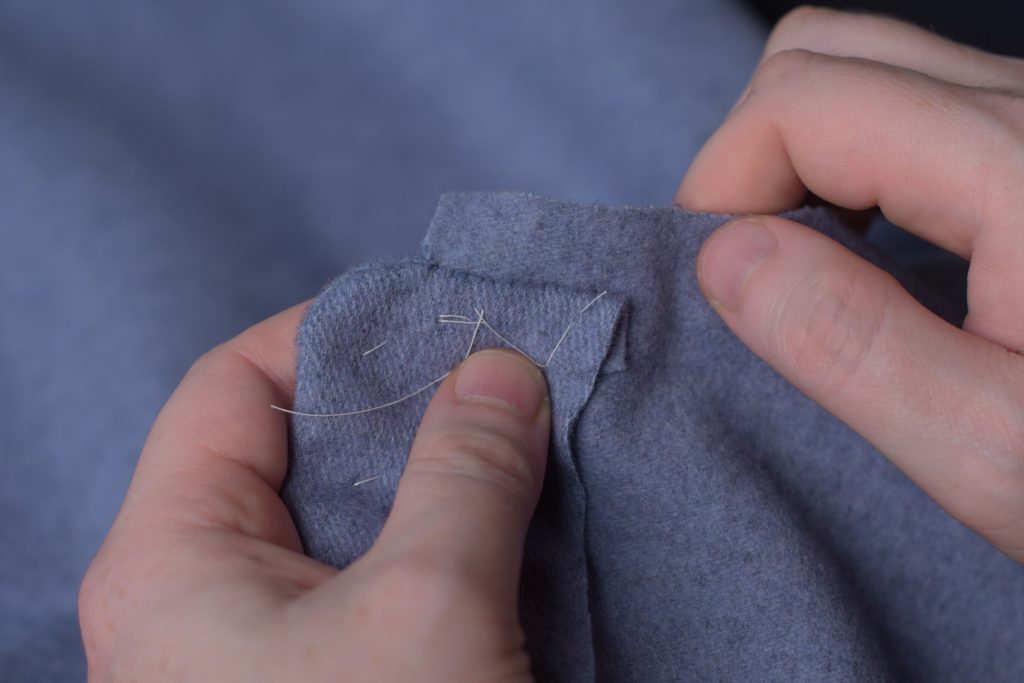
Be sure that the ends line up correctly. the edges should overlap each other 1/2″ from the edge at both the top and bottom.
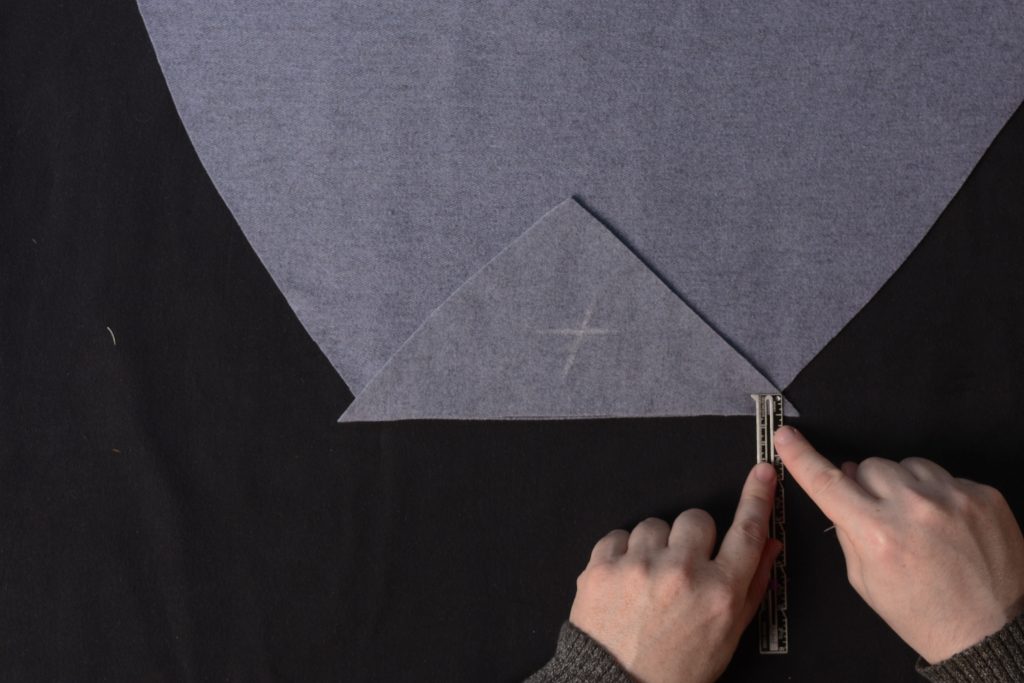
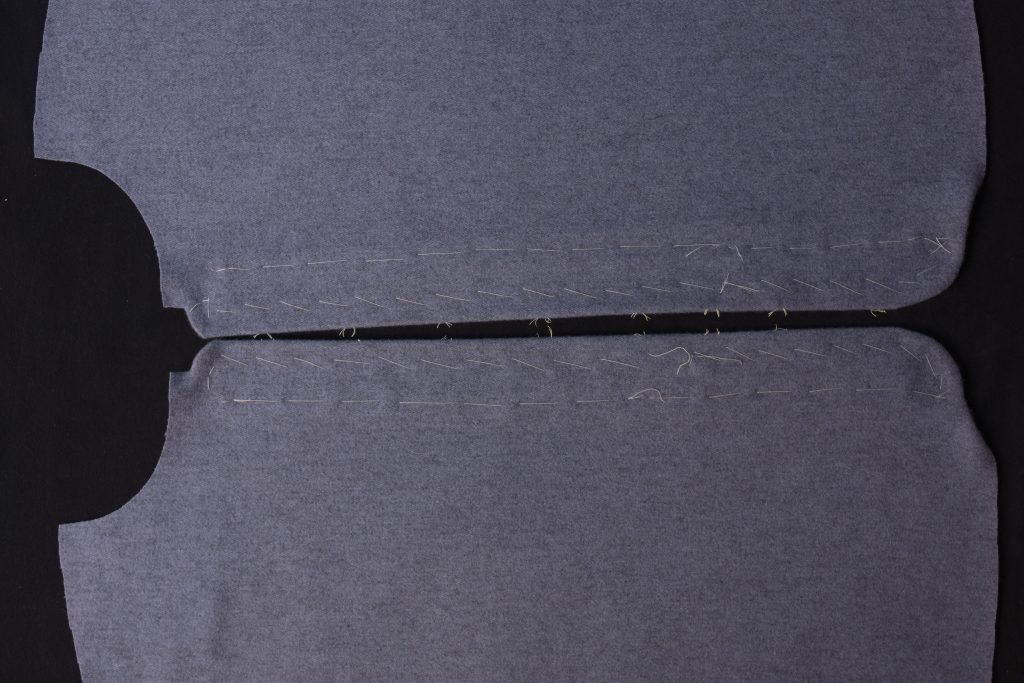
Baste the two pieces together with a diagonal basting stitch as shown, keeping the stitching just over 1/2″ from the edge so they don’t get caught in the machine stitching.
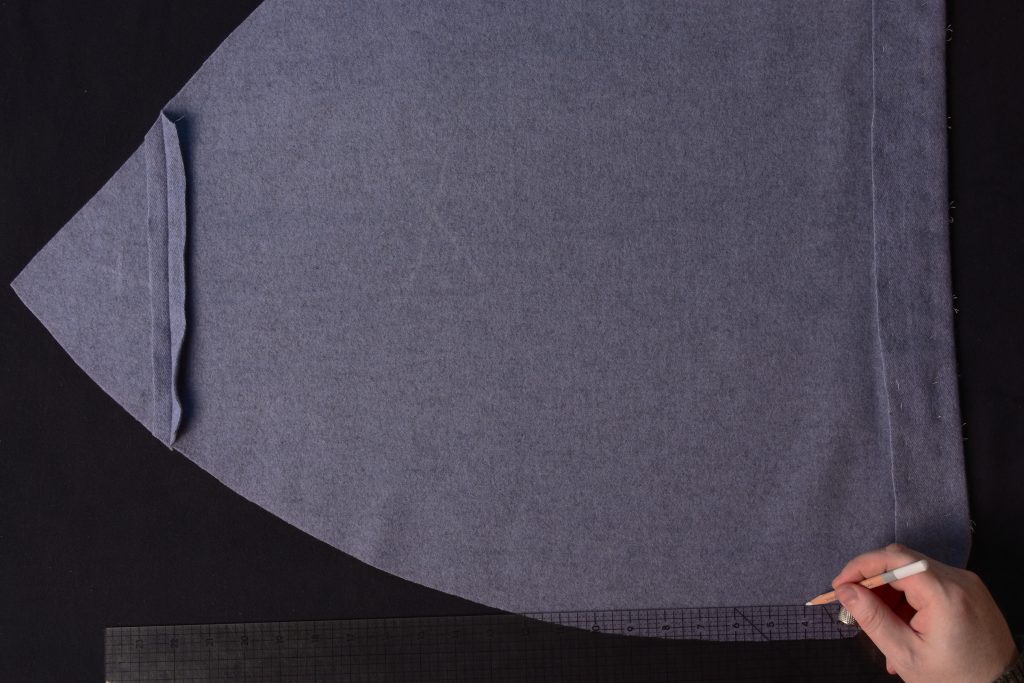
The results after the diagonal basting.
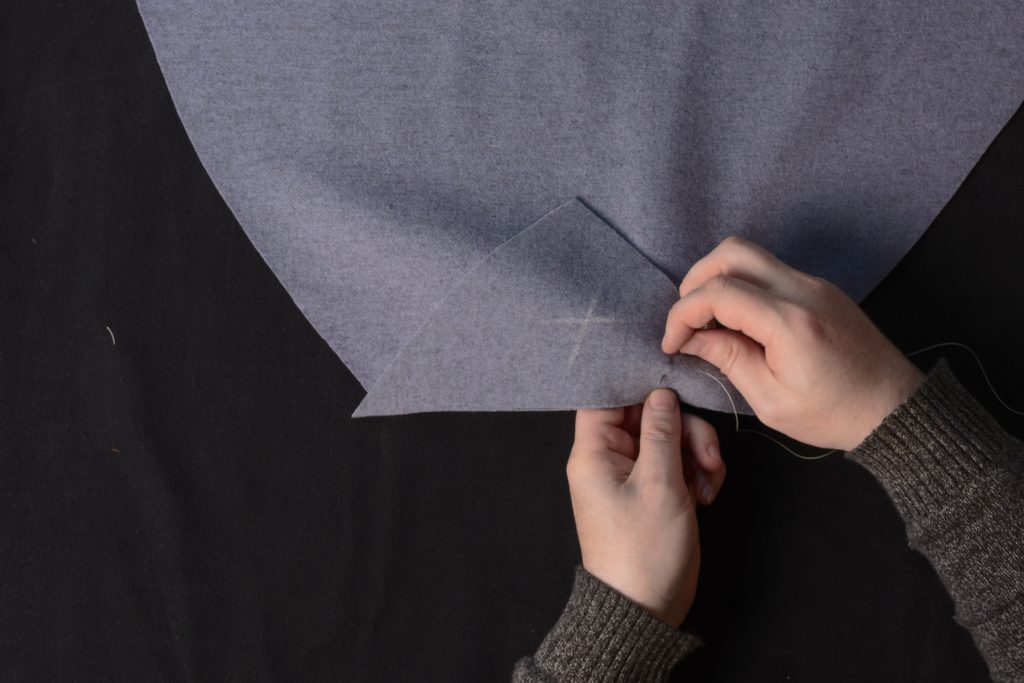
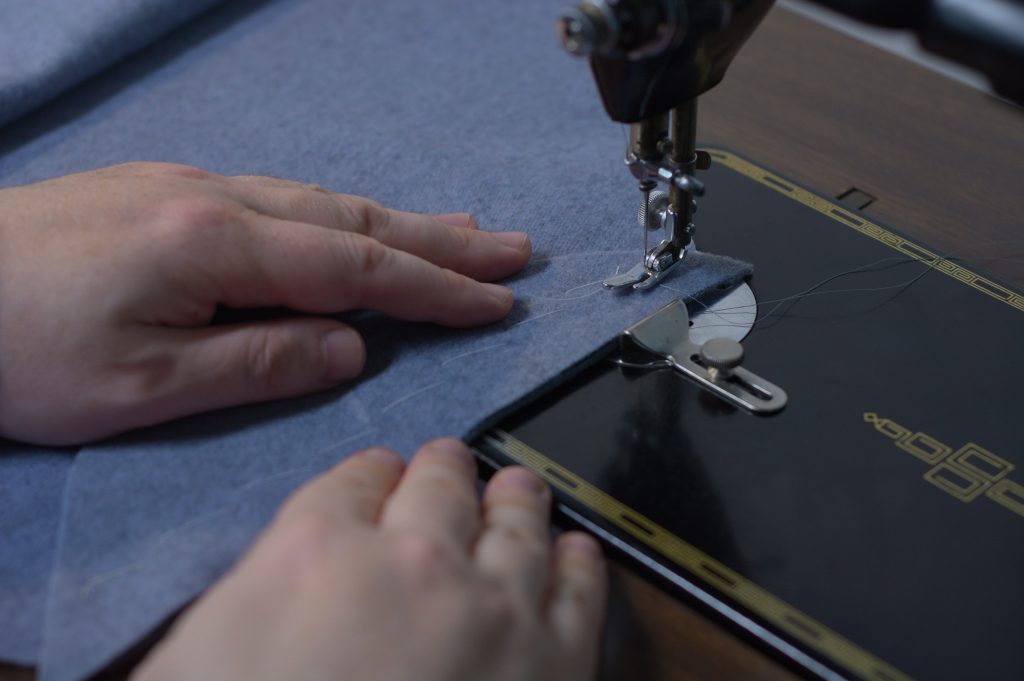
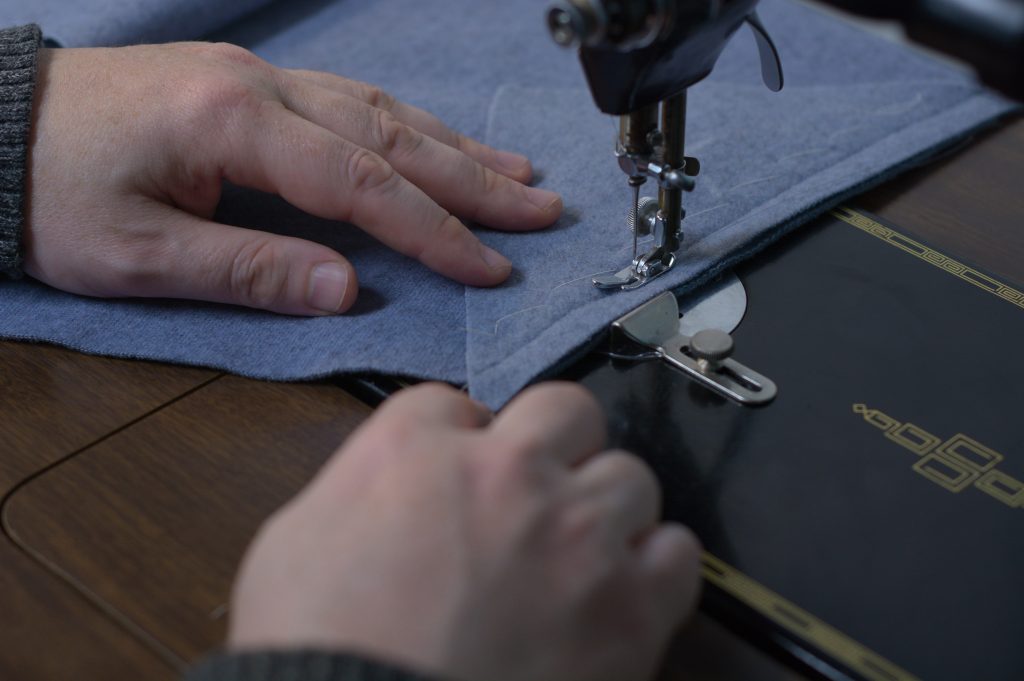
Move over to the sewing machine and stitch together with a 1/2″ seam allowance.
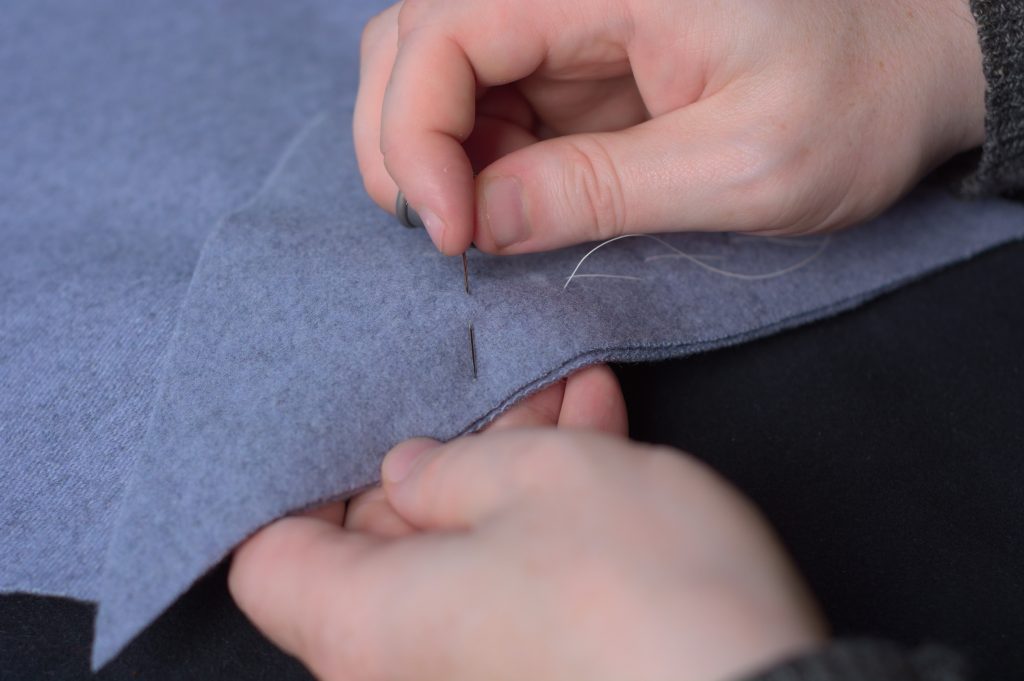
Remove the basting stitches.
Pressing Seams
I’m going to go over the method I use to press seams here, the same basic principles will remain throughout the course. Pressing is one of the most important aspects of tailoring, and it will frequently take me longer to press than to sew the seam to begin with.
First, with right sides together, dampen the seam with a bit of water. I just use an old spray bottle.
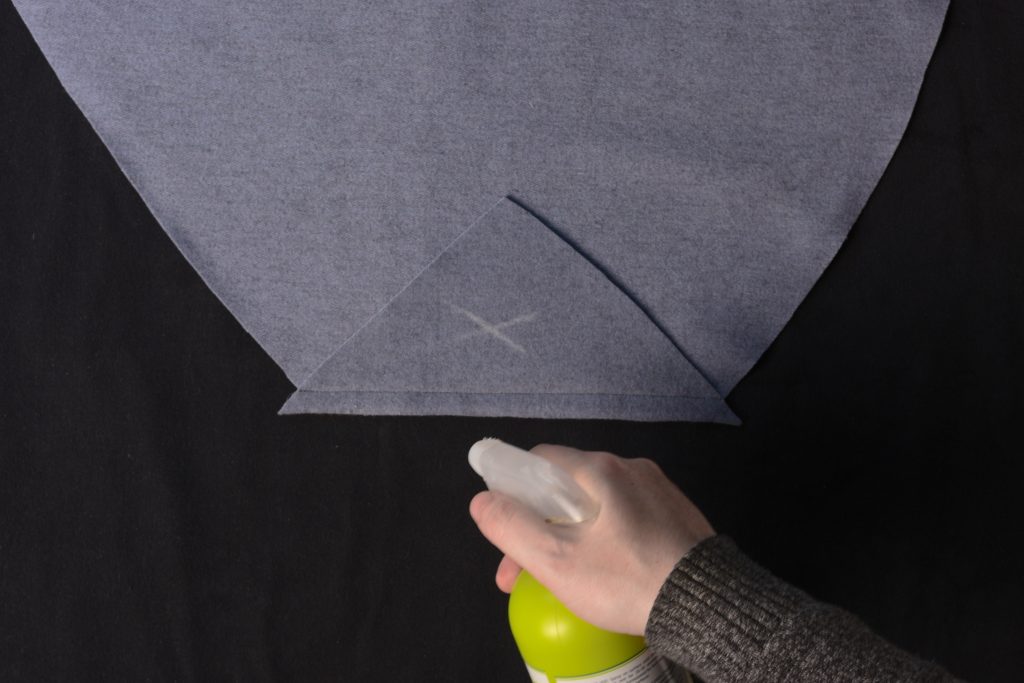
Gently press with a hot iron. This loosens the fibers, especially from the sewing machine, making everything more pliable and kind of setting the stitches.
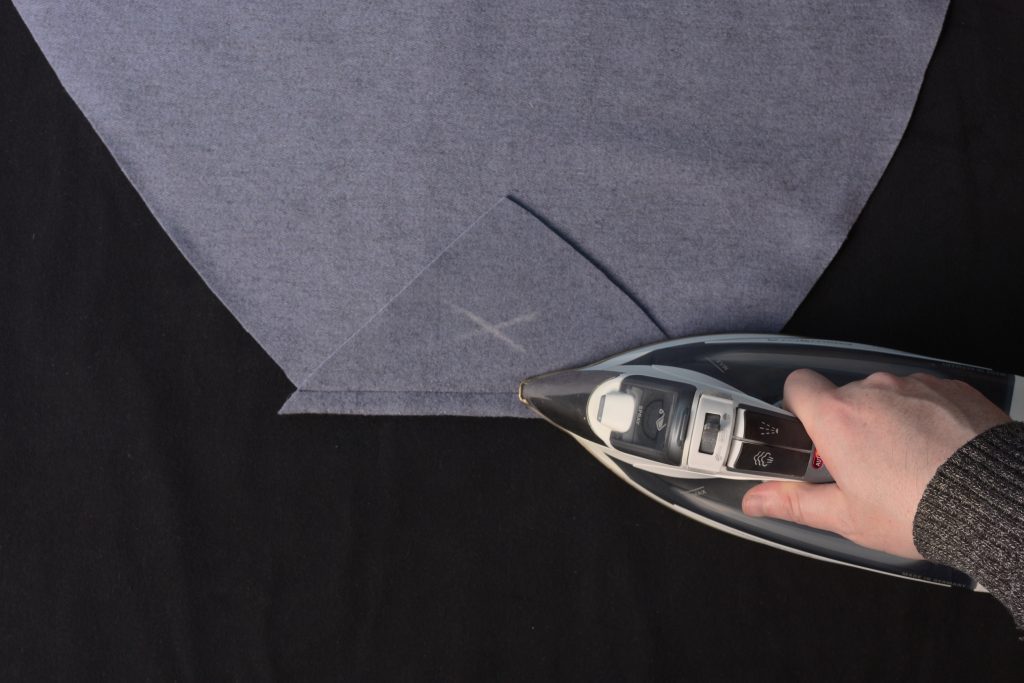
Now turn to the wrong side and open up the seam with your fingers. Apply more water and press firmly.
Turn to the right side, apply more water if necessary, and press firmly. You may want to use what’s known as a press cloth here, I usually cut a small square from scrap fabric of the type I’m actually pressing, to avoid marking the cloth with the iron. It really depends on the cloth whether you need one or not.
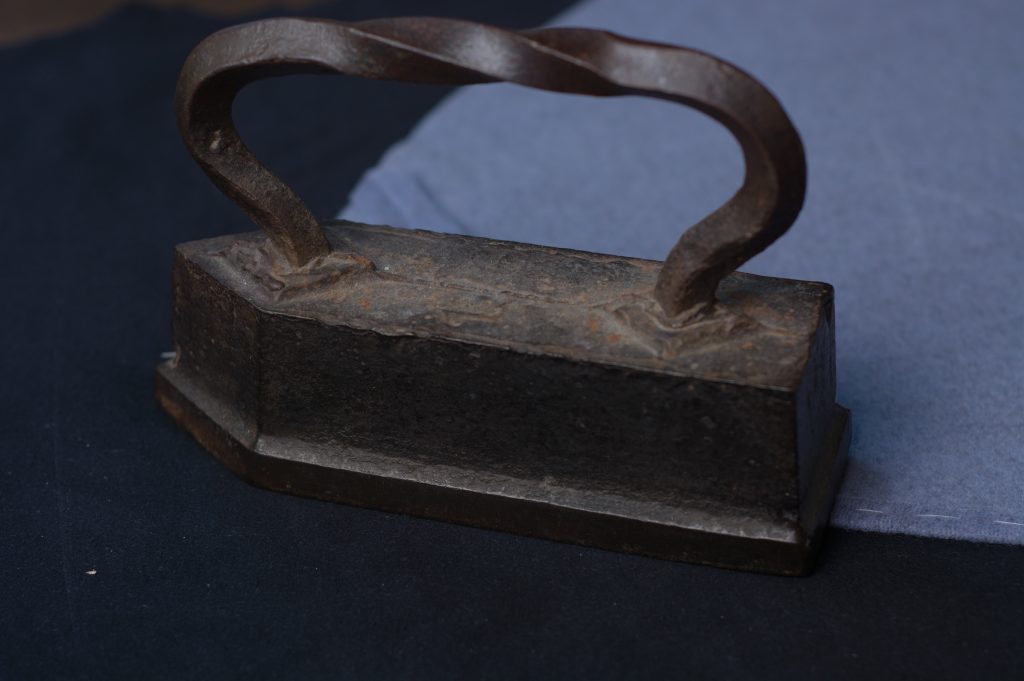
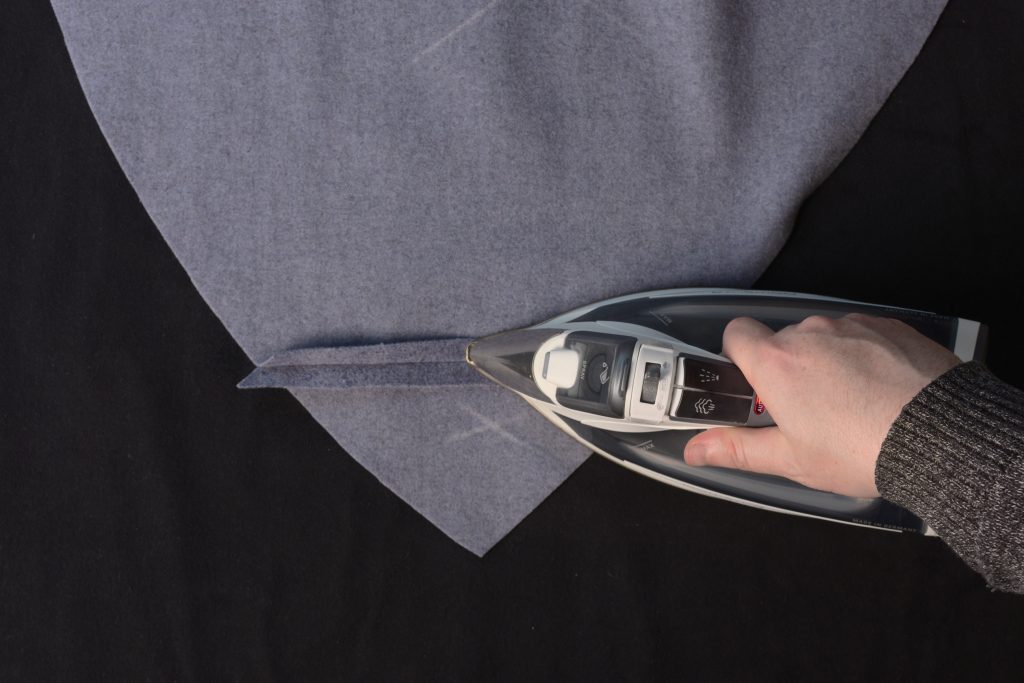
Finally, I like to use my 16 pound ‘goose’ iron to finish pressing the seams, especially on heavier cloth. The iron here is used cold, and it helps remove excess moisture. The weight really sets the seam nicely. You can usually find them at antique stores, usually inexpensively.
And that concludes my method of pressing.
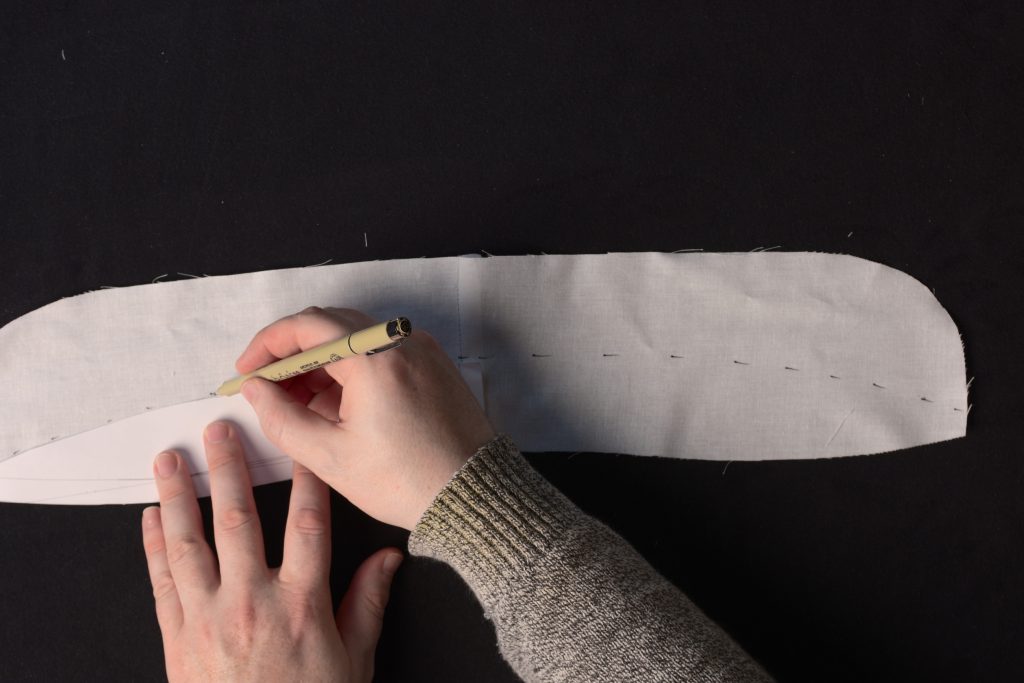
Mark Stitching
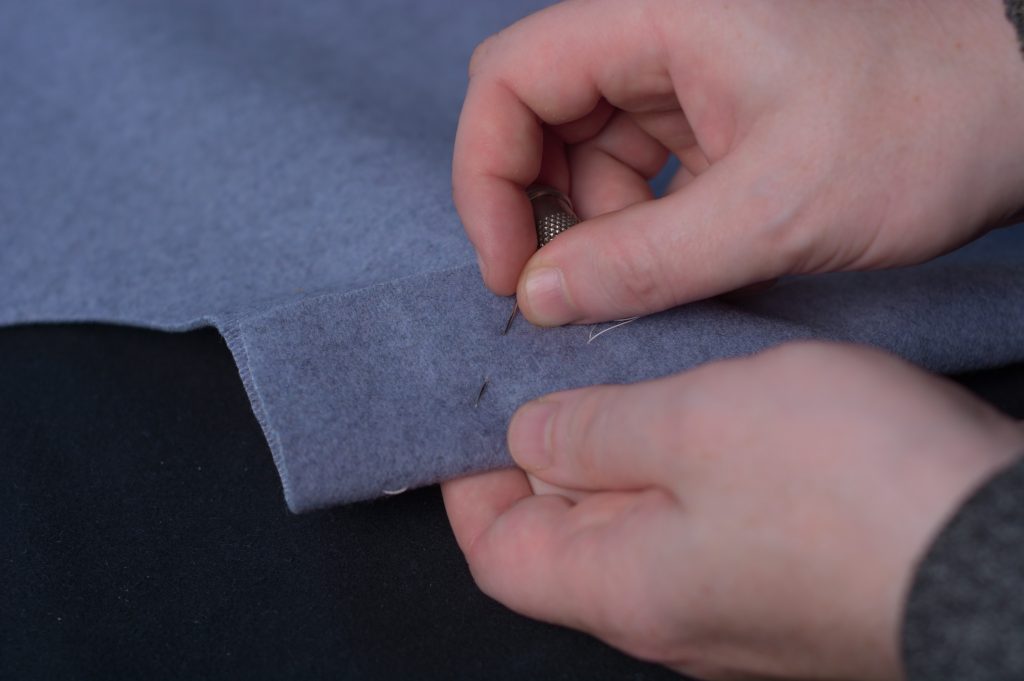
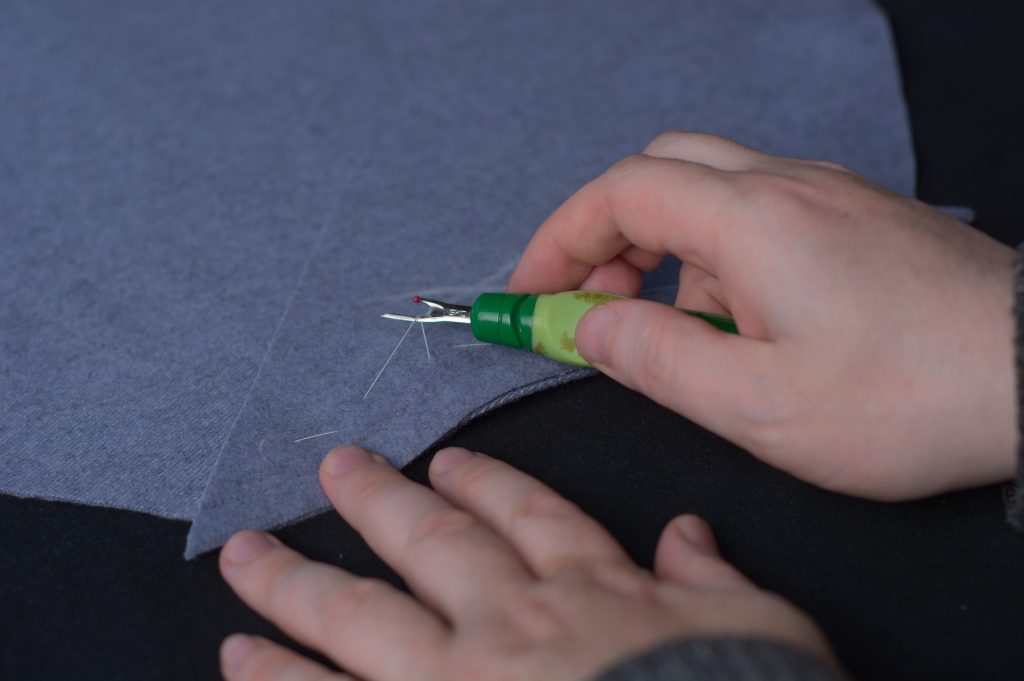
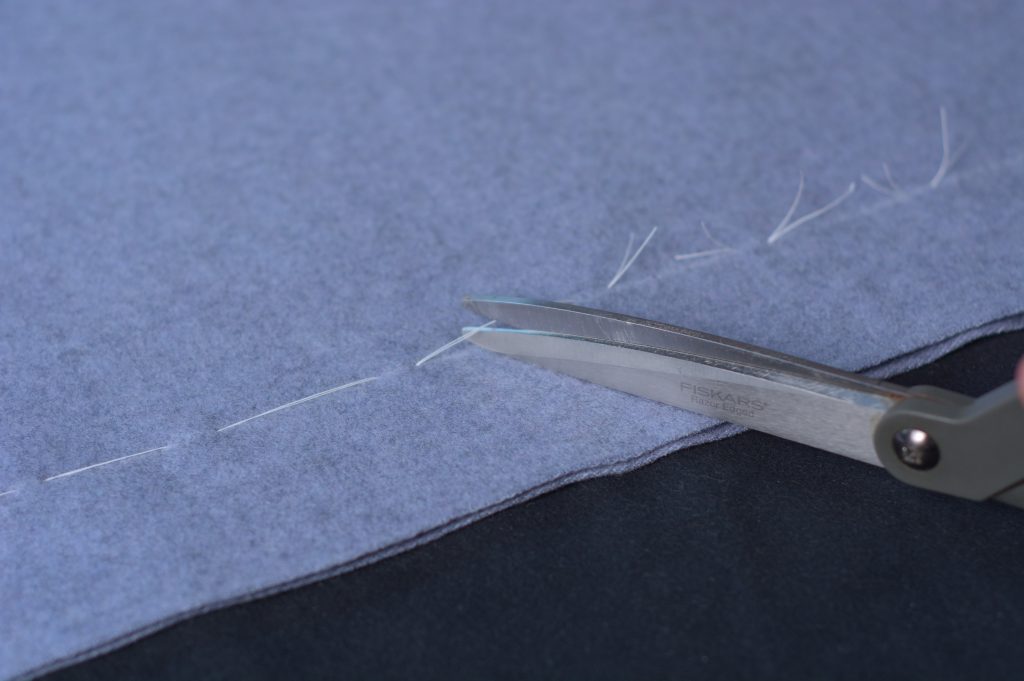
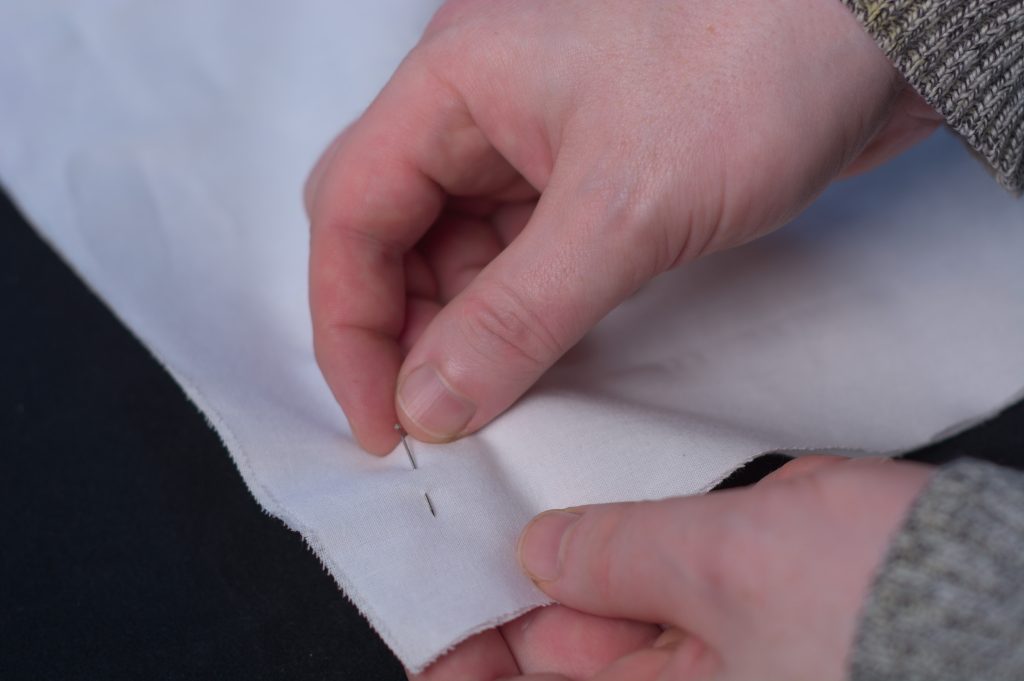
Before separating the cape halves, we need to mark stitch them using what is called a tailor’s tack to transfer the markings to the lower half of the cloth accurately, as well as make the chalk marks a little more durable.
Start by doubling up a length of basting thread if you have it. Regular white cotton thread will work okay, but it’s a little slippery compared to the basting thread so will fall out more easily.
Starting from one end or the other of the fold line you marked, make a row of running stitches about 2″ apart, taking a very small 1/4″ ‘bite’ with your needle for each stitch, going all the way through both layers of cloth.
Try to keep the cloth as flat as possible while stitching. Working on a wood table helps a lot.
If you do take smaller stitches, as shown on the left, leave a bit of extra thread instead of pulling it snug.

Snip the threads between each stitch.

Now gently open up the two layers, until about 1/2″ of thread is exposed inside.
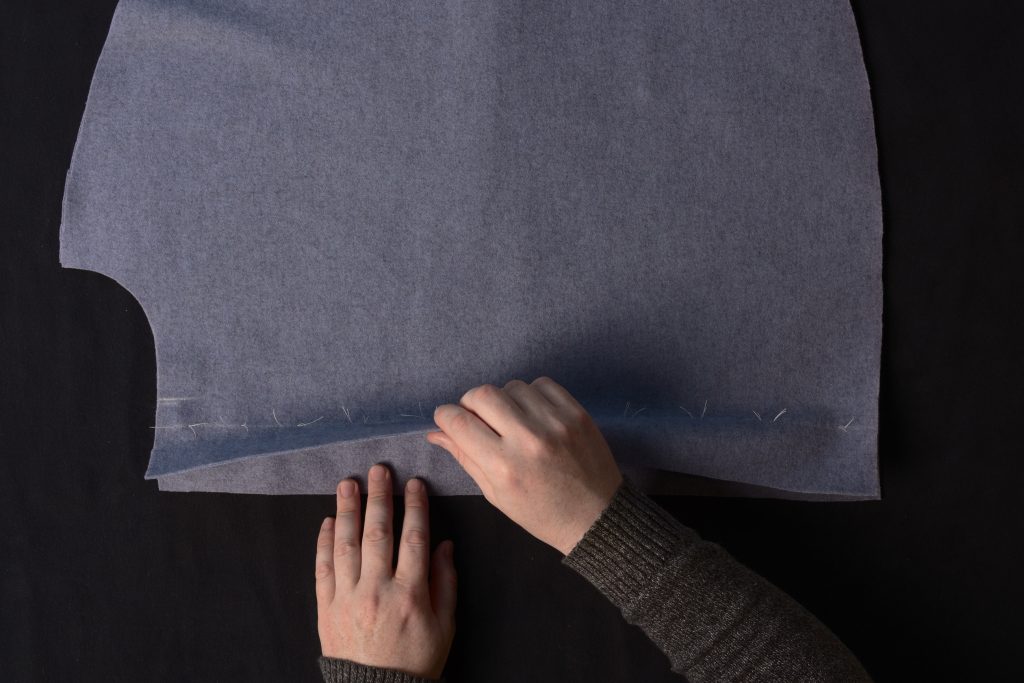
Then carefully snip the threads between the layers of fabric.


Opening it up a little further, you can see how this gives you neat little mark stitches on the right and wrong sides of both pieces, exactly where they need to be.
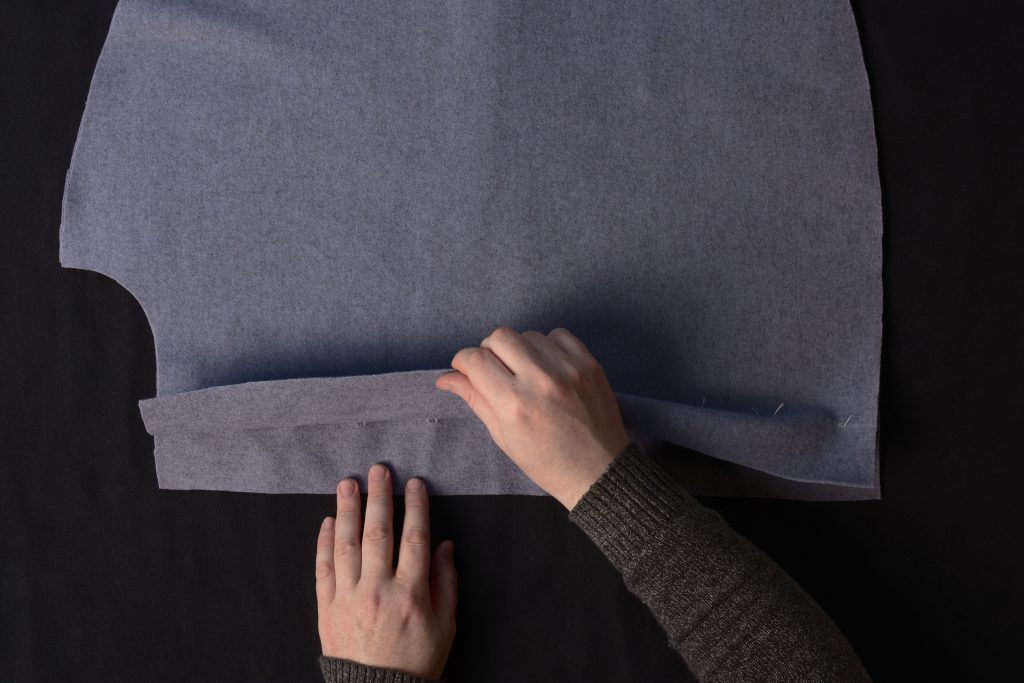
Along the top, you’ll want to trim the longer threads down to about 1/8″ – 1/4″ to make them a little harder to pull out accidentally.
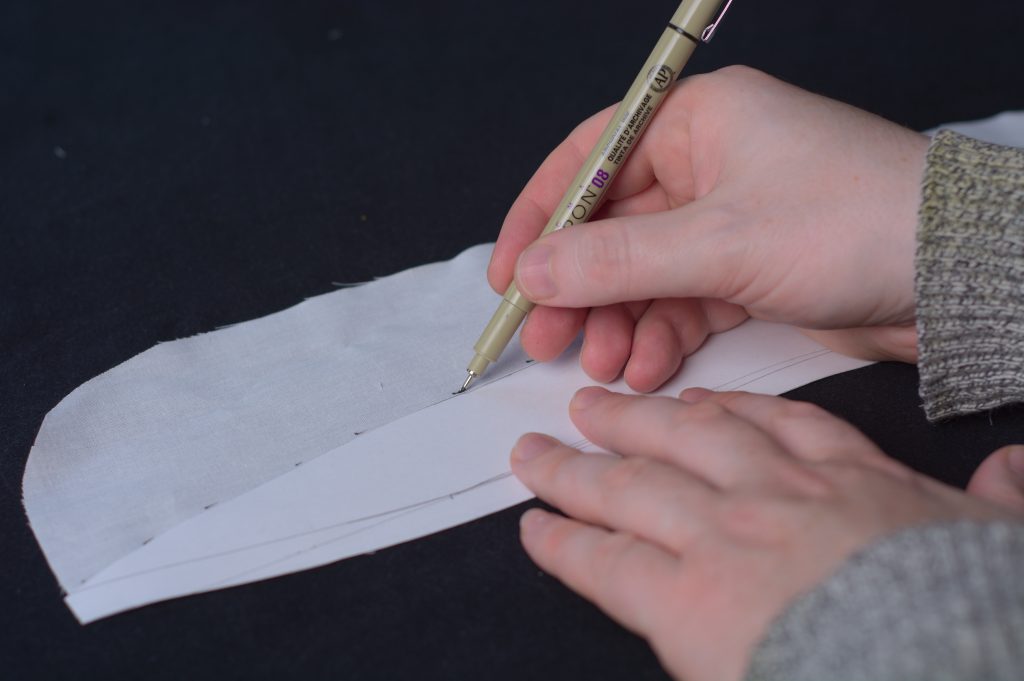
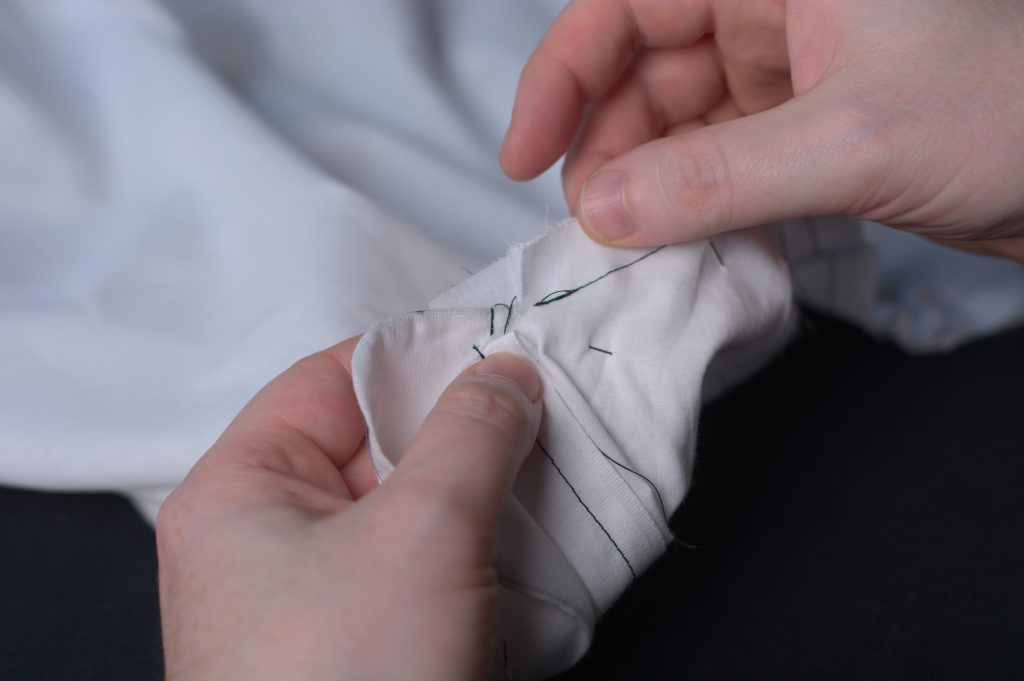
At the neck edge, there’s still the center front point to mark. Make two stitches in place with the doubled thread at that mark, making about 1″ loops with each stitch.
Open the fabric again exposing the threads in the middle and snip.
And again trim the threads on the top most layer.
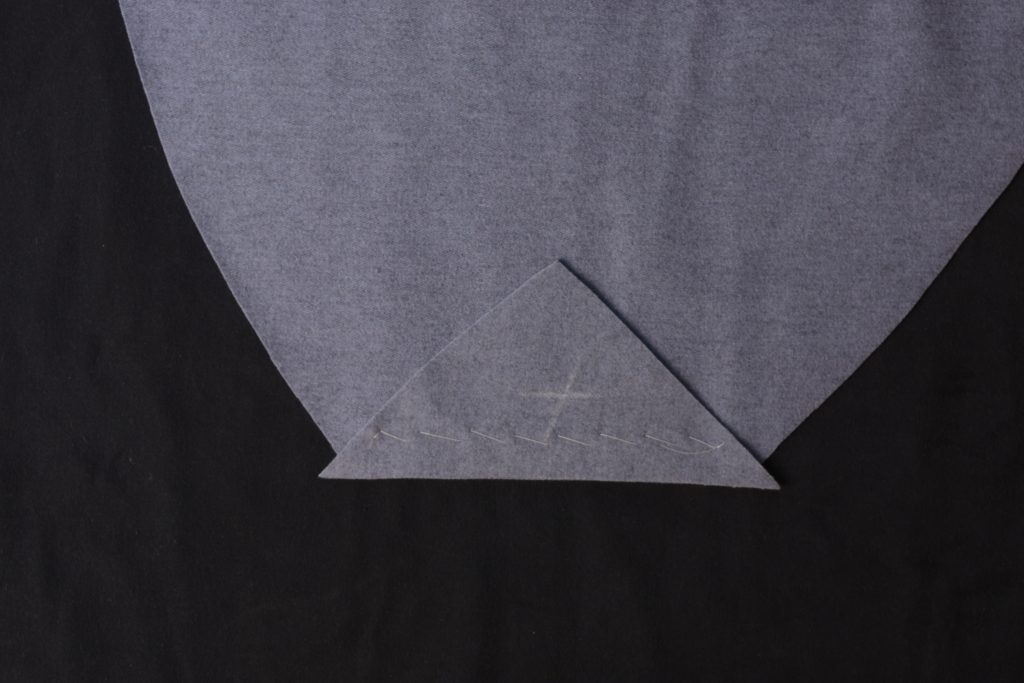
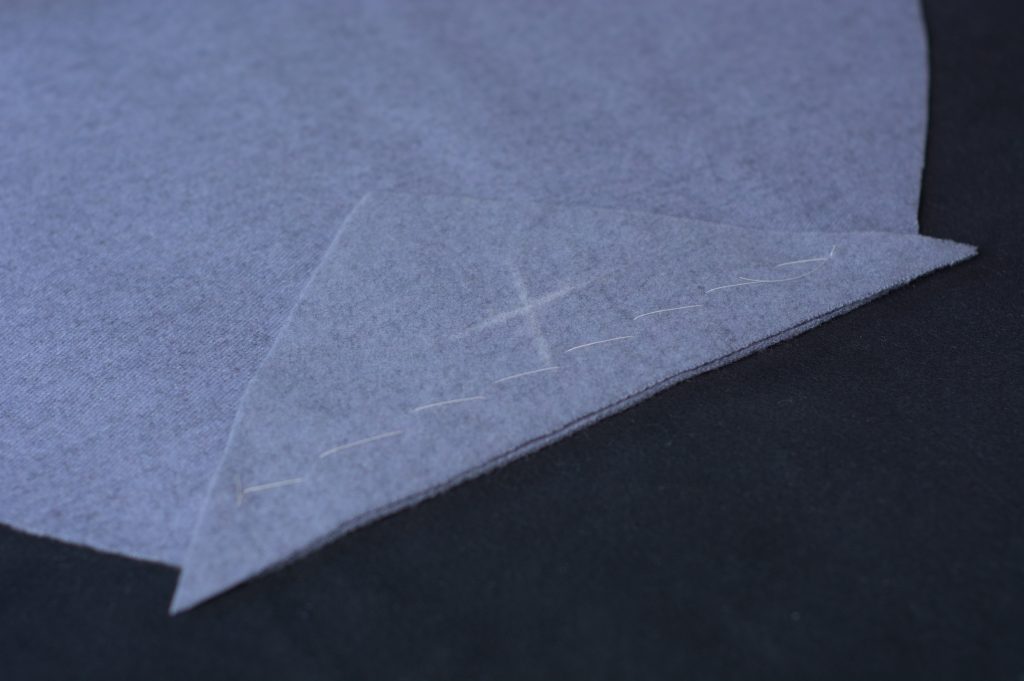
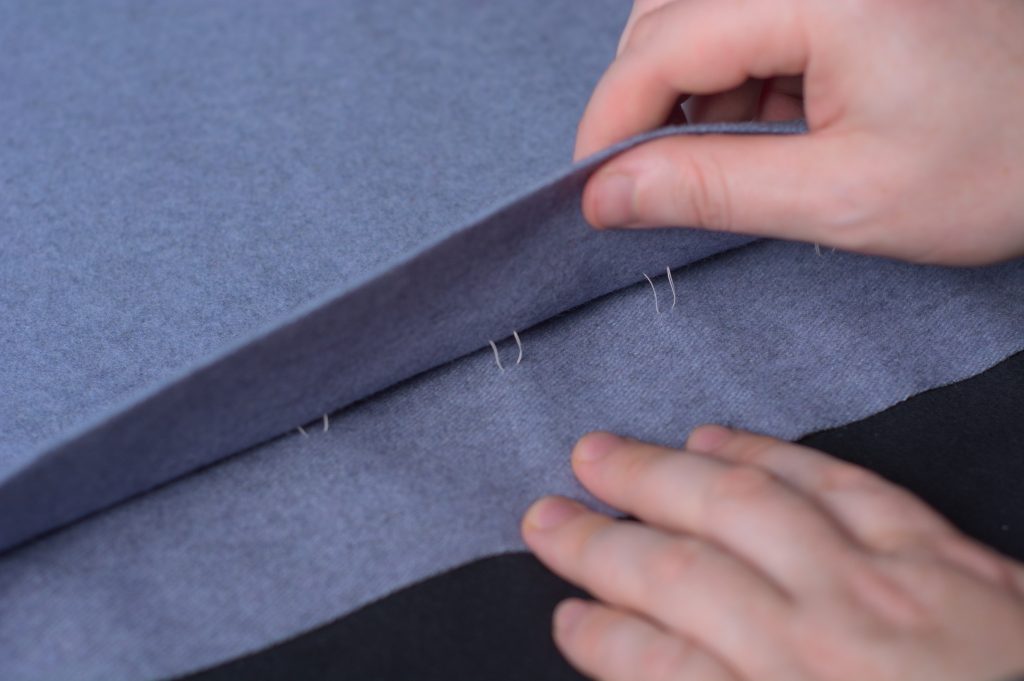
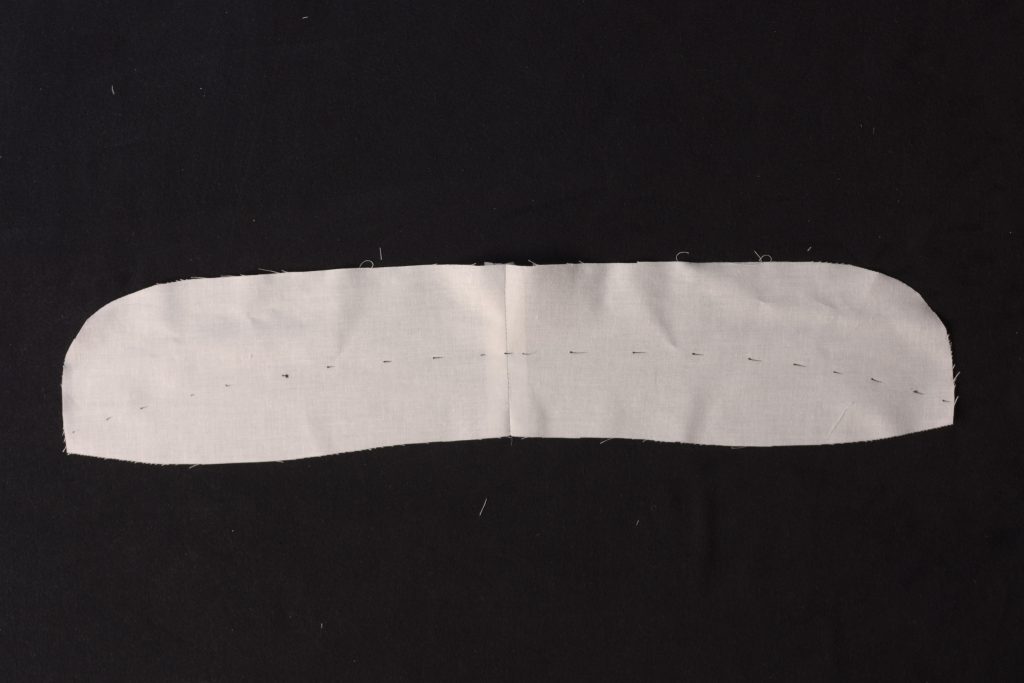
Shake off the cut thread pieces, and here are your cape halves fully mark stitched.
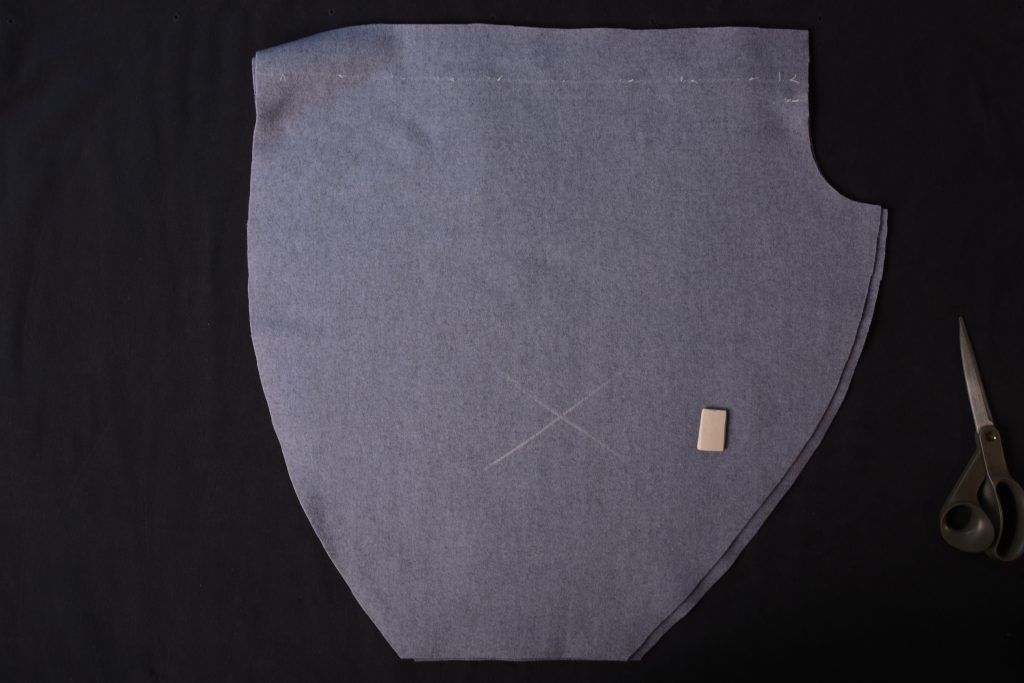
I also like to mark an X on the wrong sides of every piece just to avoid mistakes when sewing.
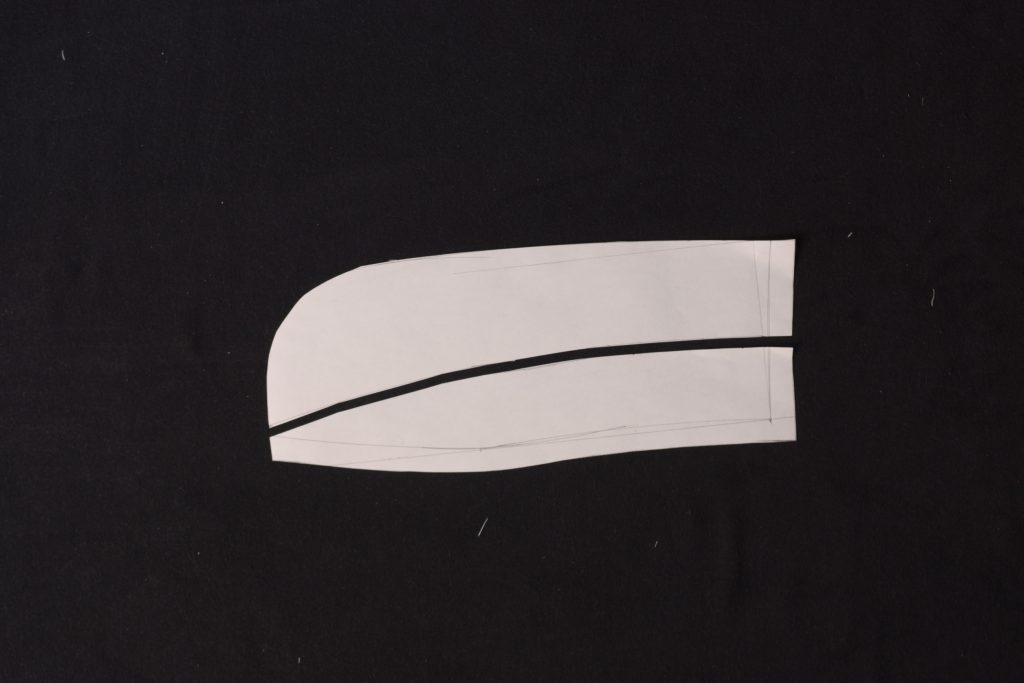
Cutting the Cape
With the pattern and fitting complete, we can finally move onto cutting and constructing the cape. Lay your cape pattern on the cloth, the long front edge against the selvedge. If you have a larger pattern, it’s likely that the rear and lower seams of the cape will run off the edge, as shown here.
I’m using a smaller sized pattern to make it easier to photograph, so I’ve shifted my pattern away from the selvedge so I can demonstrate the pattern running off the edge. It also gives me room for the fly piece along the selvedge, so something to think about if you have a smaller pattern.
The pattern fits on the cloth if I hadn’t shifted it over.
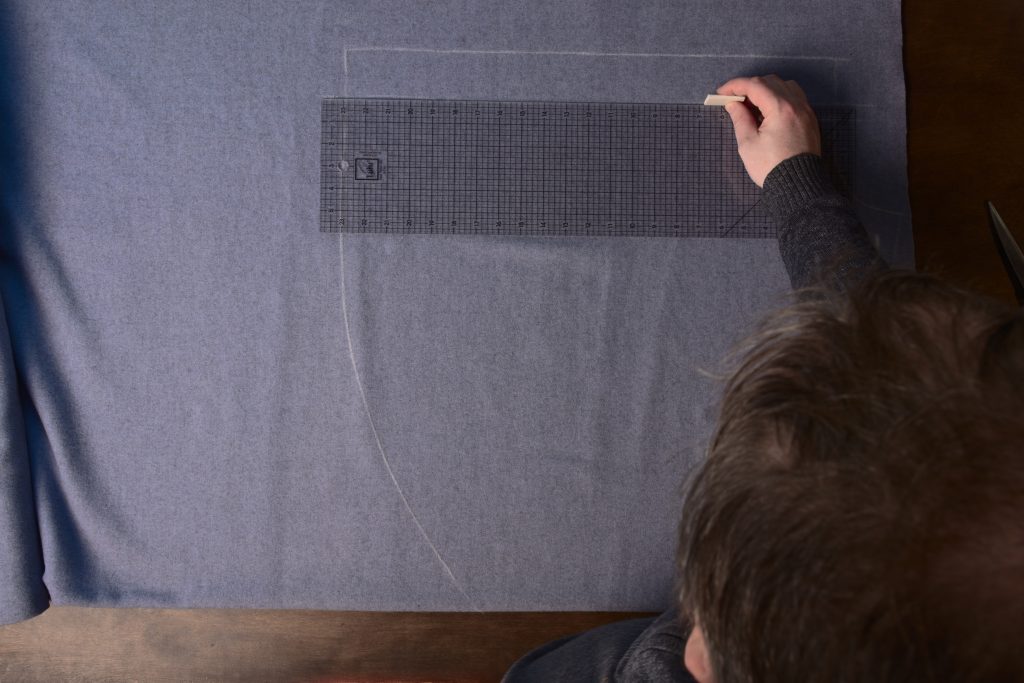
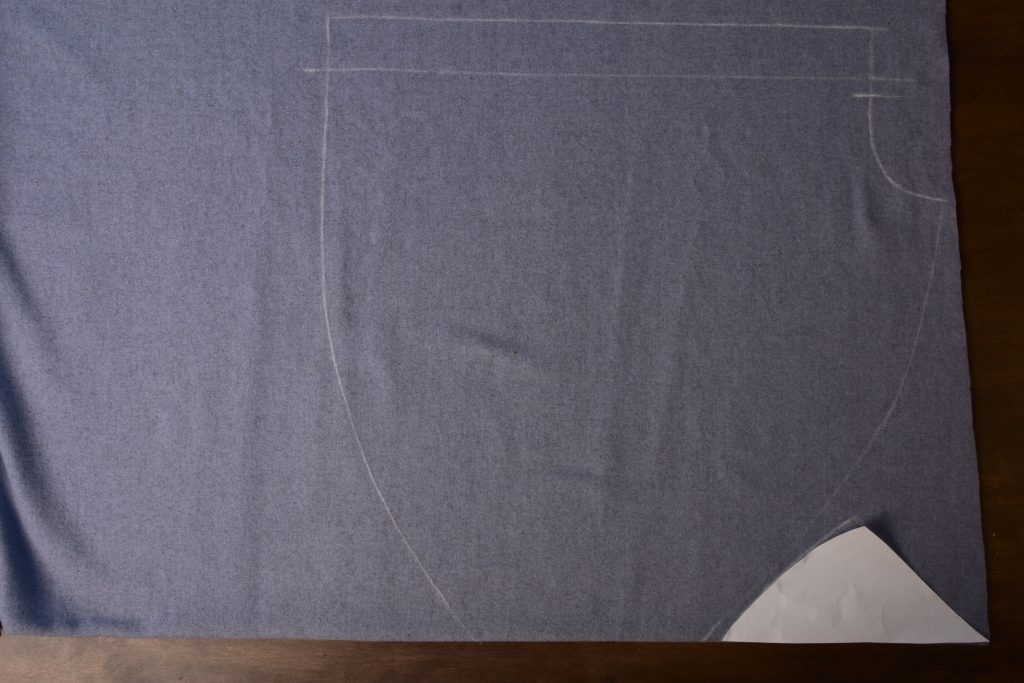
We need to mark the bit of the pattern that hangs off the folded edge of the cloth. Lay your ruler along the folded edge and draw a line even with the folded edge.
Then measure in two seam allowances worth, or 1″ from the folded edge, and draw in another line for the seam allowance.

Now trace around the entirety of the pattern. Also mark the positions of the top and bottom of the fold line, as well as the center front mark at the neck.
Remove the pattern and draw in the fold line.
Cut your skirt pattern along the seam allowance line if you’re piecing your cape.
Lay the triangular pattern piece somewhere will it fits closely to save fabric and mark the edges.
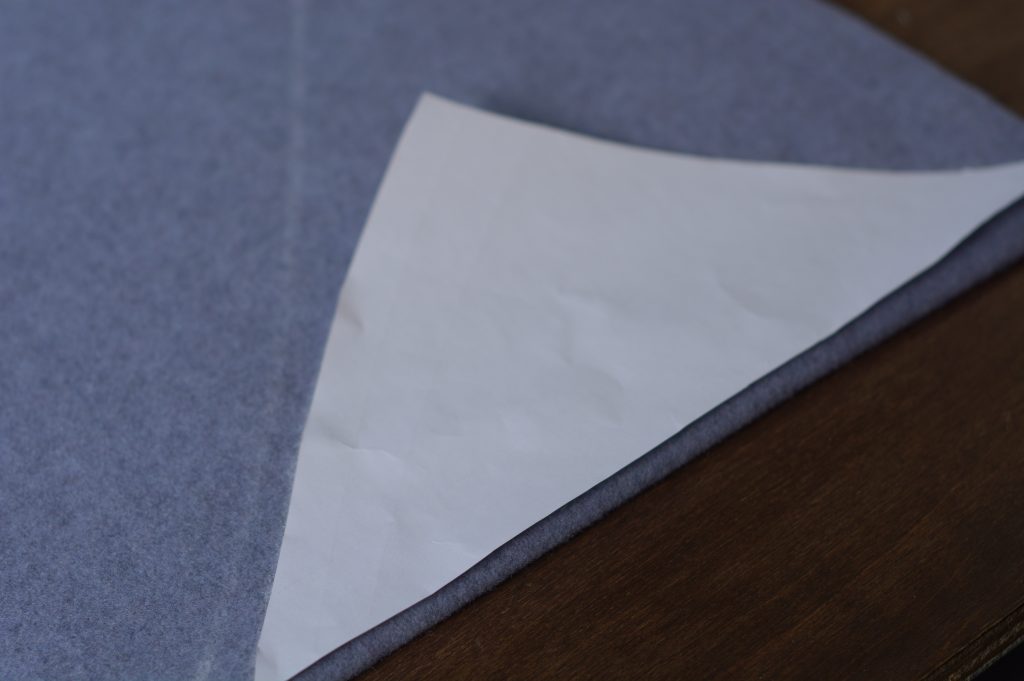
I usually put mine along the fold out of habit.
Here’s the cape and pieced section laid out and ready to cut. The fold line near the center front has been marked, as has been the neck denoting the center front, 3/4 graduated inches from the fold line.
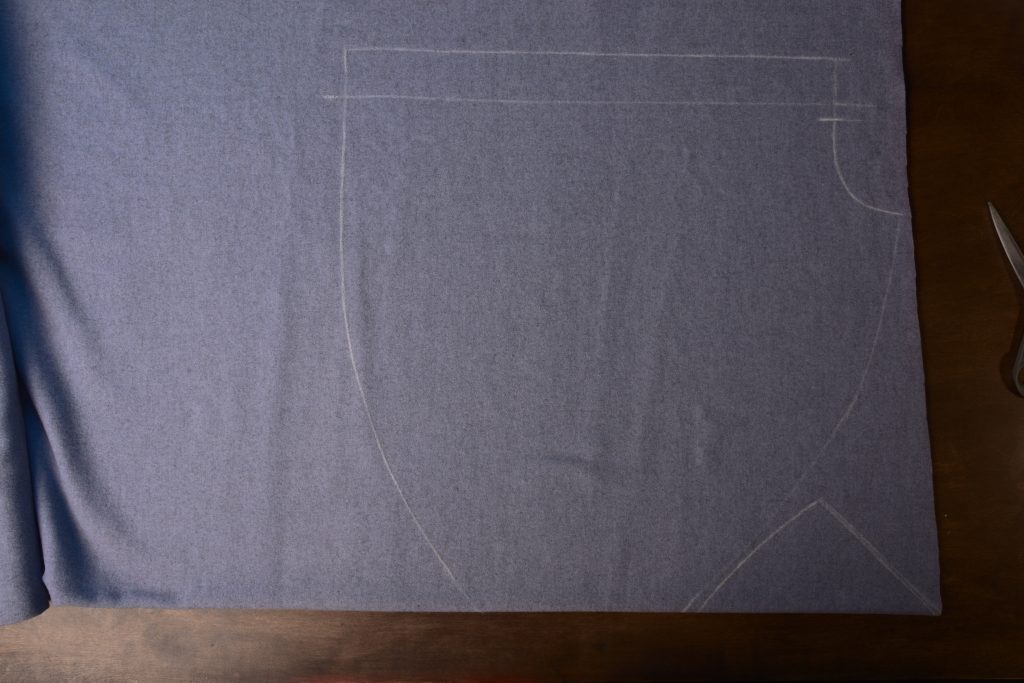
Go ahead and cut everything out, keeping your scissors just to the inside of the chalk lines. If you pieced your cape, you’ll have edges that land on the fold, so carefully cut those along the fold line to separate them. Keep the two halves together, however, for the next step.

Drafting the Lower Pockets
Drafting the pockets is straightforward, though Devere gives absolutely no measurements for it other than the width of 8 graduated inches which you should have already marked on your front pattern.
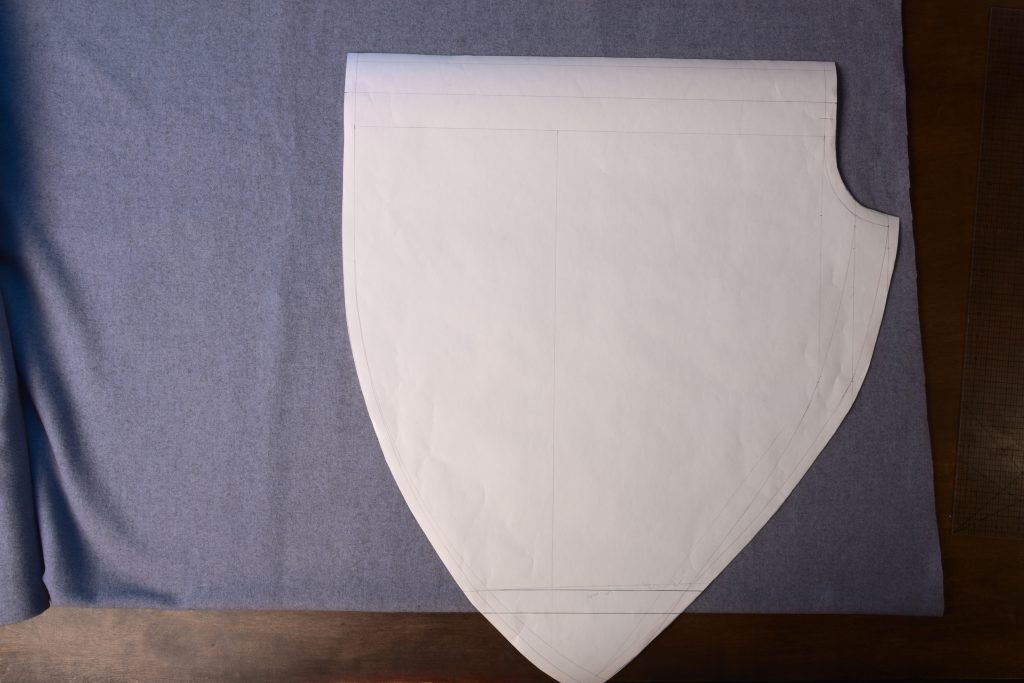
I usually draft pockets like these directly on the pattern and then trace the pieces to fresh sheets of paper, then add my seam allowances.
Begin by determining the length of the pockets, drawing vertical lines at each end of the pocket. I estimate them to be about 7 graduated inches deep. At this point you’ll want to determine if this pocket size works for you – is it proportional to your body size? Is it monstrously big because you’re using a larger graduated ruler? Feel free to change the measurements so that they work for you.
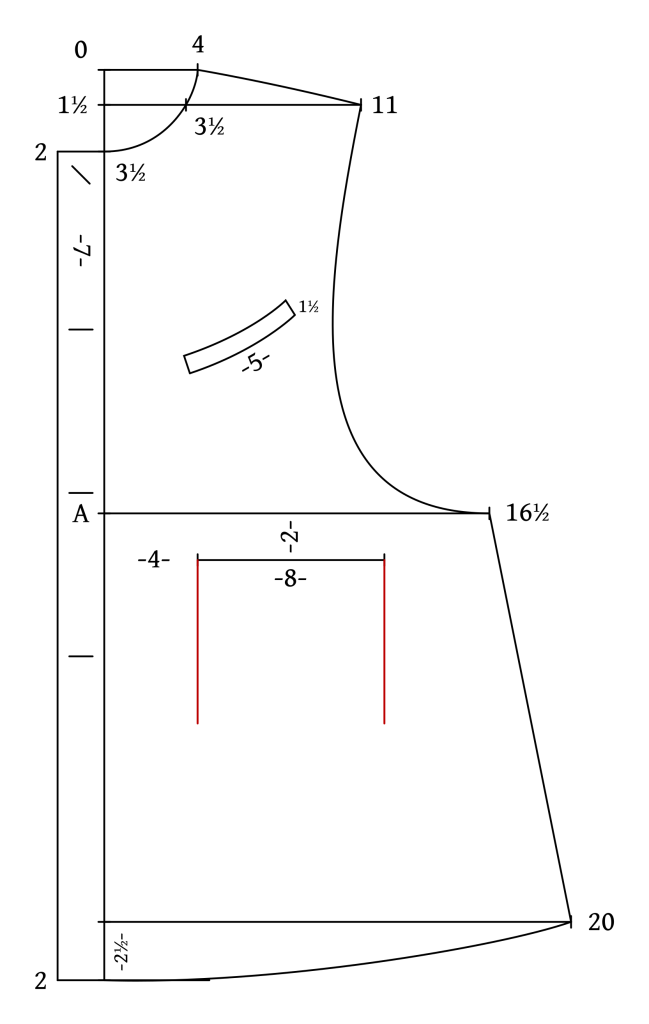
Next, draw in the bottom curved edge of the pocket. I like to trace the outer curves using a suitably curved object. Then connect the two outer curves with a very shallow curve in the center.
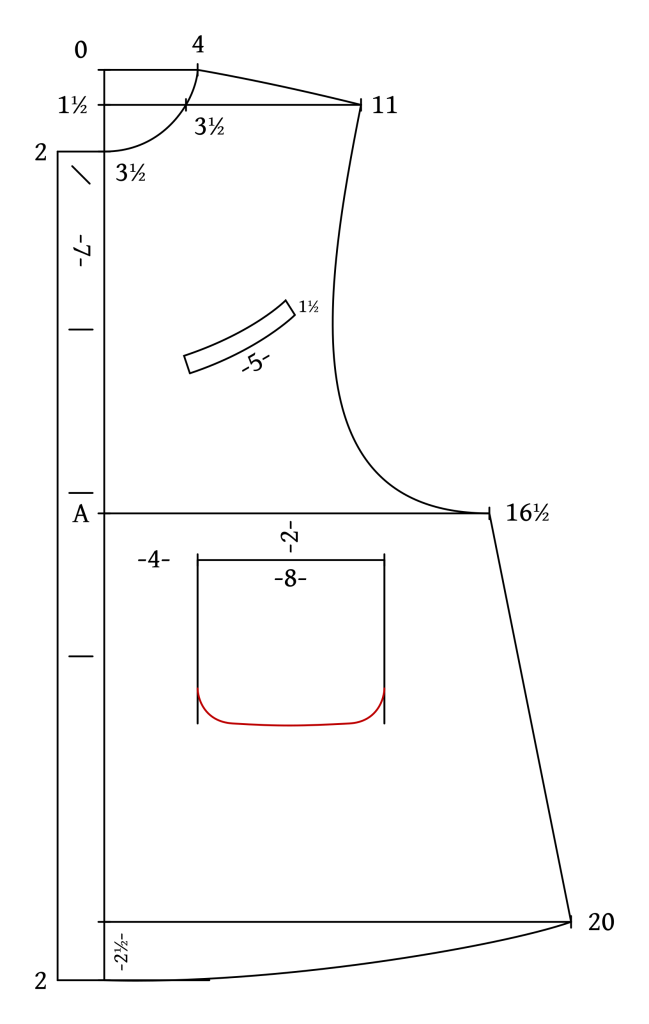
Finally, draw in the pocket flap curves. I’m guessing that the depth is about 2 graduated inches. The curves in the original draft are slightly shallower than the lower curves. Connect both curves with a straight line.
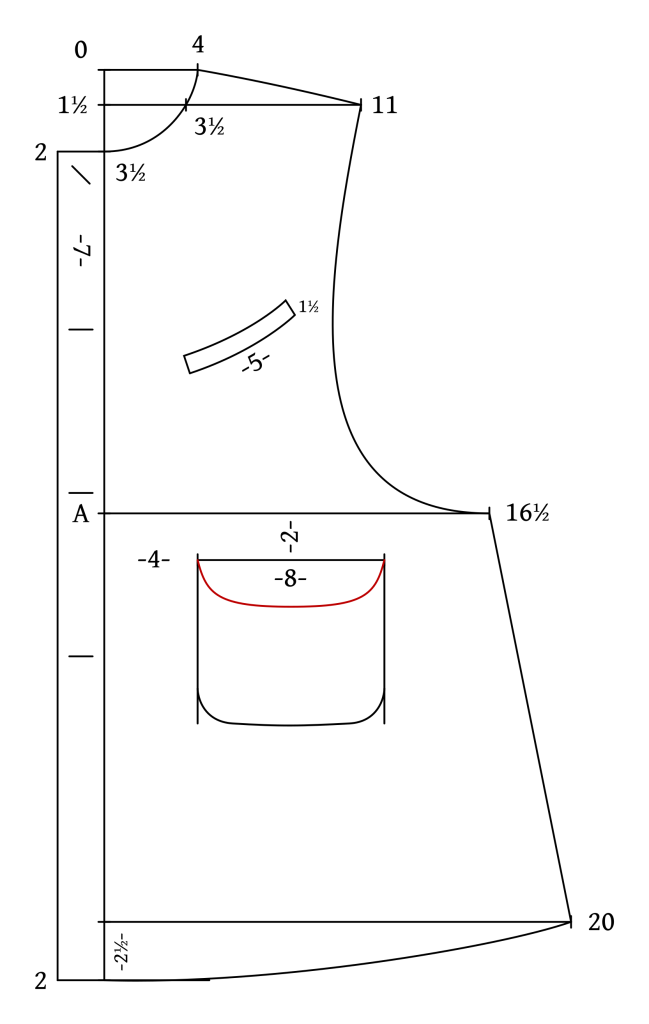
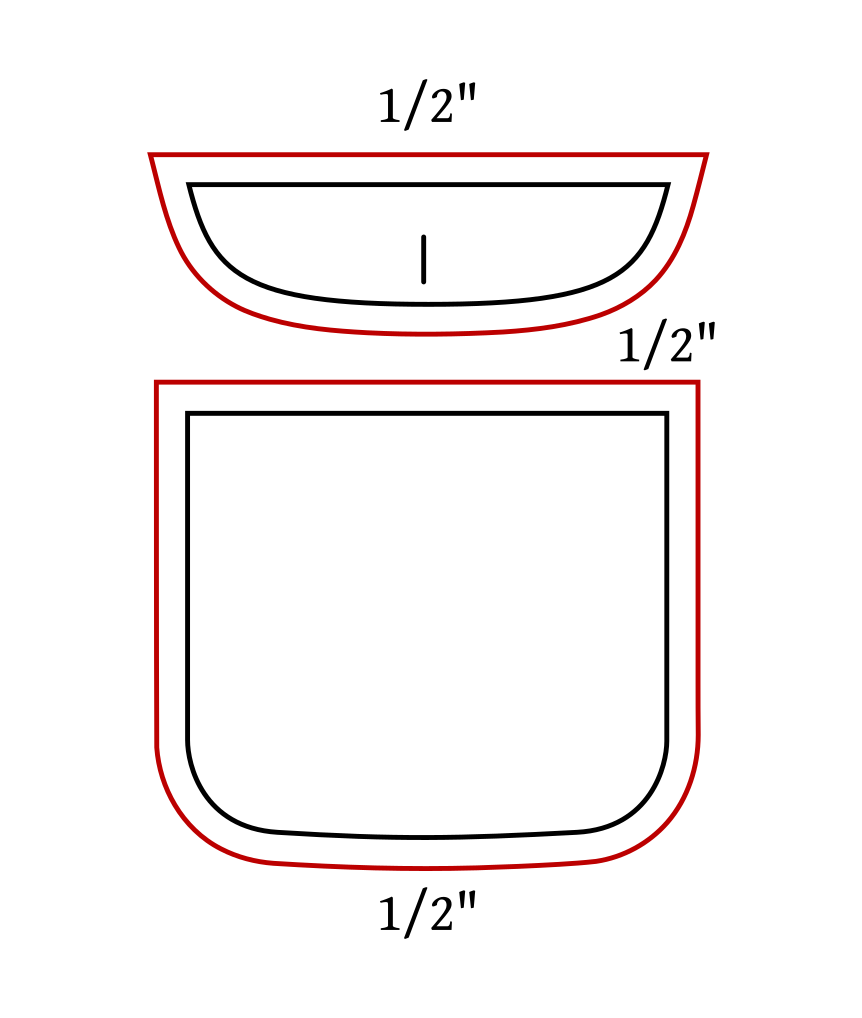
Finally, trace the two pocket pieces to a fresh sheet of paper, and add 1/2″ all around for a seam allowance.
Adjusting the Length
Lengthening or shortening the Inverness Cape is rather easy. Simply lower or raise the bottom points at the center front and side seam the desired amount and redraw the curves. You want to raise the points vertically to maintain the width of the pattern, but if you have to alter the widths as well you could do both at the same time.
If you have to lower only the back or front due to a balance issue, you’ll want to lower the center front or back the required amount and then taper the bottom curve back to the original length at the side seam.
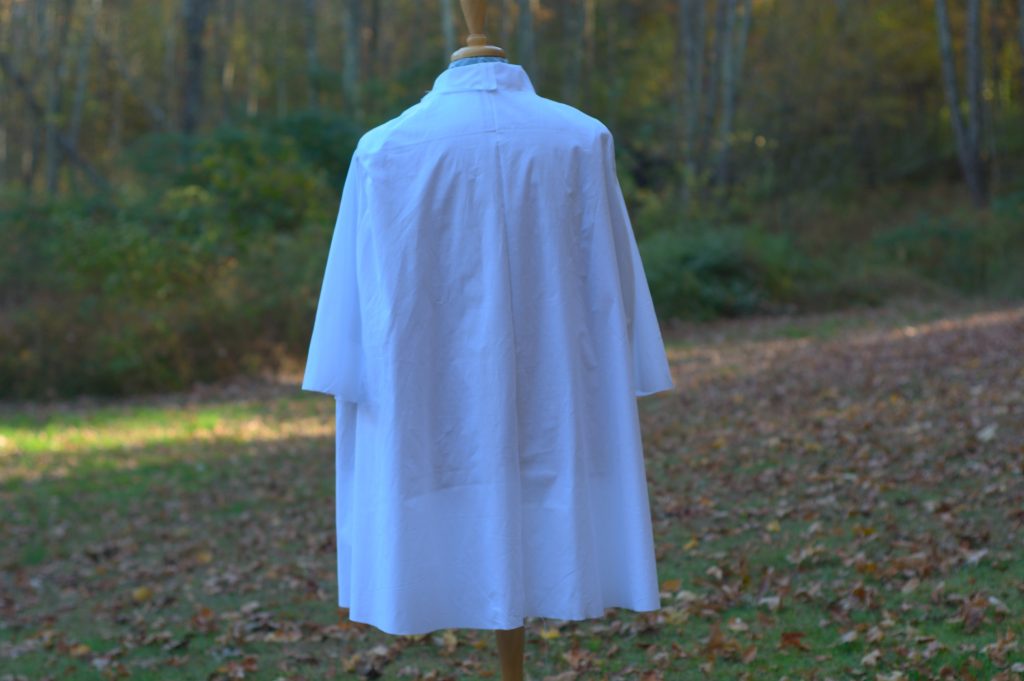
Completed Toile
With your toile completed, it’s time try it on and see your work come to life. The most important aspect of the fitting is probably getting the neck correctly sized – if you’re above a chest size it might be a bit bigger than needed.
Also check the length of the cape, it should extend to just about the knuckles of the hand.
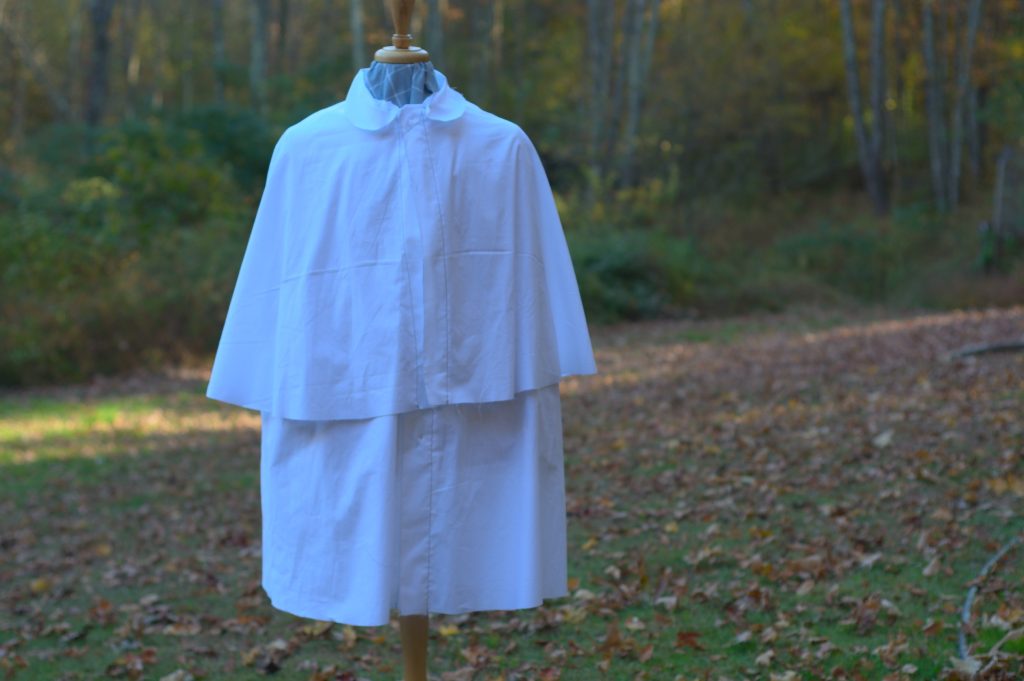
The overall length should be balanced between front and back – meaning the same length all around, visually speaking.
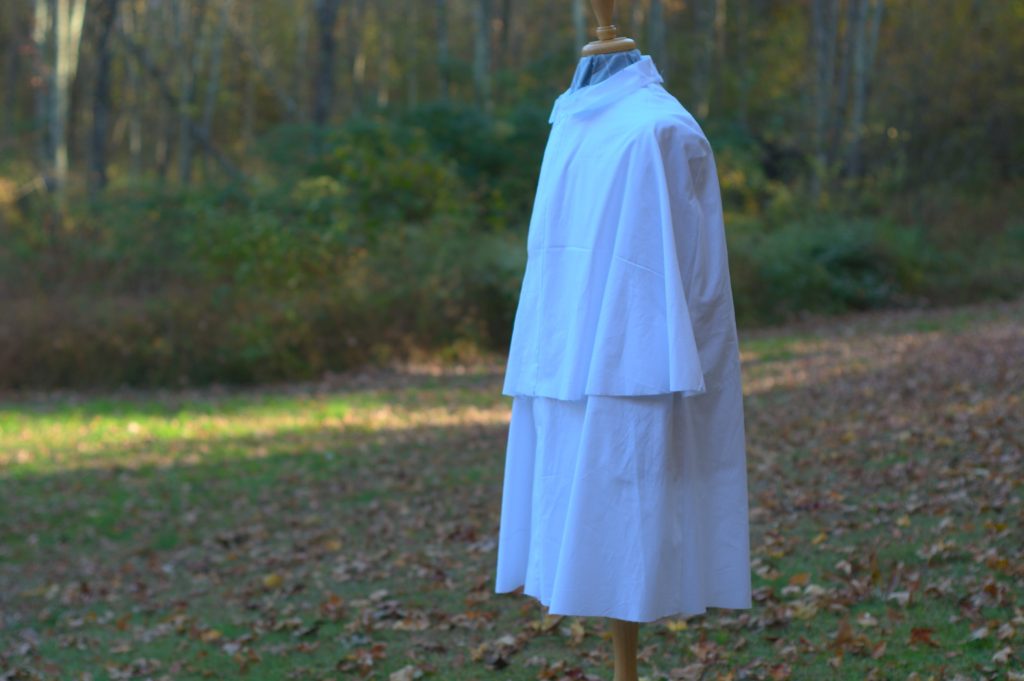
Finally, are you happy with the fullness in widths? This looks about perfect to me but again with the larger sizes, there’s potential for the widths to get out of hand due to the graduated rulers.
If you’d like some fitting help, take some photos of yourself wearing the toile from the front, back, and side, as well as photos of your pattern from overhead. You can either email those to me for advice to james@historical-tailoring.com or share them in the Discord server if you feel comfortable and want to help others with your work and corrections in the future. Either way I’ll get back to you with some remedies to your fitting issues.
The Collar
Finally, we can move on to attaching the collar. Begin by sewing the collar halves together along the center back seam using a 1/2″ seam allowance.
Press open the center back seam.
We now have to find and mark the collar roll line. I find the easiest way to do this is to simply cut the collar pattern along the roll line.
Then use the lower piece to mark the roll line as shown.
Here’s the finished collar with the roll line marked.
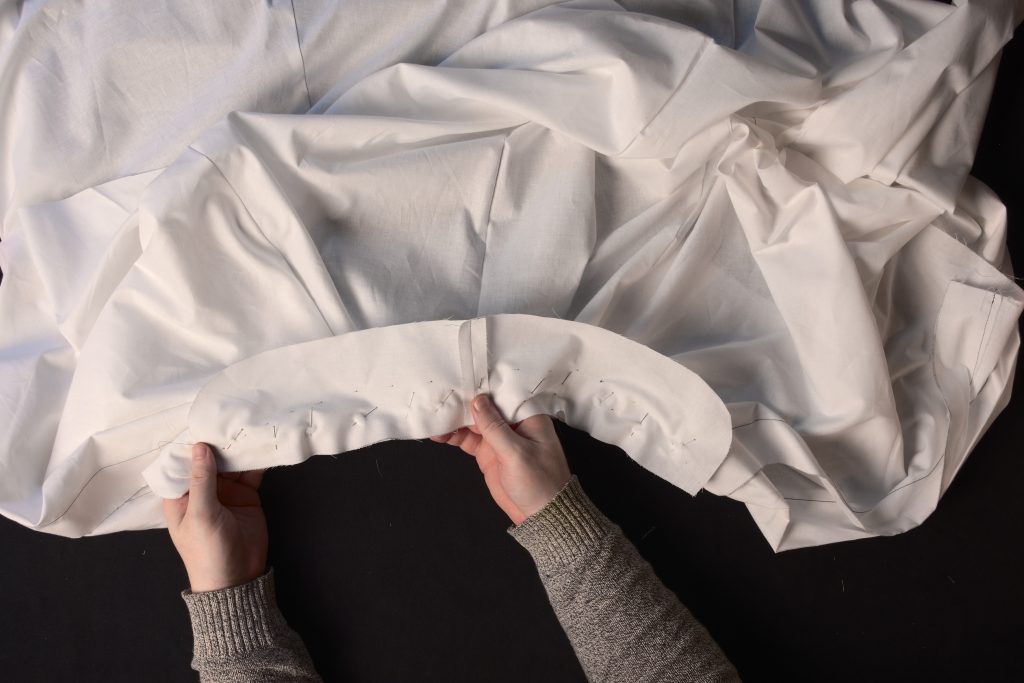
Lay the cape on the sewing table right sides up, with the neck closest to you. Now pin the collar to the neck line at the center back, right sides together. Then work your way to the left, and then to the right, pinning the rest of the collar as necessary.
Don’t worry too much at this point if your collar is slightly too big along the length – we’ll adjust and fine tune that later on.
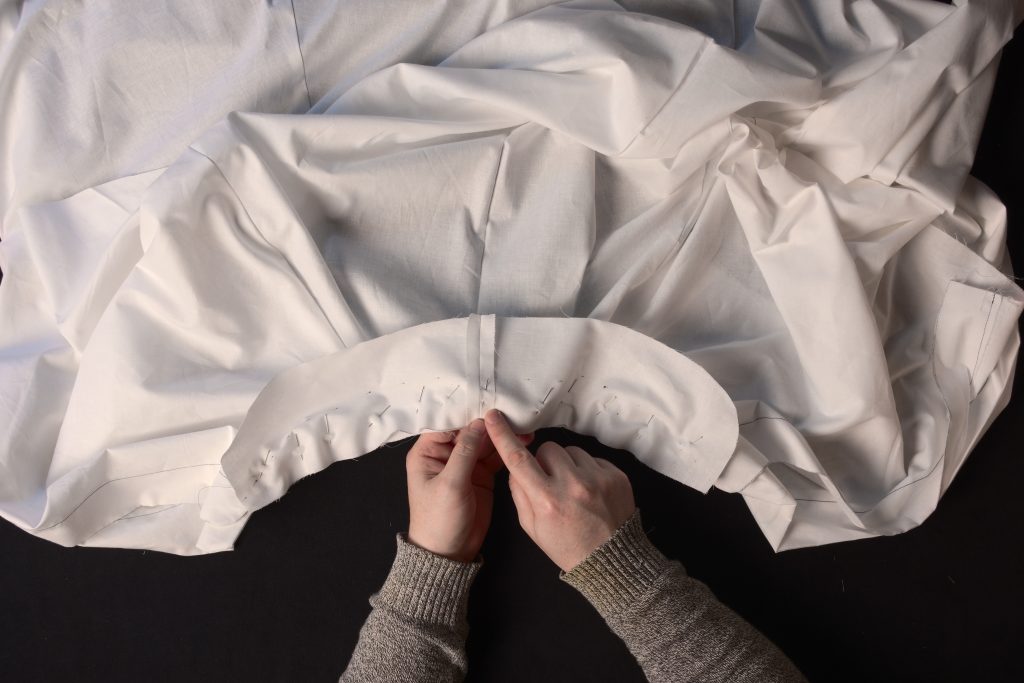
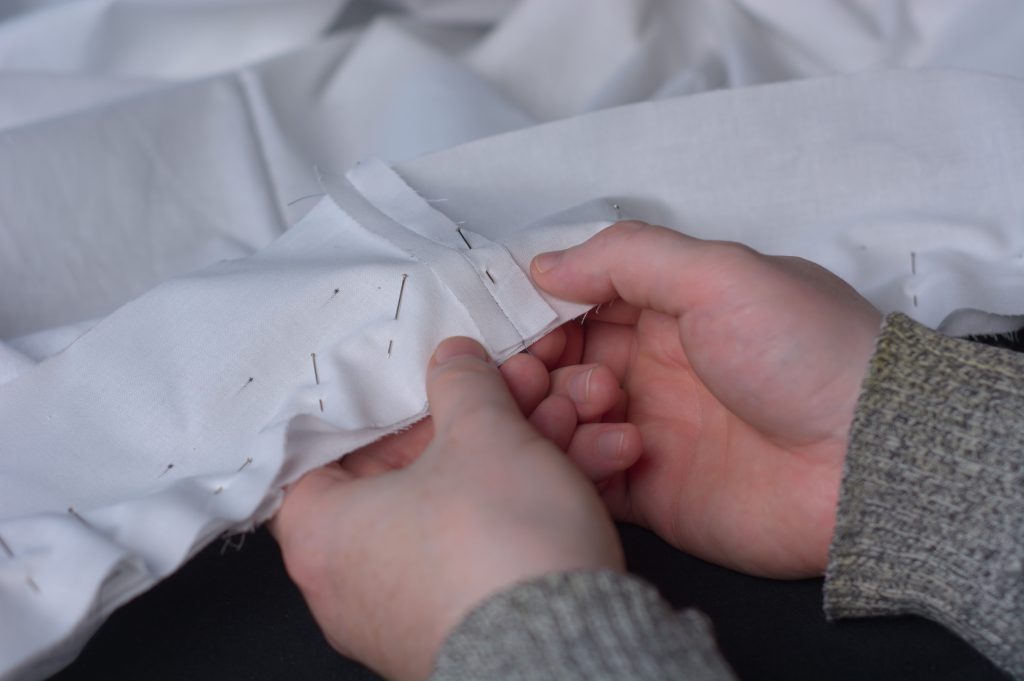
Sew the collar along the length of the neck seam from where the foreparts have been snipped earlier.
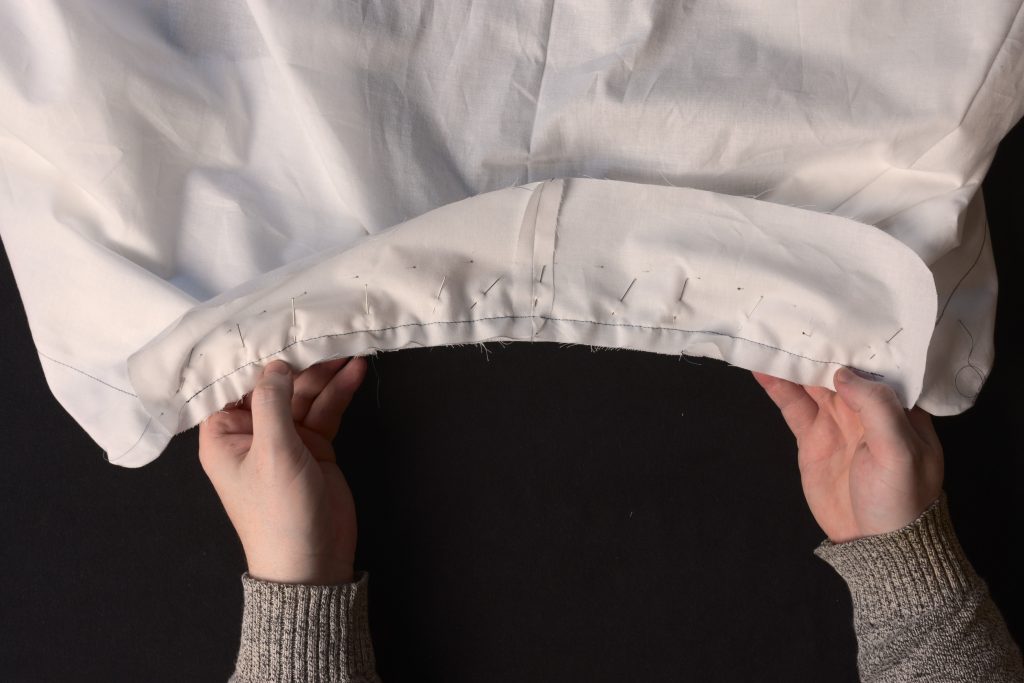

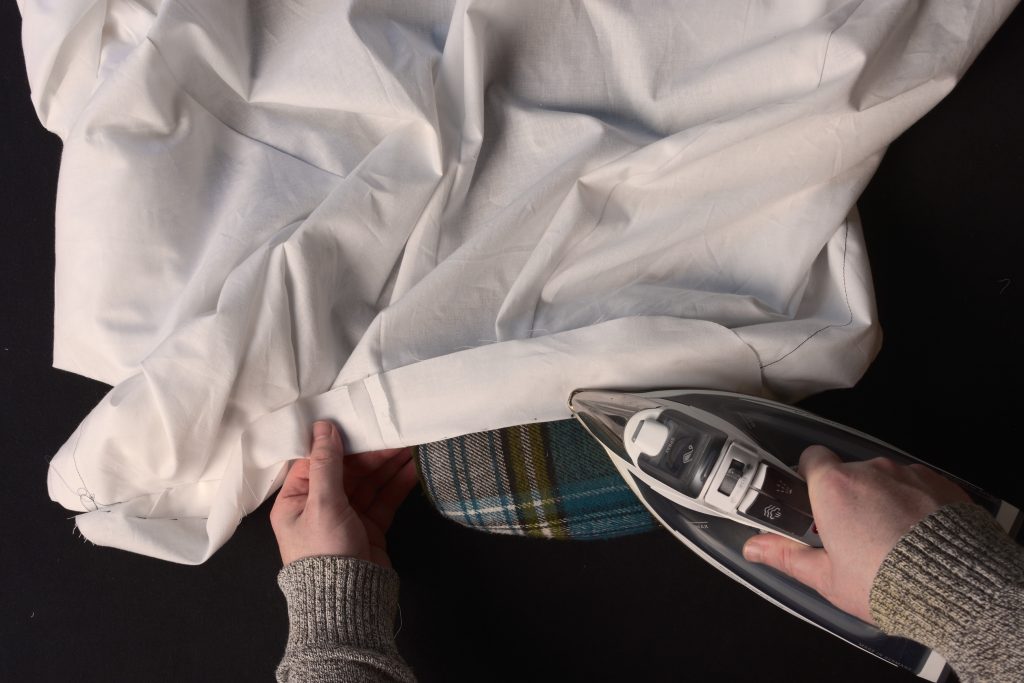
Press the collar and seams up towards the collar.
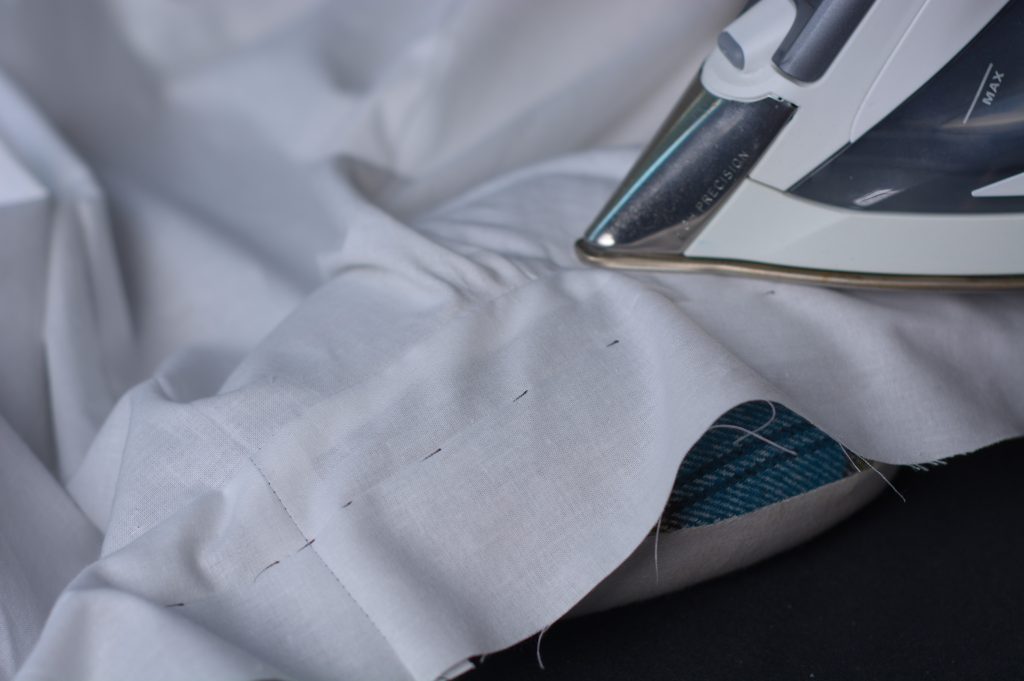
And finally, press the collar back down along the roll line, using a ham as necessary for the curved areas.
The Cape Body
The Inverness Cape can seem quite confusing at first as to how all the pieces go together, but assembling the pieces of the cape body is actually pretty straightforward.
Begin by laying out the back piece, unfolded, right side up on the table.
Lay the appropriate cape on top, right sides together. The neck seam should align with the back neck and the curves along the side seam should be similar.
Pin the cape into position from the neck down towards the hem, keeping the pins about 1 inch away from the edge (so you have no chance of sewing over them). By working from neck to hem, you ensure that the bottom of the cape falls in the proper position.
Now lay the appropriate forepart on top, wrong side up, or in other words, the right side of the forepart should be towards the right side of the back.
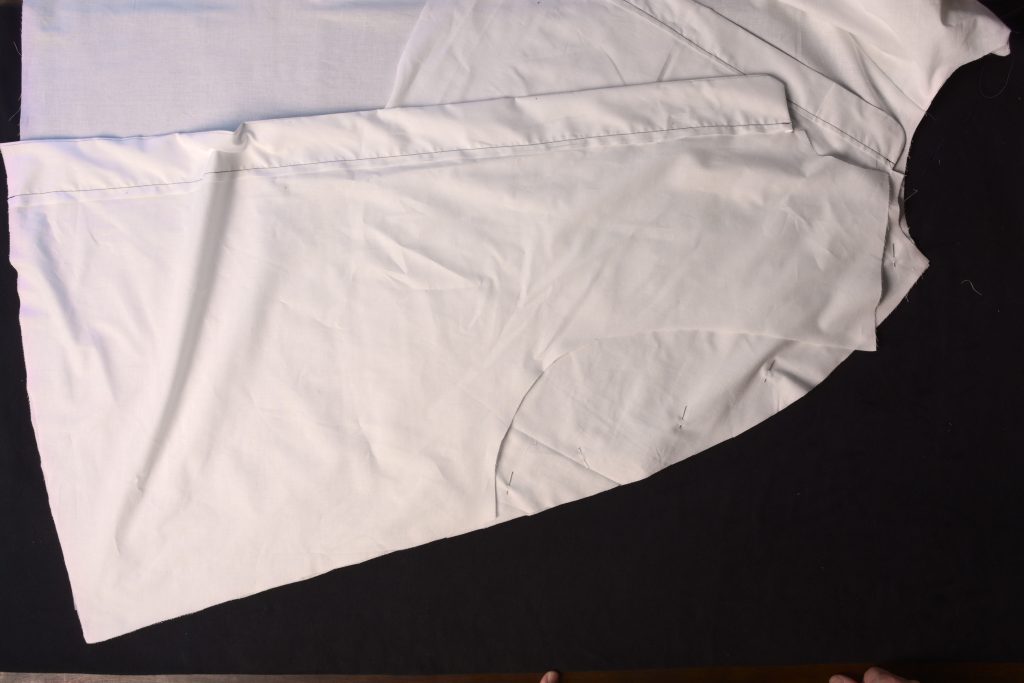
Begin pinning the forepart to the back at the hem, working your way up to the armscye. There should be at least a few inches where the forepart, cape, and back all overlap each other.
Then take the shoulder seam and pin that into position on top of the cape, pinning from the neck seam to the armscye to ensure it is positioned correctly.
Here’s the right half of the cape assembly all pinned and ready to sew.
Sew the cape pieces together from neck to hem (or vice versa) using a 1/2″ seam allowance through all layers.

Now press all of the seams toward the back of the cape.
Repeat for the other half – this completes the body assembly.