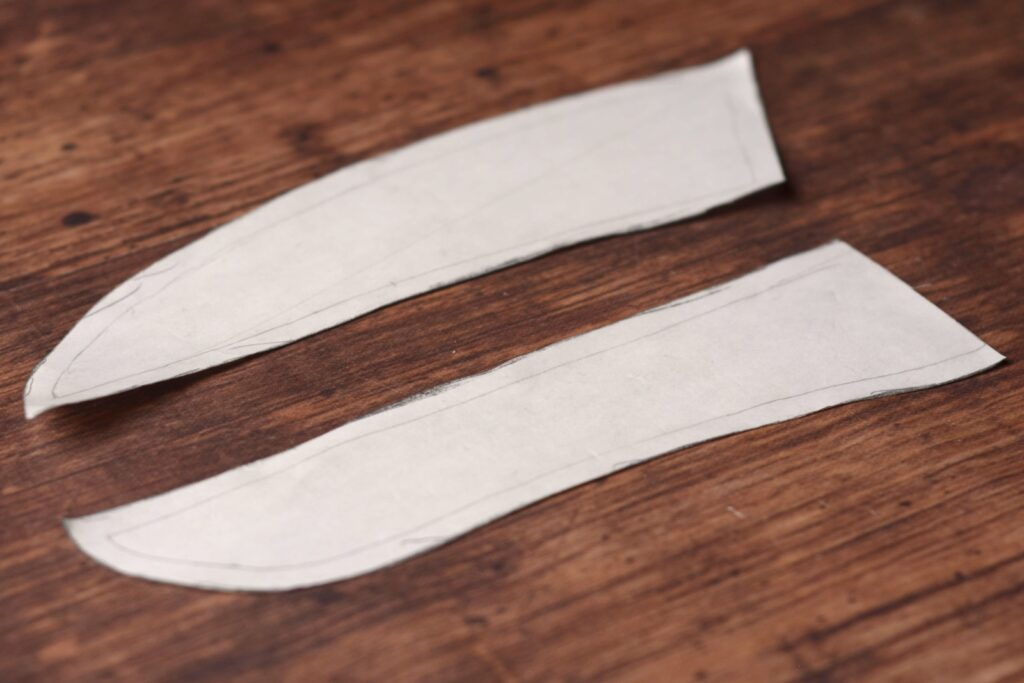
Category: Detachable Linen Collar
Buttonholes
Sometimes there can be some discrepancies between the two halves of the collar. Yikes, like mine – easy to get distracted when filming.
So the best way to find the center of the collar for the buttonhole position is to fold it in half, aligning the front edges as closely as possible. Then press firmly to give it a good crease.
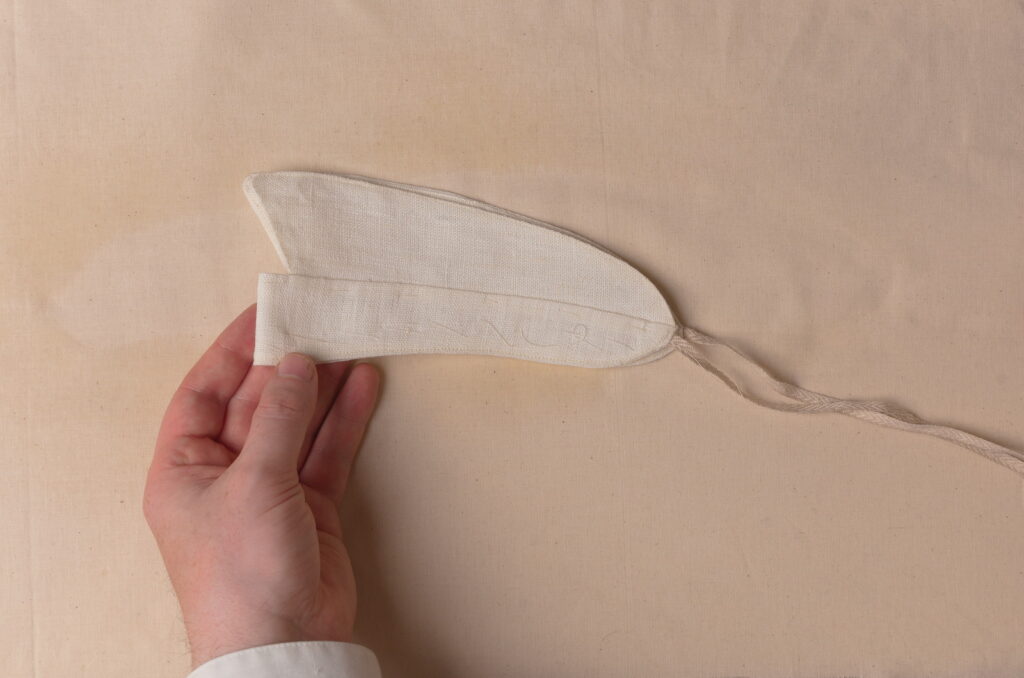
Mark the center line of the collar for the rough position of the buttonhole.
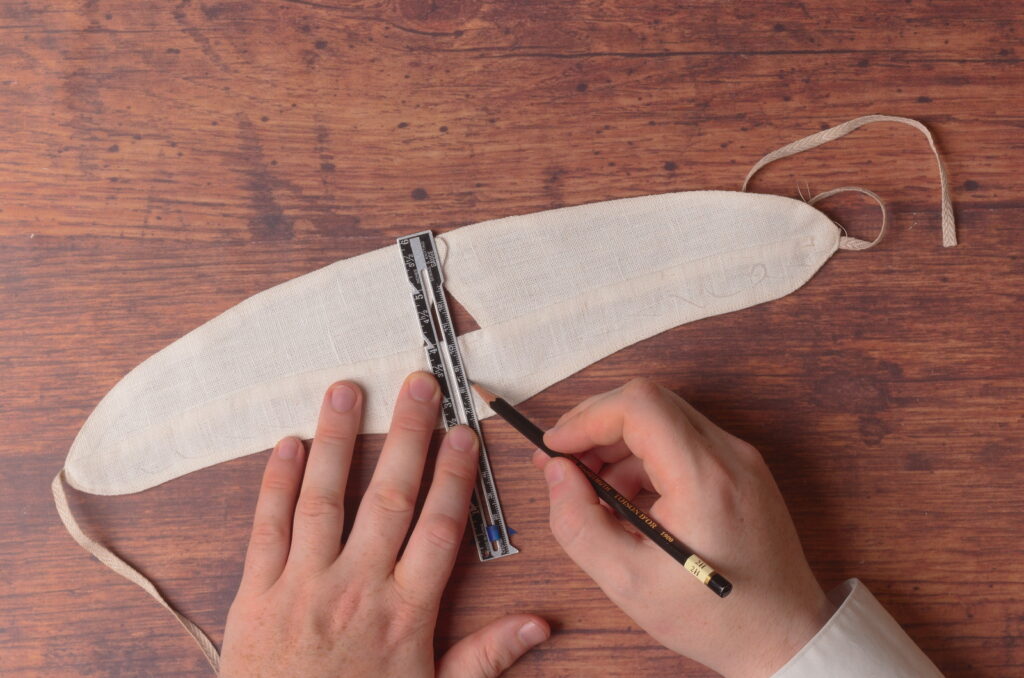
Then mark along the line 3/8″ above the bottom of the collar. The buttonhole itself will be 1/2″, or 1/8″ larger than the button you are using on your shirt.
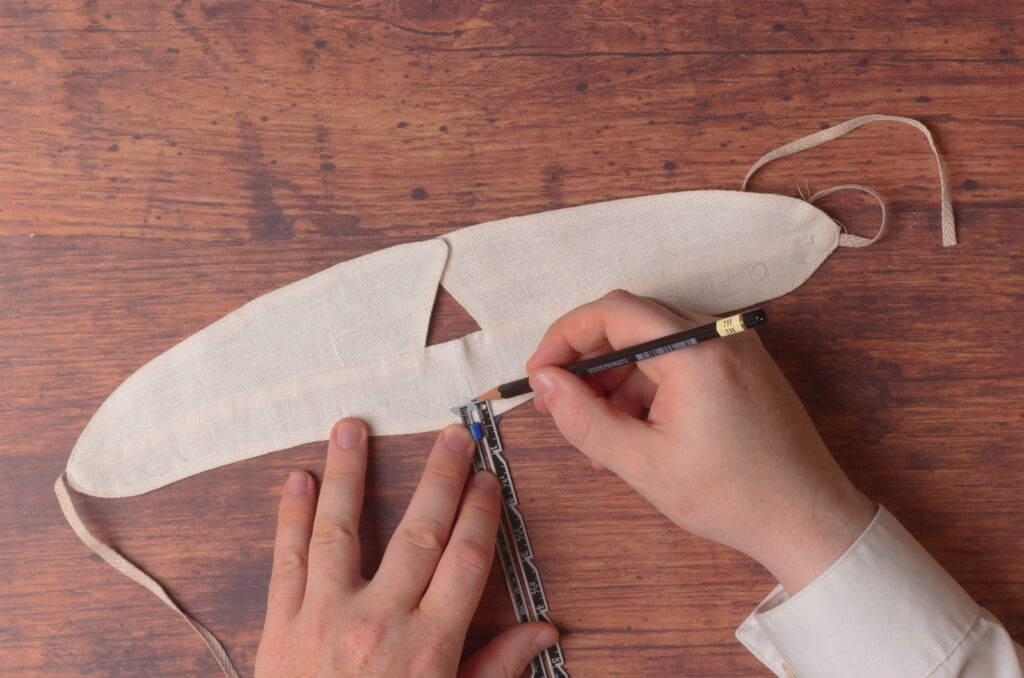
Here’s the buttonhole laid out. Try to keep the markings as light as possible.
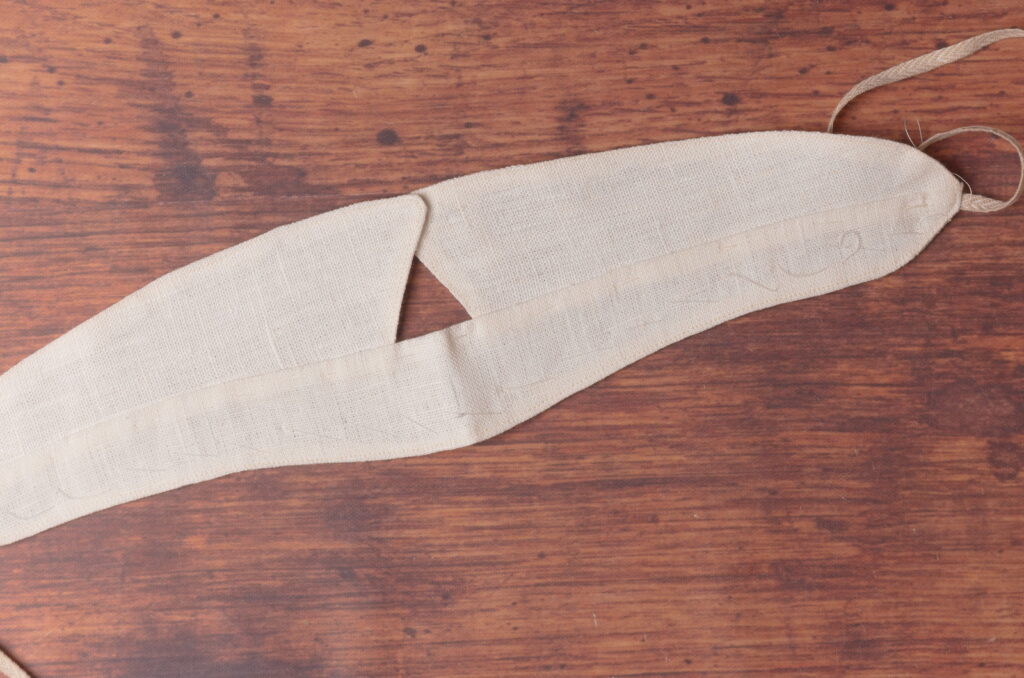
Place a 1/2″ chisel carefully in position and cut open the buttonhole with a couple of firm but controlled taps of a hammer.

Showing with my right hand holding the chisel only to get a good photograph. I did switch back right after.
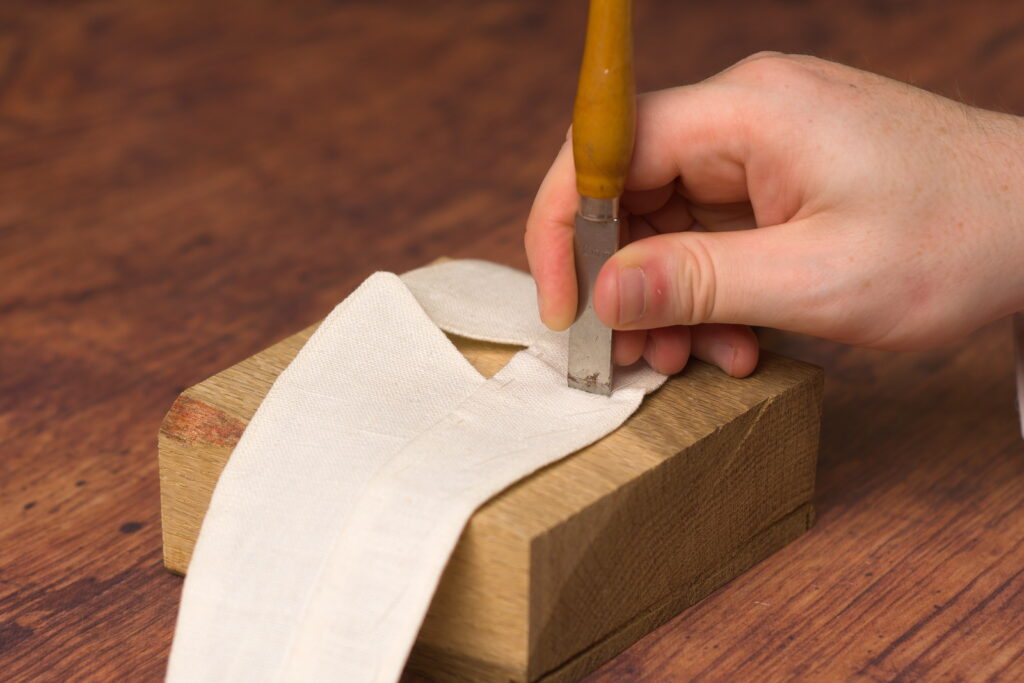
I don’t do anything additional to strengthen the buttonhole edges as I typically would on say a coat, only because the buttonhole is so small and easy to work with that I find it unnecessary.
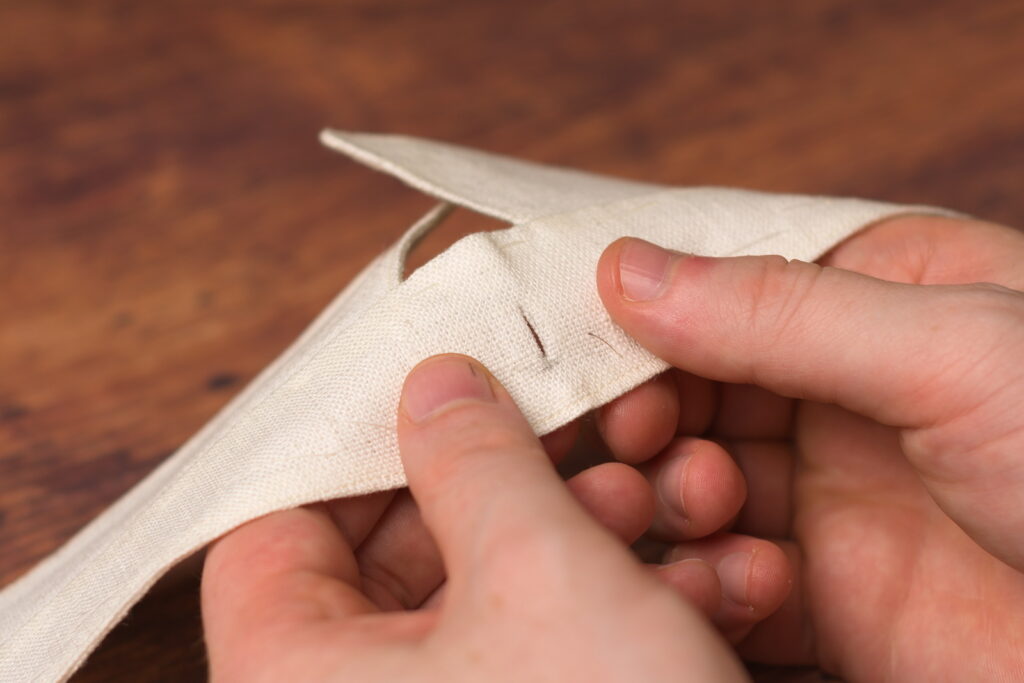
Take a waxed piece of silk buttonhole twist or other thread and knot one end.
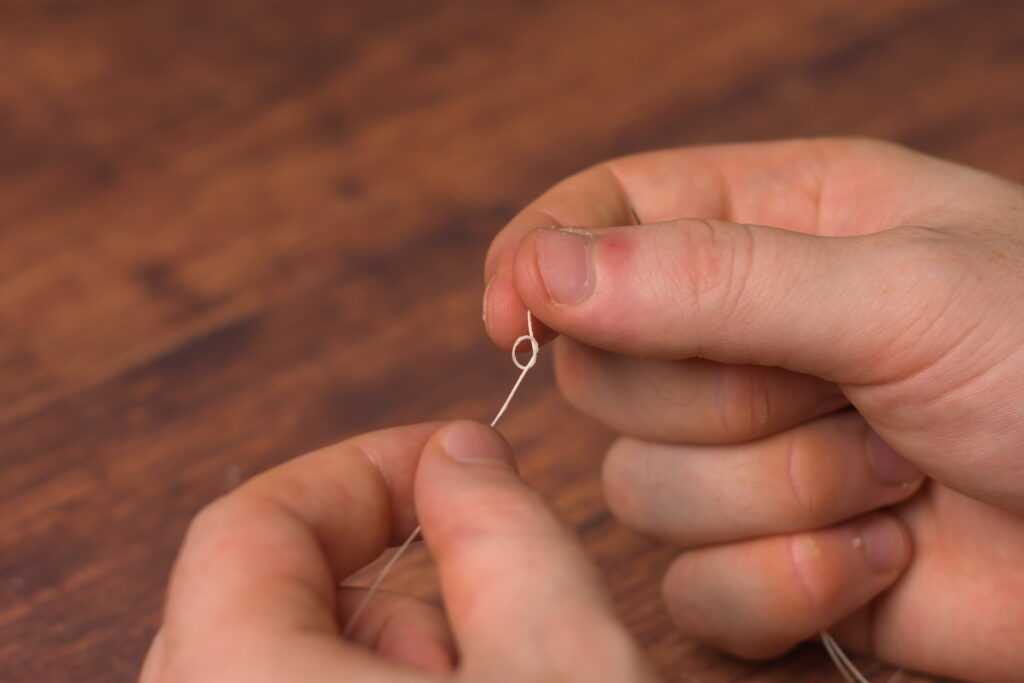
Insert the needle into one end of the buttonhole between the two layers. The idea is to hide the knot in between the layers, out of sight.
The stitches should be about 1/8″ from the edge of the hole, and fairly close together but not too close that the purls start to get out of place. It’s really a developed skill that will take some practice if you’re new to this.
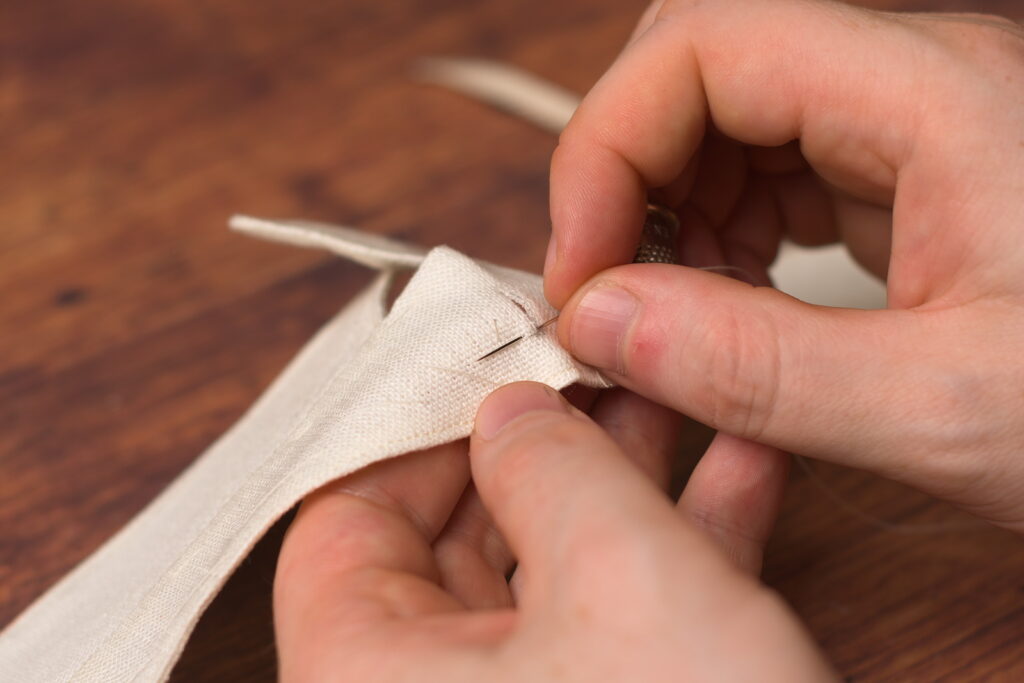
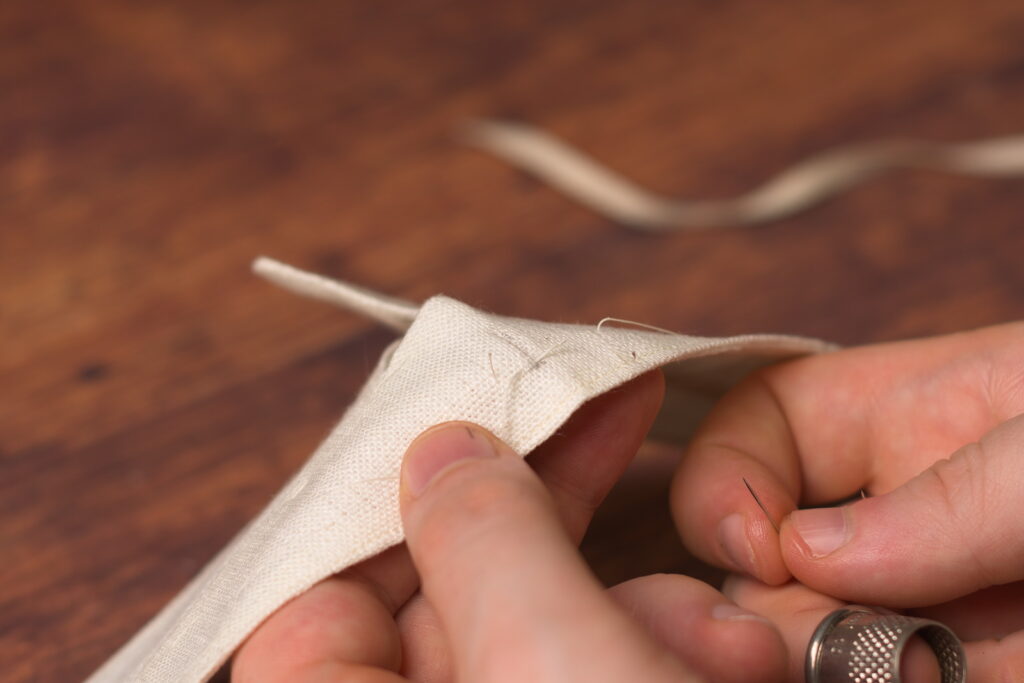
Insert the needle through all layers of the buttonhole this time, coming out right next to your first stitch. Grasp the two threads coming from the end of the needle with your right hand, and wrap them clockwise under the tip of the needle.
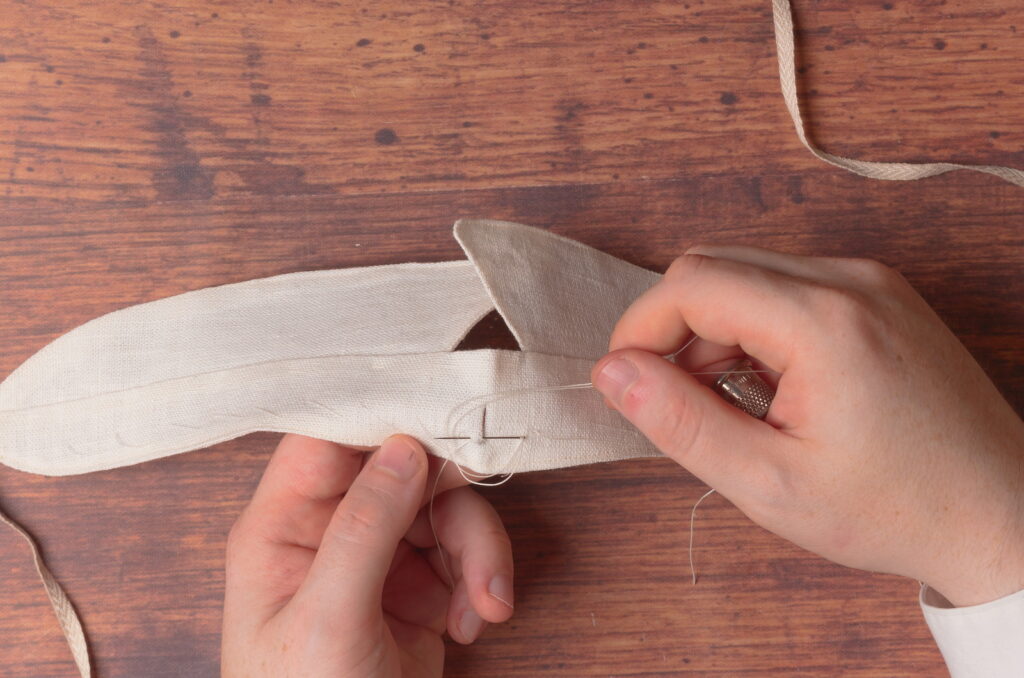
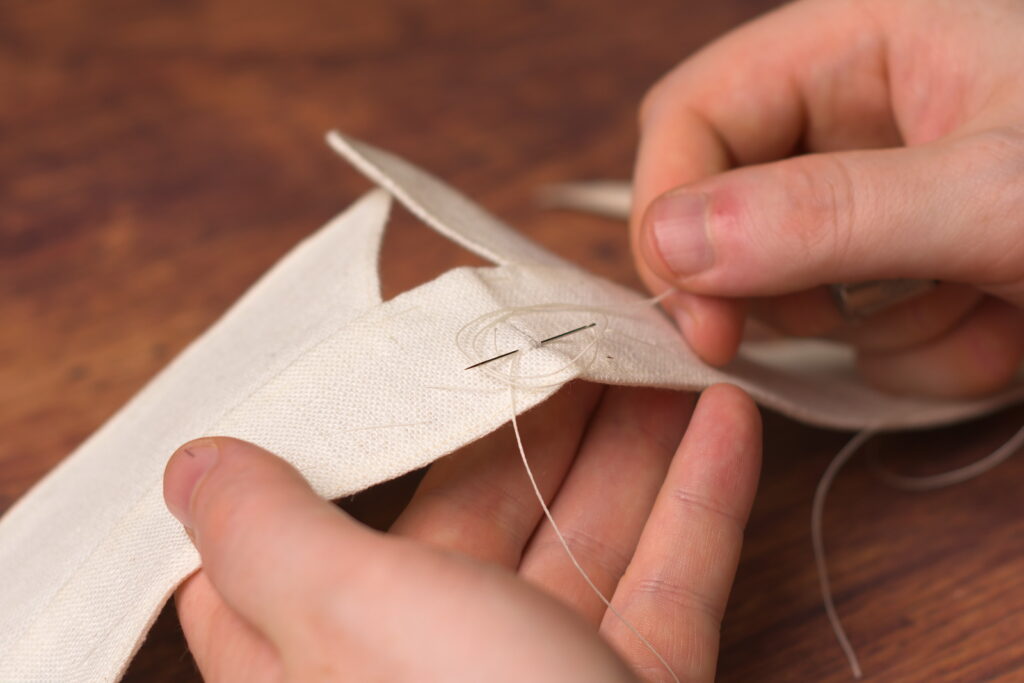
Gently pull the thread tight, forming the purl.
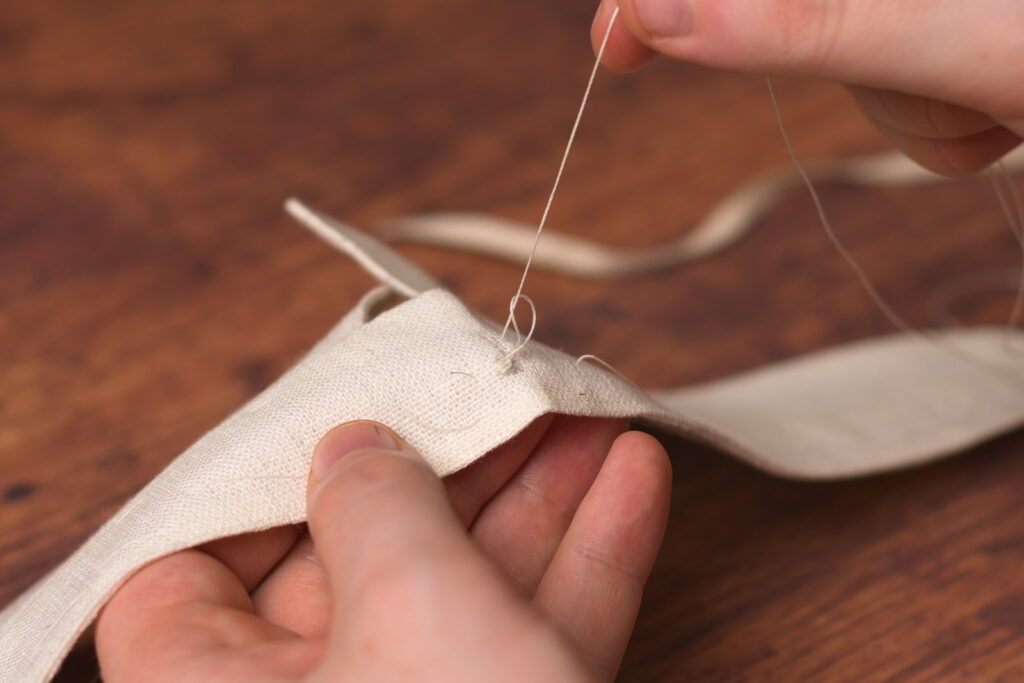
Continue working buttonhole stitches along the first half of the buttonhole.
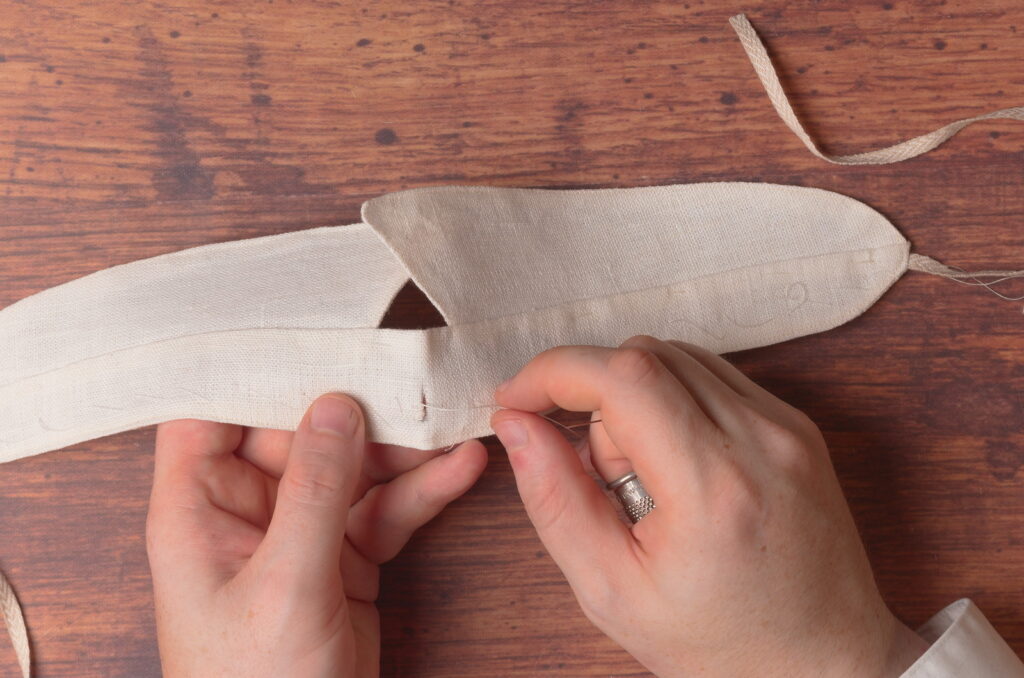
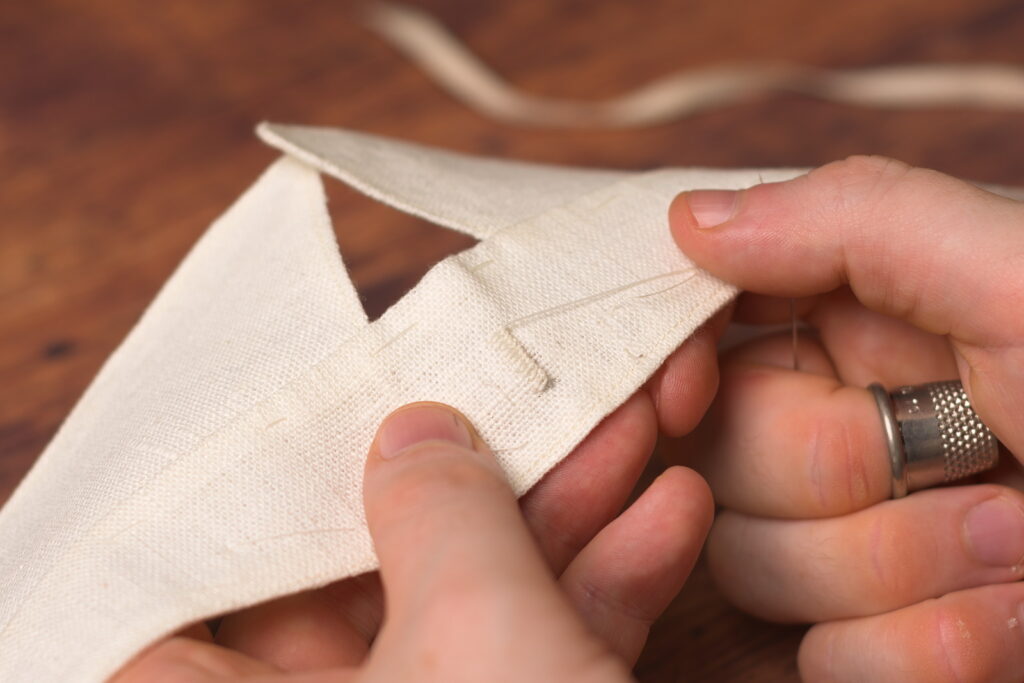
When you get to the top, make one last stitch, but don’t form the buttonhole stitch.
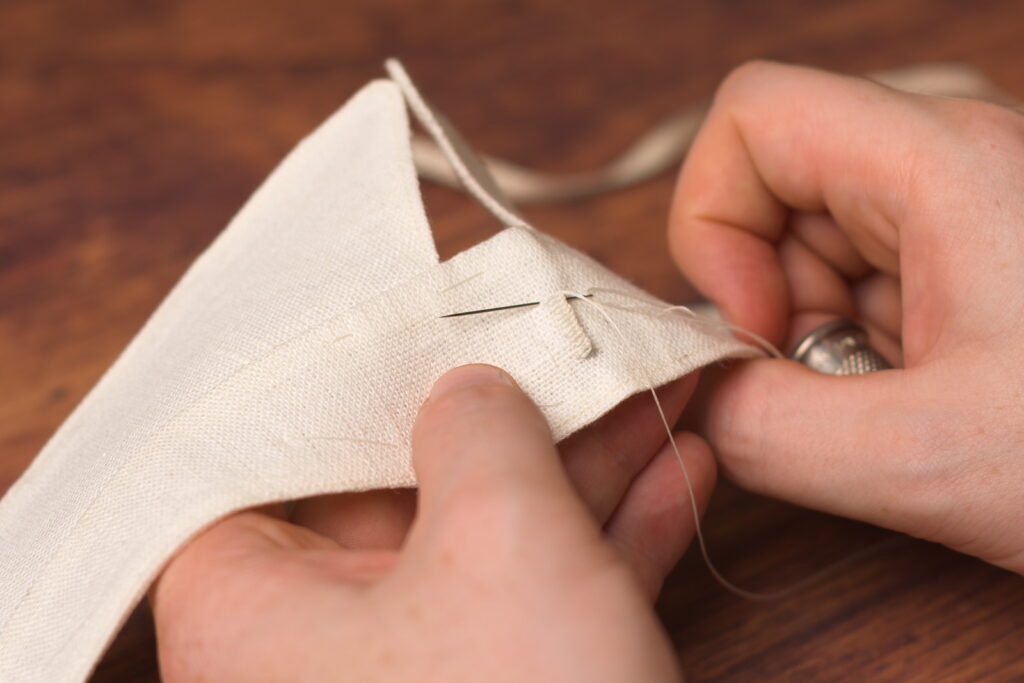
Instead form a bartack by passing the thread through all layers about three or four times. You’ll have to estimate the exact width as the buttonhole stitches on the other side are not done yet.
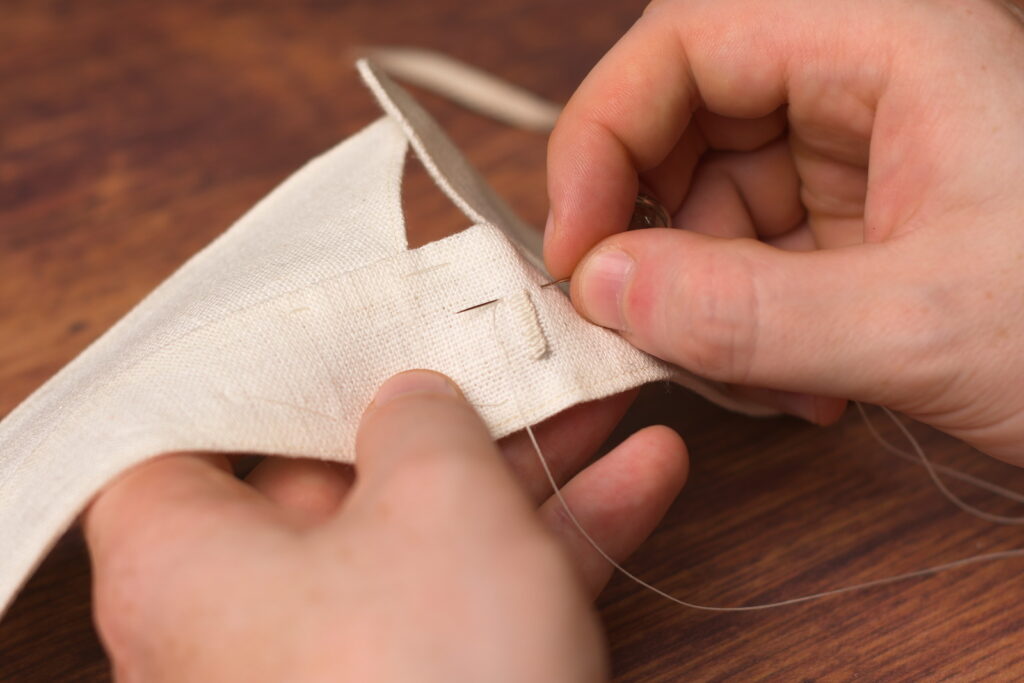
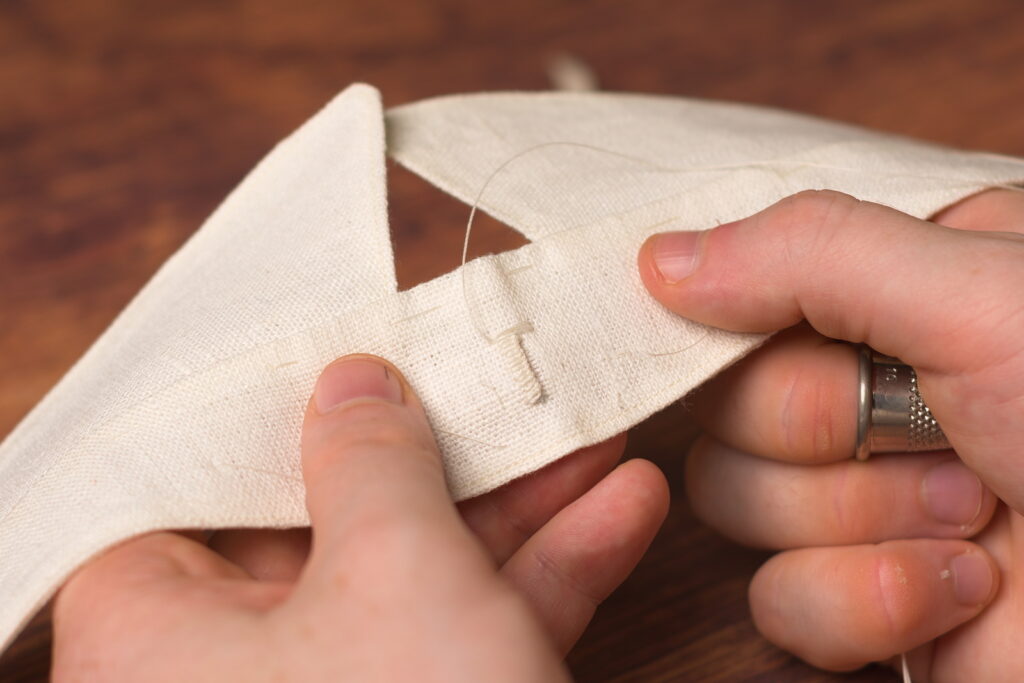
Then make small stitches around these threads, catching the collar underneath with each stitch. I typically make 6 – 8 of these stitches.
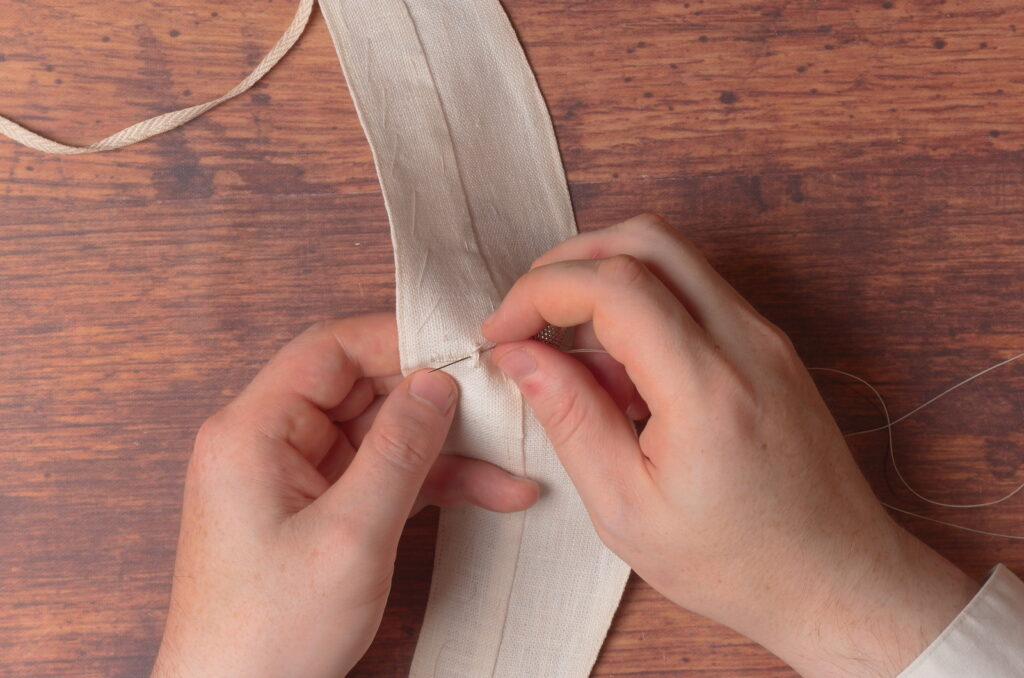
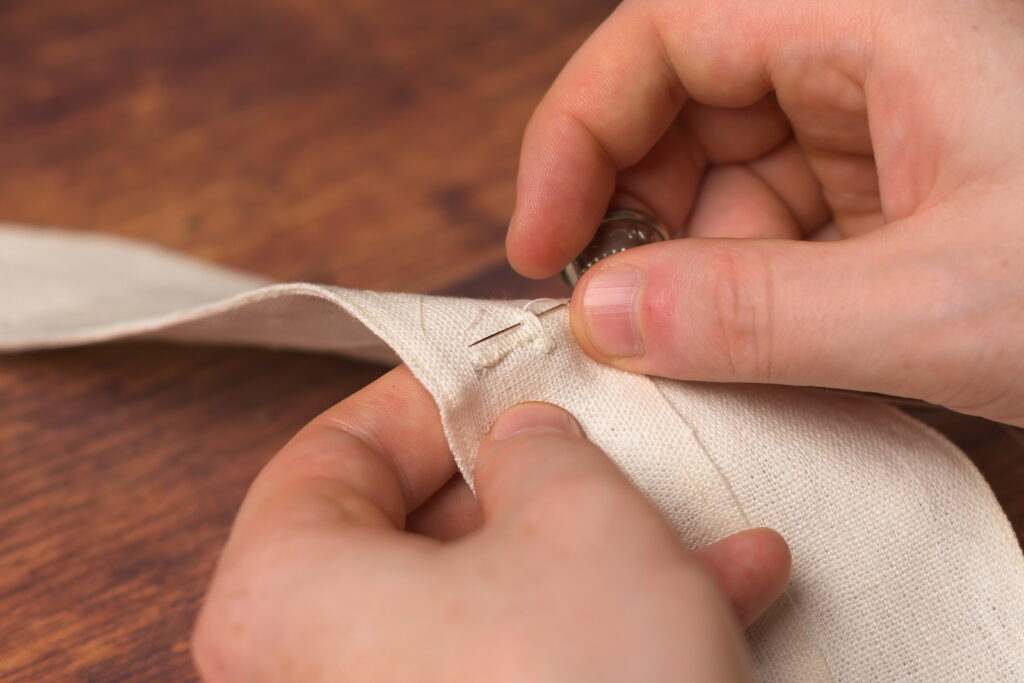
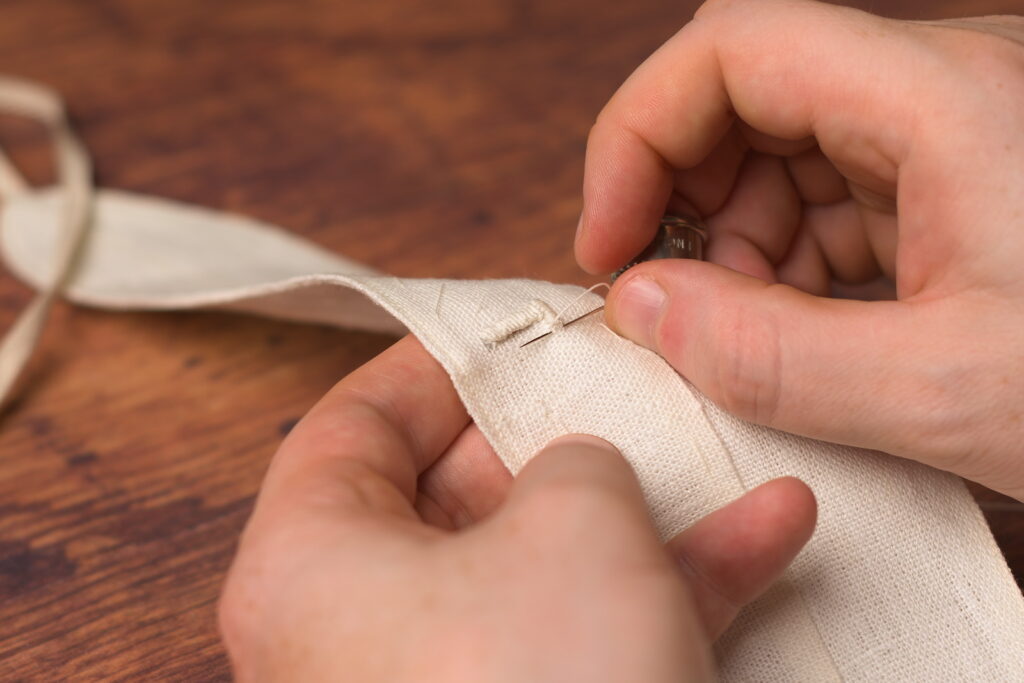
Then continue making buttonhole stitches along the remaining side of the buttonhole.
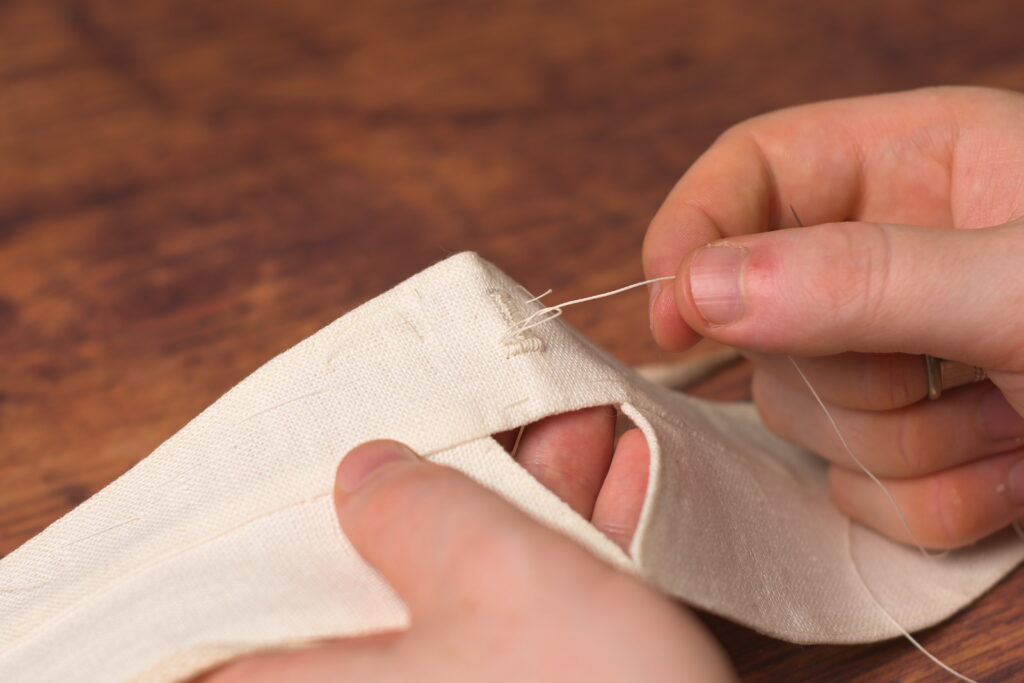
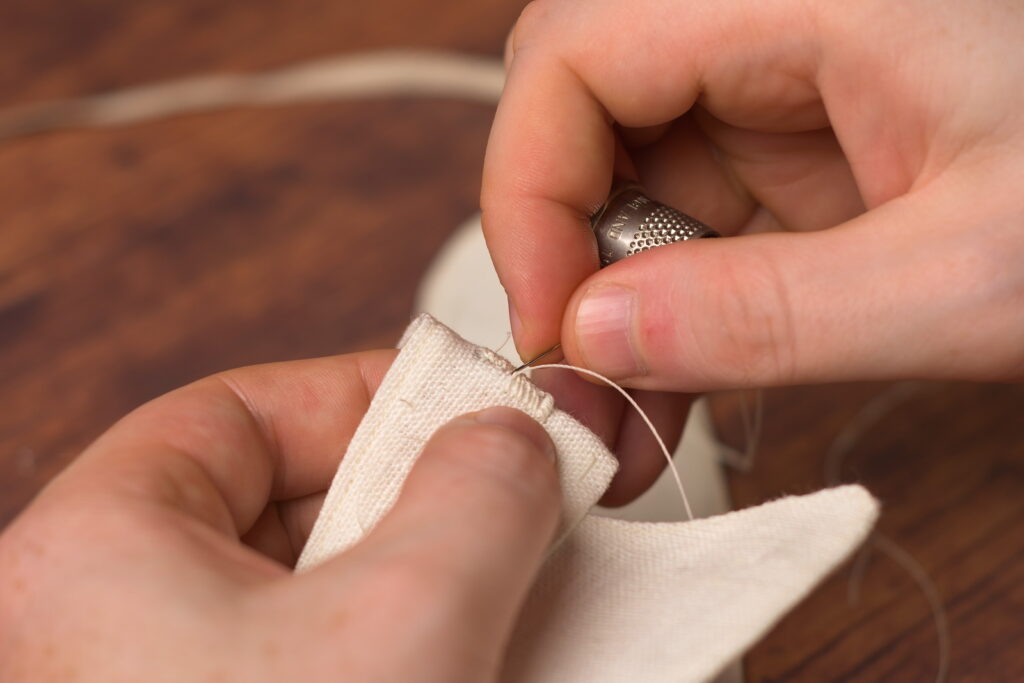
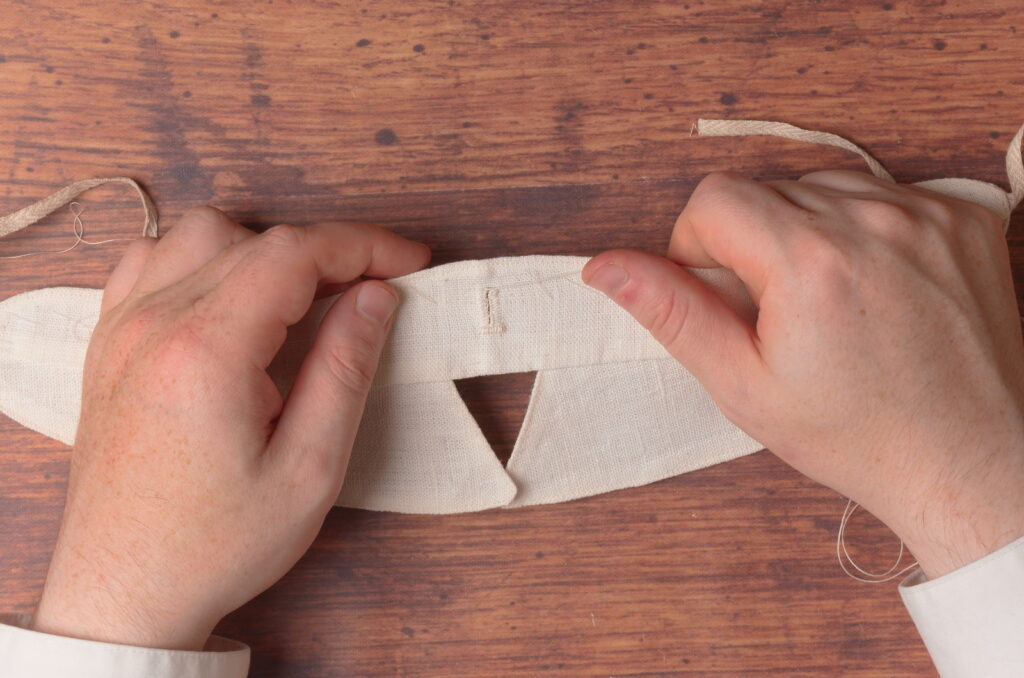
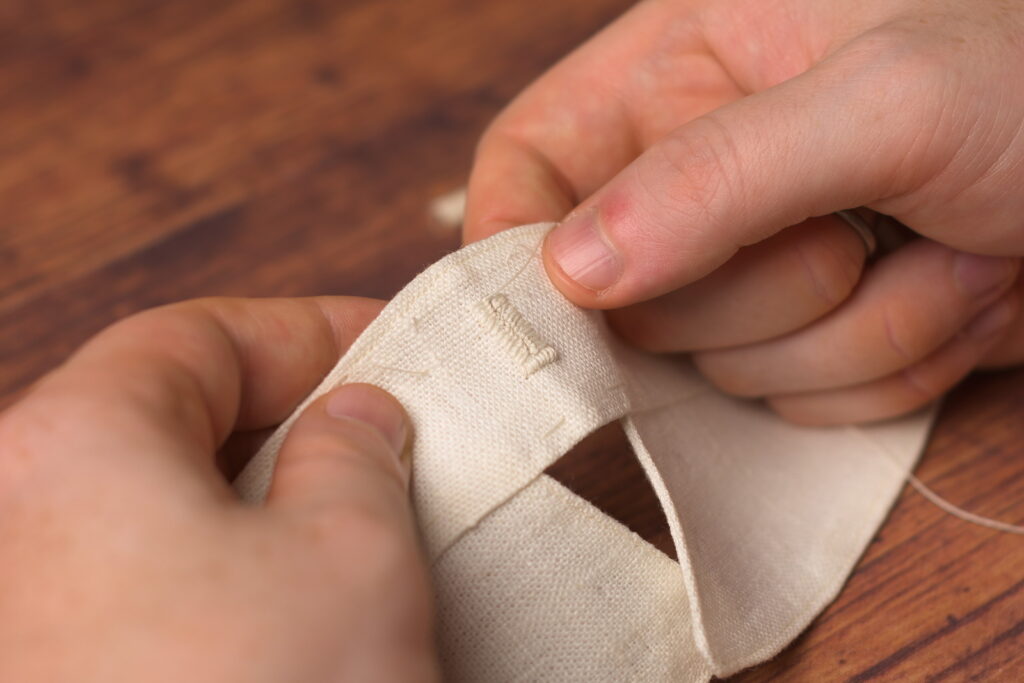
Make another bartack in the same manner at the remaining end of the buttonhole.
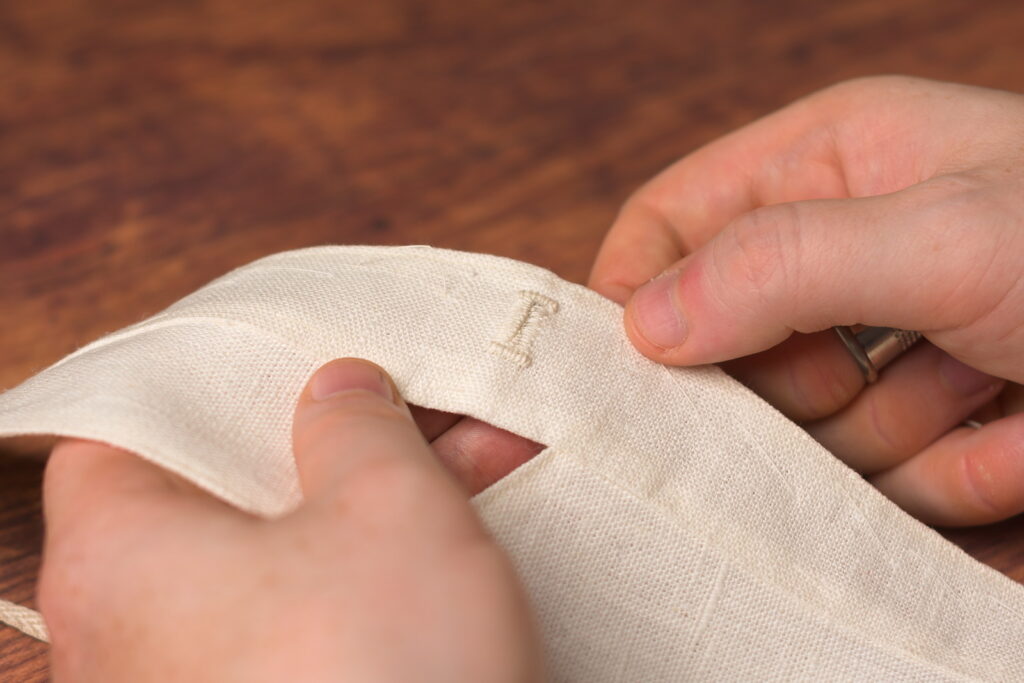
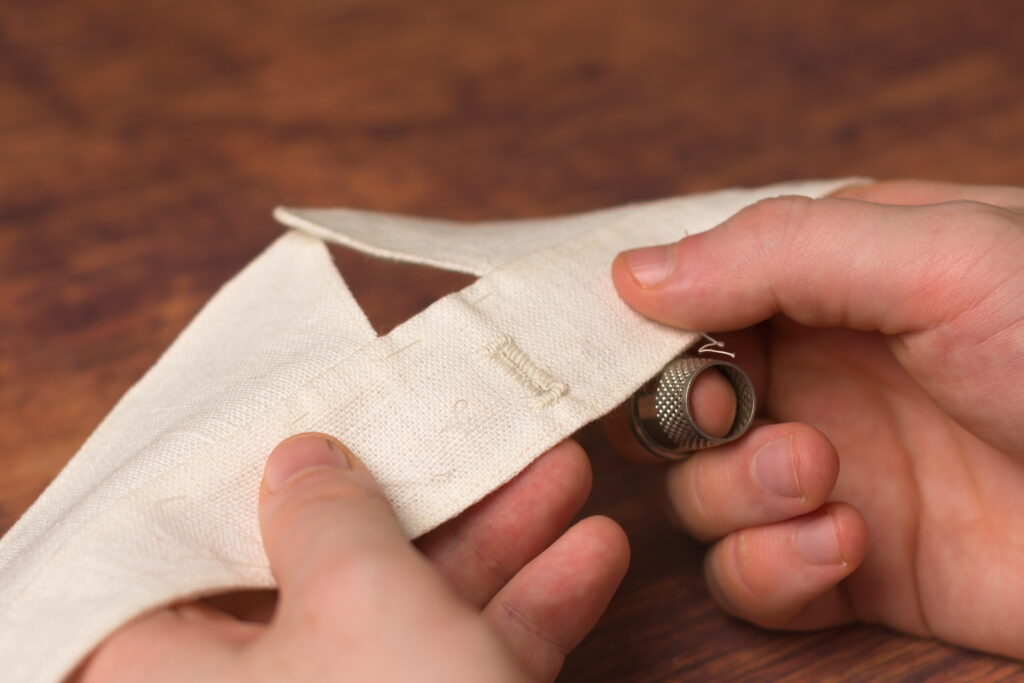
Pass the thread to the underside and run the thread along the buttonhole underneath the stitches, three times in alternating directions to secure the buttonhole.
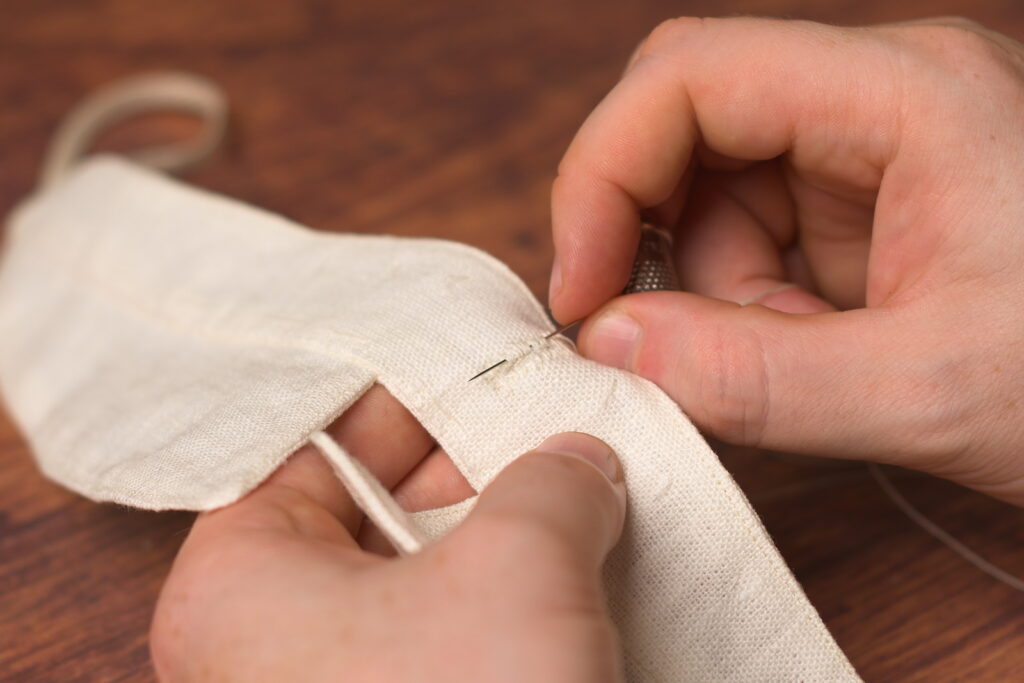
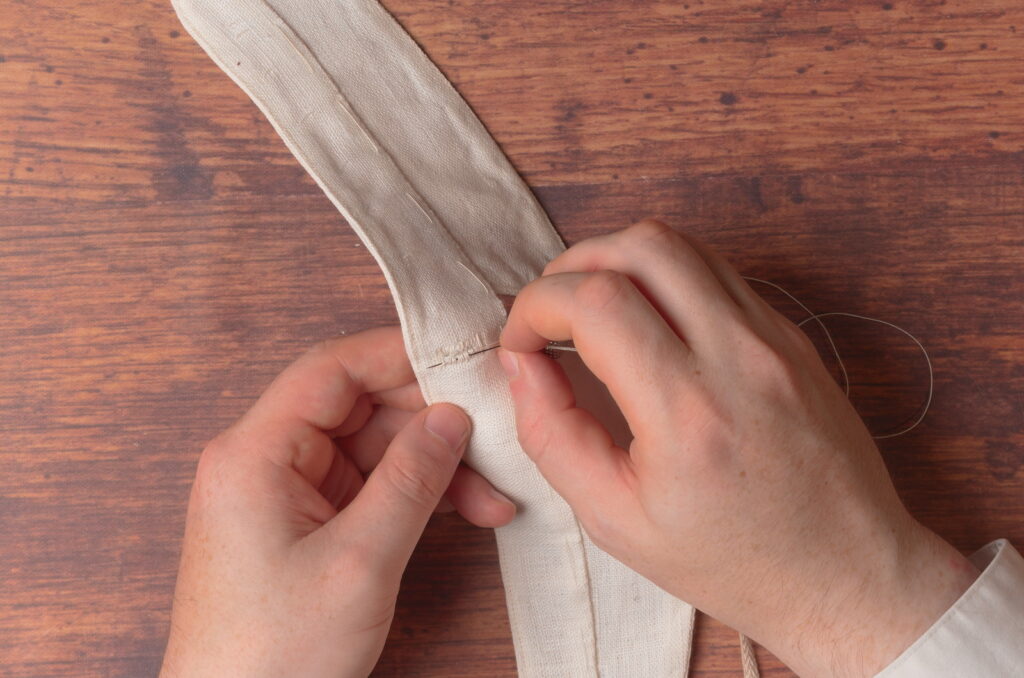
Trim the thread!
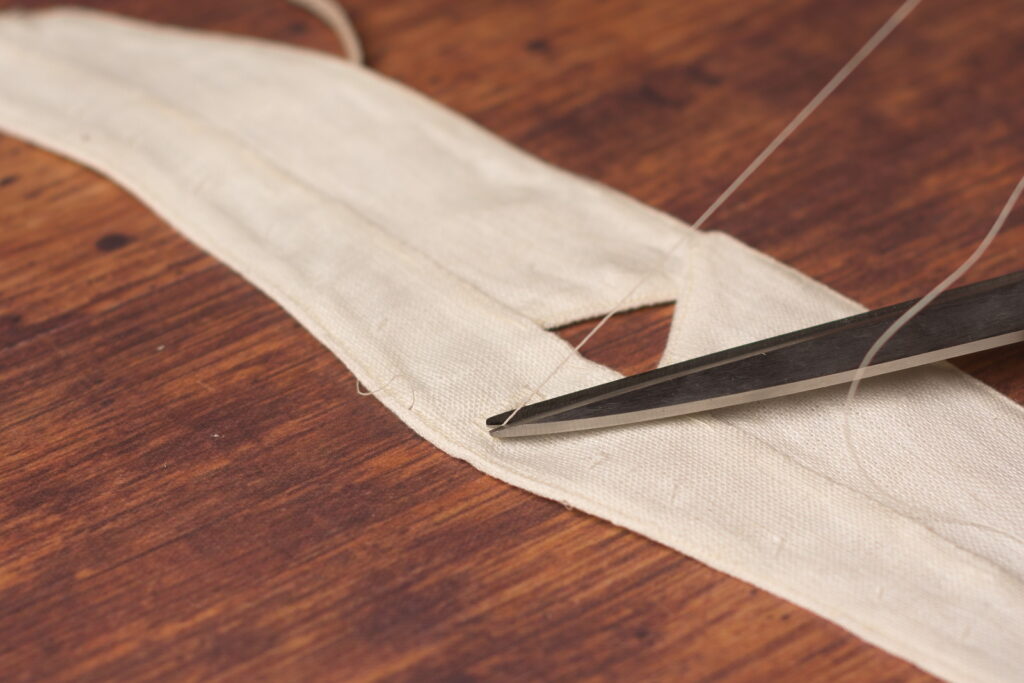
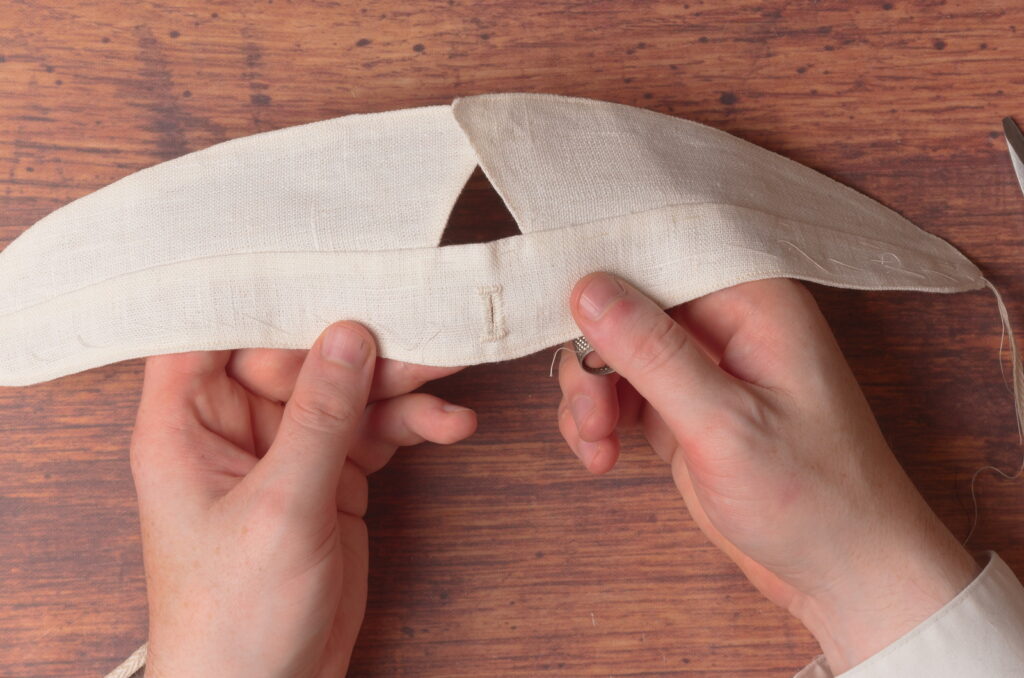
That completes the buttonhole, and with that, your detachable collar. Be sure to remove all the basting stitches!
Collar Construction Part II
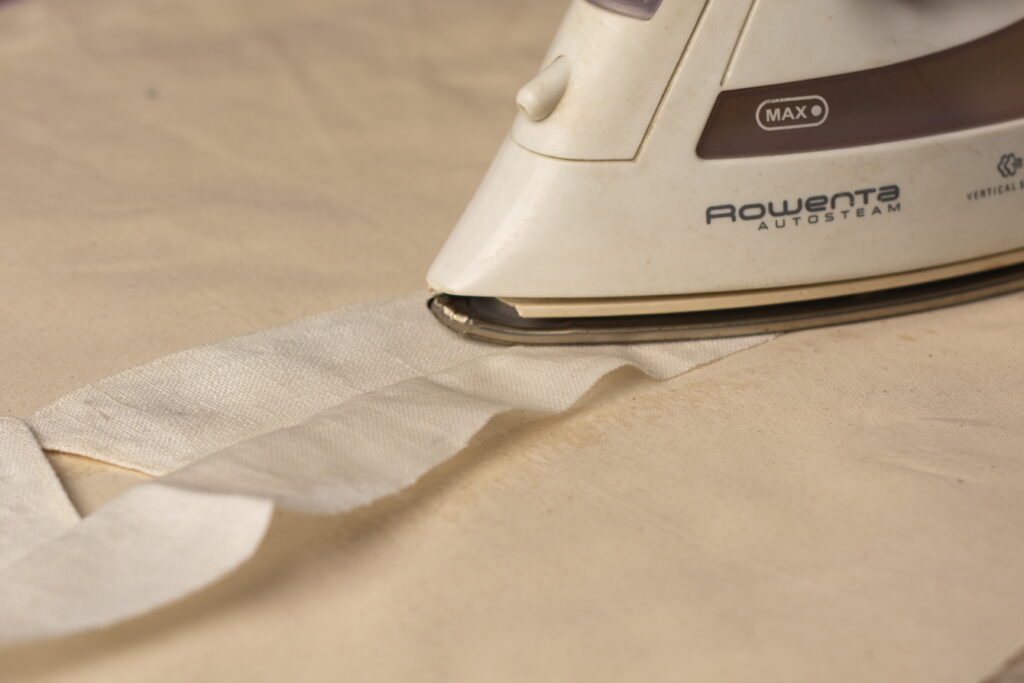
Cut two 12″ lengths of stay tape, and lay them on the right side of the collar band, about 1/16″ below the seam line you just pressed. The stay tape should extend beyond the ends of the collar by about 1/8″. Baste the tape in place at each end for about an inch or two, just enough to keep them in place.
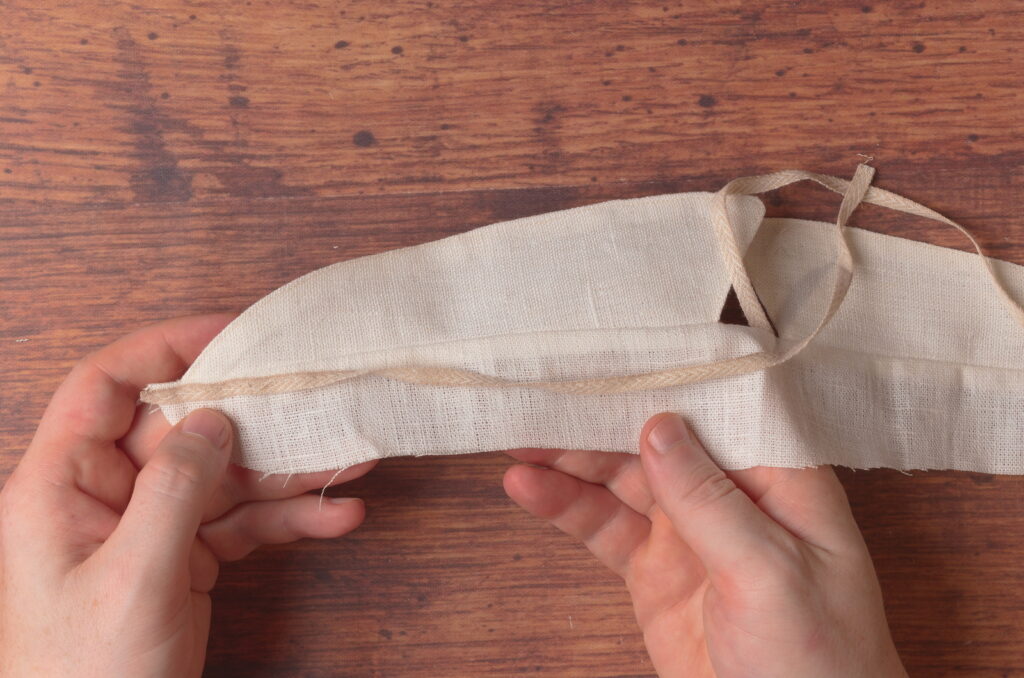
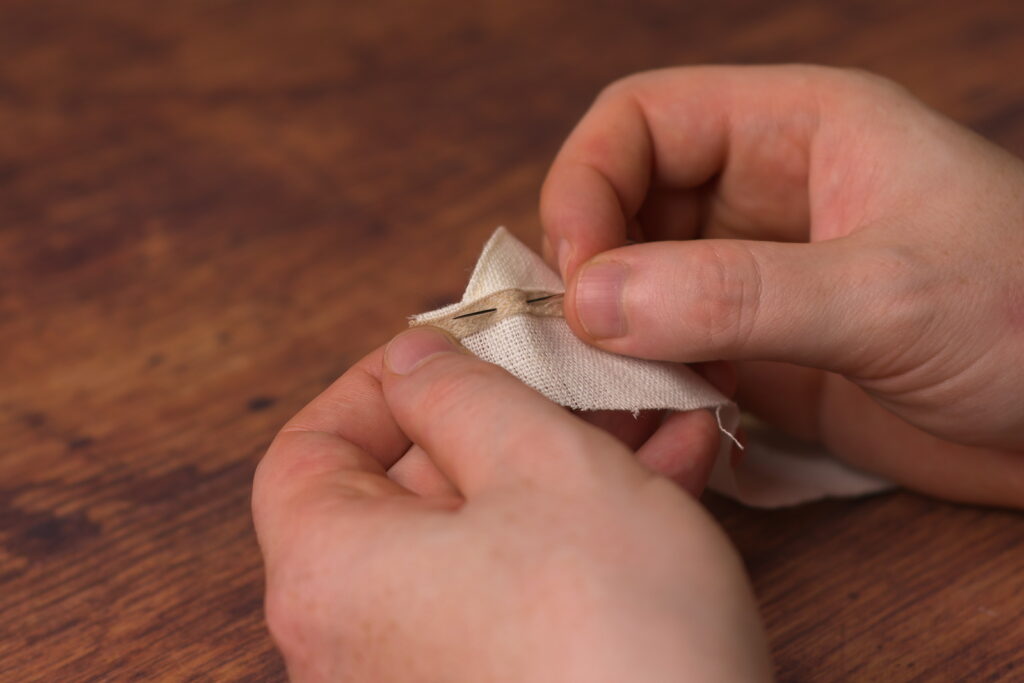
Here’s what you should have so far.
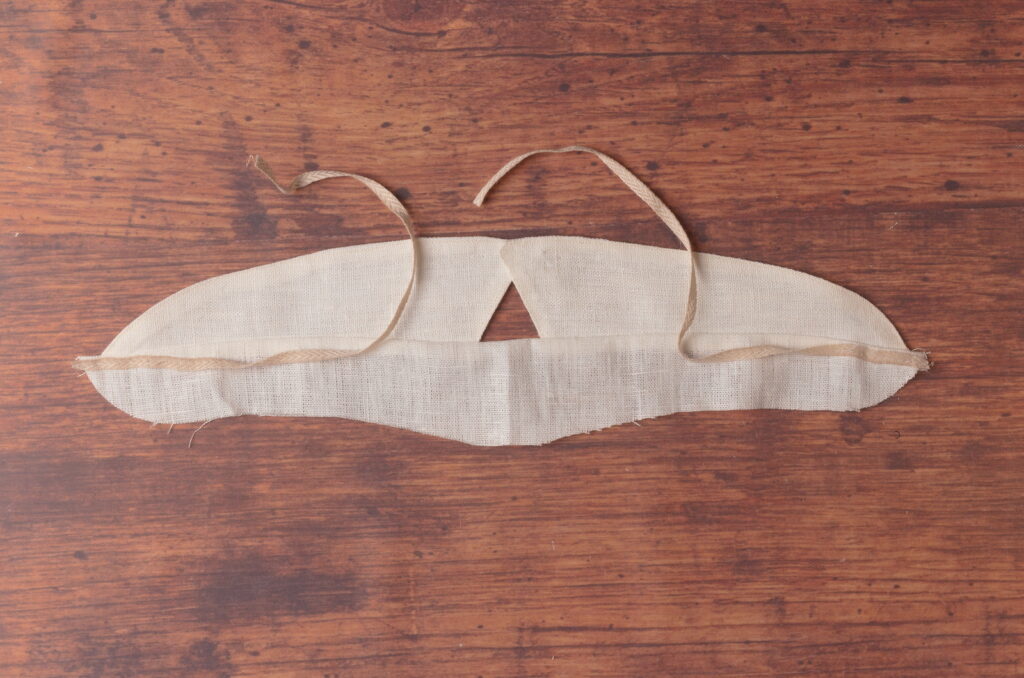
Place the remaining collar band right side up on the table. Flip the collar assembly over and lay it on the collar band so that right sides together, and align the lower and outer edges.
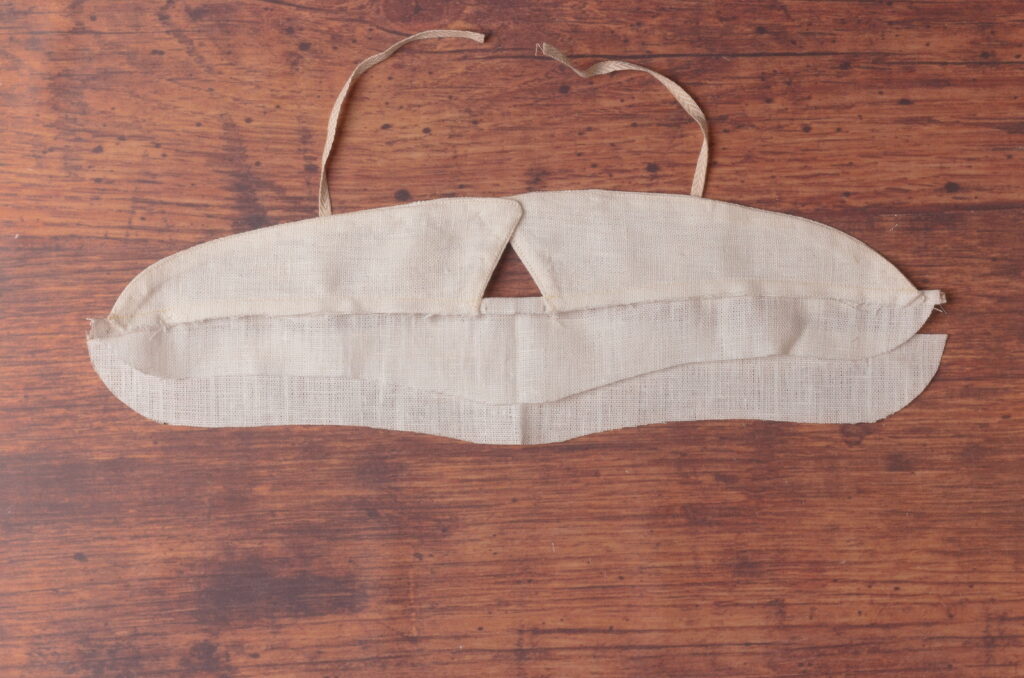
Beginning at the center of the collar band, baste the two bands together towards one end of the collar.
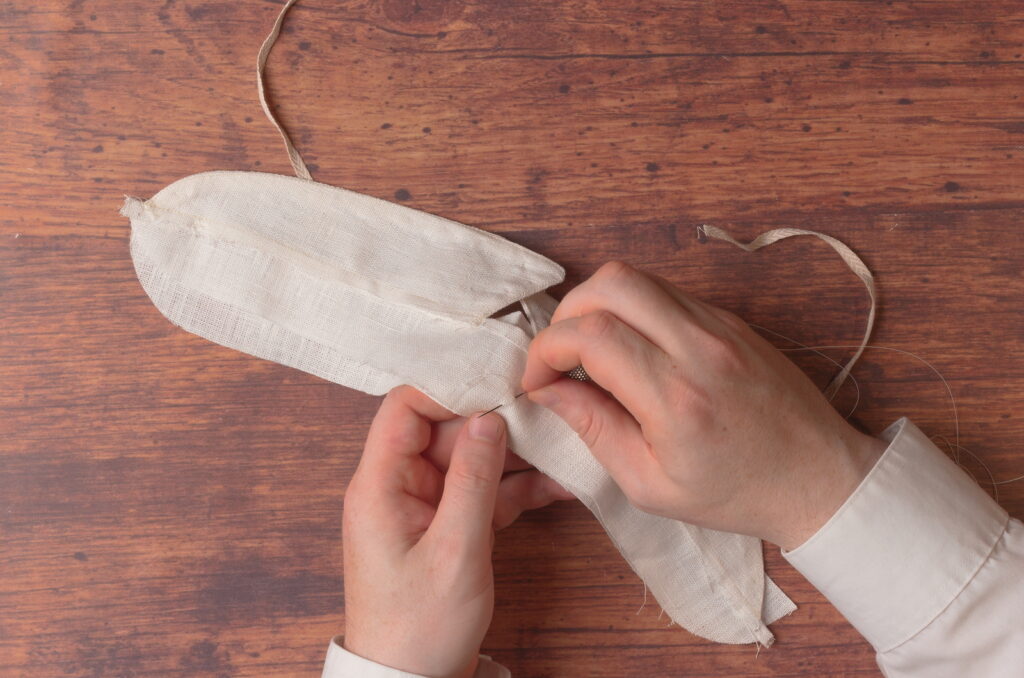
As you’re basting, allow the fabric to drape over your hand. This shortens the lower piece and naturally lengthens the upper band, so that when it’s worn around the neck, there will be no excess fabric bunching up on the inner collar. This also encourages the collar to roll around the neck a little.
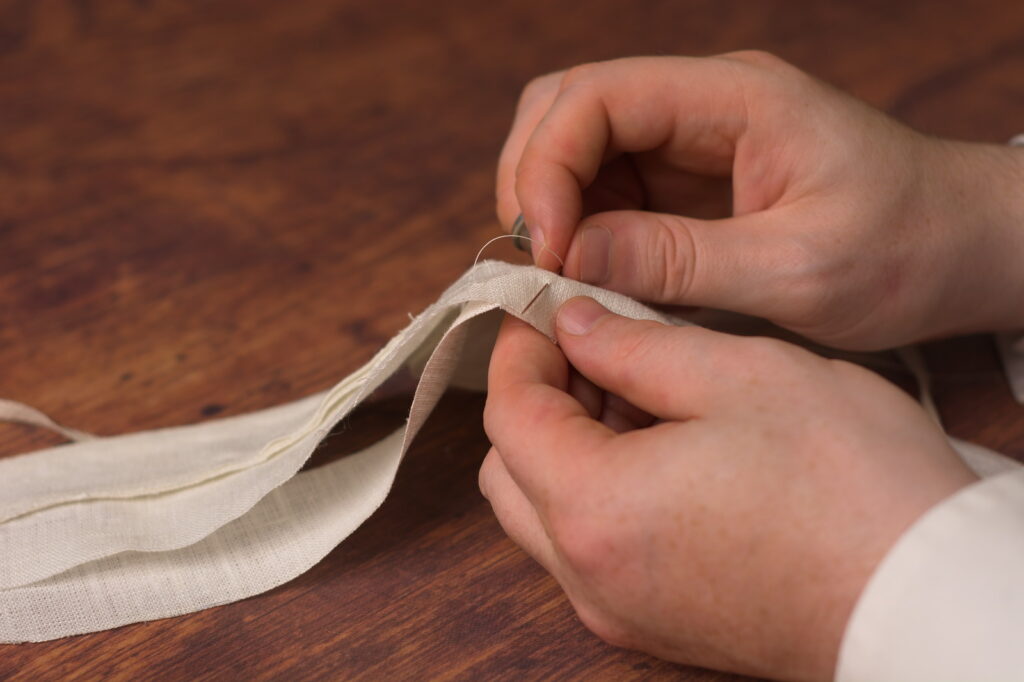
Baste the other half of the collar as well.
Make sure you keep the stay tape out of the way as you baste. These should be coming from the inside (really the ride sides) of the collar towards the top to keep out of the way of the stitching.
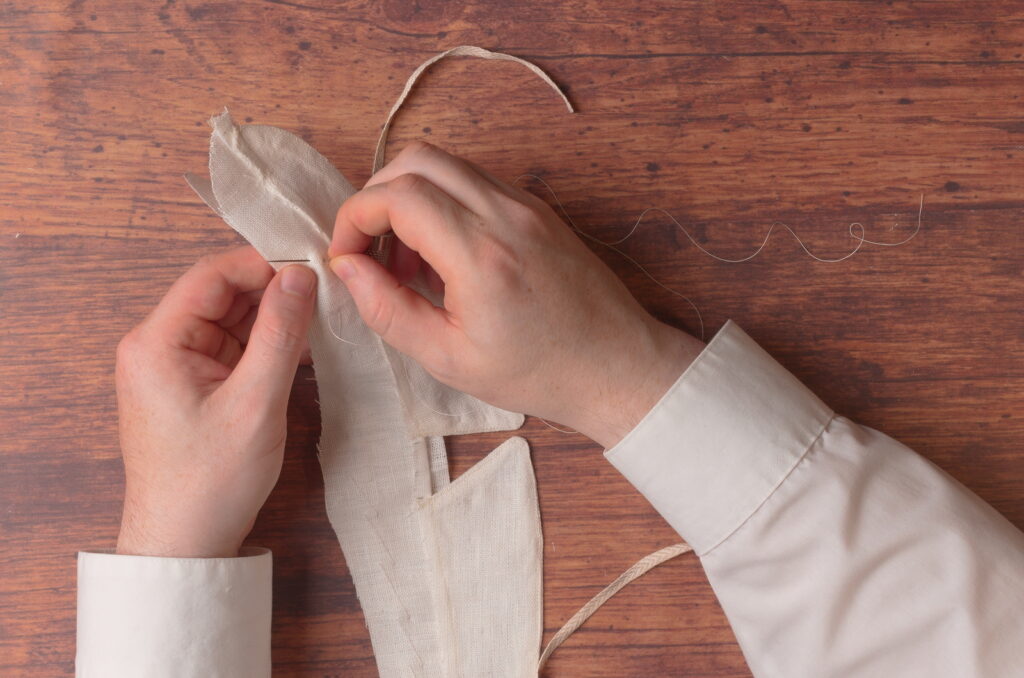
You can see when the collar is layed flat, that there is some slight bunching up due to the lower collar band being shortened.
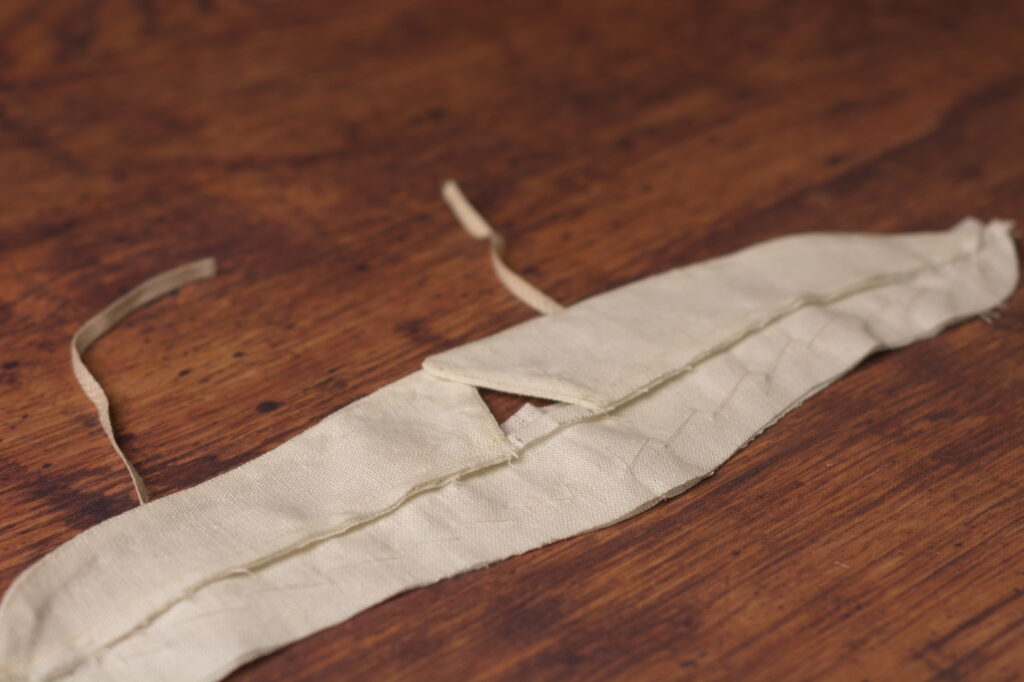
Sew the collar band along the lower edges using a 1/4″ seam allowance, starting from the top of the folded seam at the end of the collar, precisely where it meets the relief cut of the collar point. The closer you can get this the better, and feel free to go back after and restitch closer if necessary. You don’t need to remove any stitching unless you’ve sewn too far inwards.
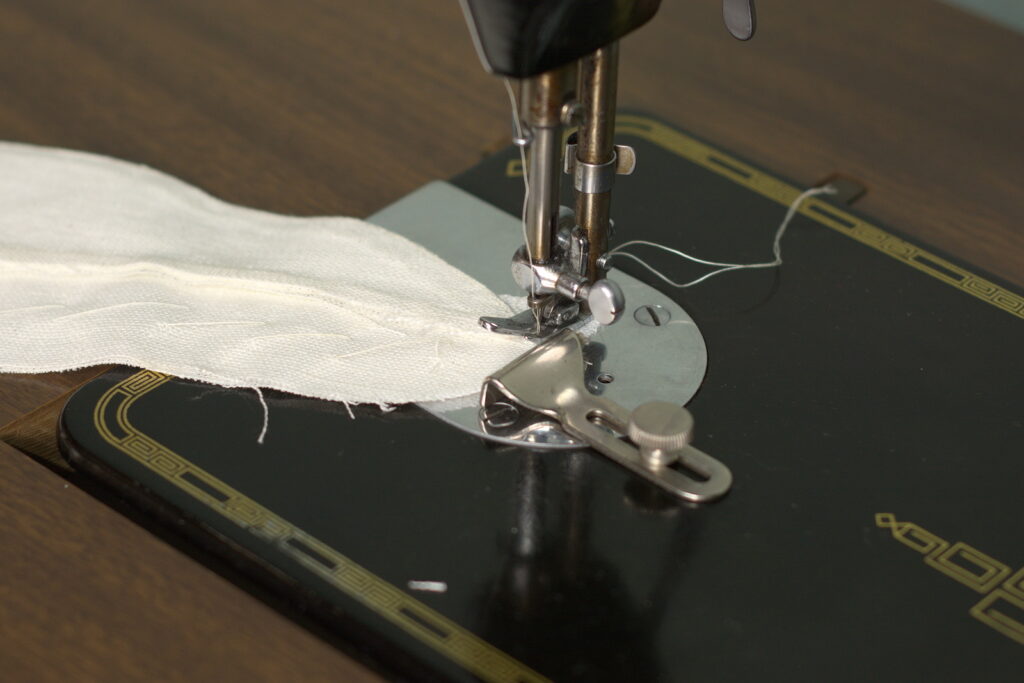
Continue sewing through to the other end.
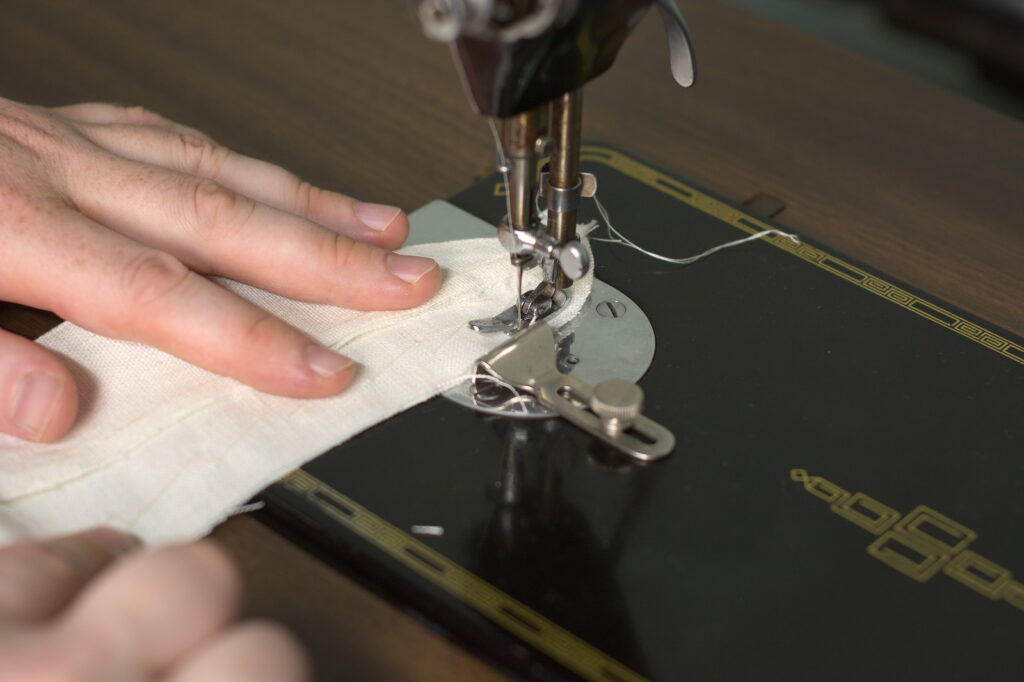
It’s hard to see, I know, but I can’t stress enough how important it is that the seam end exactly where the relief cut ends, or just ever so slightly to the inside of that. Otherwise, you’ll end up with a sort of extension to the back of the collar which doesn’t look nearly as good.
I didn’t photograph it for some reason, but you may notice that the collar band edges don’t line up at one or both ends, due to the way we held the collar during basting. Trim the ends flush as necessary.
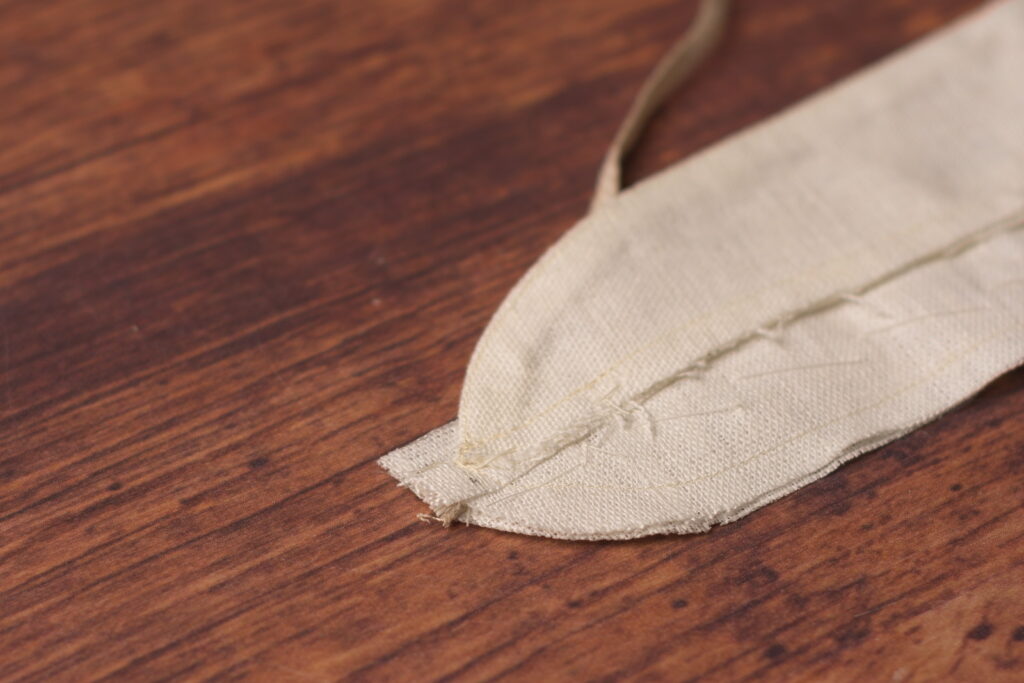
Here’s the stitch line near the center of the collar, following the curves nicely.
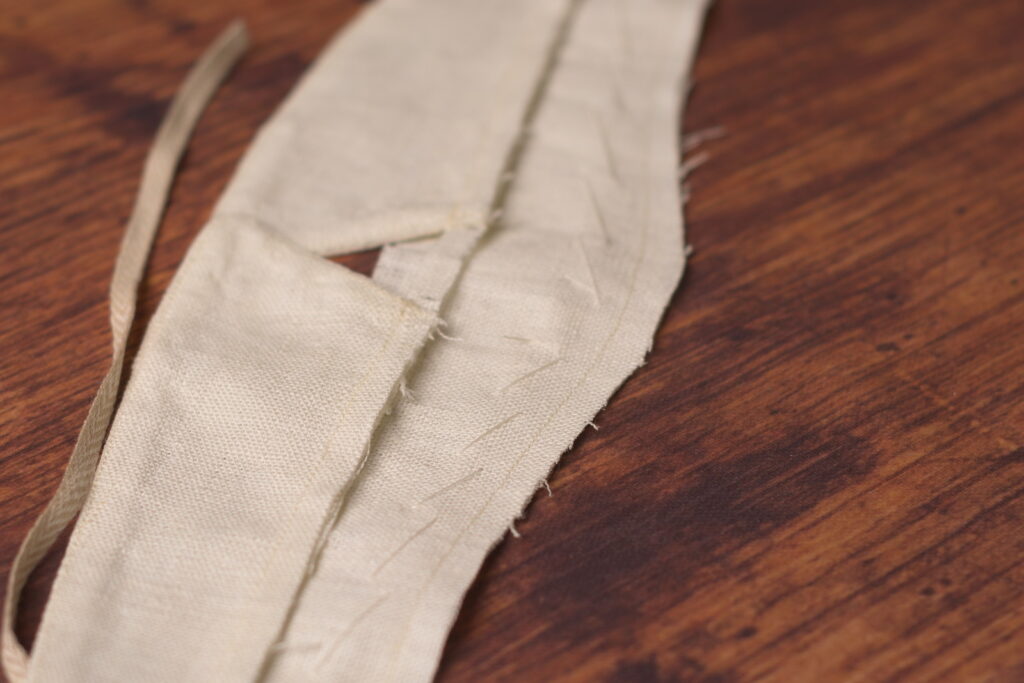
And what you should have so far.
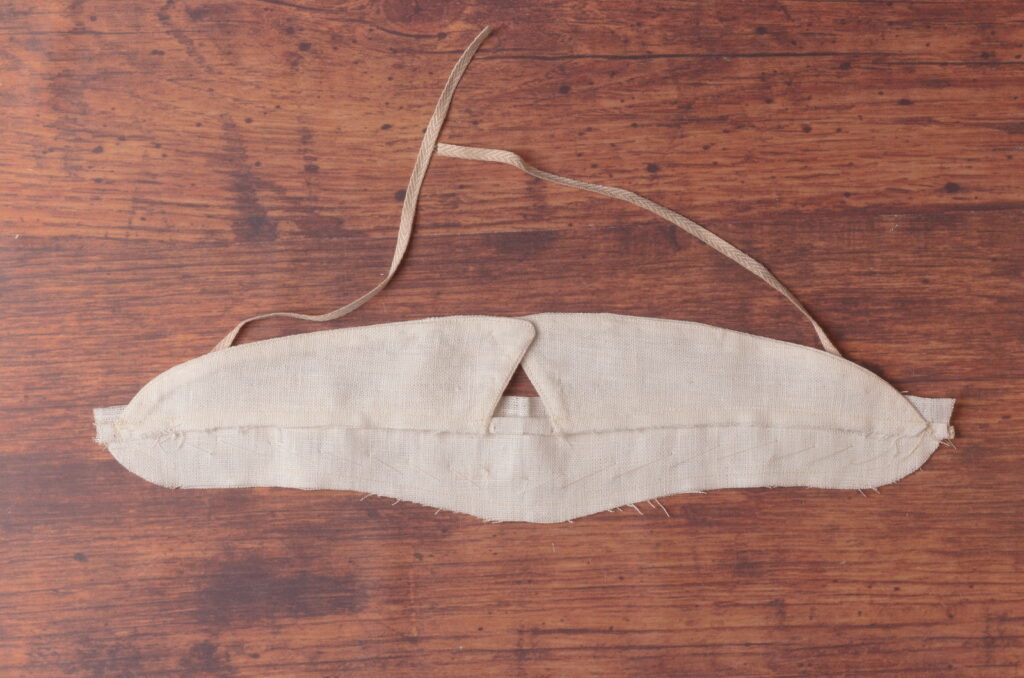
Trim the curves down to about 1/8″ at each end.
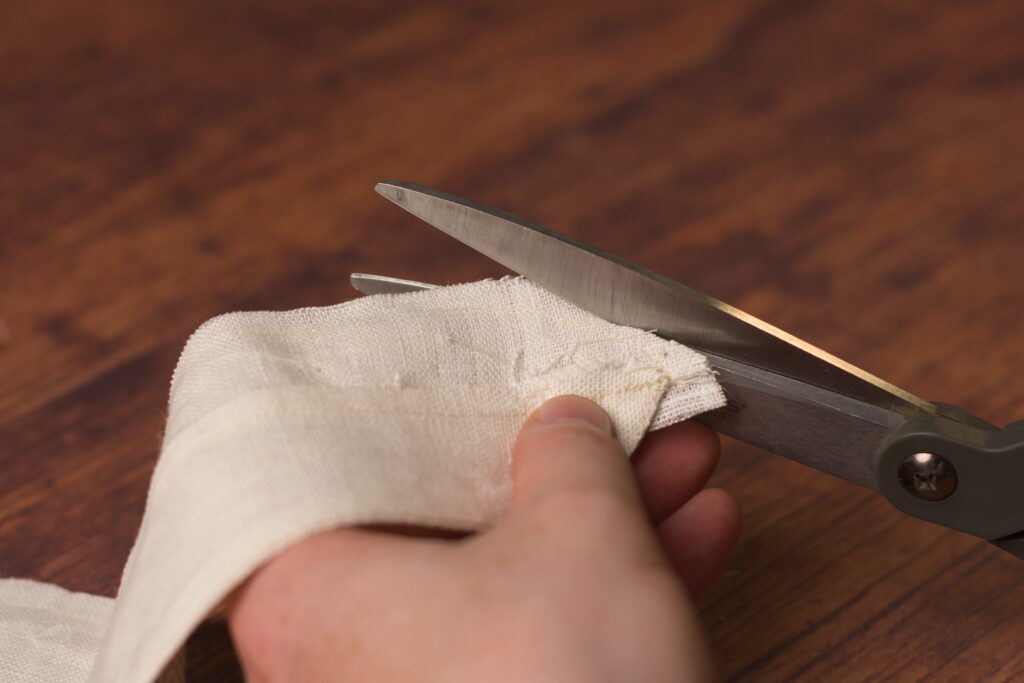
As well as near the center of the collar.
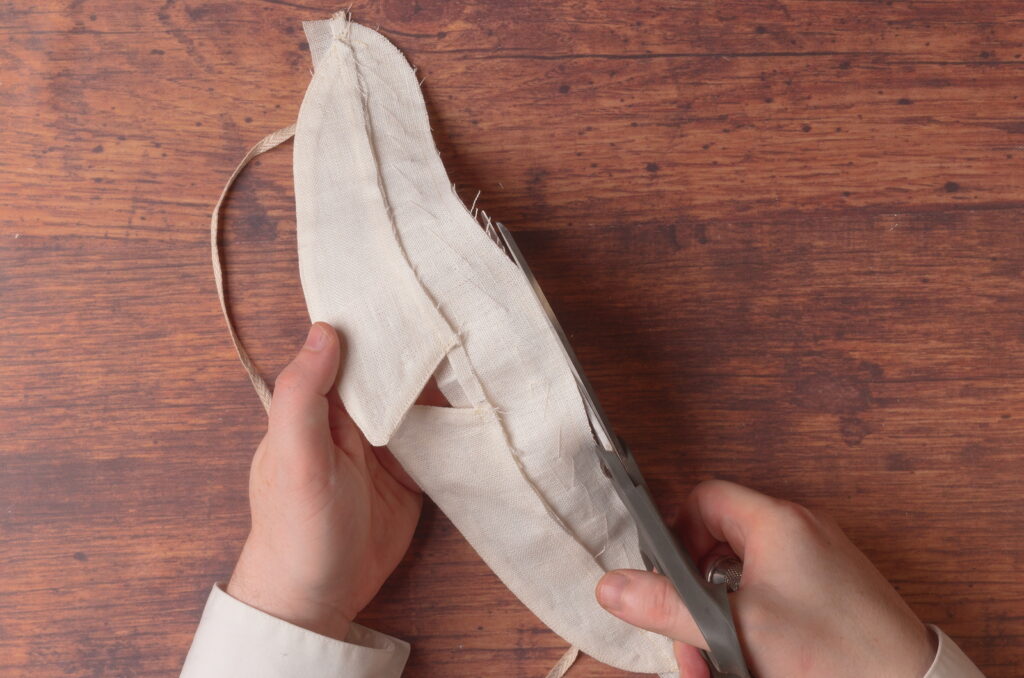
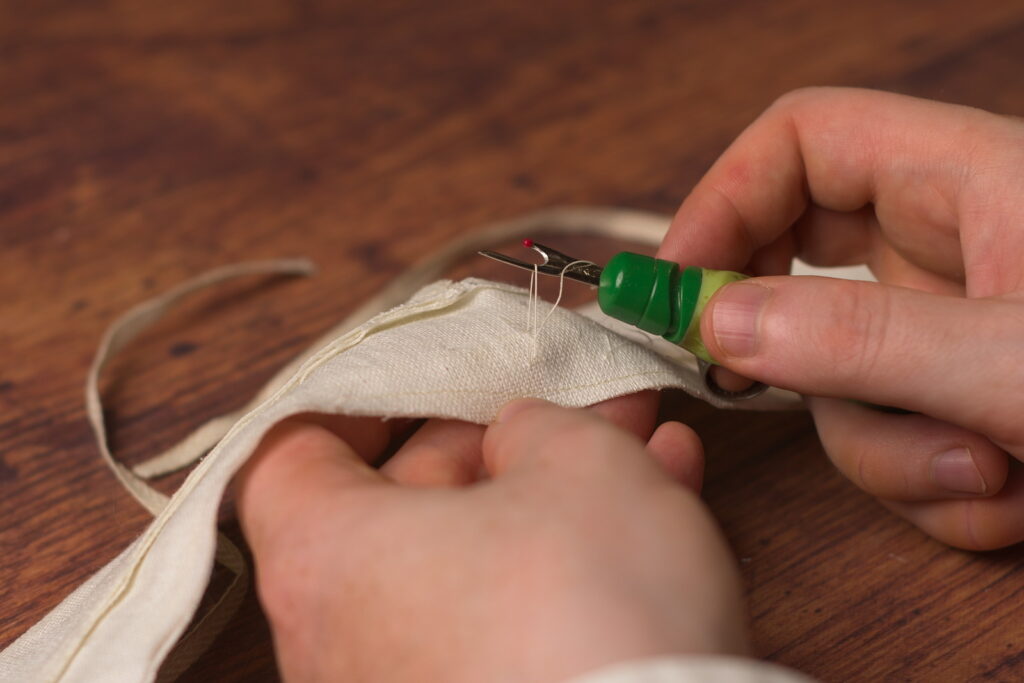
Remove the basting stitches.
Turn the collar band right side out.
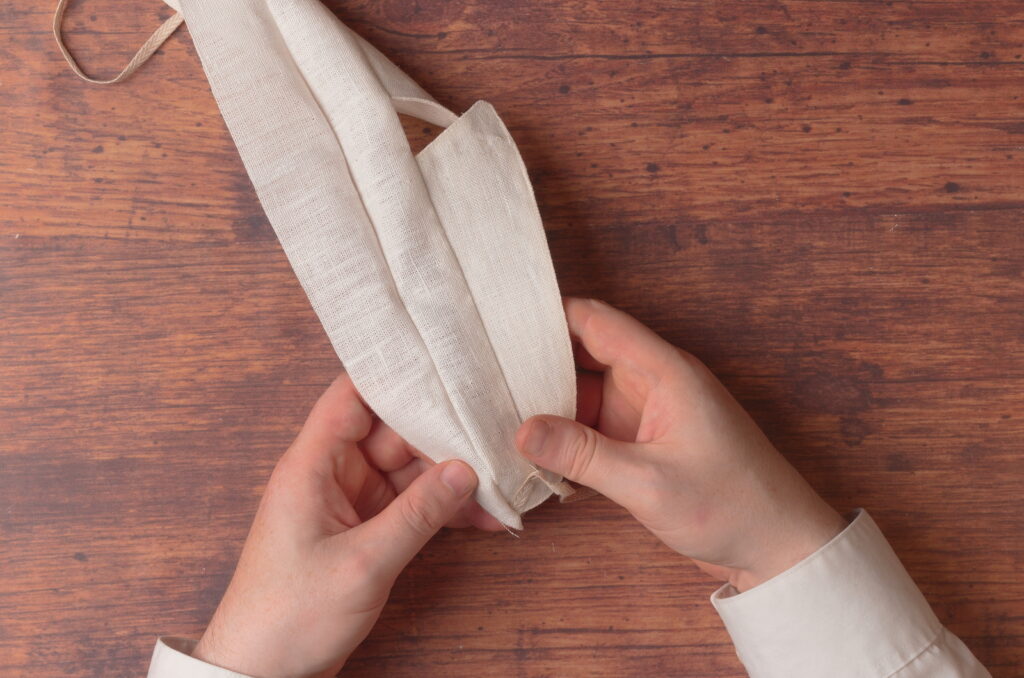
Use a point pressing tool in the curved areas as necessary.
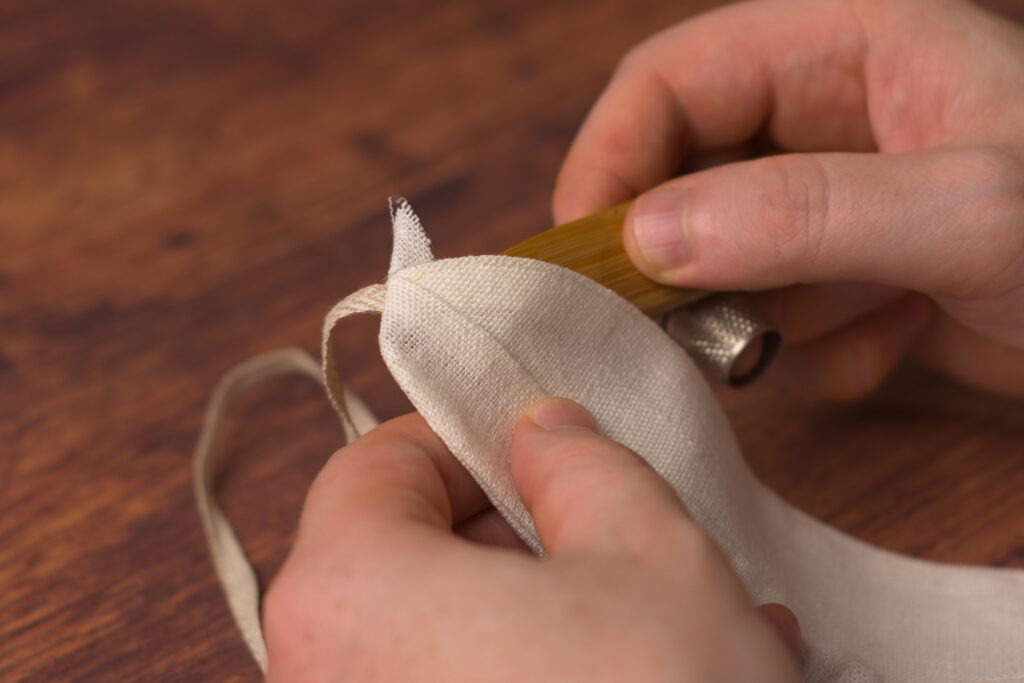
Don’t forget to remove the basting stitches from the linen tape as well! You can also pull on the tape gently to help pull the curved areas of the collar band into position.
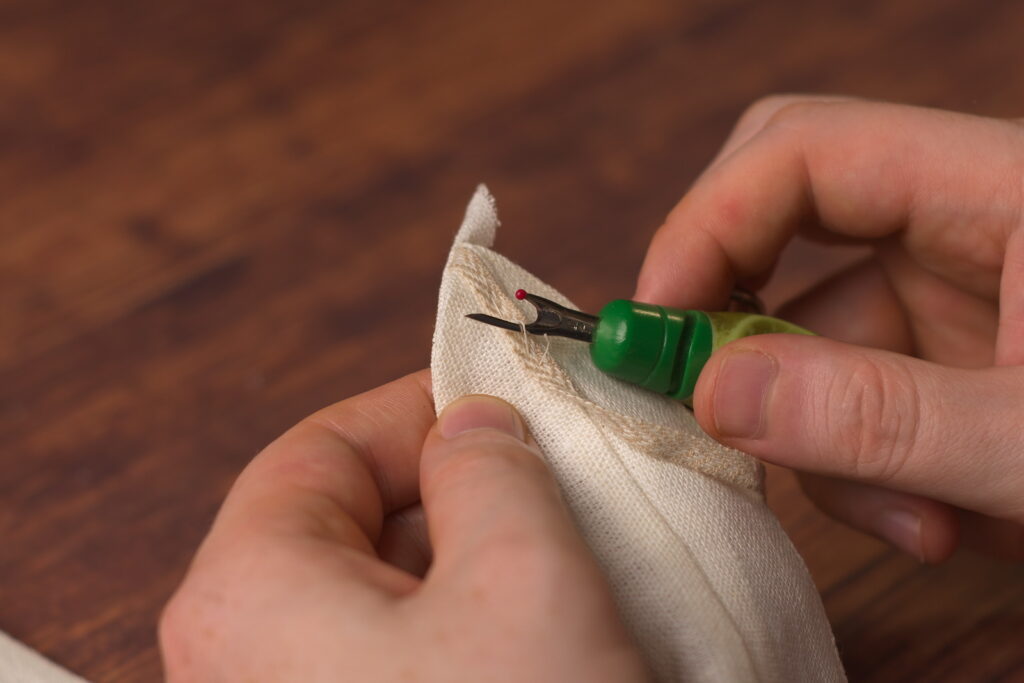
Again roll the seam to the wrong side of the collar by about 1/16″, as you did for the collar points.
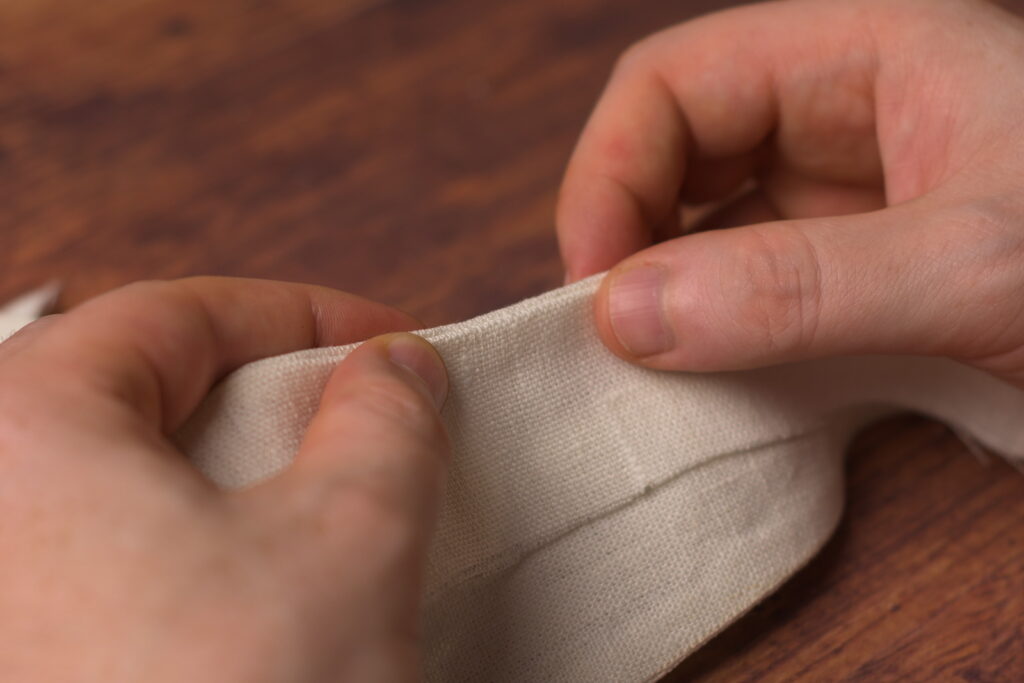
Baste along the collar band, finalizing the position of the seams. Keep at least 1/2″ away from the mid-seam on the collar to allow room to turn under the raw edge.
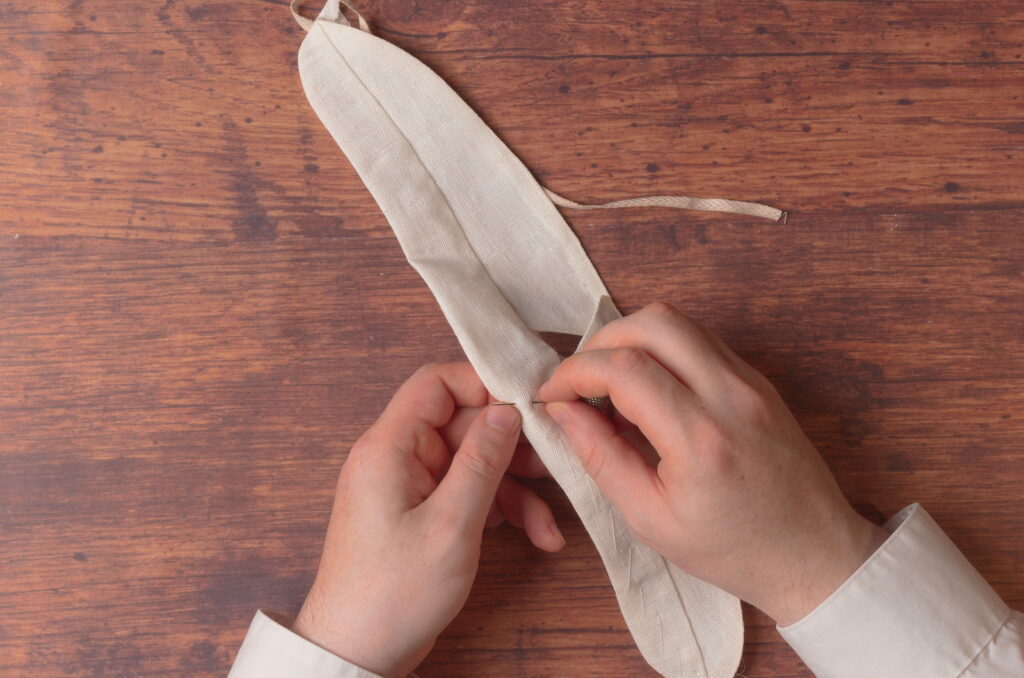
I’m still allowing the fabric to drape over my hand here as I baste, though it’s not important at this point, as all the fullness has already been worked out for the most part.
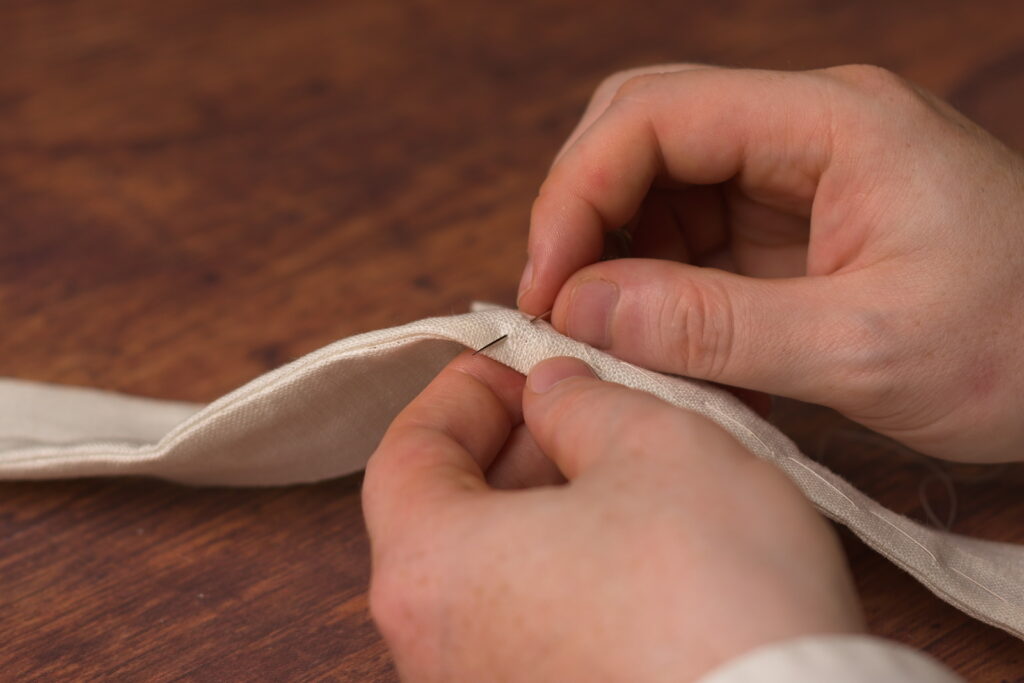
Here’s the collar after basting.
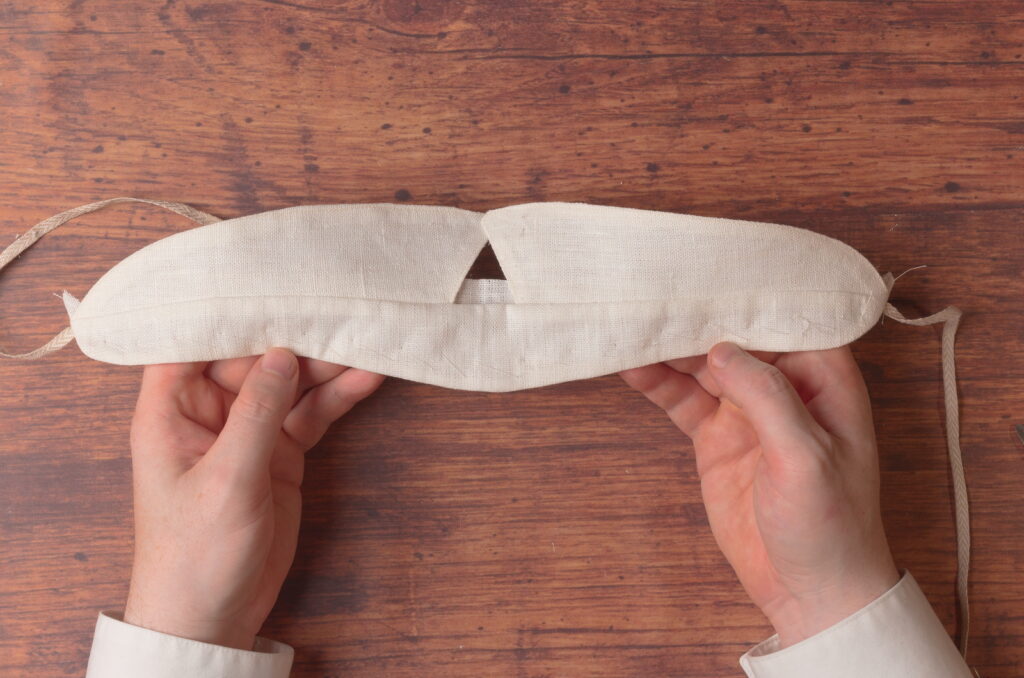
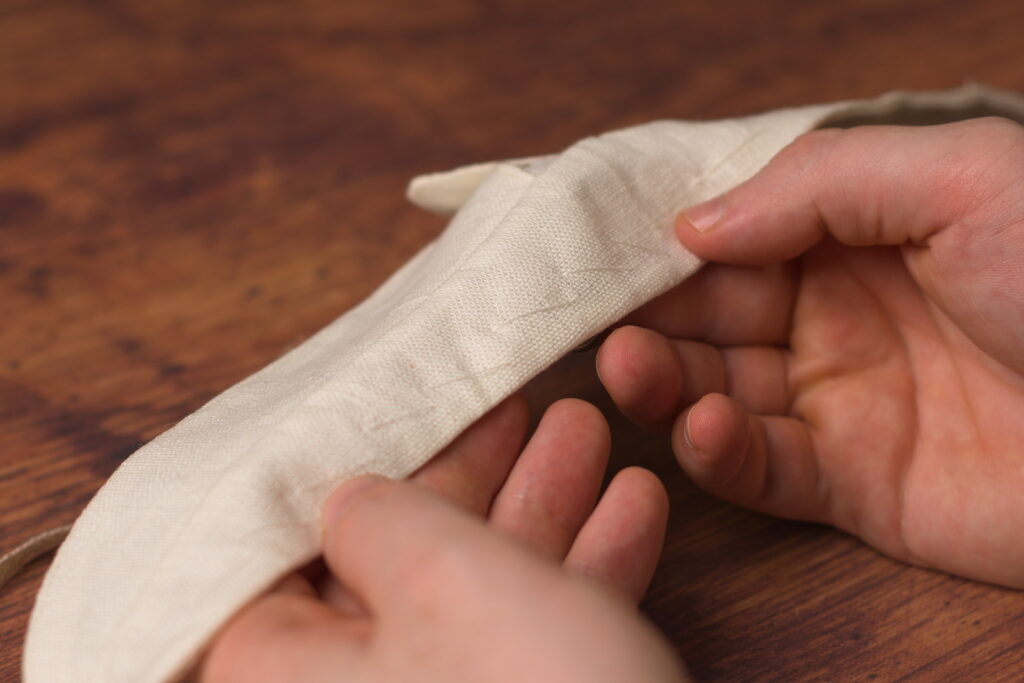
Turning to the inside of the collar, turn under the raw edge so that it’s even with the stitching underneath, just covering it. The ends are a little fussy due to all of the various layers coming together.
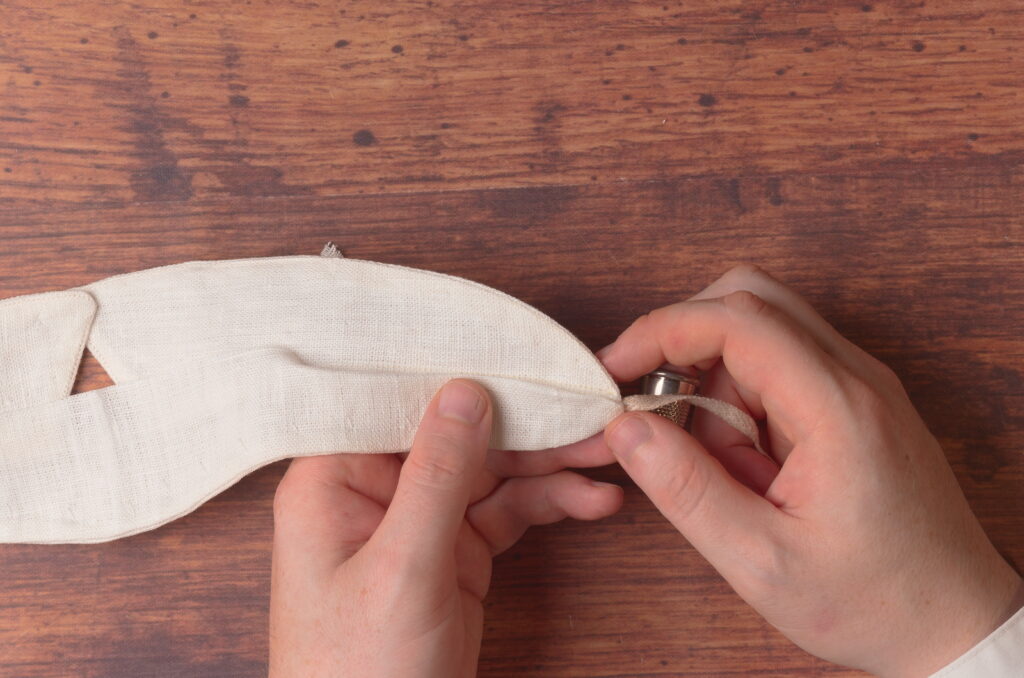
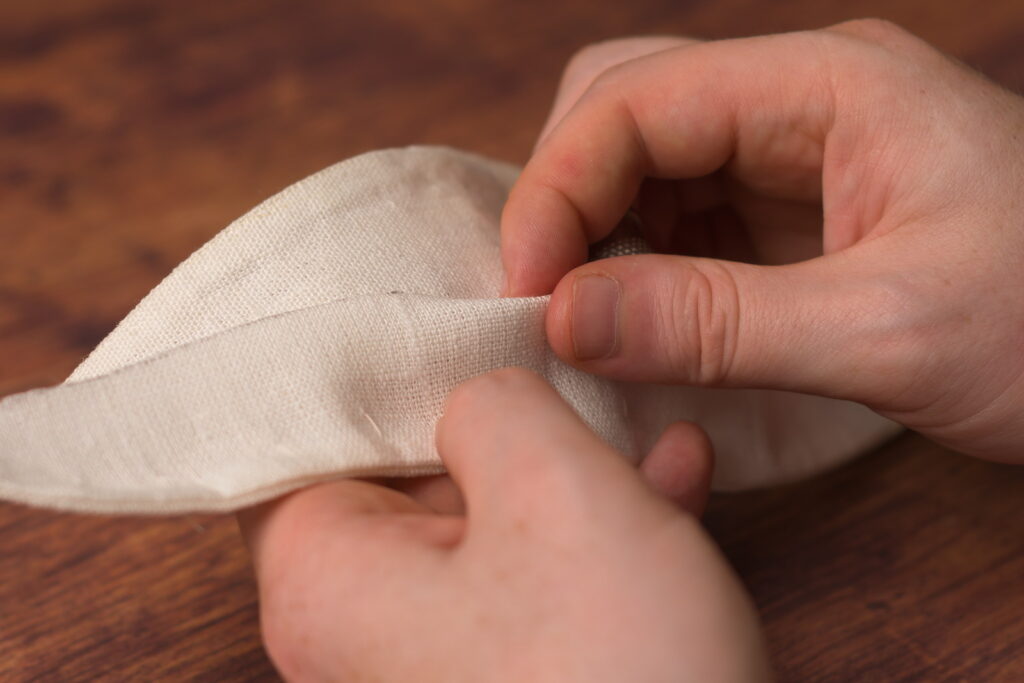
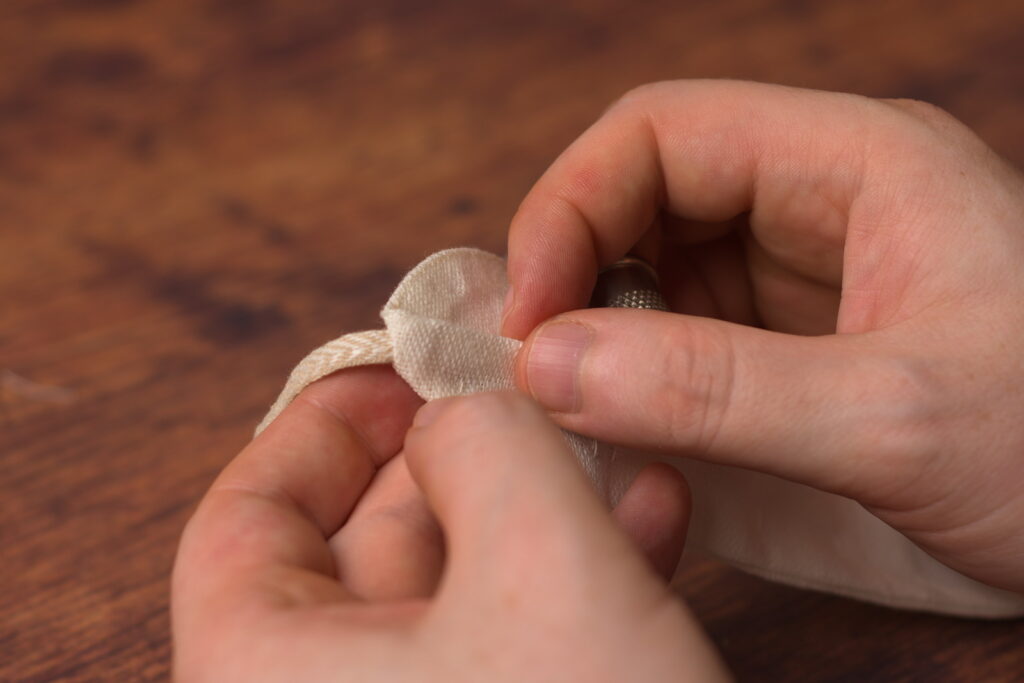
Baste the folded edge closed.
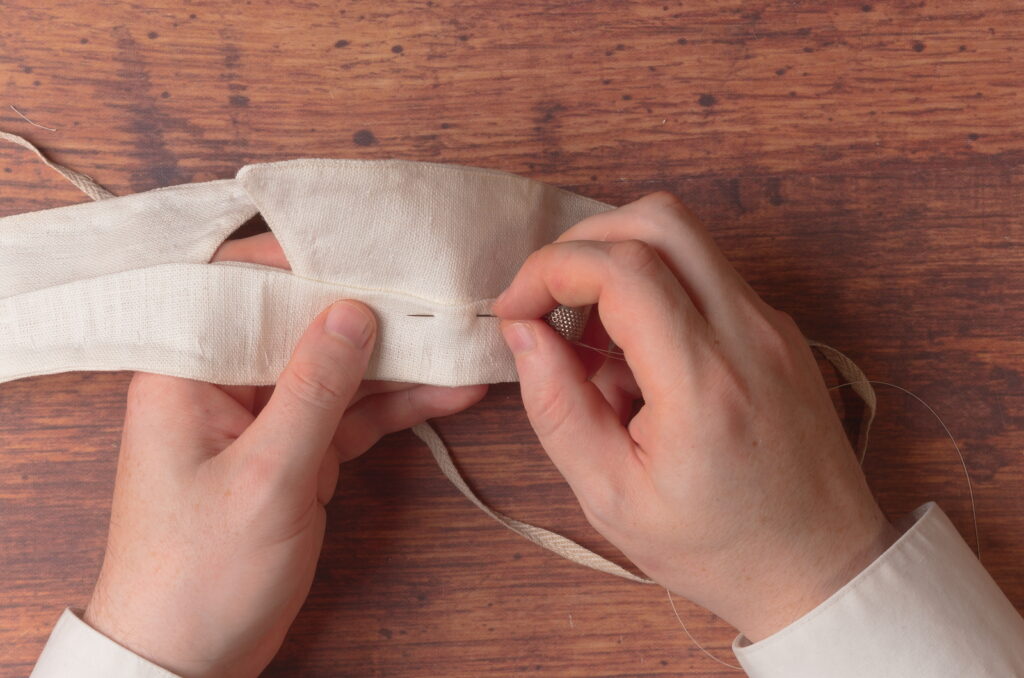
When you get to the center of the collar, make sure the fold is set back 1/16″ or so, in a similar manner to the rest of the collar.
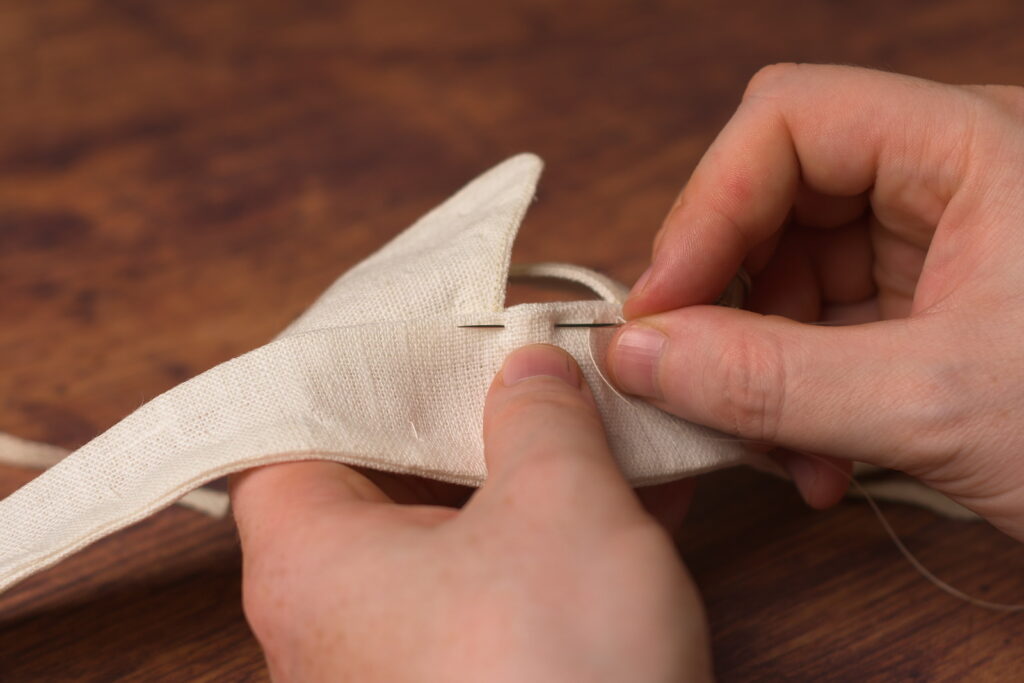
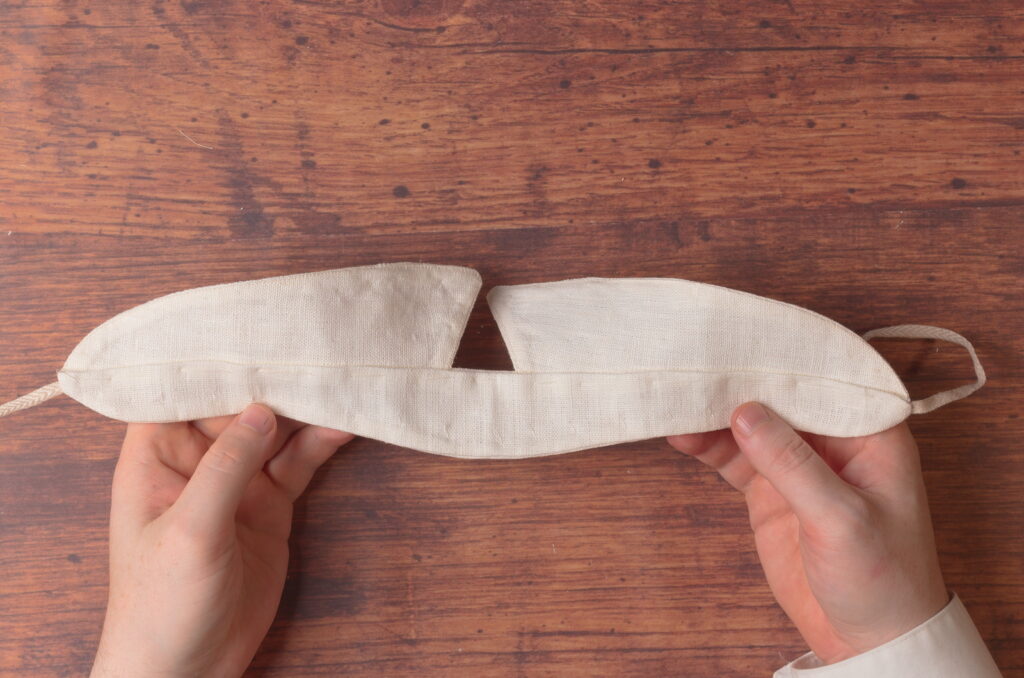
I like to give everything a good press here with some steam. Be careful that the iron doesn’t get caught up on the collar points like mind did in the video, very annoying!
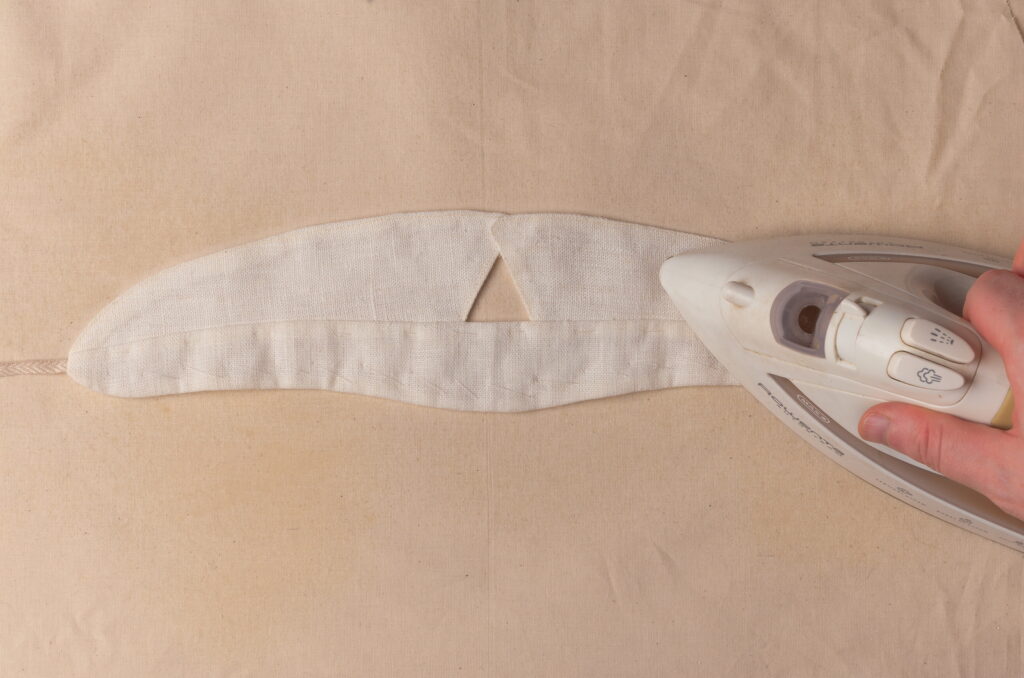
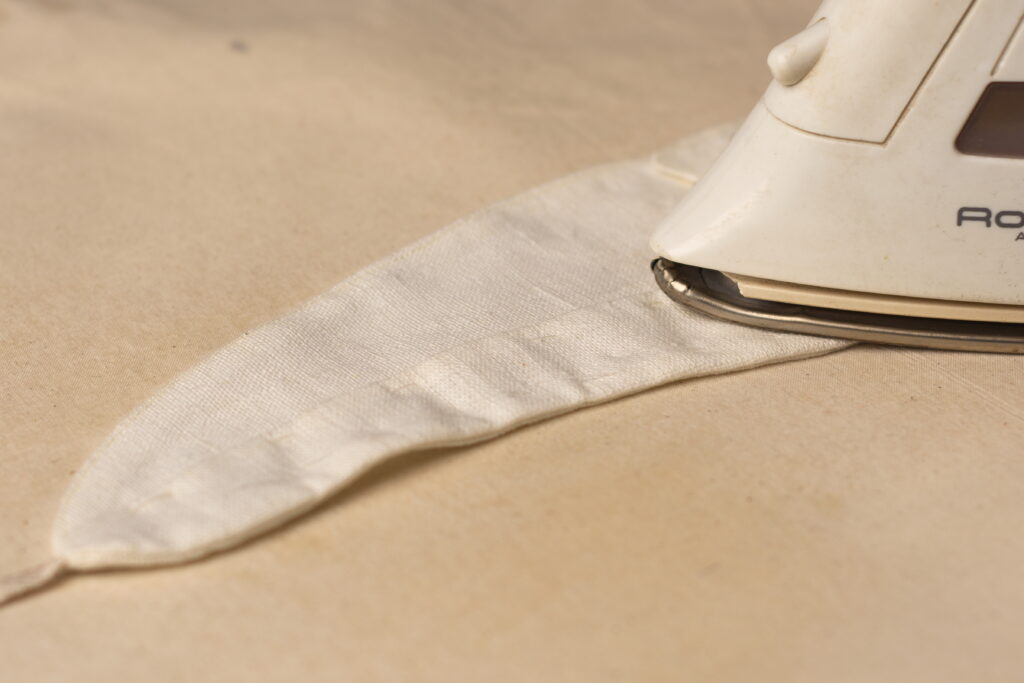
Finally, fell the seam closed from end to end using a small 1/8″ stitch. Be careful not to let the stitches show through on the right side.
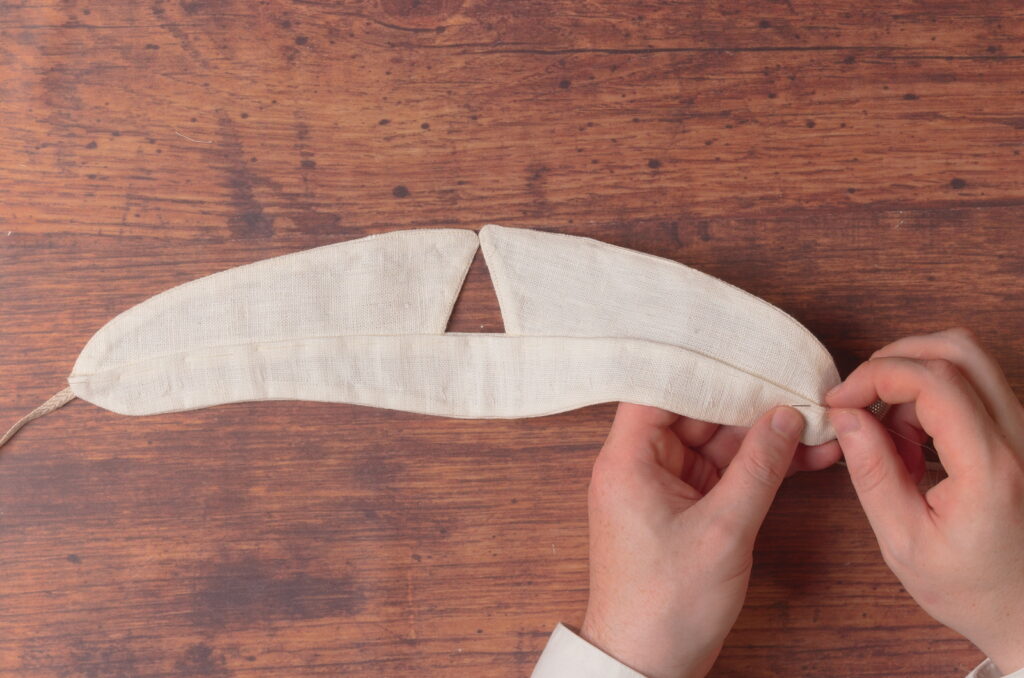
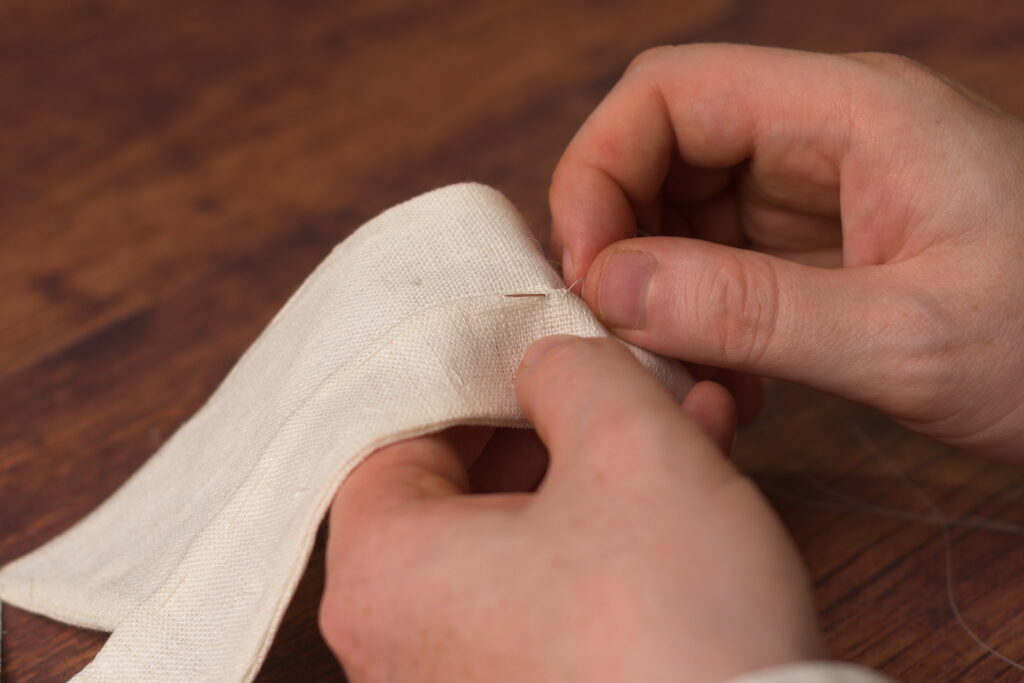
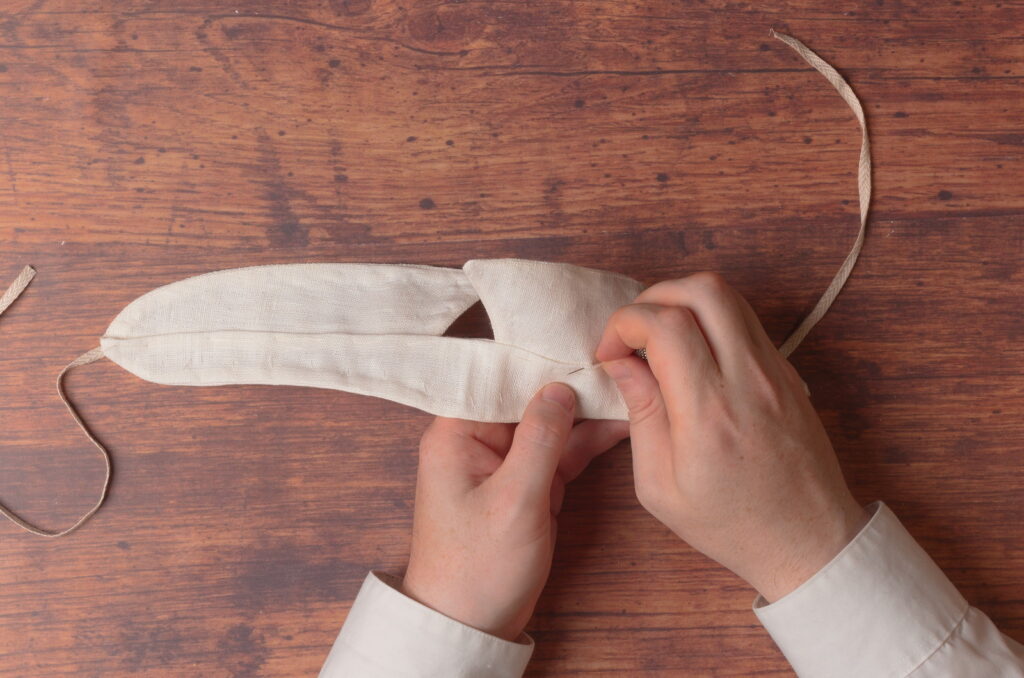
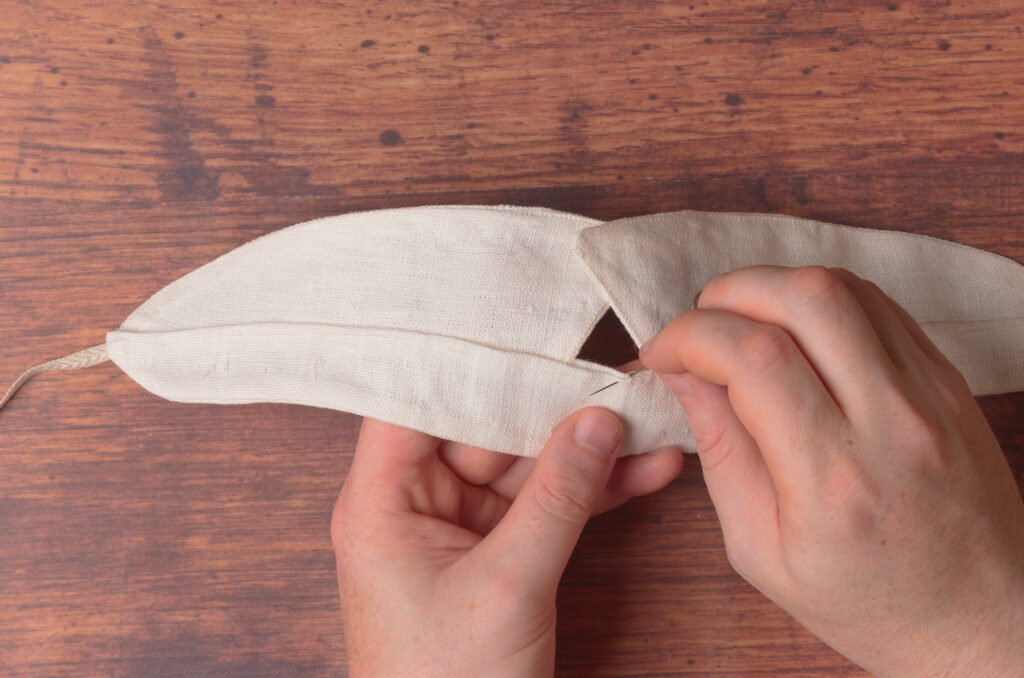
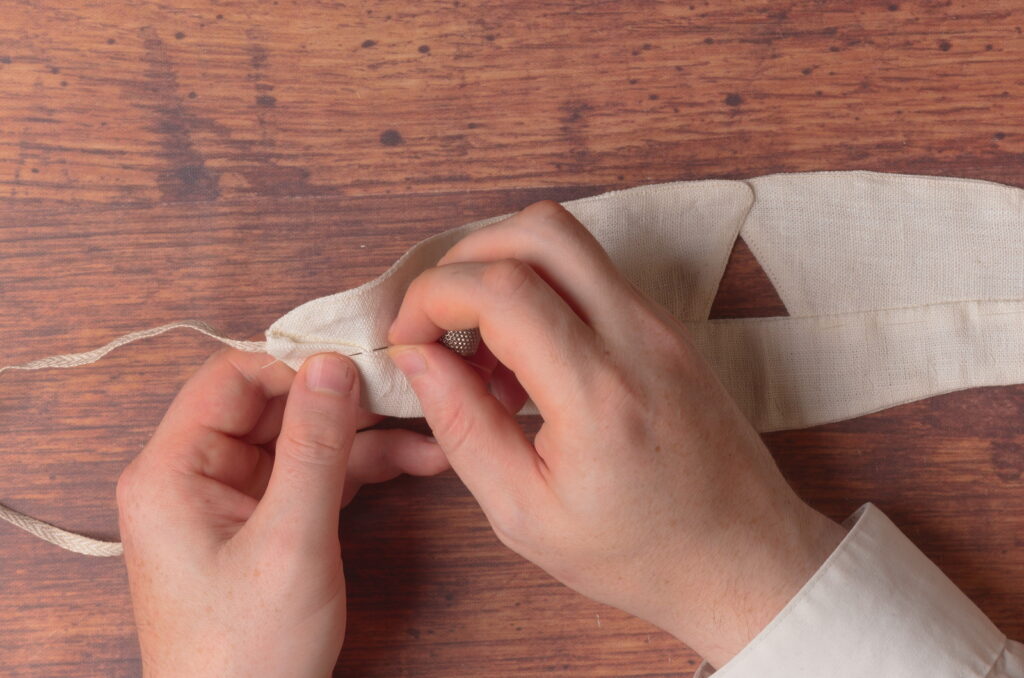
To complete the collar, top stitch the outside edge of the collar band from end to end, about 1/8″ from the edge (or whatever you did for the upper half of the collar). Take care around both ends and use a fresh, sharp needle, as the layers are pretty thick here.
Collar Construction Part I
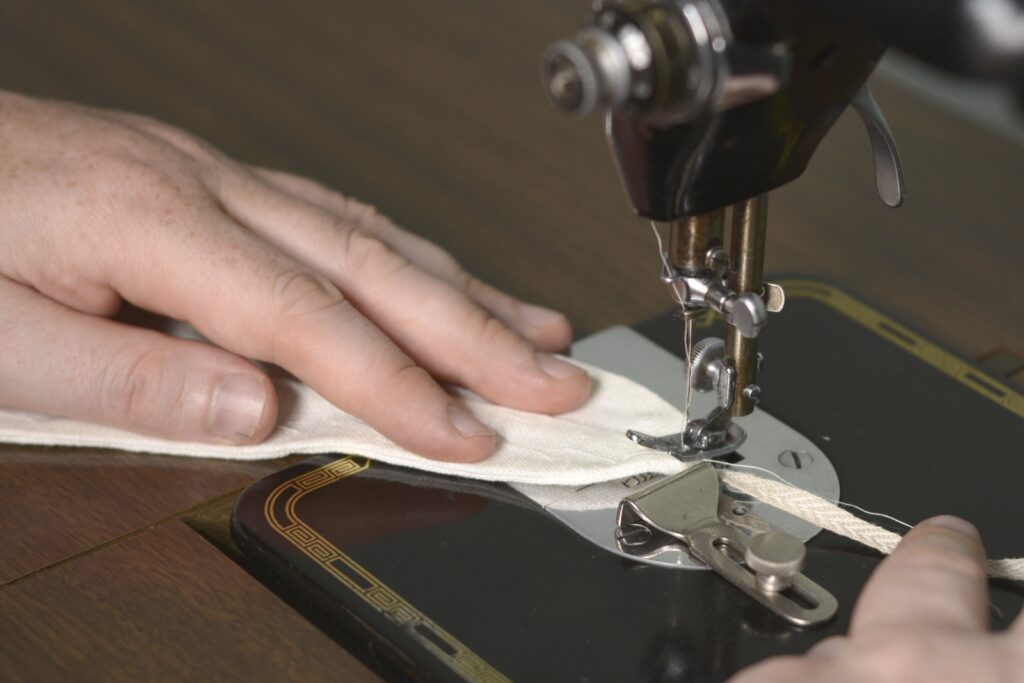
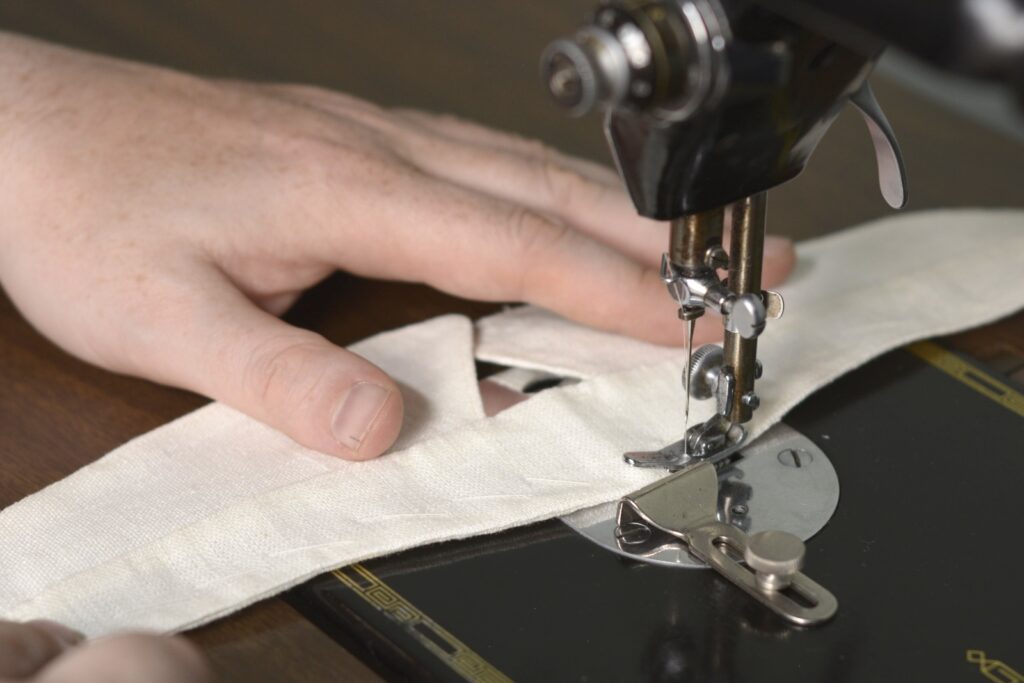
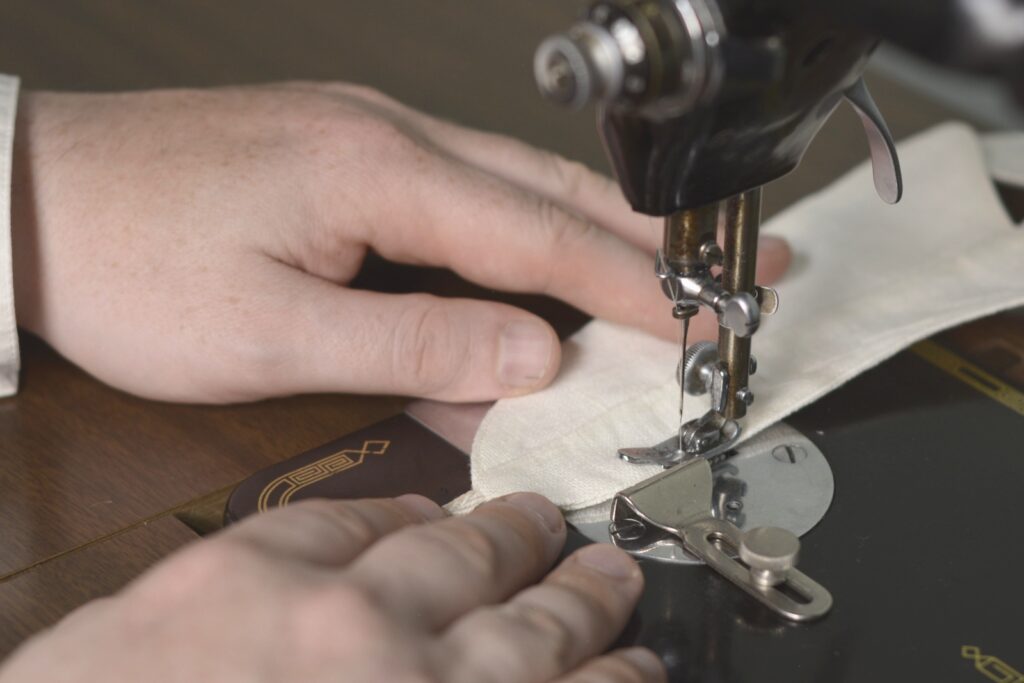
Construction of the detachable collar begins with the upper part which forms the collar points. Take each pair and place them right sides together, carefully aligning the edges. I don’t baste these, but rather just sew them as is, as the pieces seem to be small enough that the friction of the fabric holds them together.
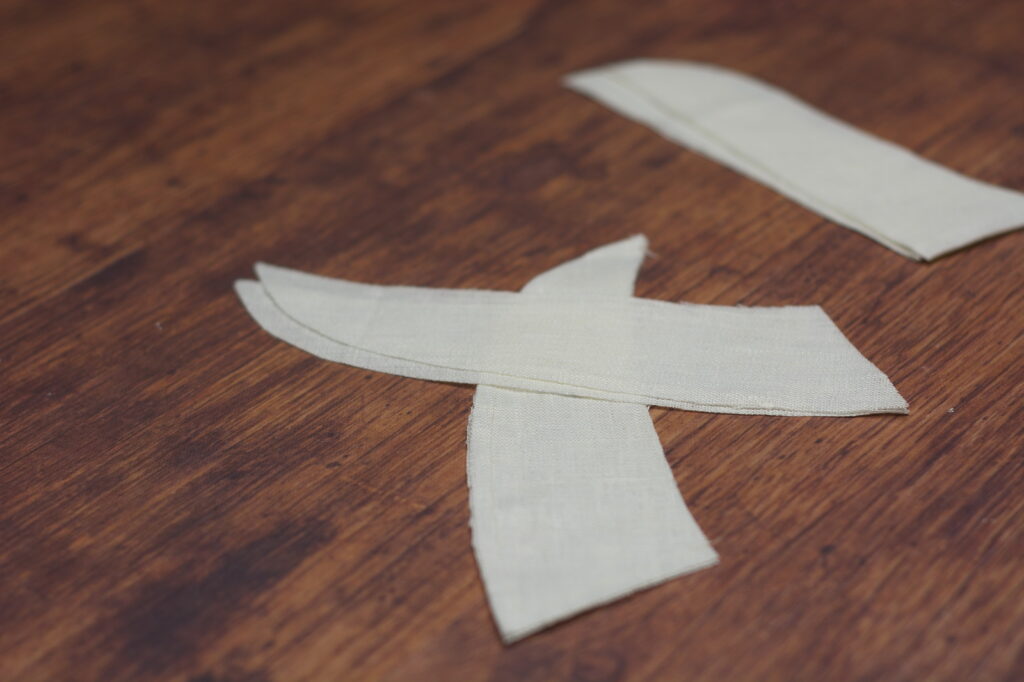
Beginning at the front edge where it meets the bottom, sew the two halves together using a 1/4″ seam allowance.
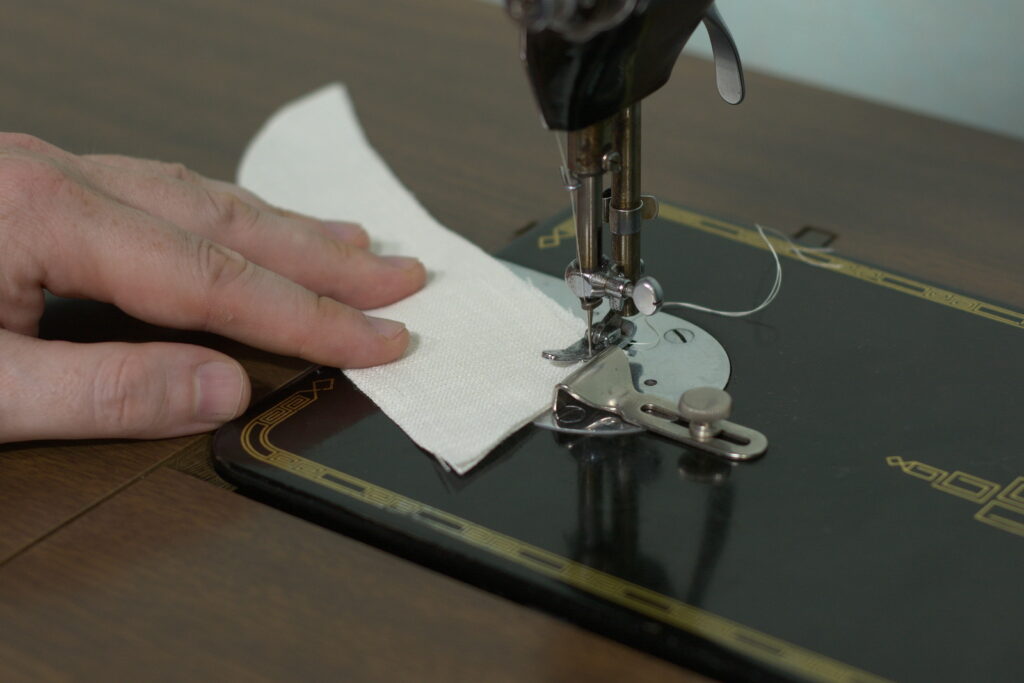
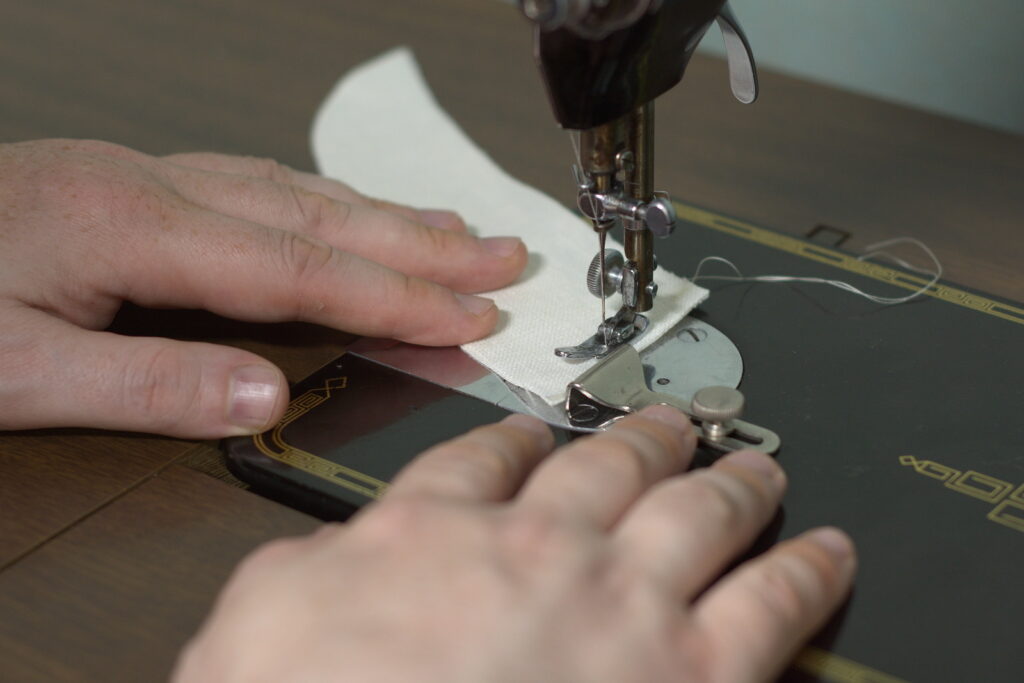
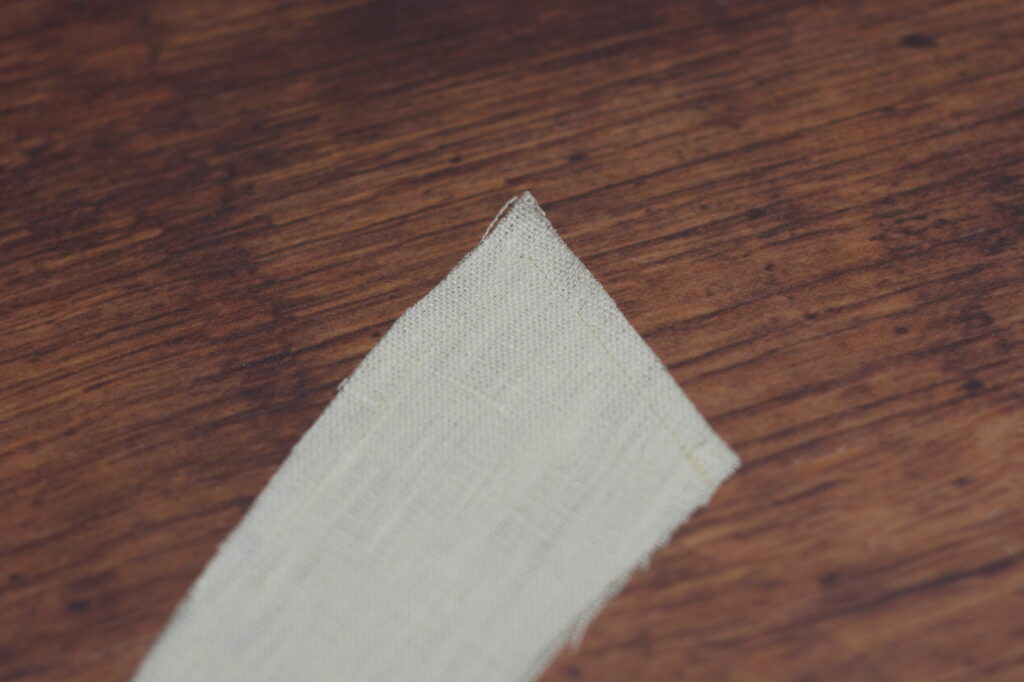
When you get to the collar point, instead of making a sharp turn with your stitching, take a single stitch across the point at a diagonal. This gives a bit of room for the fabric when you turn the collar.
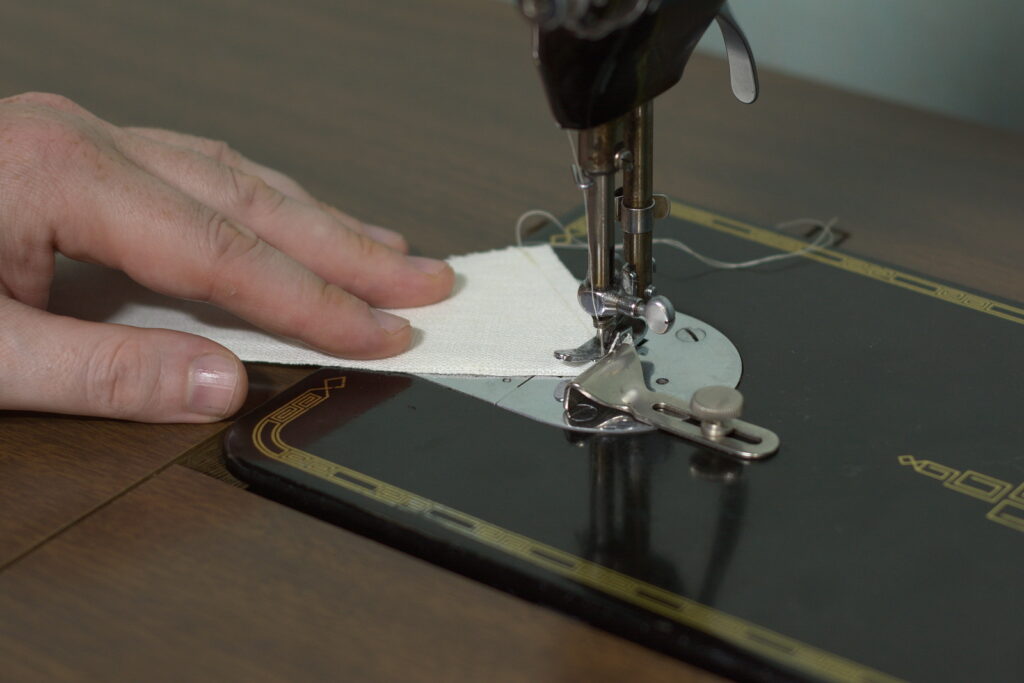
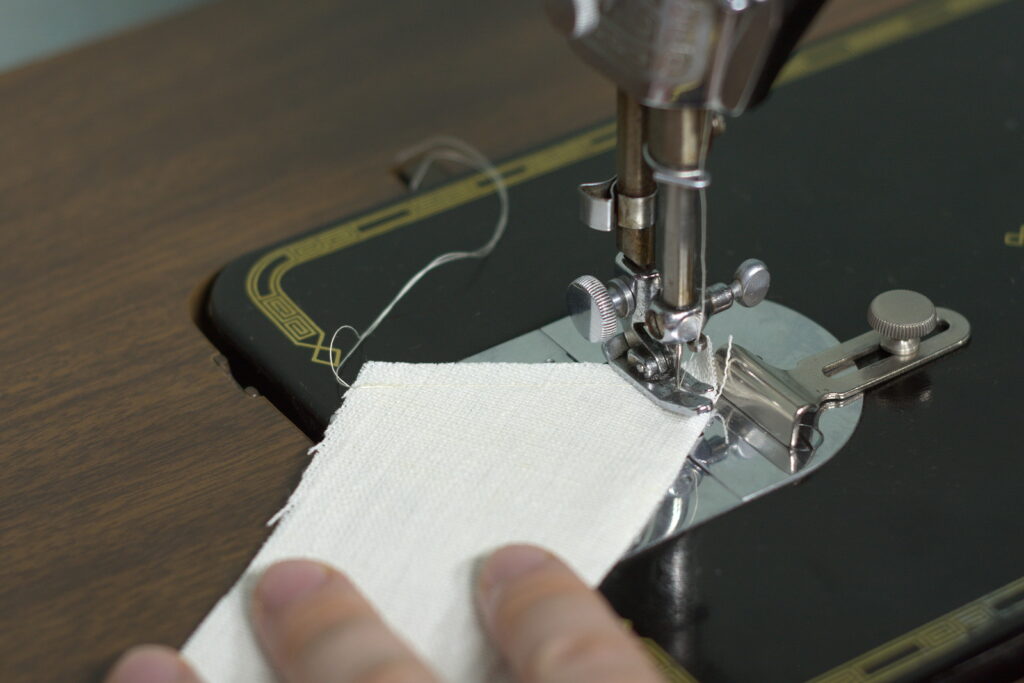
And continue sewing along the top edge of the collar until you meet the bottom edge.
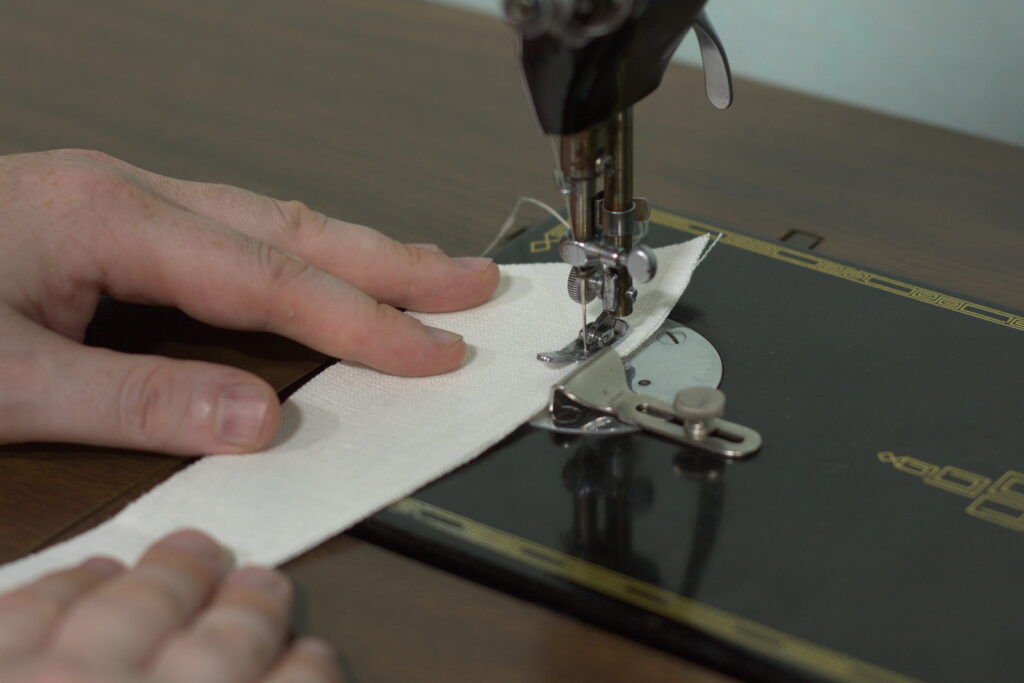
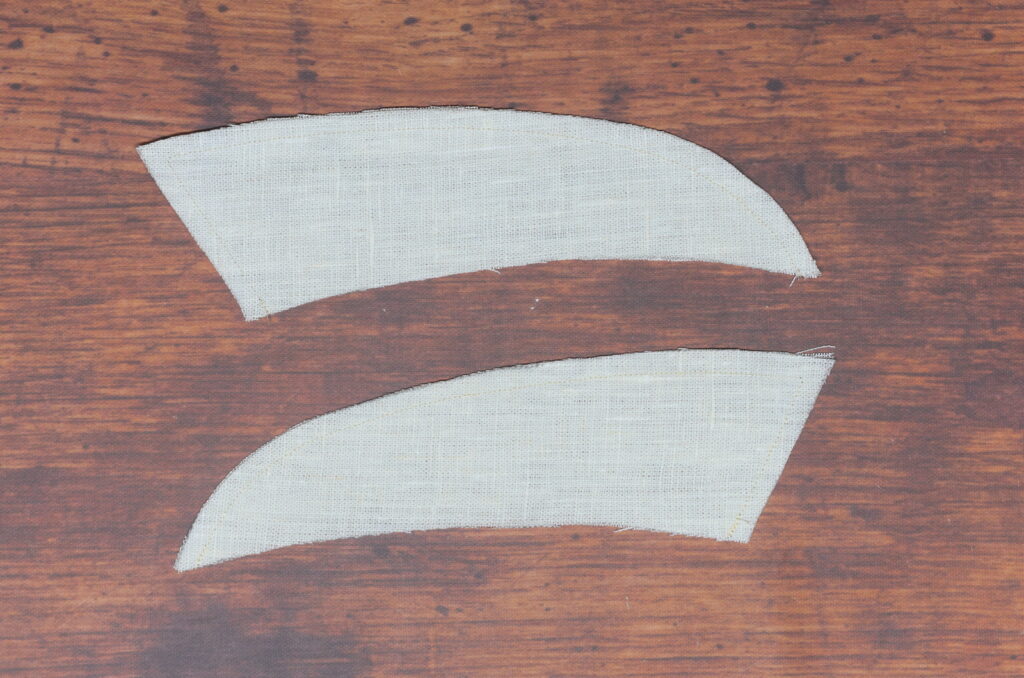
Here are the results so far after repeating for the other half.
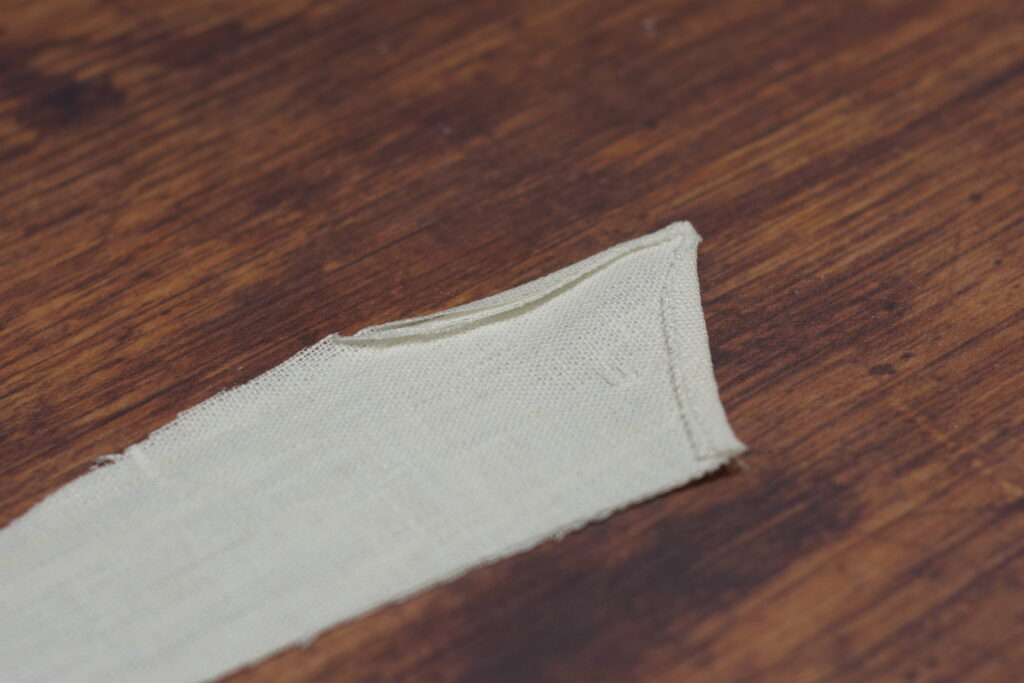
Here’s a closer shot of the collar point showing that diagonal stitch. It does take a bit of practice to get the exact positioning of the point correct as you stitch, so that the seam allowances line up properly.
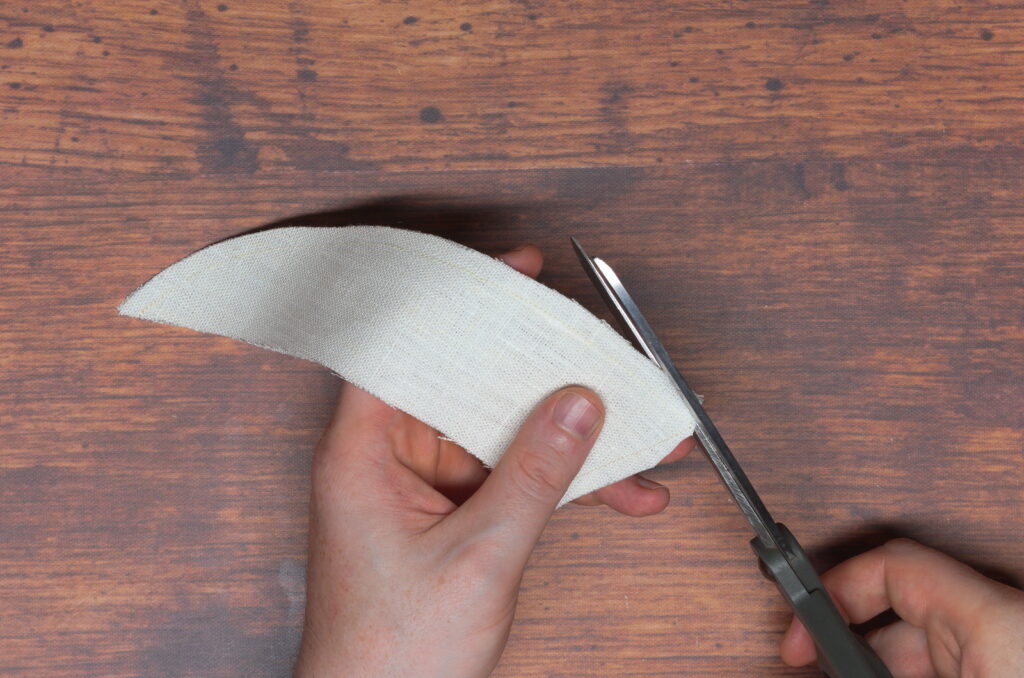
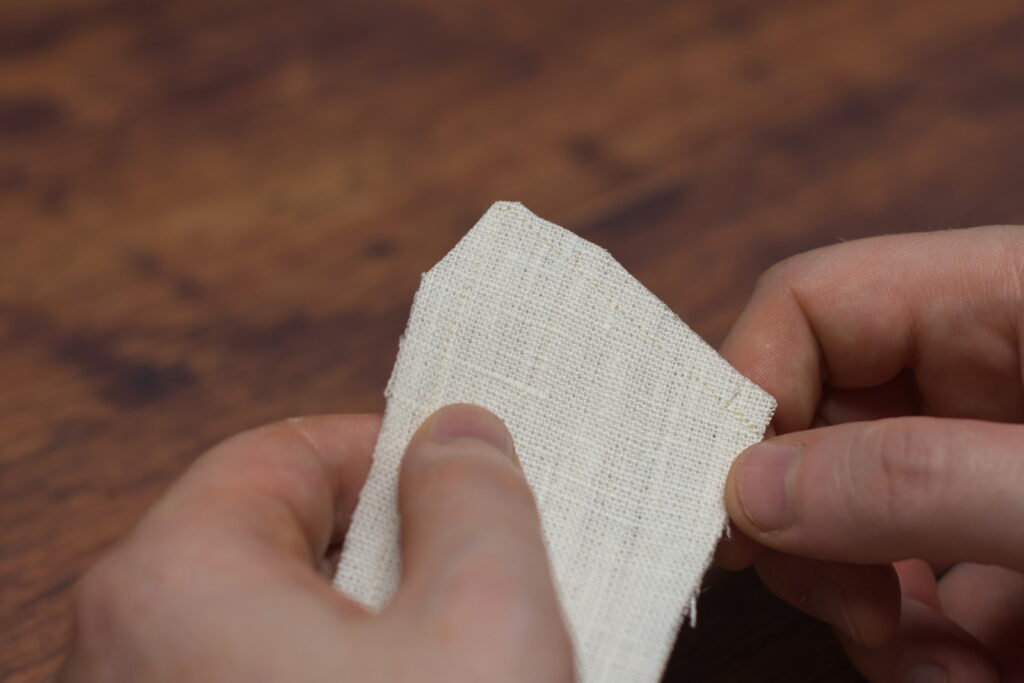
Now carefully trim the corner at the point, keeping about 1/8″ from the stitching to keep the seam from coming undone.
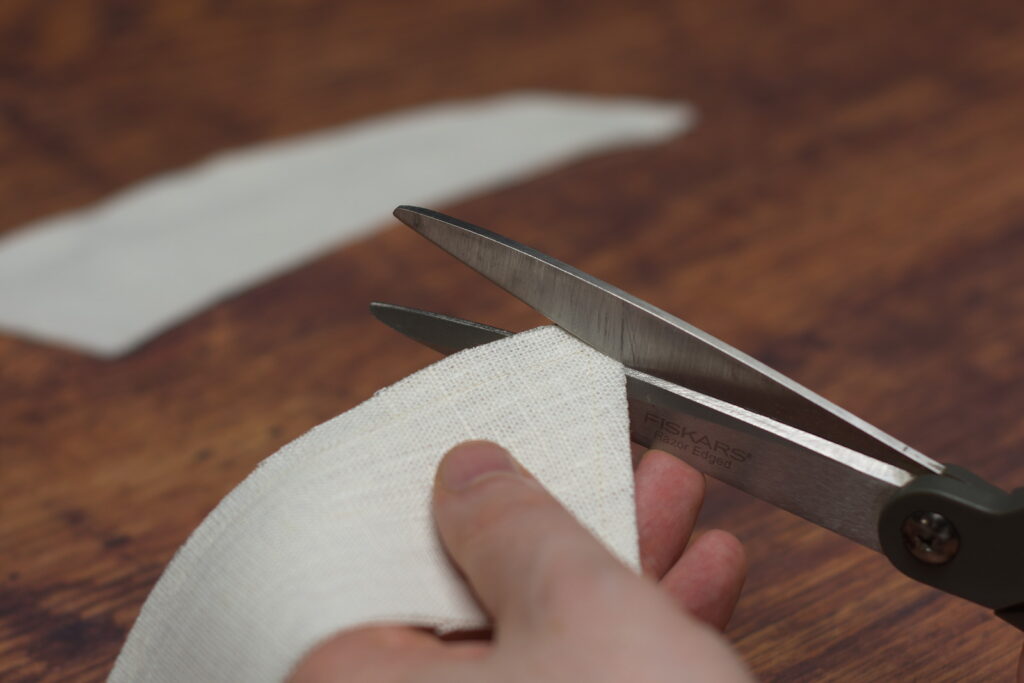
Then further trim the seam allowances at the point, tapering the original miter into the seam allowances.
Turning the Collar Points
Now press the collar flat, especially near the front edge, with a bit of steam just to soften the fibers and make them more pliable.
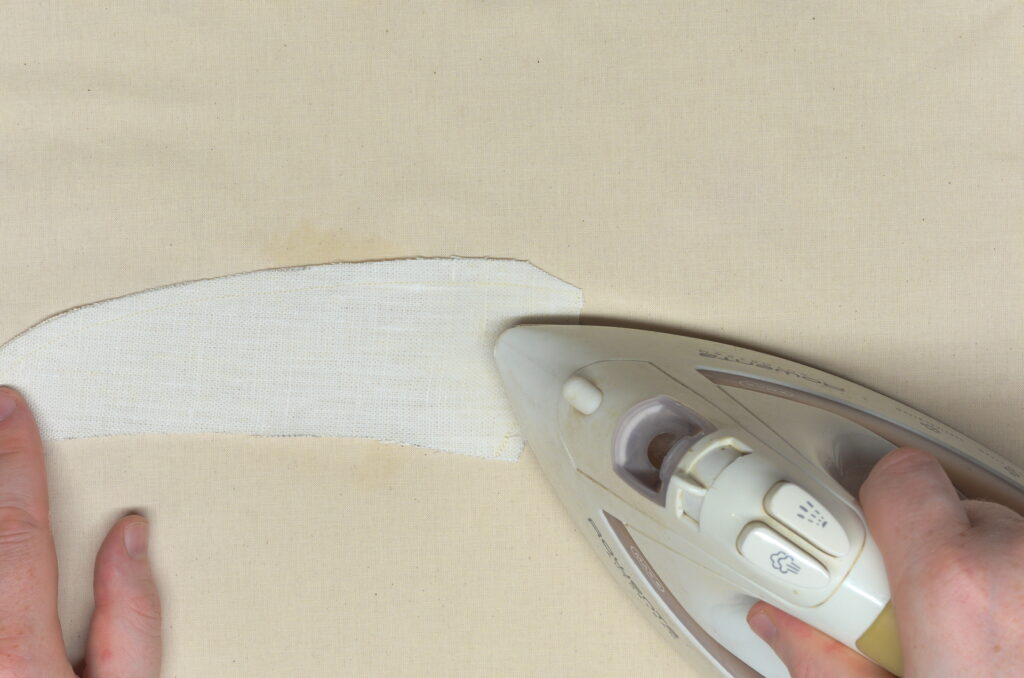
While the fabric is still warm, carefully turn over the seam allowances to one side, directly on the seam line, and press with your fingers. I’m only turning under the front edge and an inch or two of the top edge, not the entire seam.
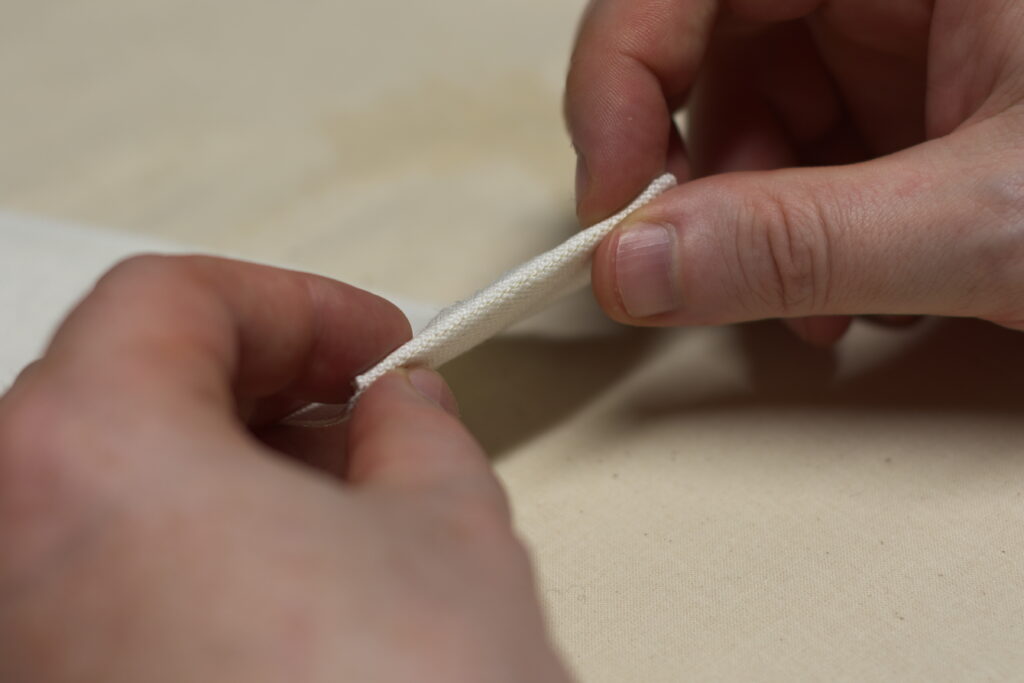
Press the seams with the iron and a little more steam until it is completely dry. This process helps with the turning of the collar by keeping the seam allowances in some sort of order, giving a crisper finish to the collar.
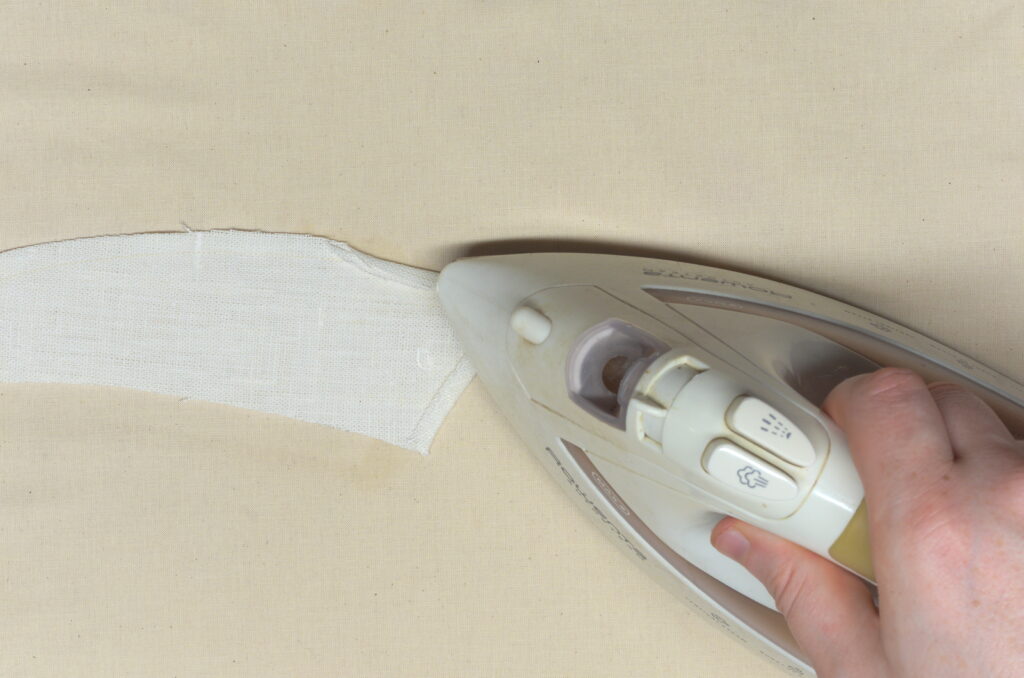
Here’s the collar point so far. I did go back and adjust the point again after this photo, as it wasn’t quite right.
Repeat for the other half.
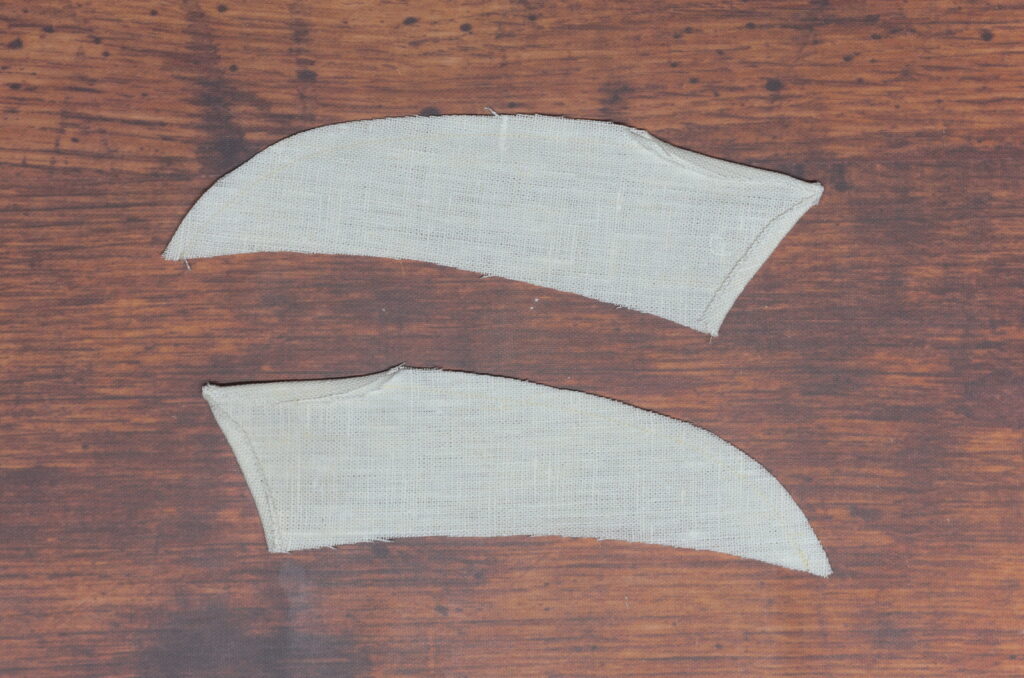
Now turn both halves of the collar point, using a point pressing tool as necessary to get into the narrow pointed areas.
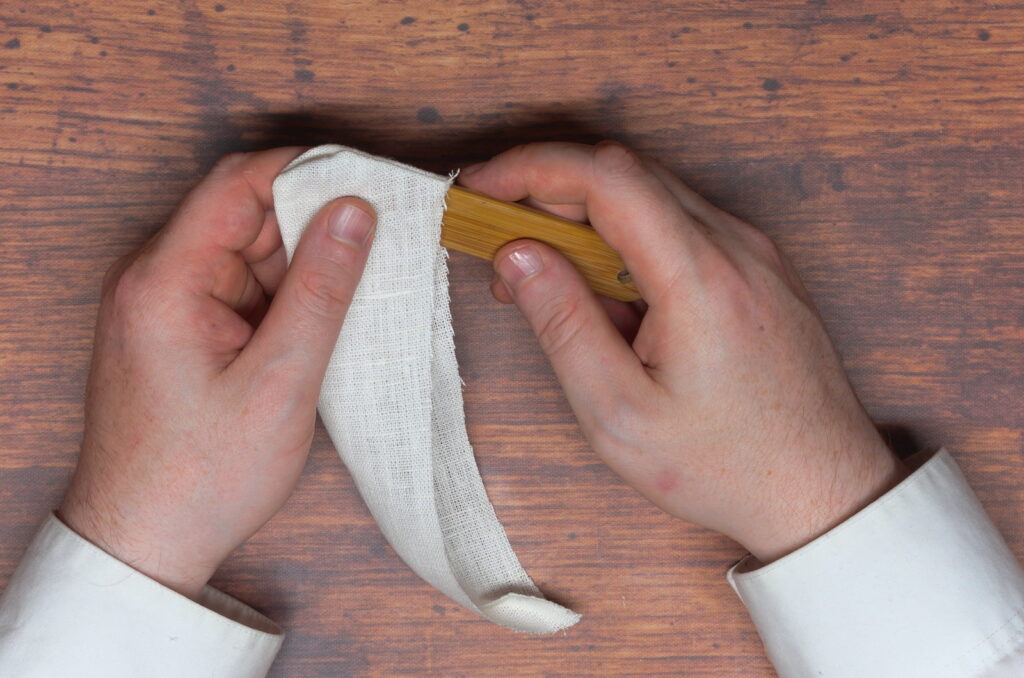
This is really where you develop the point on the collar. If it doesn’t look good here, then it won’t look good after the collar is completed, so take your time here! Also make sure the two points are as identical as possible to each other.
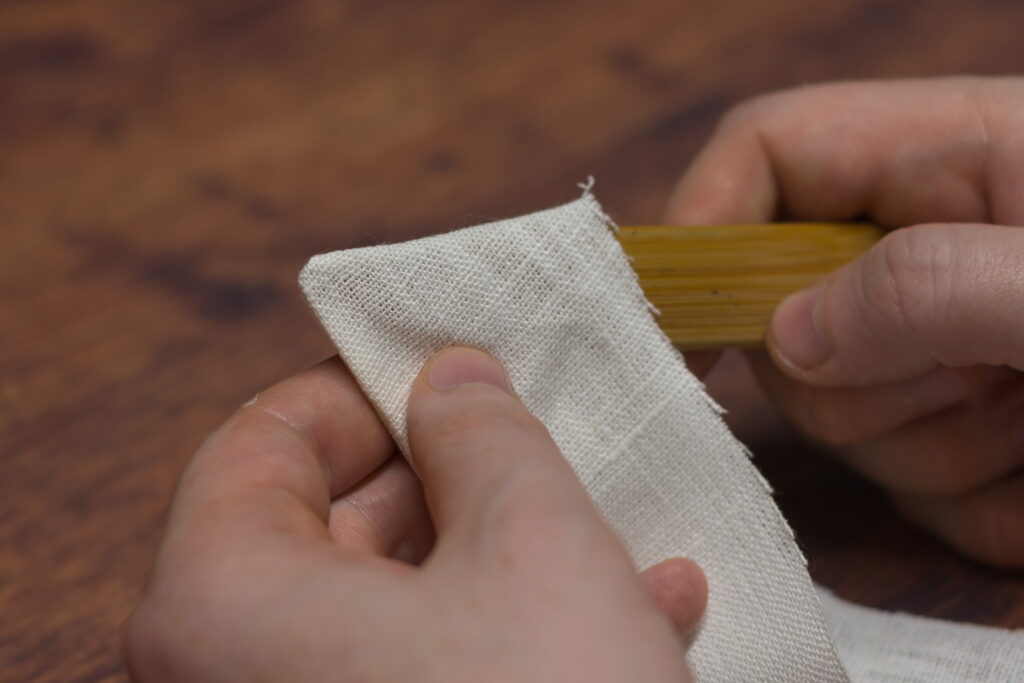
As you’re turning the seams and getting closer to the final position, keep one side of the seam back from the other, kind of rolling it away from the edge with your fingers. The setback should be about 1/16″, maybe 1/8″, depending on the thickness of your particular fabric.
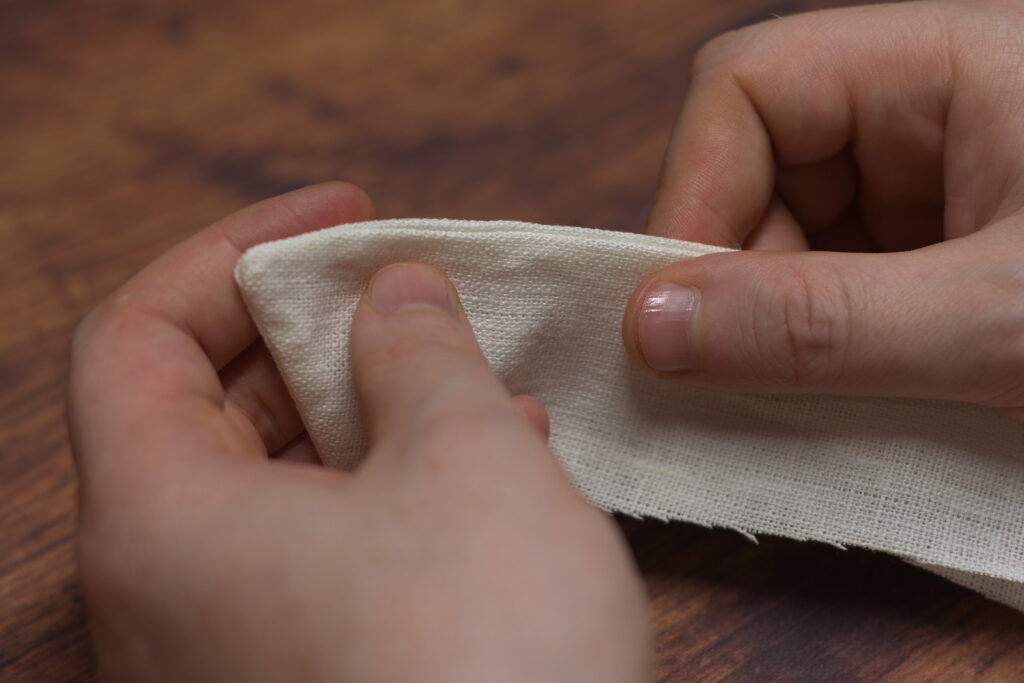
Baste along the seam about 1/4″ from the edge, and finalizing the position of the setback as you go.
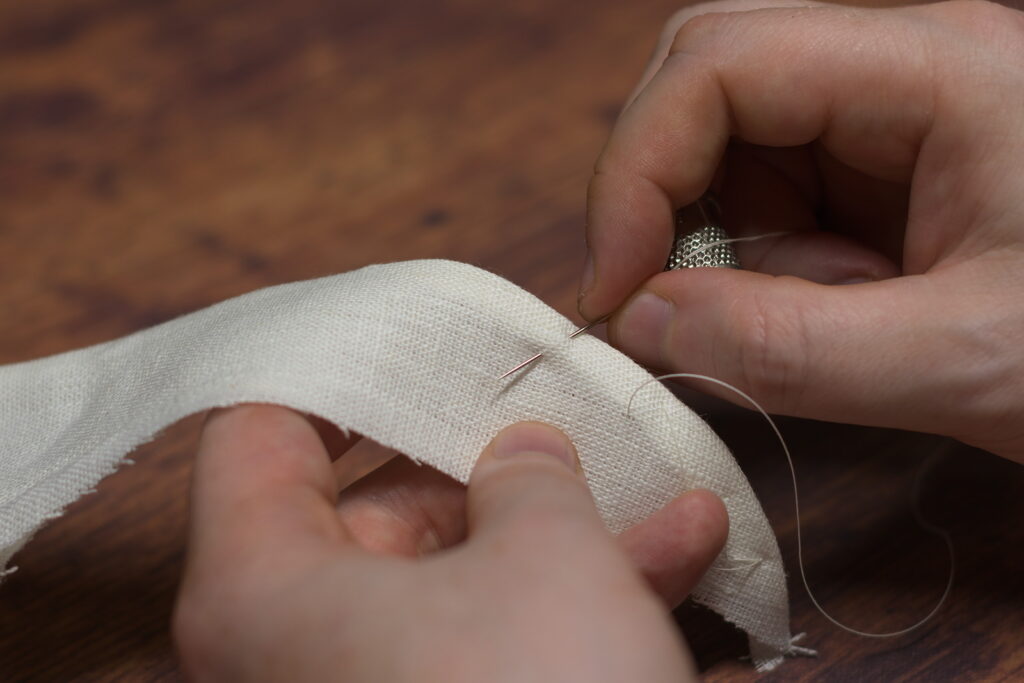
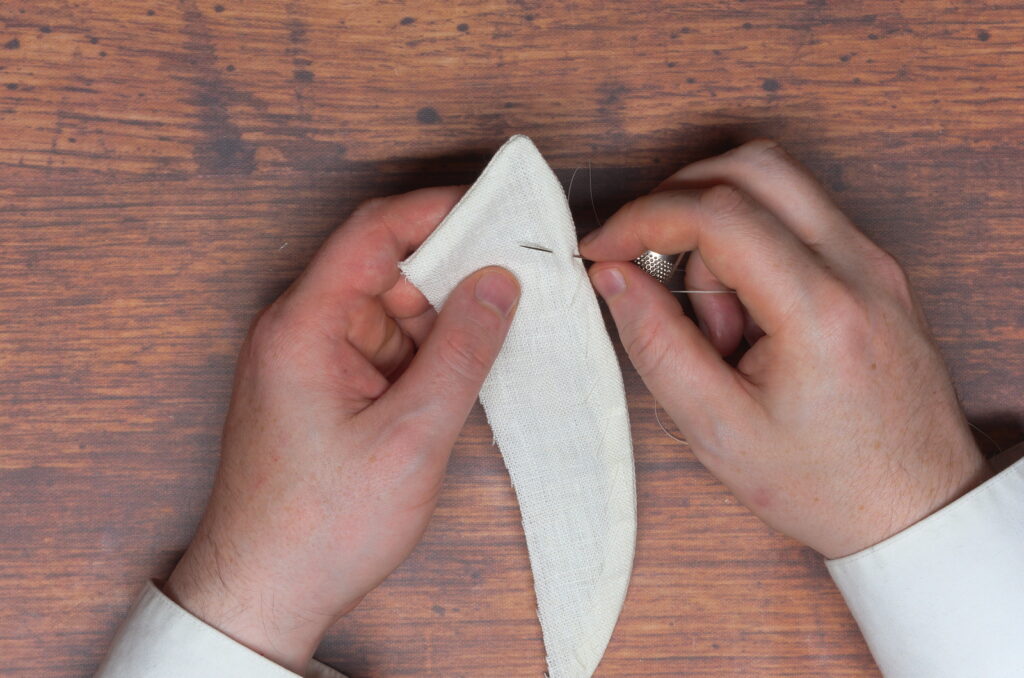
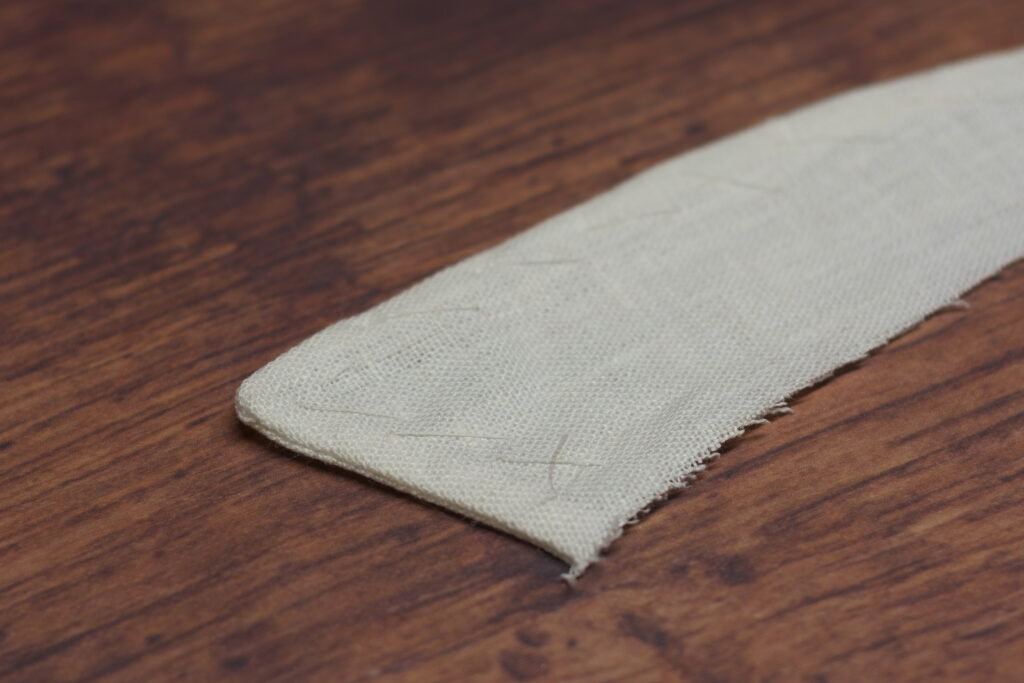
Repeat for the other half, being sure to make it a mirror image with regards to the setback.
Top Stitching
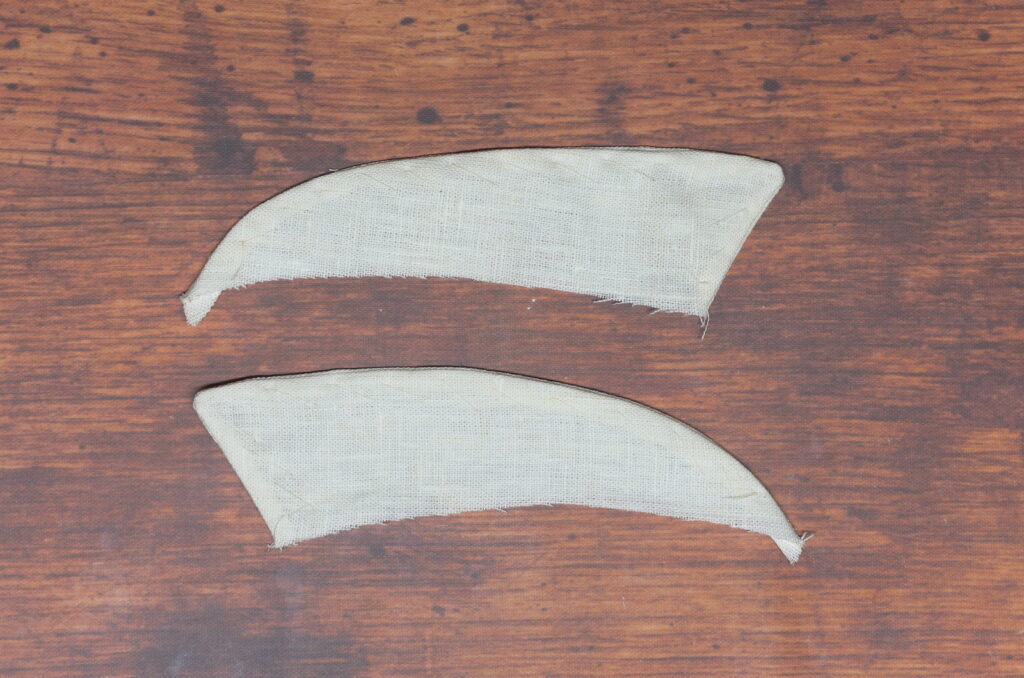
Due to setting back the seam at the upper edges of the collar, there will be a slight discrepancy with the raw edges at the bottom raw edge. Trim any excess fabric flush, which will make it easier to sew to the collar band.
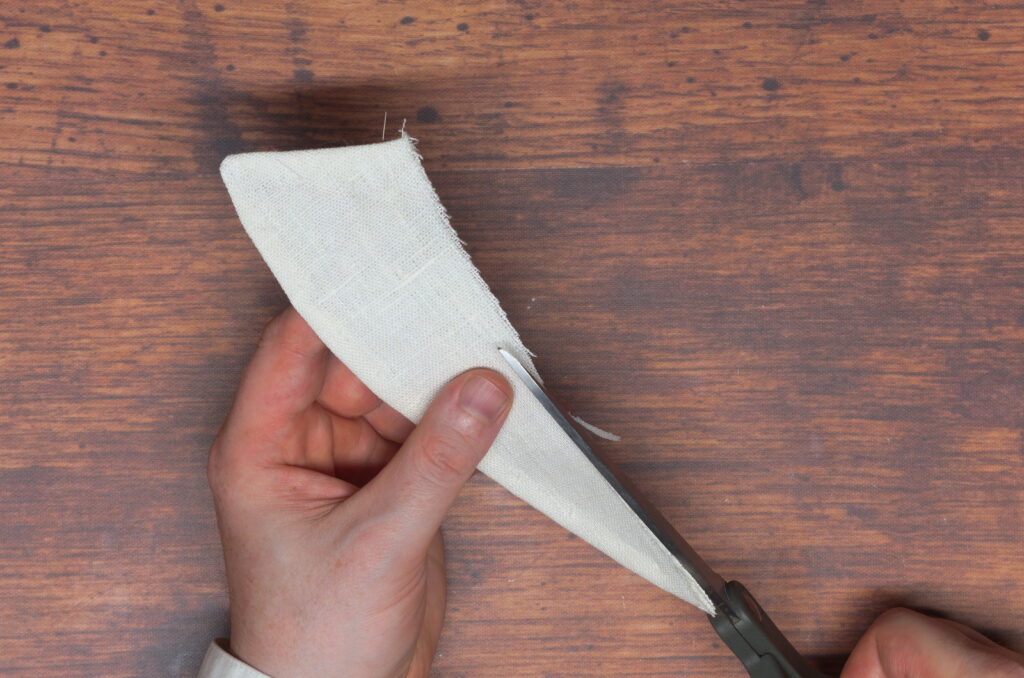
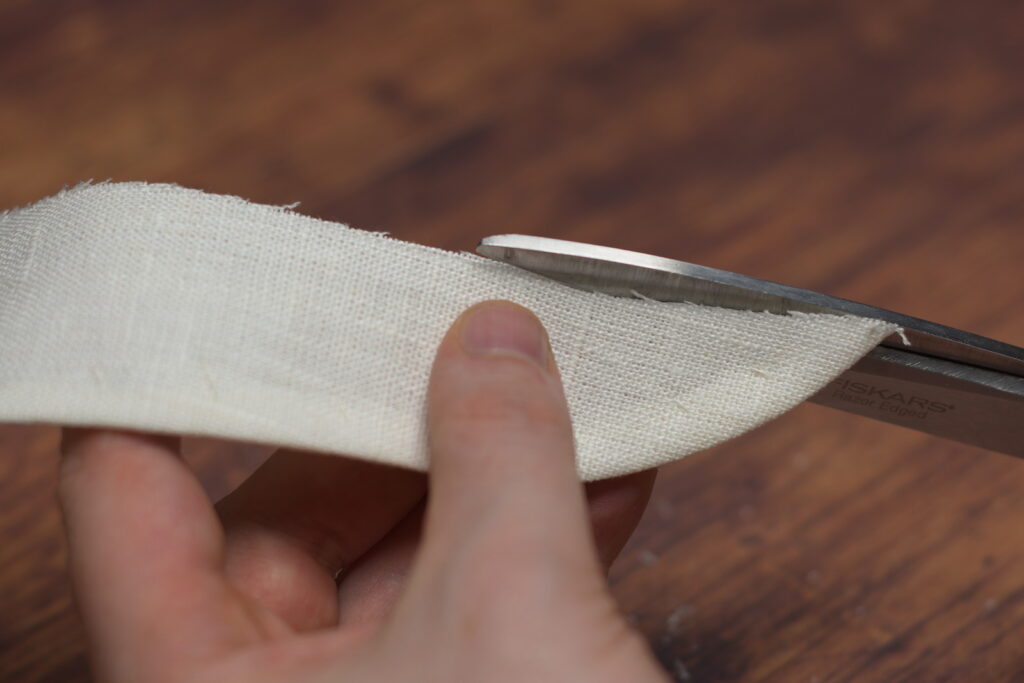
At the back edge, the pointed section needs to be trimmed to make it fit into the collar band. Measuring from the bottom edge, mark a point along the folded seam exactly 1/4″ from the bottom.
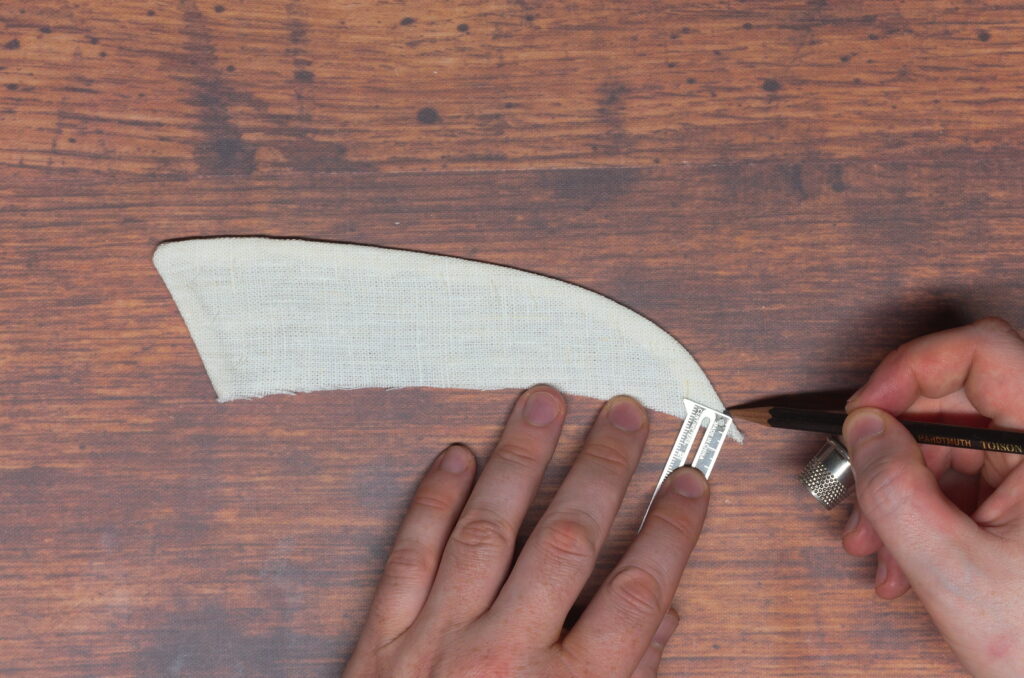
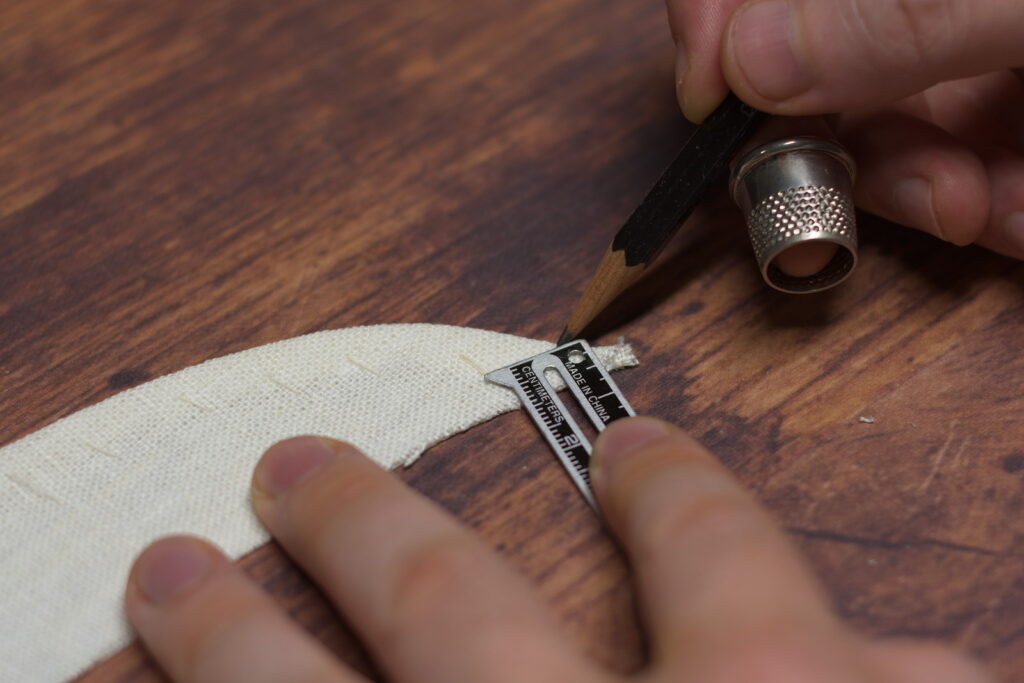
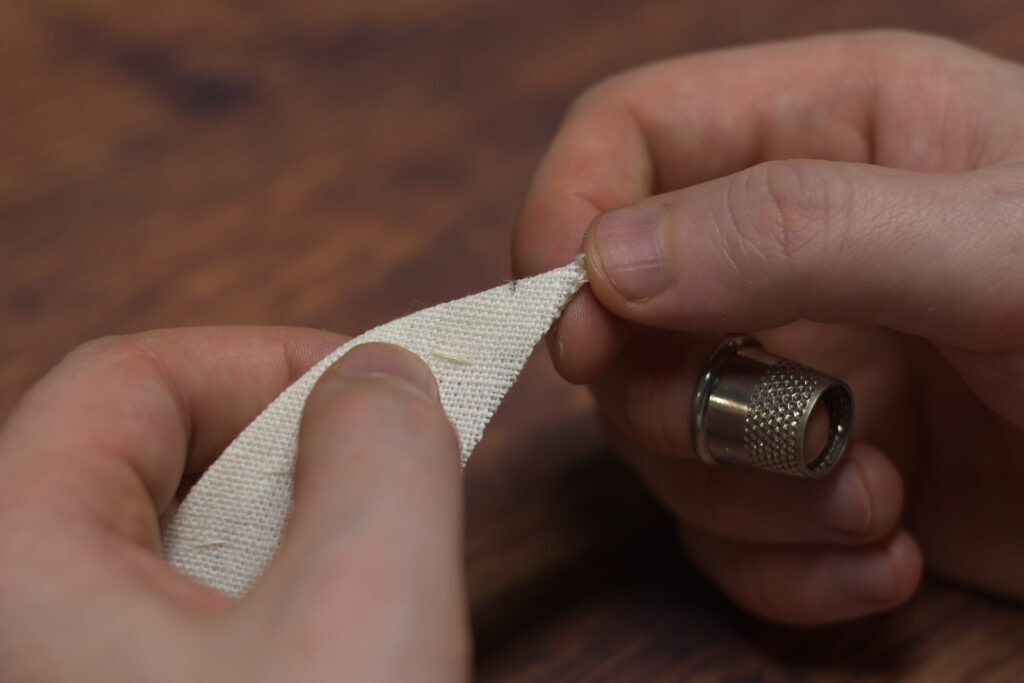
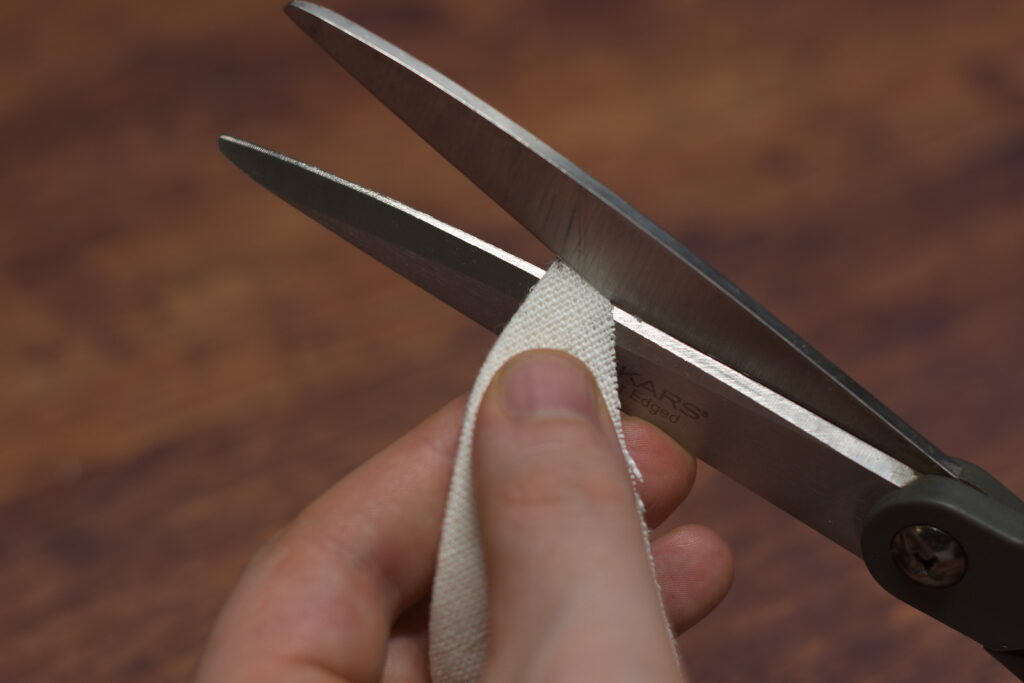
Carefully trim the across the point of the collar, just to the lower edge of the mark you made. The exact angle doesn’t matter too much, but I find keeping it at a right angle to the outer seam gives good results.
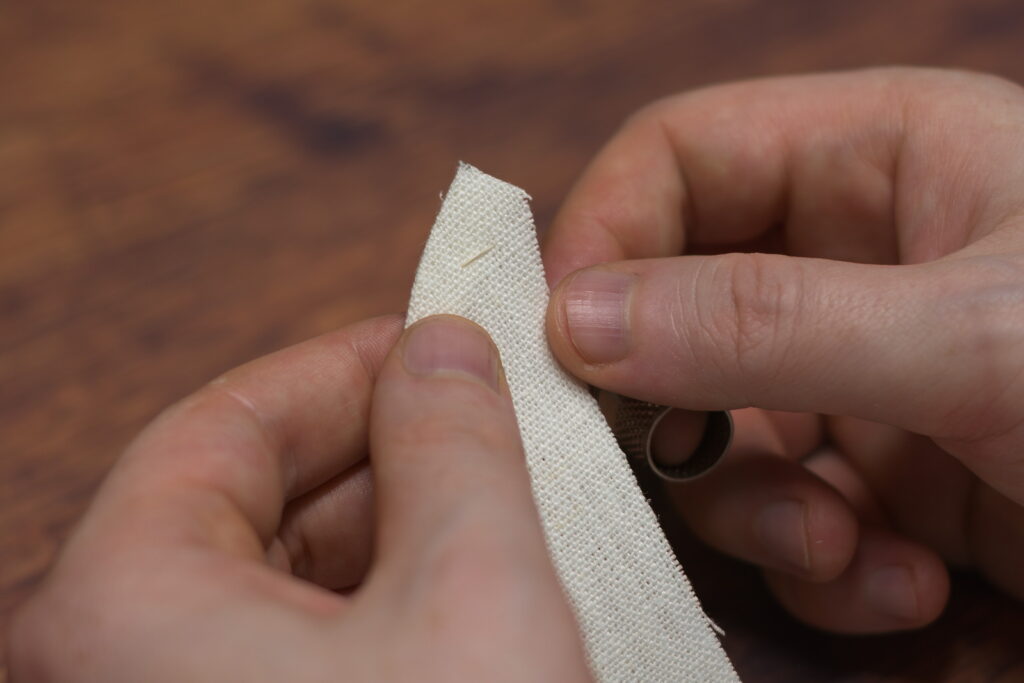
Finally, top stitch around the upper and front edges of the collar, keeping 1/8″ from the edge.
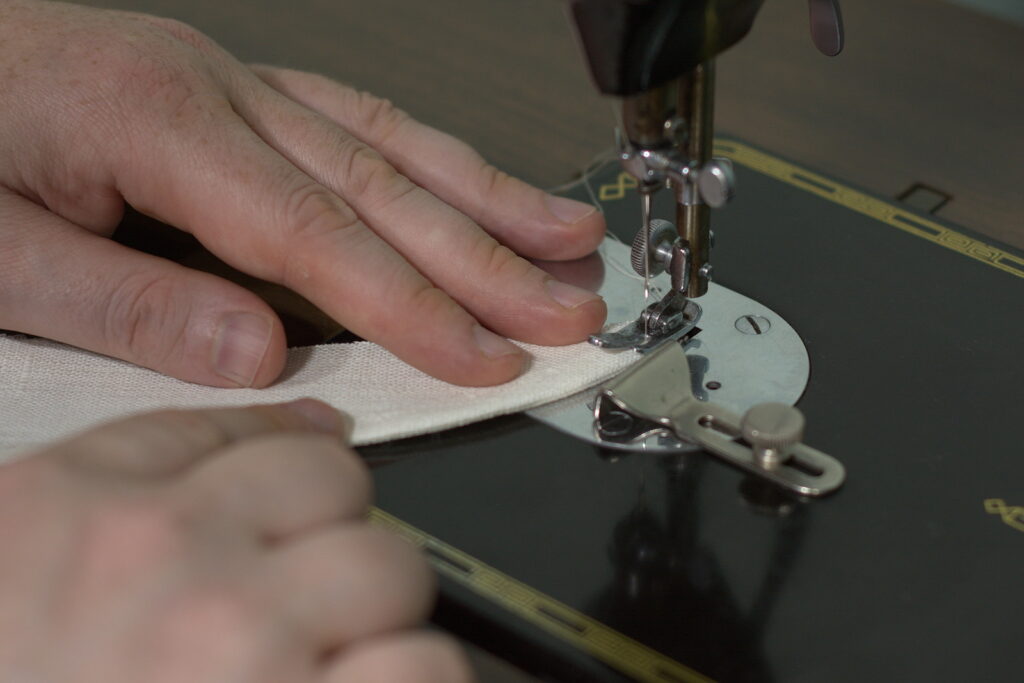
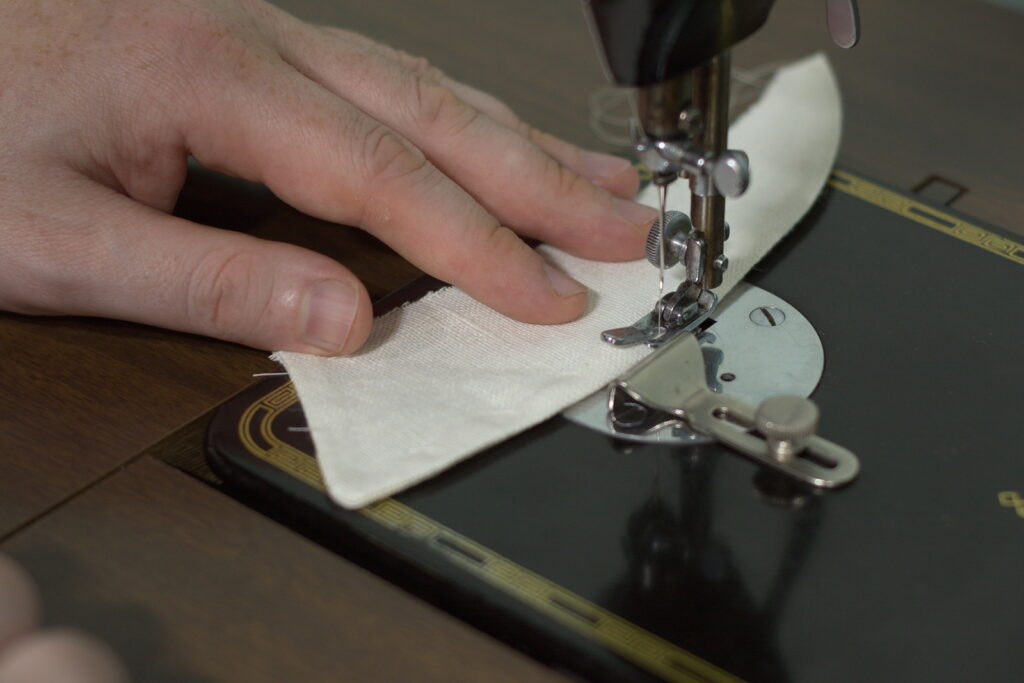
Try to be as consistent as you can, especially around the front point, though this does take some practice and experience.
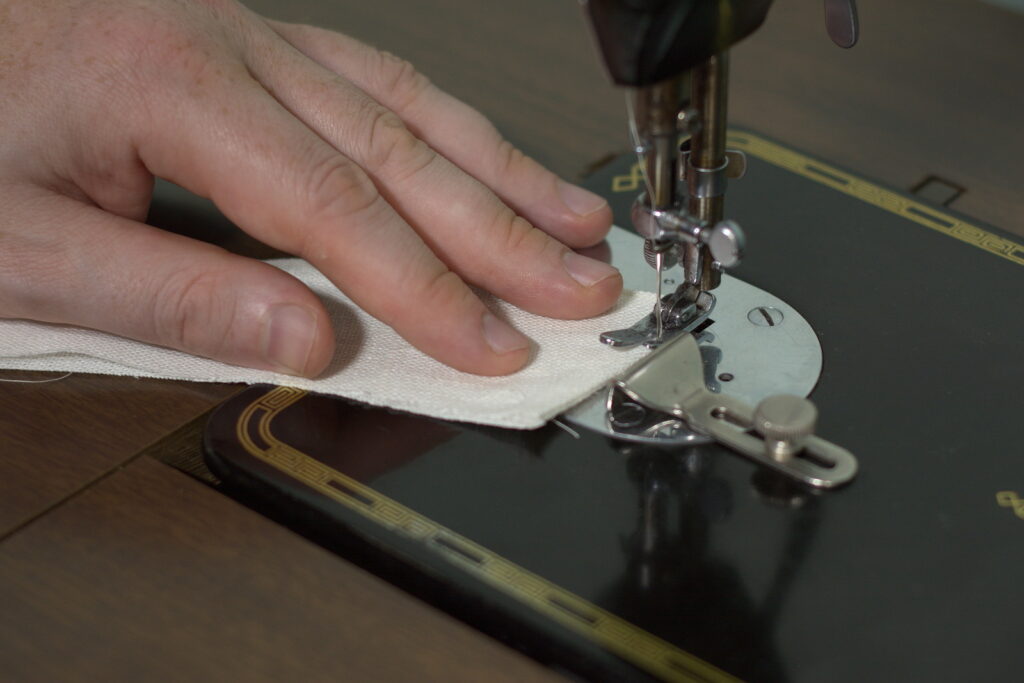
Here are the two collar points after topstitching and completion.
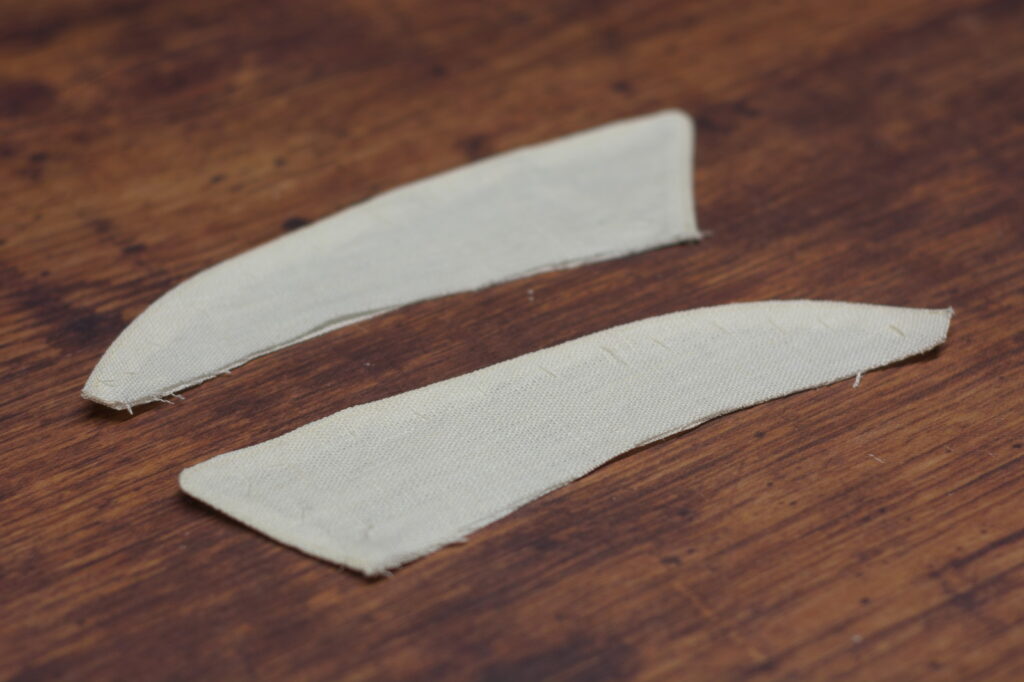
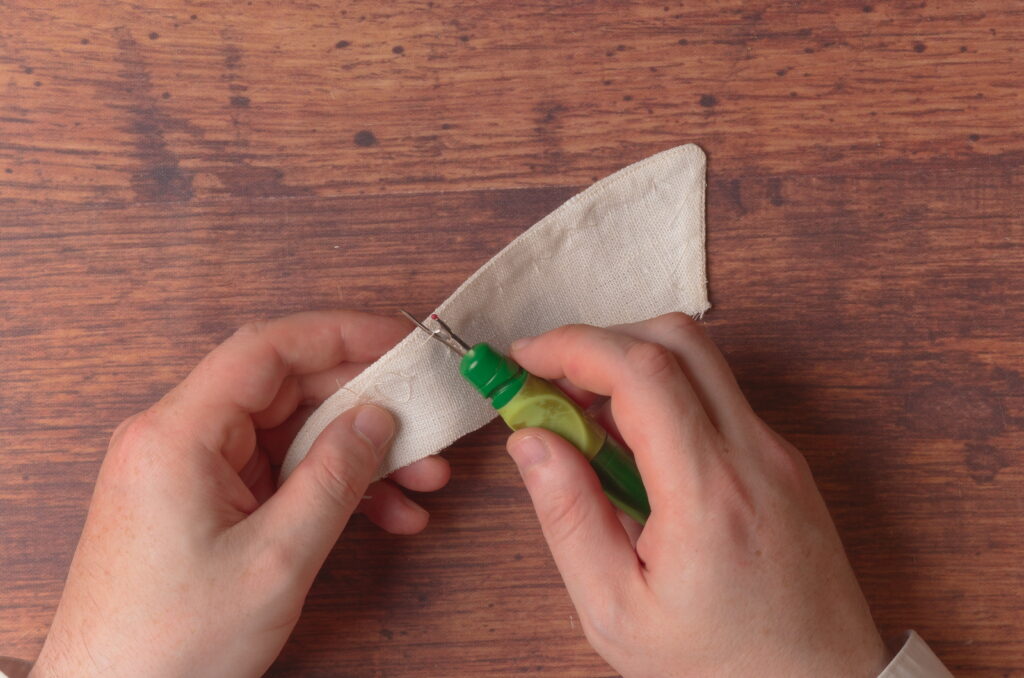
Remove the basting stitches.
Attaching to the Collar Band
Lay one of the collar bands on the table, right side up. The center front of the collar should be evident by the crease in the fabric, if not, find the center.
Mark a point 1/2″ from the center front to both sides.
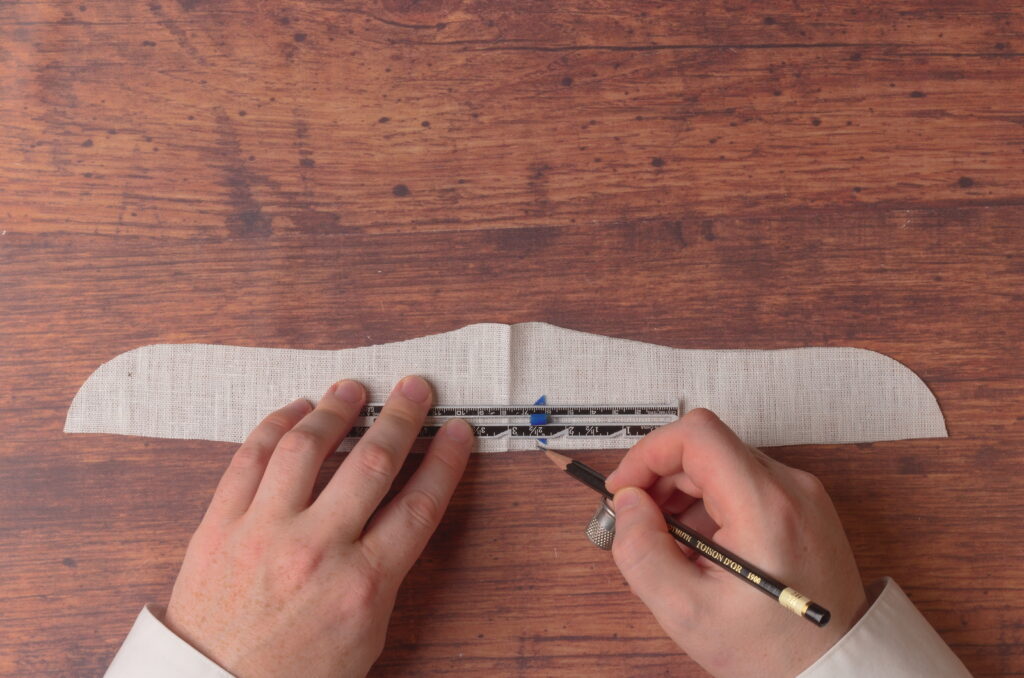
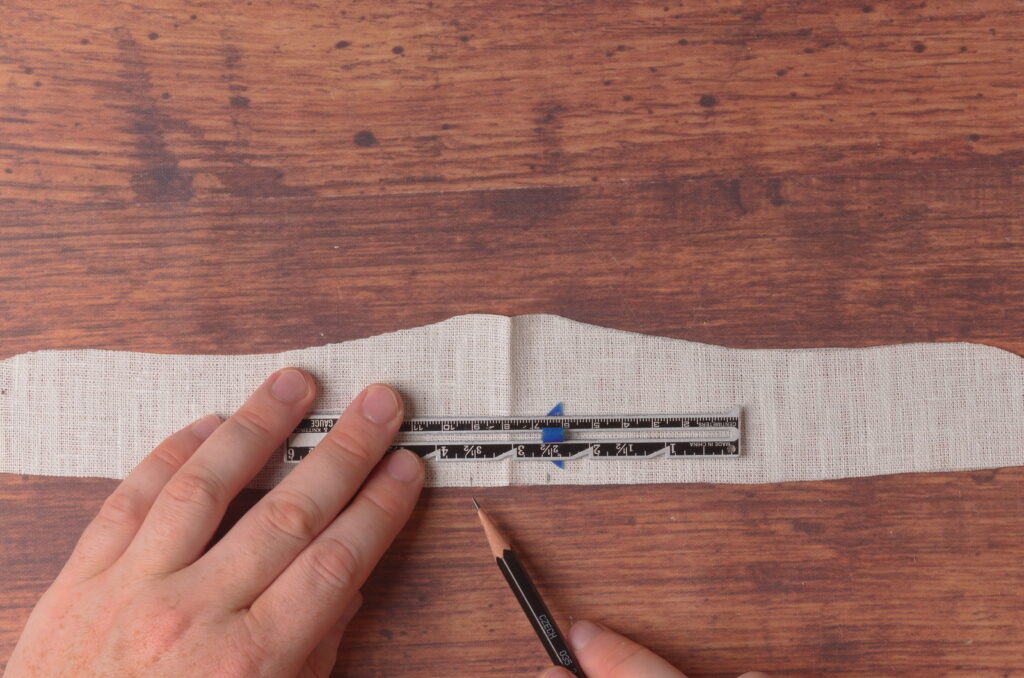
Mark also a point 1/4″ from both ends.
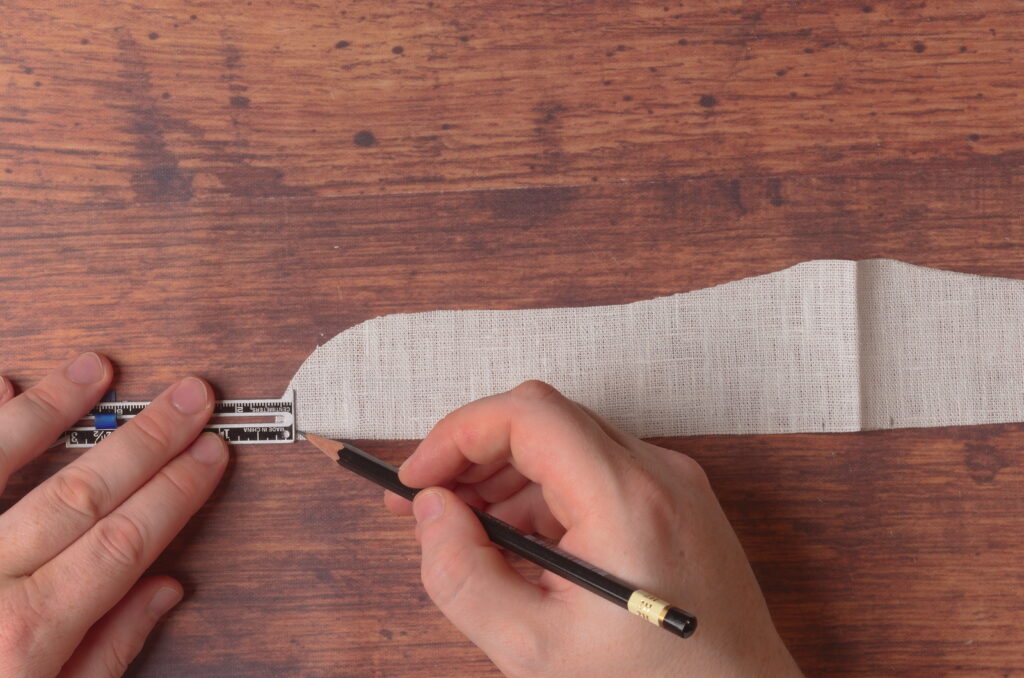
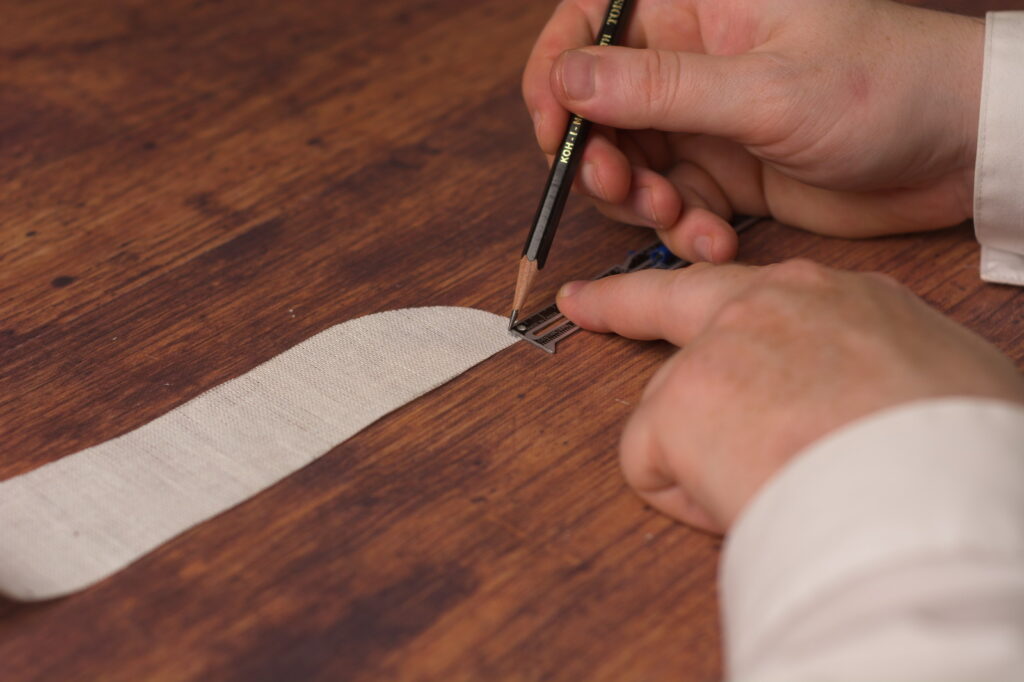
Lay one of the collar points onto the collar band, right sides together. Keep in mind the side with the set back edge is the wrong side.
Align the front and back edges of the collar points with the marks you made, as best you can.
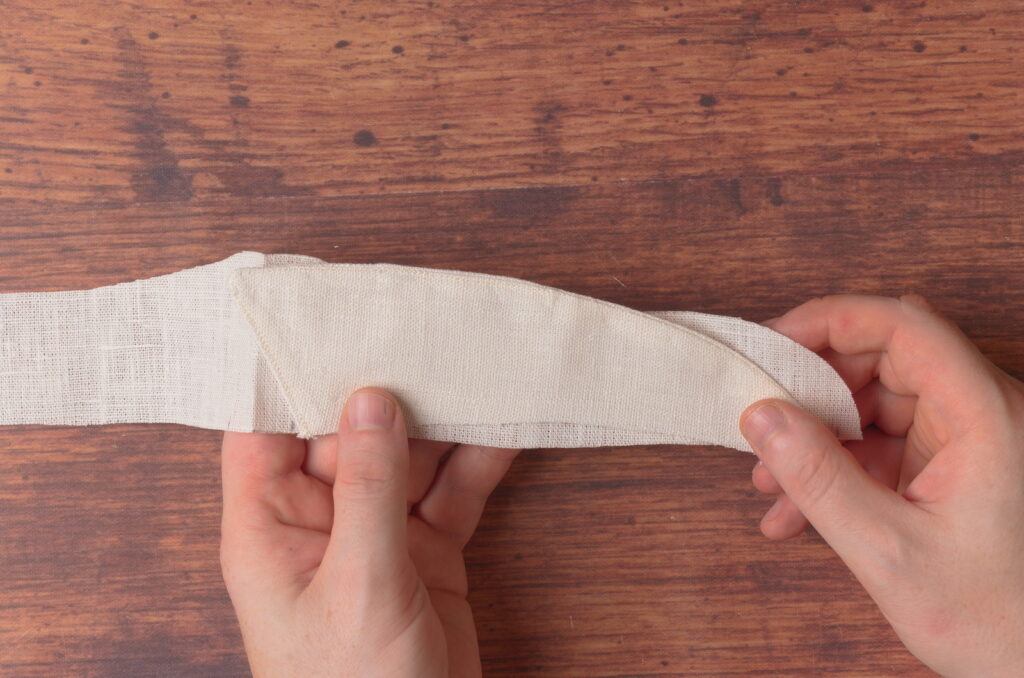
Starting from the center of the collar, align the front edge of the collar point so that the seam line is even with the mark, and begin basting the collar point to the band.
I should have started from the center, not sure why I started from the other end here. But as long as you’re consistent everything should work out.
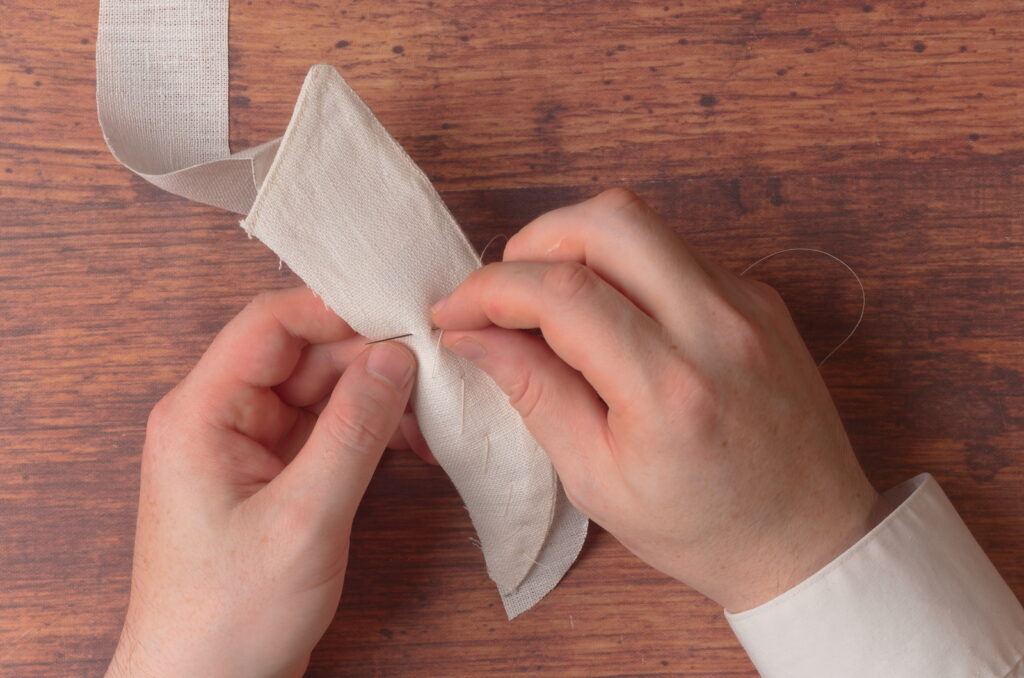
Here’s the back end of the collar point and how it’s aligned in relation to the rear mark.
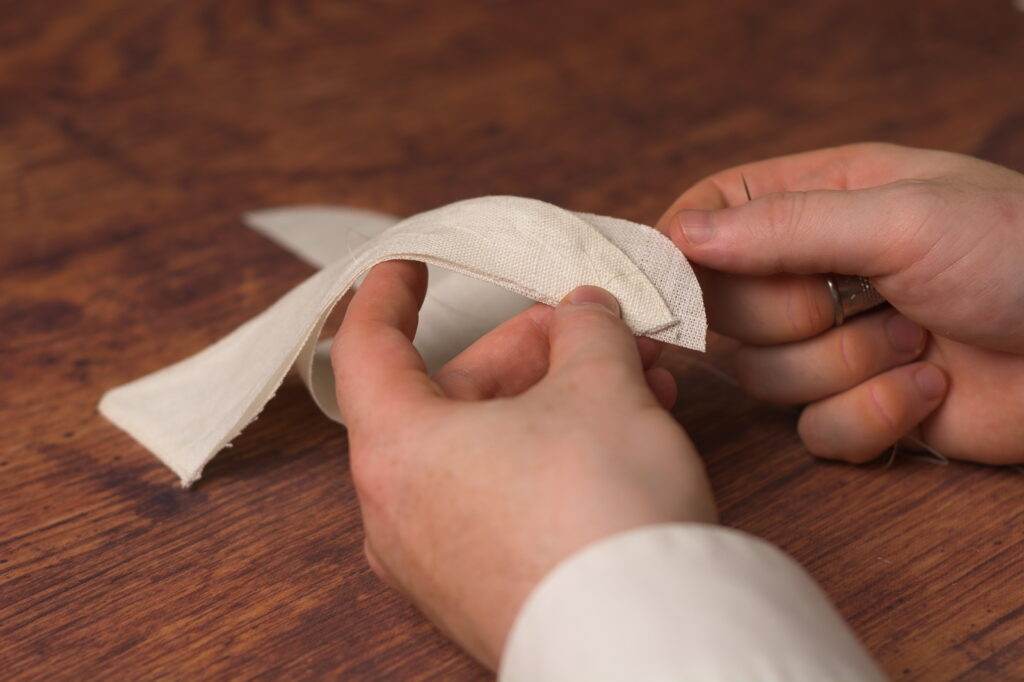
And one half basted together.
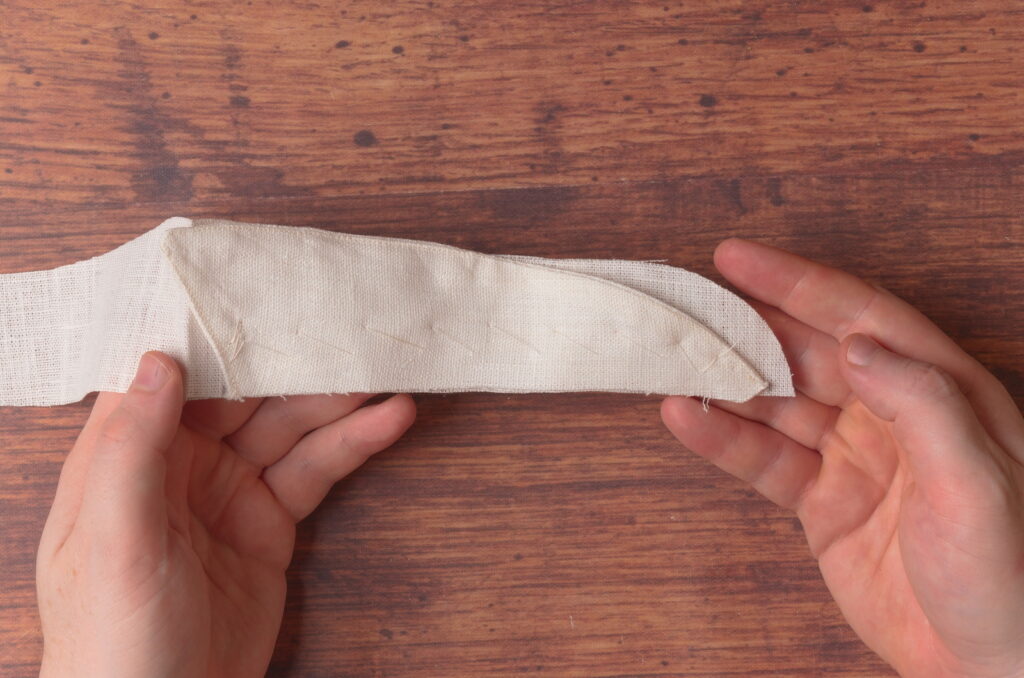
Baste the other half of the collar point on as well, trying to keep the same distances at each of the points. Keep in mind that since this is such a small project, even a 1/16″ can make a big difference!
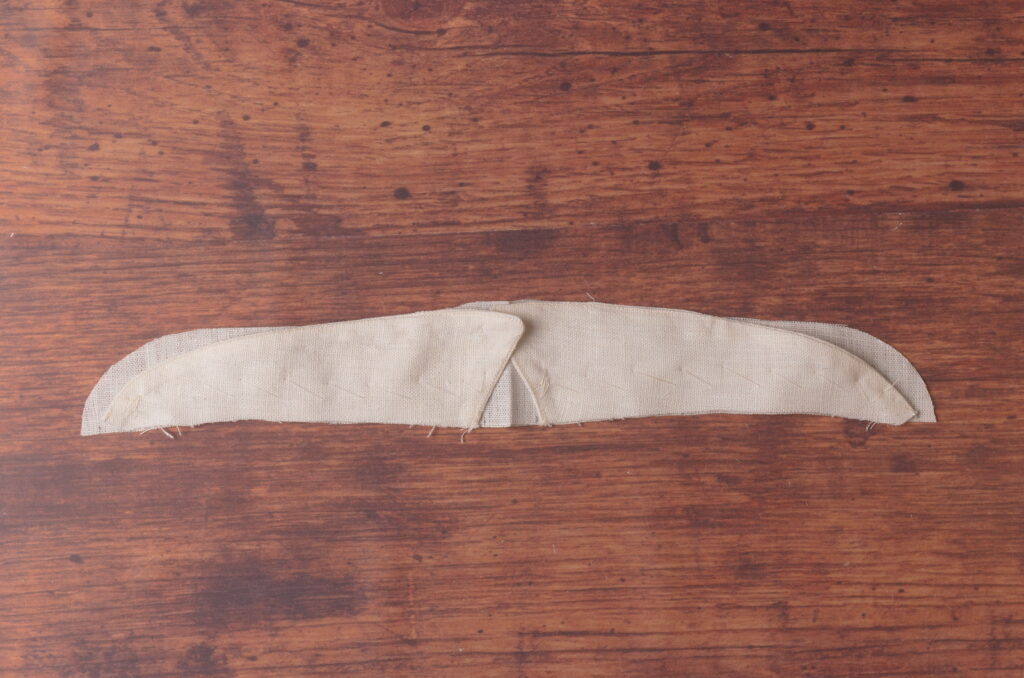
And since I try to show my mistakes so you don’t have to make them, here you can see there’s a slight difference in the positioning at the center of the collar between the two sides. It’s so small you almost don’t see it, especially while you’re working, but it does make a difference. I will be showing how to account for any differences later on during the positioning of the buttonhole, so don’t worry too much if yours is similar. Just something to be aware of.
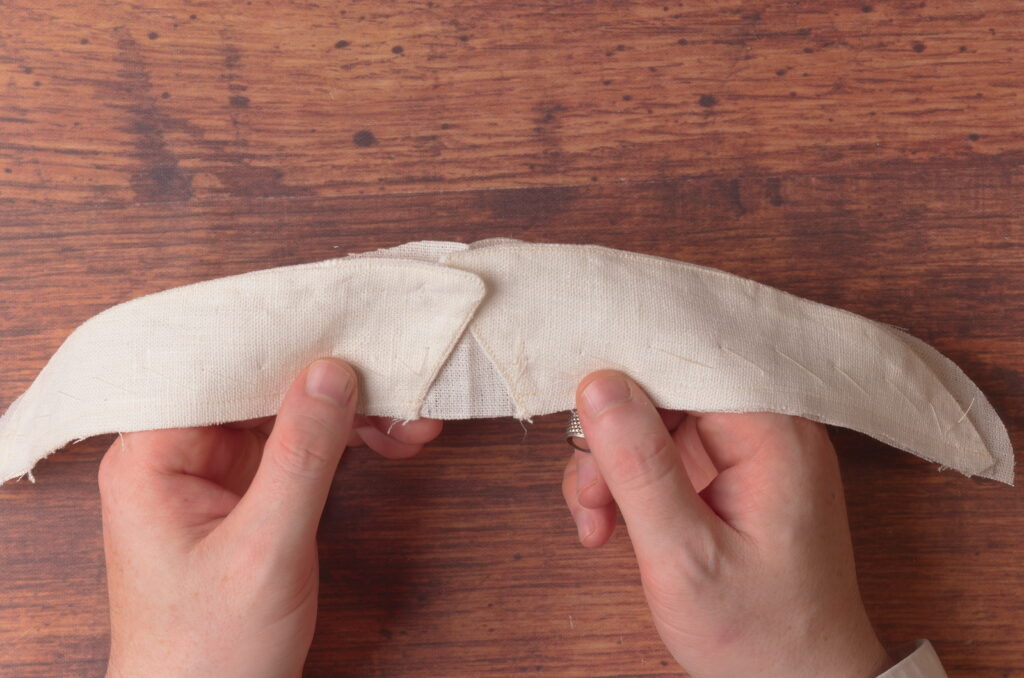
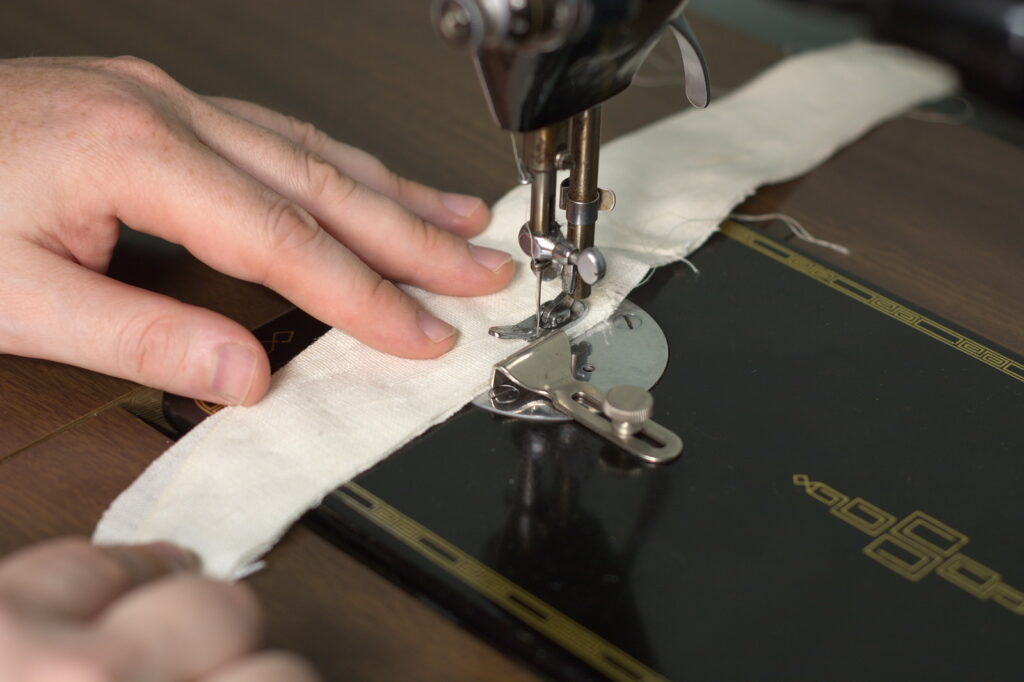
With the collar pieces basted together, sew from one end using a 1/4″ seam allowance, towards the center. At the ends, make sure the stitching starts as closely as possible to the top of the diagonal cut you made.
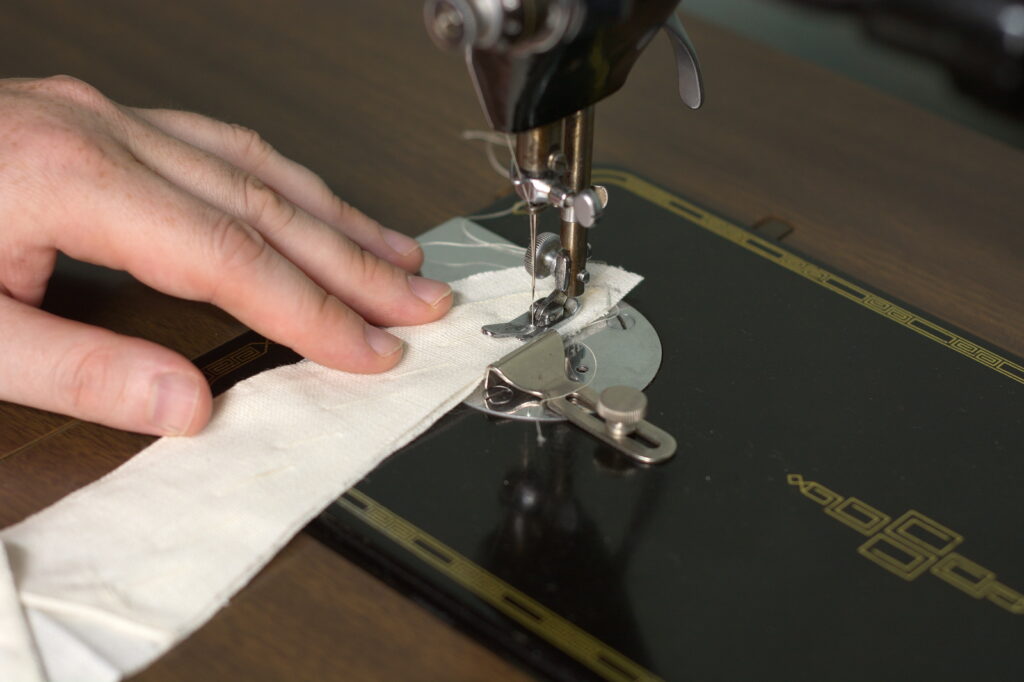
Try to ensure the center area remains aligned properly as well. I did stop the stitching at the edge of the first collar point, rather than sewing all the way through, as it’s possible the stitches would be seen in the middle.
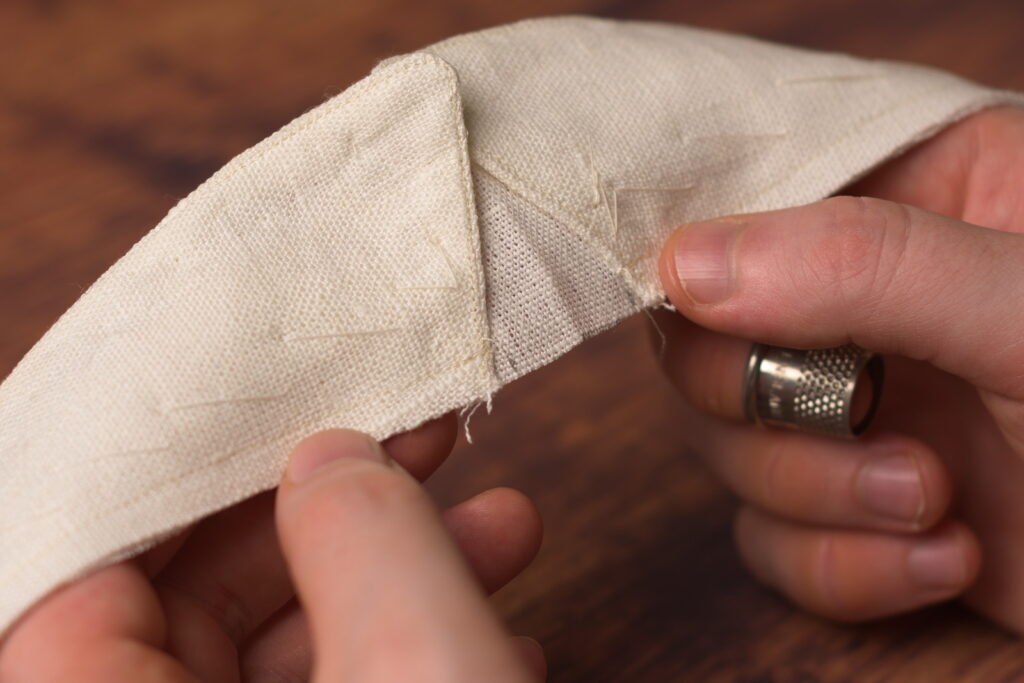
Finally, press the collar band down away from the collar points. We’re not opening up the seam here, just pressing everything downward.
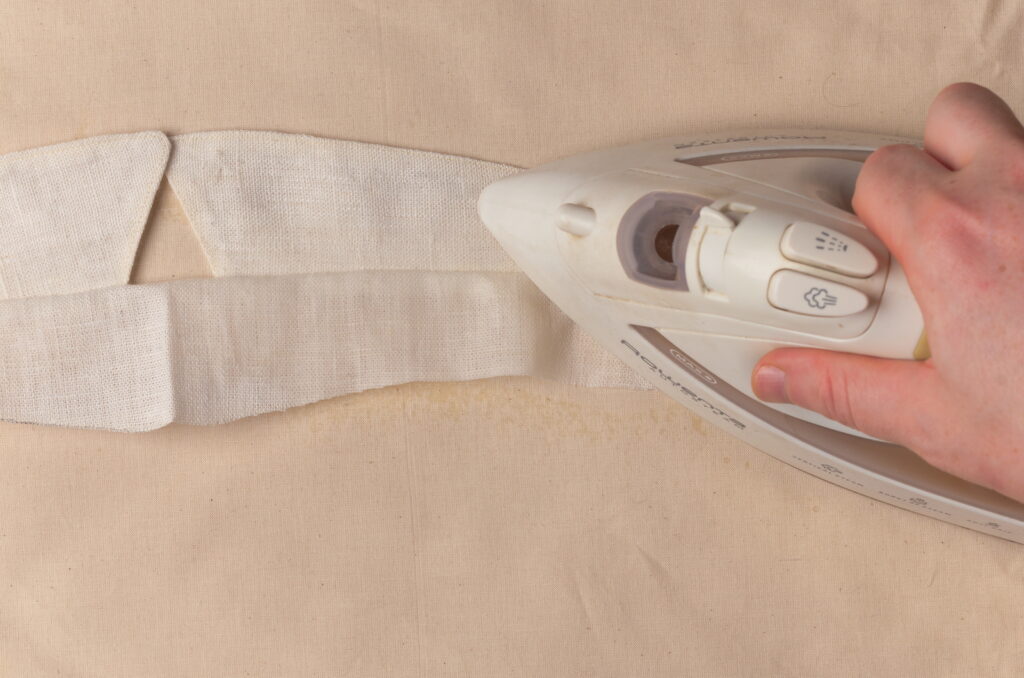
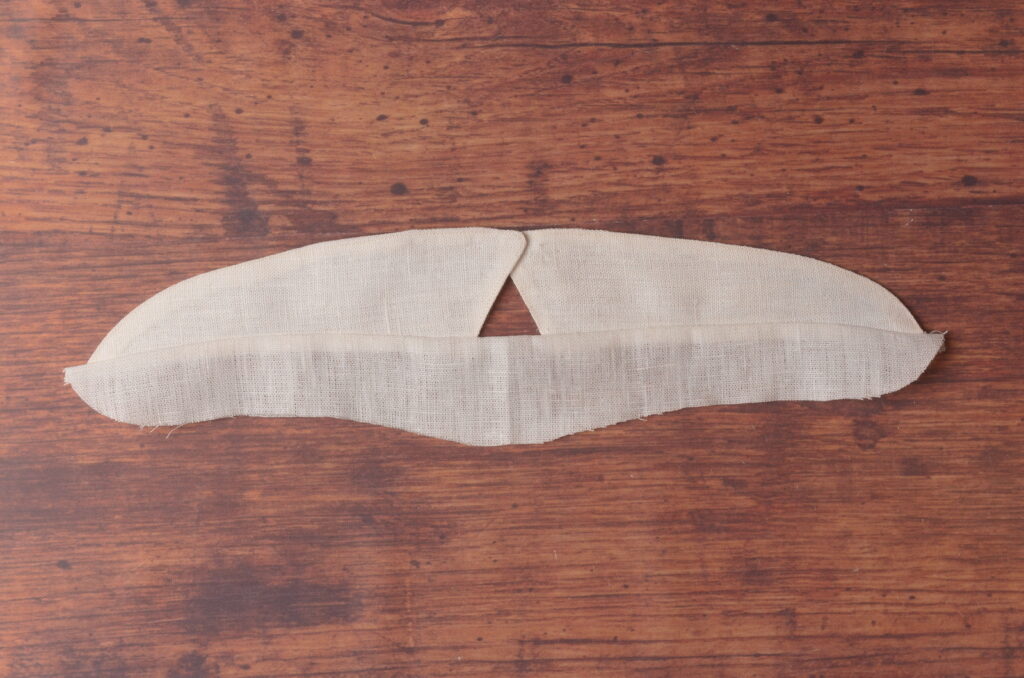
Here’s the collar so far. Hopefully you’ve got something similar at this point!
Drafting the Collar
Drafting your detachable collar is fairly straightforward, and can be done on a sheet of 8 1/2″ x 11″ paper. I’m using a regular ruler here for instructional purposes, which gives a collar that should fit just about everyone. You might experiment however with using a graduated ruler [advanced tailors only] for those with larger necks or body sizes to get a more proportional look to your collar, though I have not tried that yet.
The Collar Points
Begin by ‘squaring out’ from point 0 two lines at right angles to each other. The horizontal line is 8″ long, while the shorter vertical line is 1 7/8″.
Then mark the additional points from 0 along the horizontal line at 1″ and 4 1/2″.

Draw a line from 1 to 1 7/8, giving the front angle of the collar. This is something that could be adjusted, both in the angle and length, to get other styles of collars after you are more familiar with the construction.
Then square up from 4 1/2 by 1/2″ to get the depth of the collar curve.

Draw a curve from 8, through 1/2 to 1, keeping everything as smooth and even as you can. I usually use a bendable drafting ruler for these types of curves, but it’s definitely possible to do freehand, using your arm as a sort of compass.

Draw a construction line from point 8 to 1 7/8 to help with the upper curve.

Measure along this construction line from point 8, 2 3/4″. Then square up from there 1″.

Finish the upper part of the collar by drawing a curve from 8, through point 1 that you just made, to the point at 1 7/8. This is more of a compound curve; from point 8 to 1 it’s fairly deep, and from 1 to 1 7/8″ the curve gets a bit shallower. Areas such as these are where the artistic part of drafting comes into play over the mathematical and ‘scientific’ steps, and you’ll get better with practice as you become more experienced.

The Collar Band
The collar band is also easy to draft. Begin by drawing a horizontal line and measuring out 7 1/2″ from point 0.
Square down from point 0 and mark points 1 1/8″ and 1 3/4″ from 0.

Square out lines from 1 1/8 and 1 3/4 as shown. These are merely construction lines to help draw the curves in the next step, and in practice, I don’t even measure them, though I’ve left measurements to aid you in your own drafts.

Here’s where that artistic part definitely comes into play again. Draw a curve from 1 3/4, keeping parallel to the construction line for about 1/2″ and curving into the second construction line and running parallel to that for a ‘little bit’. Finally, continue the curve, deepening it as you round up to 7 1/8.
At point 1 3/4, you want the curve to meet the opposing construction line at right angles to avoid an ugly angular transition to the other side of the collar.
And at 7 1/2, the curve comes in close to a right angle but not quite. This will help keep the ties that go around the neck in the correct position.

Seam Allowances
With both pattern pieces drafted, add a 1/4″ seam allowance all the way around the upper half of the collar, and the top and bottom edges of the collar band. The vertical construction line on the collar band forms the center of the collar, and so it is cut on the fold, no seam allowances added here.
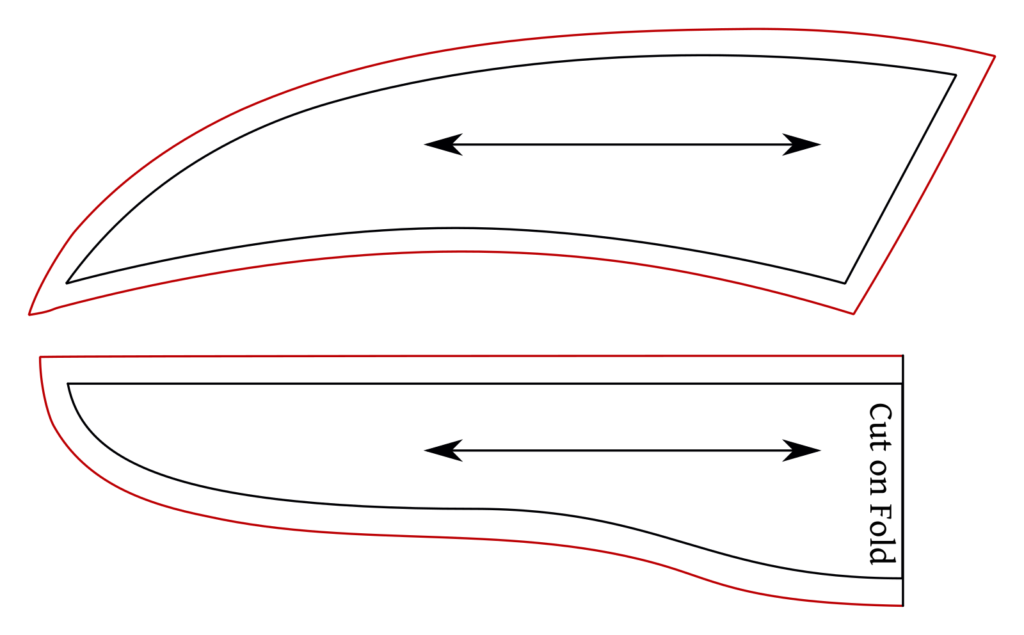
That concludes the drafting portion of this short course! Draft your collars, add the seam allowances, and cut out both pieces before you move on to the next section where we’ll begin the construction process. If you have any questions or would just like to share your work, please feel free to make a post in the support community.
