Author: James Williams
Four Cord or Gimp
The next step in creating a buttonhole is to make some four-cord, or gimp, if you are not using the ready-made gimp that Gutermann makes. The purpose of the gimp is to stiffen the buttonhole a little and give it a more pronounced, three-dimensional shape.
Start by taking a roughly 4 foot long piece of buttonhole twist. Double it and tie a knot at the cut end.
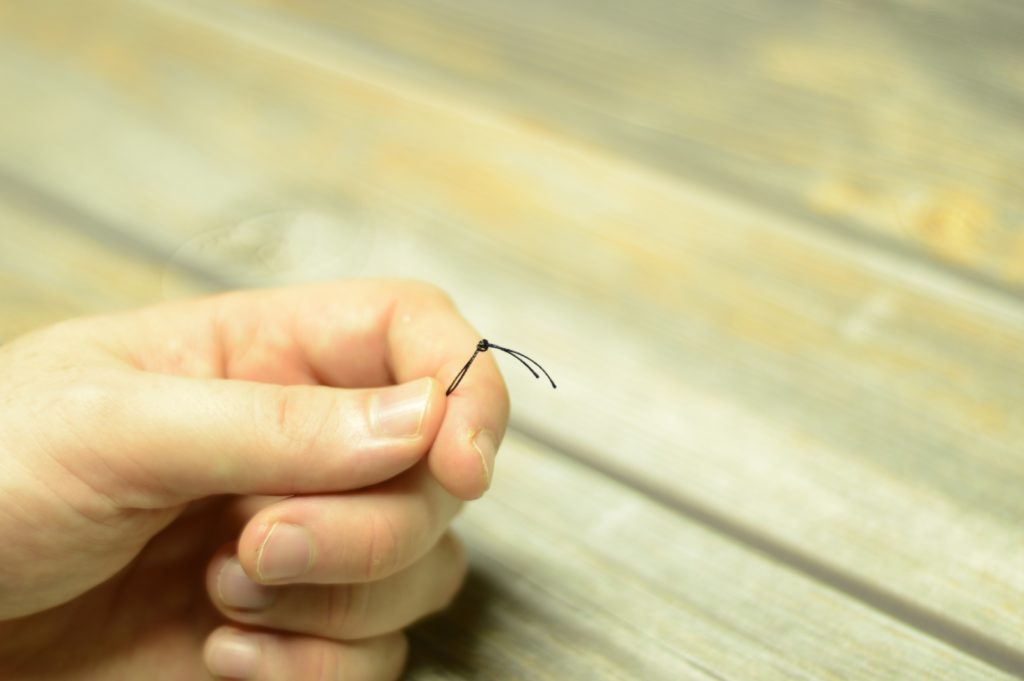
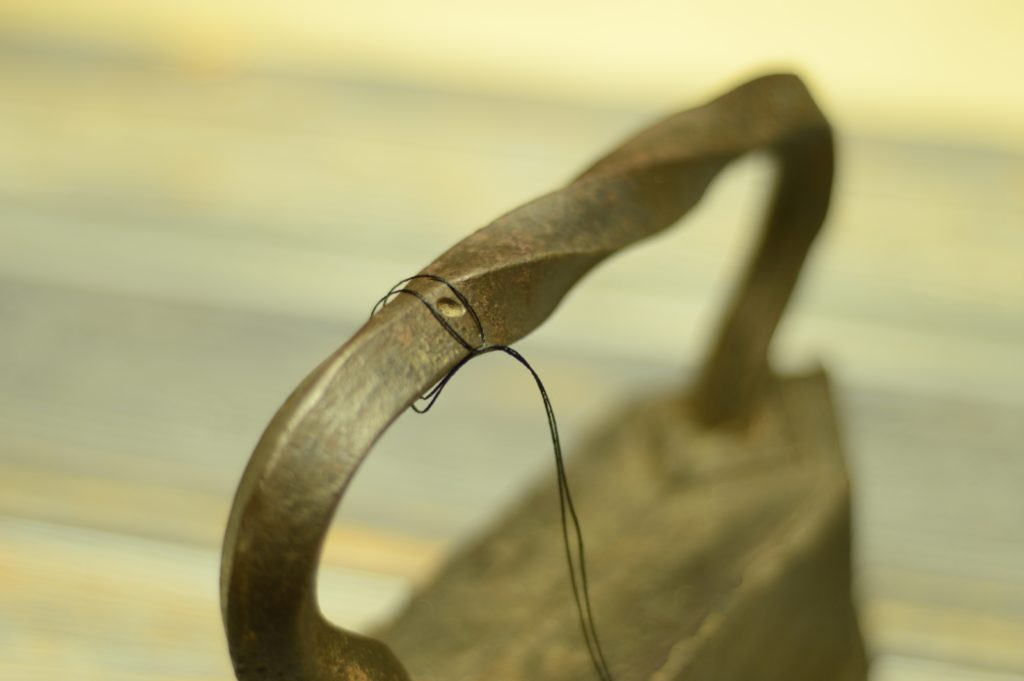
Loop the thread through itself around some heavy or stationary object like an iron, chair, or whatever you have nearby. You can even tape it, though it has a tendency to twist loose.
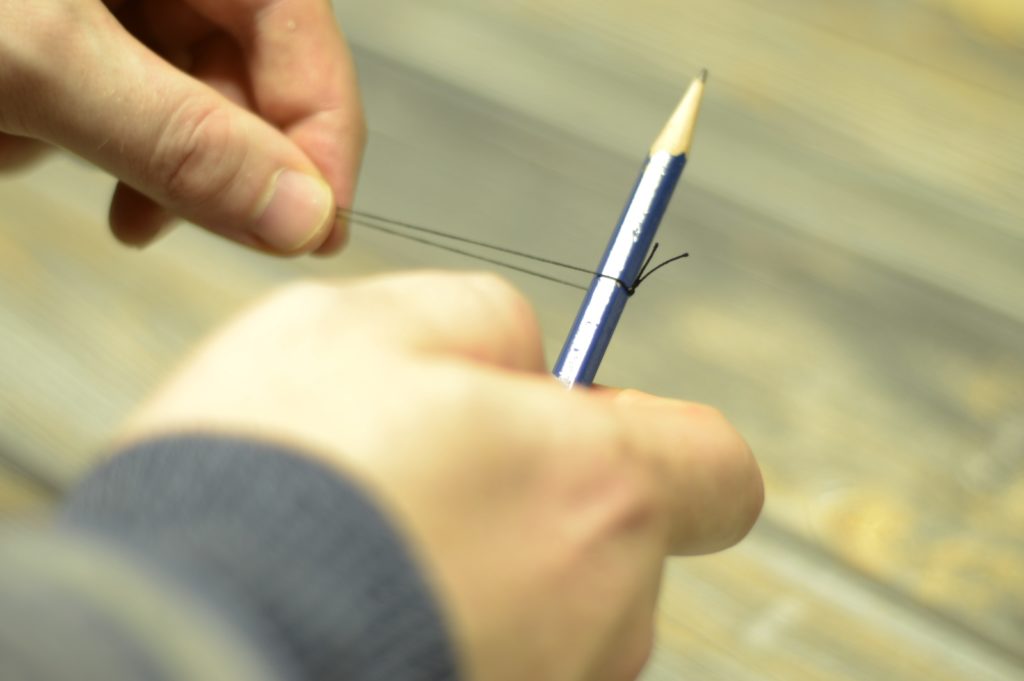
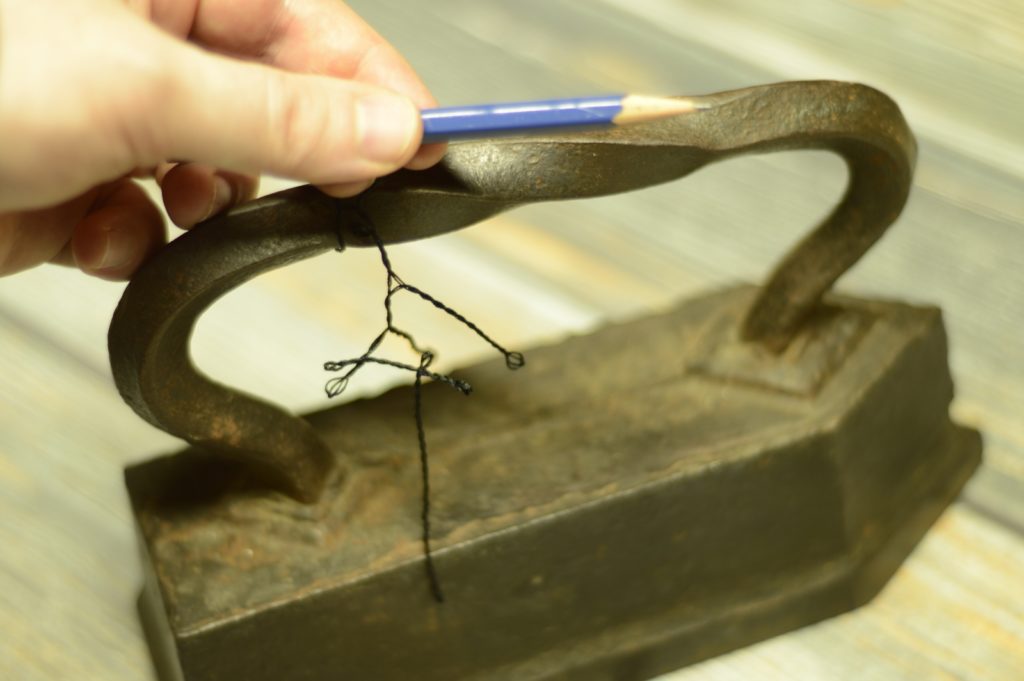
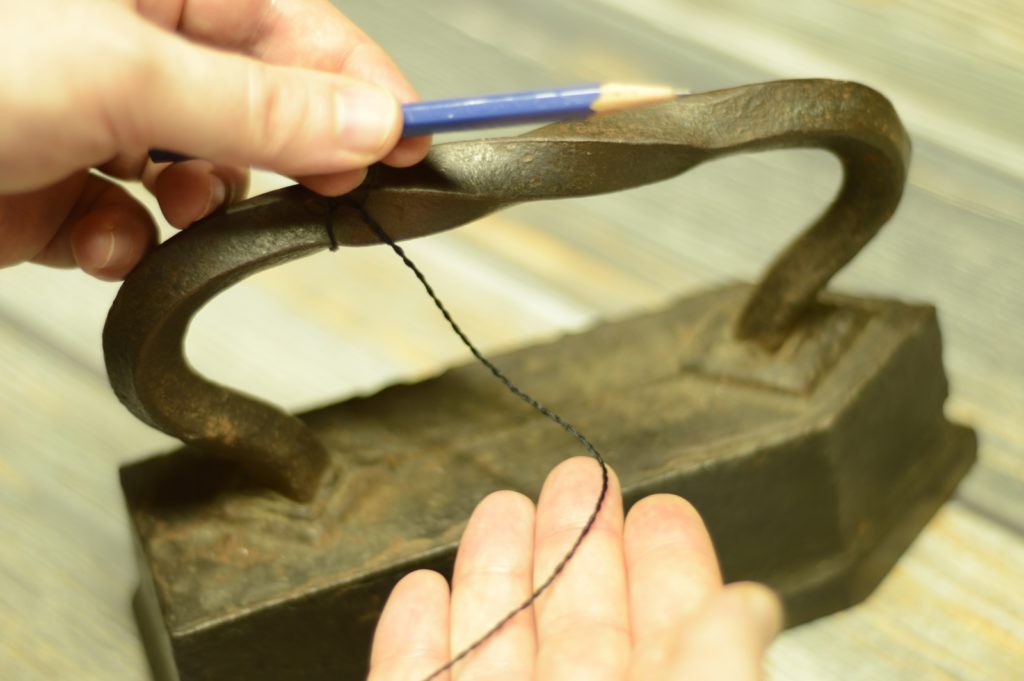
Stick a pencil through the other end of the loop, and grasp the thread with your other hand to keep control of everything and prevent the thread from slipping off of the pencil. I’m using a hexagon pencil here but if you have a round one it works much more smoothly.
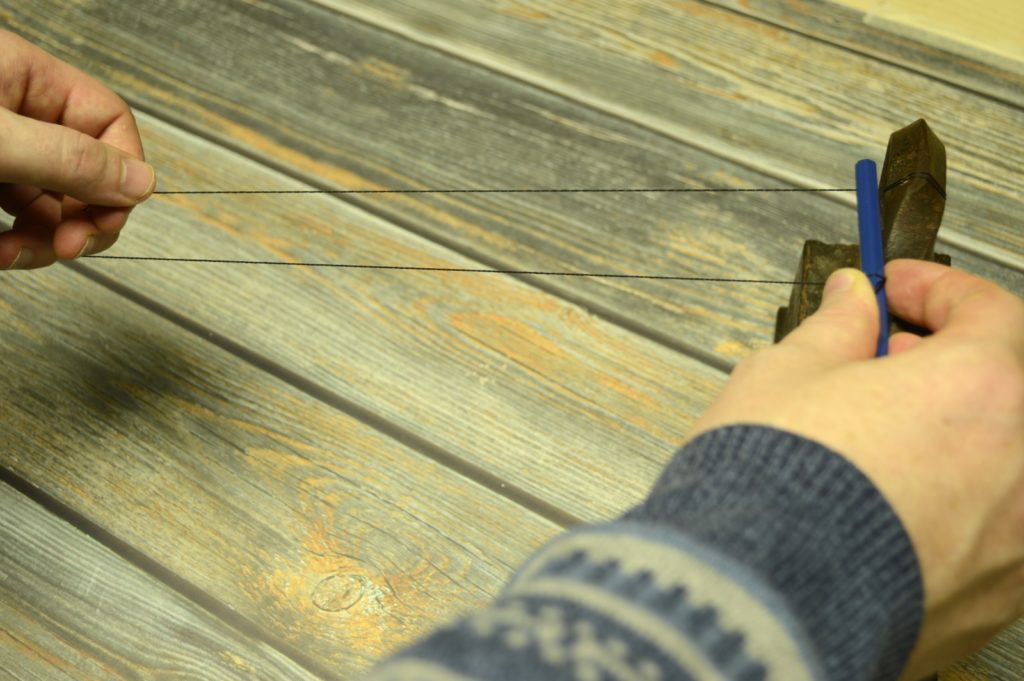
Use the pencil to twist the thread about two dozen or so times. Then release the twists to the rest of the thread and continue the process until there is sufficient twist in the entire piece of thread. The more twists you put in the firmer and thicker the final gimp will be. For a more delicate buttonhole you’d use fewer twists. Feel free to experiment and use the different weights of gimp on different buttonholes!

After you’re finished twisting, double the thread on itself, bringing the pencil end next to the looped end.
Then let go of the non-pencil end and allow the strands to wrap around themselves.
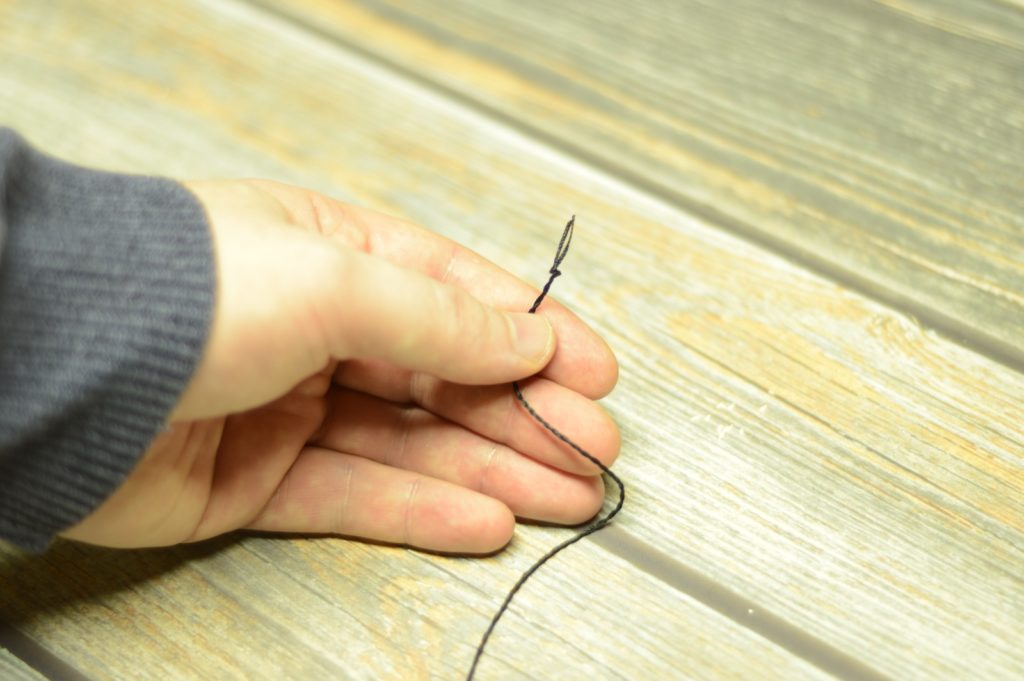
Straighten out the four-cord (see where it gets its name from?) by gently pulling on the cord until everything evens out.
Holding the thread to prevent unraveling, cut the thread off of the object that’s holding it and quickly tie a knot to keep everything in place.
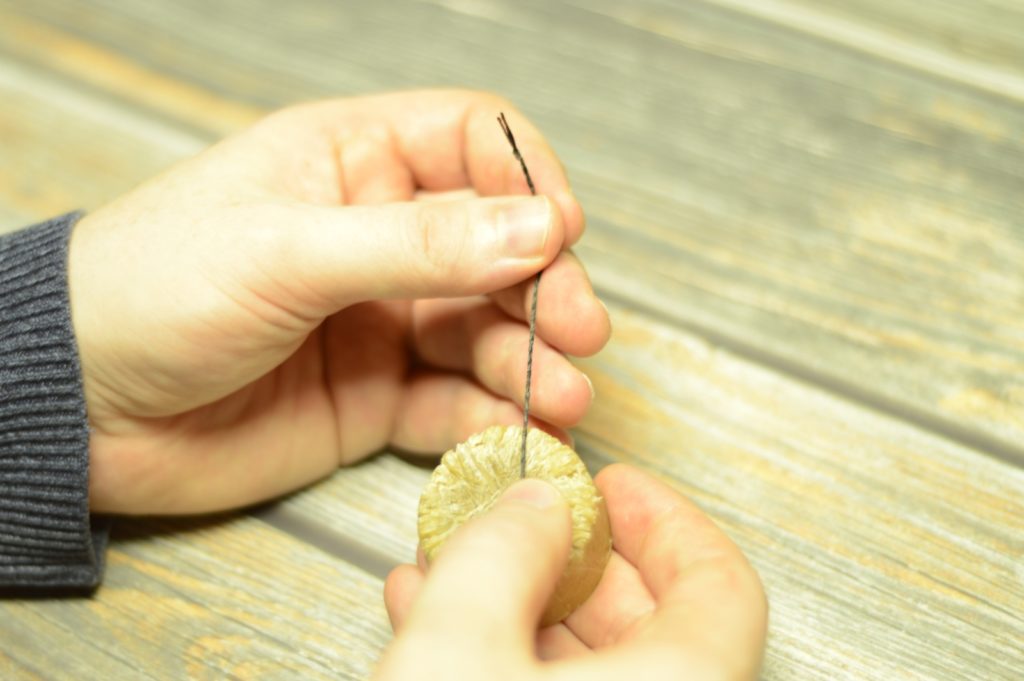
Rub the four-cord liberally in the beeswax, I’d say at least four times, then place between a folded sheet of paper and melt the wax into the cord with a hot iron.
You now have a nice piece of gimp with which to make (I think) four to six buttonholes, depending on how much twist you put into it.
Attaching the Gimp
We’re now going to attach the gimp to the buttonhole prior to doing the actual buttonhole stitch itself. I used to not do this step, but found that over time, the gimp would wander in the buttonhole, looking unseemly after a couple of years. This solves that problem, in addition to making it one less thing to worry about when doing the buttonhole stitch, giving you a lot more control.
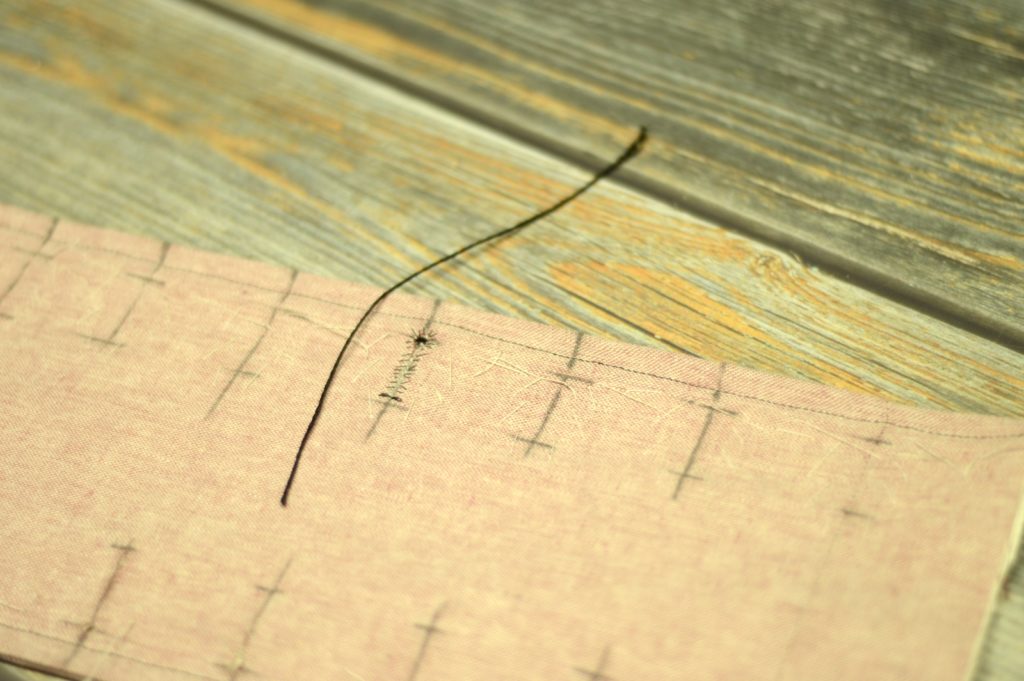
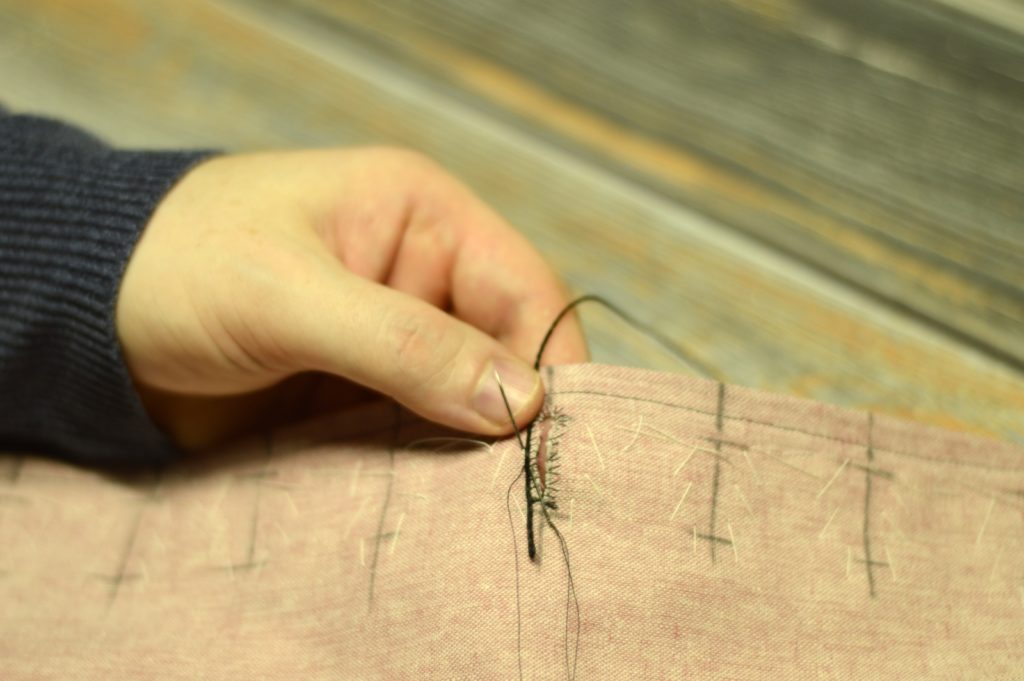
Begin by making several stitches in place at the beginning of the buttonhole.
On the last of these stitches, leave a little loop of thread open.
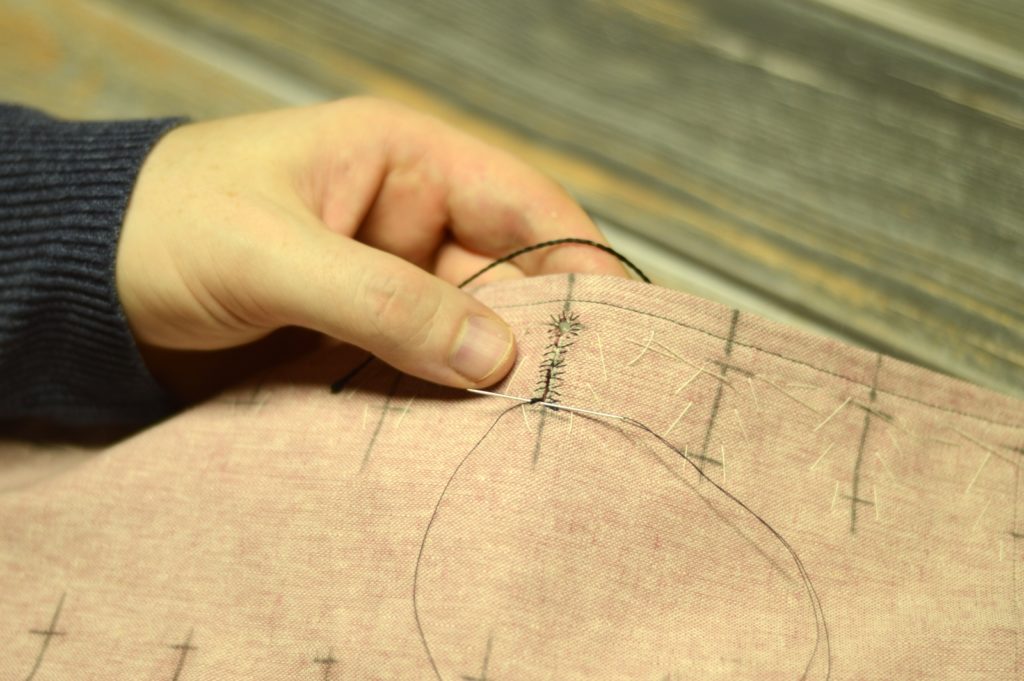
Place the gimp in this loop with about 1/4″ to 1/2″ remaining past the non-buttonhole side, just so it doesn’t slip out when working. Pull the loop snug, securing the gimp in place.
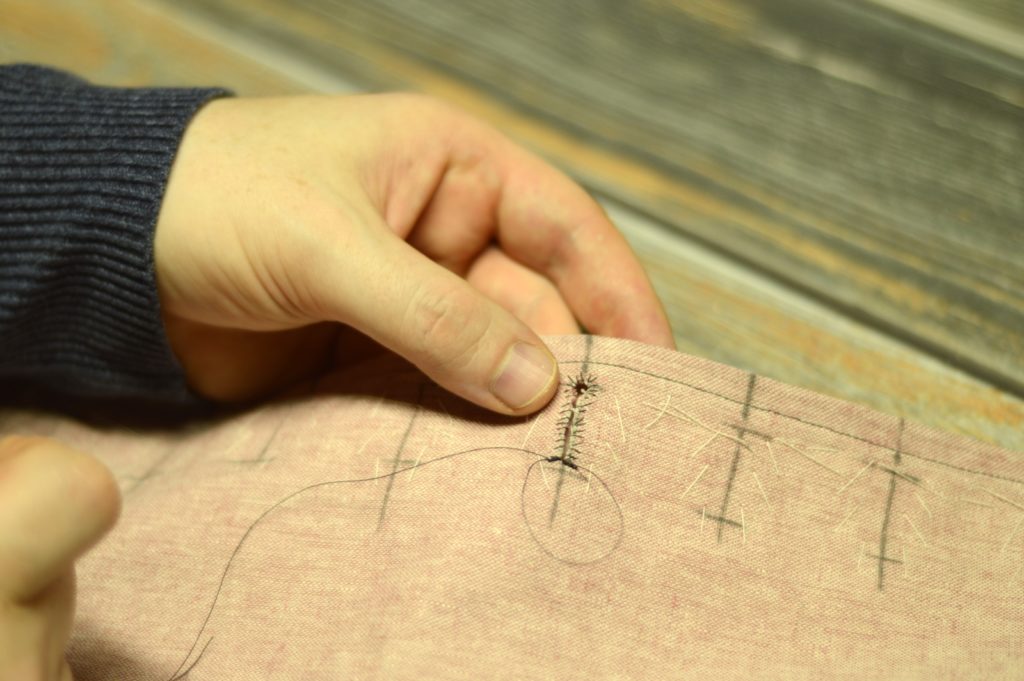
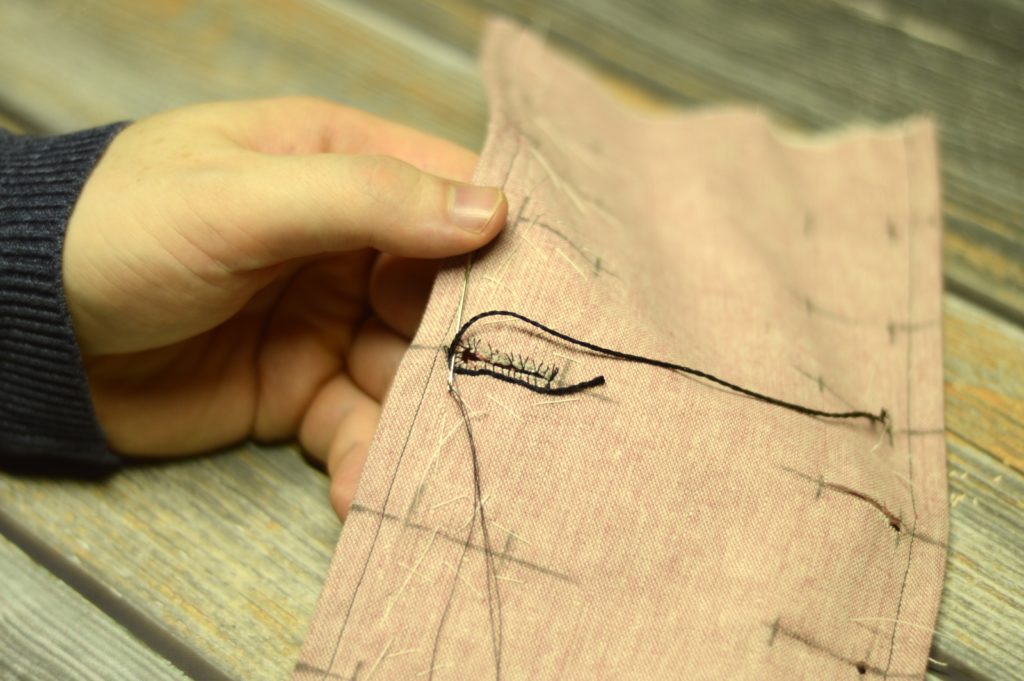
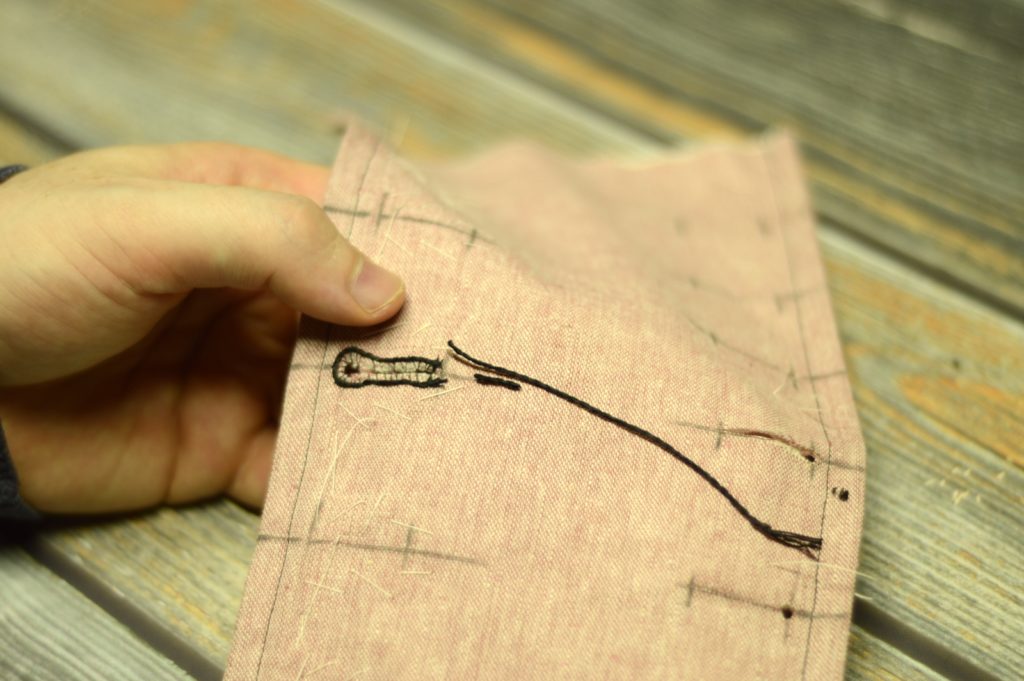
Working from the top side only (the needle does not pass into the buttonhole at all), begin to secure the gimp in place by stitching from one side to the other as shown. I’m not really going through all the layers, just the top and maybe the canvas layer. The gimp should be between 1/16″ and 1/8″ away from the buttonhole, though this largely depends on the fabrics you are using, how delicate they are, and the look you are going for.

The thread goes perpendicularly across the top of the gimp, and then diagonally under the layers to the next stitch.
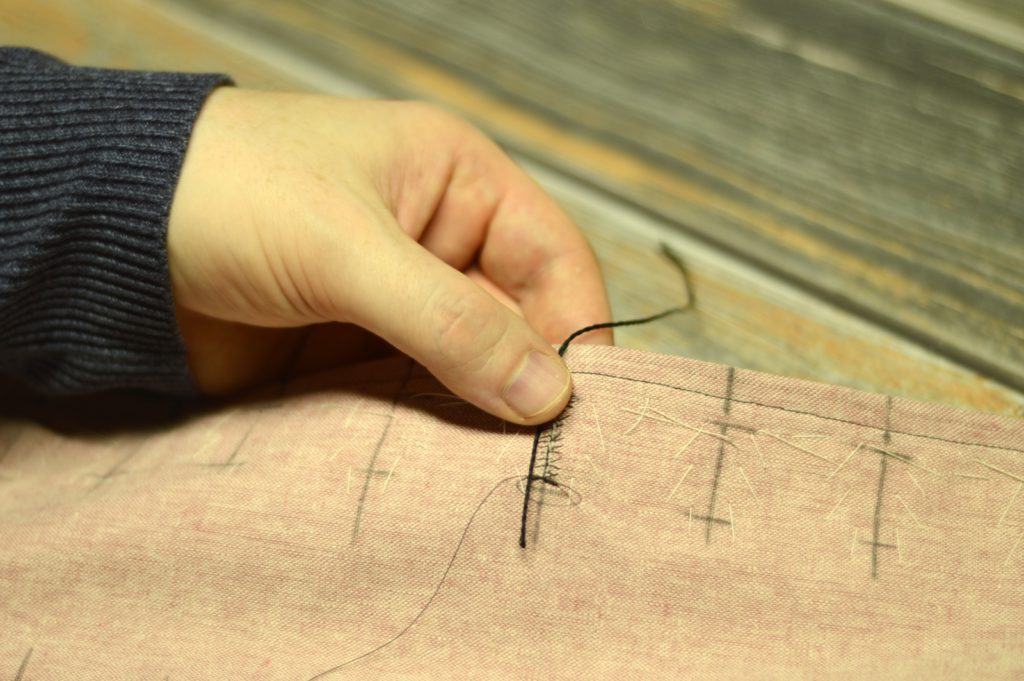
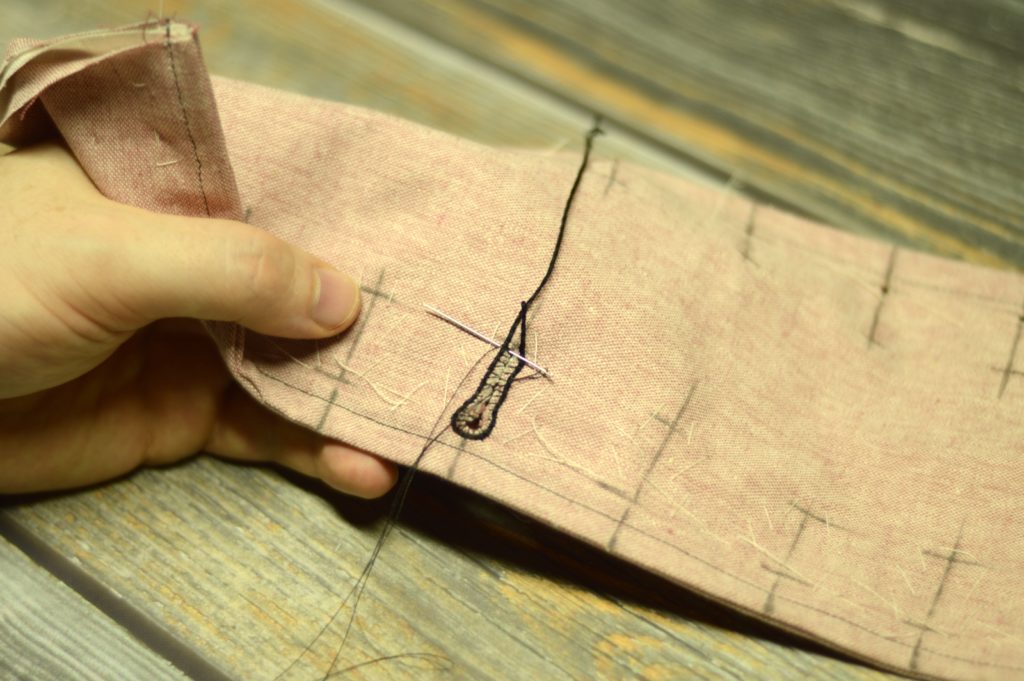
Continue securing the gimp along the buttonhole, following the general teardrop shape.
When you get to the other end, secure the gimp with another three or four stitches in place, the first going around just the gimp as the other stitches did, and the remainder going around the entire thickness of the buttonhole. This should secure the gimp firmly and permanently in place.
Take your scissors and allow the lower blade to come up beneath the gimp as close as it can go without actually cutting the stitches you just made.
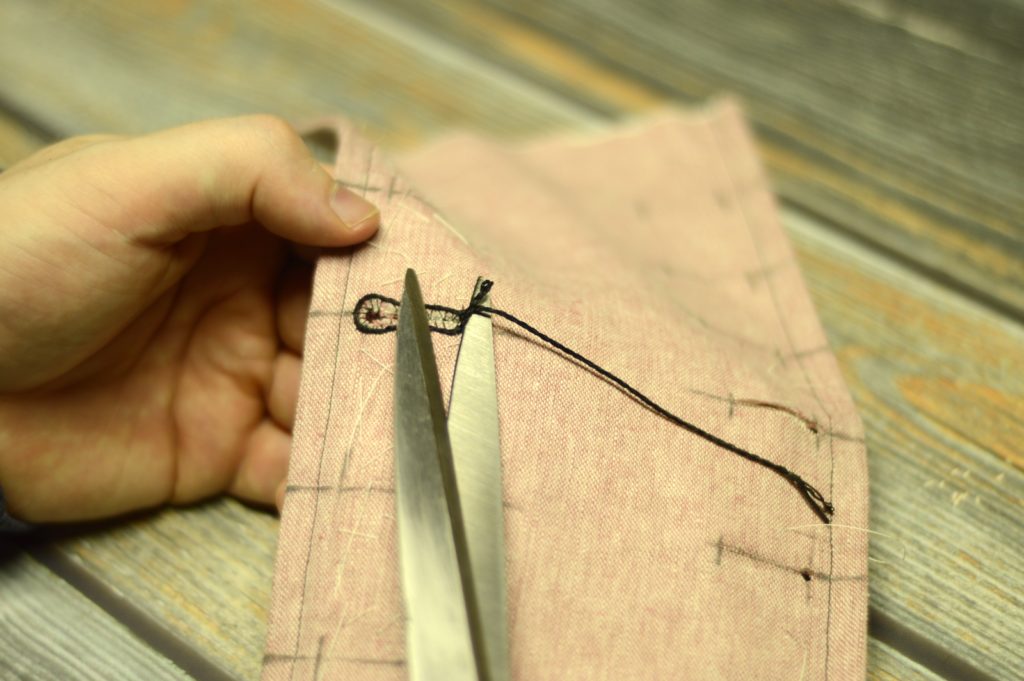
Cut the excess gimp, saving the larger piece for the next buttonhole (be sure to knot it right away!).
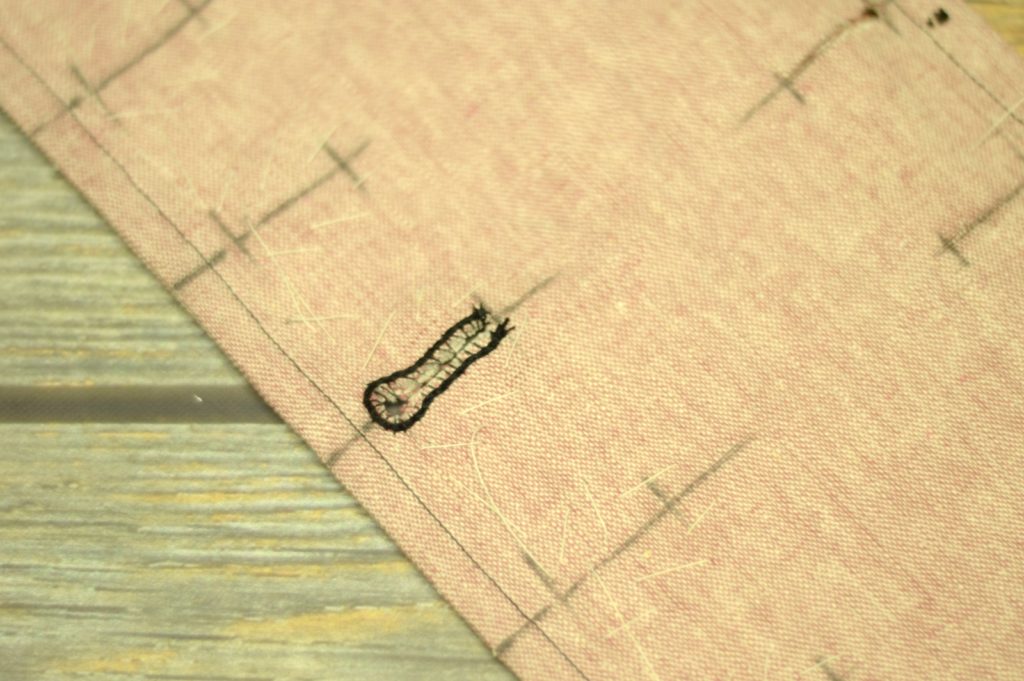
Here is the buttonhole so far with the gimp attached. If there are small uneven areas, don’t worry about it too much at this point. You can fine tune the position with your thumb while doing the buttonhole stitch.
And the video demonstrating the above techniques. Tomorrow, the buttonhole stitch!