Author: James Williams
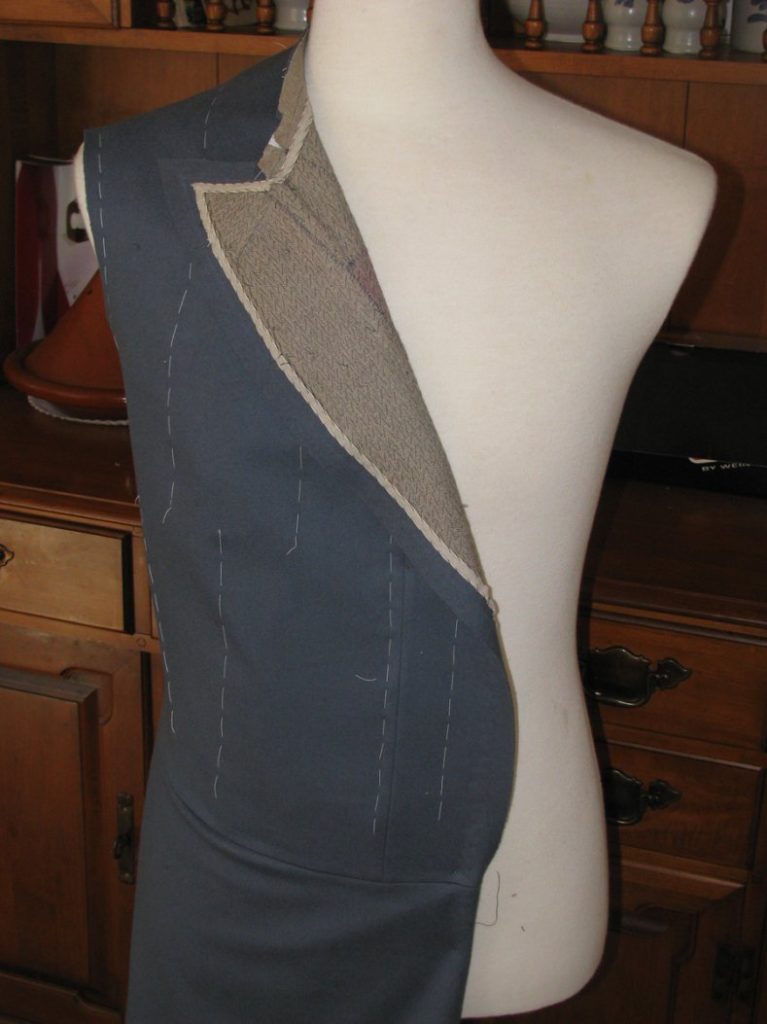
The Facings and Lining
In this module, we will construct and quilt the lining for the frock coat. Quilting the lining has couple of purposes. One is to give more shape to the chest. As you layer the pieces together, you will be helping to get that pigeon-breasted look so common to the period. The quilting itself will also shape the fabric, as you will see. Quilting the lining also gives the coat structure, avoiding the saggy appearance often found in reproductions.
The Facings
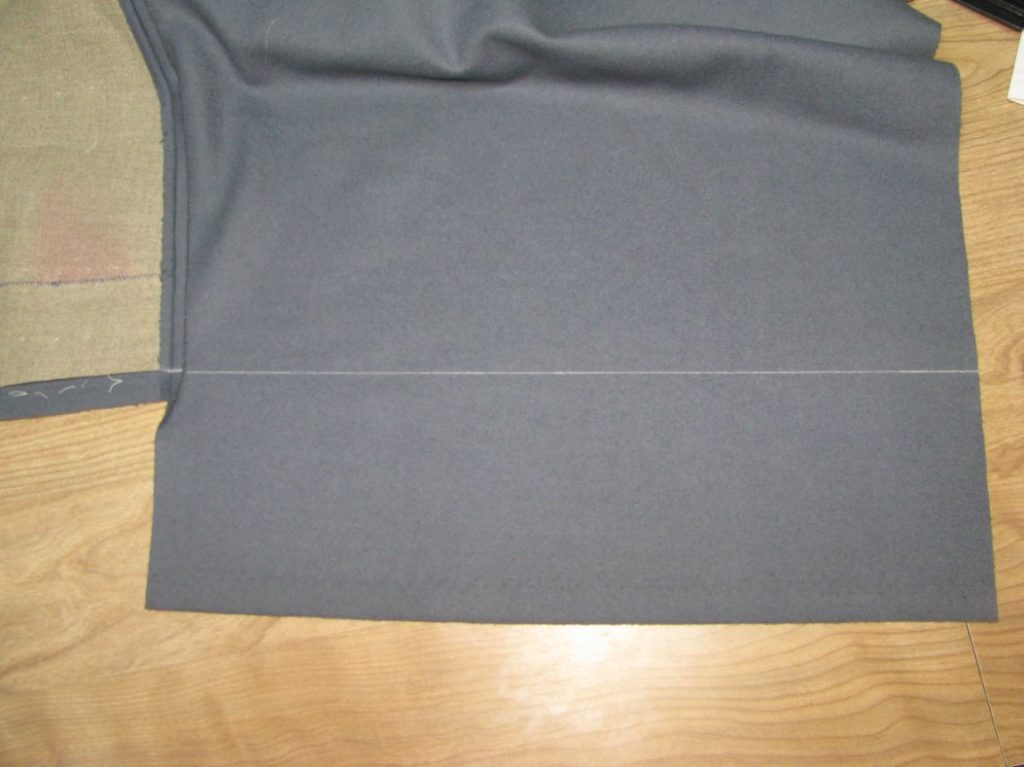
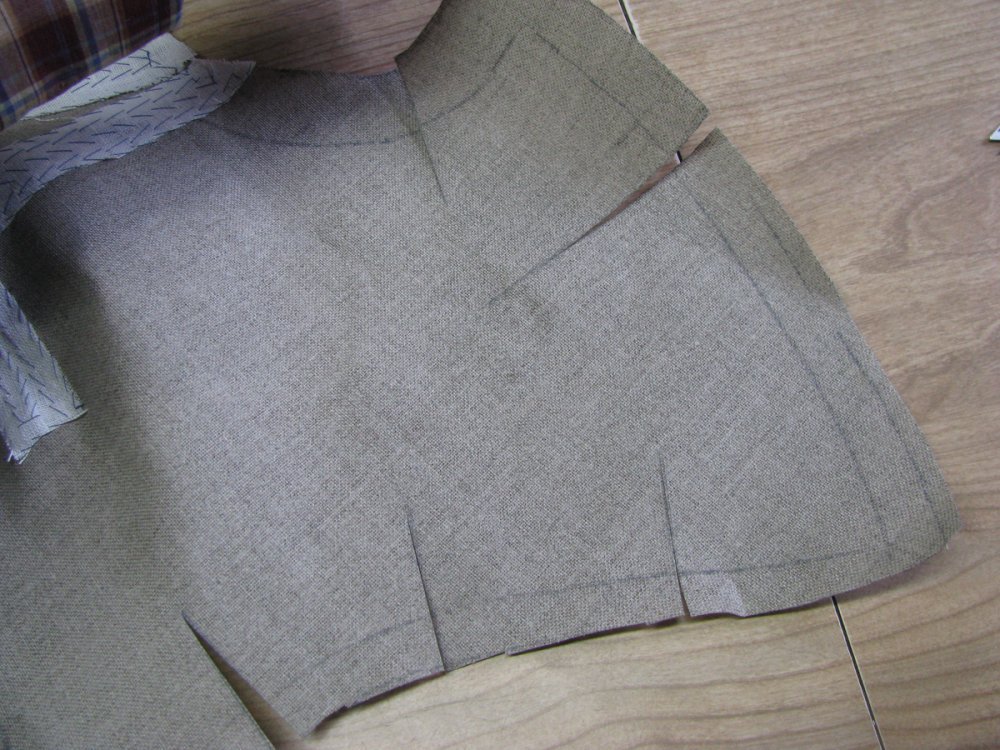
Before quilting, we must cut the appropriate pieces, starting with the facings. Draw a line on the forepart, as shown. At the shoulder, the line should be about two inches from the neck edge, and at the bottom, about three inches. The line follows the roll line for the most part, in a graceful curve down the front of the coat. At the top, try to keep the edge slightly curved towards the armscye, hollowing out at the chest line.

Cut out or trace this facing piece, as shown. All seam allowances for the facing are included.
Also make sure you have the lapel pattern piece. You will have to add the seam allowance back to the inner edge, if you trimmed it away while cutting the canvas.
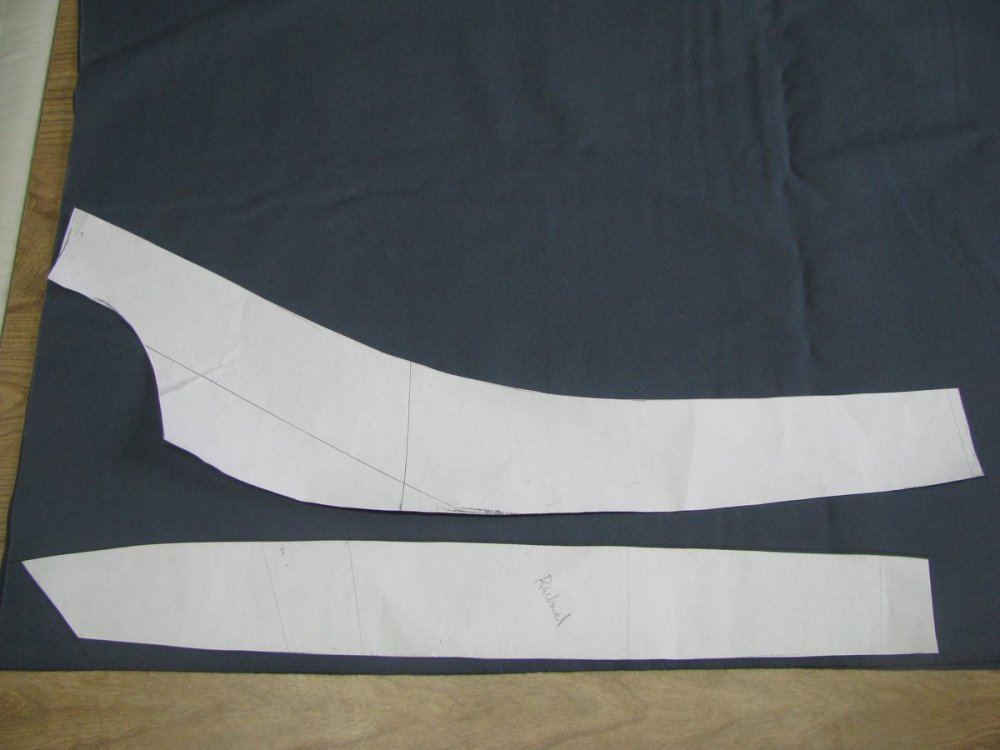
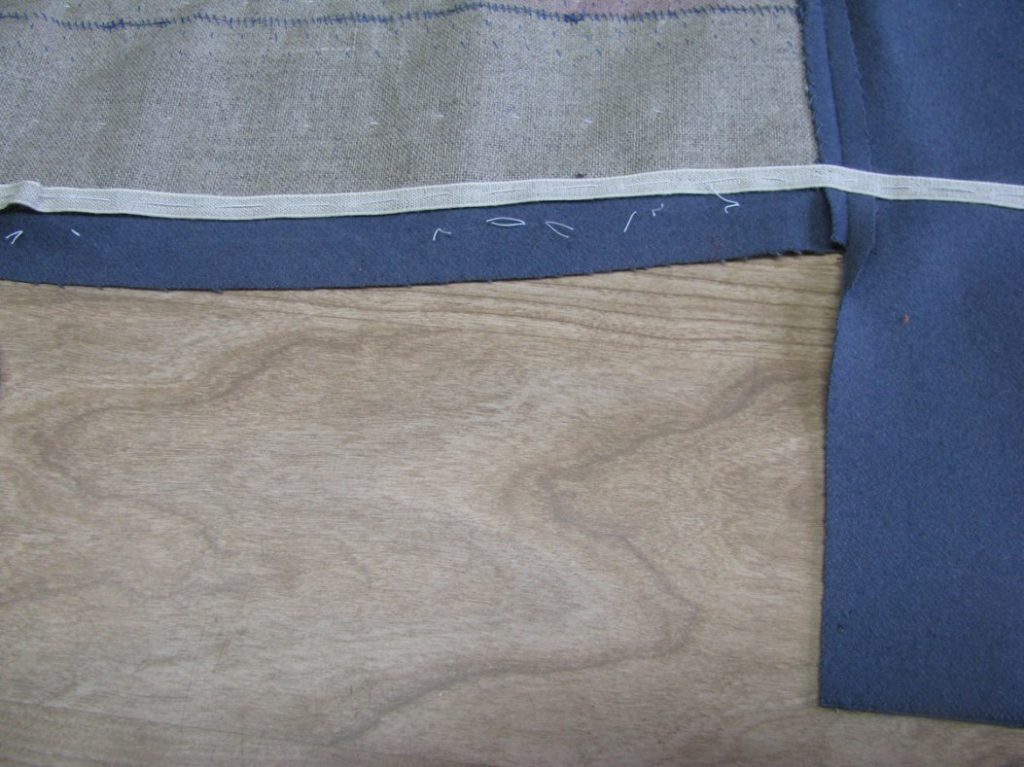
Lay both pieces out as shown. Add the same inlays you did for the forepart and lapel originally – half an inch along the top neckline and, and 1 inch at the bottom of each. The one difference is along the outer edge of the lapel. Here, add 3⁄4” inlay. Since the turn of the lapel is longer on the outside, it’s nice to have a little extra fabric, just in case.
Another important inlay to add, (not shown) as I’ve discovered through some experimentation, is to the neck edge on the facing. Adding about 1 inch will allow you to lay the facing onto the coat without adding the lapel dart, or excessive ironwork, giving us a smooth appearance in this area.
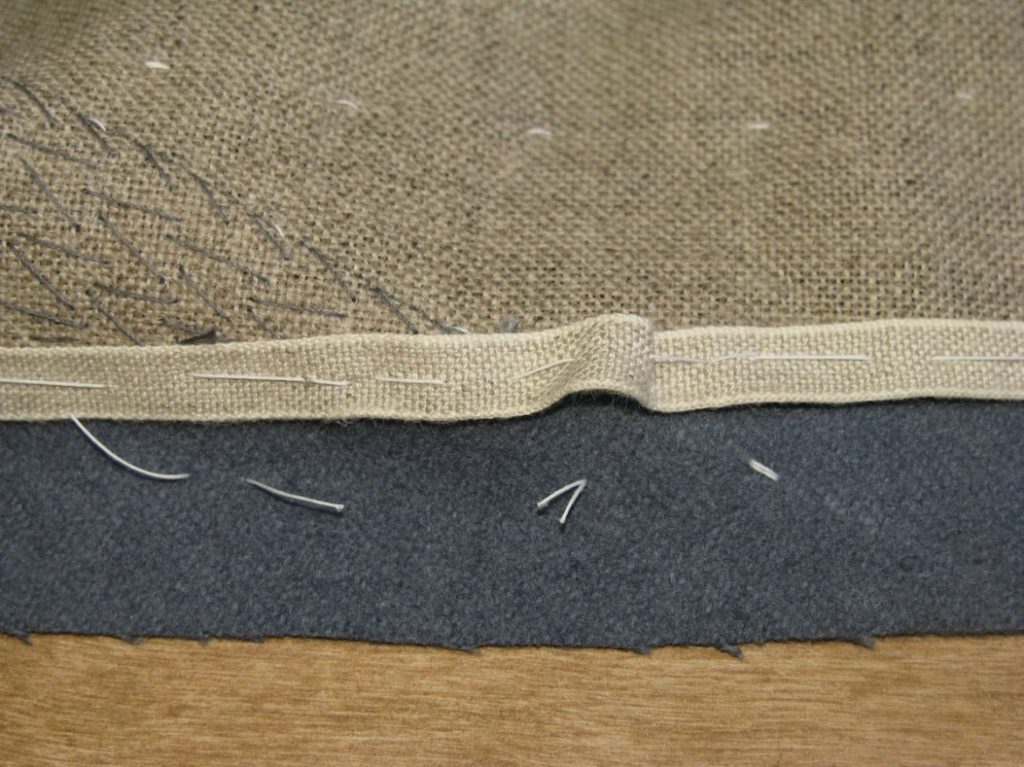
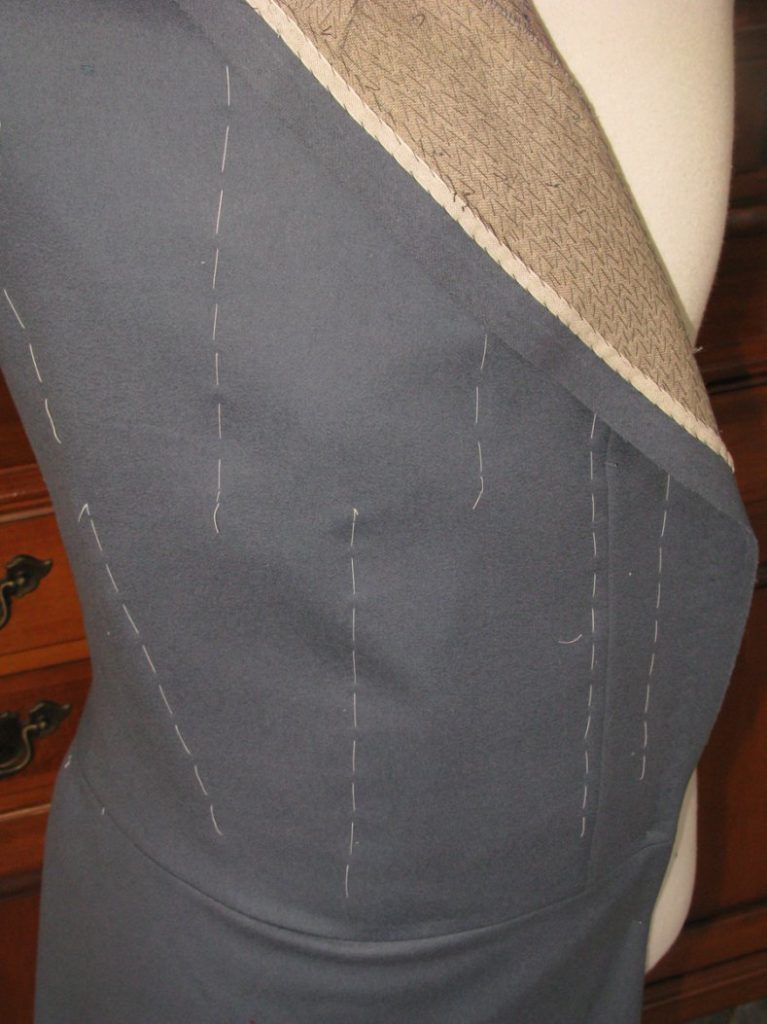
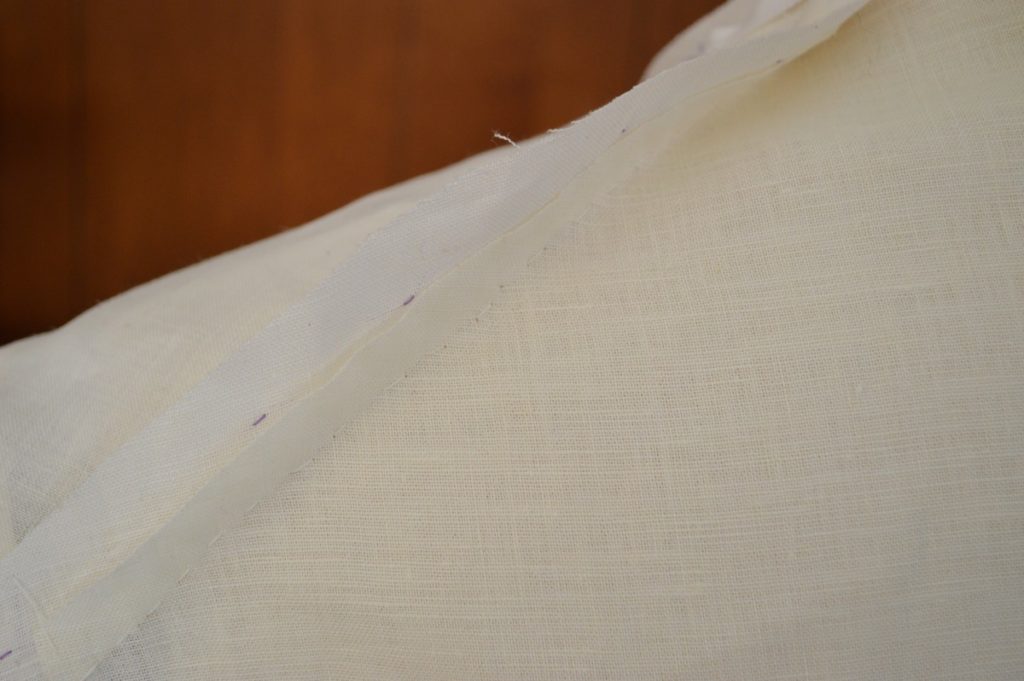
Though very hard to see, the same ironwork you performed on the forepart must be mimicked in the facing, at least along the front edge. Try to work it as best you can into a straight line. Note that there is no lapel dart put in the facing.
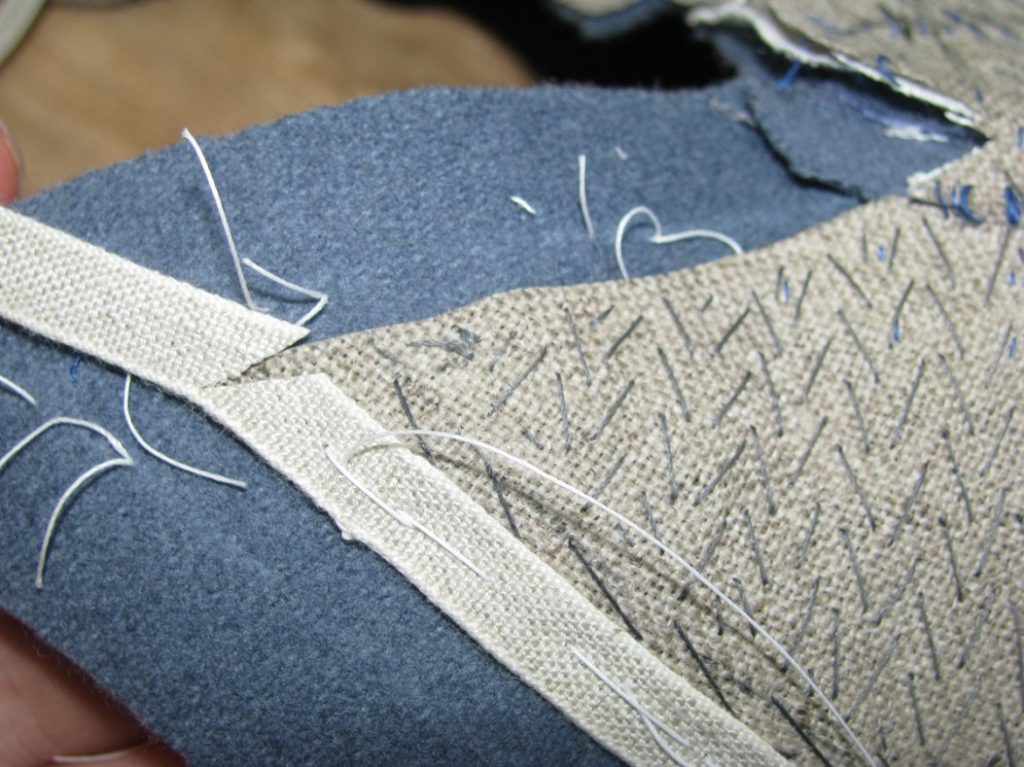
Baste the facing to the lapel and machine stitch, using a 1⁄4 inch seam.

Press both open in the usual manner, using a tailor’s ham for the curved areas.
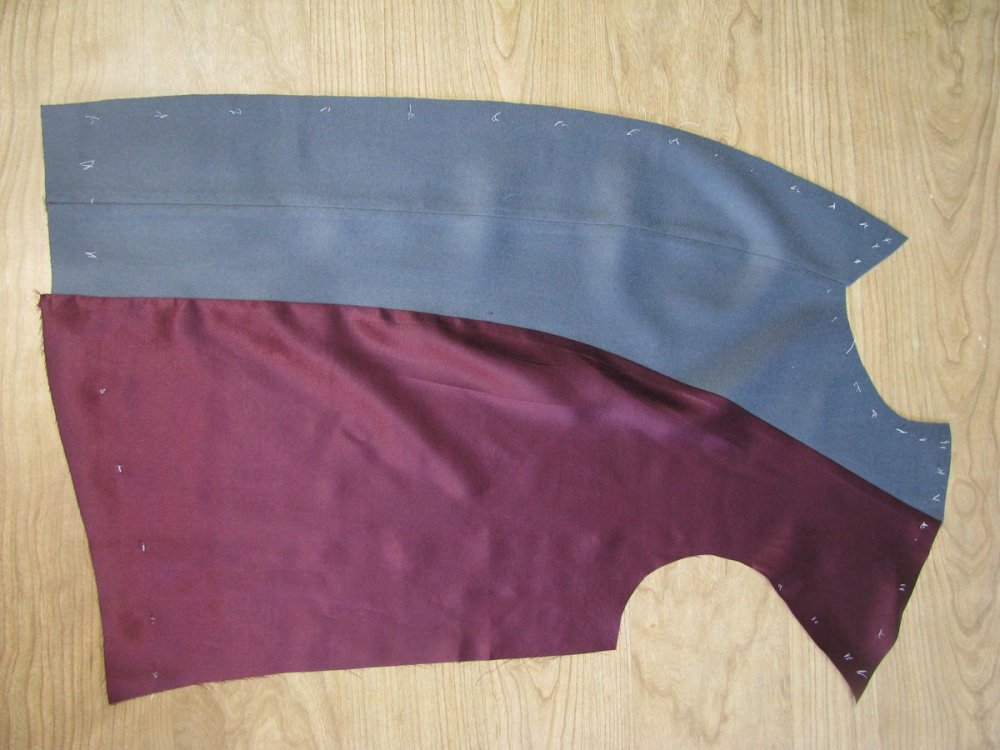
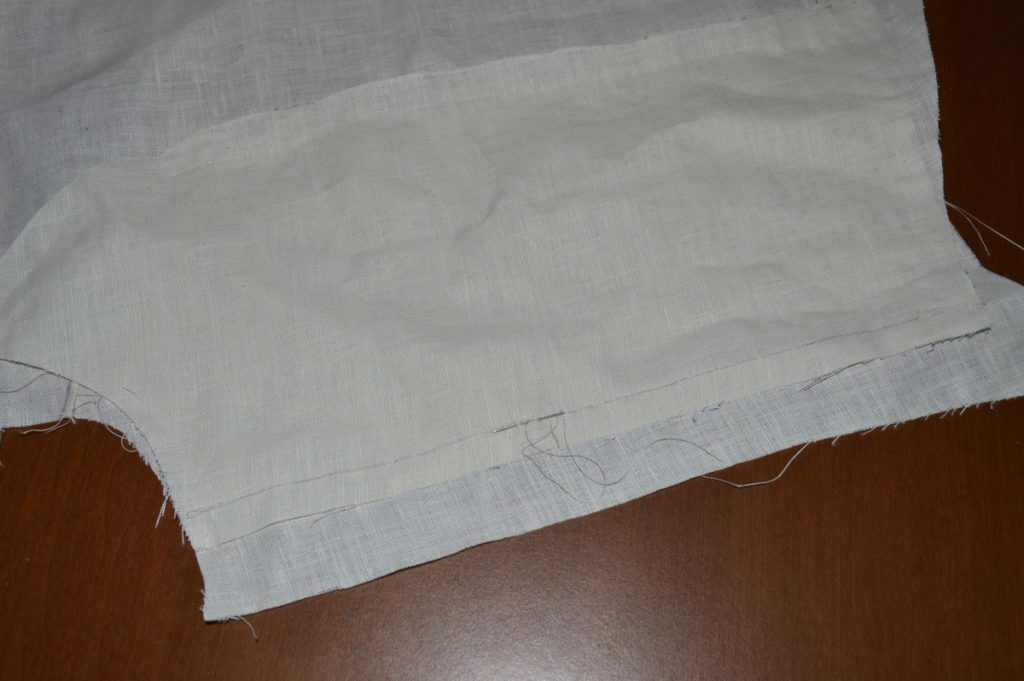
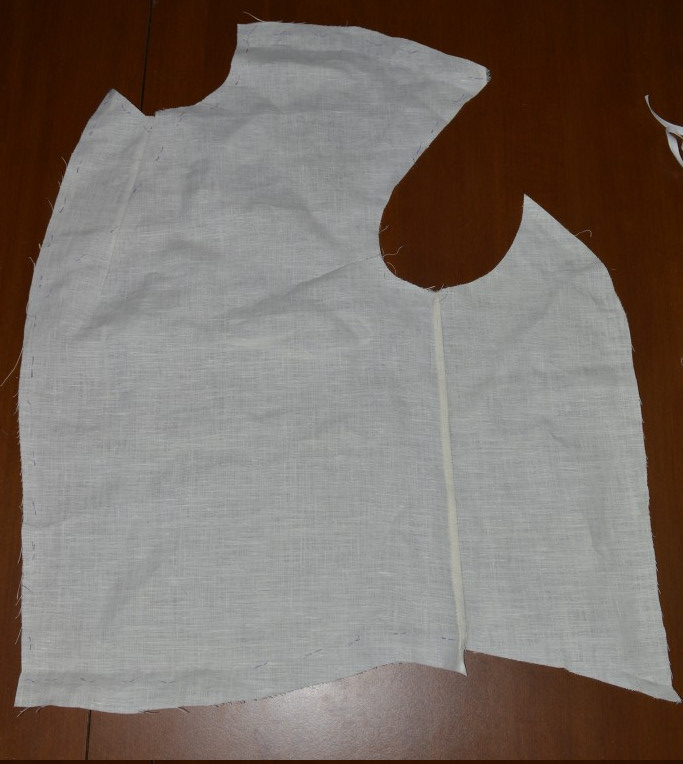
The Lining
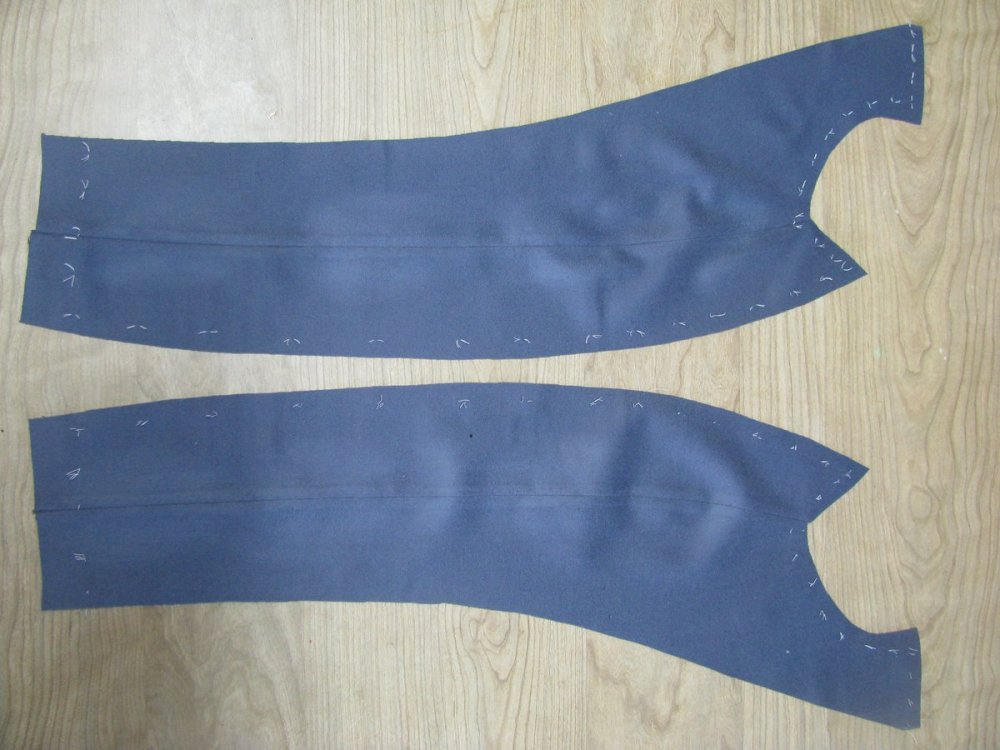
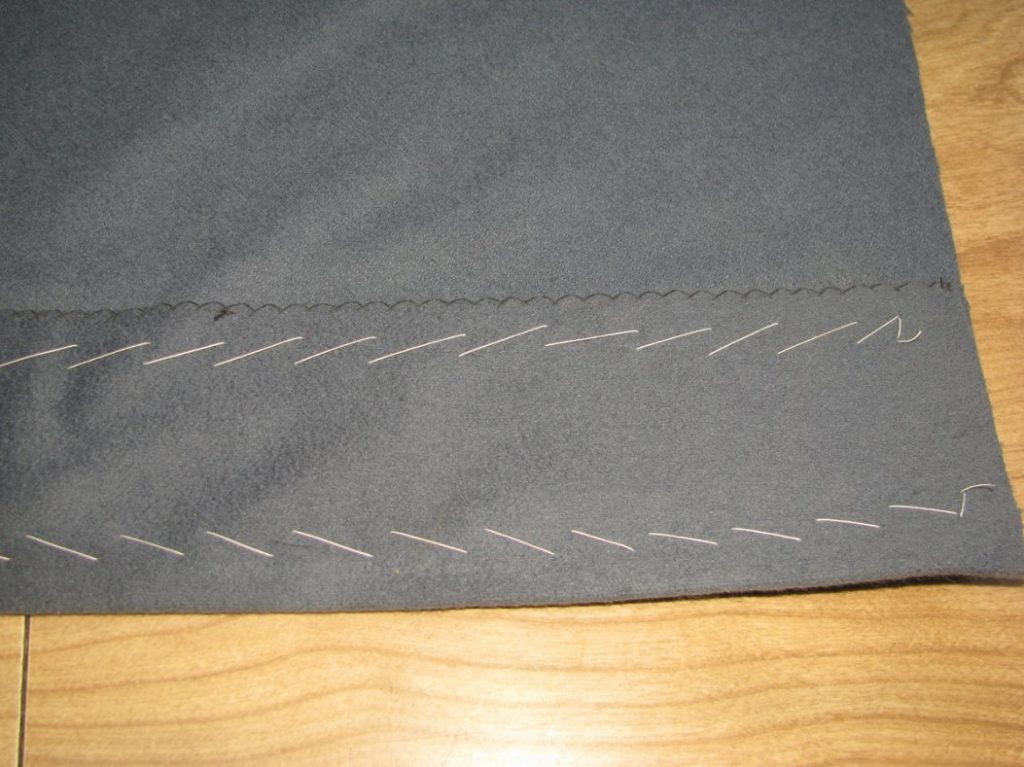
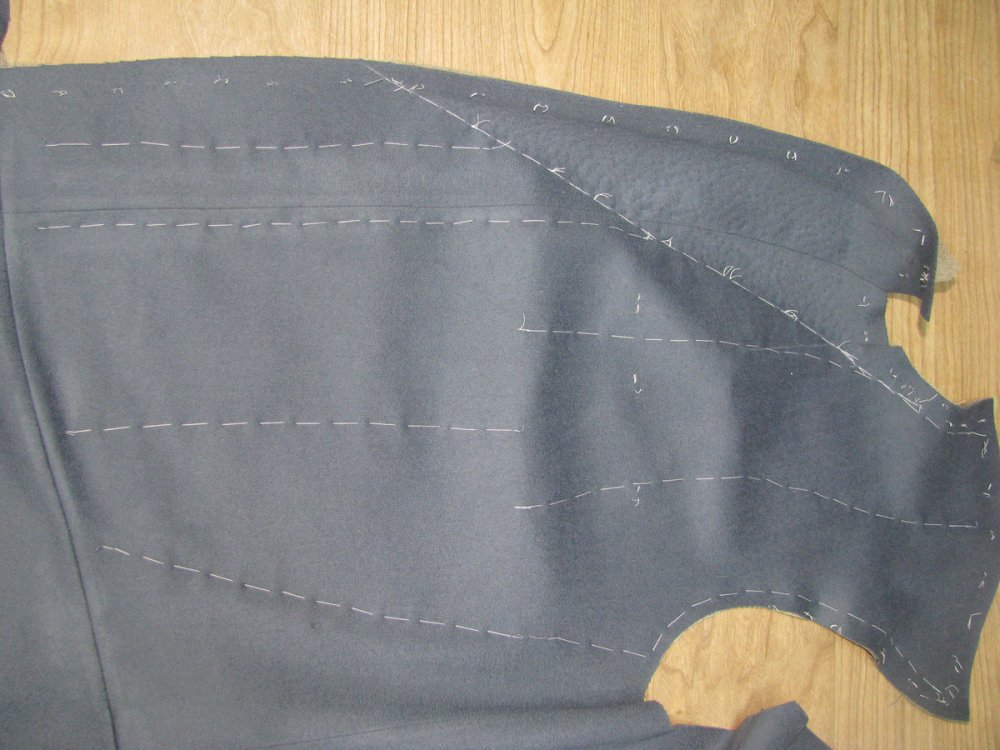
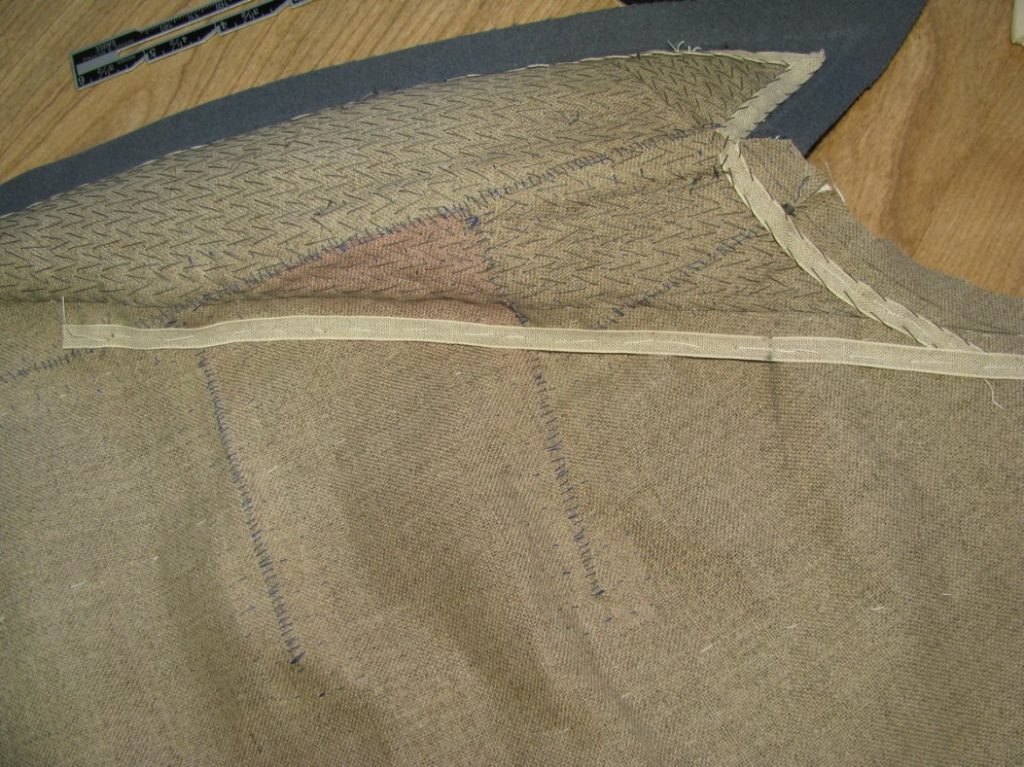
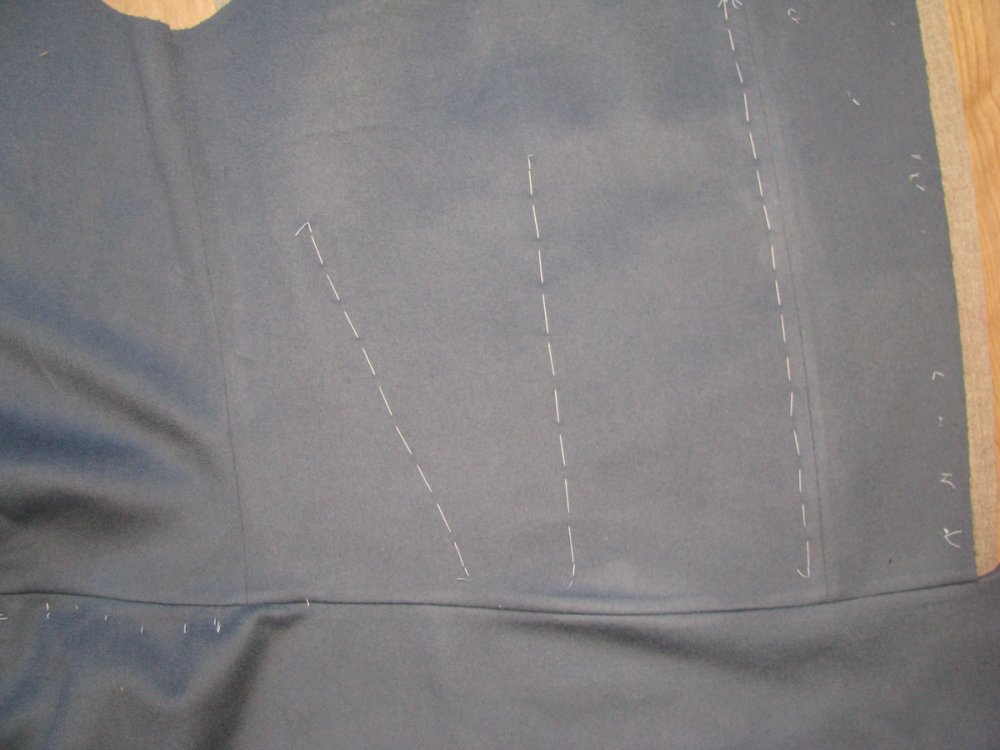
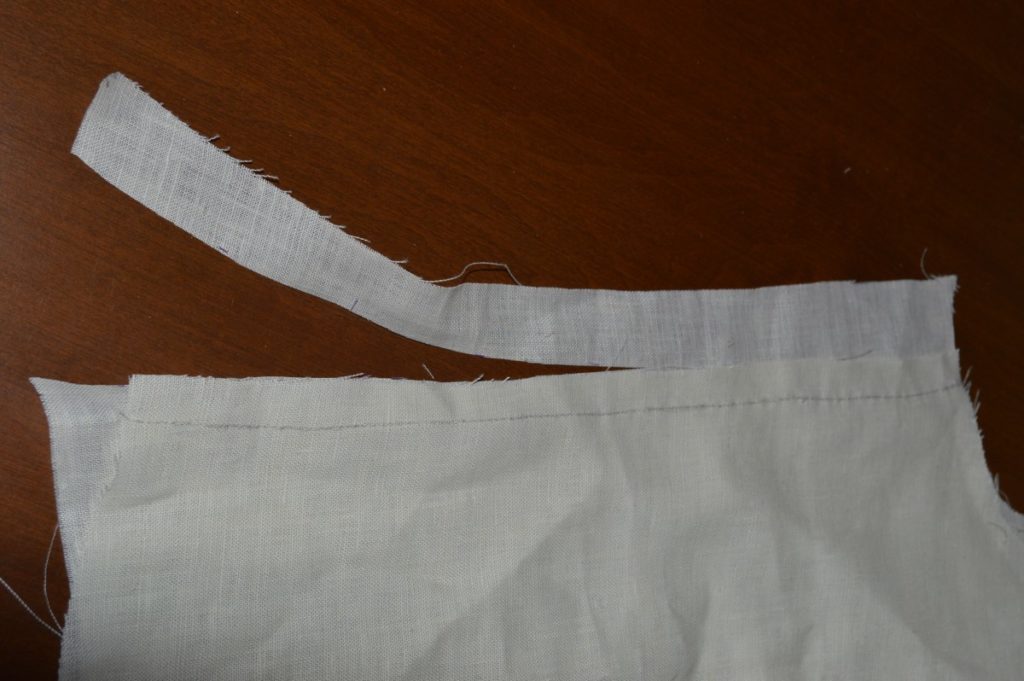
It’s now time to cut the lining for the forepart and sidebody. The sidebody piece is cut out as usual. On the forepart, however, you must add twice the seam allowance, so 1/2 inch total, along the front edge that you cut for the facing pattern. I ended up just adding it on after tracing the piece with chalk, but I recommend you add the seam allowance to the pattern itself, if possible.
Add the usual inlays – 1 inch along the bottom, and half an inch at the shoulder seam tapering down the armscye. If you wish, you may add inlays to the top of the sidebody, but as I had cut them off of the wool, they were not necessary here. Add tailor tacks to make sure the inlays are accurately preserved.
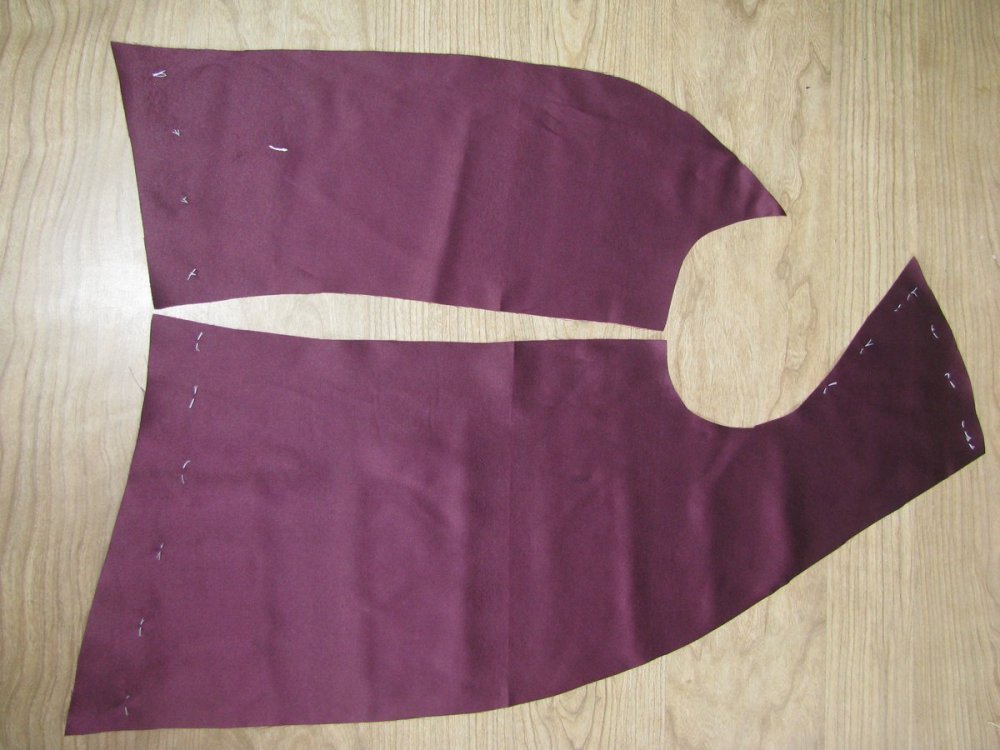
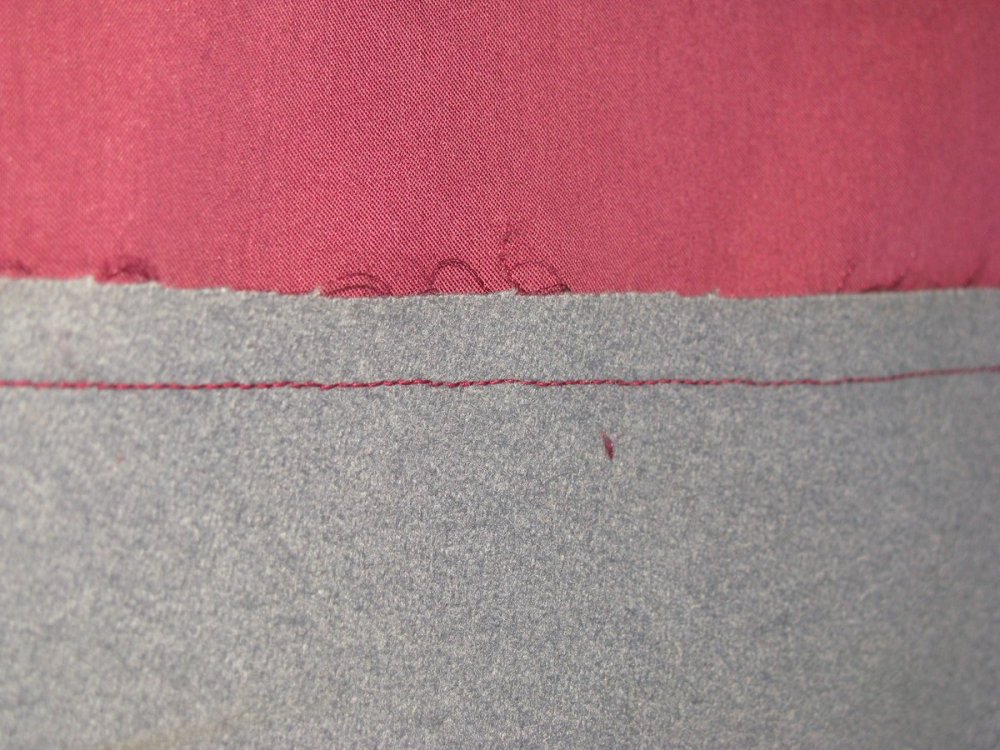
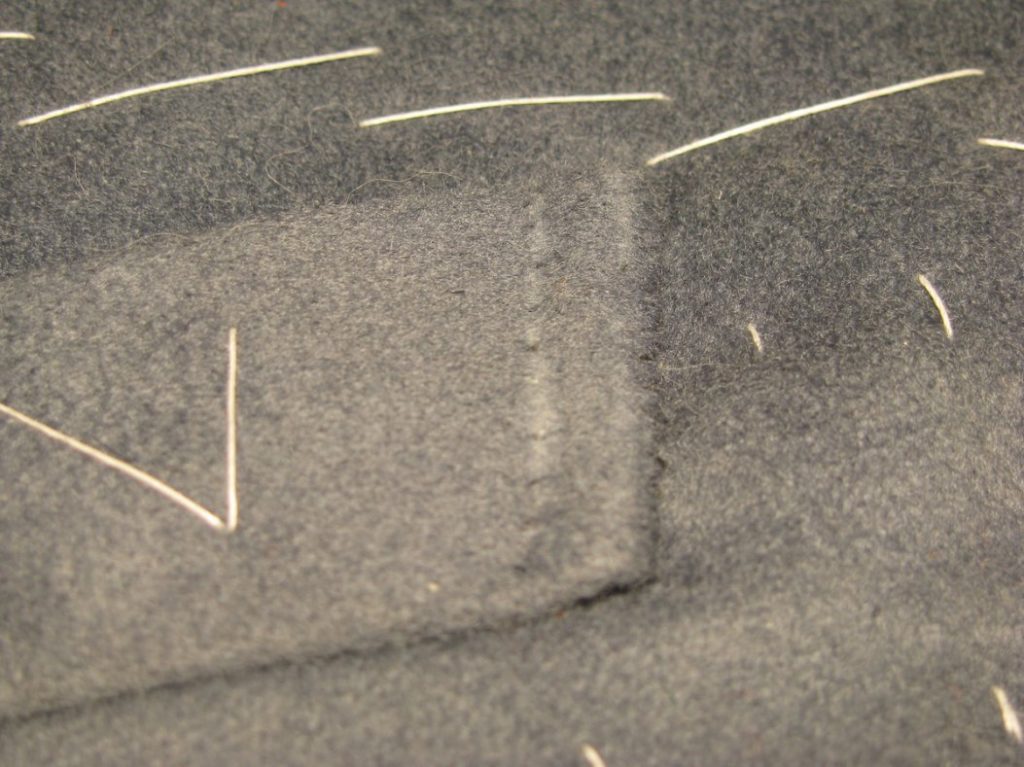
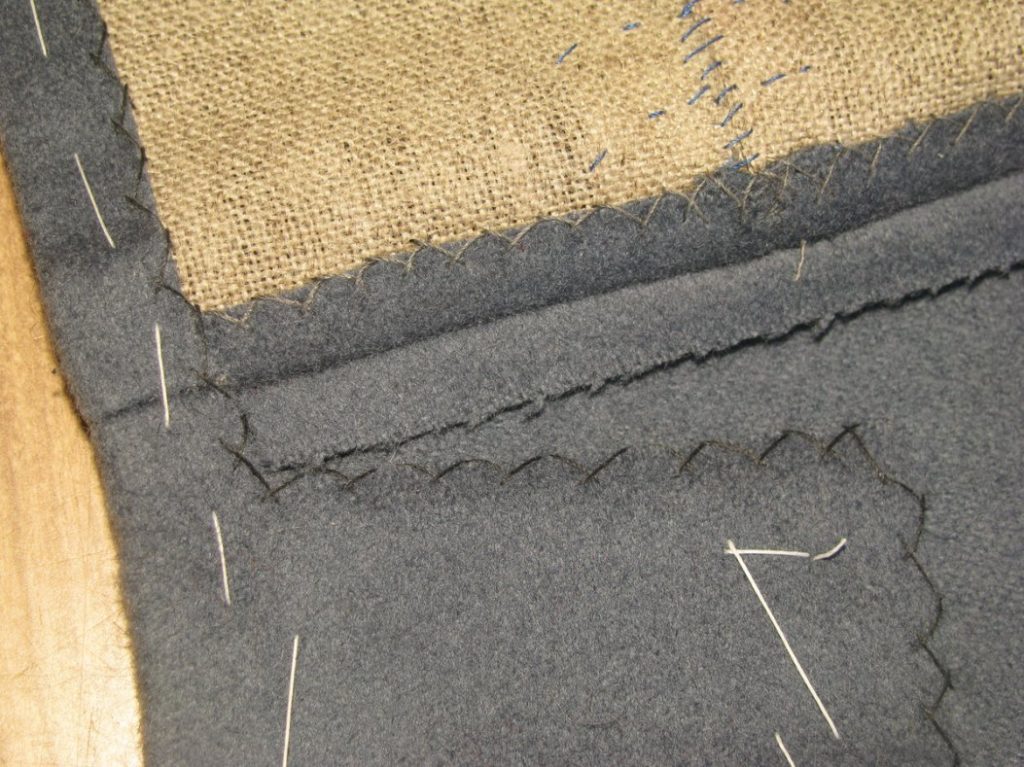
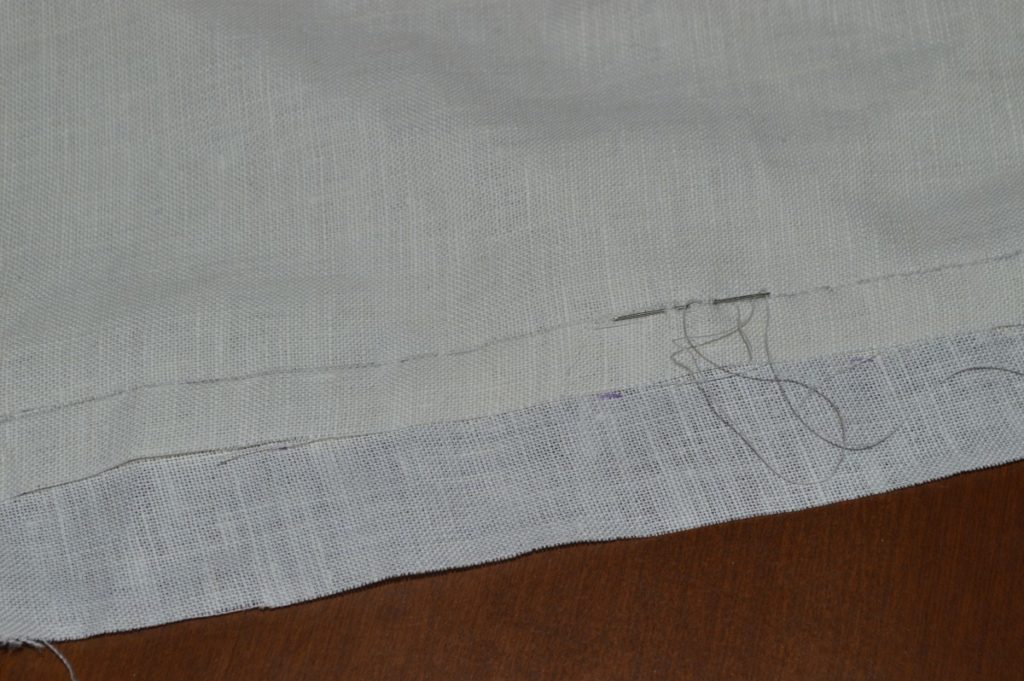
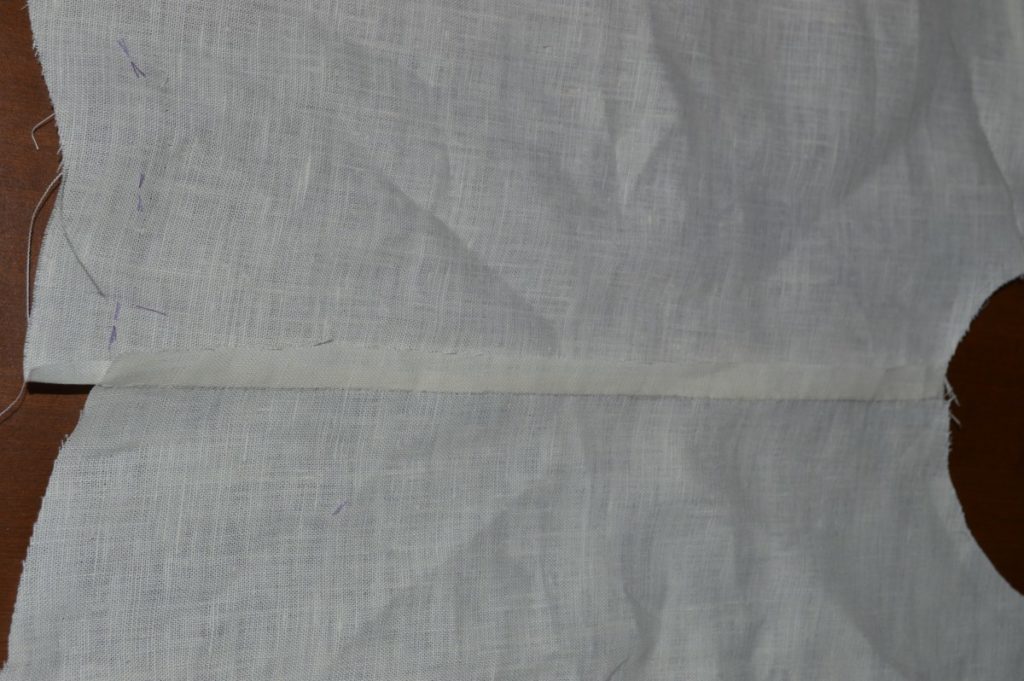
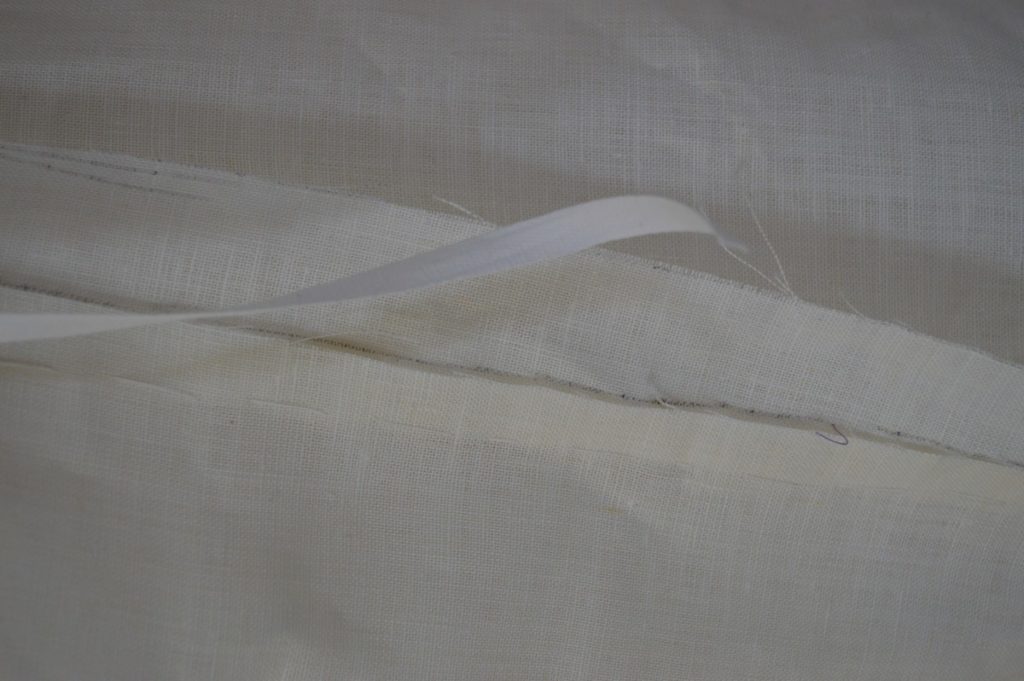
Baste the front of the lining to the inner seam of the facing, right sides together. I recommend pinning one end while you baste from the other, to ensure the fullness is worked into the seam properly. Since these are both curved seams, it will take some work getting everything to line up properly. After you are satisfied with the results, sew the seam using a 1⁄4 seam allowance.
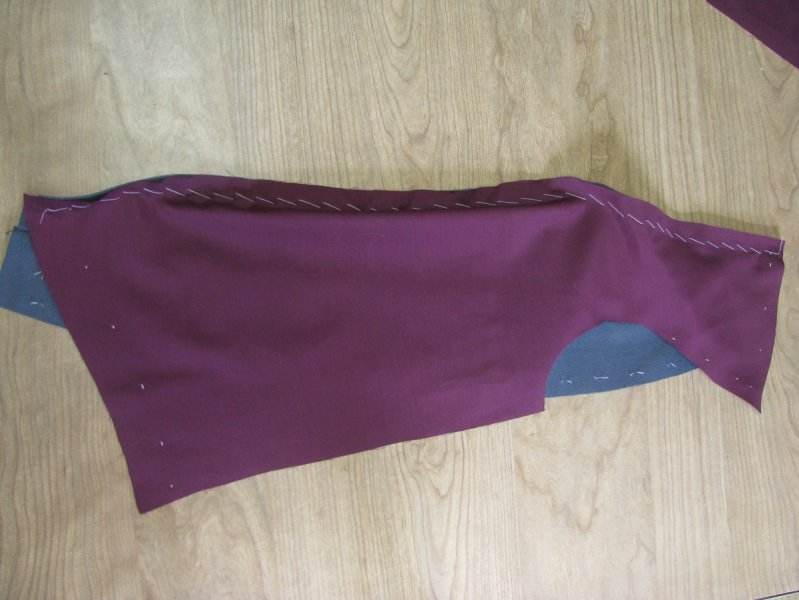
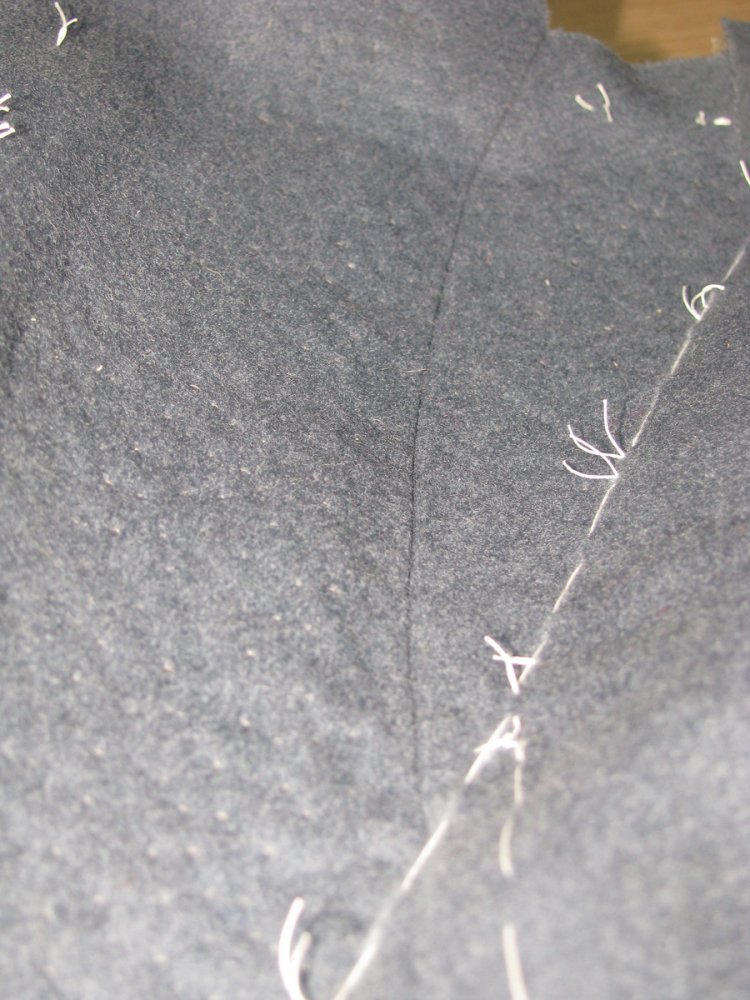
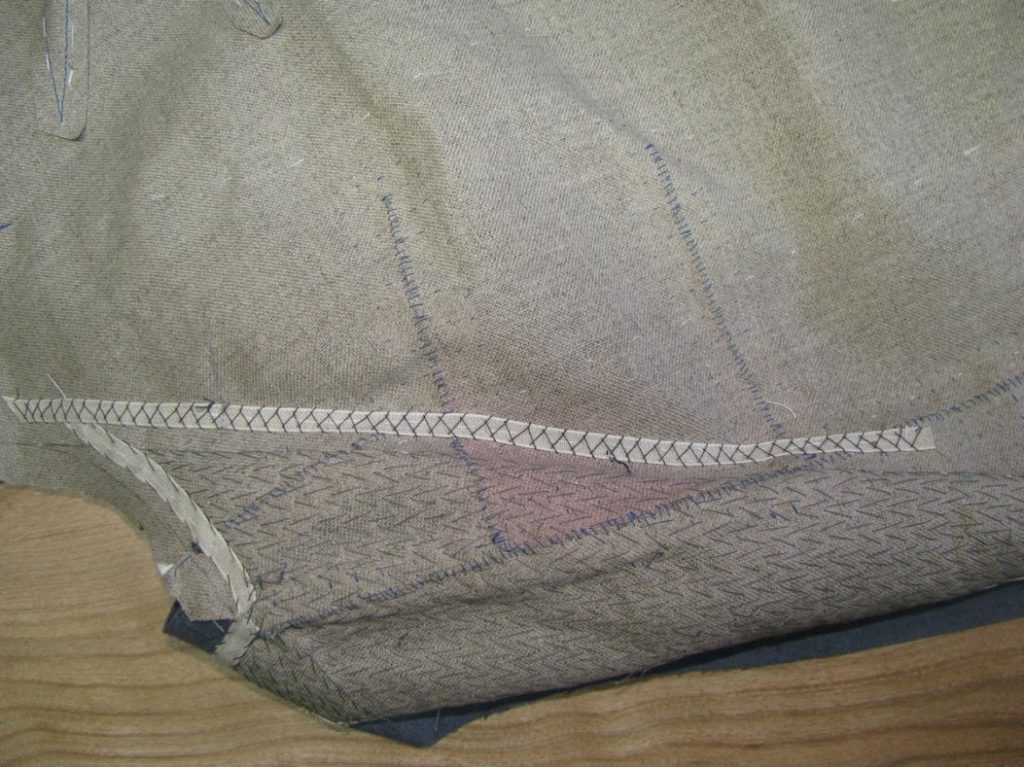
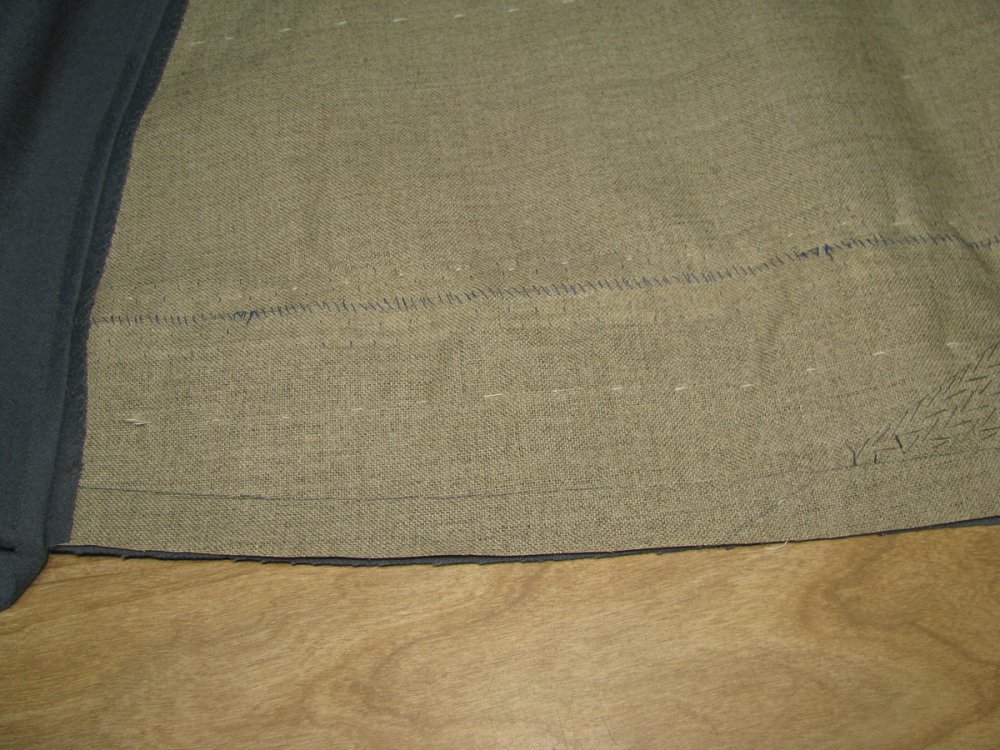
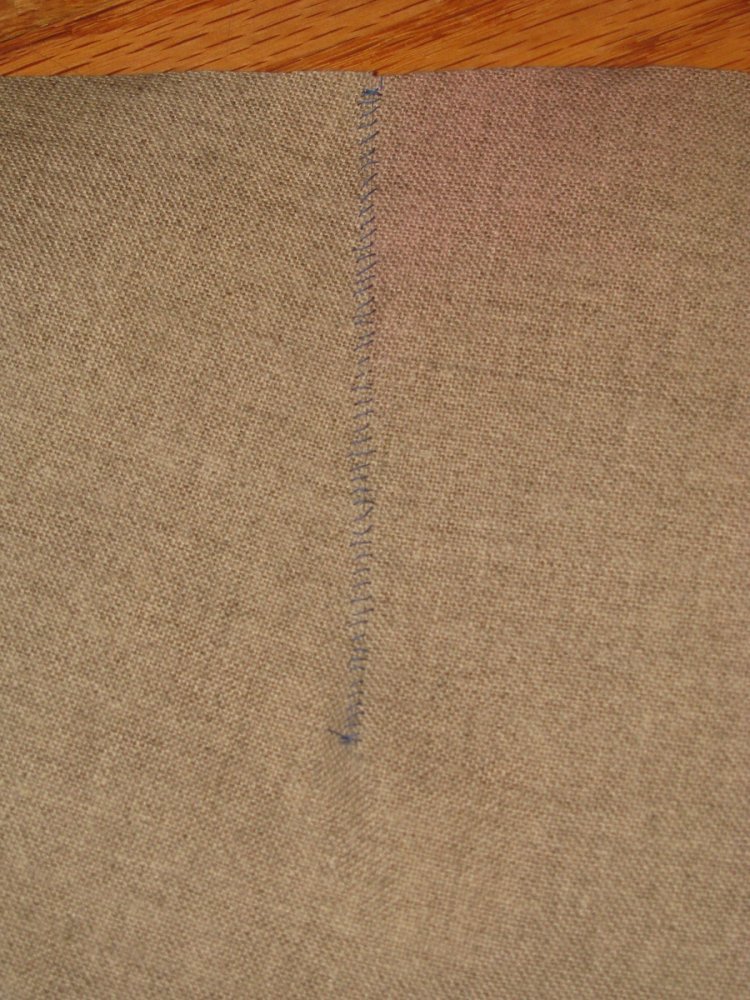
Press the lining over towards the back. We’re not going to open this seam, as the double thickness of wool would make this area too bulky.
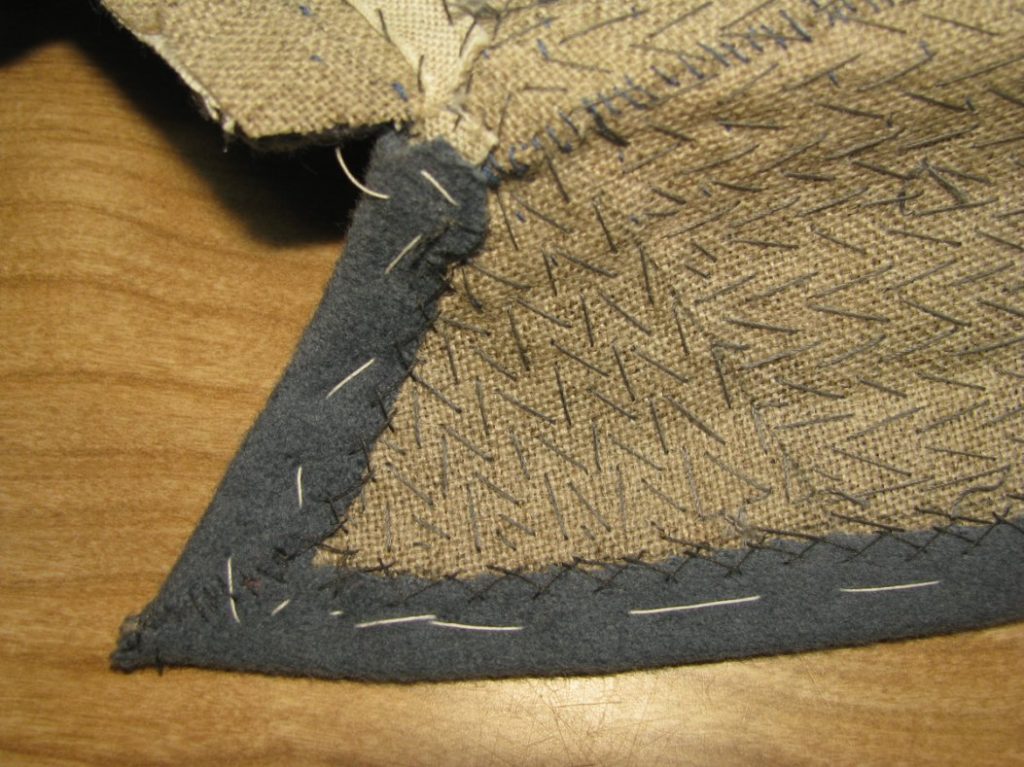
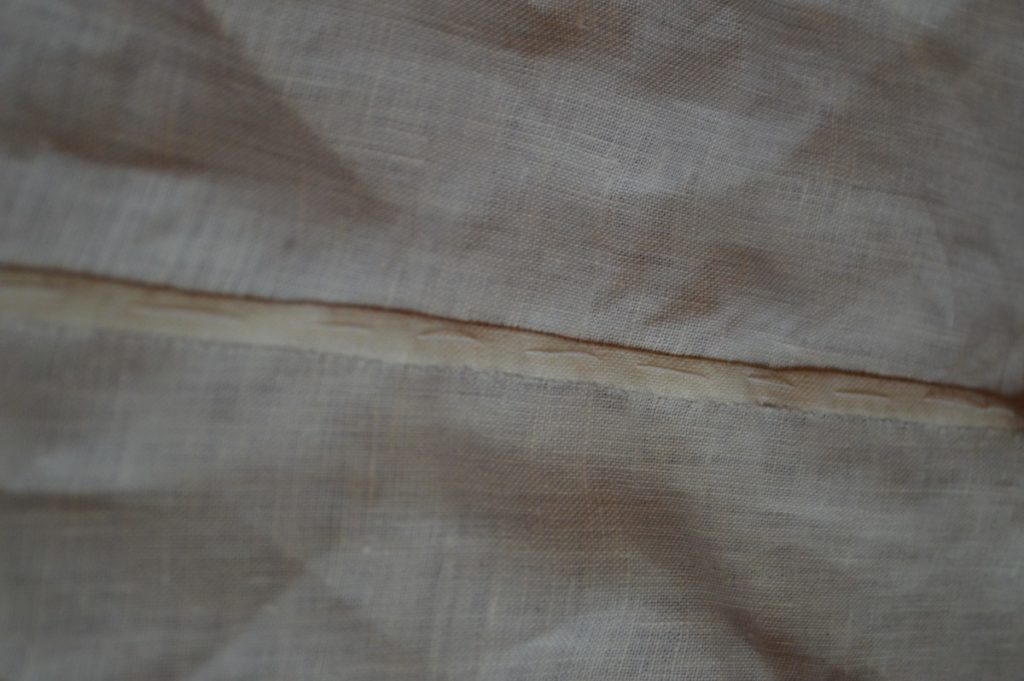
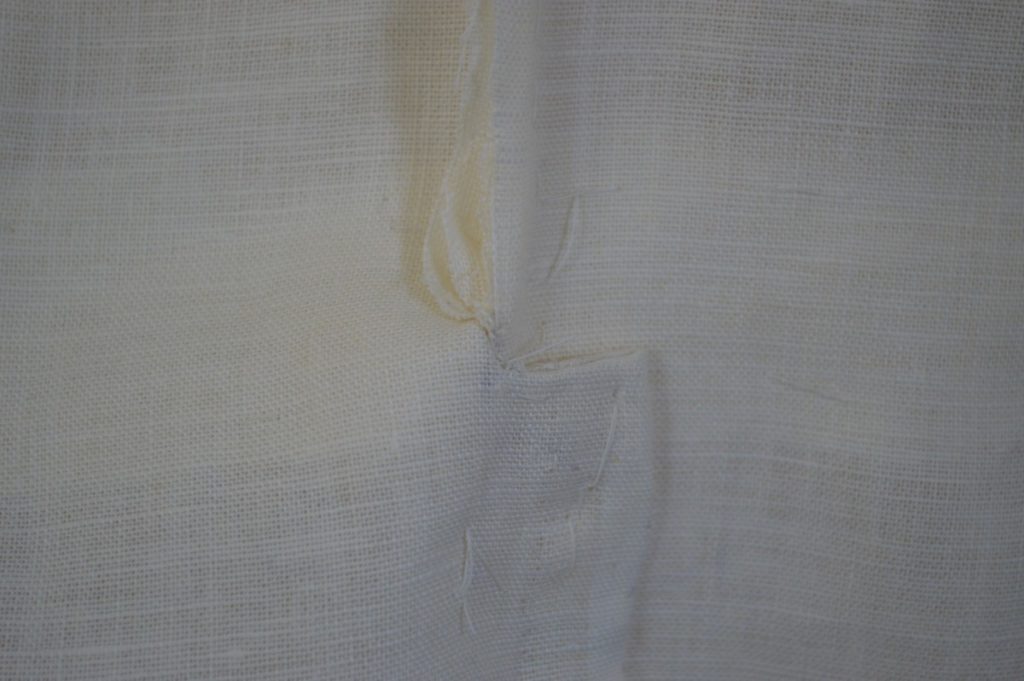
Here you can see the results from the wrong side. The wool is flat, and the lining fabric is pressed back.
Now baste and sew the lining sidebody to the forepart assembly. I forgot to photograph this step, but you should know how to do this by now.
Securing the Breast Pocket
If you recall, we left the breast pocket in an unfinished state while we inserted the canvas. Now that the canvas is in place, we have a firm surface to tack the ends of the pocket to.
Begin by chalking the ends of the pocket. These can either be parallel to the grain line, or extend slightly outward, into a ‘boat’ shape.
Fold the ends of the pocket under, and press well on a tailors ham, so as not to ruin any of the iron work or other shaping of the coat body.
After pressing, trim the seam allowance at both ends to 1⁄4 inch, or even slightly less.

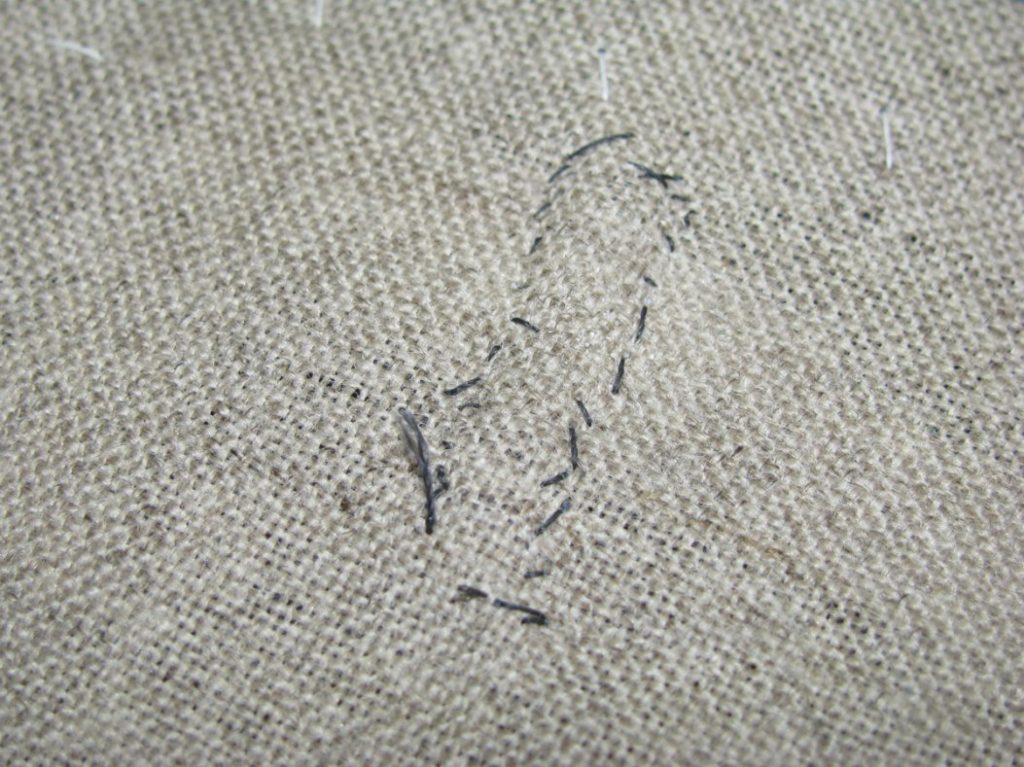
Holding the end of the pocket in place with your thumb and fingers, fell down the end of the pocket, starting at the bottom and working your way to the top. These should be small stitches, and not visible in the finished pocket. The stitches should be ‘pricked’ – that is, pass the needle all the way through to the bottom. The layers are too thick to take a normal stitch here.
You may notice on the upper end of the pocket, that the seam allowance extends above the height of the pocket. This needs to be carefully trimmed, making sure not to get too close to the seam allowance, or the cut edge will show in the finished pocket. I generally trim in to just slightly higher than the top of the pocket, and push the rest inside as I stitch.
Continue felling around to the top of the pocket, to just past the cut edge which you can feel underneath. This is about 1⁄4 from the end of the pocket.
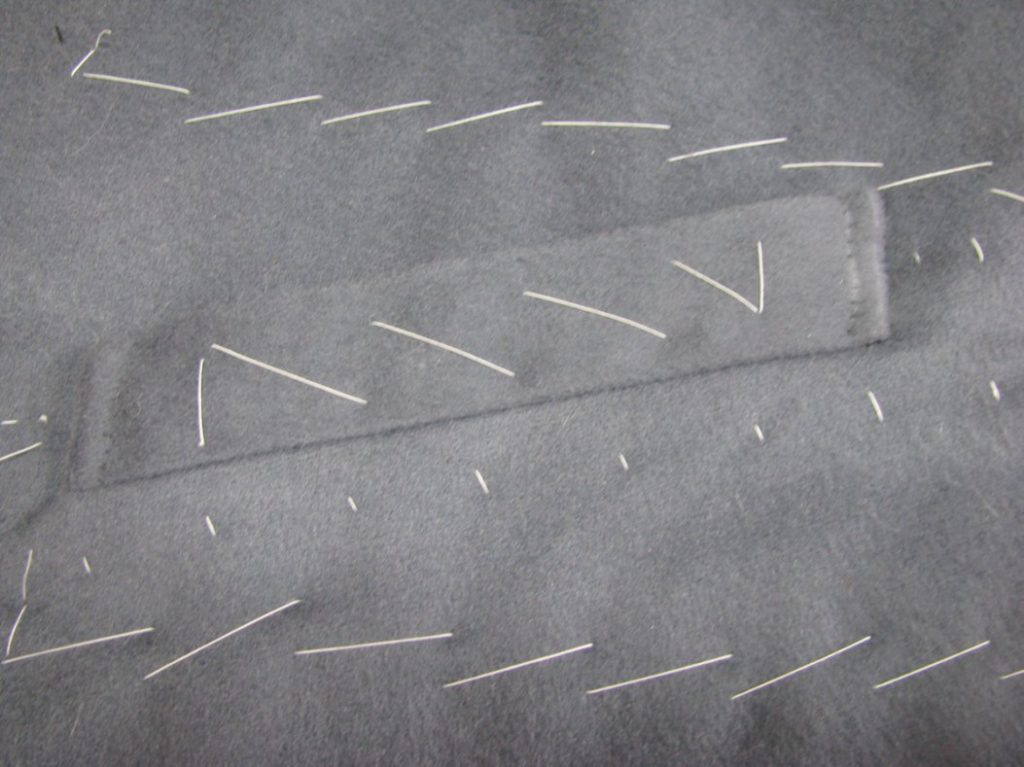
Then, continuing at this same distance from the pocket end, side stitch down the pocket, towards the bottom, in a straight line. I’ve somewhat exaggerated the stitches for clarity here, on your pockets, the stitches should be invisible, showing only a slight indentation.
On the canvas side, you can see the shape the stitches make. These should be neat and tidy, and fairly small.
Turning back to the right side, the pocket is complete. If you wish, you may put in a bar tack on either end at the tops, using silk buttonhole twist. This is optional, and gives a bit of extra strength to the pocket.
Closing the Front Edge
Baste over the excess fabric in the skirt, forming a self facing.
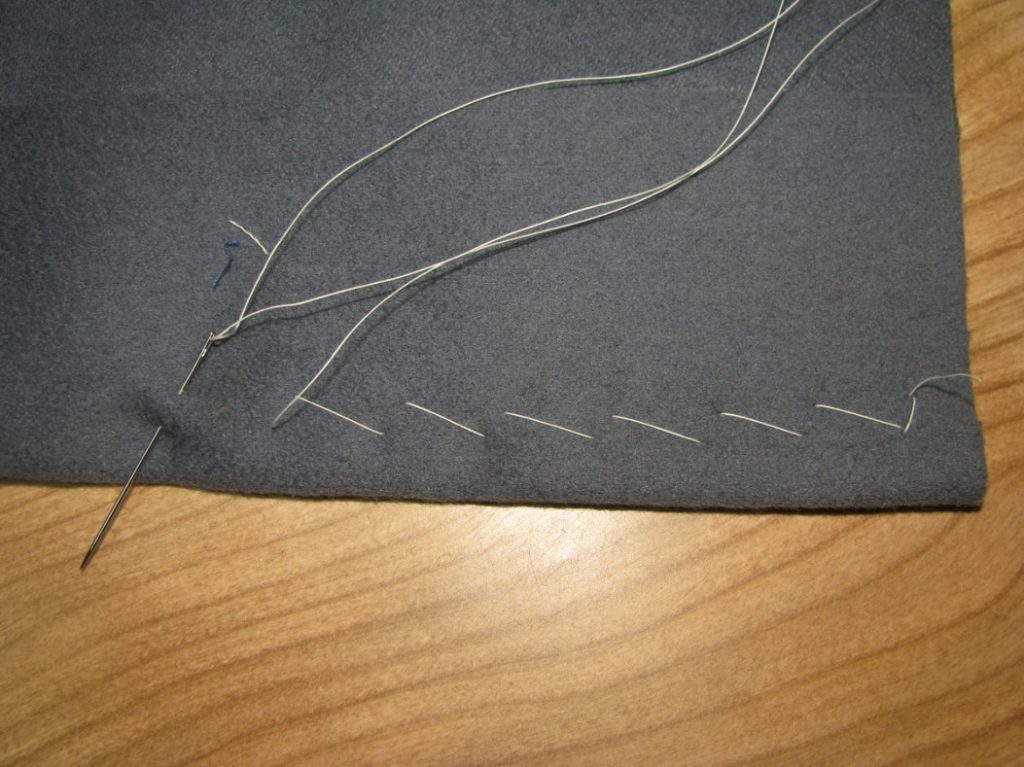
Along the cut edge, place another row of basting stitches, to ensure everything is in place and to prevent movement when cross stitching later on.
Continue basting over the wool to the canvas. Do not pull tightly, but allow the wool to roll over naturally with a neutral tension.
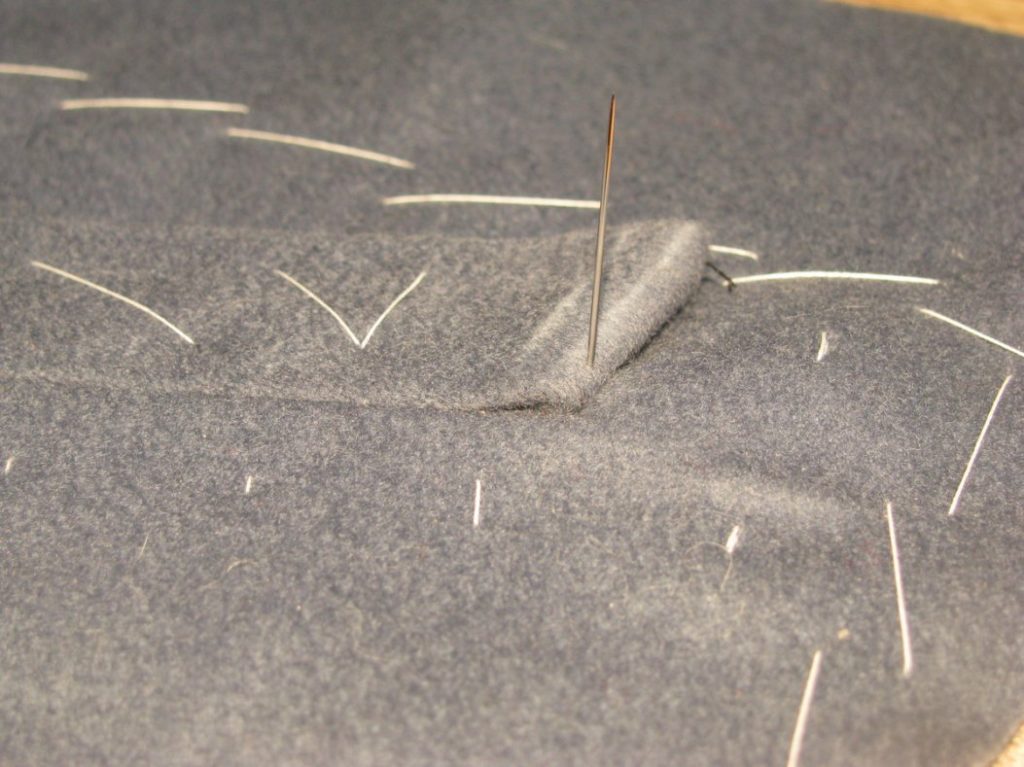
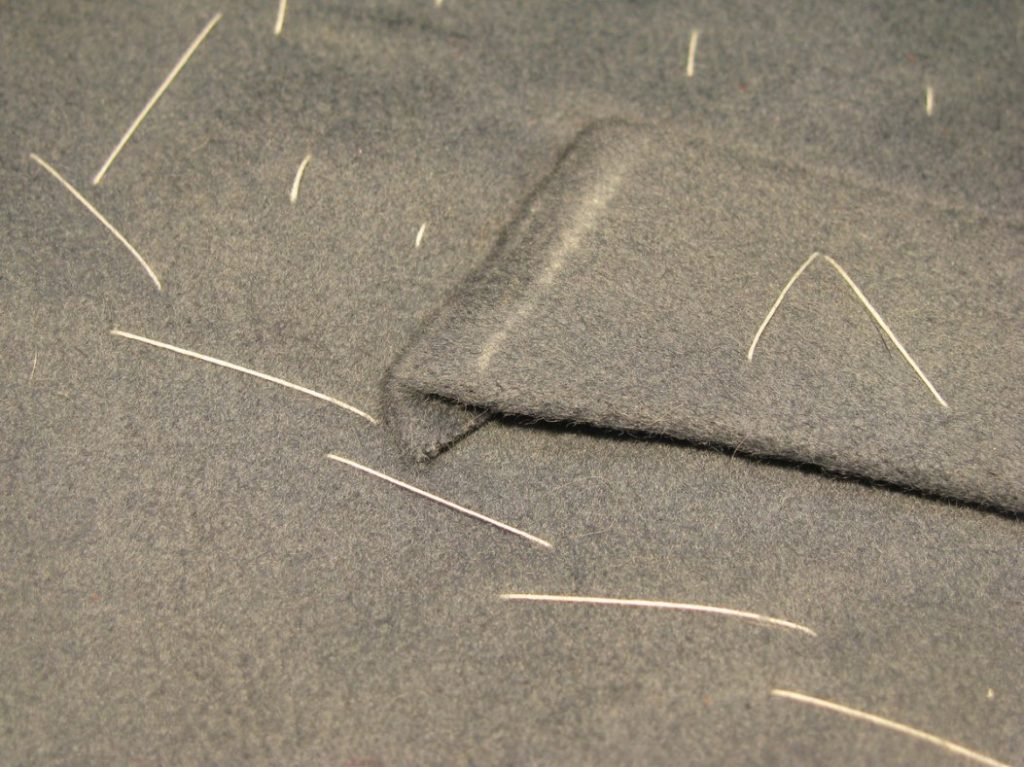
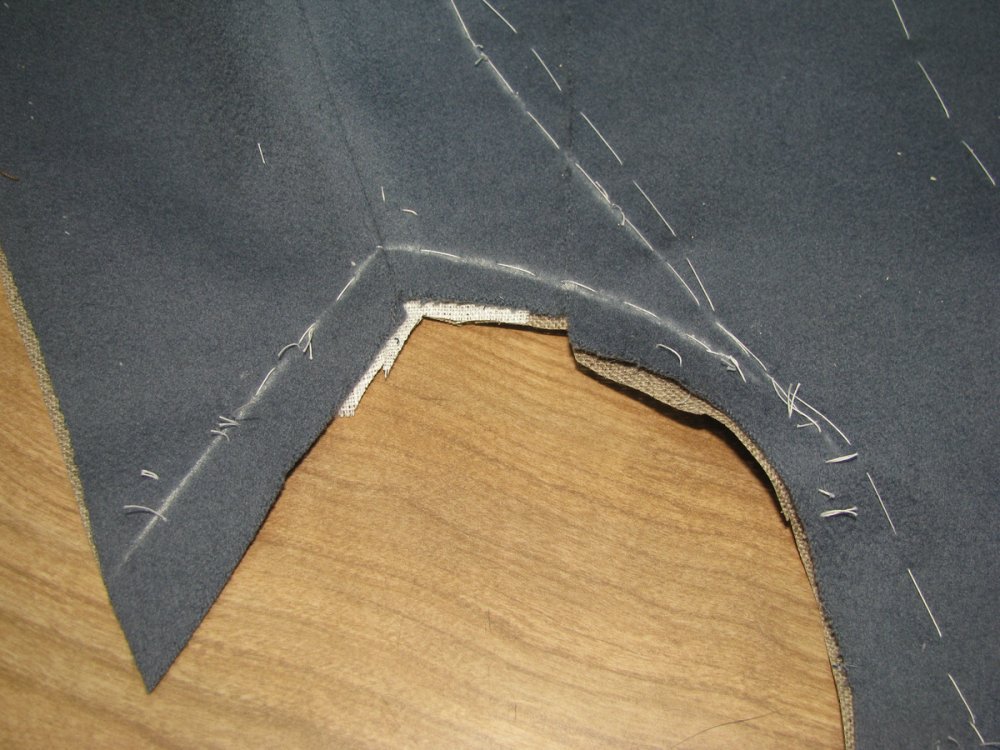
At the top corner of the lapel, the wool must be mitered to reduce bulk. This can be tricky, and I highly advise practicing on some scraps before trying it out on your coat. First make an angled cut, aiming for the corner of the lapel. Fold over the other seam and trim the excess overlap. As you get more skilled, you can anticipate the angle and make the cut without having to measure. This is done by ‘rock of eye’ and isn’t something that can be taught, however.

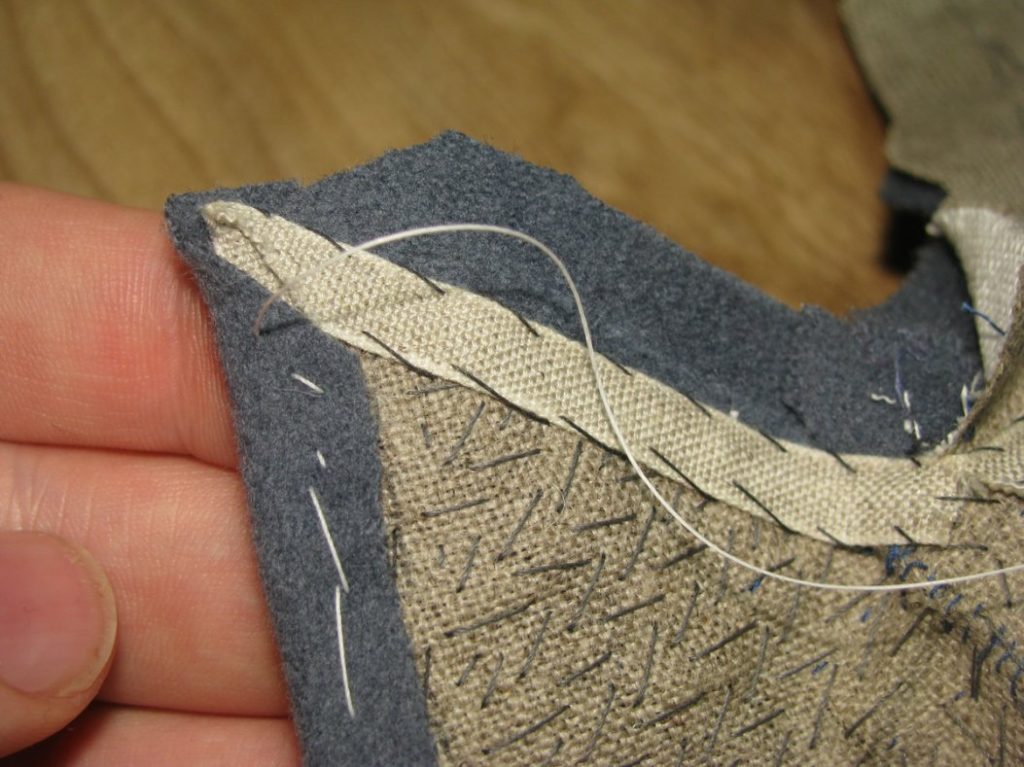
Continue basting across the top of the lapel, ending at the center front seam that you cut open previously.
Now stoat the mitered corner closed. The stitches will not be seen, but try to keep them need and small. Close up the corner as best you can. This will be finessed when the lapel facings are attached.
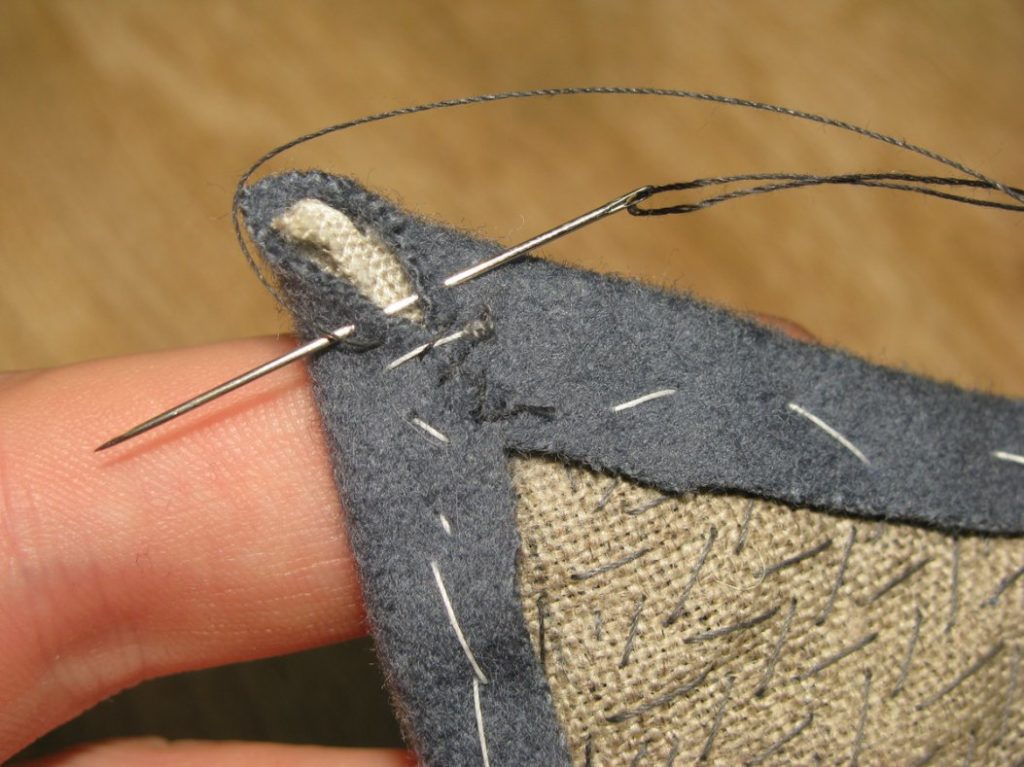
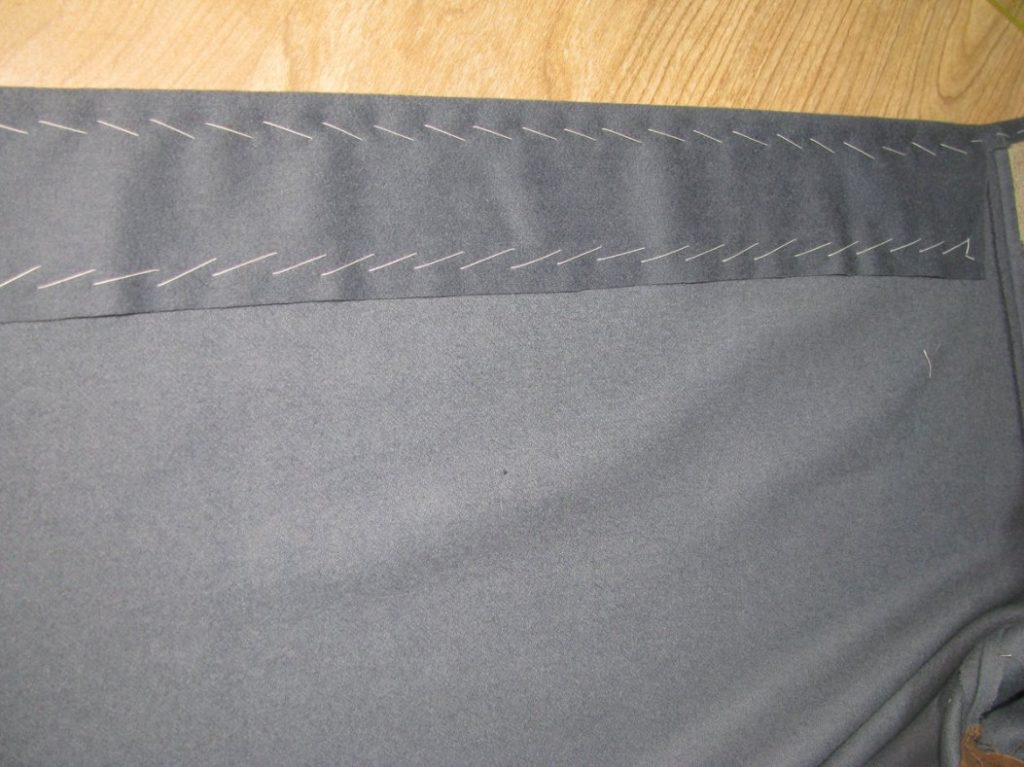
Cross stitch the raw edge of the skirt to the skirt body, being careful not to let the stitches show through to the right side. At the waist seam, if you’ve cut the angle correctly, the facing should adjoin the waist seam with no gap. Here you can see I was a little off, thus the gap. If they do meet, you can stoat the two edges together. If not, just continue cross stitching.
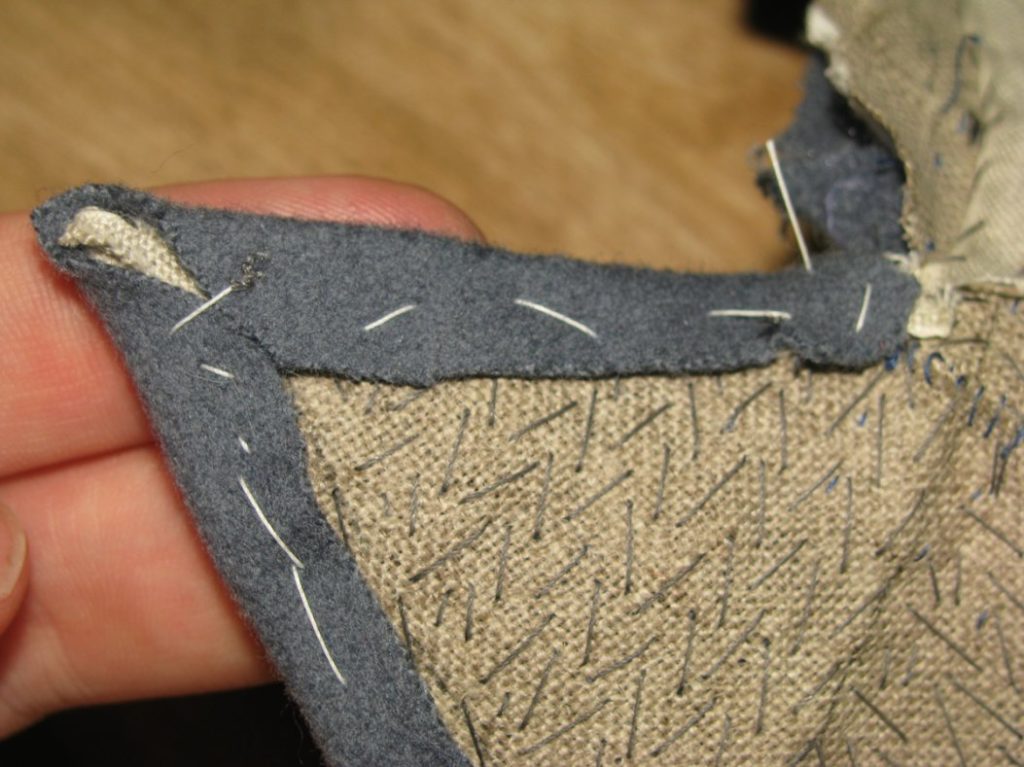
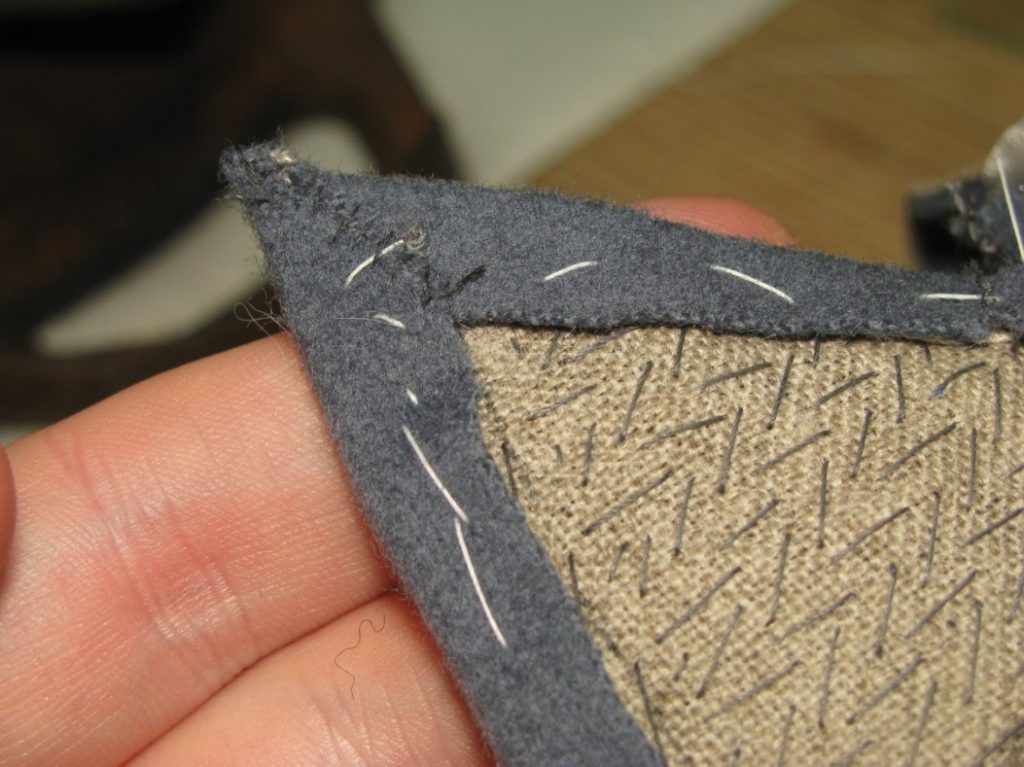
Continue securing the wool to the canvas along the front edge, and along the top of the lapel.

Trimming the Front Edge
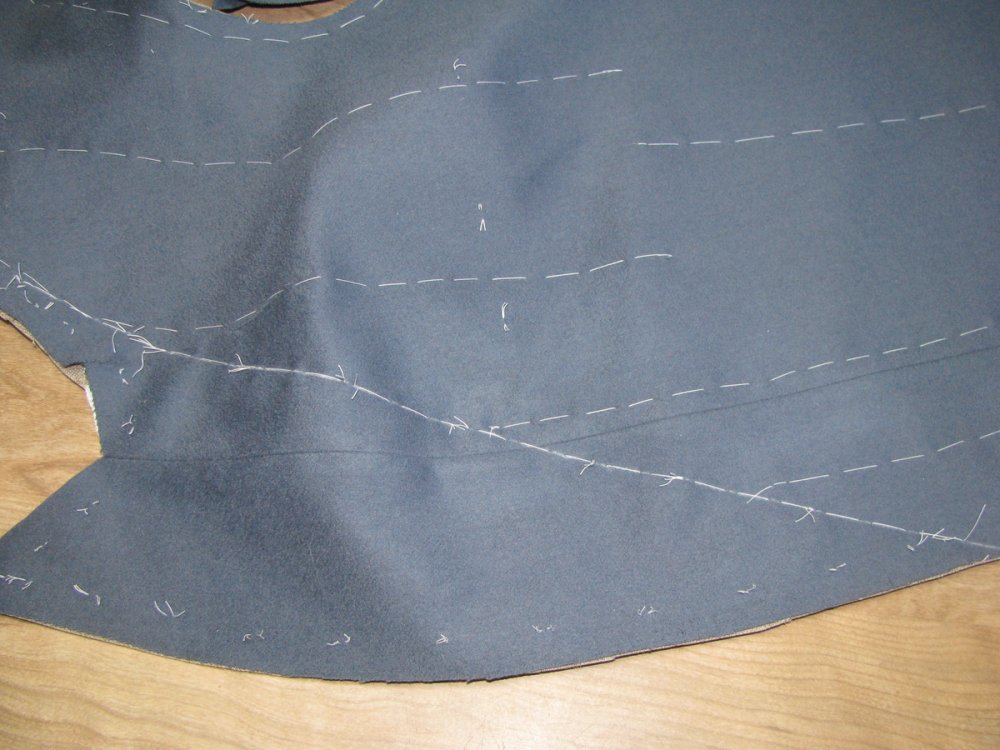
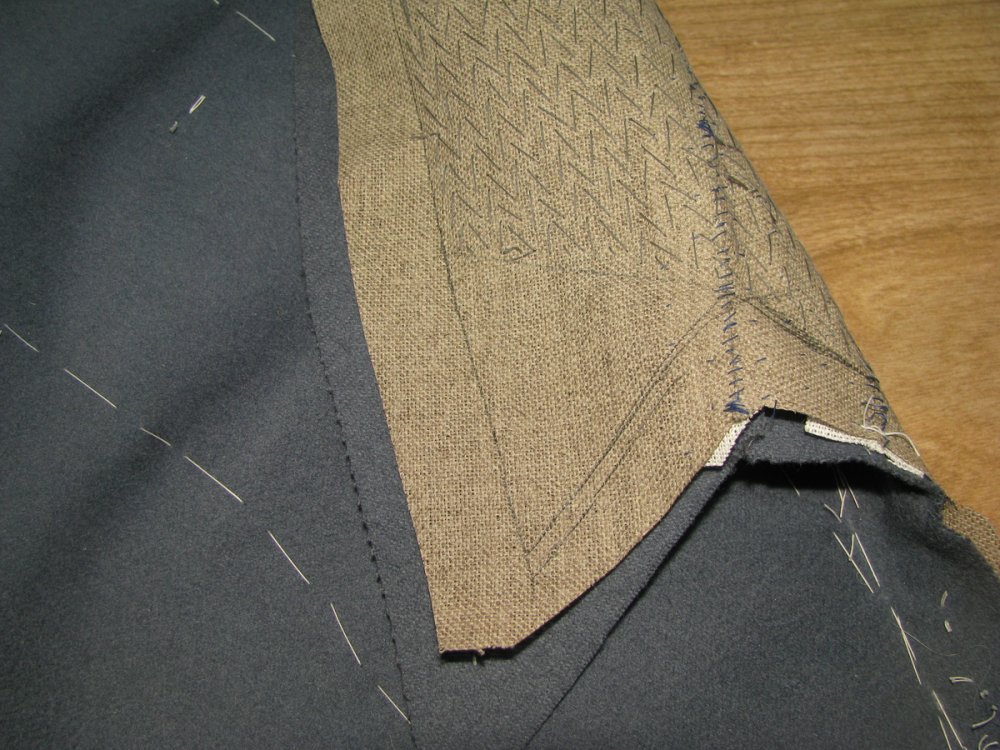
The front edge of the coat must now be finished off. Begin by marking a line about two inches away from the stay tape, on the skirt.
At the top of the skirt, mark a line, starting from the stay tape at 1⁄2” below the edge, tapering upwards as you go, to match the rise of the waist seam on the other side of the tape.
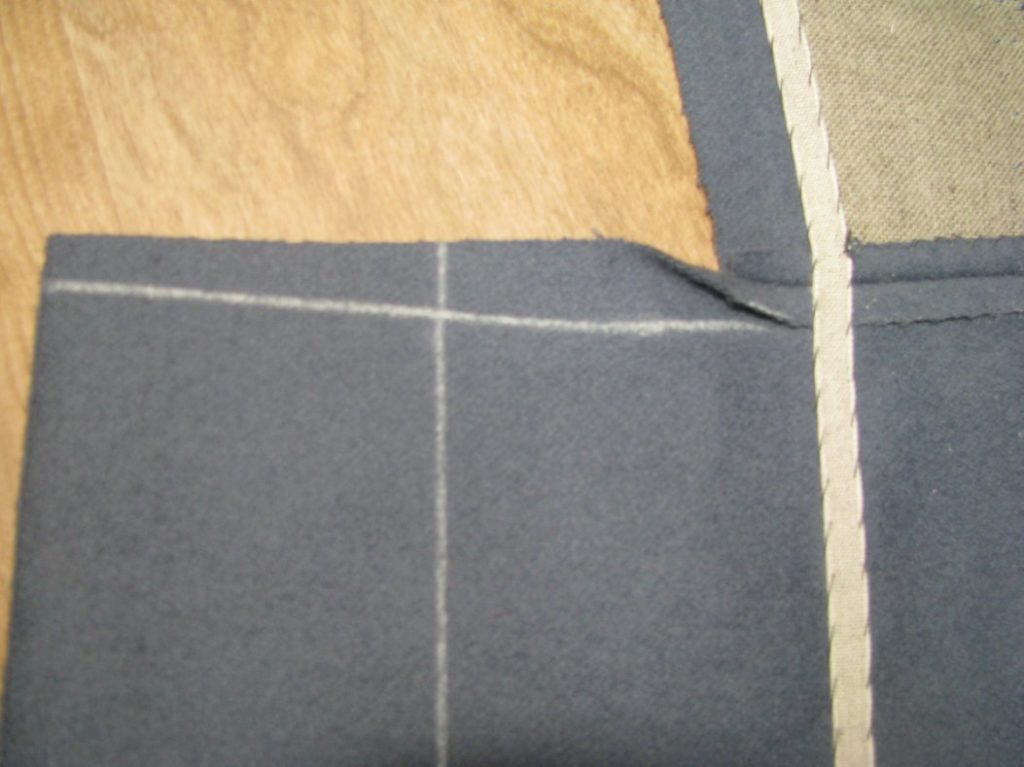
Along the front edge of the coat body, mark 3/8” away from the stay tape. Continue this along the top of the lapel, ending at the center front seam.

At the waist seam, just inside the chalk line, make a few stitches in place to hold the seam in place after trimming.
At the top of the center front seam, fold the canvas seam allowance out of the way, and make another stay stitch just above the stay tape.
Trim along these lines you have just chalked, starting from the skirt, along the top edge of the skirt, the front edge of the body, and the top of the lapel. When you get to the center front seam of the lapel, cut open the seam carefully with a seam ripper, to right above the stay stitches you put in place.
Taping the Canvas
After the padding is completed, lay the lapels out flat, canvas side up, and press them over a tailor’s ham. This will help smooth out any puckers or slight wrinkles, and generally firm everything up.
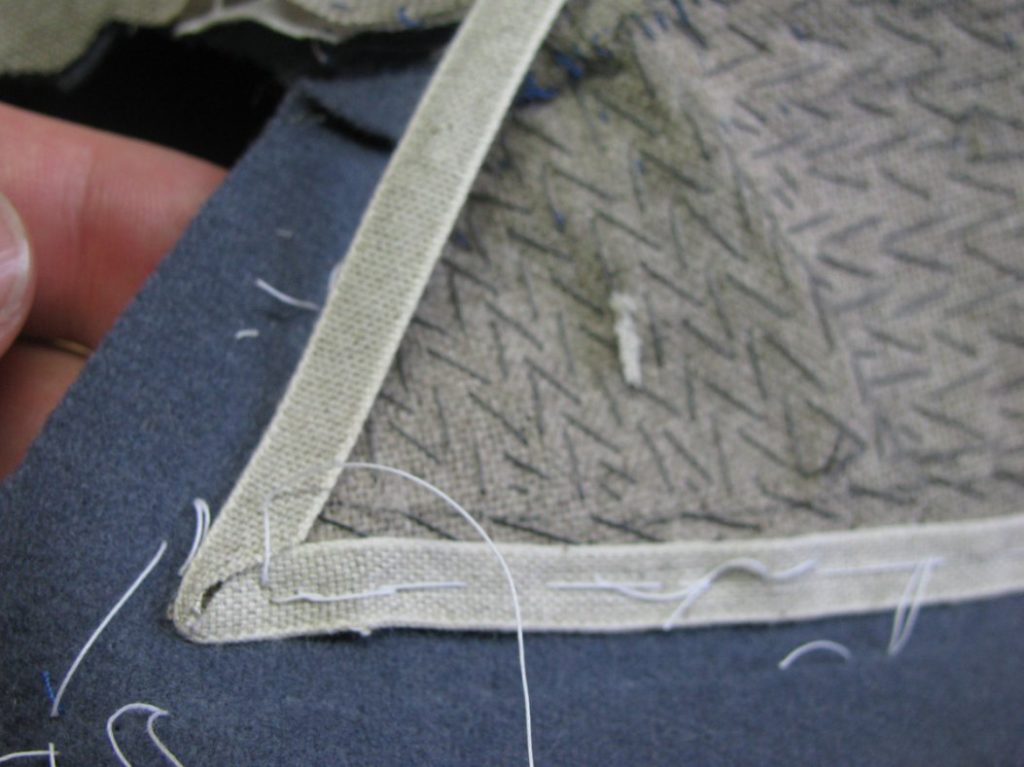
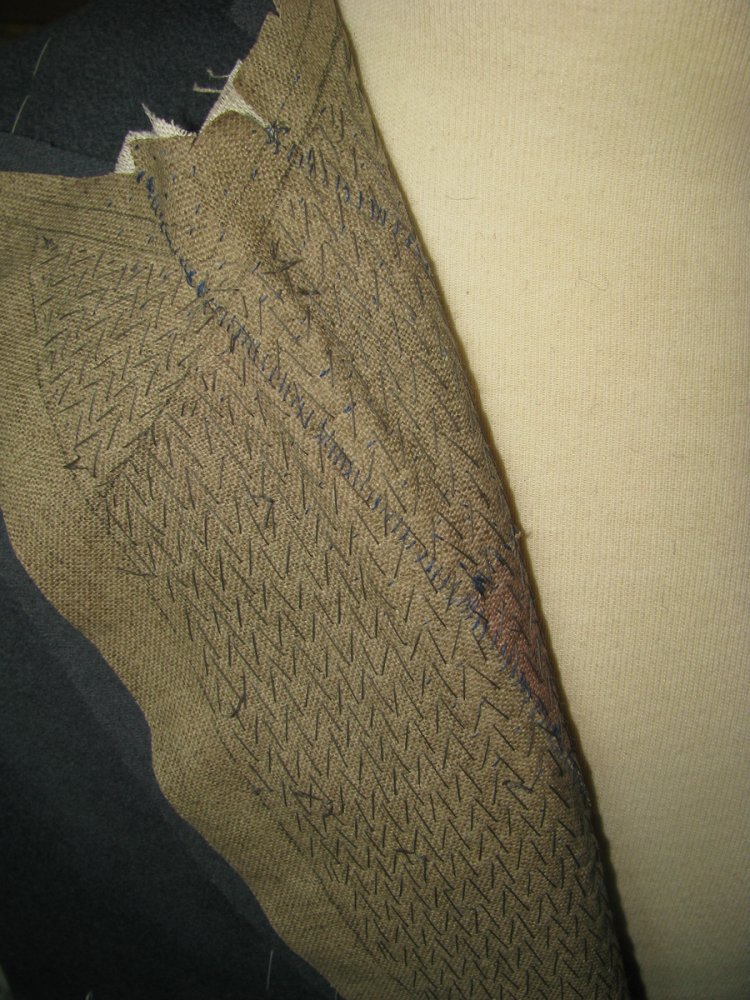
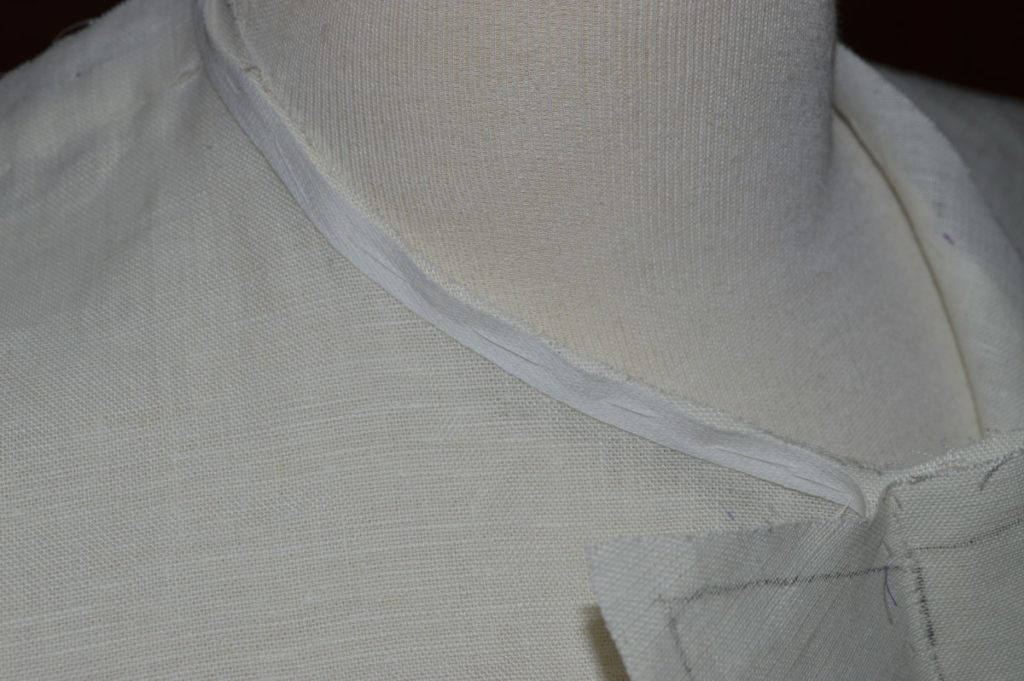
After padding the lapels, the edges of the canvas need to have linen stay tape applied, to provide a firm edge for the cloth to roll over, and also to prevent the fronts from stretching over time.
First, the seam allowance of the canvas needs to be trimmed very carefully. This should be 1/4” away from the marking stitches, or 3/4” from the edge of the wool, assuming you used a 1⁄2 inch inlay there. Begin trimming at the top of the lapel, right in line with where it is sewn to the body. As you were pad stitching, the seams on the canvas and wool underneath may have moved out of alignment. If this is the case, the canvas must be trimmed directly in line with the wool piece, or you will end up shrinking the size of the lapel. Mark the trim line with a pencil, then trim this piece as shown.
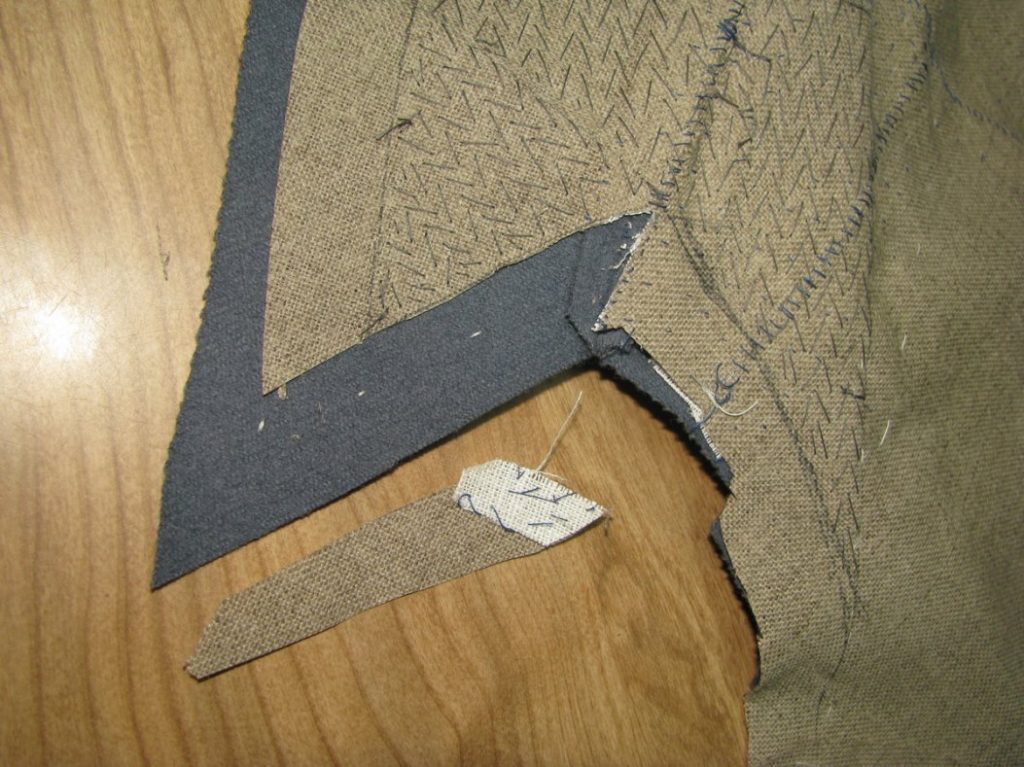
Trim down the front of the canvas, from the lapel to the waist line, by the same amount as above.
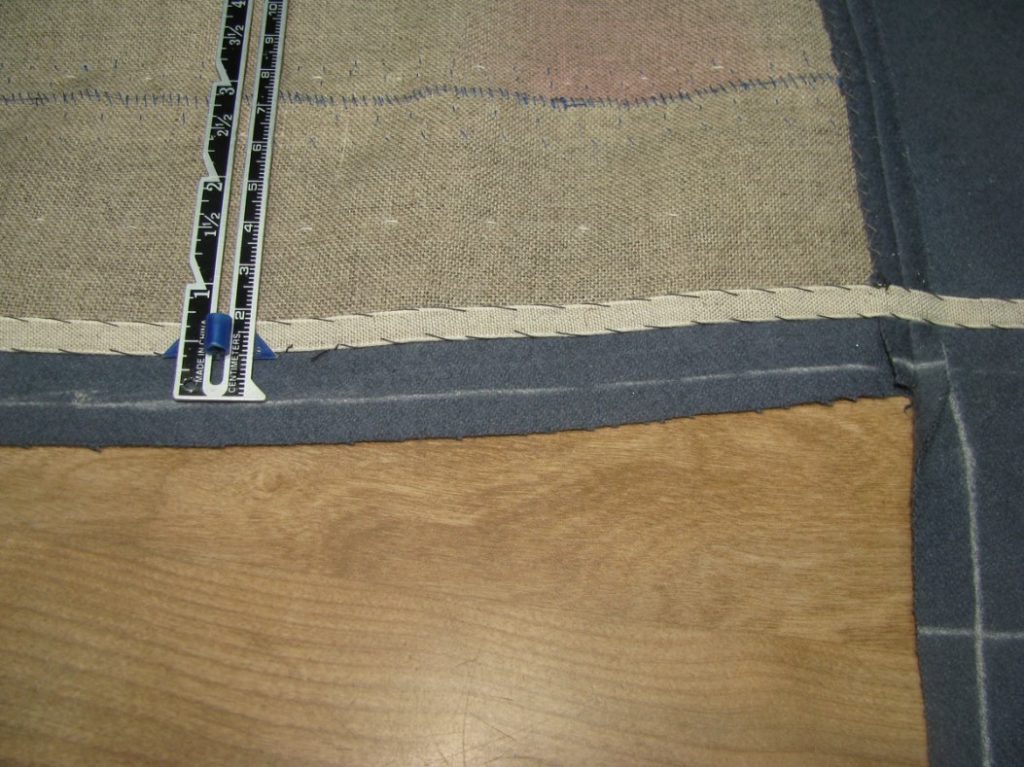
After the canvas has been trimmed, you must continue the line down the front of the skirt. The line should be continuous with the canvas, and be an equal distance from the front edge of the skirt, all the way down. You may notice that the line extends slightly in a direction away from the body, forming a very obtuse angle at the waist line. When the coat is finished, you’ll find this helps to keep the fronts of the skirt closed, with no gap showing.
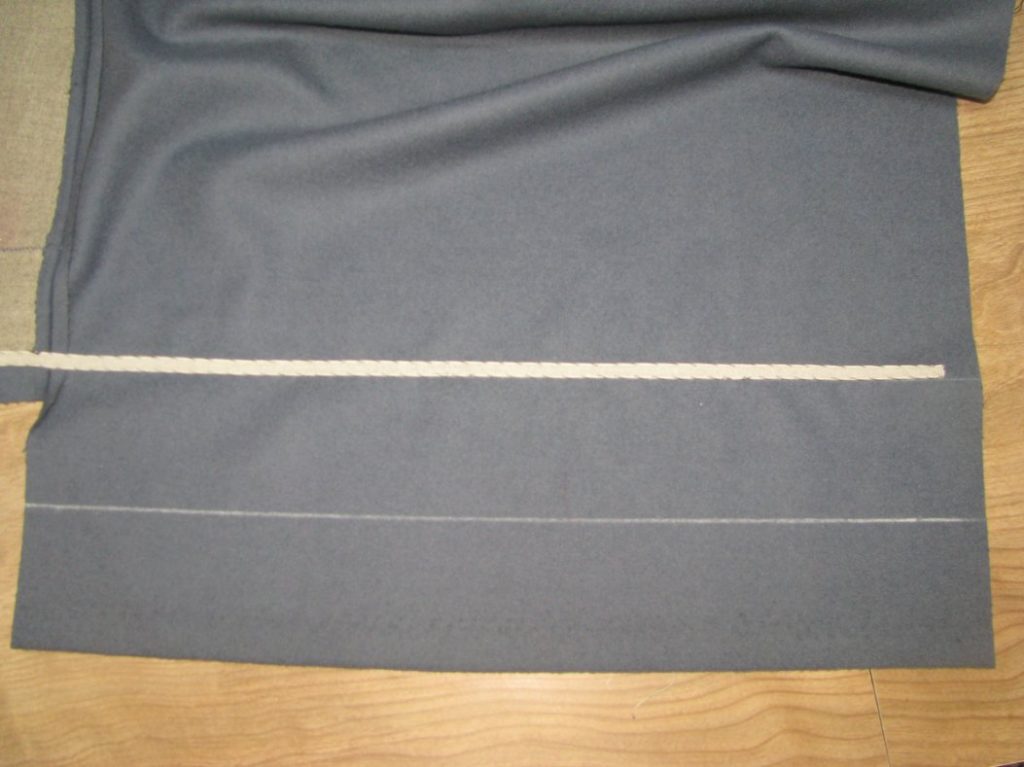
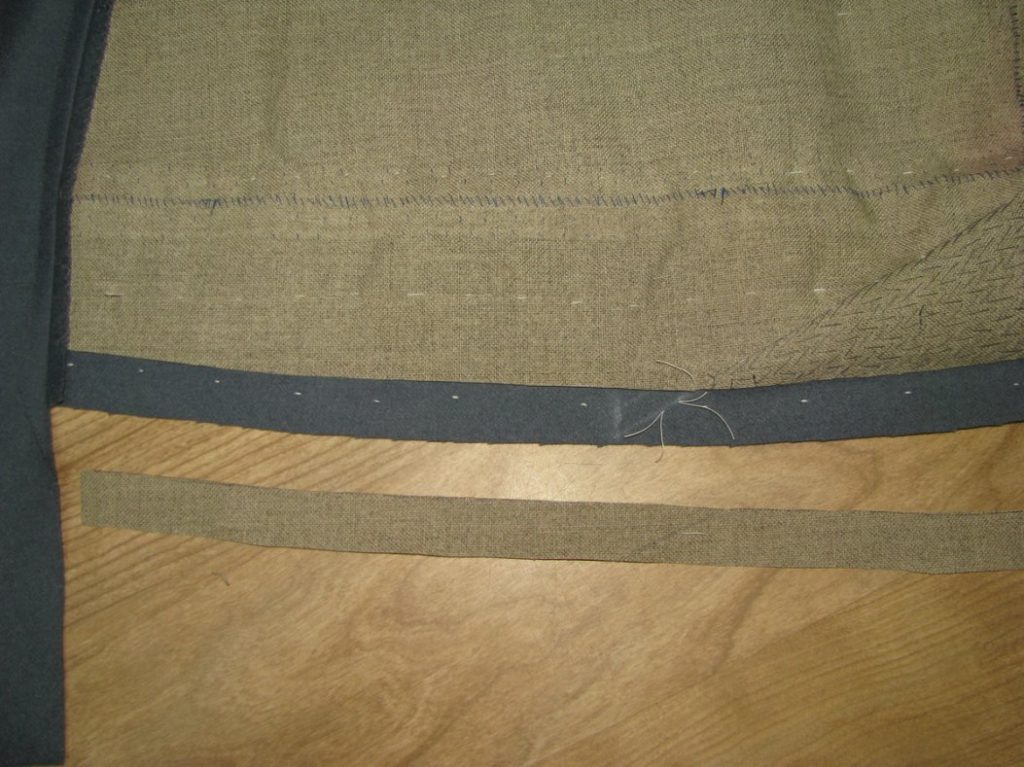
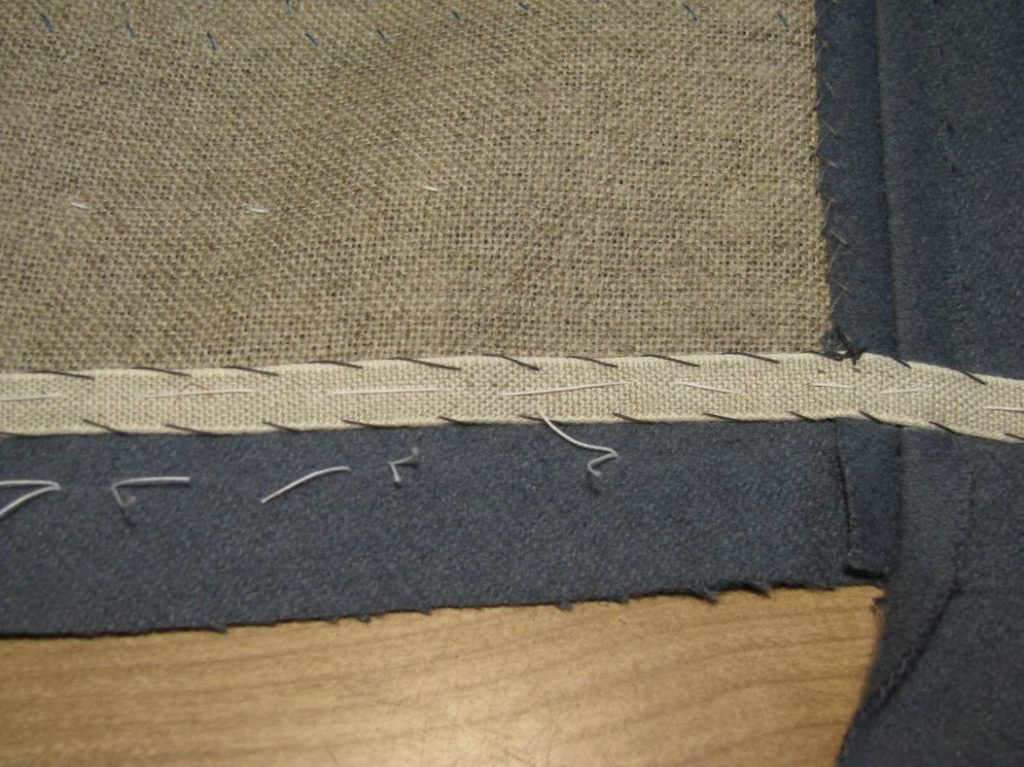
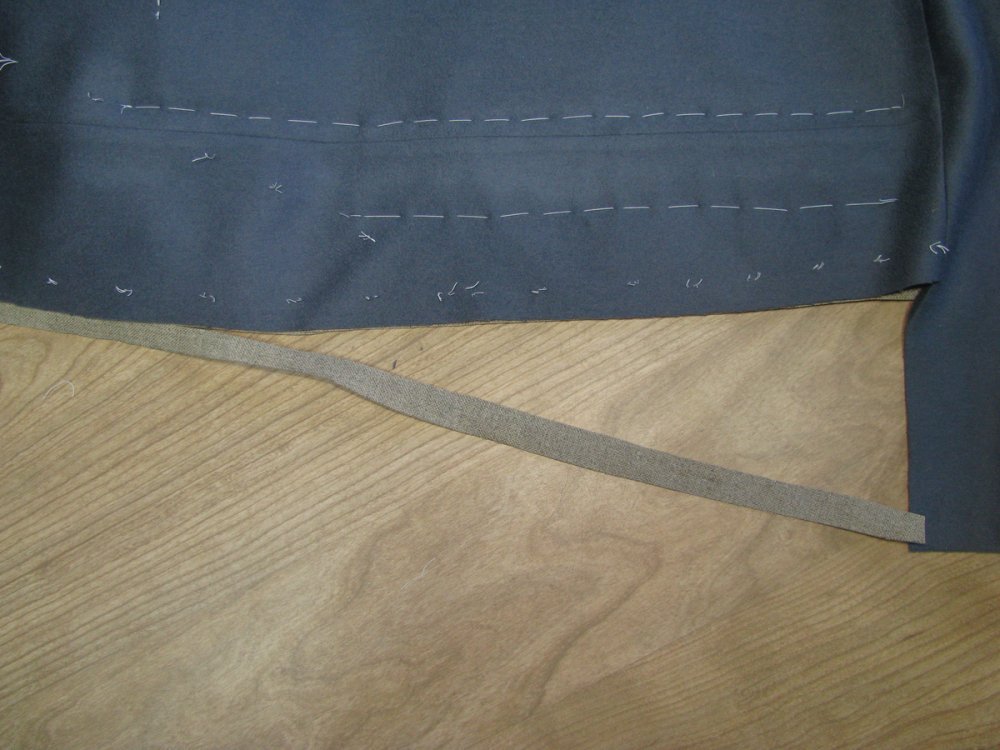
Starting at about a 1/2″ above the bottom of the skirt, add stay tape to the inside of the chalk line, basting it down. You may hold the tape on slightly for the first 8 inches (only about a 1⁄4 inch of tightness is needed), to help the skirt front stay towards the body.

Continue laying the tape on top of the canvas. The tape should extend 1/16” off the edge, to reduce bulk.
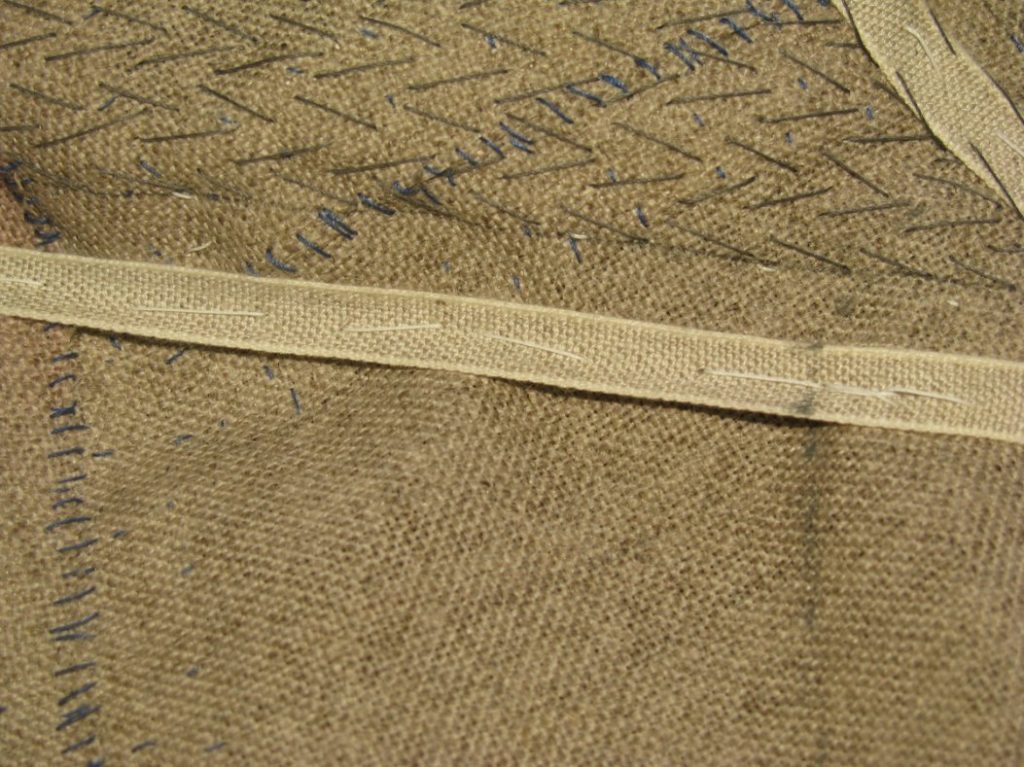
When you get to the roll line, add 1⁄4” of ease in the tape, so that the lapel may roll freely. If this step is forgotten, the lapel will end up staying away from the body, giving an unsightly look.
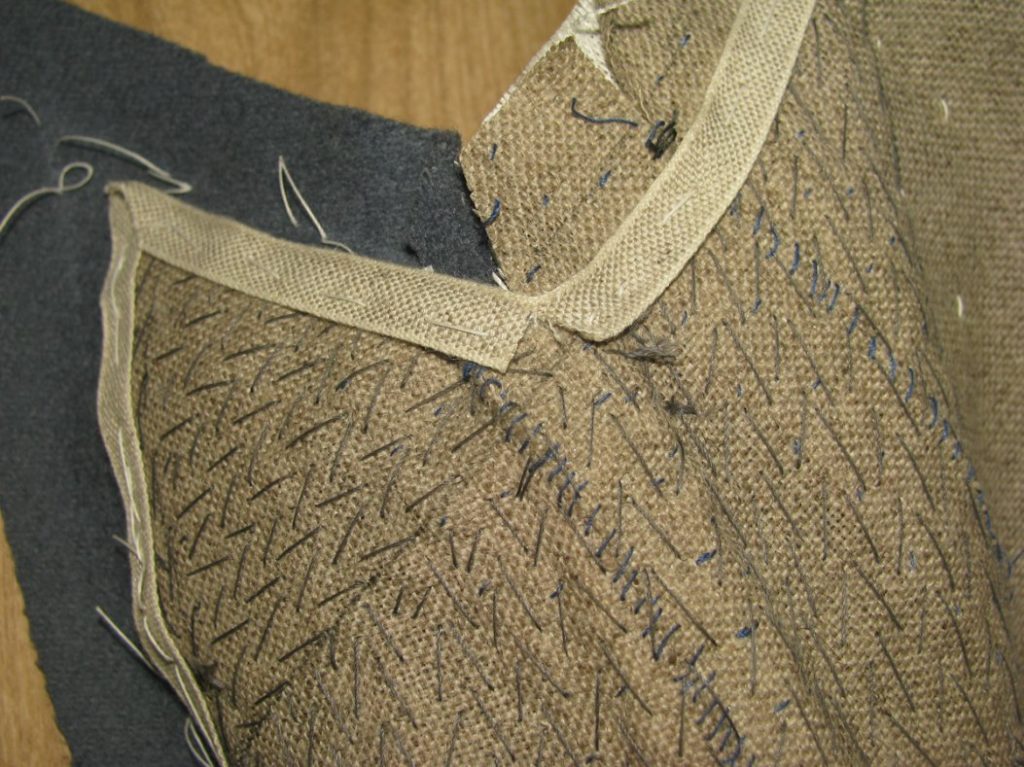
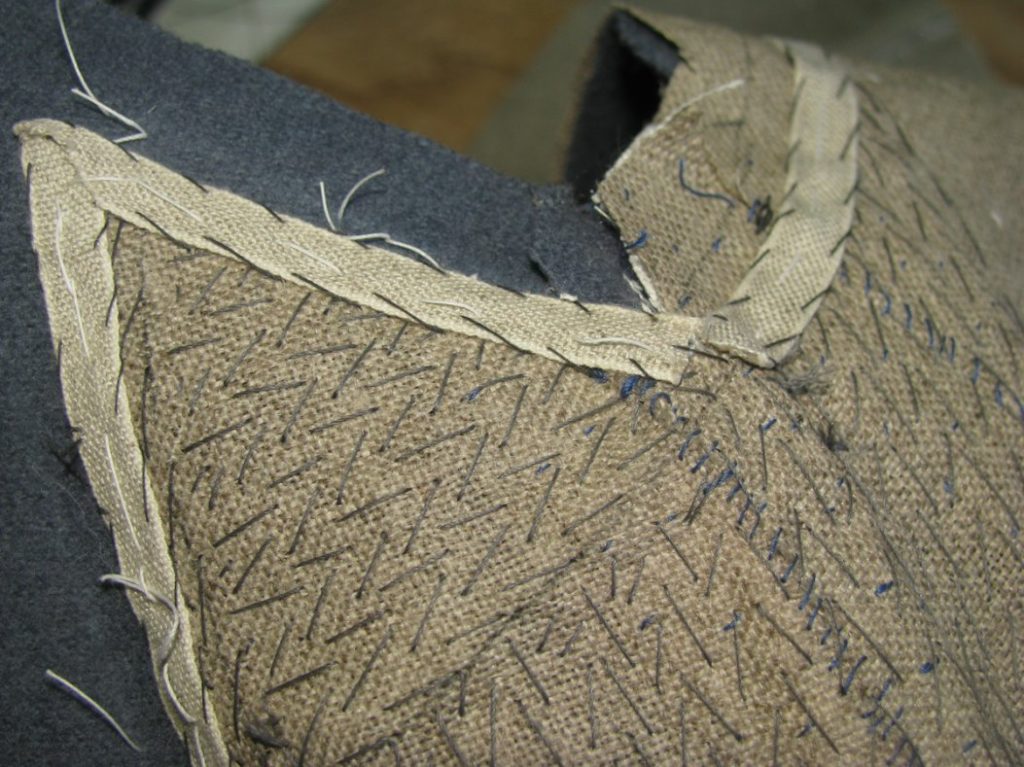
Continue taping until the top of the lapel. Here you have a sharp angle, which must be mitered to avoid bulk in this area. First trim at an angle through the stay tape, leaving just a small bit untrimmed. You should aim for the very tip of the lapel.
Next, fold the tape along the top of the lapel, and trim away the overlapping section.
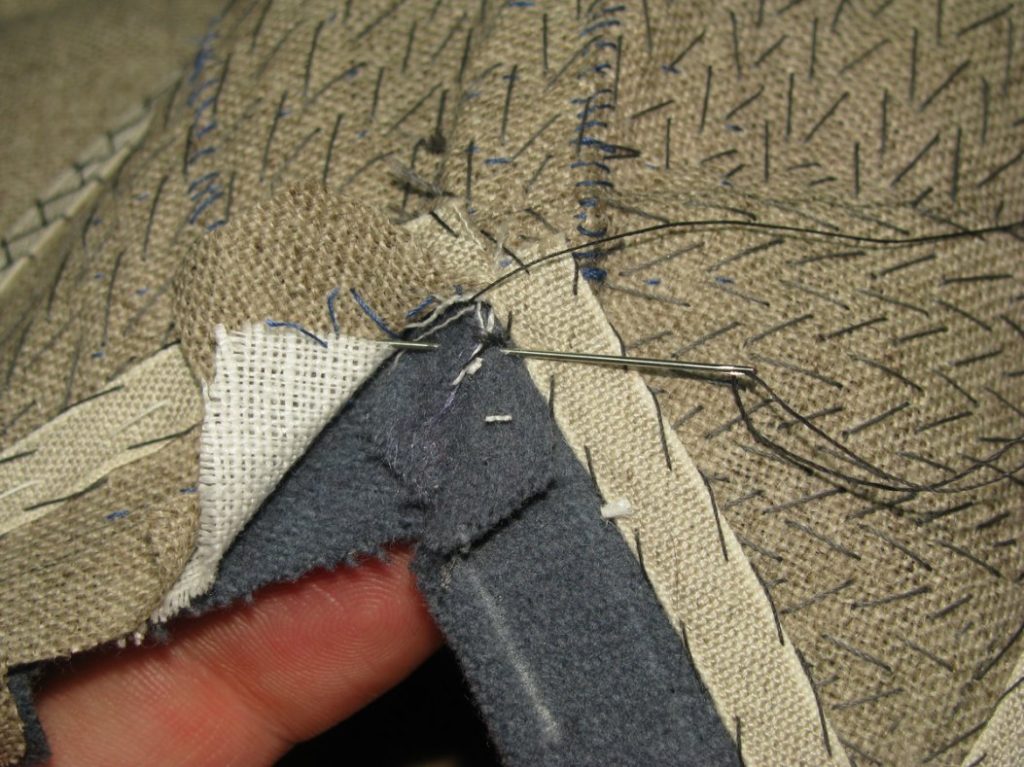
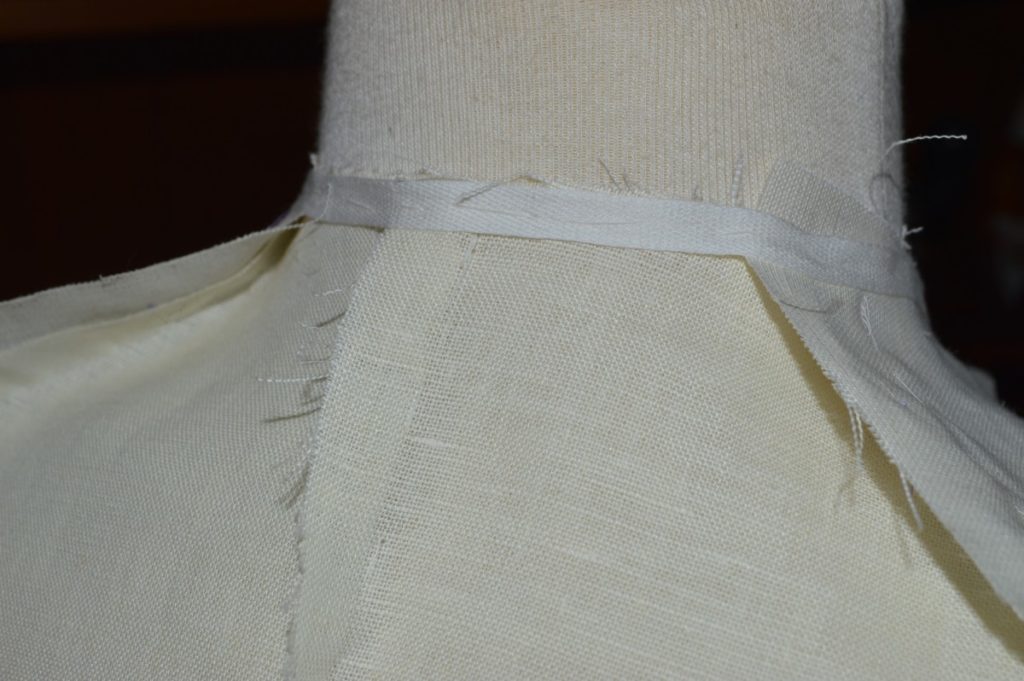
Continue basting along the top of the lapel. When you get to the center front seam, make another snip in the stay tape so that you can continue basting the stay tape along the gorge line. Note in this photo how the seam of the canvas is not aligned with the seam of the wool body, as discussed previously. This is an issue I need to do more experimentation with.
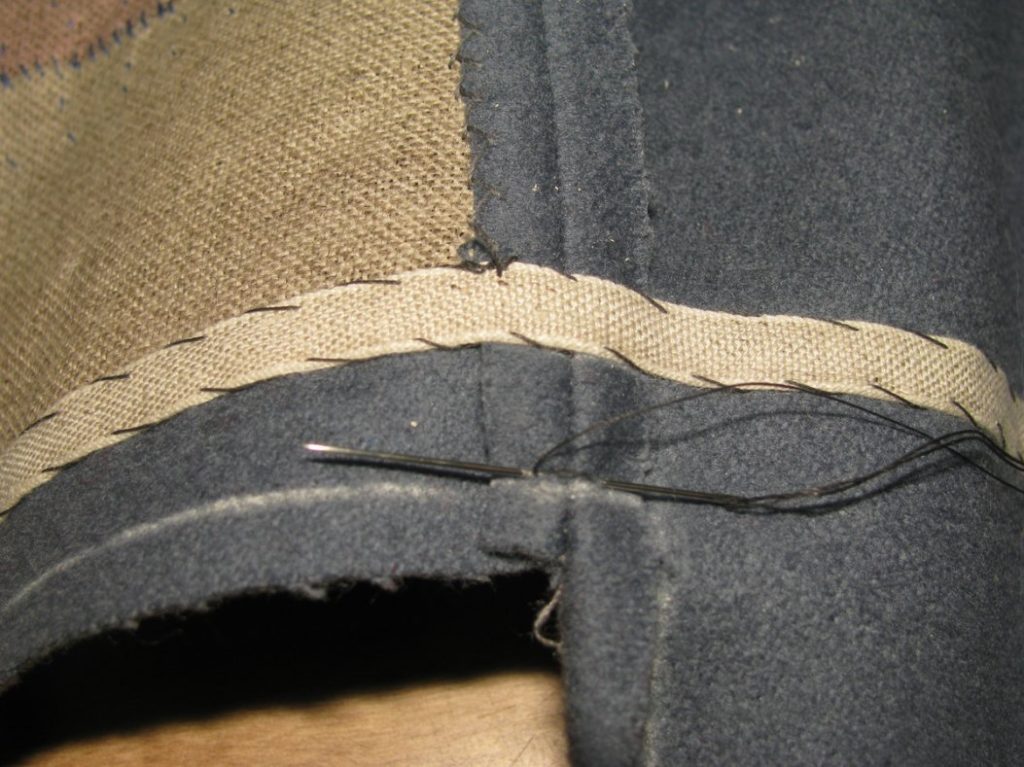
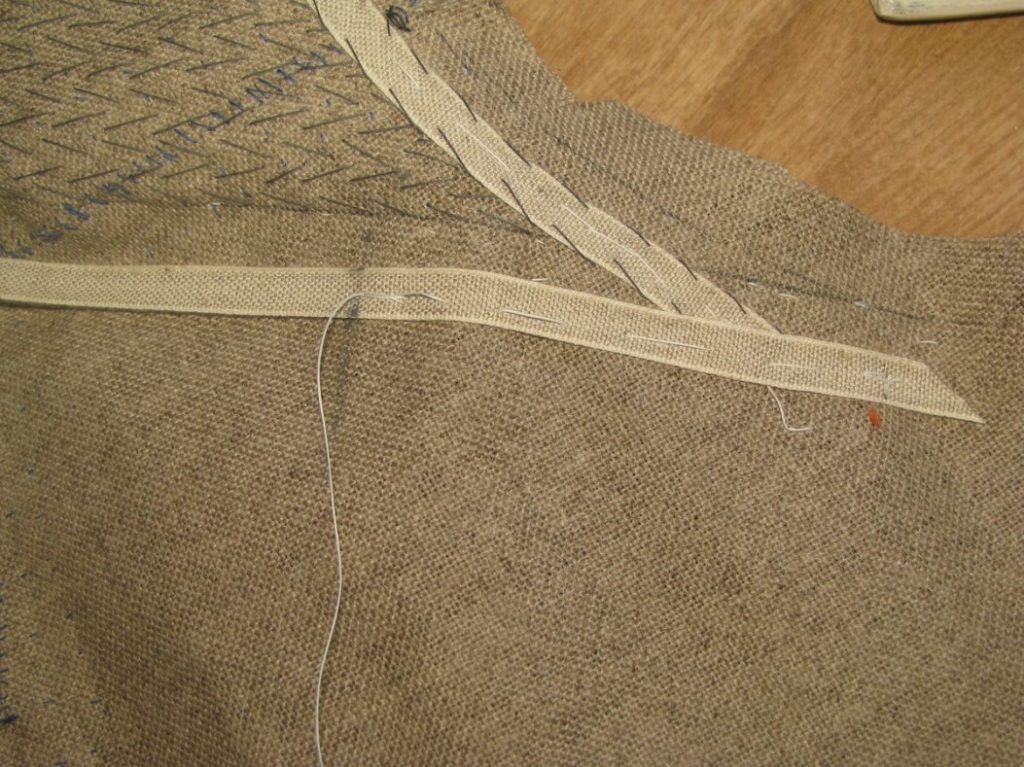
Continue basting the stay tape on until half an inch beyond the roll line. Note how the stay tape is laid against the seam allowance, not the inlay marks.
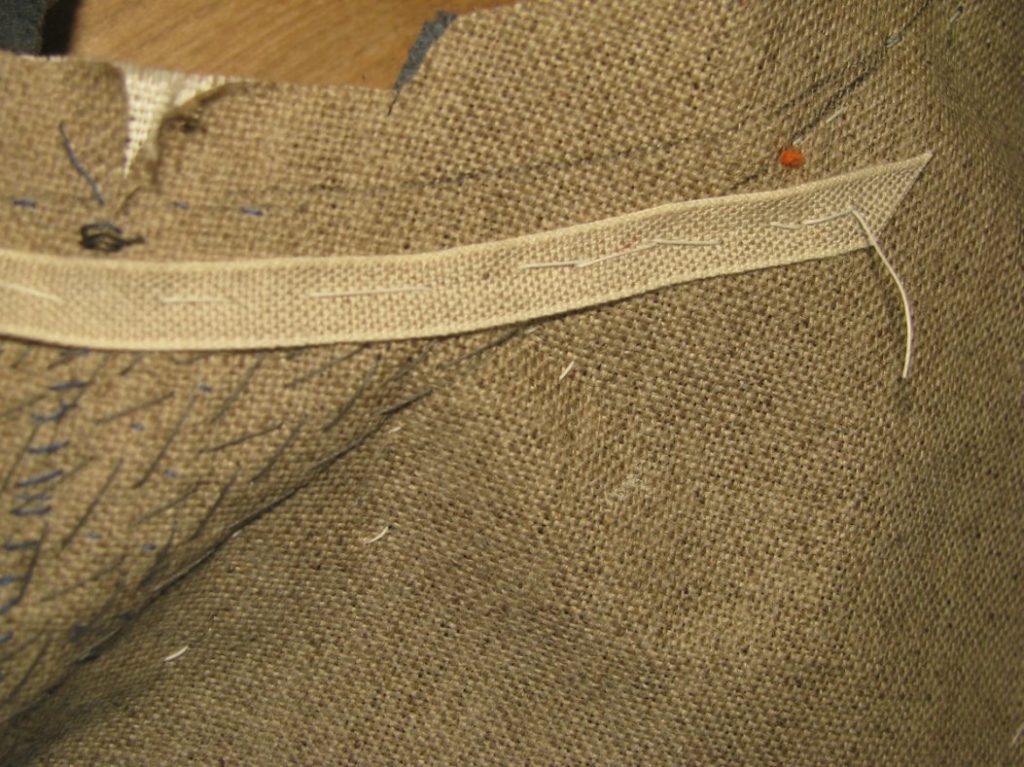
Now slip stitch the stay tape to the coat along both sides, being careful the stitches do not show through to the right side.
The Bridle
The bridle is a controversial addition in an 1860s frock coat. Of the original frock coats I’ve personally examined, I haven’t found this feature yet. It may be that they were just exceptionally rare – even today, you only find them on the higher end suits. In any case, it is up to you to decide whether or not to put the bridle in.
The bridle helps with the roll of the lapel, by tightening up the chest area just outside the roll line. This has the effect of putting in another dart, which in turn makes the lapel inclined to roll more naturally.
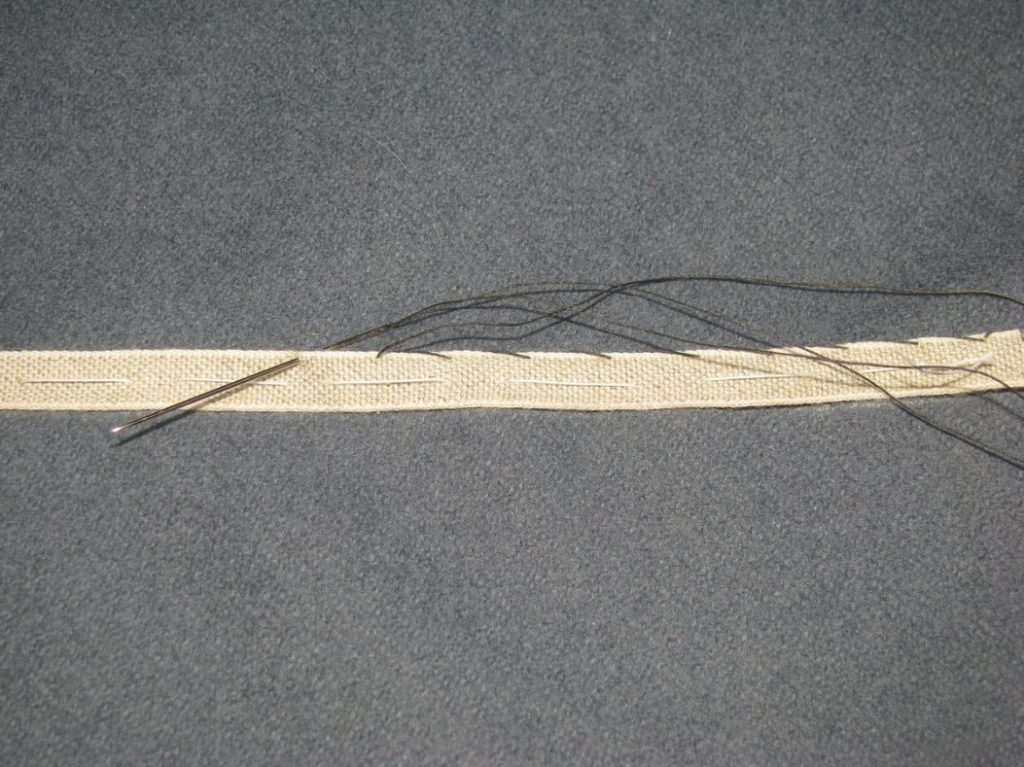
Starting at the top of the roll line, and 1⁄4 away from the roll line baste down a length of stay tape for about three inches. At this three inch mark, make a couple of stitches in place.
For the next three or four inches, depending on the length of your roll line, hold the tape on tightly, pulling the canvas and wool into a smaller space. At the end of this section, again make a few stitches in place to prevent the ease from escaping.
Finally, for the next section, hold the tape on with a neutral tension, ending about 3 inches above the bottom of the roll line, to allow the lapel to roll freely.
Using a cross stitch, stitch down the bridle. You should see the excess ripples of fabric disappear as you go along.
After the bridle is sewn down, you can press the lapel over the roll line. The iron should stay away from the bottom of the lapel, or you’ll remove the roll and end up with a crease instead.
Padding the Lapels
Now is the last chance to adjust the roll line of the lapel. If you wish, baste together the coat again, reinforcing the neck and armscye with stay tape, and double check the roll line. You may wish to adjust the depth. This is a completely optional step. When satisfied with the position of the roll line, chalk along the outside of the coat, staying in line with the tailors tacks. Then baste along the edge, pushing any excess upwards as you go.
On the canvas side of the coat, use a pencil to mark the roll line on the canvas. I like to use a pencil here because it is more accurate than the tailor’s chalk.
On the outside, chalk and baste along the inlays from the neck at the top of the roll line, to the edge of the lapel.
Transfer this line to the canvas side, marking in pencil, then mark in another 1⁄4 inch for the seam allowance. This is chalked only because the darts may affect the position of the neckline slightly. Along the front edge of the lapel, draw a chalk line 3⁄4 from the edge (inlay plus seam allowance). This area in between is where you will pad the lapels.

Also, draw a line continuing the neck seam line, across the bottom of the lapel ‘peak’. This will not be padded yet, but saved for afterward, as you will see.
Continue drawing the seam line all the way down the front of the coat.
Beginning at the edge of the lapel, directly next to the roll line, begin pad stitching up along the line. The needle is always pointed in the same direction, you simply work towards and away from you. The stitches should be about 3/8 inches in length, and show just a pin prick on the right side of the coat.

For the first few rows, pad the lapels while flat with the rest of the coat. As you pad, the thumb slightly pushes the canvas closer in the direction of the roll line, while the wool underneath is pulled by the fingers in the opposite direction. This is such a minuscule pull in each direction, that you shouldn’t even try it. If you’re thinking about it, you’re pulling too hard.

After the first few rows of padding, turn the coat over, and pad the rest of the lapel in the position that it will lay on the finished coat.
Note how the peak of the lapel has not been padded yet, and how the padding stops about 1/8 from the pencil lines. This is because we’ll be trimming the canvas on the pencil lines soon. When padding, you may have noticed that the canvas became shorter than the lapel underneath. This is because the canvas has to travel on the outside of the curve, thus taking up more material. To make up for this, you should redraw the pencil line, measuring the proper distance from the edge of the wool, not the canvas. Add an extra row or two of pad stitching to fill up this new space if necessary.
Padding the Lapel Peak
If you have peak lapels, as often found on double breasted coats, it must be padded separately, to ensure it stays against the body of the coat. Turn the peak over onto itself, wool sides towards each other, and pad in the direction of that line you drew. Think of it as a secondary roll line. These pad stitches should be smaller than 3/8, and get even smaller as you get towards the very tip of the lapel.

When complete, the lapels, properly padded, should want to roll over and towards the body almost naturally. The darts in the canvas should aid in this, as well.
Next, we’ll tape the canvases and finish the front edge of the coat.
Installing the Canvas
Installing the canvas is a very important step. As you baste the canvas in place, all slack in the wool forepart must be eliminated, or it will show up in the finished coat.
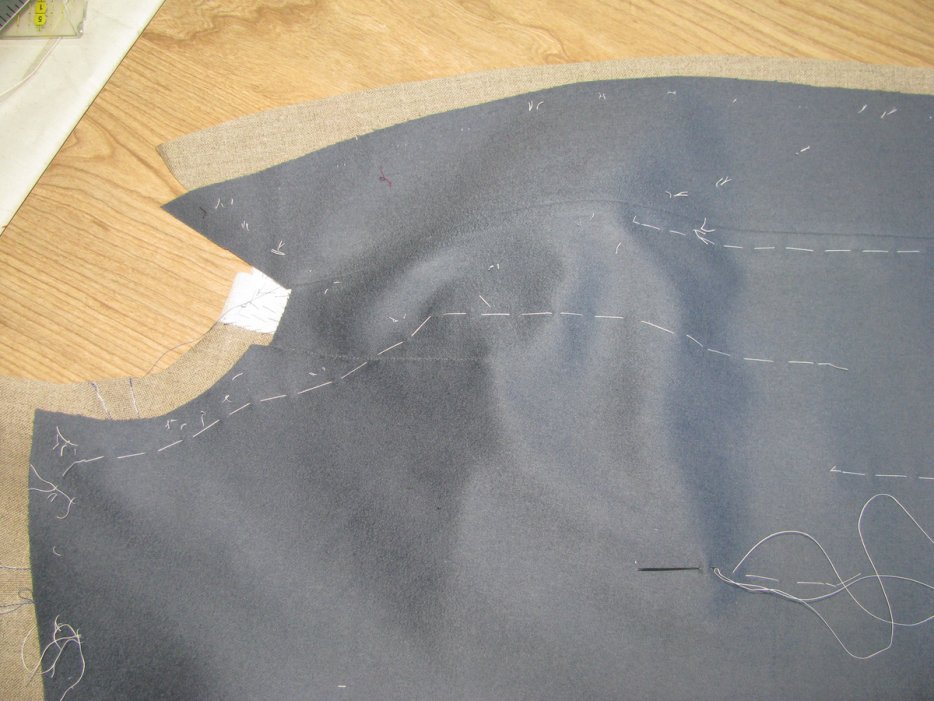
First, lay the forepart over the canvas, with the linen side of the canvas against the wrong side of the coat, so that the center front seams of each are precisely aligned with each other. Baste from the roll line, along side the center front seam, to the waist, pushing the excess fabric downwards as you go (in the direction of the arrow). Stop about half an inch from the waist seam.
Next, from the middle of the chest, basted down, parallel to the center front, pushing the fabric downwards and towards the side seam as you go. Ensure there is no excess between the two lines of basting stitches.
From about the same height, basted down along the edge of the canvas smoothing downwards and again towards the side seam.
From the level of the second basting stitch, and midway to the first row of stitches, baste upwards, straight to the roll line, and then follow the roll line and the neck, staying out of the inlay and seam allowance, until you get to one inch below the shoulder. Since this is the fullest part of the coat, it can be the most difficult to get correct (and took me two tries). Hold one hand underneath to support the fullness as you baste. It takes some practice to get a feel for the technique.
Starting at the same level, but this time between the second and third rows of stitching, baste upward through the center of the shoulder, pushing any excess towards the armscye as you go.

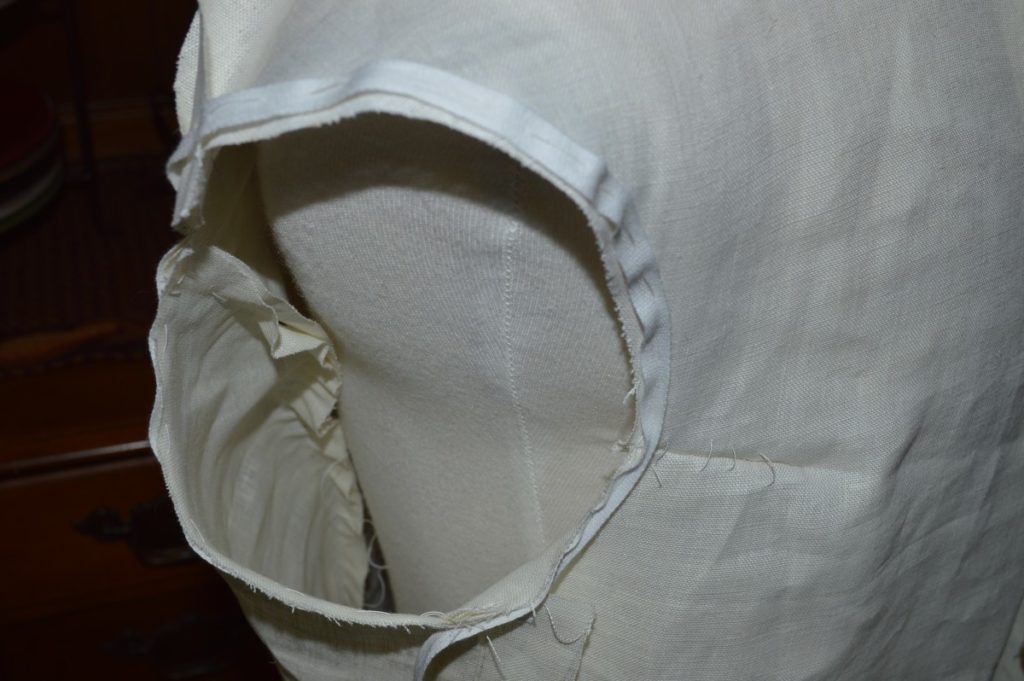
Beginning at the shoulder, baste downwards along the edge of the armscye, smoothing the fabric down and out as you go. Continue basting under the armscye along the edge of the canvas until you meet the third row of stitching you basted in. There should be no excess fabric anywhere in the forepart, except for the area above the roll line. If this is not the case, you’ll need to go back and redo your basting.
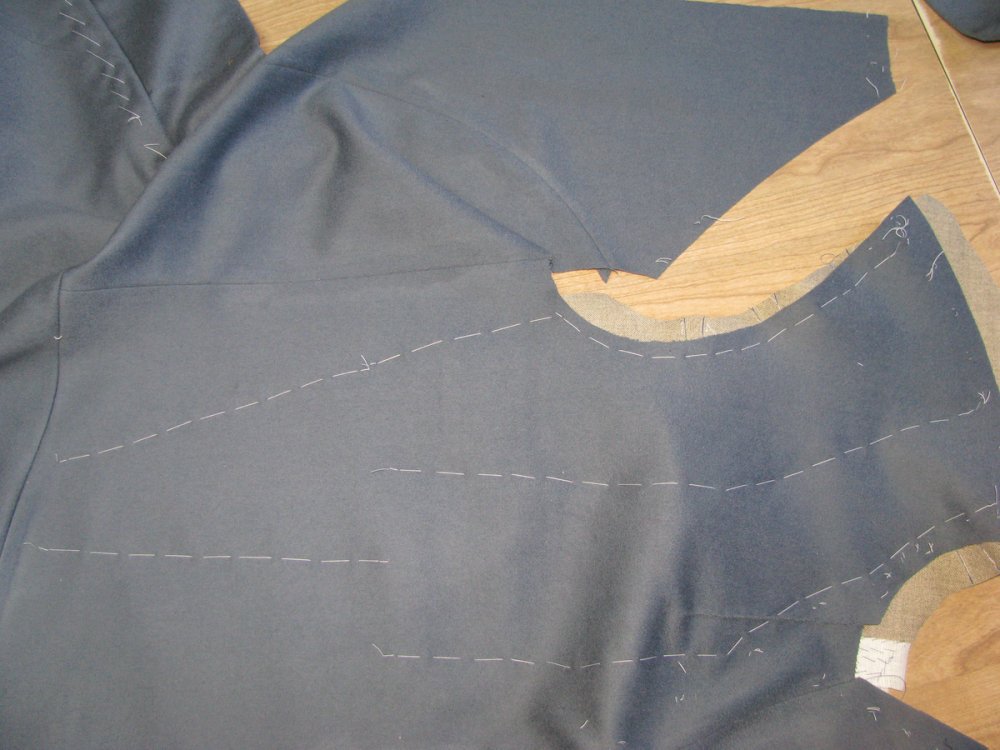
Finally, baste from the roll line, down along the center of the lapel, to half inch above the waist. This completes the process of basting in the canvas. You should carefully hold the coat up at this point and look for any excess that you missed, and redo the basting if necessary.
Once you are satisfied with the result, trim off the extra canvas from the center front, neck, shoulder, and armscye. Once this is done there is no room for adjustment, so be sure you are happy with the results first.
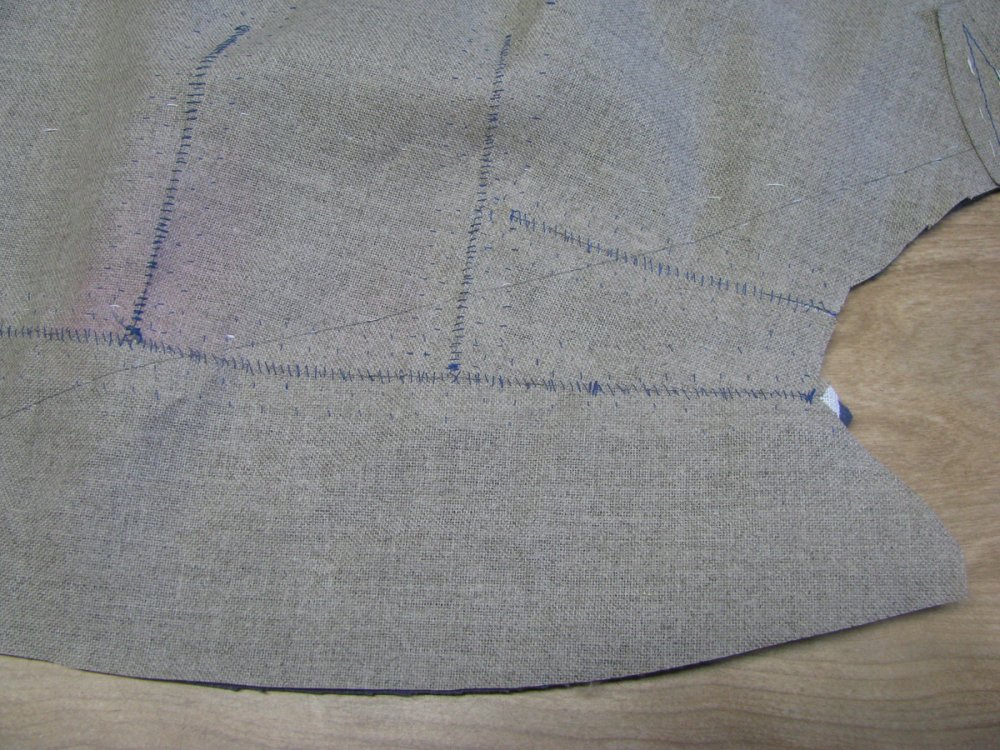
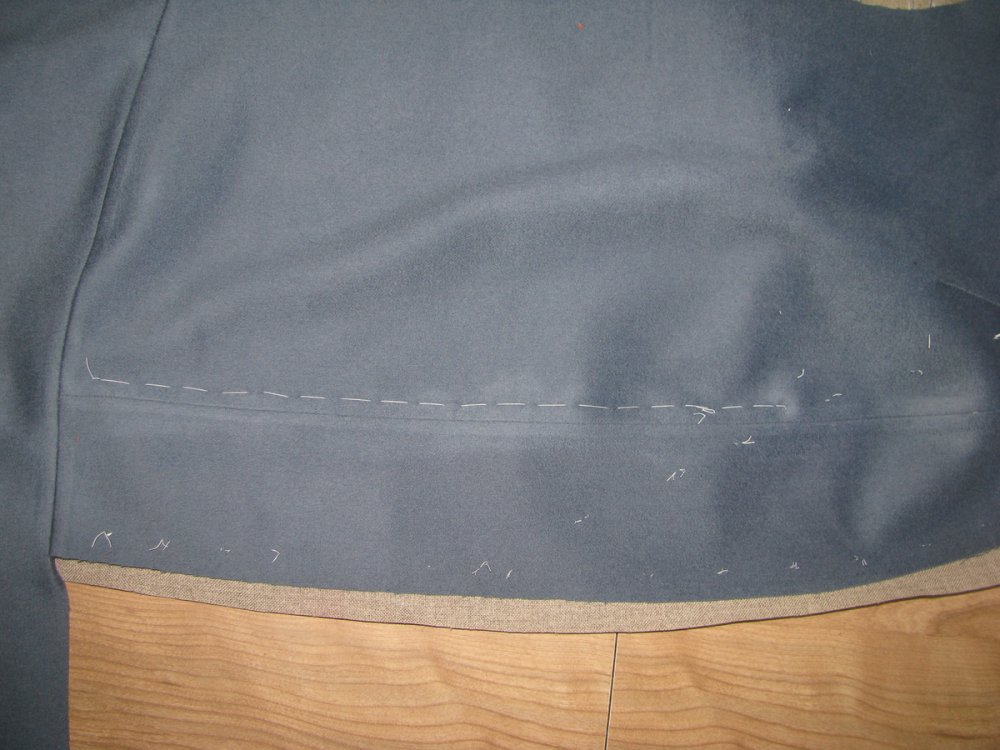
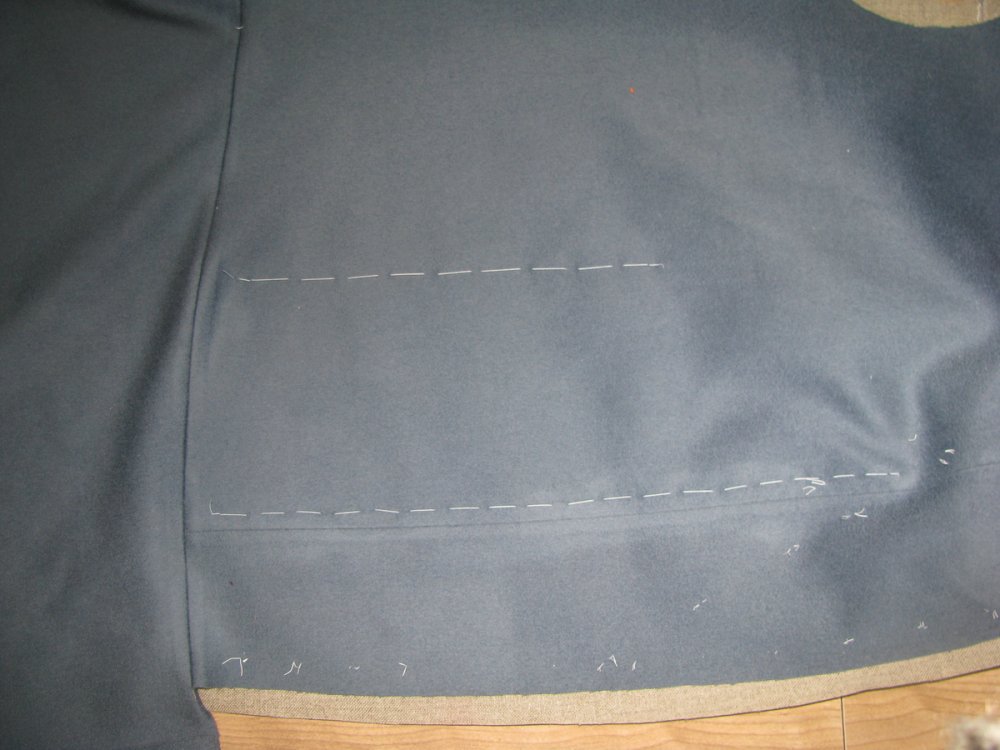
Turn the coat to the inside, and observe the waist seam. There should be about an inch extra inlay, which will need to be trimmed off carefully so that the end of the canvas is flush with the seam line.
With your scissors in the ‘ditch’ of the waist seam, carefully cut away this extra canvas. Cut a little bit at a time, and check between each cut that you are cutting accurately. If you cut too much away, the coat front will be pulled upwards and give an unsightly appearance. It’s okay to leave about 1/16 inch extra canvas. The extra fullness in the canvas will keep the wool in shape.
Using a cross stitch, secure the canvas to the waist seam of the coat. This will hold it permanently in place. Stitch from the inner edge of the canvas, to about two inches from the center front, where the tailor tacks are. You can use the basting stitches holding the canvas in place as a guide.
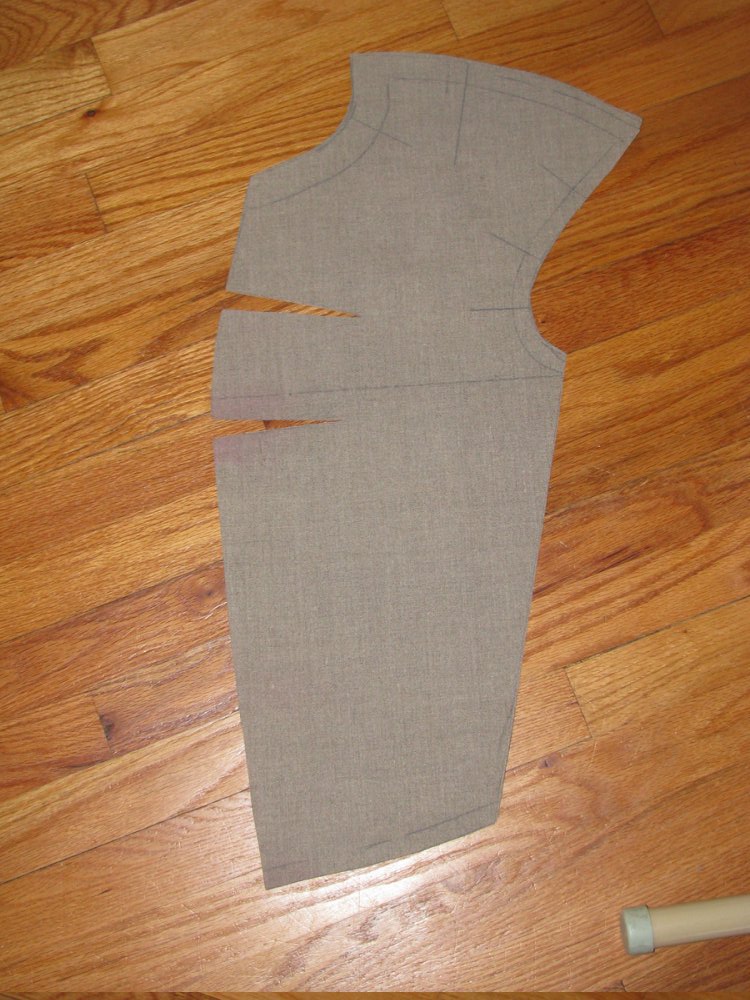
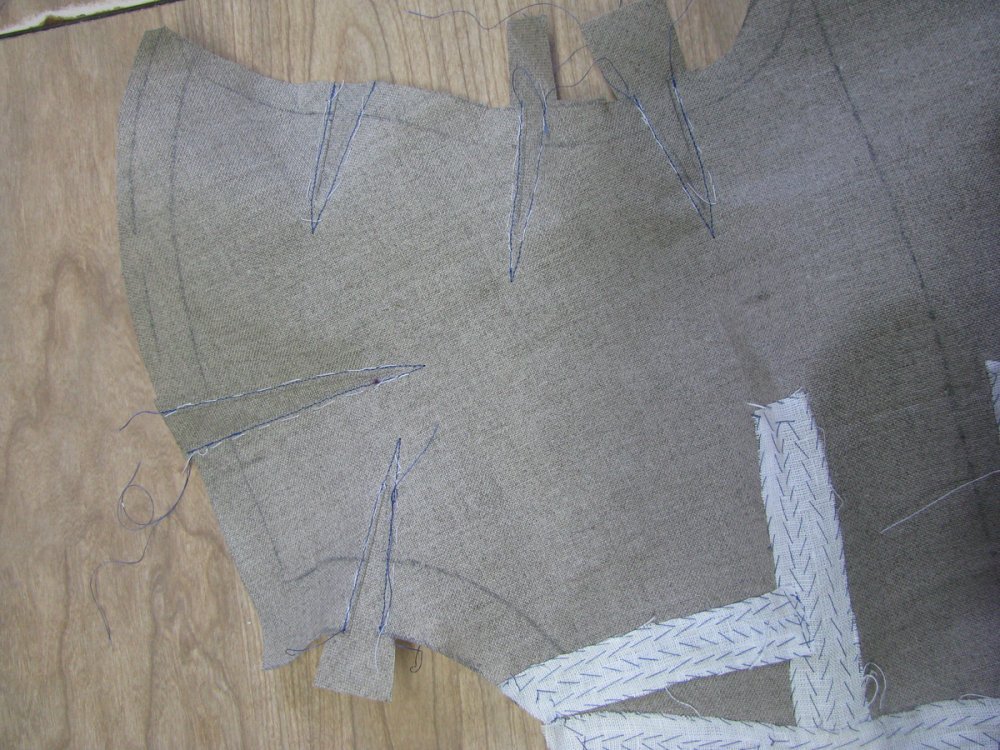
Canvas Construction
We will now begin construction of the canvas – a large amount of work even by itself. Allow at least eight hours for constructing the two halves of the canvas.
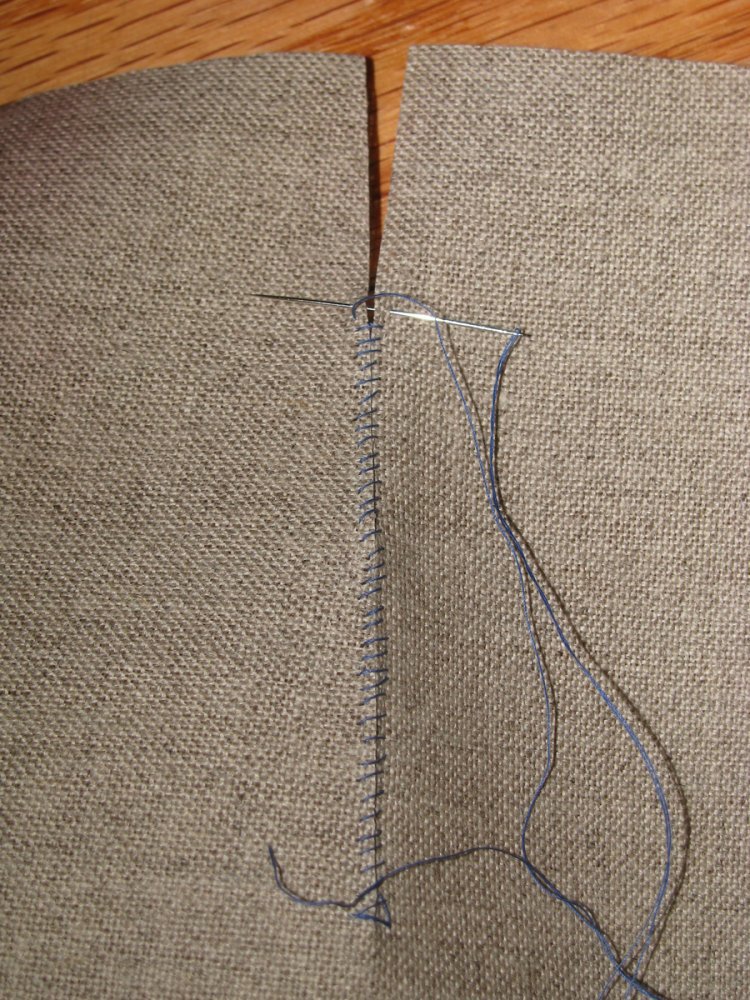
Cut out the two center front darts, as well as the lapel dart, directly on the construction lines you drew.
Stoat each dart closed, holding the edges together with your thumb and fingers as you go. The edges must butt together, but not overlap. Because the canvas is thin, and hidden in the finished coat, it is perfectly fine to have the stitches show through to the other side.
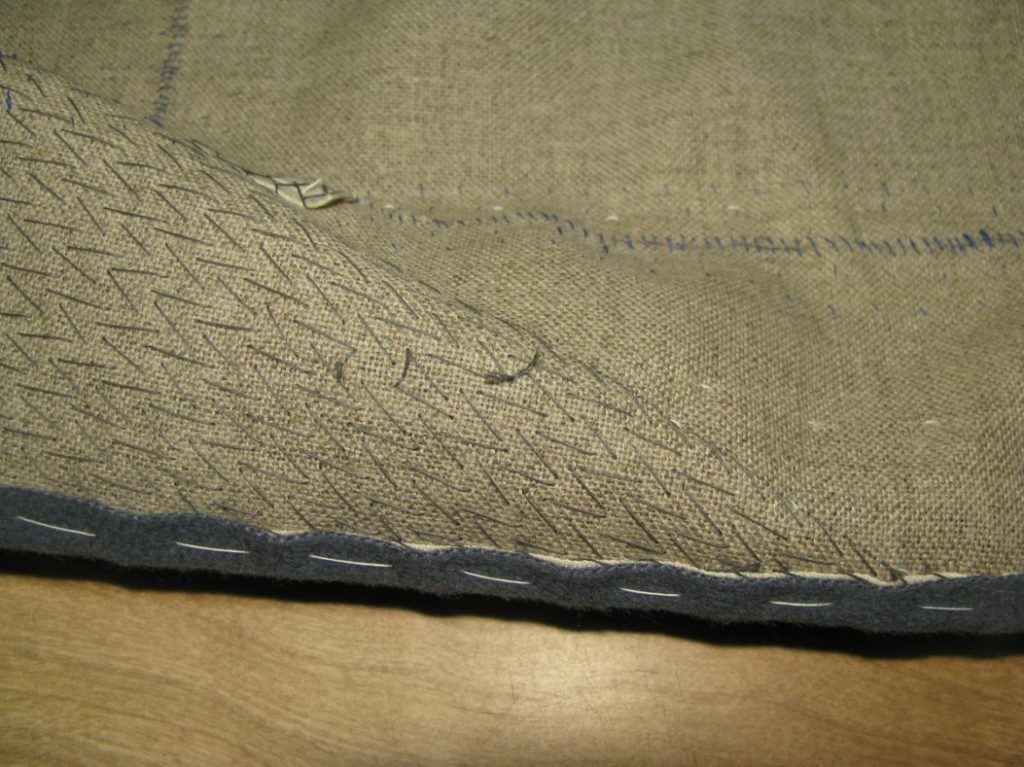
Cut a piece of linen 1 inch by the length of the dart plus one inch. Stretch the linen to prevent sizing issues later on, and place it squarely over the dart you just stoated closed. Using a padding stitch, pad down the middle of the linen, catching both edges of the dart underneath.
Then pad down the middle of each half of the linen, then along the edges. When complete, you will have a very strong canvas, with almost no movement. The padding also adds a little more shape to the canvas, making it less pointed, and more round.
Repeat the process for the other dart, as well as the gorge dart.
Next, join the lapel canvas to the body along the center front seam, using the same stoating method. Start at the top to make sure it’s properly aligned. Because of the darts you added to the canvas, the body will now be about an inch shorter than the lapel. If you added the correct inlays to the canvas, however, this will not be a problem. Note in the photo the completed gorge dart, as well.
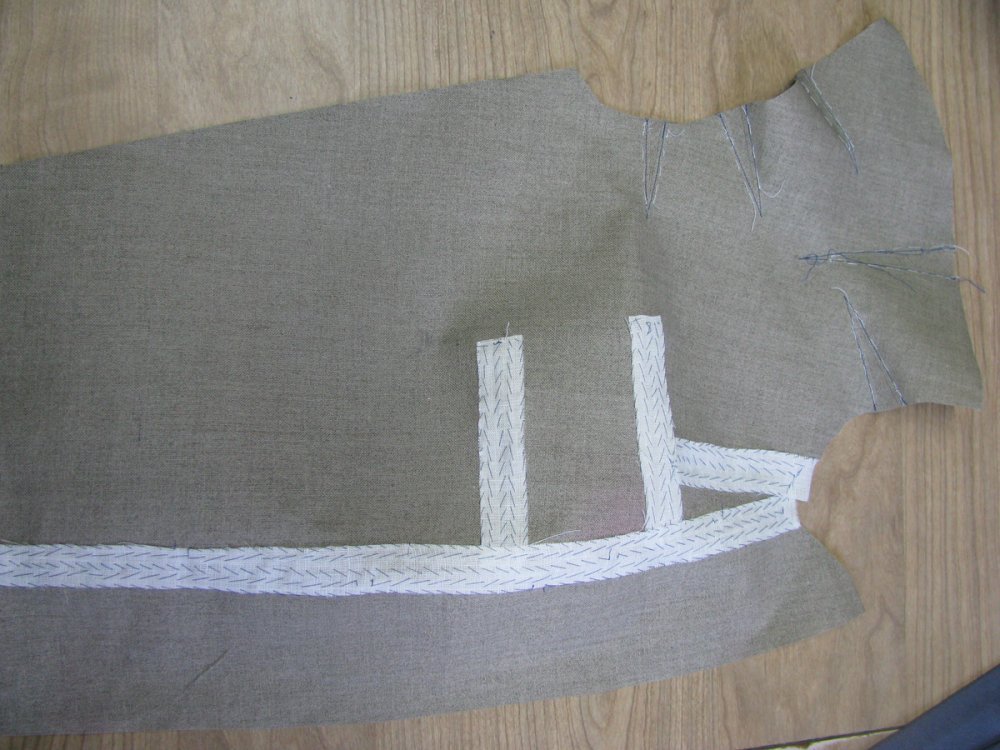

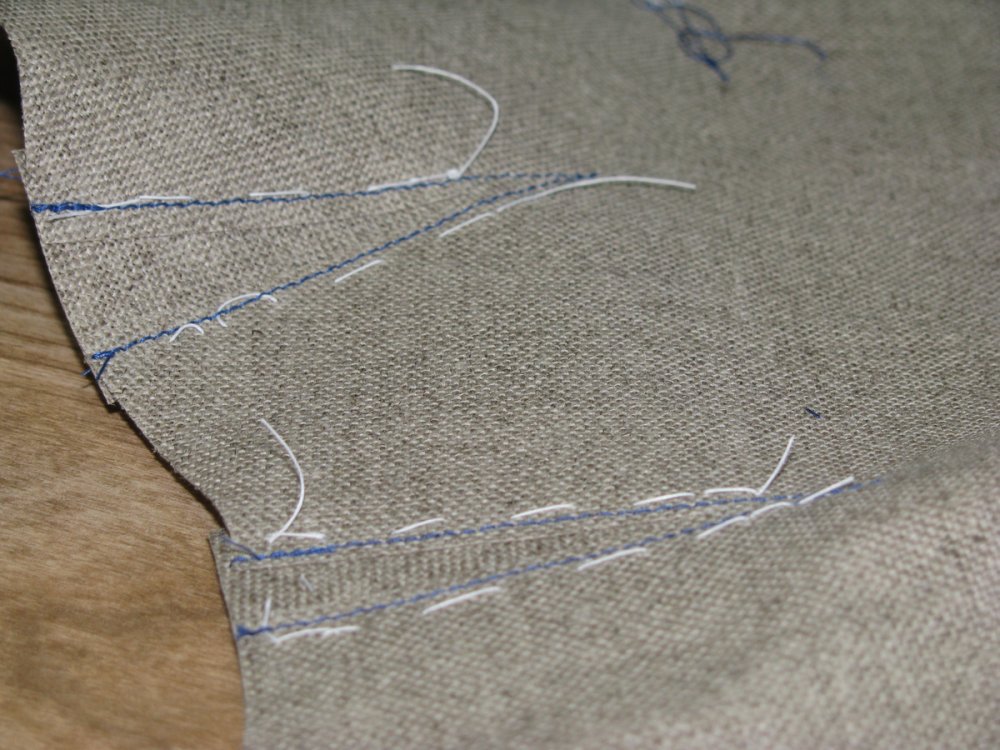
After all darts and lapels are sewn, it is time to make the cuts in the canvas at the shoulder, neck, and armscye. Clip directly on the lines.
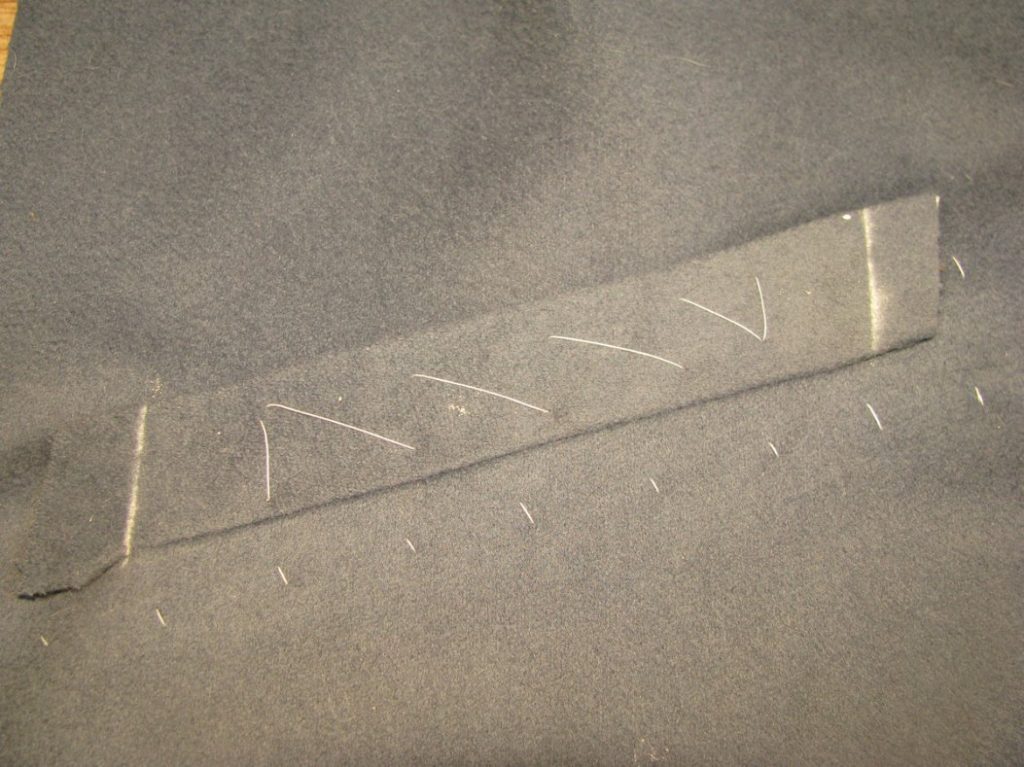
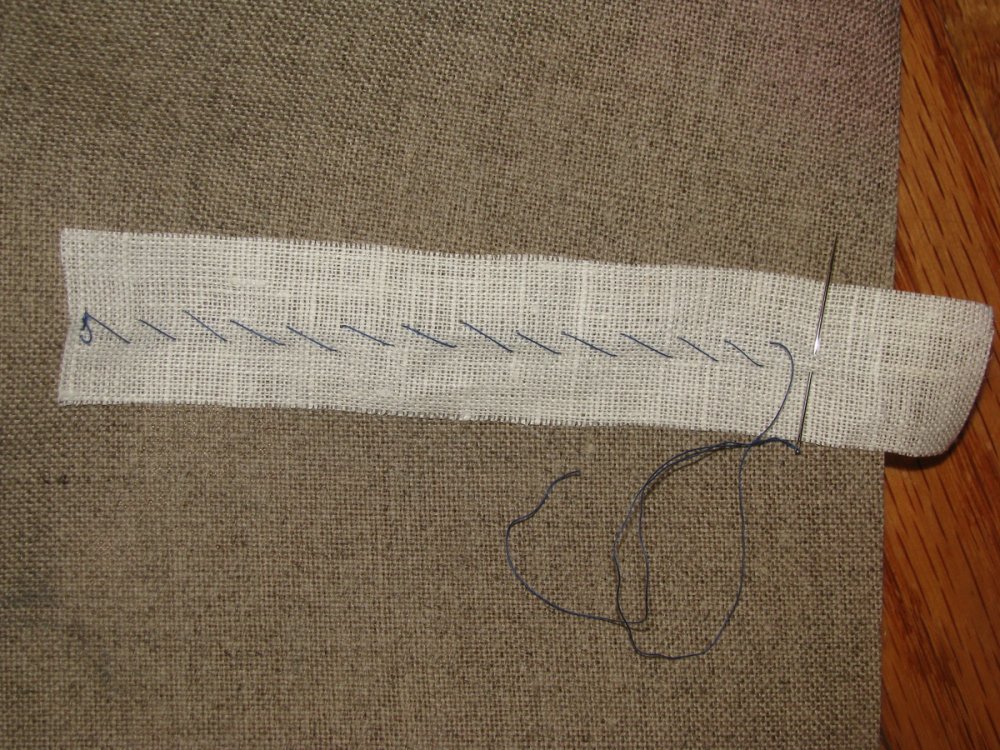
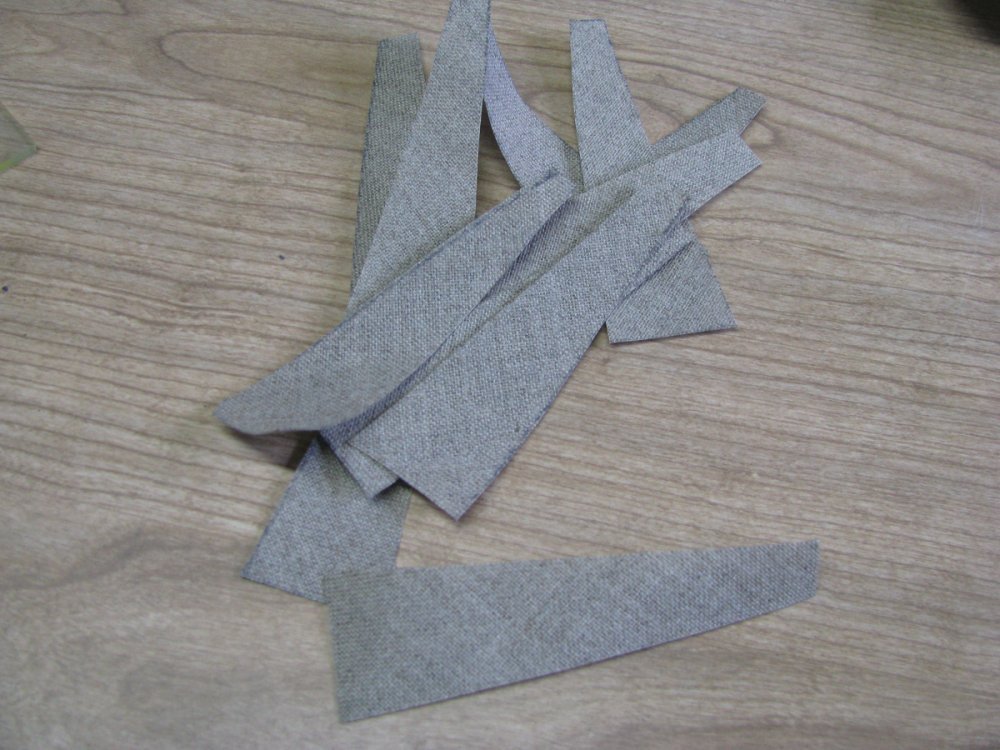
On the bias, cut 10 strips of canvas, 1 1⁄2 inch wide at the top, by half an inch at the bottom, and four inches long.
On the wrong side of the canvas (the opposite side of linen covered side), baste one edge of the bias canvas strips to one edge of the cut.
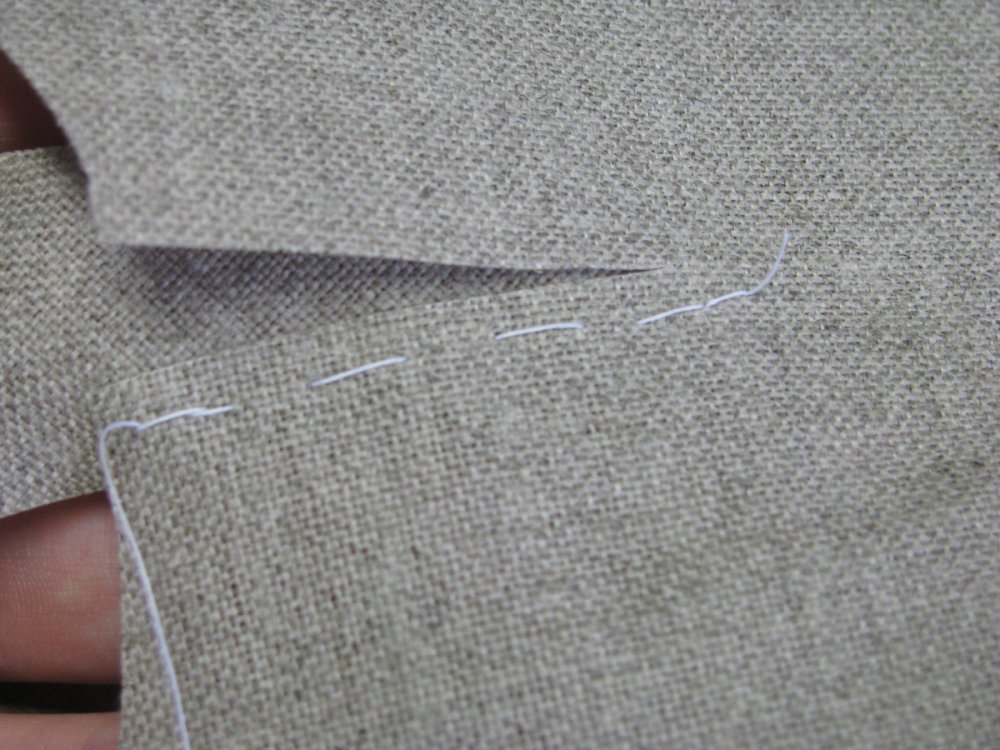
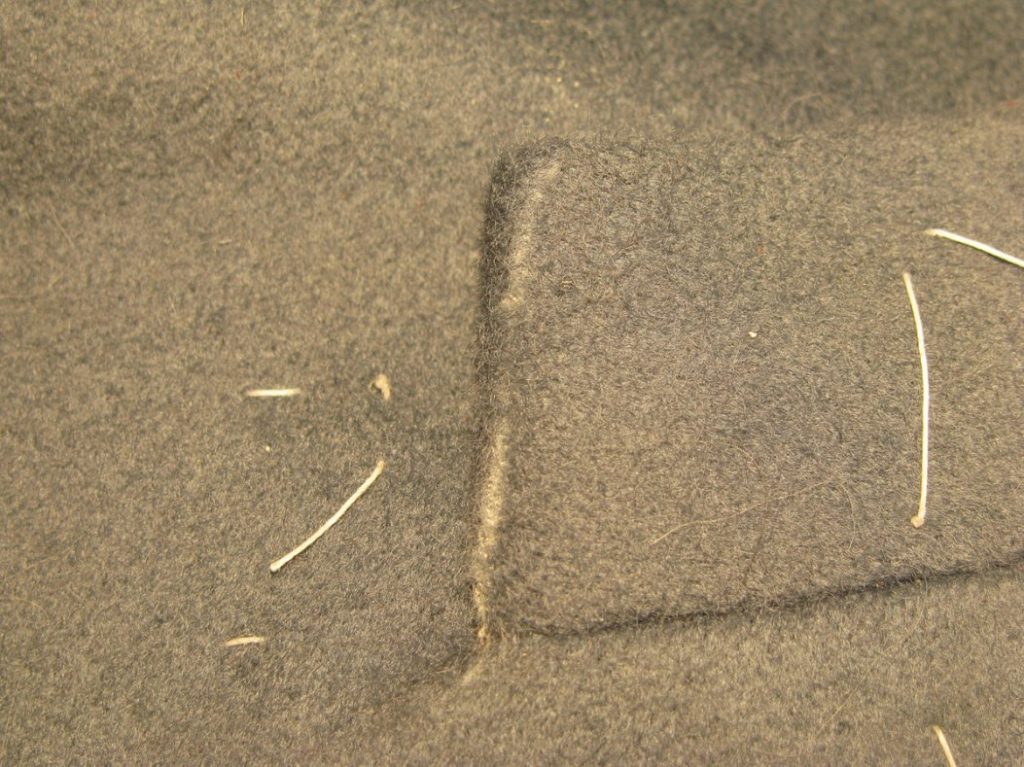
Open up the cut about 1⁄2 an inch, and baste the other side closed. This forms a gusset, copying the ironwork we put into the forepart.
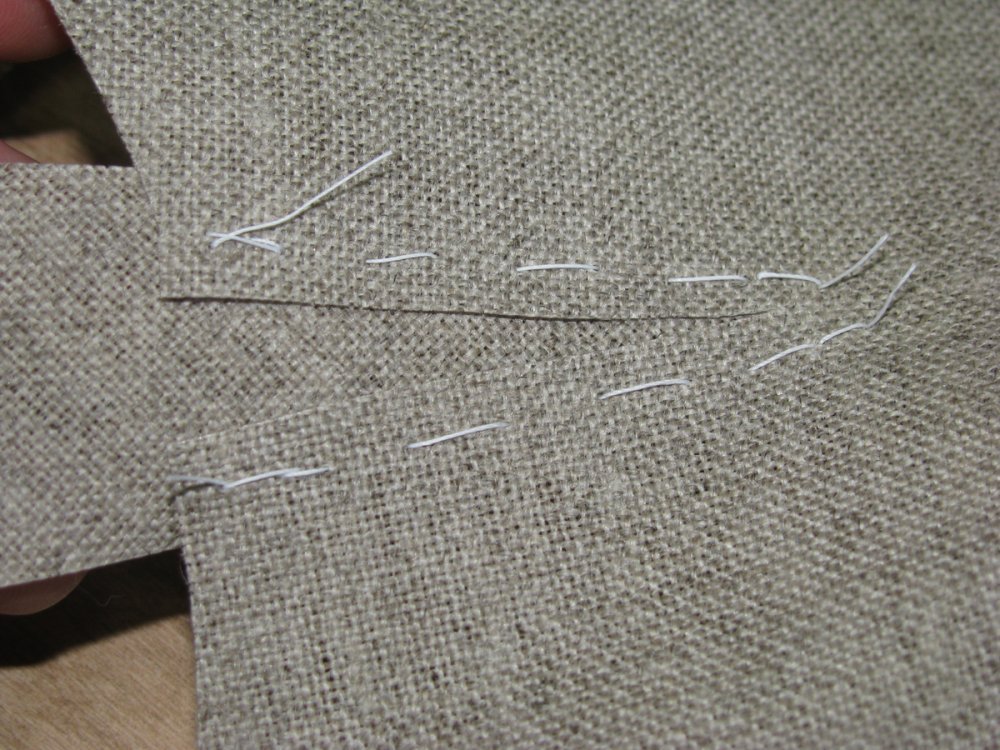
Machine or side stitch the edges of the gusset closed. If using a side stitch, the stitches must be close together and pulled tightly, or there will be too much movement and the gusset may weaken over time.

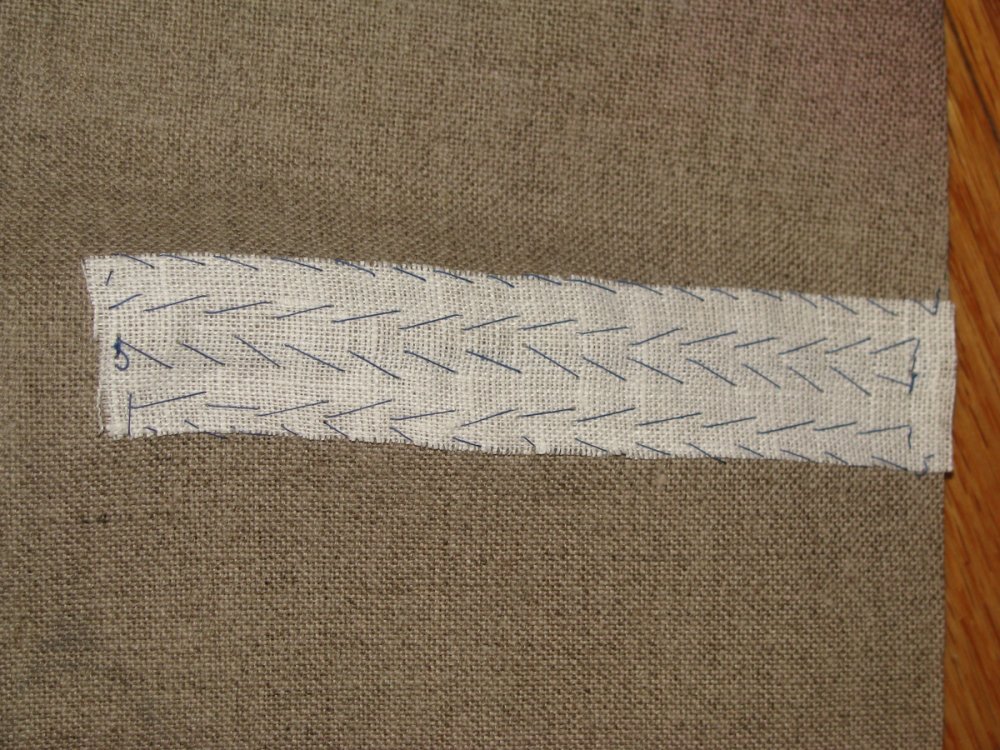
Repeat the process for each of the gussets, on both canvas halves.
Trim the edges of the canvas inserts flush with the canvas itself. The canvas at this point is completed, and will now be installed into the foreparts of the coat.
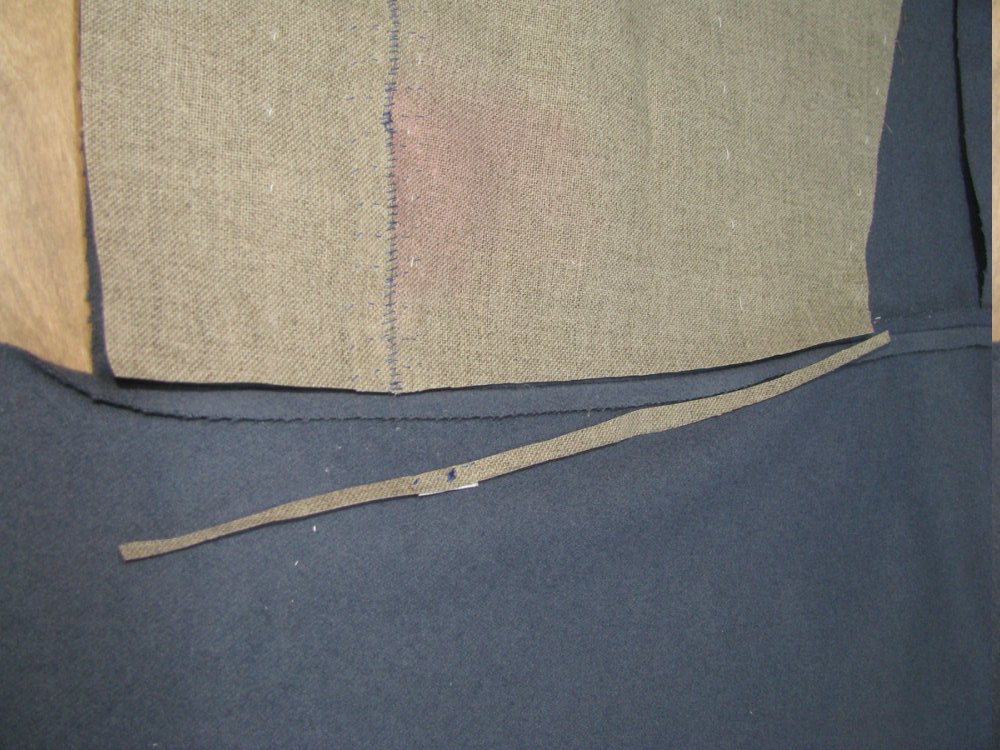
Side Seam
The first thing to do is complete the side seam. Begin by basting 5/8″ from the edge, right sides together, and sewing with a back and fore stitch, with the right side of the stitches being on the side-body.
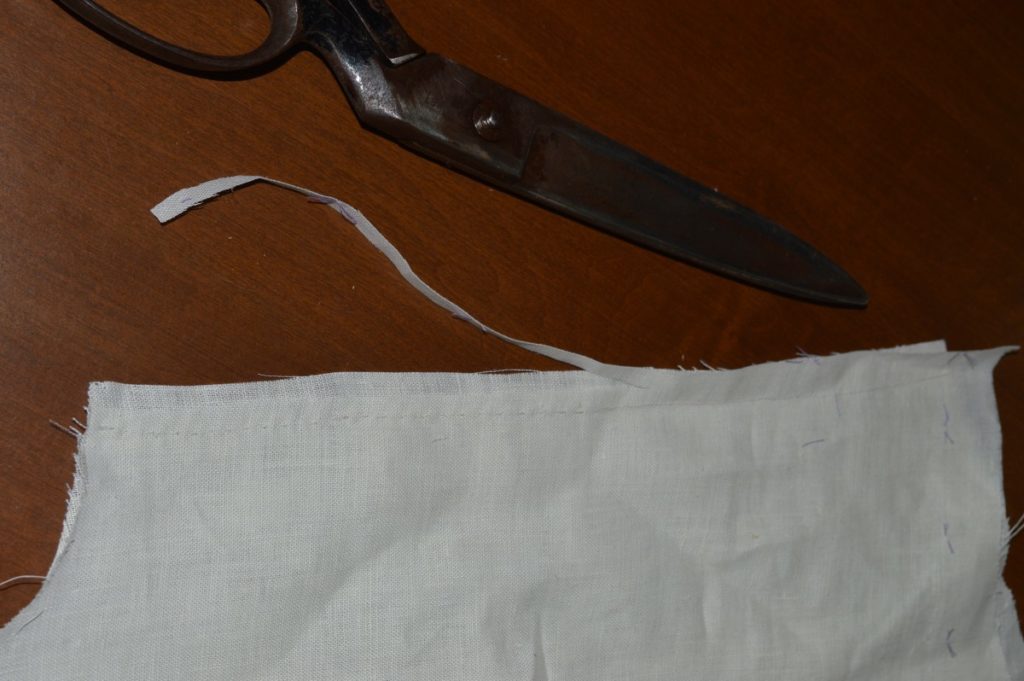
Trim off the unused inlay from the forepart. You can do this before basting if you wish, I just ended up doing it now.
Trim the seam allowance on the forepart down to 1/4″, or slightly smaller.
Press the seam towards the forpart. The discrepancy in lengths is due to me forgeting to add an inlay to the side-body.
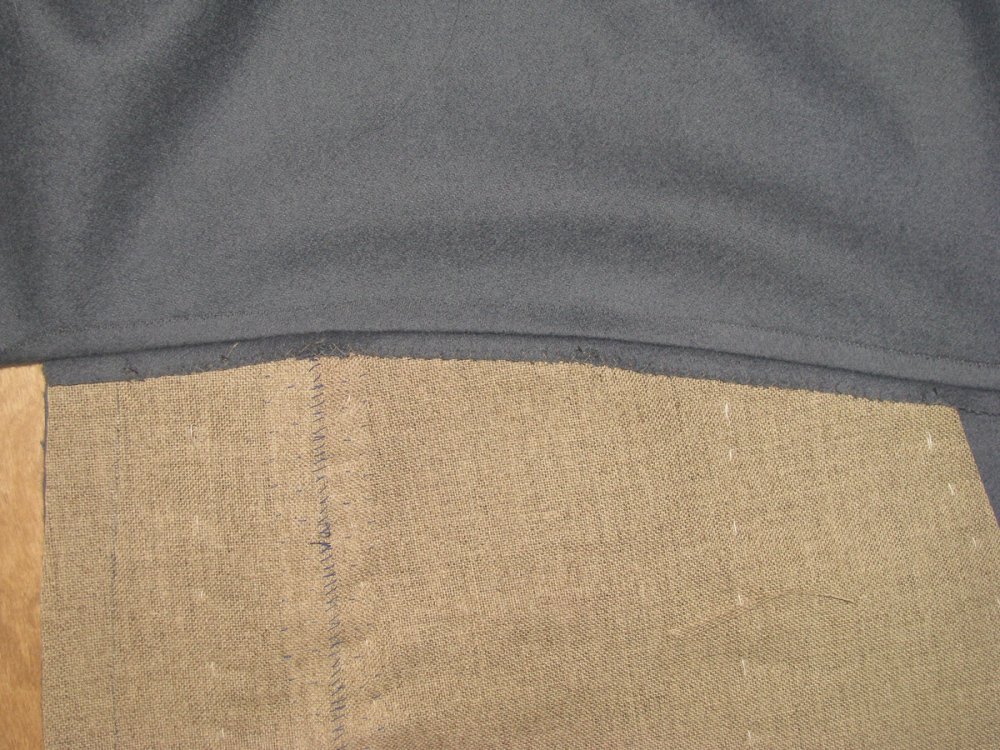
Press and baste the 1/2″ seam allowance under the forepart seam. I basted it because the seam is slightly curved at the bottom, and it gives me more control and less to worry about while sewing. Fell down the folded edge.
Remove the basting stitches before you forget. Here is the progress on the coat thus far.
Second Fitting
Before assembling the coat permanently, it’s a good idea to baste together all of the pieces to ensure that everything fits properly. In this particular fitting, we’ll be most concerned about checking the side seam, and the height of the waist seam. Normally, the muslin sleeves would also be fitted here, but we will leave those out for now to simplify things. This fitting also serves as a ‘dry run’, so that there are no surprises when it comes time to sew things together.
Begin by basting the coat together, wrong sides together, in the same manner as you did the muslin toile during the drafting process. The end result will be a coat with all of the seam allowances on the outside. This makes it extremely easy to have someone fit you while you’re wearing it. Remember that everything has a 1/2″ seam allowance.
Before trying on the coat, it’s a very good idea to baste a length of stay tape around the neck seam and the armscye. This will prevent any unwanted stretching.
Here’s the side seam, showing the inlay next to it. Remember to treat the tailor’s tacks as the edge of the cloth. If necessary, you can use this inlay to expand the fit now. That’s a piece of stay tape hanging down from the armscye, if you were wondering.
Here’s the back seam and the vent area. Baste the left side of the vent over the right side to secure it and prevent tearing of the fabric. For the back piece, feel free to sew it right sides together with the rest of the coat to make things easier.
Here’s the shoulder seam, again showing the inlays. We will not be fitting the shoulder seams at this point, so don’t worry too much about them yet.
When the skeleton baste is complete, try it on, and besides the side seam, take a close look at the waist in the front. It should be about an inch below the natural waist, or just slightly below the waist coat. If it’s too low, that is most likely a balance issue – the front of the coat is too long – and you may want to add add a gorge dart, and move the waist line up slightly. As long as you’re just basting, it’s a good time to experiment with both of these. Post a photo of your fitting in the forum and I’ll help you determine what to do.