Author: James Williams
Matching Plaids
Looking at original garments, there is a wide spectrum of how well stripes and plaids were matched in the 1860s. On the one hand you could have a pair of trousers with everything laid out perfectly, and on the other hand, garments with seemingly no care to matching the plaids at all, especially with pockets, facings, and such.
In general though, I think it’s a good idea to have some degree of pattern matching, and the process doesn’t really take too long to give nice results.
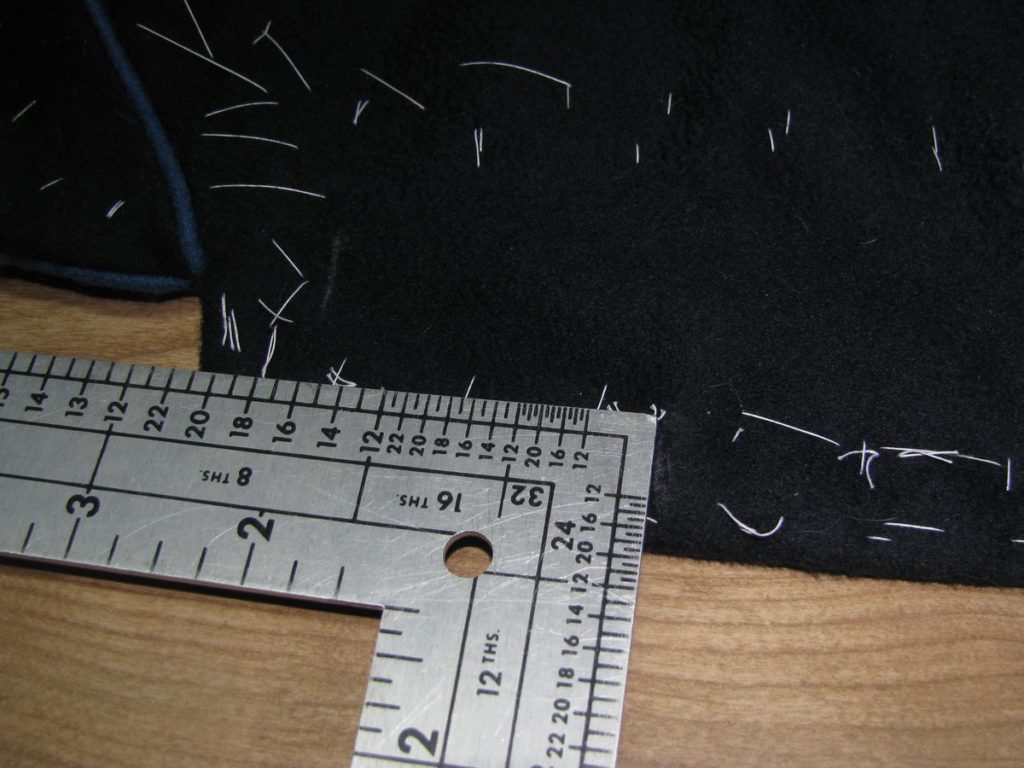
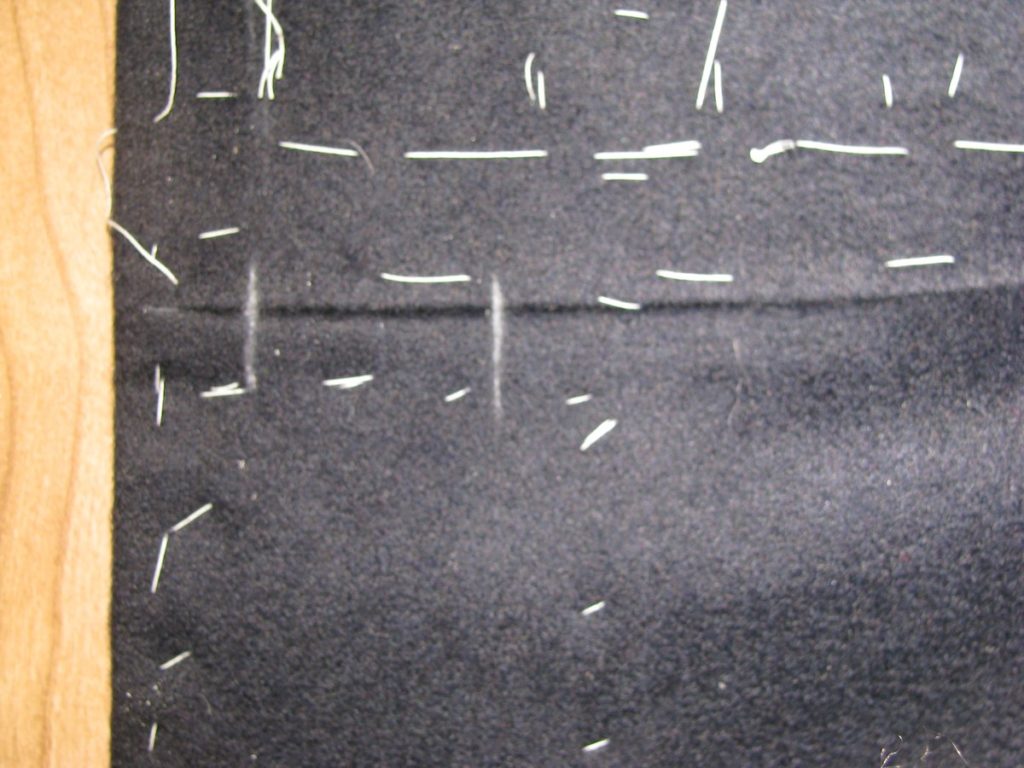
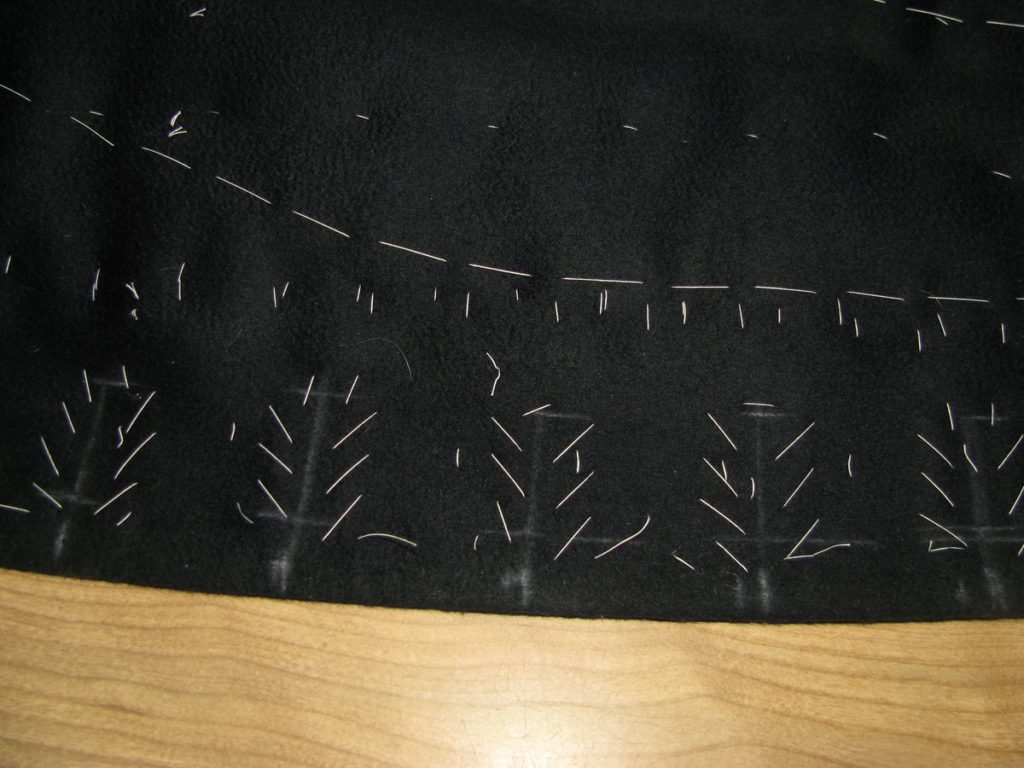
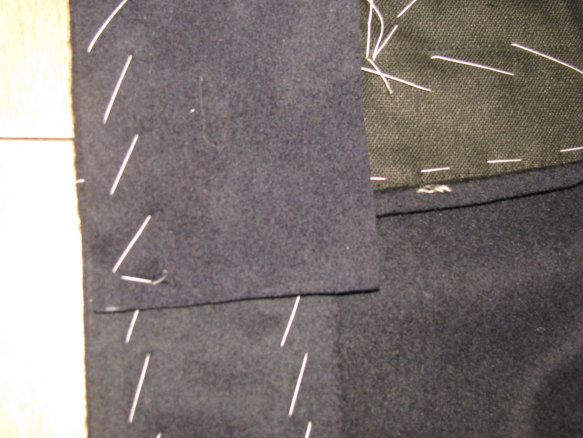
The first step is to match the plaids themselves between the two layers of fabric as it comes off of the bolt. Usually, mills are not to careful in their folding, and so the plaids and stripes will not be lined up. To fix this, I use a series of pins at the intersections of the plaid in a grid like pattern along the fabric, anywhere from 6 to 10 inches apart. This lines up all of the plaids and ensures good pattern matching.
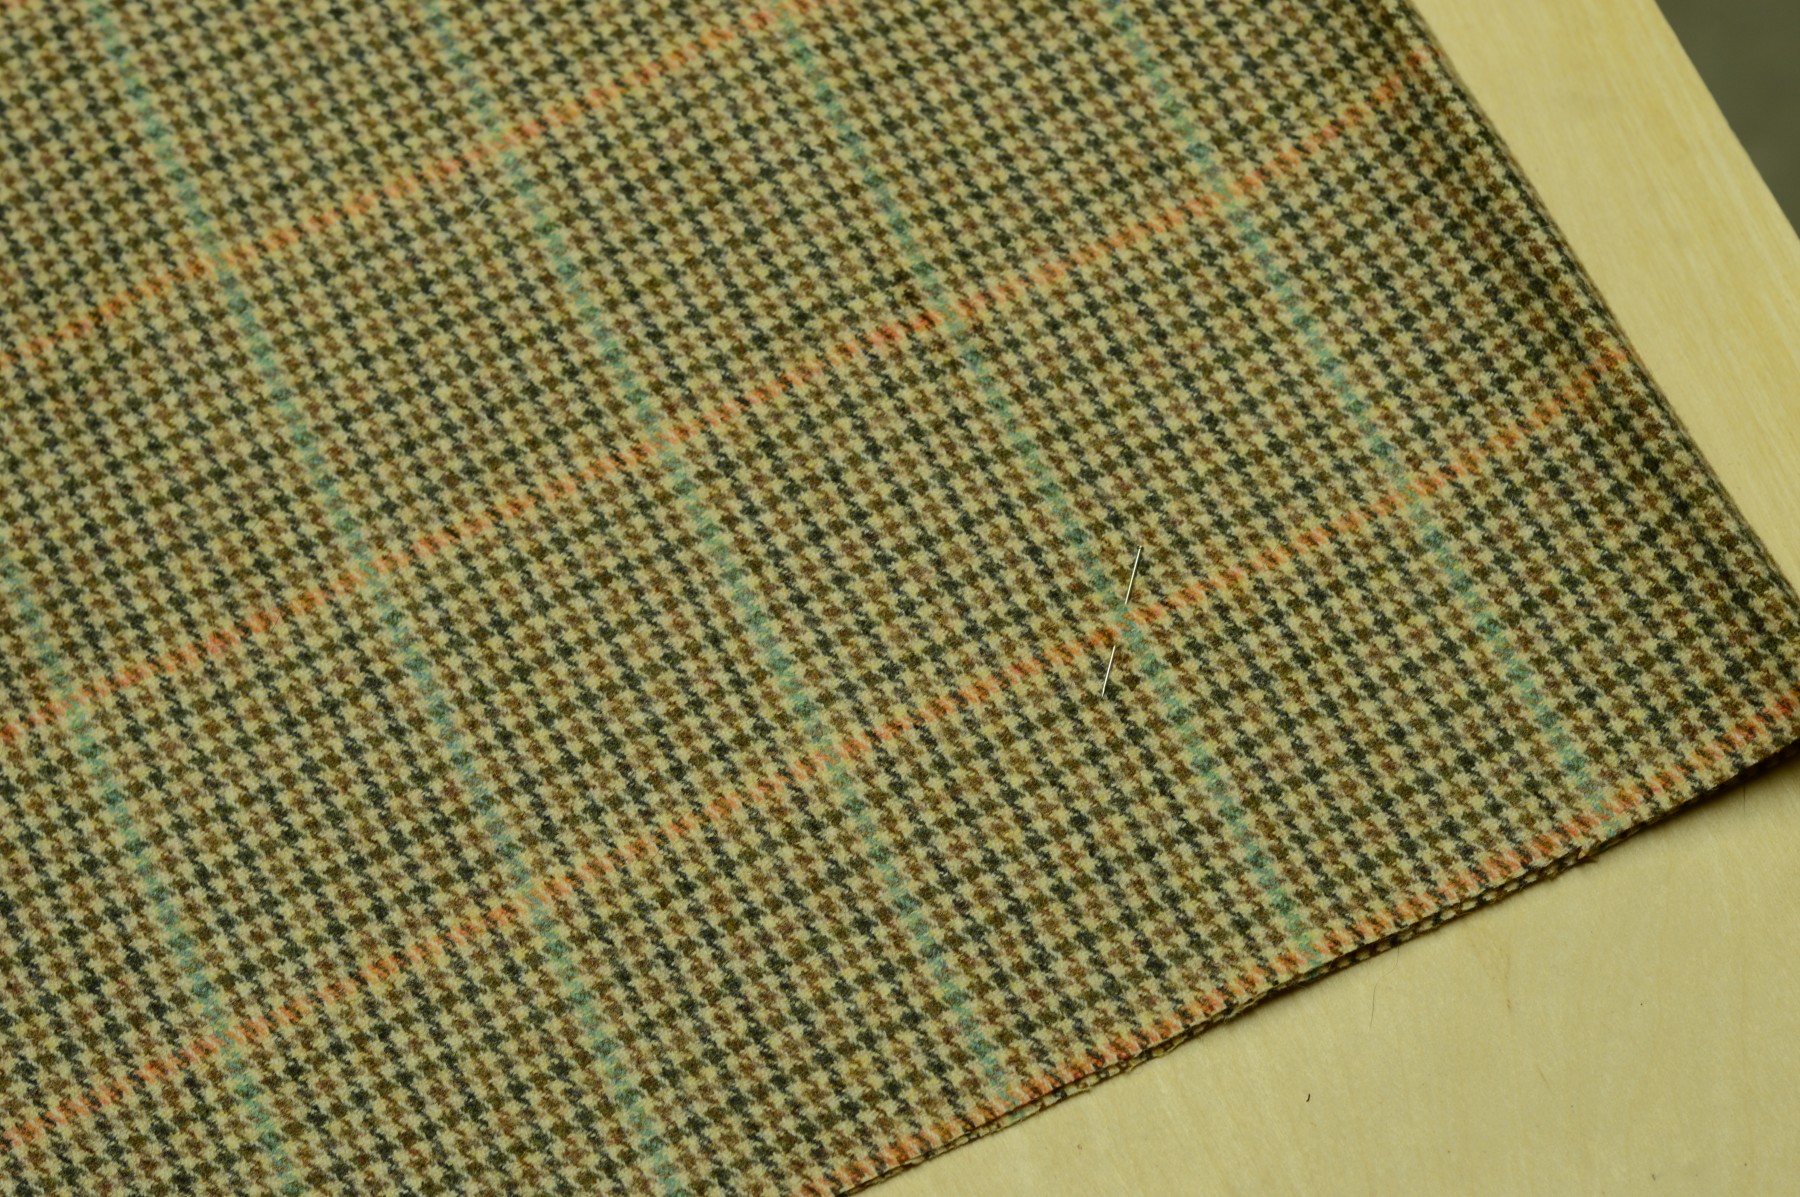
At each intersection, place a single pin, going through the same position in each layer of fabric. Begin along the folded edge, working your way along the length of the fabric. Then start another row parallel to that and so on, continuing until the whole width of the fabric is pinned together.
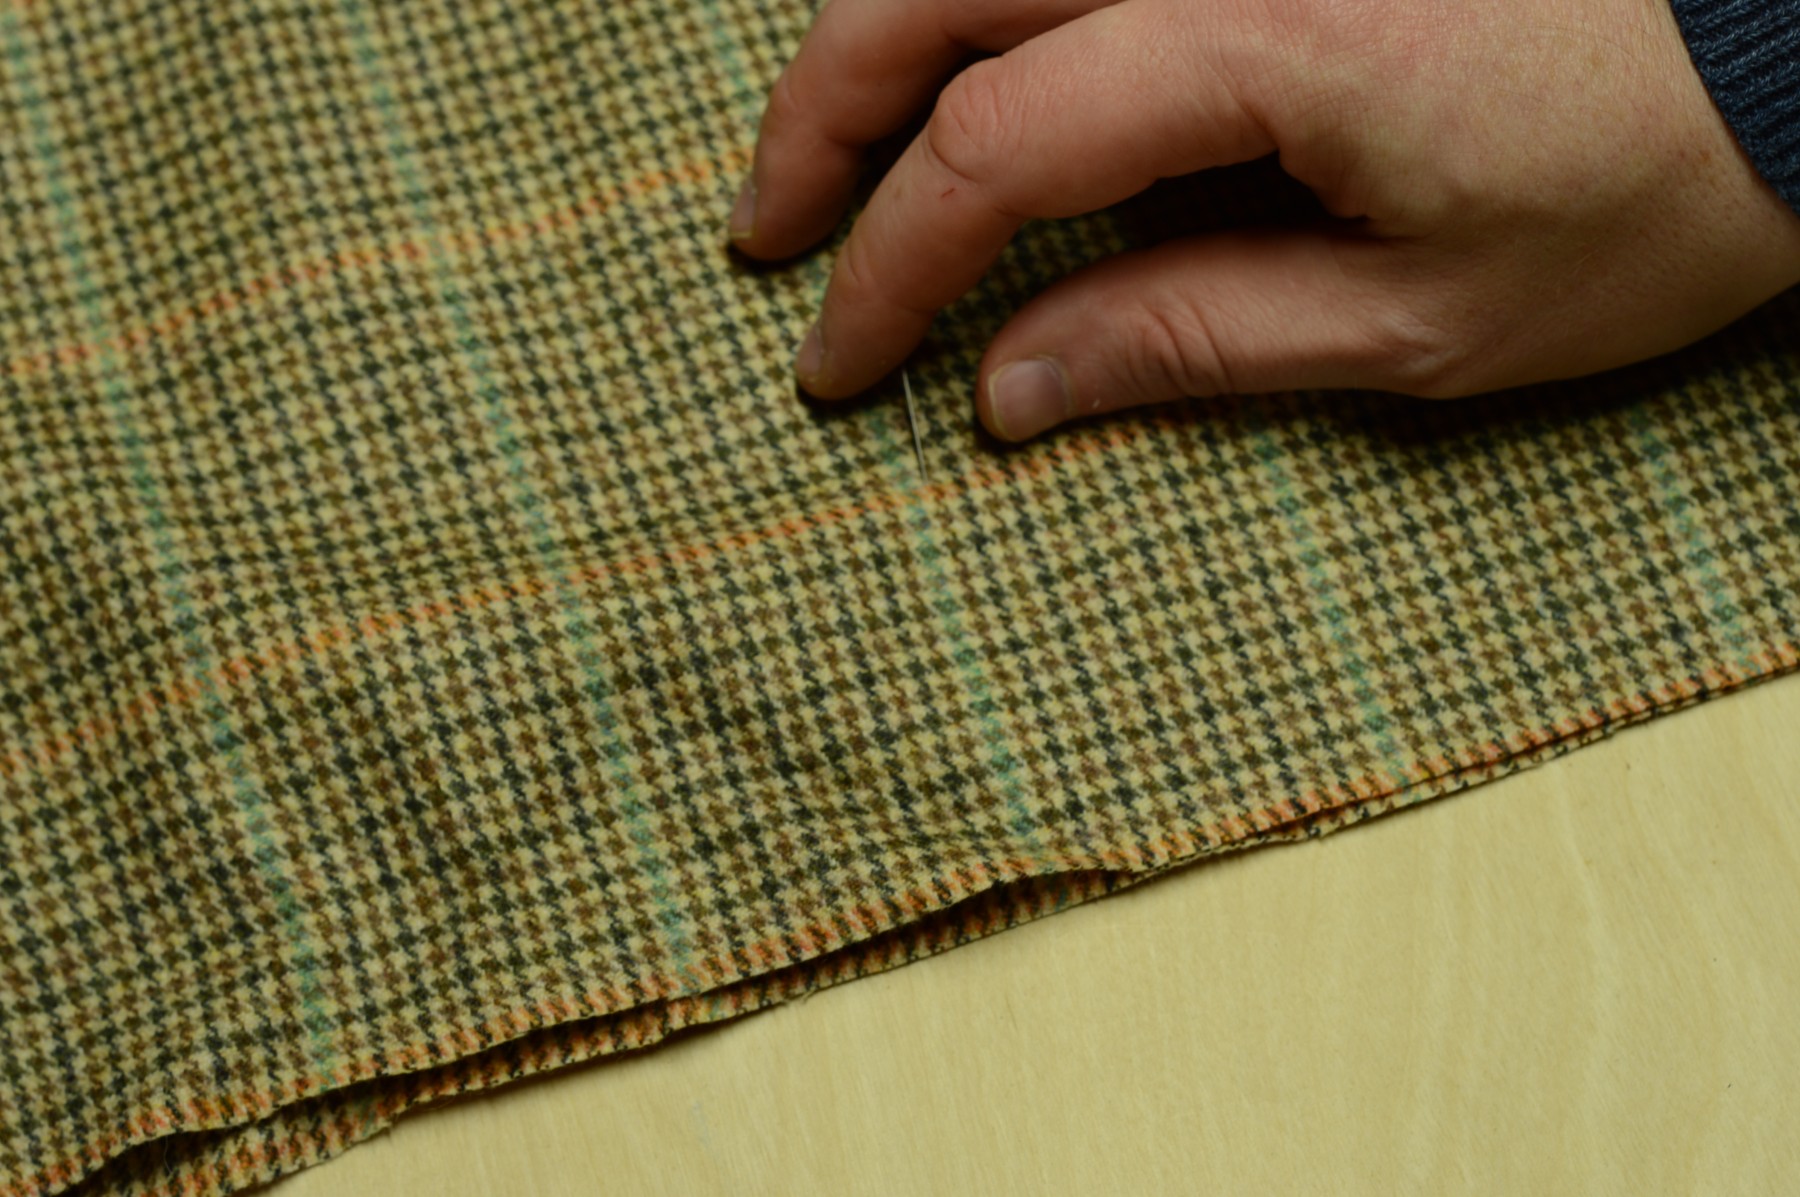
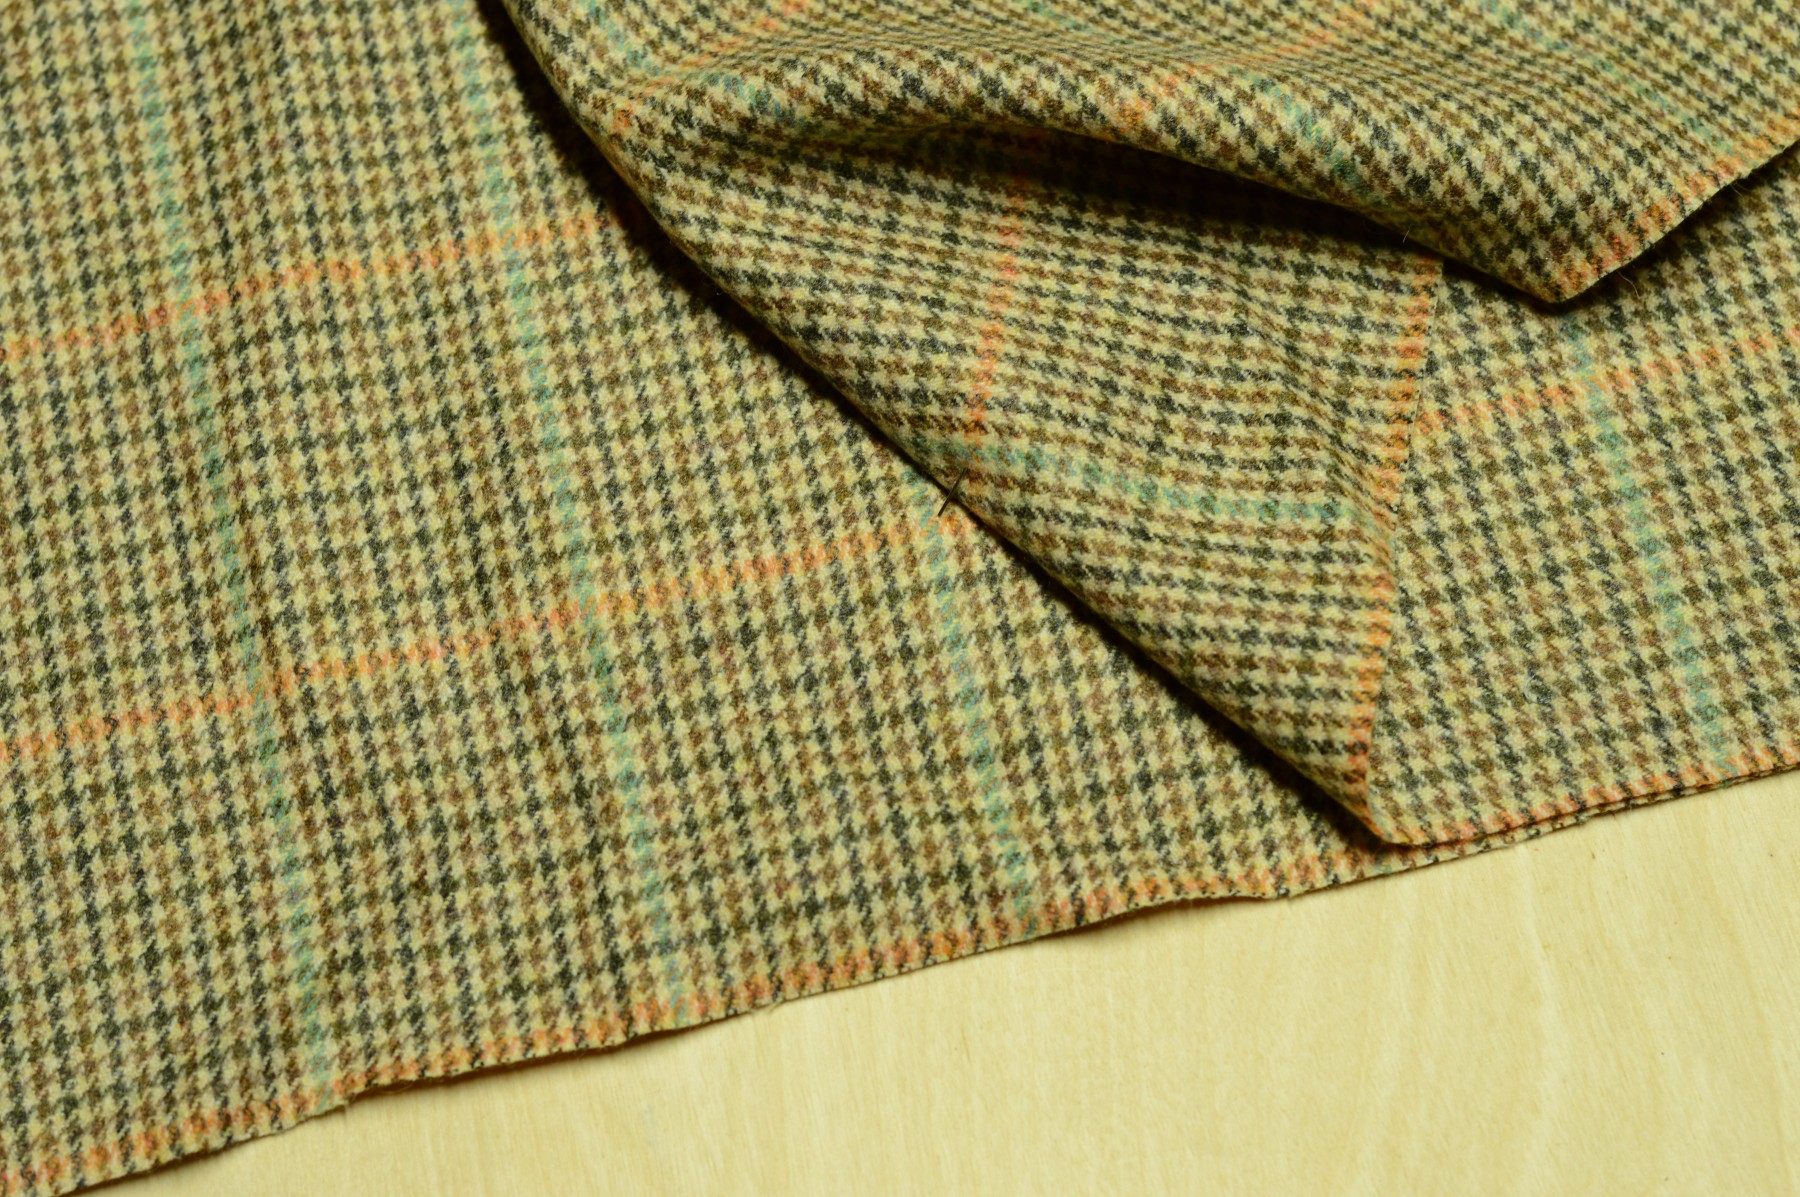
I demonstrate the process better in the following video. Note also that I press the newly formed edge after all the pins are in place.
Preparing the Fabric
Before cutting into your nice woolen or linen fabric, it’s important to prepare the fabric by pre-shrinking in order to avoid shrinkage later after you’ve completed your trousers. There are several different methods you could use, but I’m going to focus on the one that works best for me.
When fabric is woven, there is a certain amount of tension that is put on the yarns in order to keep everything running smoothly on the loom. Our goal is to relax those fibers, with a bit of steam, so that we are free to work on our project without worrying about things shrinking after they are finished.
Lay your fabric out on your work surface or ironing board. For now, I’m using a towel placed on top of my table as a temporary ironing station until I get something better built. The board is underneath to protect the unfinished plywood. As you can see I’m using a basic home iron with a separate spray bottle for more control of the steam.
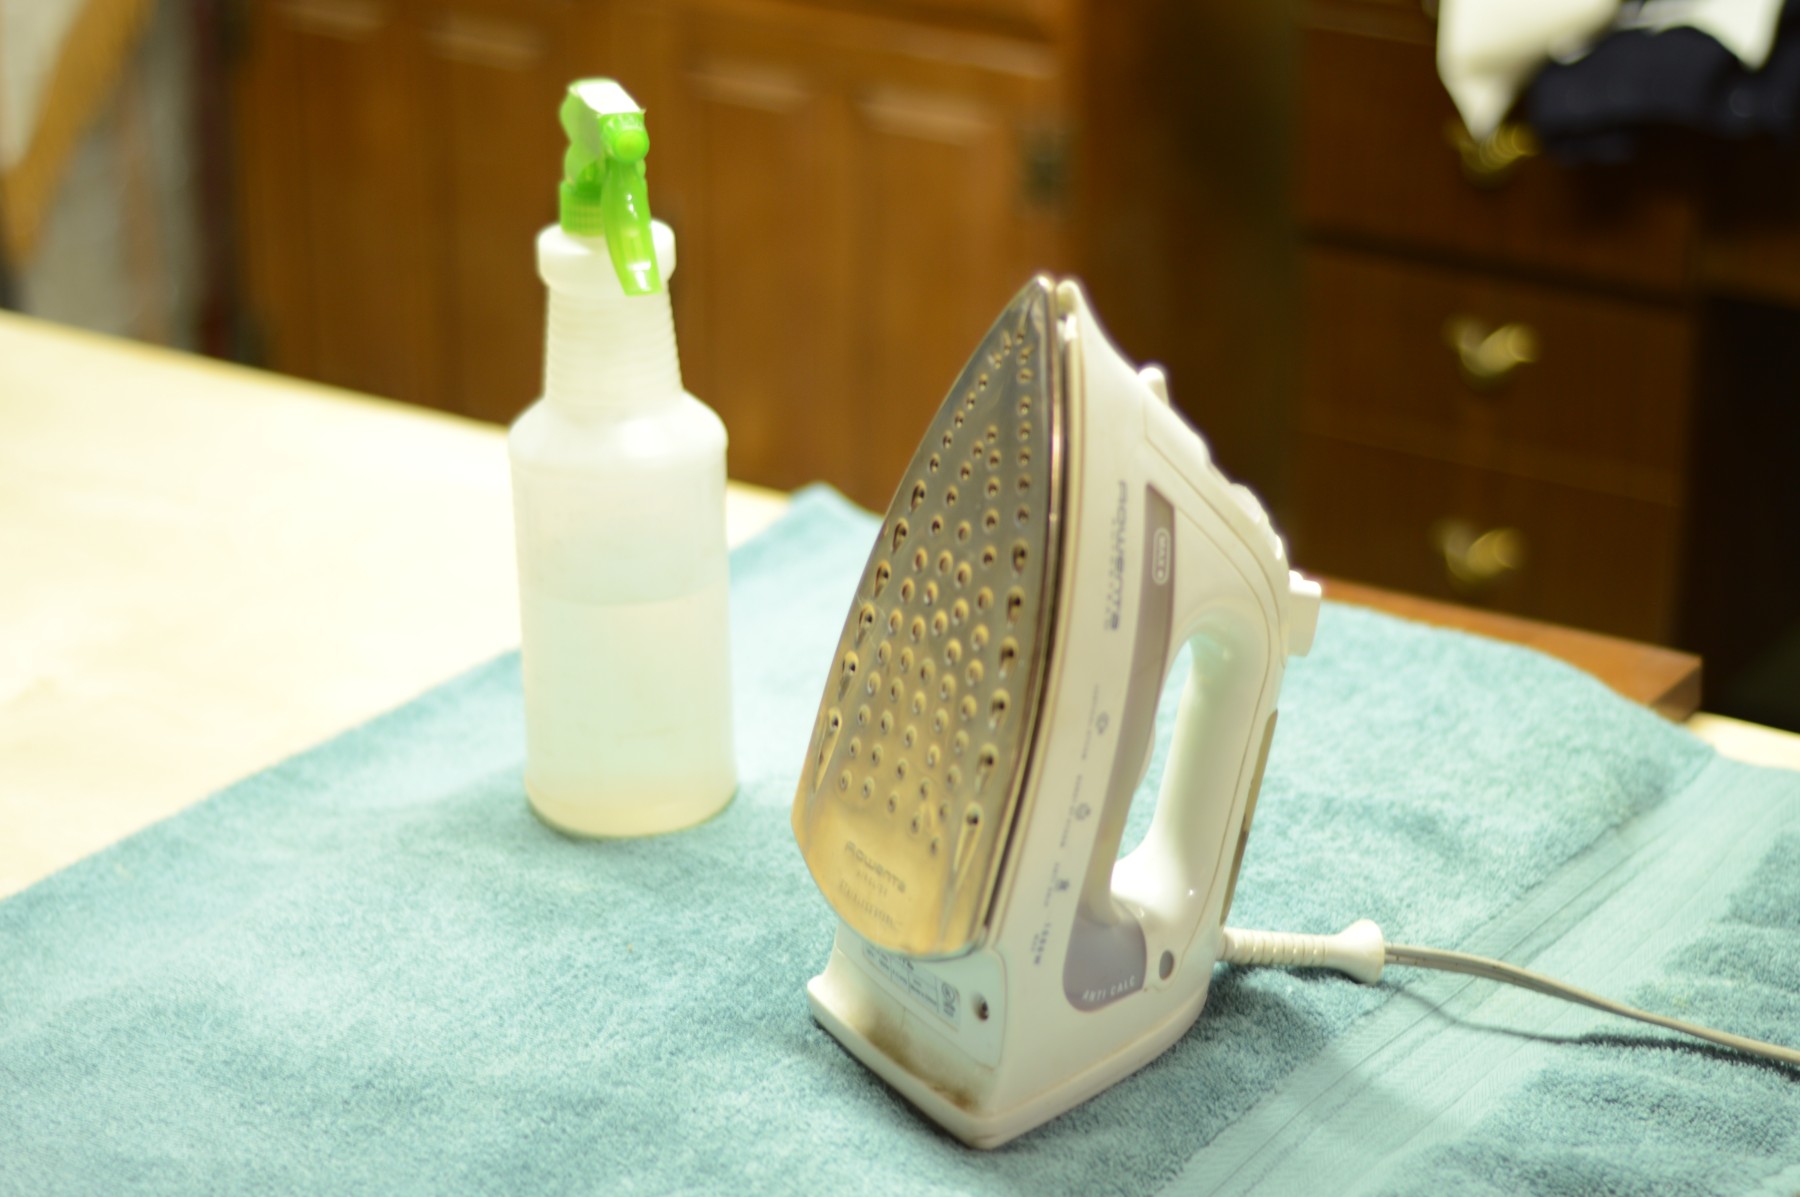
The basic idea is to wet the fabric with the water bottle, just enough to create some steam with the iron. That steam is what will relax the fibers and help get out any wrinkles. As you’re ironing, try to move lengthwise along the fabric in order to prevent stretching the fabric out of shape. Here is a video illustrating the process.
Cutting and Overcasting
Cutting the Holes
There are several tools used in cutting a tear-dropped shaped buttonhole. First, you need a sturdy surface, such as a work bench, in order to have a place to hammer. On top of that, place a scrap of lumber, preferably beech as it lacks oils and resin that could stain the cloth.
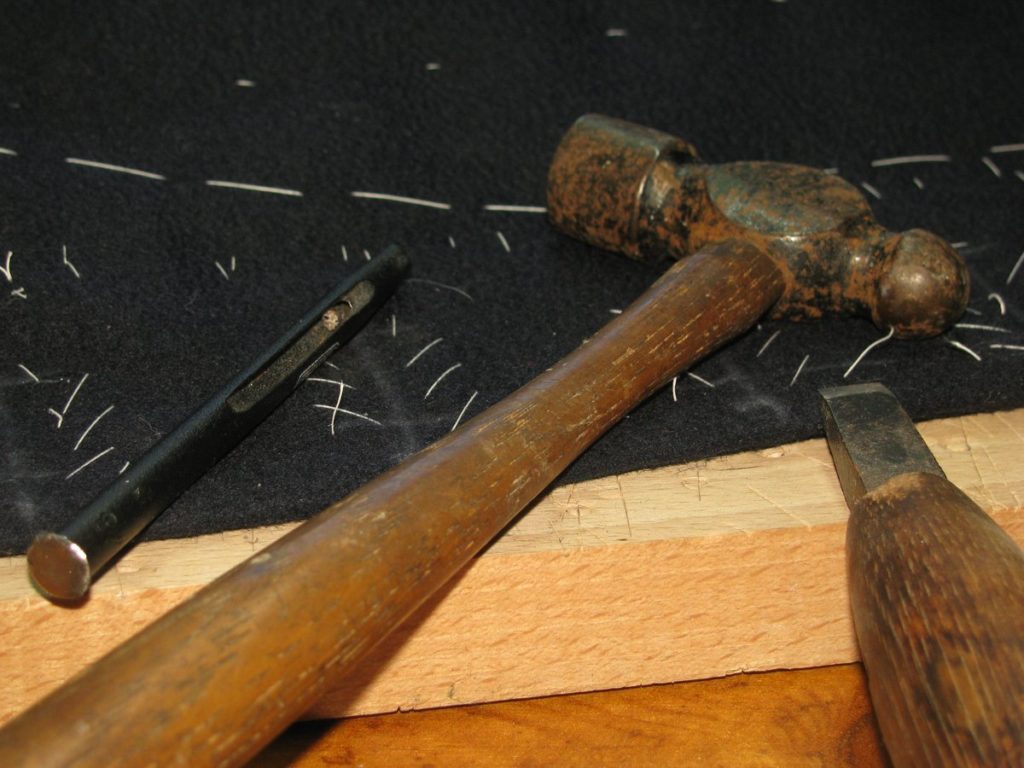
To cut the buttonholes, I use a hollow punch to cut the eyelet area. These are available at most hardware stores for less than five dollars, and are hollow, so as to cut the fabric instead of just pushing it aside, like an awl. I recommend a size 1/8 or 3/16 in diameter.
Ideally, your chisel will be the same size as the desired buttonhole length. If it’s smaller, it will still work, but you’ll need to carefully align each cut, which is prone to error.
Finally, a small hammer is used to hammer the hollow punch and chisel through the cloth. I happen to have a small antique hammer that works well. Much larger and it becomes difficult to control, especially with such a low tolerance for error.
Place the hollow punch directly on the intersection of the horizontal and outer construction lines. Hold it near the bottom if you can, for better leverage and preventing movement. Give it a few strokes with the hammer, cutting through to the wood underneath. You should have a clean cut. If there is any fabric that did not get cut, you need to sharpen your punch. You can also rotate it in the hole to move the dull spot out of the way.
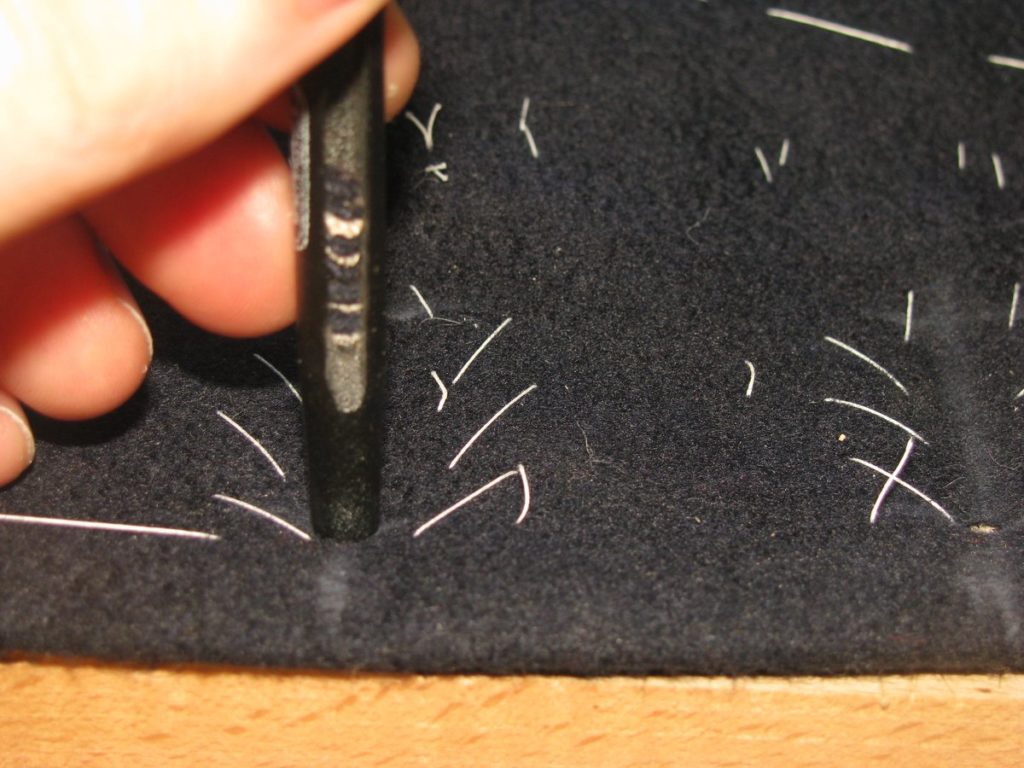
After punching each hole, take your chisel, and line it up with the center of the hole, which should be on the chalkline. I like to do this by feel first, by dragging the tip of the chisel along the hole until you feel it get to the center. Then check with your eyes for alignment. When you are sure it is lined up, cut through the fabric with the chisel. If you need to make more cuts because of a small chisel, do not pick the chisel up. Instead drag it over following the cut you just made. The second cut should be made with just half to three fourths of the blade, while the rest is still over the cut you just made. In this way, you can help ensure the individual cuts line up to make a straight line.
Trimming the holes
After the buttonhole are cut, you need to trim the little triangular shaped pieces from near the eyelet, giving each hole a nice tear-dropped shape. Use some small, sharp scissors for this task. You may have to trim through one layer at a time, depending on the thickness of the cloth.
Here is a video covering all of the steps thus far.
Overcasting
Now you must overcast the edge of each buttonhole with a whip stitch. The stitches should be about 1/16” in depth if you can. This however will depend on whether or not the fabric frays. Start by holding the coat with the tear-dropped end facing away from you, and sew clockwise around the buttonhole. The purpose of these stitches is to bind the layers together. As you are sewing, try to push any canvas or linen that shows back under the wool outer layers,so that they are hidden.
The stitches should be fairly dense, about 12 to 15 per inch. Use your regular sewing thread for this stage. When finished, the stitches should be enough to strengthen the buttonhole and prevent fraying, making the actual button stitch almost decorative in nature. On one of my antique coats, the actual buttonhole twist has long worn away, but the overcast stitches remain, protecting the hole to this day.
Buttonhole Layout
Hand-tailored buttonholes are a thing of beauty, and in the hands of a skilled tailor, can make a coat stand out amongst others. Properly sewn, they will add a level of detail that you can be proud of, yet at the same time will sit unassumingly against the background of the coat. On the other hand, a badly-done buttonhole will absolutely ruin the look of a coat, so practice on scraps of fabric is a must.
Most people will at first find buttonholes very difficult to make. With practice, however, you will gain proficiency and it will become almost second nature. The best way to learn is by having somebody teach you. However, finding a skilled tailor willing to teach you is not always the easiest thing to do. I have created several videos and documented each step in order to try to take the place of a personal tutor. At the very least, you will not have to go searching through old books to pick up hints here and there.
Layout
To begin with, the buttonholes must be marked out on the jacket. The bottom buttonhole location should be marked first, and in the case of a frock coat, should be in the waist seam. The top buttonhole should then be marked, according to your desired style. In my case, an enlisted frock coat, the top buttonhole will be placed ½” from the neck point.
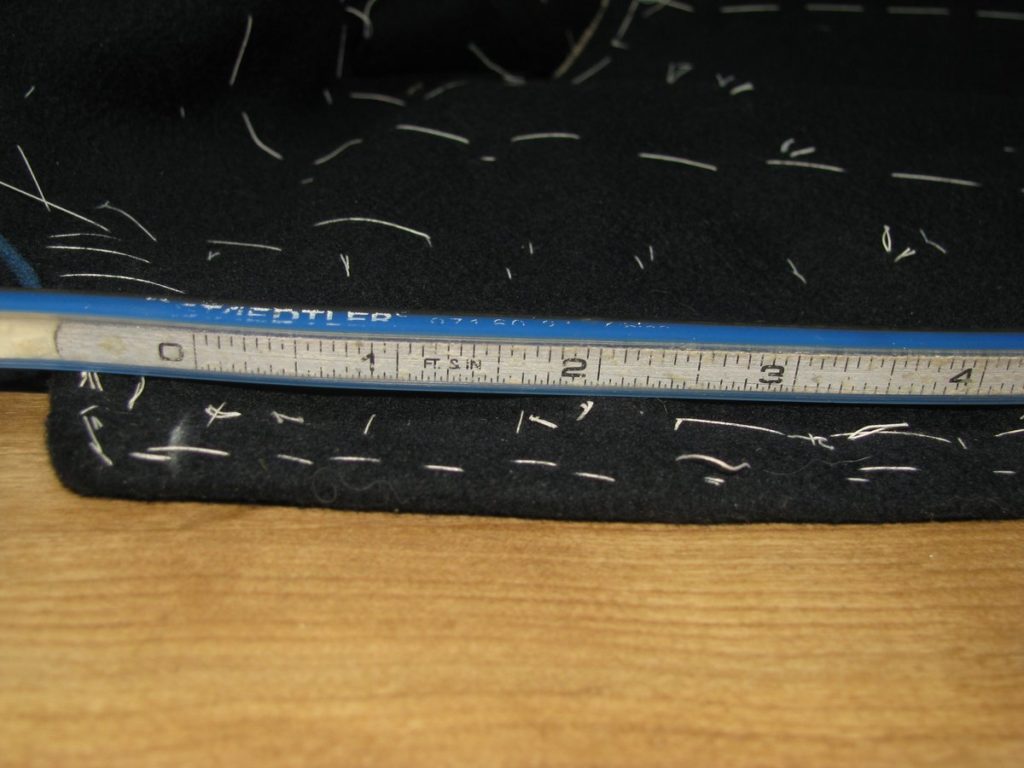
Using a tape measure or bendable ruler, measure the distance from the top buttonhole to the bottom, running a half inch away from the front edge of the coat. Determine the number of buttonholes you want, and subtract one from that number, equivalent to the number of spaces between buttonholes. In my case, there are nine buttonholes, and eight spaces.
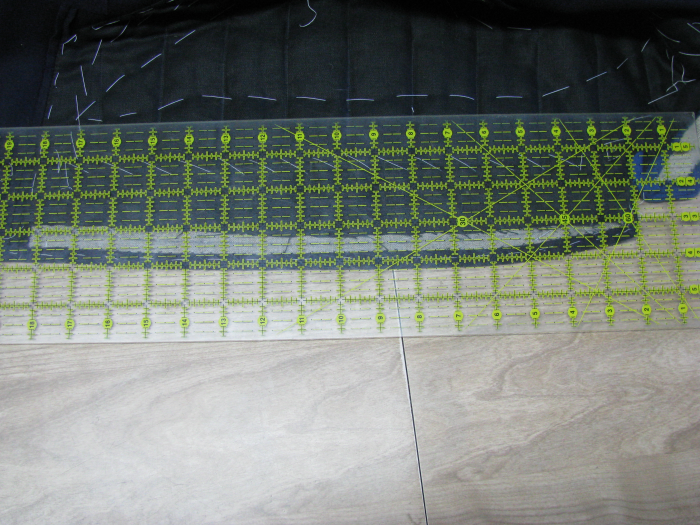
Starting at the top, place your tailor’s square with the divisional side up, so that the top buttonhole to bottom buttonhole measurement corresponds with the number of spaces between. In my example, the top to bottom measurement was 16 inches, and I want it divided into 8 spaces between. This happens to be the nice round number of 2, but with other measurements, it can easily be more complicated, hence using the tailor’s square.
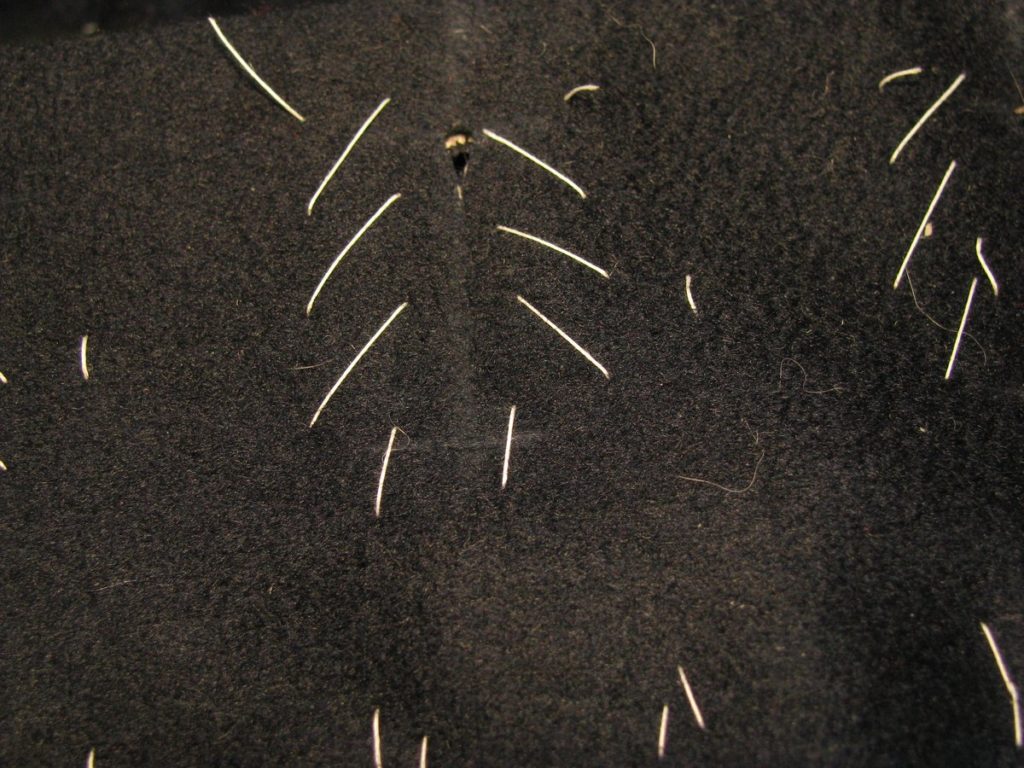
Mark off on the edge of the coat each buttonhole mark according to the ruler. Be sure to take the width of the chalk marks into account. If you forget, go back and adjust, as I had to do in this case. You will discover this problem when you get to the second from bottom buttonhole, and discover there is a smaller interval between them.
Next, draw lines square from the edge of the cloth corresponding with each buttonhole mark. These need to be at right angles with the cloth, and not parallel with each other, as the front of the coat has a curve to it.
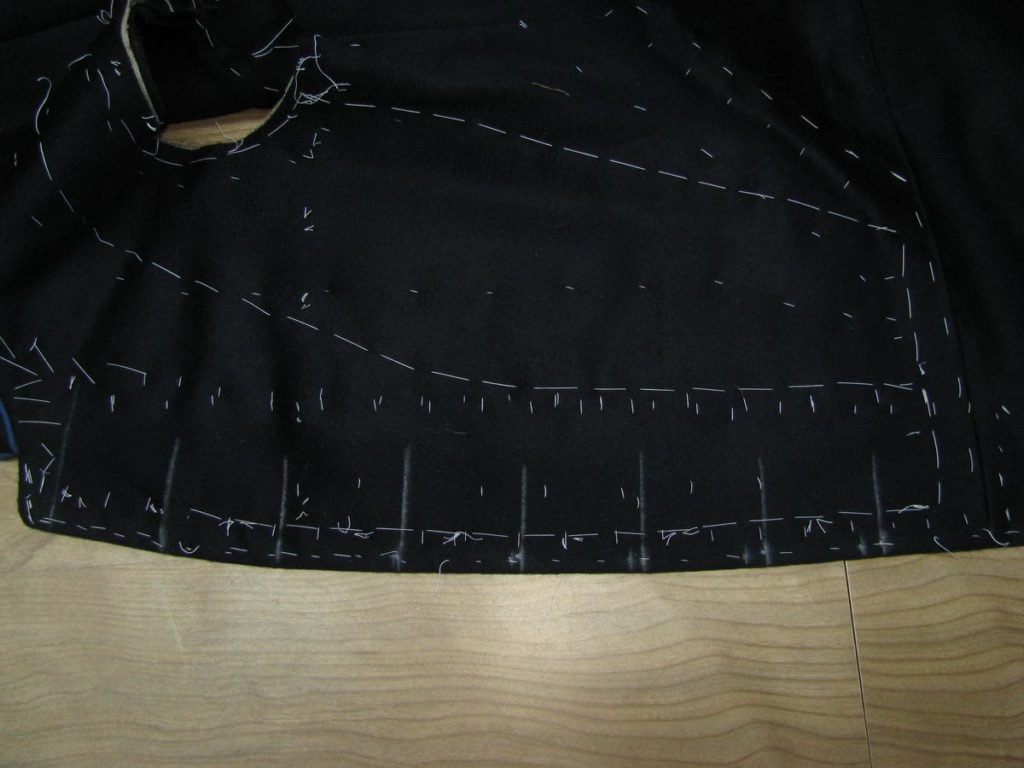
Mark ½ inch from the edge at each buttonhole, marking the outer edge of the buttonhole. For the inner edge of each buttonhole, mark a line 1/8 inch larger than the width of the button.
On the waist seam buttonhole, you obviously don’t need to mark the placement horizontally, just the end points.
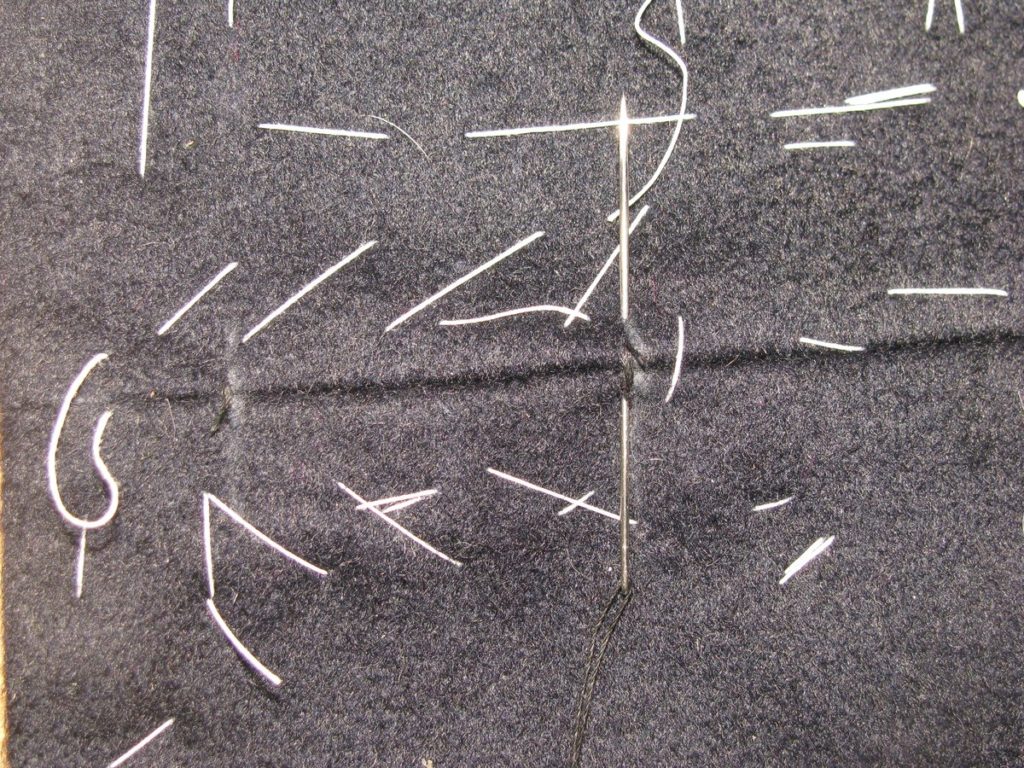
Basting
While there may be basting stitches still holding the canvas and facing in place, you need to ensure that there is absolutely no movement when cutting the holes. Using basting thread, baste around each buttonhole as shown, using a padding type stitch. The needle is inserted right to left, and you stitch in this same direction both towards and away from you.

On the waist seam buttonhole, you want to make sure the seam does not come apart when you cut into it. On both ends of the buttonhole, just beyond the chalk marks, make a small bartack by taking five or so stitches in places, catching both the forepart and skirt.
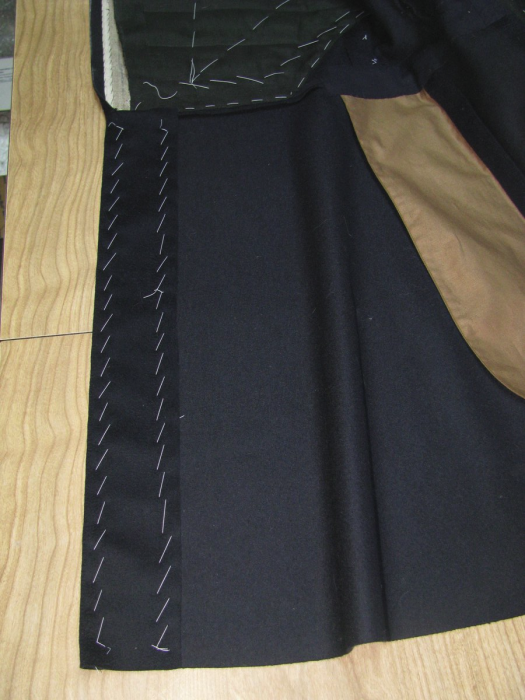
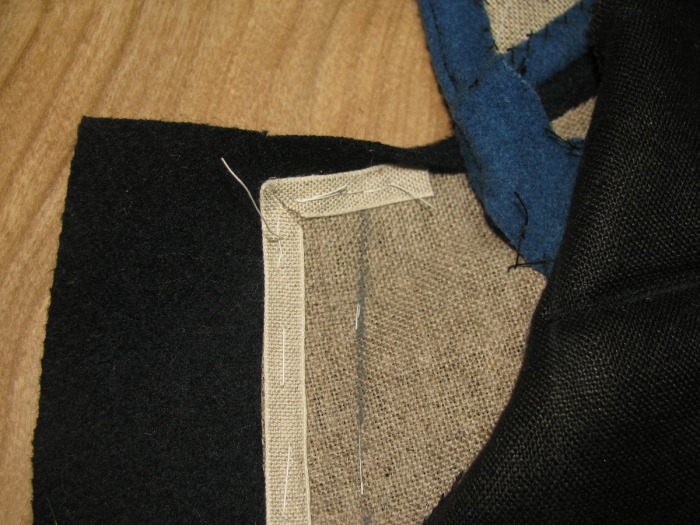
Installing the Facings
Lay the facing wrong sides together on the coat, matching the front edges. The facing should be set back about 1/8 inch behind the turned edge of the forepart. Baste along the front edge.
Note how the facing extends below the waist seam by about half to three quarters of an inch. This is to give the in-seam buttonhole some fabric to grasp.
Now turn the coat right side up, and holding the coat and facing in place with your hands, baste the inner edge of the facing down by feel. The reason to turn it over like this is to ensure the facing is basted on while the coat is shaped as it will be worn. If not done this way, you’ll have a loose facing with a lot of puckering.
The top edge of the facing needs to carefully trimmed to match the front of the coat. Cut it back 1/8 from the edge at the area in front of the collar, near the top corner. When you get to the corner, taper it back and cut less away so that the top of the facing lines up with the top edge of the bottom row of collar piping.
Feel free to trim it off a little at a time. Better to have to cut more than to cut too much off!
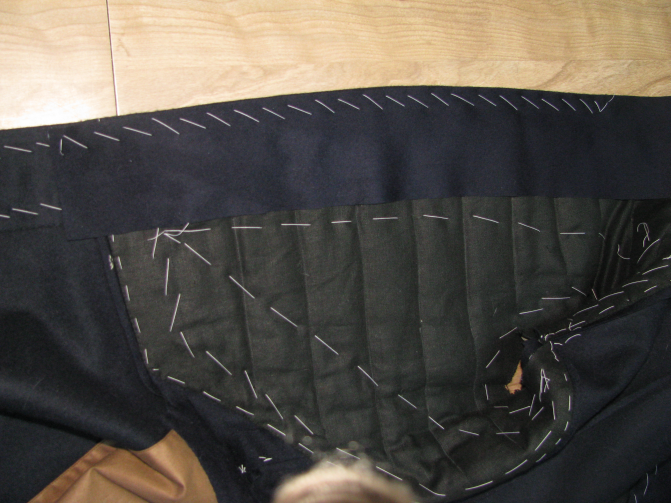
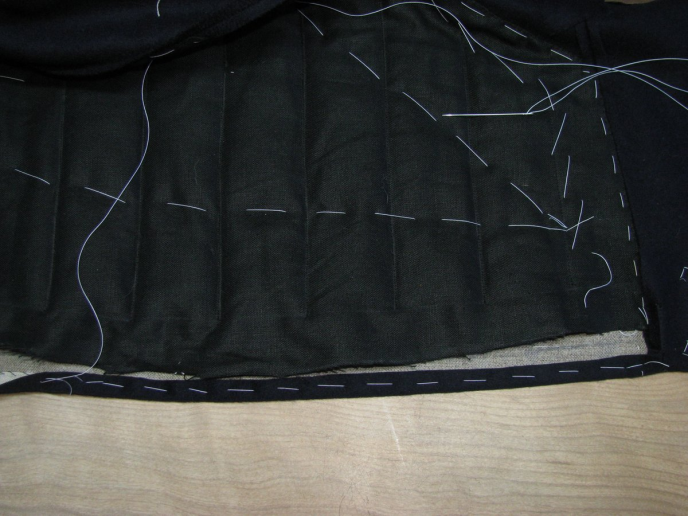
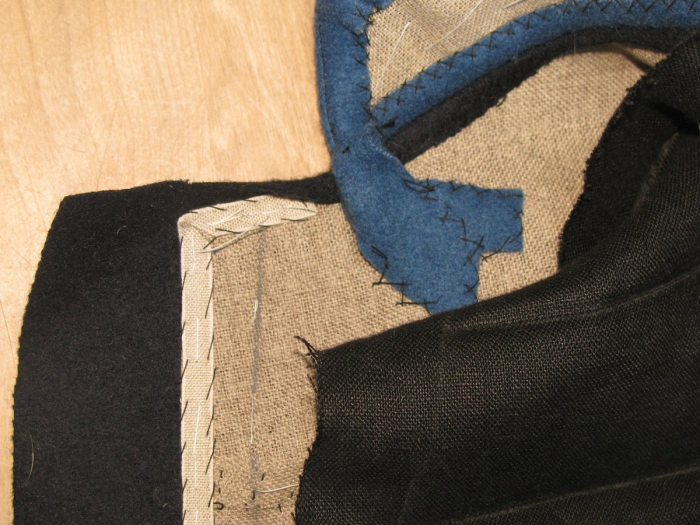
Starting at the inside edge or the outer edge, depending on which side you’re on, fell down the facing to the coat front, around the bottom edge, and onto the quilting on the inner side.
At the top, you’ll sew down the facing as usual, until you get to the collar. Here, you’ll need to do a bar tack to bind all the layers together permanently. Try to catch both the facing, the collar, while angling the needle to barely show on the right side of the coat. Do about six stitches in place as pictured.
At the top of the facing where it overlaps the collar piping, just do some medium sized basting stitches. It’s best to avoid a harder finish such as the felling, because it will interfere with the collar and neck drape. This area will later be secured more permanently when we attach the inner collar.
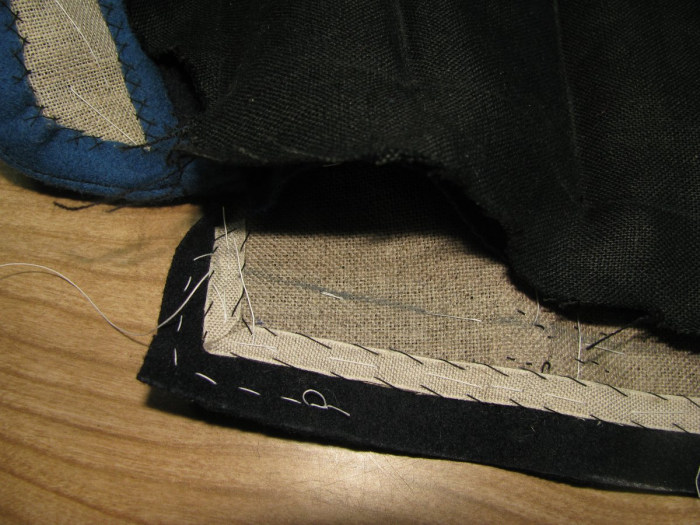
Cutting the Facings
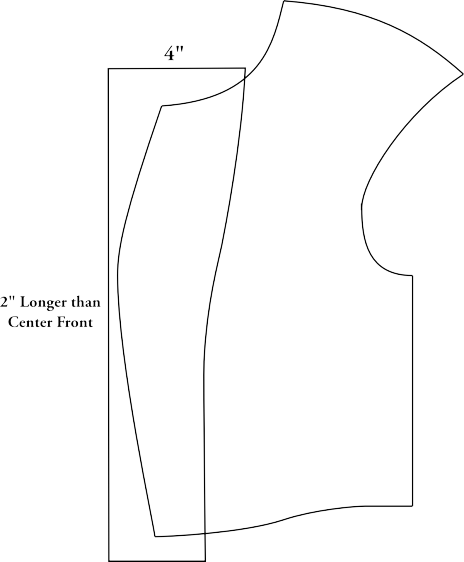
To cut the facing, you will first need to measure the length of the forepart. Measure at a depth about 4 inches in from the front edge of the coat. Begin your measurement at the collar, and end half an inch below the waist seam. I like to add 2 inches to this measurement to give room for error.
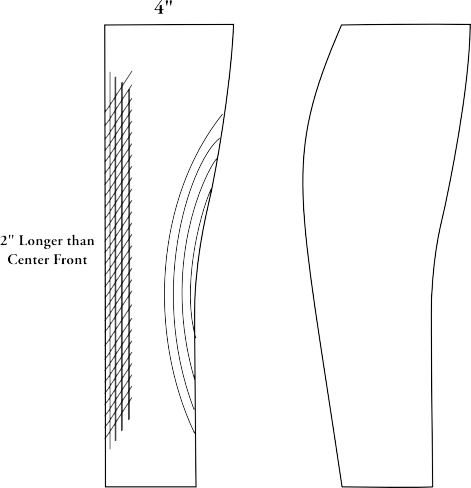
Drawing directly on the fabric, measure out a facing piece. The length should be equal to the measurement you just took plus the two inches. At the bottom, it should be slightly wider than the skirt facing’s width. Make the top about four inches wide. The outside edge should be cut straight, while the inner edge should be formed with a compound curve, as shown, gradually tapering to the bottom seams width.
Ironwork
Since there is usually some curvature to the coat, even after the ironwork, but not the facing, we must add that in through some iron work. You can trace the curve of the coat onto some paper (remember, it’s not the same as the pattern you started with), and lay that on your ironing table. With both facing pieces right side together stretch the outer, straight edge until it matches the curve you drew on the paper. If there is any rippling on the inside edge, that will need to be fulled (shrunk) out until smooth. At the end, you should have a facing piece that curves to match the coat. The benefit of this is that the facing is cut on the straight grain, giving the forepart more strength and durability.
Finishing the Center Front
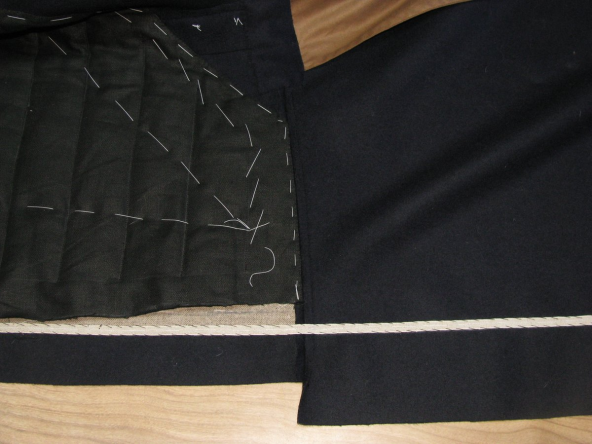
Fold the edge of the skirt over the stay tape, and baste down along the edge. When doing this, the folded edge should not be too tight. Let it fold naturally over itself. Then baste a second row of stitches along the raw edge, so as to keep it from moving when you stitch it down.
Fold the wool over the canvas on the forepart, again keeping it at an easy tension, and baste. When you get to the top at the neck point, draw in the shirring stitches, and adjust the fabric so that you have a nice corner. It will never be perfectly square, but it should be close. You may have to fiddle around with this for a bit.
Press the front edge of the coat from the collar to the skirt bottom, while not allowing the iron to extend more than an inch onto the coat. When pressing the chest area, use a tailor’s ham to ensure the area with the tightened stay tape remains properly shaped.
Cross stitch the seam allowance to the canvas on the forepart, catching only the canvas. This cross stitch should begin at the collar and end at the waist seam.
Finish off the skirt facing by felling 10 to 12 stitches per inch, making sure they do not show through to the front. Don’t stitch the top or the bottom edges of the facings, those will be finished later.
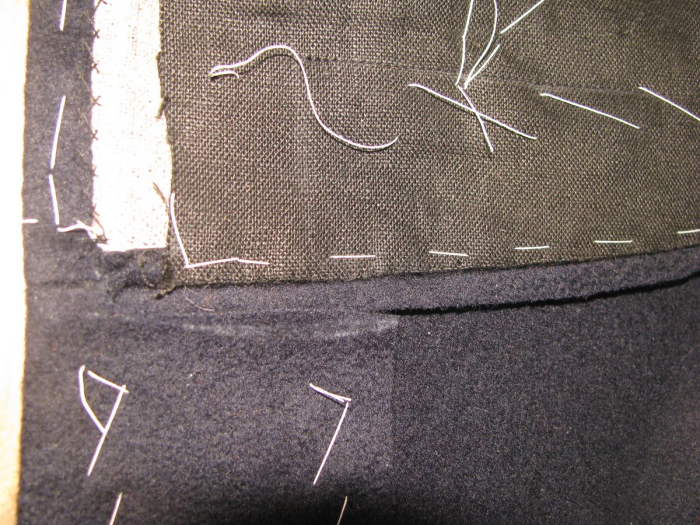
Trimming the Foreparts
At the waist seam, about 3/8 inch outside the stay tape, make a few stitches in place. This is to keep the seam intact when you trim the front edge.
On the wrong side of the wool, mark an edge 3/8 beyond the edge of the canvas. At the waist seam, use a seam ripper to remove the stitching from the stitches you just made, to the edge. Then trim the wool along the line you just measured out.
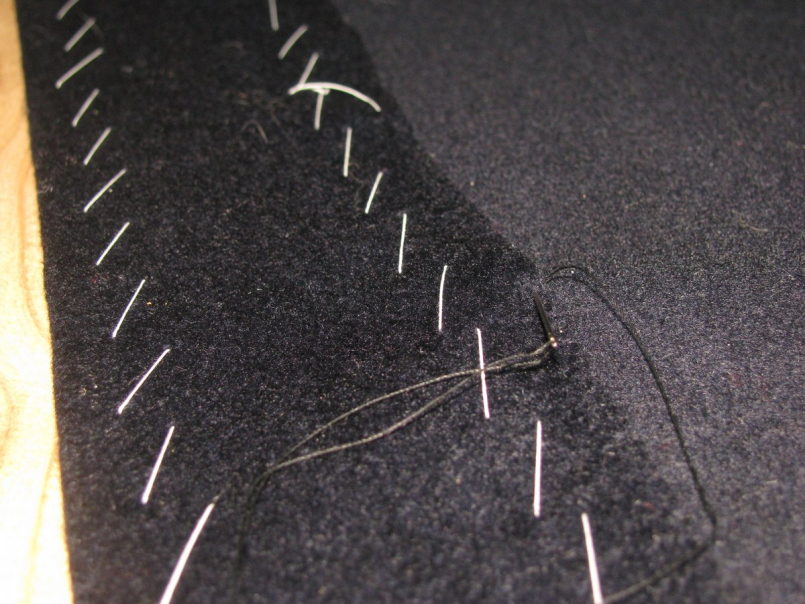
At the top of the front edge, place some shirring stitches into the wool, which will allow us to gather the wool into a nice corner. Start the shirring stitches with one or two stitches in place for security.
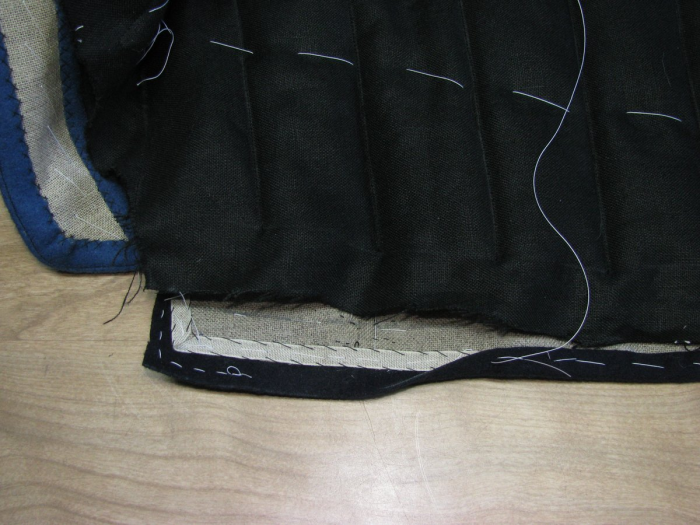
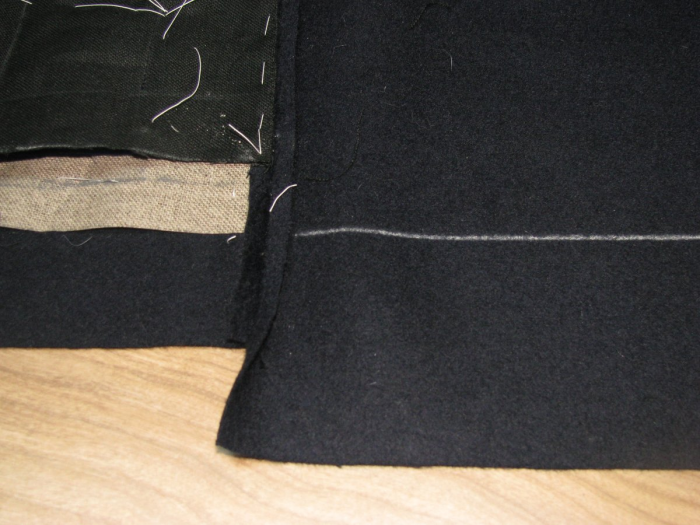
At the top of the skirt, draw a line continuing the center front 1⁄2 an inch down the skirt, and square over to the front of the skirt. Trim this little rectangular piece of fabric off. When the skirt facing is folded back over the tape, there will now be no overlapping seam allowances, reducing bulk. This is especially important for the waist seam buttonhole.
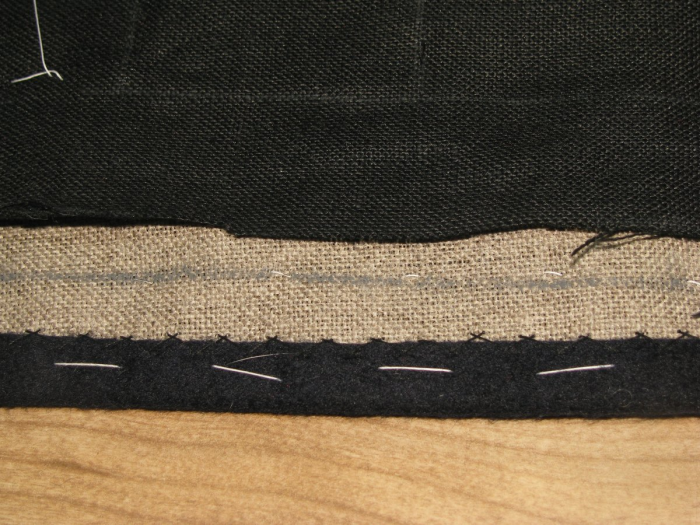
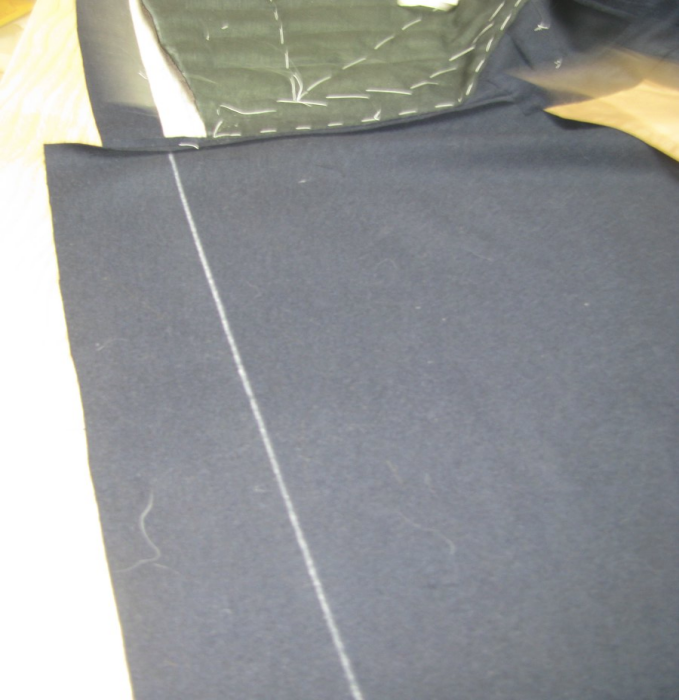
Taping the Front Edges
Using a ruler, draw a line from the bottom edge of the canvas tothe bottom of the skirt. It should be the same depth as the canvas, and should stay parallel to the front edge of the skirt.
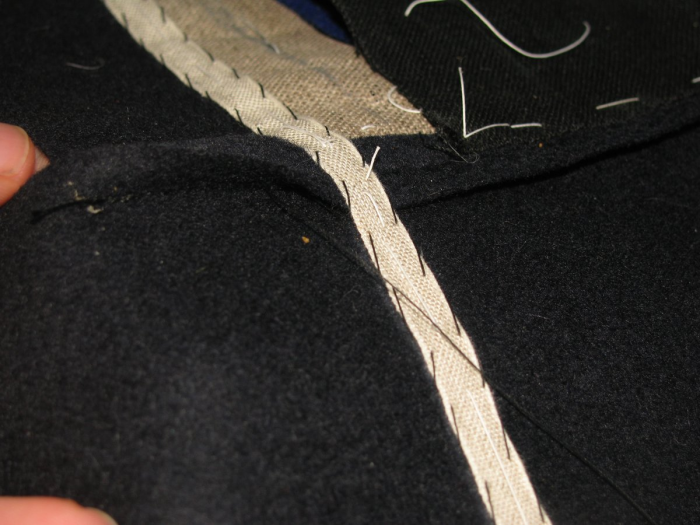
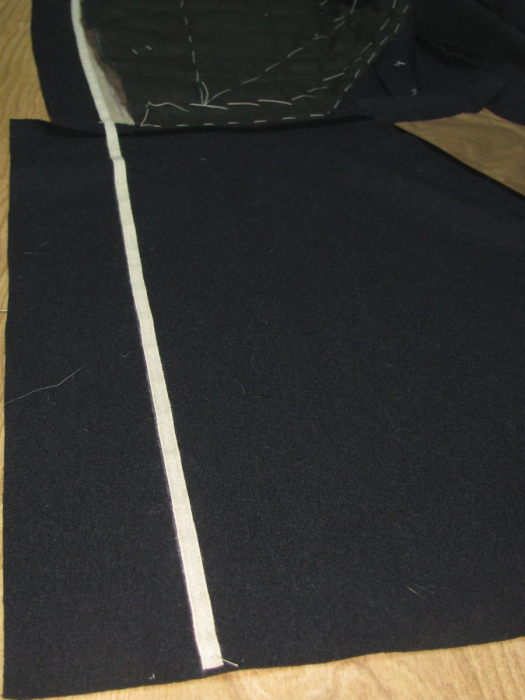
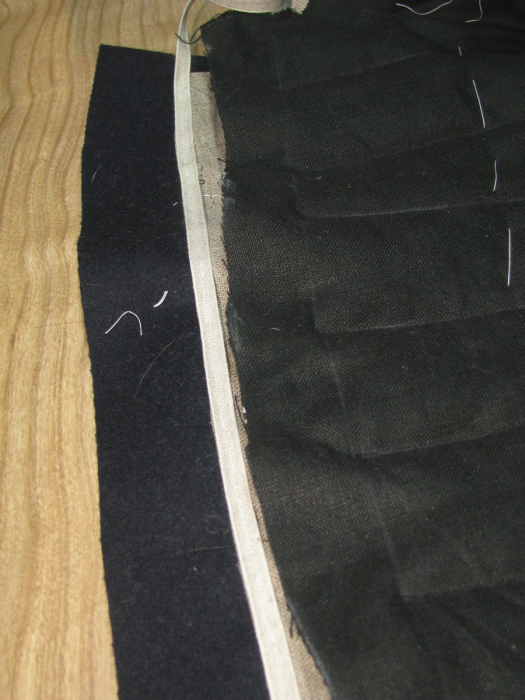
Lay your linen stay tape along the inner edge of the line, starting at 1/8 inch away from the bottom of the skirt. Baste the tape to the skirt with neutral tension, and continue basting the tape up past the waist seam, onto the edge of the canvas. The tape should be on the canvas, and on the outer edge, should be a scant 1/16 of an inch off the edge of the canvas. This will allow the outer edge stitching to catch the wool only.
When you get about 8 inches from the neck point, or wherever the most fullness or roundness is, you will need to hold the stay tape on tightly, gathering about a half inch to one inch (depending on your size) of fabric between that point and an inch from the top of the canvas. This will make the front edge inclined to pull in towards the body, and also affects the balance of the coat, allowing the front edges to hang straight, parallel to each other.
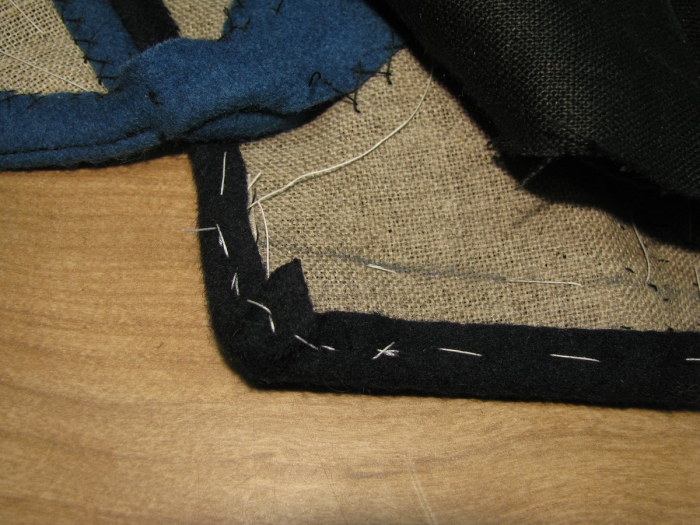
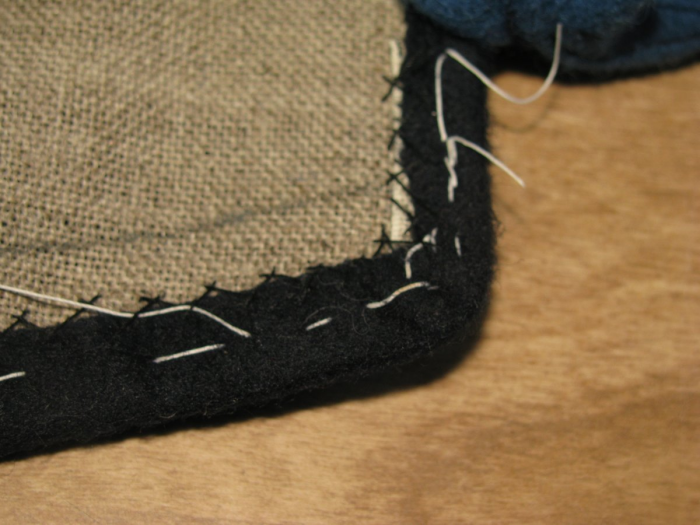
At the top of the coat, miter the stay tape so that it takes the corner without overlapping. To do this, first make a cut at about a 45 degree angle, aiming right for the outer corner of the canvas. Trim just to the edge of the stay tape, not all the way through.
Then move the tape into position on the neck edge, and trim off the excess at the corner. Baste the tape along the neck edge until you reach the piping.
Now slip stitch the stay tape to the wool, making sure the stitches do not show through to the right side. When you get to the area with the canvas, the inner side of the stitching should catch only the canvas, while the outer side should catch only the wool. At the area with the fullness worked in, you should see the ripples disappear as you stitch the tape down.
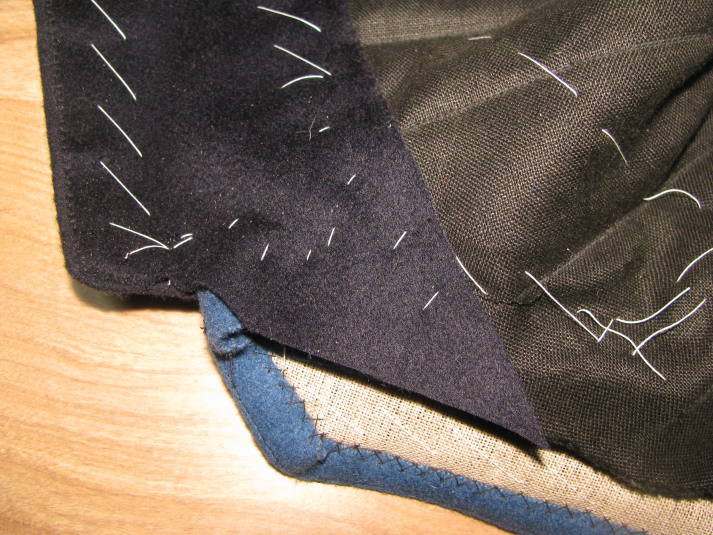
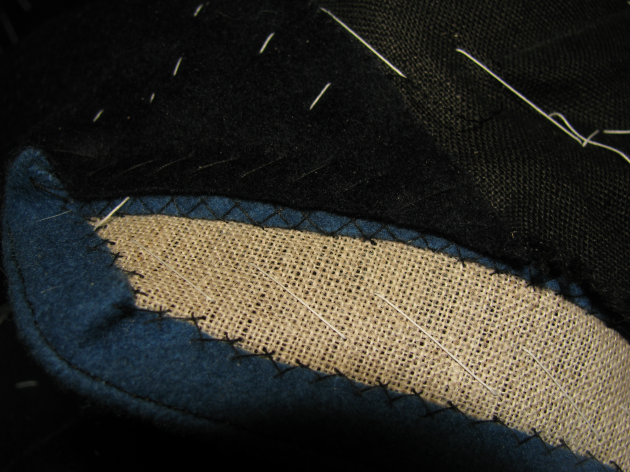
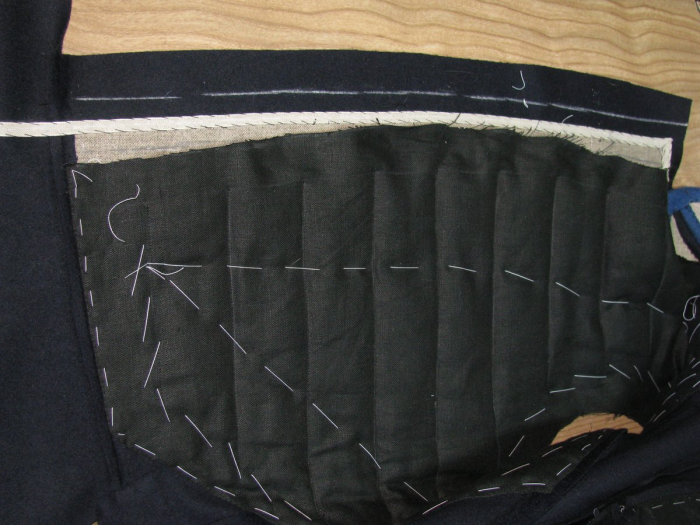
Trimming the Lining
On the left side of the coat, the wool batting and sacking or interfacing should be cut back to prevent bulk in the buttonhole area. Fold just the lining back – you should have room to do this because you stopped the quilting four inches from the edge of the front.
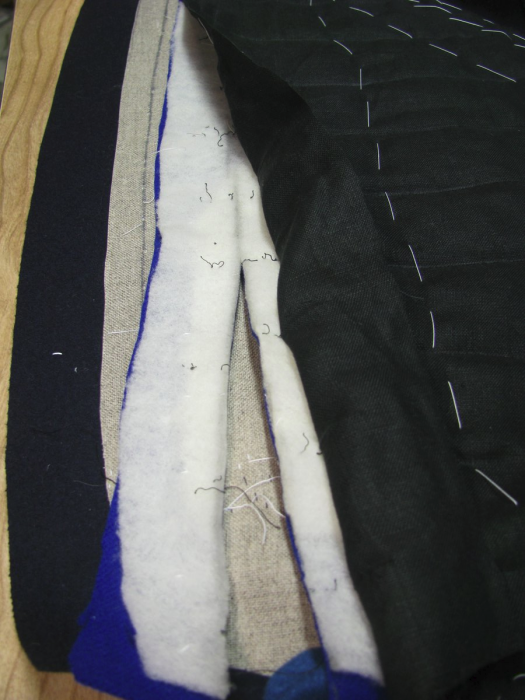
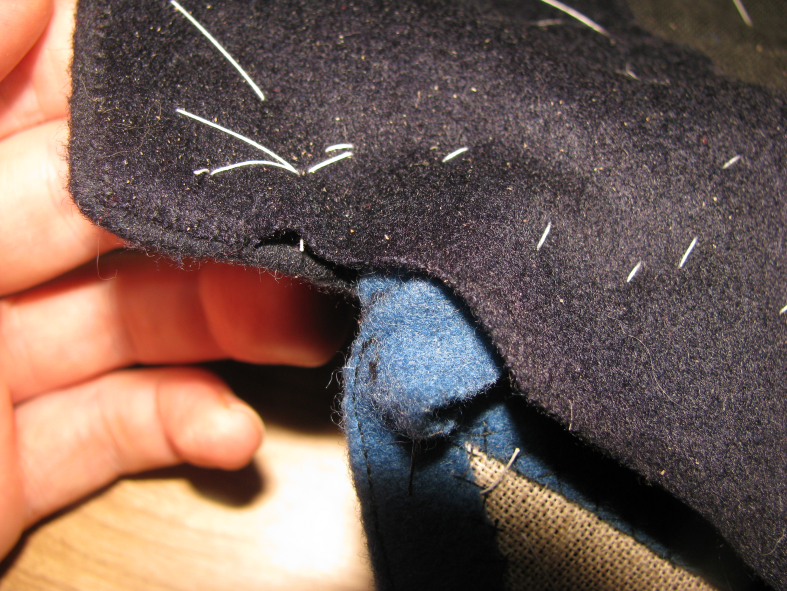
Draw a line on the wool batting an inch and a quarter away from the center front. Trim both the wool batting and interlining along this line, as shown.
Next trim back just the wool batting, so that the layers are stair stepped. Fold the lining back into place, and trim back about a half inch away from the edge of the canvas. The lining itself should be caught in the buttonholes, to prevent movement.
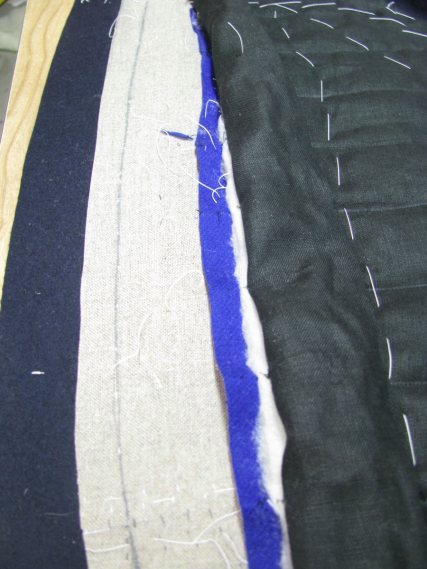
Repeat the process on the right side of the coat, only you do not have to trim the lining back so far.
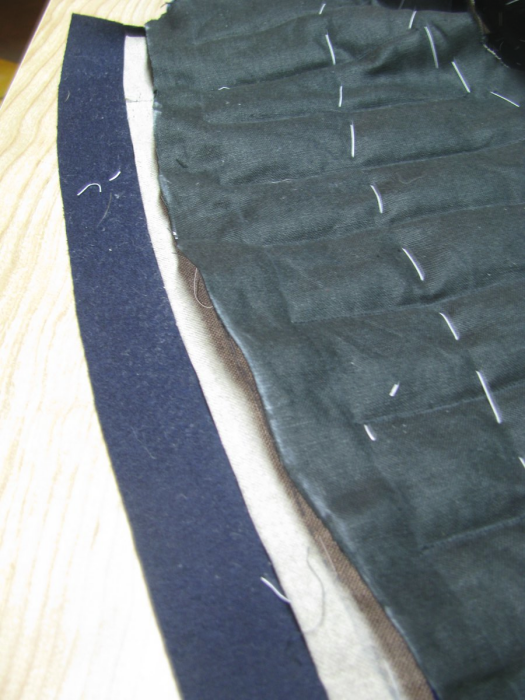
Trim everything just slightly shorter than the canvas, then layer the interlining and wool batting as before, about a half inch for each.