Author: James Williams
Plait Pockets
Having drafted and cut out the pockets, we are ready to begin the construction and installation process. It is somewhat involved, as the pockets are integrated into the back seam and have to be installed at the same time.
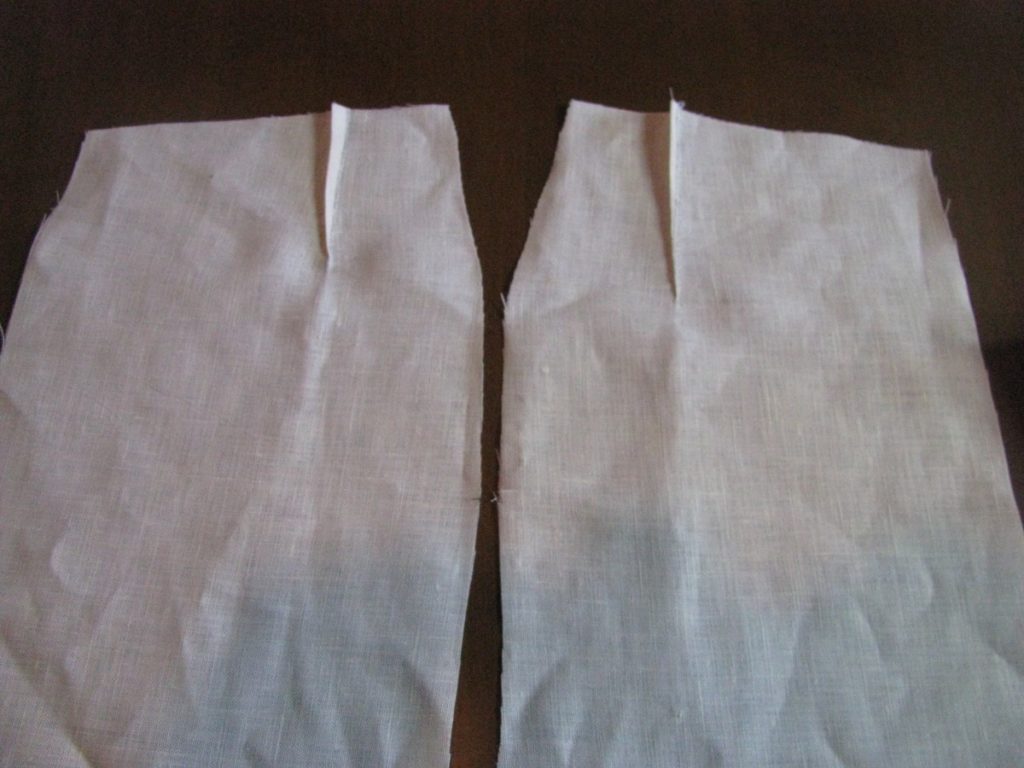
To begin, the darts must first be sewn into the pockets. These darts help the coat sit better around the seat, and allow the skirt to drape more freely. The darts are sewn as before, and pressed in opposite directions, so that the bulk of the material is distributed more fully.
There’s an option to think about here: you can place the darts on the wrong side of the pockets, which would mean they are visible when the coat is completed. The inside of the pockets would be free of any obstructions caused by the darts. On the other hand, you can place the darts on the right sides of the pockets, which would mean they are hidden from view on the finished coat, yet you would feel them when placing items into the pocket. I chose to have my darts on the wrong side.
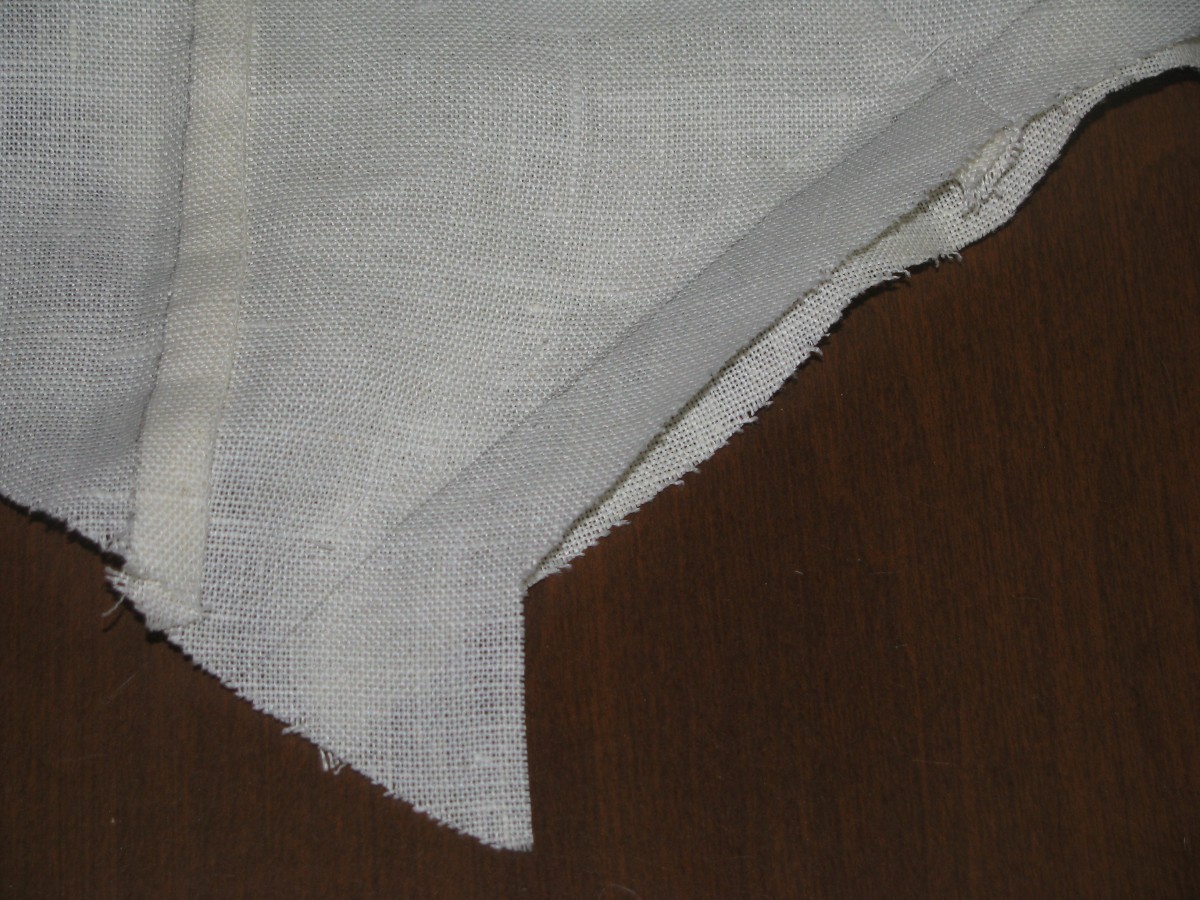
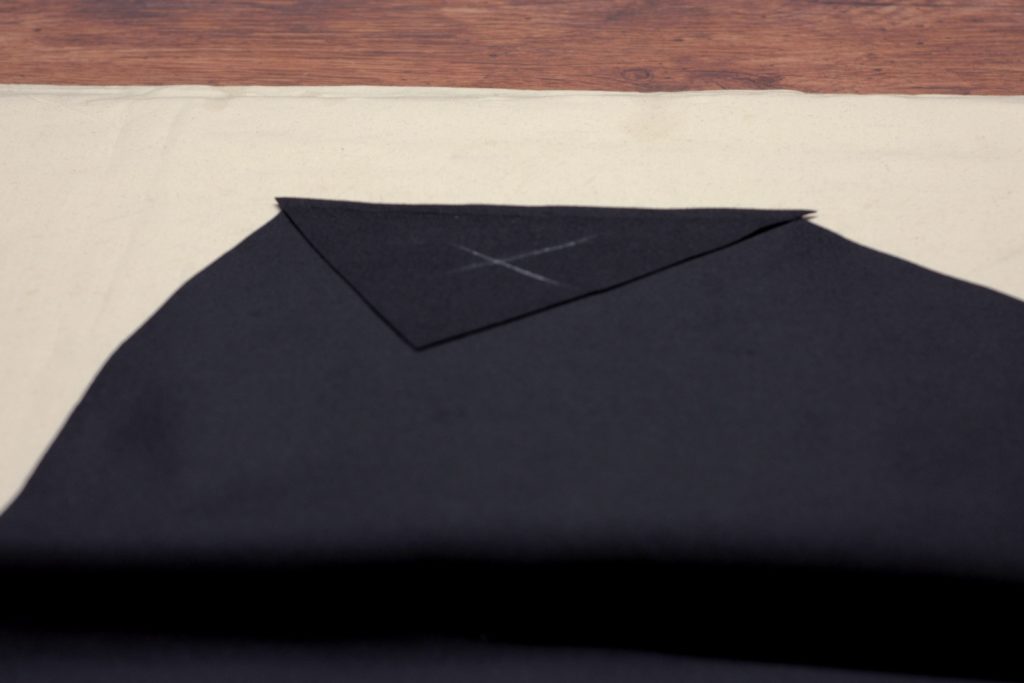
With right sides together, carefully lay the back piece over the forepart assembly, being sure that the inner corner of the pleats lines up properly.
The angles of each pleat are most likely different.
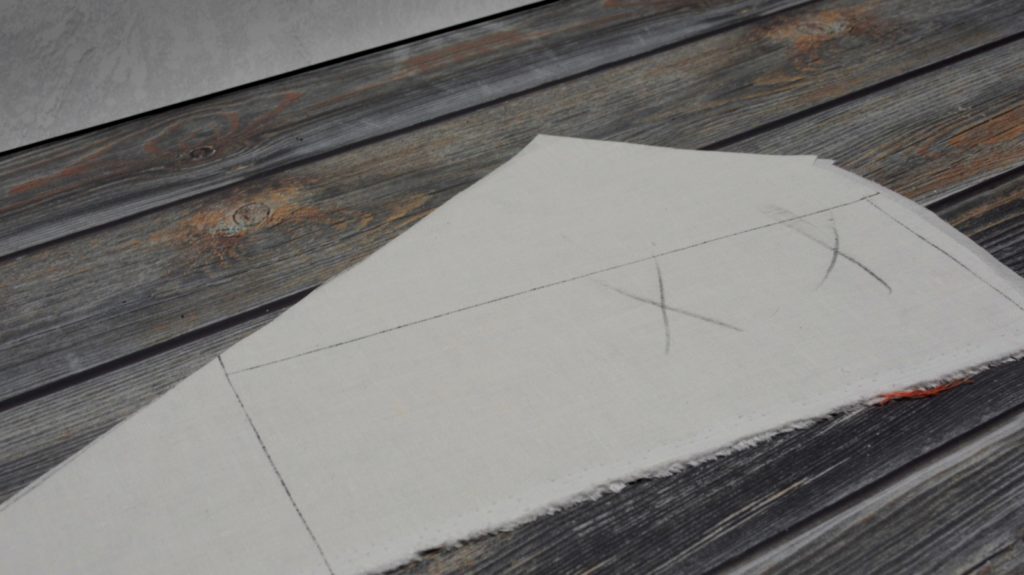
Using the angle of the back piece as a guide, draw a line across the top of the pleat as shown. This marks the position of the top of the pockets.
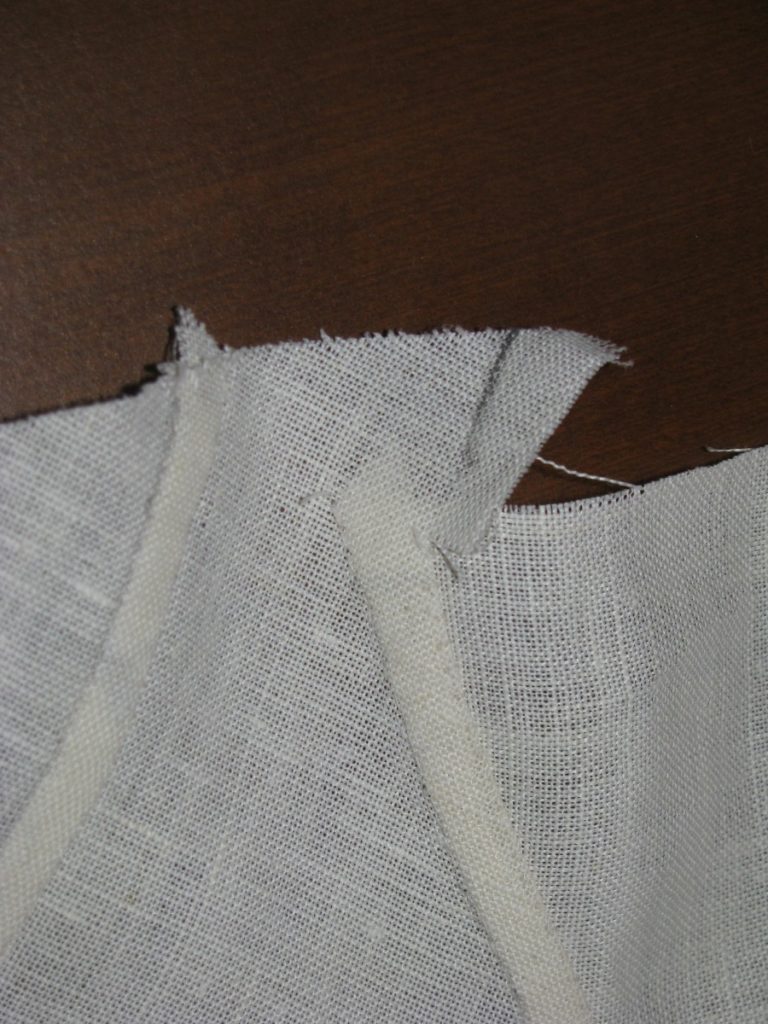
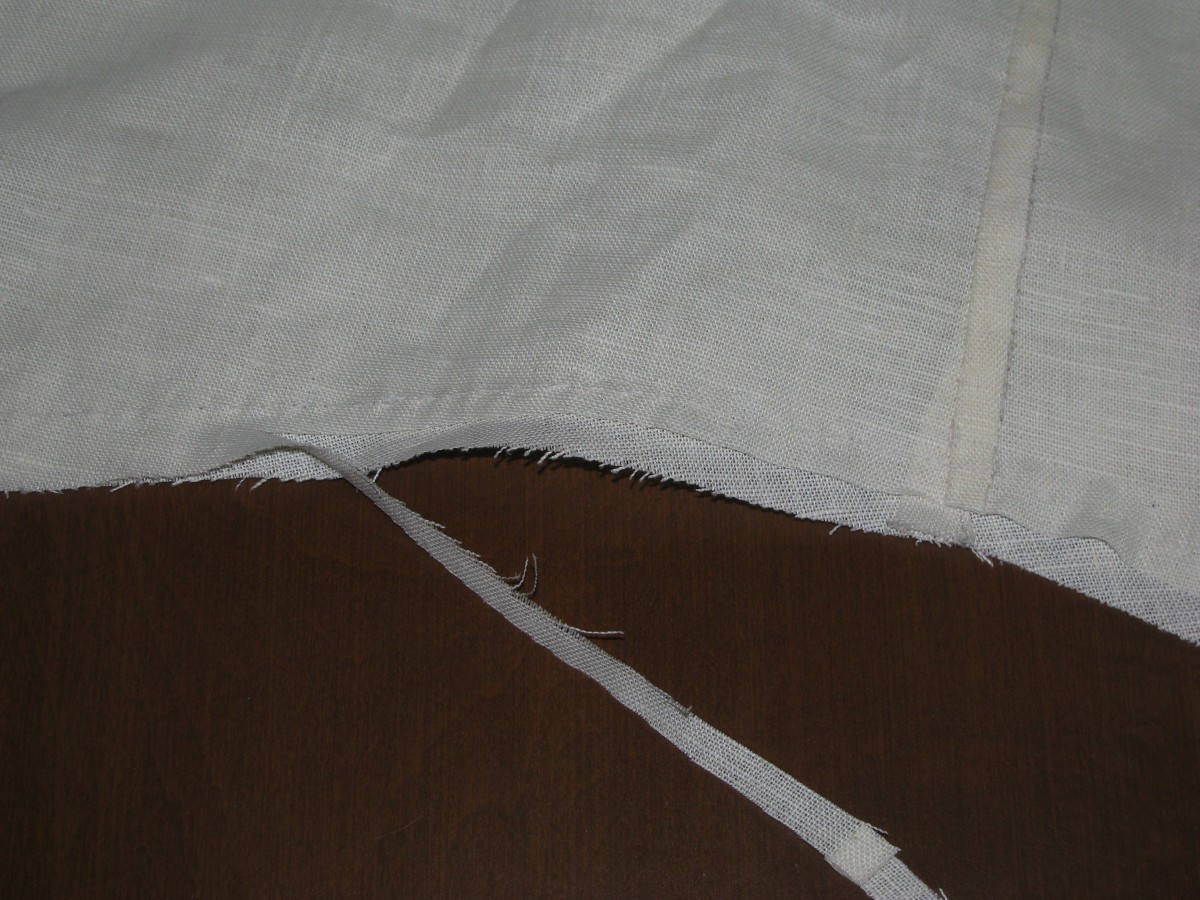
Lay one of the pocket halves onto the skirt, aligning the top of the pocket with the mark at the point where it meets the edge of the cloth. You can do right sides or wrong sides together, as noted above. Baste the pocket in place along the edge, about 5/8 from the edge.

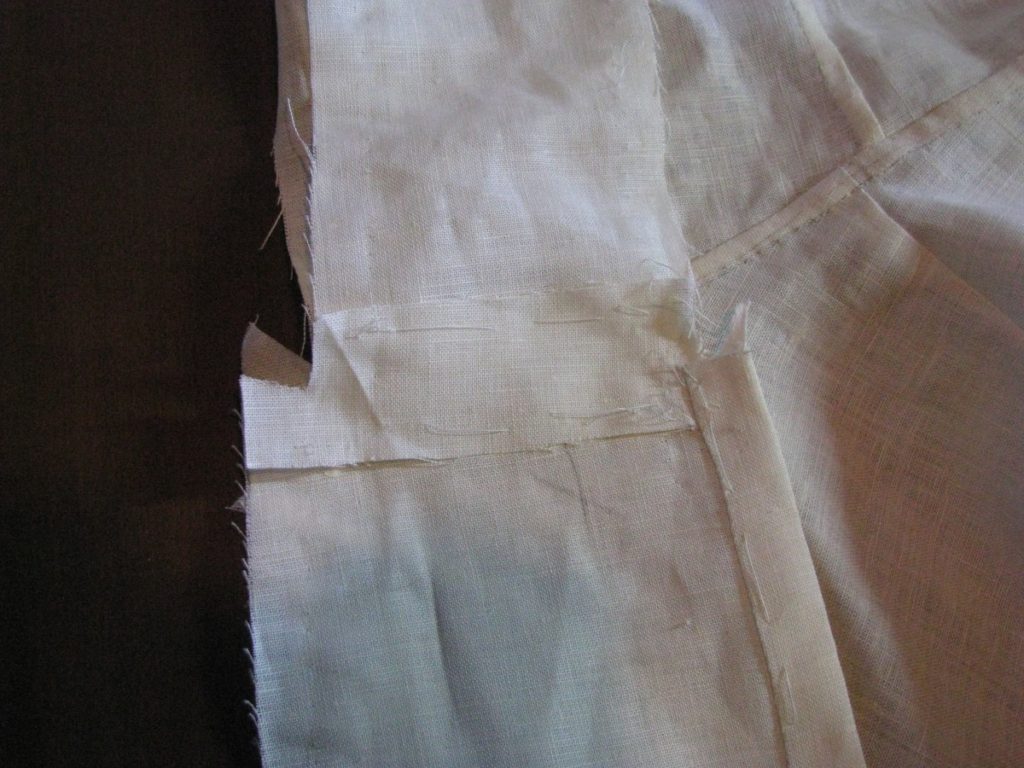
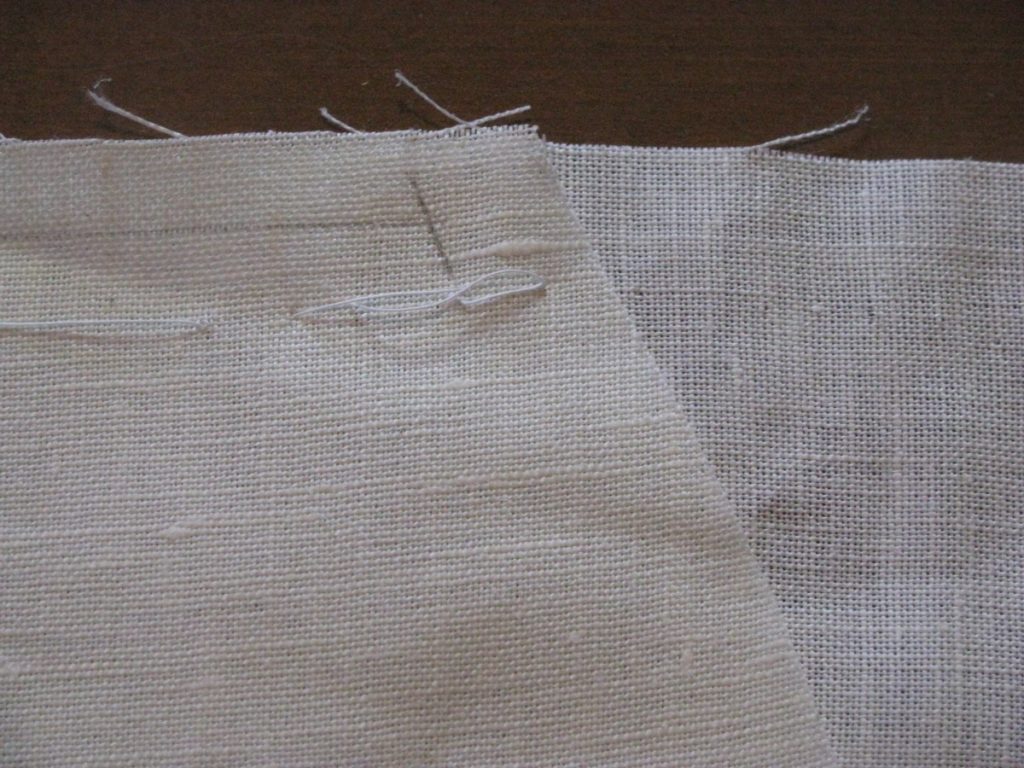
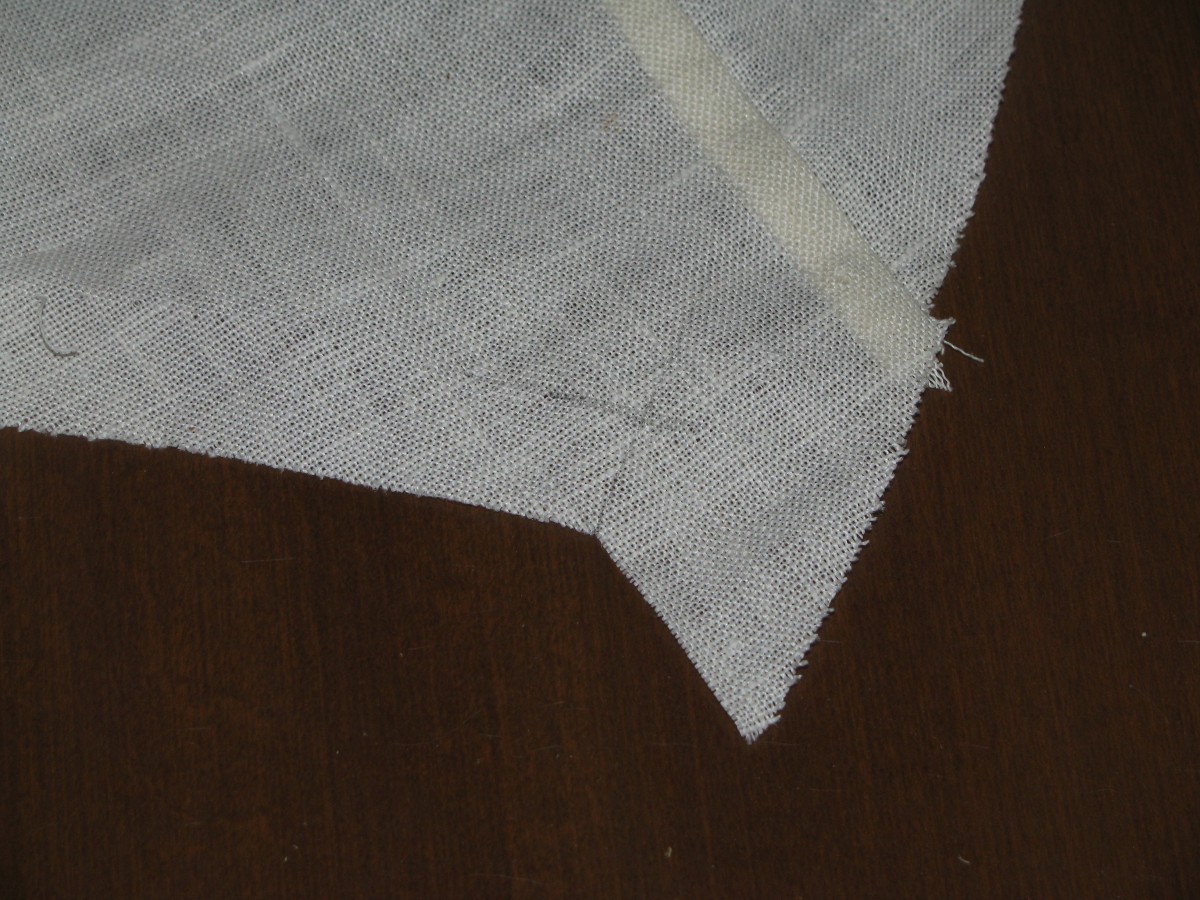
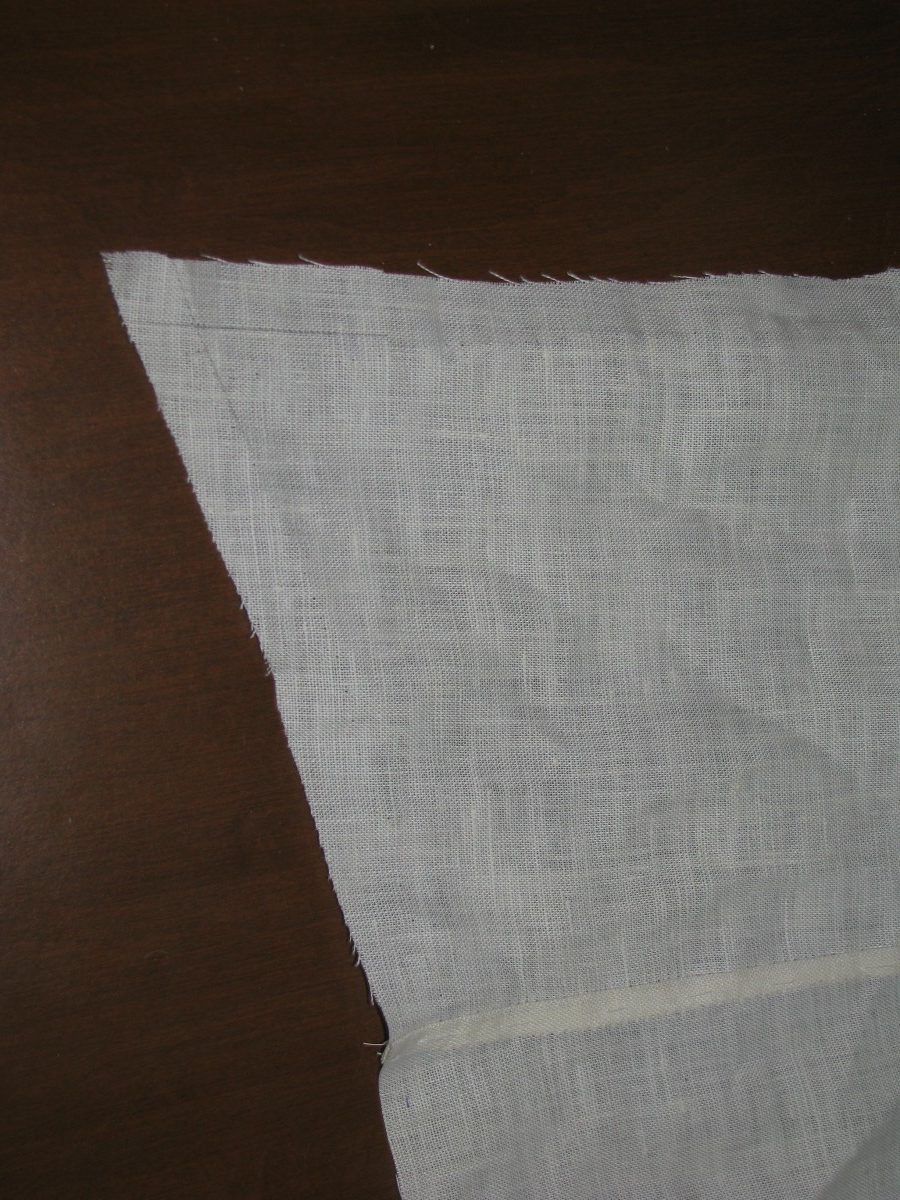
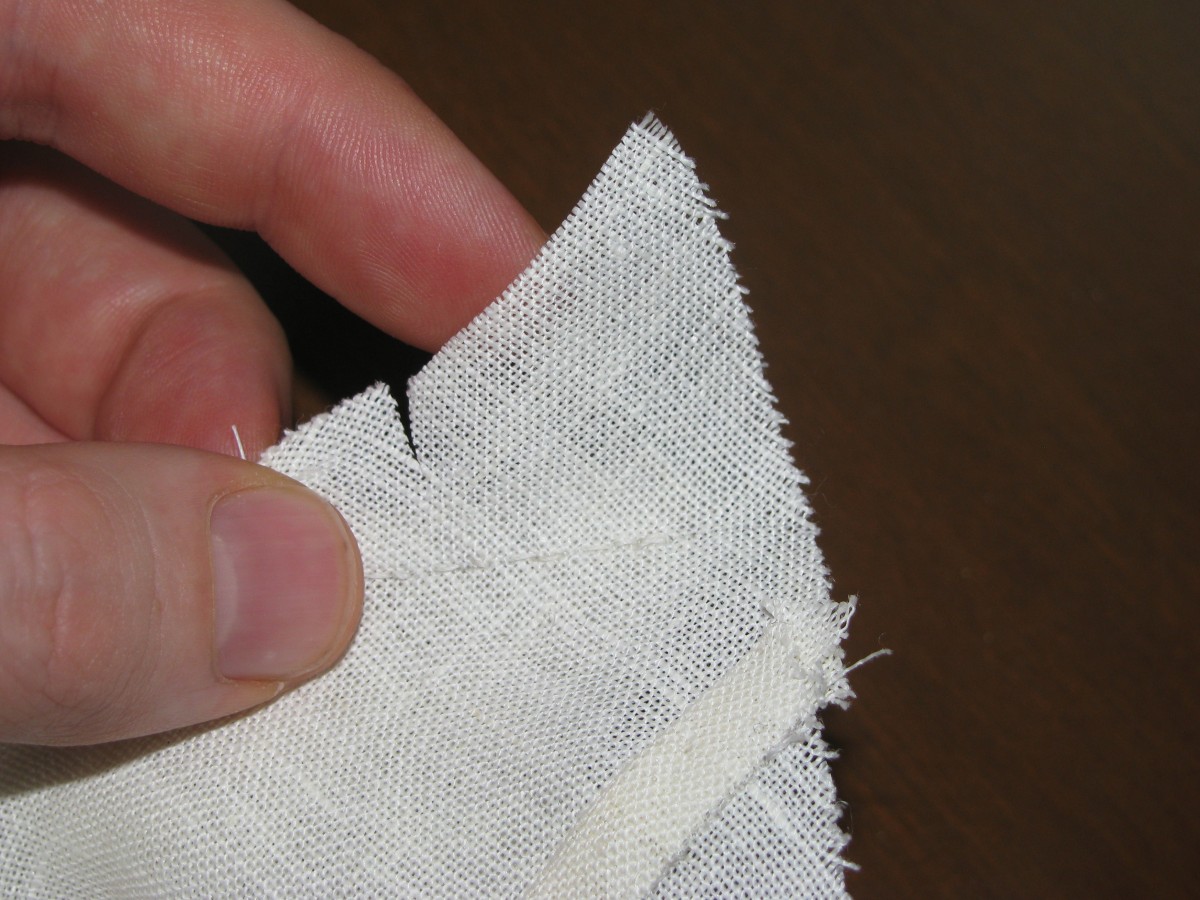
Here’s a closeup showing the alignment of the pocket.
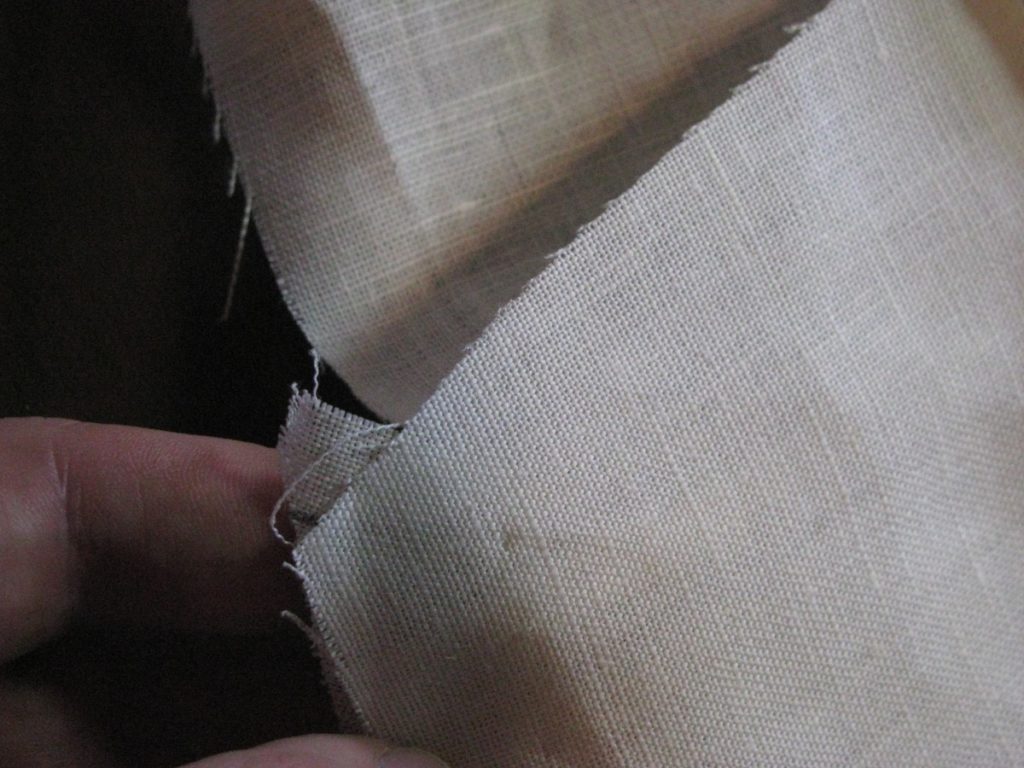
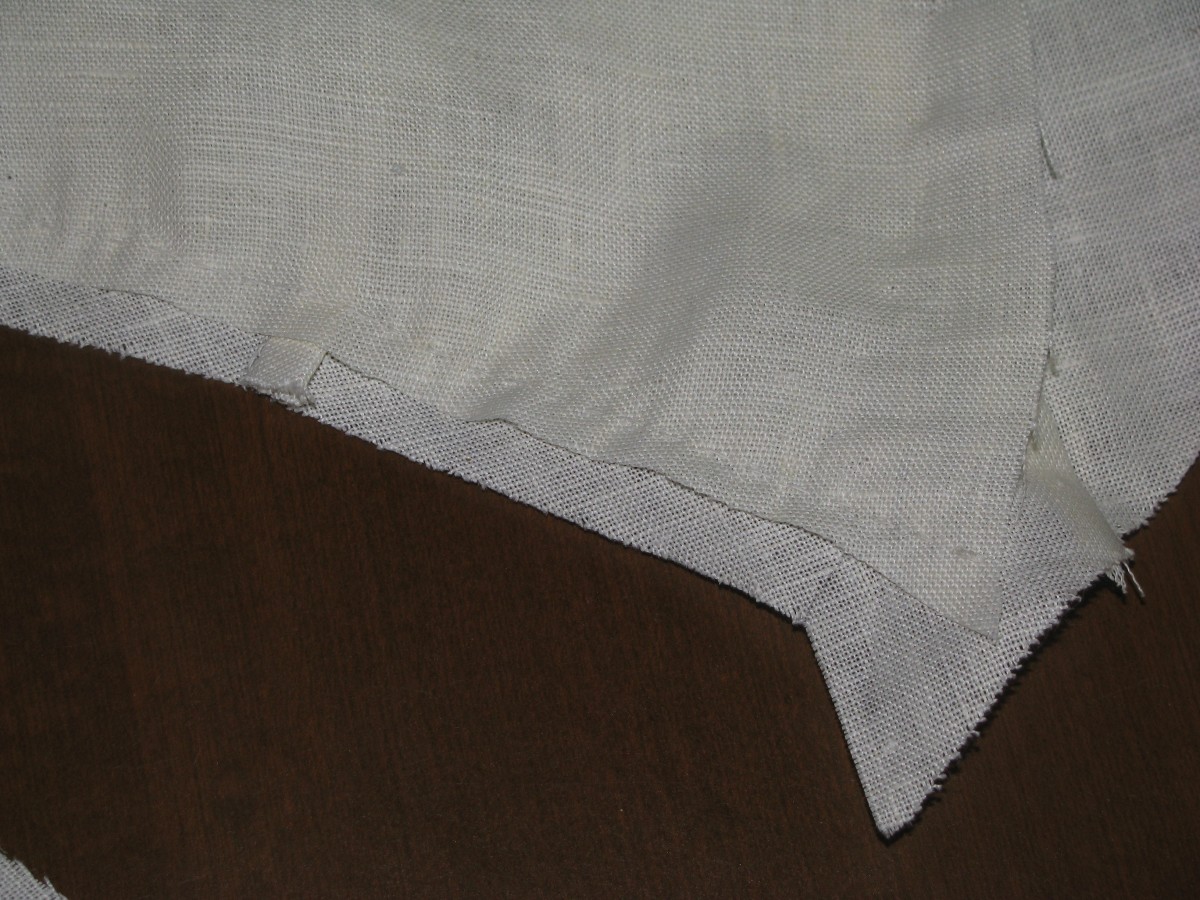
Repeat the process, attaching the other half of the pocket to the back of the coat. The pocket should align with the top of the pleat. Baste into place.
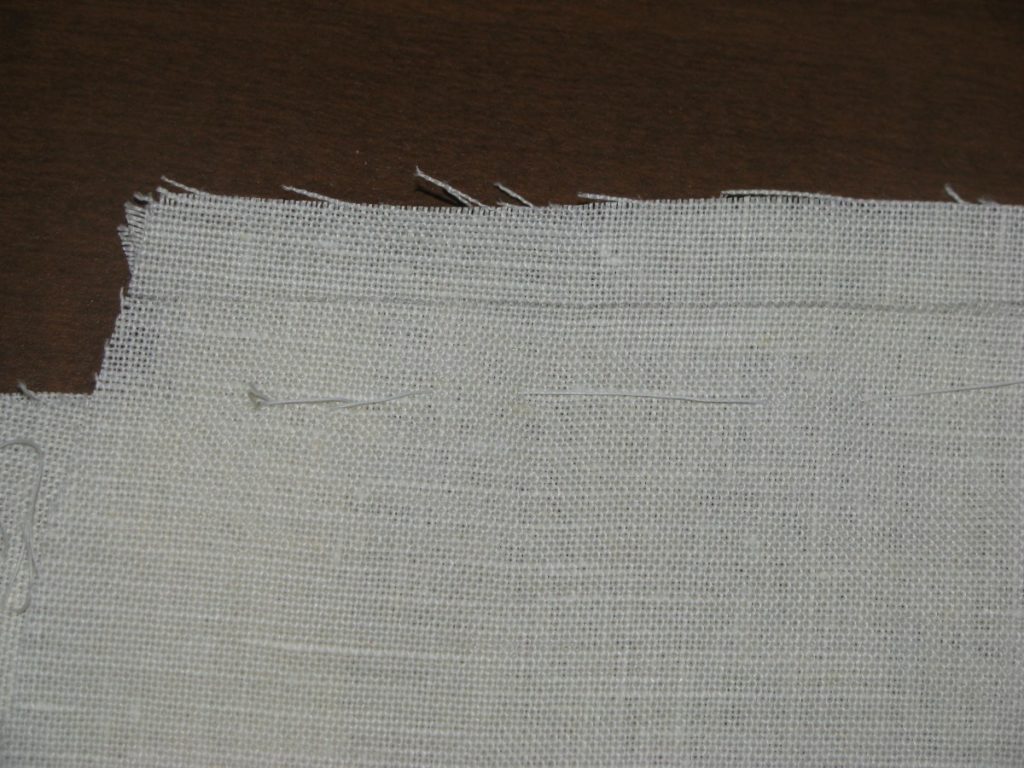
Here is the alignment of the pocket at the top. You may wish to lay the back onto the forepart again to check the alignments of the pockets, especially at the bottom. They should all line up if you worked with accuracy.
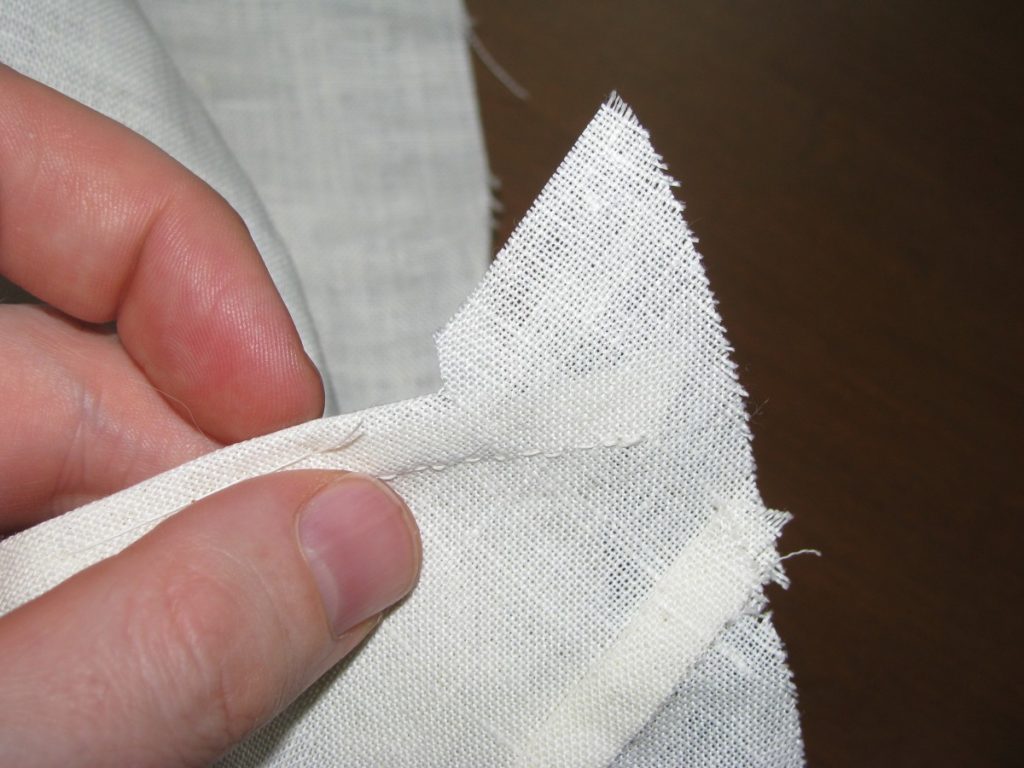
Now mark out a seam allowance just slightly under 1/2″ away from the edge, or 7/16″. This seam needs to be slightly smaller than normal so that it will be hidden from view when the back is sewn to the main skirt. The seam starts at the very top of the pocket . . .
and ends 1/2″ from the bottom. This gives room to turn in the raw edges later.
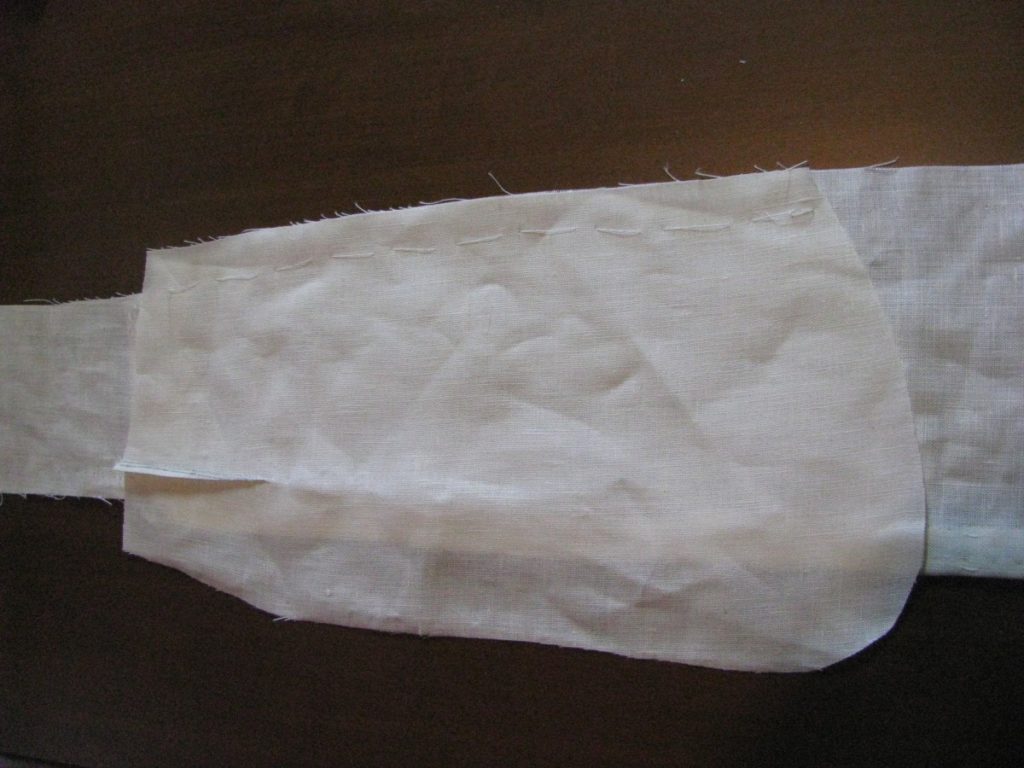
Sew the seam with a backstitch or back and fore stitch, and press the pocket back.
Repeat the process for the other half of the pocket.
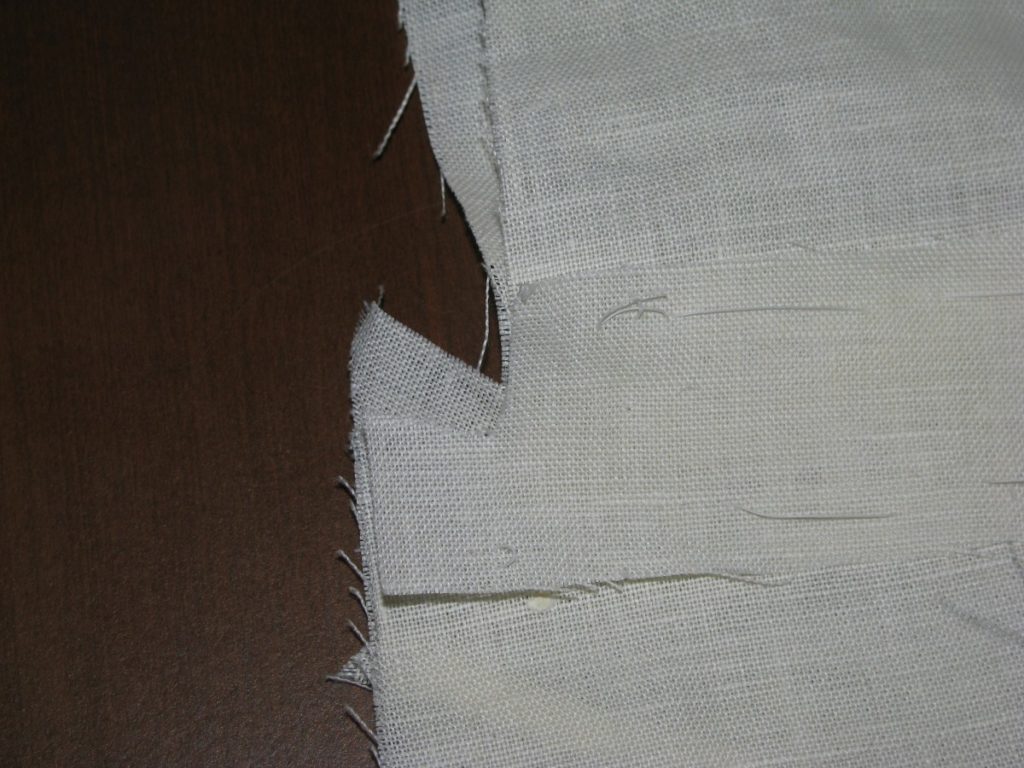
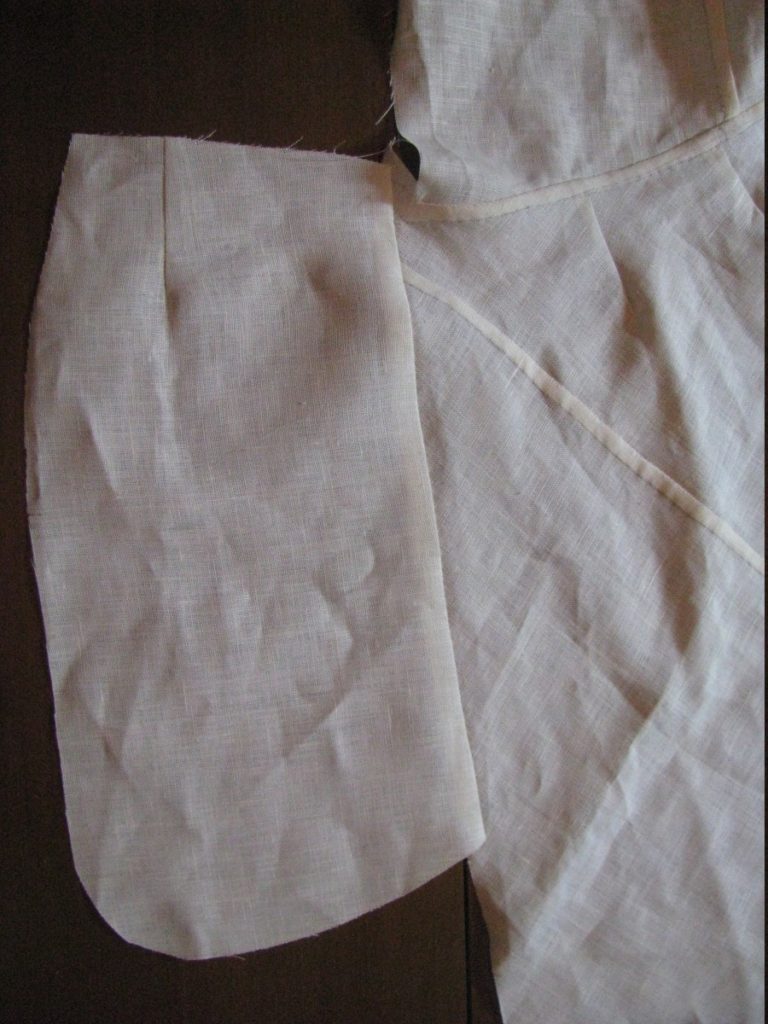
Here is the inside view. Note that the pocket is merely pressed back – the seam is not opened.
Drafting the Plait Pockets
Begin by drawing a vertical line 14 inches long. On the right, or bottom of the pocket, square out another line 6 to 7 inches wide. These numbers are both variable according to how long your skirt is, and how large your coat is, but this is a good starting point. Also include the seam allowances in this measurement, so an extra 1/2 inch total.

On the left, or top of the pocket, draw a line square across that is about 1/2″ to 1″ smaller than the bottom width. Connect the two end points with another line, extending this line past the top of the pocket.

At the top, extend the first line about 1 inch, and redraw the top line at an angle.

At the top and right sides, add curves to each. This will add fullness to the pockets, and allow them to hang freely without affecting the drape of the skirts.

Again at the top, add a dart to the pattern. This should be placed roughly in the middle of the pocket. The construction line of the dart comes down vertically about 2 to 4 inches. The total width is 1/2 inch. Finally, redraw the top seam so that the seams of the dart agree in length.

Finally, round the bottom outer corner to give a pleasing look and make it easier to retrieve items from the pocket.

Finally, curve the bottom of the pocket as shown, if desired. This shaping allows items in the pocket to roll down, away from the pocket opening, which in turn gives a better drape to the skirts.

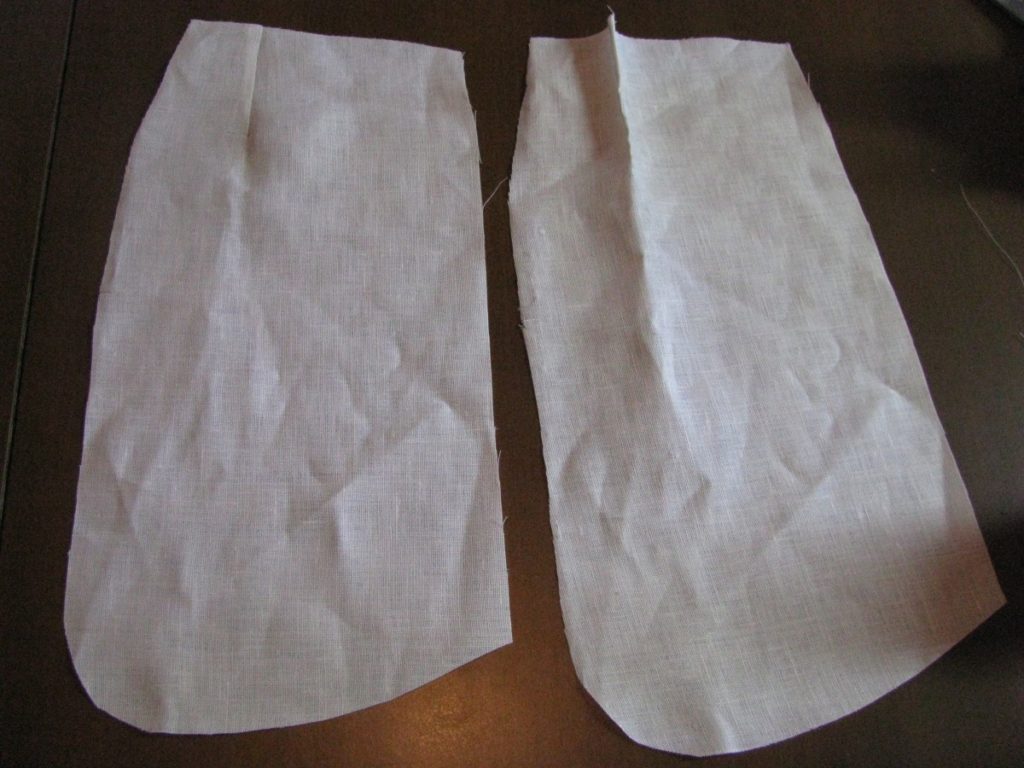
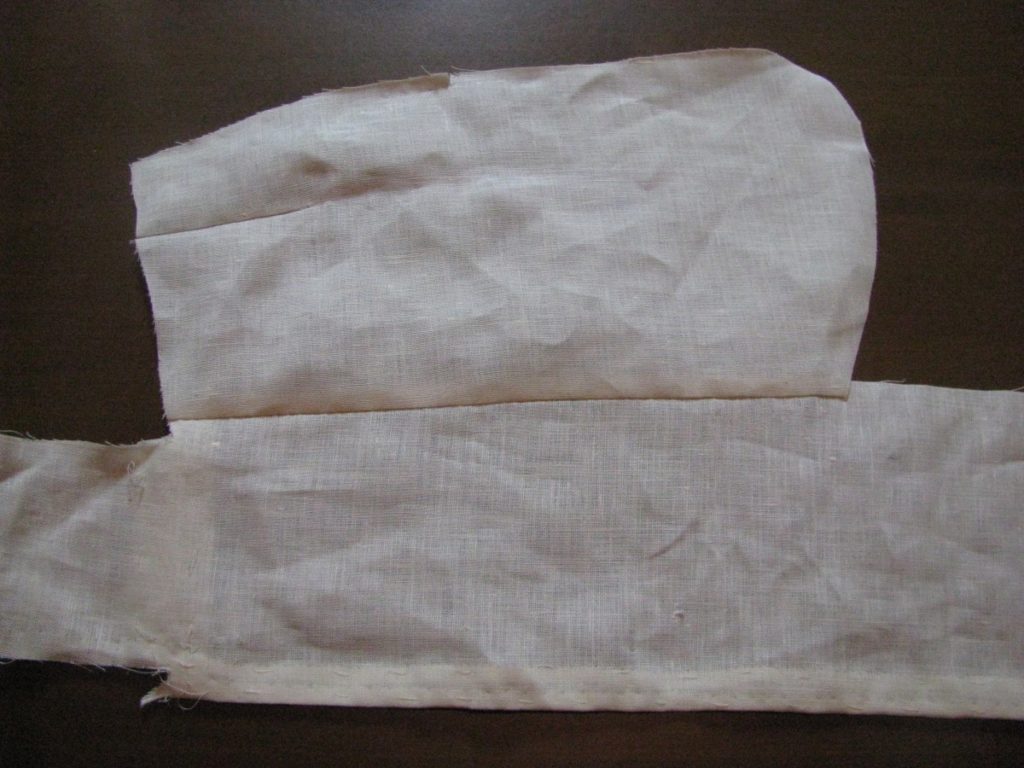
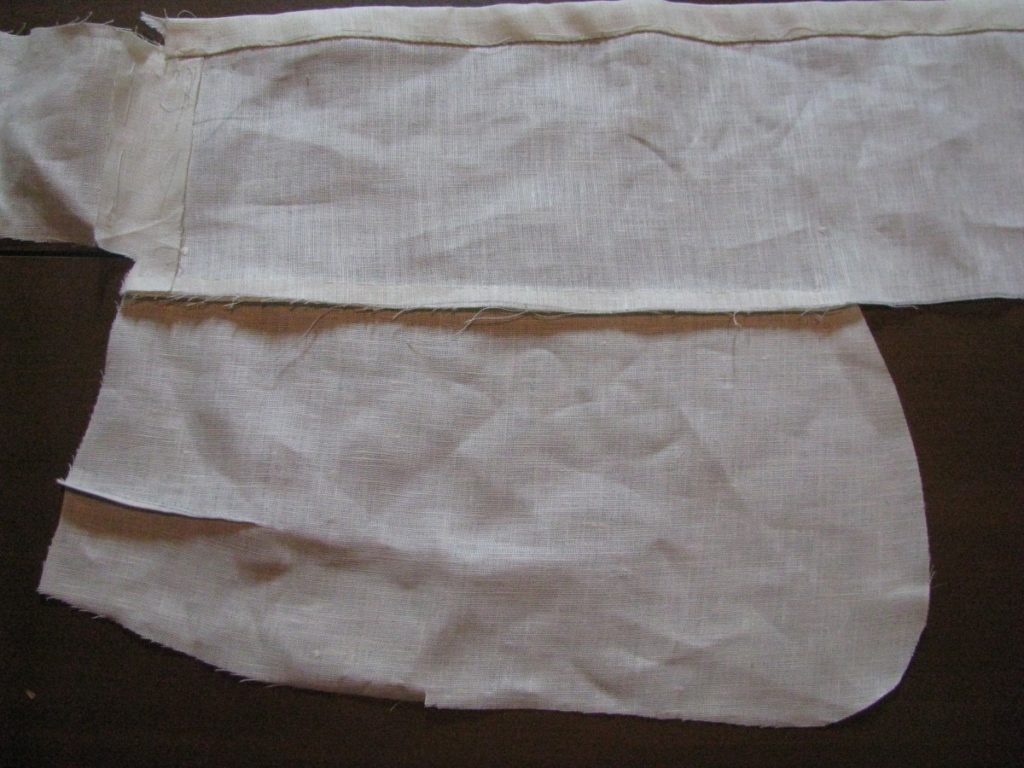
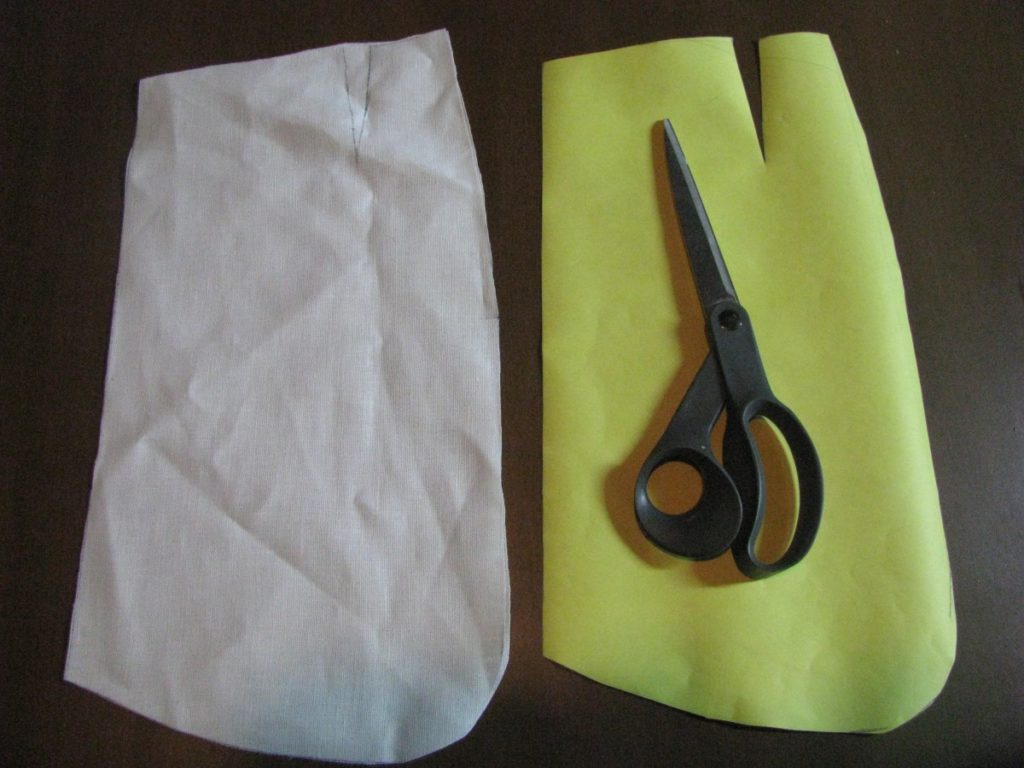
Here is my completed pattern, and one pocket cut out. Cut two halves for each pocket. Note that as before, I did not cut out the dart from the cloth.
Waist Seam
Before starting on the skirt seam, you’ll want to trim off any unused inlays from the bottom of the forepart and side-body. This makes it a little easier to line things up properly.
On the right side of the skirt piece, lightly draw the seam allowance and a line 7/8″ (or whichever distance you used) from the back of the skirt, parallel to the back. You’re looking for the intersection to give you a reference point when assembling the waist seam.
On the side body, right side, also draw the seam allowance along the bottom and rear seams to get that intersection. These two points will line up with each other when you align the skirt and forepart and side body.
Lay the skirt on top of the forepart assembly, wrong sides together, aligning the main dart and the side seam. You may need to offset them slightly to account for the seam allowance. Baste from the side seam towards the back of the skirt, making sure the two crosshairs are lined up on top of each other.
Open up the coat, wrong side up, and lay the back piece on top just to check the fit of this important area, where three pieces come together. If you’ve worked accurately, the pieces should align perfectly.
When satisfied with the alignment, continue basting across the front of the skirt and forepart.
Draw out the 1/2″ seam allowance if you wish. I did so here for clarity. At the back of the skirt, the seam line continues along with the bottom of the forepart, it does not spring upward with the skirt.
It’s almost impossible to photograph well, but sew the seam as per usual, using a back stitch, or back and fore stitch, with the right side of the stitch showing on the skirt. I definitely recommend switching to a back stitch at least for the areas around the darts, where the layers are thicker, and the back of the skirt. It just gives a little more strength and security.
Trim the seam allowance of the forepart to 1/4″. We’ll baste the seam up towards the forepart so as to allow the skirt to drape more freely.
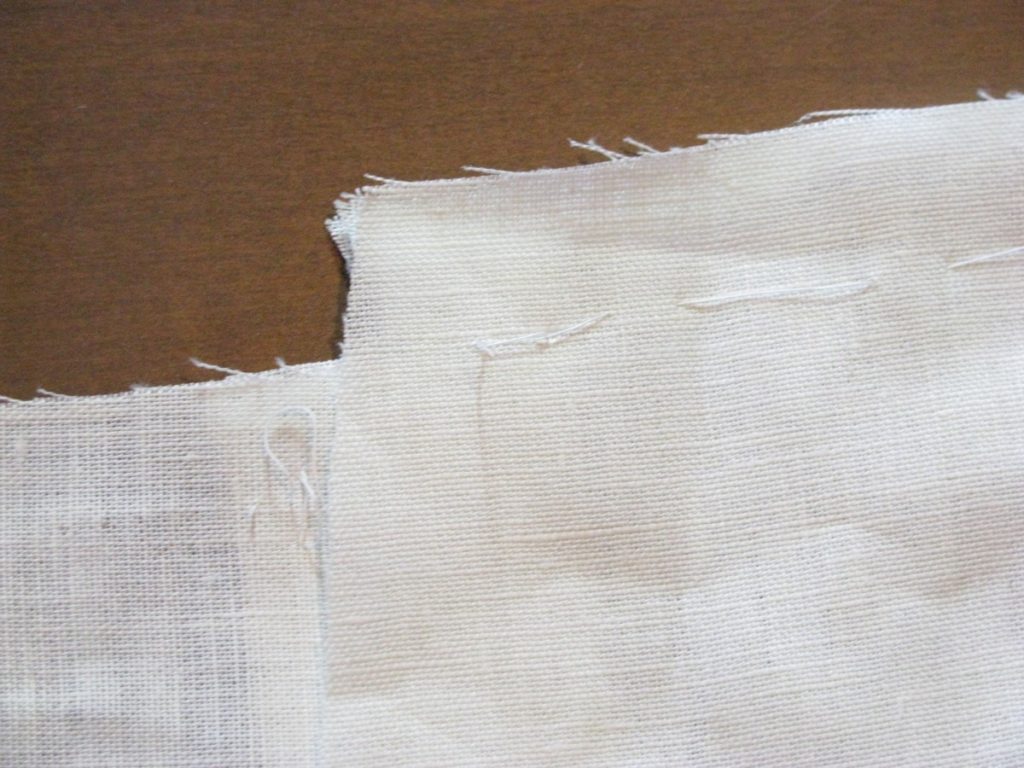
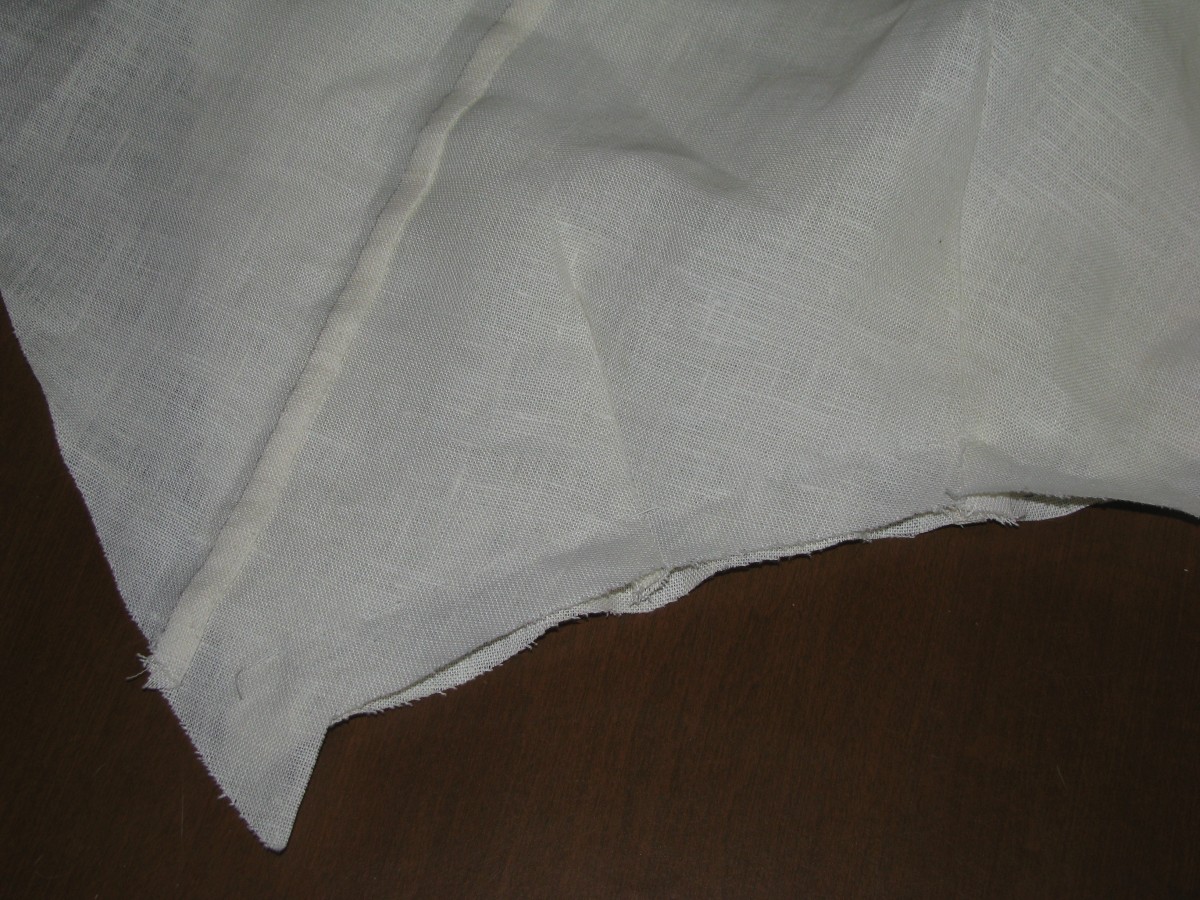
Here’s the back edge of the skirt and forepart.
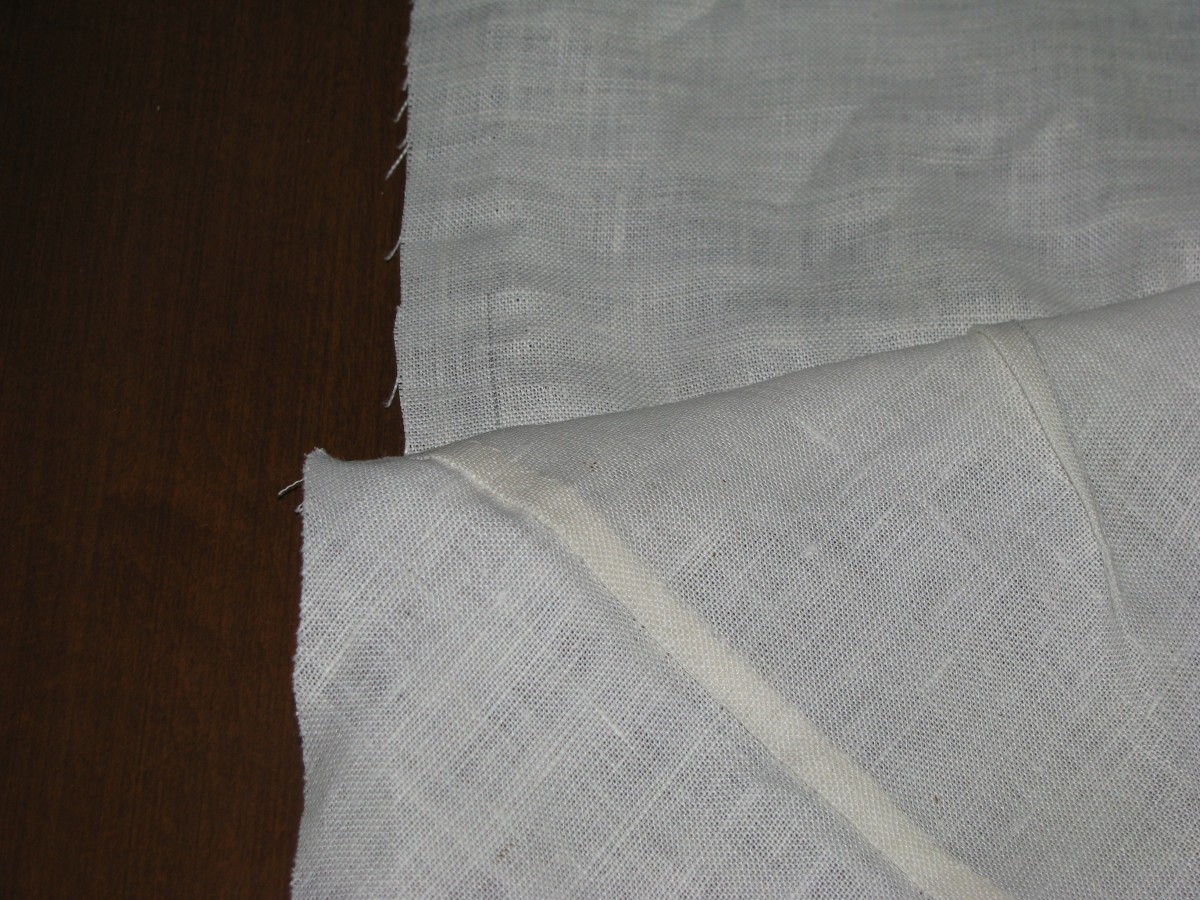
Baste over the seam allowance of the skirt as usual. You’ll notice when you get to the back of the skirt, that there is an issue, as the ‘sprung out’ fabric does not want to lay flat after folding over the seam allowance.

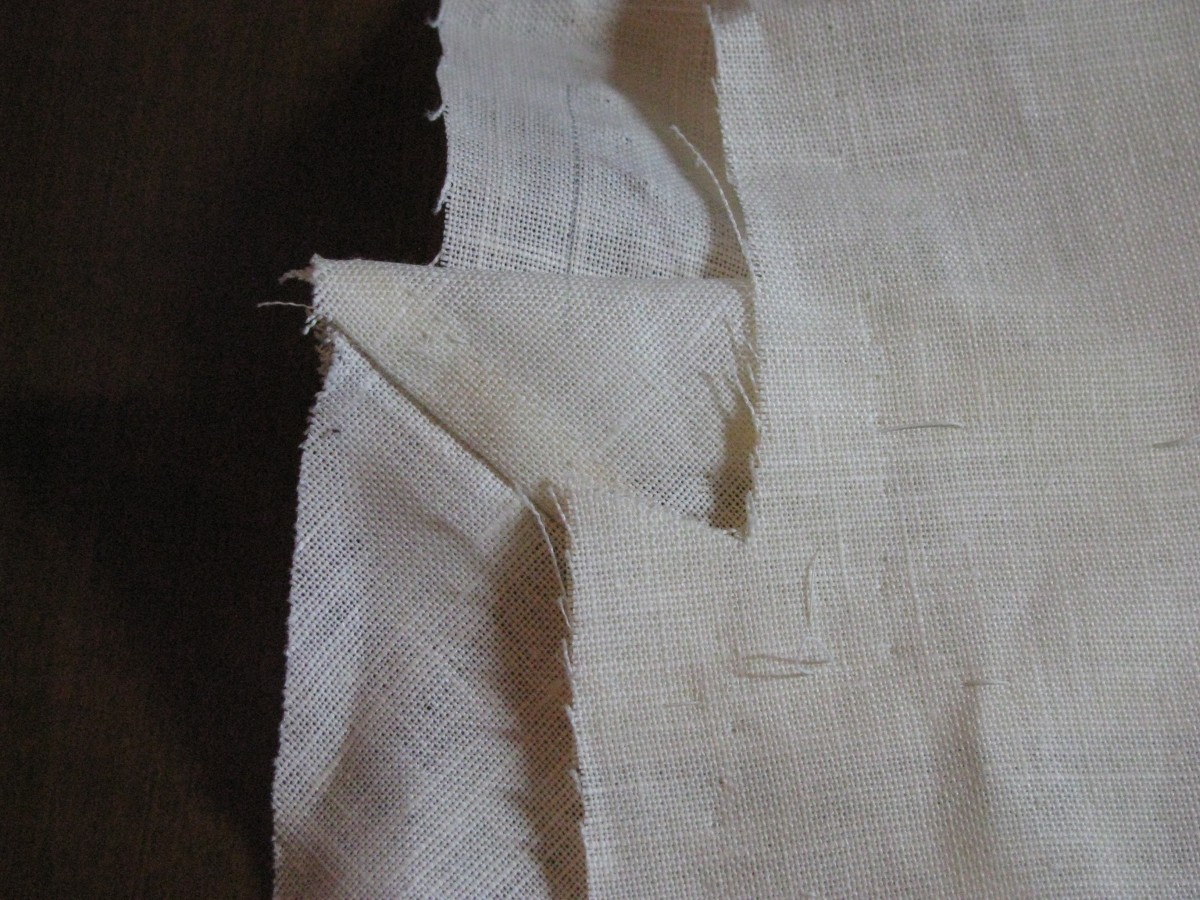
To alleviate this tension, snip the seam allowance right where the spring begins to just over 1/4 inch.
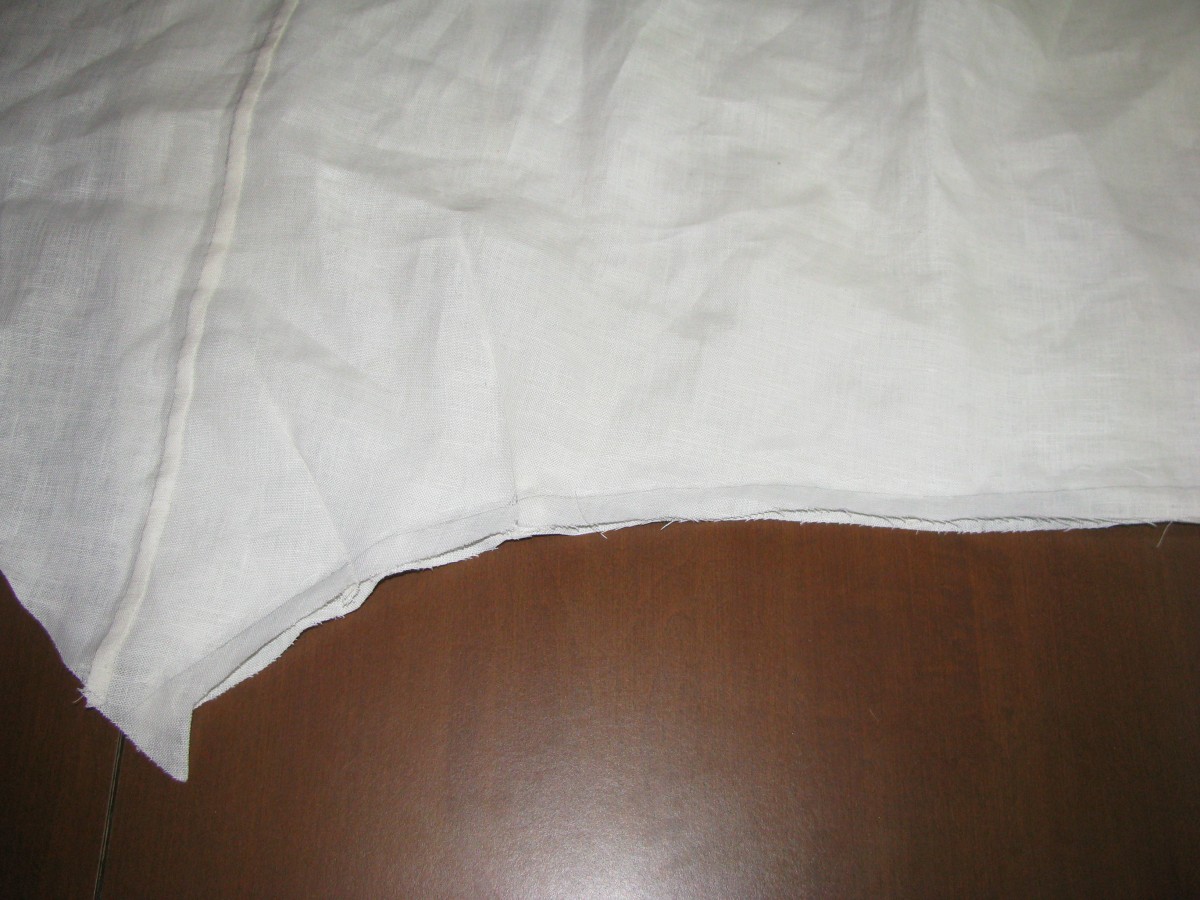
Fell down the folded seam allowance. This completes the skirt seam.
Threading a Needle
Threading a needle can seem very difficult at first, but with a bit of practice it becomes second nature and the thread will go right through the eye on the first try (well, most of the time!).
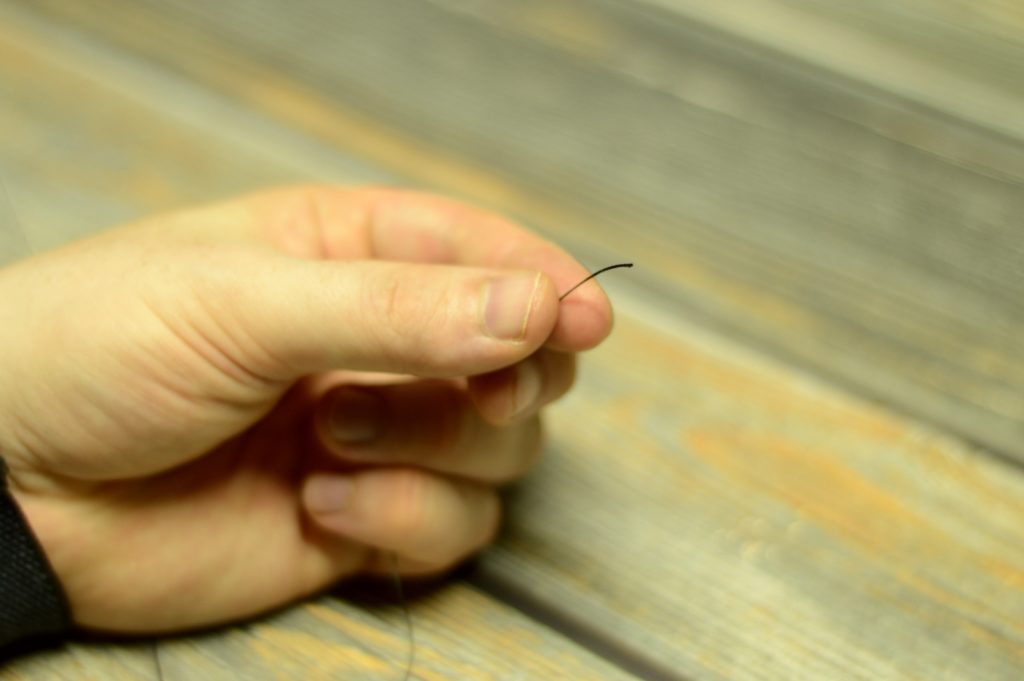
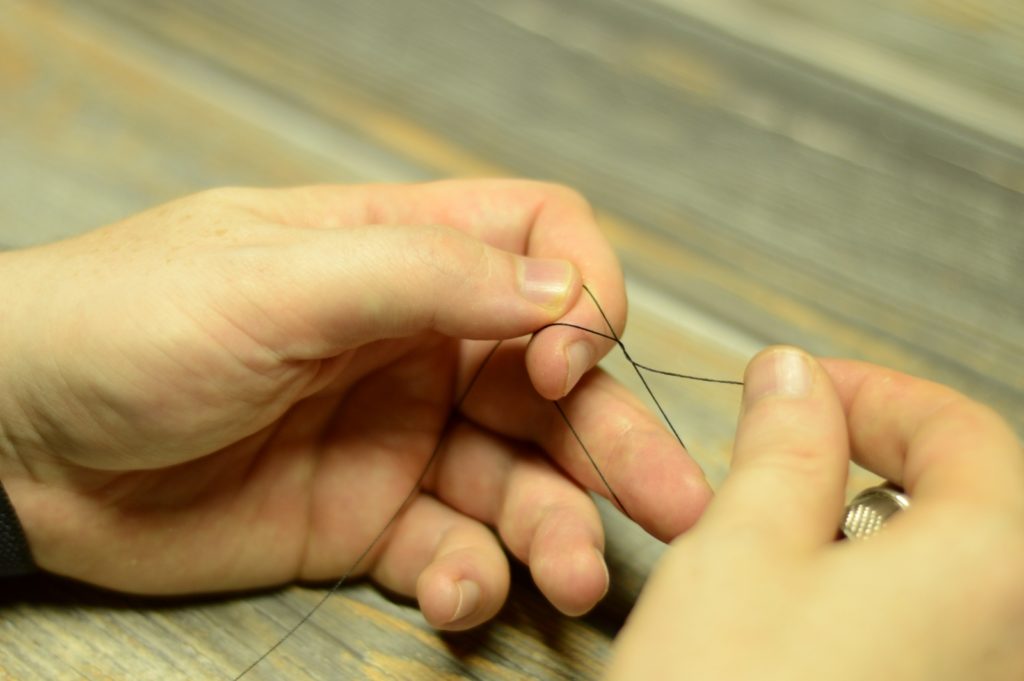
The trick is to pinch the end of your freshly cut (and waxed and pressed) thread between your thumb and forefinger. Then, rather than trying to get the thread through the needle, instead press the eye of the needle onto the thread while it is firmly between your fingers. The pressure will help keep the ends from fraying and the thread in one place.
Place the thread between thumb and forefinger.
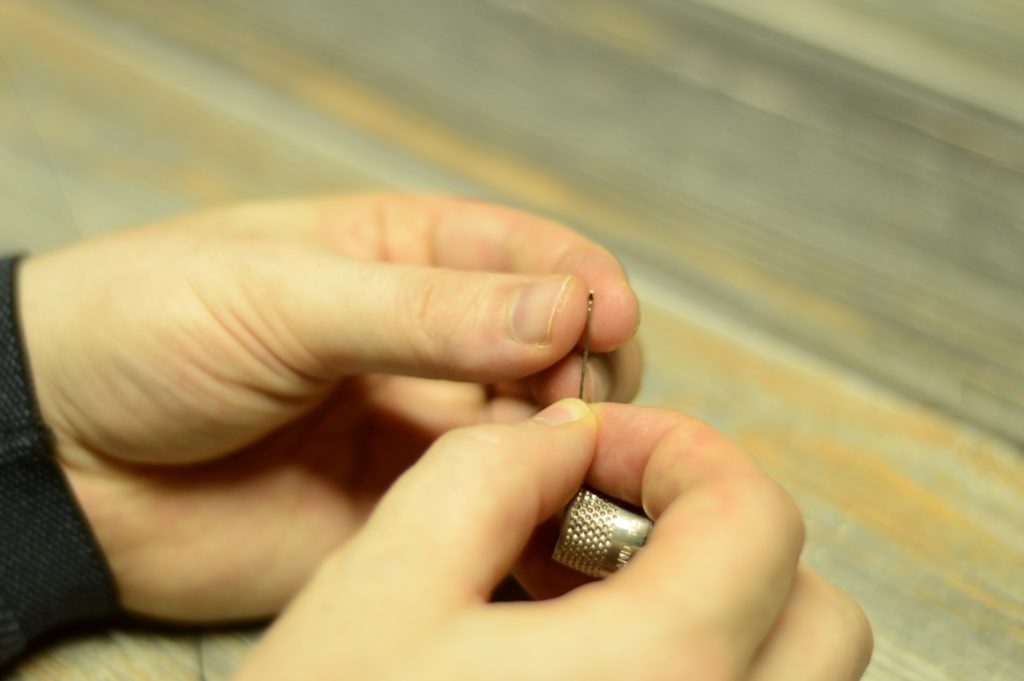
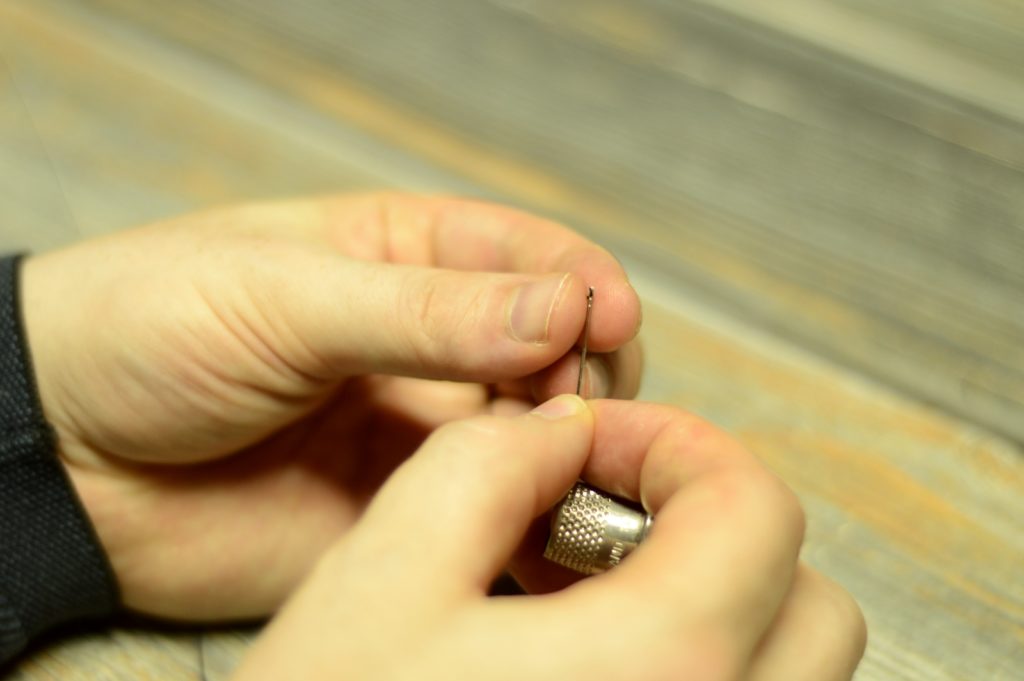
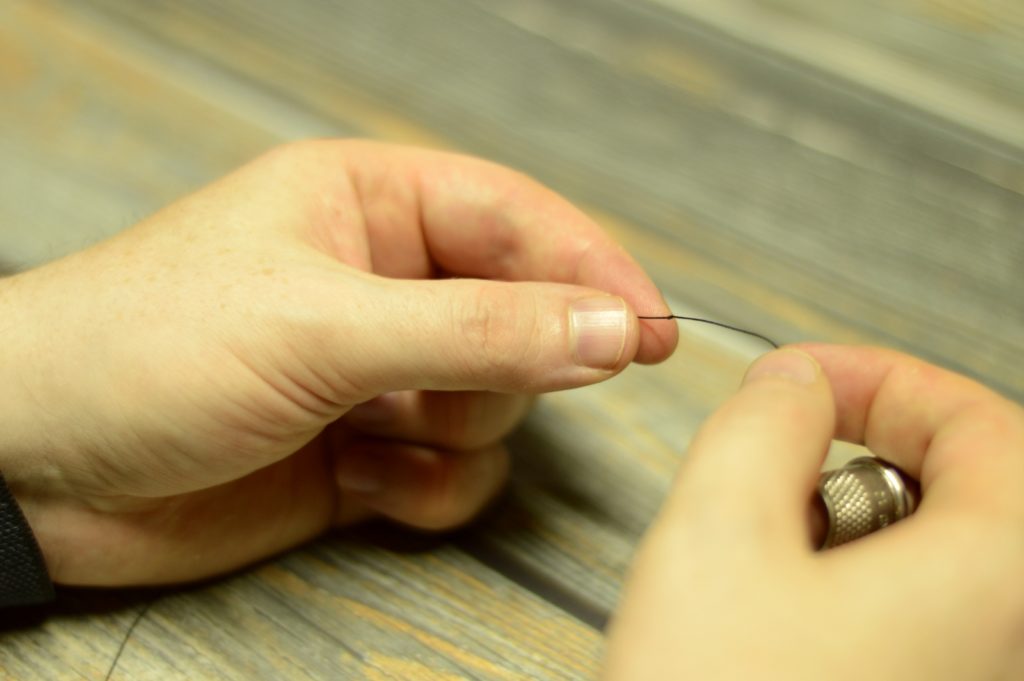
Pinch the end of the thread and press the needle on to the end.
If desired, and appropriate for the stitch you are using, tie an overhand knot in the other end of the thread.
Tighten the knot.
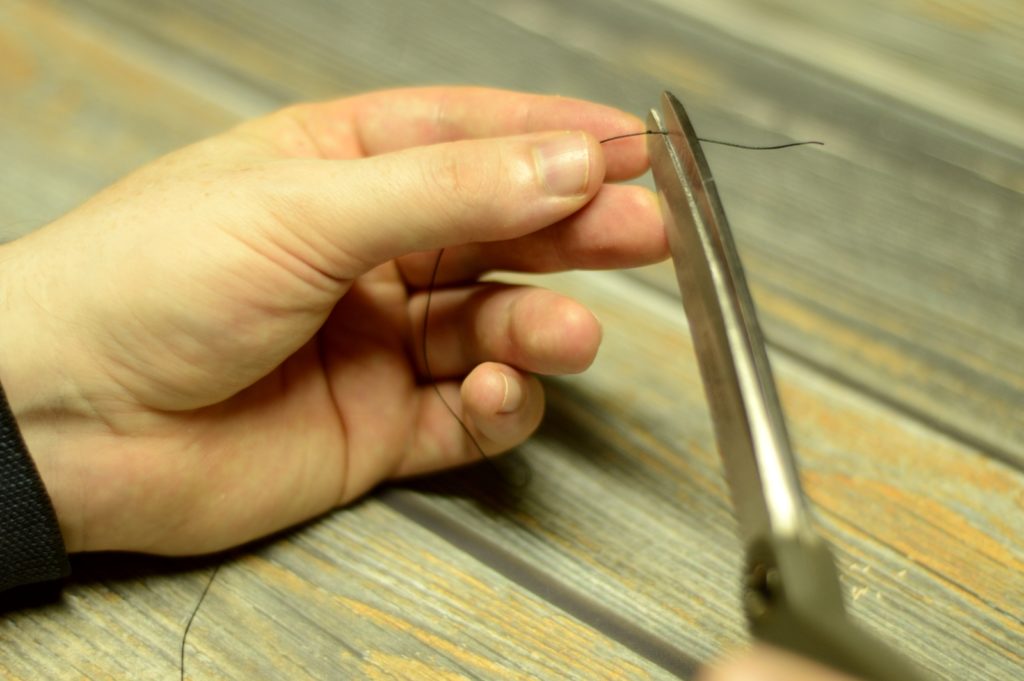
And trim the excess.
Generally when sewing, there should be about two thirds of the thread (the knotted end) on one side of the needle, and the other third on the other. As you sew, of course, the thread will get shorter, but try to keep this general proportion for best results. When the thread gets too short to work comfortably, it’s time to get a new piece.
In the video, I’m threading a small needle with the relatively thick buttonhole twist. While it doesn’t always go through this easily, you can see how the process works.
Pressing Open Seams
The most important aspect of tailoring by far is proper pressing technique. While poorly done seams can be hidden inside the coat, an unpressed seam can be spotted a mile away and ruin what could have been a nice coat. In this lesson, I’ll teach you how to press a basic seam, whether it’s been machine or hand sewn.
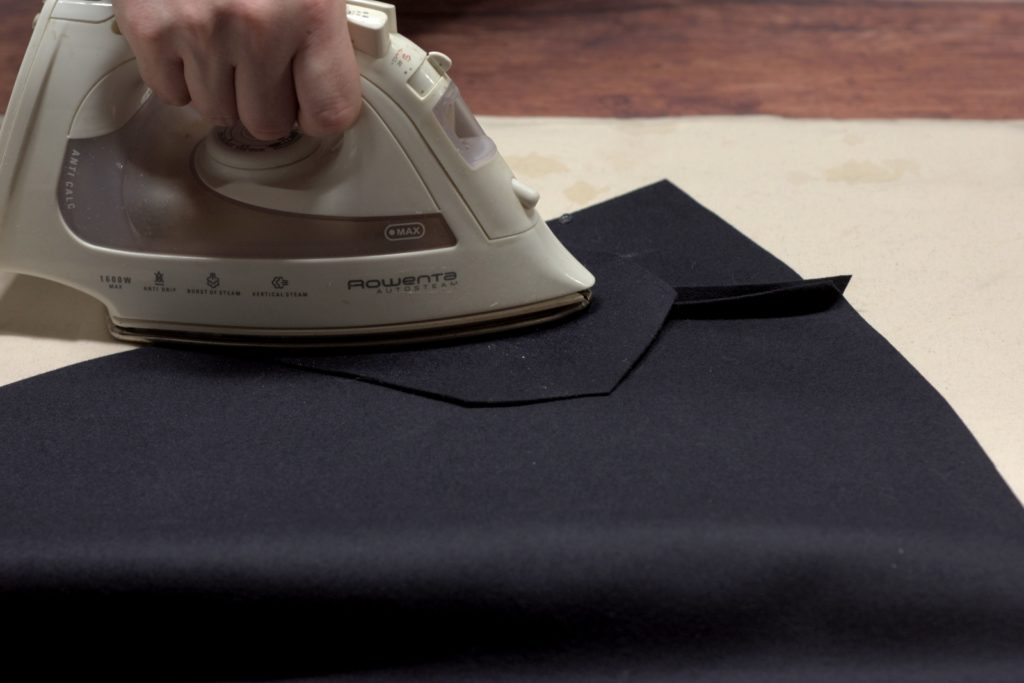
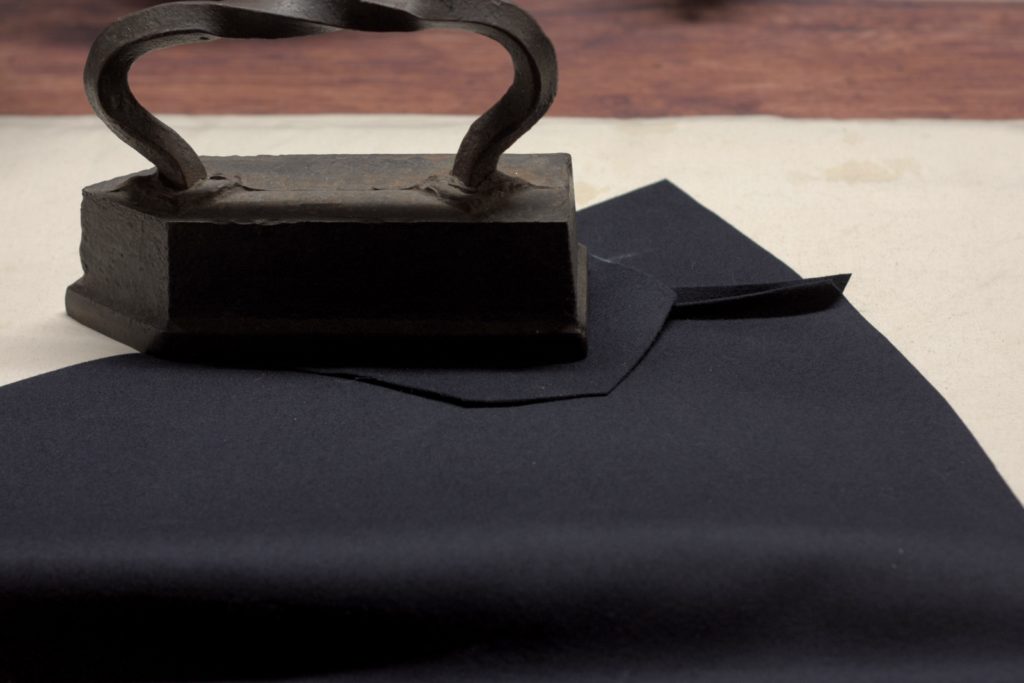
For irons, ideally I recommend a tailor’s dry iron, at least 12 pounds in weight, if you can find one that works. If you can’t find a decent one, then a good home iron will work. For extra heavy seams in wool, you can supplement the home iron with a cast iron ‘goose’ iron, which can be found all the time in antique stores, usually for a low cost.
While I’ve got an 18 pound electric iron, I’ll be demonstrating with a home iron combined with a goose iron, because a) the electric iron scares me and I don’t want to burn down the house, and b) most of you won’t have one.
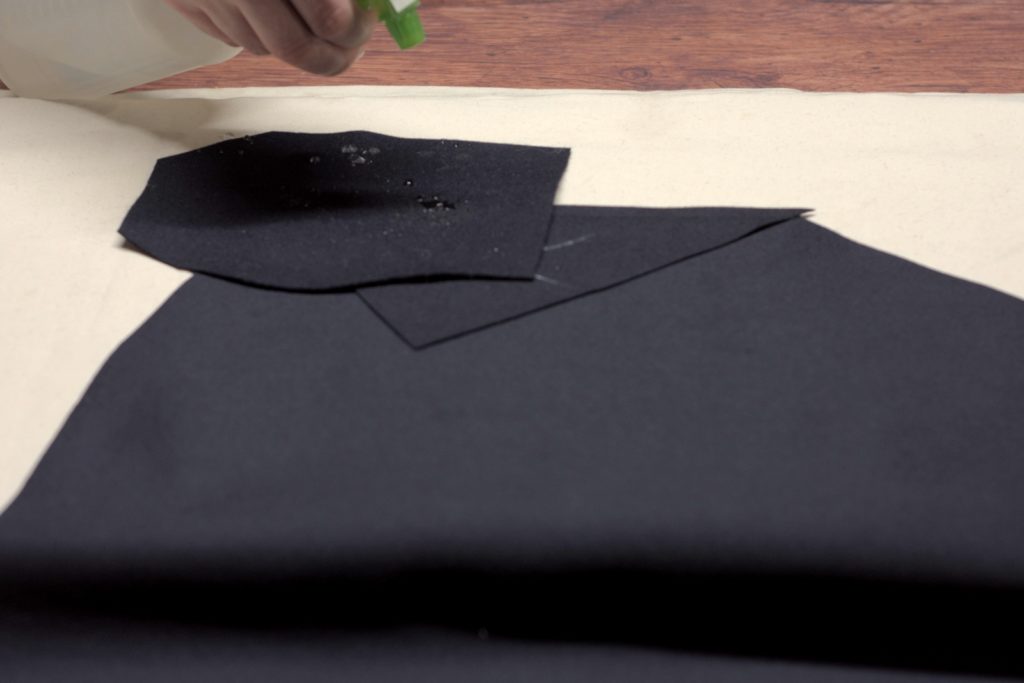
Before starting, I recommend making a pressing cloth out of the same fabric you are currently pressing. This will help prevent scorching your fabric accidentally as well as prevent marking the fabric with the shape of the iron. It’s not necessary in all fabrics, but for those such as the blue wool doeskin I’m demonstrating with, iron marks will show up very easily. The press cloth should be slightly larger than your iron.
I also recommend using a spray bottle of water, rather than your iron’s built in steam system. This allows you to get the steam exactly where you want it, and in the quantity you need.
To begin, take the seam with both halves still right side together. Lay the press cloth over the seam, wet with water, and press until you get a good amount of steam. This technique sets the stitches deeper into the fabric, as well as makes the fibers more supple for pressing open the seam. Repeat from the other side as well.
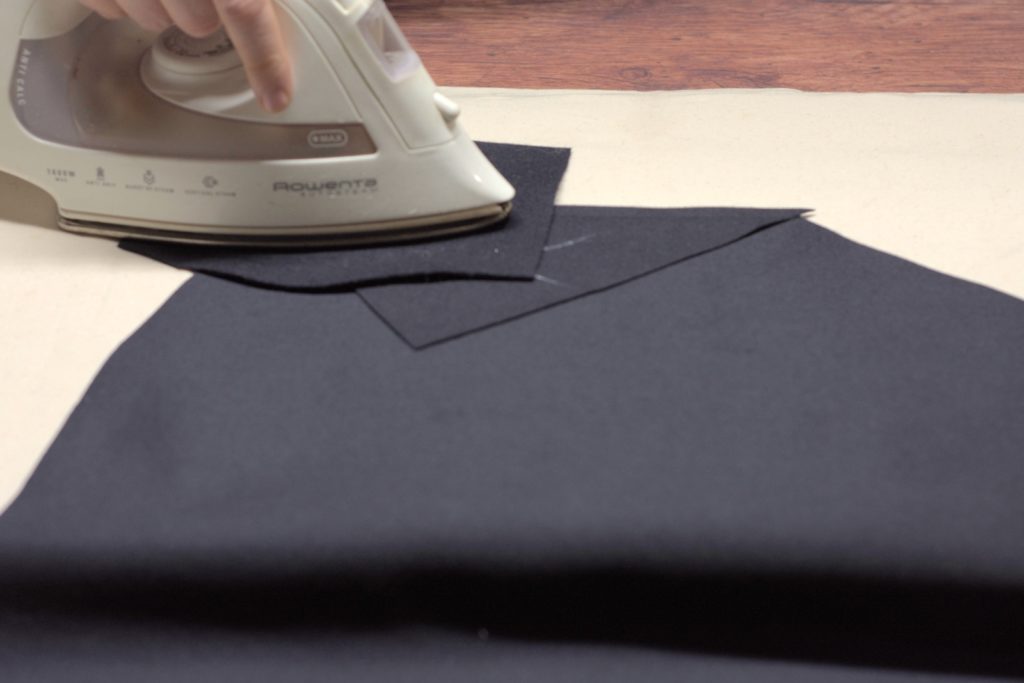
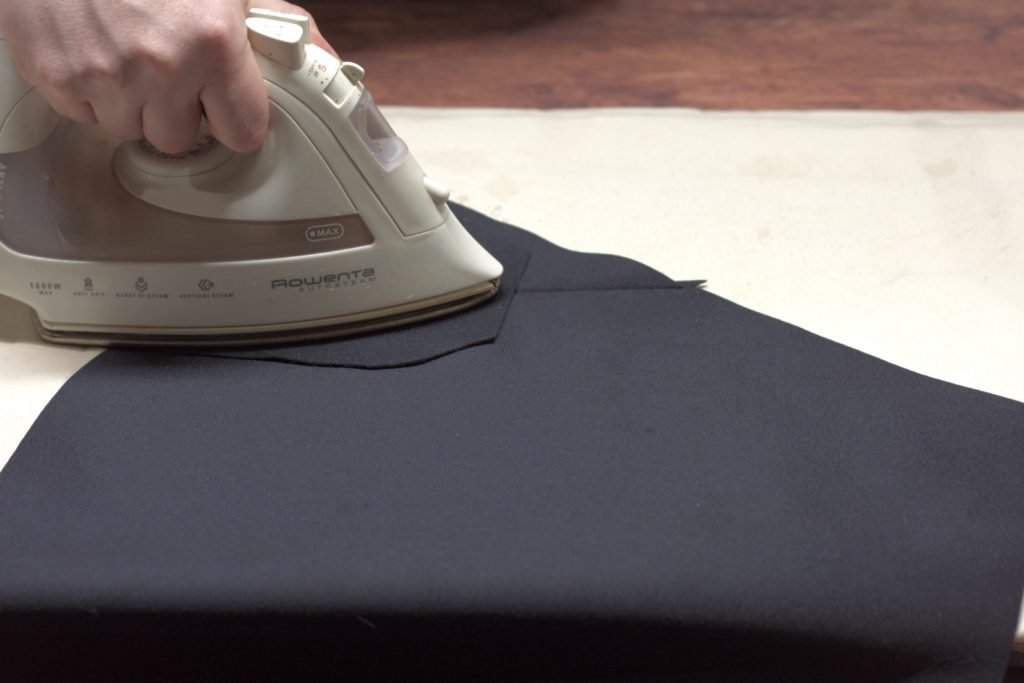
Next, working with the wrong side of the fabric facing up, open up the seam with your fingers, cover with the press cloth, add a bit of water, and steam until most of the water is evaporated. You want to avoid moving the iron in such a way that the fabric below is affected, but it’s okay to move it lightly in order to get good coverage of the heat and avoid scorching. When most of the water is evaporated, add the goose iron and leave it until the seam is cool.
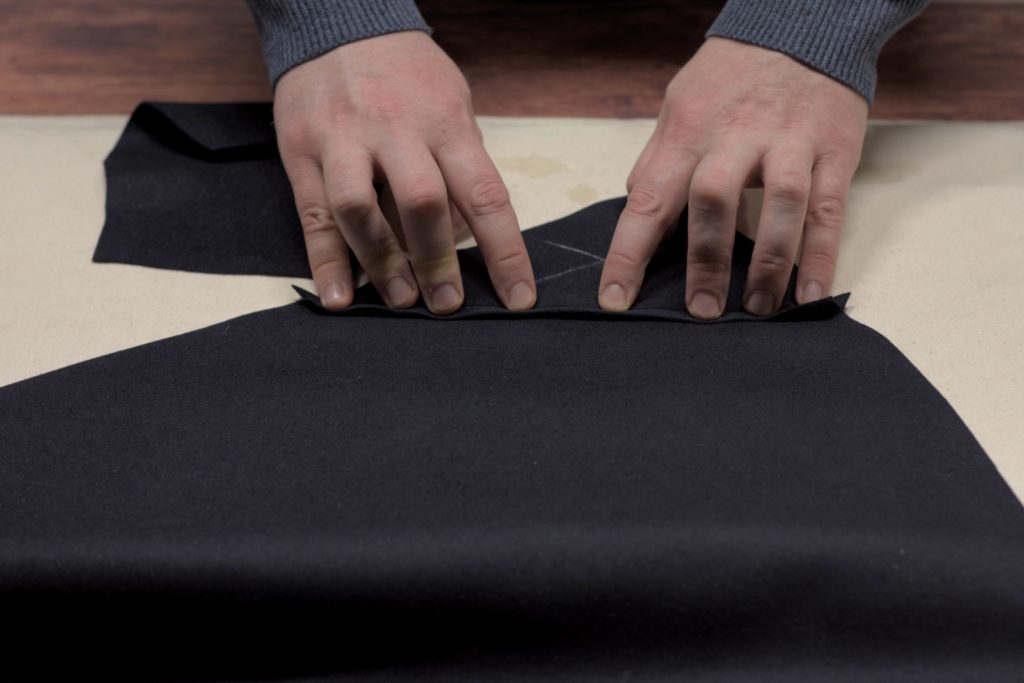
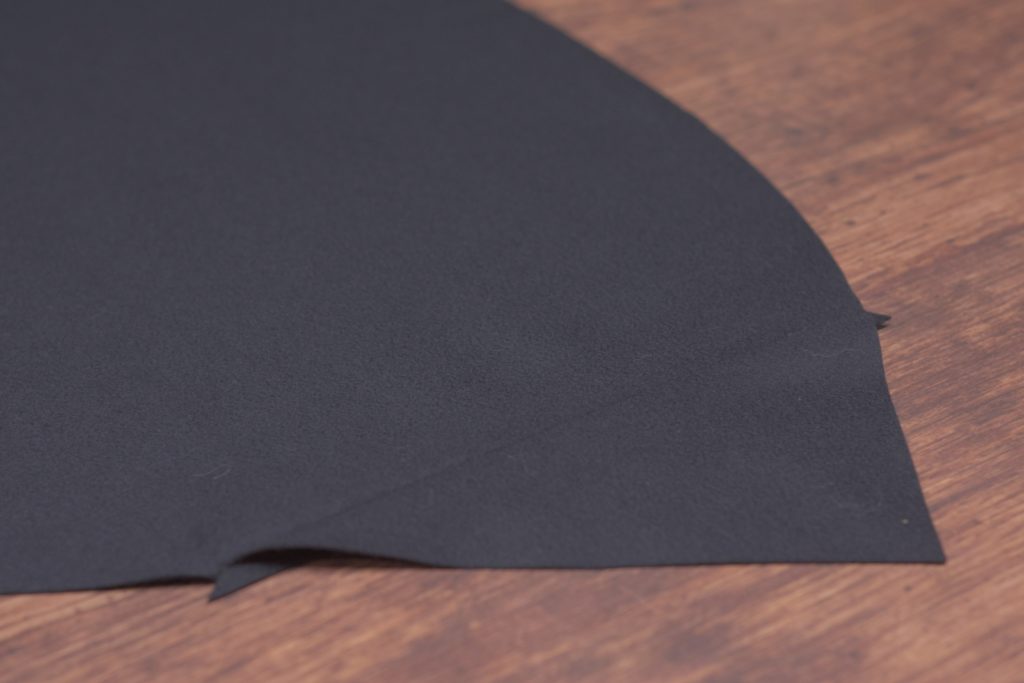
Finally, flip the fabric right side up and press the seam in exactly the same manner.
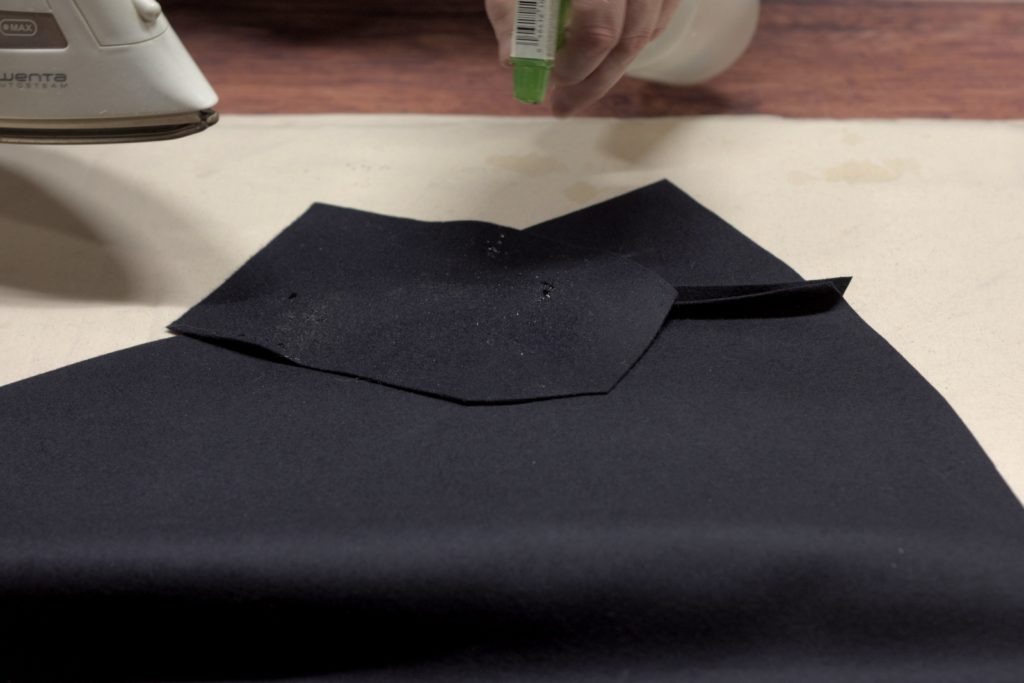
Sometimes with certain fabrics you may get a mark on the right side of the fabric from the edge of the seam underneath. In this case, you can insert a piece of card stock under both halves of the seam and press as usual, and this should solve the problem

Here’s a video demonstrating pressing technique for a basic seam.
Cutting
Coming soon.
Laying Out the Patterns
For most of the exercises in this tutorial, we’ll be using rectangular squares of fabric with which to practice the various stitches.
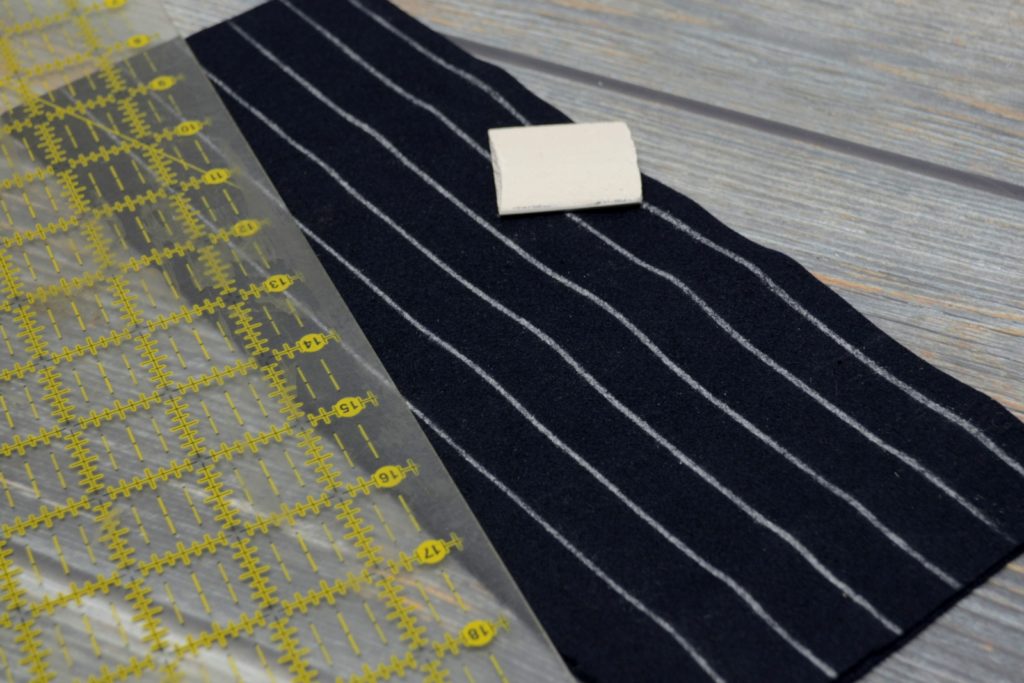
Using a quilting ruler or something similar, lay out a rectangle on your fabric parallel to the edge, or grain of the fabric. This should be roughly 5″ wide, in order to get some practice sewing on harder to reach areas, and 12″ long, which will allow you to time how long it takes to sew a foot. Then you can estimate sewing times for future projects more easily.
Note that in the following examples, I’m using a lighter-weight linen and a heavy wool to demonstrate the stitches to aid in contrast and allow you to see things better. You should try to practice on as wide a variety of fabrics as you can.
Next, cut out the pieces carefully using a pair of sharp scissors or shears. When cutting, the tip of the scissors, and the bottom of the handle should ideally always be touching the table.
Cut just on the inside of the line for best accuracy. Since the chalk has a width to it, cutting outside the lines would make the pattern piece too large, leading to errors when working on more involved projects.
Finally, mark parallel lines spaced 1/2″ or so apart along the length of the fabric. While the chalk lines are fine for practicing the basting stitches, I actually prefer to use a pencil if possible for this step for greater accuracy.
Here’s a video showing the entire process.
Tailor’s Chalk
A good tailor’s chalk in black and white is essential for laying out and marking your patterns on the cloth. I highly recommend avoiding those chalks that contain wax in their ingredients, as the wax will melt into the fabric when pressing and ruin the fabric. Instead, find on that is made of clay, and that will brush out when you’re done.
I’ve used Jems Clay Chalk for years and find it to work beautifully, but there are probably other varieties out there. A box will last for a very long time.
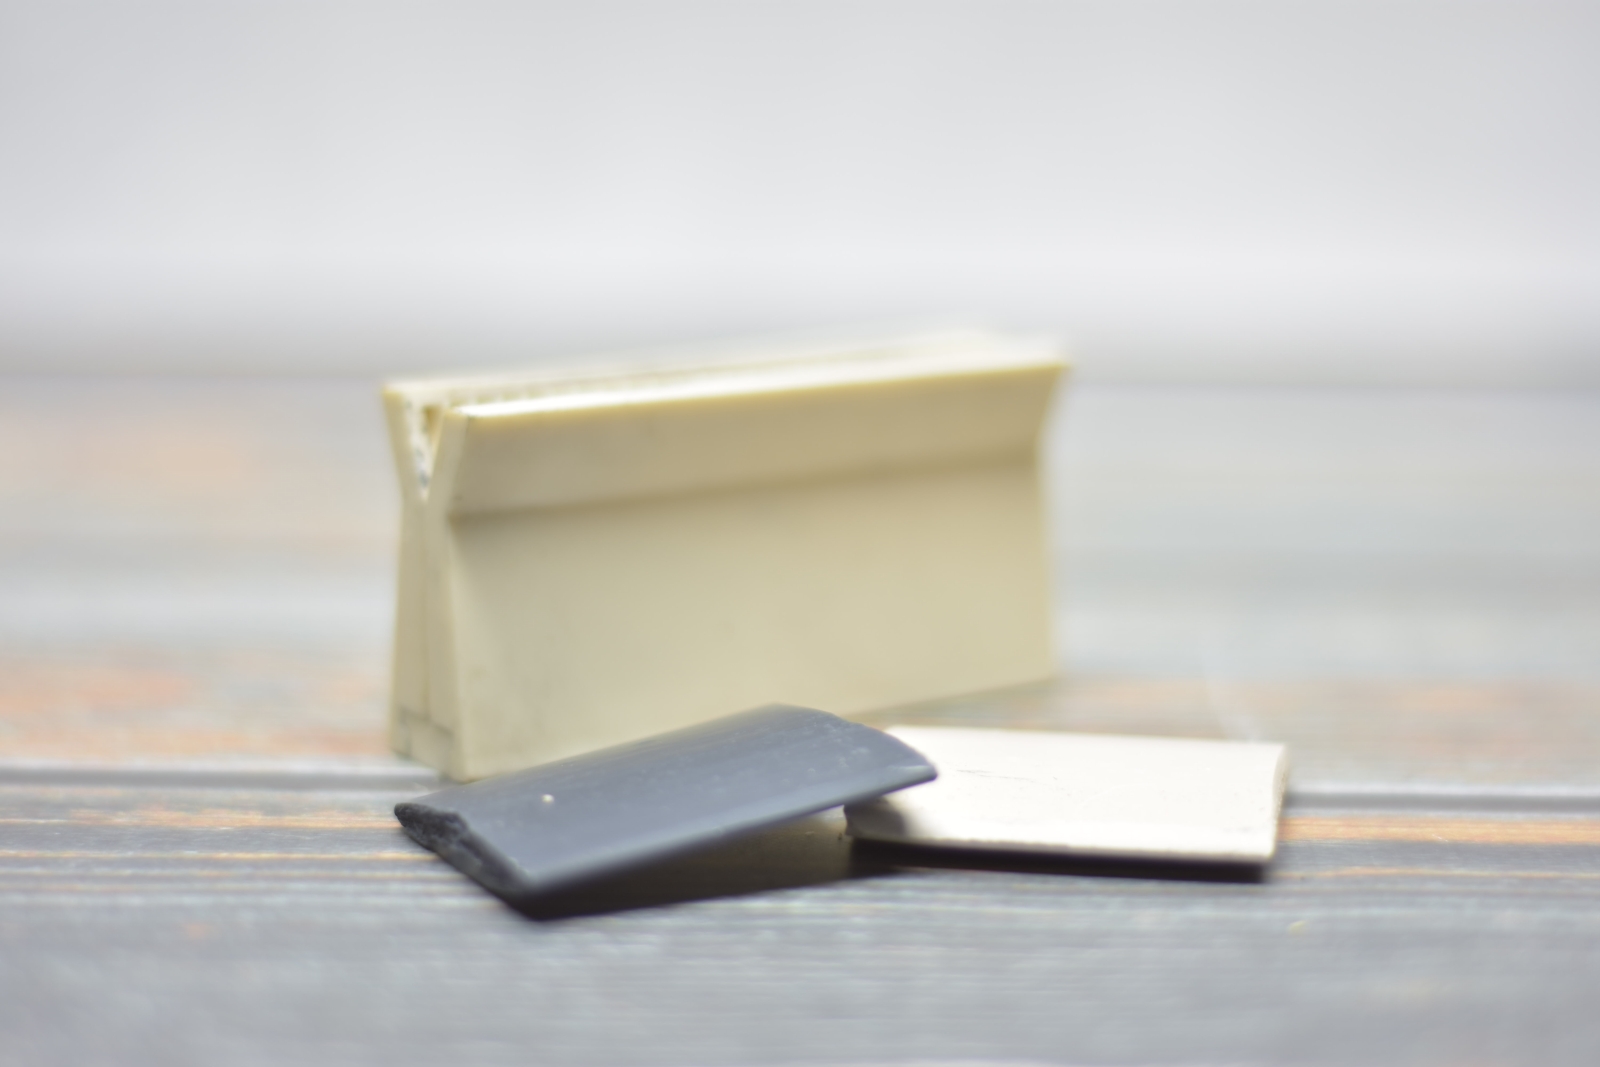
Before you use the chalk, you’ll want to sharpen it to get the most accurate line. There are sharpeners available, but I find them to be slow and don’t really sharpen the chalk all that well. Instead (and this will be heresy to some!), I use my fabric scissors to sharpen the chalk from both sides. Probably not the best idea as it does dull the scissors after a while, so you need to either use an old pair of scissors or be prepared to sharpen your own.
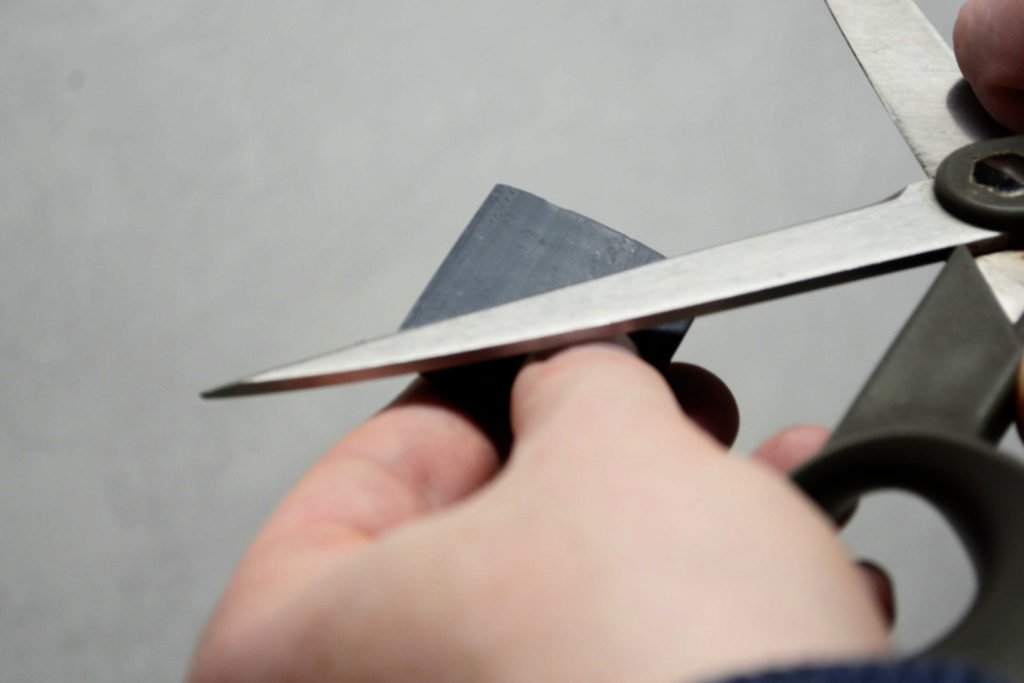
A short video on how I sharpen my chalk.
Needle Selection
Choosing a sewing needle is somewhat of a personal preference, but here are some general tips. If you are new to handsewing, I suggest getting a pack of ‘sharps’ or ‘between’ needles (if you can find those), of various sizes so that you can better get a feel for what works for you.
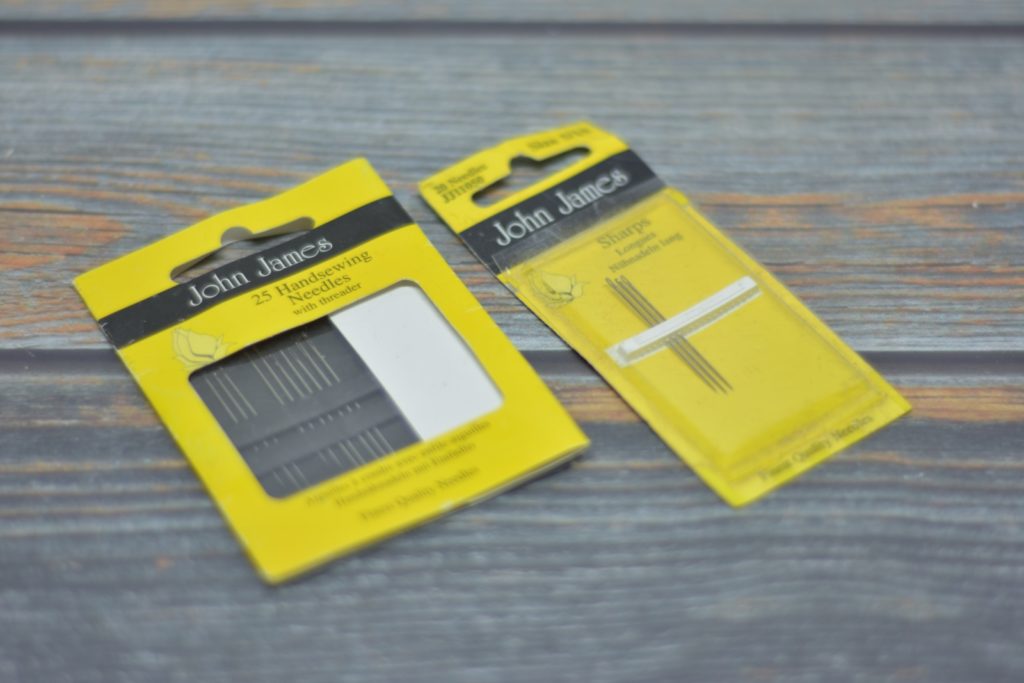
Sharps are very easy to find, have a narrow profile and sharp, tapered tip, but the downside is they are prone to bending. Betweens (sometimes called Quilting Betweens) are a little thicker and more durable for heavy tailoring work.
For size, you’ll have to see what works best for you, but I generally use between a size 8 to 12 (the larger the number the smaller the needle). It just comes down to experience and preference. For basting however I do like a larger needle to get through all of the layers and to give me some leverage.
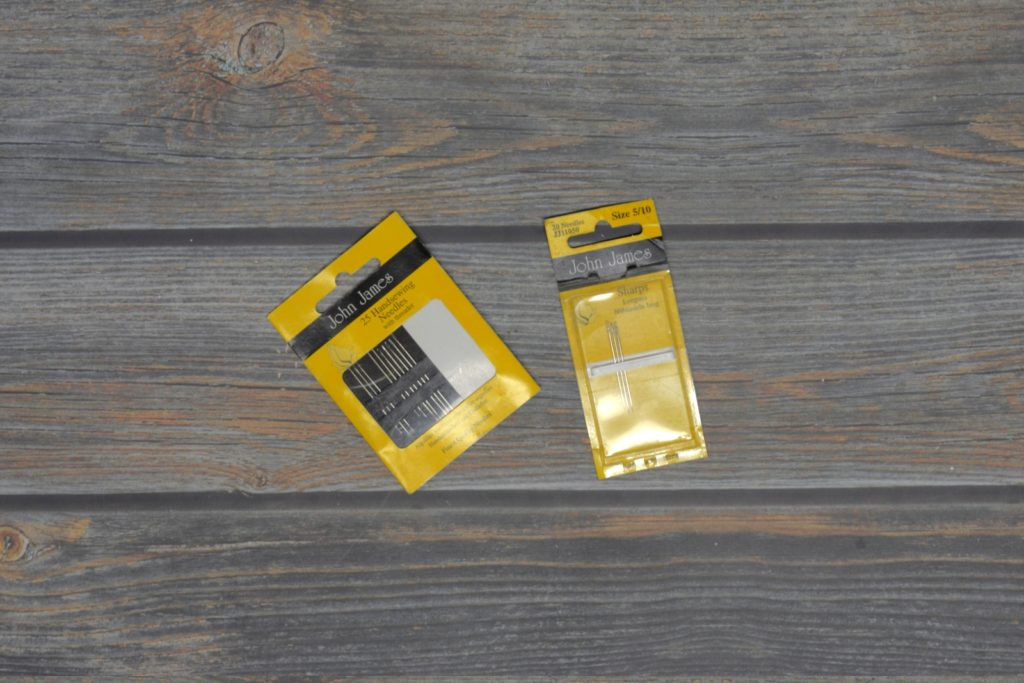
If you can find them or order online, I highly recommend the John James needles, as they seem to use a better quality steel that resists bending for longer. Other brands will work though, especially if you’re just getting started.
Finally, don’t forget to change your needle often. Depending on what I’m sewing, that might be every other day, or it could be only an hour before I need to switch if I’m sewing particularly heavy fabrics. A sharp needle makes a huge difference!
Fabric Preparation
Before cutting into your nice woolen or linen fabric, it’s important to prepare the fabric by pre-shrinking in order to avoid shrinkage later after you’ve completed your trousers. There are several different methods you could use, but I’m going to focus on the one that works best for me.
When fabric is woven, there is a certain amount of tension that is put on the yarns in order to keep everything running smoothly on the loom. Our goal is to relax those fibers, with a bit of steam, so that we are free to work on our project without worrying about things shrinking after they are finished.
Lay your fabric out on your work surface or ironing board. For now, I’m using a towel placed on top of my table as a temporary ironing station until I get something better built. The board is underneath to protect the unfinished plywood. As you can see I’m using a basic home iron with a separate spray bottle for more control of the steam.
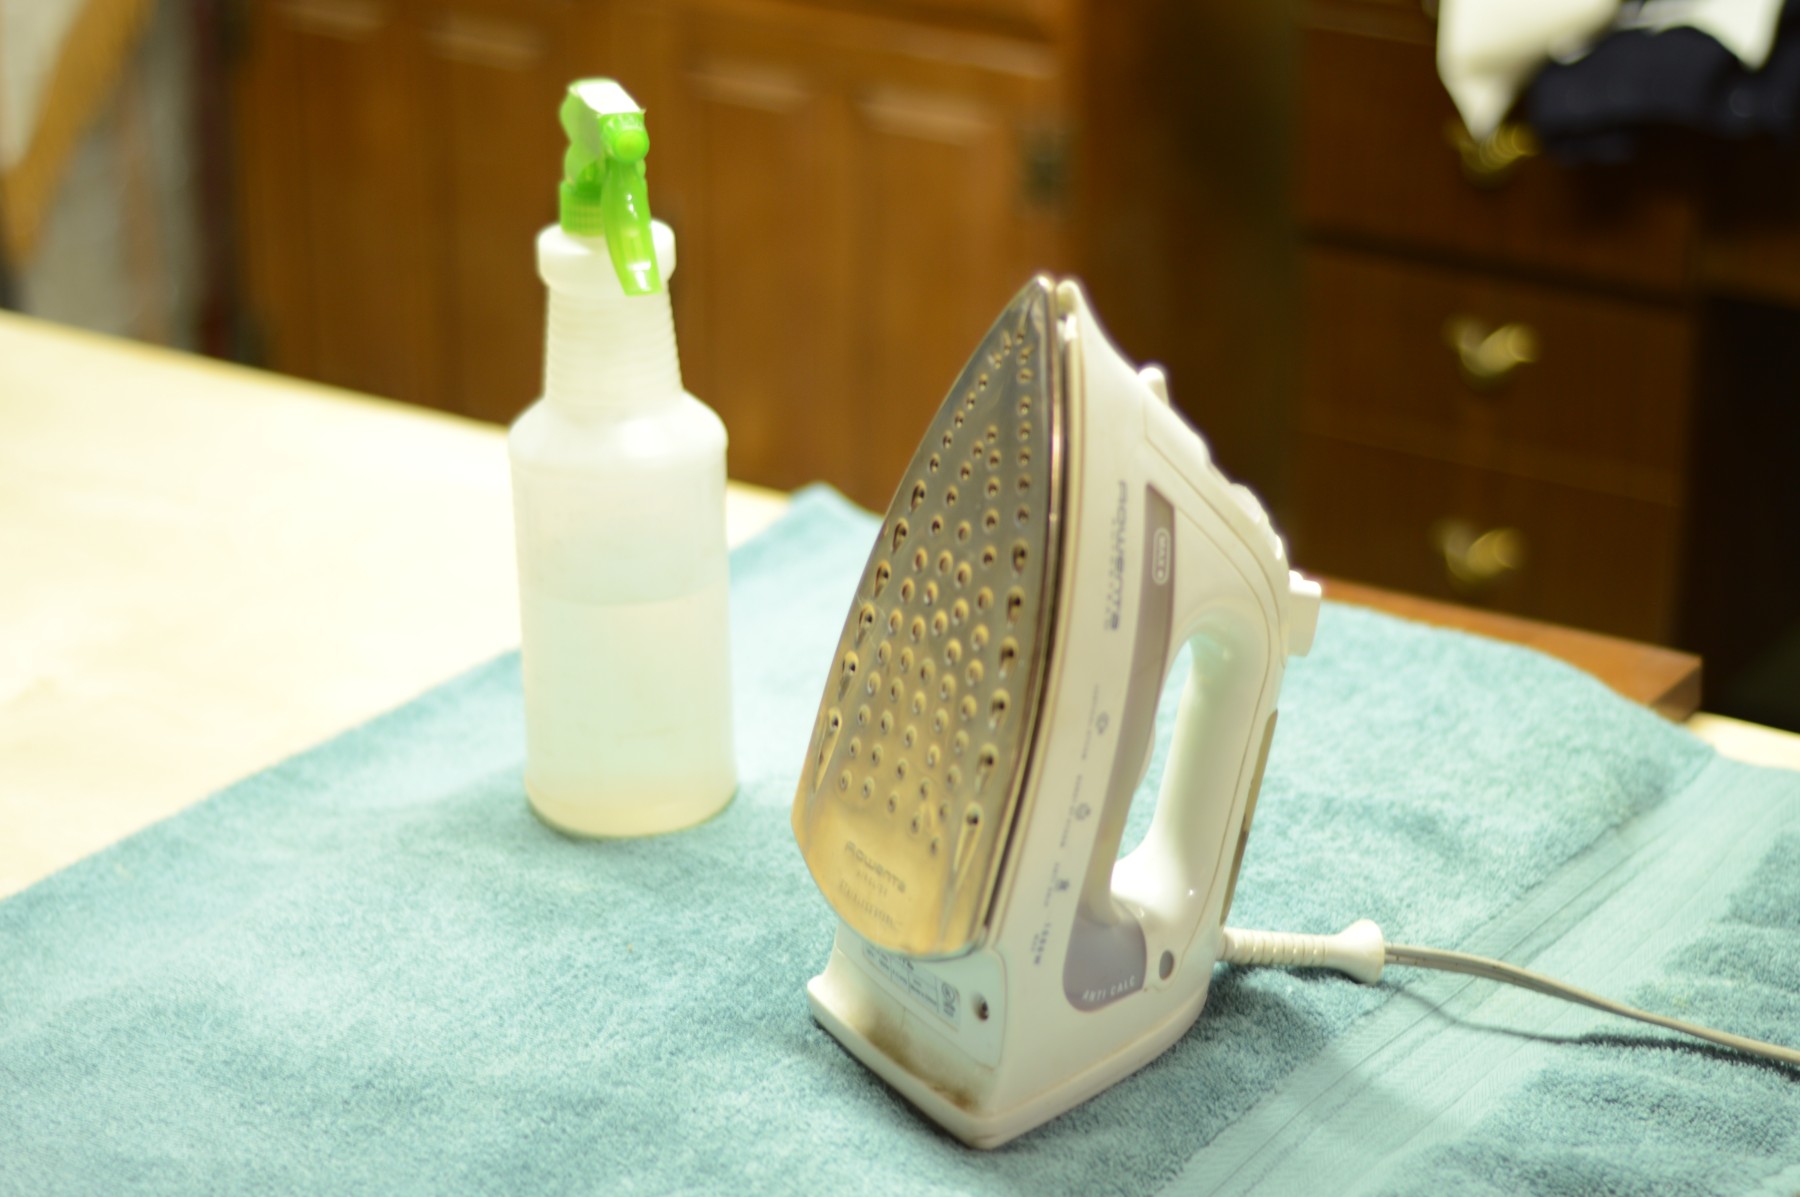
The basic idea is to wet the fabric with the water bottle, just enough to create some steam with the iron. That steam is what will relax the fibers and help get out any wrinkles. As you’re ironing, try to move lengthwise along the fabric in order to prevent stretching the fabric out of shape. Here is a video illustrating the process.