Author: James Williams
Measurements
The first thing to do in preparation for making a coat is to take good, accurate measurements. Since this is more of an introduction to coat making, I’m going to simplify the measurements as best I can to make it easier for you to get started right away.
All measurements should be taken over what you will wear underneath this coat, if possible. That’d mean a period shirt, trousers, and waistcoat if you have them. If not, I’d recommend adding maybe an inch to your measurements if just measuring over a regular shirt, for example.
A good idea for beginners is to tie a length of twine or ribbon around the natural waist so that all of your measurements are referenced from the same points. This should be tied around the waist at about the level of the naval.
While it’s possible to measure yourself – I do it all the time – for beginners I’d recommend having someone measure you if you can. If all you’ve got is your self, that’s fine too! You’ll just have to contort your arms into various positions while trying to keep your body as straight as possible.
And in general, try to keep your body relaxed in its natural position when taking the measurements. Don’t try to stand extra erect like a dashing officer if you don’t stand like that in real life, for example.
With that all said, on to the measurements!
Measurements
There are a number of measurements you’ll need to take for your coat. I’ve included a chart in which you can right them all down for convenience. Listed out, you’ll need the following measurements:
- Breast (written as half the actual measurement)
- Waist (written as half the actual measurement)
- Total Length
- Back Length to Hip Buttons
- Side
- Chest
- Width of Back
- Sleeve
- Sleeve + Back (optional)
Breast
This is the most important measurement and determines which size of graduated ruler you will use for your draft. Measure around your chest at the fullest point, just under the arms. Take note of the full measurement to choose your ruler size, but the measurement is written down as half of the total, since we are drafting half of the pattern on the paper.

Waist
The waist measurement is taken at the level of the natural waist, about even with the naval. Again this is written as half for use when drafting.
Total Length
Measuring down the center of the back, start at either the base of the collar or at the 7th vertebrae if you don’t have period clothing available (the bony part on the back of your neck). Measure from there, pressing the tape against the hollow of the back, down to the bottom of where you’d like the coat to be. This is mainly a check measurement to compare with what we’ve drafted later on.

Back length to Hip Buttons
Again starting at the base of the collar, measure down the center of the back to the position you’d like the back hip buttons to be, usually a couple of inches below the natural waist. This is another check measurement to compare with the draft.
Side
Put the measuring tape under your armpit, though not too high up, and measure straight down to the waist seam. Yet another check measurement!

Chest
Sometimes when drafting, especially with these older drafting systems, our body’s widths will not be perfectly distributed from front to back. This is a good measurement to take to compare with the front of your draft.
The chest measurement is taken across the fullest part of the chest, from armscye seam to armcye seam.

Width of Back
This is similar to the chest measurement, but taken straight across the back from armscye to armscye at a level just at the bottom of the armpit.

Sleeve
The sleeve can be a little troublesome to take, especially for a beginner, but it’s easy to fix during the fitting process if necessary.
To take the sleeve measurement, stand with your arm extended horizontally, and bend the elbow at 90 degrees. Measure from the armscye along the back of the sleeve, around the elbow, to just past the wrist (sleeves were longer in the 1860s than they are today).
You can also take the same measurement from the center of the back, that way you can compare the two measurements and look for any discrepancies. I’ve included a video demonstrating the two measurements.
How to Use the Measurements
As you’re drafting, take note of the various lines in red, and compare their lengths to the measurements you took. If they’re far off, it indicates something may be wrong, and that you should investigate before moving on and compounding the problem. This can happen especially with larger sizes, above size 46 – 48.

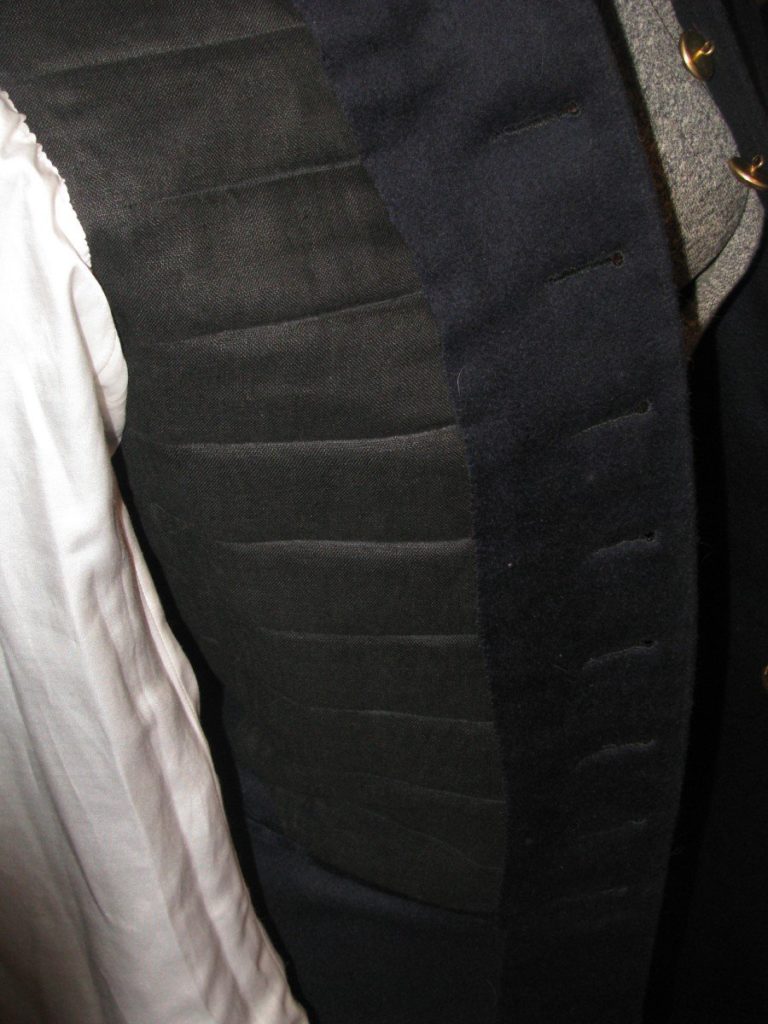
Button Catch Lining
After cross stitching, it’s time to install the button catch lining. Lay the pieces wrong sides together.
Baste down the center of the button catch, stopping an inch or two from the bottom so that there is room to turn under the edge after.
Turn under the raw edges and baste securely closed. I like to start with the straight edges and work my way down towards the curved bottom, which is a bit fiddly to get it looking just right.
Finish turning under the edges at the very bottom.
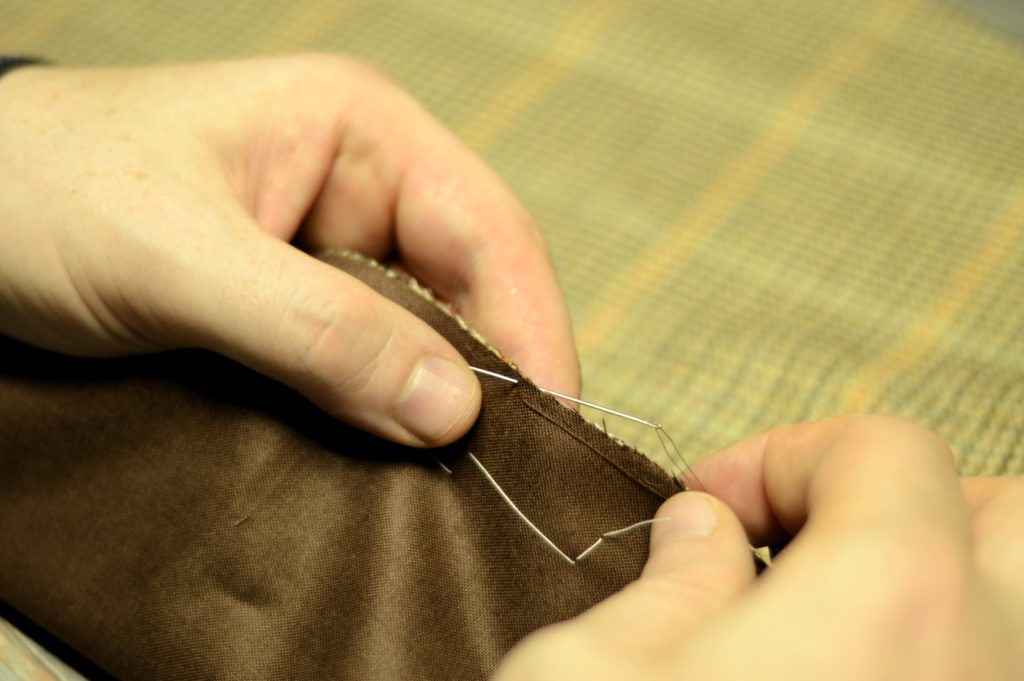
Using a small felling stitch, fell the folded edge of the lining to the button catch. I use about 8 stitches per inch, entering the lining fabric with the needle from the top, catching the wool underneath on the diagonal, keeping the visible part of the stitch very small and straight. This also gives better tension to the lining when sewn in this manner.
I like to start at the waist, sewing down towards the bottom of the button catch, and back up the other side.
Trim off any excess lining.
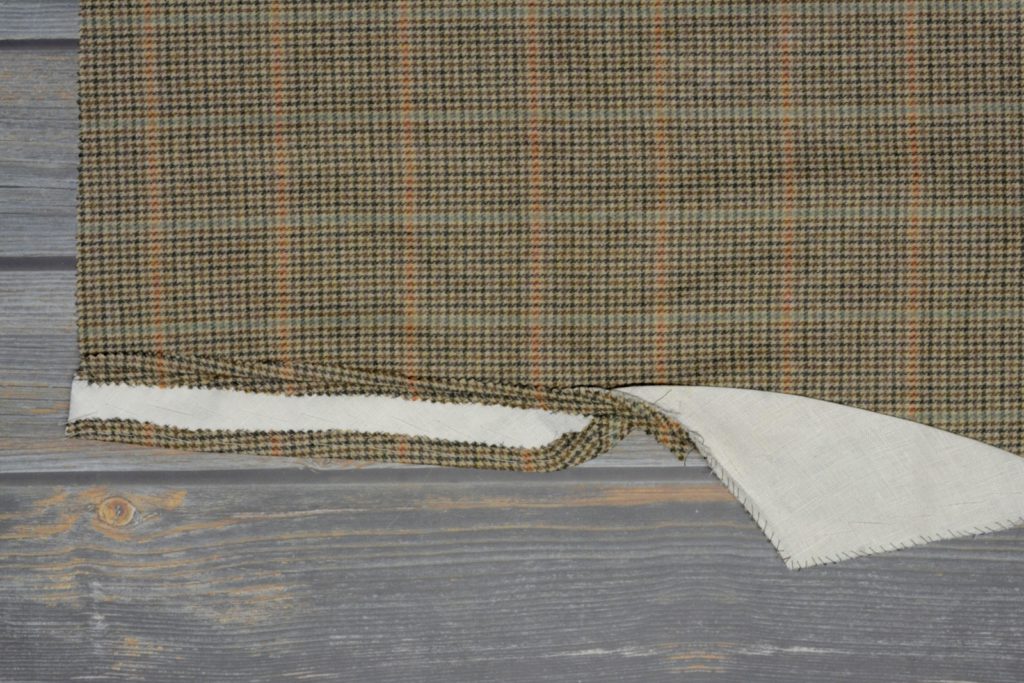
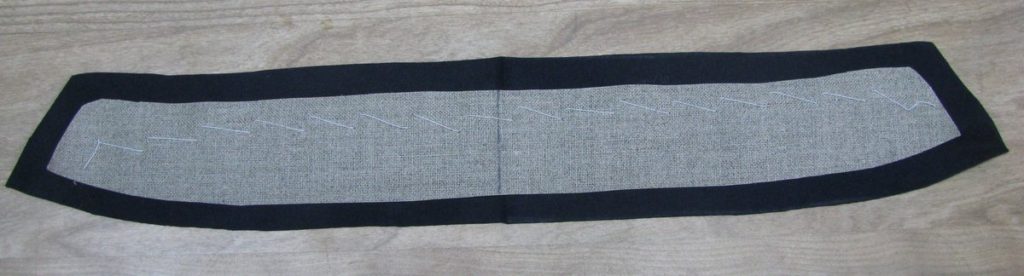
Interlining
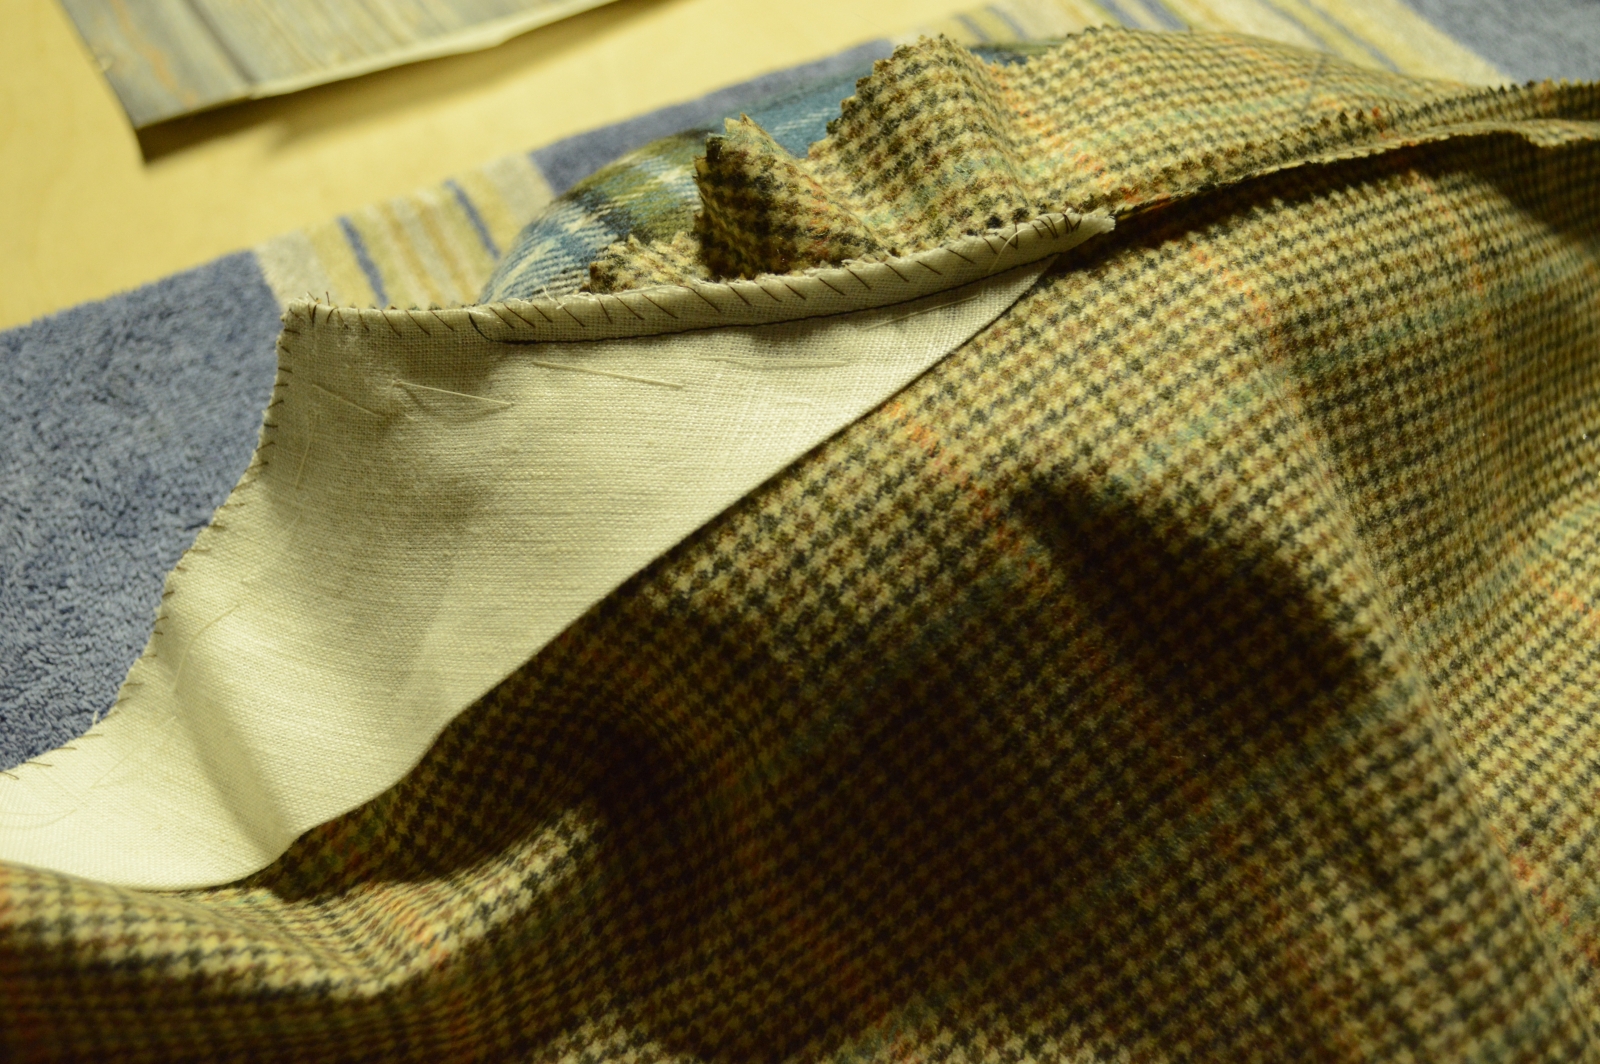
An interfacing of linen is now added to the button catch to provide additional strength to the area and keep the buttons from tearing out over time. In the past, I’ve used a single layer of linen cut to the shape of the fly pattern piece, but these days I’ve taken to using three layers.
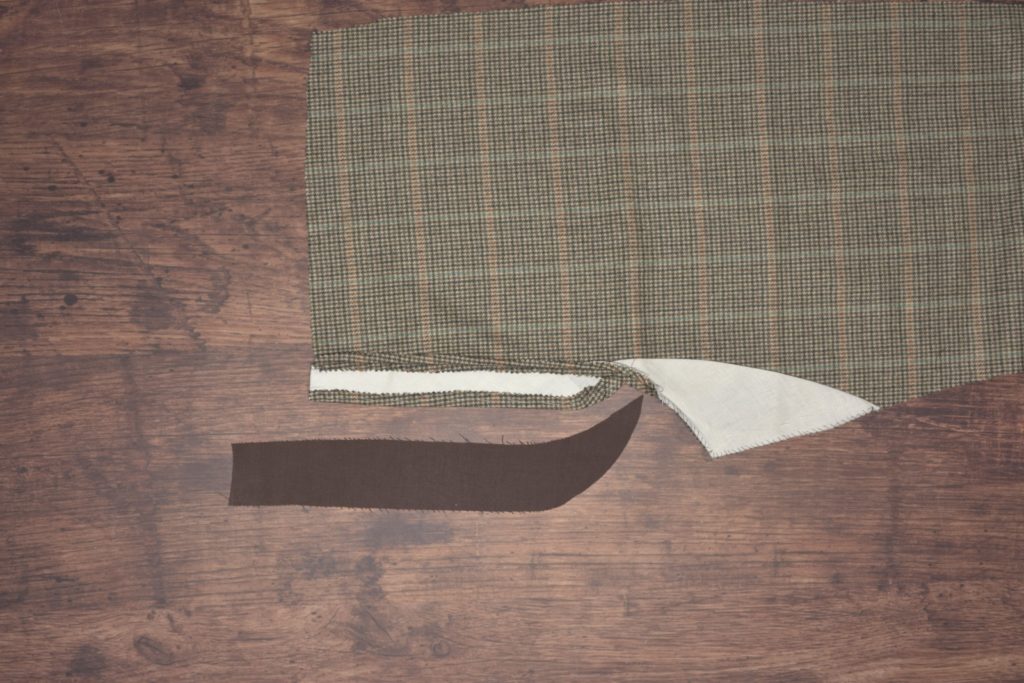
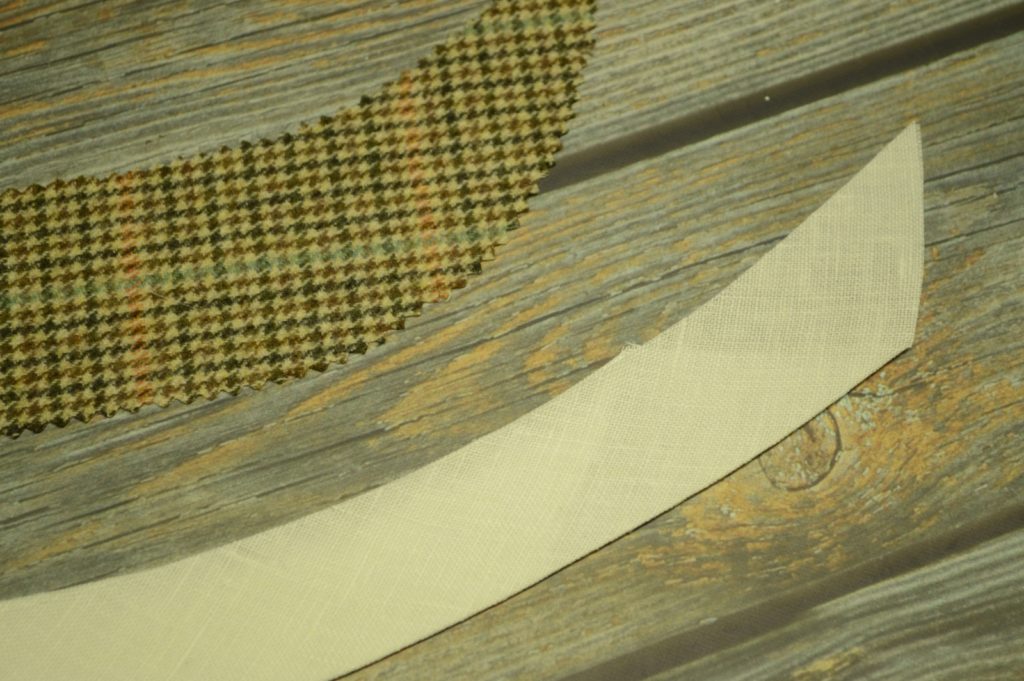
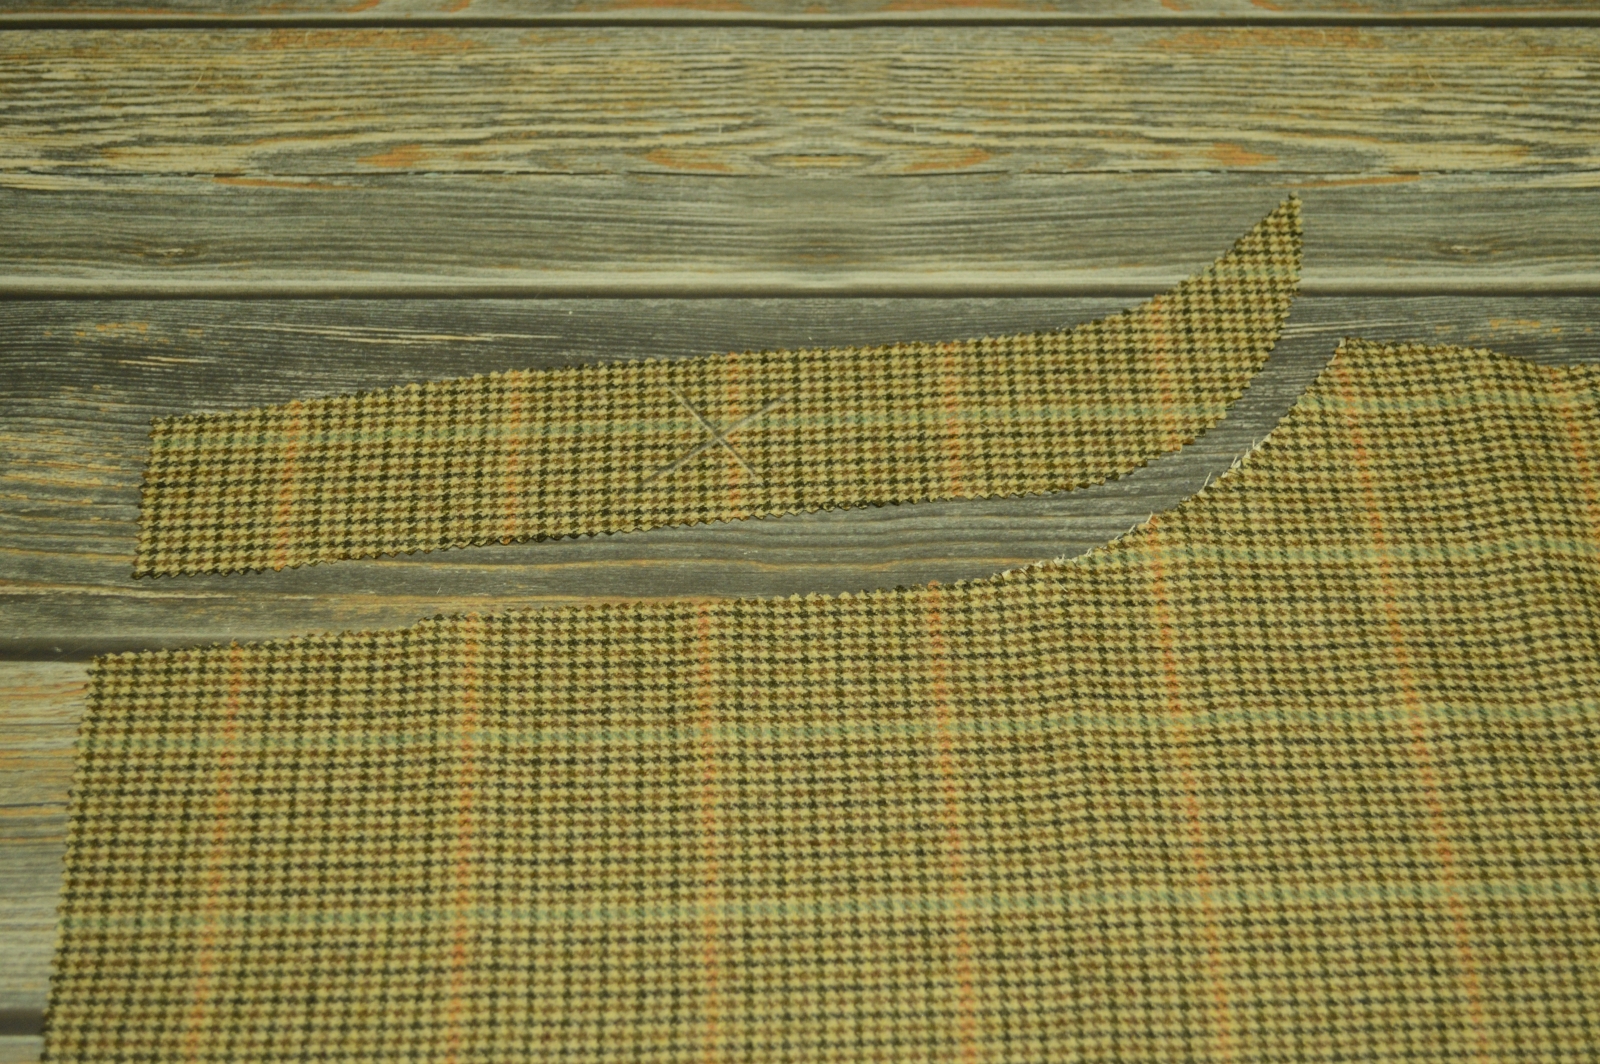
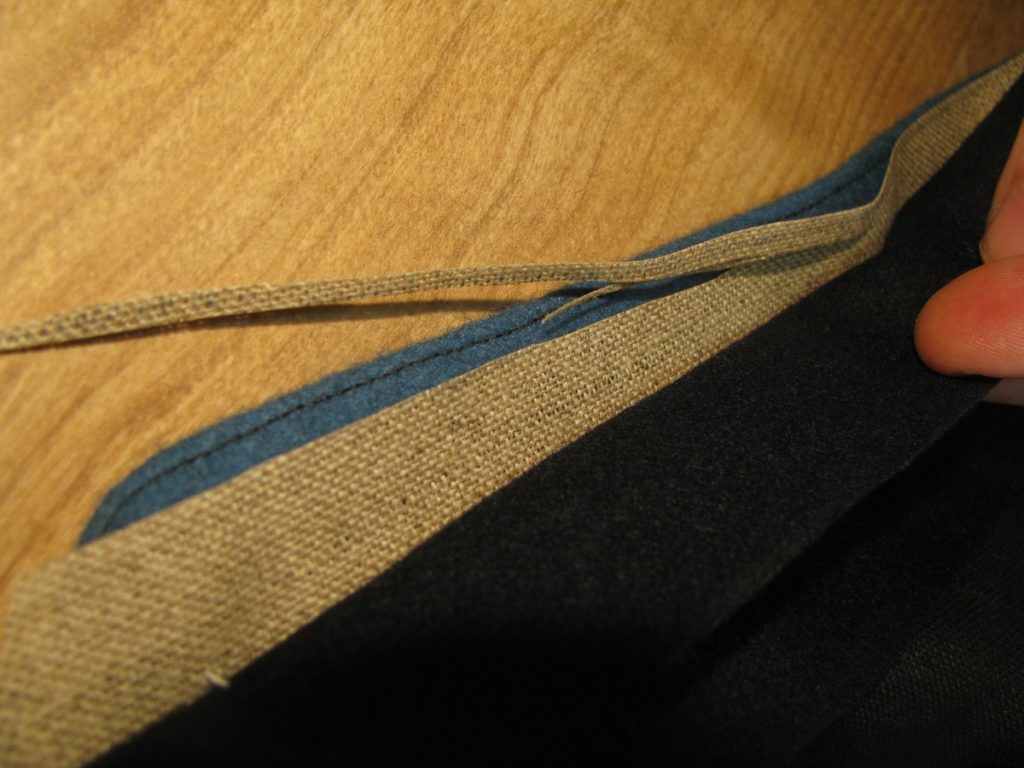
Begin by measuring the width of the button catch, subtracting the seam allowance from that measurement. Then cut a bias piece of linen three times that width, and a little longer than the fly itself.
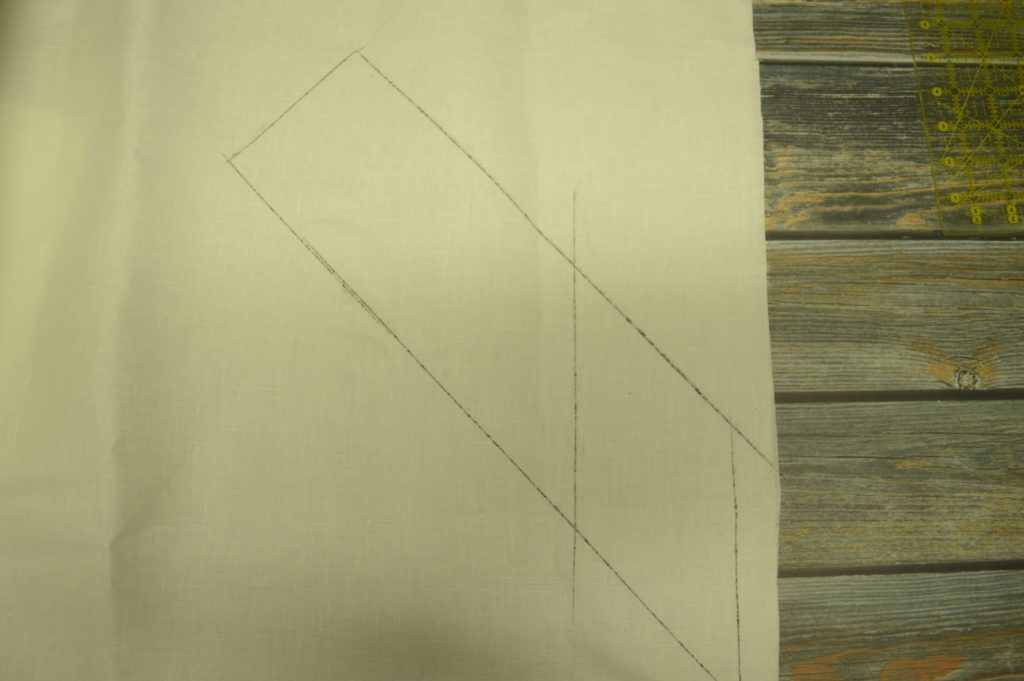
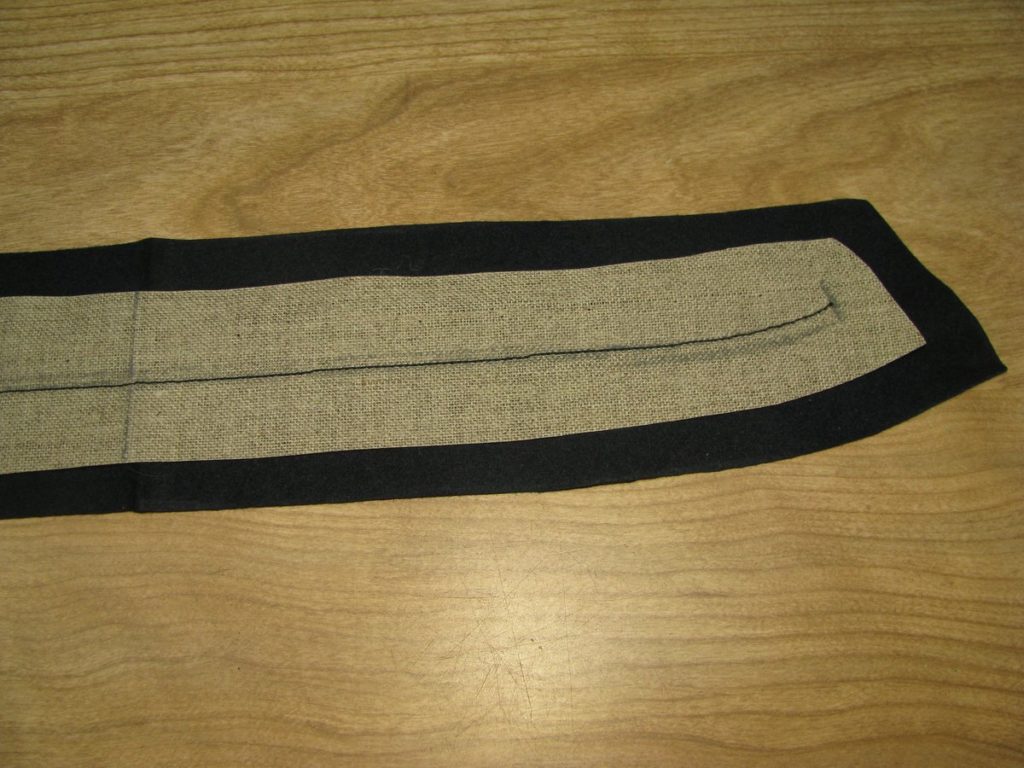
Cut out the linen. Note how I left the triangular piece on the end rather than cutting it square.
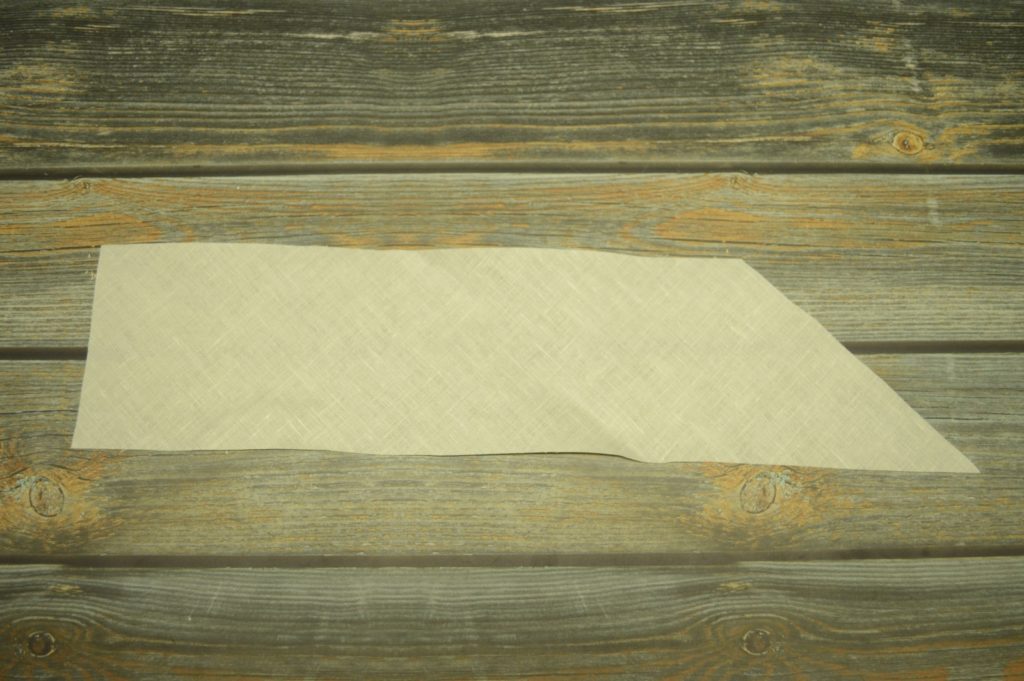
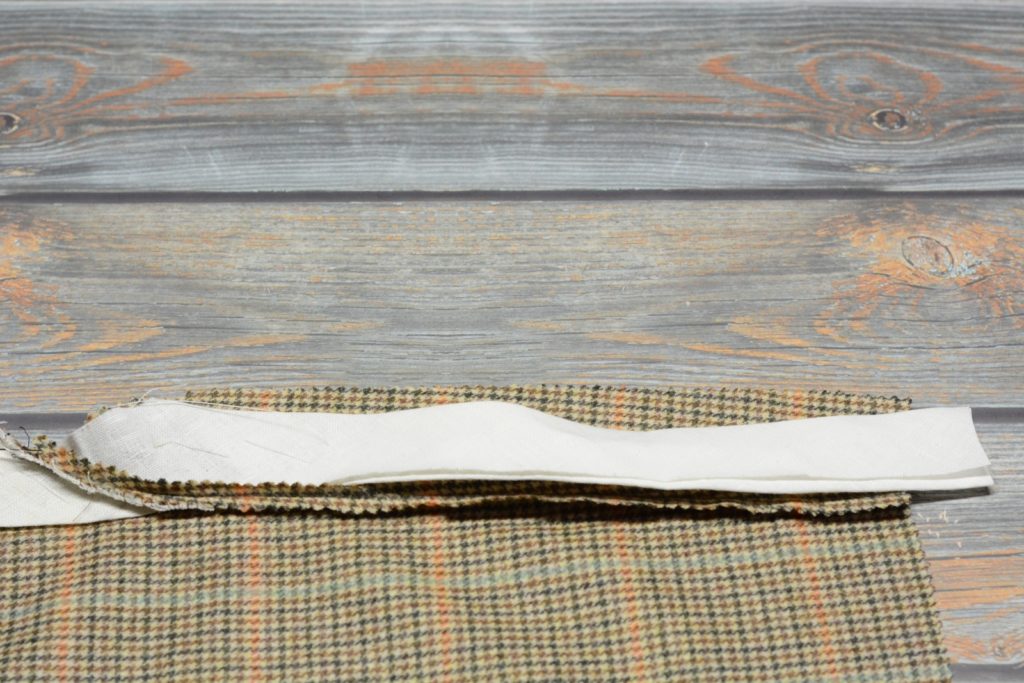
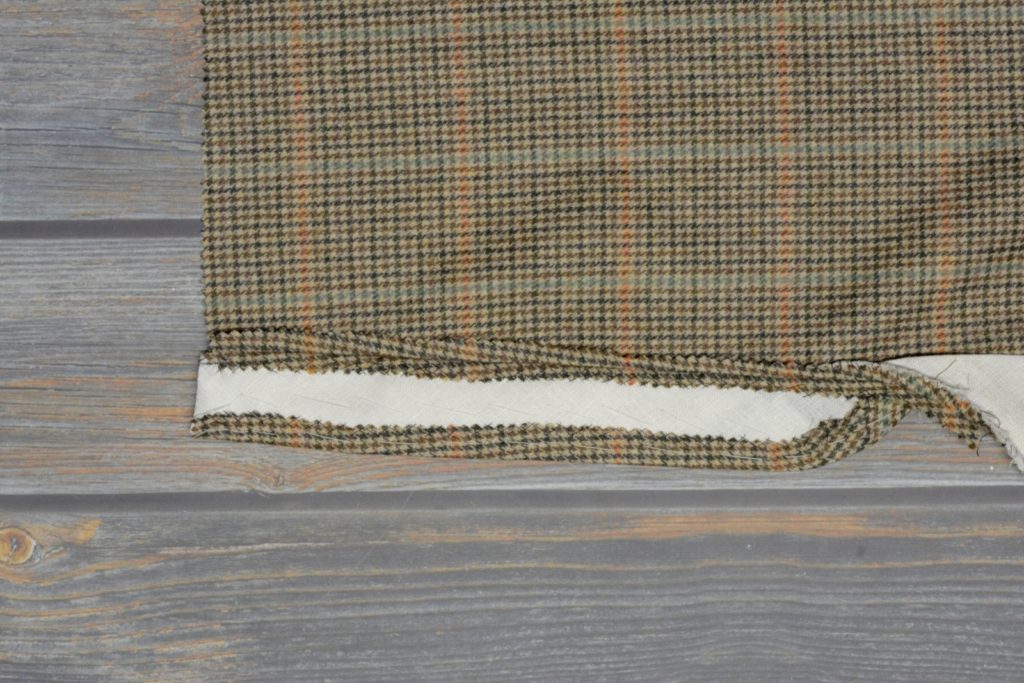
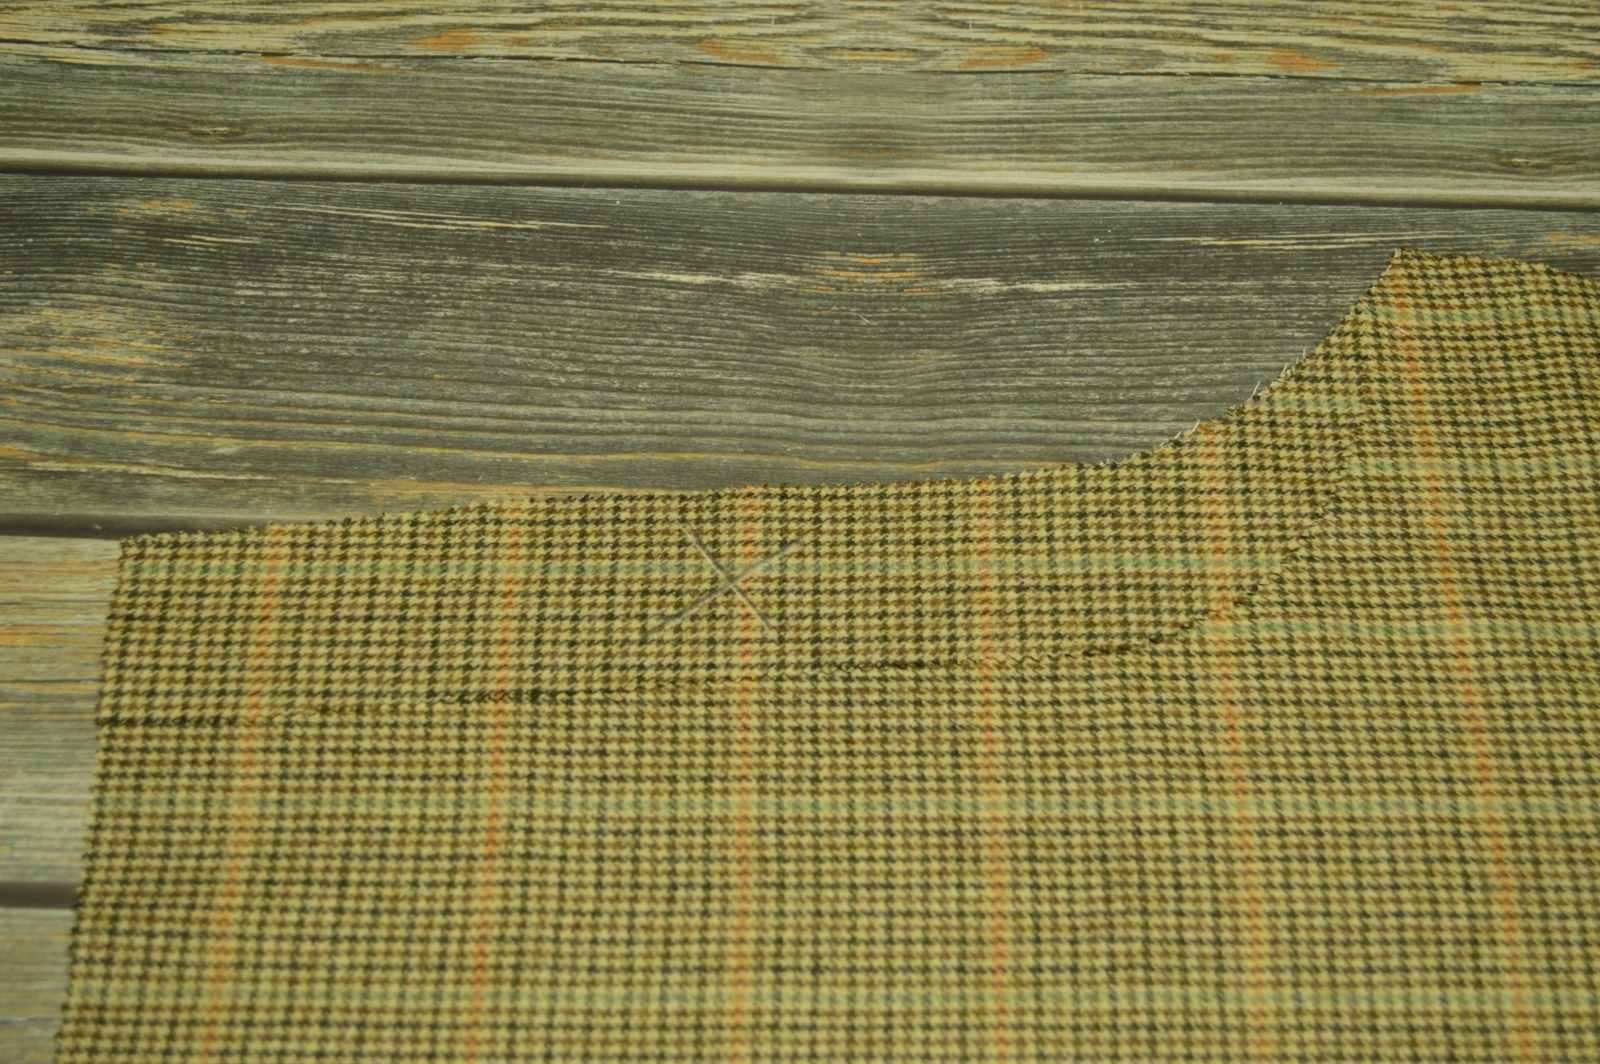
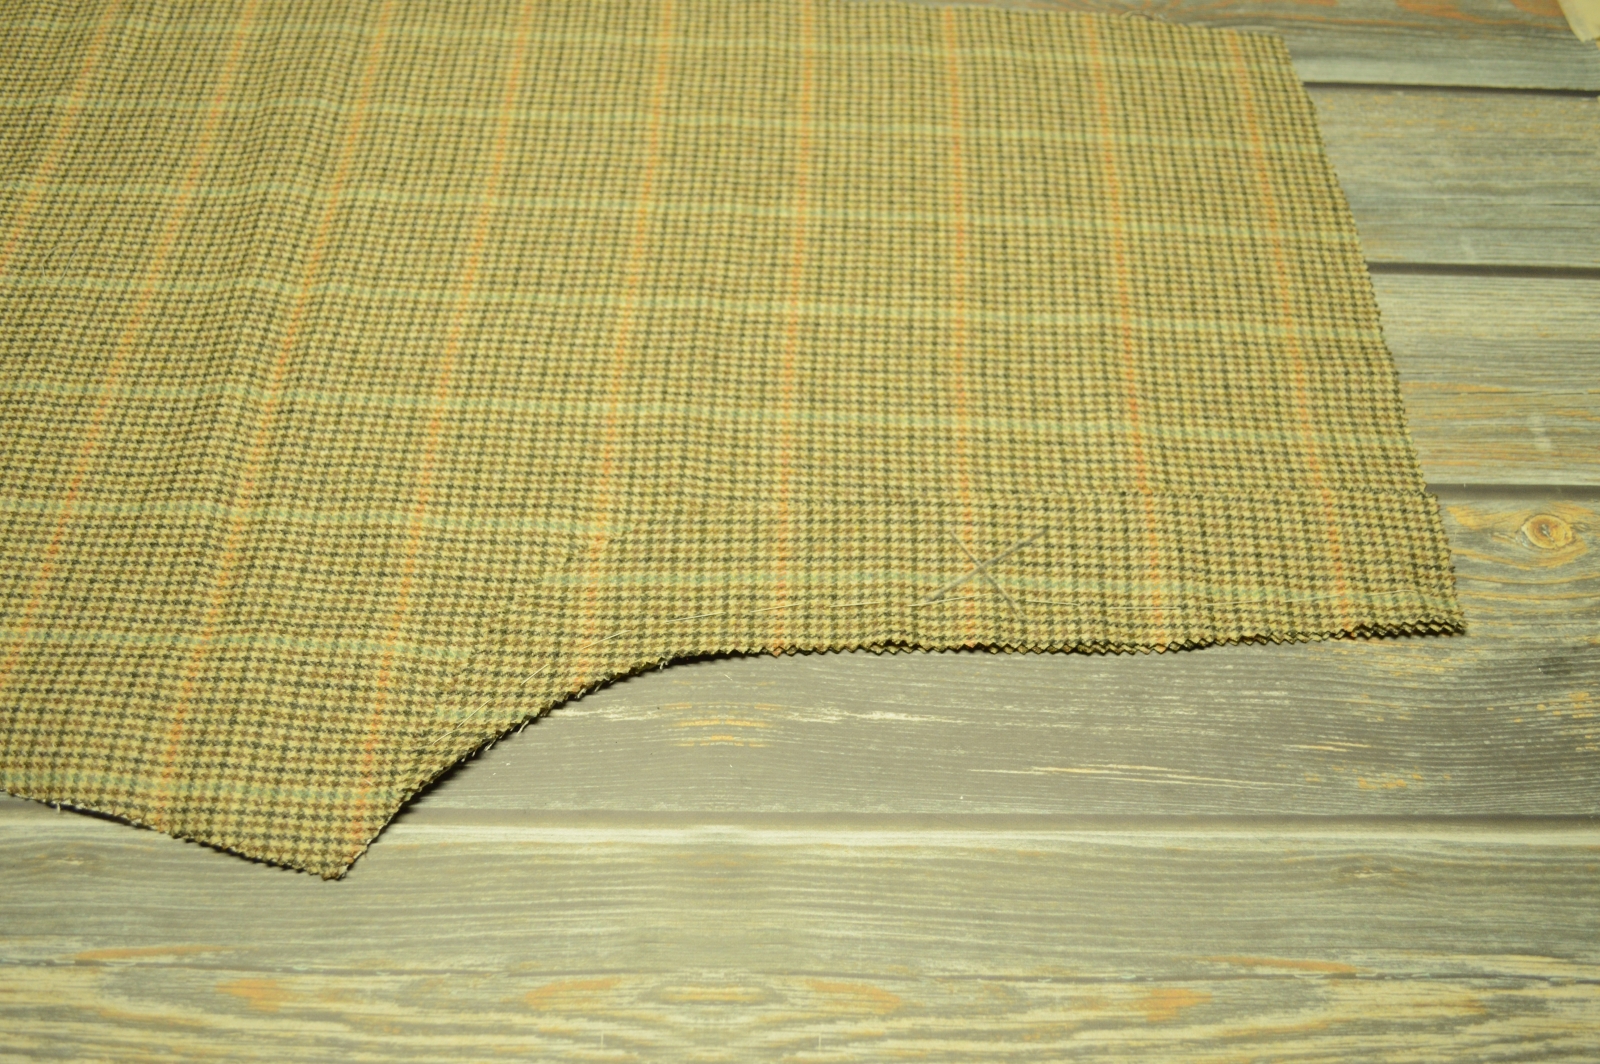
Now fold the linen into thirds, pressing firmly. The pointed section should be towards the bottom of the fly to gradually reduce bulk in that area. Stretch the lower end on one side to match the curve of the button catch as best you can. Sorry I didn’t get photos or videos of this for some reason!
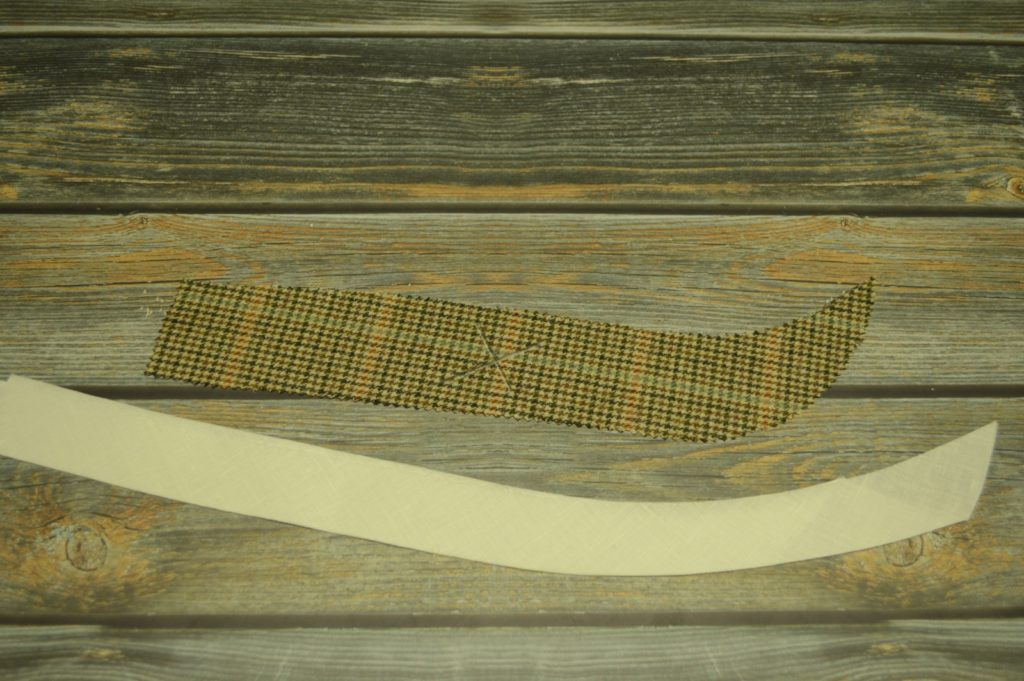
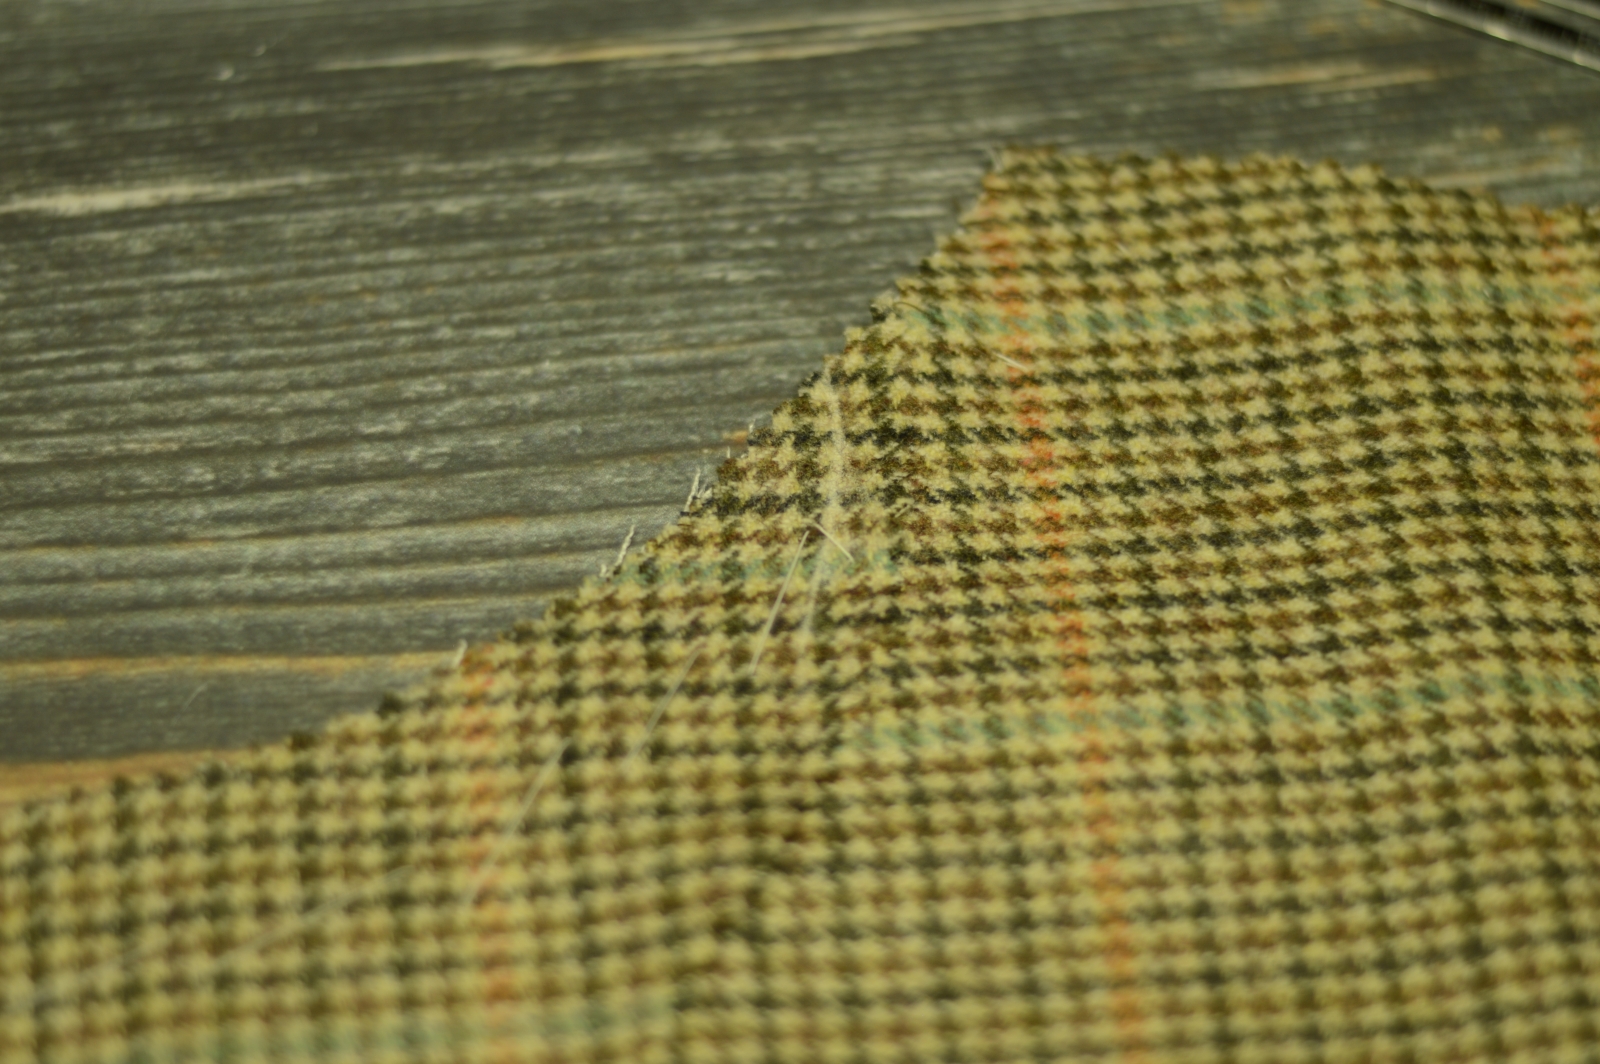
You can see how the layers thin out towards the bottom. We’ll be top stitching through the button catch and fly later on, and if all three layers were present there, it would be very difficult to almost impossible to sew through all of the layers.
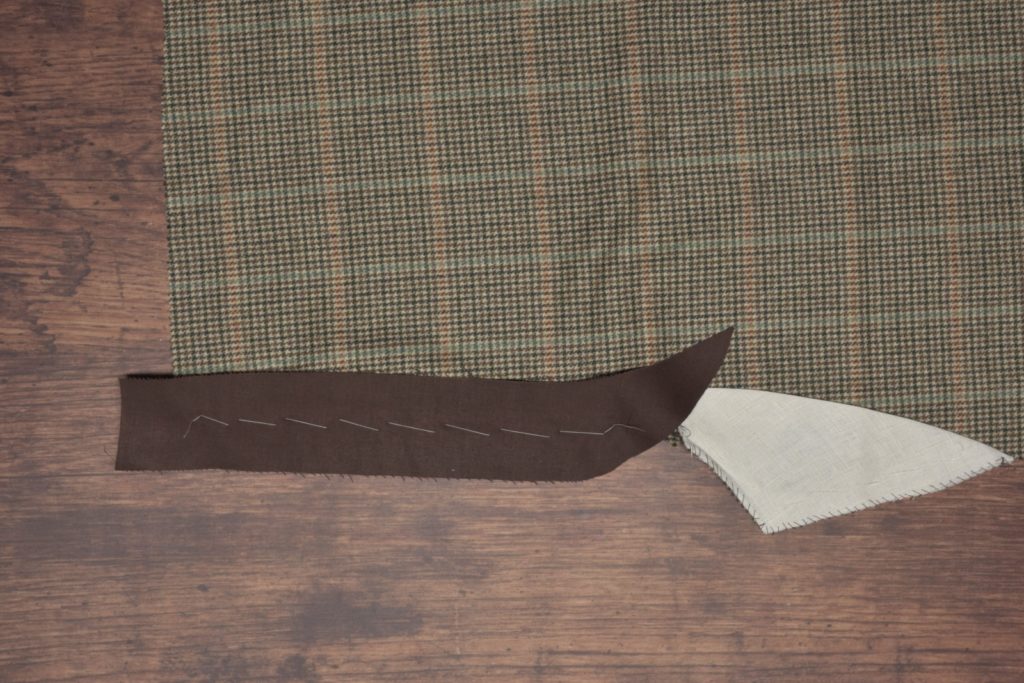
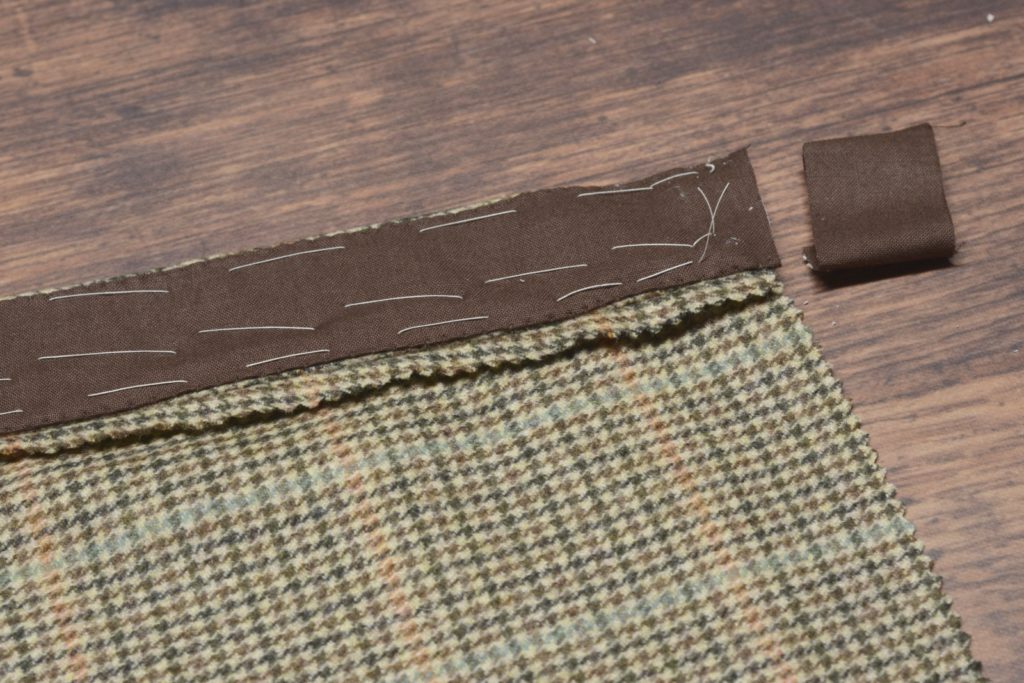
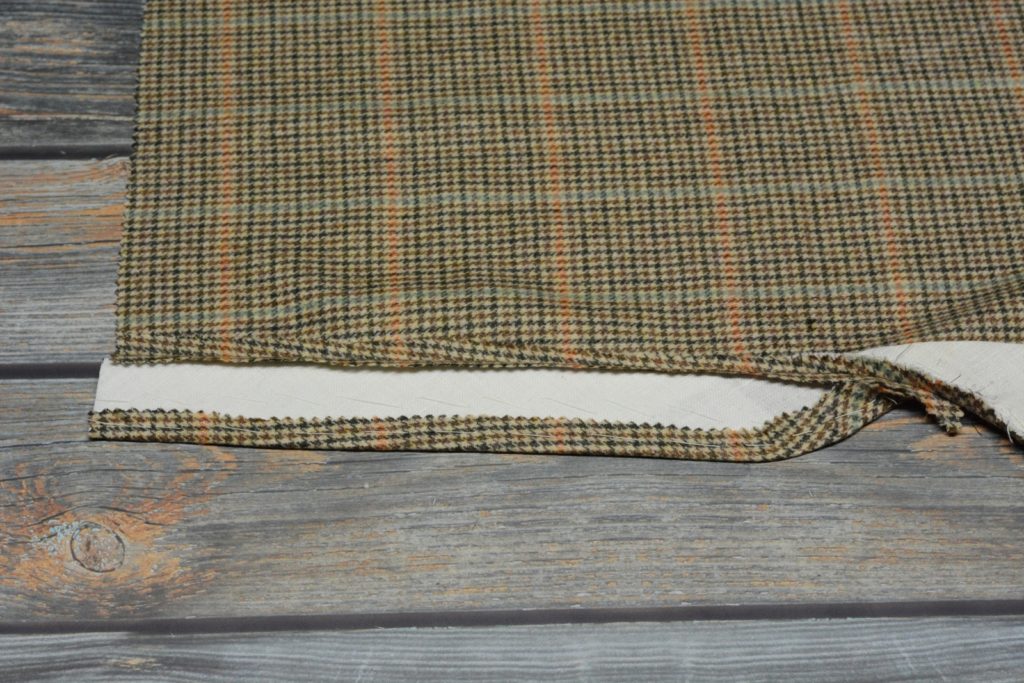
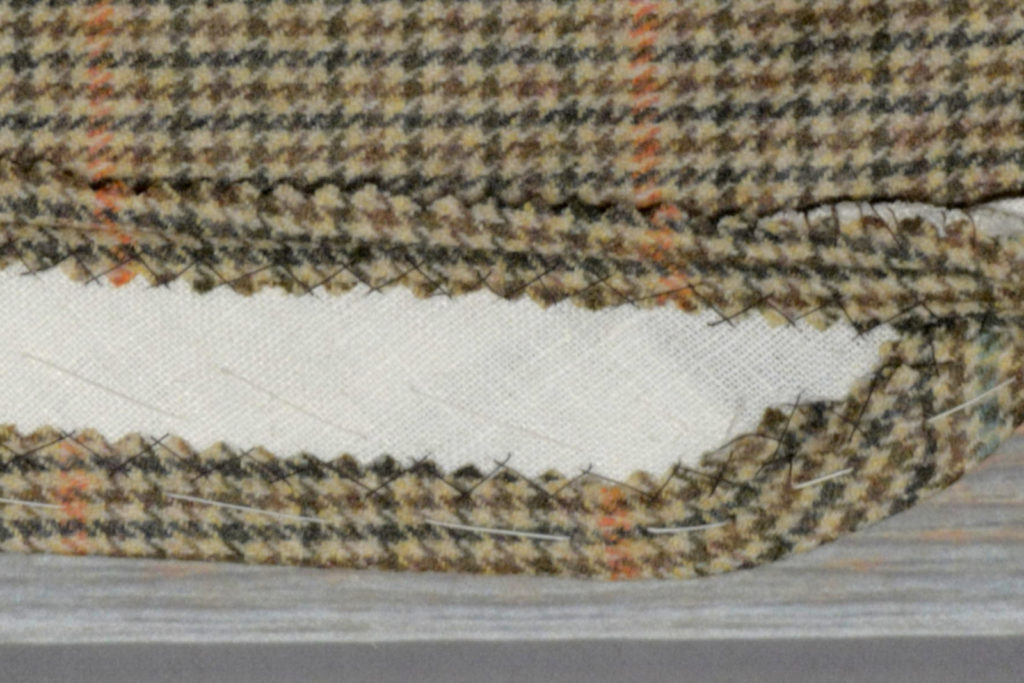
Lay the linen interfacing into position on the wrong side of the button catch. The inner edge should fit underneath the seam allowance, while the outer edge should be 1/4″ from the edge. If that’s off, however, you can trim it after basting.

Starting from the bottom of the button catch, baste the interlining into place. Trim any excess out of the seam allowances if necessary (shown in the video below).
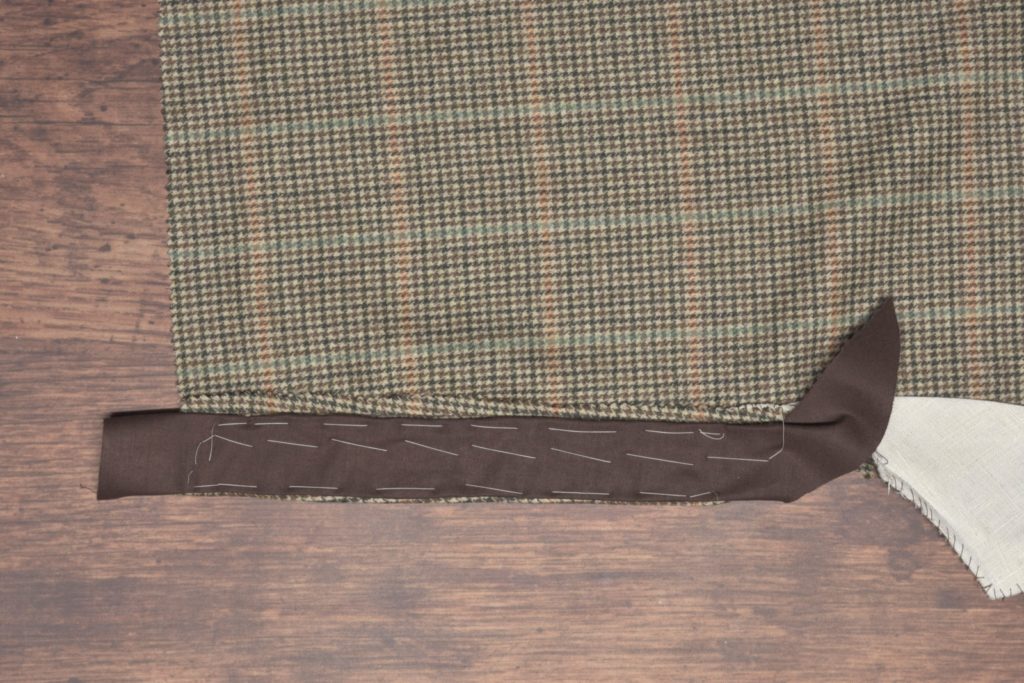
Now fold the outer seam allowance on to the linen and baste securely in place. You’ll have to fiddle a bit with the bottom of the button catch where the two seam allowances meet.
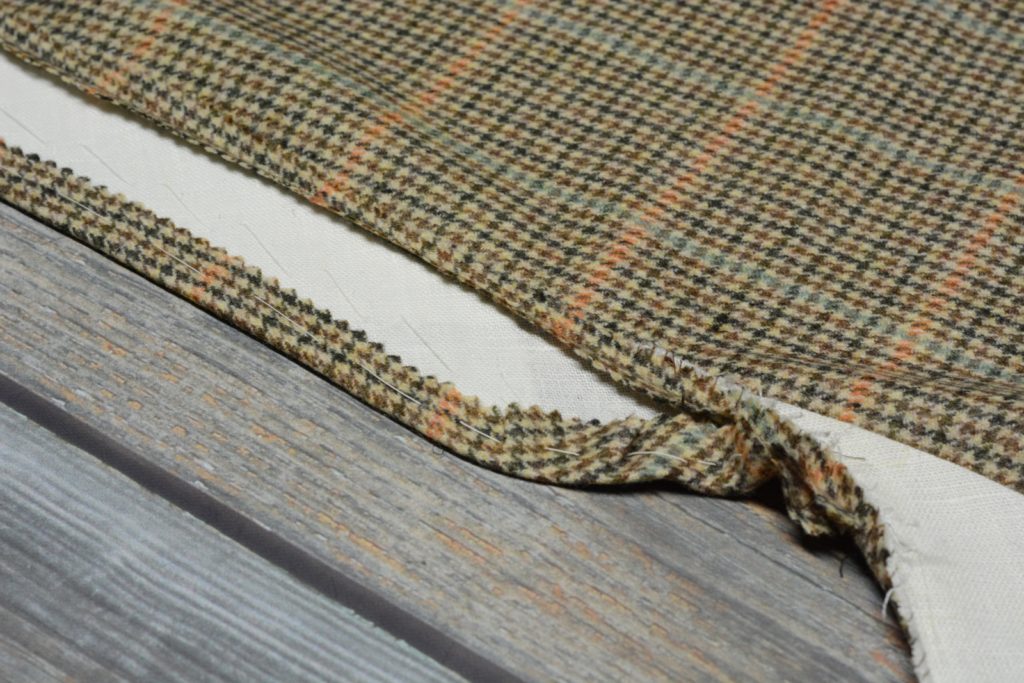
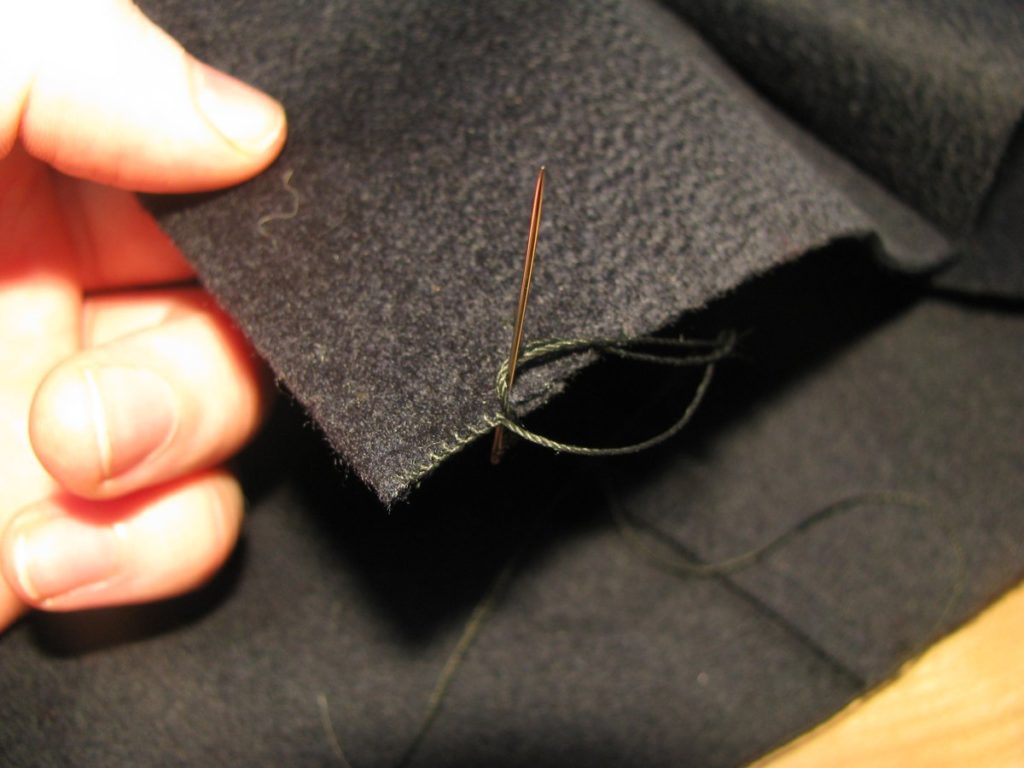
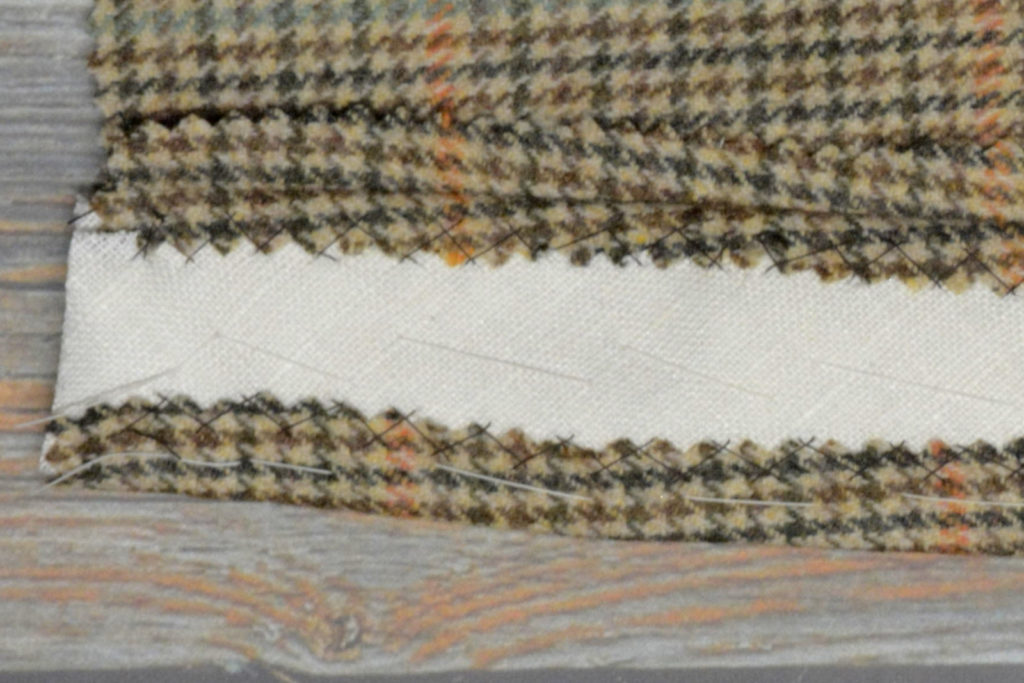
Now cross stitch the seam allowance to the linen, being sure not to let the stitches show through to the right side.
Trim any excess linen off the top edge, if you haven’t already.
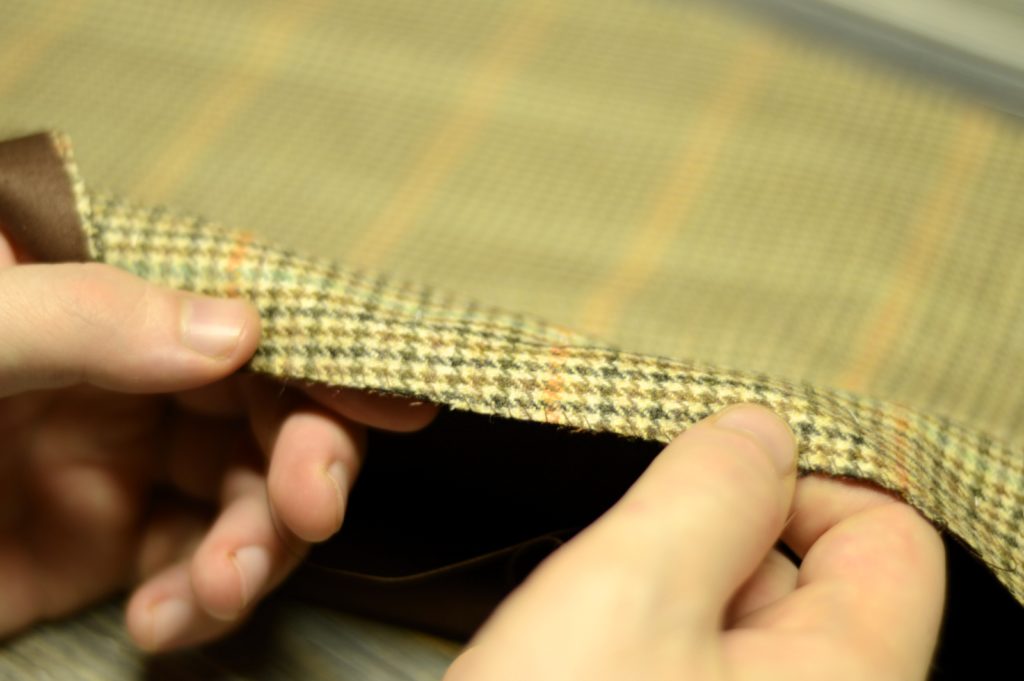
The Button Catch
Now it’s time to begin work on the trouser fly, starting with the button catch. This is where you’ll be attaching the buttons later on. Begin by laying a trouser fly piece on to the right half of the trouser front, right sides together.
Make fine adjustments as necessary to ensure that the stripes will line up as closely as possible.
Baste the button catch to the trouser securely.
On the bottom / outer edge of the button catch, mark the seam allowance as shown. This is just to show you where to stop sewing in the next step.
Using a machine or back stitch, stitch the button catch to the trouser front starting at the waist band, through to the mark you made previously, using a 1/4″ seam allowance.
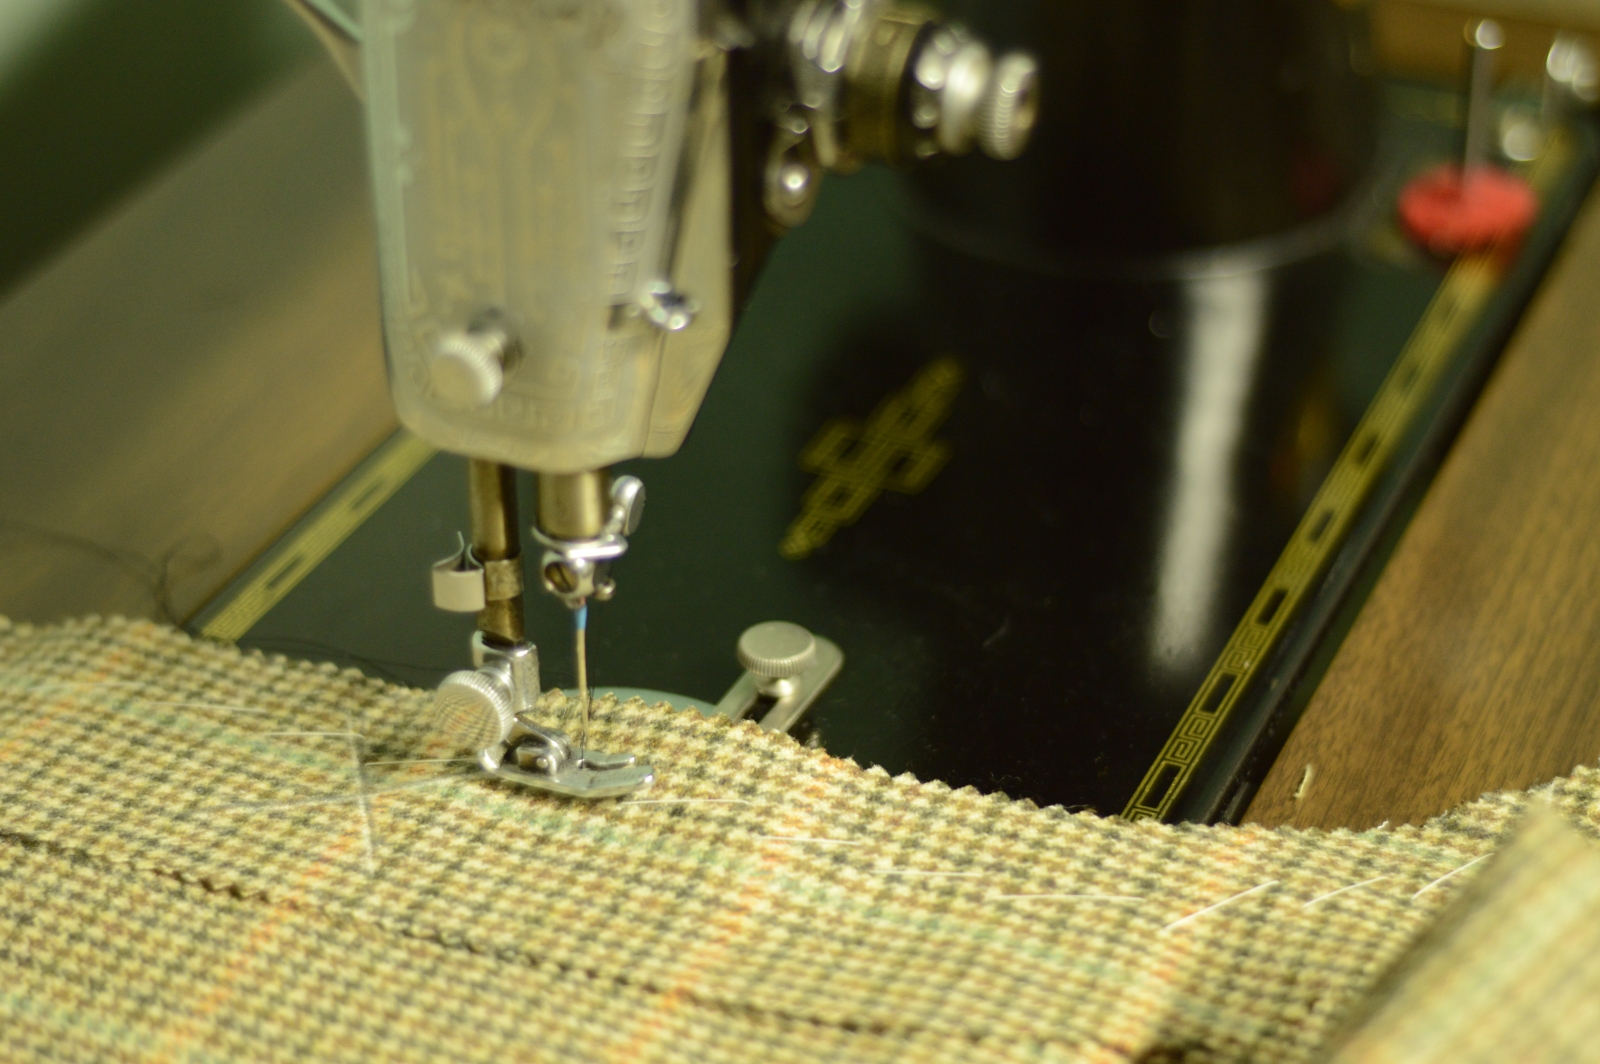
Try to stop as close as you can to the chalk mark. I’m slightly short of it here but it’s close enough. If you’re too far off you may run into trouble fitting the fly to the button catch.
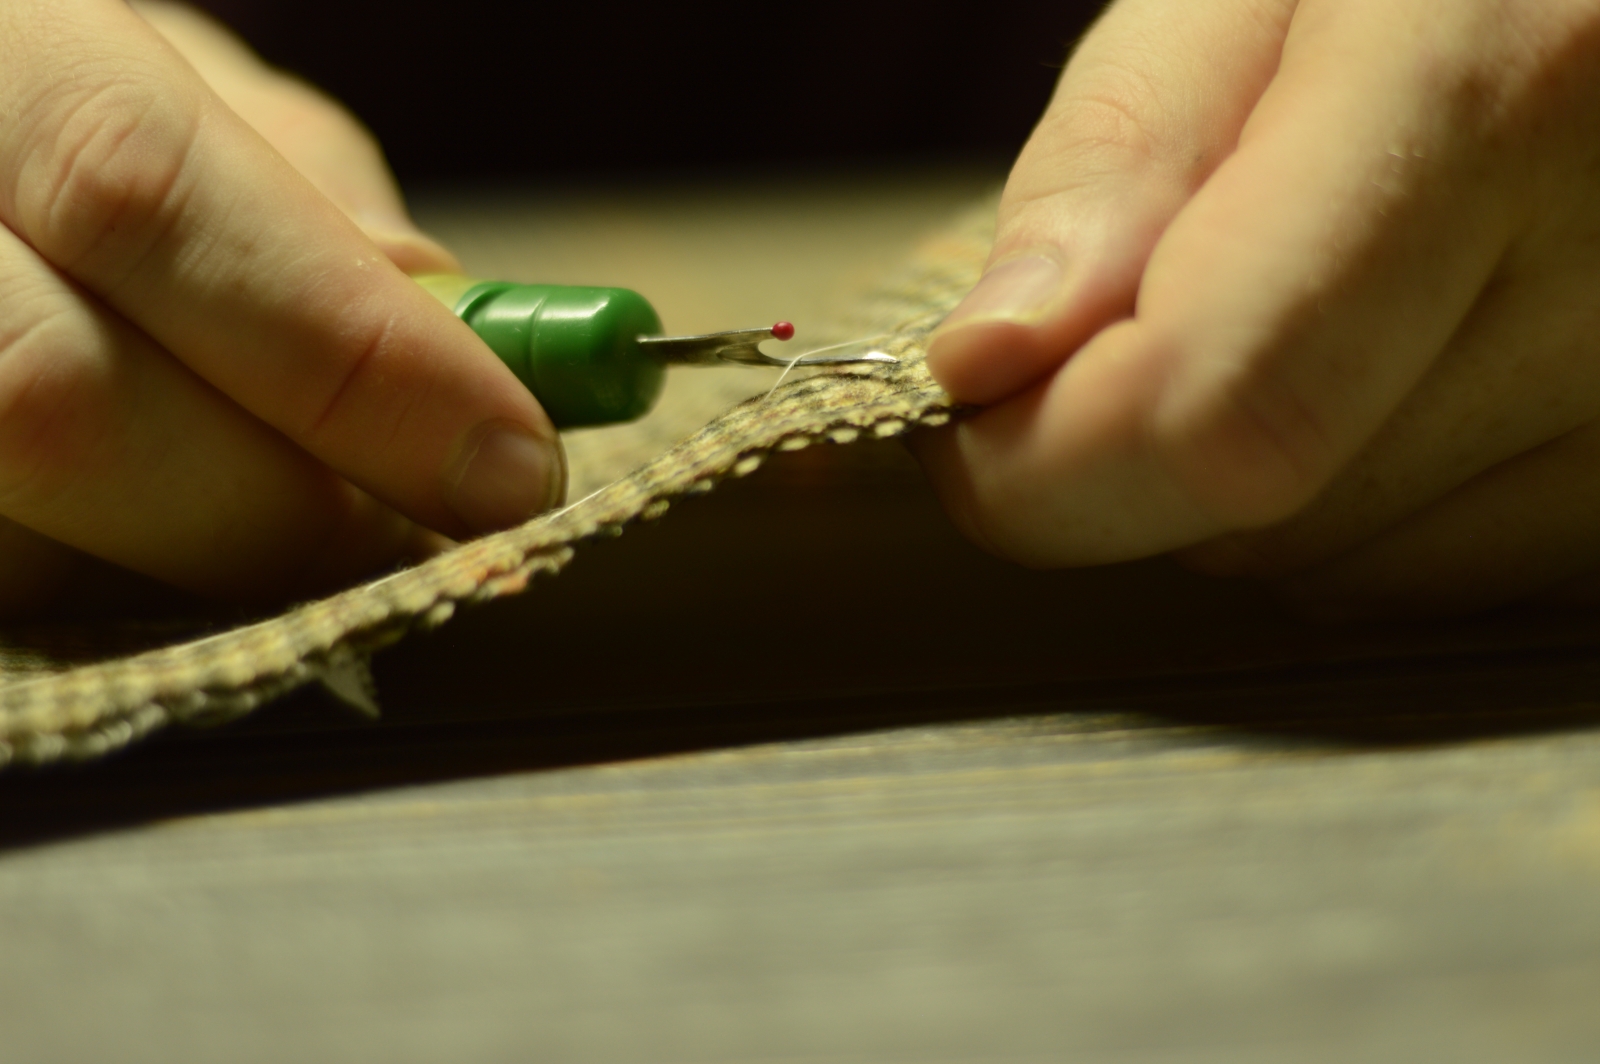
Remove the basting stitches.
Press the button catch seam from both sides with a bit of steam to set the stitches and make the fabric more supple.
Turning to the inside, press the button catch seam open, using a tailor’s ham for the curved areas as necessary.
Press again from the outside to get a firm, crisply pressed seam.

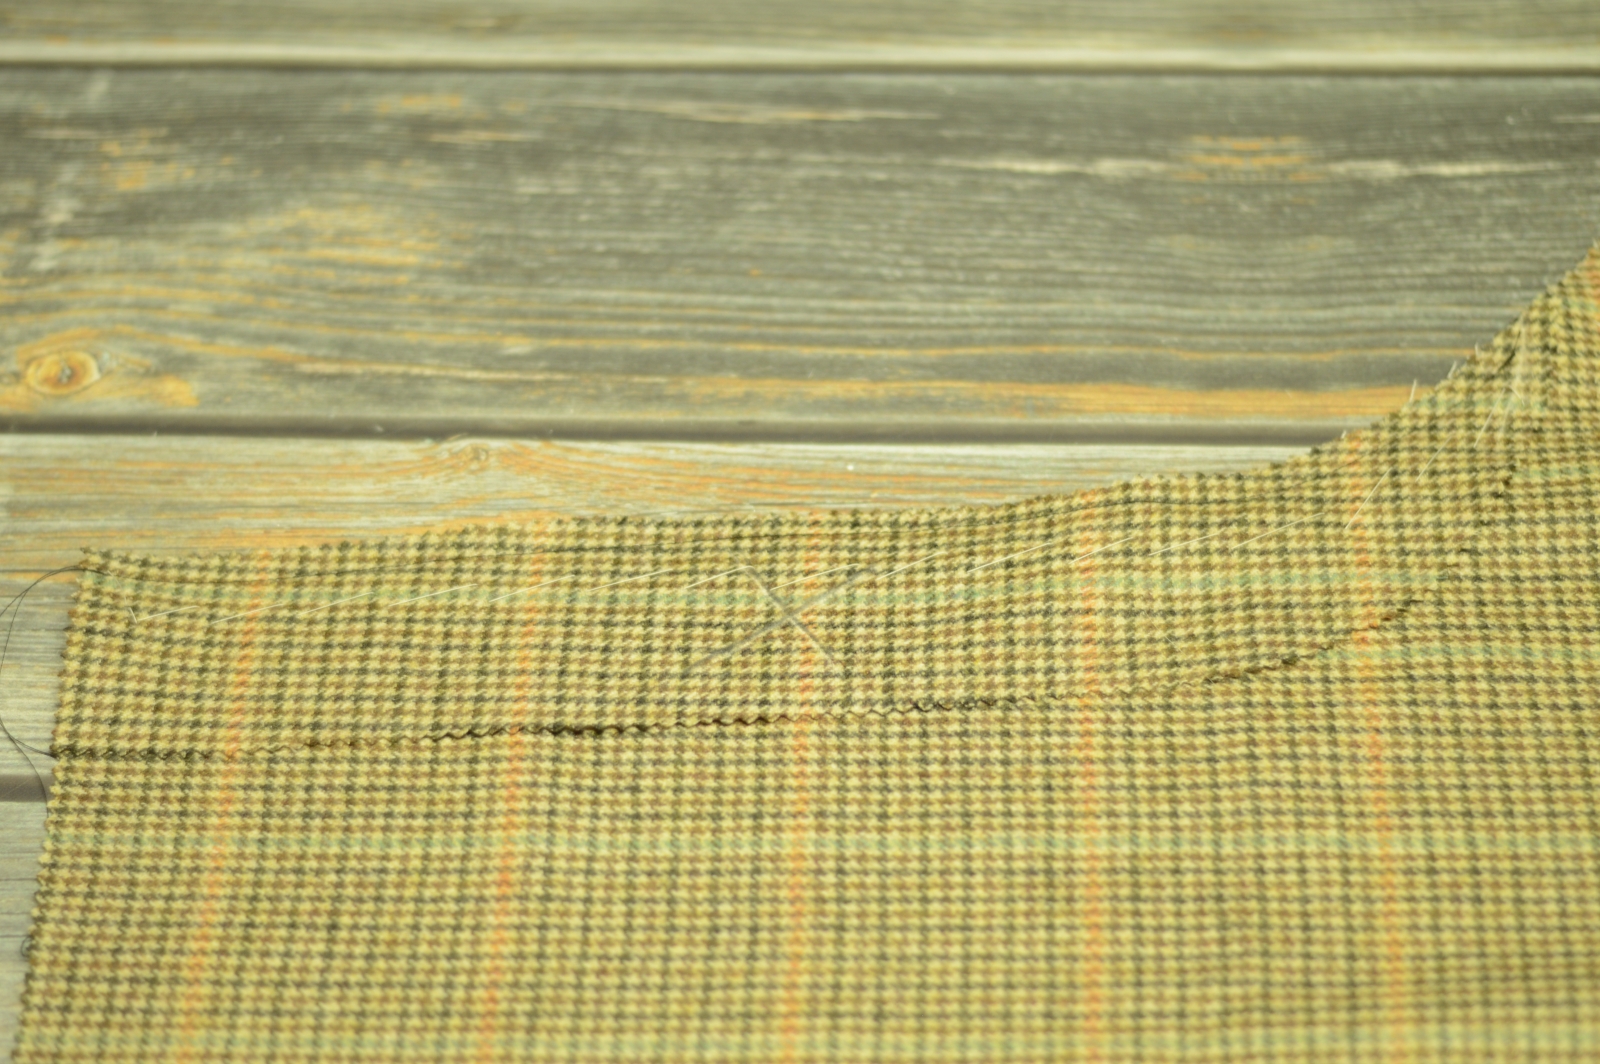
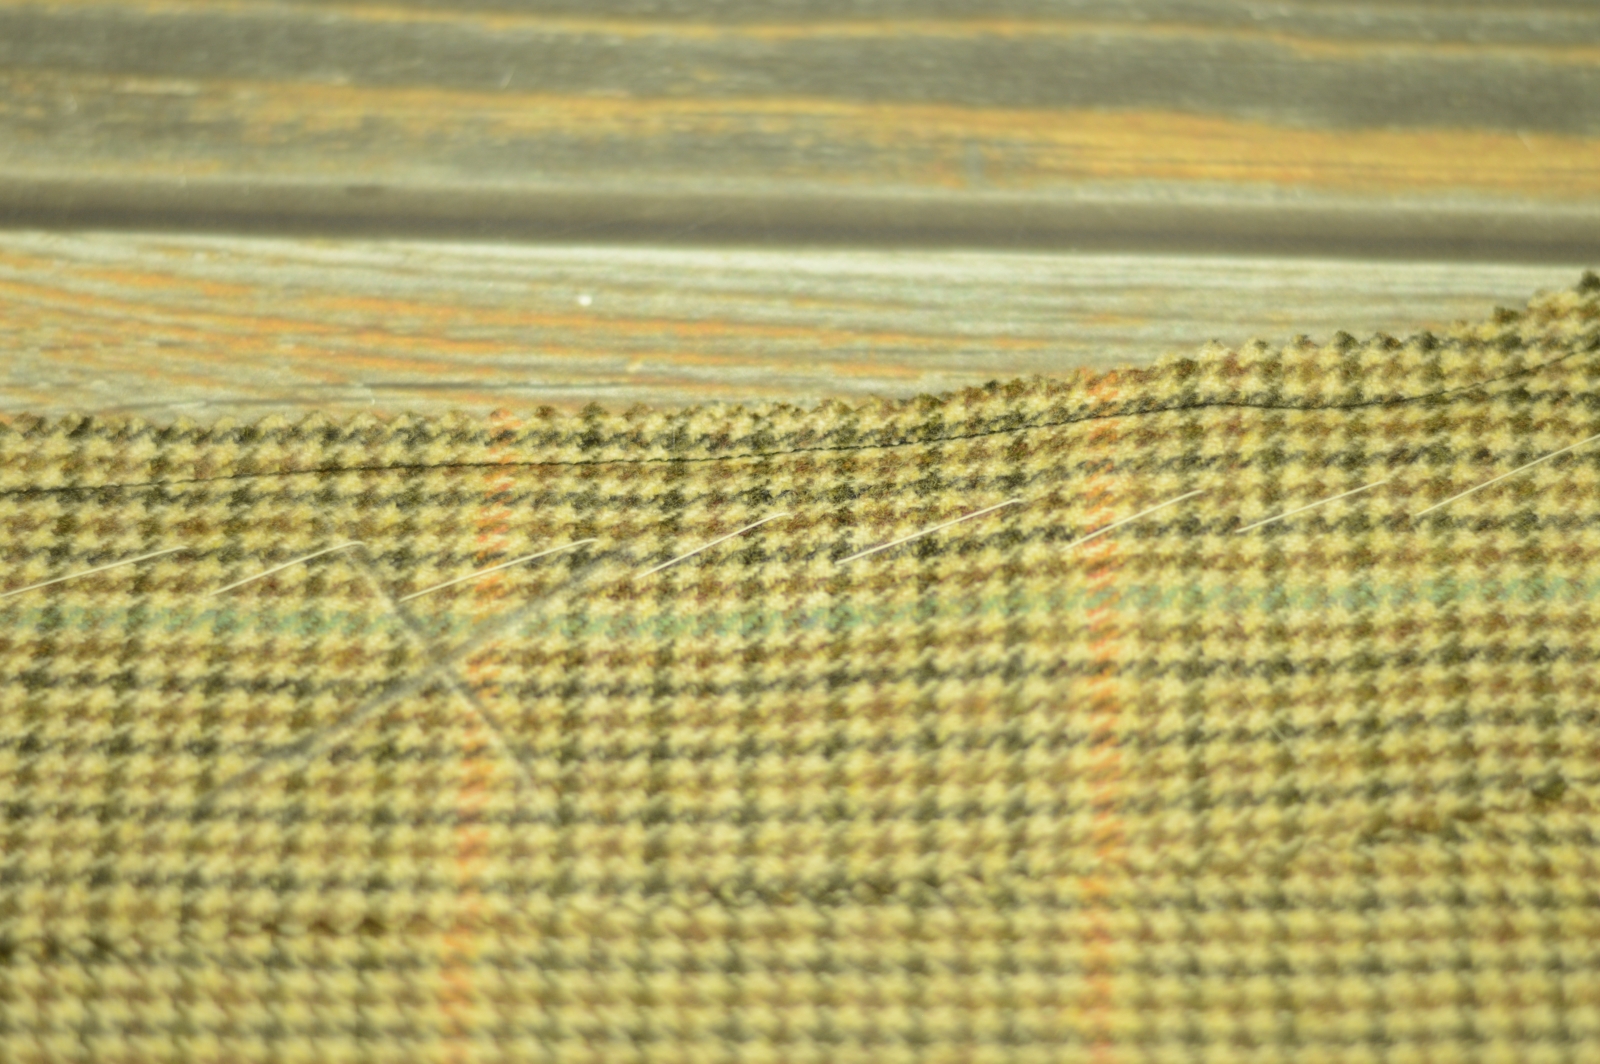
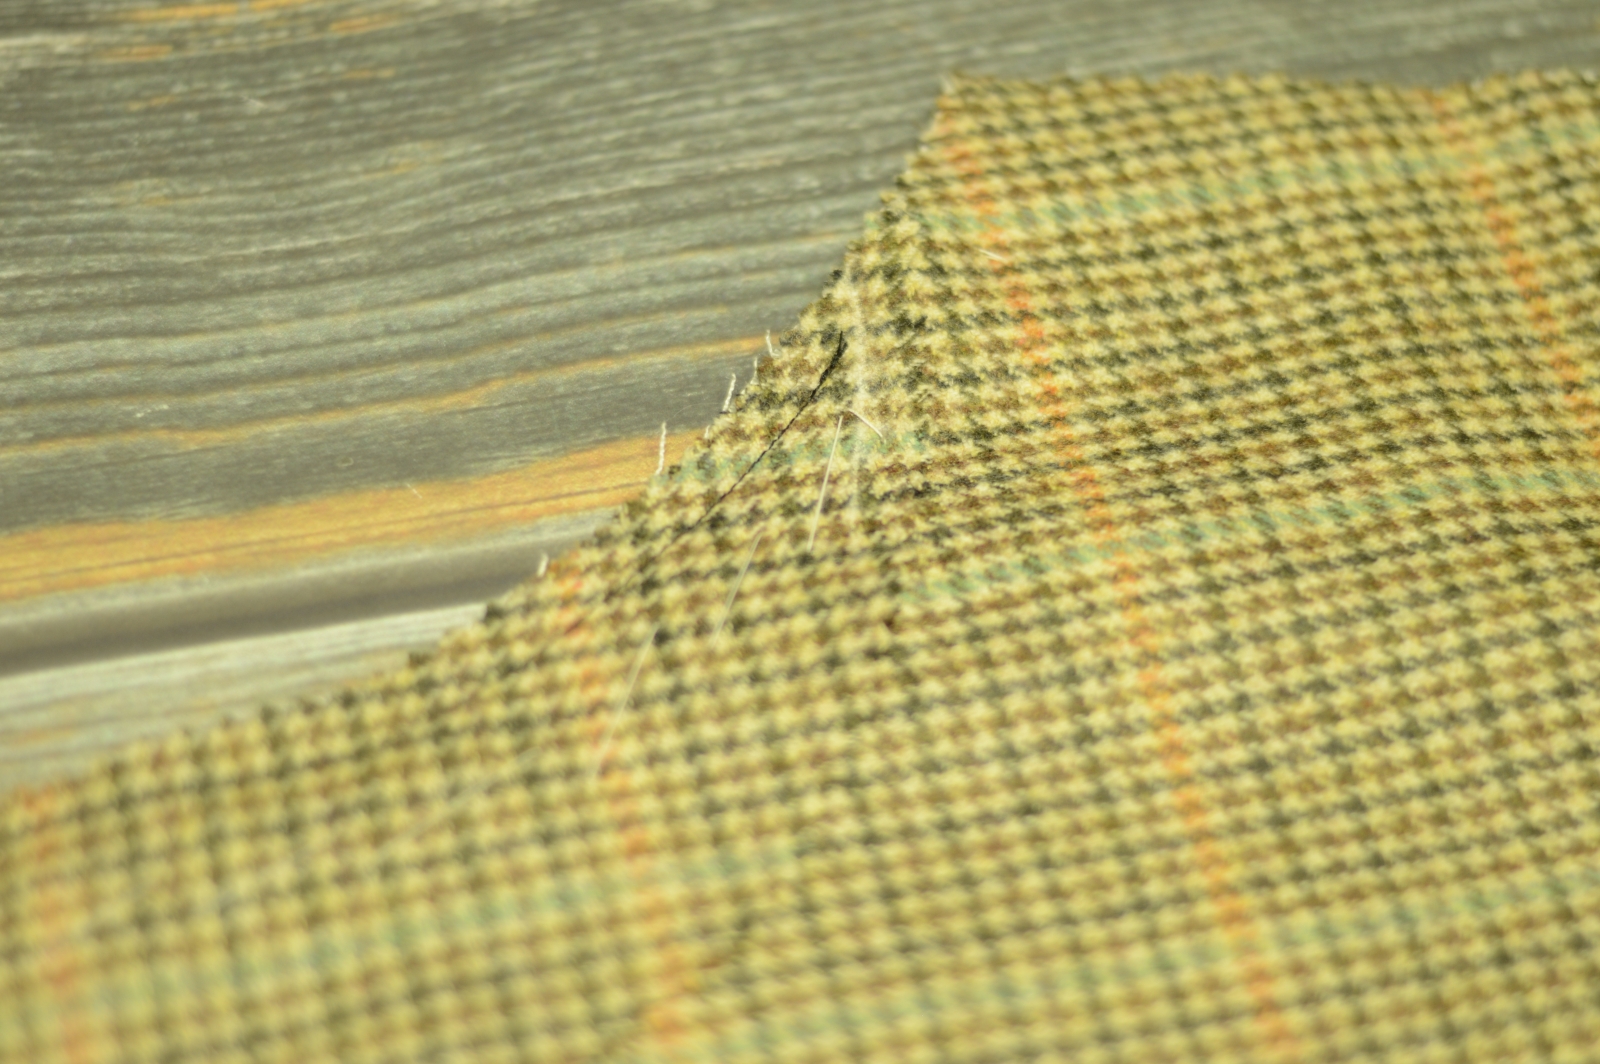
Here’s my final result. I ended up removing the button catch and shortening it by an inch or so to get rid of all those puckers near the end. While you’ll always have a few, due to the curved seams, this told me my fly was just a bit too long.
This is about as close as I could get the seams to match. If I finessed it a little more during the basting stage, it’s possible to have lined up the orange stripes a little better. Really though, no one is ever going to see the button catch so it’s not that important. Just good practice for that stripe matching!
And here’s the video showing the entire process so far.
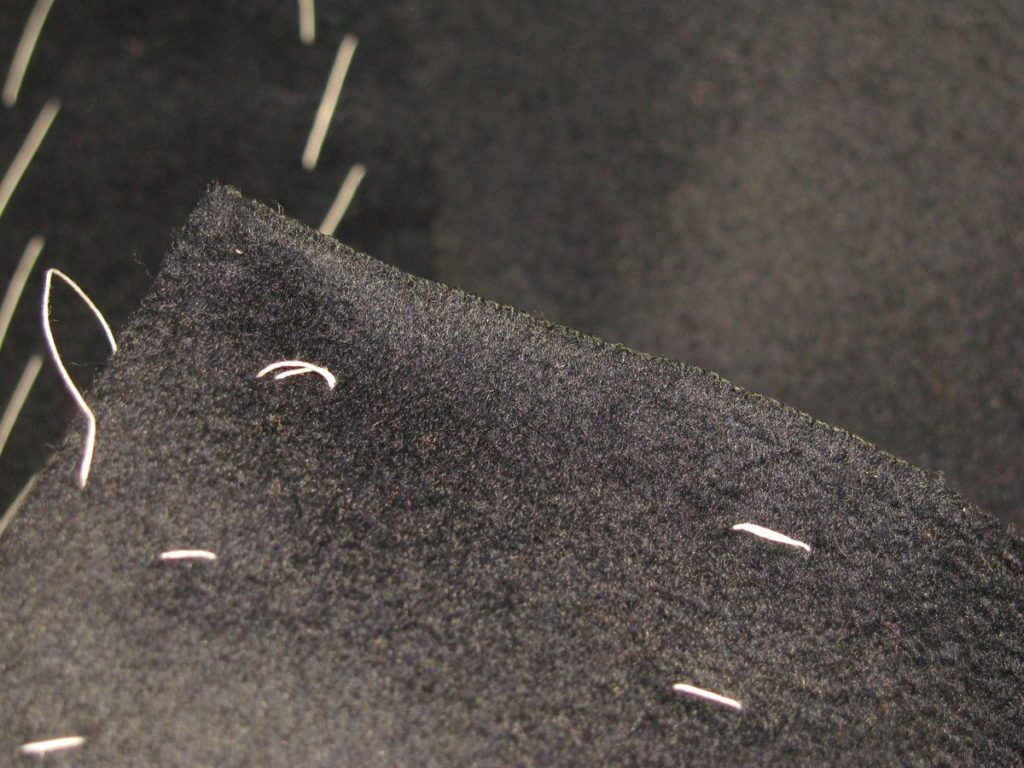
Overcasting
Finally, the last of the preliminary work is to overcast the raw edges around the entirety of each trouser leg (if you have not used the pinking method). This can take a while, but it’s pretty mindless work so I usually put on a movie or podcast while I’m working.
There are certain sections you don’t have to overcast, such as the top edge where the waistband will be, as well as the section that will be covered by the pocket on the front leg (the first 10 inches or so).
The Buttons
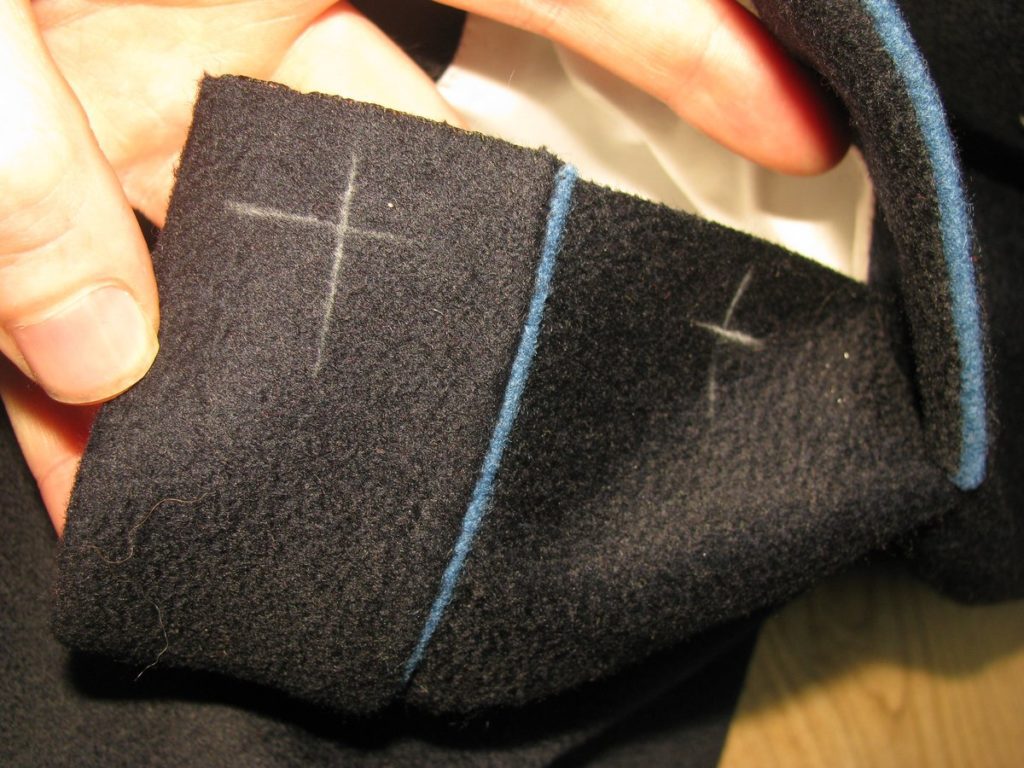
Mark the button placement on the right side of the coat. I like to do this by laying the right side on to the left so that the buttonholes are just visible. Then I simply mark the corresponding spot on the row of stitching.
Beginning with the waist seam button, sew the button on as you did for the rear buttons earlier. I like to go six times through the shank, then wrap that four times around. Starting from the bottom button ensures that the thread does not get caught on the previous button as you sew.
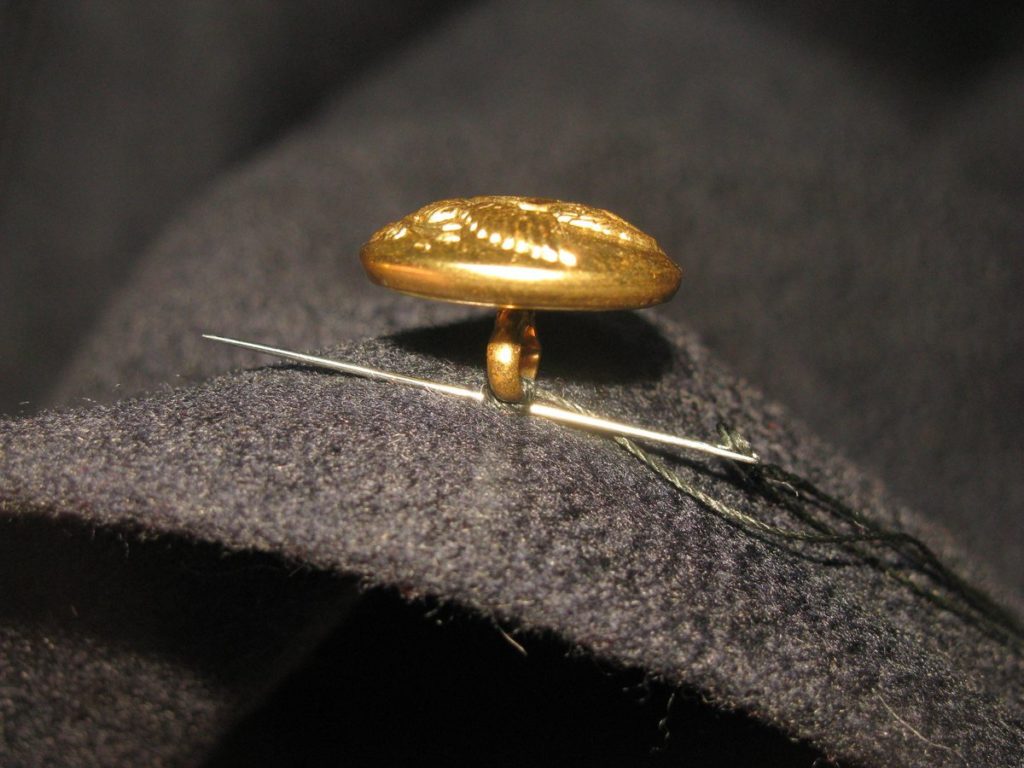
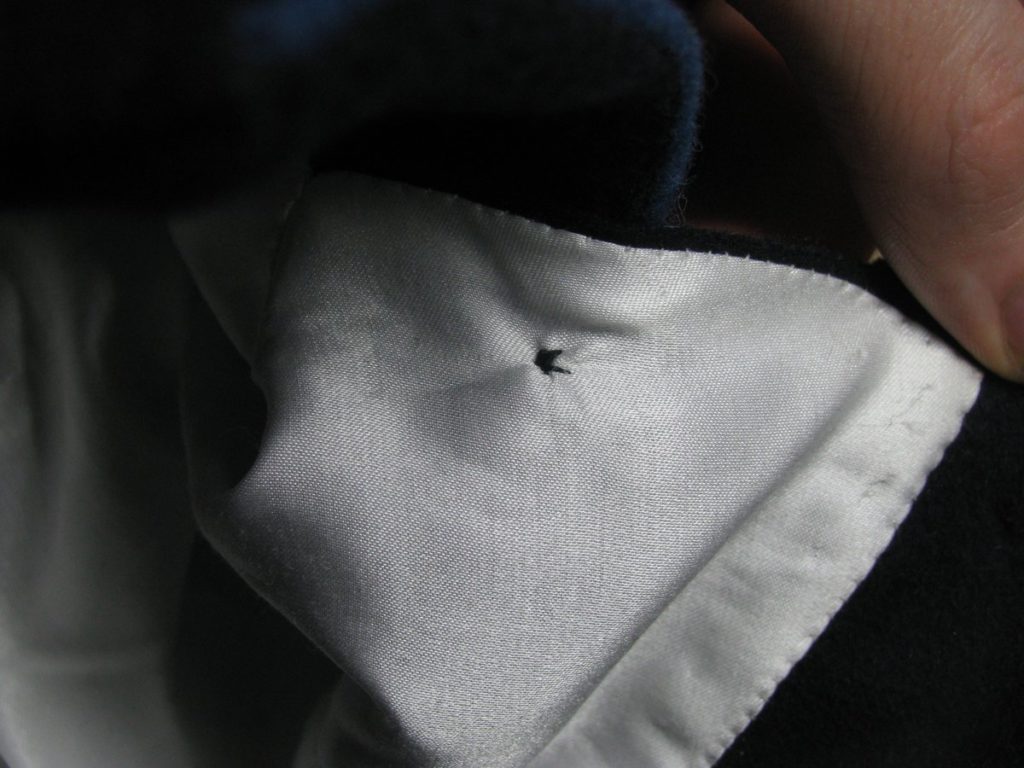
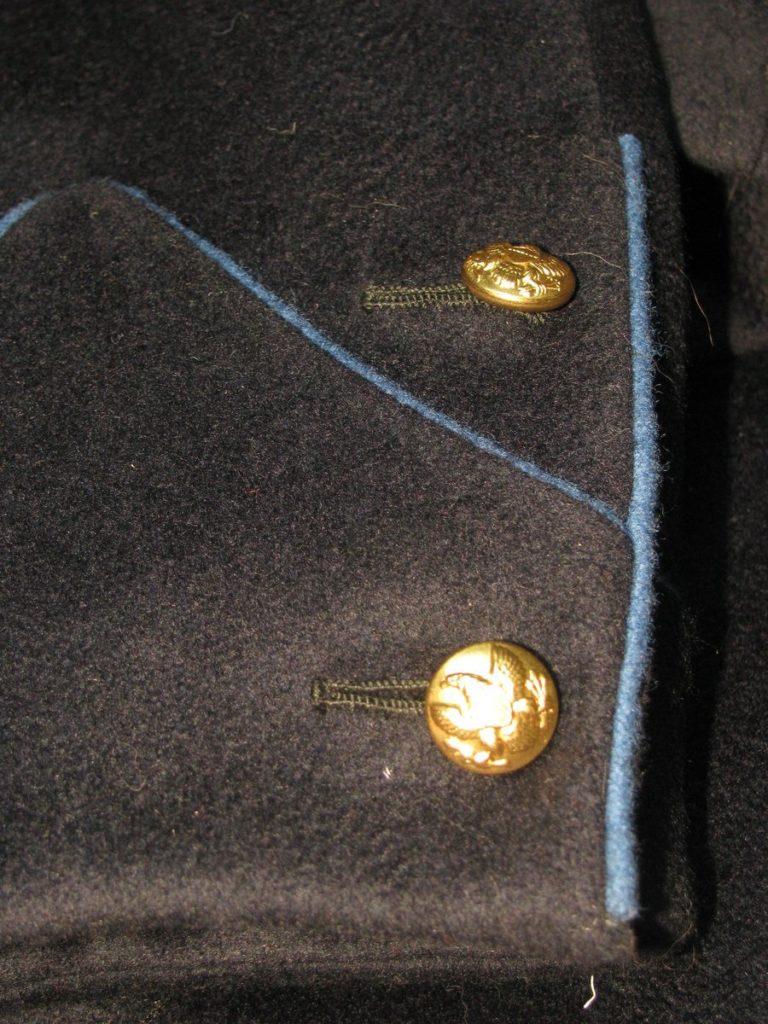
On the cuffs, mark the buttonhole location, about 1⁄2 inch from the edge and aligned with the buttonholes. Sew on the smaller cuff buttons here. This will show through the lining, on the upper button.
At this point, you can remove any basting stitches that are left in the coat.
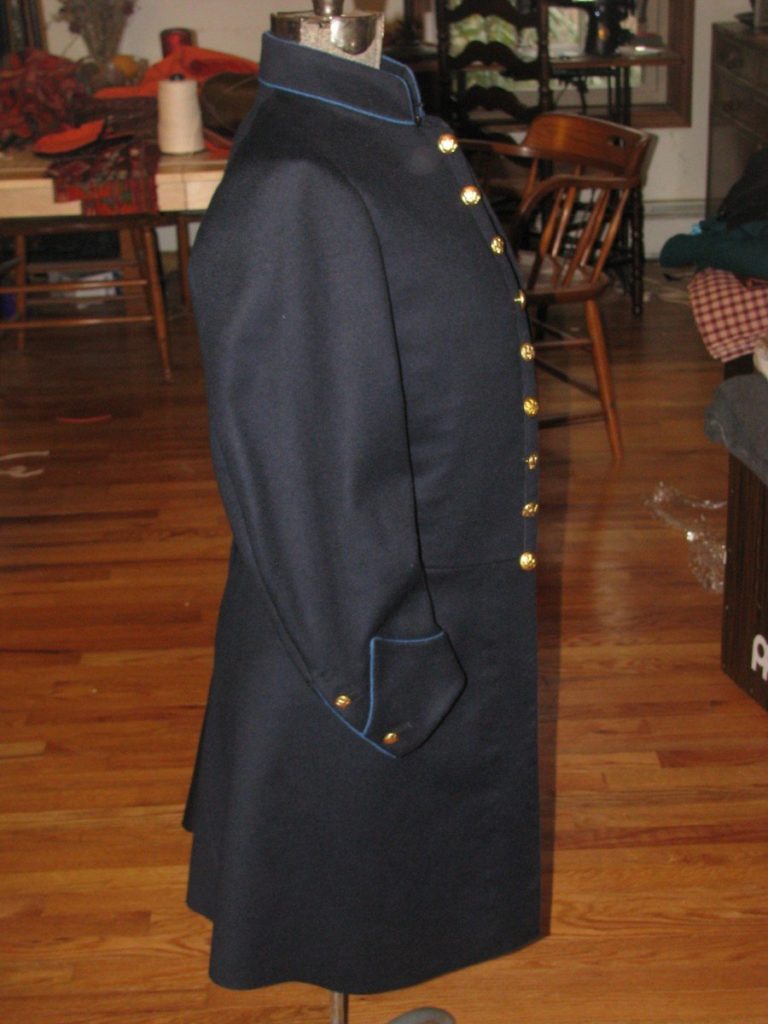
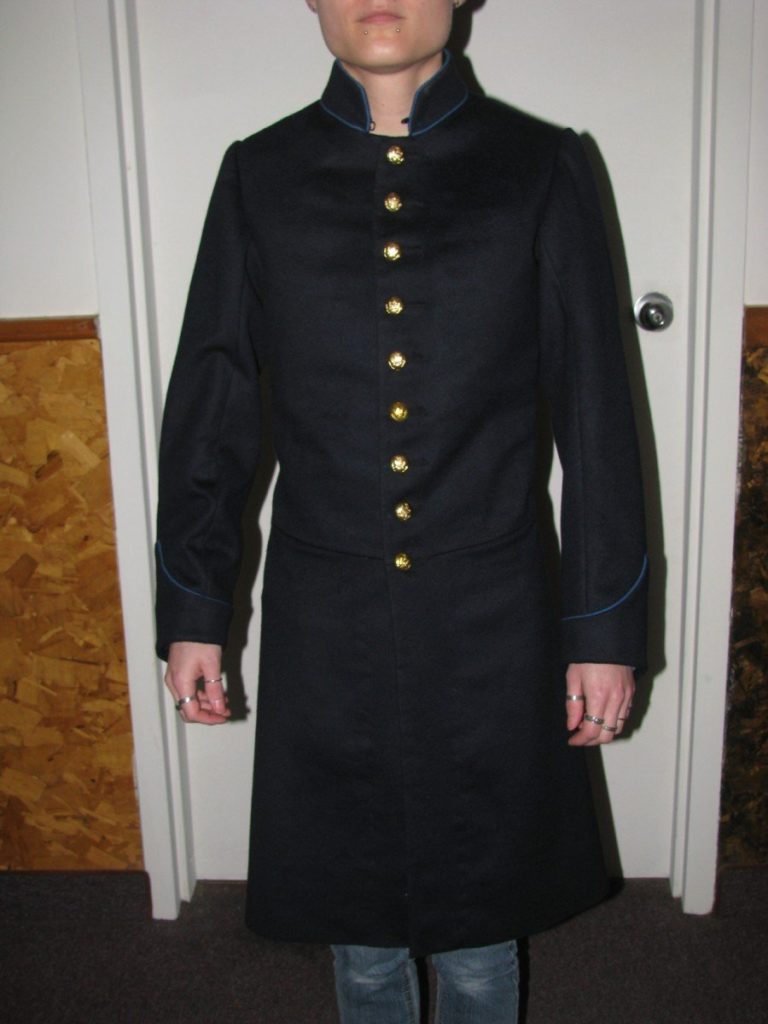
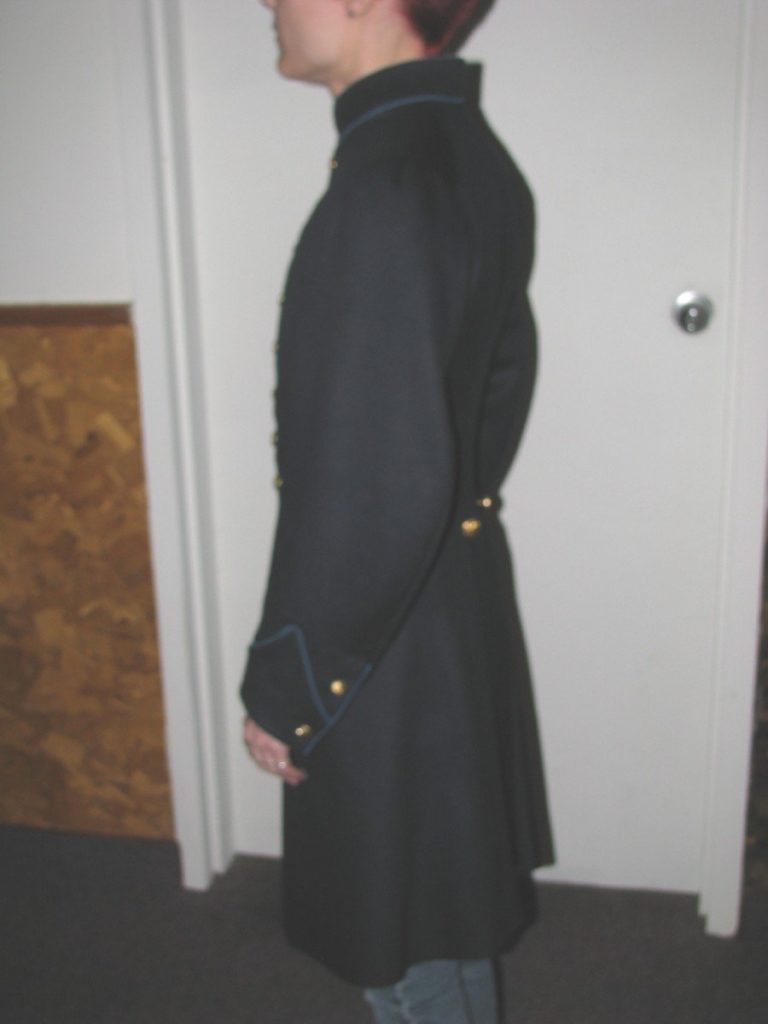
Congratulations, the coat is completely finished!
I sincerely hope you have learned a lot from this course and picked up some tailoring techniques along the way. Please don’t hesitate to ask any questions as you go – I want to help get you through to the finished coat. I leave you with a few photos of the finished coat.

The Collar Tab
Original coats had a tab made of lining or mohair in order to hang the coat on a hook. This is a feature rarely reproduced, sadly.
Cut a piece of lining 4 inches long, and a piece of stay tape 3 inches long – the finished size of the tab. Baste the stay tape 1⁄4 inch away from one edge, keeping a half inch seam allowance on either side.

Press over this smaller edge onto the stay tape.

Fold the wider edge in half, then fold that over the stay tape, giving you a finished edge.

Fell this edge down the length of the tab.

Trim off 1⁄4 inch from both ends, and press the remaining allowance under. Place this on the coat, and fell down along both ends, starting 1⁄4 inch from the edge and working your way around to the opposite side. Just past the spot where the folded under edge stops, side stitch across the tab for extra strength.

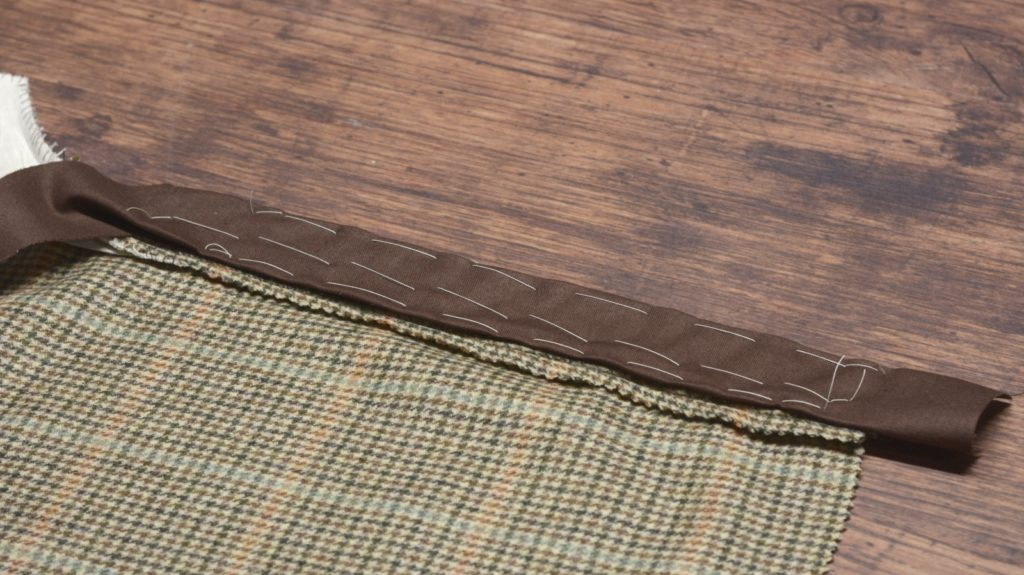
The Collar Lining
Now we are going to finish the inner edge of the collar. Begin by cutting a piece of wool using your collar pattern, seam allowances included.
Next cut off the seam allowance from the pattern, and cut a piece of canvas. You want it to be just slightly larger than the finished pattern, so cut on the outside of the chalk line this time.
Baste the two together, with the canvas centered on the wrong side of the wool. The basting should be done at the top to keep it out of the way of the stitching.
Draw a line down the middle of the canvas, stopping about 1⁄2 inch from either end. Machine stitch along this line to hold the layers together permanently.
Place the inner collar on to the outer collar, wrong sides together. The stitch line should be centered on the outer collar. Baste from the center to one end. When basting, try to hold the inner collar on tightly, to help curve the collar inward and avoid excess fabric when wearing the coat.
Baste from the center to the other end, securing the inner collar.
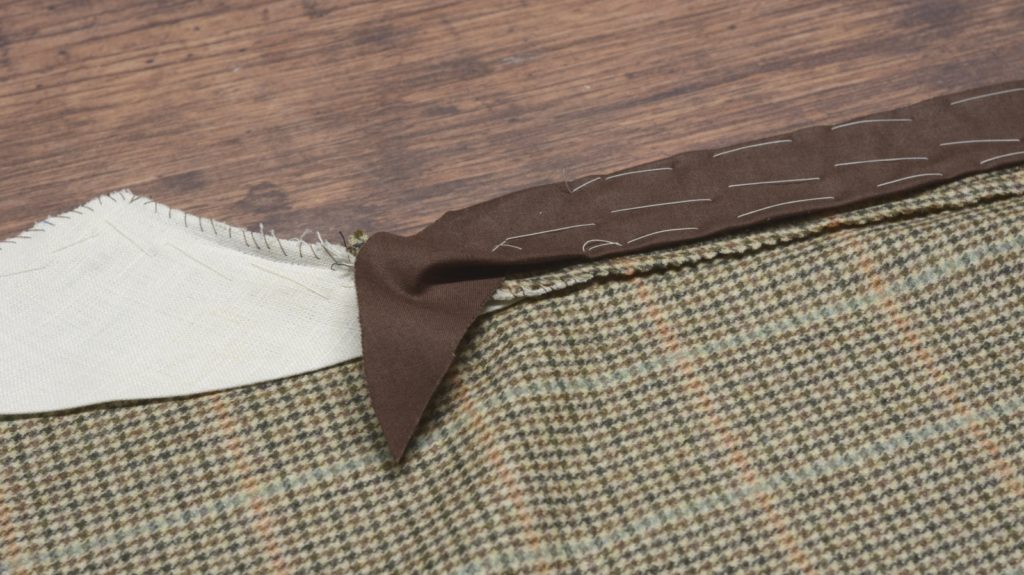
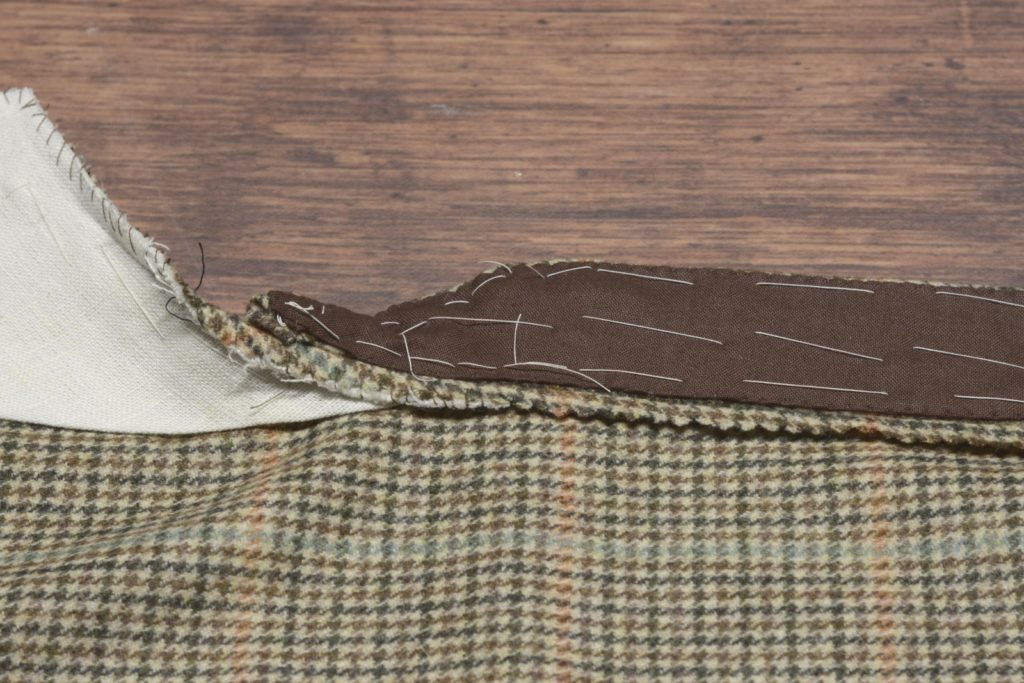
Fold back the wool layer, and trim the canvas to about 1/8 inch inside the piping stitch line. This can be tricky, so take your time and check your work frequently.
Trim along the bottom edge, again cutting the canvas 1/8 inch to the inside of the piping. When you get to the section covered by the lining and facing, you will need to do this by feel alone.
Trim the inner collar to be exactly even with the bottom row of piping. You want it to cover the top of the facing and lining still, so be careful not to trim off too much. Again, most of this is done by feel, rather than sight.

The top and both ends are trimmed exactly even with the piping stitch line.
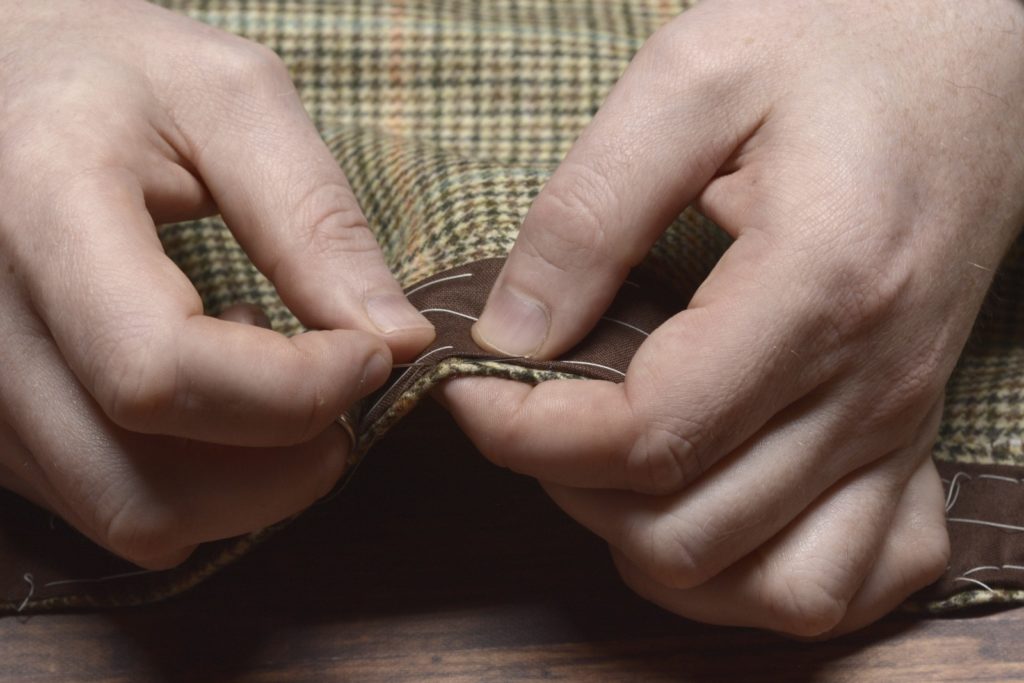
Now fell down the inner collar to the piping at the top and sides, and the facing and lining at the bottom edge.
The inner collar is placed underneath the hook. You may need to widen the hook opening with a pair of pliers. Make a couple of stitches on either side of the hook and eye for extra strength.

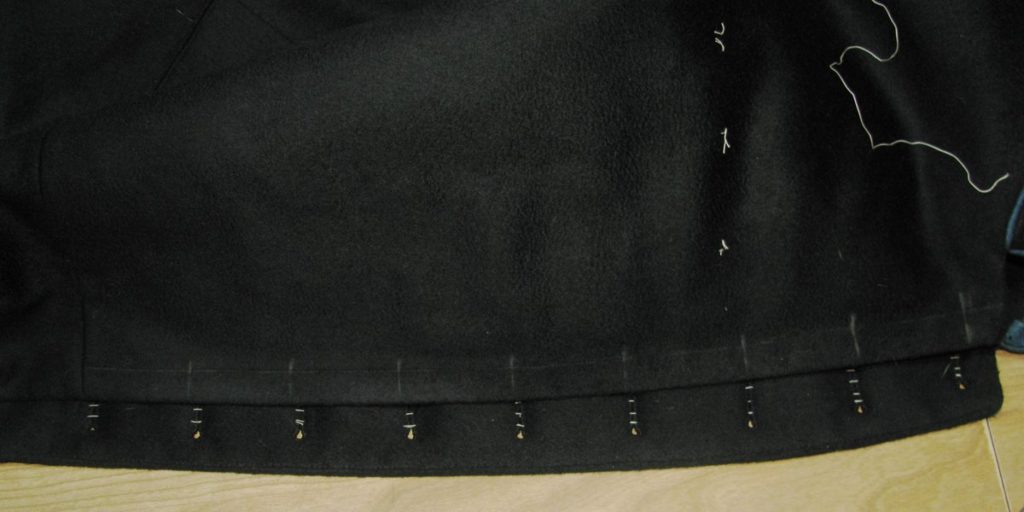
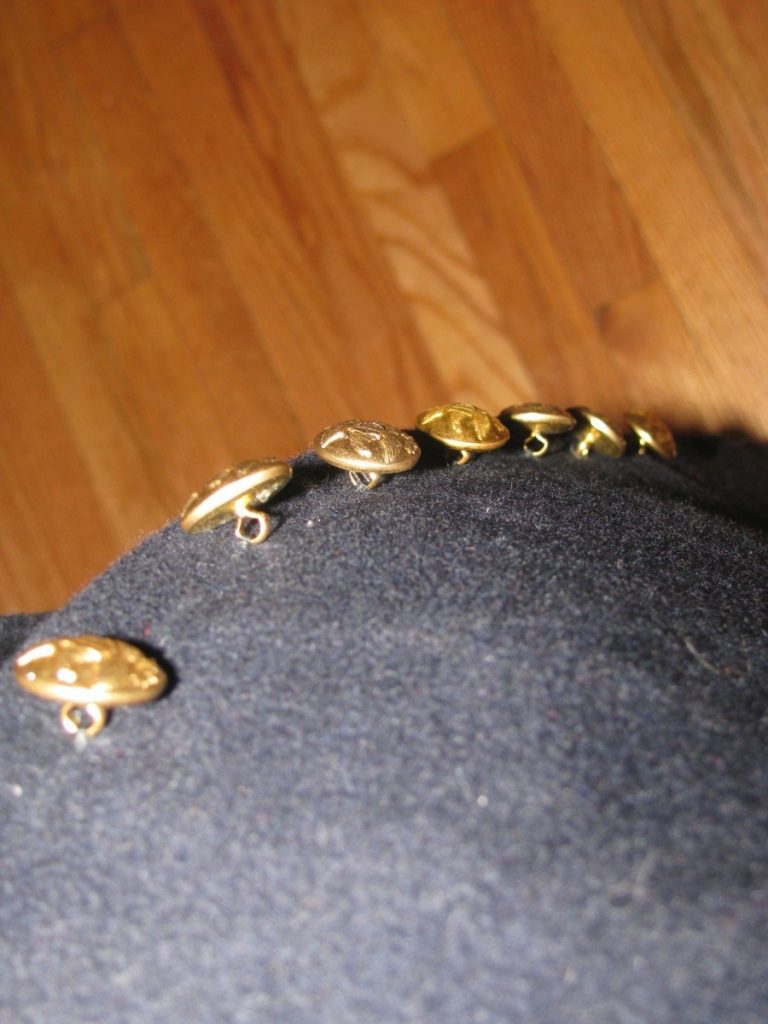
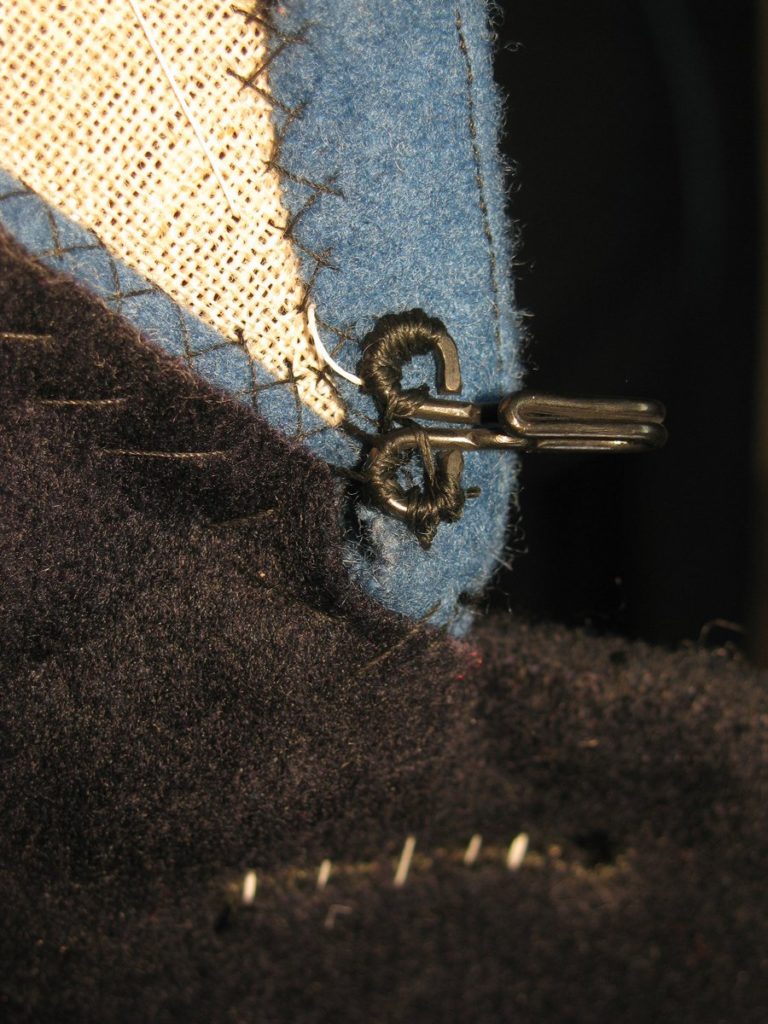
Hooks and Eyes
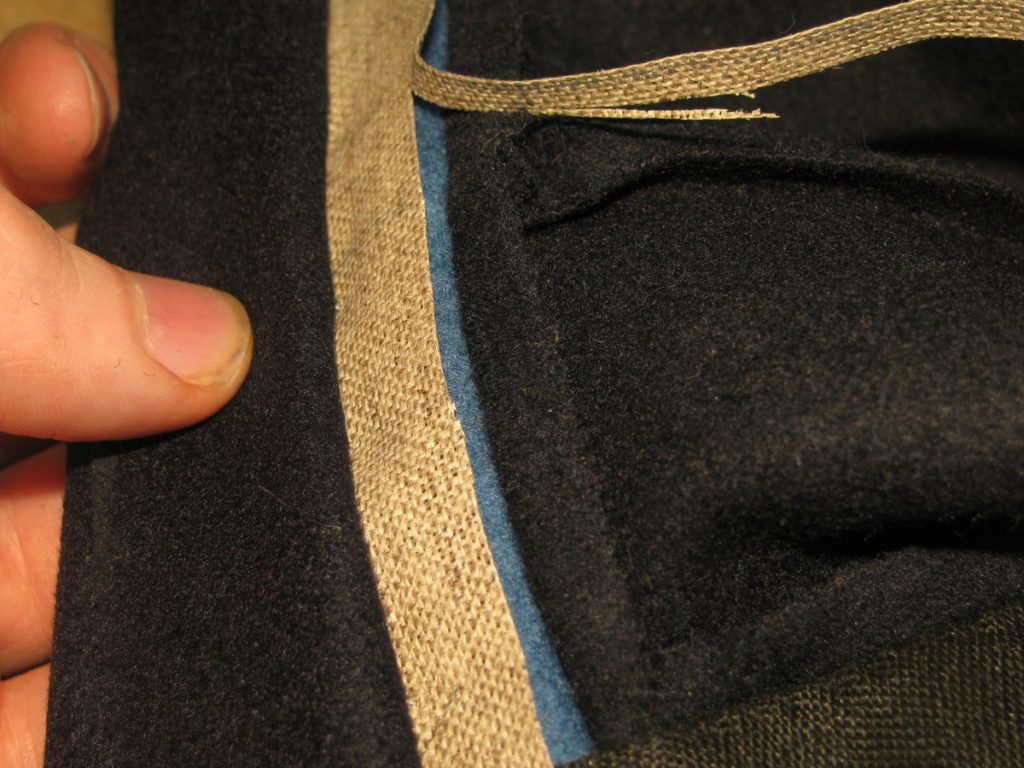
Original frock coats of the period had hooks and eyes on the skirts, and at the collar. I’m not sure exactly what the skirt hooks and eyes were used for. My theory is either to get them out of the way when sitting, or during long marches to try to keep cooler. When hooked together, the skirt takes on the appearance of a Regimental coat of the 1700s, so maybe it’s just an evolution of that.
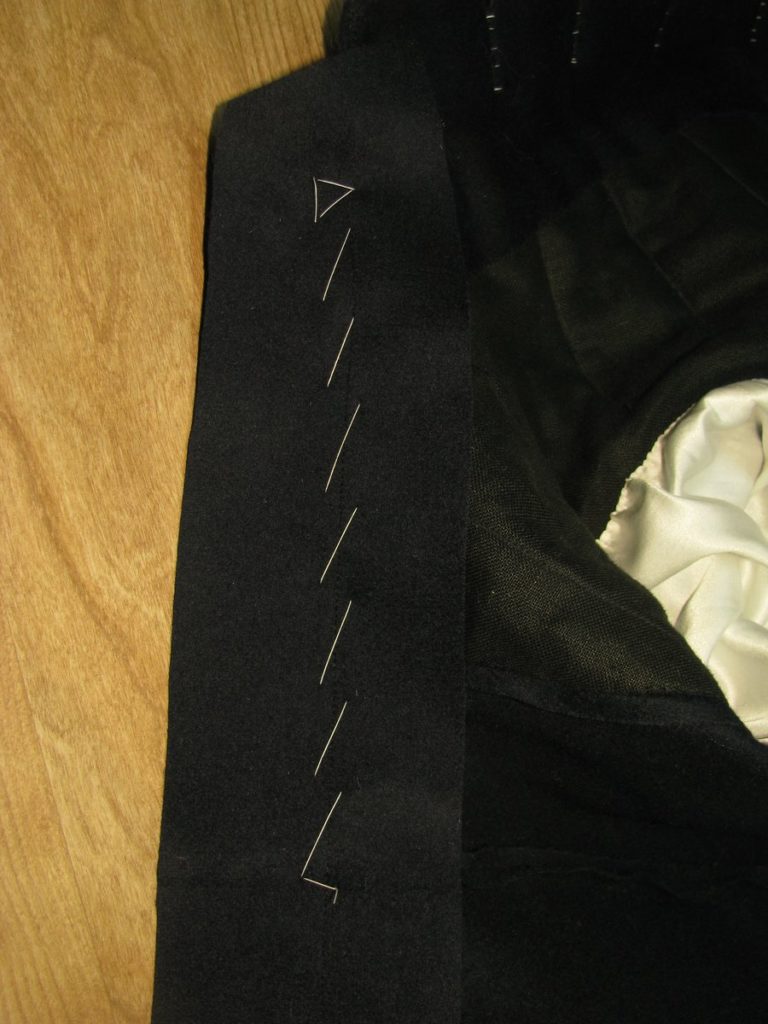
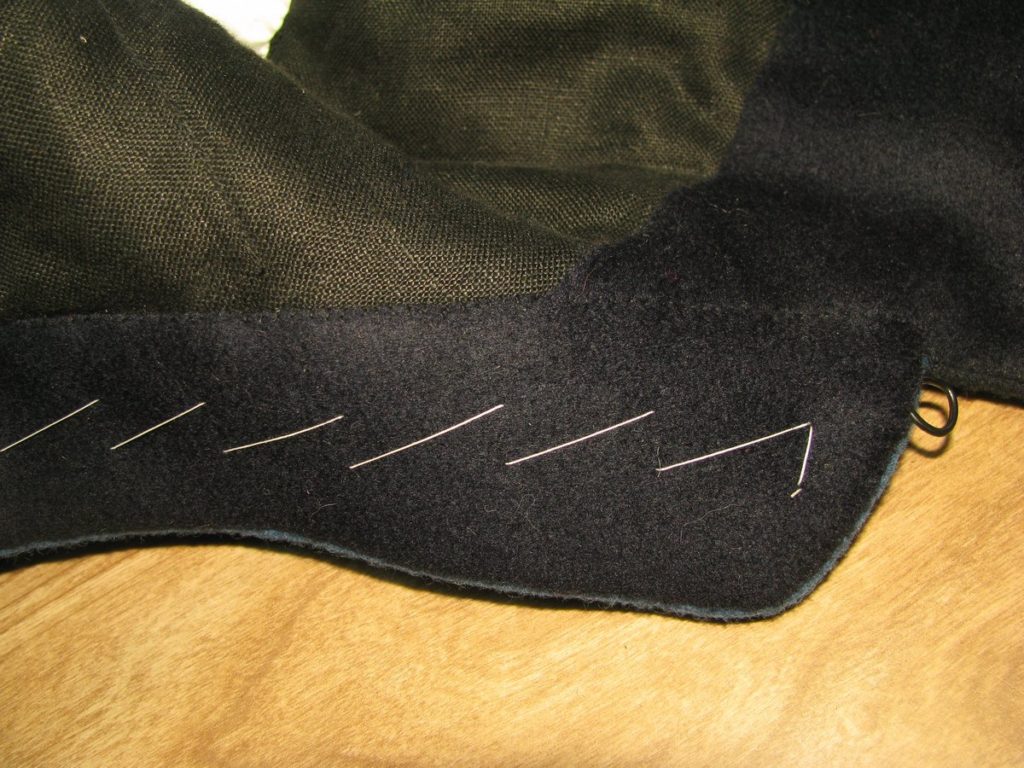
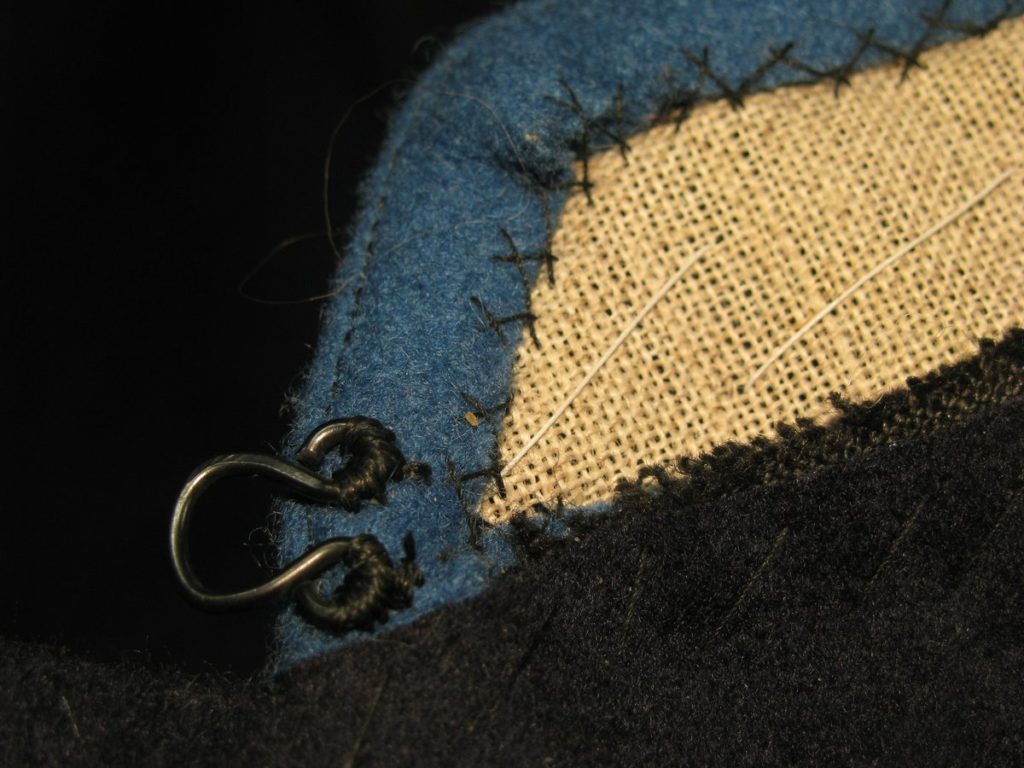
Begin by marking about 3 to 4 inches along the inner edge of the front facings, and the back facings. The hooks are placed first, on the front of the coat.
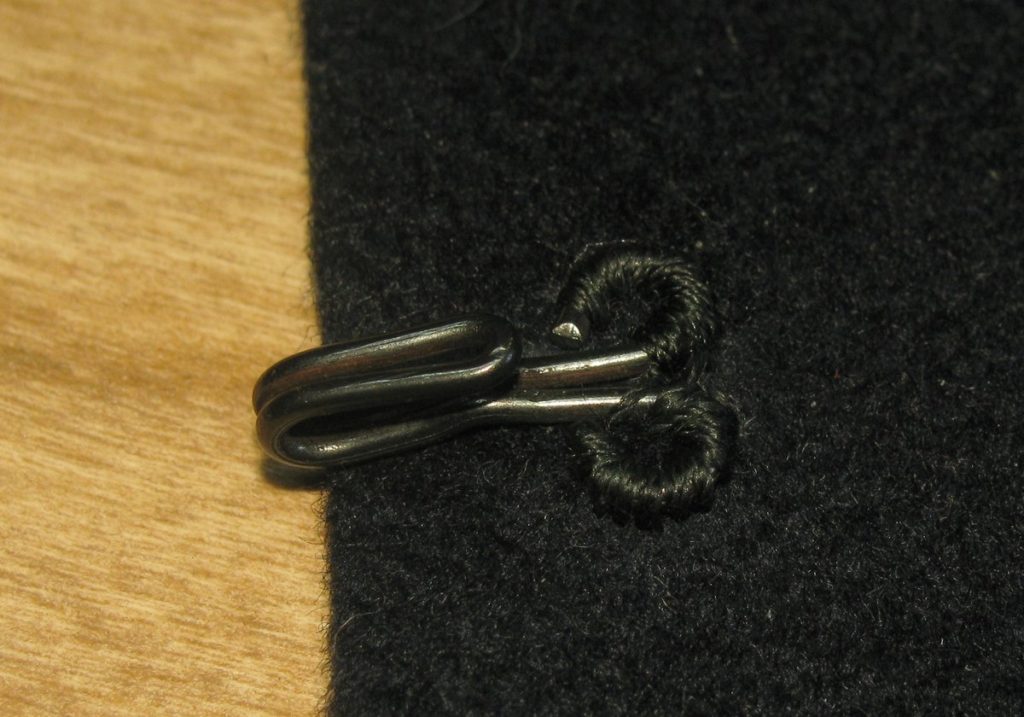
Sew a small loop around one of the eyelets, using silk buttonhole twist. Work your way around that eyelet, ensuring the stitches are close together for a nice appearance.
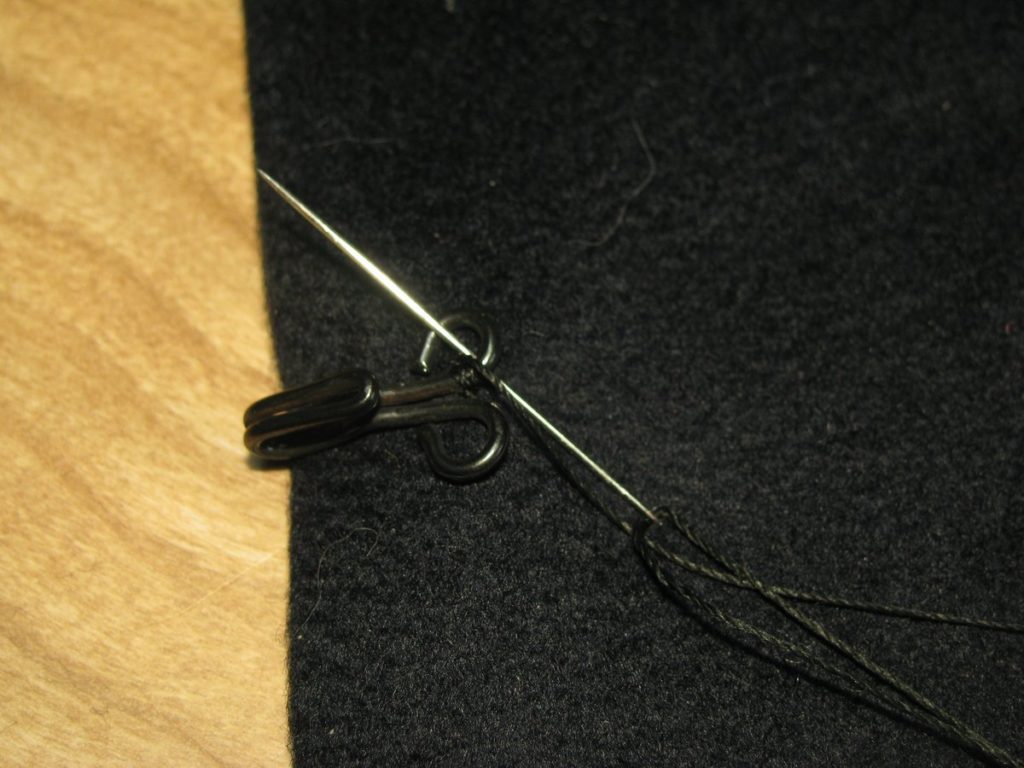
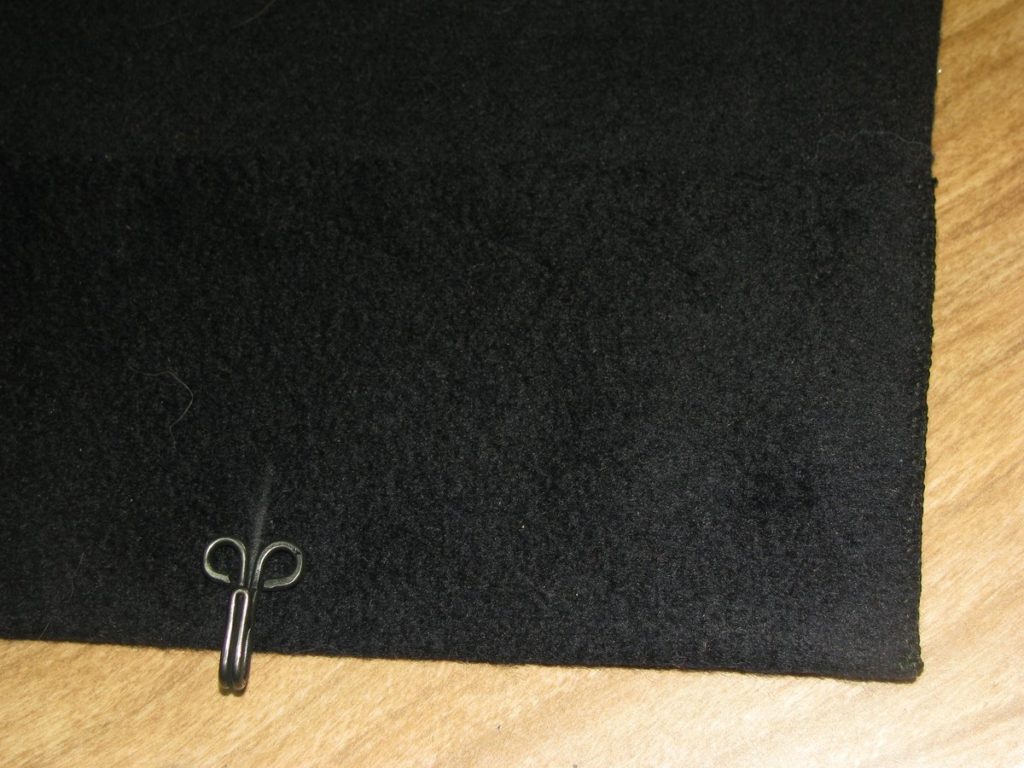
When finished, you should not see any of the metal on the eyelets. When stitching, be sure the stitched do not show through to the right side of the coat.
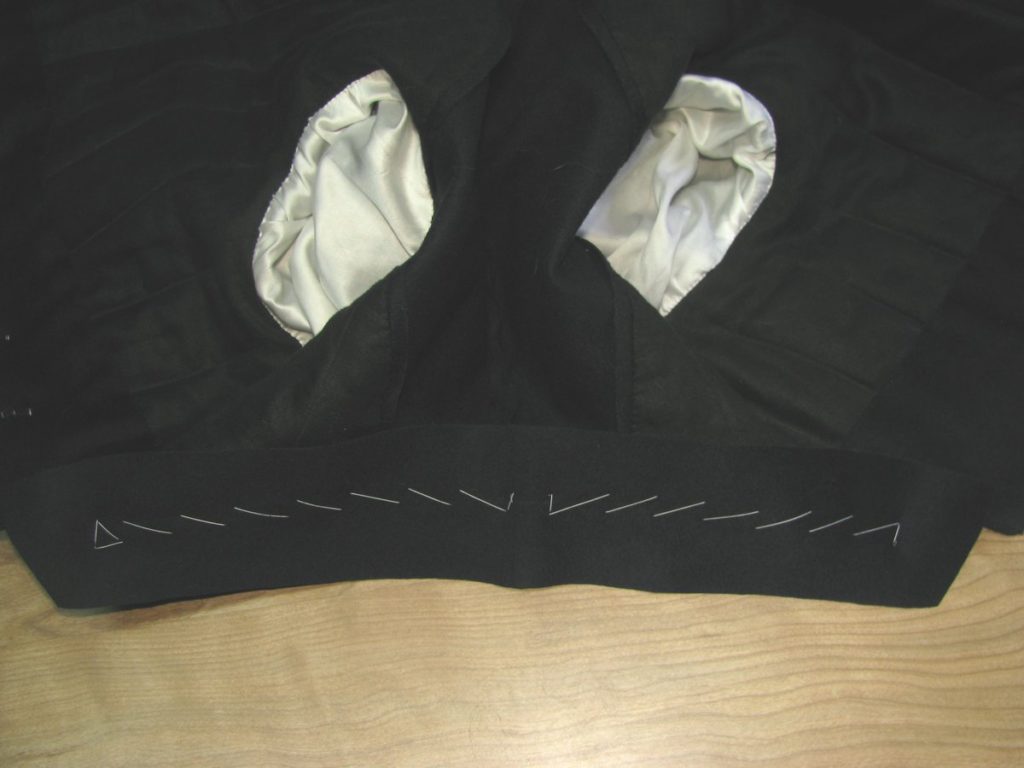
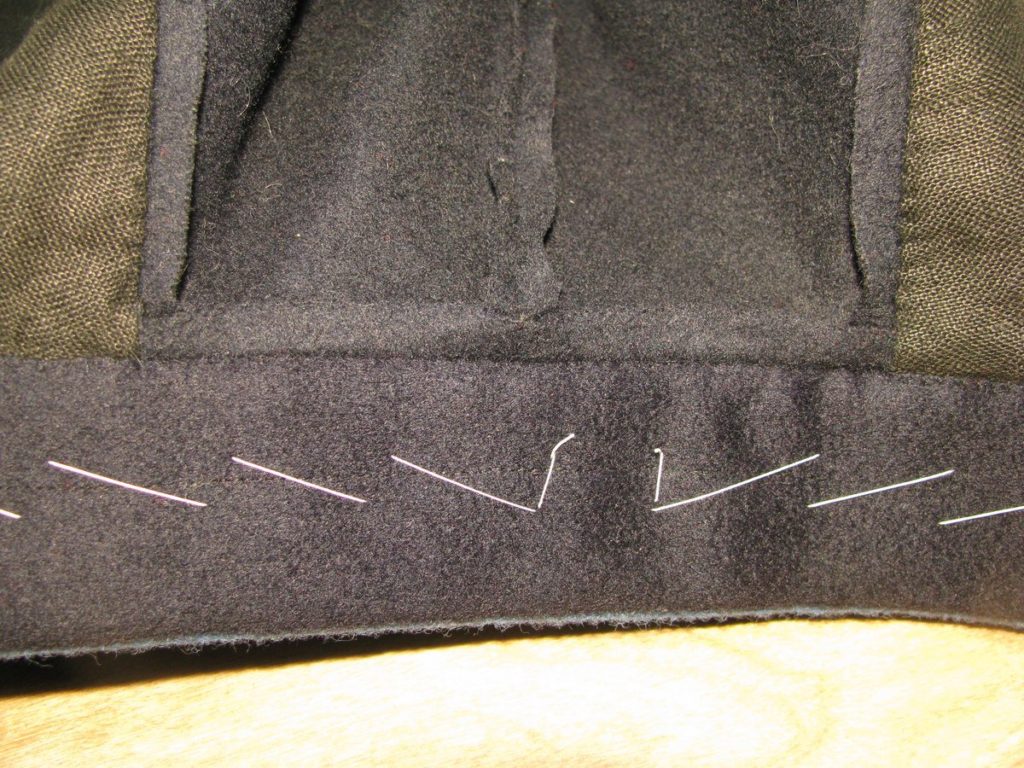
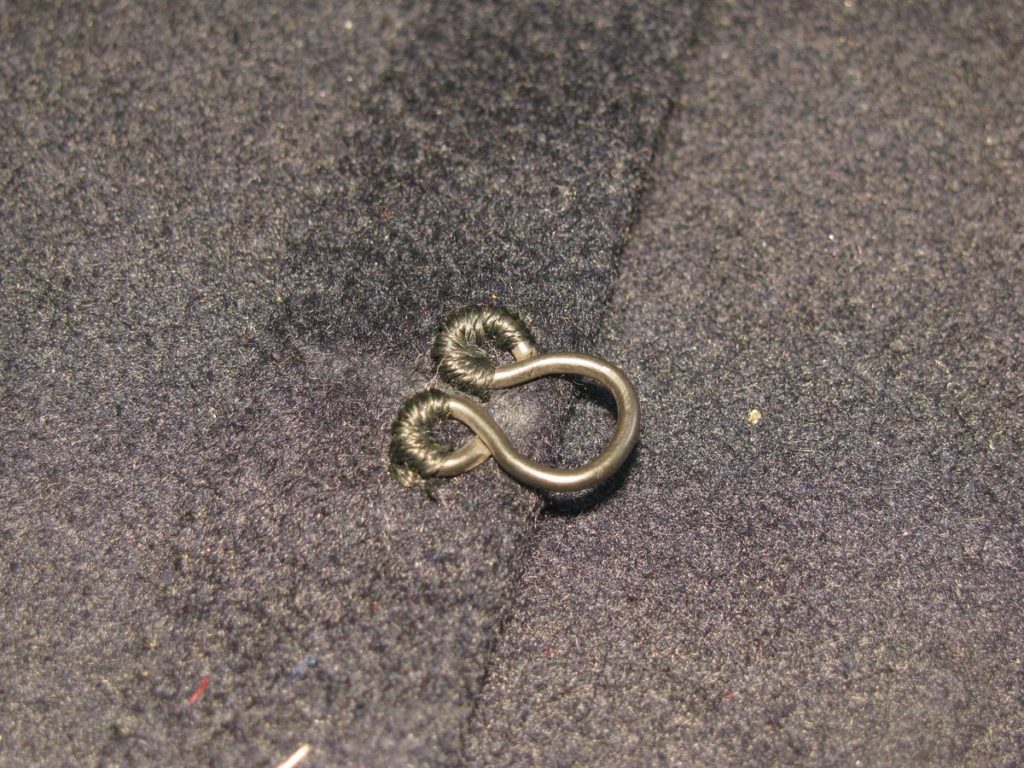
Do the same thing with the eyes on the back. Both the hooks and eyes should extend off the edge of the coat by about 1/8 of an inch.
On the right side of the collar, sew an eye down to the piping in the same manner. On the other side of the collar, place a hook.
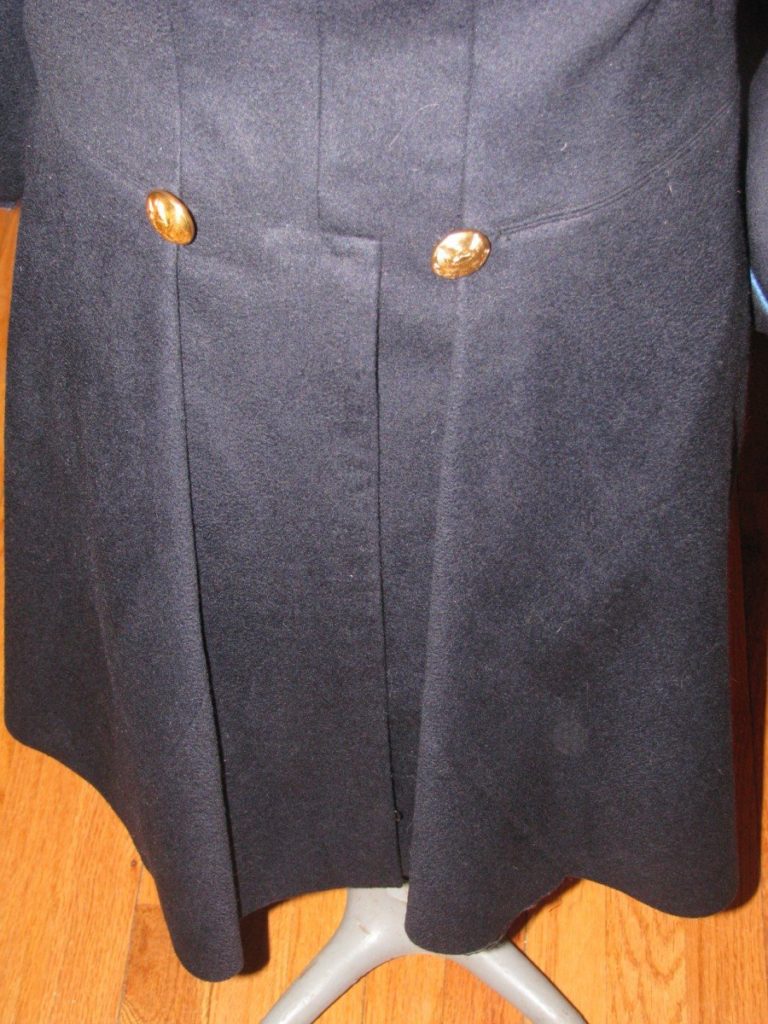
Facing Bottoms
At the bottom edge of the front skirt, close off the facing by stitching it to the front of the coat with a buttonhole stitch, using silk twist. This is a part of the coat that may get extra wear and tear, so the extra strength is good.
At the back skirts, trim off the inlays. You want them to be even with the skirts, so drawing chalk lines may be necessary.
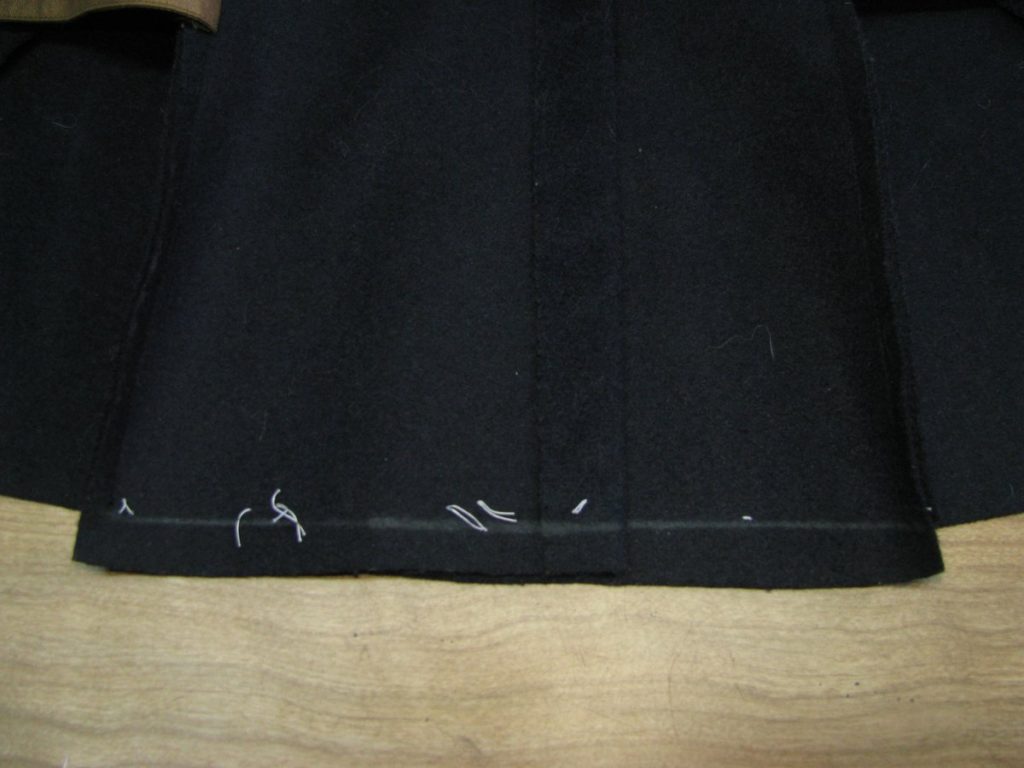
Finish the bottom of the back skirt facings with a buttonhole stitch as well.