Author: James Williams
Pre-washing Fabric
Before beginning to sew your final shirt, it’s important to treat the fabrics beforehand so that they don’t shrink later on or lose their dye when washed, ruining your beautiful project. There are also chemicals used in the modern weaving process that you probably don’t want next to your skin.
For cotton, I like to machine wash it with cool water on a gentle cycle using mild detergent. Then dry on low heat, and give it a good pressing, folding the fabric back in half as it came on the bolt.
For linens, I dislike washing them as the wrinkles never seem to come out completely. You can wash linen in the same manner as cotton, but when drying, take it out when it is still slightly damp, and press dry with your iron to mostly avoid wrinkling.
My prefered method though is to simply spray the linen with water while on my ironing table and press it until dry. I’ve never had a problem with shrinking with this method.

Your Progress
[columns gutter=”0″]
[col]
[progressally_objectives]
[/col]
[col align_text=”center, middle”]
[progressally_progress_pie_chart size=”100″]
[/col]
[/columns]
Setting the Sleeves
Setting the sleeves can be a challenge the first time, but these sleeves are easier since they’re identical front and back. Careful preparation will help you avoid any mistakes.
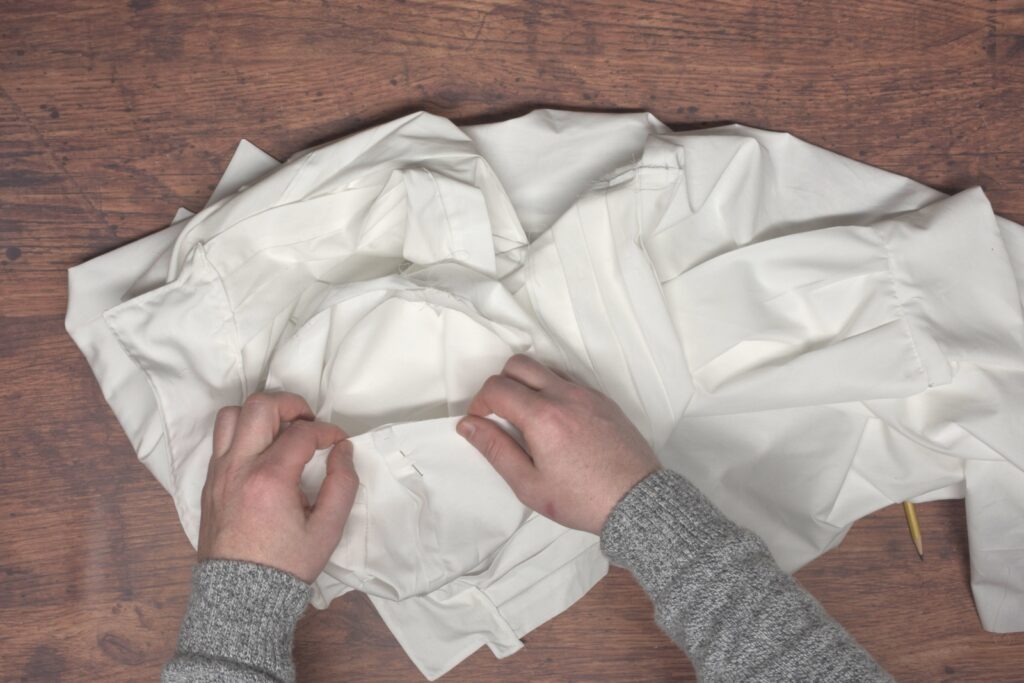
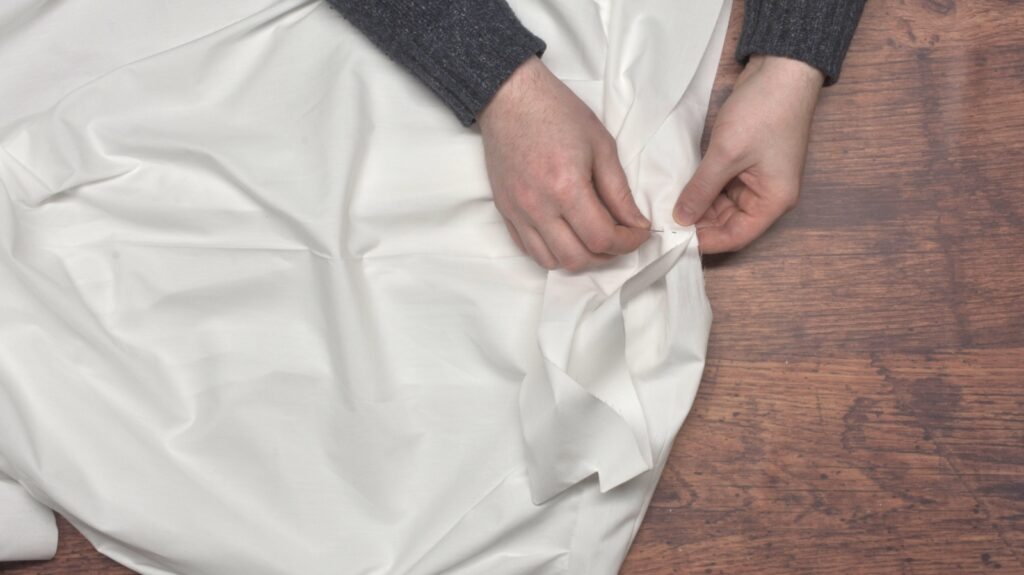
Begin by laying out the shirt with one of the armscyes facing up. Locate the top of the side seam. Now lay the sleeve on top, locating the sleeve seam as well.
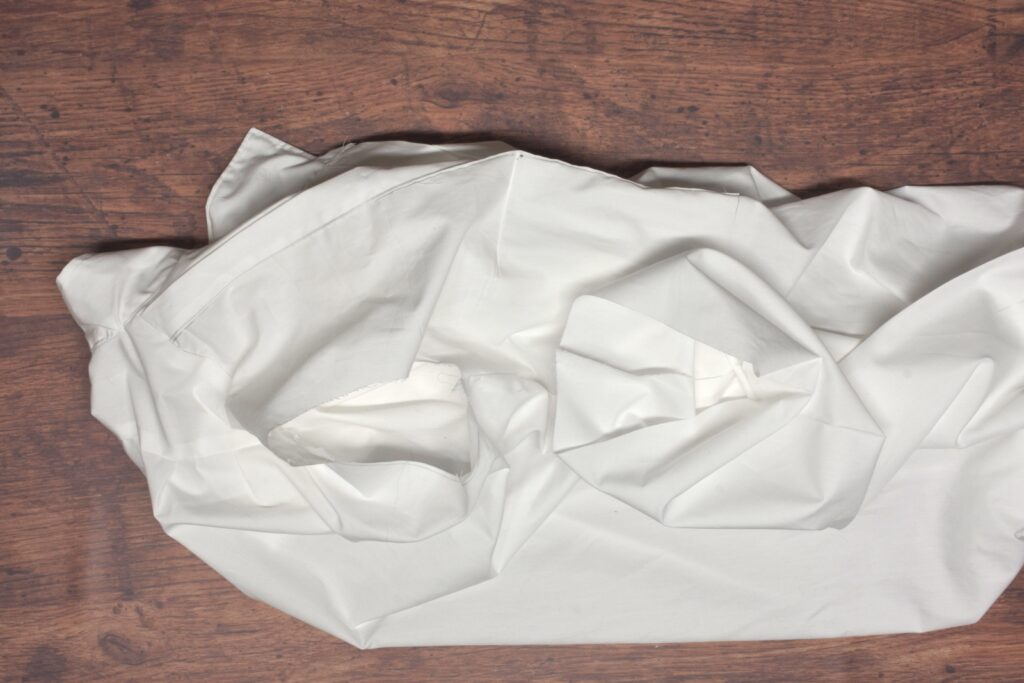
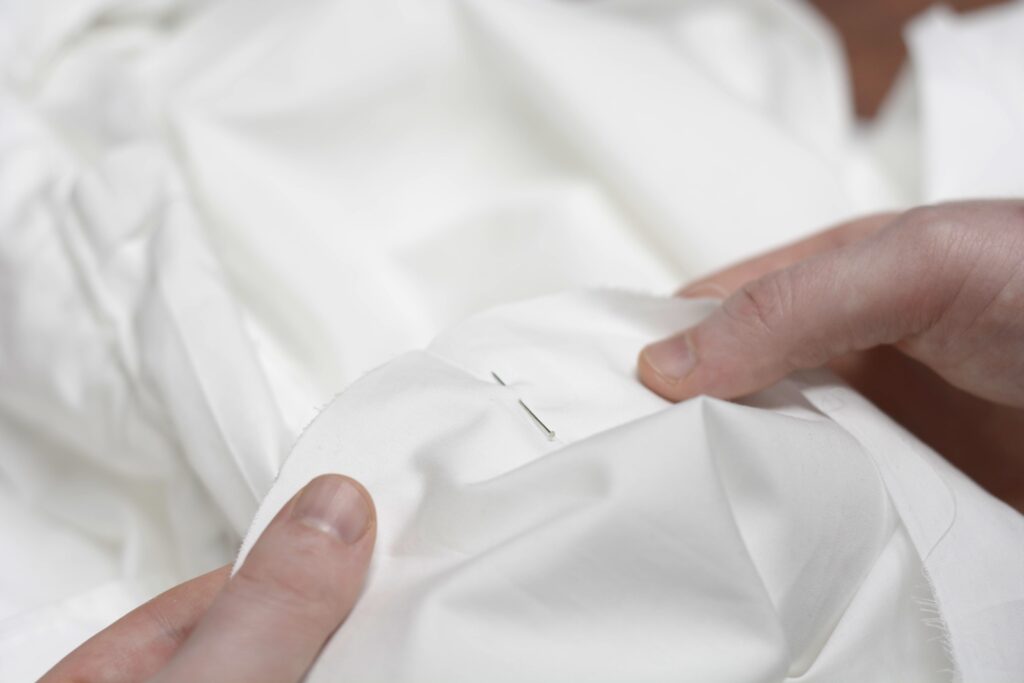
Pin the sleeve to the armscye, lining up the side and sleeve seams.
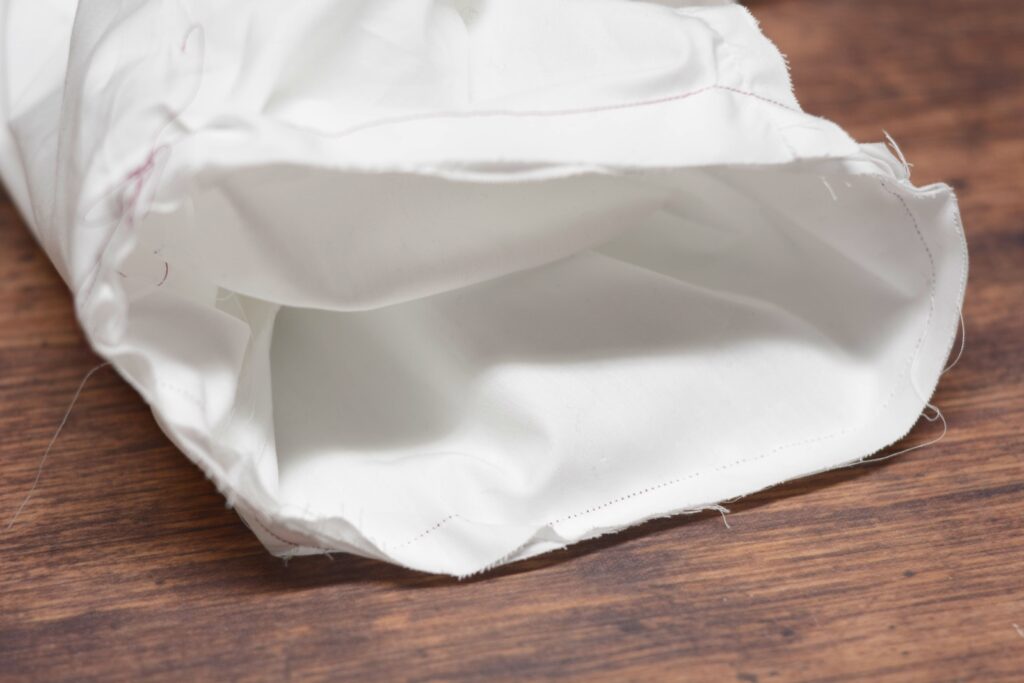
This is probably the most confusing step, both visually and to explain. Open up the shirt so you can turn it somewhat inside out, exposing the armscye. The sleeve will be inside the armscye, making it easier to pin and sew.
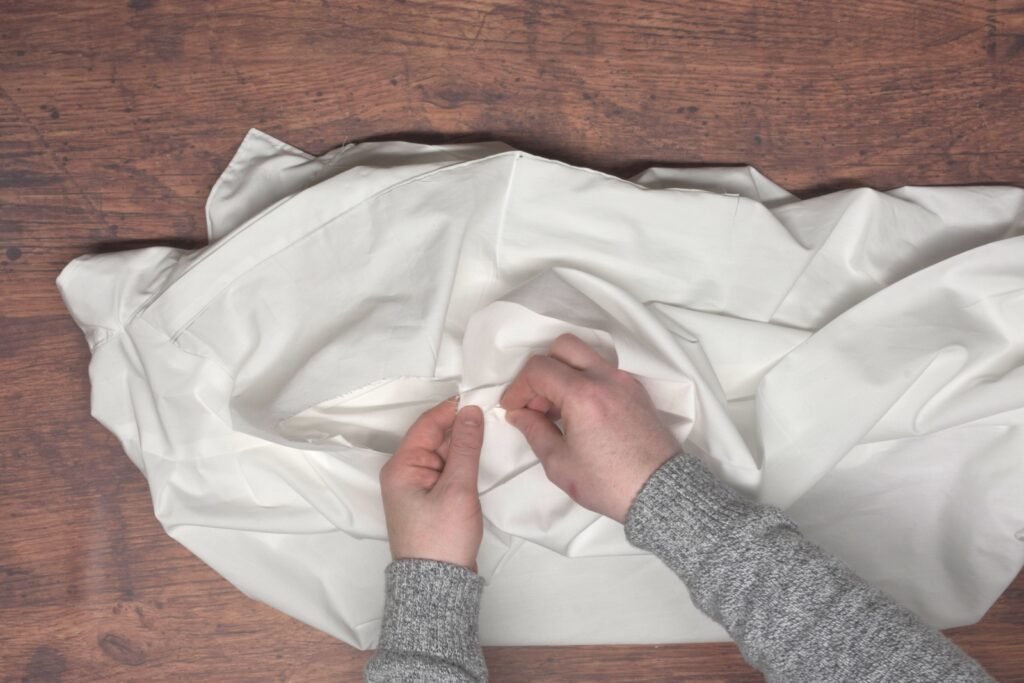
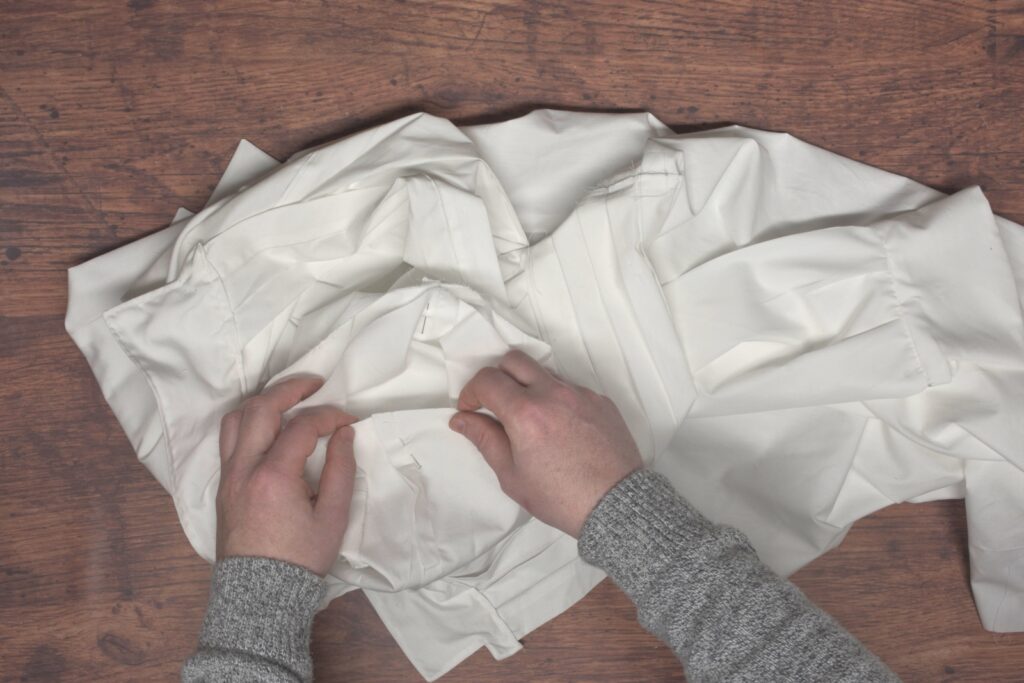
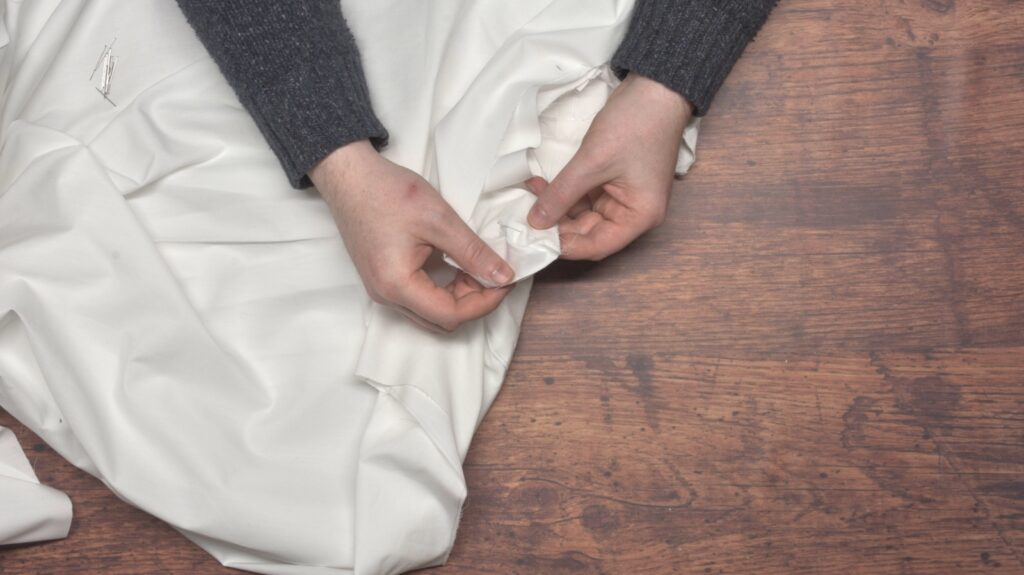
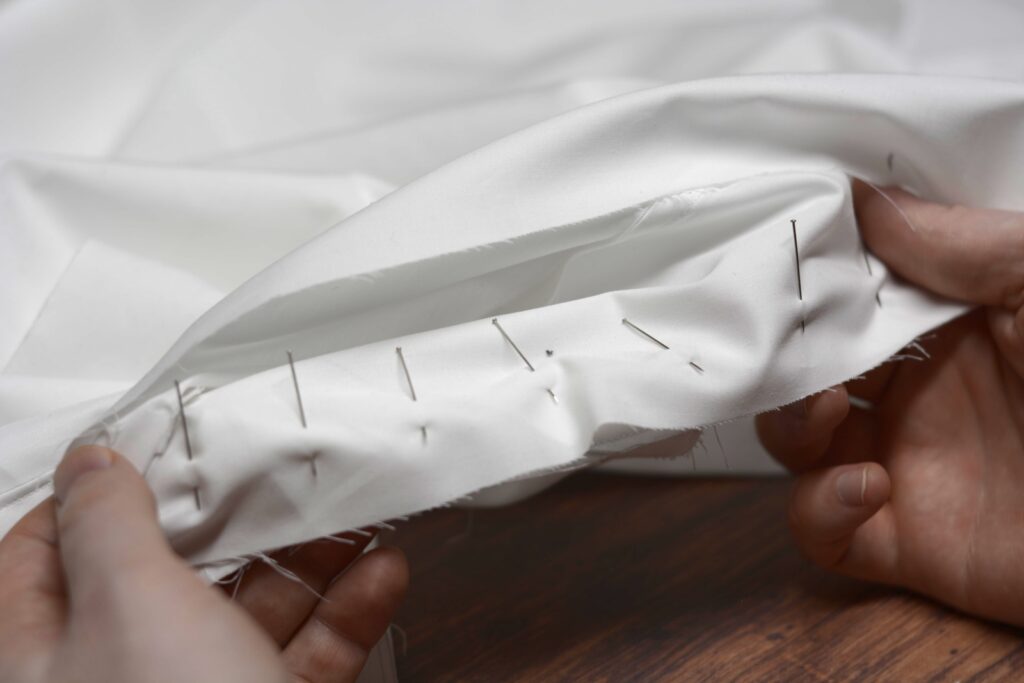
Locate the center of the sleeve as well as the shoulder seam. Place them right sides together and pin from inside the armscye.

Now, in that all-too-familar process, begin making pleats in the sleeve on one half (between the two pins) so that it will fit into the armscye. Then repeat for the other half. Concentrate the pleats nearer to the top of the armscye, as that is where the ease is needed.
There should be between 2″ – 4″ inches of ease in each sleeve, giving a very roomy and comfortable sleeve. In my case, I ended up taking too much off when doing an alteration by ‘rock of eye’ and ended up with only 1/4″ of ease per sleeve, hence my lack of pleats. Need to fix that!
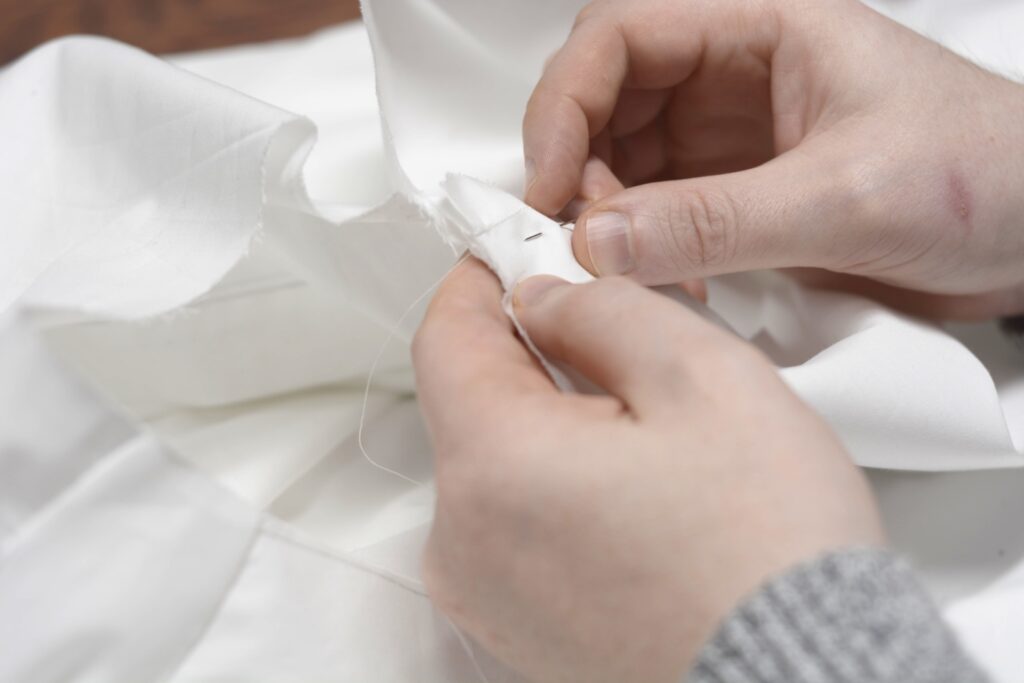
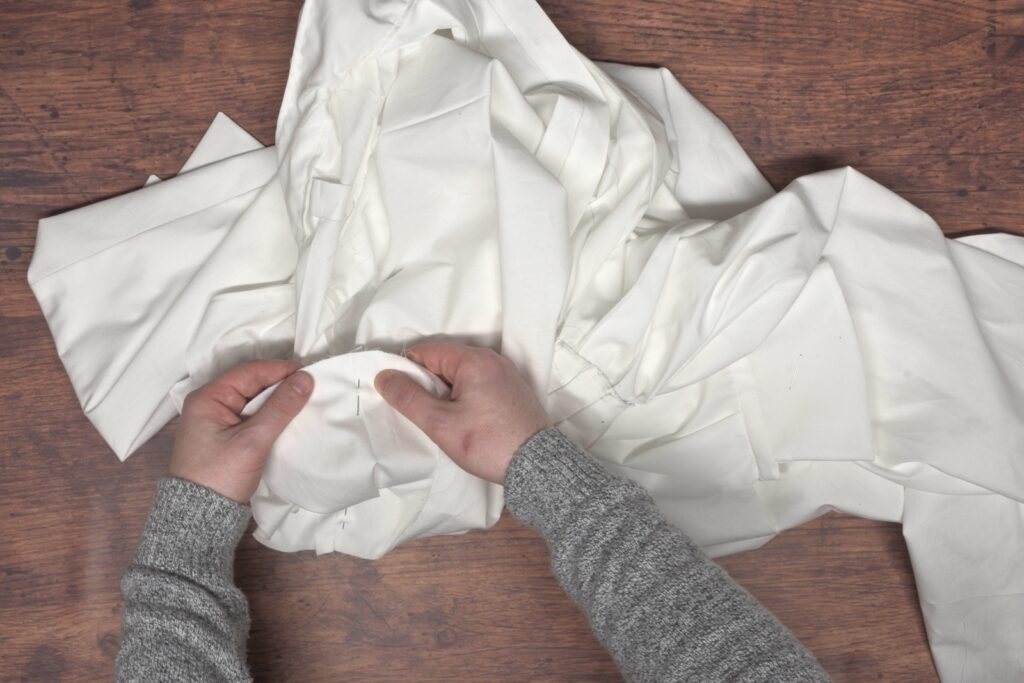
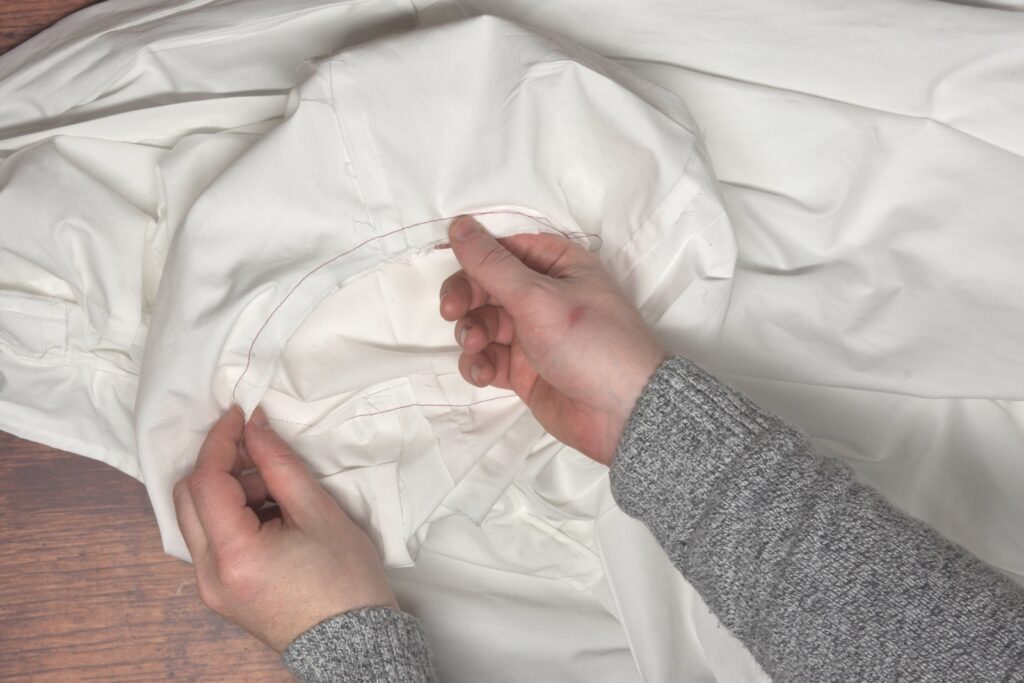
Continue pinning until all of the excess sleeve fabric has been distributed evenly.
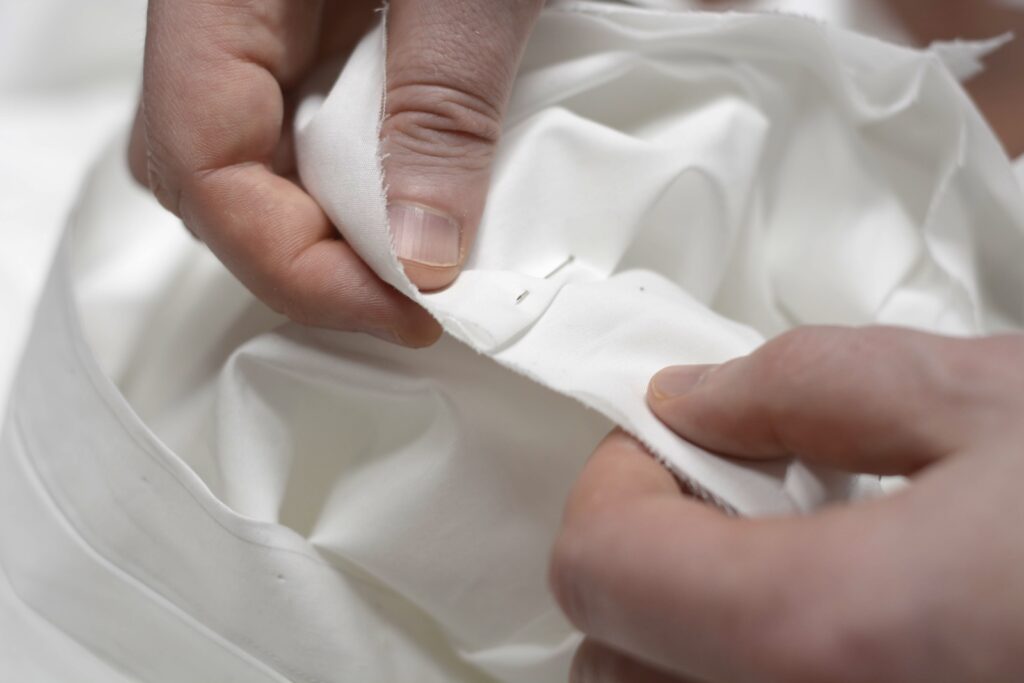
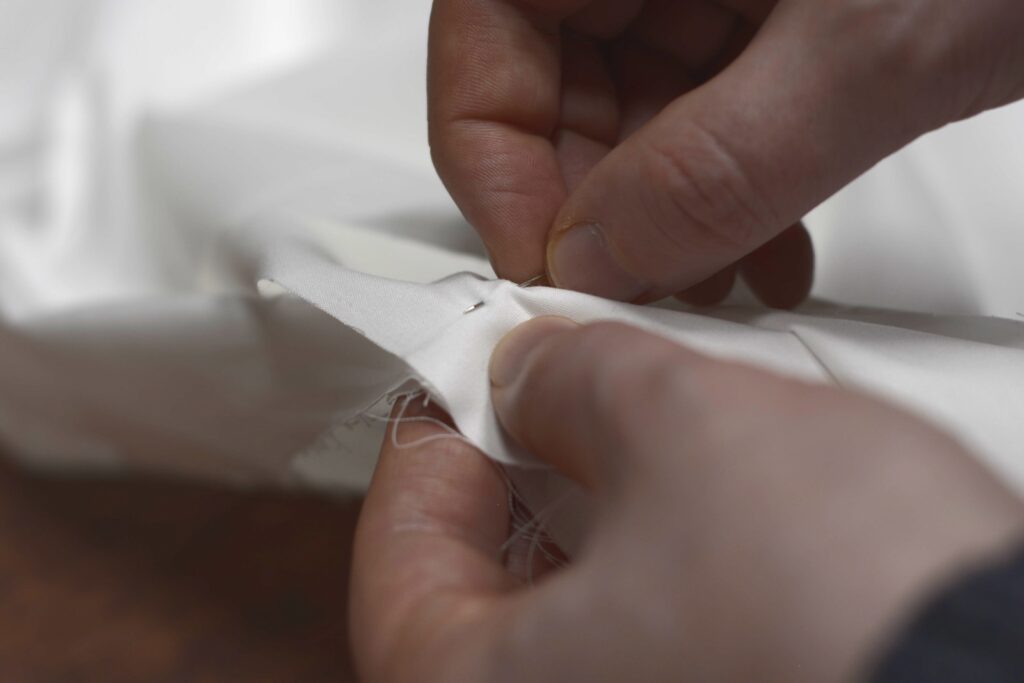
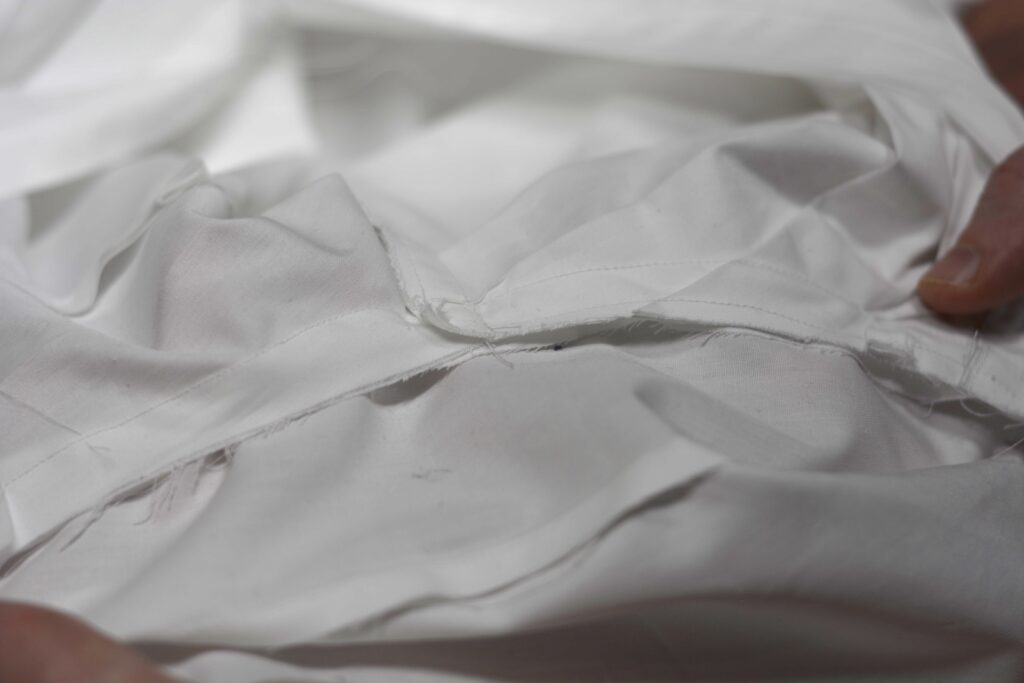
After pinning, you should move the first, original pin you placed from the shirt side to the sleeve side, this way it is less likely to be run over by the sewing machine.
You can just make out that pin here after I moved it.
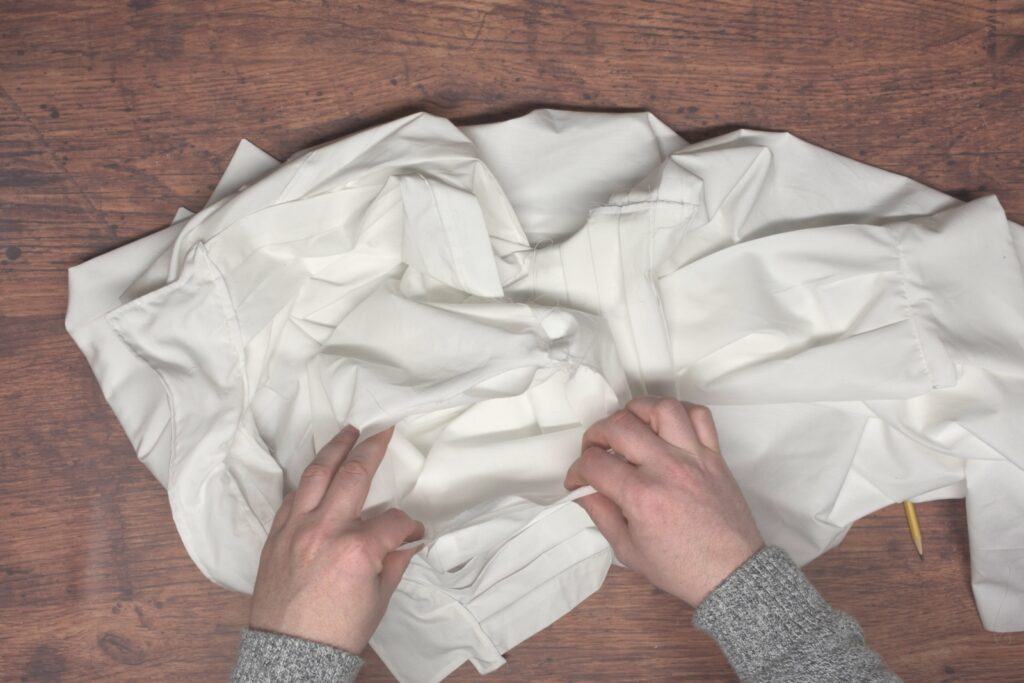
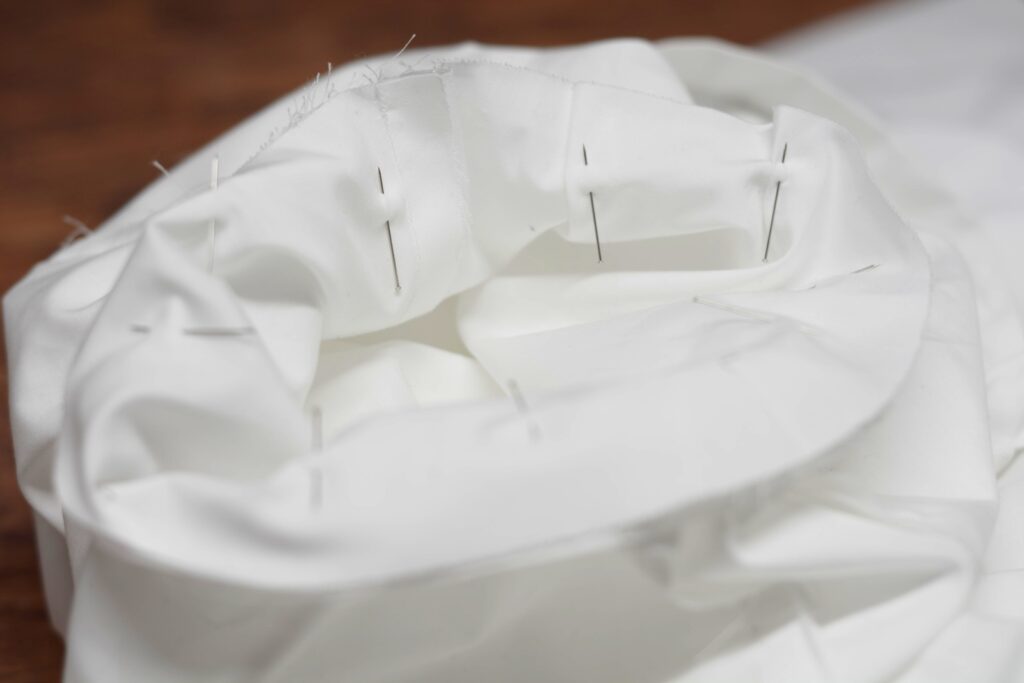
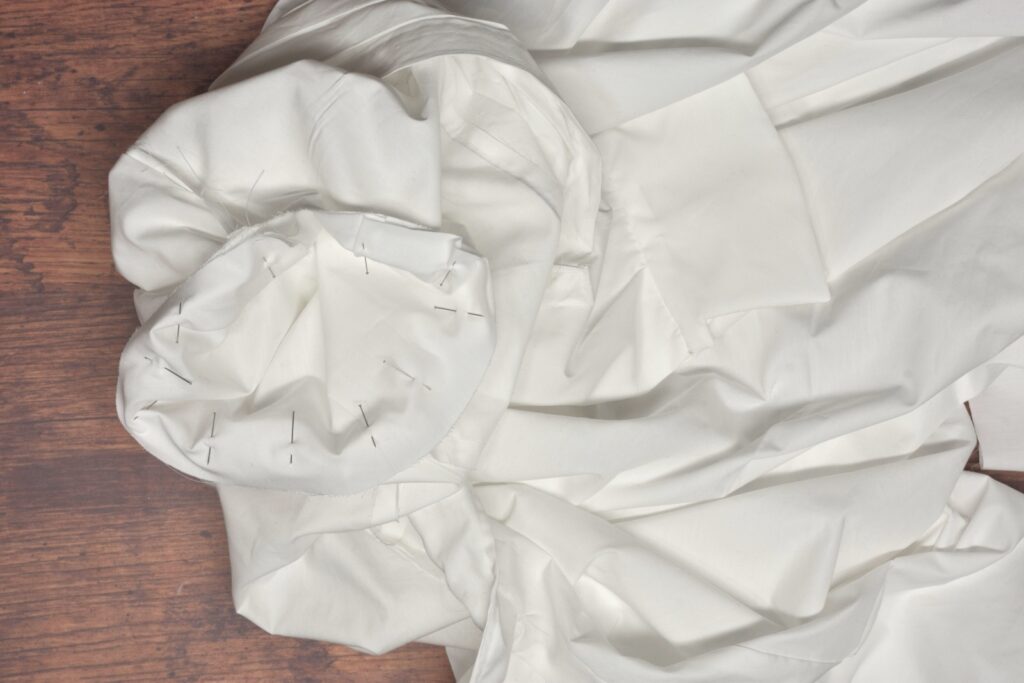
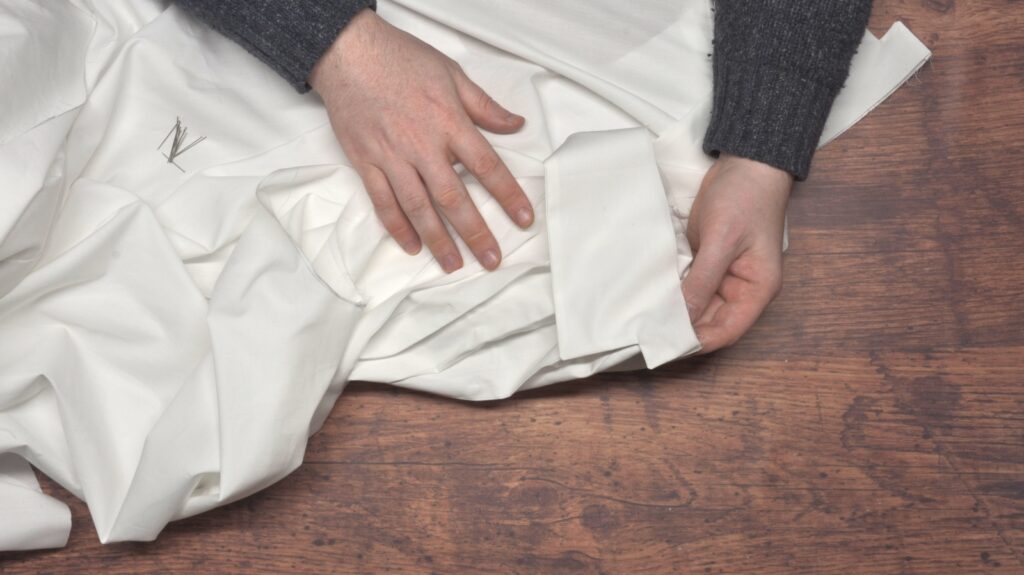
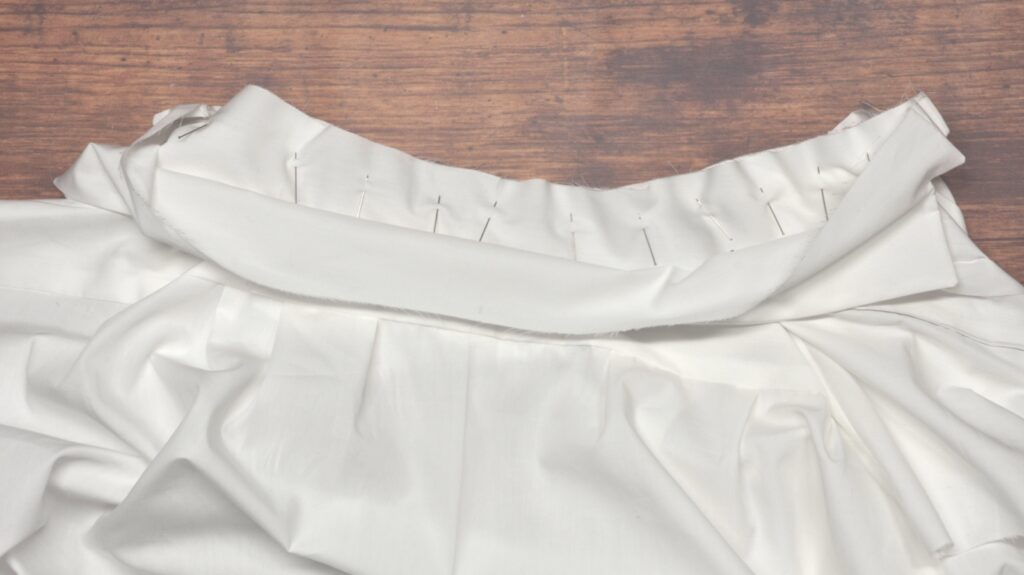
Here’s the sleeve after being pinned all the way around the armscye. Hopefully this has been clear enough for you!
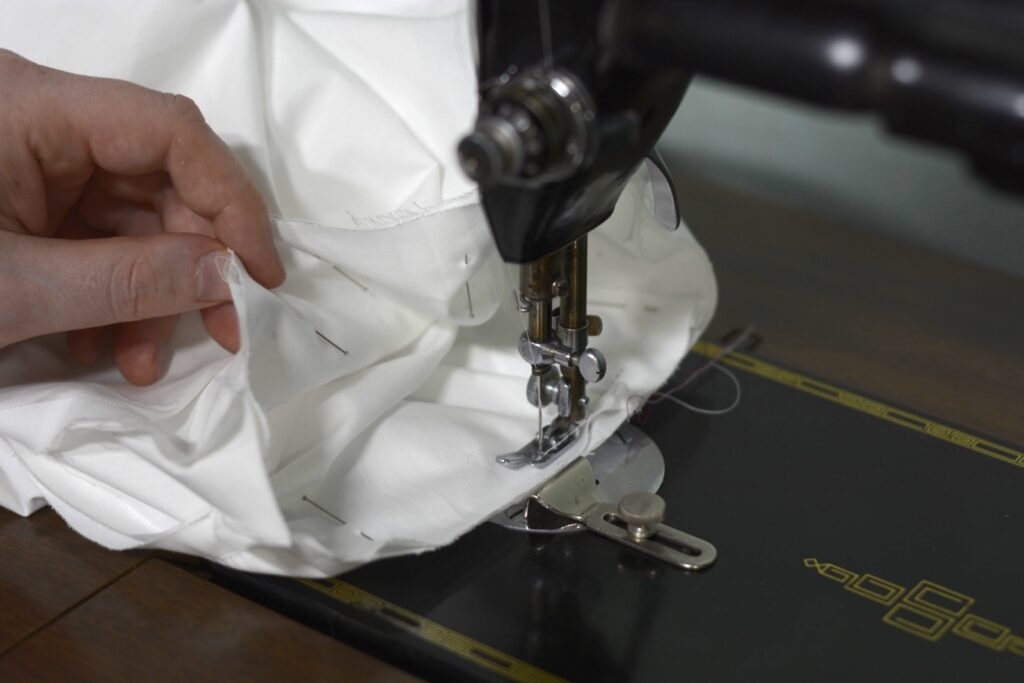
Place the armscye into the sewing machine as shown, with the sleeve itself on the inside and facing up as it is sewn. Sew using a 1/2″ seam allowance.

Be sure to remove those pins as you sew.
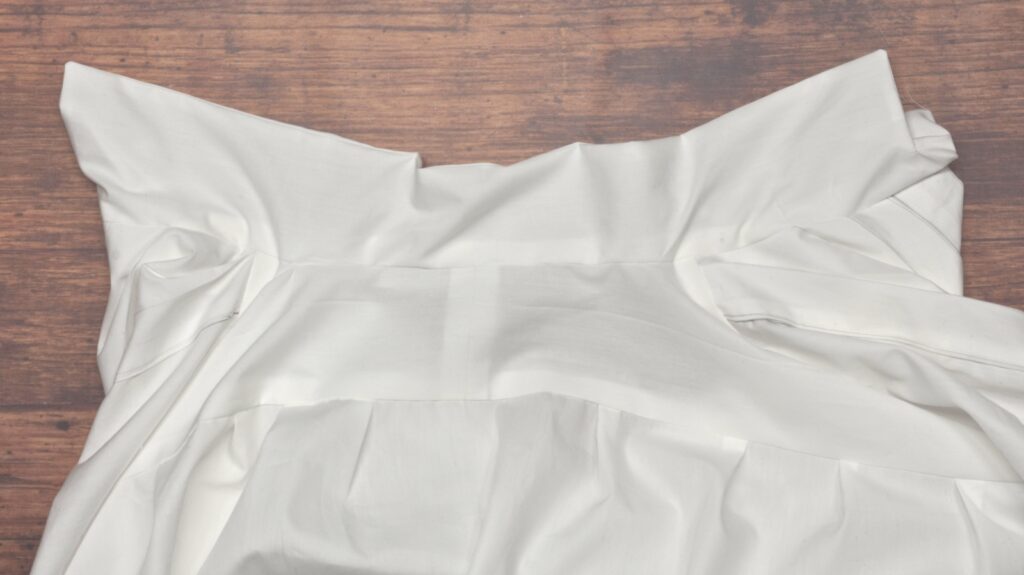
Here’s the sleeve after being sewn.
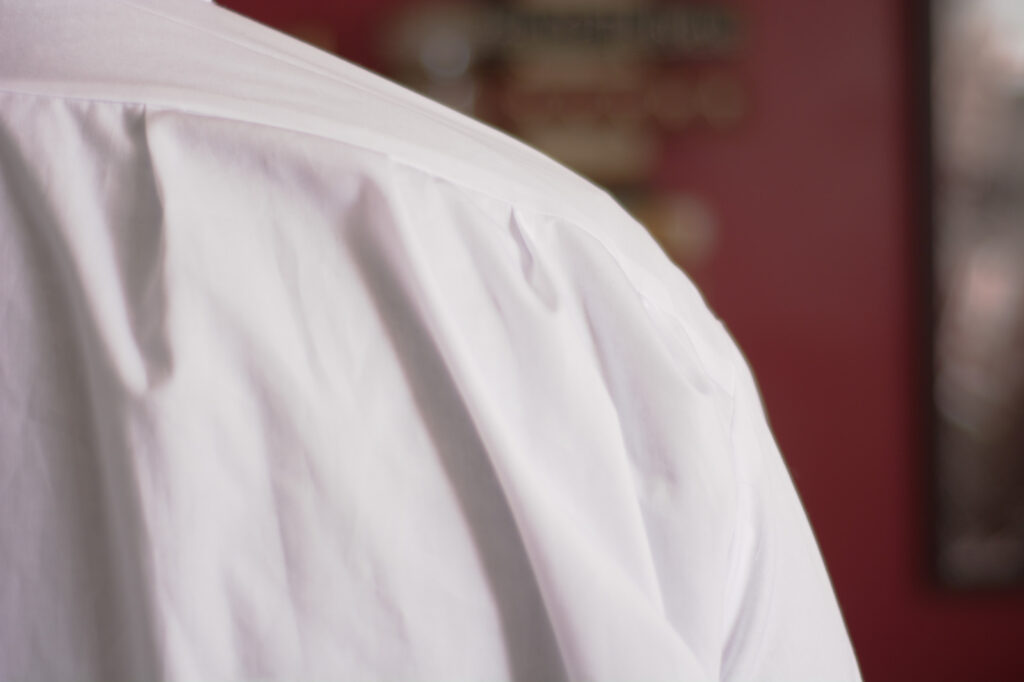
And a view of the sleeve while being worn from the front:
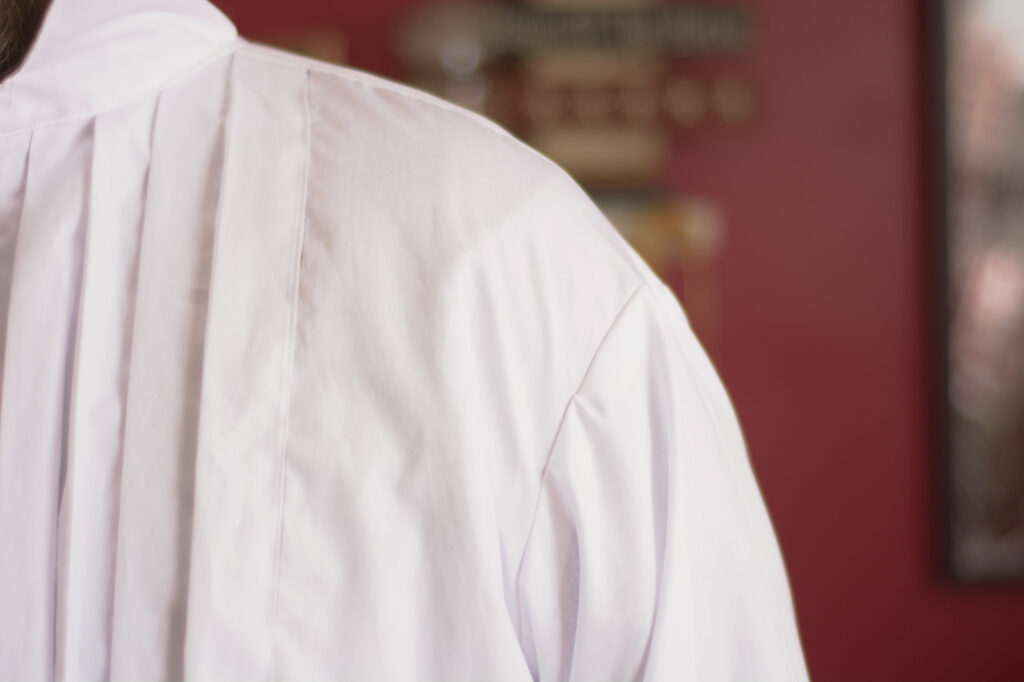
And from the back.
With the shirt toile complete, please try it on, and if you have any errors or just want a good eye to look at your work, please share photos of the front, back, and side, plus any detailed photos as necessary, as well as photos of your draft in the support forum so that I can offer advice and corrections.
Your Progress
[columns gutter=”0″]
[col]
[progressally_objectives]
[/col]
[col align_text=”center, middle”]
[progressally_progress_pie_chart size=”100″]
[/col]
[/columns]
The Sleeves
The cuffs are sewn in the same manner as the collar. Place the two halves right sides together, pin, and mark the corners as necessary. Sew around the front and top edges, leaving the bottom open.
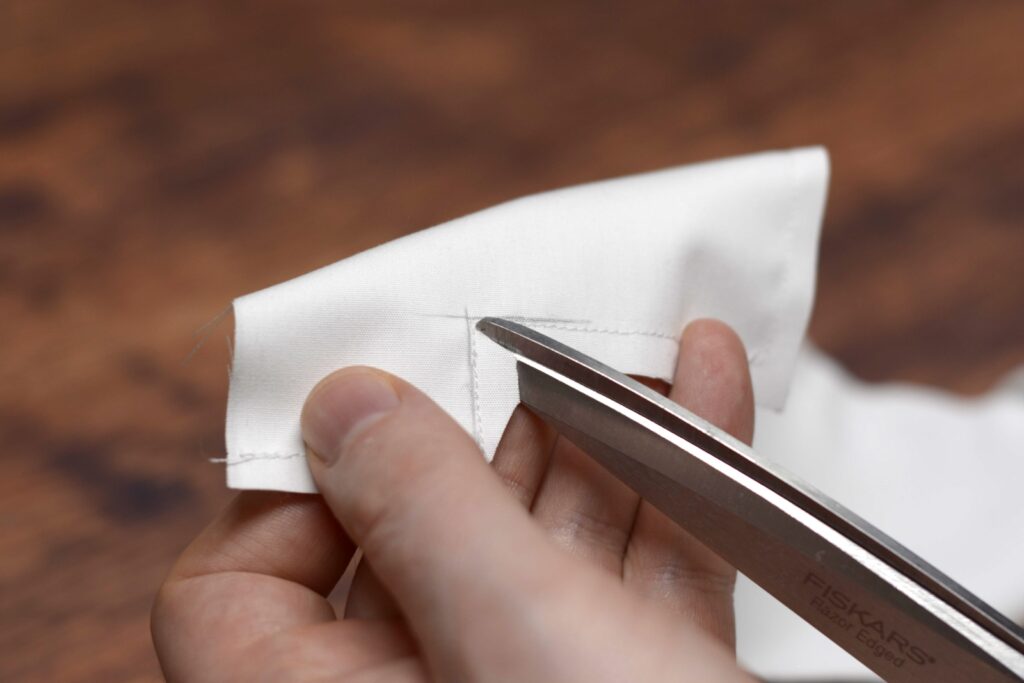
As you get to the corners, instead of taking a sharp turn with the stitches, instead, make a diagonal stitch at the corner. This gives just enough room for the fabric when it is turned, giving you a crisper corner.
Trim the seam allowance to 1/4″ and clip and trim the corners as necessary.

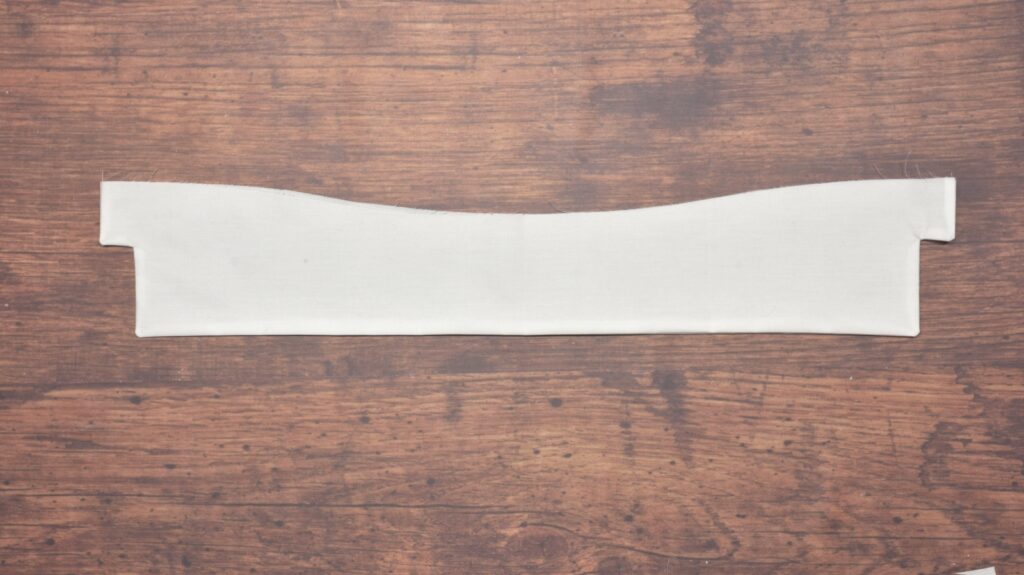
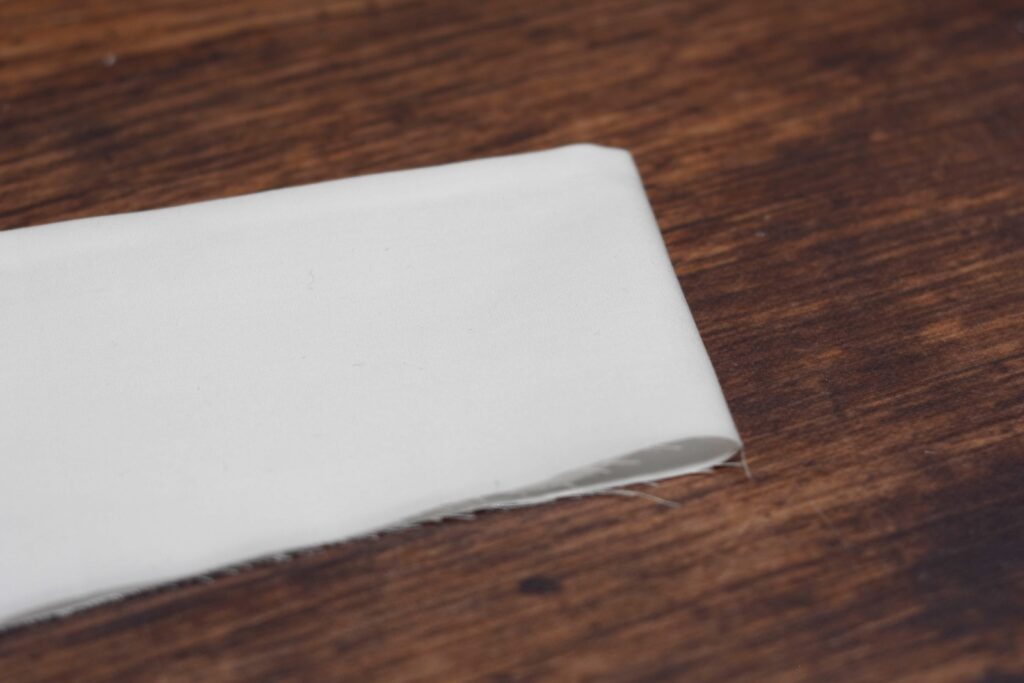
Turn the cuff right side out using the aid of a point turning tool or other pointy object and press firmly.
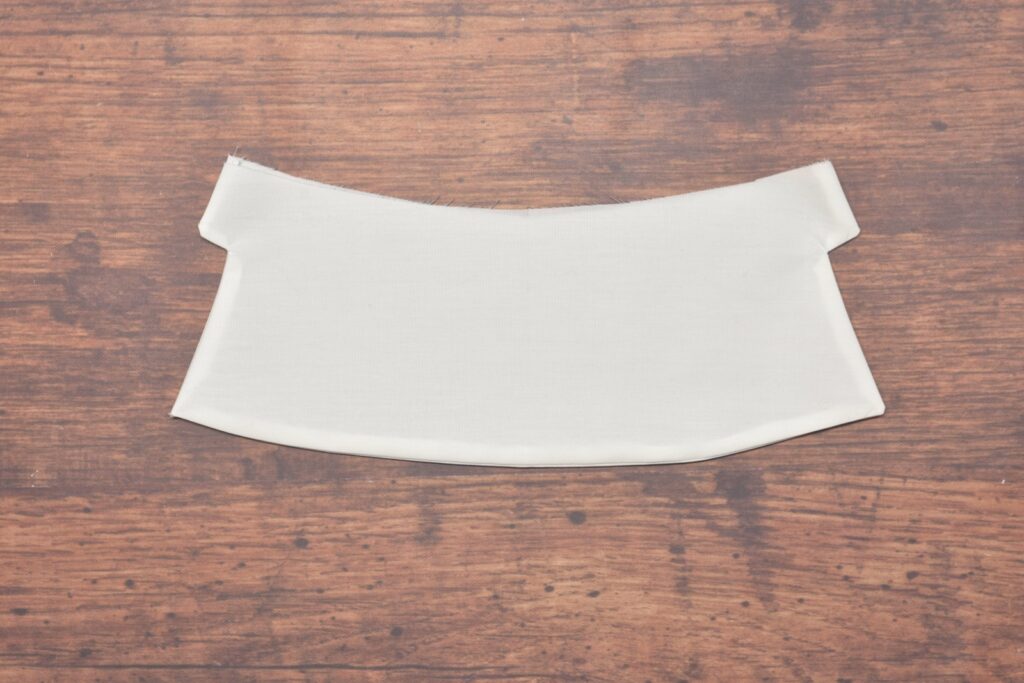
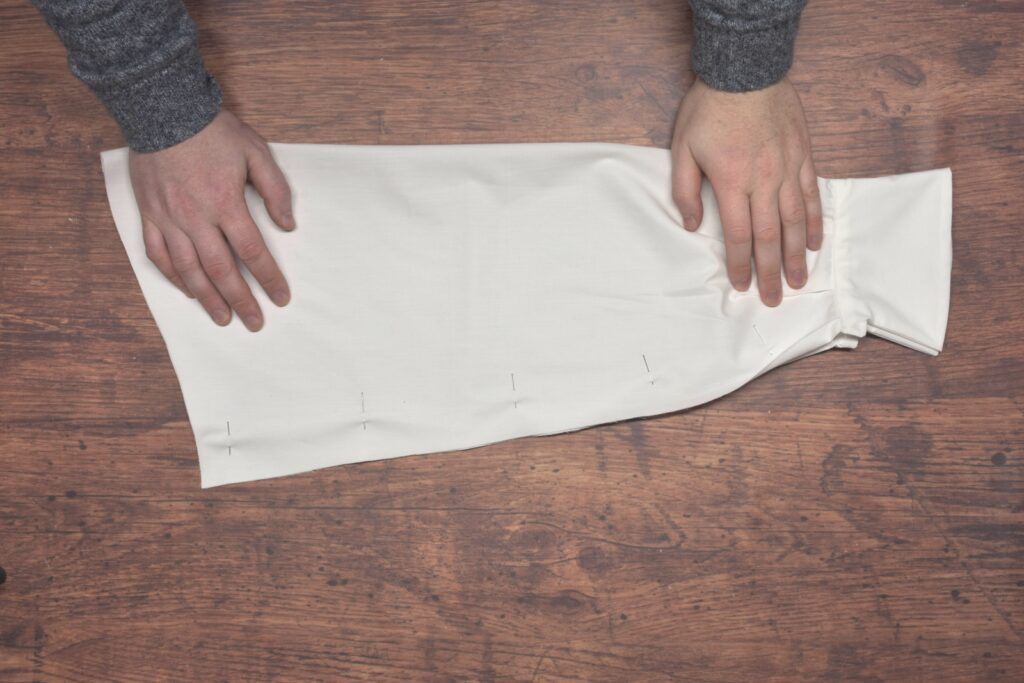
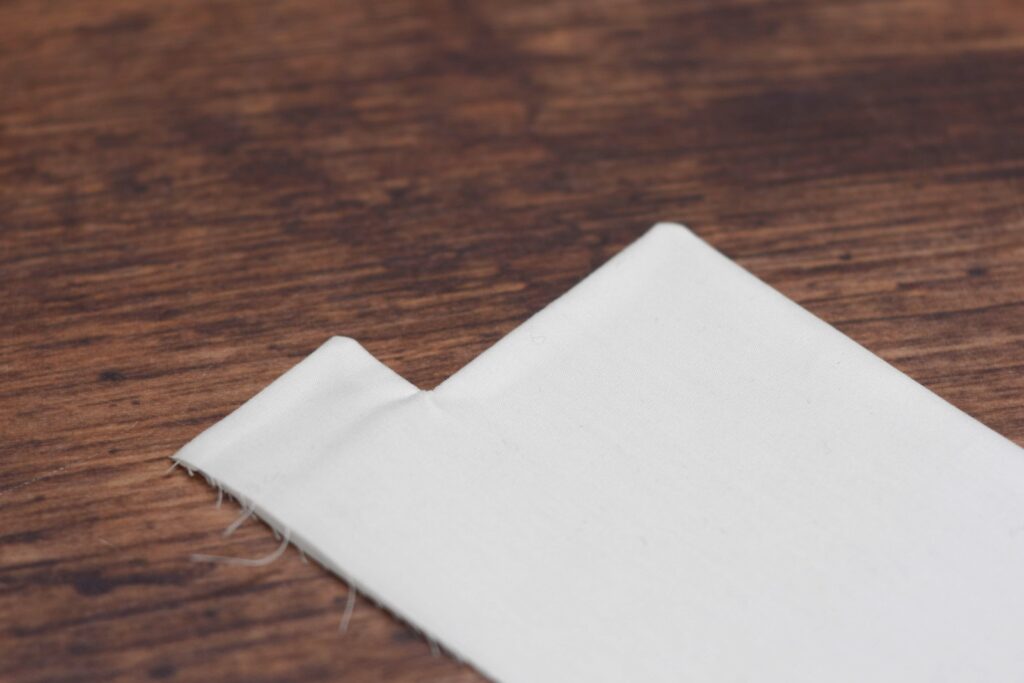
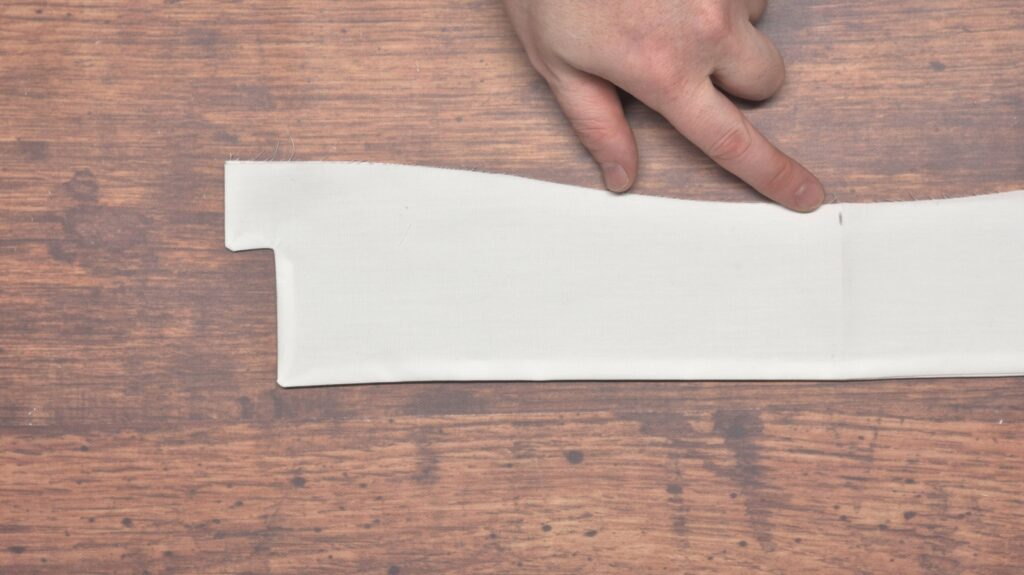
Moving on to the sleeves now, fold and press over the 1/2″ seam allowances to the wrong side on each side seam for about 2″ – 3″ from the cuff.
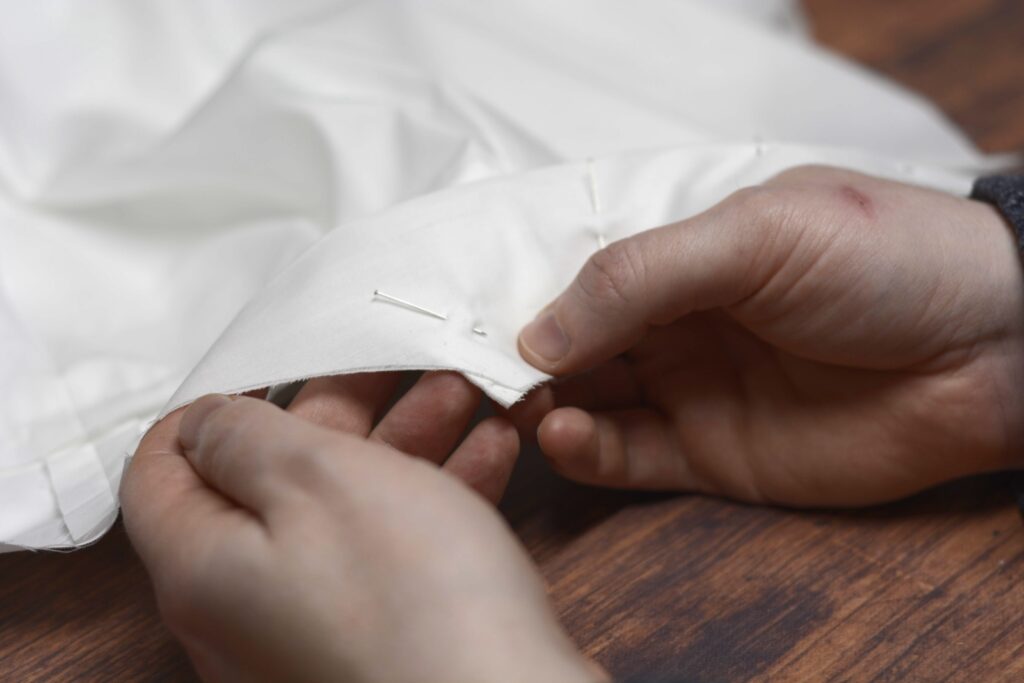
Finding the center of both the cuff and sleeve, pin the cuff to the sleeve at the center, right sides together, keeping the upper layer of the cuff out of the way..
Pin both ends of the cuff to the sleeve as well. This gets a little tricky since the area is so small. There should be some excess fabric left in the sleeve at this point.
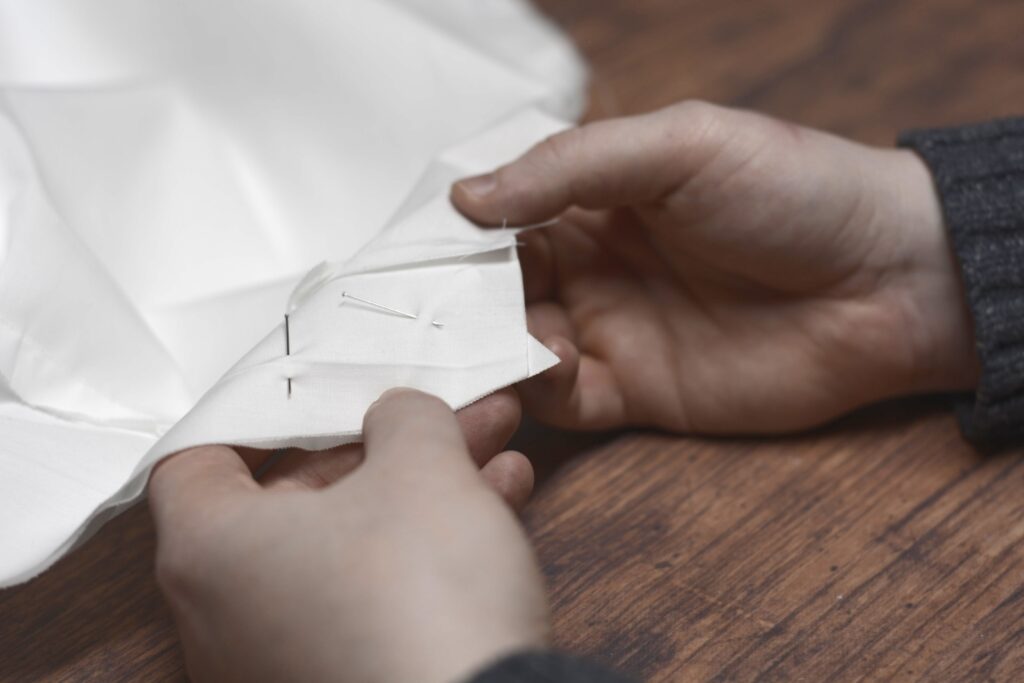
Pin the excess fabric into the cuff by forming small pleats, as we’ve done on other parts of the shirt.

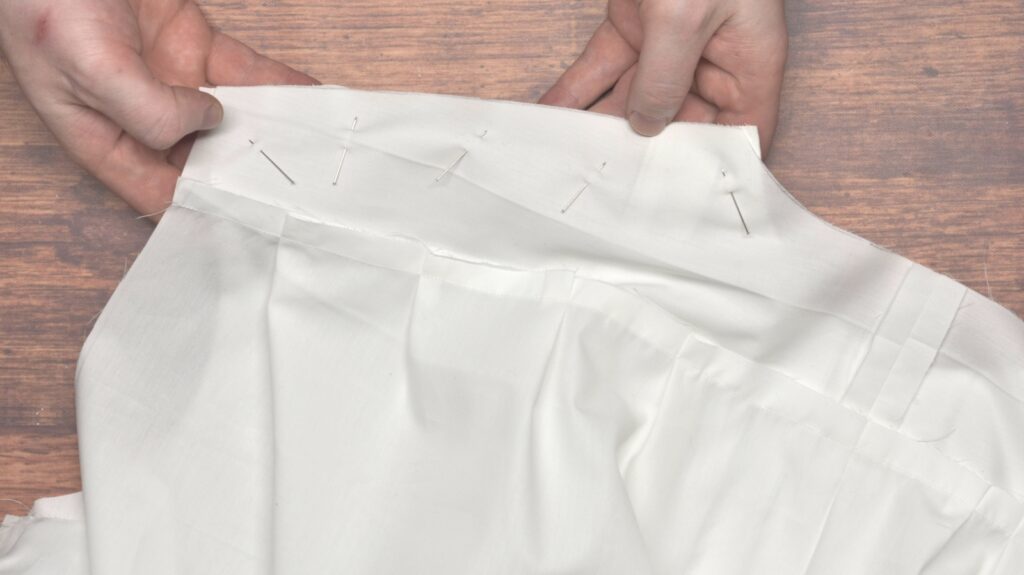
A view of the wrong side of the sleeve with the pleats.
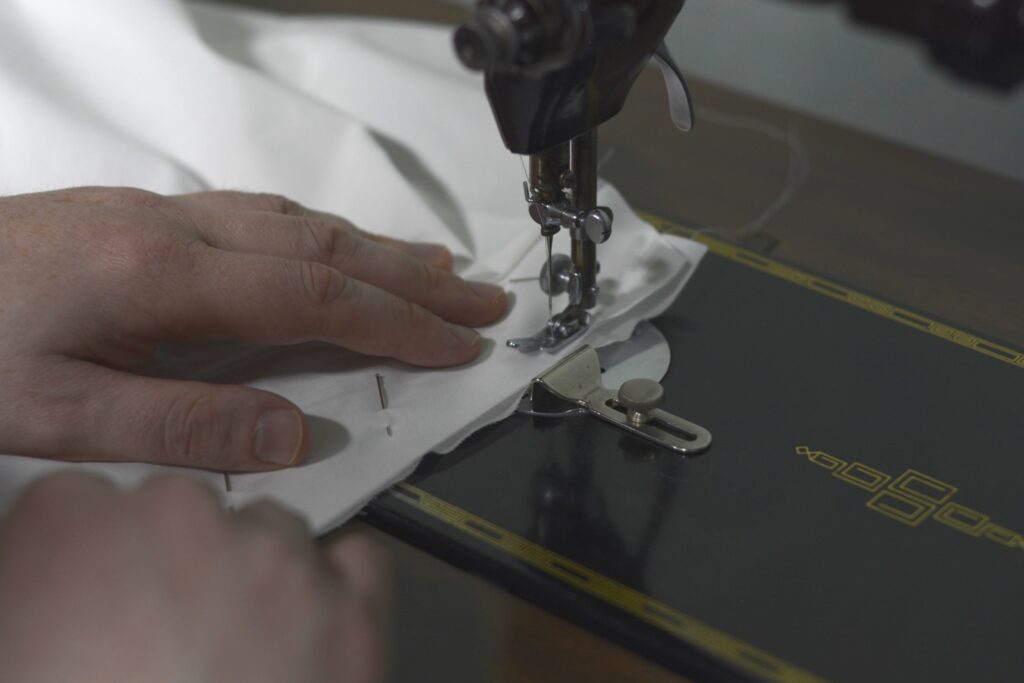
Sew the cuff to the sleeve using a 1/2″ seam, being sure to keep the top half of the cuff out of the way as you sew.
Press the seams towards the cuff.
Pin the inner cuff in place, folding under the seam allowance. You can basted this closed as I did the collar, but in this case, the length of the cuff is short enough that I didn’t find it necessary.
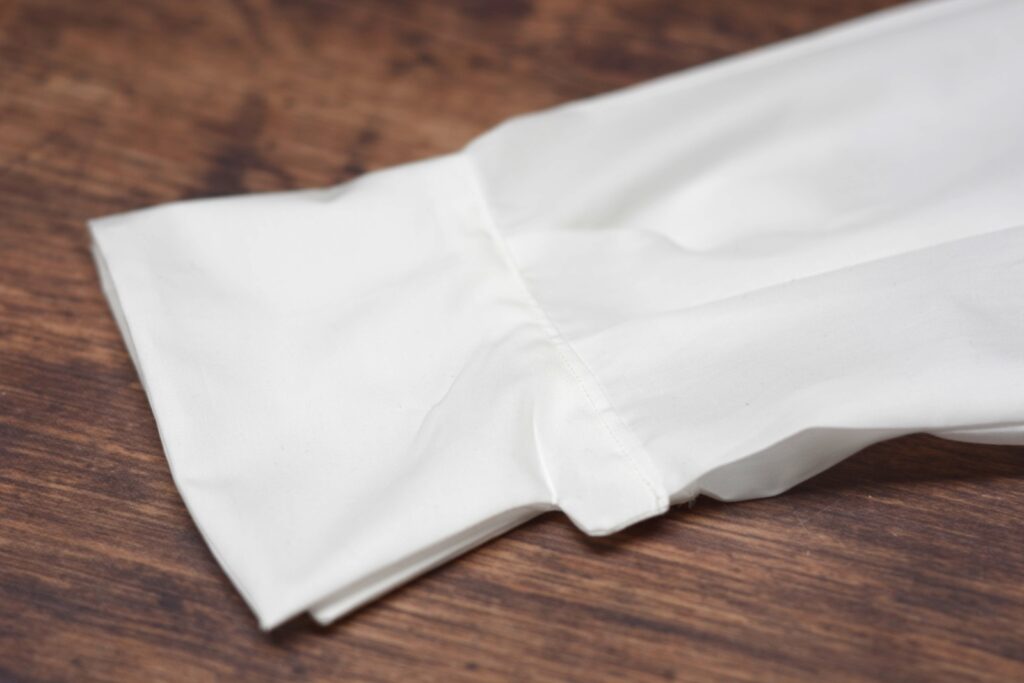
Topstitch across the cuff seam through all layers. You can also top stitch the outer edges of the cuff if you prefer, though I decided not to.
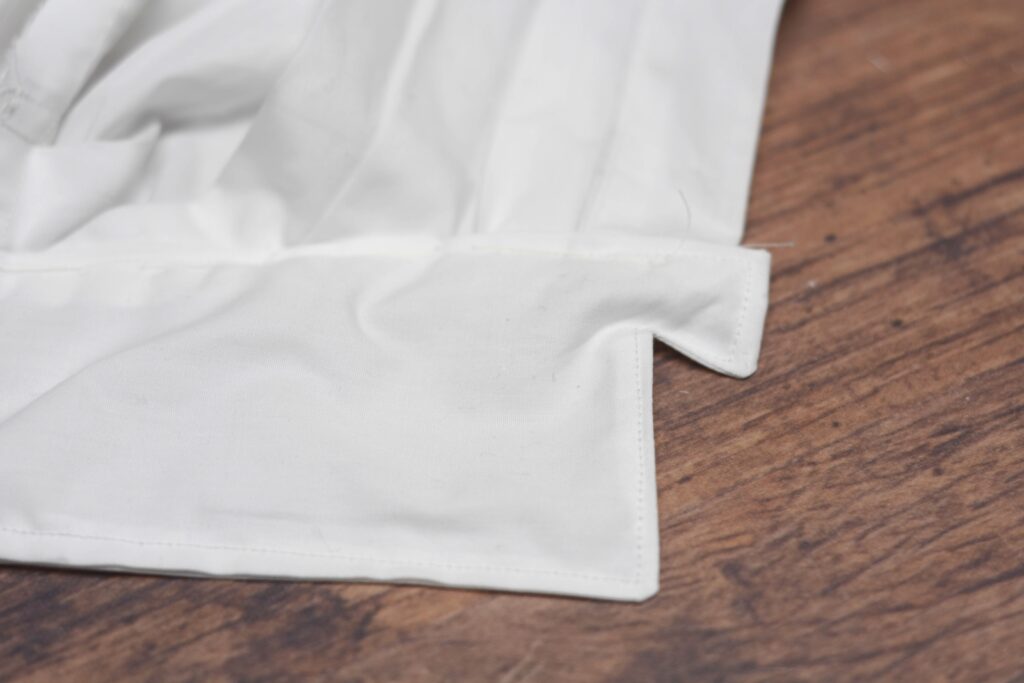
Here’s how the cuff interacts with the sleeve seam. With the real shirt we’ll finish this off before installing the cuffs.
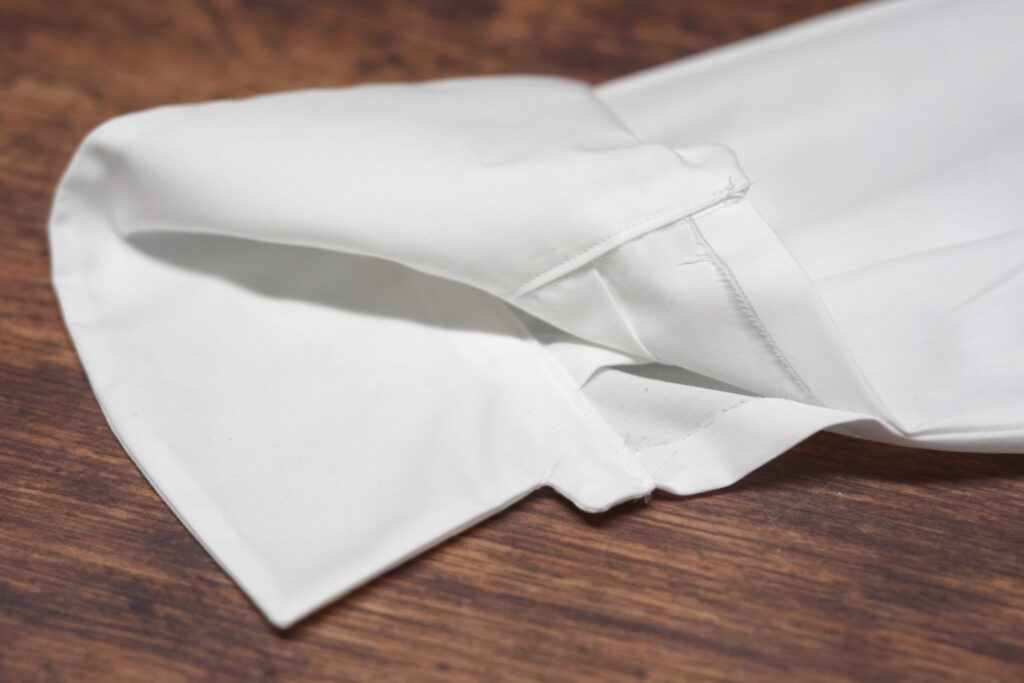
With the cuff complete, we can move on to closing up the sleeve seam. Pin the sleeve seam together and sew with a 1/2″ seam from the sleeve head area to about 2″ or 3″ above the top of the cuff.
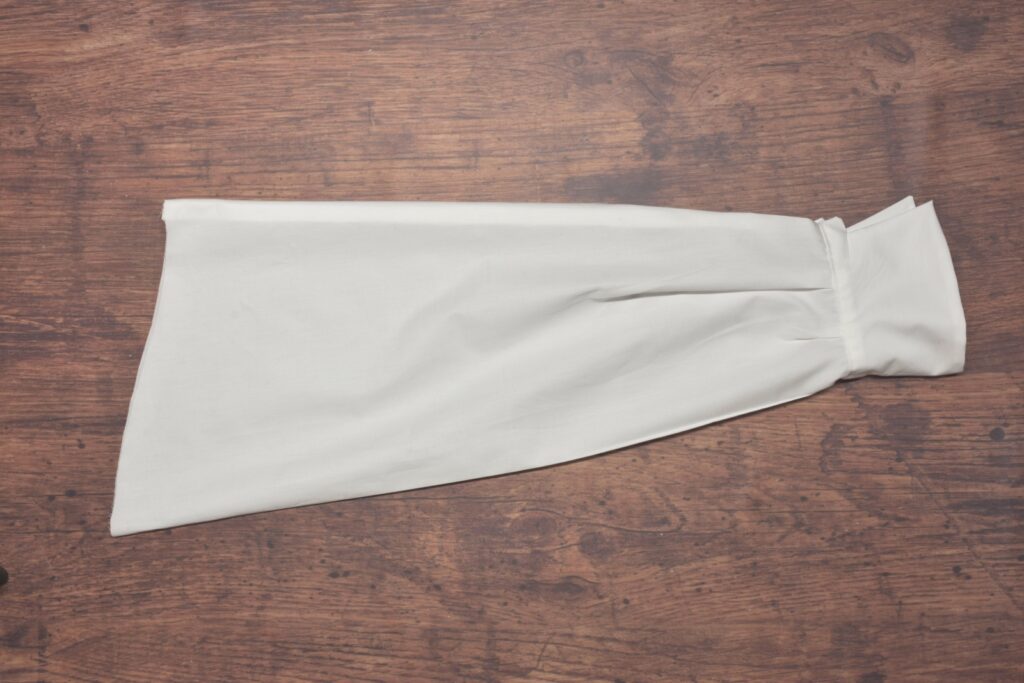
Turn and press the seam to one side.
This completes the sleeves. Next, we’ll install them into the armscyes.
Your Progress
[columns gutter=”0″]
[col]
[progressally_objectives]
[/col]
[col align_text=”center, middle”]
[progressally_progress_pie_chart size=”100″]
[/col]
[/columns]
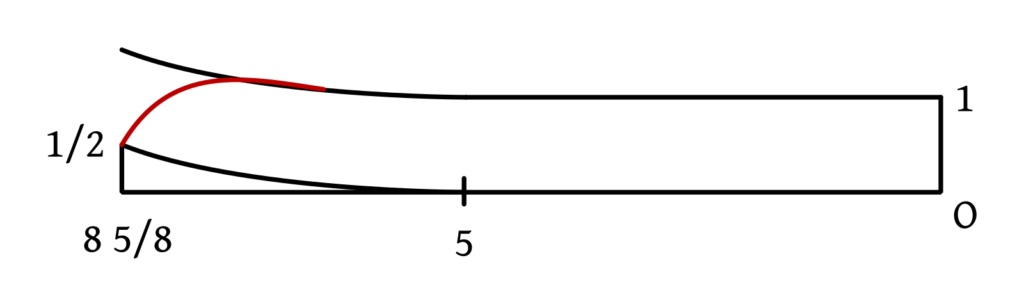
Drafting the Cuffs
There are two cuff options available for this course and I’ll be showing the construction of both. The first is similar in style to the collar from Devere, while the second is much simpler and based on original shirts from the 1860s.
Begin by drawing a vertical construction lines and marking out the following points from 0 with the appropriately-sized graduated ruler.
- 0
- 3 1/8
- 4

Square out from 0 and 4. Mark the following widths:
- 5 1/8 from 0
- 4 3/8 from 4
- 5 1/8 from 4
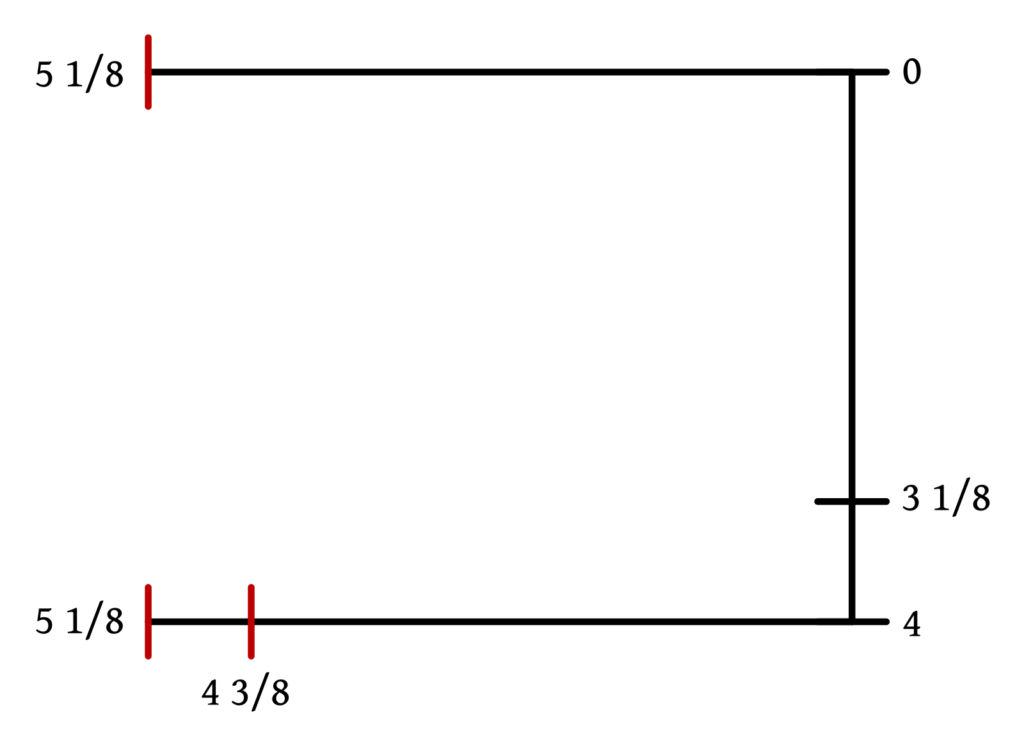
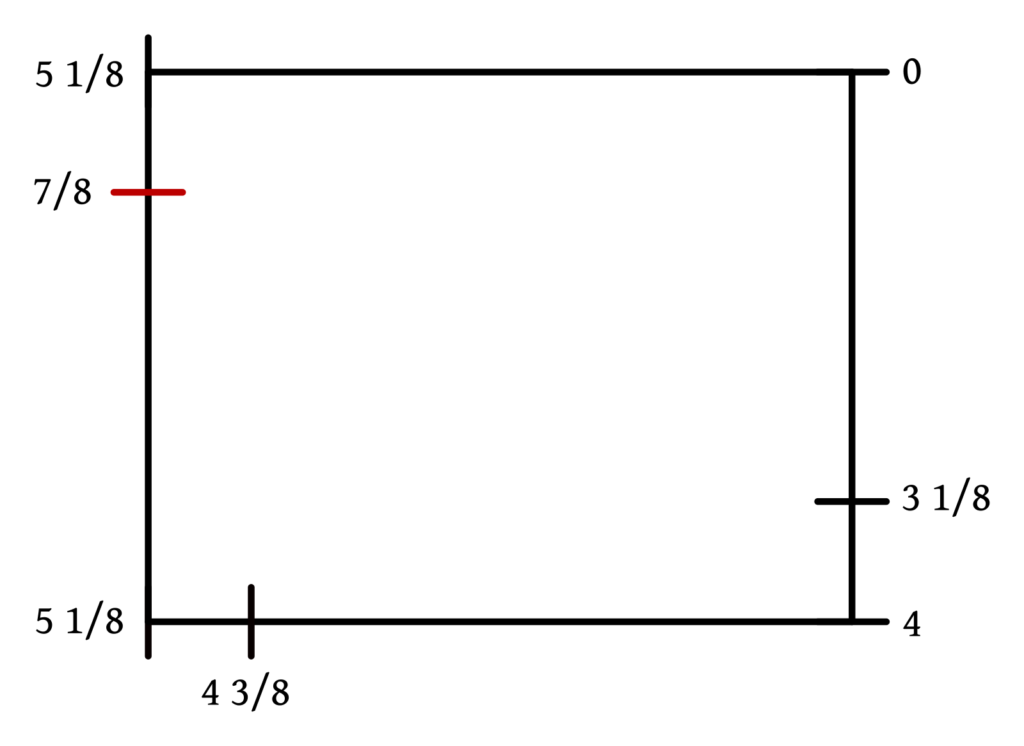
Draw a line from 5 1/8 to 5 1/8, marking 7/8 from the top. It’s a little confusing so far, but hopefully will become clearer in the next steps!
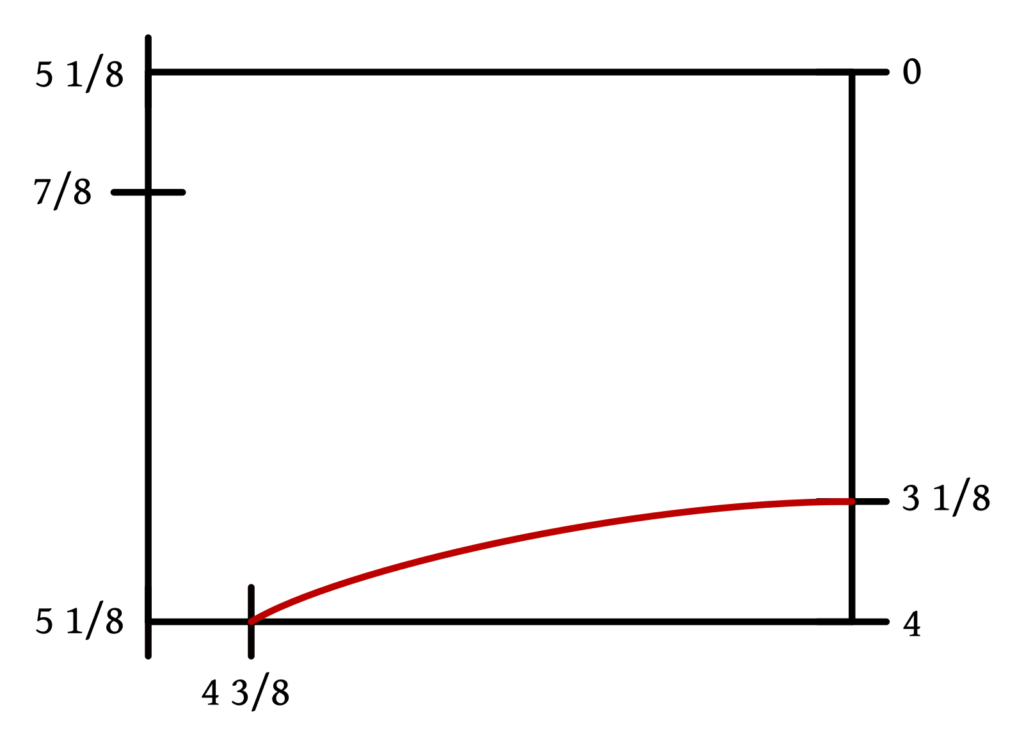
Draw a curved from 3 1/8, running square at first to avoid a scalloped affect in the finished collar, down to 4 3/8.
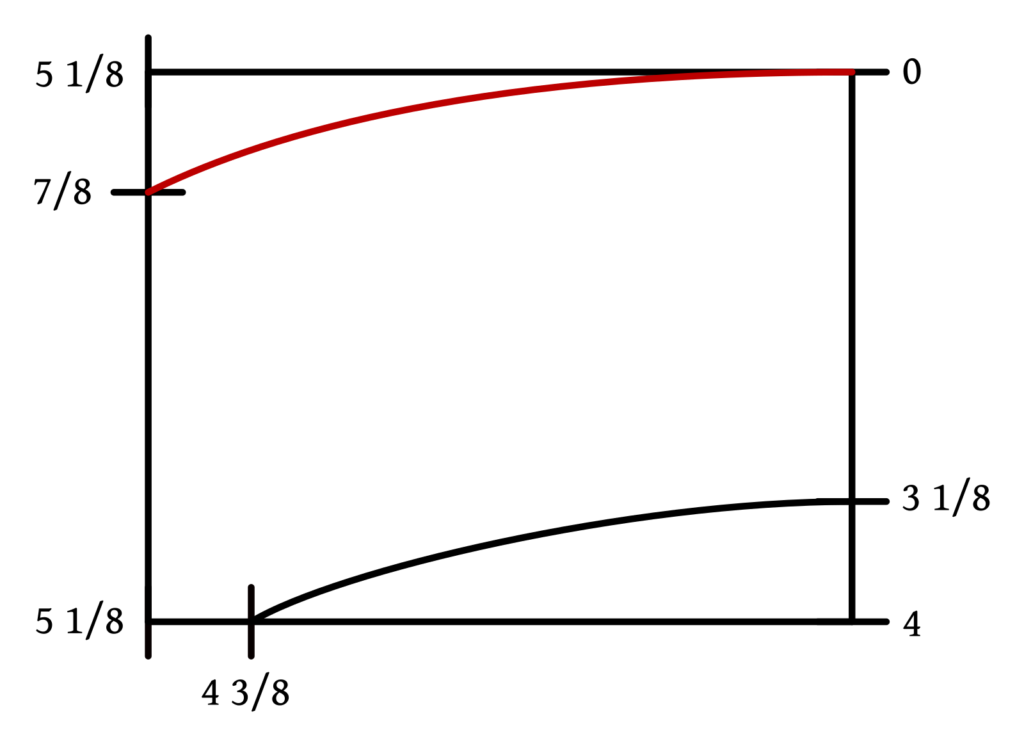
Draw a similar curve from 0 t 7/8. The curves look parallel but not quite (I think).
Finally, close up the cuff in a similar manner as the collar. Square up from the bottom curve 3/4. Then square out from that another 3/4, connecting at 7/8. You may have to play around with this, as I found the measurements don’t quite line up if you keep everything perfectly square.
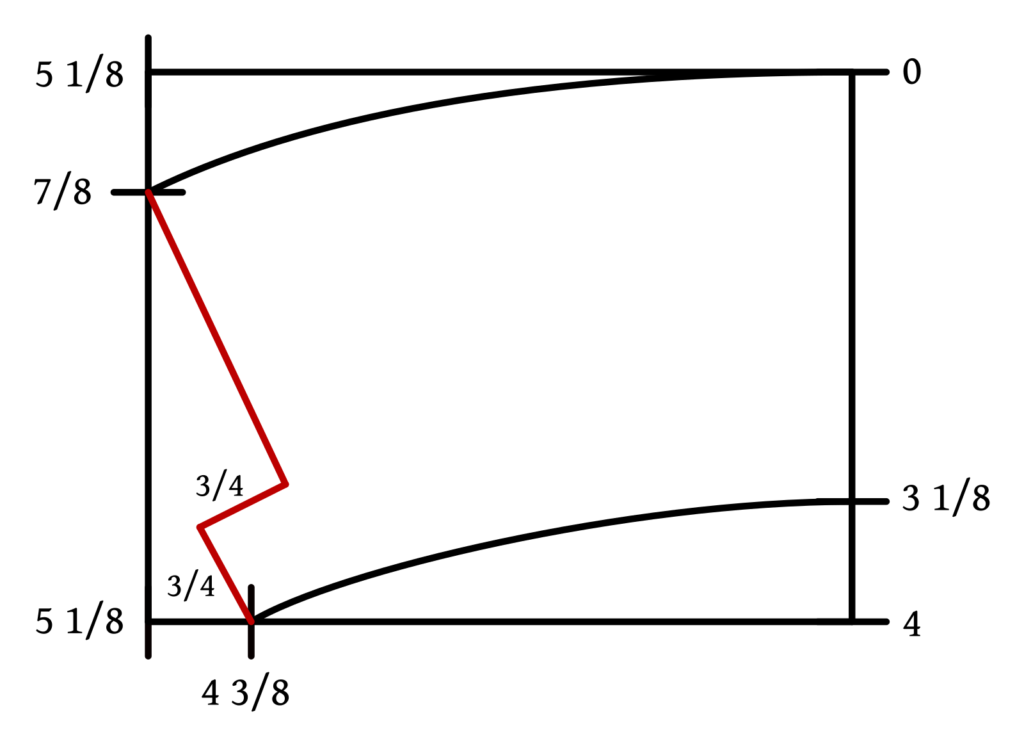
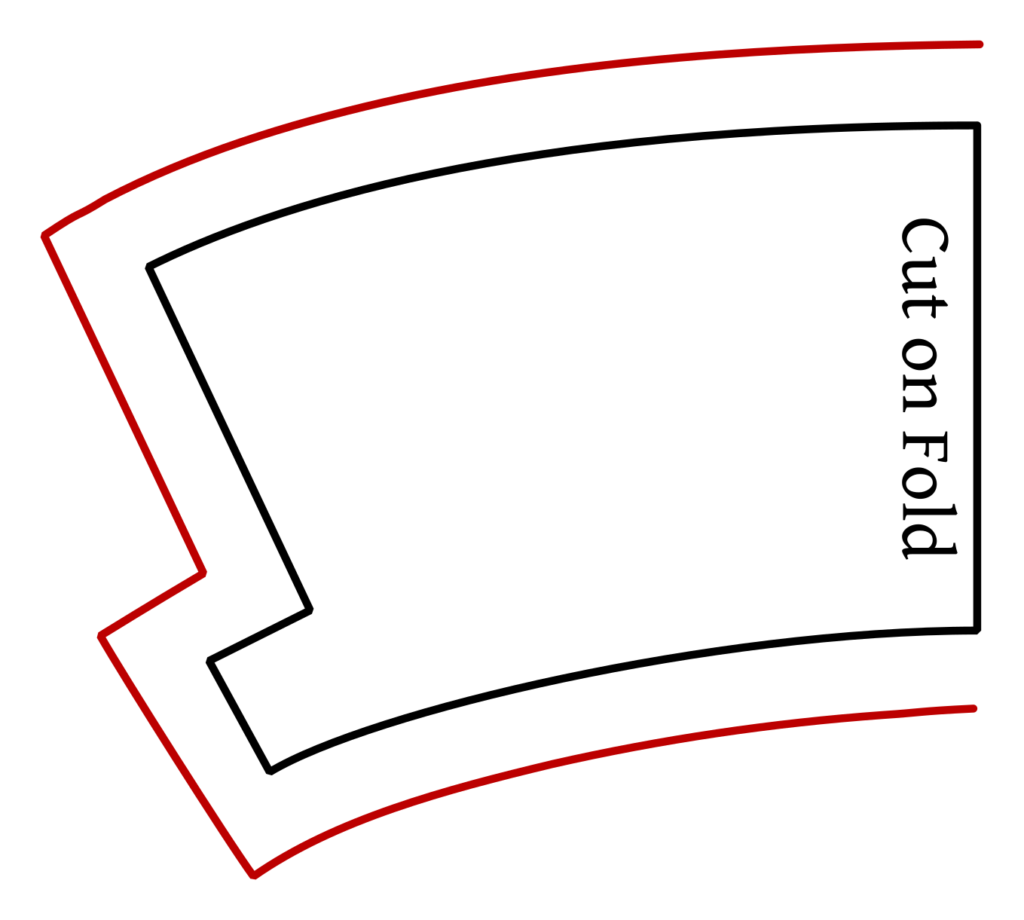
Add a 1/2″ seam allowance all around except for the center line, which is cut on the fold.
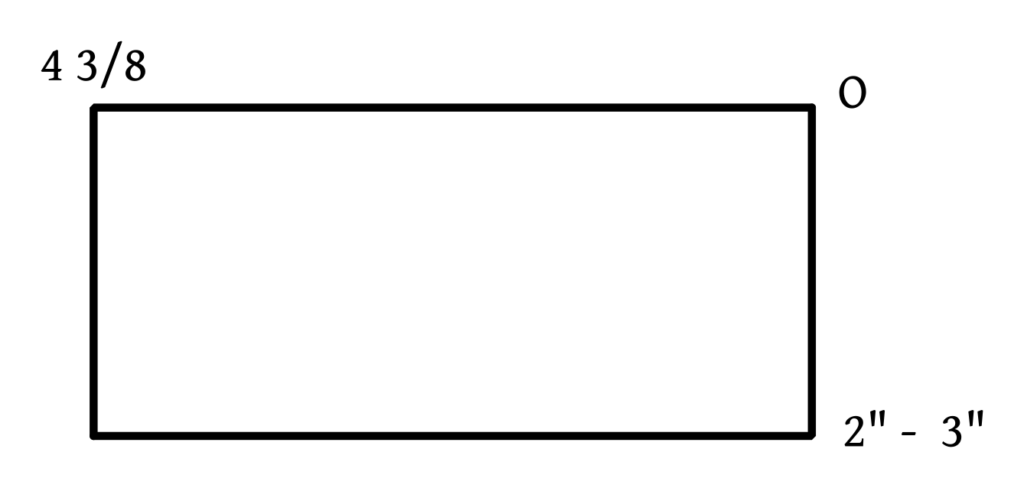
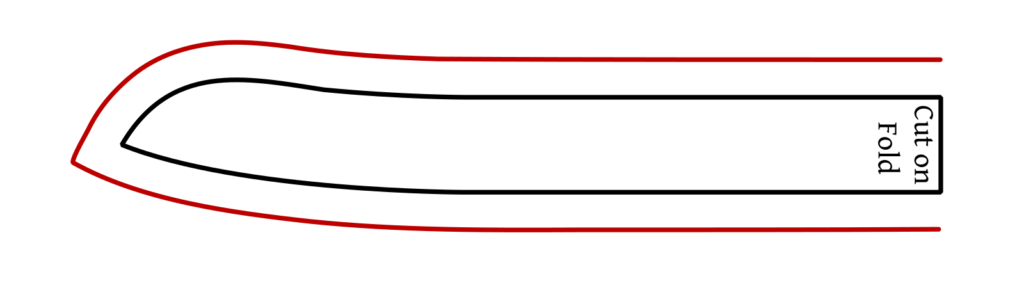
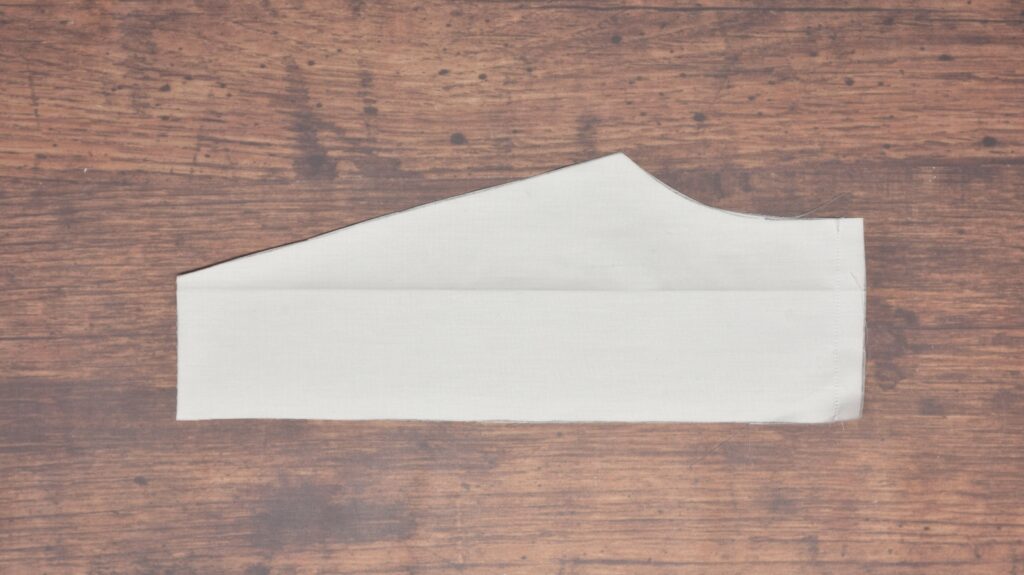
Basic Curved Cuff
This is the simplest form of cuff to draft. Square out from 0 and draw a rectangle 4 3/8 wide by 2″ – 3″ (graduated or not). The exact depth of the cuff is up to you, I’ve seen examples from 1″ up to 4″ like the one above.
Draw a circle in one corner as shown. You can make this as deep or as shallow as you like, or even leave the cuff square.
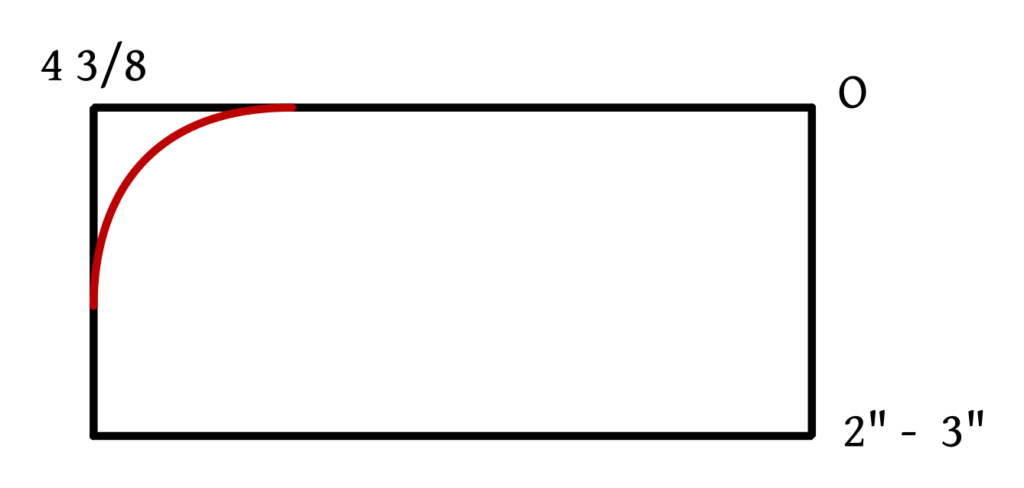
Finally, add a 1/2″ seam allowance all around except for the center line, which is cut on the fold.
Your Progress
[columns gutter=”0″]
[col]
[progressally_objectives]
[/col]
[col align_text=”center, middle”]
[progressally_progress_pie_chart size=”100″]
[/col]
[/columns]
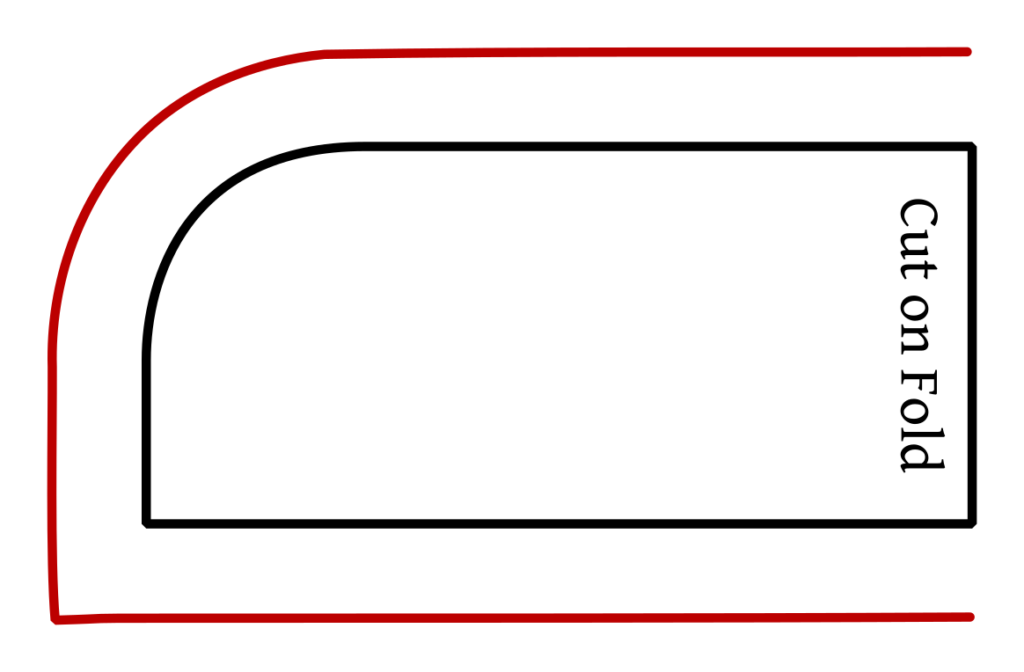
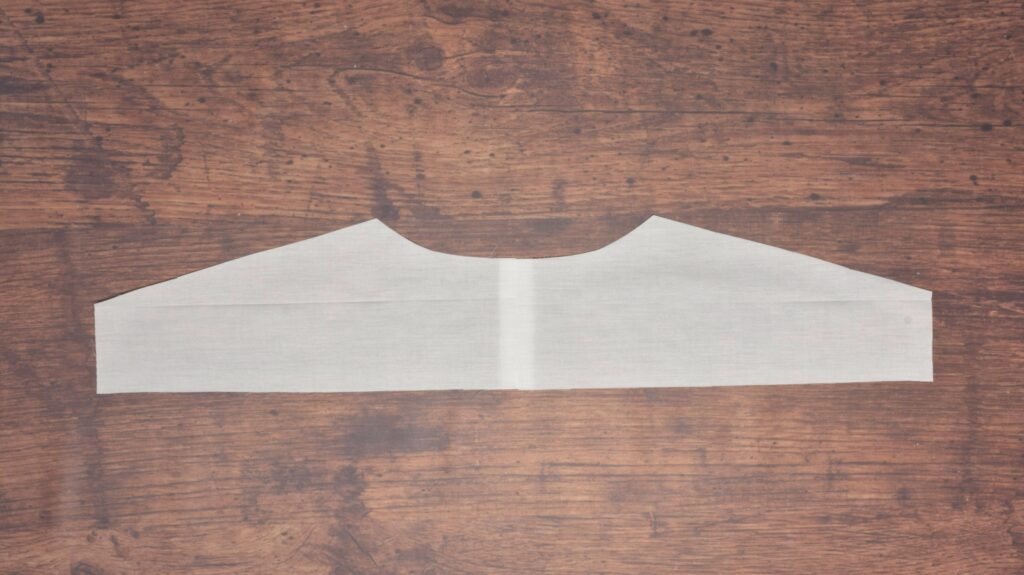
Drafting the Collar
The pattern for this collar comes directly from Devere’s draft with very little explanation. From what I can tell, and based on other original garments, it makes a one piece stand up collar. You could also perhaps turn the pattern into a two piece collar with the stand and fall by drawing a line parallel to the bottom edge, 3/4″ from the bottom, but that’s beyond the scope of this project.
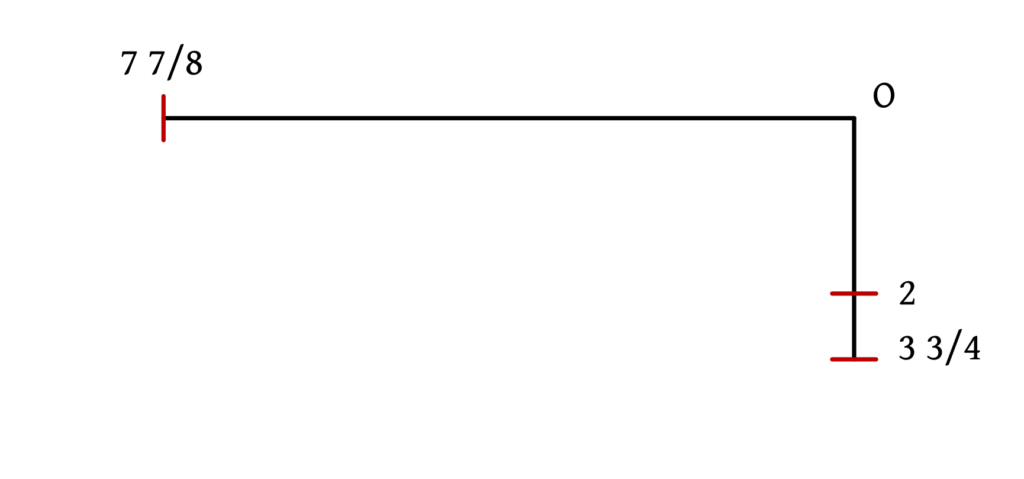
Begin by squaring out the following points from 0 using the appropriate graduated ruler:
- 2 from 0
- 3 3/4 from 0 (total height of collar)
- 7 7/8 from 0 (length of the top edge)
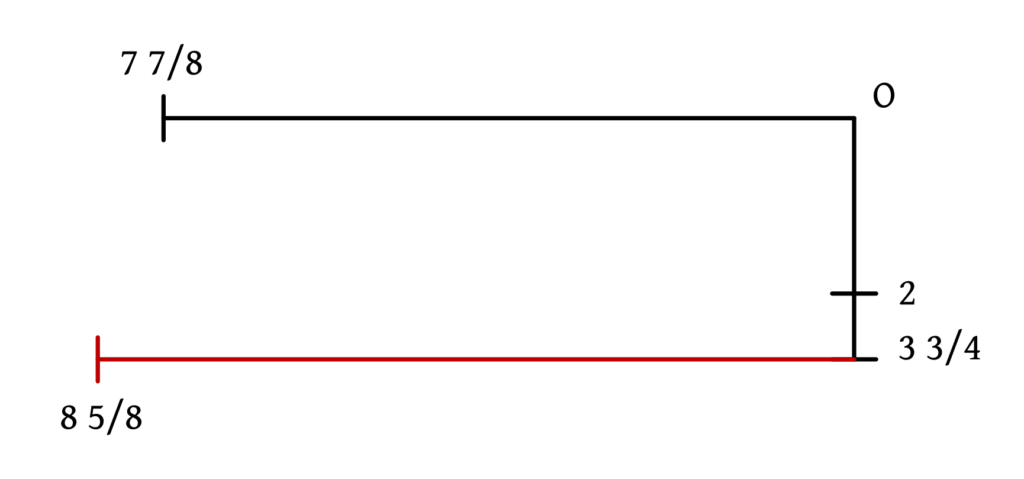
Square out from 3 3/4 to 8 5/8. This gives the length of the collar.
I would recommend measuring this afterwards with a regular ruler, doubling it and comparing it to your neck measurement. Then compare to the length of the neck and back neck on your pattern. Hopefully they will all be close but if there are large discrepancies it would call for a little investigation.
Draw in the bottom of the collar with a gentle ‘s’ curve beginning at 2. Start parallel to the baseline before slowly curving down into point 8 5/8 (which doesn’t need to be parallel to the baseline).

Devere doesn’t give measurements for actually finishing the collar, so this is as close as I could come up with with the given information. Square up 3/4 from the bottom of the collar (not the baseline). If you look closely you can see that the front edge of the collar is on a very slight angle.
Square out from this line another 3/4, meeting up with a line drawn square from 7 7/8.
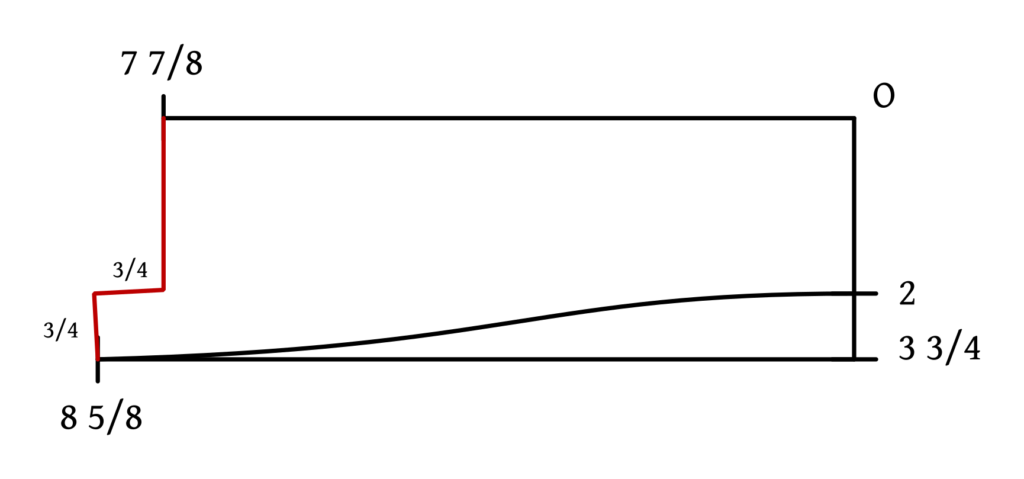
Finally, add a 1/2″ seam allowance all around except for the center back, which is cut on the fold.
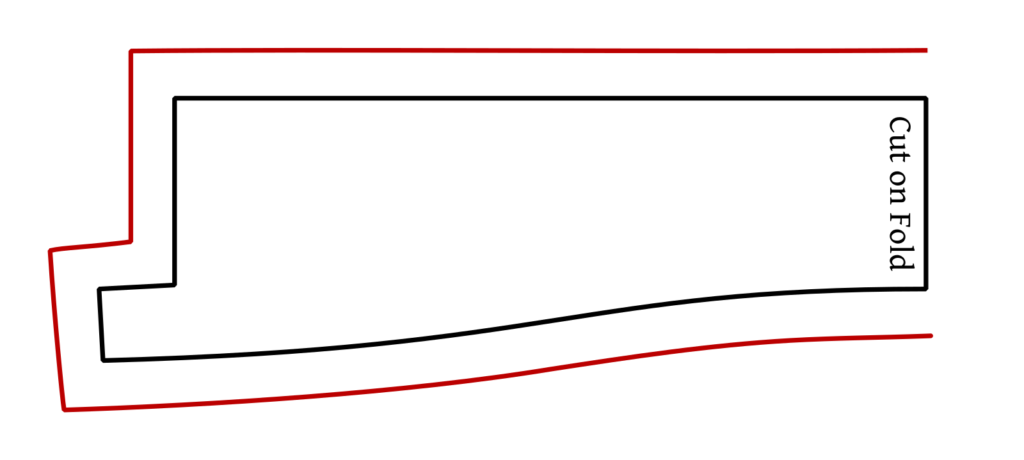
Banded Collar
If you prefer, you can make a banded collar for your shirt. These were often used in conjunction with a detachable collar so that you could vary your style without owning yet another shirt. We’ll be going over the detachable collar construction in the next project when this shirt is done. This is my own personal draft, so feel free to alter the pattern.
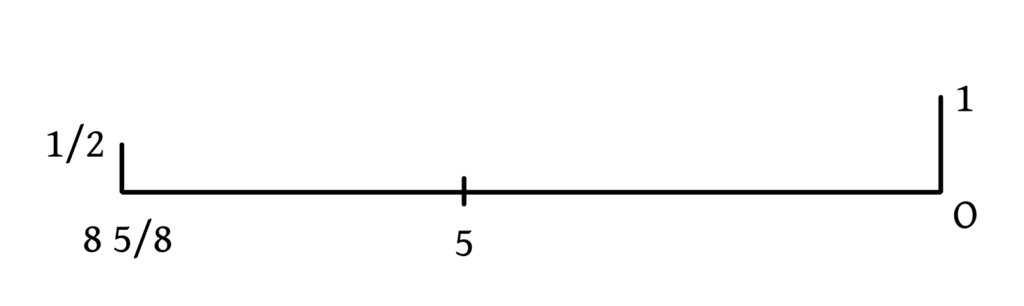
Begin by squaring out the following points from 0 using a graduated ruler.
- 1 from 0 (height of the collar)
- 8 5/8 from 0 (width of collar, adjust if necessary as explained above)
- 5 from 0
- 1/2 from 8 5/8
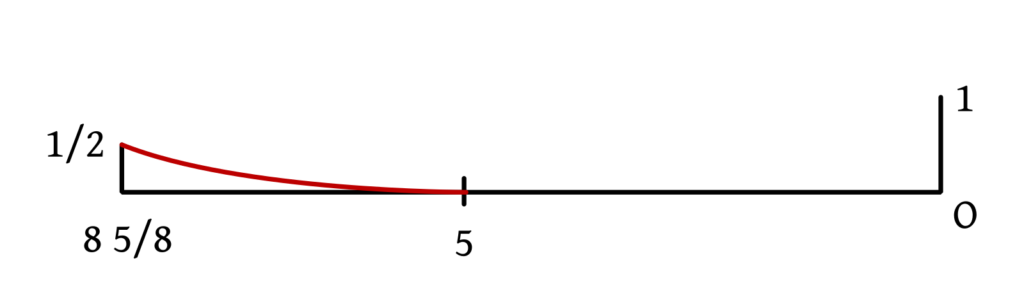
Draw a curve from points 1/2 to 5. This helps the collar lay smoothly around the neck.
Draw a line parallel to the baseline, 1 (graduated) inch away, following the curve carefully.
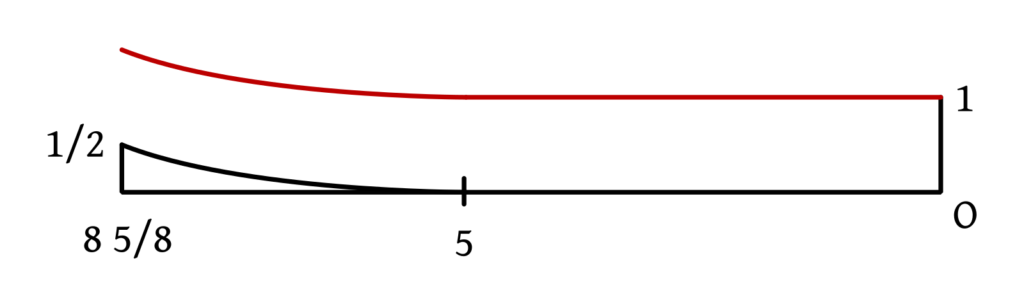
Draw in the shape of the front as desired. This can be a curve as I’ve drawn, with varying radii to match your preferences, or even be kept square to the curved line below.
Finally, add a 1/2″ seam allowance except for the center back, which is cut on the fold.
Your Progress
[columns gutter=”0″]
[col]
[progressally_objectives]
[/col]
[col align_text=”center, middle”]
[progressally_progress_pie_chart size=”100″]
[/col]
[/columns]
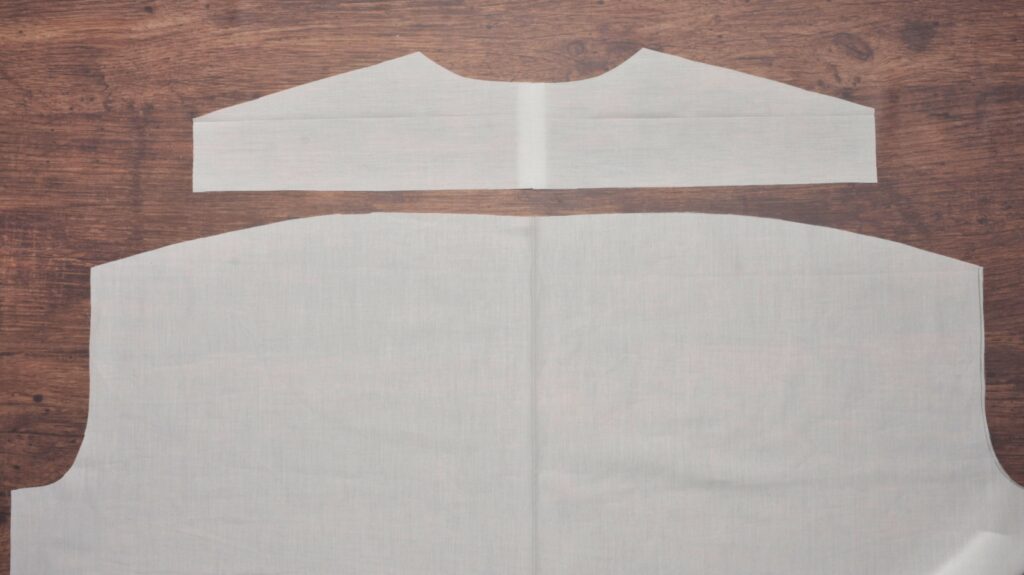
The Collar
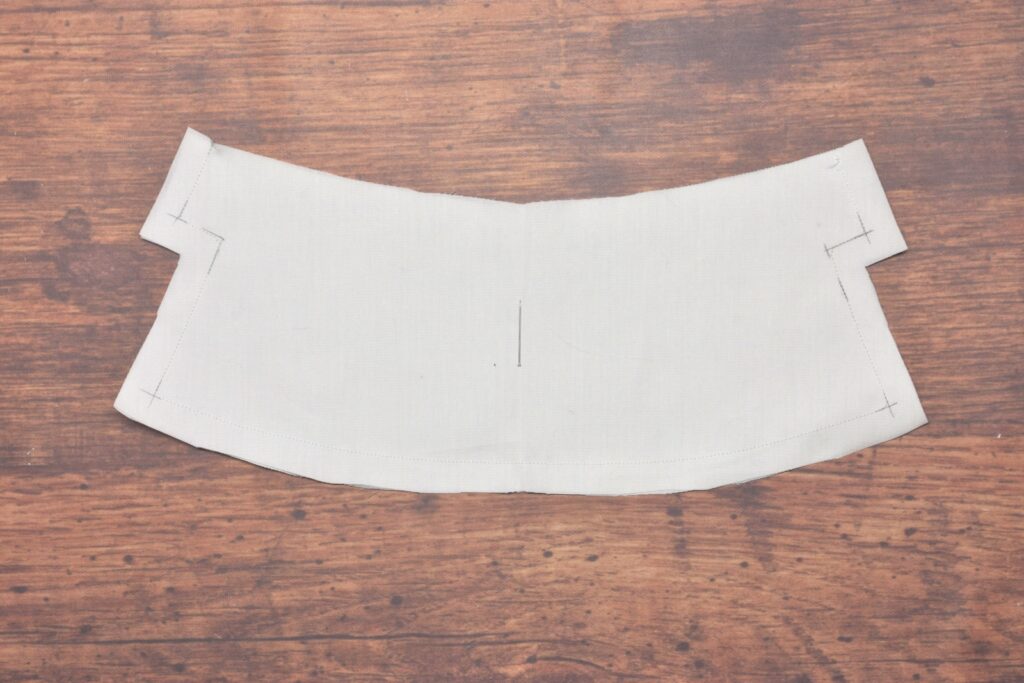
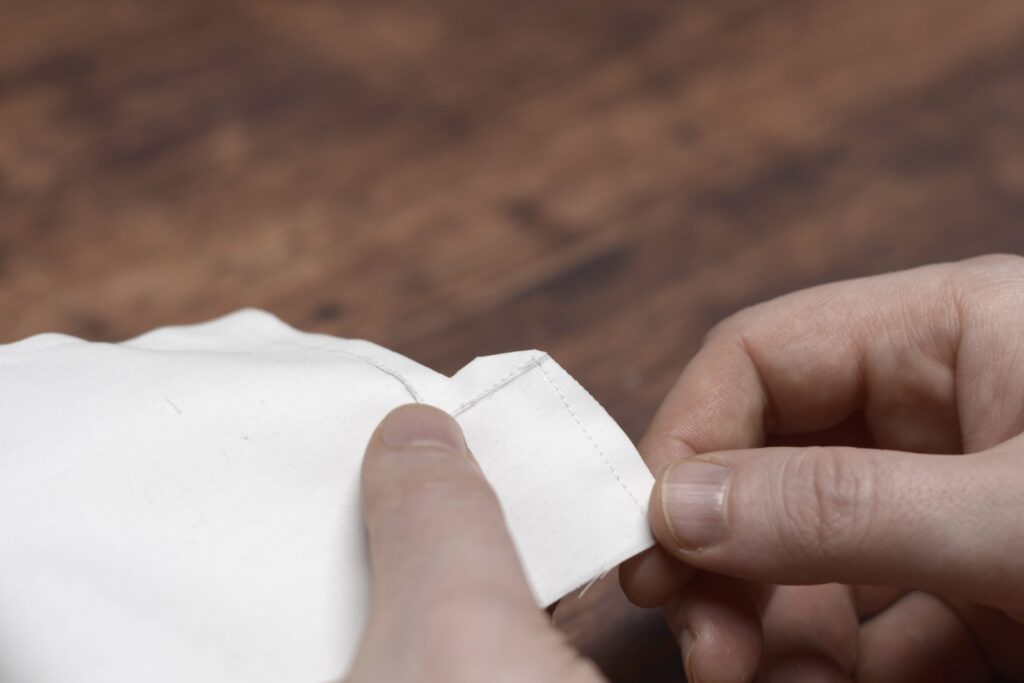
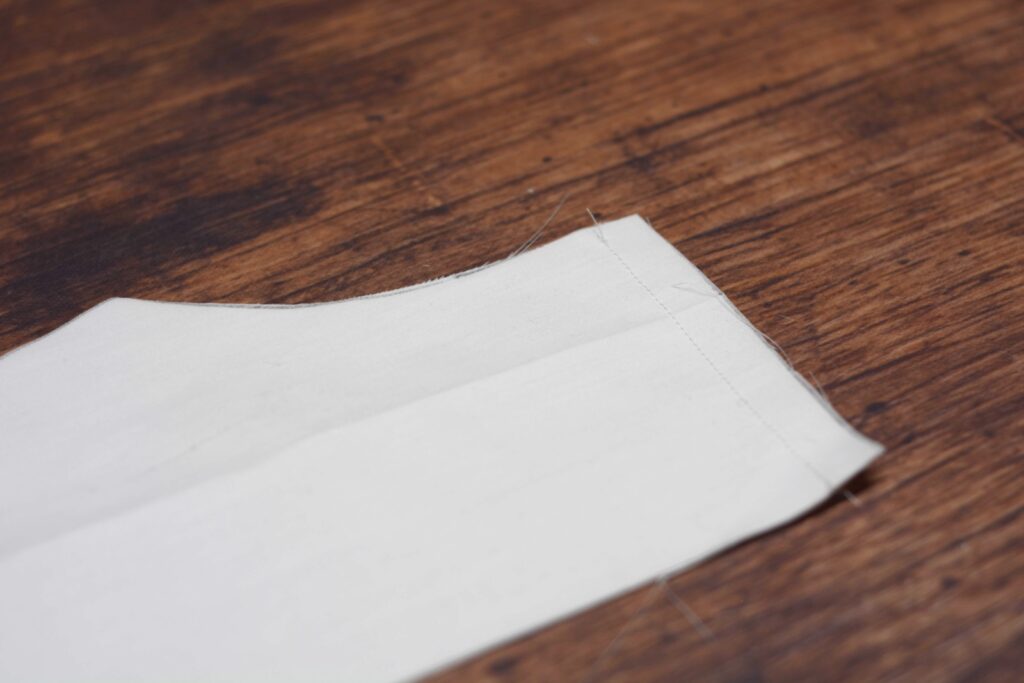
Now that the shirt body is complete, we can construct and attach the collar. The process is similar whether using a banded collar or this fancier style. Begin by laying both collar pieces right sides together.
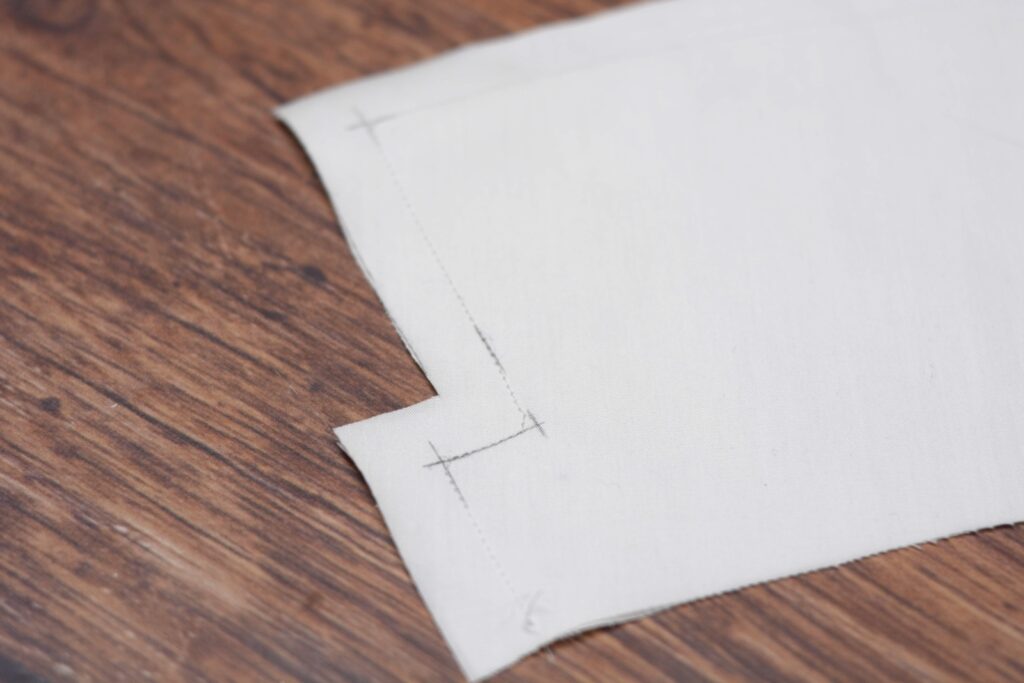
On the sharp corners, you can mark the seam allowances to help you turn the corners more accurately if you wish. I just did these two inside corners.

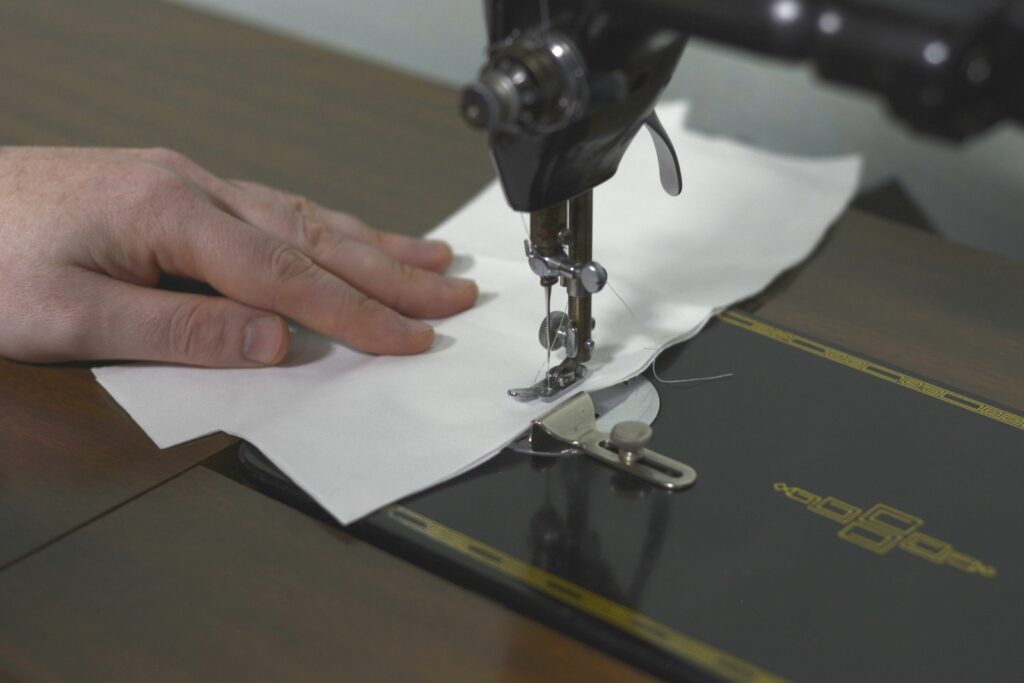
Starting at one end of the collar, sew the ends and top of the collar together with a 1/2″ seam allowance. Do not close up the bottom seam. You can pin the collar halves together before sewing if you want a little extra stability.
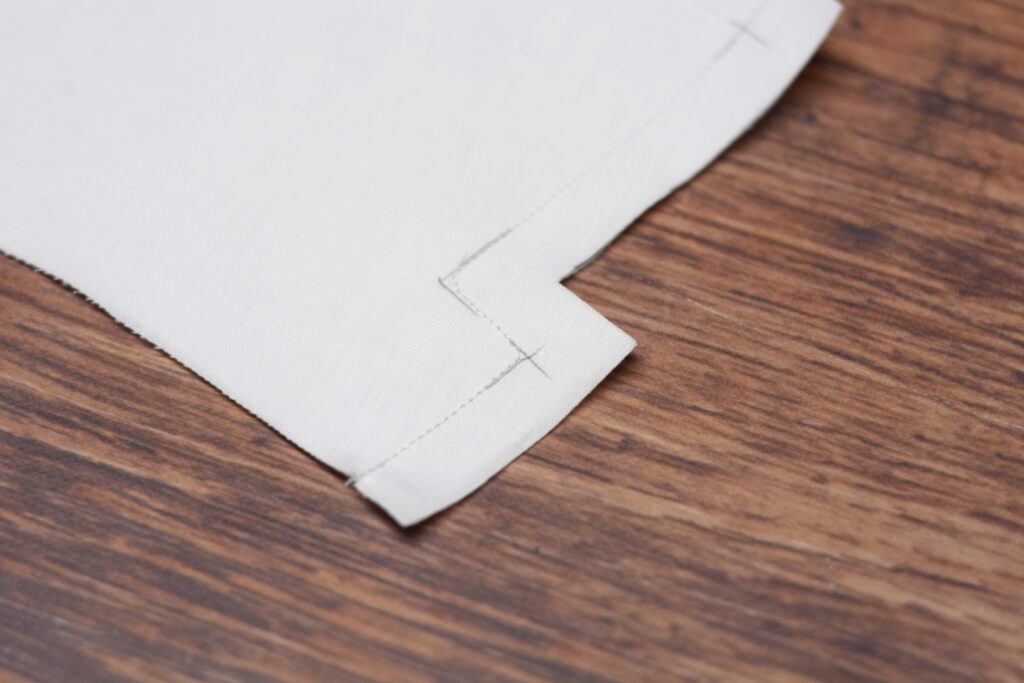
Here’s part of my sewn collar. I should have made a single diagonal stitch at each of the corners but it slipped my mind. It doesn’t really matter for this toile though.
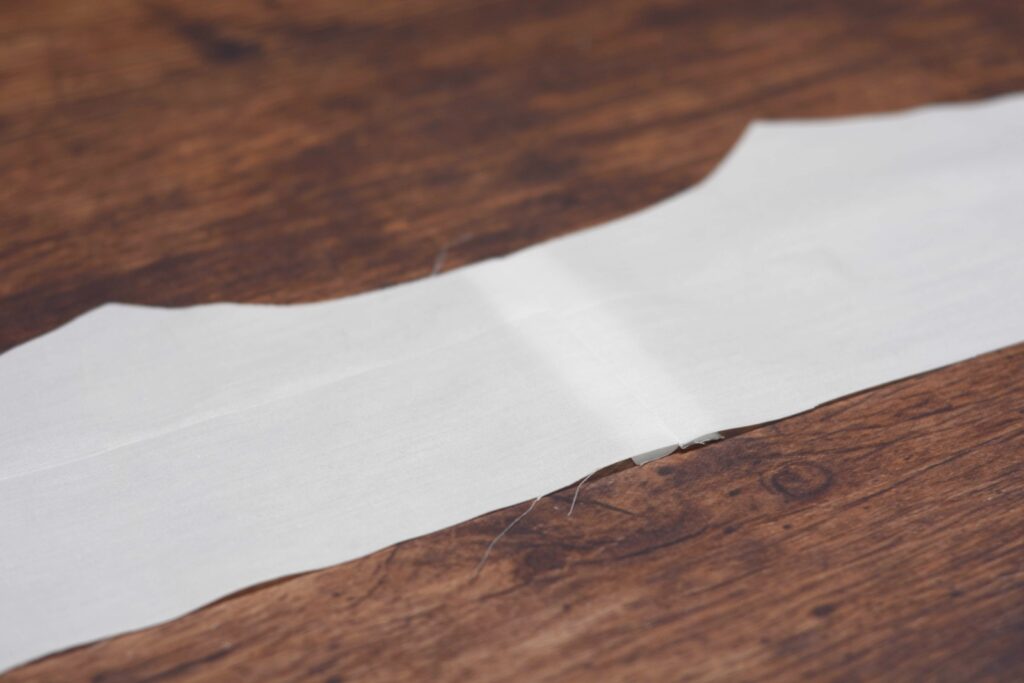
Trim each of the seam allowances (except for the unsewn bottom seam) down to 1/4″.
Trim the outside corners down to about 1/16″ to 1/8″ depending on how stable your fabric is.
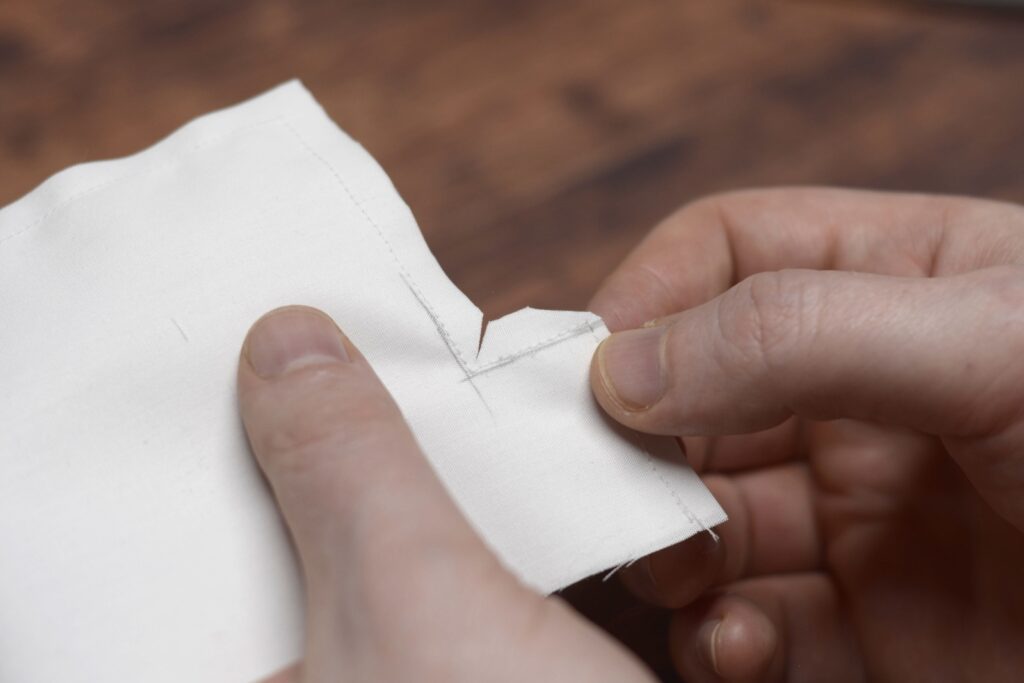
Clip the inside corner as well as close as you can without cutting into the seam itself.
Turn the collar right side out, using a point turner or even a pencil to ensure your corners are sharp.
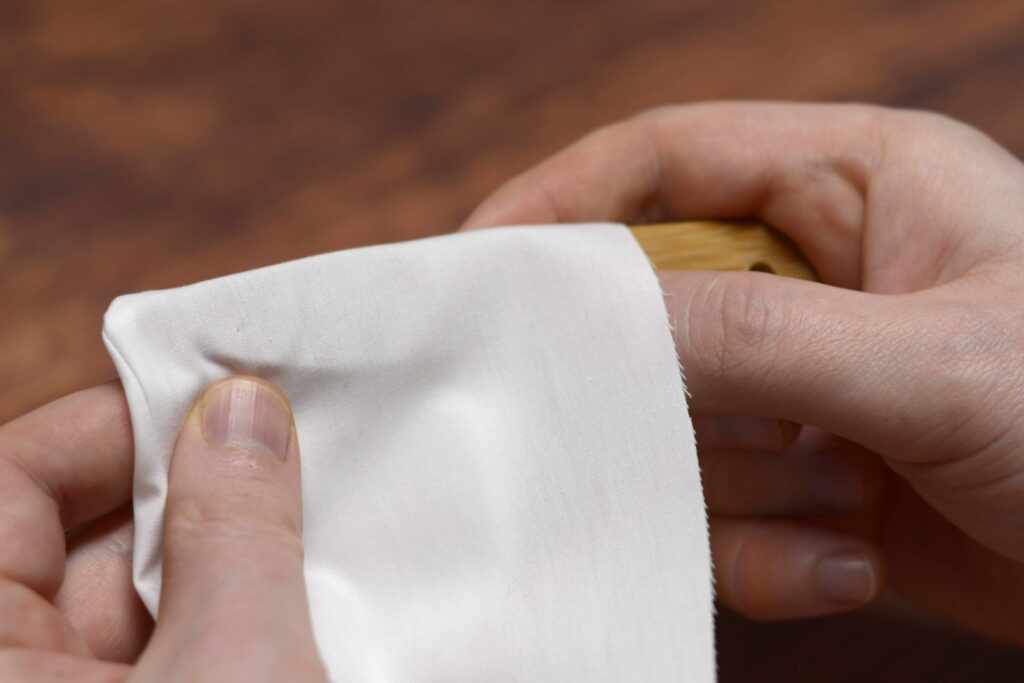
Press the collar well. Here’s what the collar should look like afterwards.
Attaching the Collar
Before attaching the collar, remove the small bit of machine stitching and the hand basting that are holding the shirt’s front placket together.
To attach the collar to the shirt, begin by folding the collar in half and finding the middle. Give it a crease with your fingers.
Mark the center with chalk or pencil.
With right sides together, align the center back of the collar with the center back of the shirt and pin. Fold the top (inner) inner layer of the collar out of the way as you pin.
Now pin one end, carefully aligning the end of the collar with the placket beneath it. Continue folding the top layer of the collar out of the way (it gets tricky near the end). Repeat for the other end of the collar.
Here’s what it looks like without folding the top layer of the collar back.
Working from the center of the collar to one side or the other, gradually pin the rest of the collar, working any fullness as you go. Repeat for the other half.
Here’s the collar fully pinned to the shirt. You could also baste this by hand for a bit more control, with the added benefit of not having to worry about running over pins with your sewing machine.
Sew the collar to the shirt using a 1/2″ seam allowance from end to end. Carefully hold the top half of the collar out of the way as you sew, and be sure to take everything slowly, as the neck and collar seams have a tendency to want to get out of alignment, due to the curves involved.

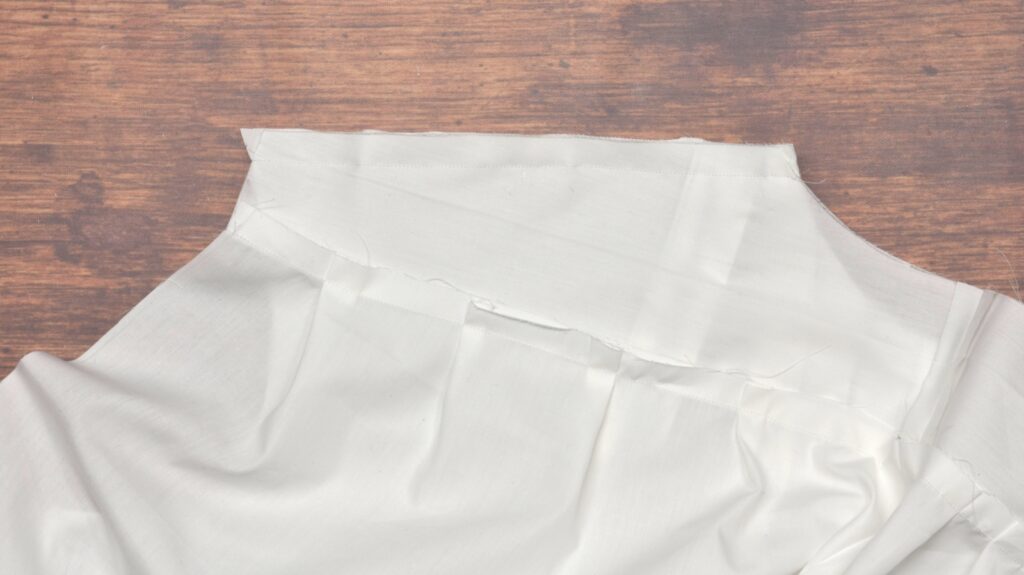
Here’s the completed seam showing the collar from the inside, the back yoke on the left, and the pleated front on the right.
Press the collar and seam allowances up towards the collar. This will allow all the seams in this area to be hidden. Use a tailor’s ham to help with pressing the curved seams.
Turning to the inside of the collar and shirt, pin the inner collar to the undercollar at the center, evenly distributing the fabric, about 1″ from the edge.
Pin the rest of the inner collar as well.
Now fold under the raw edge and seam allowance, allowing it to extend beyond the collar seam line by about 1/8″. Crease firmly with your fingers as you go.
Now baste the collar closed by hand along the neck seam.
Finally and optionally, you can top stitch across the base of the collar.
And around the front area and across the top.

Not very happy with how my collar turned out, but it is a mockup, after all.
Shoulder and Side Seams
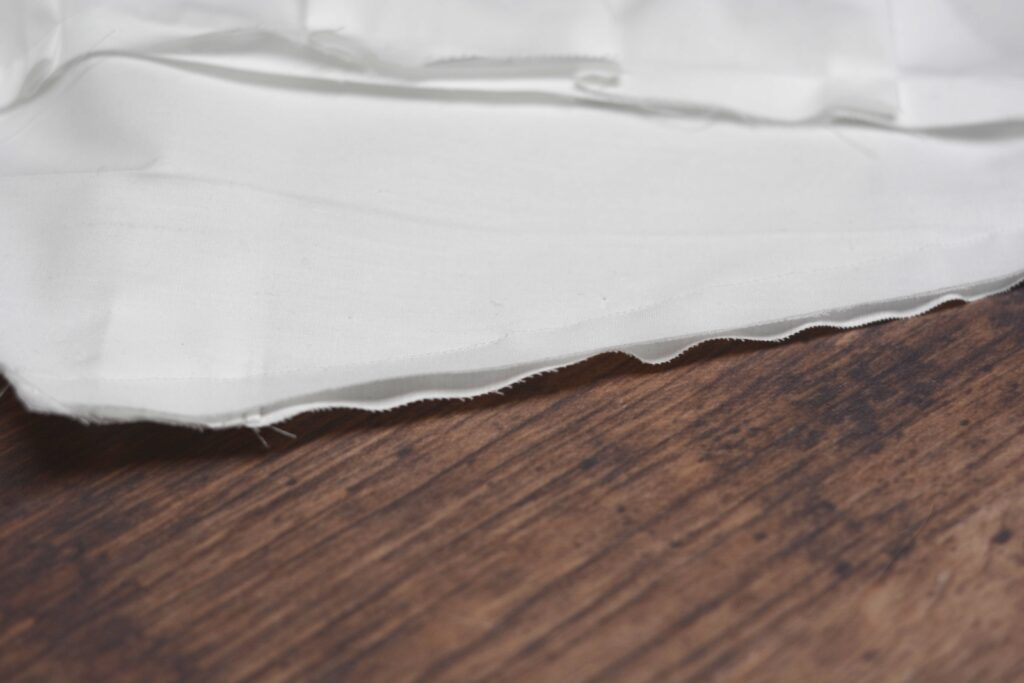
Now that the front and back pieces are complete, we can go ahead and join them together at the side and shoulder seams. Begin by pinning the fronts to the backs at the sides, right sides together. Start at the top, aligning the armscyes, and keep even tension on both until you get to the bottom of the seam.
Mark the bottom of the stitch lines just at the point where the front piece begins to curve inward.
Sew the side seam using a 1/2″ seam allowance.
The Shoulder Seams
Pin the shoulder seams together at either end. Note how the seam lines themselves are aligned at each end, and not the corners of the fabric or some other point.
Pin the center of the shoulder seam, distributing the excess fabric of the front equally on both sides. Then pin between each of these pins for a total of five pins.
Sew the shoulder seam, front side down to help distribute the fabric with the feed dogs, using a 1/2″ seam allowance.
Pressing
Press the side seams towards the back and the shoulder seams up towards the yoke using a tailor’s ham to maintain the slight shape.

Your Progress
[columns gutter=”0″]
[col]
[progressally_objectives]
[/col]
[col align_text=”center, middle”]
[progressally_progress_pie_chart size=”100″]
[/col]
[/columns]
The Back
Work on the back begins with sewing the two halves of the yoke together at the center back, using a 1/2″ seam allowance.
Press open the seam.
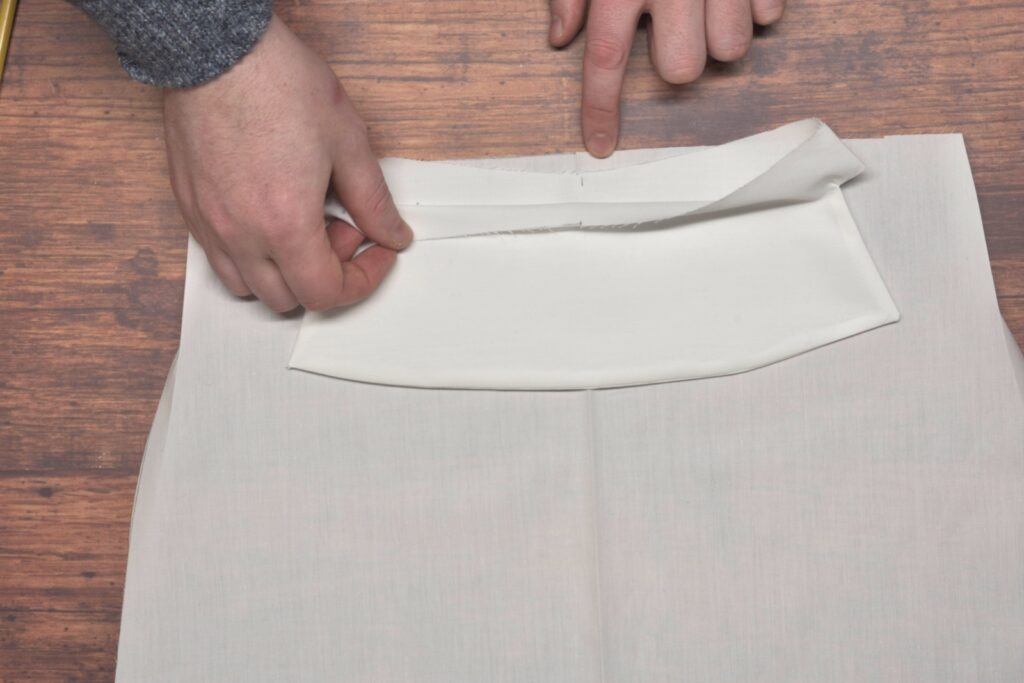
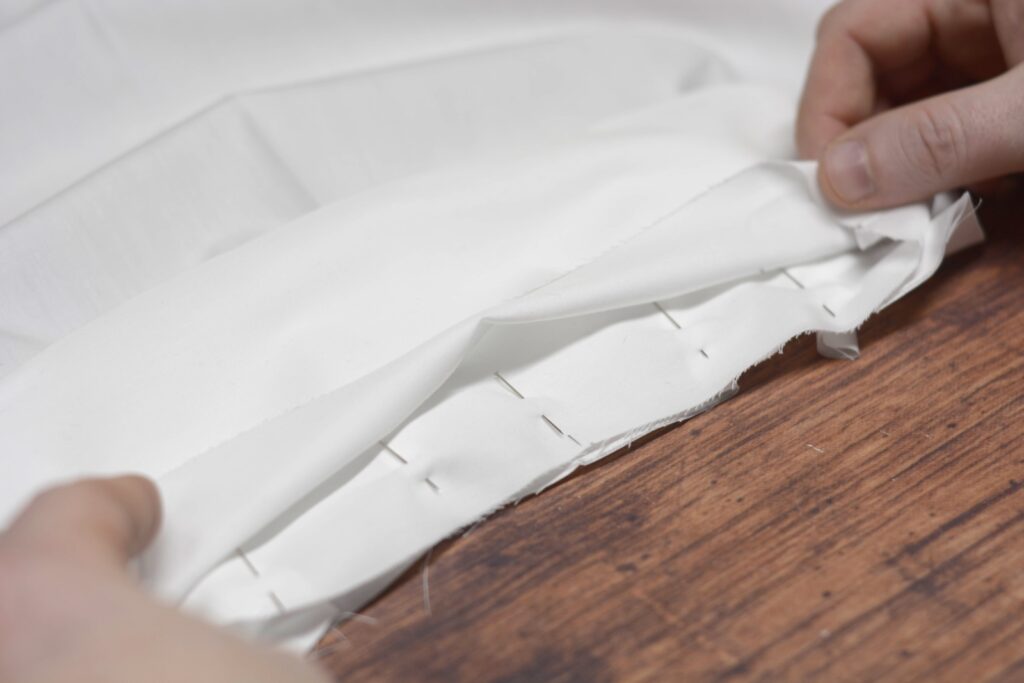
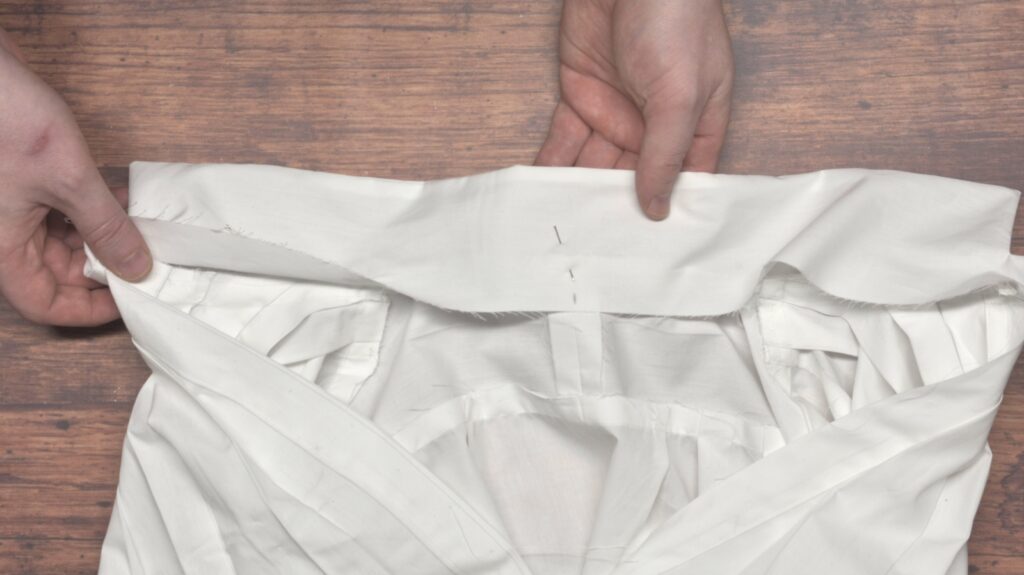
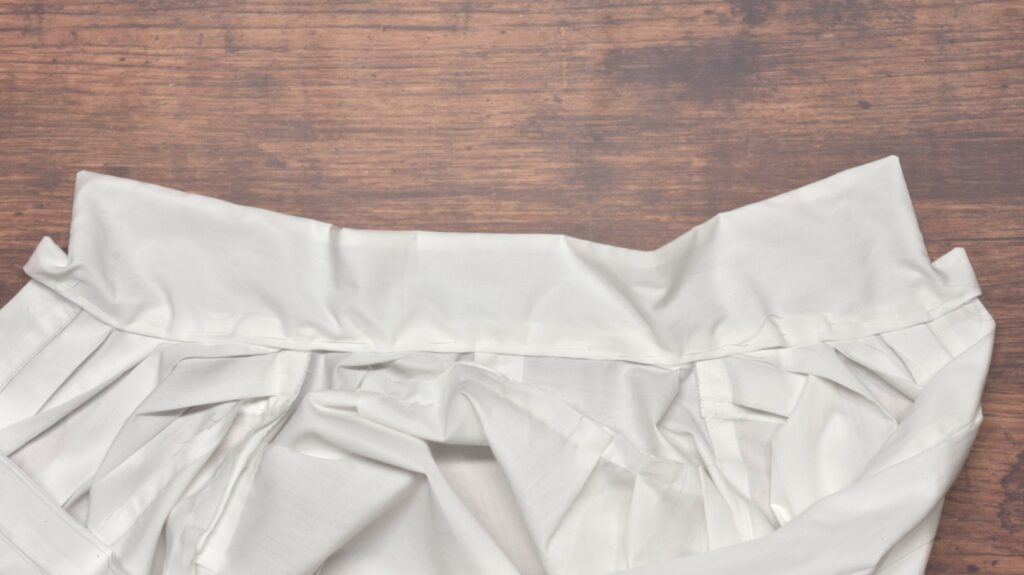
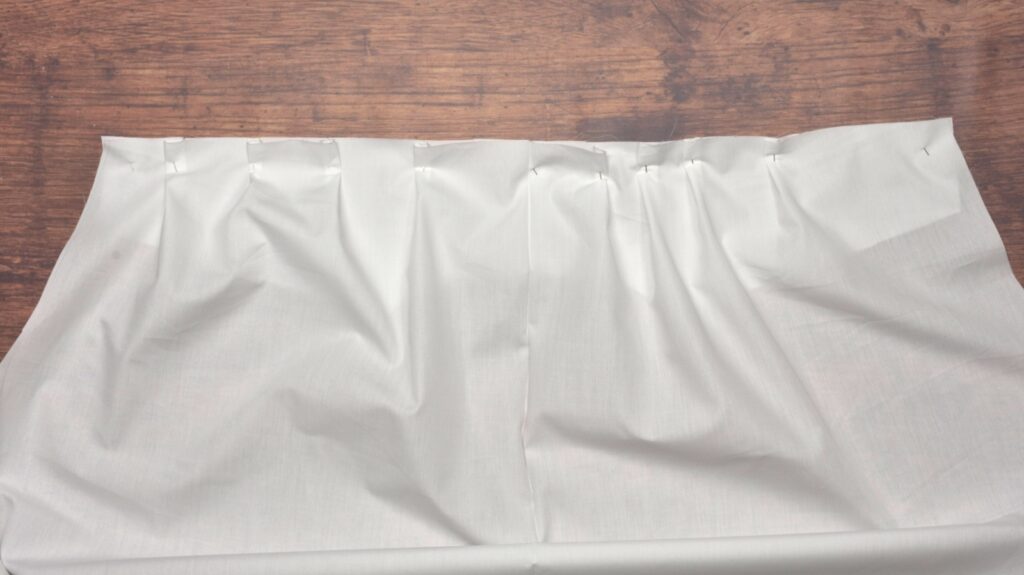
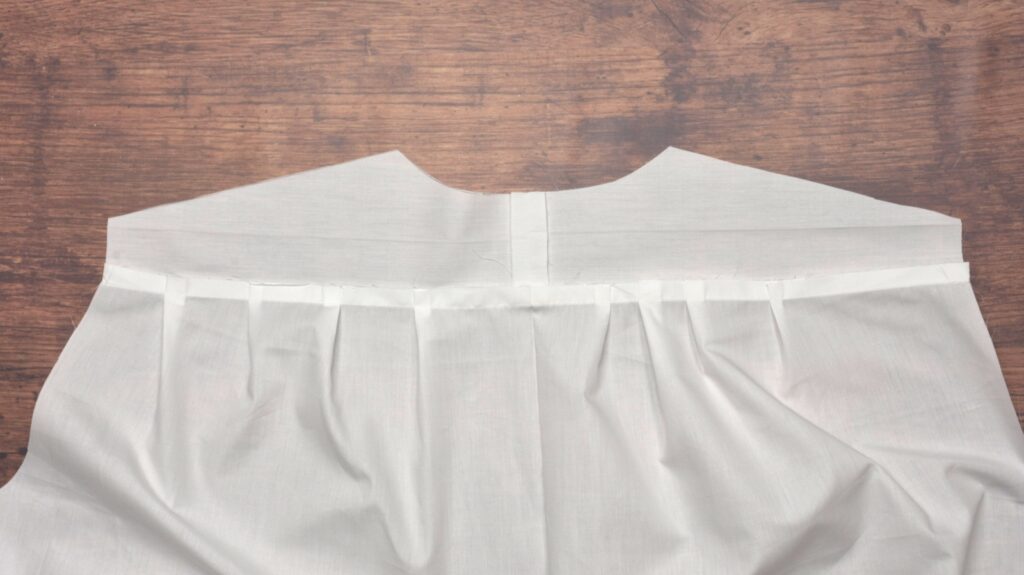
Lay the yoke and back pieces into position, right sides up. The excess fabric will need to be gathered or pleated in, though it’s not as much as on the fronts.
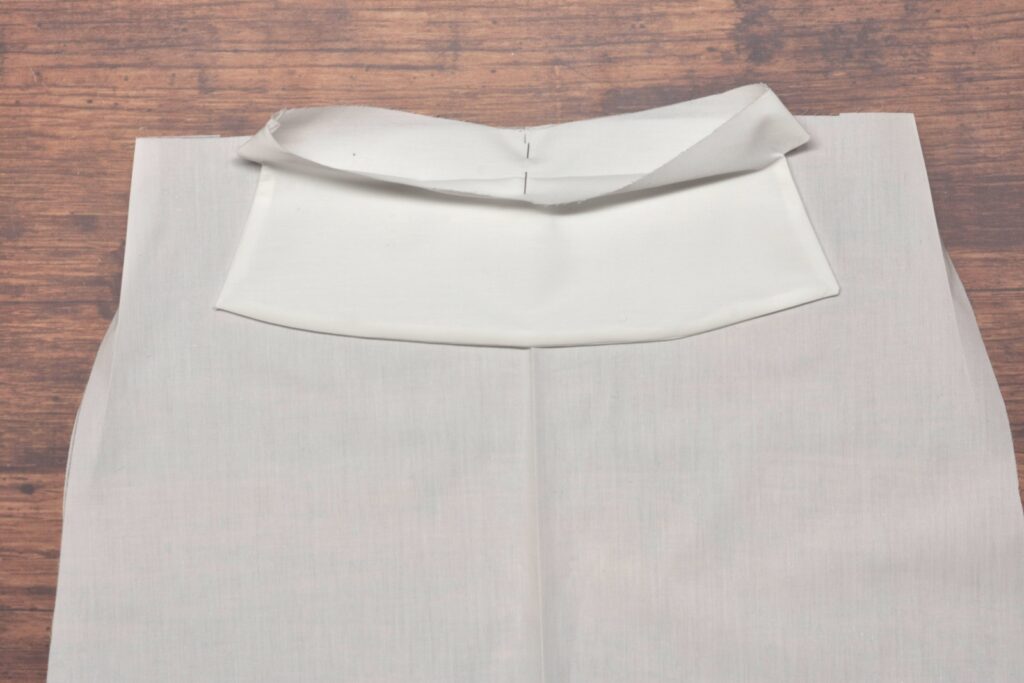
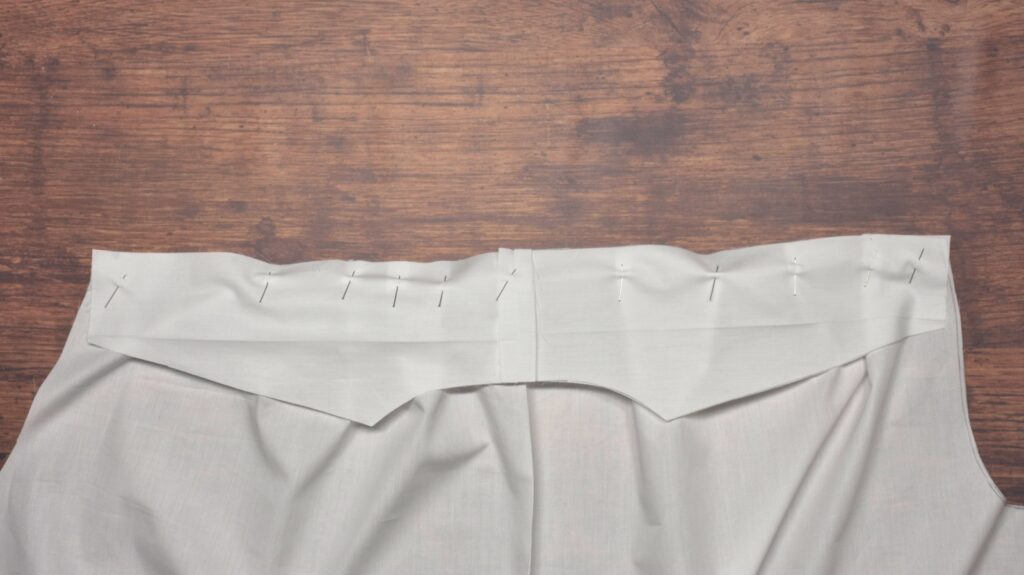
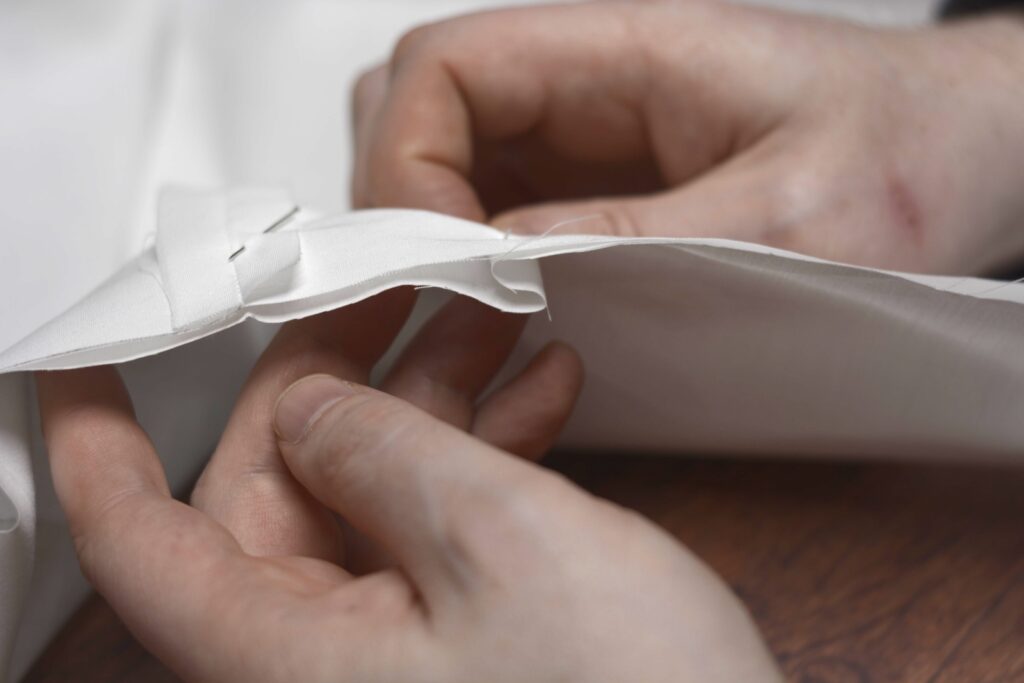
Flip the yoke down into position, right sides together, and pin the center of the yoke to the center of the back.
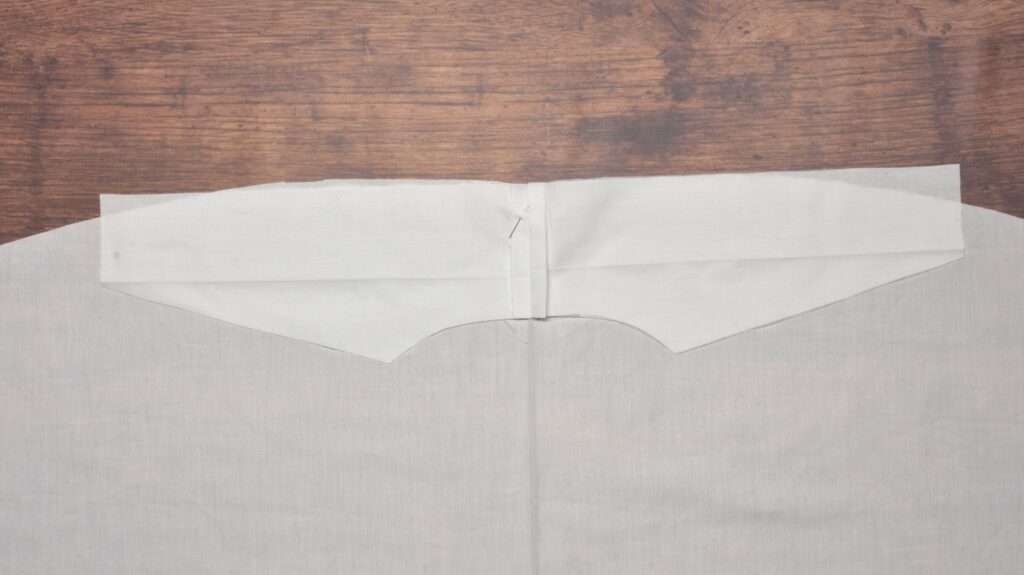
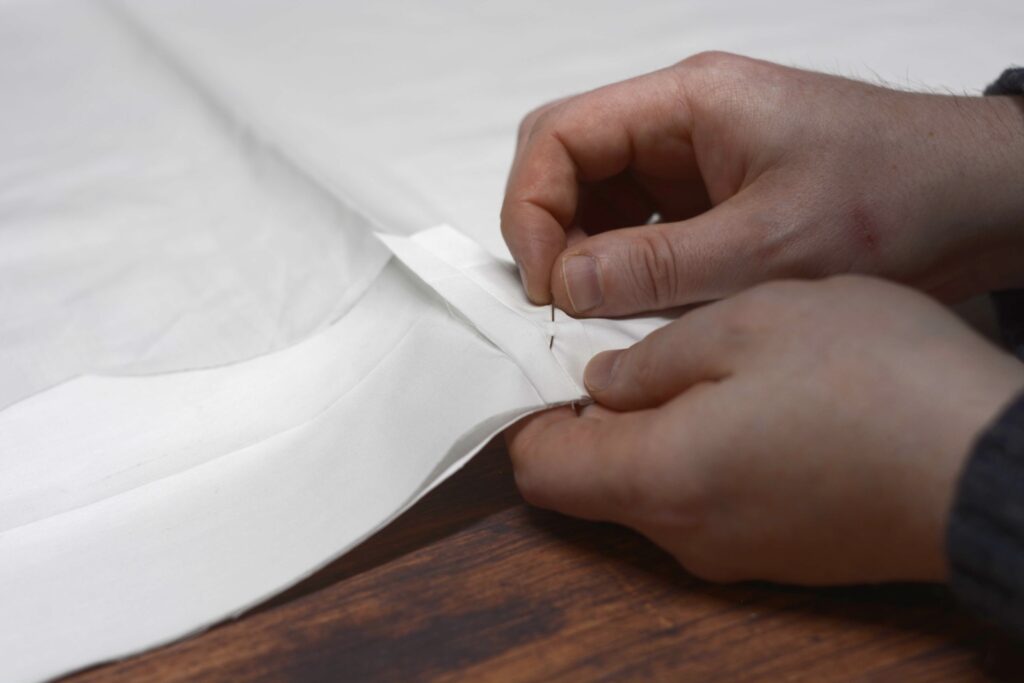
Now pin both ends together.
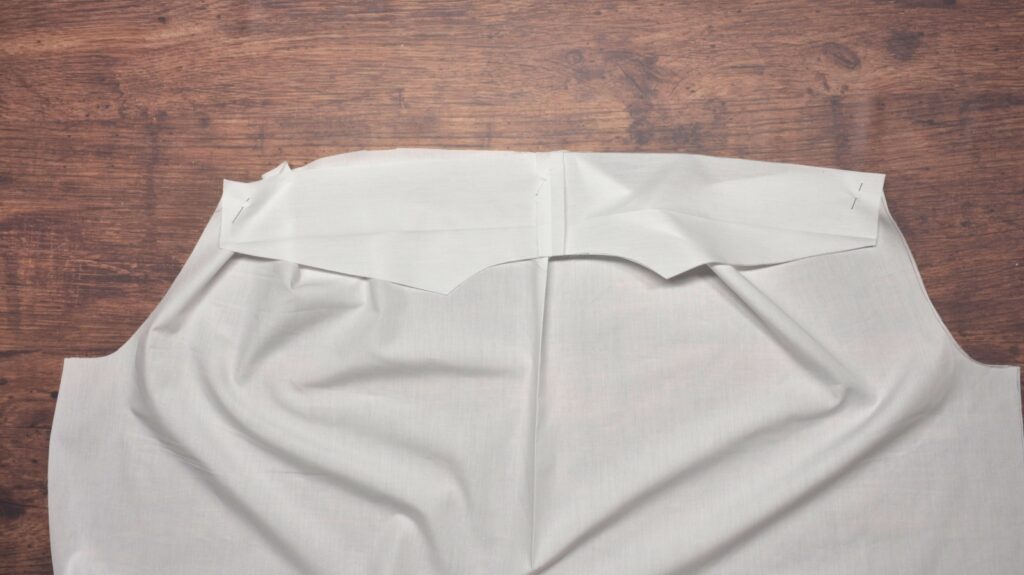
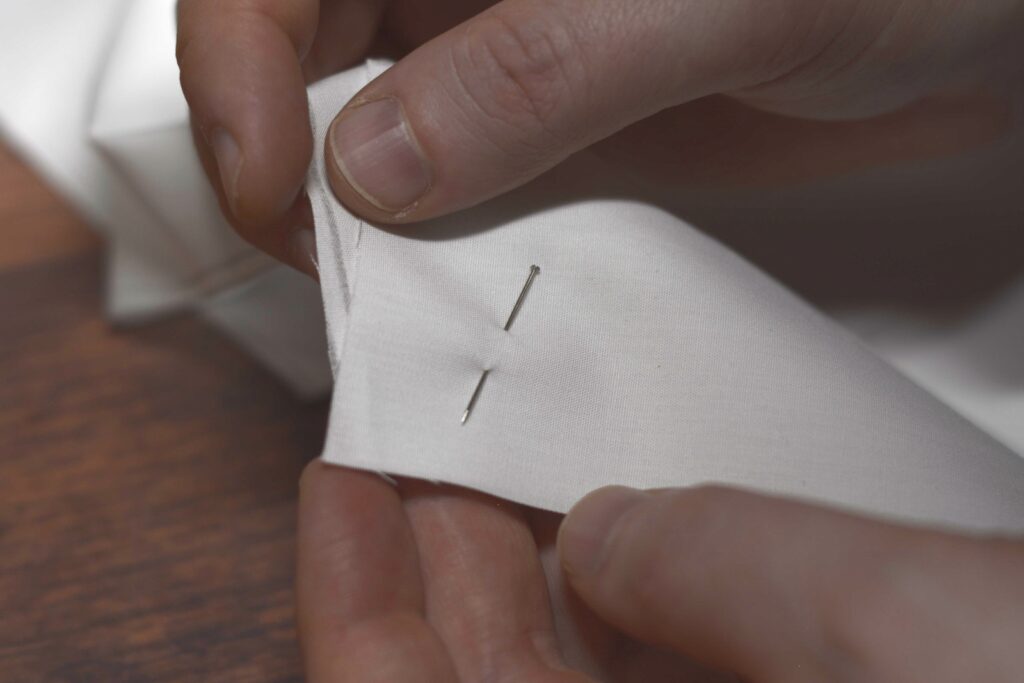
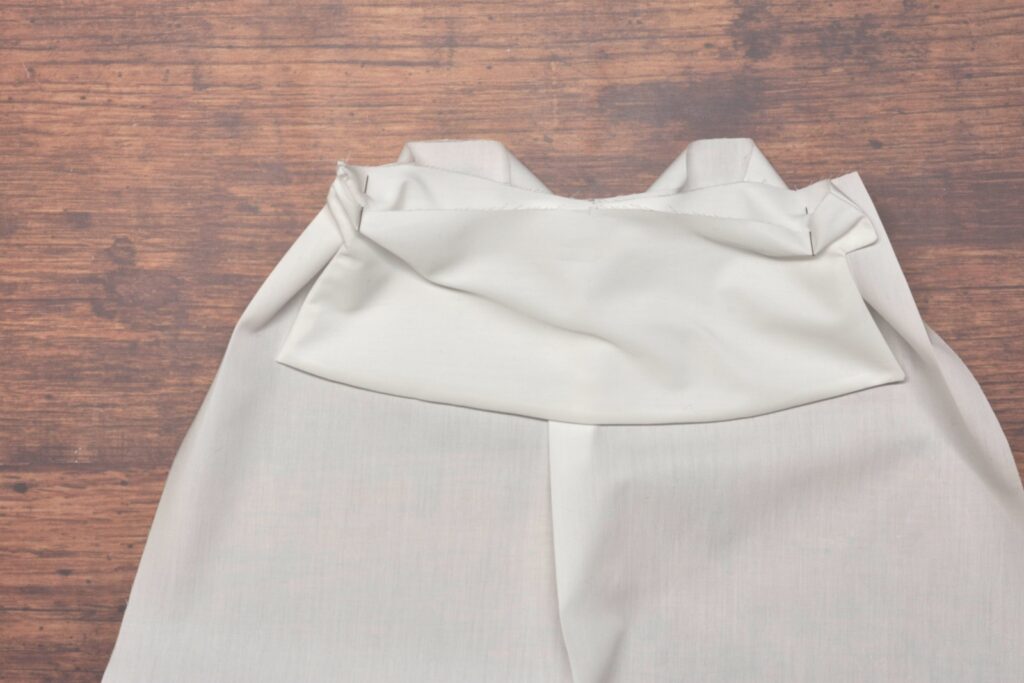
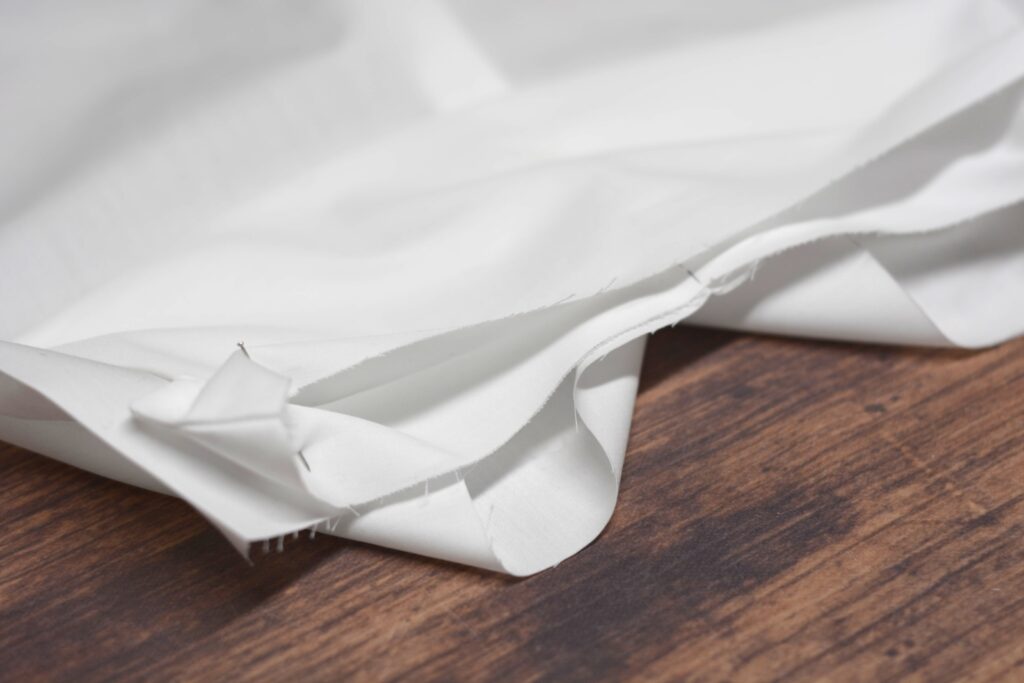
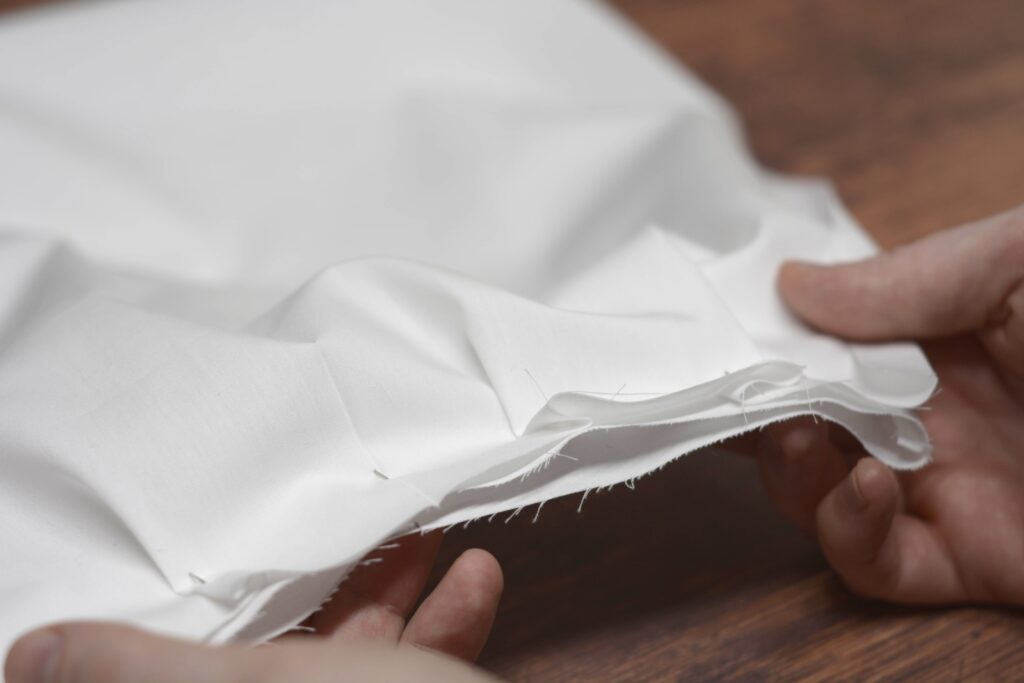
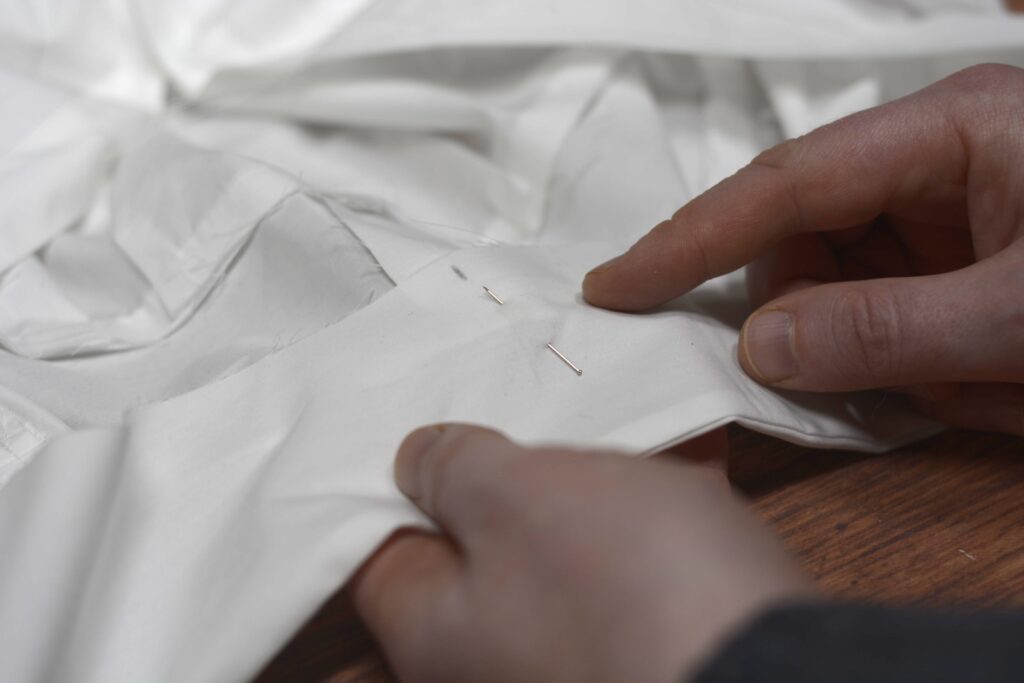
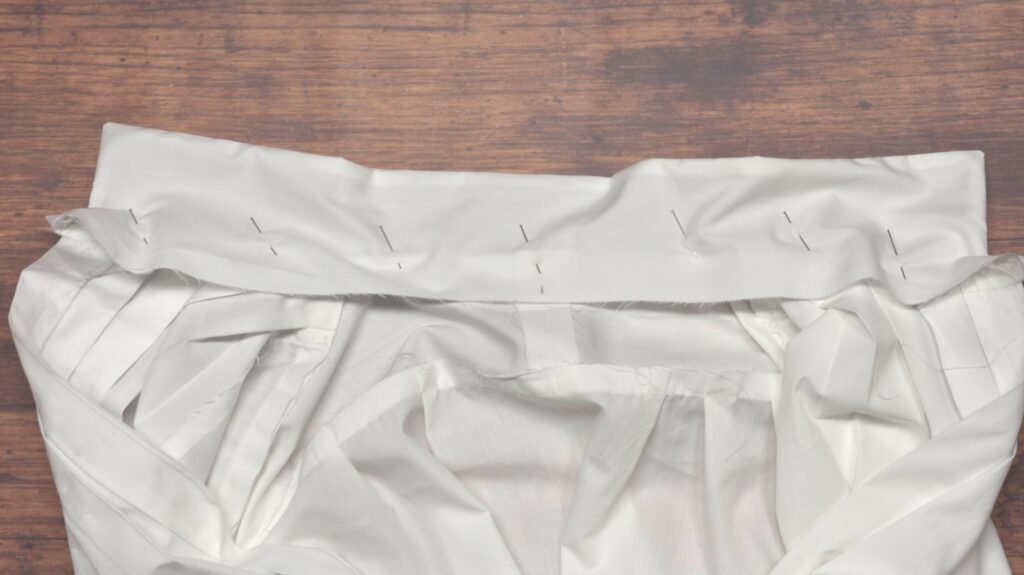
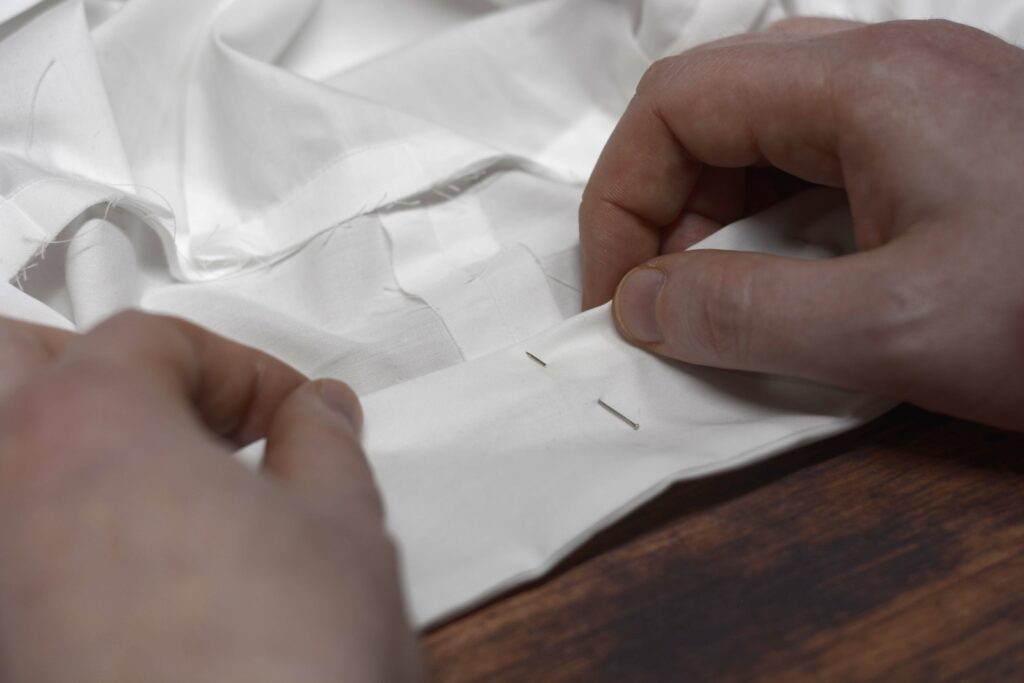
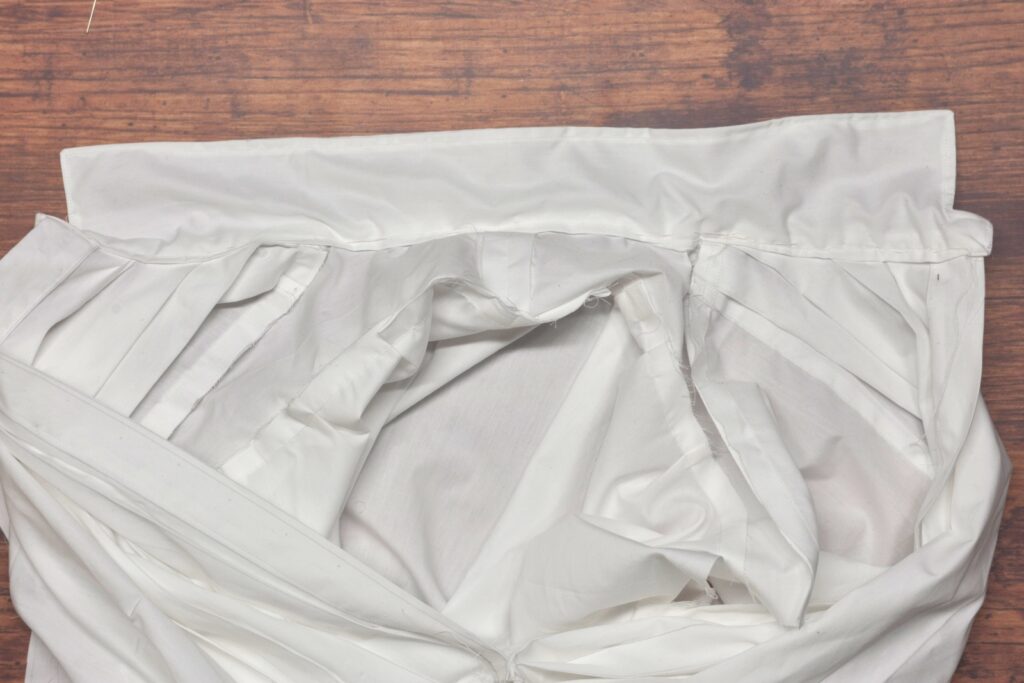
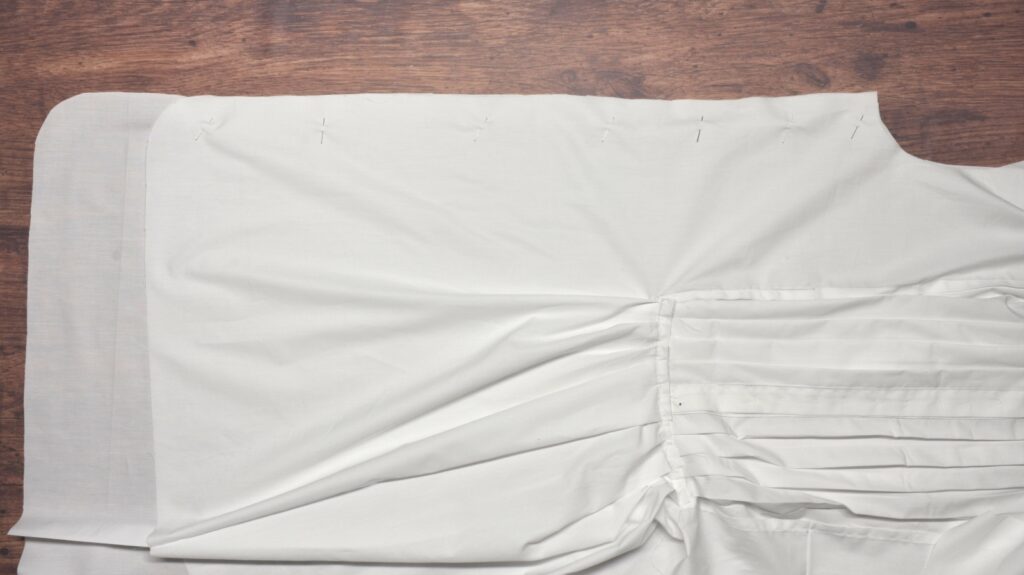
Now form a series of pleats on each half of the back until all of the excess fabric is used up, in a similar manner as the front. Ideally these will be all the same size and spaced equally, but as you can see, I didn’t quite do that here. Again the fit is more important than the look at this stage.
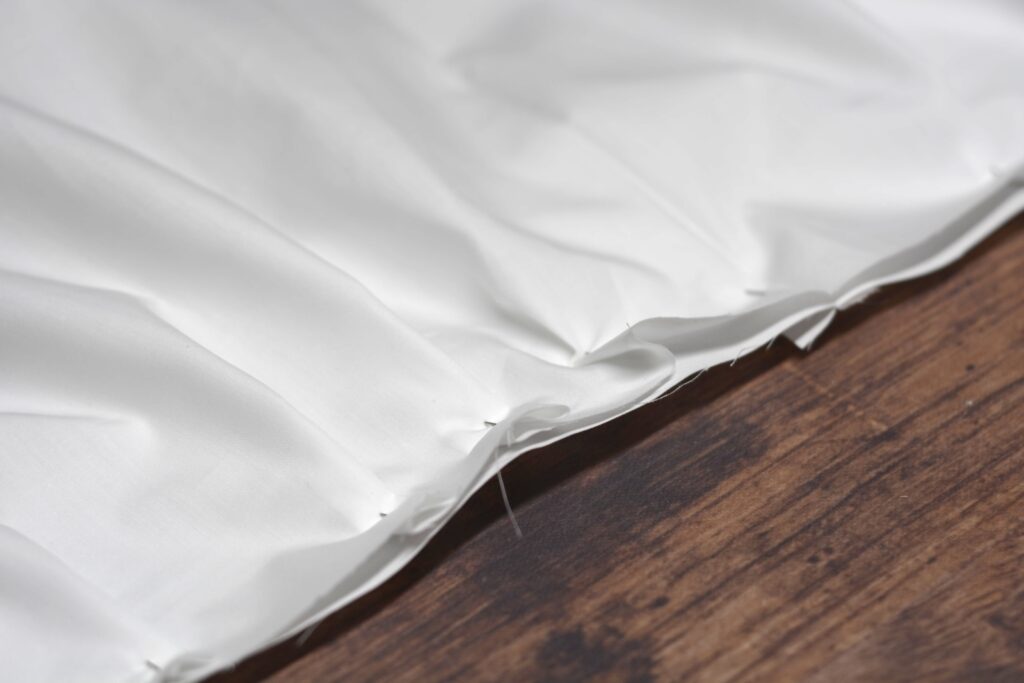
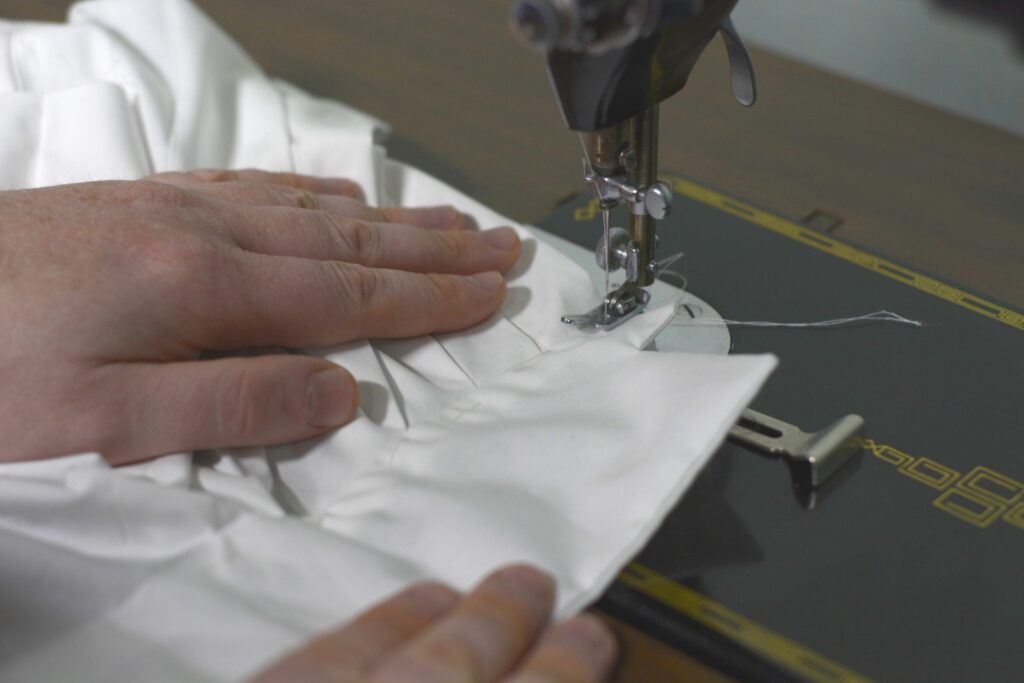
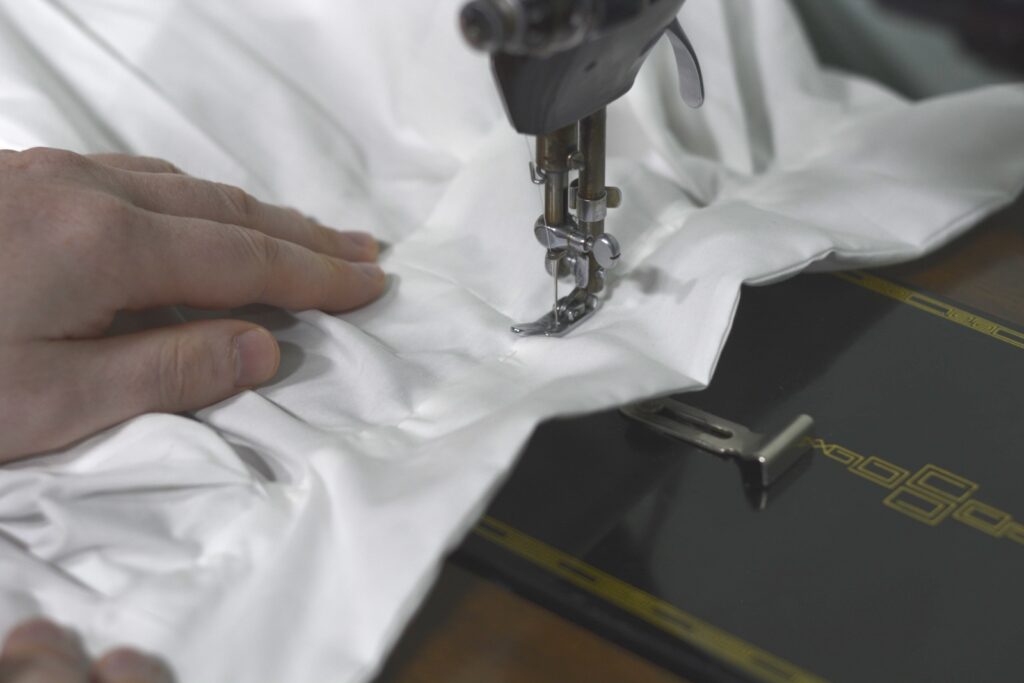
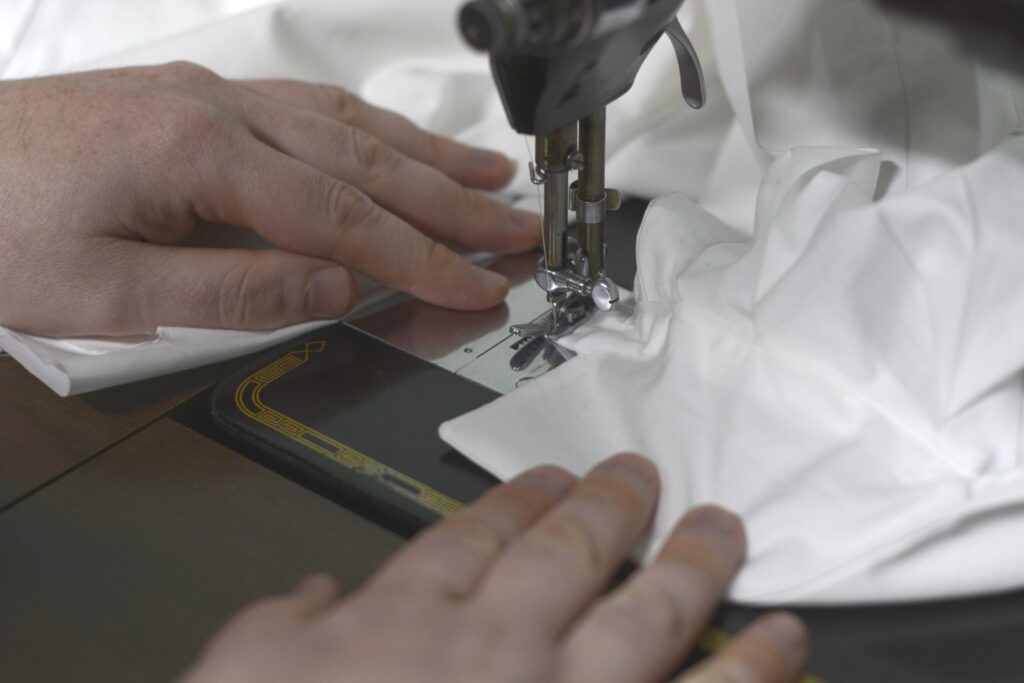
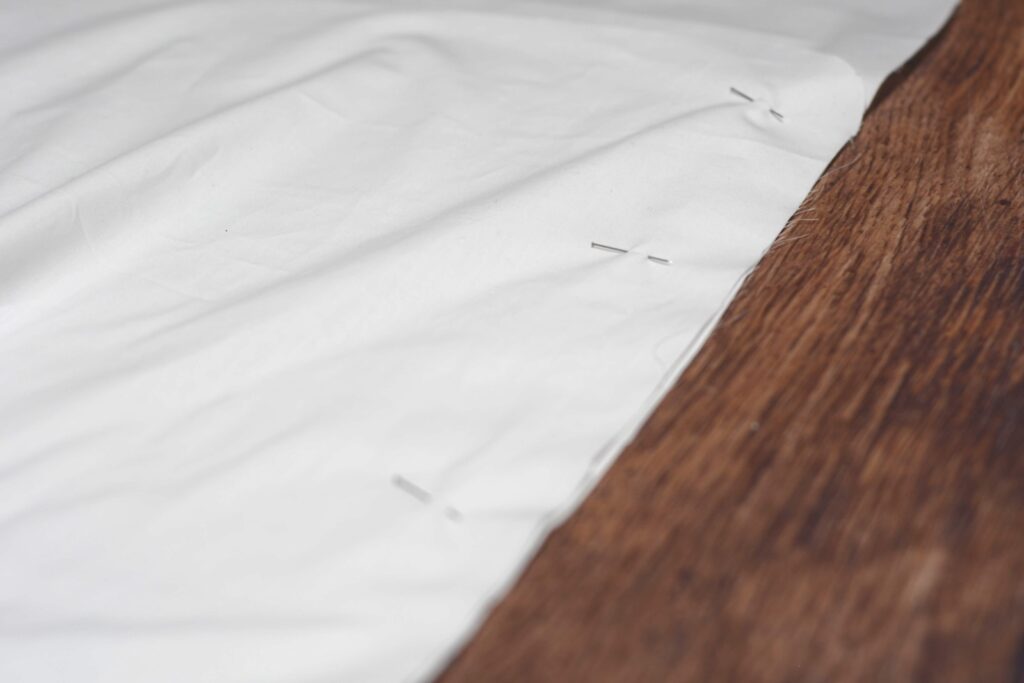
I pinned each pleat from the yoke side so that the feed dogs on the sewing machine would aid in taking up any excess fabric that I may have missed.
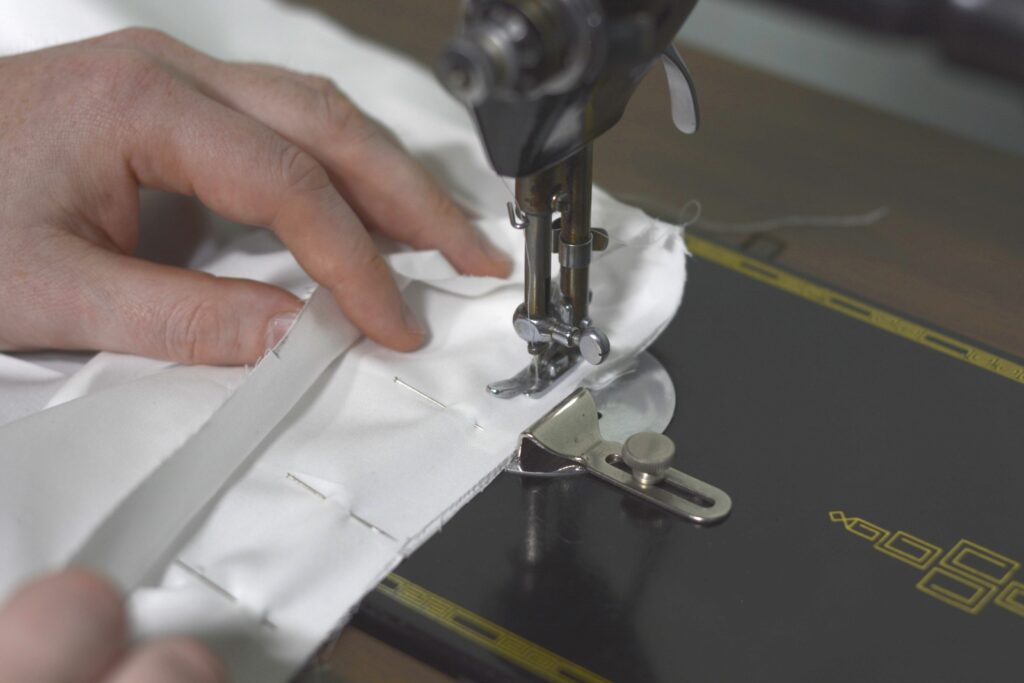
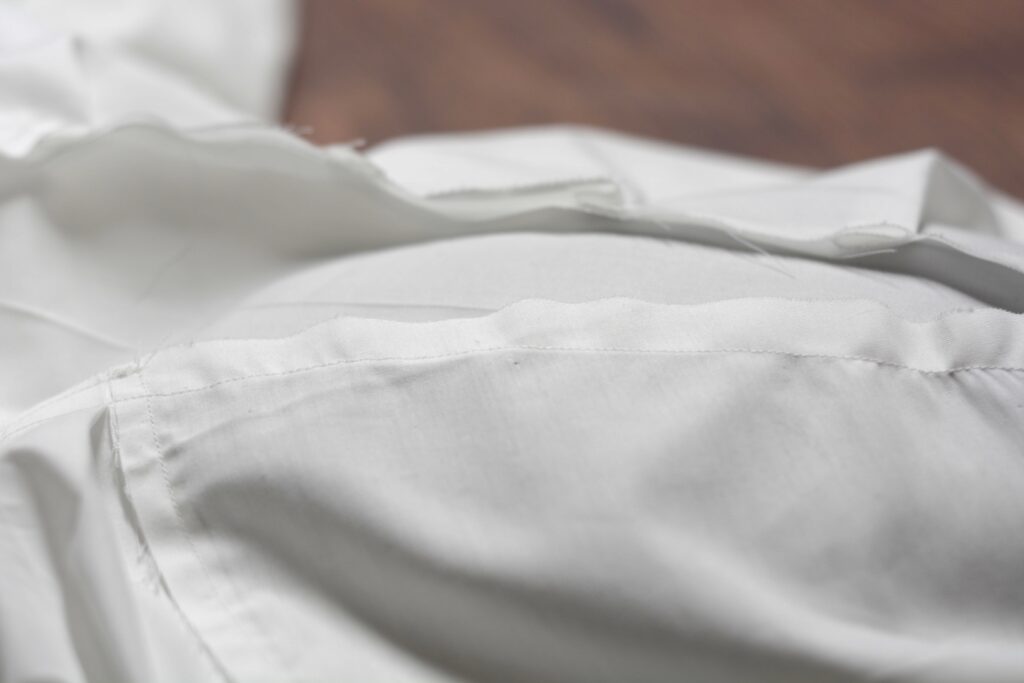
Now sew the yoke to the back with a 1/2″ seam allowance.
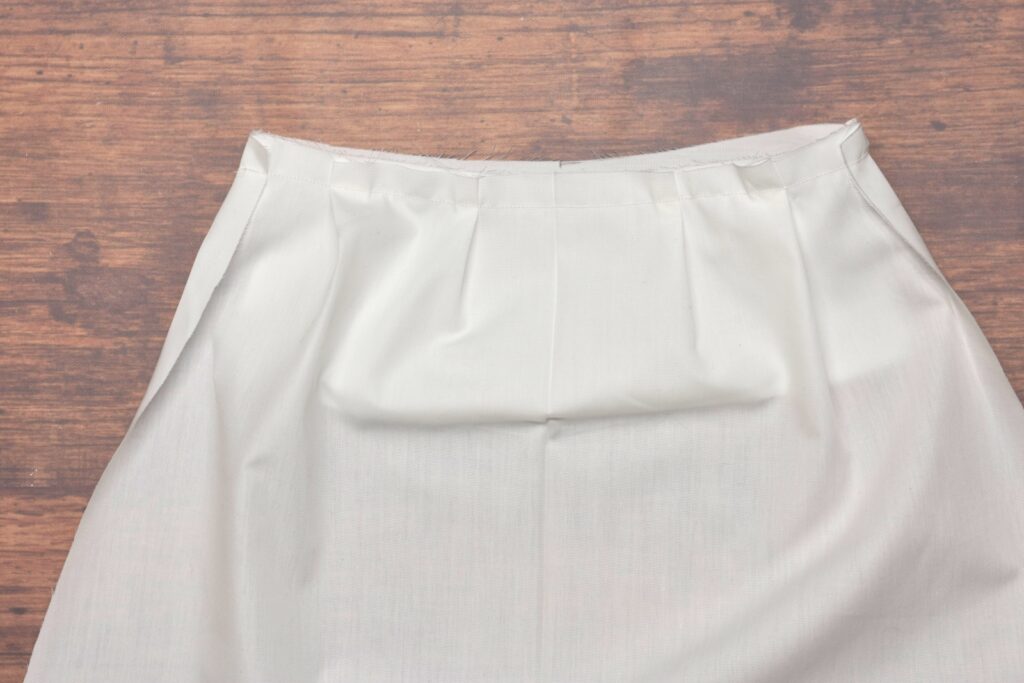
Press both the yoke and the seam allowances up towards the neck.
By pressing the seams upward, you avoid extra bulk from the pleats or gathering, as well as the possibility of hiding the seams beneath the lining later on.
Your Progress
[columns gutter=”0″]
[col]
[progressally_objectives]
[/col]
[col align_text=”center, middle”]
[progressally_progress_pie_chart size=”100″]
[/col]
[/columns]
Attaching the Pleated Front
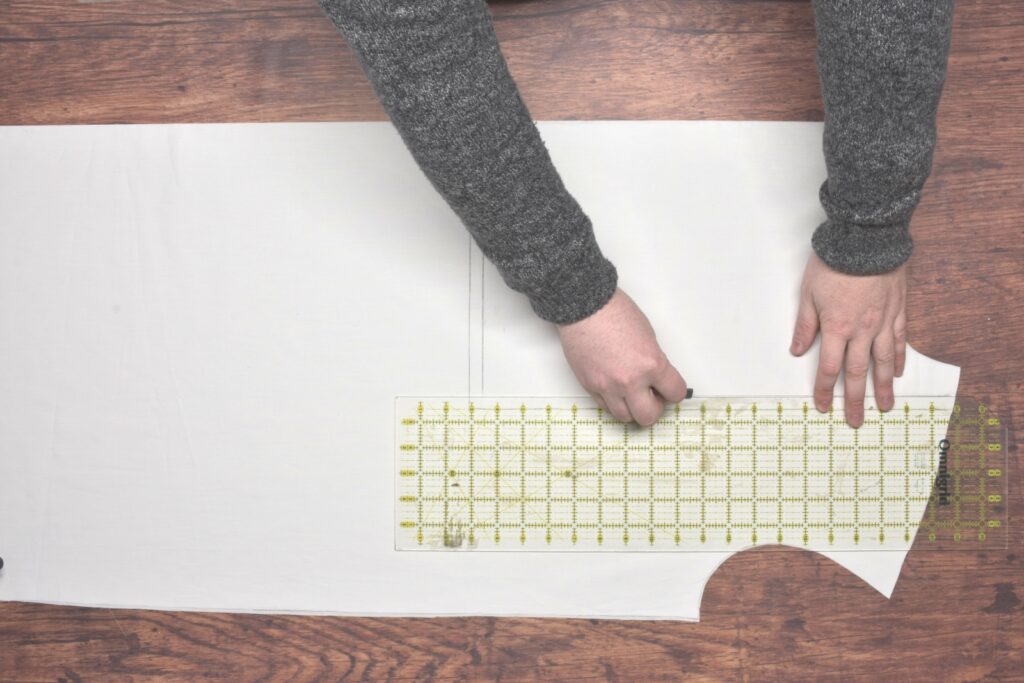
Attaching the pleated front to the shirt front begins with some work on the front pattern piece. I’ve found the most accurate and stress-free way to do this step is to cut out the pleated portion of the pattern and the extra bit we added to the front area. You can simply tape the two pieces again later before cutting out the shirt from your nice fabric.
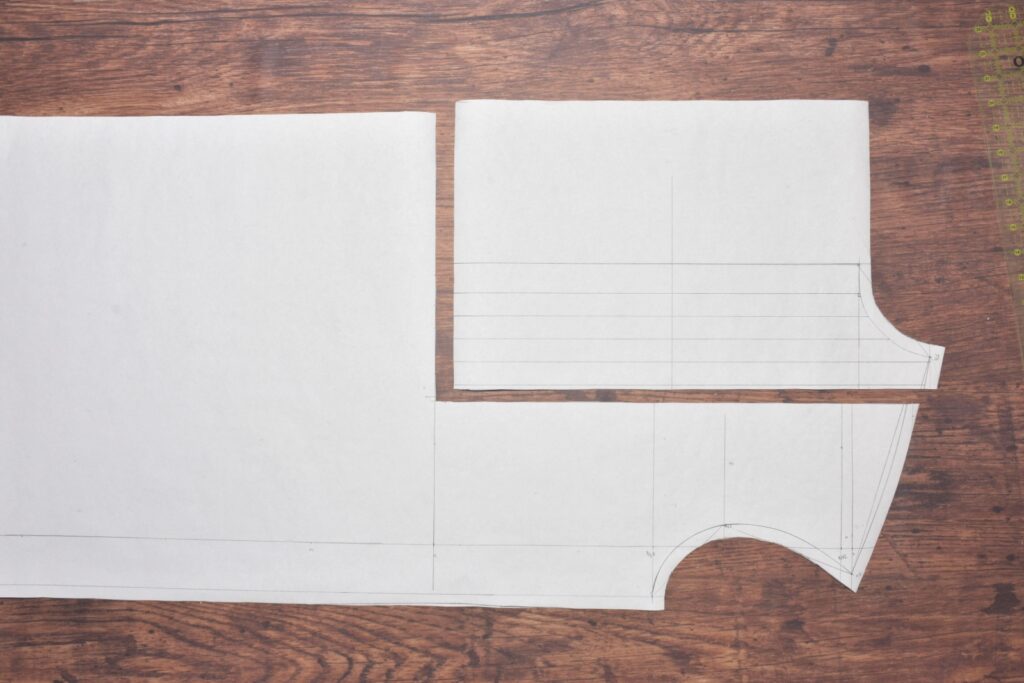
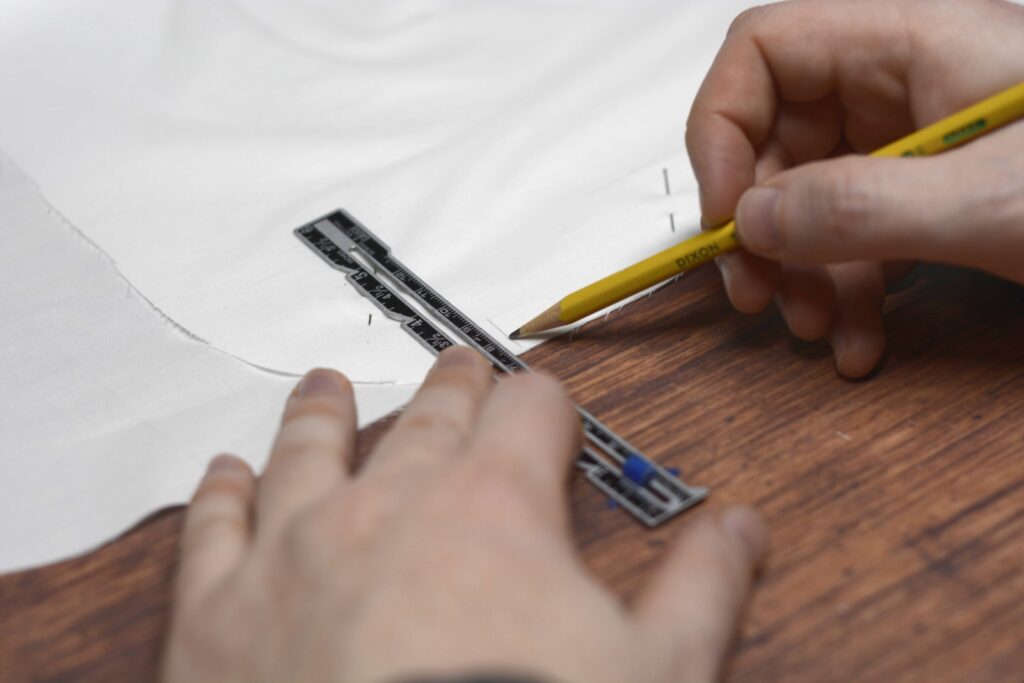
Lay the shirt front pattern on the shirt front, aligning the edges as closely as possible. Draw a line indicating the inside edge and bottom edge of the pleats.
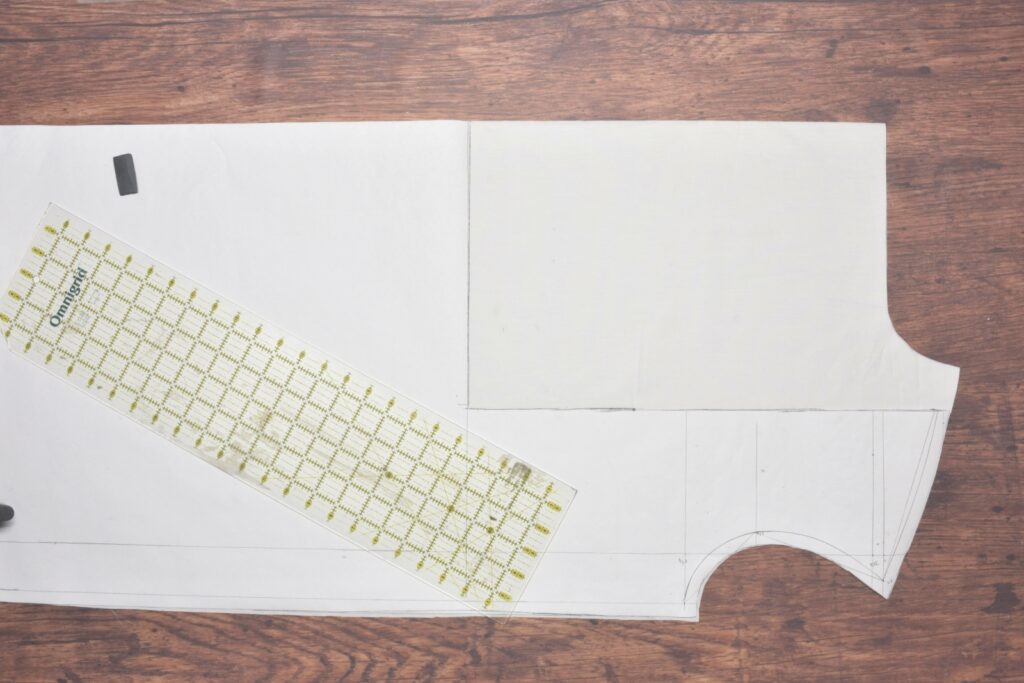
Along the vertical, inner edge of the pleats, add a 1/2″ seam allowance. At the bottom add 3/4″ or 1″ seam allowance. Note that I did a 1/2″ seam at the bottom of the pleats, which I don’t think will give us enough room to work with on the actual shirt. For this muslin toile, it will work just fine.
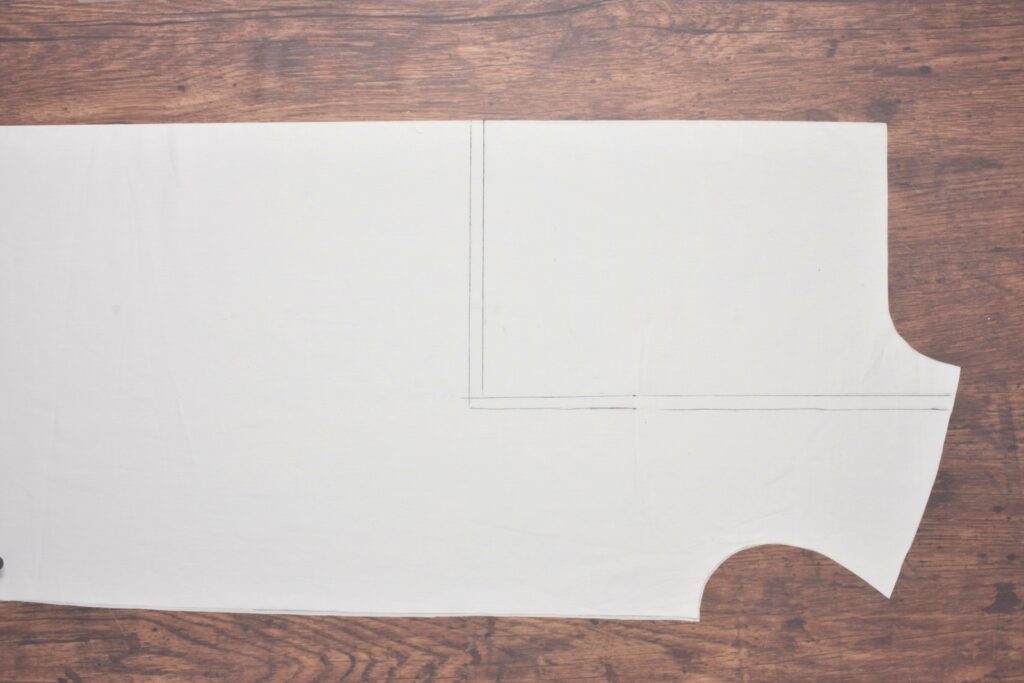
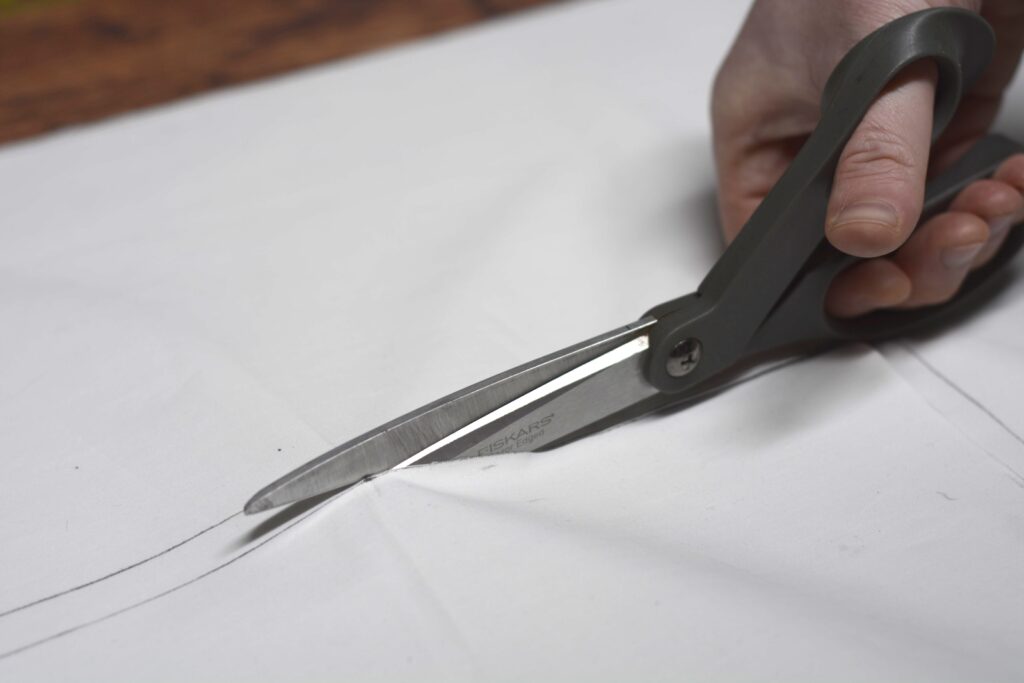
Cut out the rectangular piece along the added seam line. This piece can be used for another project as it’s not used in the shirt.
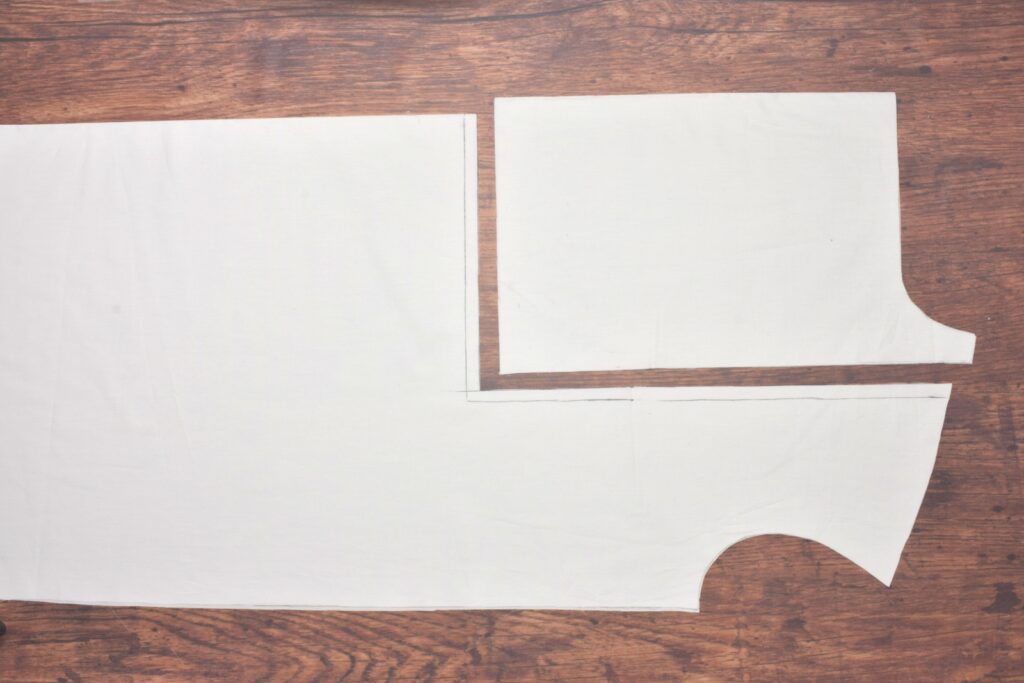
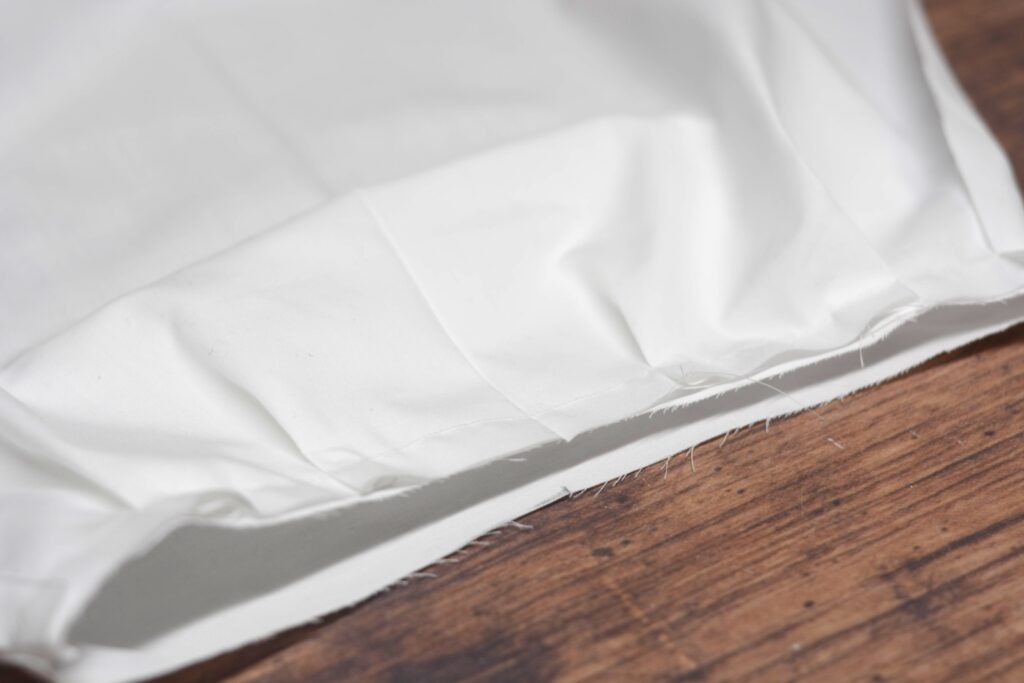
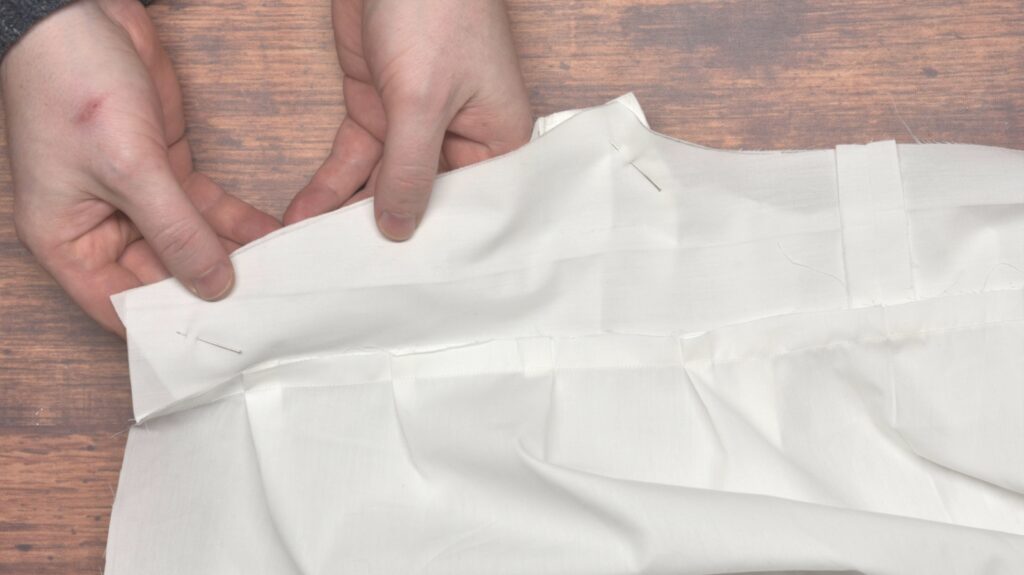
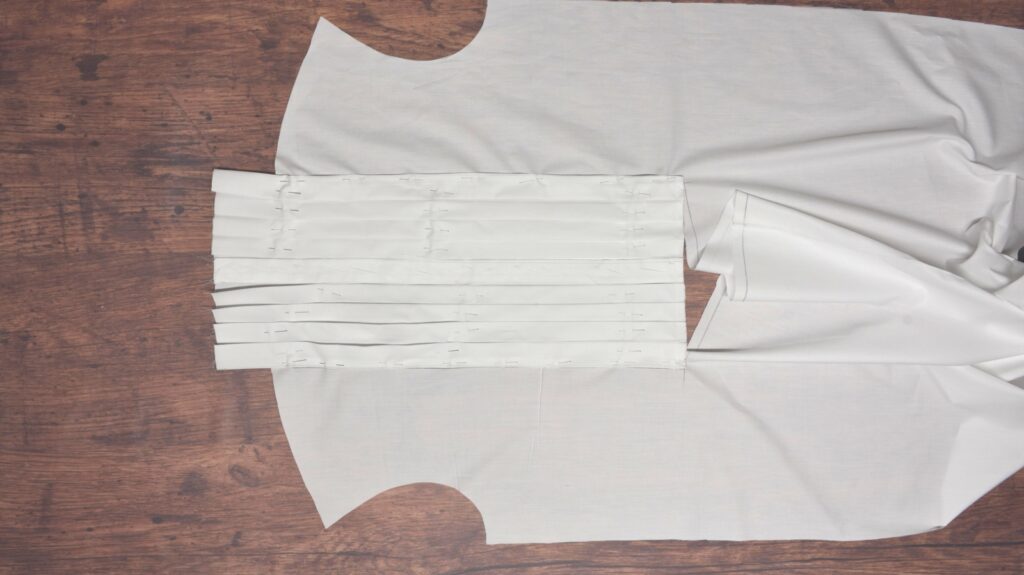
Pin one half of the pleated front to the shirt front, aligning the folded edge of the pleats with the seam line you drew earlier. Be sure the bottom of the pleats aligns precisely with the bottom seam line.
Very important! Make sure that your pleated front is arranged so that the left side overlaps the right! I completely forgot about that and ended up with a woman’s shirt-style opening.
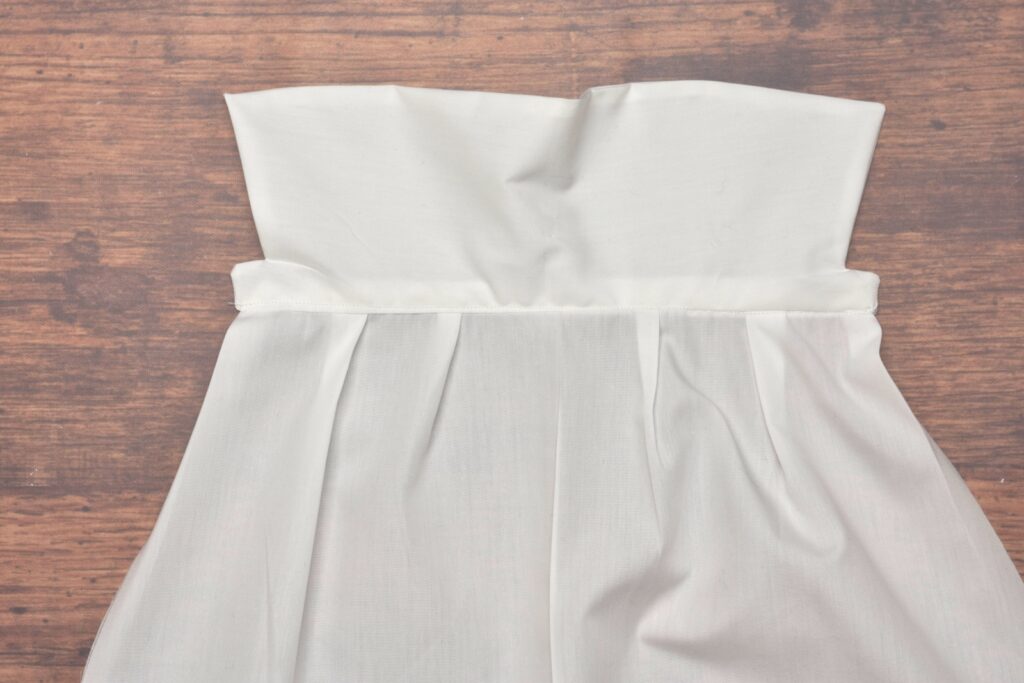
Repeat the process with the other side of the pleated front. At this point, the bottom of the shirt is still hanging freely.
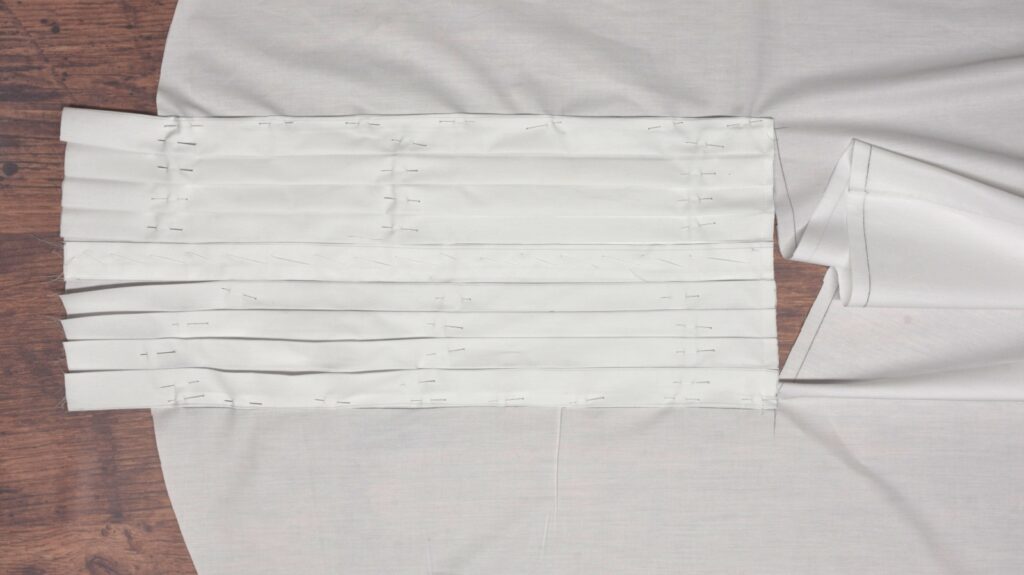
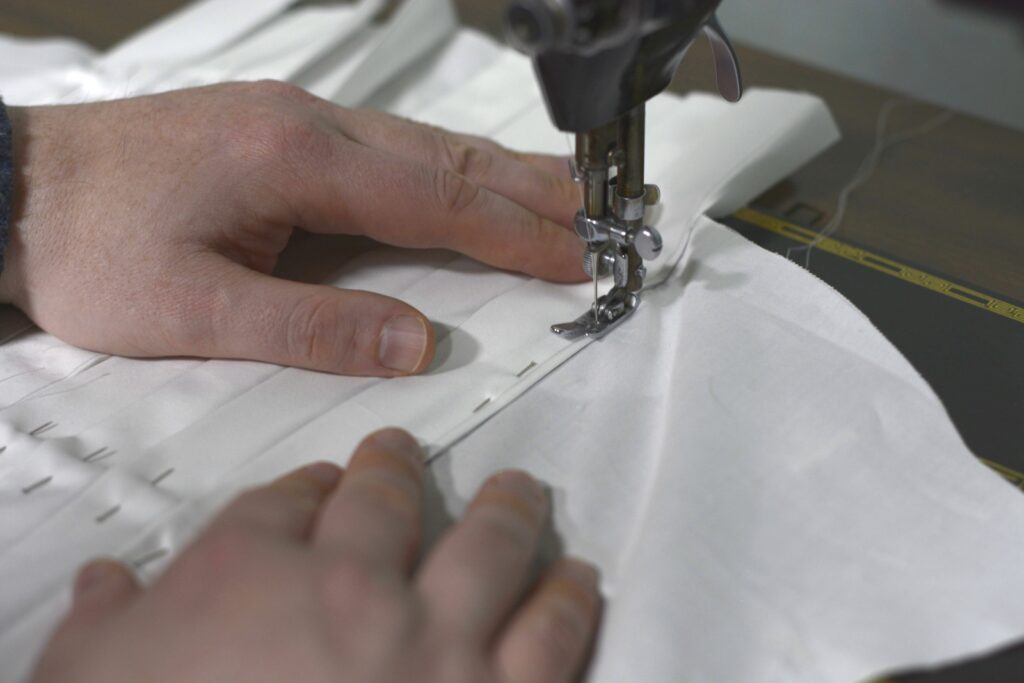
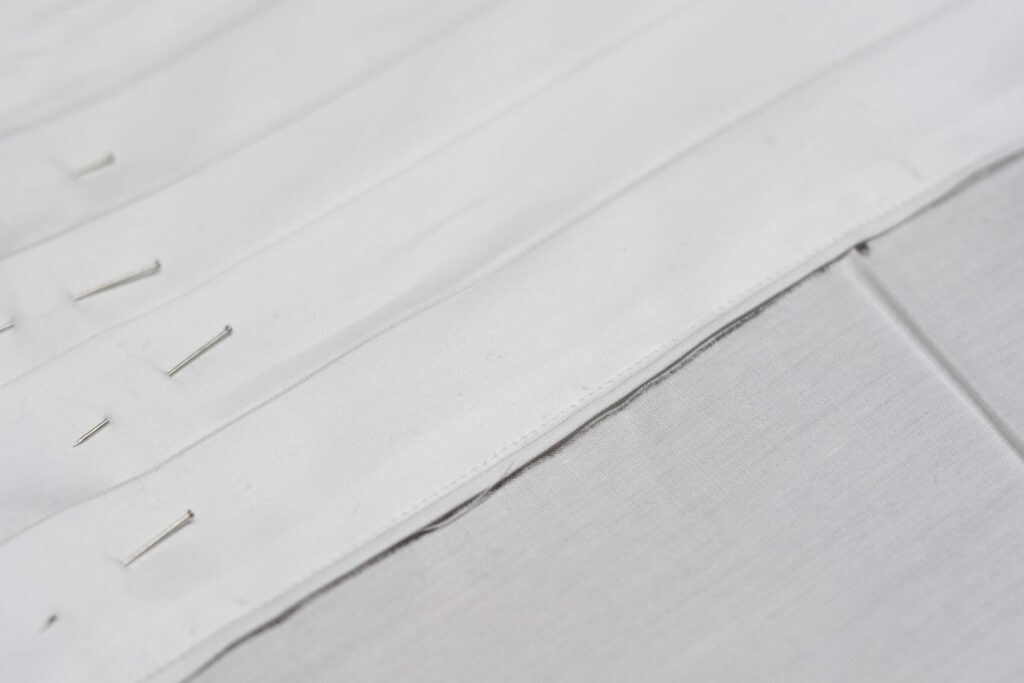
Now sew along the vertical edge on each side of the pleated front, about 1/8″ from the folded edge, removing the pins as you go.

Closing the bottom of the pleats
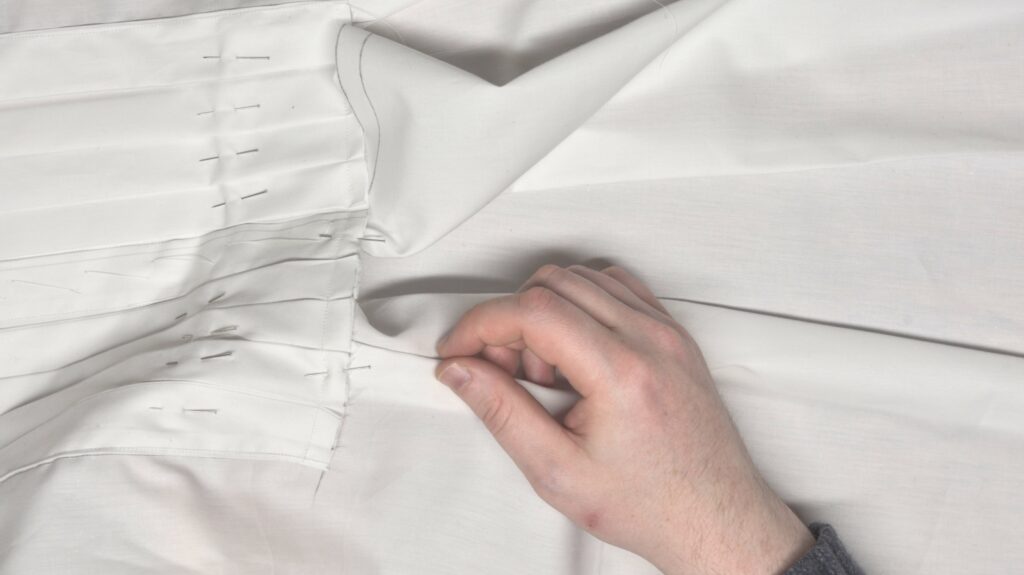
To close the bottom edge of the pleated front, first find the center front of the shirt itself – it will probably have a creased edge from being on the bolt.
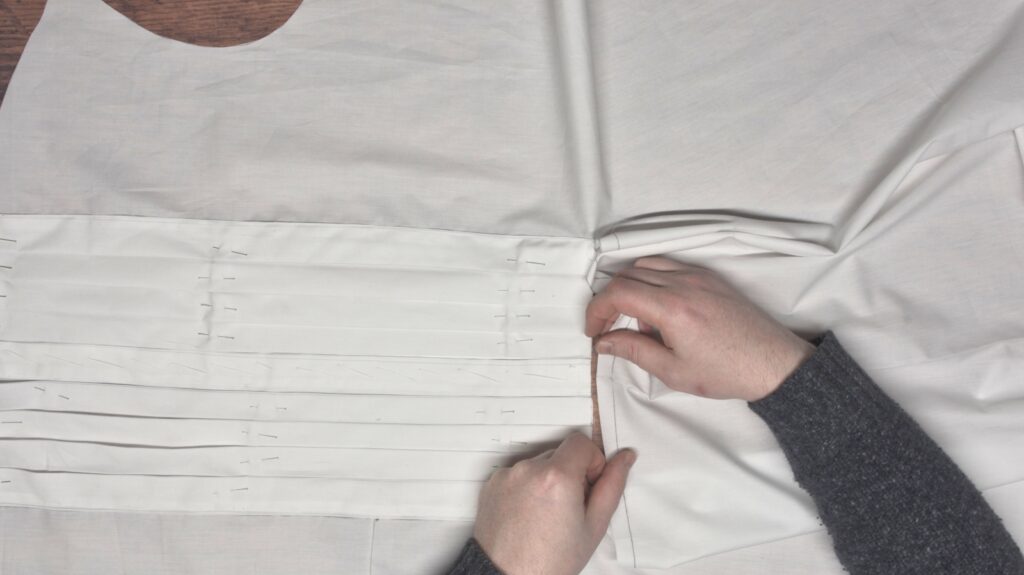
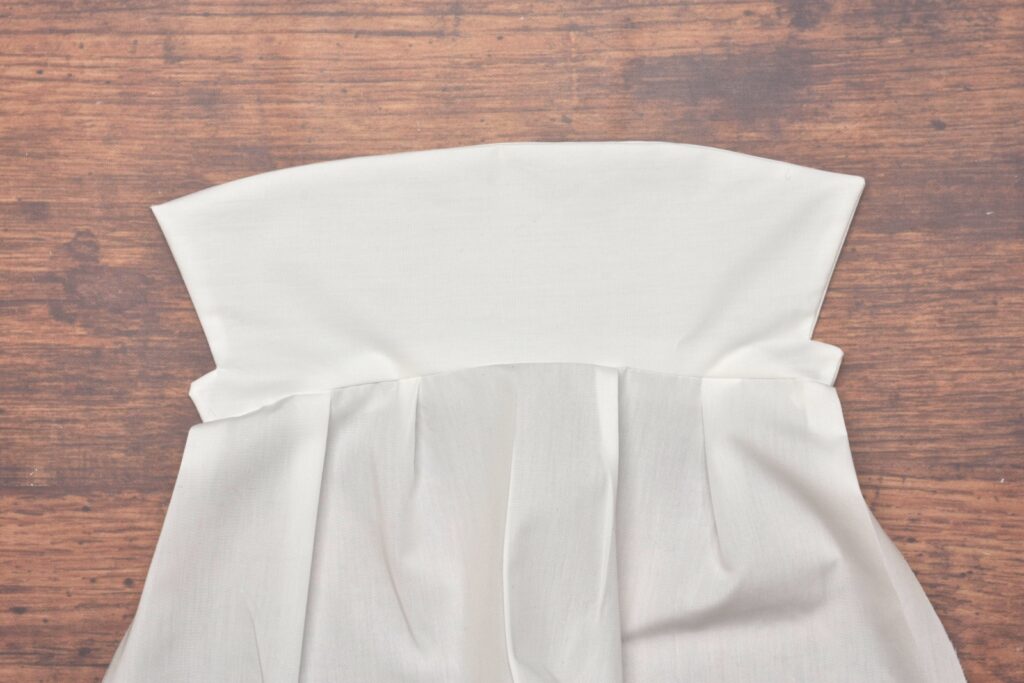
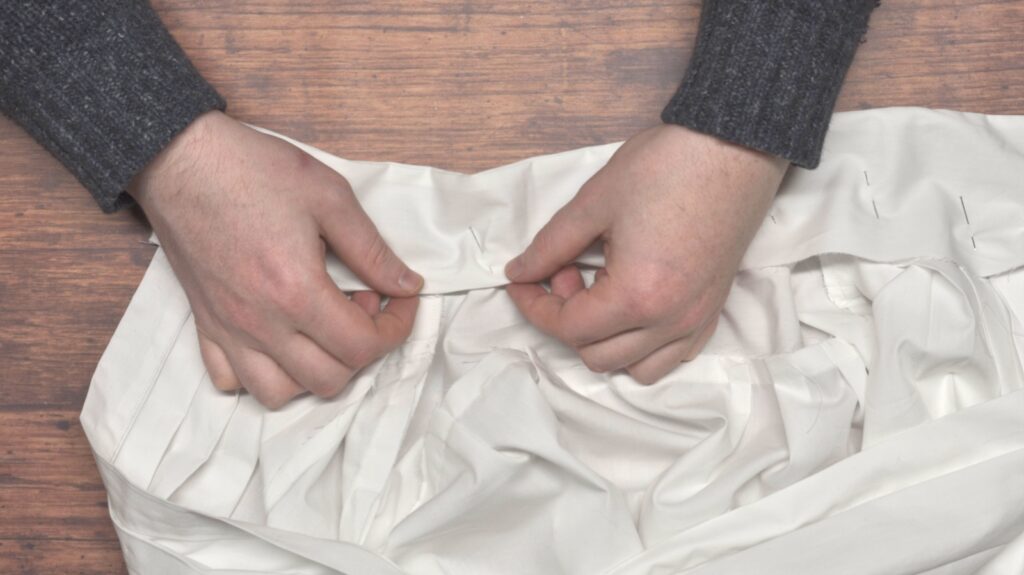
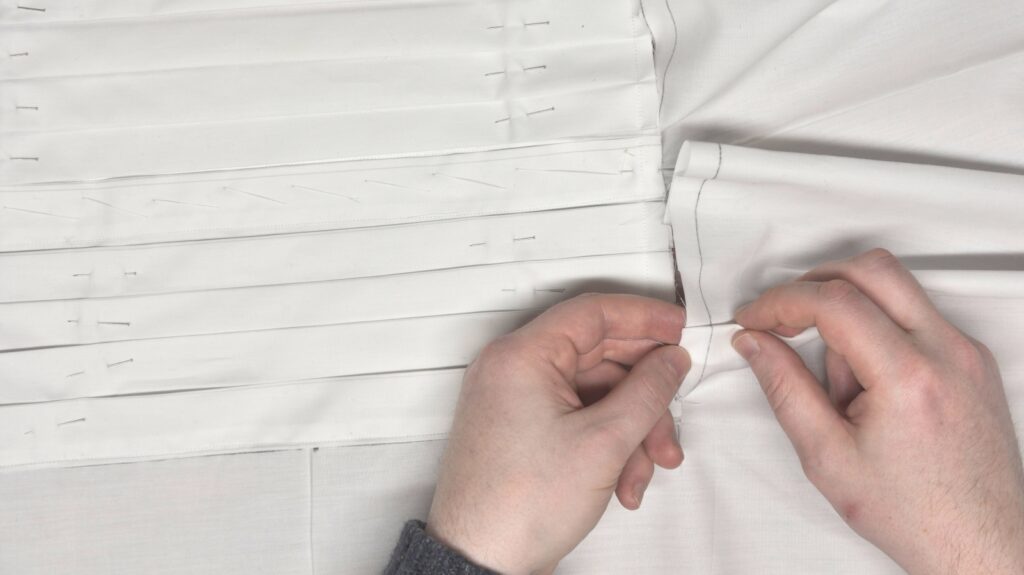
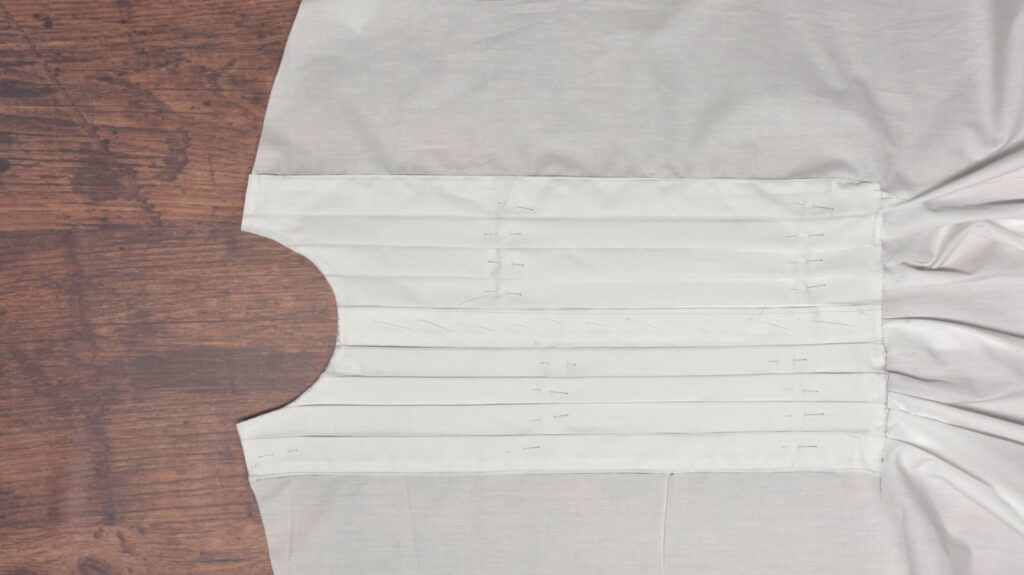
Pin the center front of the shirt to the center front of the pleats, aligning the bottom of the pleats with the seam line you drew in earlier.

You’ll have noticed that there is a large quantity of fabric on the shirt as compared to the pleated front. This excess must be gathered in nicely for the real shirt – for this toile, I chose to just use some unmeasured pleats.
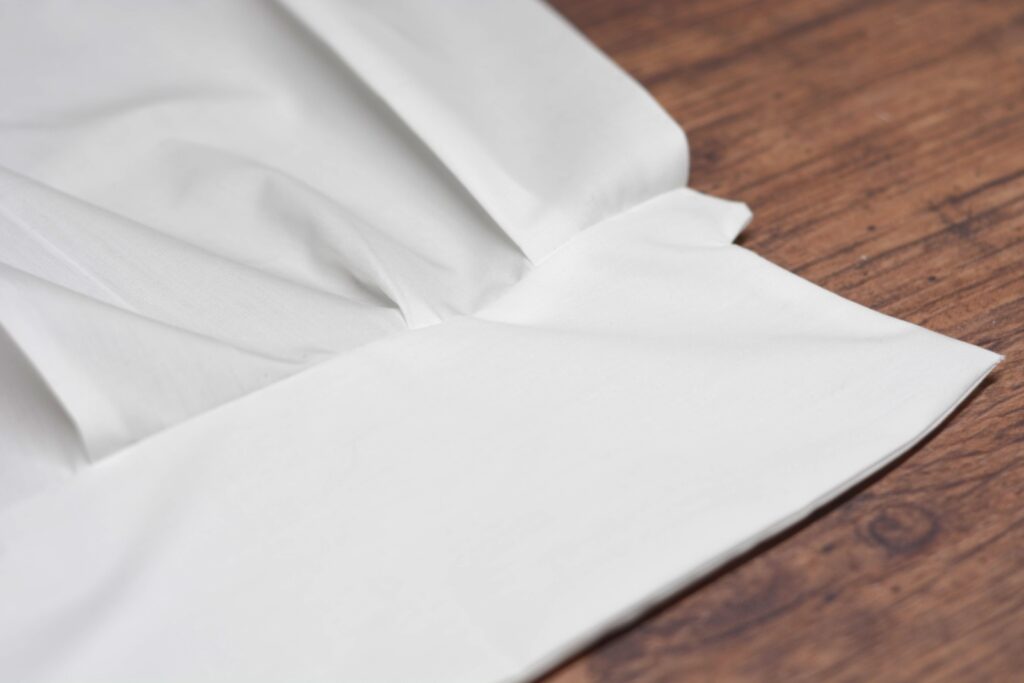
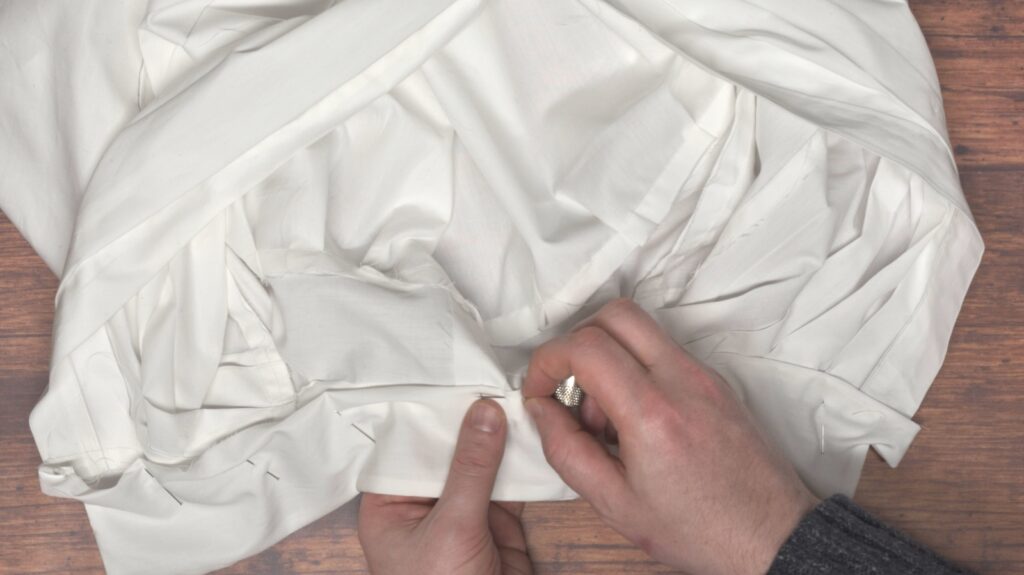
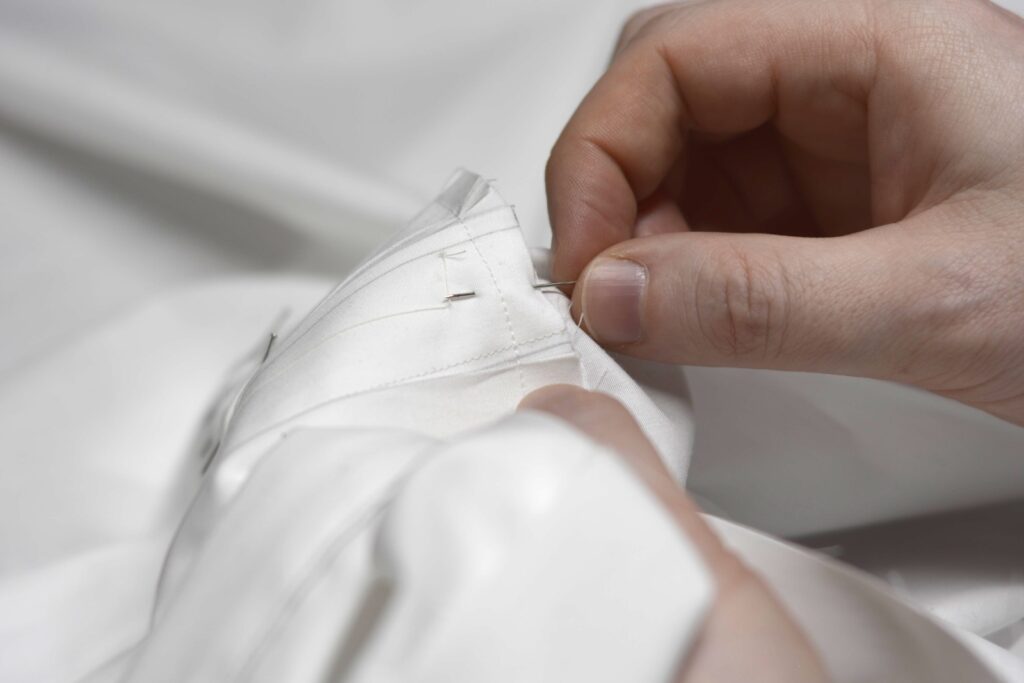
Form the pleats with your fingers in the shirt fabric, aligning the seam allowance line, and pinning them to the pleated front as you go. Work on one side of the shirt at a time.
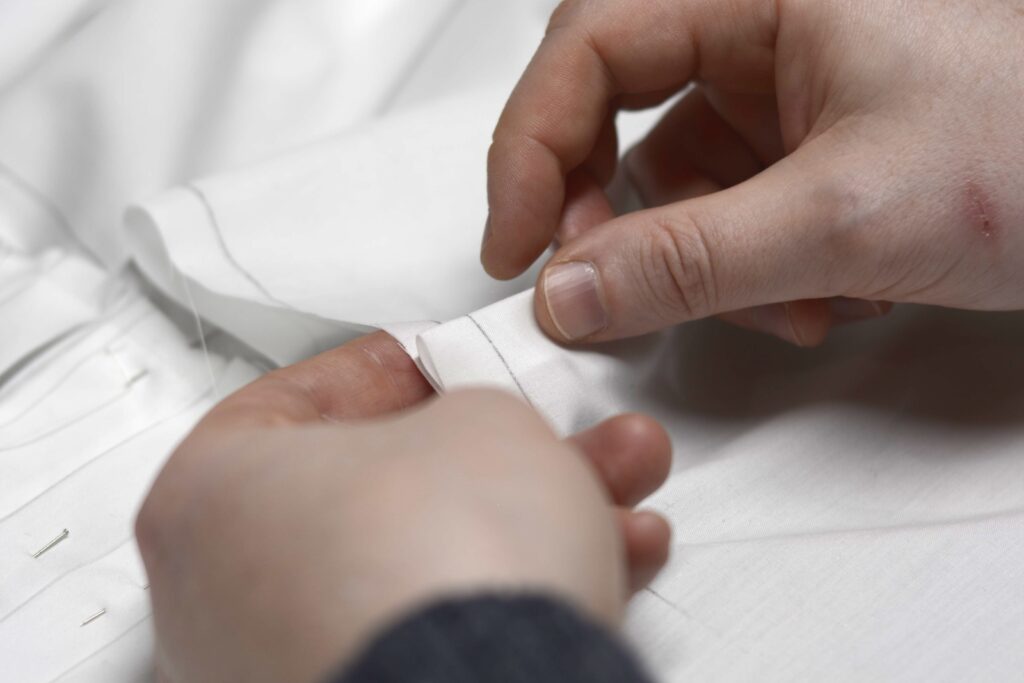
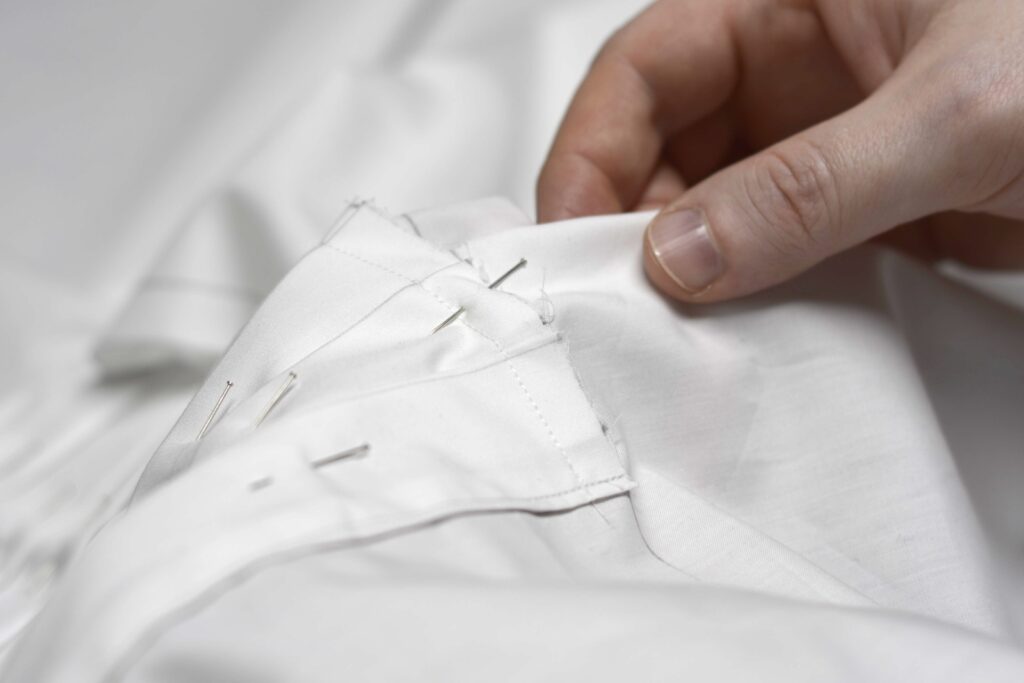
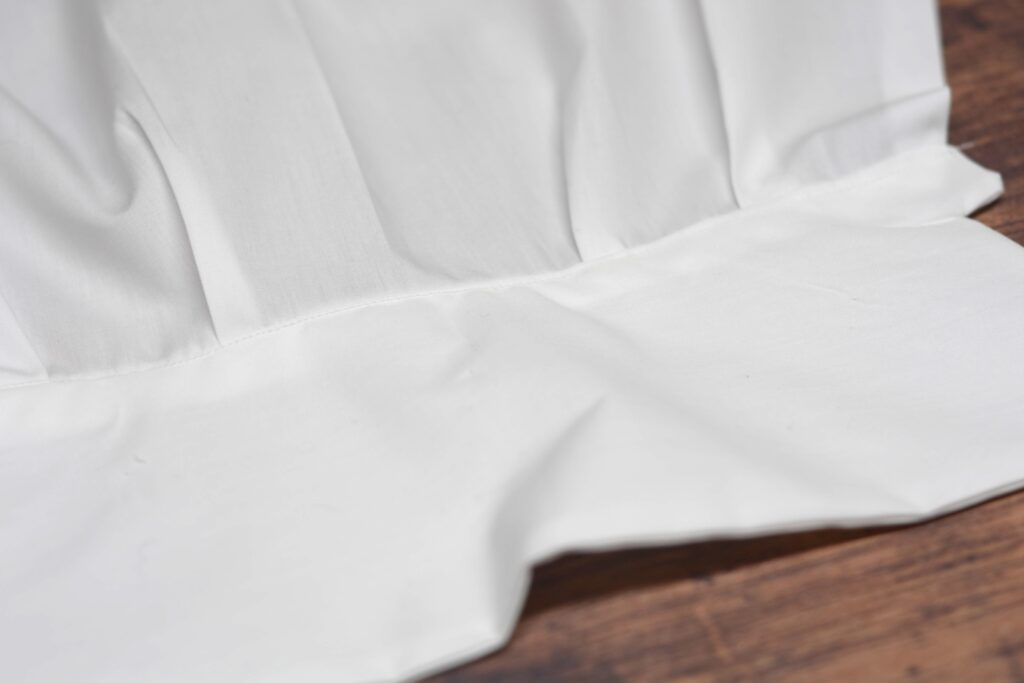
Here are half of my pleats done. As you can see they’re not the same size. It doesn’t really matter for the toile, as we’re more worried about the fit here than the appearance.
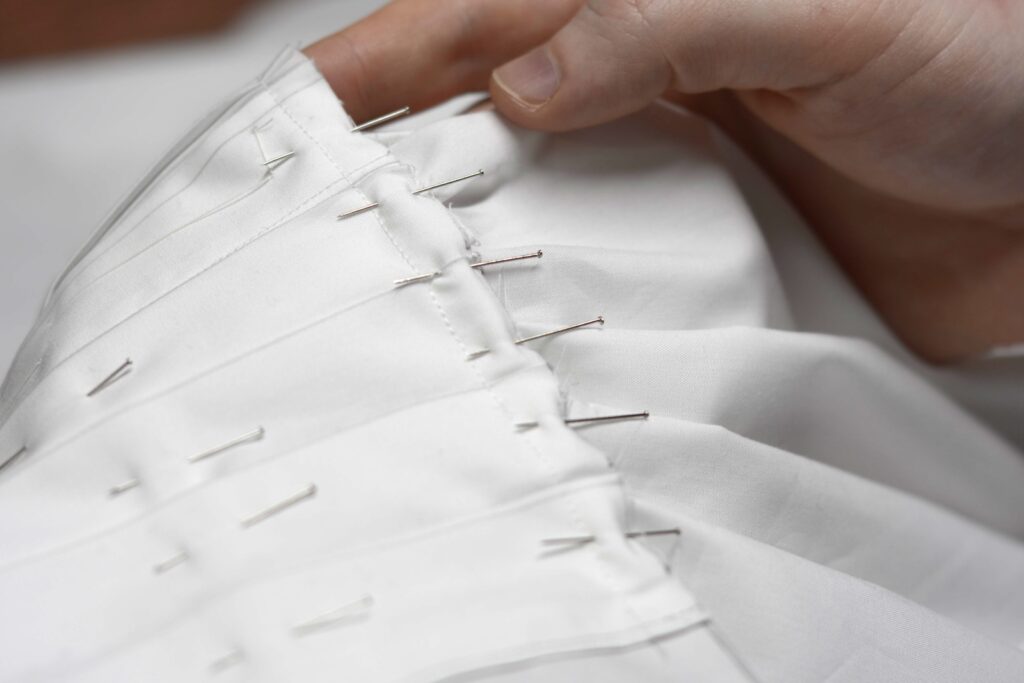
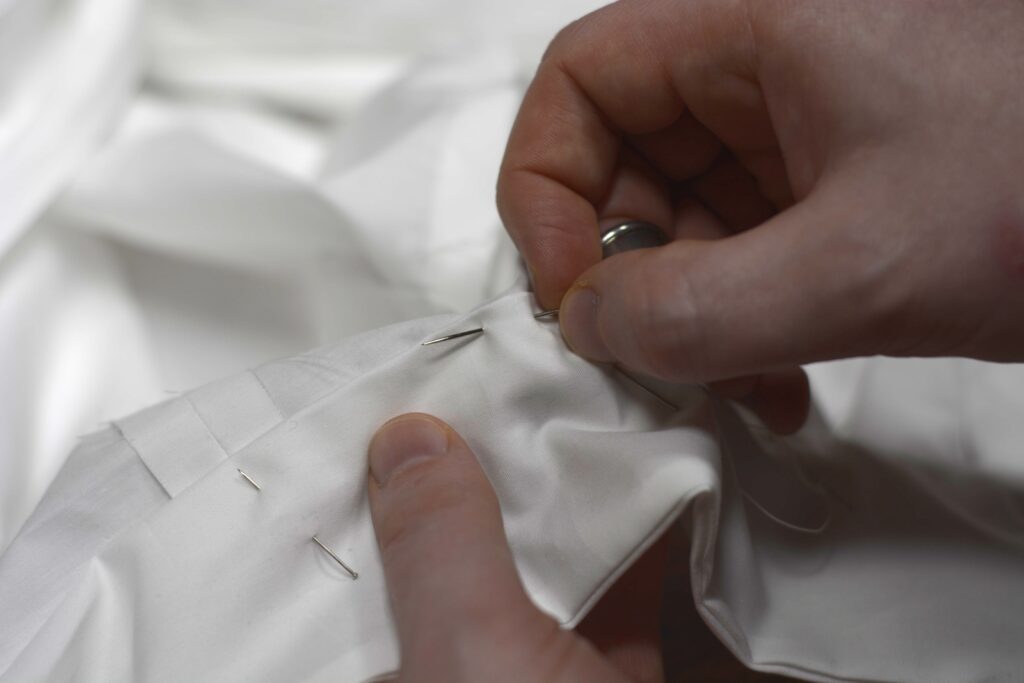
Repeat the process for the other half of the pleated front.
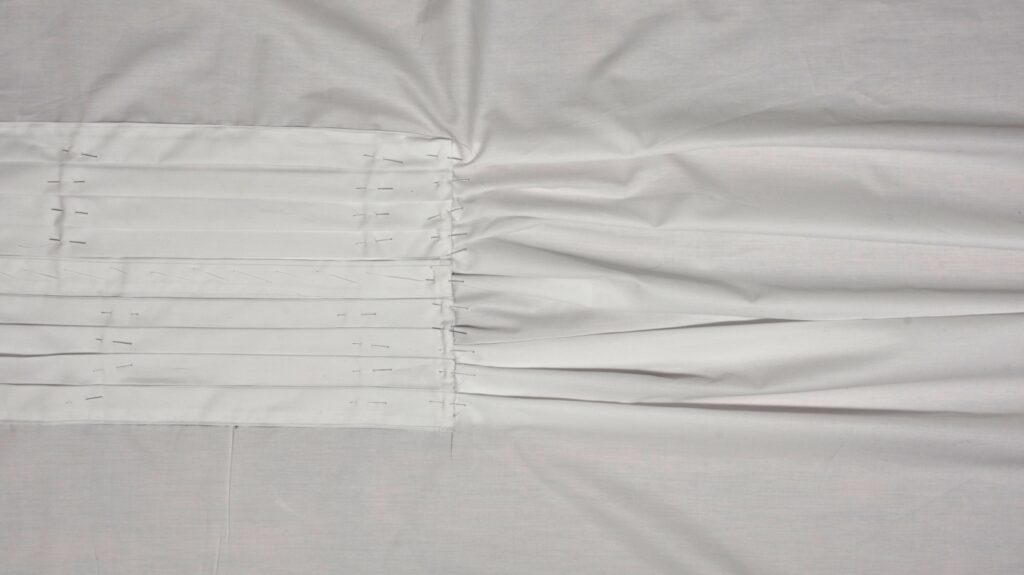
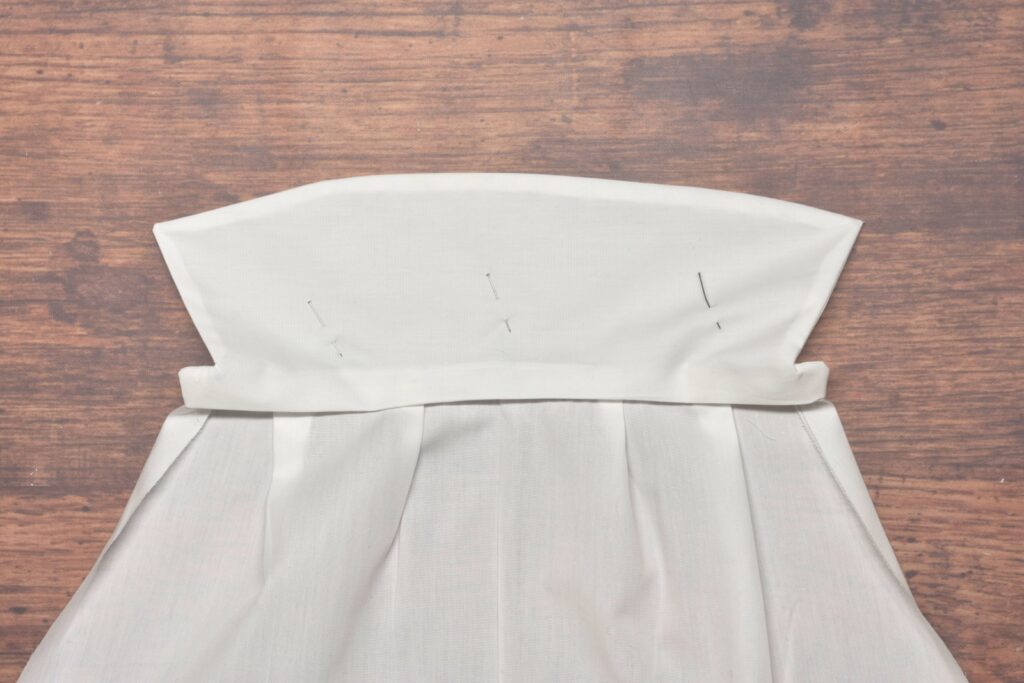
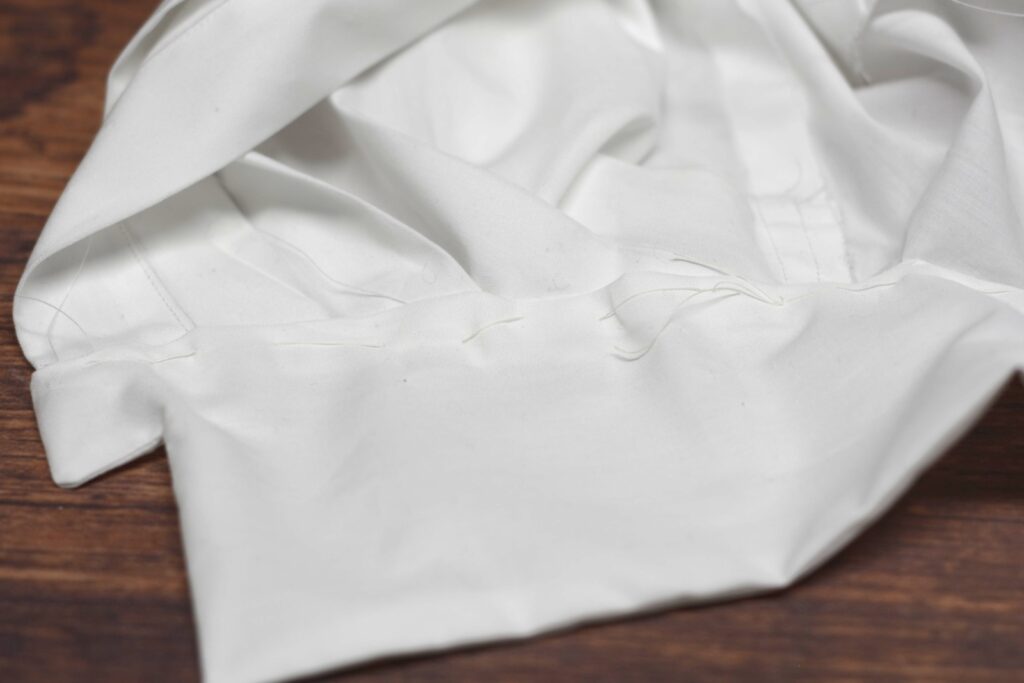
Now sew across the bottom of the pleats through all layers, about 1/4″ from the bottom. This will secure the pleats well enough for our purposes.

Trimming the Neckline
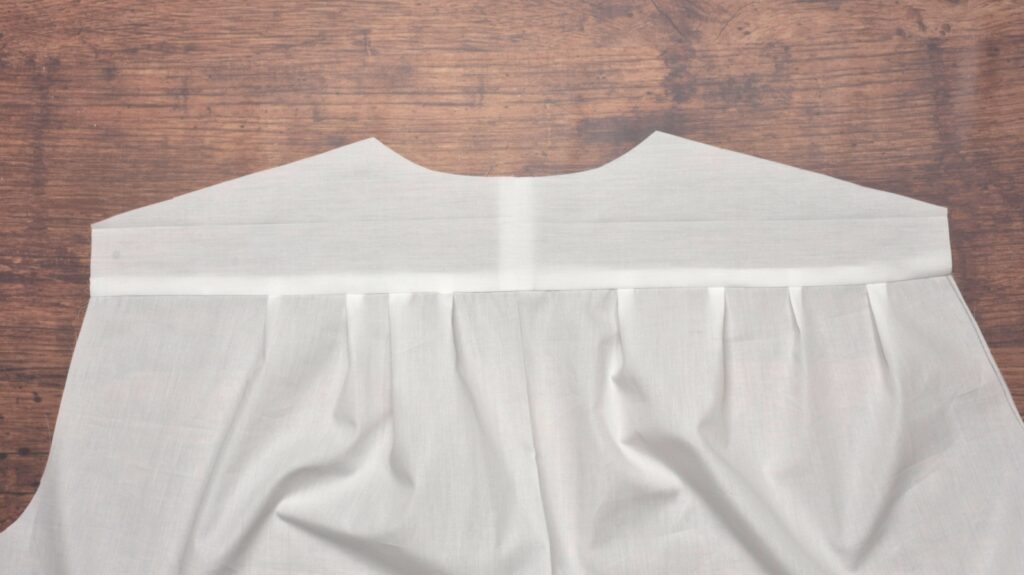
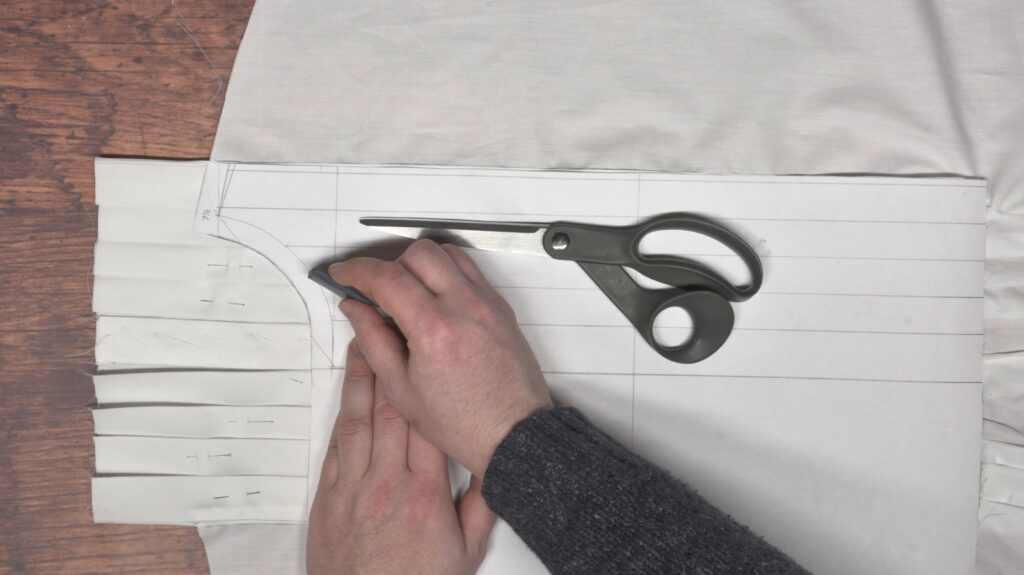
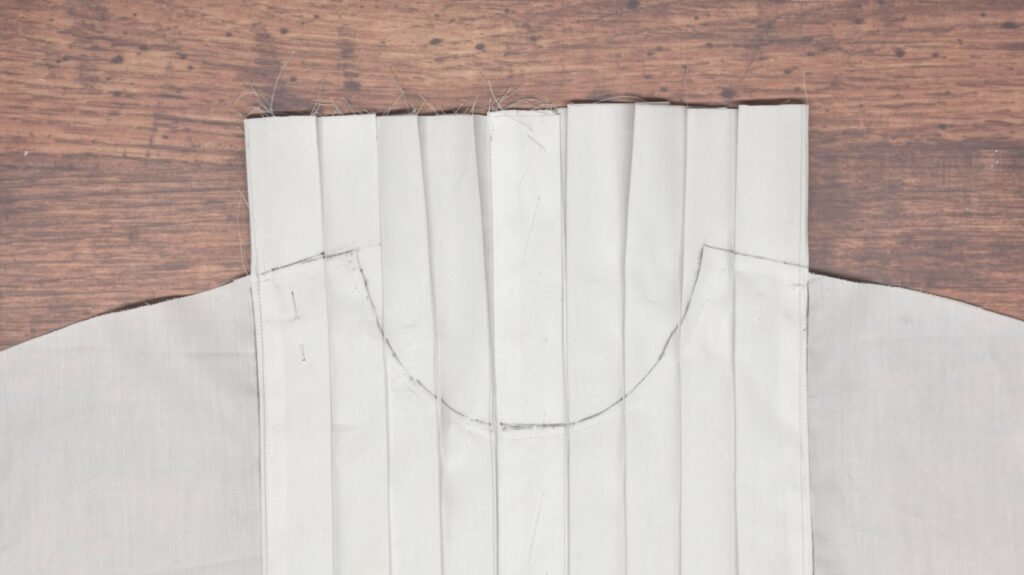
We now need to trim the neckline to fit the pattern. Line up the pleated front portion of the pattern on top of your shirt, aligning the edge and bottom of the pleats. If you’ve worked accurately the shoulder lines should line up as well. If not, you may need to move the pattern slightly to get the shoulders to align.
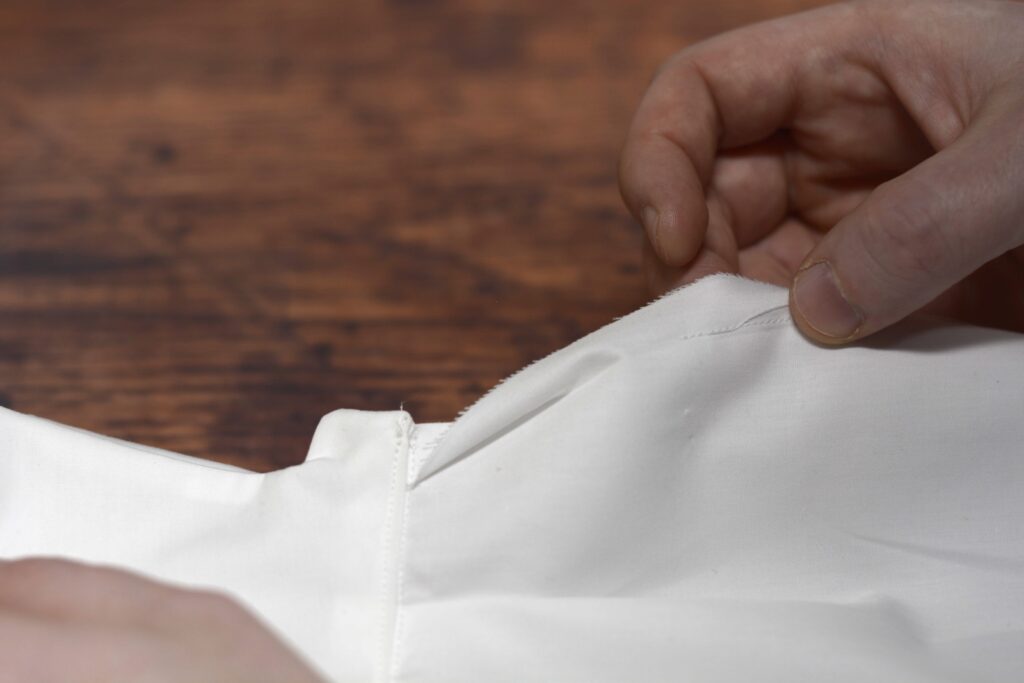
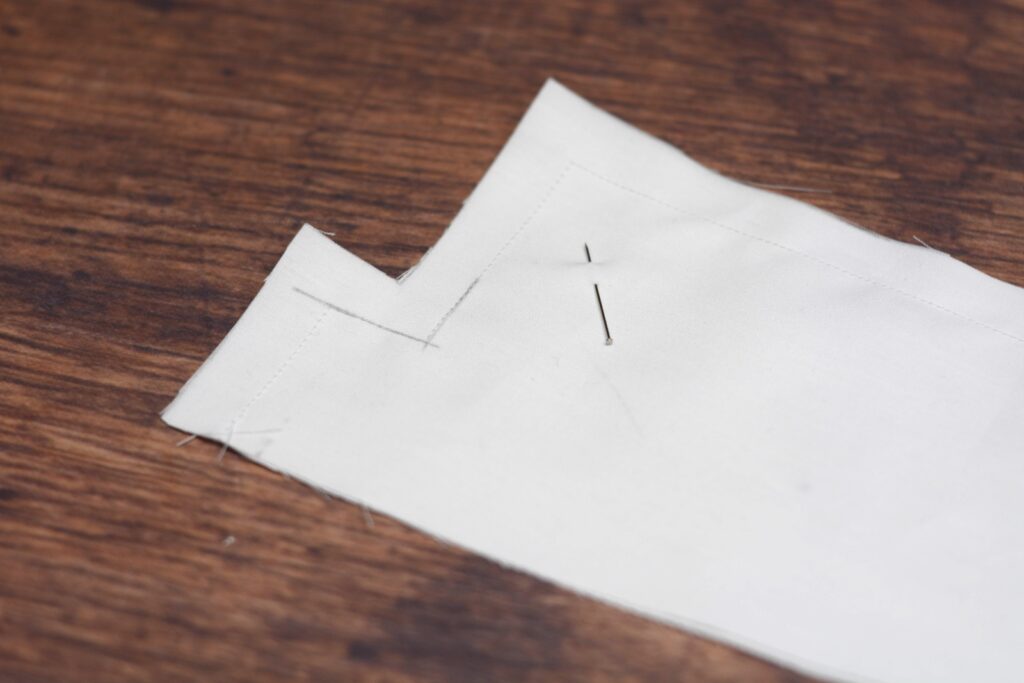
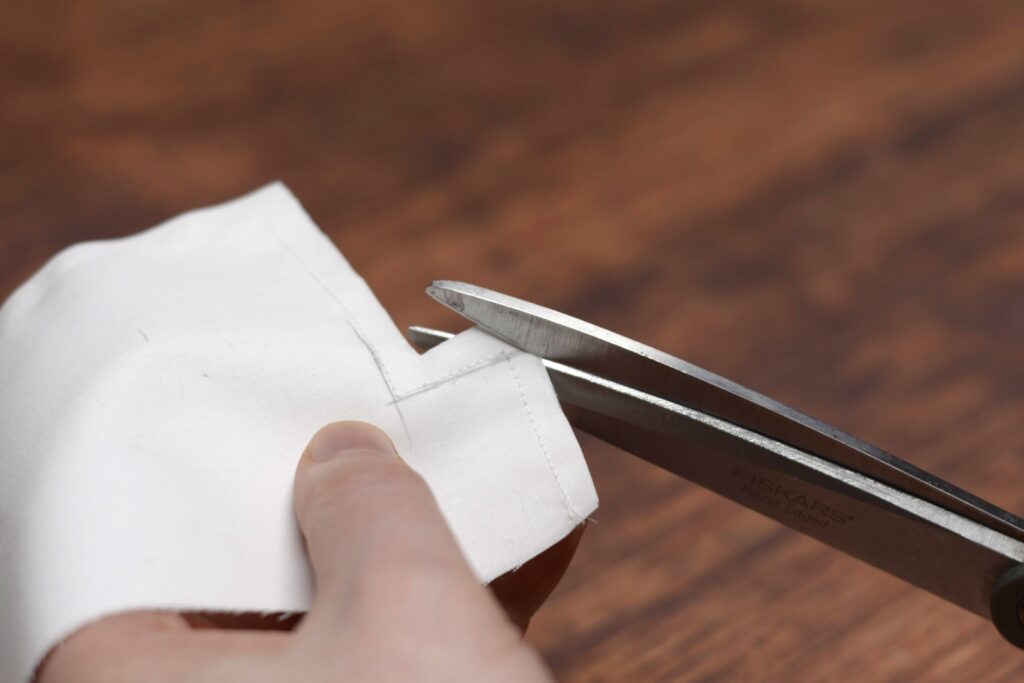
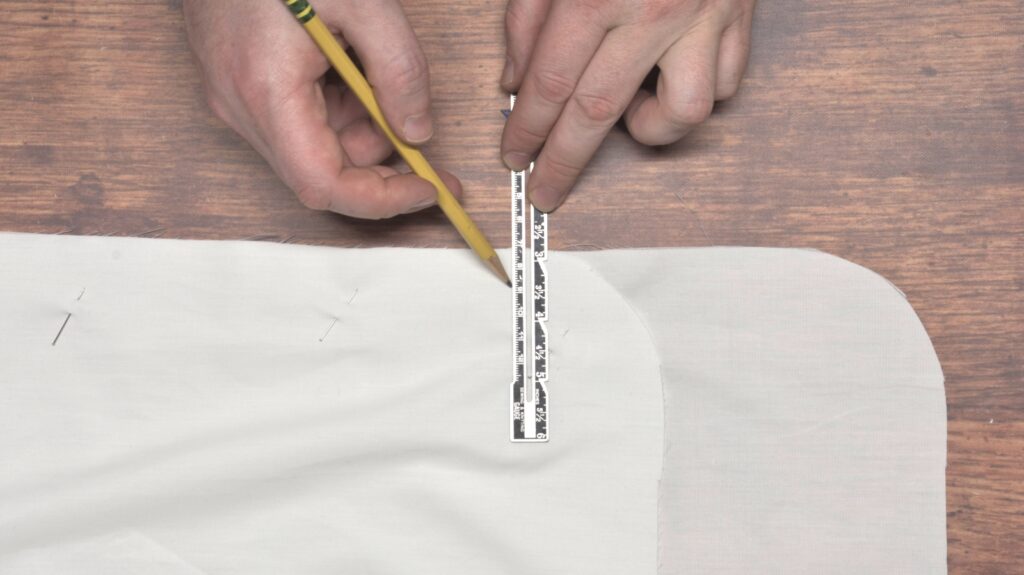
Mark a line across the shoulder area and around the neck to the edge of the center placket.
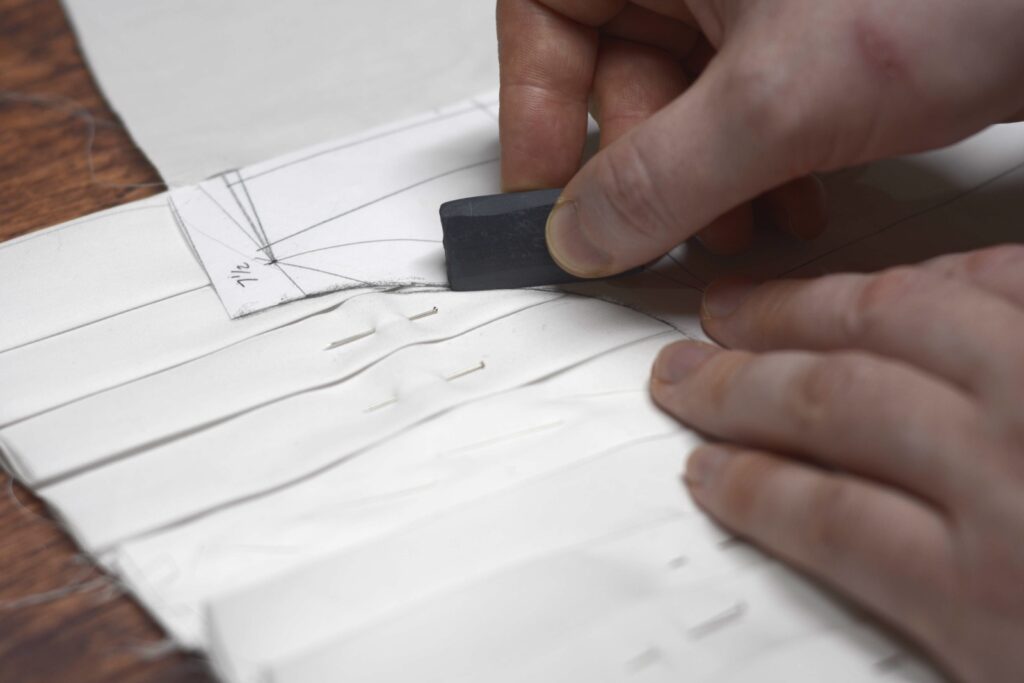
Flip the pattern piece over and repeat the process for the other side. Hopefully everything aligns nicely in the neck area!
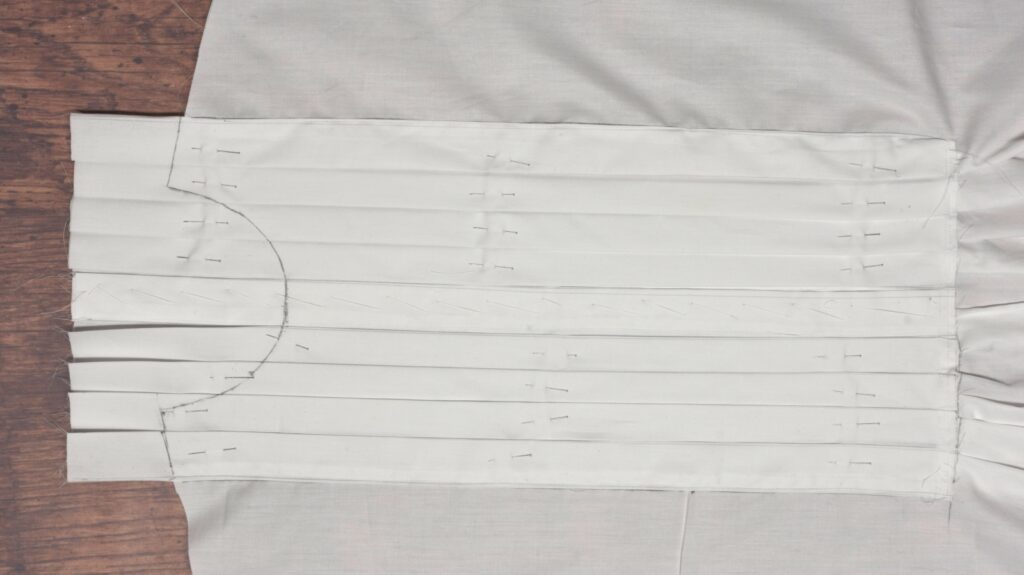
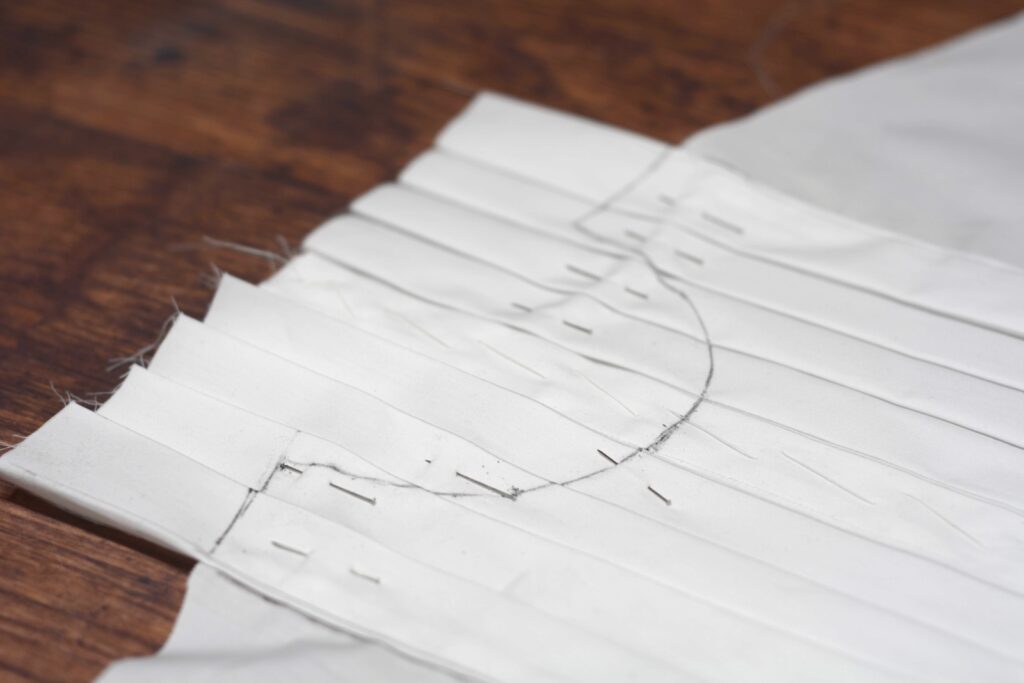
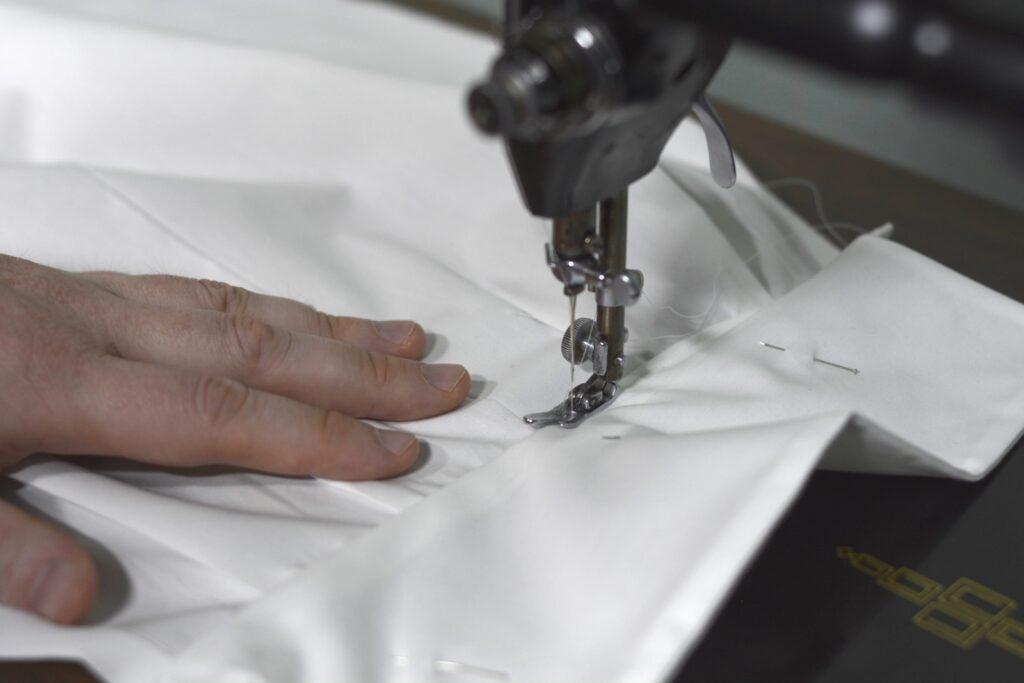
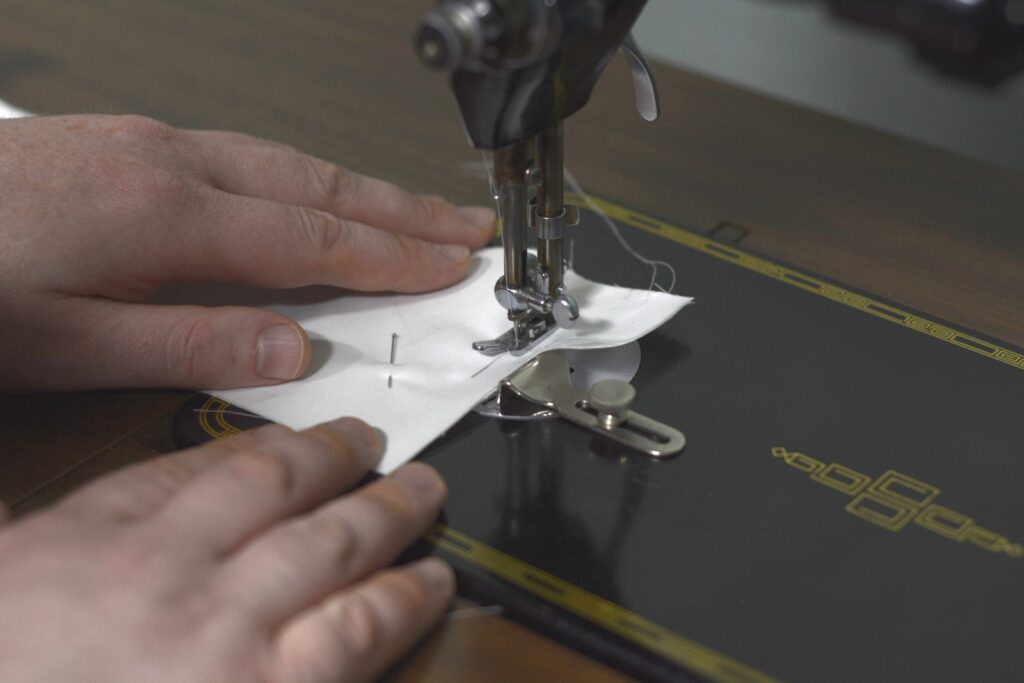
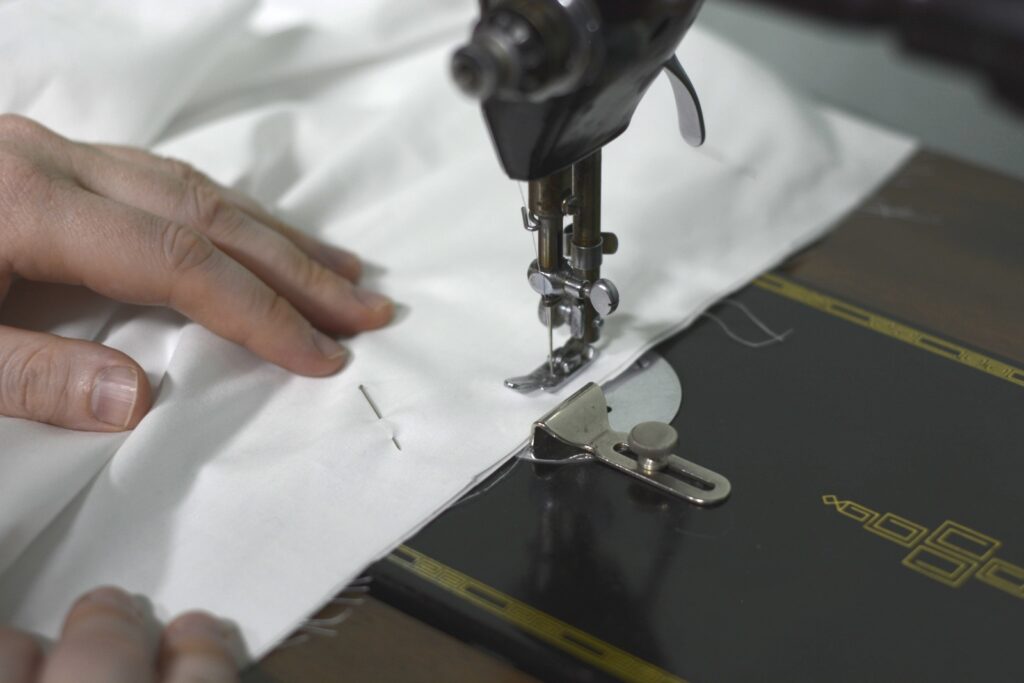
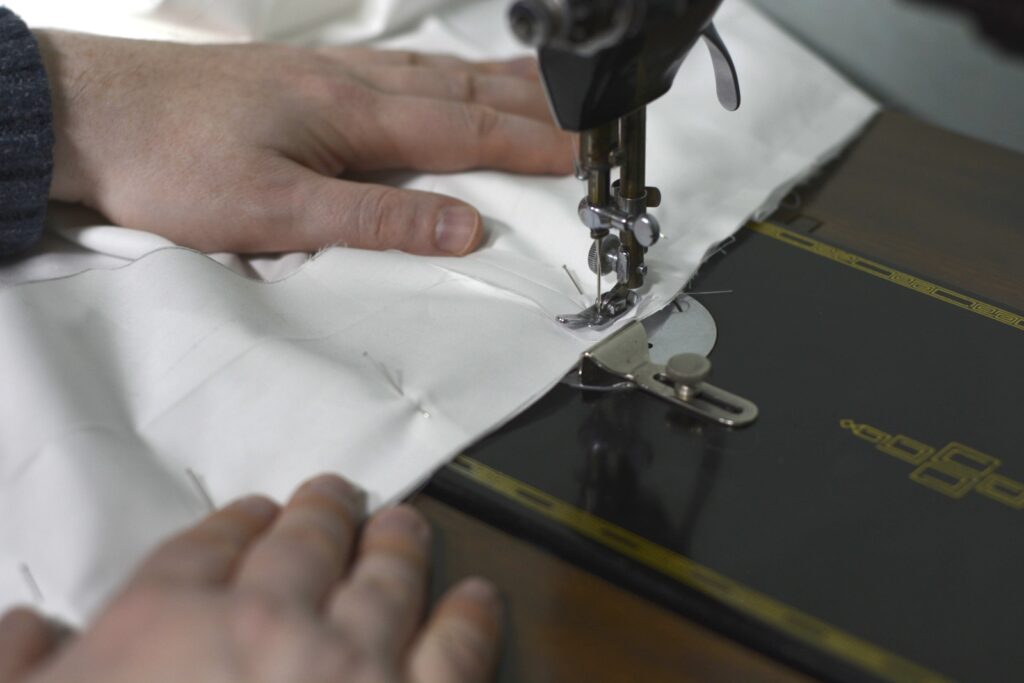
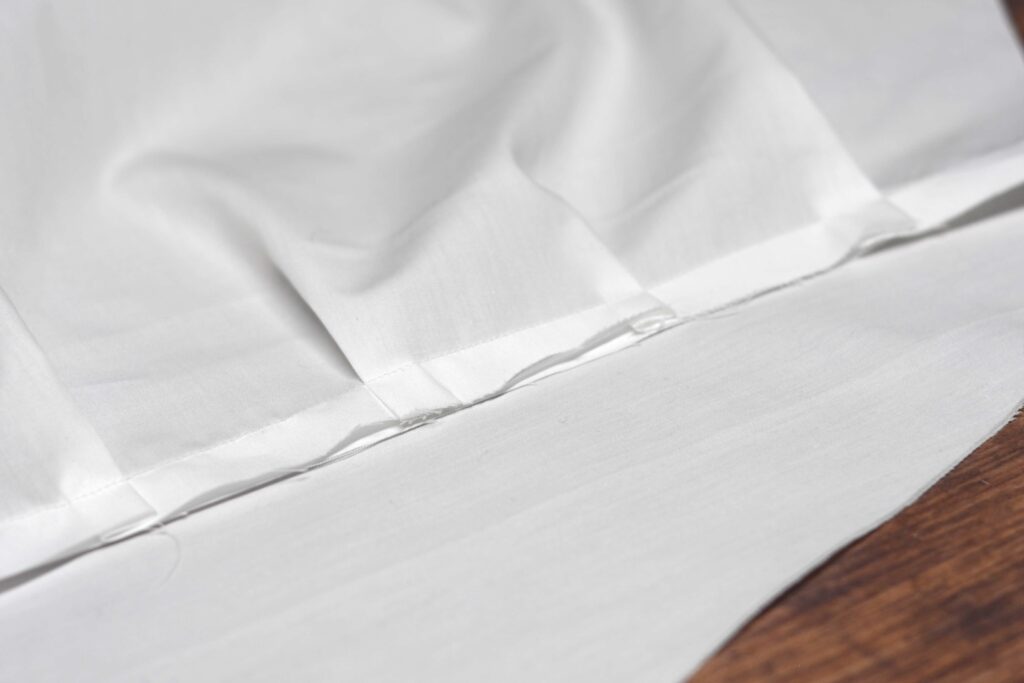
To secure the top edge of the pleats, stitch a line about 1/8″ to 1/4″ (doesn’t really matter) below the chalked neck line. Be careful that the pleats stay in position as you sew.
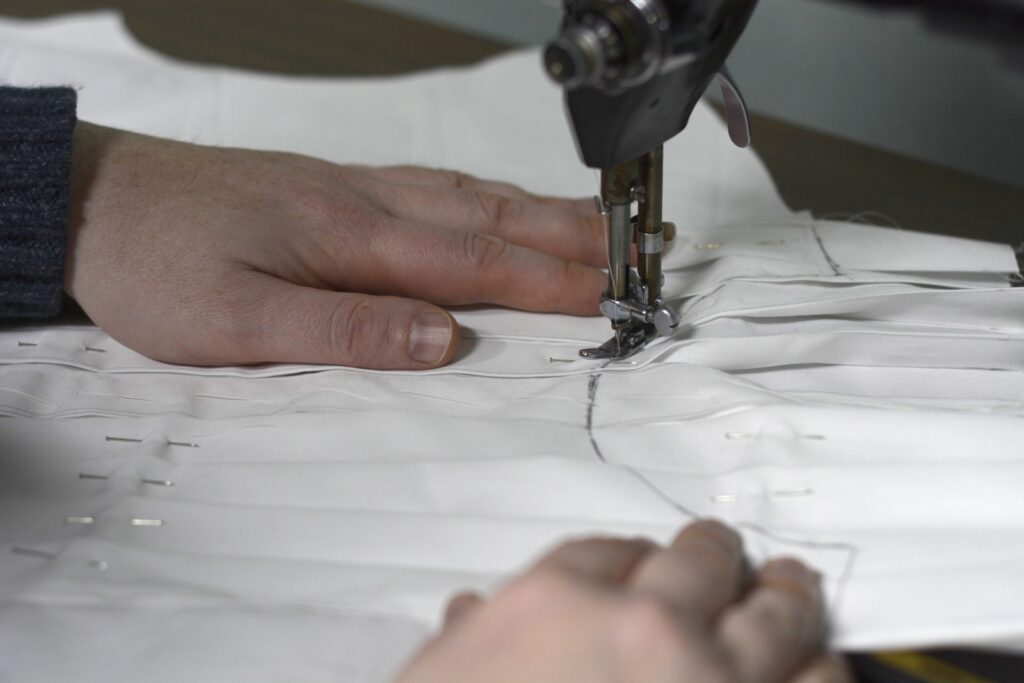

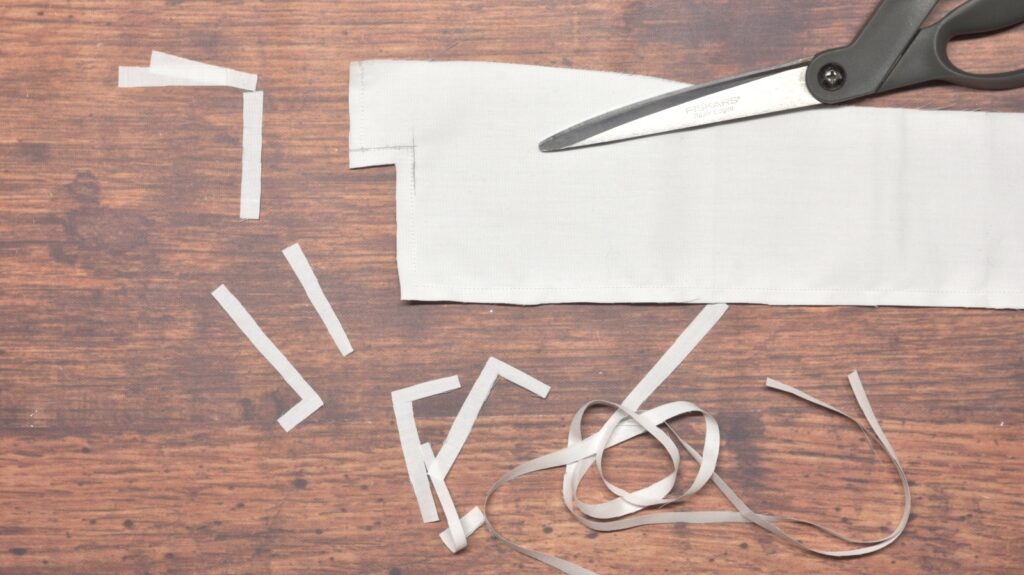
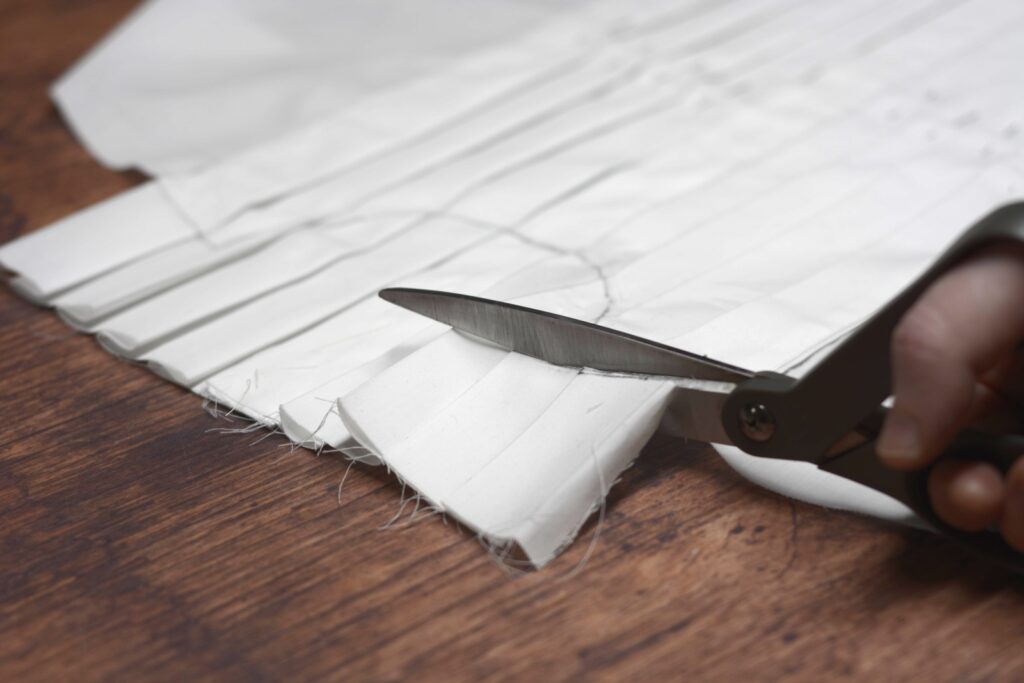
Finally, trim the pleated front along the new neck and shoulder lines. This completes the front of the shirt.

Your Progress
[columns gutter=”0″]
[col]
[progressally_objectives]
[/col]
[col align_text=”center, middle”]
[progressally_progress_pie_chart size=”100″]
[/col]
[/columns]
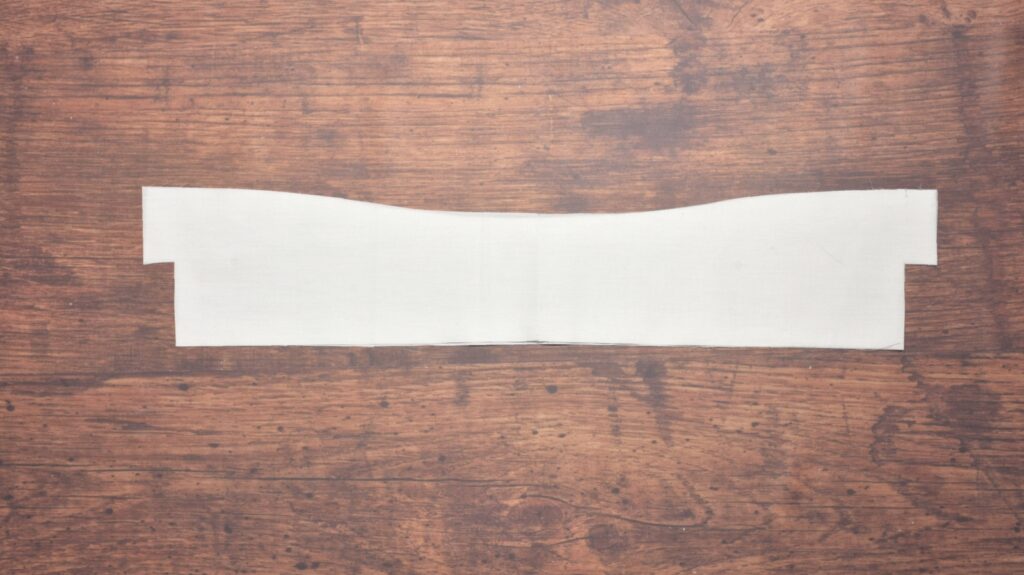
Pleated Front
I hadn’t planned on adding a section on making a toile for the shirt, but decided to include one just in case, as it’s good practice for those who have never made a shirt before, and for those who are working with odd or larger sizes. It’s up to you though, the muslin fabric I bought ended up being more expensive that the cotton I’ll be using for the shirt!
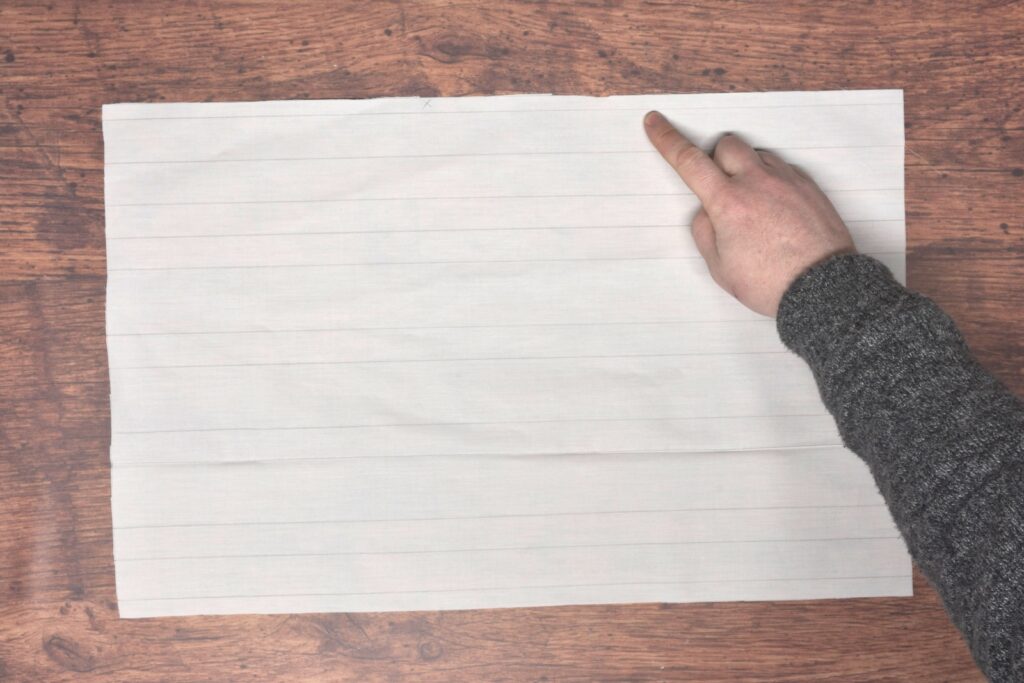
I’d highly recommend transferring the lines to an 8 1/2″ x 11″ sheet of paper and making a test run with that so you can figure out any errors as well as have something to refer to as you go along.
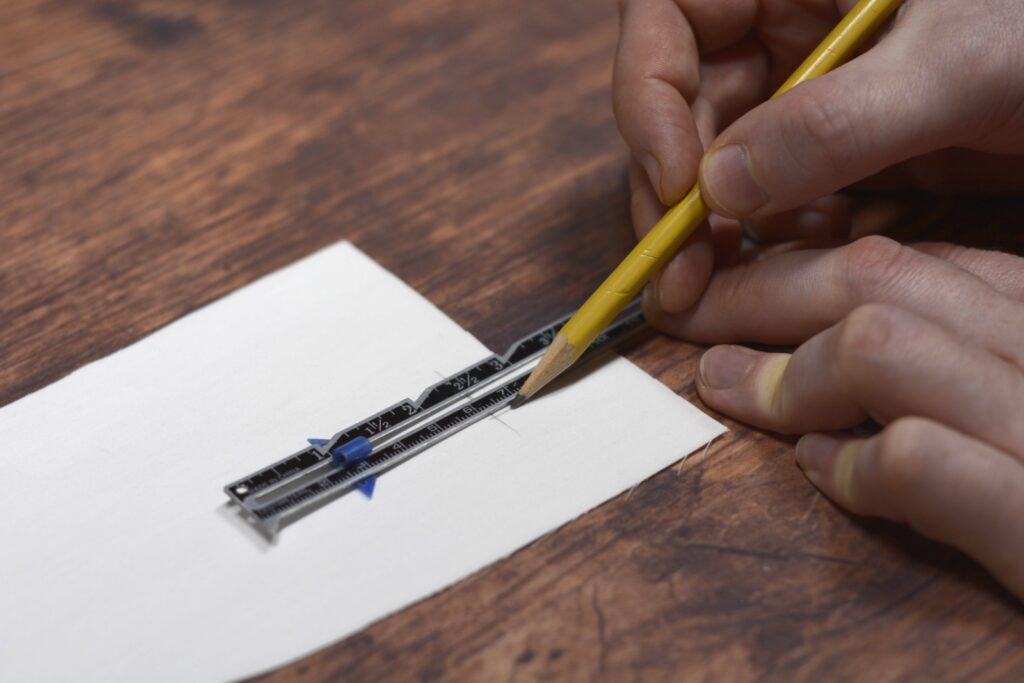
Construction begins with the pleated front and laying out all the lines on your piece of cotton. I’ll be starting from the center front placket area with the 3/8 seam allowance.
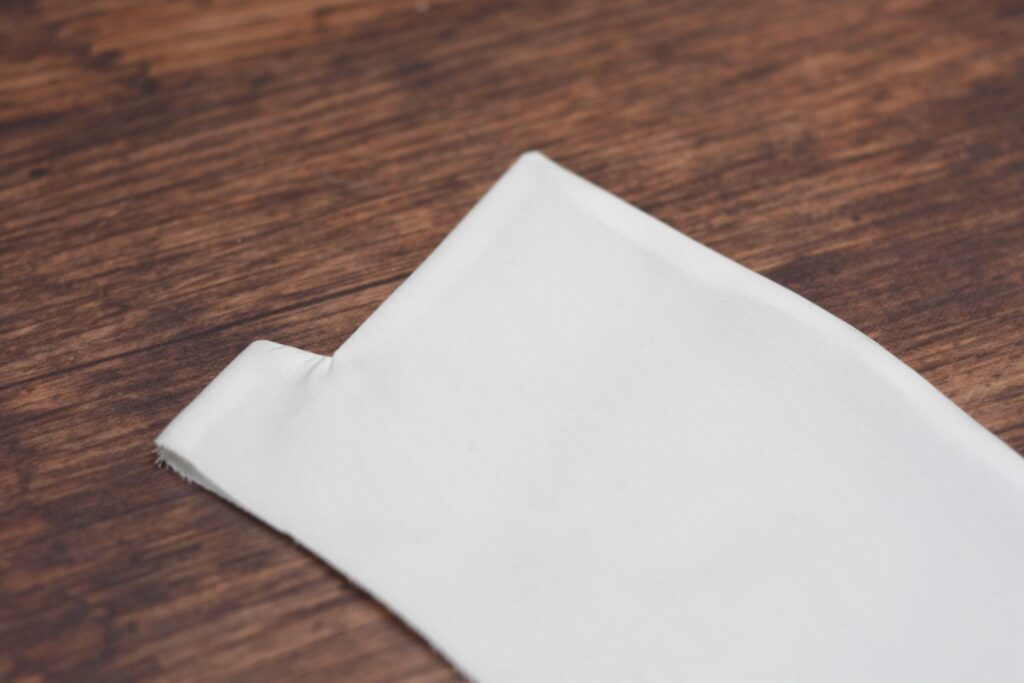
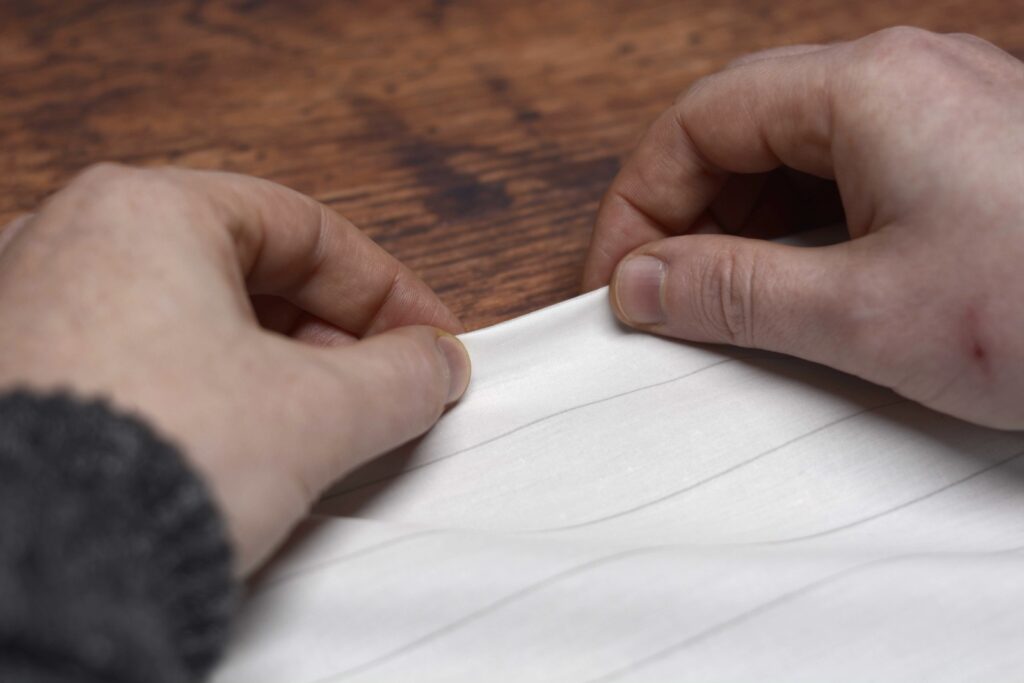
Turn the seam allowance under and crease firmly with your fingers. It’s important to be as accurate as possible here and in all of the following steps.

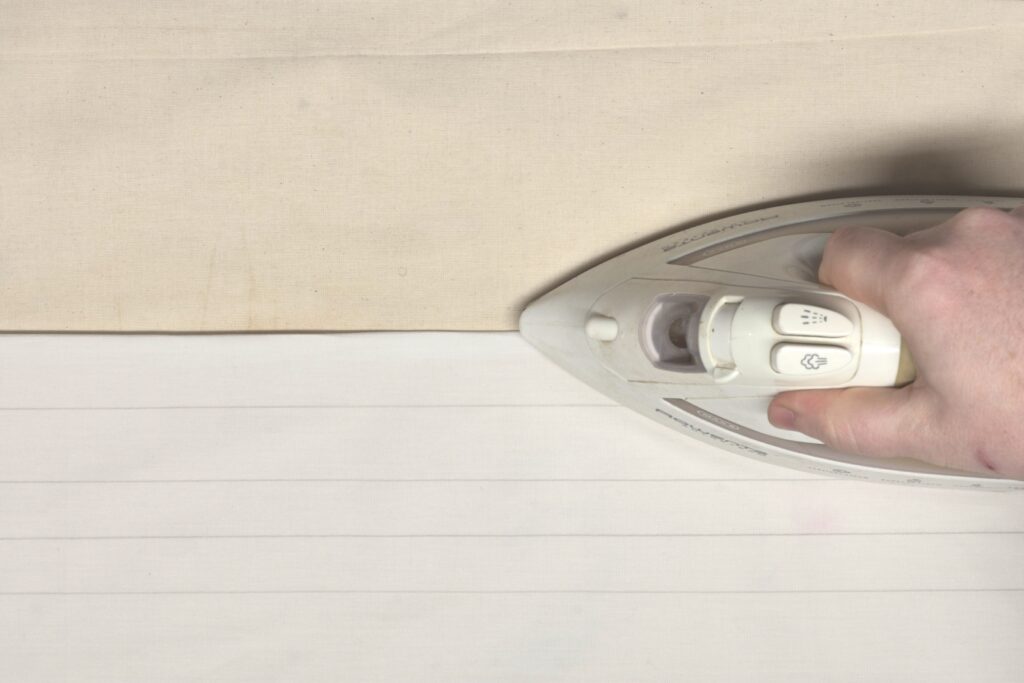
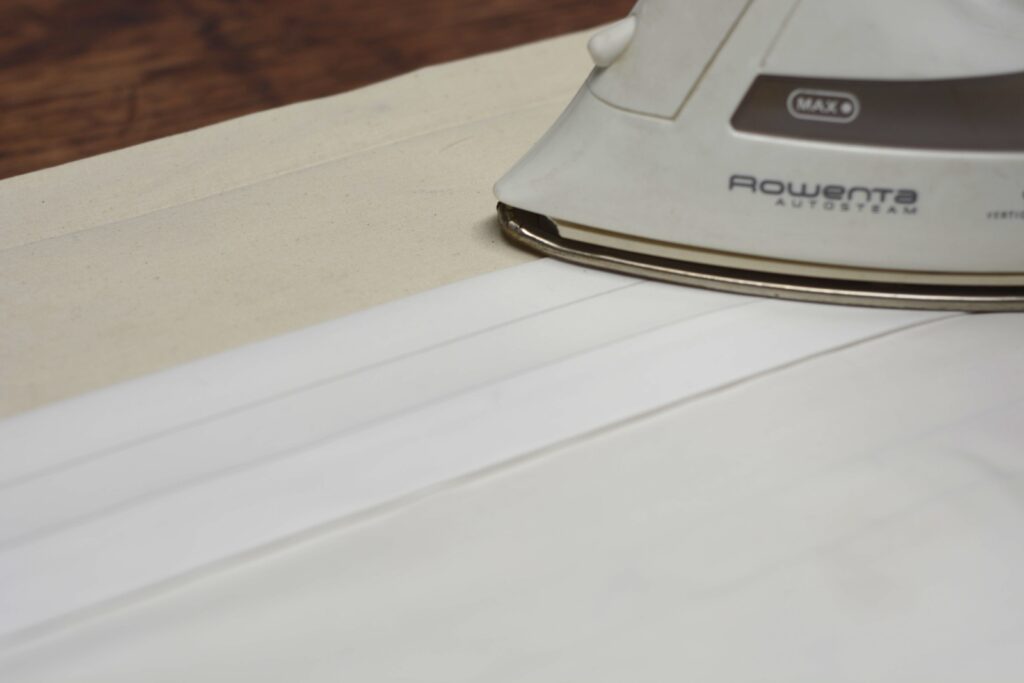
Press firmly with a hot iron and a little steam if necessary. This general method of using the fingers and the iron is used throughout.
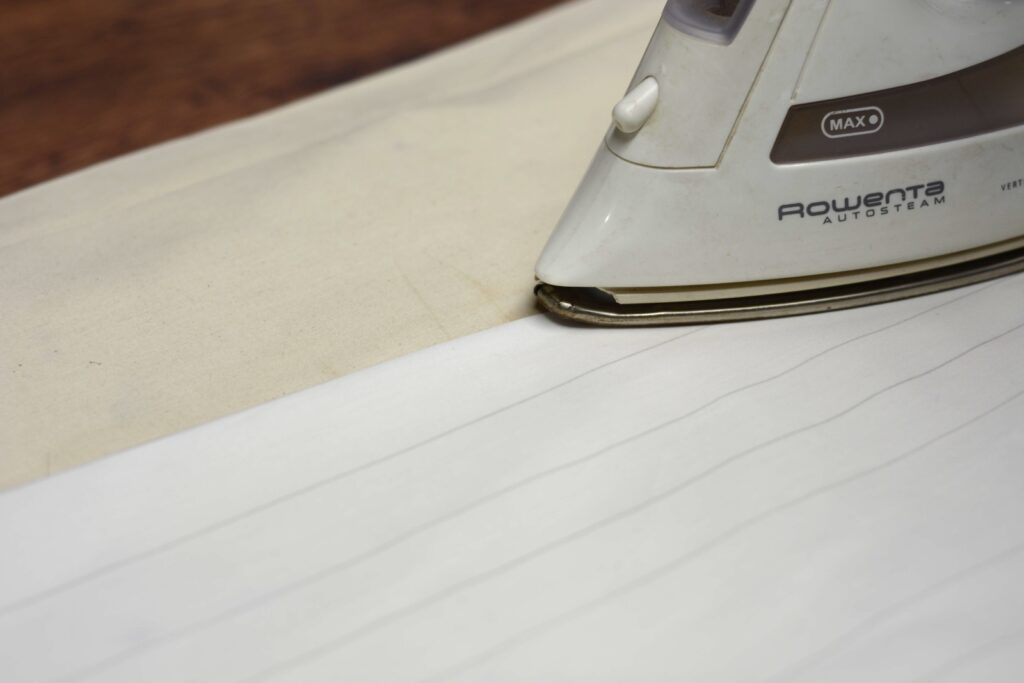
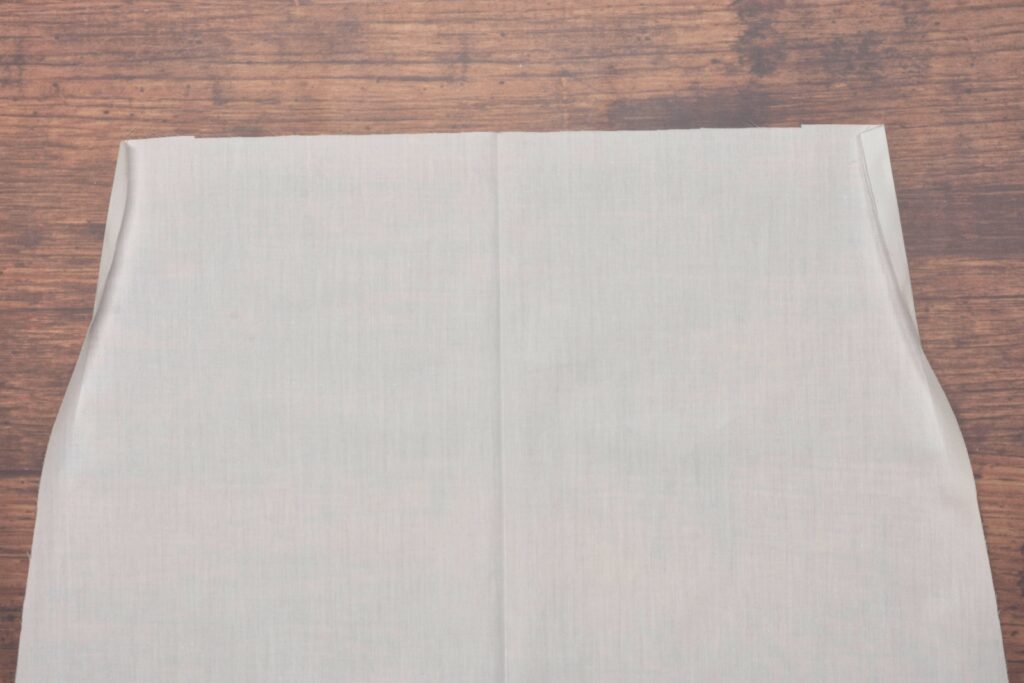
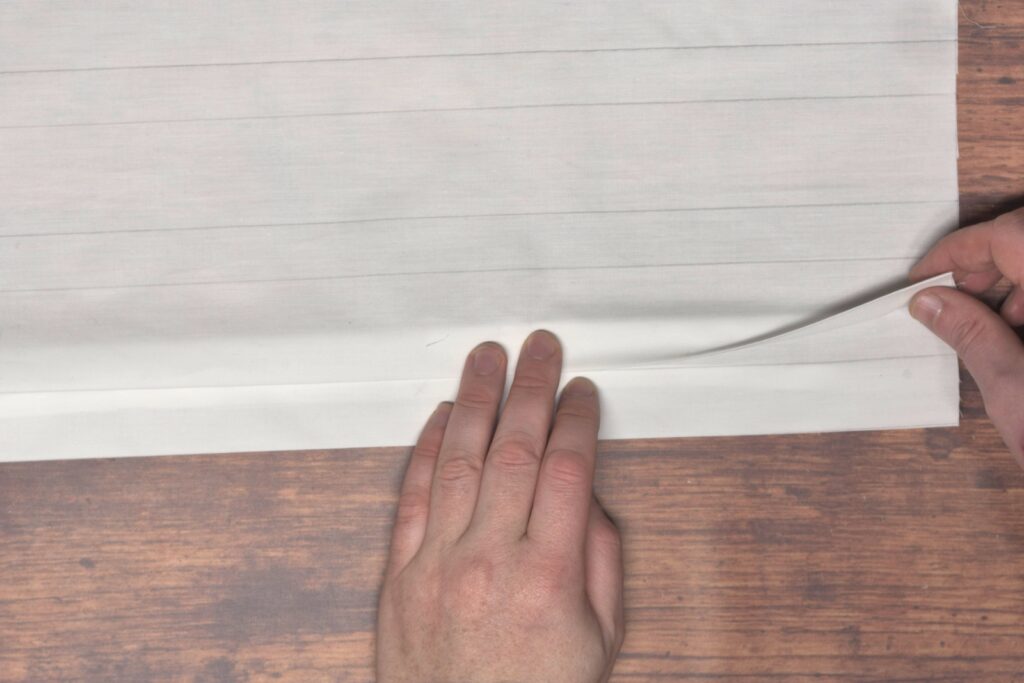
Now fold and press the fabric at the second line, forming the shirt placket.
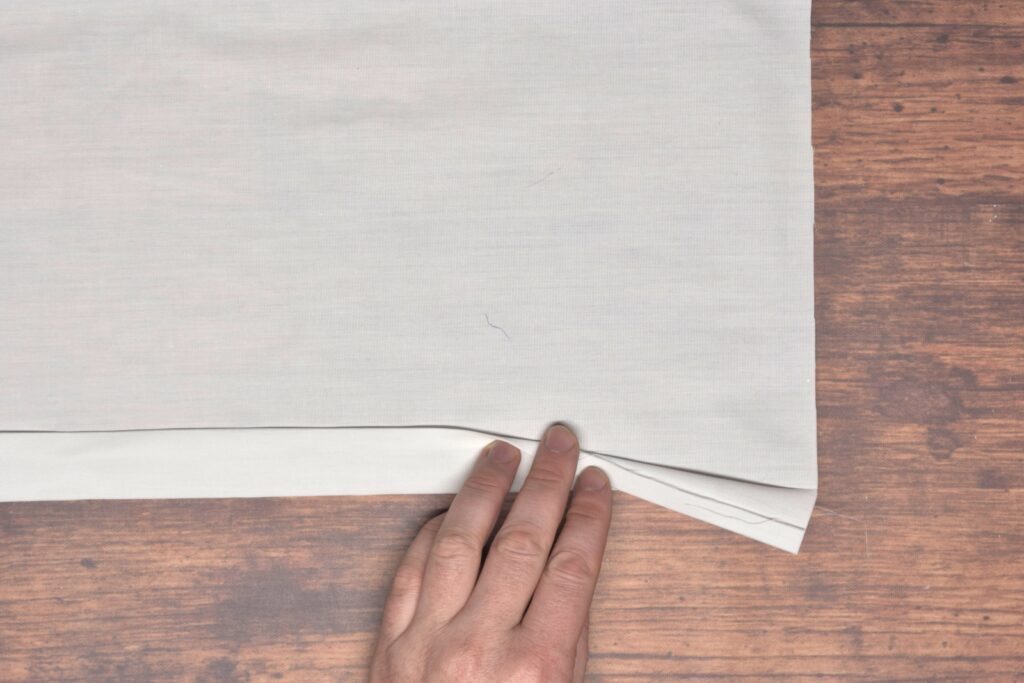
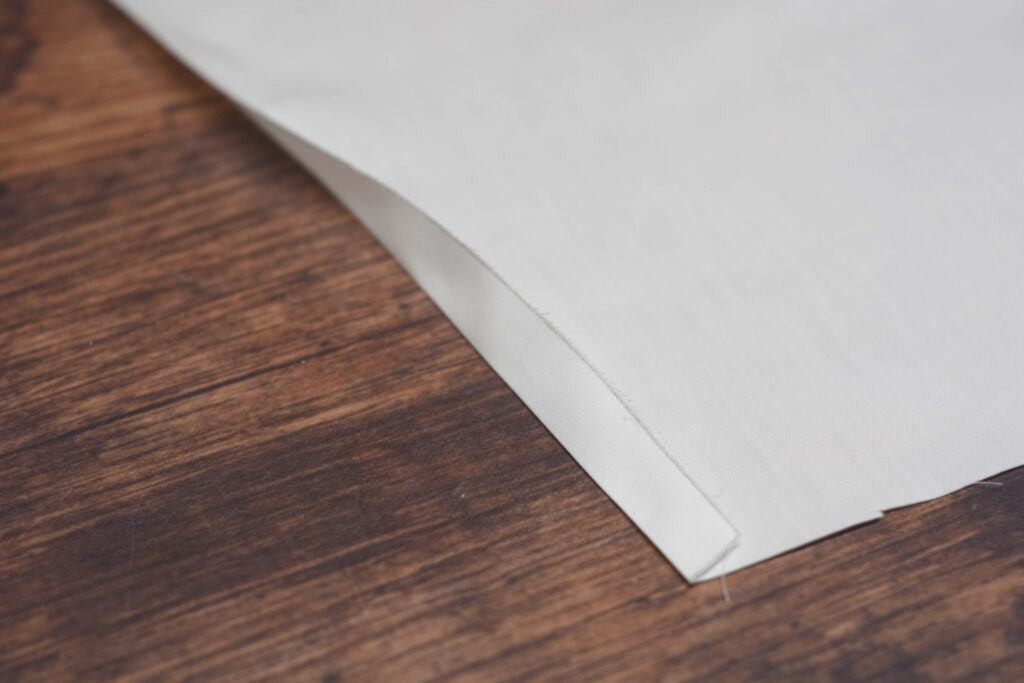
This is the view from the underside.

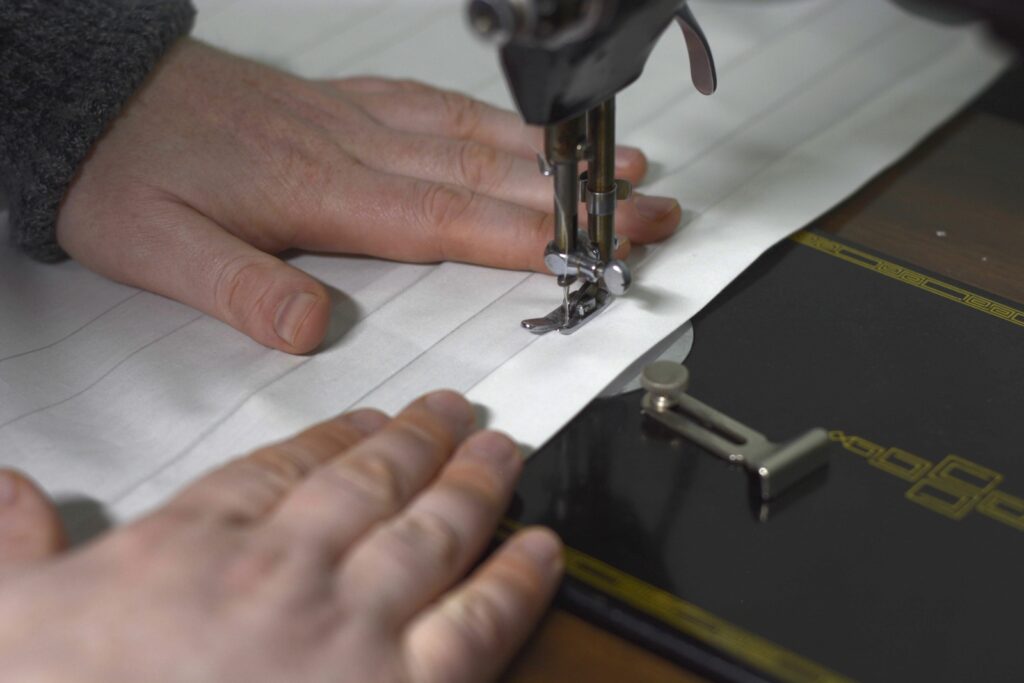
Sew along the inner edge of the placket about 1/8 from the edge. I recommend pinning the placket first – it will keep the fabric layers from shifting as you sew.
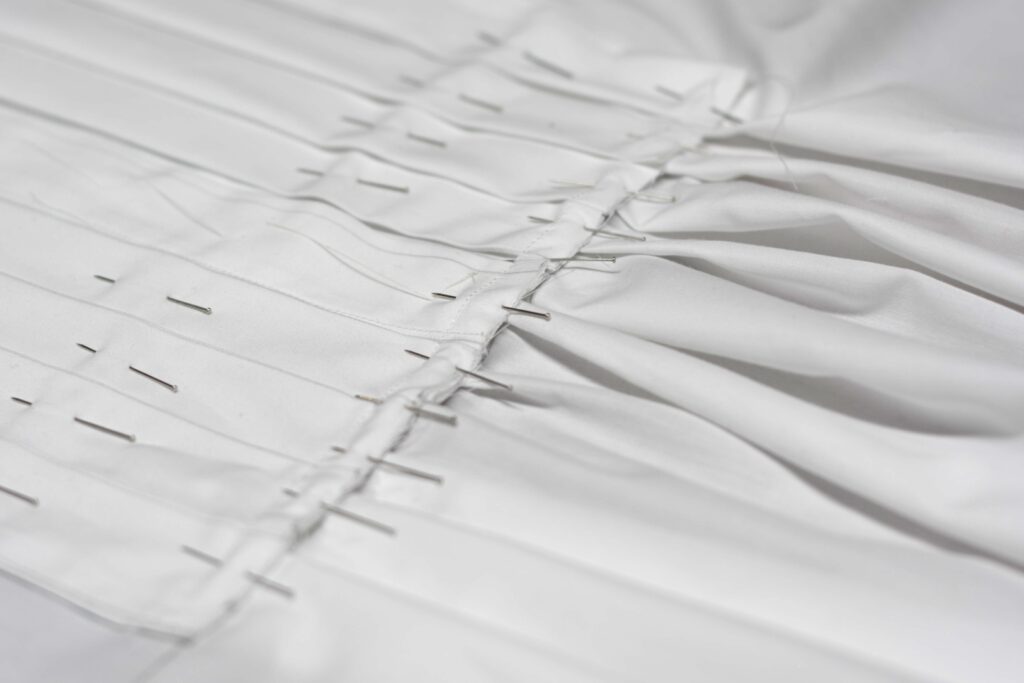
Now we’ll begin forming the pleats using the following process. The size of your shirt and the pleats themselves determines how many pleats you will have, so you may end up with more or less than my four.
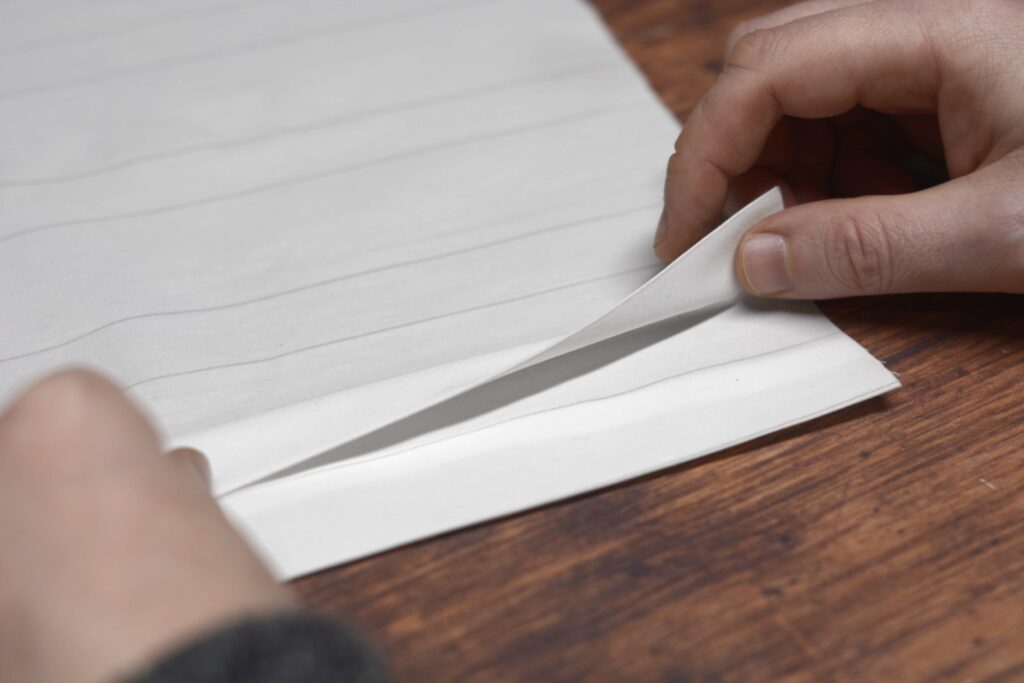
Take the second line from the placket as shown.
Fold and press this line, forming the outer edge of the new pleat.
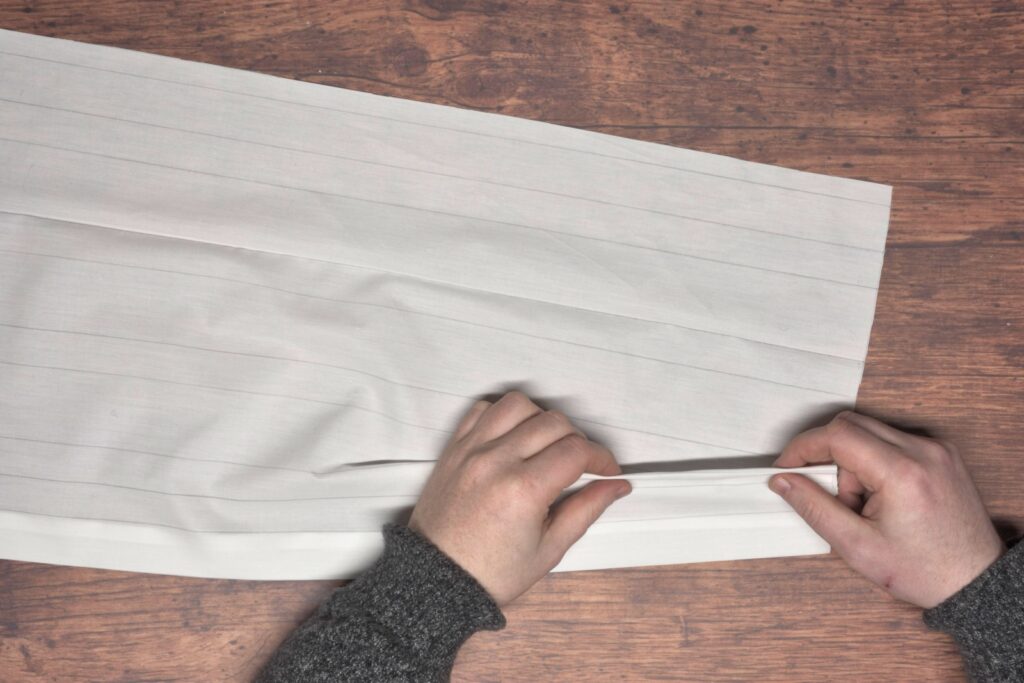
After pinching the fabric along the line, I like to press it as shown below.
Then lay the pleated front out on the table again, taking the folded edge you just made.
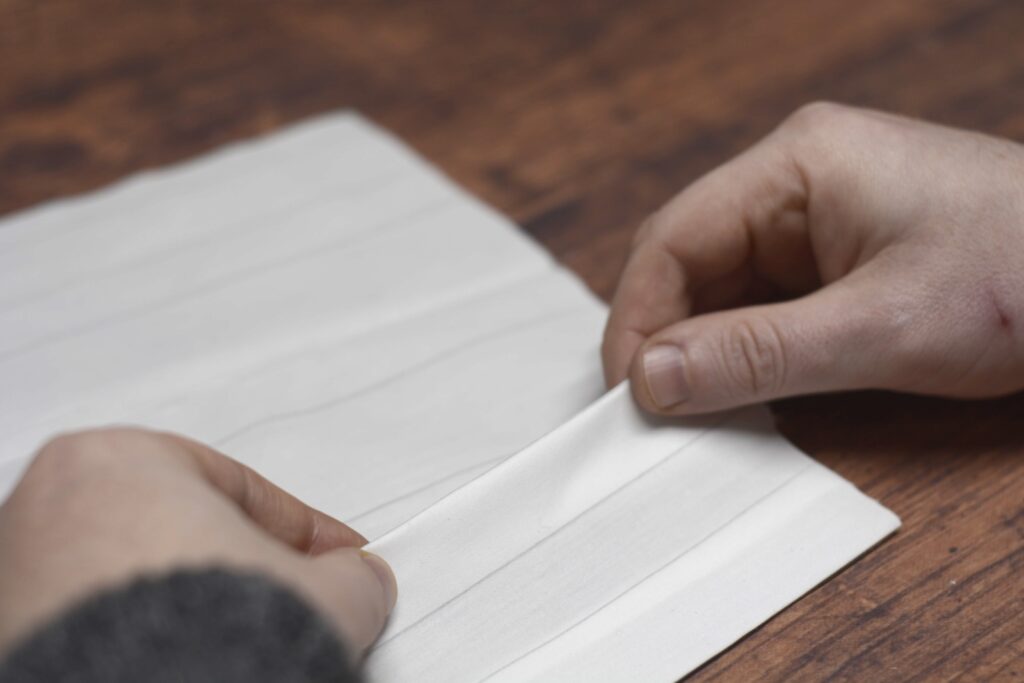
Drag the pleat into position, lining it up with the edge of the placket.
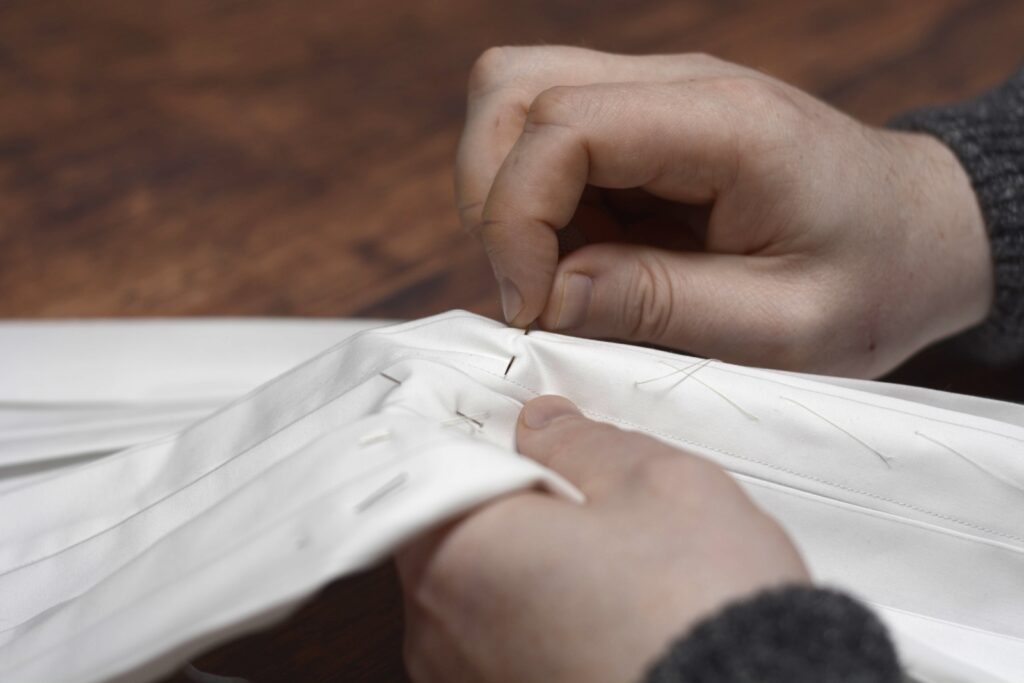
Give it a firm, careful press and then secure with pins at the top, center, and bottom.
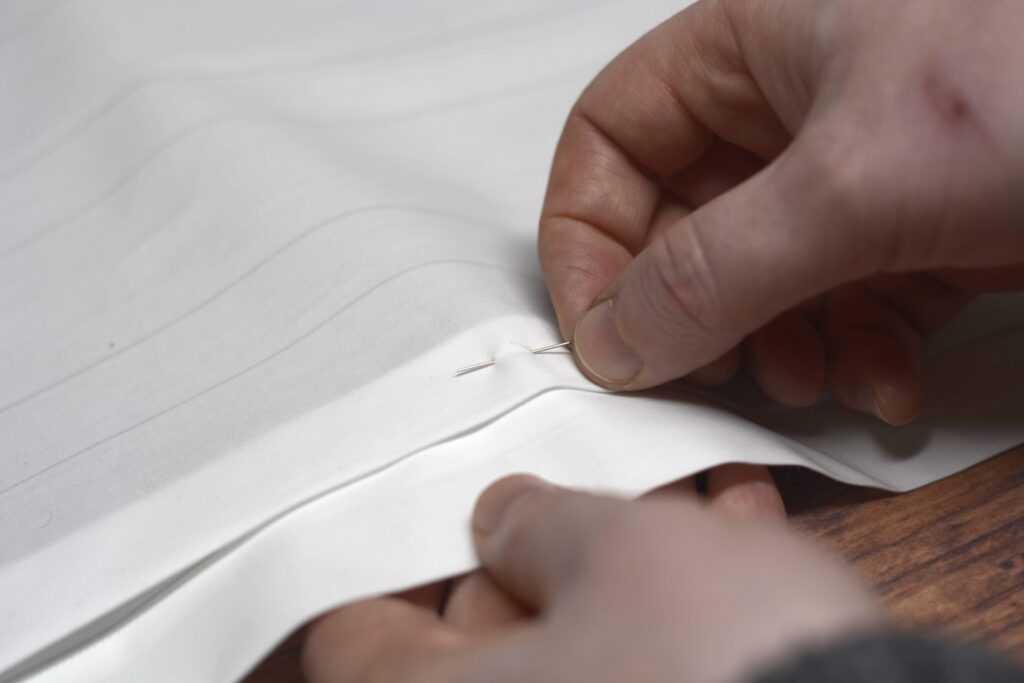
This completes the first pleat.
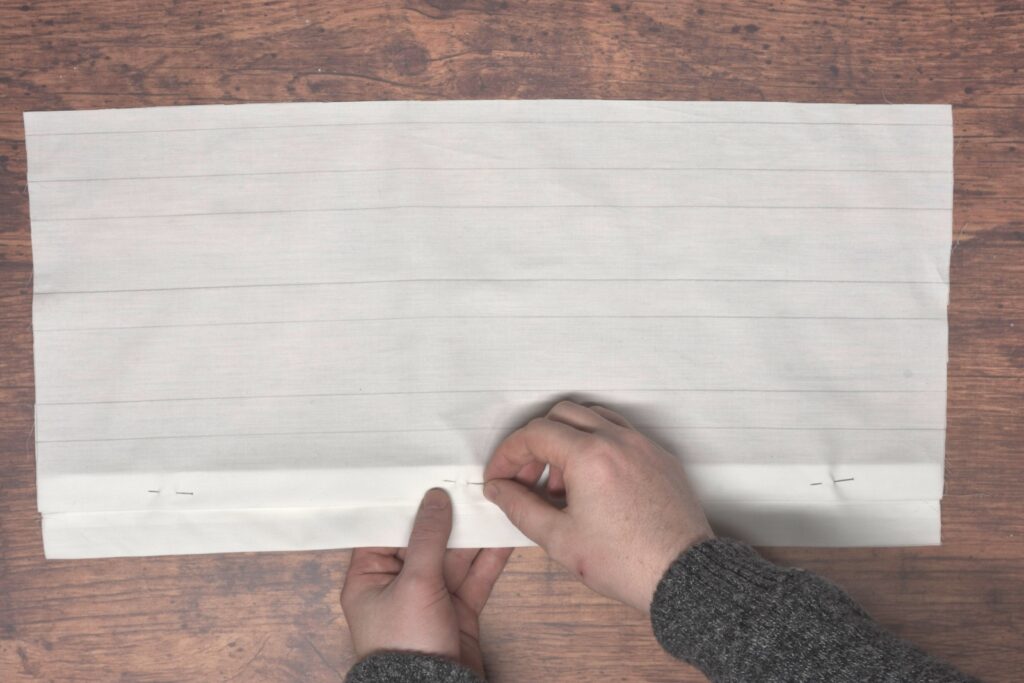
Continue the same process for the other pleats, pressing every second line, folding it into position, and pinning.
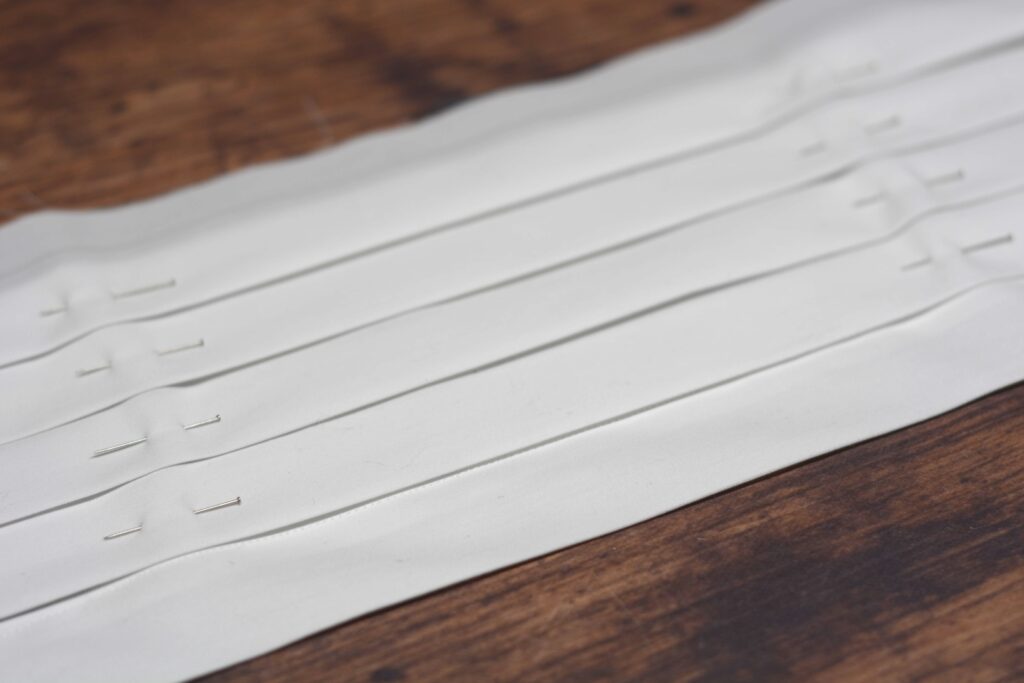
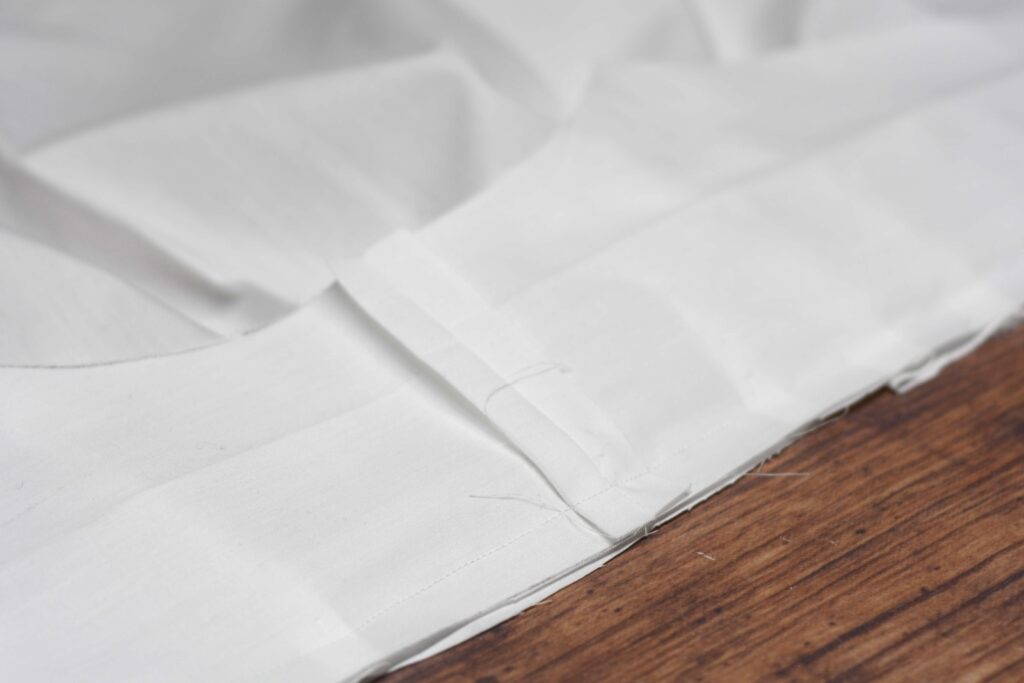
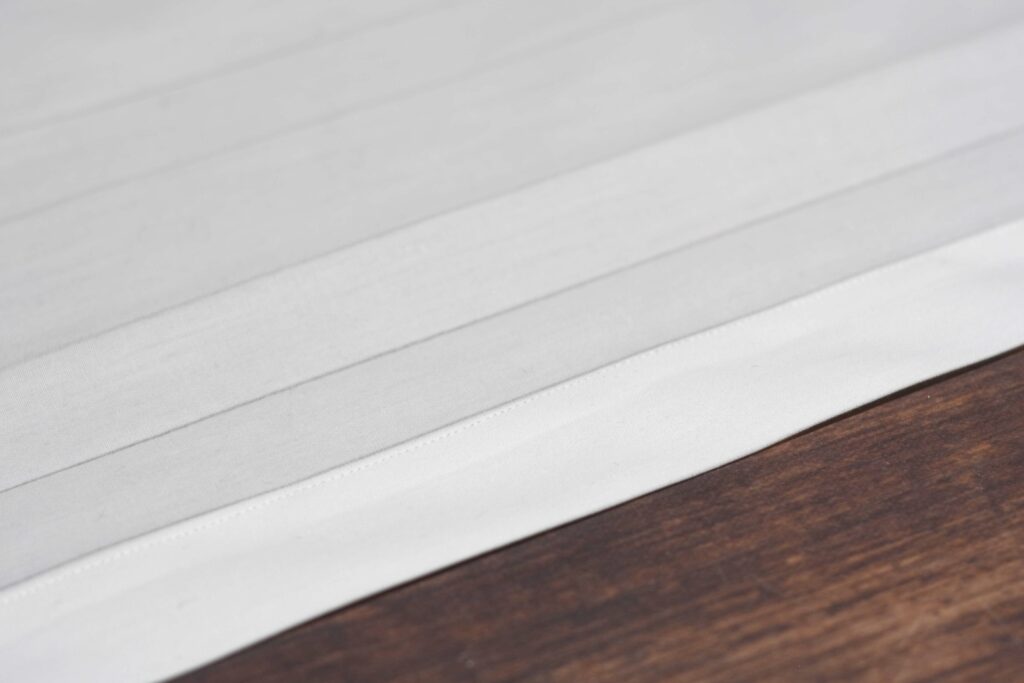
Next, fold over the remaining line to form the outer edge of the pleated front. The seam allowance folded underneath should be 1/2″ and this folded edge will later be sewn (felled) down to the shirt front.
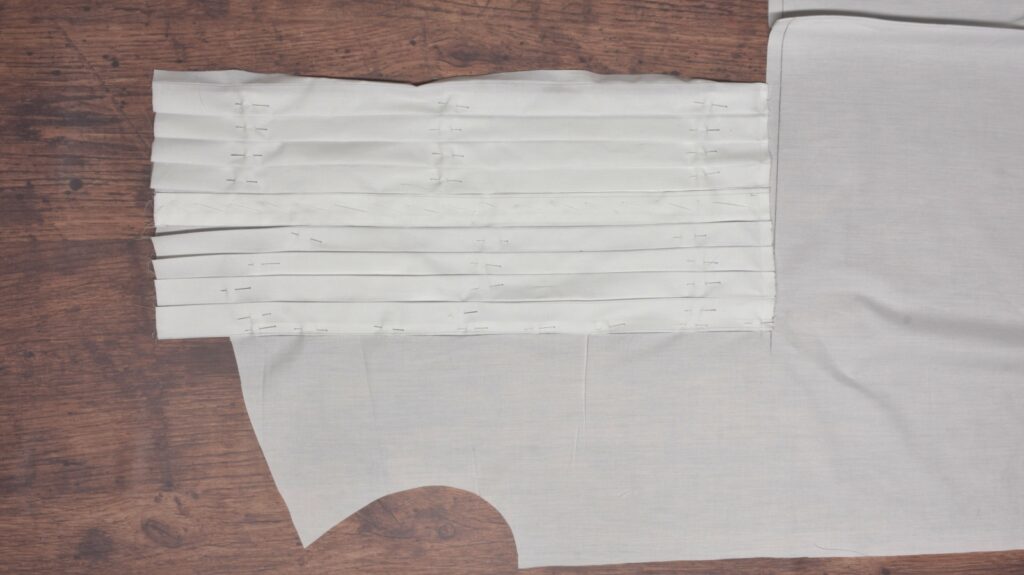
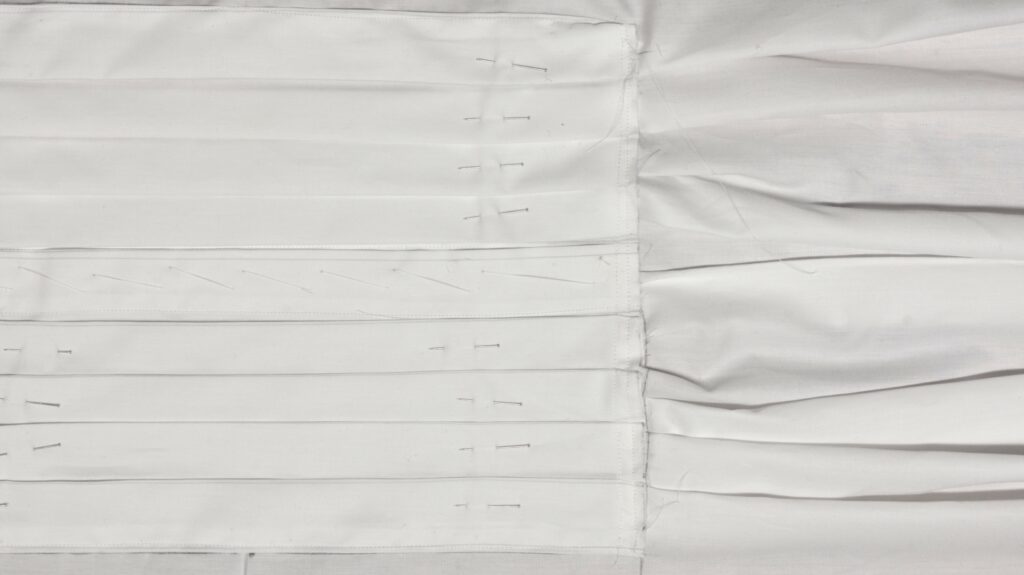
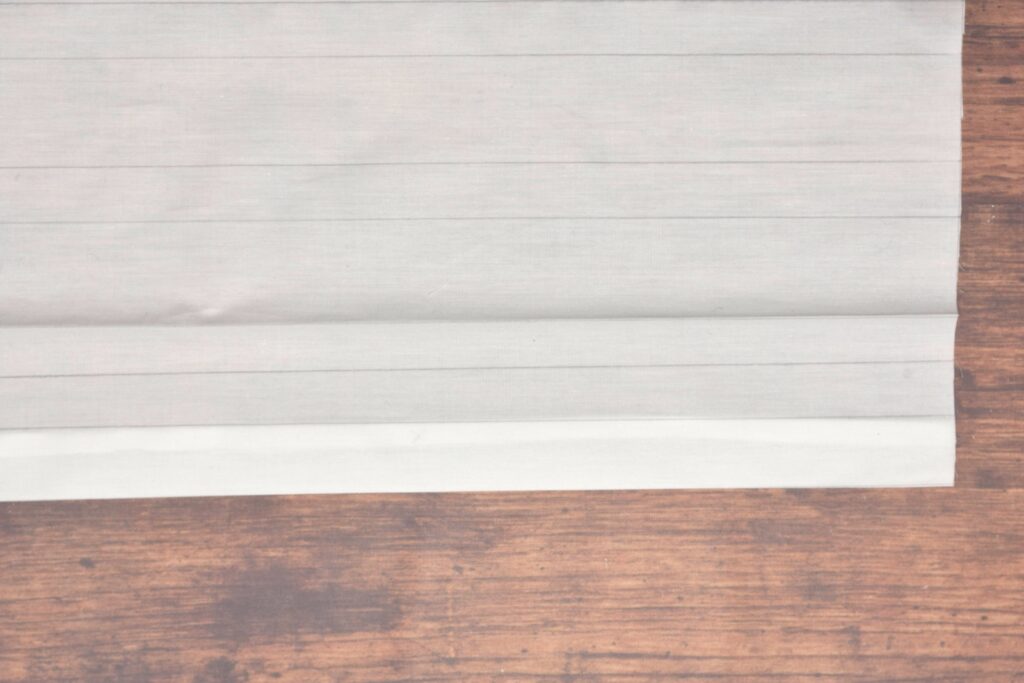
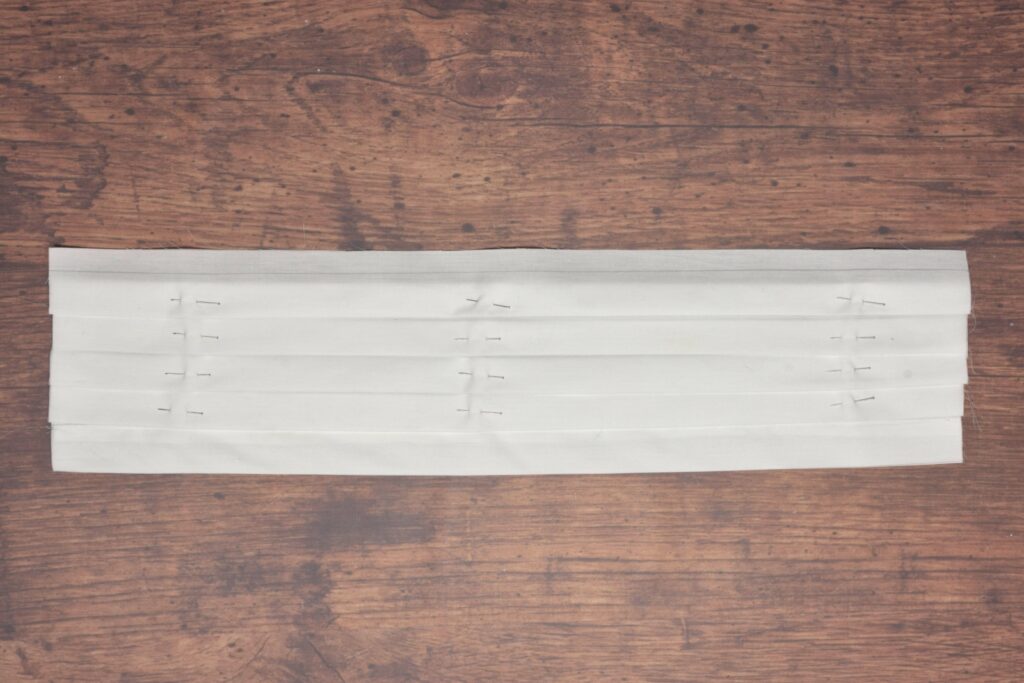
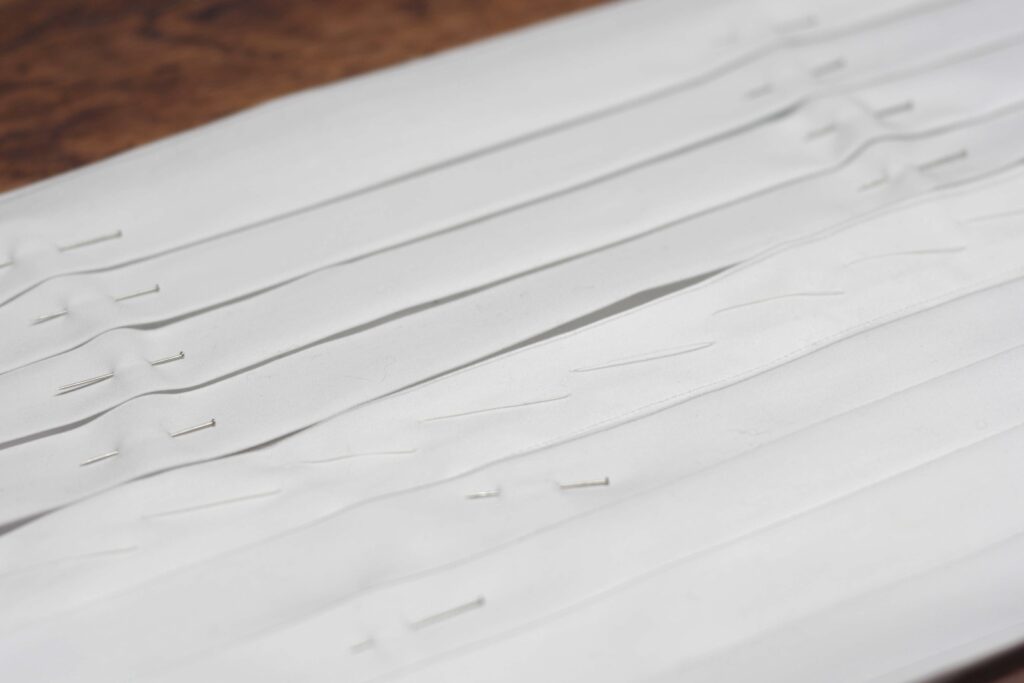
Here’s one completed half of the pleated front. I like to give everything a firm press at this point.
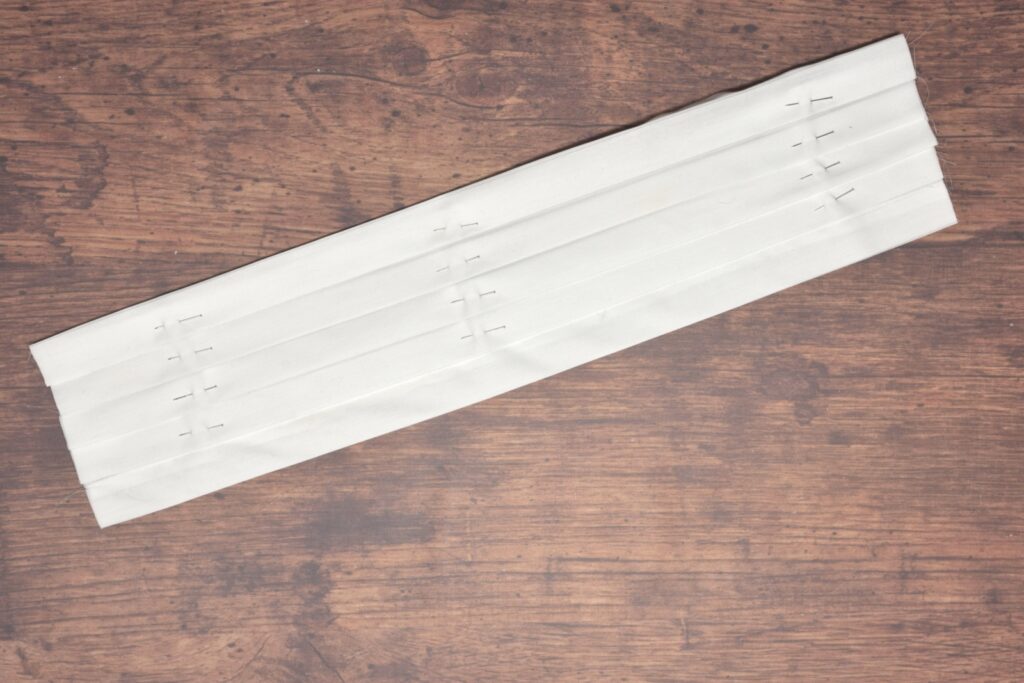

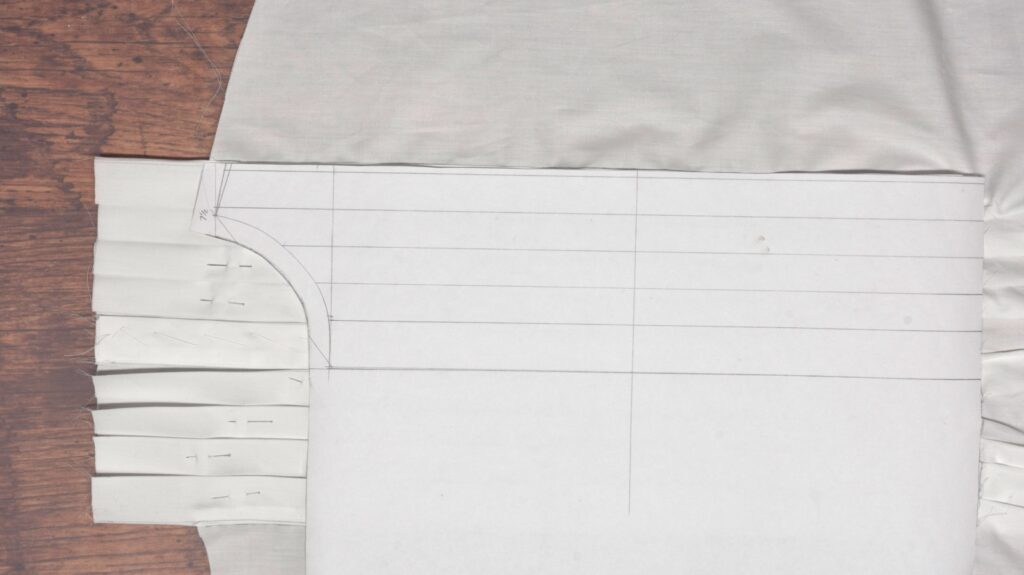
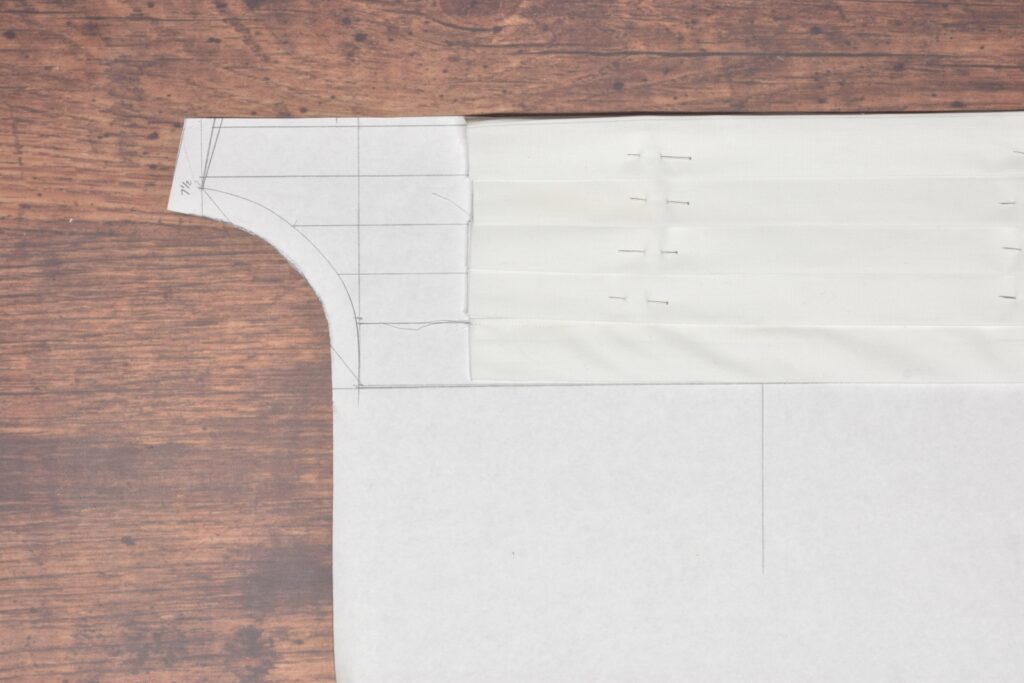
You can check your accuracy by laying one half of the pleated front directly on the pattern. I was surprised at how accurate mine was, from my past experiences. If you’re more than about 1/4″ off I’d recommend redoing the pleats and checking your work carefully.
(Note: I cut out the pleated section from my shirt front pattern. Don’t worry about doing this yet, it will be explained in the next section.)
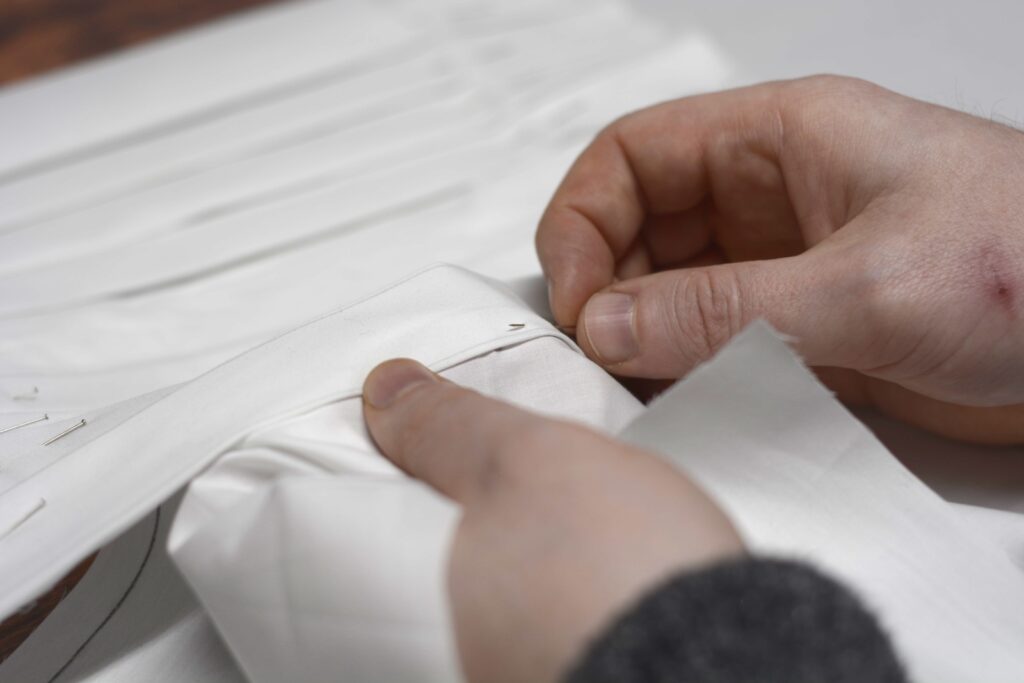
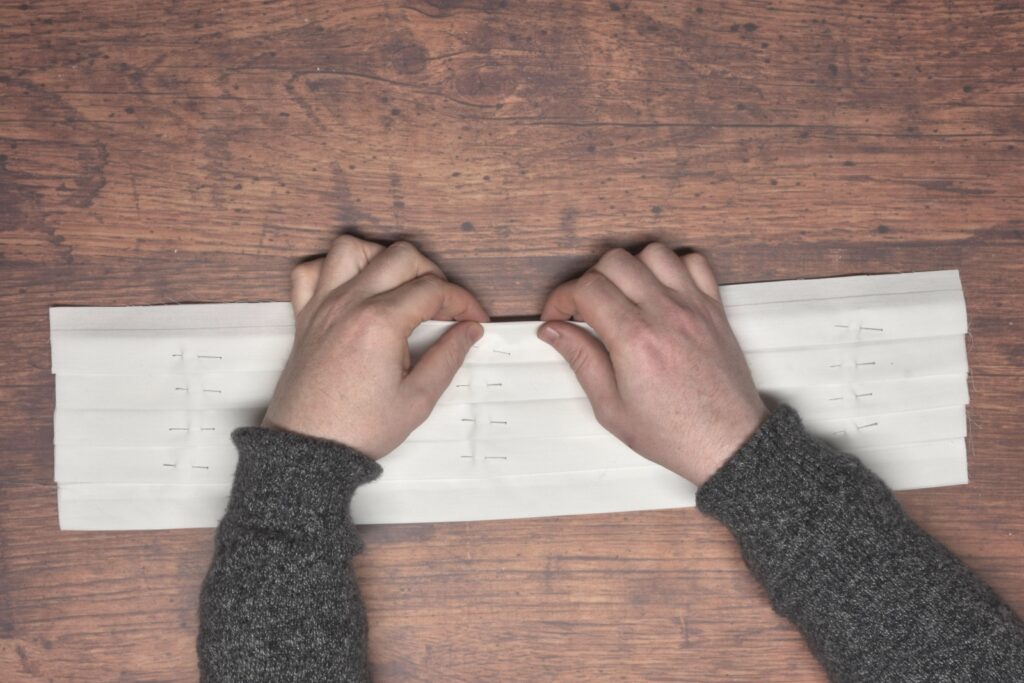
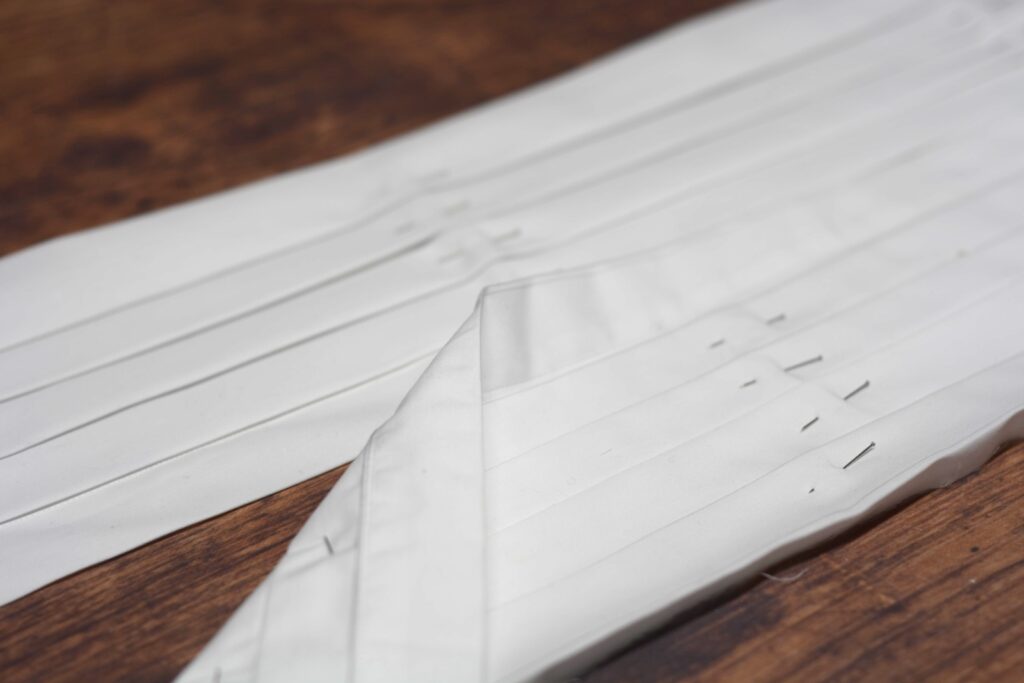
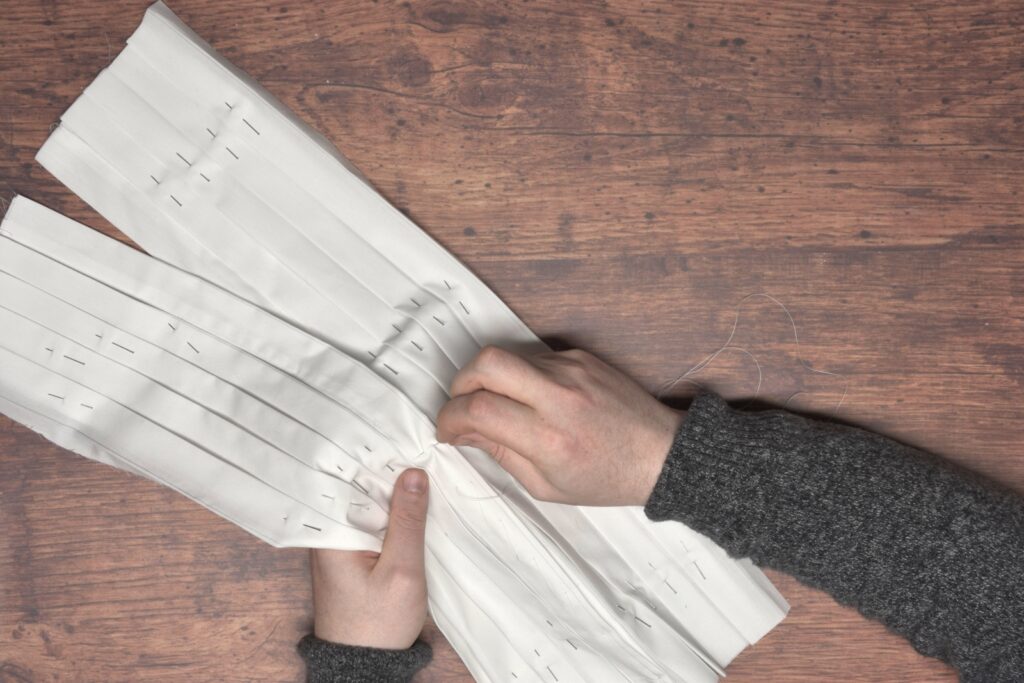
With both halves complete, lay them together, left side on top (Oops, I just realized I did mine backwards!).
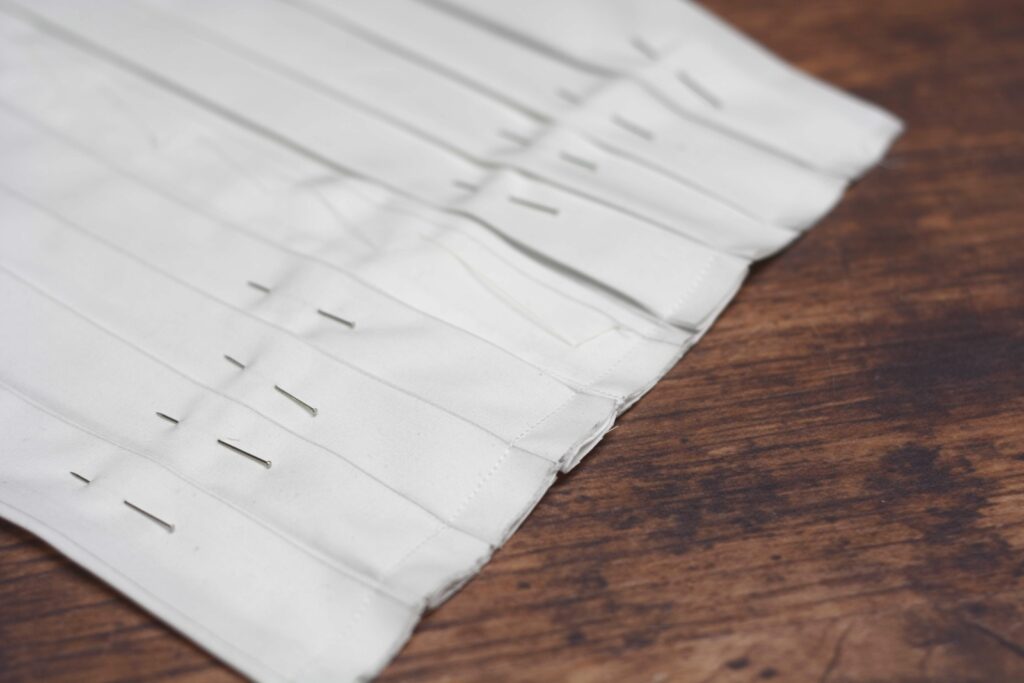
Baste the two halves together along the center front placket by hand. These stitches will stay in the shirt for most of the construction just to make things a little easier to work with.
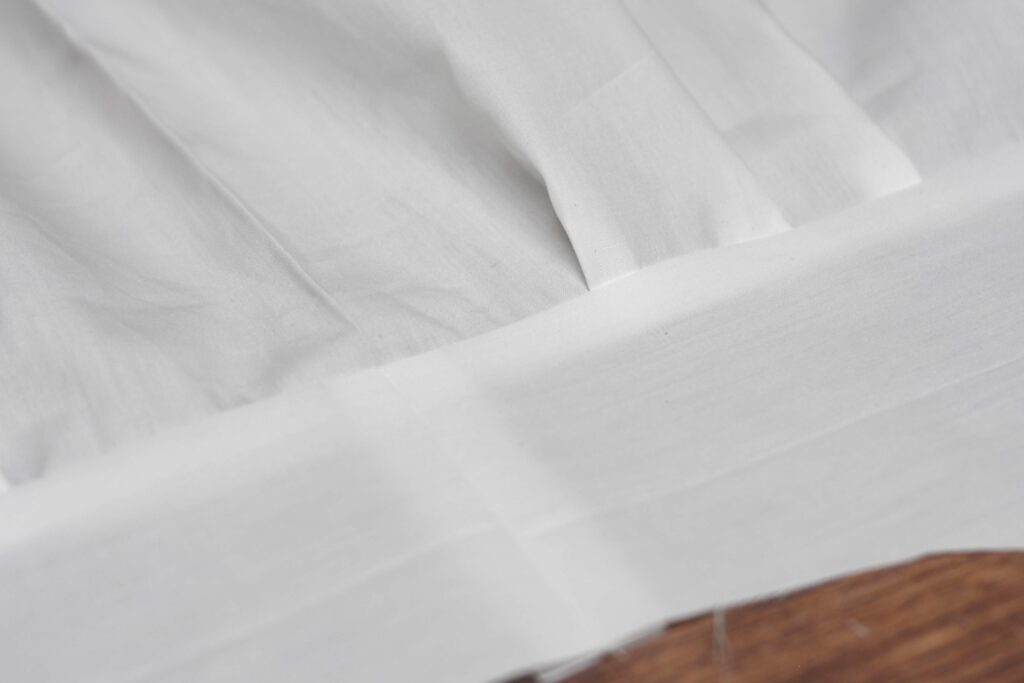
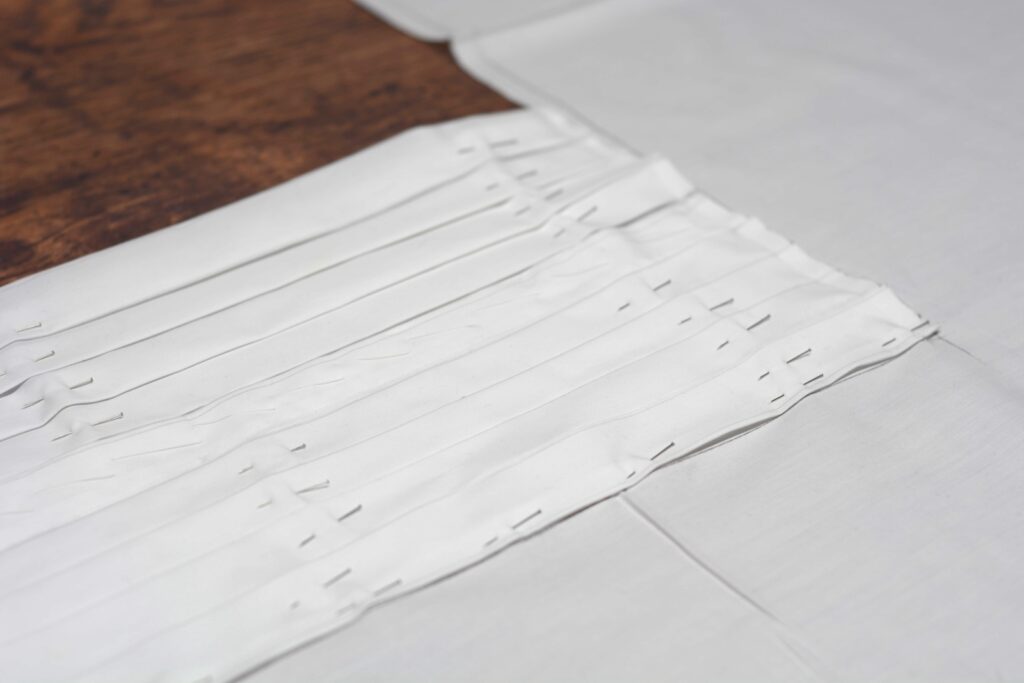
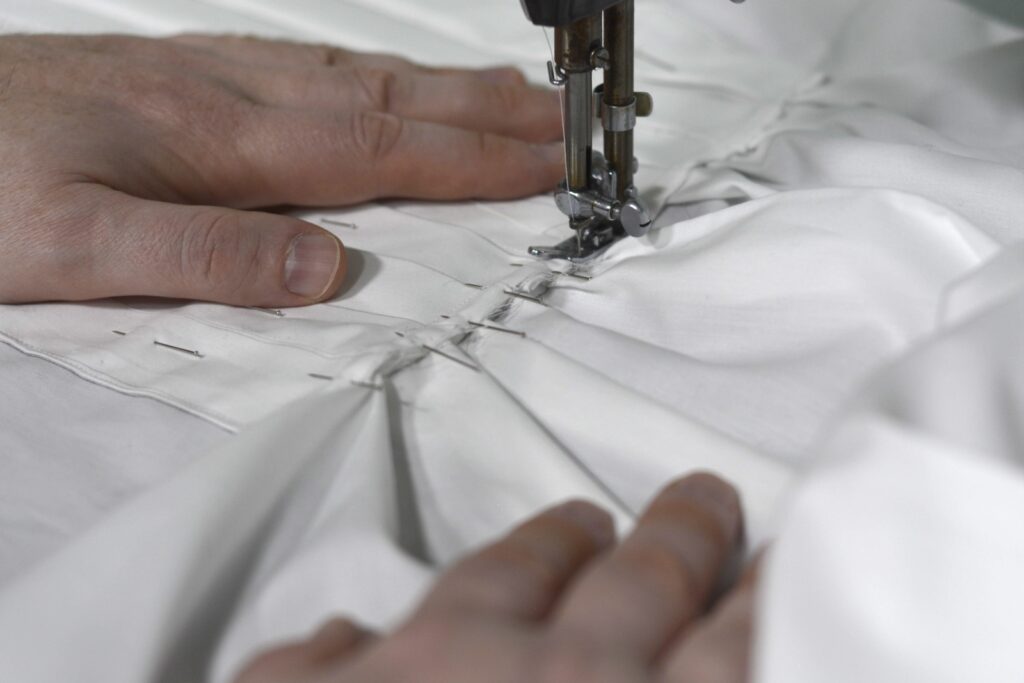
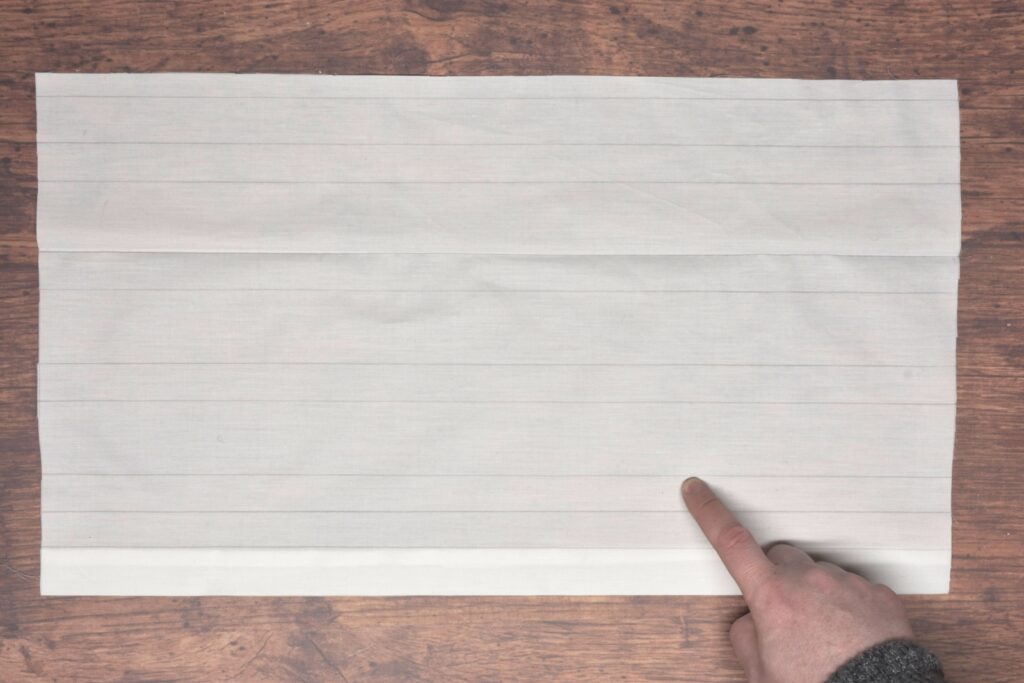
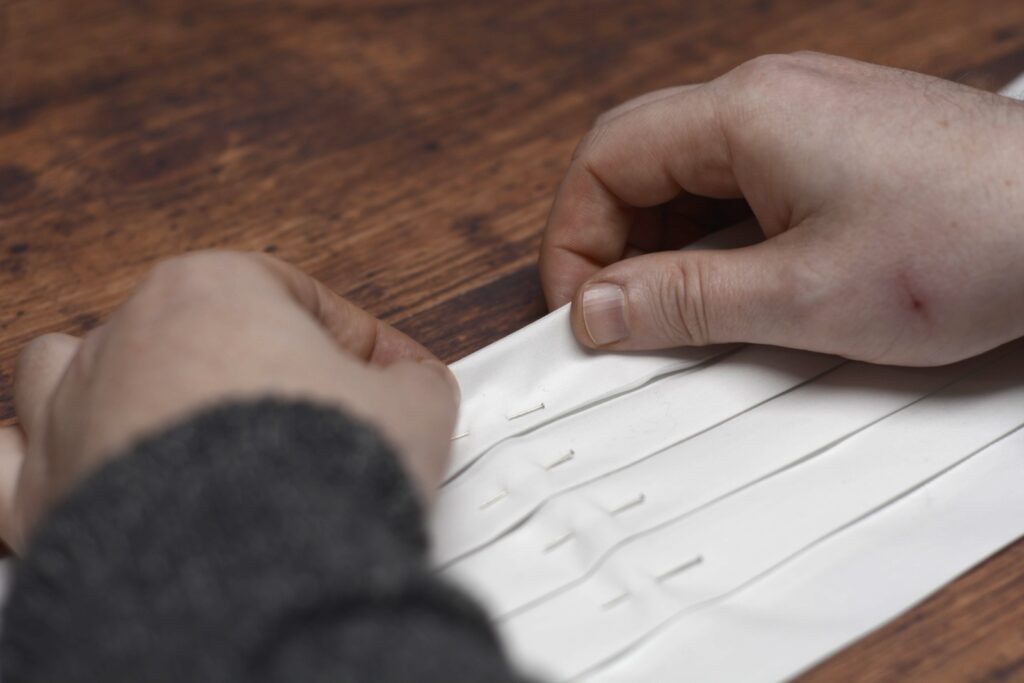
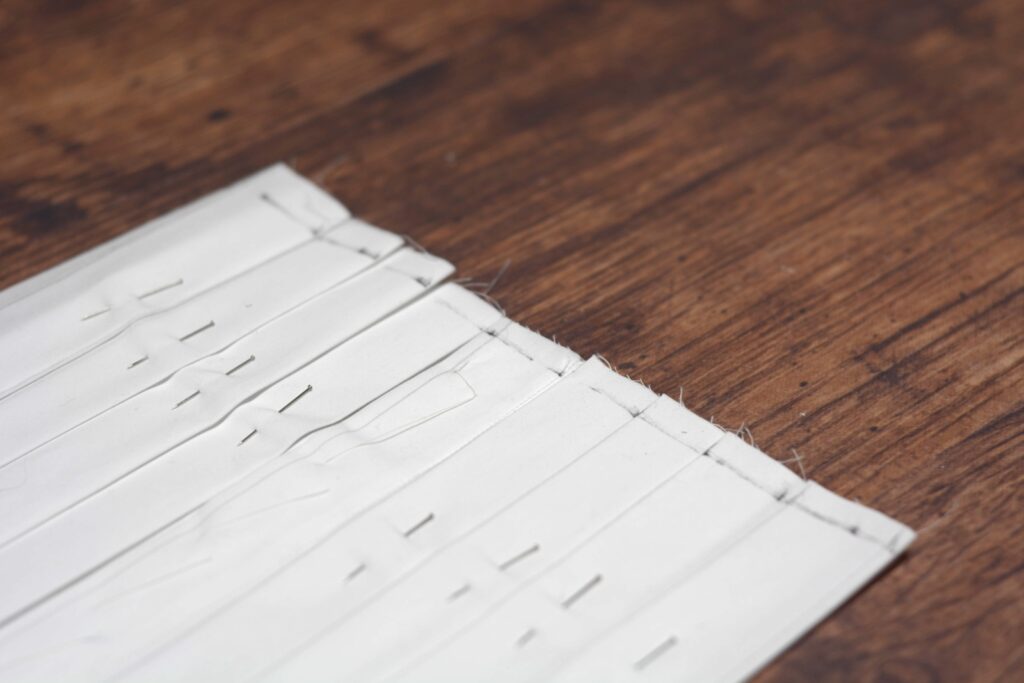
Orienting the pleated front so that the left side is on top, square off the bottom of the pleats with a line.
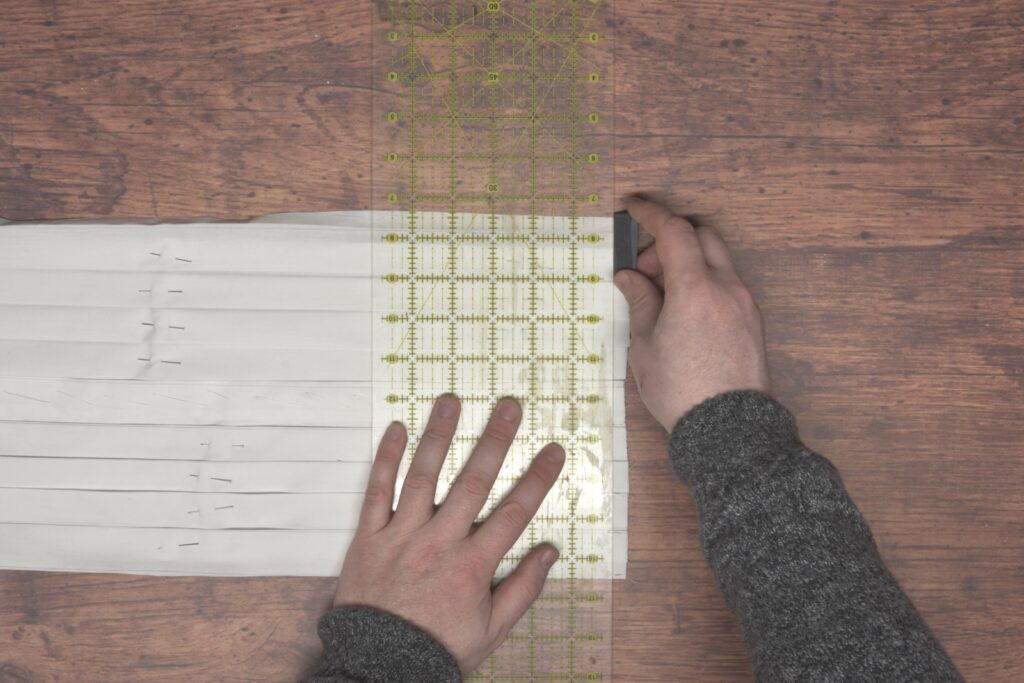
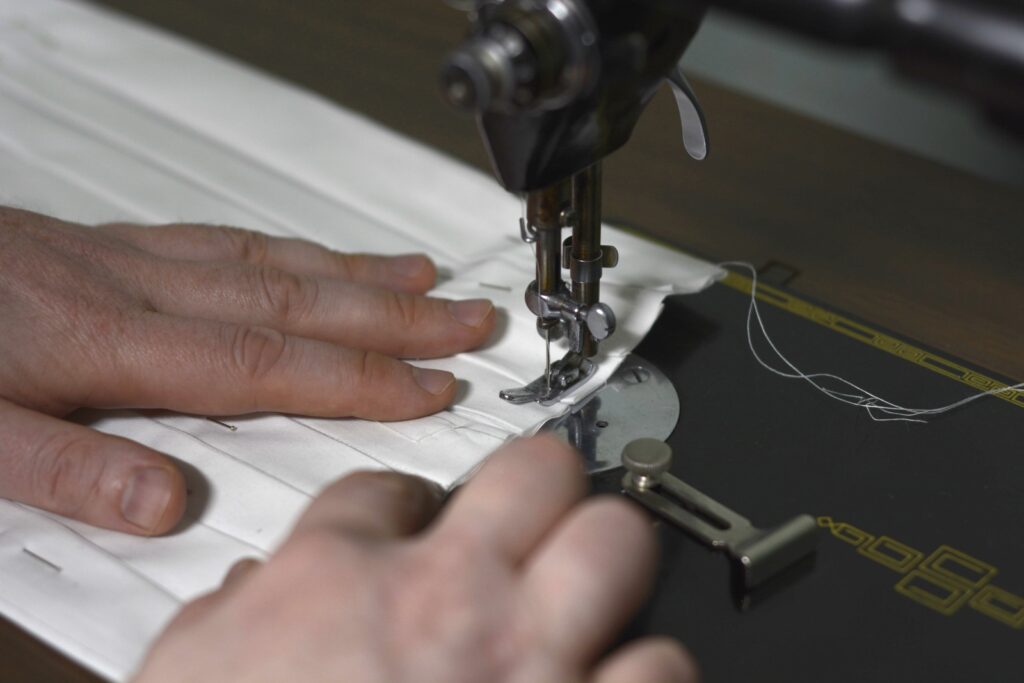
Sew a line about 1/4″ – 1/2″ above this line just to keep everything in place. Be careful while sewing as it’s easy for the pleats to be moved around by the presser foot.
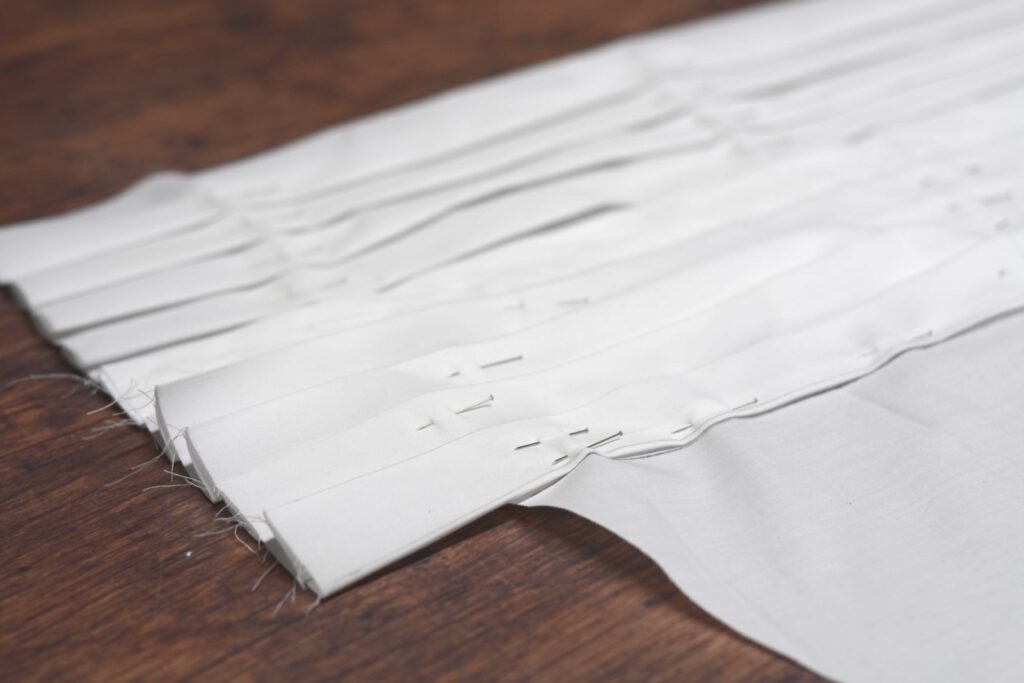
Now trim the bottoms of the pleats with the line you drew square across.
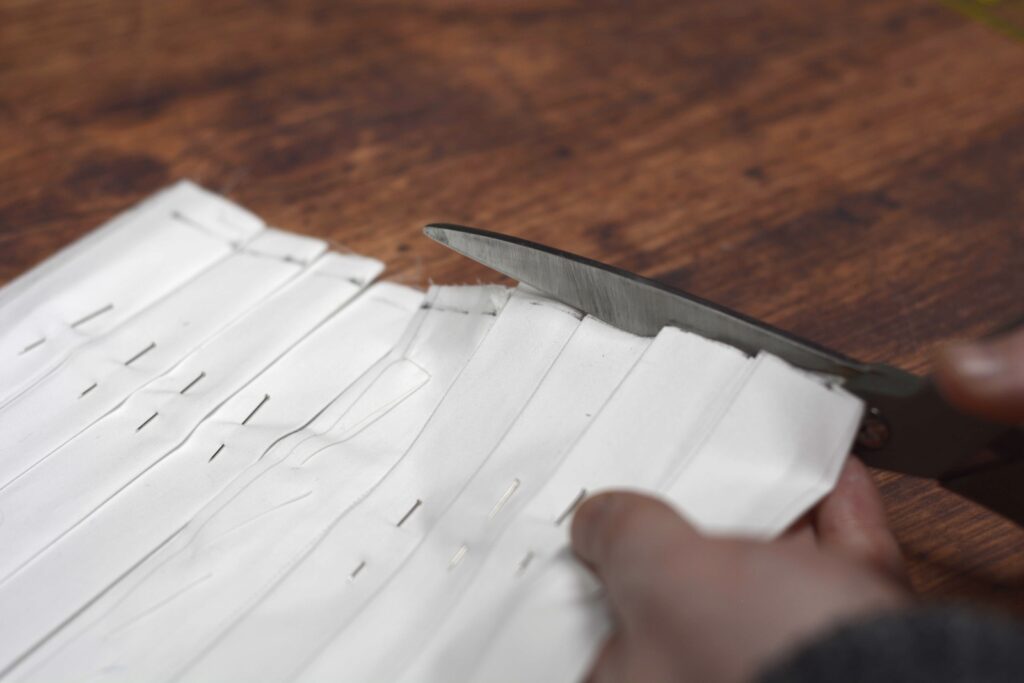
This completes the construction of the pleated front! With a bit of practice you should be able to get it down to about ten minutes per side (not counting any hand stitching).
Your Progress
[columns gutter=”0″]
[col]
[progressally_objectives]
[/col]
[col align_text=”center, middle”]
[progressally_progress_pie_chart size=”100″]
[/col]
[/columns]