Author: James Williams
Buttons
The final task prior to hemming the trousers is to attach the buttons. Begin by laying out the button placement. I transferred their position on the fly first, setting their distance from the fly seam equal to the distance of the buttonholes from the fly edge.
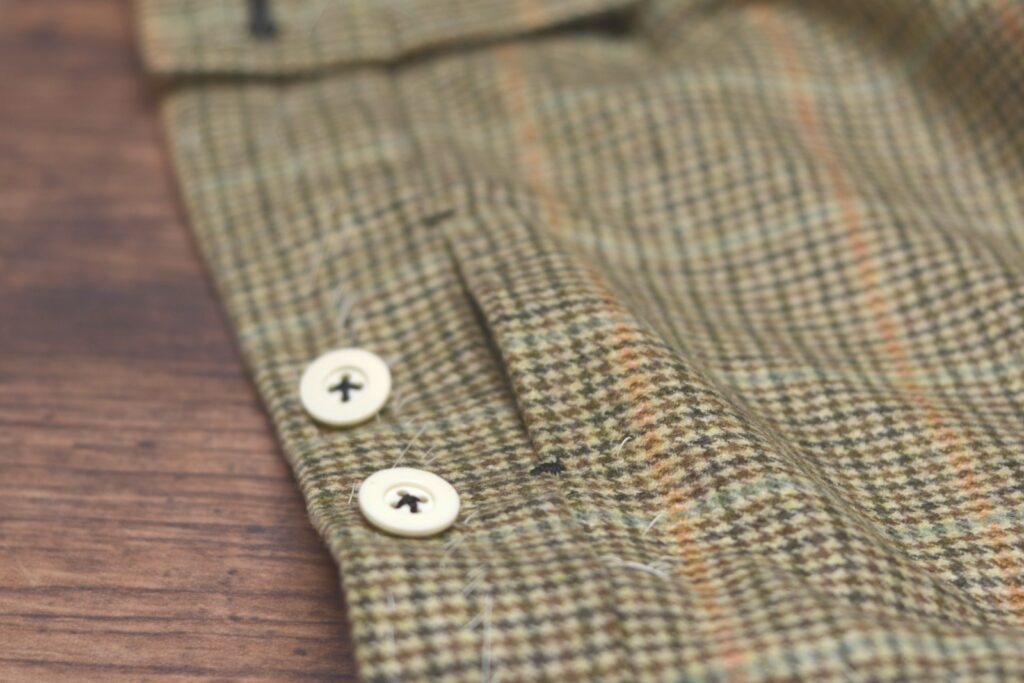
Next mark the position of the front suspender buttons on the waistband. I like to make the first one about 2 1/2″ from the side seam, and the second one another 2 1/2″ from the first. Both are placed about 1/2″ below the top of the waistband.
Finally, mark the back button position about 1″ from the end of the waistband and 1/2″ from the top edge.

Attaching the Buttons
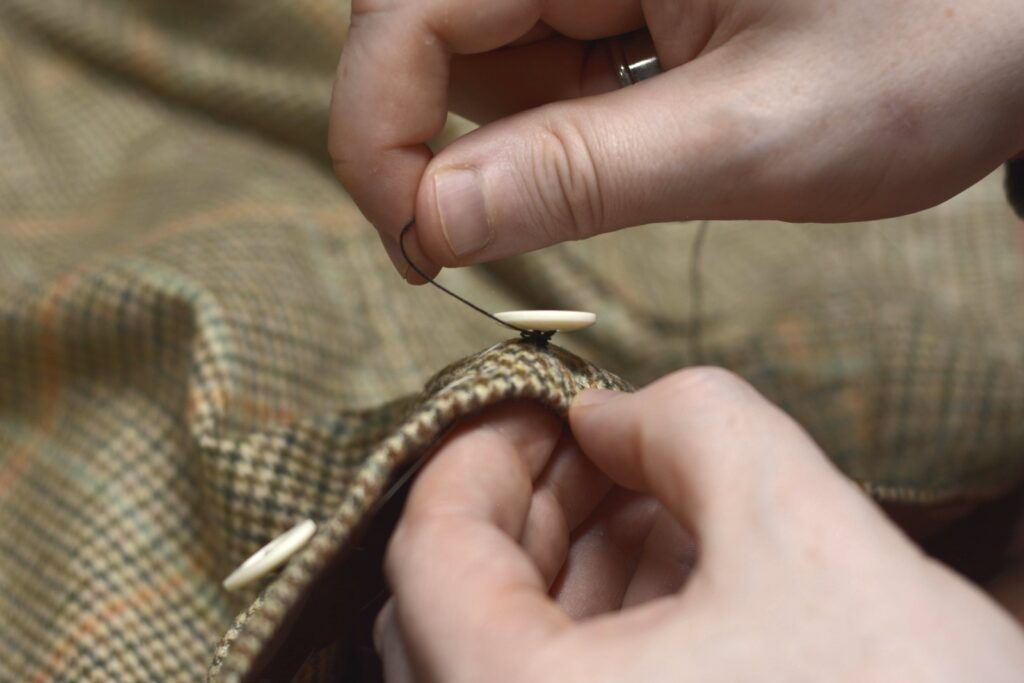
To attach the buttons, begin by passing a knotted thread from the wrong side through all layers.
Pass the thread through opposite holes of the button.
Make two complete passes through the button, passing the needle and thread back to the underside, and keeping the stitches rather loose. After this second pass, you can adjust the final height of the button by holding the button at the desired height and gently drawing the threads to the correct height. The height should be just slightly thicker than the suspenders or the fabric that will be attached to it.
The two stitches give just enough tension that the button will not move out of position, yet at the same time not be difficult to move if you want to.
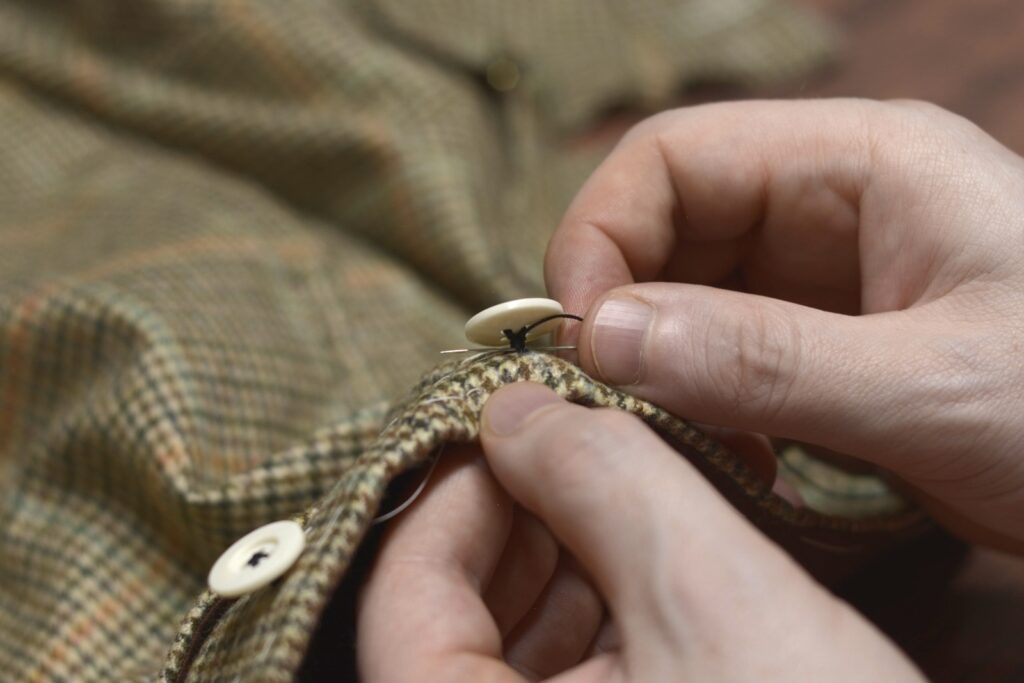
After four or so stitches, begin making stitches in the other direction, forming a cross. The number of stitches depends on the strength of your thread and the thickness of the fabric. I’ve gone as many as six stitches in each direction.
Be sure to regulate the height with each stitch – at this point it’s impossible to change the height so any individual loose or tight stitch will affect the other stitches.
Pass the thread back to the right side one last time, and wrap the thread around the previous stitches 6 – 8 times, depending on the height, and pull firmly, forming the shank. This provides a durable finish to the buttons, helping to prevent them from falling off.
Finally, pass the thread through the shank three times in alternating directions to secure it, and trim the excess thread.
Trouser Buckle
A waistband was usually found in the back of trousers to help adjust the fit as well as take stress off of the top of the seat seam.
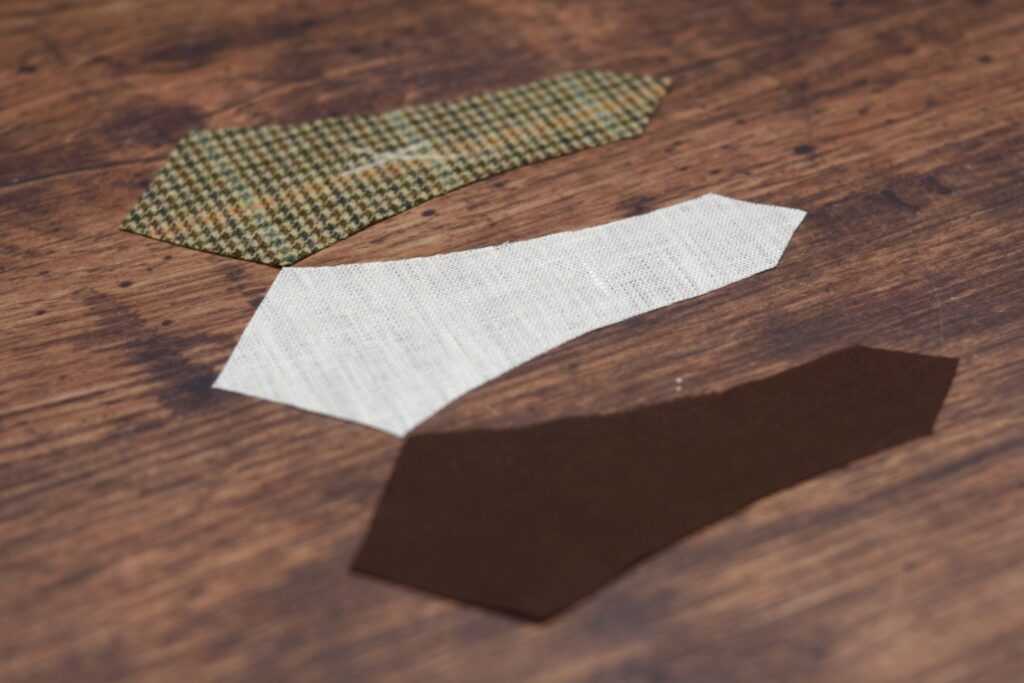
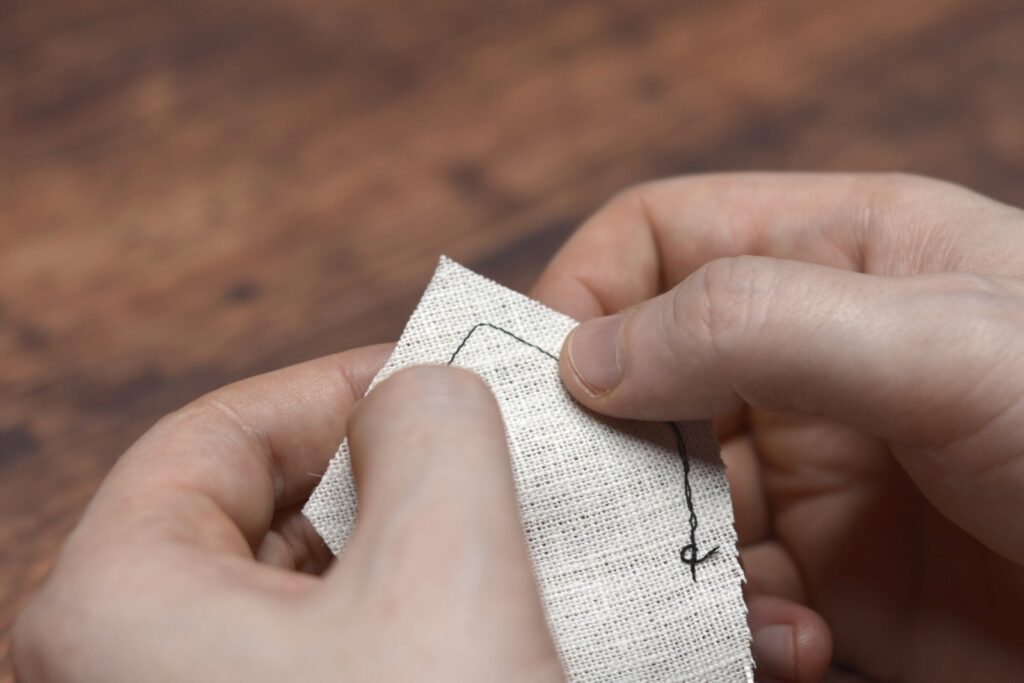
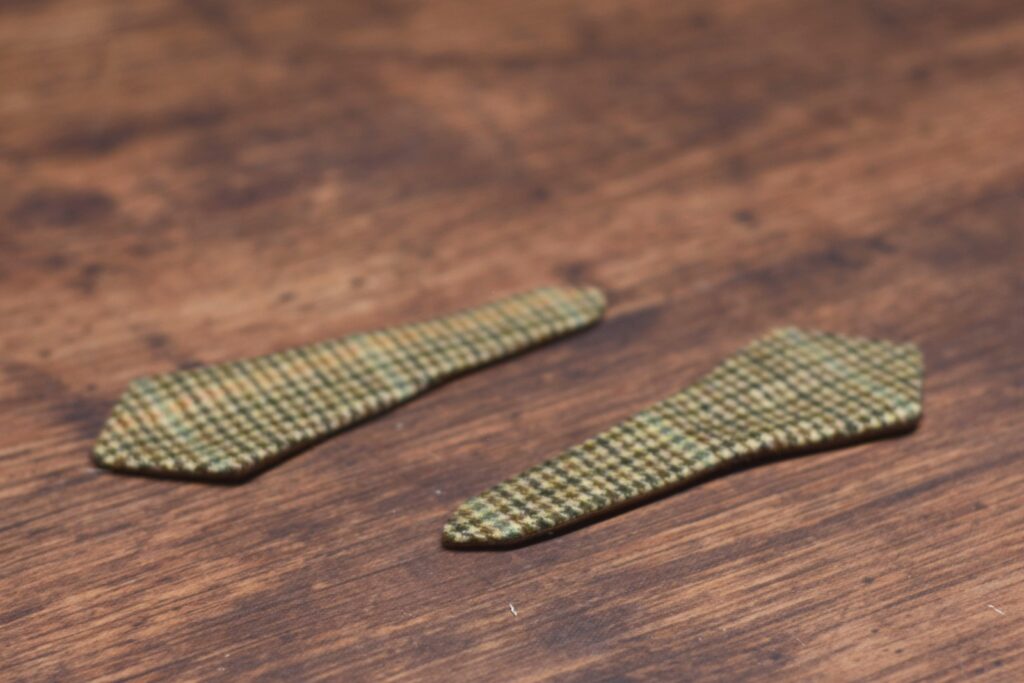
Begin by cutting out two each of fashion fabric, lining, and optionally, linen. The linen is a good way to reinforce the belt, but is completely optional, especially if you’re using heavier fabric.
Place the lining and wool pieces right sides together, and then place that assembly on top of the linen, if using it.
Stitch around the belt using a 1/4″ seam allowance, and leaving a gap in the stitching about 1 1/2″ to 2″ for turning right side out.
A smaller gap means less hand sewing later on, but also makes turning right side out a bit more difficult.
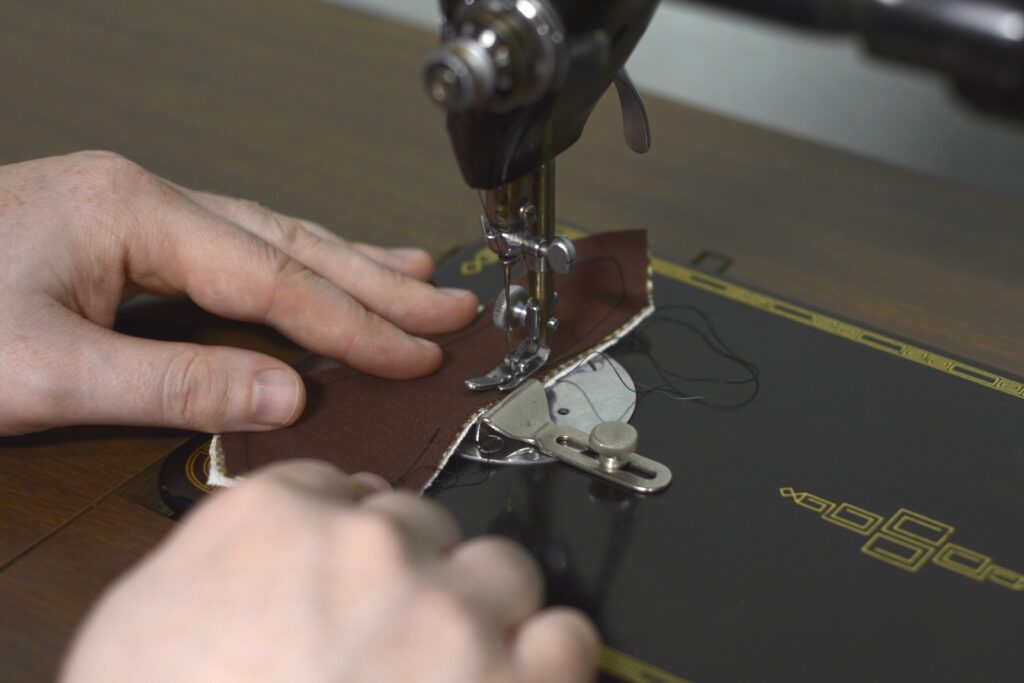
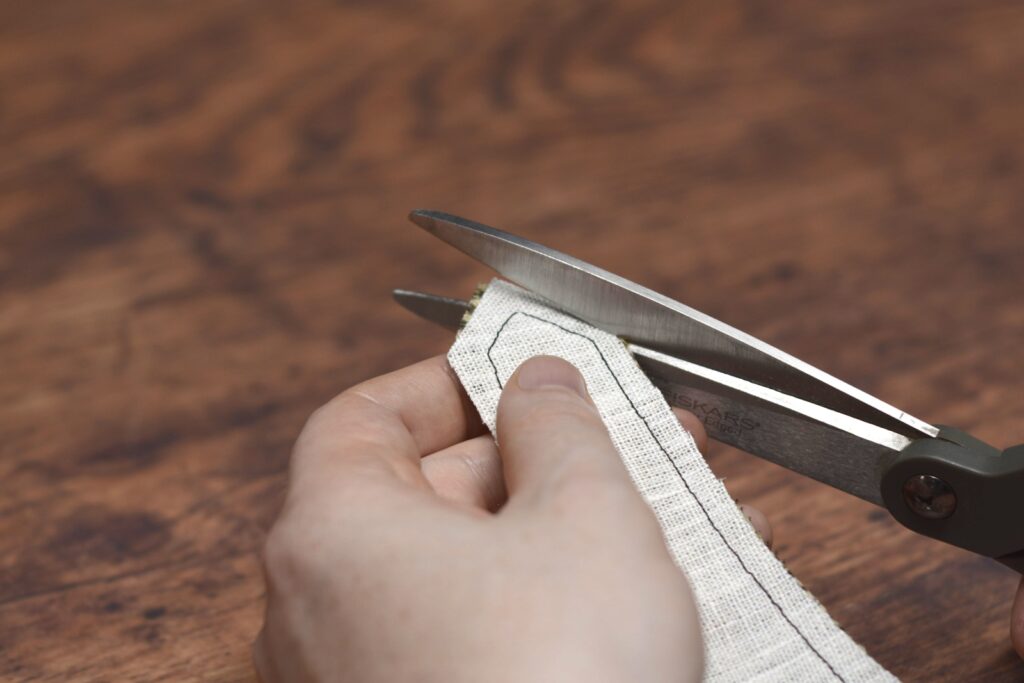
When you get to the corners at each end, instead of making a sharp 90 degree turn, make a stitch across the corner as shown, giving room for the fabric when you turn it.
Trim the corners down to about 1/8″ to help in the turning process.
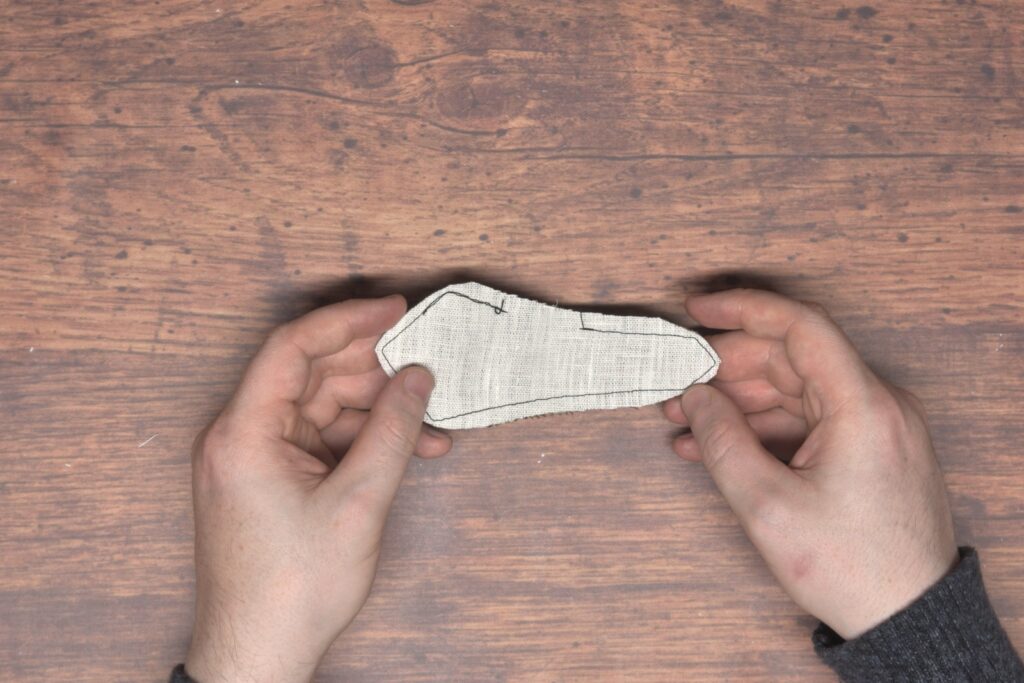
Turn the belts right side out.
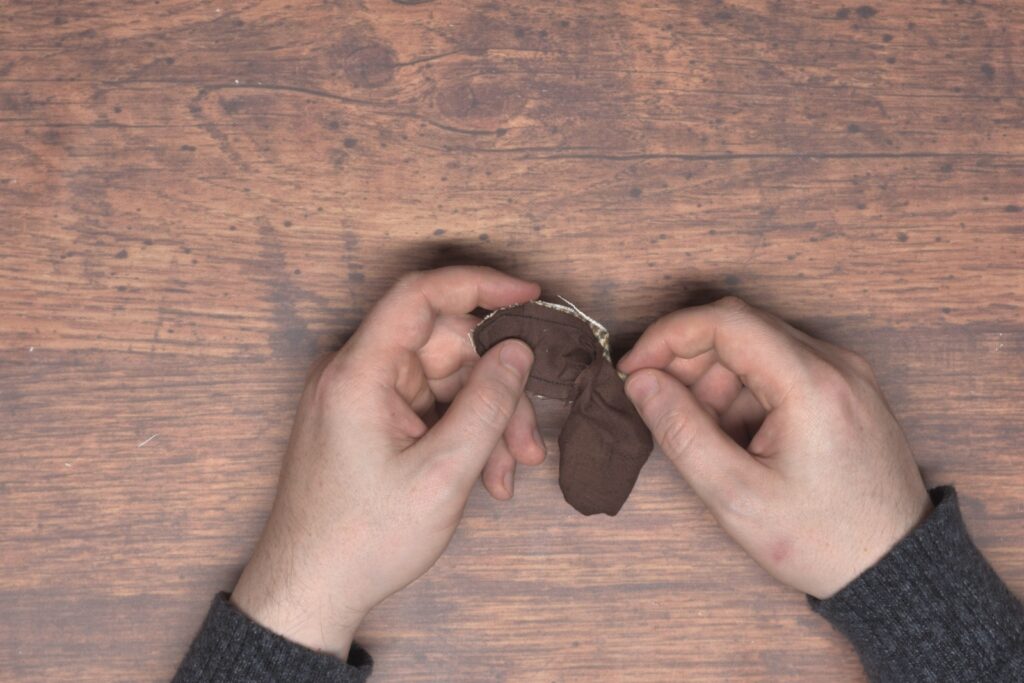
I used a dull pencil to help get the points turned crisply.
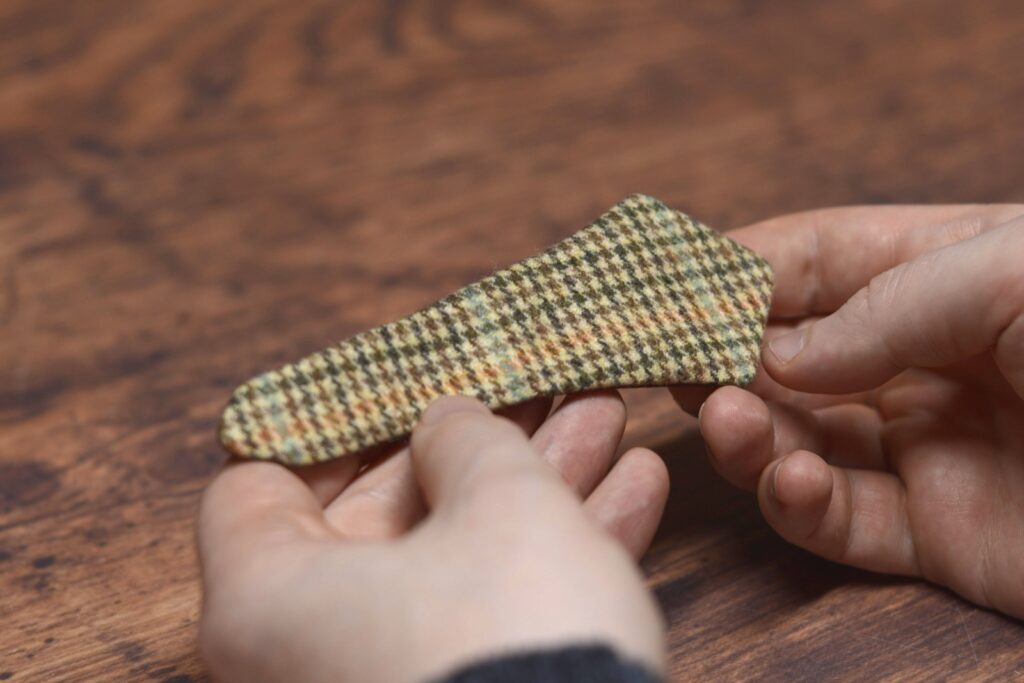
Press the belt carefully after turning.
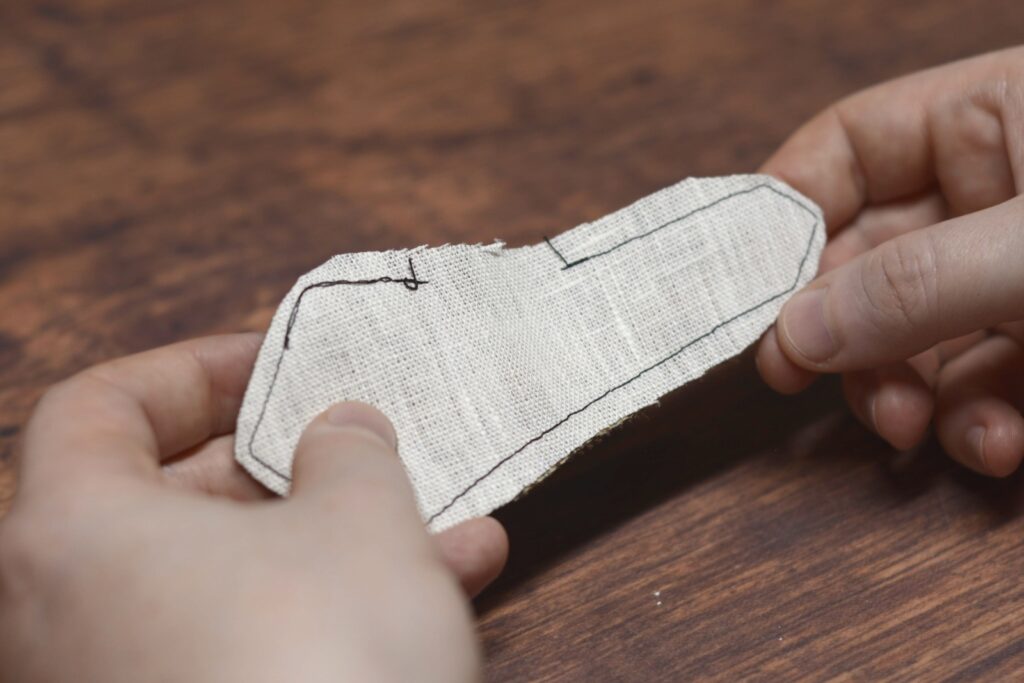
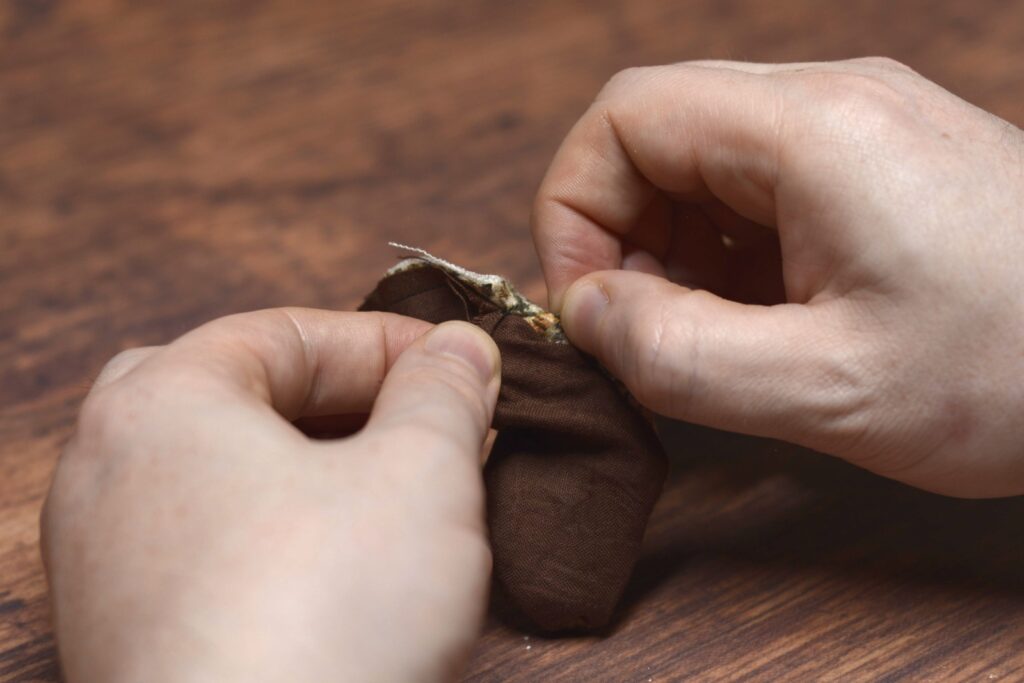
Close up the belt with a small felling stitch.
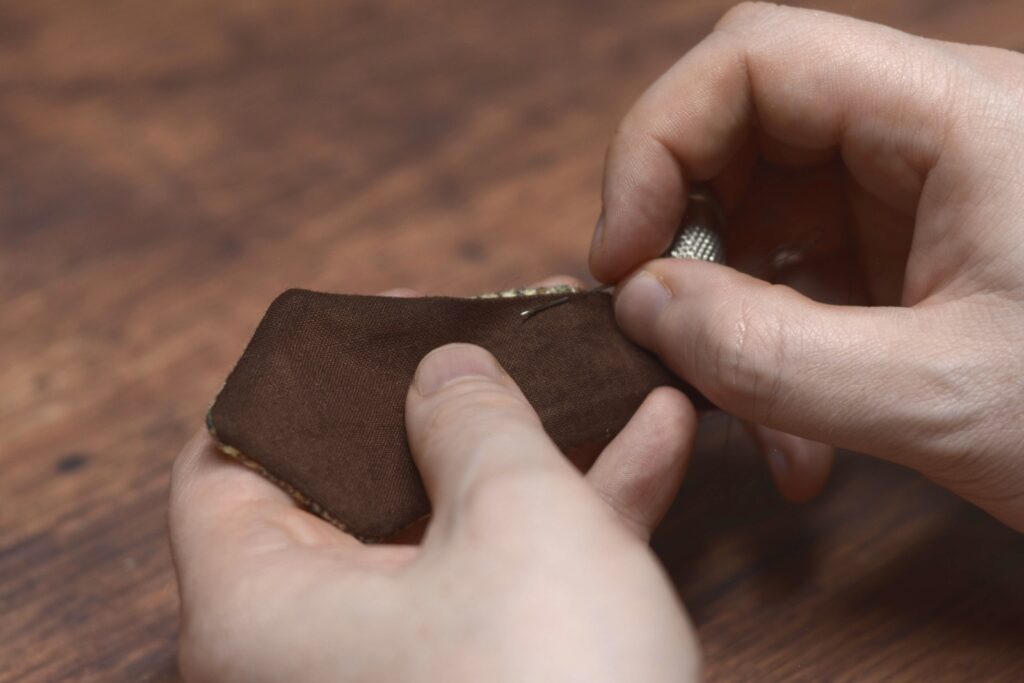
Repeat for the other belt.
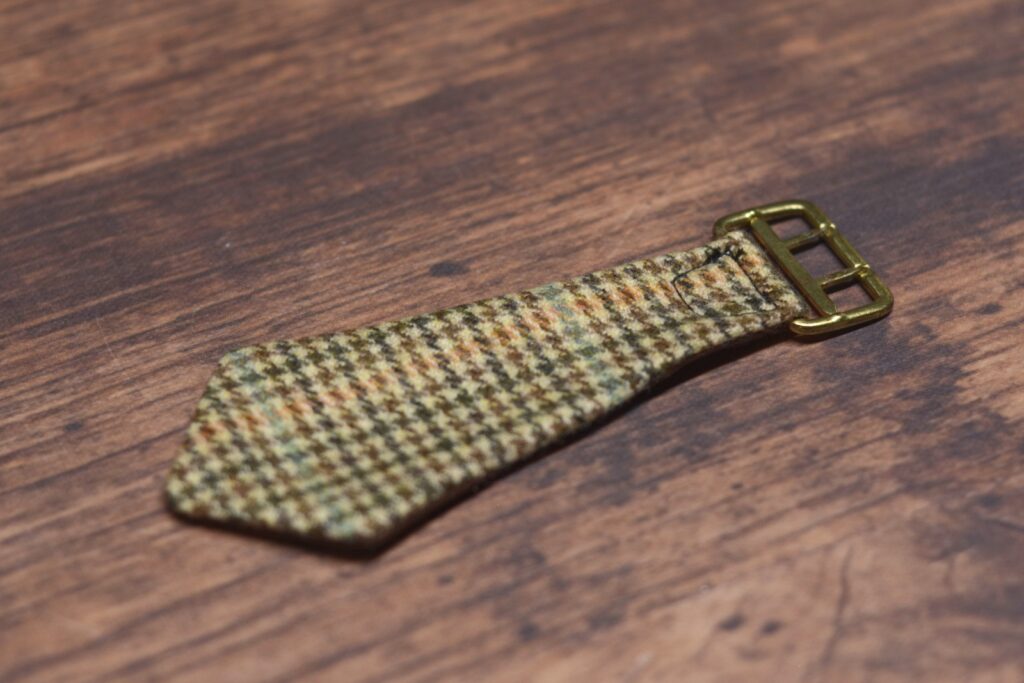
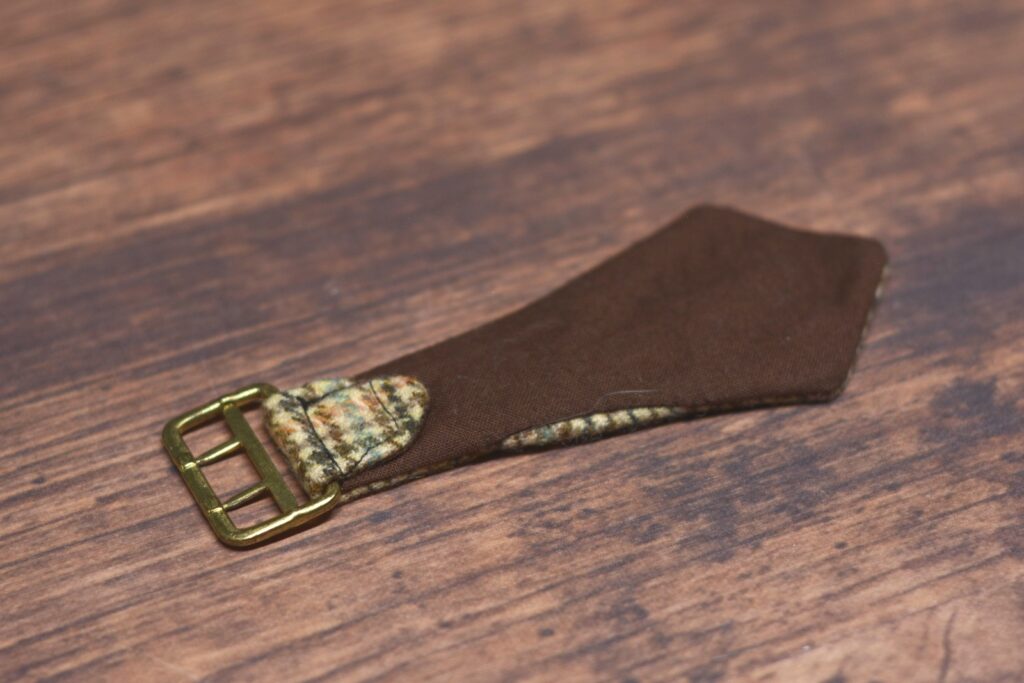
Next, choose one belt to hold the buckle, and fold it around the buckle, basting it by hand with a couple of stitches. Mine’s turned under about 3/4″. Sorry I somehow forgot to take photos here but I believe it’s all in the video.
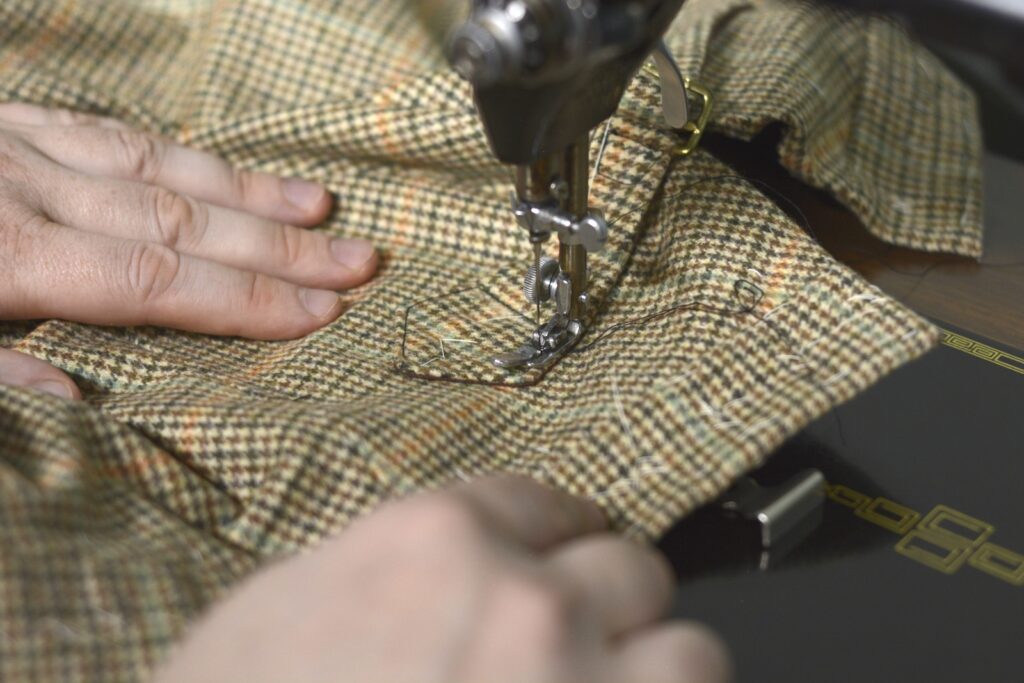
Then, getting your presser foot as close as you can, sew along the edge of the buckle, then out and around forming somewhat of a box shape to keep everything nice and secure. It’s helpful to use a piping foot here on your sewing machine, but I simply allowed the regular foot to sit on top of the buckle and turning the machine by hand so as not to accidentally sew into the metal buckle.
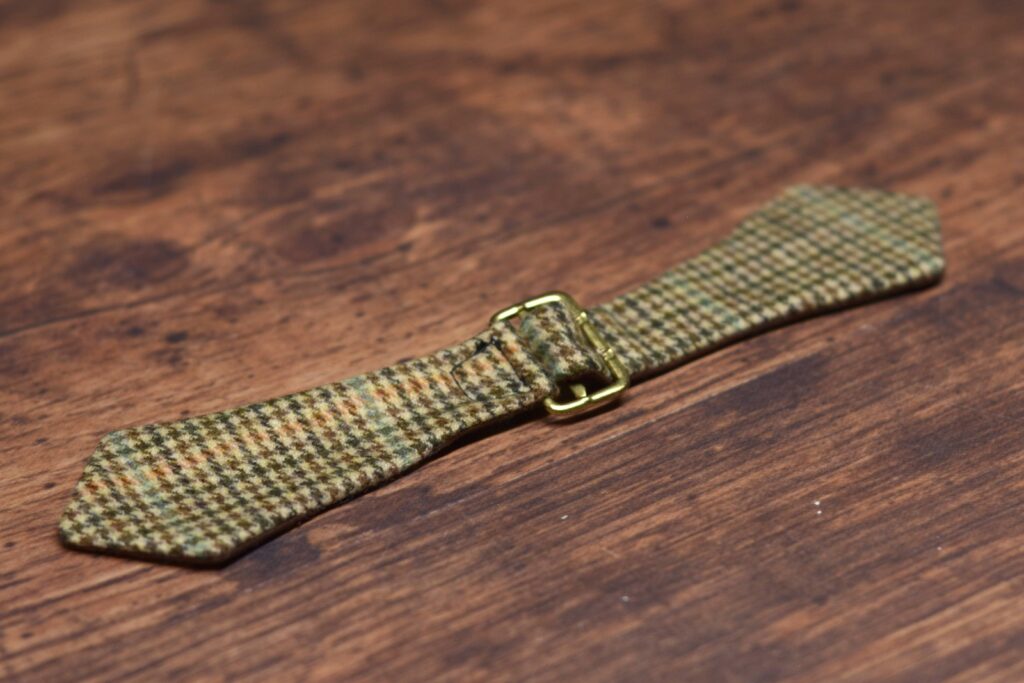
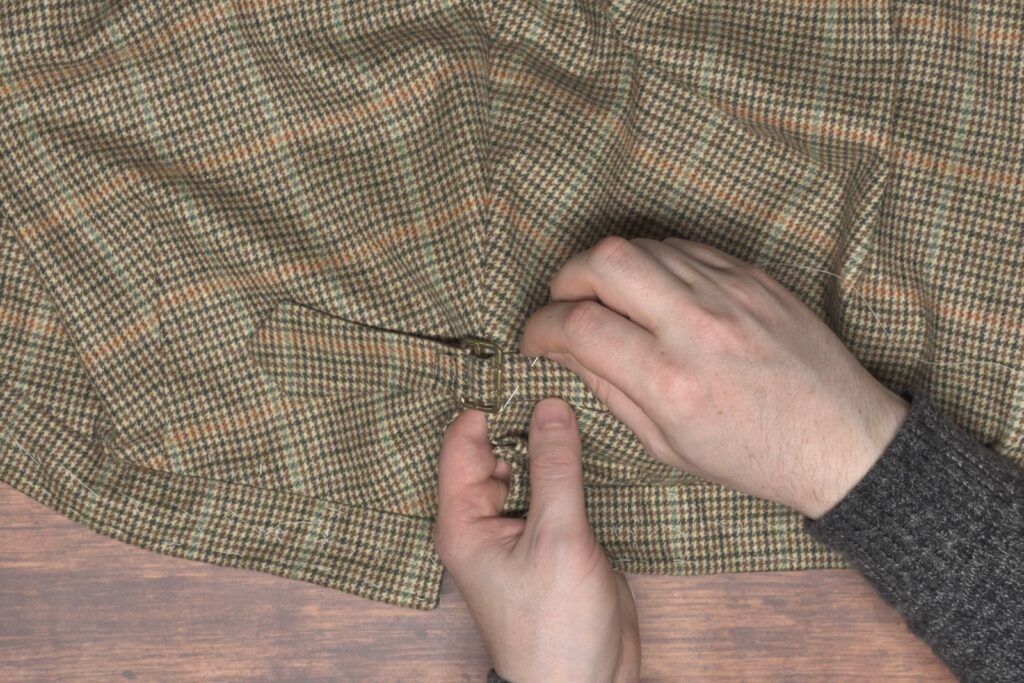
Next, buckle the belt securely, which makes laying the belt out on the trousers a little easier.
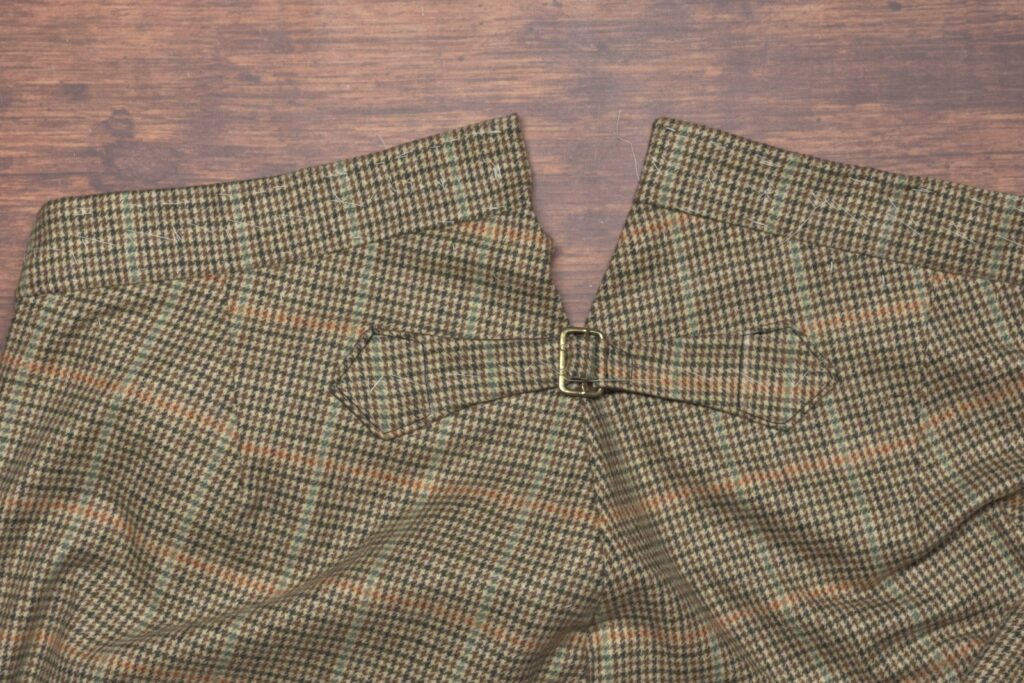
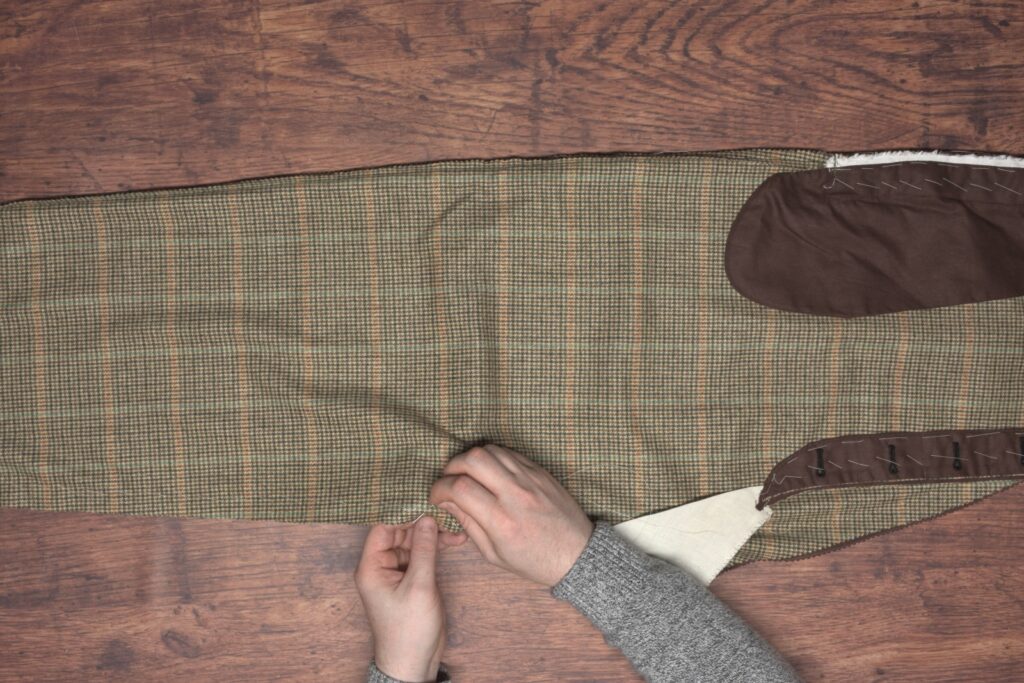
Lay the buckle on the trousers, the buckle centered over the split point in the seat seam.
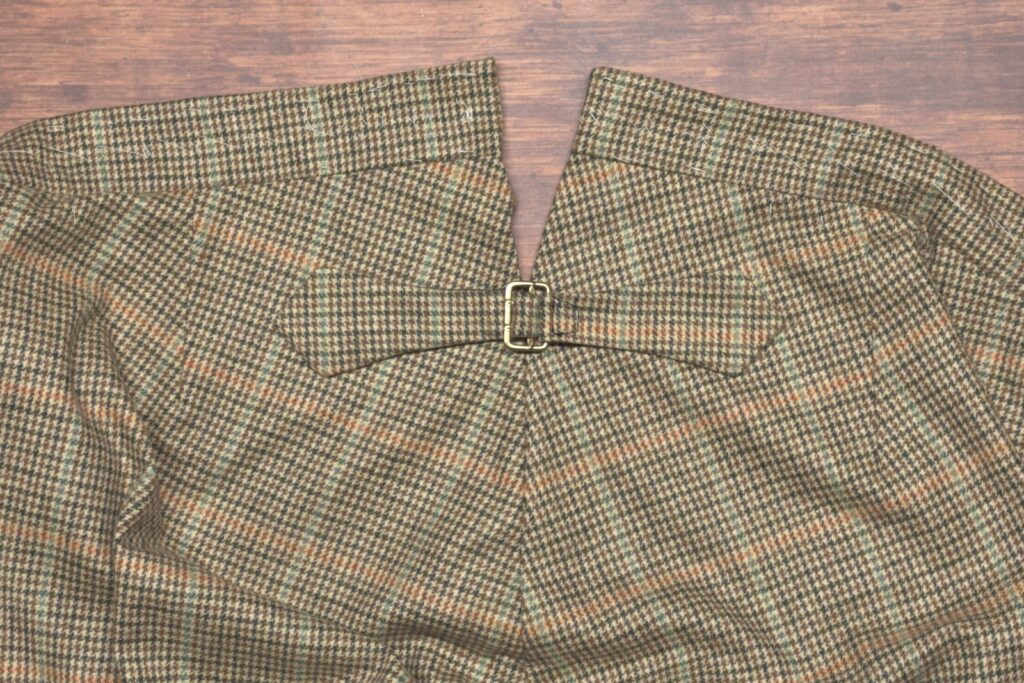
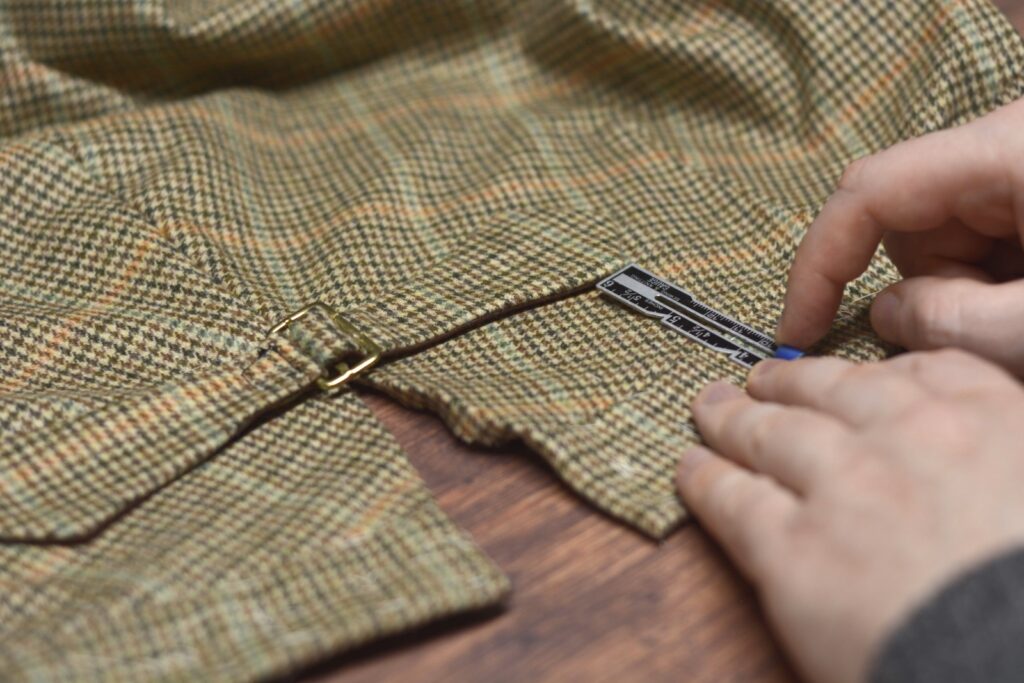
Measure the distance from the top of the belt to the waistband on each side to ensure they’re at the same height.
Baste across the belt from end to end, being sure it’s in the correct position after basting. It’s a good idea to double check your measurements, mine were off slightly so I ended up adjusting.
When you’re happy with the positioning, draw a vertical line across the buckle where you would like the top stitching to be.
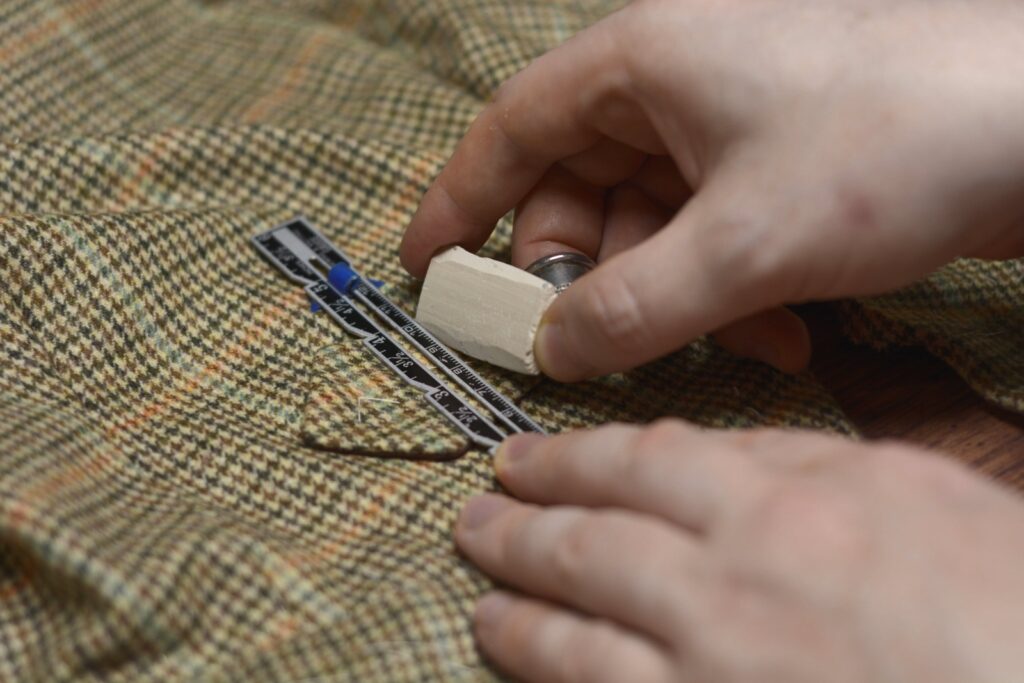
Top stitch around the belt edge and across the belt at the mark through all layers of the seat.
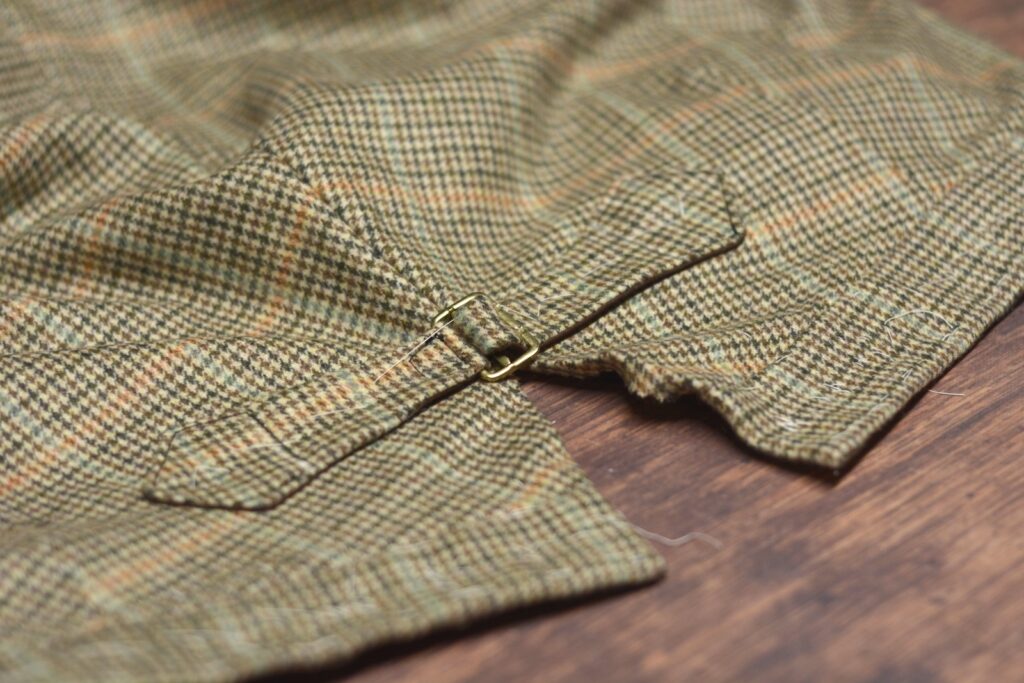
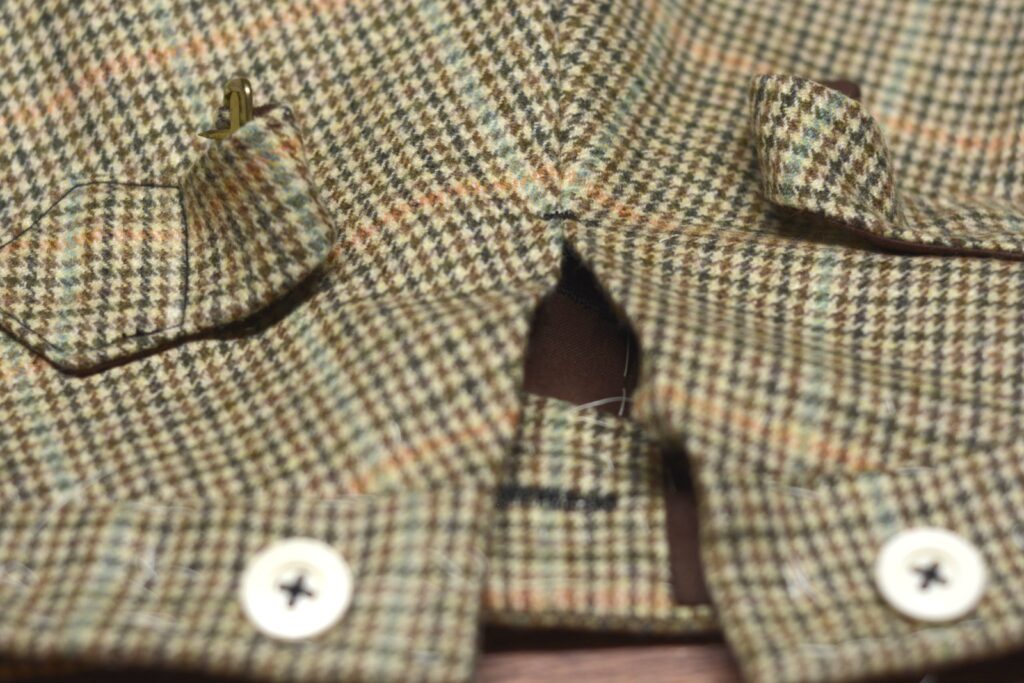
Here’s my completed belt after top stitching.
Tacking the Pockets
It’s a good idea to reinforce various stress points with bar tacks, especially if you have not done so on machine. I’ll be adding a bar tack to each side of my watch pocket, the back of the trousers at the split in the seat seam, and the bottom of the fly. You could also add one at the top and bottom of each side seam pocket.
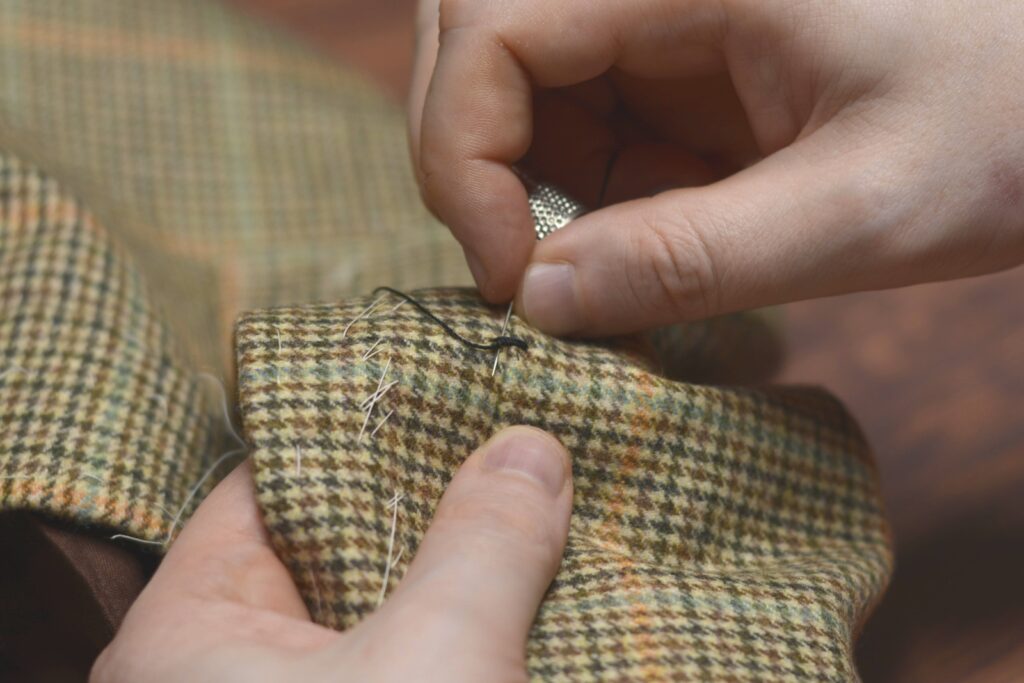
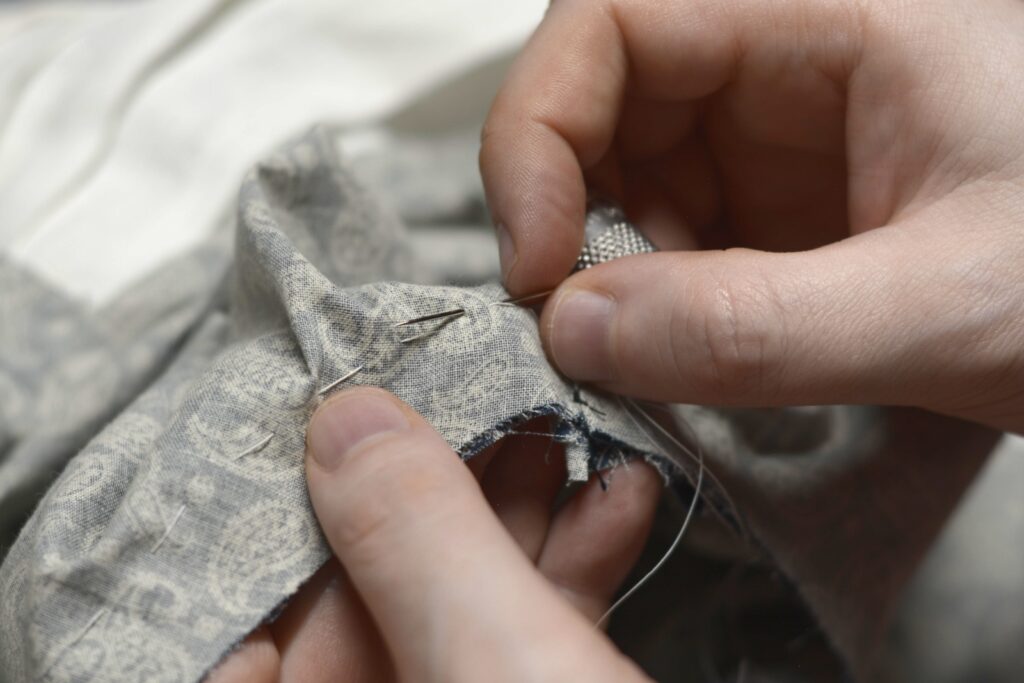
Begin by knotting the silk buttonhole twist and passing it through from the wrong side through all layers.
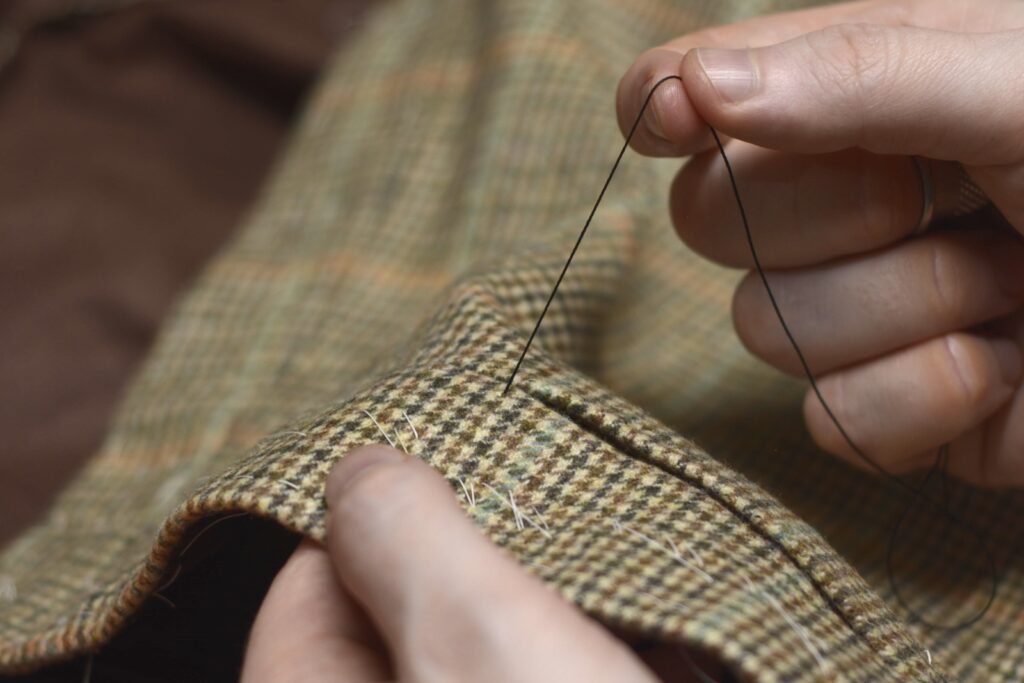
Make a stitch about 1/4″ in length across the seam or area you are reinforcing, catching as many layers as you can. You could make it a prick stitch, passing the needle all the way through, in order to get through all of the layers.

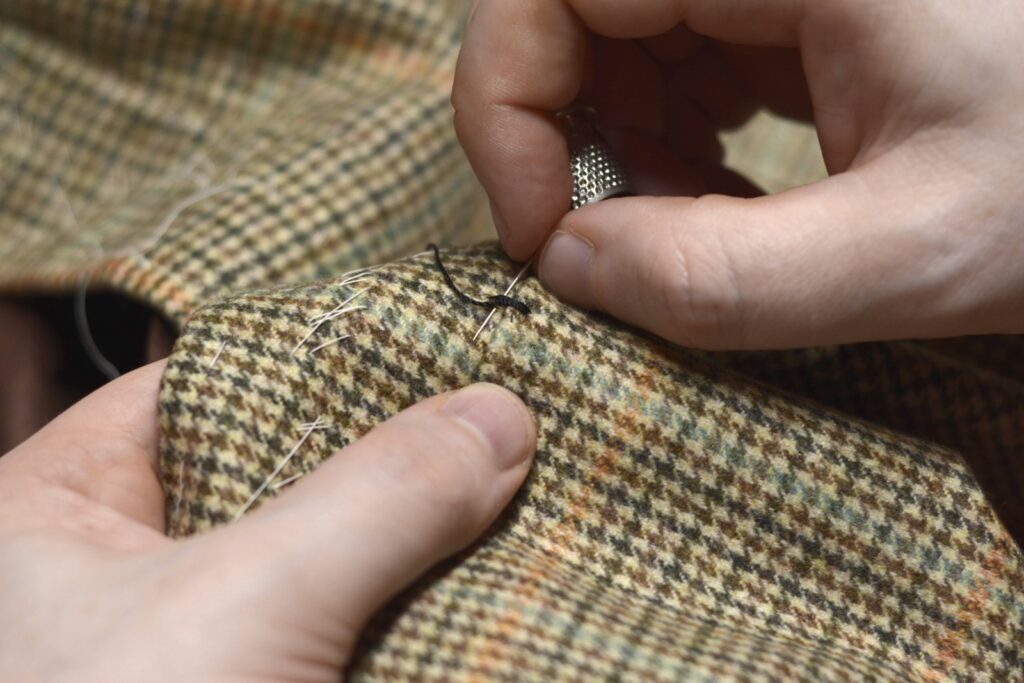
I usually make a total of four stitches in place, but you could do more depending upon the thickness of your thread.

Now pass the needle crosswise between the stitches you just formed, catching some of the fabric underneath as well.
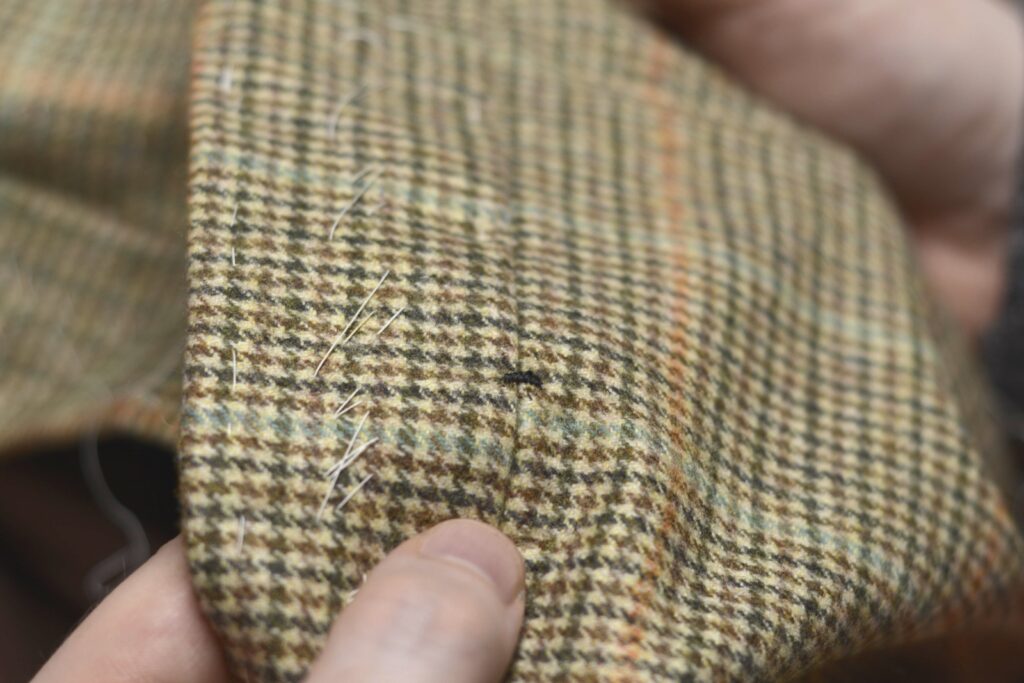
The number of these small stitches depends upon the length of your bar tack but eight seemed to work best in my case.
Pass the needle and thread to the wrong side and finish with a few back stitches in place. Here’s the completed bar tack, continue tacking the rest of the desired areas.
The bottom of the fly is tacked to give more strength to this very stressed area.
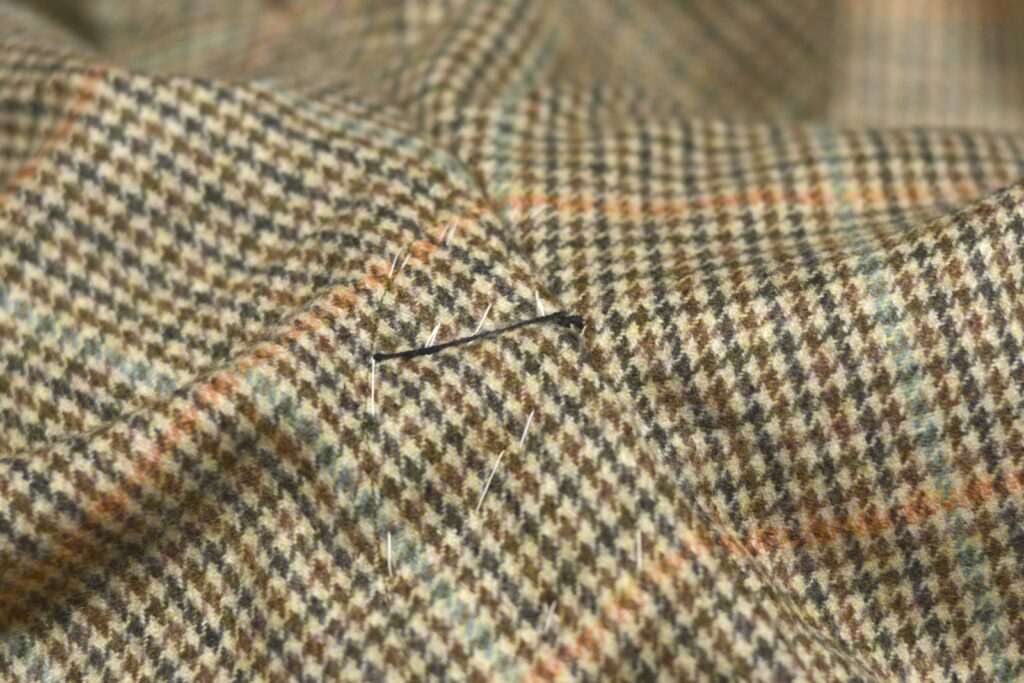
Here’s the watch pocket after tacking. You could do the side seam and open-top pockets in the same manner.
And finally but most importantly, tack the top of the seat seam just where the split begins.
Inseam and Seat Seam
At last we can begin to sew the inseams and seat seam, turning our work into something that actually looks like a pair of trousers. To begin work on the inseam, lay one leg in front of you, folded right sides together.
Pin the inseam together at the fork. There is a bit of excess fabric built into the pattern that needs to be fulled in here when basting.
Aligning the trousers at the hem, begin basting the inseam from the bottom towards the fork. Baste evenly until you get a couple of inches above the knees, or roughly two-thirds of the way to the fork.
You’ll notice now there is some extra fullness in the seat of the trousers that needs to be fulled in to the inseam. Continue basting towards the fork, carefully distributing the fullness as you go.
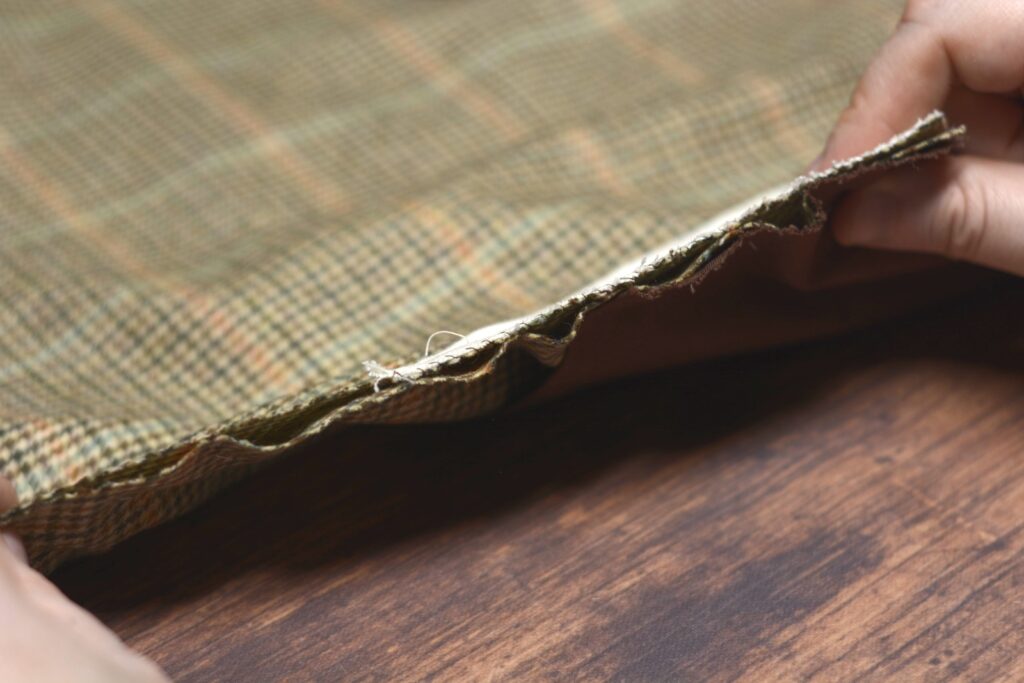
Here’s my inseam after basting. You can see the fullness that has been worked in. For that last little fold on the right side, I’d say that was a little too much fullness and to go back and baste that area again.
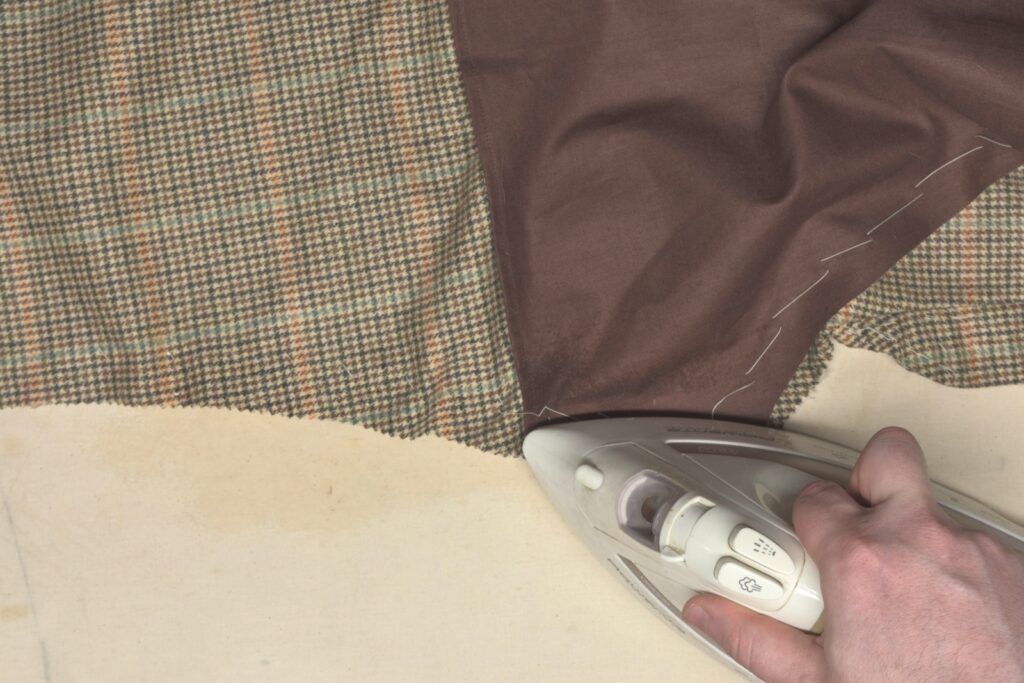
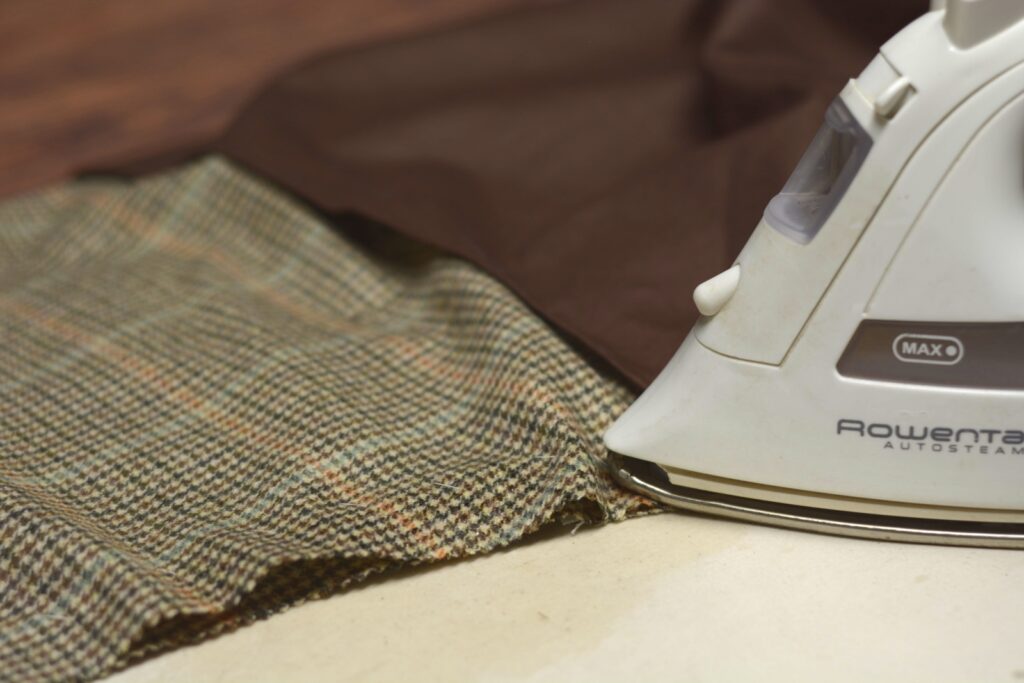
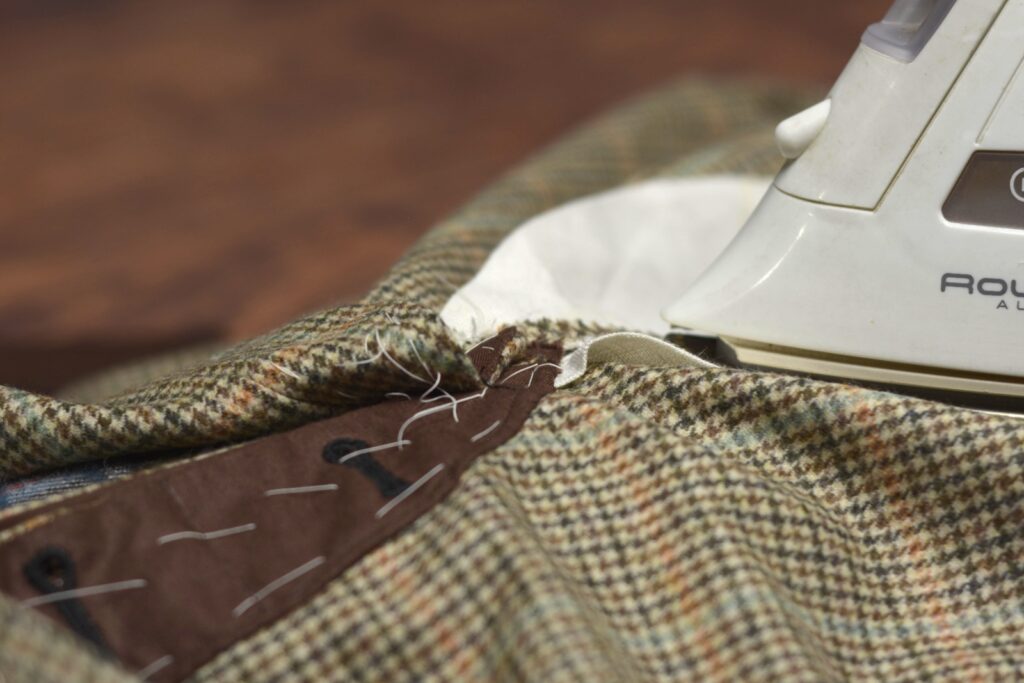
Place the trousers on the ironing board, back side up, and gently full or shrink out the extra fullness that was basted in using a bit of steam as necessary. As your pressing the iron in small circular or back and forth motions, the fabric will gently shrink away. Try to keep the iron within an inch or so from the edge to avoid shrinking more of the trousers than we want.
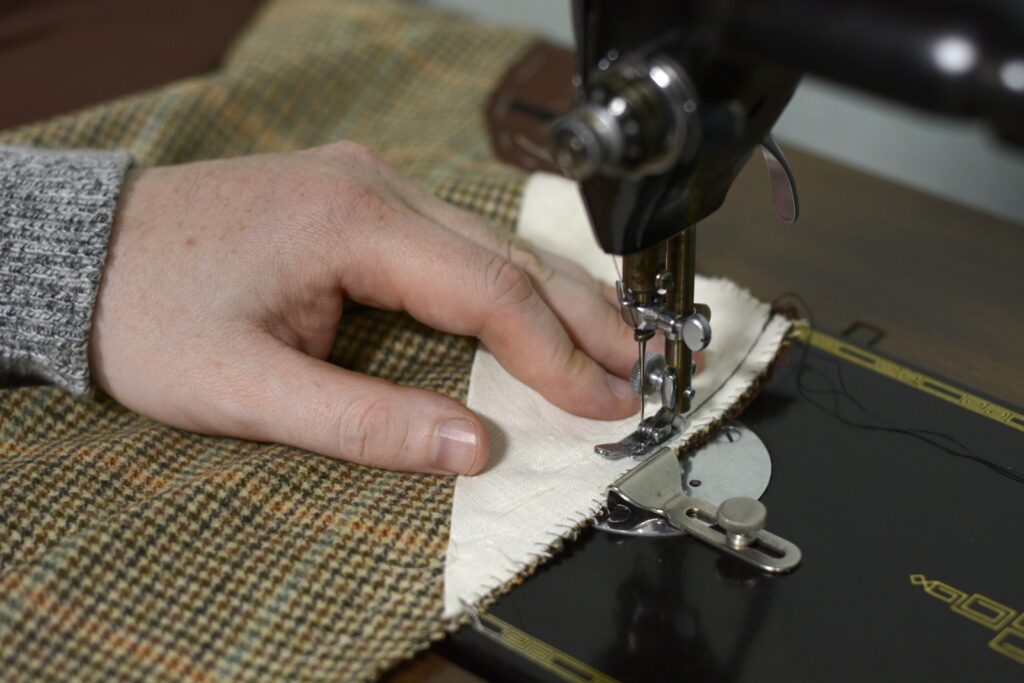
Sew the inseam by machine or using a back stitch (or back and fore stitch), keeping a 1/4″ seam allowance.
Remove the basting stitches and press open the seam from both sides, using a pressing roll as necessary.
The Seat Seam
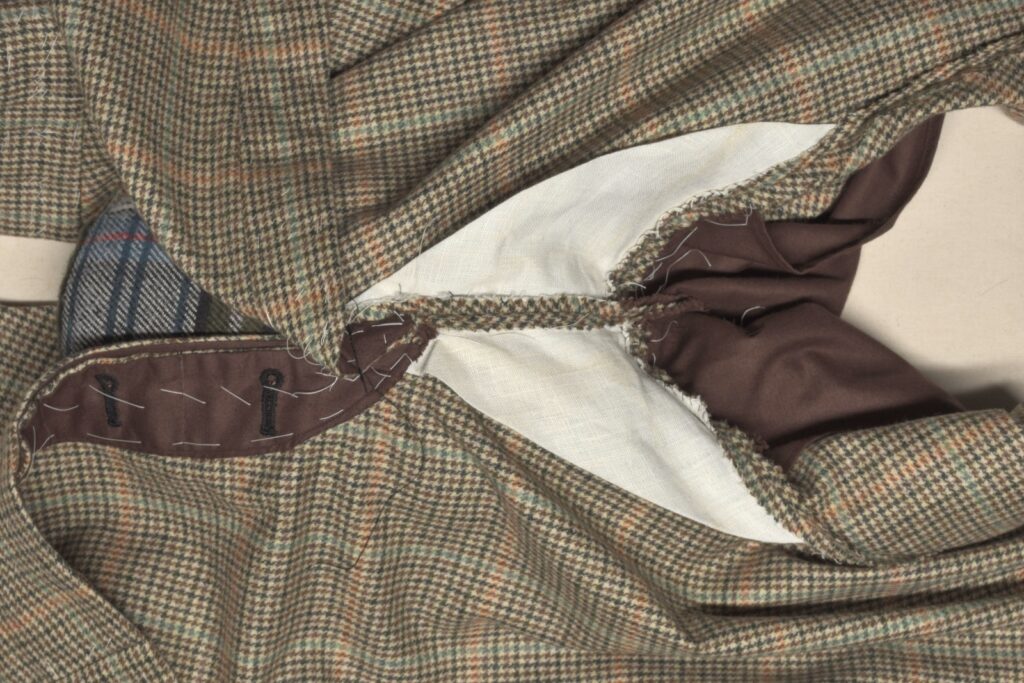
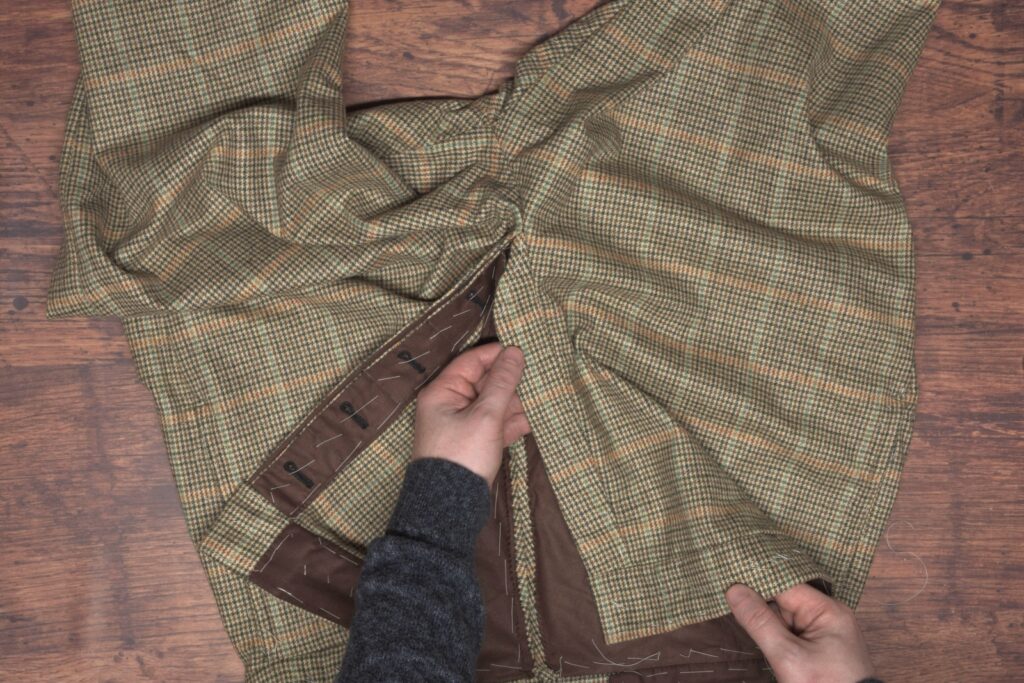
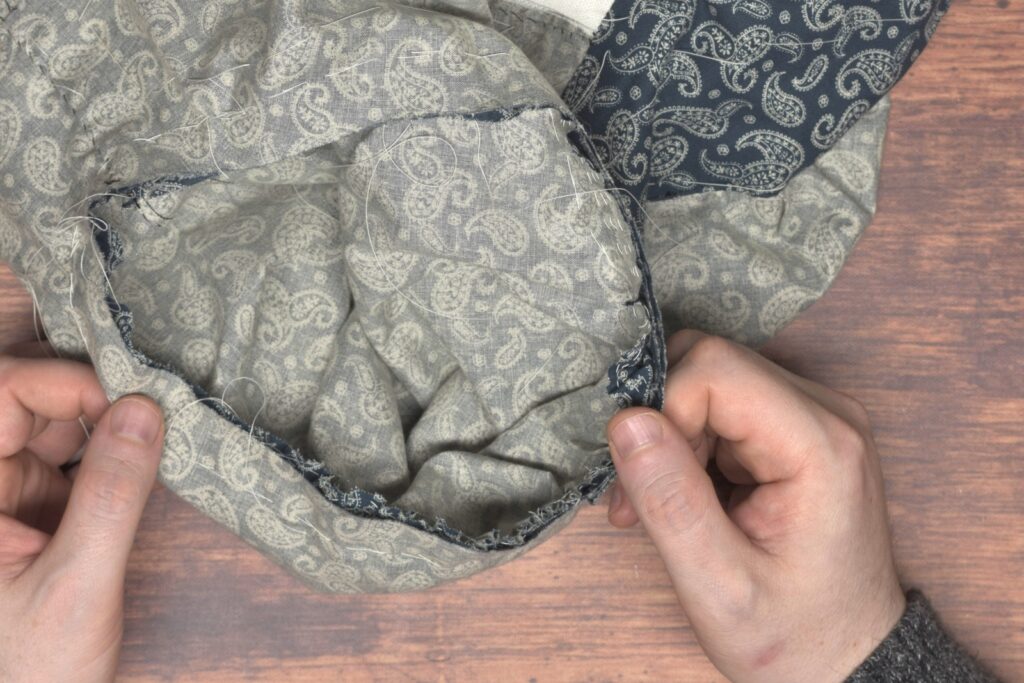
Moving on to the seat seam, this step can be a little confusing – I almost always get it mixed up. Turn the left side of the trousers, with the buttonholes, right side out. Turn the right side of the trousers inside out.
Then insert the left leg into the right leg, so that they’re right sides together. Roughly align the seat seam at the fork / side seam as best you can. This makes sewing the seat seam a little easier than if we had done things the opposite way.
Line up the side seams at the fork for each half as closely as possible.
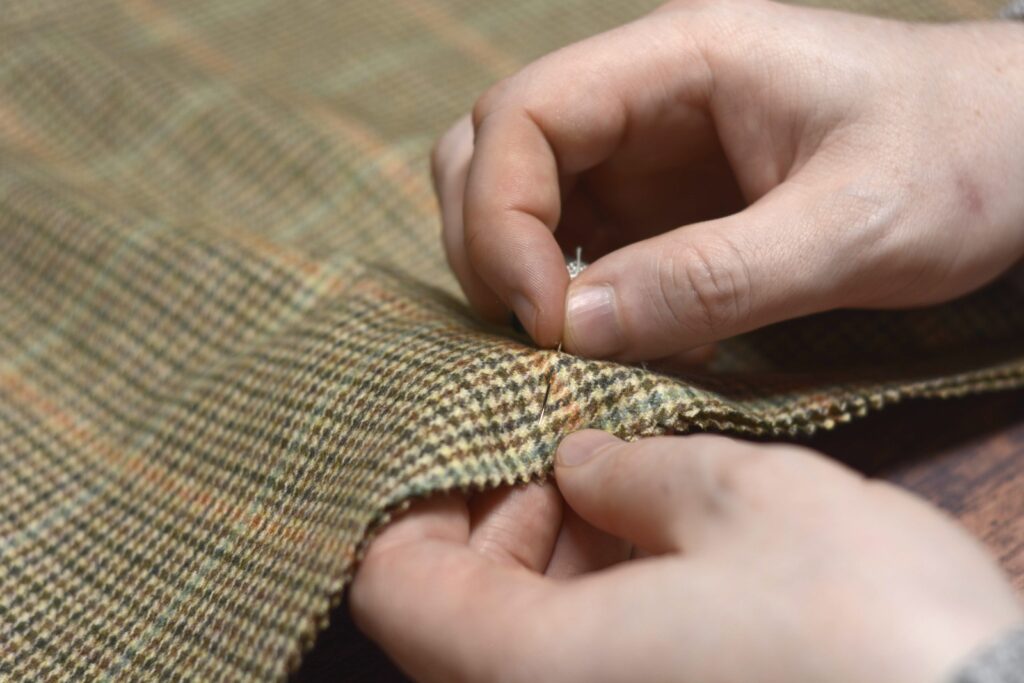
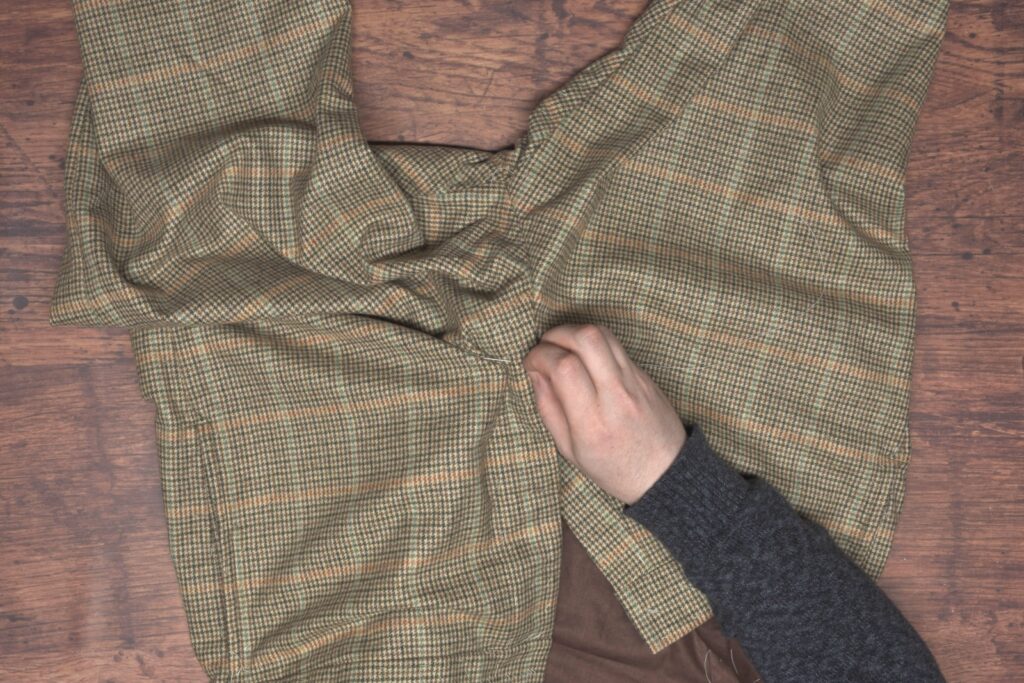
Now baste the seat seam together from the side seam to the bottom of the fly, or just beyond it for more stability. Be sure that the cut you made during the fly construction lines up with the bottom of the button catch. Smaller basting stitches are best to keep things from moving around.

The completed basting here stabilizes the seat seam so we can move on to basting the rest of the seam now.
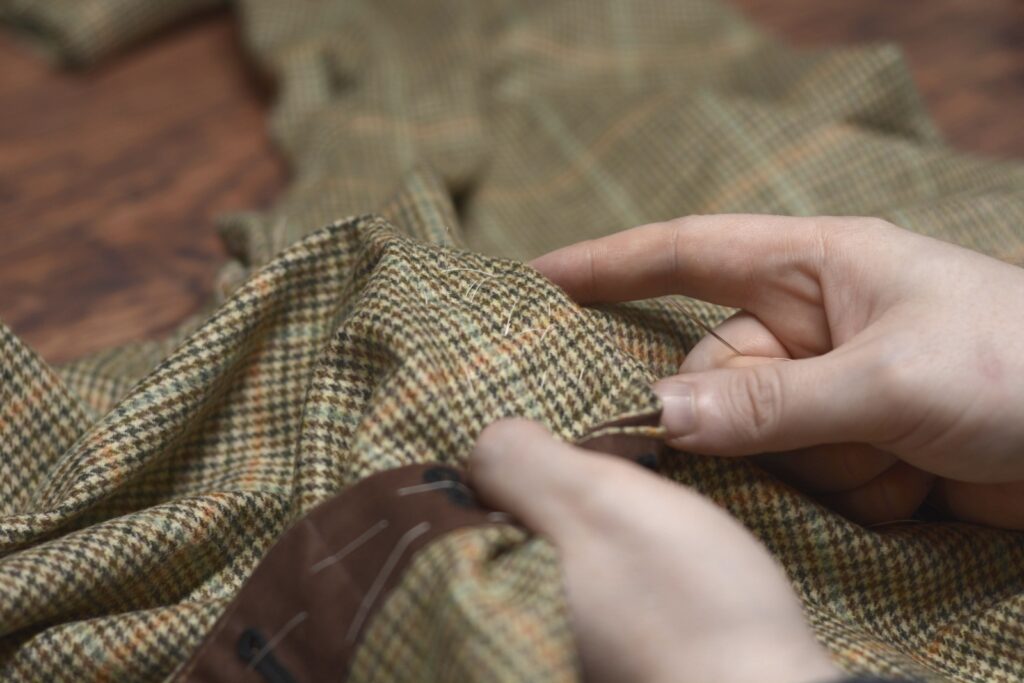
Aligning the backs of the waistband first, baste from just below the waistband to the fork at the side seams.
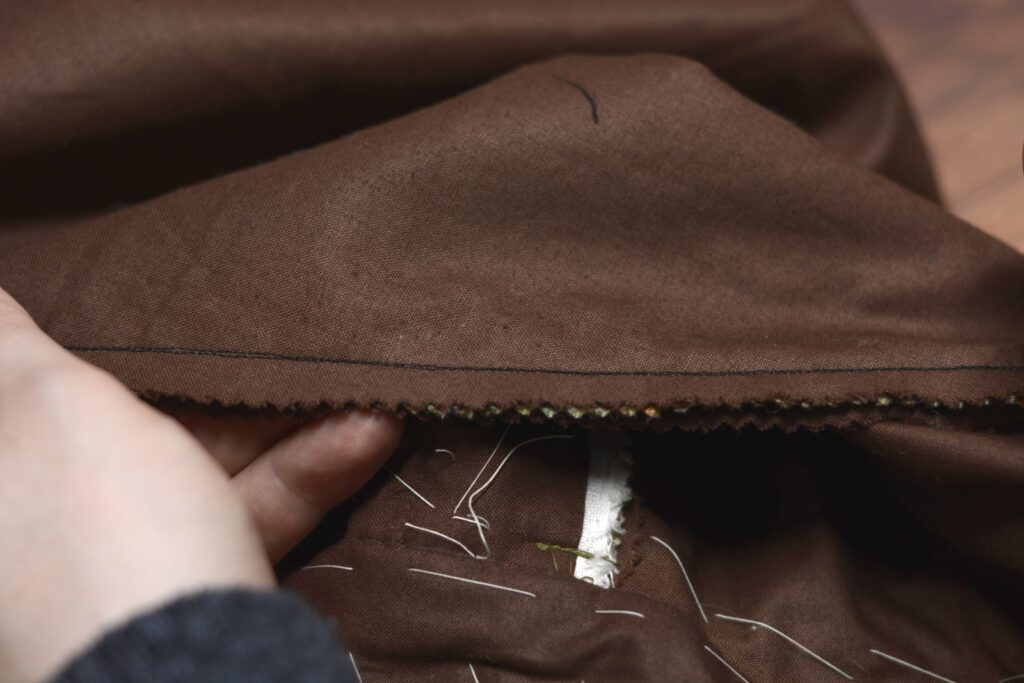
Make a mark on the inner side of the seat seam (I’m showing the mark on the outer side in the photo) about 2″ or 3″ below the waistband depending on your size and preferences, to denote the opening of the back.
This will indicate the upper end of the stitching.
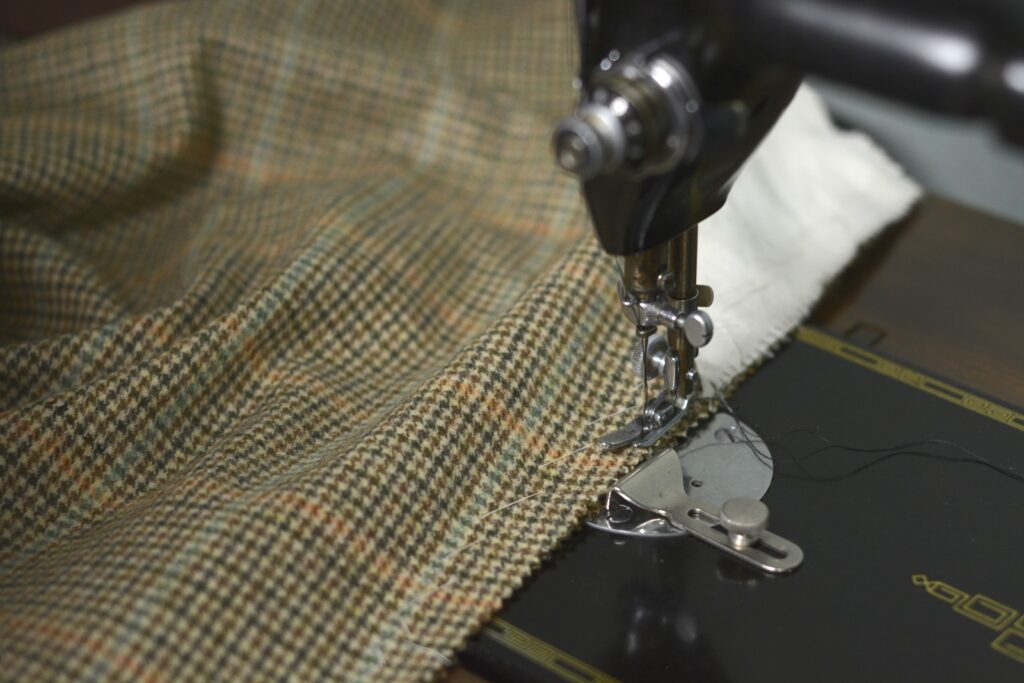
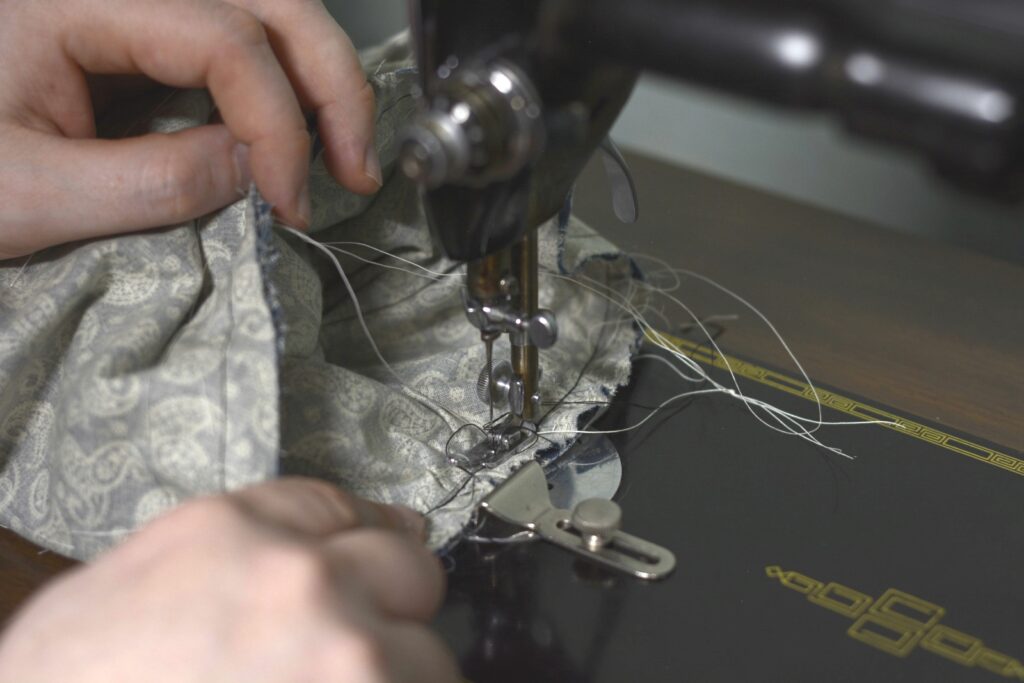
Sew the seat seam starting at the bottom of the fly through to the mark you just made. Sewing the area near the fly can be tricky due to all of the layers. Try to carefully manipulate and fold the fly out of the way to get as close as you can with your stitching to the bottom of the fly.
Then repeat the process and sew a second line of stitching almost directly on top of the first line. This will greatly strengthen the seat seam and help keep the seam from splitting open.
You can see how close I got to the fly seam here, it’s maybe 3/16″ off. If you can get closer that’s great but not strictly necessary as the fly will be secured further in a bit.
Here’s the same area from the other side. I realized I caught part of the seam allowance in the seam, but chose to leave it, as it’ll be pressed over in that direction anyway.
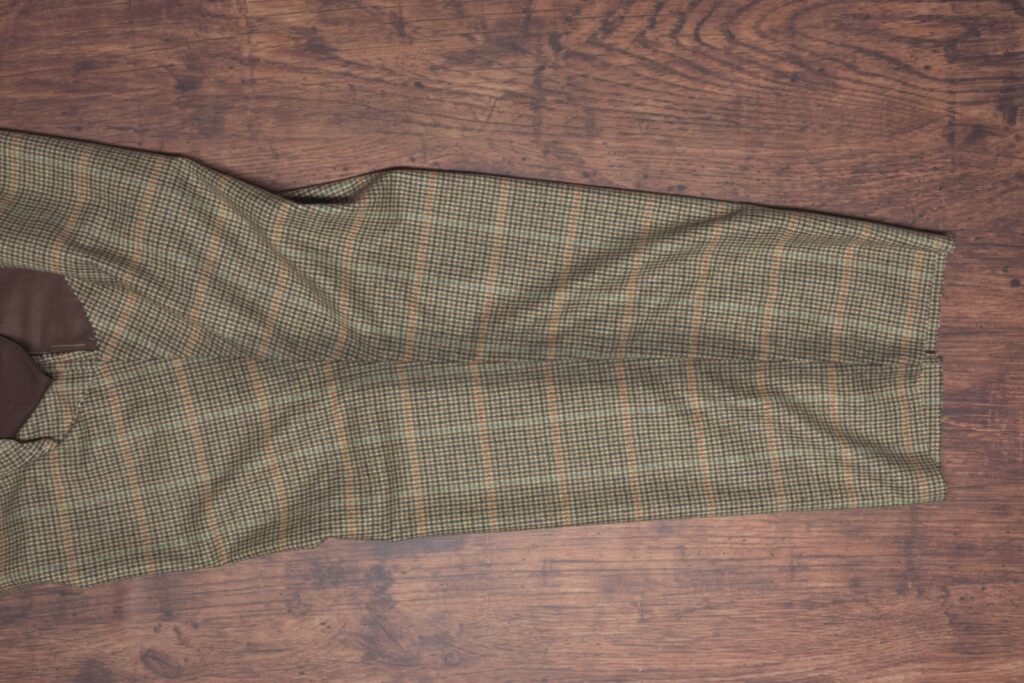
Here’s a section of the seat seam towards the back, you can just make out the two rows of stitching.
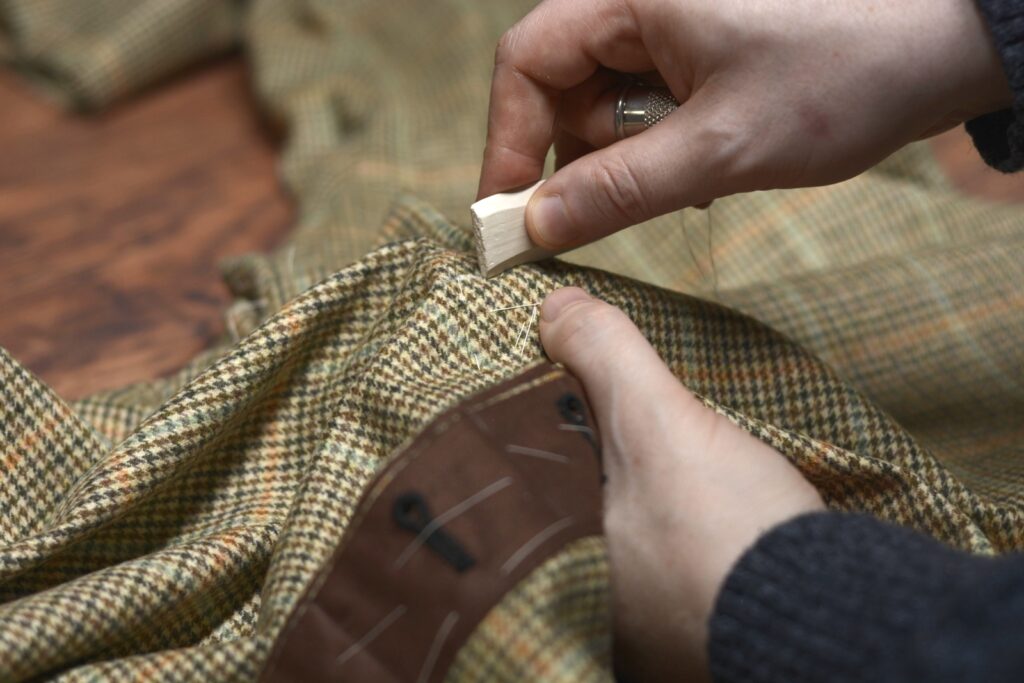
Finally, press the seat seam open from the wrong side, followed by the right side as usual. It’s somewhat difficult to get to all of the angles, so I use a tailor’s ham placed inside the seam and manipulate the fabric as necessary.
Topstitching the Fly
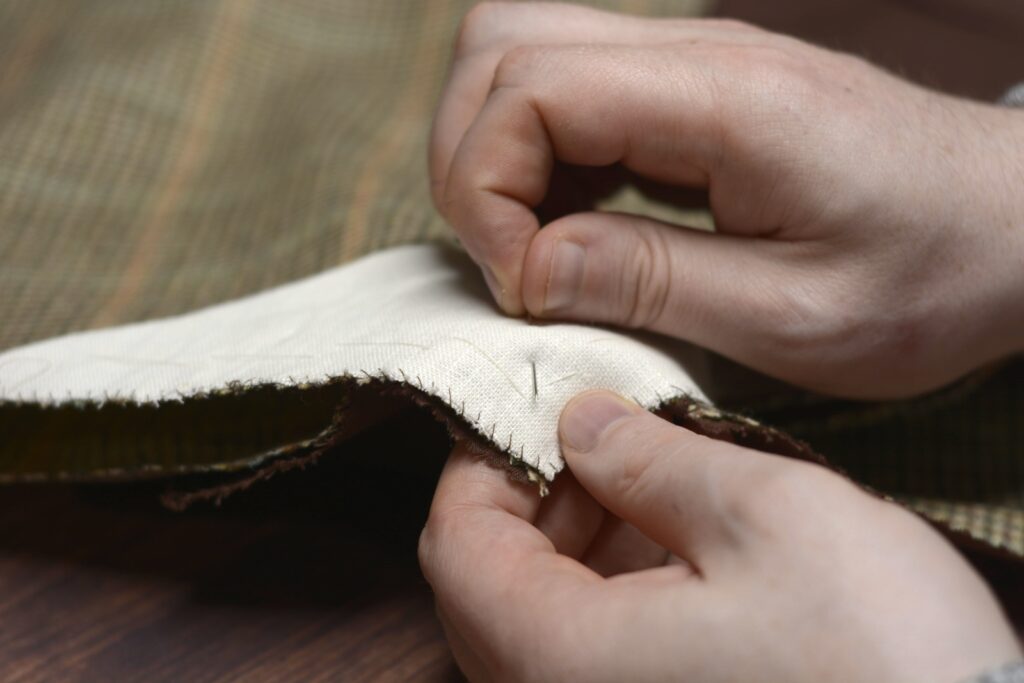
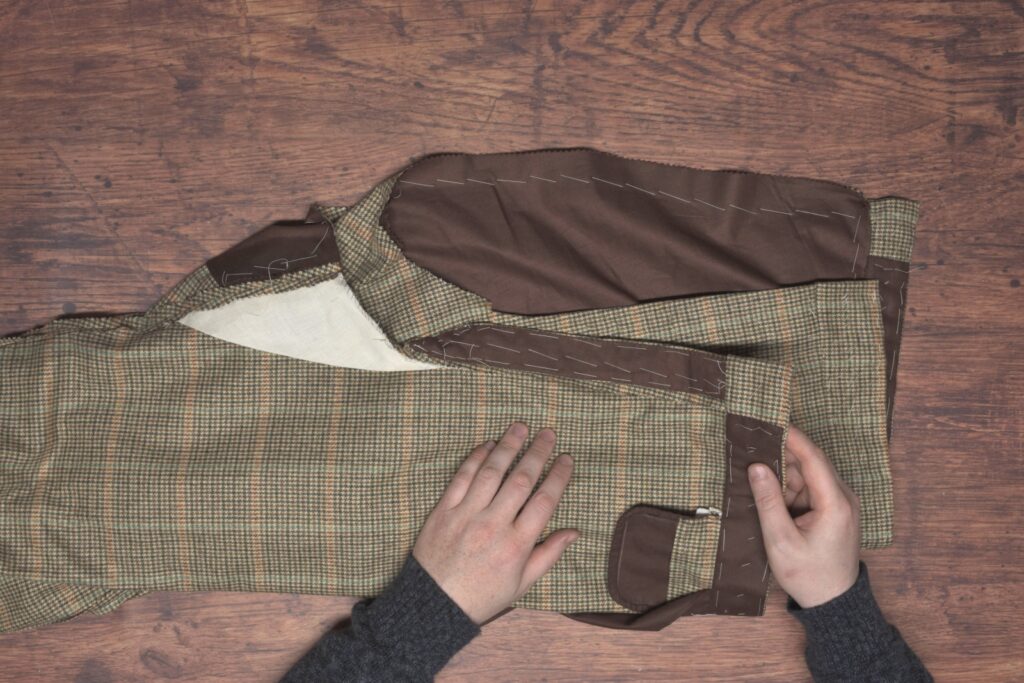
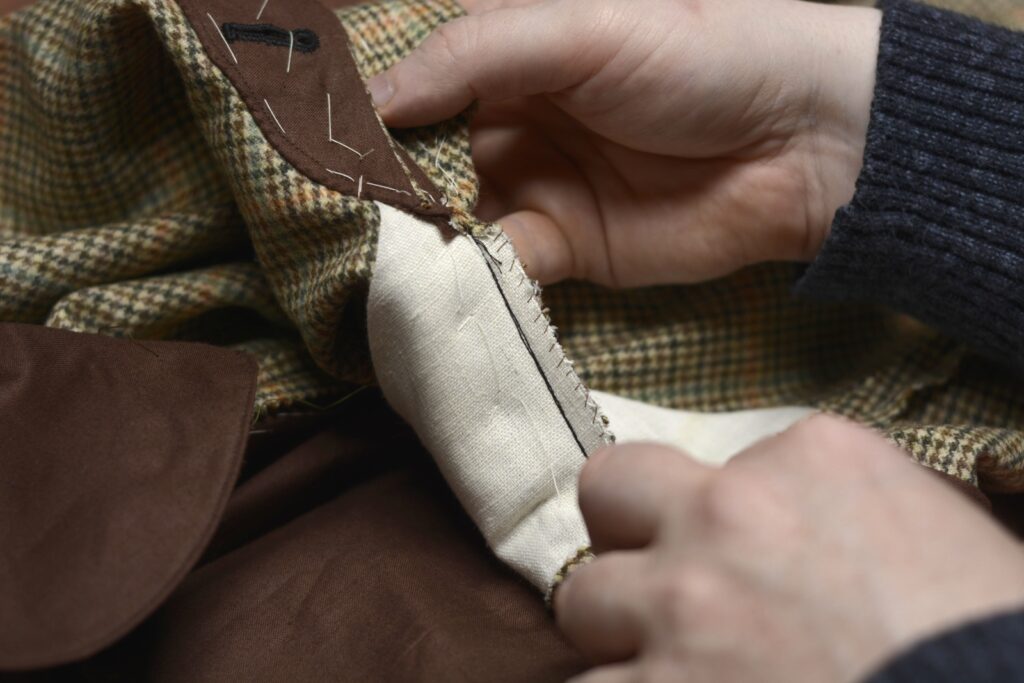
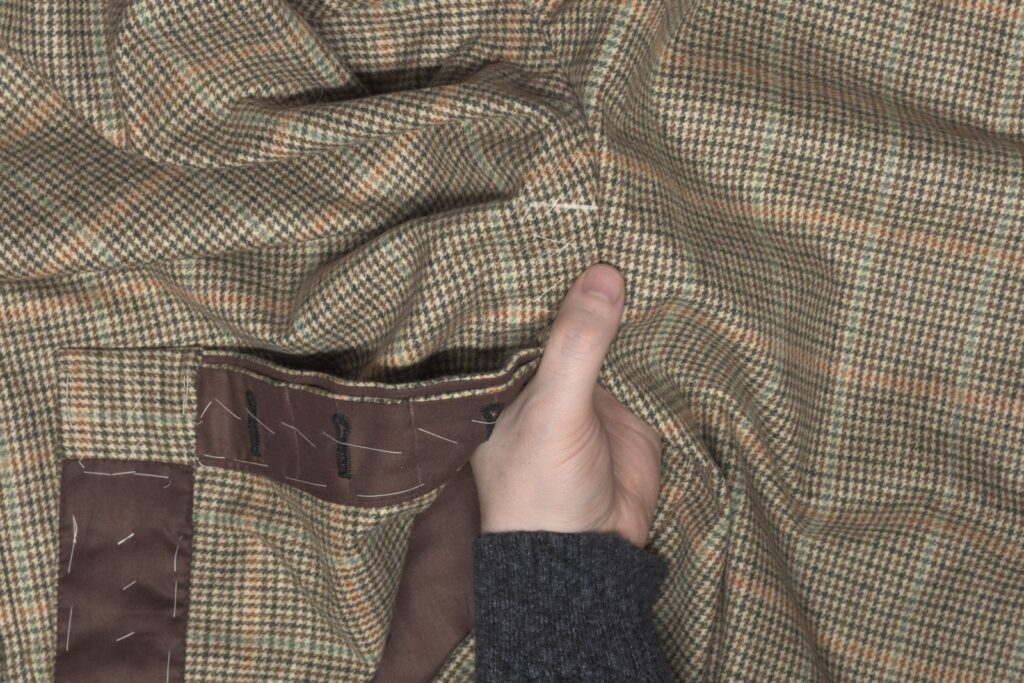
One last bit to do that I consider as part of the seat seam is to secure and top stitch the fly to the button catch, further strengthening the area and preventing the fork from tearing open. Lay the trousers right sides up, the fly facing you.
It’s hard to photograph, but align the fly carefully along the bottom, and baste securely through all layers. In the photo, I’ve got my left hand grasping the fly from underneath the fabric.
The fly after basting the lower area.
Now draw a small line across the fly, at least 1″ below the lowest buttonhole, to indicate the stitch line. This should be perpendicular to the edge of the fly, not necessarily parallel to the floor.
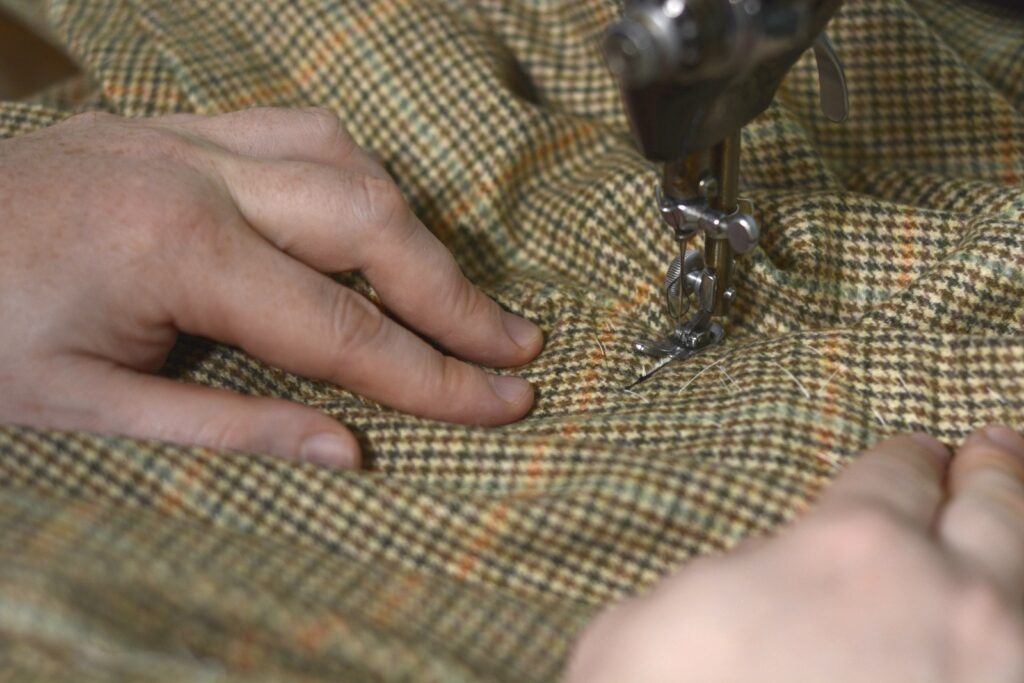
Sew across the width of the fly through all layers, being careful to not catch any other parts of the trouser underneath, such as the back side or the pockets. That’s happened to me all too often and it’s a pain to undo!
As there are many layers in this area, be sure to use a sturdy enough needle, at least a size 100. Even with that you may break a needle here depending on the fabric you’re using. Luckily this was a fairly light weight fabric and I was able to sew without incident.
I usually make two or even three passes over the seam for extra strength. You could also back stitch or side stitch this area if you feel up to it.
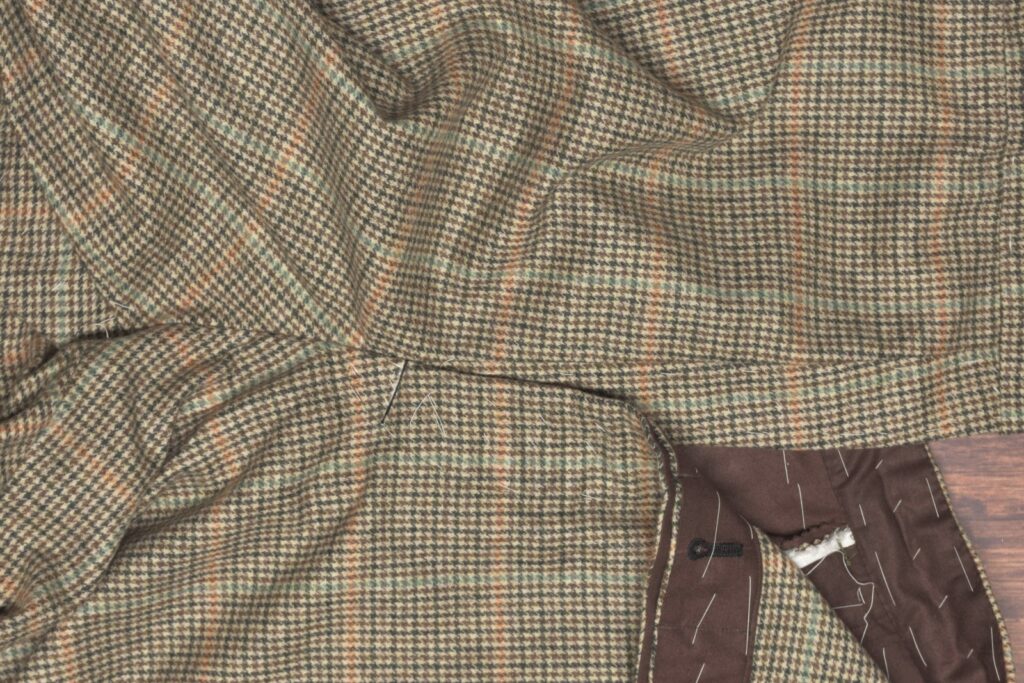
And the completed fly after top stitching.
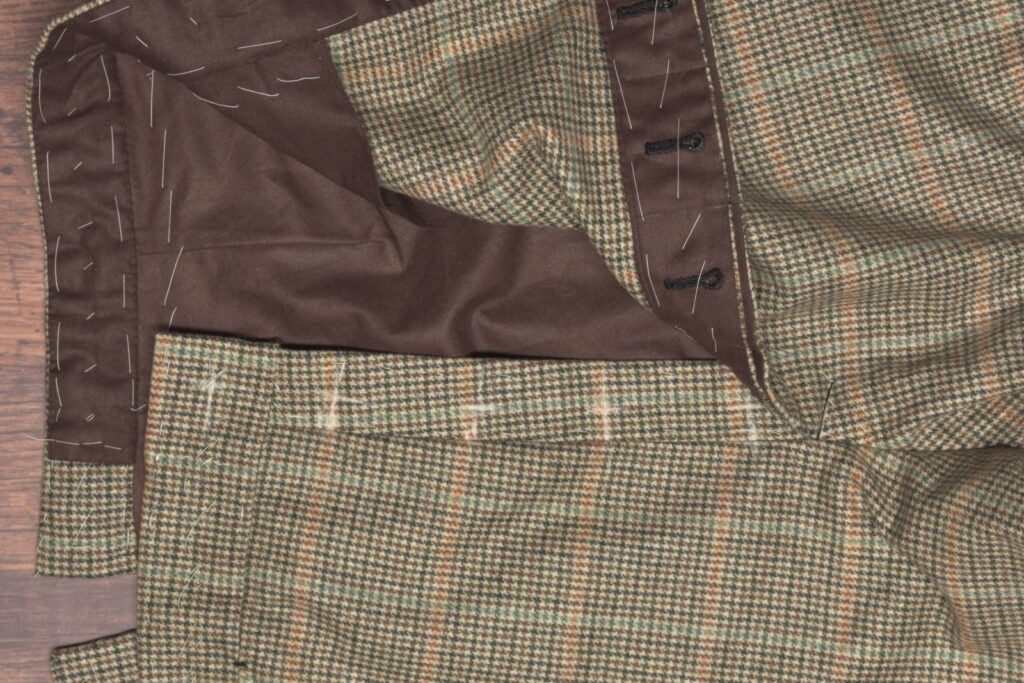
Waistband Lining
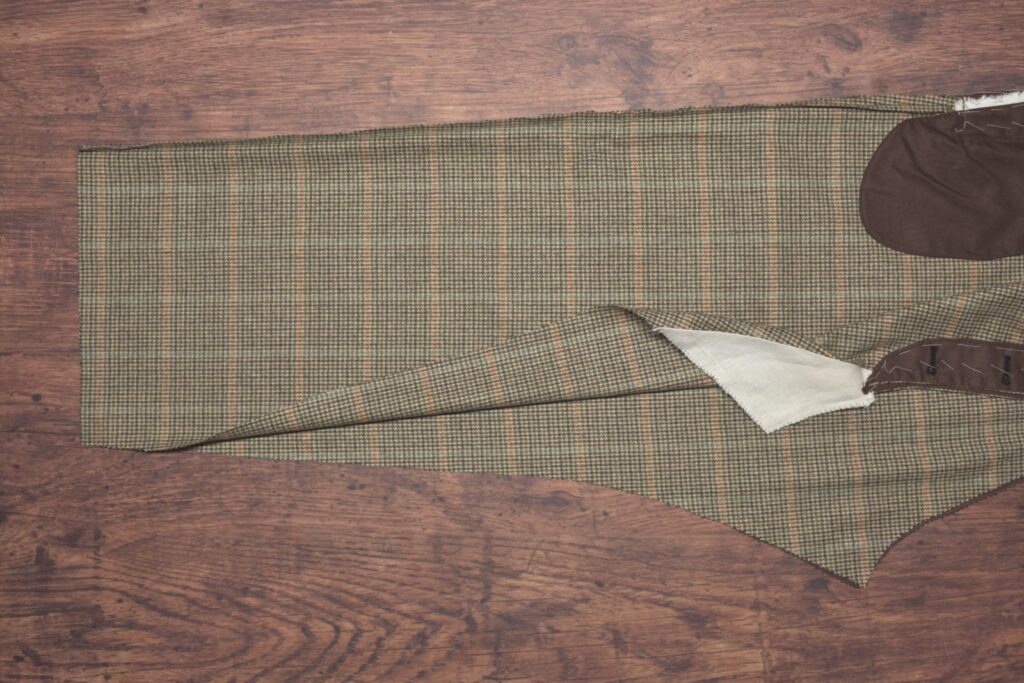
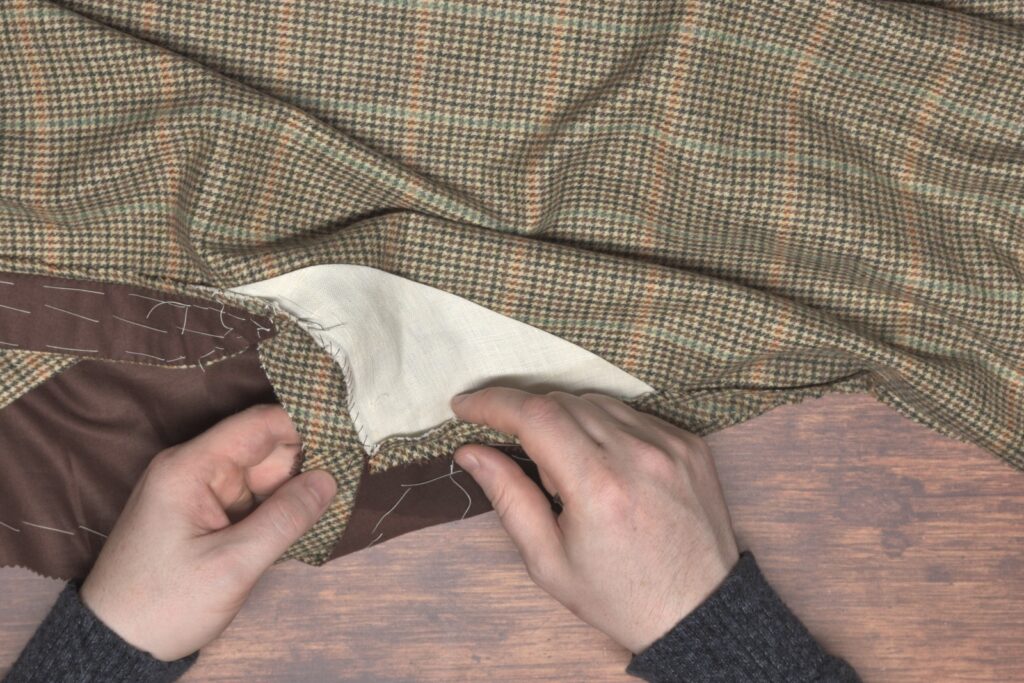
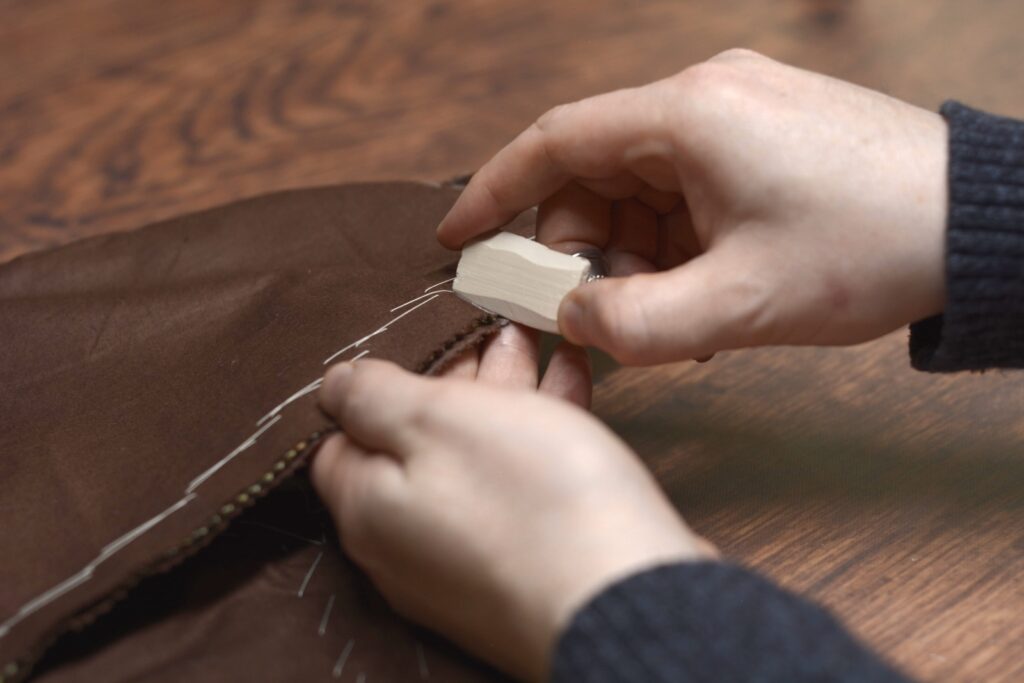
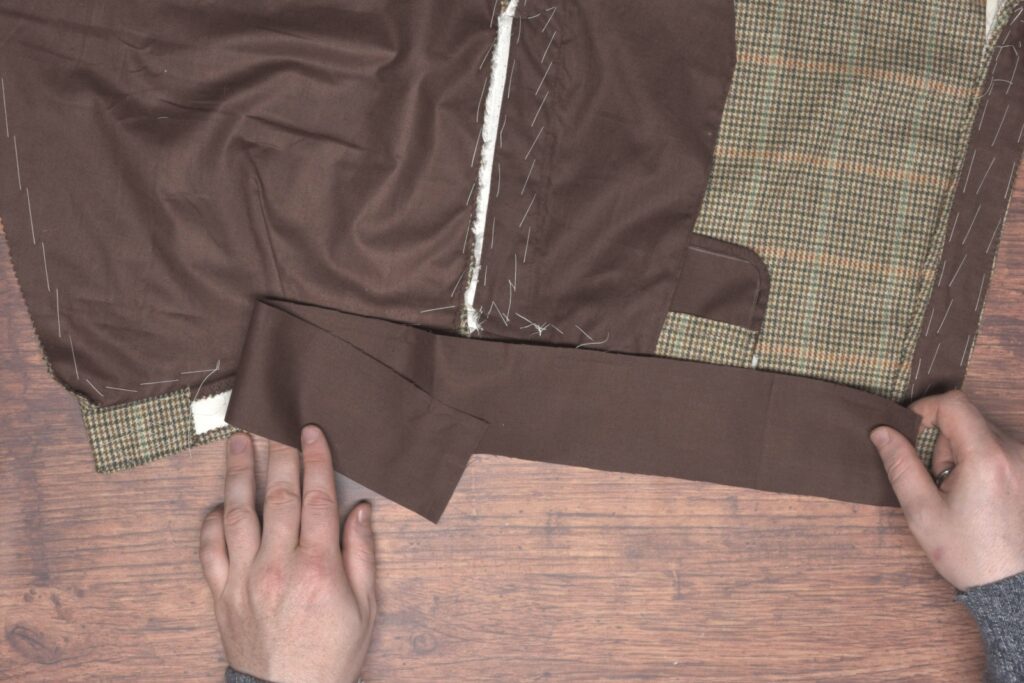
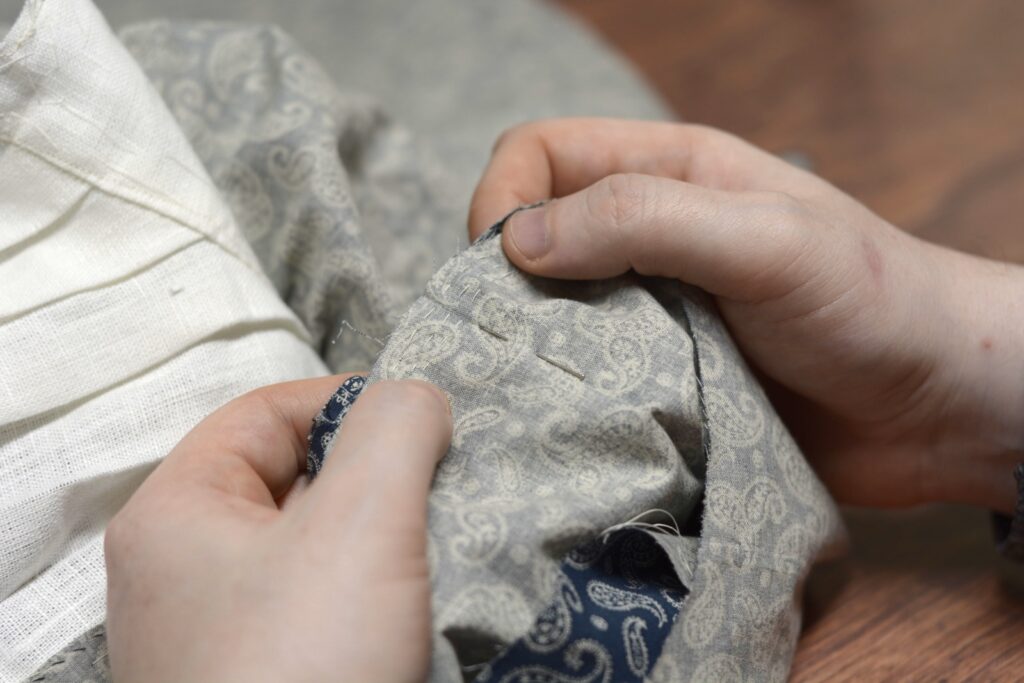
It’s time to complete the waistband with a polished-cotton lining. Begin by laying your trouser half and lining out, right sides down.
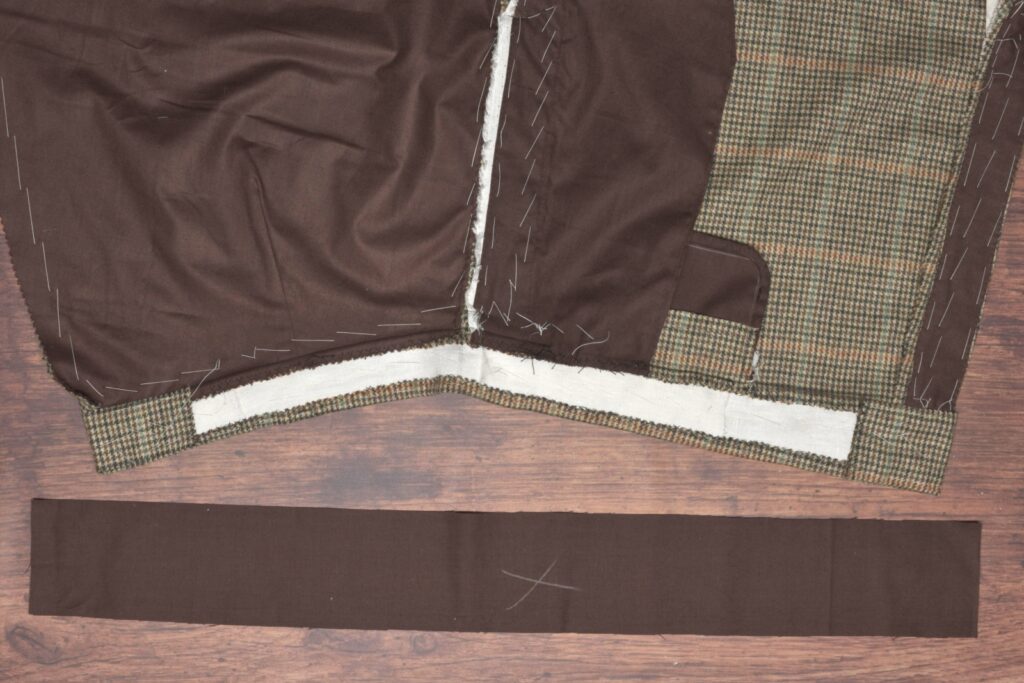
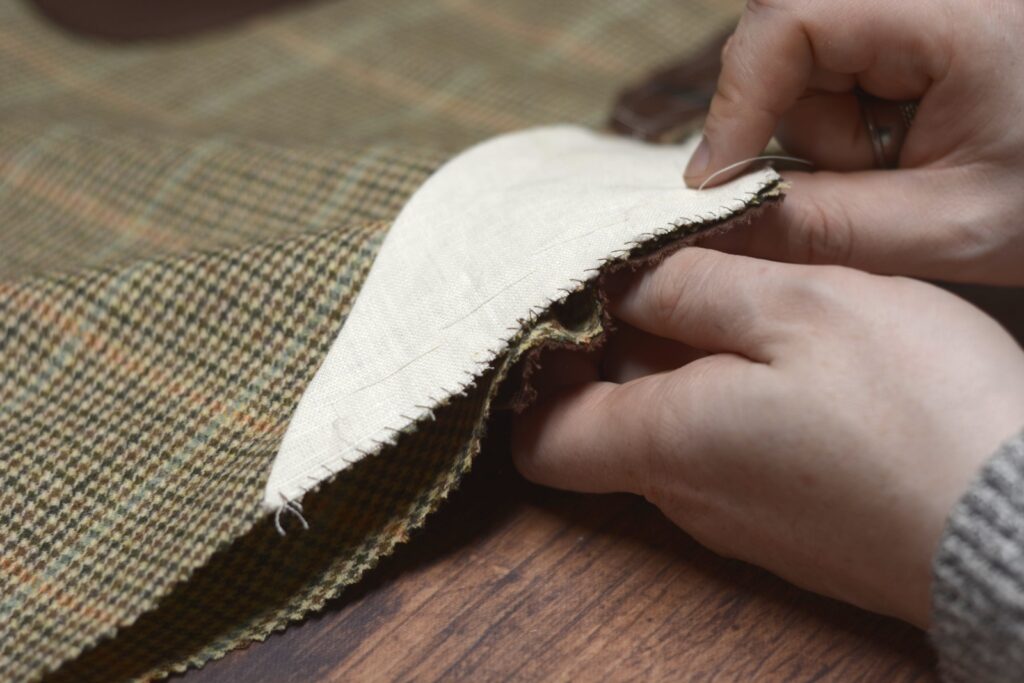
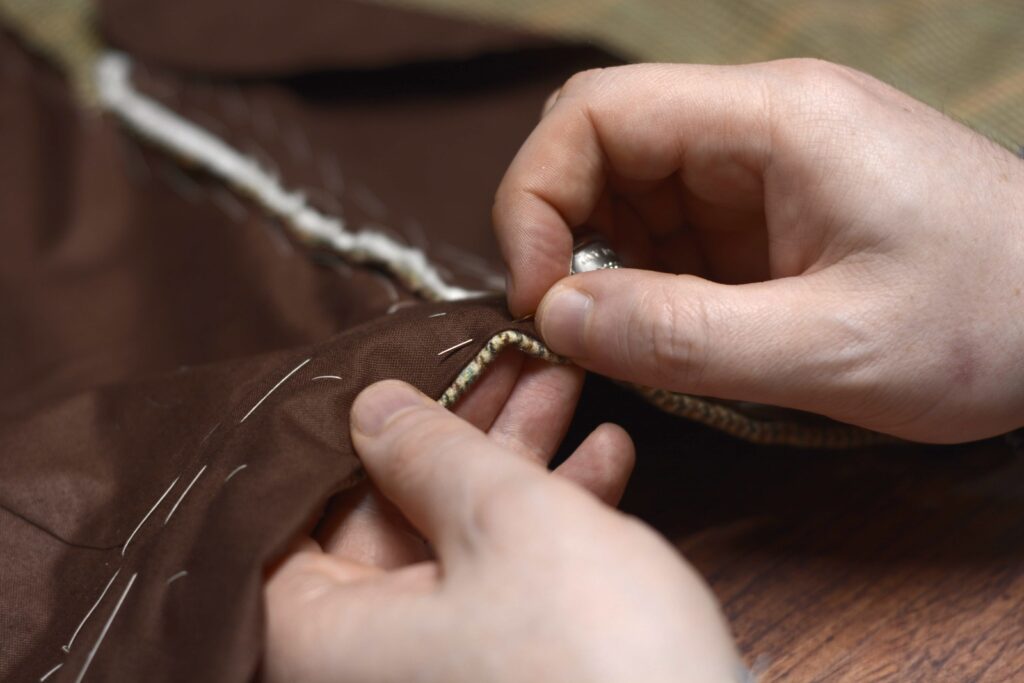
Lay the lining on the waistband, right sides together, aligning one end so that it overlaps the waistband facing by about an inch.
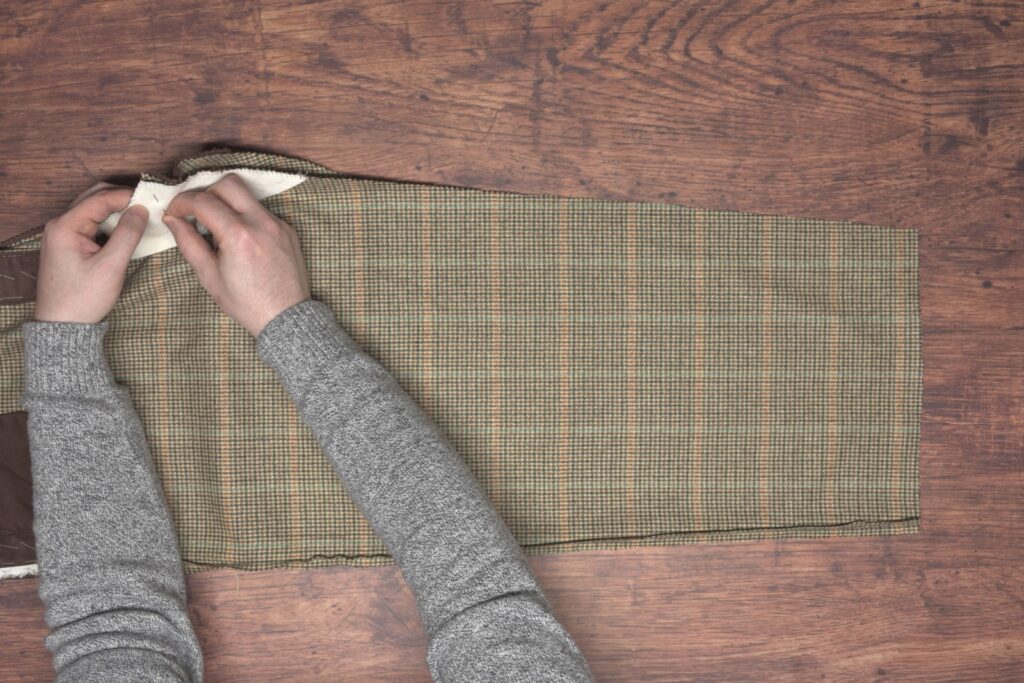
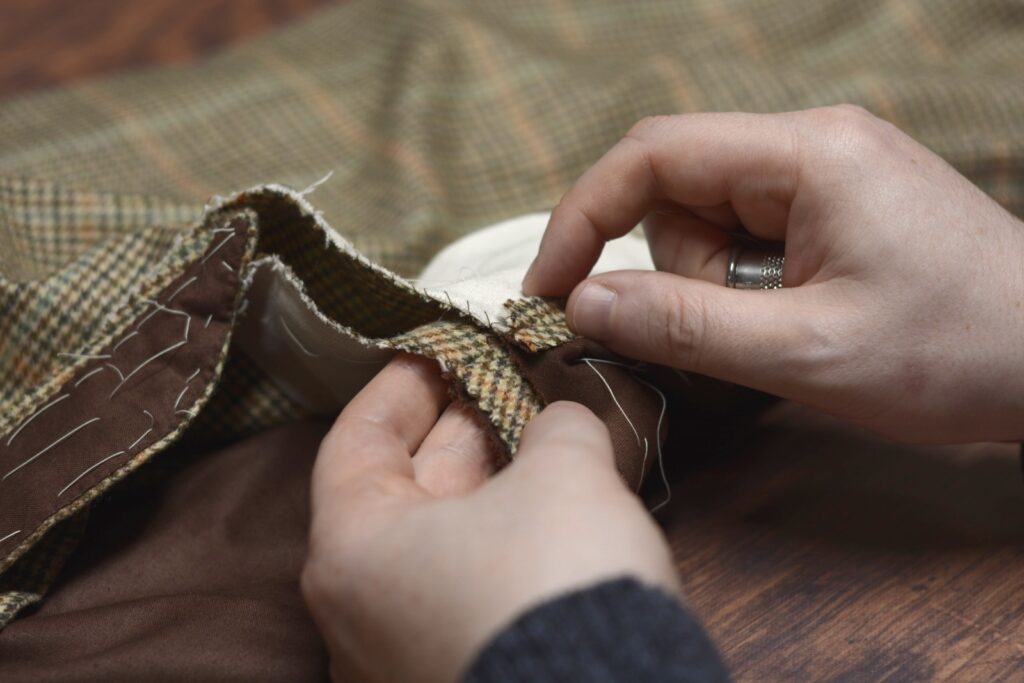
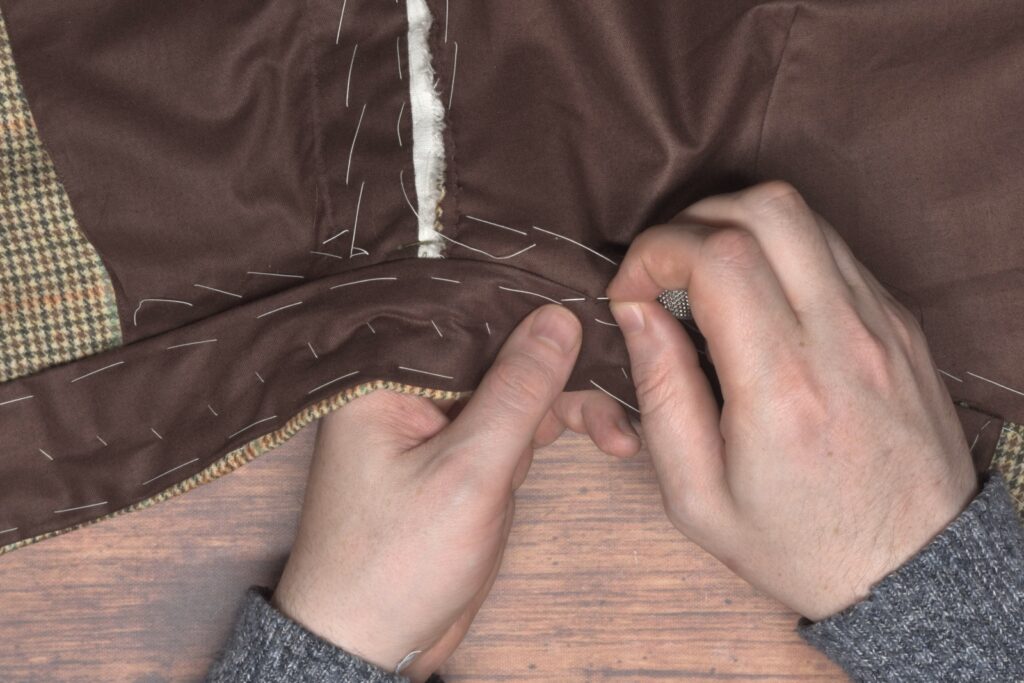
Holding the lining in rough position with one hand, flip the entire assembly over so that the lining is underneath. Begin basting at one end towards the other, keeping about 1 inch away from either waistband facing.
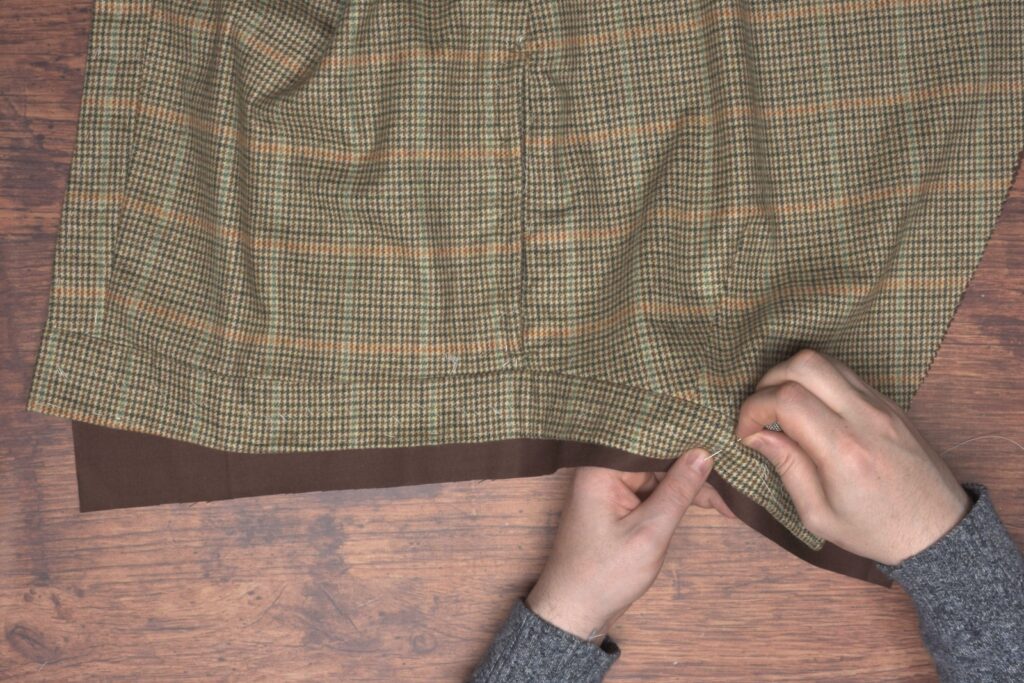
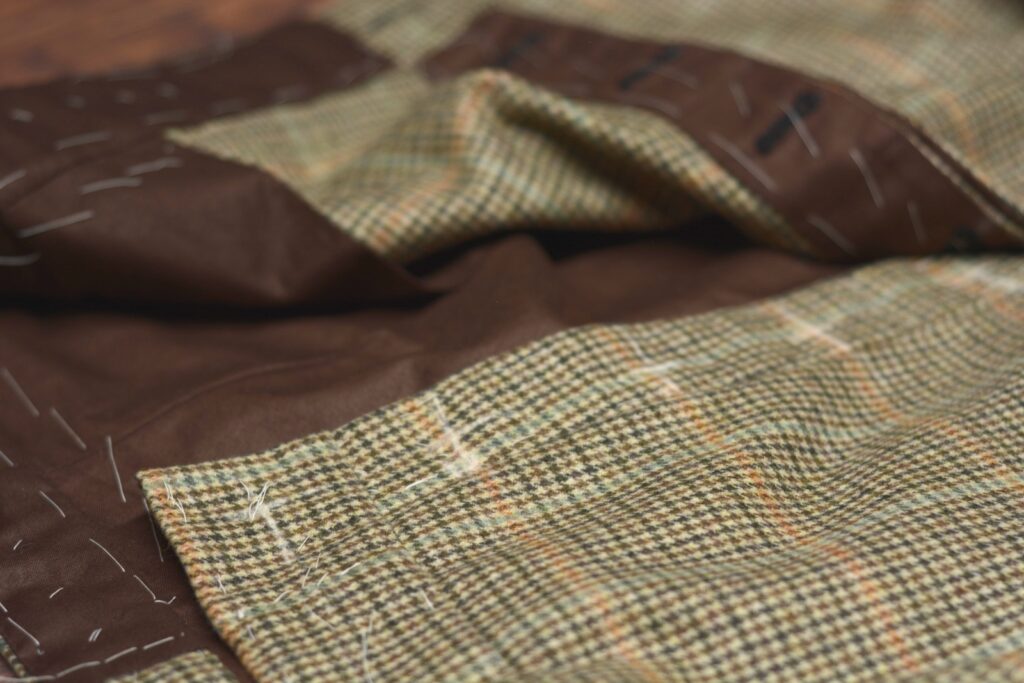
As you baste, allow the fabric to curve over your hand. This mimics the waistband curving over your waist, allowing the outside of the waistband to be slightly longer than the lining, helping to avoid any excess fabric in the lining.
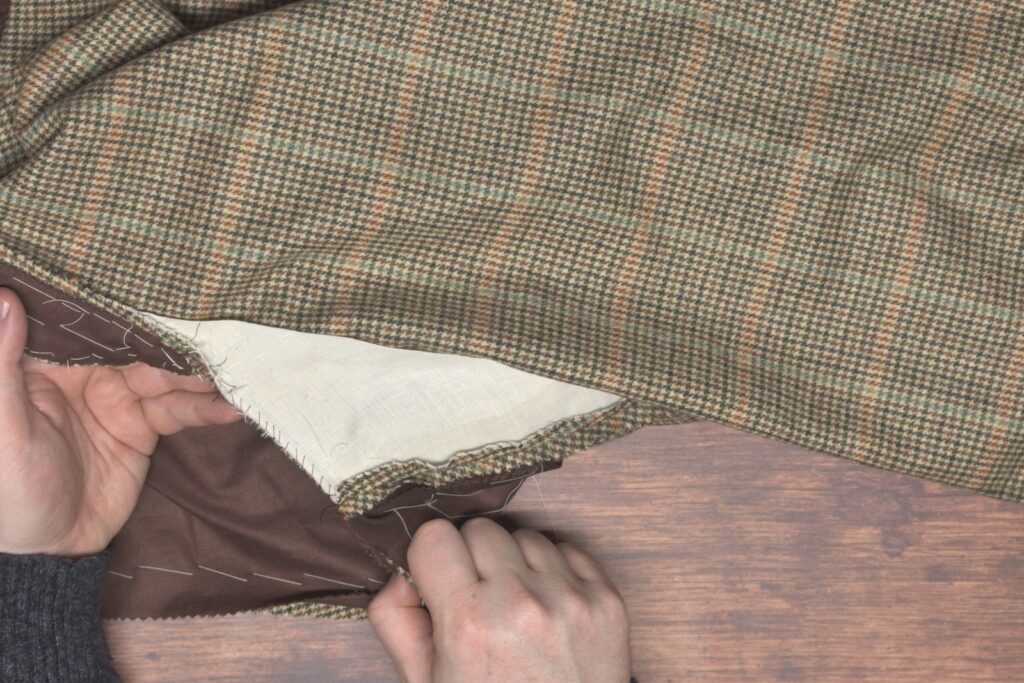
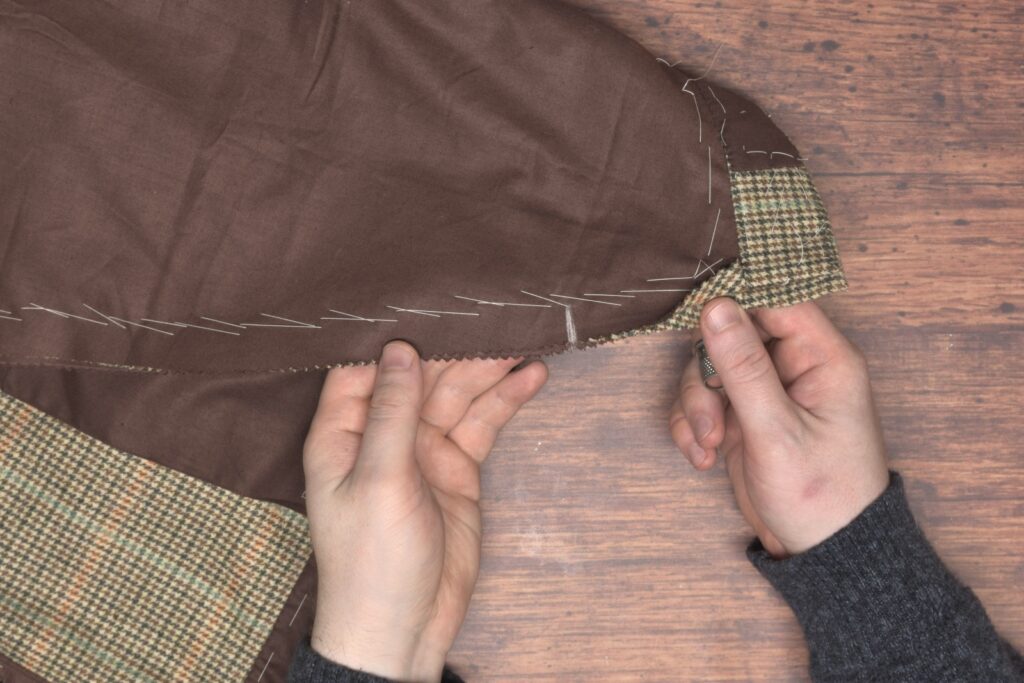
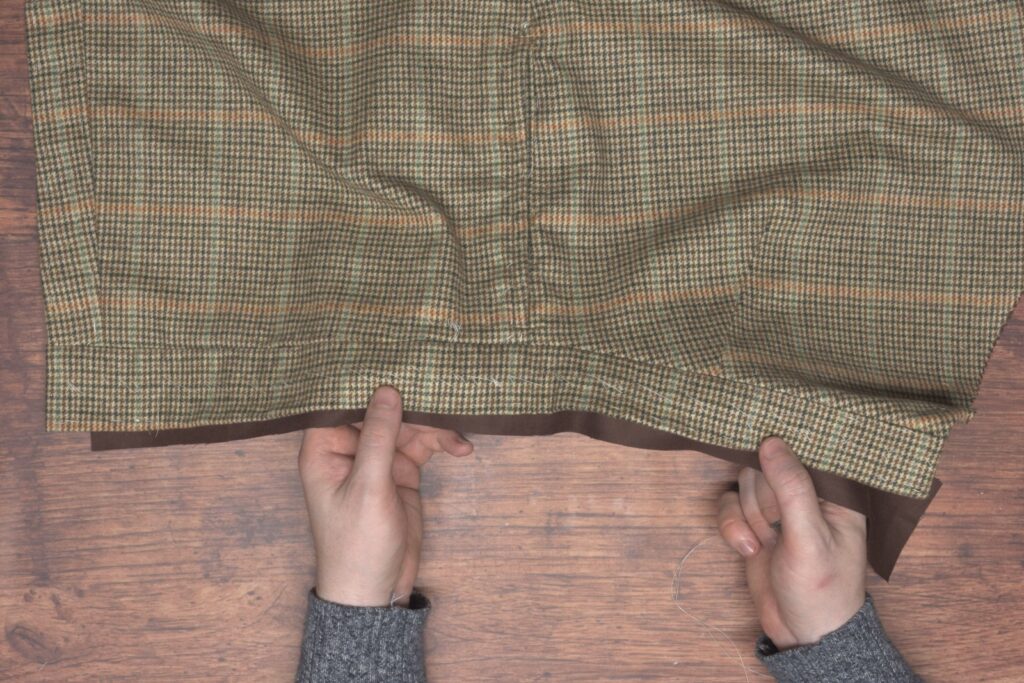
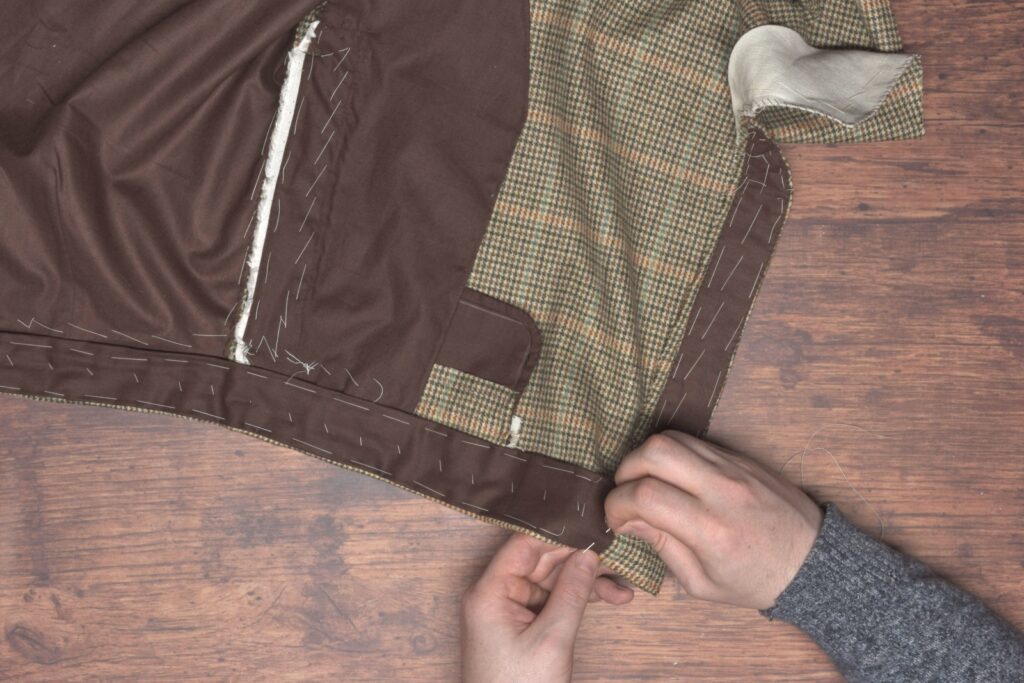
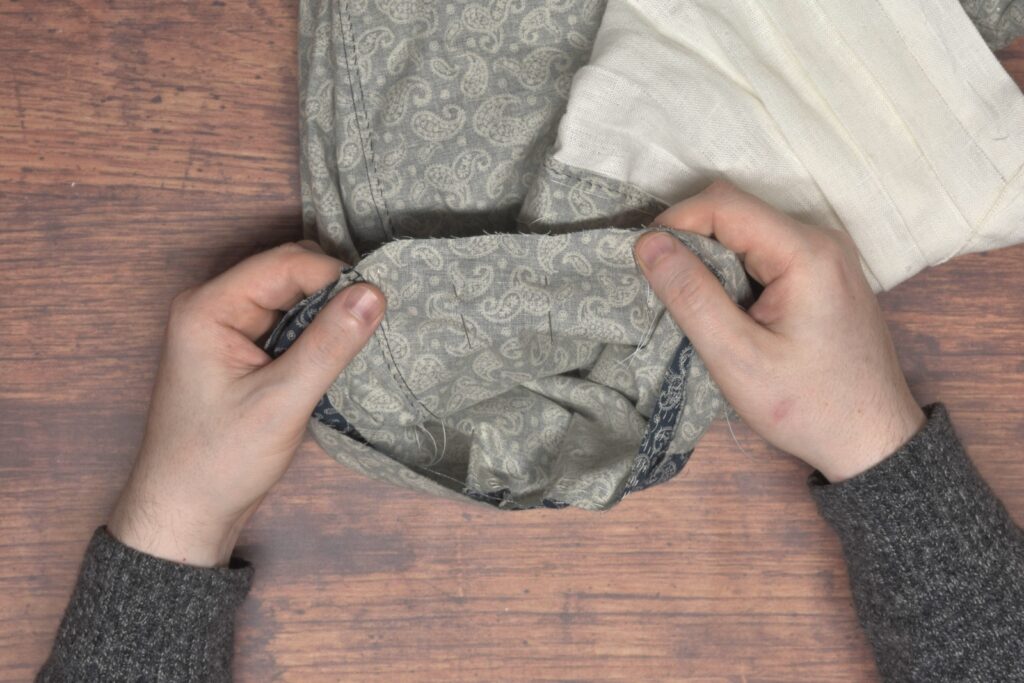
Here’s the facing basted in place.
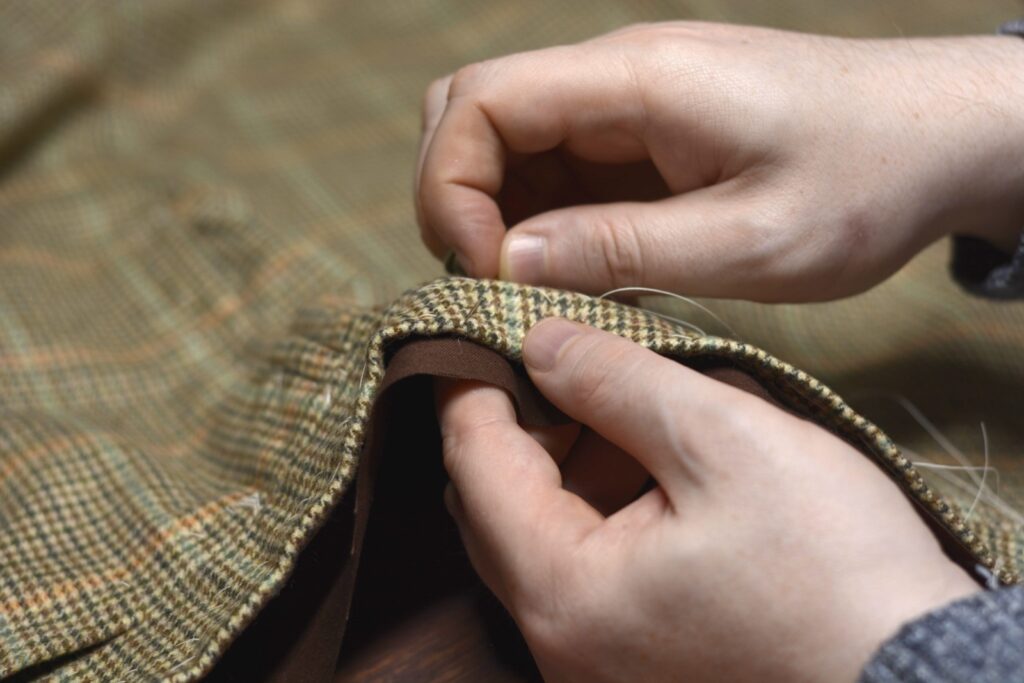
Flipping back over to the inside of the trousers, trim away the excess lining from the opposite end so that it extends about 1″ beyond the facing below.
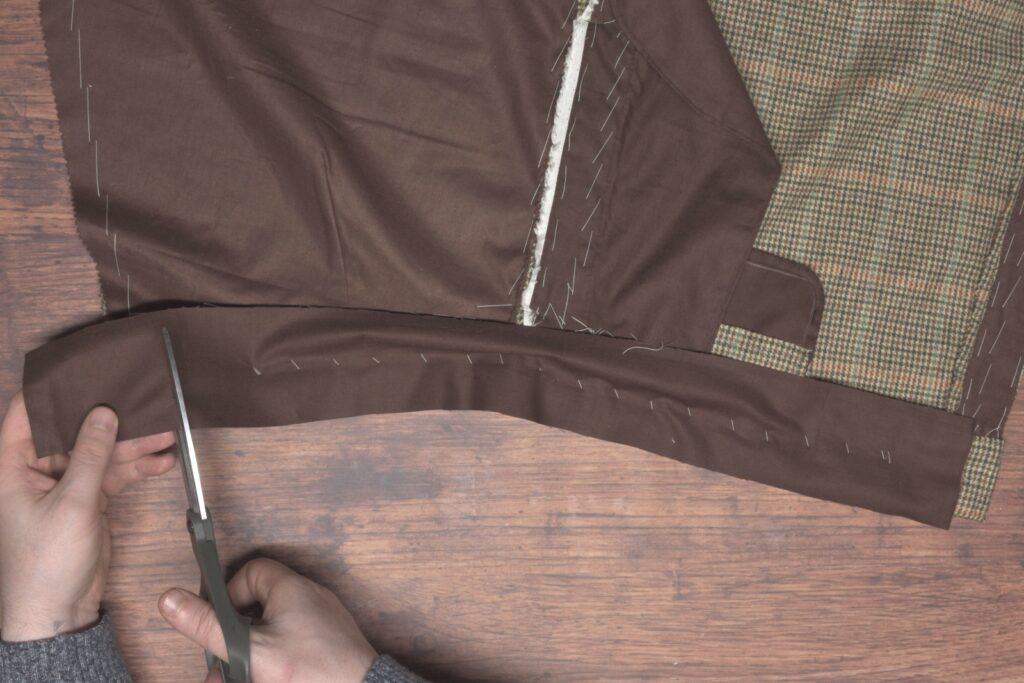

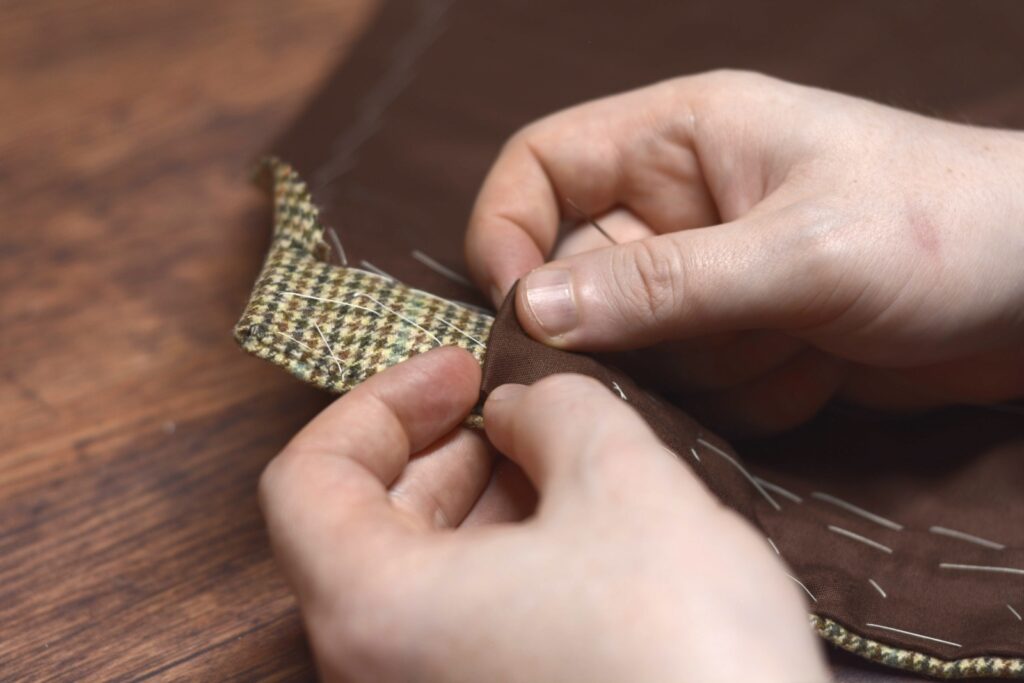
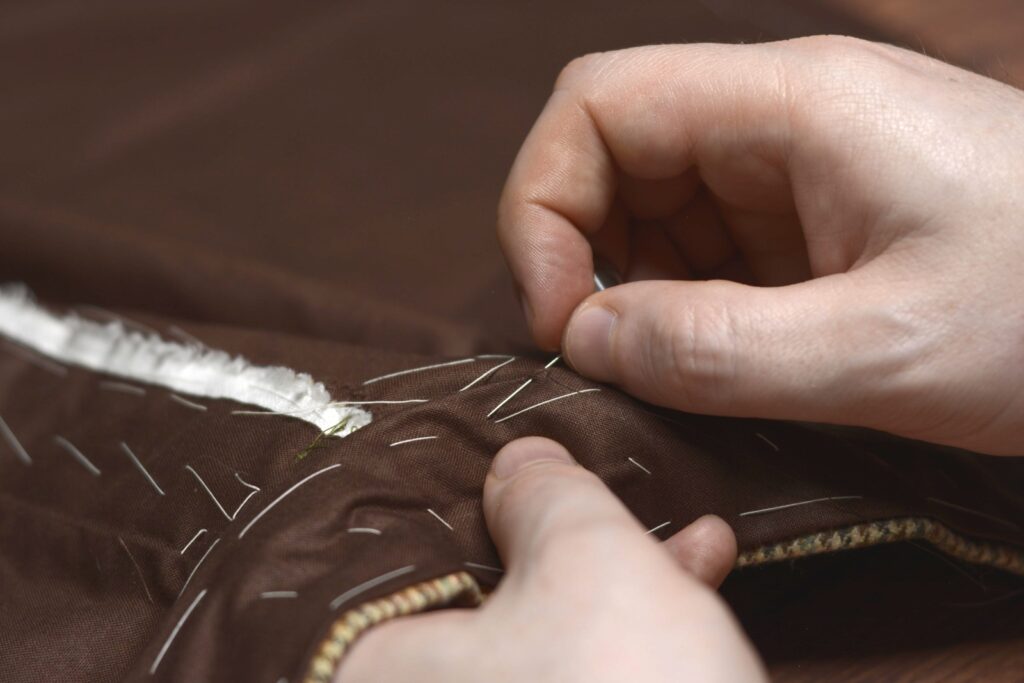
Now begin folding under the lower edge of the lining so that it’s even with the waistband stitch line, or just slightly below it.
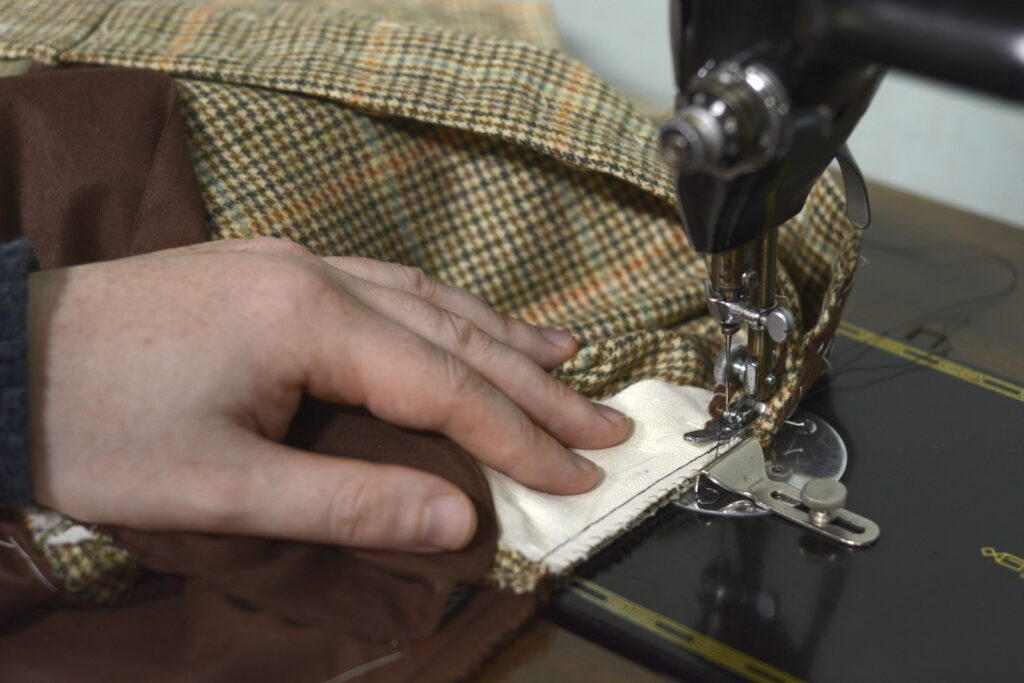
Baste this lower edge in place from end to end, keeping about 1″ from either end.

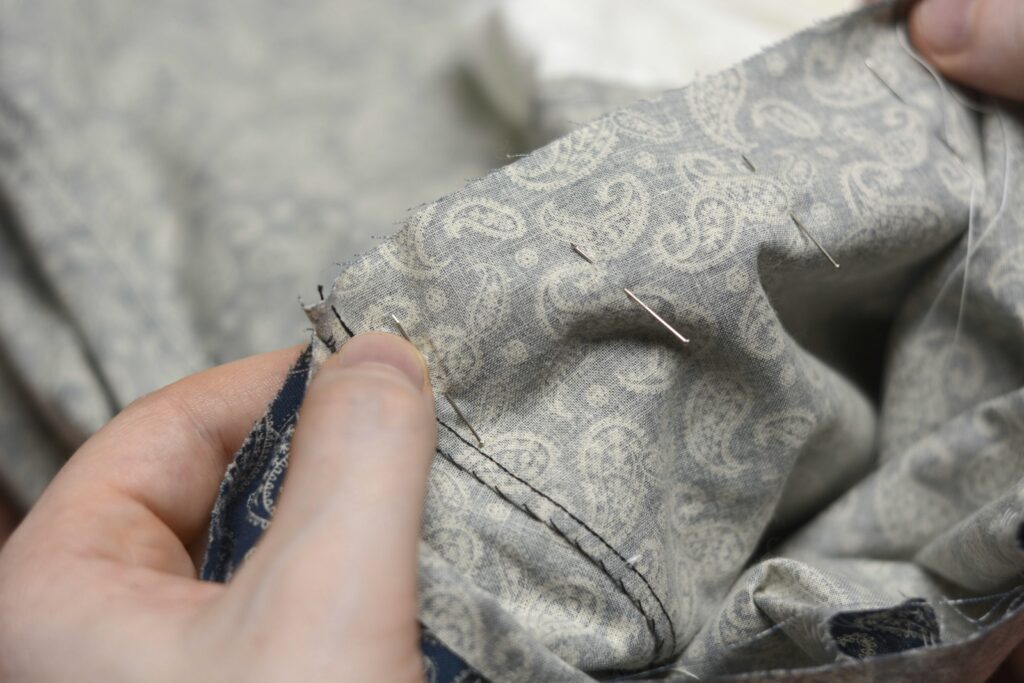
Repeat with the upper edge of the facing as well.
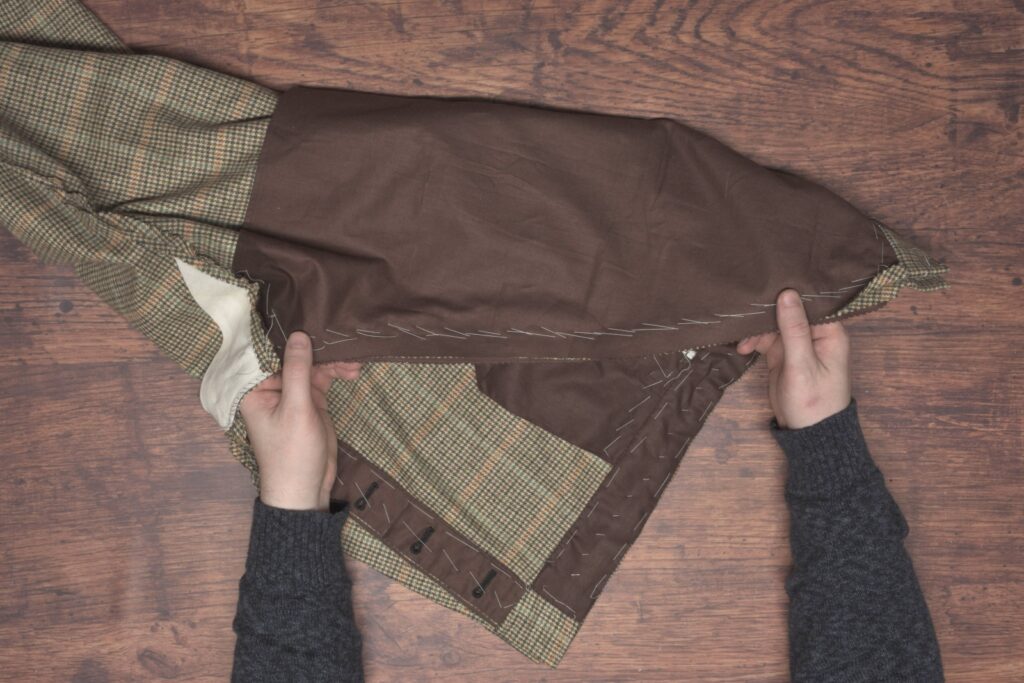
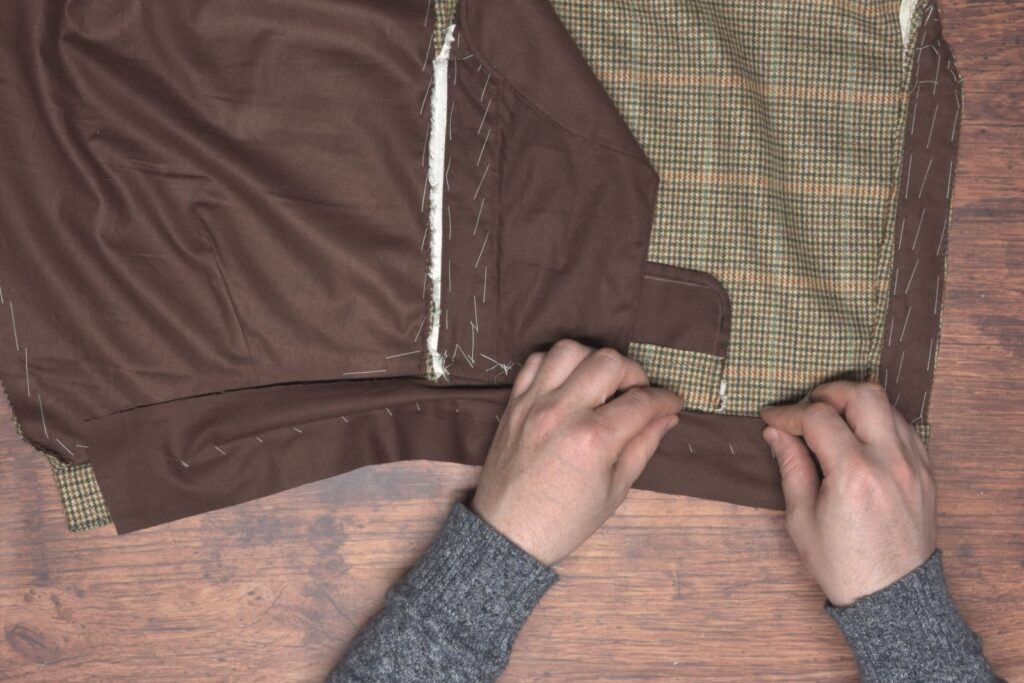
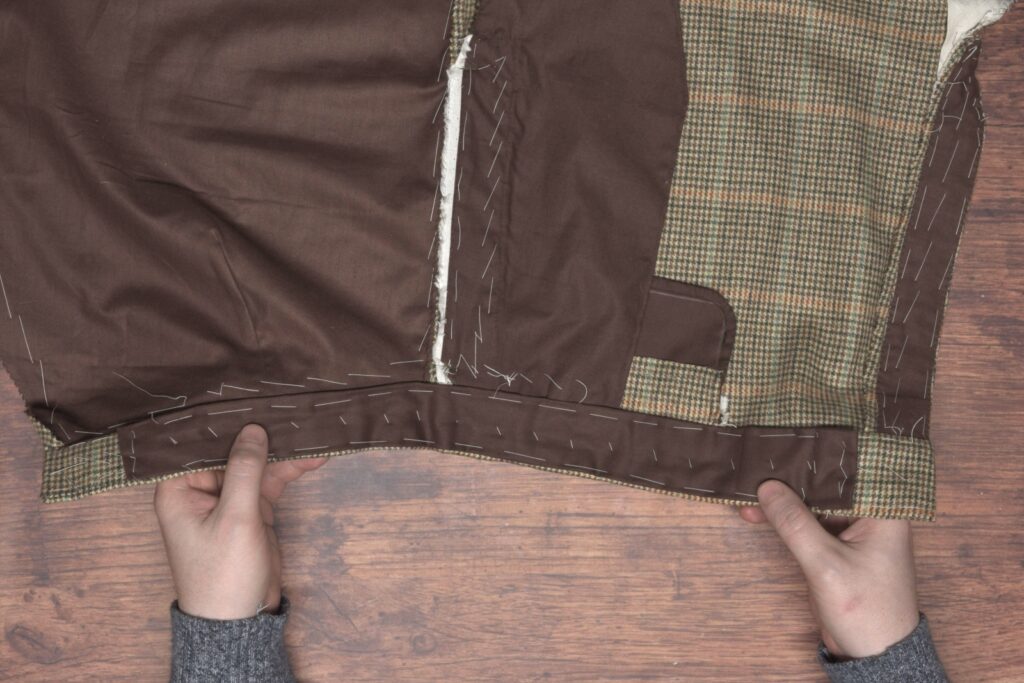
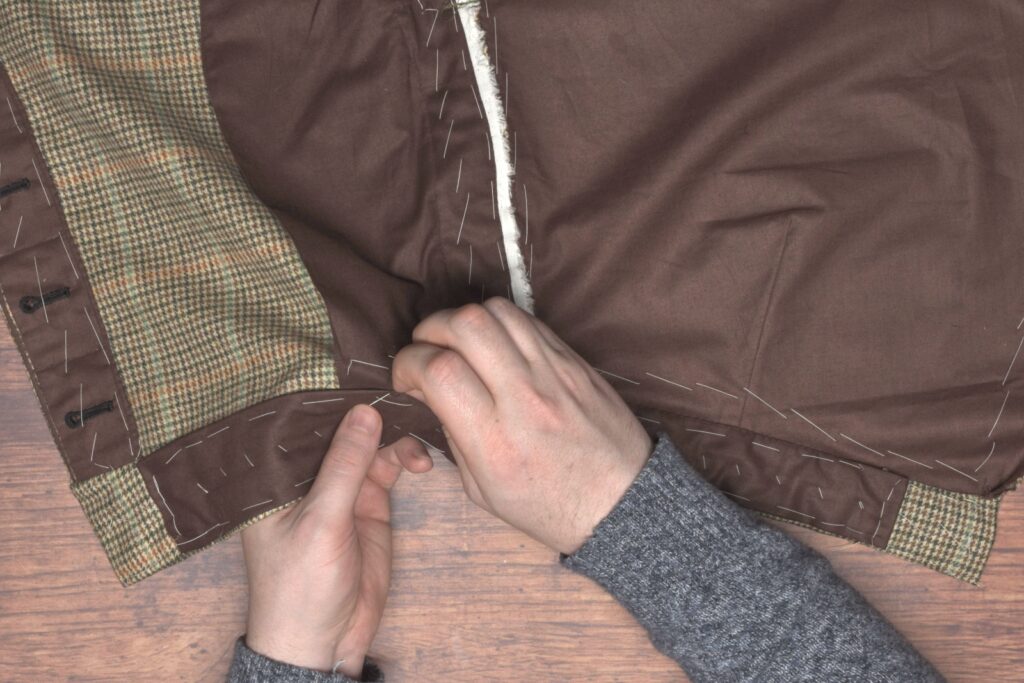
The results so far. Now to finish up the raw ends.

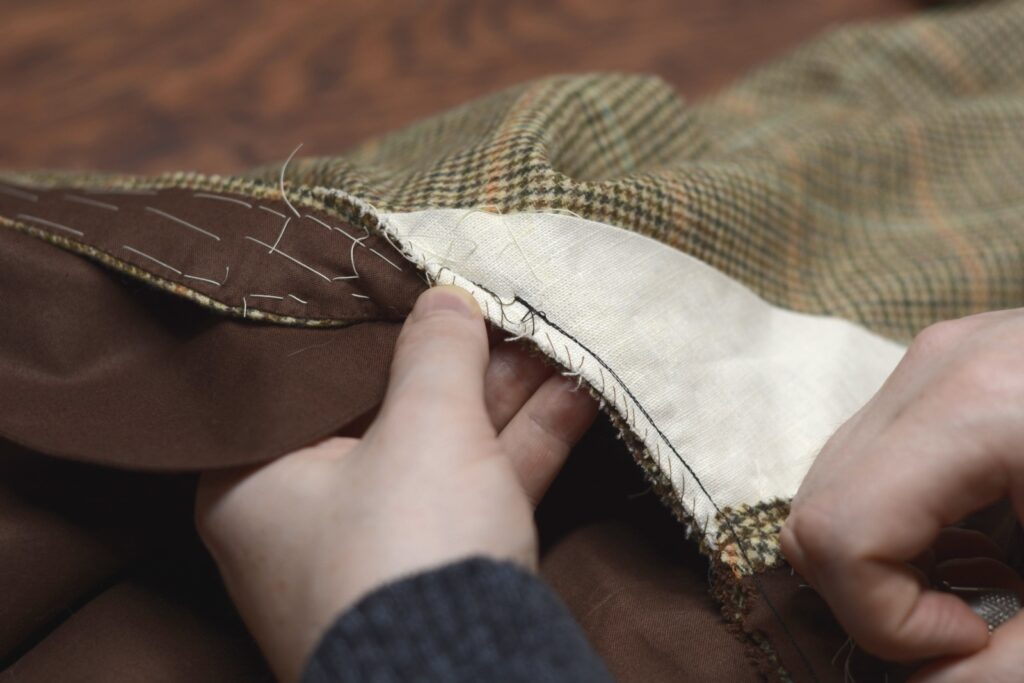
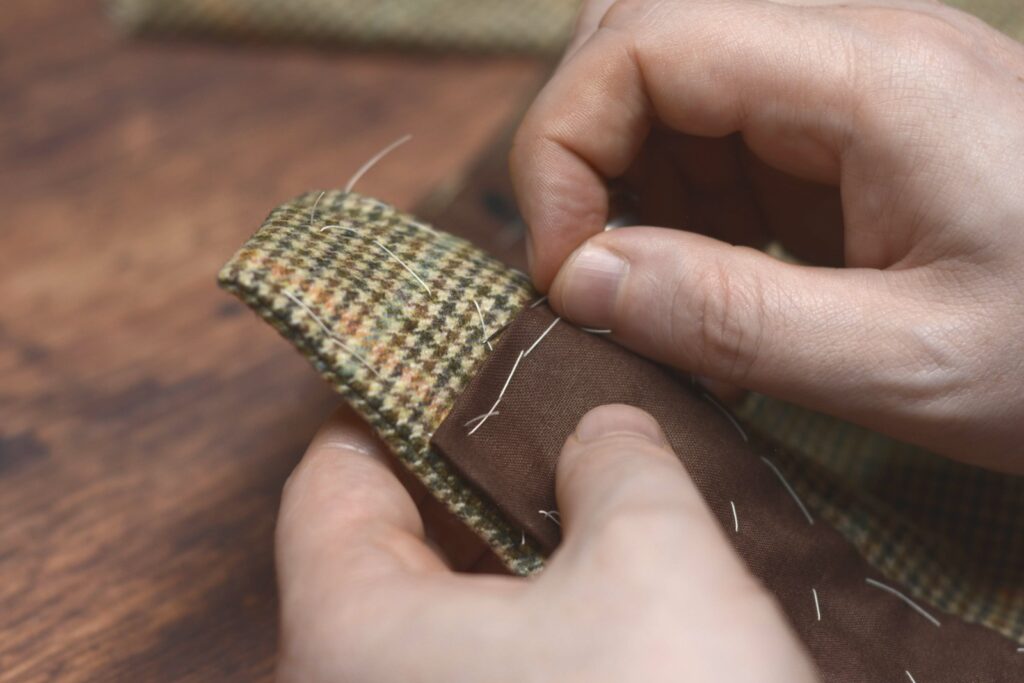
Fold under the raw ends, aligning them as you prefer in relation to the facing underneath.
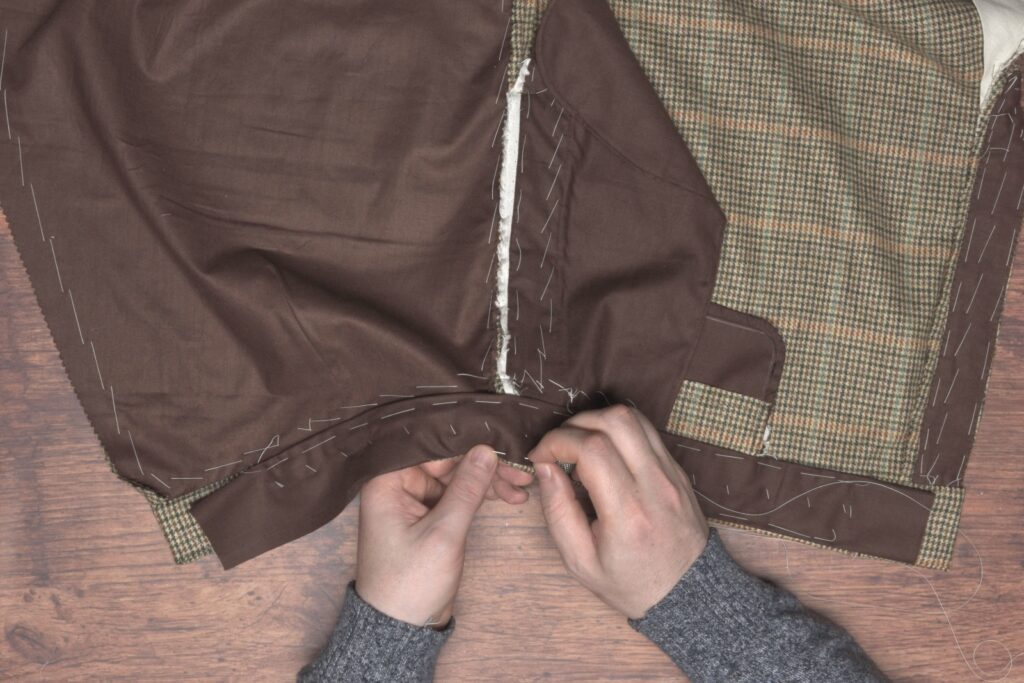
Baste securely.
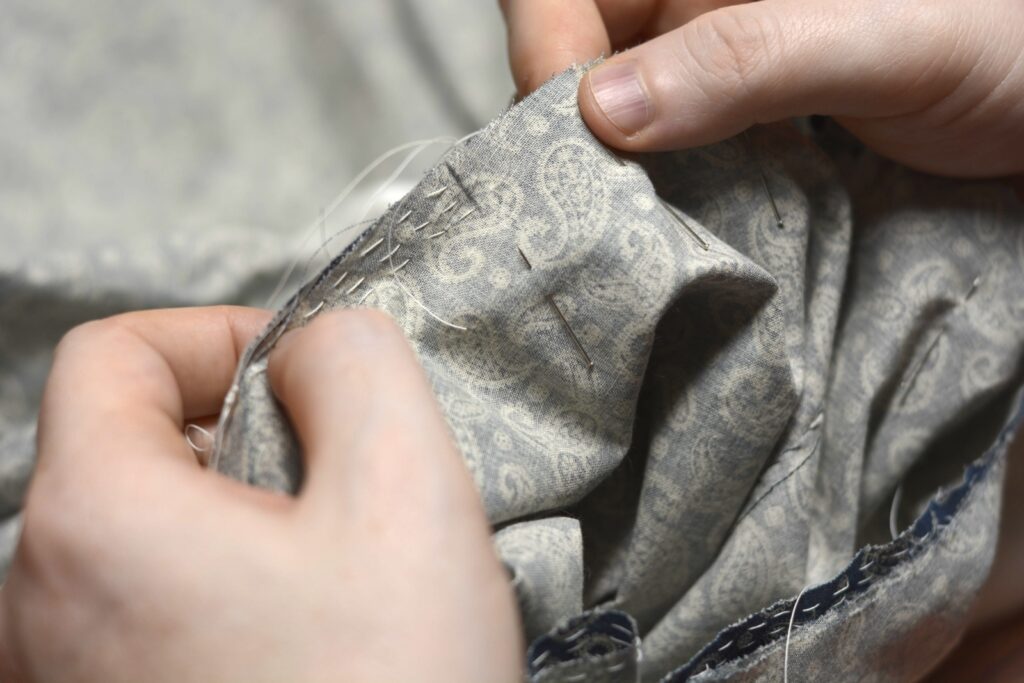
Here’s the lining after completing the basting process. Now you can work on the felling without worrying about things slipping out of place.
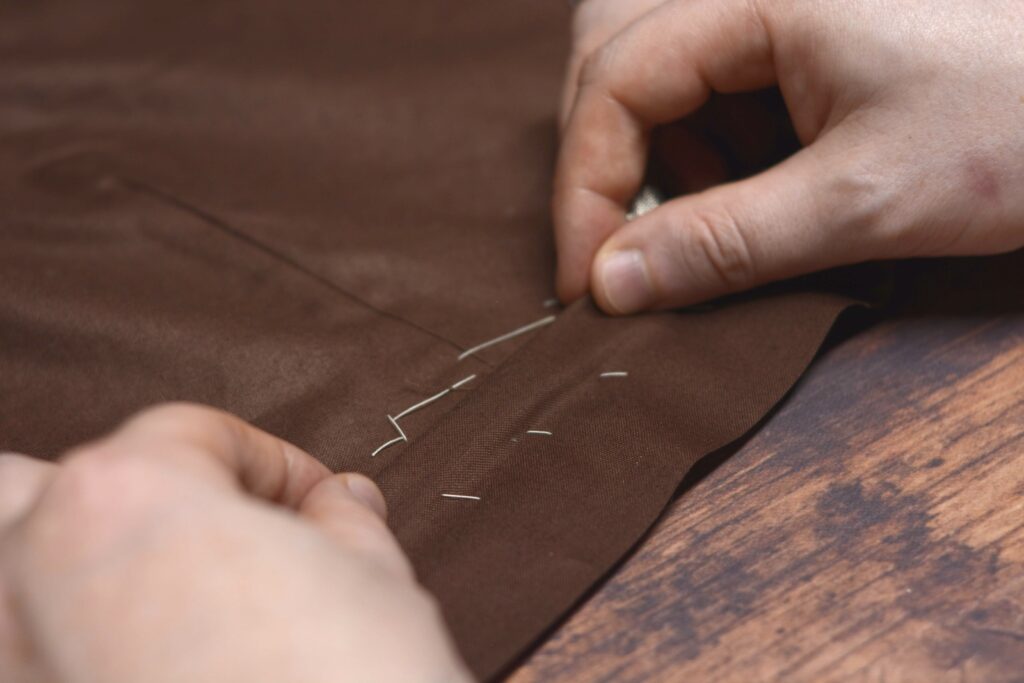
Fell along the entire lining using a small 1/8″ – 3/16″ stitch.
One thing to note that’s not pictured here (I think it’s in the video), is be sure to not sew closed your watch pocket while felling the lining. I like to keep a couple of fingers in the pocket as I work to ensure that this does not happen.
Continue around the ends.
And along the top edge as well.
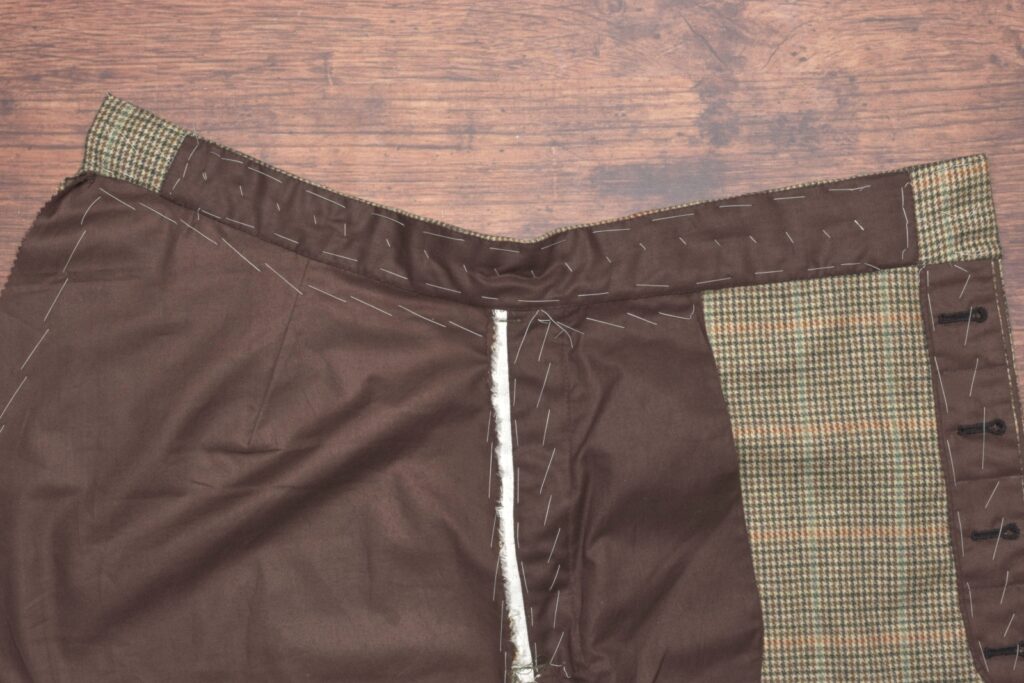
This completes the lining and waistband installation.
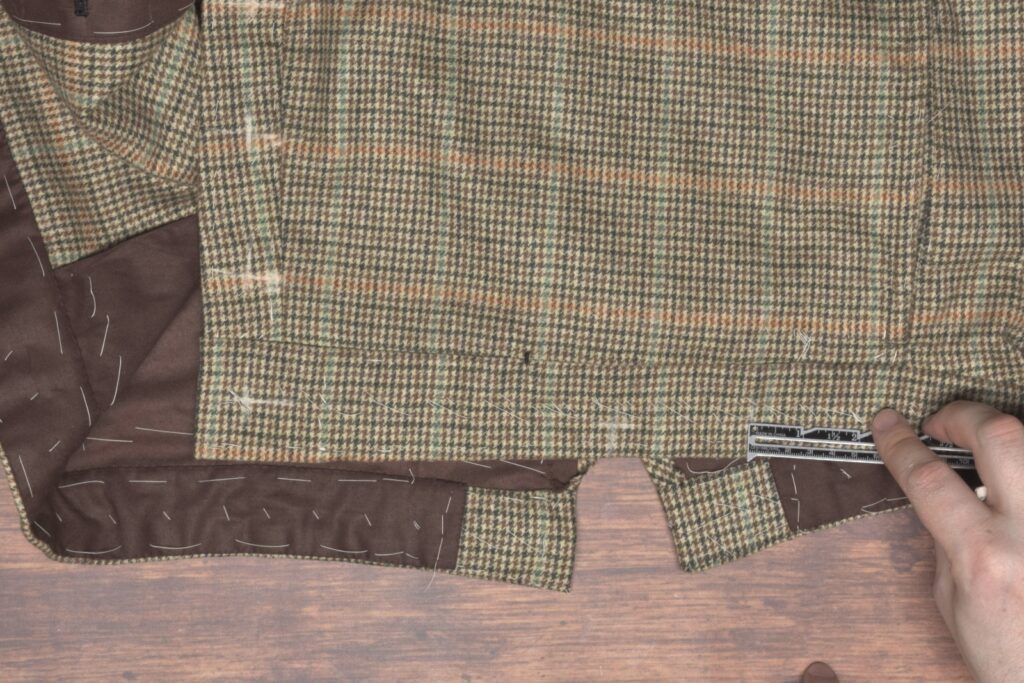
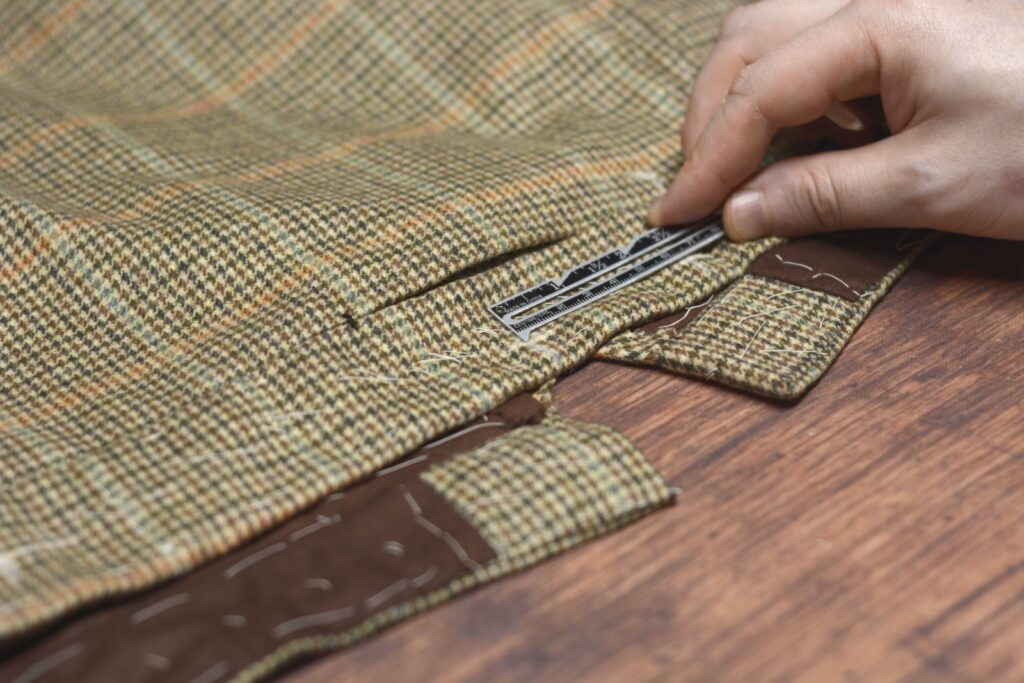
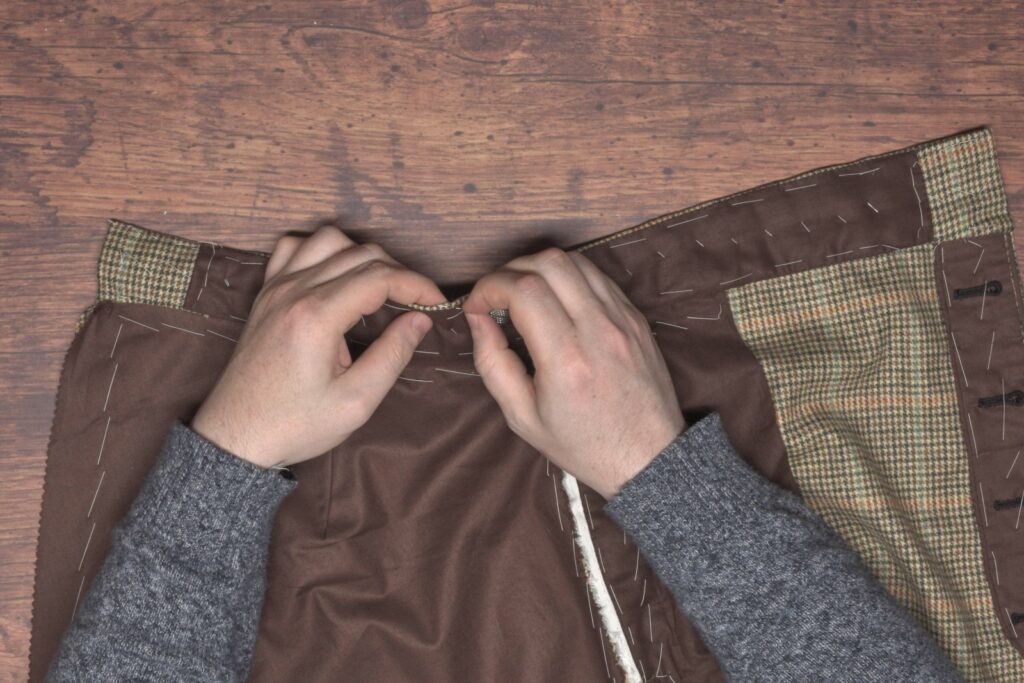
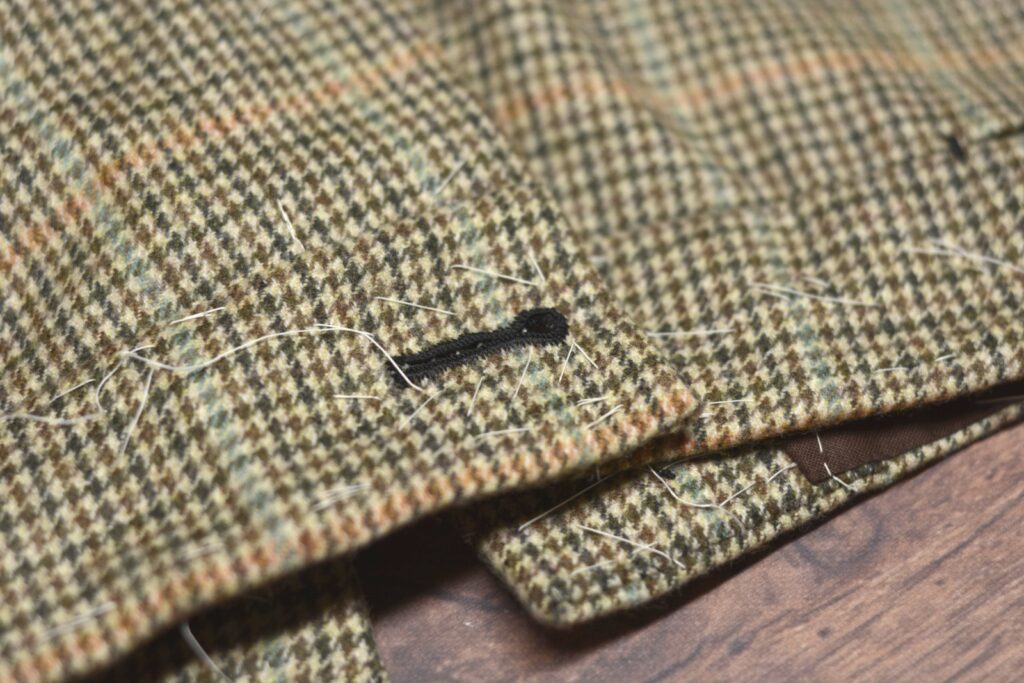
Waistband Buttonhole
One last thing to do for the waistband is to add a buttonhole similar in size and position directly above the buttonholes on the fly. Be sure to work it from the outside of the trousers, so that the nice edge of the buttonhole is what is seen from the outside.
Buttons
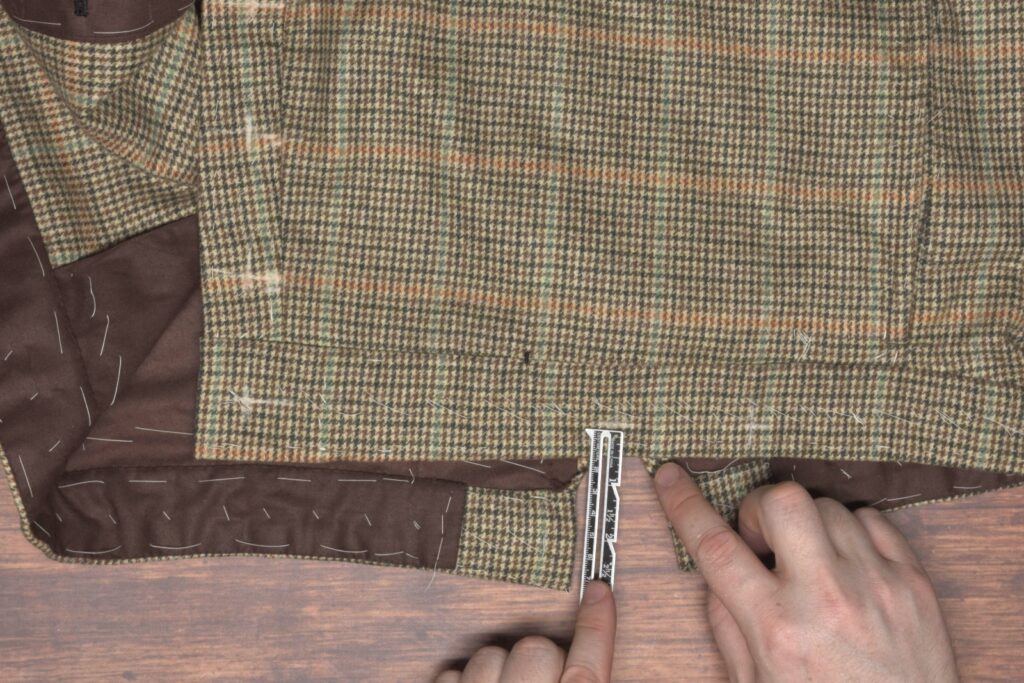
All that’s left to do is attach the buttons. I prefer to use a silk buttonhole twist here for its durability, but you could use a linen or other such thread, perhaps taking more passes through the button. Transfer the buttonhole positions to the other sides of the placket opening and cuffs.
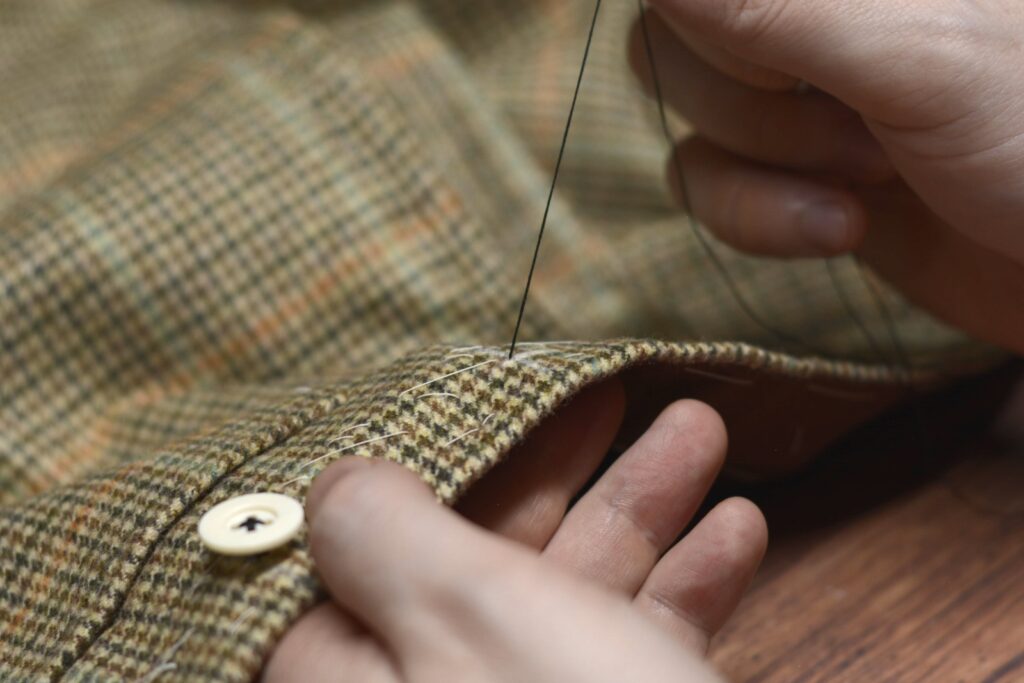
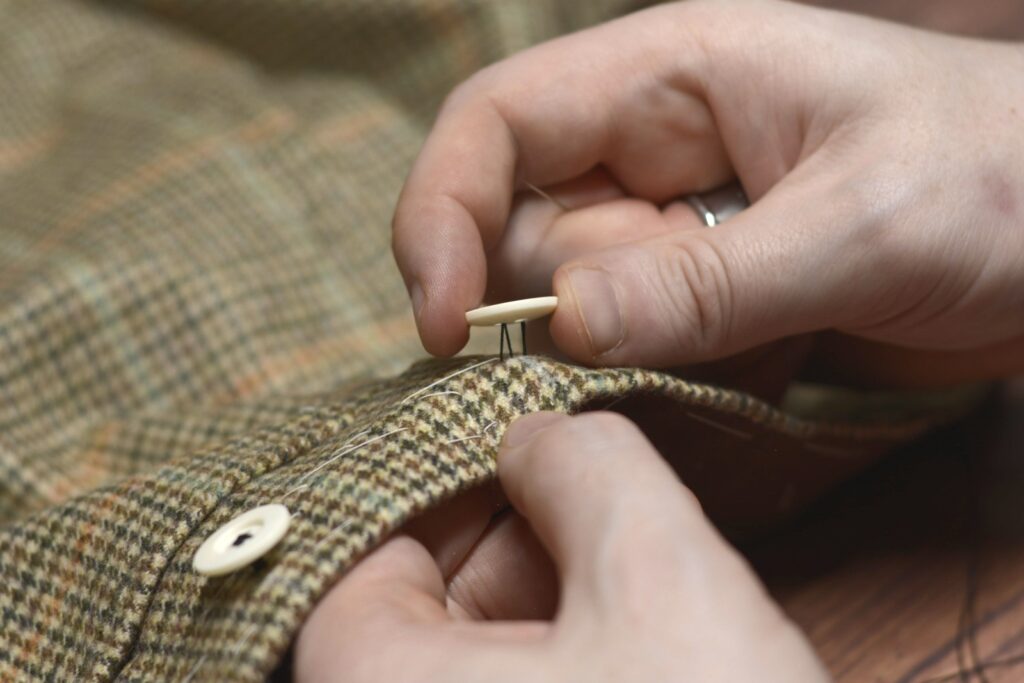
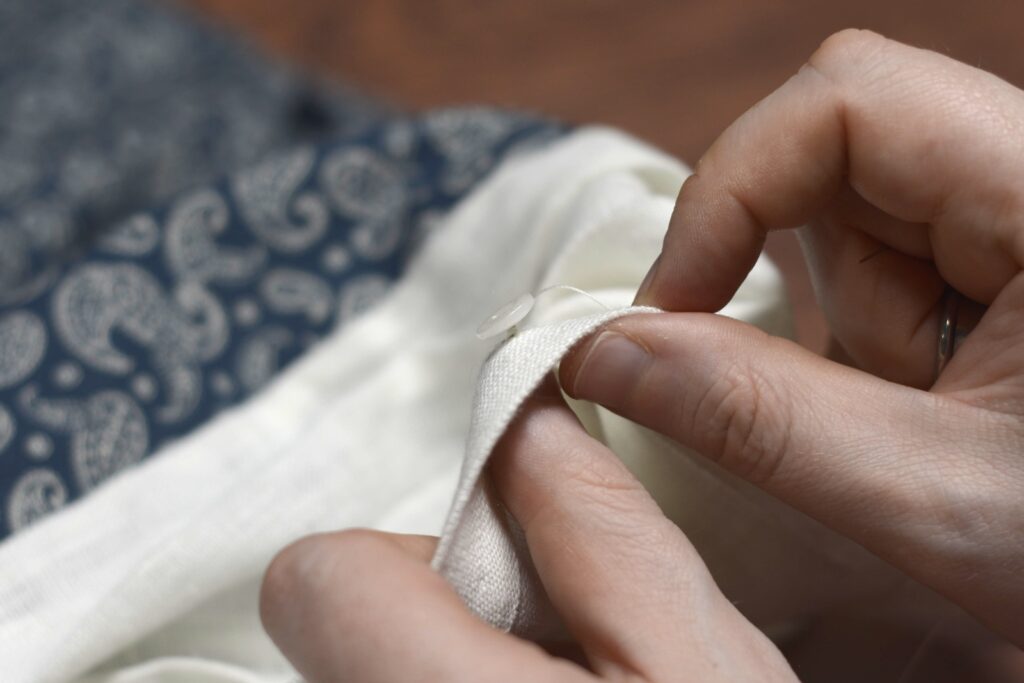
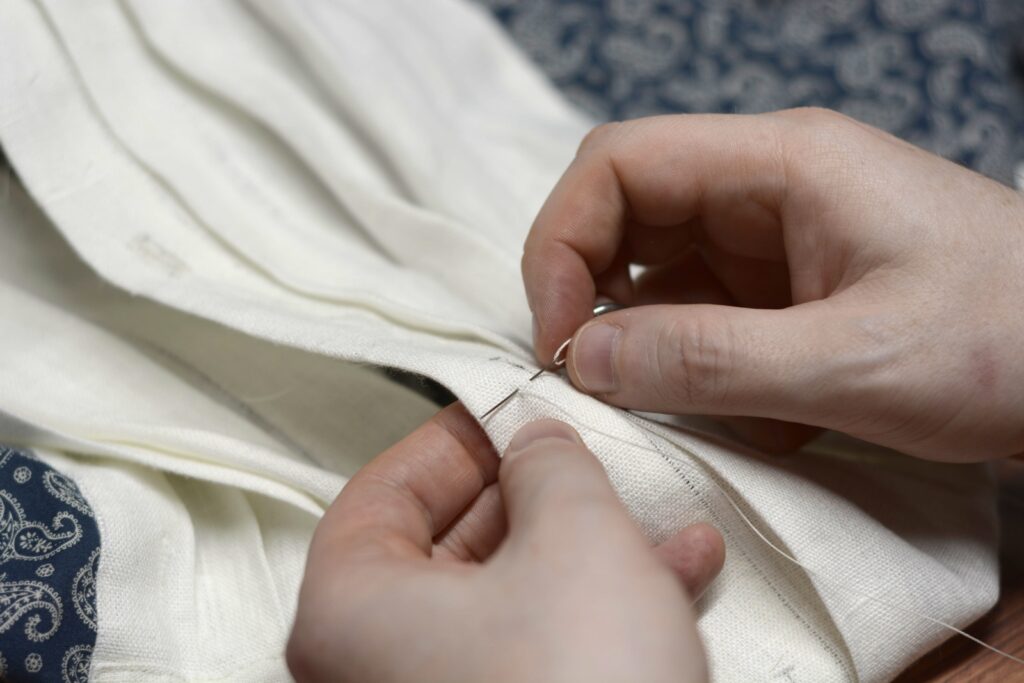
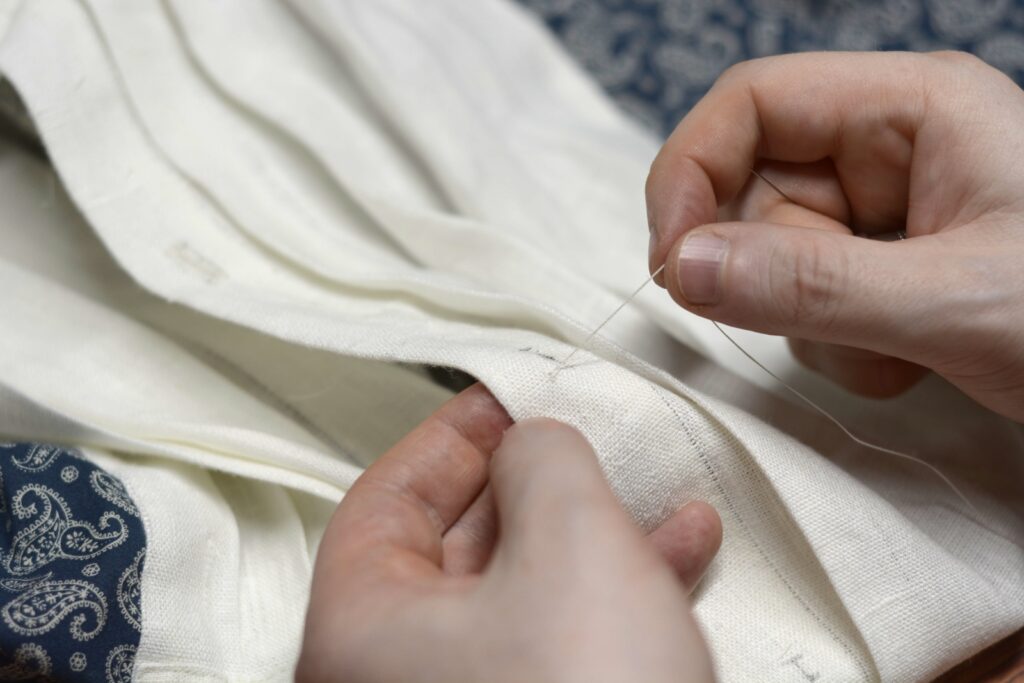
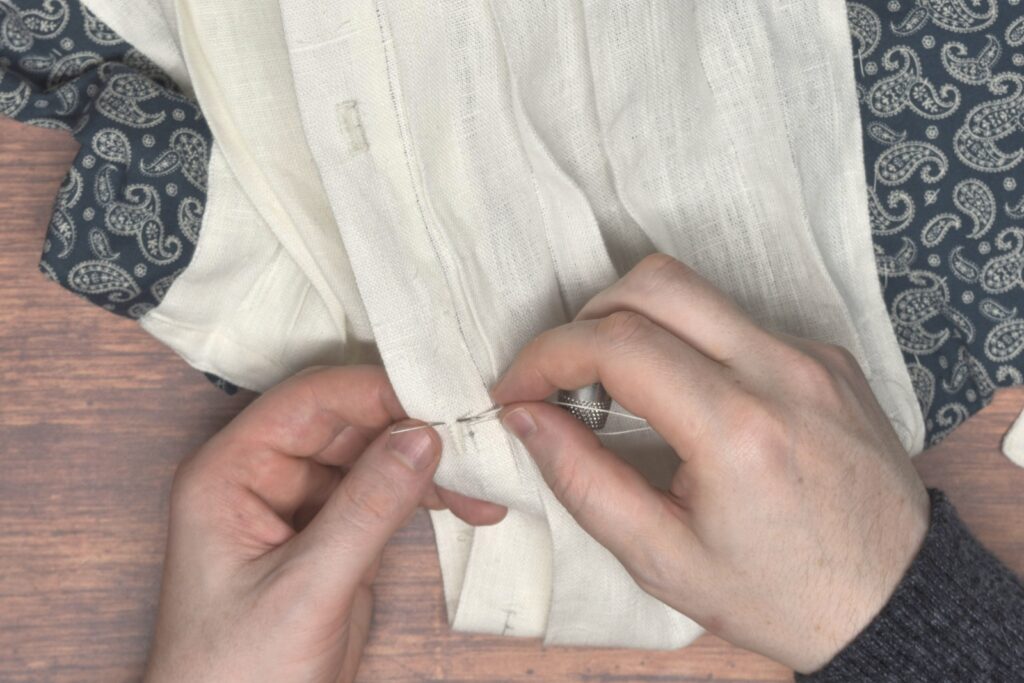
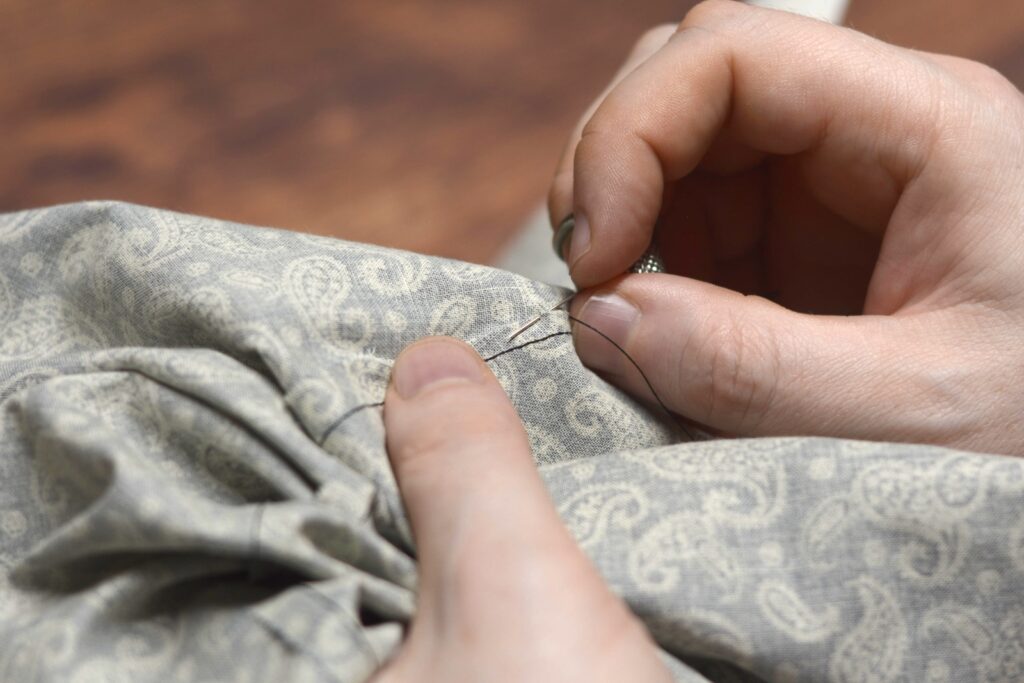
Begin by passing a knotted thread from the wrong side through all layers.
Pass the thread through opposite holes of the button.
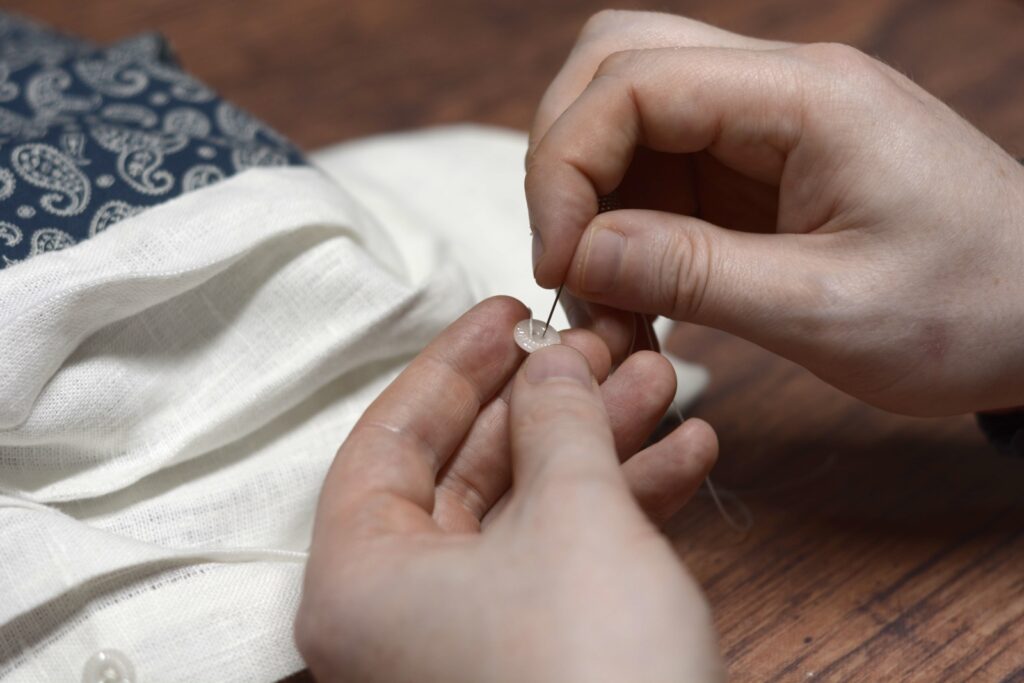
And pass the needle and thread back through the fabric for your first stitch. Keep the buttonhole rather loose at this point.
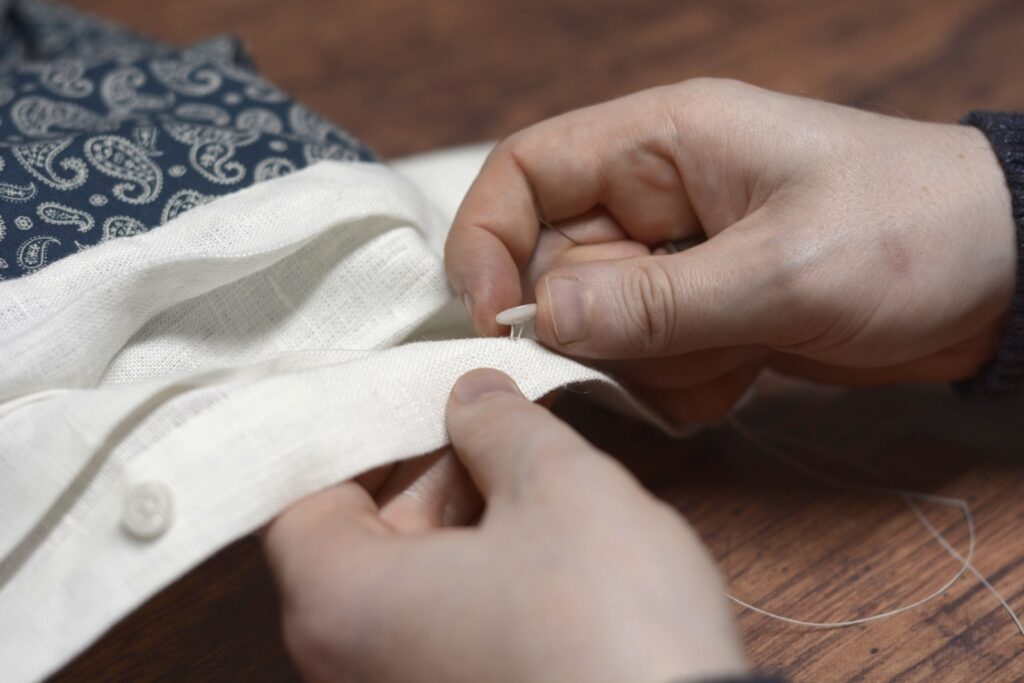
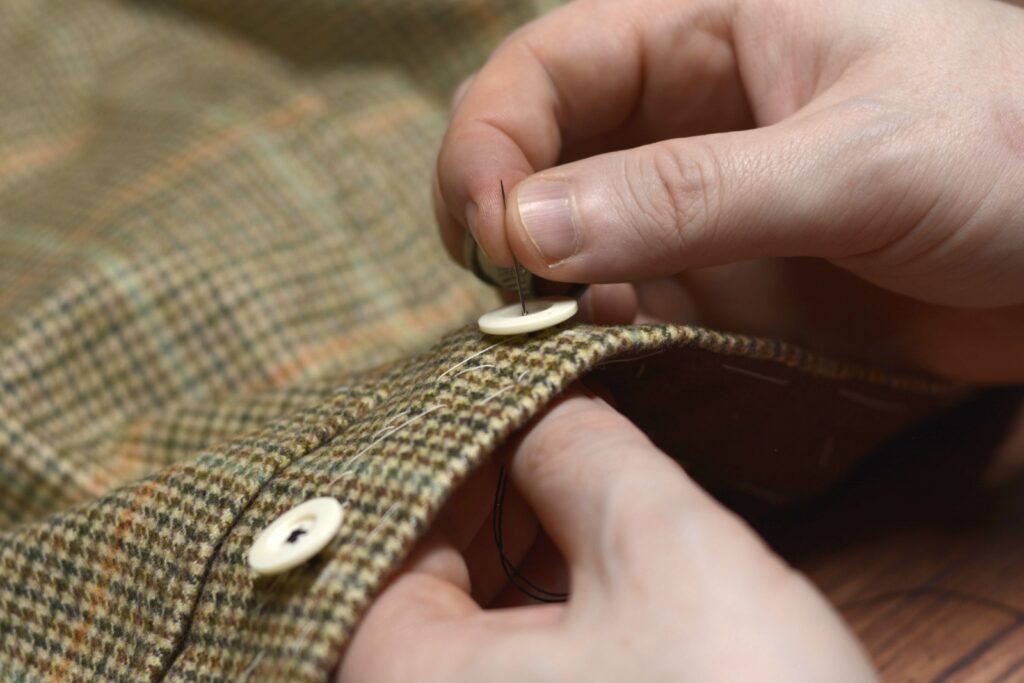
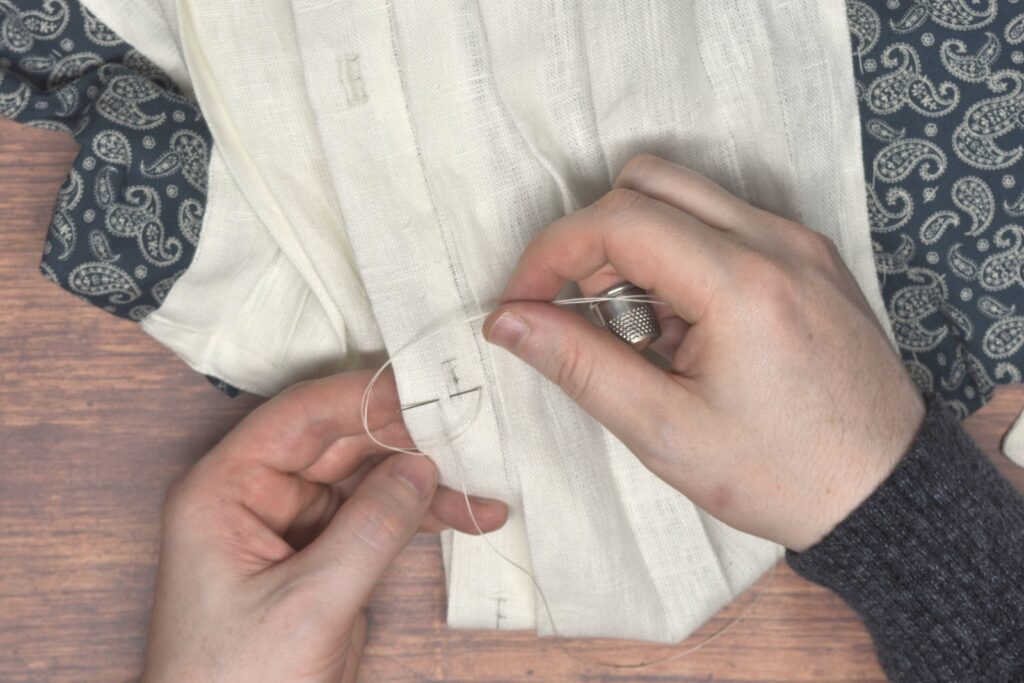
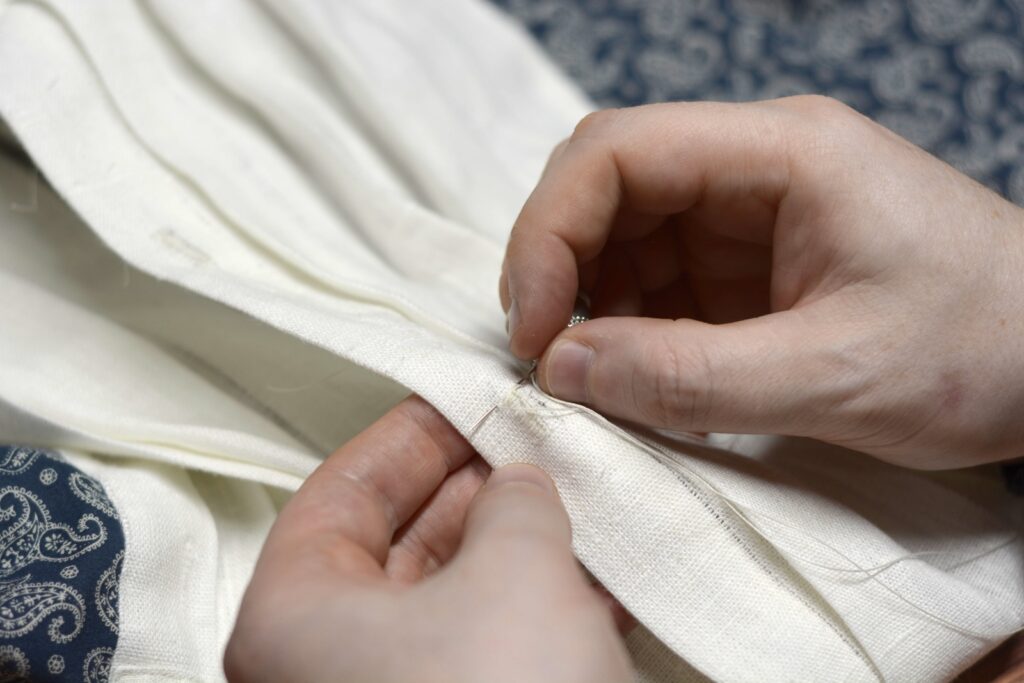
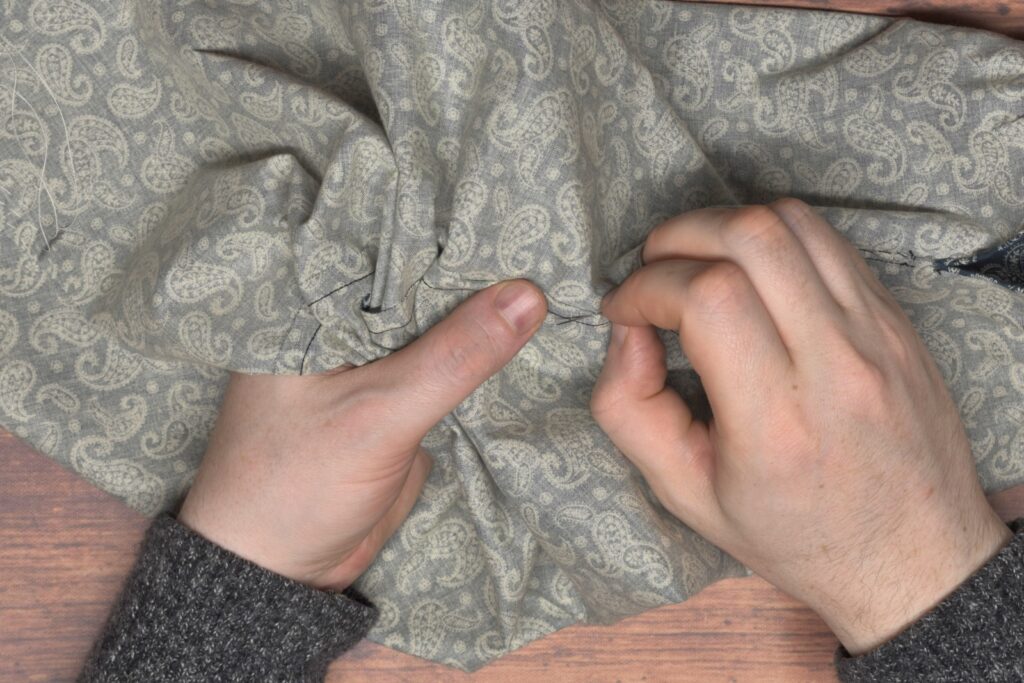
Make a second stitch through the buttonhole. At this point, you can adjust the final height of the button from the fabric. I like to make mine just a little taller than the width of the fabric the button will be passing through. The two stitches give just the right amount of tension to adjust this height.
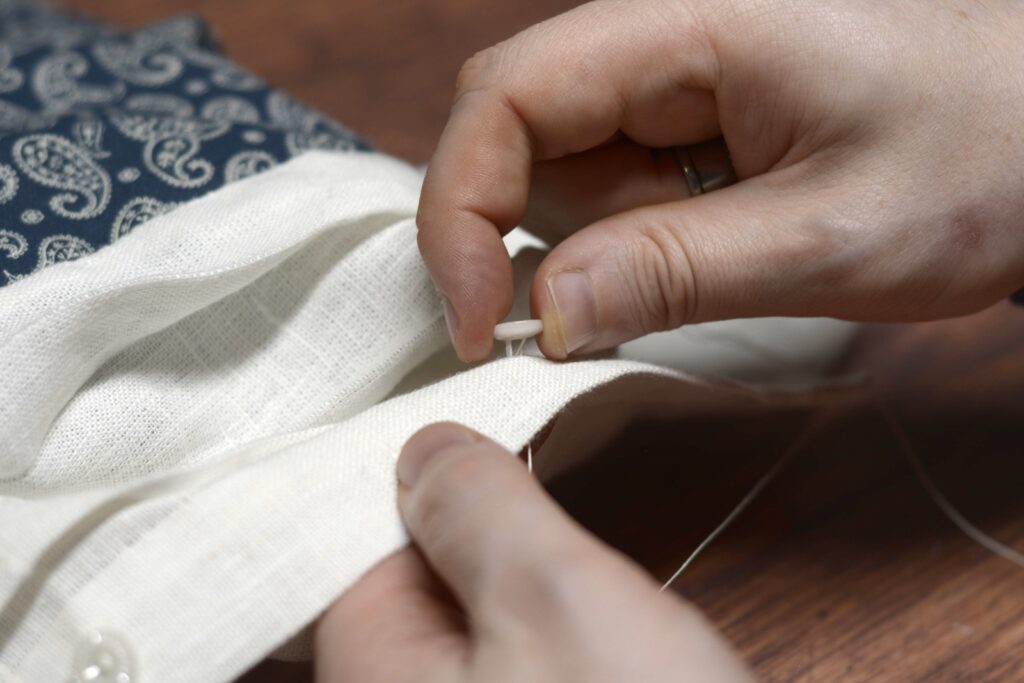
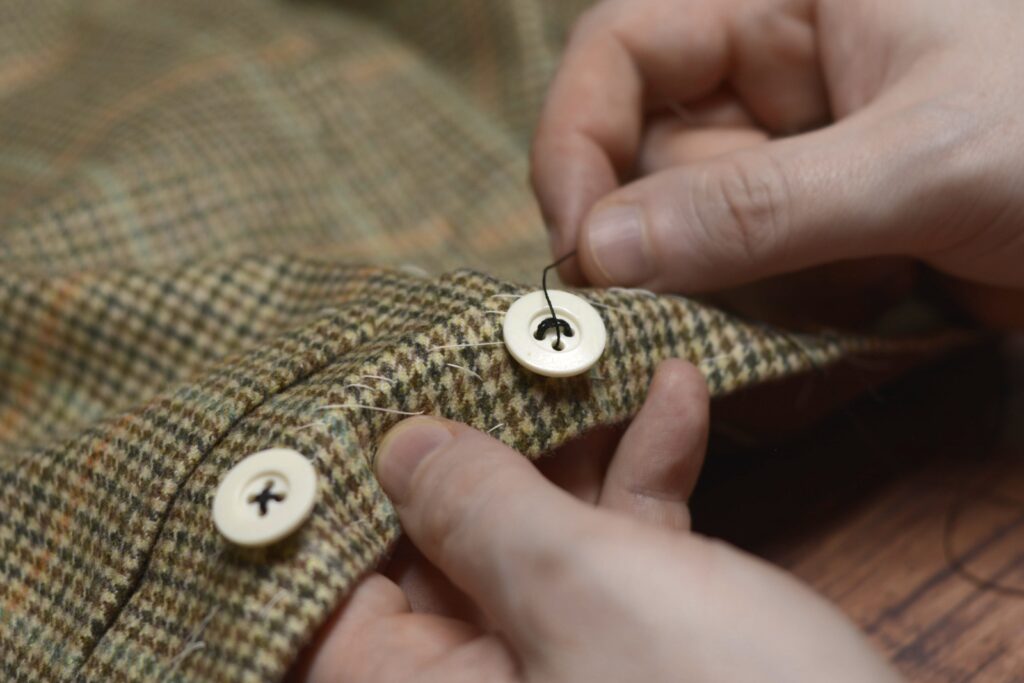
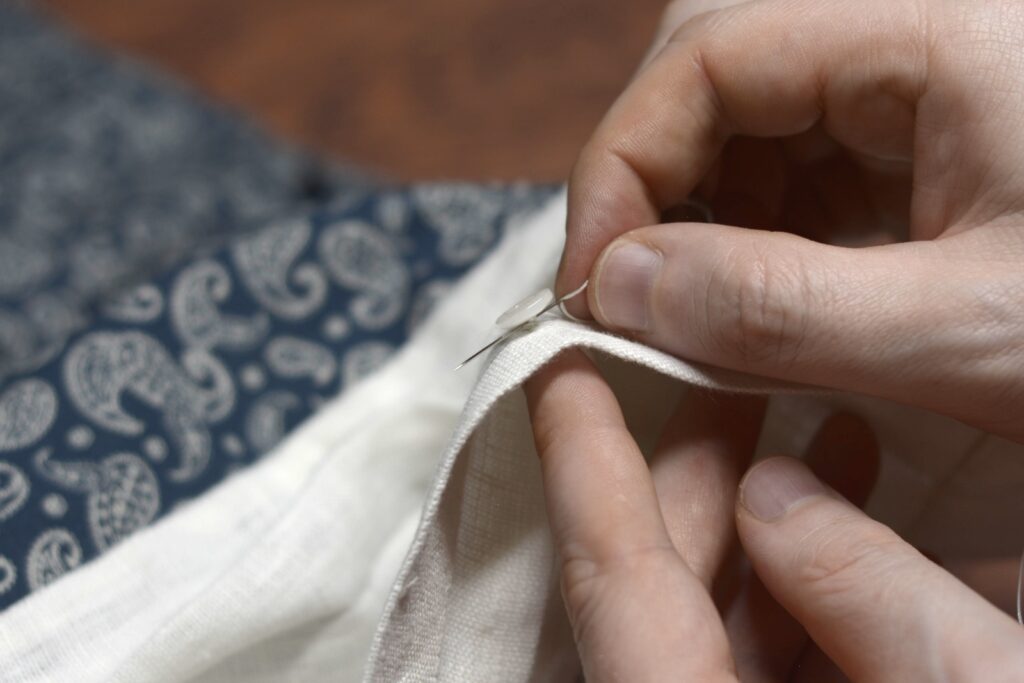
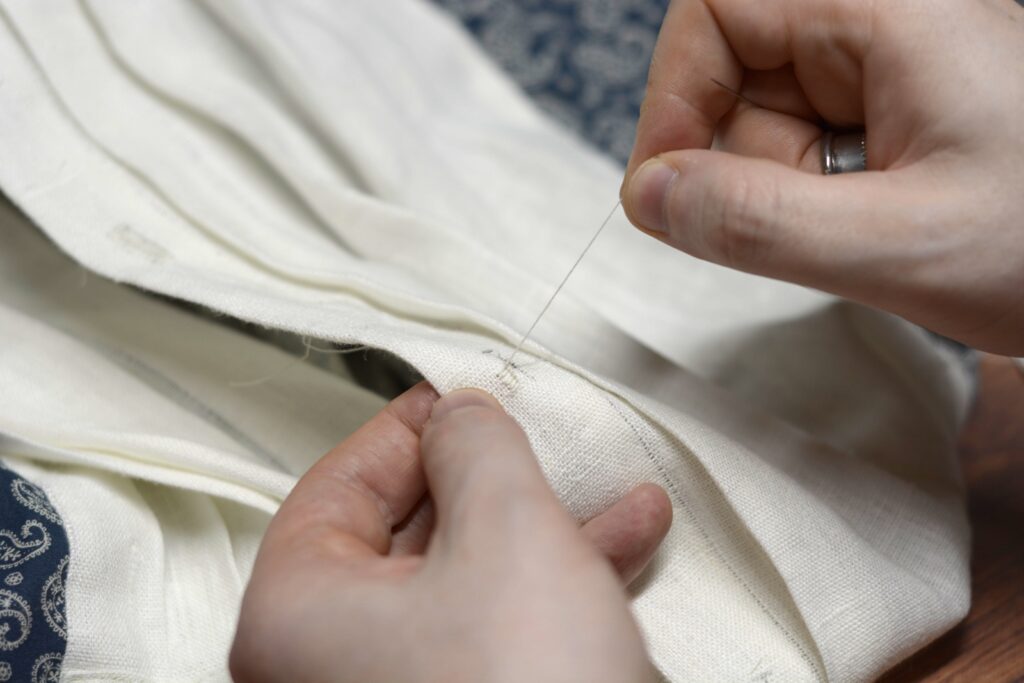
Make one (or more) stitch across, then make the same number of stitches in the alternate direction. With each stitch, gently pull the thread taut, keeping the appropriate height.
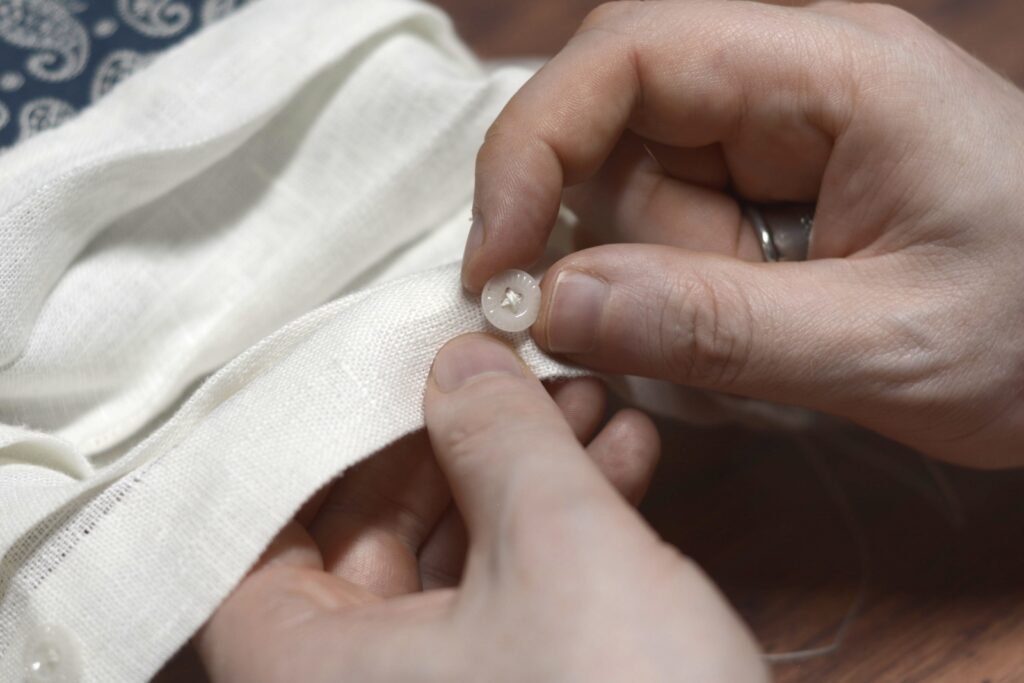
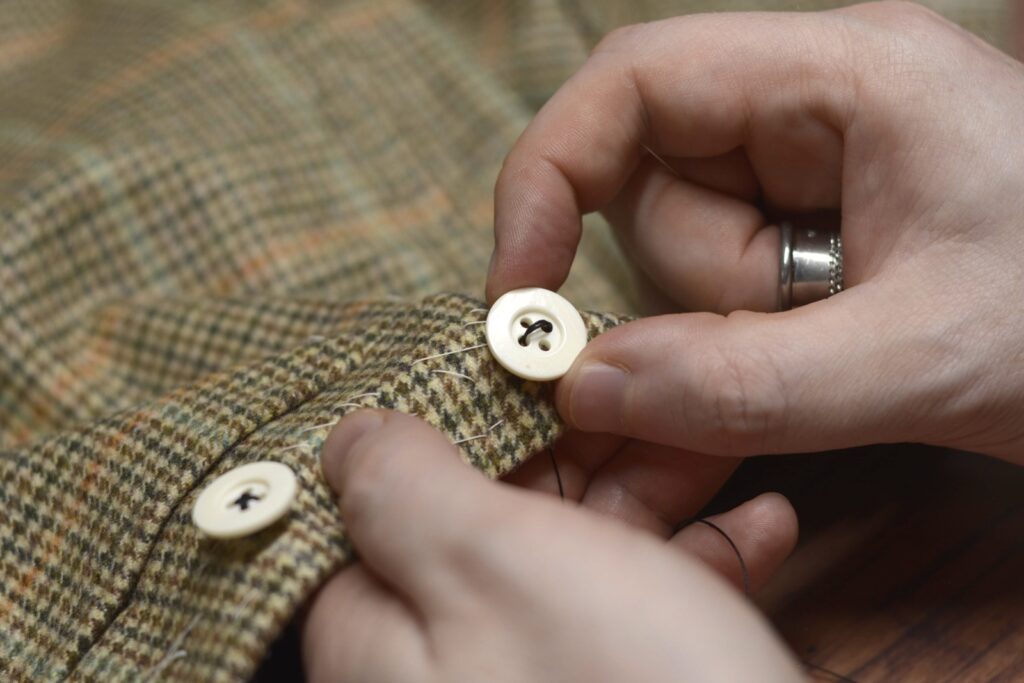
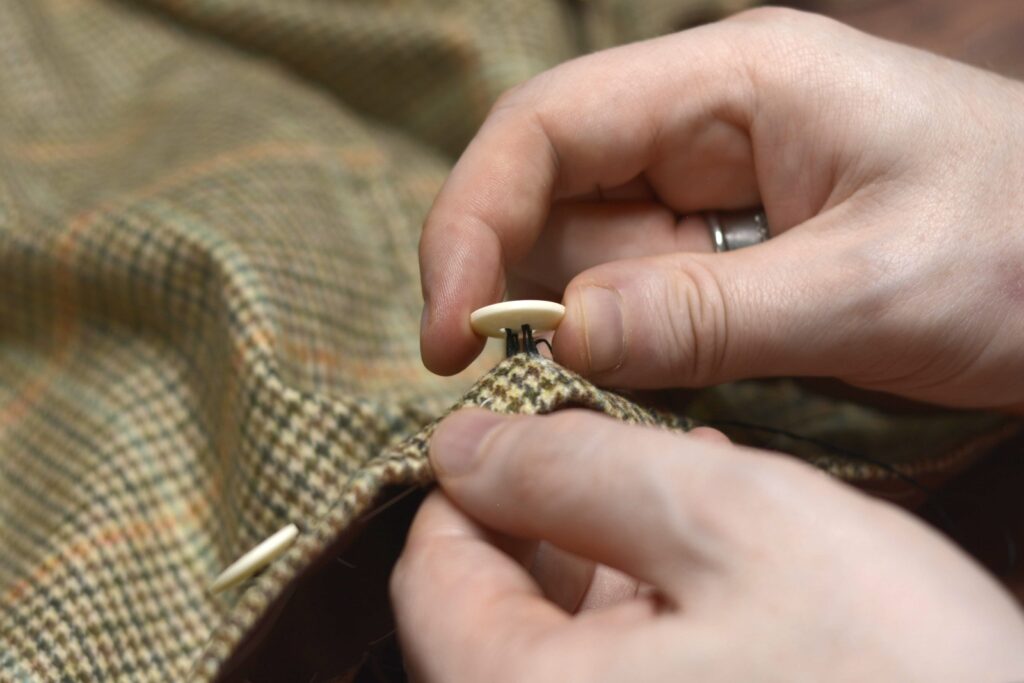
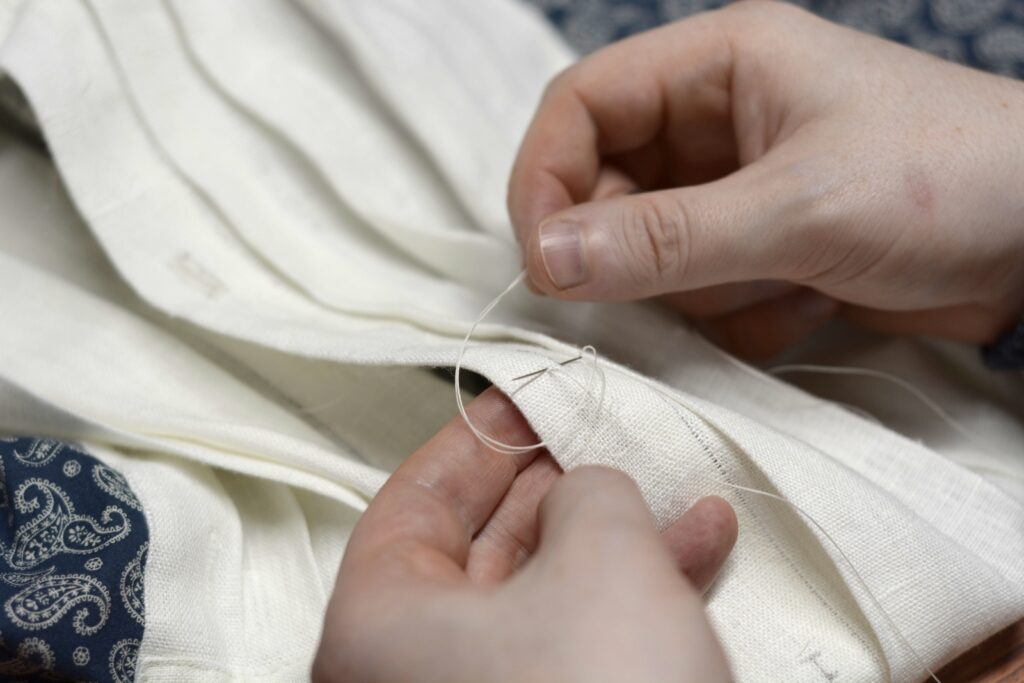
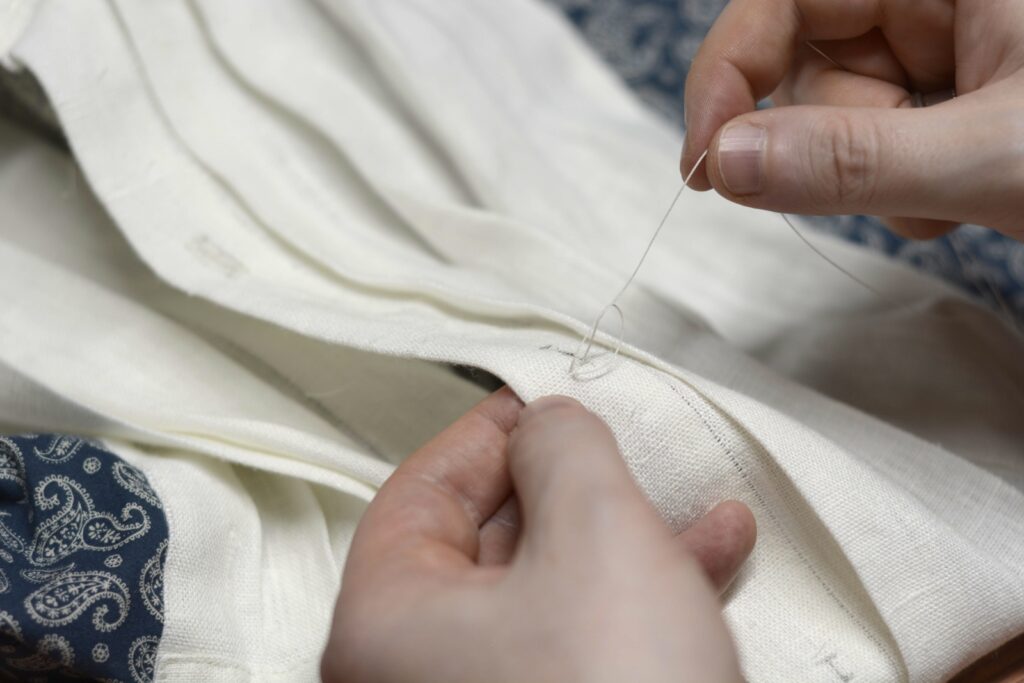
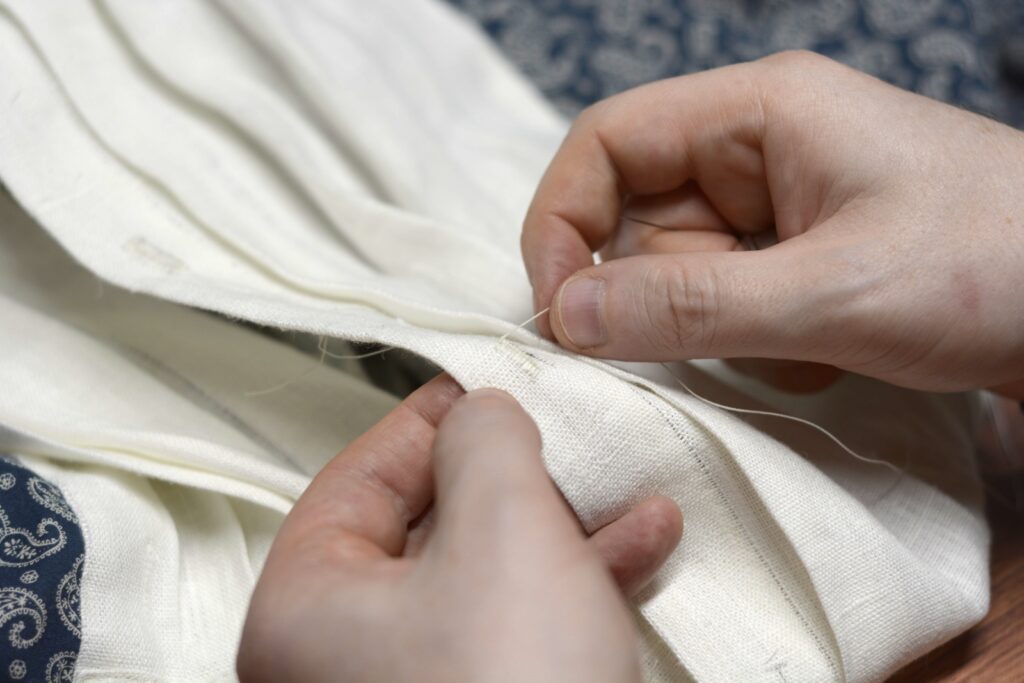
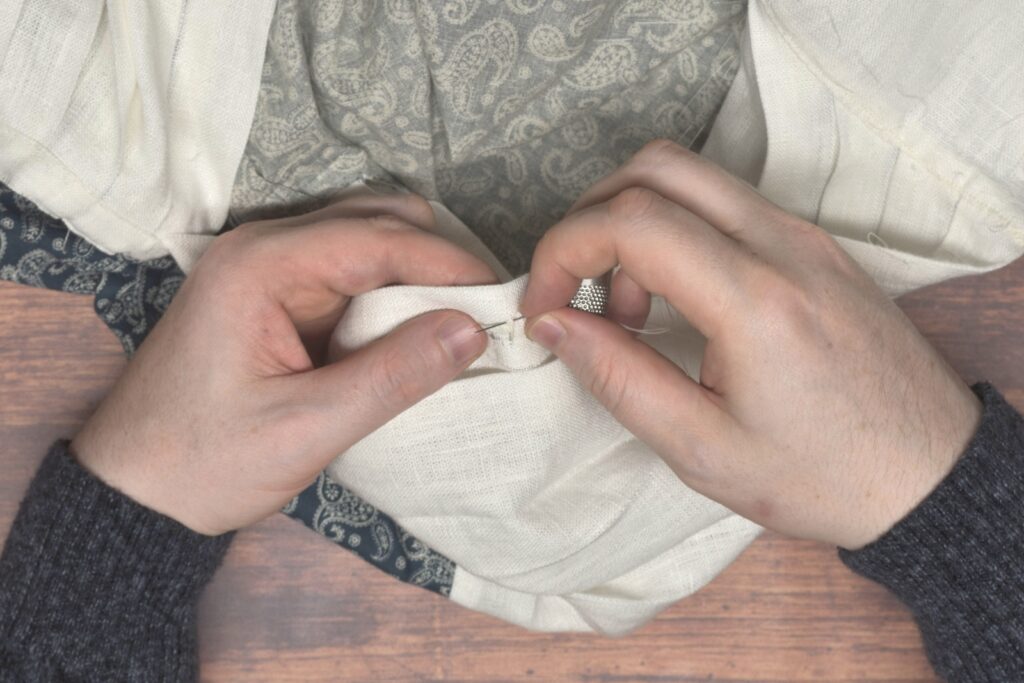
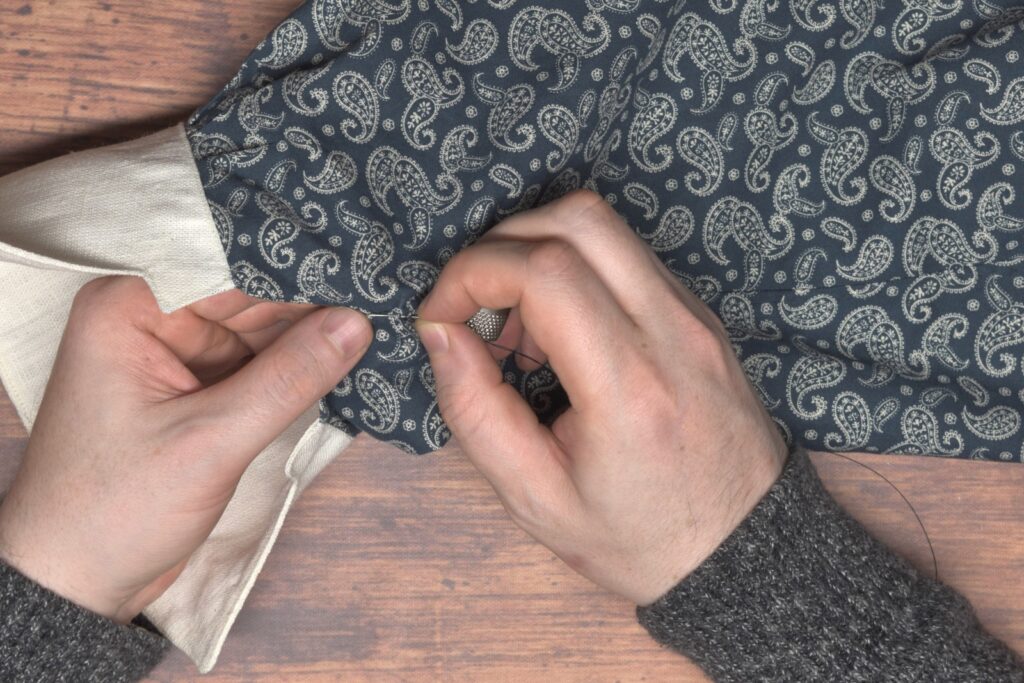
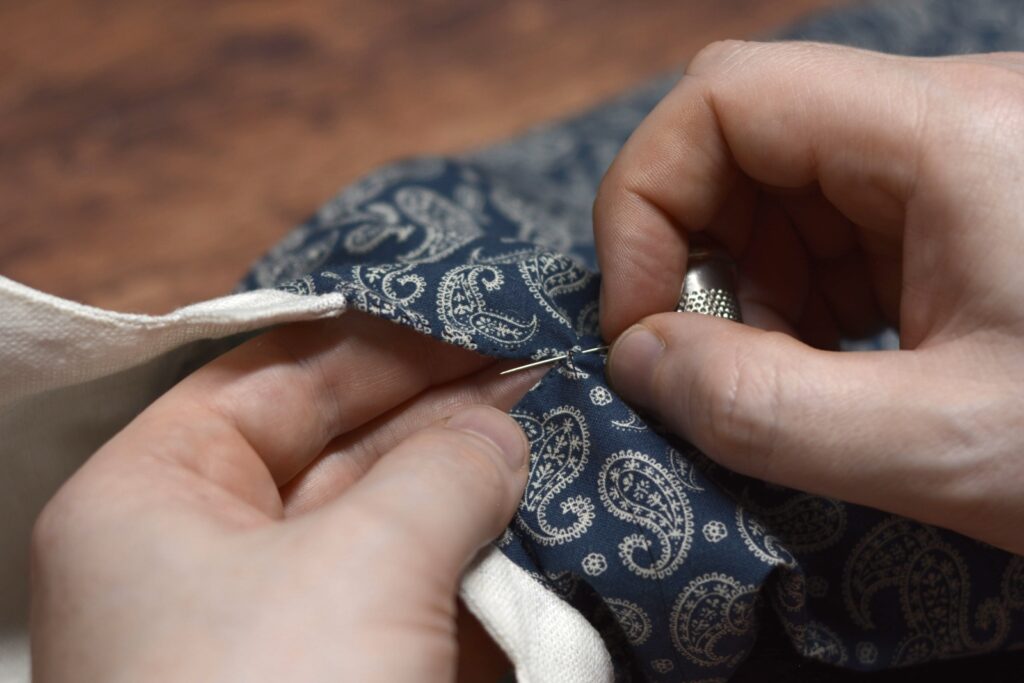
Pass the thread through to the right side, without going through the button. Instead, wrap the thread around the previous stitches about 4 – 6 times, depending on the height, pulling it tight after the final wrap and forming the button shank. This gives the button great strength and the fabric will probably wear out long before the button falls off.
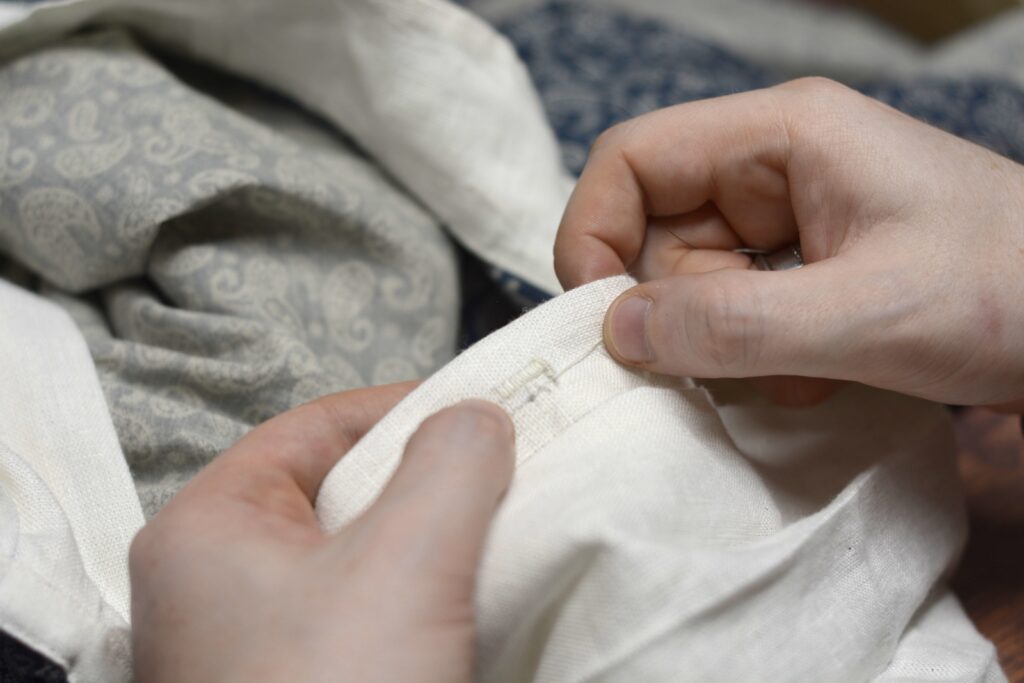
Finally, pass the thread through the shank three times in alternating directions to secure it, and trim.
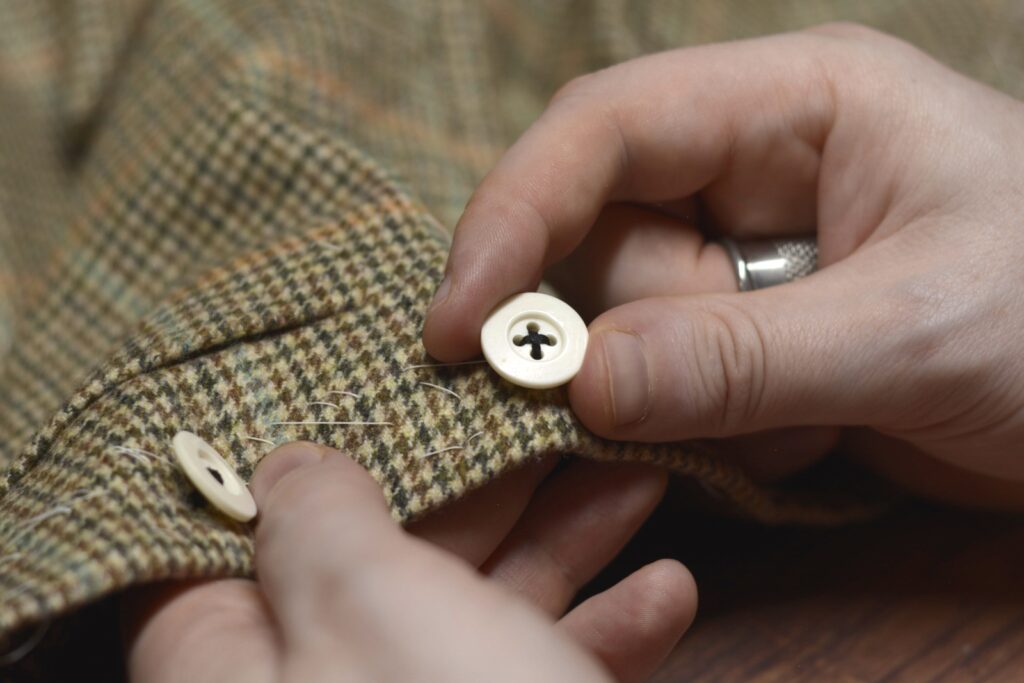
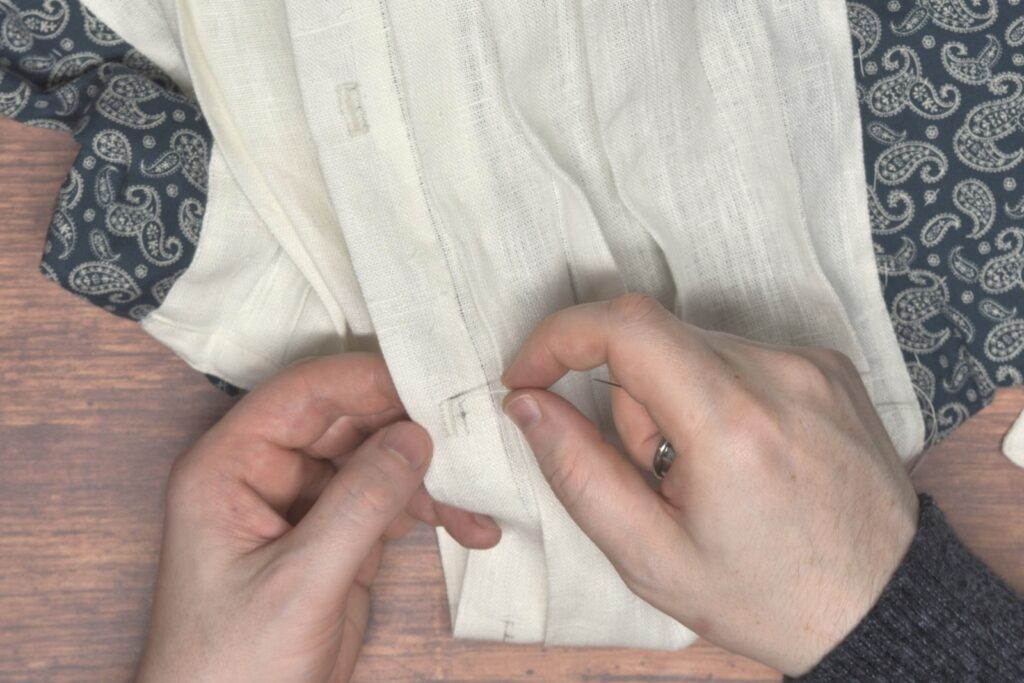
Attach the other buttons in a similar manner. Work from left to right to keep your thread from getting snagged on the previous button.
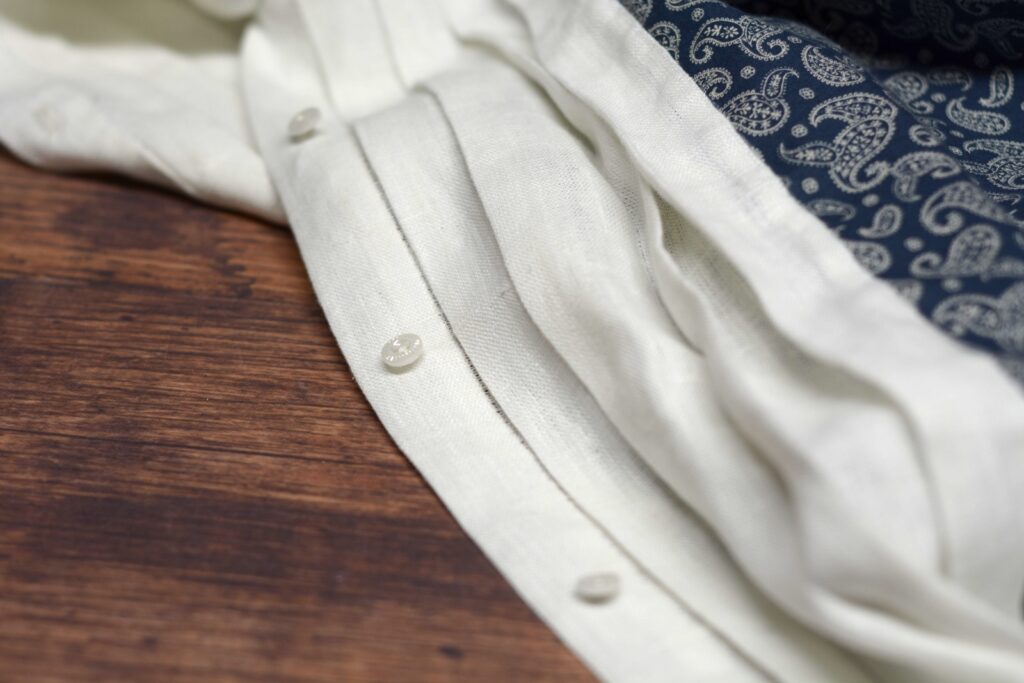
And with that, your shirt is complete! I always feel happy when a project is done, but at the same time, sort of let down, as in, “am I really done? What shall I do with my self now?” I hope you’ve enjoyed this project and able to follow along and make a nice shirt of your own! Please feel free to share your work in the community support forums!
Your Progress
[columns gutter=”0″]
[col]
[progressally_objectives]
[/col]
[col align_text=”center, middle”]
[progressally_progress_pie_chart size=”100″]
[/col]
[/columns]
Buttonholes
One of the last things to do on the shirt is to cut and work the buttonholes. I’ll be using a silk buttonhole twist for mine, but you could also use a linen or cotton thread for a more homemade look. If these are your first buttonholes, I highly recommend going through my in depth class, The Art of the Buttonhole, and getting in a bit of practice first.
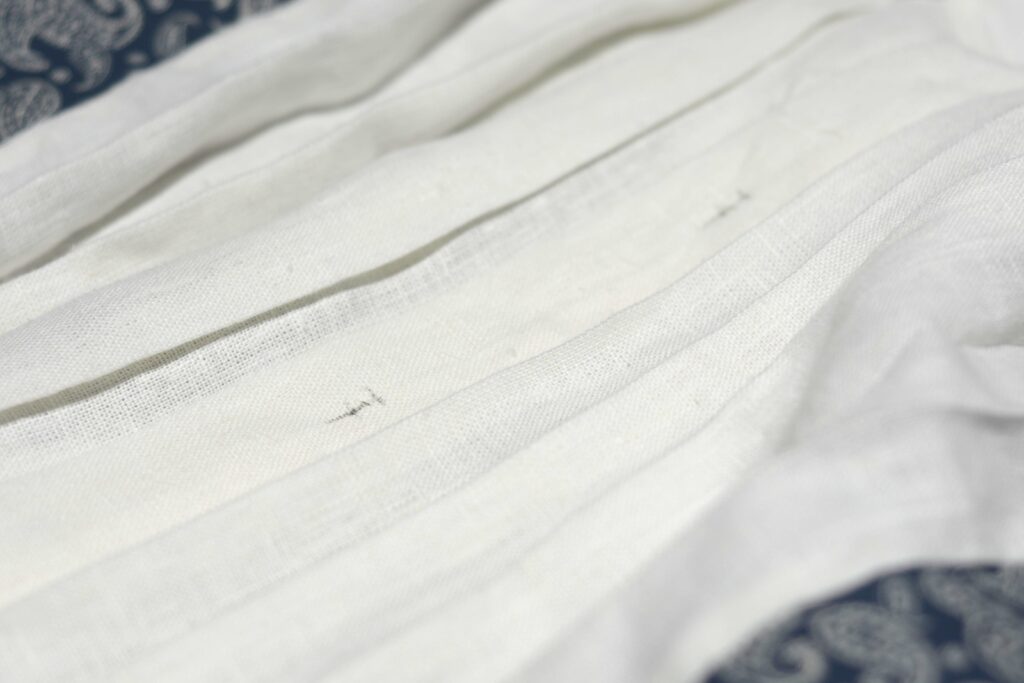
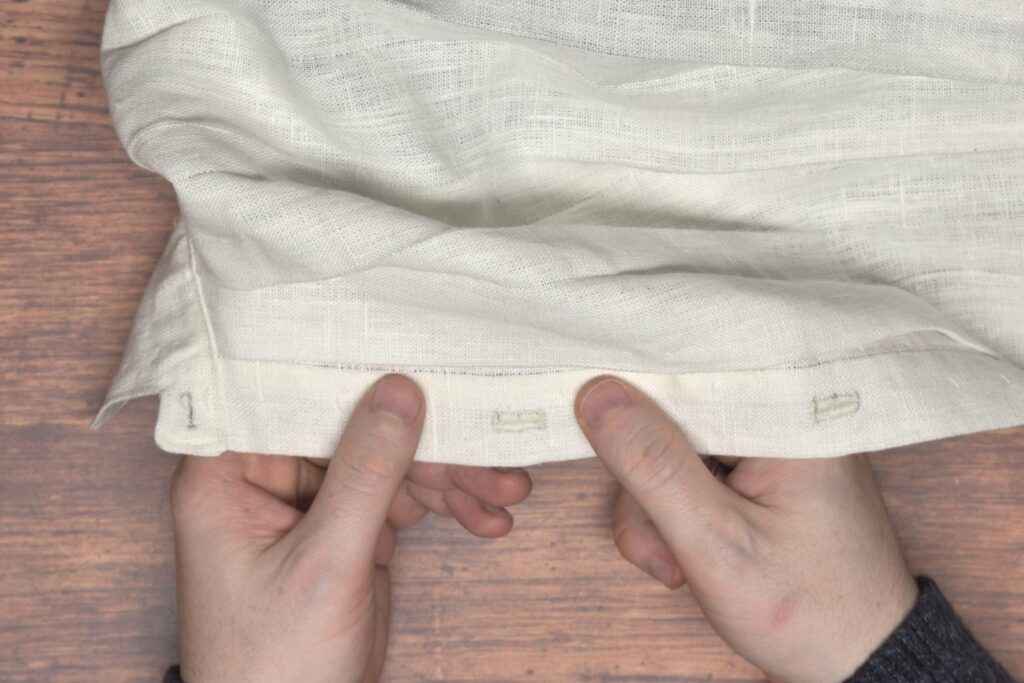
Laying out the buttonholes is fairly straight forward, but care must be taken to ensure that everything is in the right place. Beginning with the cuffs, lay out each sleeve so that the overlapping cuff is facing you.
On this outer / upper side of the cuff, mark out the buttonhole opening using white chalk if you can, or very lightly with a pencil. I went a little darker than I should have so that they’d show up on camera.
The buttonhole should be about 1/2″ in length, centered in the smaller cuff extension area, about 1/4″ from the edge. If you’re using the curved style of cuff, the buttonhole should be 1/4″ from the cuff seam.
I made mine parallel to the outer edge of the extension, but parallel to the cuff seam might work out better.
At the center front of the collar extension, mark another horizontal buttonhole, centered in the extension with the outer edge roughly centered above the shirt placket.
Down the front shirt placket, determine the number of buttons you want and space them out equidistantly. I made these buttonholes vertical, but they could also be placed horizontally as well. The should be placed in the center of the placket – if you look carefully mine are much too close to the inner edge, I got distracted by the camera.

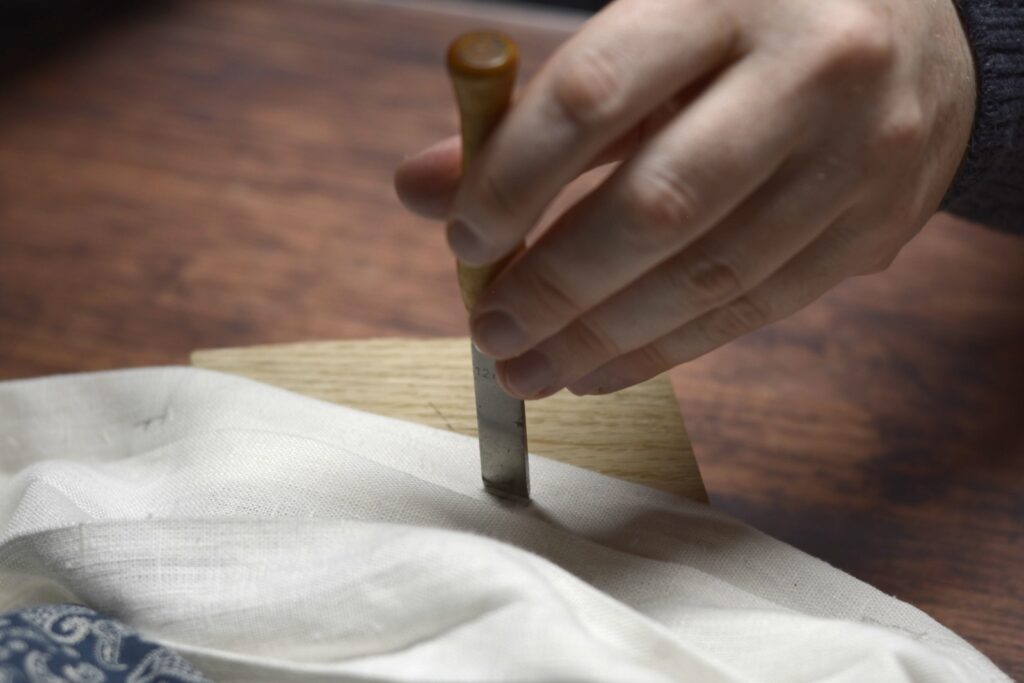
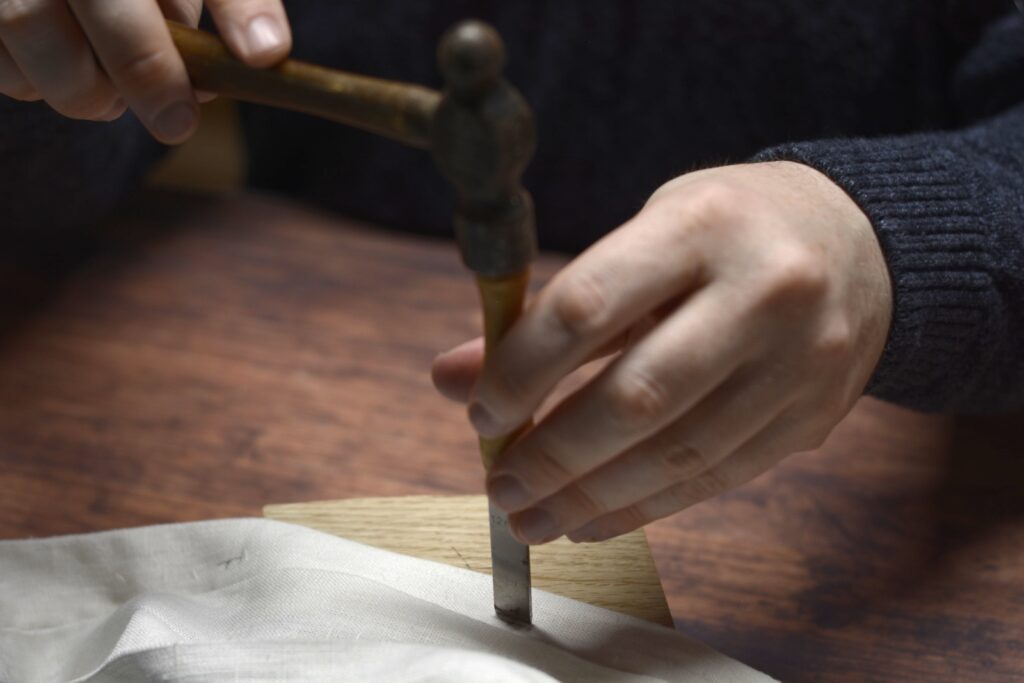
When you’re happy with the position of the buttonholes (double check!), chop them open one at a time with a hammer and small 1/2″ chisel on a block or scrap of wood. Make sure the chisel is carefully aligned and strike firmly, multiple times if necessary, to get a clean cut.
I do usually baste around the buttonholes before cutting them, but in the case of this shirt, I found it unnecessary, as the areas around the buttonhole are so narrow to begin with.
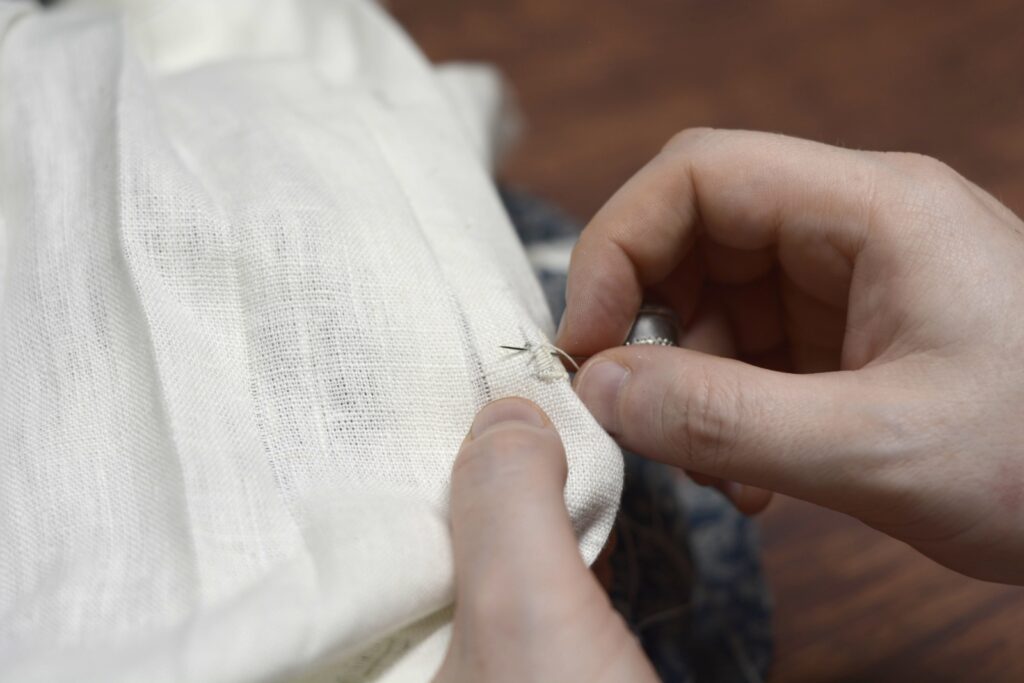
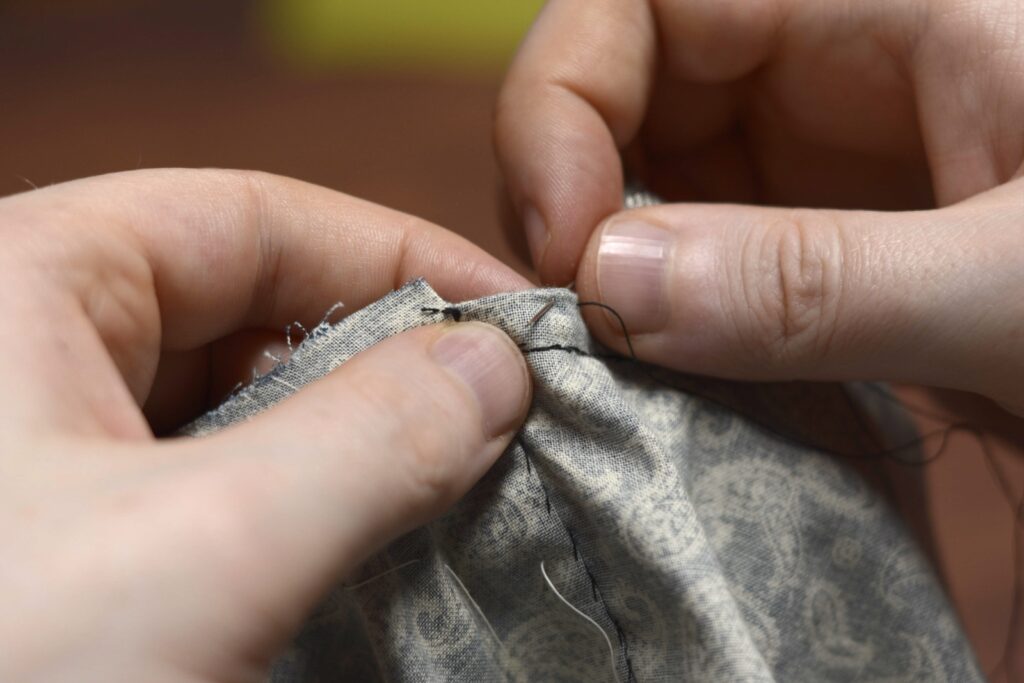
Begin the buttonhole by knotting your thread and inserting the needle at the base of the buttonhole between the layers, exiting the fabric about 1/8″ or so away from the buttonhole. The width really depends on the particular fabric you are using.
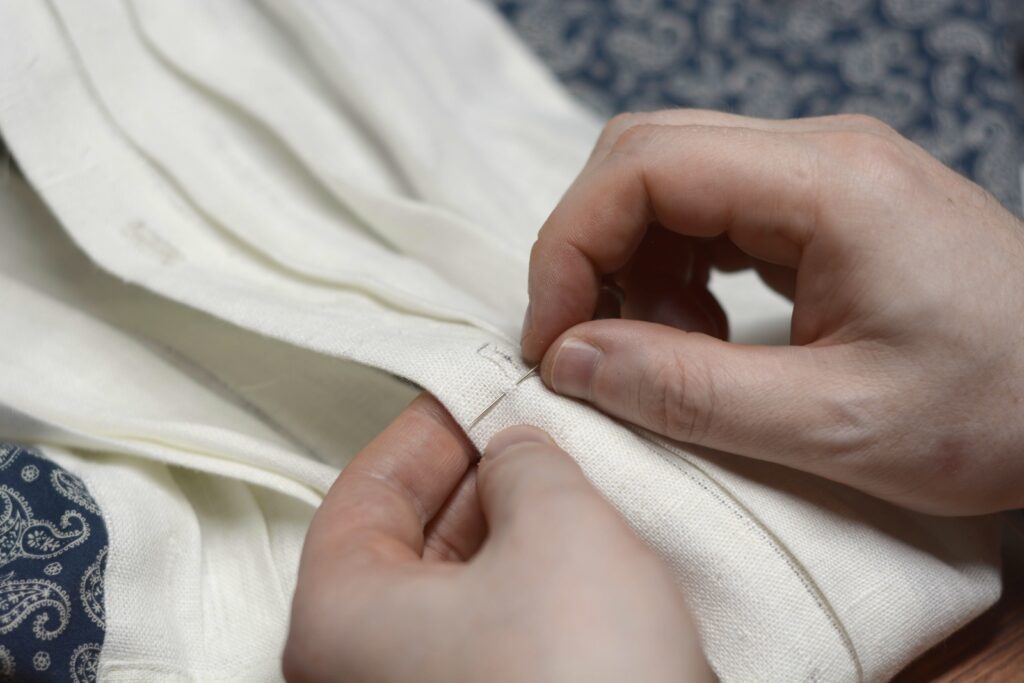
Take a second stitch, this time from under the buttonhole, exiting at the same distance away from the cut, and right next to the previous stitch.
Before pulling the needle all the way out, grasp both threads coming from the eye of the needle, and pass them clockwise underneath the tip of the needle.
Pull the needle and thread taut, forming a purl, the main feature of the buttonhole stitch.
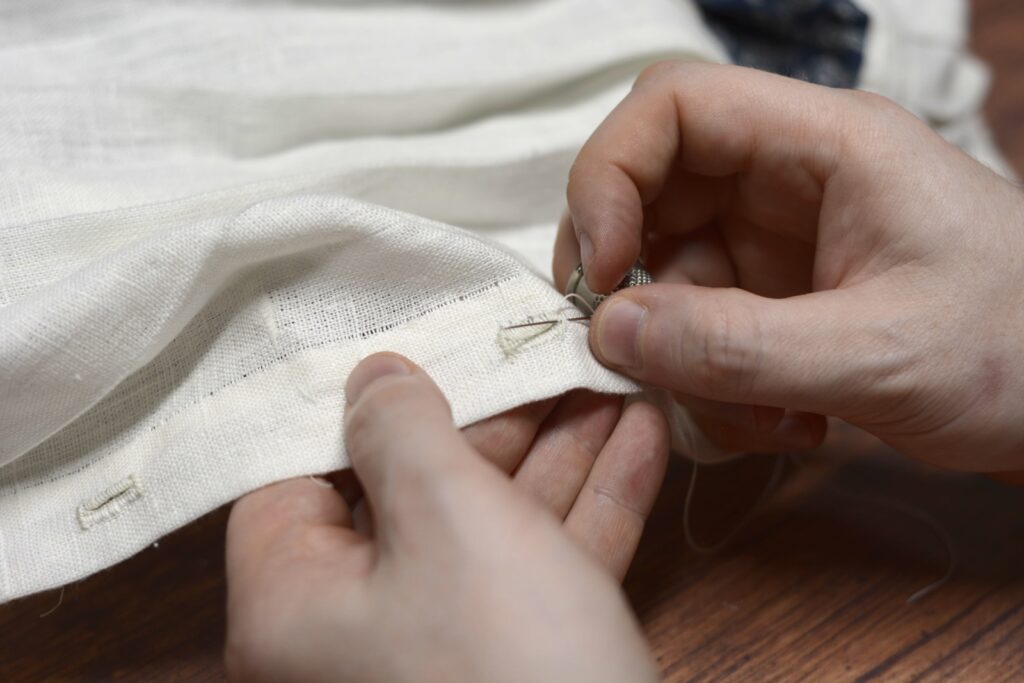
Continue working the buttonhole stitch along the first side. The exact depth, placement, and density of the stitches really depends on the thread and fabric you are working with.
Here’s the first half complete.
If you look carefully you can see how I moved my buttonholes over to the center of the placket, about 1/4″. Oops . . .
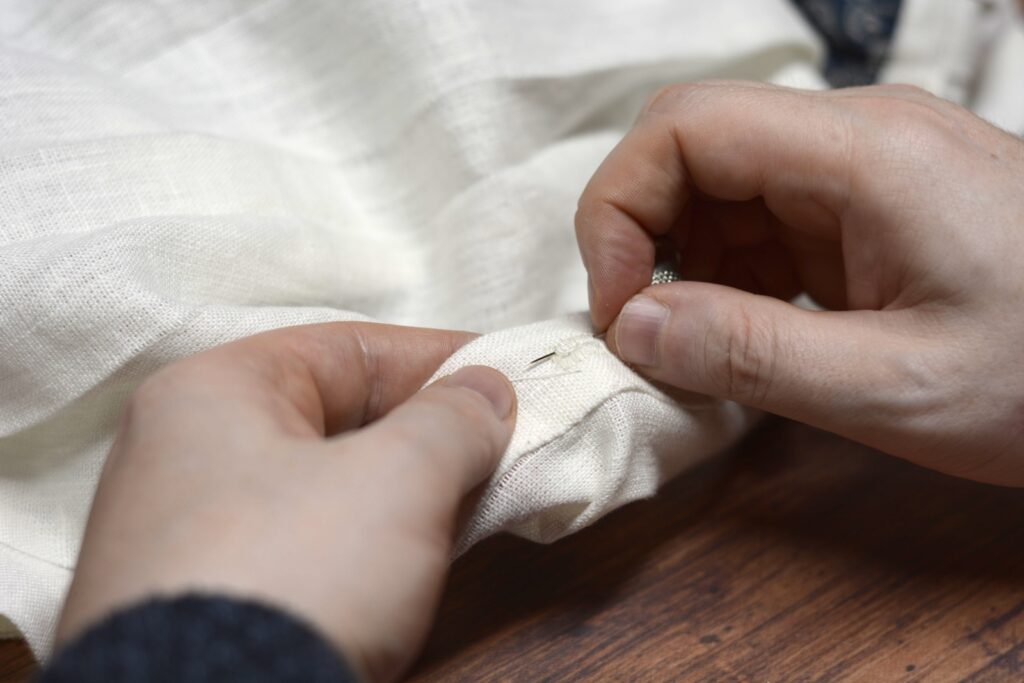
To prepare for the bartack at the end of the buttonhole, make another stitch, but do not form the purl. Now the thread is at the outer edge of the buttonhole rather than in the center.
Now form a bar tack by stitching across the entire width of the buttonhole three or four times, or more if you are using thinner thread. You’ll have to estimate the width of the stitches on the second side of the buttonhole, something that definitely gets easier with practice.
Now stitch around these threads about 6 to 8 times across the width of the bartack, catching the fabric underneath with each stitch, to secure the end of the buttonhole.
Here’s the completed bartack.
Continue working the second half of the buttonhole with more buttonhole stitches.
And work the second bartack as before. This time there’s no need for estimating the width!
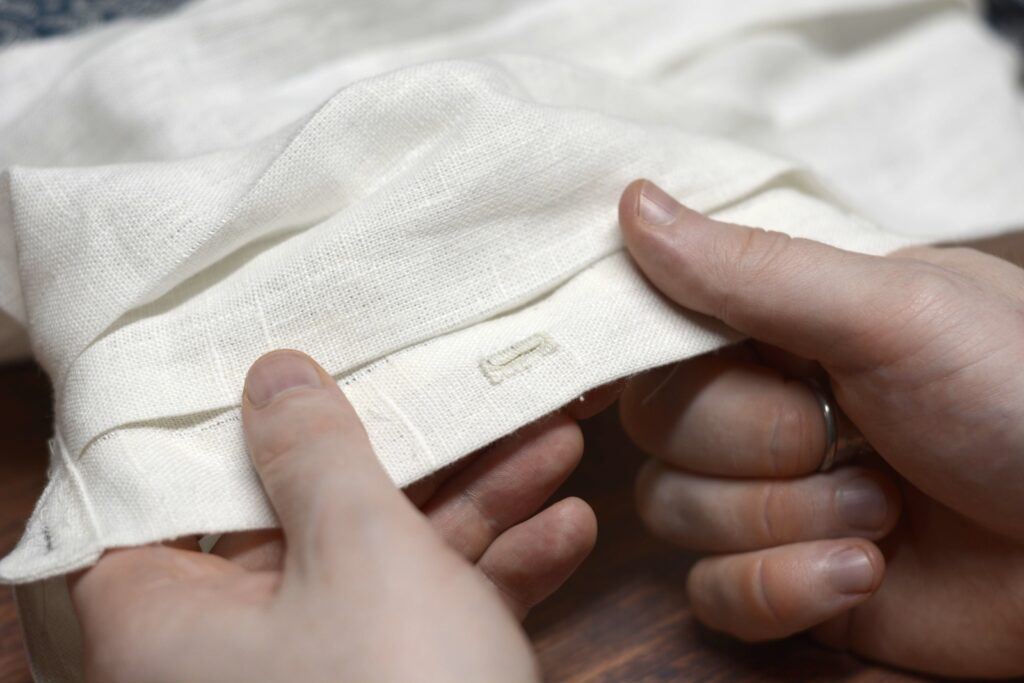
Pass the thread to the underside after completing the bartack. Then pass the needle and thread along the length of the buttonhole three times in alternating directions to secure the thread. Trim the remaining thread.
Here’s the completed buttonhole. Continue with the others in the same manner.
Your Progress
[columns gutter=”0″]
[col]
[progressally_objectives]
[/col]
[col align_text=”center, middle”]
[progressally_progress_pie_chart size=”100″]
[/col]
[/columns]
Setting the Sleeves
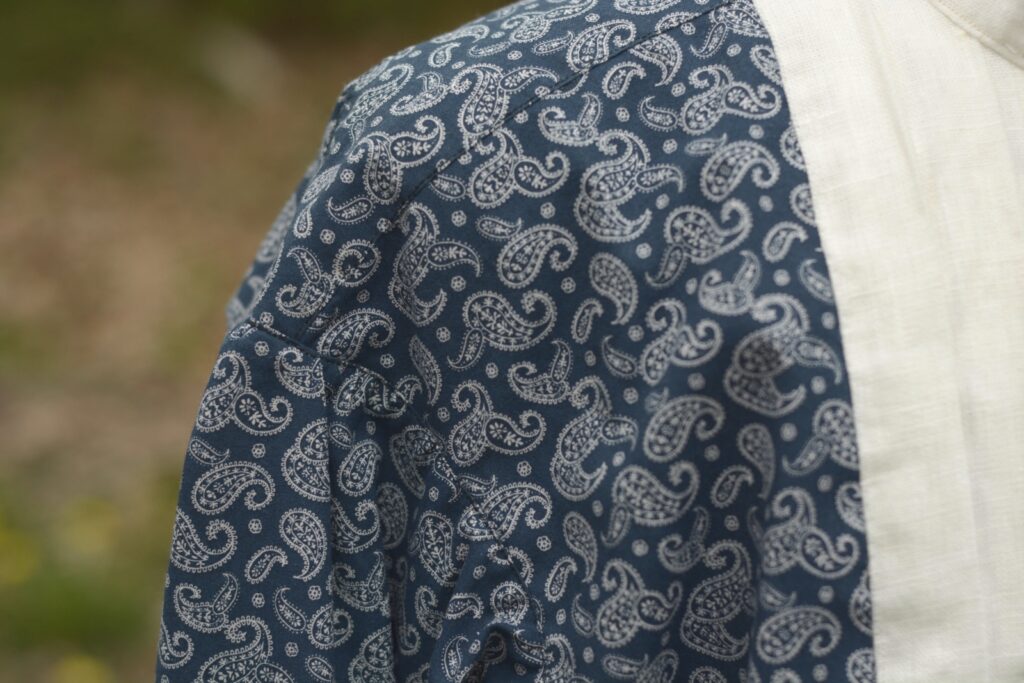
With the sleeves complete, it’s finally time to attach them to the shirt! I like to begin by laying out the shirt and sleeves, right sides out, with the armscye facing me. Find the bottom of the armscye at the side seam, and the top of the sleeve seam.
Align the two points together at the side and sleeve seam, and pin. This gives us a reference and starting point for setting the rest of the sleeve.

Next carefully turn the shirt inside out – the sleeve should still be pinned at the bottom, and right sides are still together inside the shirt. Arrange the armscye and sleeve head to the general position.
Now find the top of the sleeve, which should have a slight crease from it being cut on the fold. Pin the top of the sleeve, right sides together, to the shoulder seam (where the shoulder and yoke meet).
You can just make out the crease here. If necessary, you can mark the top of the sleeve with chalk.
Working from the bottom of the sleeve, pin the sleeve to the shirt from the bottom to where the gathering stitches begin on each side of the sleeve seam, keeping a neutral tension.
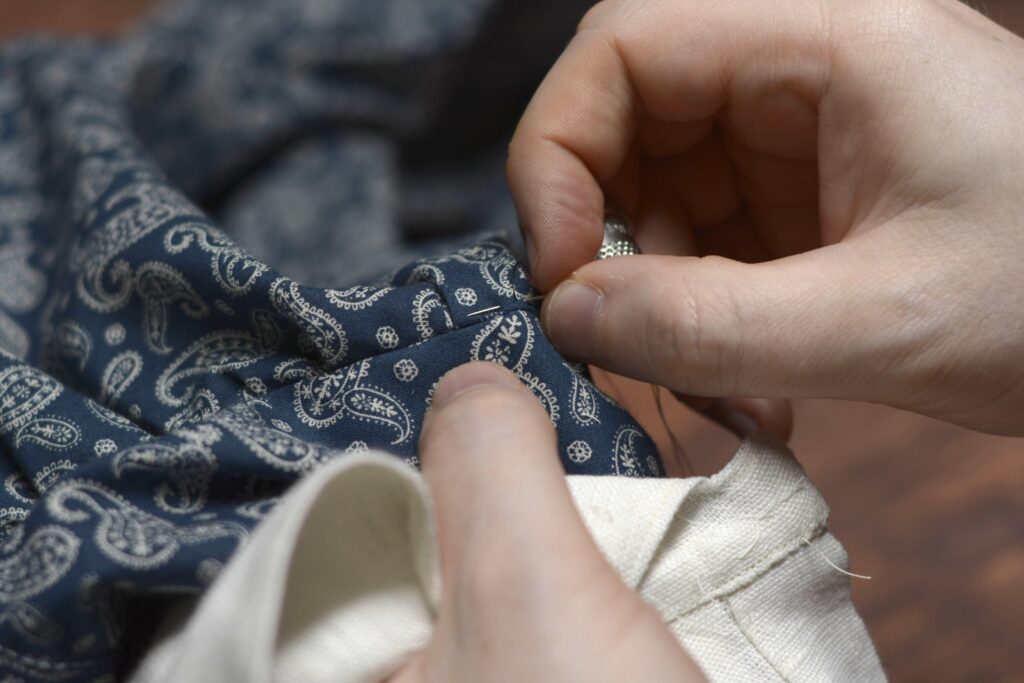
With the lower portion of the sleeve as well as the shoulder point secured, it’s now possible to draw in the gathering stitches with more control. Work on one half at a time, pinning and arranging the small pleats as you go.
With the sleeve pinned in position, baste around the entire sleeve with a small running stitch, around 1/4″ in length. Remove the pins as you baste.
After the first round of basting stitches, you can turn the shirt right side out to check your work. Does the sleeve hang correctly? Are the pleats distributed evenly? Are the sleeves on the right side (never make that mistake again!)?
When you’re happy with the position of the sleeve, go around with another row of basting stitches directly on top of the first row, offsetting the stitches so that they almost lock each other in place.
Here’s the sleeve after being basted in position.
Now it’s a simple matter of sewing the seam by machine (if you wish), using a 1/2″ seam allowance. The basting stitches make this step simple with how they keep everything in place so nicely.
Alternatively, if you’d like really small pleats and full control over how they look, you could try back stitching the sleeve to the shirt by hand. I tried this method on one sleeve hoping to get much better results and smaller pleats, but unfortunately, it truly does take a lot of practice and patience, and I simply don’t work with these often enough.
Ideally each stitch should hold one small pleat in place.
Here’s the back side of my stitching. The stitching should be fairly straight if possible.
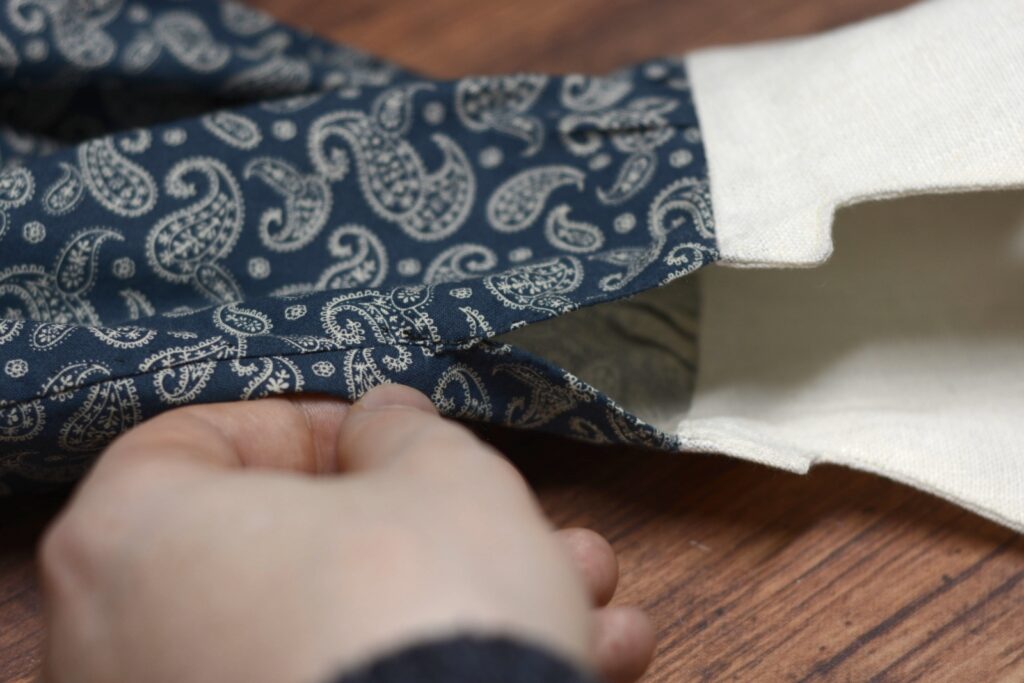
With the sleeve sewn, fold the seam allowance of both the shirt and sleeve into each other around the armscye. I did about an inch or so at a time.
It gets a little tricky in the areas with multiple layers but with a bit of fiddling you should be able to get it.

Fell the edges together around the entirety of the armscye.
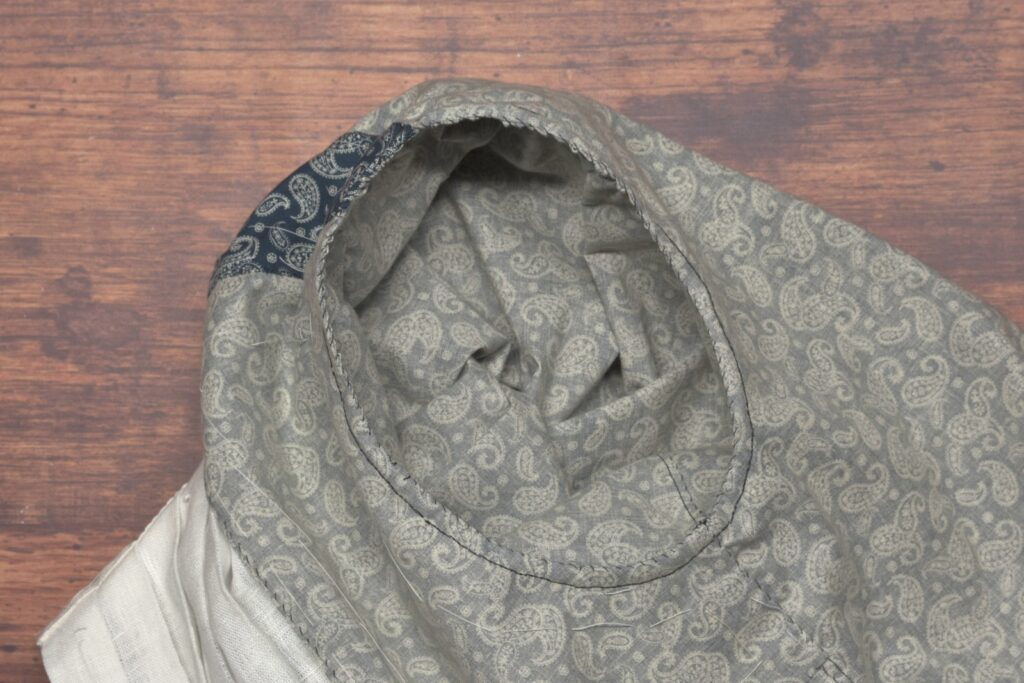
And here’s the completed armscye seam from the inside of the shirt.
Finally, turn the shirt right side out. Top stitch the sleeve to the seam allowance underneath using a back stitch(the seam allowance should fold back naturally towards the sleeve). You can top stitch around the entirety of the sleeve, or just the gathered section.
Here’s what the top stitching will look like on the completed shirt. Try to keep the stitches a constant distance from the edge of the sleeve, about 1/16″.
Your Progress
[columns gutter=”0″]
[col]
[progressally_objectives]
[/col]
[col align_text=”center, middle”]
[progressally_progress_pie_chart size=”100″]
[/col]
[/columns]
Sleeve Seam
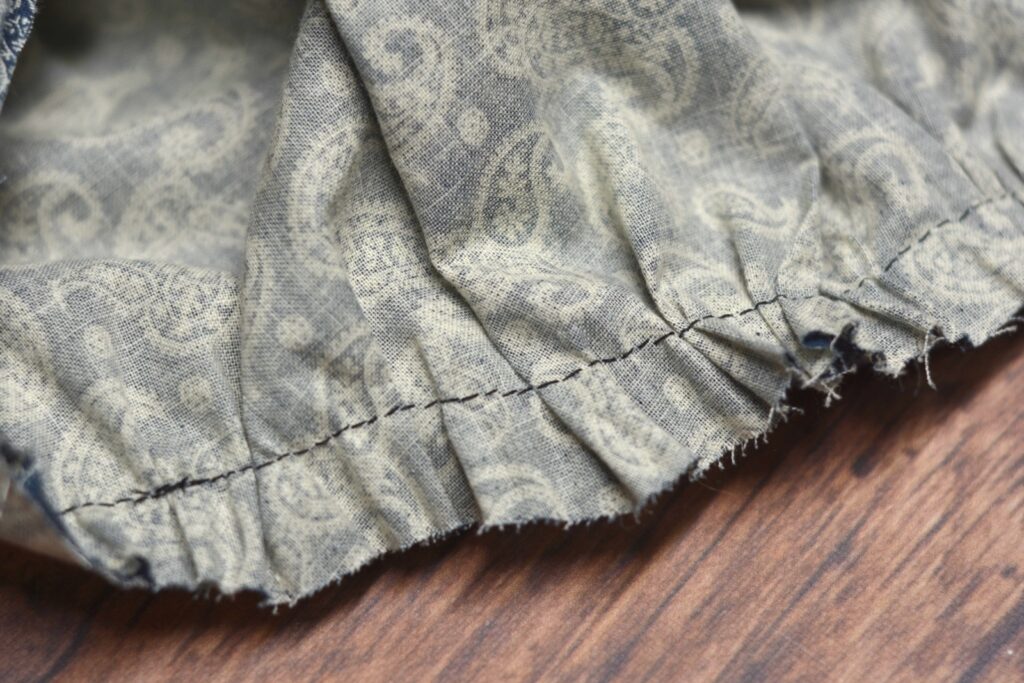
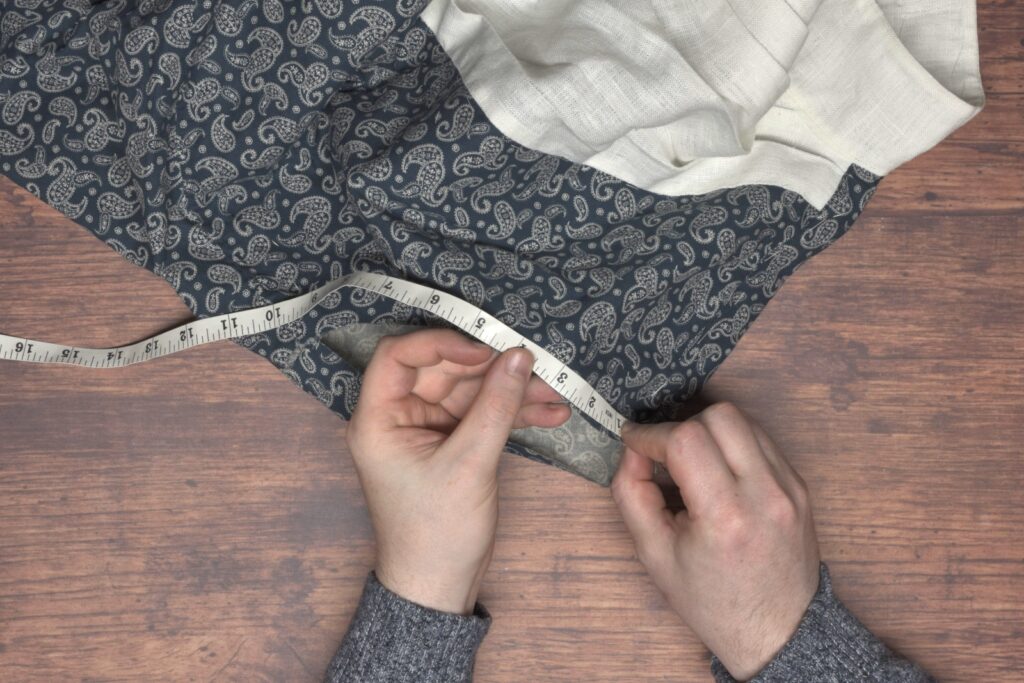
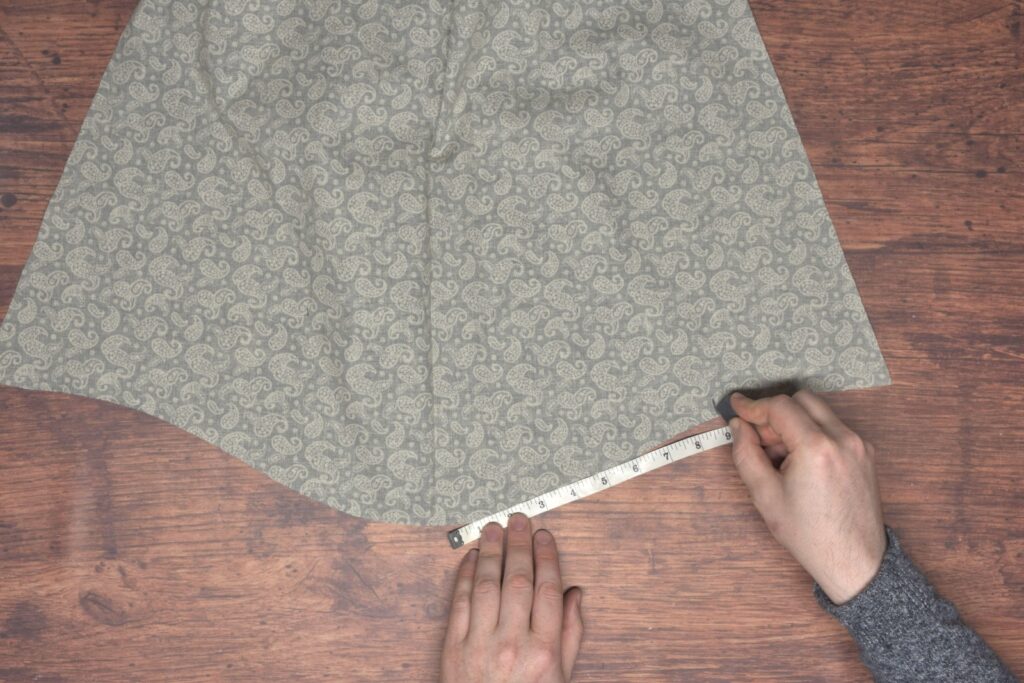
Before finishing up the sleeve seam, it’s helpful to take a couple of measurements to determine the amount of ease that needs to be gathered into the sleeve head. First, measure the circumference of the armscye. Mine was around 20″.
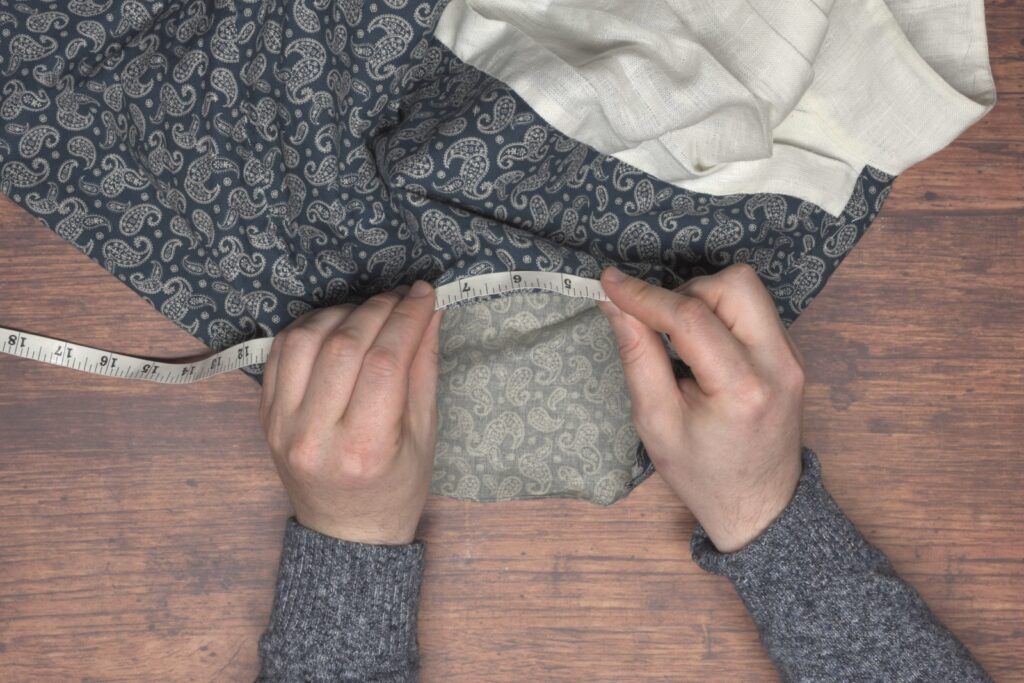
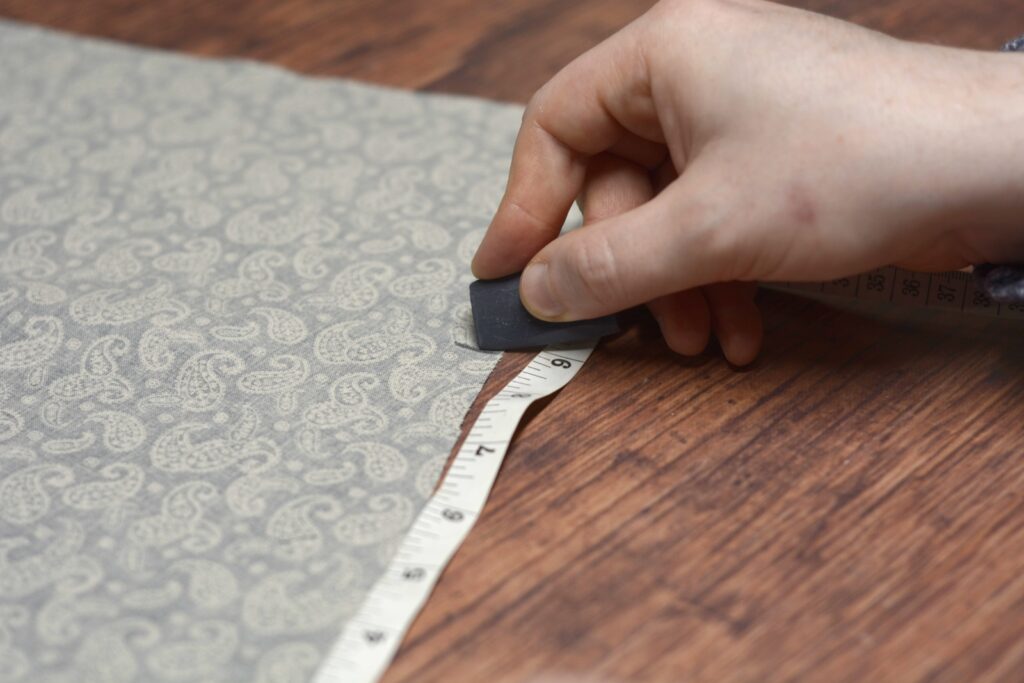
Then measure across the entire sleeve head from side seam to side seam. The photo here makes it seem as though I started from the center of the sleeve, unfortunately. Mine was 29″.
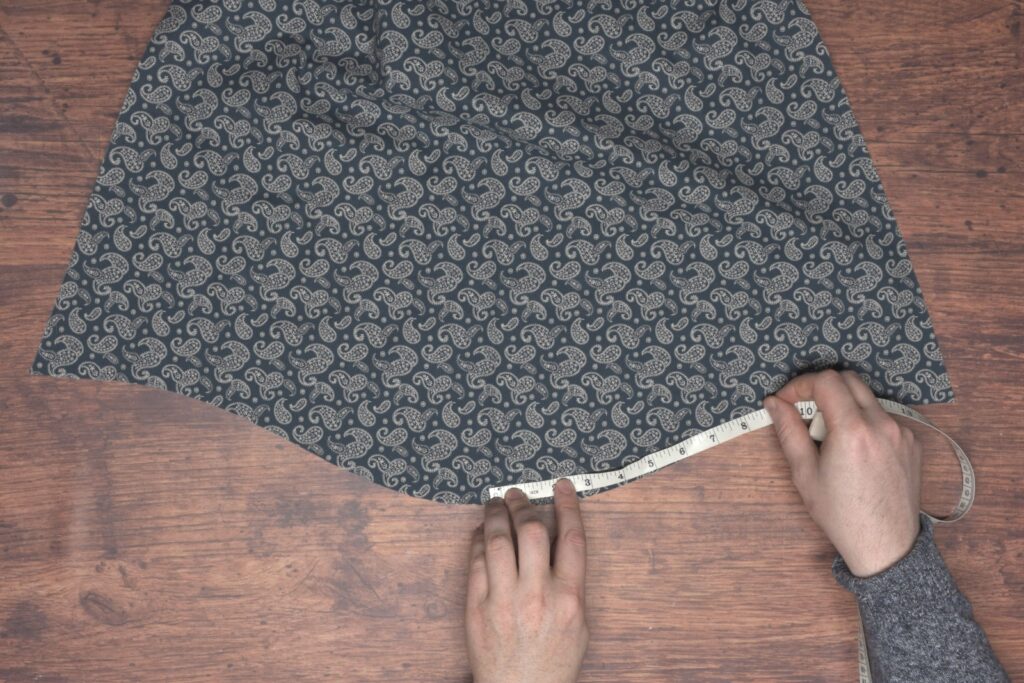
Now take the difference between the two measurements, 9″ in my case, and mark that distance away from the center of the sleeve on towards both edges, on the wrong side. 9″ is a lot of ease, normally I’d aim for more like 5″, but I wanted to stick with the measurements the draft gave me as an experiment.
The measurements do not have to be extremely accurate here, so don’t worry if you’re slightly off.
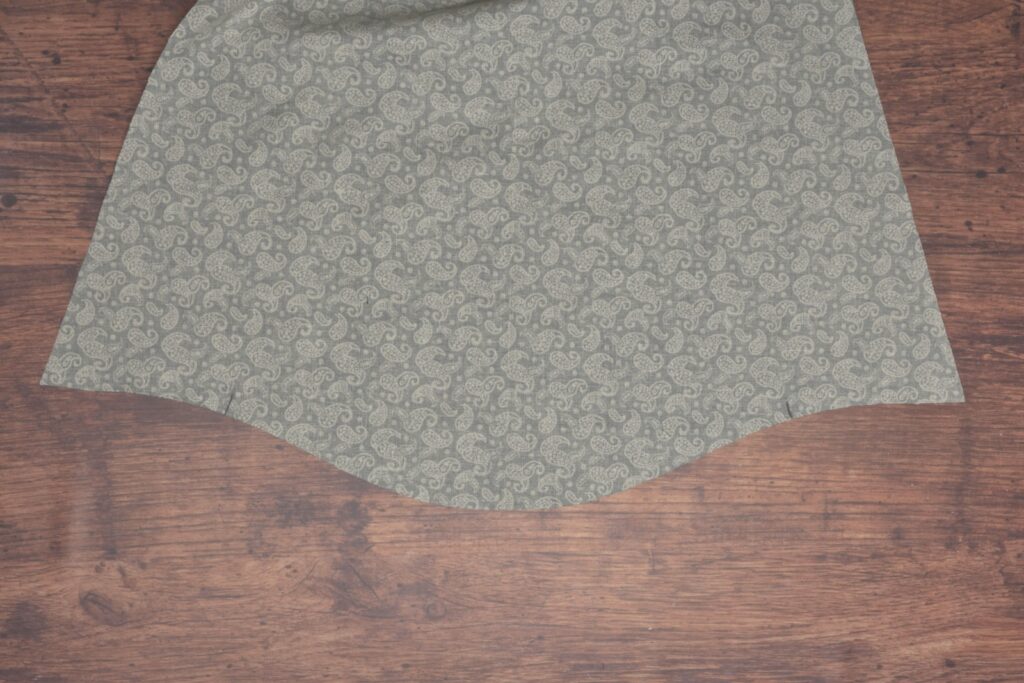
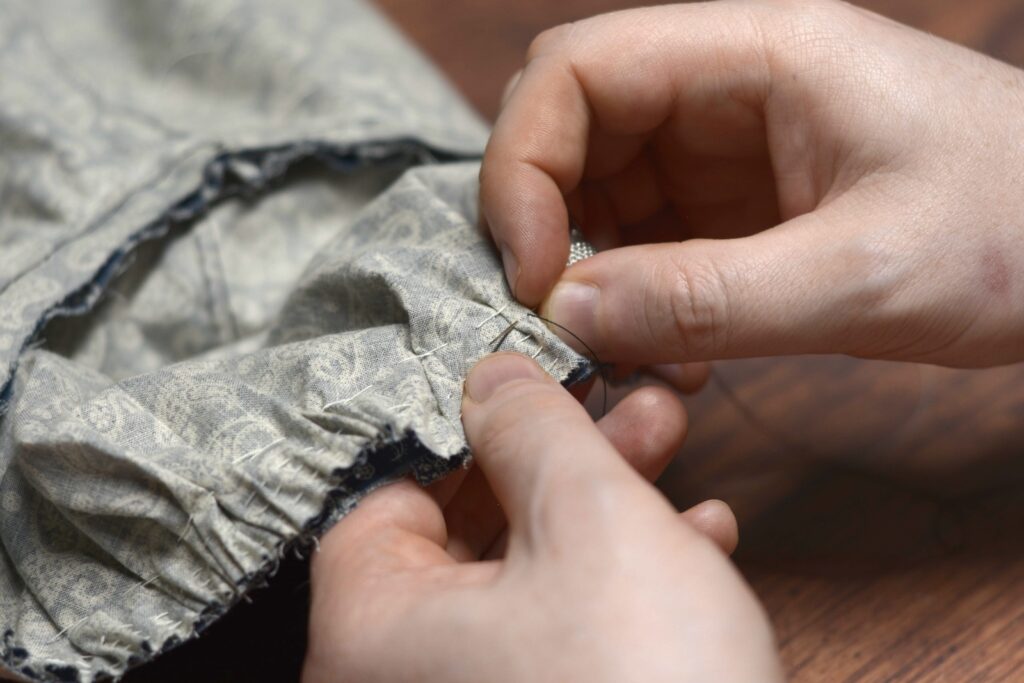
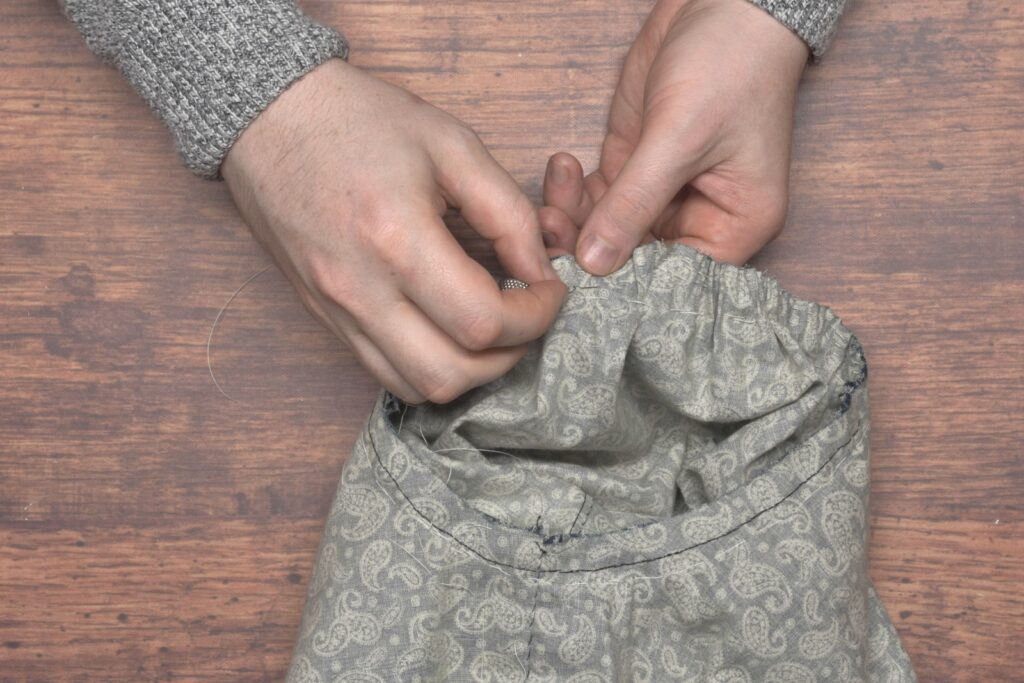
Now work three rows of gathering stitches in between the two marks.
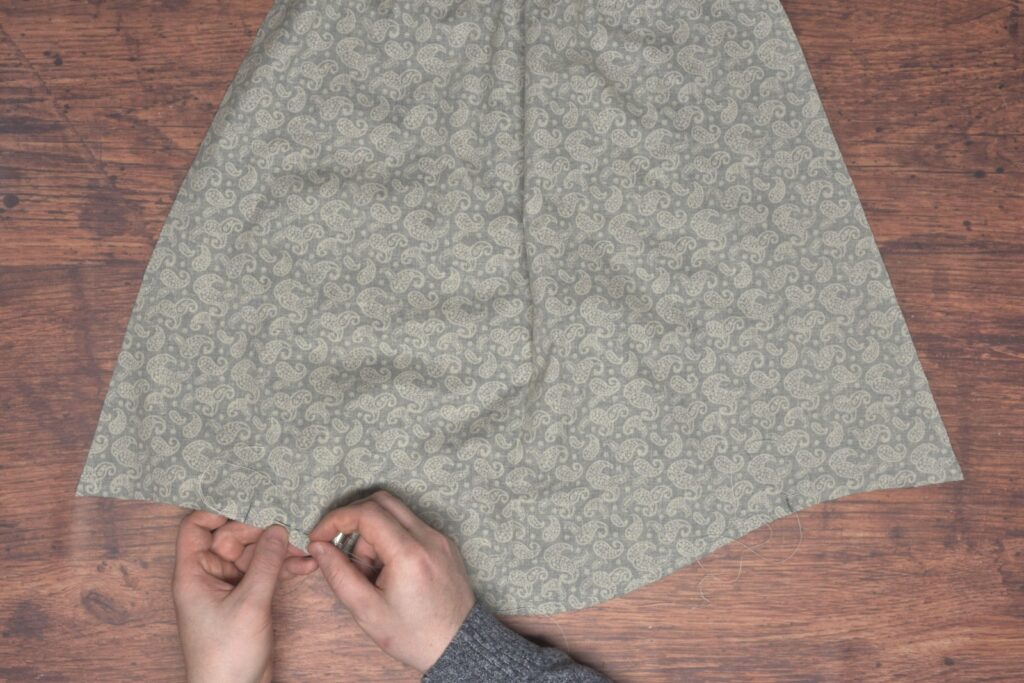
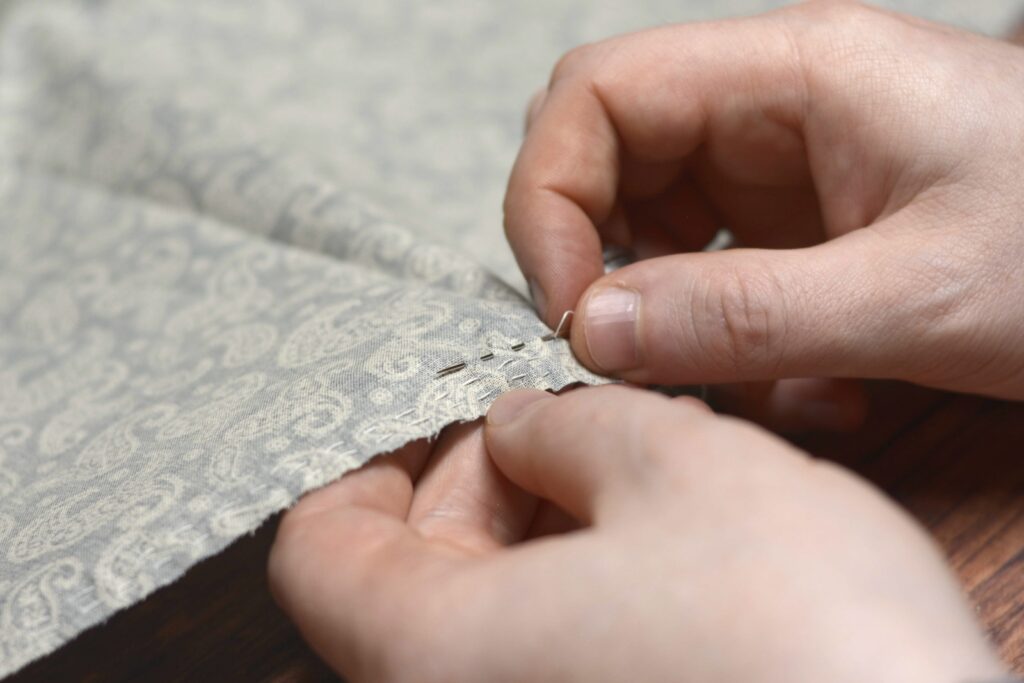
Now pin the sleeve seam together at both ends, then in between.
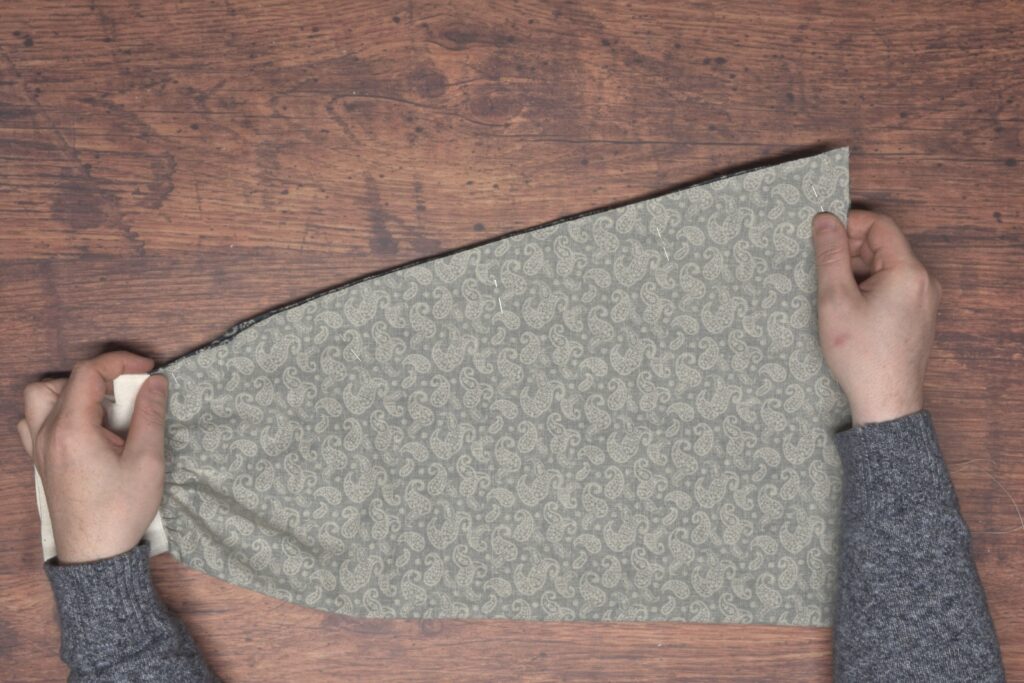
Be sure that the cuffs are properly aligned when pinning.
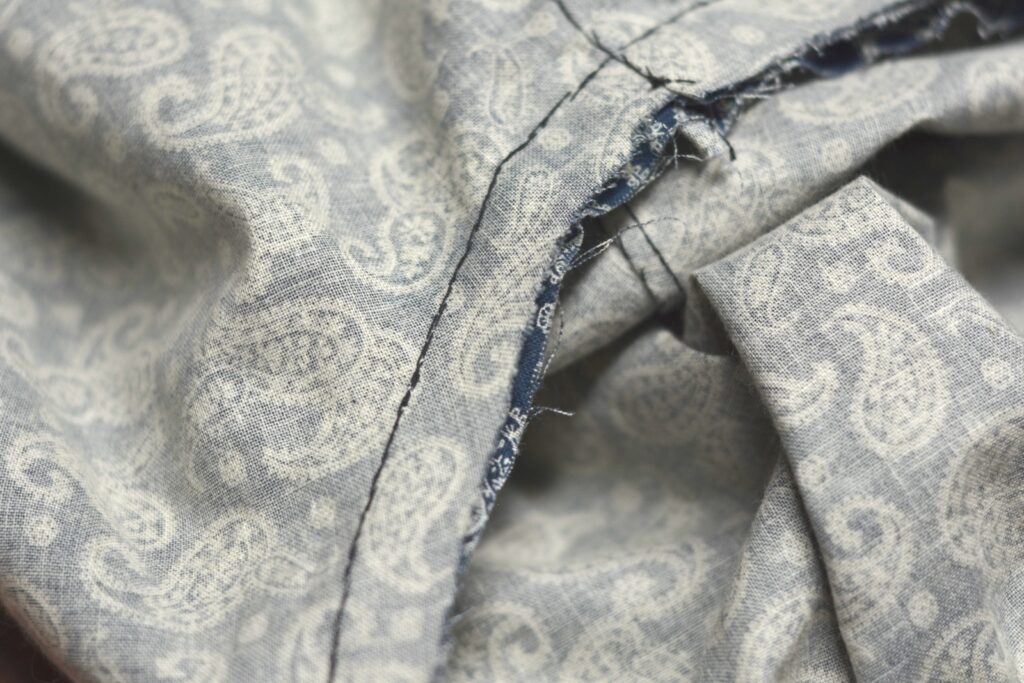
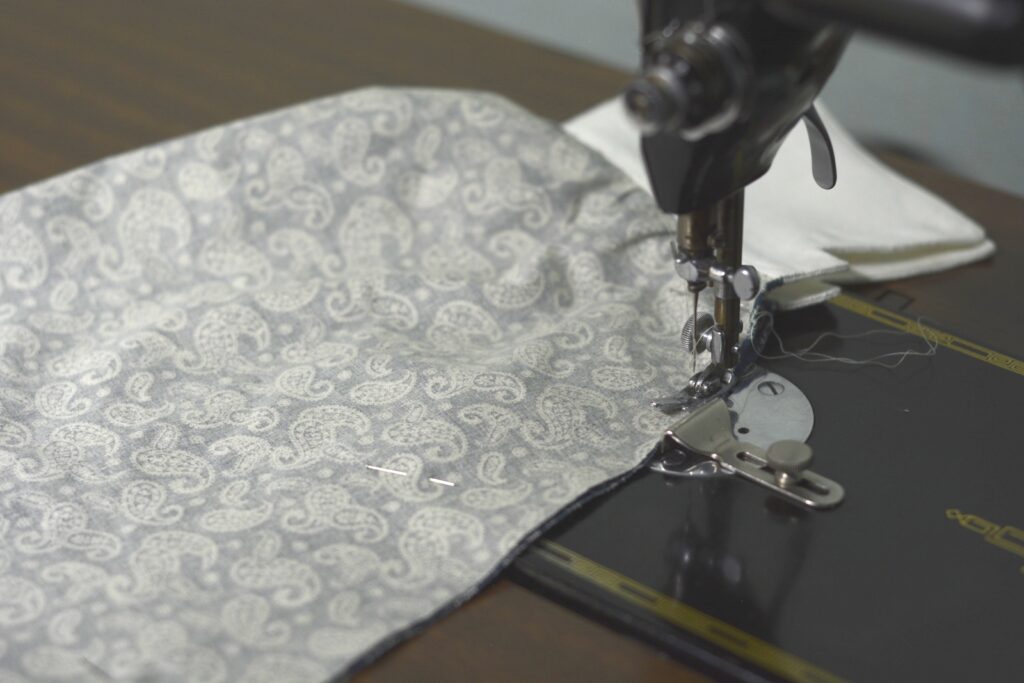
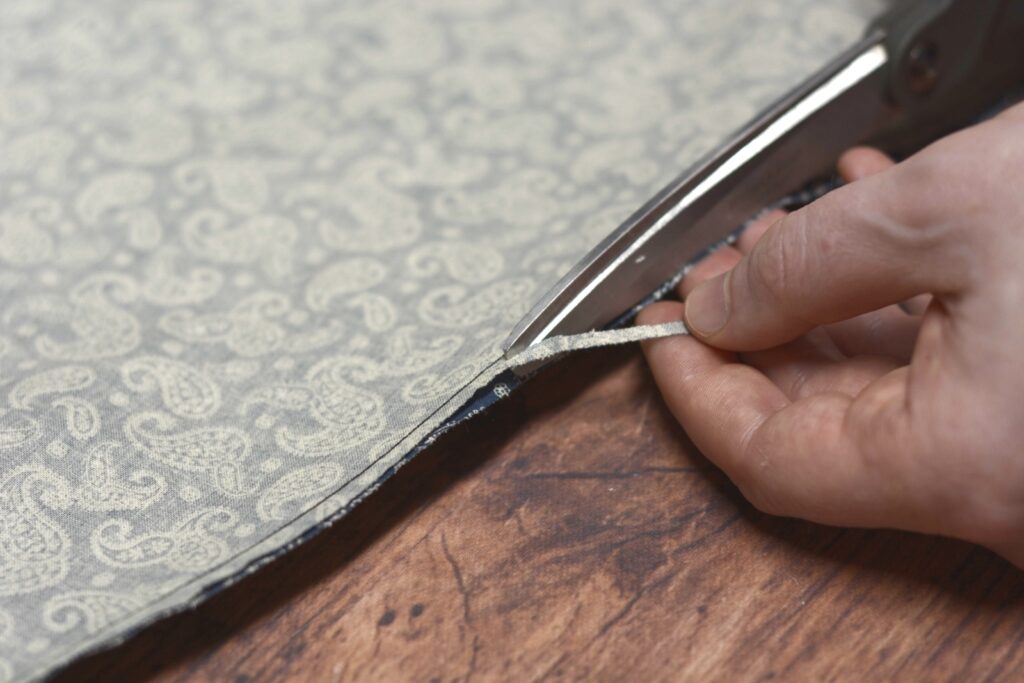
Now sew the side seam, either by machine or using a back stitch, beginning at the cuff end just where the rolled hem stops at the mark you made previously, to the top of the sleeve, using a 1/4″ [or 1/2″] seam allowance.
Up to this point the sleeves have both been identical, but it’s time to determine the left and right sides. Lay the sleeves so that they’re mirror images of each other, and trim the seam that is facing up down to 1/8″ [or 1/4″]. Repeat for the other sleeve, trimming the opposing seam.
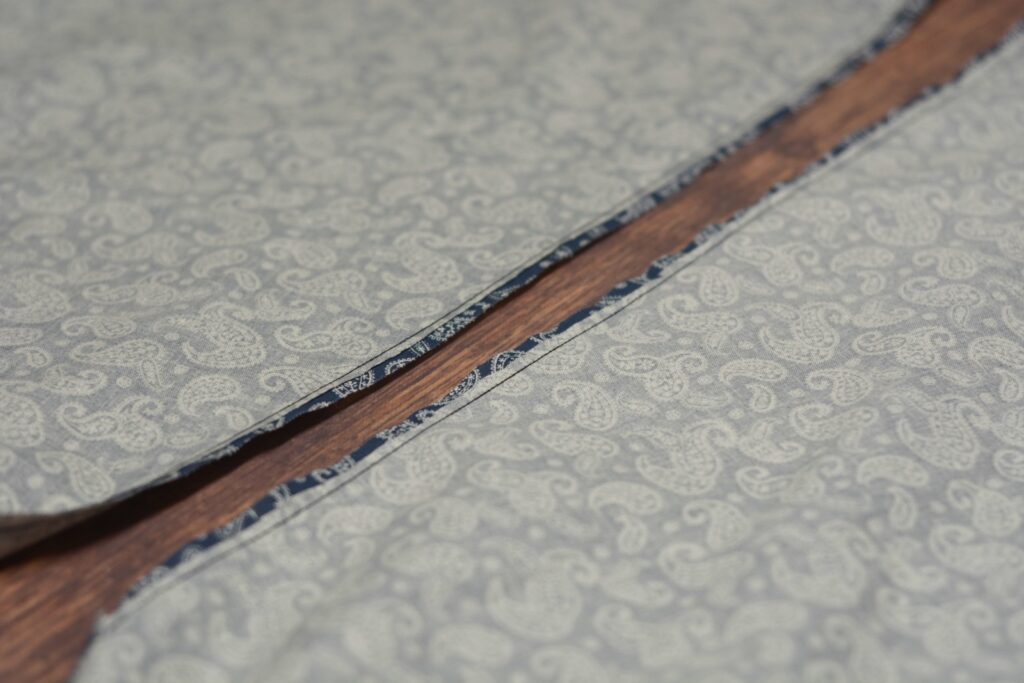
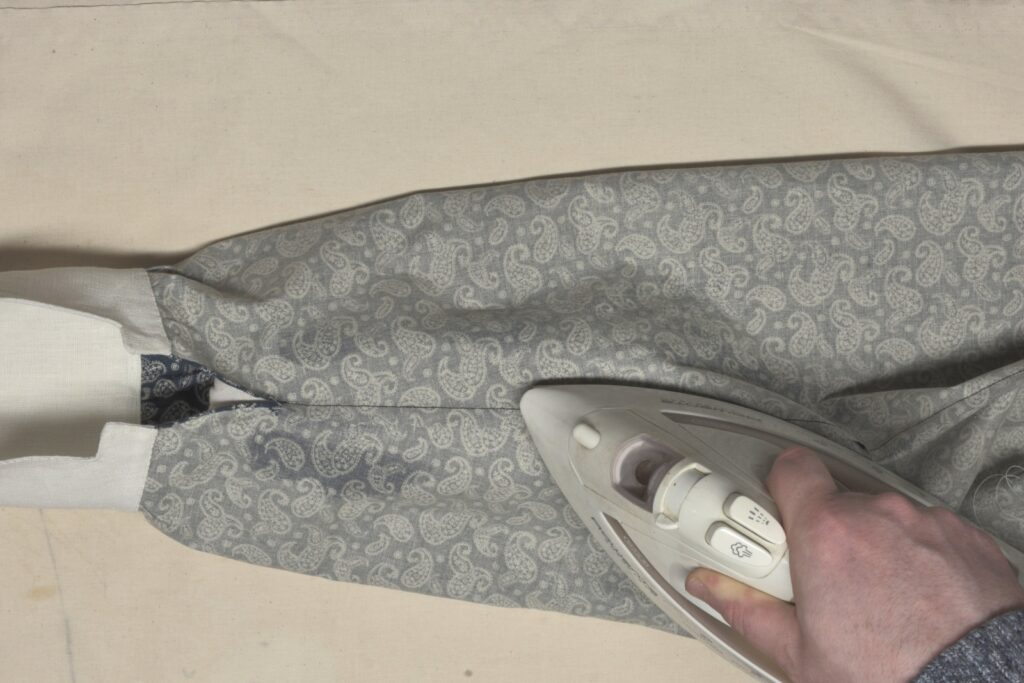
Press the seams over to one side, hiding the narrower seam in between.

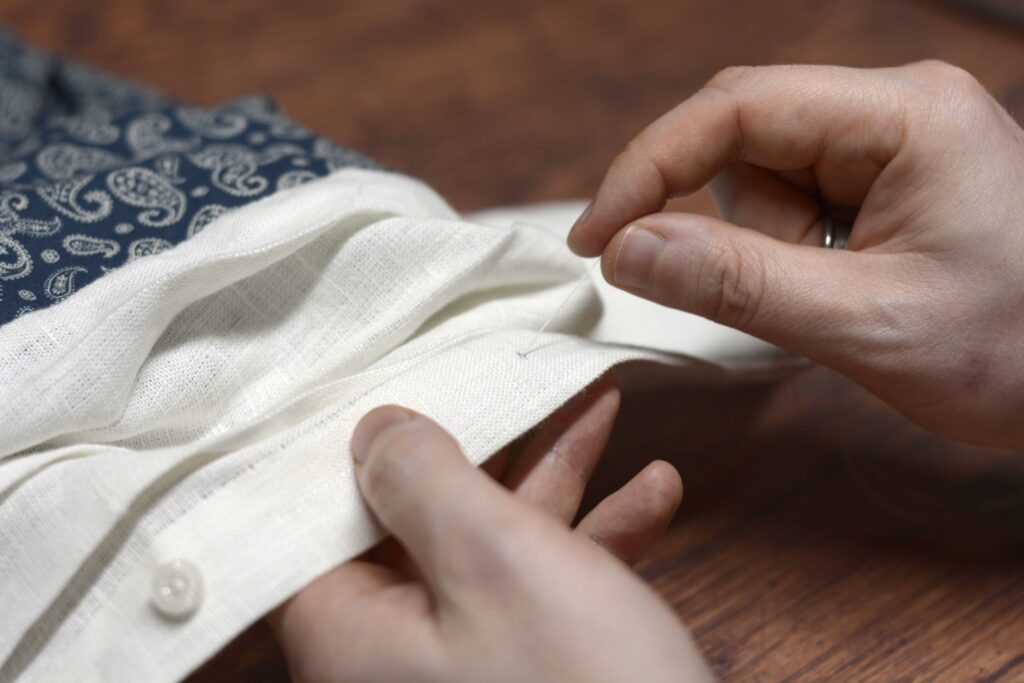
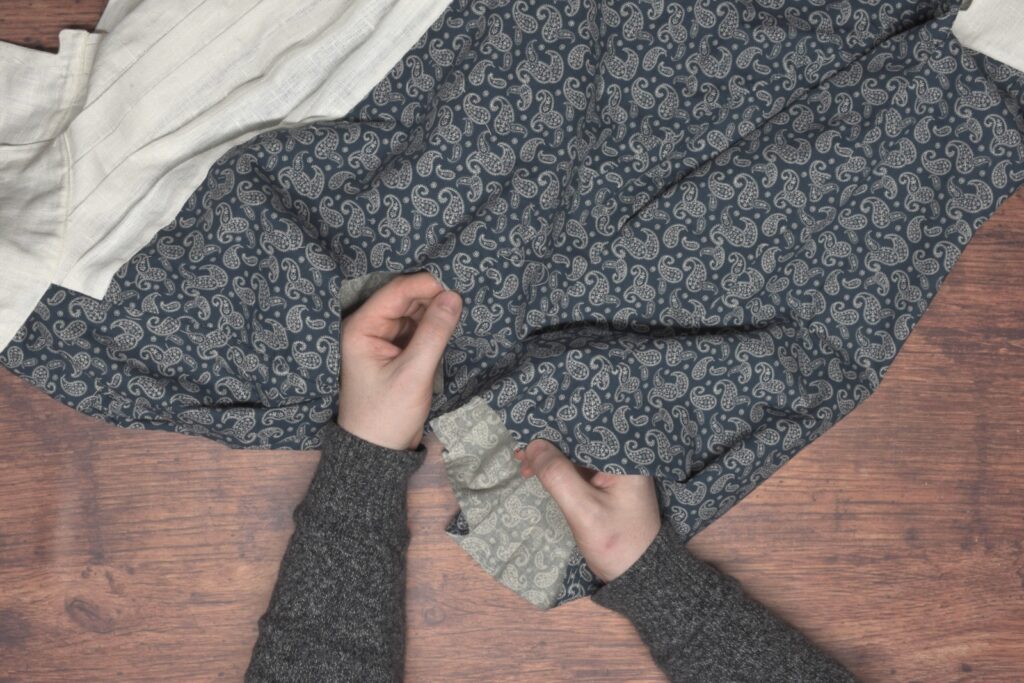
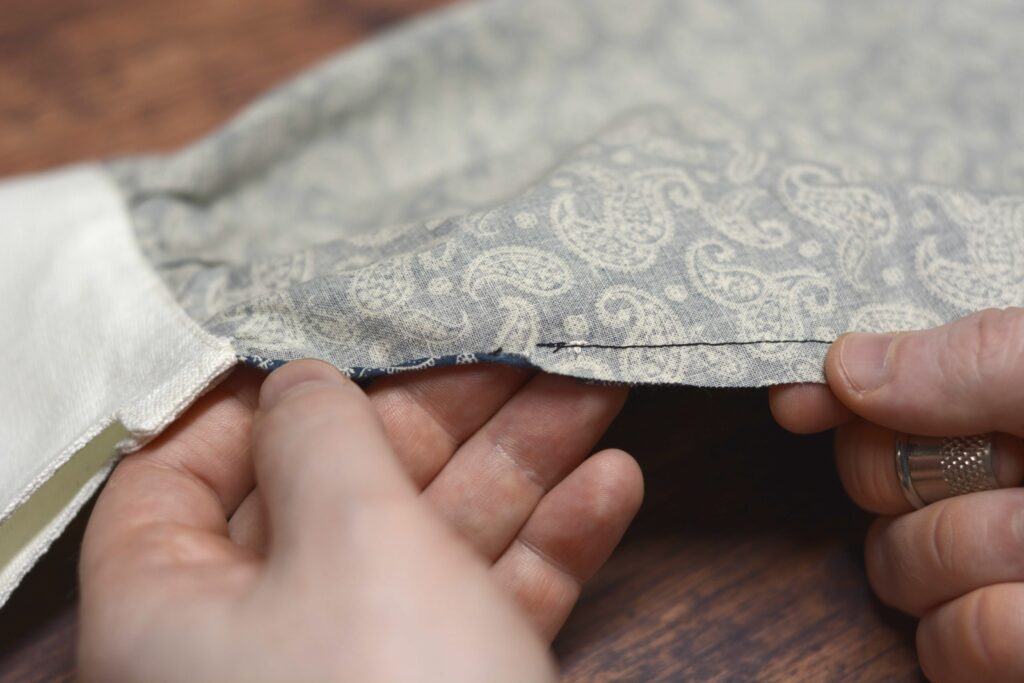
Now fold under the raw seam allowance. It’s kind of a hard seam to access so I end up bunching the seam into one hand as I work. At the start of the felling near the cuff opening, just ease the transition into the rolled hem as neatly as you can.
And fell the seam allowance closed.
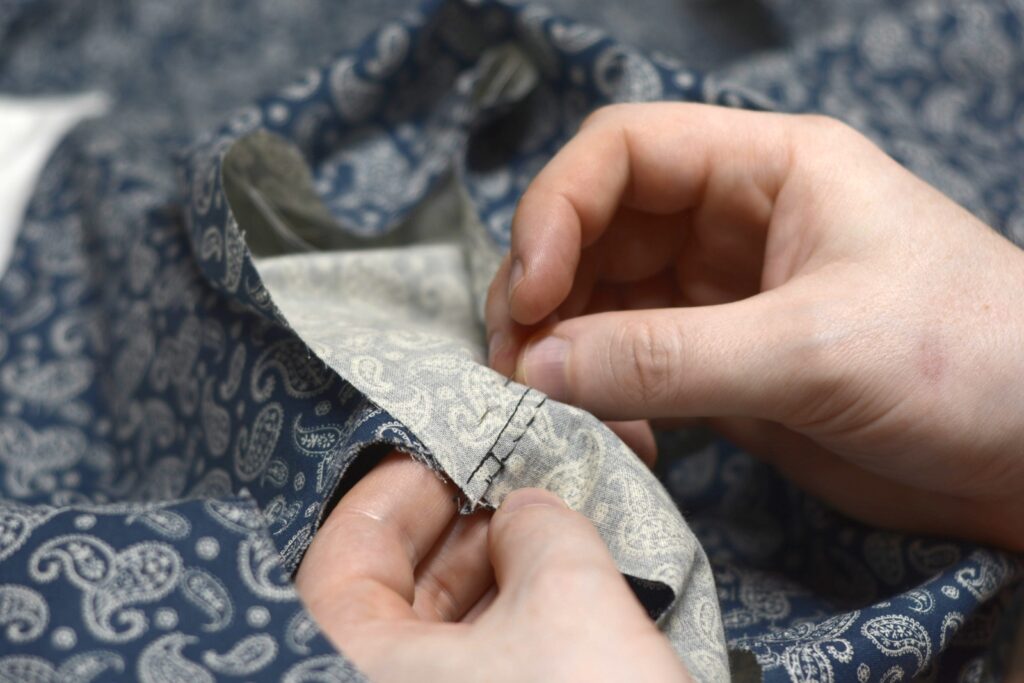
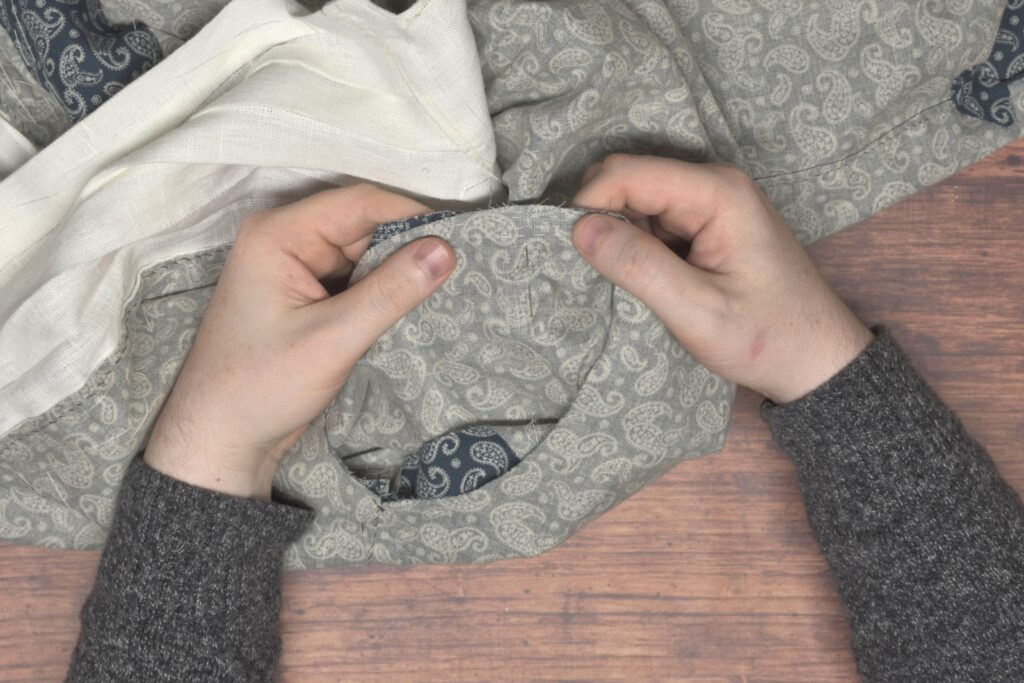
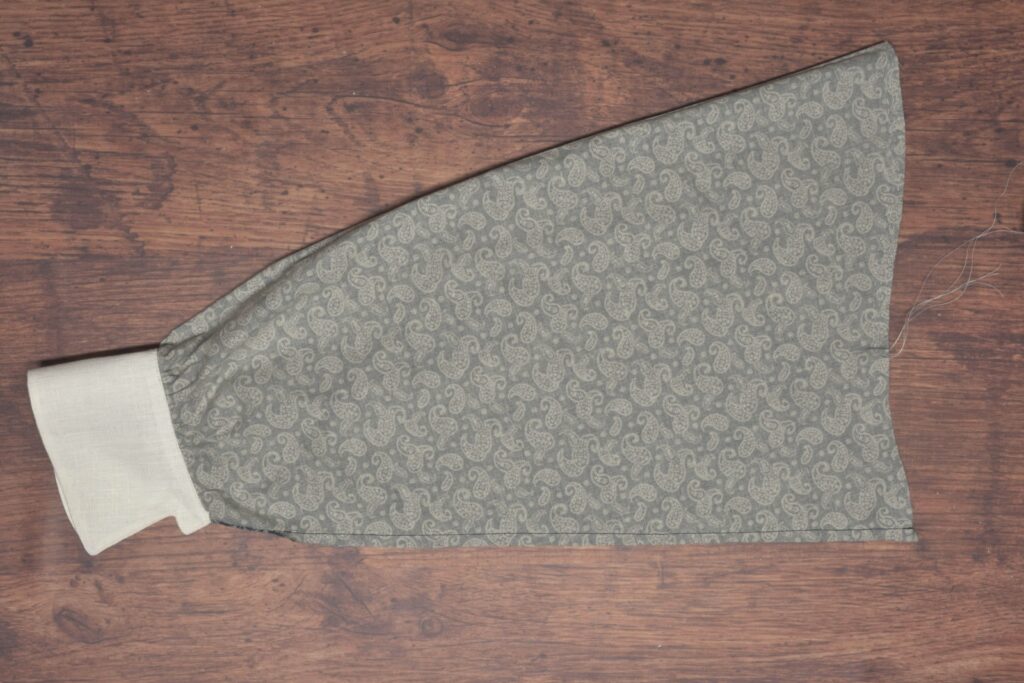
After the felling is complete, turn the sleeve right side out. At the cuff opening, you’ll find one side naturally wants to overlap the other. Overlap the rolled hem onto the other, and back stitch through all layers for about 1/2″ into the opening to secure the cuff opening.
As an alternative method, you could make a gusset as you did at the bottom of the side seam. I’d make it smaller though, maybe starting with a 1 1/2″ square piece of fabric.
I then reversed my stitching and back stitched over my previous stitches to secure the seam even further.

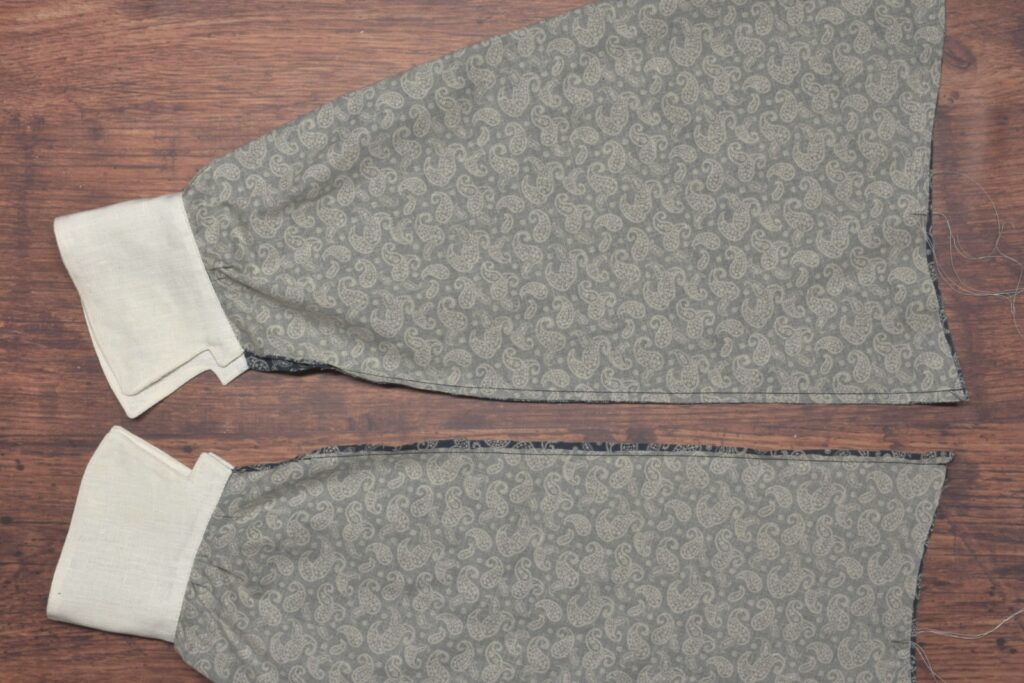
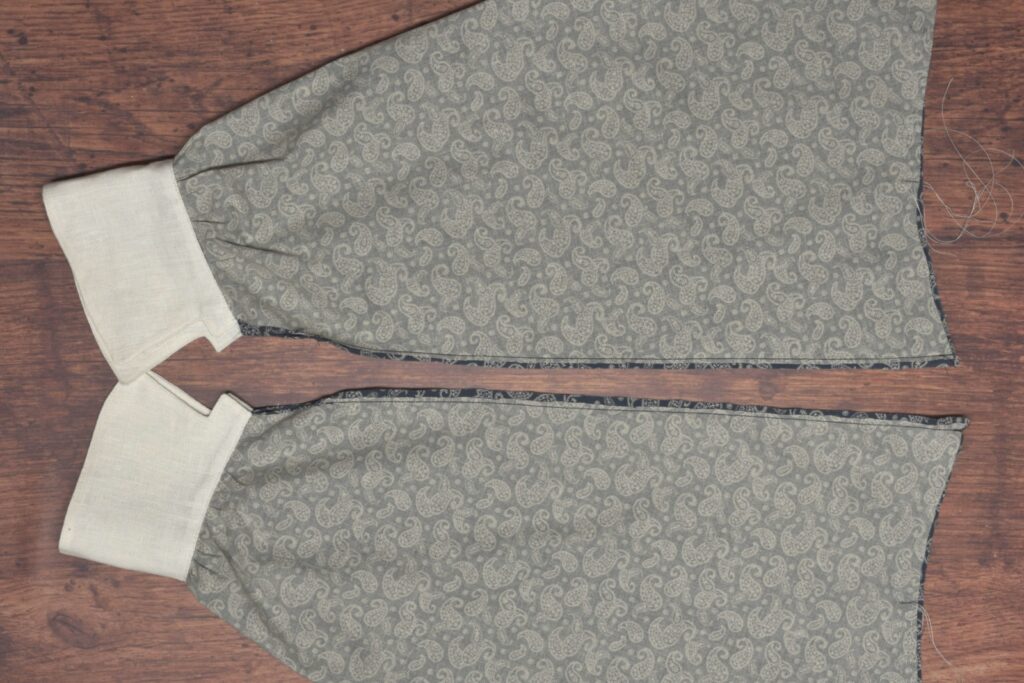
Repeat for the other sleeve, ensuring that you’re overlapping the seam in the opposite direction to get mirrored left and right sleeves.
Your Progress
[columns gutter=”0″]
[col]
[progressally_objectives]
[/col]
[col align_text=”center, middle”]
[progressally_progress_pie_chart size=”100″]
[/col]
[/columns]
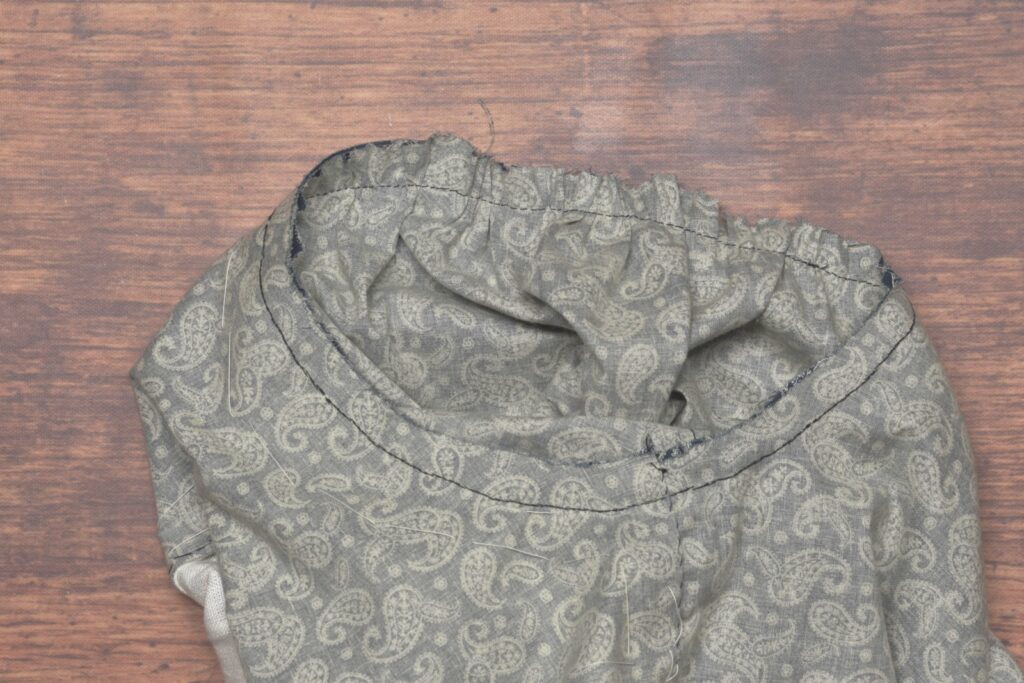
The Cuffs – Part II
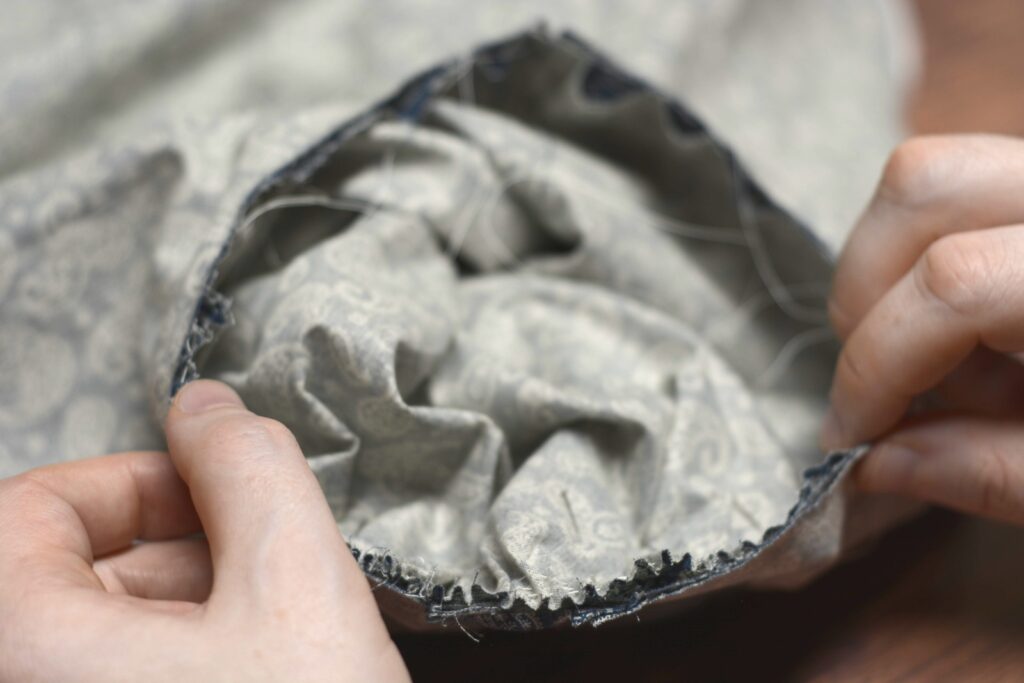
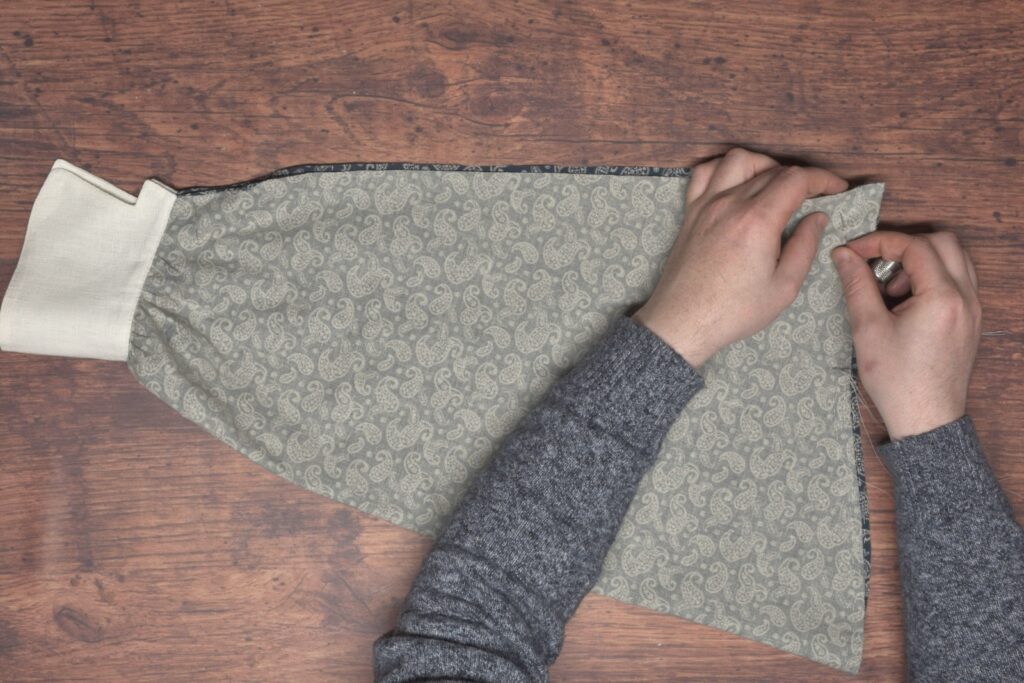
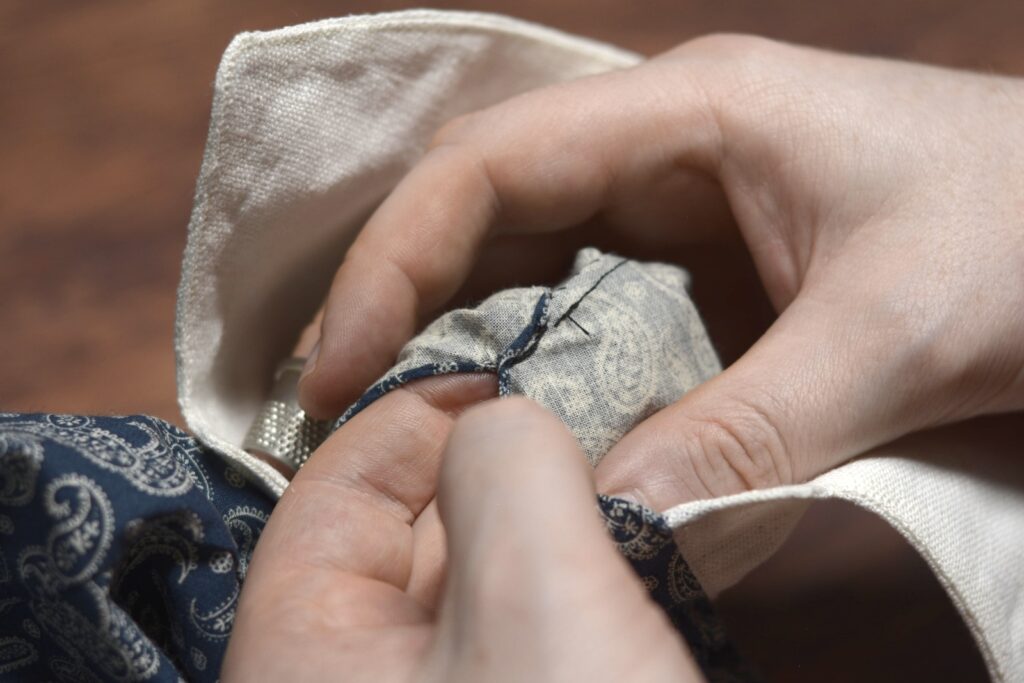
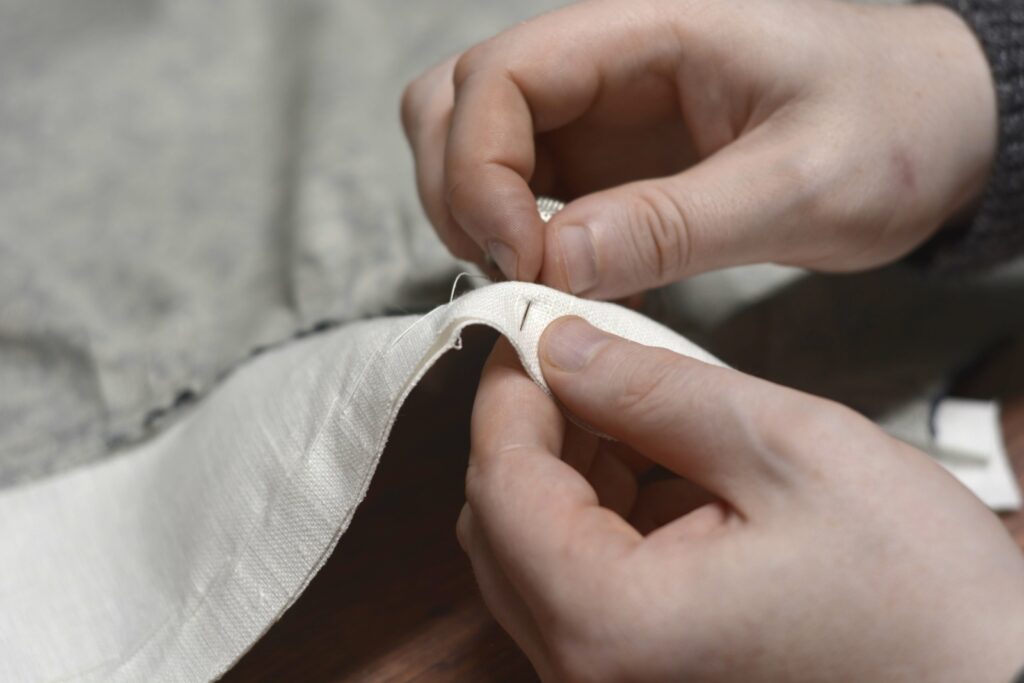
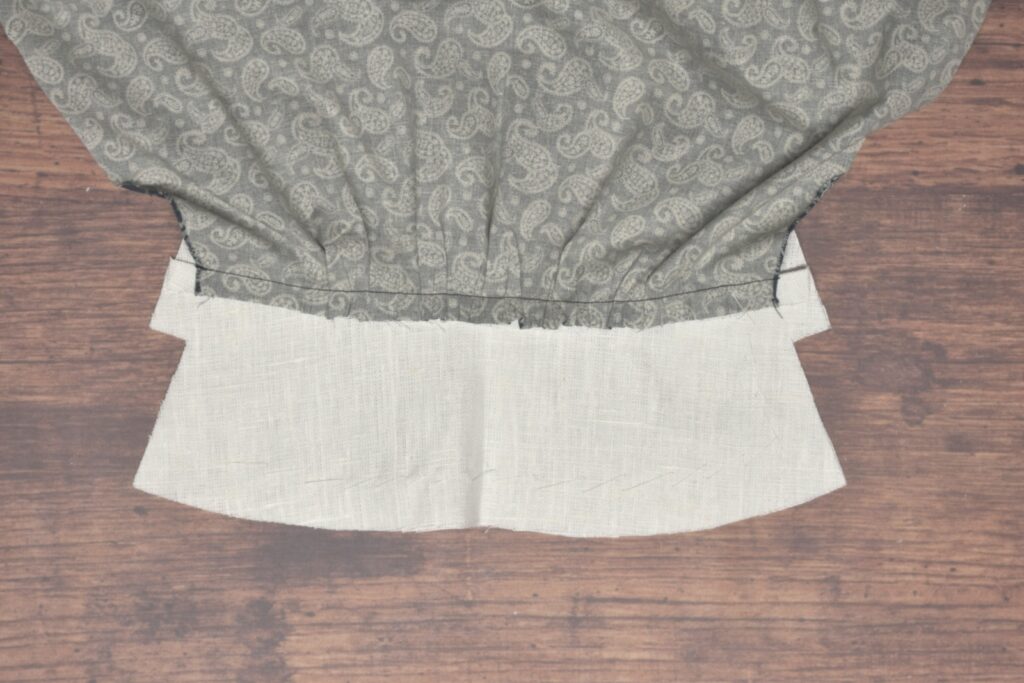
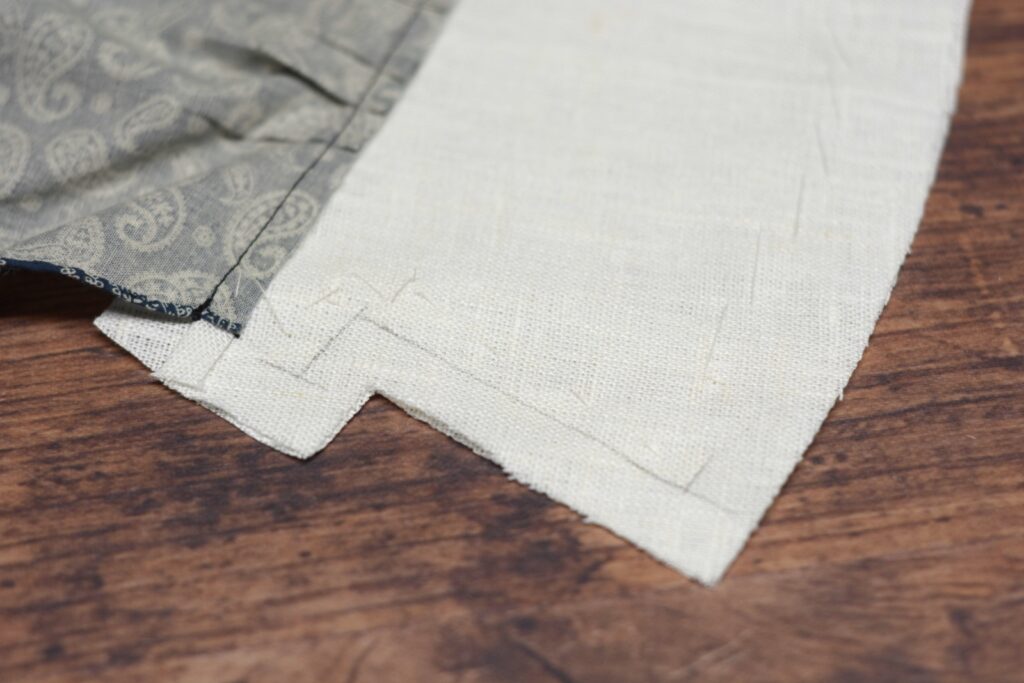
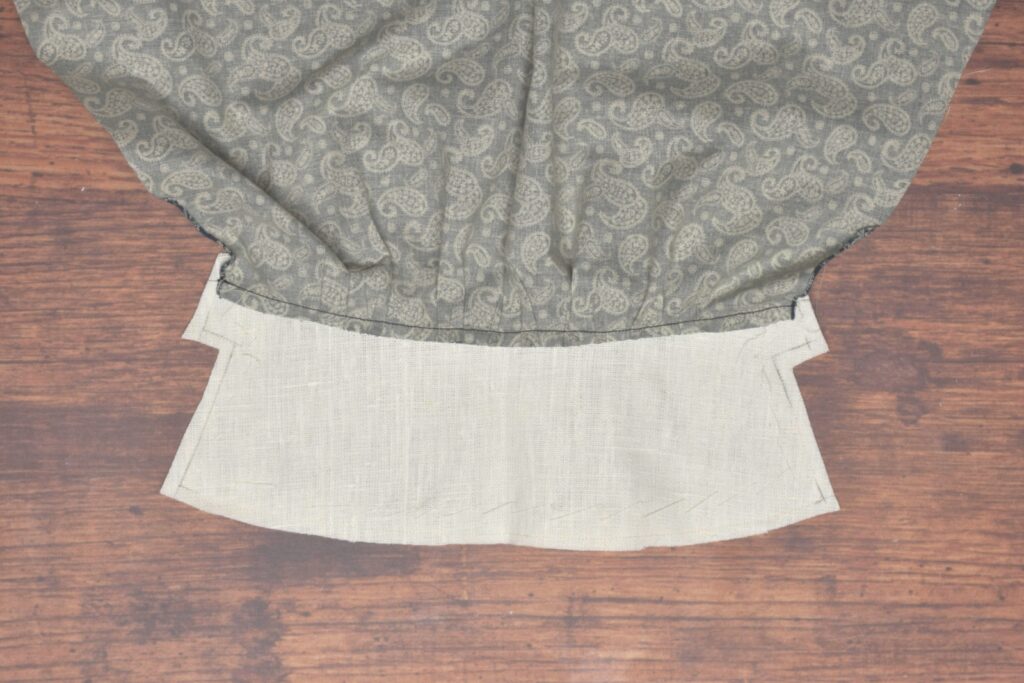
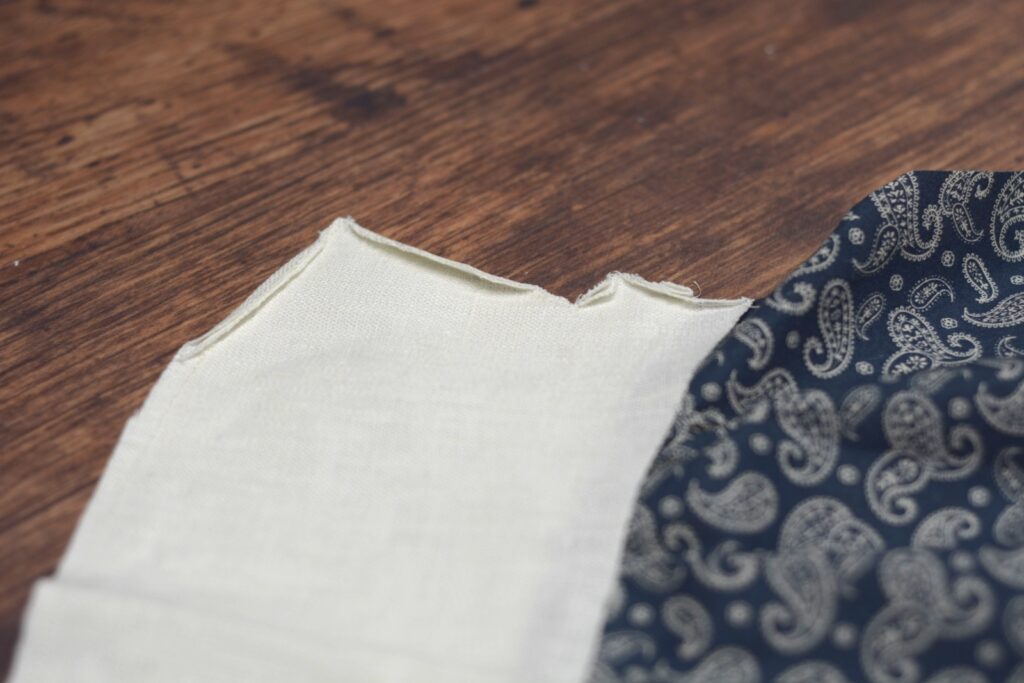
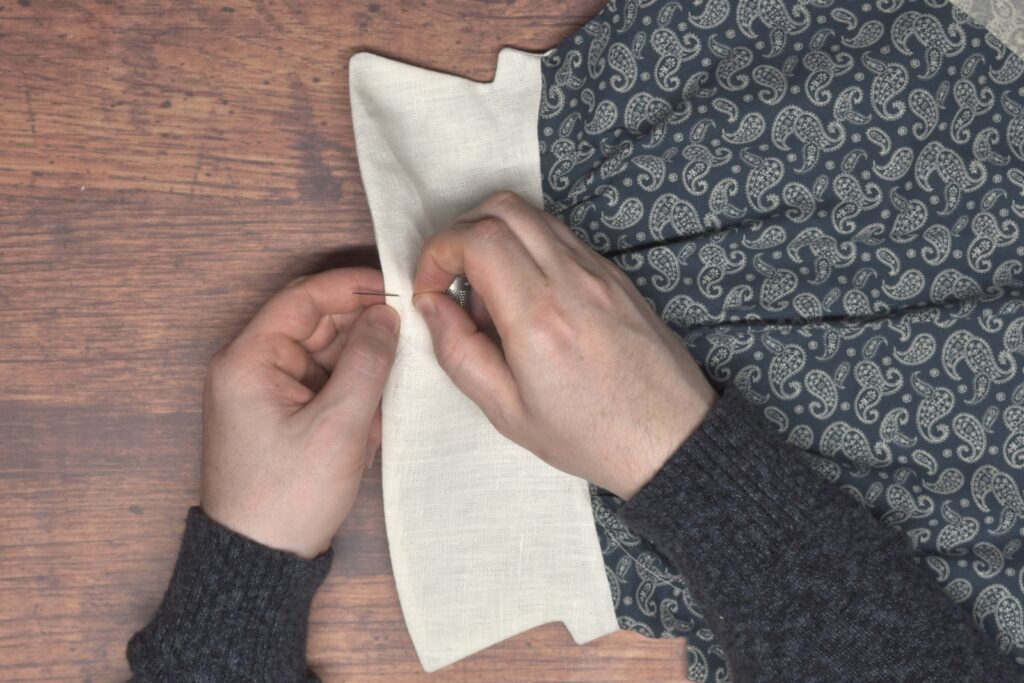
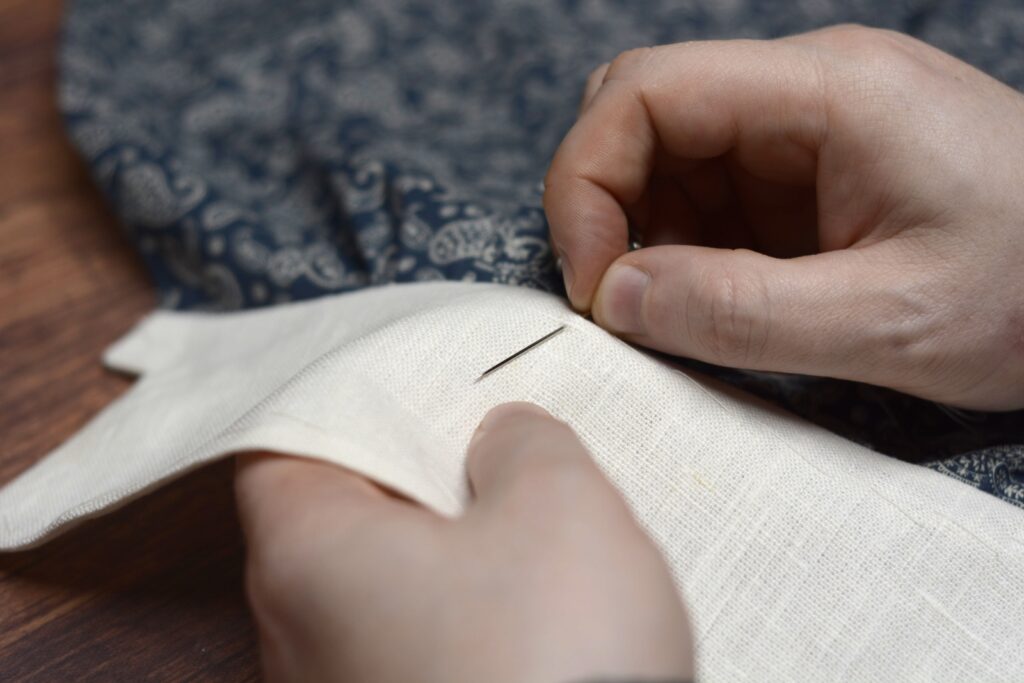
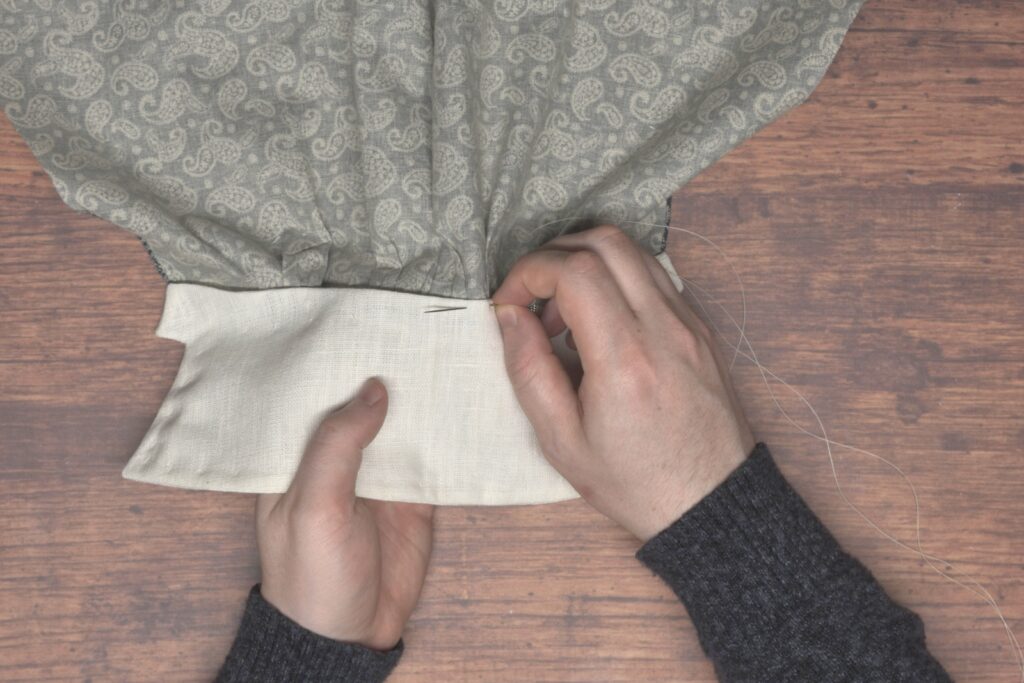
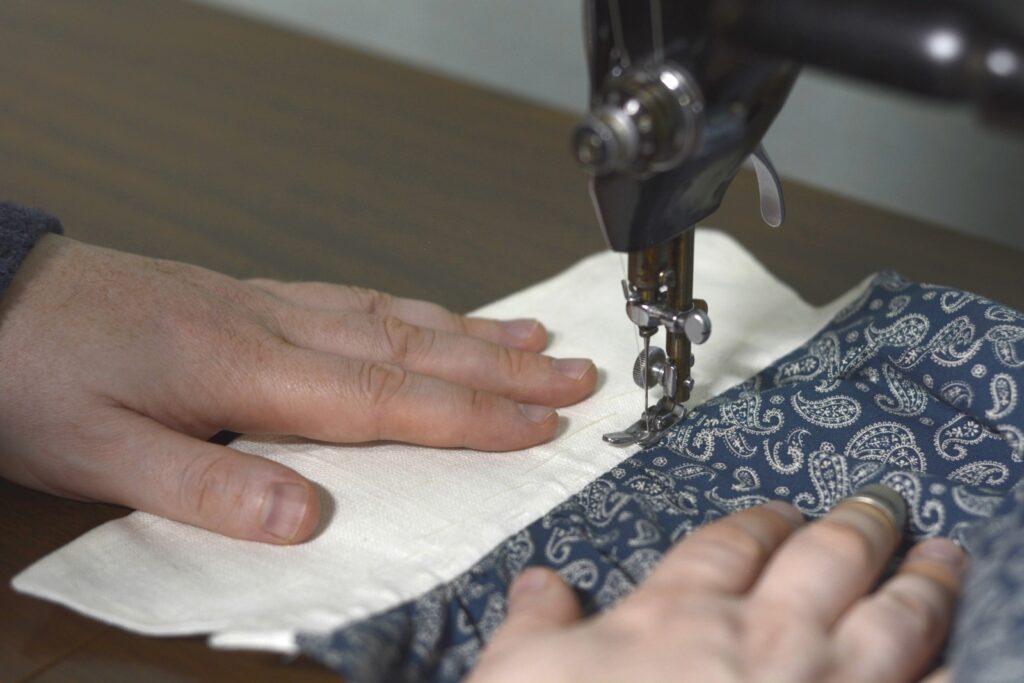
Lay the second cuff piece on top of the half you just attached, right sides together, and baste the first short edge.
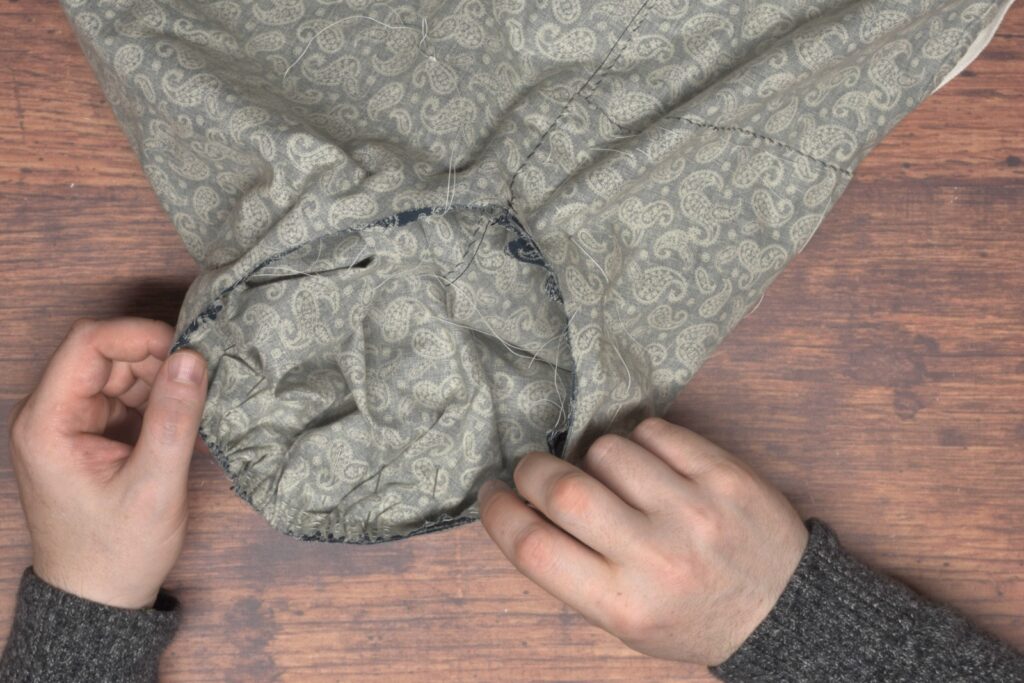
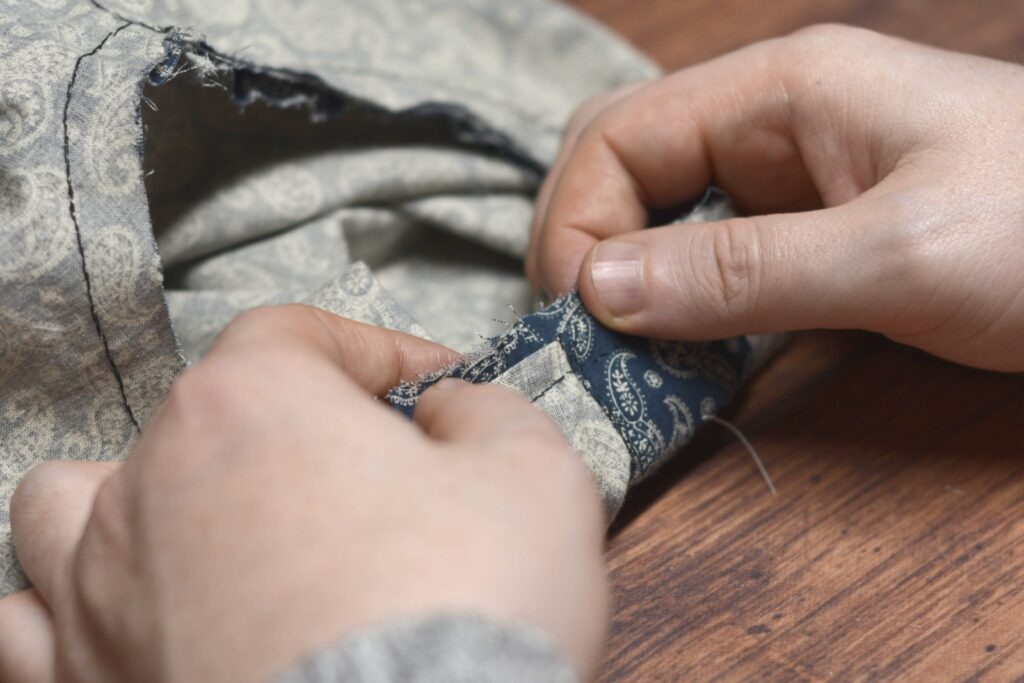
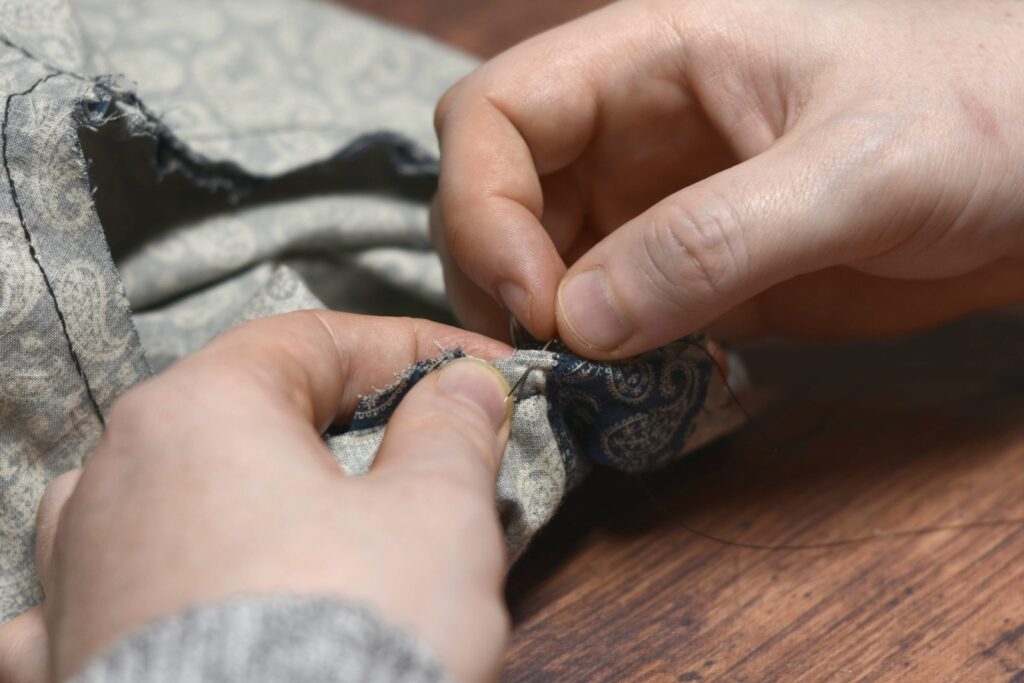
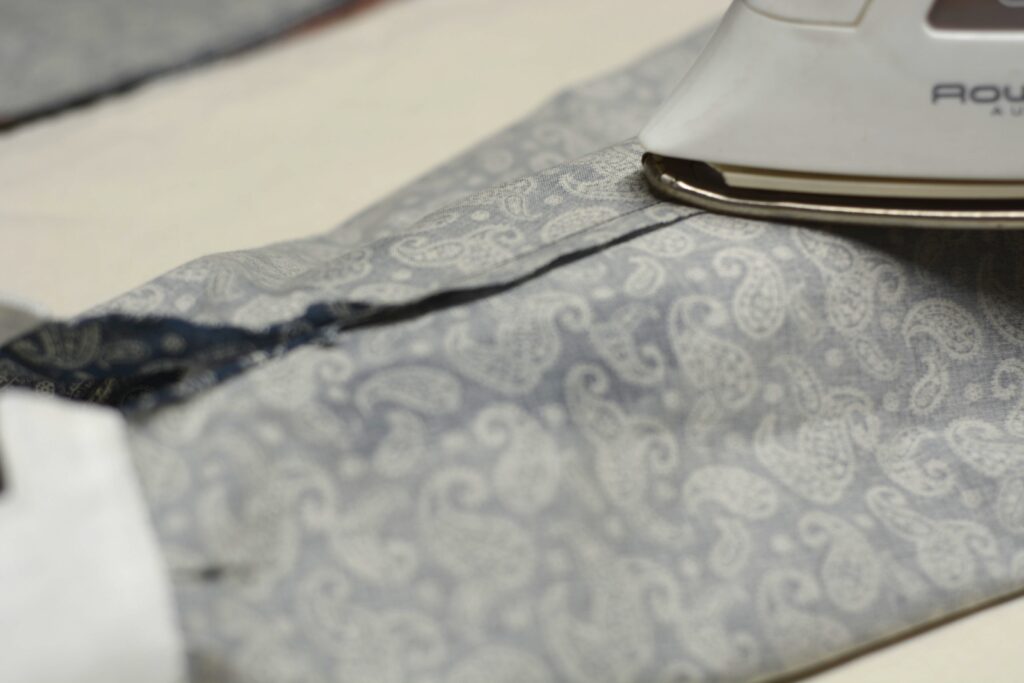
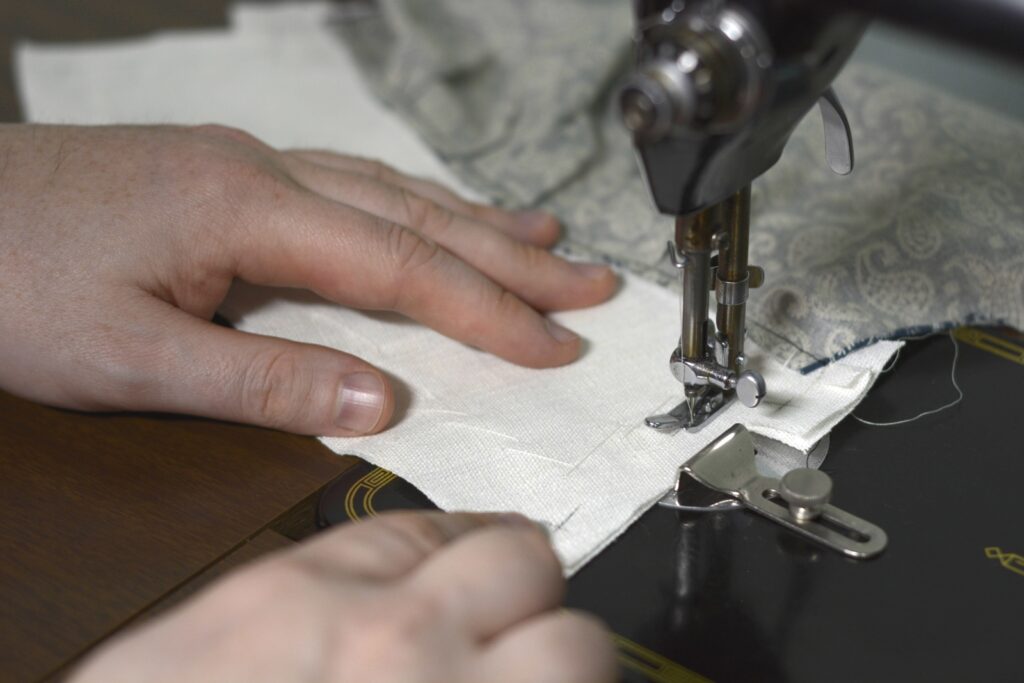
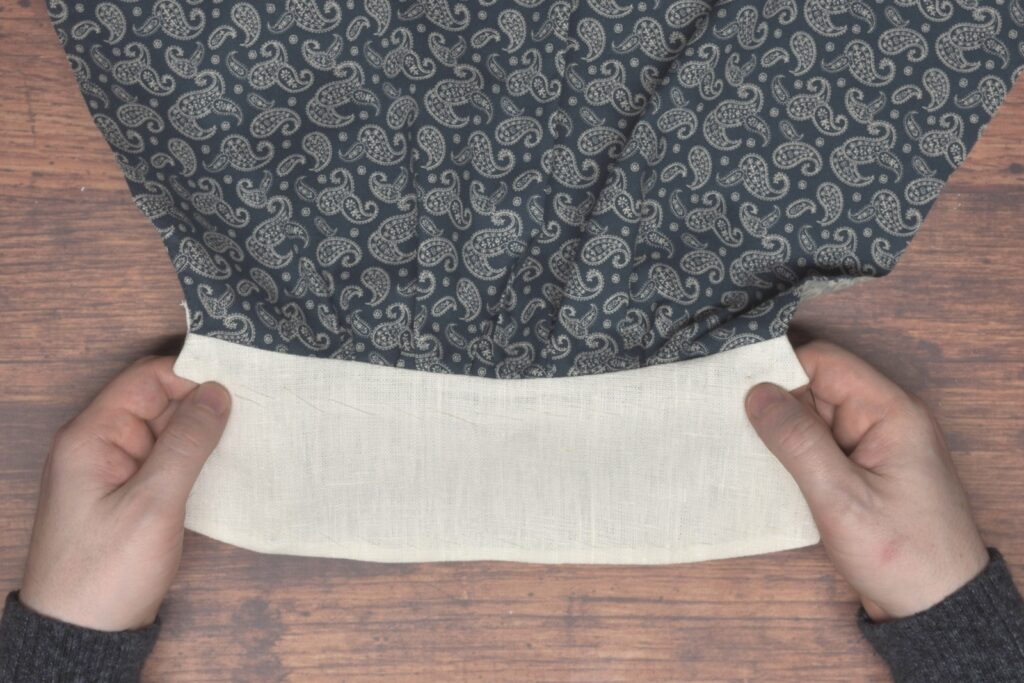
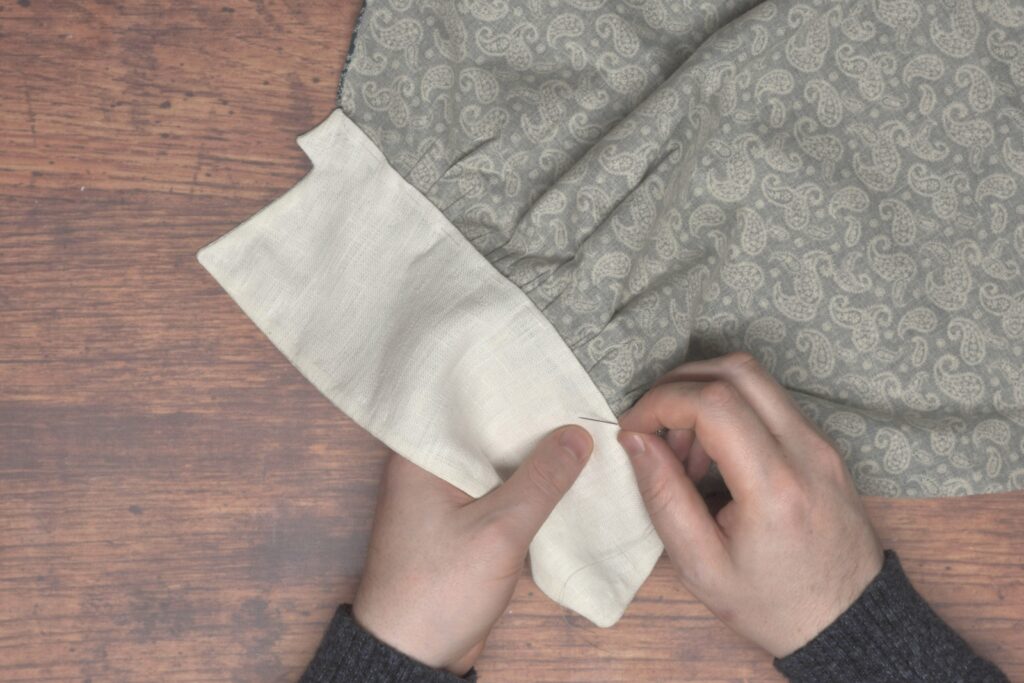
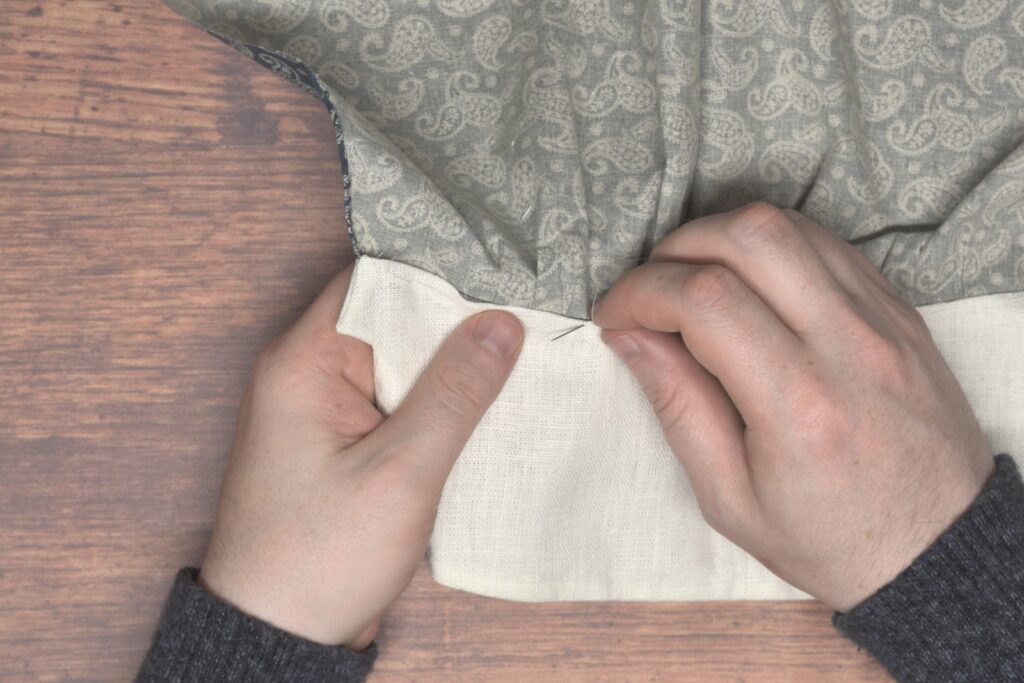
Now turn the entire sleeve over so that the second half of the cuff is underneath. Use your hand to shape the fabric into a deep curve as you baste along the lower edge of the cuff.
By shaping the cuff in this manner, it makes the inner cuff a little shorter than the outer cuff, helping to avoid excess fabric when the cuff is completed.
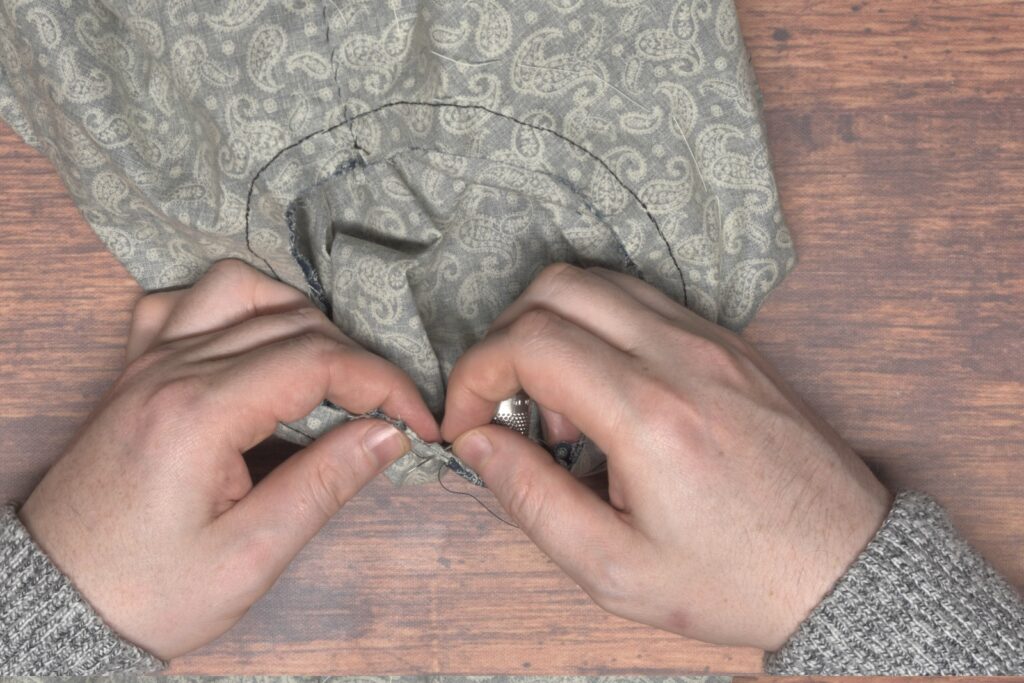
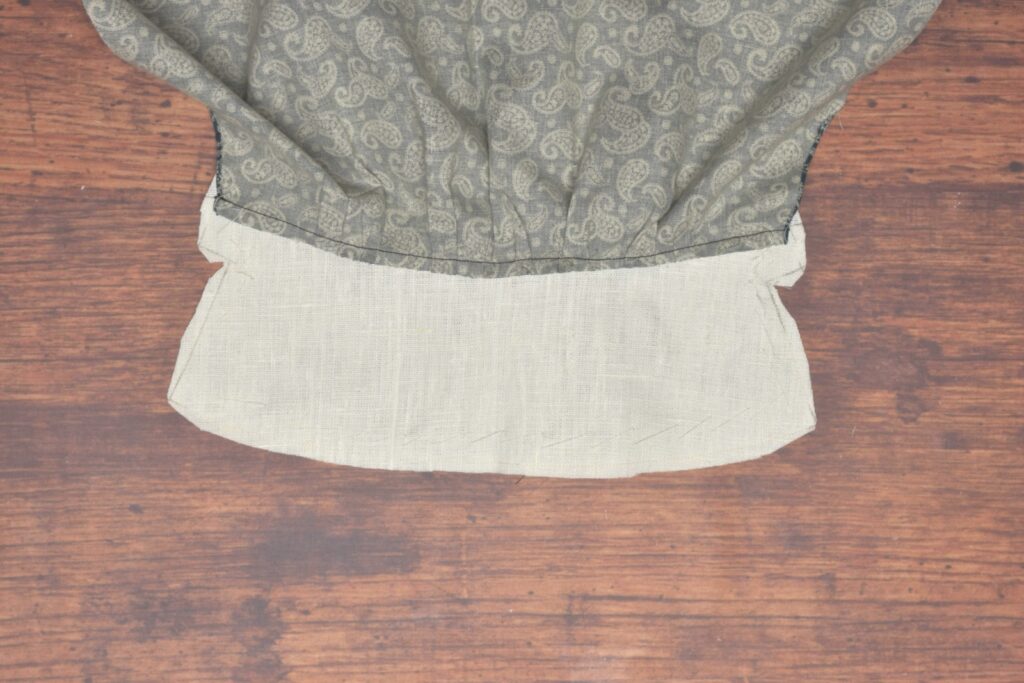
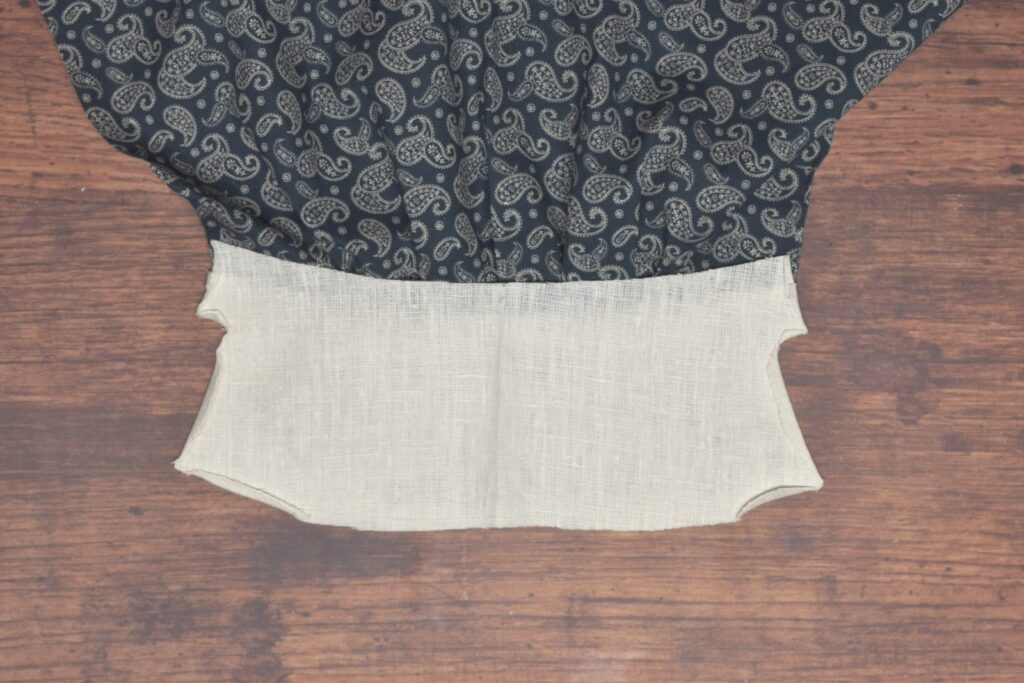
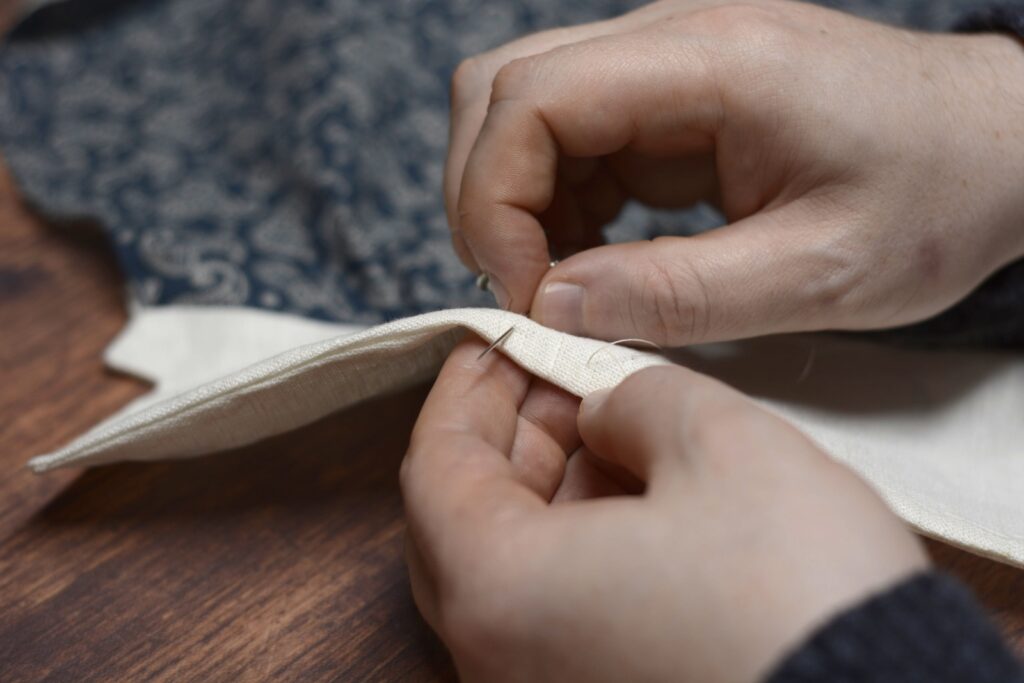
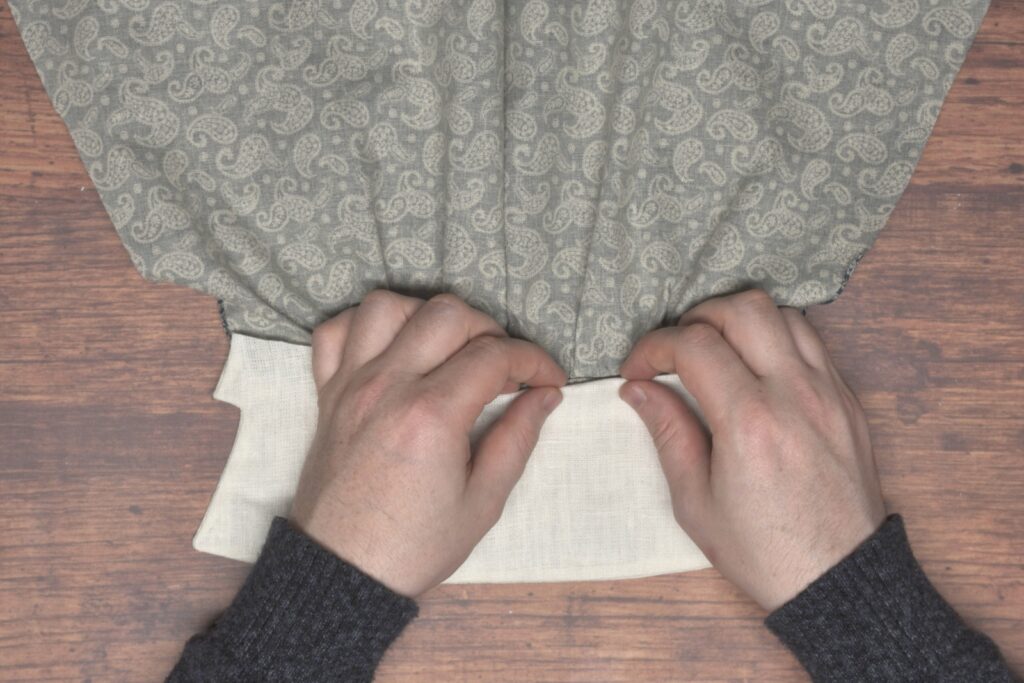
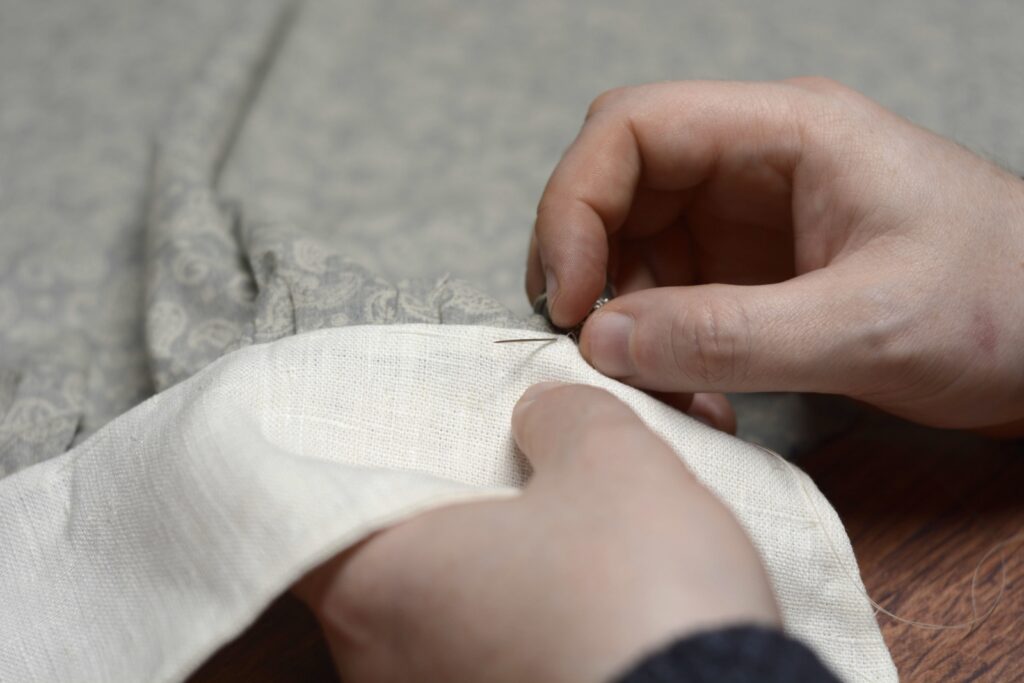
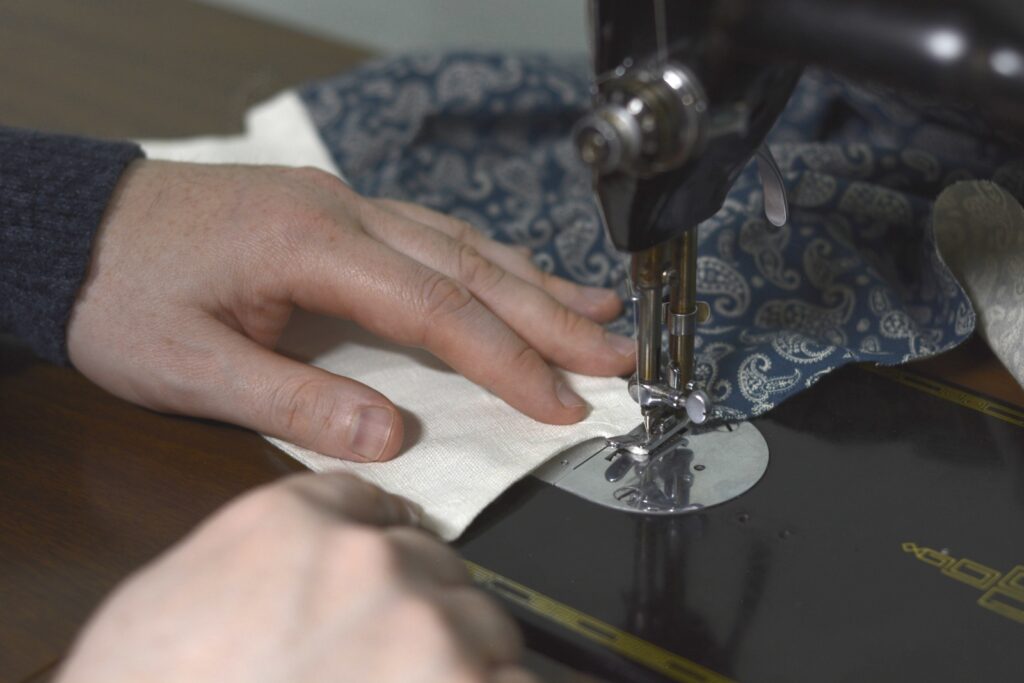
Continue basting along the remaining short end.
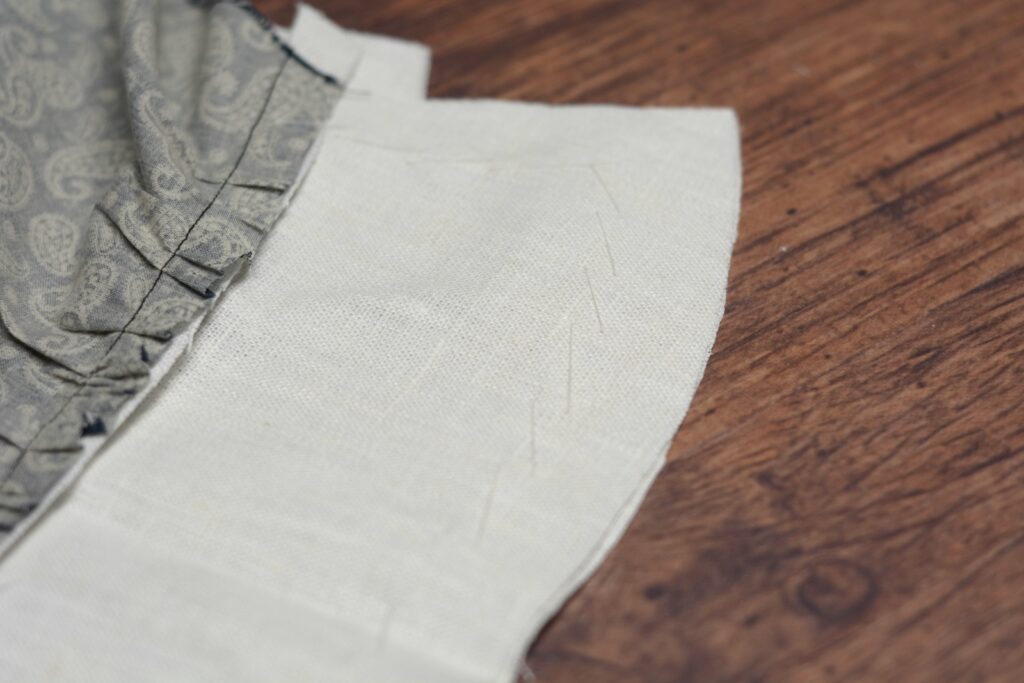
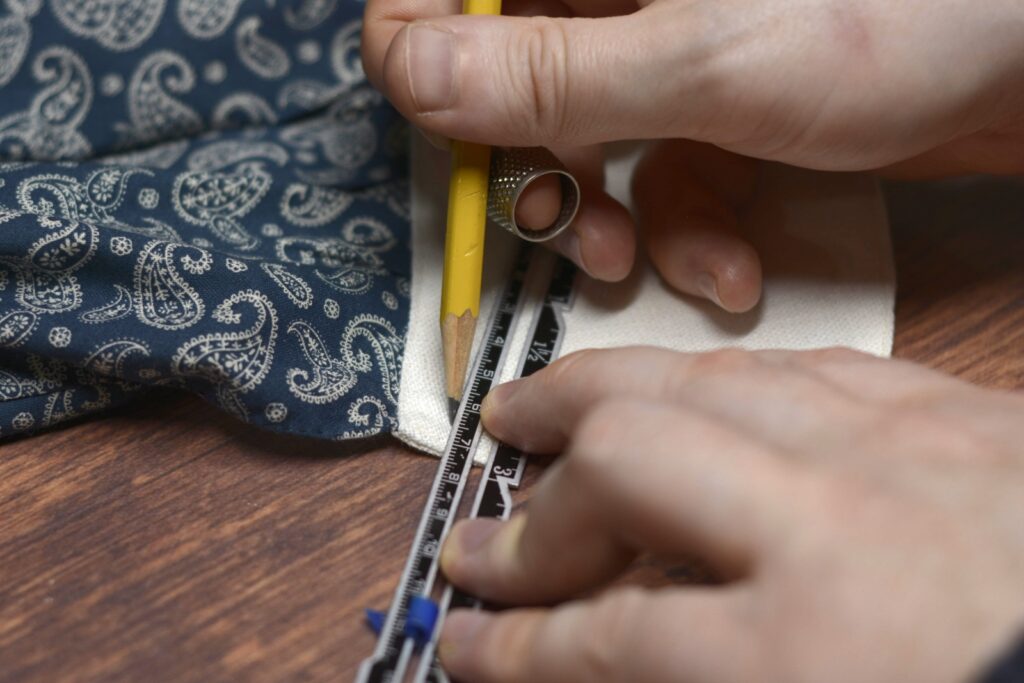
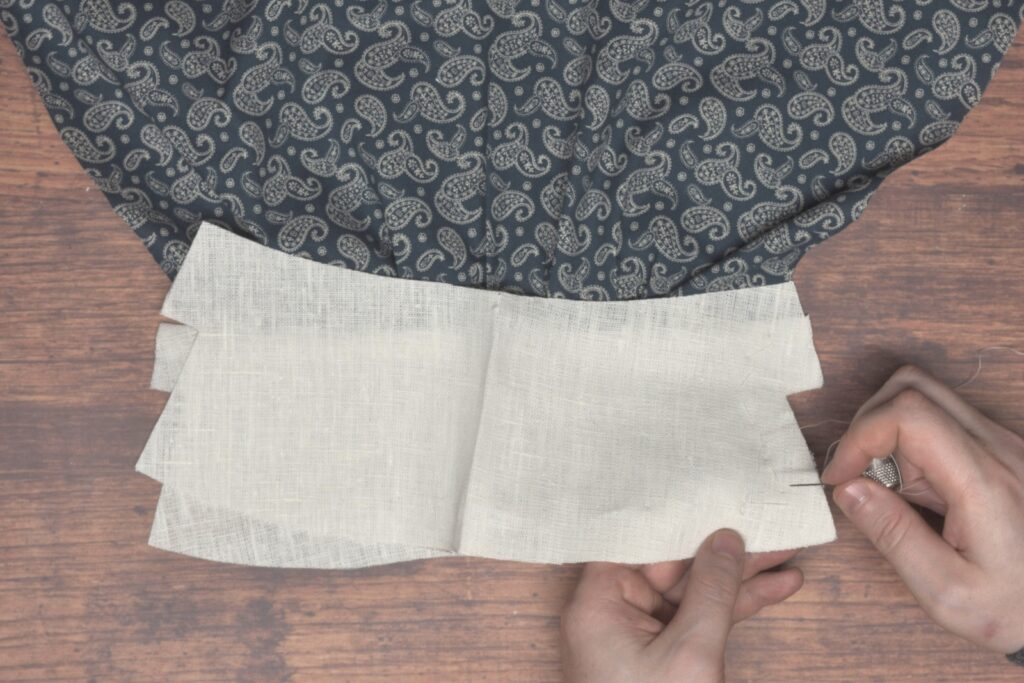
Mark the 1/2″ seam allowances along the right-angled areas to help guide your stitches, if you need to.
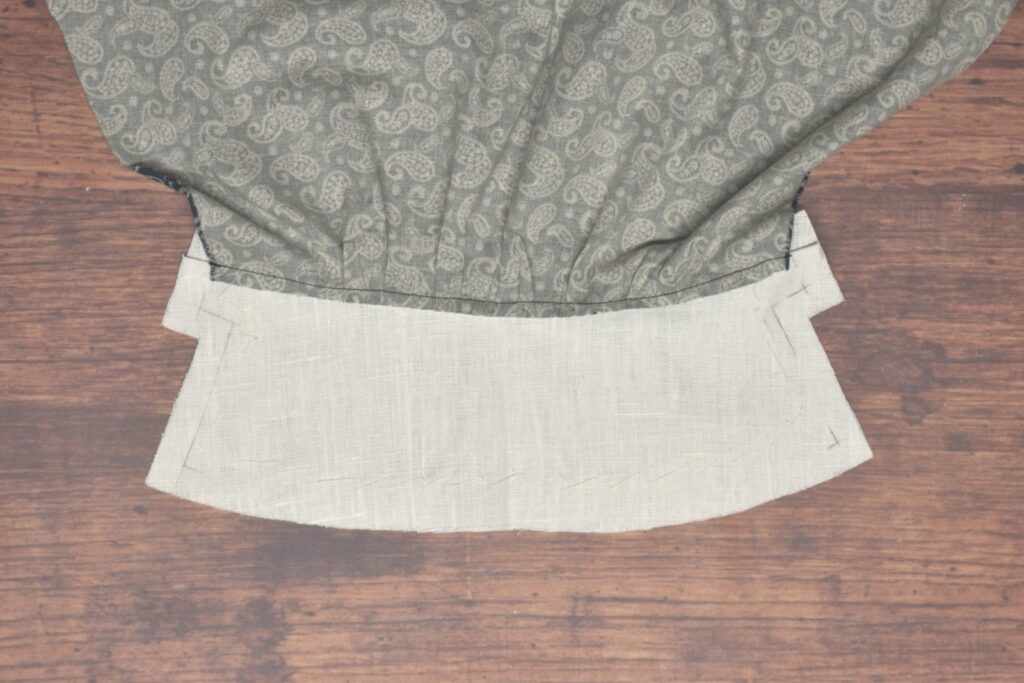
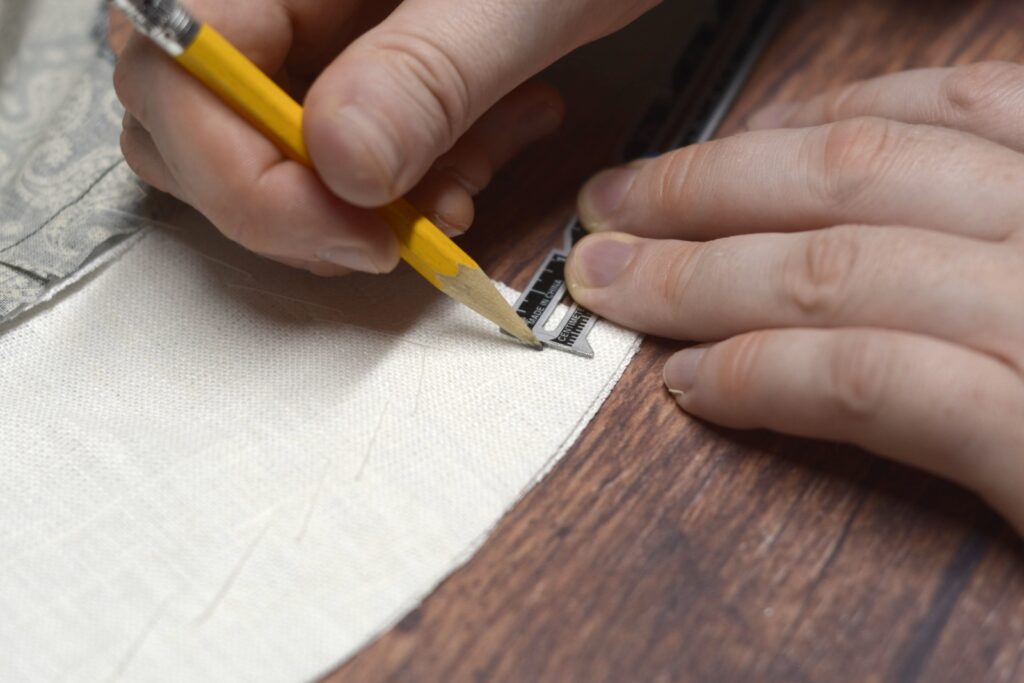
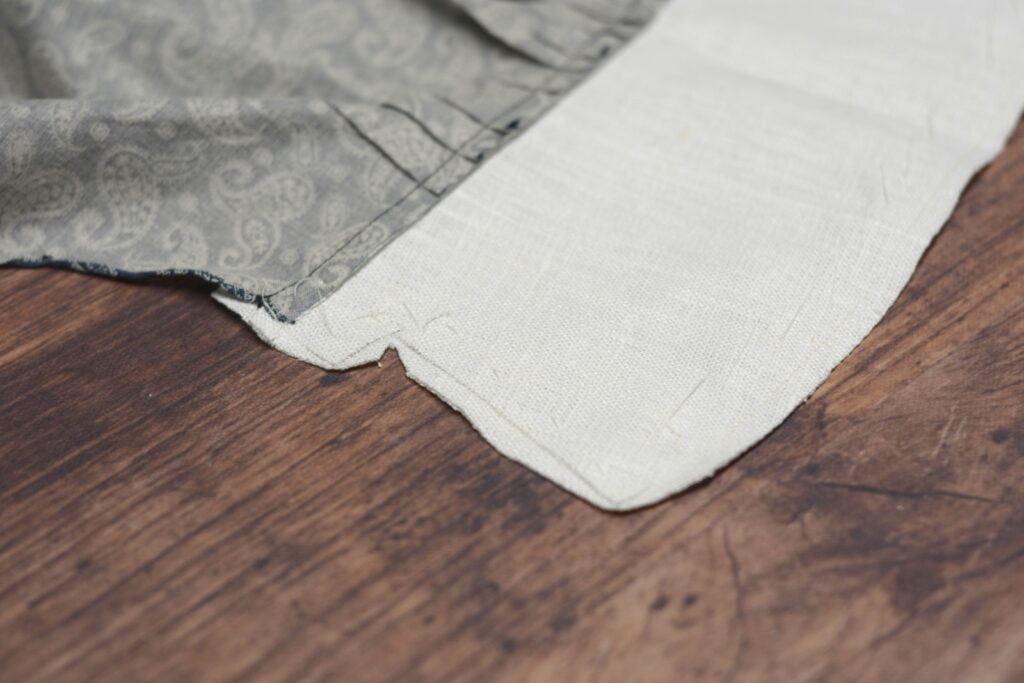
Sew along the outer and the two shorter ends of the cuff using a 1/2″ seam allowance. At the corners, be sure to take a stitch across on the diagonal, rather than making a sharp 90 degree turn, to allow room for the fabric to turn under.
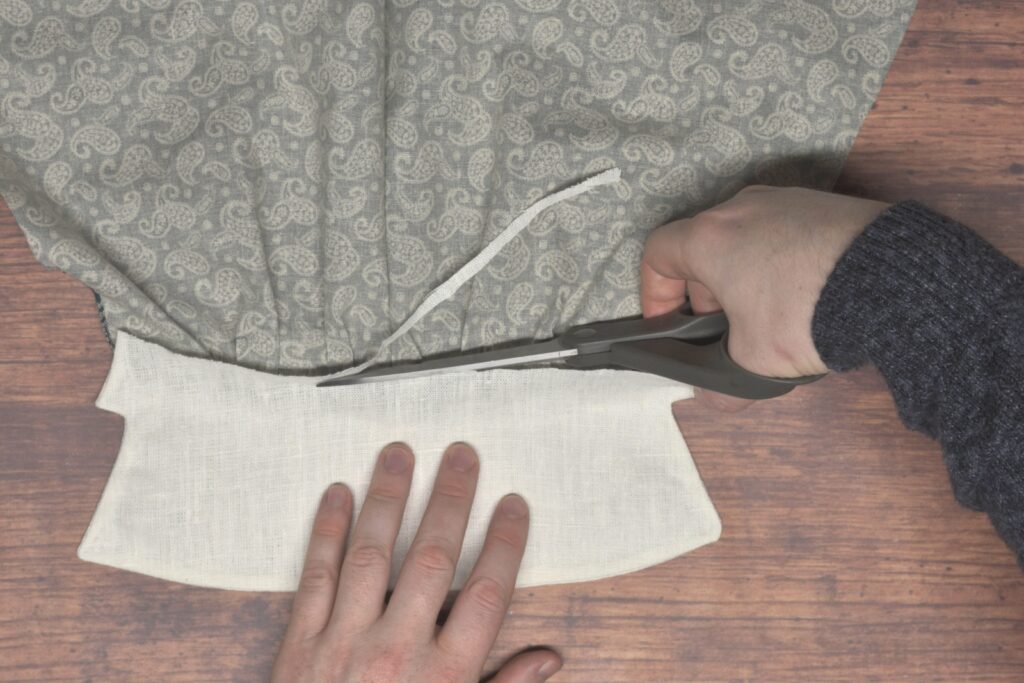
Trim the seam allowances to 1/4″.
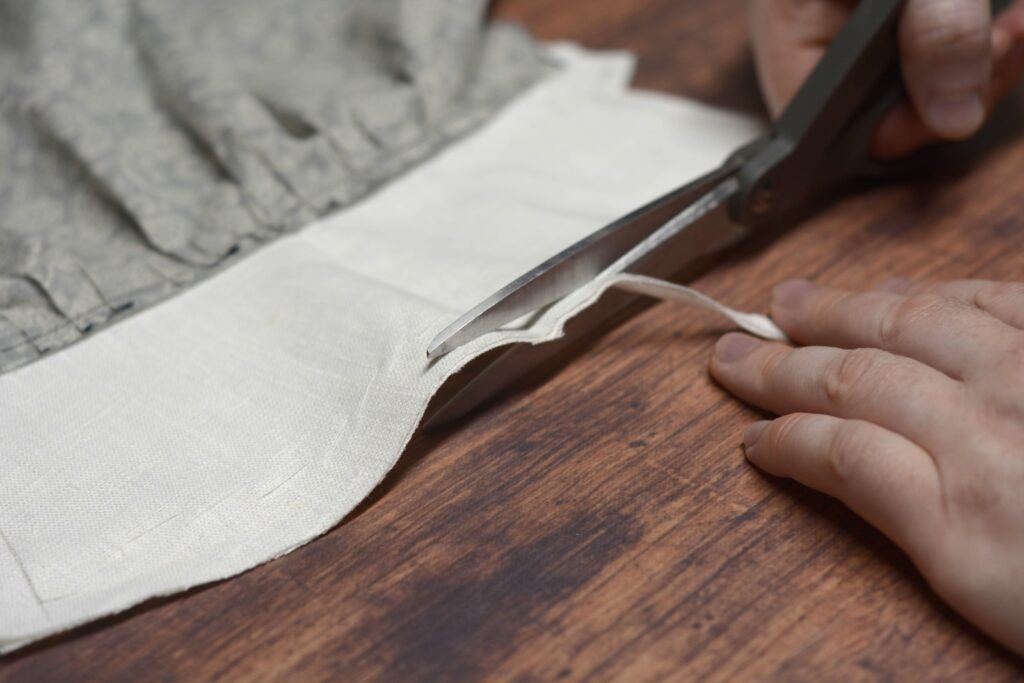
Clip to the inner corners and trim away the seam allowances at the other corners to within about 1/16 – 1/8″ depending on how stable your fabric is. It’s basically identical to how we trimmed the collar.
Press the seam allowances at the corners over as neatly and as you can to aid in turning the cuffs right side out.
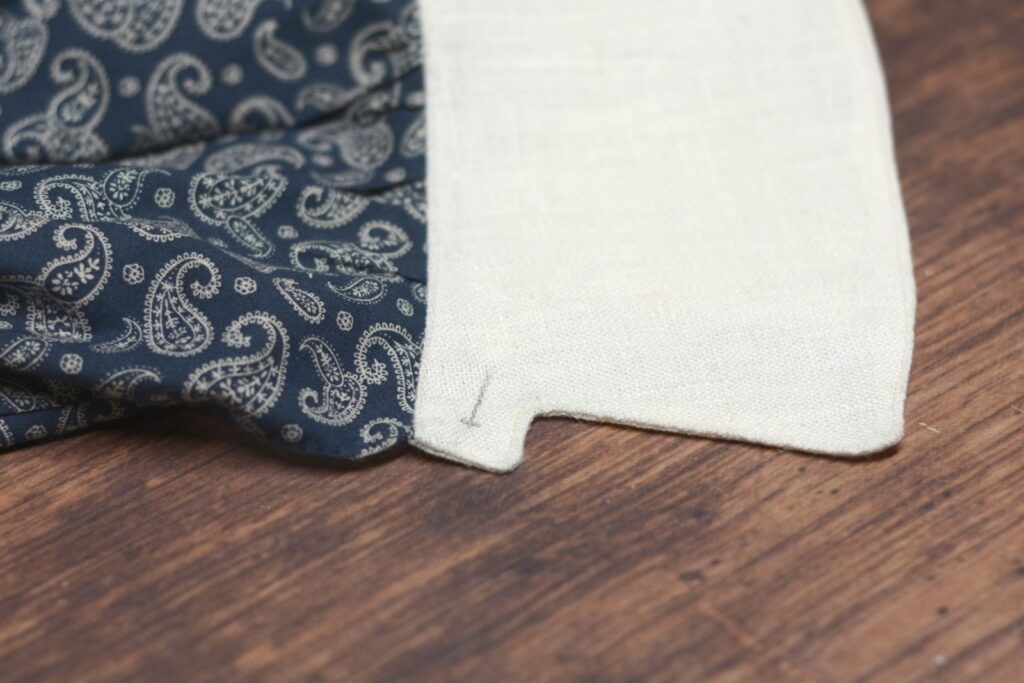
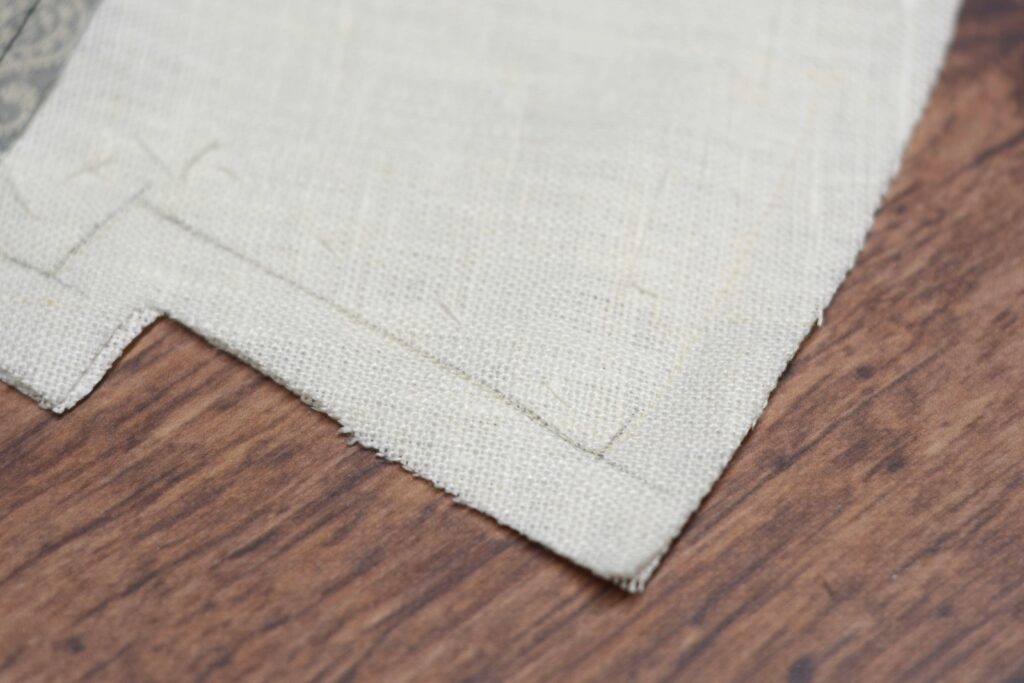
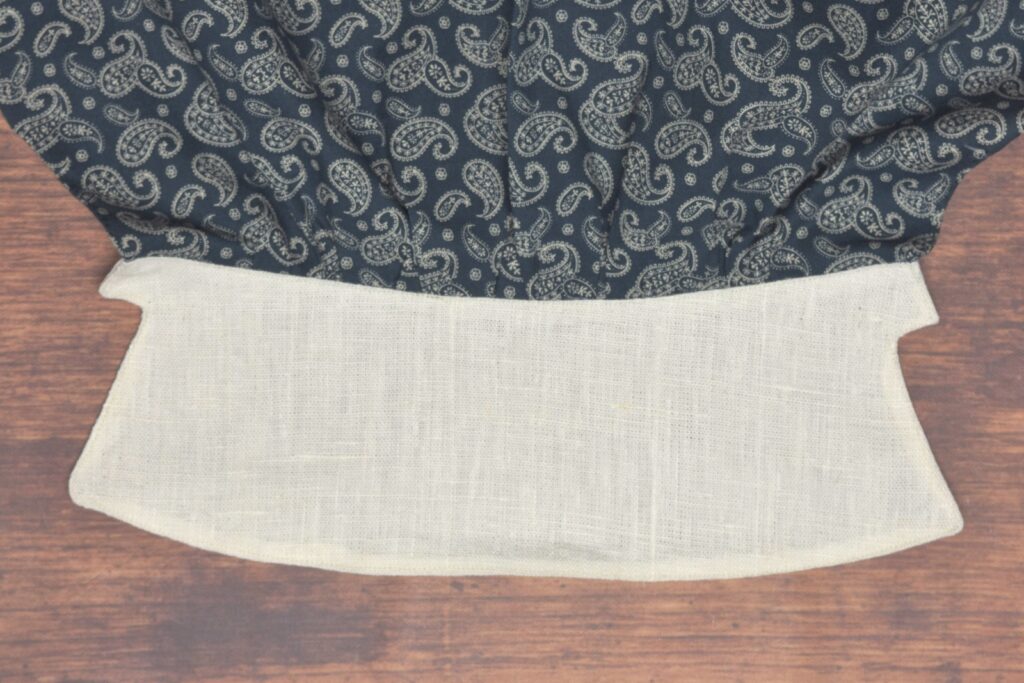
Turn the cuffs right side out, using a point pressing tool to get the crisp corners.
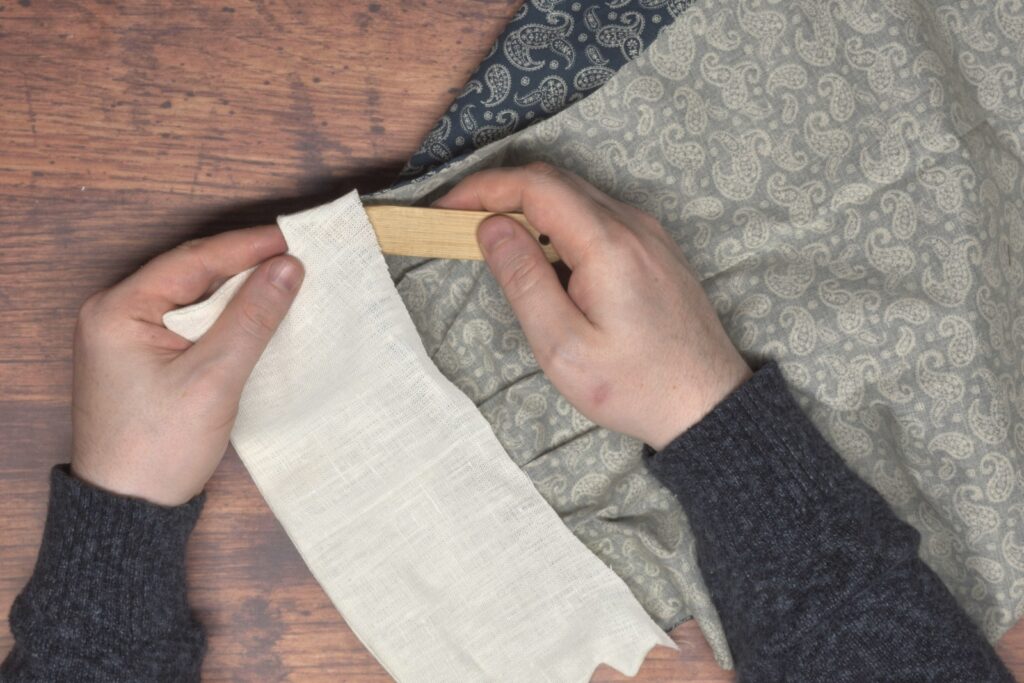
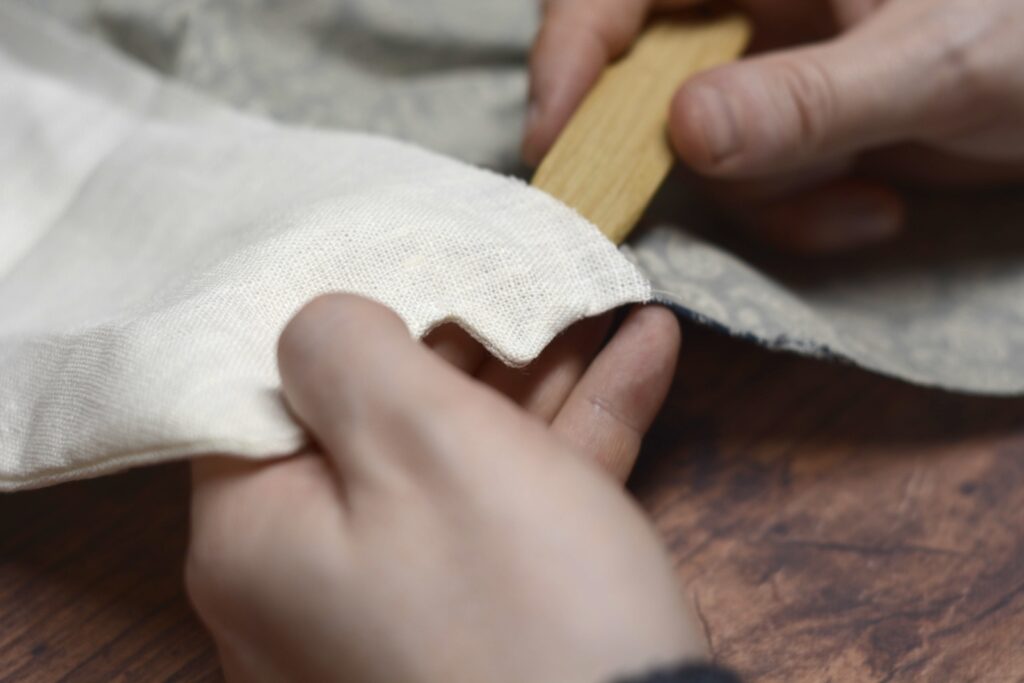
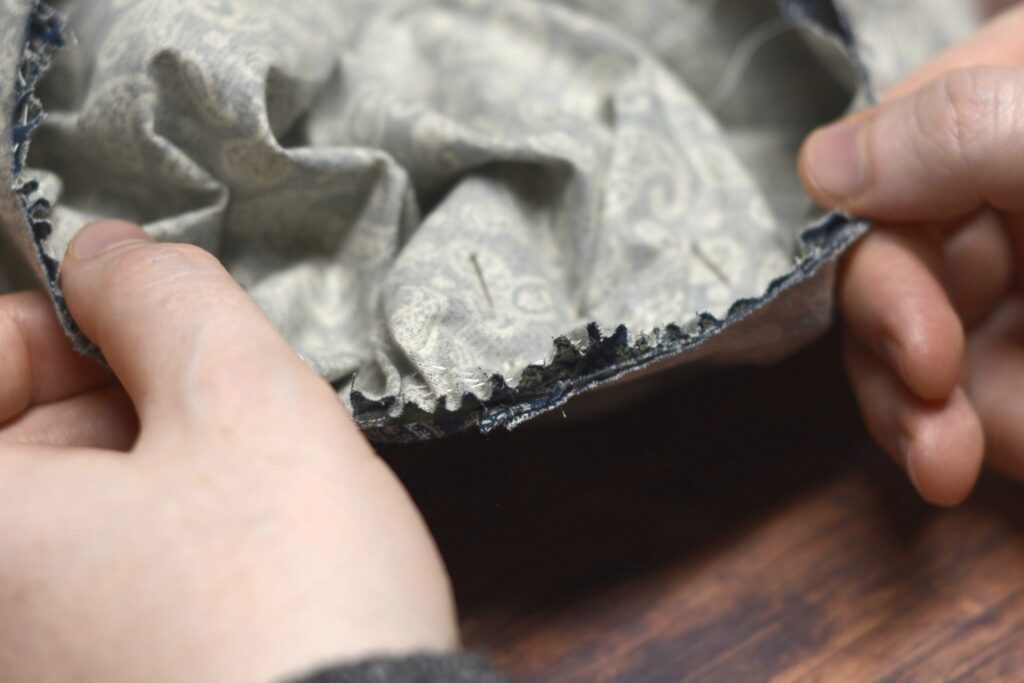
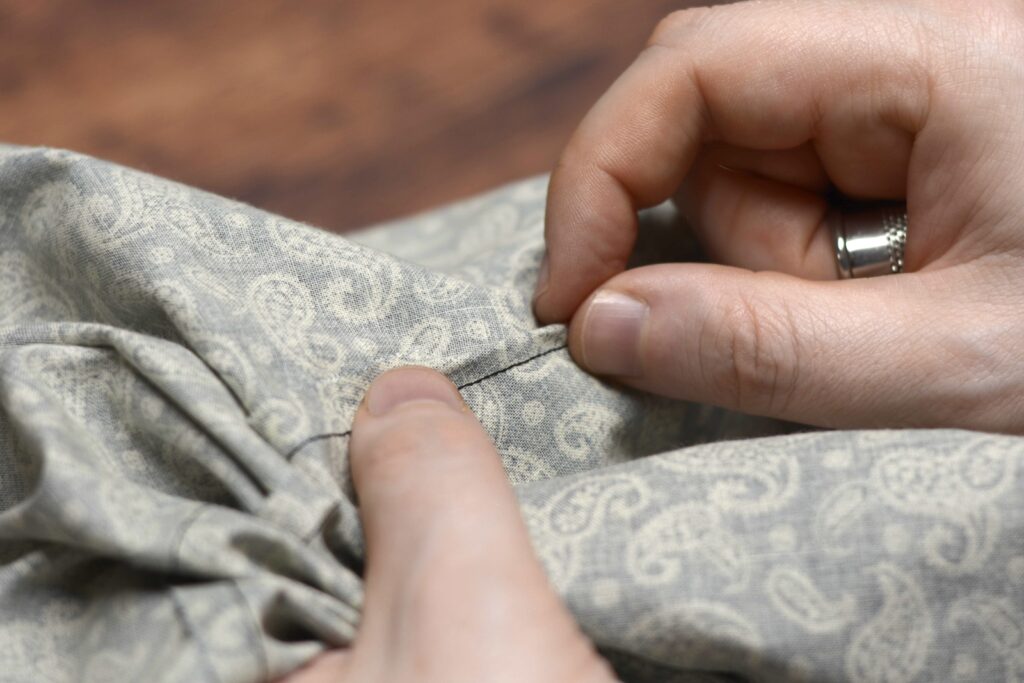
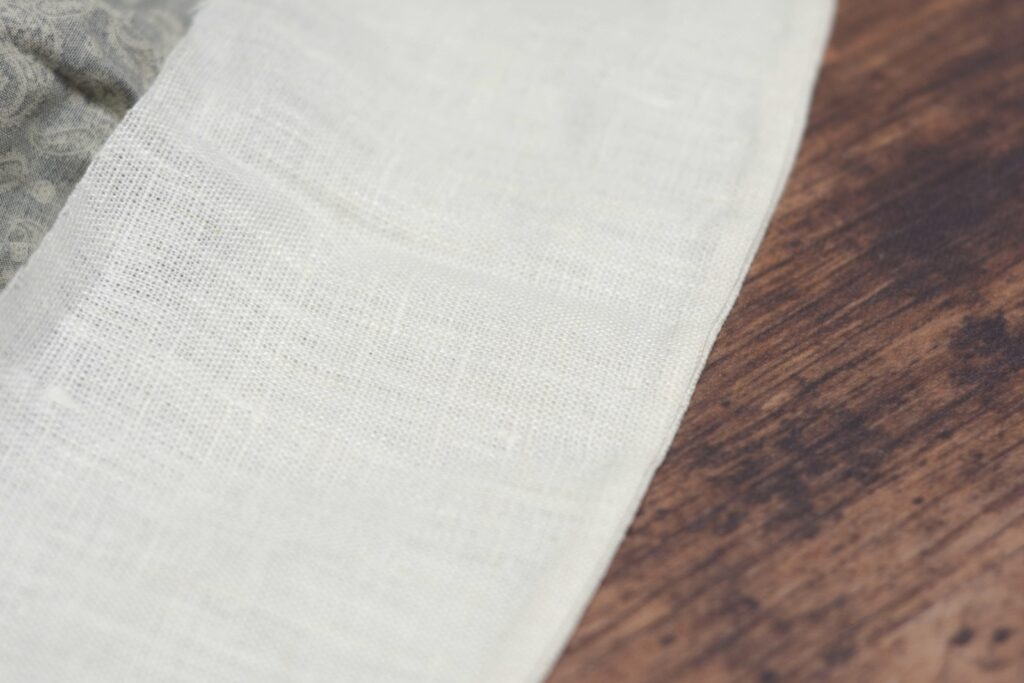
Baste along the outer edges of the cuff, rolling the inner cuff back about 1/16″ from the edge.
The view of the inner cuff showing how it’s set back.
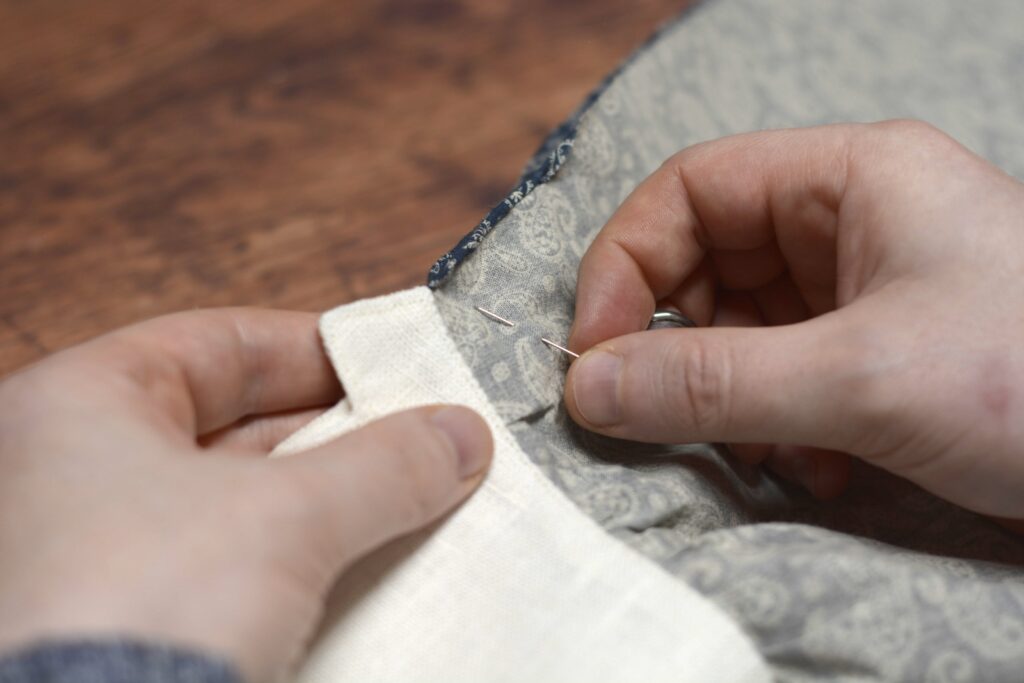
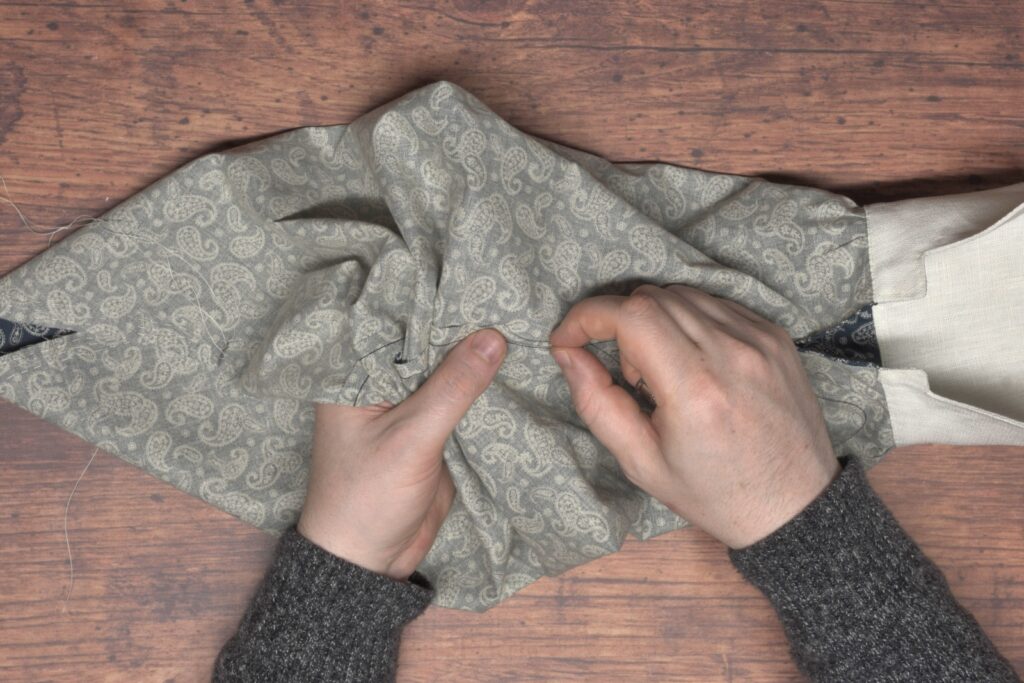
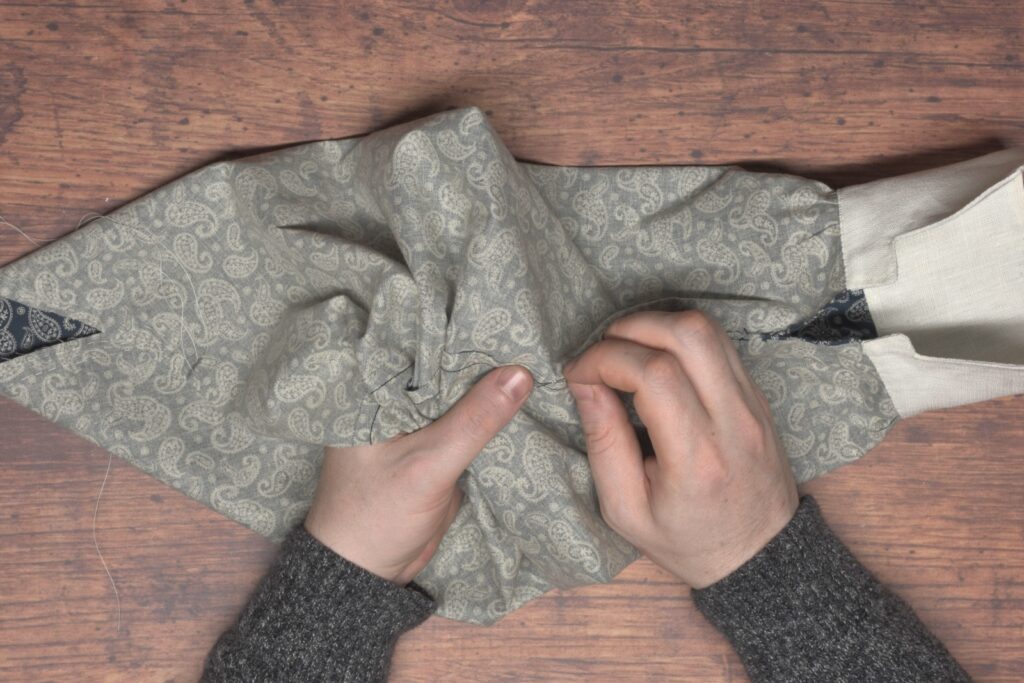
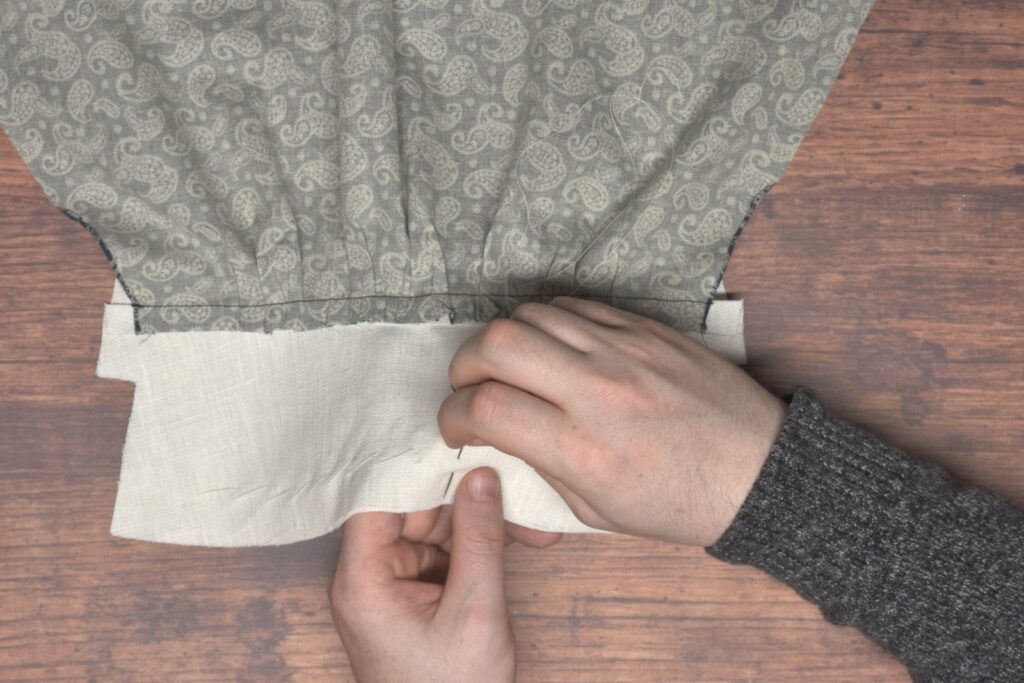
Being careful to hold the layers of fabric together evenly, baste along the inner edge of the cuff, about 1/2″ from the sleeve edge underneath.
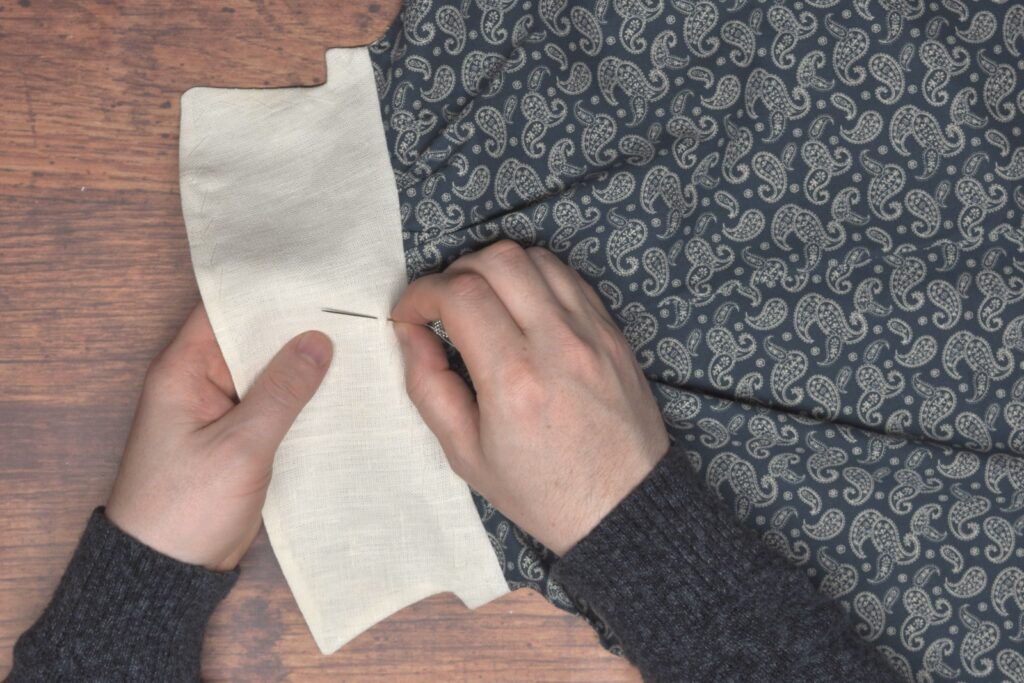
It’s still a good idea to let the fabric drape over your hand as you baste to make the inner cuff shorter as you did earlier.
Trim the remaining seam allowance by 1/4″.
Fold the seam allowance under and press with your fingers as you go.
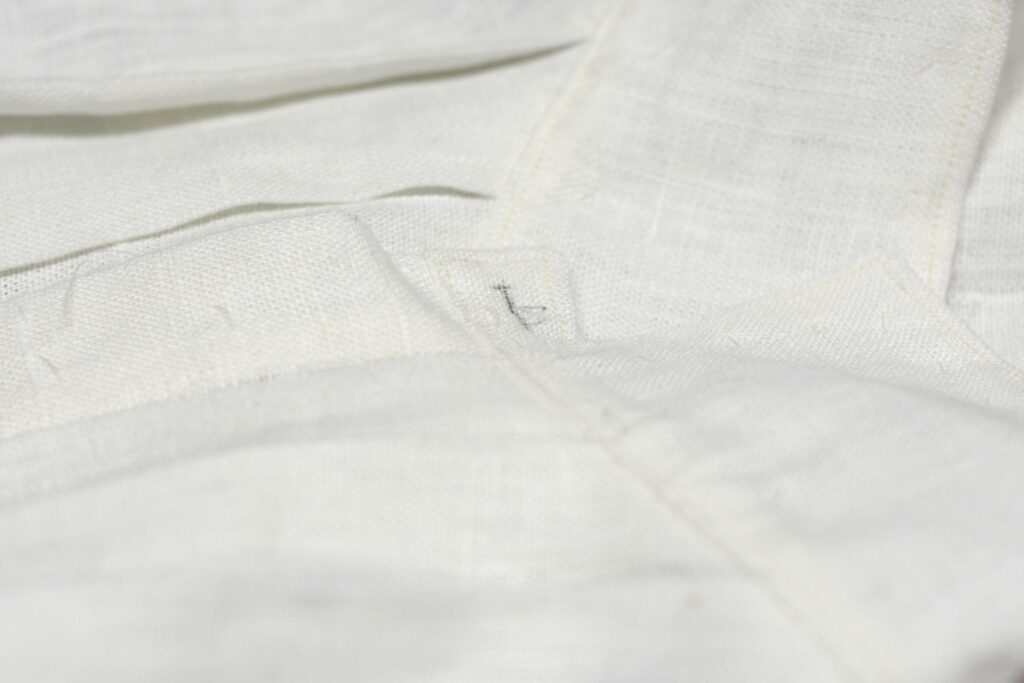
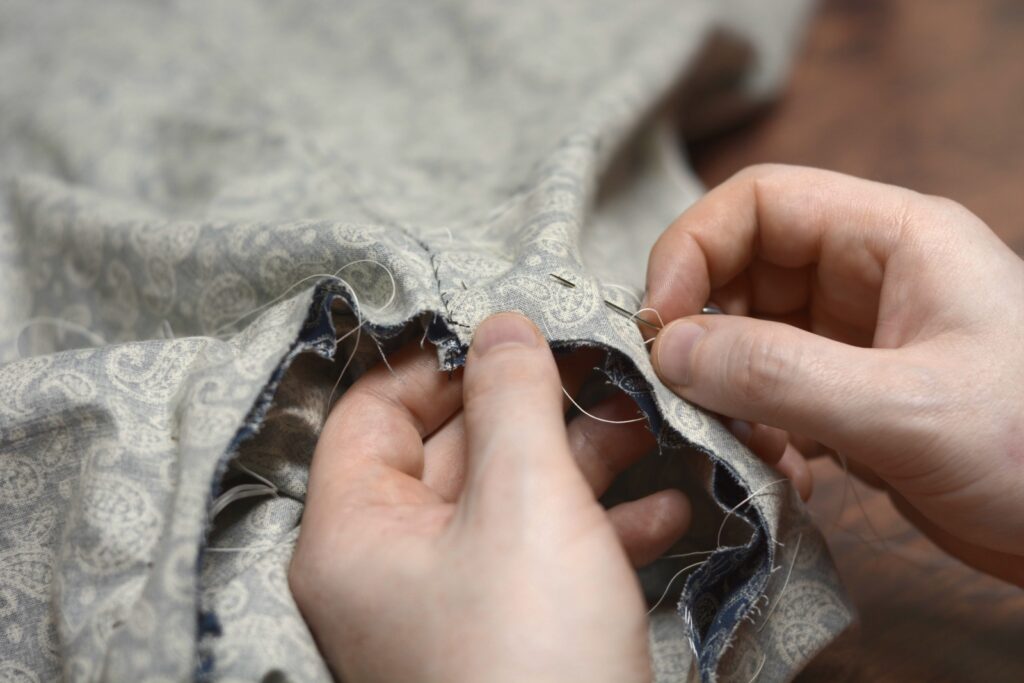
Baste across the folded seam.
Finally, close the cuff by felling the remaining folded seam, being sure not to let the stitches show through to the right side. I hid the diagonal part of the stitch in between the layers.
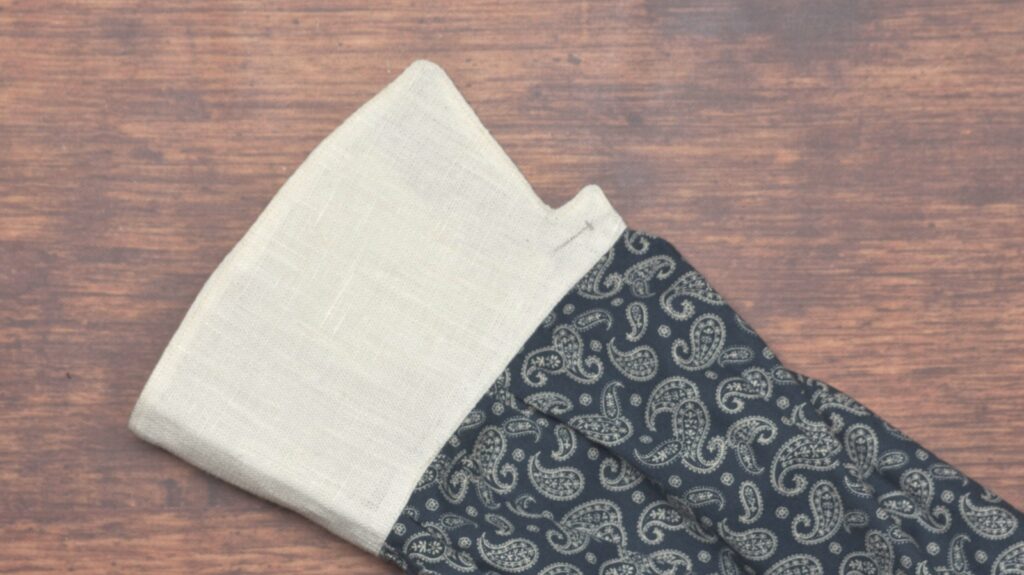
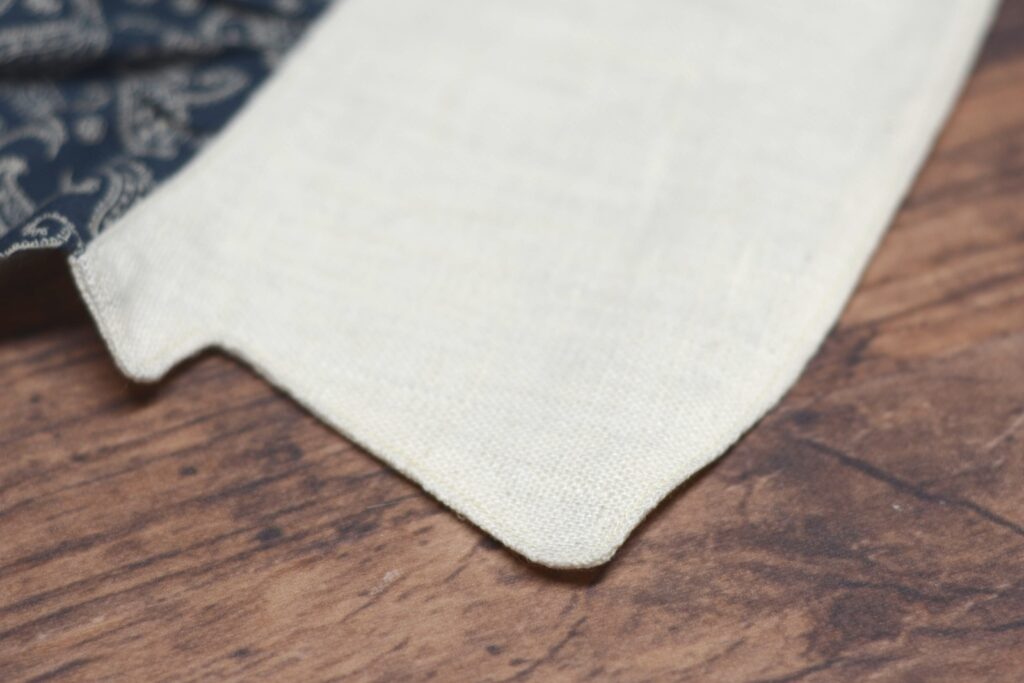
Finish off the cuff by top stitching around the entirety of the cuff. I like to start nearer to the sleeve as the ends of the stitching are less visible here.
Take extra care around the corners.
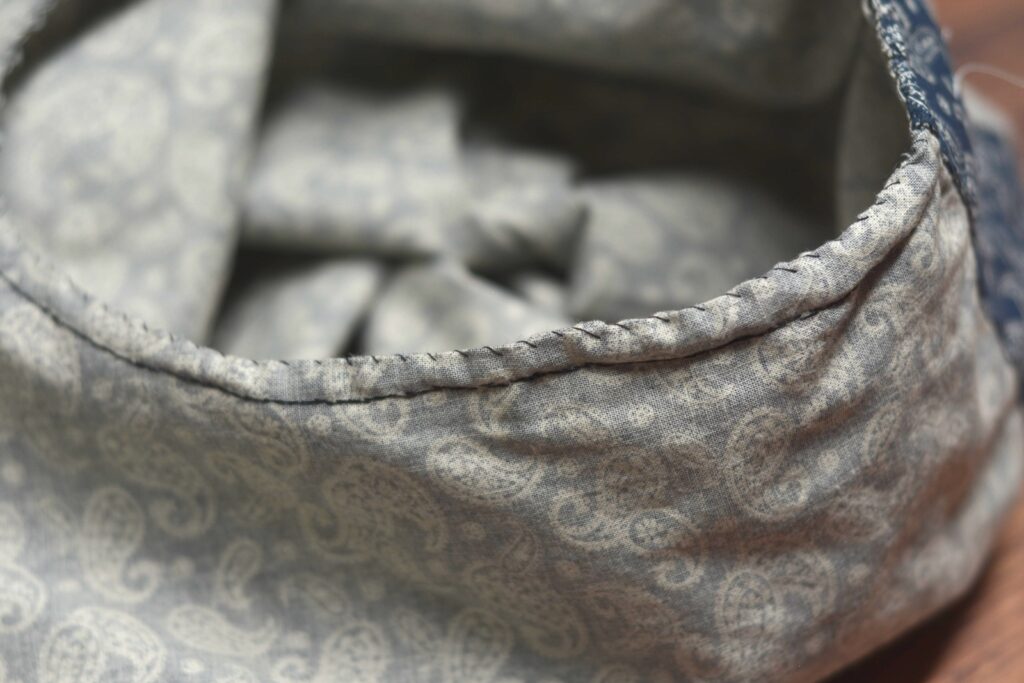
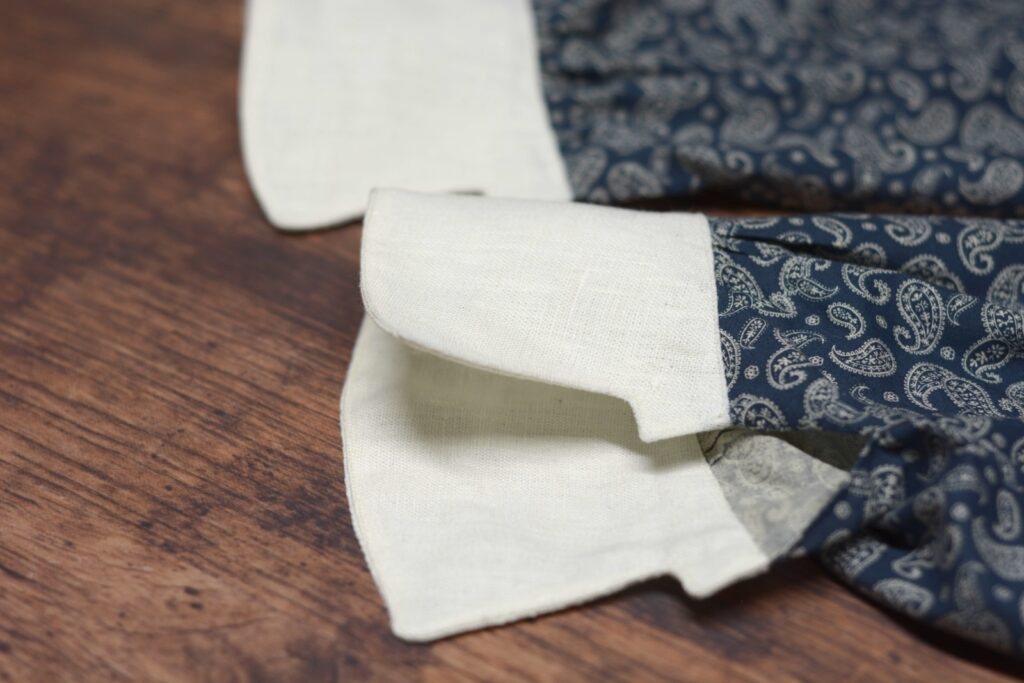
The completed cuff.
Your Progress
[columns gutter=”0″]
[col]
[progressally_objectives]
[/col]
[col align_text=”center, middle”]
[progressally_progress_pie_chart size=”100″]
[/col]
[/columns]