John Wilkes Booth Paletot – Masterclass
Expand your tailoring knowledge and skills as we recreate a coat worn by John Wilkes Booth, from research and designing, drafting, fitting, and down to the various historical construction details.
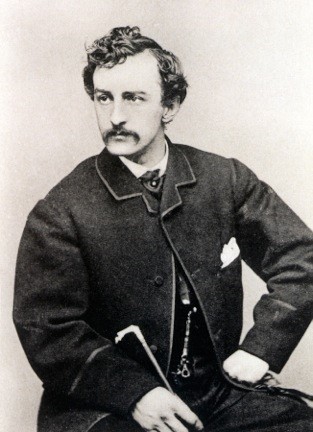
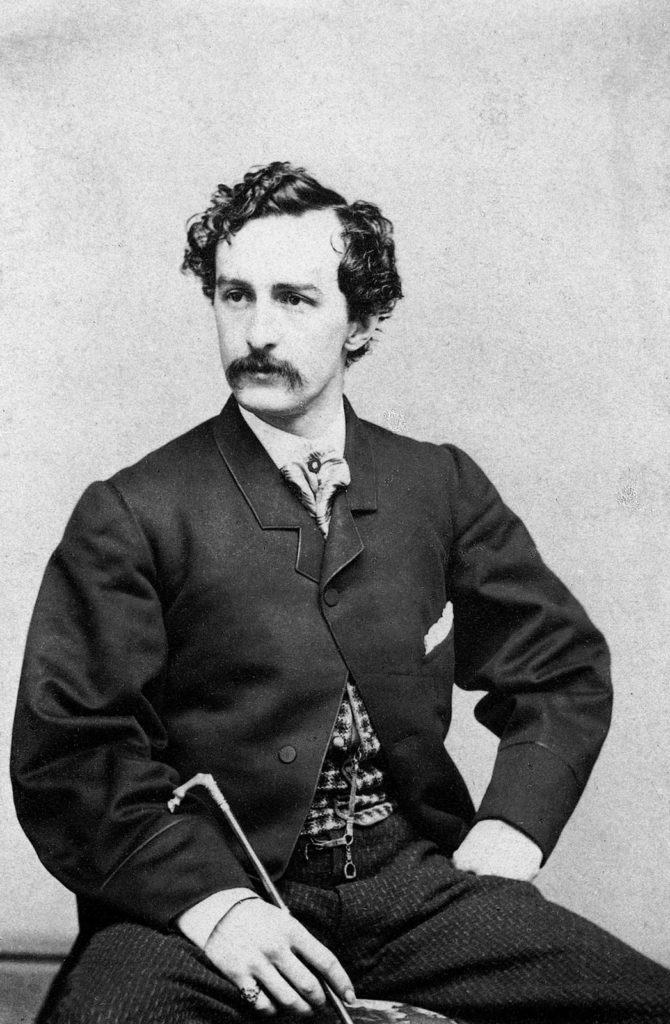
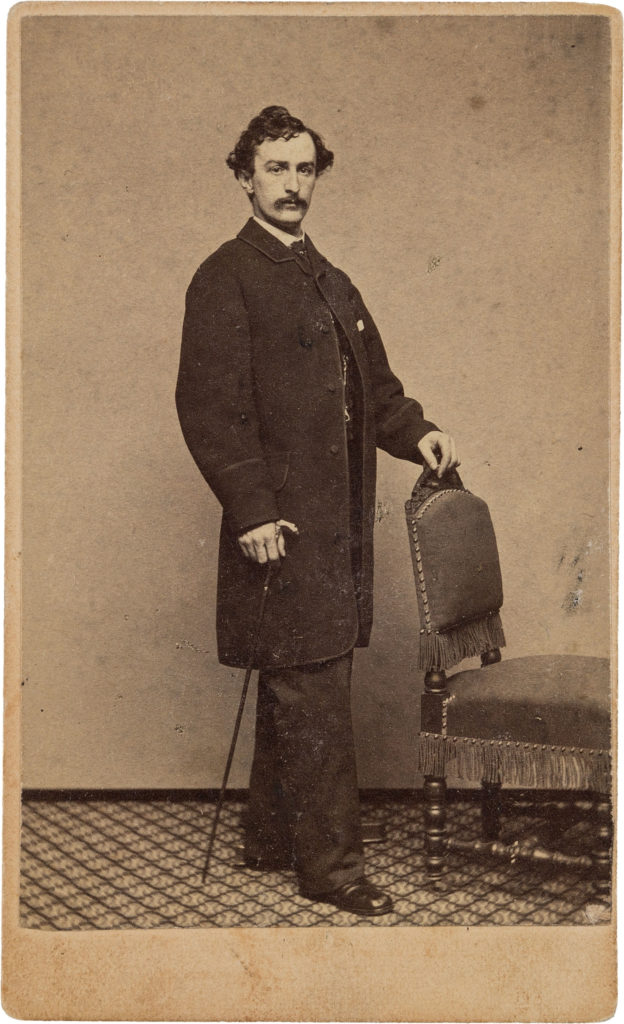
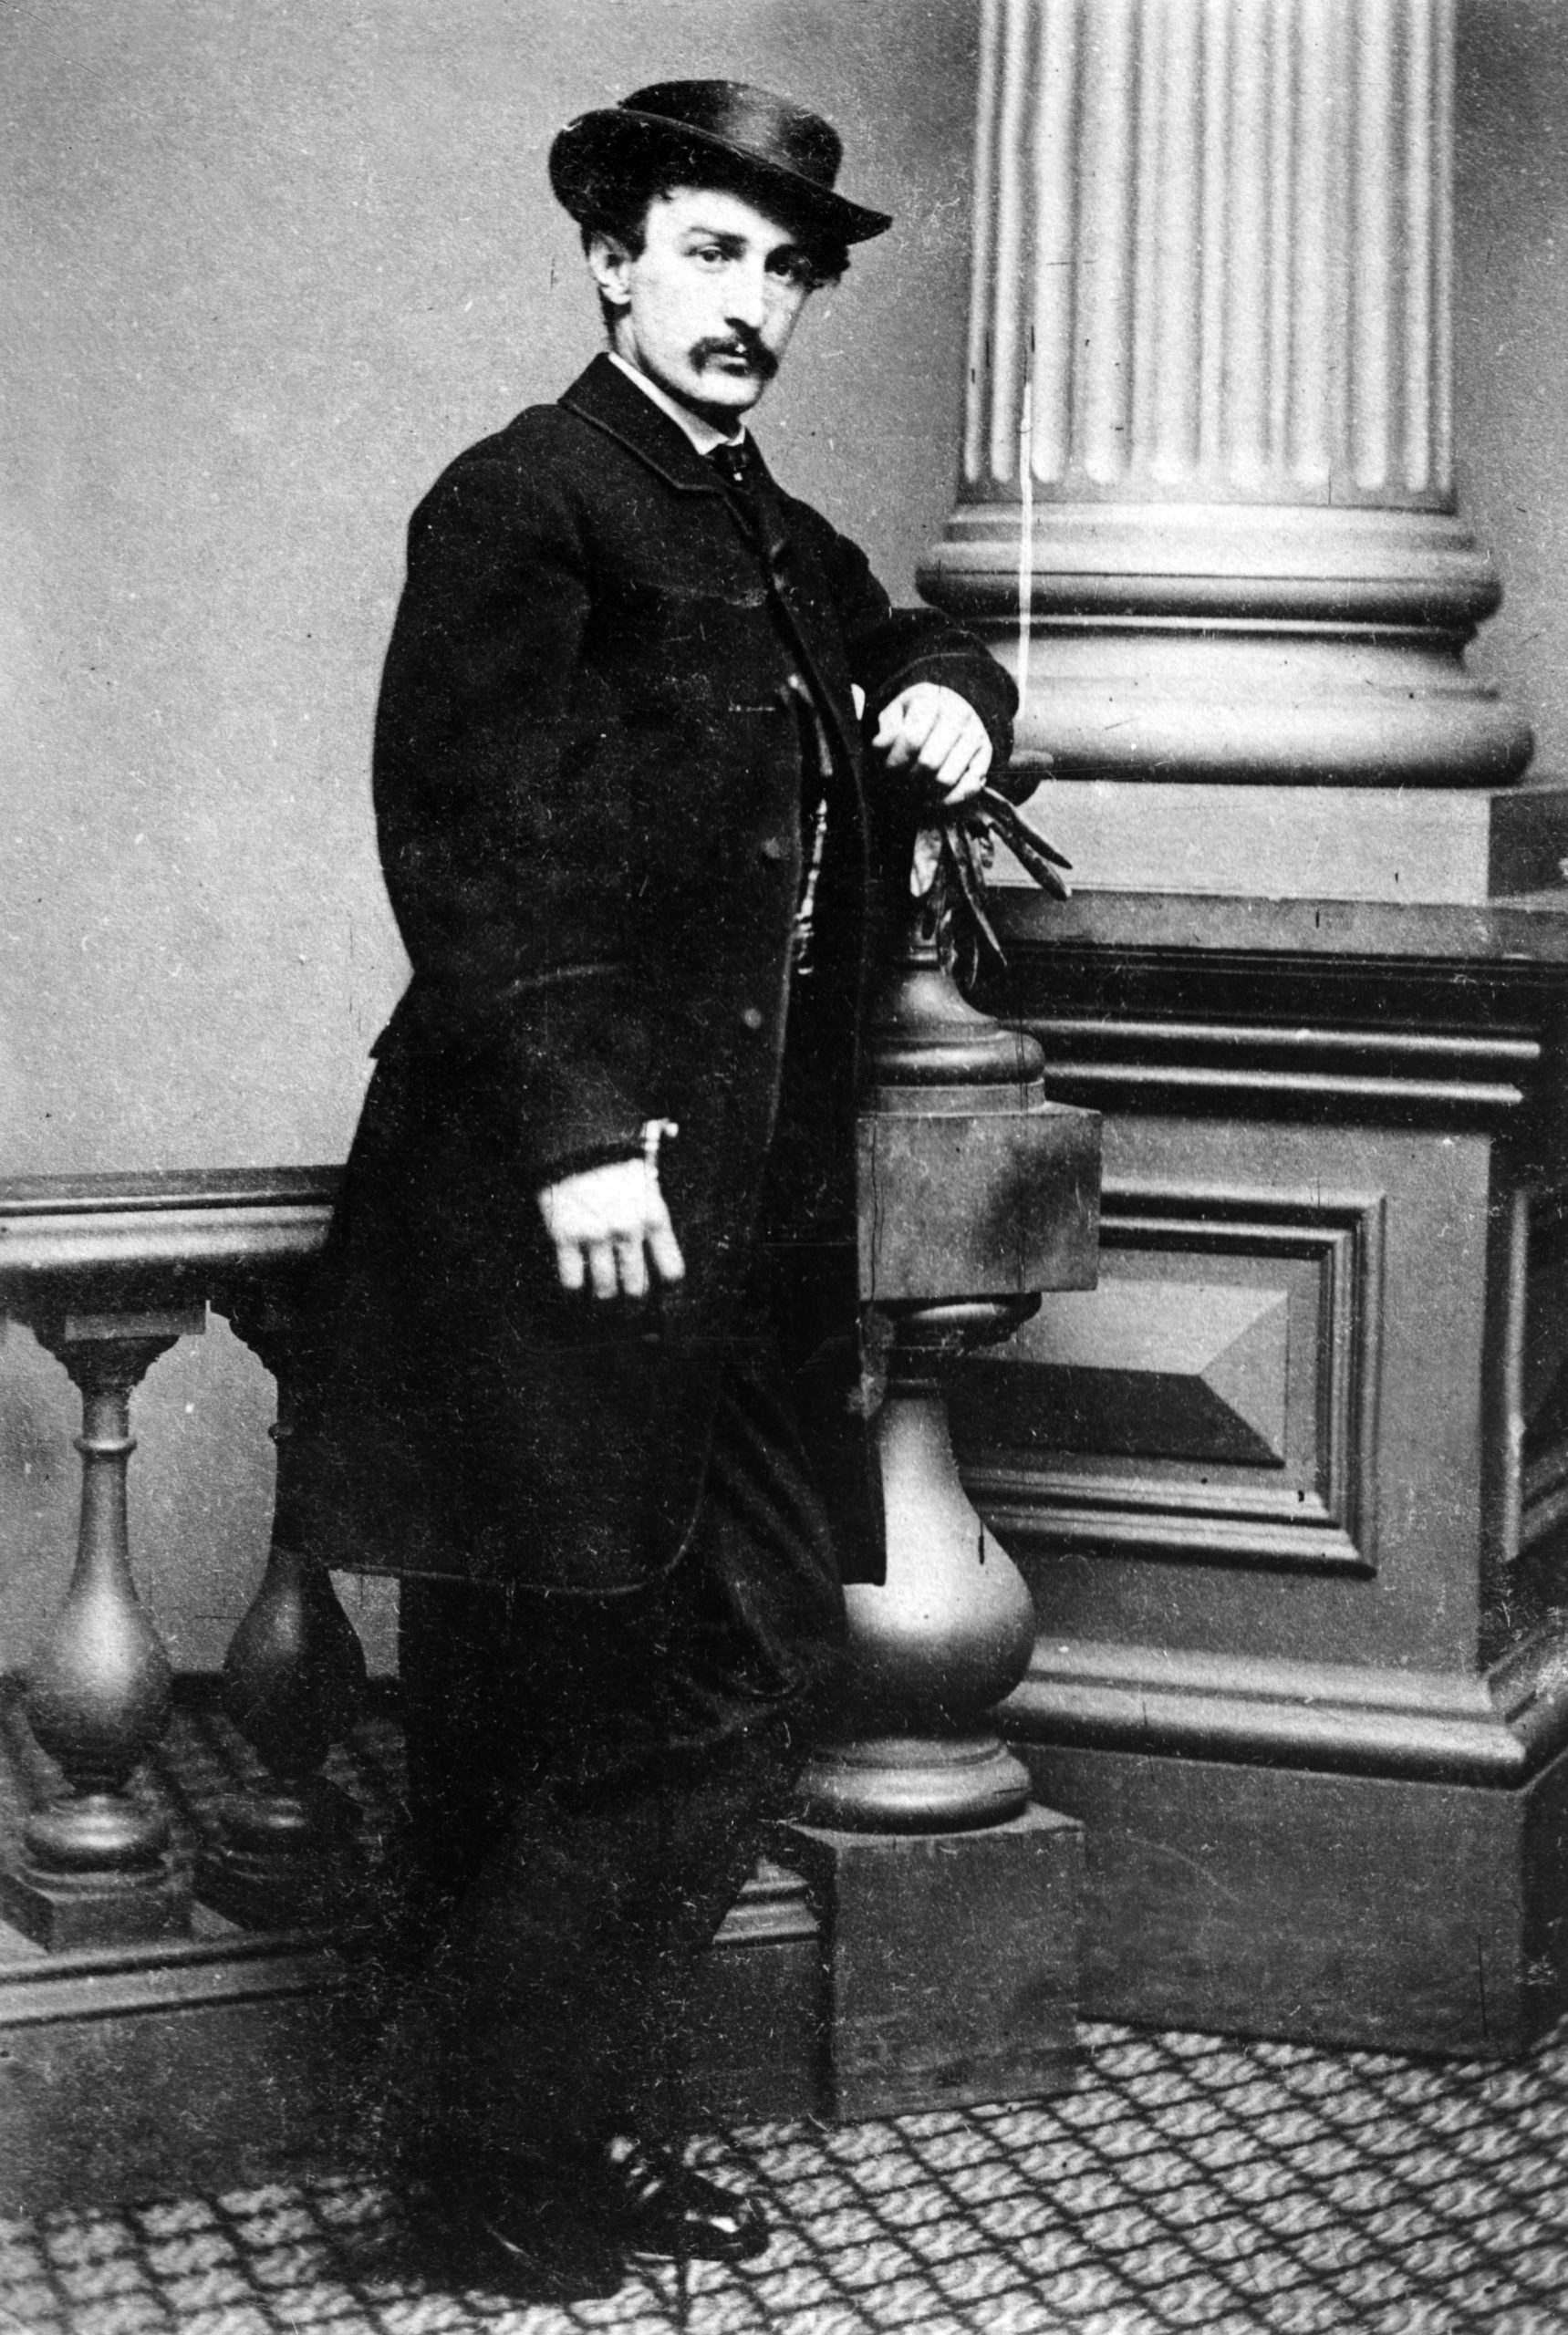
Looking to get into historical coat making? Join me for an intensive 4 – 6 month long masterclass as we reproduce a coat worn by the infamous actor John Wilkes Booth. This particular style of coat is known as a paletot, similar to a frock coat but lacking the waist seam in the front. This makes it a bit easier to fit and construct, making it an excellent introduction to the art of coat making. Along the way you’ll learn how to go from a period photograph, picking out the various details, and applying them to a pattern which you’ll draft to your own measurements. Then we’ll go step by step through the construction process, breaking each area into small manageable sections that can be completed within a couple of hours for the most part, helping to avoid overwhelm.
The class is held entirely online through this website, allowing you to work completely at your own pace in the comfort of your own home. Lessons are taught through written instruction, fully photographed, along side HD video for those who prefer to learn that way. You should have experience with constructing other period garments such as trousers or waistcoats before considering joining this class, as the material is definitely more of an upper intermediate level. You’ll also get direct access to James through email and the support community for any questions or problems you might encounter along the way.
Please note that this is a pre-registration offer. The class itself will start in November, with new lessons coming out every 3 to 4 weeks. Below you’ll find material lists and a syllabus. Hope to see you there!
Course Syllabus (tentative)
- Module 1 – Developing and drafting the pattern
- Module 2 – Constructing the back and back lining
- Module 3 – Silk trimmed flapped side pockets, breast pocket
- Module 4 – Constructing and installing the canvas, padding the lapels
- Module 5 – Attaching the lining and facing, interlinings, quilting the linings, and installing the linings.
- Module 6 – Pad stitching the collar, attaching the collar, the top collar
- Module 7 – The sleeves, cuffs, silk trimming, setting the sleeves
- Module 8 – Cloth covered buttons, buttonholes, trimming the coat edges in silk
Materials List
- Pattern / drafting paper
- Cotton muslin
- Quilting ruler or tailor’s square
- 2 1/2 – 4 yards of wool broadcloth
- 3 – 4 yards linen collar canvas
- 1 yard brown polished cotton
- ~4 yards 1/4″ linen stay tape
- 1/4 yard medium weight linen
- 1 yard wool flannel or undyed jean cloth for interlining (if dyeing your own)
- ~1 yard wool quilt batting
- 2 1/2 – 4 yards silk, cotton silk blend, or wool silk blend for lining
- 1 yard silk taffeta for trim