
Registration is open for my eight week online double-breasted waistcoat class! This covers all aspects of constructing a silk double-breasted waistcoat and covers everything from drafting and fitting the waistcoat to fit your specific body type, to constructing the various parts of the waistcoat such as the pockets, canvas and padding, facings, lining, the collar buttonholes, and more. Each week you’ll receive access to a section of the course, for a total of eight weeks and sections.
Each section contains detailed step-by-step written instructions, clear photographs, and accompanying HD video for those who prefer to learn that way. You’ll also have access to my new support forum where I’ll personally answer any questions you may have and be able to help with your fitting. It depends on your skill level of course, but I’m estimating each section will take from two to five hours to complete, for a total of about 20 – 25 hours of work.
You should have a fair amount of sewing experience in making some basic garments, and perhaps a bit of experience in drafting, as in general the course is geared towards the intermediate to advanced sewer or tailor. The draft itself is probably the most complicated part – if you can get through that, or are willing to give it multiple tries as necessary to learn from your mistakes and perfect the fit, the construction itself is not too difficult.
I get a lot of questions from people wondering about how long they have to finish the project, but never fear! Other than the material coming out over eight weeks, the class is entirely self-paced and you can work as slowly or as quickly as you like, and you have indefinite access to everything.
Supplies
Drafting Supplies
- Drafting Paper
- Pencil and Eraser
- Quilting Ruler
- Bendable Drafting Ruler* or French Curves*
- Tape Measure
*Optional
For the Waistcoat
- 1 yard Silk Brocade or Taffeta
- 1 yard Brown Polished Cotton
- 1 yard Linen for canvas
- 2 – 3 yards 1/4″ Linen Stay Tape
- Wool Quilt Batting
- 1/2 yard White Cotton for lining
- Matching thread
- 8 Buttons, approximately 3/8″
- Vest Buckle
- Silk Buttonhole Twist
- Beeswax for thread
- Basting Thread
Lessons
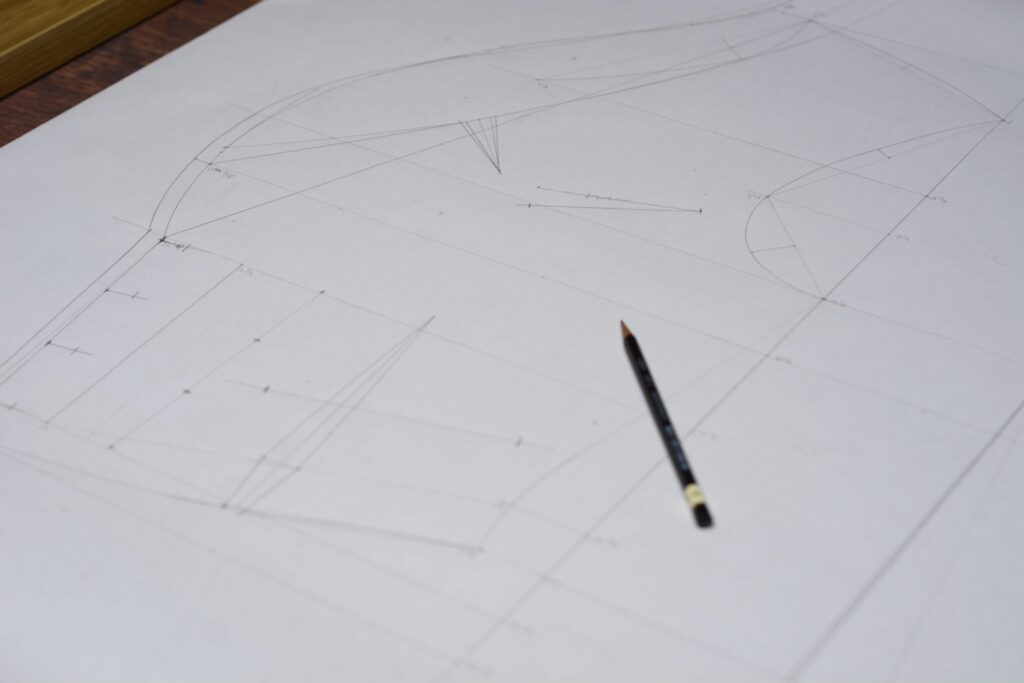
Module 1 – Drafting
Learn how to take the appropriate measurements and apply them to your draft as you create a waistcoat pattern that is uniquely suited to your own body.
Module 2 – Fitting
Turn your pattern into a toile to check how it fits. Learn the various alterations that can be done to improve the fit and get personalized help from James as necessary.

Module 3 – Preparing the Front
Cut and prepare the front of your waistcoat with attaching the collar, inserting darts, and reinforcing the pockets.
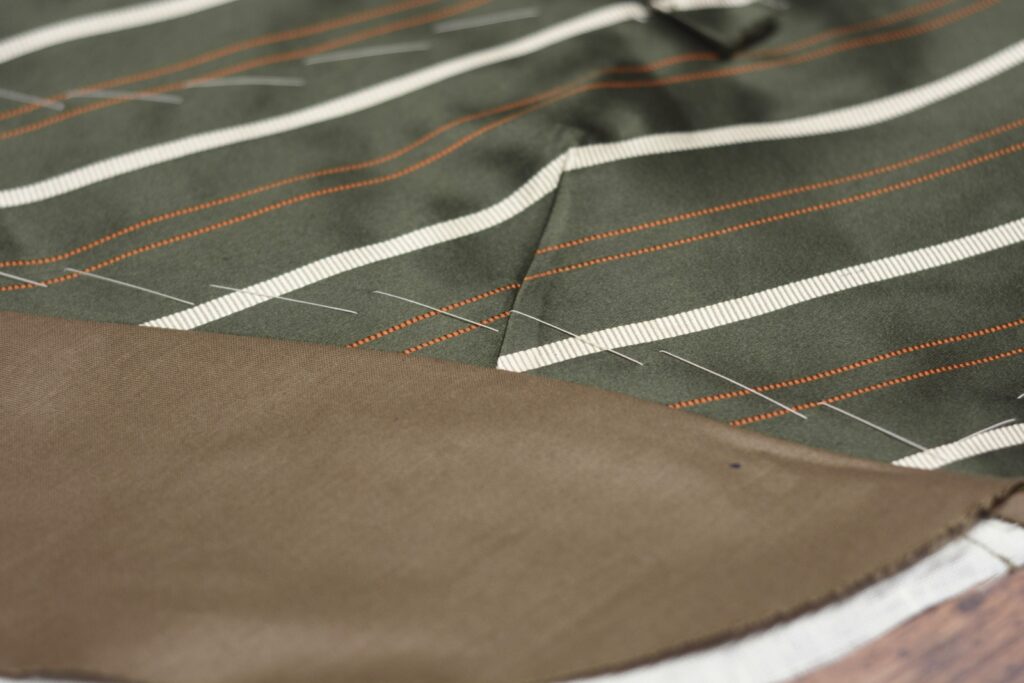
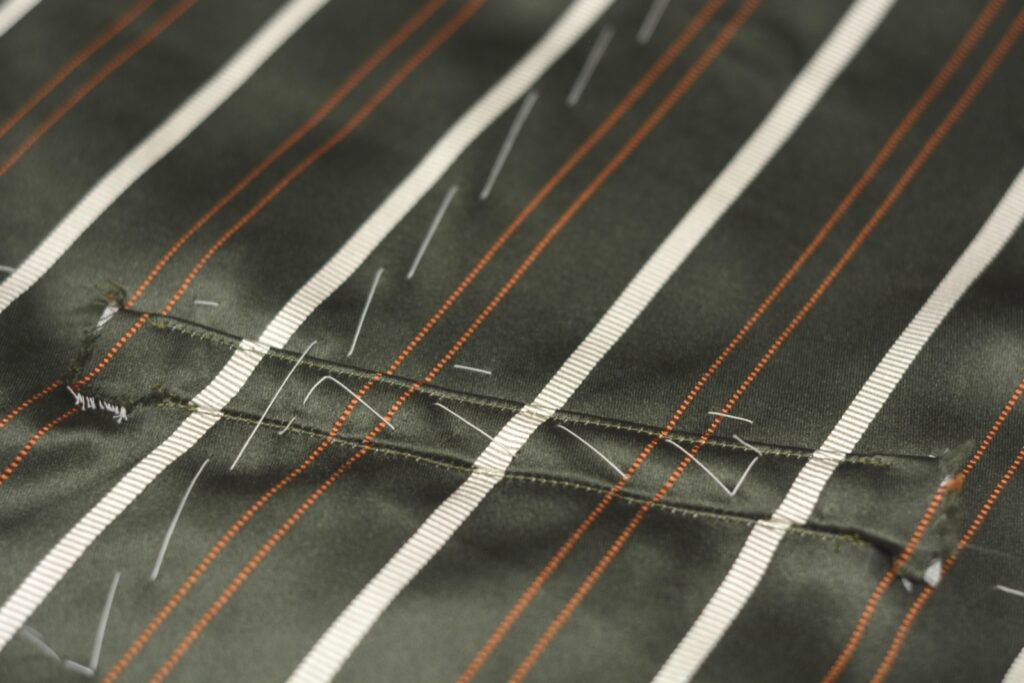
Module 4 – The Pockets
Learn how to accurately construct welted pockets for the watch and waist pockets, as well as how to match the stripes on your fabric (if you have them).
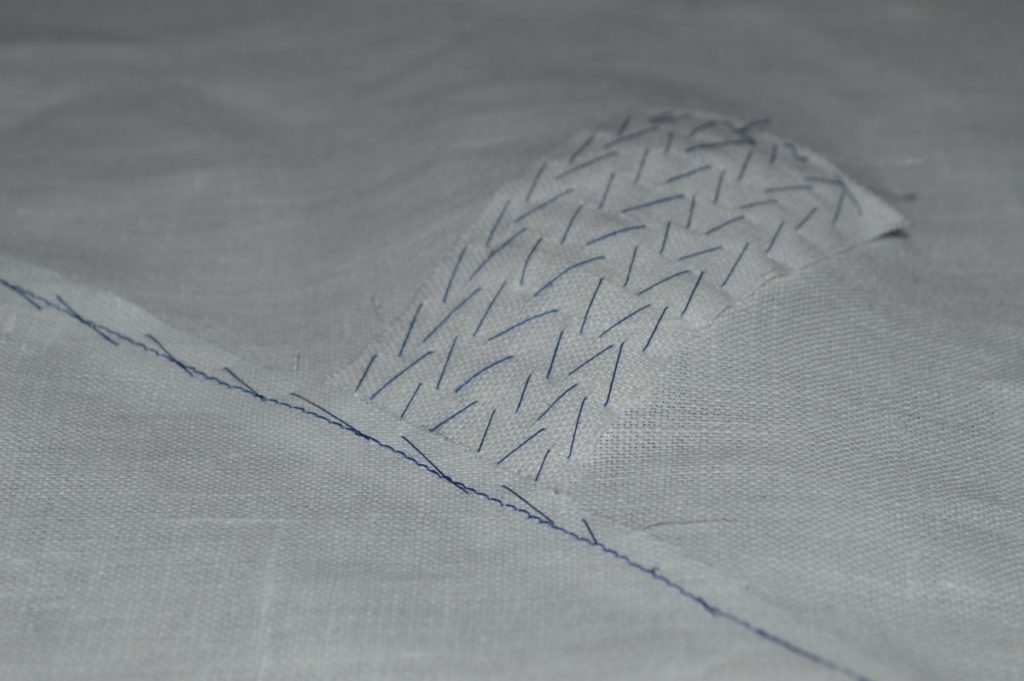
Module 5 – The Canvas
Cut and prepare the canvas using period techniques, add padding, and install everything into the waistcoat.
Module 6 – The Facings
Cut and install the facings on your waistcoat front for a crisp and firm finish to the edges.

Module 7 – Putting the Waistcoat Together
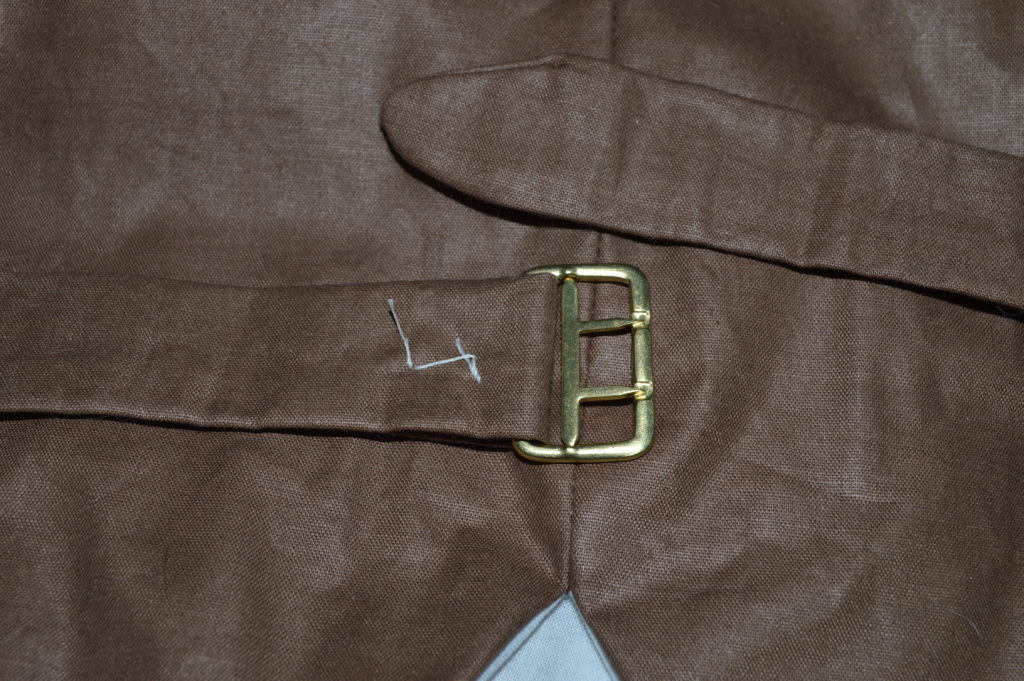
Install the linings, prepare the back buckle, and put the waistcoat together with the front and back pieces.
Module 8 – Collar and Buttonholes
Finish up your waistcoat by finishing the collar, topstitching, and adding the buttons and butonholes.

30-Day Money-Back Guarantee
When you join Historical Tailoring Masterclasses you are fully protected by our 100% Satisfaction Guarantee. If you don’t feel like you’ve received value and you decide you want to cancel any time within the next 30 days, just let us know and I’ll send you a prompt refund.