Month: June 2023
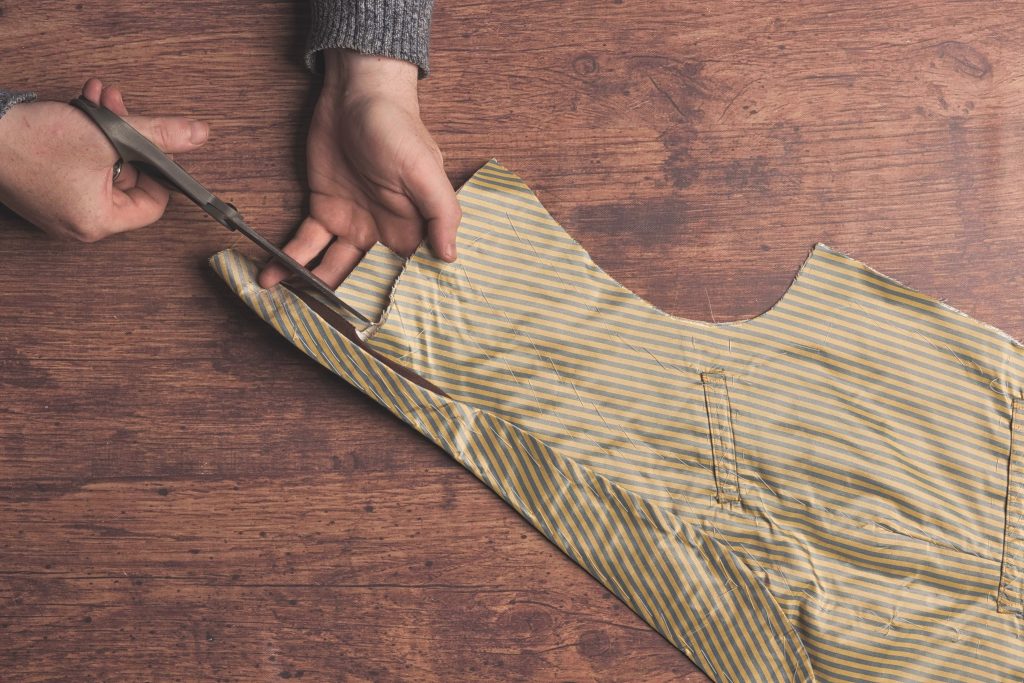
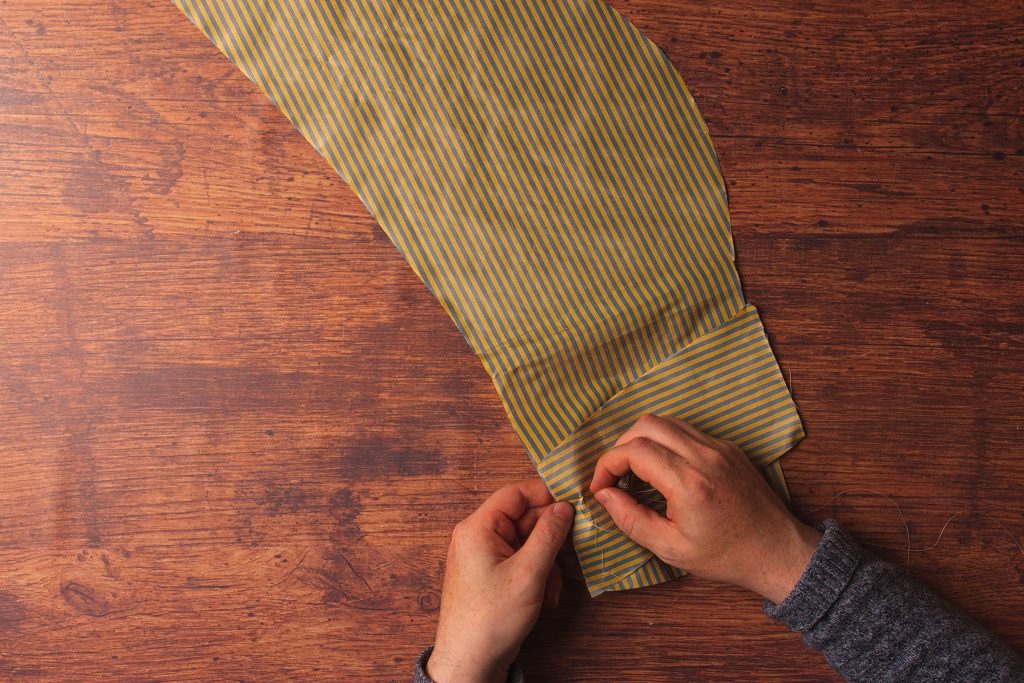
The Back Belt
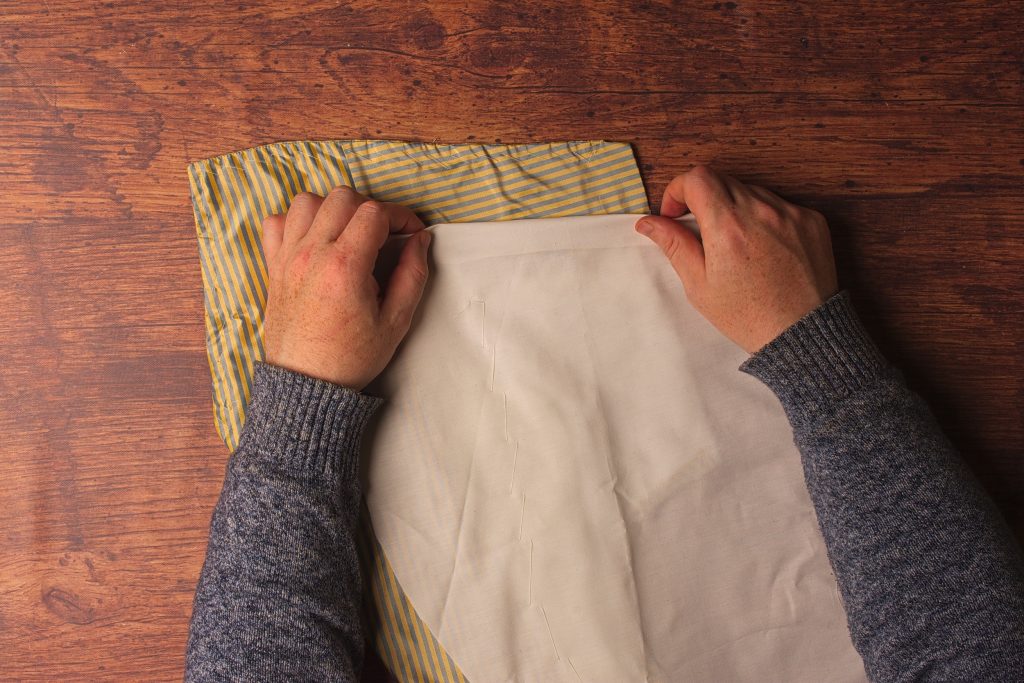
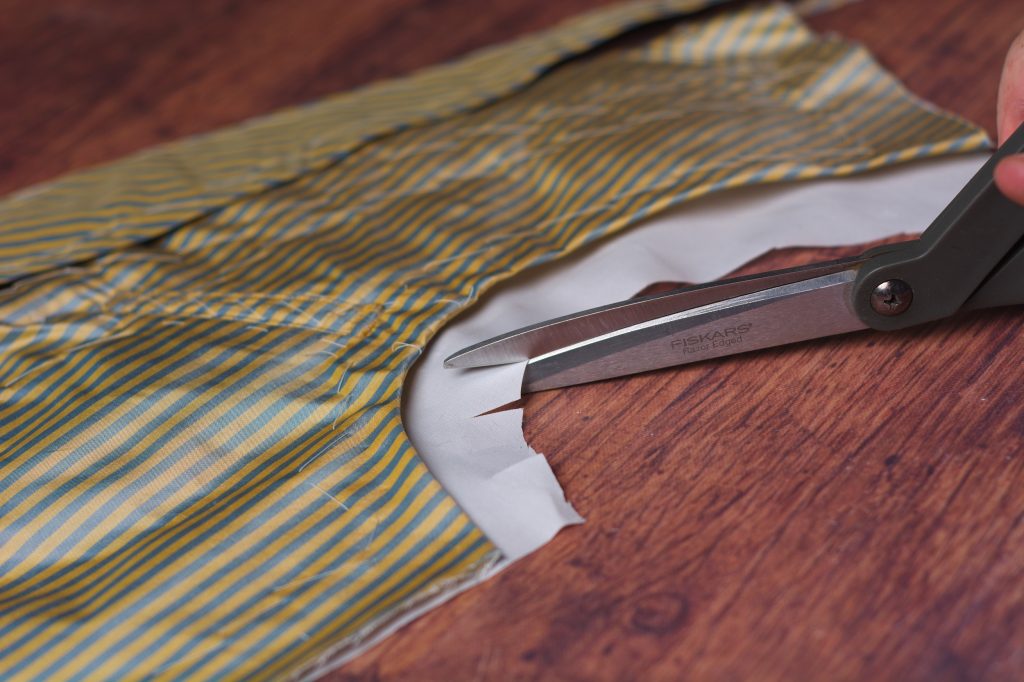
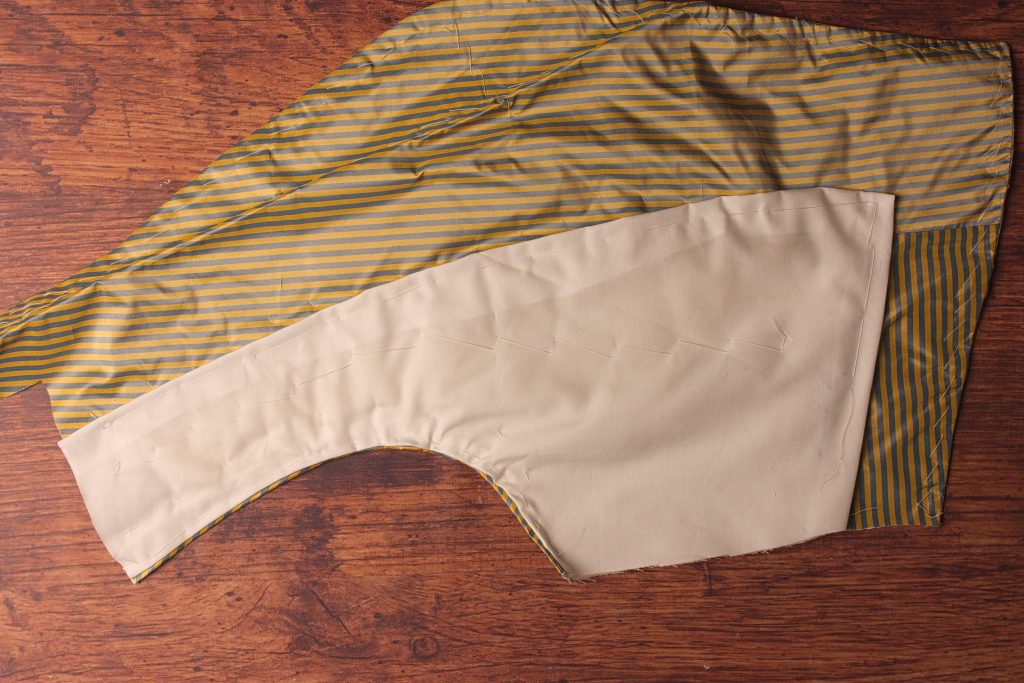
To draw the pattern for the back belt, make a horizontal line equal to the length of the back plus 1″. The extra inch gives us a bit of extra room for adjustment, if necessary.
On one end, make a perpendicular line 3 graduated inches in length, and on the other, a line 1″ in length. The narrow end should be equal to the width of your vest buckle.
Draw a parallel line along the bottom edge, 1″ from the top. Complete the curves as shown in red.

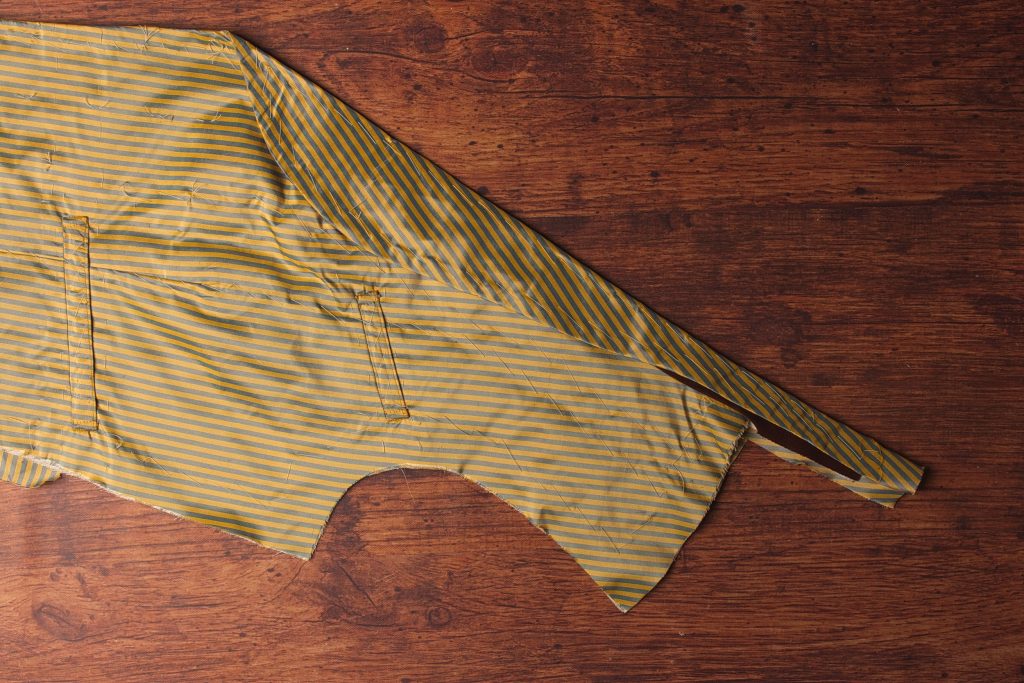
Complete the pattern by adding a 3/8″ seam allowance along the rounded end and bottom of the buckle. The top edge is cut on the fold.

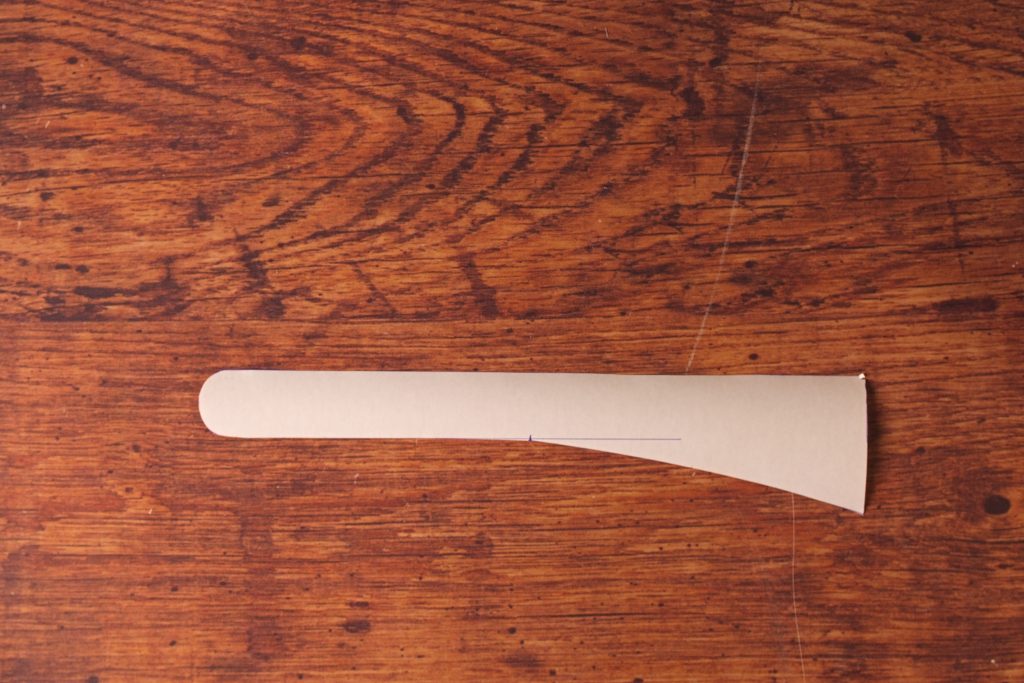
Here’s my completed pattern. I ended up including the seam allowances as I drafted, so there are no indications for that.
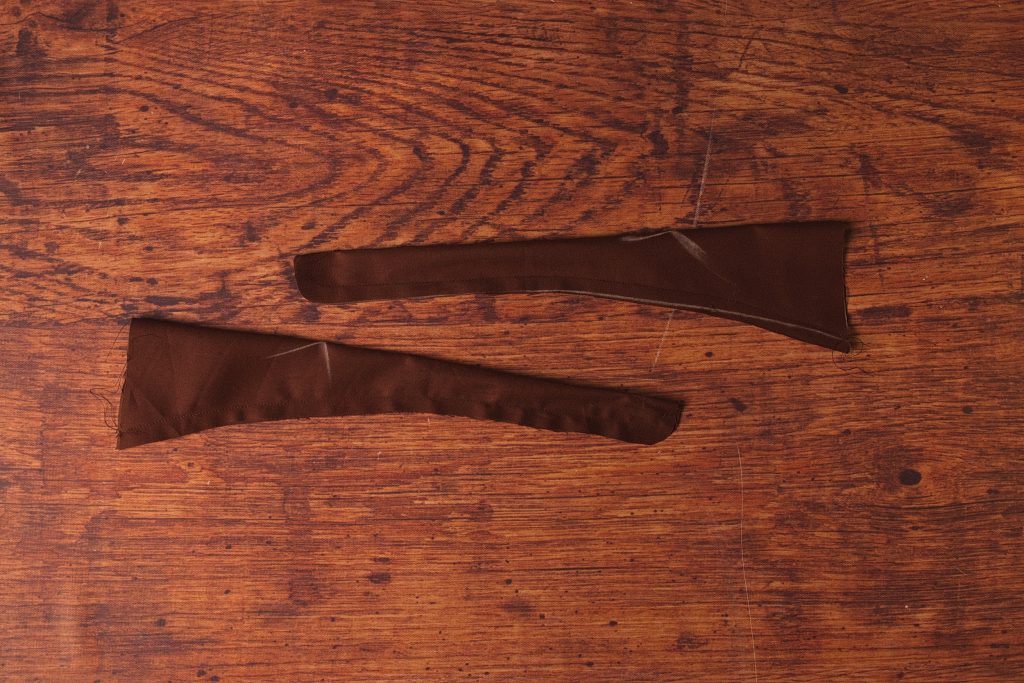
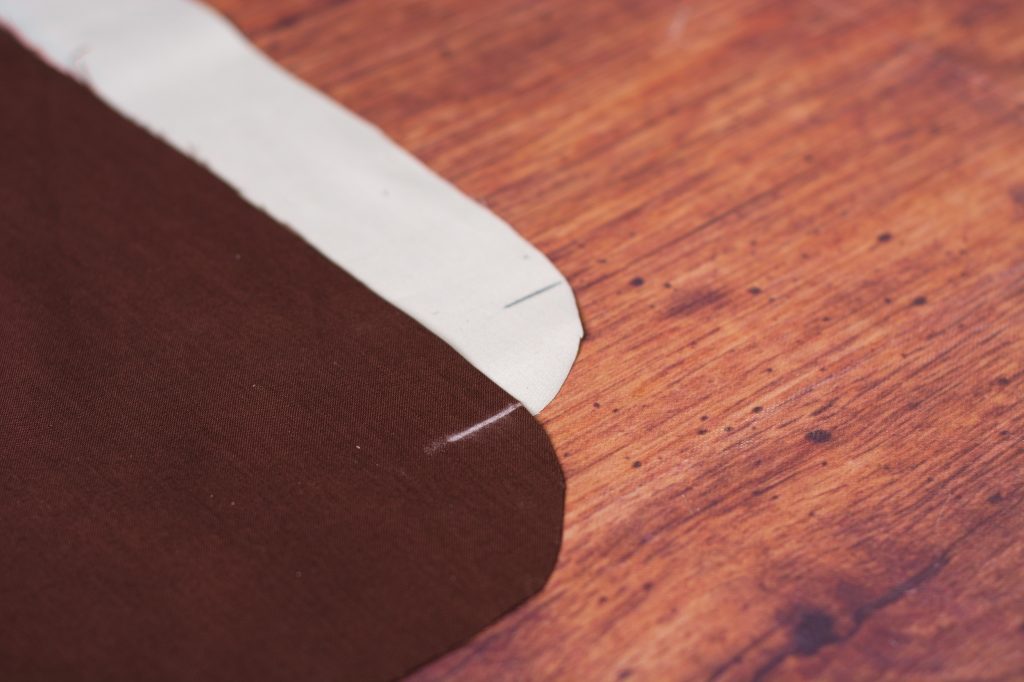
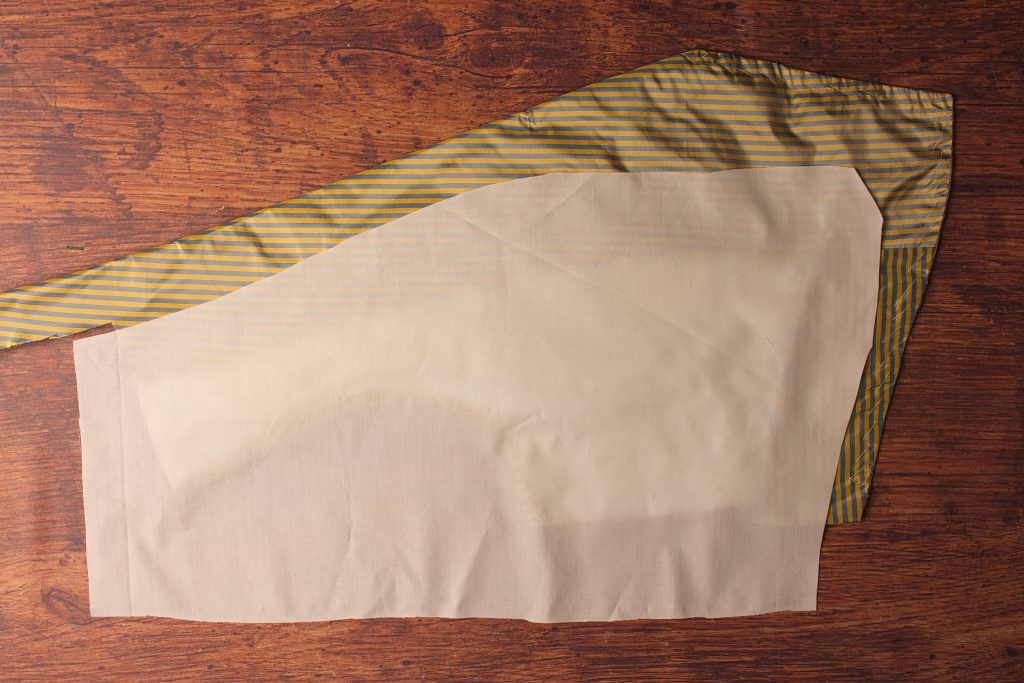
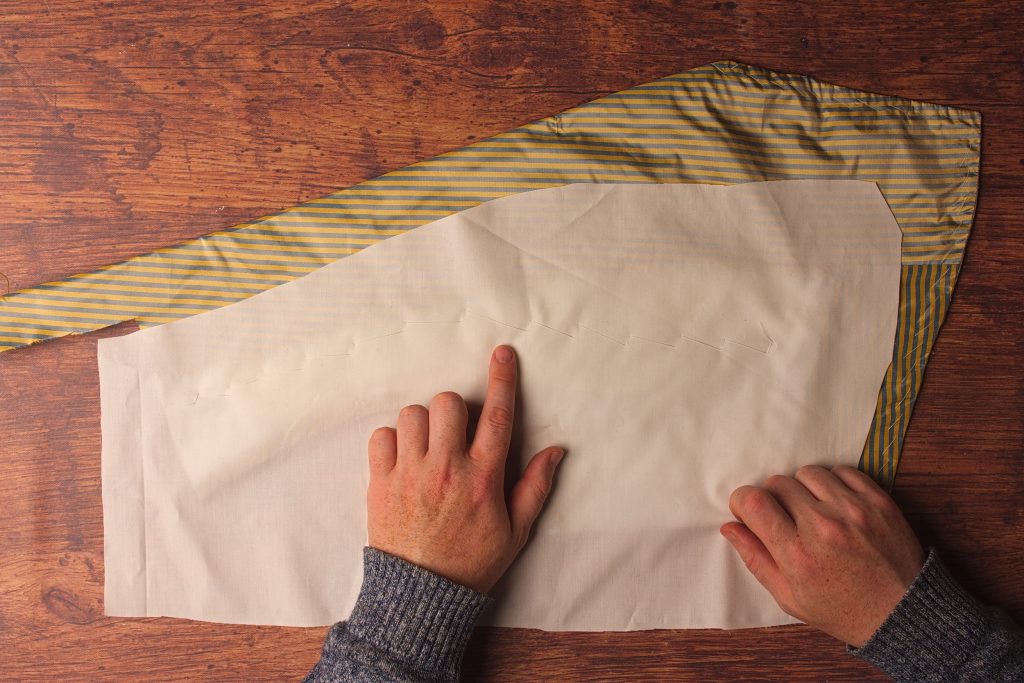
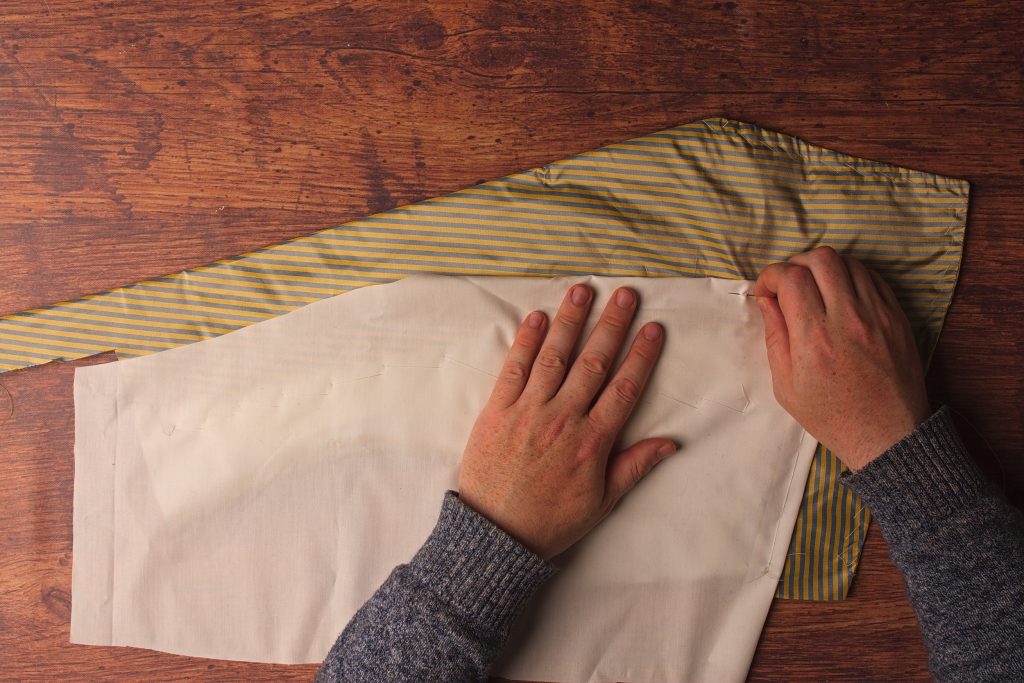
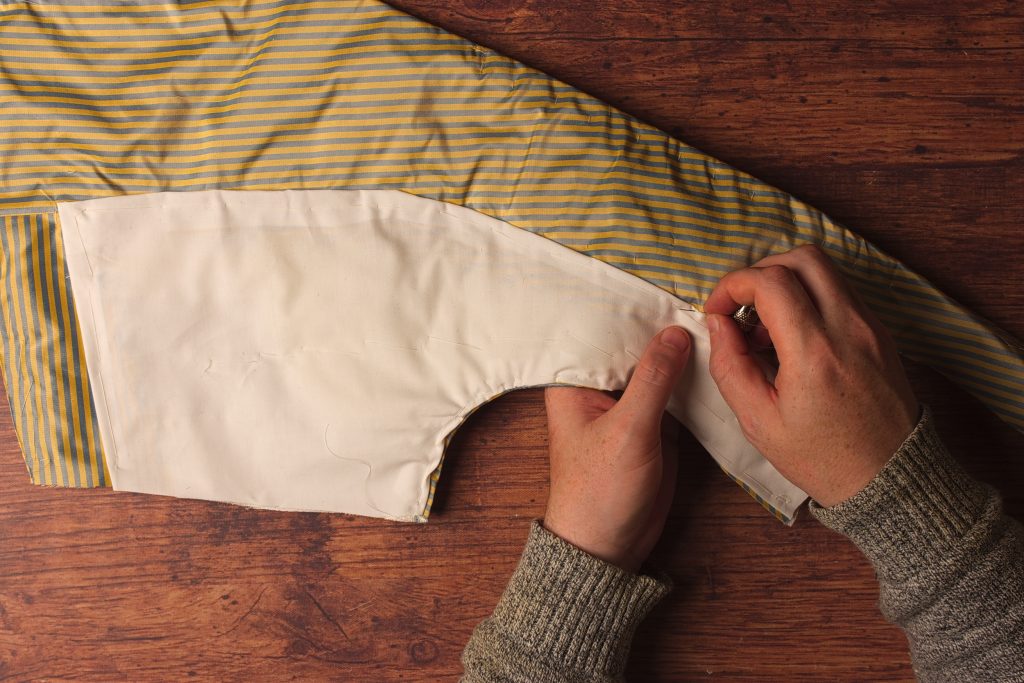
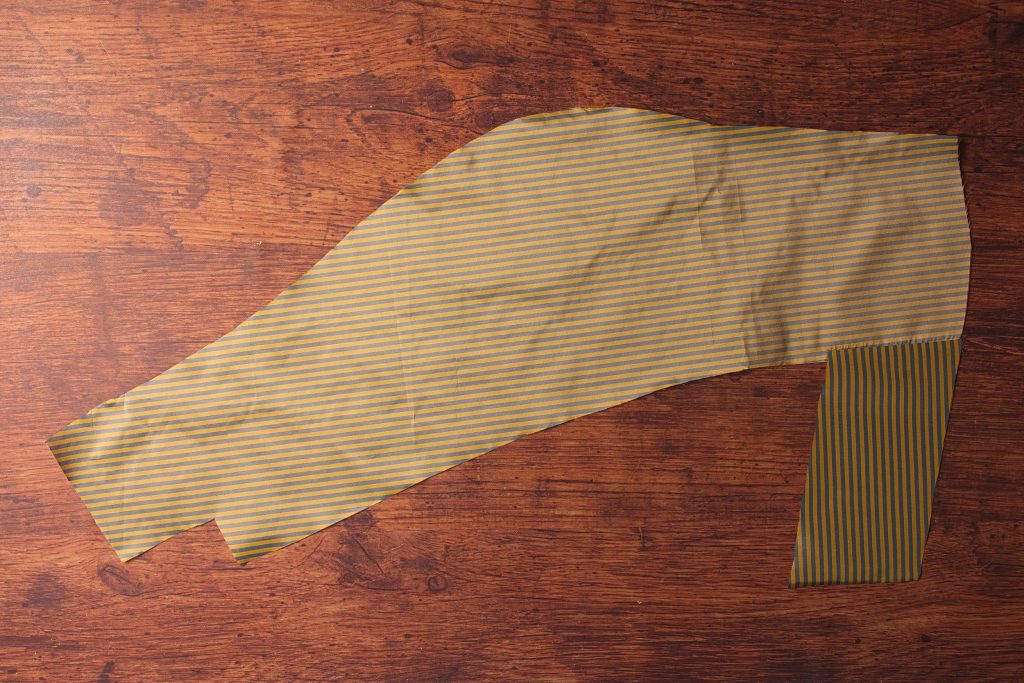
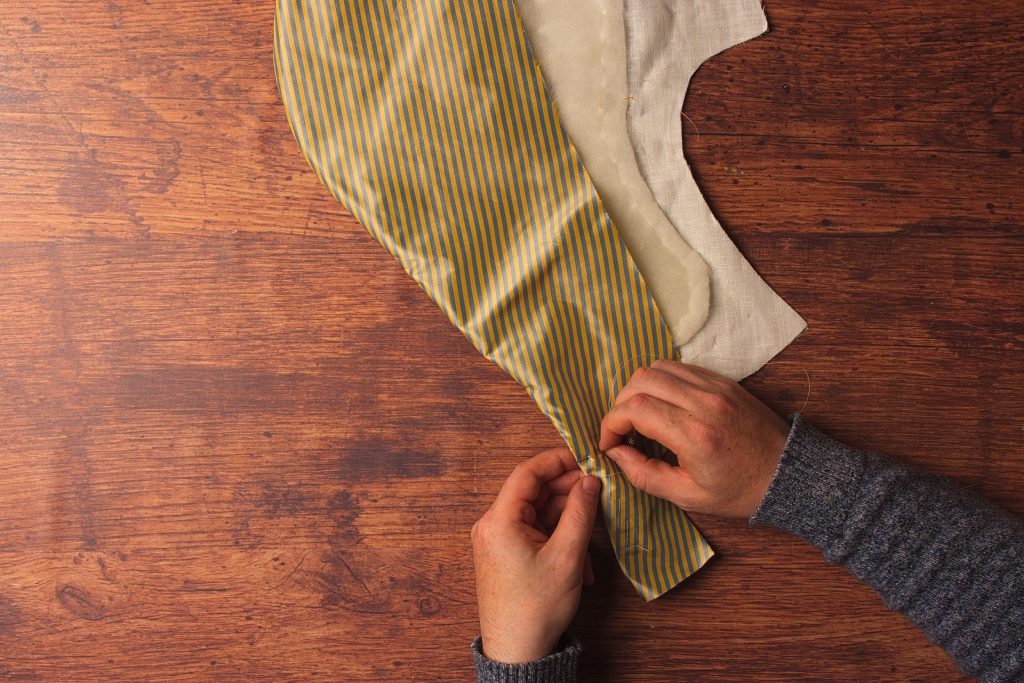
Lay your pattern on the folded edge of the fabric, trace, and cut out two belt pieces. I actually like to double the doubled fabric, if that makes sense, and cut out both belts at once to save a little time. Here they are after unfolding.
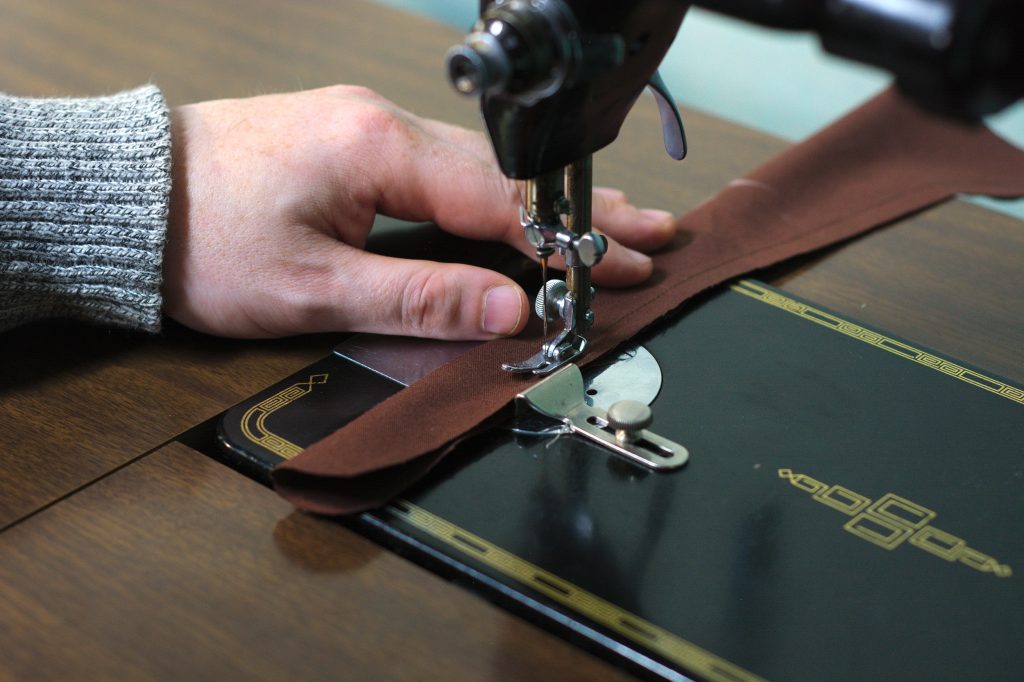
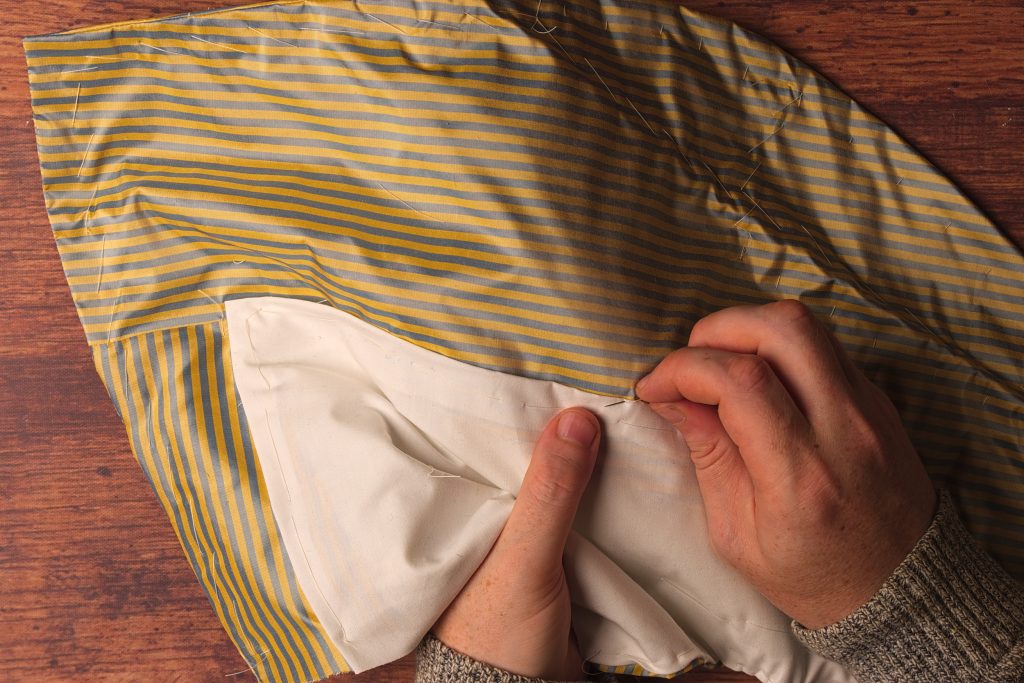
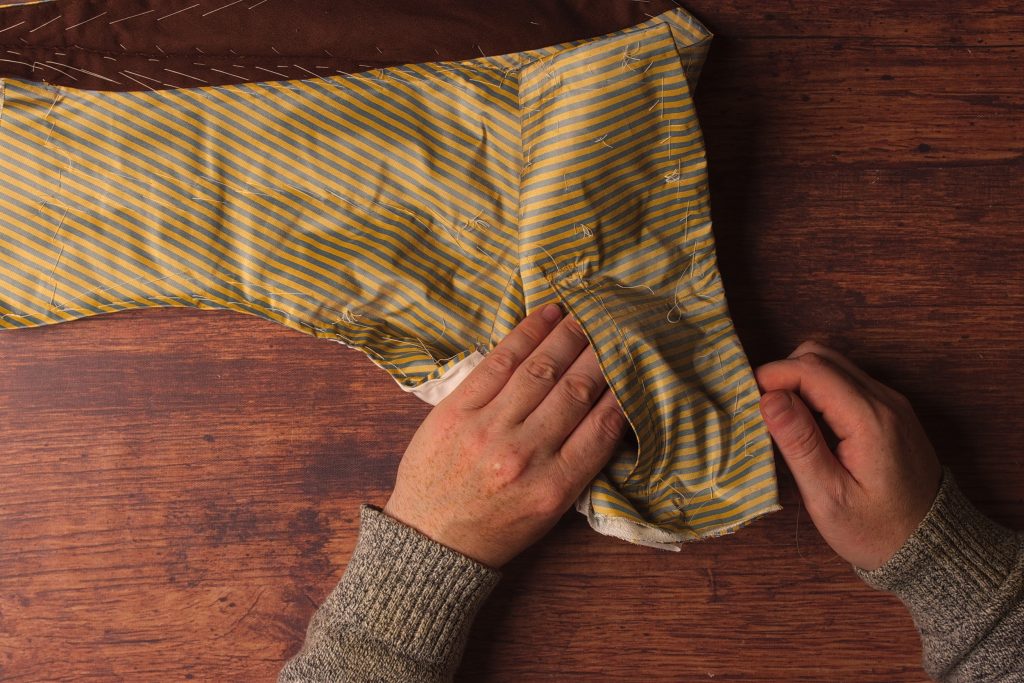
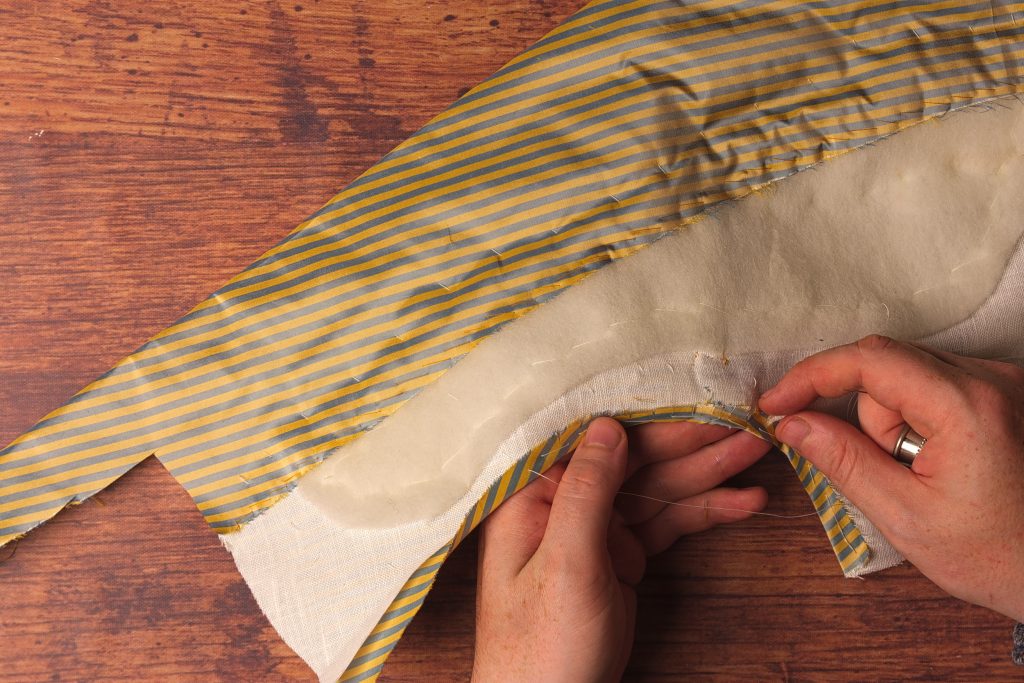
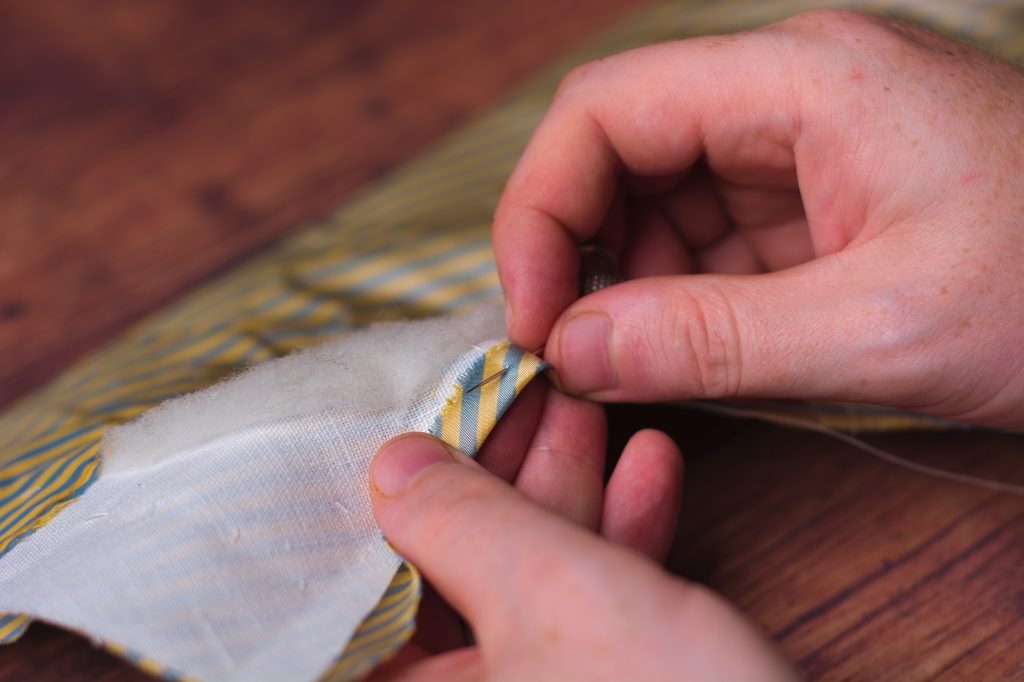
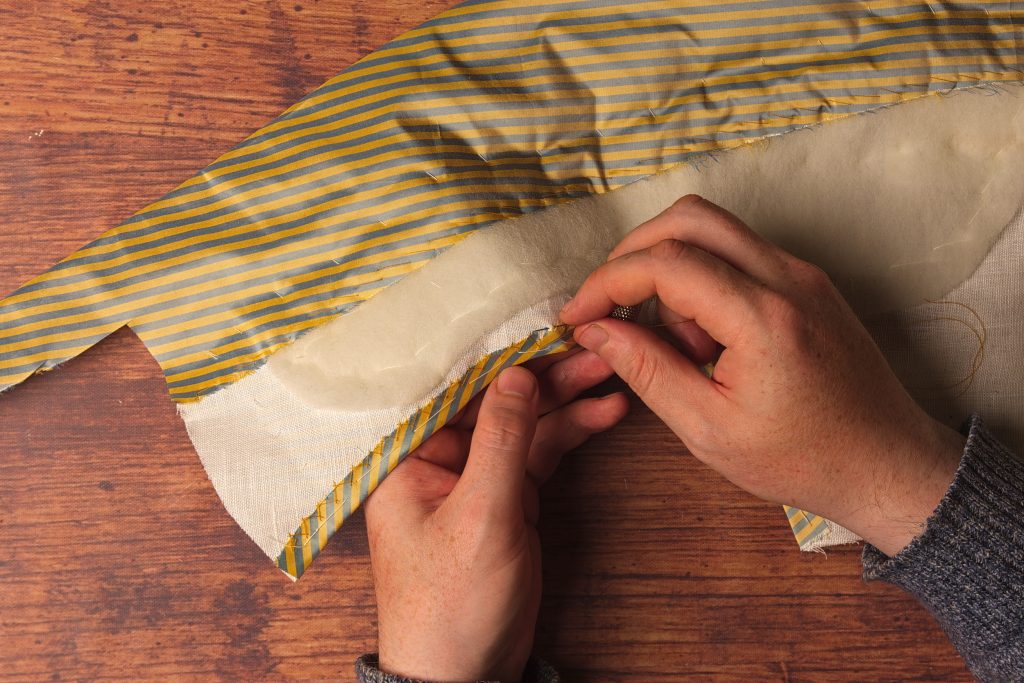
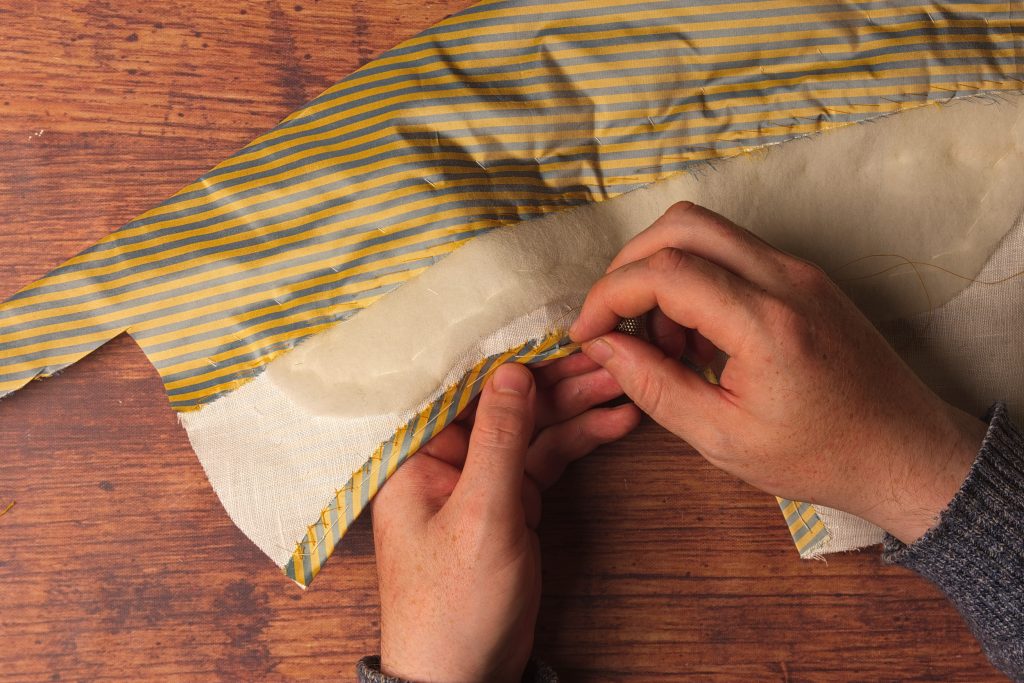
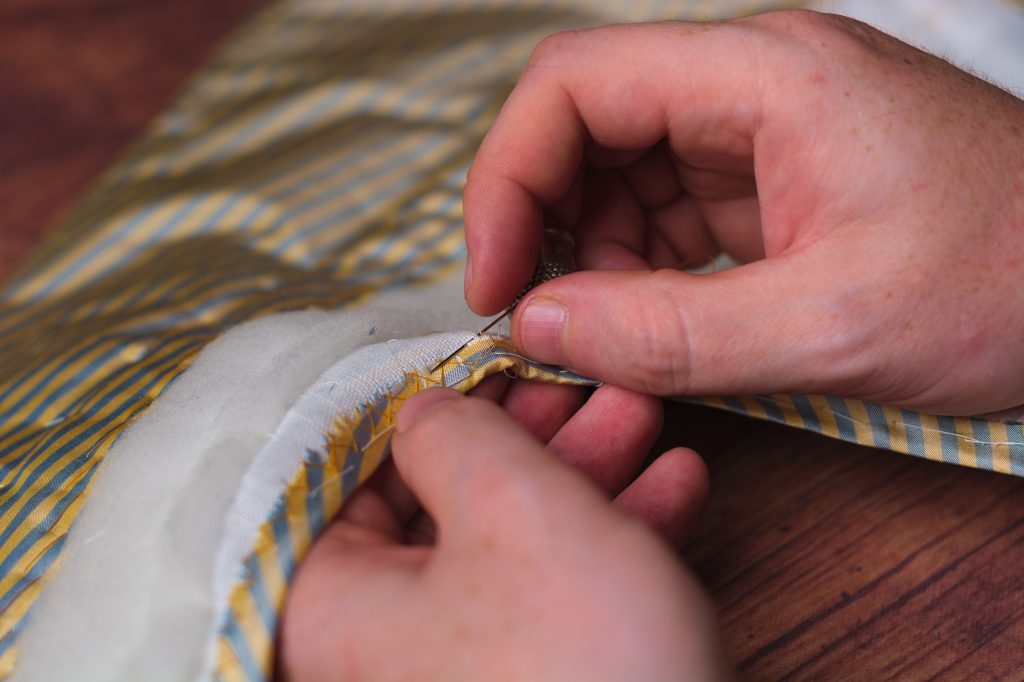
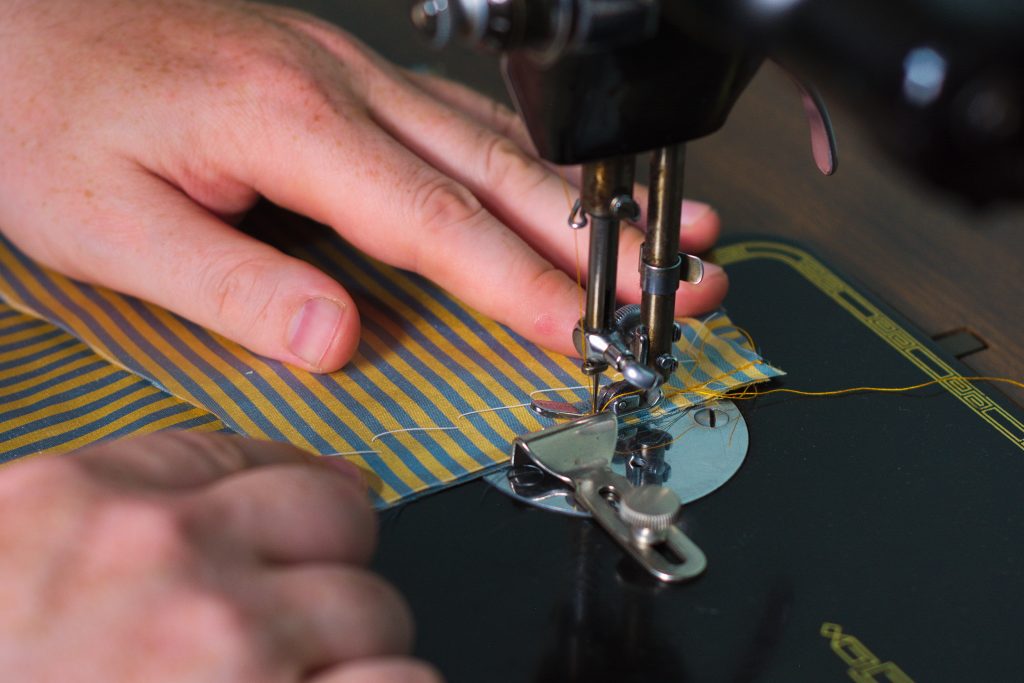
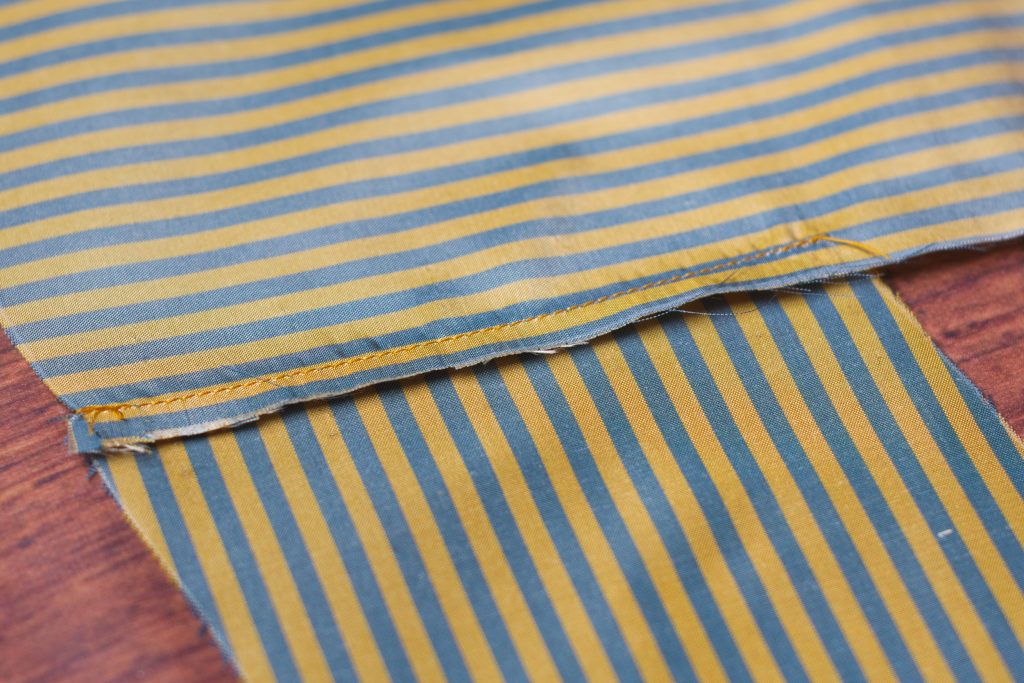
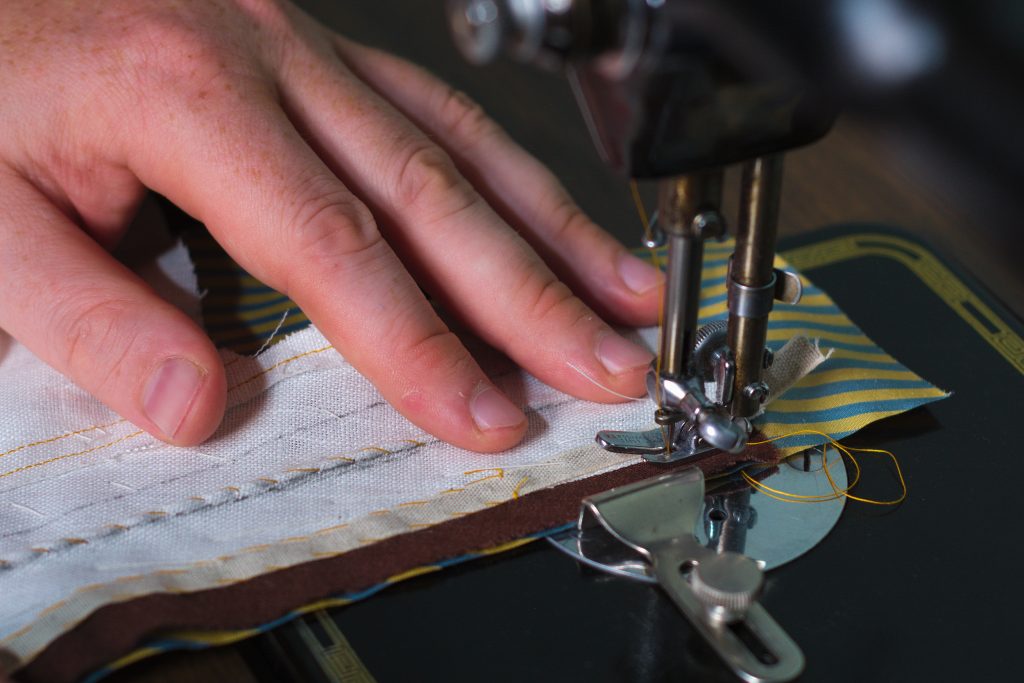
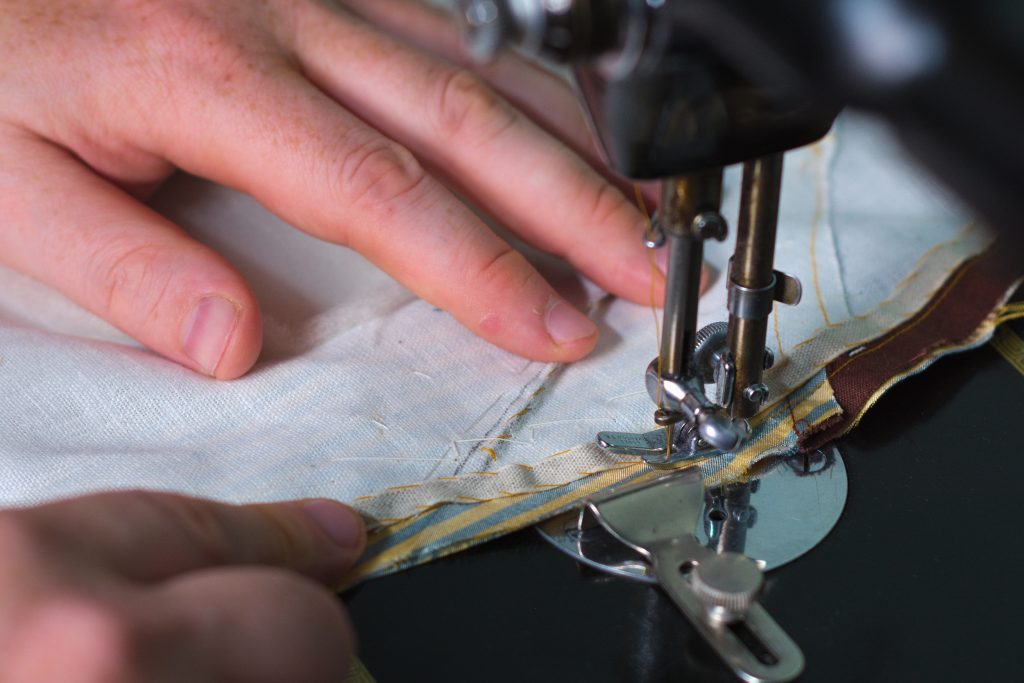
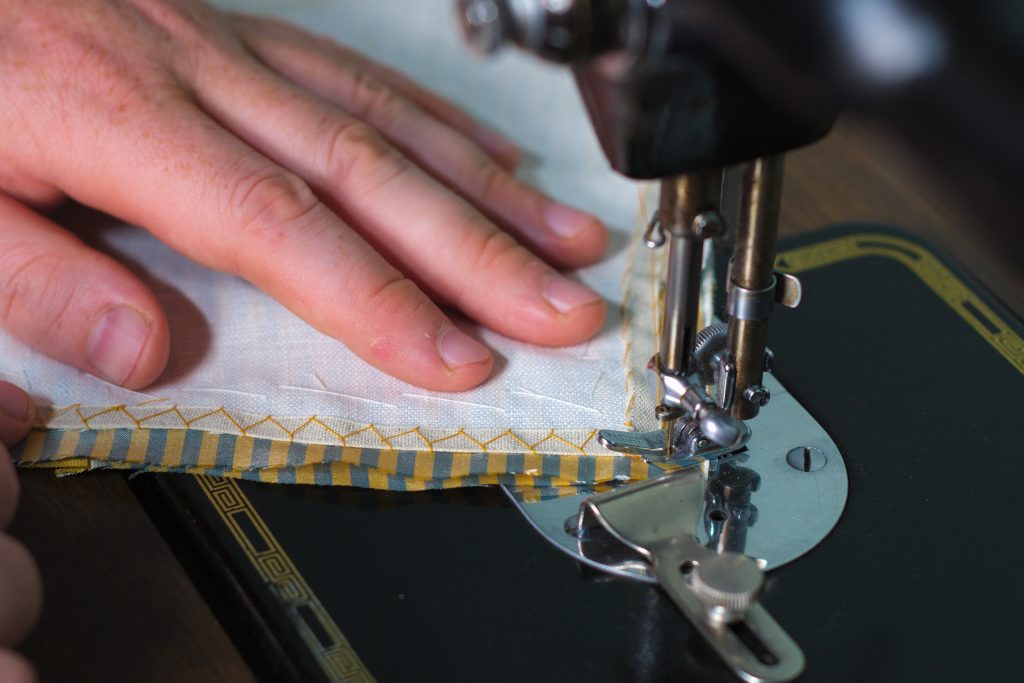
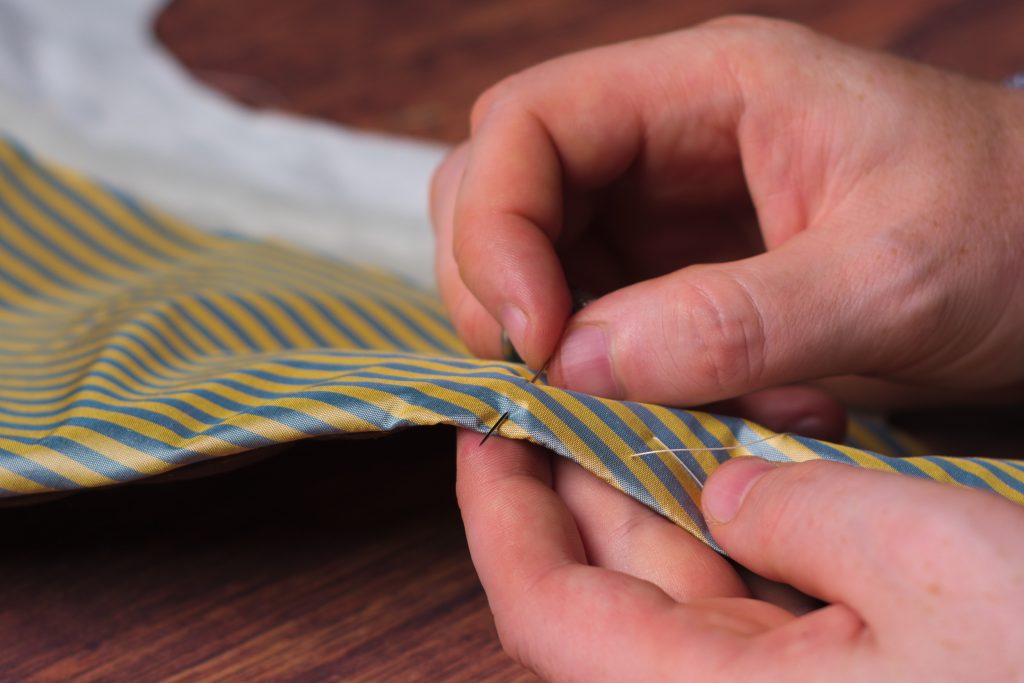
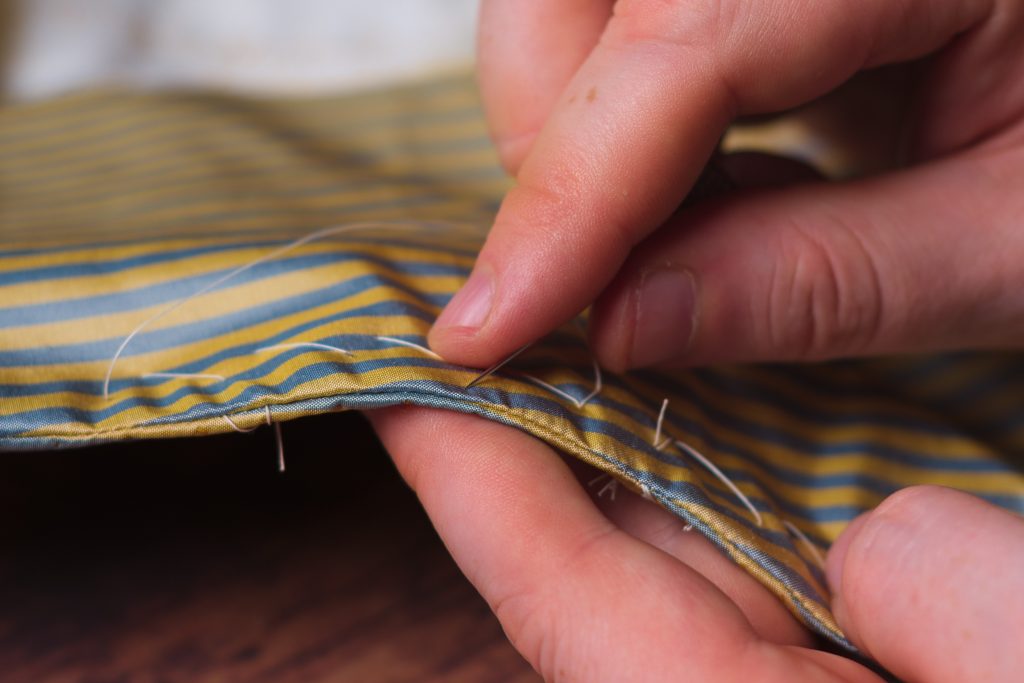
Sew the belts along the bottom and curved end using a 3/8″ seam allowance.
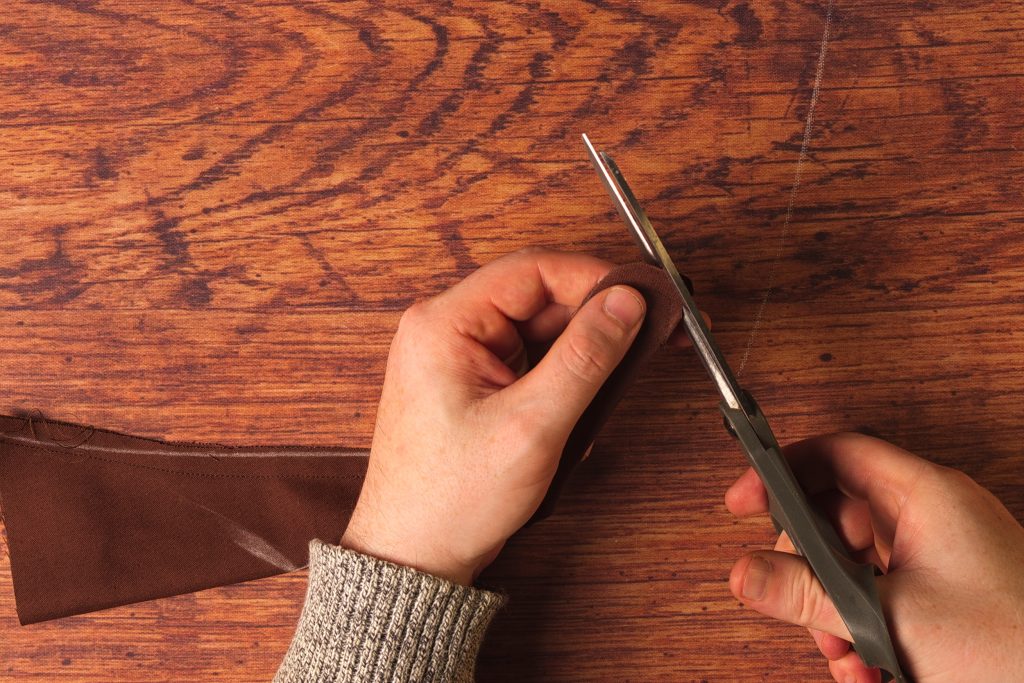
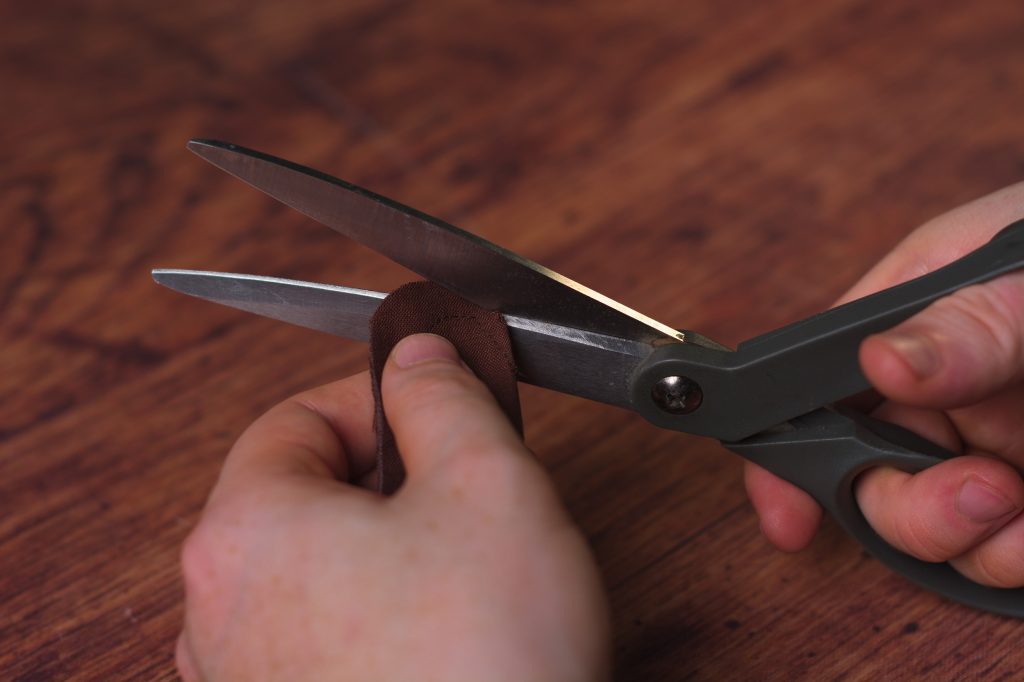
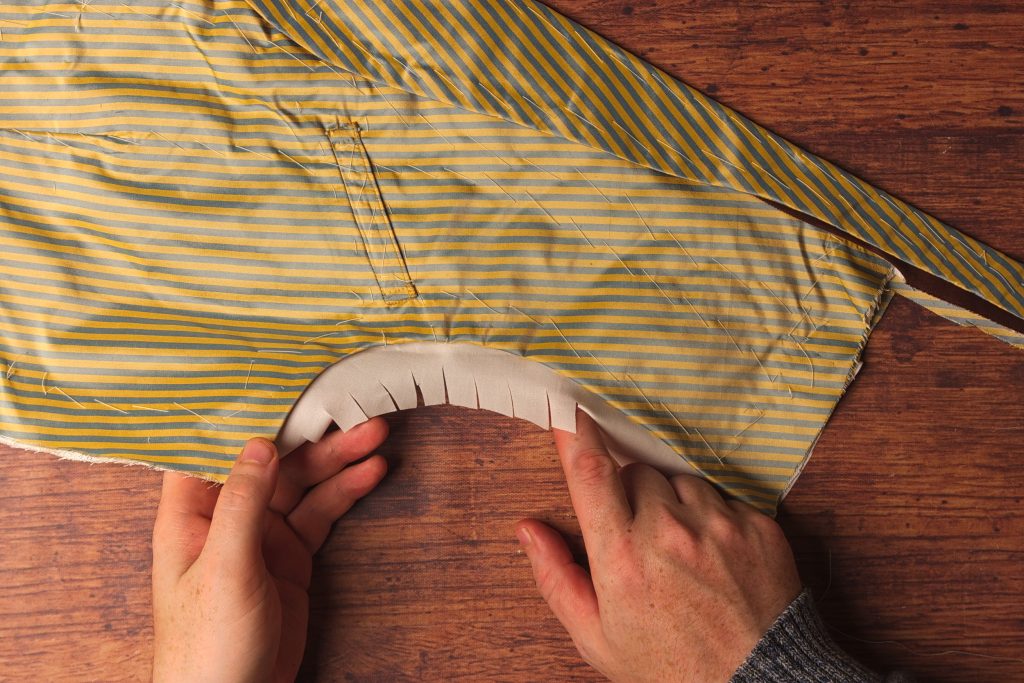
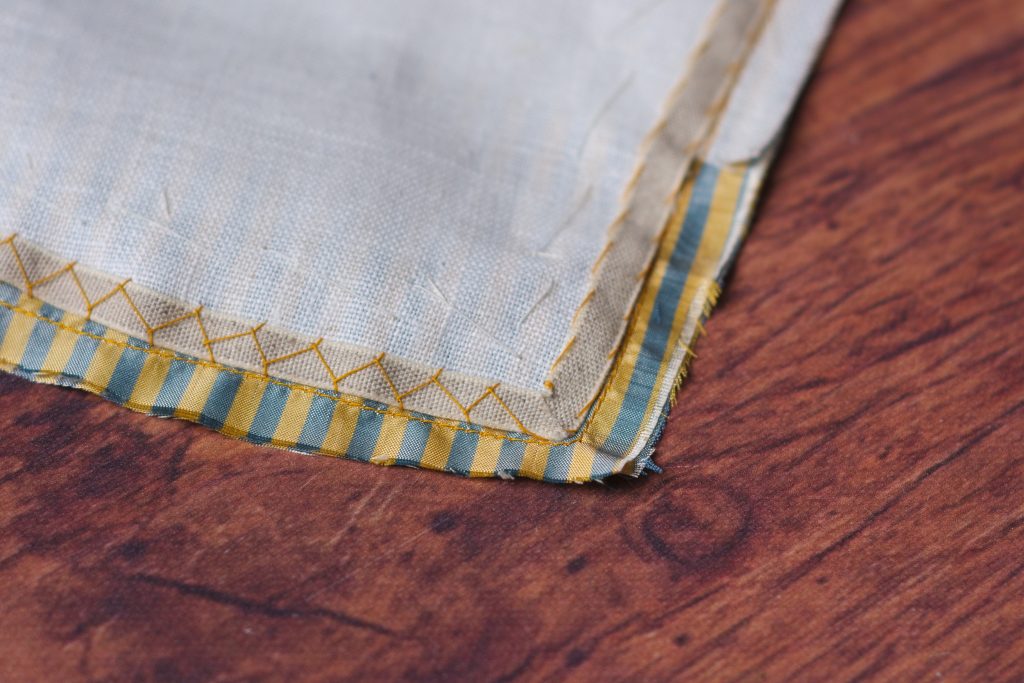
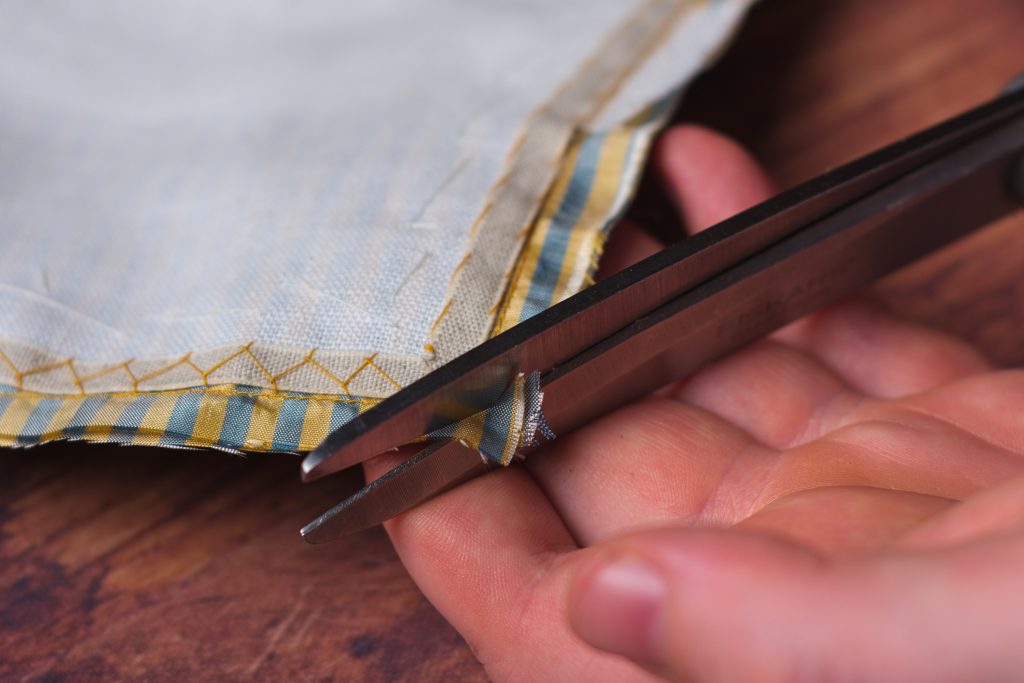
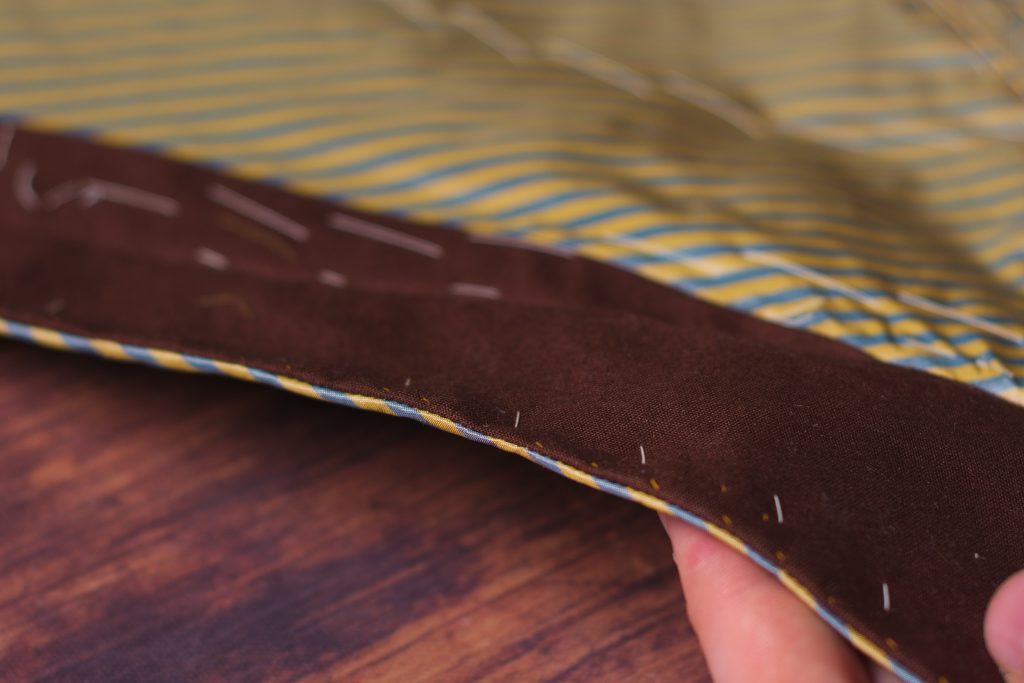
Trim the seam allowance to 1/8″ around the curved end.
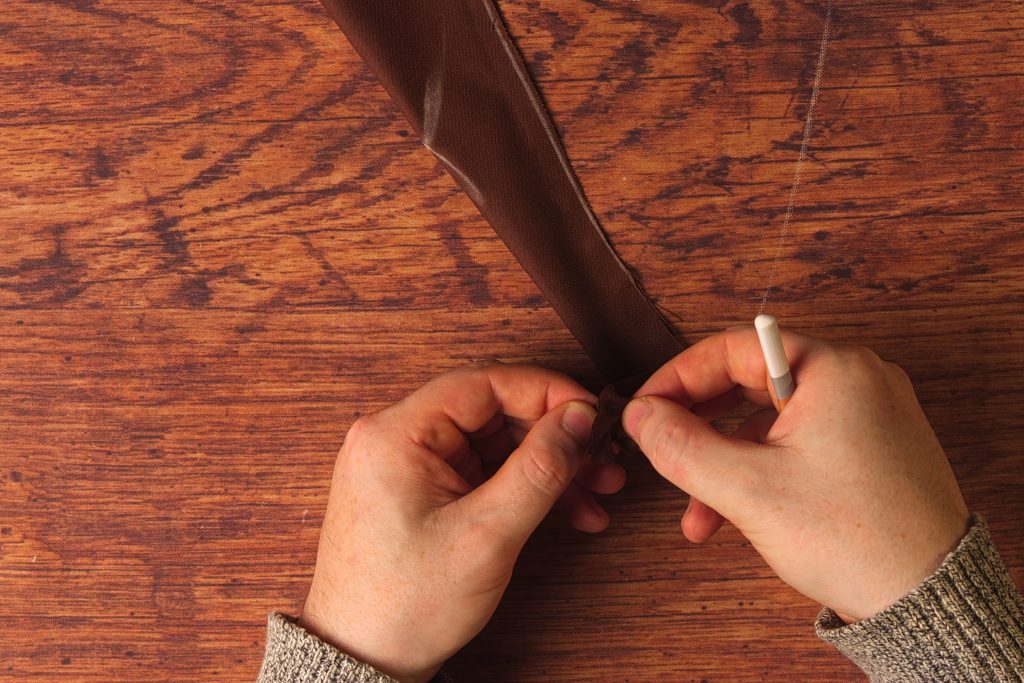
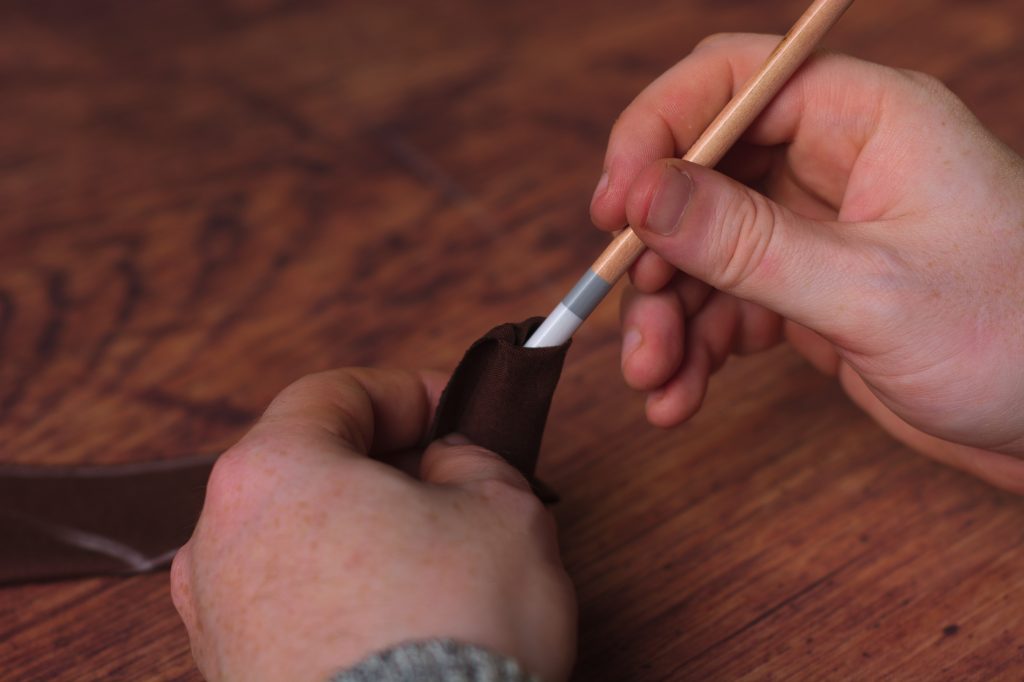
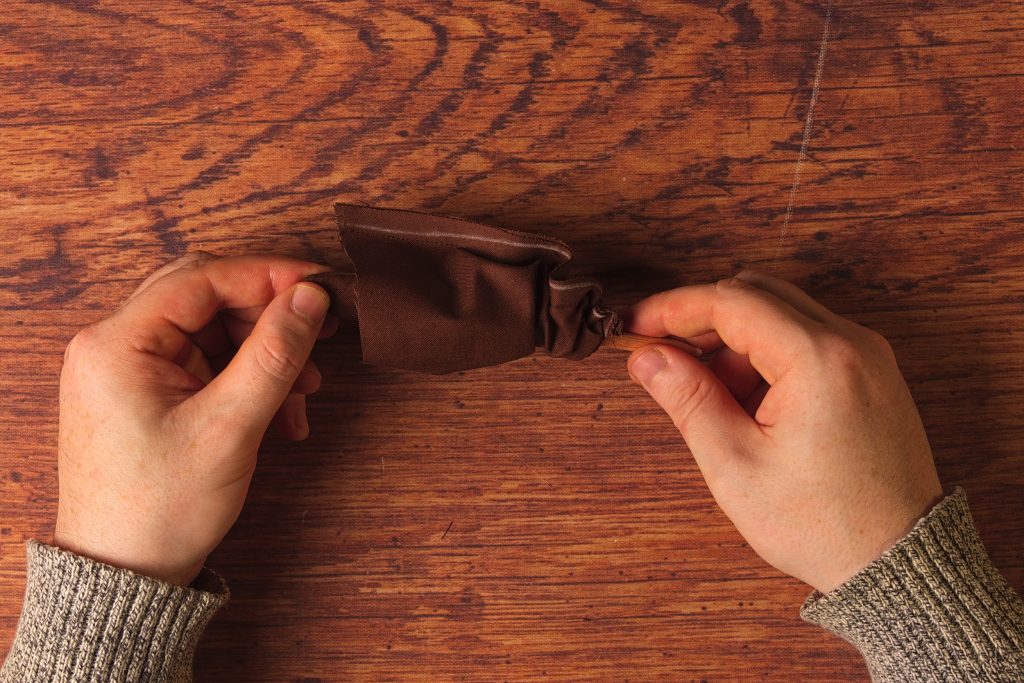
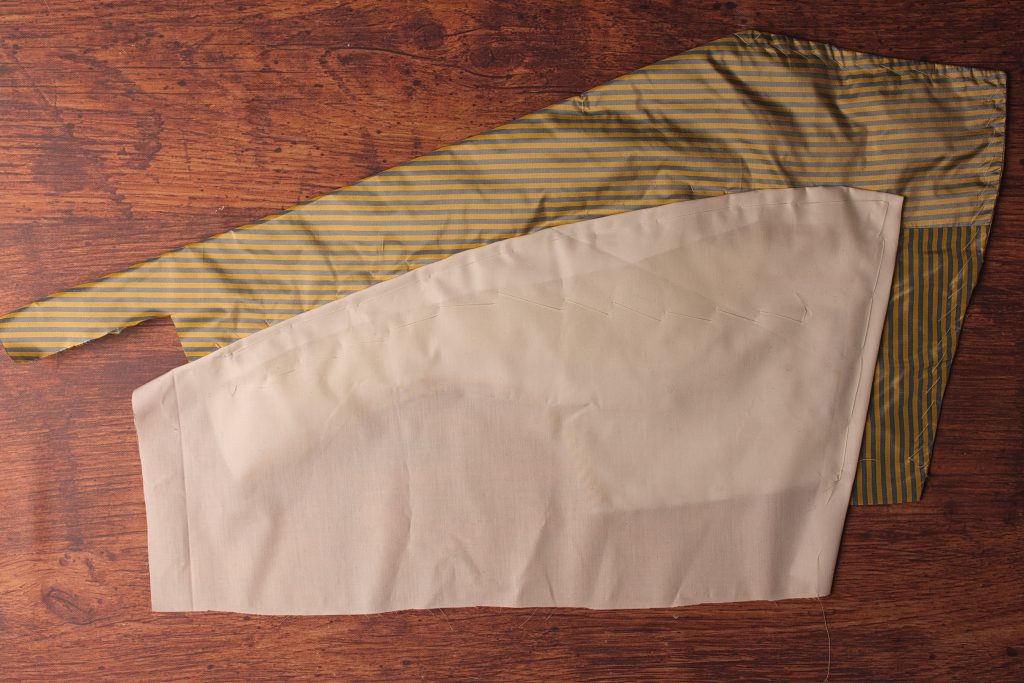
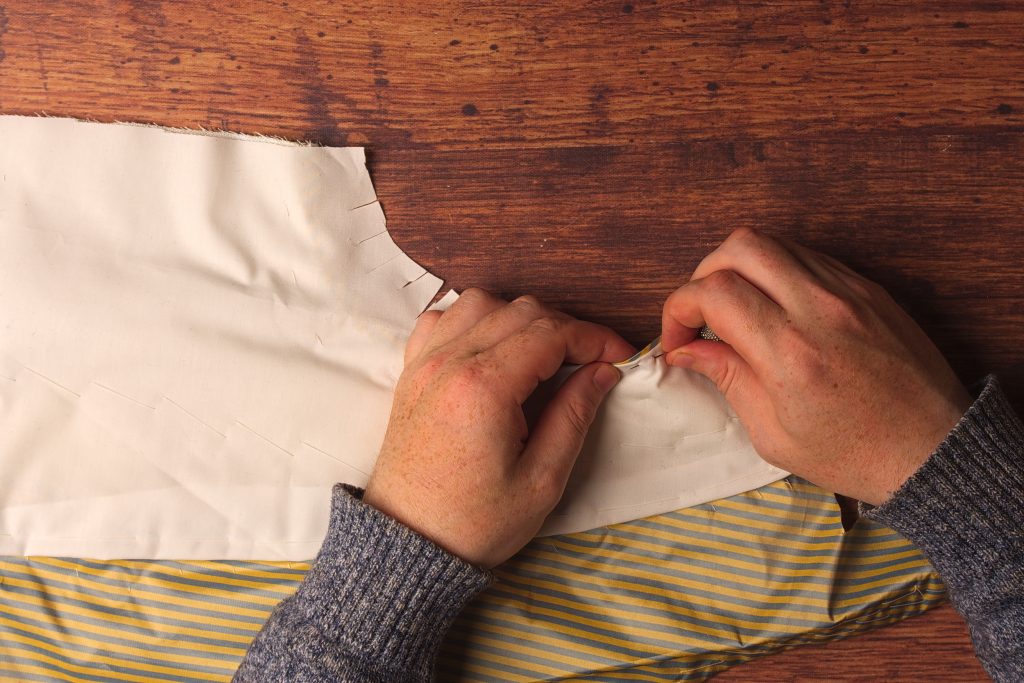
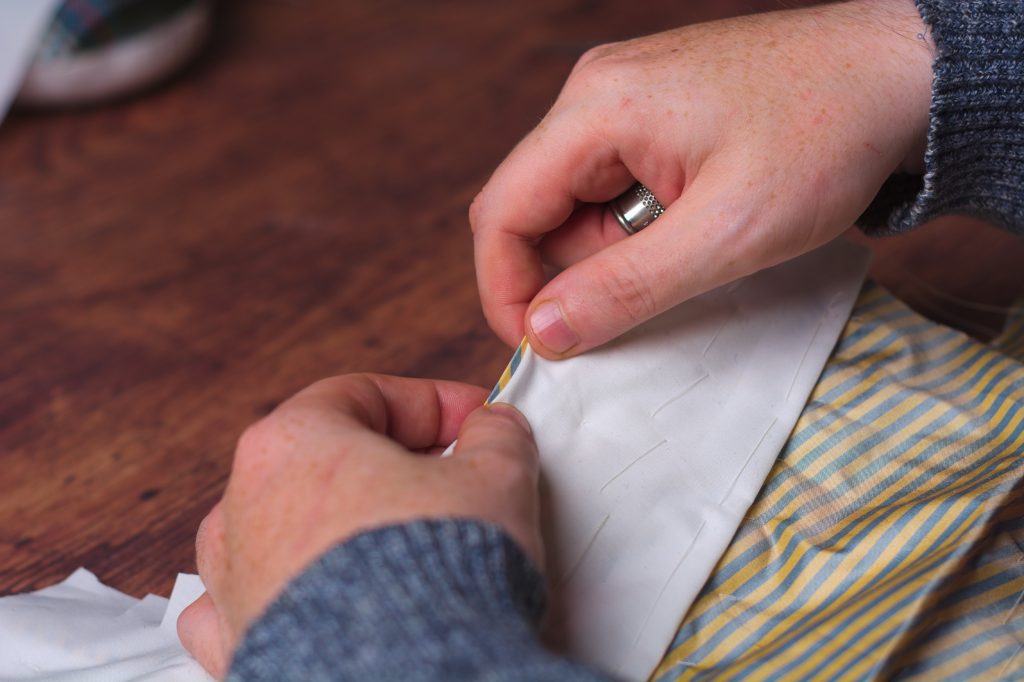
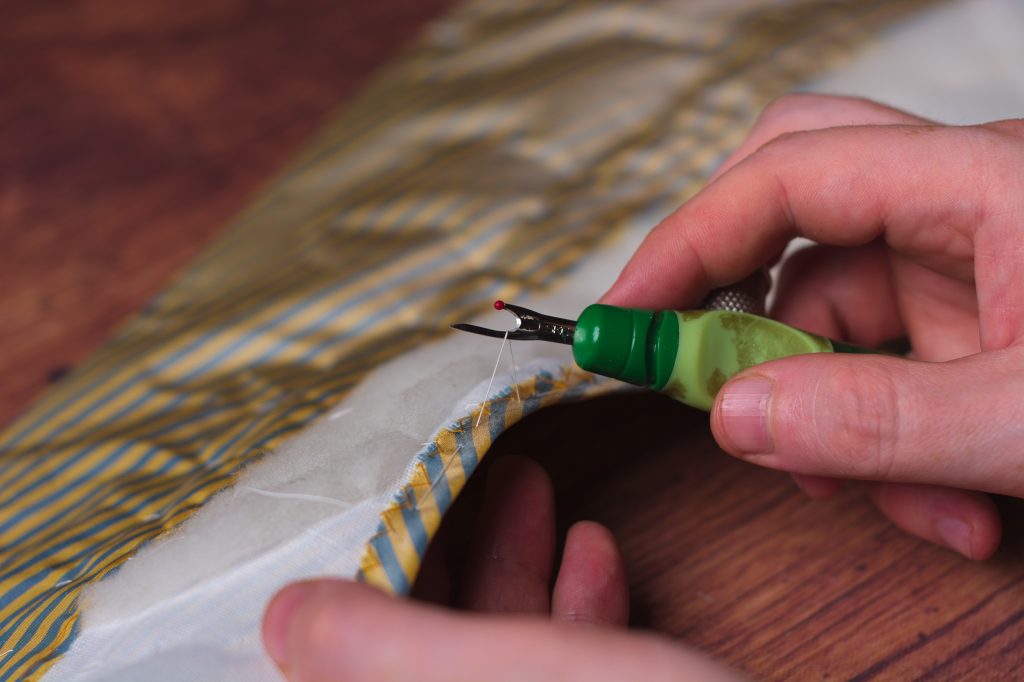
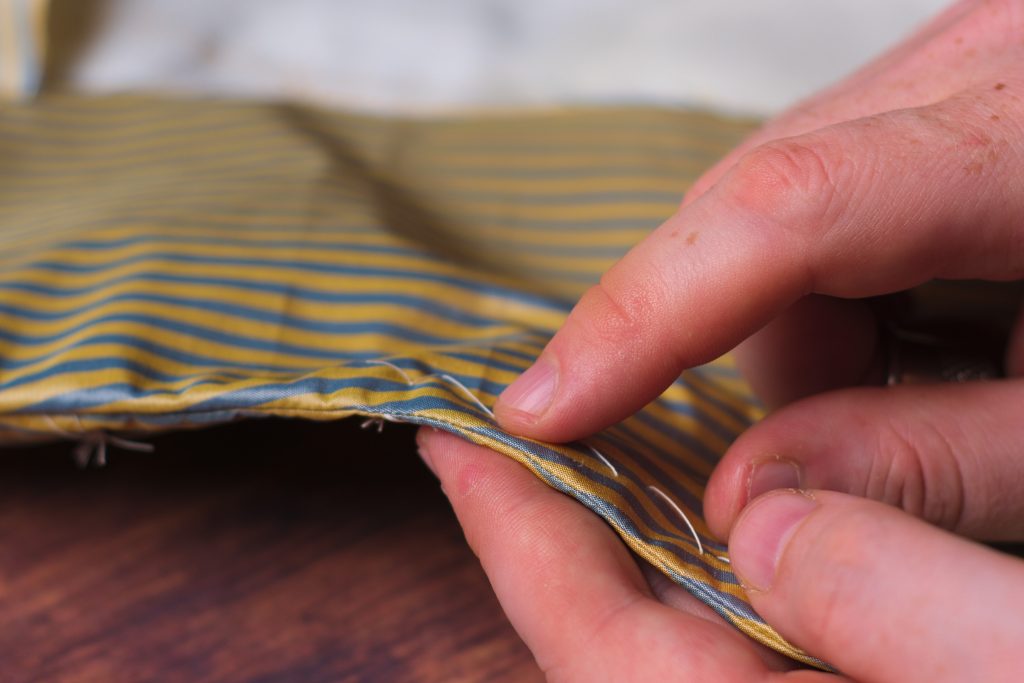
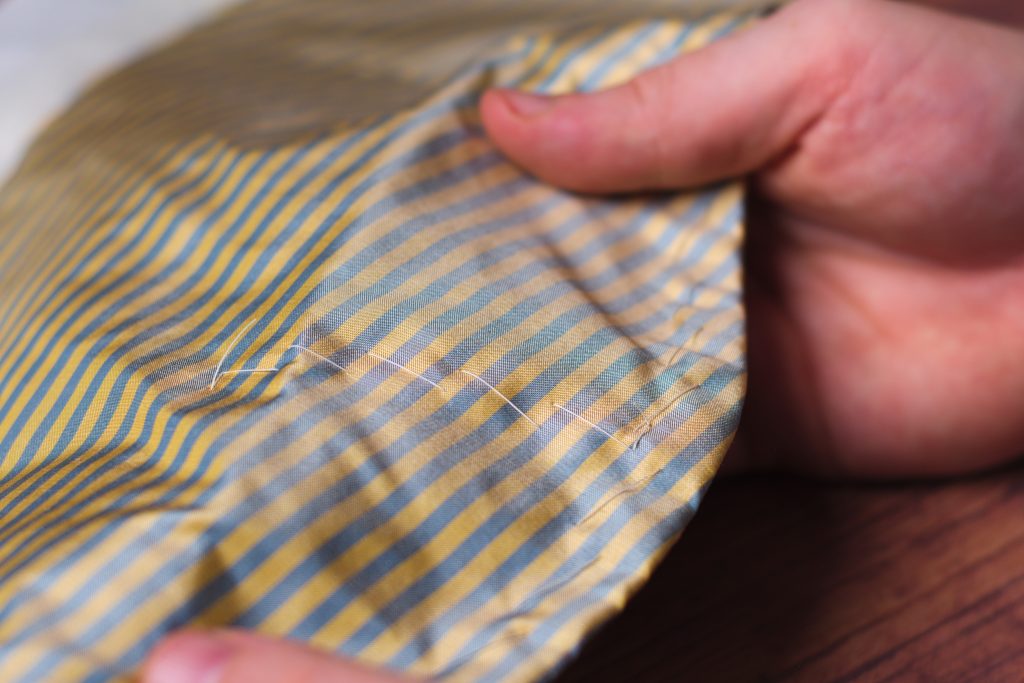
Turn the belt right side out. I like to open up the rounded end and use a blunt pencil to help with this. Press firmly.
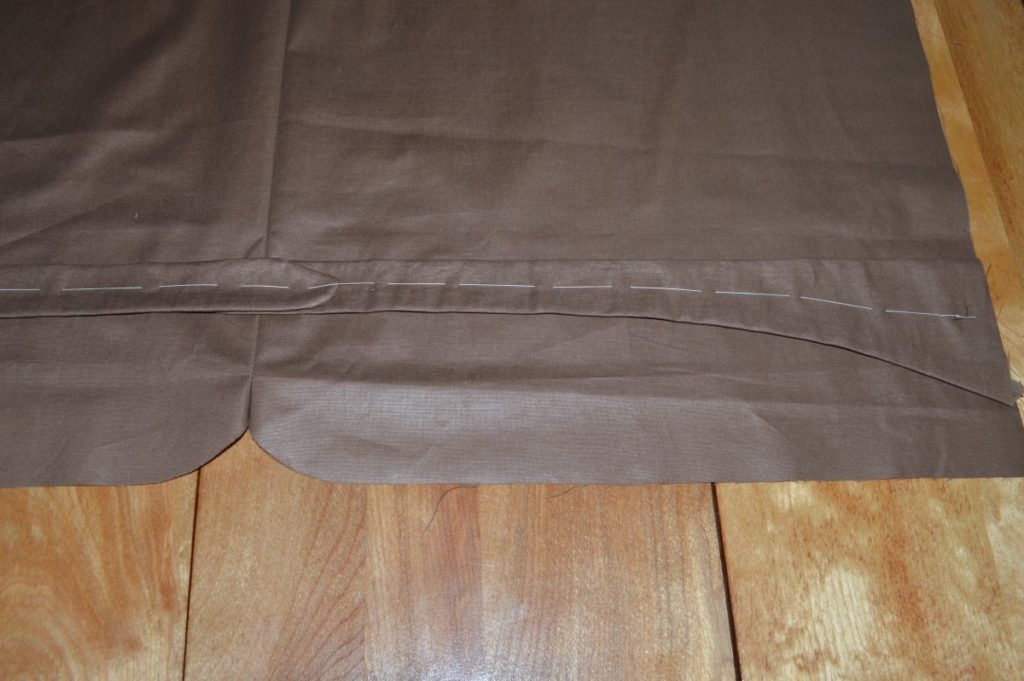
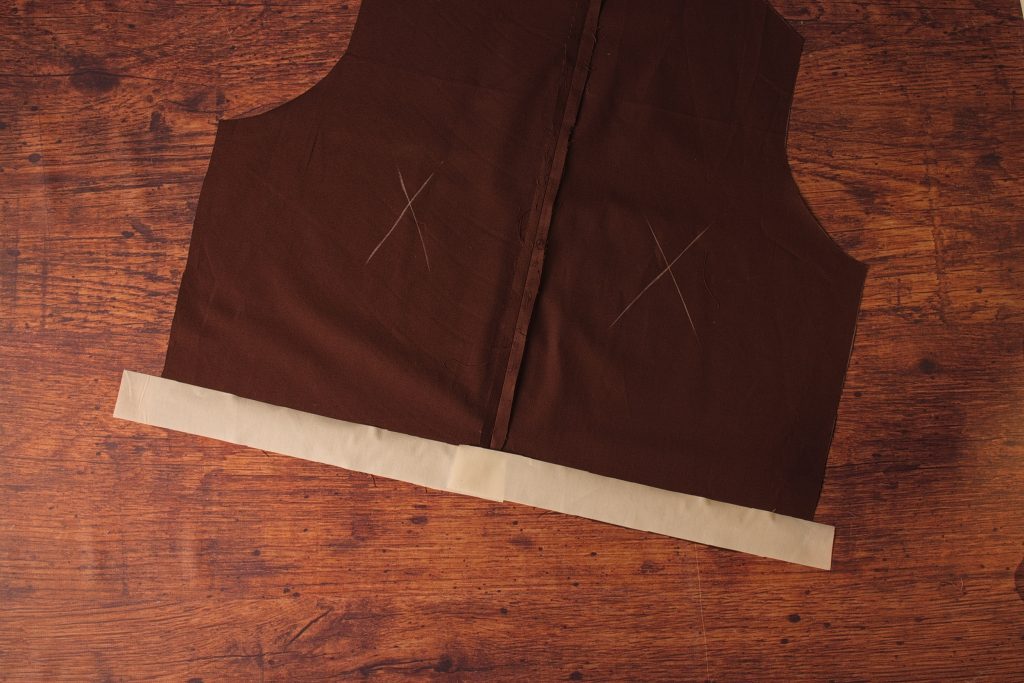
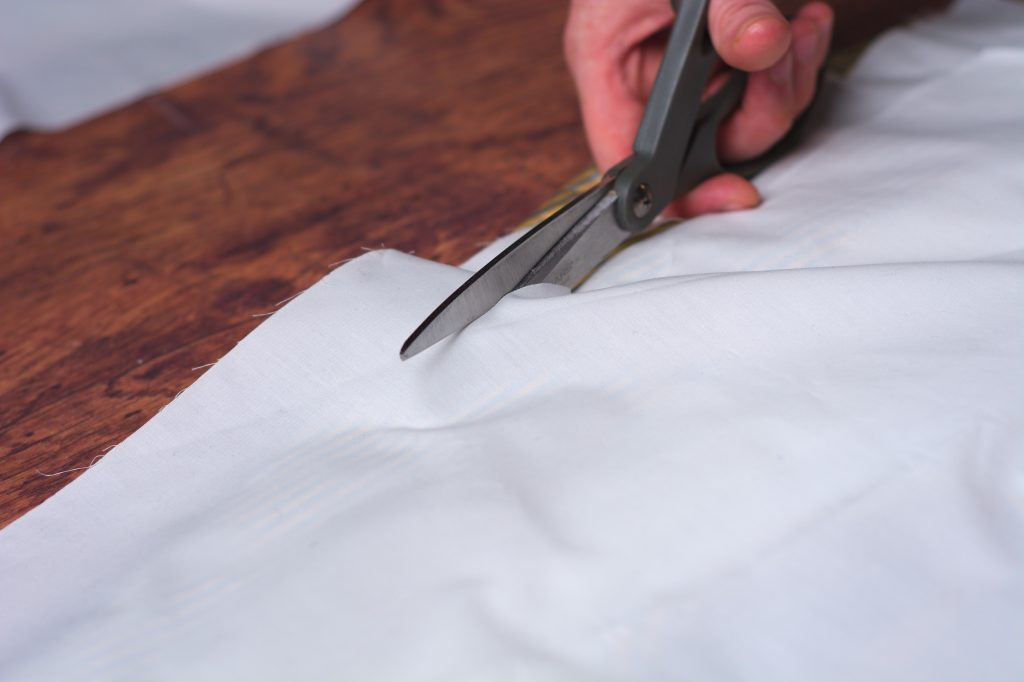
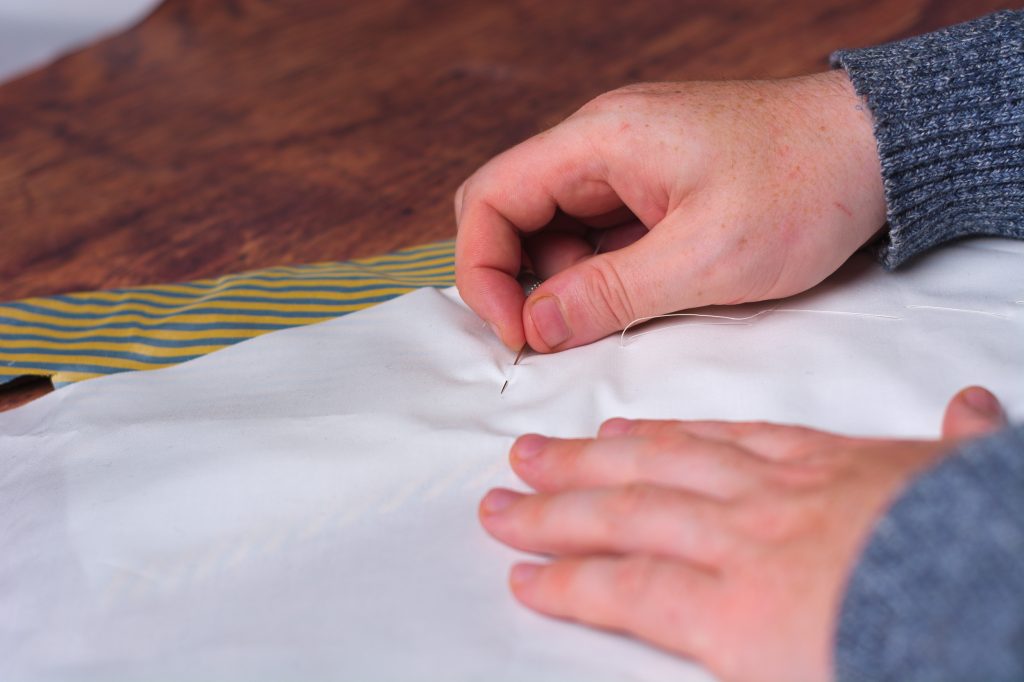
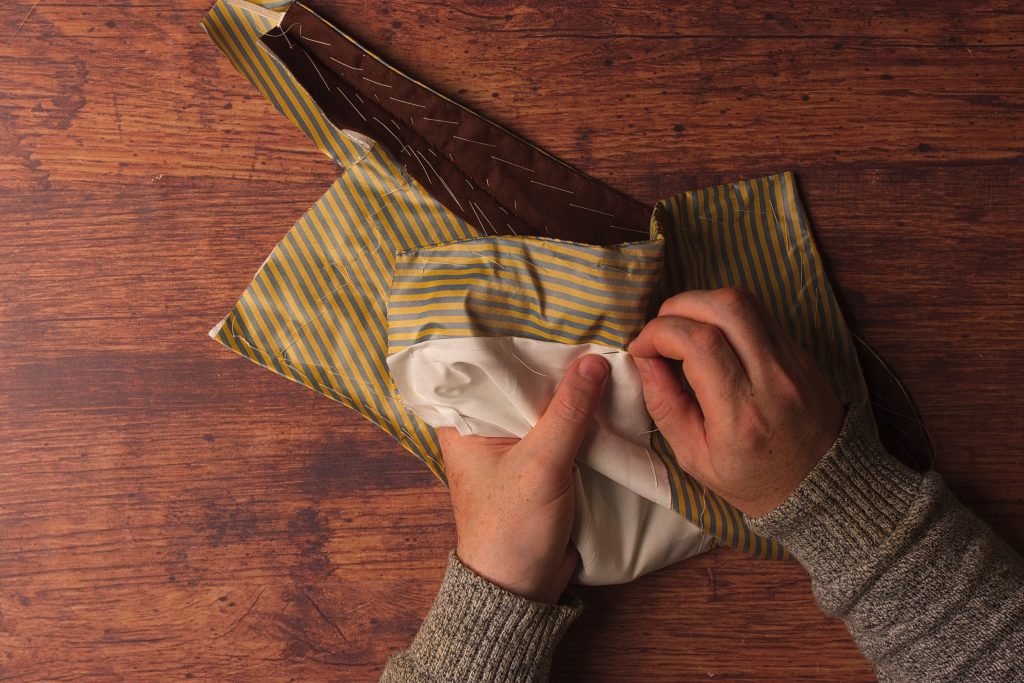
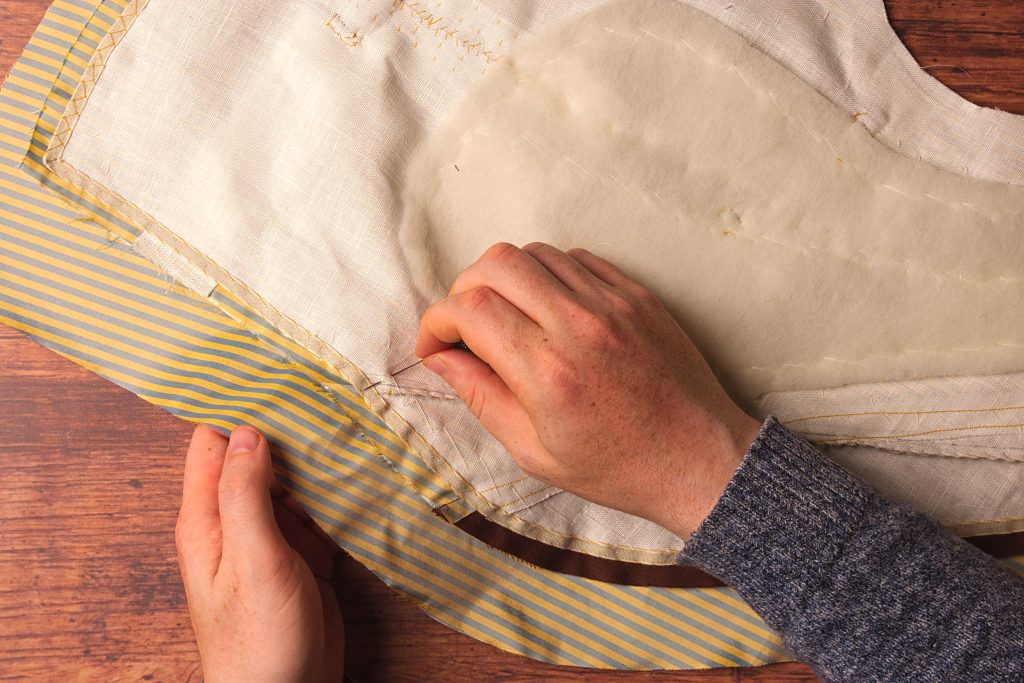
Then lie the back flat on the table and determine the position that you want the belt – usually at the height of the natural waist or slightly higher. Then draw a line across the back lightly with chalk, or just make a few dashes to keep it less visible.

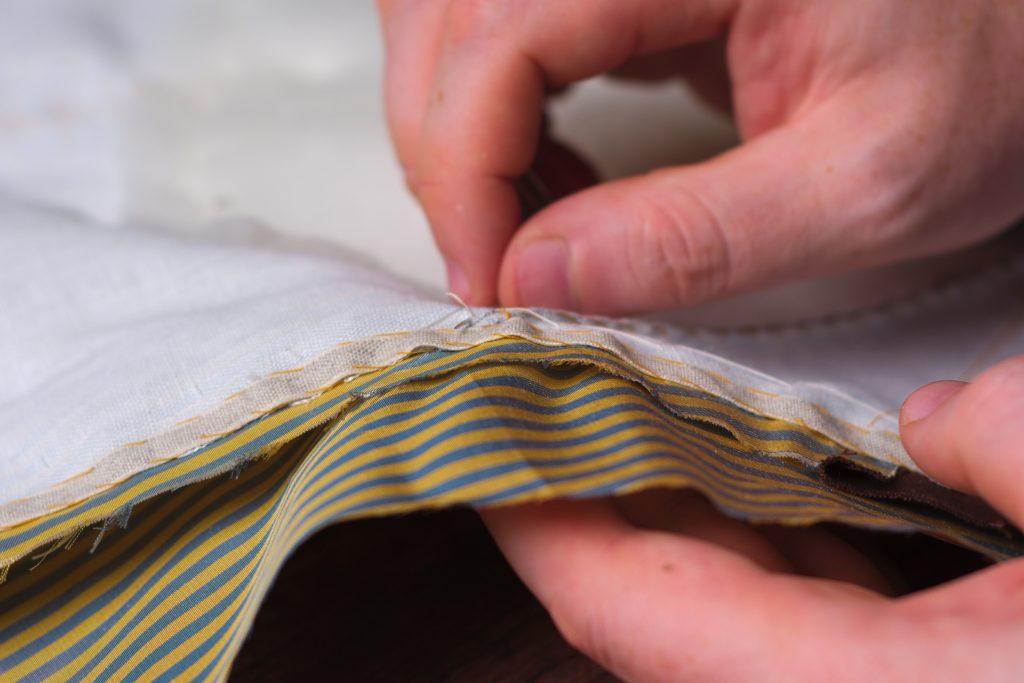
With the back belts in position, baste across the width of the belts to keep them secure while we finish everything else.
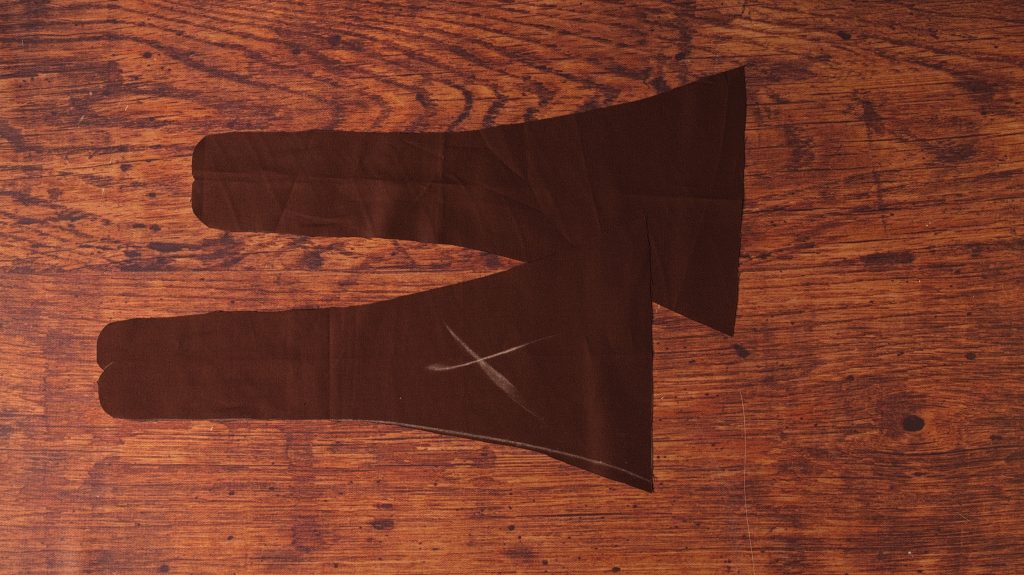
I forgot to take a photo of this somehow so he’s a shot from my other waistcoat course.
The Back
With the forepart completed, we can finally turn our attention to the back of the waistcoat and putting everything together.
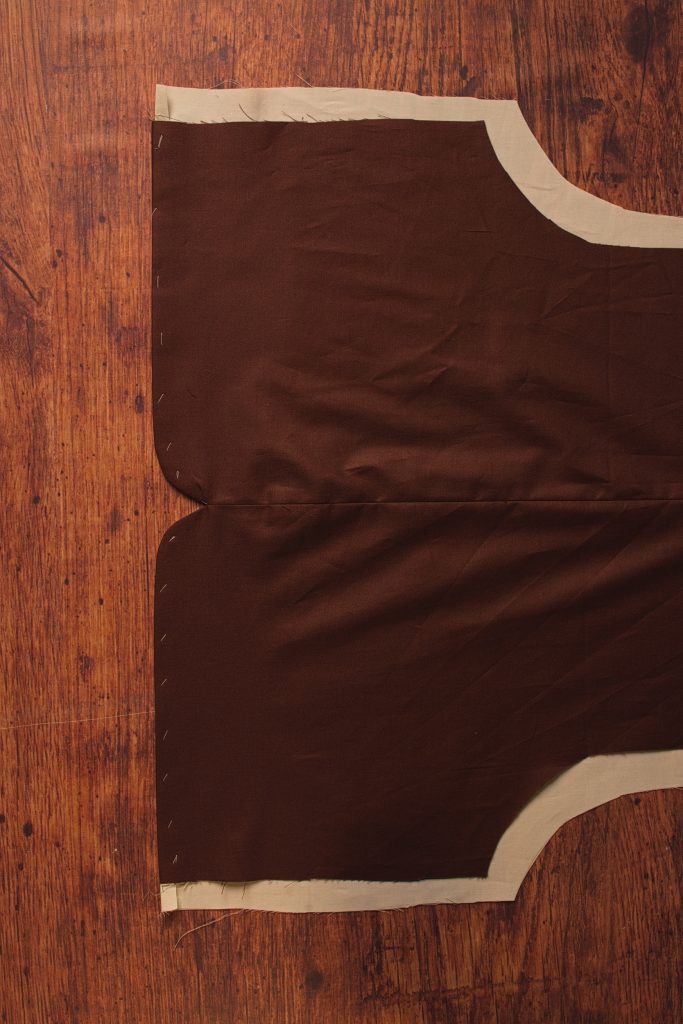
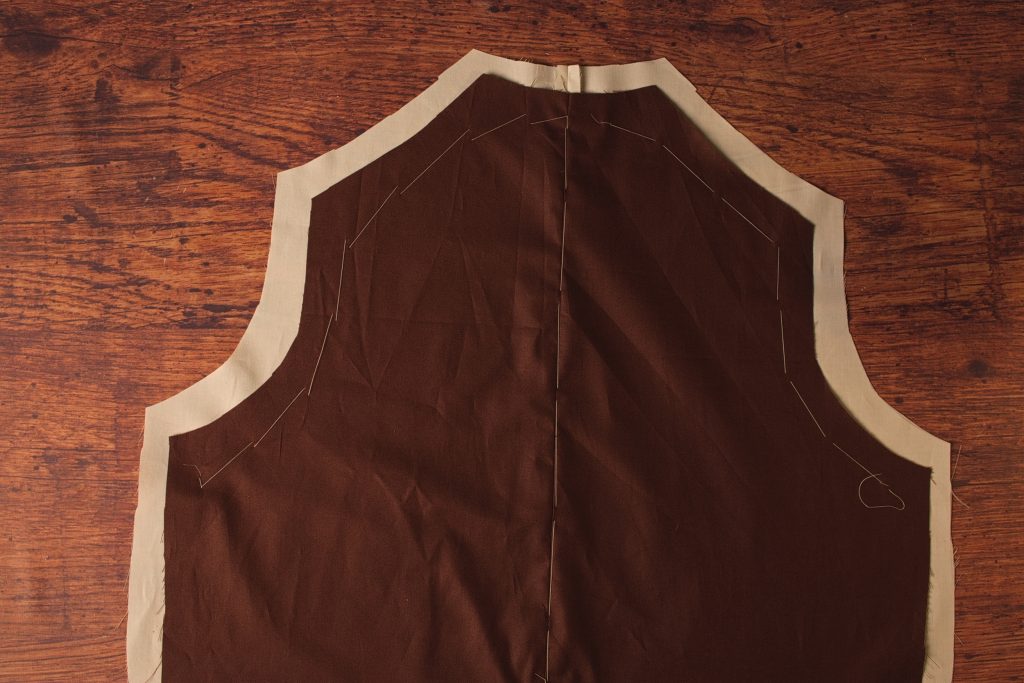
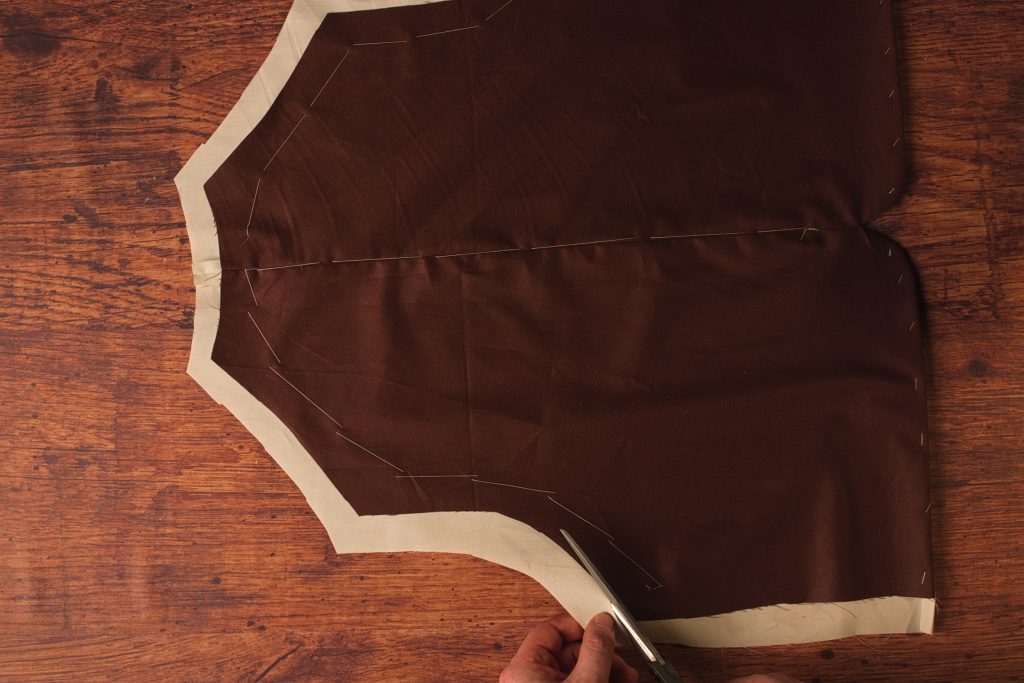
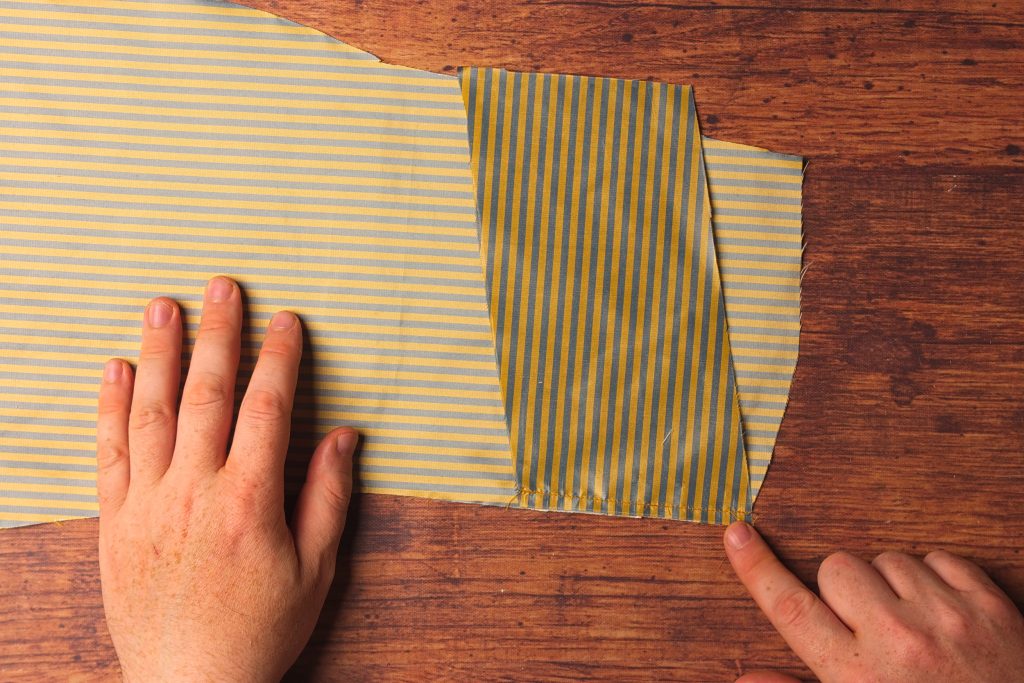
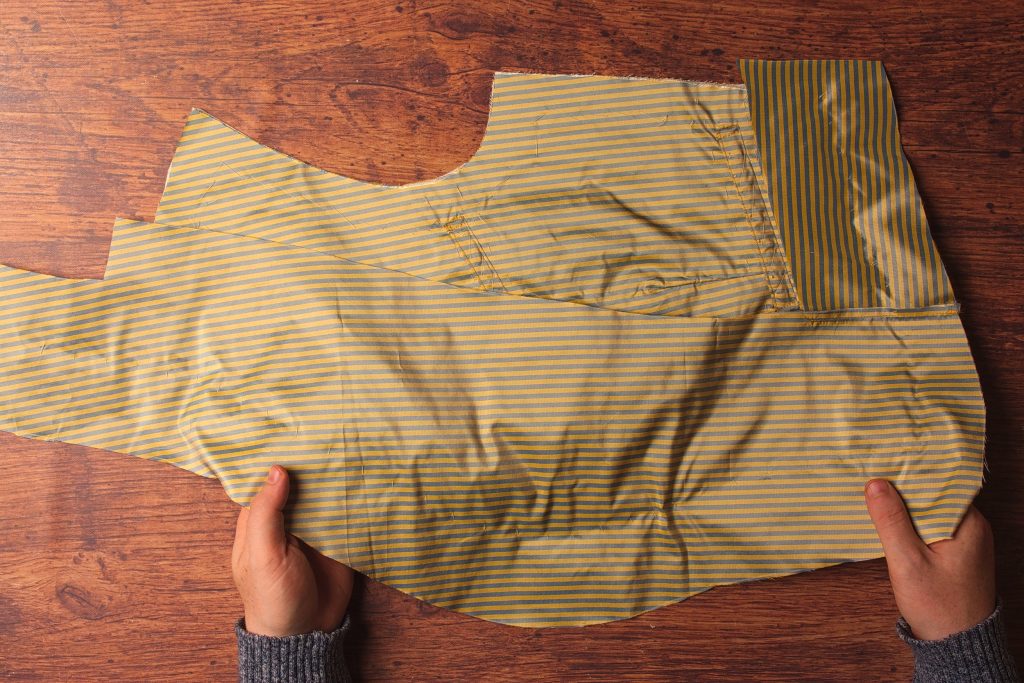
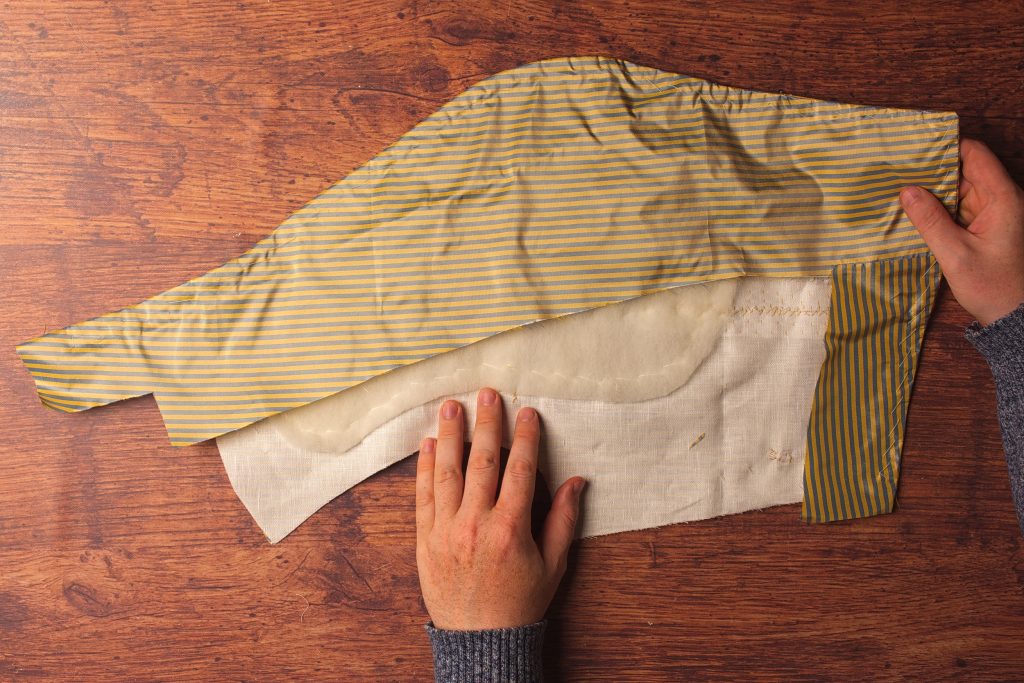
First, cut out the back piece (in brown polished cotton) to the size of the pattern.
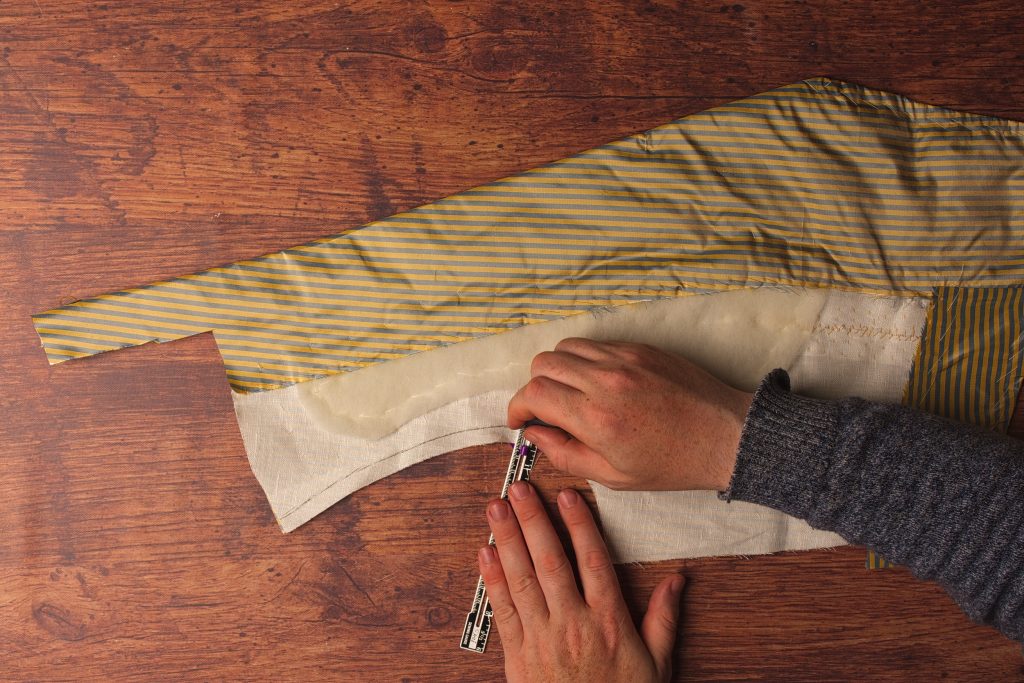
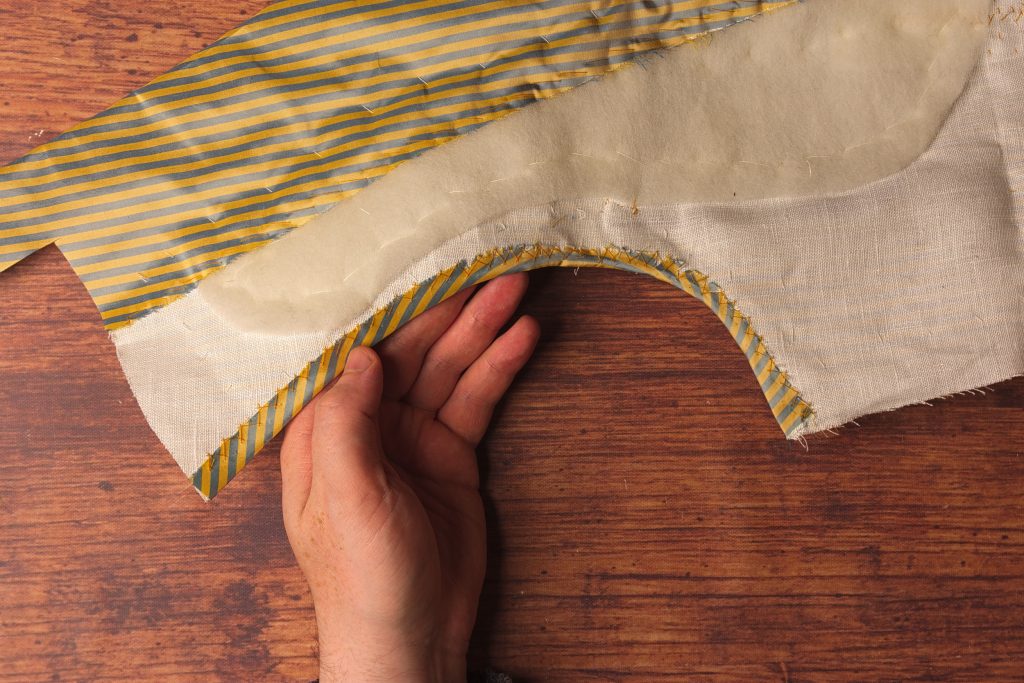
Next, cut out the lining piece, keeping the center back and waist seams the same size, while adding about an inch or so to the neck, shoulder, armscye, and side seams. This will allow us to trim the lining later to the exact size of the back.
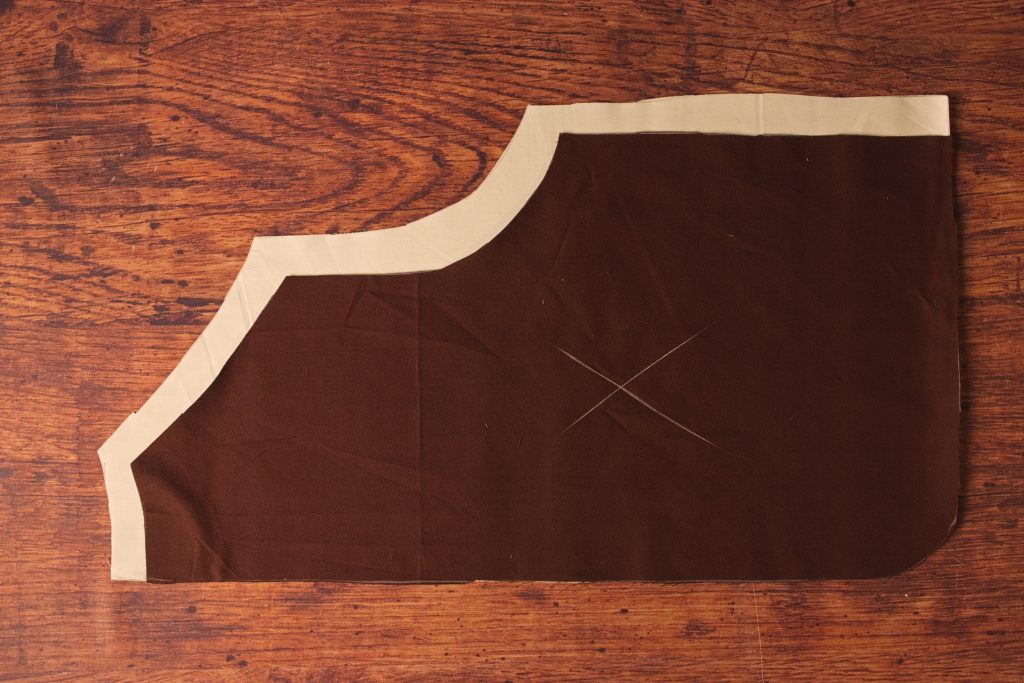
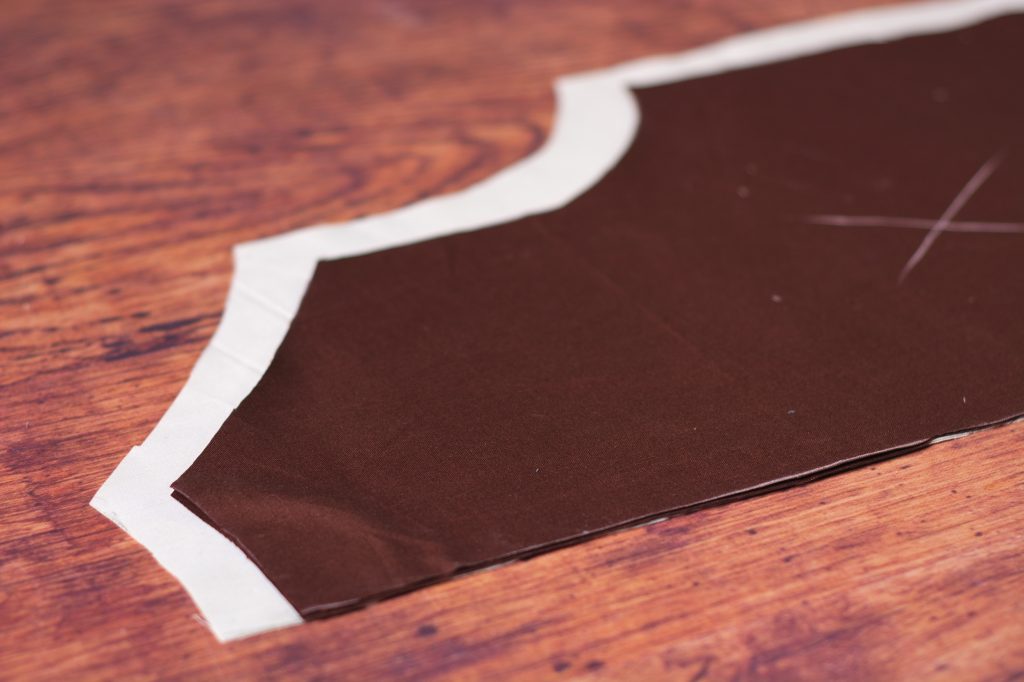
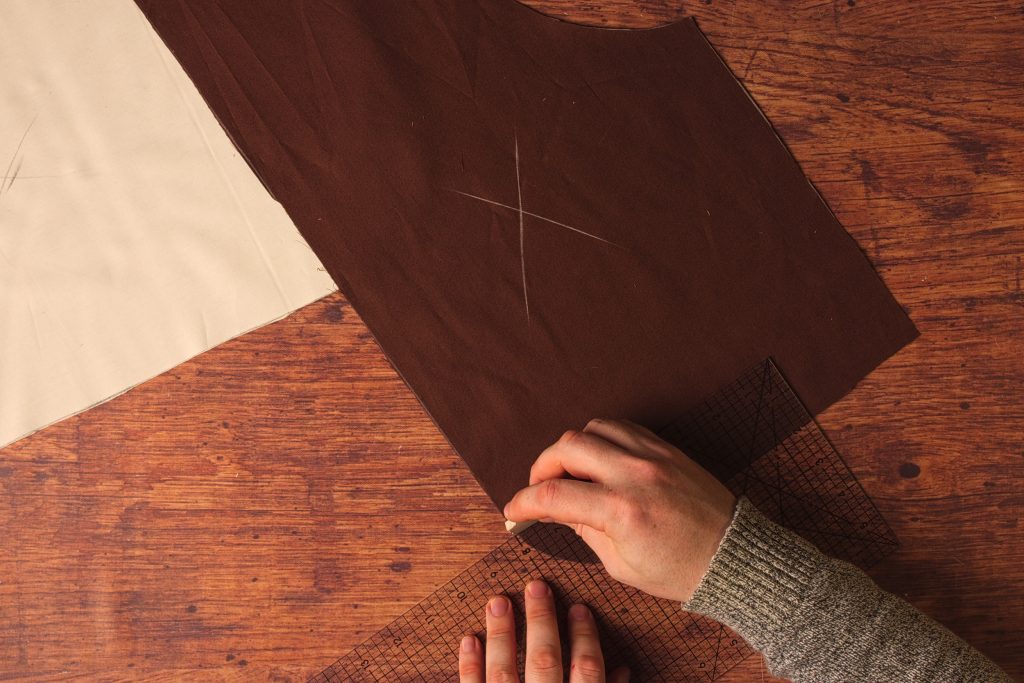
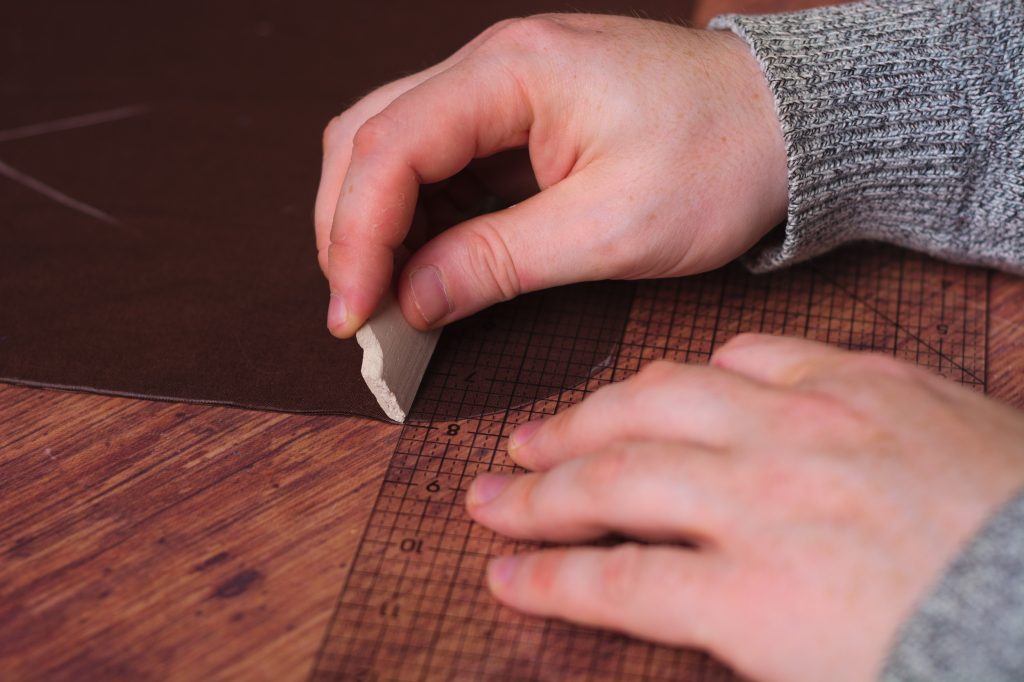
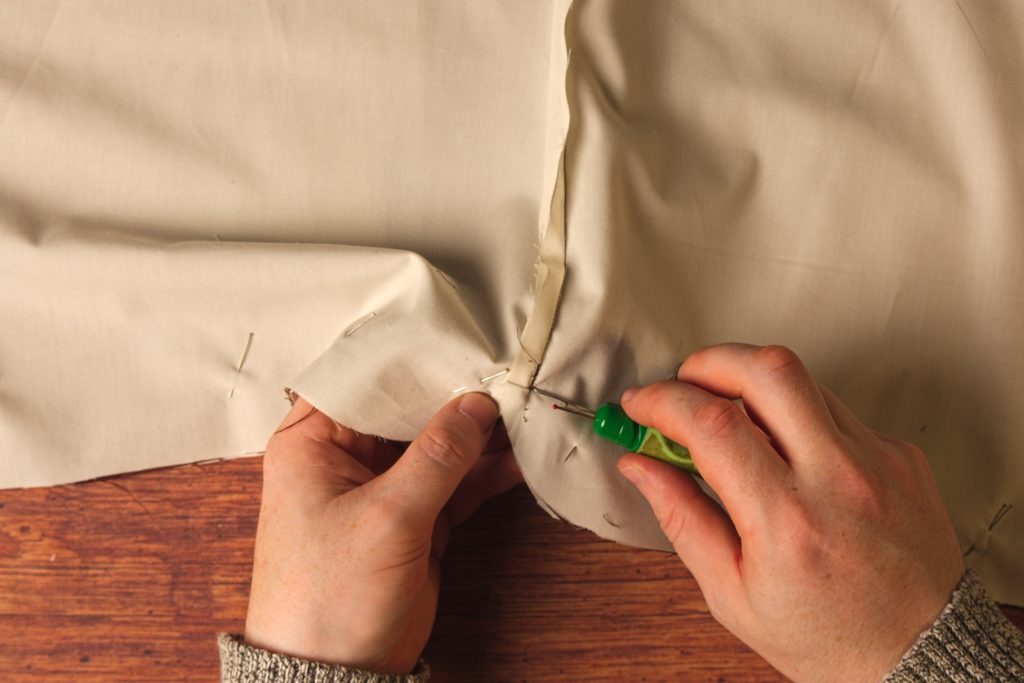
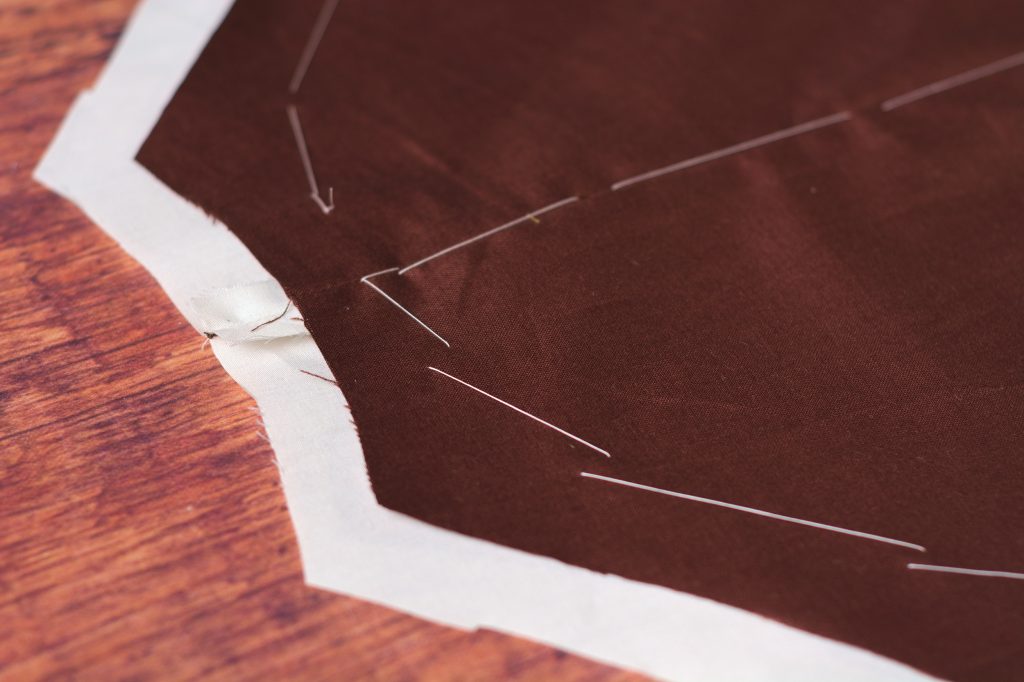
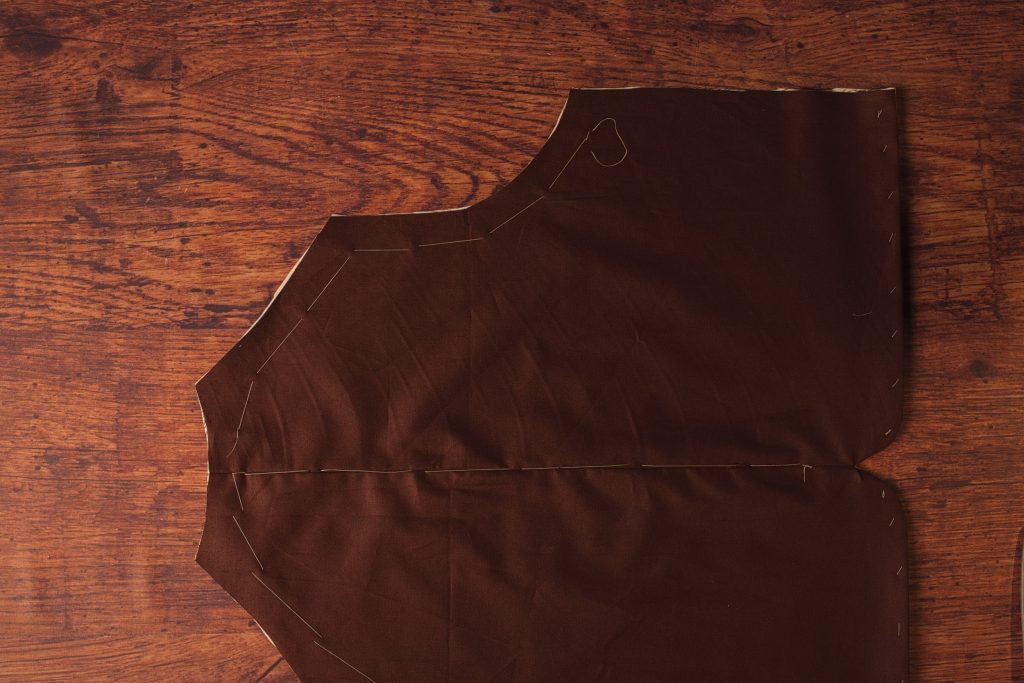
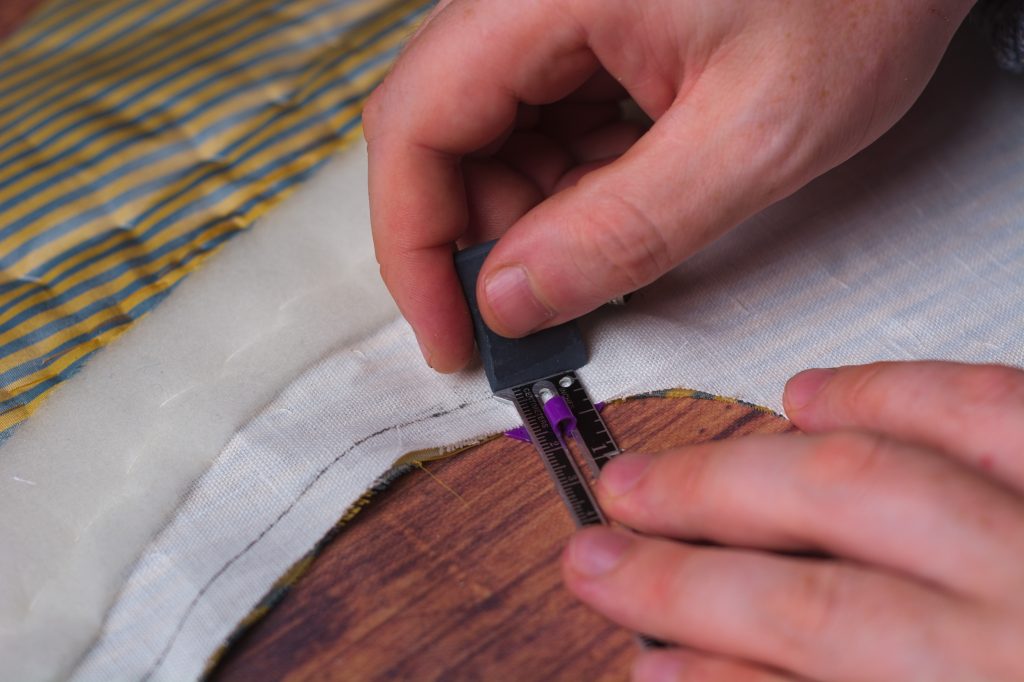
At the center back, just where the curve begins, measure and mark a point denoting the bottom of the center back seam, and apply this same measurement to both halves of the back and lining.
Sew the back seam from the neck to the mark, using a 3/8″ seam allowance. Press open. Repeat for the lining.
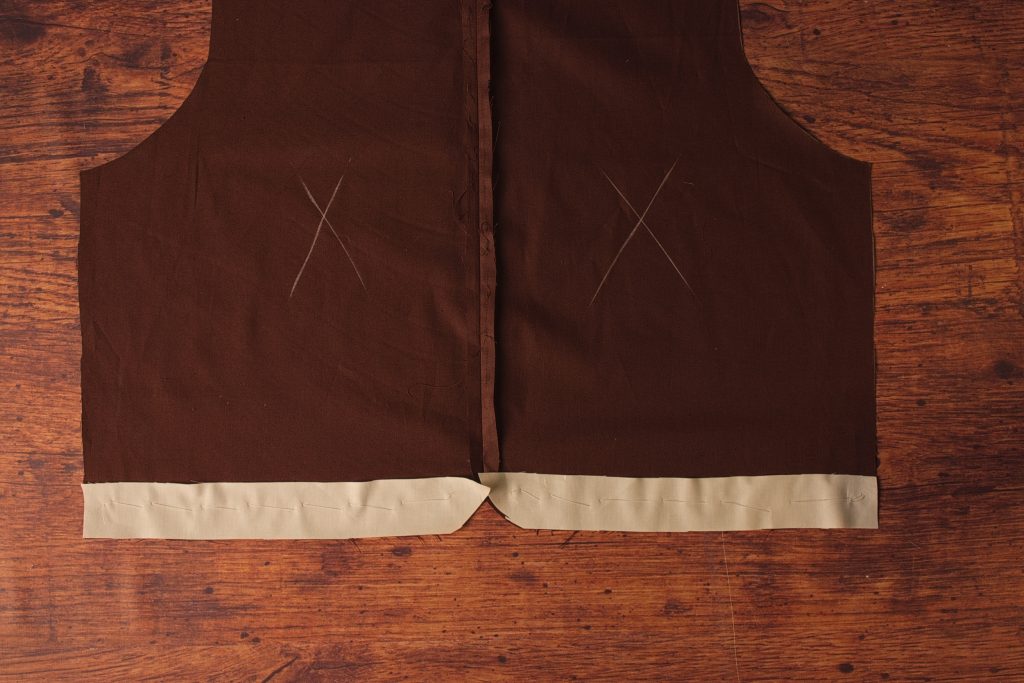
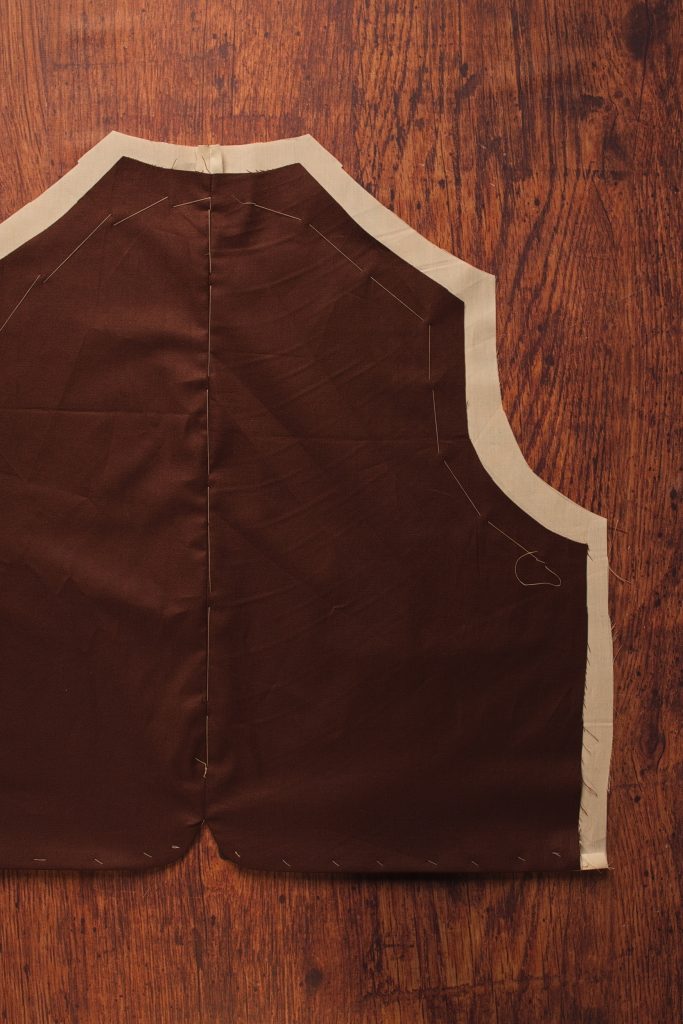
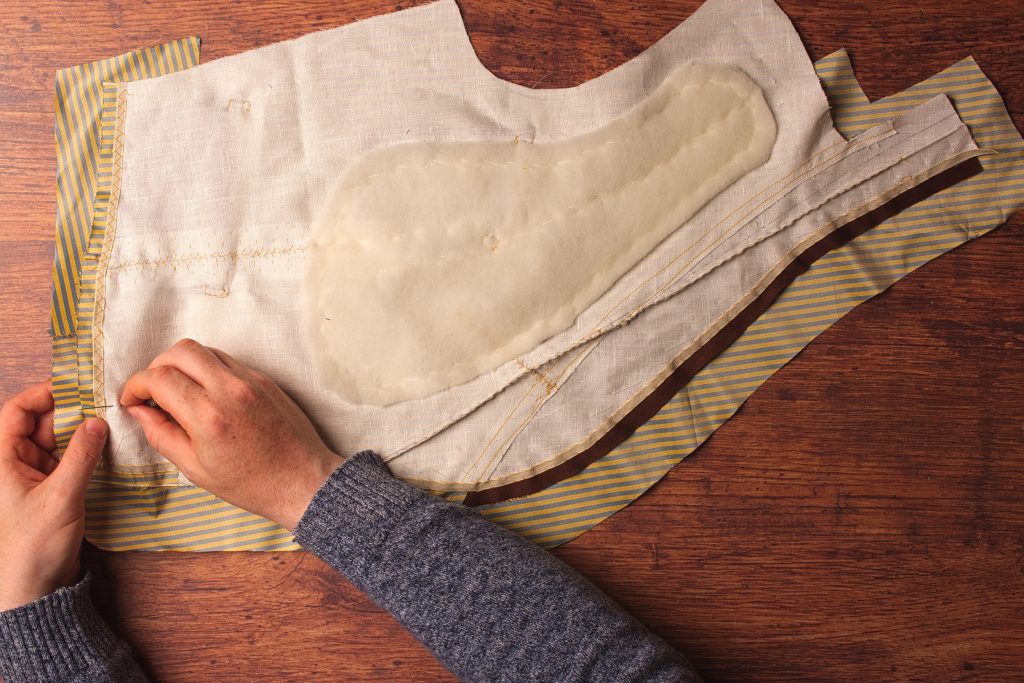
Cut two strips of cotton from your scraps, about 1 1/4″ wide and a couple of inches longer than half of the back waist. Lay them in position on the wrong side, flush with the waist seam.
These will help the back of the waistcoat maintain its folded edge without top stitching.
Baste each strip across the back, then trim the excess off each end.
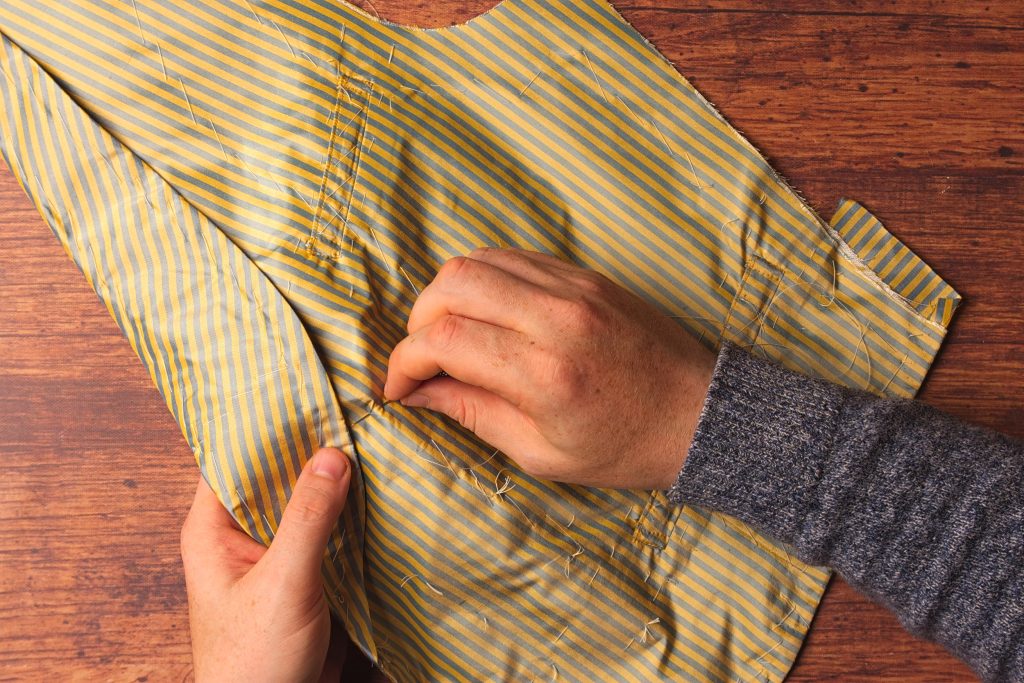
Now pin the lining to the back, right sides together. Begin at the center back, ensuring that the bottom of the center back seam aligns through both pieces. Then work your way out, pinning towards the side seams.
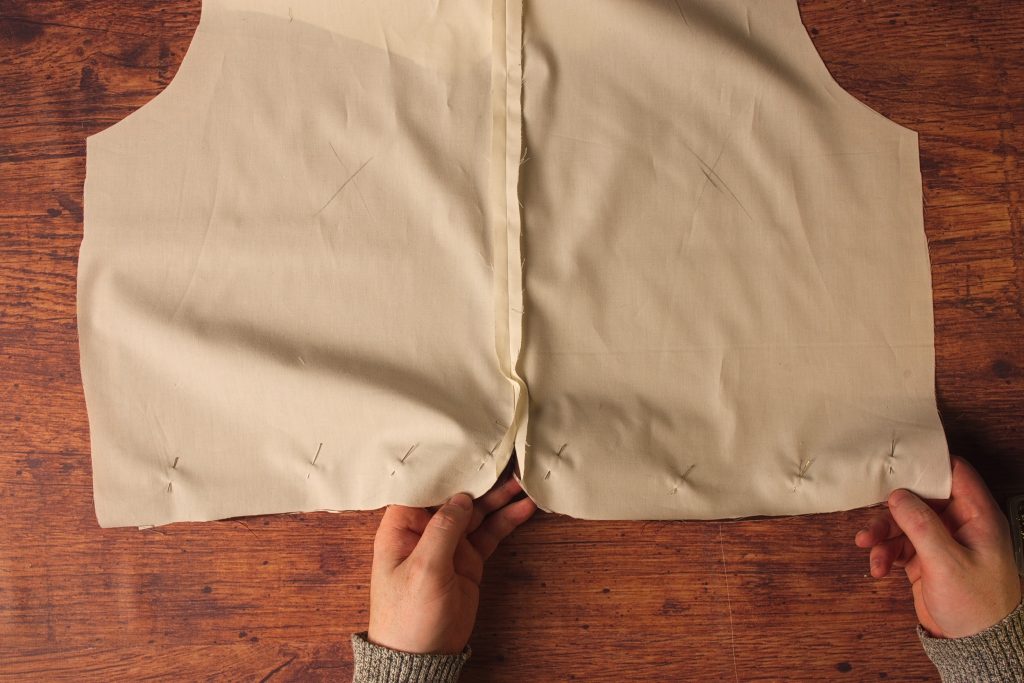
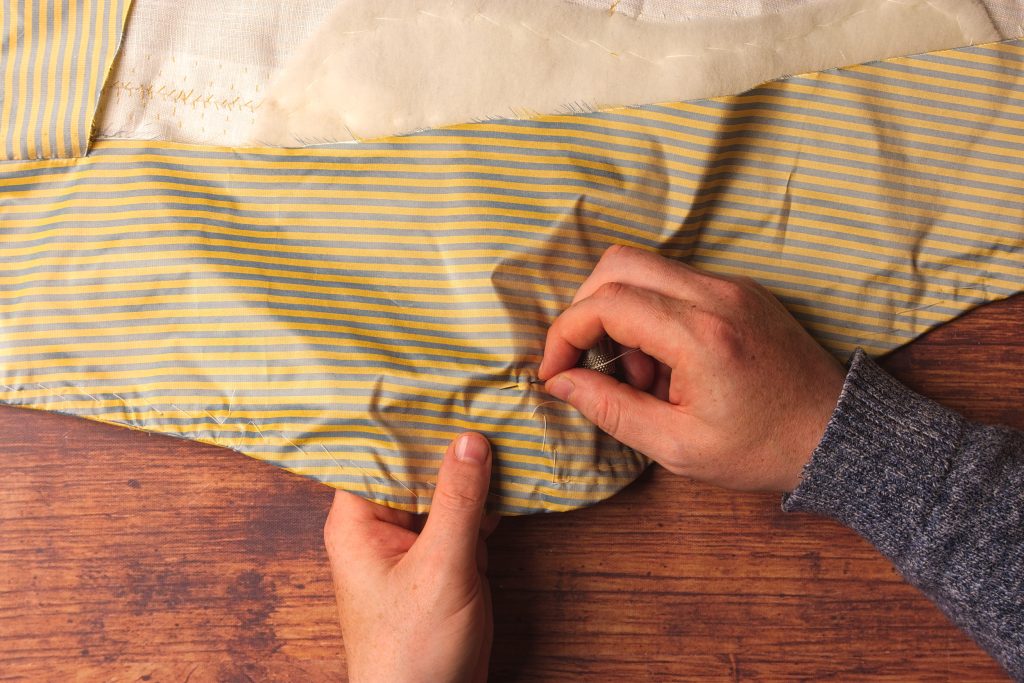
Now this is the tricky section. We’re going to sew each half of the back waist seam one at a time. The stitching begins at the bottom of the center back seam. Fold all of the seam allowances out of the way so that you can properly sew the seam.
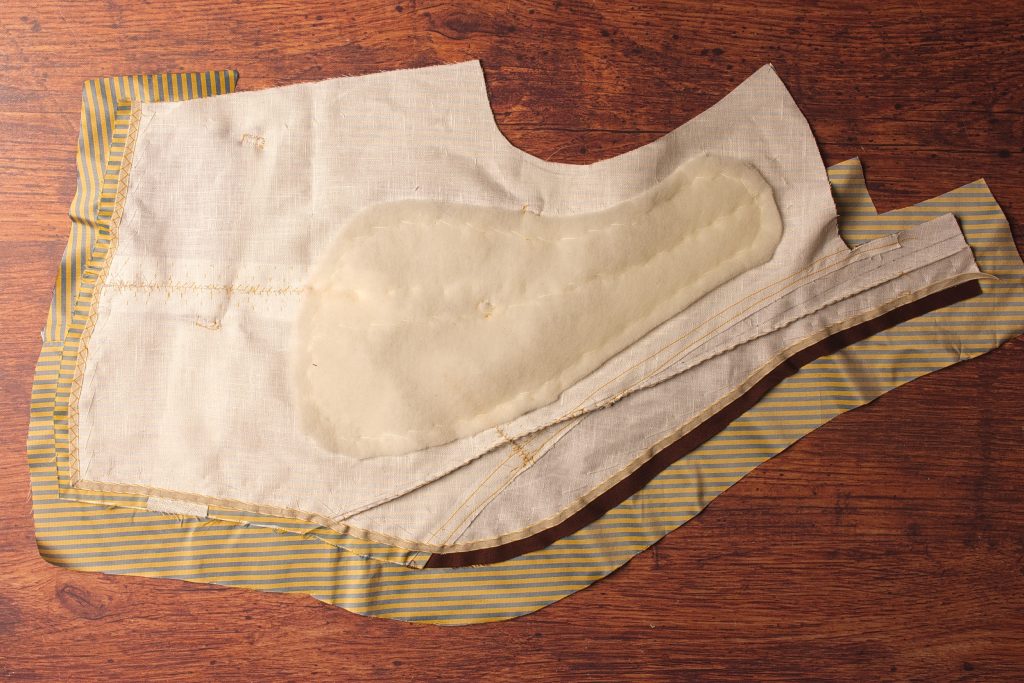
Make sure the strip is lying flat as well.
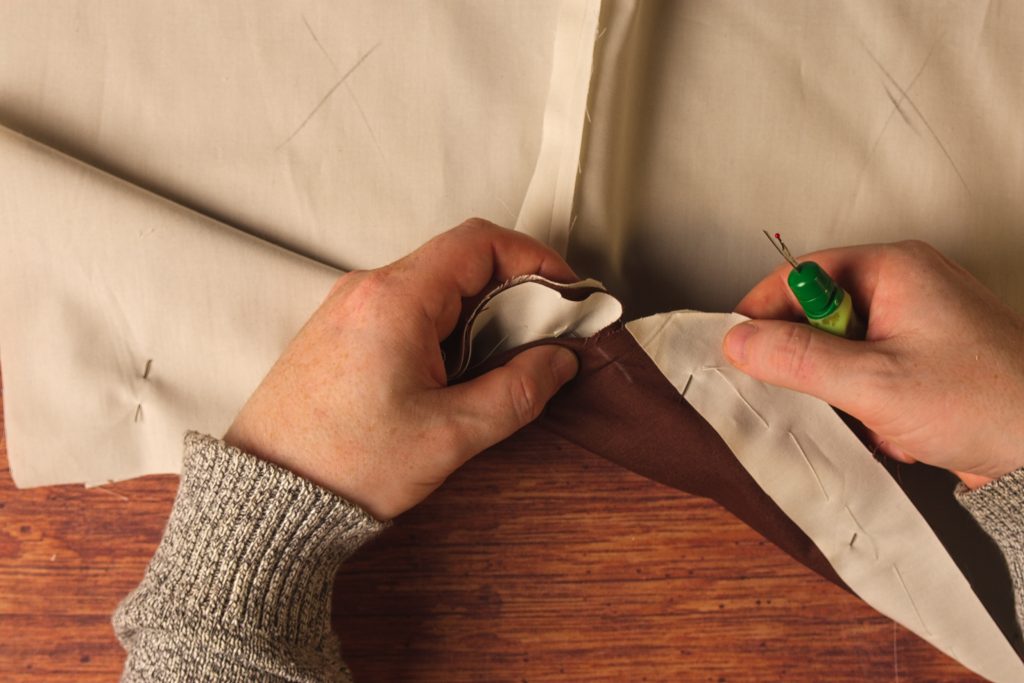
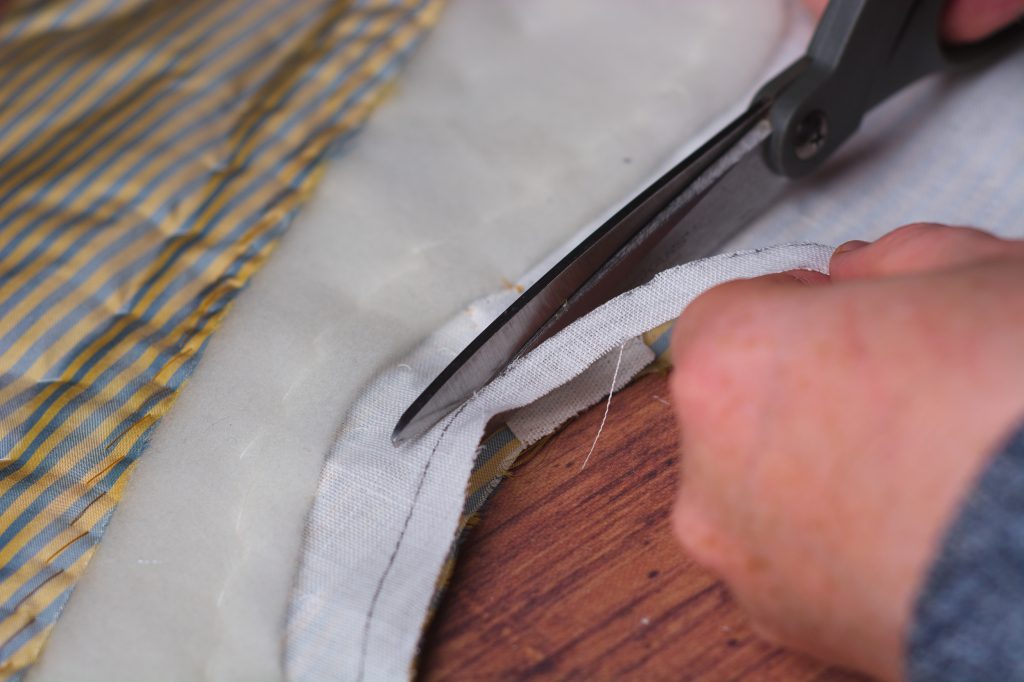
Sew from the mark to the side seam. Repeat for the other half, and then trim the curved areas to about 1/8″ to help turn neatly right side out.
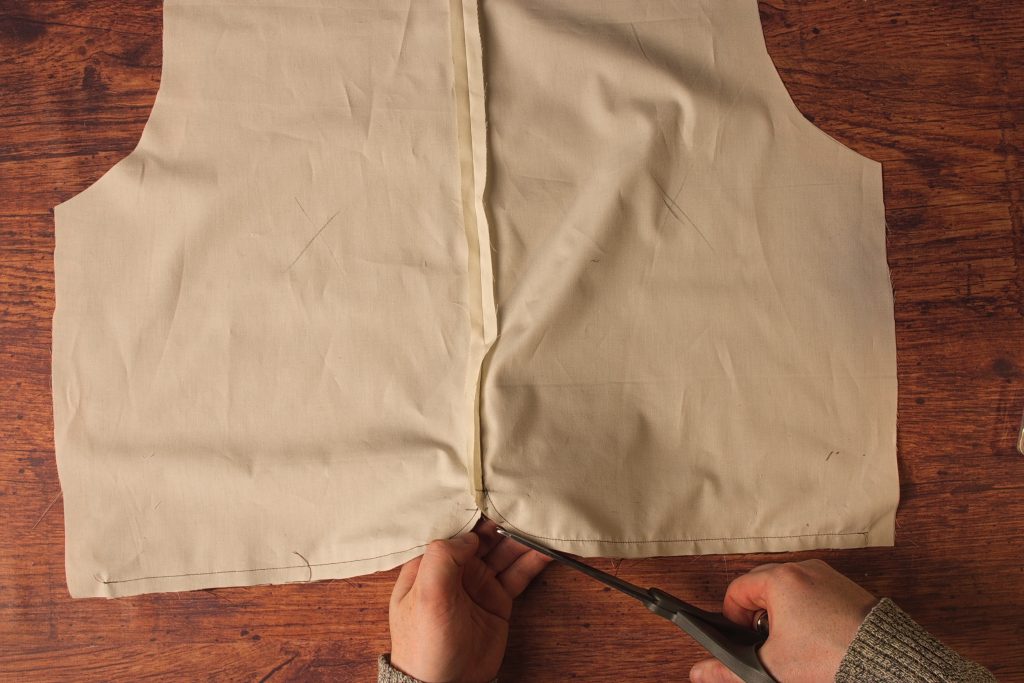
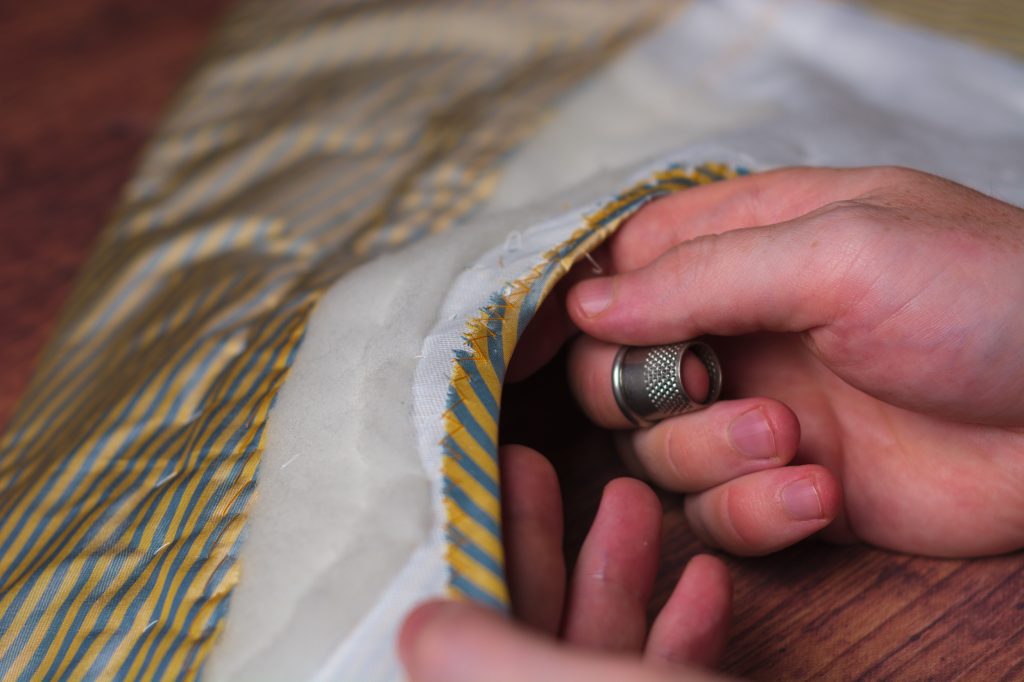
Turn the back assembly right sides out, pushing the underside reveal back about 1/8″ so that no lining shows on the right side. Press firmly.
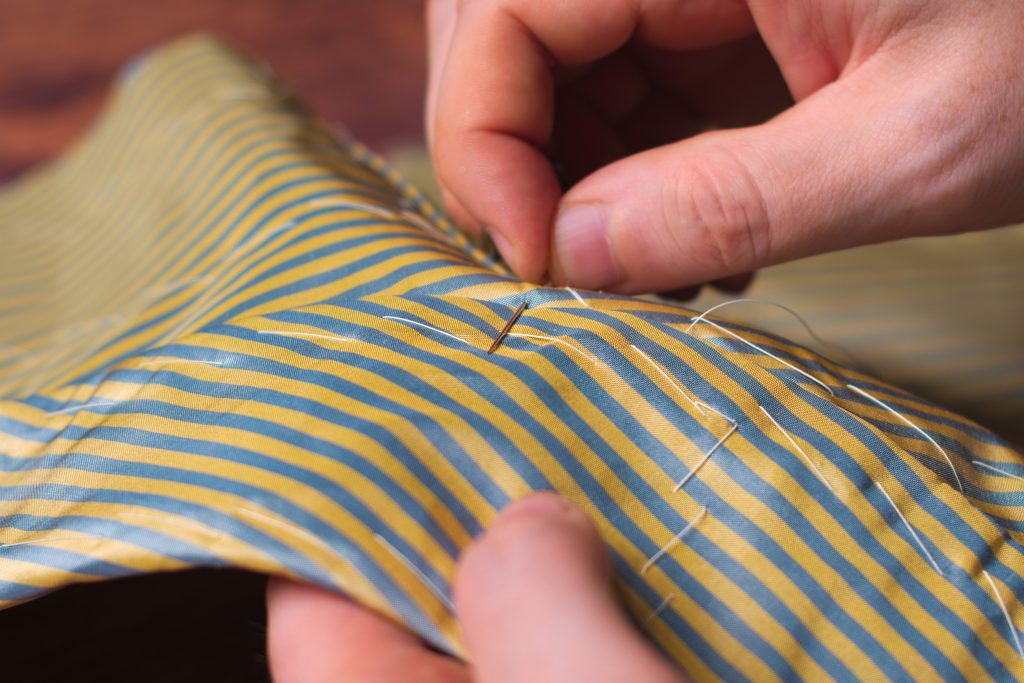
Now to help ensure that the lining is the same size as the back itself, baste up the back seam using fairly large stitches, making sure everything lies smoothly.
Then baste each half across the neck, shoulder, and armscye in the same manner.
Trim the lining flush with the back.
And this completes the back assembly.
Installing the Lining
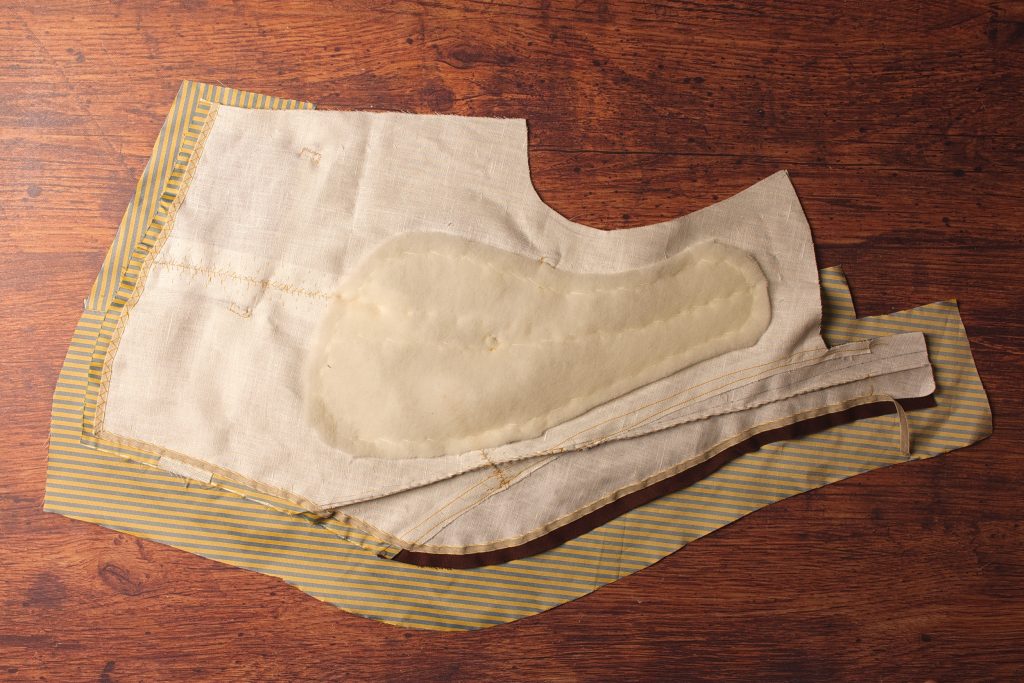
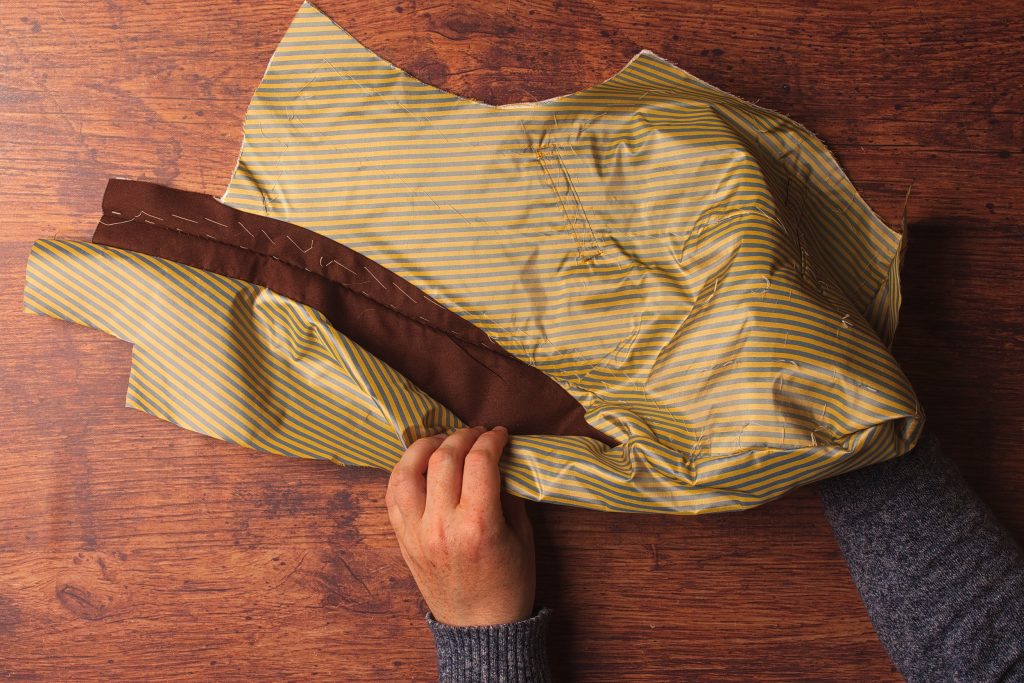
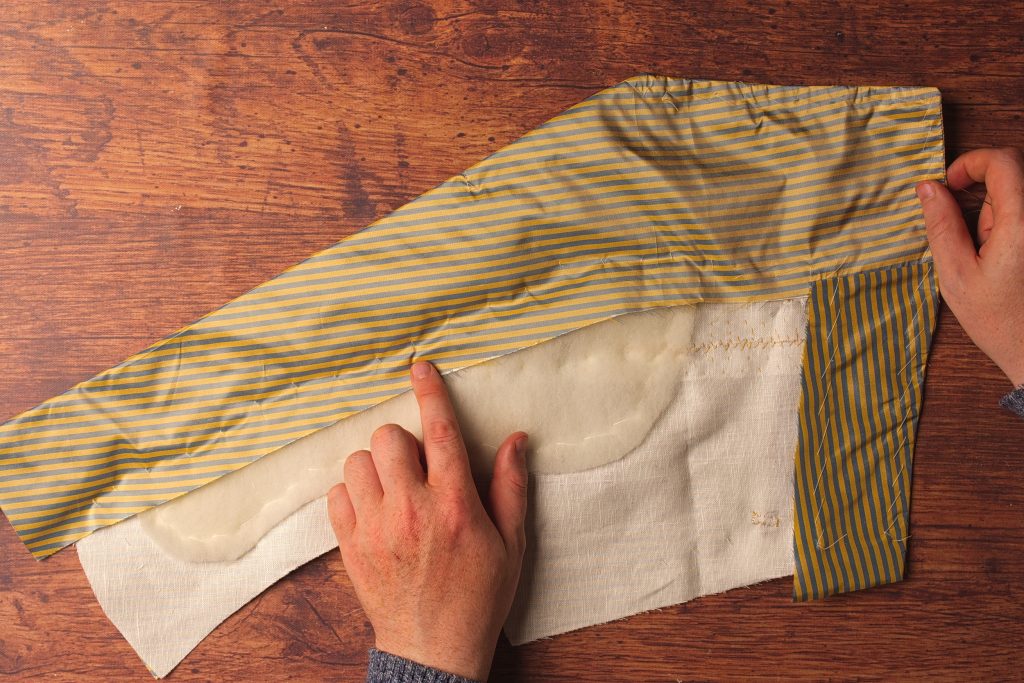
Instead of making a paper pattern for the forepart lining, I like to simply cut the fabric a bit larger than necessary and gradually trim it down.
Lay the forepart on your lining fabric and cut out a rectangular piece roughly the size of the forepart.
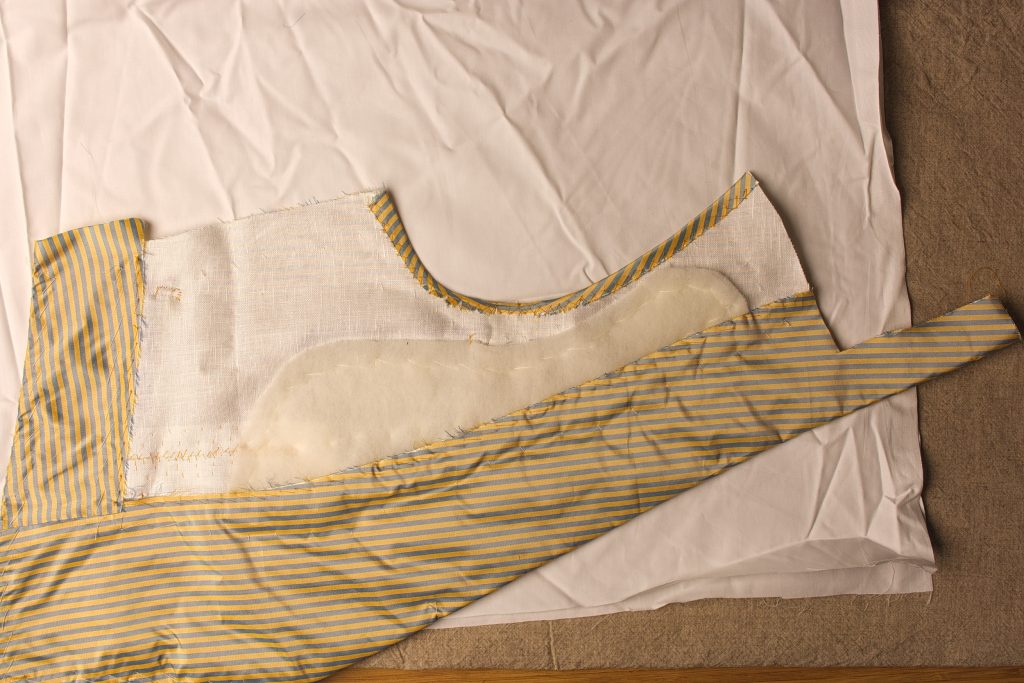
Now trim away the fabric about 1″ to 1 1/2″ away from the edge of the facing.

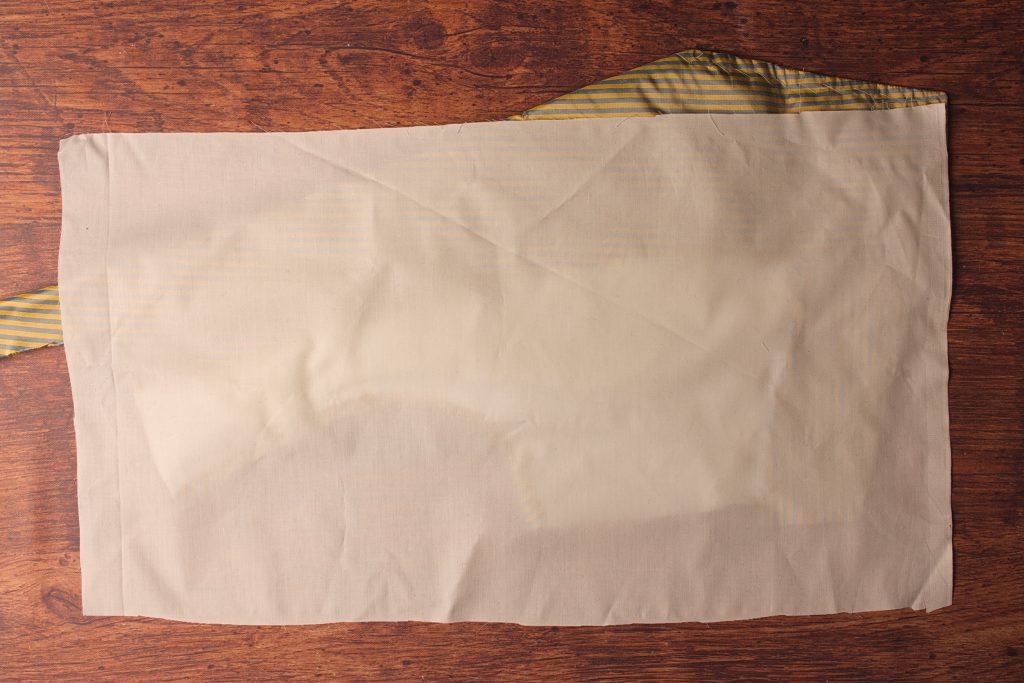
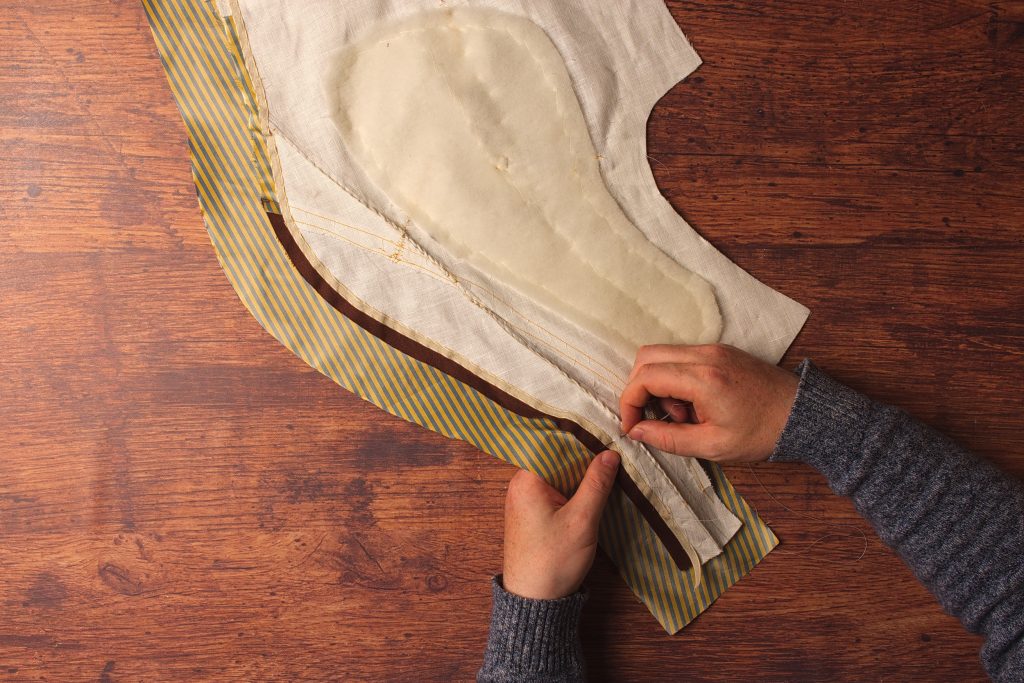
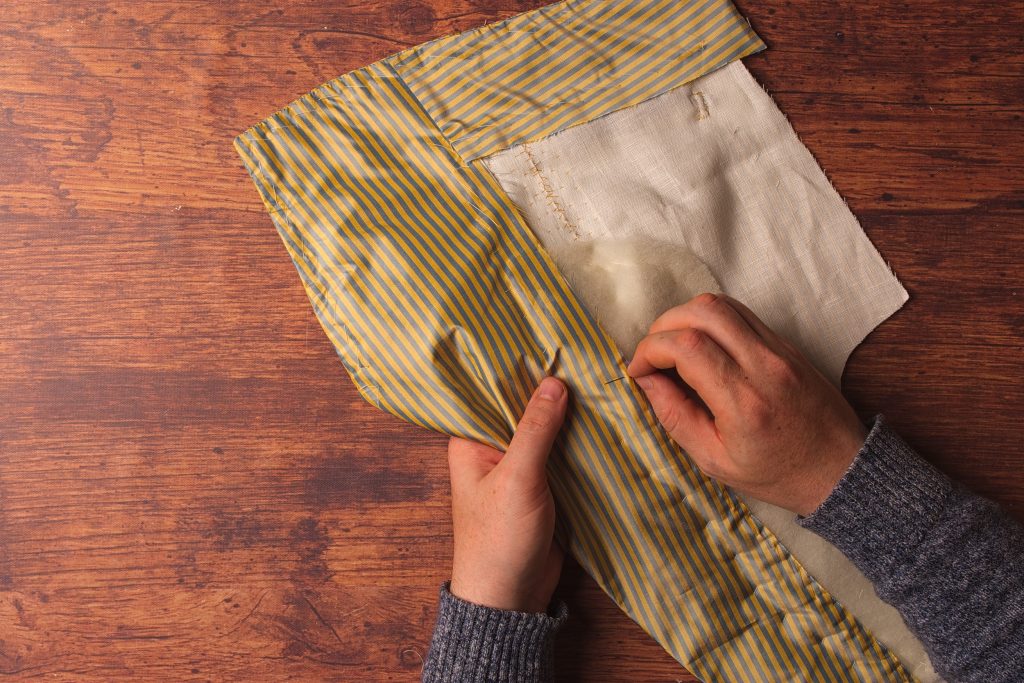
Now begin basting along the edge of the front facing, keeping the stitches off the facing itself by about 1/2″.

Now fold the bottom edge of the lining under itself and crease the fold with your fingers when you’re happy with the position. It should cover the permanent basting stitches in the facing without any pulling or tension in the fabric.
Baste along the folded edge of the lining. When you get near the front edge of the lining, fold that under in a similar manner and continue basting to the shoulder.
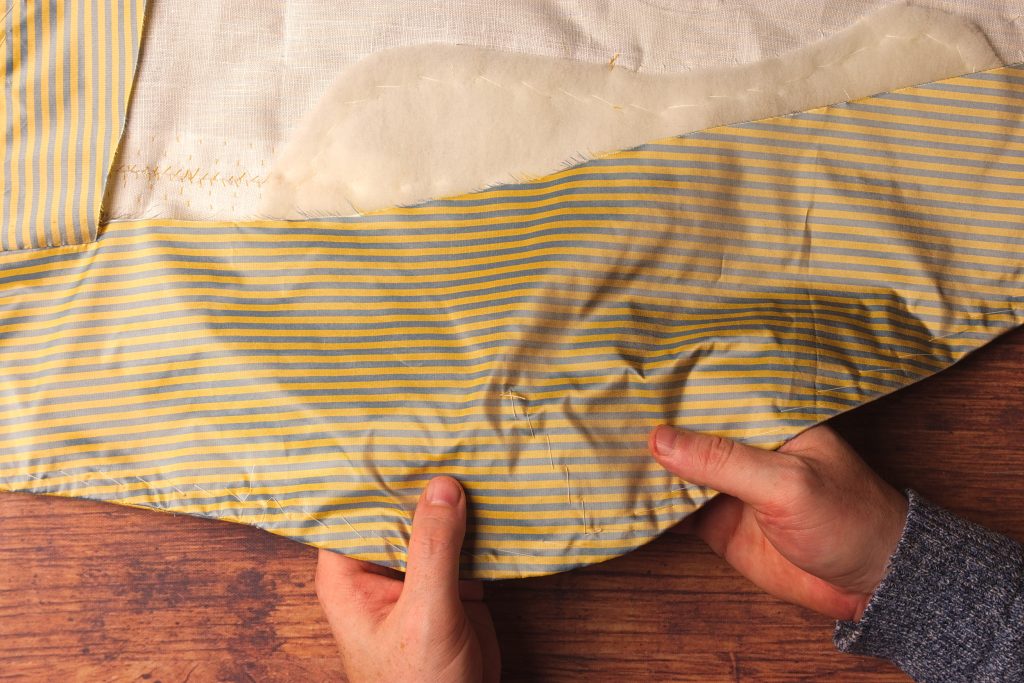
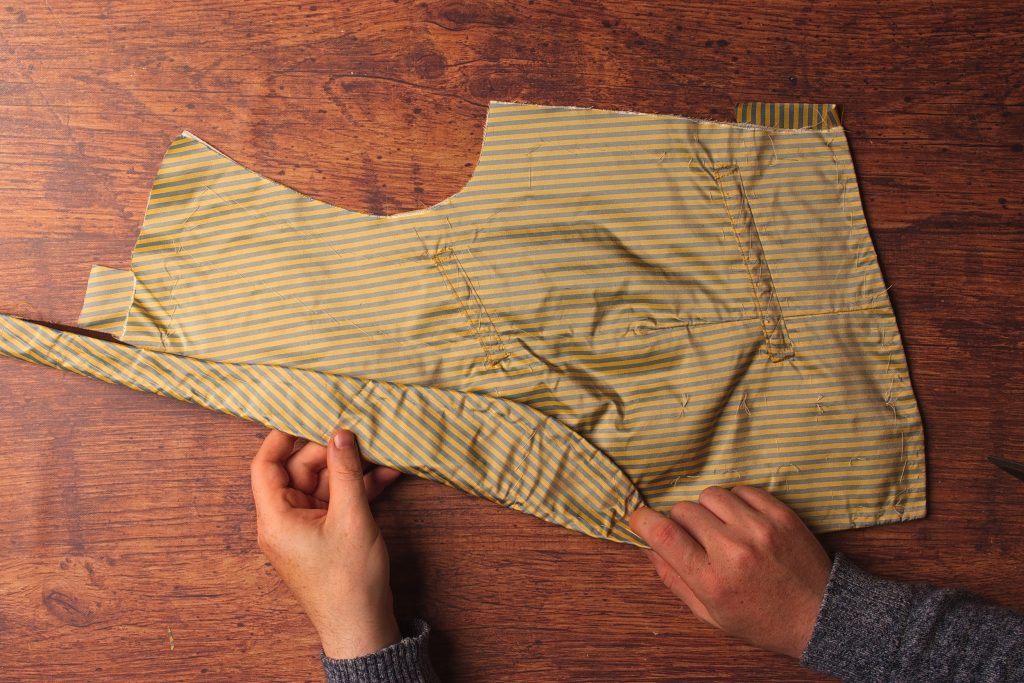
Now flip the forepart over and trim the lining at the armscye about an inch larger than the forepart. And at the side seam, trim the lining completely flush.

At the armscye, clip the deepest part of the curve to within about 1/4″ of the forepart itself.
Baste about an inch away from the armscye through all layers, catching the lining underneath.

Turning to the wrong side, fold the lining in on itself along the armscye and baste in place. For the deepest part of the curve, I find that gently stretching the lining with my fingers helps get everything to lie smoothly.
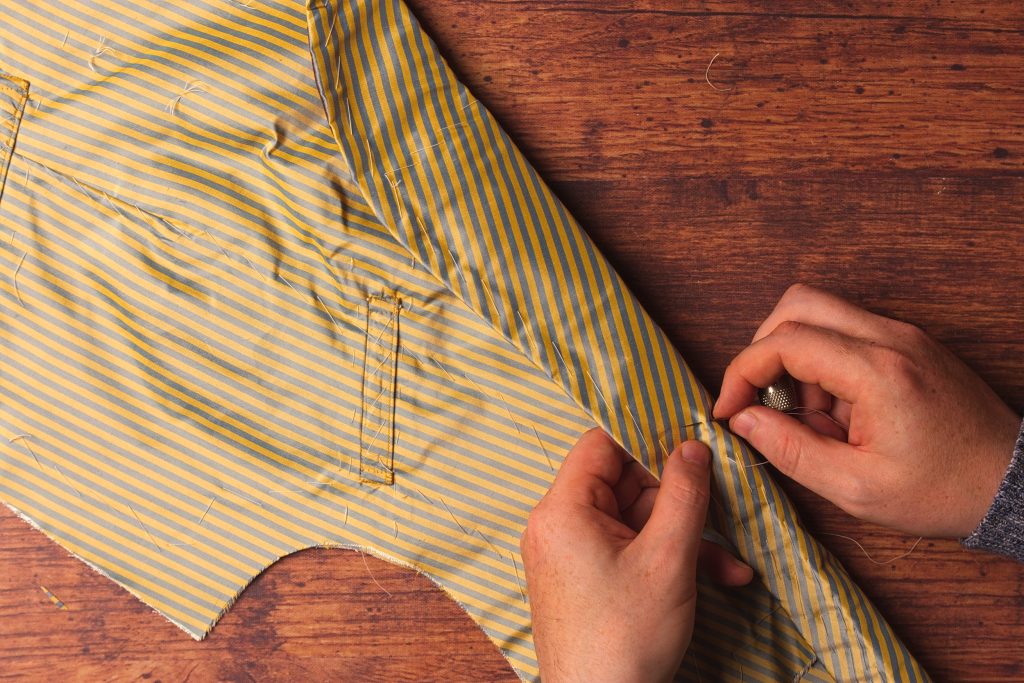
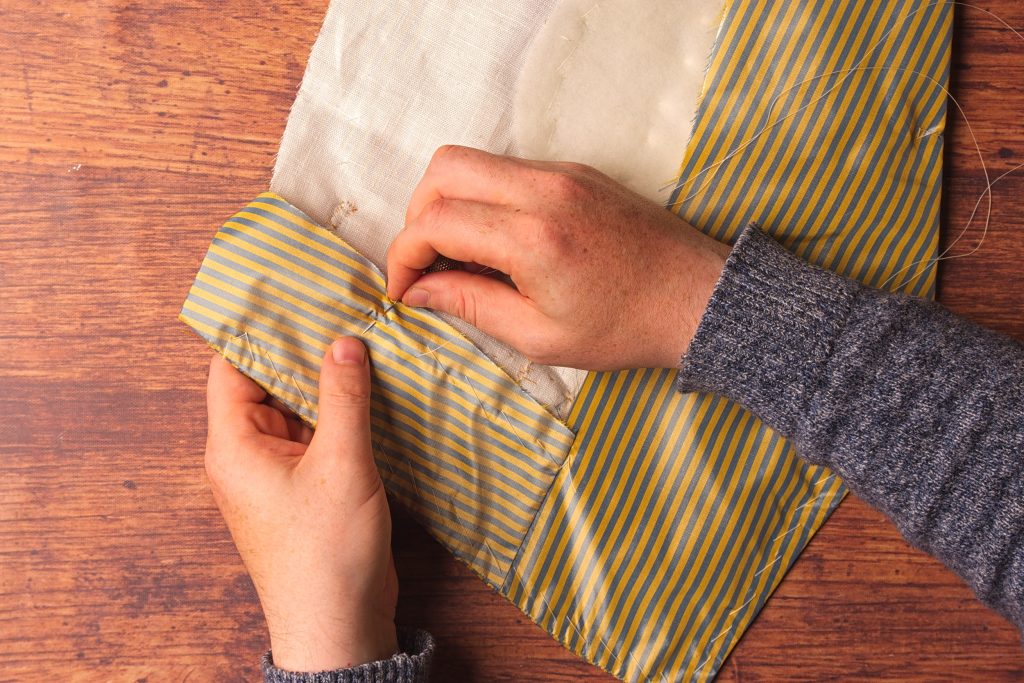
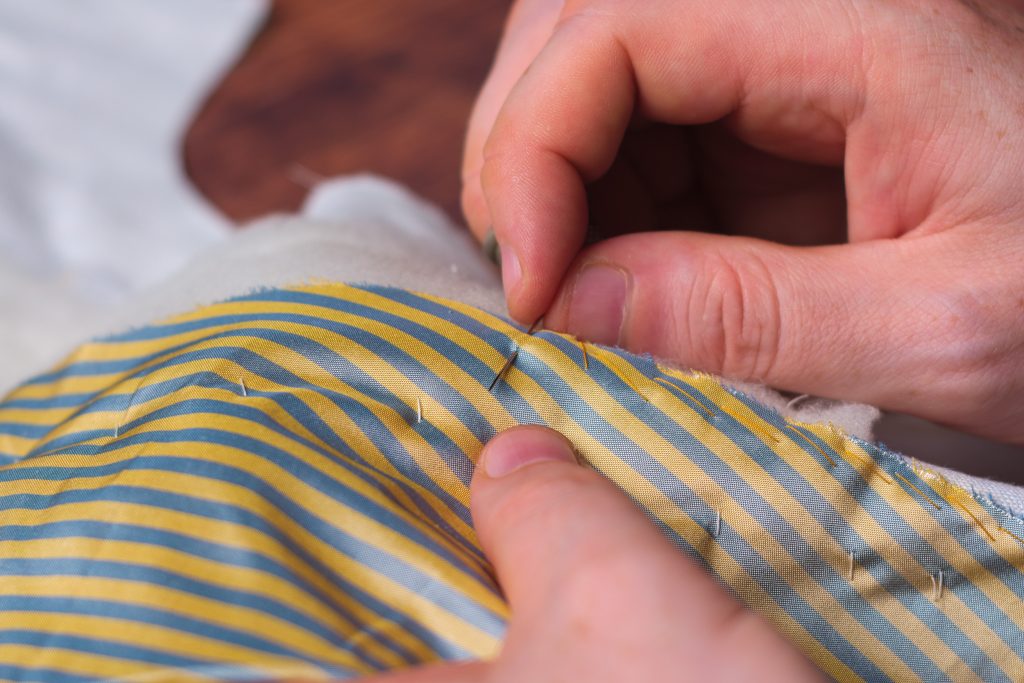
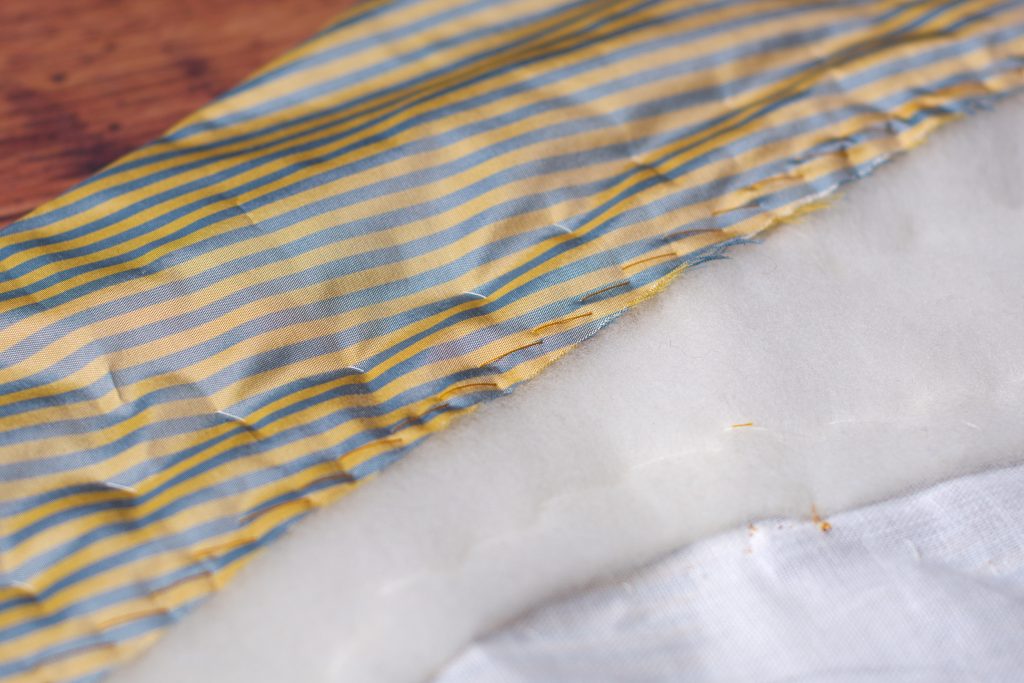
Using a small stitch, carefully fell the folded edge of the lining to the facings along the front, waist, and armscye edges.
Along the waist seam of the lining, it’s very easy to sew through both pocket bags, sewing the pocket closed, so I like to insert my hand into the pocket as I’m stitching here to prevent that from happening.
Finally, stitch along the armscye lining edge as well.

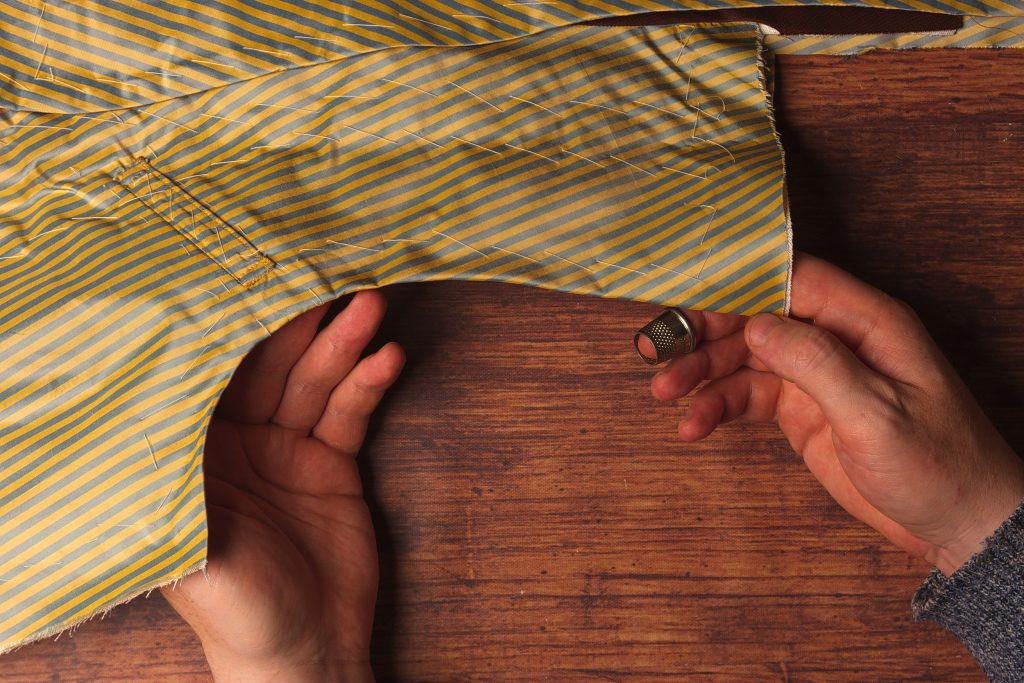
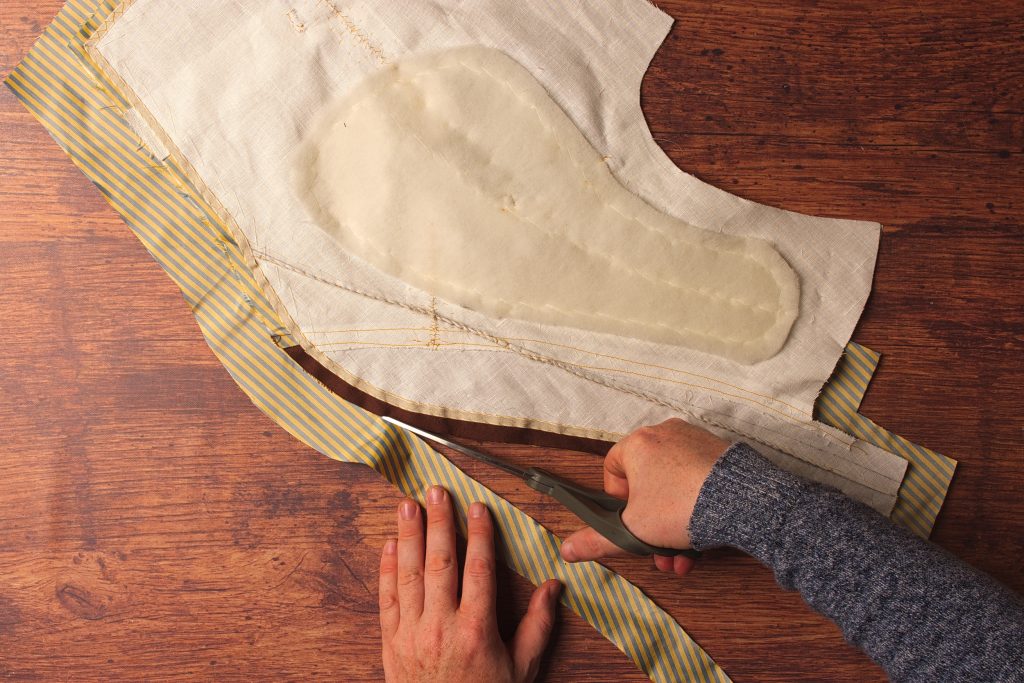
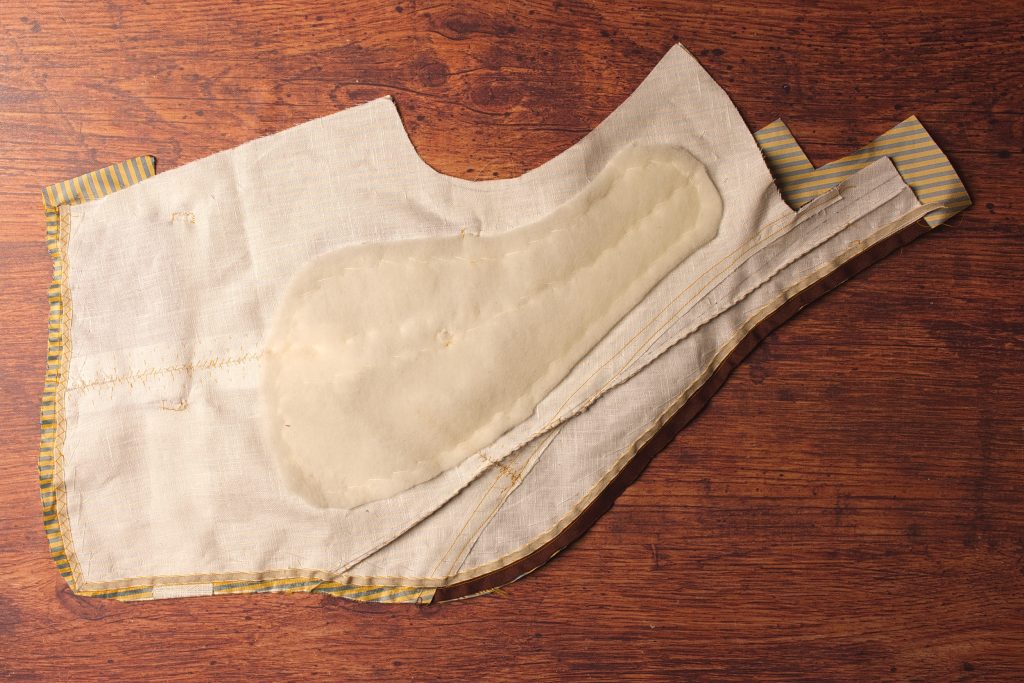
Finishing the Armscye
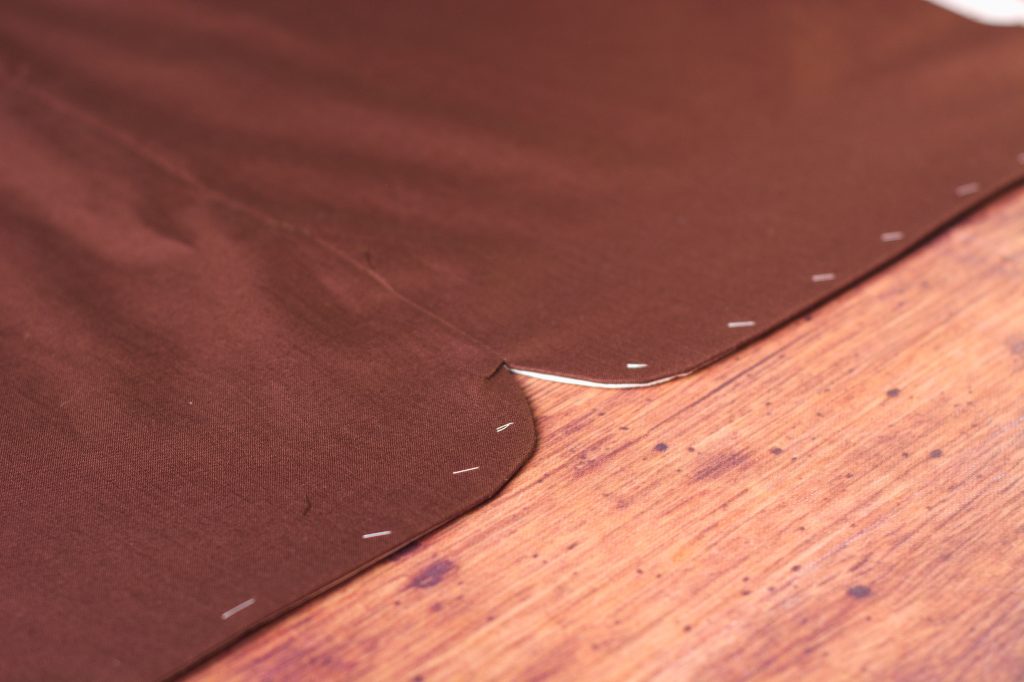
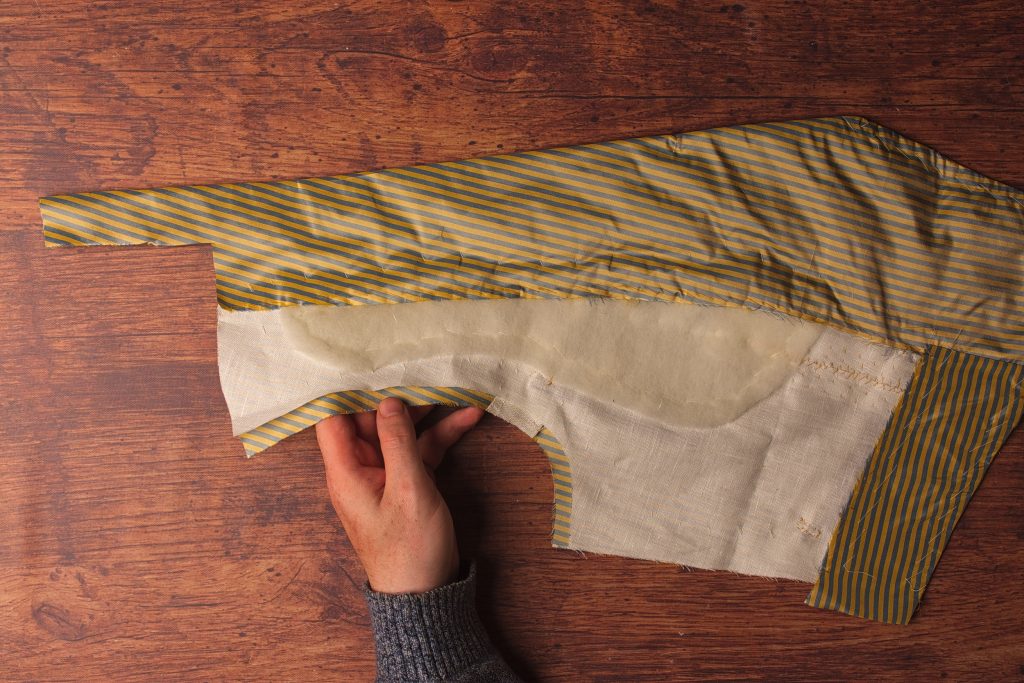
We’ve got to finish the armscye now before installing the lining. Begin by measuring and drawing out the seam line 3/8″ from the edge.
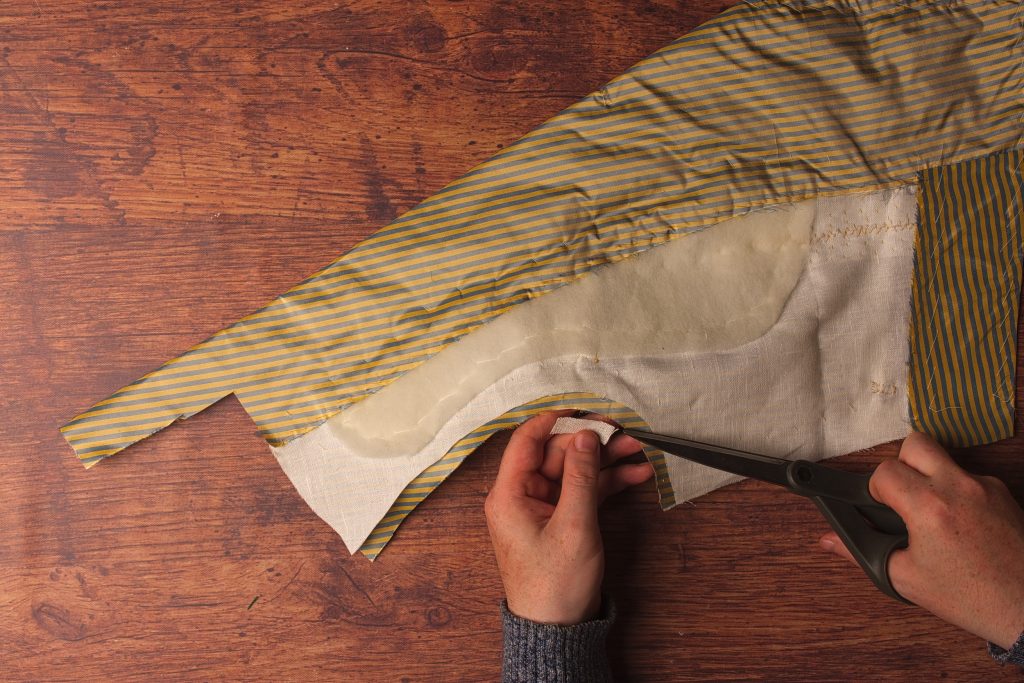
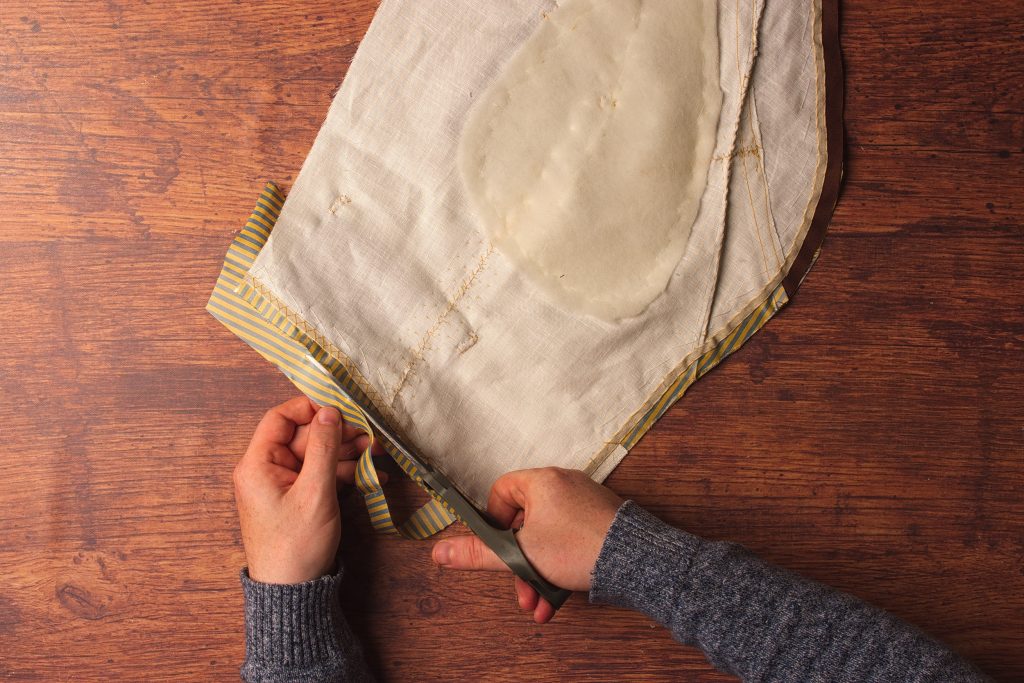
Carefully trim away the linen canvas from the seam allowance.
You can trim off the linen pocket stay as well if there is one.
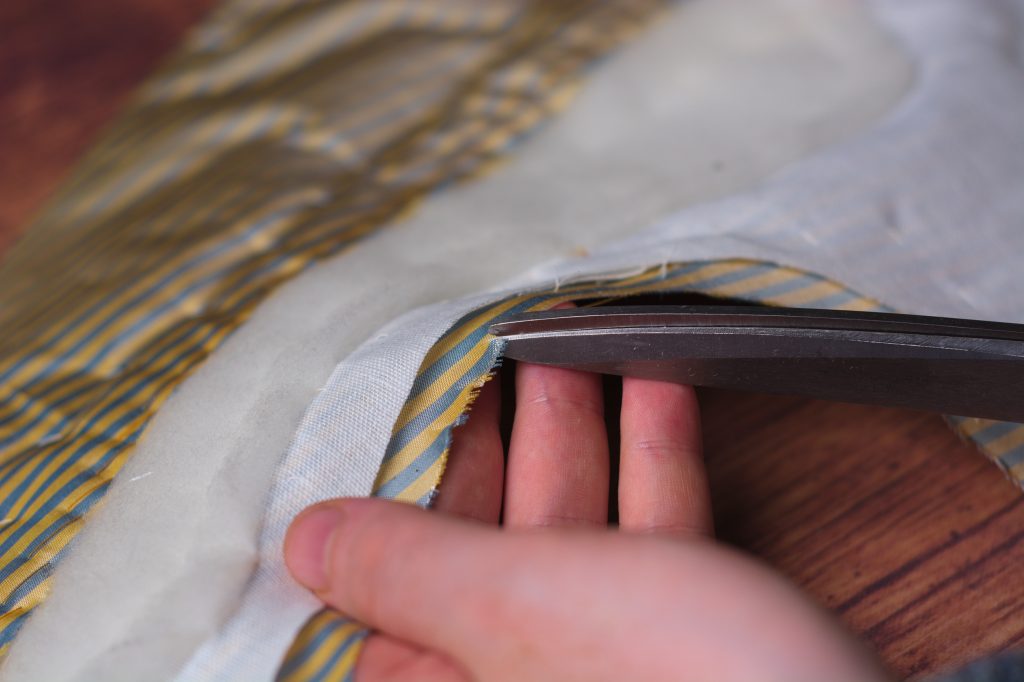
At the deepest part of the armscye, clip into the seam allowance about halfway, every 1/2″ or so. This relieves the pressure when turning the fabric over itself.
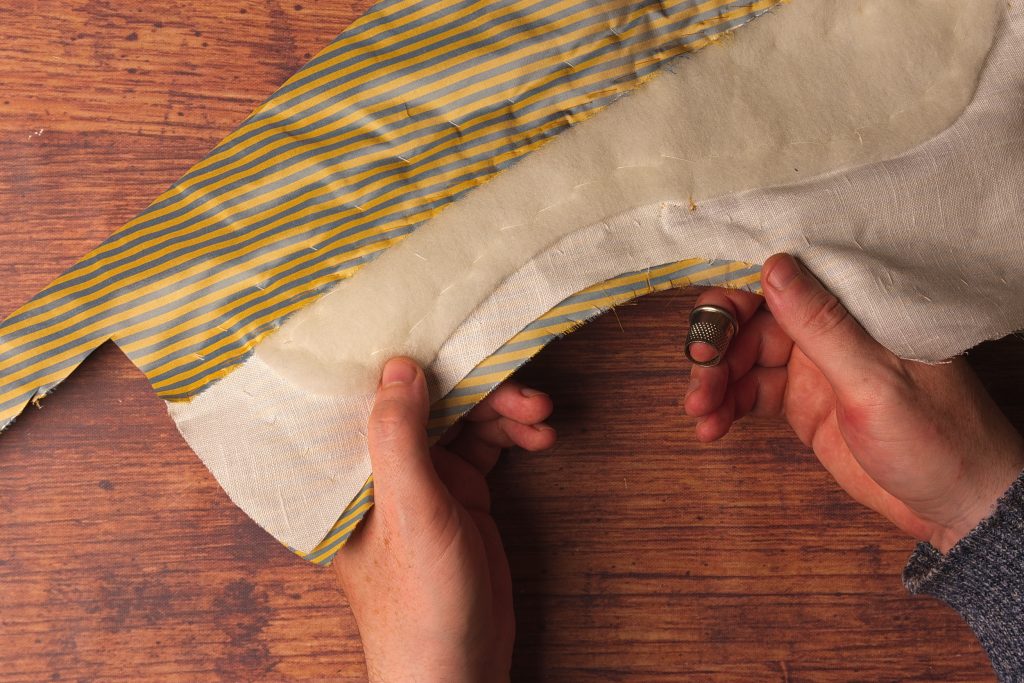
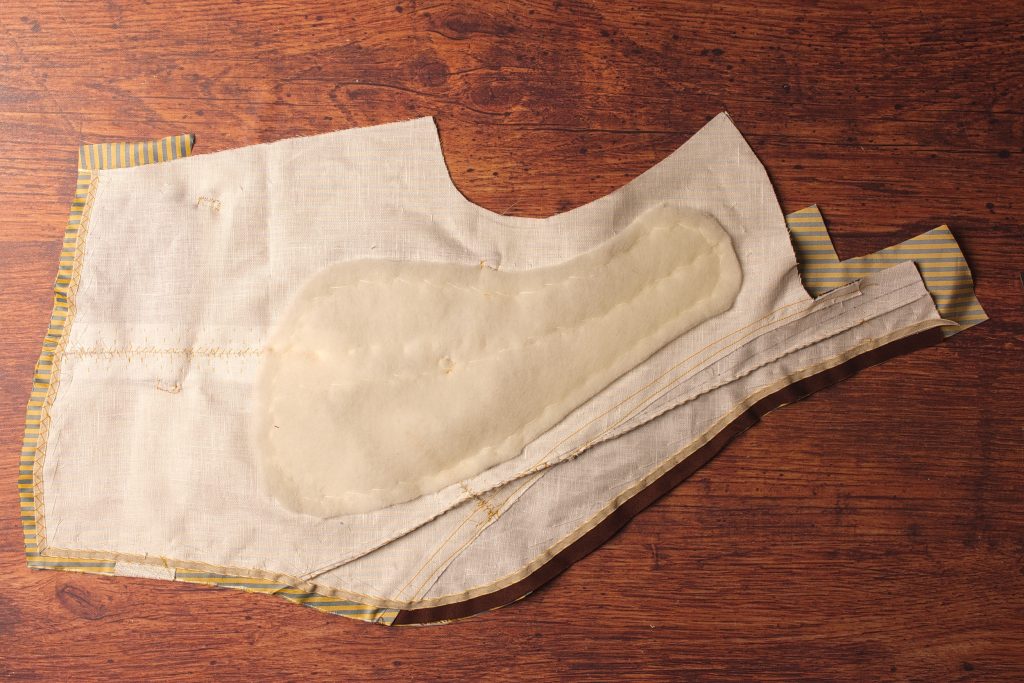
Carefully fold over the seam allowance and baste securely closed. Press with an iron over a tailor’s ham to get a nice crisp edge.
Cross stitch the seam allowance to the canvas, taking care not to catch the right side of the fabric underneath.
Remove the basting stitches.
Here’s the completed armscye.
Attaching the Facings
Let’s prepare the facing now in order to install it into the waistcoat. Begin by basting the two sections of the facing together at the bottom, right sides together. It’s easy to lose track of which way is which with the smaller bottom section, so compare it to your pattern to make sure it’s going the correct direction.
Sew using a 3/8″ seam allowance.
Press the seam open, keeping the seam allowances toward the back.
Now place the facing assembly on top of the forepart, right sides together.

You should have cut the facing a little over-sized, so allow the facing to fall naturally over the shaped forepart.
Begin basting the facing to the forepart about one inch from the forepart edge.
At the bottom of the roll line, try to work in a little excess fabric into the facing. This will give the extra length necessary to curve around the folded collar. Secure with a couple of extra basting stitches as necessary.
Continue basting across the bottom of the forepart.
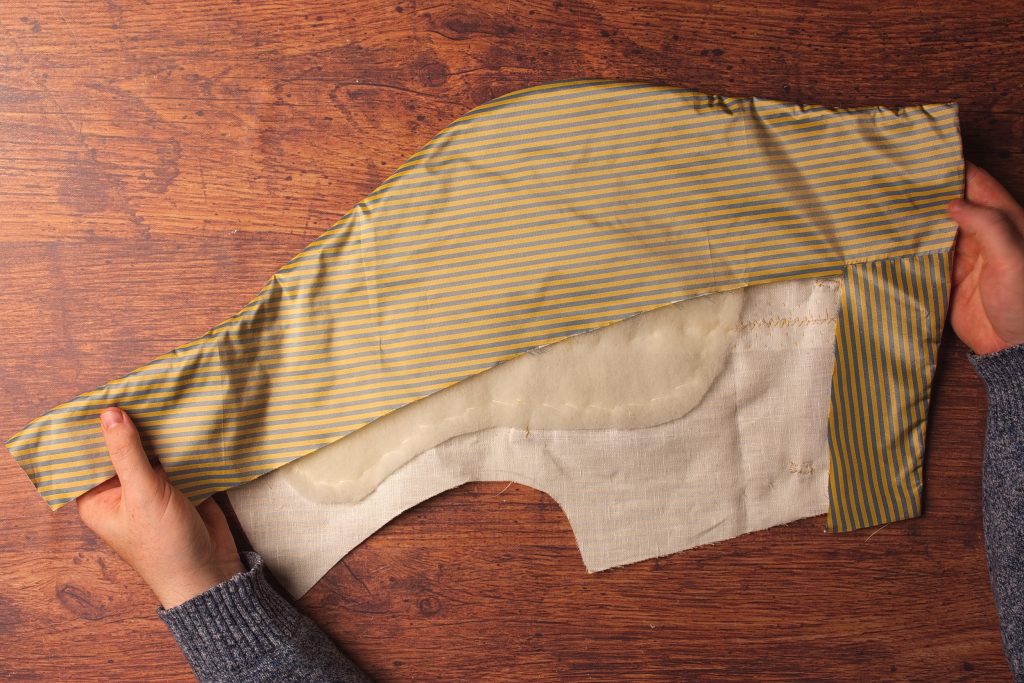
Here’s the forepart so far after basting in the facings.
Turning to the wrong side, trim the excess from the facing along the front and bottom edges. Don’t trim the top or back of the collar or the shoulder area yet, however.
Here’s what you should have after trimming.
Starting at the top of the collar (or the waist depending on which side), sew the facings to the forepart using a 3/8″ seam allowance.
The feed dogs should help the excess facing be worked in evenly at the bottom of the roll line.
At the bottom of the front seam, instead of turning square across the waist, make a single stitch on the diagonal to make room for the seam allowances after turning right side out. Continue sewing across the waist seam.
Trim the corner at the center front / waist to about 1/8″.
Now remove the basting stitches and carefully turn the forepart right sides out.
Begin basting the facing in place about 1/2″ from the edge.
At the collar area, you want to make sure to arrange the fabric so that there is about a 1/16″ to 1/8″ reveal on the underside – so that you don’t see the underside of the collar when wearing.
Near the bottom of the roll line, about an inch on either side, keep the reveal even on both sides.
And below the roll line and across the waist, keep the reveal on the facing side so it’s hidden from the right side.
Here’s the collar after basting.
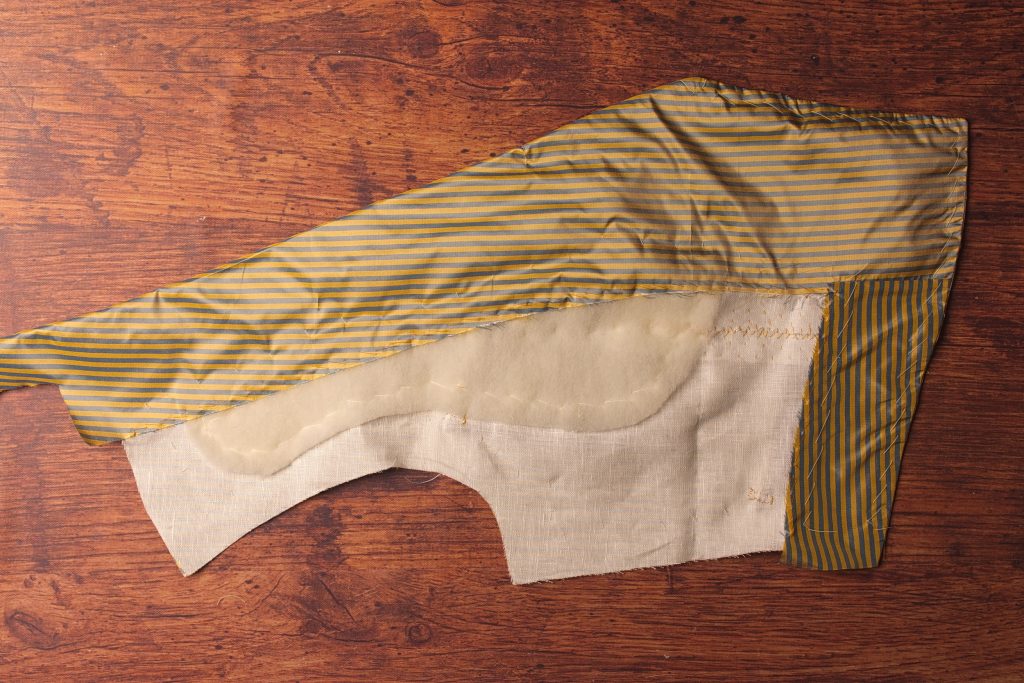
And the forepart in general so far.

Now we need to arrange the remaining fabric of the facing in a way so that the fullness is properly distributed around the fold of the collar and such. This will help the collar to lay close to the body.
First, open the collar, and with wrong side up, baste from the fullest point of the collar towards the roll line, trying to meet perpendicularly to the roll line, and continue the basting for another half inch or so beyond the roll line.
Now turn to the right side and with the collar folded into position, baste about 1/2″ away from the roll line the length of the collar.
Now I didn’t do this or photograph this step, but if you’re a beginner, I’d recommend turning over the forepart and stitching in the same manner along the other side of the roll line, from the wrong side. This will keep the fabric firmly in position and make this next step a bit easier.
Along the top of the waist piece, baste through all layers about 1/2″ from the edge. Try to keep everything in it’s proper position, no excess or pulling of fabric in any layer.

Now turn the forepart to the right side, and using your hand underneath to support the shape and structure, carefully baste the inner edge of the facing along the front. Keep the stitching about 1″ from the inside edge.
Be sure to distribute any fullness equally as much as possible. It’s a little tricky since you can’t really see it as you work, but you’ll get it within a couple of attempts.
You might have to move the collar out of the way depending on the widths of the collar and facing below it.
Flipping to the wrong side, take a look at your work and make sure the facing lays smoothly against the forepart. I got one side on the first try, the other side took two tries, so just keep working at it.
When you’re happy with how everything looks, take some regular sewing thread (not basting thread) and permanently diagonal baste the edge of the facing to the canvas below. Try not to let the stitches show through to the right side. The stitches are about 1/2″ in length and within 1/2″ of the edge.
Baste the waist section as well in the same manner.
Here’s the completed facing.
Finally, trim the facings at the shoulder only (keep the excess along the collar), and at the waist area.