Month: March 2022
Tacking the Pockets
To complete the installation of the canvas, we’ll again turn back to the pockets, which we left unfinished at the ends. We’ll now trim the ends, turn them under, and tack them down through all layers, including the canvas, which will give them additional strength and prevent the canvas from shifting during wear.
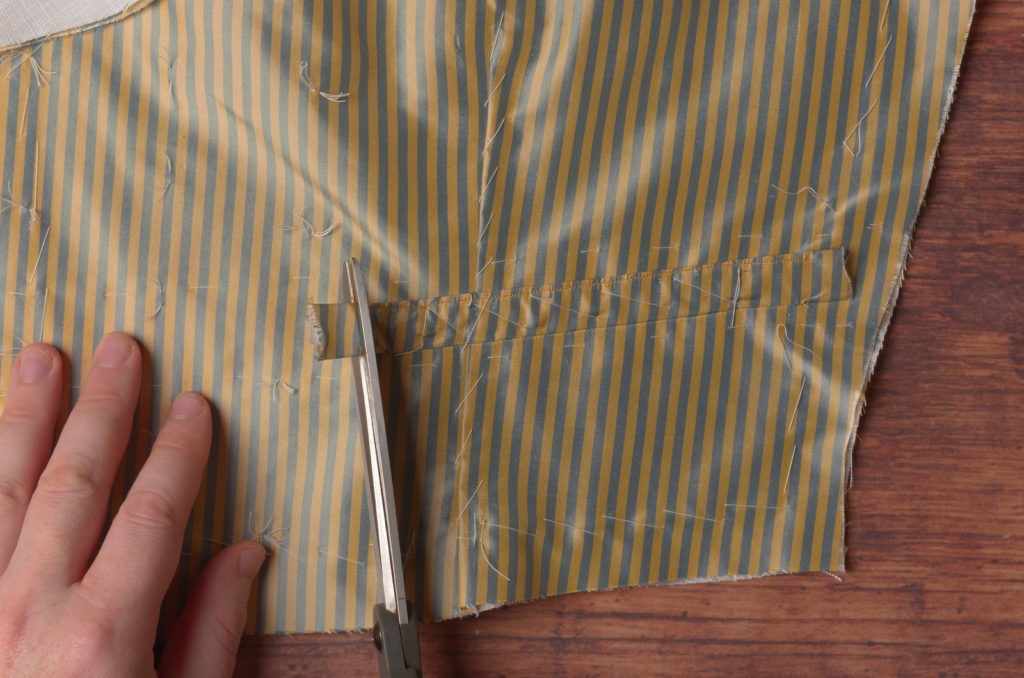
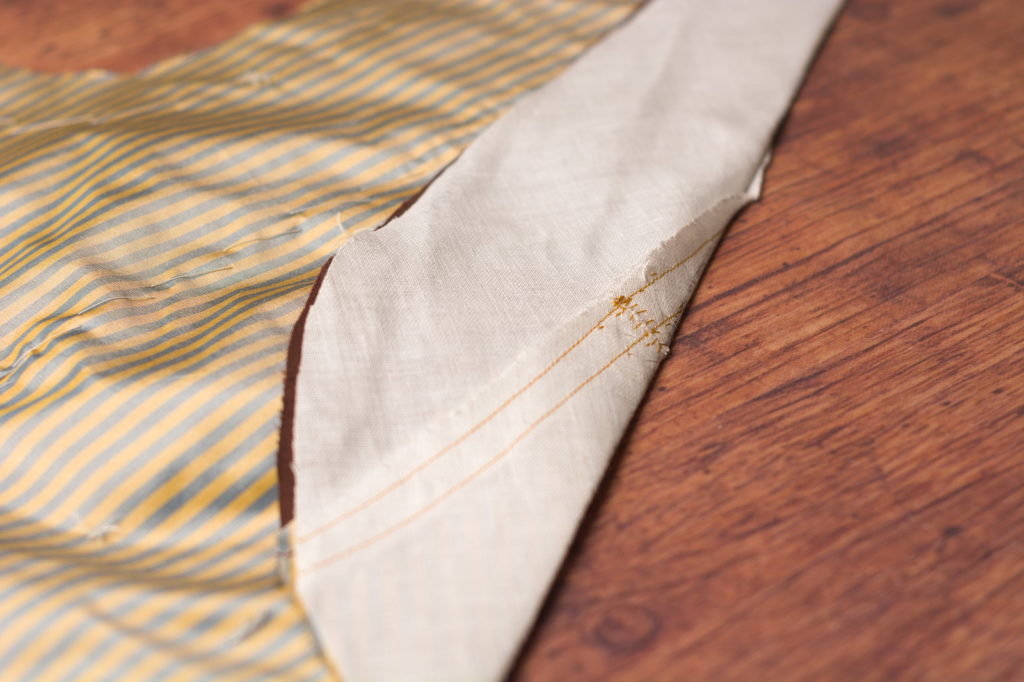
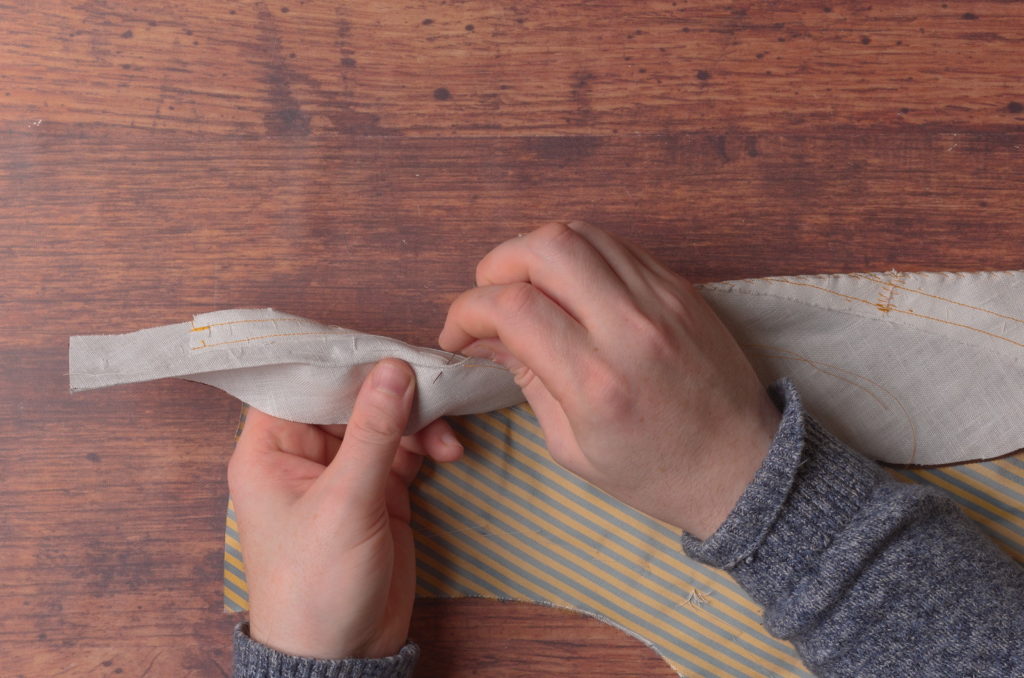
Begin by trimming the raw ends of the pocket welt down to about 1/4″ or 3/8″, either square across or more of an angle if you want more of a ‘boat’ shape to your pocket ends.
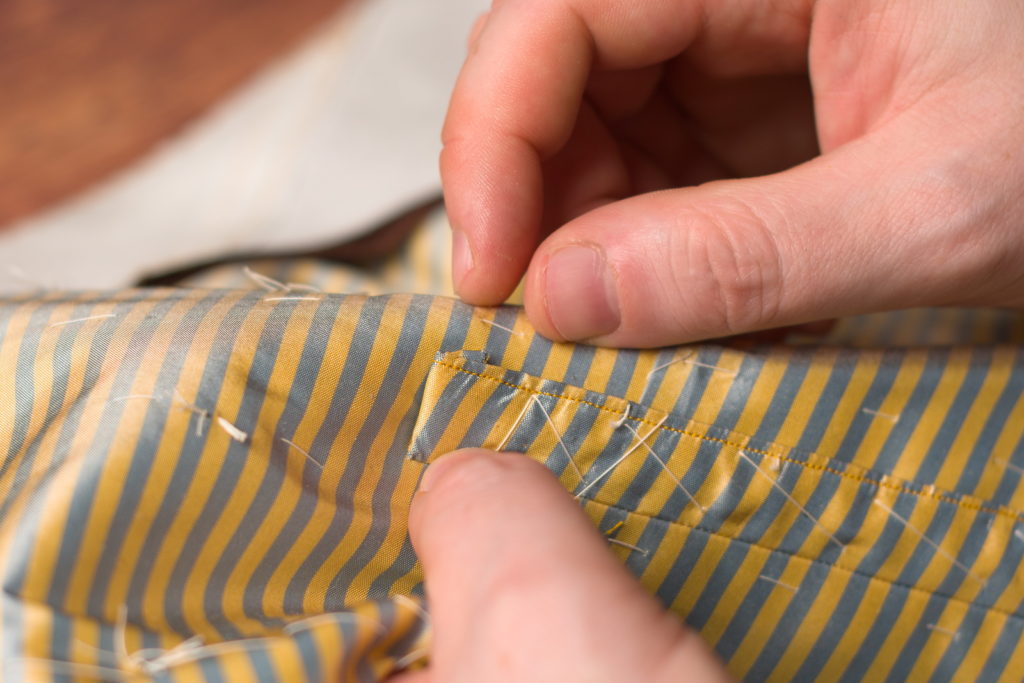
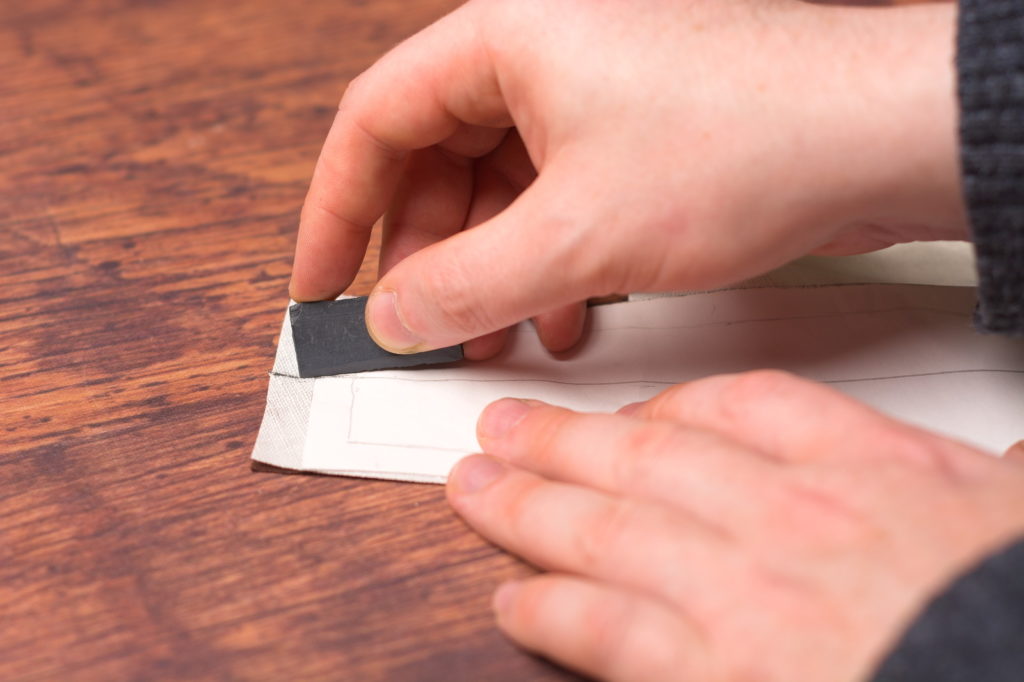
Fold the raw edge under, forming the shape you want, and pressing firmly with your fingers against the table.
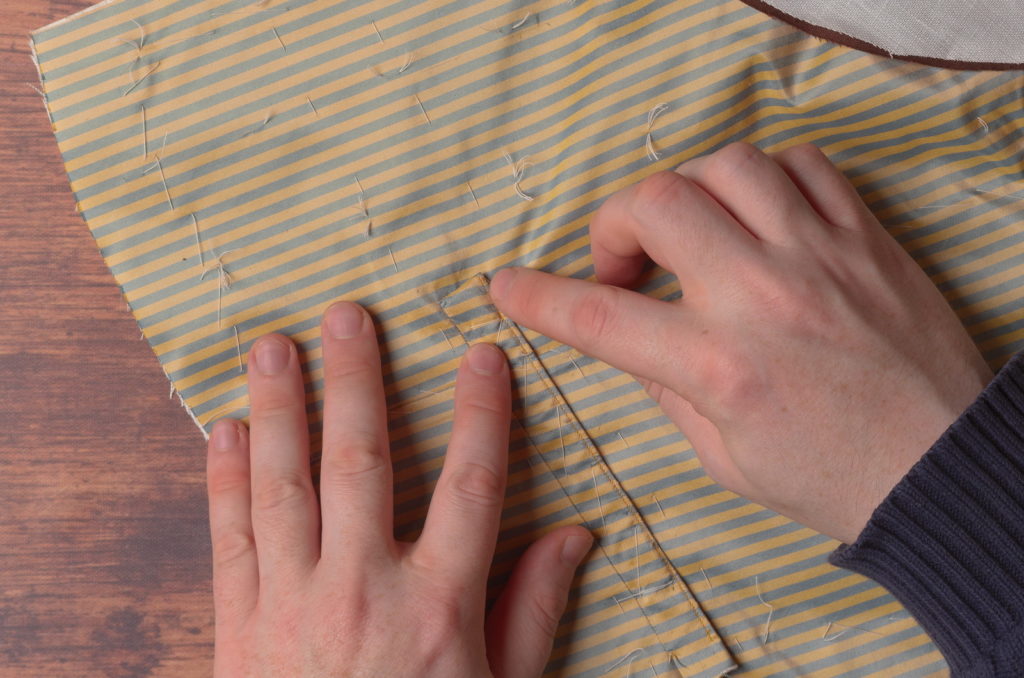
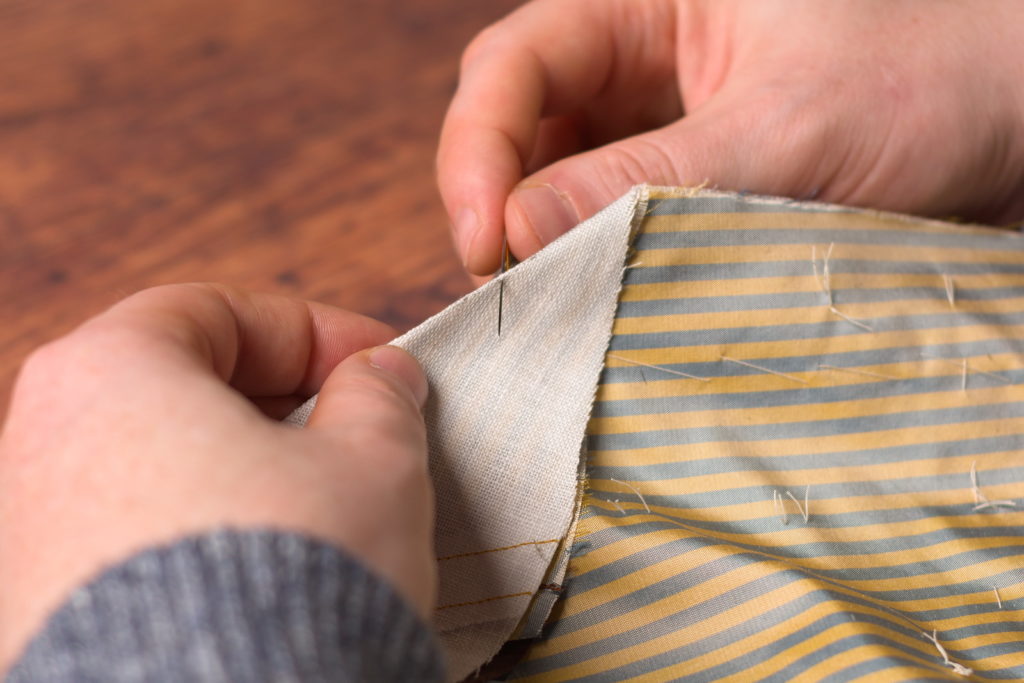
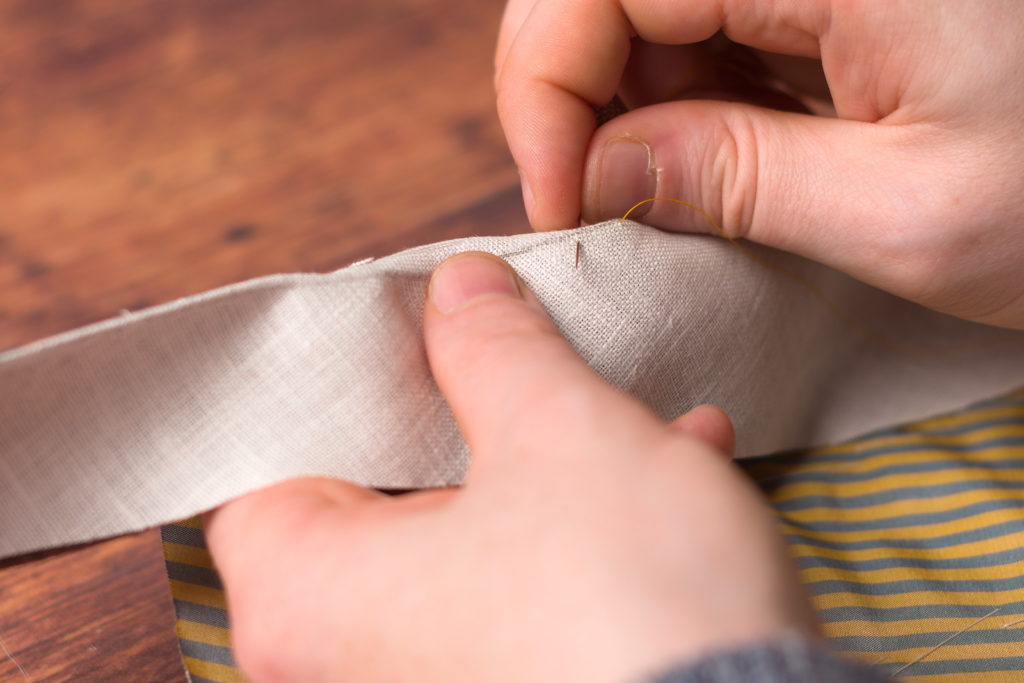
Depending on the angle of your pocket, you may have a little excess fabric poking above the top of the welt. You’ll have to push this under the welt with your fingernail as you fell the top edge.
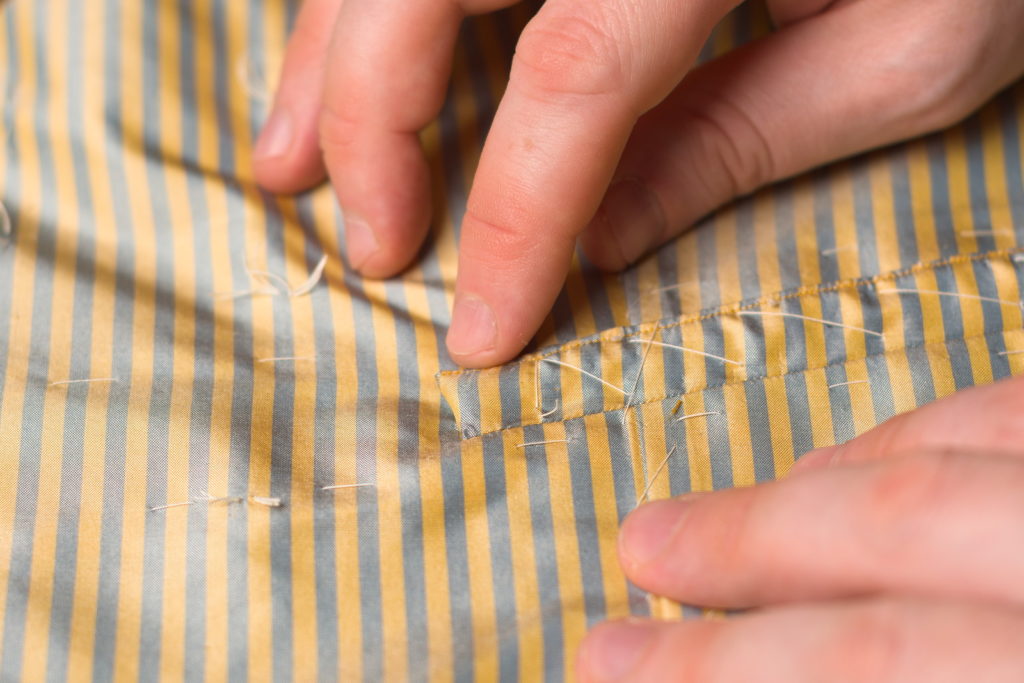
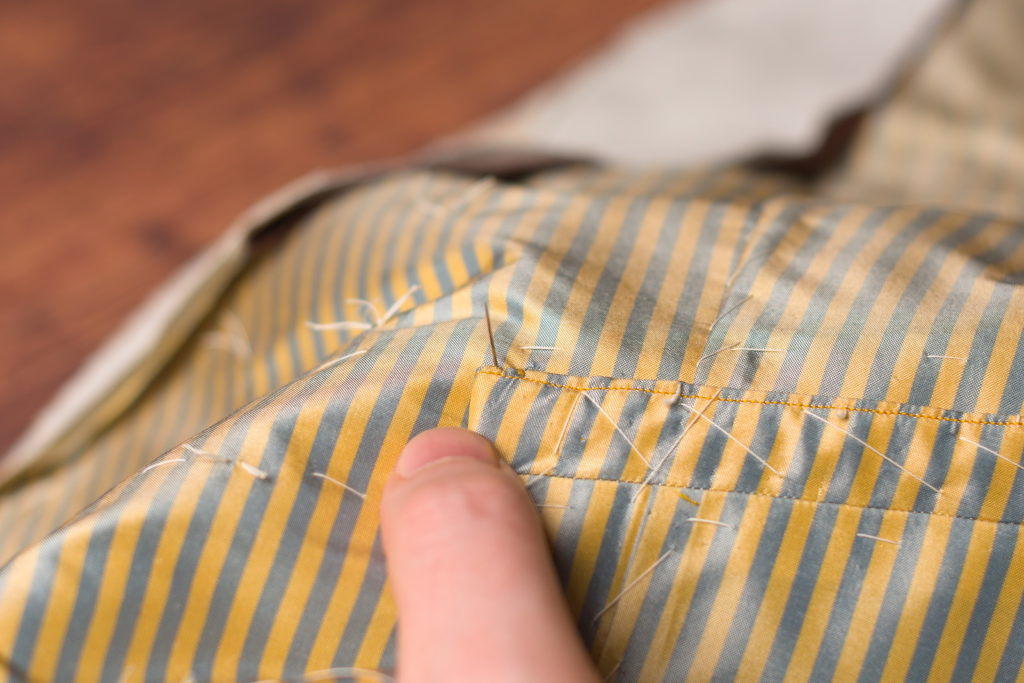
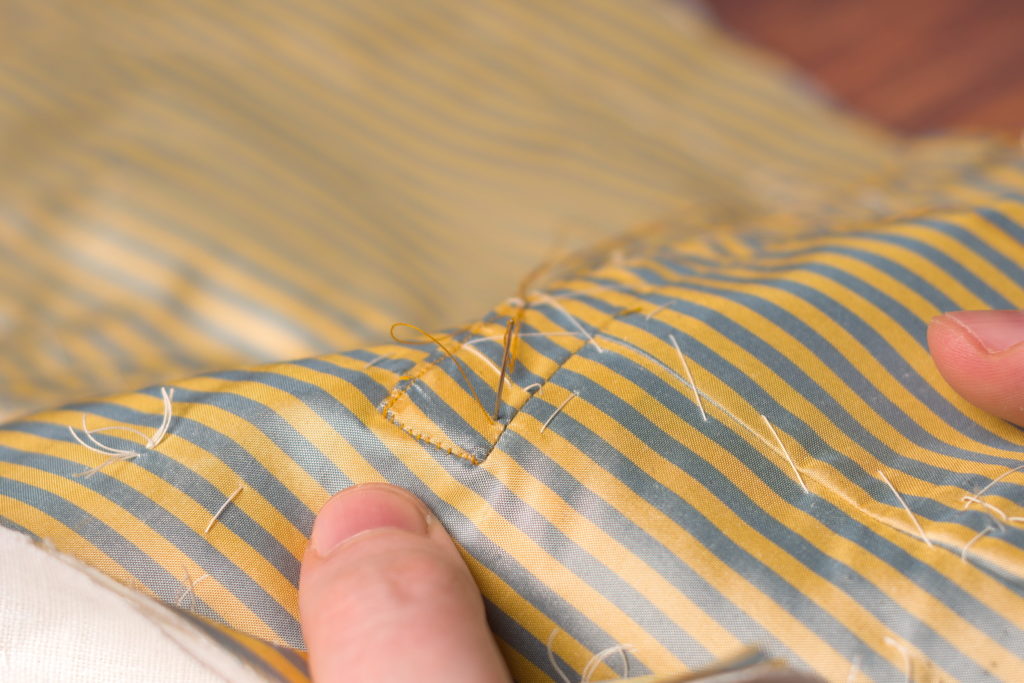
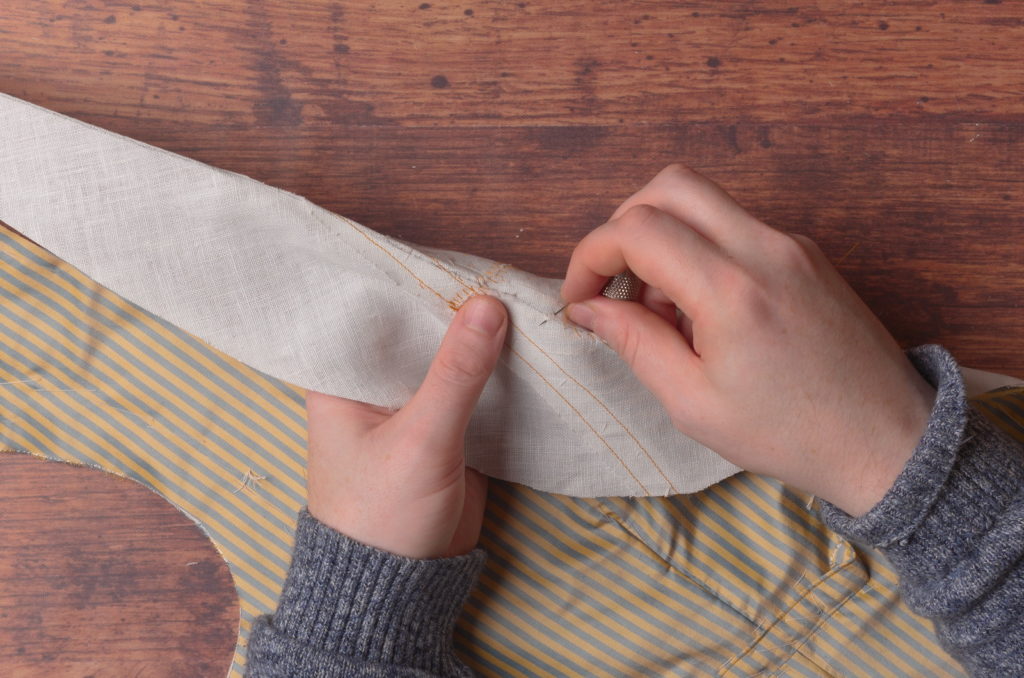
Along the top of the welt, about 1/4″ from the end, form 4 – 5 felling stitches in place, going through all layers. You may need to make this a prick stitch – that is, passing the needle all the way through to the underside, in order to get through all of the layers. This is the point of the pocket that takes the most stress, so the additional stitches in place are necessary.
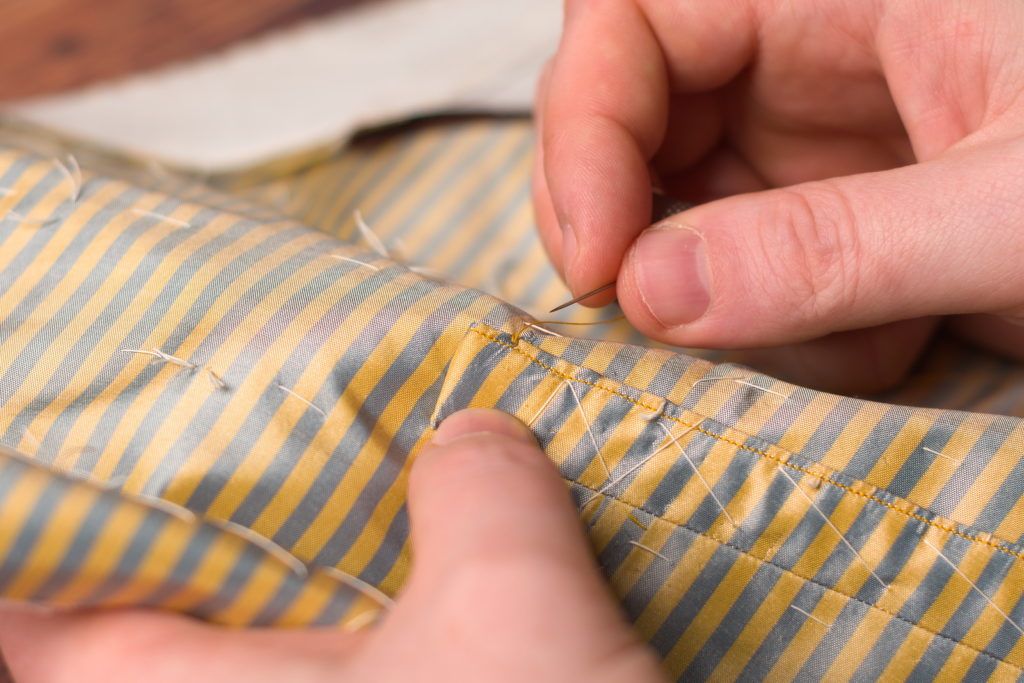
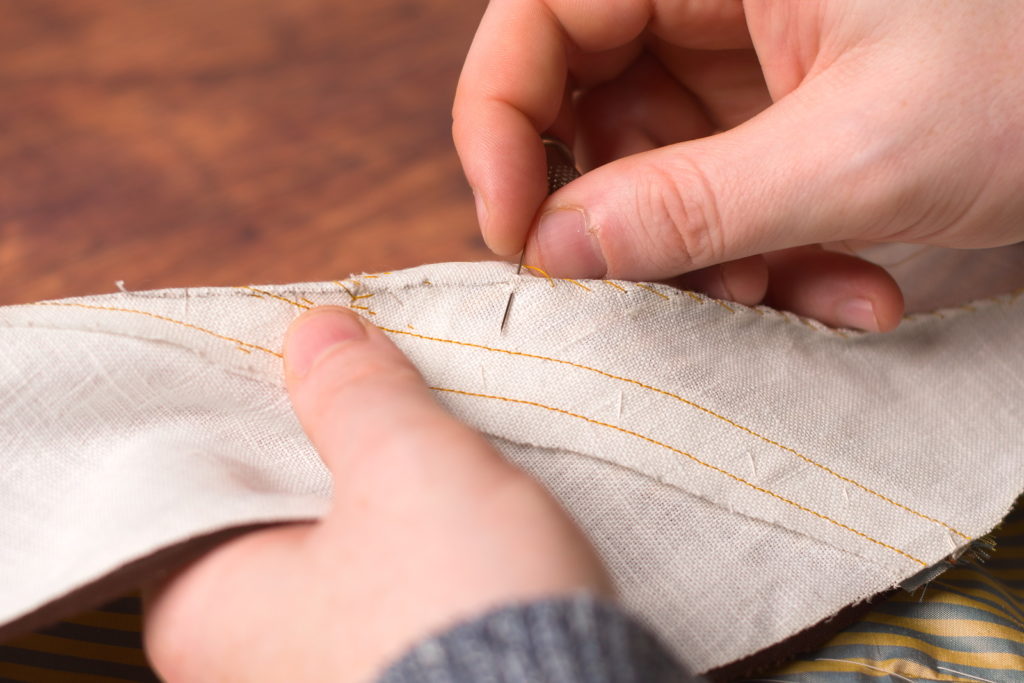
Continue felling along the top edge of the pocket towards the end, through all layers.
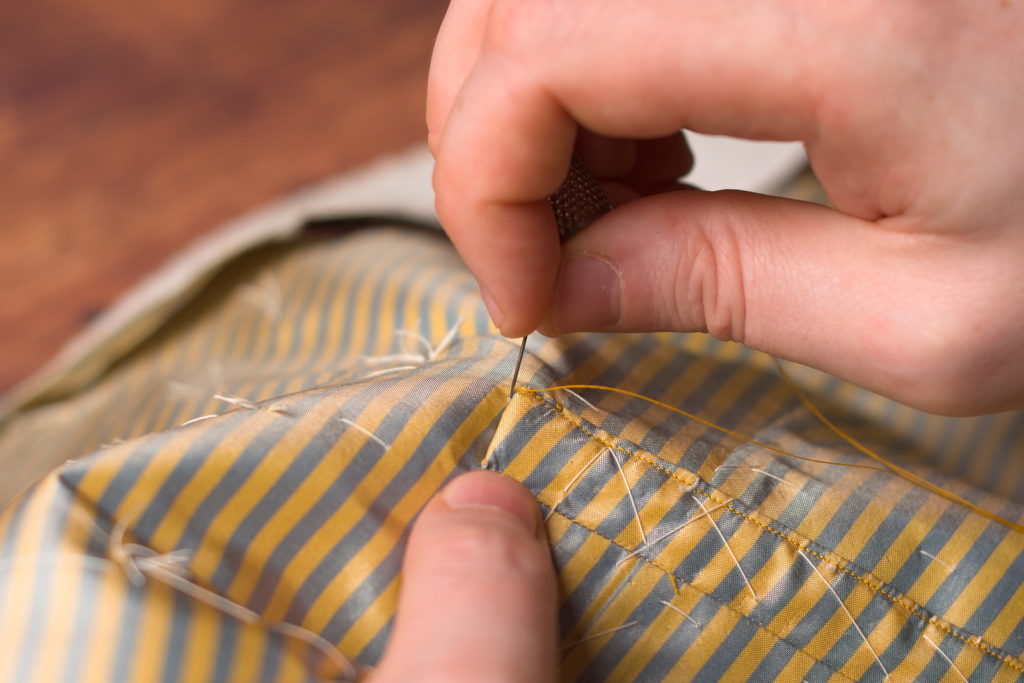
Then continue felling down along the end of the pocket itself, taking as small a stitch as you can into the welt to minimize the stitching that’s visible. It’s a bit tricky in silk, but it can be done.
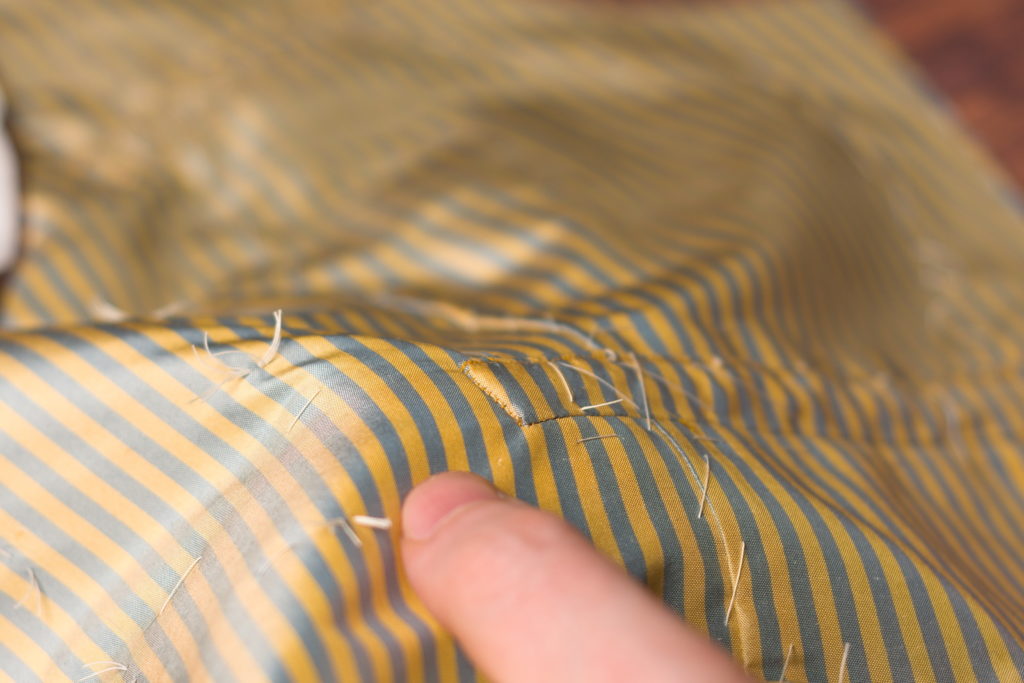
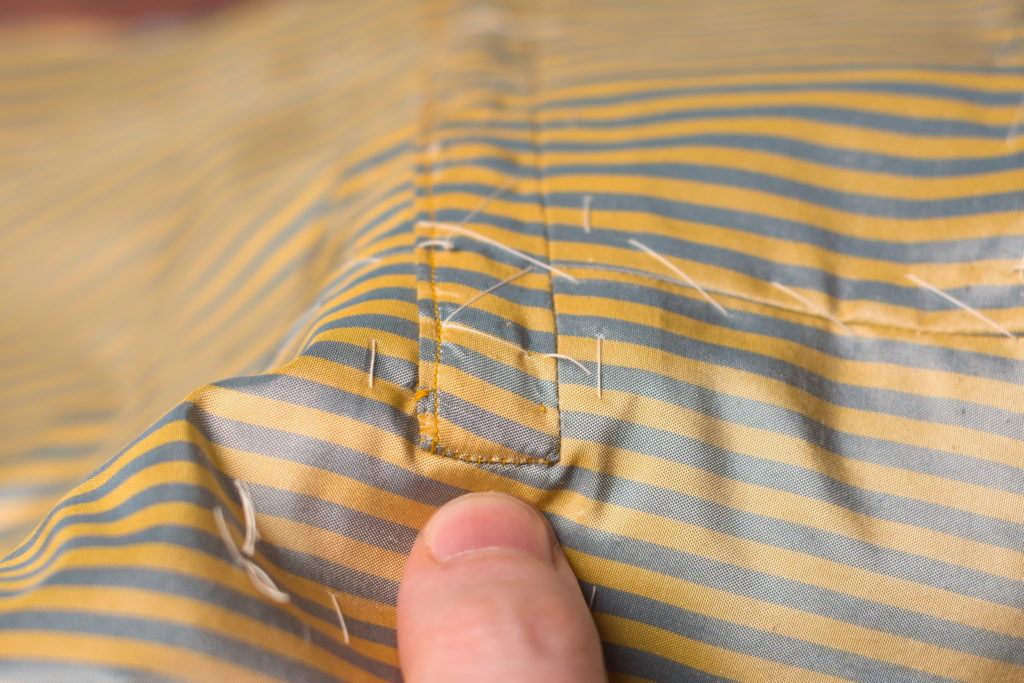
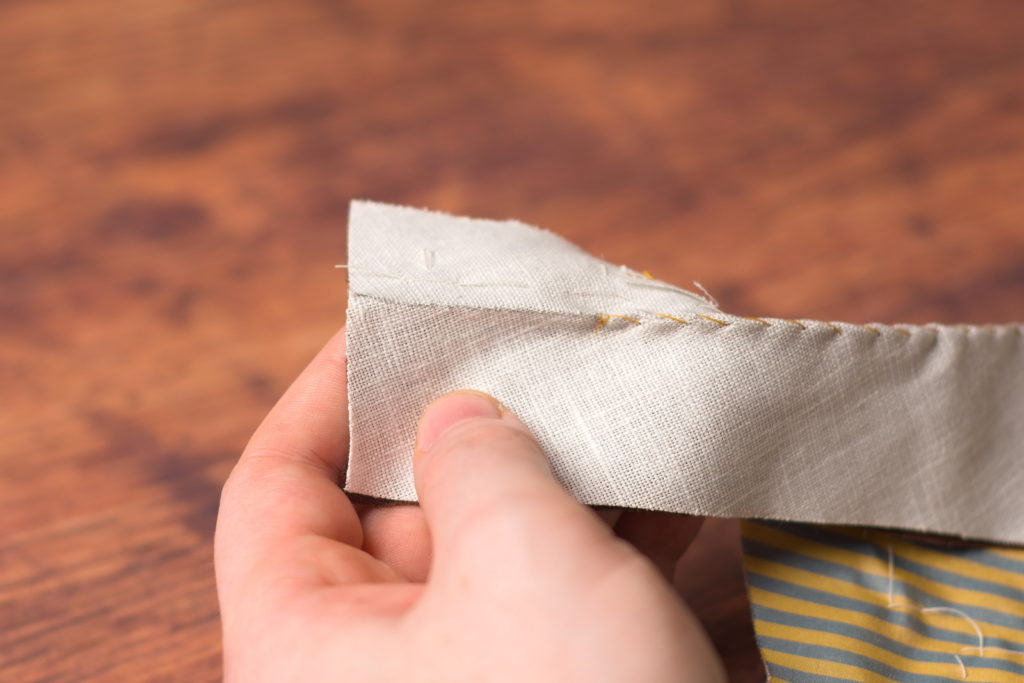
Here’s the end of my pocket after felling.
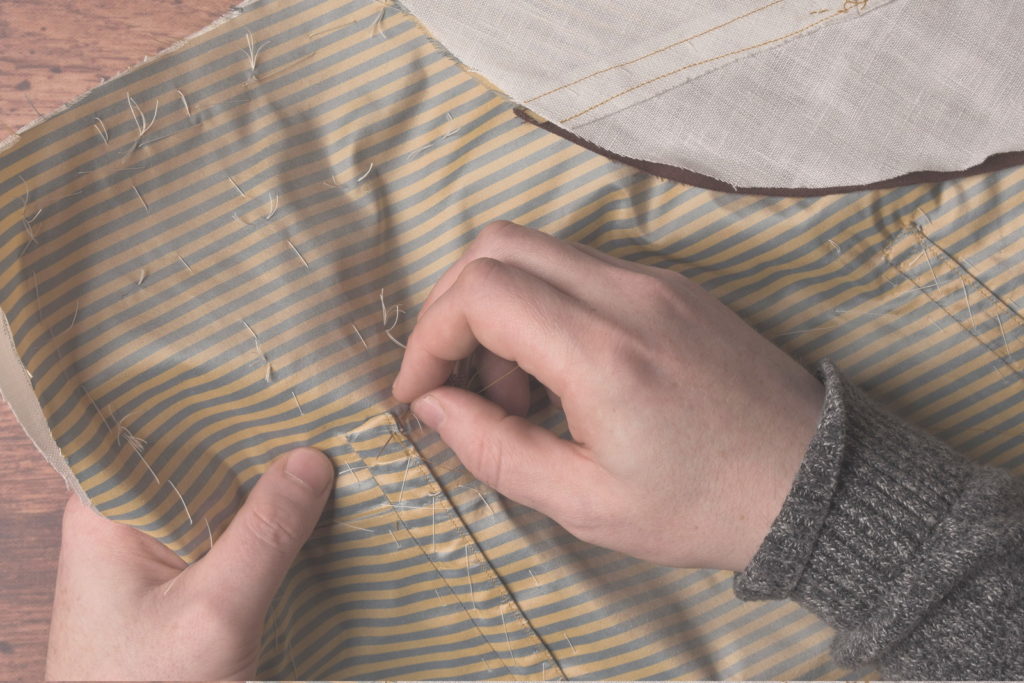
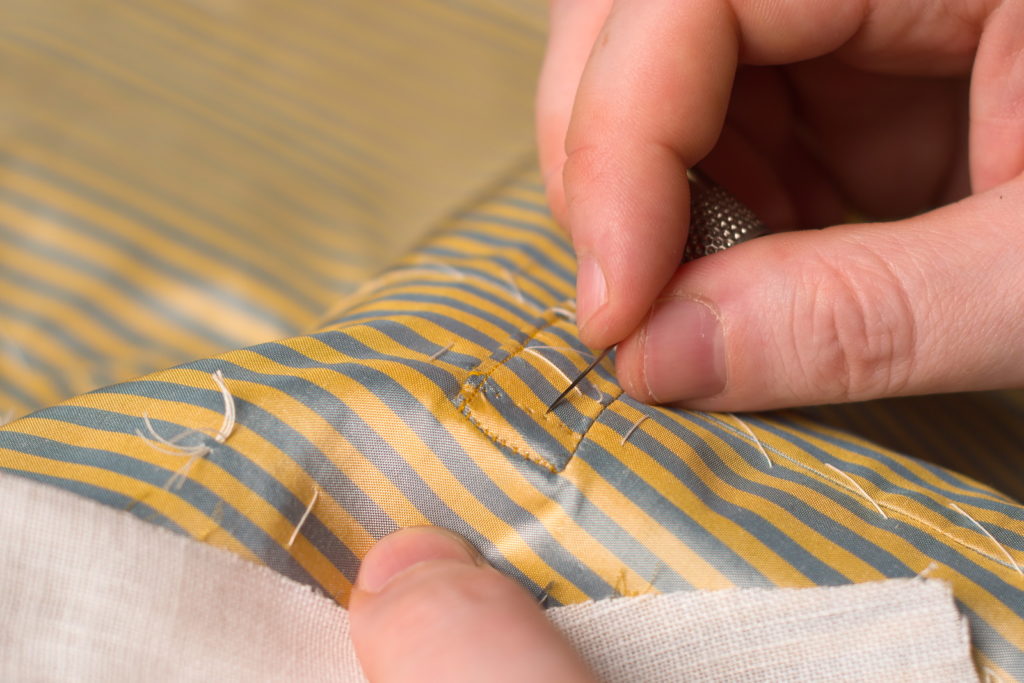
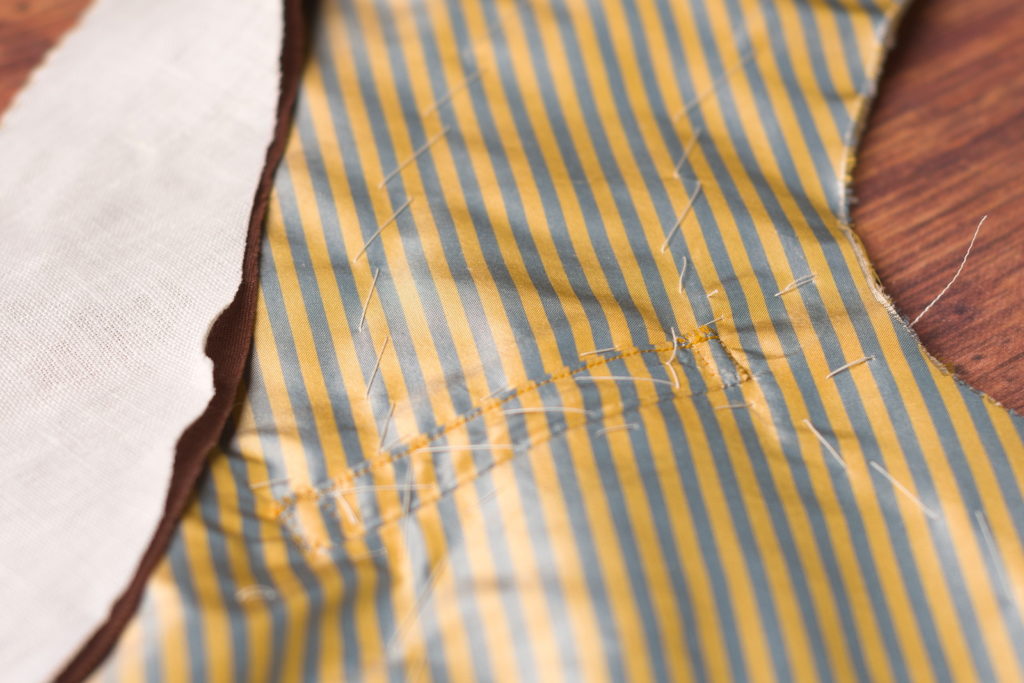
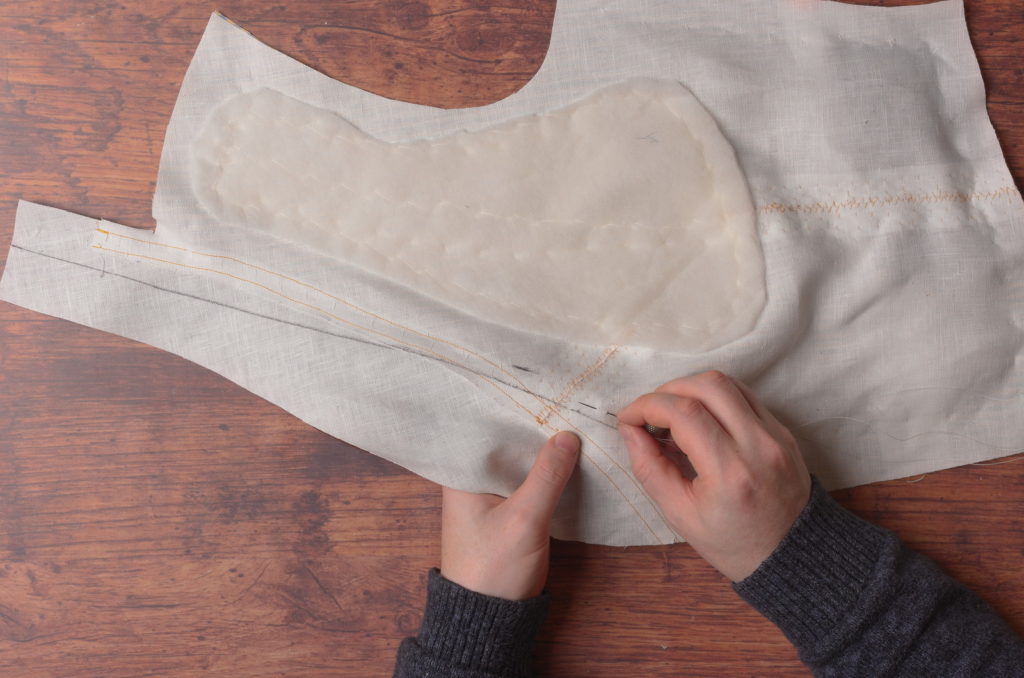
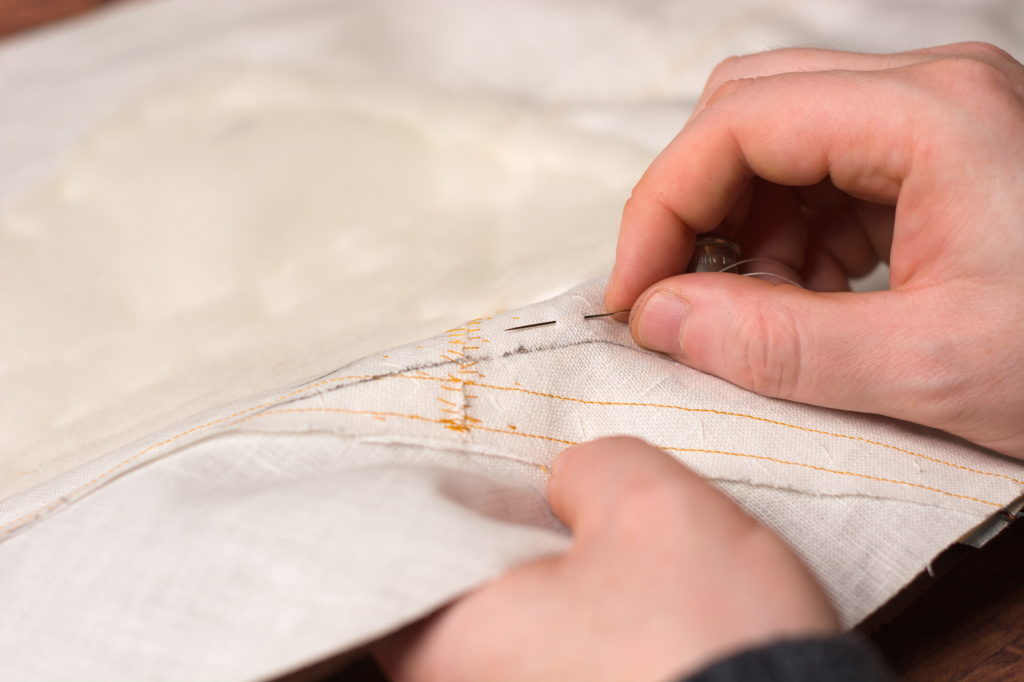
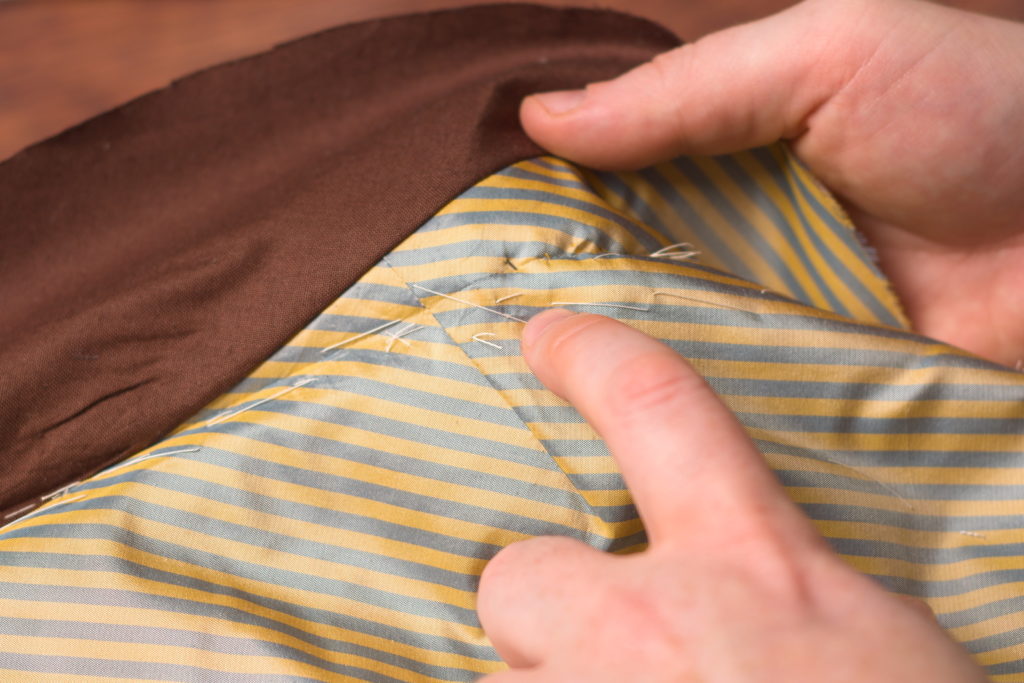
Now pass the needle and thread to a point about 1/4″ from the end of the pocket, and along the bottom edge. Make your first stitch by passing the needle to the right side of the waistcoat.
Now pass the needle back into the fabric through all layers, immediately to the side of the first half of the stitch. This is what’s called a side stitch, and due to the way the stitch is formed, is very strong, perfect for this situation.
The stitch should be very small – almost invisible. The one I made here is a little large. Now, draw a line visually with your mind from that first stitch to the original group of overcasting stitches you made. Continue sewing in as straight a line as possible back towards those stitches.
I was kind of disappointed with how these came out, while they look good, I was not concentrating on aiming for those original felling stitches and shifted a little off towards the end of the pocket rather than keeping parallel to it. Alas …
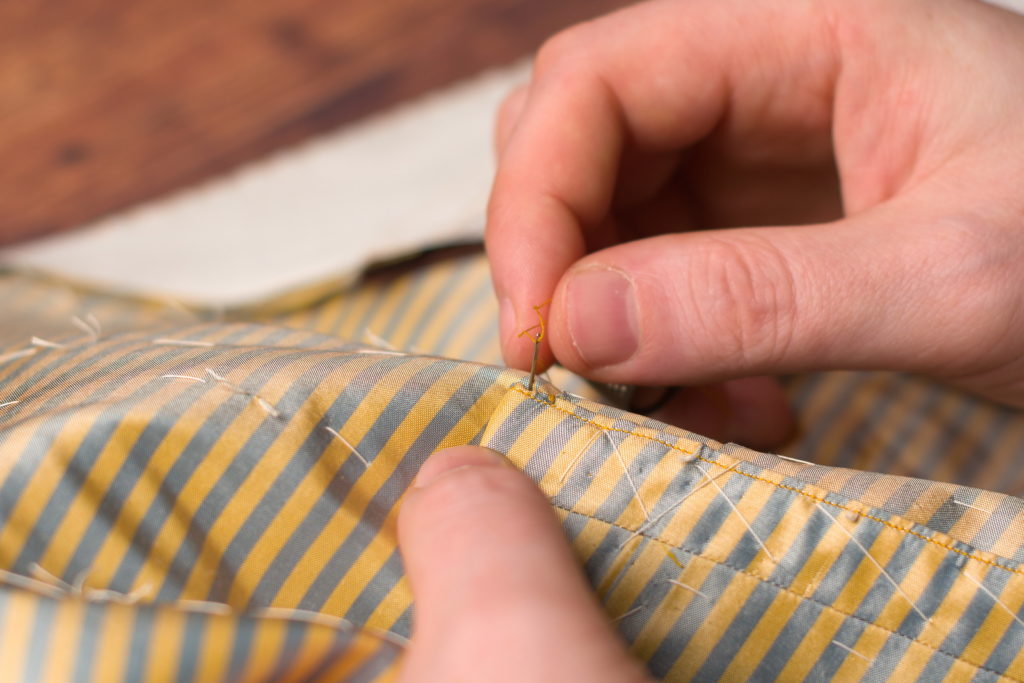
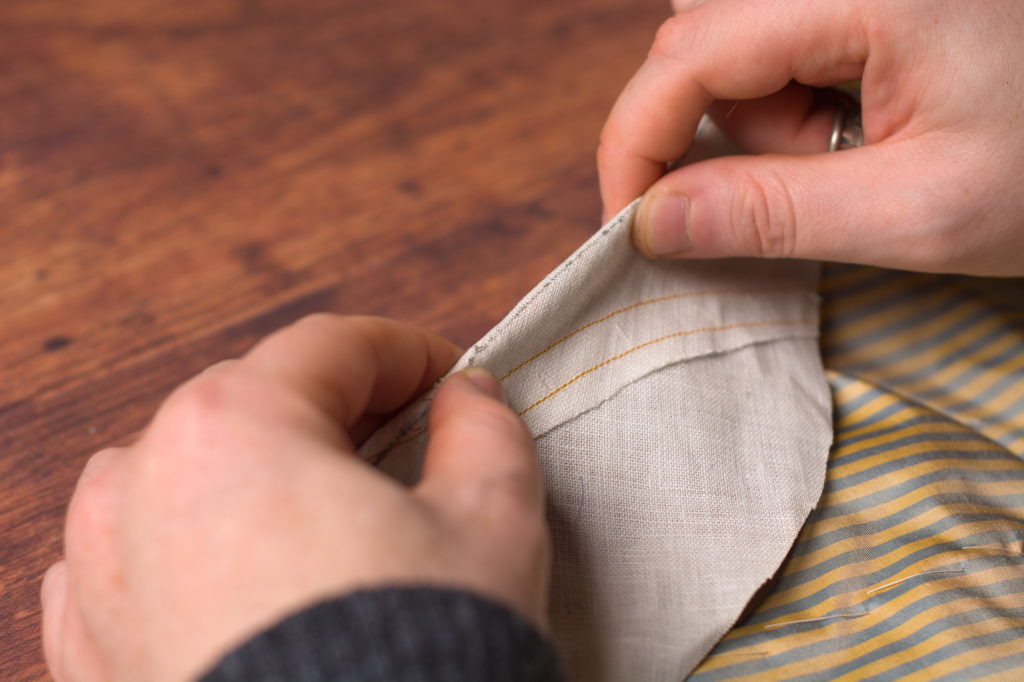
Finish off the pocket from the wrong side with a few stitches in place.

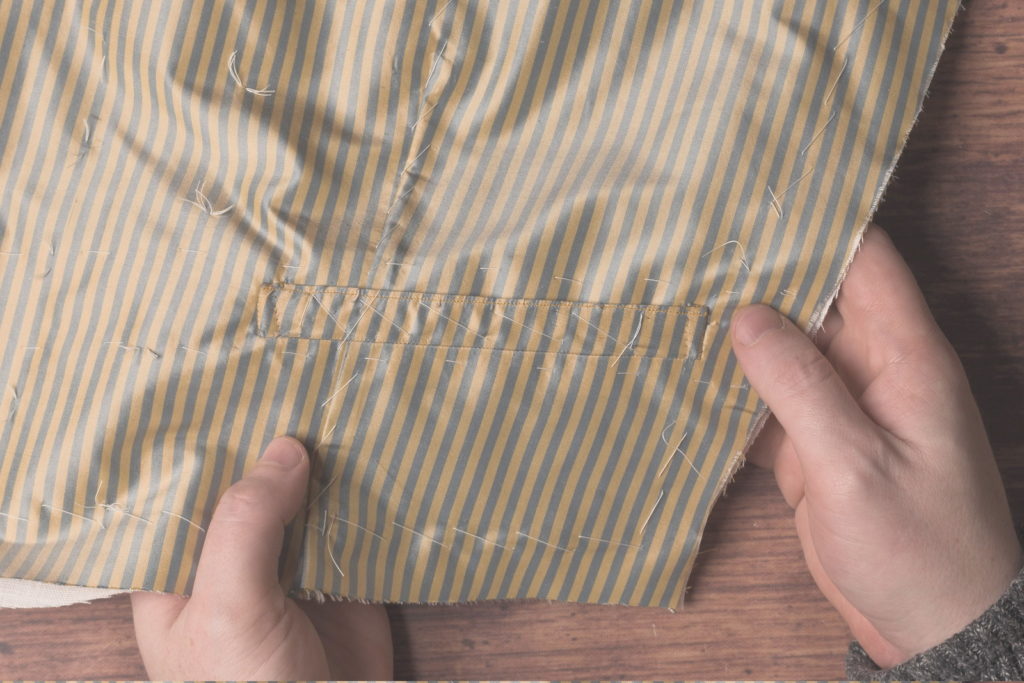
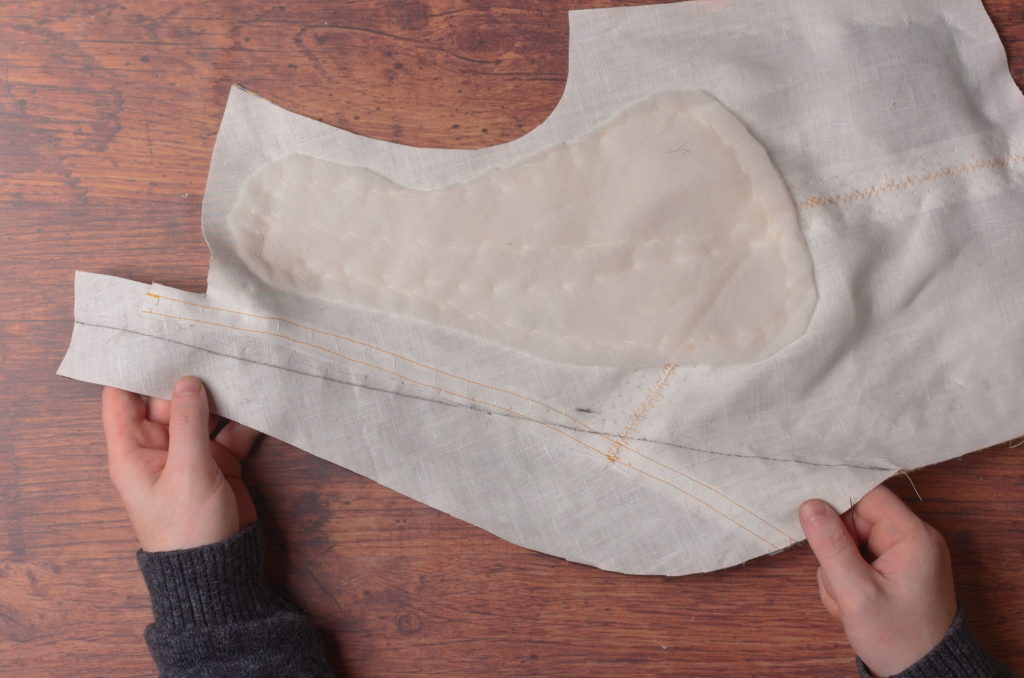
Repeat for the other end of the pocket, though you’ll probably be working in the opposite direction – just takes a little getting used to. So here I started from the bottom of the pocket on the outside edge, worked my way up, and across the top, making the felling stitches in place to tack it down, and then side stitching down the pocket.
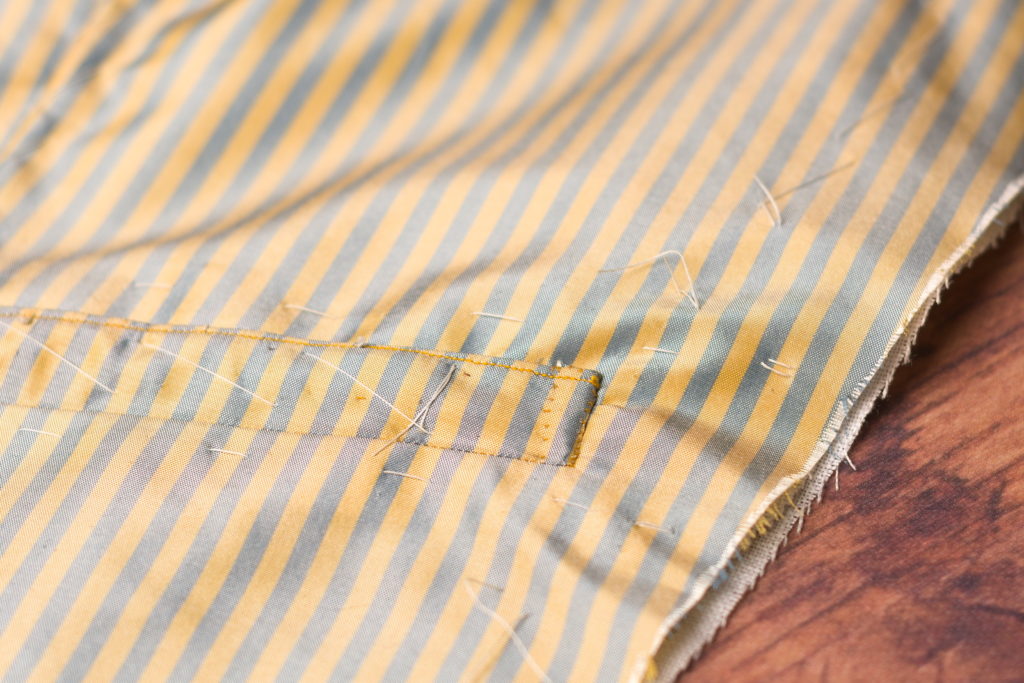
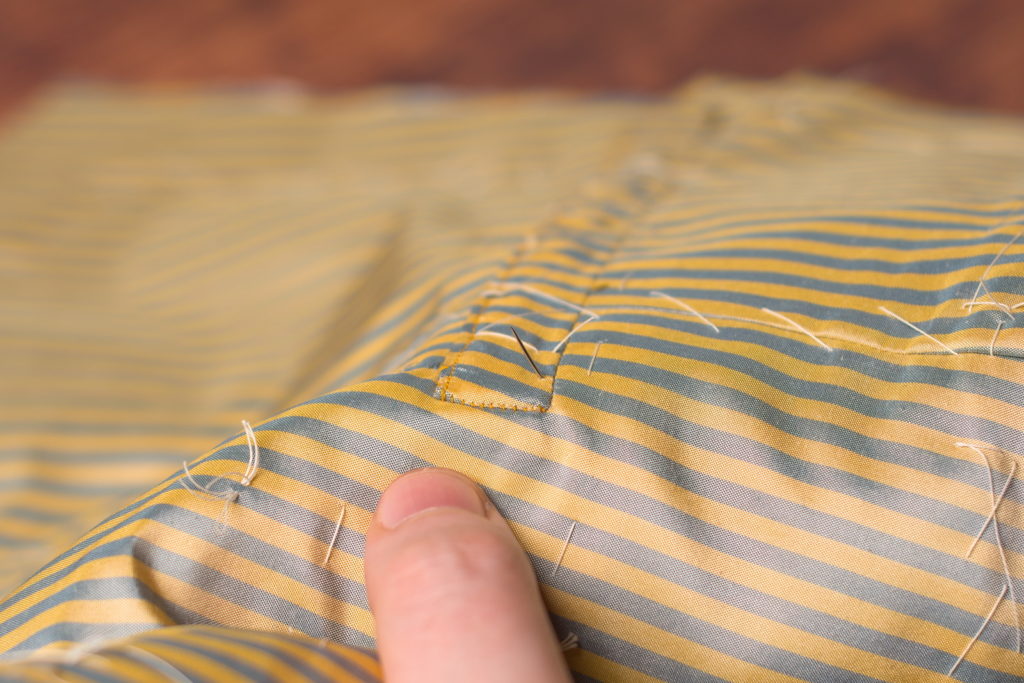
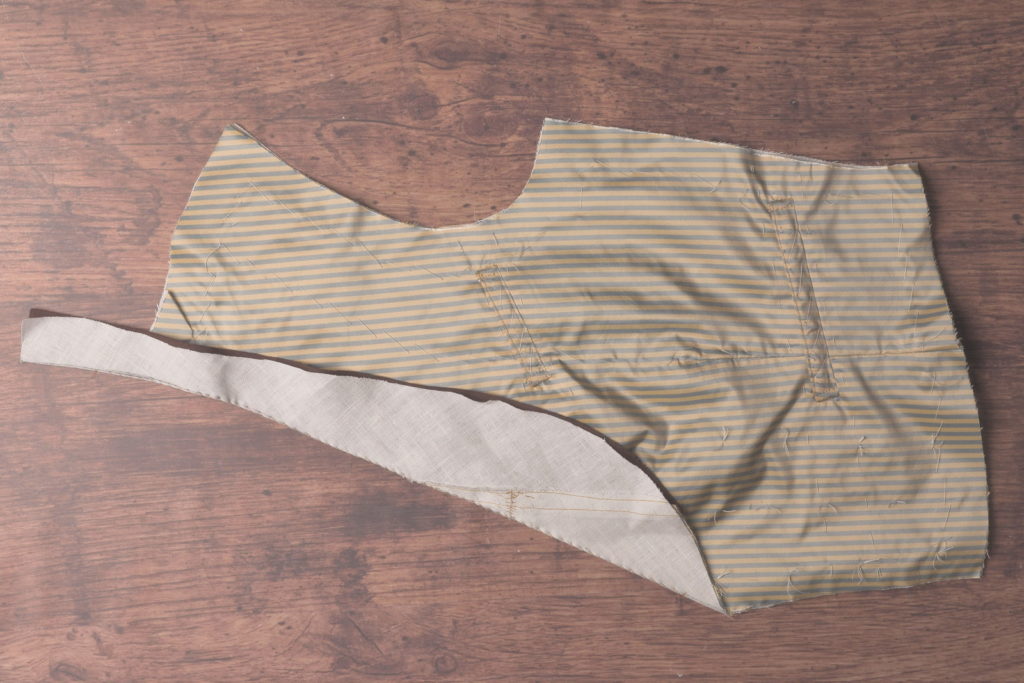
Here’s one of the completed pockets, continue with the remaining pockets.
Collar Roll Line
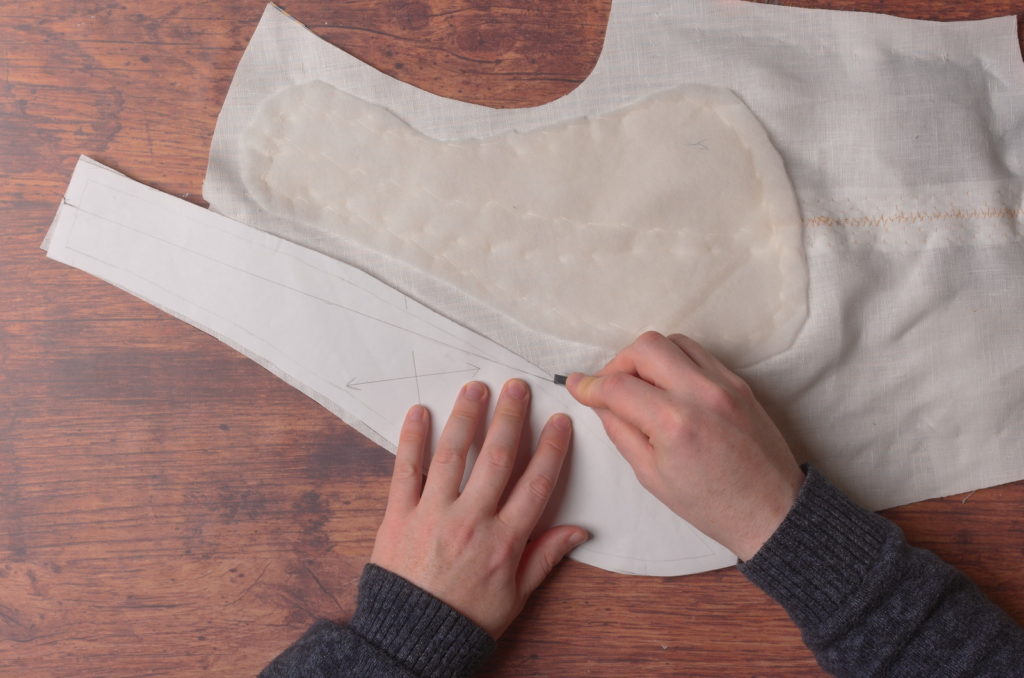
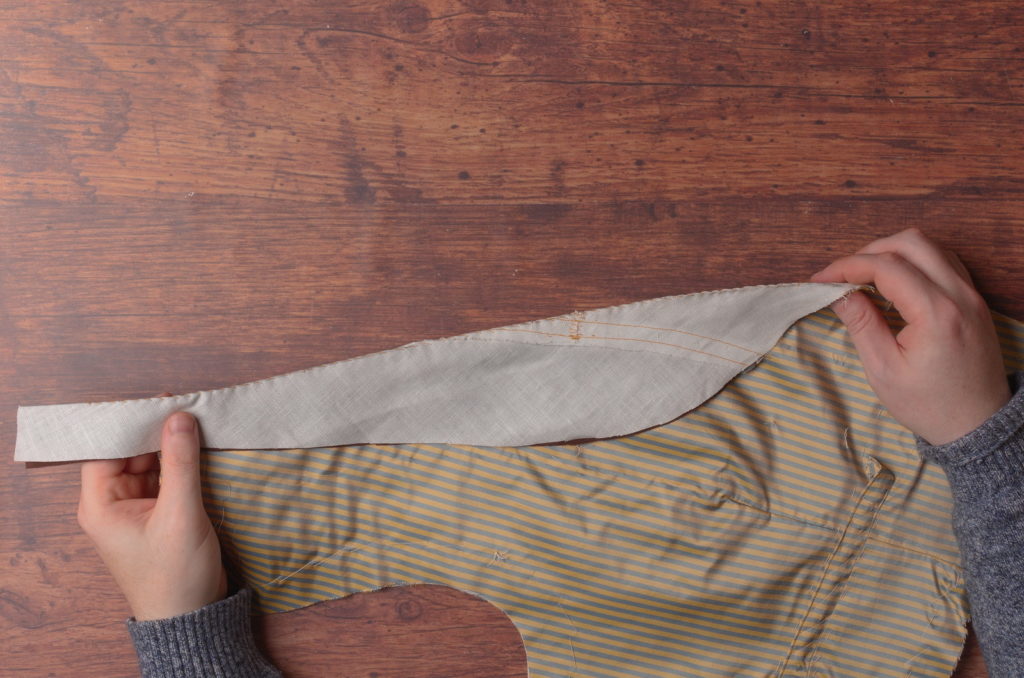
With the canvas installed, we can move on to finalizing the position of the roll line. Take your collar pattern and align it on the collar canvas as closely as possible. Slide it down about 1/4″ to expose the linen underneath and make a mark at the top of the collar along the roll line.
Then mark the roll line at the bottom edge of the collar pattern. This point most likely won’t align with the final roll line position due to the dart, but it’s useful to see the amount of adjustment.
Finally, pull back the canvas to find the location of the bottom of the roll line, which should have been marked on the forepart.
Mark the bottom of the roll line as closely as possible. I usually just do this by eye but you could make a tailor’s tack through all layers from the right side to find the location that way.
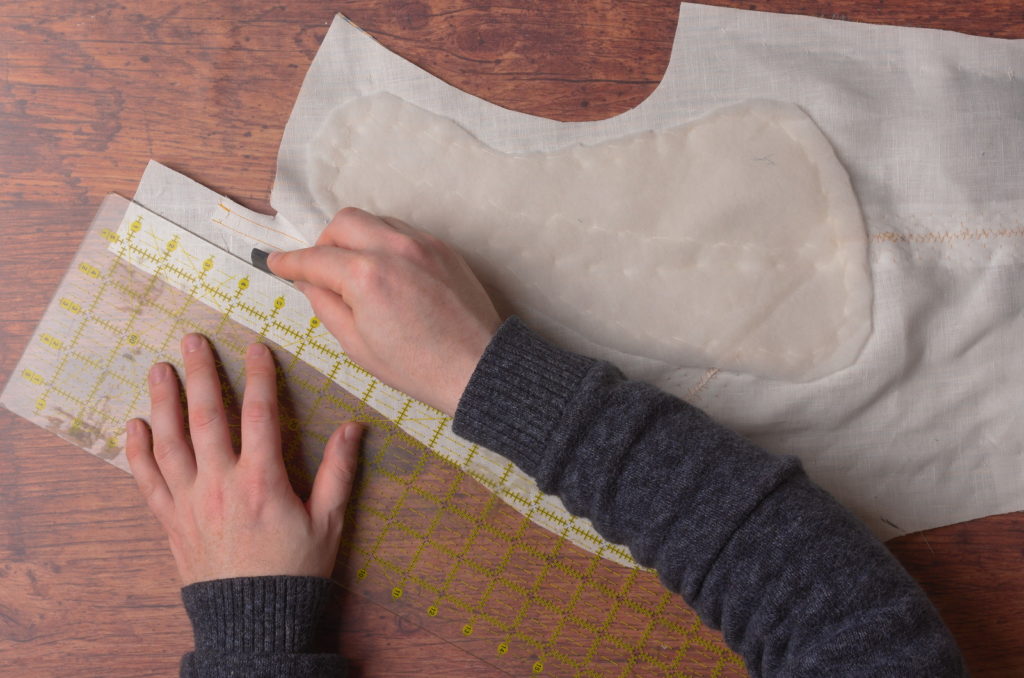
Now start marking in the final position of the roll line. In the original draft, it’s indicated as a straight line from top to bottom, but I find that doesn’t actually work so well in practice, and a bit of nuance is needed in the positioning.
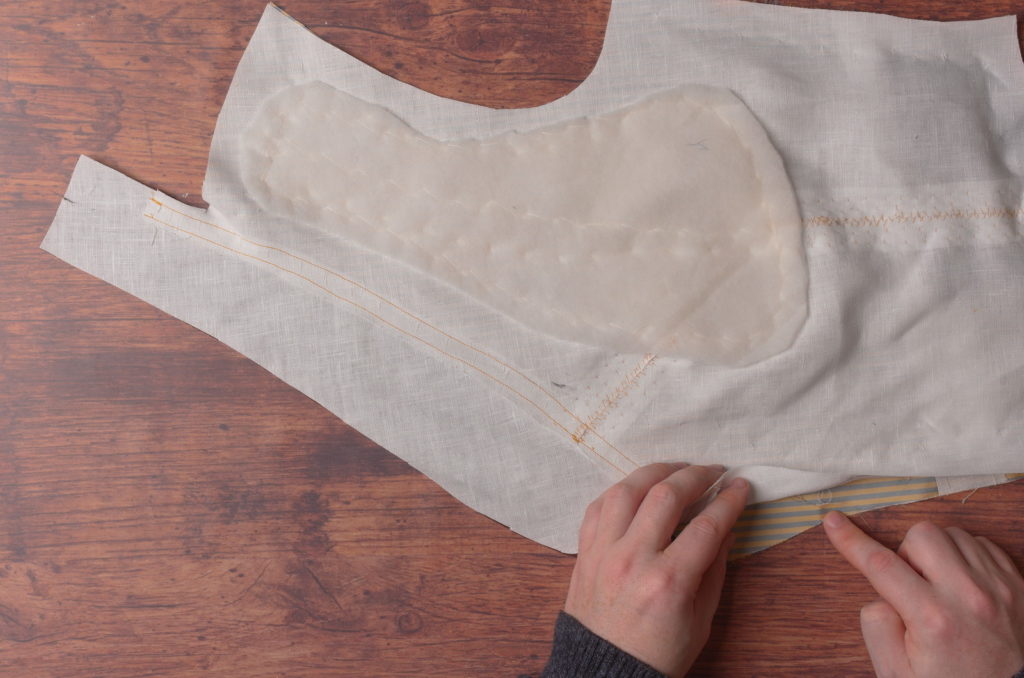
At the top end of the collar, keep the roll line parallel to the lower neck edge (closest to the top of the photo) for the first 3 inches or so, to about level with the shoulder.
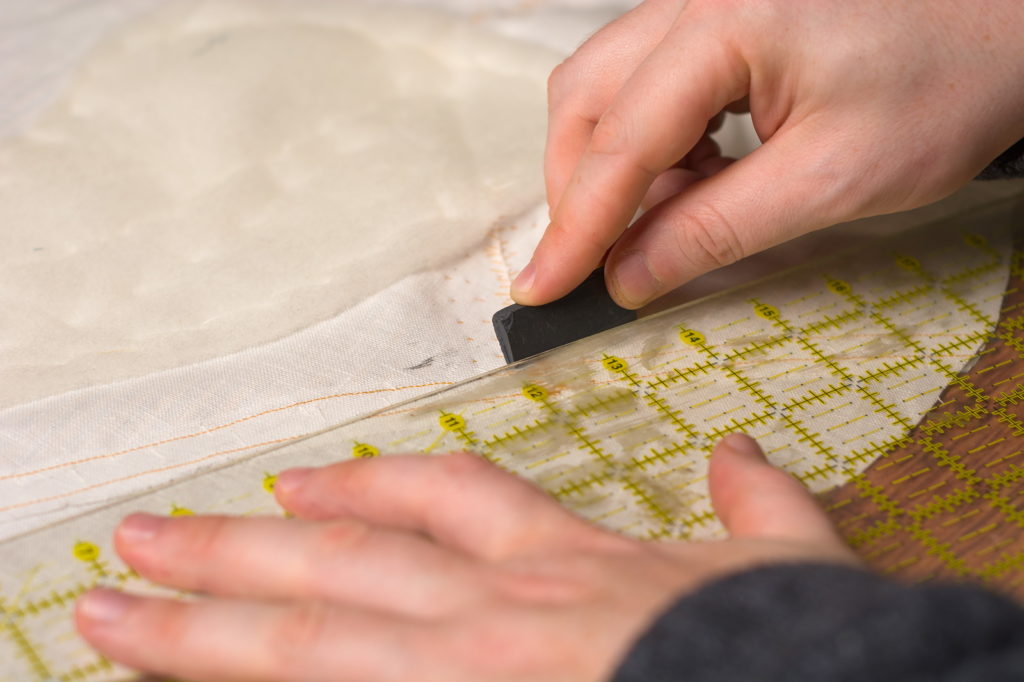
Then ever so slightly shift the ruler so it aligns with the bottom mark, and draw in the rest of the roll line.
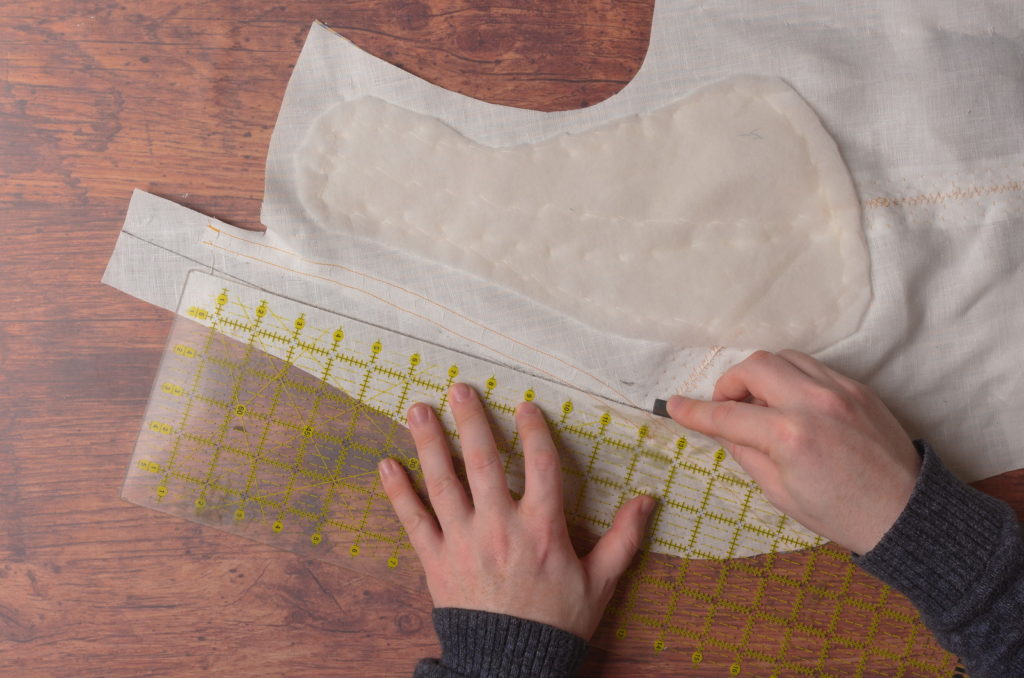
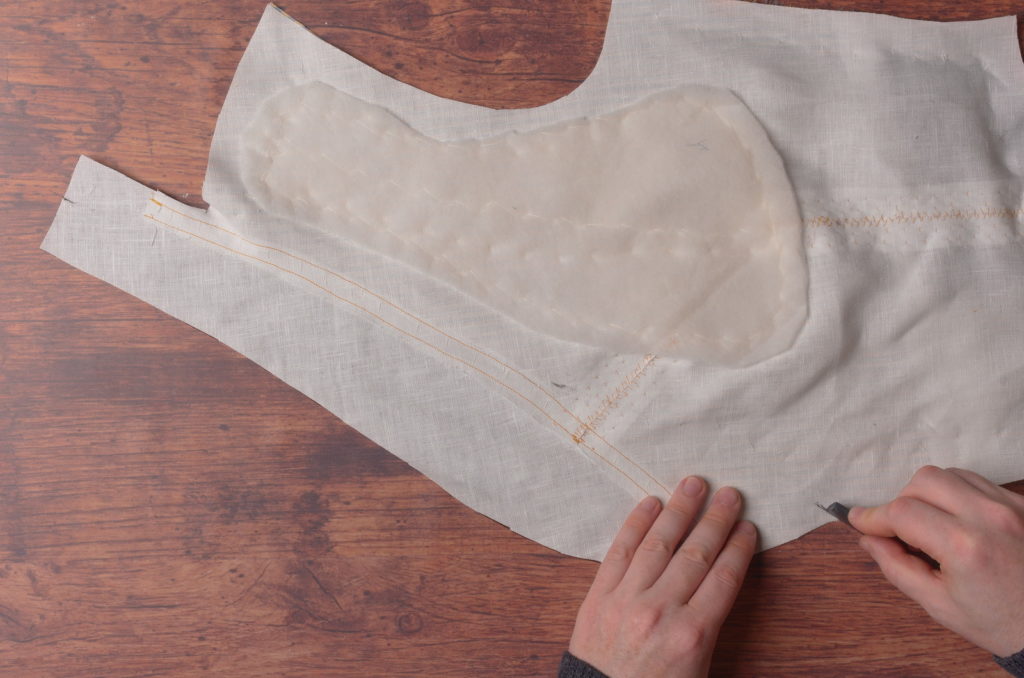
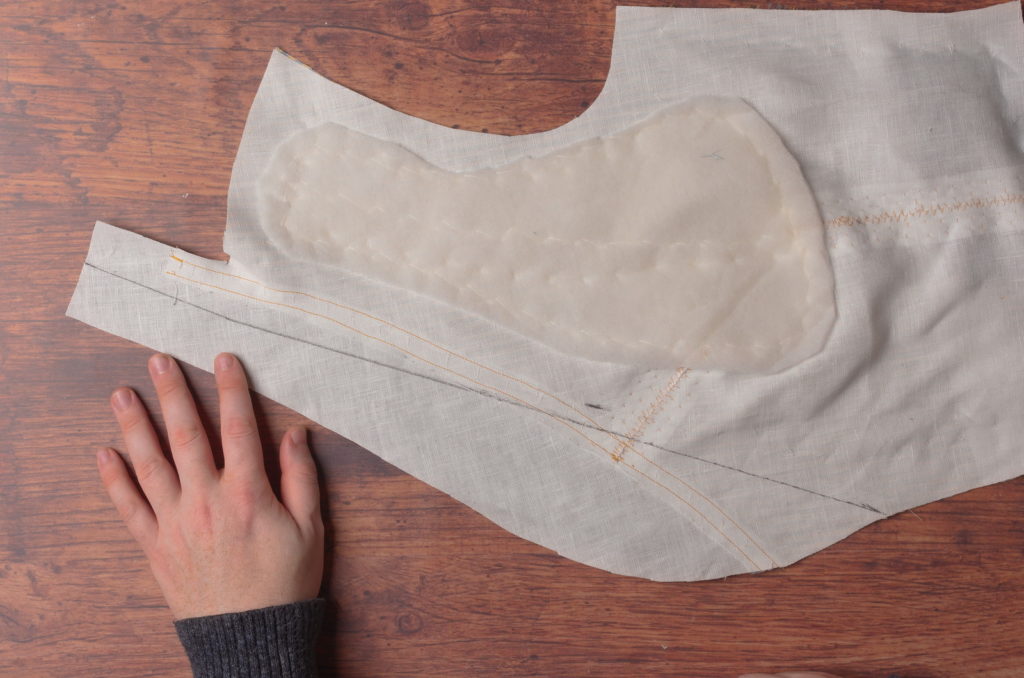
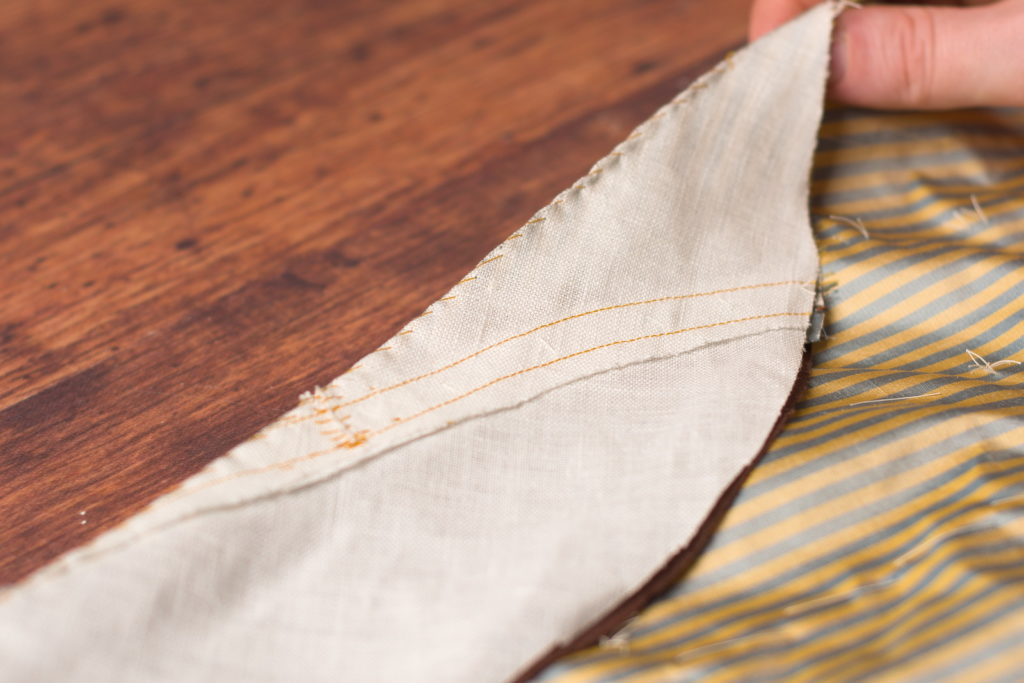
Here’s the roll line all marked out, you can see the slight angle we put in. When the waistcoat is worn, this will help everything stay closer to the neck.
Keeping everything flat and aligned between the layers, baste a row of straight stitches about 1/4″ away from the inside of the roll line.
It occurred to me afterwards that it might be easier to just baste directly down the center of the roll line, that way the layers will stay together even better without much effort on your part.
The roll line after basting.
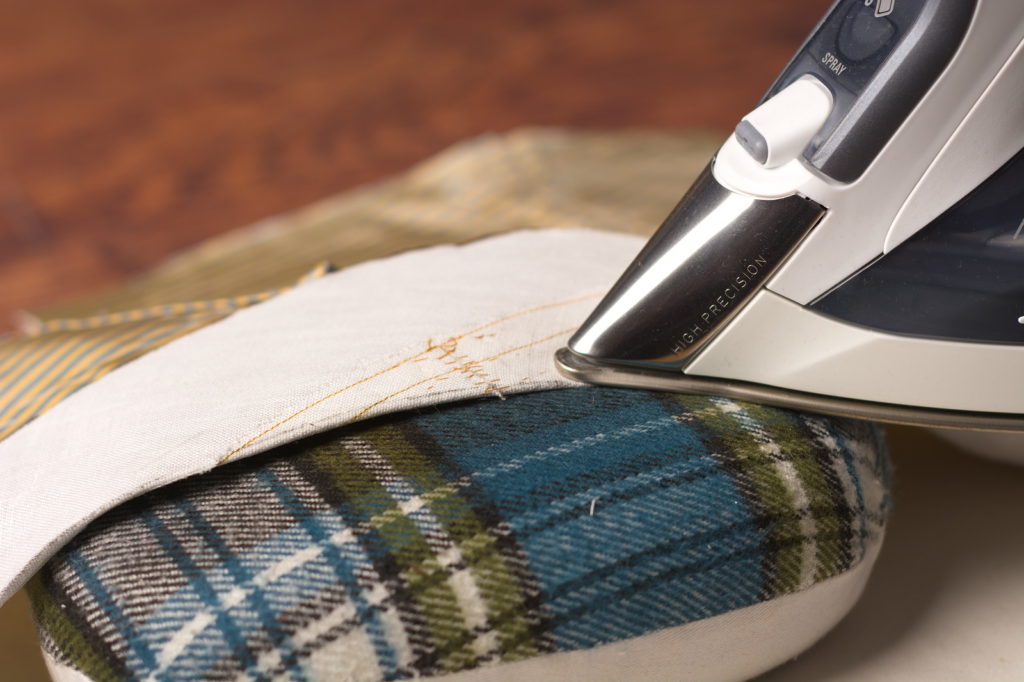
Now crease the collar along the roll line with your fingers, as closely as you can to the marked line.
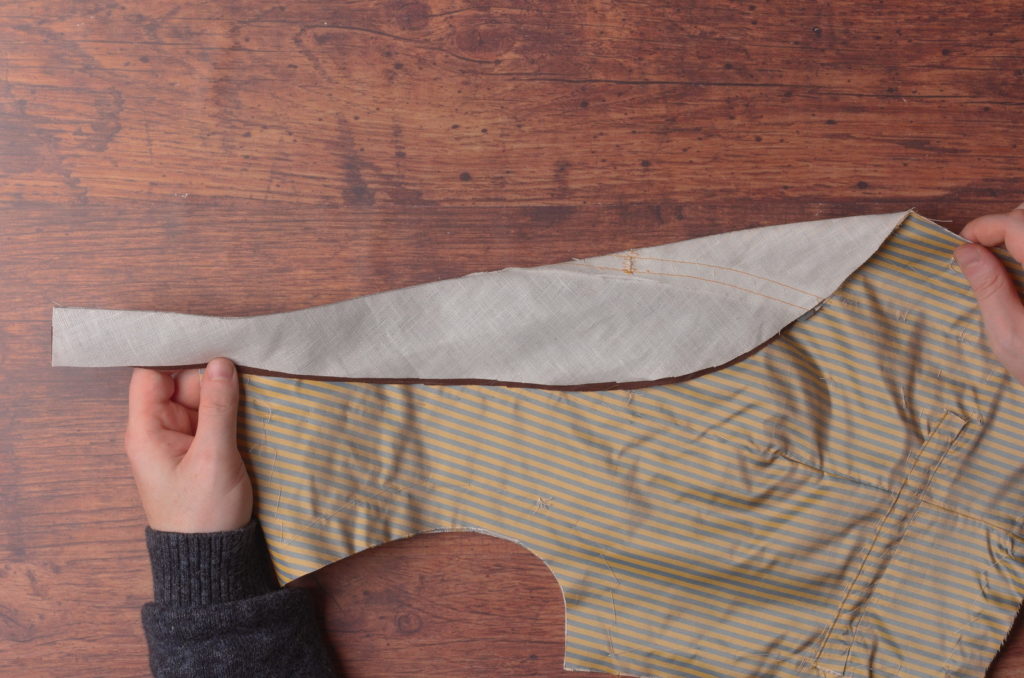
Press carefully and firmly over a tailor’s ham, as the collar and roll line have a good deal of shaping built in thanks to the dart.

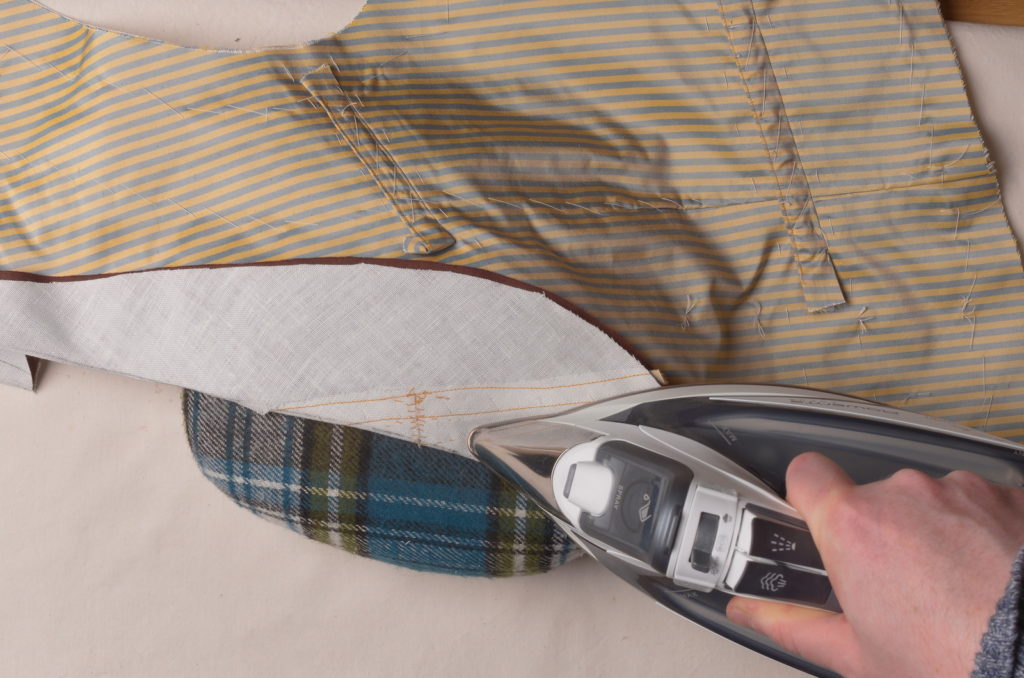
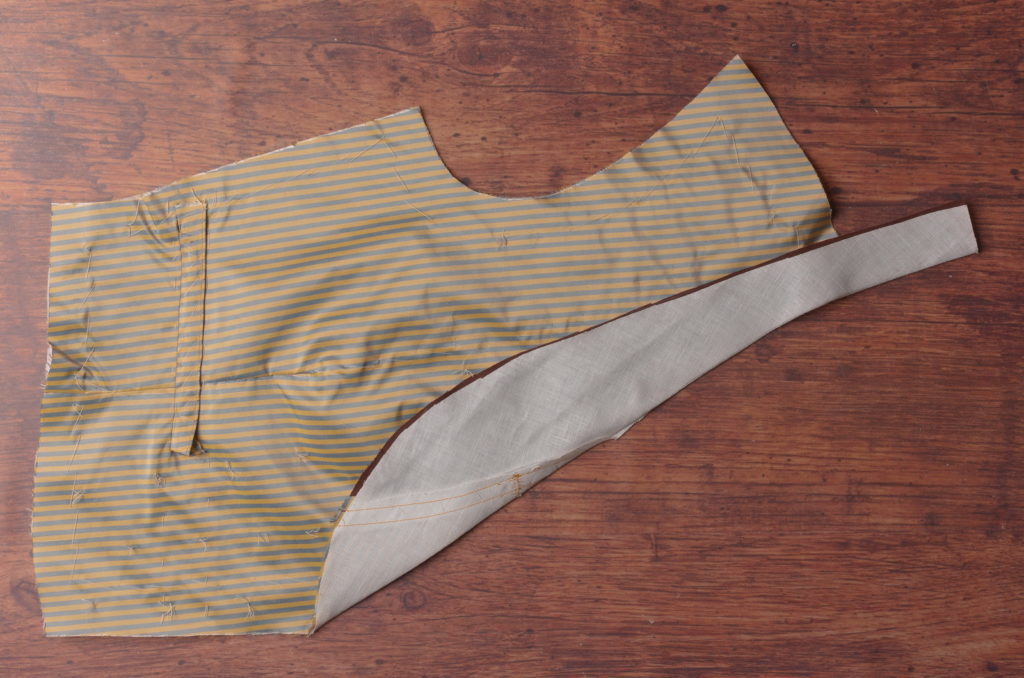
Here’s the entire forepart so far after pressing the roll line.
Now starting about an inch from the bottom of the roll line, begin overcasting the folded edge, being sure to catch all of the layers with each stitch. Keep the stitches between 1/8″ and 1/4″ apart.
The stitching is started an inch from the bottom so that we can open the collar back up and do a bit more work around the edges of the waistcoat.

I started with three or four stitches in place.
Since I had basted to the edge of the collar, I found my stitches were missing the silk layer underneath, so I opened up the collar and press the silk into the crease with the finger of my left hand while I made the stitch.
It’s a good idea to check every once in a while to make sure you’re catching every layer.
Continue sewing towards the center back of the collar in the same manner.
End the stitching about 1 1/2″ to 2″ from the back of the collar. We need this free so we can join the collar halves together with a seam later on.
And here’s the completed roll line and collar after stitching.
From Photograph to Pattern
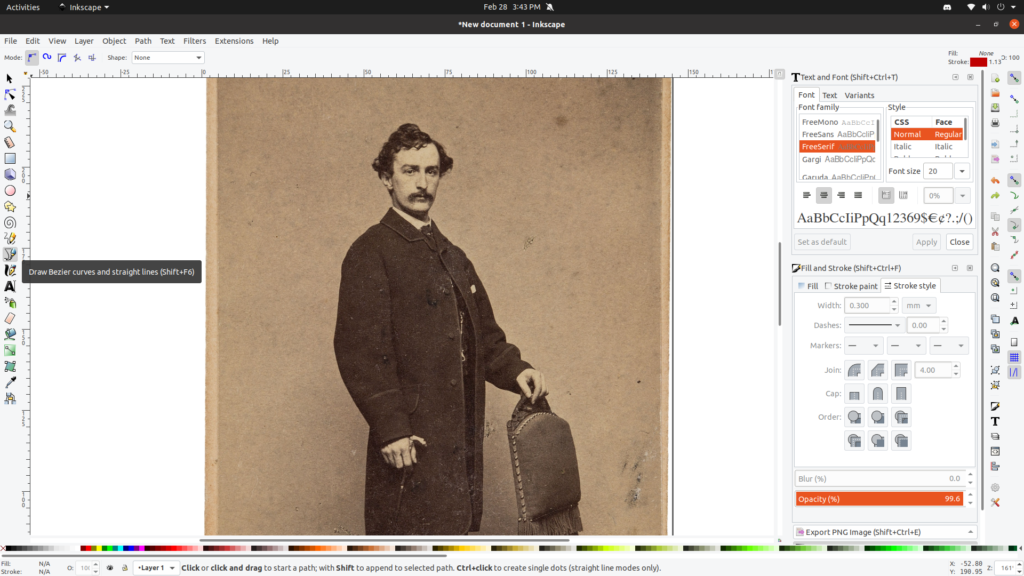
Working on the John Wilkes Booth photograph itself, I found that adjusting the contrast did not really help at all with this particular image, so I went into Inkscape for the following. Inkscape is more of an illustration program and allows you to draw what is known as vector lines, lines that maintain their resolution and crispness no matter how far you zoom in.
I’ll use Inkscape to help me lay out proportions and various angles as necessary. The main tool you’ll want to use is called the pen tool, and allows you to draw straight and curved lines with extreme accuracy. Using Inkscape is a little outside the scope of this tutorial, but if you search Youtube or elsewhere there are plenty of good tutorials.
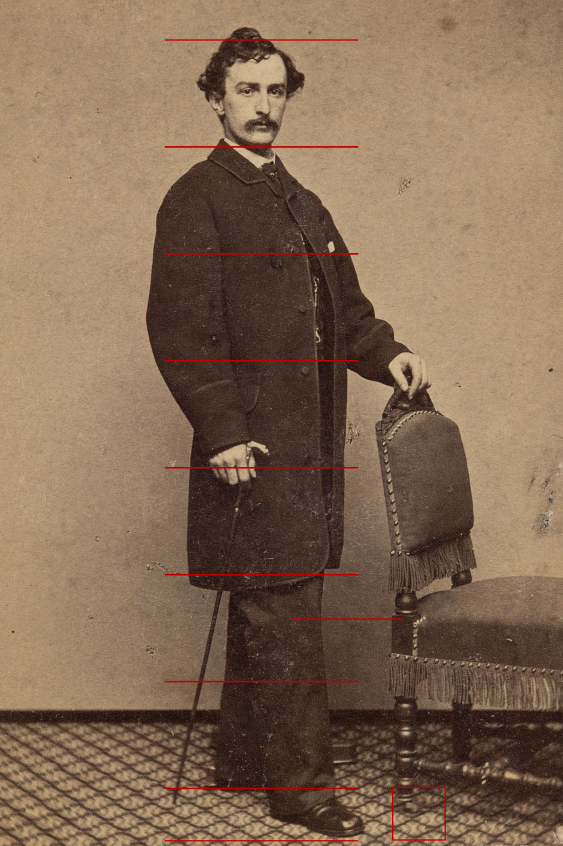
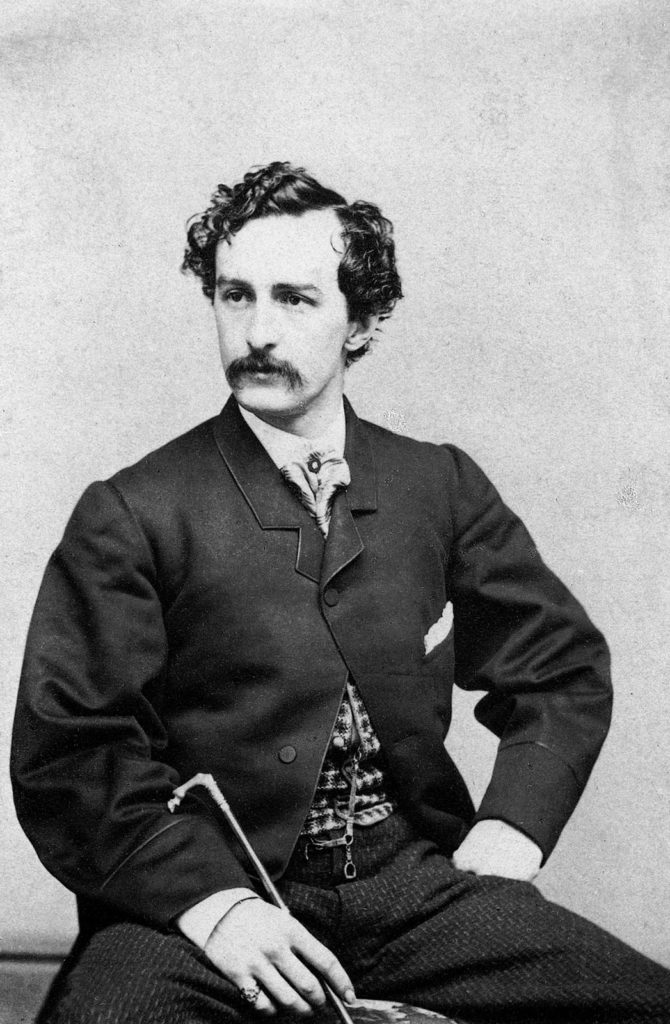
First, I tried to lay out the proportions of the body as best I could. It’s a well-known principle of anatomy that the human body is 7 1/2 to 8 heads tall, so I drew a horizontal line at both the top and bottom of his head. Then I duplicated the lines and shifted them downwards so that the upper duplicated line overlapped the lower original line at the bottom of the head, and repeated the process down the body. It doesn’t quite work due to the perspective of the photo and angle of his feet, but it should be plenty close enough for our purposes.
John Wilkes Booth was 5’8″ tall. So by dividing that by 7 1/2, that should give us the approximate distance between each of the lines. 68 / 7.5 = 9.06. 9 inches is definitely close enough.
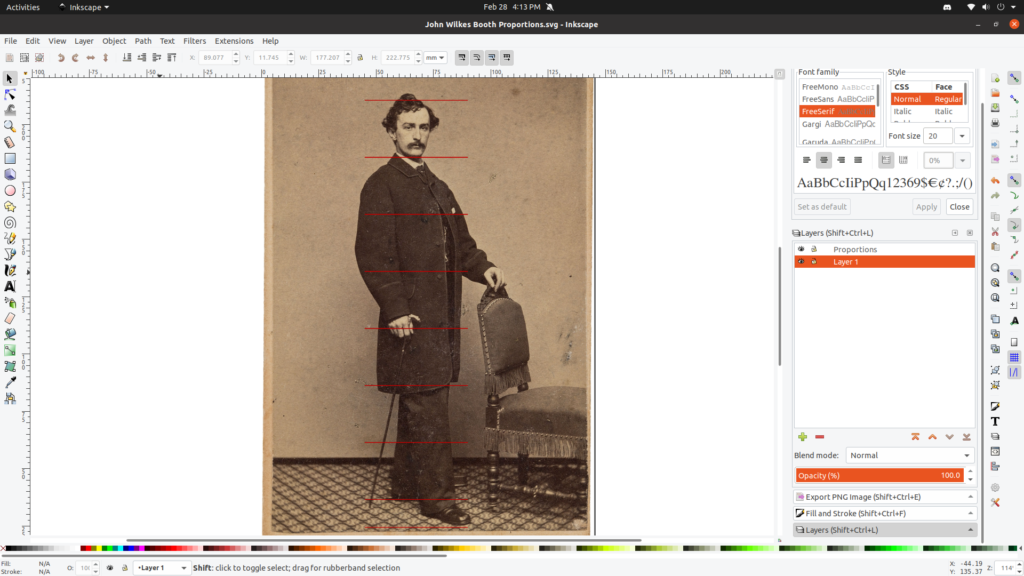
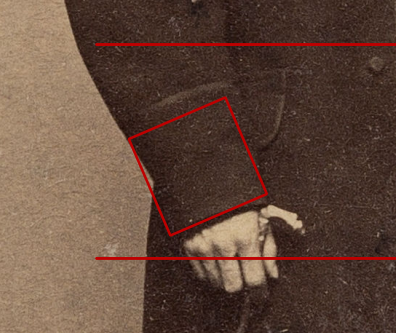
We can divide that 9″ head measurement in half for the half head measurement of 4.5″. I made a square with the square tool the size of that half a head, and as long as I don’t accidentally change the size, that square is equal to 4.5″ in both directions. Now I can go and place that square anywhere on the photo and it will give me a fairly accurate sense of size. You could subdivide that square if you wanted to but it’s not really necessary for this coat.
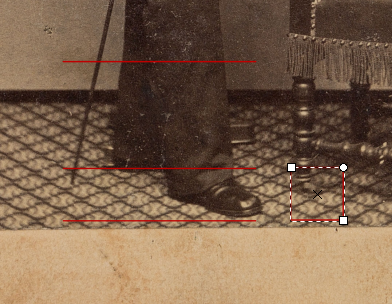
Going over the coat now, I can make the following observations. The bottom of the coat ends at a point two or three inches above the knee (that odd line indicates the height of the knee as best as I can tell from the wrinkles and aligns with the anatomical placement. I know that length for a coat is generally what was fashionable for the time period, and most patterns end up around that length as well.
The center front of the coat looks relatively straight, but may have a slight flair out at the bottom of the skirt and another very slight round to the chest. This would be determined more on your own particular body shape and size though – what looks good on John Wilkes Booth may not work for you.
Bottom front is rounded, look like the curve starts three or four inches from where the point would be. The bottom edge looks relatively straight, but has a curved appearance from the angle of the photo.
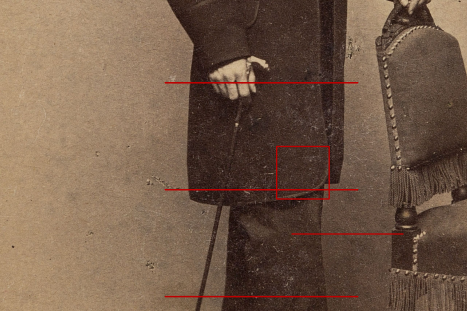
Still referencing the same image, I can see no sign of a waist seam along the front, and in addition there is a hip pocket, telling me that this is a paletot rather than a frock coat. Frocks typically did not have waist pockets – that’s more of a modern interpretation / ‘steampunk’ fad.
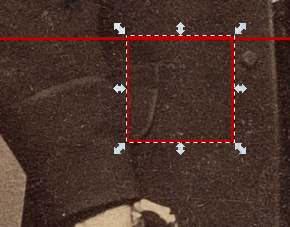
The pocket itself looks to be a 1/4 of a head high, or 2 1/4″ inches. However, that seems a little small to my eye (have to develop that rock of eye!) and I suspect that the pocket is more like 3″ in height. Will have to experiment with that to see what looks best. Alas, there’s no way to tell how wide the pocket is as his arm is covering most of it, so I’ll go with what I can find from period drafts.
Edit: I was reading the photo incorrectly, it does indeed look more like 3 to 3 1/2″ in height.
It looks like the coat has four buttons, the top one being hidden in the roll of the lapel. I’ve seen photos of Booth wearing a very similar coat with five buttons and yet another with only three, so there’s room for artistic expression here.
There does appear to be a breast pocket (with a handkerchief sticking out) but the style can’t be determined from this photo – most likely a common welt pocket.
Finally, the coat is trimmed with silk, I’m not going to try measuring that, but I’m going to guess it’s about 3/8″ wide in this particular version. That width can be determined more by your preference and skill though, as well as the thickness of the materials you are working with.
The sleeve also has a row of silk trim, I’m going to say about 5 1/2″ to 6″ above the bottom of the sleeve, and about the level of the top of the pocket. I rotated the square to help better determine the height. This too will be determined more by the individual wearer and what suits his build, but this is a good starting point.
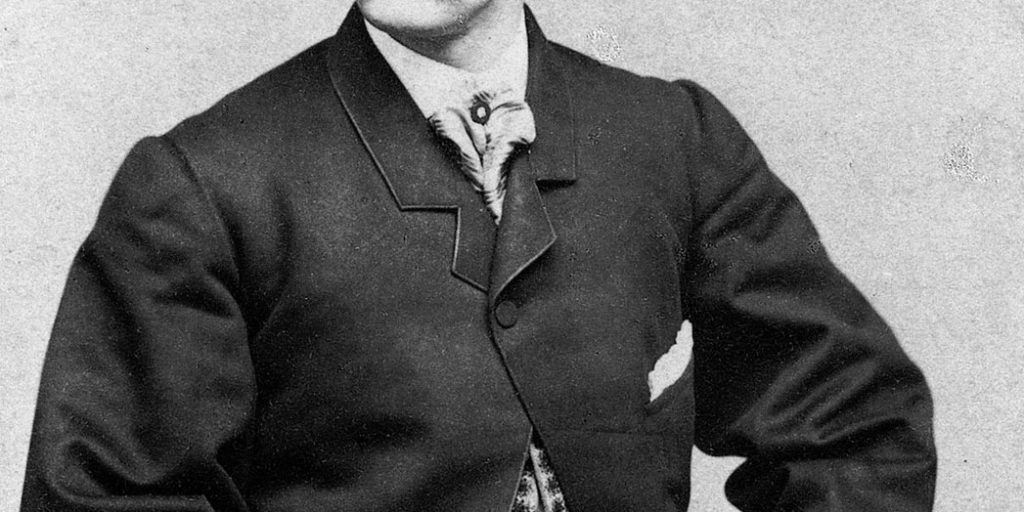
That’s about all of the information I was able to glean from this photograph. However, there are several other photographs around showing Booth wearing what I thought were the same coat, though they turned out to be just slightly different. Turning to one of those now:
Looking a little closer at the chest area, I can note a few other details.
The breast pocket is clearly a welted pocket, looks to be on the narrower side, maybe 1/2″ to 5/8″ in height.
The trim along the front and collar edges is definitely a bit thinner, I’d guess 3/16″ to 1/4″ in width.
You can make out some tell tale signs of the ‘crooked cut’ of the shoulder, so common during the 19th century, with the gentle folds of fabric at the front of the shoulder going into the bottom of the armscye.
The sleevehead is finely set into the armscye, probably shrunk into place to fit even better. Contrast that to the gentleman in the white coat in the previous lesson with his waterfall sleeves.
Self-covered buttons complete the coat, there appear to be three in this version if you look at the complete photograph. The buttons look to be set back quite a distance from the center front of the coat, maybe 1 1/2″. This was probably to give him room to ‘expand’, and the buttonhole that’s visible is closer to the edge of the coat, about 1/2″ away. I’m wondering if this offset of the buttons will throw off the positioning of the lapels – will have to experiment.
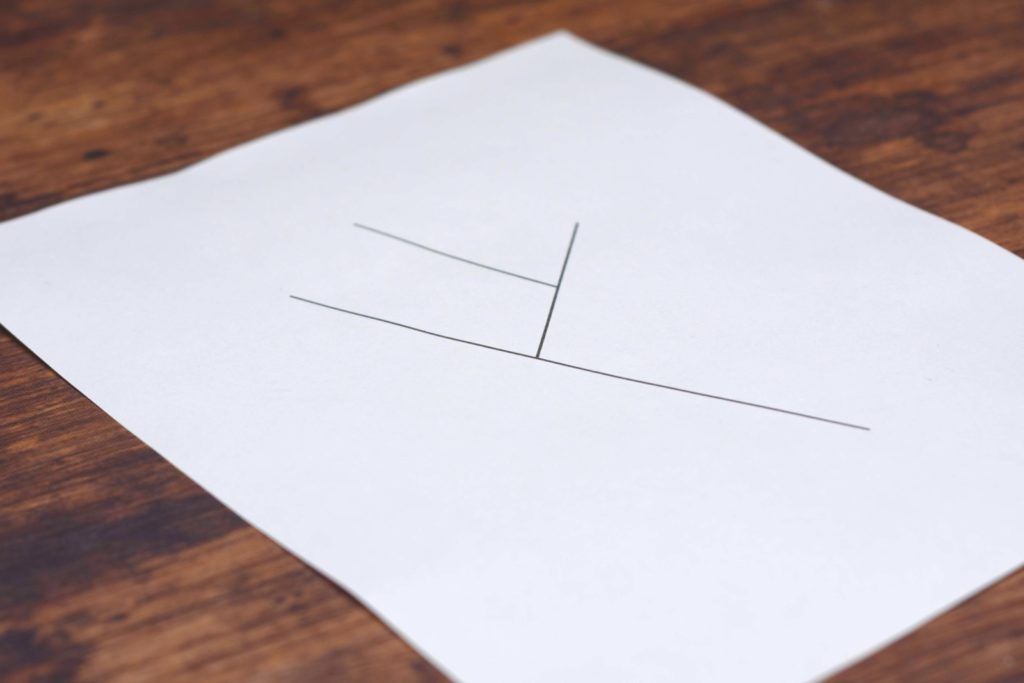
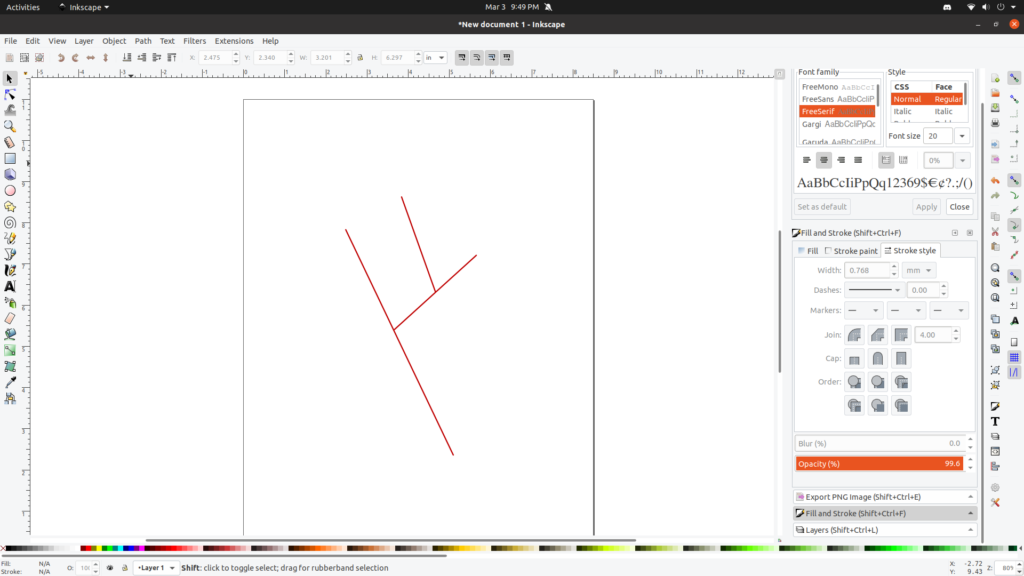
Finally, back in Inkscape, the final thing I like to do is copy the angles on to cleaner lines to compare with my draft later on. The perspective of the photo is close enough to straight on that I can simply figure out these angles without too much distortion, though it won’t be perfect.
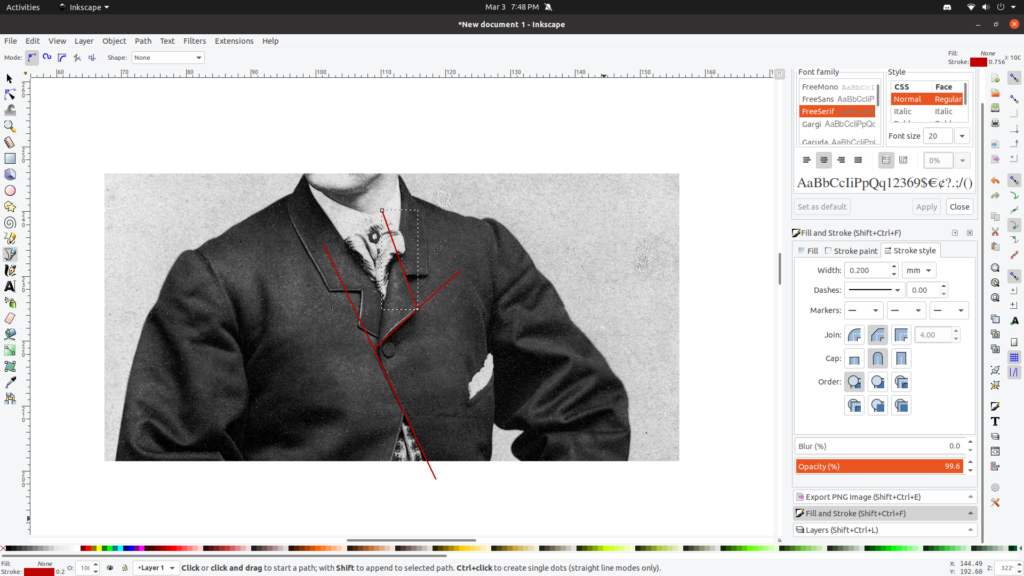
First, I drew a line along the center front of the coat, extending a bit just for more area to reference from. Then I drew the bottom edge of the lapel and then the top.

I then changed the paper size to 8 1/2″ x 11″ under File > Document Properties and deleted the photo from the open document, leaving me with just the three reference lines. I also scaled up the pattern to make it large enough to work with – the exact size doesn’t really matter as that will be determined more by your coat pattern, we’re really just after the angles here.
Finally, print out the pattern and set it aside for when you begin drafting the coat.