Month: September 2021
Reinforcing the Pockets
Before installing the pockets, it’s a good idea to reinforce the area around them with linen stays, particular in more delicate fabrics like silk. In addition, since the pockets are on a slight bias, these stays prevent any unwanted stretching.
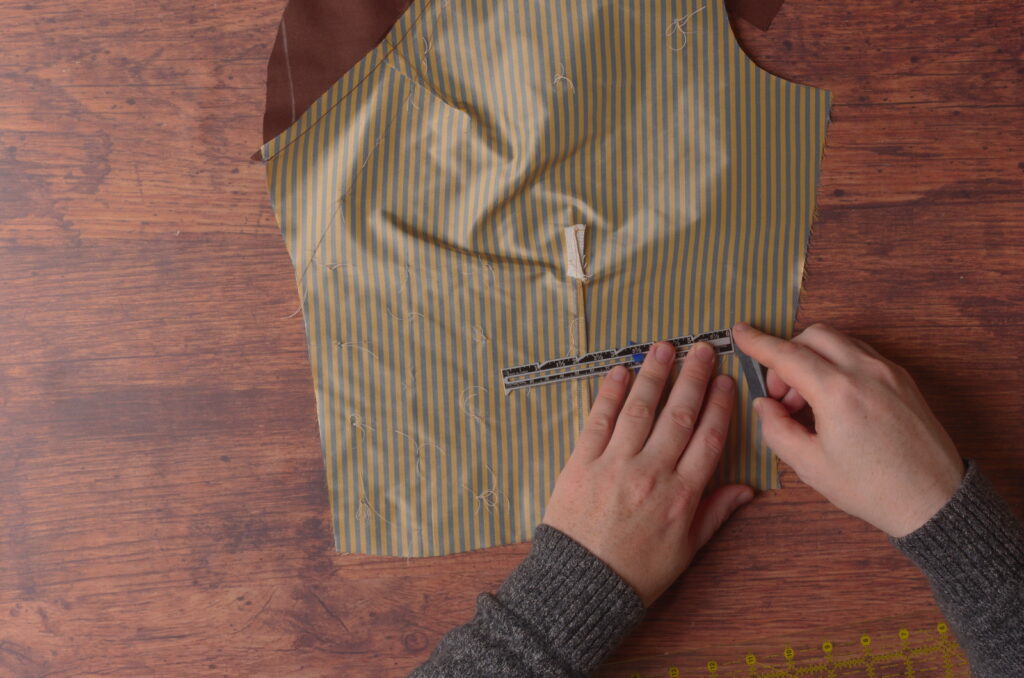
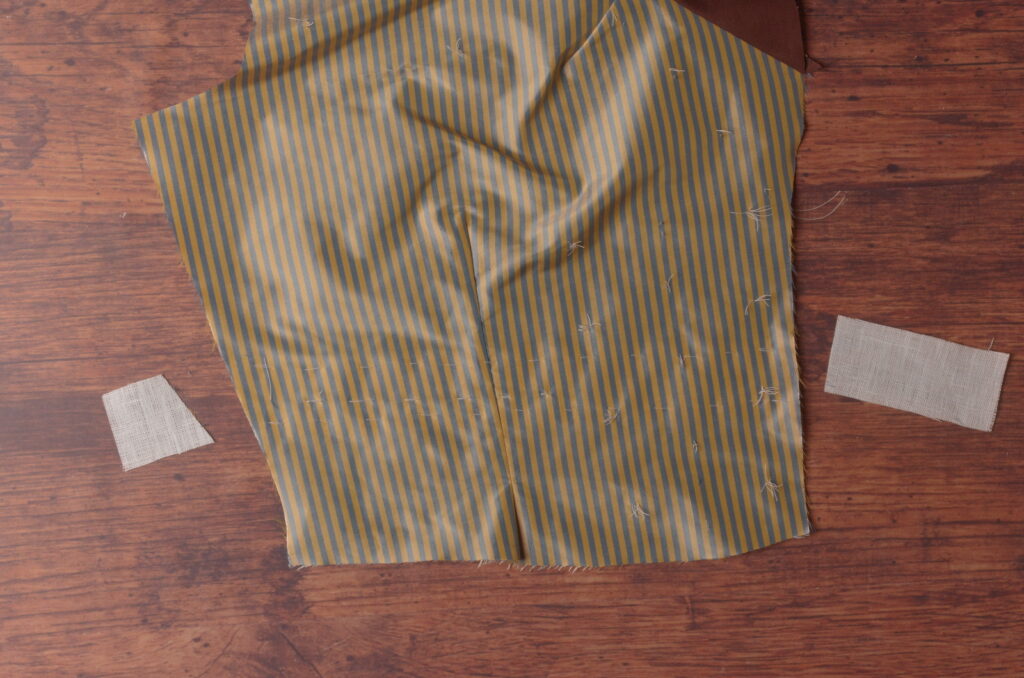
First, begin by finalizing the position of the pockets on the wrong side of each forepart. If you’ve installed a waist dart, it will have thrown the position and size of the pocket off. Hopefully you marked the ends of the pockets with tailor tacks earlier. Simply connect the two points with a chalk line, extending the line if necessary due to the loss of width from the dart.

Then measure out the exact width you’d like the pocket. Anywhere from 5″ – 6″ works well, depending on your size. I made mine 5 3/8″. Repeat this immediately for the other pocket to be sure you mirror it correctly.
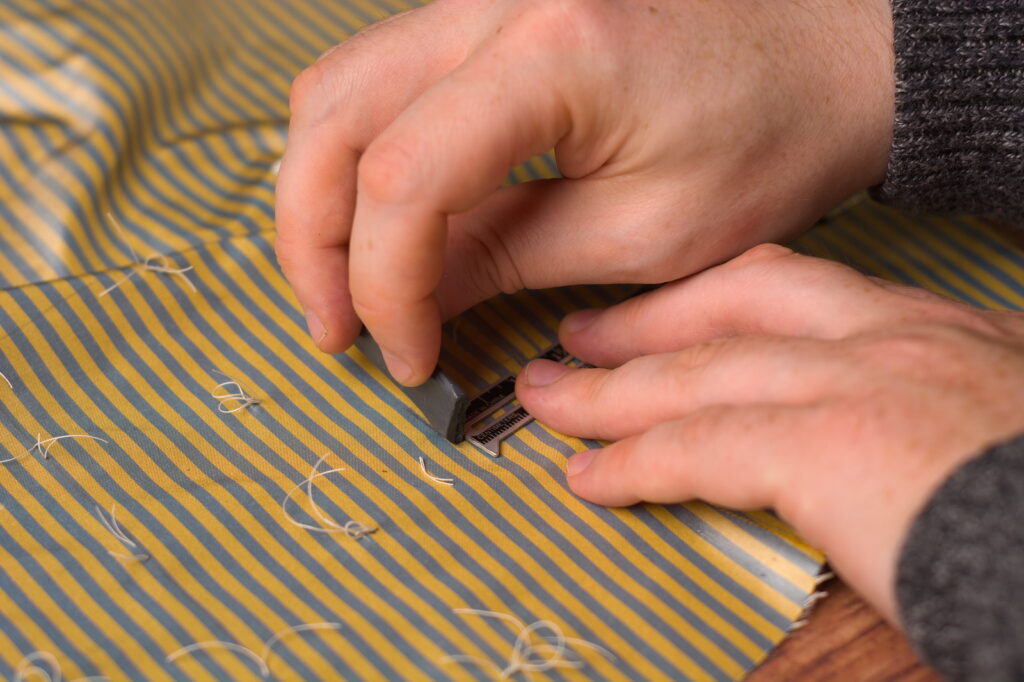
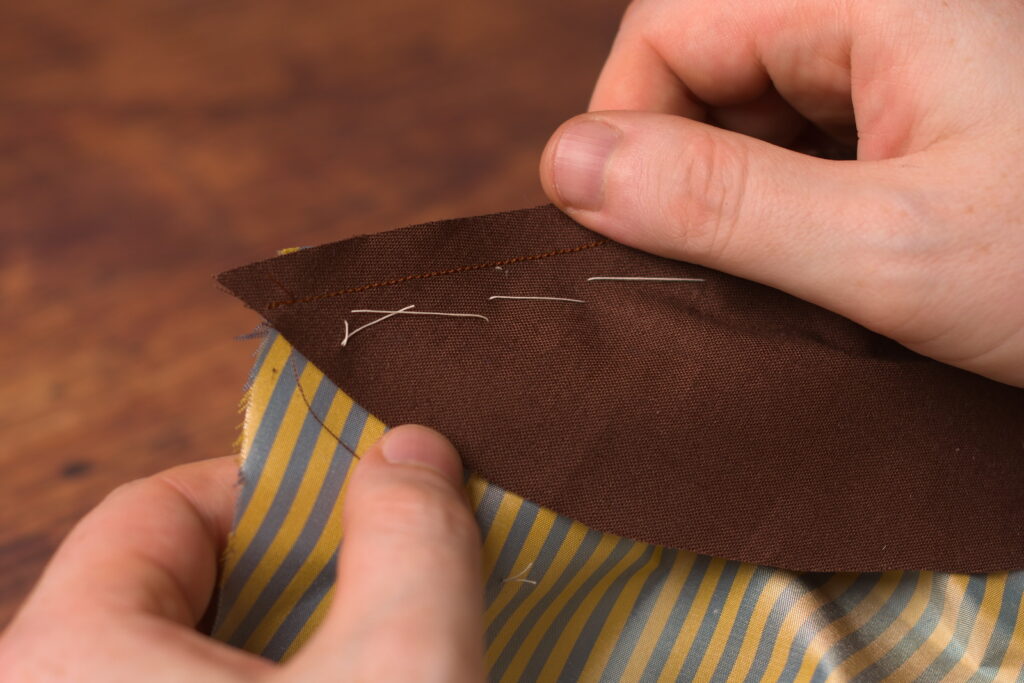
With a double over basting thread, run a row of running stitches along each of the refined pocket lines. There’s no need to cut these open as they’re only going through a single layer, not both halves of the waistcoat at once as before.
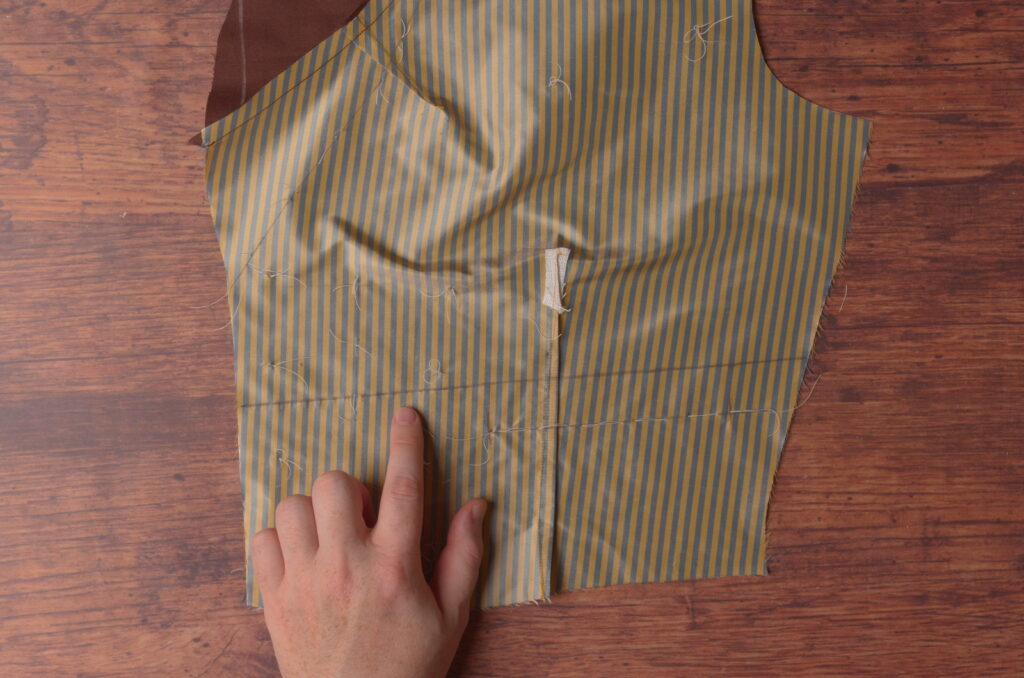
Here’s my pocket after redrawing and marking the lines.
Now draw a line across the entire forepart, parallel to and 1″ above the pockets.

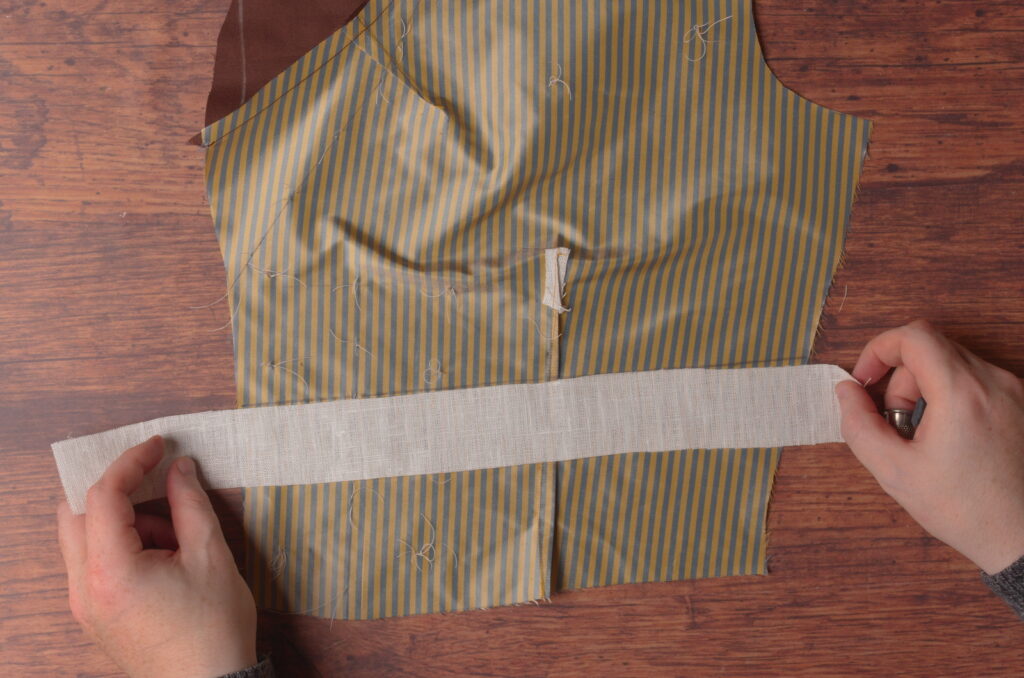
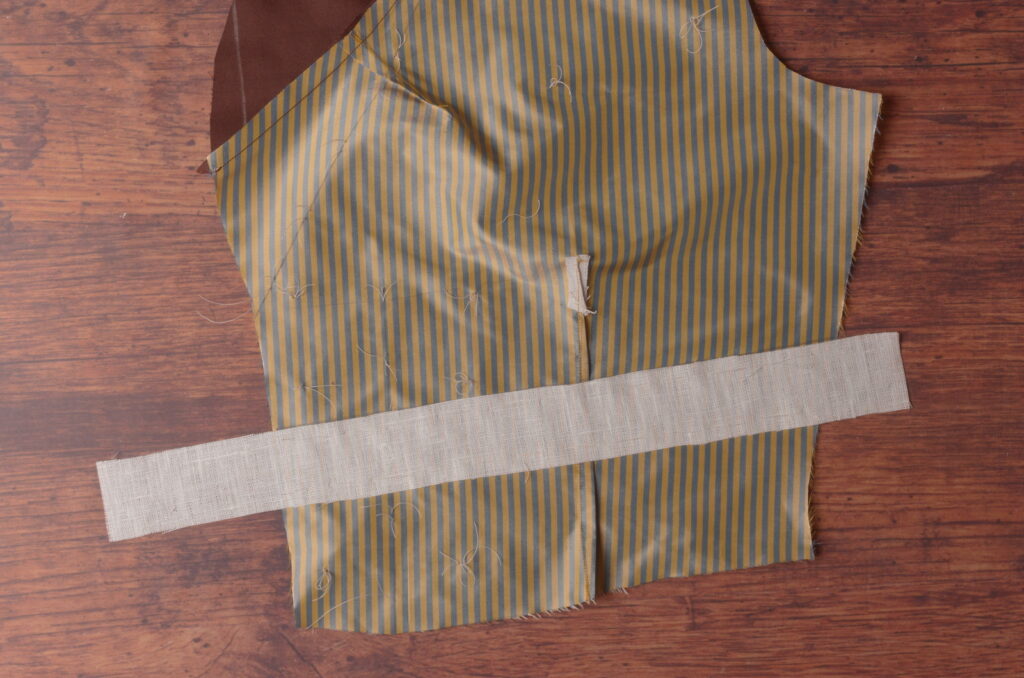
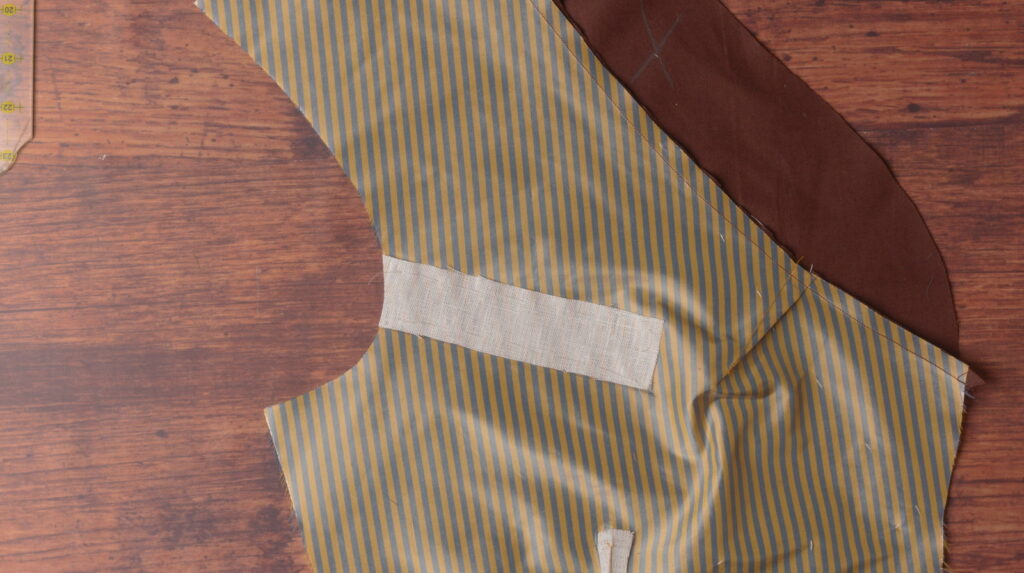
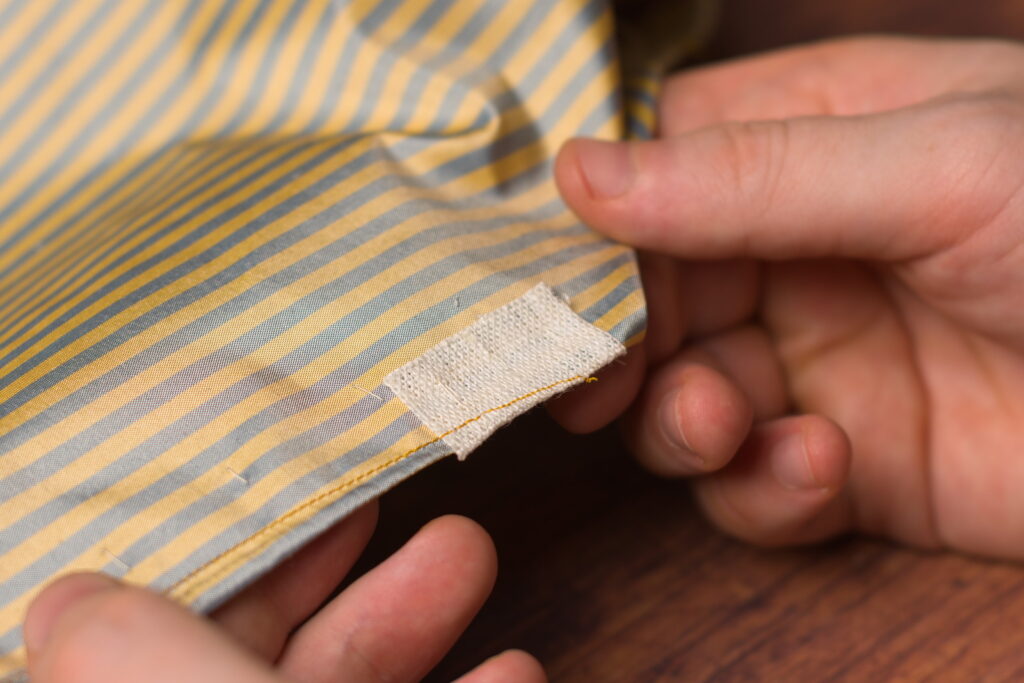
Now cut a strip of linen 1 3/4″ wide and a little longer than the width of the forepart. Place it on the wrong side of the forepart over the pocket, aligned with the line you just drew. Ideally there will be about 1″ of linen above the pocket, and 3/4″ below, to provide an area for the pocket to be attached to.
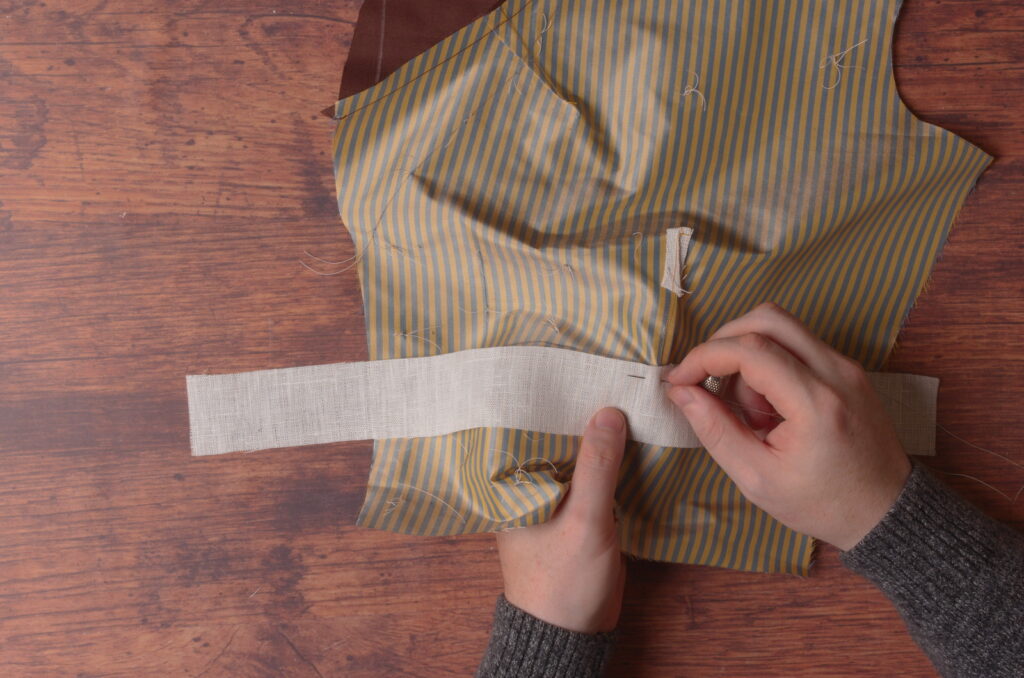
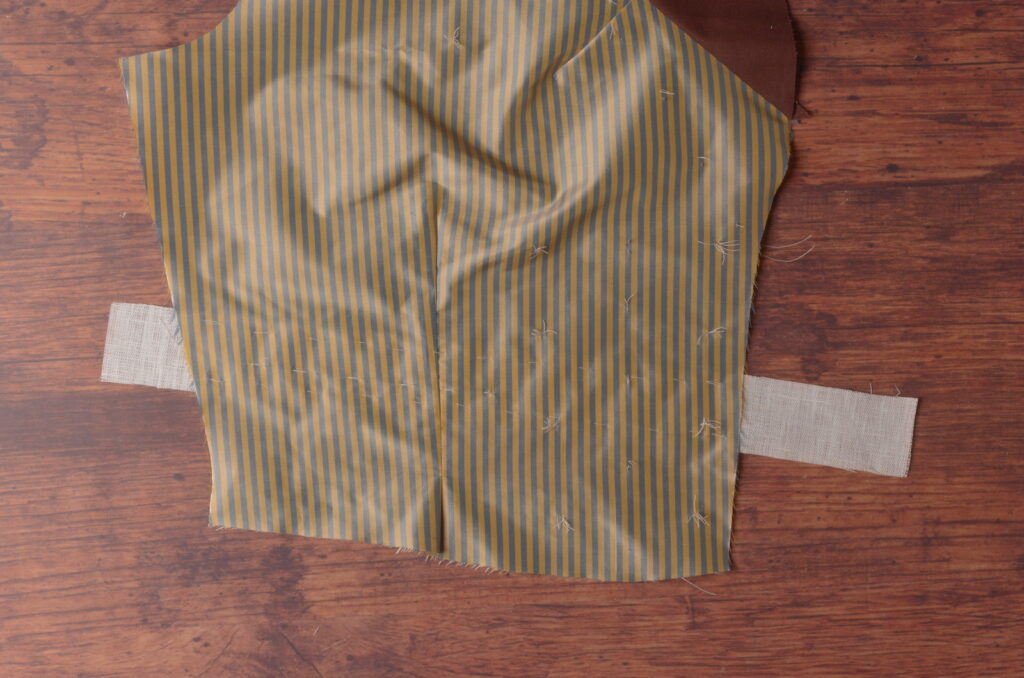
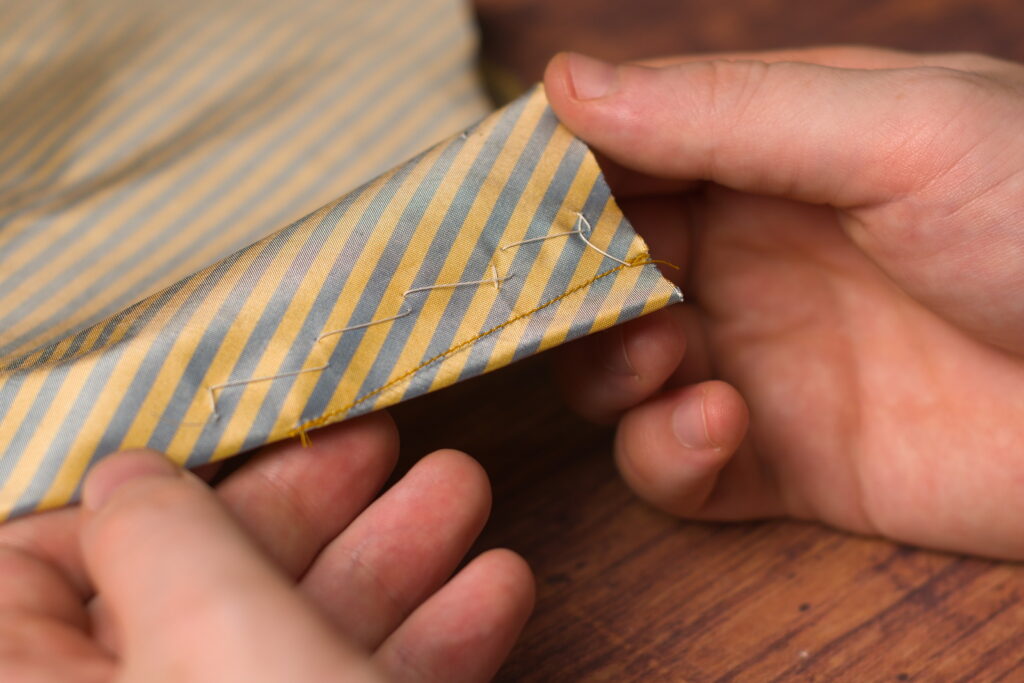
Baste across the top and bottom of the linen strip, about 1/4″ from the edge, using a straight basting stitch. Try to keep a neutral tension between the linen and the forepart.
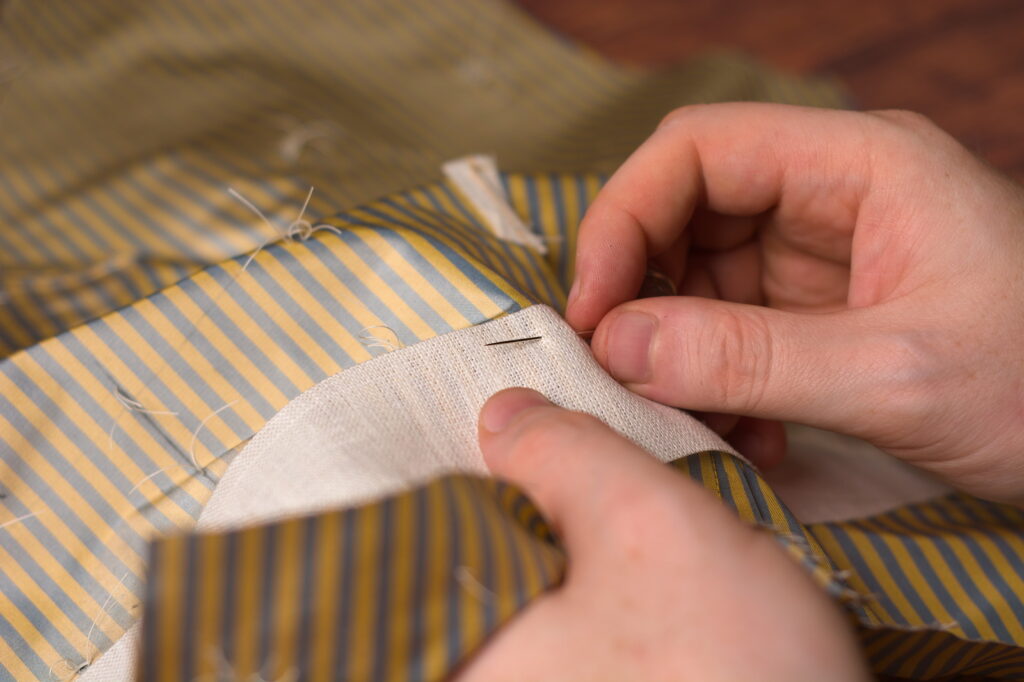
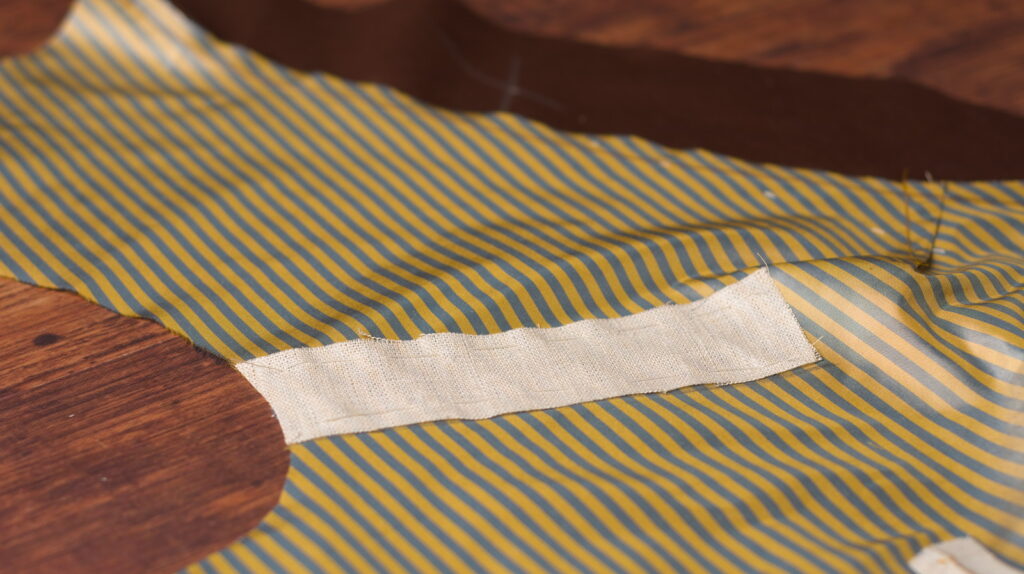
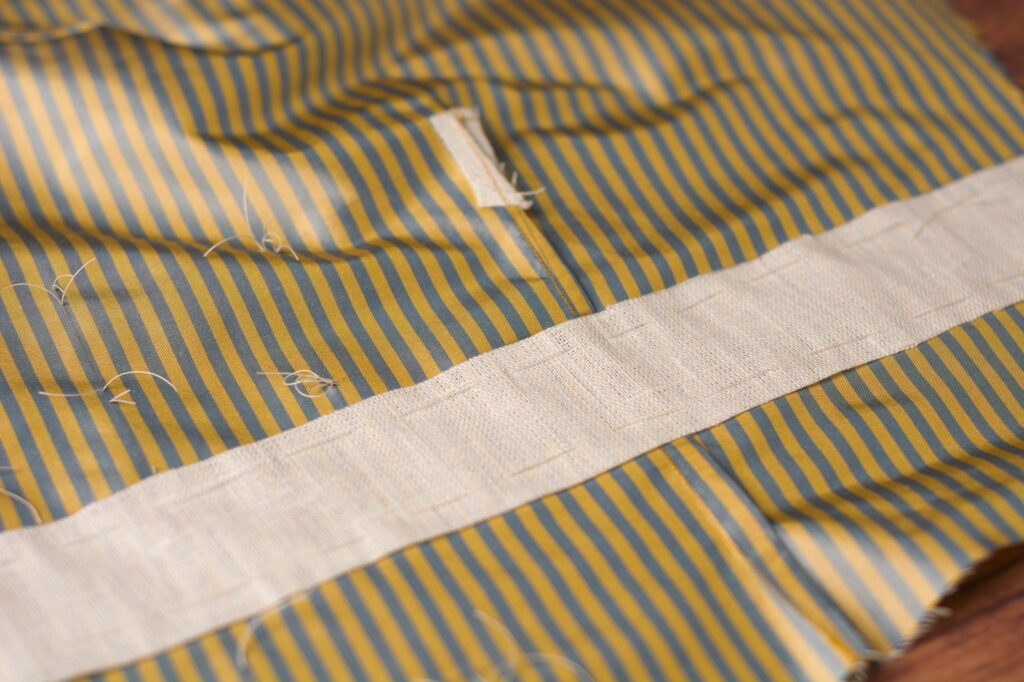
The linen stay after basting.
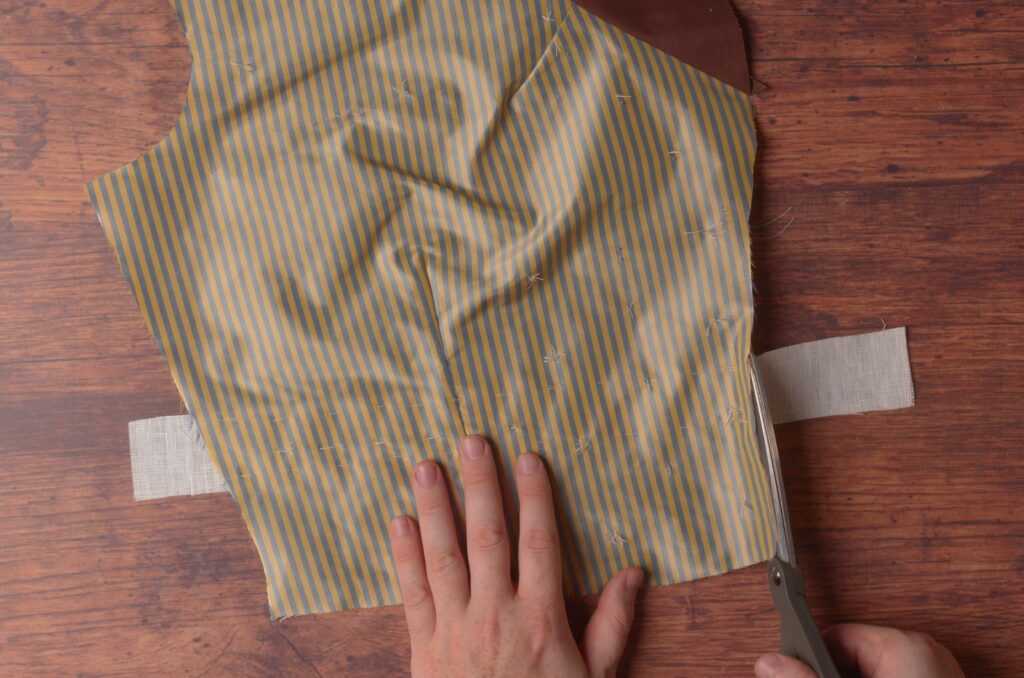
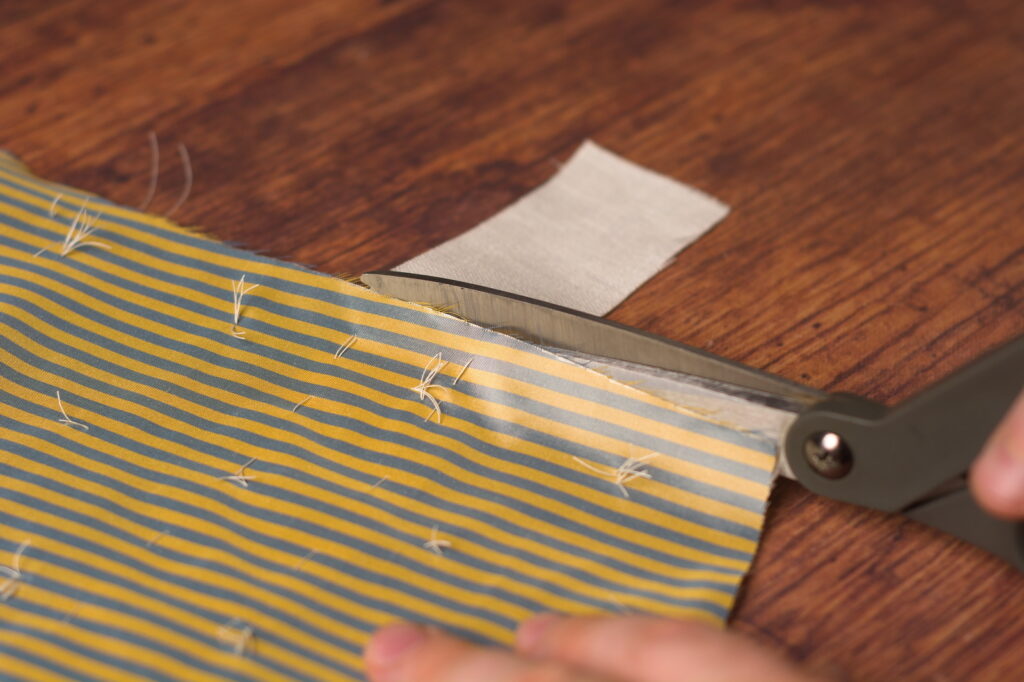
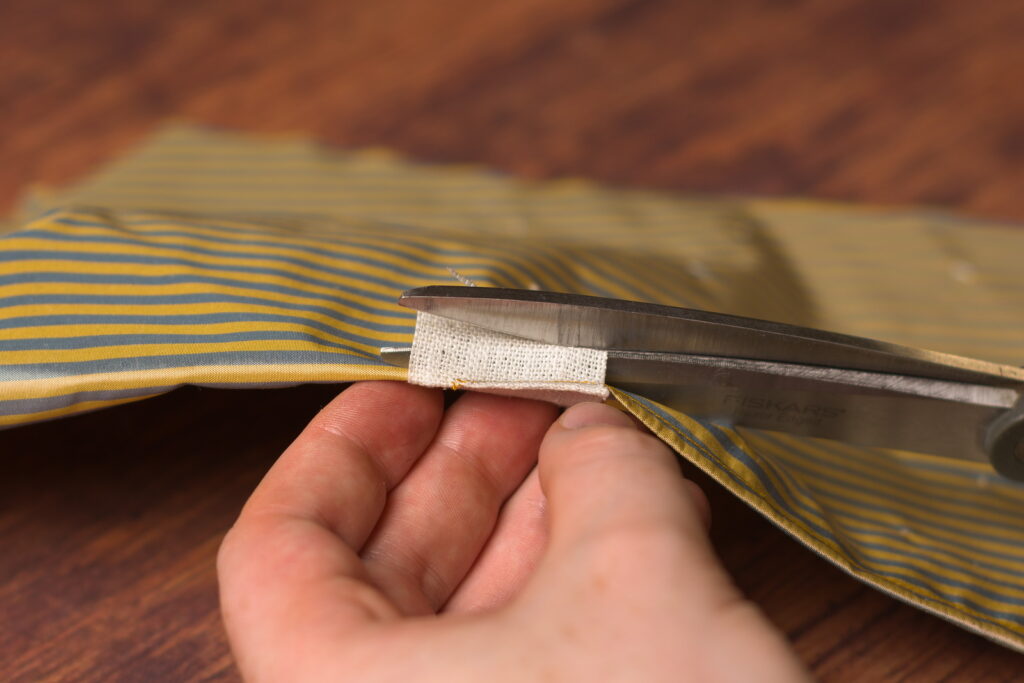
Now trim the linen stay flush with the edges of the forepart.
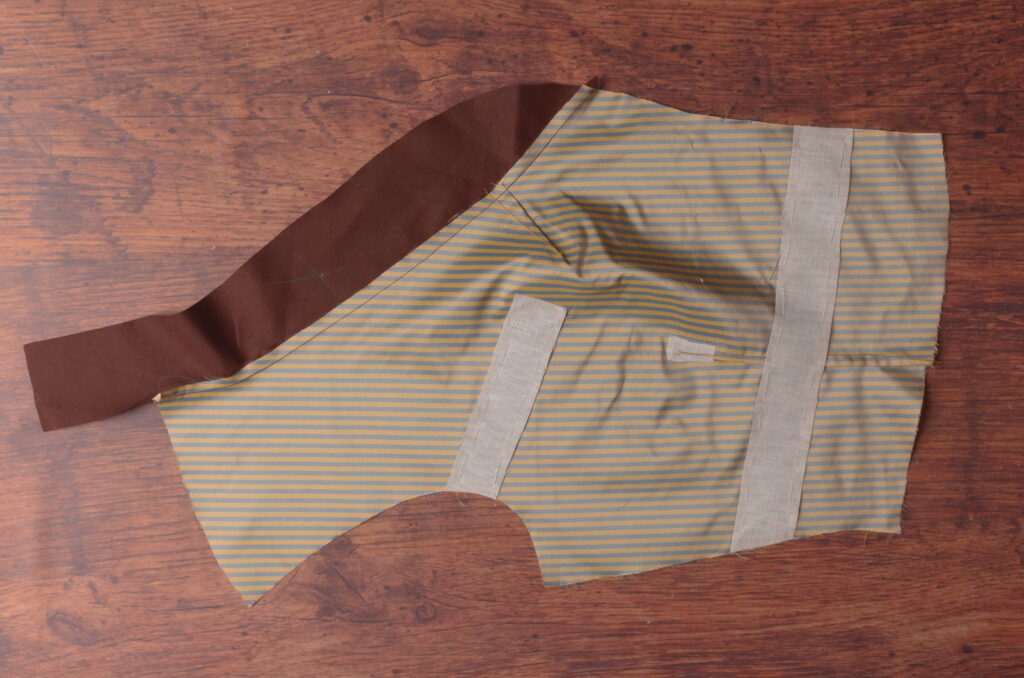
The breast pocket(s) is stayed in the same manner, but rather than extending the linen across the entire forepart, I go only about an inch beyond the inner edge of the pocket, to avoid the linen from interfering with the roll of the collar.
Here’s the left forepart after staying the breast and waist pockets (I’m not installing a breast pocket on the right side).
The Under Collar
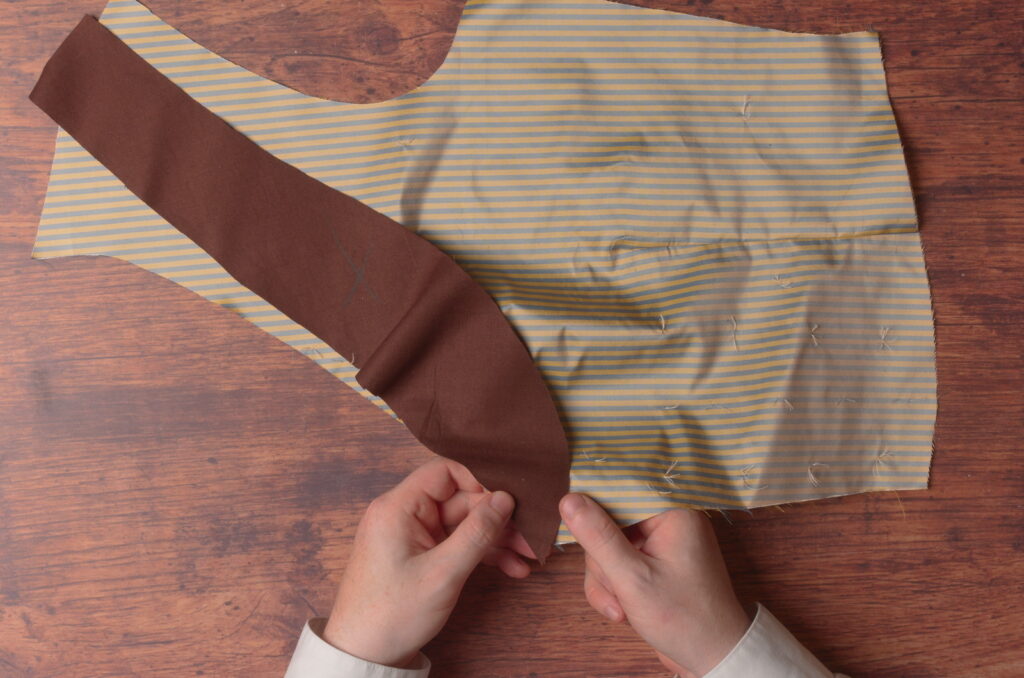
Next we’ll install the under collar onto the waistcoat forepart. Lay the collar on top of the forepart, right sides together, and ensure that the proper, shallower edge of the collar is next to the neck line.

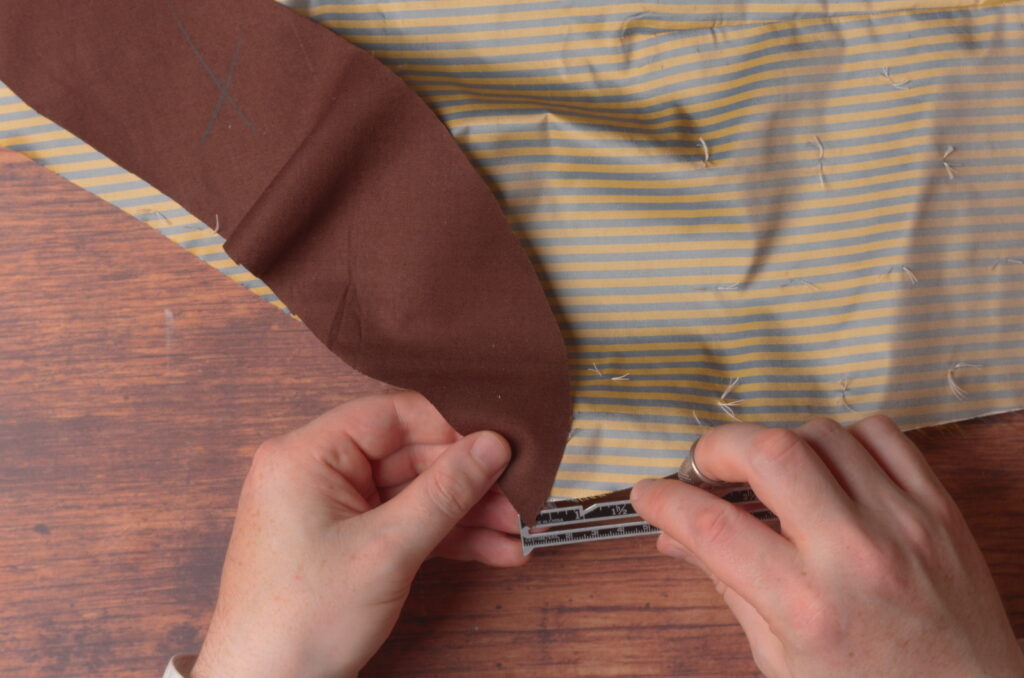
Align the bottom of the collar so that the 3/8″ seam allowance meets the edge of the forepart.
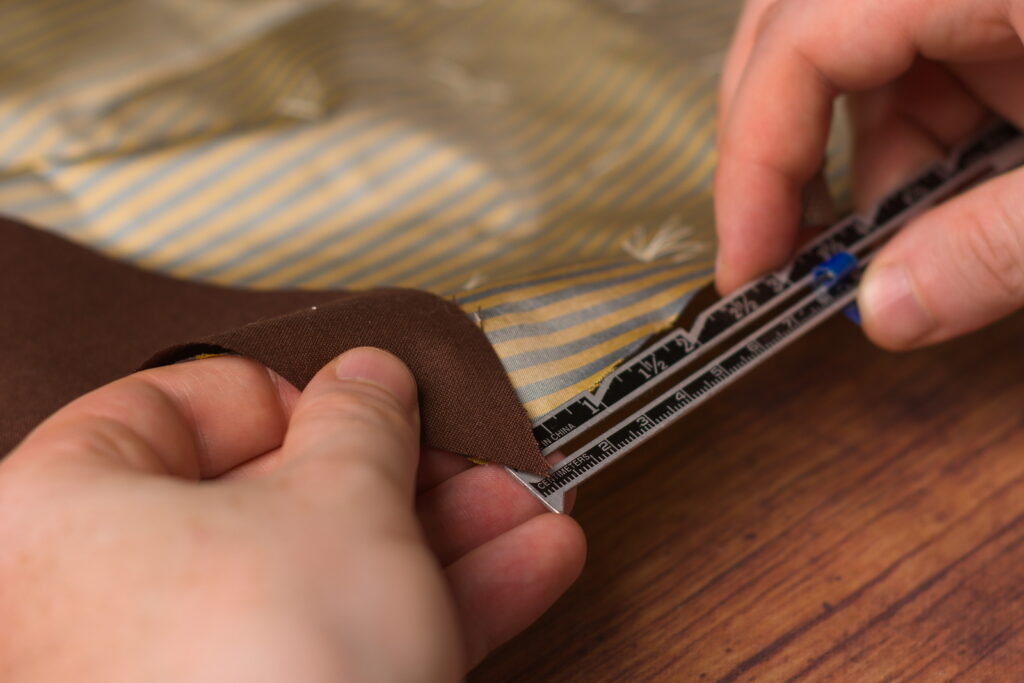
You can use a ruler here to make sure you get the correct position.
Begin basting the under collar to the forepart, beginning at the bottom of the collar. Try to keep a neutral tension between the two pieces – the collar will naturally want to fall into the correct position as you baste, though it may take a few tries before you get the hang of it.
Here’s the under collar after basting. If you look closely, I did take slightly smaller basting stitches in areas where the curve deepens, for example near the shoulder at the top of the collar, and anywhere I could feel the tension between the two pieces needing the extra support.

Here you can see the tension that is naturally built into the under collar seam, due to the opposing curves of each piece. This will help the collar and neck line stay closer to the body.
One last look at the bottom point of the collar before sewing. It’s so important to get this alignment just right.
Sew the undercollar to the forepart from the top of the shoulder the shoulder to the bottom of the collar, using a 3/8″ seam allowance. I recommend sewing with the underside of the forepart facing up, opposite from what is shown.
You can see some of the excess fabric from the under collar in this photo. While it works just fine as shown, you’ll have to manipulate the fullness with your fingers as you sew, whereas if the under collar was underneath, the presser foot would help distribute this excess.
And continue sewing right to the edge at the bottom of the collar, ensuring the pieces are still properly aligned.
Here’s the undercollar after being sewn.
The bottom of the collar showing the alignment of the two pieces in relation to the seam line.
And shown here is the top of the collar at the shoulder. Ignore the little mark I had made there – made a mistake with overthinking things and ended my stitching there instead of at the very edge of the shoulder.

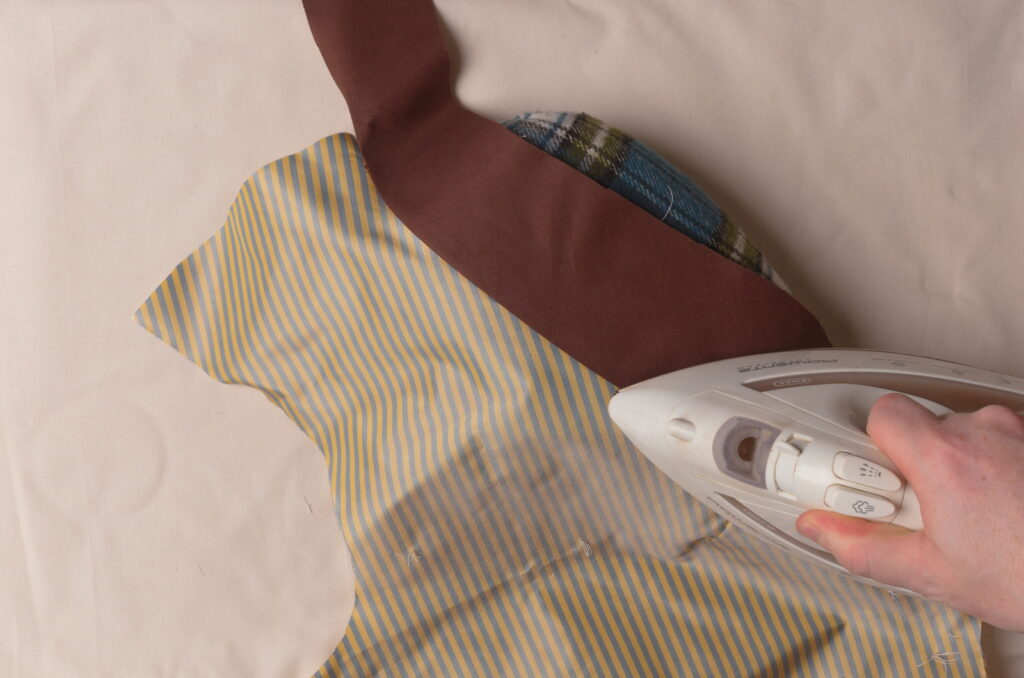
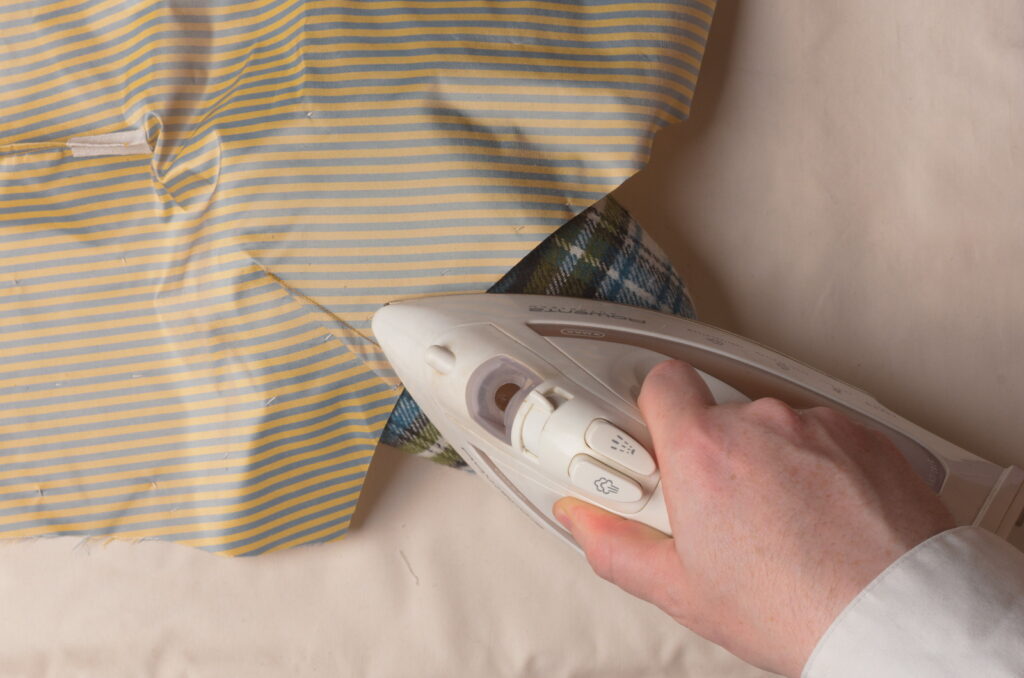
Pressing
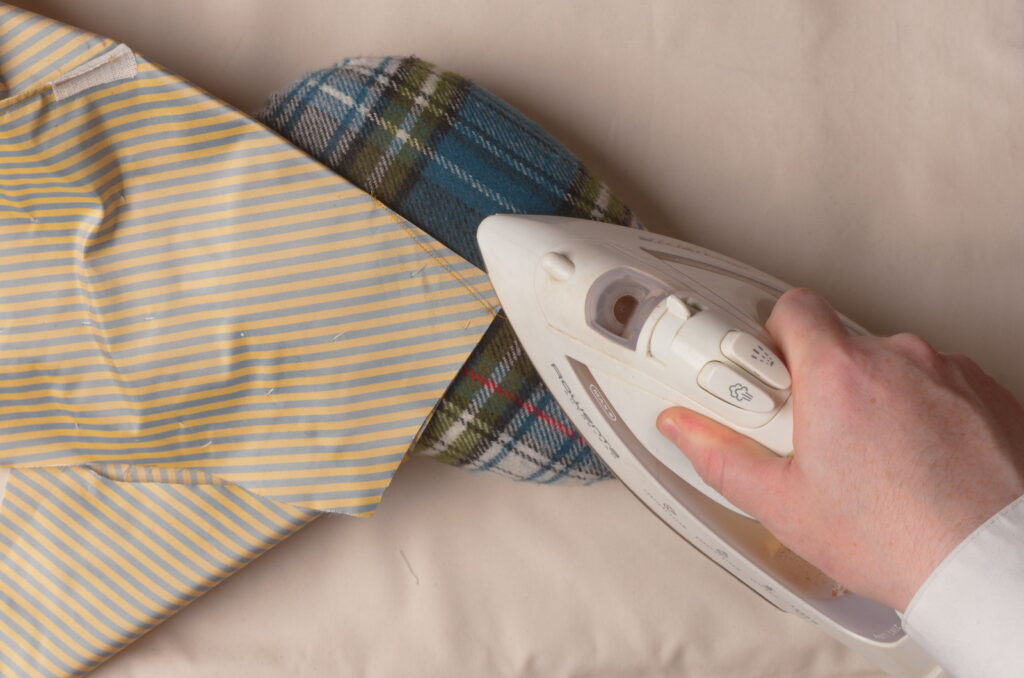
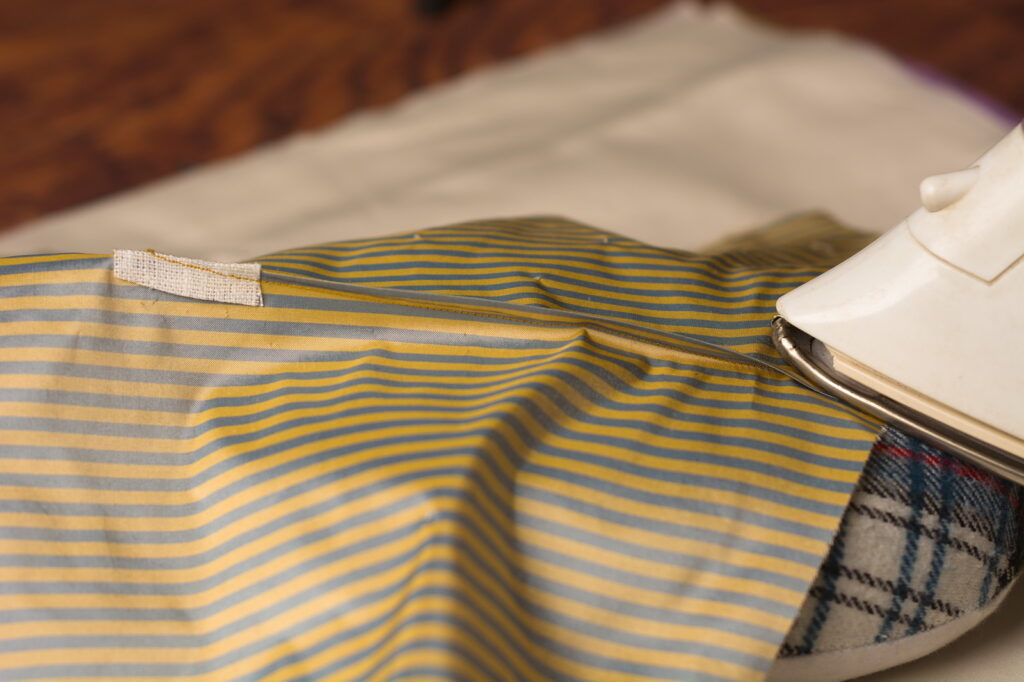
Press the collar and seams up away from the forepart, beginning from the wrong side. Definitely use a tailor’s ham here due to the curved nature of the seam.
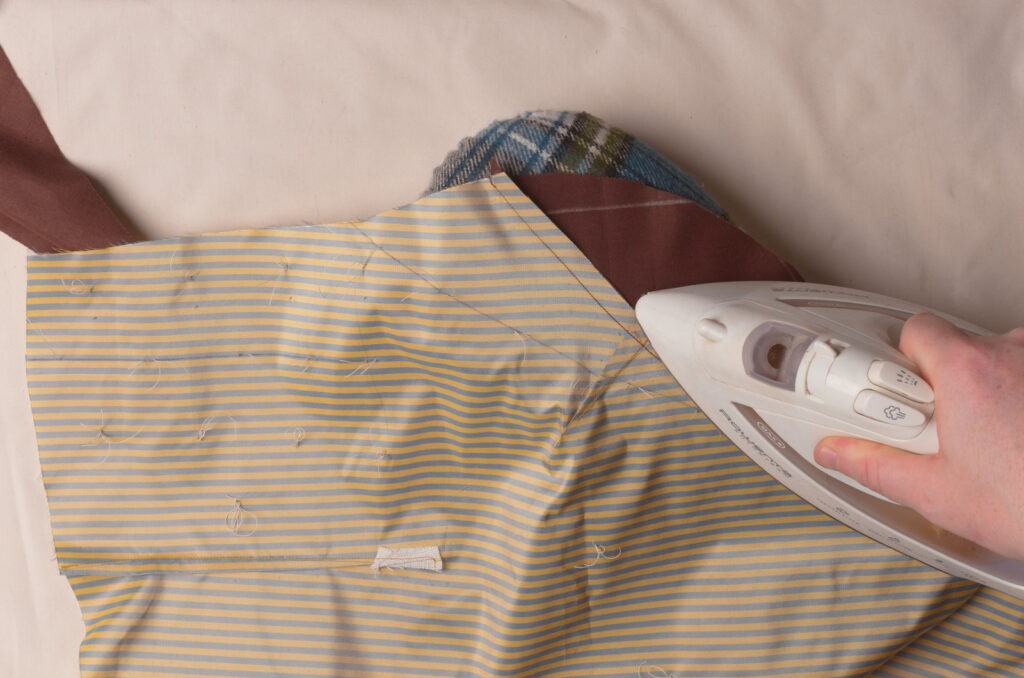
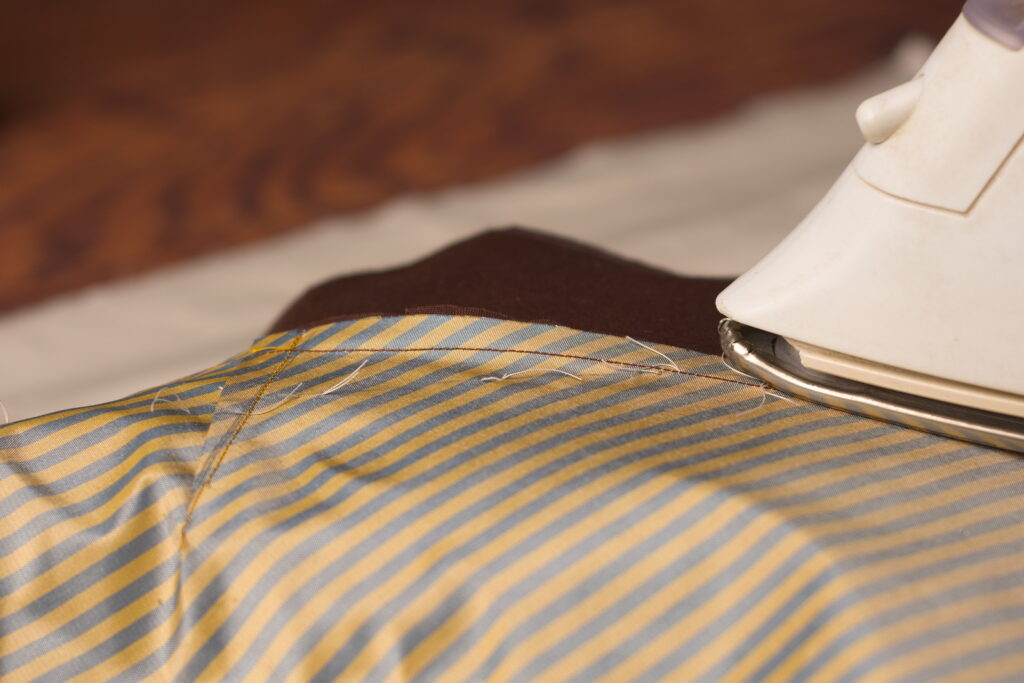
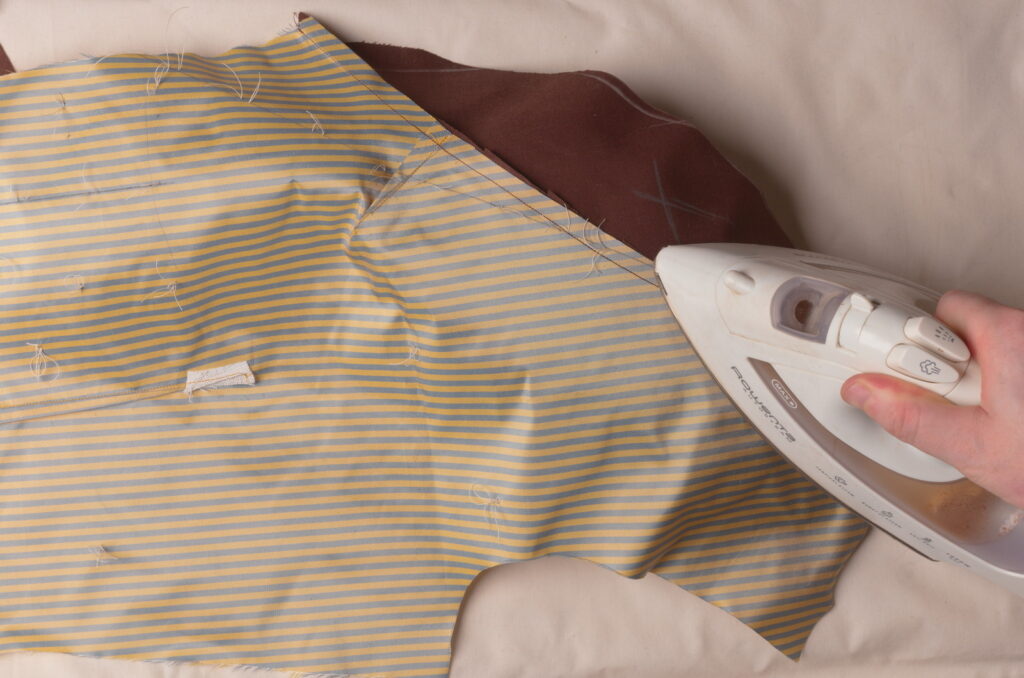
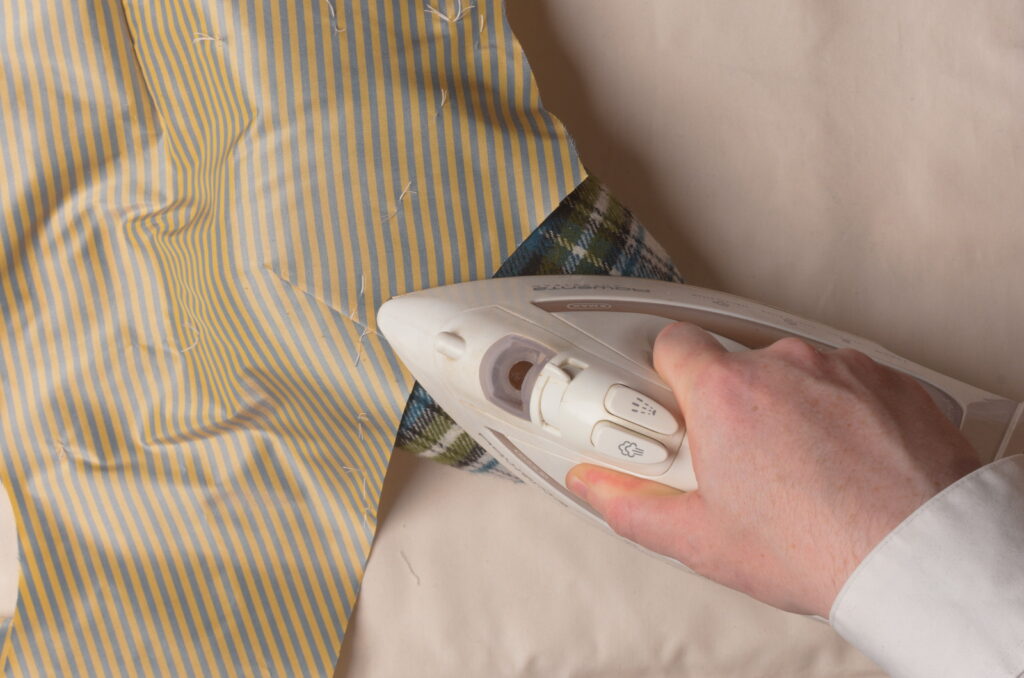
Turn the forepart over and press from the right side as well. I didn’t use any steam here because it wasn’t necessary, but also because the steam can cause the polished cotton to lose its special finish.

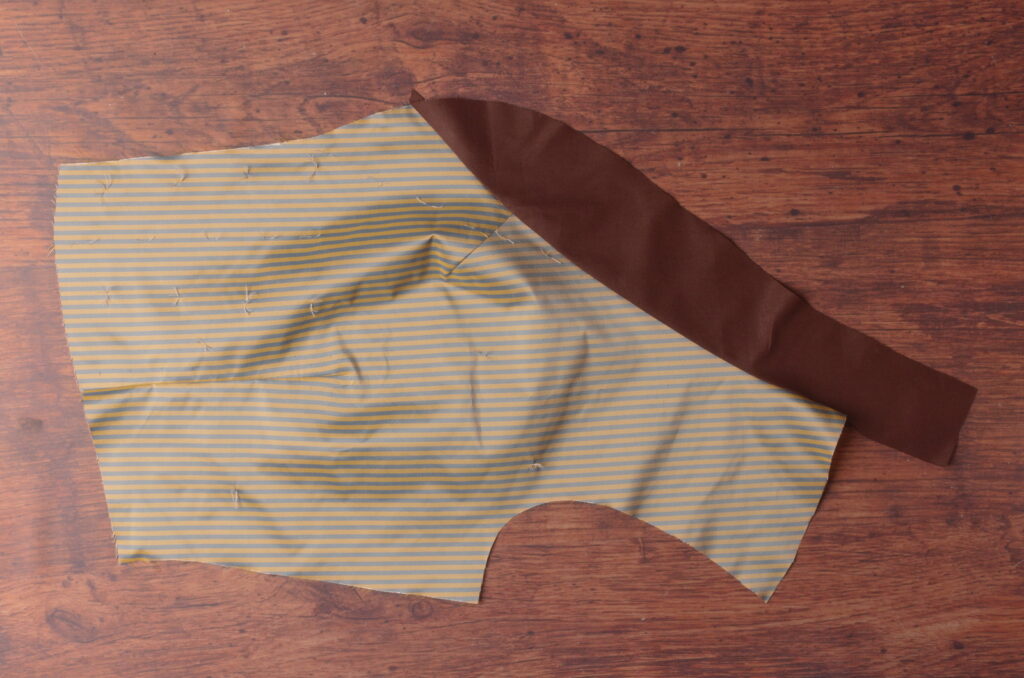
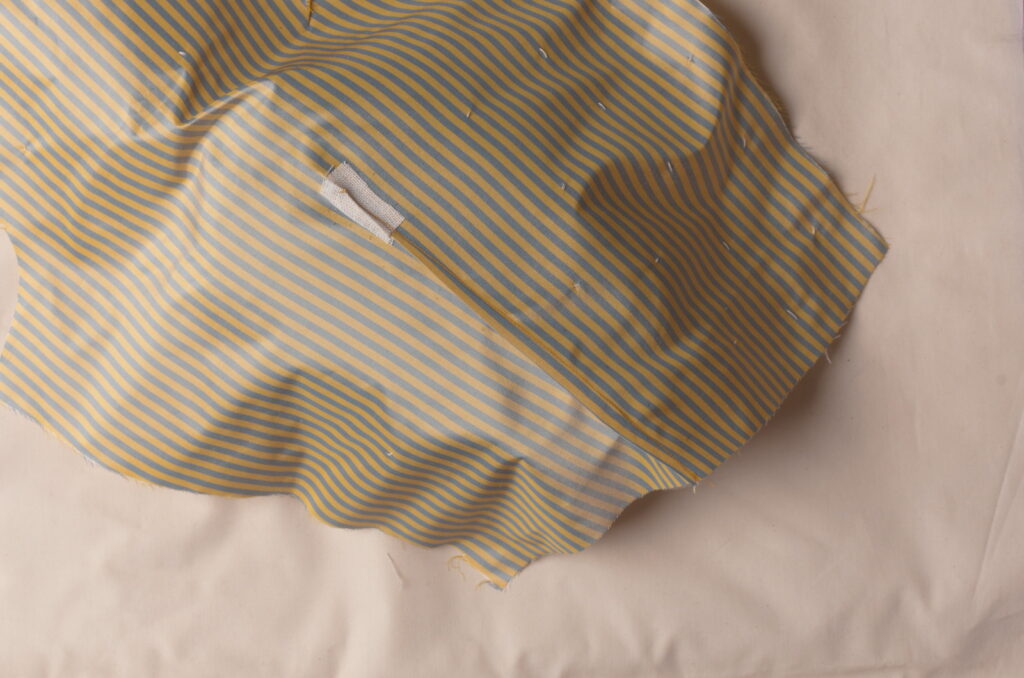
Here’s the forepart so far after attaching the under collar.

The Darts
I like to transfer the darts to the remaining side of the forepart by just tracing them with the original pattern, rather than using the tailor’s tacks. It seems to be a little more accurate, and quicker as well.
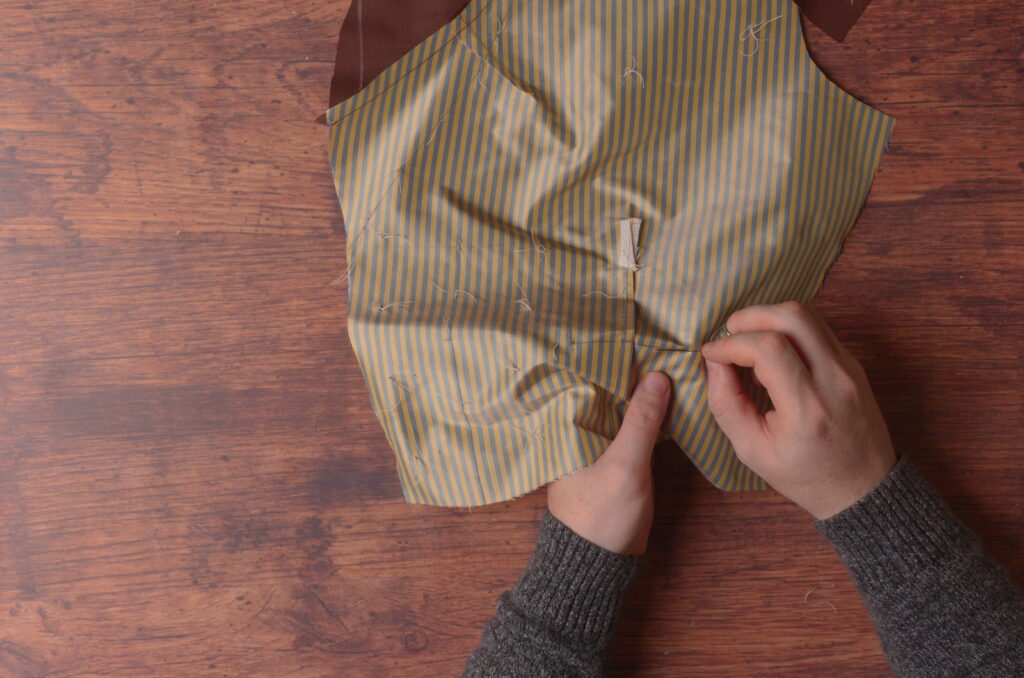
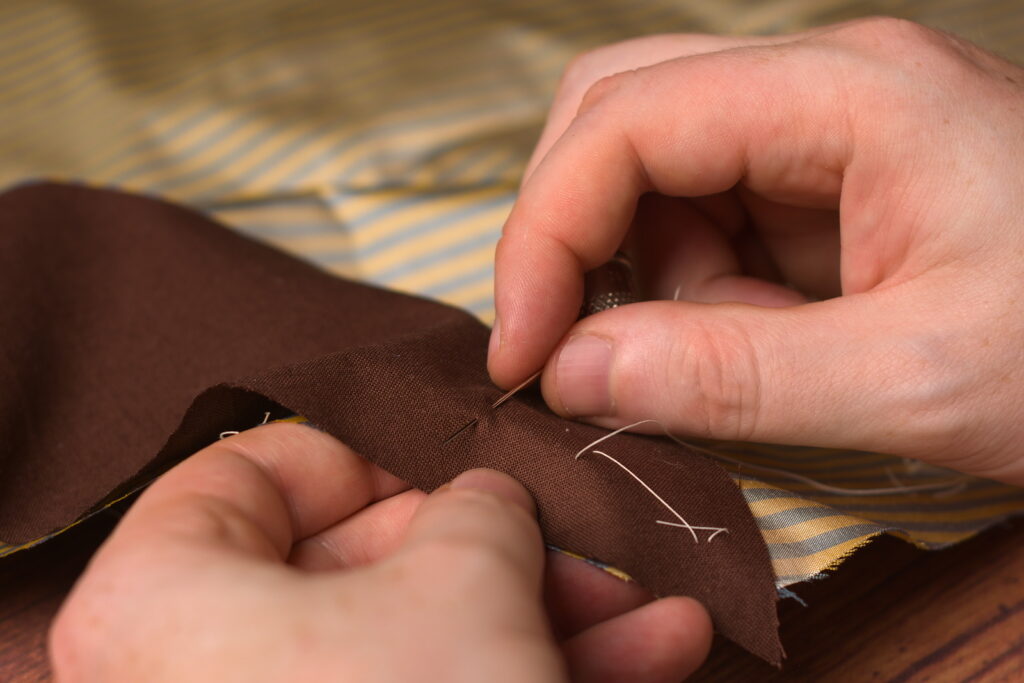
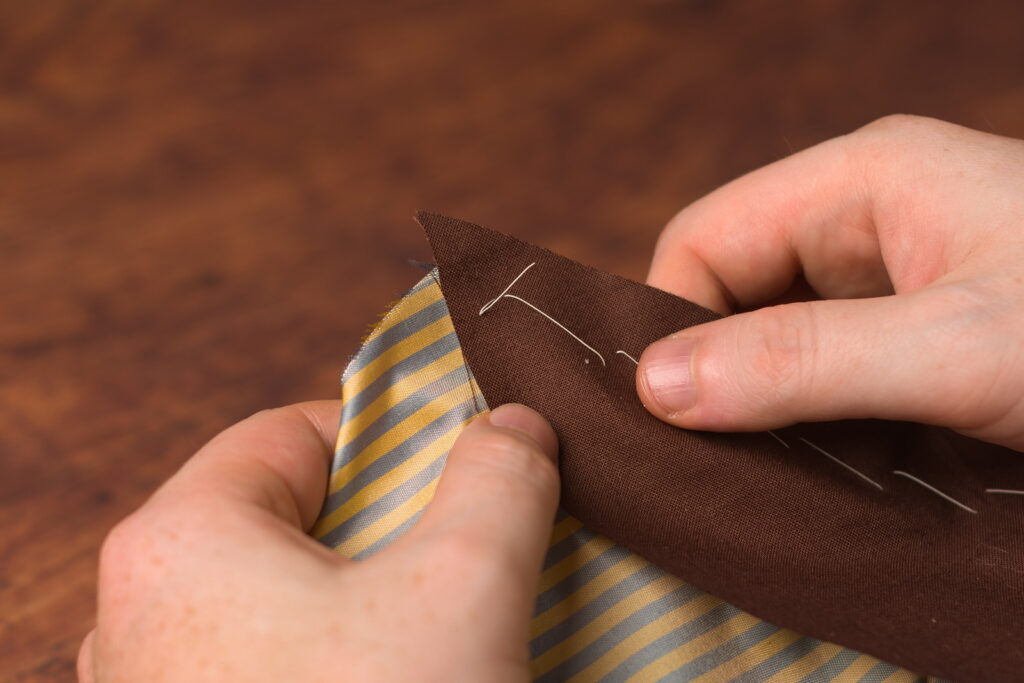
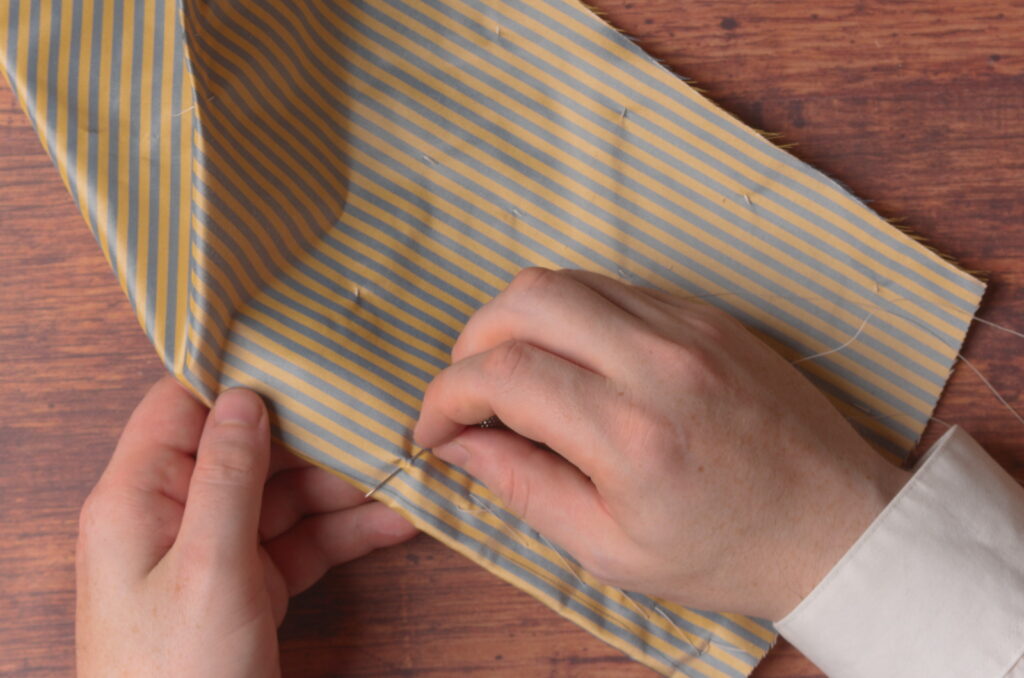
Fold each of the darts in half, aligning the sides as closely as you can. Shown here is the neck dart.
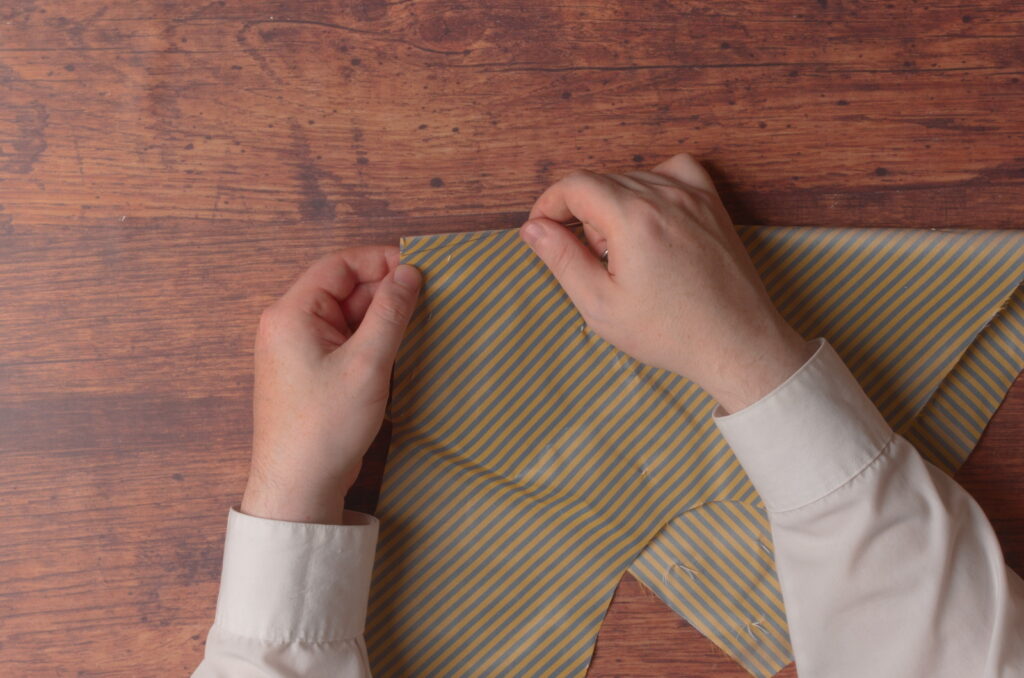
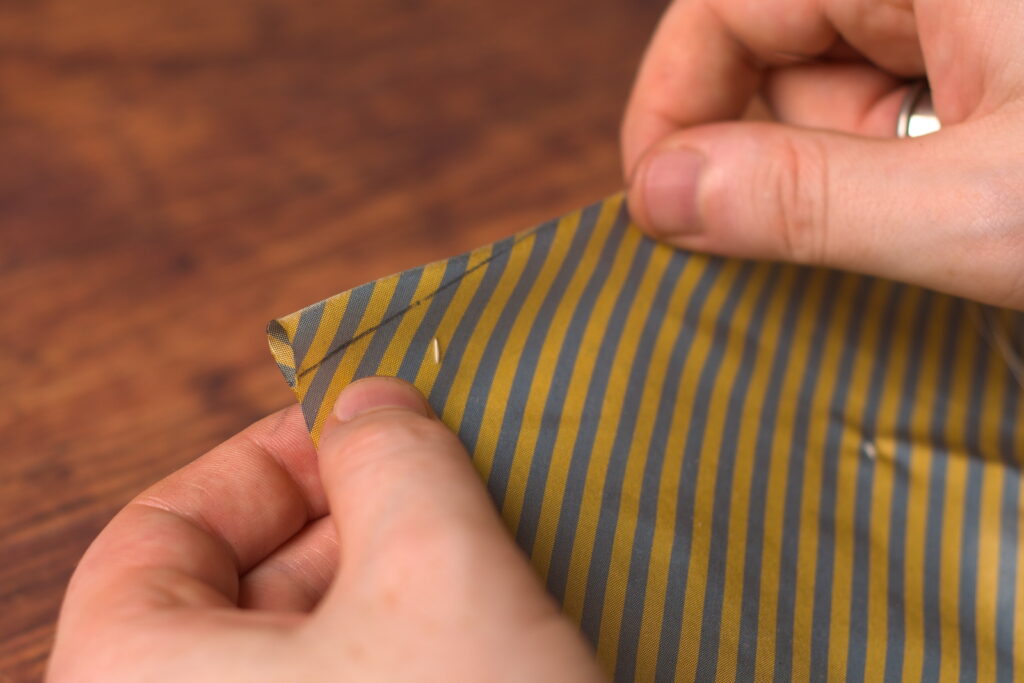
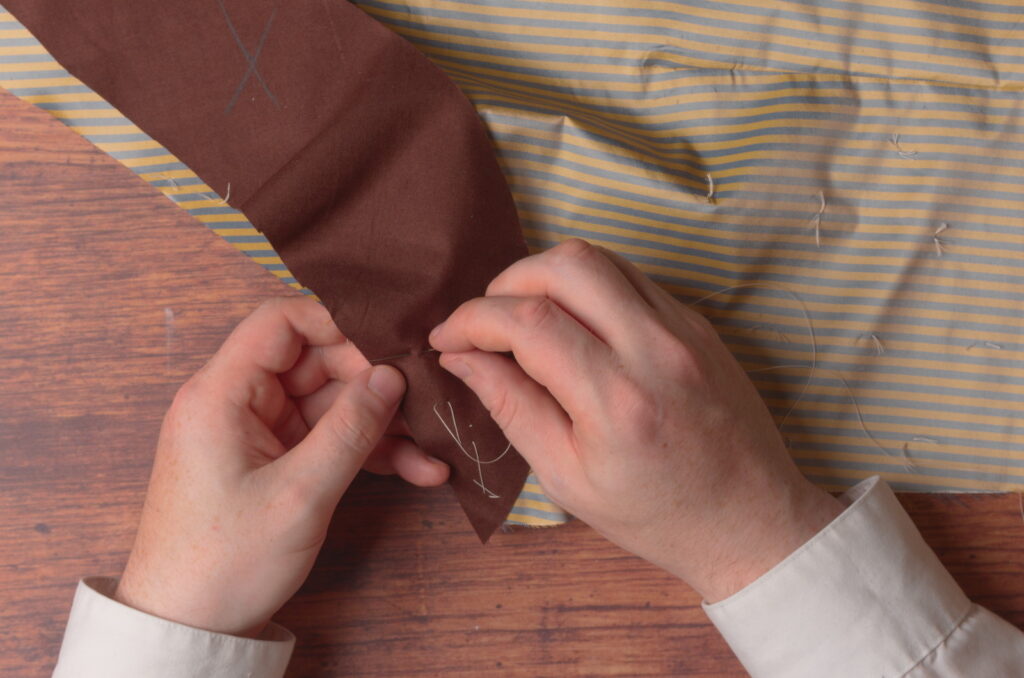
Baste the dart closed, keeping about 1/4″ away from the lines.
Do the same with the rest of the darts if you’re putting them in. Here’s my waist dart going in (again not recommended unless you have the proper figure).
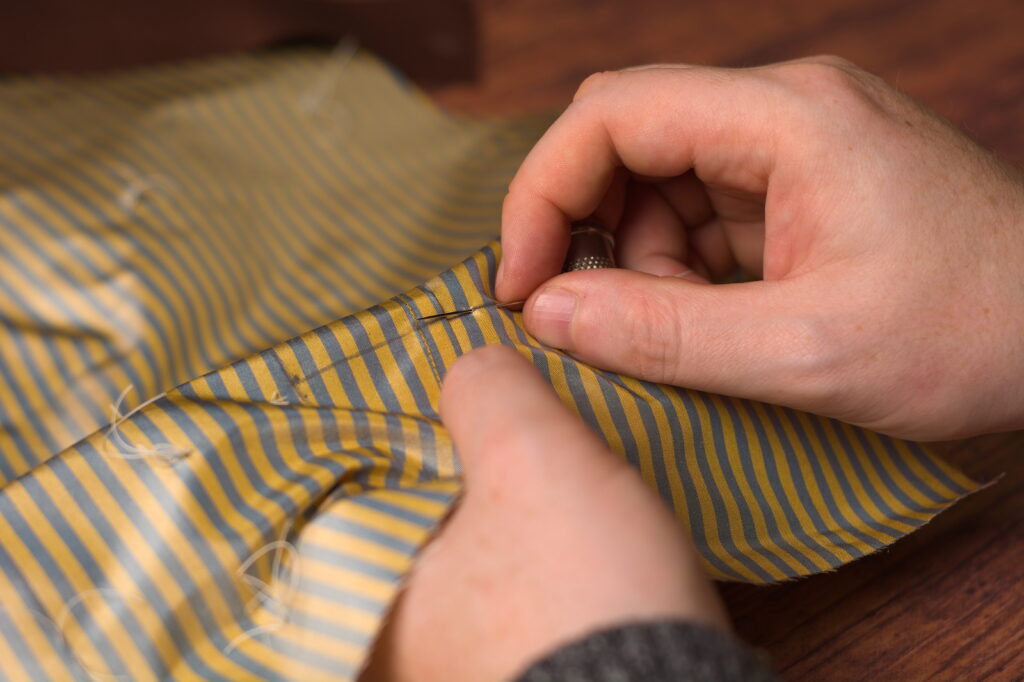
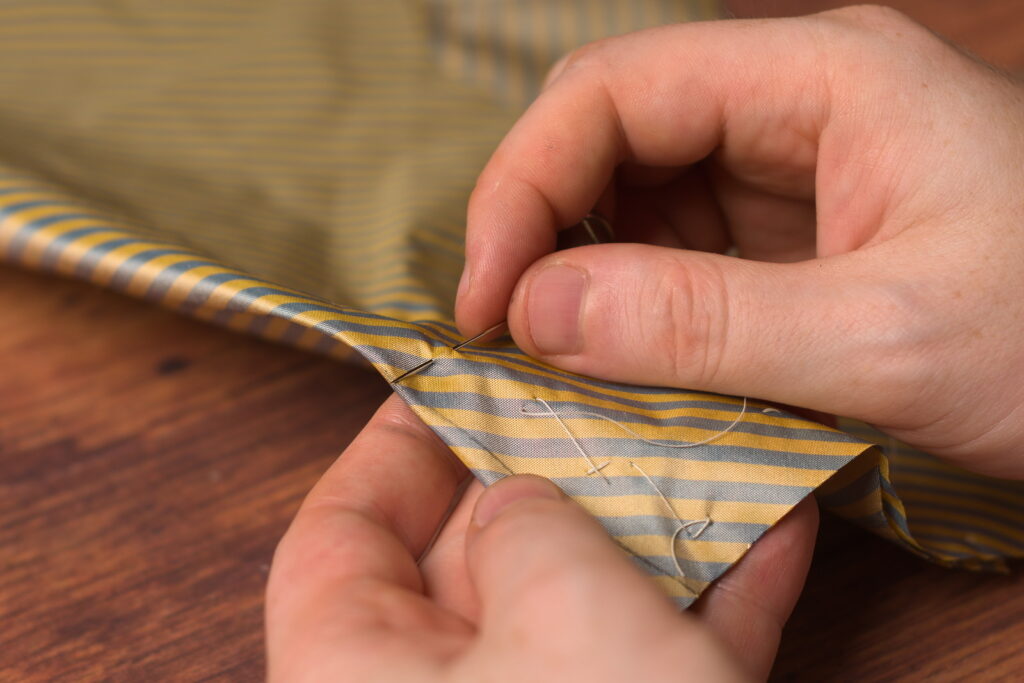
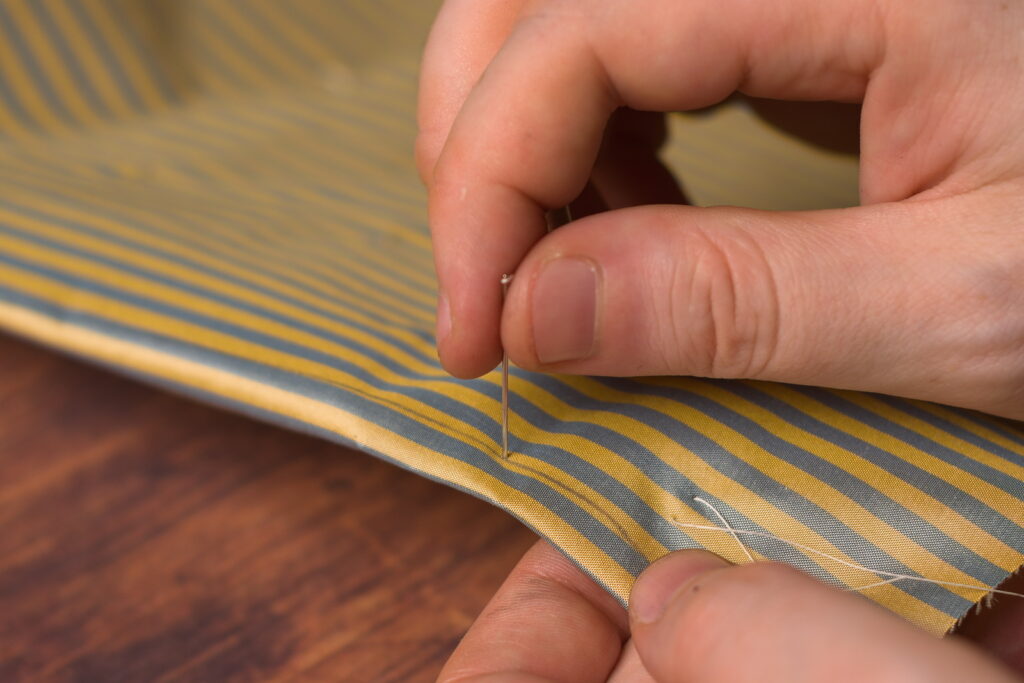
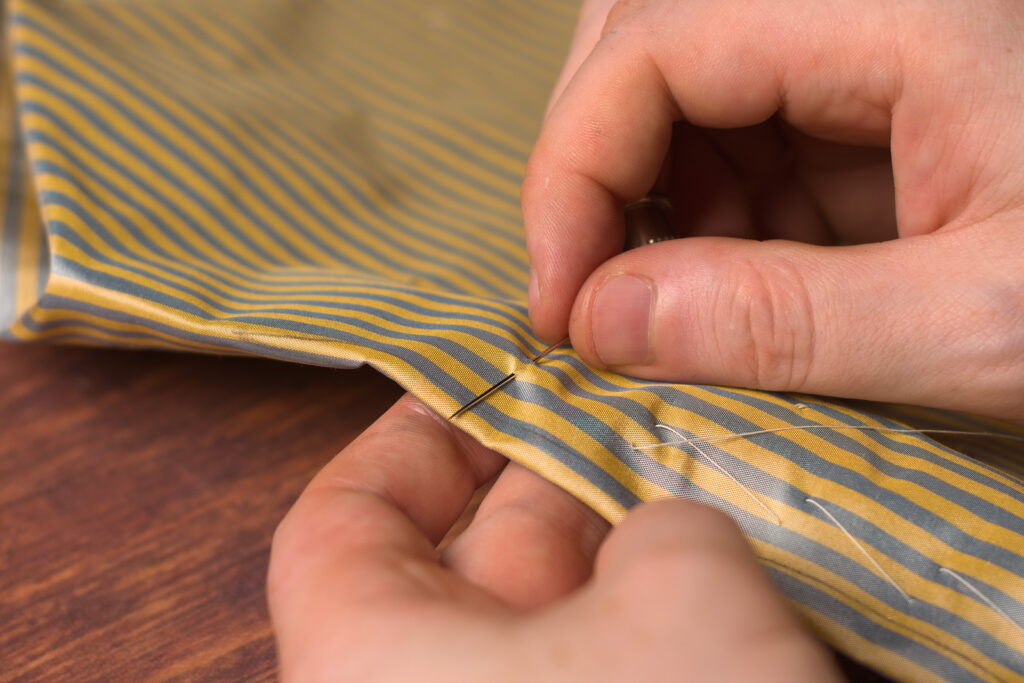
To check my alignment, I like to stick the needle directly through the dart and see how close it is to the opposite line. Then I’ll adjust accordingly.
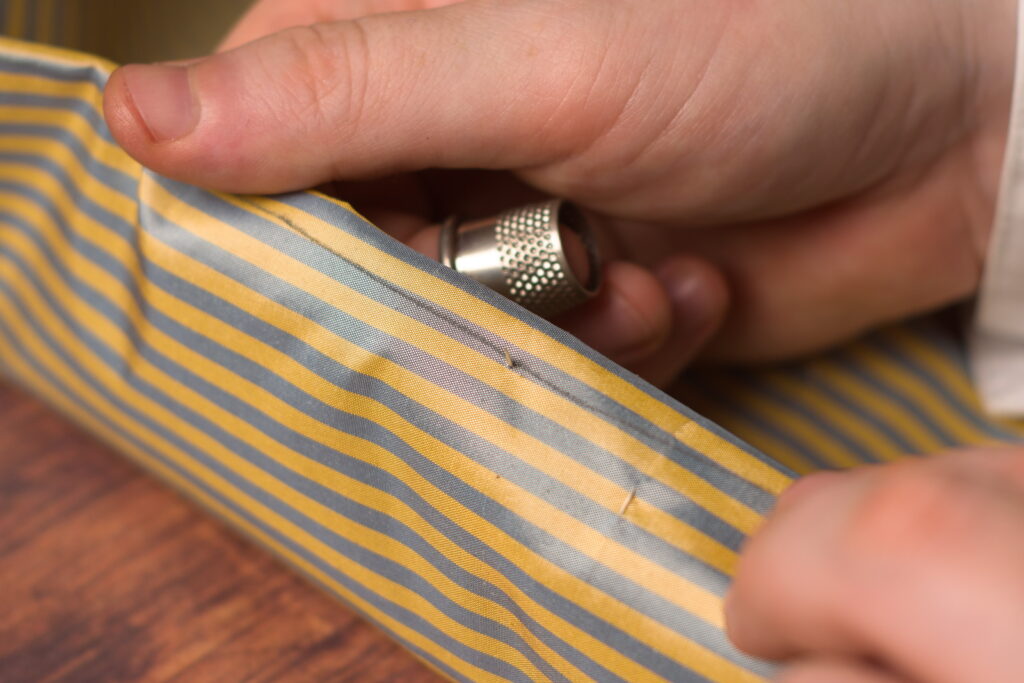
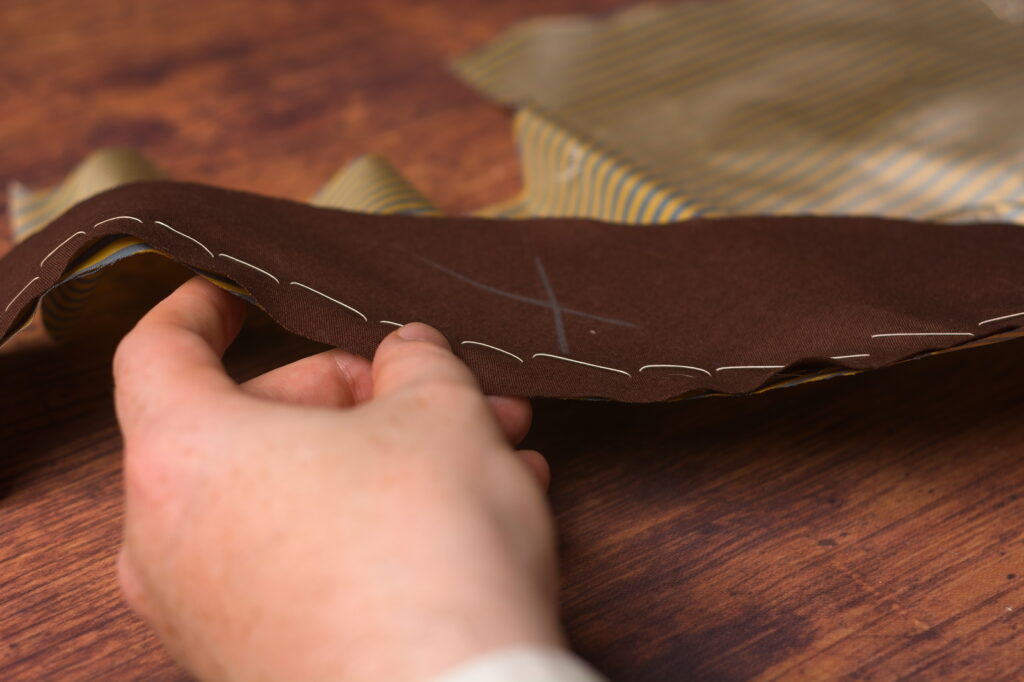
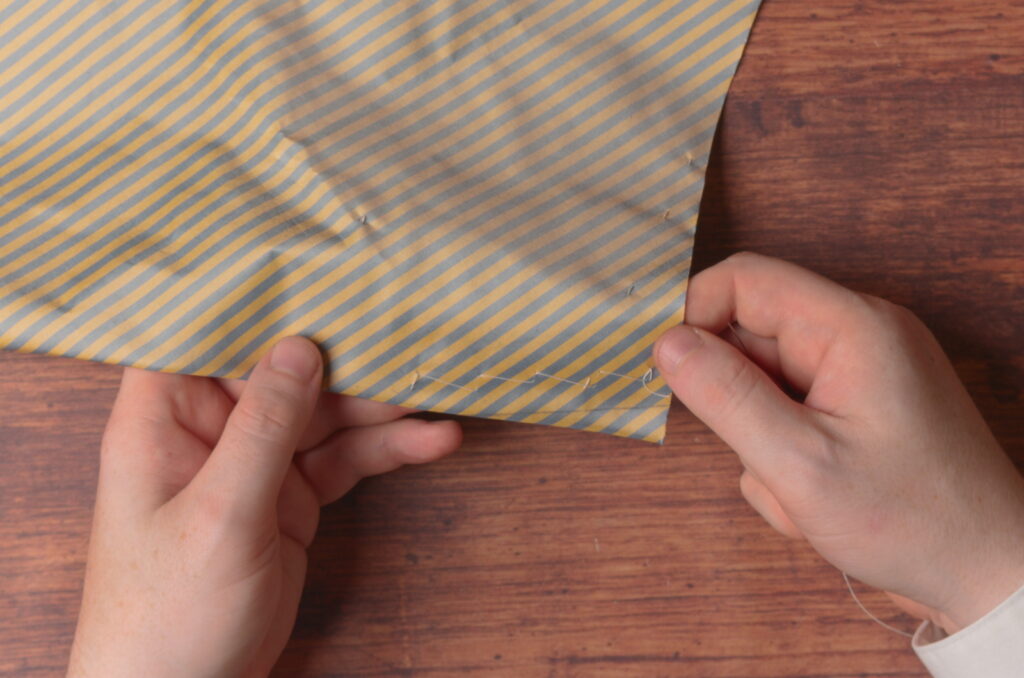
Continue basting. It’s easier to get both sides to line up, the closer you get to the end of the dart.
For any darts that take a strain, such as the waist darts or perhaps a dart in the armscye (not covered in this course), I like to reinforce them with a piece of linen to strengthen the area. I left them out of the neck dart so as to facilitate the roll of the collar and because it doesn’t take much stress.
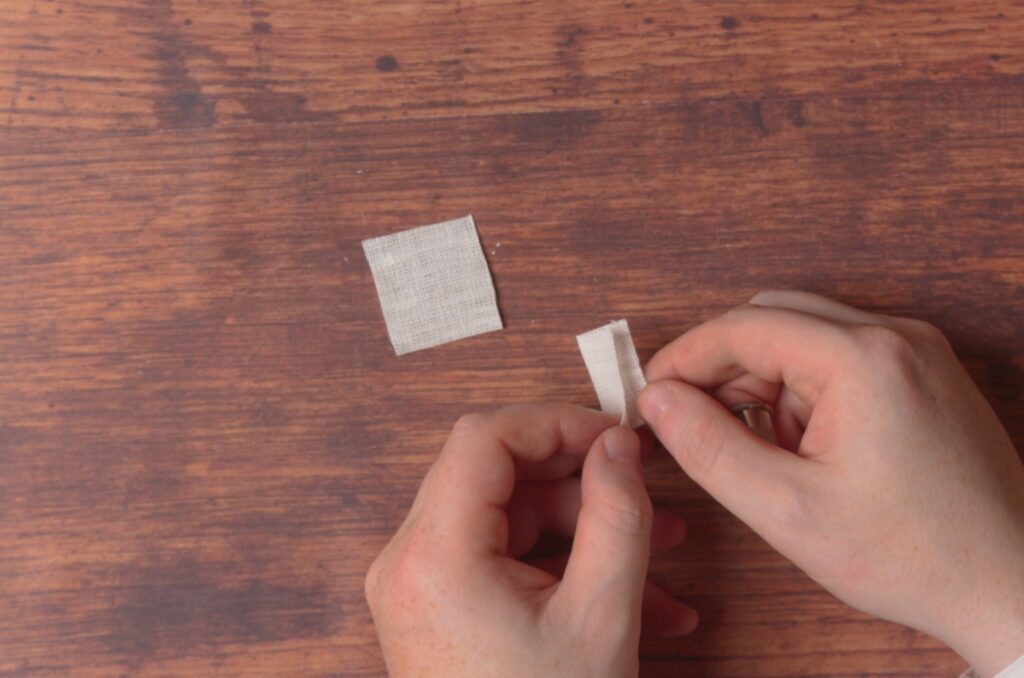
Take a square of linen, about 1″ to 1 1/2″ square, and fold and press it in half.
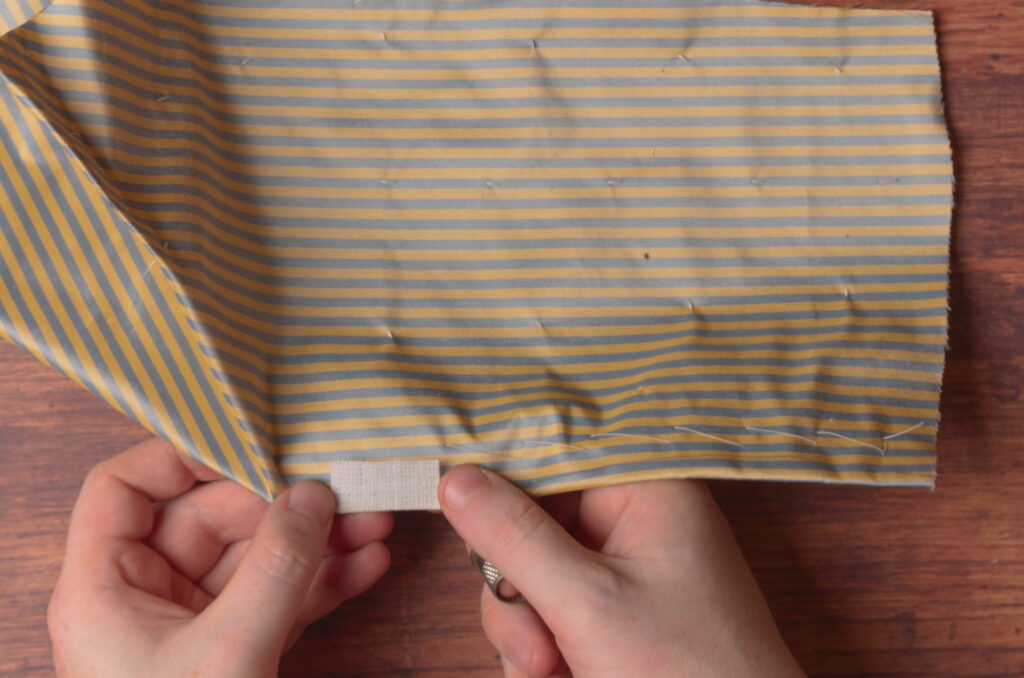
Place the linen firmly against the dart, so that the end of the dart falls in the middle of the linen.
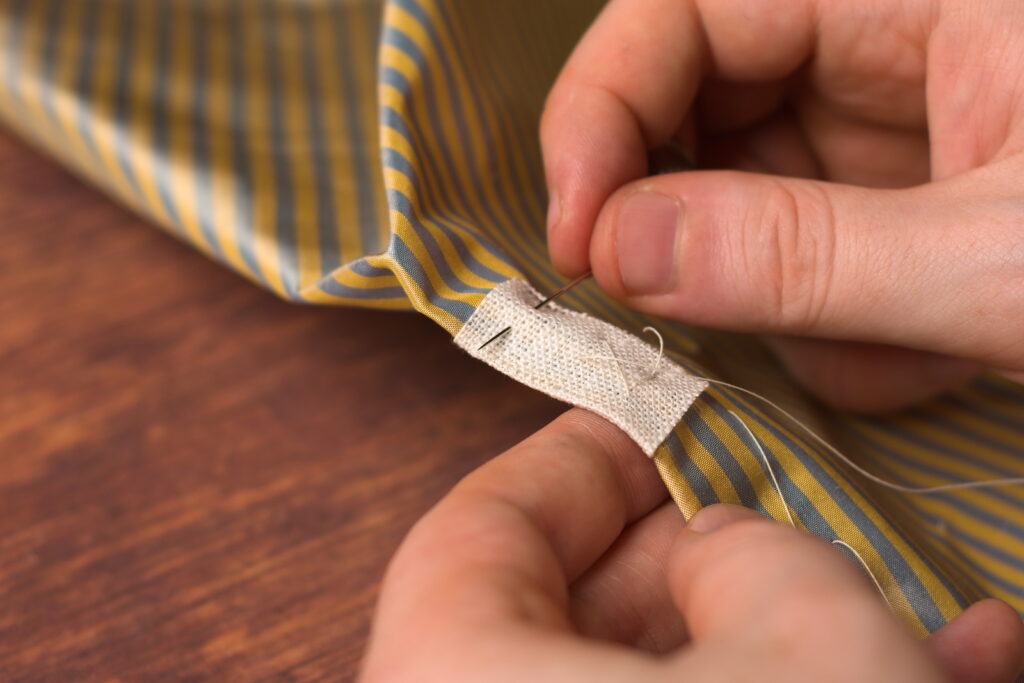
Baste the linen piece in place through all layers.
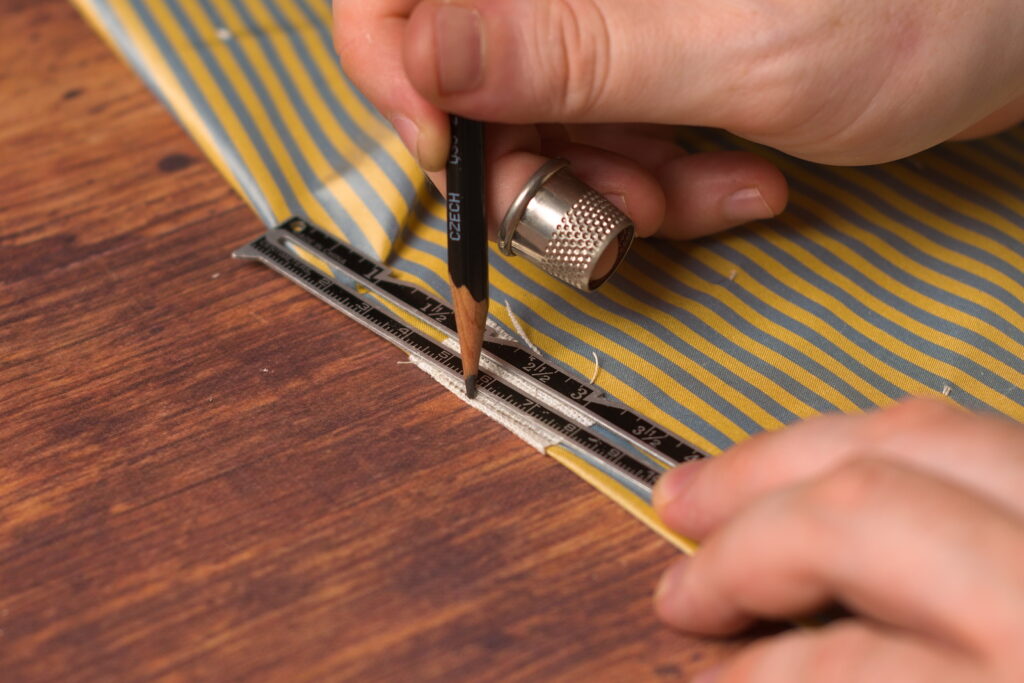
Now redraw the line at the tip of the dart over the linen as necessary using a sharp pencil (should take my own advice). Just line a ruler up with the rest of the dart and redraw.
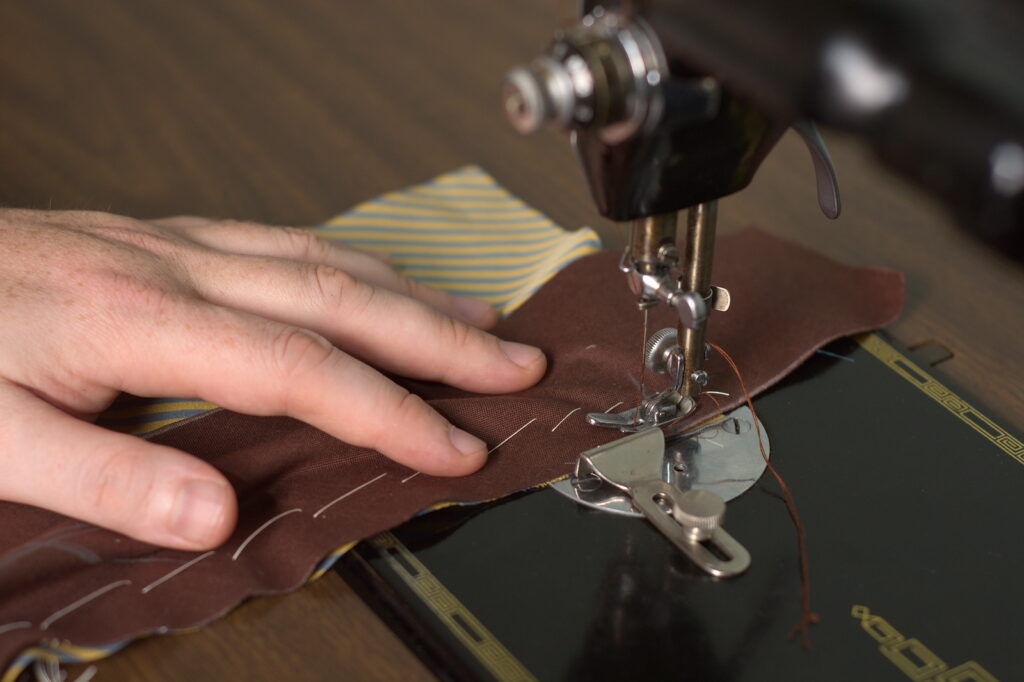
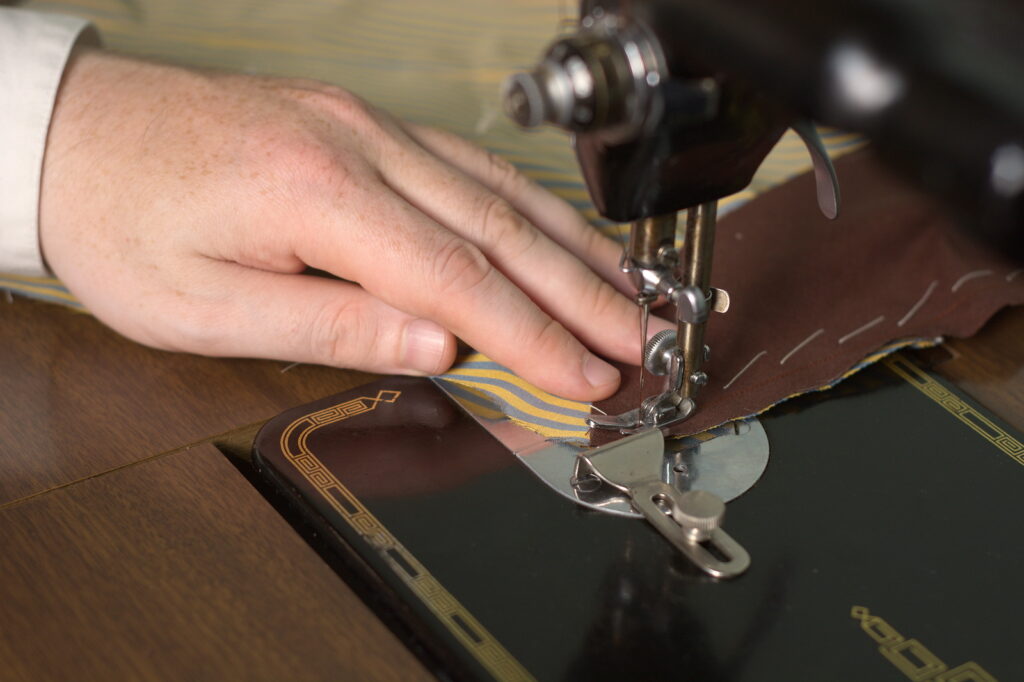
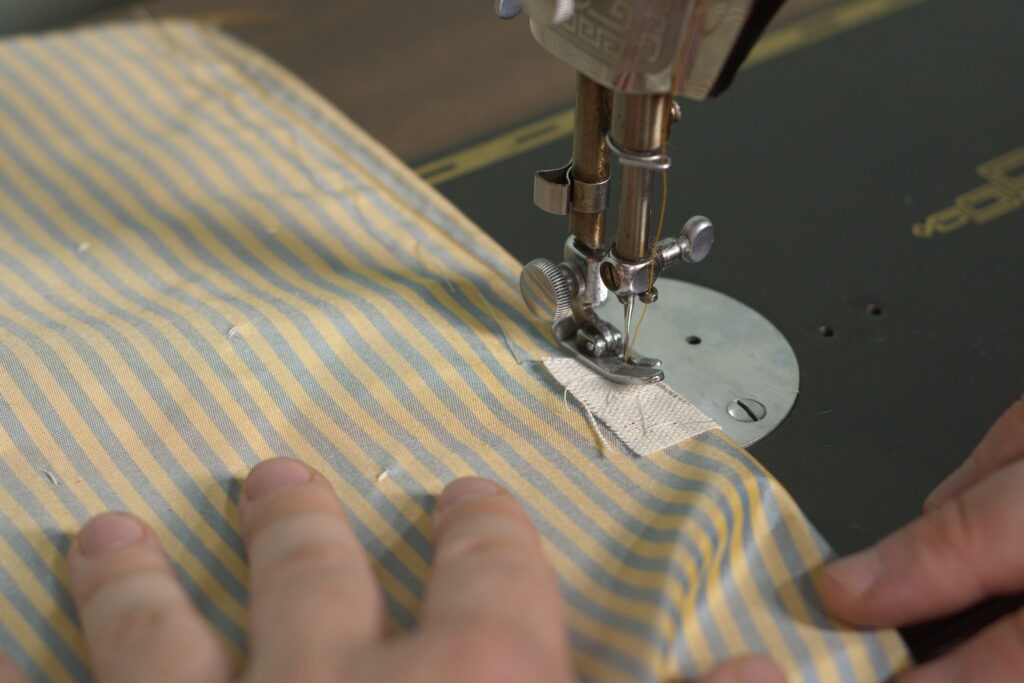
Starting at the edge of the dart, begin sewing on the outside of the chalk line towards the tip.
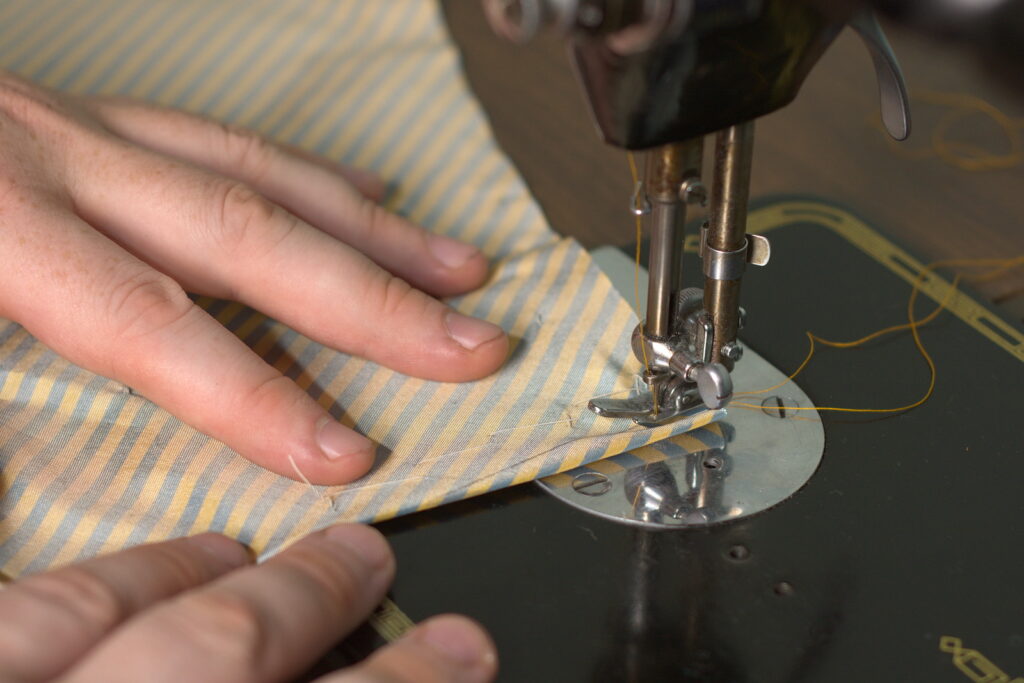
As you get near the tip, adjust your sewing machine to take smaller stitches, to firm up the area.
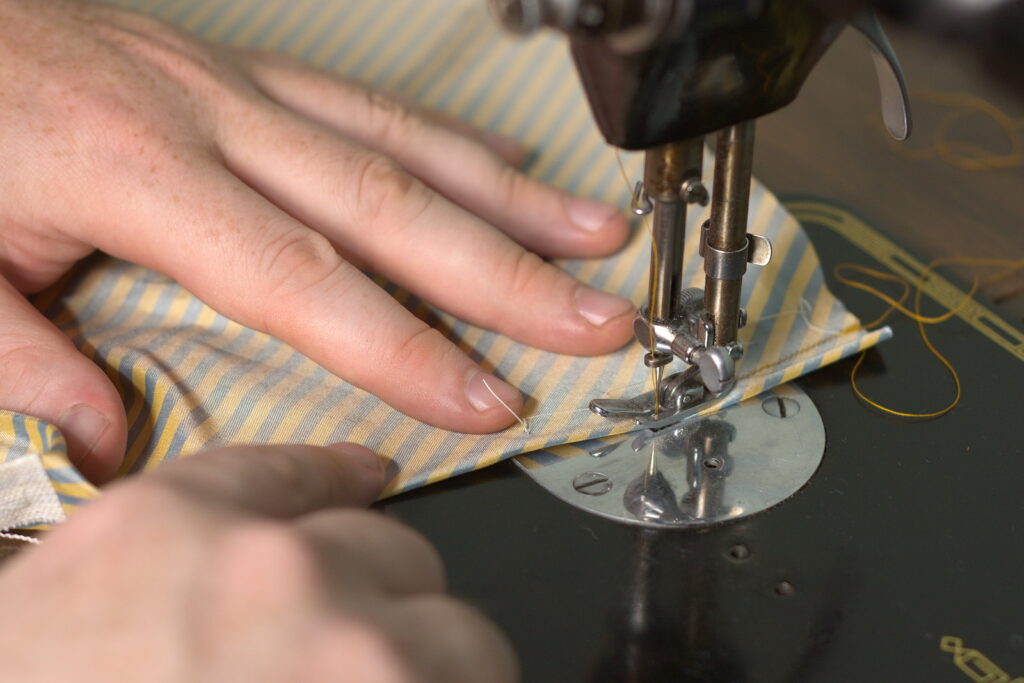
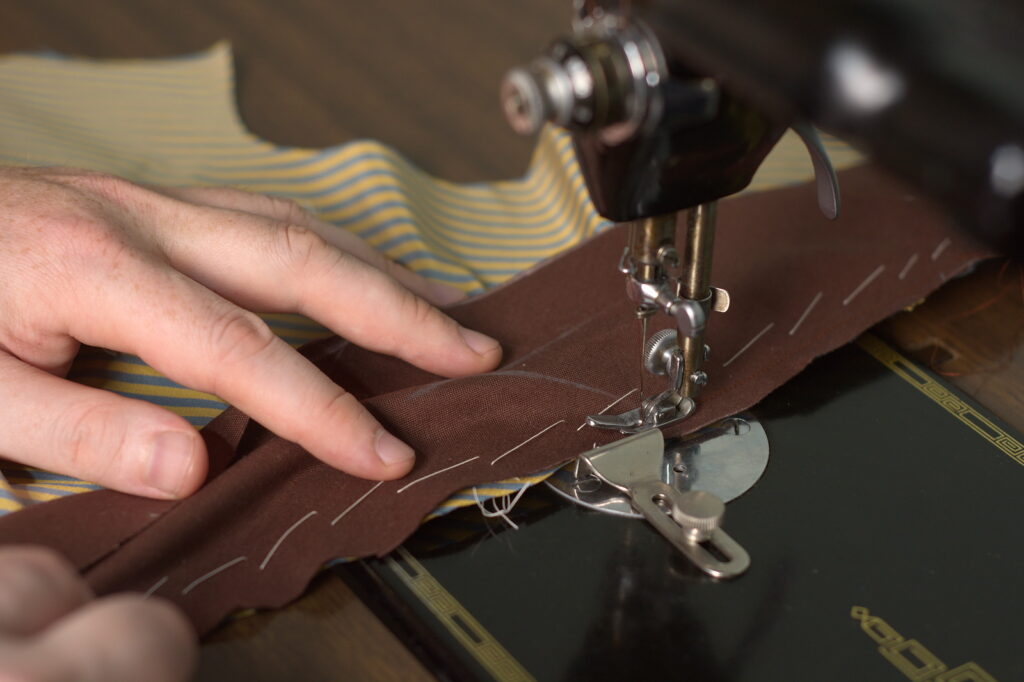
The idea is to pretty much sew right off the edge of the fabric, after tapering out very slightly at the tip.
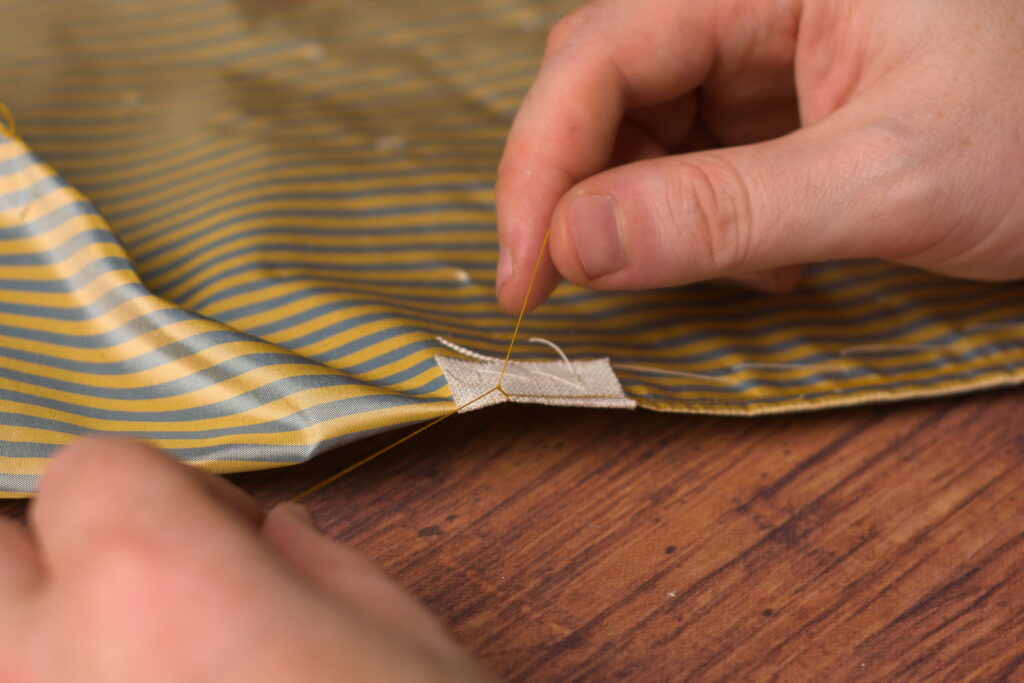
Leave the threads long after sewing so that you can tie them off by hand, rather than trying to back stitch with the sewing machine on such a narrow area.

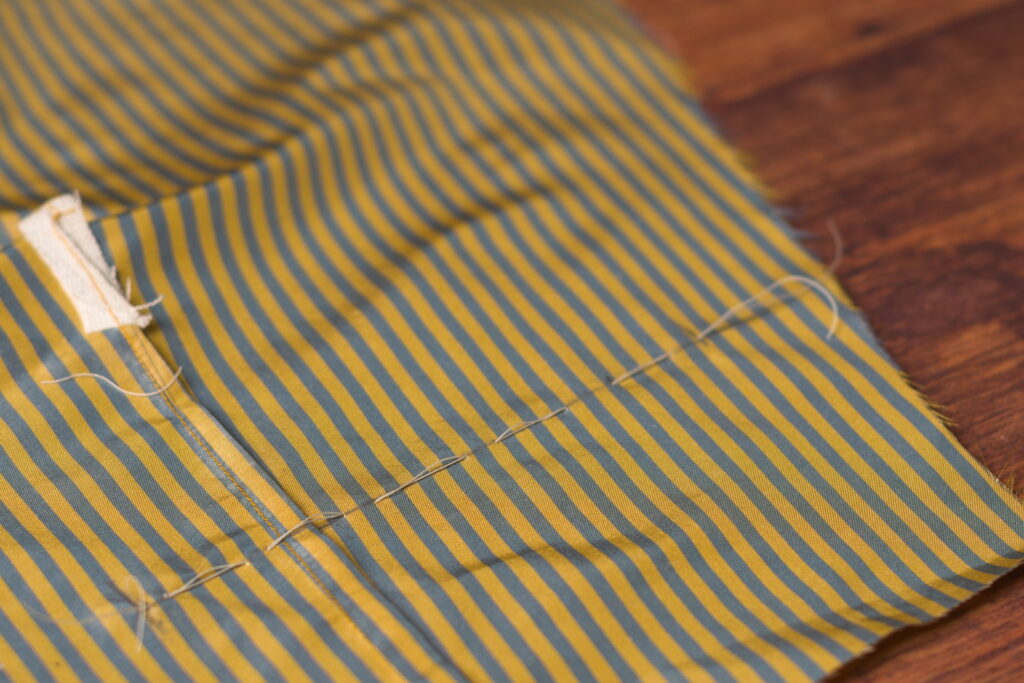
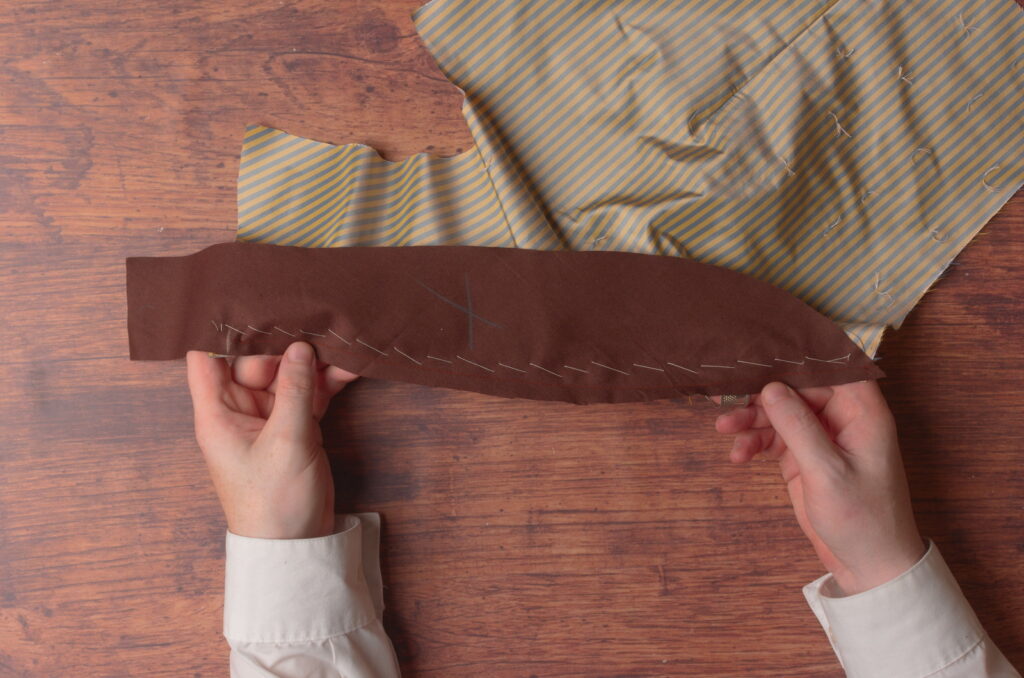
Here you can see how the stitching gets smaller as it approaches the tip of the darts.
Now trim the linen on each side down to about 1/4″.
Pressing
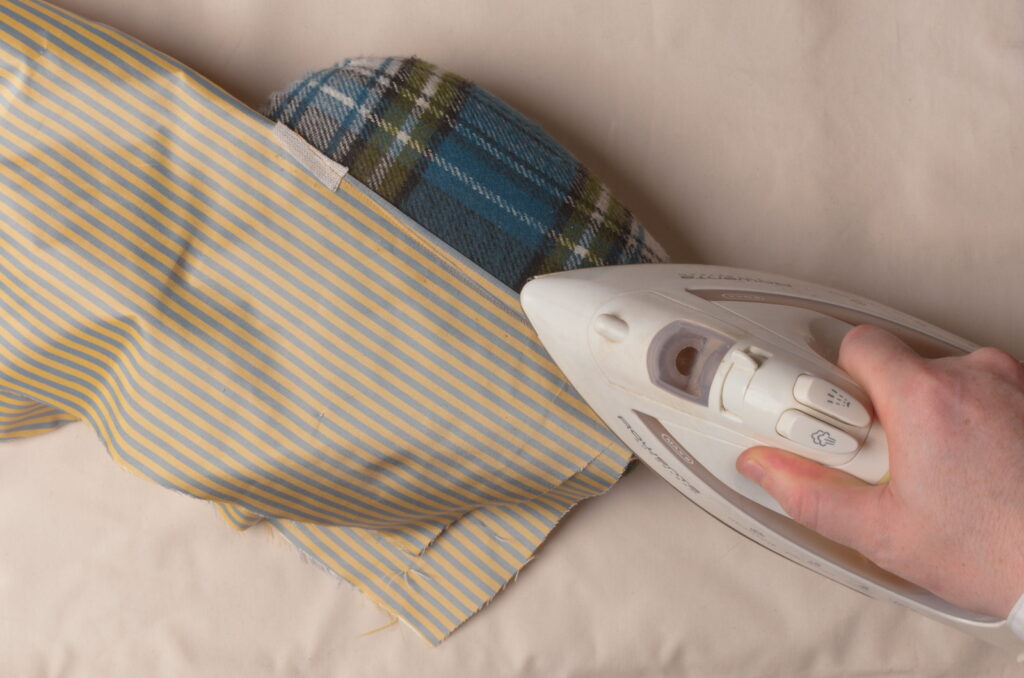
Pressing the darts is fairly straightforward. Begin by pressing the dart along its length while it is still folded in half. Don’t press beyond the tip though or you’ll begin creasing the waistcoat itself.
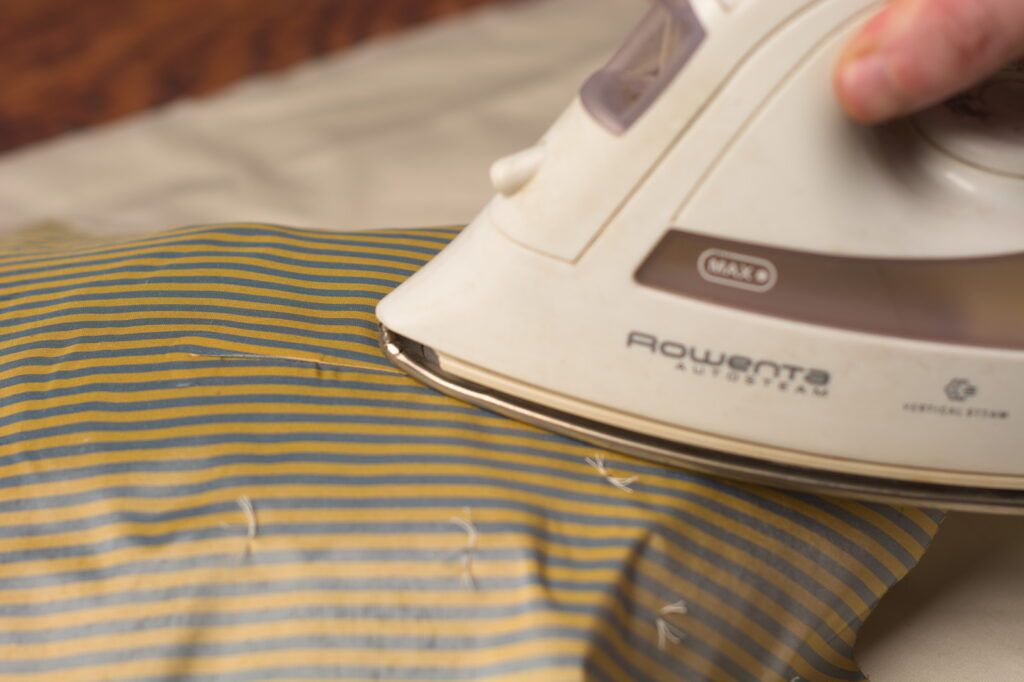
Using a tailor’s ham, press the dart over to one side or the other, from the wrong side. Here for the neck dart I’m pressing the dart downwards so that it won’t be fighting gravity the entire time.
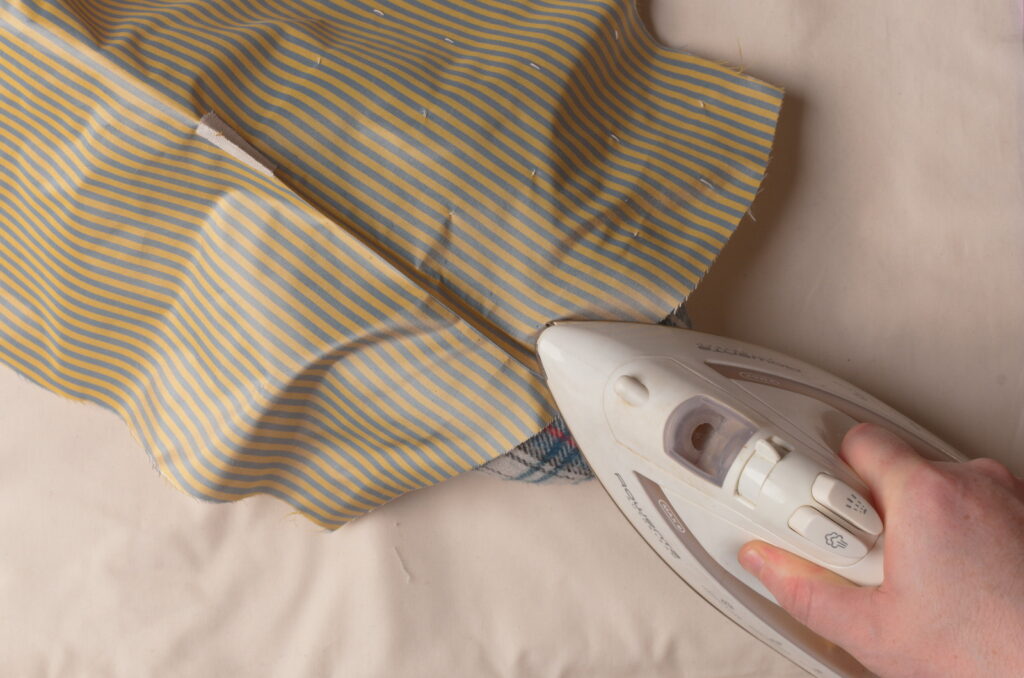
Then turn to the right side and press the dart again along its length. Pay particular attention to the tip of the dart and get it smoothed out as nicely as possible.
The waist dart is a little trickier since it’s more of a compound shape. Press the dart while folded in half.
Then press the lower portion of the dart to one side, being sure it’s fully opened underneath.
Then readjust the dart over the tailor’s ham and press the remaining bit of dart in the same direction.
Flip over and press from the right side.
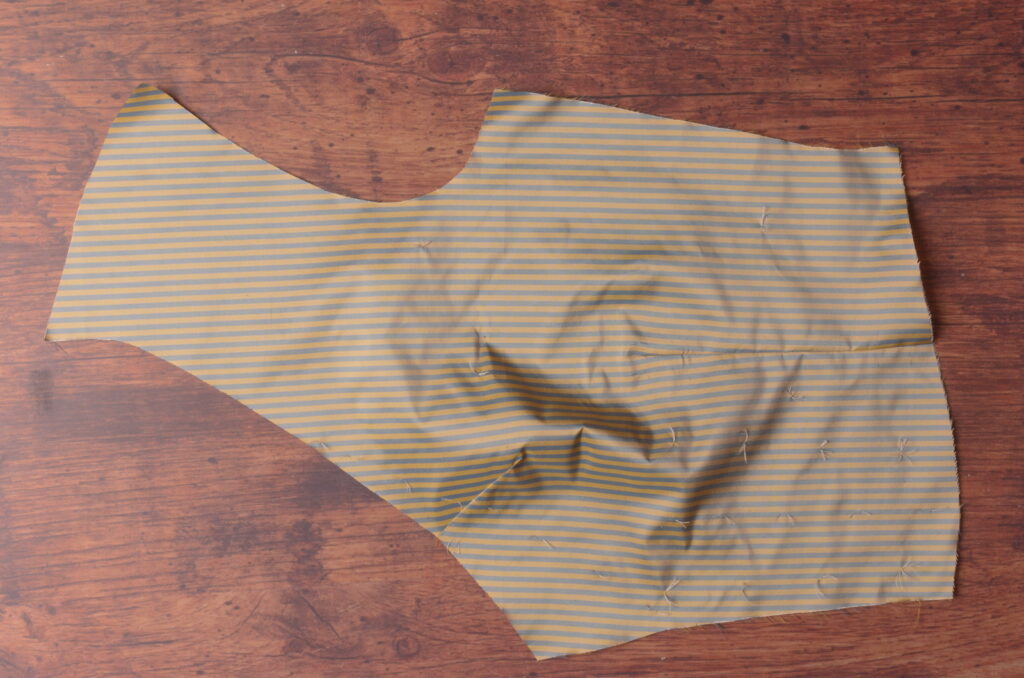
Here’s the forepart so far after installing both darts.
Cutting and Tacking
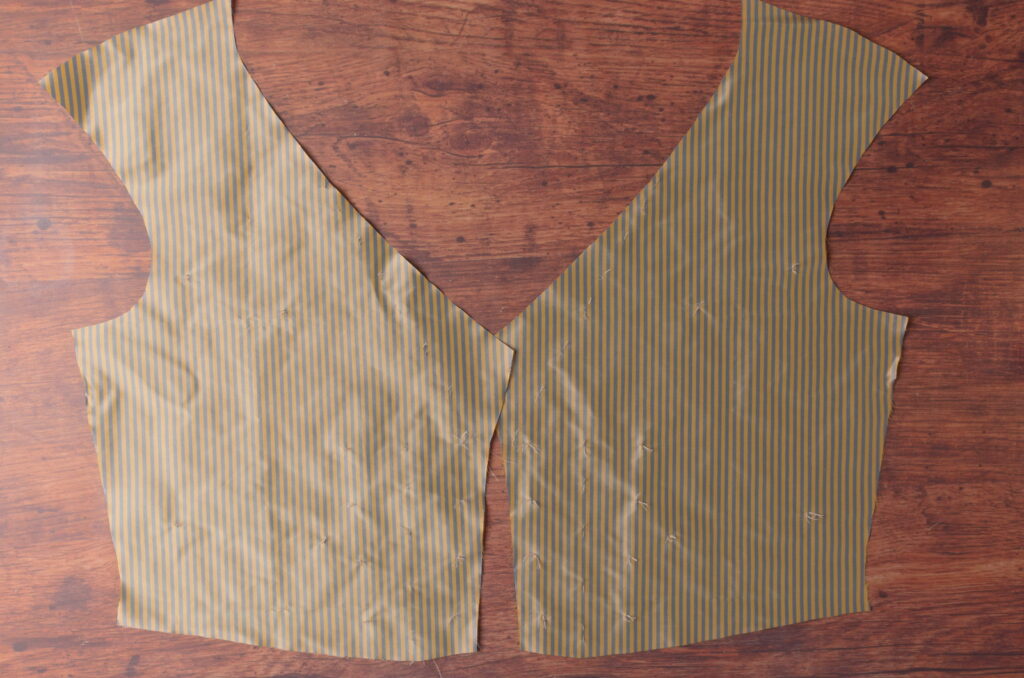
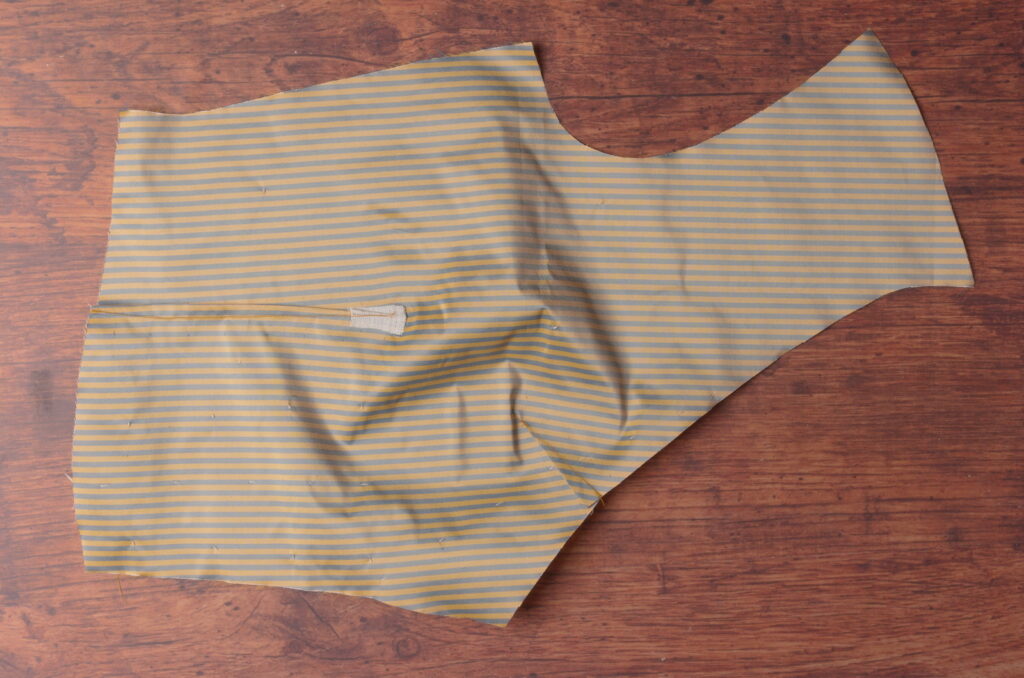
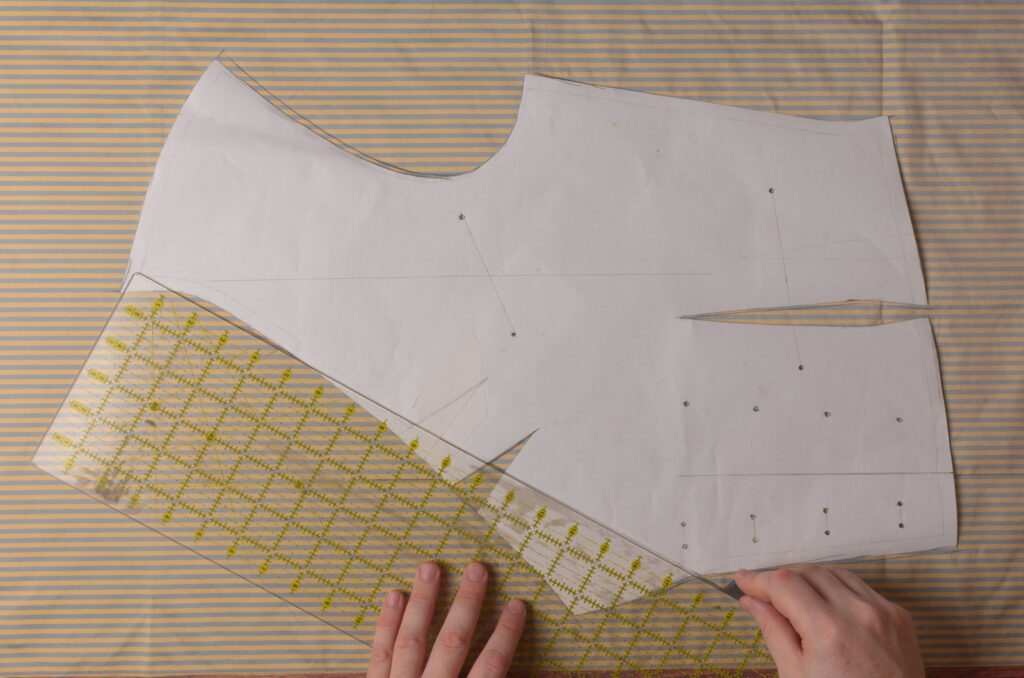
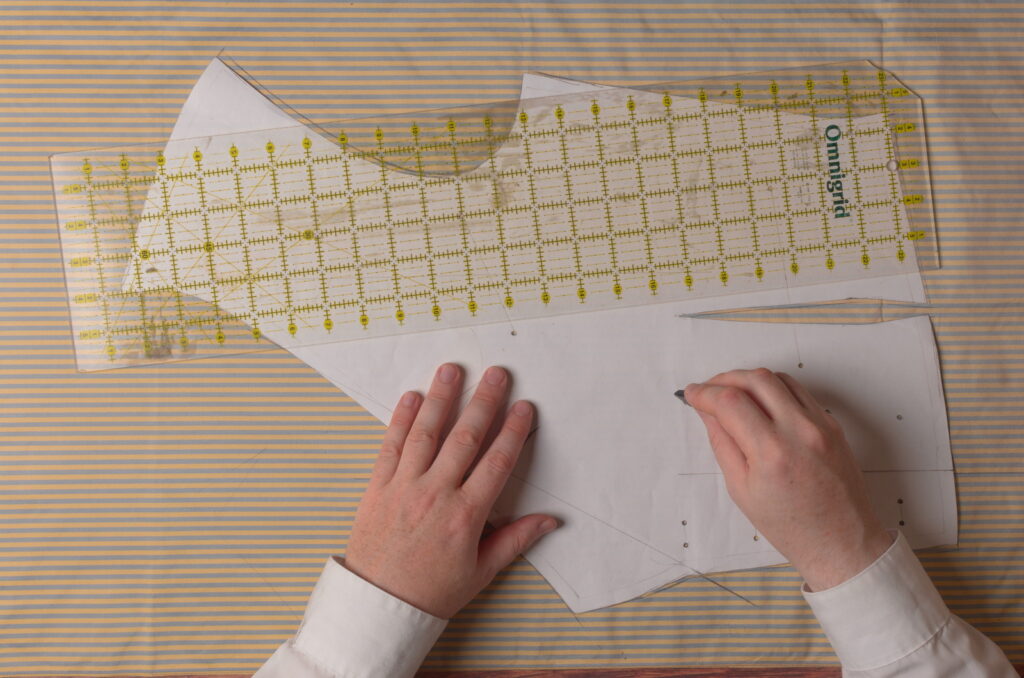
It’s time to final begin cutting and constructing the waistcoat! Lay your forepart pattern piece on the doubled fabric, aligning the grain lines with the edge of the fabric. I use a quilting ruler to aid in this. Ideally you’d have your pattern laid out closer to the edge to save fabric – I was concentrating on taking photographs and it completely slipped my mind.
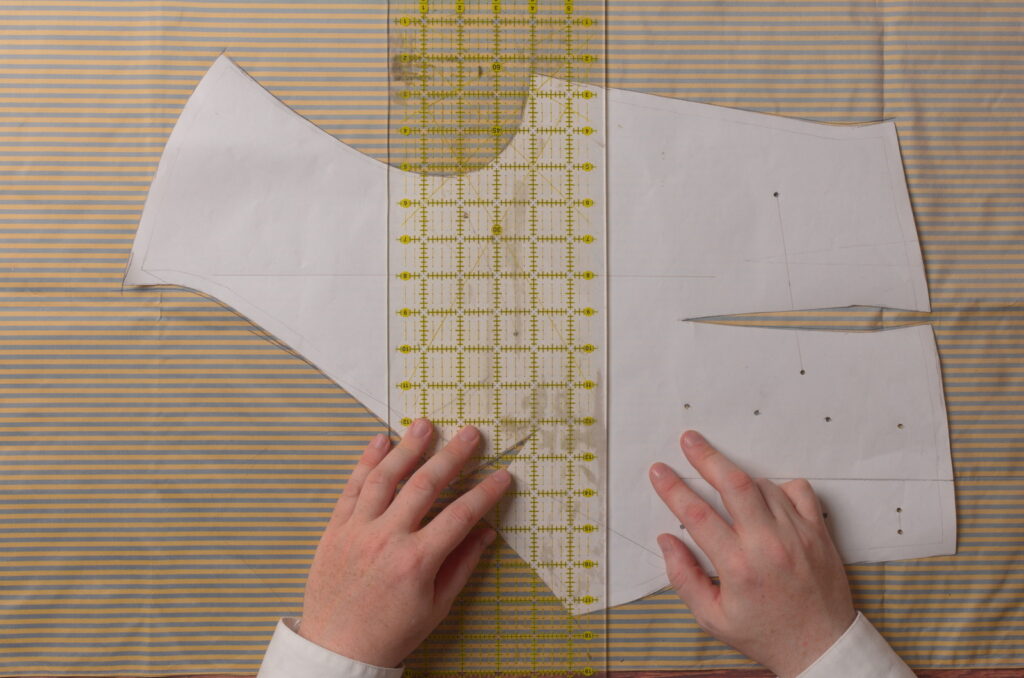
Trace around the entirety of the pattern with a sharp piece of tailor’s chalk, as well as the darts. I weigh down the pattern with whatever I have handy, in this case my quilting ruler, but scissors and other objects work well too.
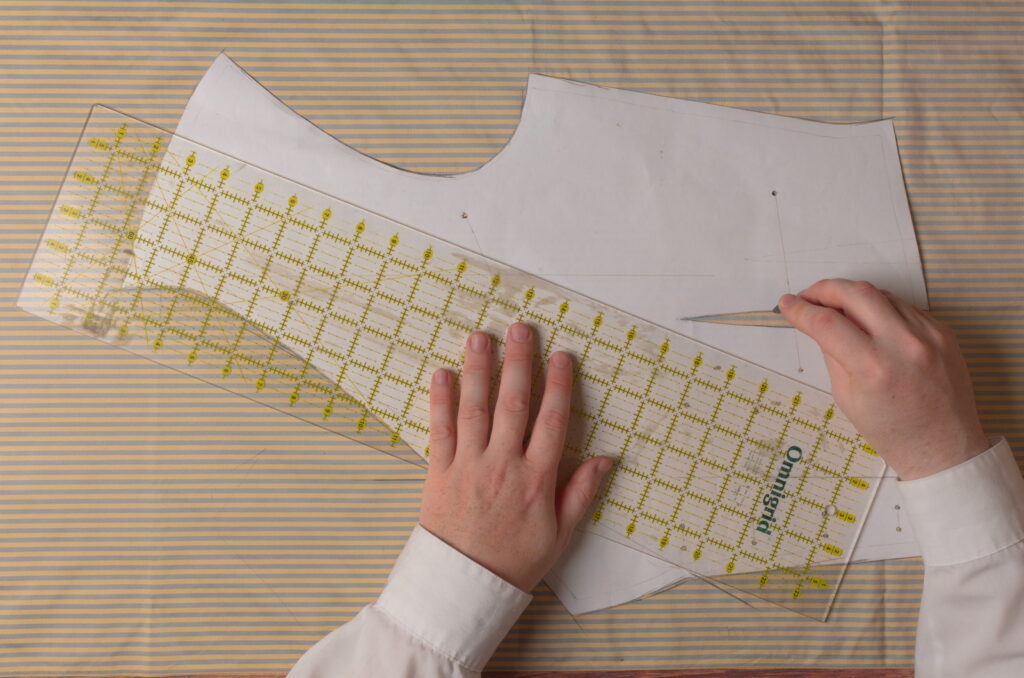
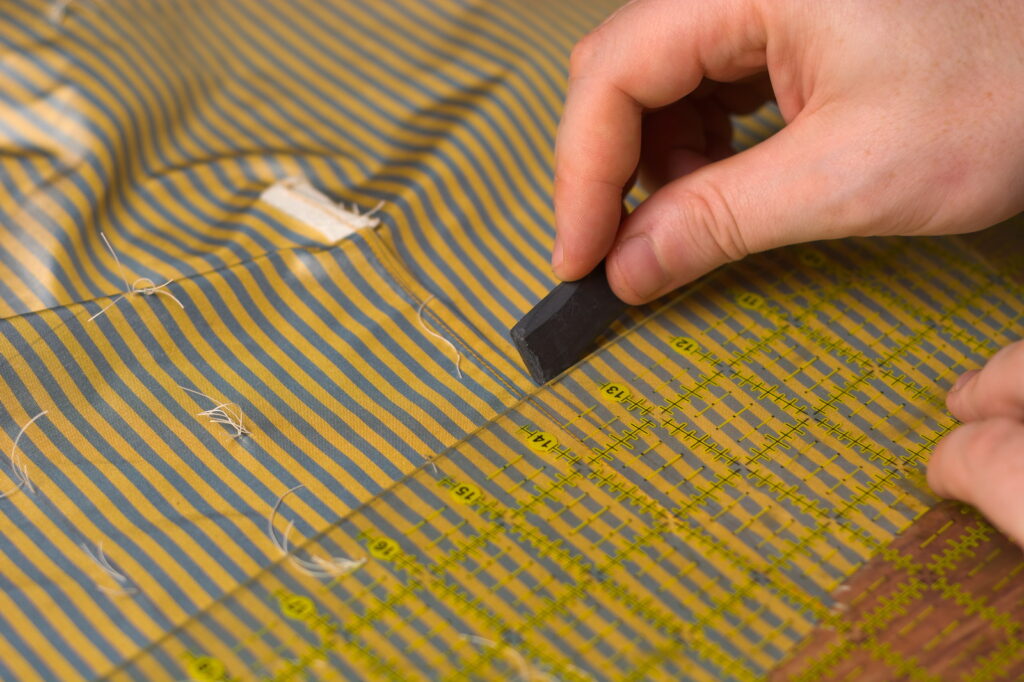
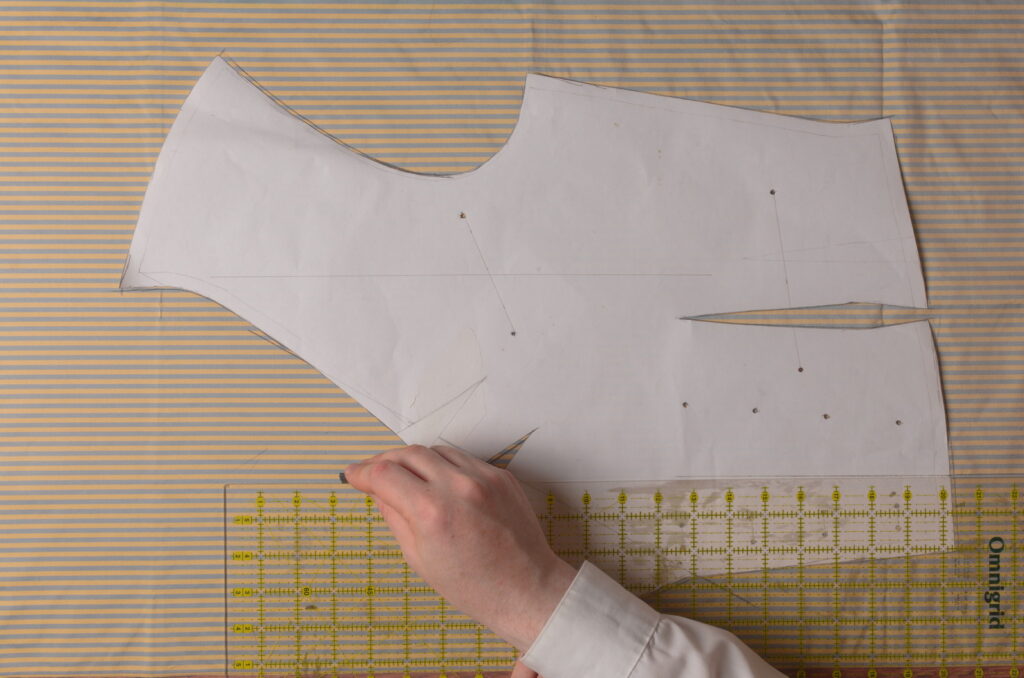
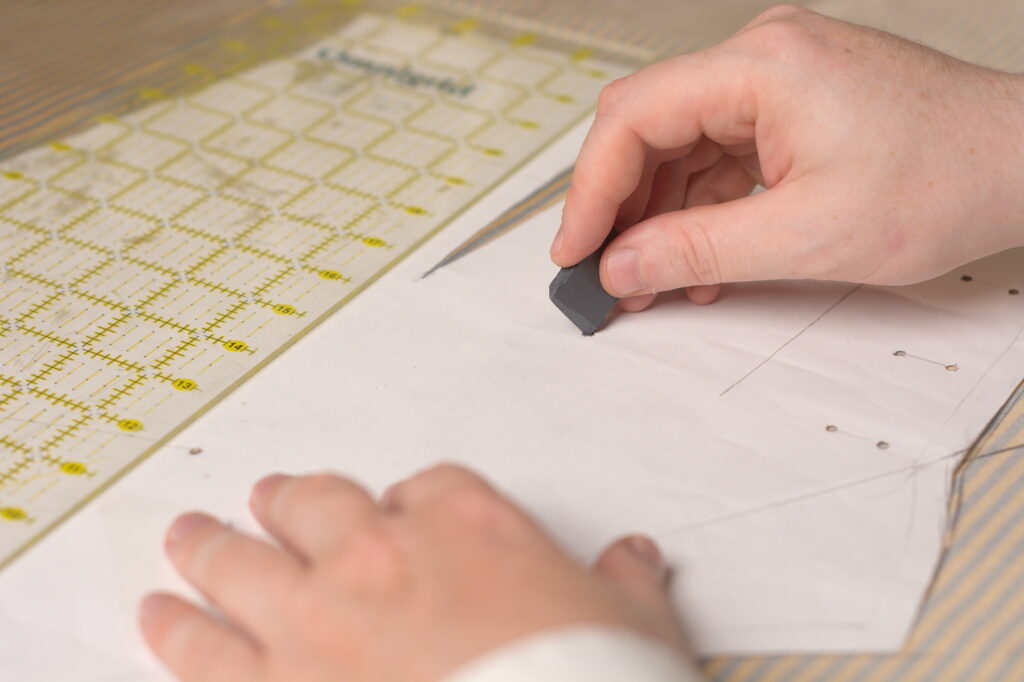
It’s a good idea to transfer the roll line and center front line to the fabric. I did so by aligning the ruler with the lines, and marking each end, just off the edge of the pattern.
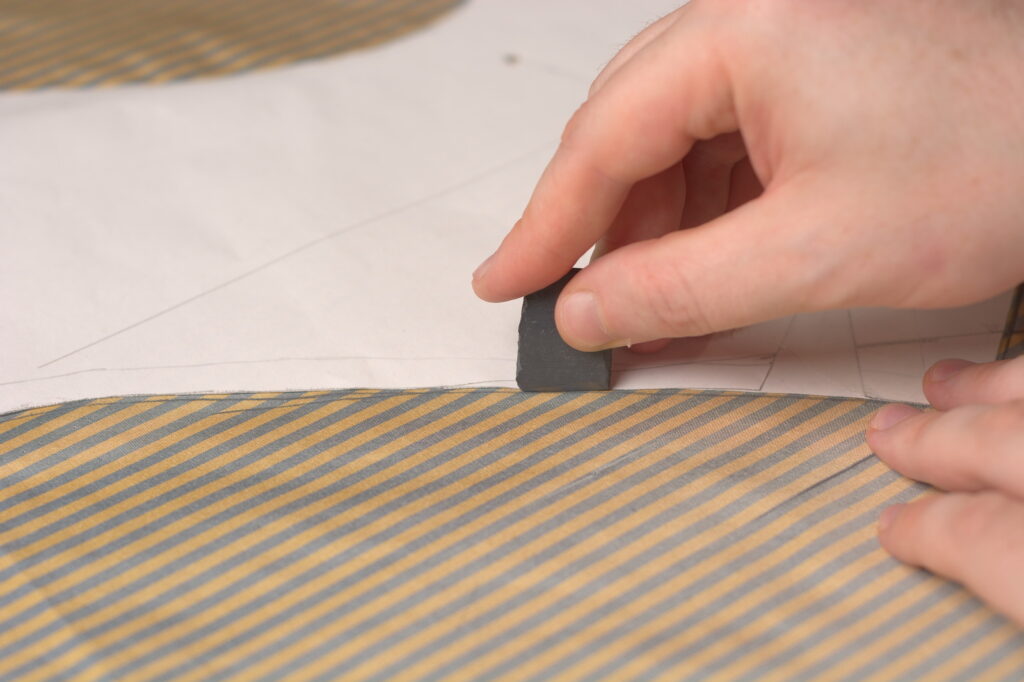
Marking the top end of the center front.
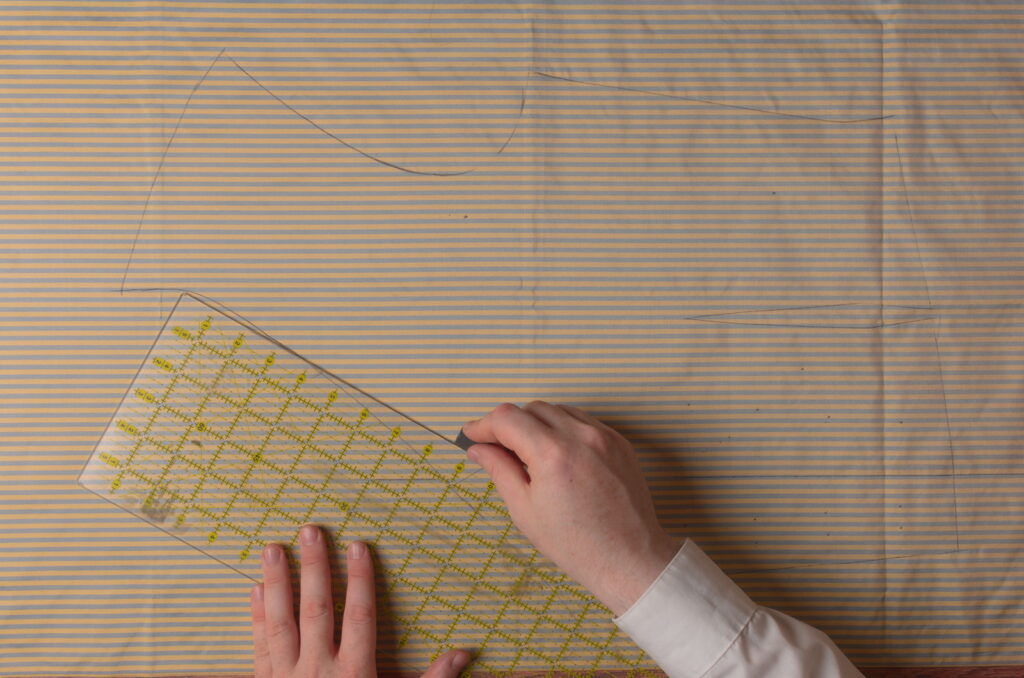
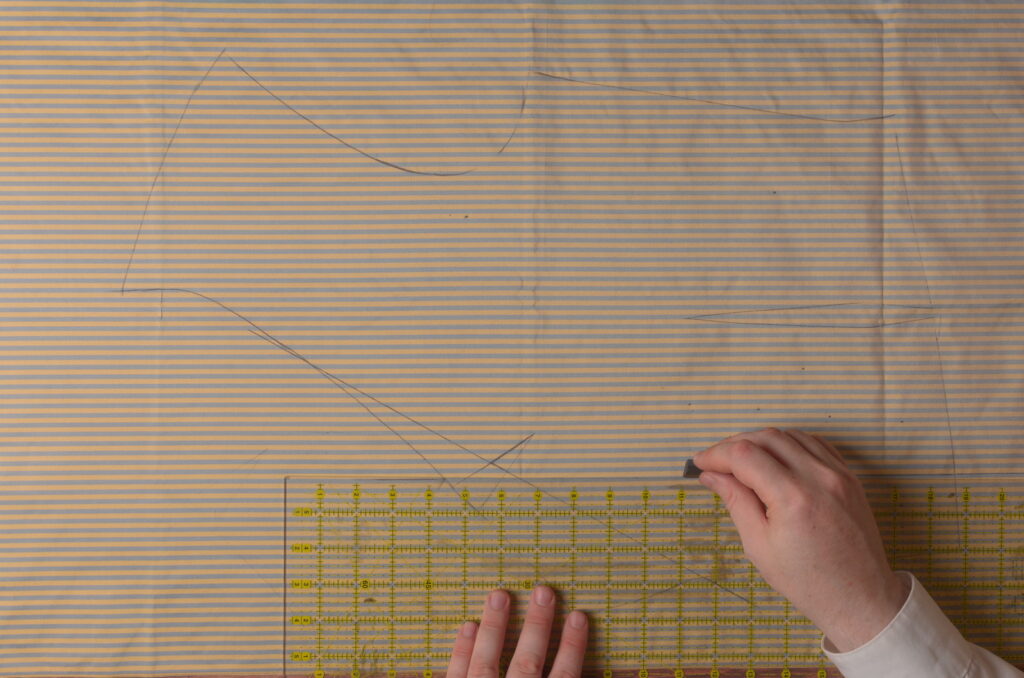
Then it’s a simple matter of connecting the two marks after you remove the pattern to get the line in place.
Also be sure to mark the positions of the buttons, buttonholes, and ends of each pocket before you remove the pattern.
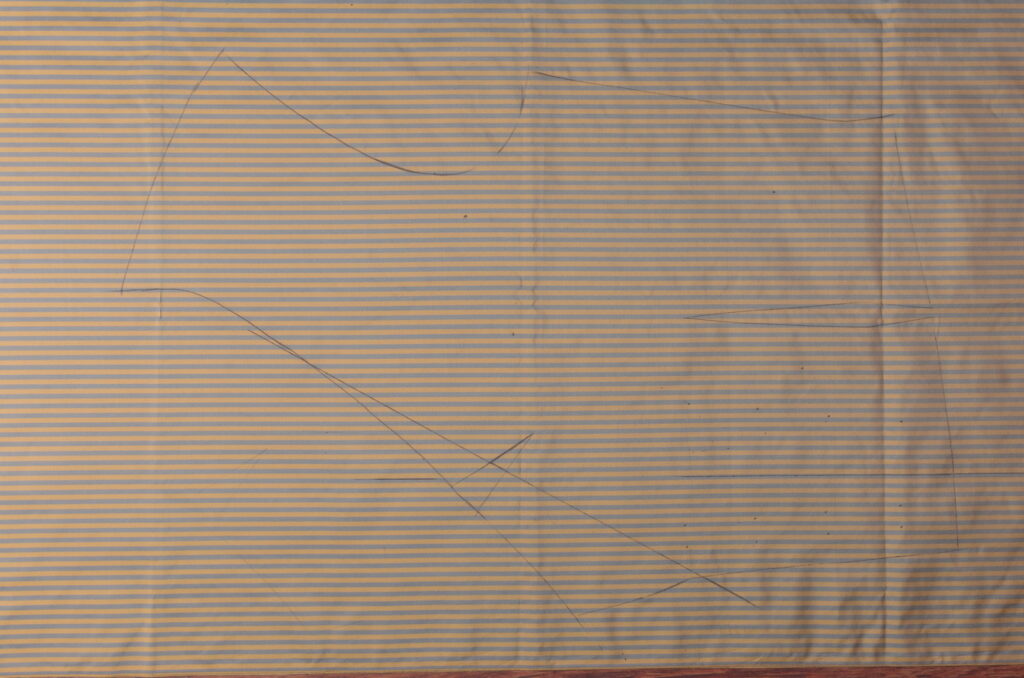
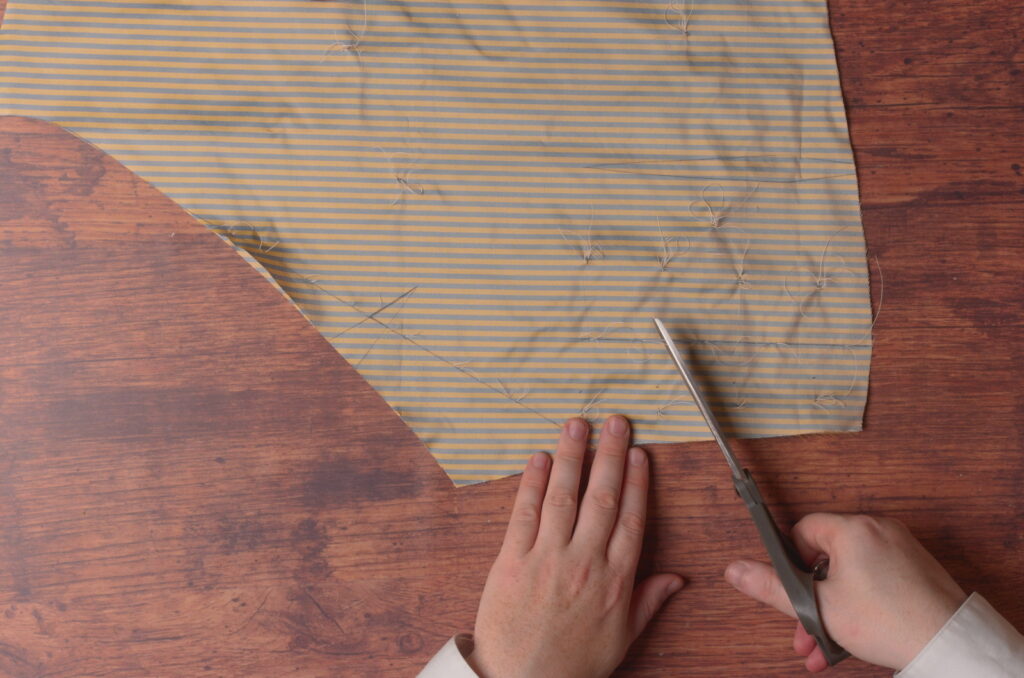
It’s a little hard to see, but here’s my pattern all marked out on the fabric, with the darts, roll line, center front, buttons, buttonholes, and pocket ends all marked out.
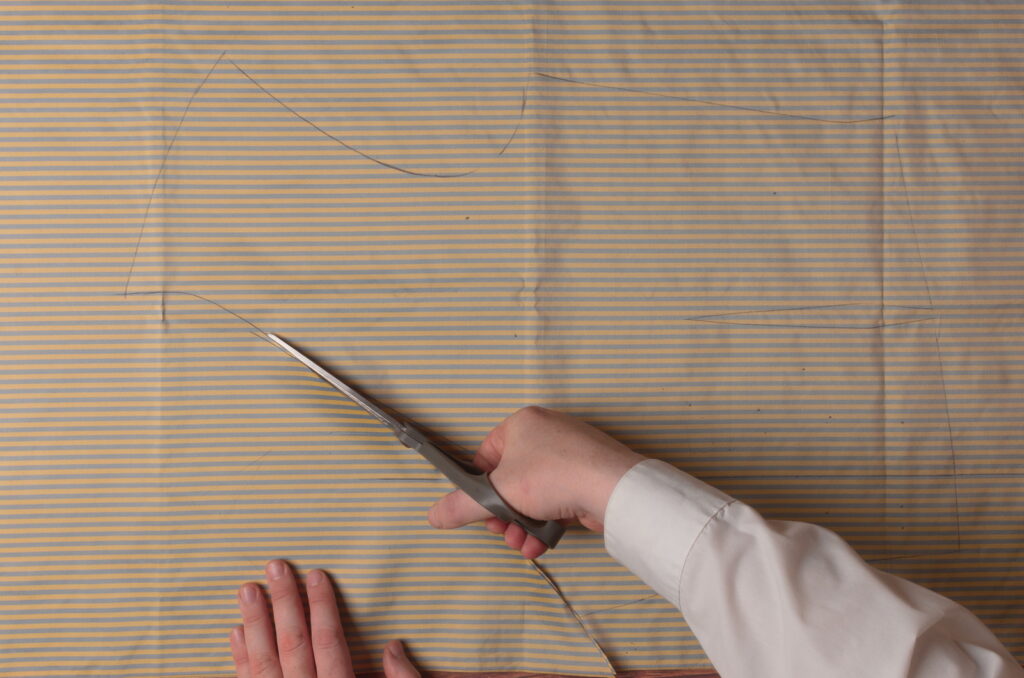
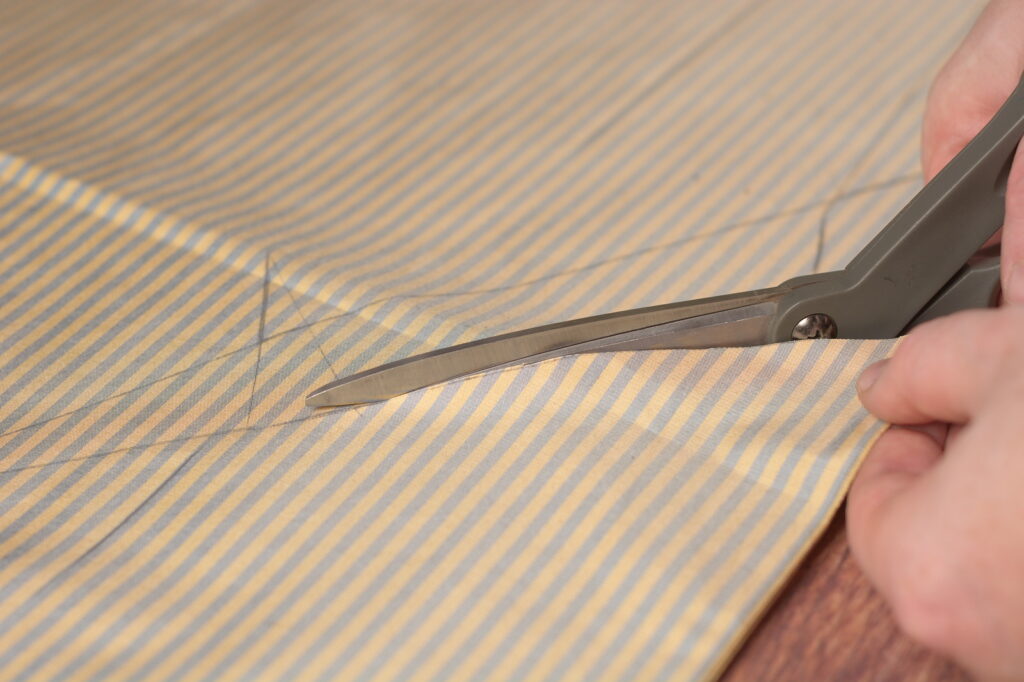
Begin cutting out the forepart. For best accuracy, keep your scissors on the table as you cut, perpendicular to the table, and cut to the inside of the chalk lines. Since the chalk line has a small width to it, cutting on the outside would give you a slightly-too-large waistcoat.
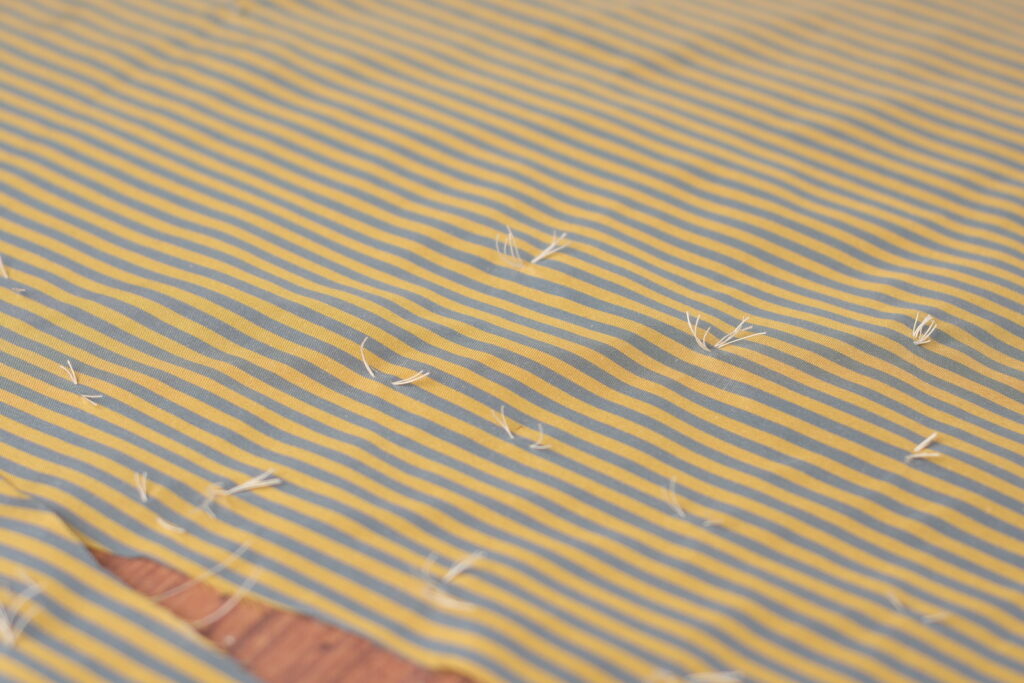
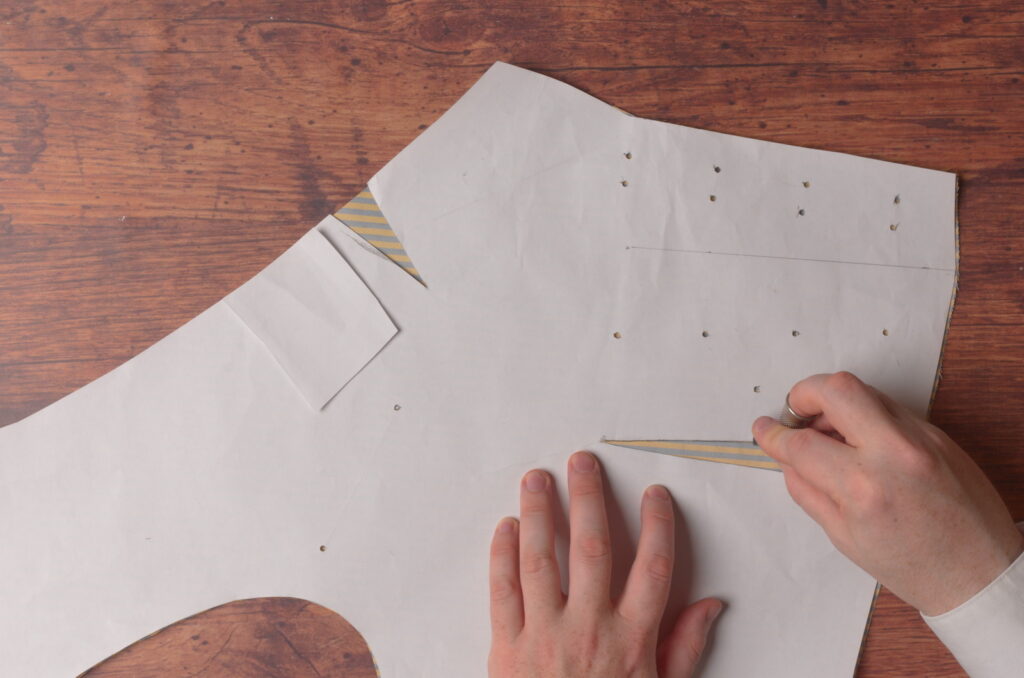
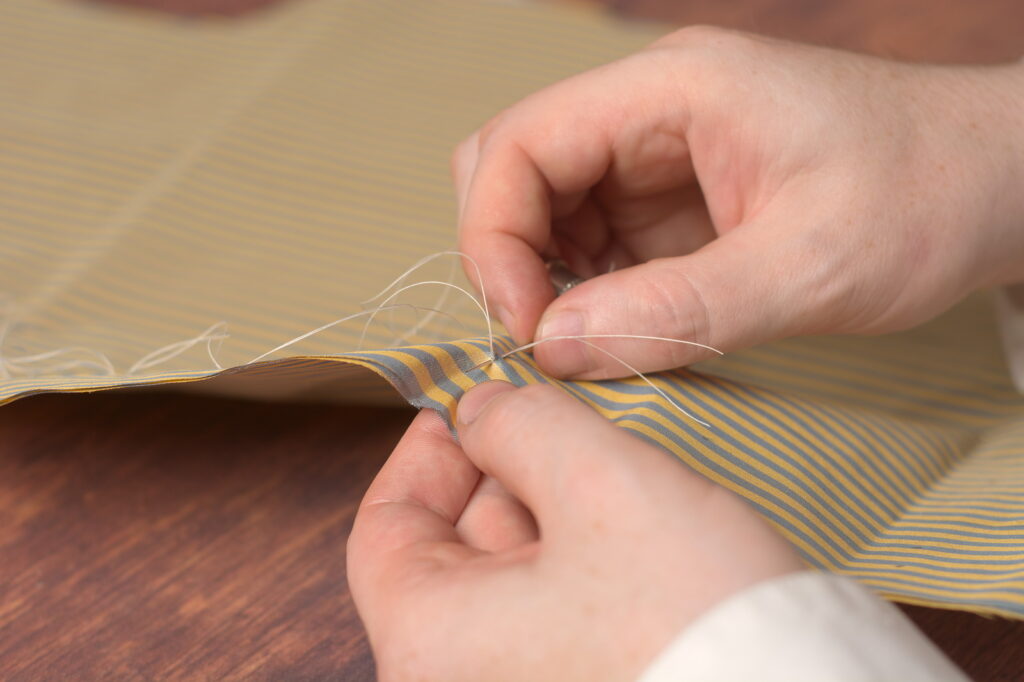
To transfer the markings to the lower piece, it’s a good idea to use tailor’s tacks, which also make the marks more durable for construction. For the roll line, center front line and pockets use the following method. Take a doubled over piece of basting thread and make about 1/4″ running stitches, two or three inches apart, along the straight lines. If you make the stitches closer together, keep a little slack in the thread.
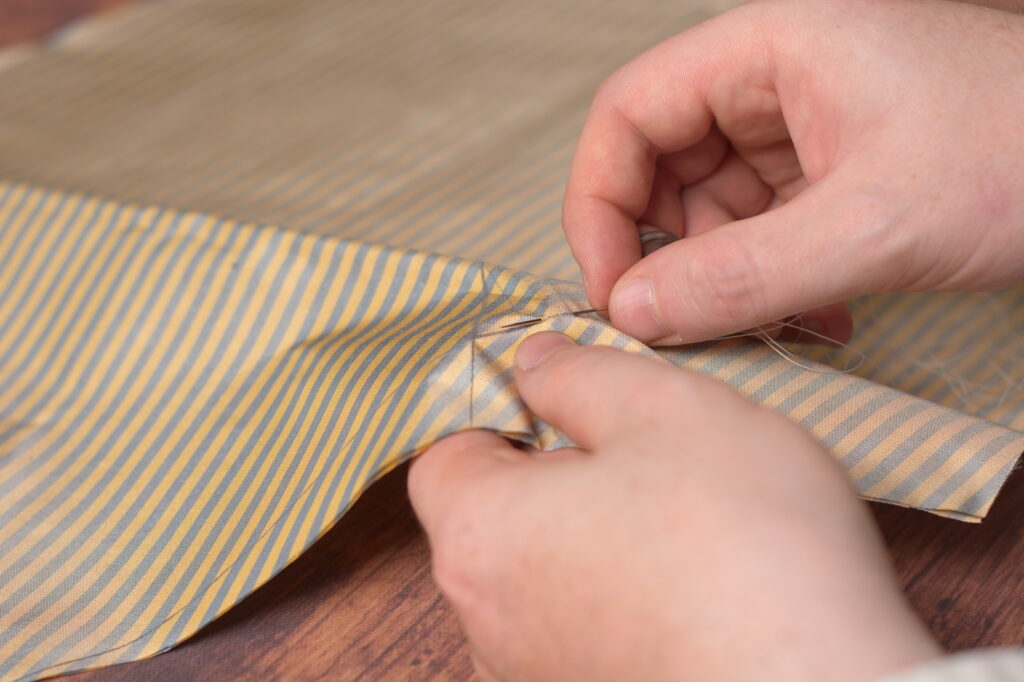
For the buttons, buttonholes, ends of the pockets, and any other points, mark them by taking two stitches in place with the doubled basting thread, forming a loop. Be sure to keep the loop open about an inch, and the ends slightly longer than that.
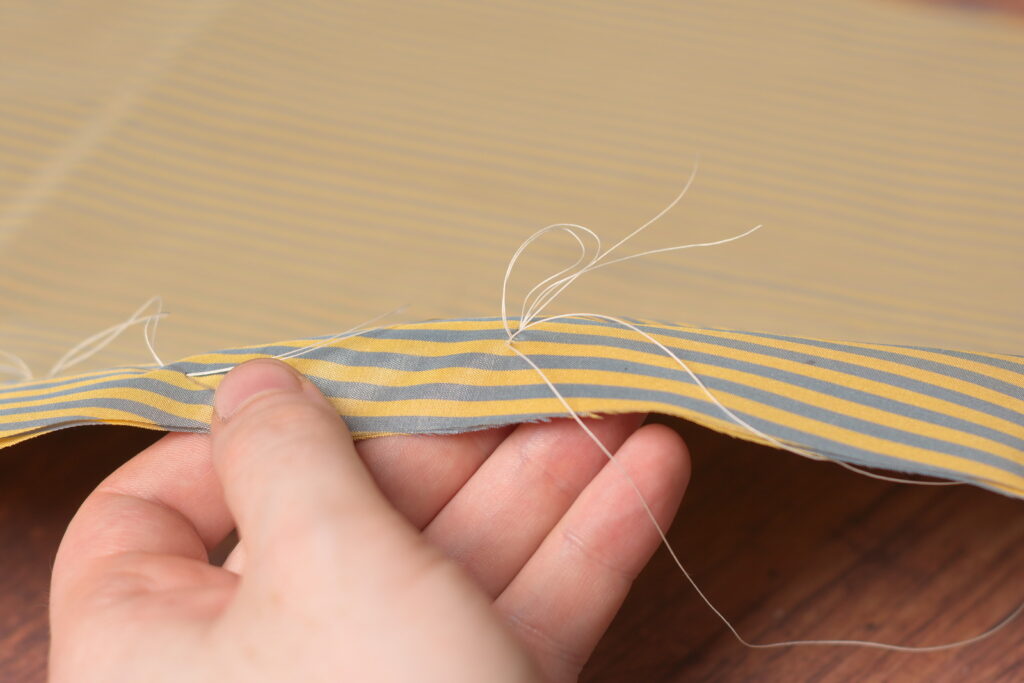
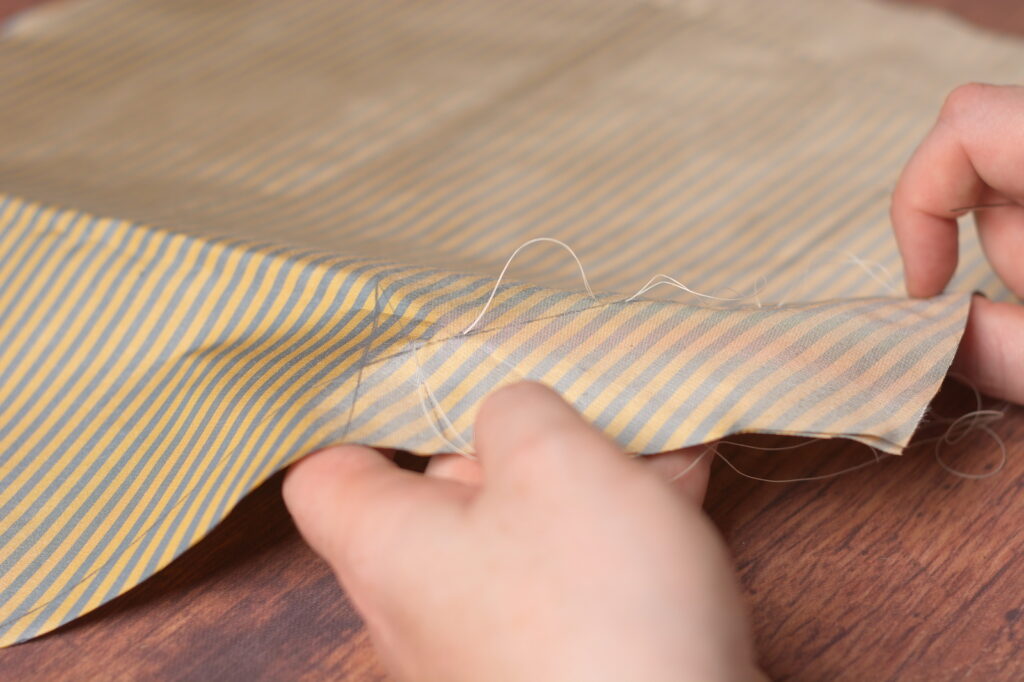
On the tailor’s tacks formed by the running stitch only, clip the threads between each stitch. The looped tacks are not cut open.
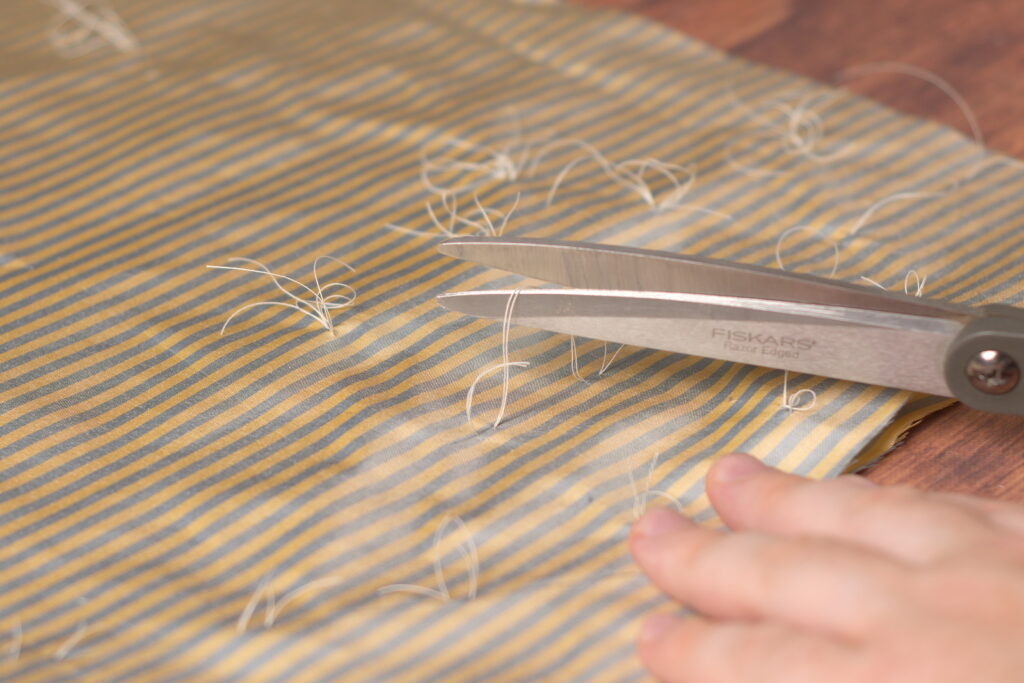
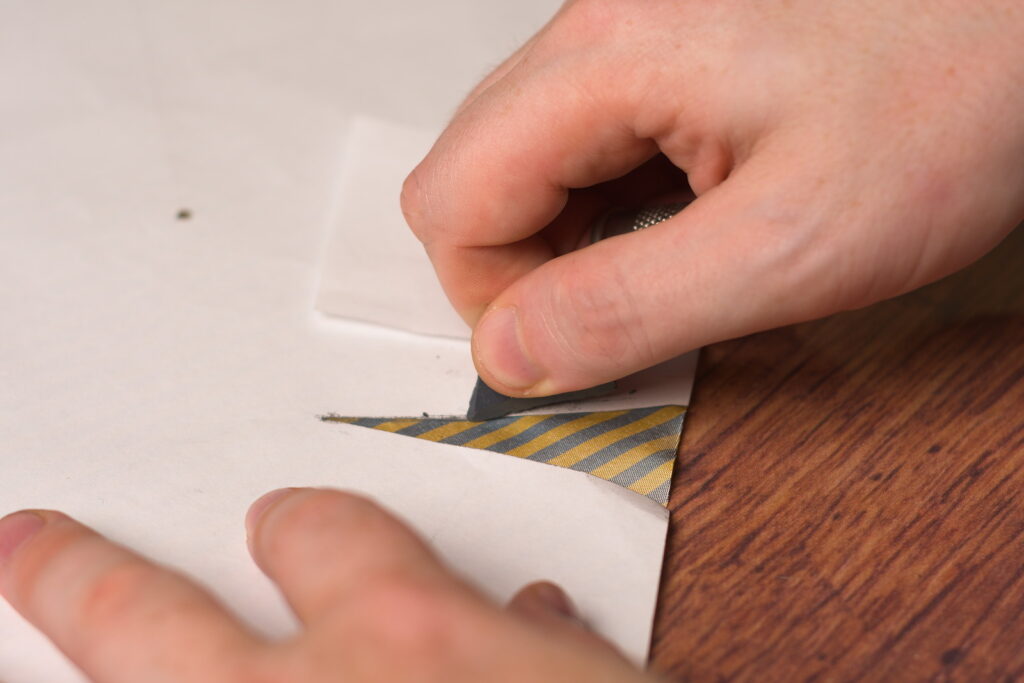
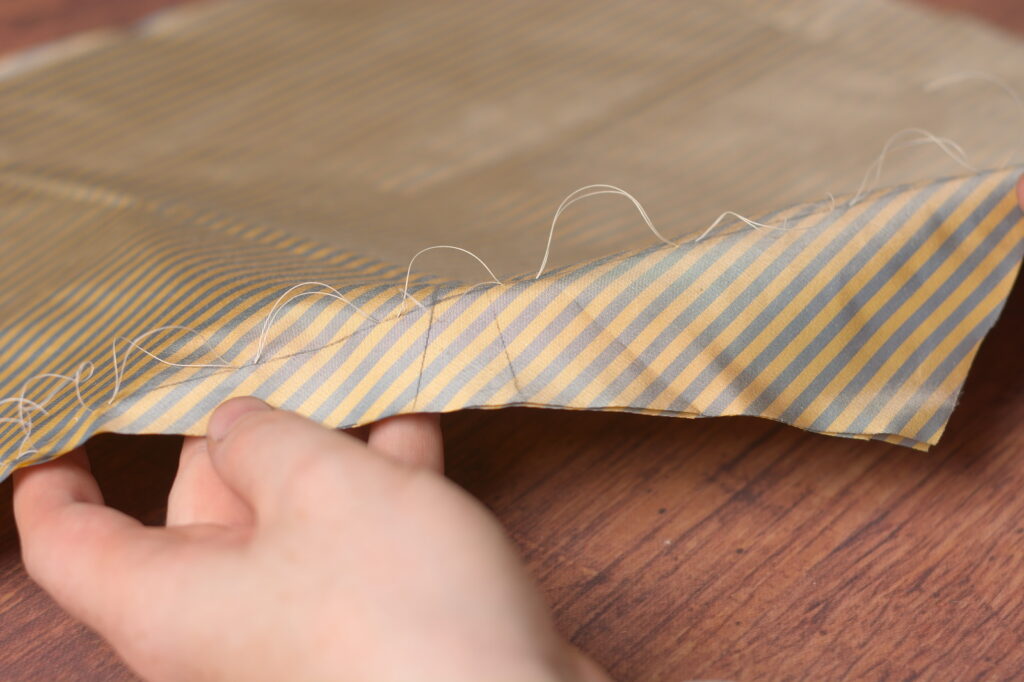
Carefully open the two layers of fabric, revealing the stitches on the inside. Don’t pull them too open or the threads may come out. Snip the threads at each tailor’s tack as you get to them, working your way across the entire forepart.
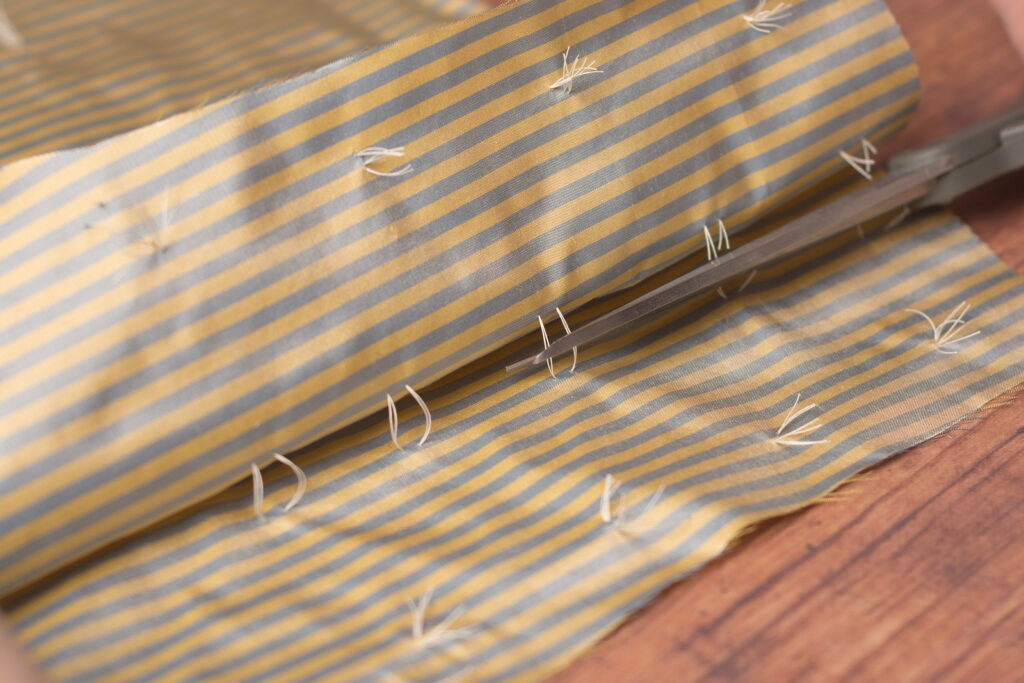
This leaves you with semi-permanent markings that will be of great use during construction.