Month: May 2021
Setting the Sleeves
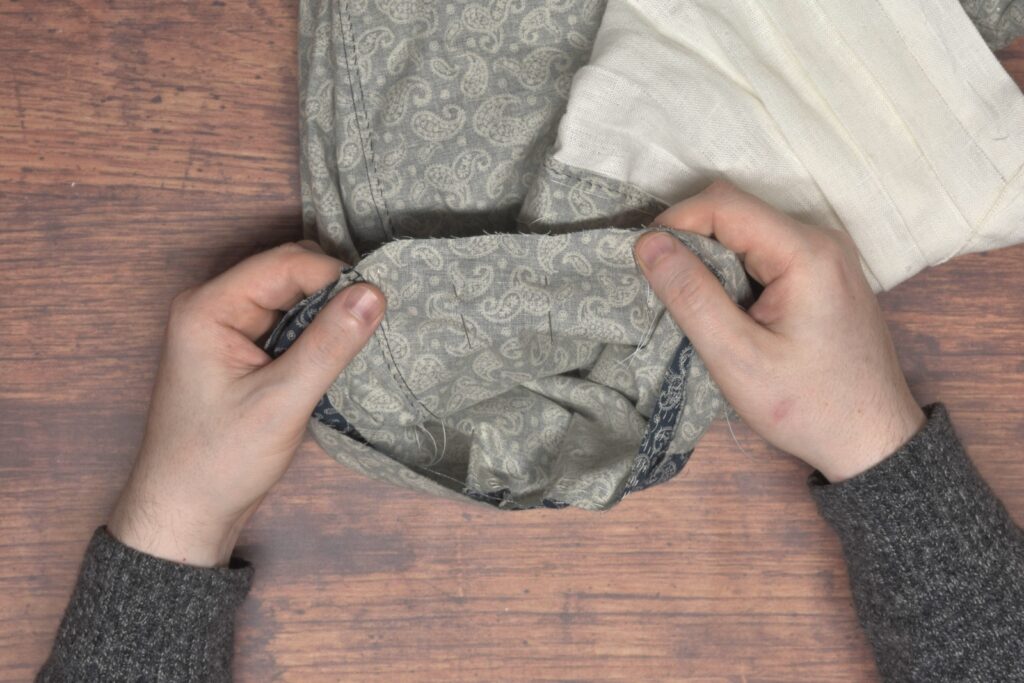
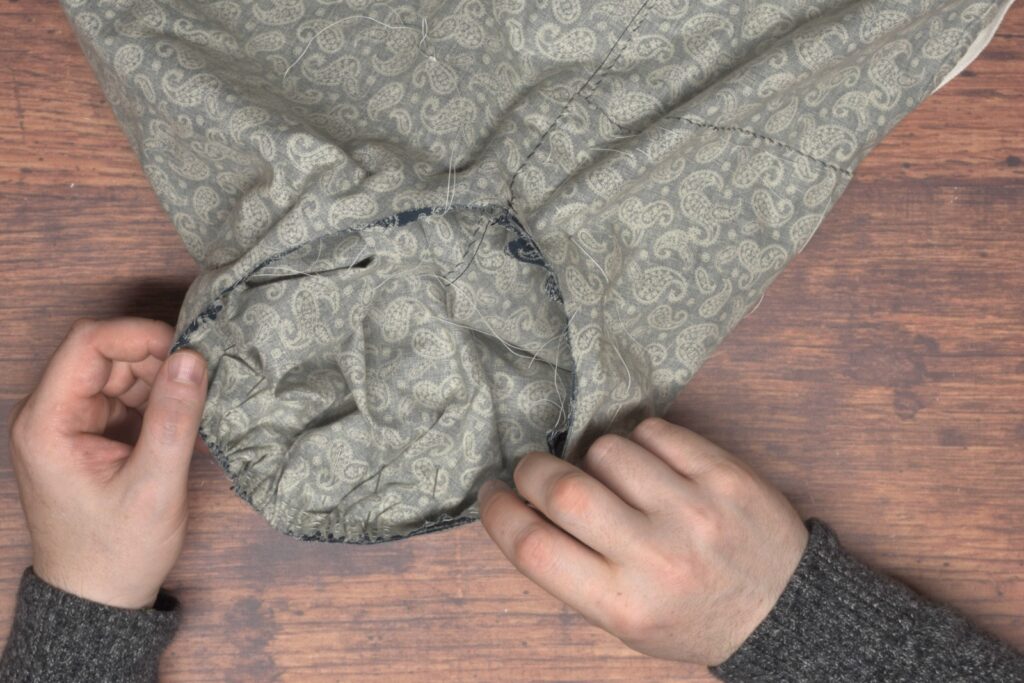
With the sleeves complete, it’s finally time to attach them to the shirt! I like to begin by laying out the shirt and sleeves, right sides out, with the armscye facing me. Find the bottom of the armscye at the side seam, and the top of the sleeve seam.
Align the two points together at the side and sleeve seam, and pin. This gives us a reference and starting point for setting the rest of the sleeve.

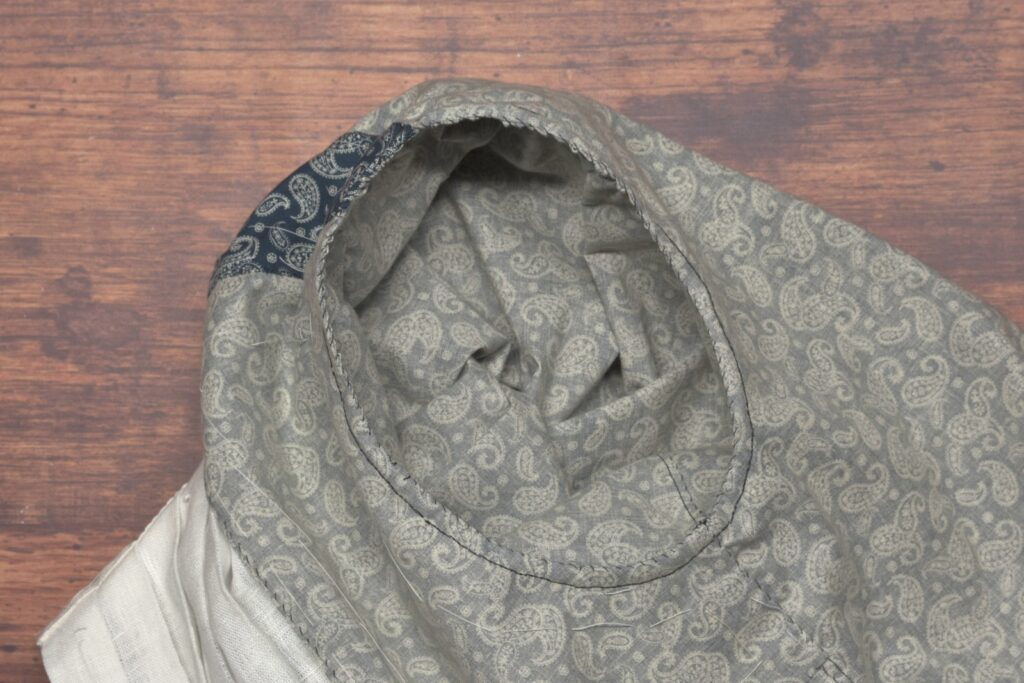
Next carefully turn the shirt inside out – the sleeve should still be pinned at the bottom, and right sides are still together inside the shirt. Arrange the armscye and sleeve head to the general position.
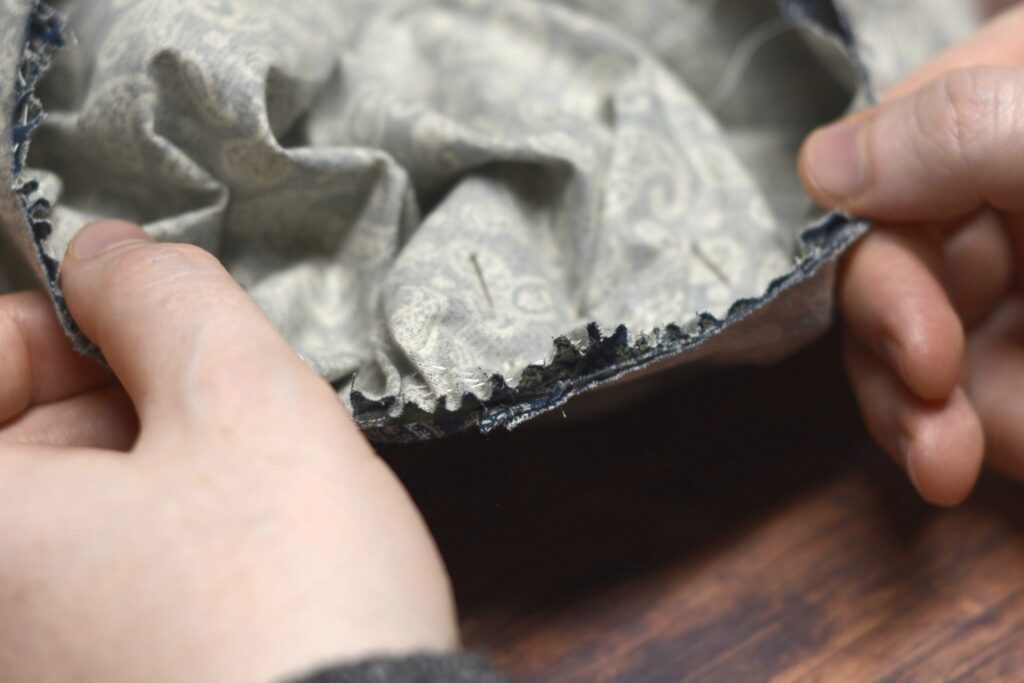
Now find the top of the sleeve, which should have a slight crease from it being cut on the fold. Pin the top of the sleeve, right sides together, to the shoulder seam (where the shoulder and yoke meet).
You can just make out the crease here. If necessary, you can mark the top of the sleeve with chalk.
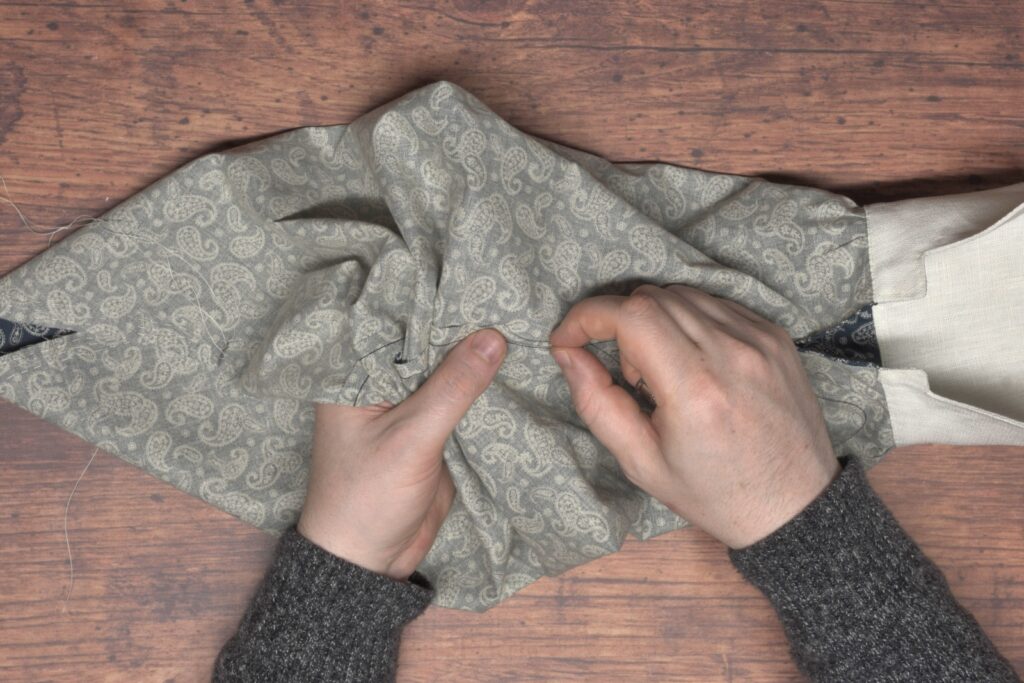
Working from the bottom of the sleeve, pin the sleeve to the shirt from the bottom to where the gathering stitches begin on each side of the sleeve seam, keeping a neutral tension.
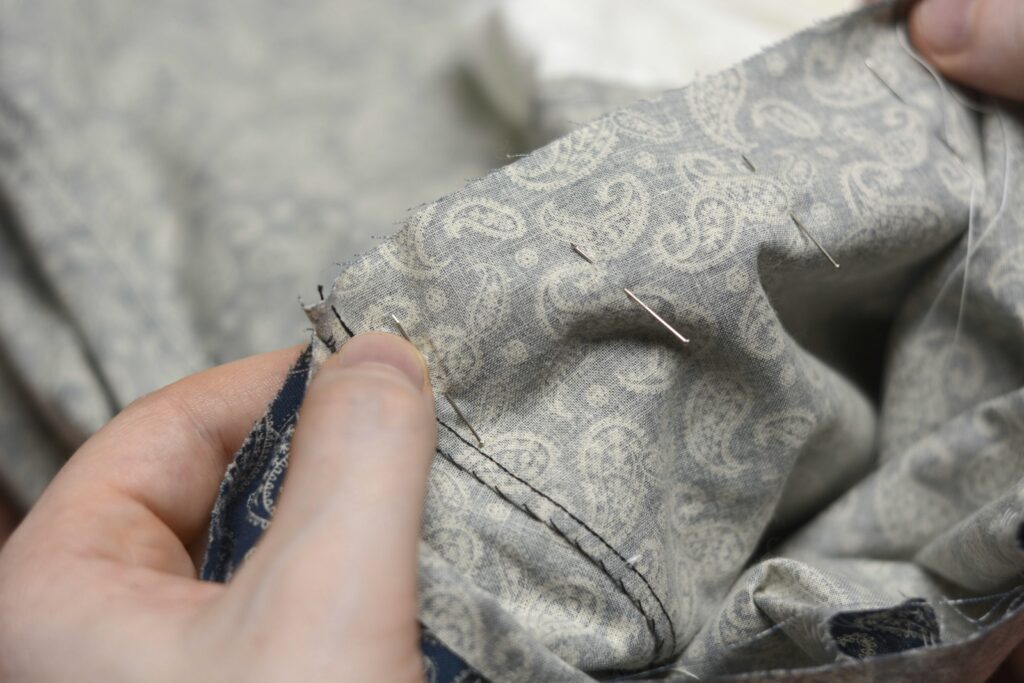
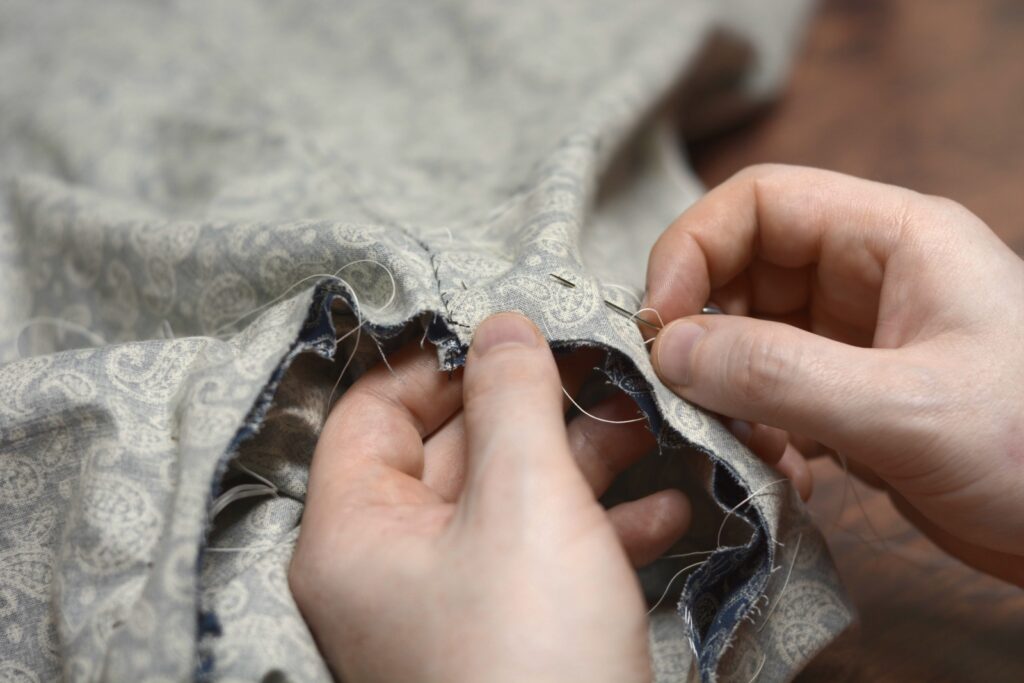
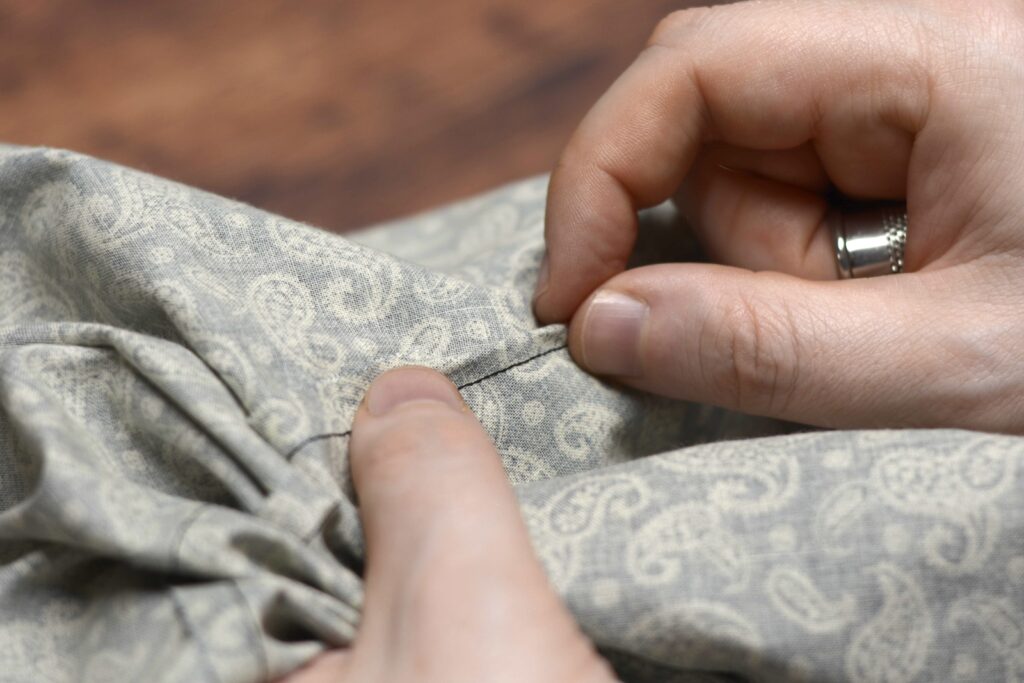
With the lower portion of the sleeve as well as the shoulder point secured, it’s now possible to draw in the gathering stitches with more control. Work on one half at a time, pinning and arranging the small pleats as you go.
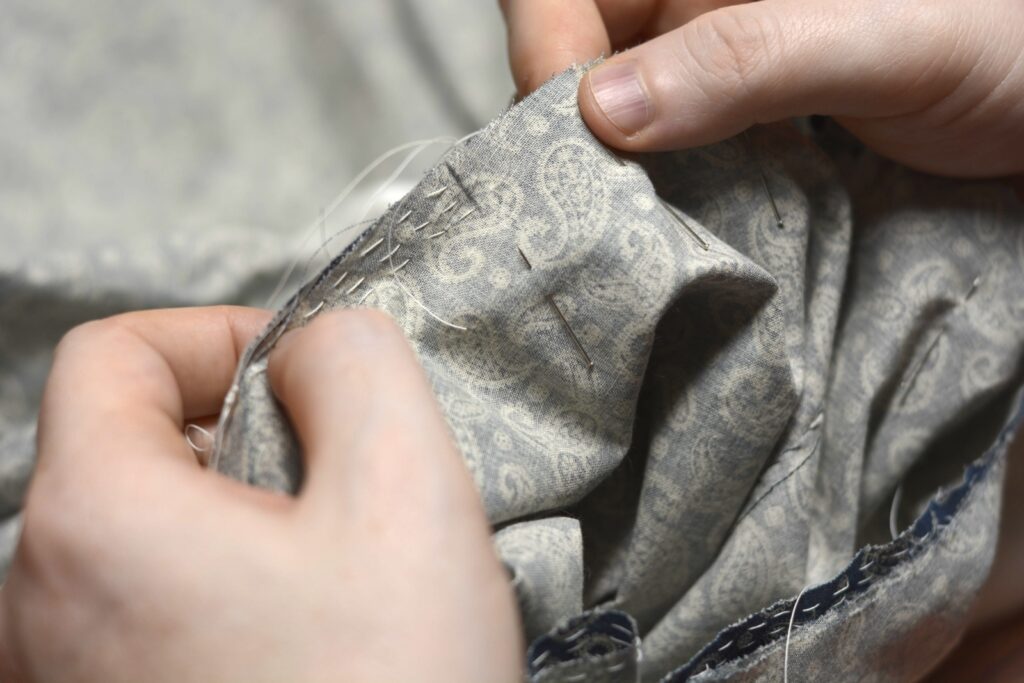
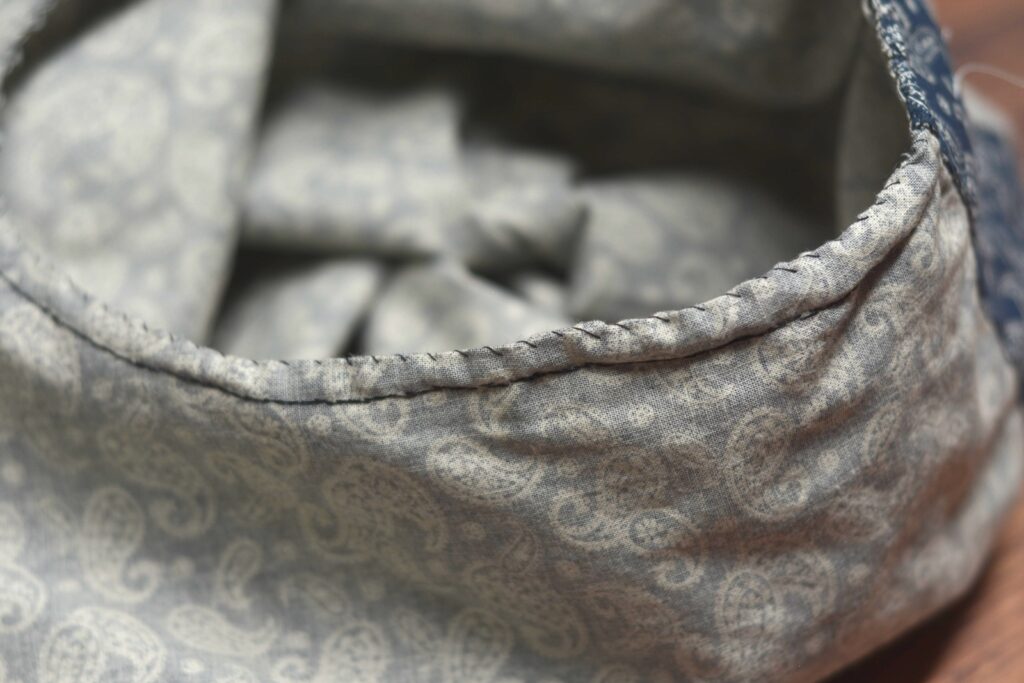
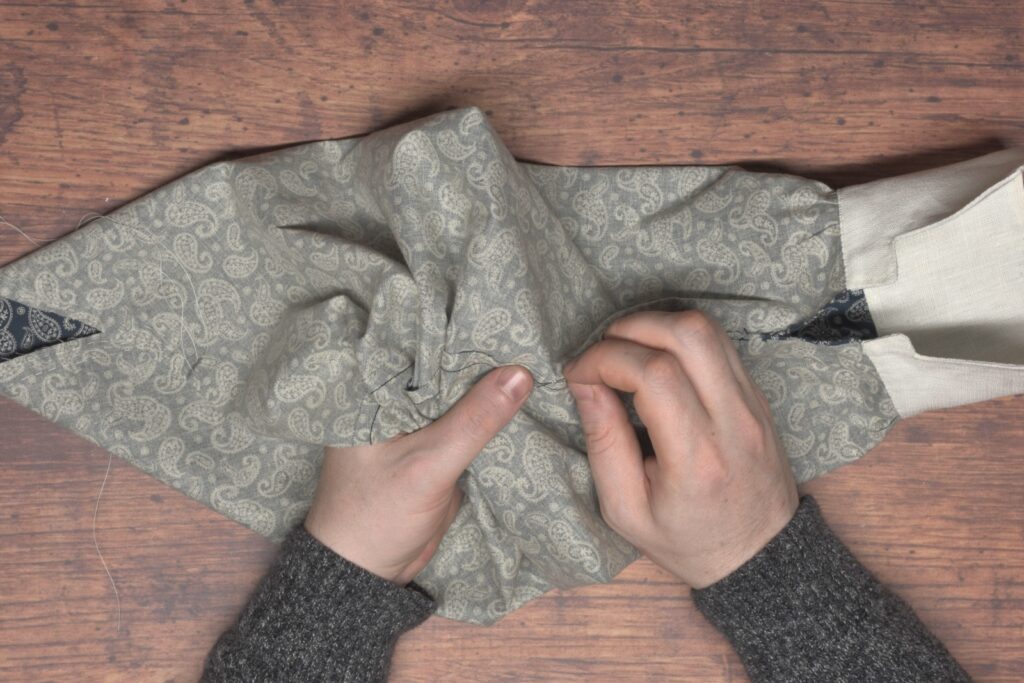
With the sleeve pinned in position, baste around the entire sleeve with a small running stitch, around 1/4″ in length. Remove the pins as you baste.
After the first round of basting stitches, you can turn the shirt right side out to check your work. Does the sleeve hang correctly? Are the pleats distributed evenly? Are the sleeves on the right side (never make that mistake again!)?
When you’re happy with the position of the sleeve, go around with another row of basting stitches directly on top of the first row, offsetting the stitches so that they almost lock each other in place.
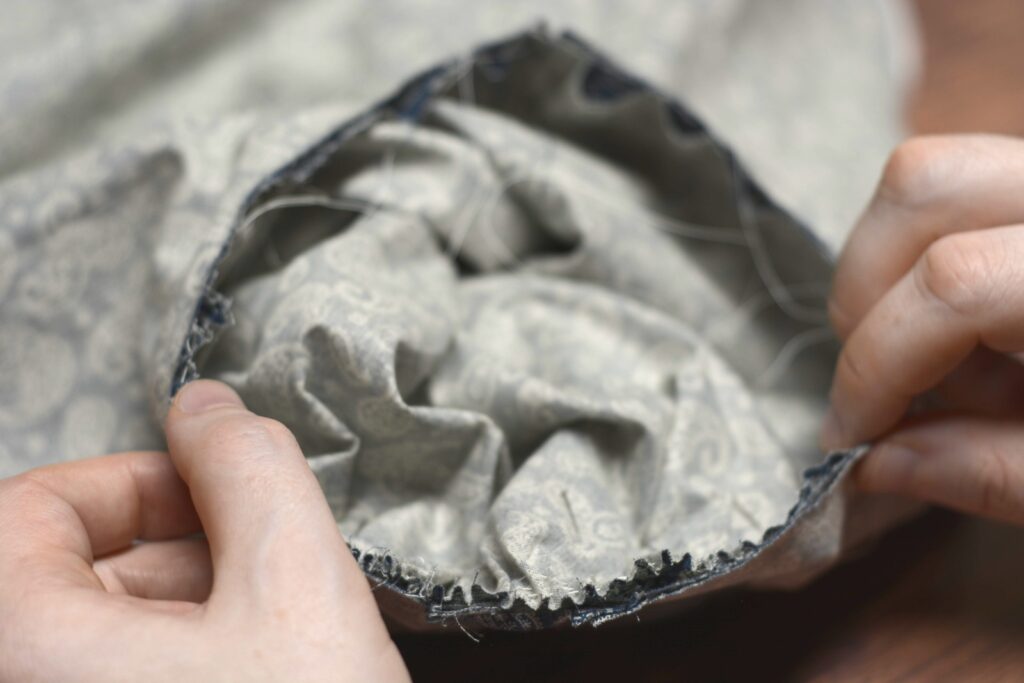
Here’s the sleeve after being basted in position.
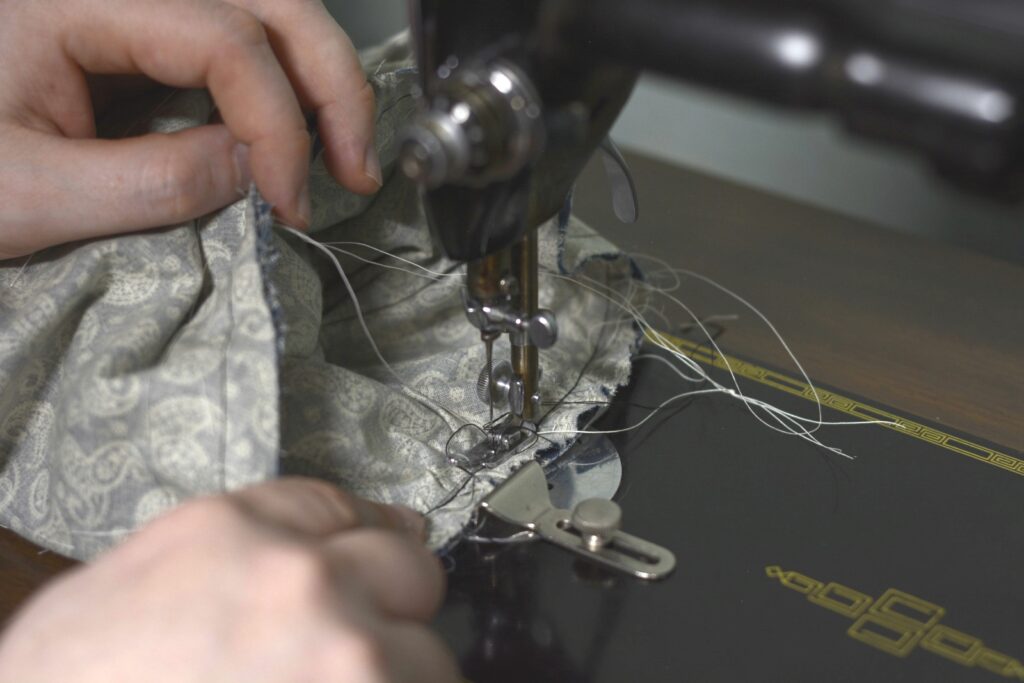
Now it’s a simple matter of sewing the seam by machine (if you wish), using a 1/2″ seam allowance. The basting stitches make this step simple with how they keep everything in place so nicely.
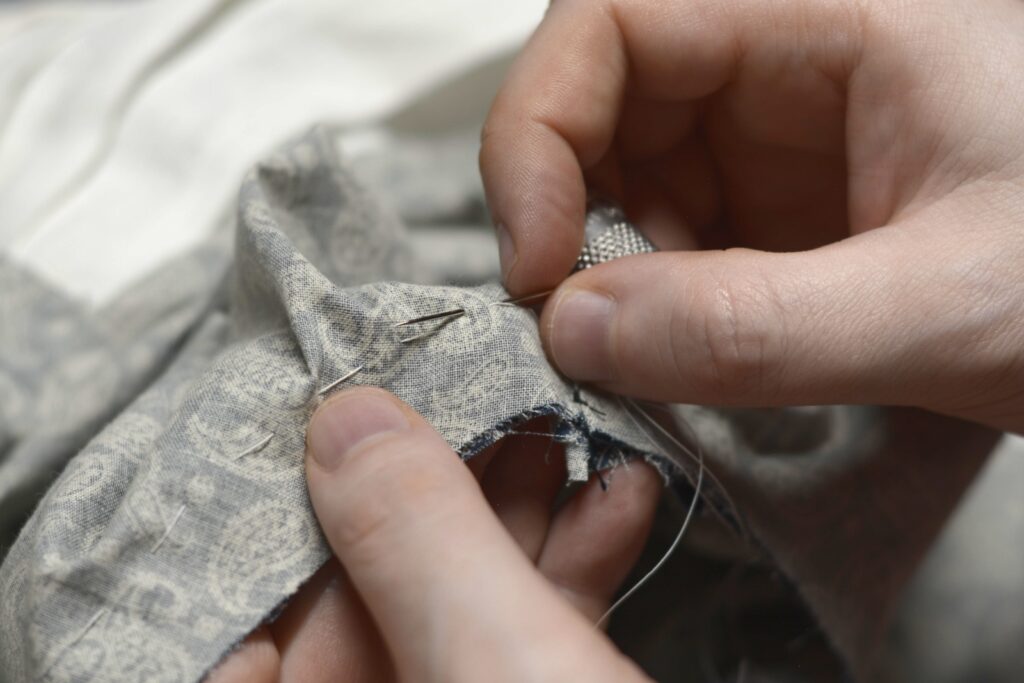
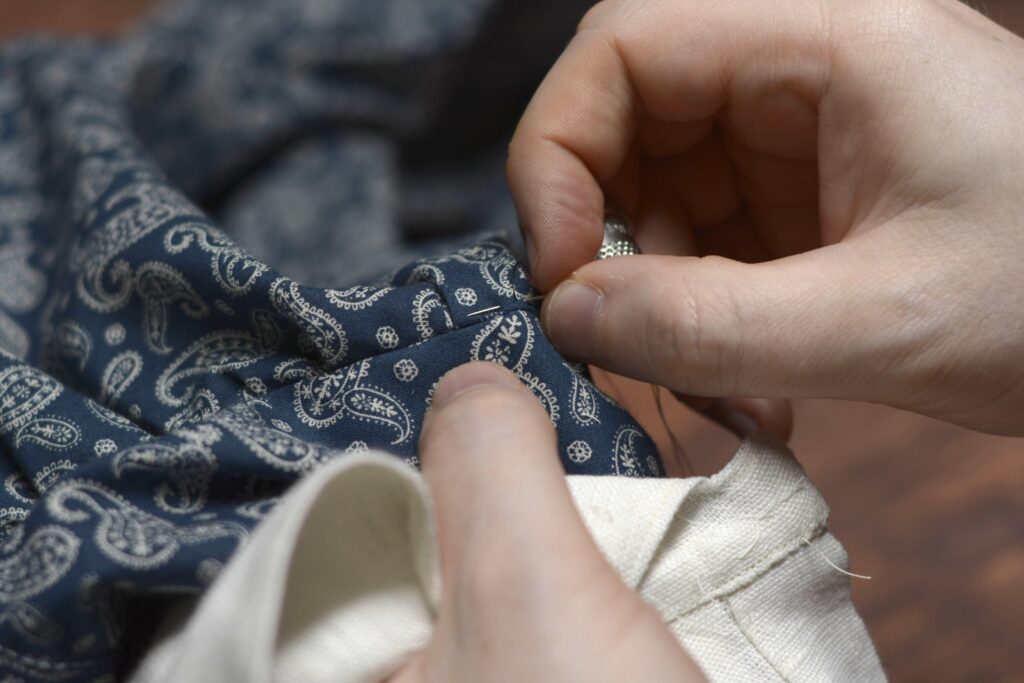
Alternatively, if you’d like really small pleats and full control over how they look, you could try back stitching the sleeve to the shirt by hand. I tried this method on one sleeve hoping to get much better results and smaller pleats, but unfortunately, it truly does take a lot of practice and patience, and I simply don’t work with these often enough.
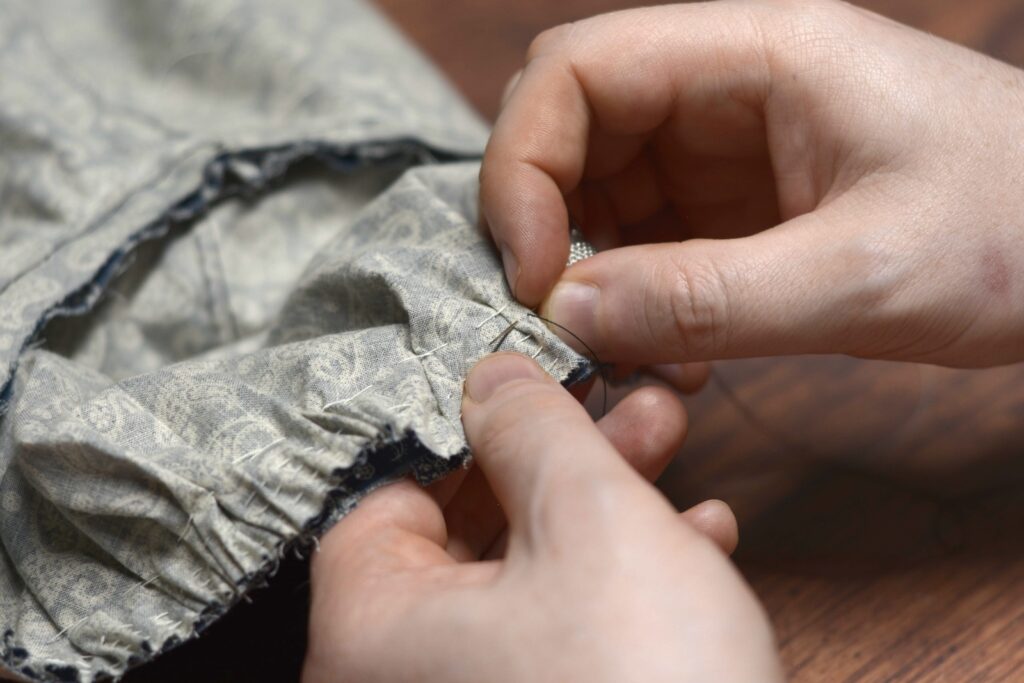
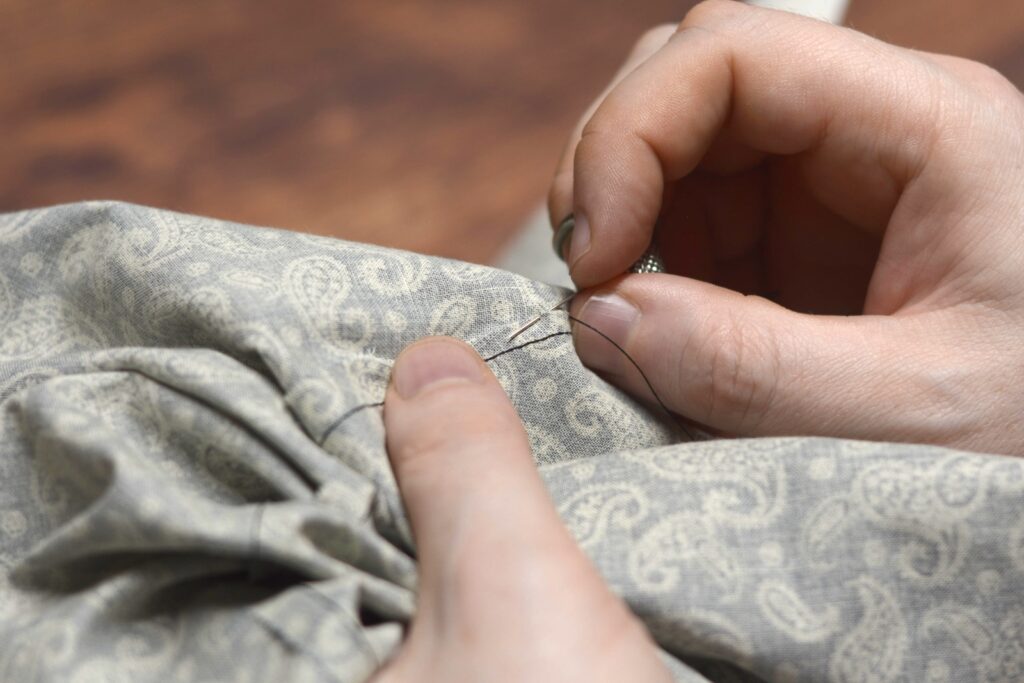
Ideally each stitch should hold one small pleat in place.
Here’s the back side of my stitching. The stitching should be fairly straight if possible.
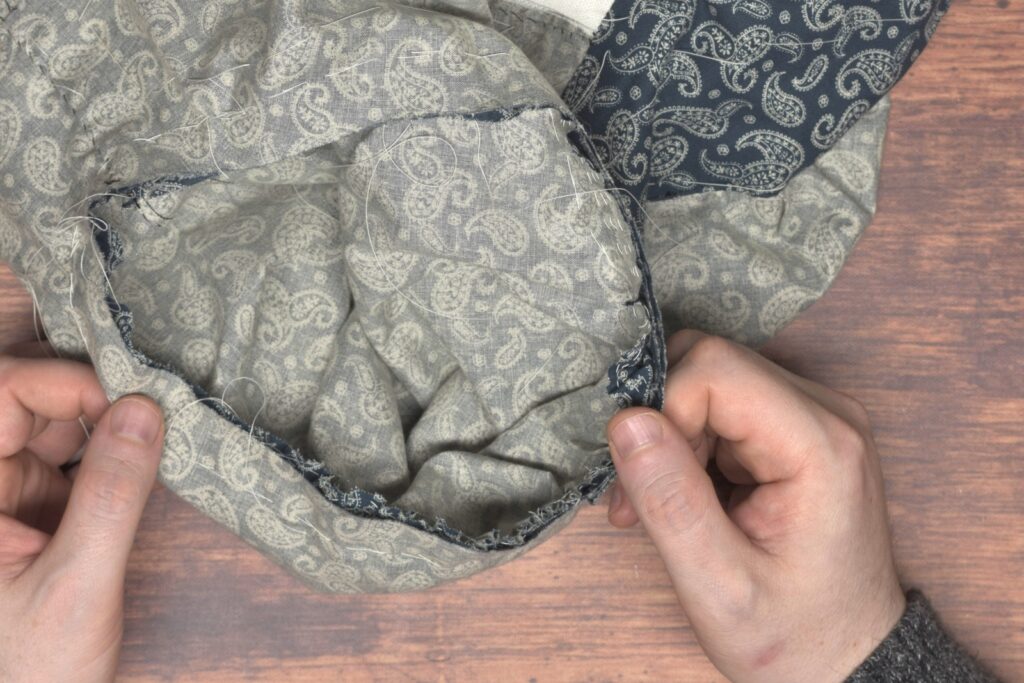
With the sleeve sewn, fold the seam allowance of both the shirt and sleeve into each other around the armscye. I did about an inch or so at a time.
It gets a little tricky in the areas with multiple layers but with a bit of fiddling you should be able to get it.

Fell the edges together around the entirety of the armscye.
And here’s the completed armscye seam from the inside of the shirt.
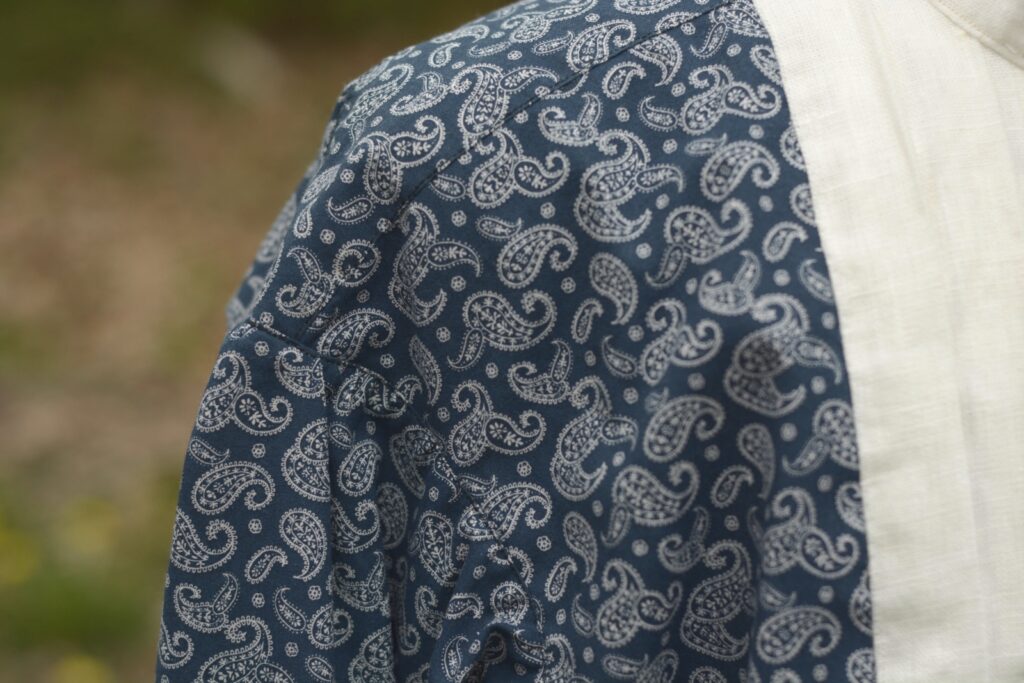
Finally, turn the shirt right side out. Top stitch the sleeve to the seam allowance underneath using a back stitch(the seam allowance should fold back naturally towards the sleeve). You can top stitch around the entirety of the sleeve, or just the gathered section.
Here’s what the top stitching will look like on the completed shirt. Try to keep the stitches a constant distance from the edge of the sleeve, about 1/16″.
Your Progress
[columns gutter=”0″]
[col]
1 | Pin the sleeve to the armscye. | |
2 | Baste the sleeve. | |
3 | Sew the sleeve to the armscye. | |
4 | Finish the raw armscye seam. | |
5 | Topstitch the sleeve. |
[/col]
[col align_text=”center, middle”]
[/col]
[/columns]
Sleeve Seam
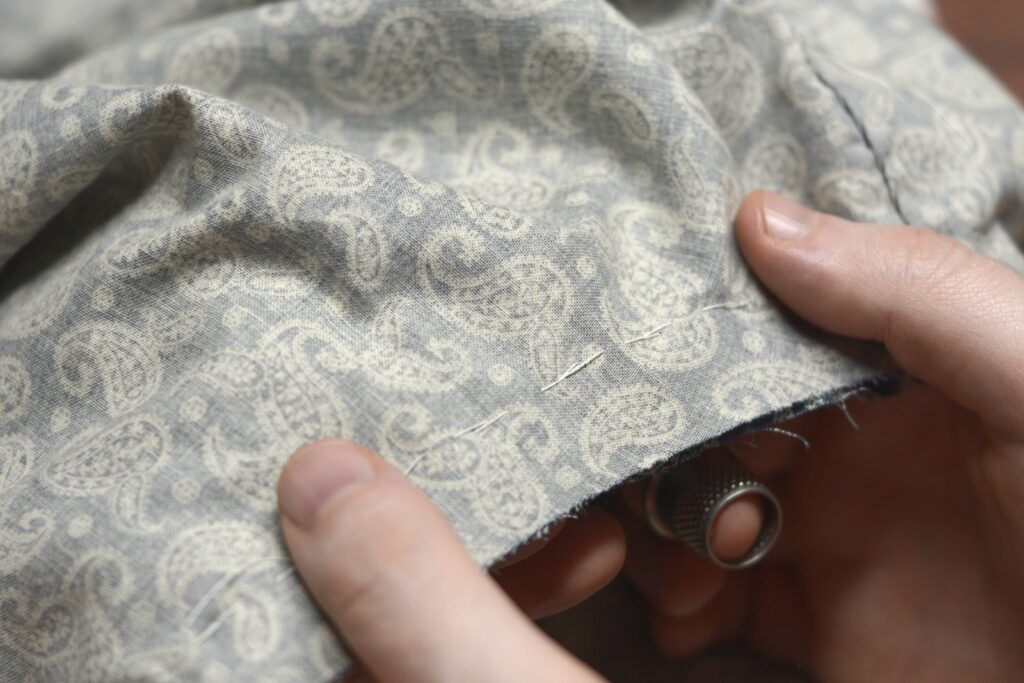
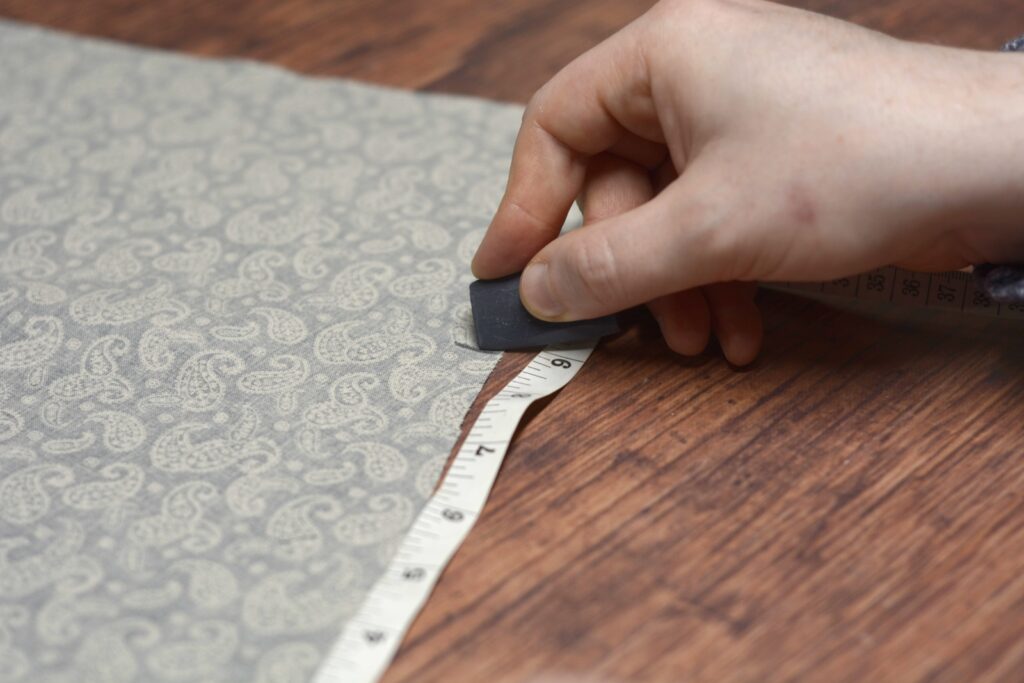
Before finishing up the sleeve seam, it’s helpful to take a couple of measurements to determine the amount of ease that needs to be gathered into the sleeve head. First, measure the circumference of the armscye. Mine was around 20″.
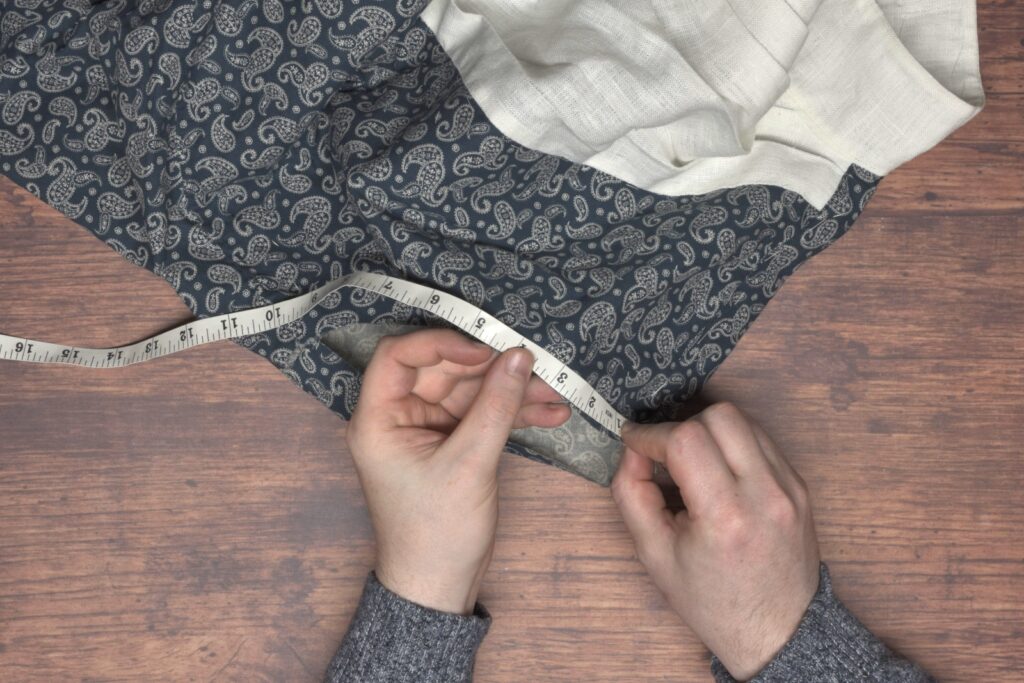
Then measure across the entire sleeve head from side seam to side seam. The photo here makes it seem as though I started from the center of the sleeve, unfortunately. Mine was 29″.
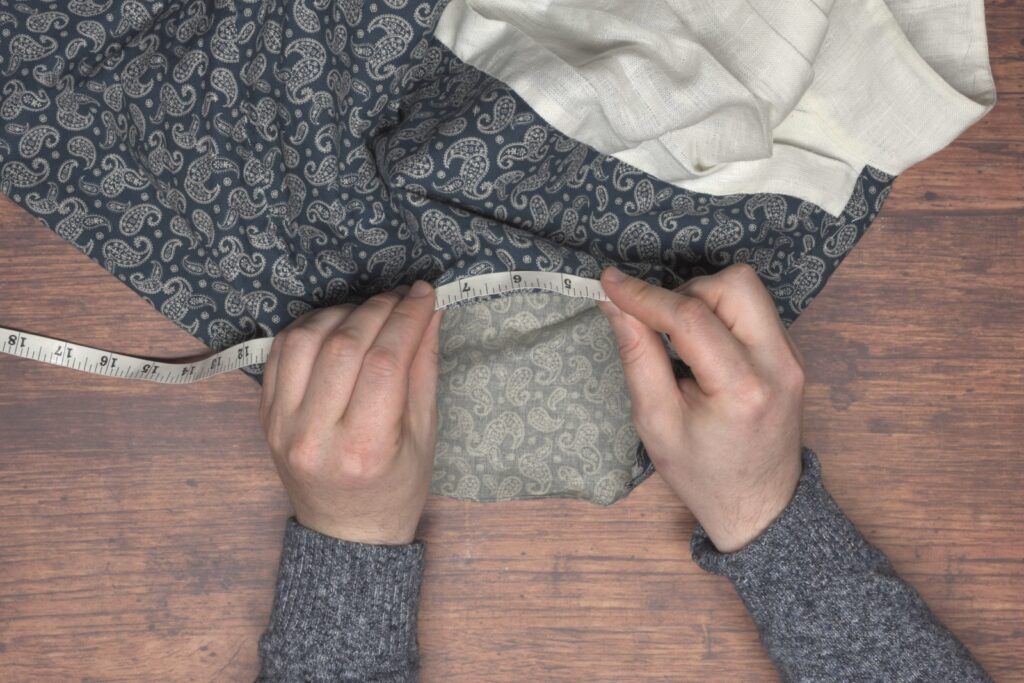
Now take the difference between the two measurements, 9″ in my case, and mark that distance away from the center of the sleeve on towards both edges, on the wrong side. 9″ is a lot of ease, normally I’d aim for more like 5″, but I wanted to stick with the measurements the draft gave me as an experiment.
The measurements do not have to be extremely accurate here, so don’t worry if you’re slightly off.
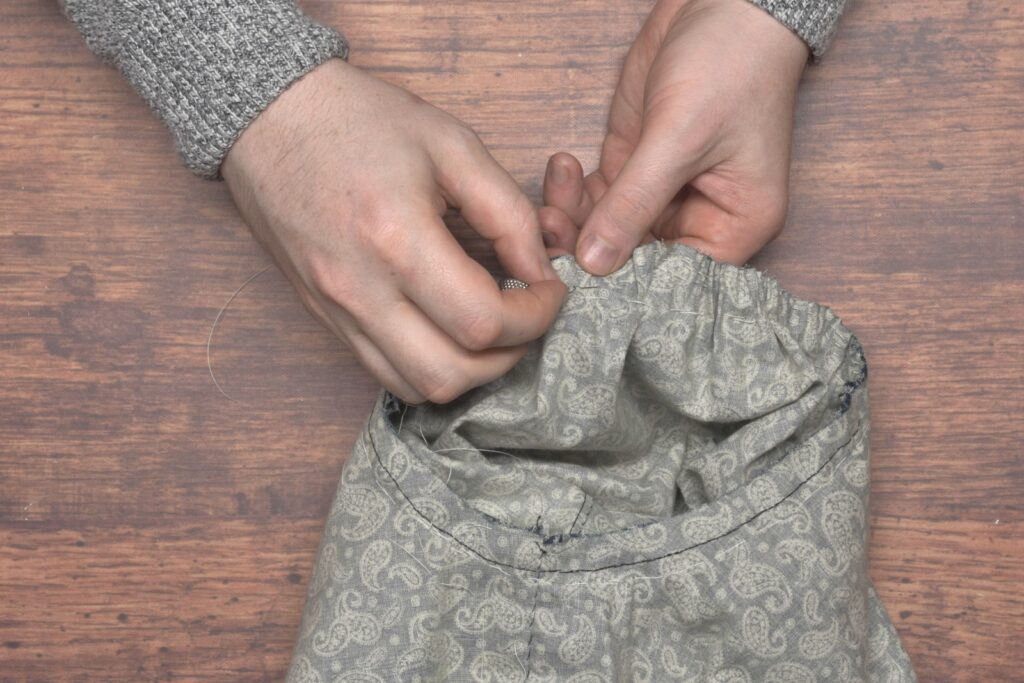
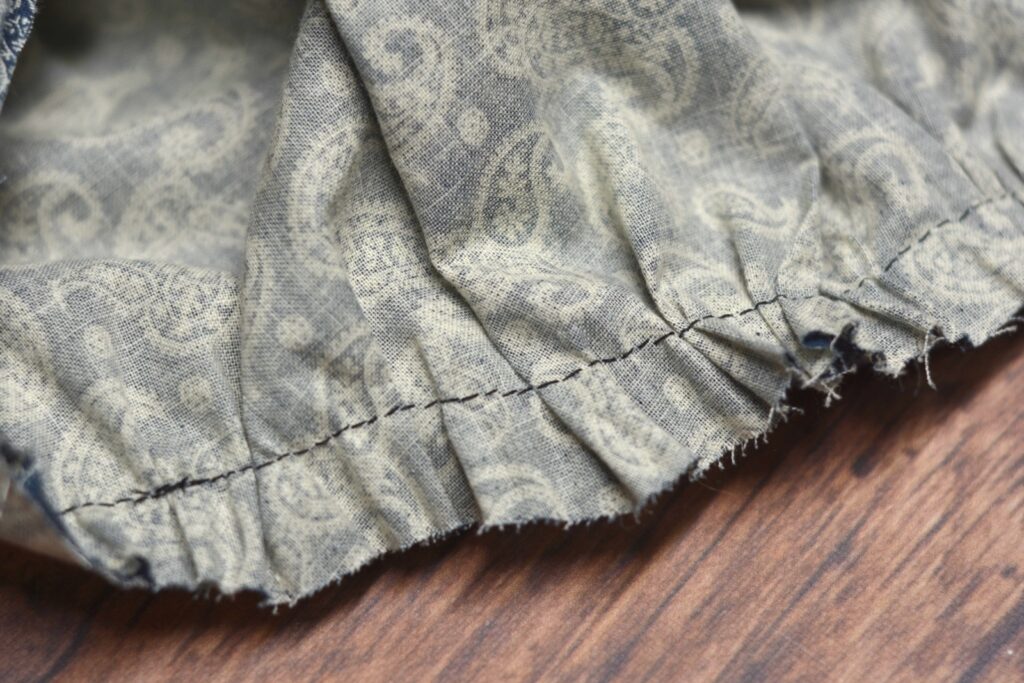
Now work three rows of gathering stitches in between the two marks.
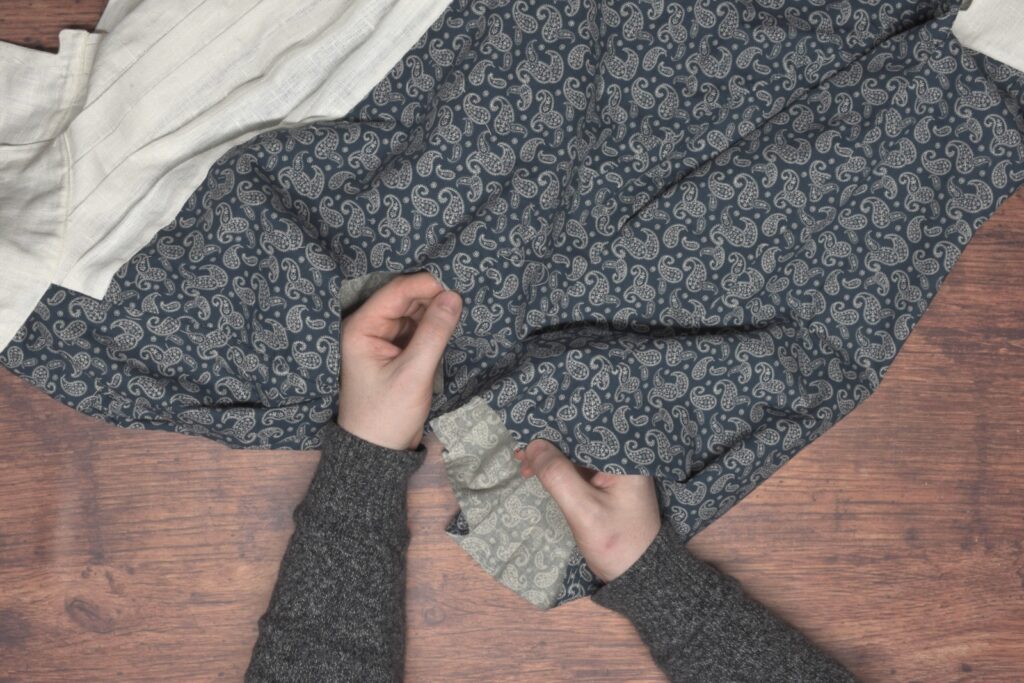
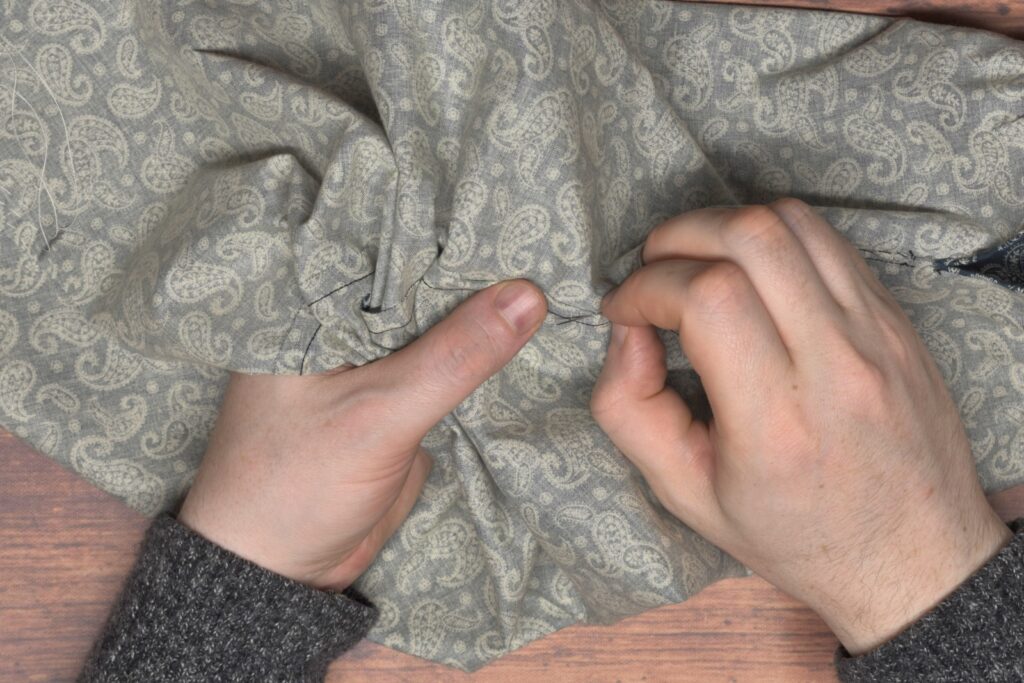
Now pin the sleeve seam together at both ends, then in between.
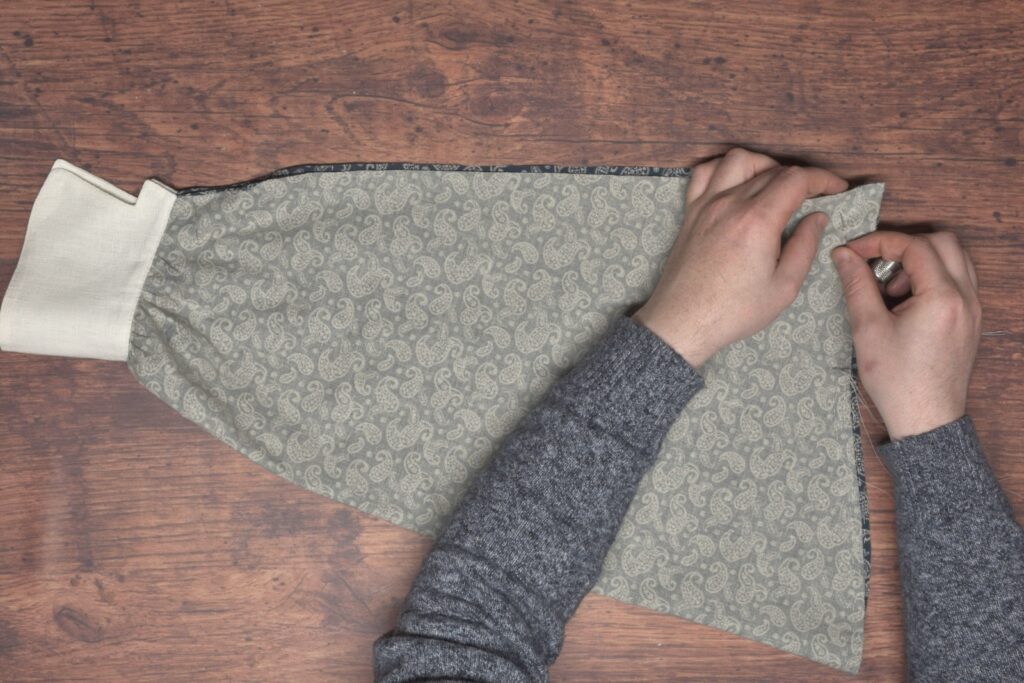
Be sure that the cuffs are properly aligned when pinning.
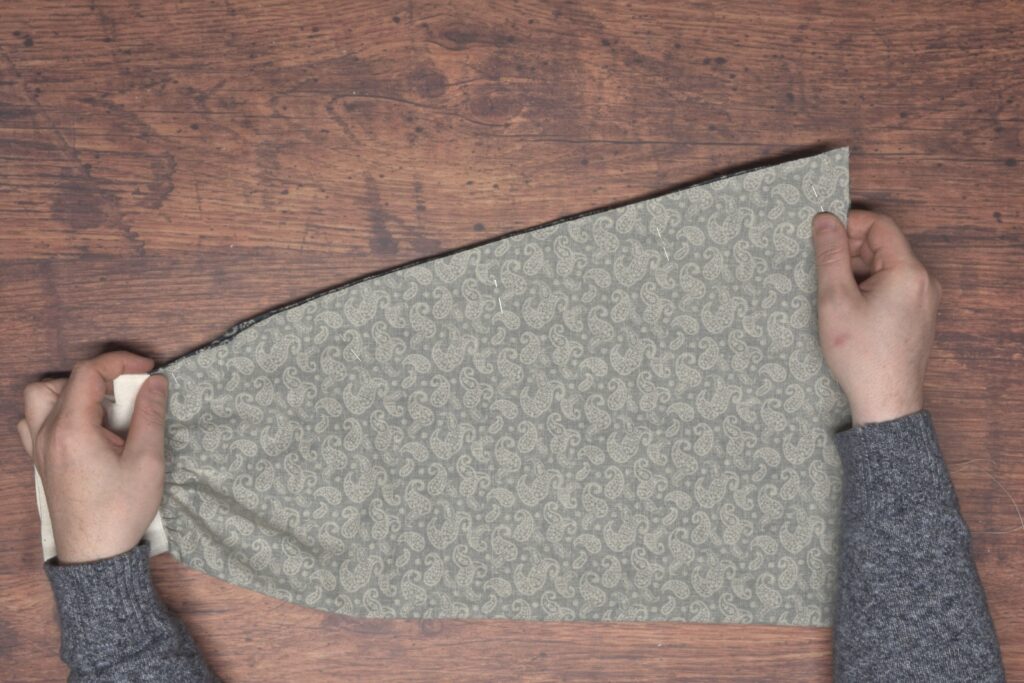
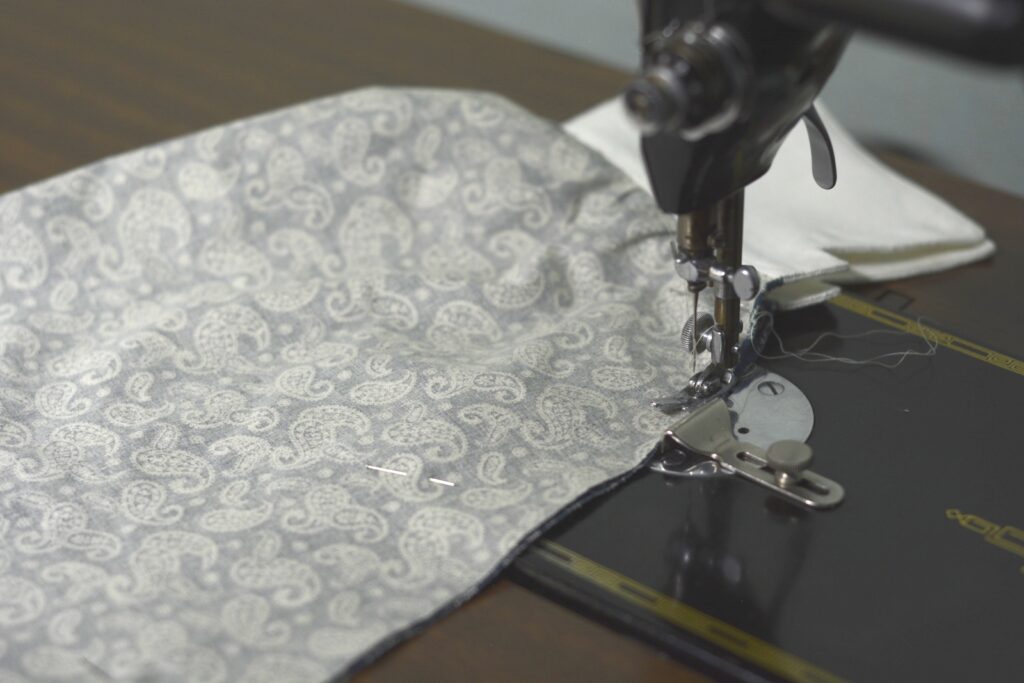
Now sew the side seam, either by machine or using a back stitch, beginning at the cuff end just where the rolled hem stops at the mark you made previously, to the top of the sleeve, using a 1/4″ [or 1/2″] seam allowance.
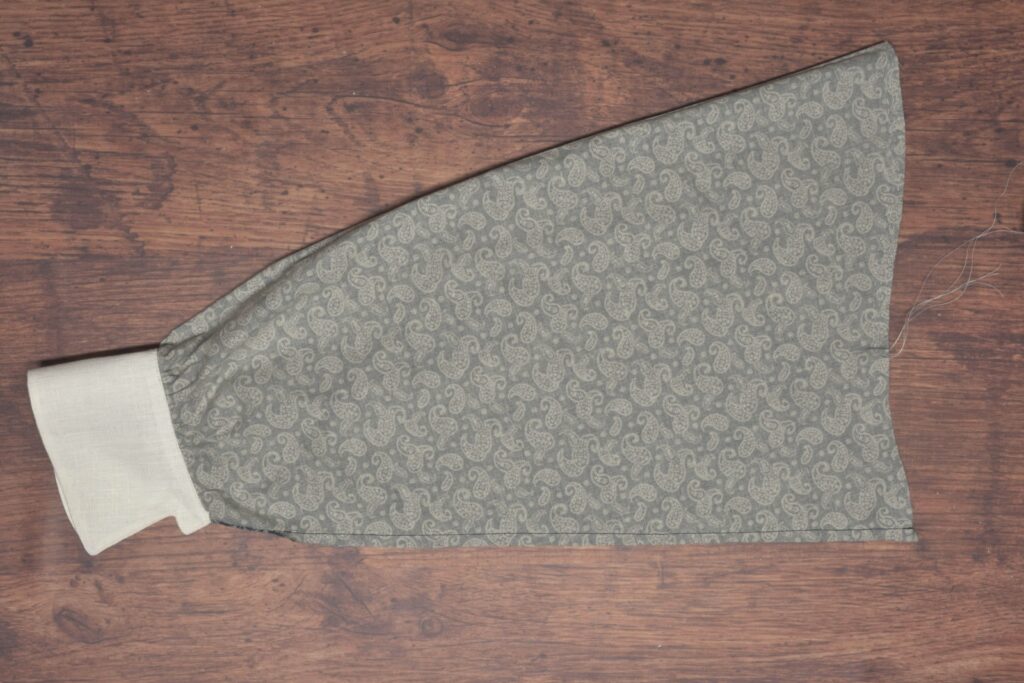
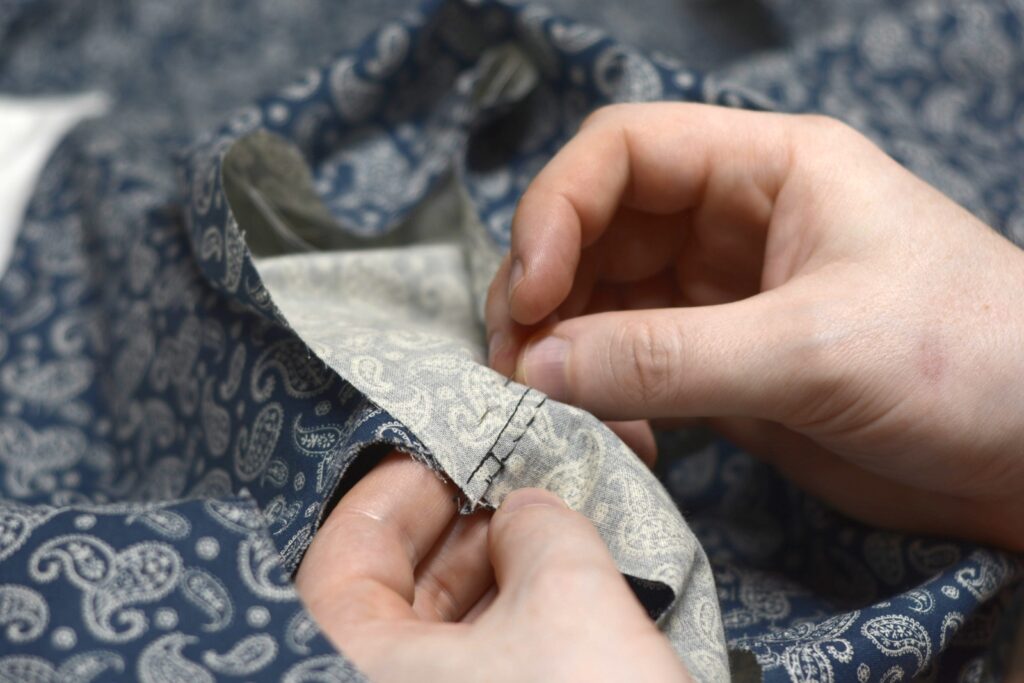
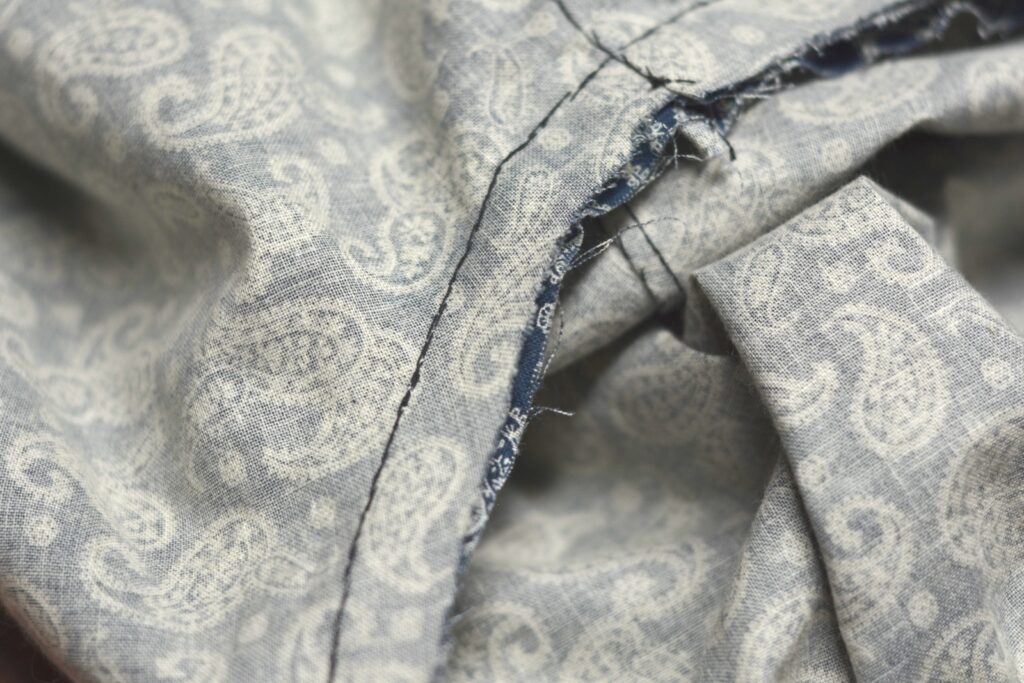
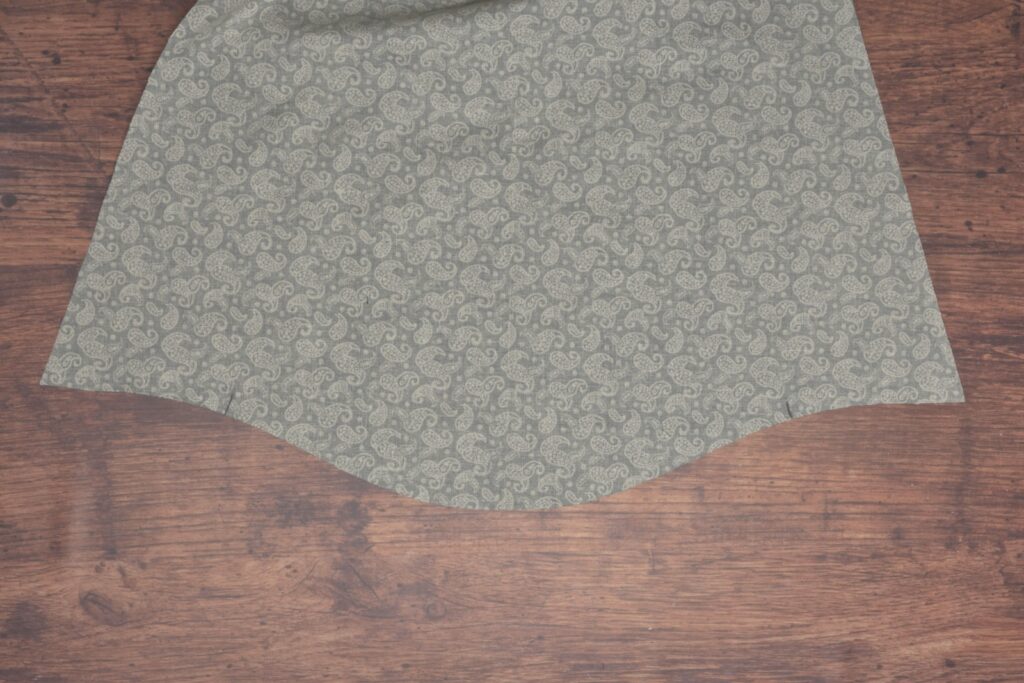
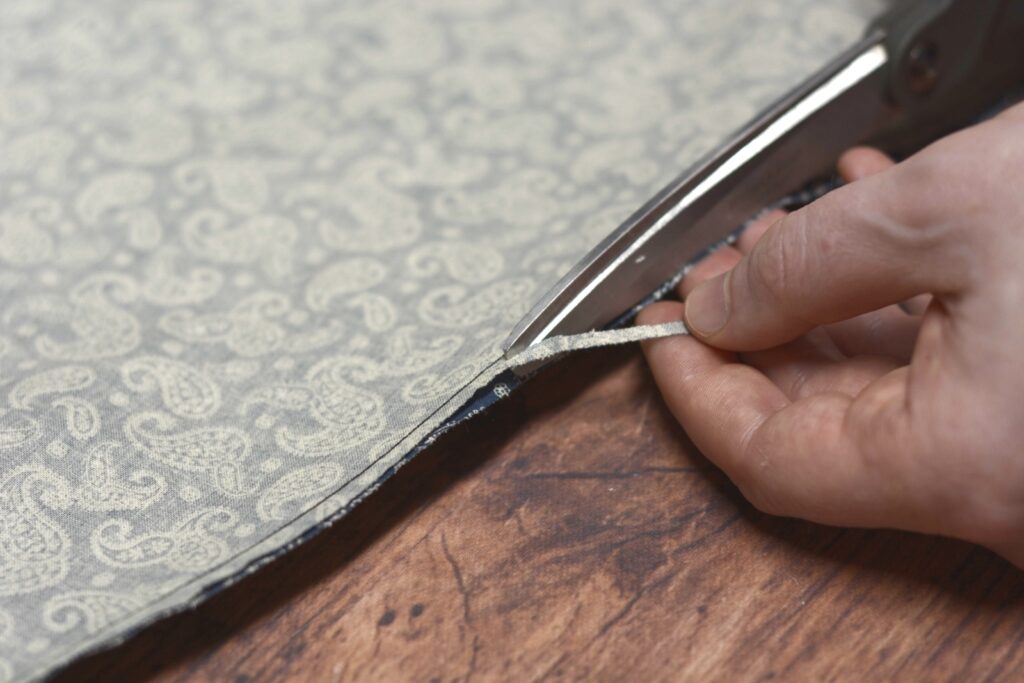
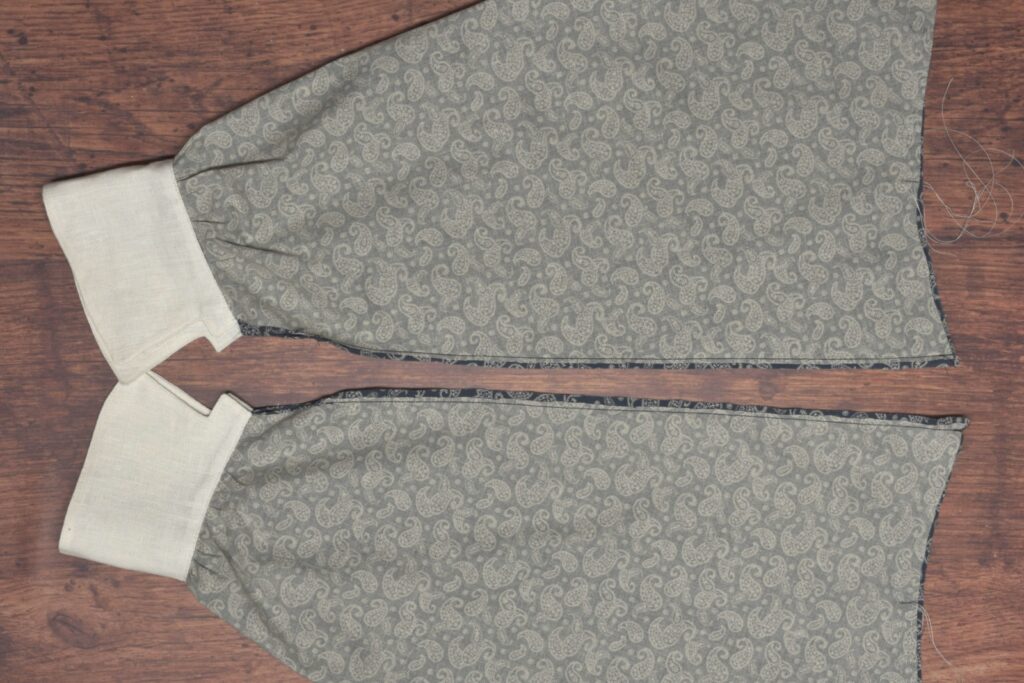
Up to this point the sleeves have both been identical, but it’s time to determine the left and right sides. Lay the sleeves so that they’re mirror images of each other, and trim the seam that is facing up down to 1/8″ [or 1/4″]. Repeat for the other sleeve, trimming the opposing seam.
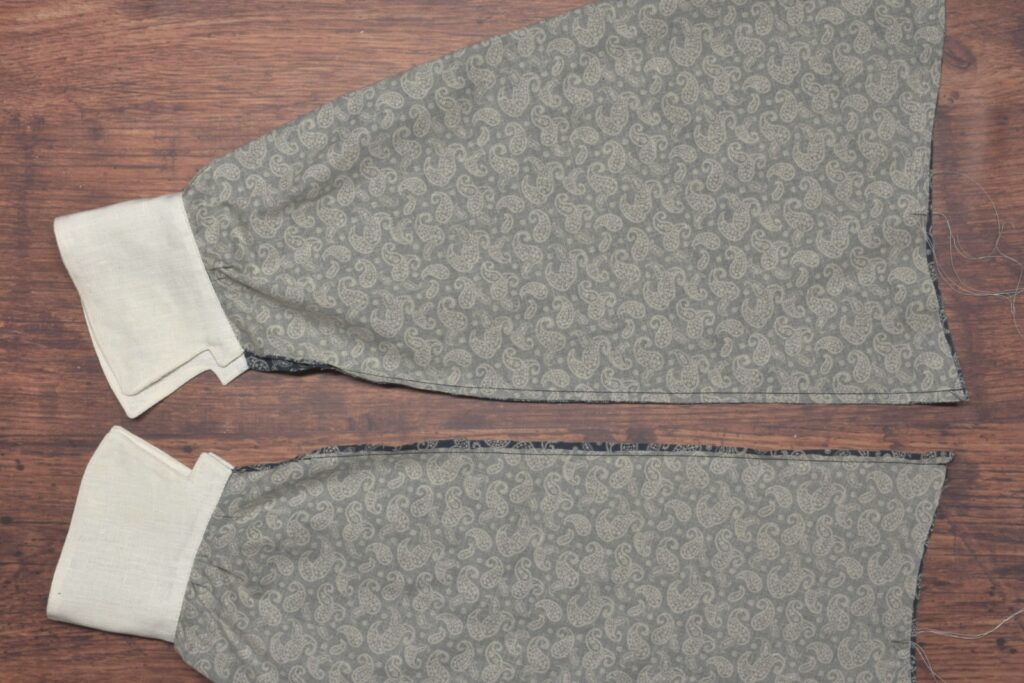
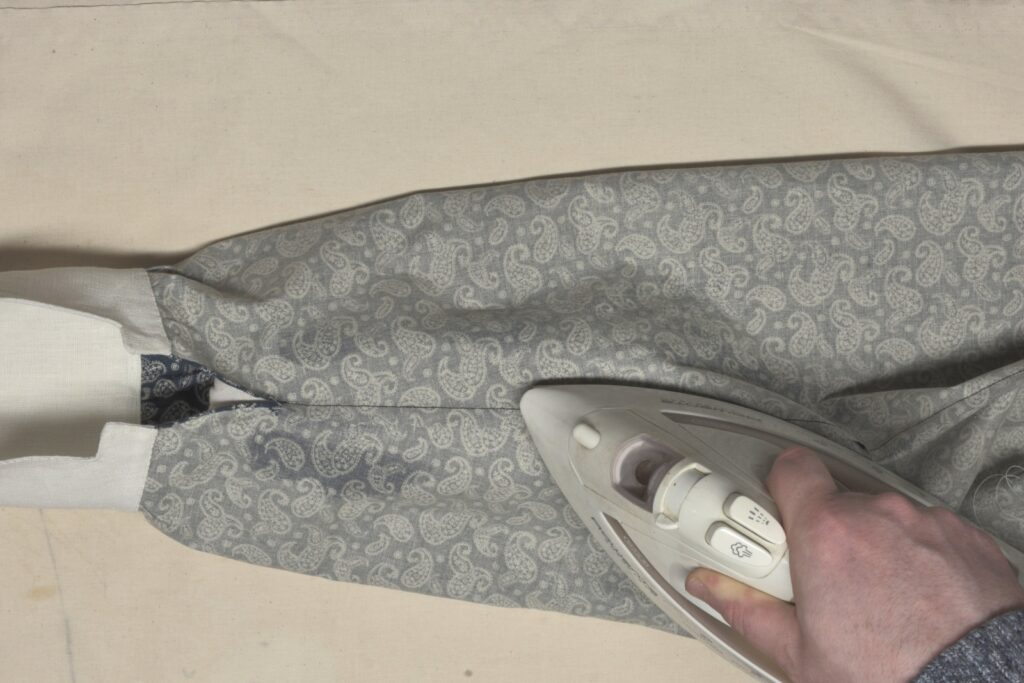
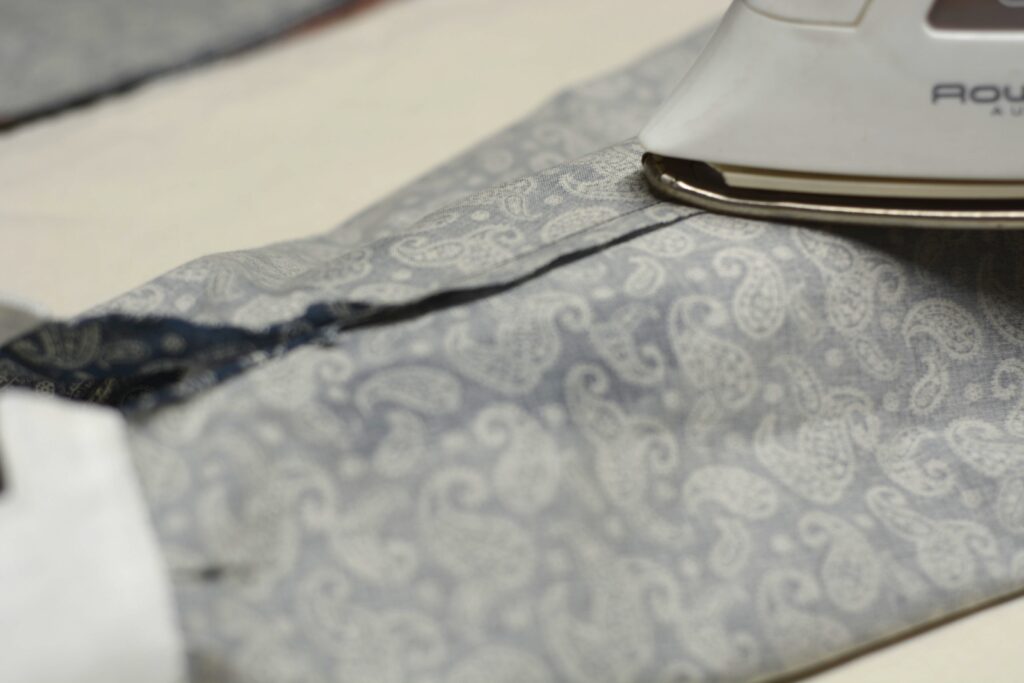
Press the seams over to one side, hiding the narrower seam in between.

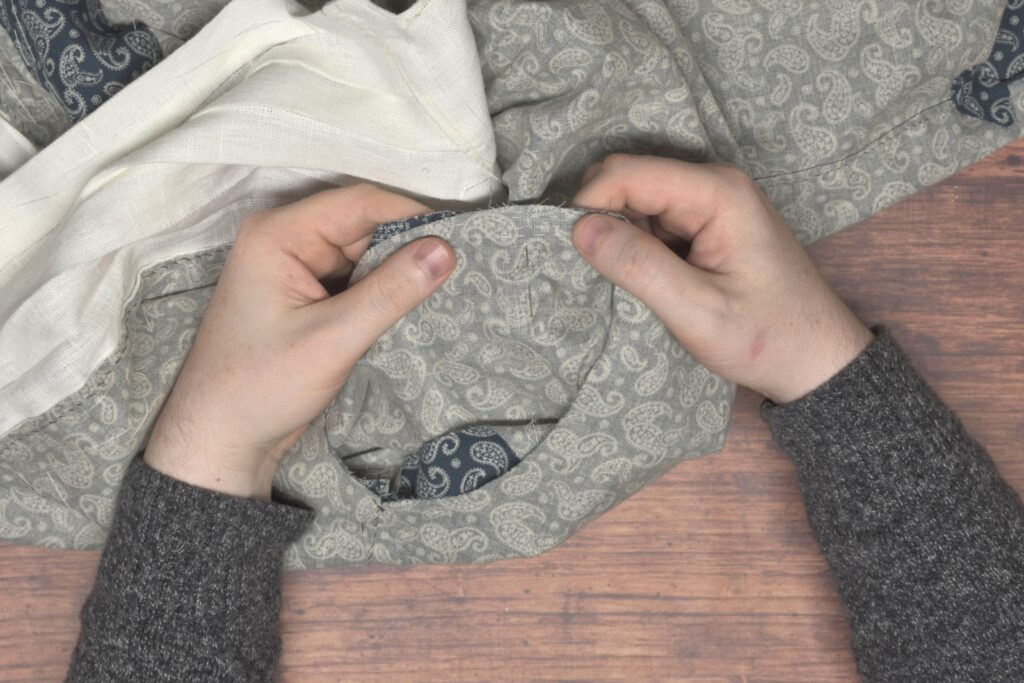
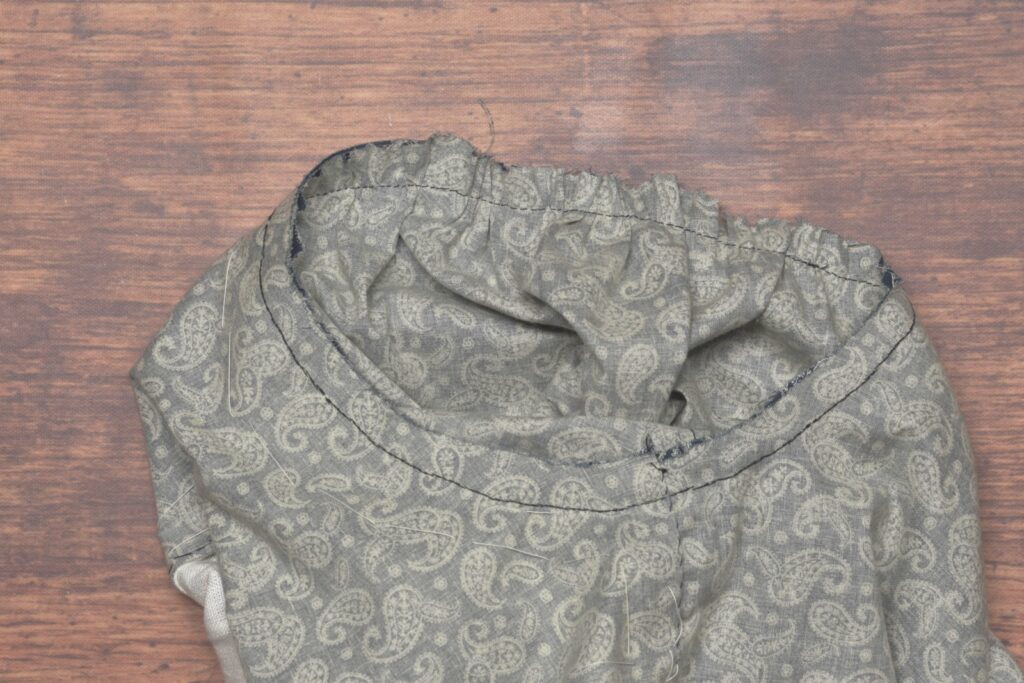
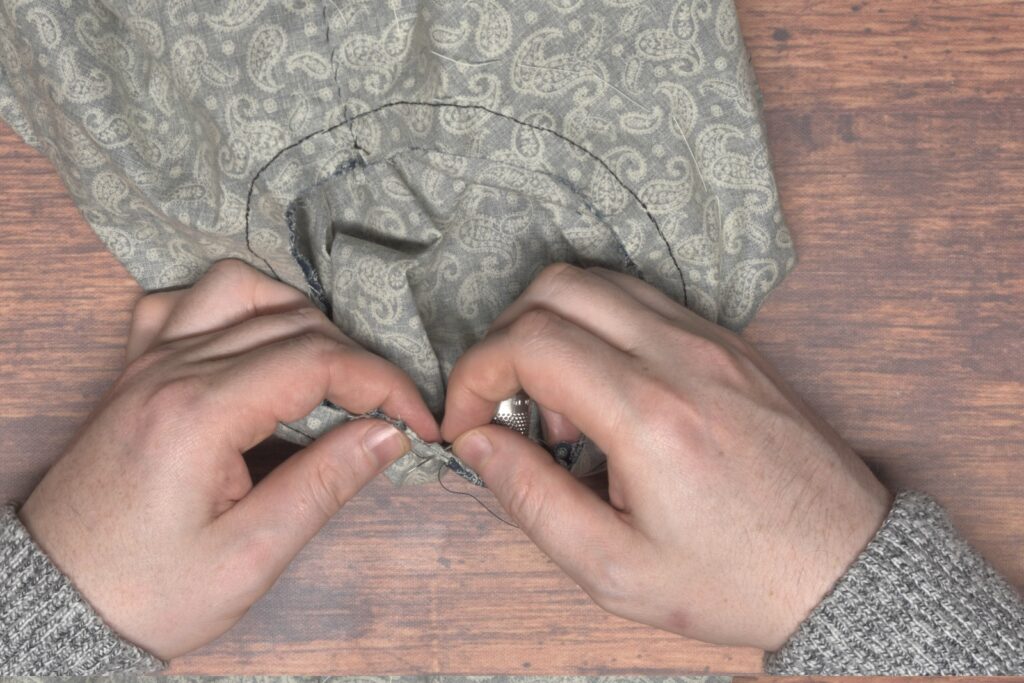
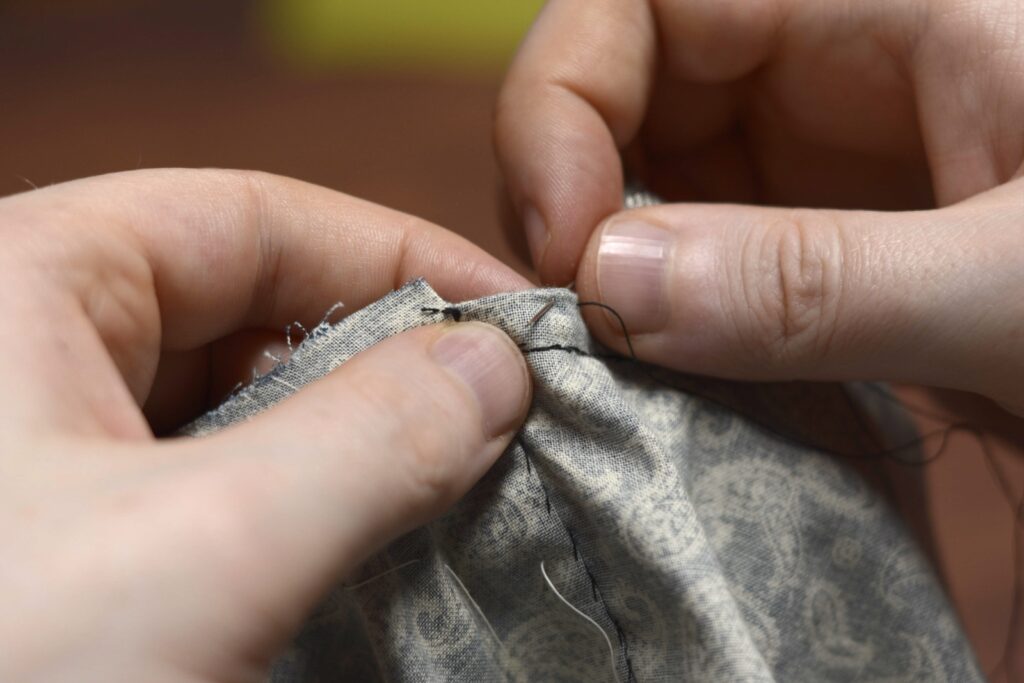
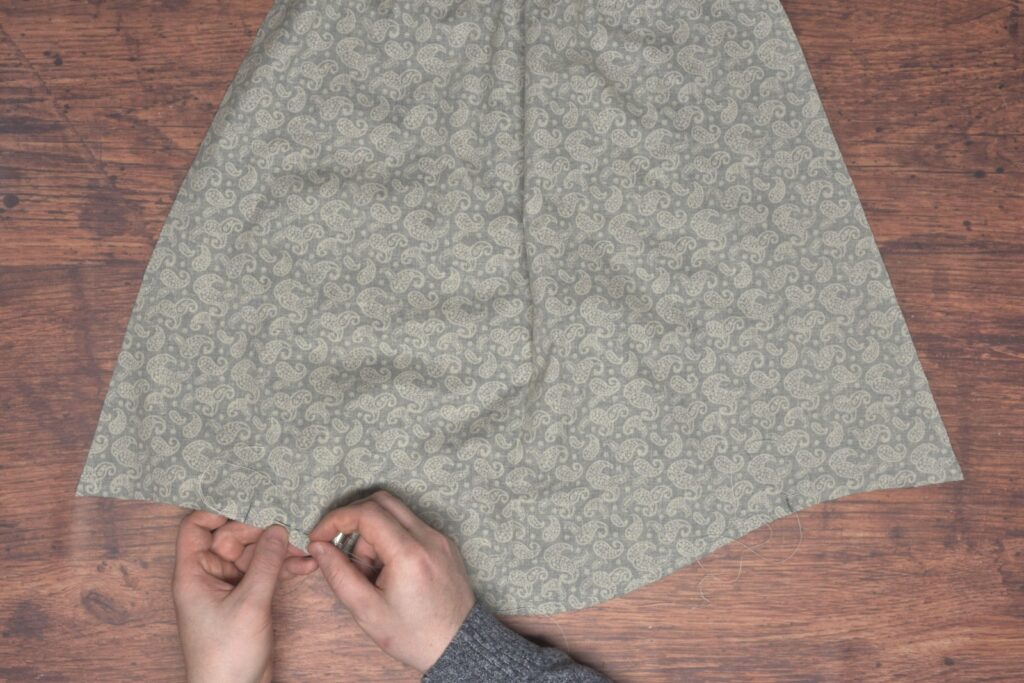
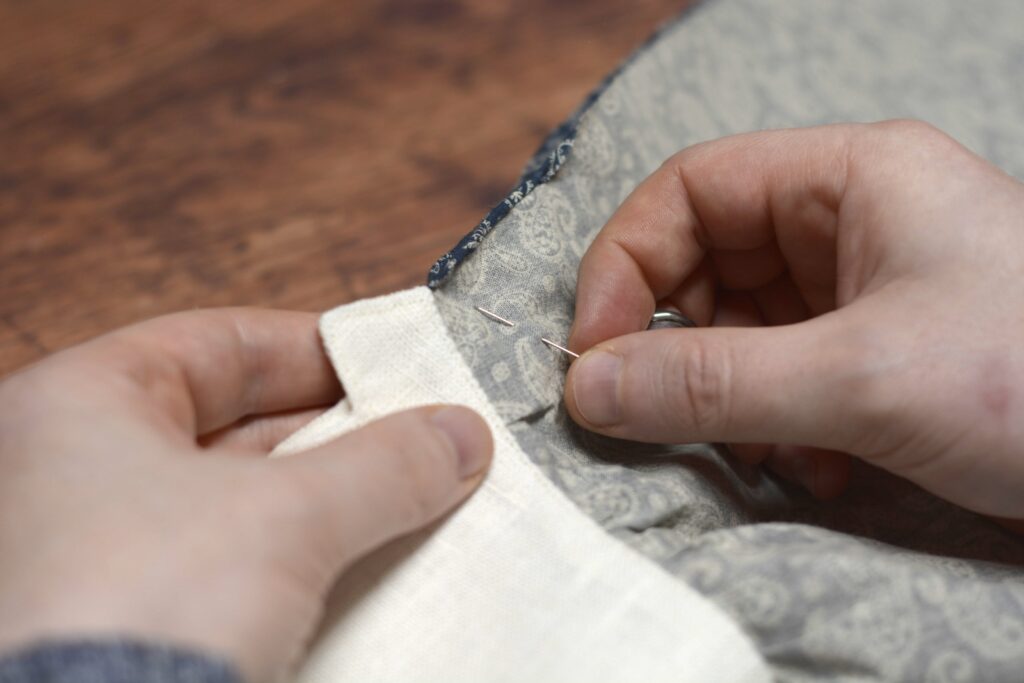
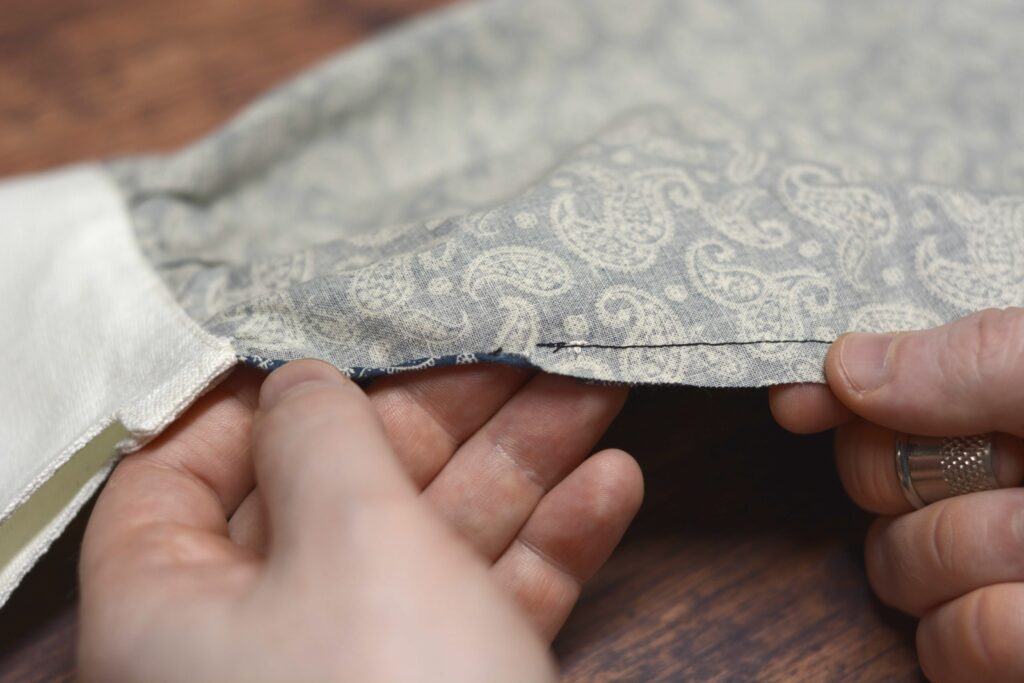
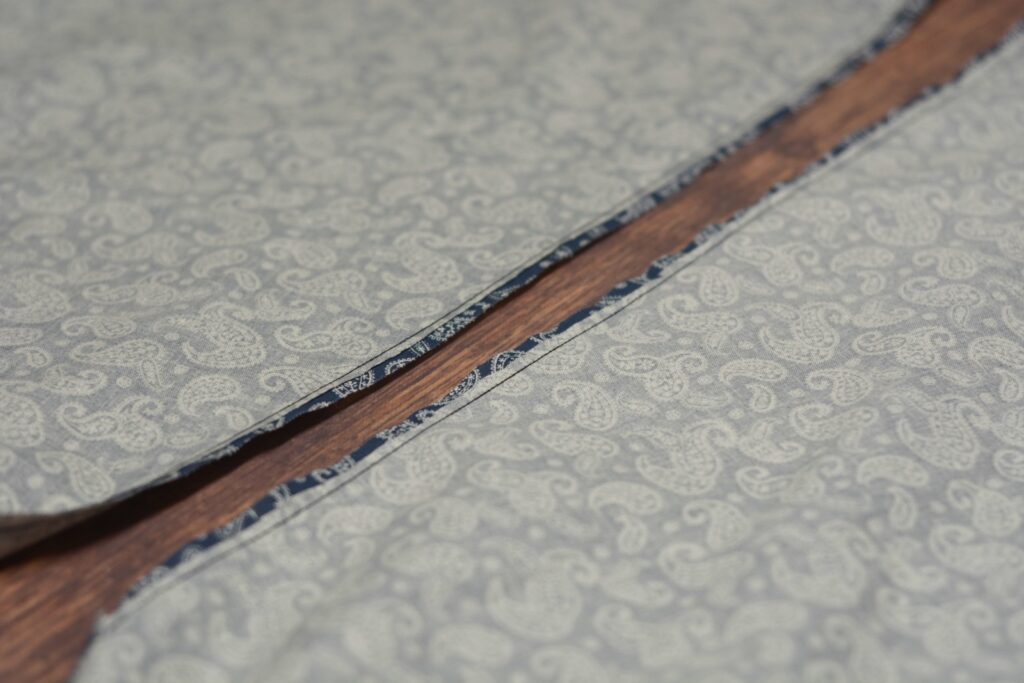
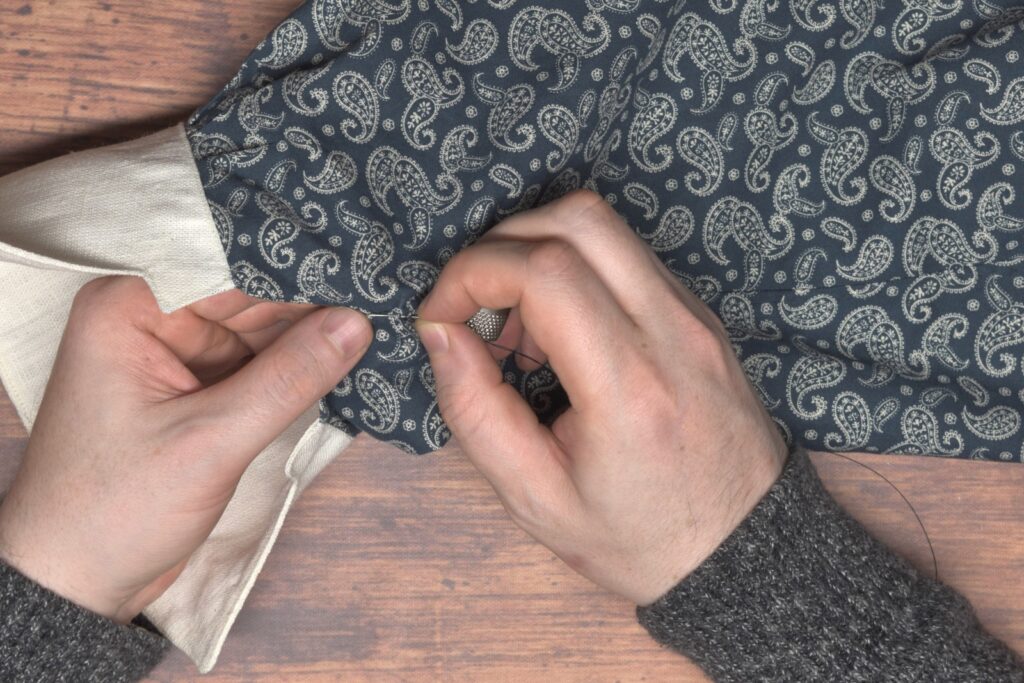
Now fold under the raw seam allowance. It’s kind of a hard seam to access so I end up bunching the seam into one hand as I work. At the start of the felling near the cuff opening, just ease the transition into the rolled hem as neatly as you can.
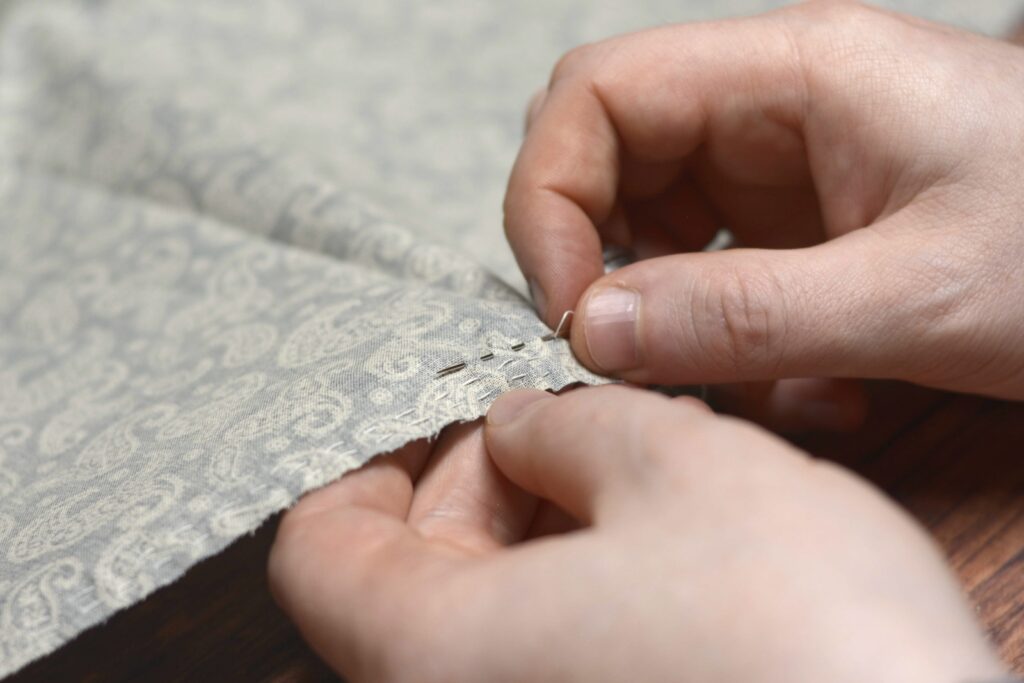
And fell the seam allowance closed.
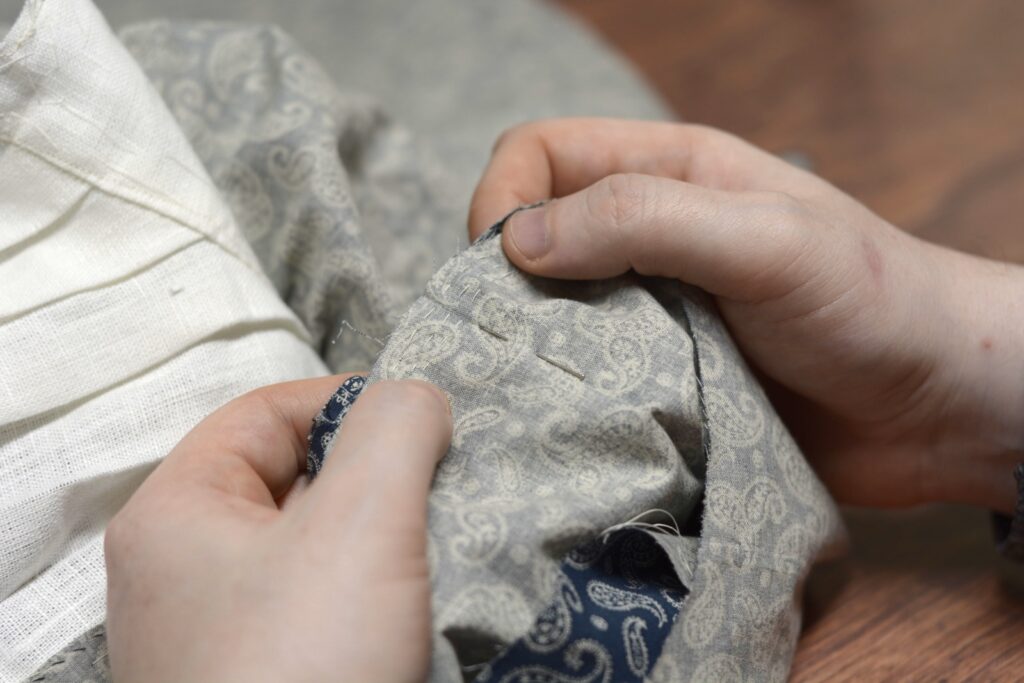
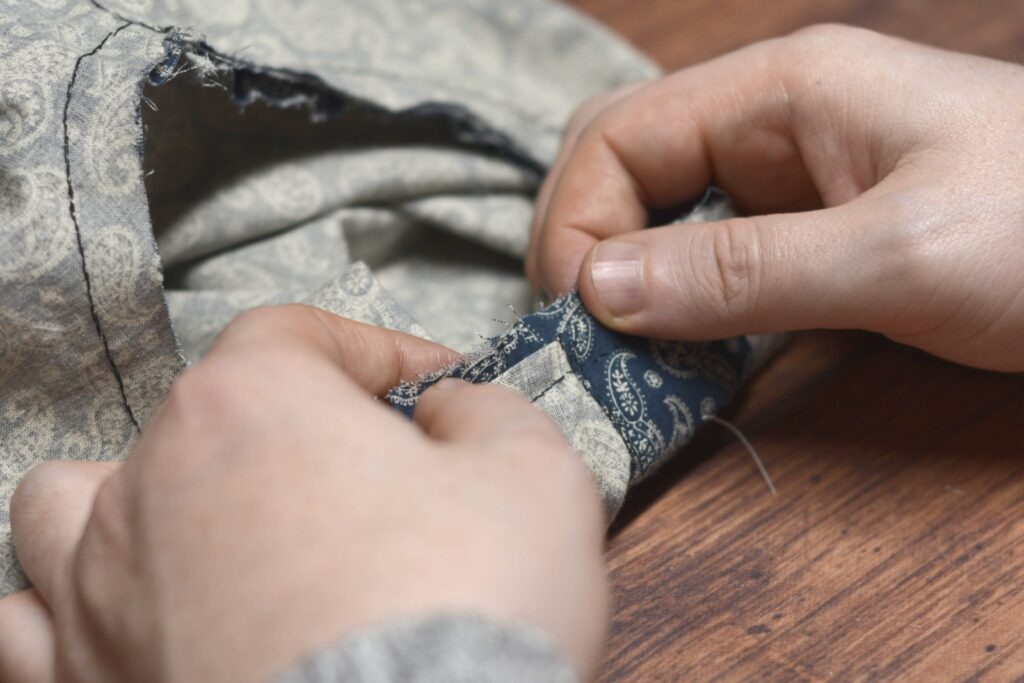
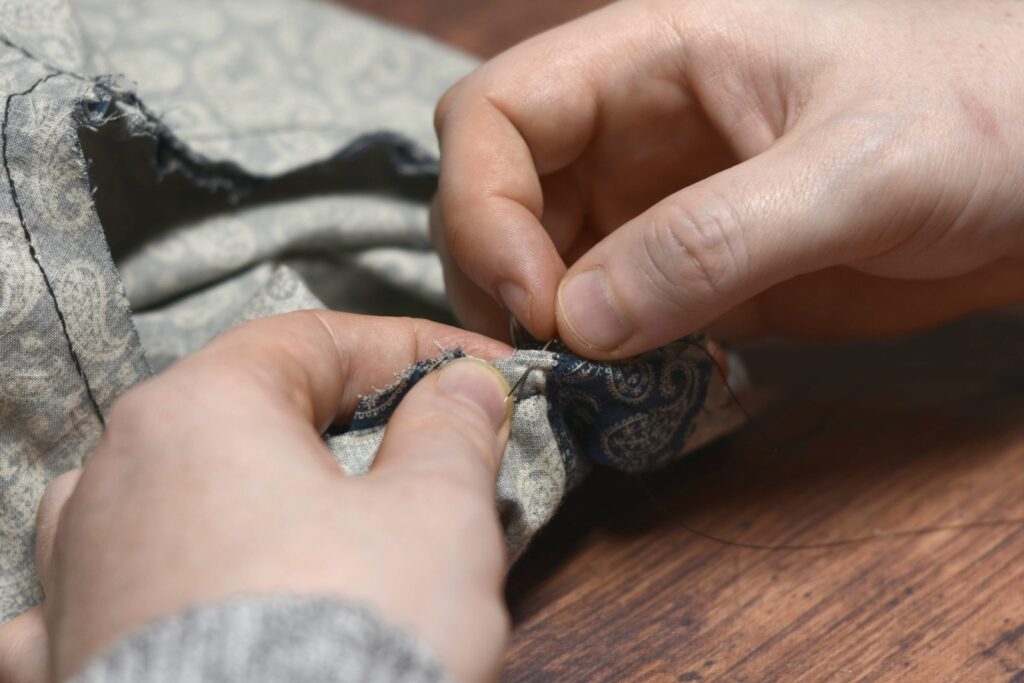
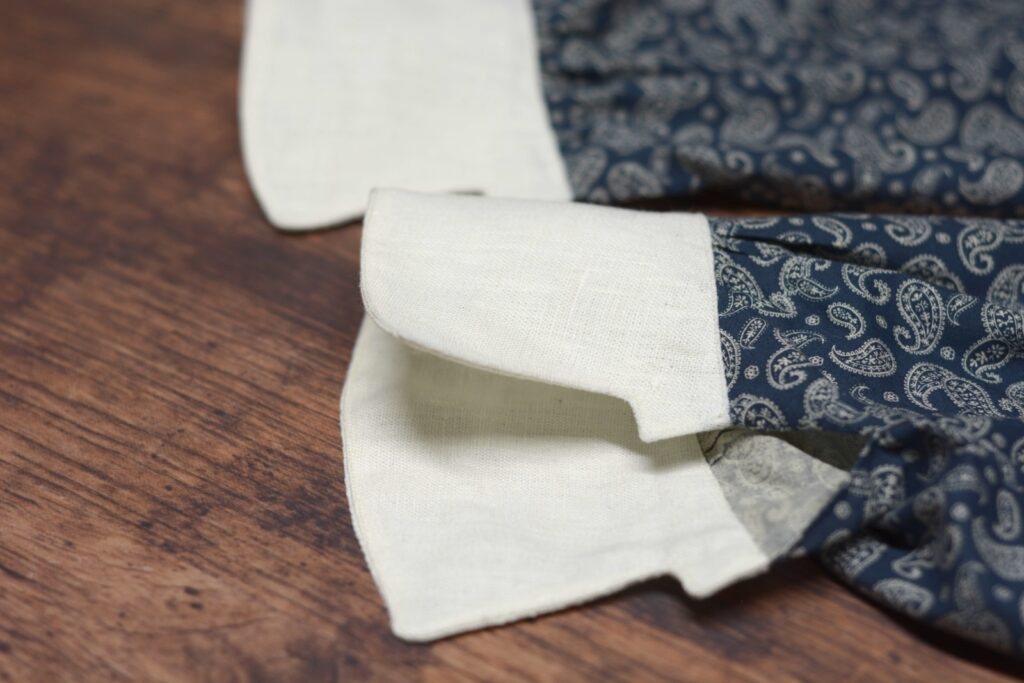
After the felling is complete, turn the sleeve right side out. At the cuff opening, you’ll find one side naturally wants to overlap the other. Overlap the rolled hem onto the other, and back stitch through all layers for about 1/2″ into the opening to secure the cuff opening.
As an alternative method, you could make a gusset as you did at the bottom of the side seam. I’d make it smaller though, maybe starting with a 1 1/2″ square piece of fabric.
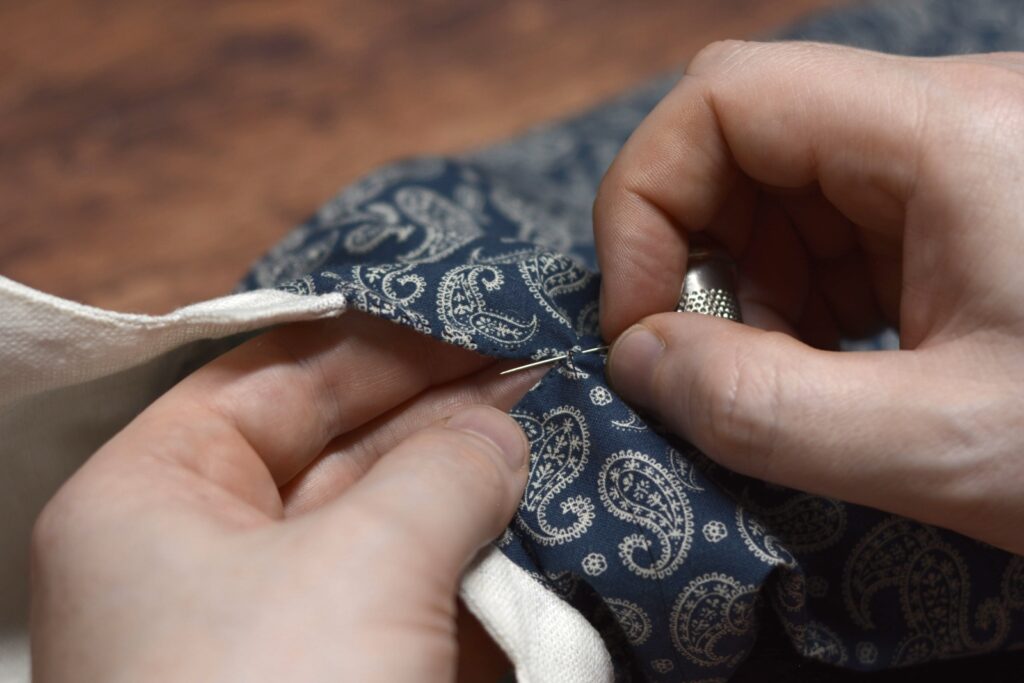
I then reversed my stitching and back stitched over my previous stitches to secure the seam even further.

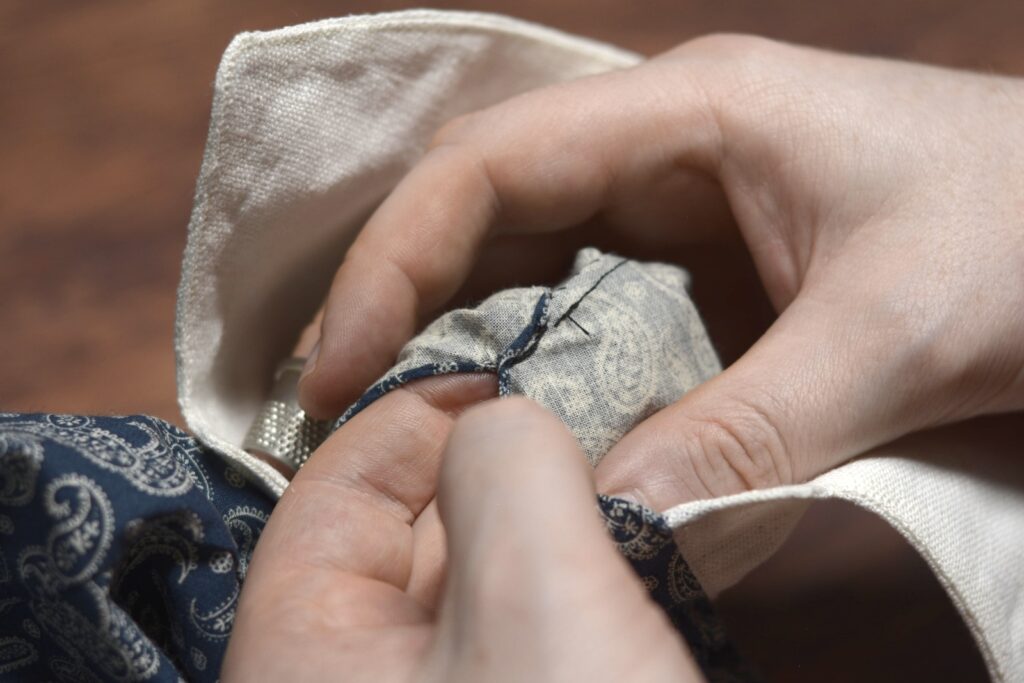
Repeat for the other sleeve, ensuring that you’re overlapping the seam in the opposite direction to get mirrored left and right sleeves.
Your Progress
[columns gutter=”0″]
[col]
1 | Fell the sleeve seam. | |
2 | Secure the cuff opening. |
[/col]
[col align_text=”center, middle”]
[/col]
[/columns]