Month: April 2021
The Cuffs – Part II
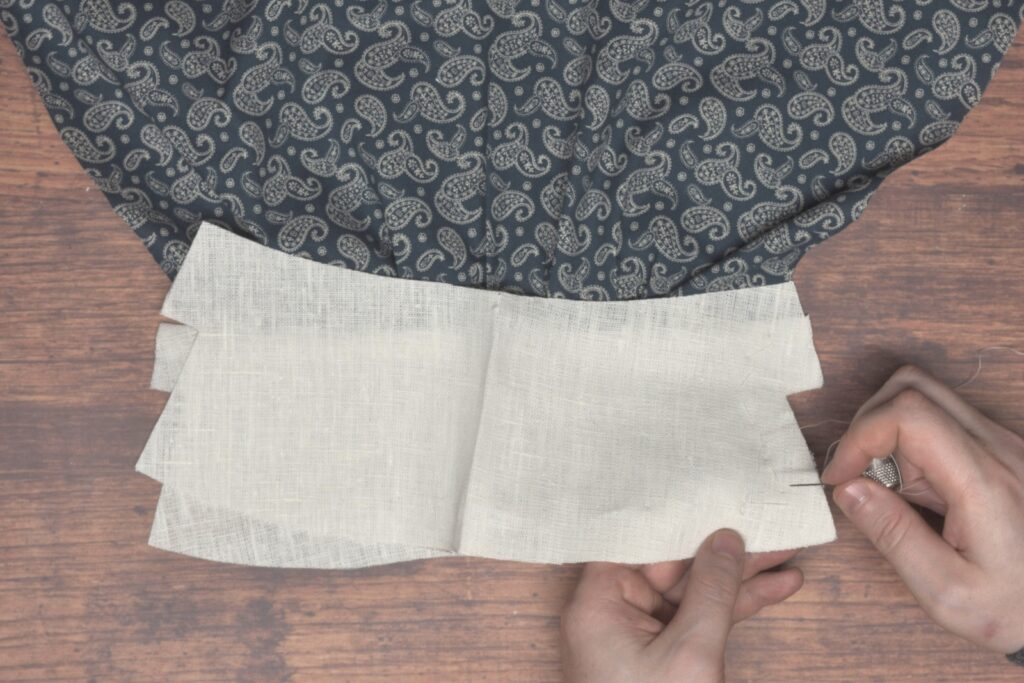
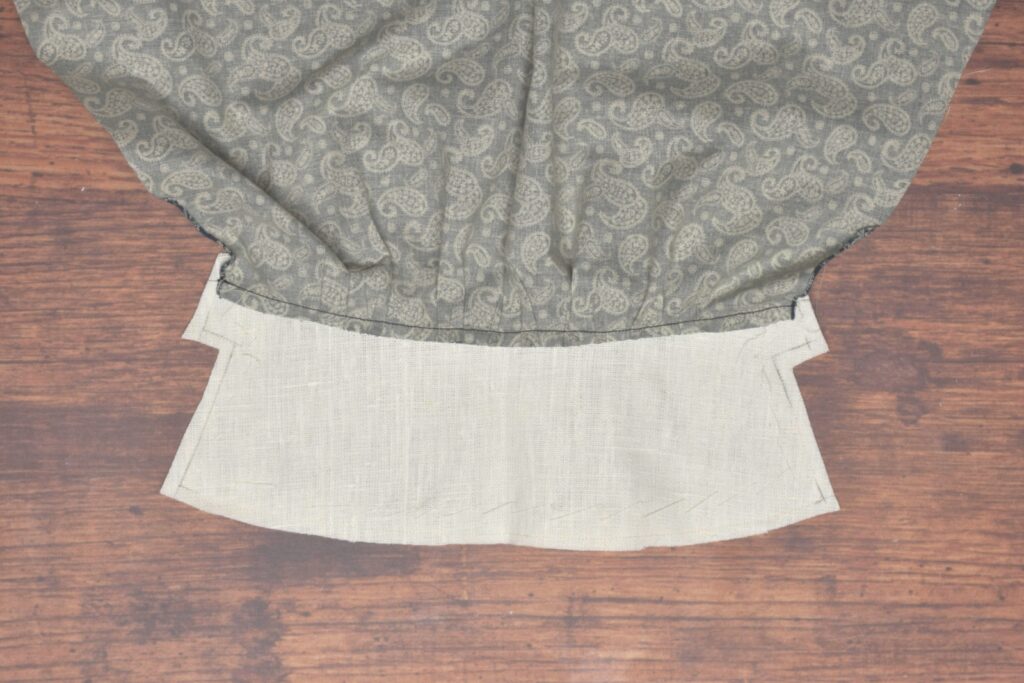
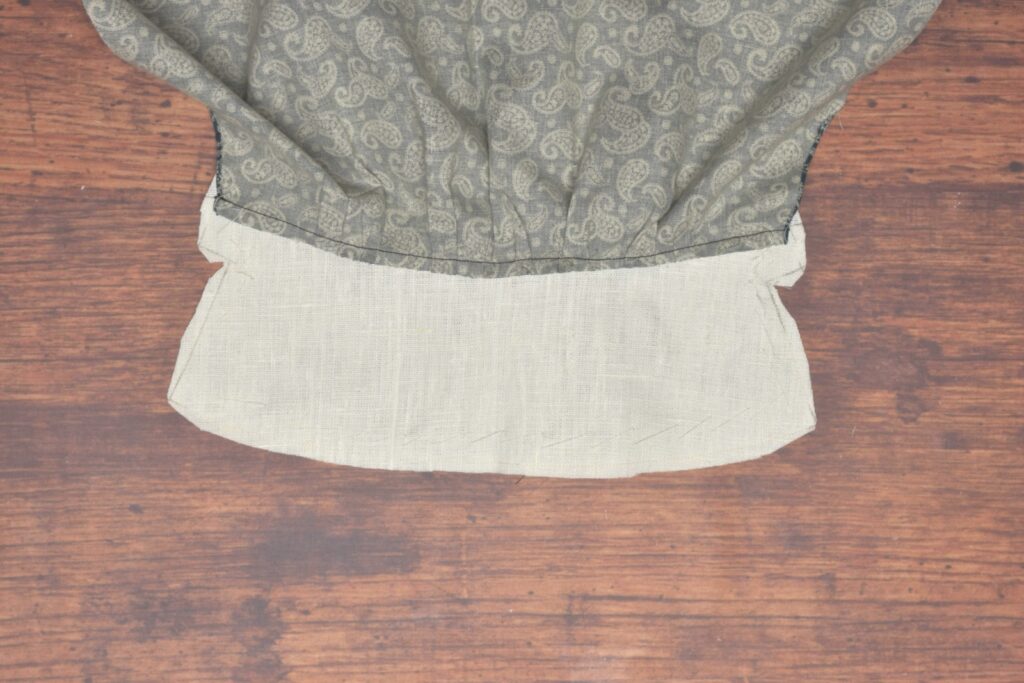
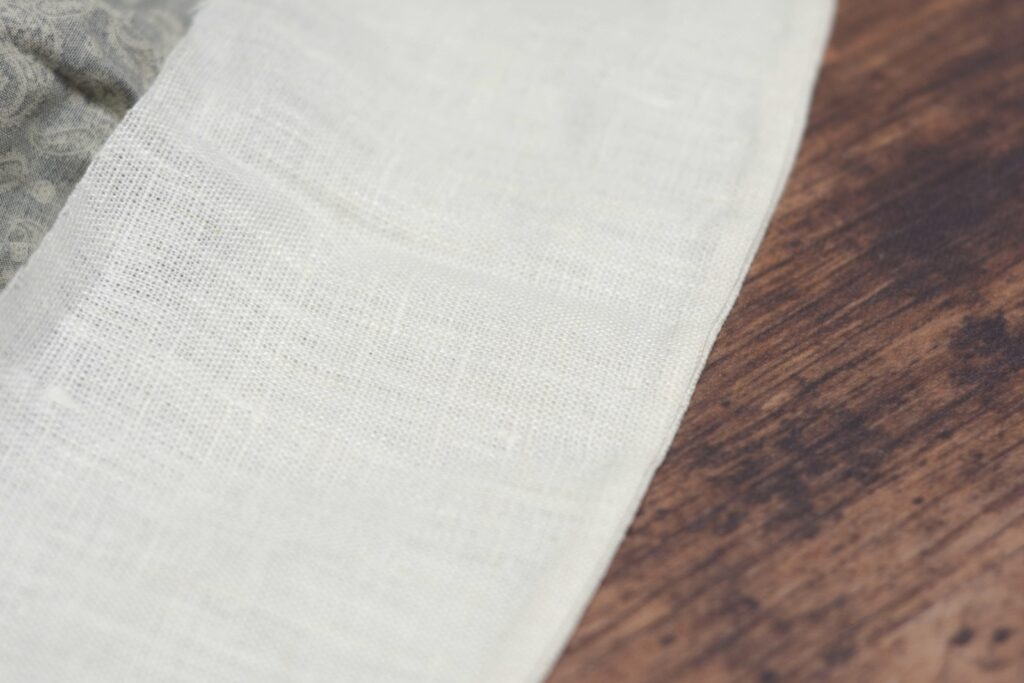
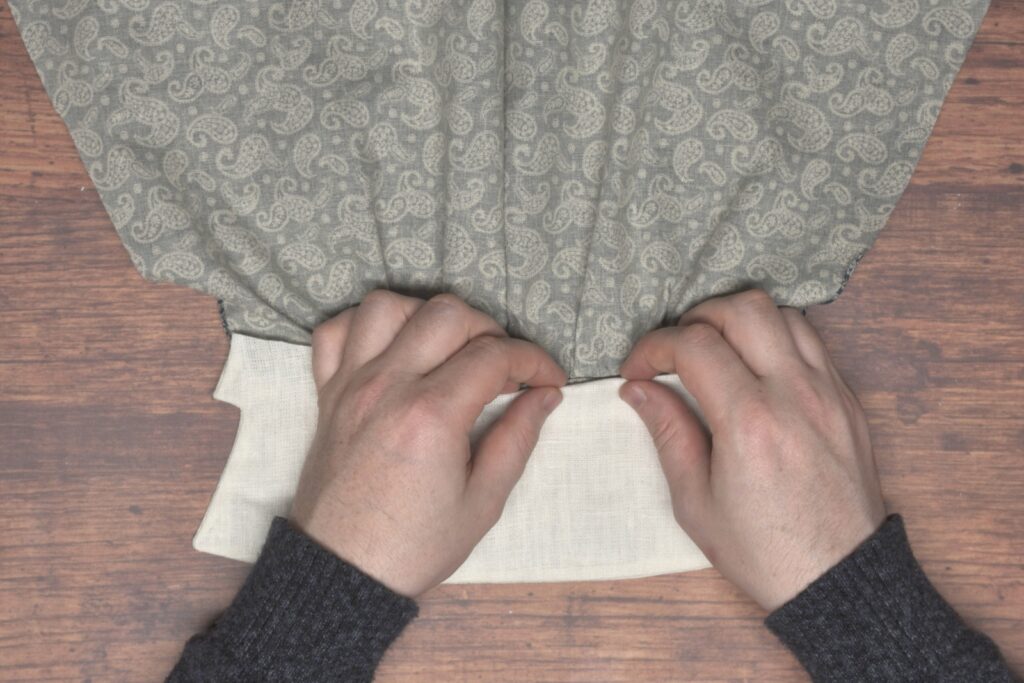
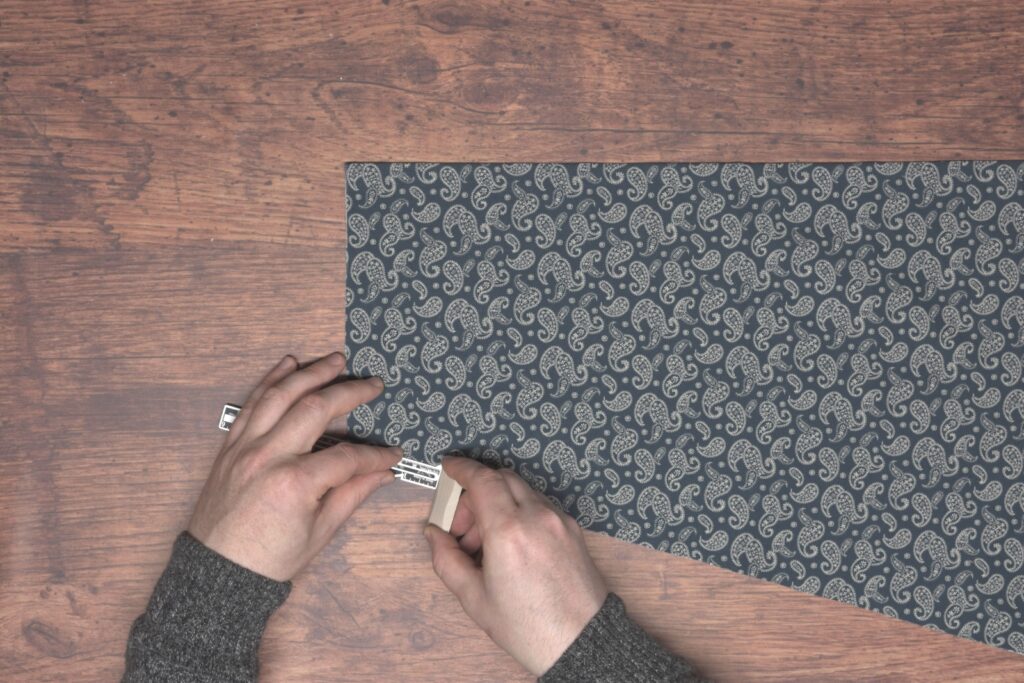
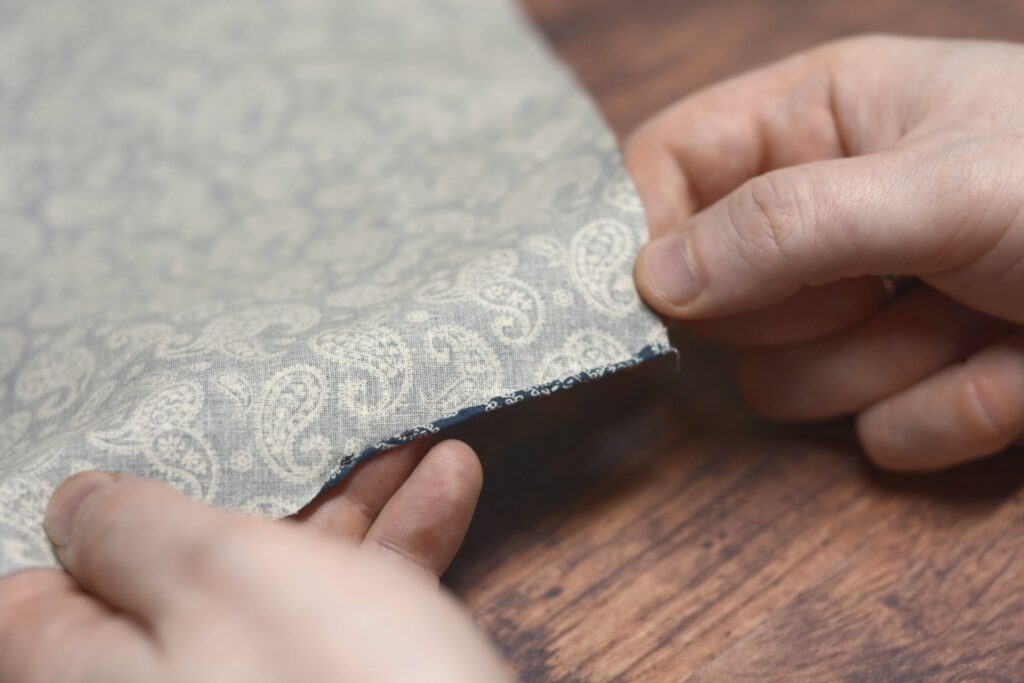
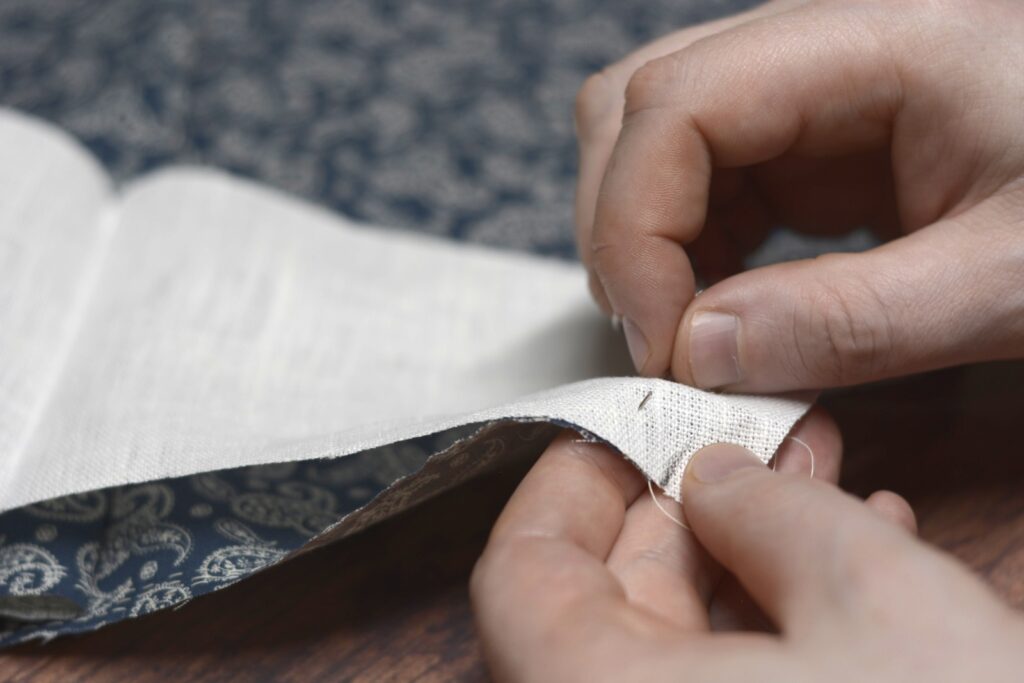
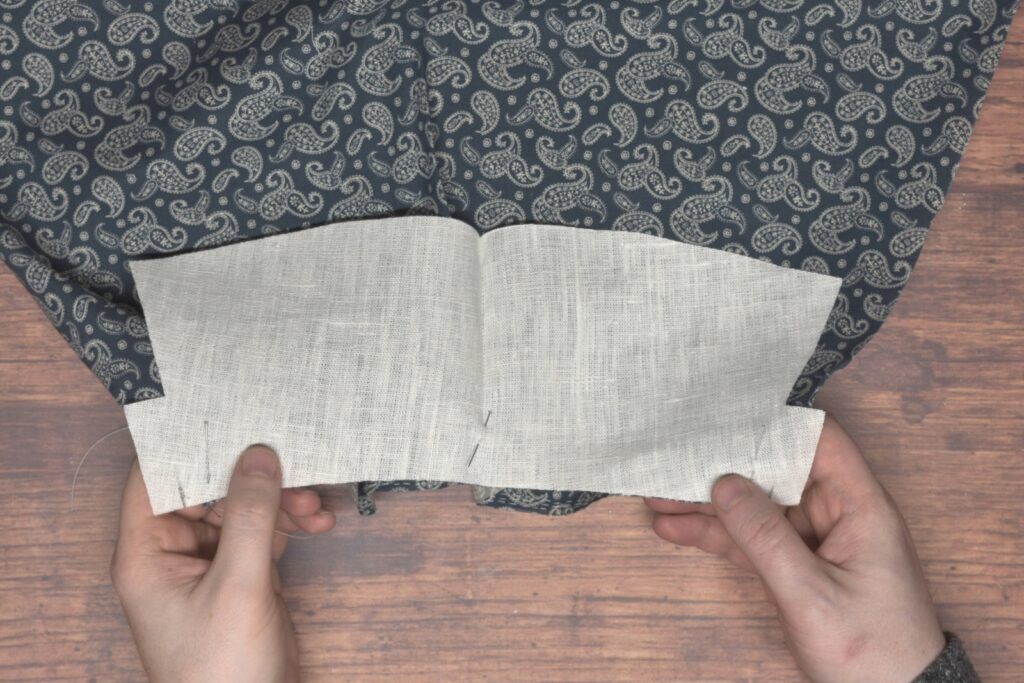
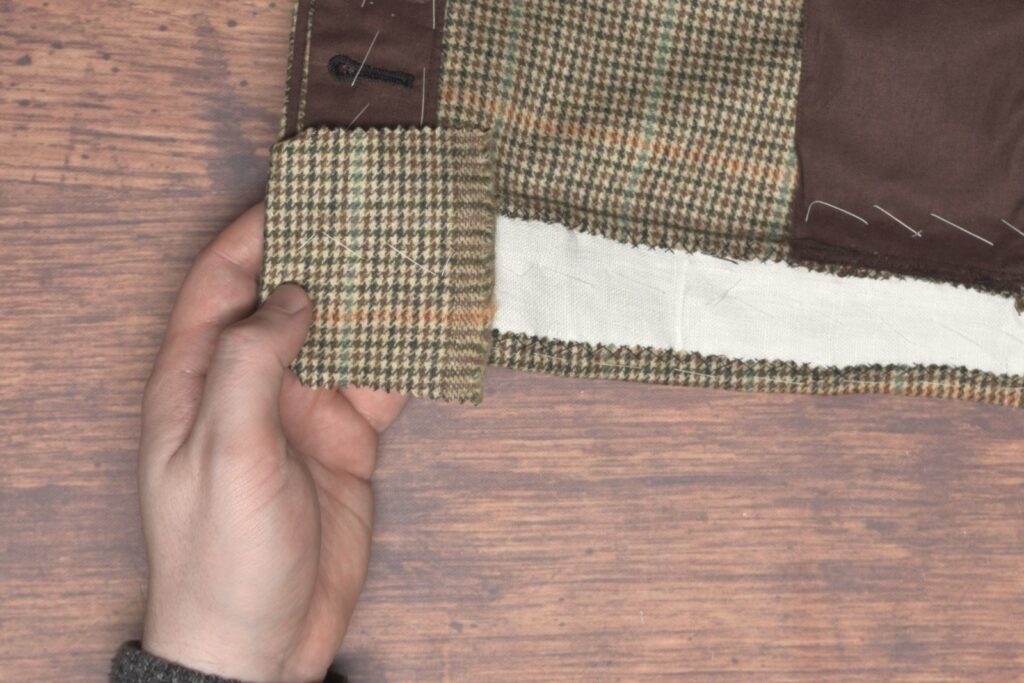
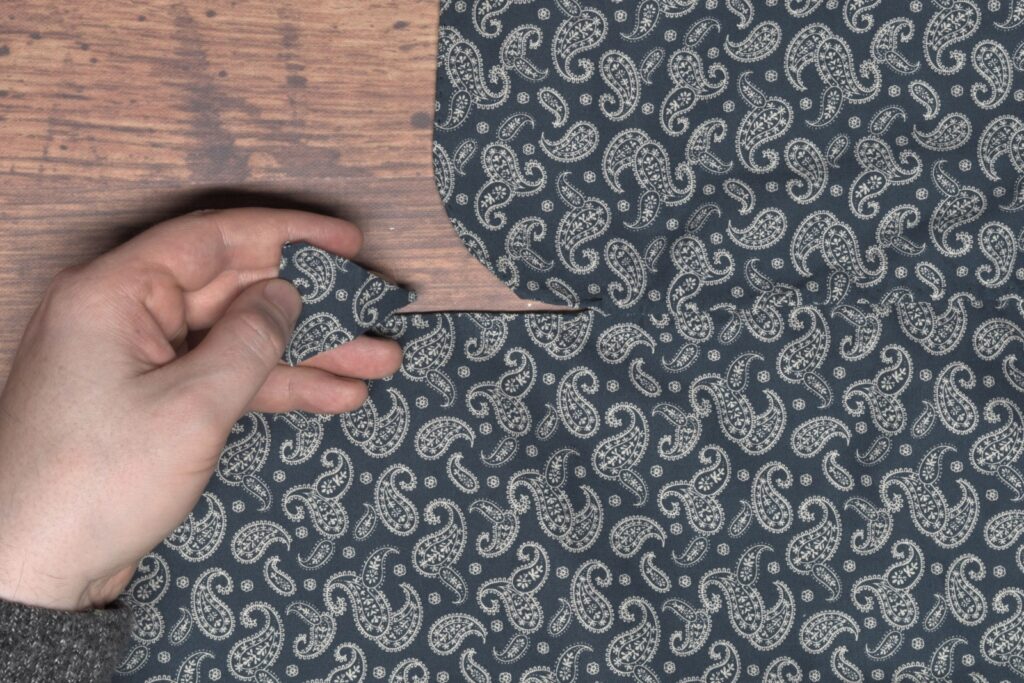
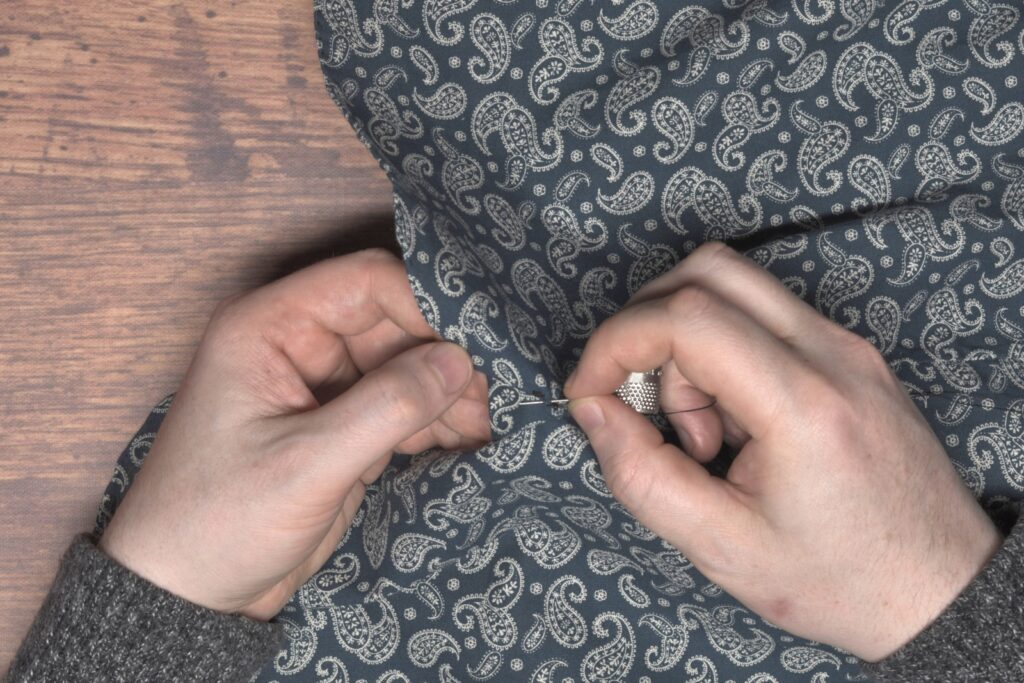
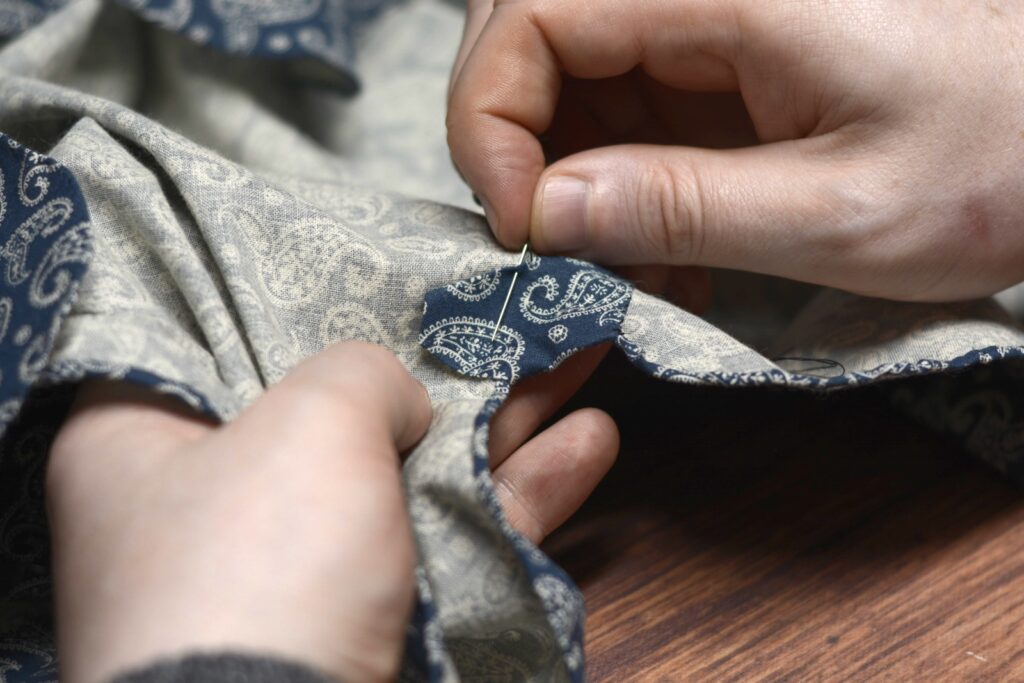
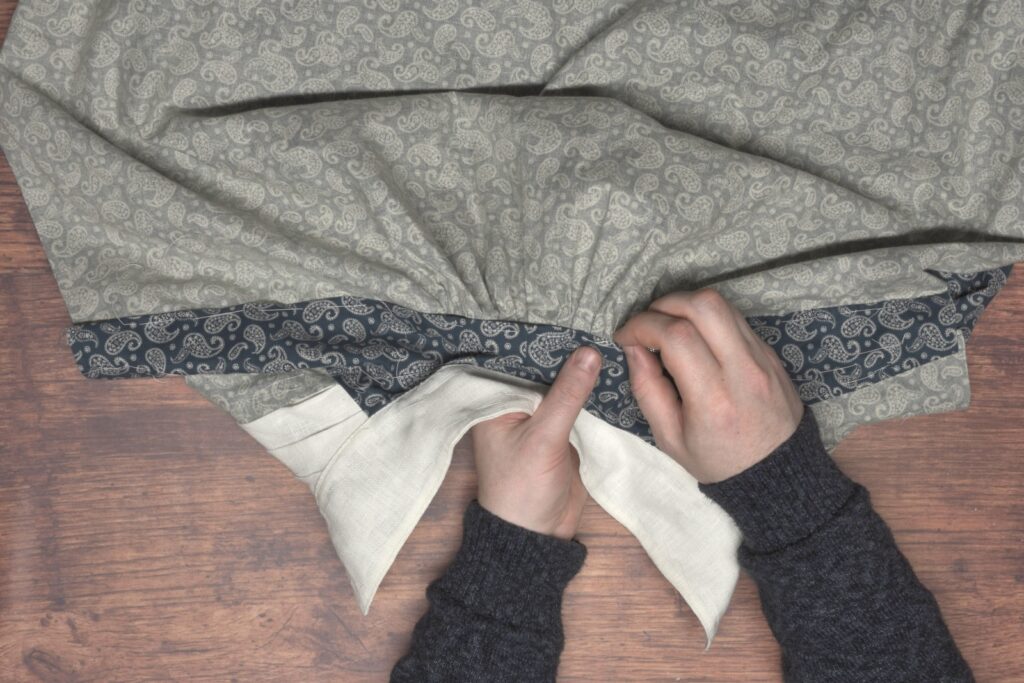
Lay the second cuff piece on top of the half you just attached, right sides together, and baste the first short edge.
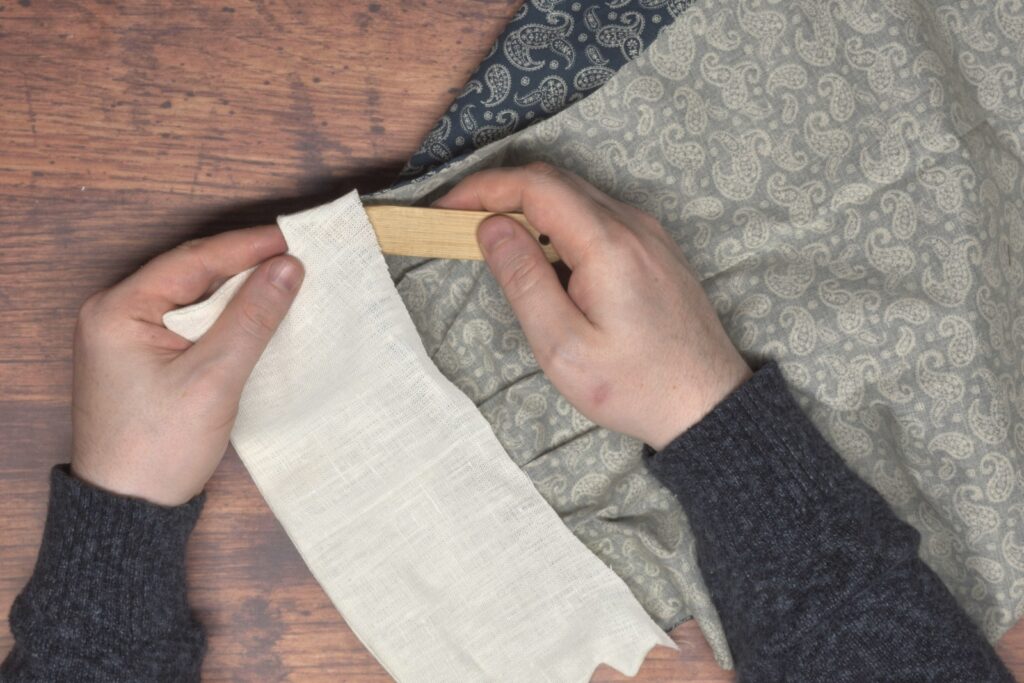
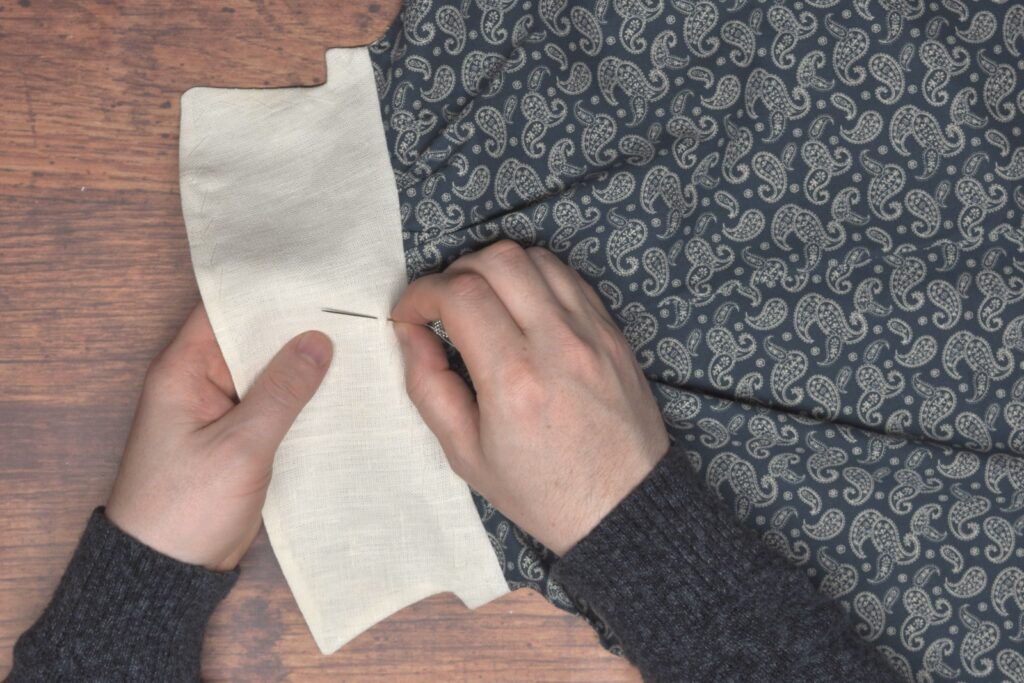
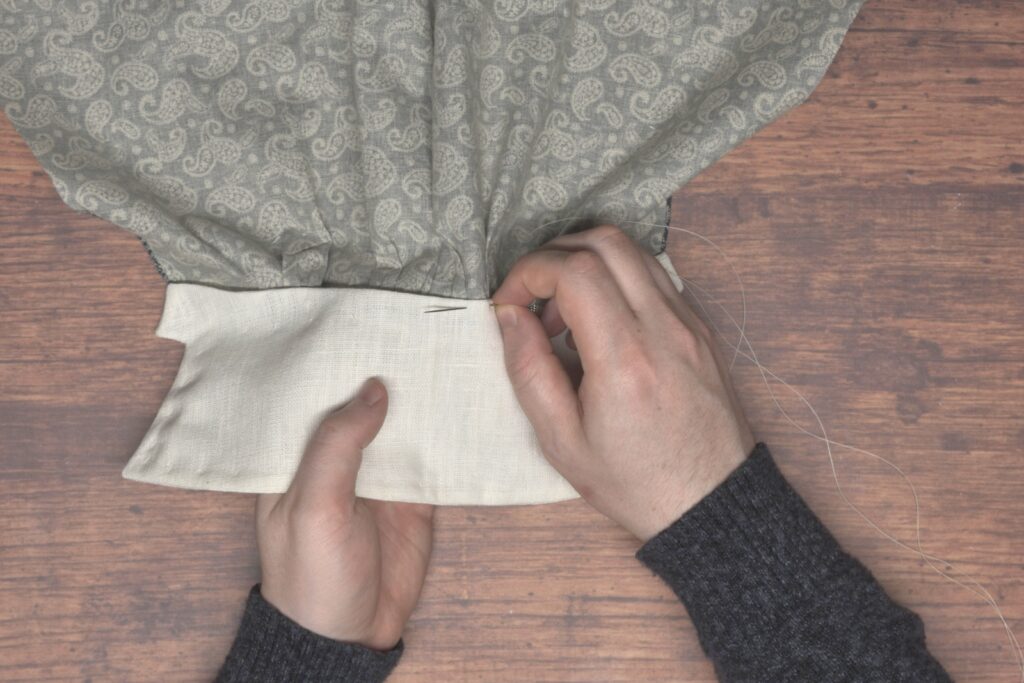
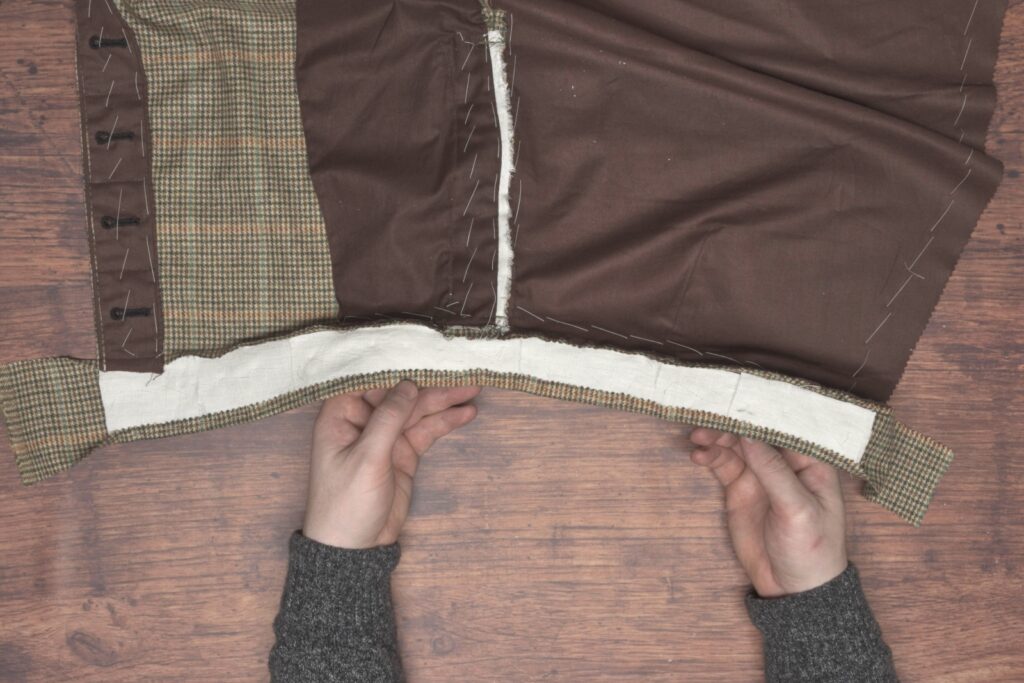
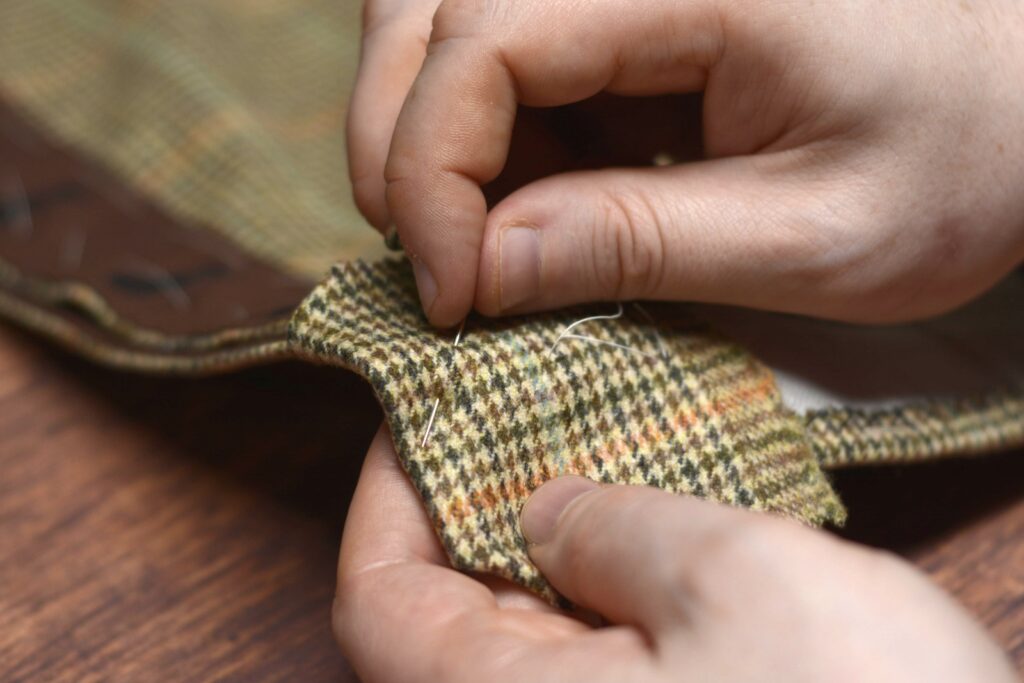
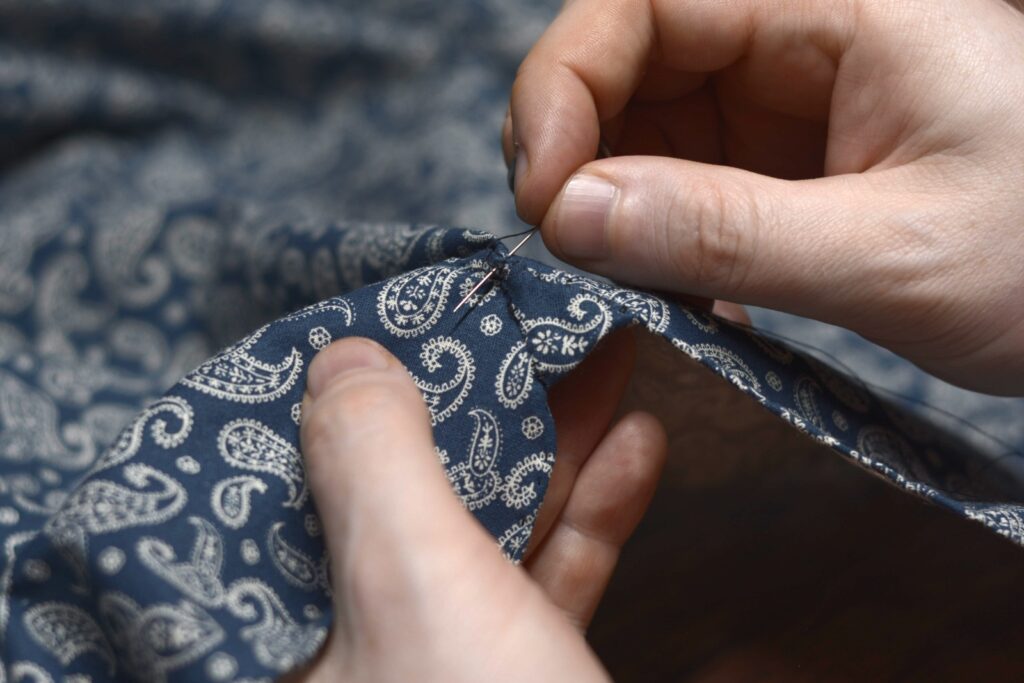
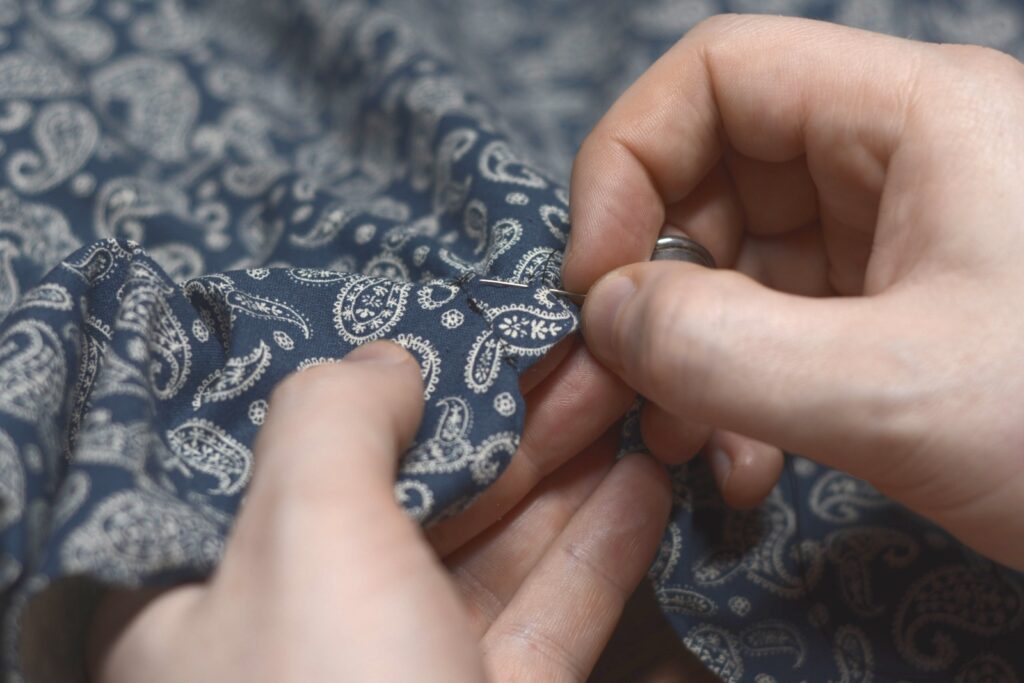
Now turn the entire sleeve over so that the second half of the cuff is underneath. Use your hand to shape the fabric into a deep curve as you baste along the lower edge of the cuff.
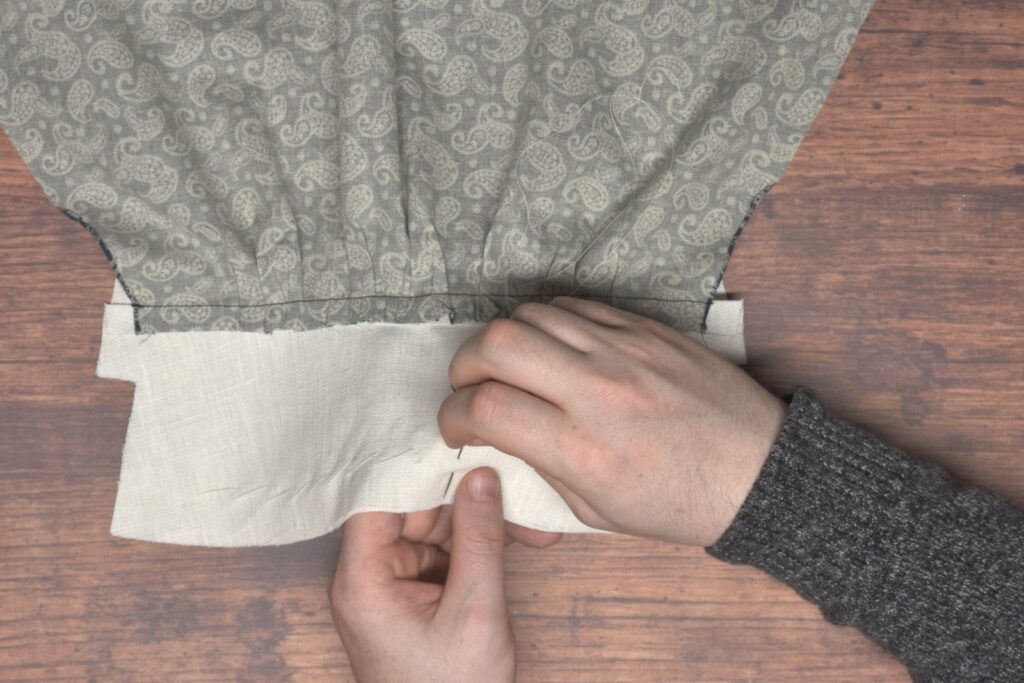
By shaping the cuff in this manner, it makes the inner cuff a little shorter than the outer cuff, helping to avoid excess fabric when the cuff is completed.
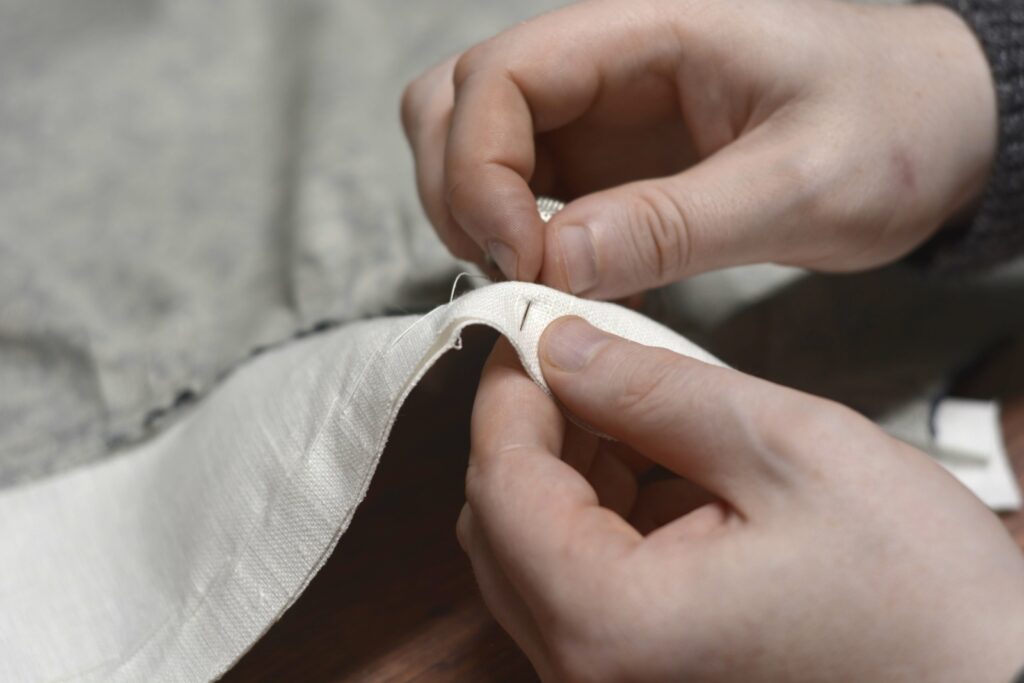
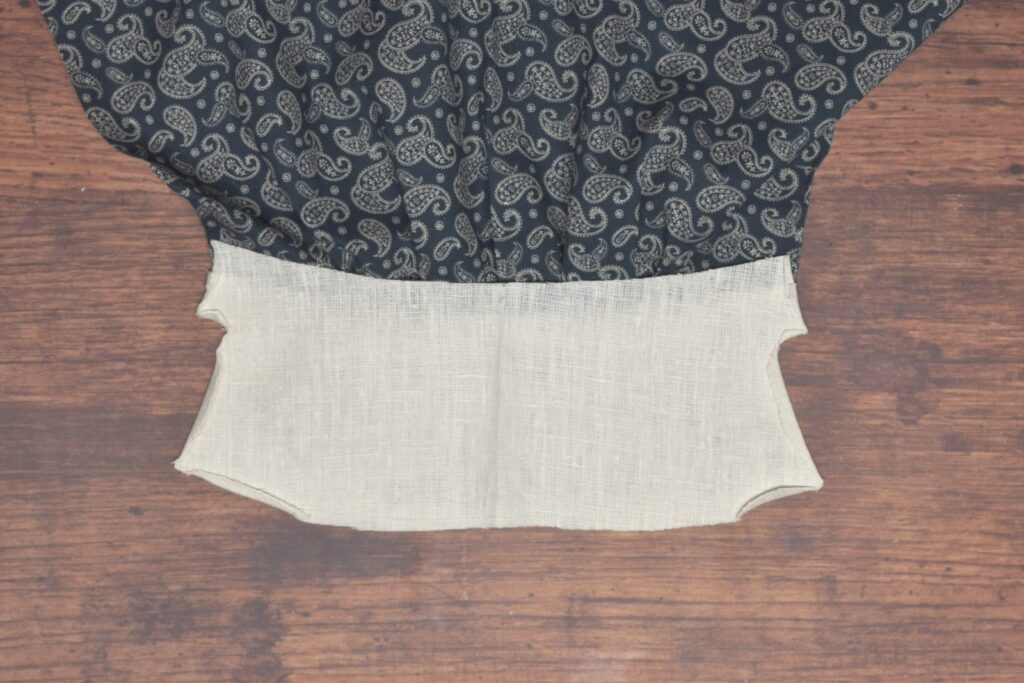
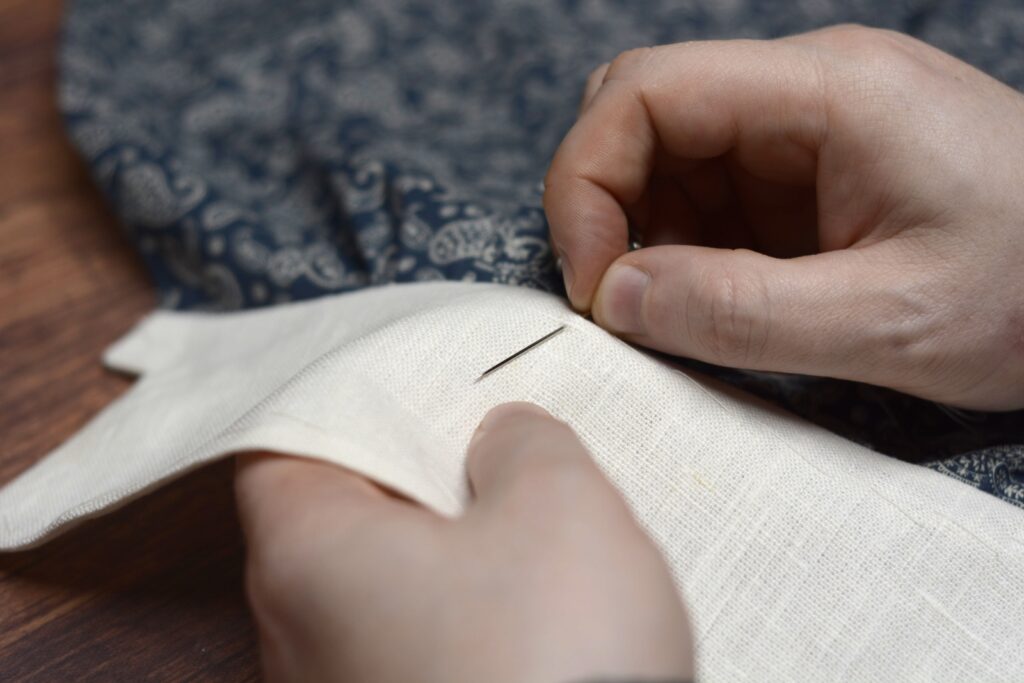
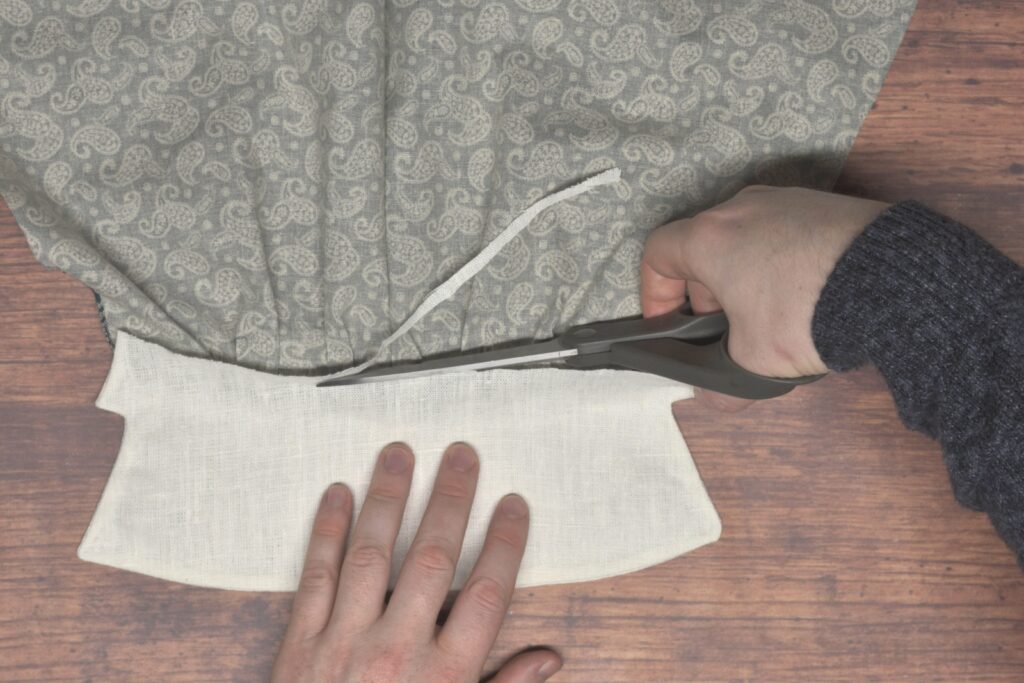
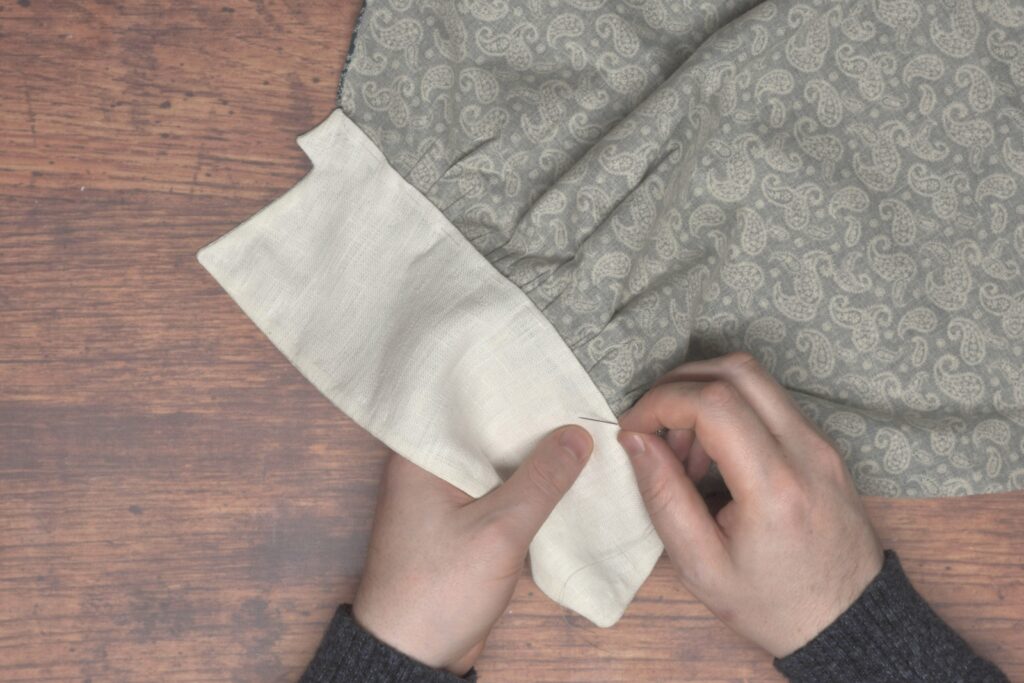
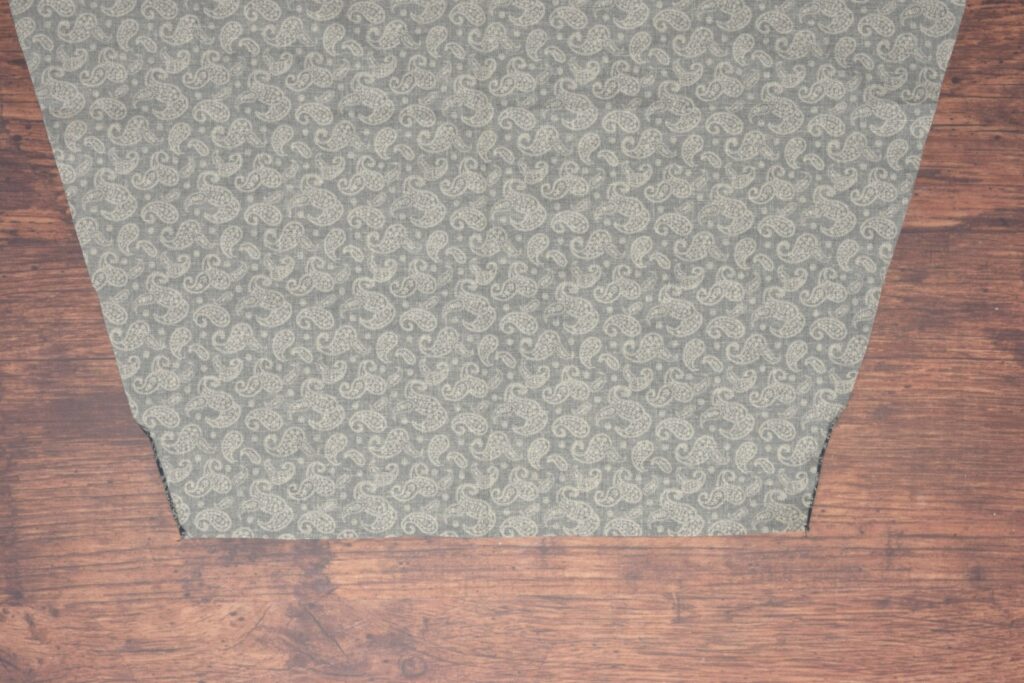
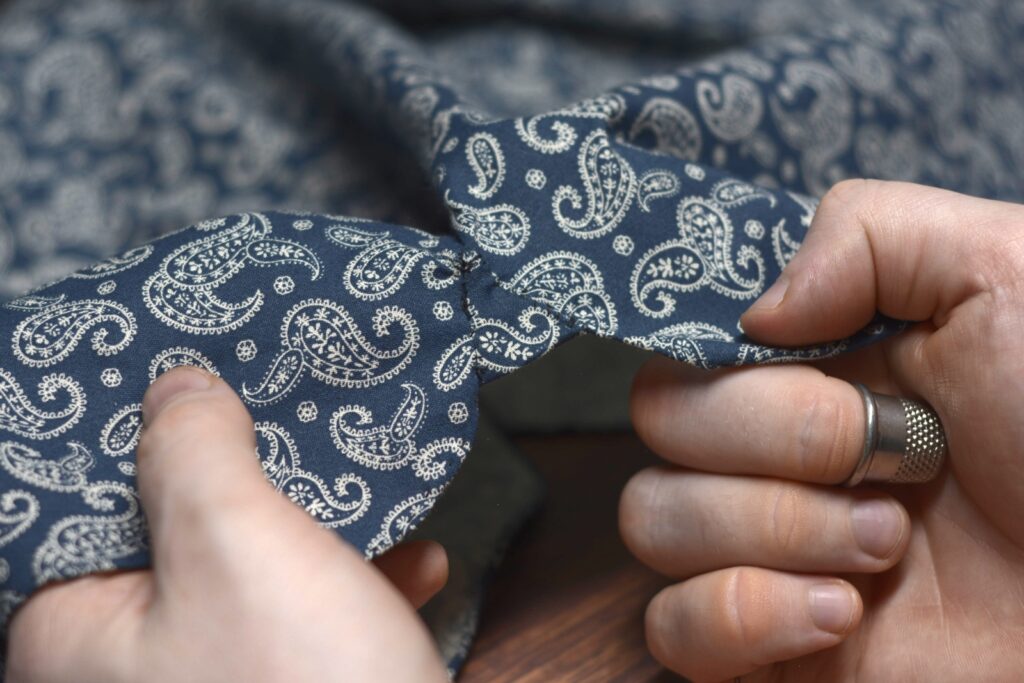
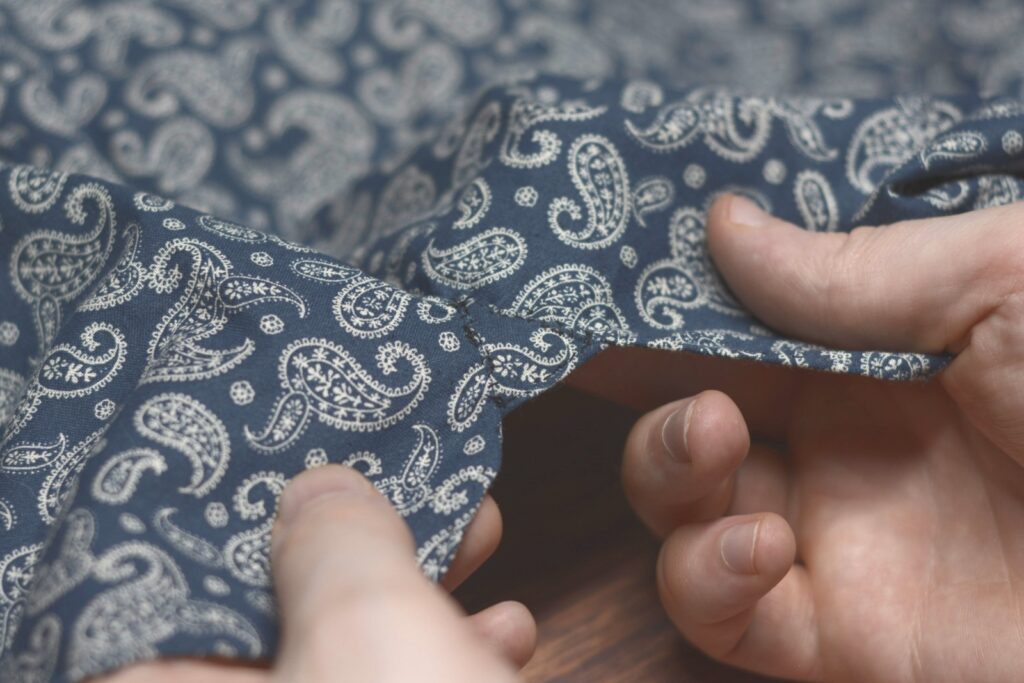
Continue basting along the remaining short end.
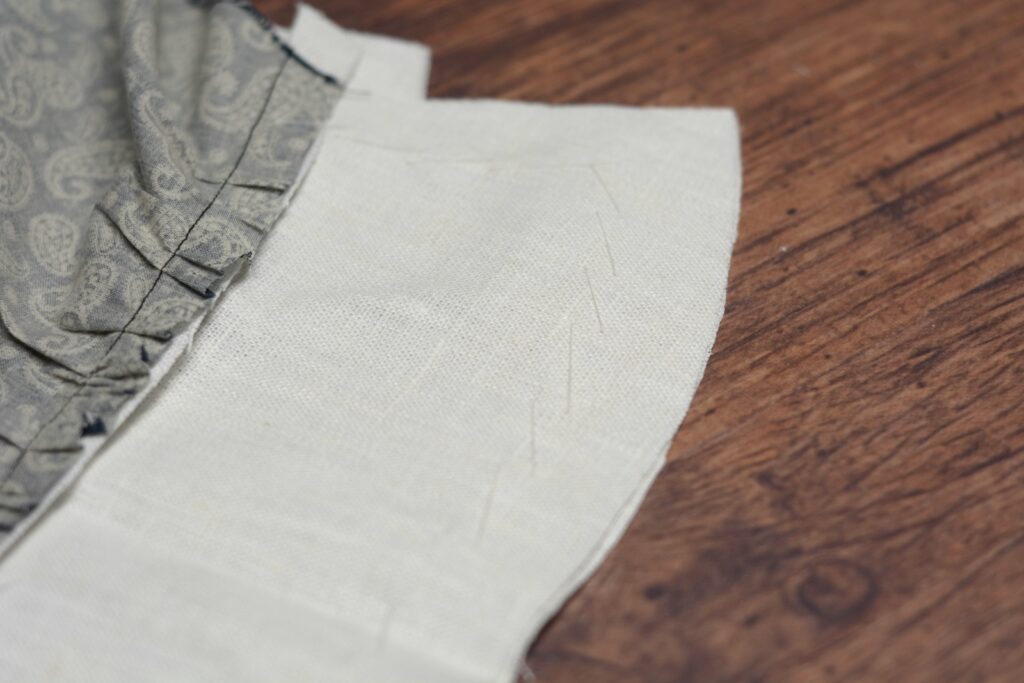
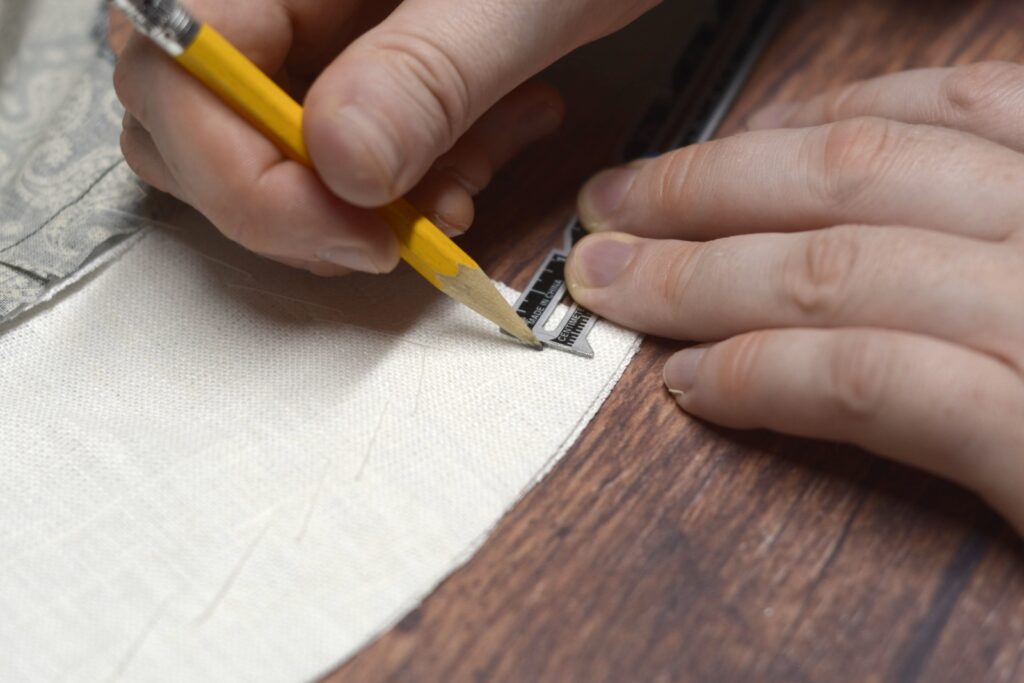
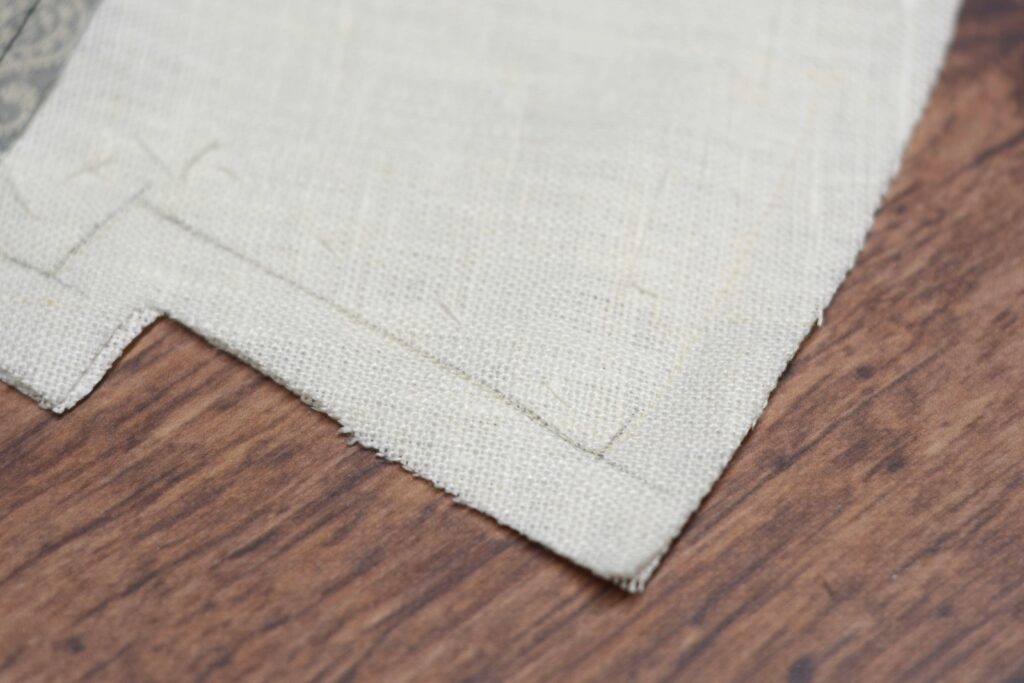
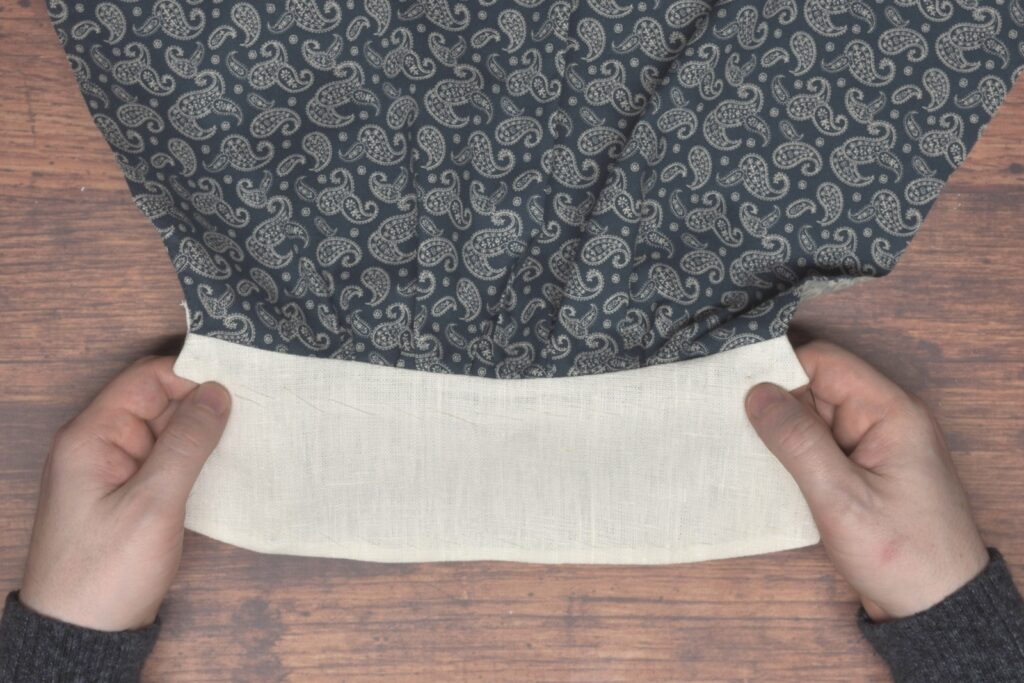
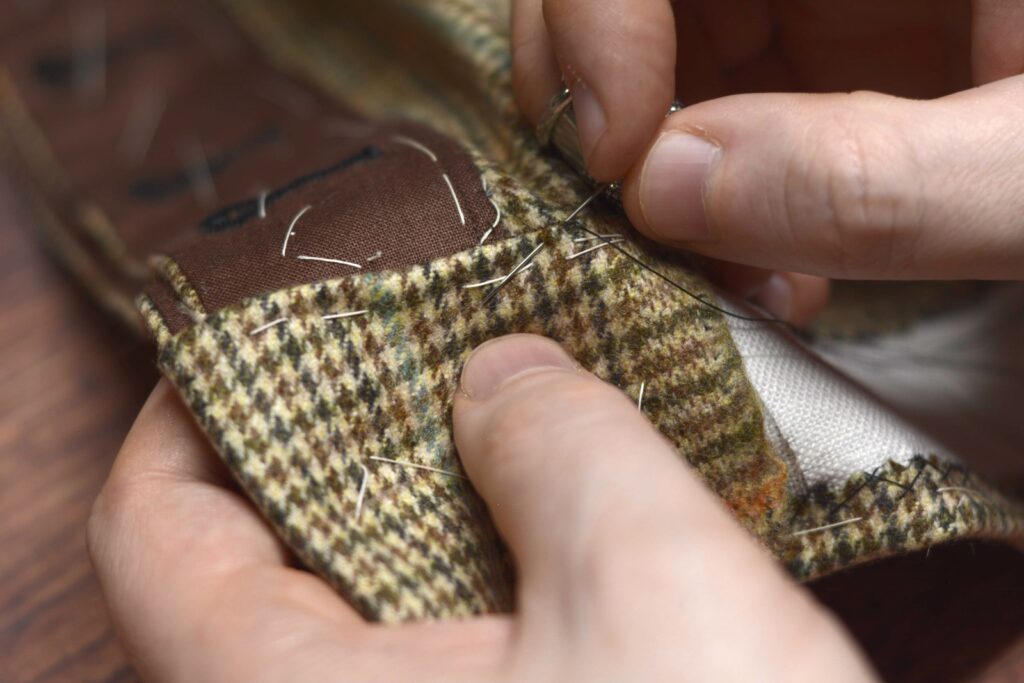
Mark the 1/2″ seam allowances along the right-angled areas to help guide your stitches, if you need to.
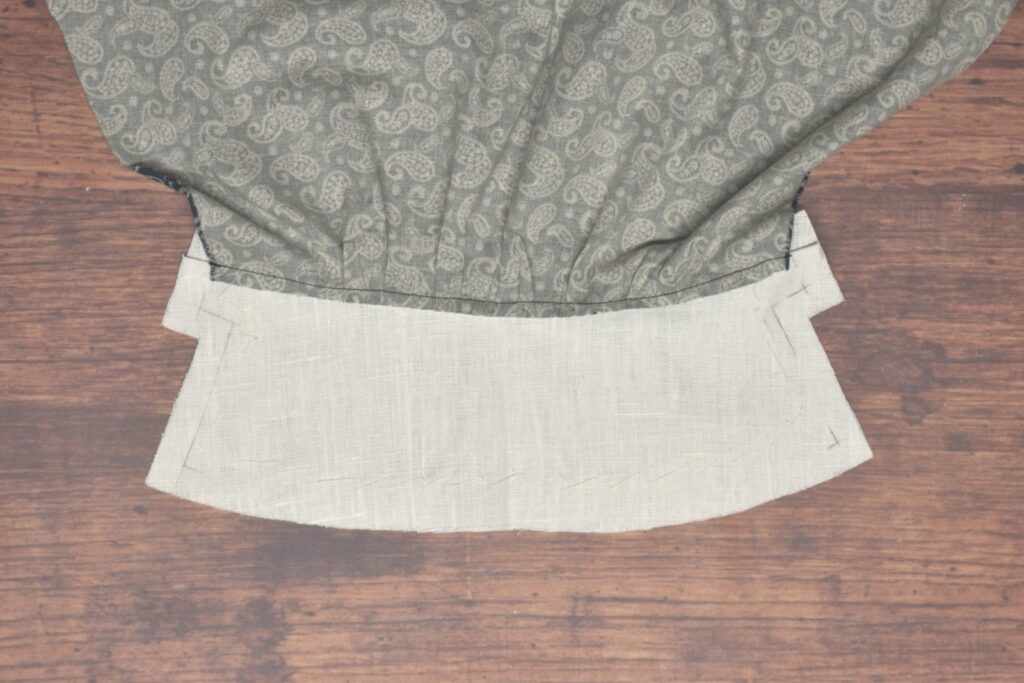
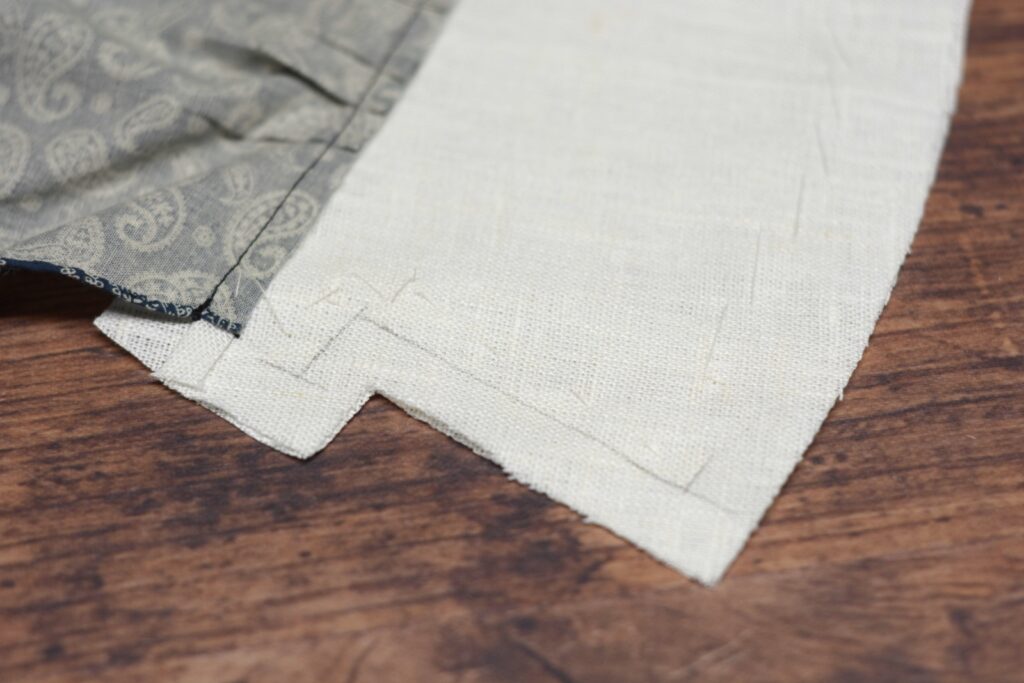
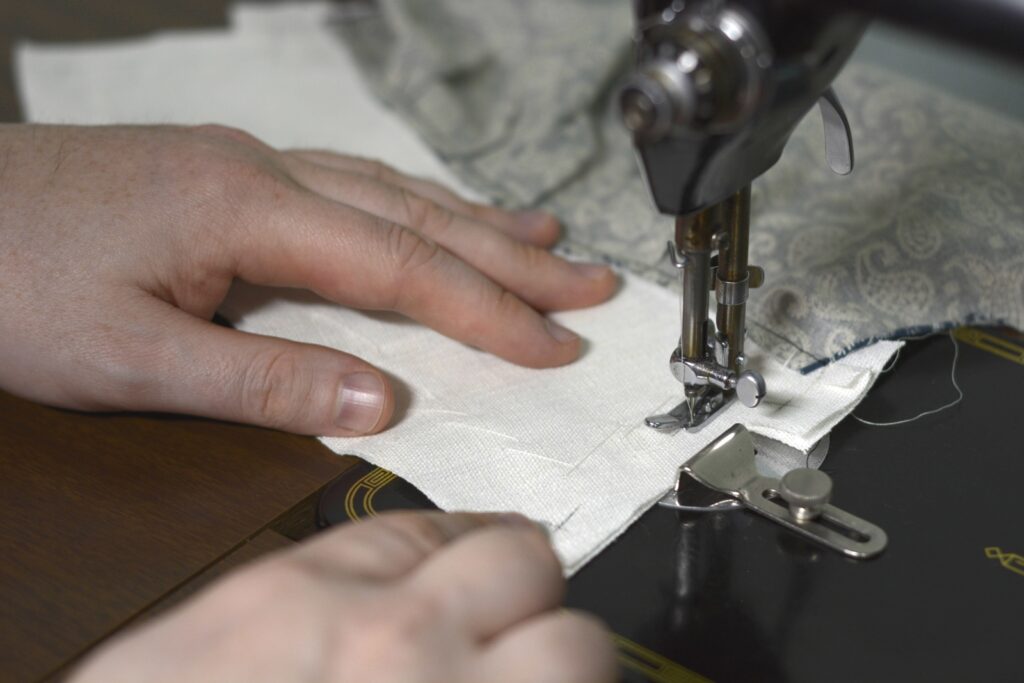
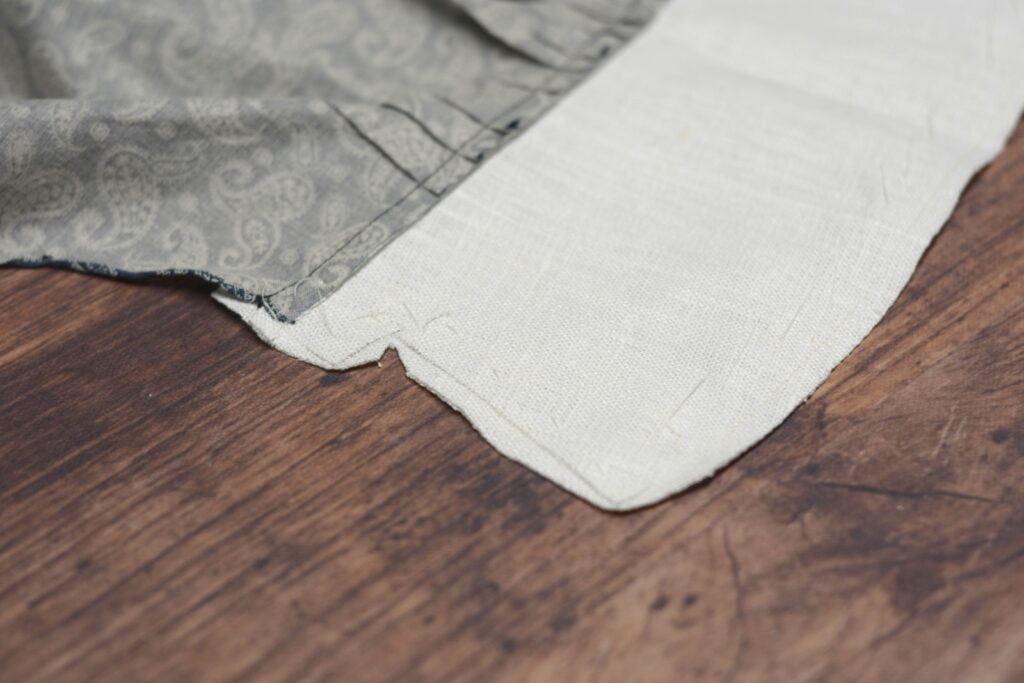
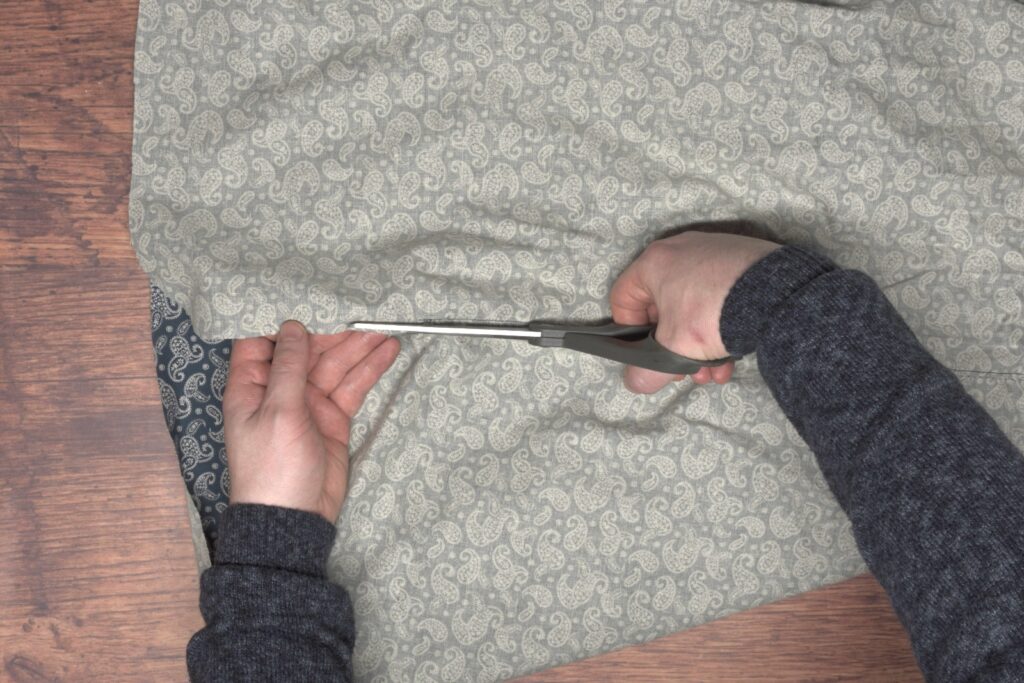
Sew along the outer and the two shorter ends of the cuff using a 1/2″ seam allowance. At the corners, be sure to take a stitch across on the diagonal, rather than making a sharp 90 degree turn, to allow room for the fabric to turn under.
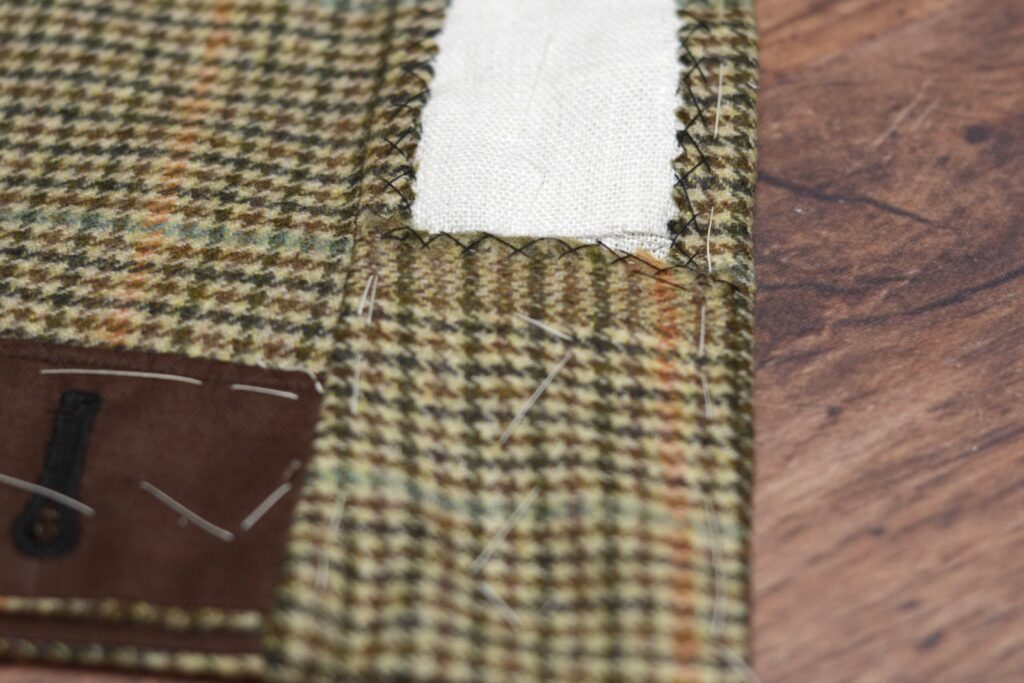
Trim the seam allowances to 1/4″.
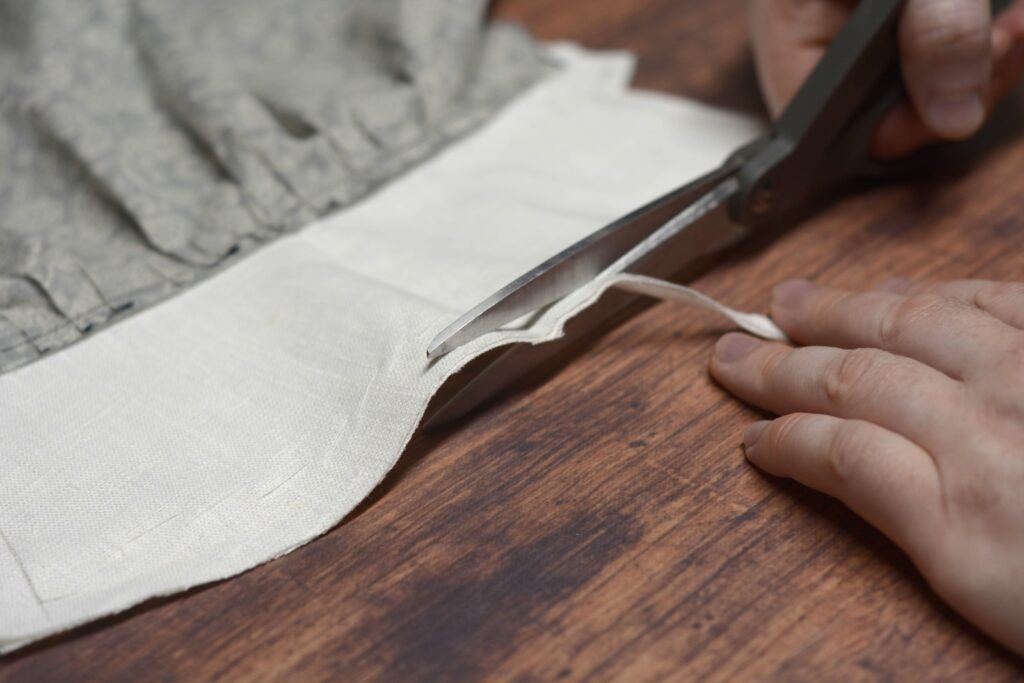
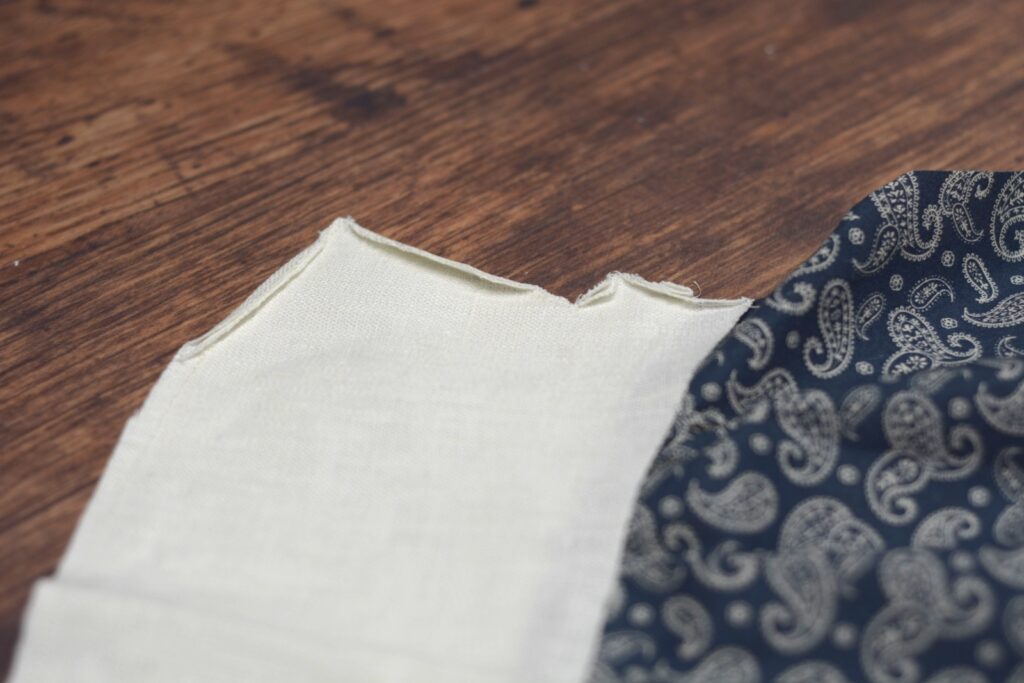
Clip to the inner corners and trim away the seam allowances at the other corners to within about 1/16 – 1/8″ depending on how stable your fabric is. It’s basically identical to how we trimmed the collar.
Press the seam allowances at the corners over as neatly and as you can to aid in turning the cuffs right side out.
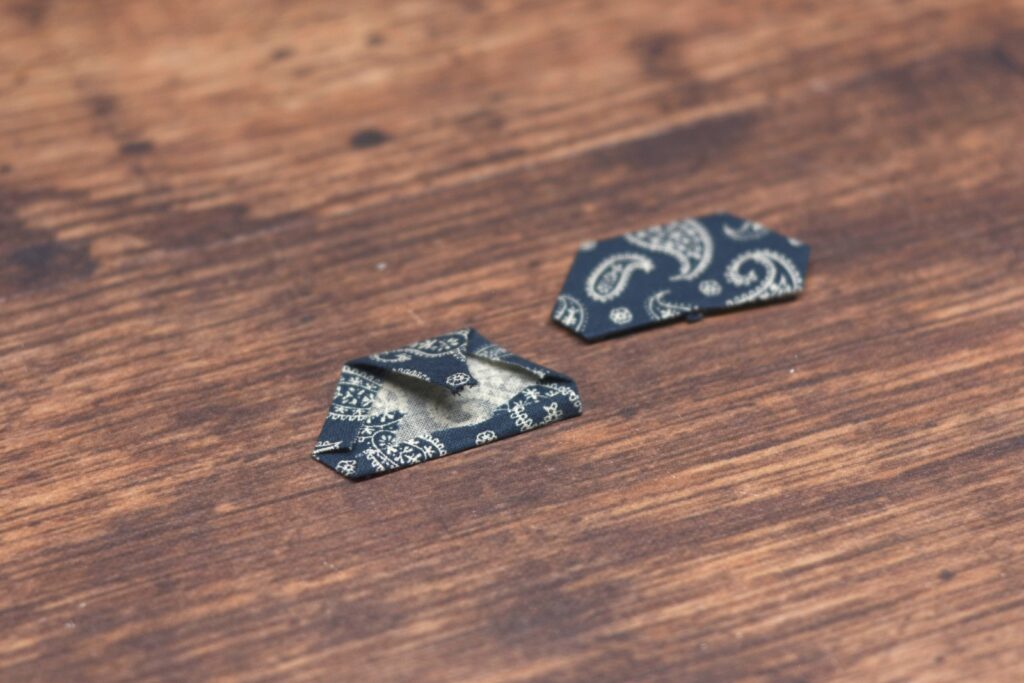
Turn the cuffs right side out, using a point pressing tool to get the crisp corners.
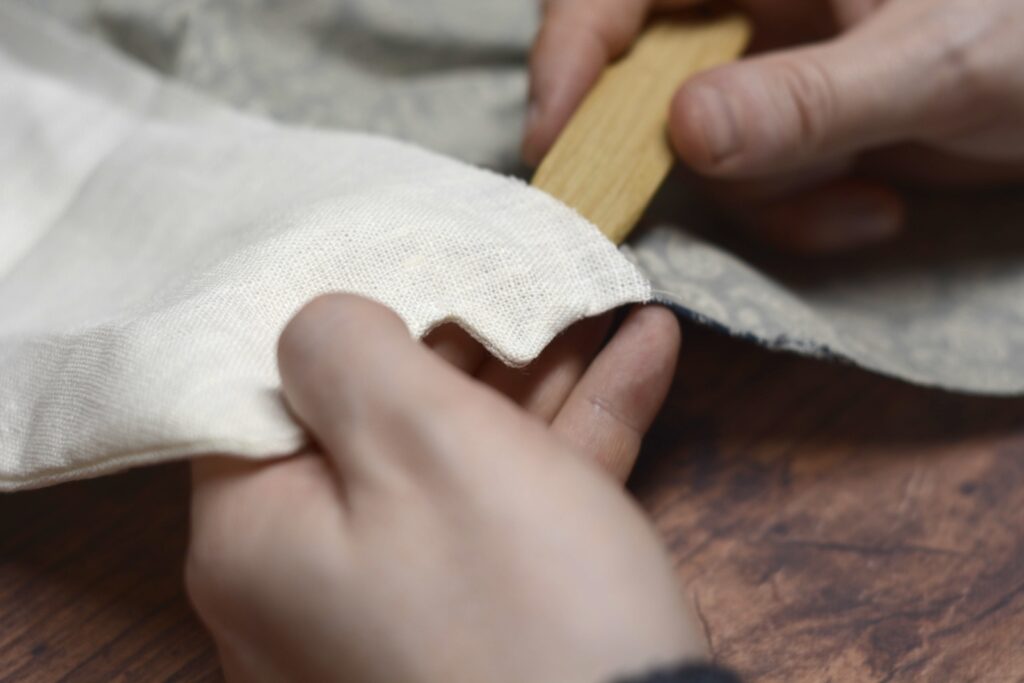
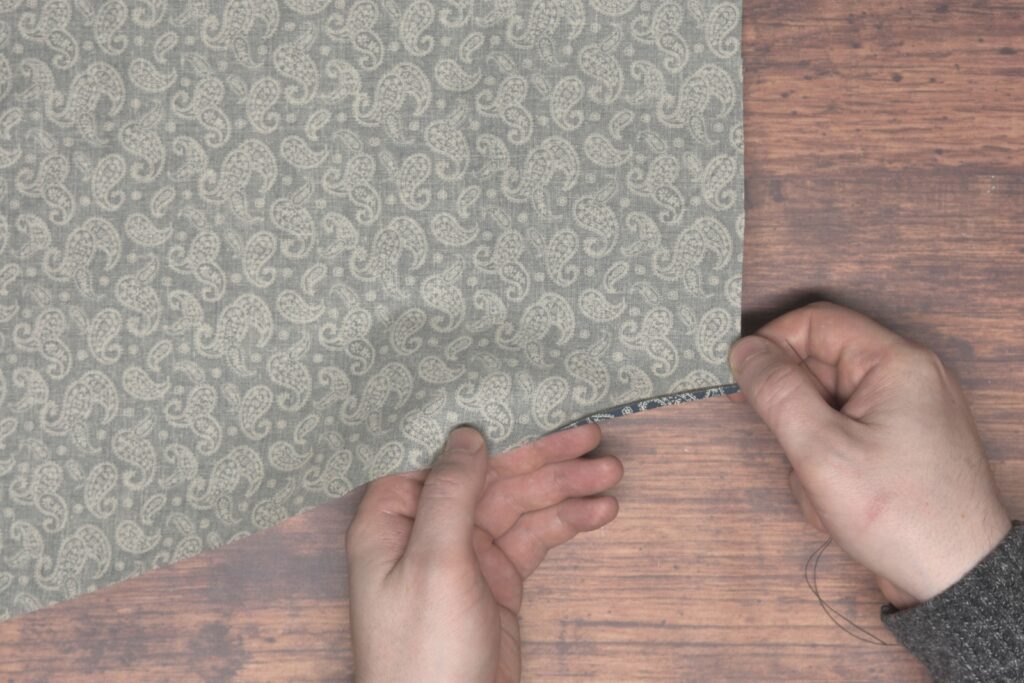
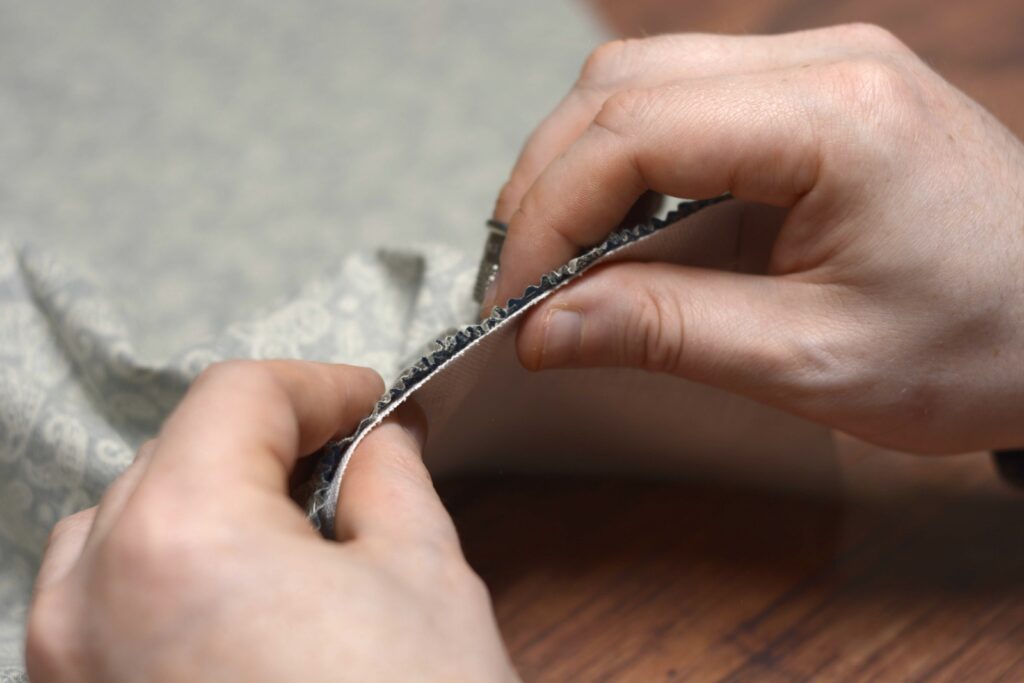
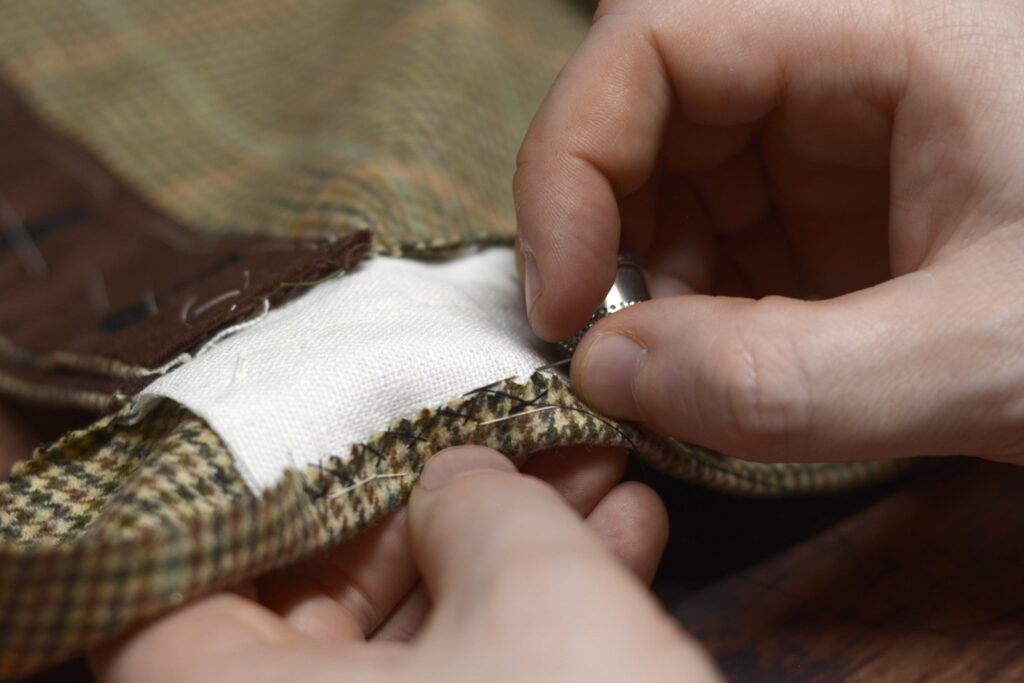
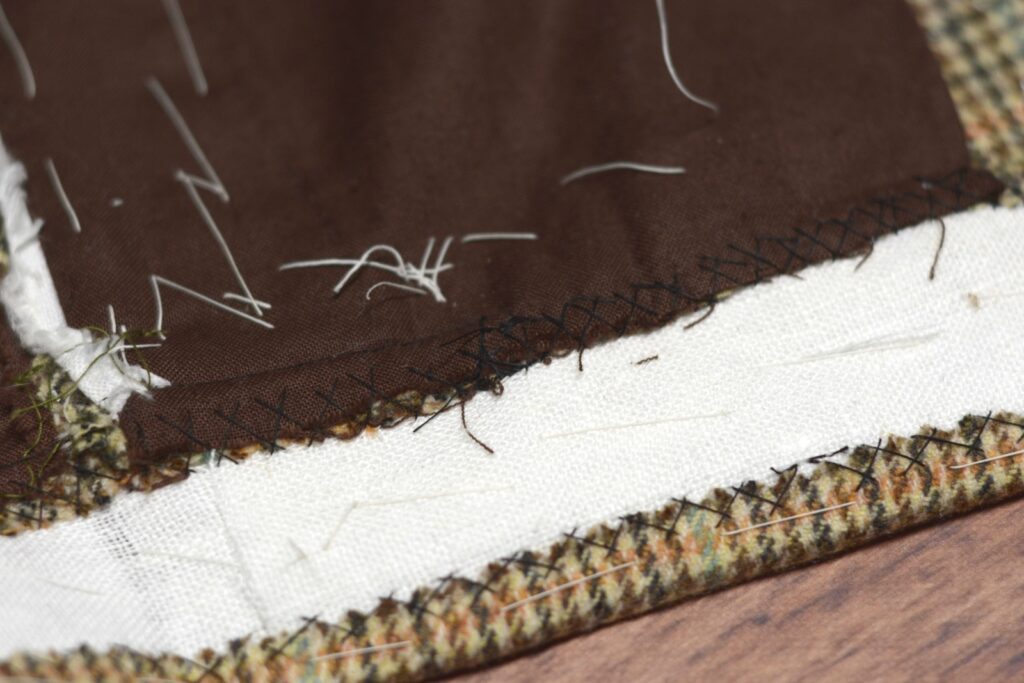
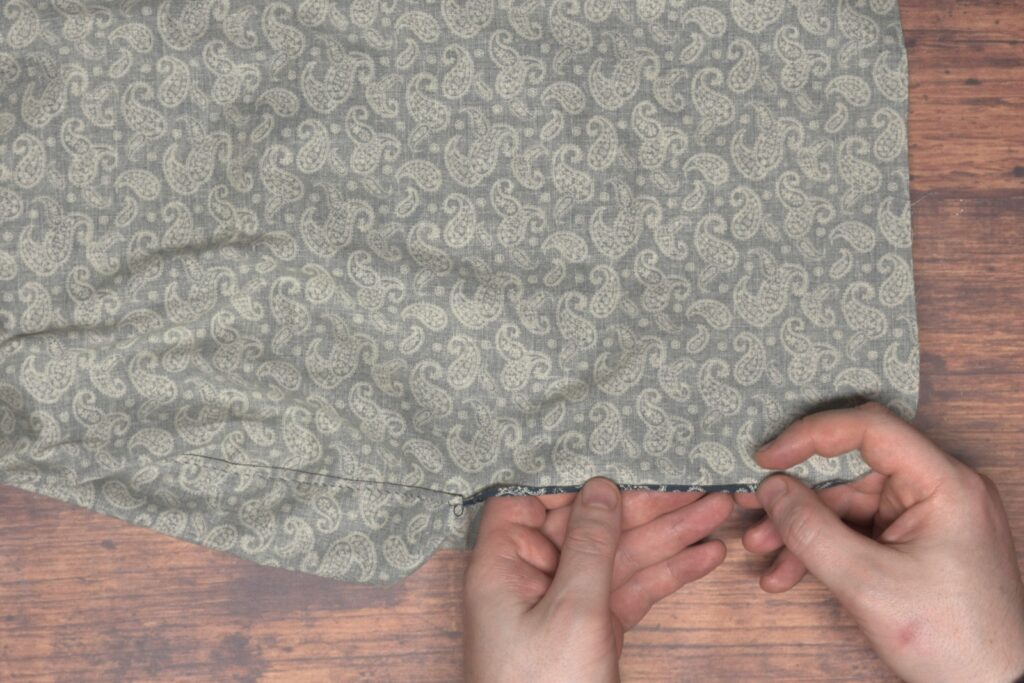
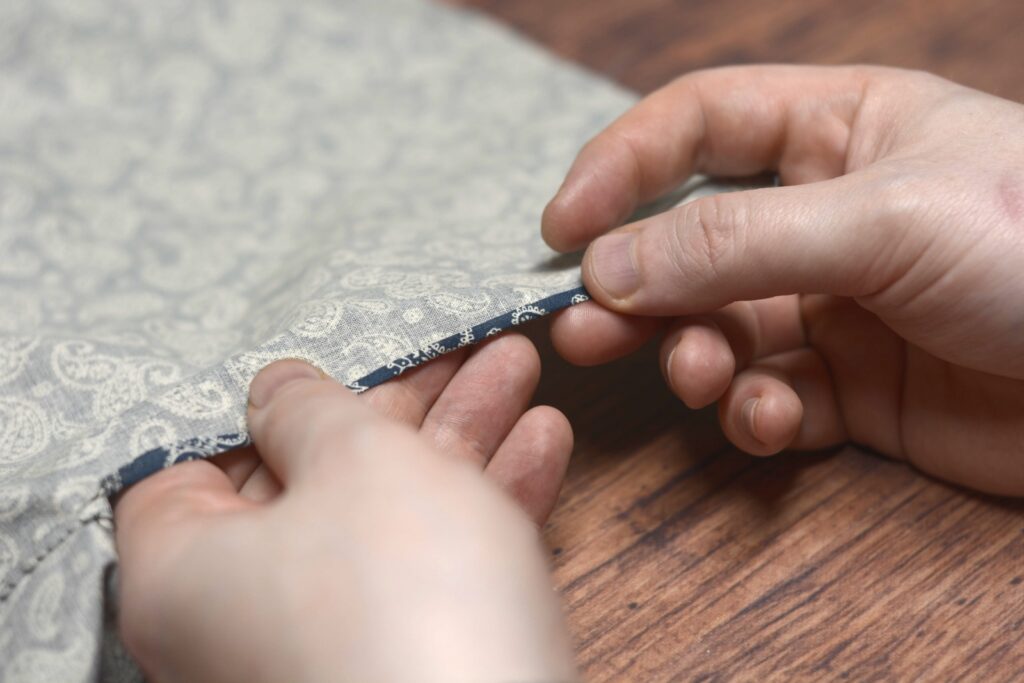
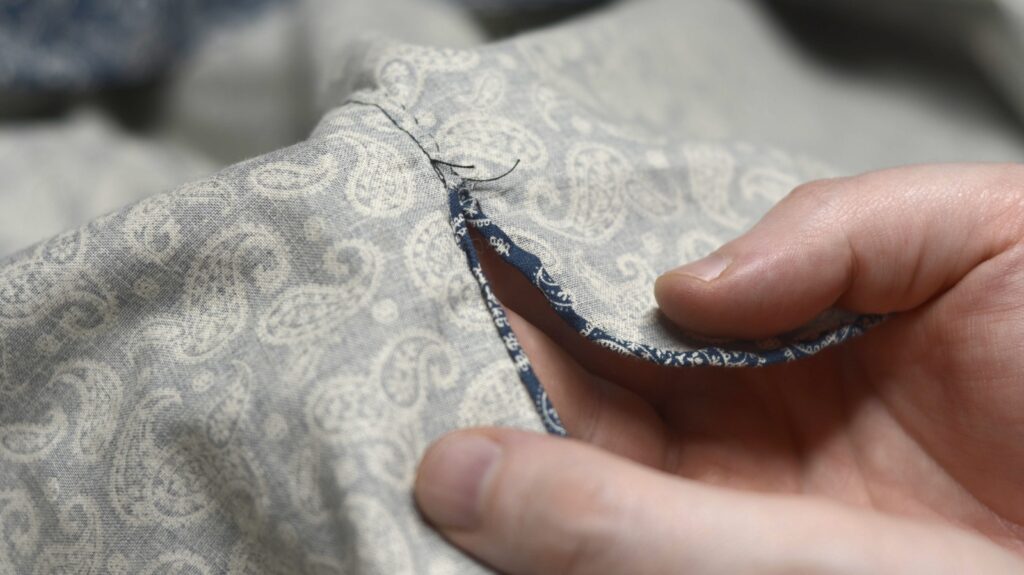
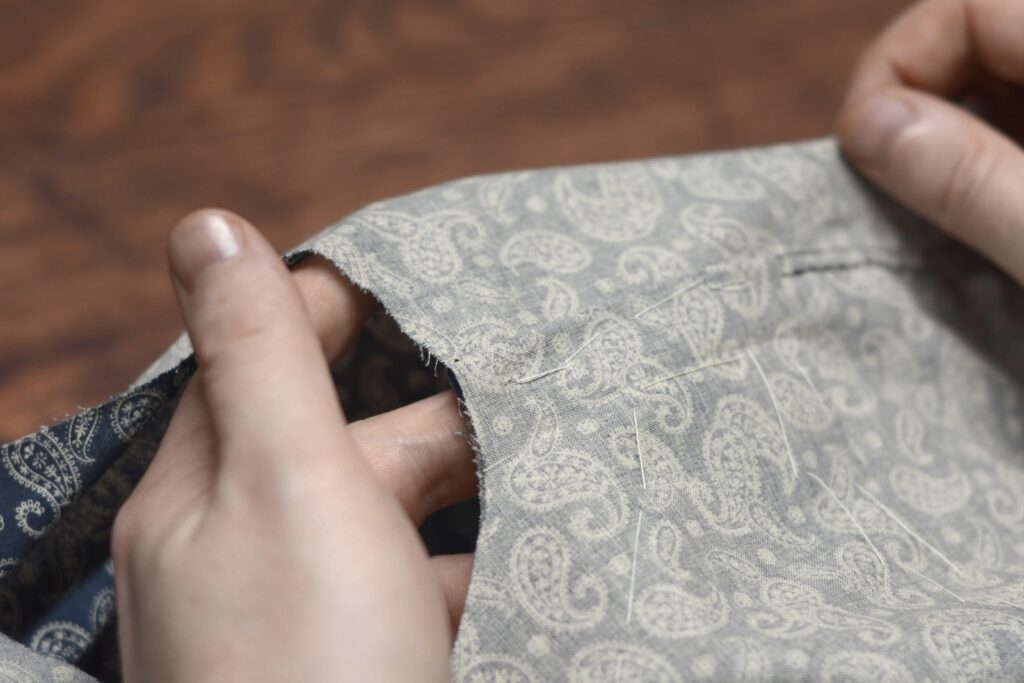
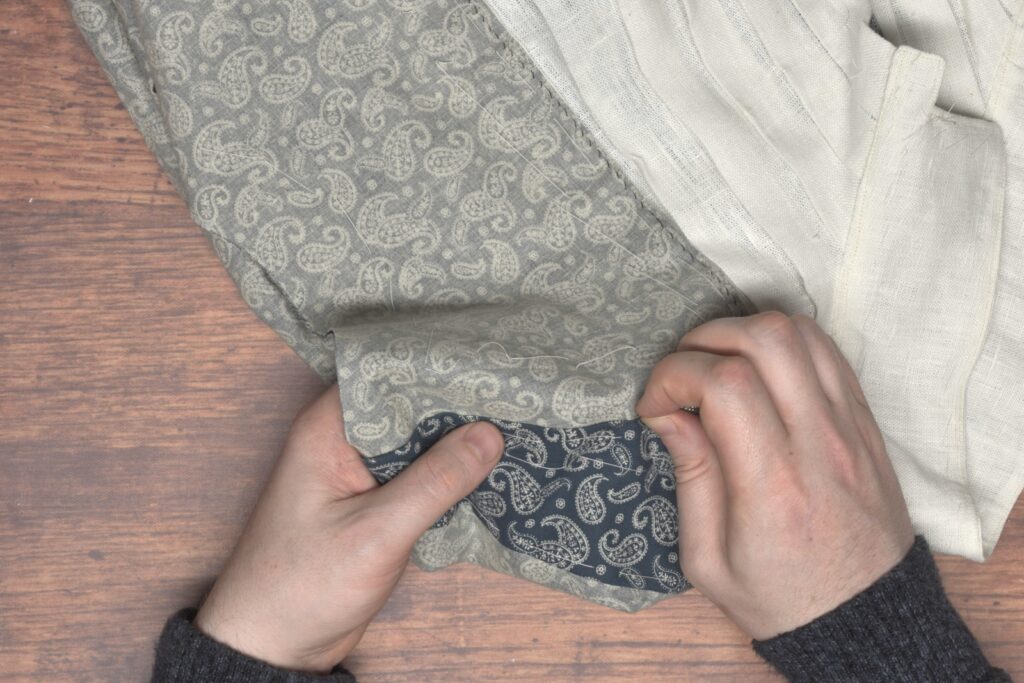
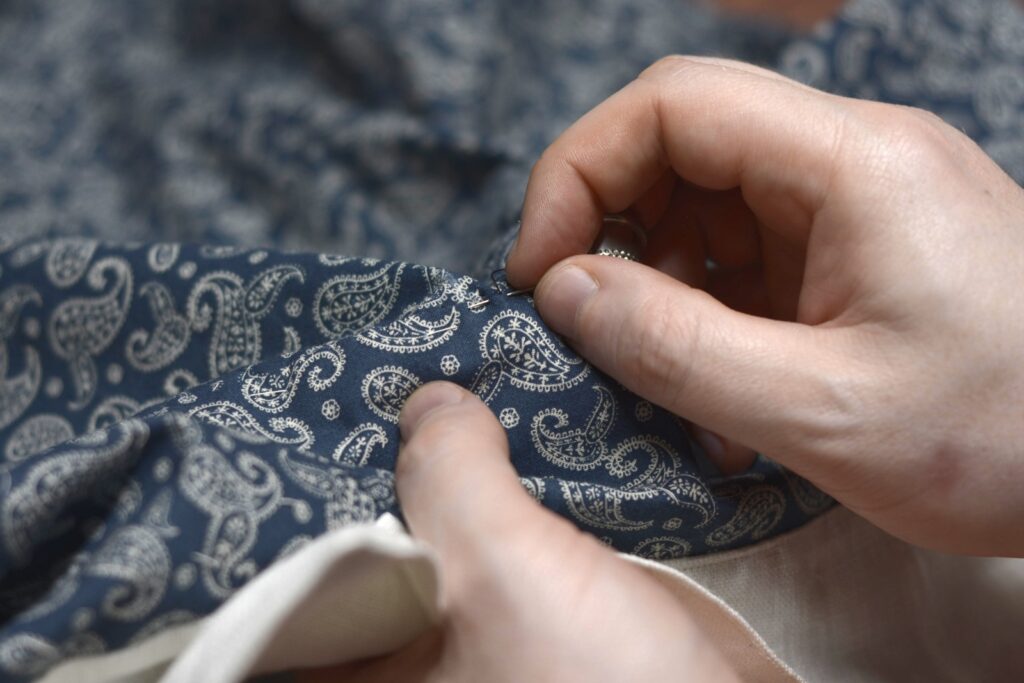
Baste along the outer edges of the cuff, rolling the inner cuff back about 1/16″ from the edge.
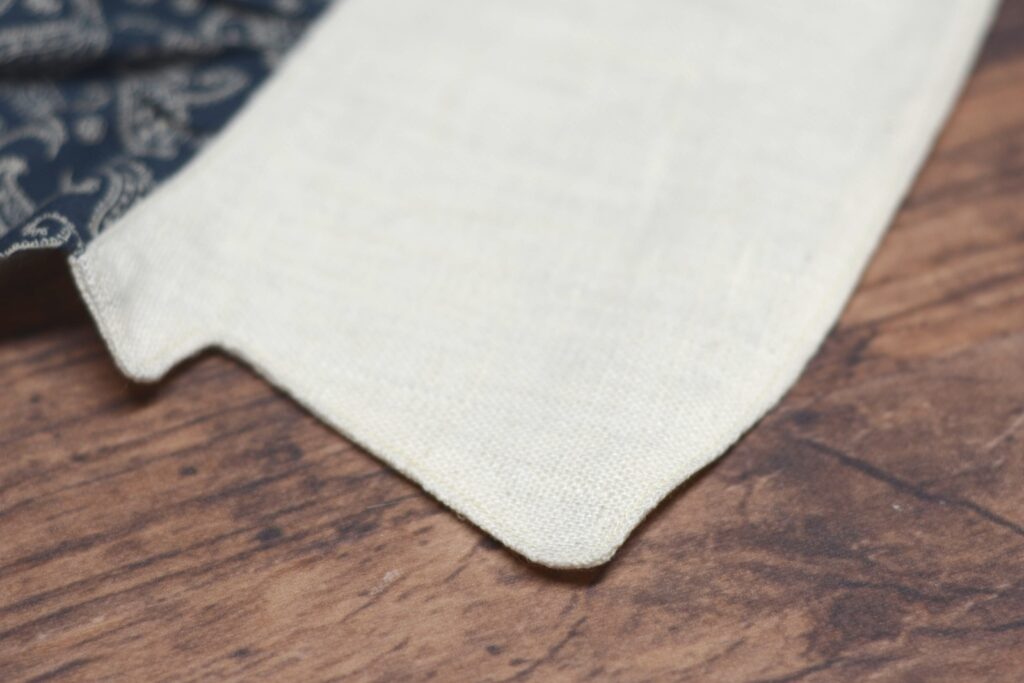
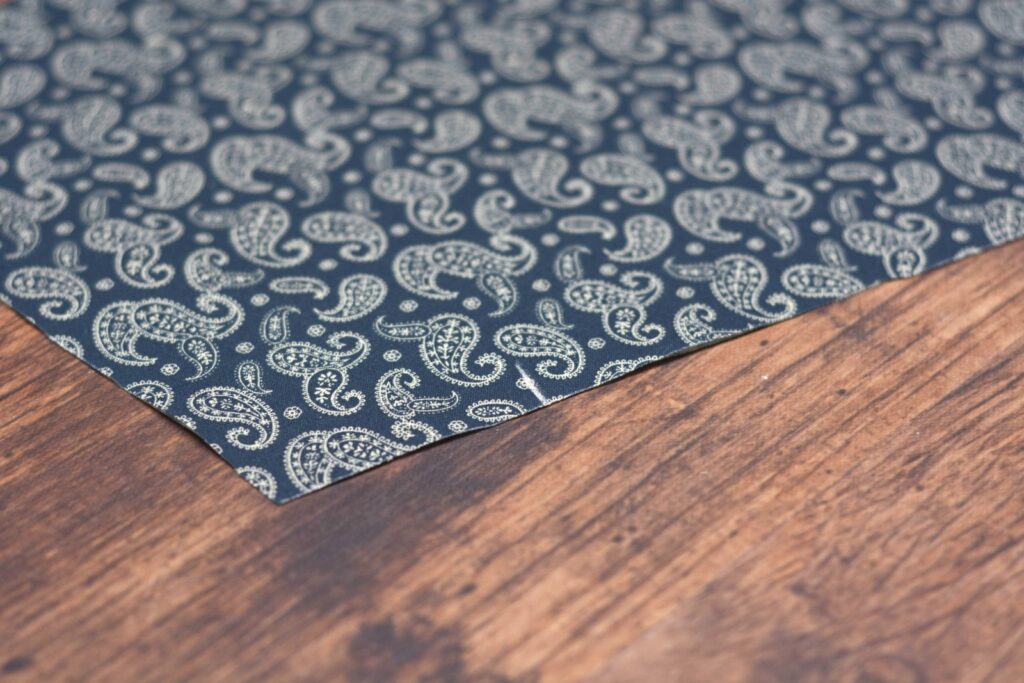
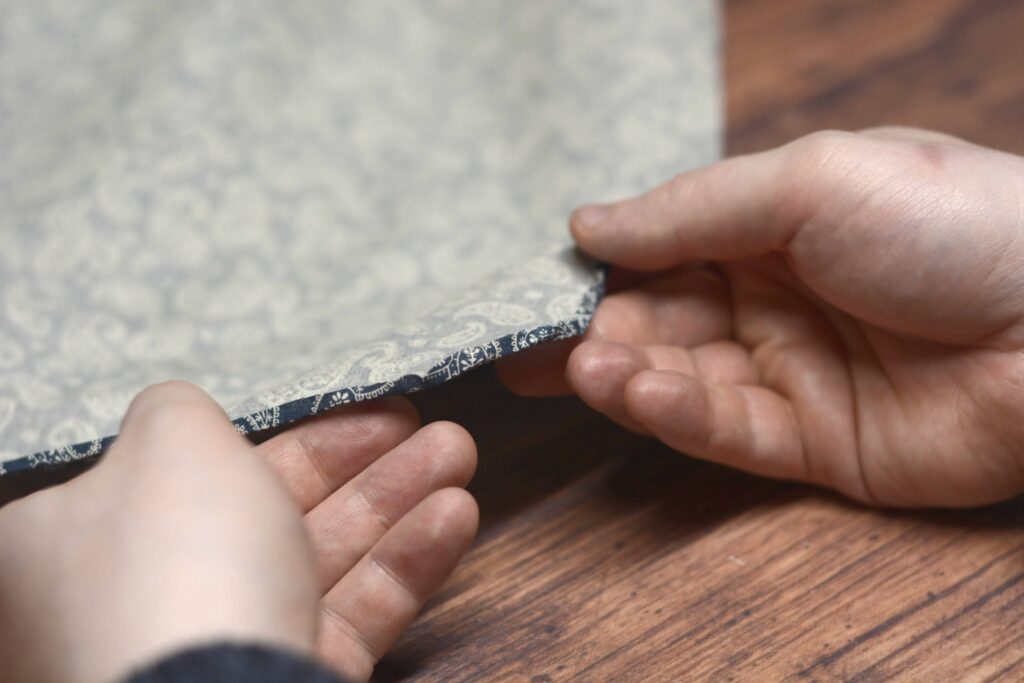
The view of the inner cuff showing how it’s set back.
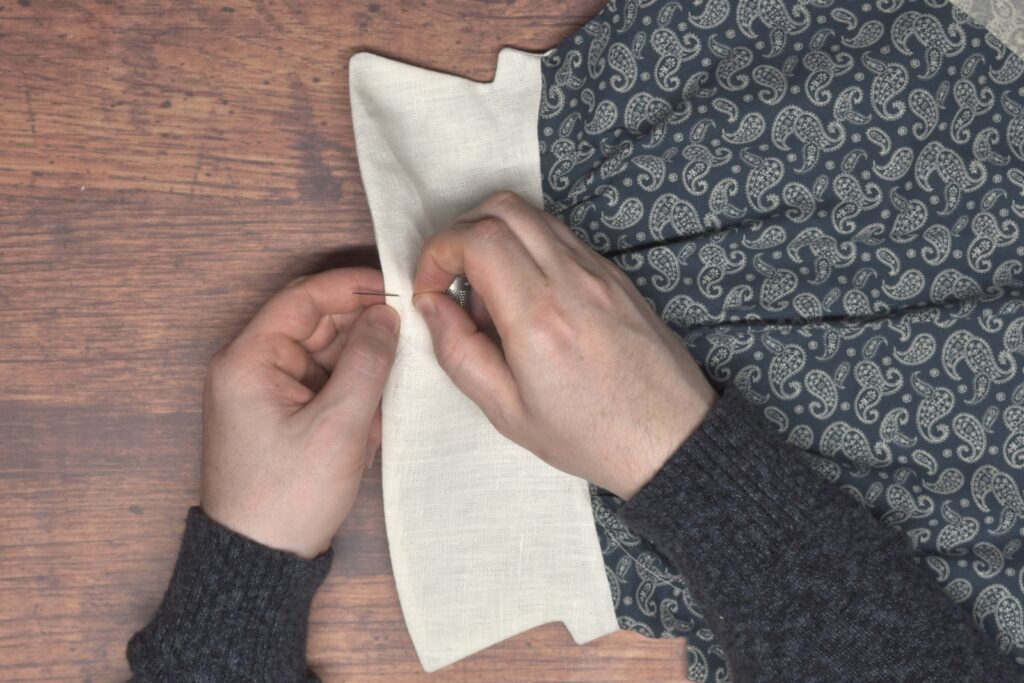
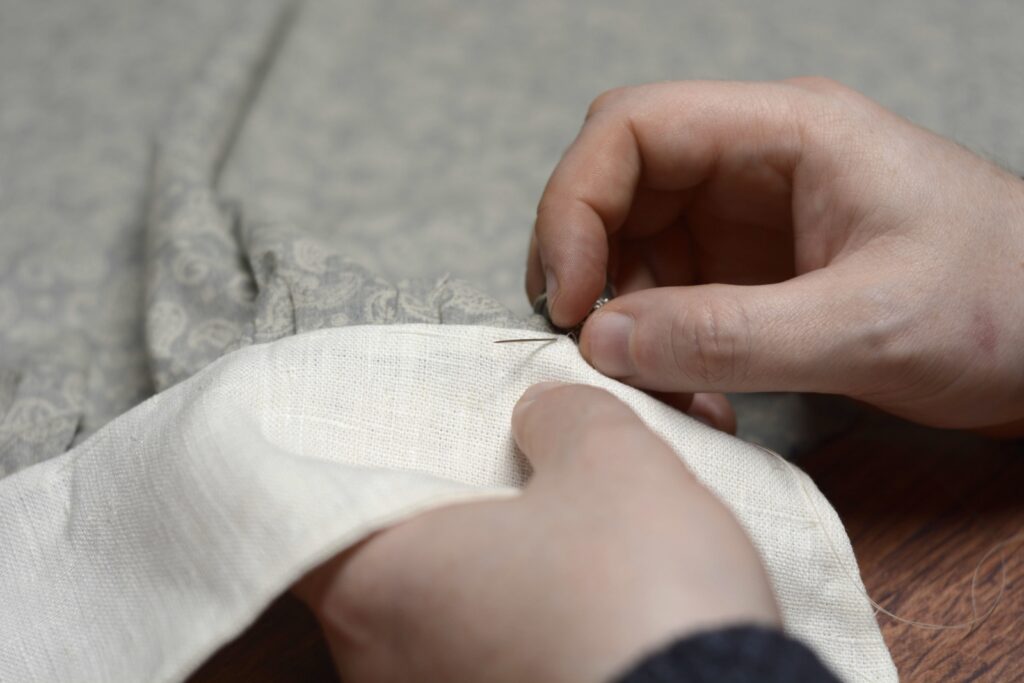
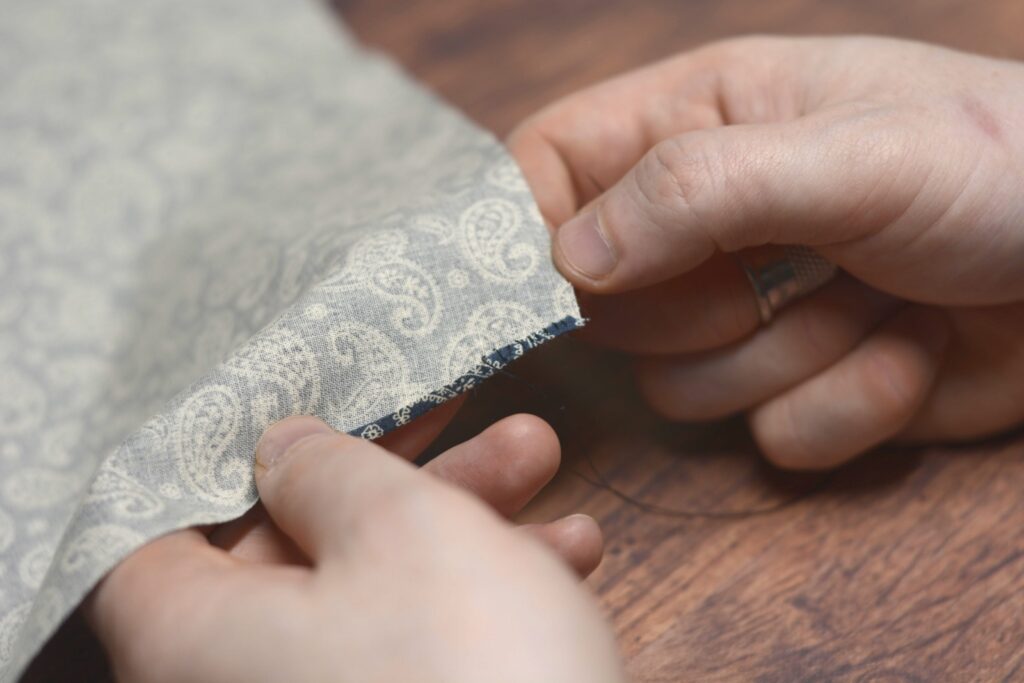
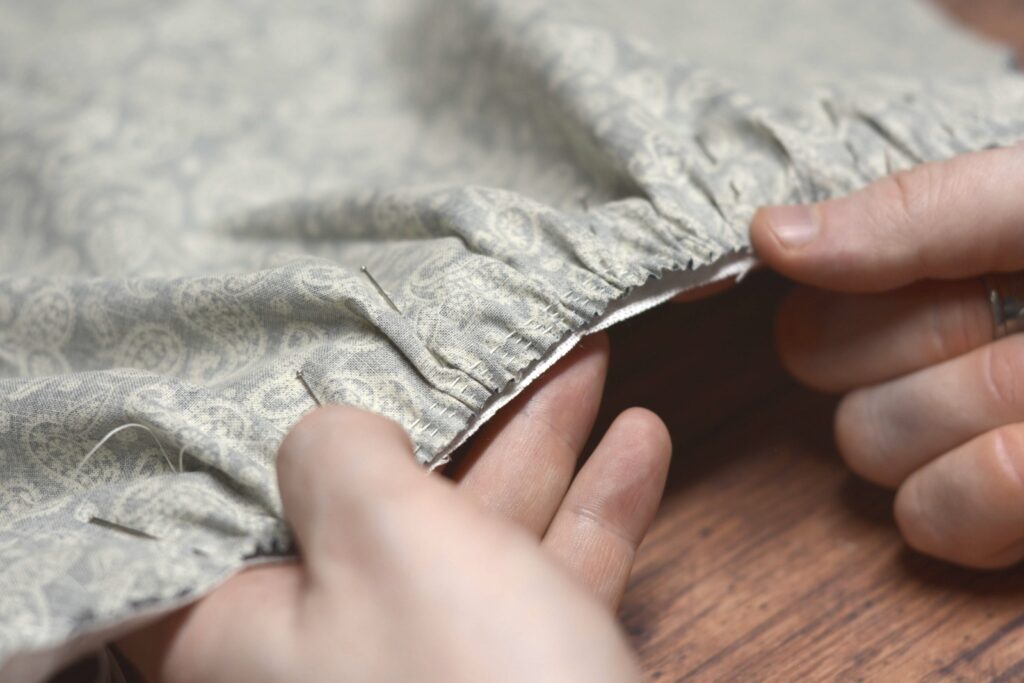
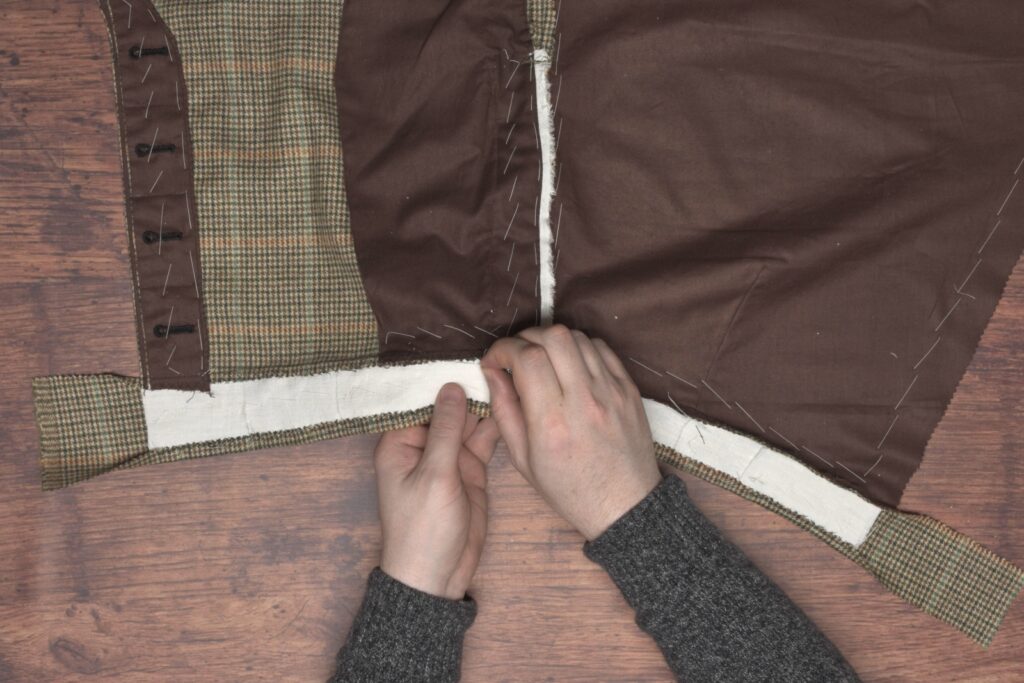
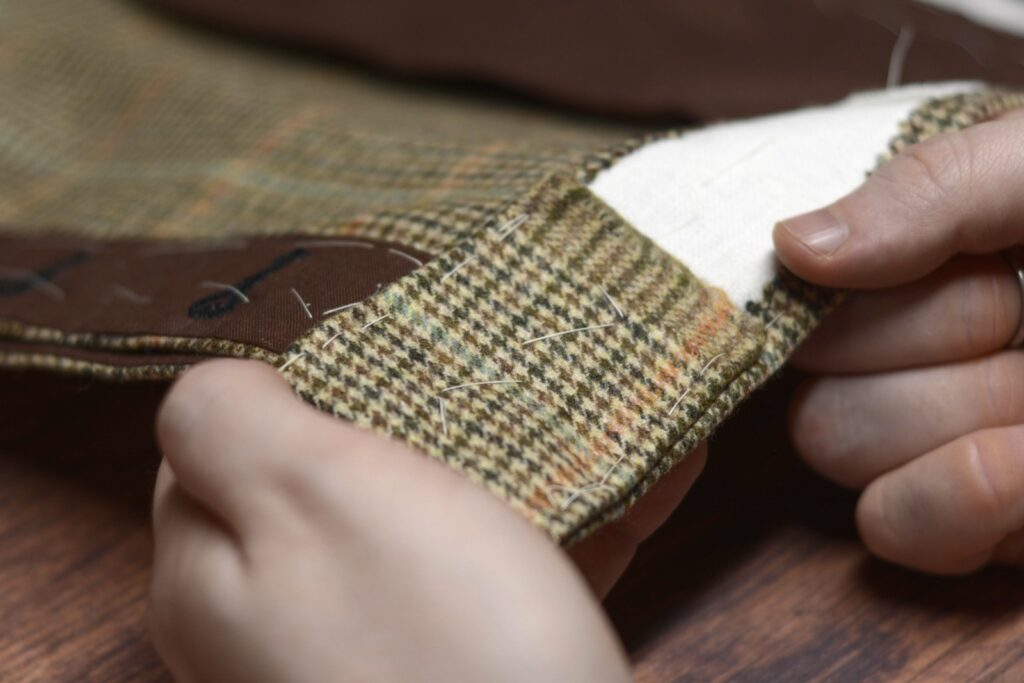
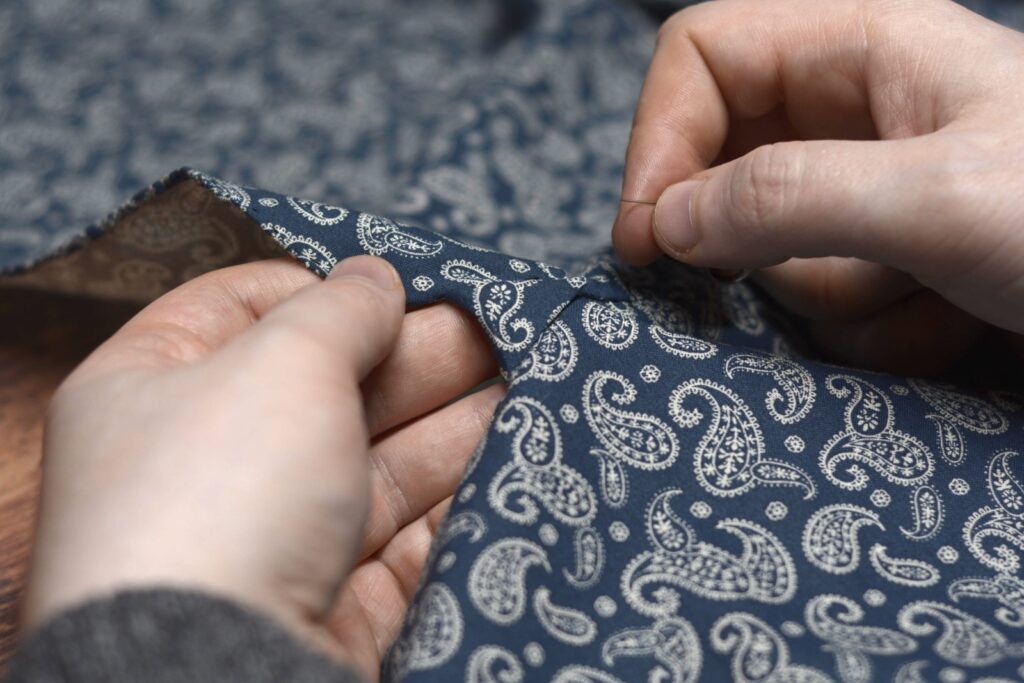
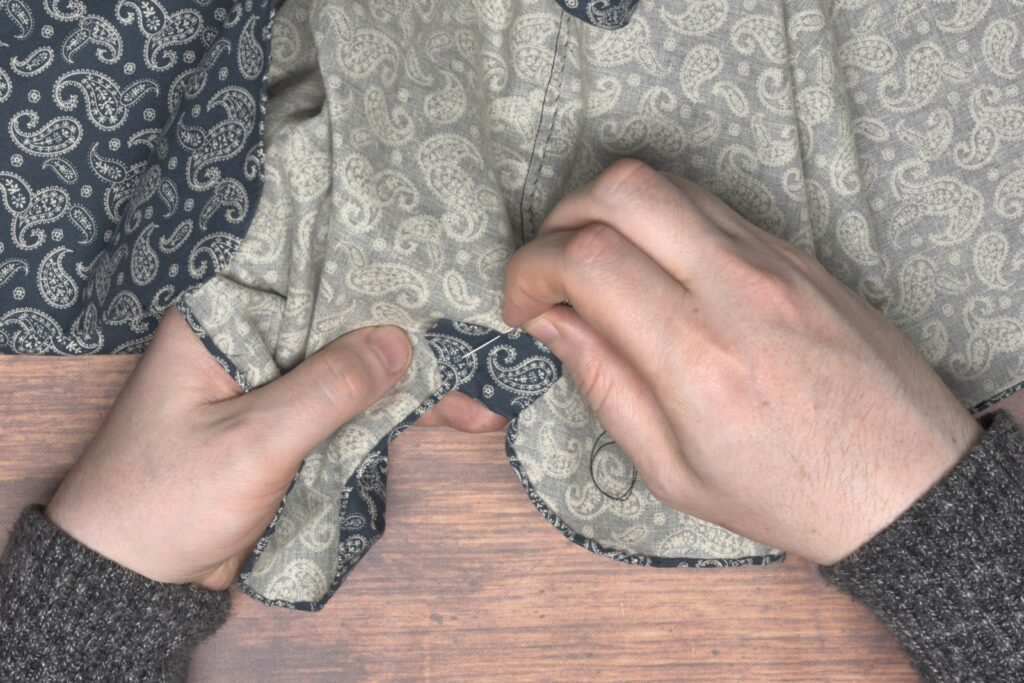
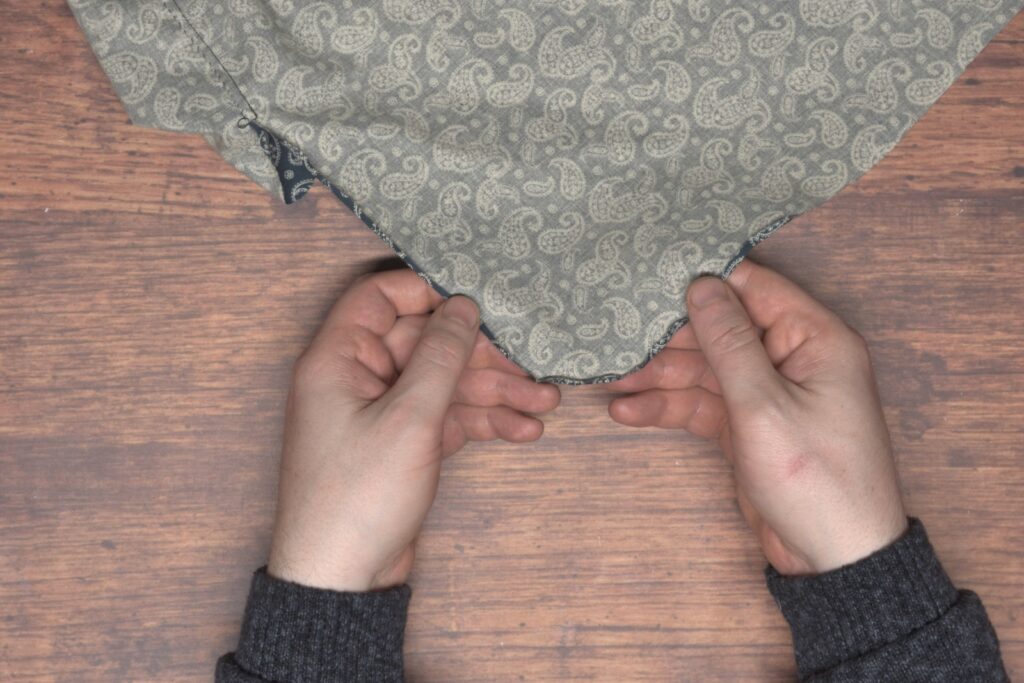
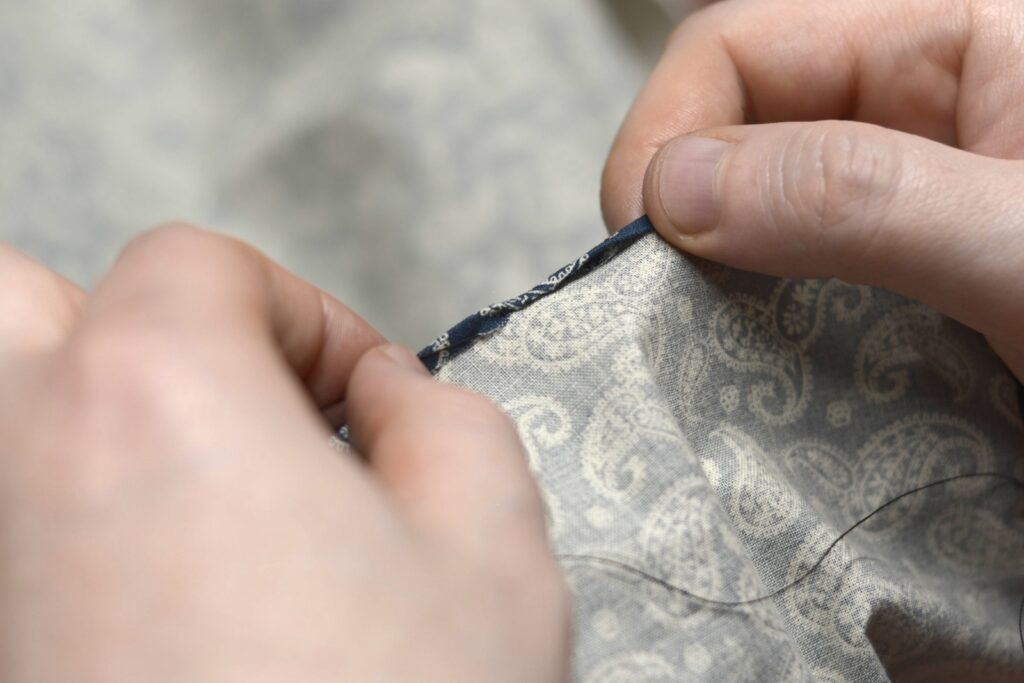
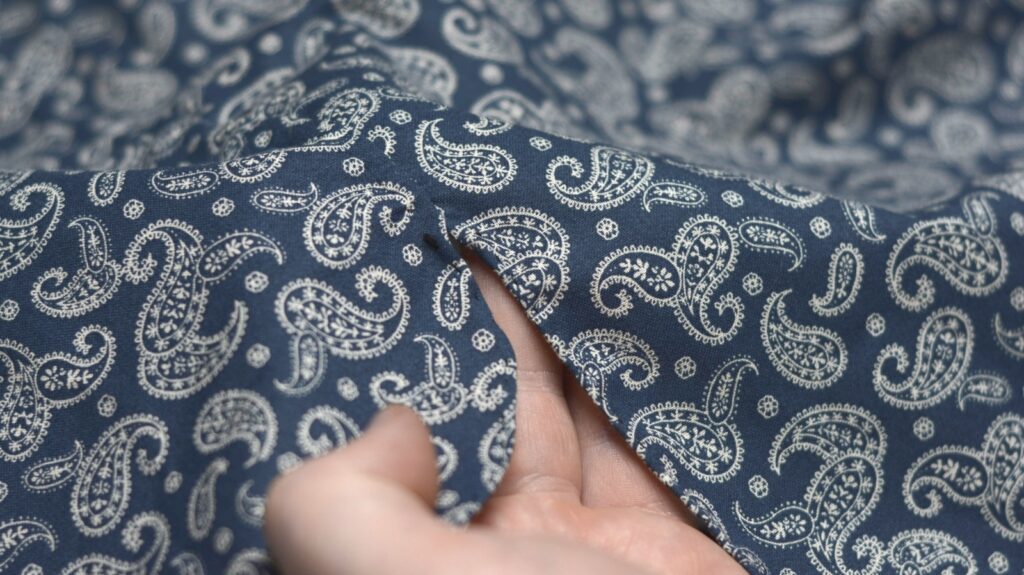
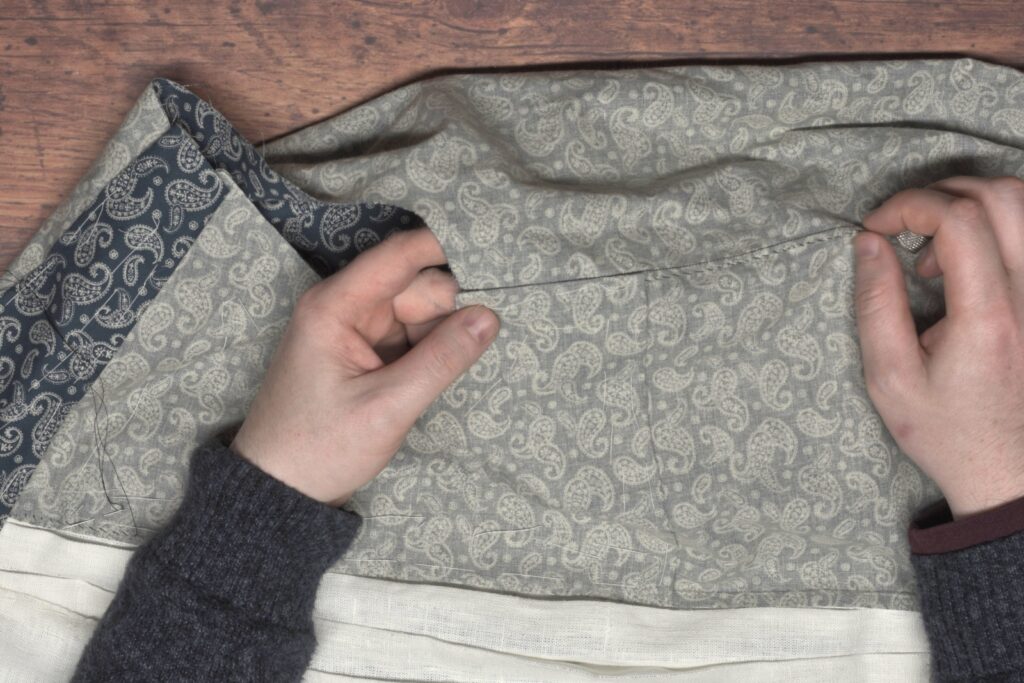
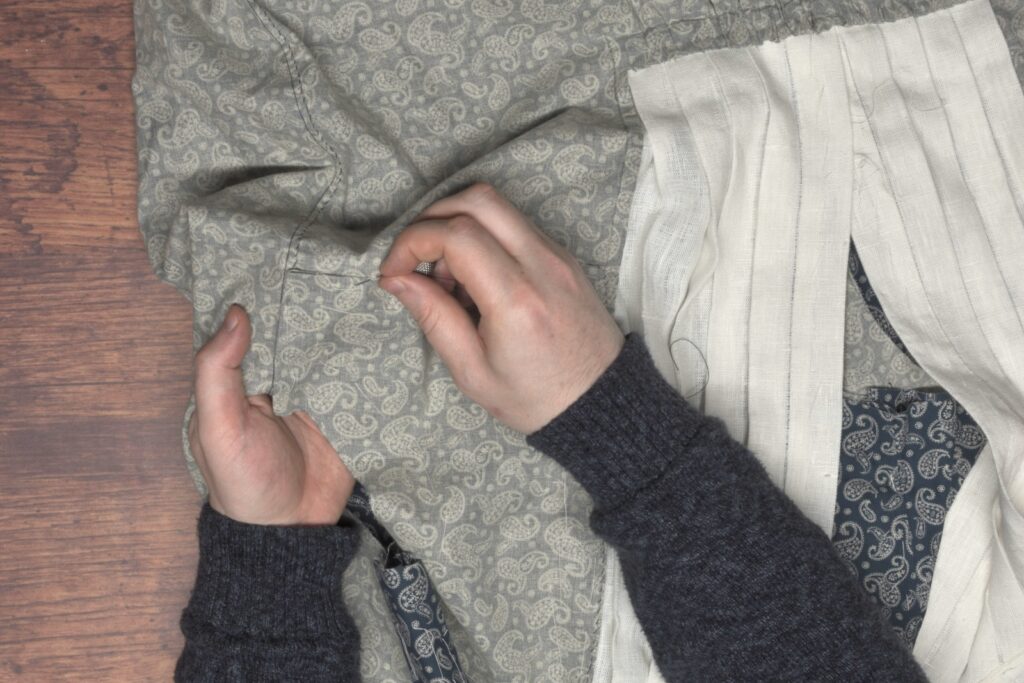
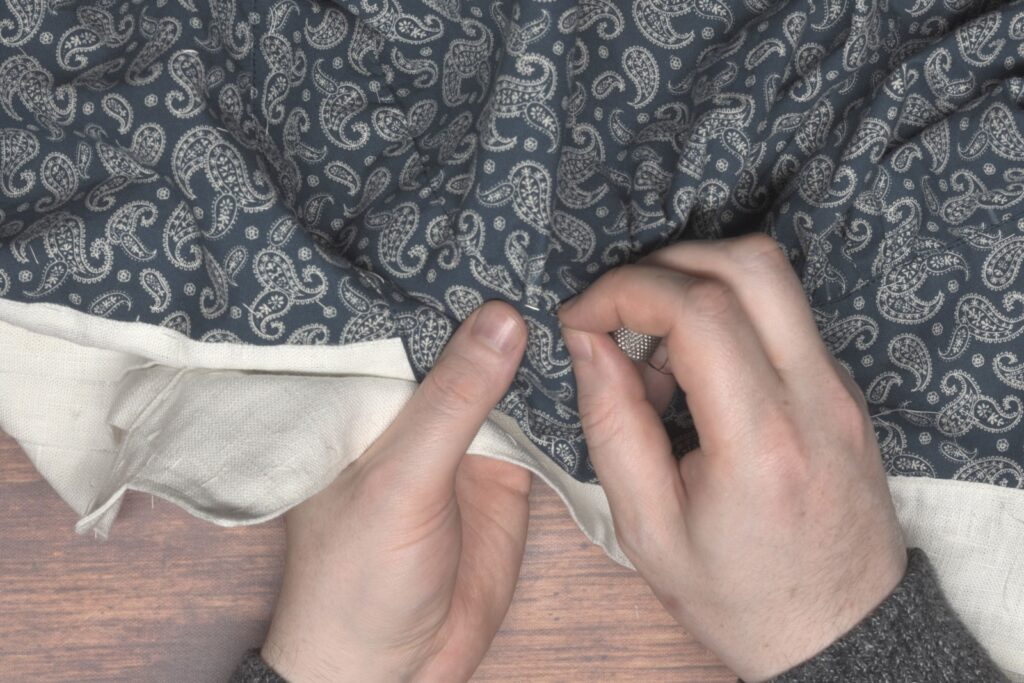
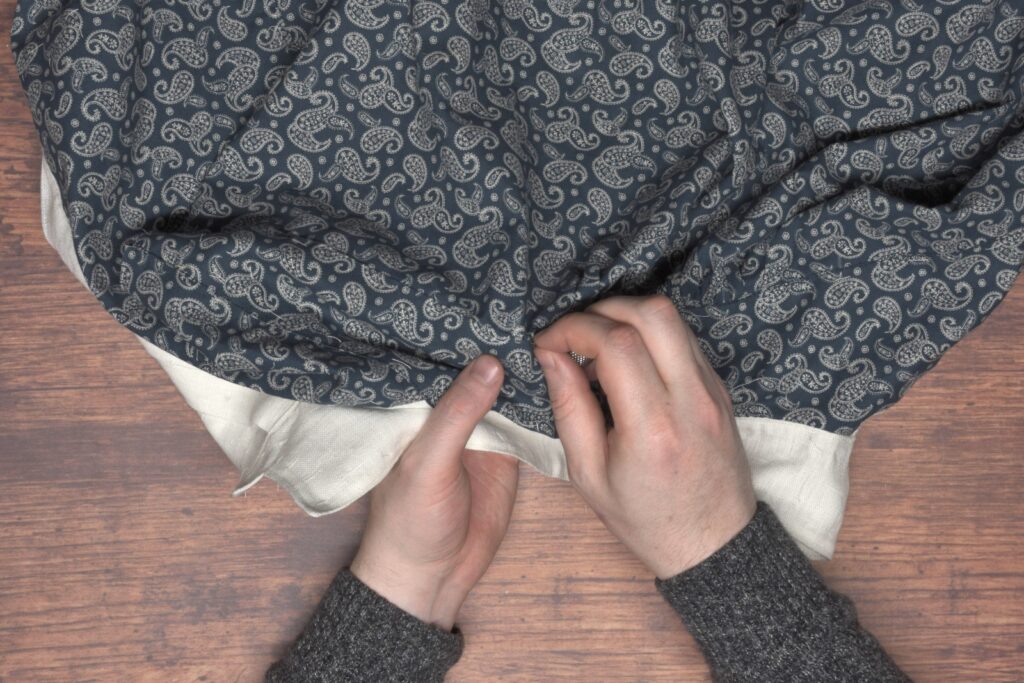
Being careful to hold the layers of fabric together evenly, baste along the inner edge of the cuff, about 1/2″ from the sleeve edge underneath.
It’s still a good idea to let the fabric drape over your hand as you baste to make the inner cuff shorter as you did earlier.
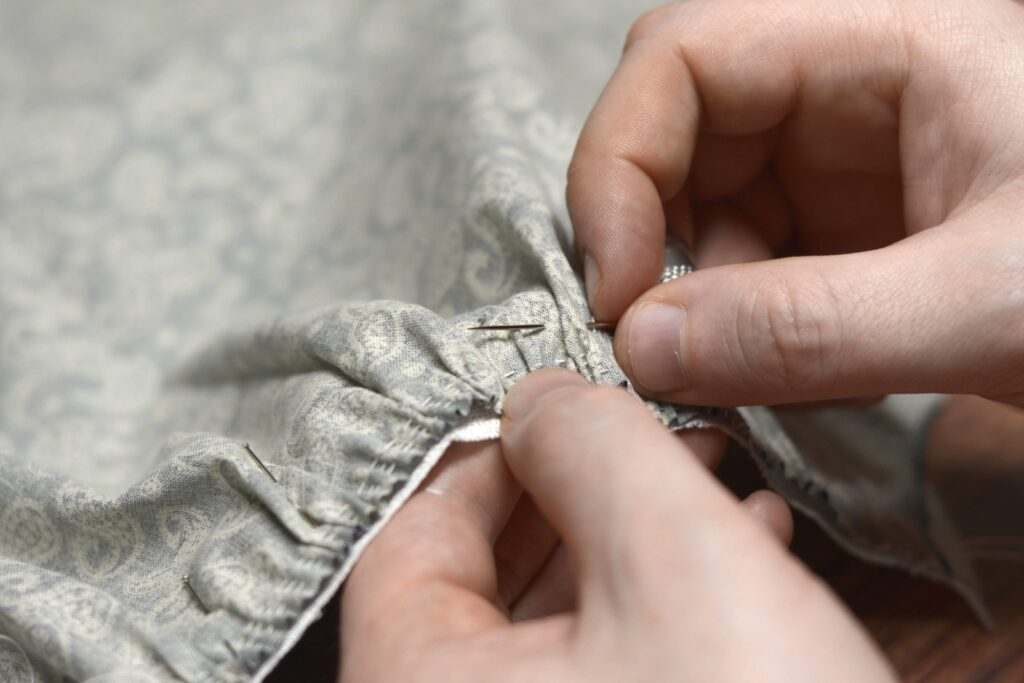
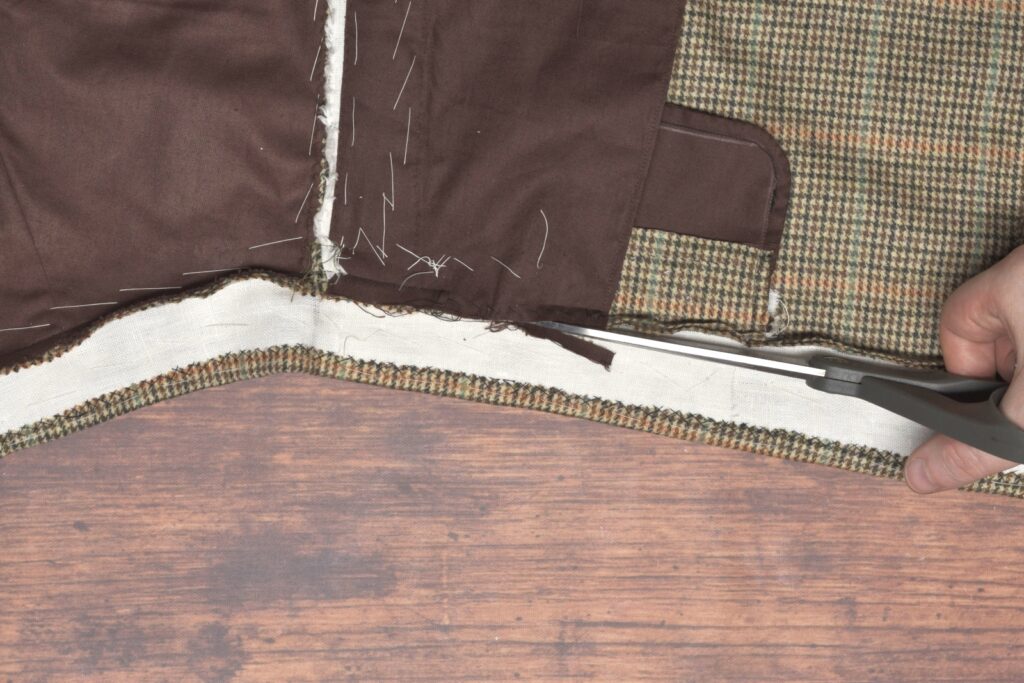
Trim the remaining seam allowance by 1/4″.
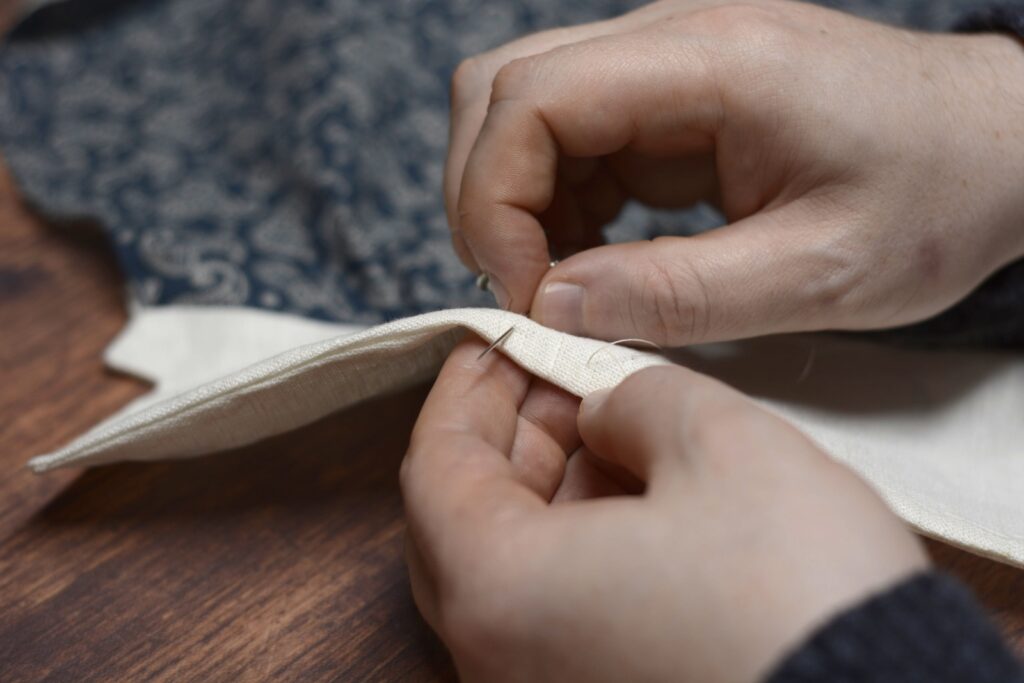
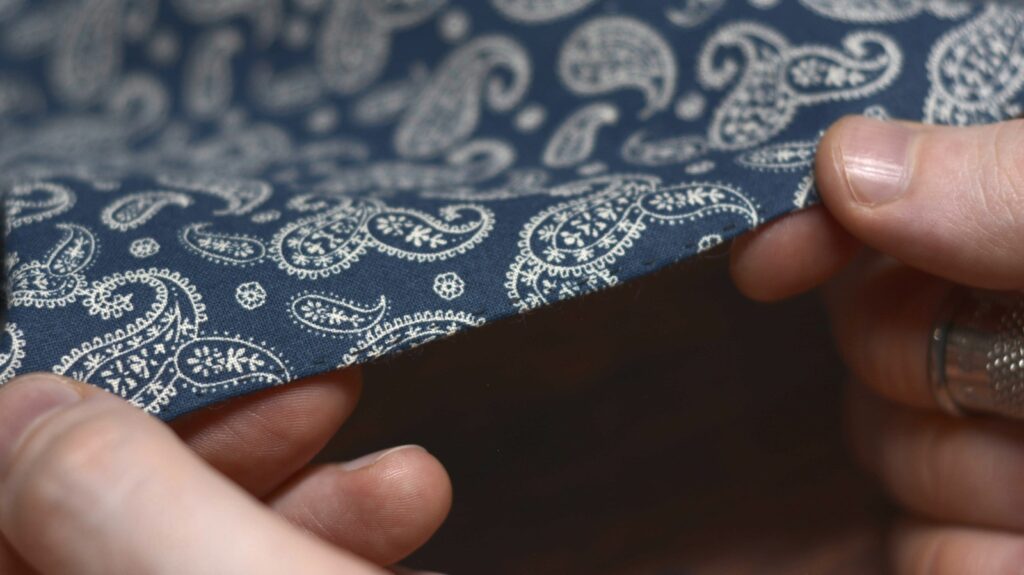
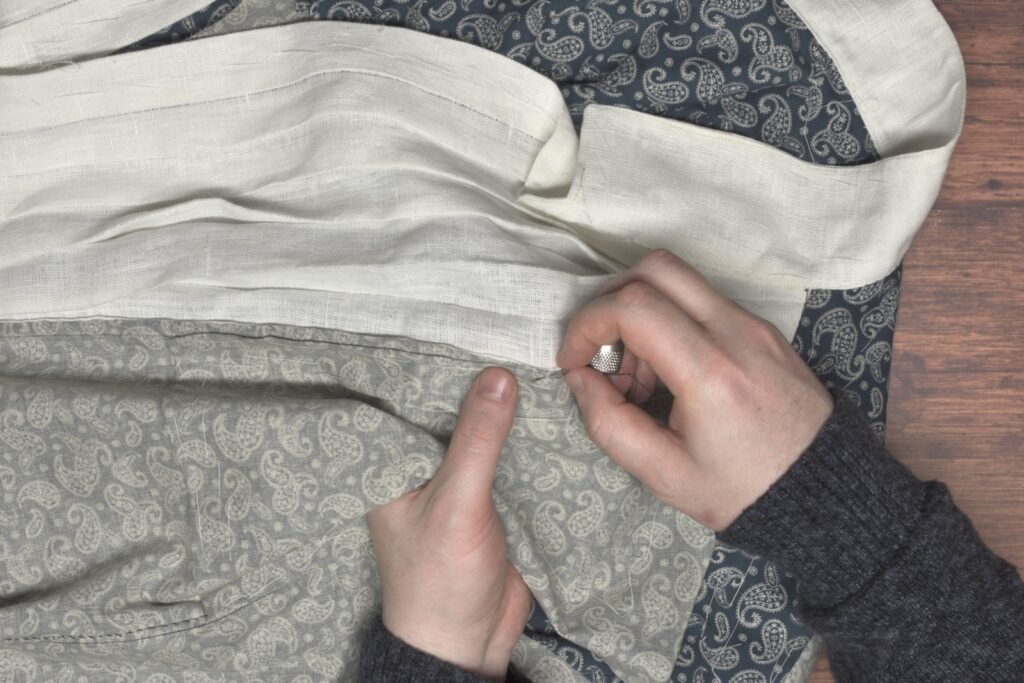
Fold the seam allowance under and press with your fingers as you go.
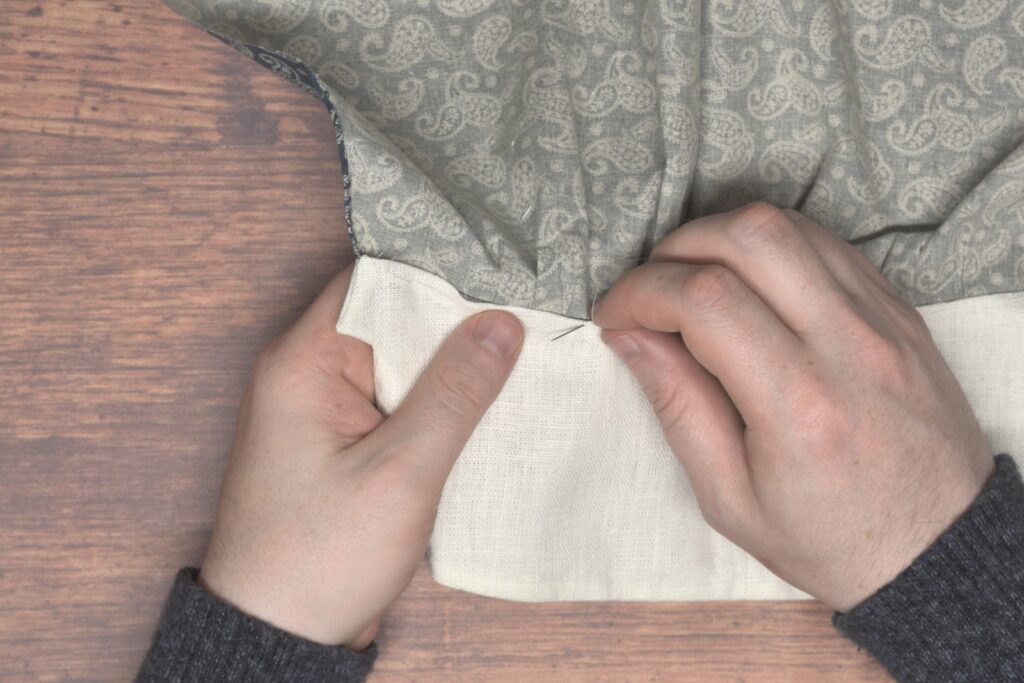
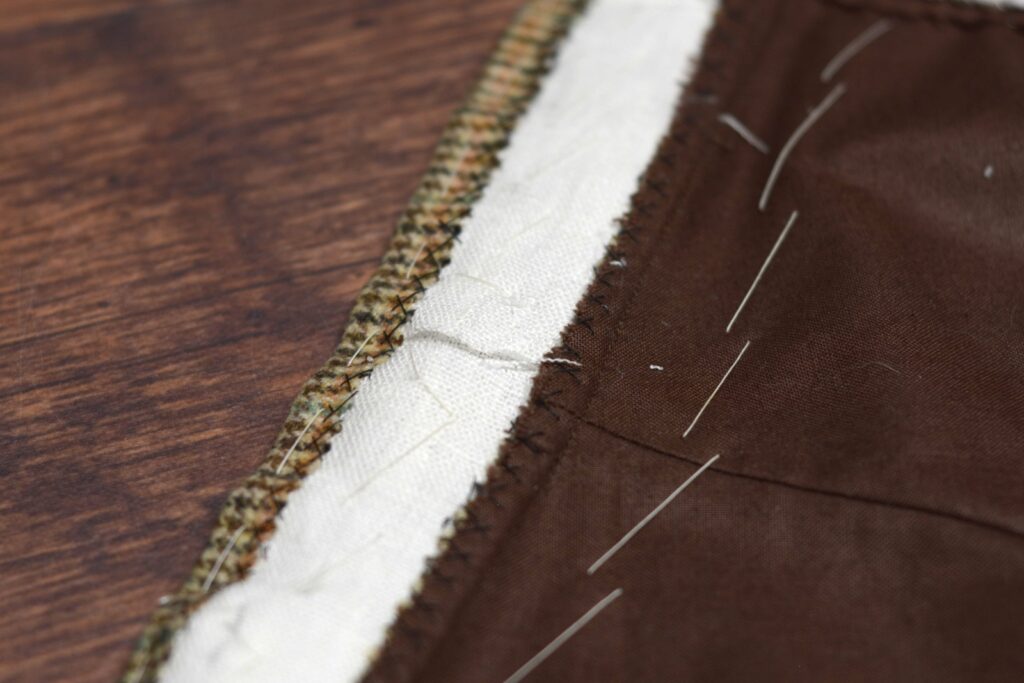
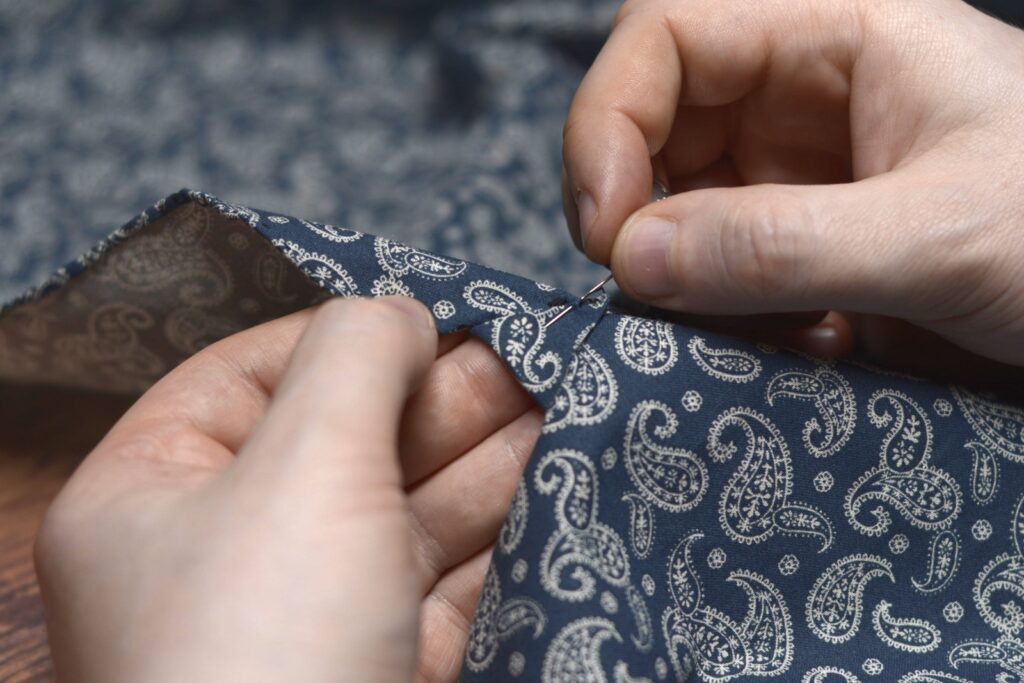
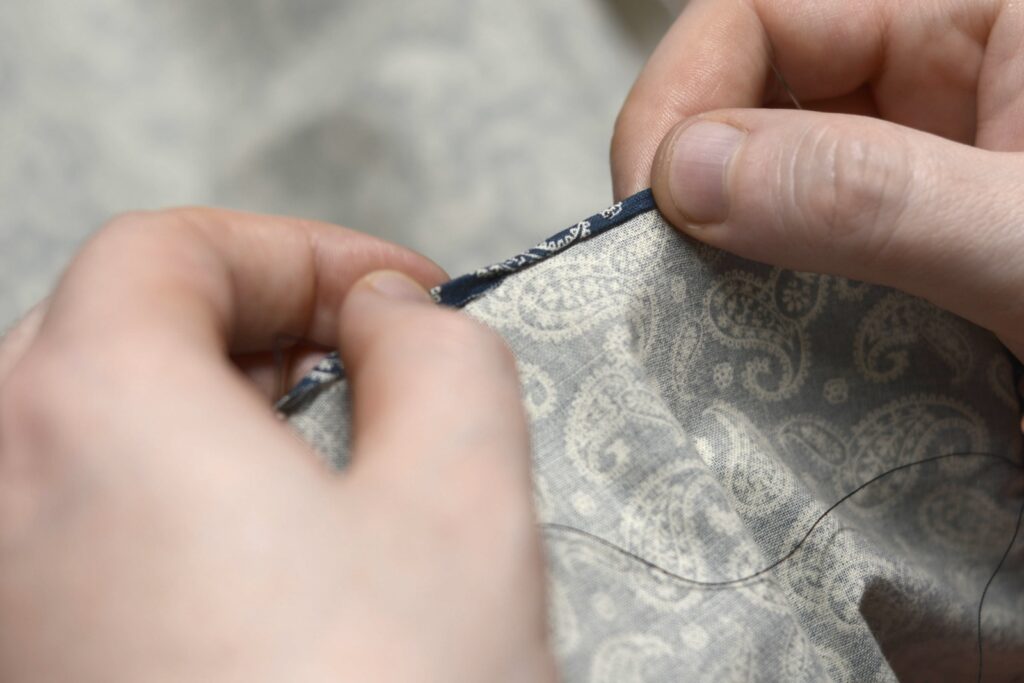
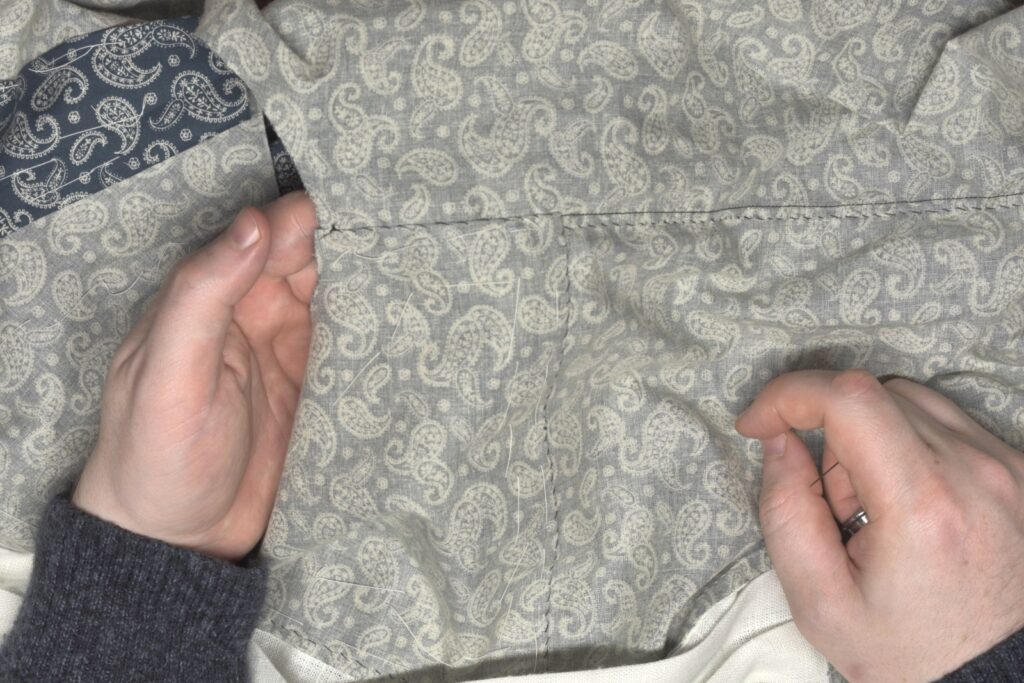
Baste across the folded seam.
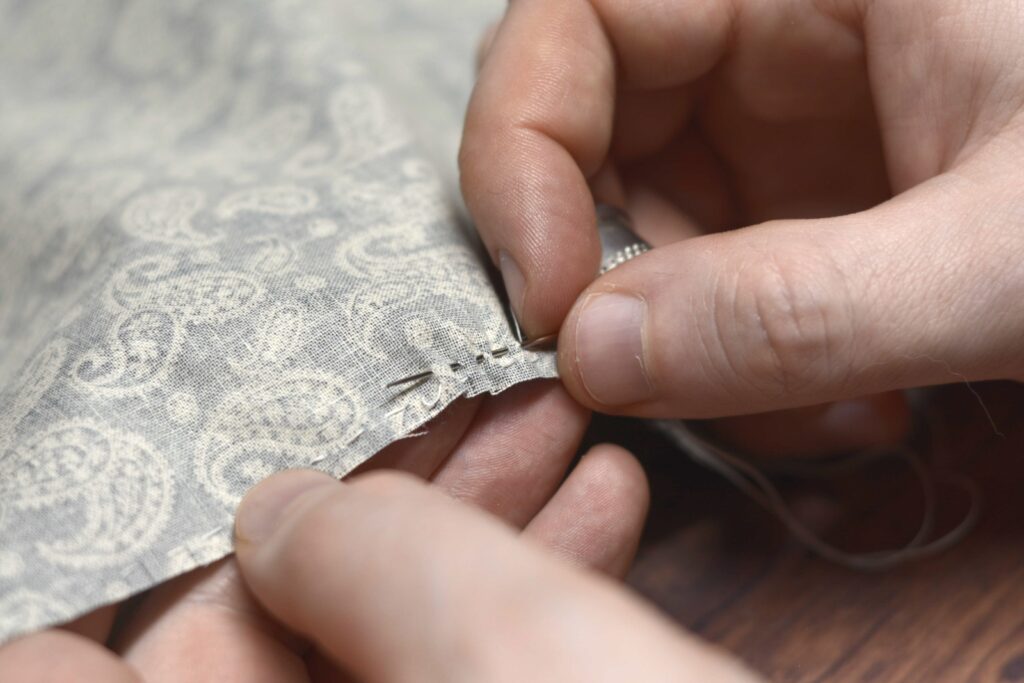
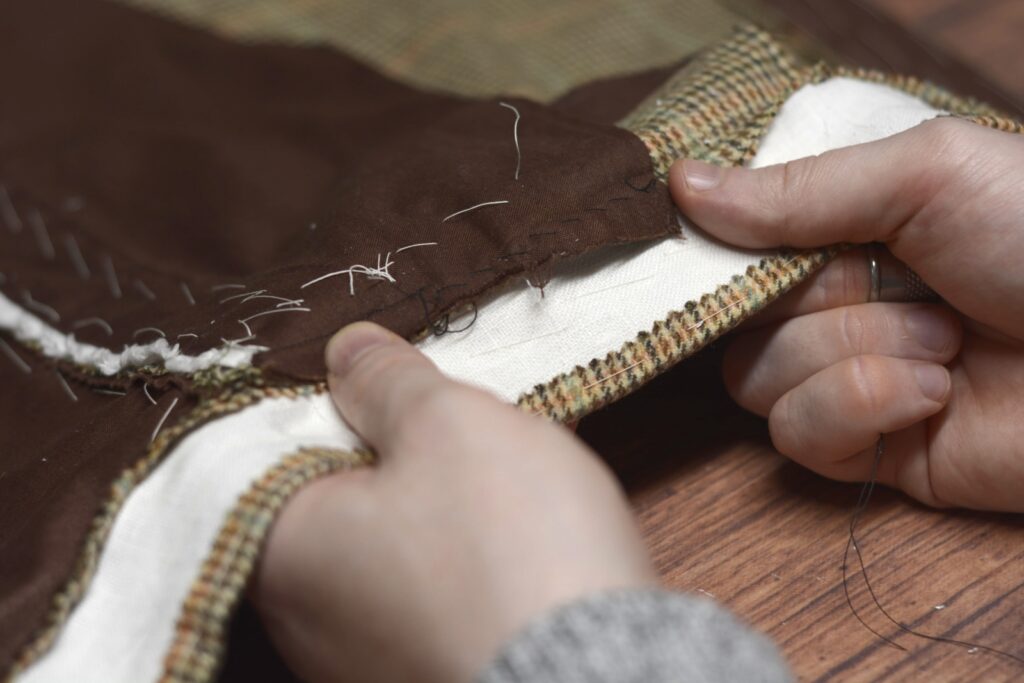
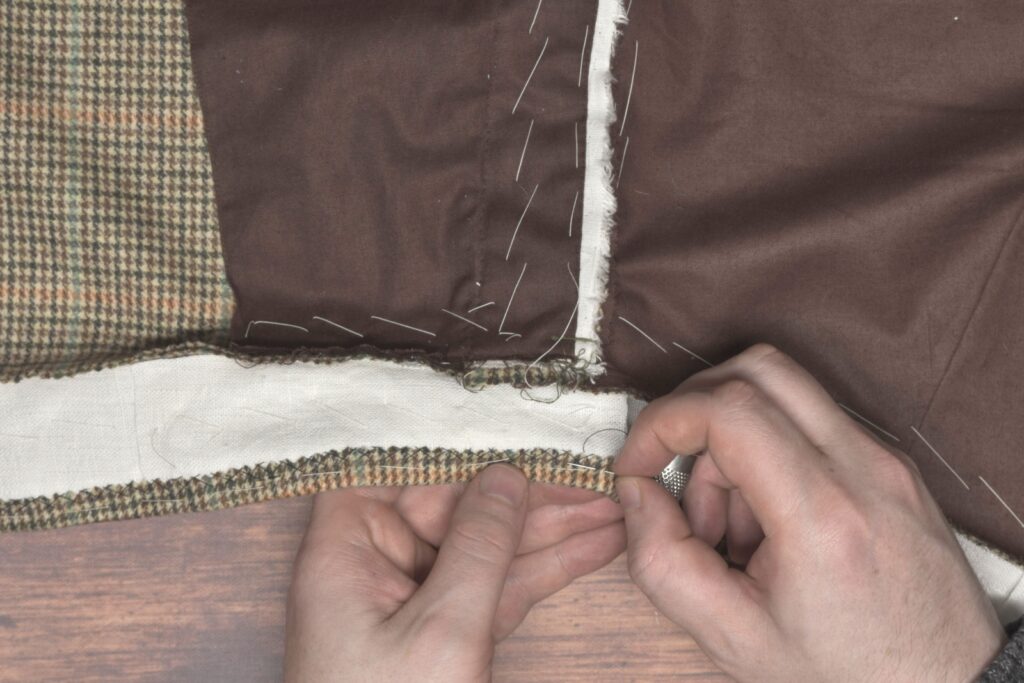
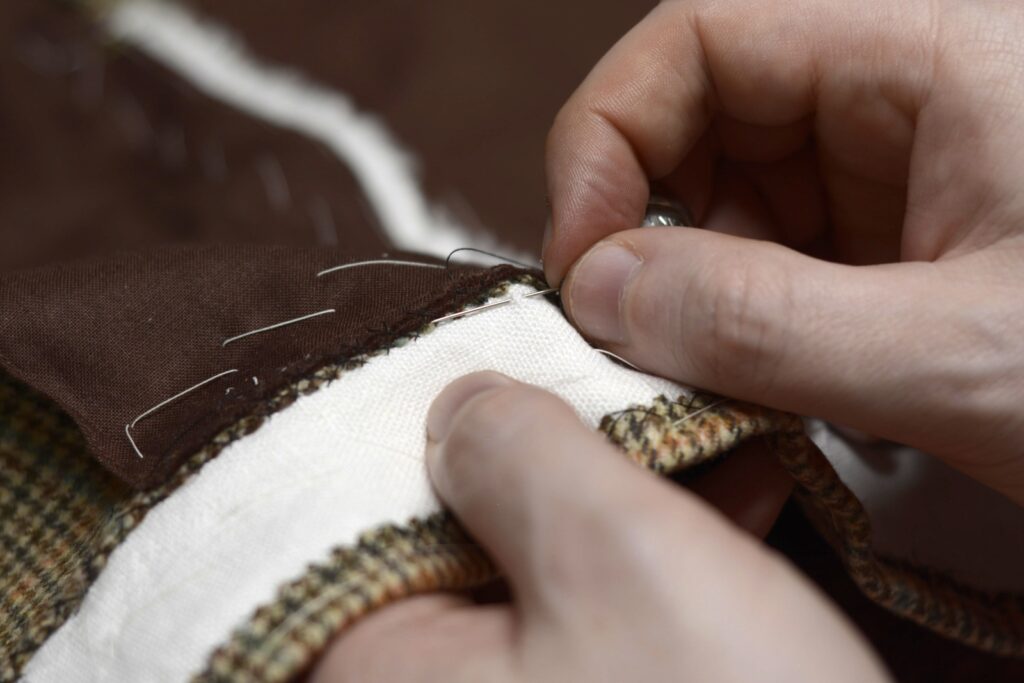
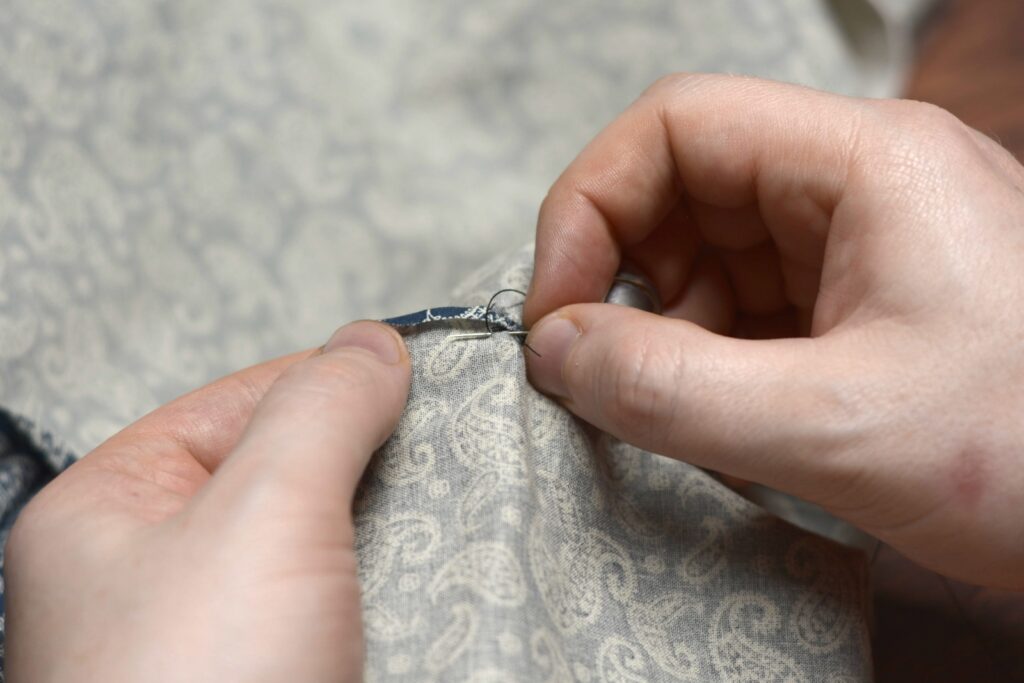
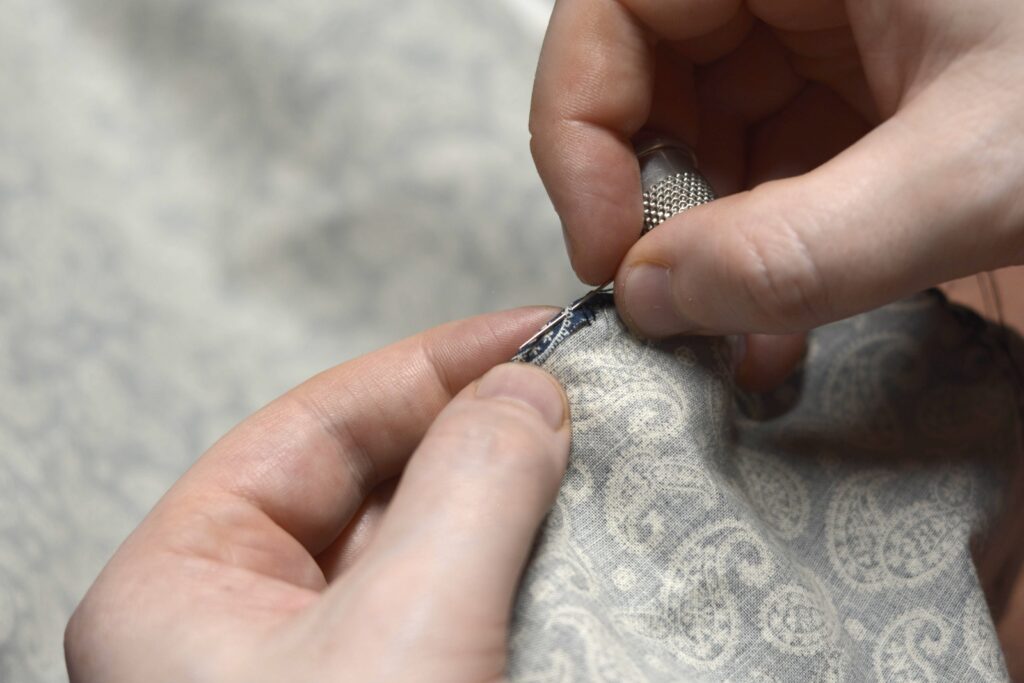
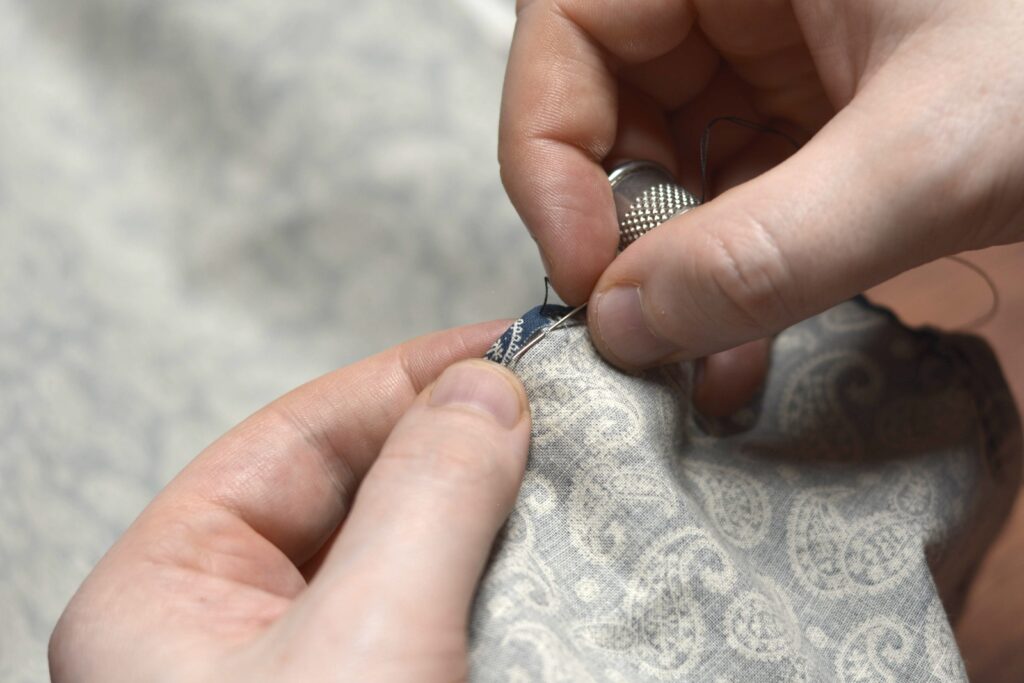
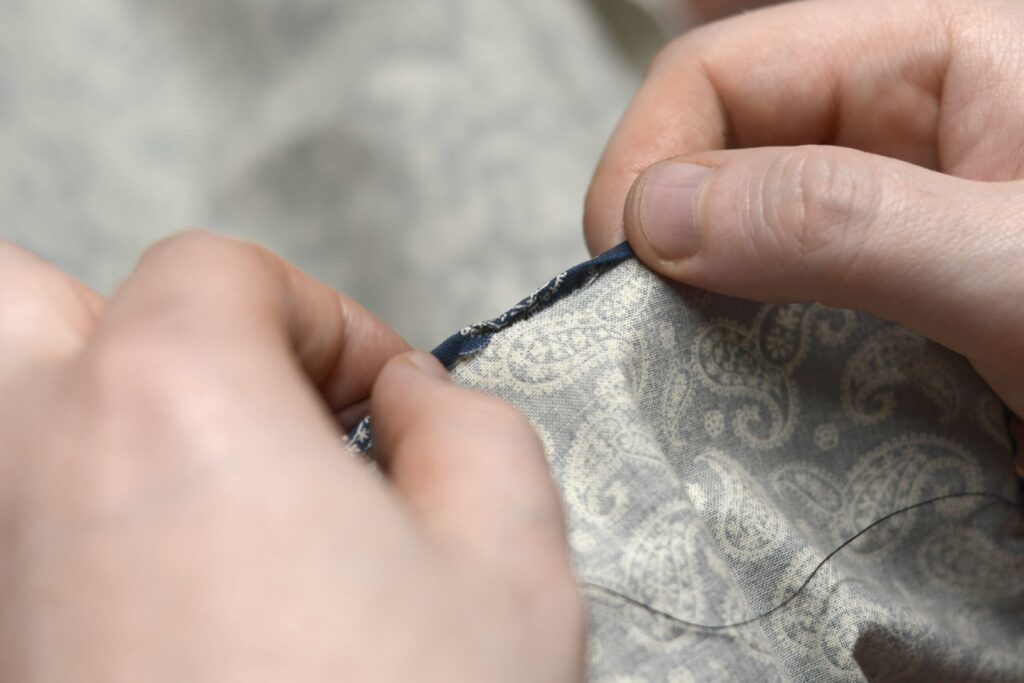
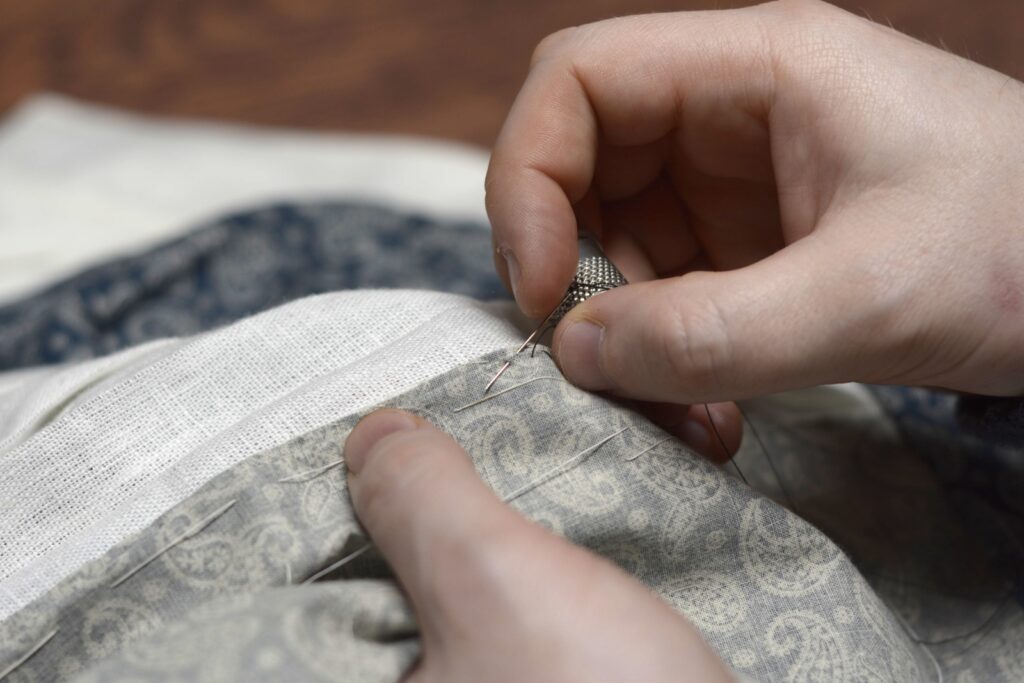
Finally, close the cuff by felling the remaining folded seam, being sure not to let the stitches show through to the right side. I hid the diagonal part of the stitch in between the layers.
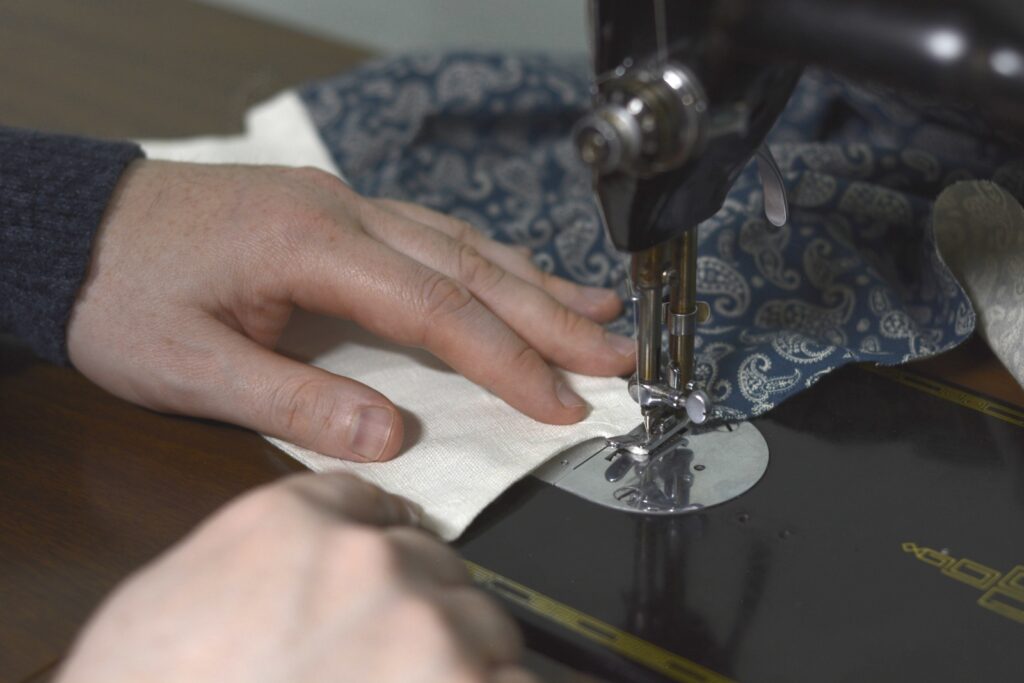
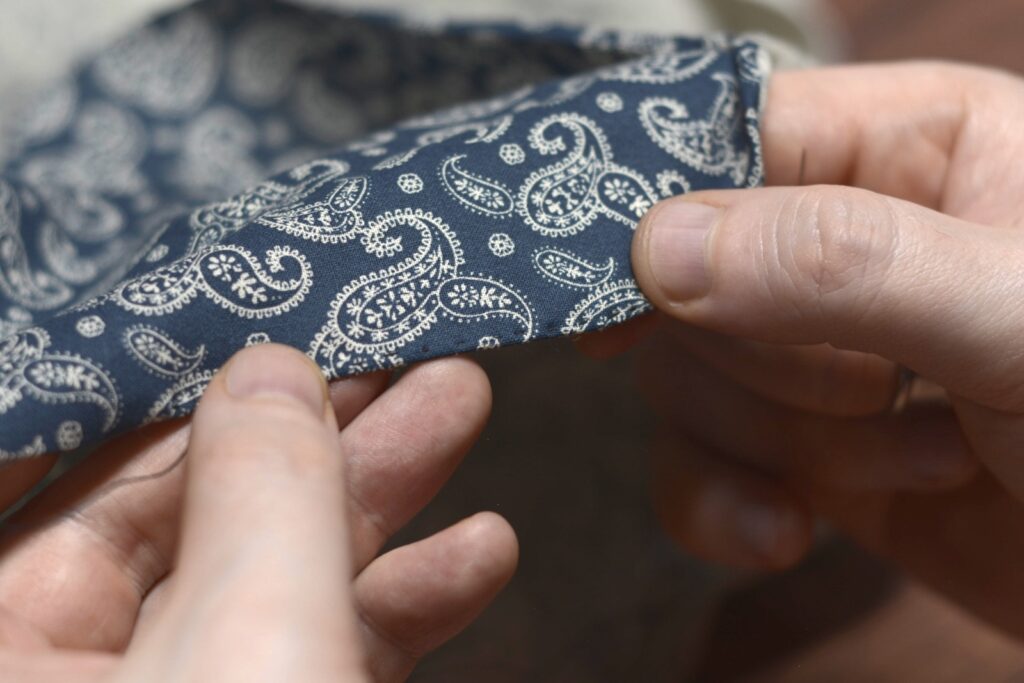
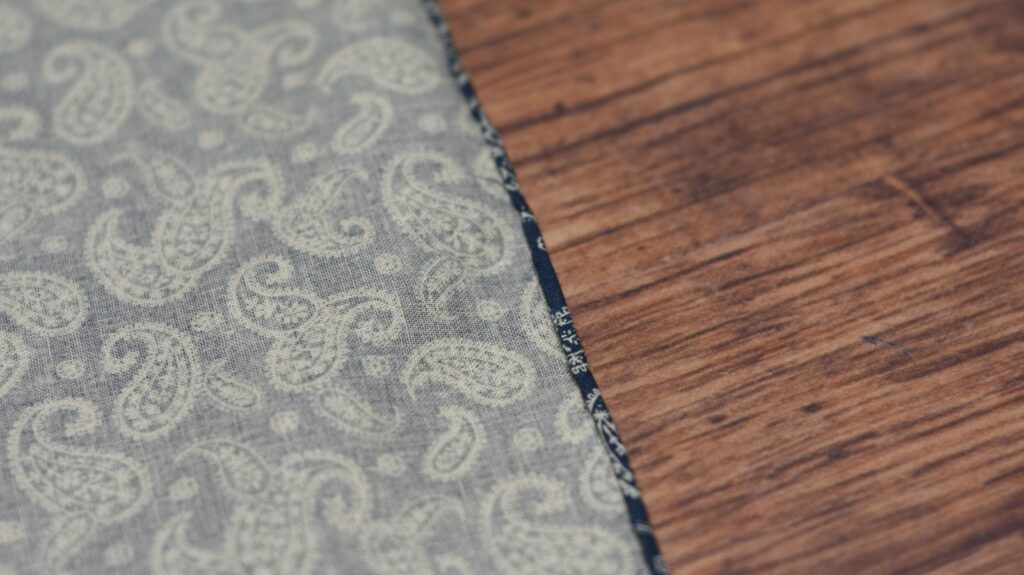
Finish off the cuff by top stitching around the entirety of the cuff. I like to start nearer to the sleeve as the ends of the stitching are less visible here.
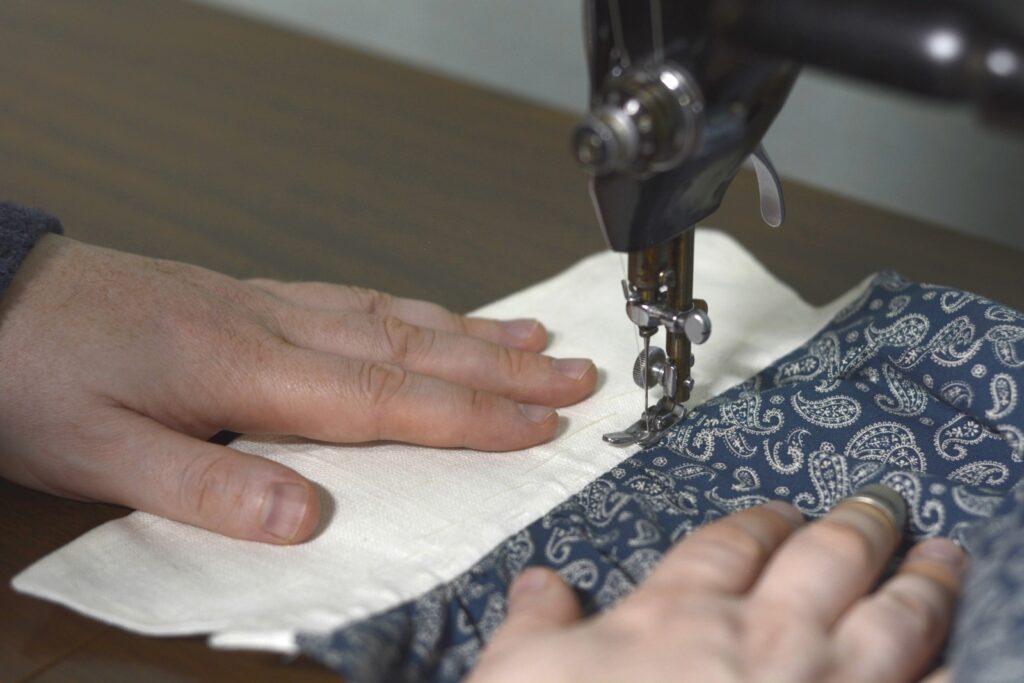
Take extra care around the corners.
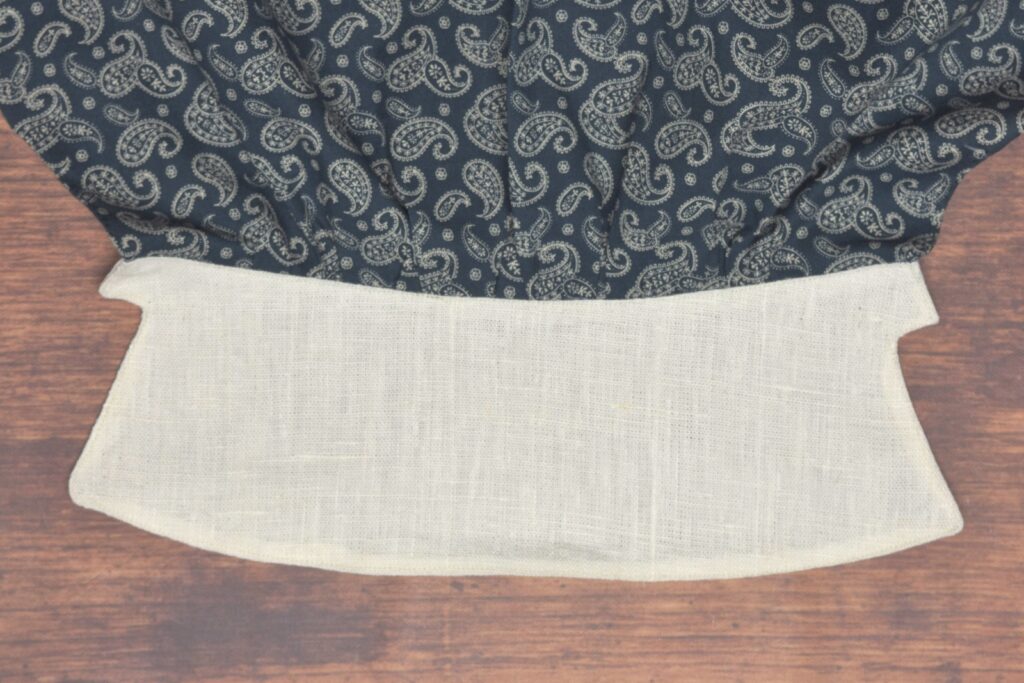
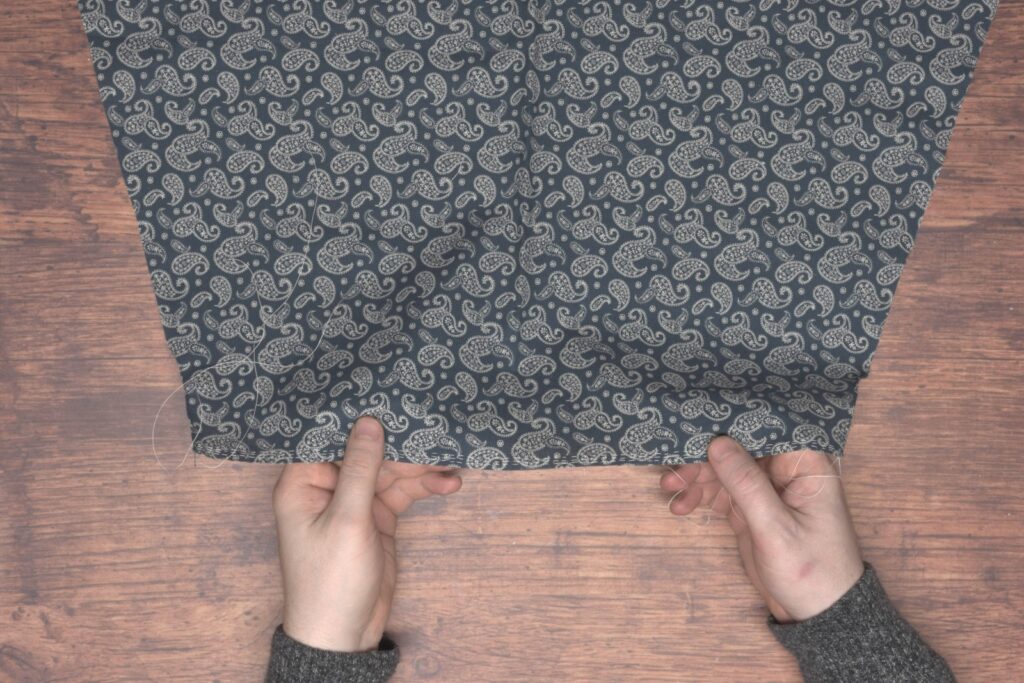
The completed cuff.
Your Progress
[columns gutter=”0″]
[col]
1 | Attach the inner cuff. | |
2 | Top stitch the cuffs. |
[/col]
[col align_text=”center, middle”]
[/col]
[/columns]
The Cuffs – Part I
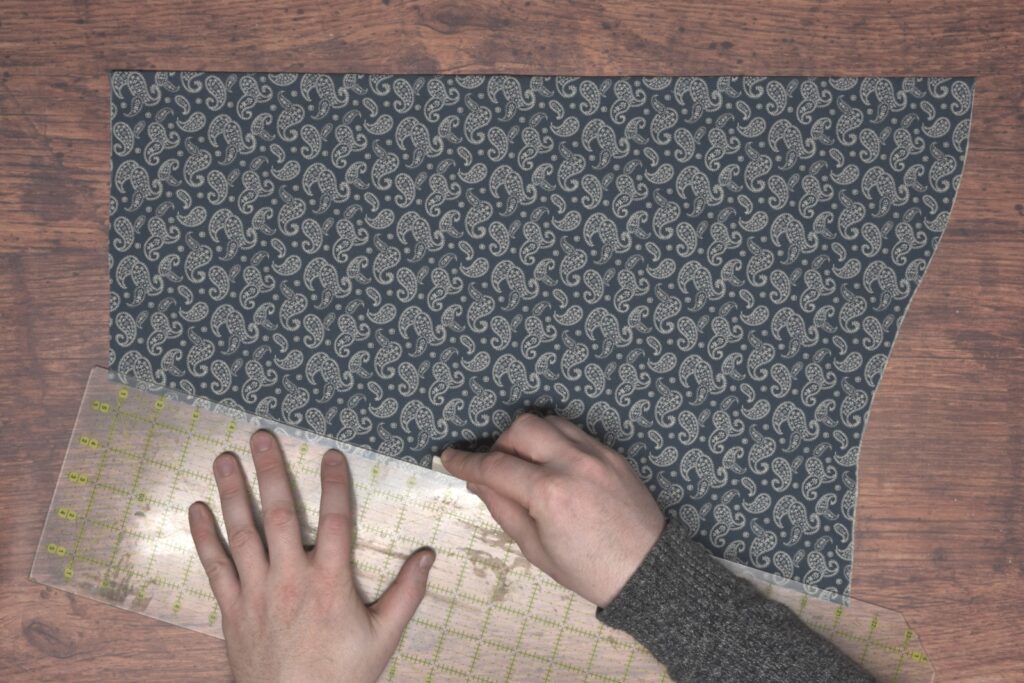
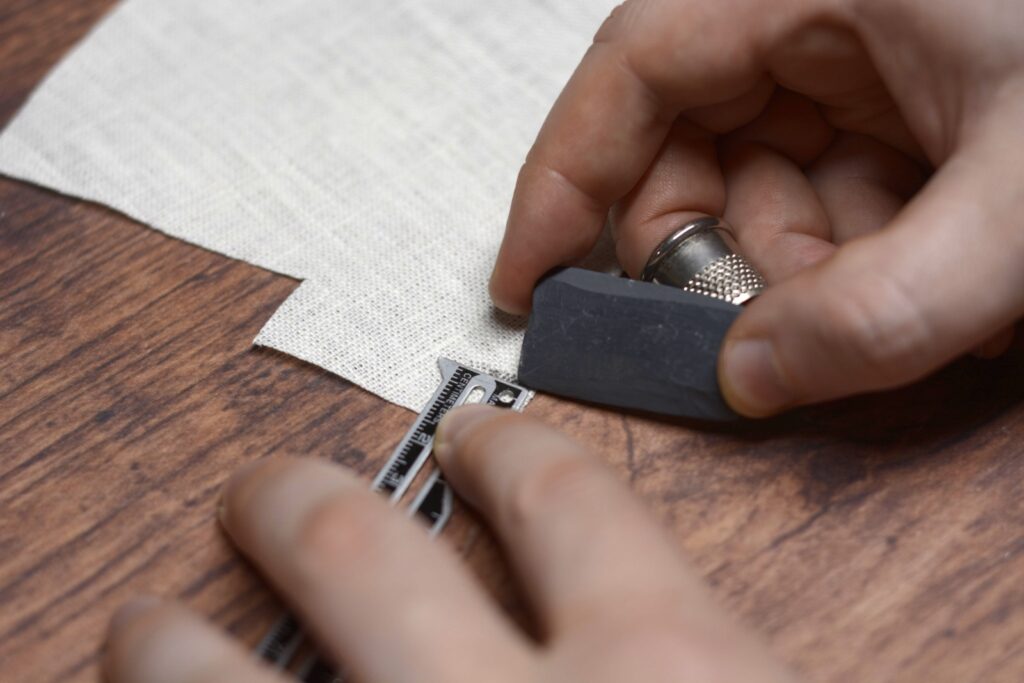
If you’re planning to use a larger seam allowance of 1/2″, or 1/4″ finished sleeve seam, as a beginner, just ignore the next step. But if you’d prefer a 1/8″ finished sleeve seam, mark a line 1/4″ from the edge of the sleeve.
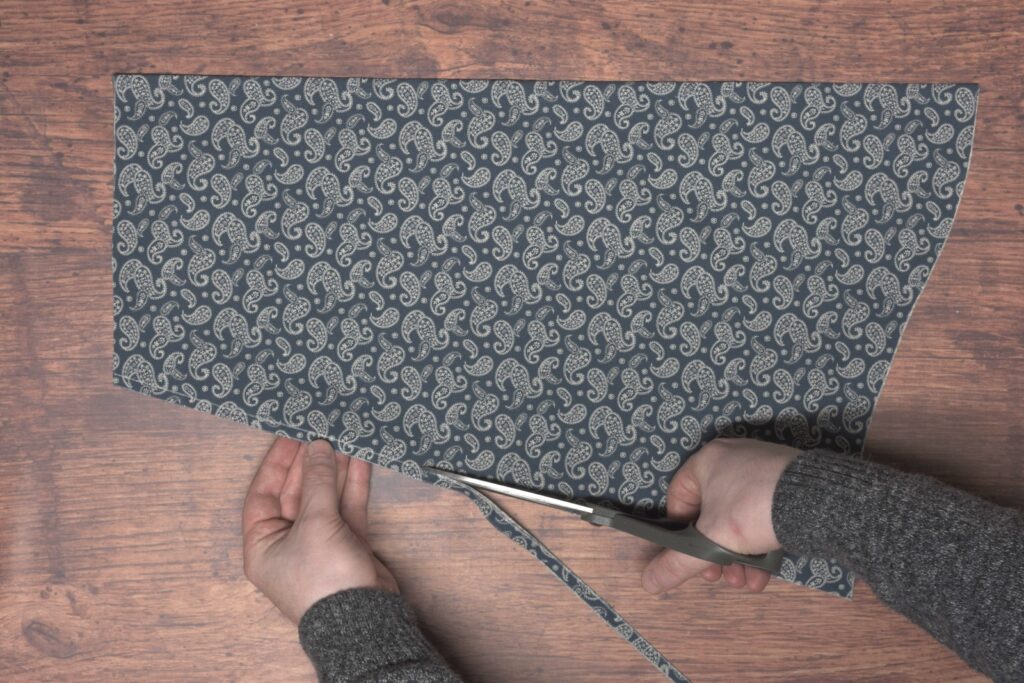
And trim off the 1/4″.
Mark a line on both halves of the sleeve to denote the length of the sleeve opening. You’ll also have the cuff on here, remember, so 2″ – 3″ is probably a good place to start. I made mine 2 1/2″ to account for the seam allowance for the cuff.
Press under the raw edge from the sleeve cuff to the mark 1/8″ (or 1/4″).
Using a rolled hem stitch, roll the edges of the sleeve opening on both edges.
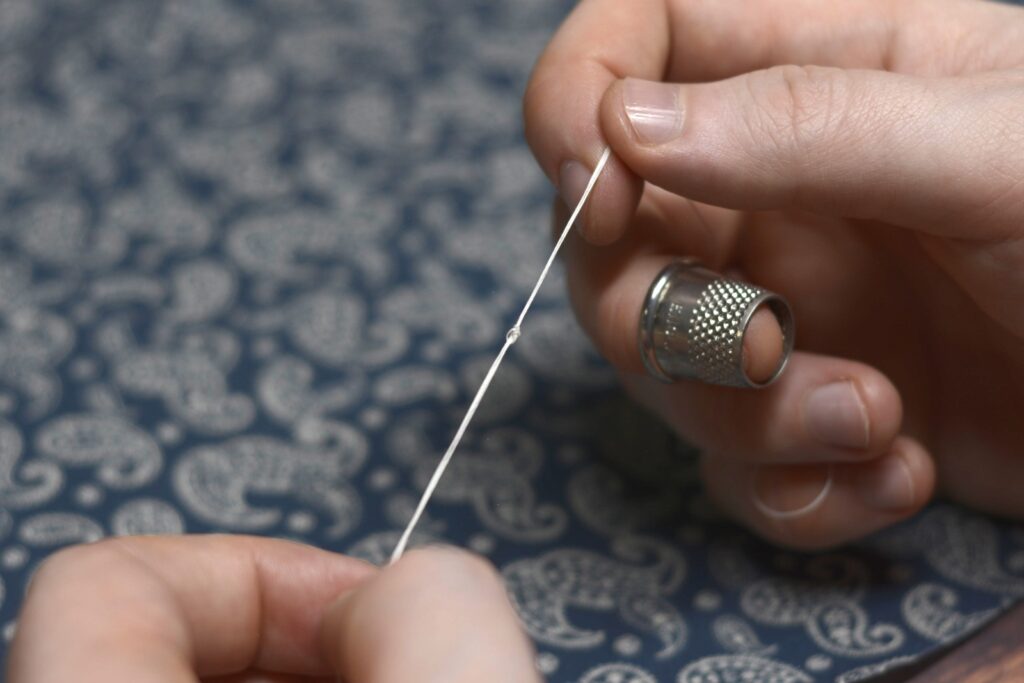
Working from the wrong side, sew three rows of fine gathering stitches along the cuff end of the sleeve.

And of course, tie a knot in each end to keep the threads from being pulled out.
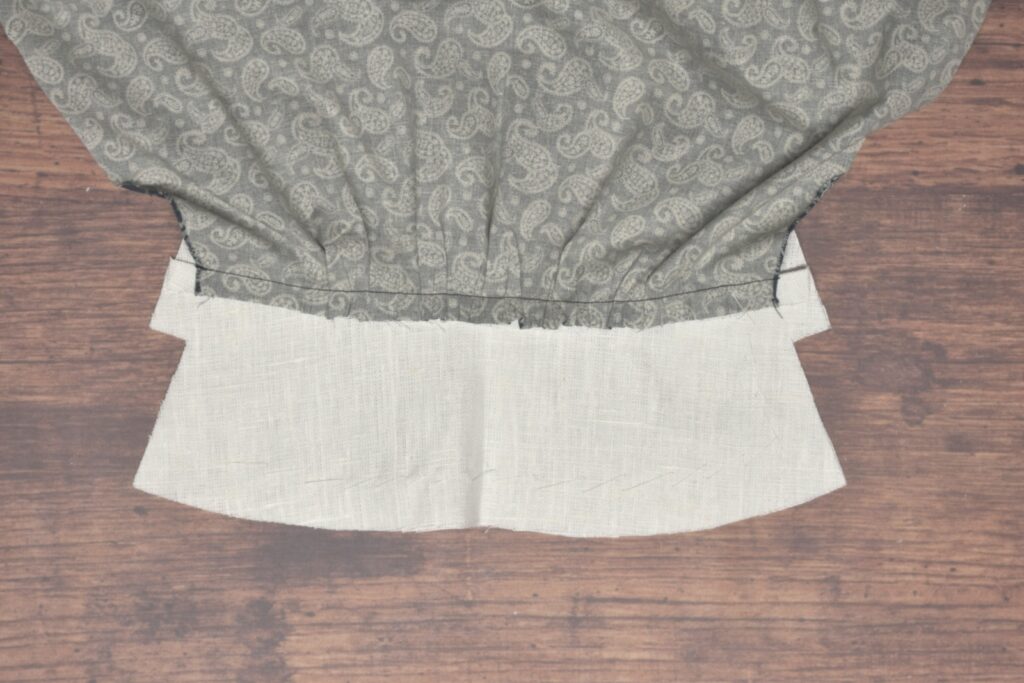
Taking up the cuff, mark along the bottom edge 1/2″ from each side.
With right sides together, pin the cuff to the sleeve at each end, then at the center.
Carefully draw up the gathering stitches.
And pin in place.
Baste the cuff to the sleeve, replacing the pins as you go.
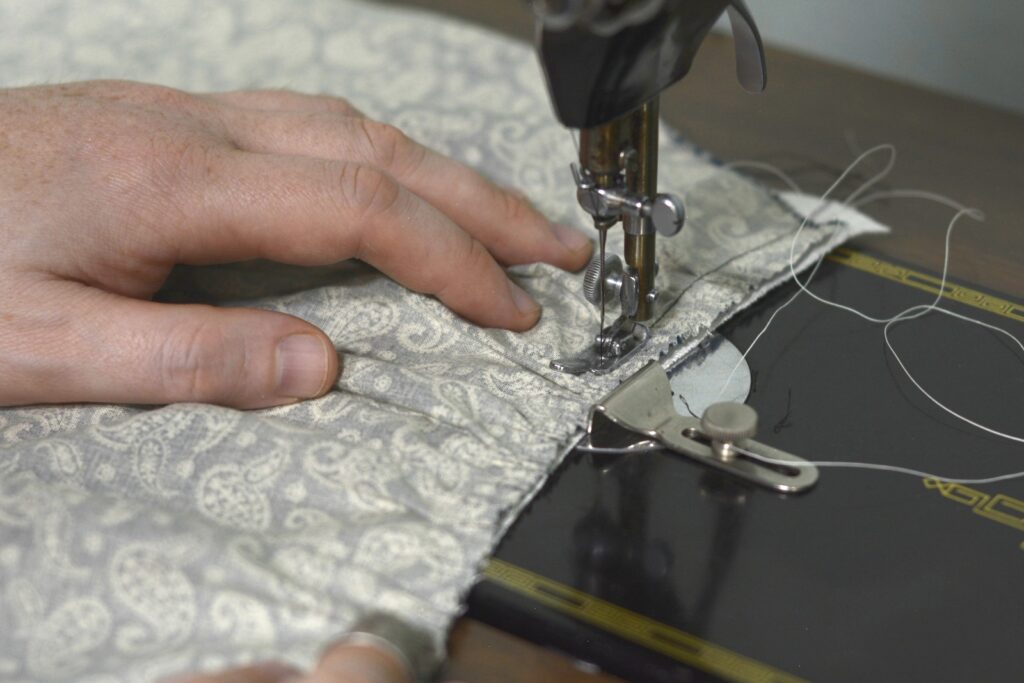
Sew the cuff to the sleeve using an 1/2″ seam allowance. I’ve found that if you want to have very fine gatherings or pleats, it’s imperative to do this step by hand, making one backstitch per pleat or gather.
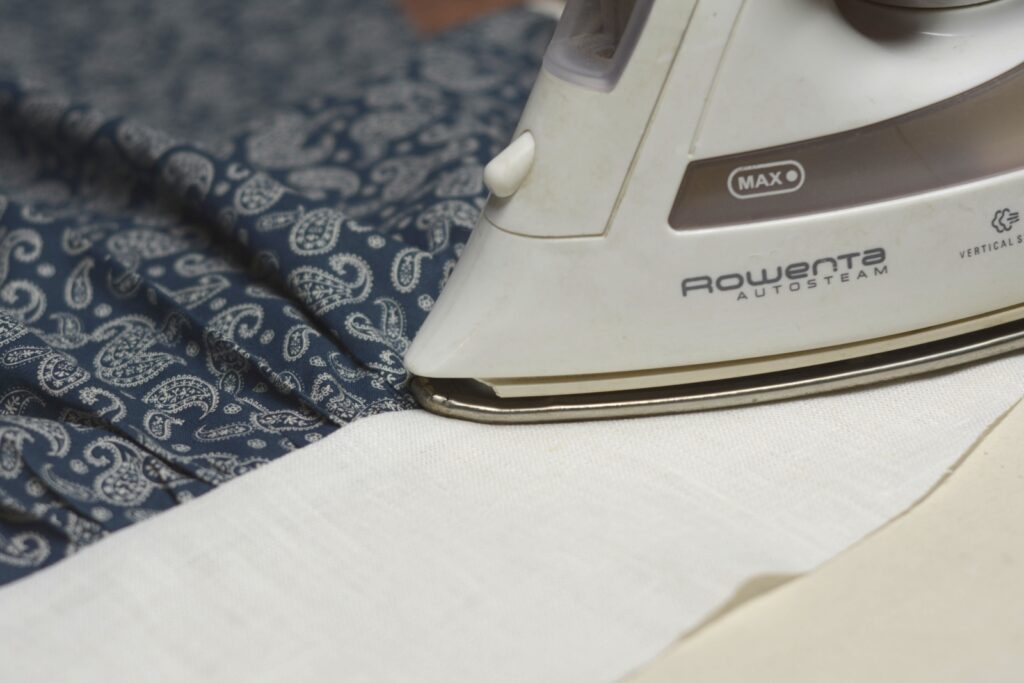
Press the seam towards the cuff from both sides.
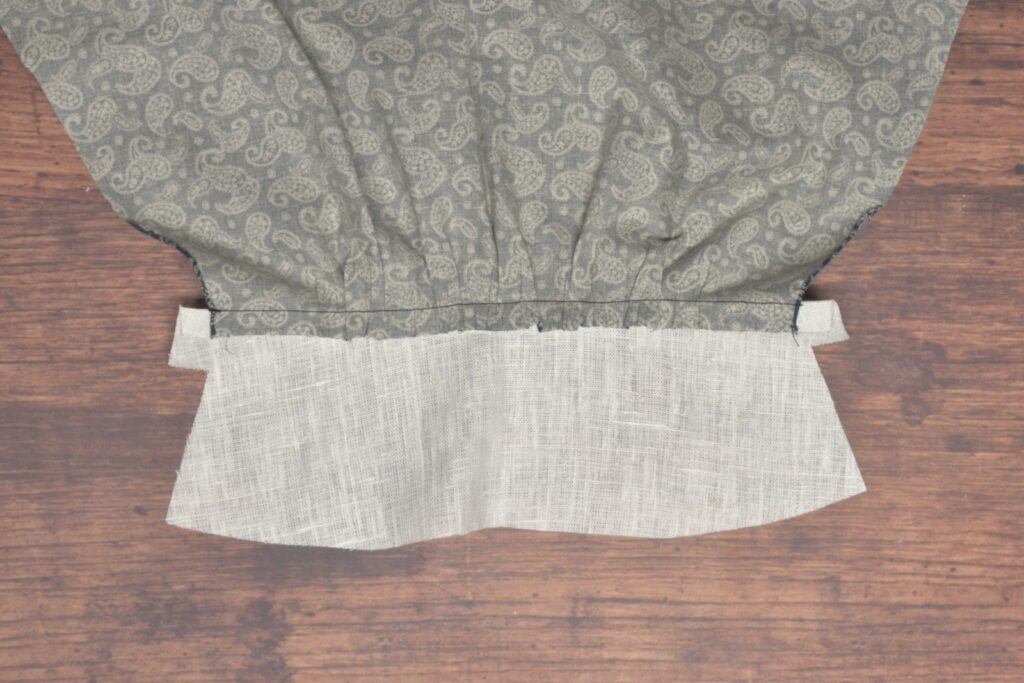
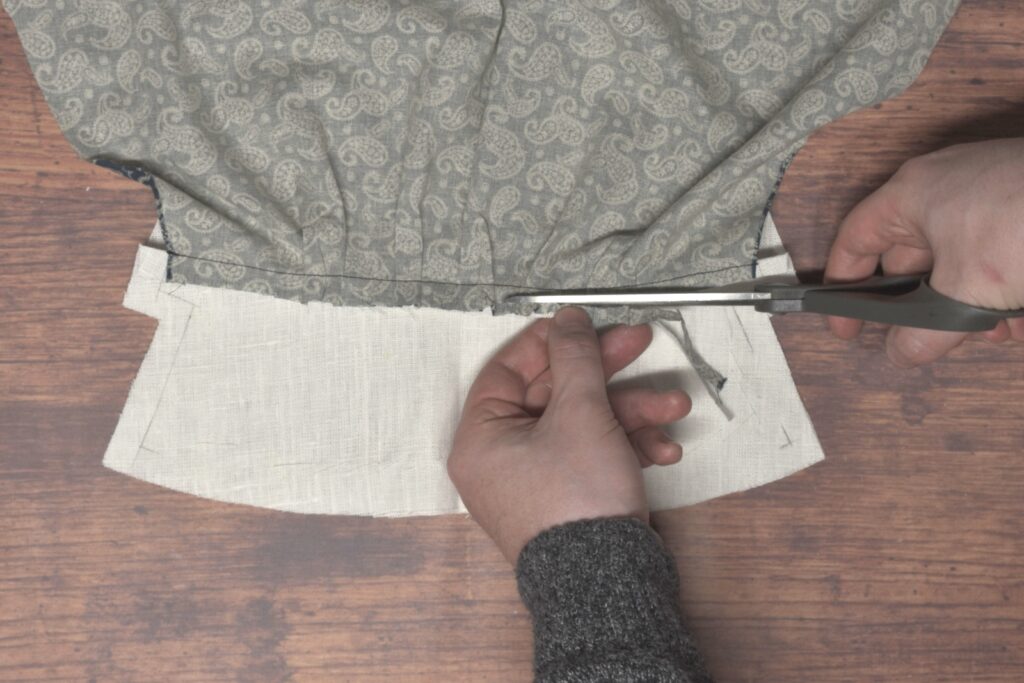
I almost forgot this step (hence the additional steps shown in this photo). Trim the seam allowance to 1/4″. This is definitely easier after you’ve pressed the cuff seam.
Your Progress
[columns gutter=”0″]
[col]
1 | Trim the sleeve seam. | |
2 | Roll the sleeve opening. | |
3 | Attach the cuff. |
[/col]
[col align_text=”center, middle”]
[/col]
[/columns]
Interfacing
With the waistband attached and any watch pocket installed, we can go ahead and install the interfacing. There are a couple of ways you could do this. The first would be to take your waistband pattern and cut out the interfacing as one piece from a linen collar canvas, or two (or more) layers of linen. This method (using the collar canvas) gives a firm finish to the waistband. The second way, which I’ll be showing here, involves cutting shorter strips of linen and applying them where you deem necessary, which gives a slightly softer finish to the waistband, depending upon how many layers you add. I’ve used both methods but prefer the second now due to ease of installing and the softer finish.
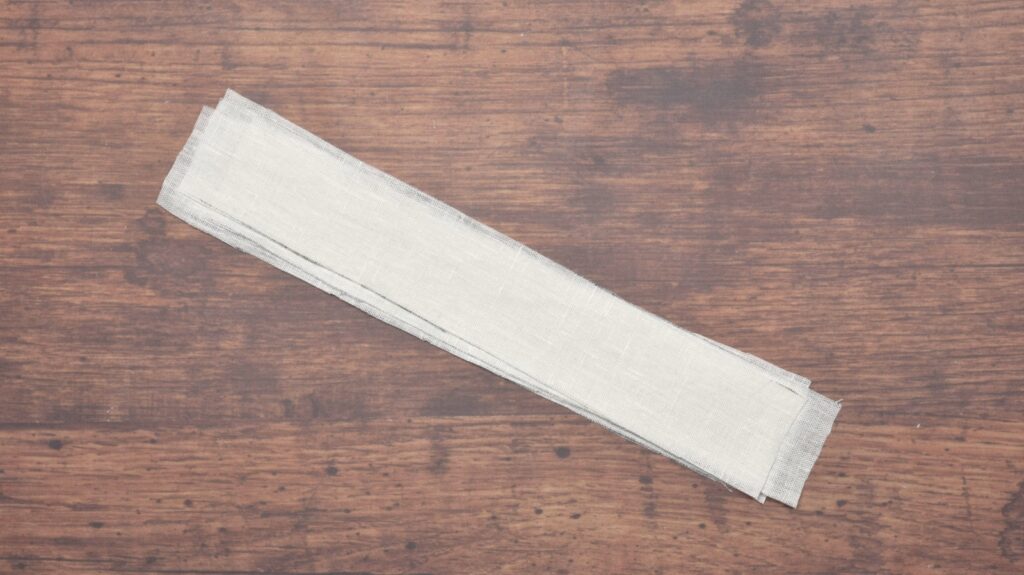
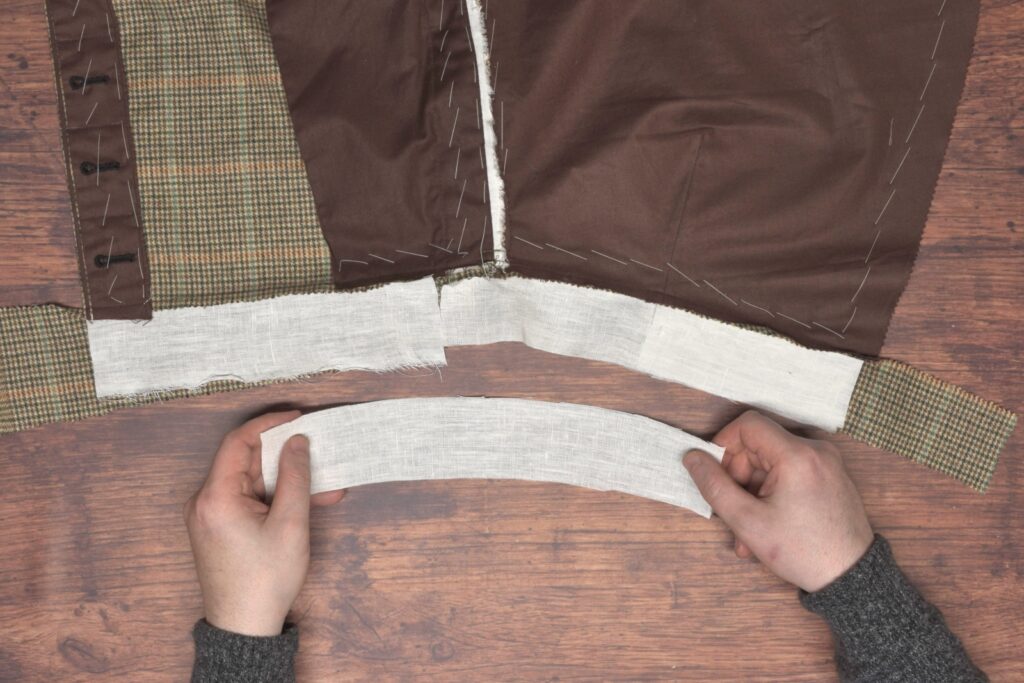
Begin by cutting about 10 – 12 strips of linen, about 3″ wide (or slightly wider than the waistband) and a little longer than half the length of the waistband.
Lay the trousers on your sewing table wrong side up and begin to position the linen strips in place.
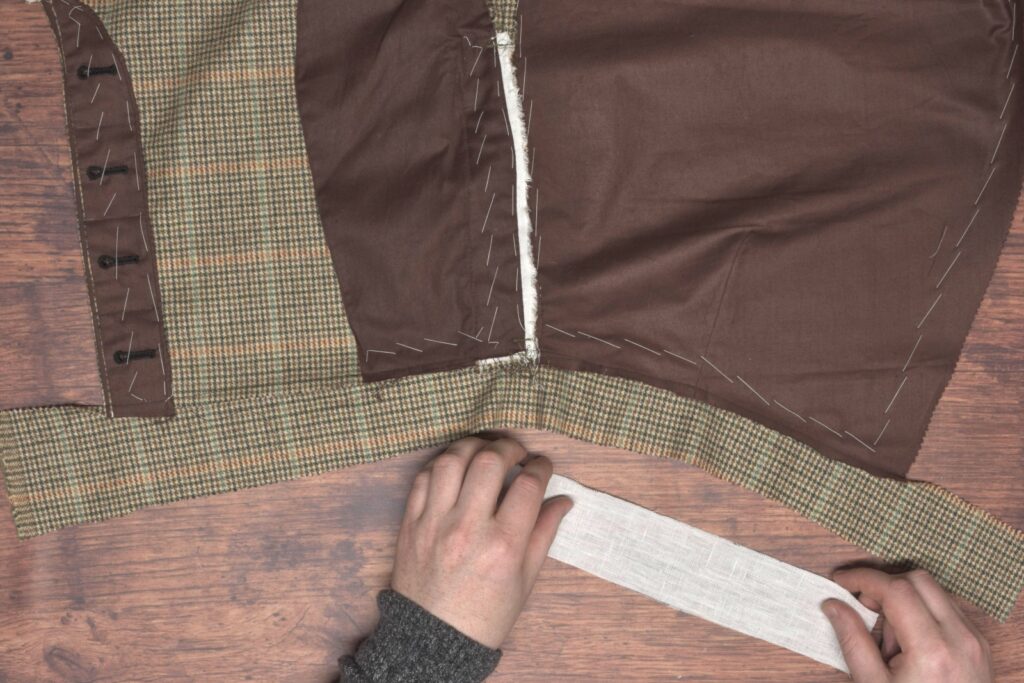
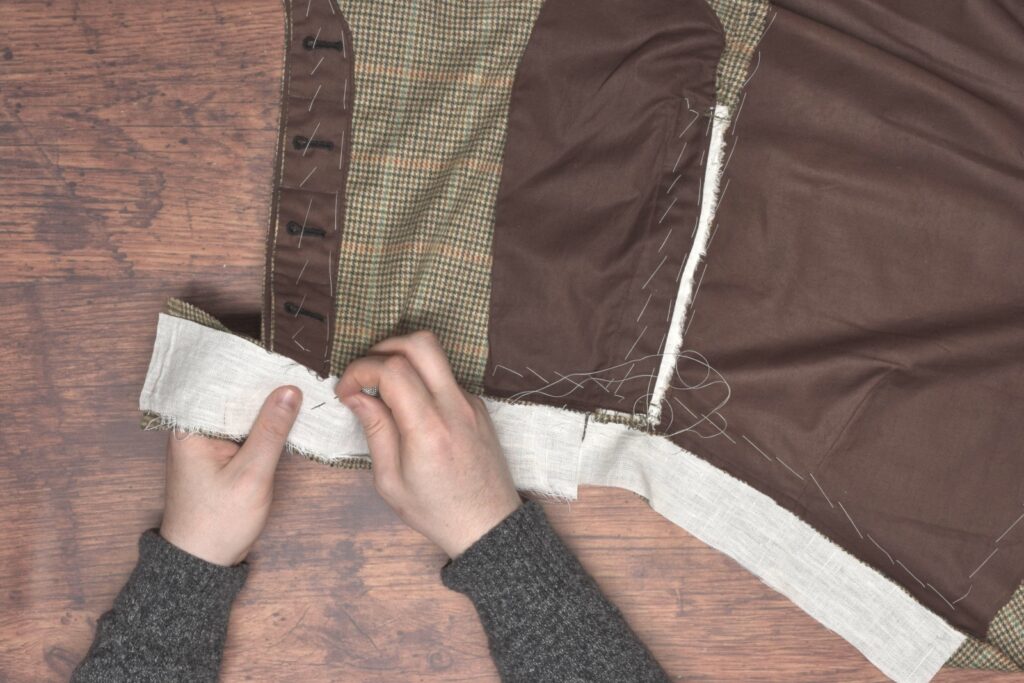
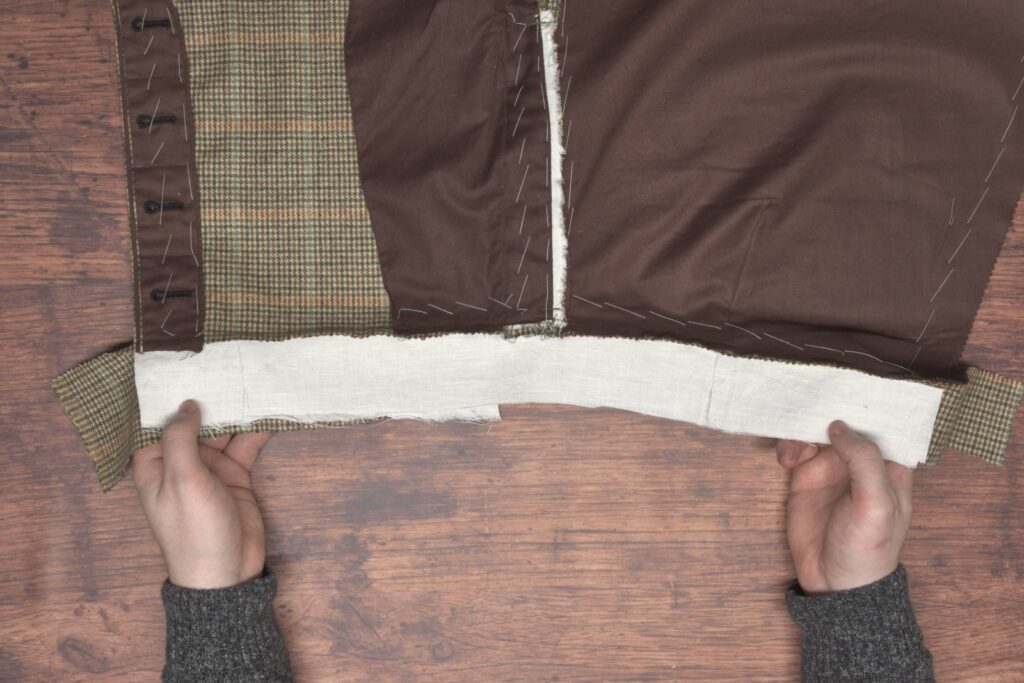
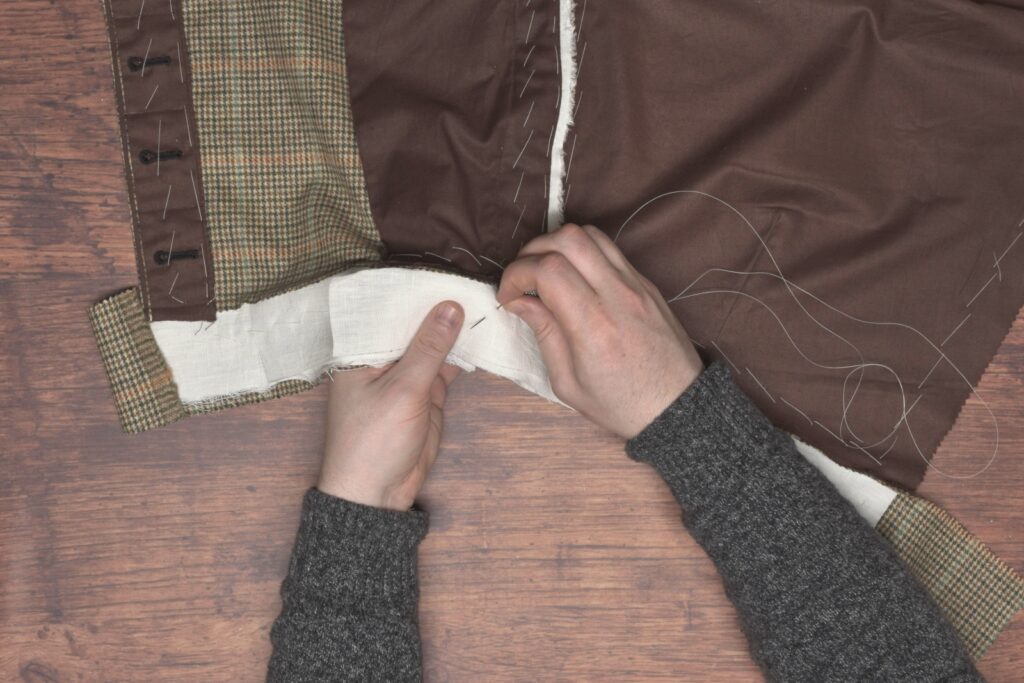
Lay the linen on the waistband, lining the bottom edge up with the fold of the waistband seam. Begin basting the linen in place. I set the end of the linen back about 1/4″ from the center back of the trousers since that’s where the seat seam will end up, but you could trim this later as well.
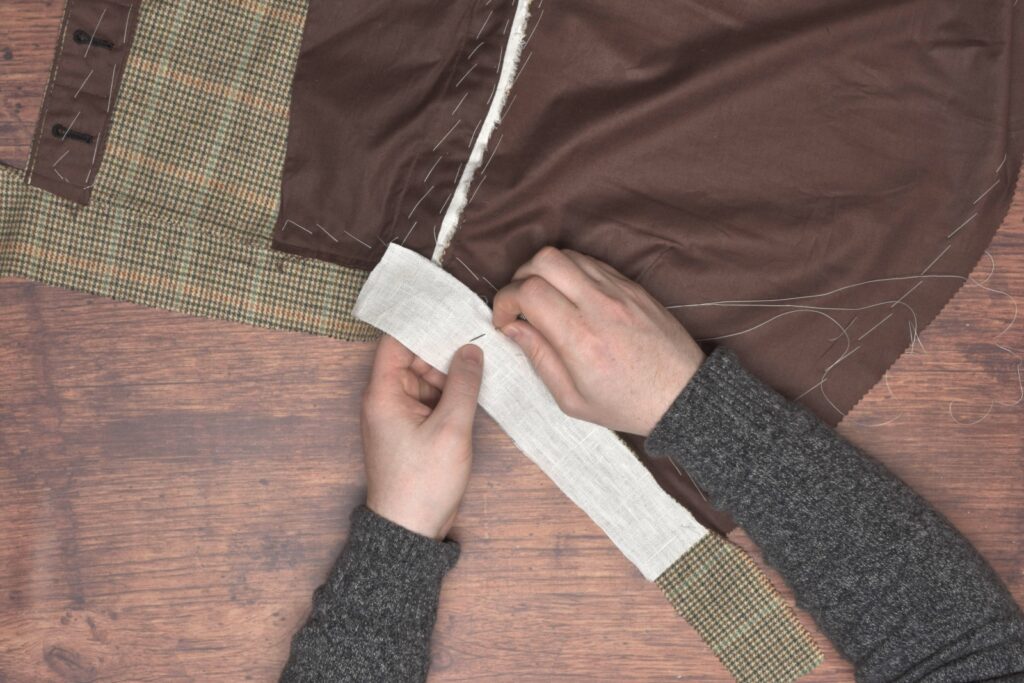
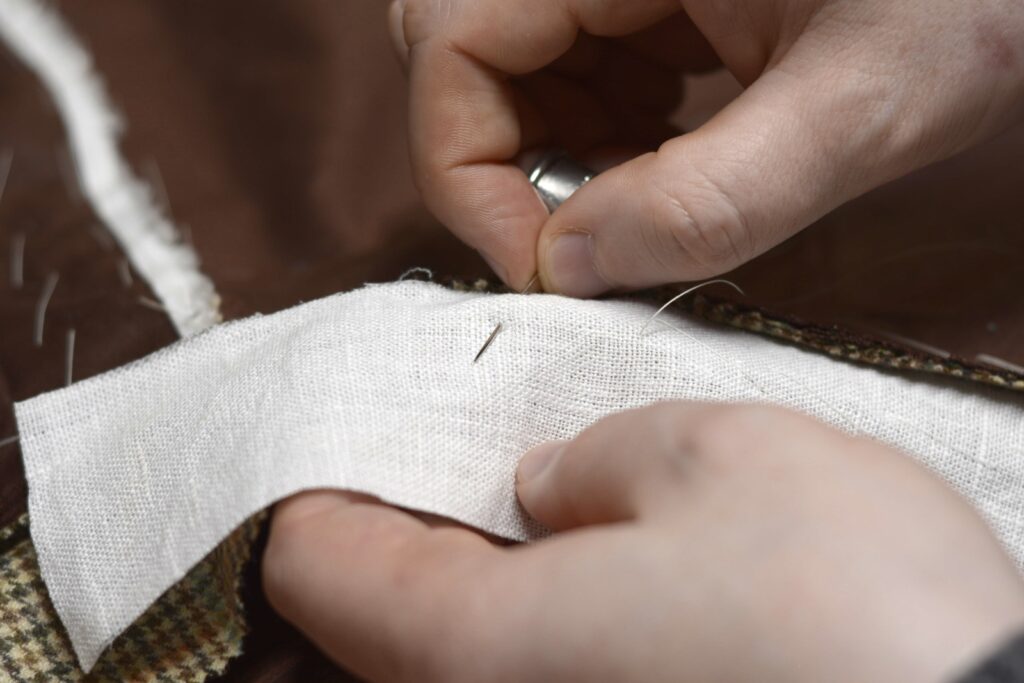
The basting stitches should be roughly centered, but closer to the waistband seam. As you’re working, don’t tuck the linen too tightly into the waistband seam, as you’ll end up with puckers and excess fabric later on.
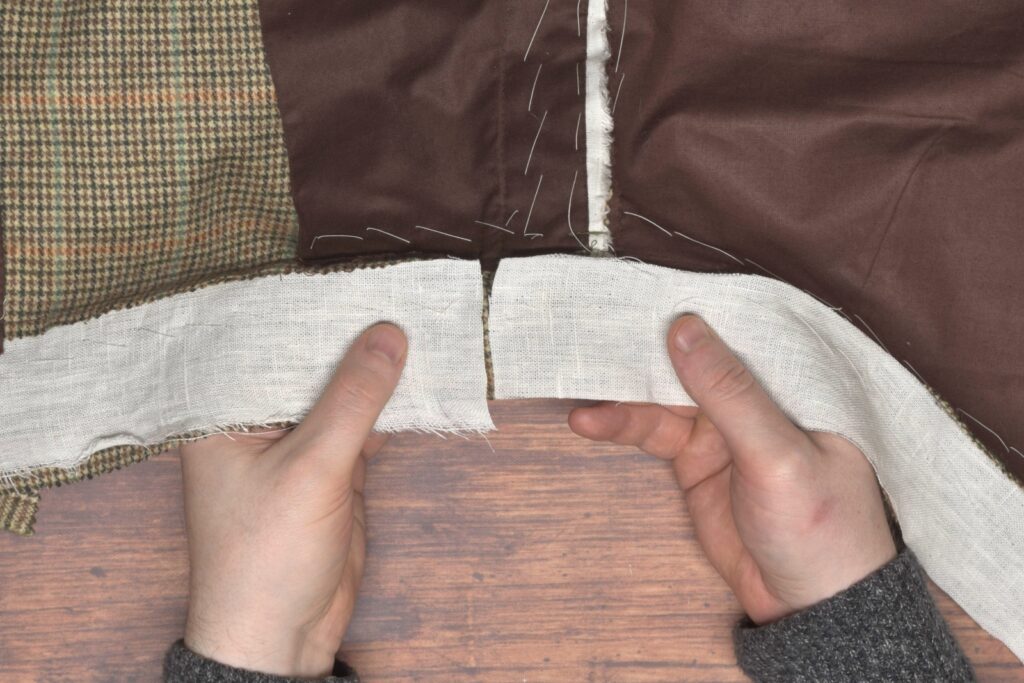
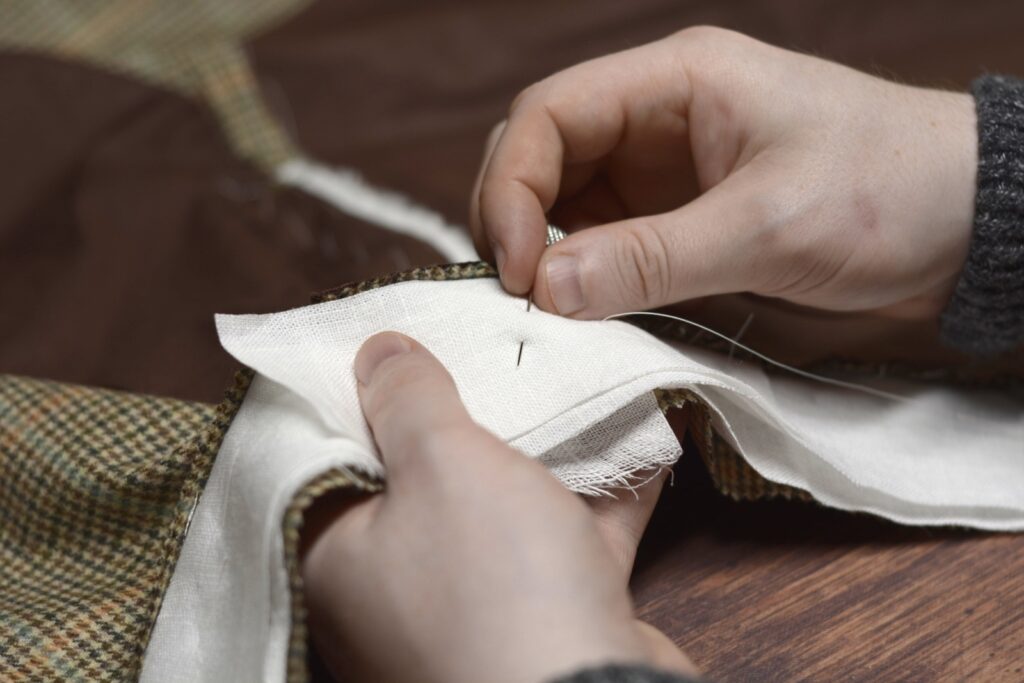
Place and baste the second piece of linen in place as well, butting the ends of each piece together.
I probably could have gotten these a little closer but the gap will not be noticeable.
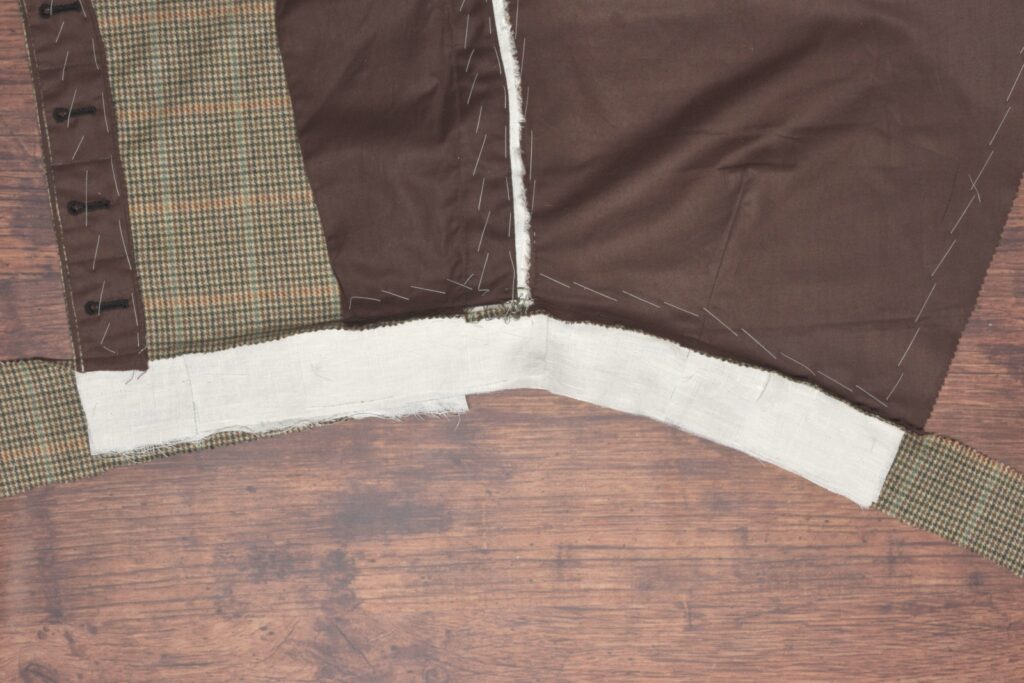
At the front edge of the trousers, draw a line parallel to the button catch.
And cut the linen even with the front of the trousers. You could also wait to do this step until all of the linen layers are in place.
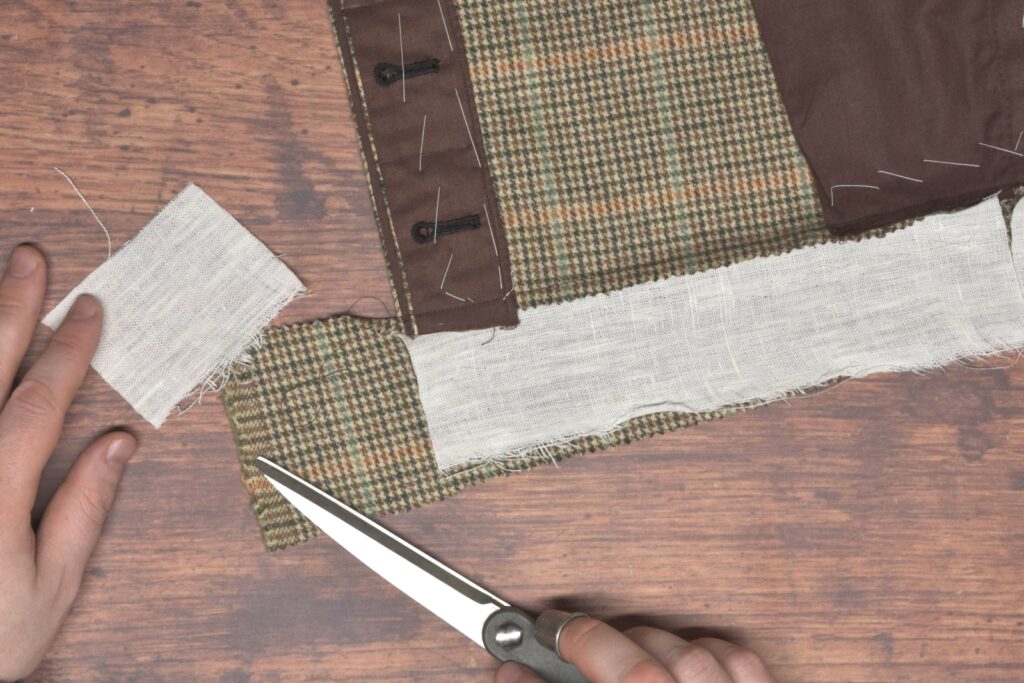
Now I like to cut one of the next linen pieces in half for the second layer so that I can keep the joints staggered like bricks for added strength.
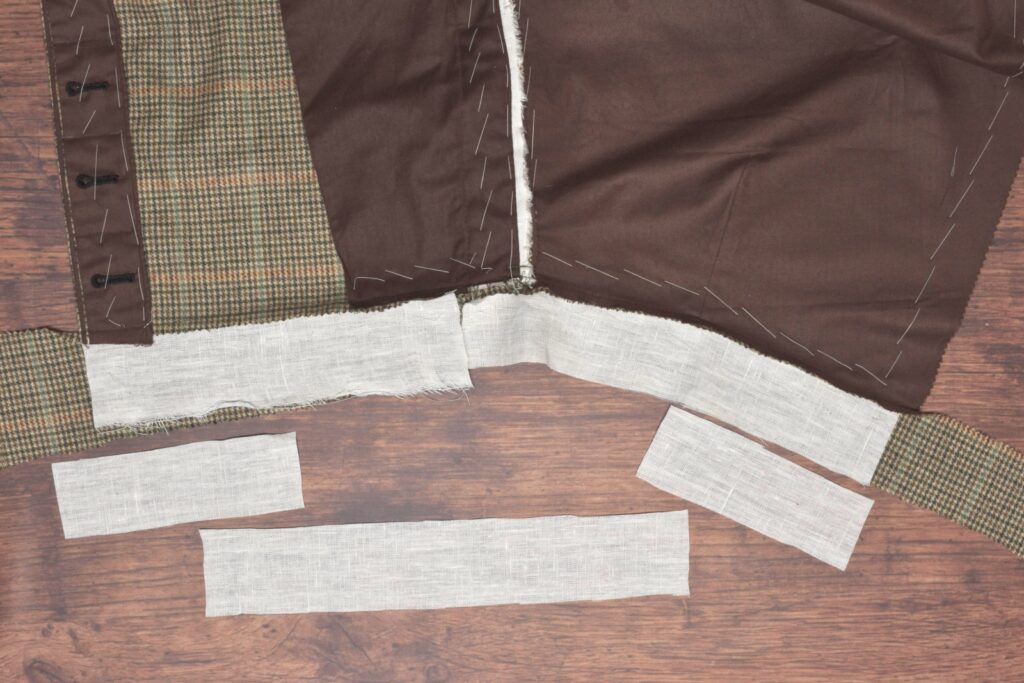
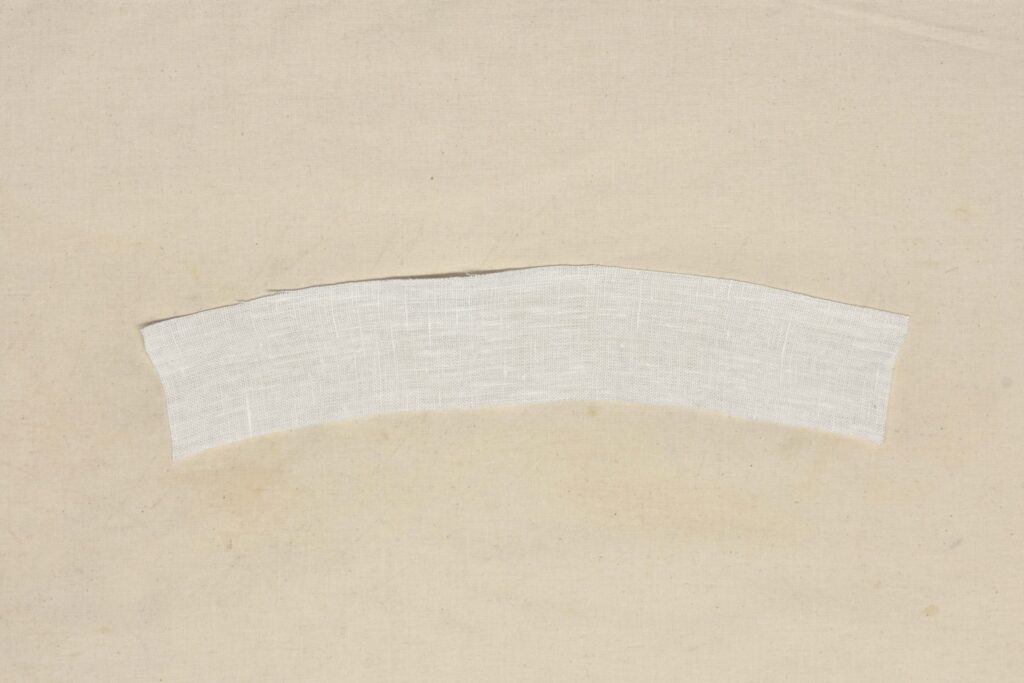
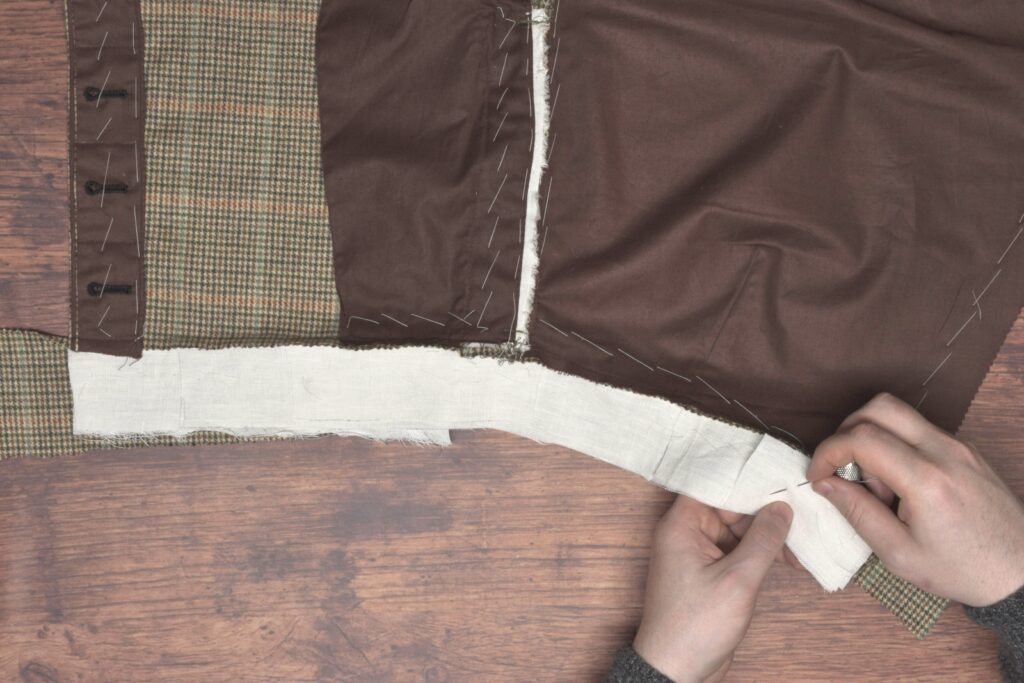
You’ll notice how the center of the trousers is somewhat curved. You could take that center piece of linen and stretch it along one edge to form in into a curved shape that will better conform to the shape of the trousers.
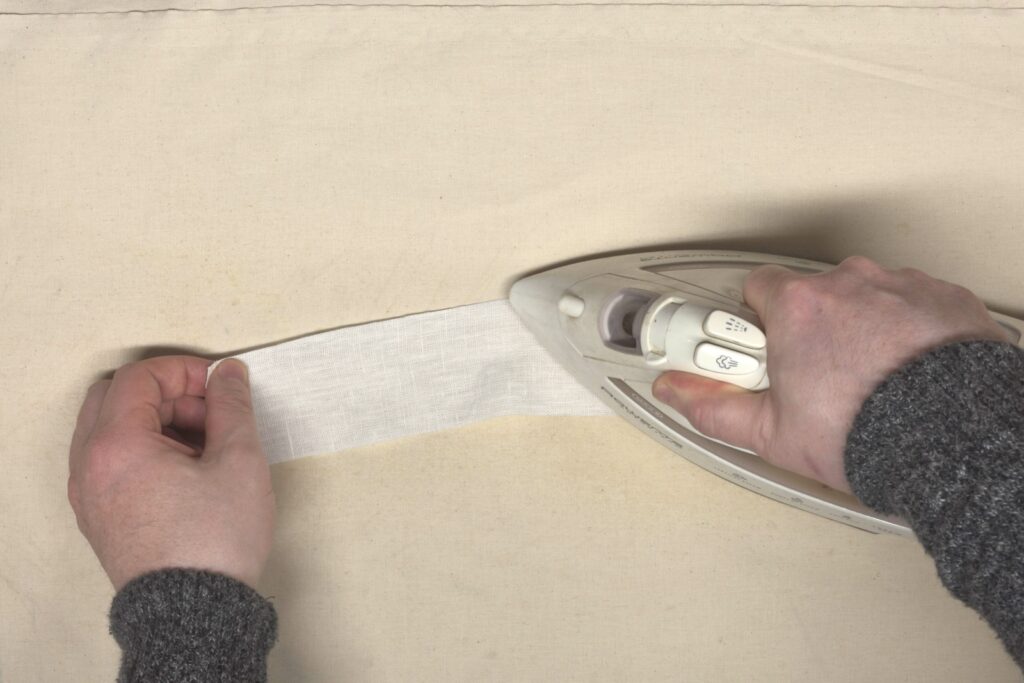

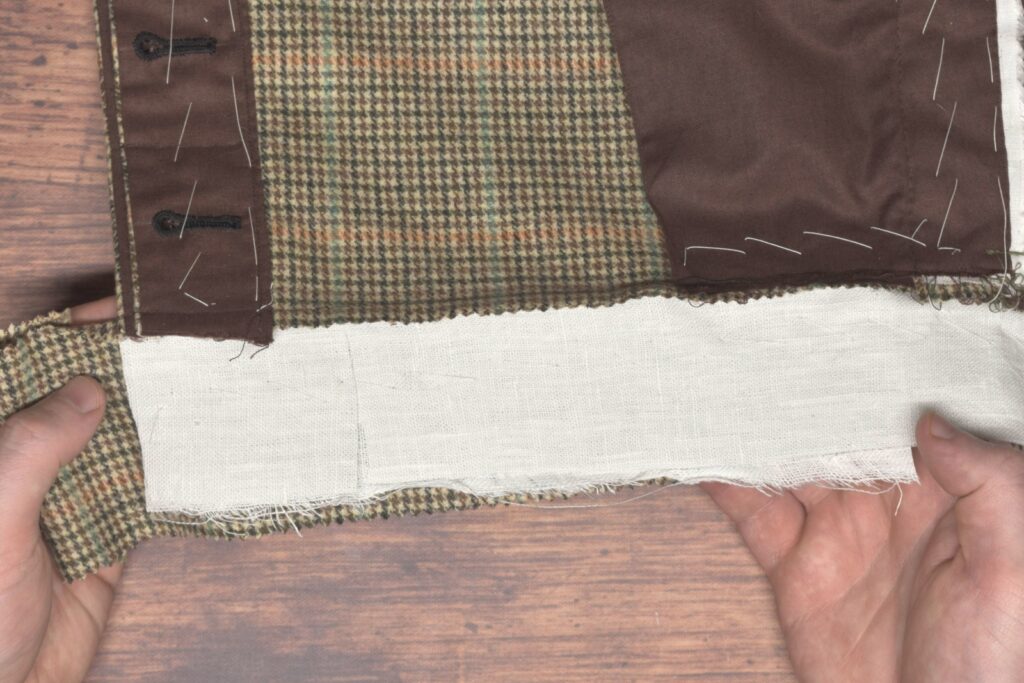
Baste one of the smaller linen pieces in place followed by the curved piece. Keep these slightly further back from the waistband seam if you can to reduce the tension and prevent and rippling.
Here’s the second layer of linen in place after trimming both ends.
You could add another full layer as above if you like, but for my third layer, I chose just to reinforce the areas that will have buttons. Over the years, one of the biggest issues I’ve seen is buttons being ripped out of the fabric over time, this will greatly help to prevent that. I added a small piece near the back of the trousers.
And another strip to the front of the side seam over the pocket. Both pieces should be placed even more loosely against the waistband seam, kind of staggering the long edges of each layer of linen.
And here’s one last look at the waistband with all three layers of interfacing installed.
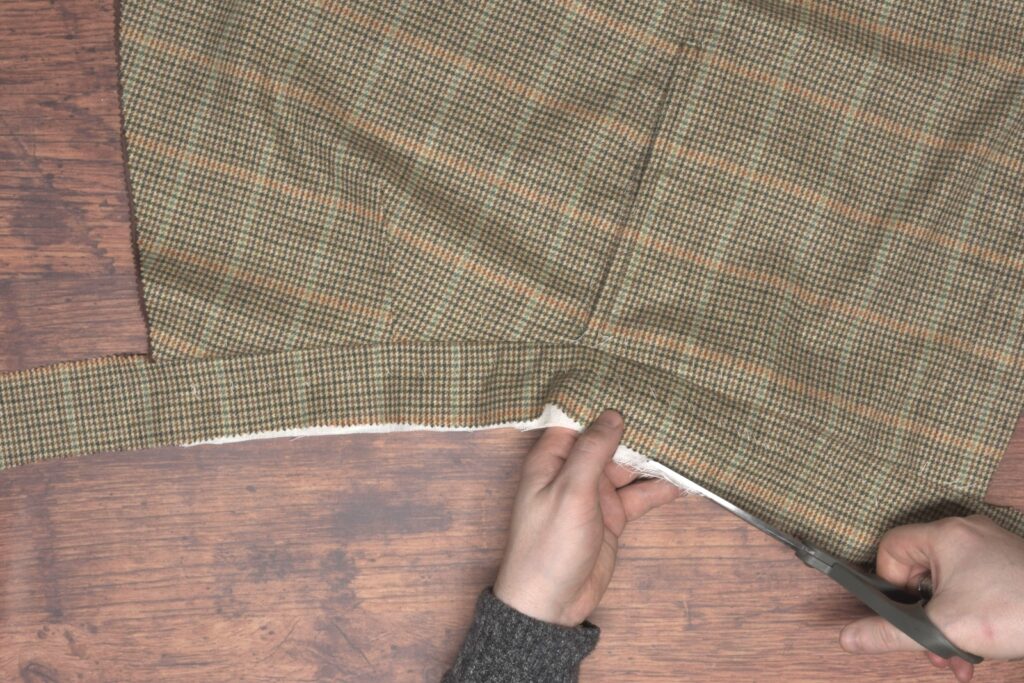
Turn the trousers over and trim the linen flush with the edge of the waistband.
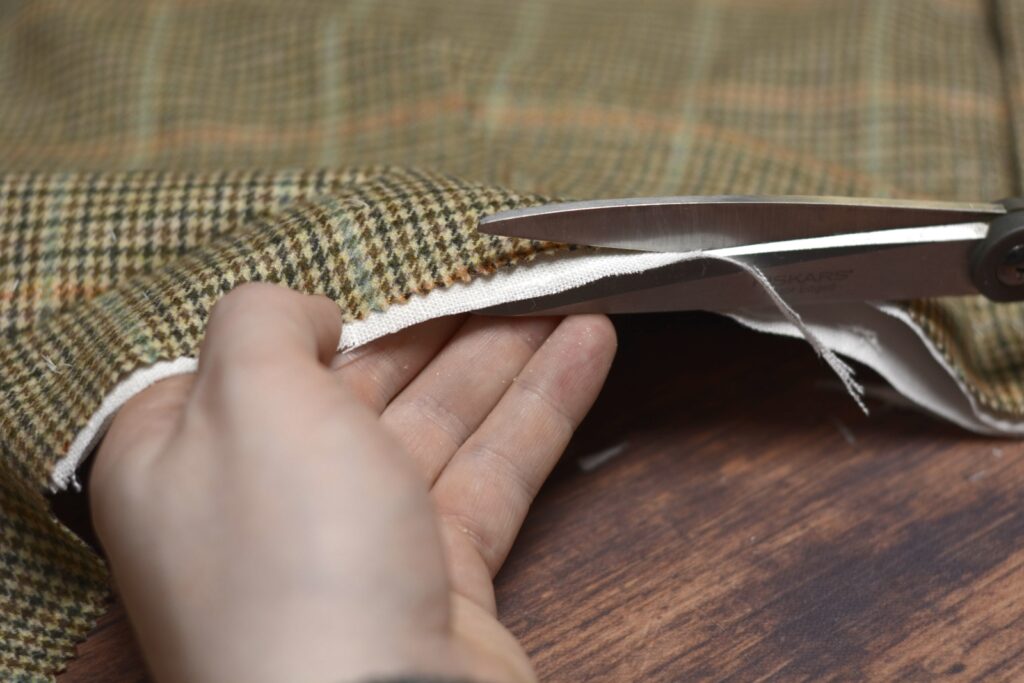
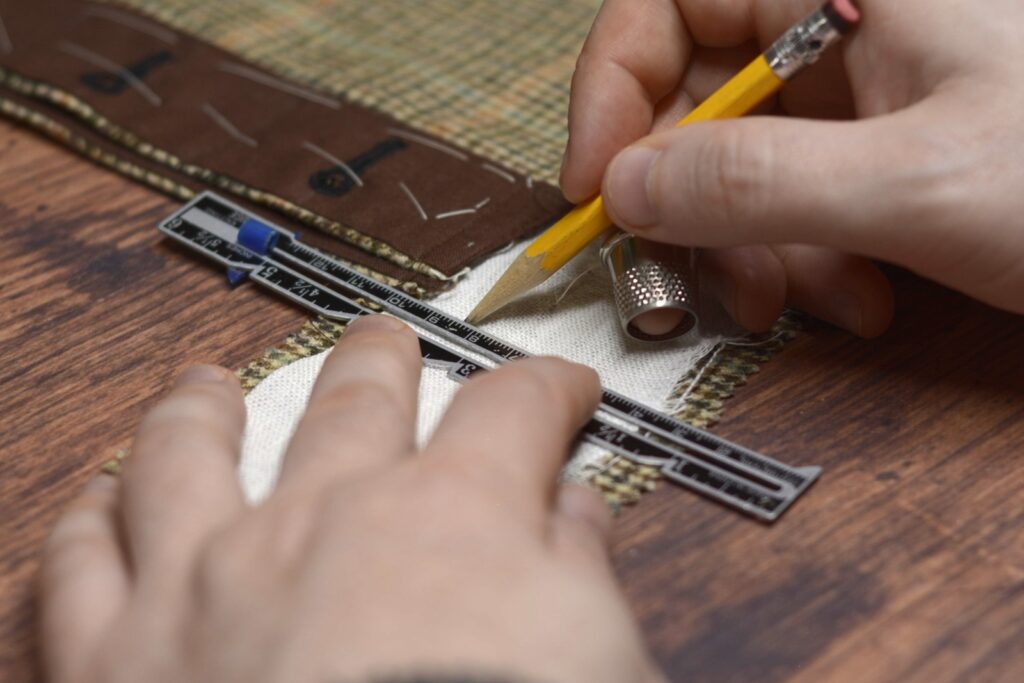
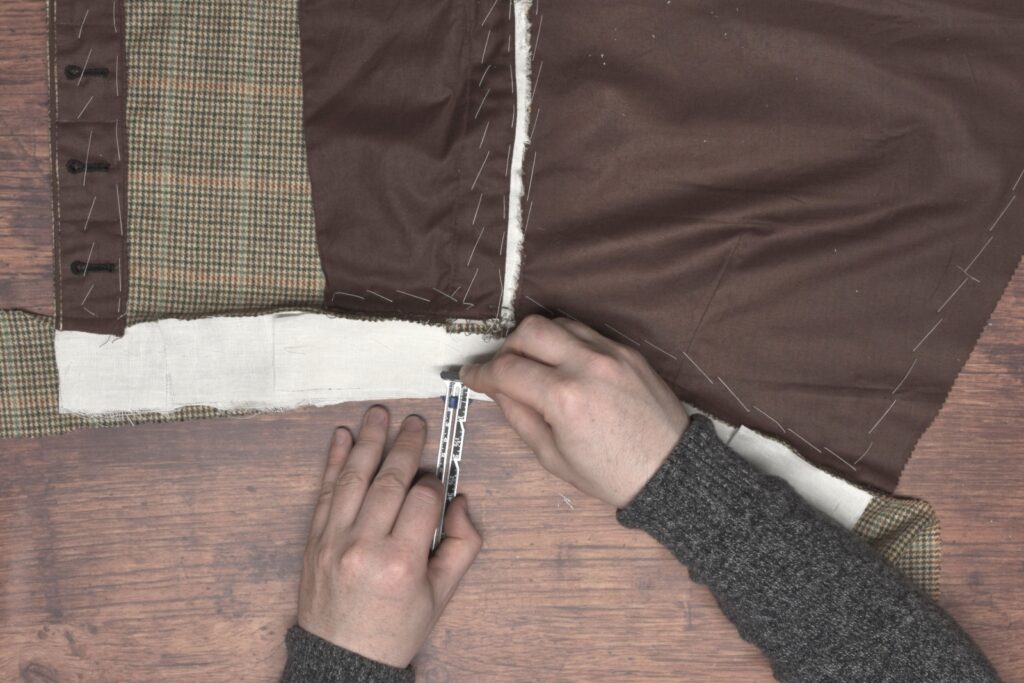
Turn the trousers back over and mark a cut line about 3/8″ from the top edge of the waistband. You could even go a ‘smidge’ further if your fabric or interfacing layers are particularly thick. The 3/8″ accounts for the turn of the fabric, helping us to end up with a 1/4″ finished seam allowance.
Here’s mine after drawing the cut line. As you can see my linen pieces were a bit narrower than they should have been, but it all worked out.
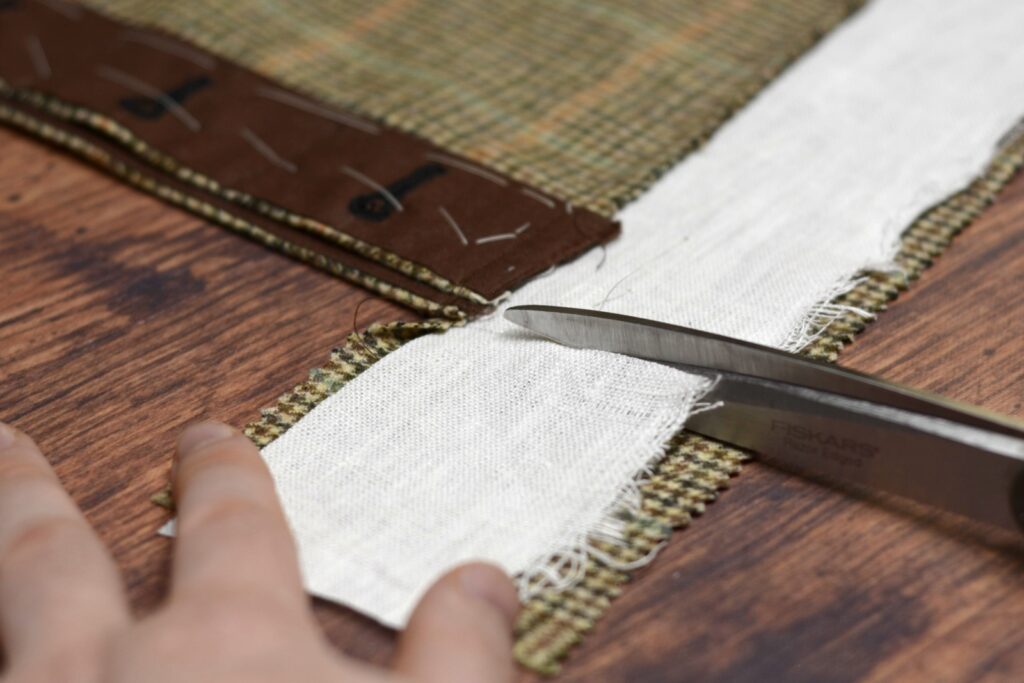
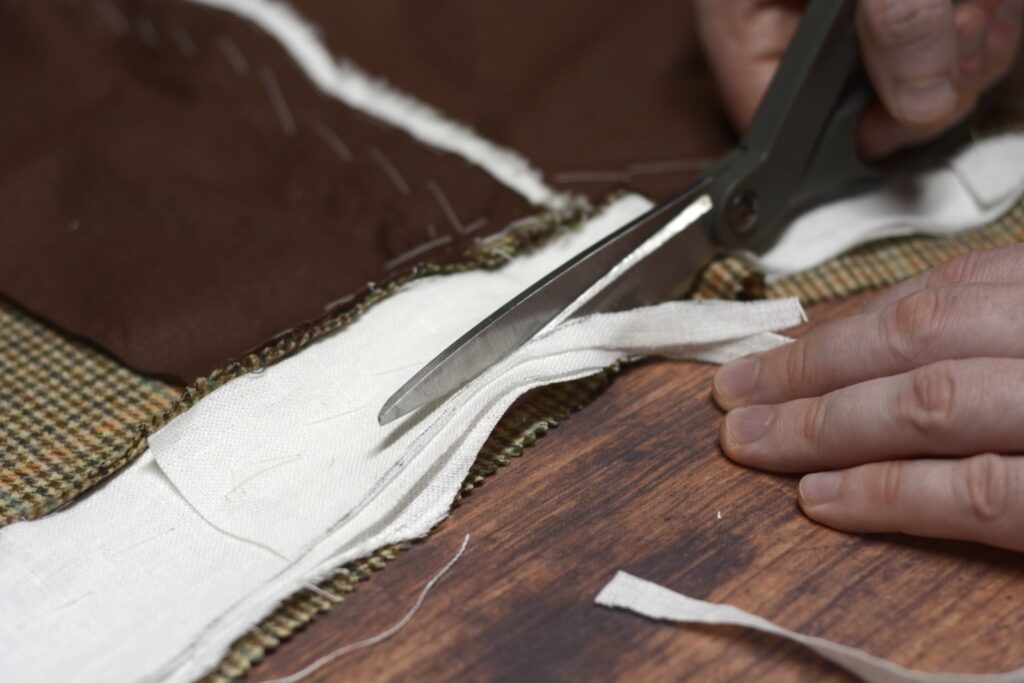
Trim the interfacing to just past the line, cutting through all layers except the waistband itself, of course.
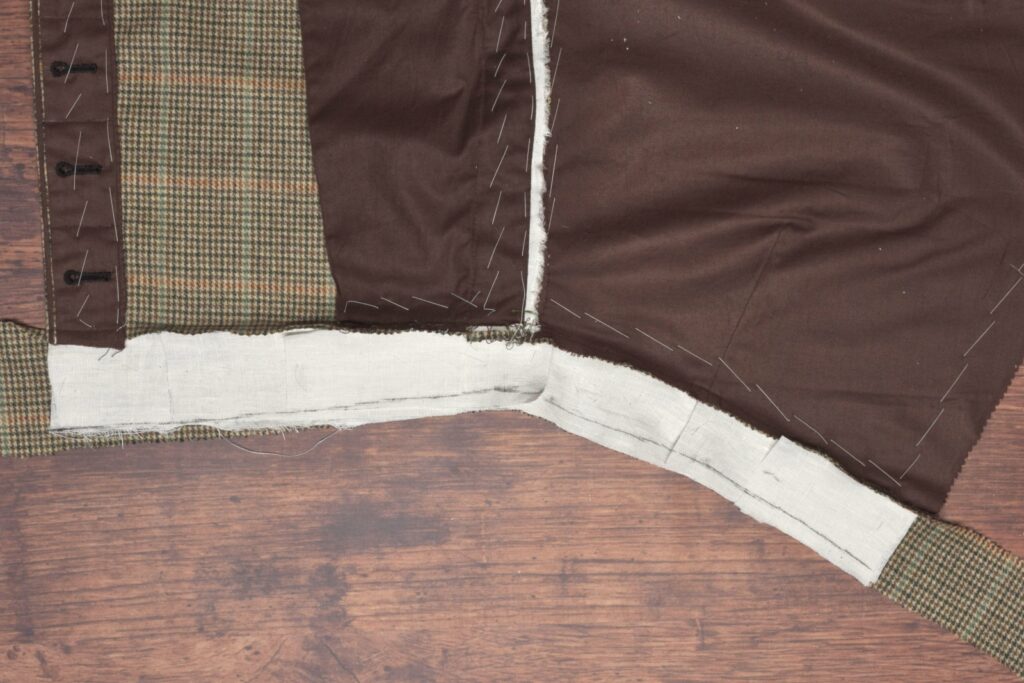
If you haven’t already done so, trim the back end of the interfacing to about 1/4″ to 3/8″ away from the trouser edge, making room for the seam allowance and pressing the seam over later on.
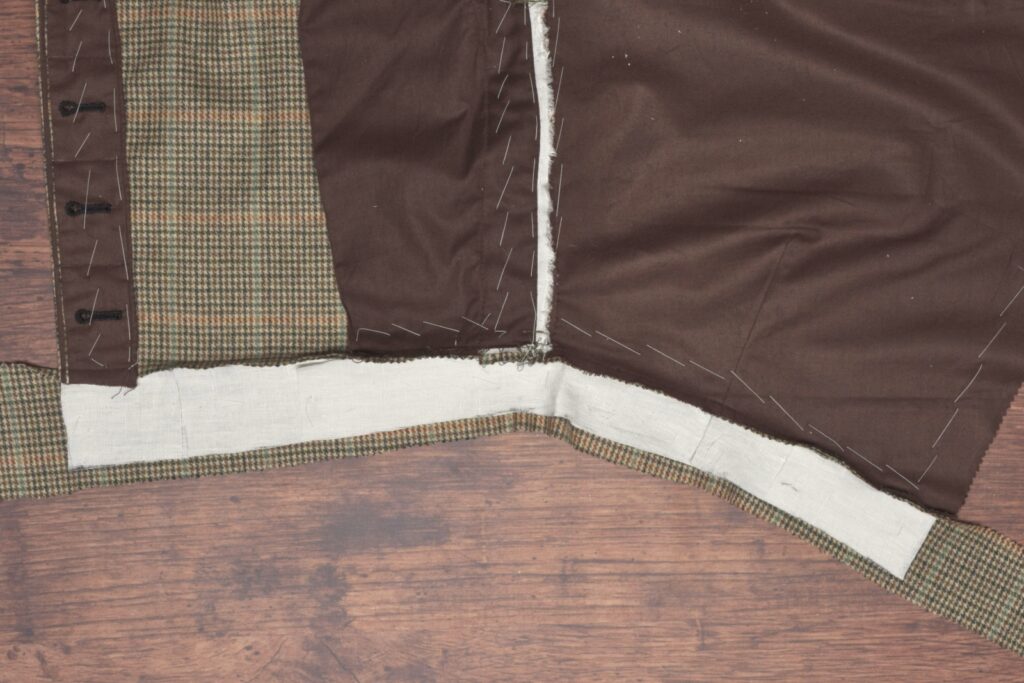
Gently fold the top edge of the waistband over the interfacing and baste securely in place.
If you added the watch pocket, make sure that the side seam pocket bag is in the correct position, and permanently baste it to the waistband seam using small diagonal stitches. This gives a little extra strength to the pocket.
Trim the top edge of the pocket if necessary, even with the waistband seam below it.
Working from left to right, cross stitch the folded waistband edge to the interfacing underneath. Try to catch all of the interfacing layers without letting the needle pass through to the right side.

Before cross stitching the lower half of the interfacing, make sure that the tension between waistband and interfacing is neutral, without any excess fabric showing up in bubbles or ripples. If you have to (I did), carefully trim about 1/16″ from the lower edge of the interfacing to ease the tension.
Then cross stitch the interfacing to the waistband seam.
And here’s the top of the pocket with watch pocket after cross stitching in the same manner.
Securing the Waistband Ends
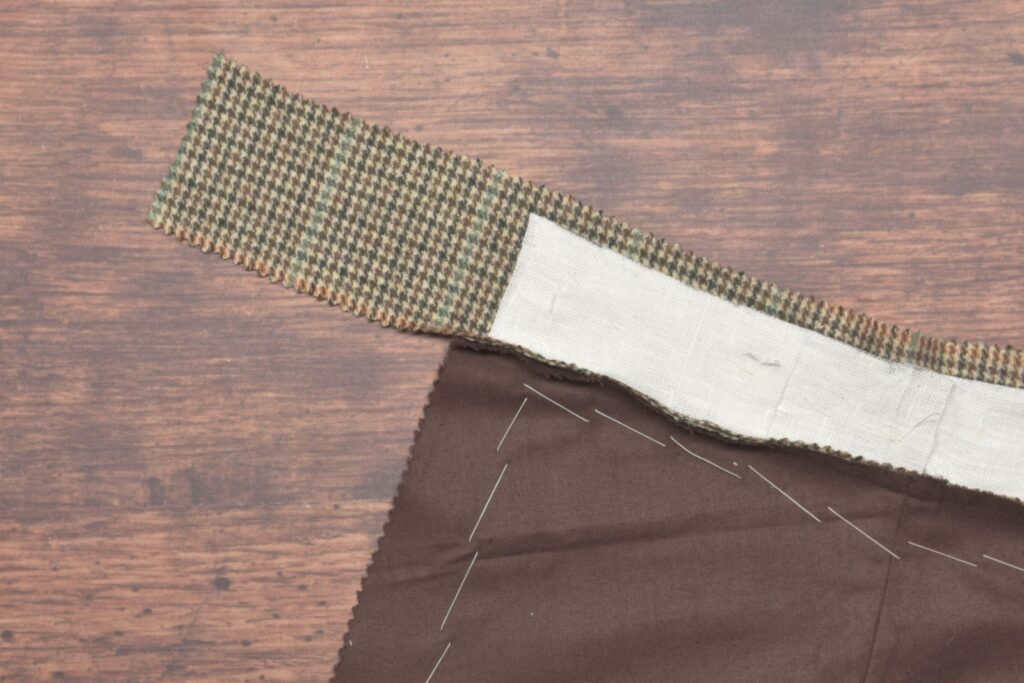
With the interfacing cross stitched in place, fold over each end of the waistband over the interfacing, keeping a straight edge as appropriate. Baste in place with a diagonal stitch.
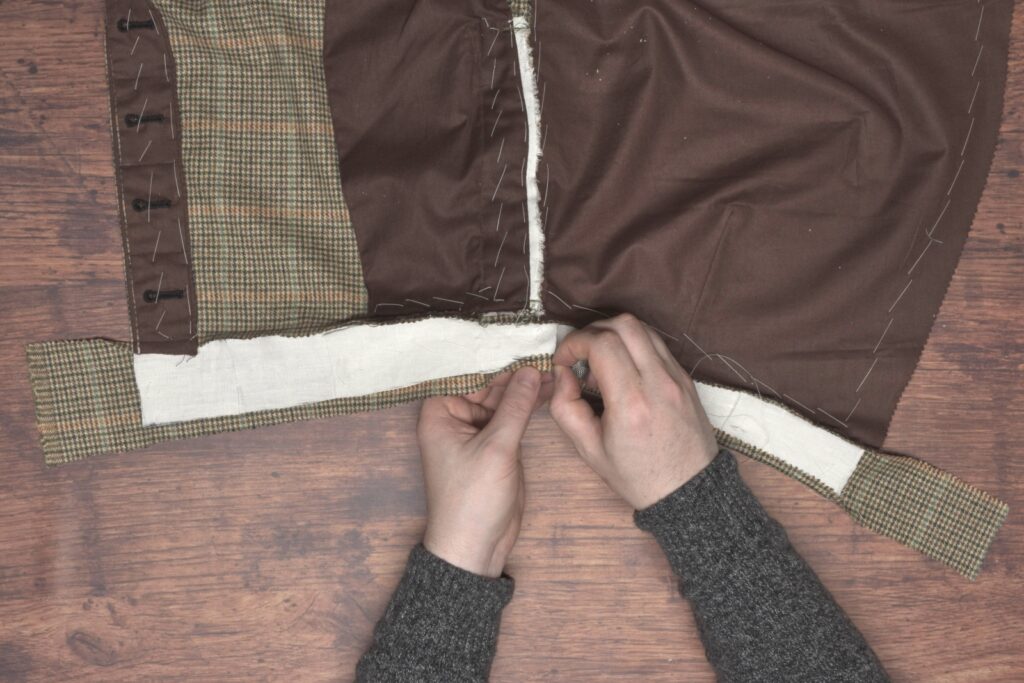
Fold under the raw edges on top and lower edges, setting the top edge back about 1/16″ and allowing the lower edge to just cover the waistband stitch line underneath. Baste in place.

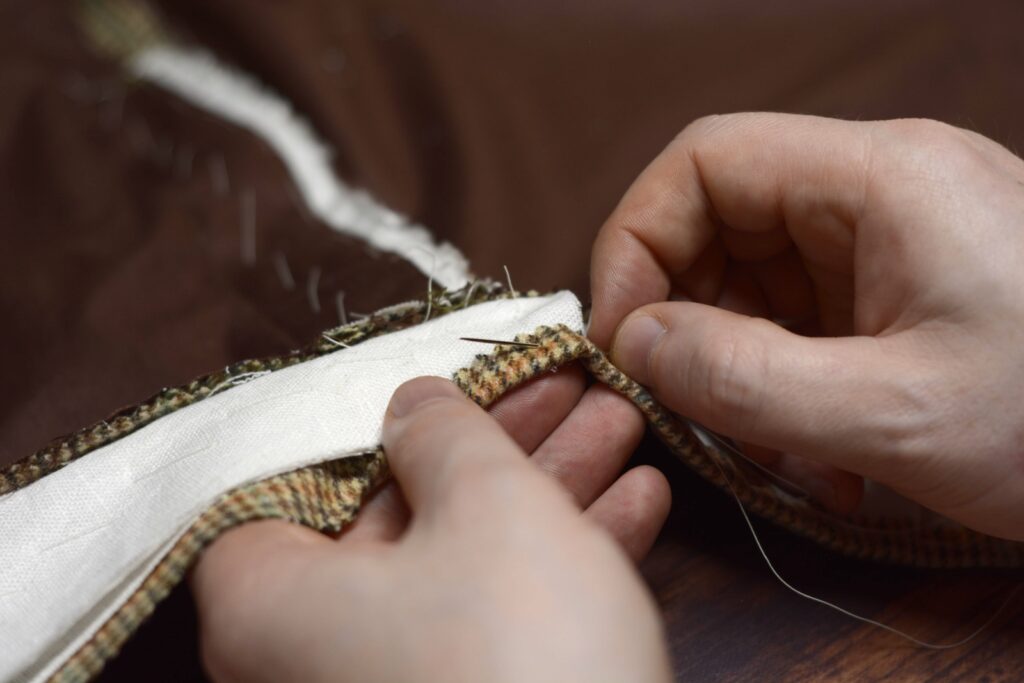
Fell the folded edges of the waistband using a small stitch, keeping the diagonal part of the stitch hidden between the layers.
Cross stitch the remaining waistband edge to the interfacing.
Repeat for the back of the waistband and the other half of the trousers. This completes the installation of the interfacing.
Side Seam Reinforcement
One last thing to do for the hem area is to add a gusset to the bottom of the side seam. This strengthens the area, preventing the seam from ripping open with use.
You can begin by drafting or printing the pattern for the gusset. There are other sizes and styles you could draw, but this is the most basic version I’ve found.
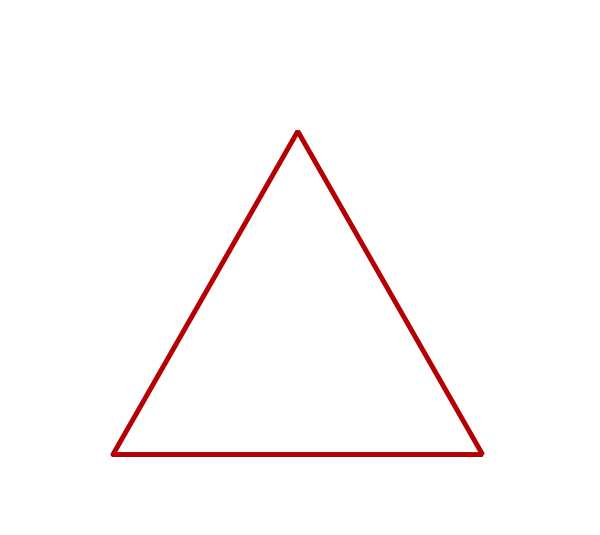
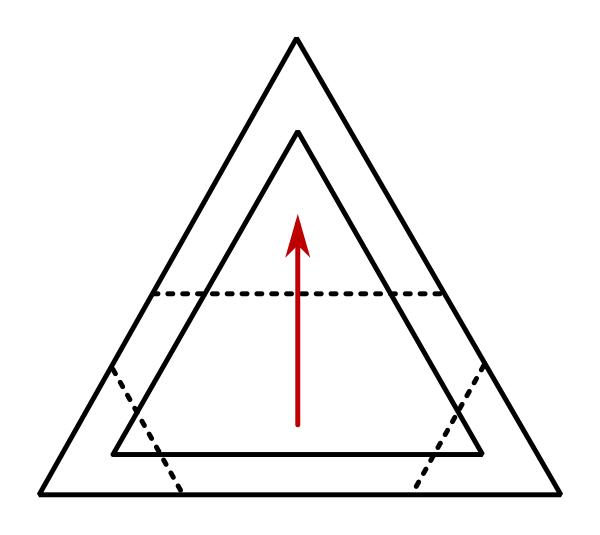
To draft, first draw an equilateral triangle, 2″ on each side. You can refer to this video to draw the triangle.
Next, mark the midpoint, 1″ from each corner, on both sides.

Add a 1/4′ seam allowance all around.

Finally, draw a line (they don’t have to be dotted), passing through the two points you made along the side. Then make another two lines across the bottom corners, about 1/4″ from each corner. These are the fold lines.
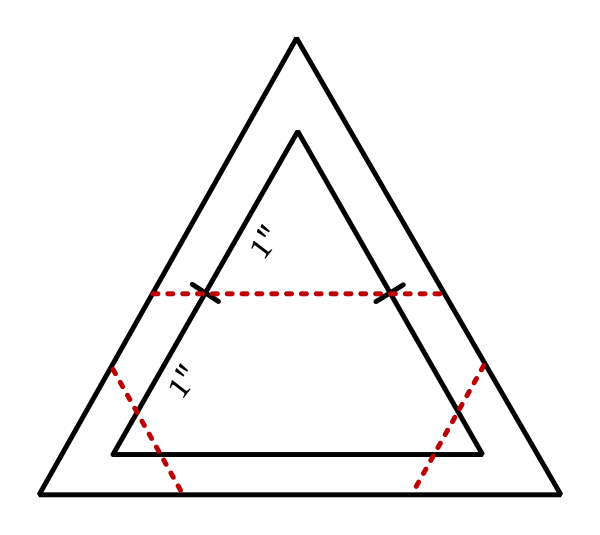
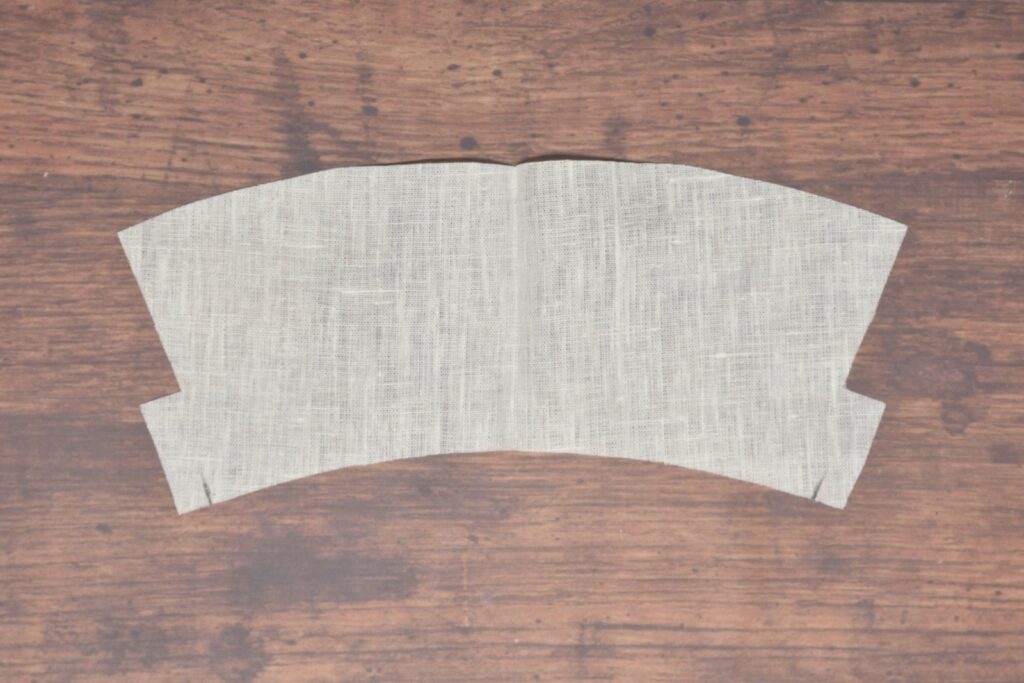
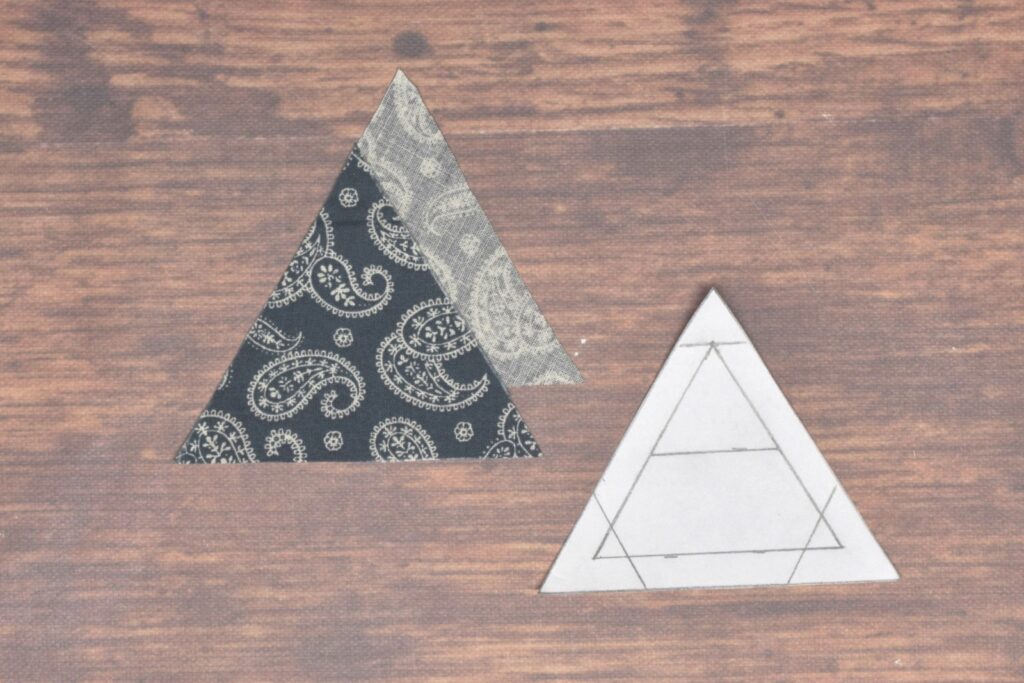
Here’s the completed pattern with the grain line indicated.
With your pattern complete, cut out two gussets. You may want to cut a couple of extra to practice with the pressing.
The pressing is definitely the trickiest part here, as the folds are so small. You get one looking good, and then it gets messed up as you press the next one. Just keep working at it!
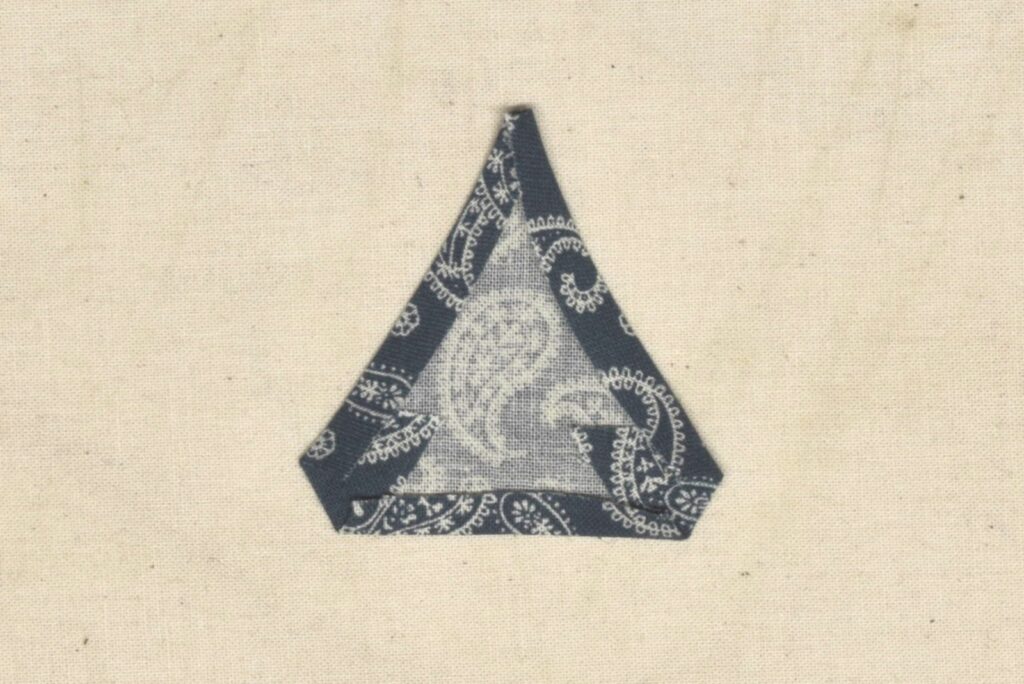
Press the two bottom corners up along the fold lines. Press the top corner down so that the fold is where the top of the triangle (without the seam allowance) falls.
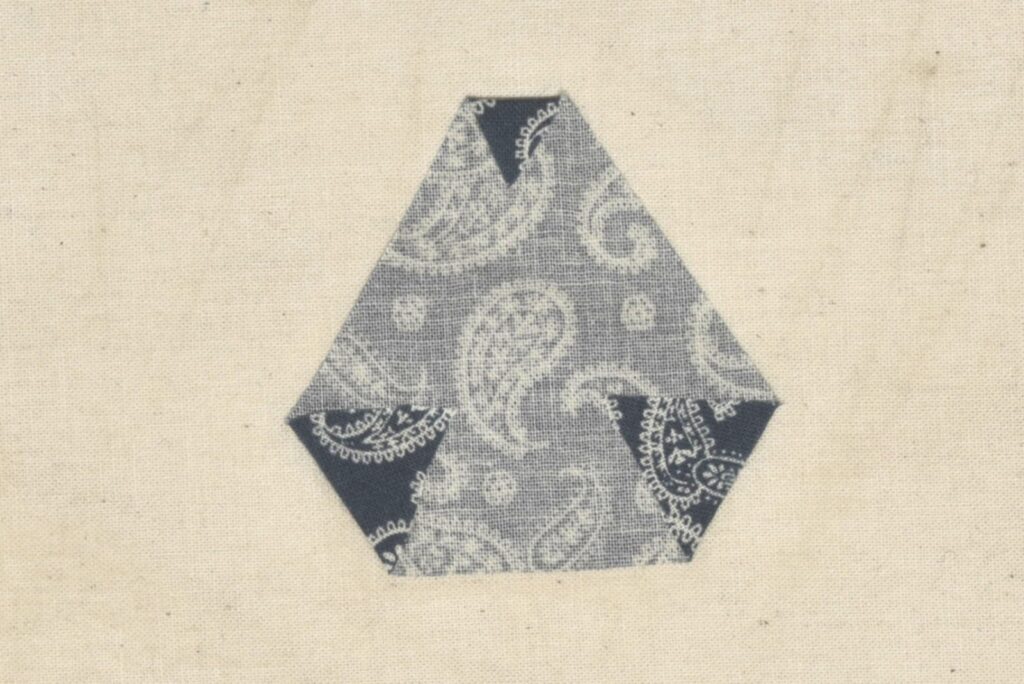
Press the two sides over using a roughly 1/4″ seam allowance. I say roughly, because it’s almost impossible to get the folds to 1/4″ exactly and have everything still looking good. Try to get the top corner as sharp as possible.
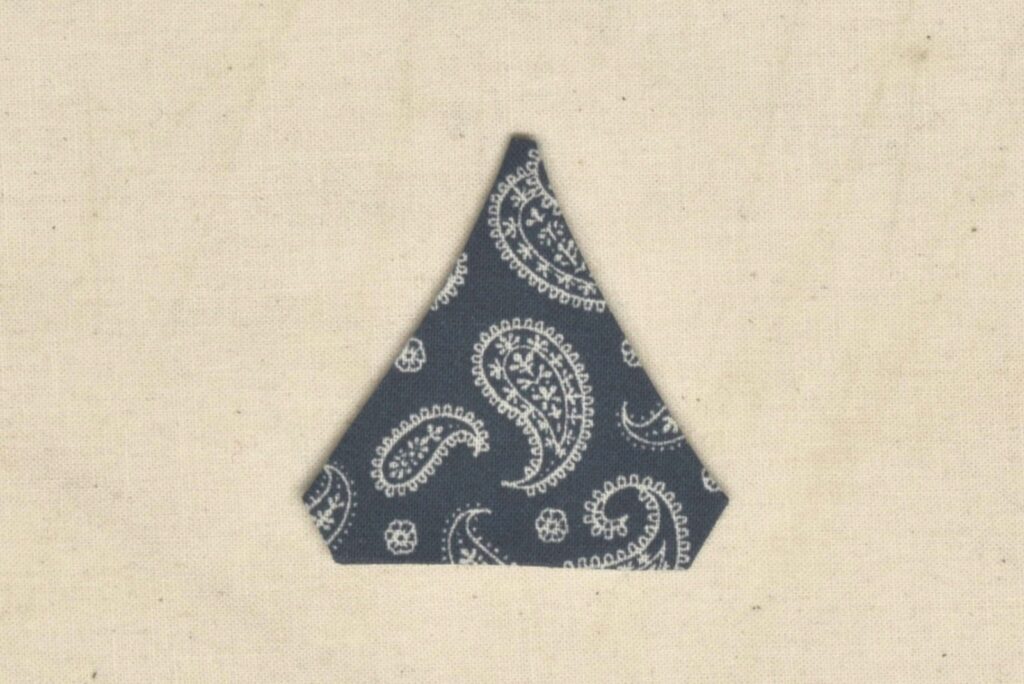
Fold the bottom edge upwards. The bottom corners of the triangle are not sharp, but form two additional flat edges.
Press everything as best you can, then turn to the right side and press again. I used a bit of starch in an attempt to get everything to stay flat. After the photo I did sharpen up that top corner a little more.
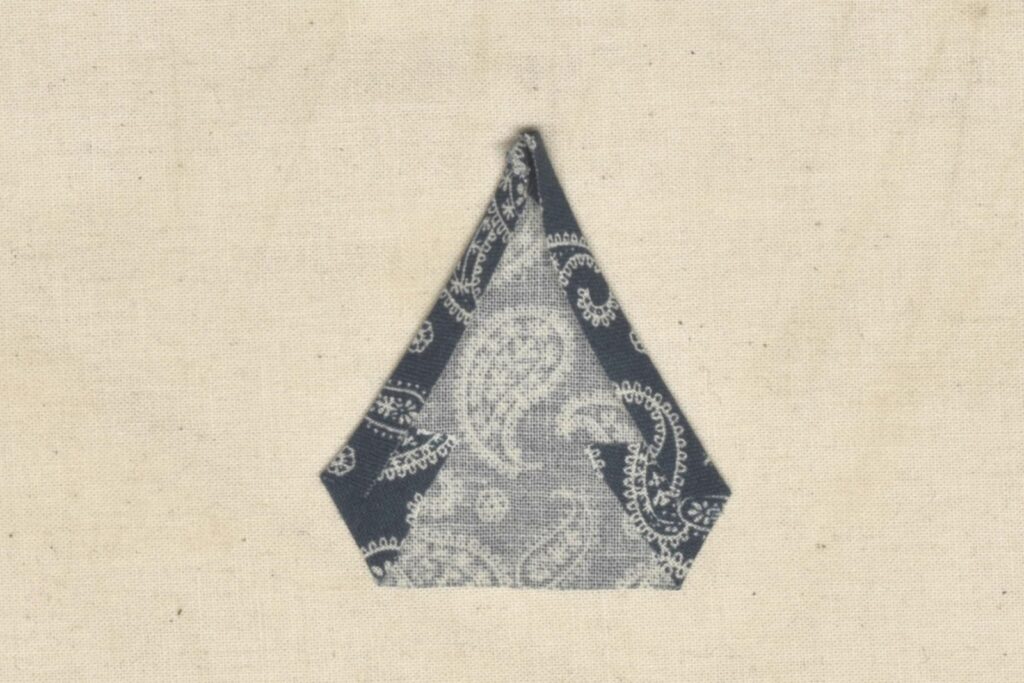
Finally, fold the gusset in half along the vertical fold line as shown.
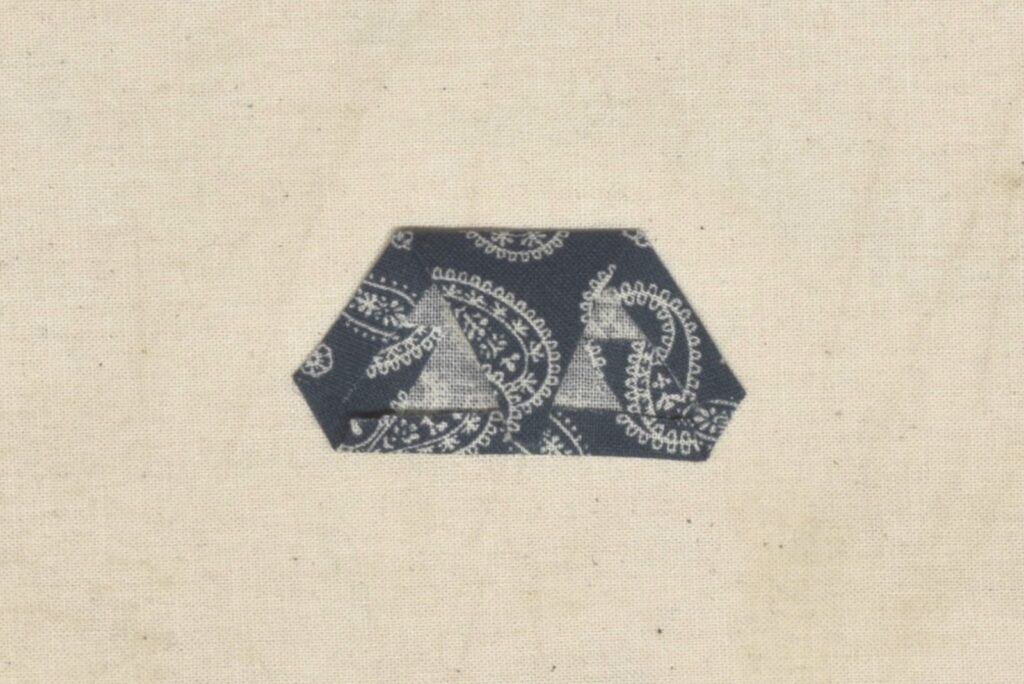
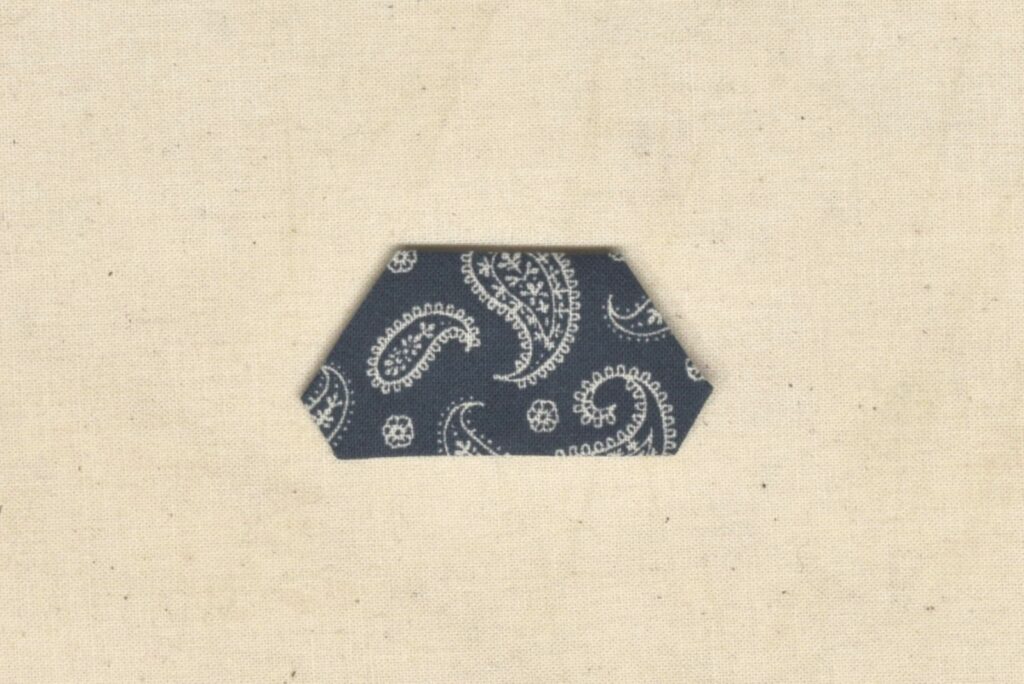
Repeat for the other gusset.
Attaching the Gussets
With the gussets all folded up, lay the shirt side seam right side up and position one of the gussets in place, the smaller triangular half facing upwards towards the seam.
It takes some fiddling with, but I ended up folding the gusset in half as I positioned it at the bottom of the side seam. The tip of the gusset should be about 1/4″ above the bottom of the side seam. The shirt the splays out a little to make room for the gusset.
Fell one edge of the gusset to the shirt, keeping the rolled edge of the shirt as tightly into the gusset as you can without distorting the fabric. It’s a little tricky in that the shirt will want to pull out of the gusset since the tolerances are so small.
Fell the other half of the gusset to the shirt in the same manner. If you’ve made it this far the rest is much easier!
Now fell the inside of the gusset to the shirt, smoothing out the shirt and gusset as you work as necessary.
Here’s my gusset from the inside. I found it tricky to keep the inner layer centered, so both of mine were off by quite a bit. Will need to work on that next time.

Finally, top stitch the gusset from the outside along the edges through all layers using a back stitch. I sewed across the upper sides of the triangle where the shirt could be felt underneath. Then I sewed across the bottom of the triangle to further keep the layers in place.
Your Progress
[columns gutter=”0″]
[col]
1 | Draft or print the gusset pattern. | |
2 | Press and attach the side seam gussets. |
[/col]
[col align_text=”center, middle”]
[/col]
[/columns]
Rolled Hem
Shirts of the period were often hemmed with what is known as a rolled hem, a very narrow – 1/8″ or even less – stitch that rolls the fabric back over itself. It can seem intimidating but once you learn how it works, it becomes second nature very quickly.
Begin by trimming the remaining seam allowance near the bottom of the side seam to 1/8″, tapering it into the curve at the bottom.
Turn back the raw edge to the wrong side 1/8″ along the entire hem, pressing with your fingernails as you go.
The curved areas can be a little troublesome, just keep working at it, keeping the fold as narrow as possible.
You can press the fold with the iron afterwards to keep everything more firmly in position.
Start the hem stitch about 1/4″ below the bottom of the side seam, allowing us to taper the seam after and keep everything flat. Begin with three stitches in place on the fabric, just past the raw edge of the fold.
Take a small running stitch directly across from the end of the previous stitch, catching only the fold.
Then take another small running stitch just below the raw edge, directly under the end of the previous stitch. Don’t pull the stitches taught yet.
Continue working stitches until you have an inch or so of progress.

After sewing about an inch, gently pull on your thread, tightening up the stitches you just made. The folded edge should begin to roll over itself, forming the rolled seam. Don’t pull too tight, or you’ll begin to pucker the fabric. You can make up to about 2″ worth of stitches before pulling, though the tension on the thread does get a little higher and you risk breaking the thread.
Here are the results so far. Continue stitching across the entirety of the hem to within 1/4″ from the bottom of the other side seam.
On the right side, you should have a crisp edge, and a row of small running stitches showing about 1/16″ from the edge.
Here’s the completed hem.
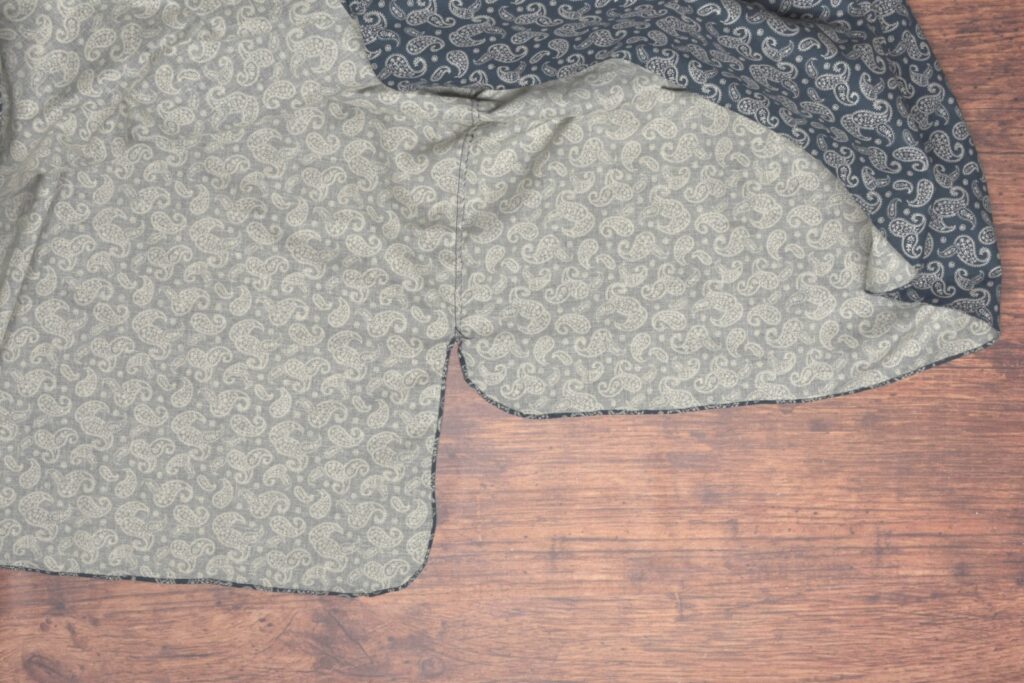
At the bottom of the side seam, I kept the stitching about 1/4″ from the bottom, to allow the hems to taper gently out of the roll, giving a flatter edge. This also avoids having to deal with 1/16″ or 1/32″ seam allowances trying to get everything lined up perfectly with the rolled edge.
Everything should be as flat as possible near the bottom of the side seams, no puckering or anything.
Your Progress
[columns gutter=”0″]
[col]
1 | Form and stitch the rolled hem. |
[/col]
[col align_text=”center, middle”]
[/col]
[/columns]
Felling the Lining
With the side seam felled, we can begin closing up the lining permanently with a felling stitch. Begin by folding under the remaining raw edge of the front lining just below the armscye, along the side seam. Baste.
Begin felling the lining down with a small stitch, 10+ per inch, though it really depends upon the size of your thread and the fabric how small you can go. Catch only a couple of threads on the right side. Work from shoulder seam, across the bottom, and along the side, or the other way around as works best for you.
One half of the front lining felled in place. I ended up taking larger stitches than I should have due to the new thread I was testing. I ordered a slightly heavier weight accidentally, and going any smaller with the stitches would have made the seam too bulky.

Now turning to the back of the shirt, fell the yoke along the shoulder seams.
Take extra care along the shoulder seam near the pleated front, that your stitches don’t show through on the right side.

Fell also across the bottom of the yoke, across the width of the shirt.
Finally, top stitch the yoke through all layers across the shoulder seams and across the lower seam using a small back stitch. This secures everything more firmly in place and helps prevent shifting of the layers over time.
Your Progress
[columns gutter=”0″]
[col]
1 | Fell the front lining. | |
2 | Fell the back lining. | |
3 | Top stitch the yoke. |
[/col]
[col align_text=”center, middle”]
[/col]
[/columns]