Month: February 2021
Attaching the Pleated Front
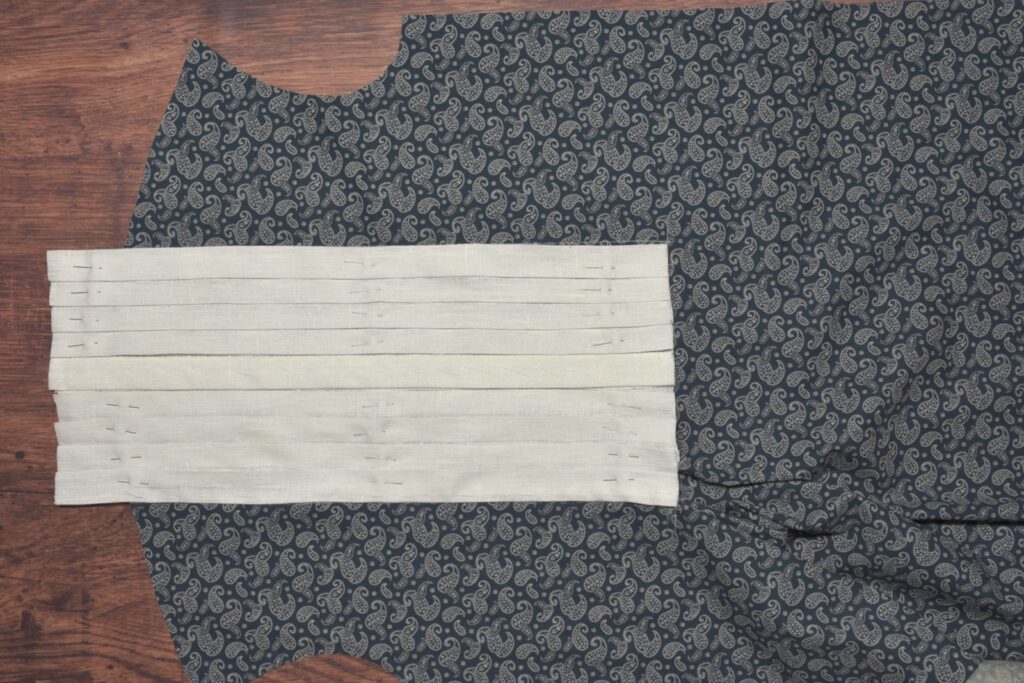
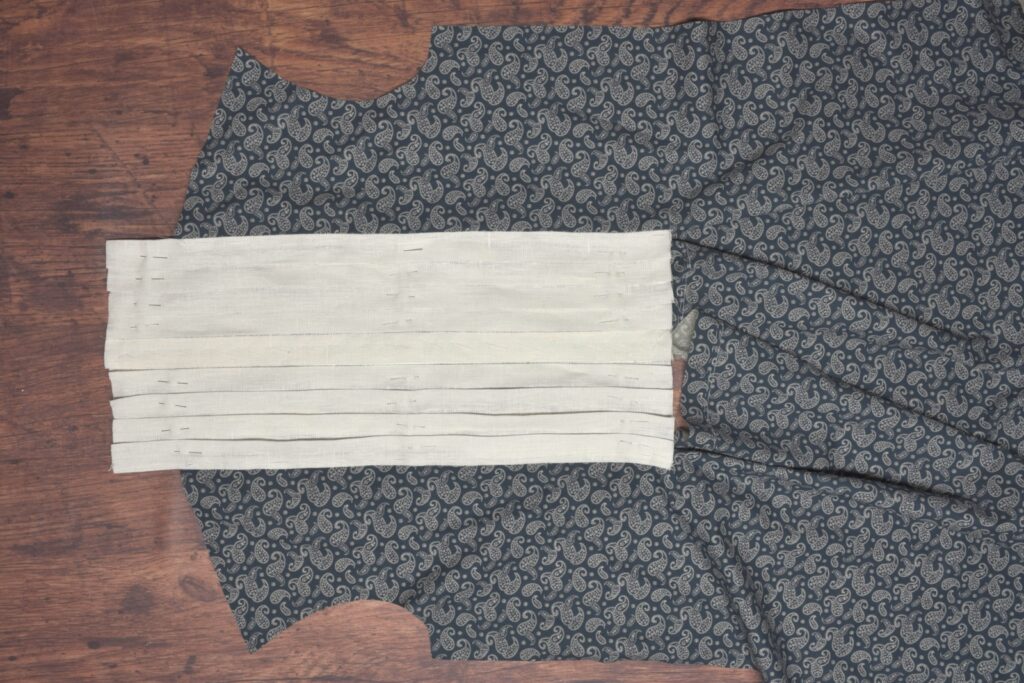
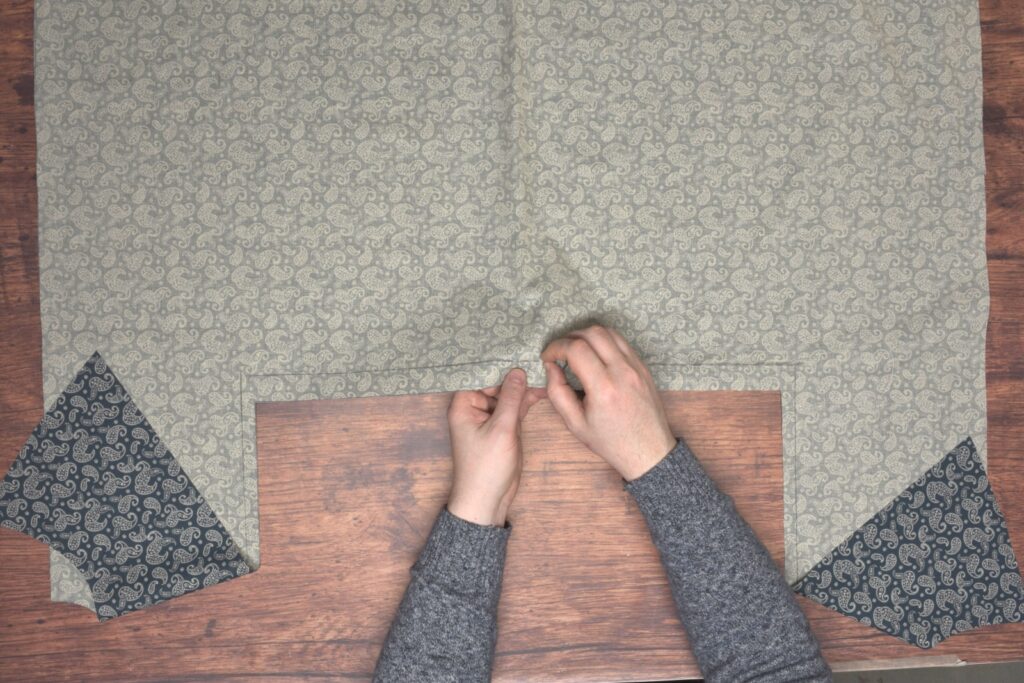
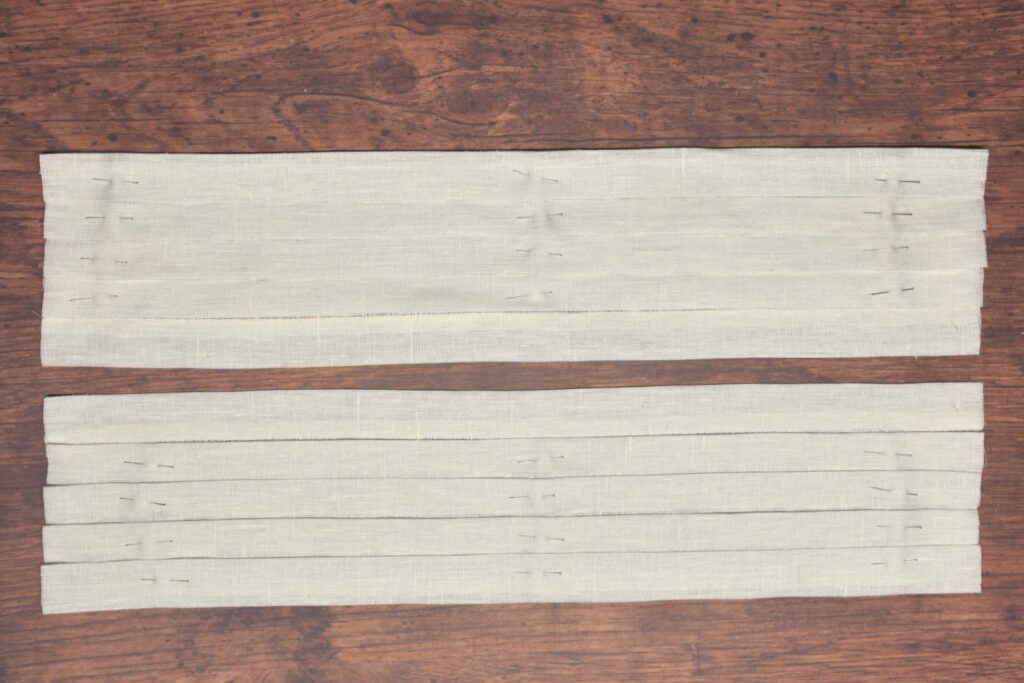
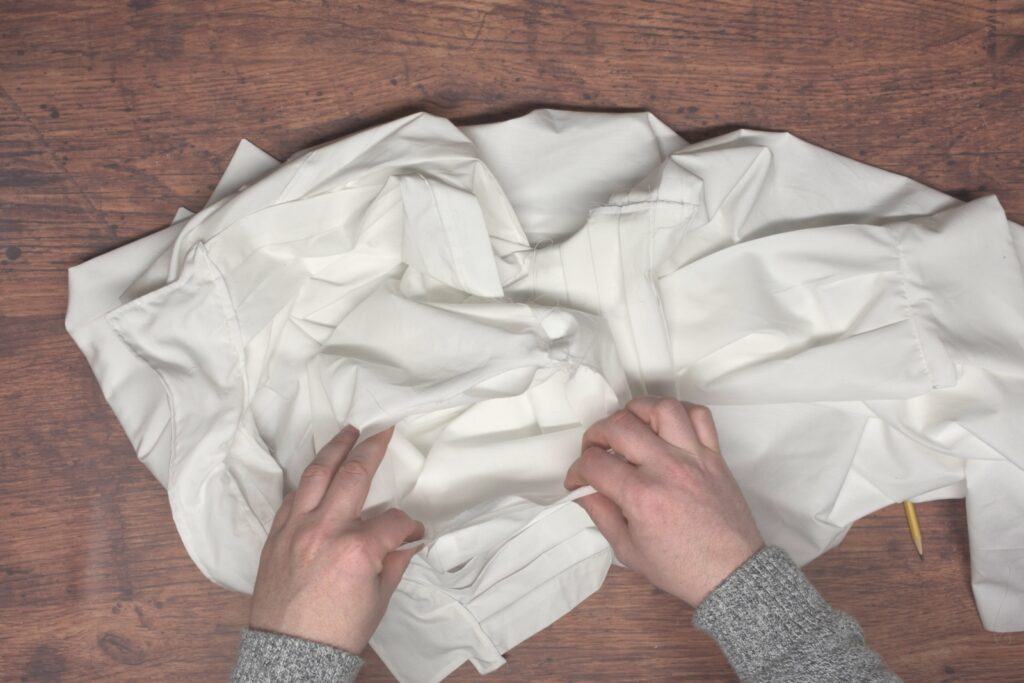
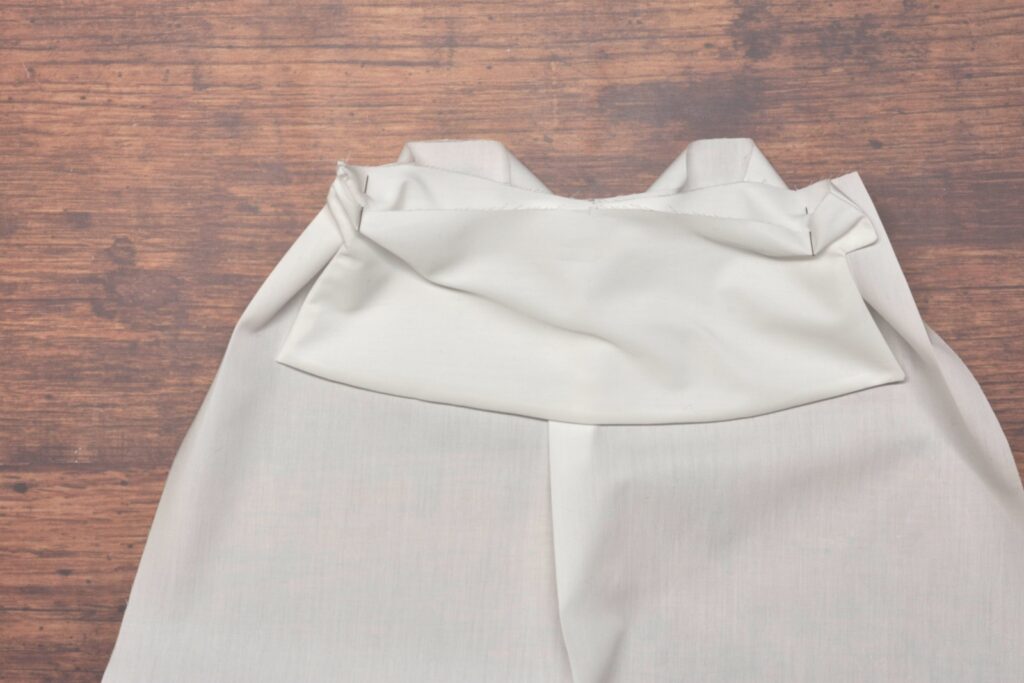
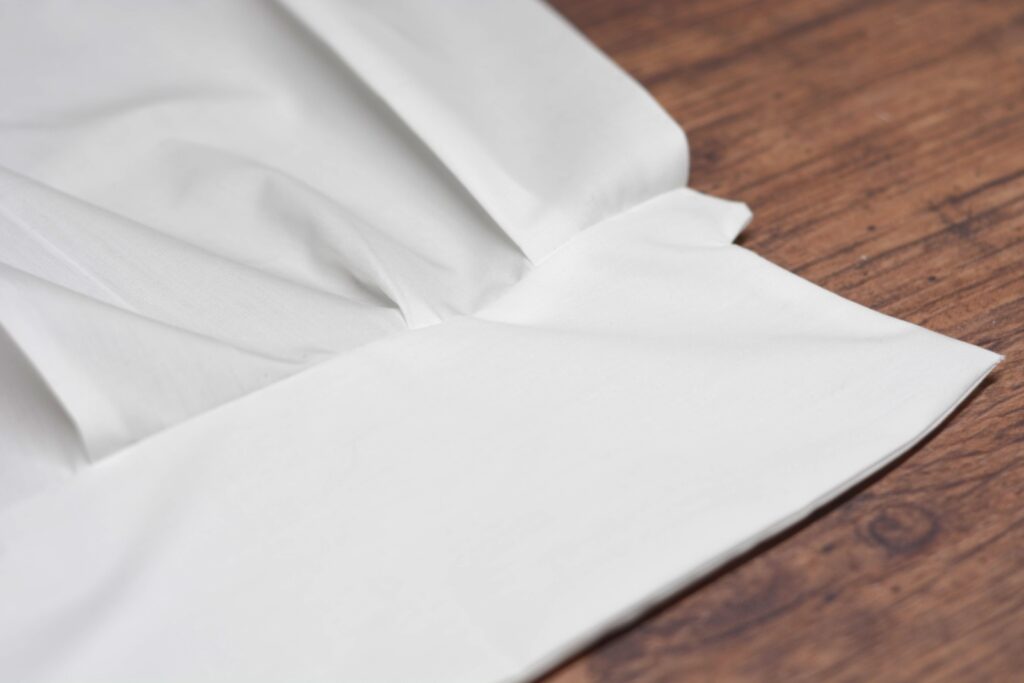
With all of that preparatory work out of the way, we can begin attaching the pleats to the front of the shirt. Begin by laying out the shirt front and pleats, right side up, ensuring that the placket is opening in the correct direction (left over right).
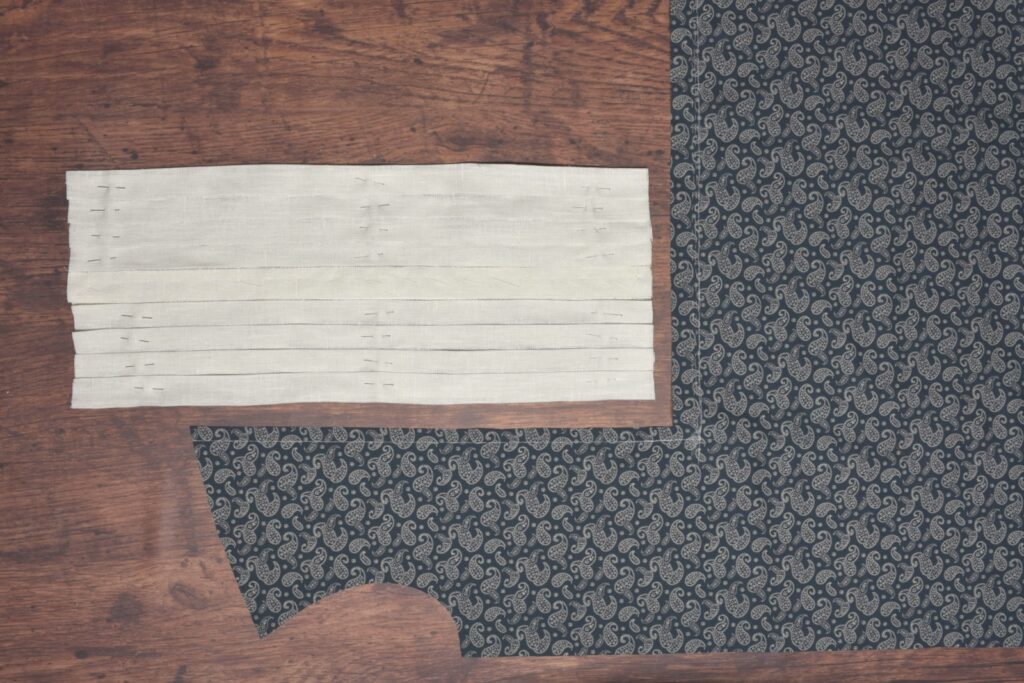
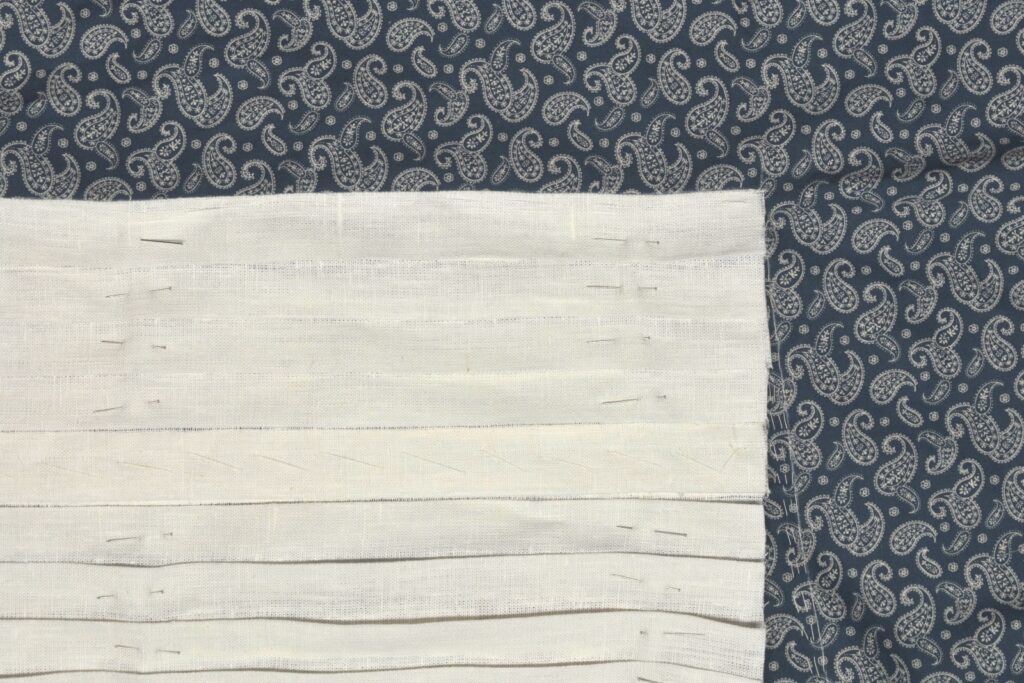
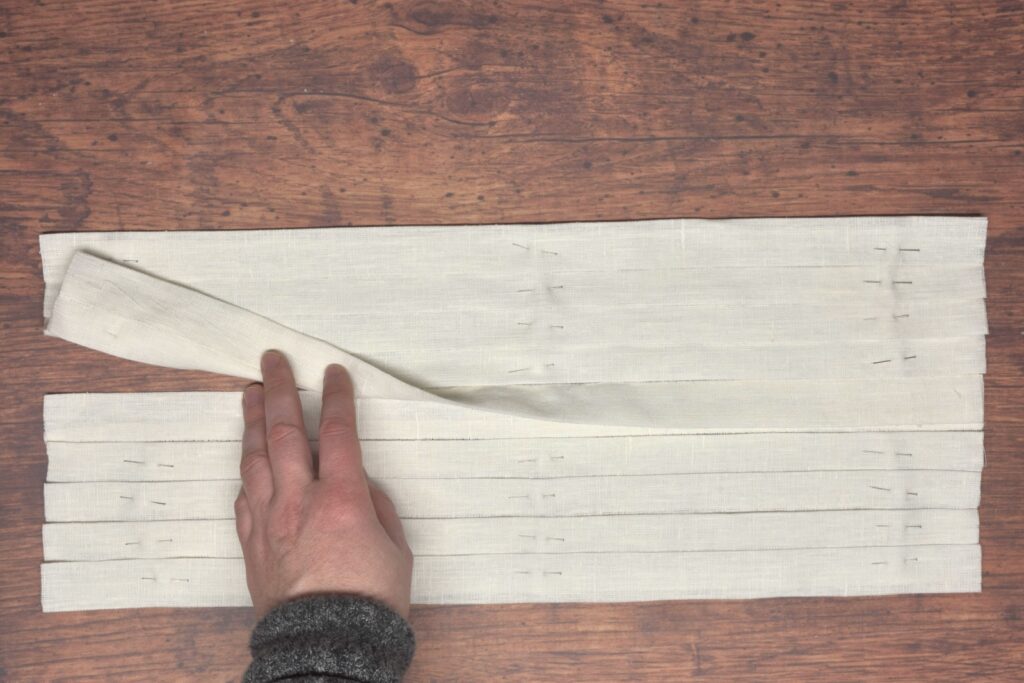
Align the bottom and outer edge of the pleats carefully with the seam lines you chalked earlier. The linen should just cover the chalk lines.
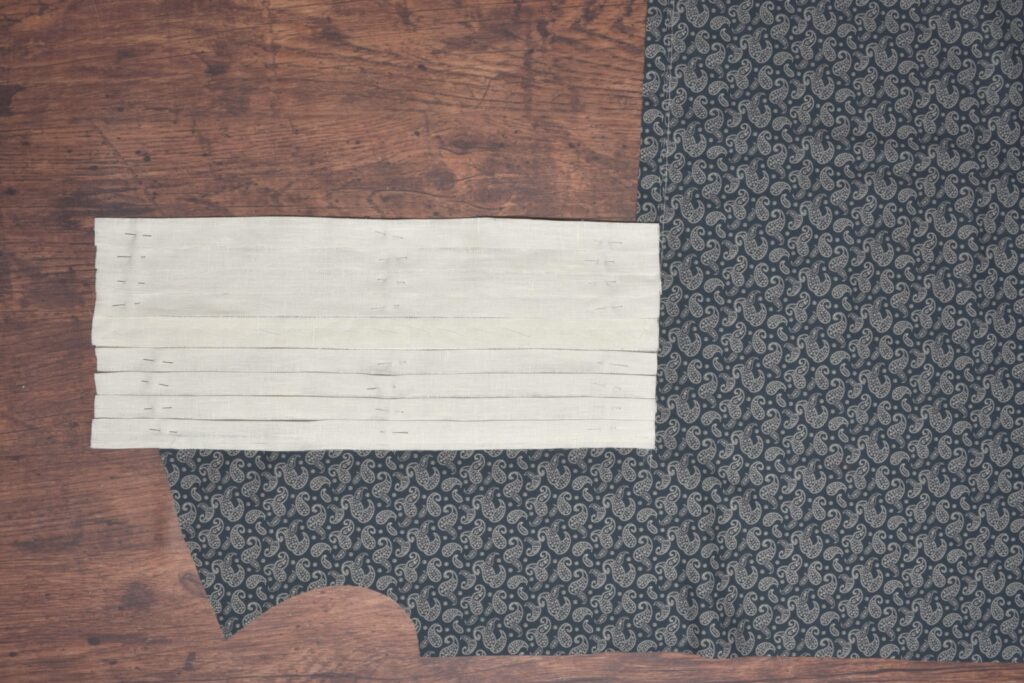
Baste, from the bottom up, one side of the pleated front in place, ensuring that everything is lined up properly as you go, maintaining a neutral tension on both the pleats and the shirt underneath.
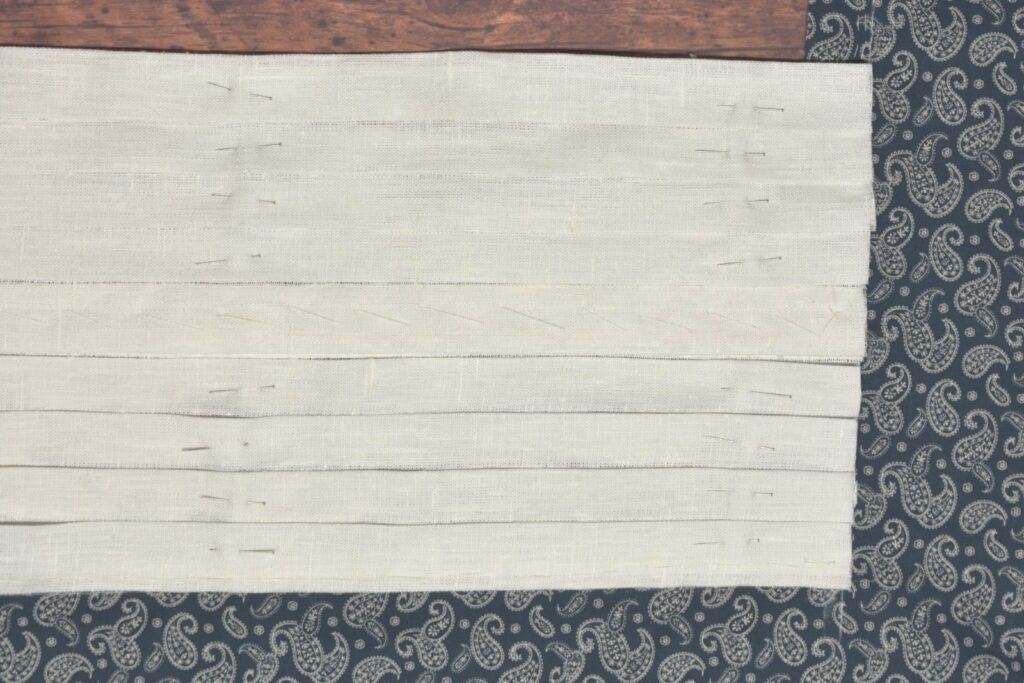
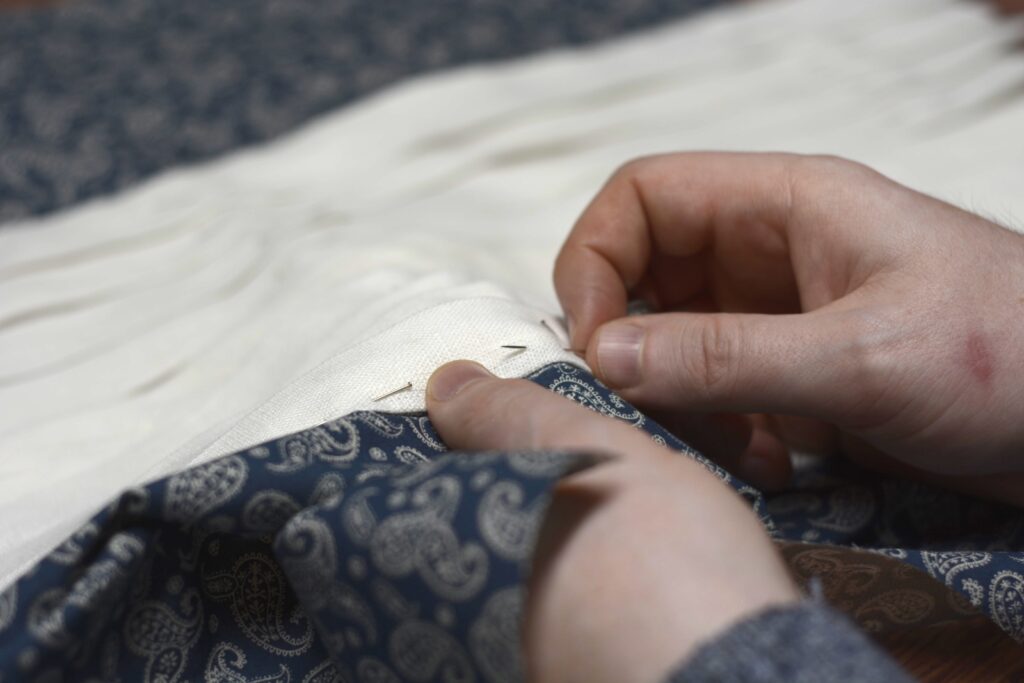
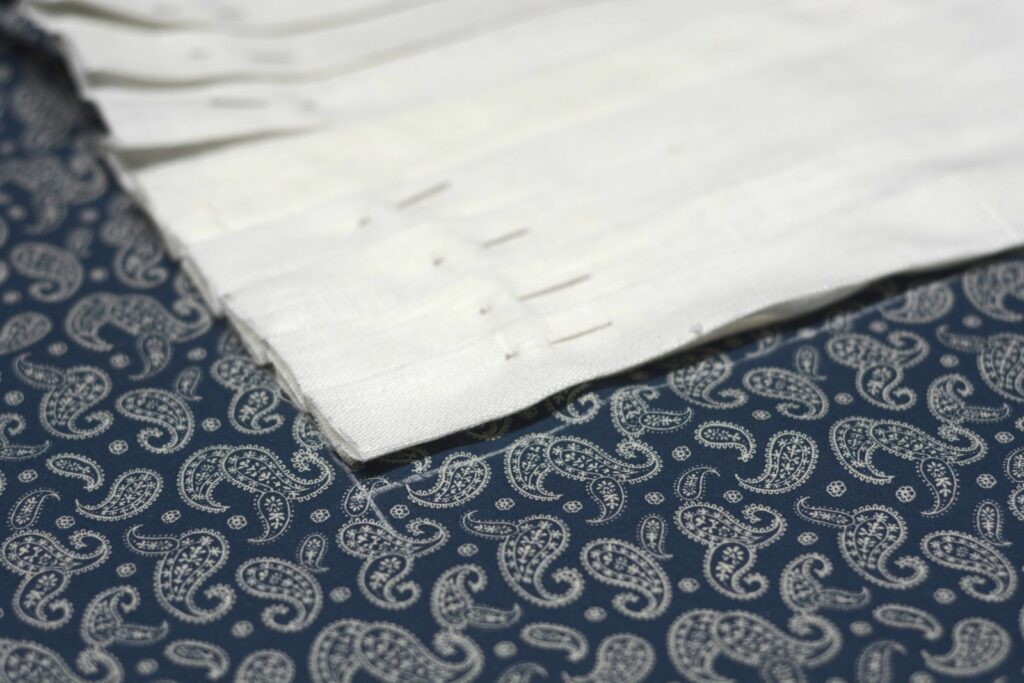
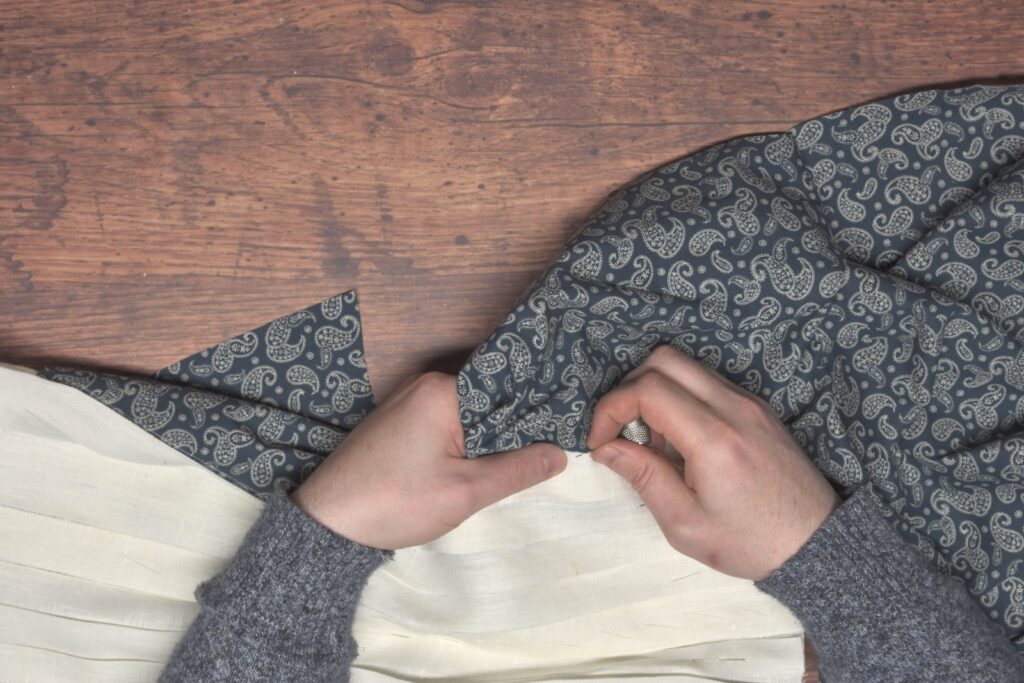
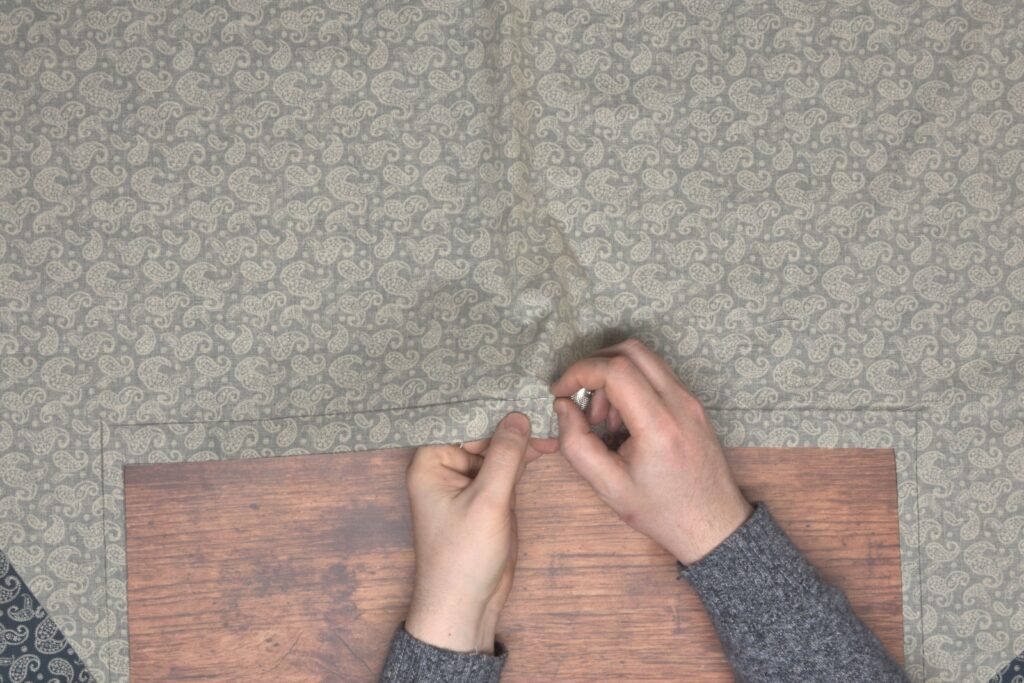
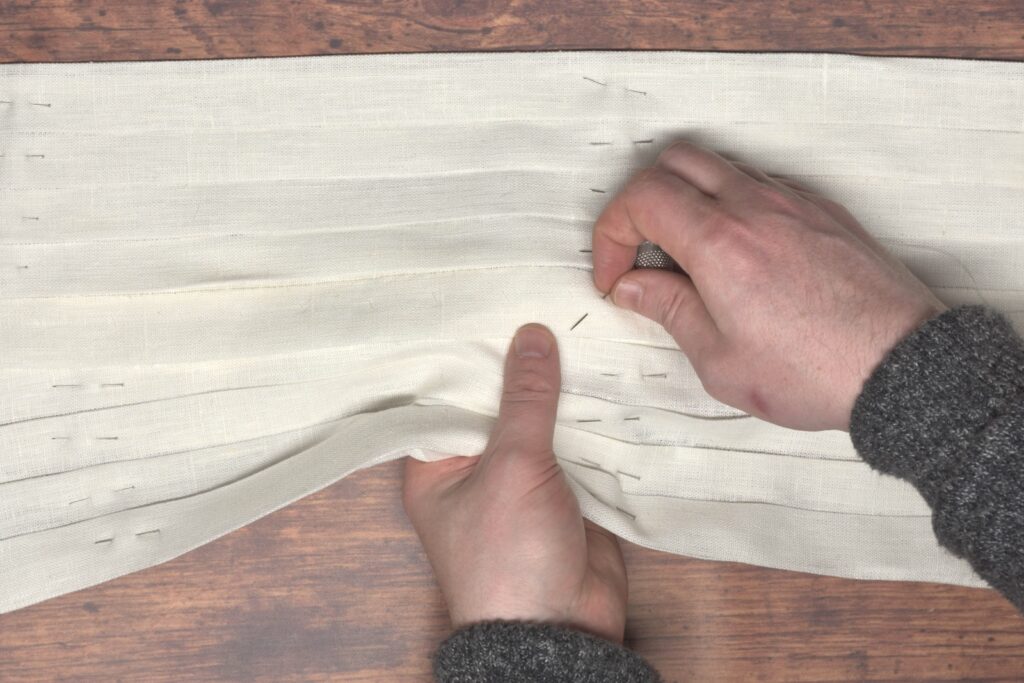
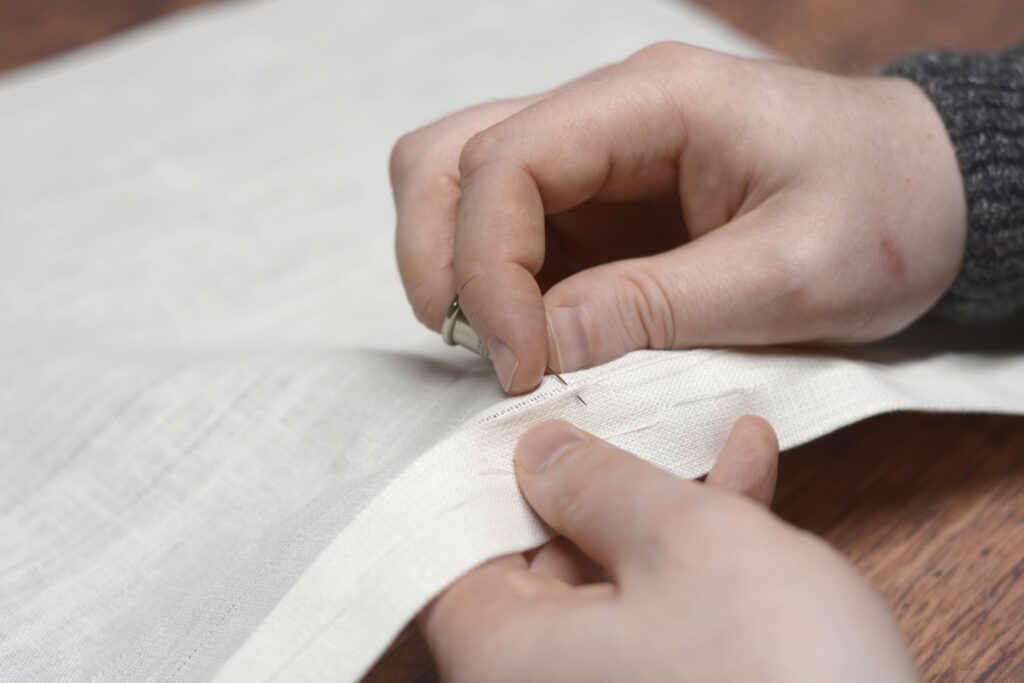
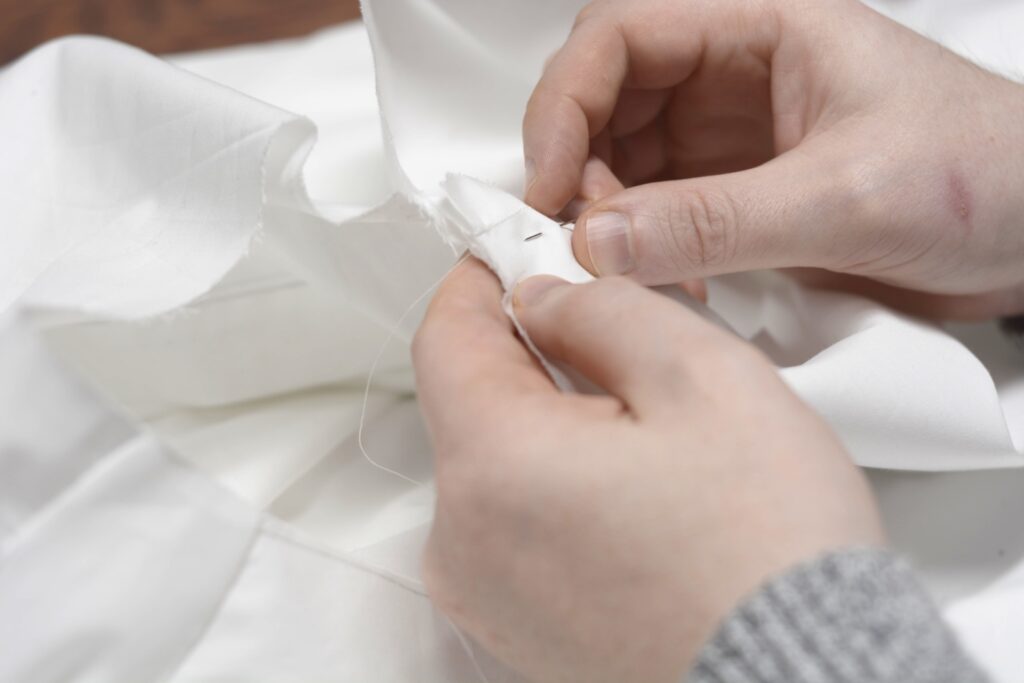
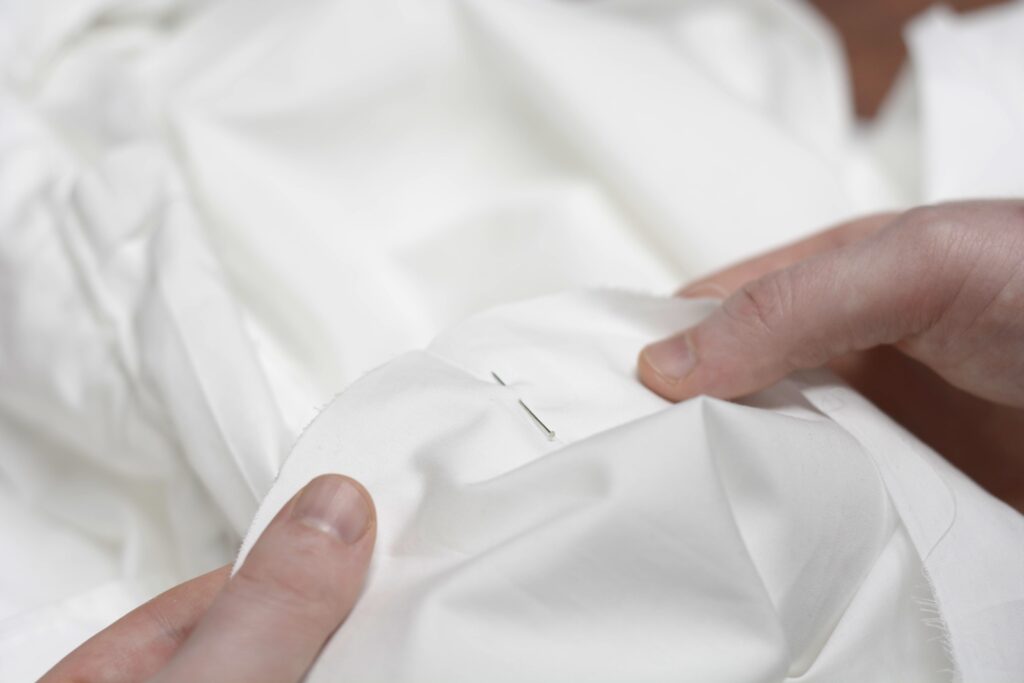
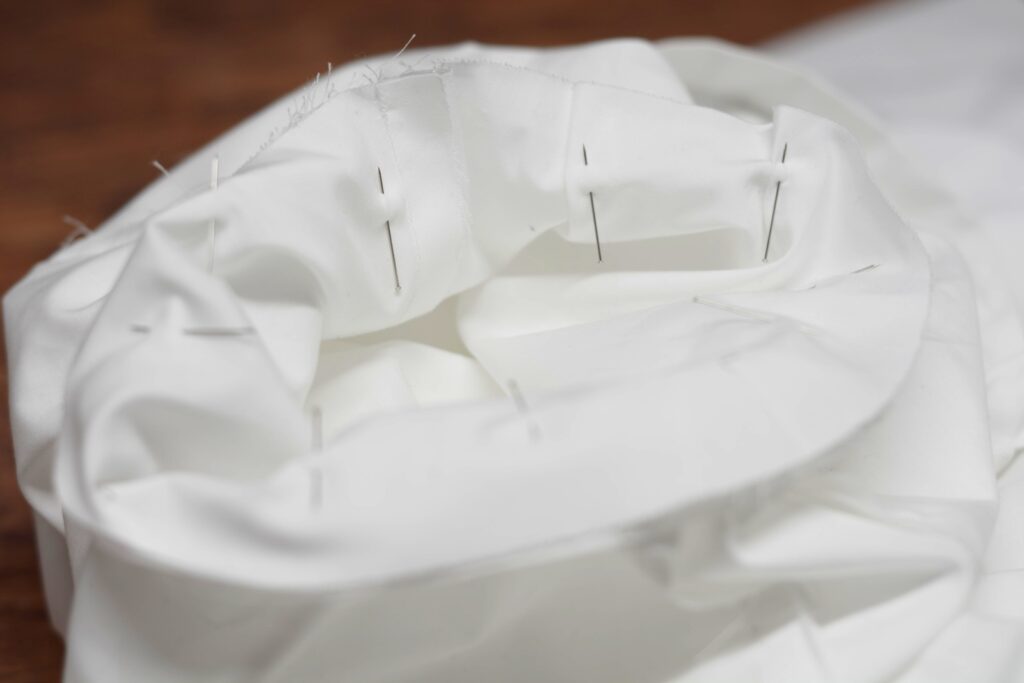
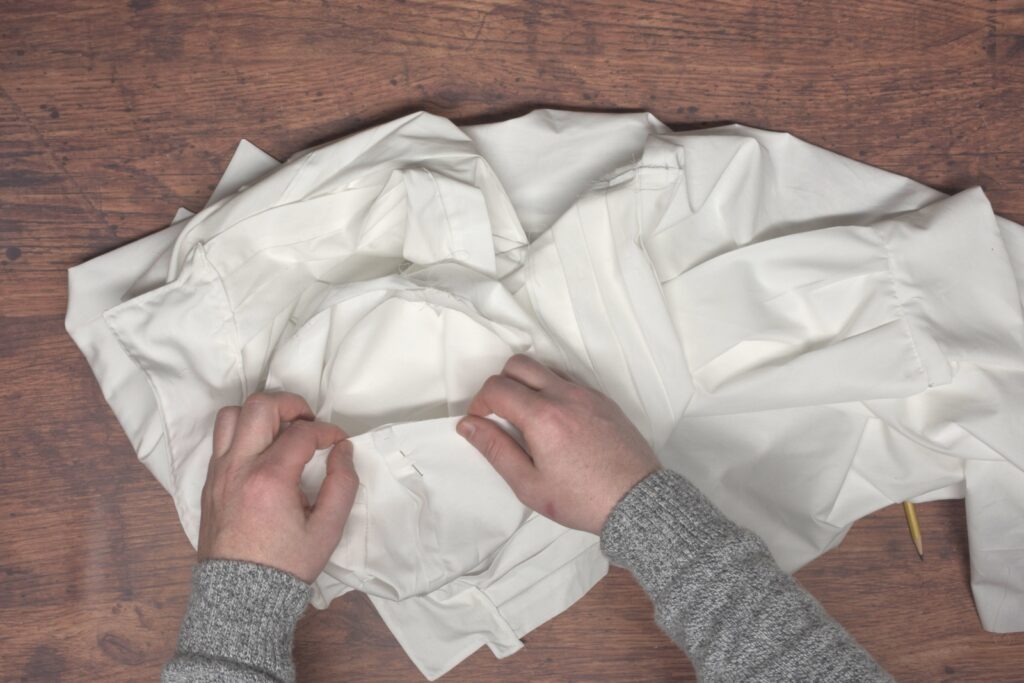
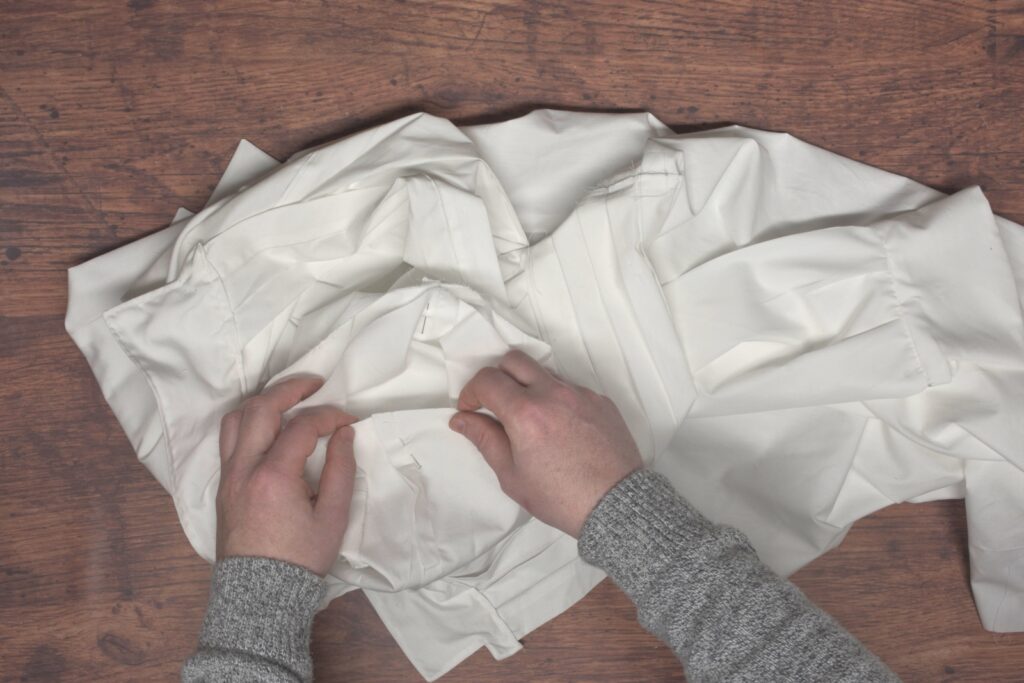
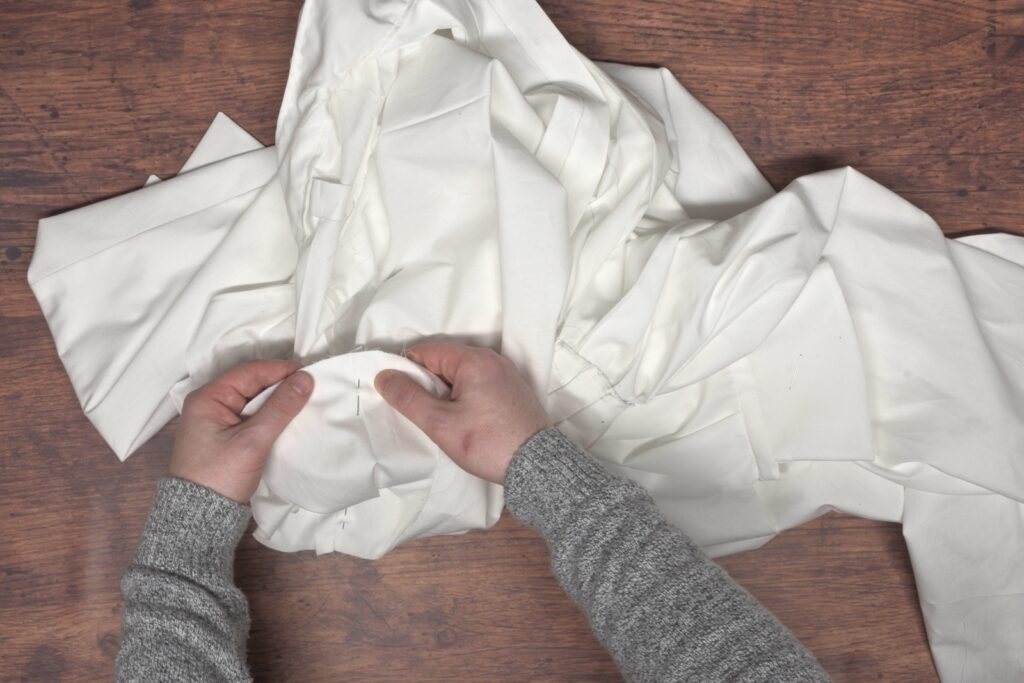
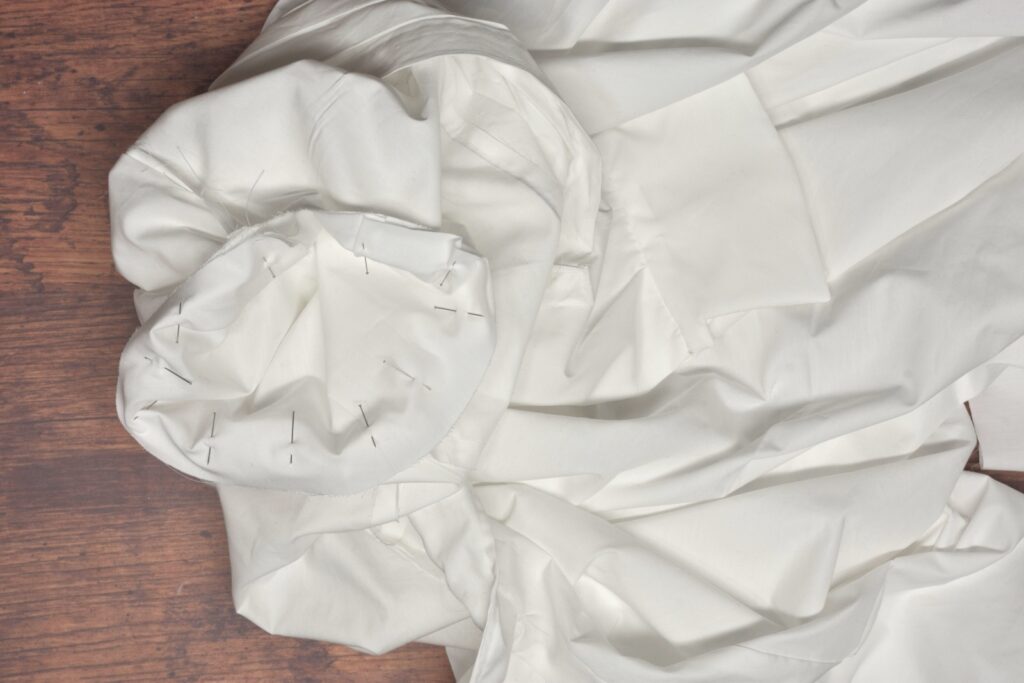
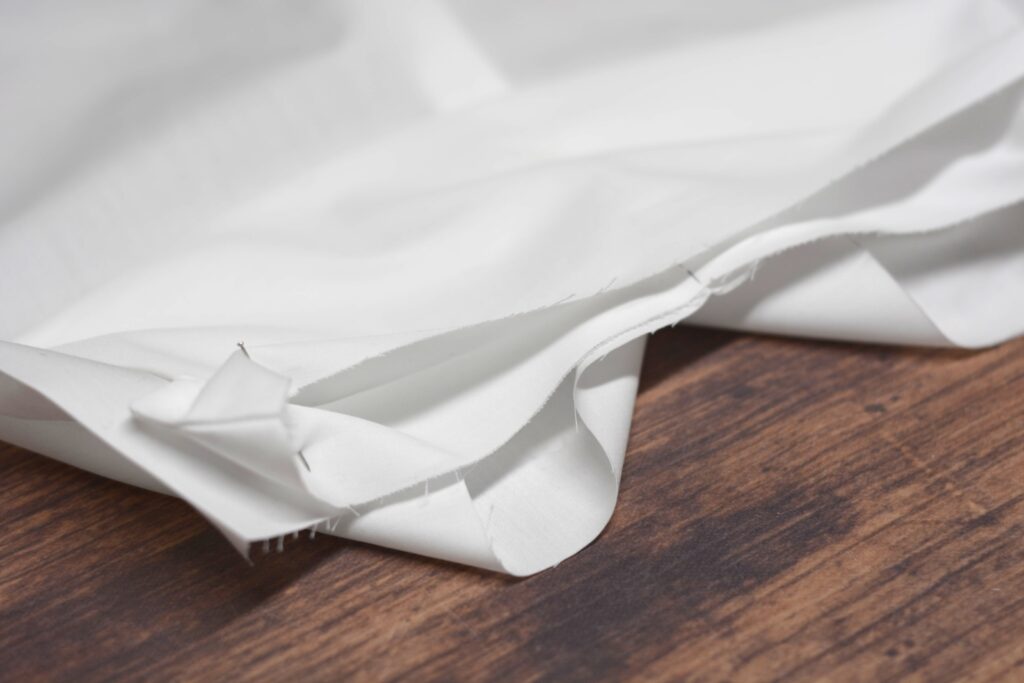
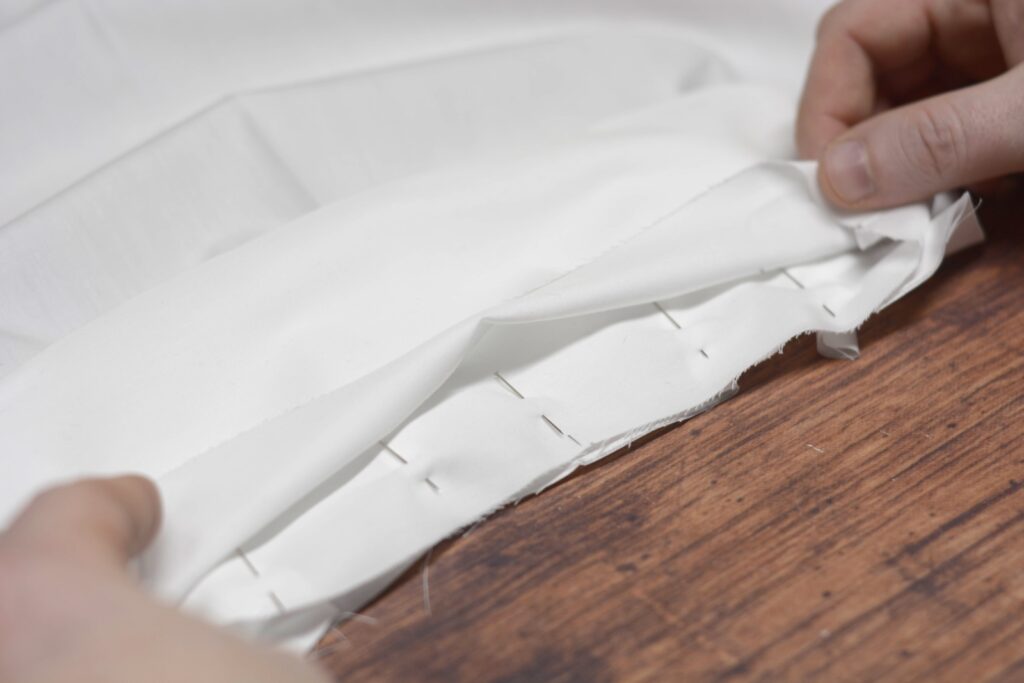
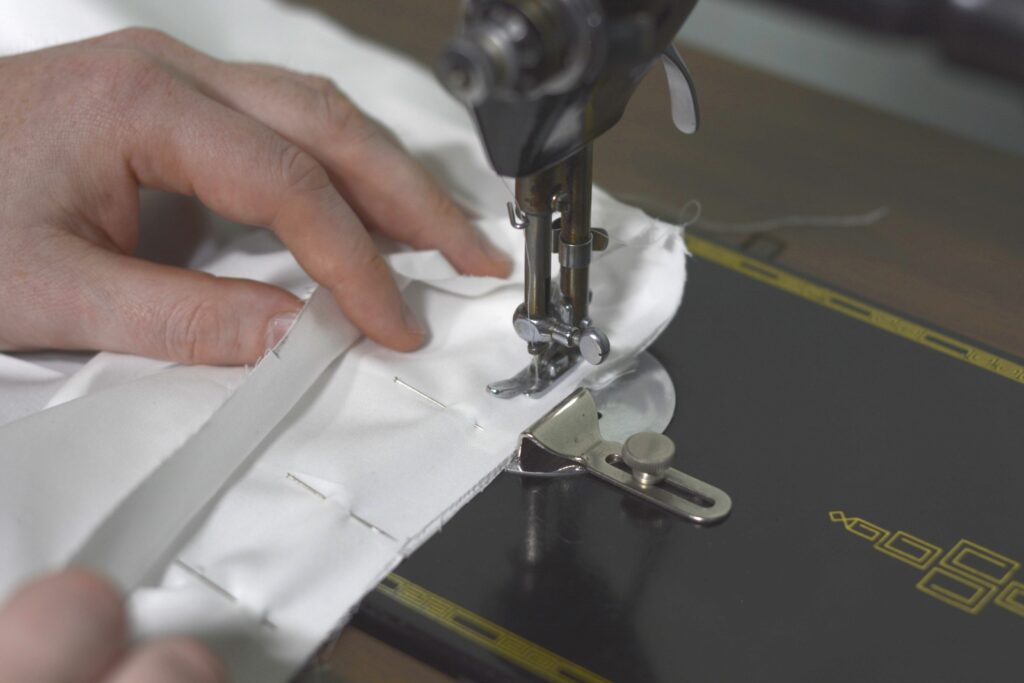
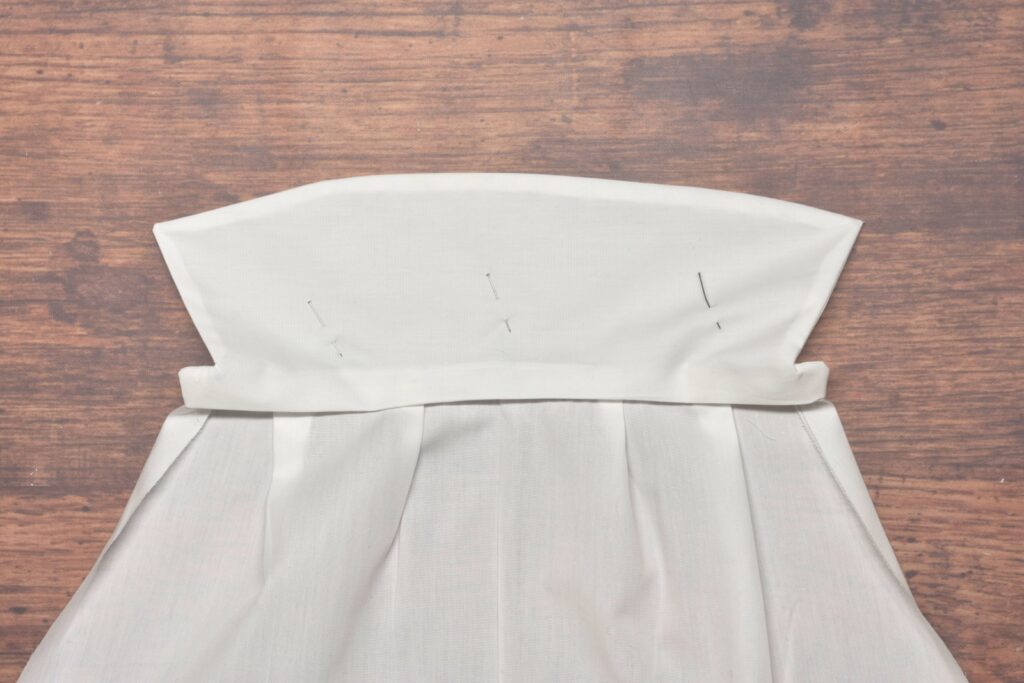
The second side of the pleated front is more awkward to reach, so I like to pin this in place before basting.
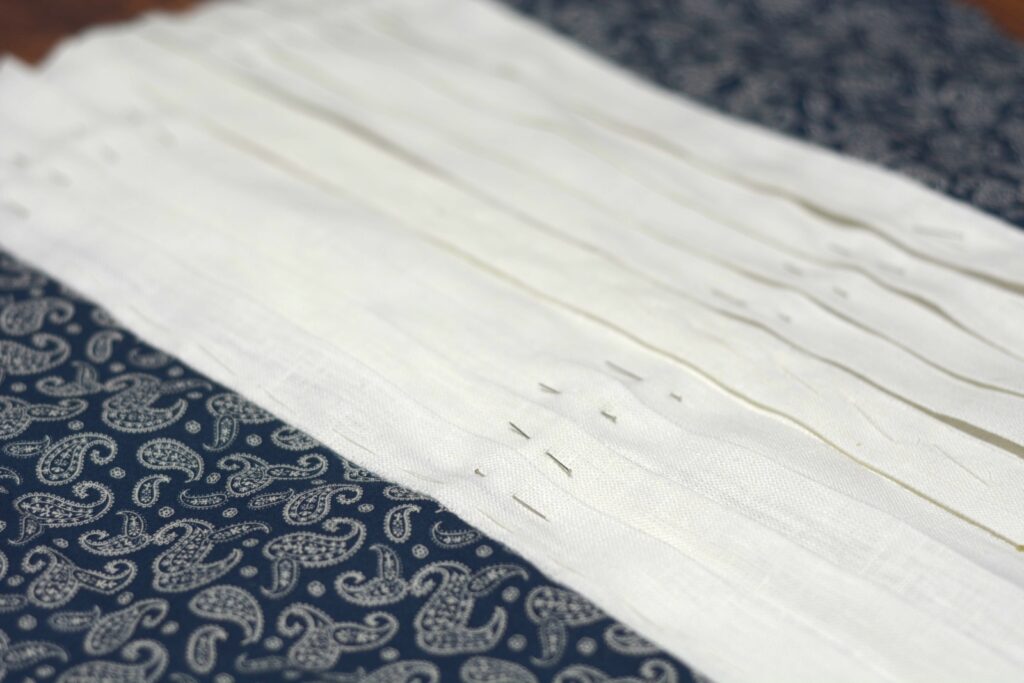
Baste the second edge of the pleats in place.
The bottom will still be left open at this point.
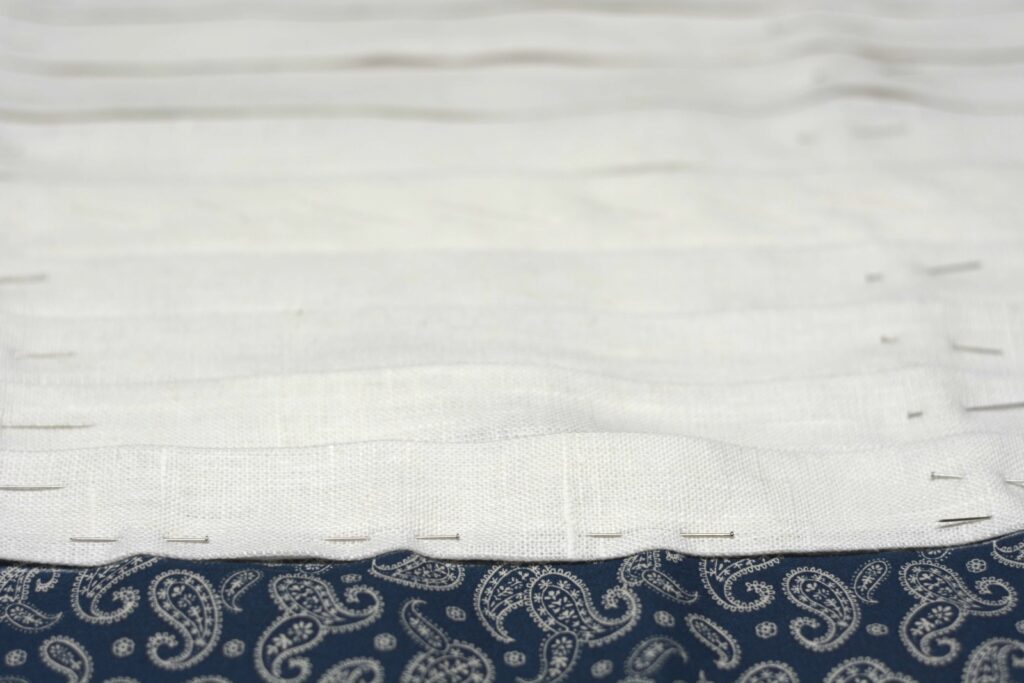
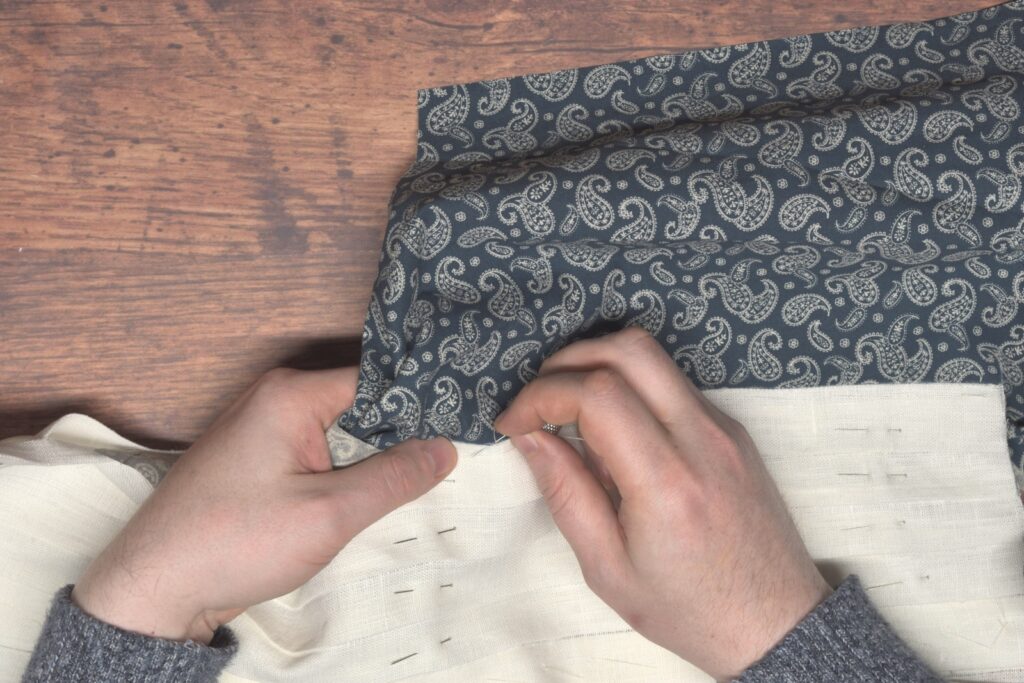
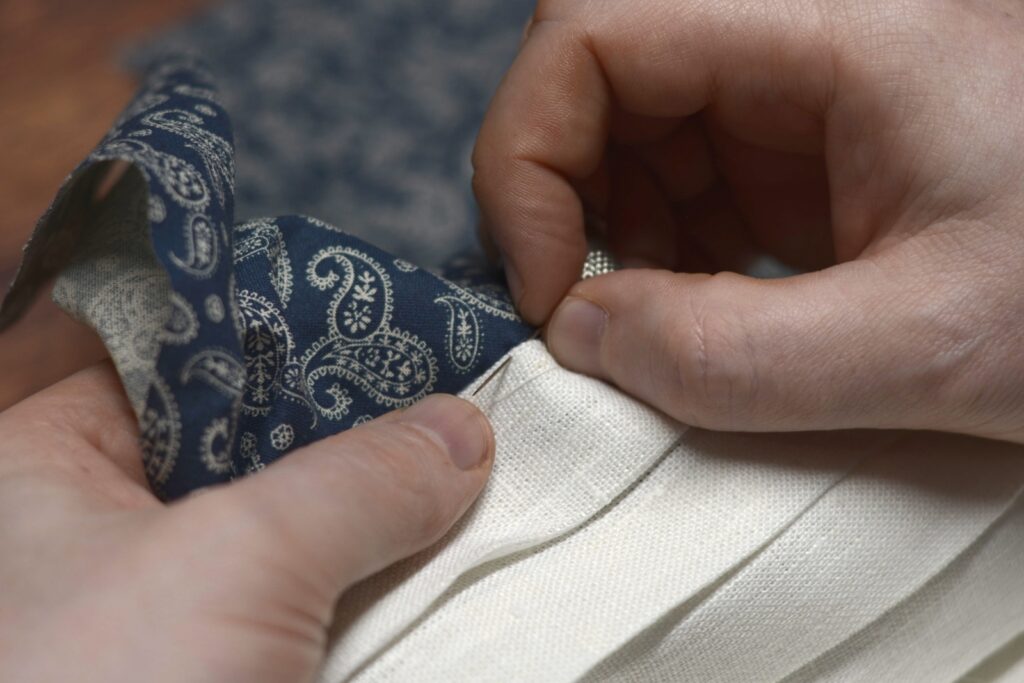
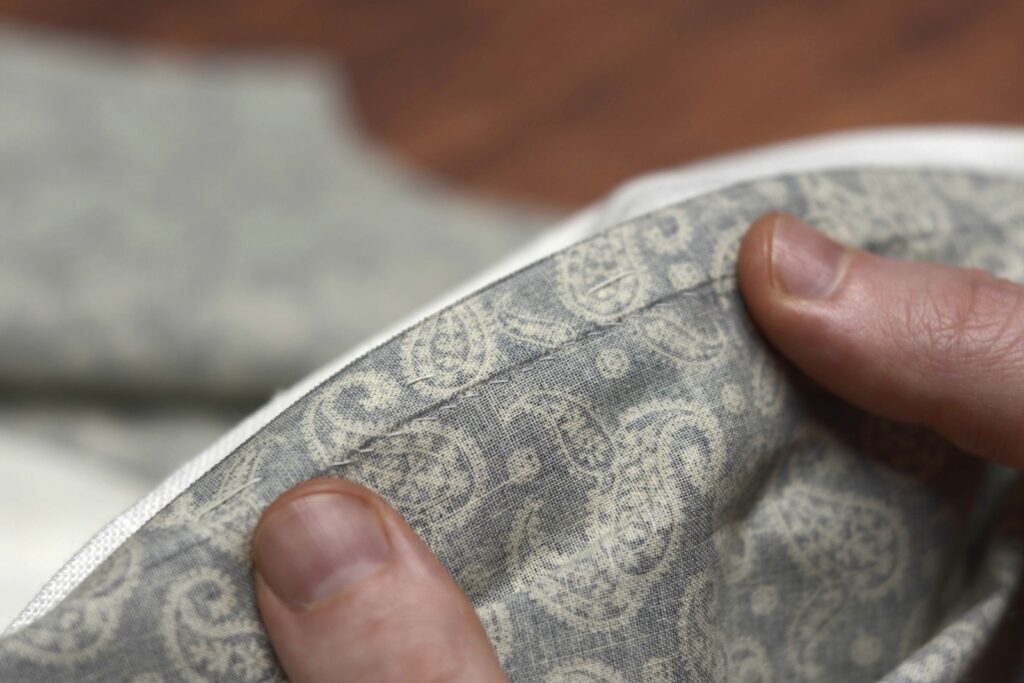
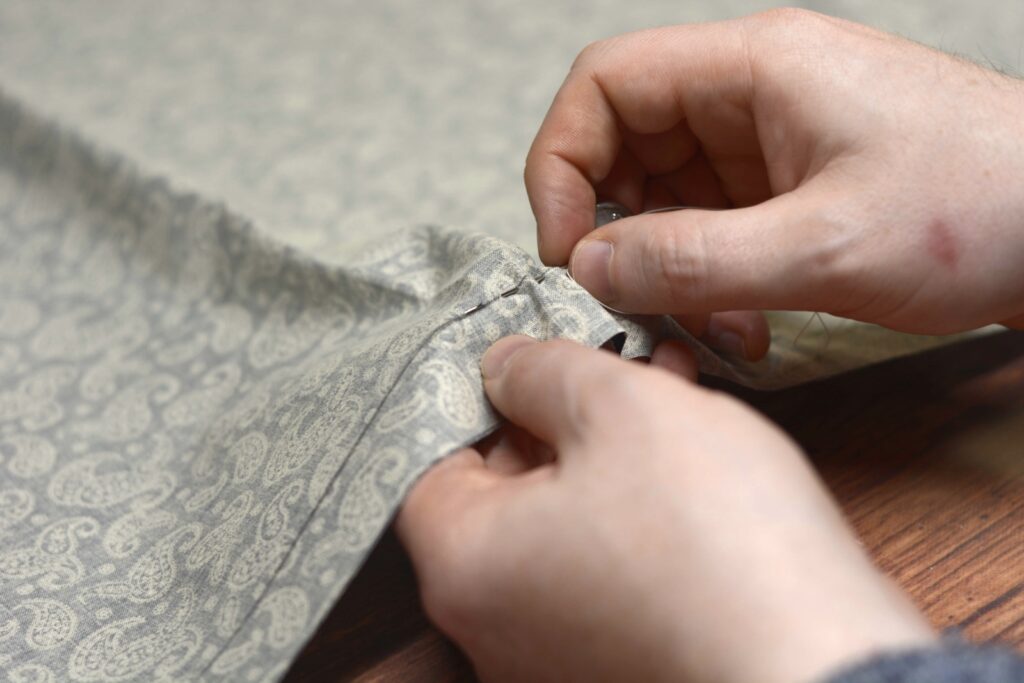
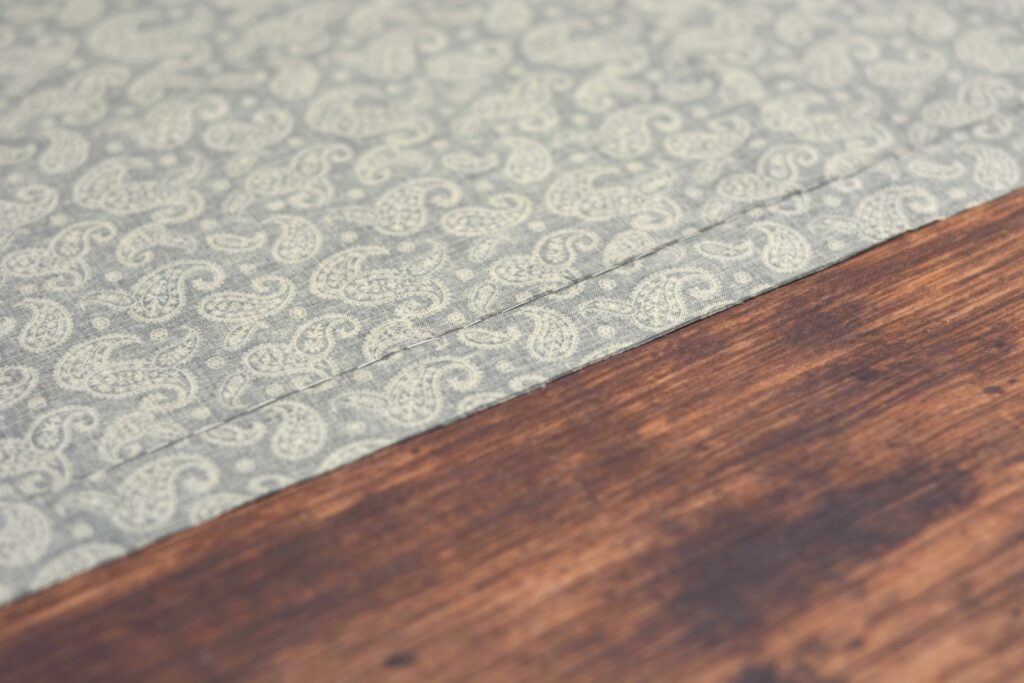
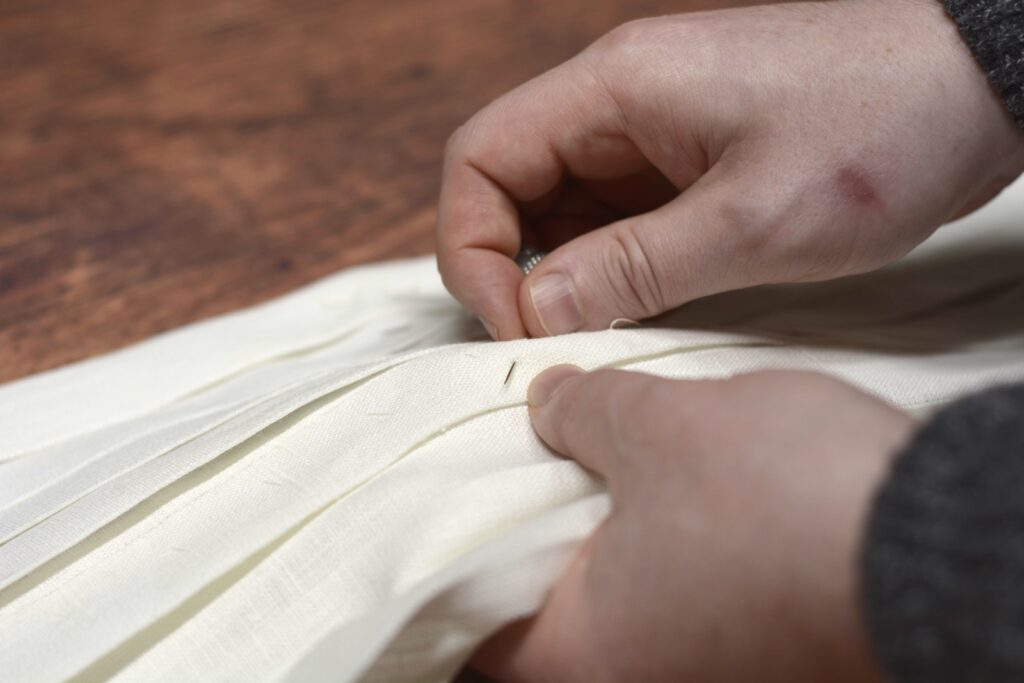
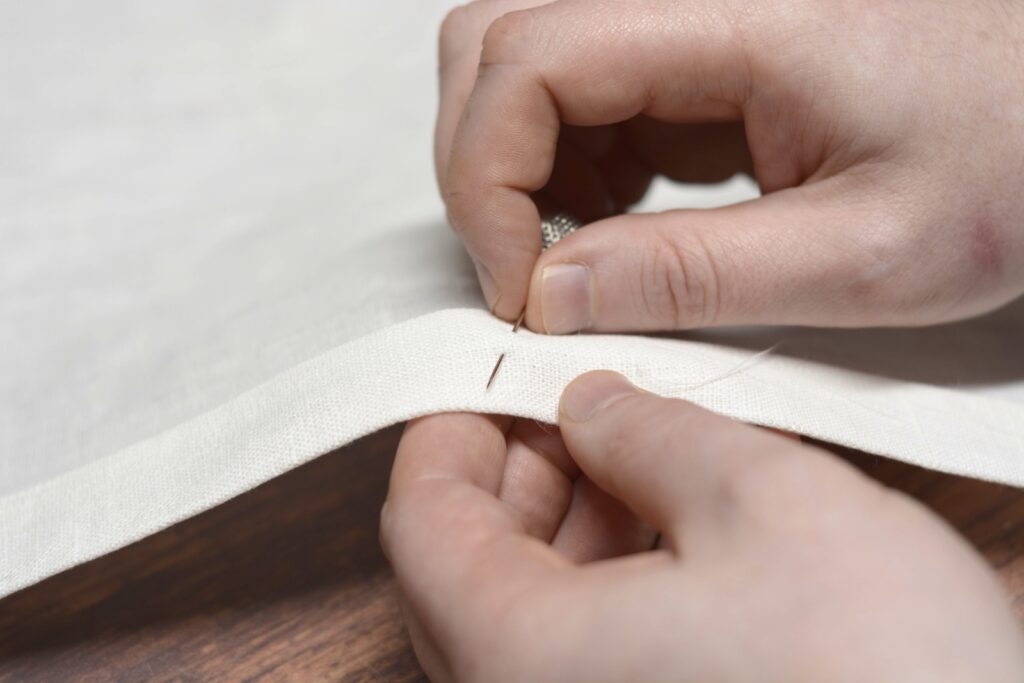
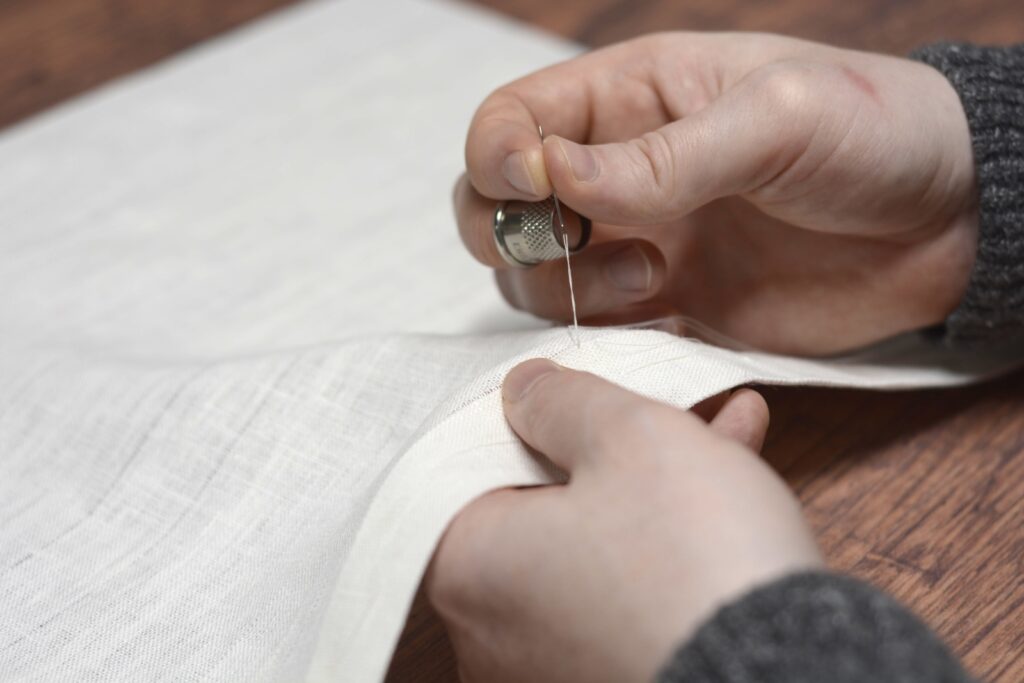
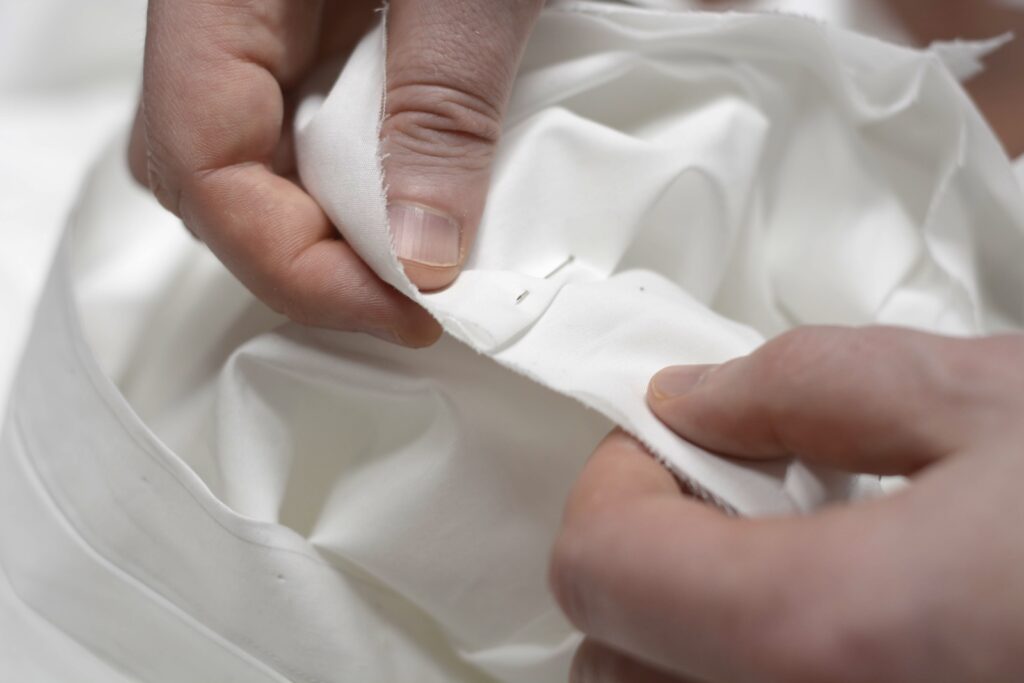
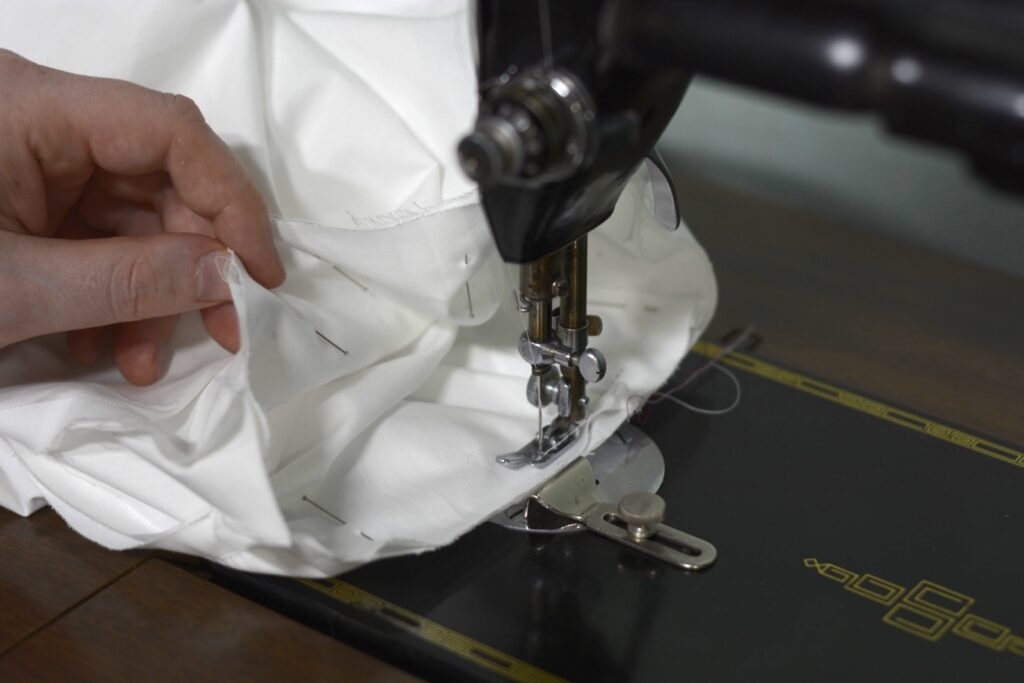
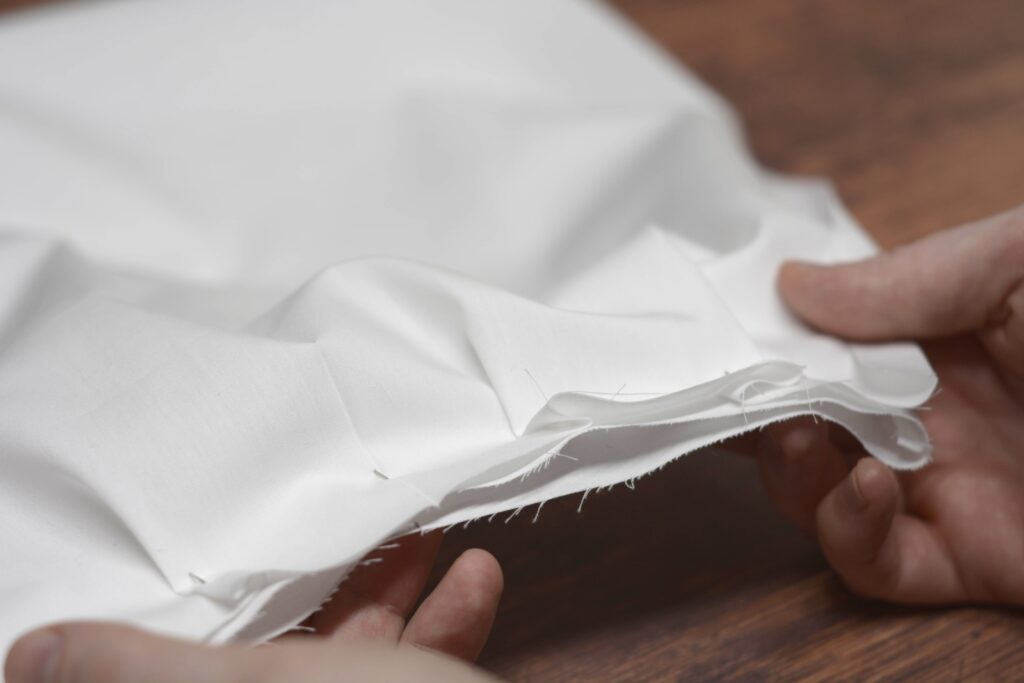
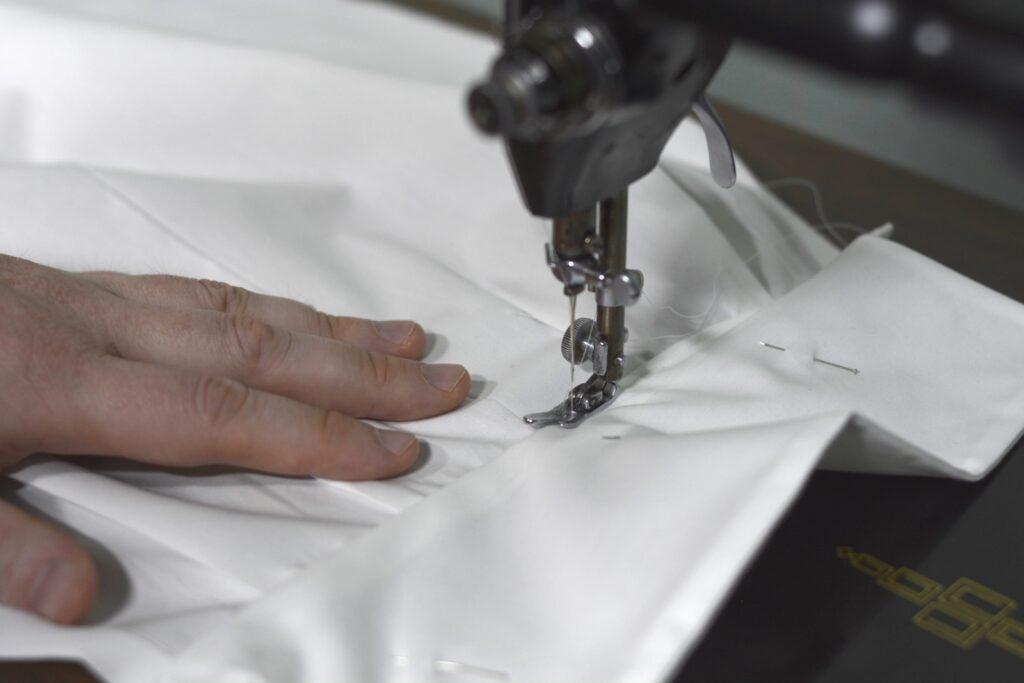
Carefully fell the pleated front to the shirt front along the long outside edges using 1/8″ – 1/16″ stitches. It’s a bit awkward to hold again — I found the best approach was to grasp the fabric from the outer edge of the shirt.
Each stitch is made by inserting the needle into the lower shirt fabric at a diagonal, coming out a stitch or two away from the edge of the linen. This hides most of the stitch on the inside.
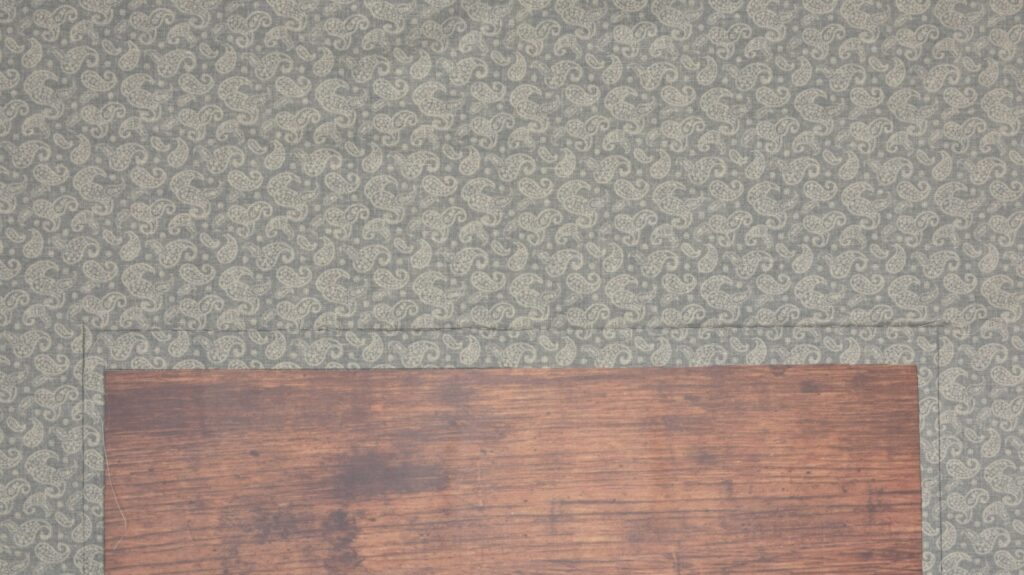
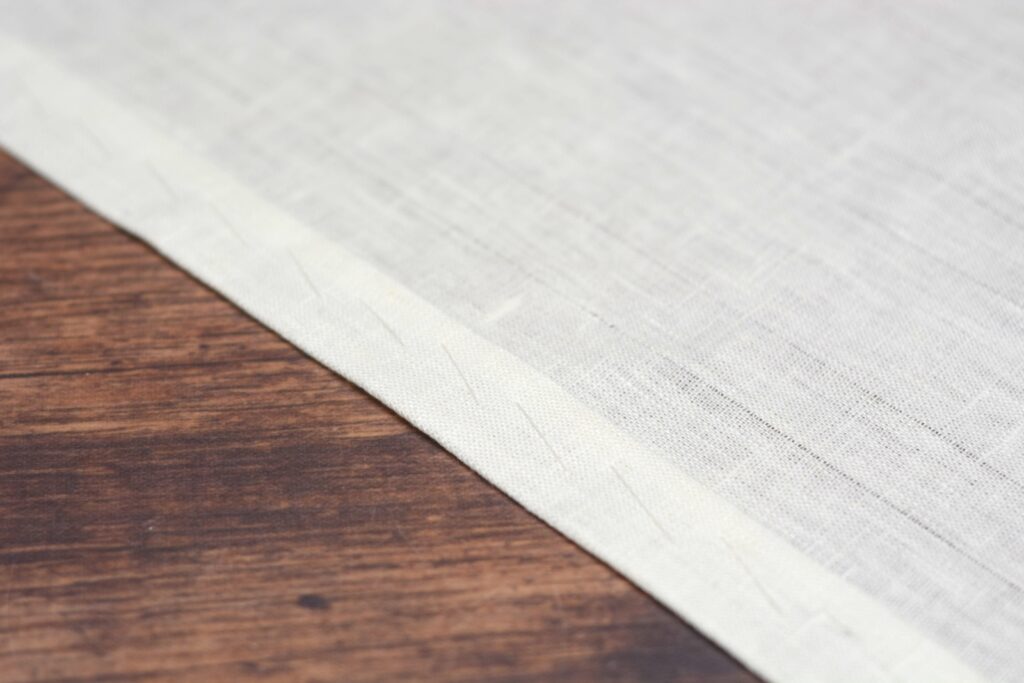
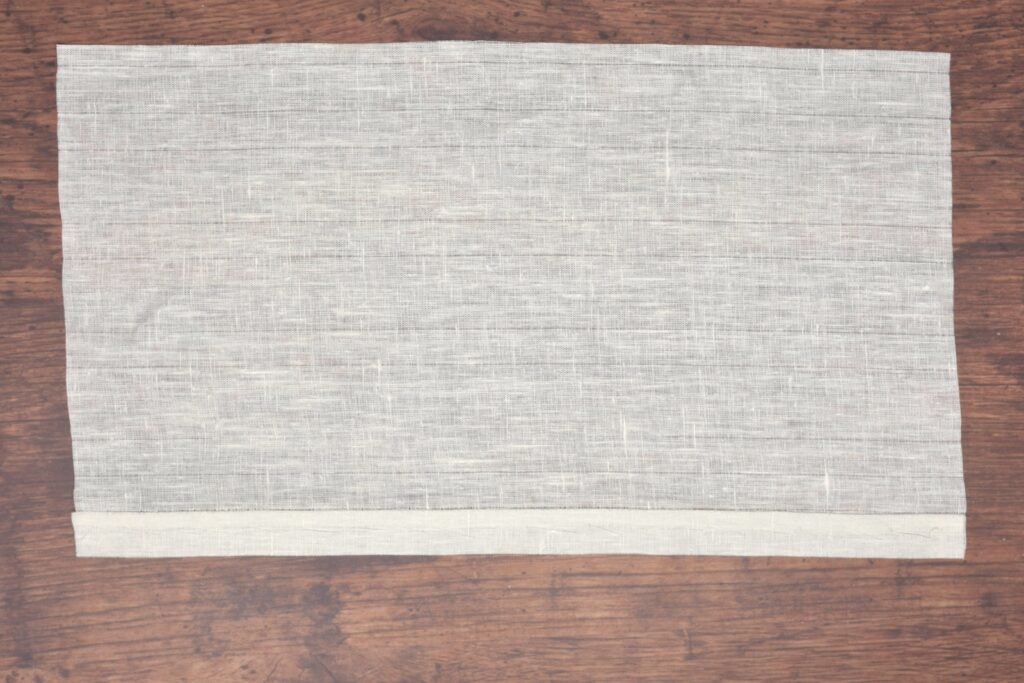
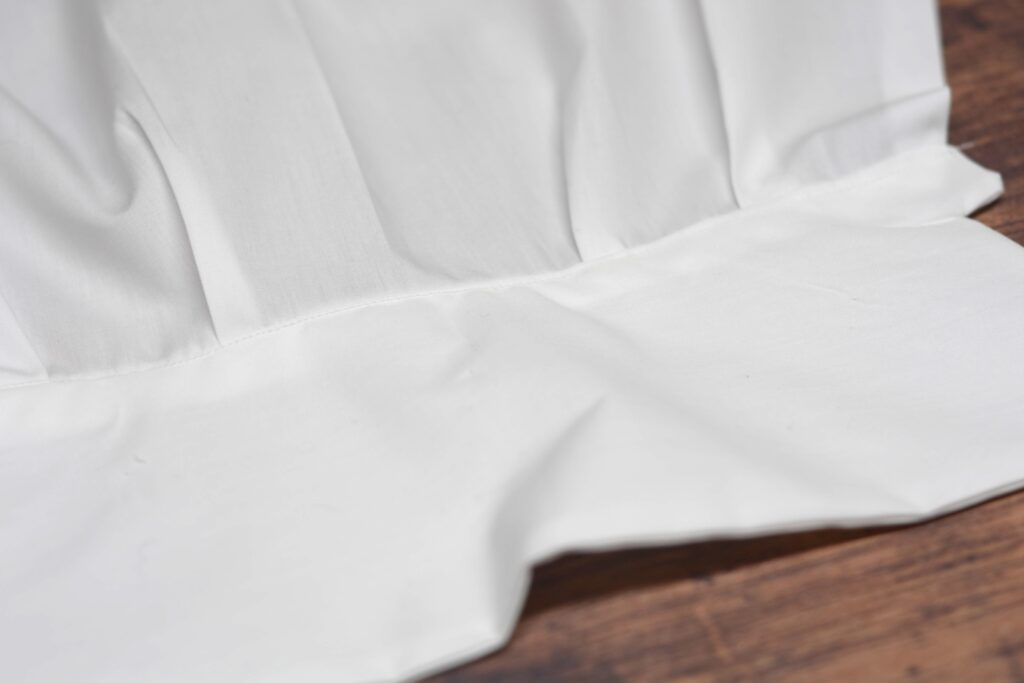
The finished seam from the outside – you can barely see the stitches.
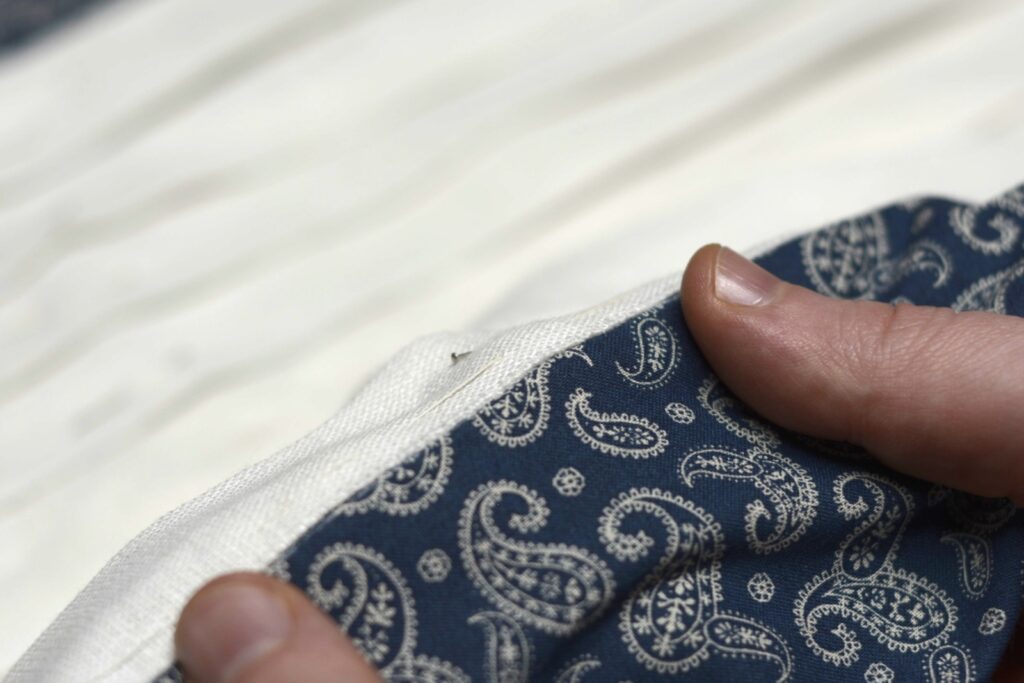
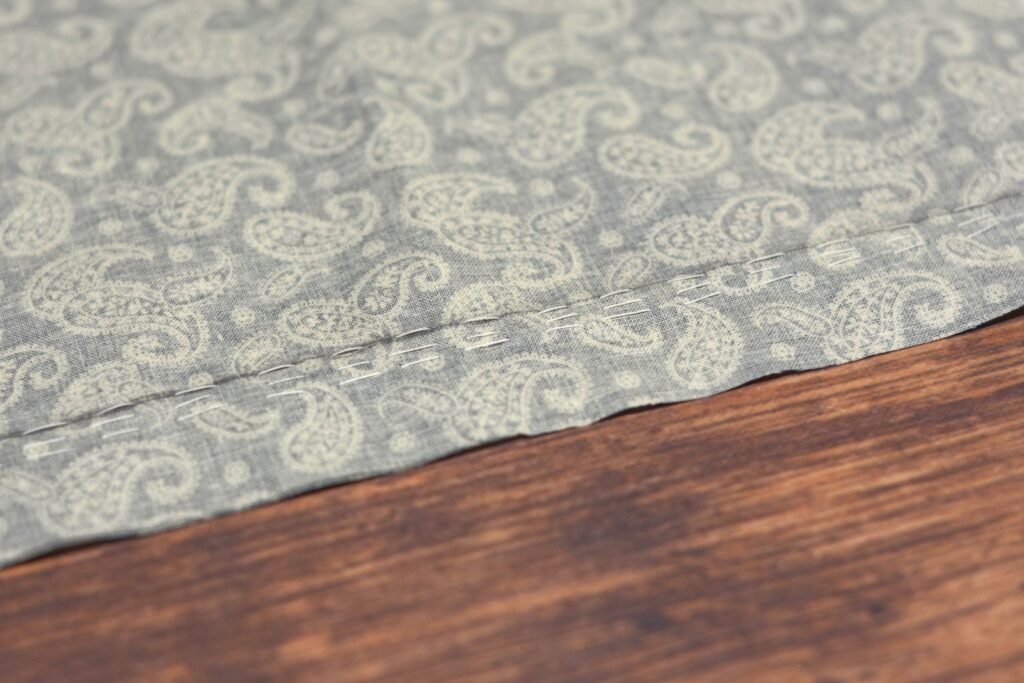
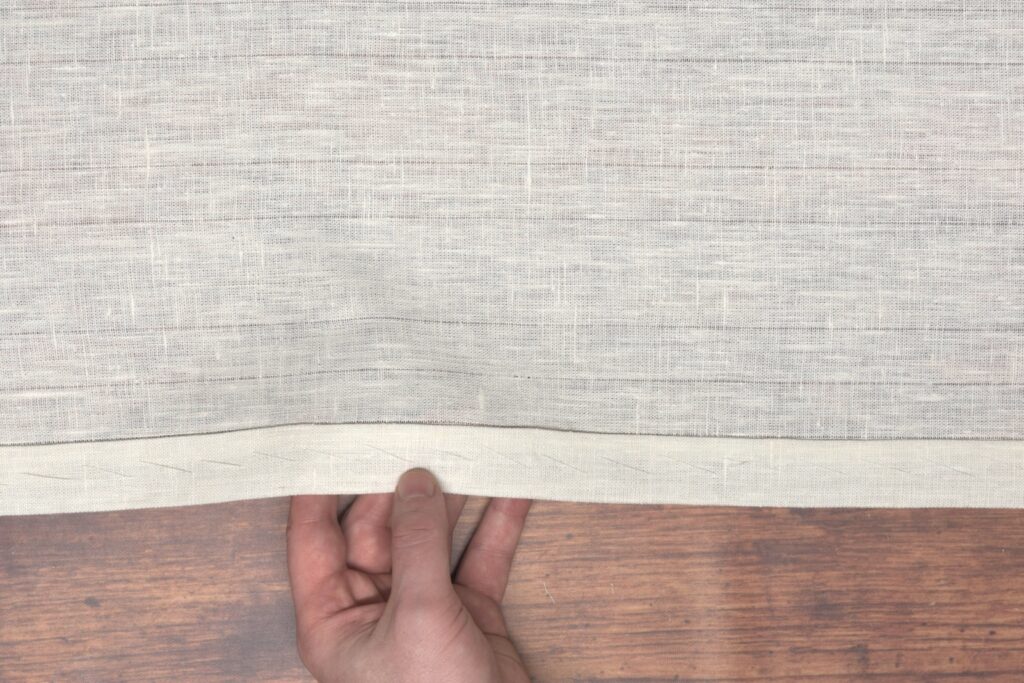
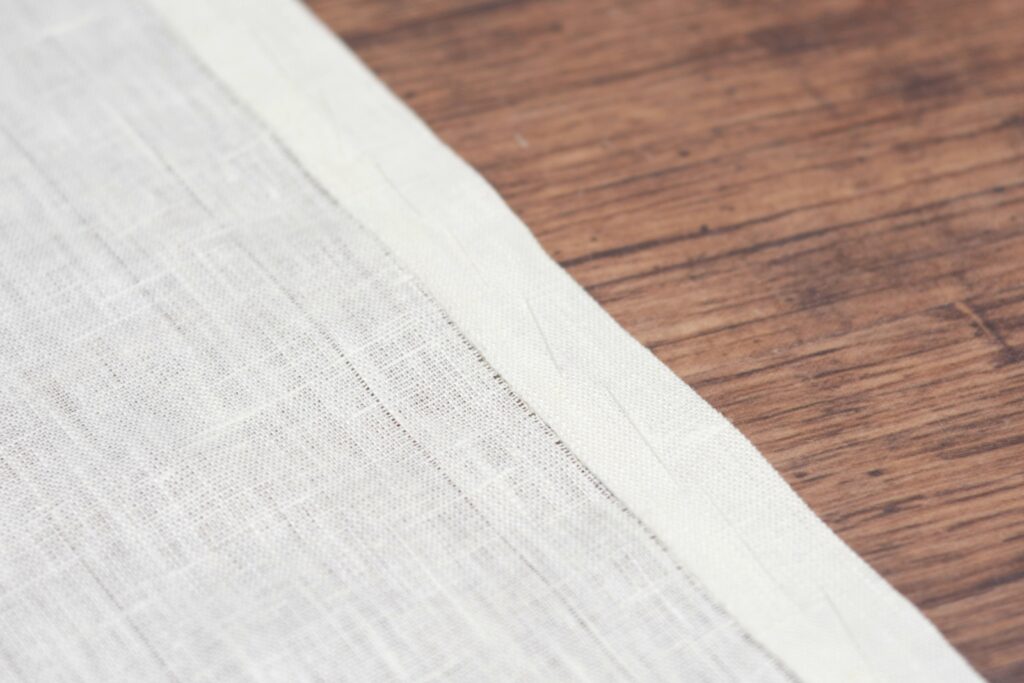
Here’s the stitch from the wrong side, showing the diagonal threads.
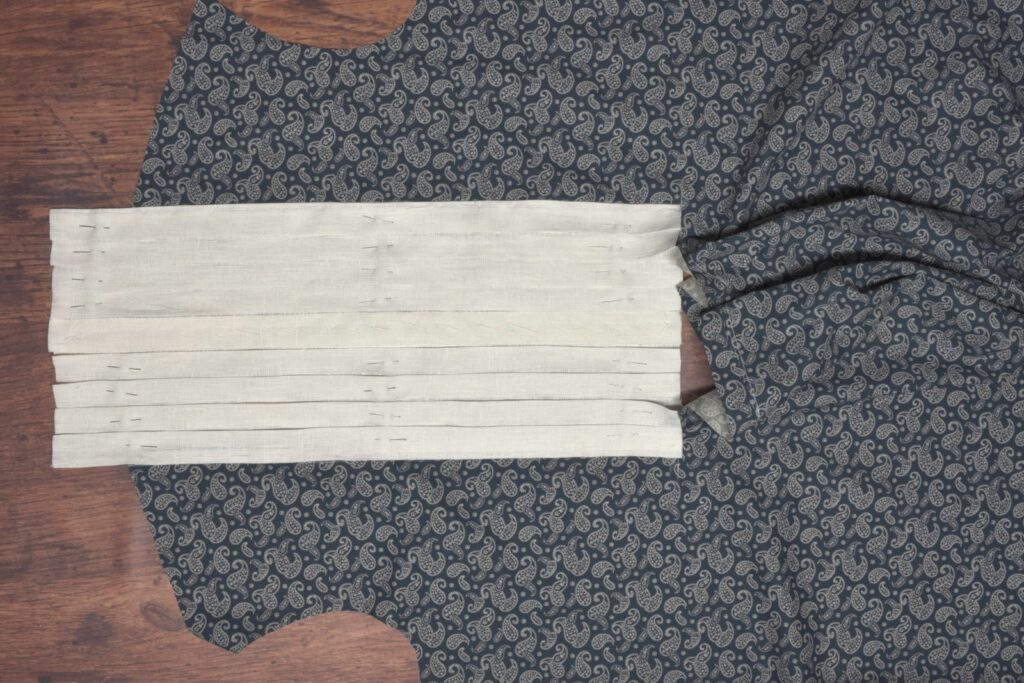
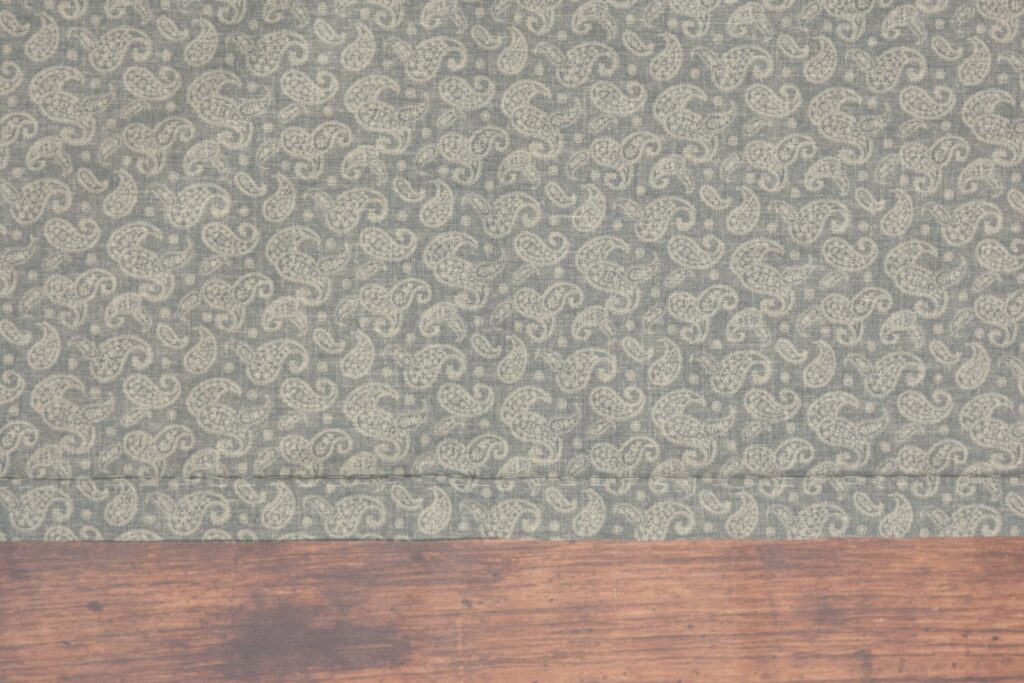
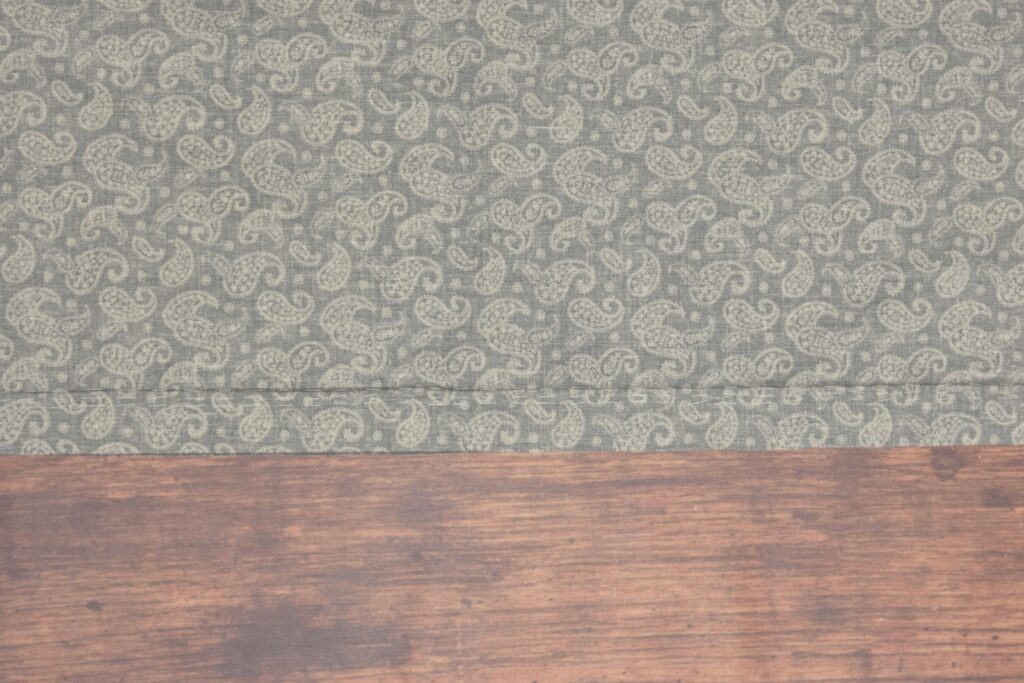
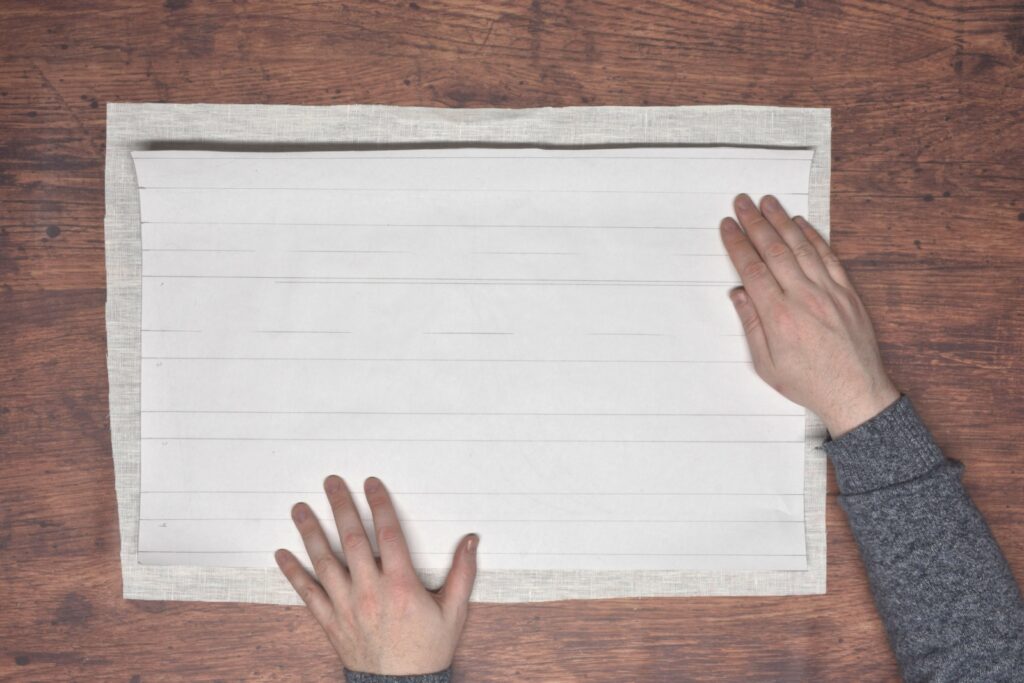
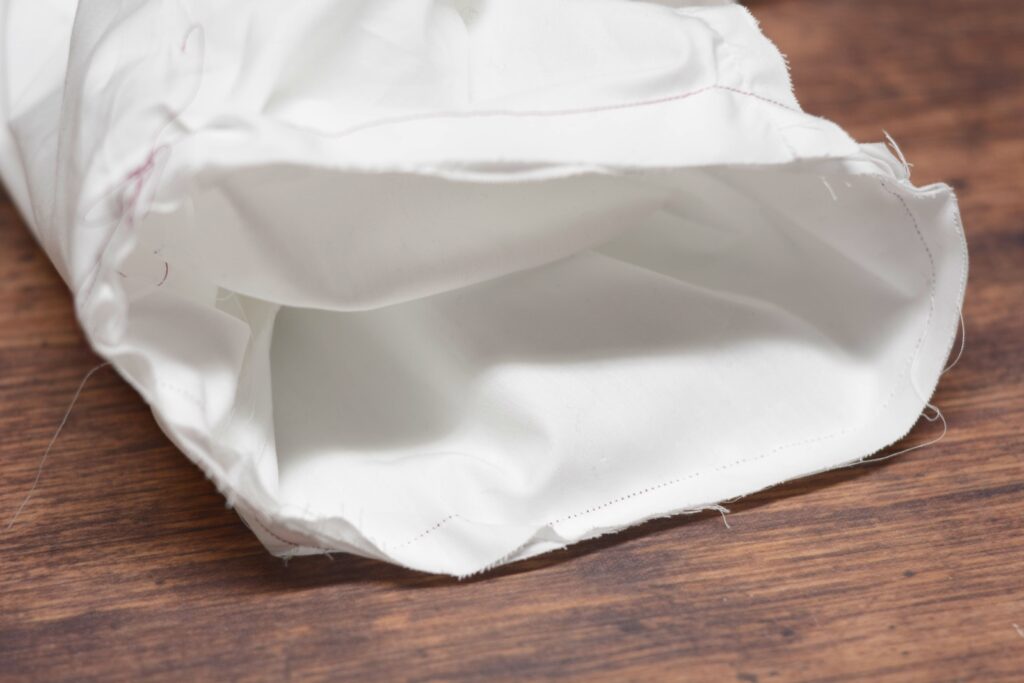
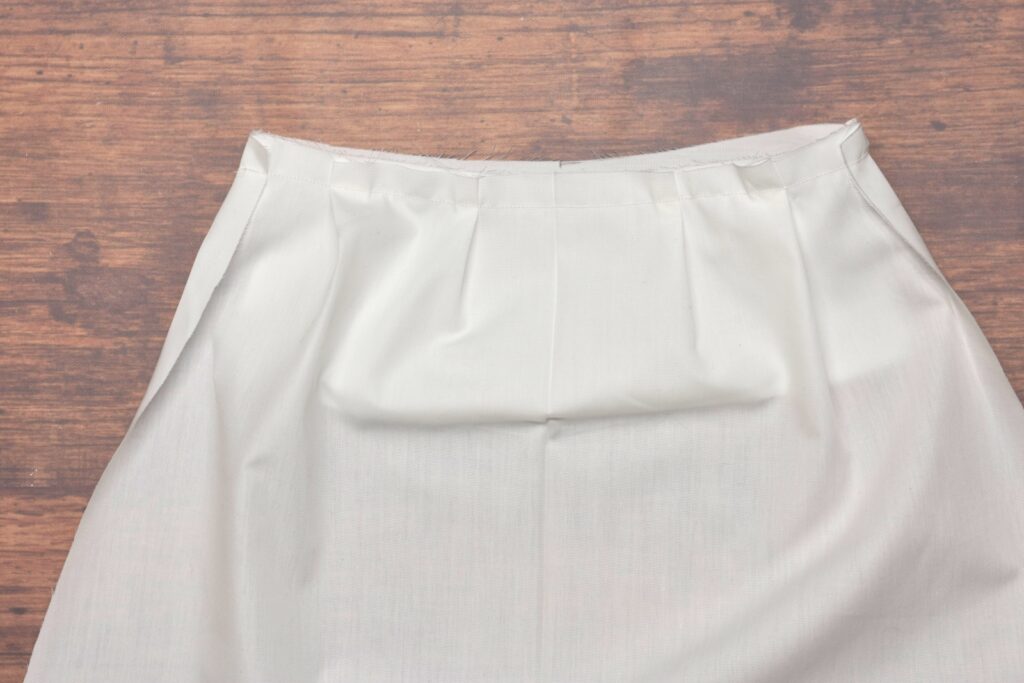
And here’s the progress so far with attaching the pleated front to the shirt. Next we’ll be finishing up that bottom edge.
Your Progress
[columns gutter=”0″]
[col]
1 | Baste and sew the sides of the pleated front. |
[/col]
[col align_text=”center, middle”]
[/col]
[/columns]
Gathering Stitches
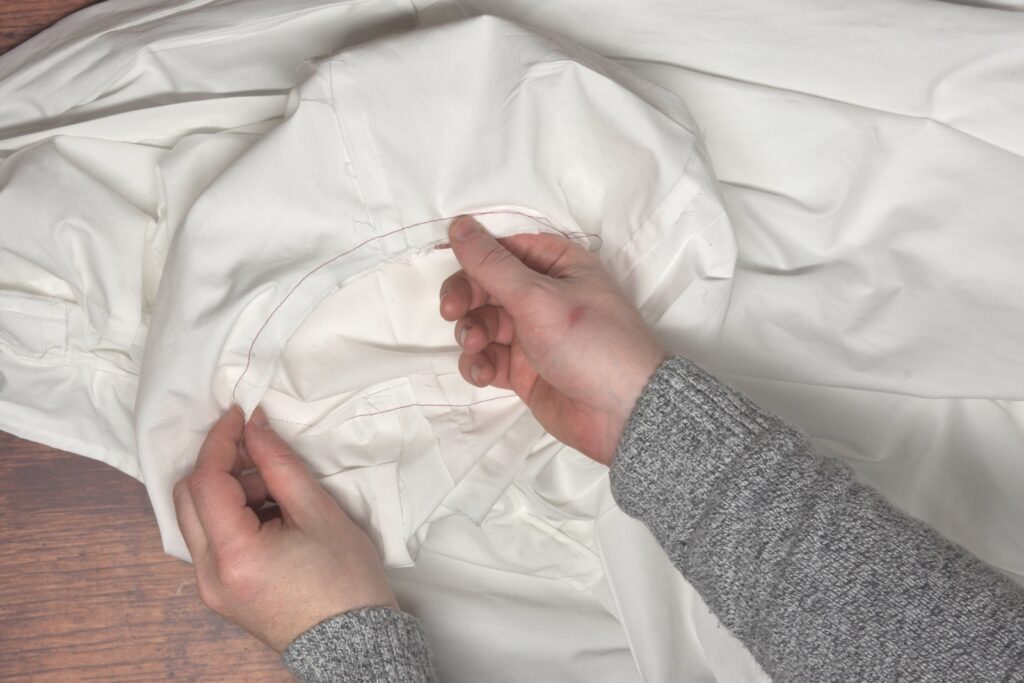
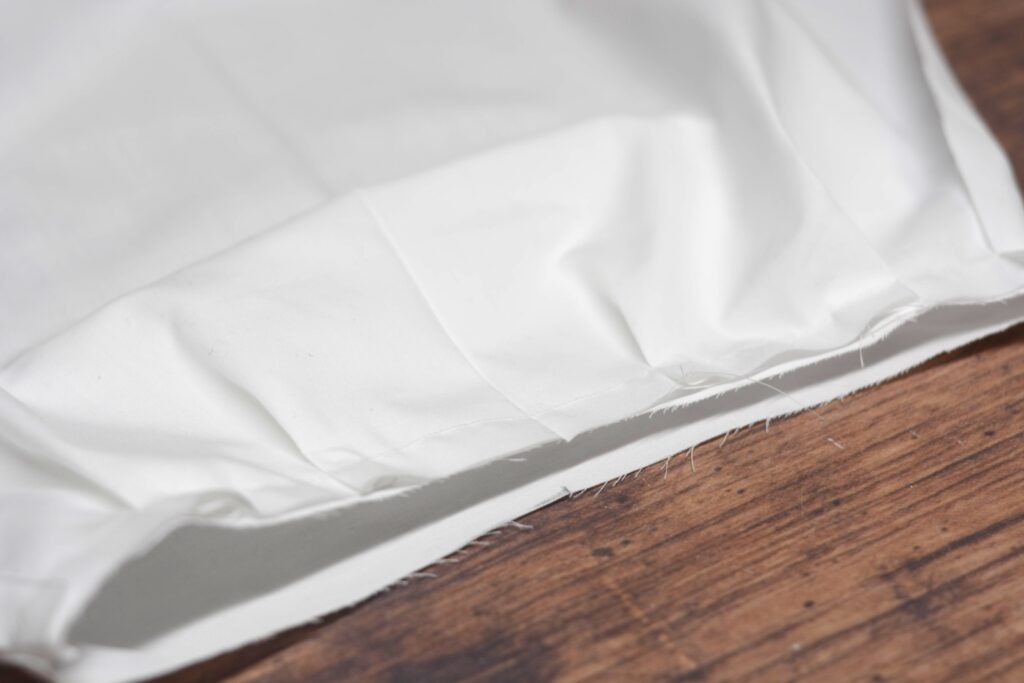
While we’re working with the shirt front, it’s easiest to add some gathering stitches to the bottom of the pleat area now rather than later. These will later be gathered up into small pleats or gathers.
Place the shirt front on the table wrong side up. Using some basting thread or other stronger thread, baste a row of running stitches along the bottom seam line (1″ from the edge), from end to end, keeping about 1/2″ from each end so the thread will not be caught up in the seams later on.
These stitches can be anywhere from 1/8″ or even less if you’re feeling ambitious, to 1/4″ or more, depending on how fine you want your gathers after attaching the pleated front. I decided to go with a 1/4″ (roughly) for sanity’s sake.
Leave about 6″ of thread free at each end.
You can usually get at least 2 or 3 or even more stitches done in one pass of the needle, depending on the stitch length.
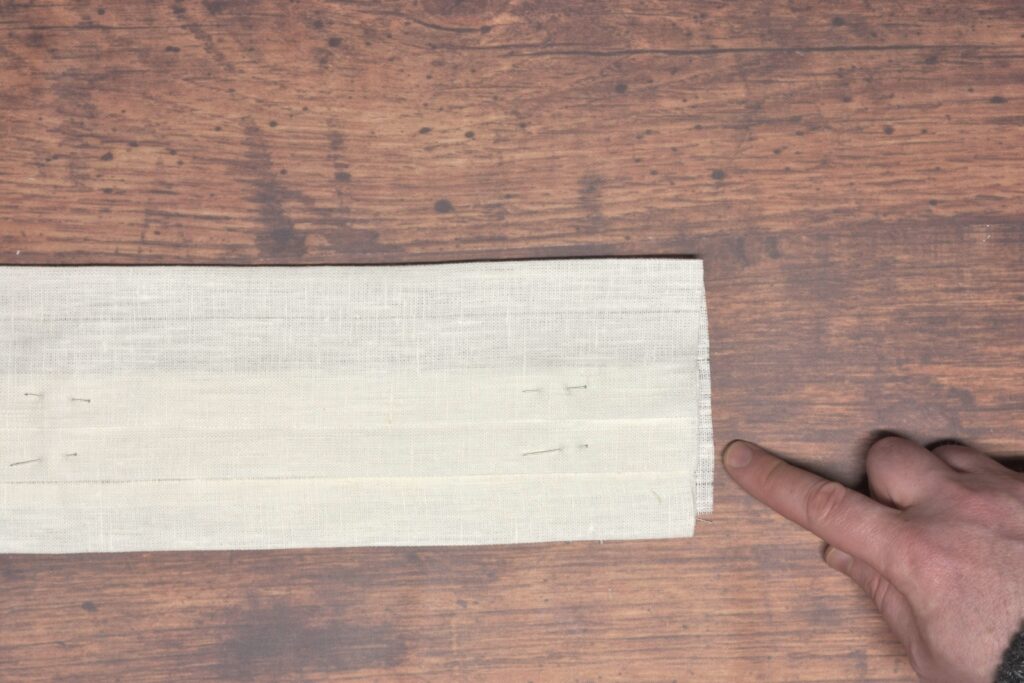
Here’s my first row of stitches complete. If you look closely you can see how I stopped 1/2″ from each end, as well as left about 6″ of thread at each end.
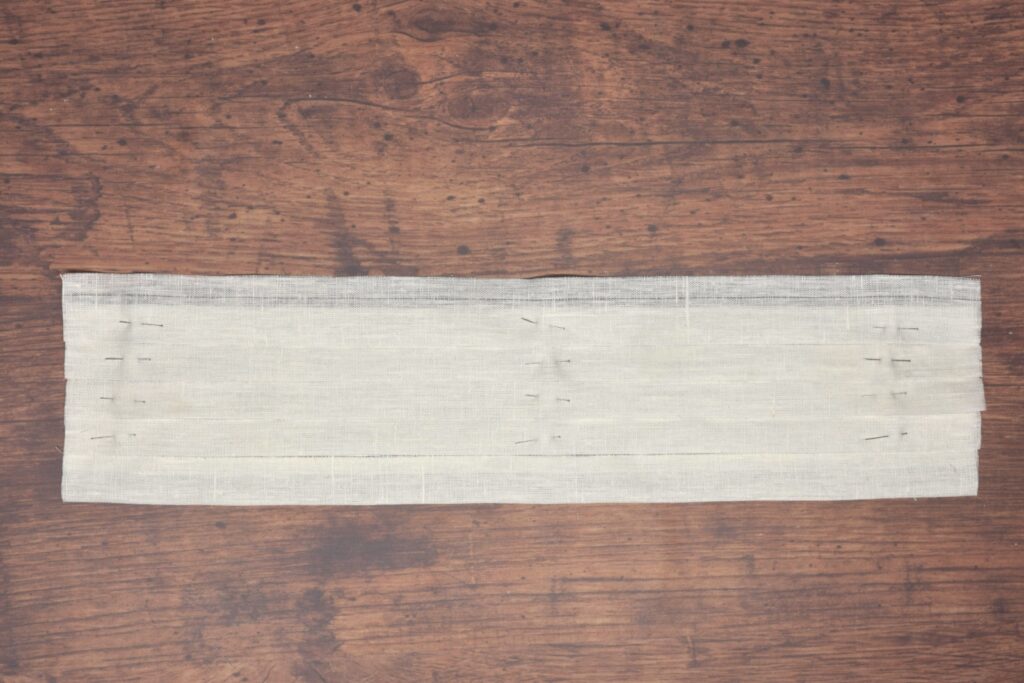
Repeat this process with a second row of stitching, about 1/8″ away from the first (towards the top of the shirt), following the same stitch pattern as the first row.

And finally, complete a third row following the same pattern of stitching. It doesn’t have to be exact but the closer the better.
If you’re skilled with this type of work you could probably leave out the third row, but if you are new to it, or just prefer to have more control and no slipping of threads and pleats, then three rows is the way to go.
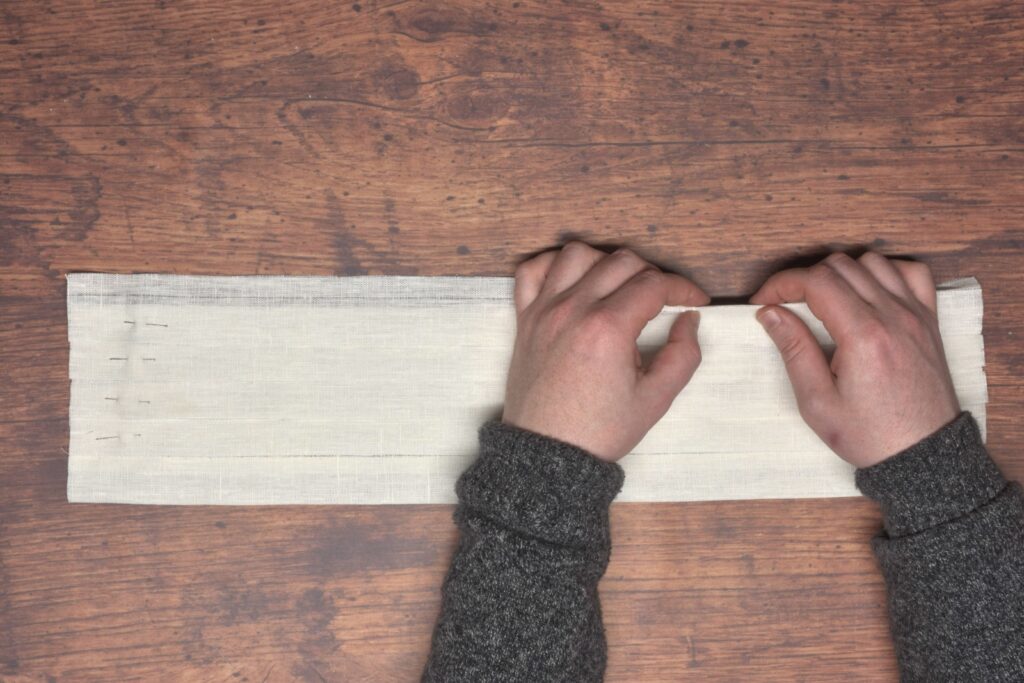
Finally, tie the threads together at each end to keep the from pulling out during the next couple of steps.
Your Progress
[columns gutter=”0″]
[col]
1 | Add gathering stitches to the bottom of the pleat area. |
[/col]
[col align_text=”center, middle”]
[/col]
[/columns]
Cutting the Front
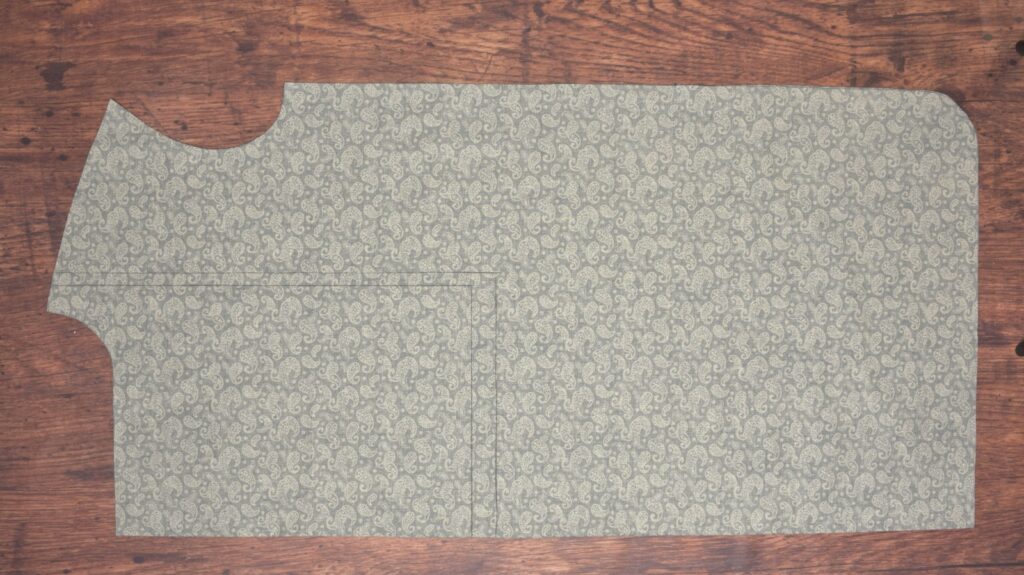
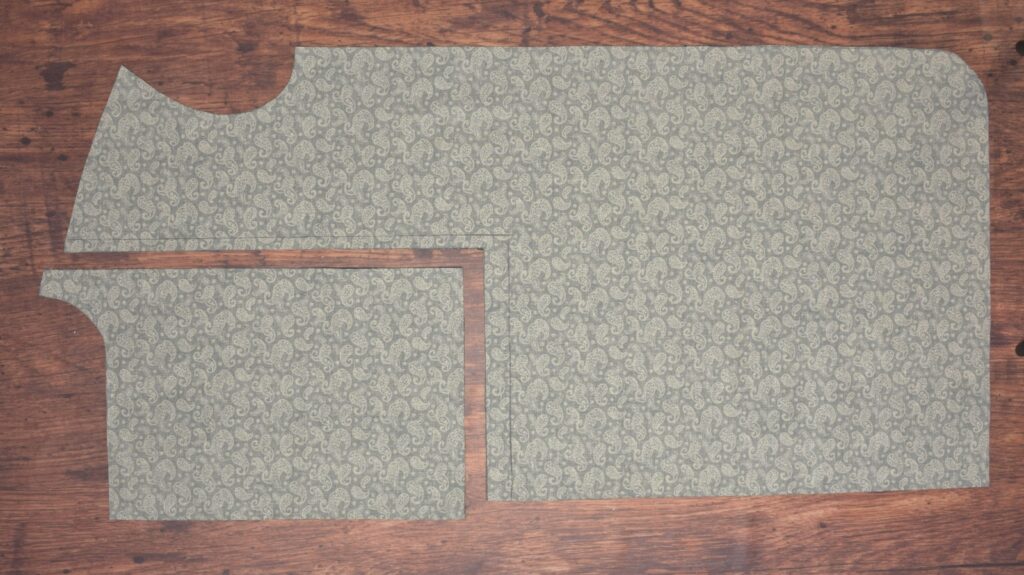
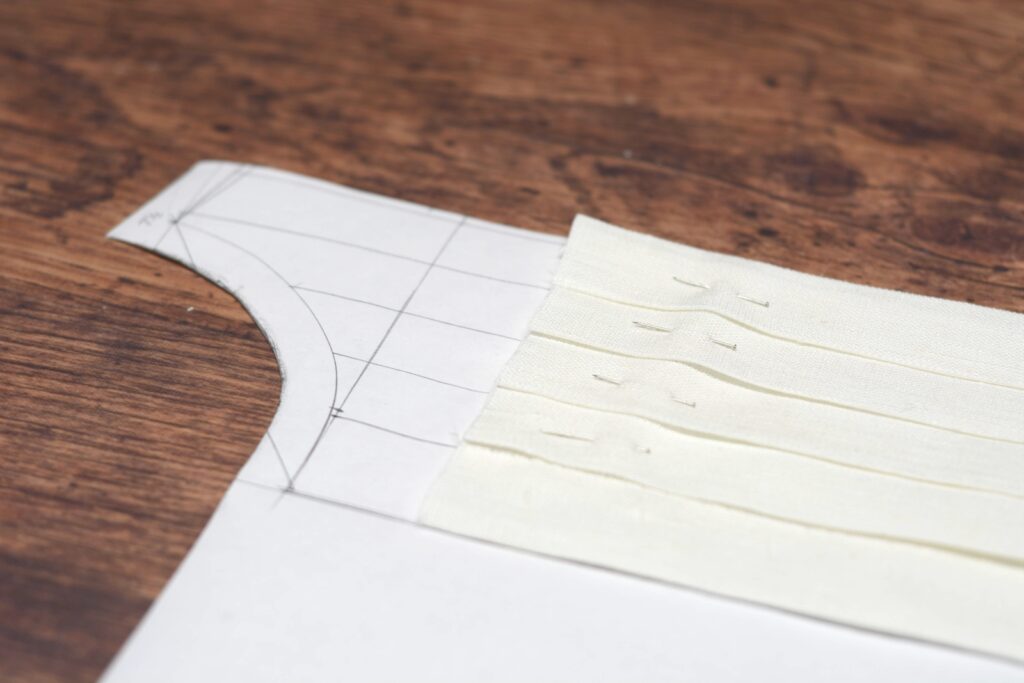
Before moving on to attaching the pleated front to the front of the shirt, we have a little work to do on the front pattern. Trace around the entire outline of the shirt. I had previously cut the pattern to make the toile, so I taped it back together for this step.
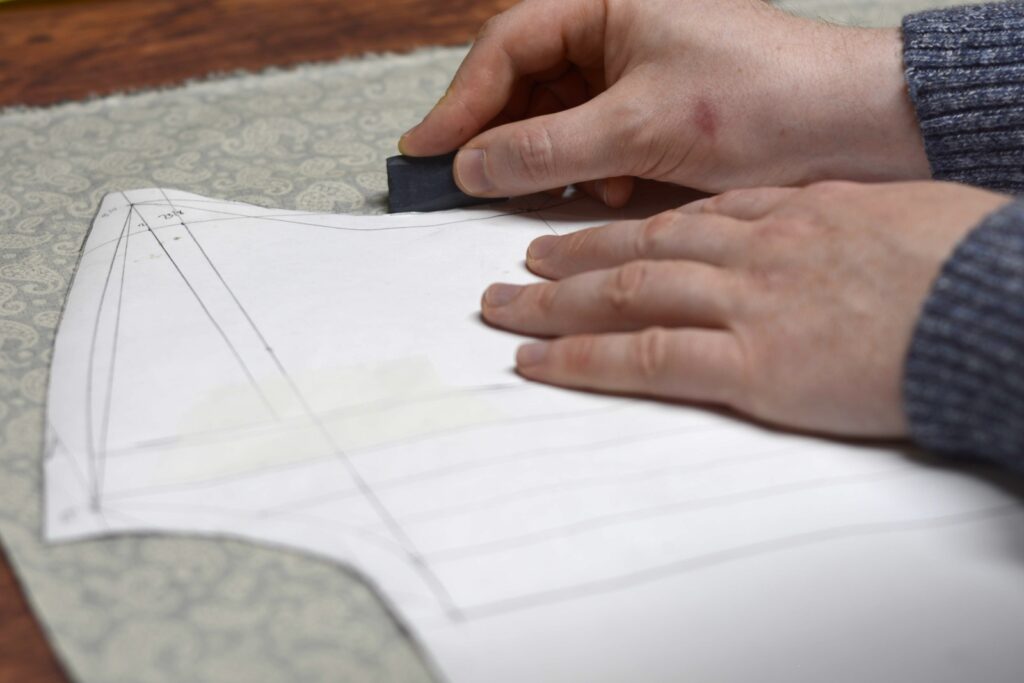
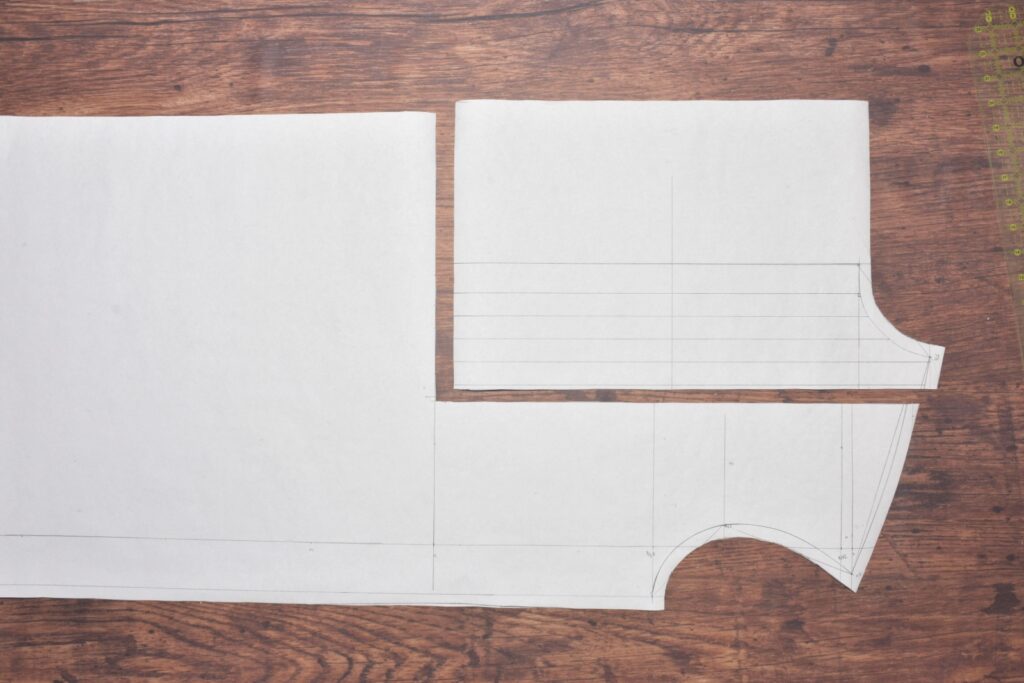
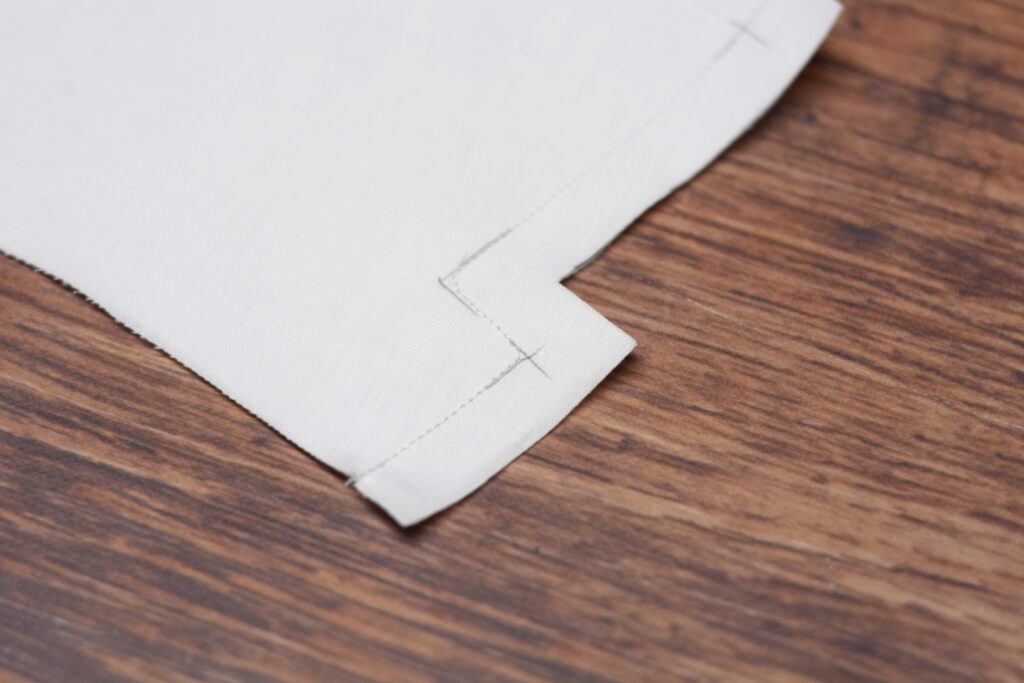
Then, cut your pattern at the bottom and inner edge of the pleats, as shown.
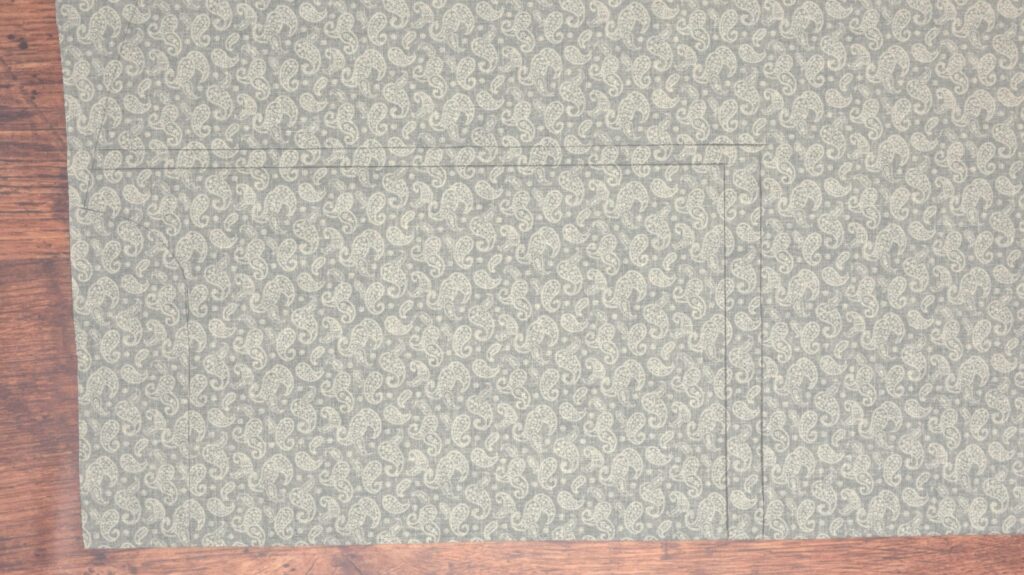
Place the pattern back on your fabric and mark the new lines indicating the edge of the pleat area.
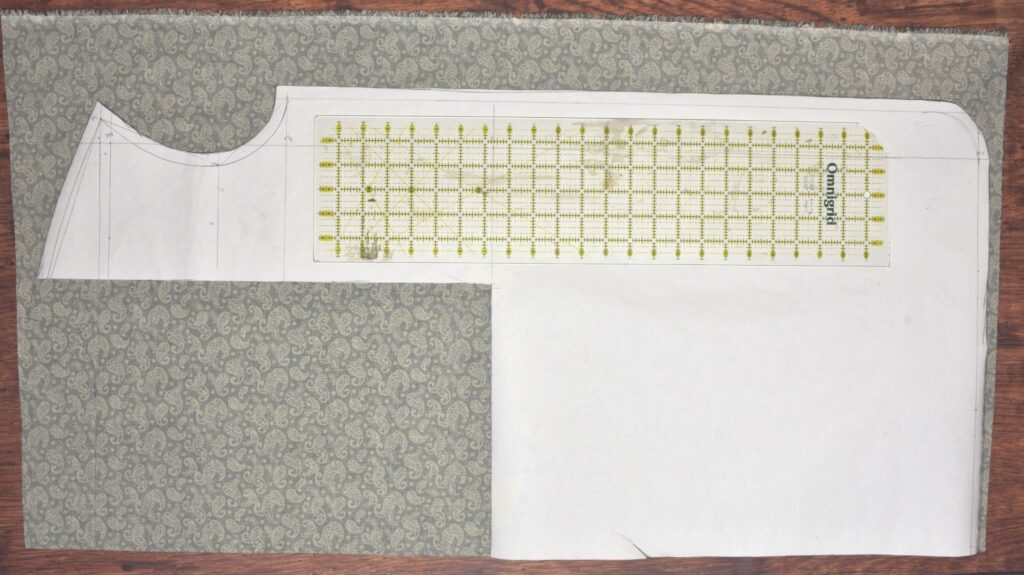
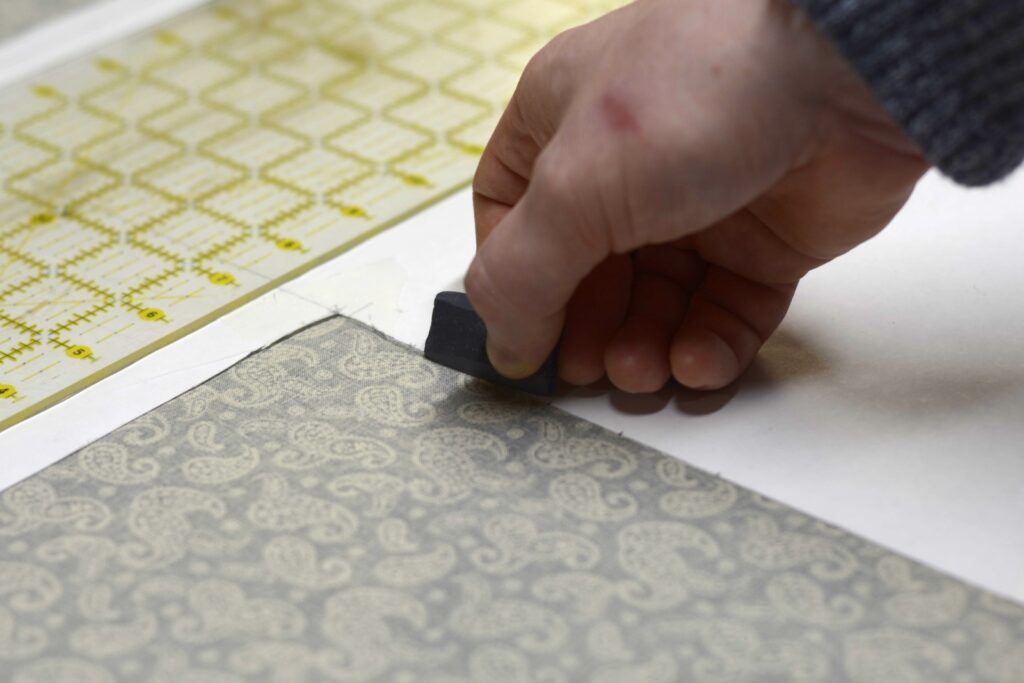
Here’s what mine looks like so far. I hope you can see the lines clearly enough!
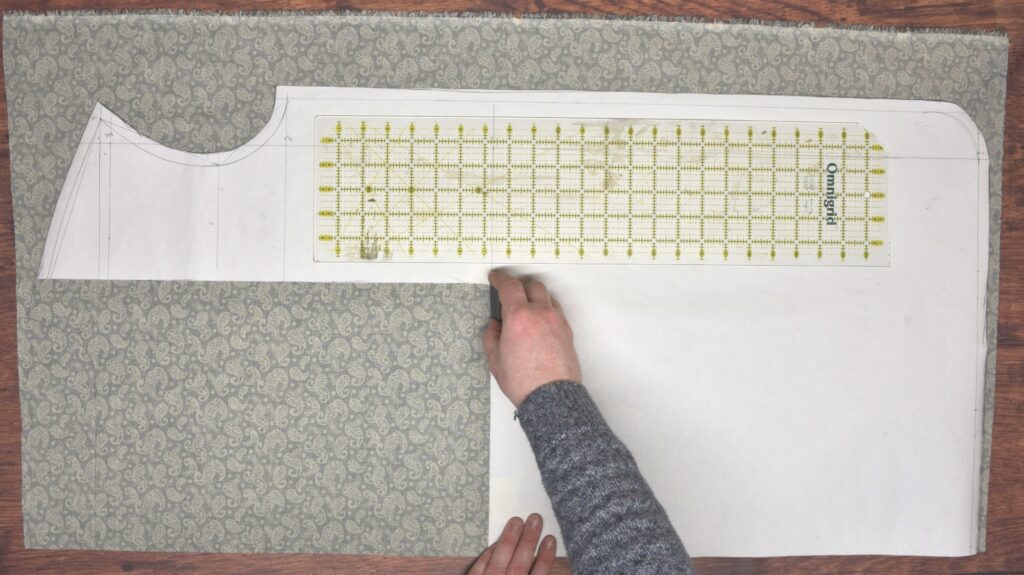
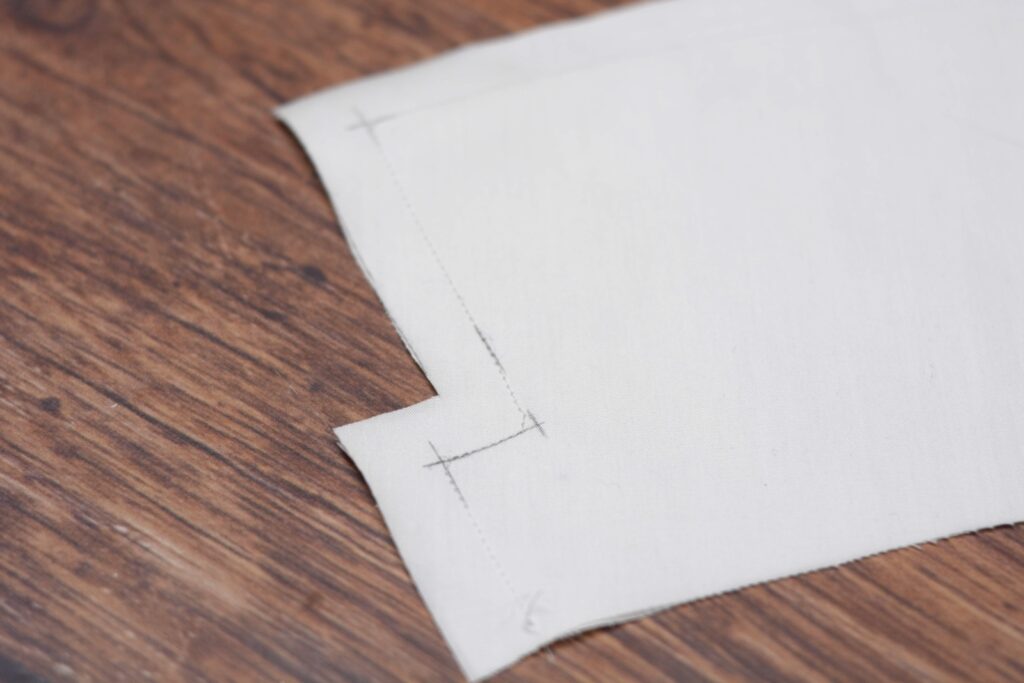
At the bottom of the pleat area, add a 1″ seam allowance on the inner, neck side. This gives us plenty of room to work with when finishing the raw edges later on – something I’ve wished for on prior shirt projects.
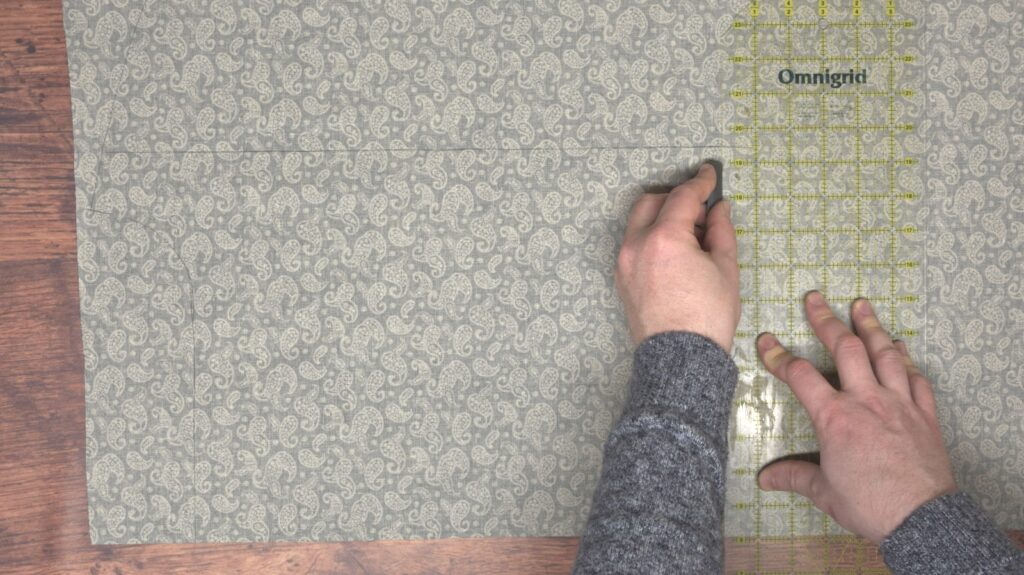
Then add a 1/2″ seam allowance along the long edge.
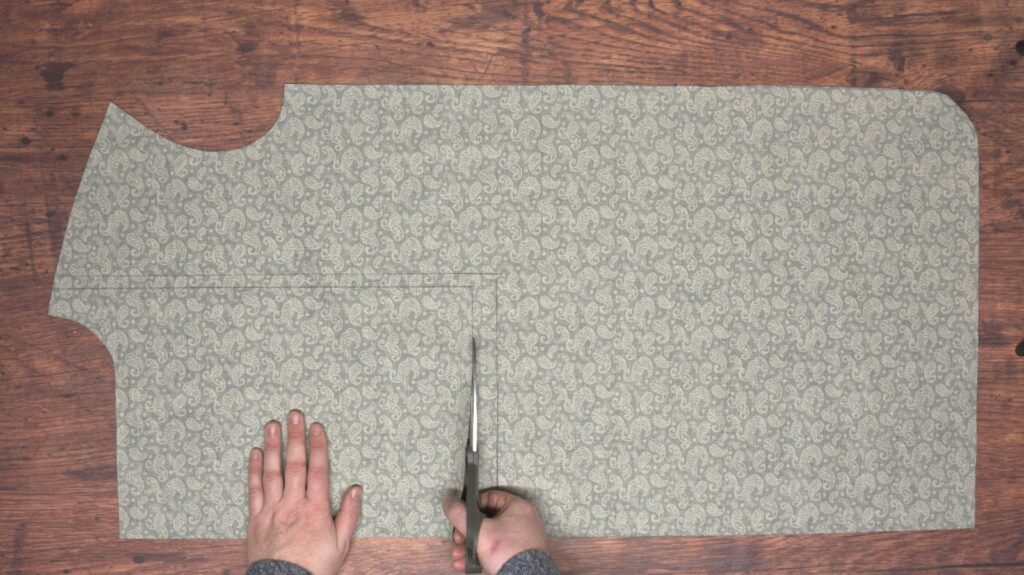
Carefully cut out the pleated area on those inner lines.
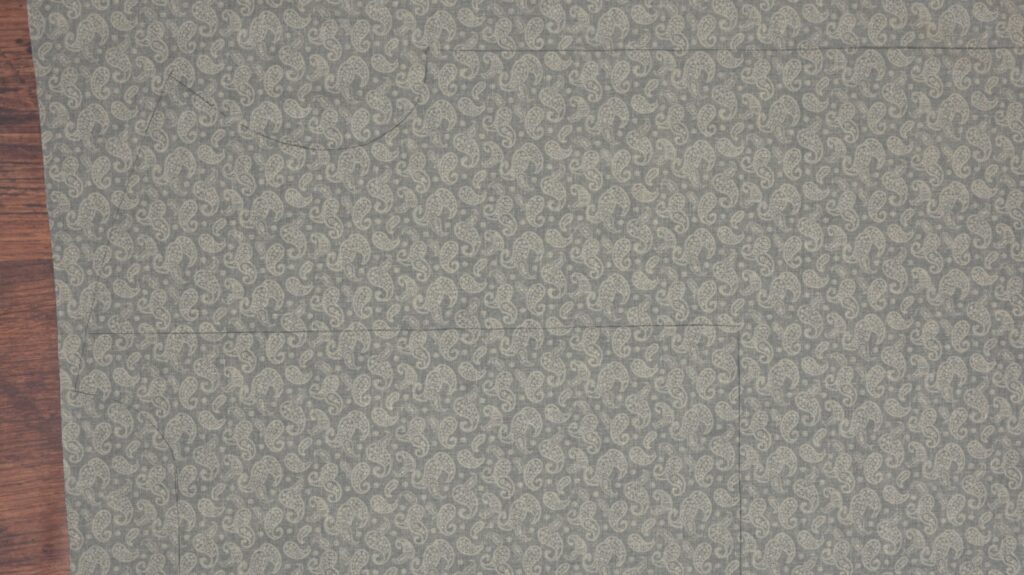
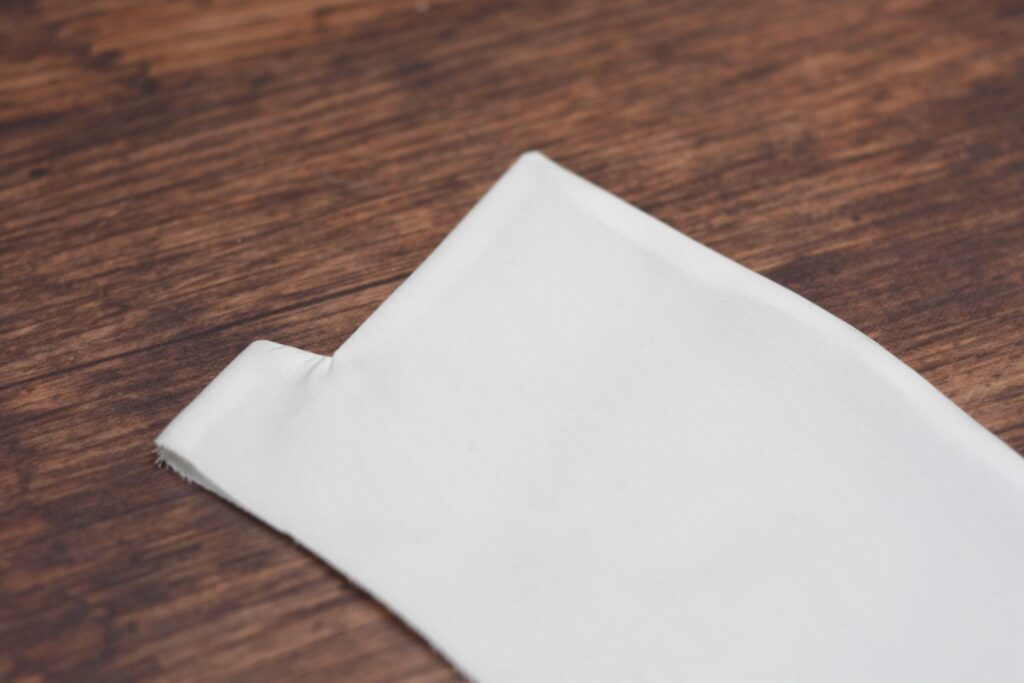
Finally, if you’re like me and did all of your layout on the wrong side, open up the fabric and lay out the 1/2″ and 1″ seam allowances as shown. Sorry the photo skips ahead slightly!
I didn’t photograph this, but transfer the seam lines from the wrong sides to the right sides as well using the same measurements.

Your Progress
[columns gutter=”0″]
[col]
1 | Cut out the front of the shirt. | |
2 | Add seam allowances to the pleat area. |
[/col]
[col align_text=”center, middle”]
[/col]
[/columns]
The Pleats
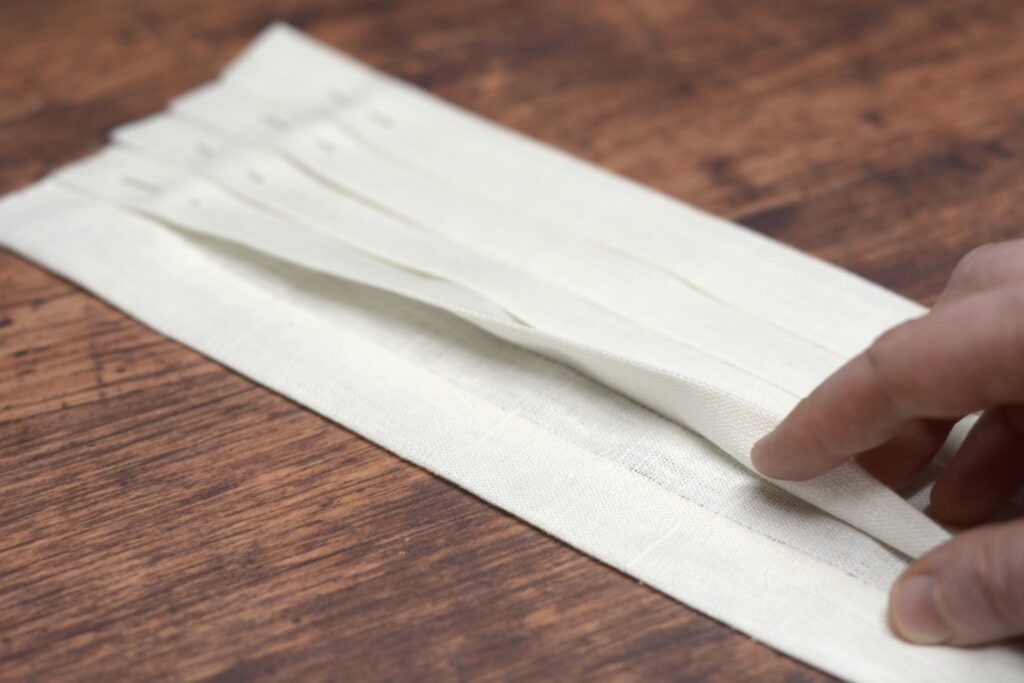
Folding the linen into pleats is fairly easy once you get used to the process, but hopefully you’ve had some practice already with your muslin toile or by folding a sheet of paper into pleats.
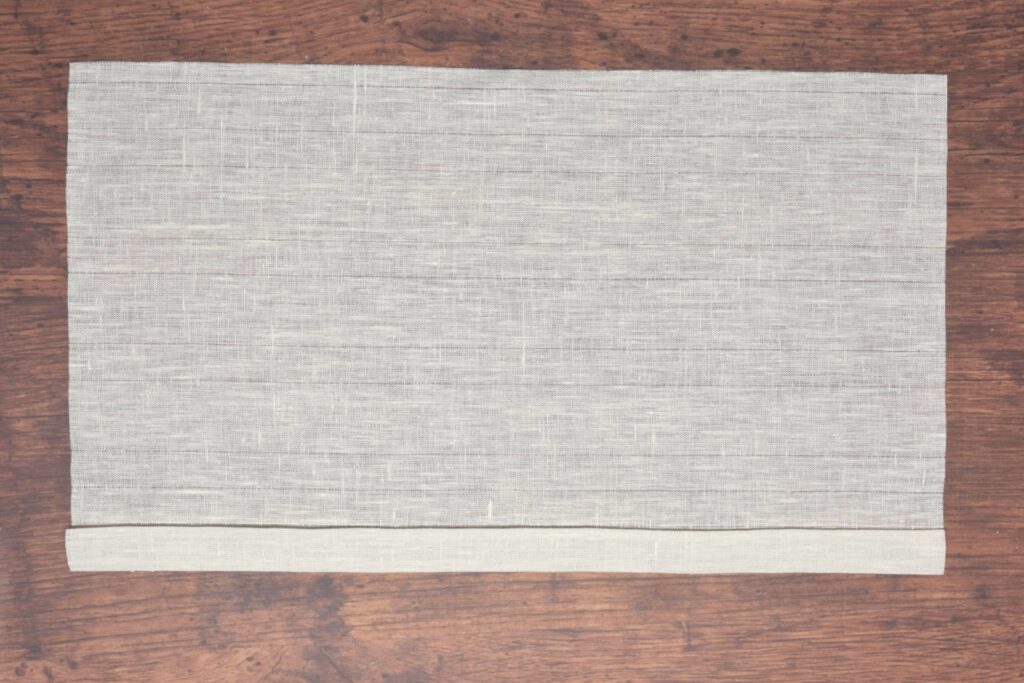
Begin by laying out your linen right side up and taking the second line from the placket.
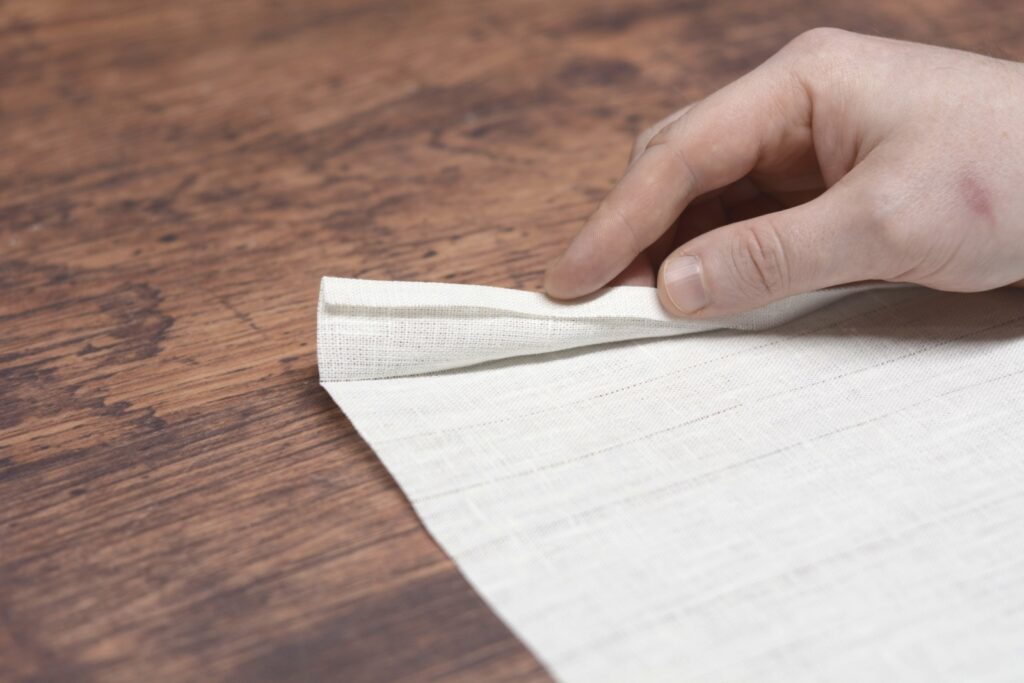
Crease the fabric into a fold along this line using your fingers.
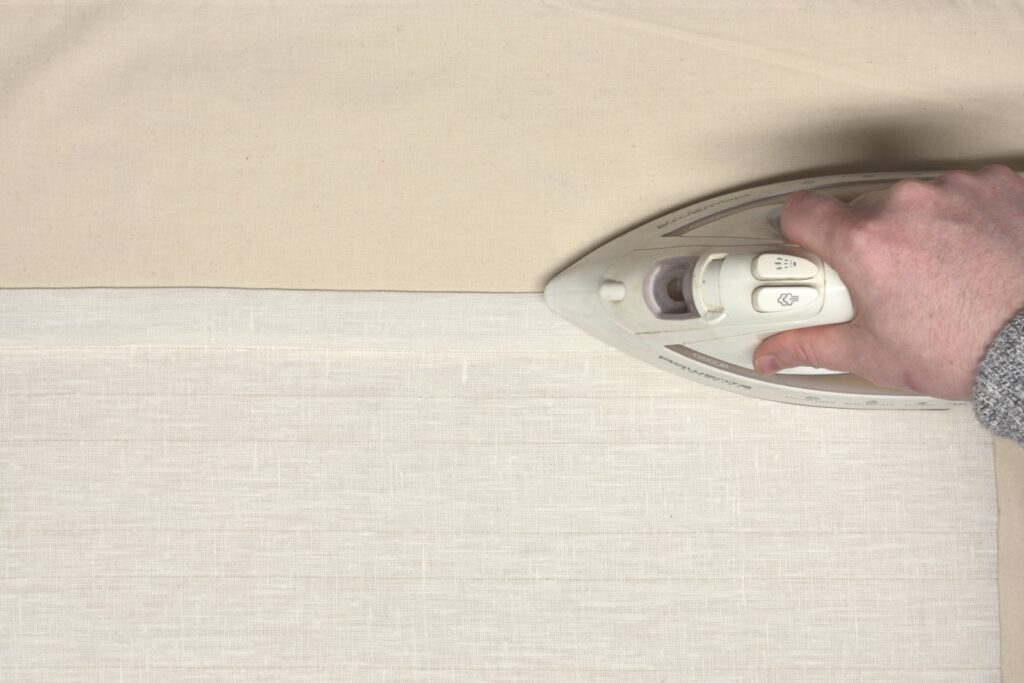
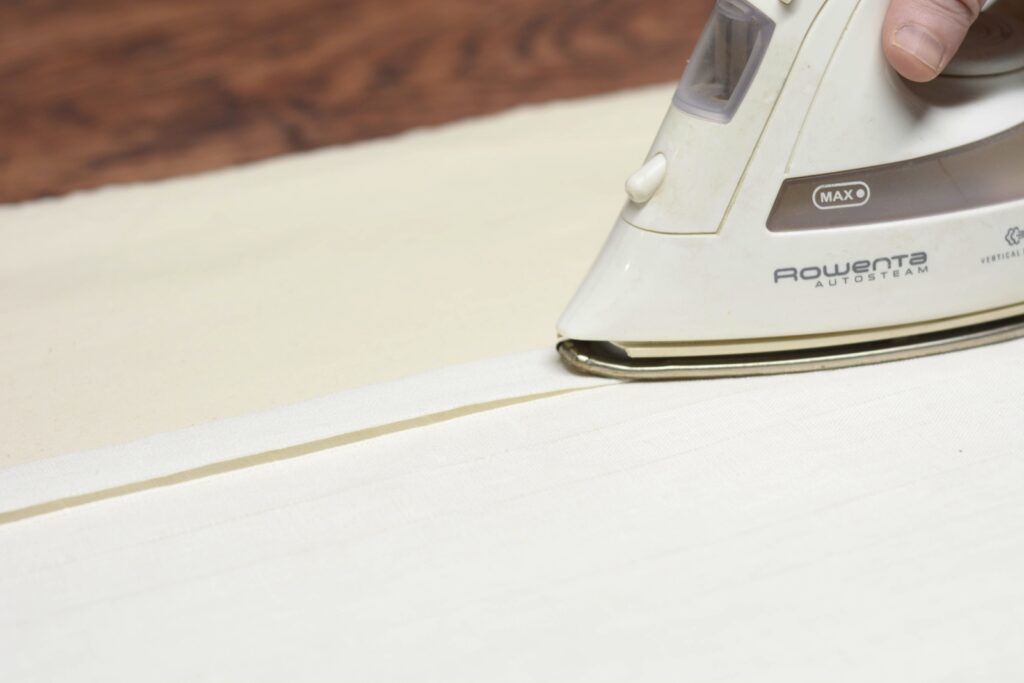
Press the fold firmly with a hot iron and a bit of steam.
Take this folded edge and drag it into position next to the edge of the placket, forming the first pleat. I tend to gently put some pressure on the inside fold (underneath at this point) to give it the beginnings of a crease, but not yet definitive.
Here I’ve flipped the entire front over so as to crease the inside fold firmly on the line. It’s also a good chance to see how accurate you were. I was surprised that mine came out very accurate – in past shirts this hasn’t been the case.
Turn the entire assembly over to the right side again and firmly press this first pleat, holding things in position with your other hand as you go.

Finally, pin the pleat at the top, center, and bottom to hold it in place during further construction.

For the additional pleats it’s the same process. Take the second line, fold and press into a pleat.
One little tip, as you’re pressing the first fold for each pleat, make sure that the fabric underneath is square to the upper layers. This way the pleated front assembly is as square as possible and hopefully you can avoid trimming at the bottom edge later on.
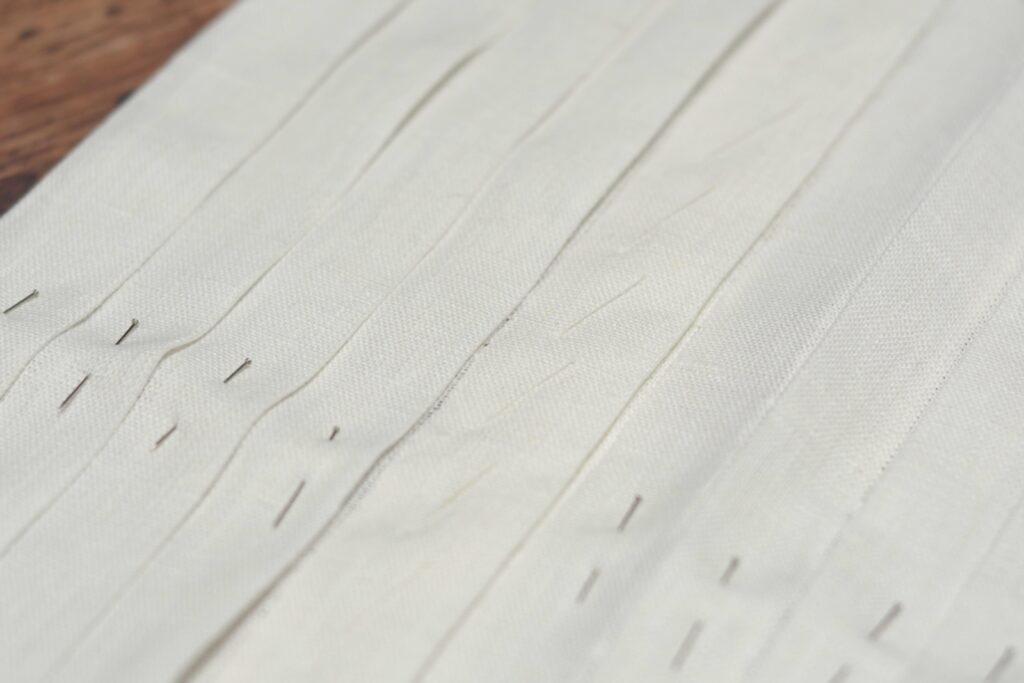
Here’s the first half completed, all of the pleats pinned in place.
The final thing to do is turn under the outside seam allowance, and press.
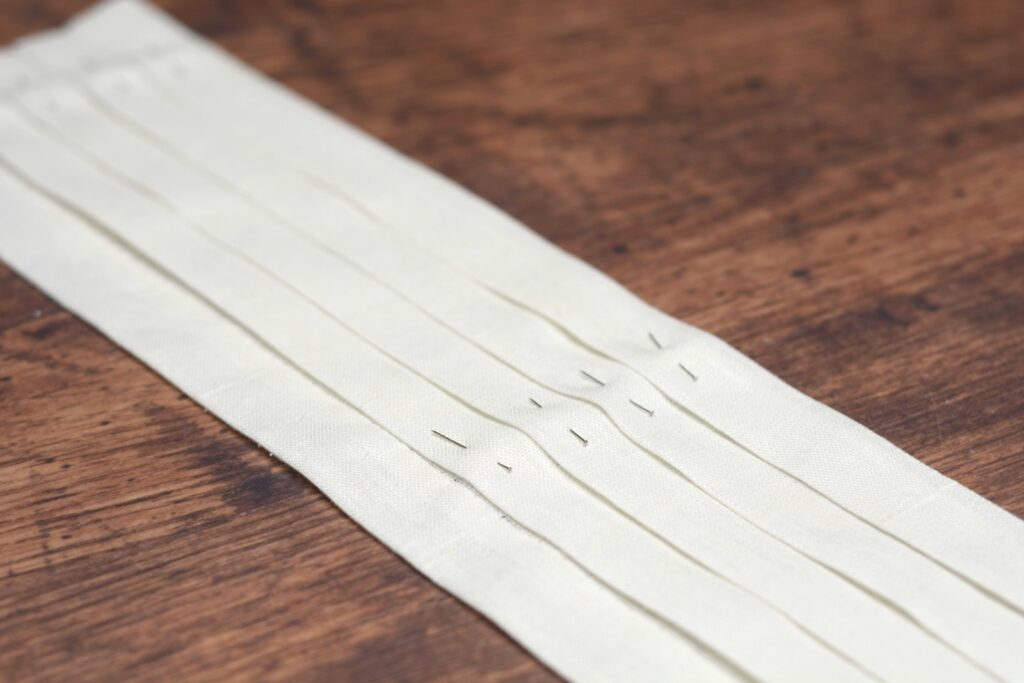

Now’s a great time to check how accurate your work has been by laying the pleated front on top of the pattern. Ideally, the pleats and edges should all line up. I wouldn’t worry too much if it’s 1/8″ to even 1/4″ off, though it will start to have an affect on your shirt’s size.
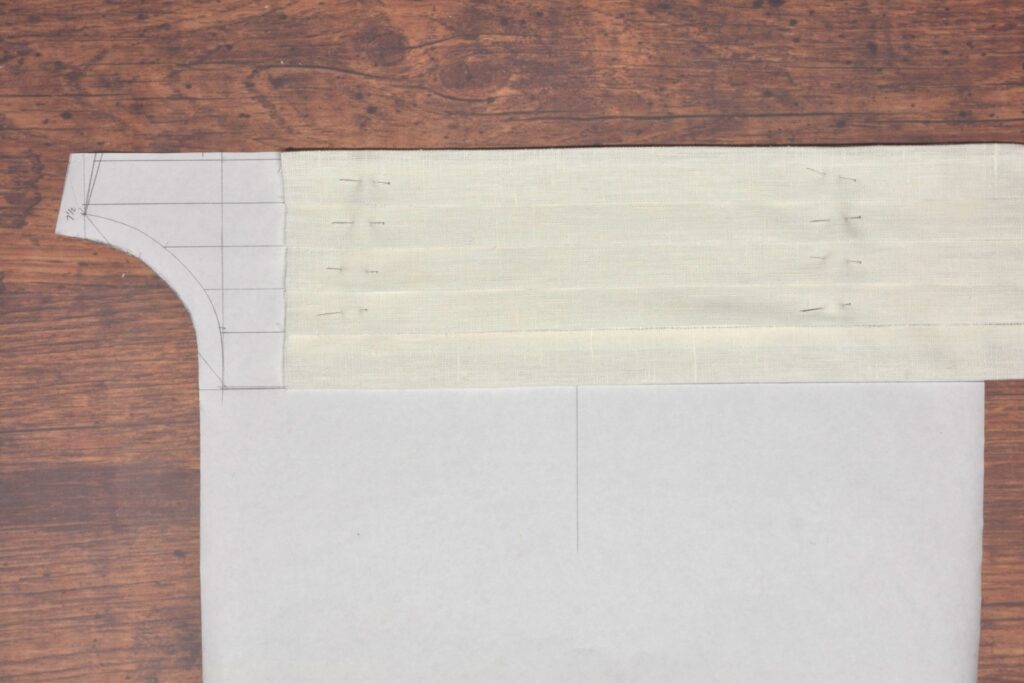
Repeat the entire process for the other half of the pleated front. Then lay both halves right sides up, with the plackets next to each other.
Determine which end you want to be the bottom edge, and then overlap the left side onto the right. This will form the opening of the shirt, so be sure to get it right!
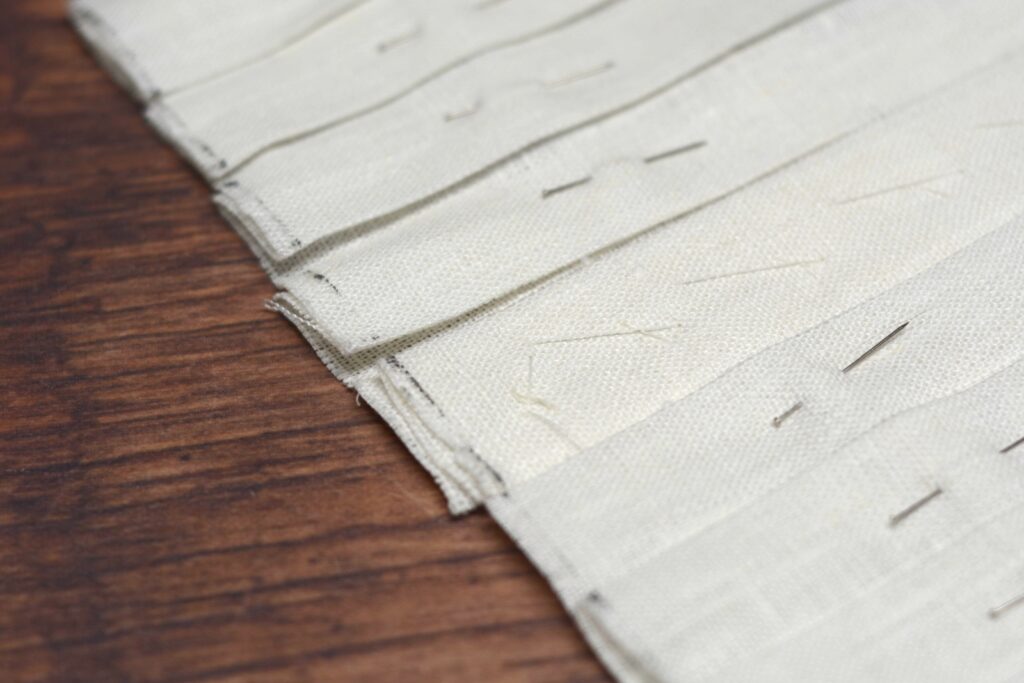
Baste the two halves together along the center placket using a diagonal basting stitch for strength.
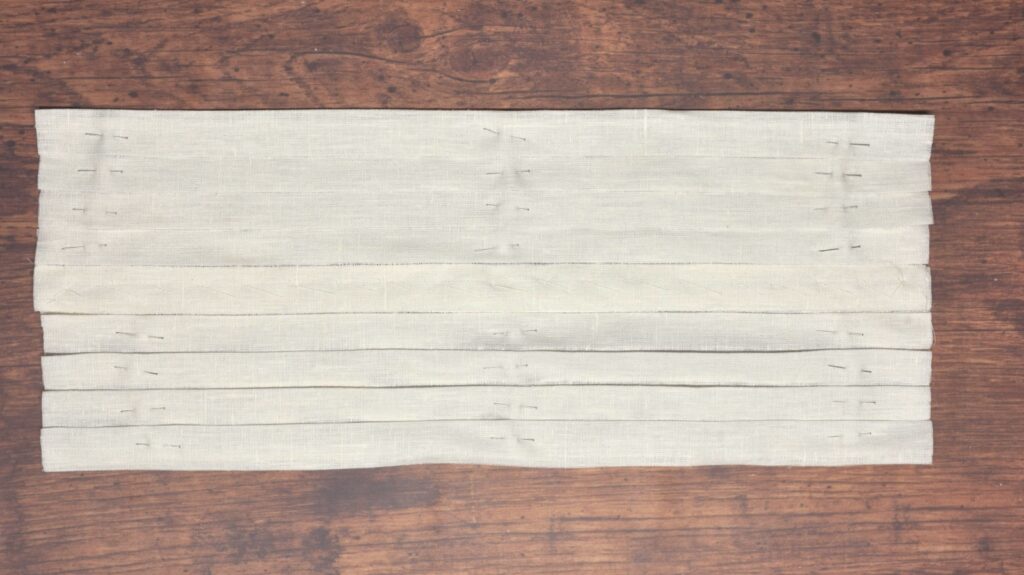
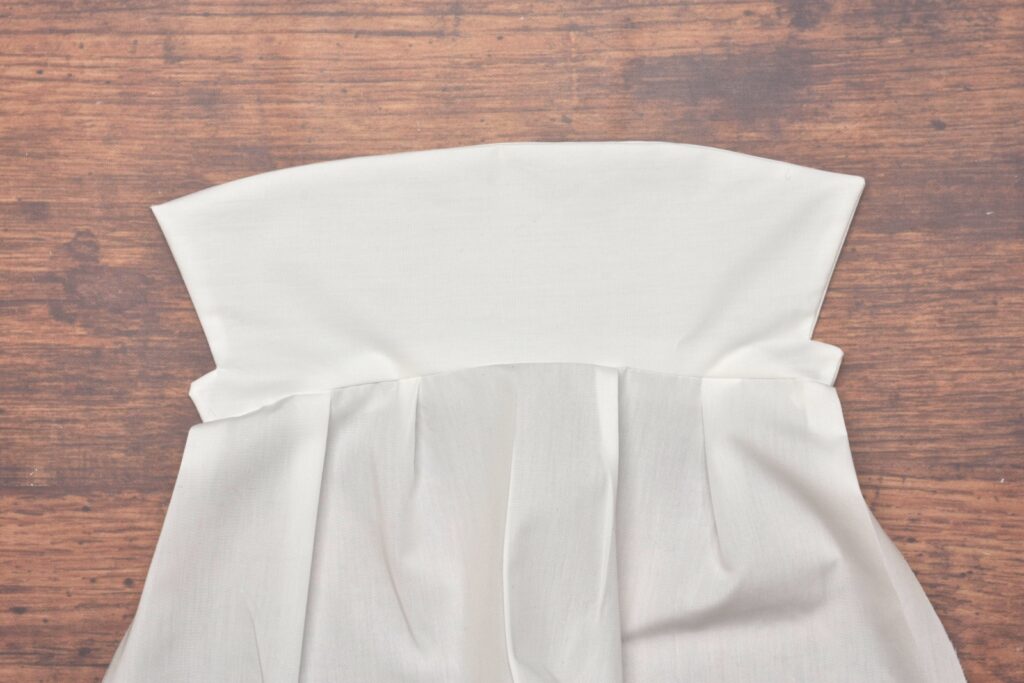
And here’s the completed pleated front assembly, ready to attach to the shirt front.
Now’s a great time to starch your pleated front, if you wish, while the pleats are flat and not attached to the shirt. You could baste three rows across to replace all of the pins to make pressing easier.
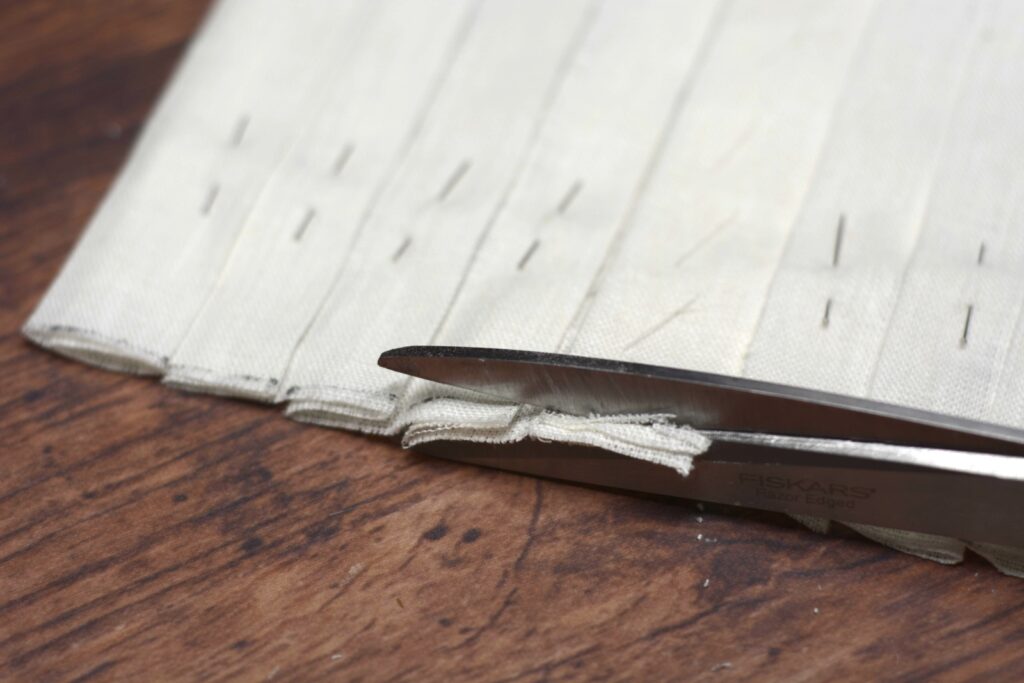
One last step, I’d recommend checking how square the bottom end of your pleats are. While we formed that nice bottom line by pulling a thread originally, it’s likely that the pleats are a little out of alignment.
Square and draw a line across the bottom edge.
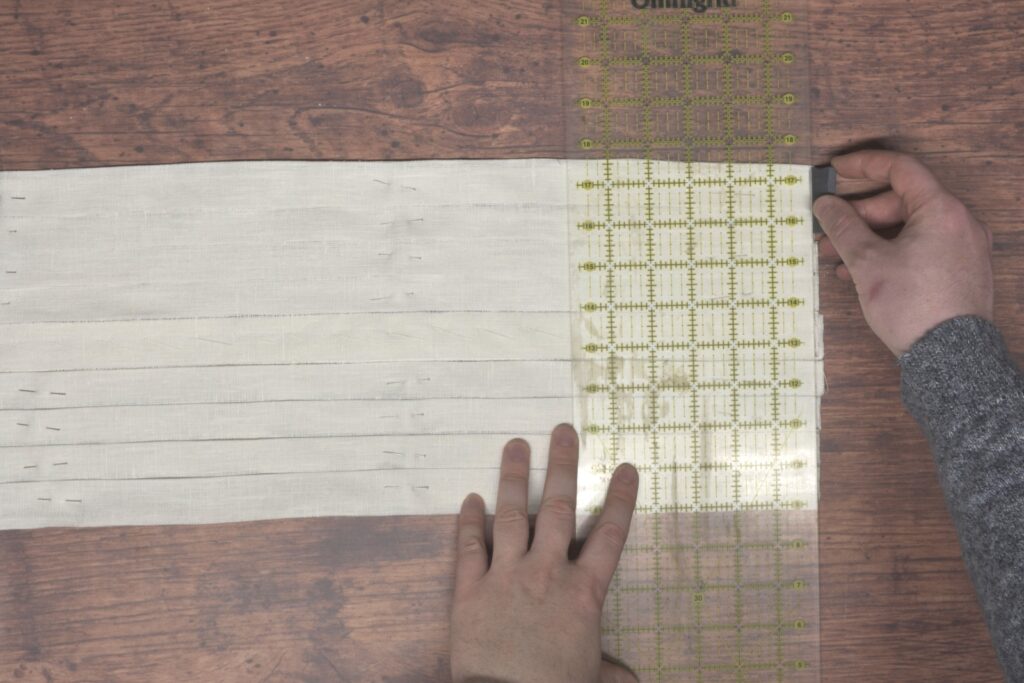
I wasn’t very far off, maybe 3/16″ at most, but I decided to trim the bottom anyway.
Trim the bottom edge square.
Your Progress
[columns gutter=”0″]
[col]
1 | Form the pleats for the shirt front. | |
2 | Baste the two halves of the pleated front together. |
[/col]
[col align_text=”center, middle”]
[/col]
[/columns]
The Placket
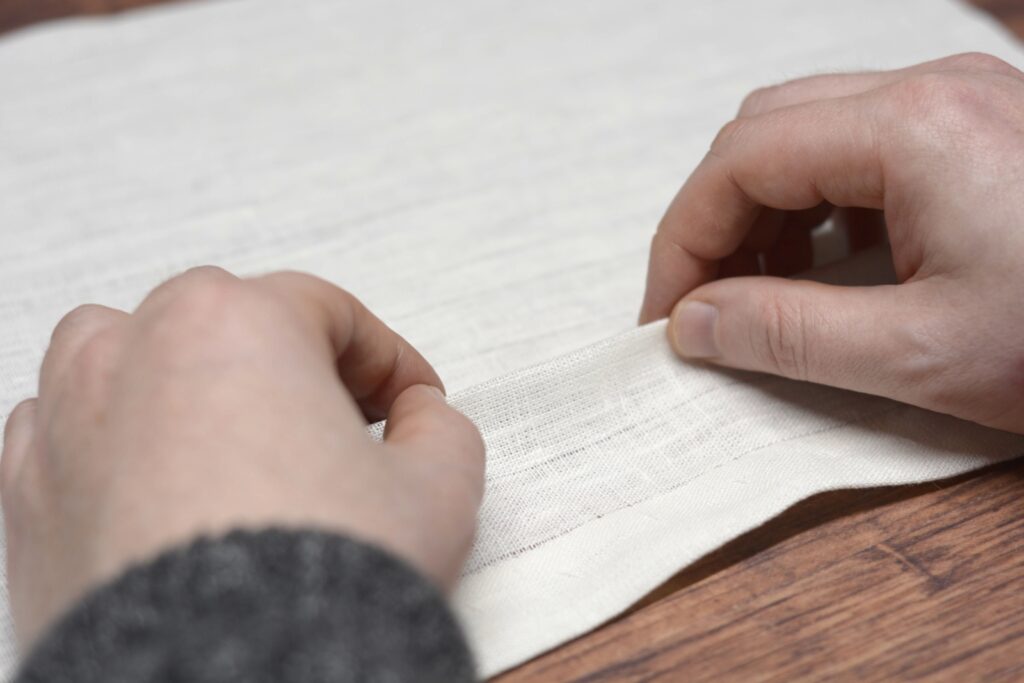
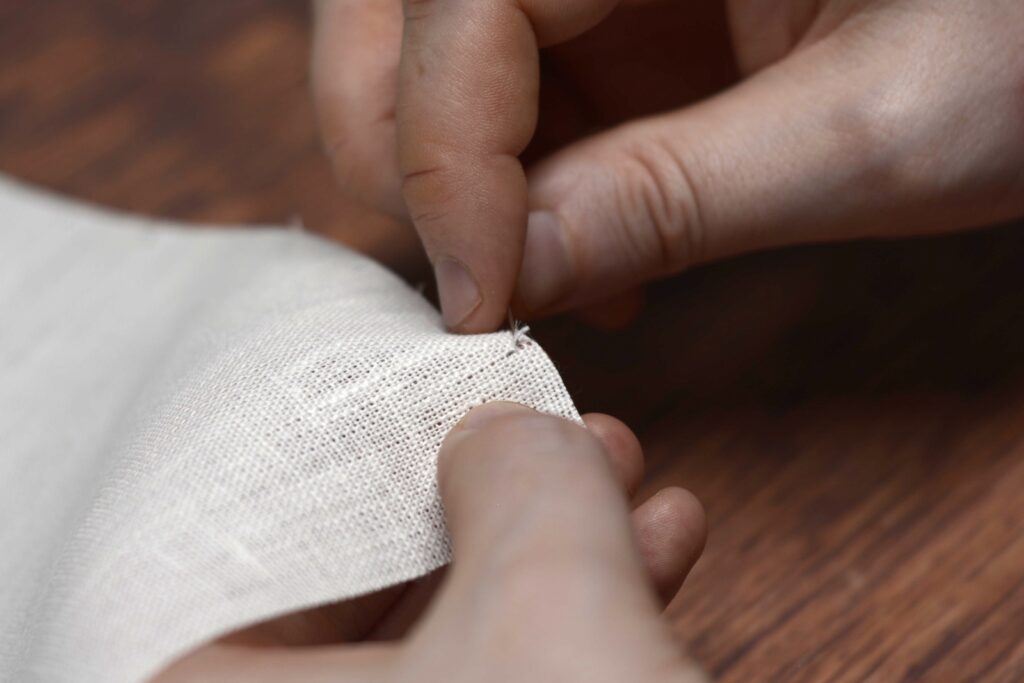
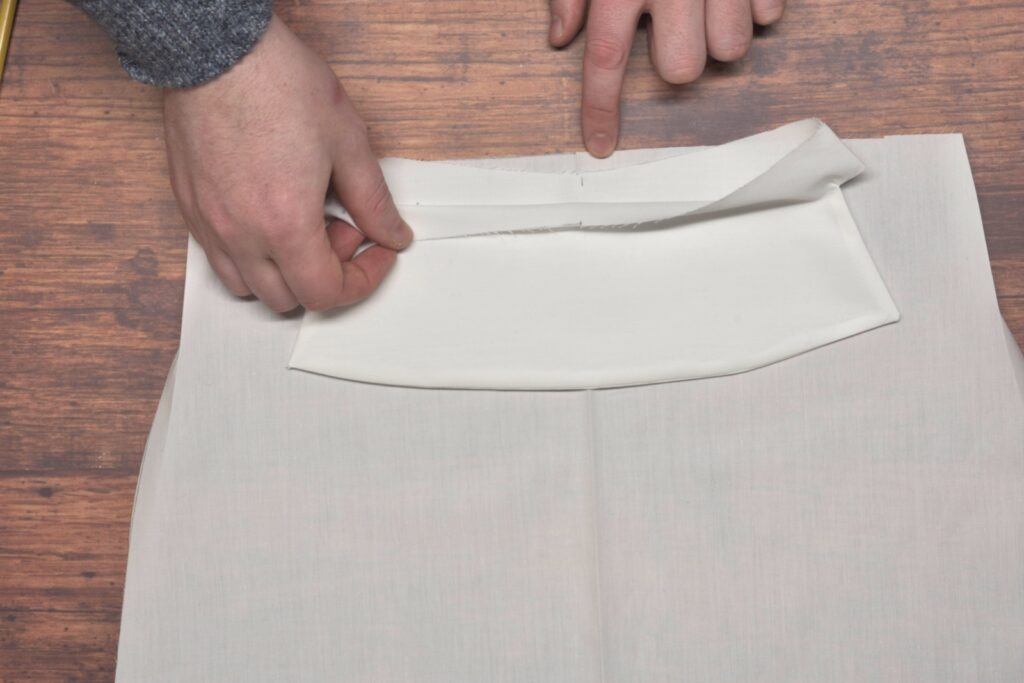
The placket forms the center front of the shirt and is where the buttons and buttonholes will be placed. Make sure you are working on the correct end (it’s got the 3/8″ and two 1″ [or graduated inch] wide pleats), and begin by folding over the first 3/8″ pleat to the wrong side, pressing with your fingernails as you go.
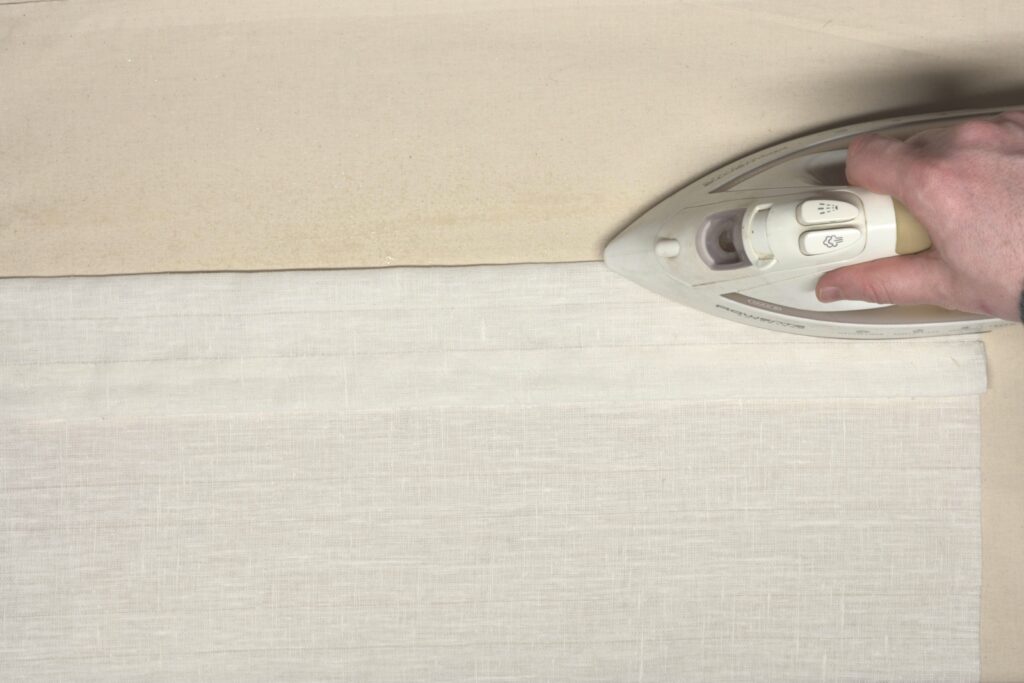
Give it a firm press with the iron and a bit of steam.
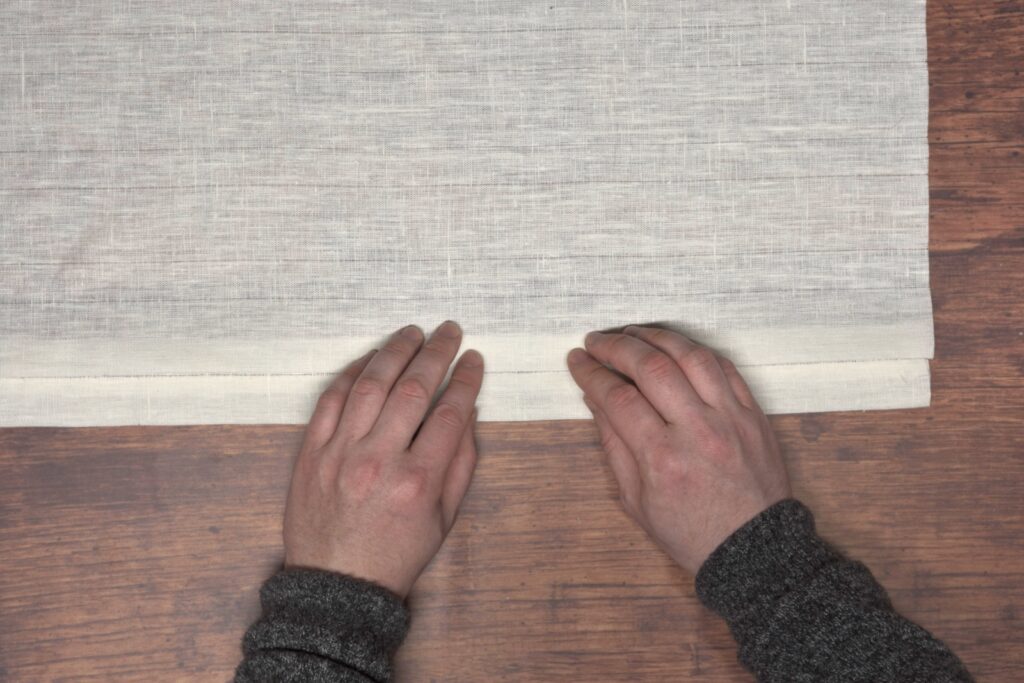
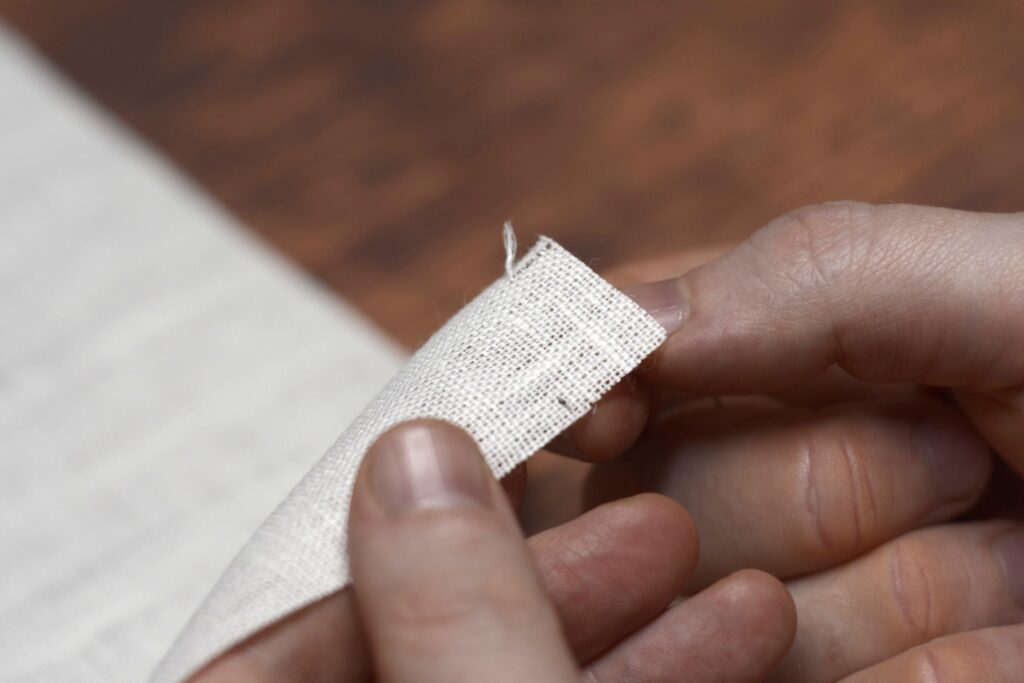
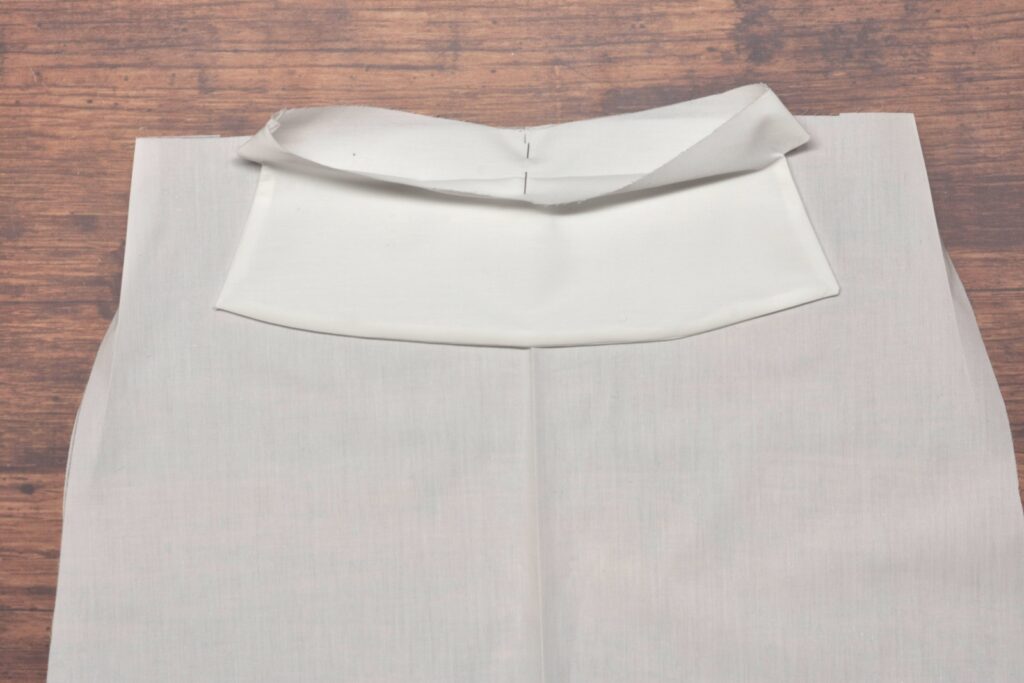
Now turn under (or over, whichever is more comfortable while you’re working) to the wrong side and press the first 1″ section, forming the placket.
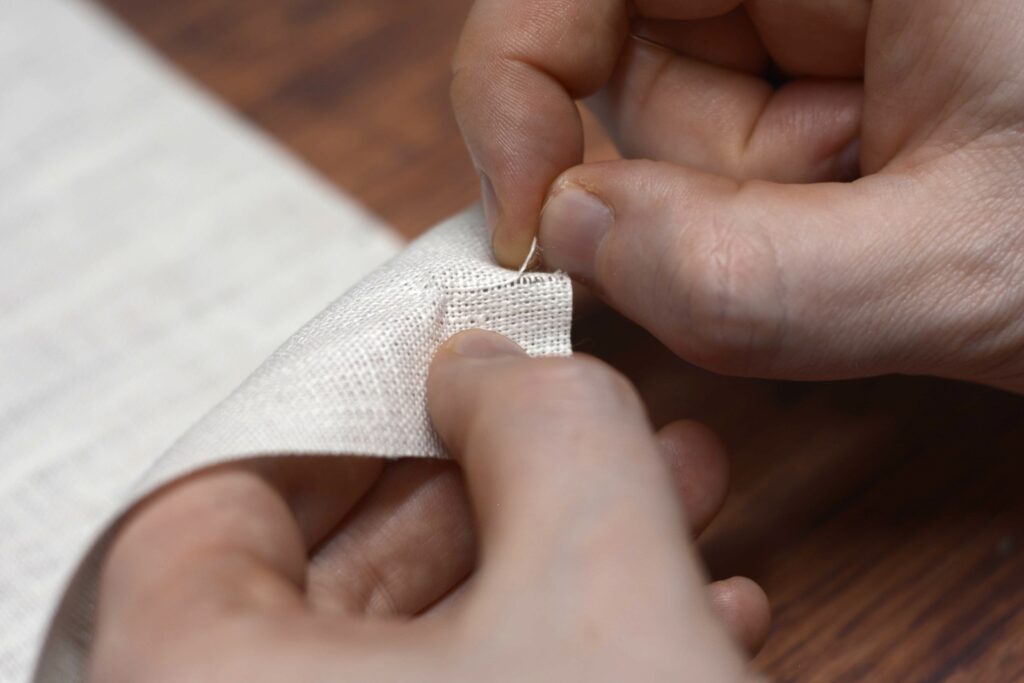
Baste the placket closed with a diagonal basting stitch.
Finally, fell the placket permanently in place. Since we’re working from the wrong side, put the needle into the fabric at right angles to the seam, leaving the diagonal part of the stitch showing on the wrong side only. This way, only a small stitch appears on the front. My stitches around about 1/8″ or so apart.

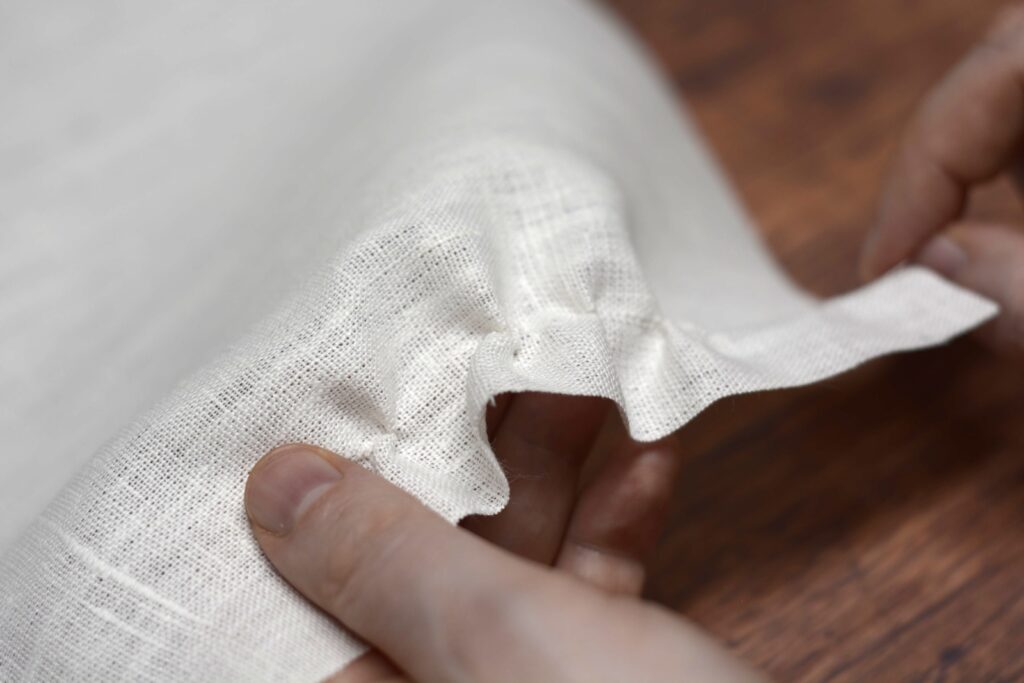
Here’s the view from the right side. I’m not sure if you can see it, but the needle has caught exactly one thread, leaving the stitch itself pretty much invisible.

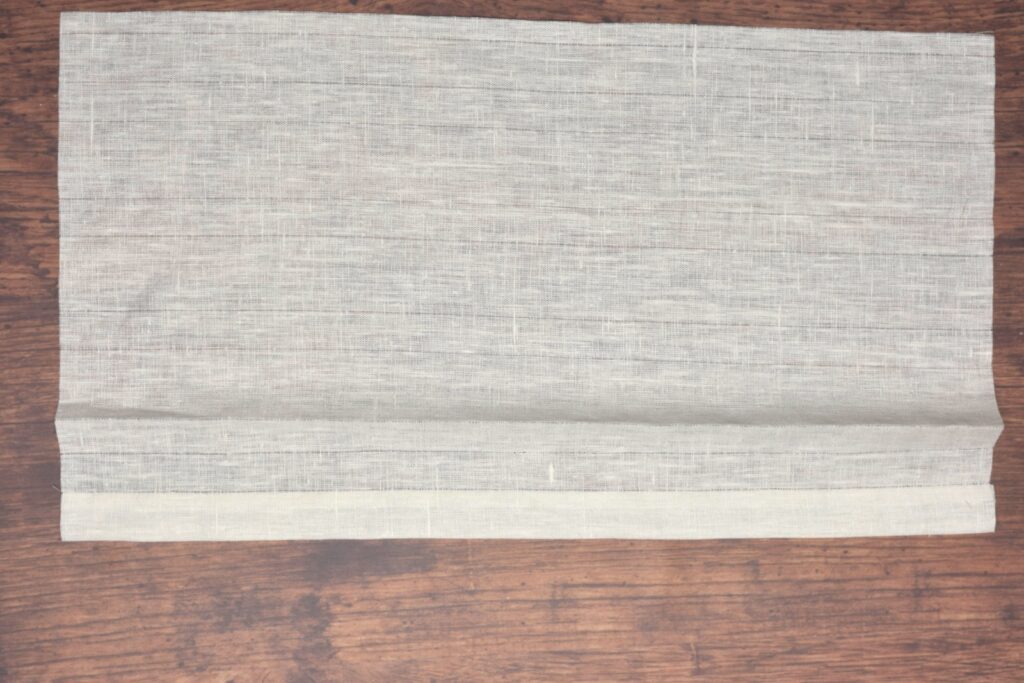
And the completed placket. Repeat for the other half.
I wish you could see the stitches more clearly, but they’re almost impossible to photograph.

Your Progress
[columns gutter=”0″]
[col]
1 | Fold and press the plackets. | |
2 | Fell the placket edge. |
[/col]
[col align_text=”center, middle”]
[/col]
[/columns]
Laying Out the Pleated Front
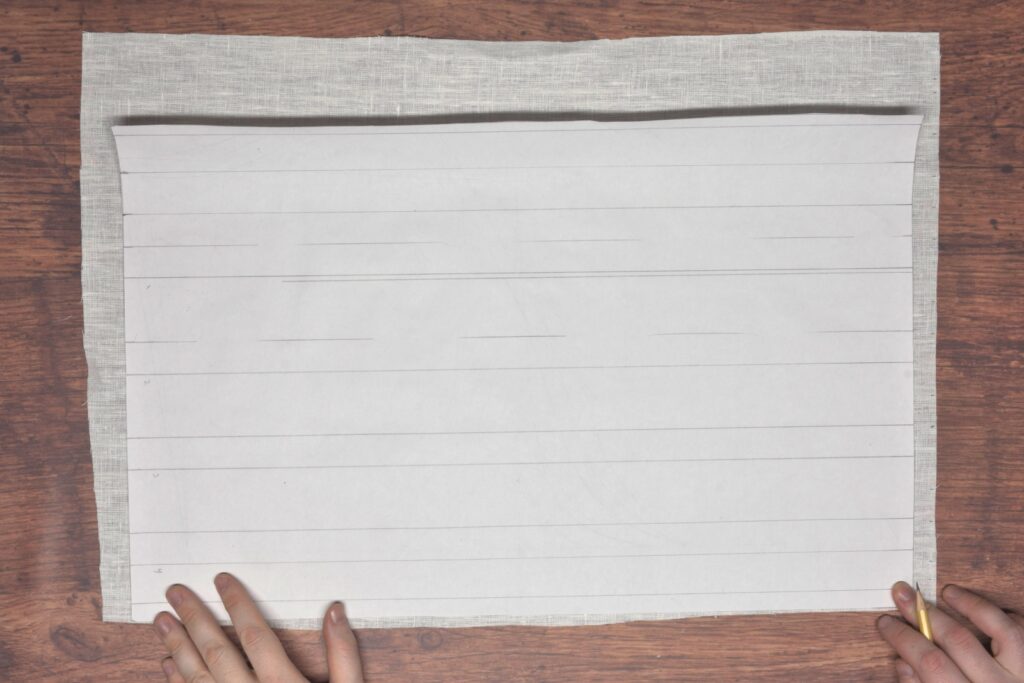
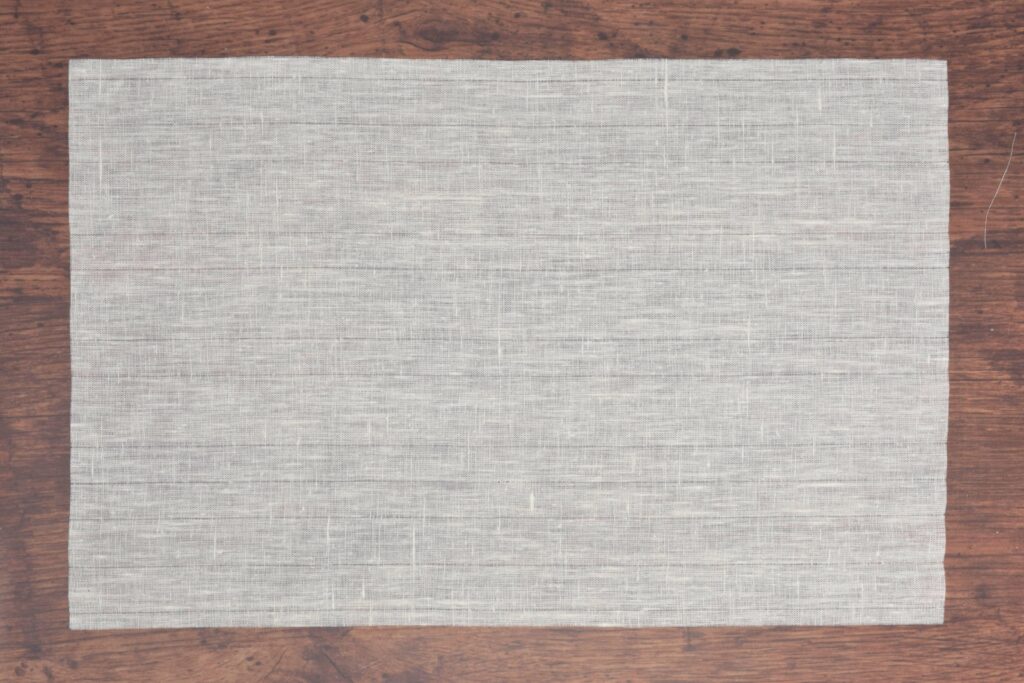
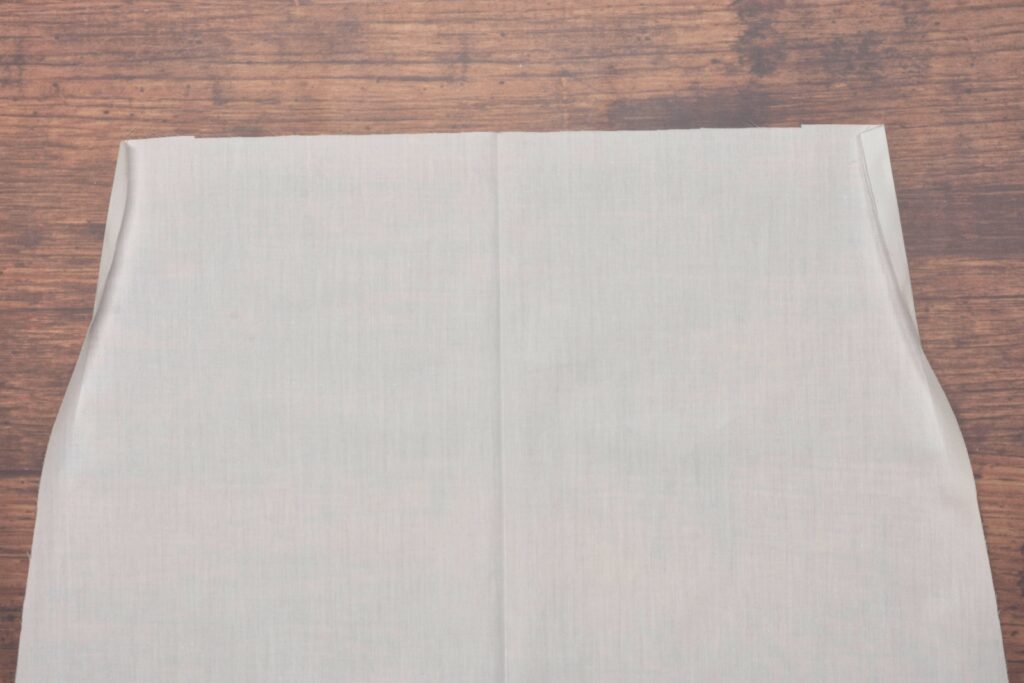
Let’s begin this shirt project by laying out the pleated front. I’ll be using this exacting method to ensure the linen pleats are parallel to each other, however, if you are using a cotton for your pleats or don’t feel the need to be this precise, you can use some white chalk to lay out your lines.
First, cut two pieces of linen about 1″ larger in all directions than your pleated front pattern. This gives us room to work with.
Slide the bottom of the pattern down to about 1/4″ away from the fabric, centering the long sides.

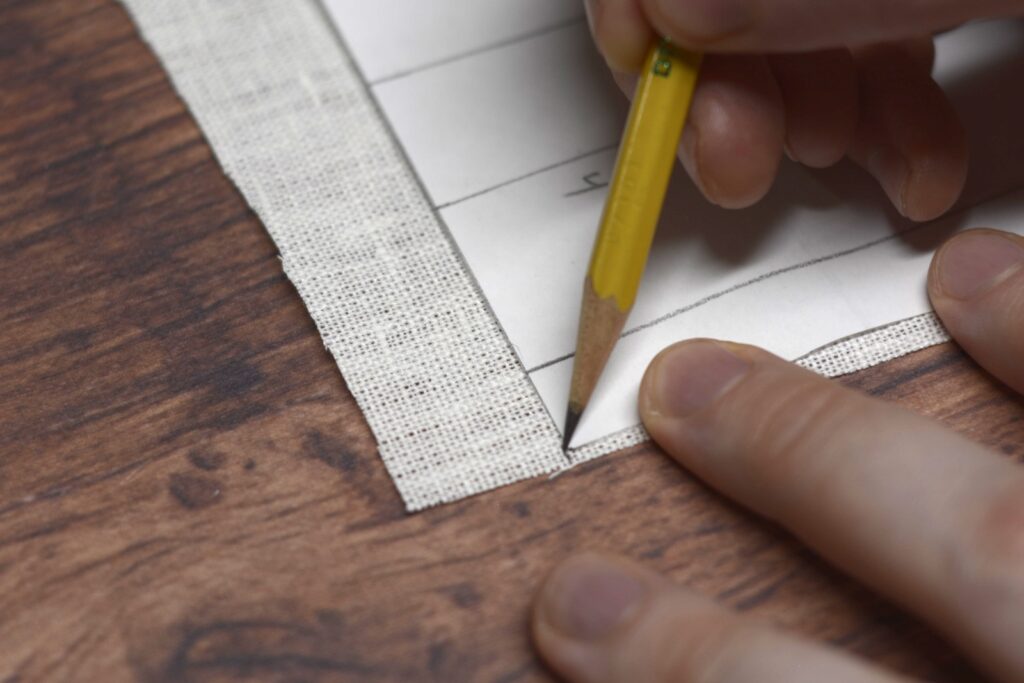
Carefully mark the bottom of the pleats, including the edges of the pattern. I’m using a pencil here for greater accuracy, as these marks will be trimmed away later.
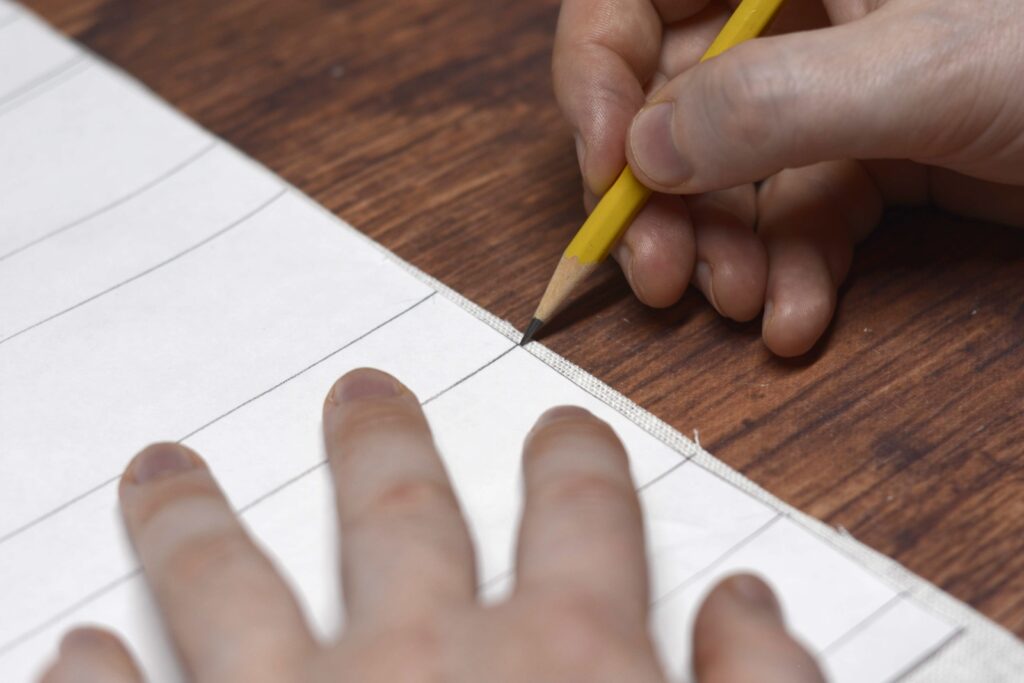
Don’t forget to mark the edges of the pattern as well!
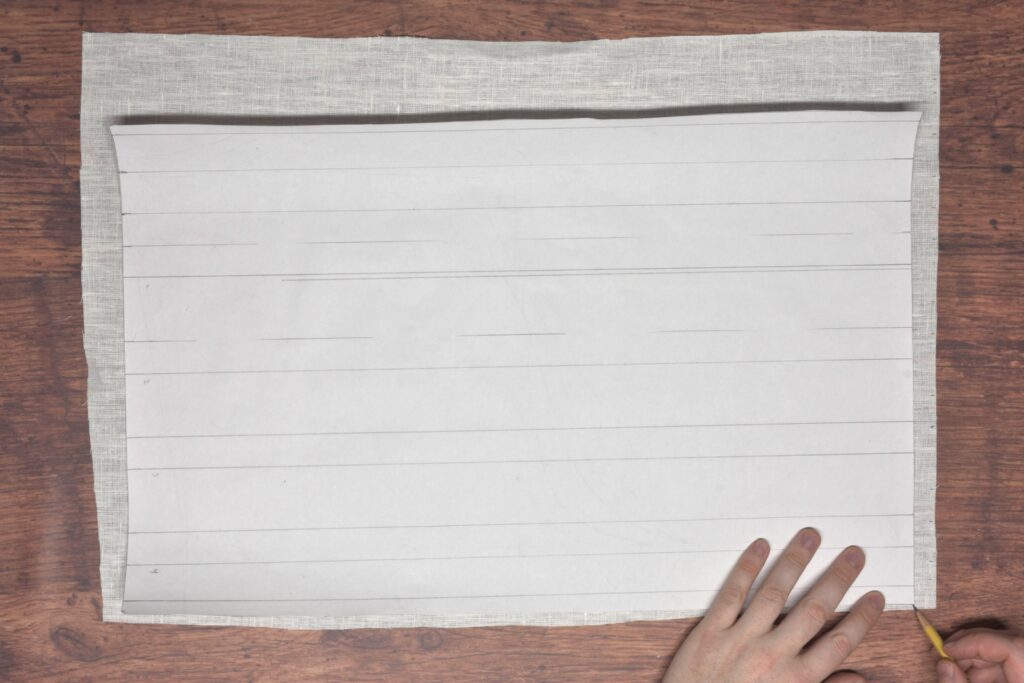
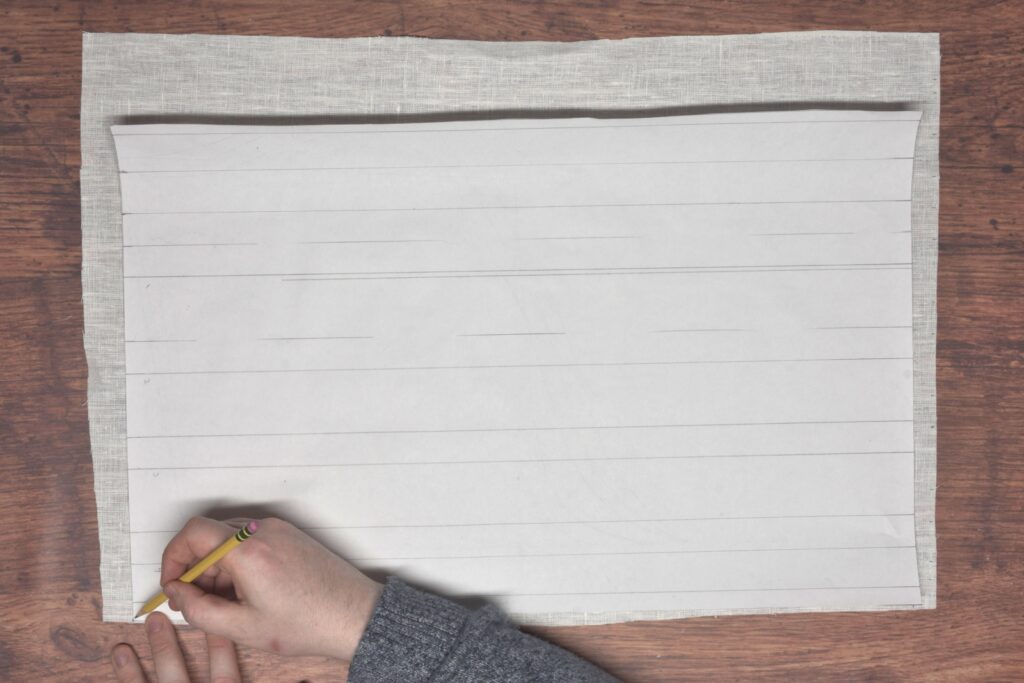
With the bottom edge marked, slide one long edge of the pattern to 1/4″ away from the edge, centering the short ends on the fabric.
Mark the long ends of the pattern indicating the final height.
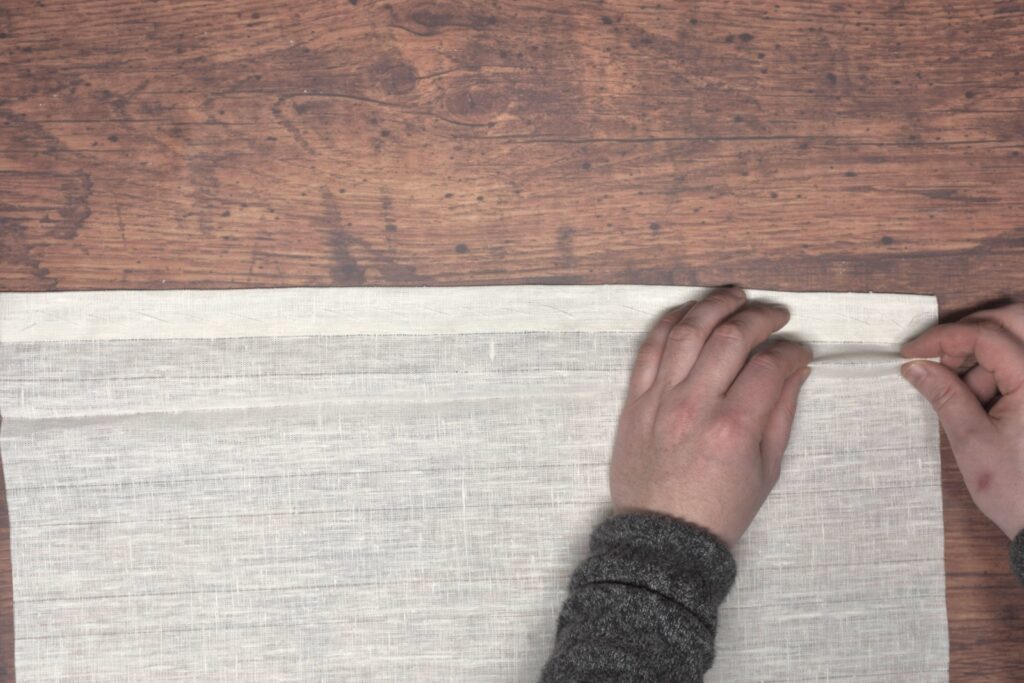
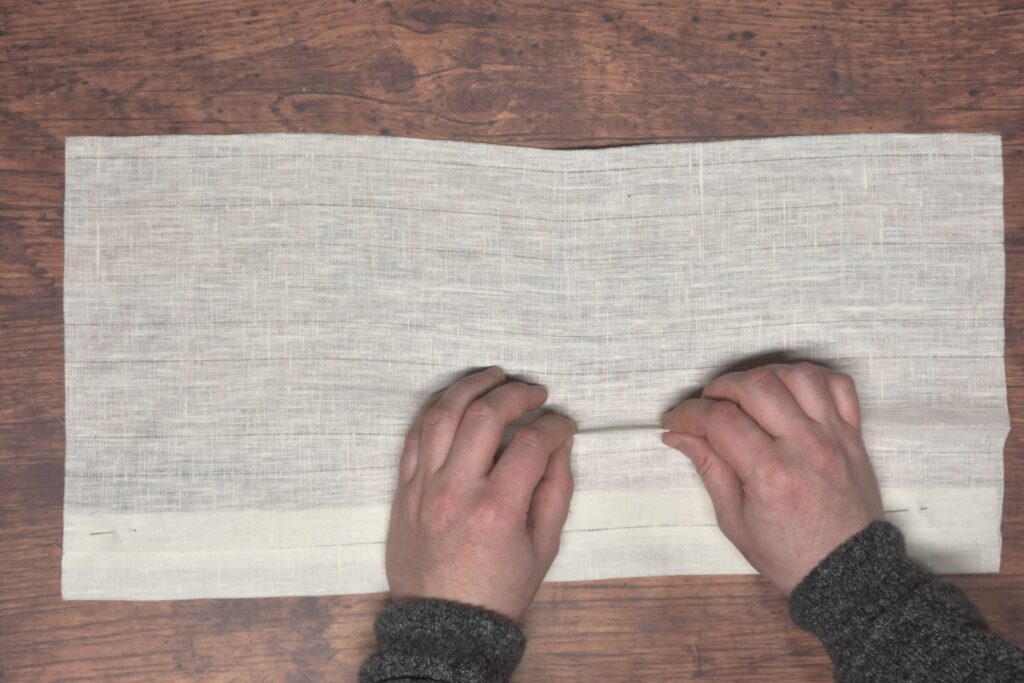
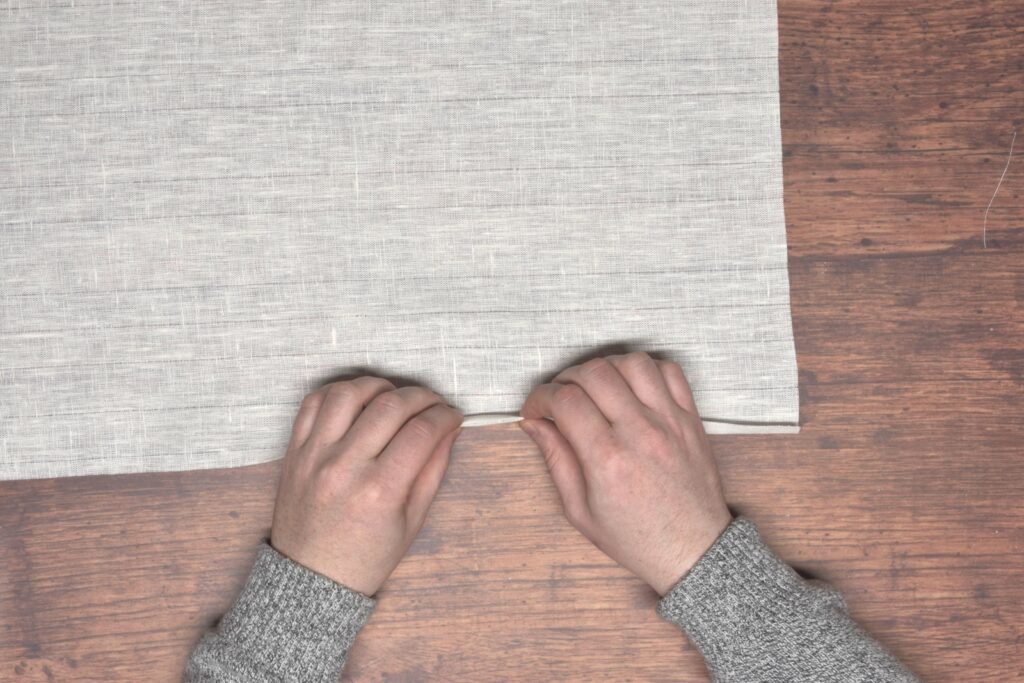
Pulling the Threads
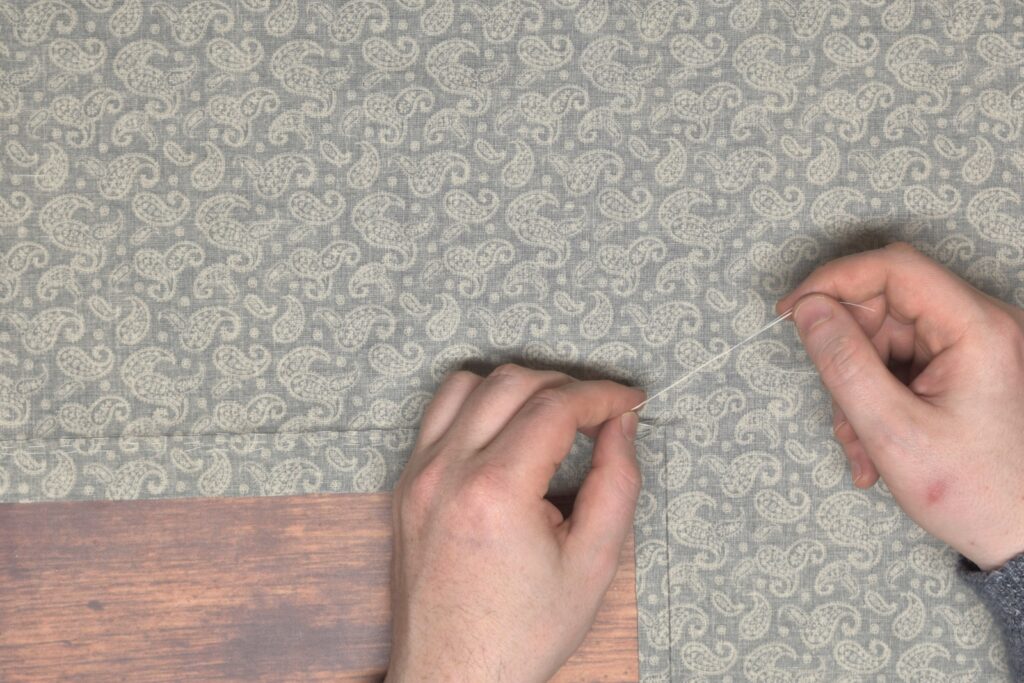
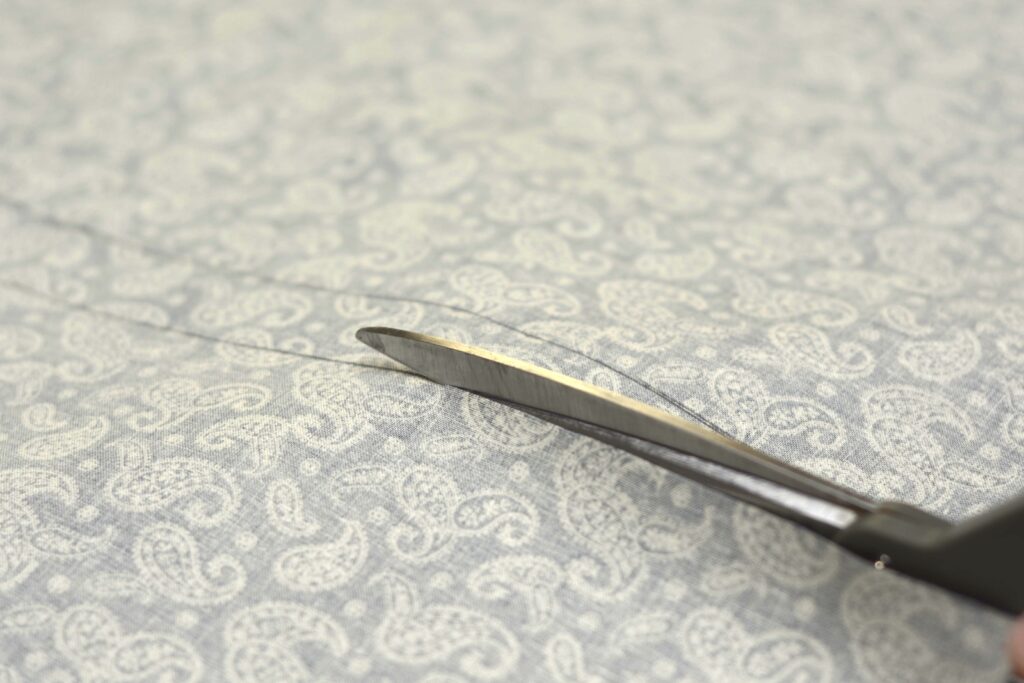
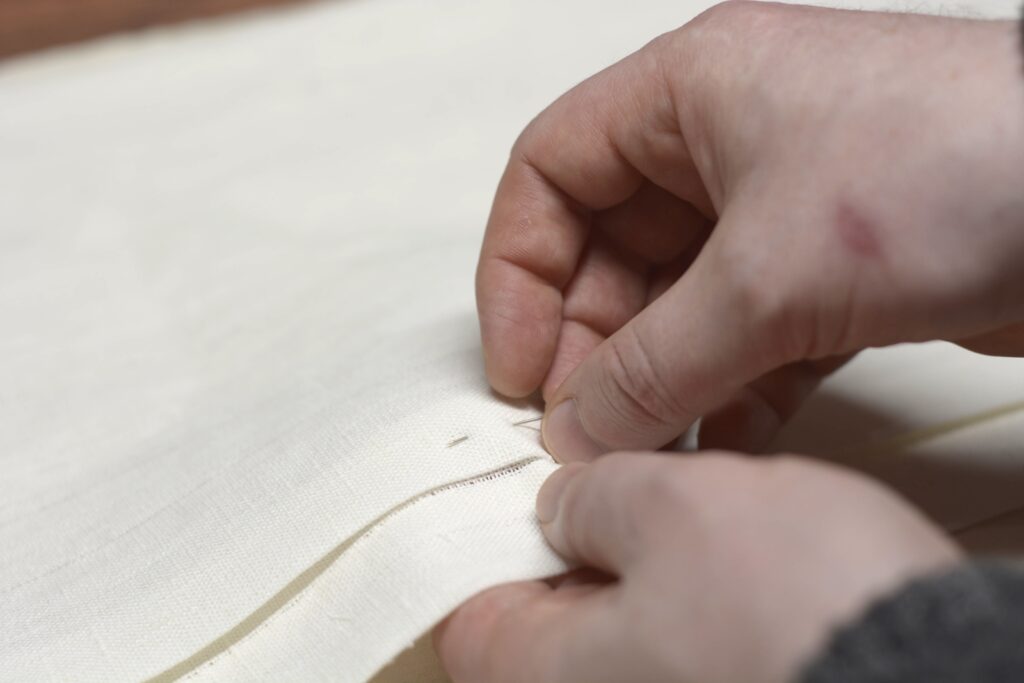
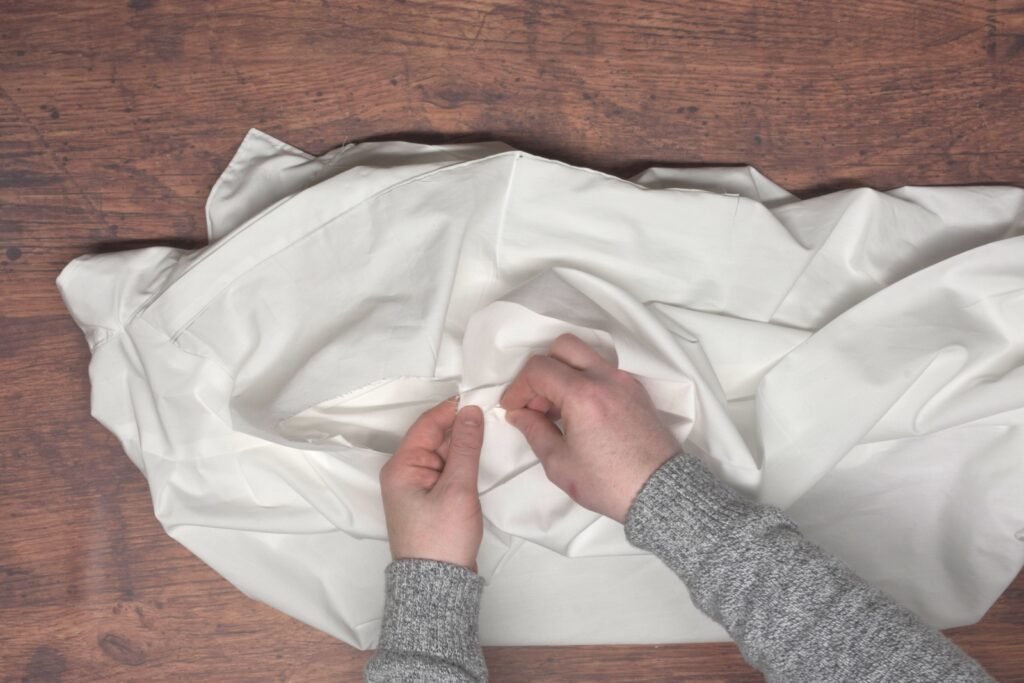
Find one of the marks you made, and using a pin, carefully begin to pull out the end of one of the threads nearest to this mark.
Free about 1/4″ to 1/2″ – just enough so you can get a firm grip on the thread.
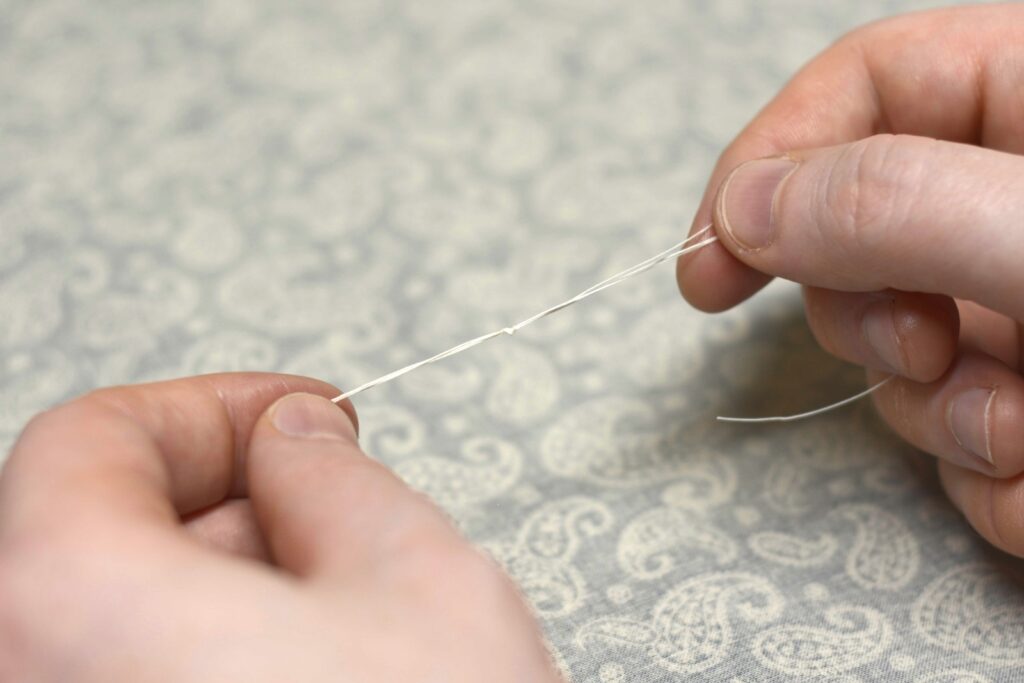
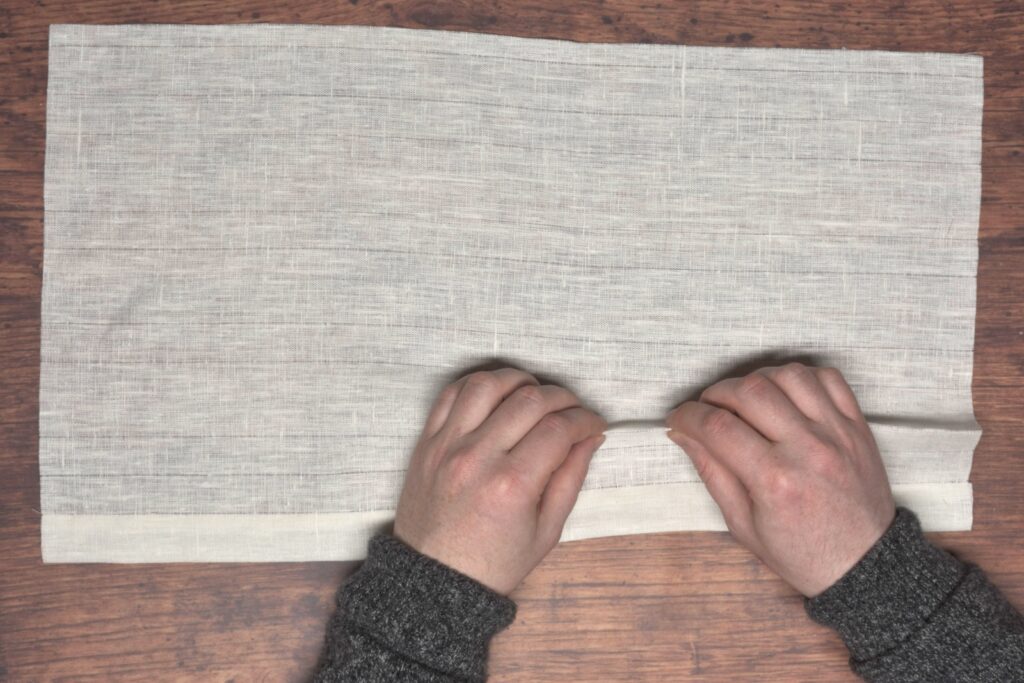
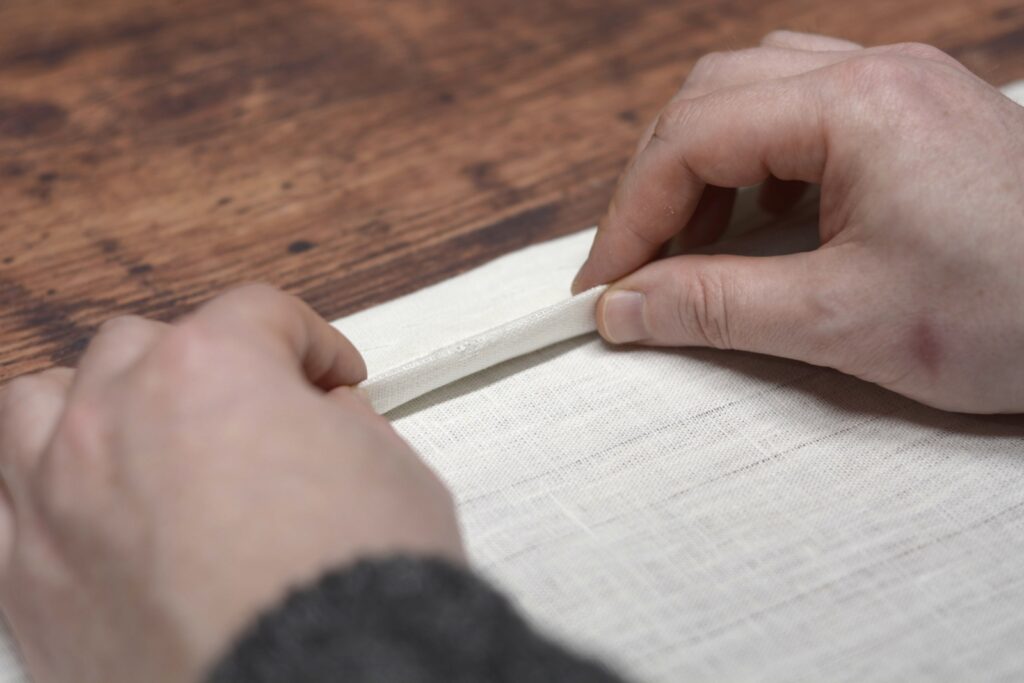
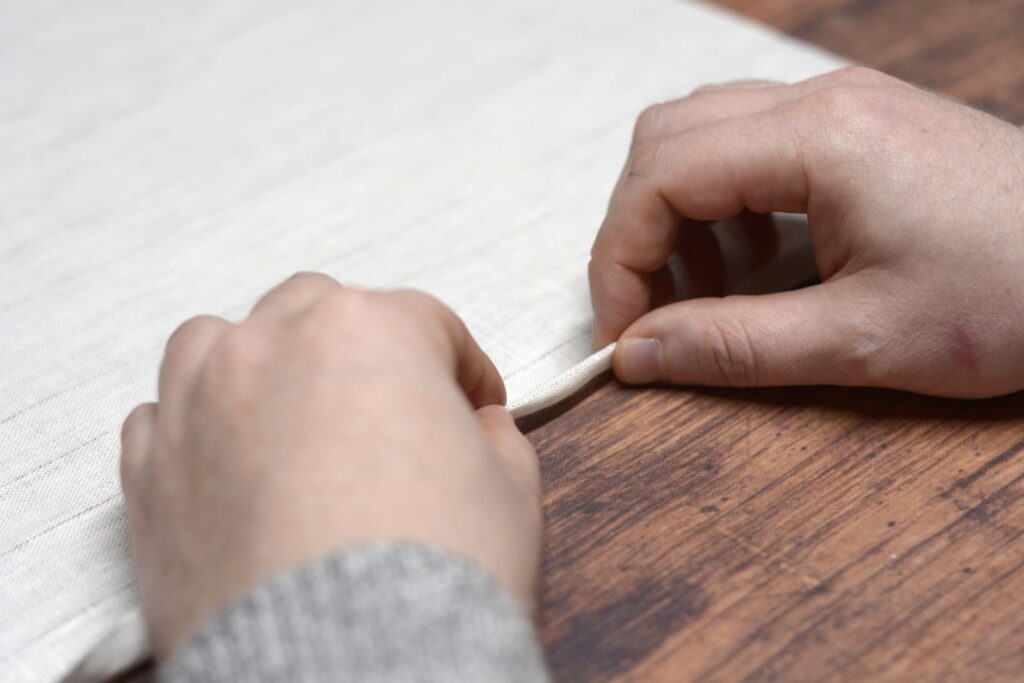
Grasp the thread and pull firmly but carefully, sliding the surrounding fabric down the thread.
Technically, we’re pulling out the thread, but I like to think of it more as sliding the fabric off of the thread. You can see how it forms these small gathers – slowly move them further down the thread, distributing them as you go.
Eventually, the gathers will free up the entire thread, after which it should to slide a lot more easily. You may end up with a broken thread at some point – if this happens, just carefully unpick the broken end and continue where you left off.
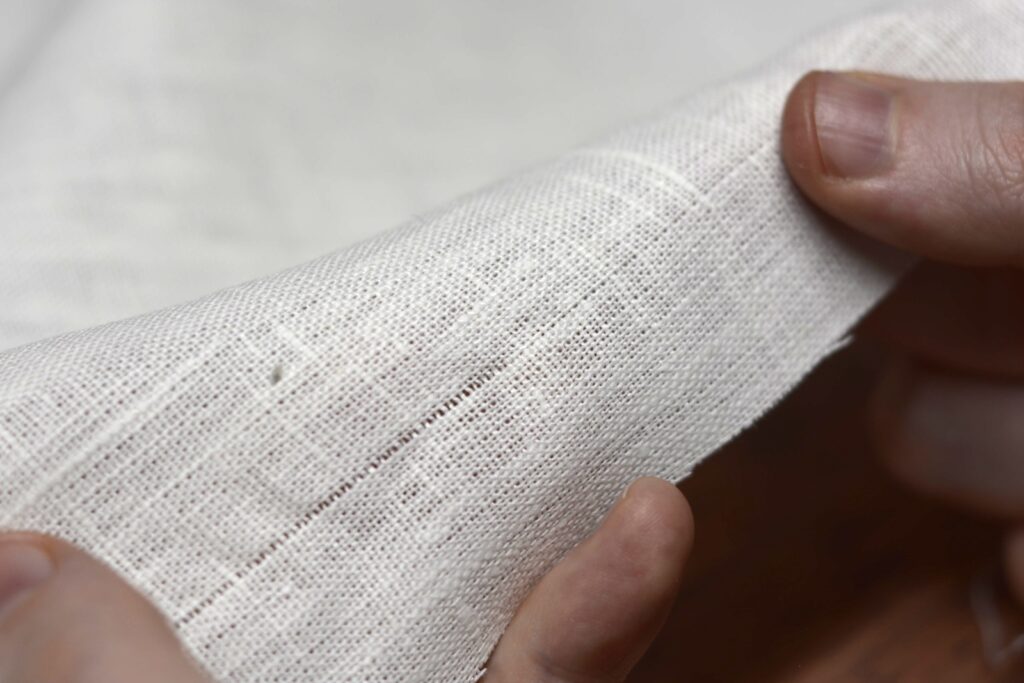
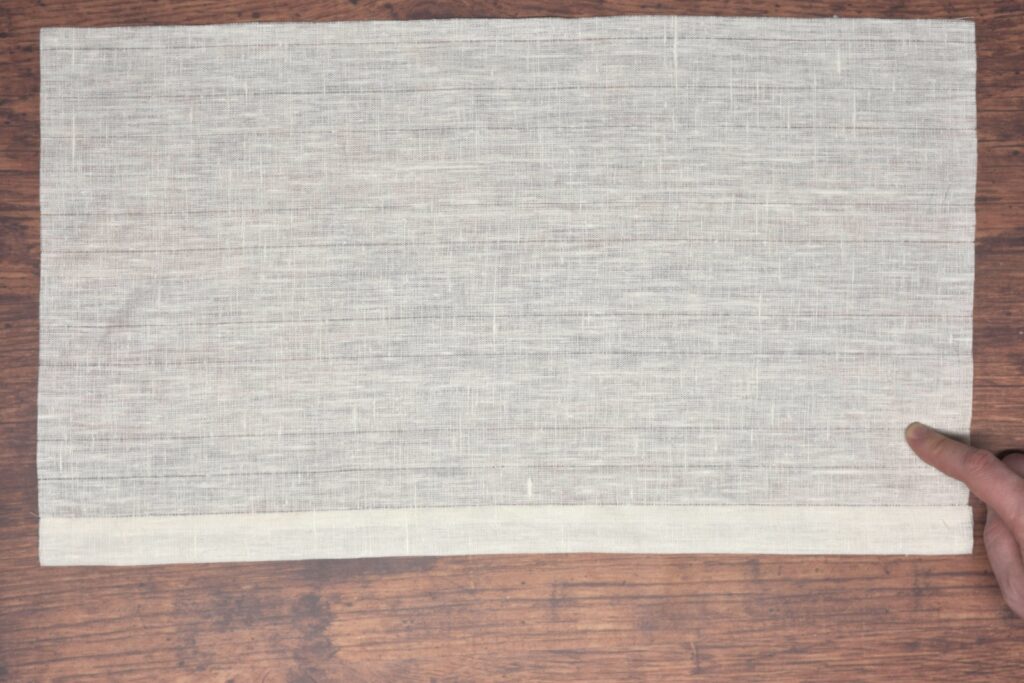
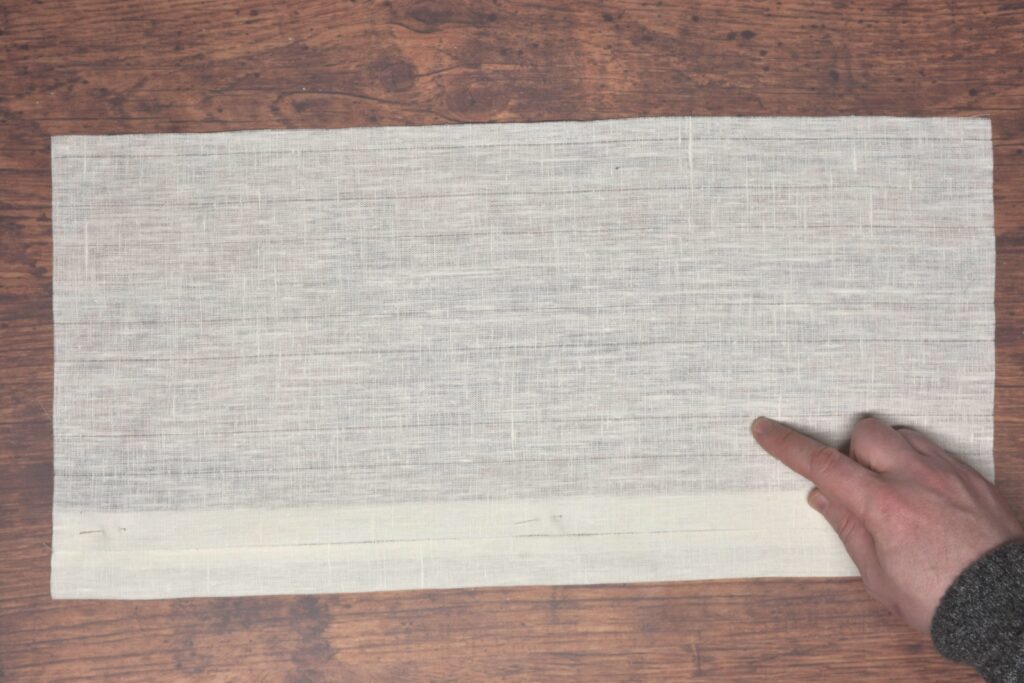
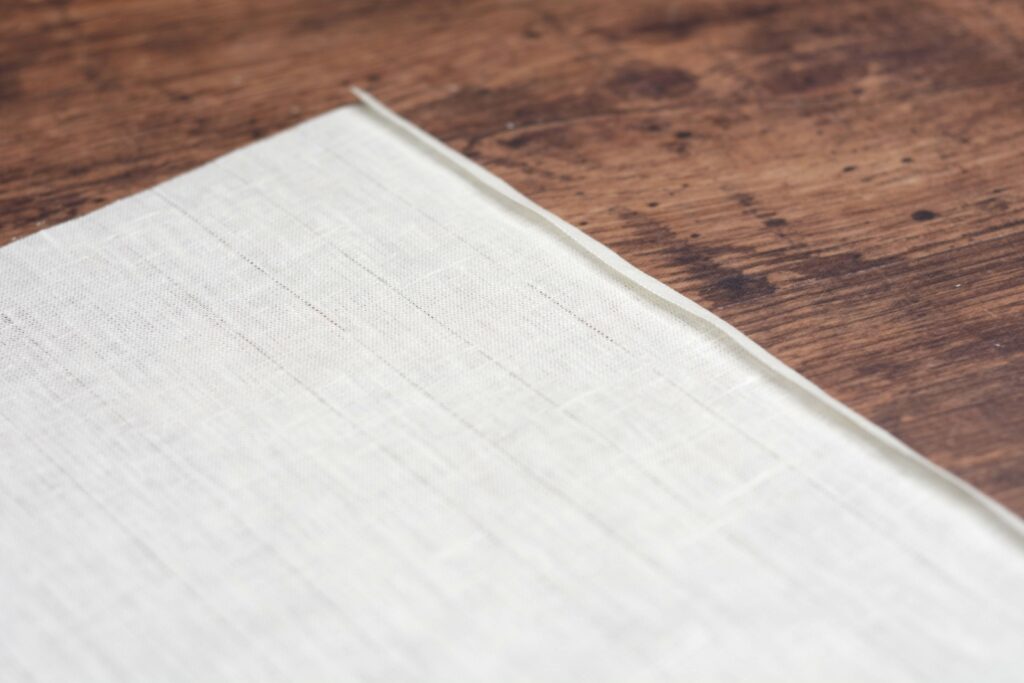
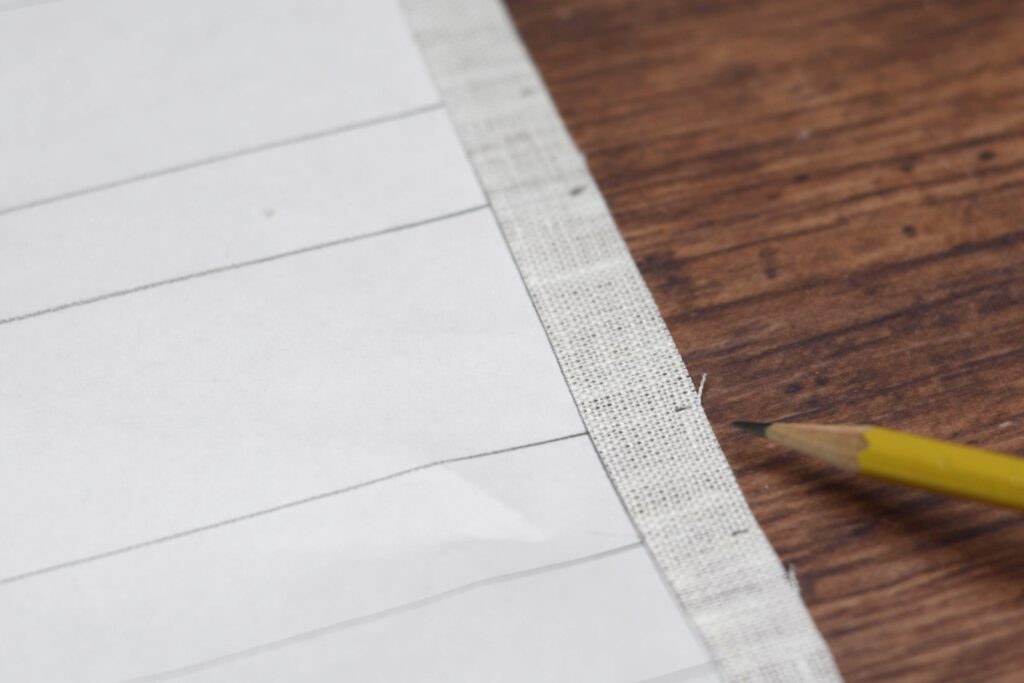
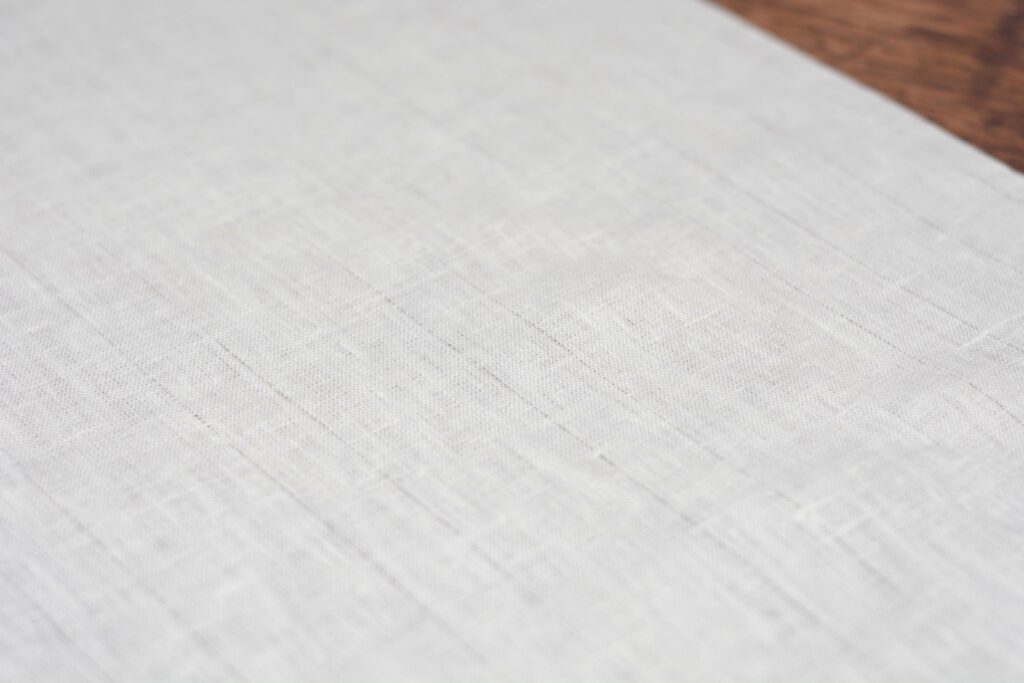
Here’s the first thread pulled out, giving us an accurate line to work out that is perfectly parallel to the grain of the fabric.
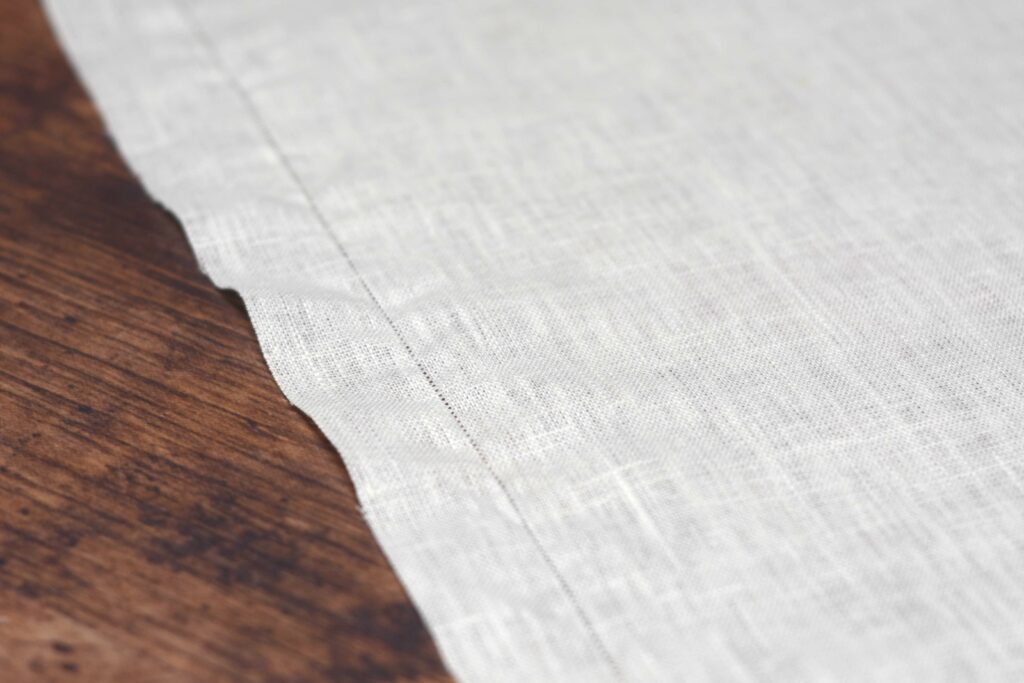
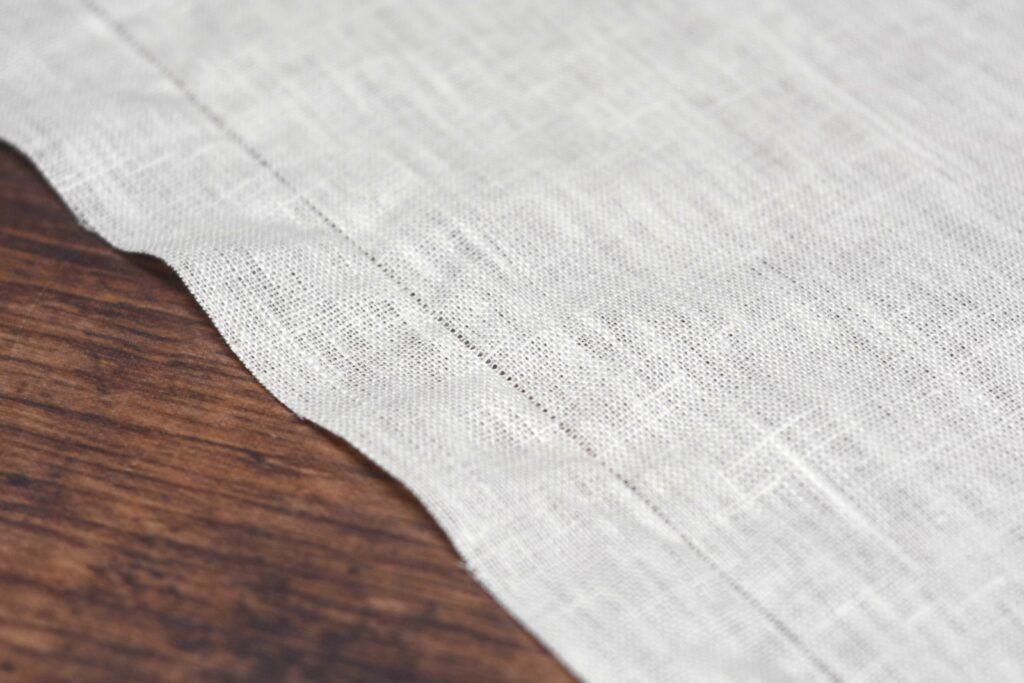
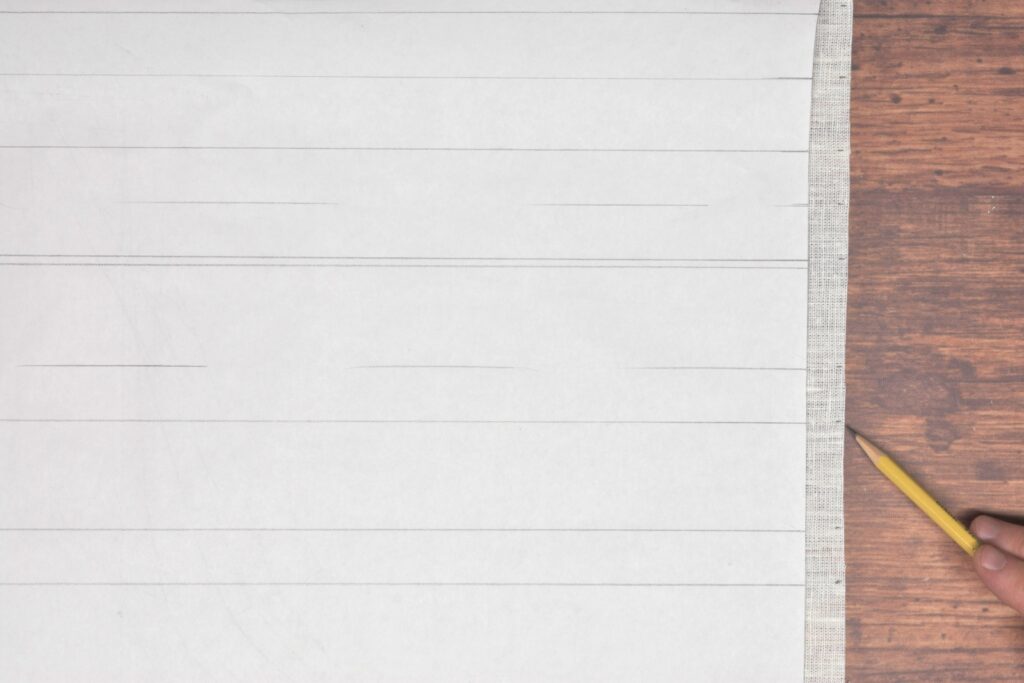
Continue working until all of the vertical and horizontal threads have been removed.
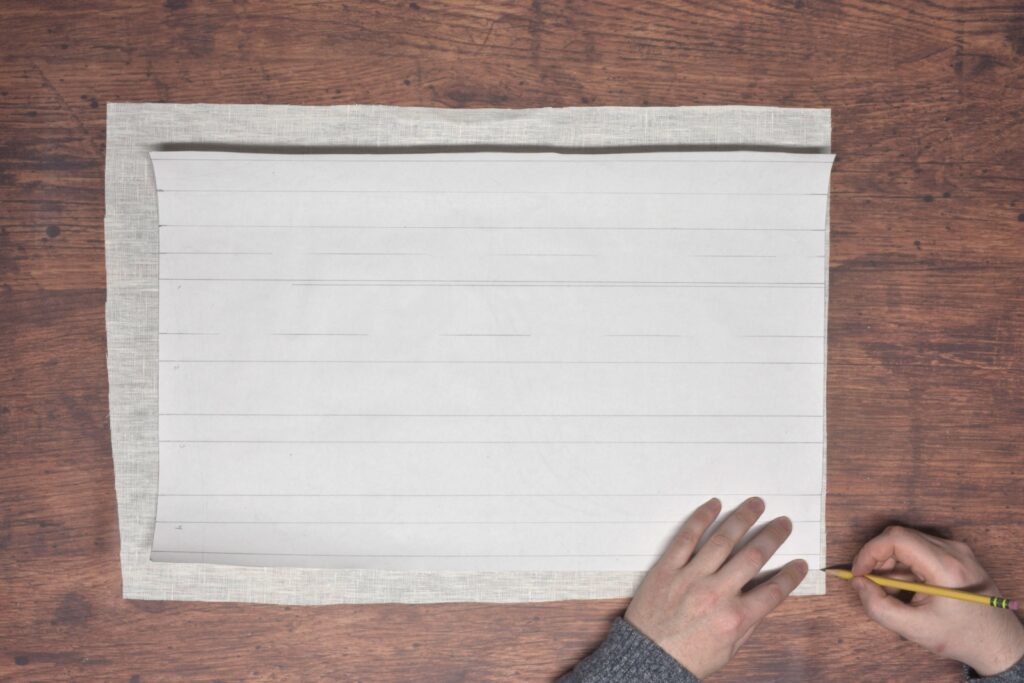
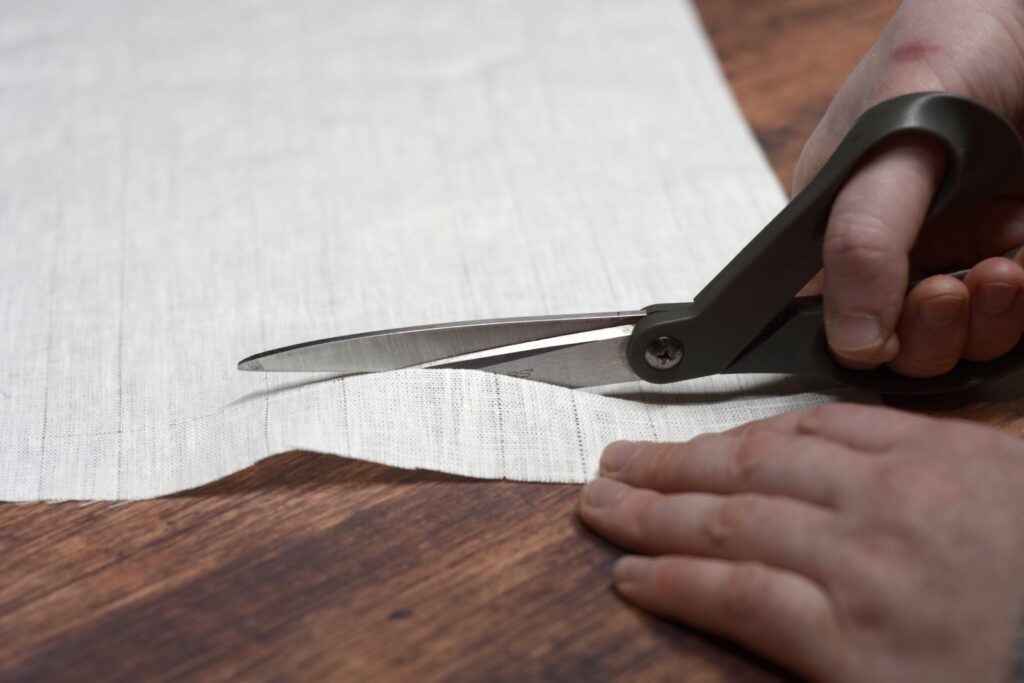
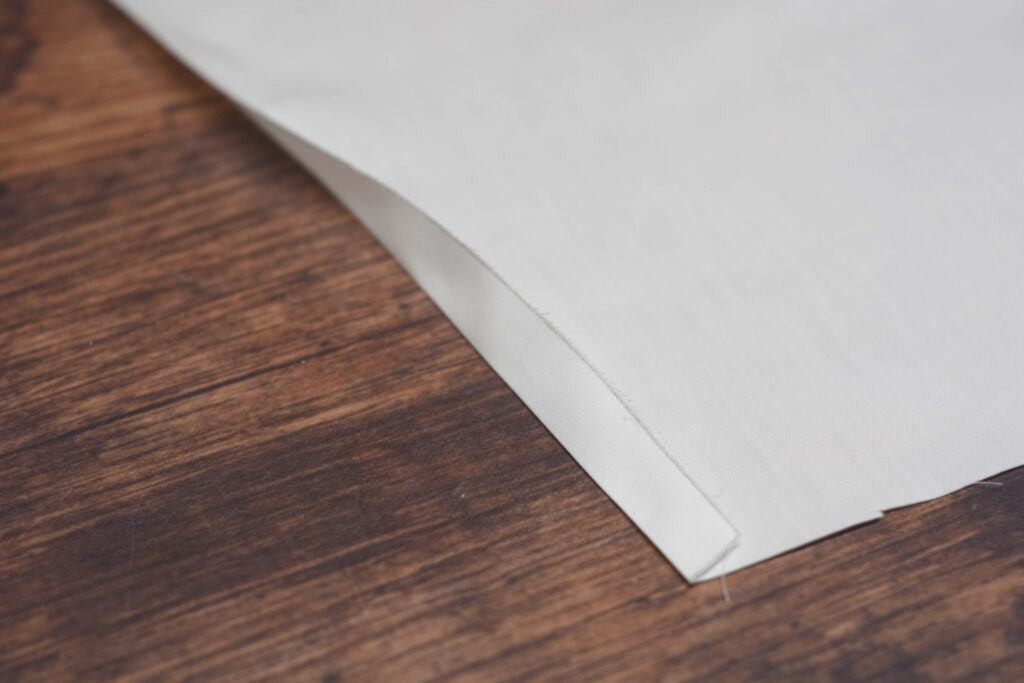
Finally, carefully trim around the pattern outline, squaring up your piece of linen.
Your Progress
[columns gutter=”0″]
[col]
1 | Lay out the pleated front. | |
2 | Pull the threads indicating the pleat lines. |
[/col]
[col align_text=”center, middle”]
[/col]
[/columns]
Pre-washing Fabric
Before beginning to sew your final shirt, it’s important to treat the fabrics beforehand so that they don’t shrink later on or lose their dye when washed, ruining your beautiful project. There are also chemicals used in the modern weaving process that you probably don’t want next to your skin.
For cotton, I like to machine wash it with cool water on a gentle cycle using mild detergent. Then dry on low heat, and give it a good pressing, folding the fabric back in half as it came on the bolt.
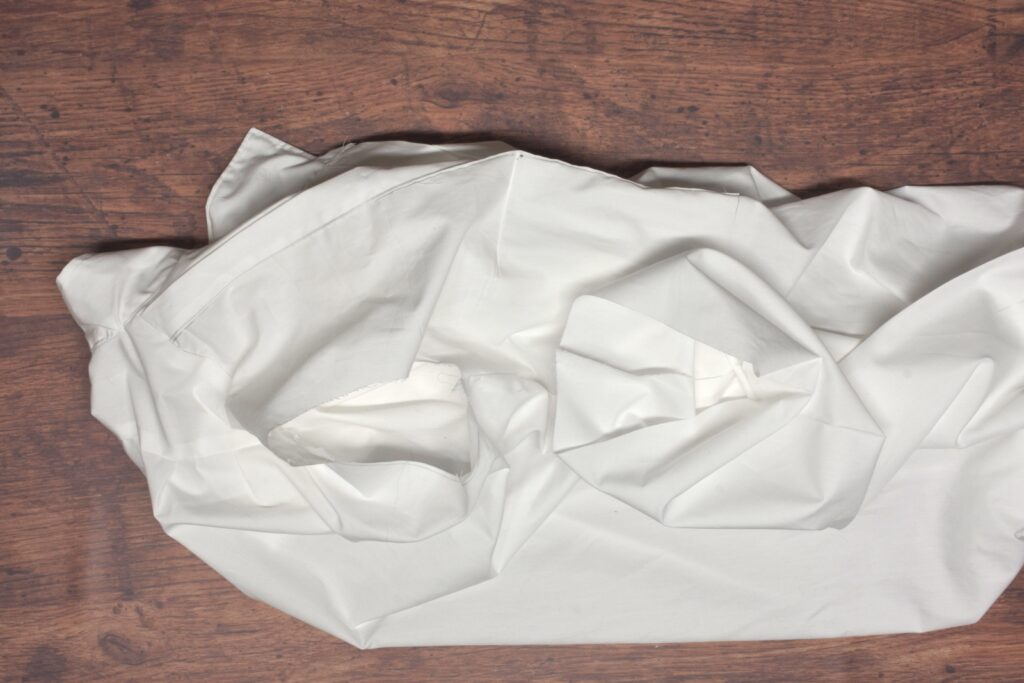
For linens, I dislike washing them as the wrinkles never seem to come out completely. You can wash linen in the same manner as cotton, but when drying, take it out when it is still slightly damp, and press dry with your iron to mostly avoid wrinkling.
My prefered method though is to simply spray the linen with water while on my ironing table and press it until dry. I’ve never had a problem with shrinking with this method.

Your Progress
[columns gutter=”0″]
[col]
1 | Pre-wash or treat your fabrics. |
[/col]
[col align_text=”center, middle”]
[/col]
[/columns]
Setting the Sleeves
Setting the sleeves can be a challenge the first time, but these sleeves are easier since they’re identical front and back. Careful preparation will help you avoid any mistakes.
Begin by laying out the shirt with one of the armscyes facing up. Locate the top of the side seam. Now lay the sleeve on top, locating the sleeve seam as well.
Pin the sleeve to the armscye, lining up the side and sleeve seams.
This is probably the most confusing step, both visually and to explain. Open up the shirt so you can turn it somewhat inside out, exposing the armscye. The sleeve will be inside the armscye, making it easier to pin and sew.
Locate the center of the sleeve as well as the shoulder seam. Place them right sides together and pin from inside the armscye.

Now, in that all-too-familar process, begin making pleats in the sleeve on one half (between the two pins) so that it will fit into the armscye. Then repeat for the other half. Concentrate the pleats nearer to the top of the armscye, as that is where the ease is needed.
There should be between 2″ – 4″ inches of ease in each sleeve, giving a very roomy and comfortable sleeve. In my case, I ended up taking too much off when doing an alteration by ‘rock of eye’ and ended up with only 1/4″ of ease per sleeve, hence my lack of pleats. Need to fix that!
Continue pinning until all of the excess sleeve fabric has been distributed evenly.
After pinning, you should move the first, original pin you placed from the shirt side to the sleeve side, this way it is less likely to be run over by the sewing machine.
You can just make out that pin here after I moved it.
Here’s the sleeve after being pinned all the way around the armscye. Hopefully this has been clear enough for you!
Place the armscye into the sewing machine as shown, with the sleeve itself on the inside and facing up as it is sewn. Sew using a 1/2″ seam allowance.

Be sure to remove those pins as you sew.
Here’s the sleeve after being sewn.
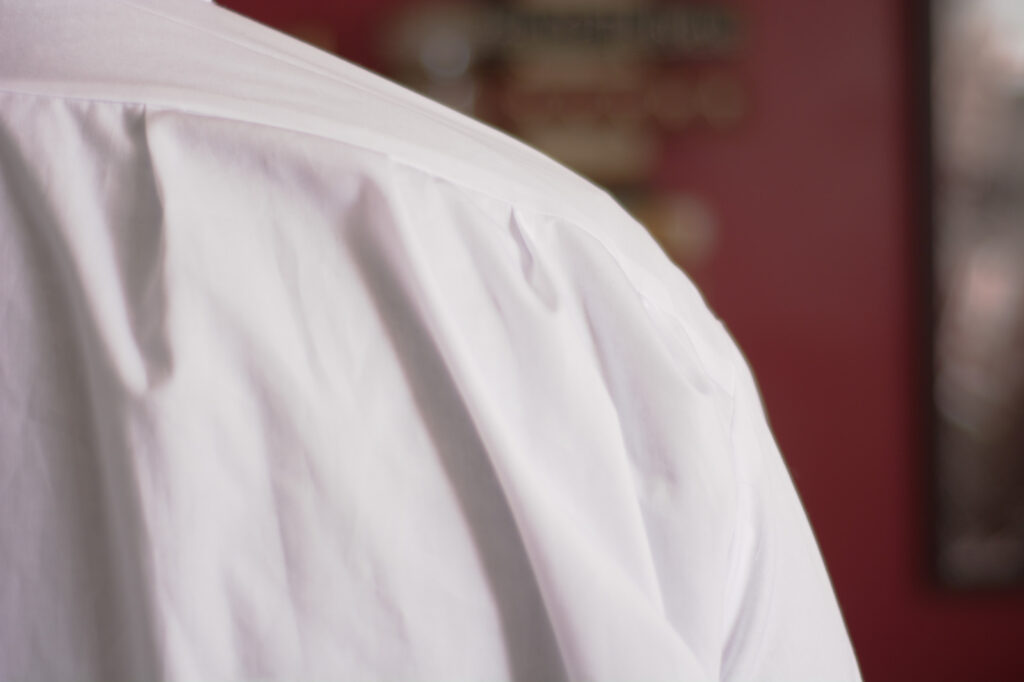
And a view of the sleeve while being worn from the front:
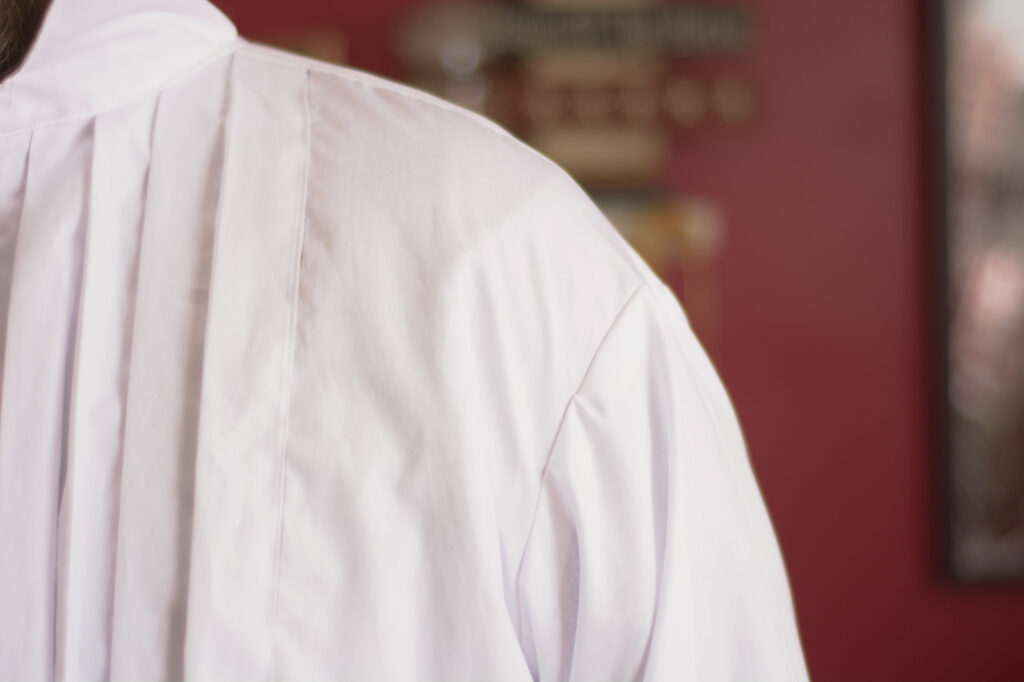
And from the back.
With the shirt toile complete, please try it on, and if you have any errors or just want a good eye to look at your work, please share photos of the front, back, and side, plus any detailed photos as necessary, as well as photos of your draft in the support forum so that I can offer advice and corrections.
Your Progress
[columns gutter=”0″]
[col]
1 | Set the sleeves. | |
2 | Post photos of work if necessary for advice and help. |
[/col]
[col align_text=”center, middle”]
[/col]
[/columns]
The Sleeves
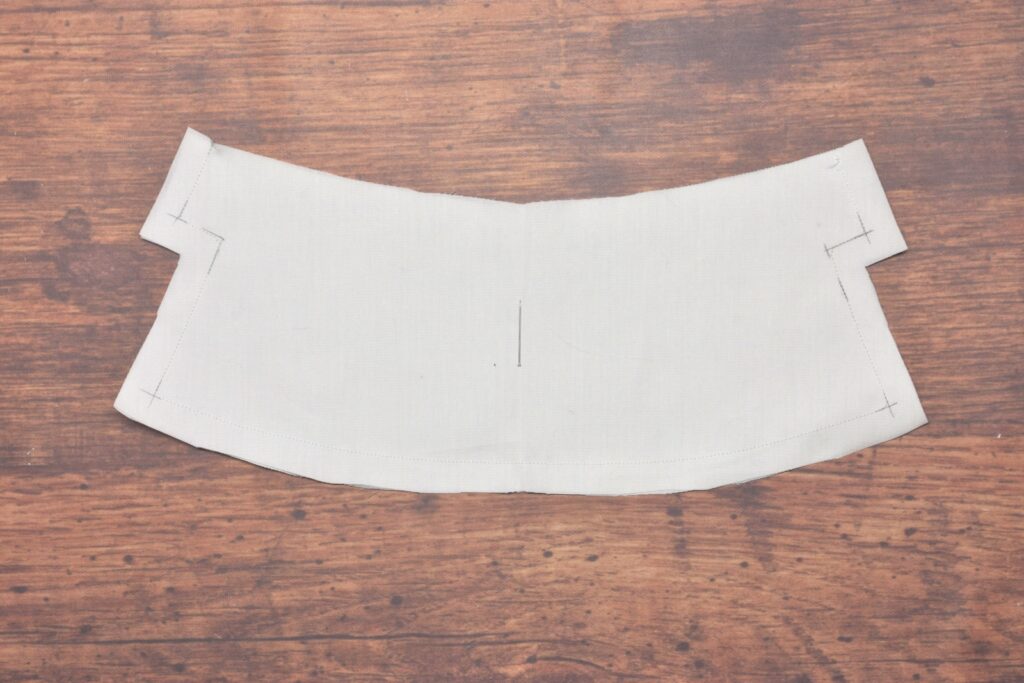
The cuffs are sewn in the same manner as the collar. Place the two halves right sides together, pin, and mark the corners as necessary. Sew around the front and top edges, leaving the bottom open.
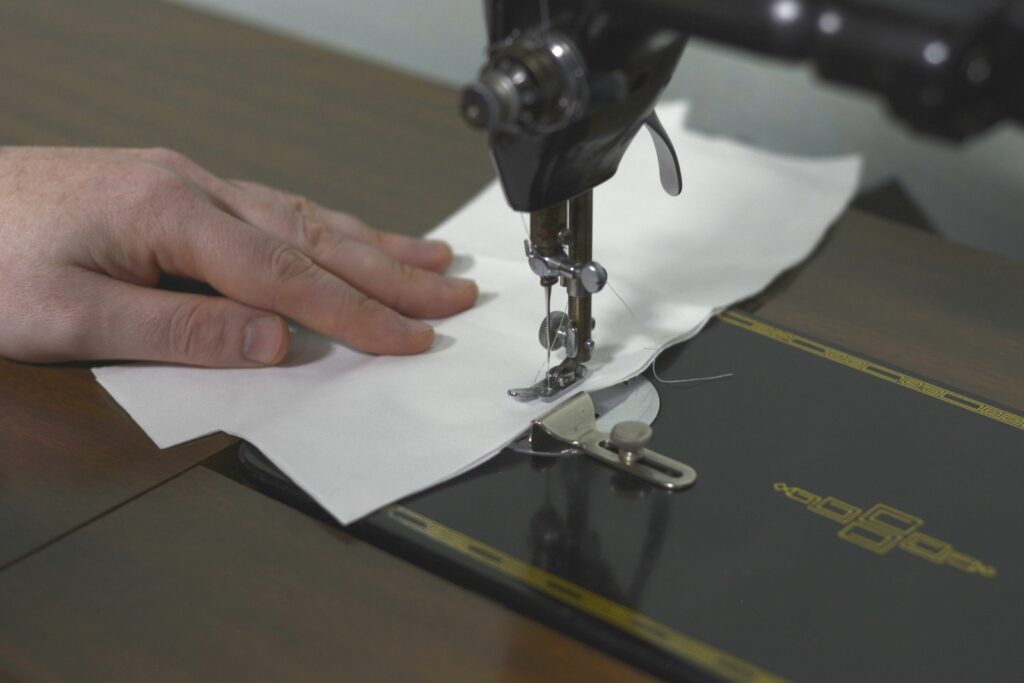
As you get to the corners, instead of taking a sharp turn with the stitches, instead, make a diagonal stitch at the corner. This gives just enough room for the fabric when it is turned, giving you a crisper corner.
Trim the seam allowance to 1/4″ and clip and trim the corners as necessary.

Turn the cuff right side out using the aid of a point turning tool or other pointy object and press firmly.
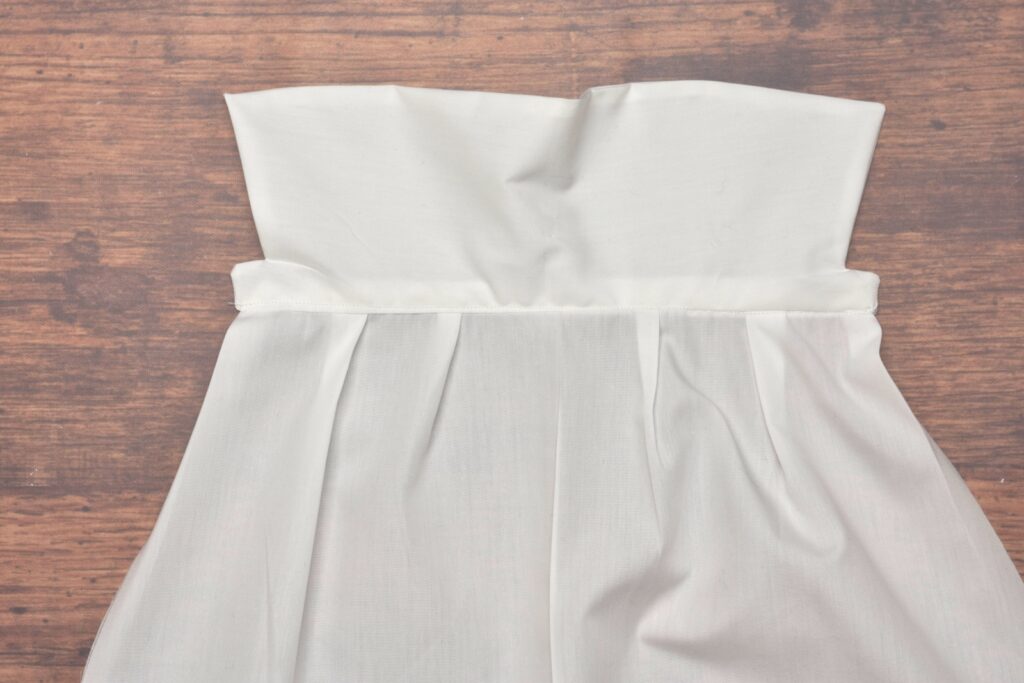
Moving on to the sleeves now, fold and press over the 1/2″ seam allowances to the wrong side on each side seam for about 2″ – 3″ from the cuff.
Finding the center of both the cuff and sleeve, pin the cuff to the sleeve at the center, right sides together, keeping the upper layer of the cuff out of the way..
Pin both ends of the cuff to the sleeve as well. This gets a little tricky since the area is so small. There should be some excess fabric left in the sleeve at this point.
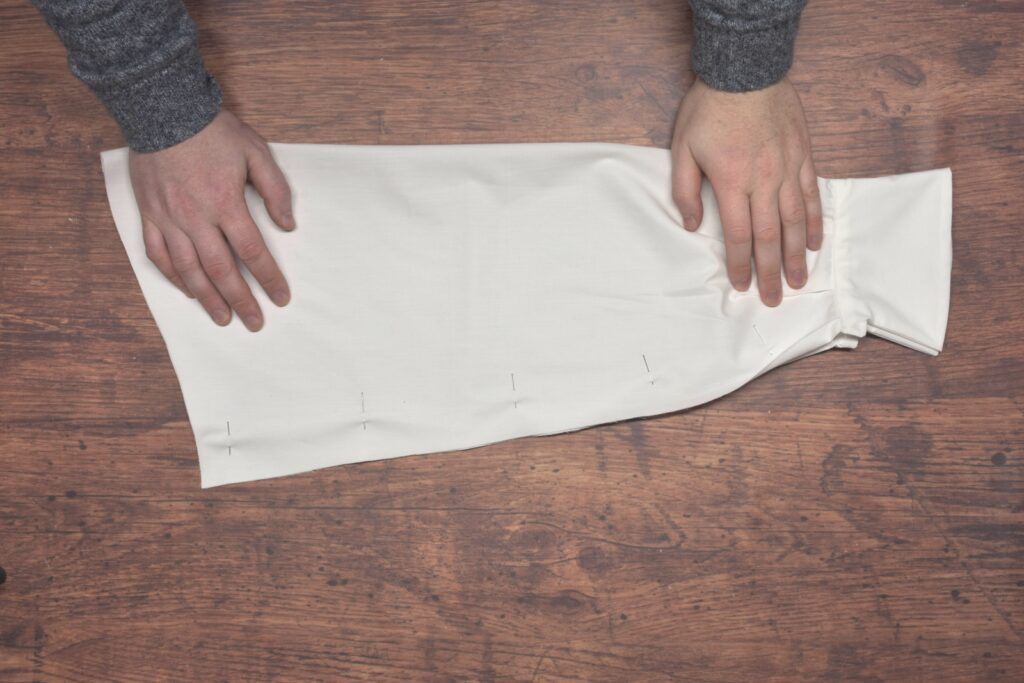
Pin the excess fabric into the cuff by forming small pleats, as we’ve done on other parts of the shirt.

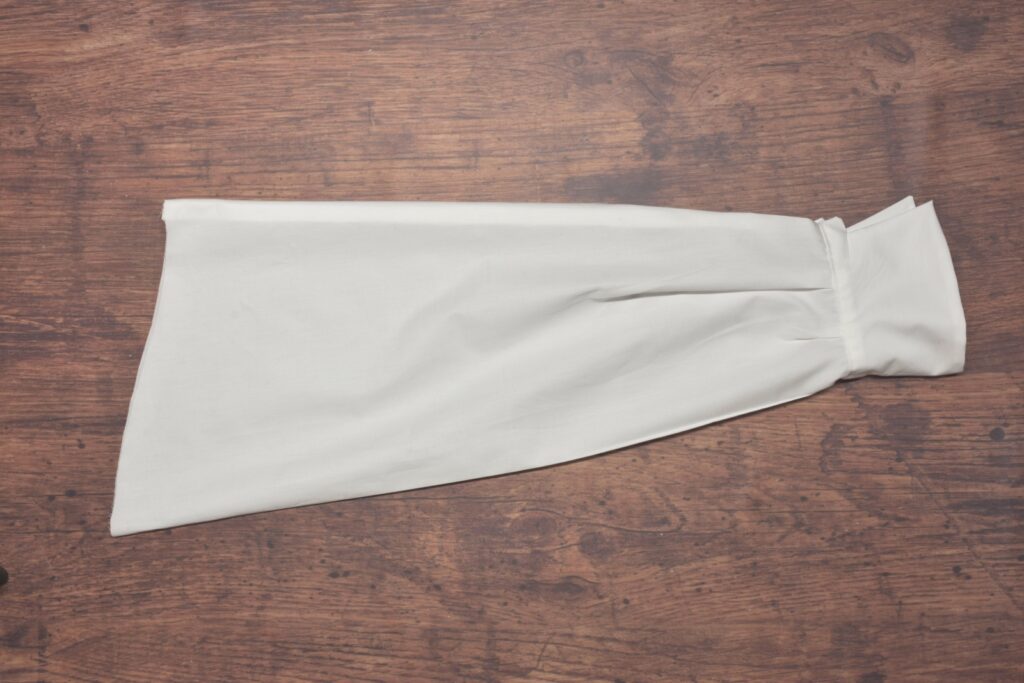
A view of the wrong side of the sleeve with the pleats.
Sew the cuff to the sleeve using a 1/2″ seam, being sure to keep the top half of the cuff out of the way as you sew.
Press the seams towards the cuff.
Pin the inner cuff in place, folding under the seam allowance. You can basted this closed as I did the collar, but in this case, the length of the cuff is short enough that I didn’t find it necessary.
Topstitch across the cuff seam through all layers. You can also top stitch the outer edges of the cuff if you prefer, though I decided not to.
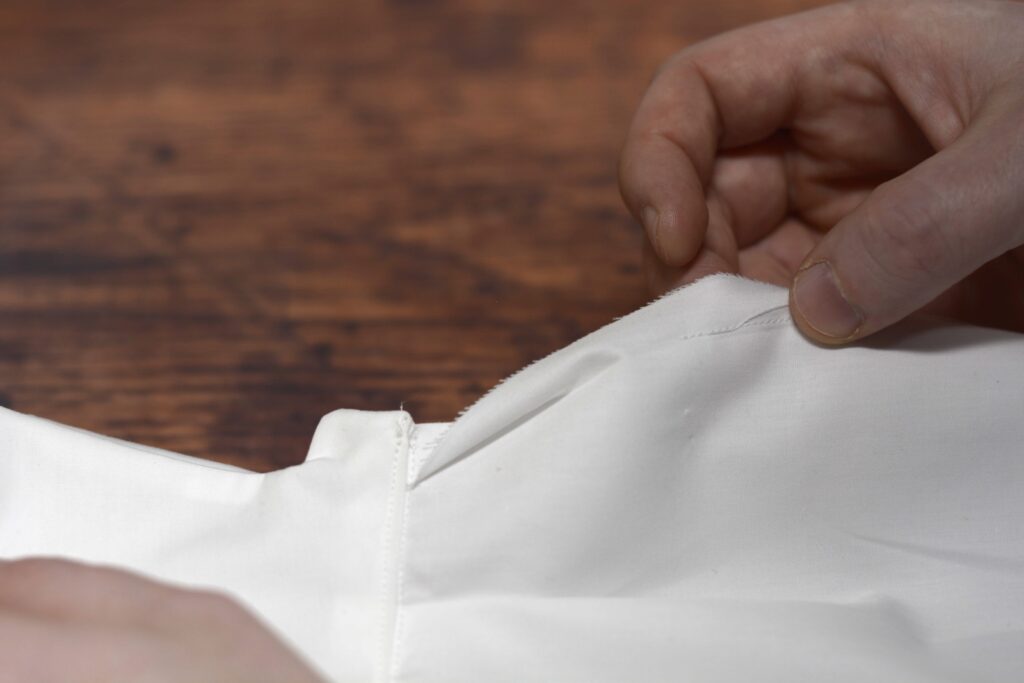
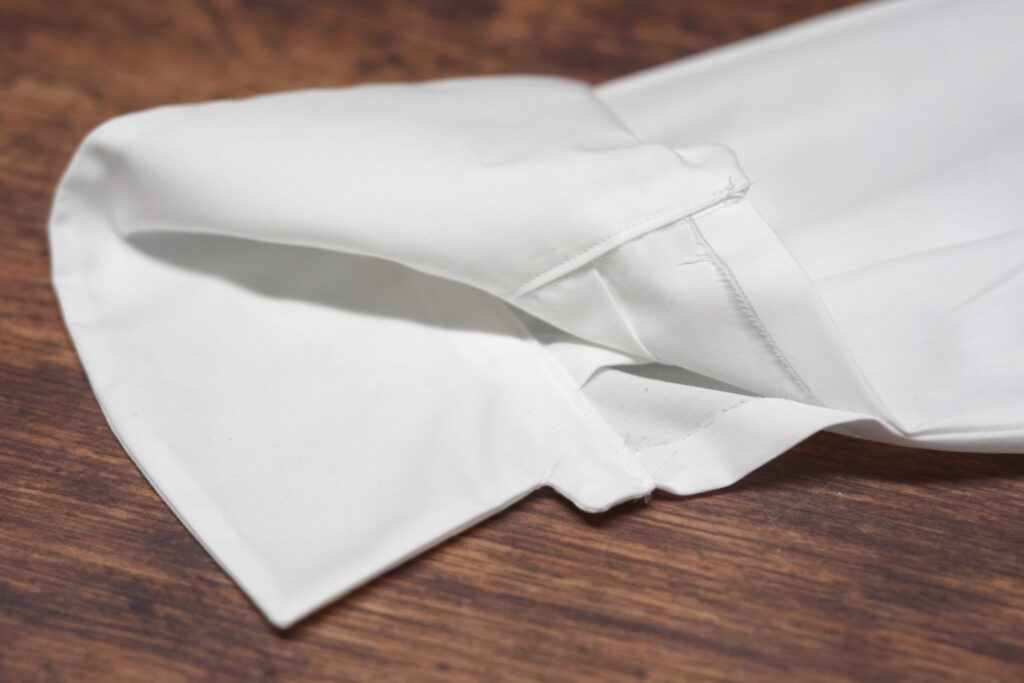
Here’s how the cuff interacts with the sleeve seam. With the real shirt we’ll finish this off before installing the cuffs.
With the cuff complete, we can move on to closing up the sleeve seam. Pin the sleeve seam together and sew with a 1/2″ seam from the sleeve head area to about 2″ or 3″ above the top of the cuff.
Turn and press the seam to one side.
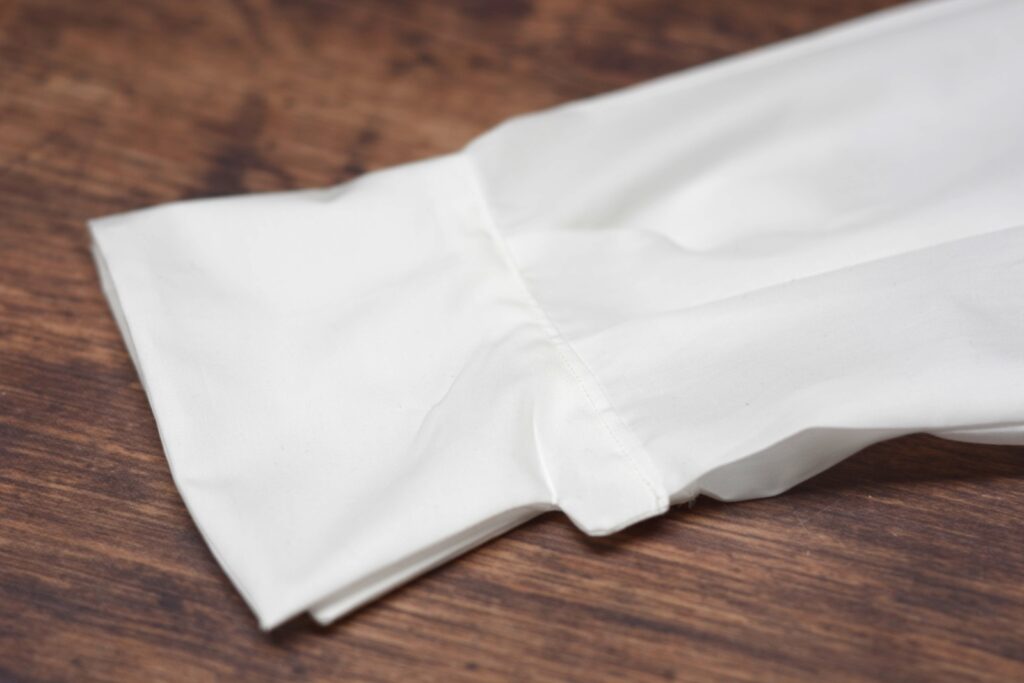
This completes the sleeves. Next, we’ll install them into the armscyes.
Your Progress
[columns gutter=”0″]
[col]
1 | Construct the cuffs and sleeves. |
[/col]
[col align_text=”center, middle”]
[/col]
[/columns]
Drafting the Cuffs
There are two cuff options available for this course and I’ll be showing the construction of both. The first is similar in style to the collar from Devere, while the second is much simpler and based on original shirts from the 1860s.
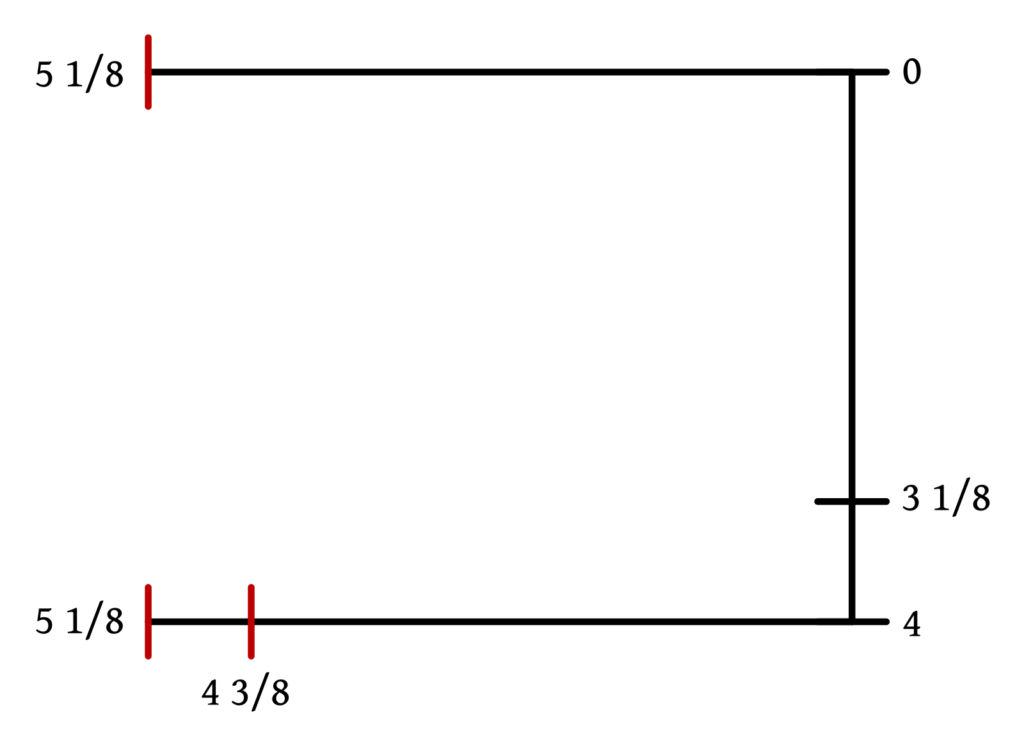
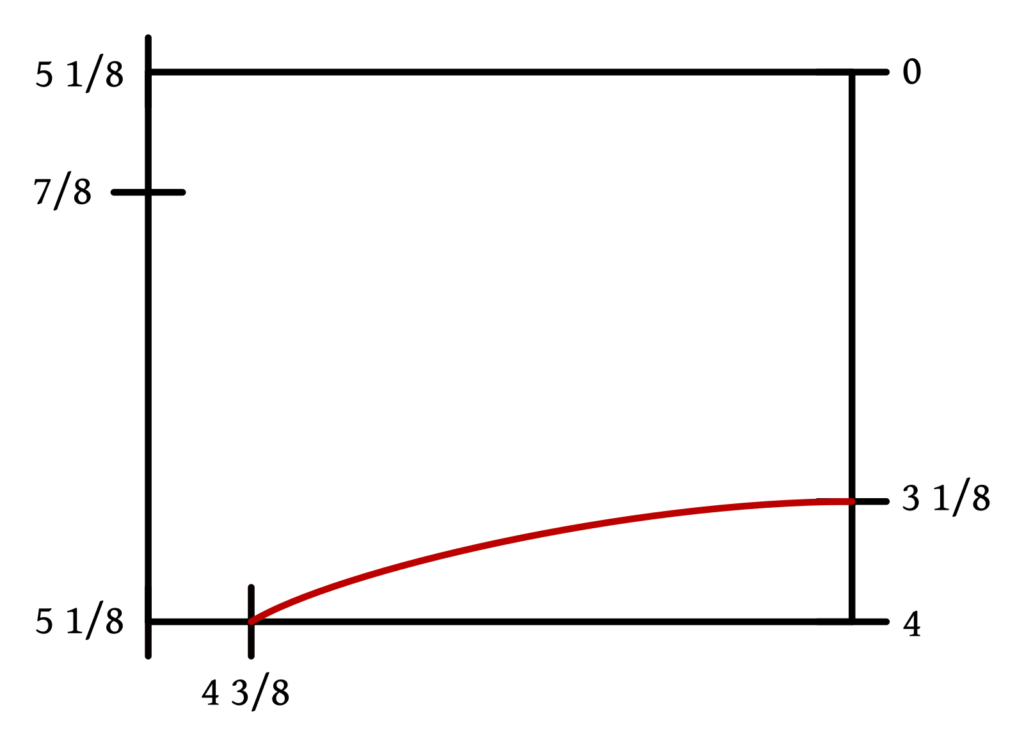
Begin by drawing a vertical construction lines and marking out the following points from 0 with the appropriately-sized graduated ruler.
- 0
- 3 1/8
- 4

Square out from 0 and 4. Mark the following widths:
- 5 1/8 from 0
- 4 3/8 from 4
- 5 1/8 from 4
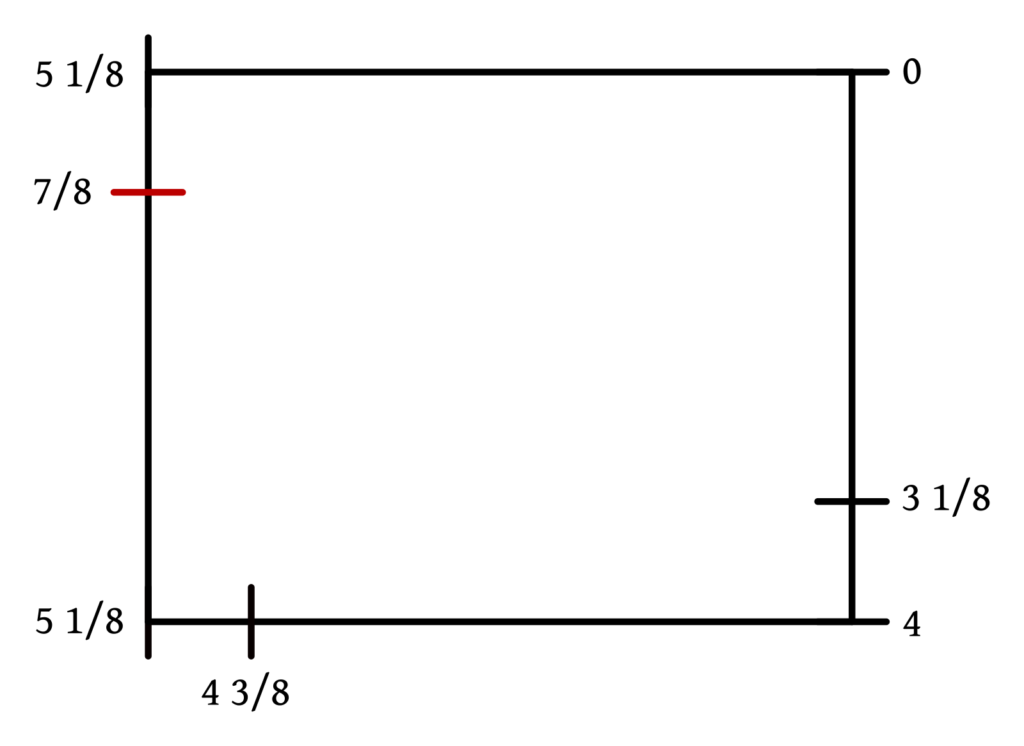
Draw a line from 5 1/8 to 5 1/8, marking 7/8 from the top. It’s a little confusing so far, but hopefully will become clearer in the next steps!
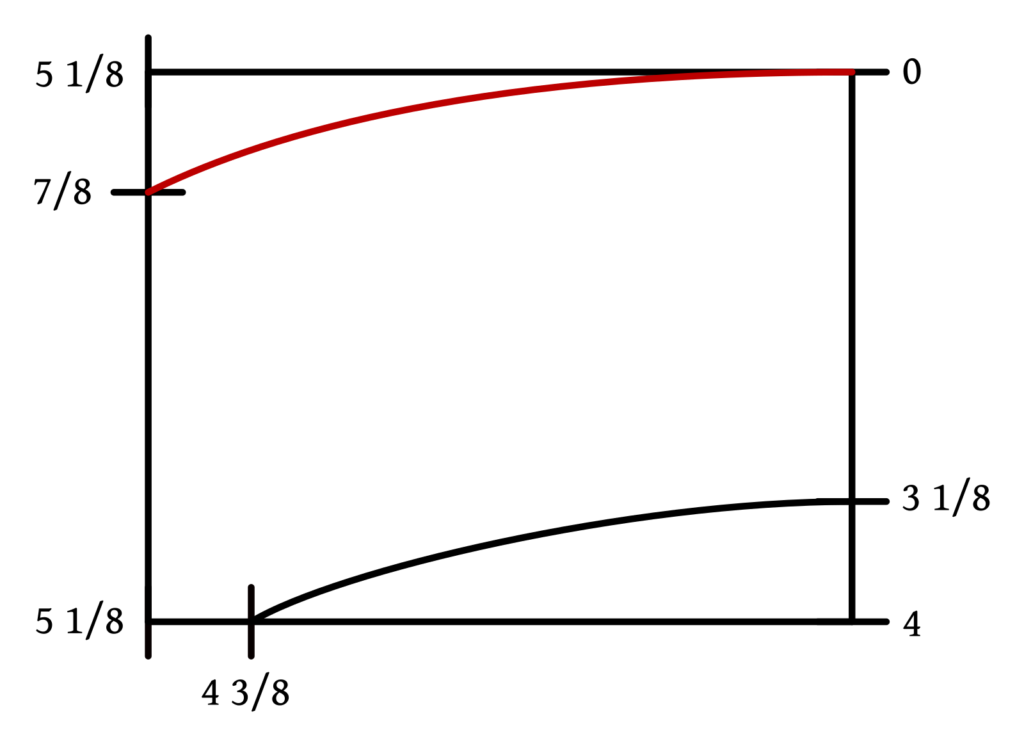
Draw a curved from 3 1/8, running square at first to avoid a scalloped affect in the finished collar, down to 4 3/8.
Draw a similar curve from 0 t 7/8. The curves look parallel but not quite (I think).
Finally, close up the cuff in a similar manner as the collar. Square up from the bottom curve 3/4. Then square out from that another 3/4, connecting at 7/8. You may have to play around with this, as I found the measurements don’t quite line up if you keep everything perfectly square.
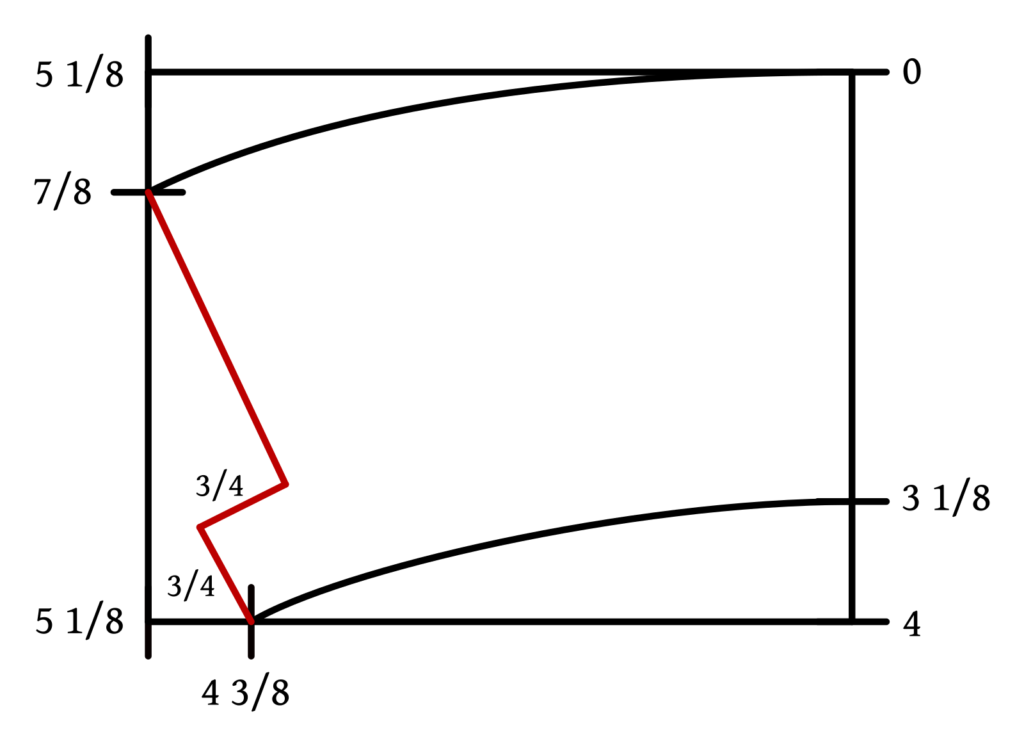
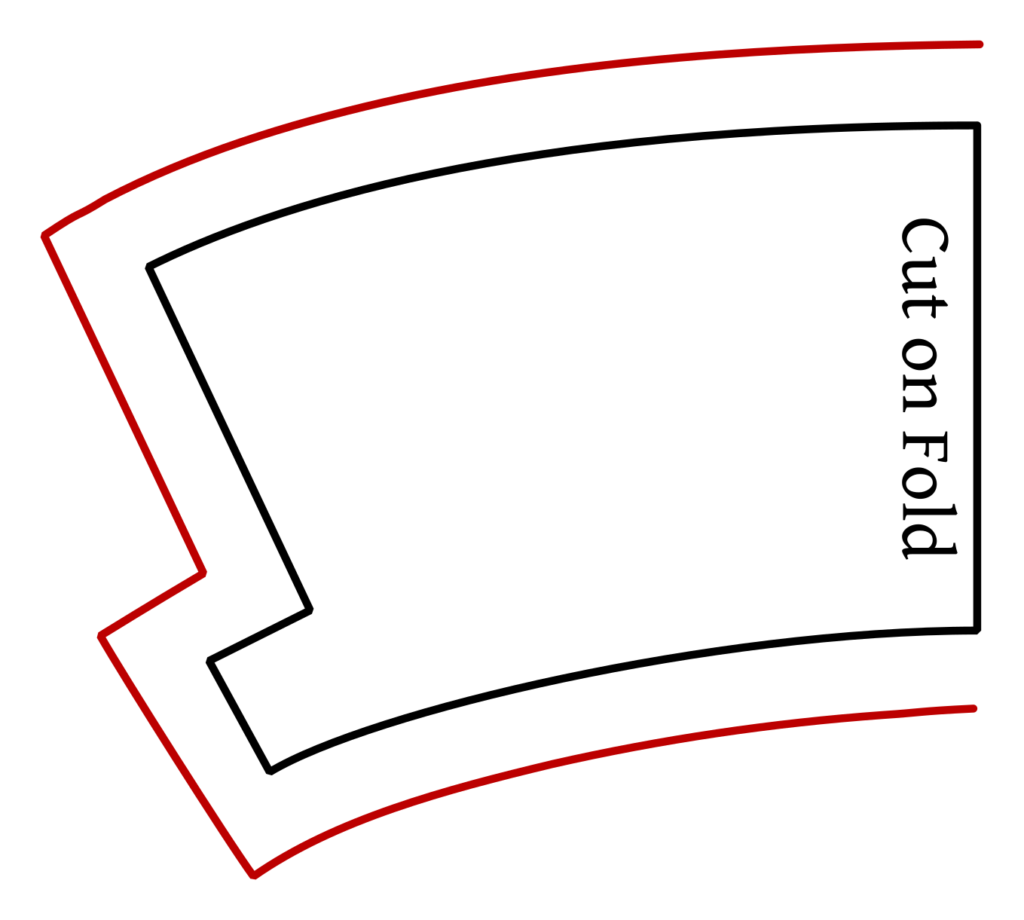
Add a 1/2″ seam allowance all around except for the center line, which is cut on the fold.
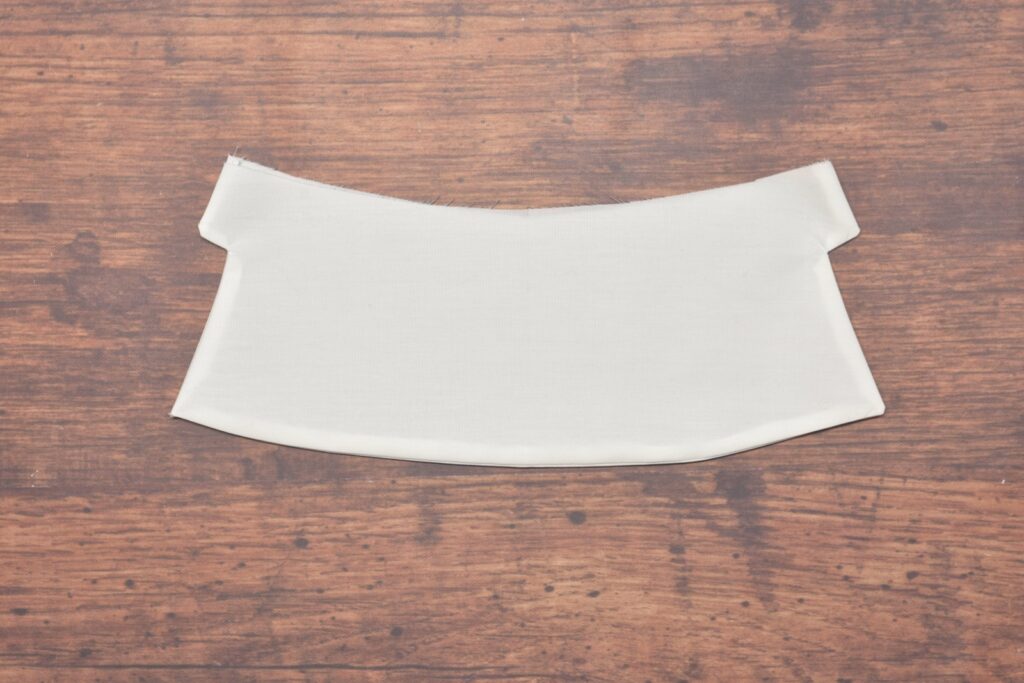
Basic Curved Cuff
This is the simplest form of cuff to draft. Square out from 0 and draw a rectangle 4 3/8 wide by 2″ – 3″ (graduated or not). The exact depth of the cuff is up to you, I’ve seen examples from 1″ up to 4″ like the one above.
Draw a circle in one corner as shown. You can make this as deep or as shallow as you like, or even leave the cuff square.
Finally, add a 1/2″ seam allowance all around except for the center line, which is cut on the fold.
Your Progress
[columns gutter=”0″]
[col]
1 | Draft the cuffs. |
[/col]
[col align_text=”center, middle”]
[/col]
[/columns]