Month: December 2020
Open-Top Pocket Construction
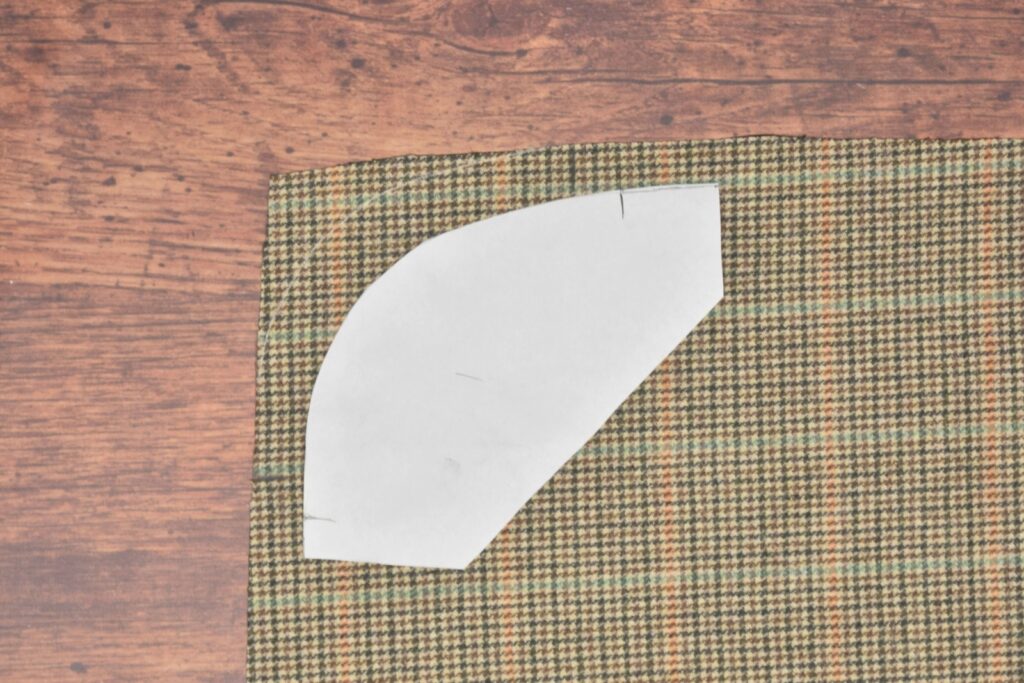
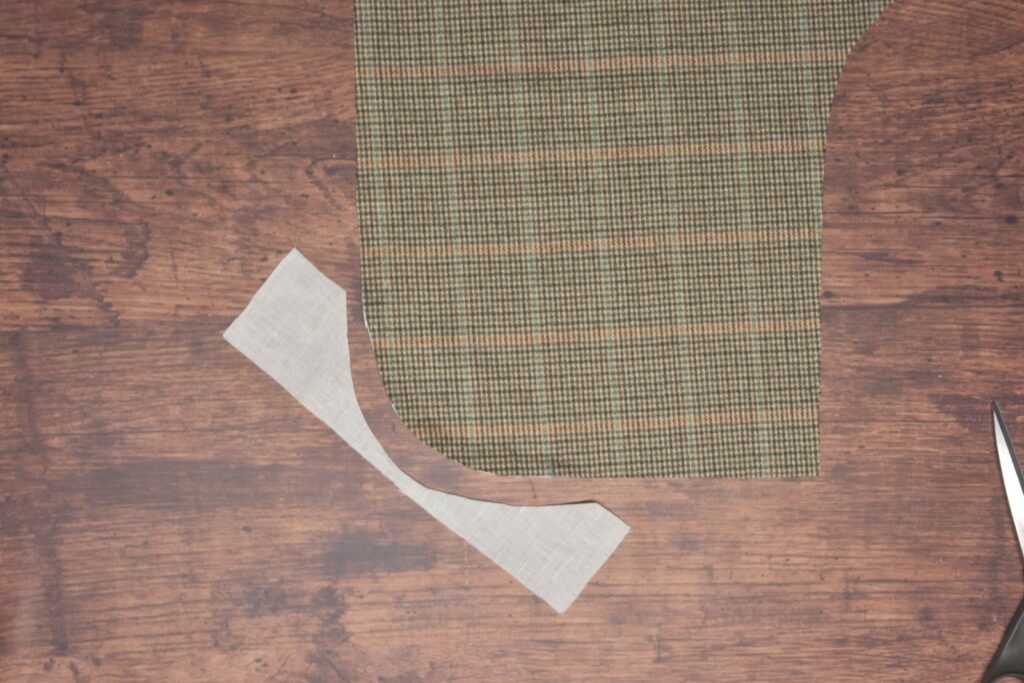
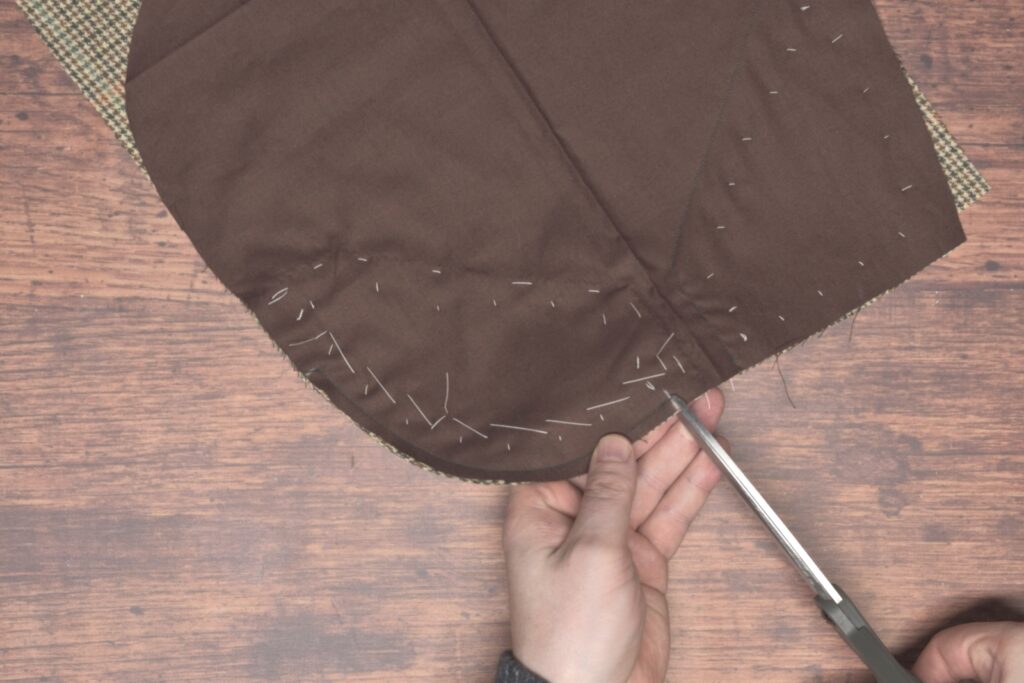
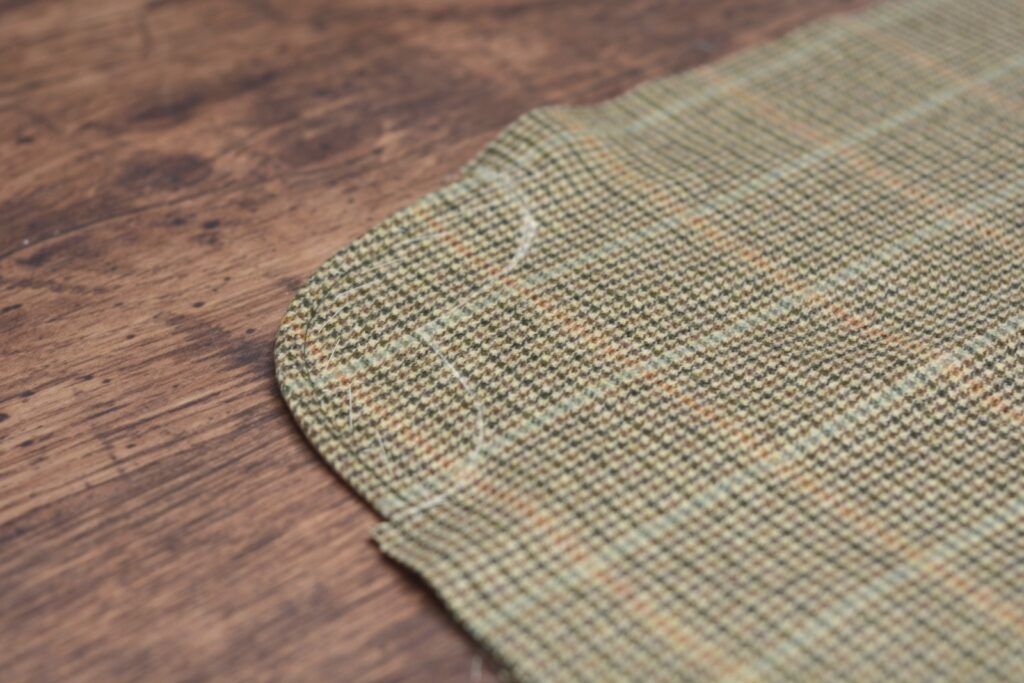
With the pocket bags assembled, we can now install them into the trousers. First, we need to trim the trouser fronts to match the shape of our pocket facing pattern, which can be a little intimidating!
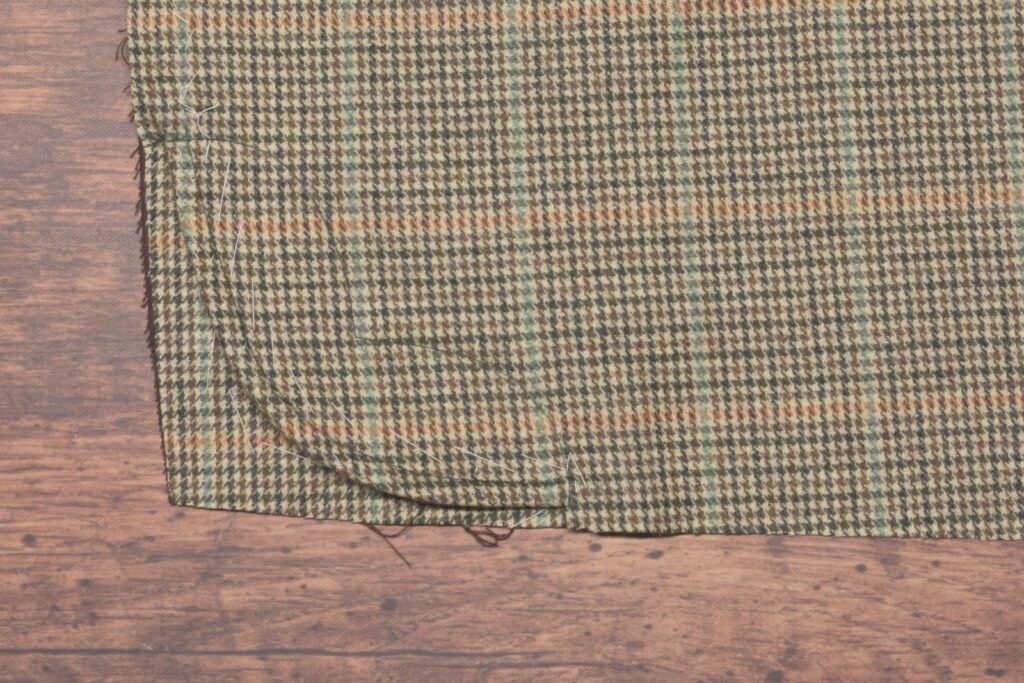
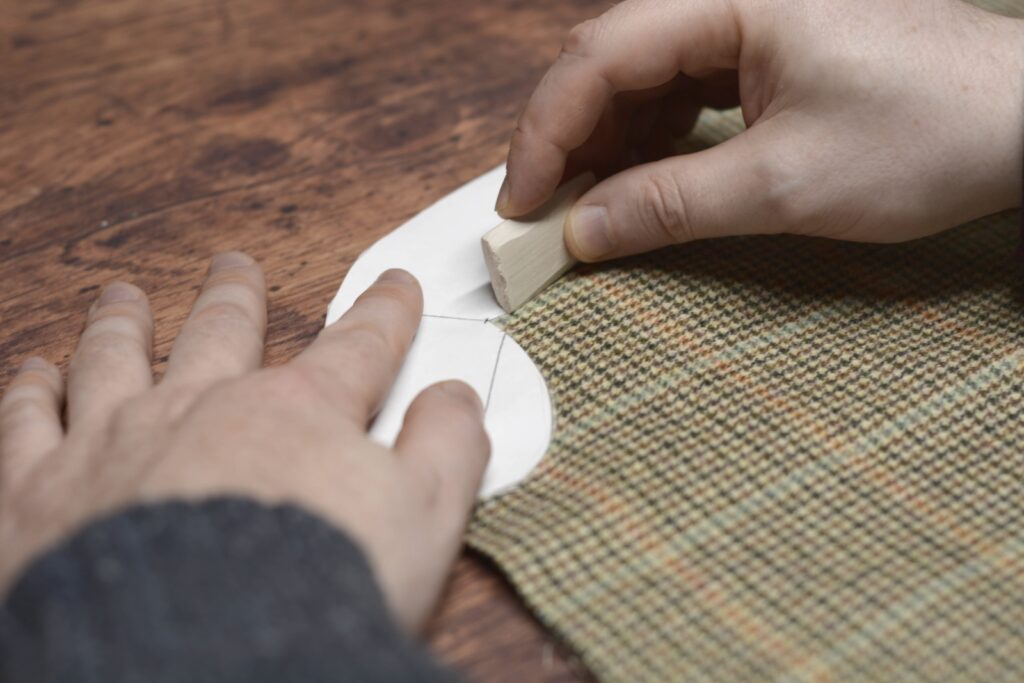
Place the trouser pattern on the trouser front, aligning the pocket opening marks, and trace the pocket opening shape.
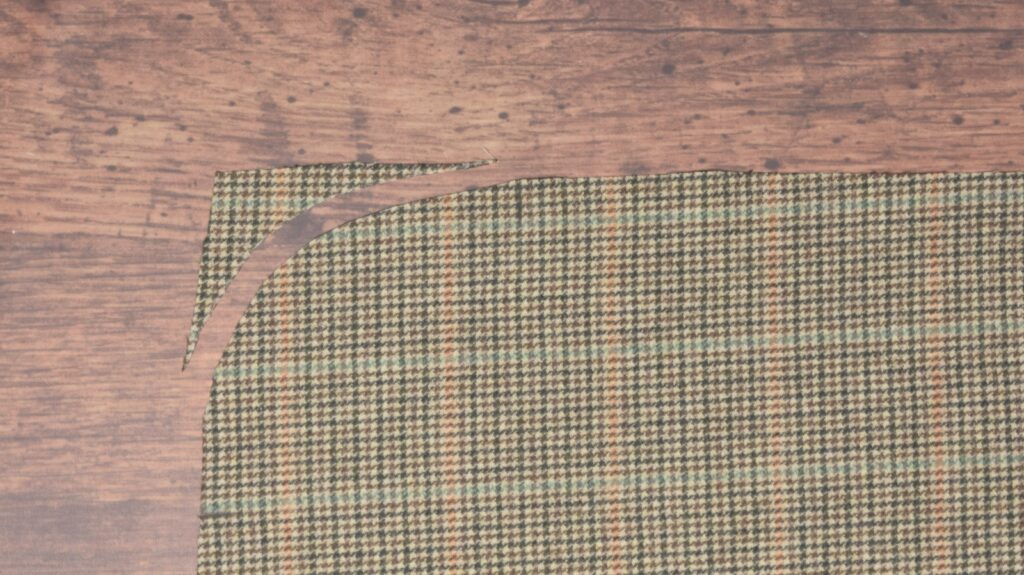
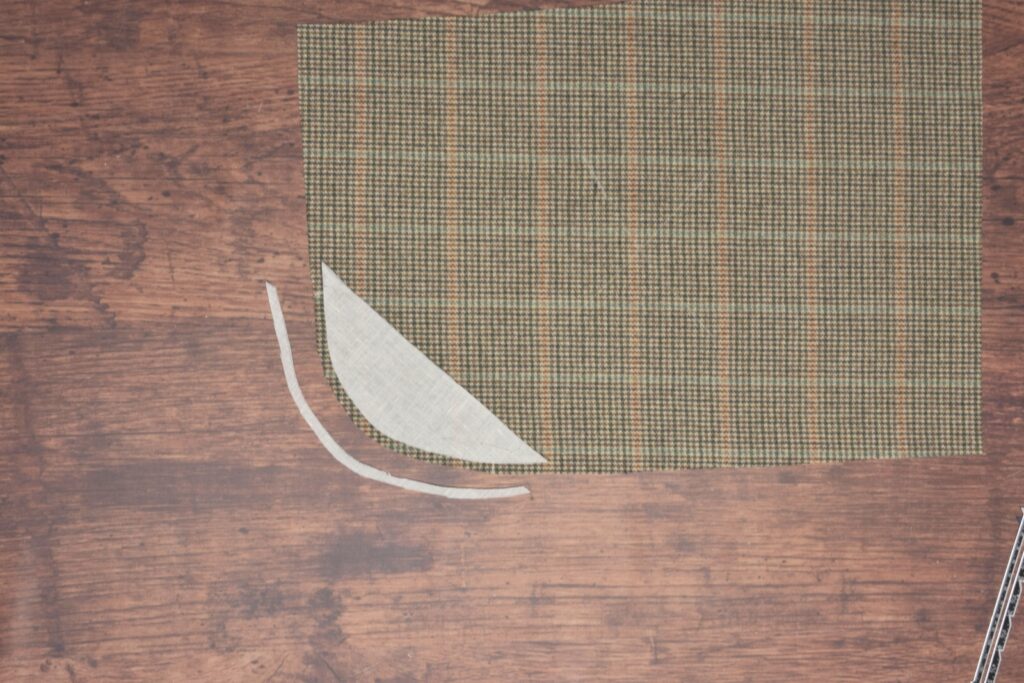
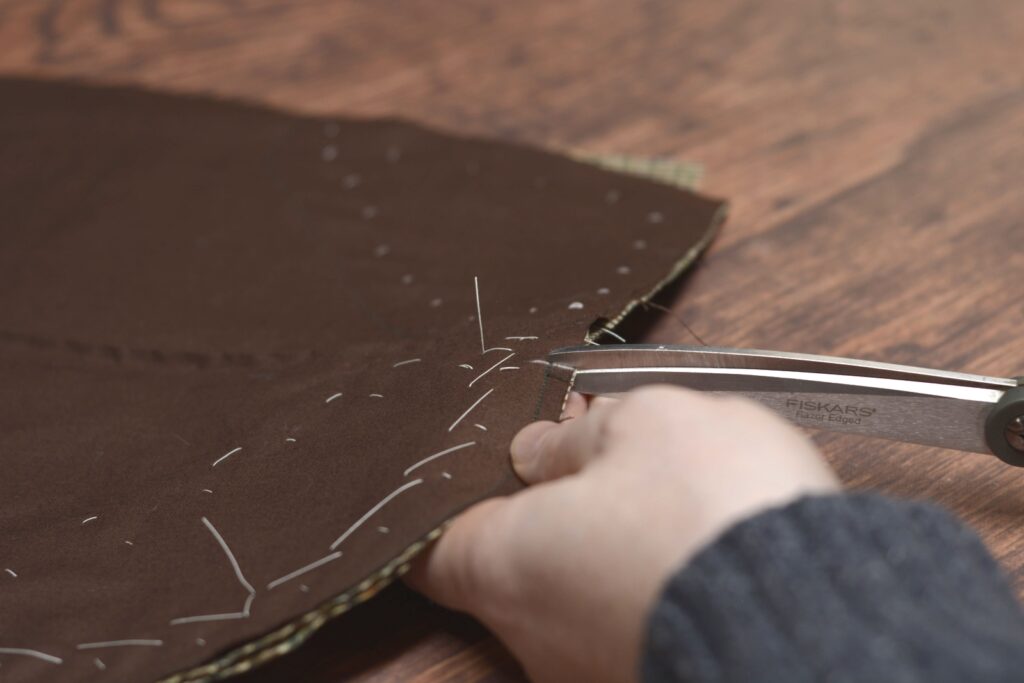
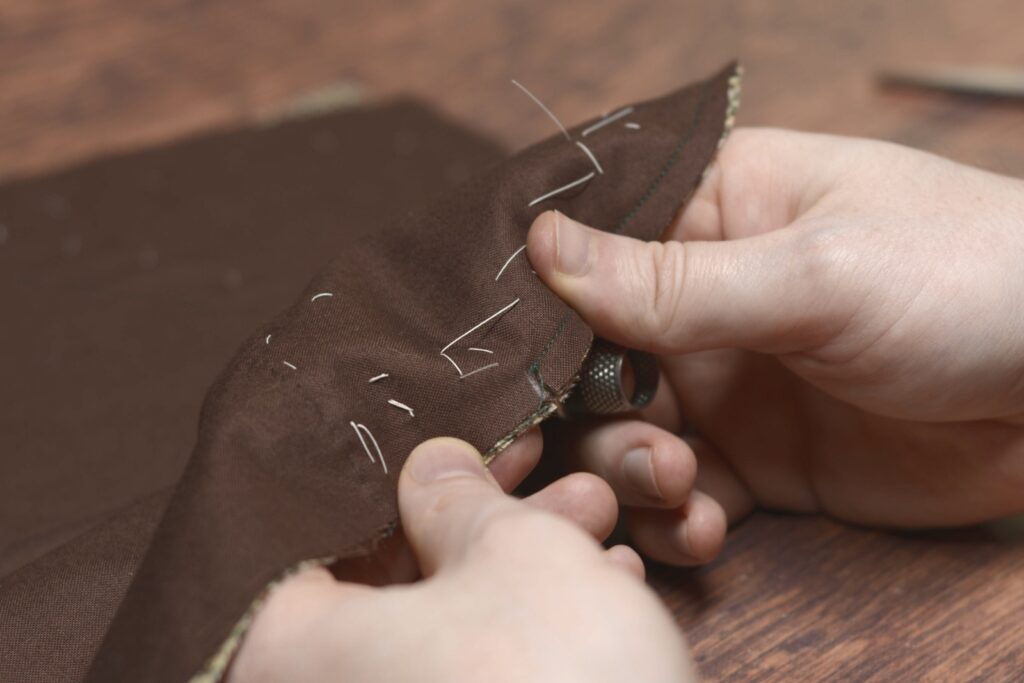
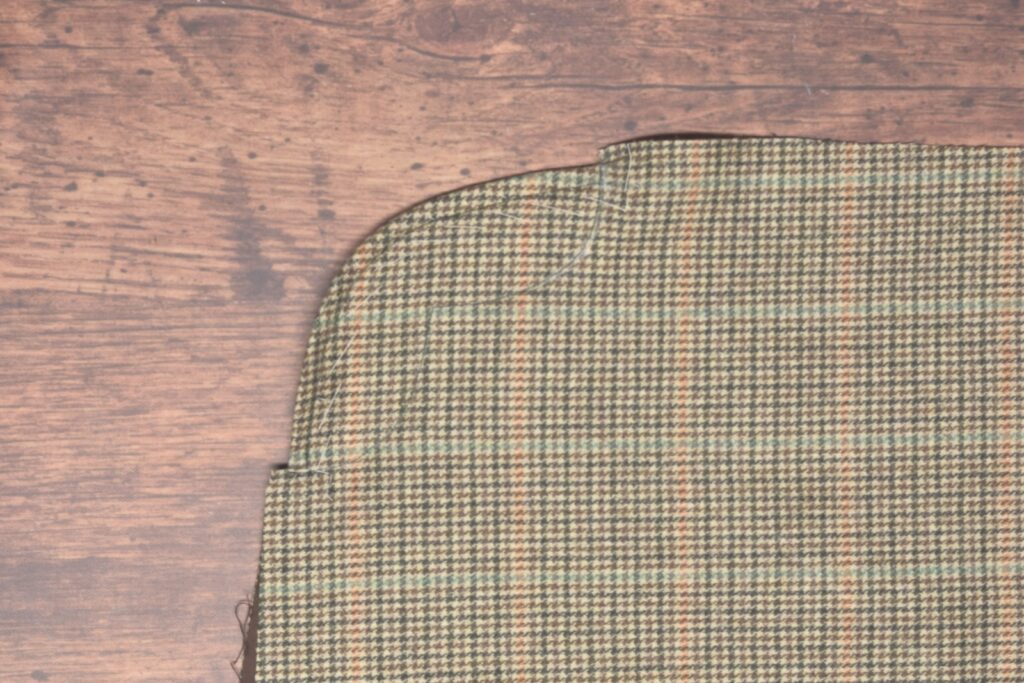
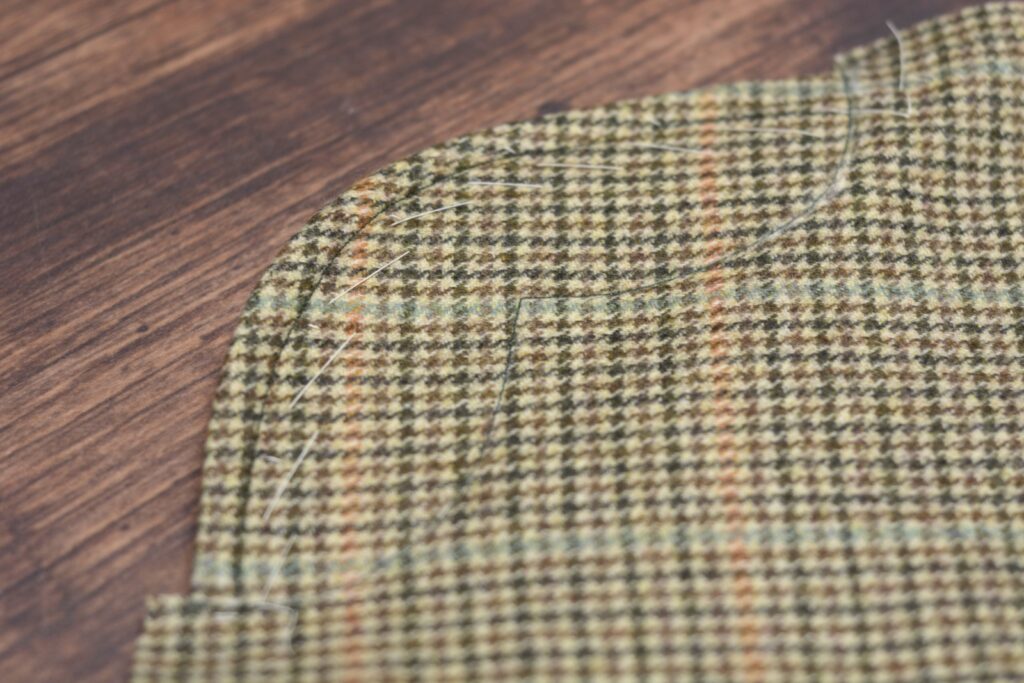
Carefully trim away the excess.
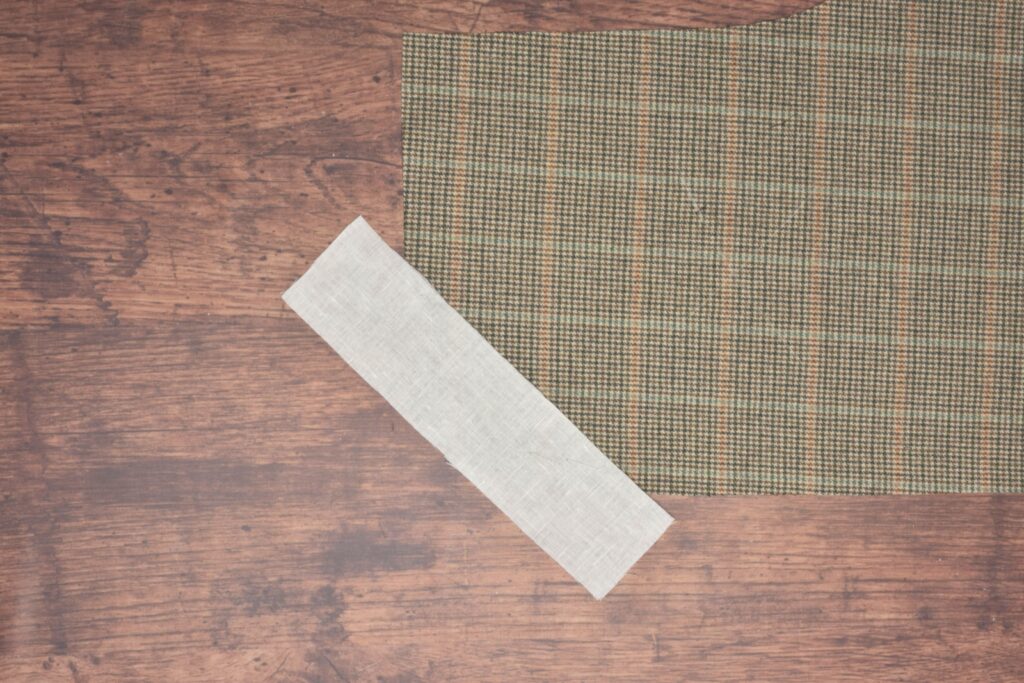
The next steps of adding linen and stay tape for support are optional, and depends on the originals you are copying, if they used them or not, as well as the thickness and durability of your fabric. For thinner fabrics I’d use the linen and stay tape, but for thicker fabrics it may add too much bulk.
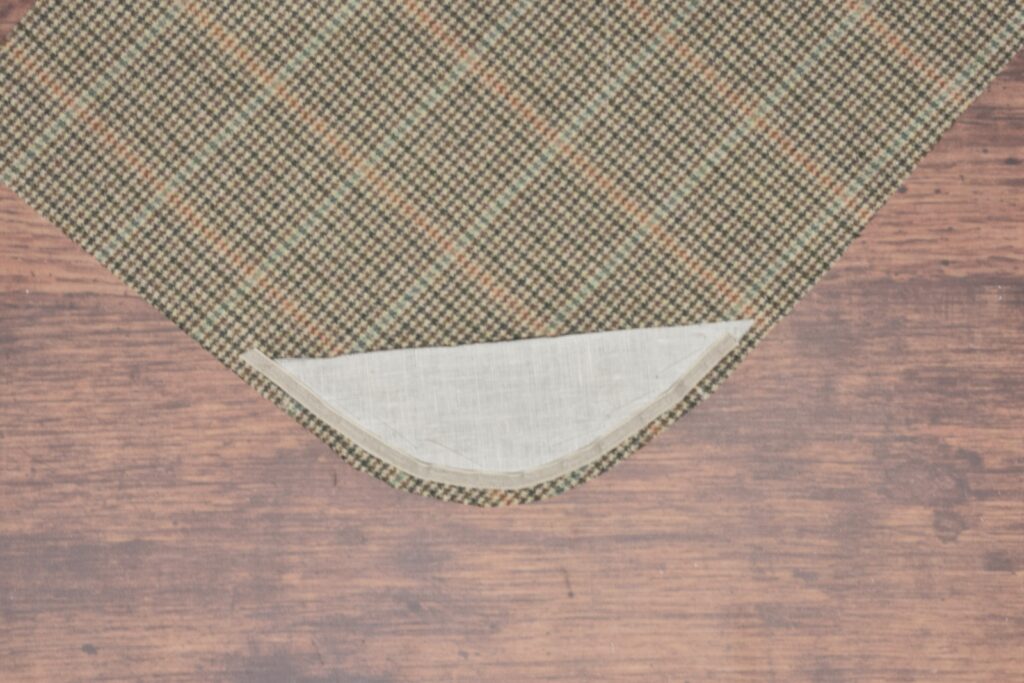
Begin by cutting a piece of linen on the grain about 3″ wide by several inches longer than the distance between the pocket opening marks on your pocket. You want the linen to cover the entire distance between the two points as well as an inch or so beyond on each side.
The linen helps to stabilize the pocket opening.
Baste the linen in place on the wrong side of the trouser front.
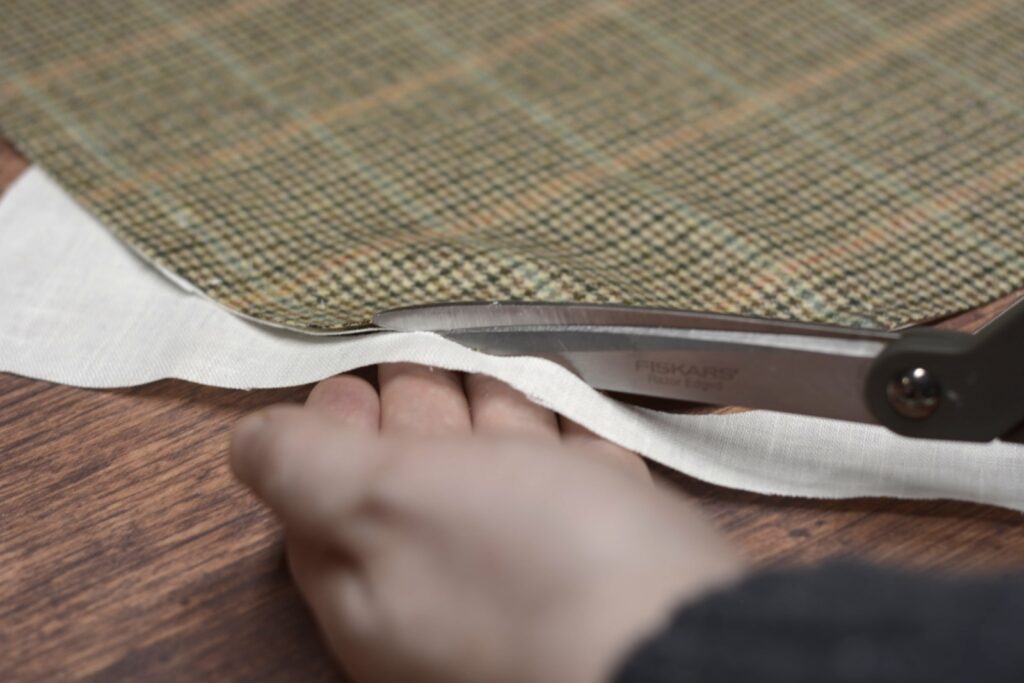
Trim the linen flush with the trouser edges.
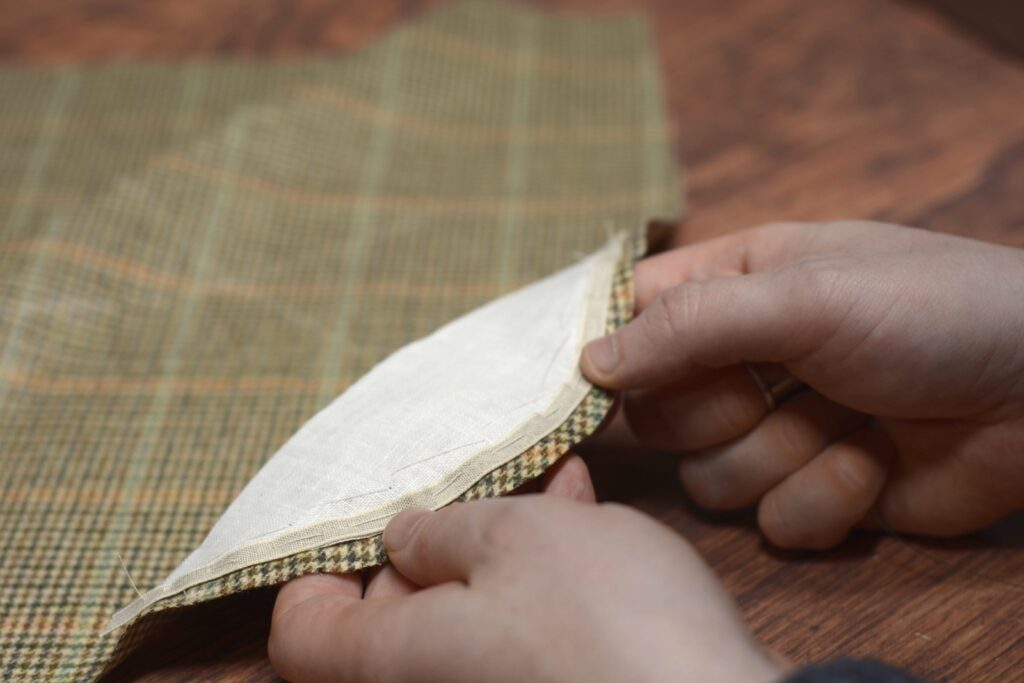
Mark the seam allowance plus a little extra (I used 5/16″) to account for turning the fabric over later on.
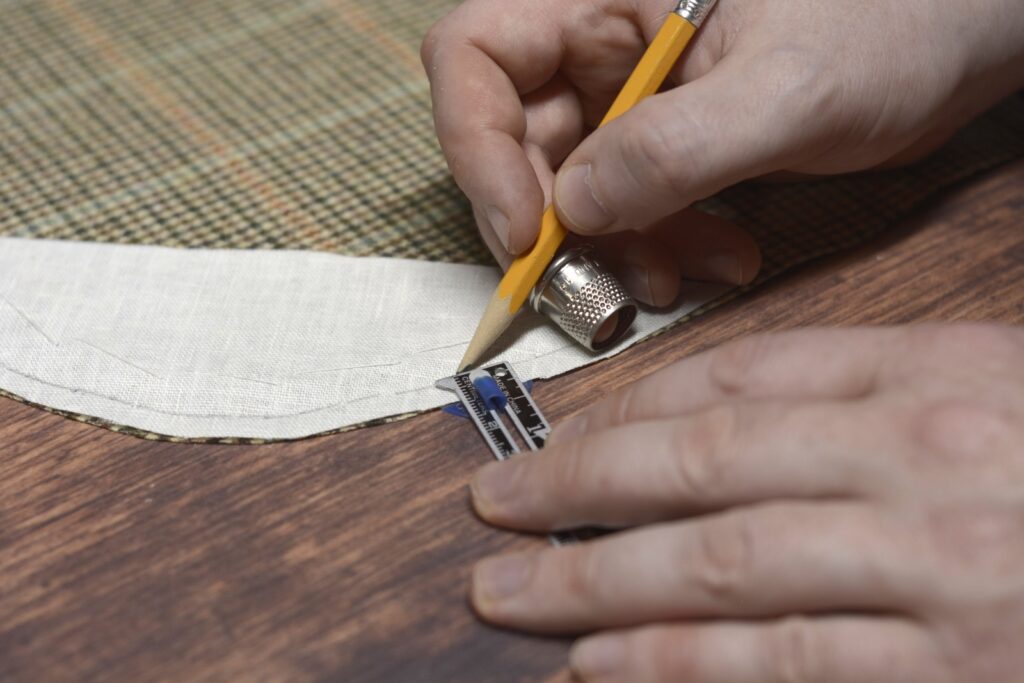
Trim the linen layer to the seam line.
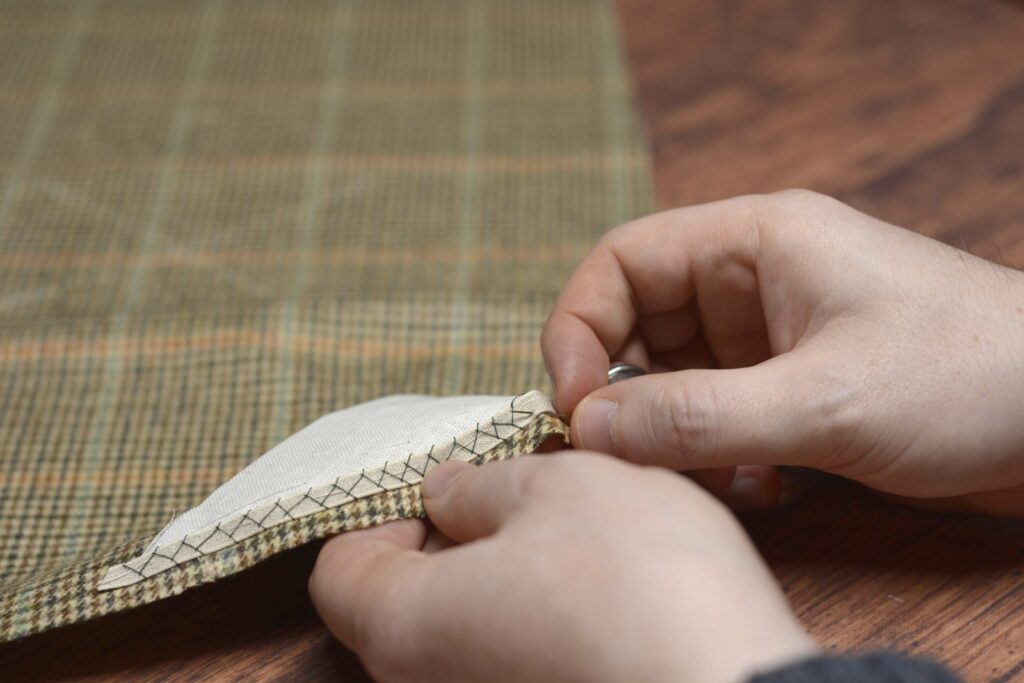
Now add a length of stay tape along the edge of the linen, the outer edge of the tape extending beyond the linen by ‘a smidge’. The stay tape should extend beyond the pocket opening marks by about 1/2″ or so. Baste securely in place.
Not pictured or on video unfortunately, but you should hold the stay tape slightly tighter than the fabric underneath as you baste. This will pull the fabric towards the camera, or in other words, towards the body when the trousers are worn, helping to keep the pocket flap in place.
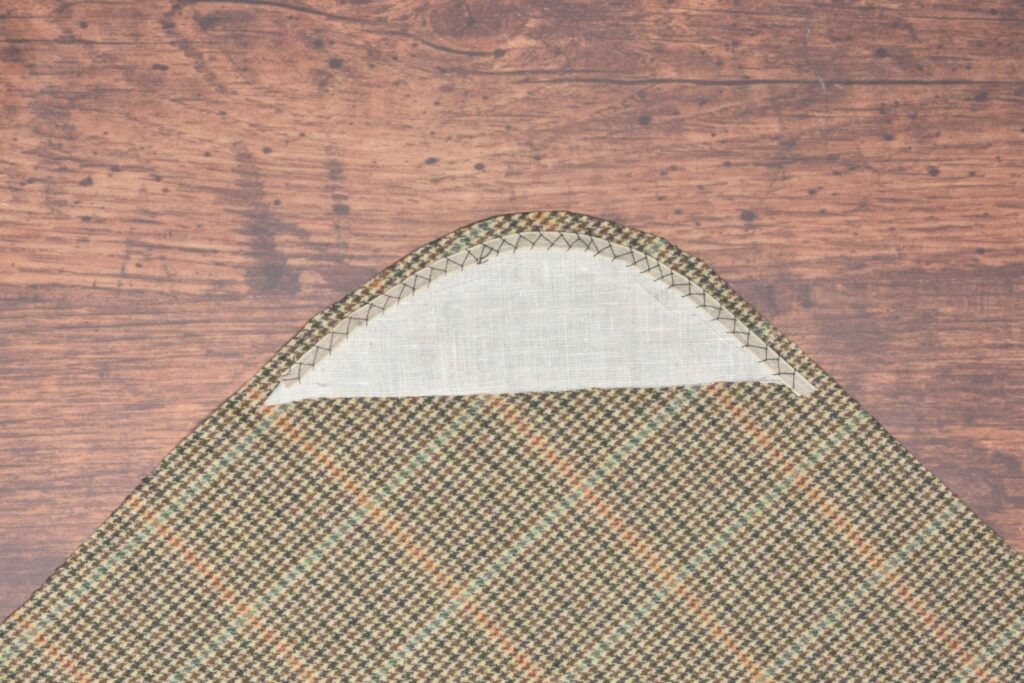
Cross stitch the stay tape to the trouser front, catching only the linen on the inner edge, and catching the trouser fabric on the outer edge, being careful that the stitches don’t show through to the right side.
Installing the Pocket Bags
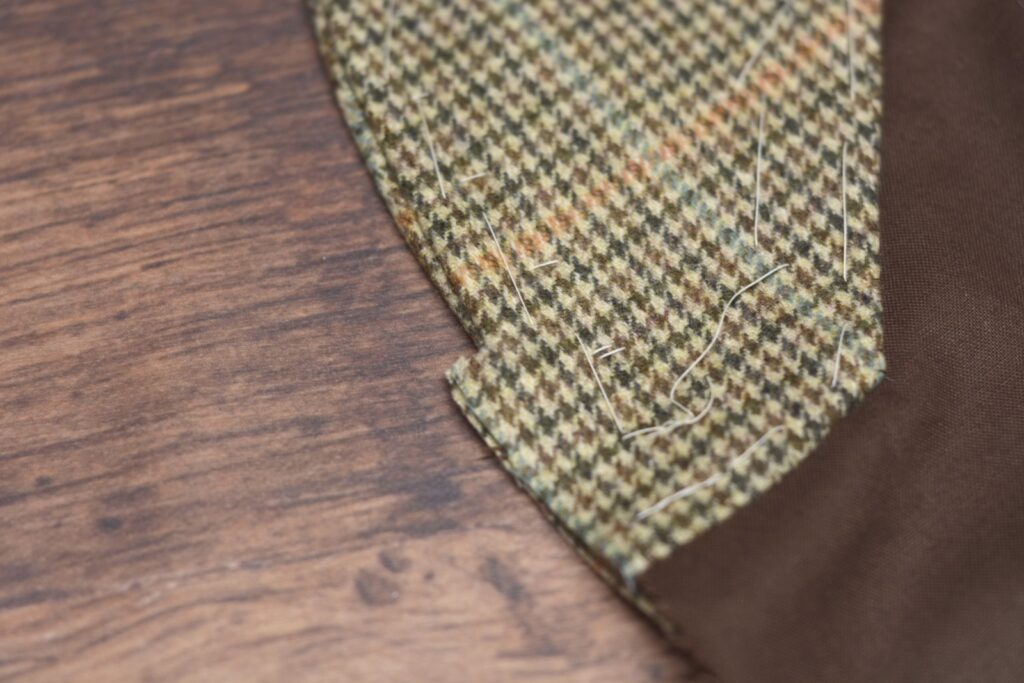
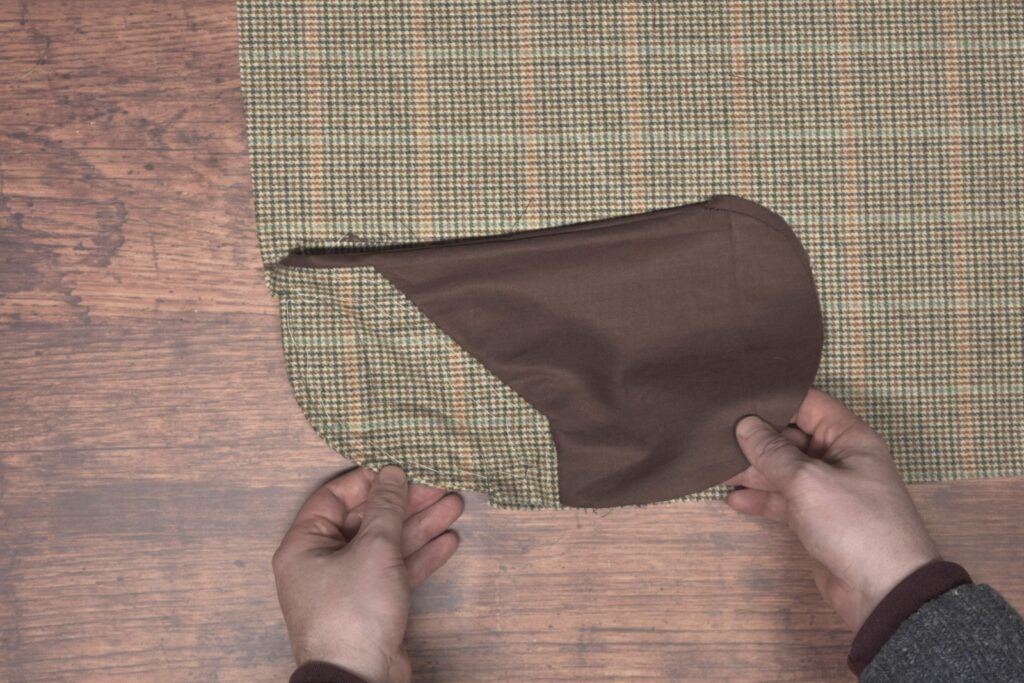
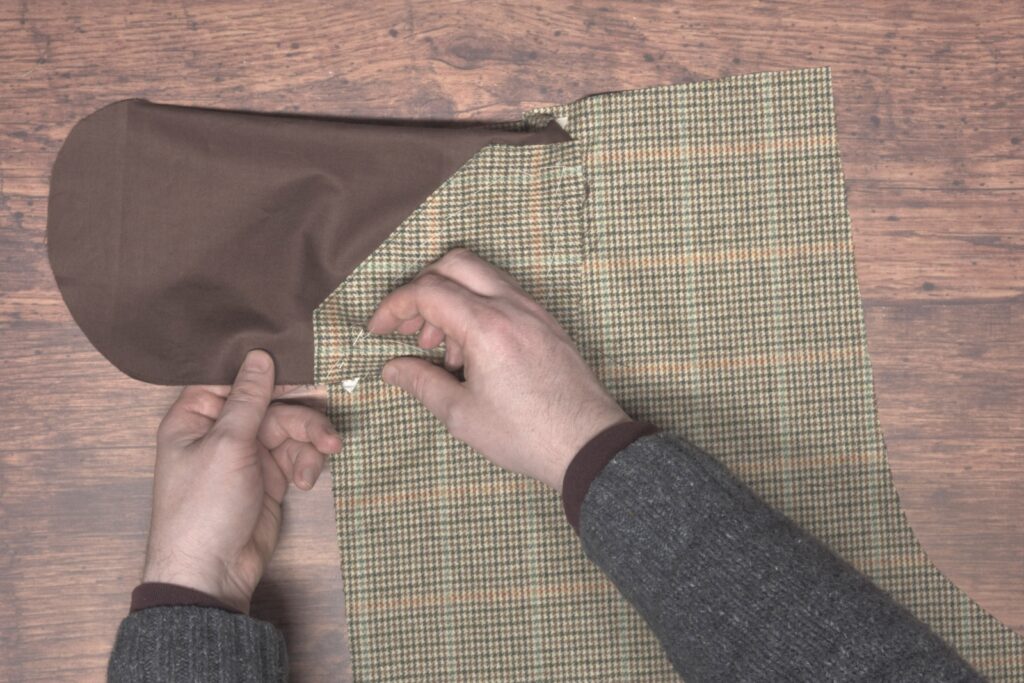
Align the appropriate pocket bag on the trouser front, right sides together. Baste carefully through all layers, ensuring the pocket opening marks are aligned as closely as possible.
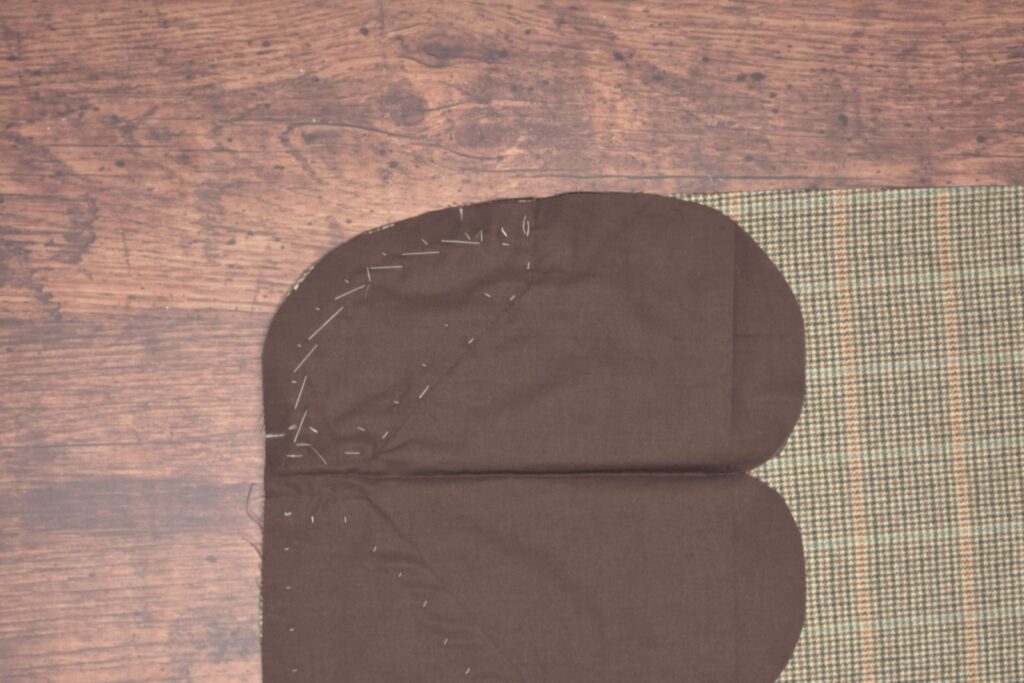
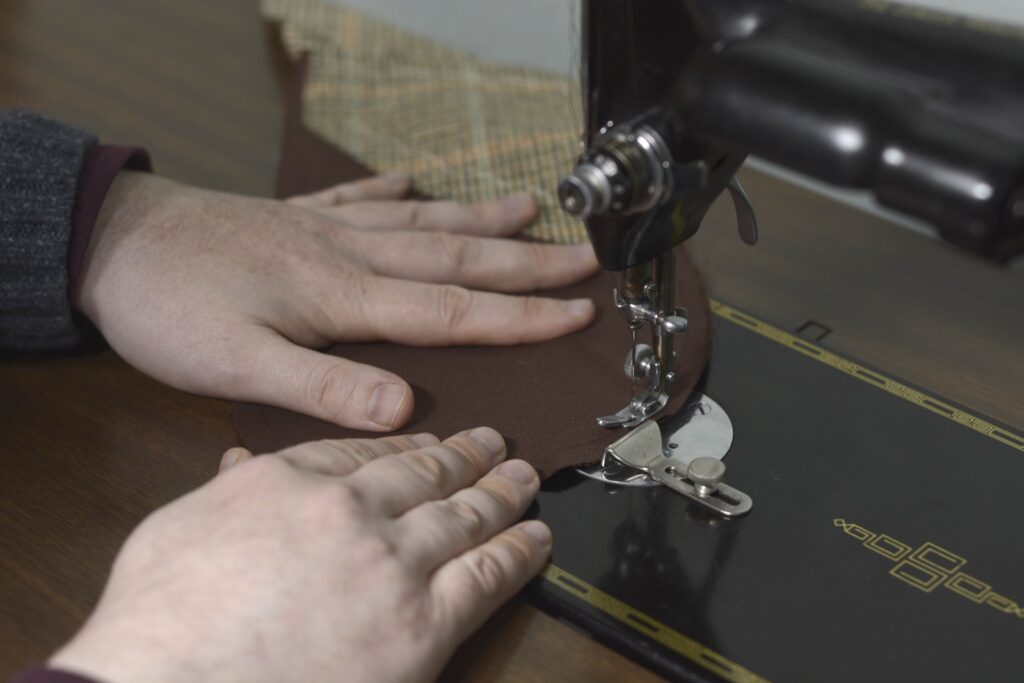
Machine sew or back stitch between the pocket opening marks using a 1/4″ seam allowance. You should actually sew this with the pocket bag underneath, so that you can ensure you are the correct distance from the edge of the stay tape. I was distracted by the photography and neglected to do so, as you’ll see in a minute.
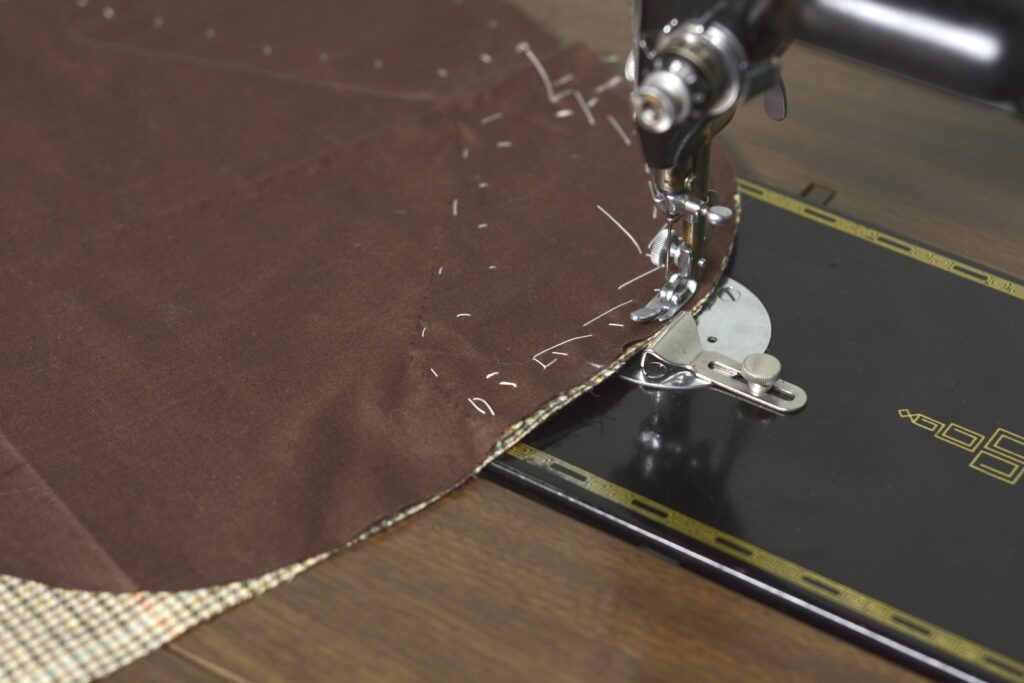
You can see where my stitching is not parallel to the stay tape and at the right end, actually goes on to the stay tape! I made it work out but definitely something to avoid.
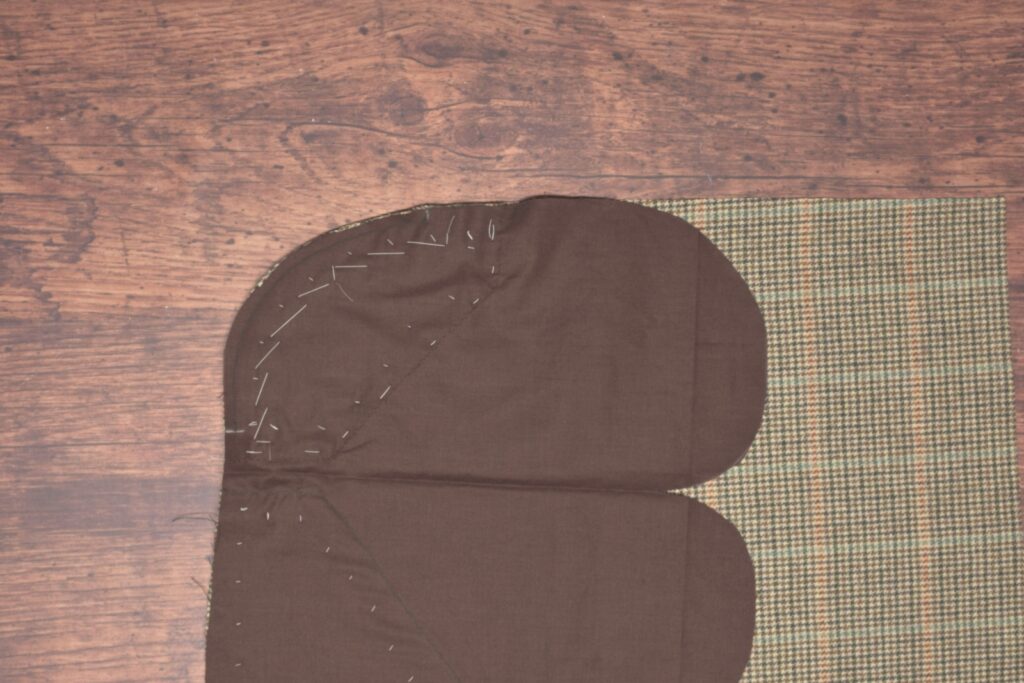
Now clip the seam allowance at the end of the stitching at each of the pocket opening marks. The clip should get as close as you can to the stitches without actually cutting the thread.
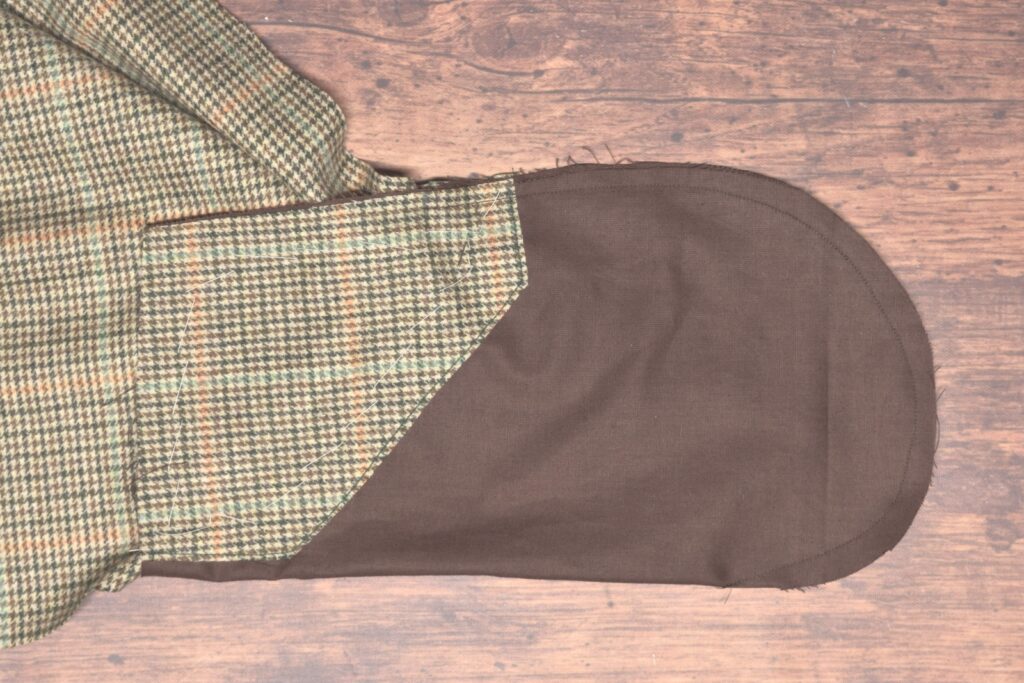
Turn the pocket right facing right side out, and baste securely closed, holding the facing so that the seam is about 1/16″ beyond the pocket edge. Press as necessary.
Depending on your fabric and pocket shape, you may need to trim the seam allowance down to about 1/8″ before turning. It wasn’t necessary in my case.
Continue the basting down to the bottom of the facings to keep the edges aligned properly.
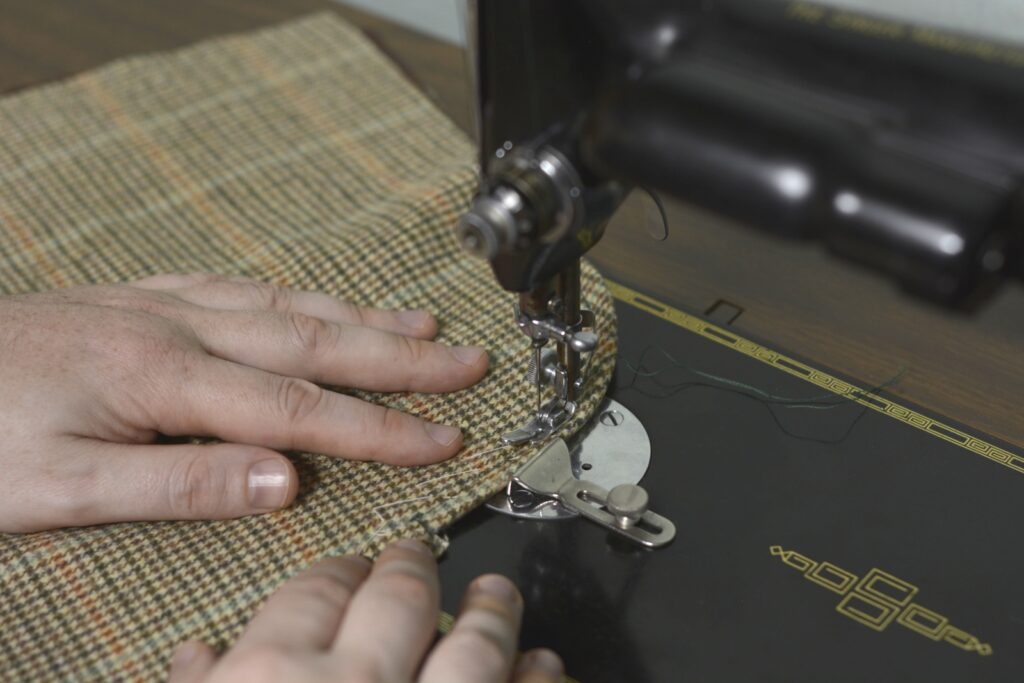
Top stitch the pocket opening using either a machine stitch or a side stitch by hand, 1/4″ from the edge, between the pocket opening marks.
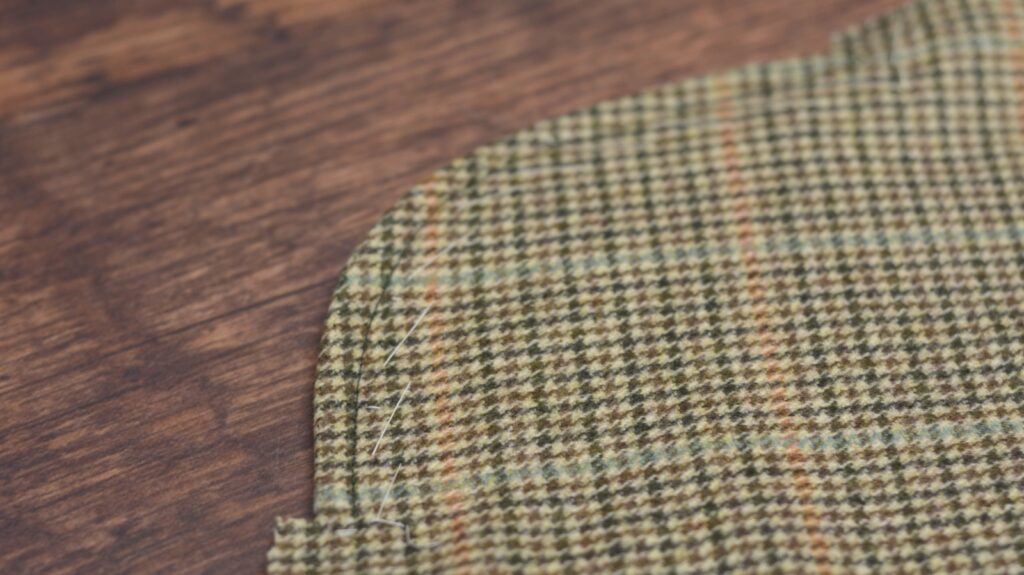
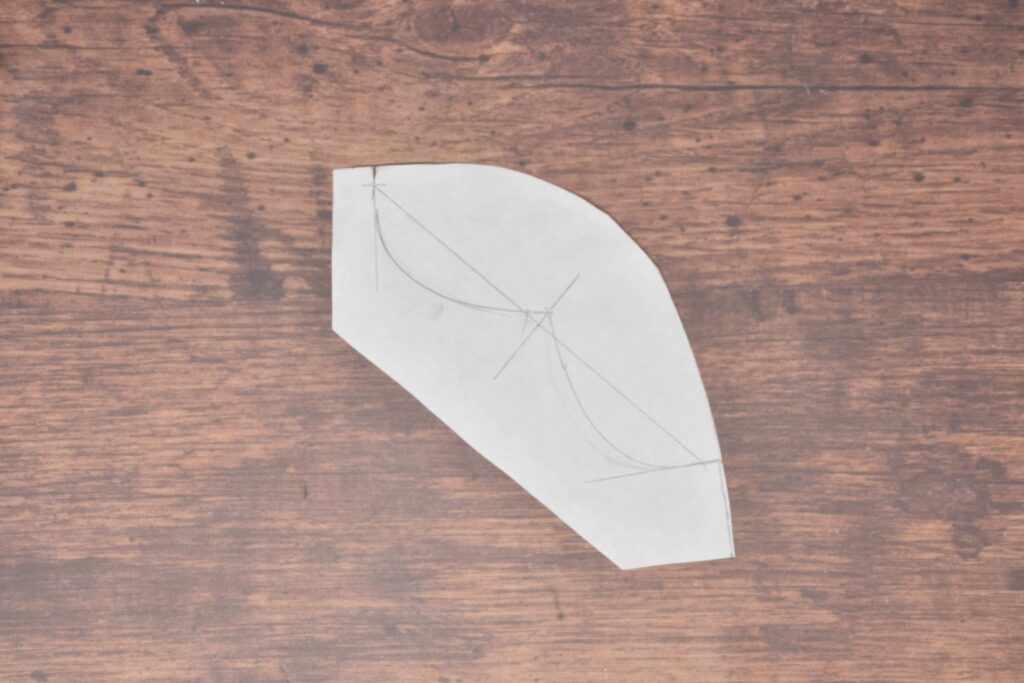
Depending on your pocket style, you may wish to add some decorative top stitching to the pocket opening. I made my pattern by finding the midpoint of the construction line and drawing two (somewhat) equal curves on each side as shown. By drawing the pattern on the facing itself, you can ensure that the top stitching will fall only on the facing itself when sewing.
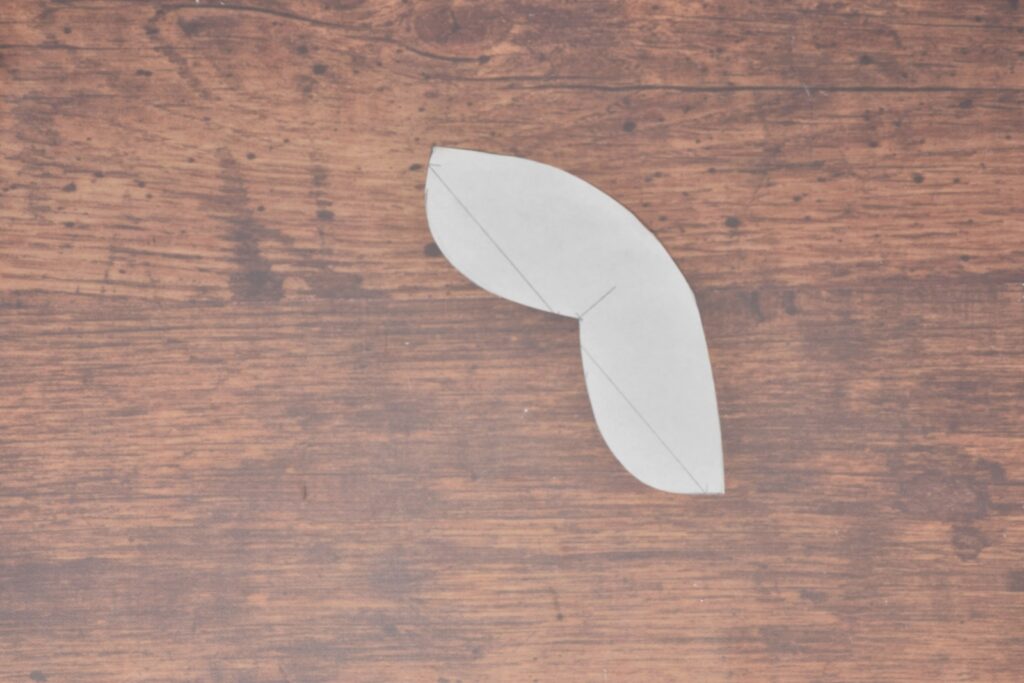
Cut out the top stitching pattern as shown.
Place the top stitching pattern on the trouser front, aligning the pocket opening marks. Trace the pattern.
Top stitch along the line with a machine stitch or side stitch as desired. You can stitch all the way to the edge if you want, or stop 1/4″ from the edge, as the area will be tacked later on after the trousers are completely assembled.
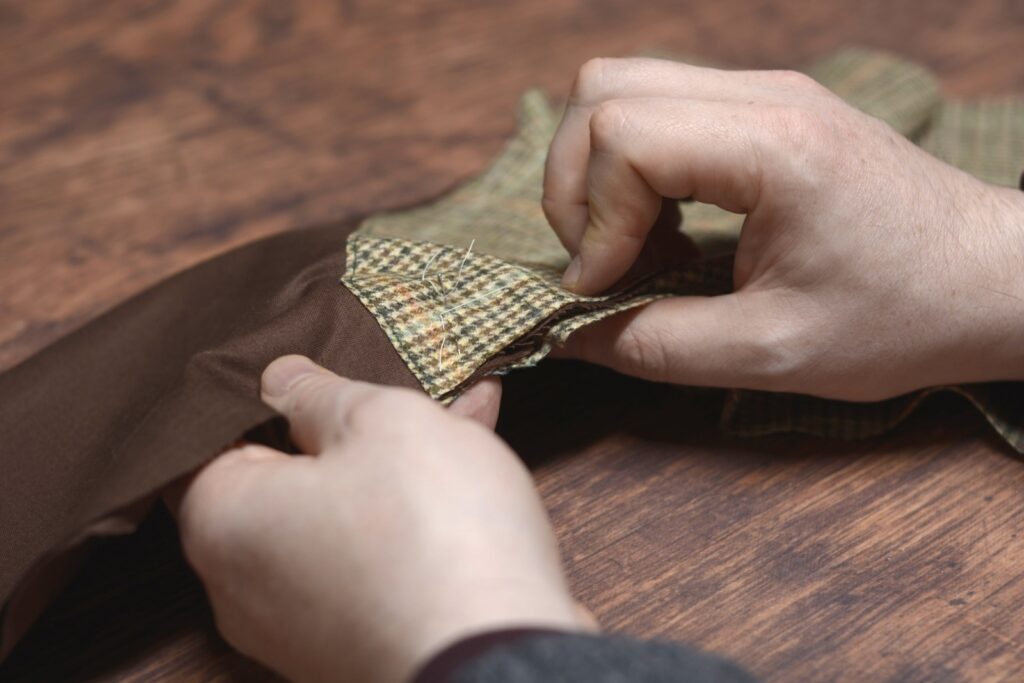
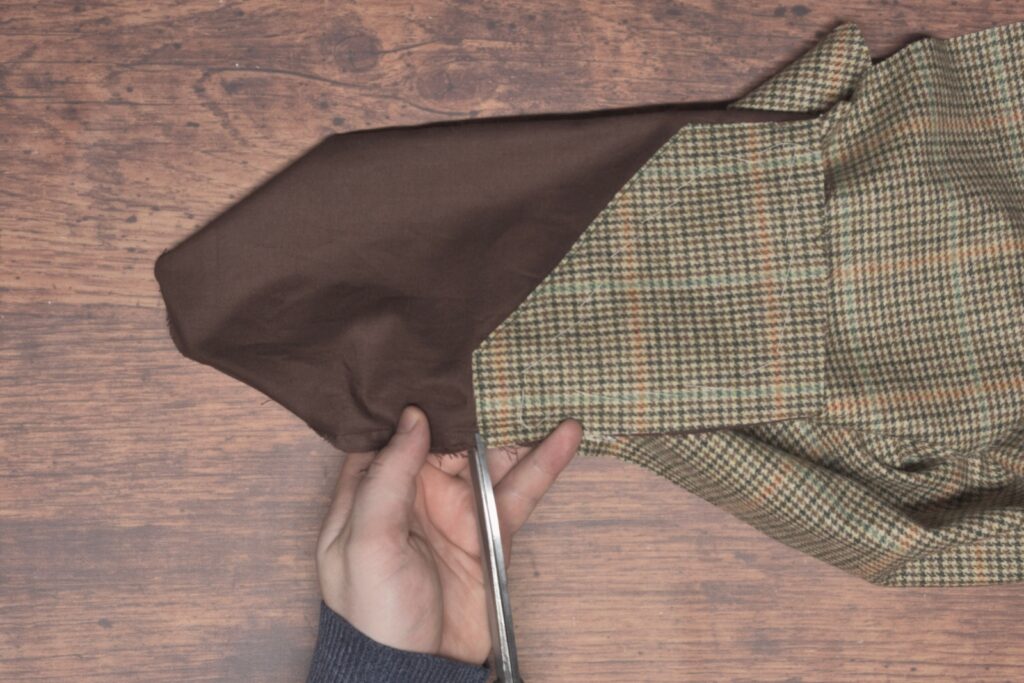
This next part is confusing and almost impossible to photograph well. You need to fold the pocket bag itself in half, right sides together. Arrange the trousers and pocket bag however necessary to make this happen!
Pin or baste the facings only together. You can baste the rest of the pocket bag closed as well if you wish. I didn’t only because I’ve done it so many times I find it unnecessary now.
Stitch the pocket bag closed from the bottom of the facing, around the bottom, and tapering into the folded edge.
Very important! The stitching must stop just before the bottom of the facing, maybe 1/8″ away. I stitched about an inch of the facing as well and it caused some major issues regarding pocket strength later on, and so had to redo everything.
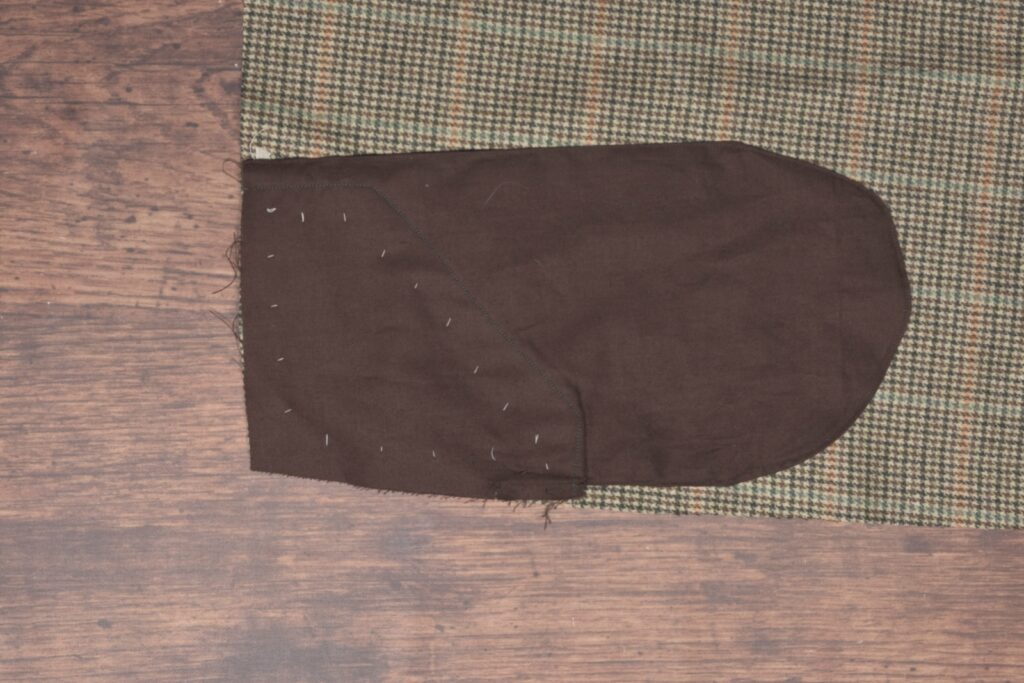
Trim the seam allowance down to about 1/8″ around the curved areas to help turning the pockets easier.
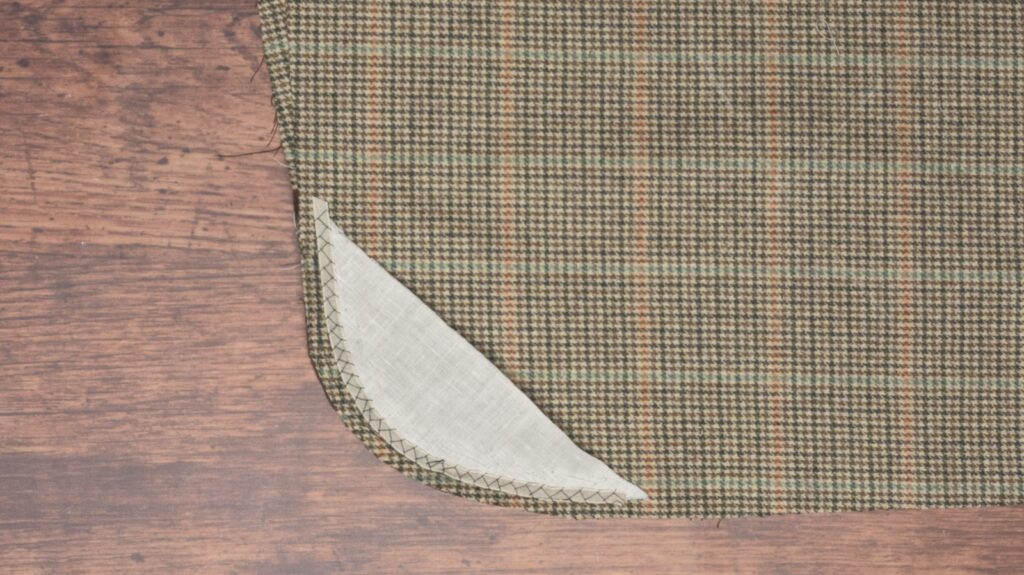
Clip the seam allowance at the top of the stitching, just below the pocket facing.
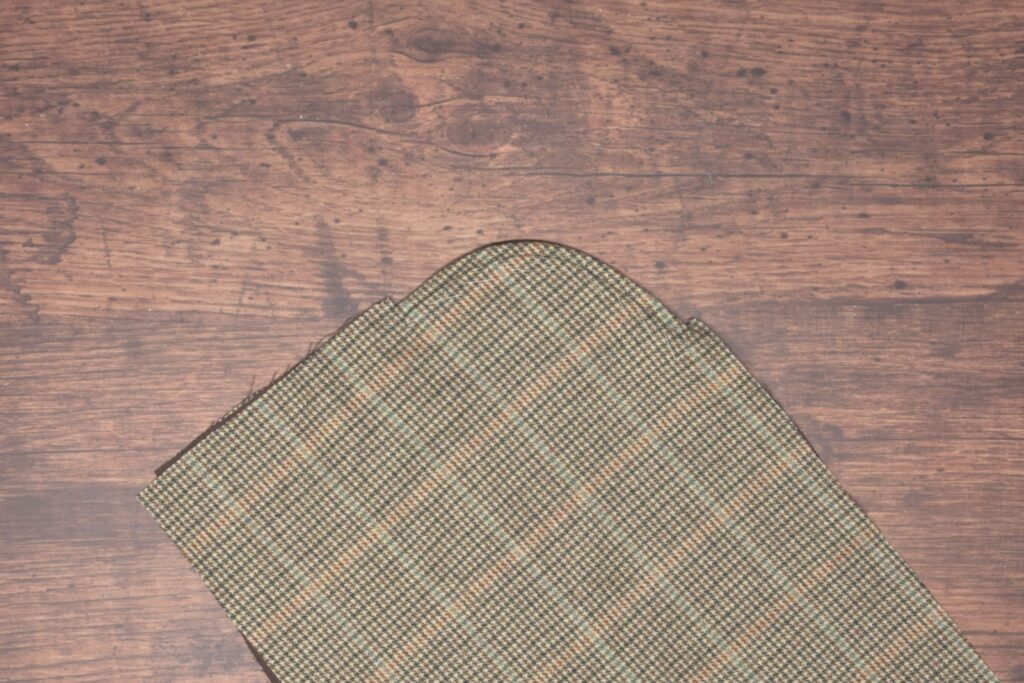
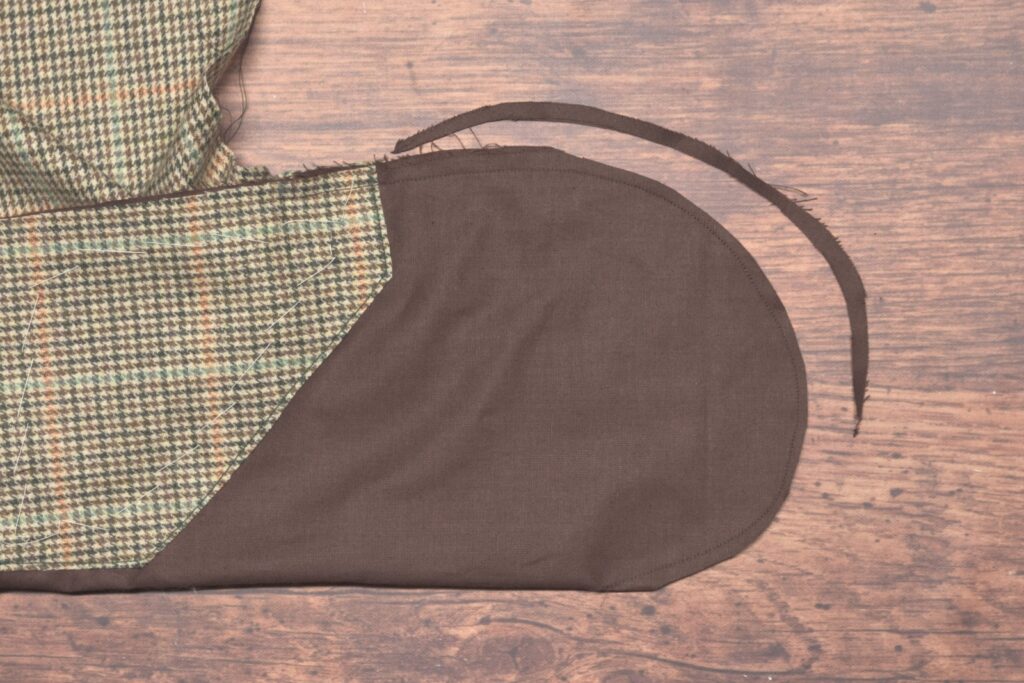
Turn the pocket bag right side out and carefully press the edges (like I should have done before taking the photo!). You can see how there’s a sort of ‘step’ where we clipped the seam allowance at the bottom of the facing.
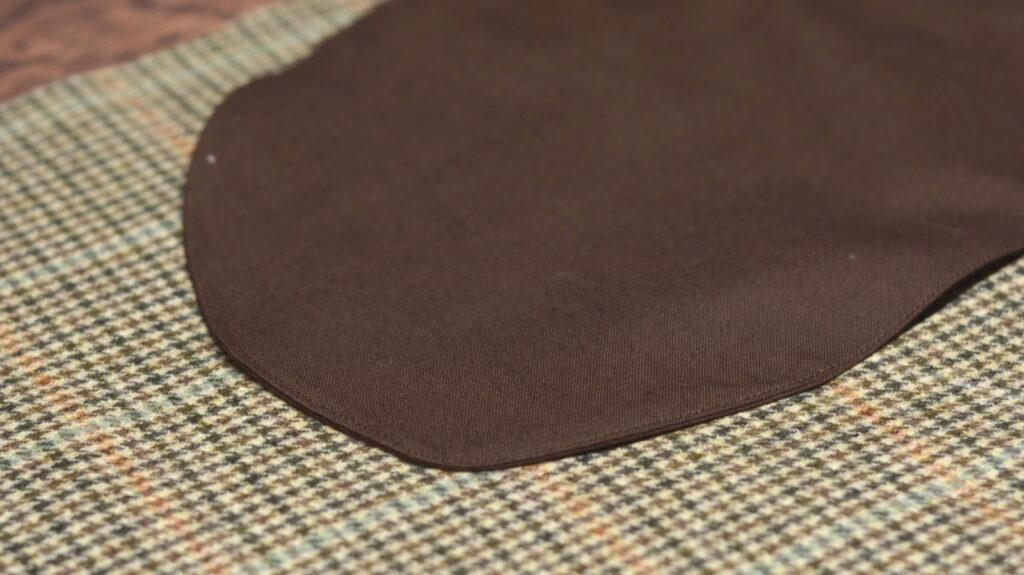
Top stitch the pocket back from the clipped seam allowance, around the bottom, and along the folded edge to the top of the pocket at the waist.
Complete the pocket by basting the remaining part of the facing to the trouser front. Do the same thing for the top edge of the pocket bag, securing it for attaching the waistband later.
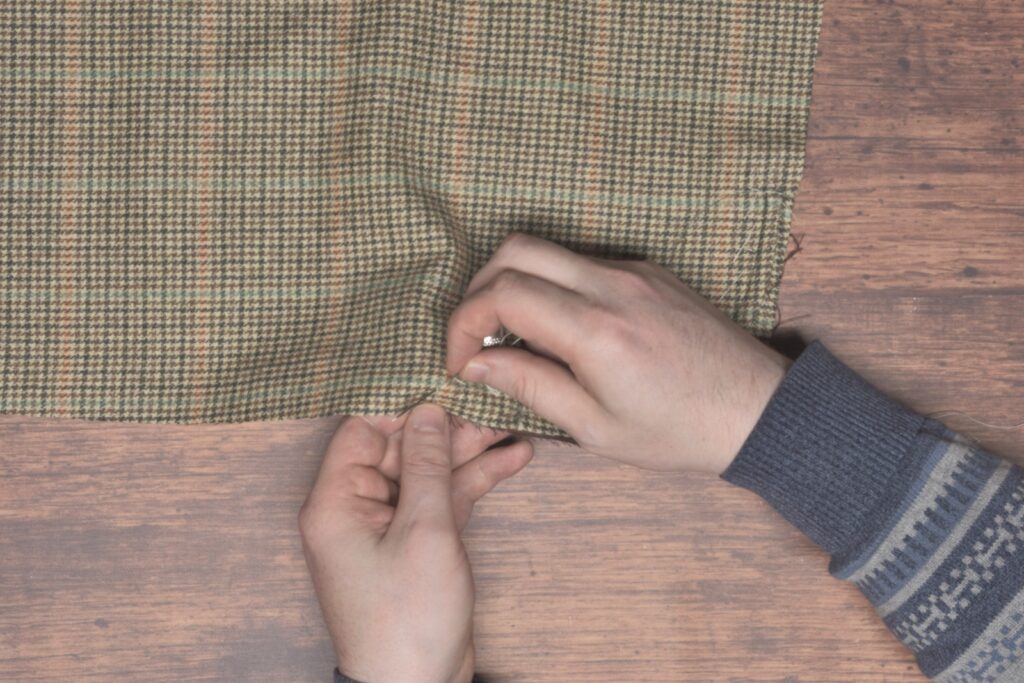
And that concludes the construction of the open top pockets themselves. There’s still a little work to do as we sew the side seams and add the waistbands.