Month: September 2020
Felling Stitch
The felling stitch is very commonly used in tailoring, and is perfect for securing linings to fabric, facings, and various other tasks. There are actually three different variations of the stitch, each only slightly different from the other, that are important to learn so that you can choose the best one for your particular situation.
When choosing a thread, choose one that matches the lining to make the stitches nearly invisible.
Felling Stitch I
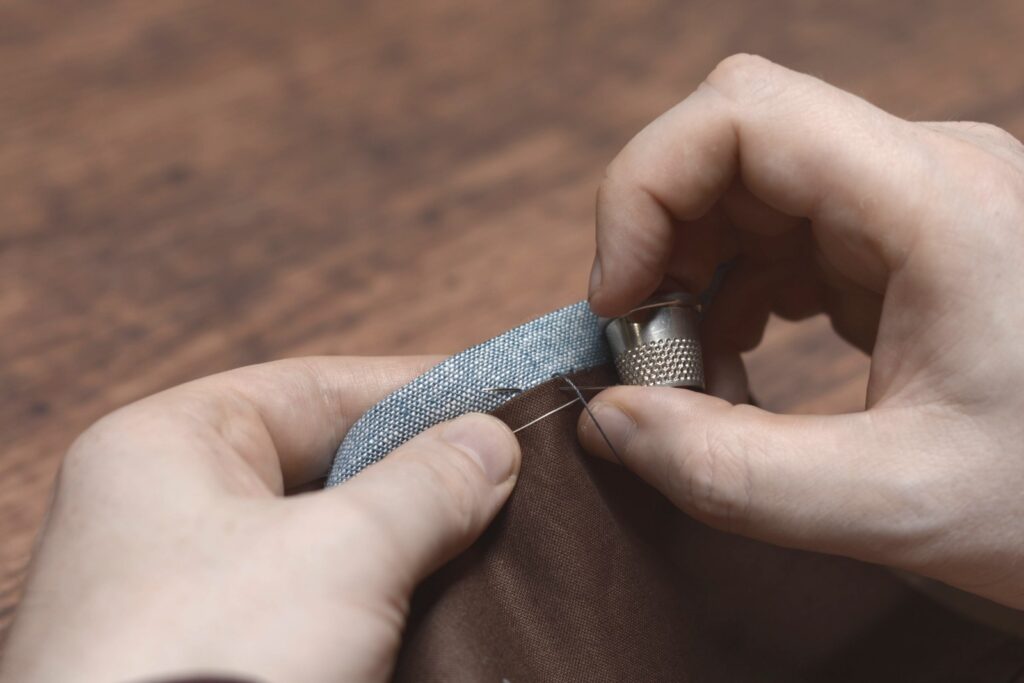
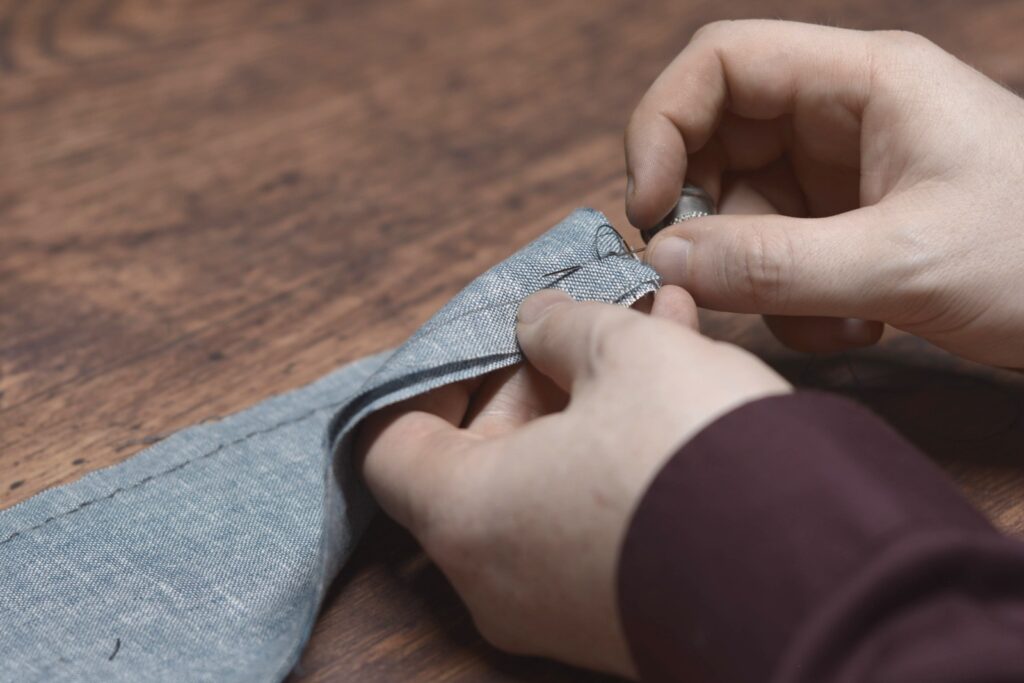
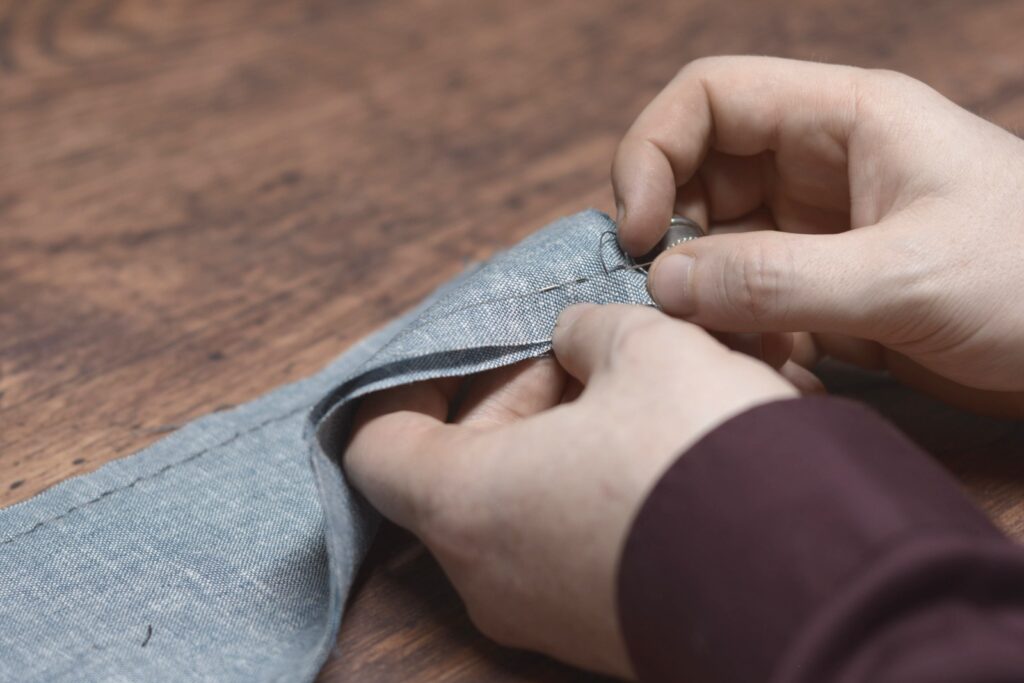
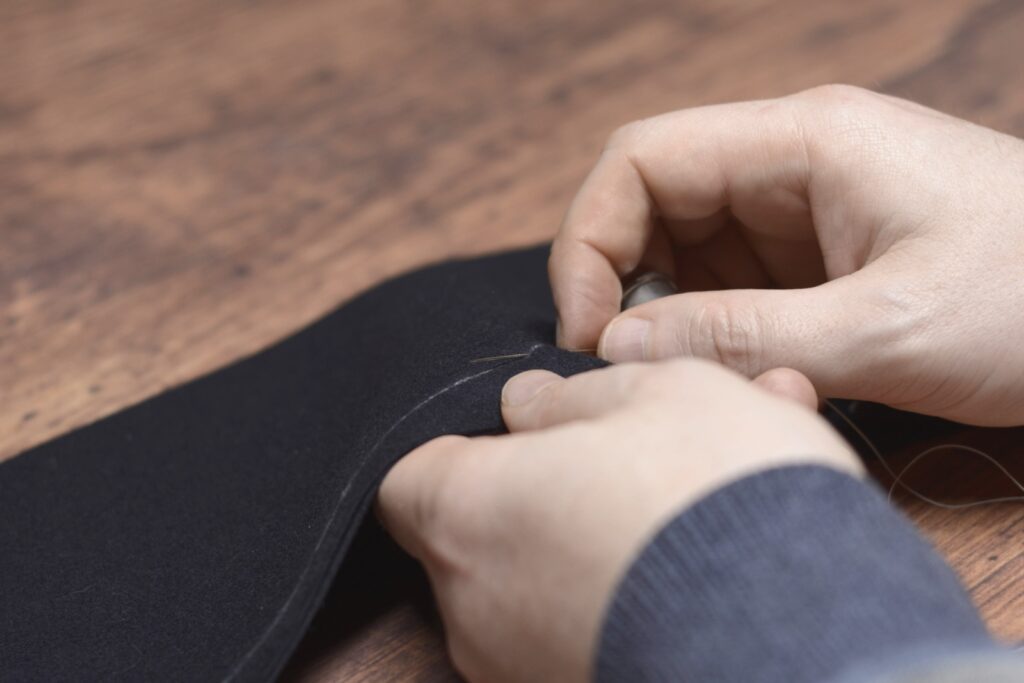
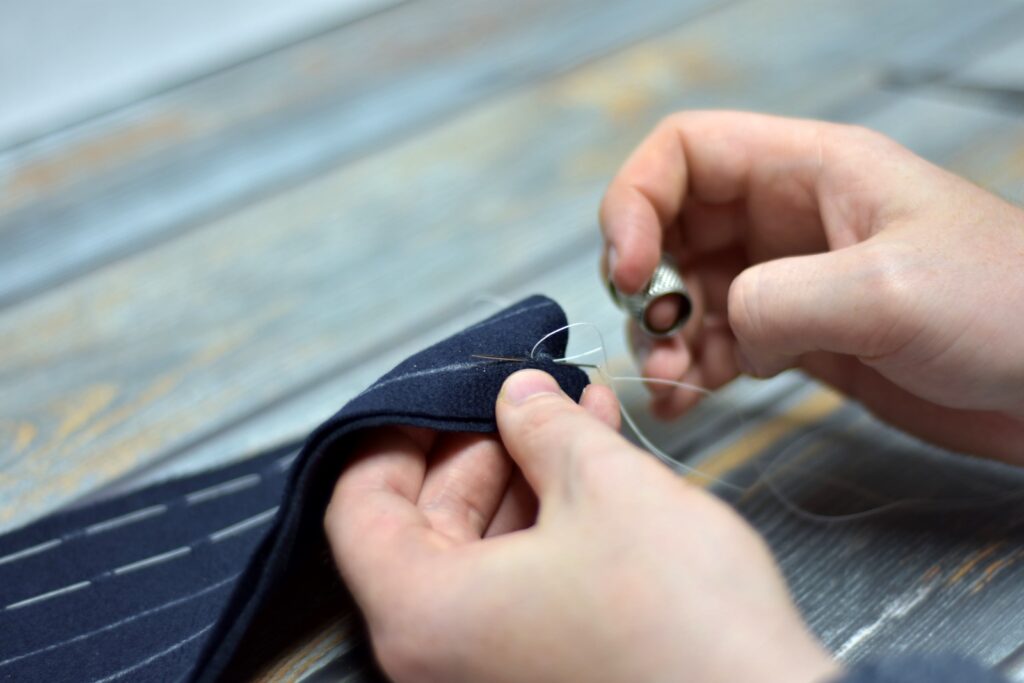
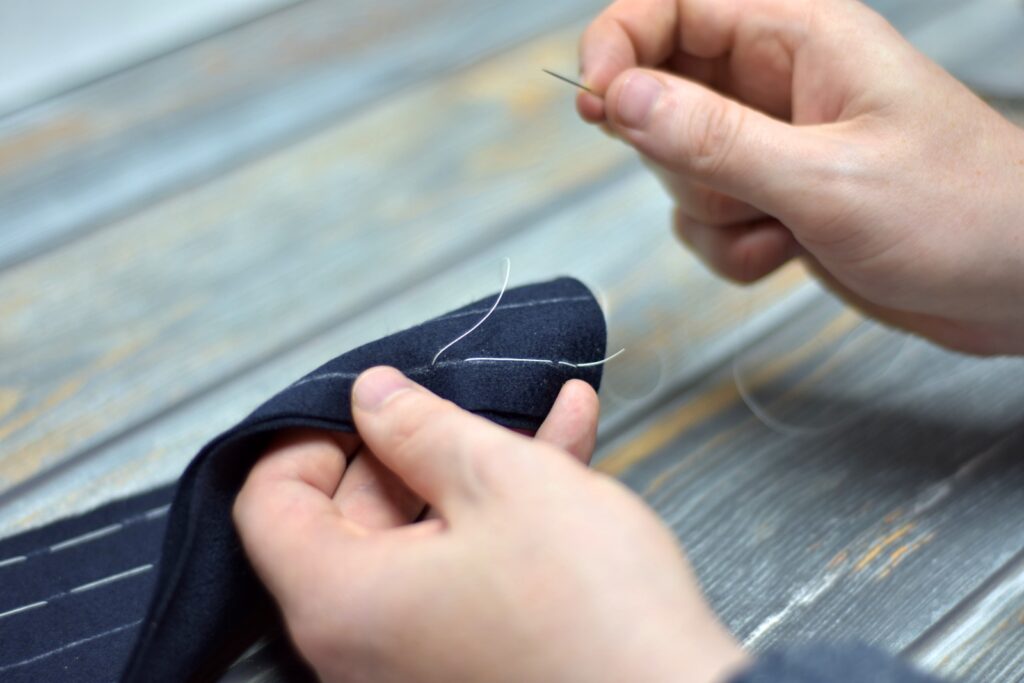
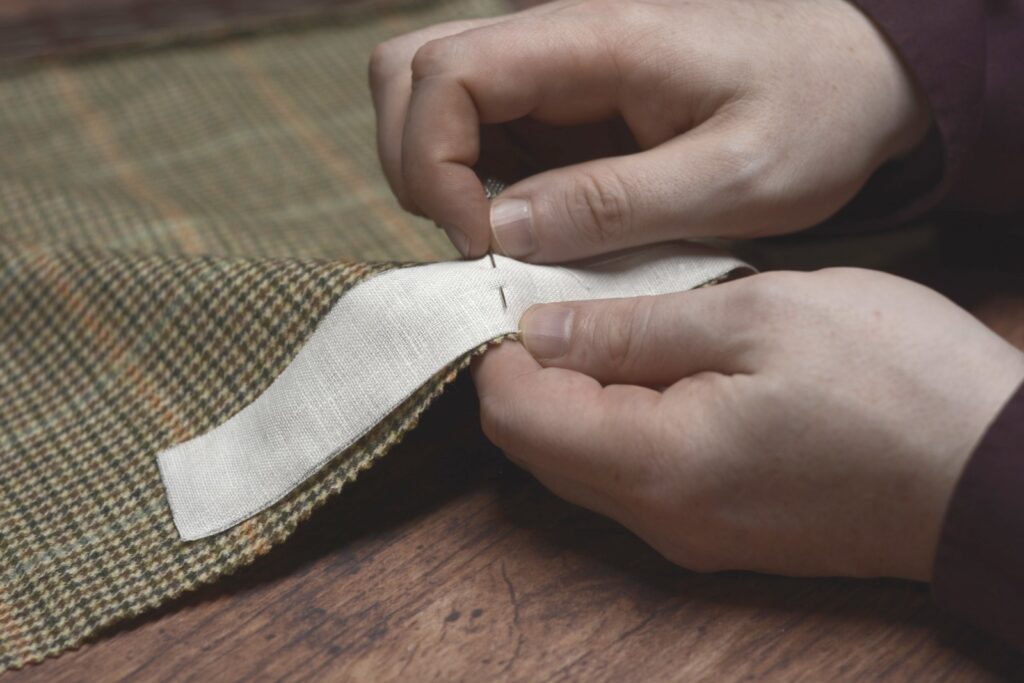
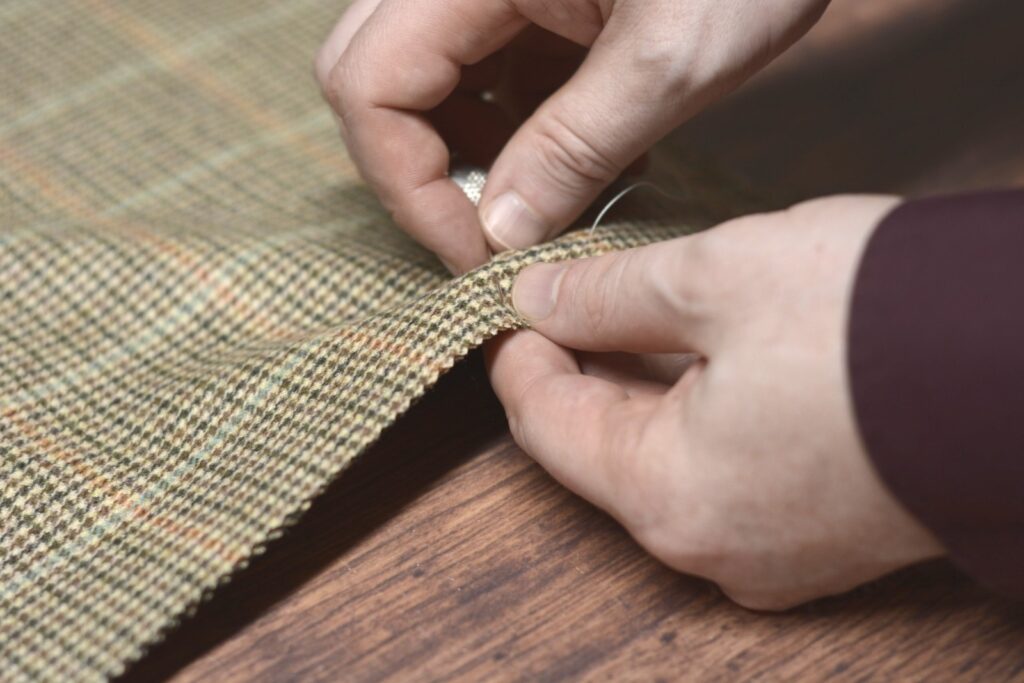
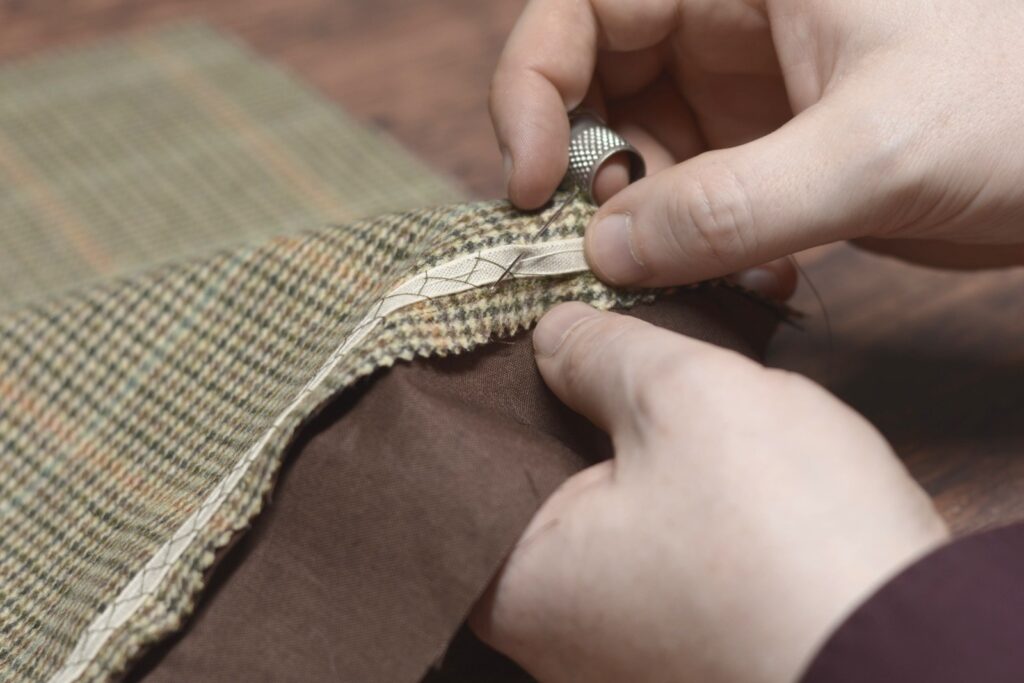
For each variation, I like to tie a knot first, burying it between the two layers of fabric, and then make a small stitch in place to secure the layers.
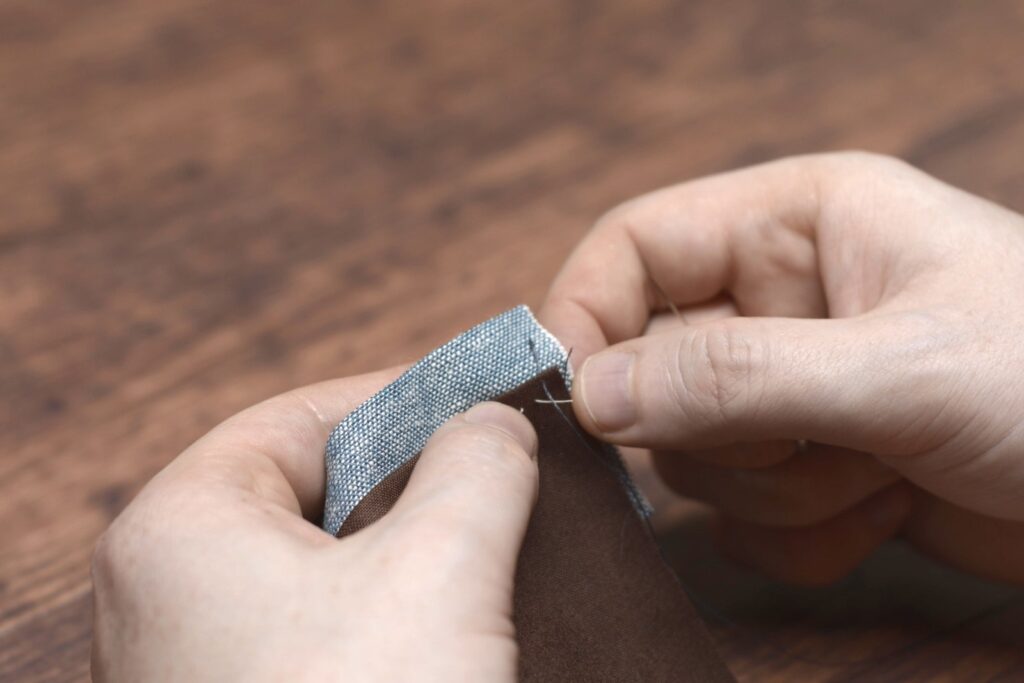
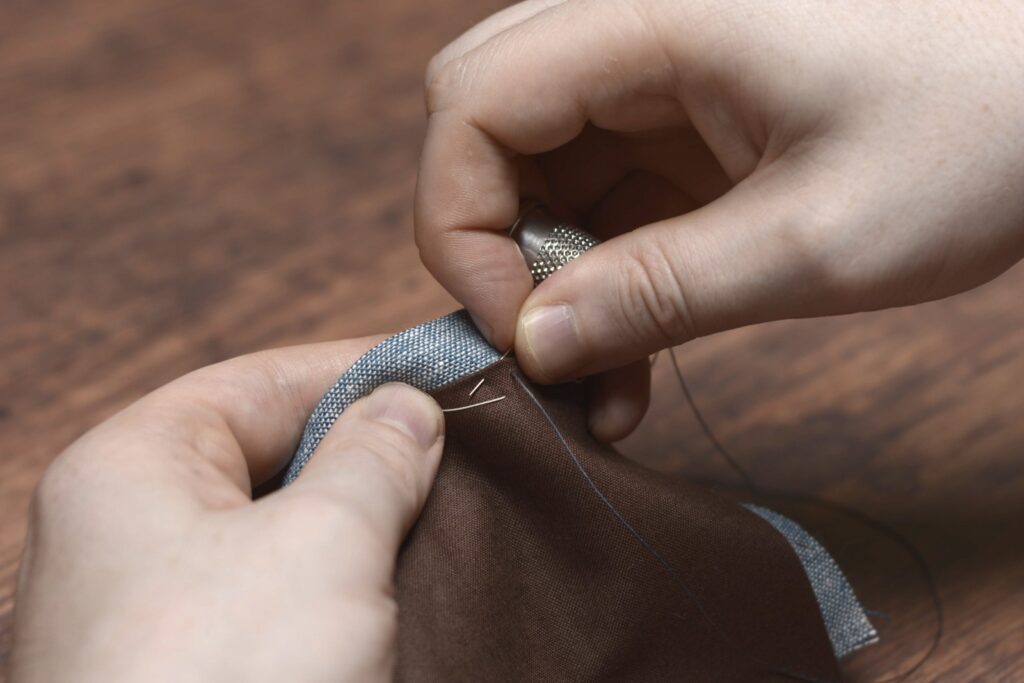
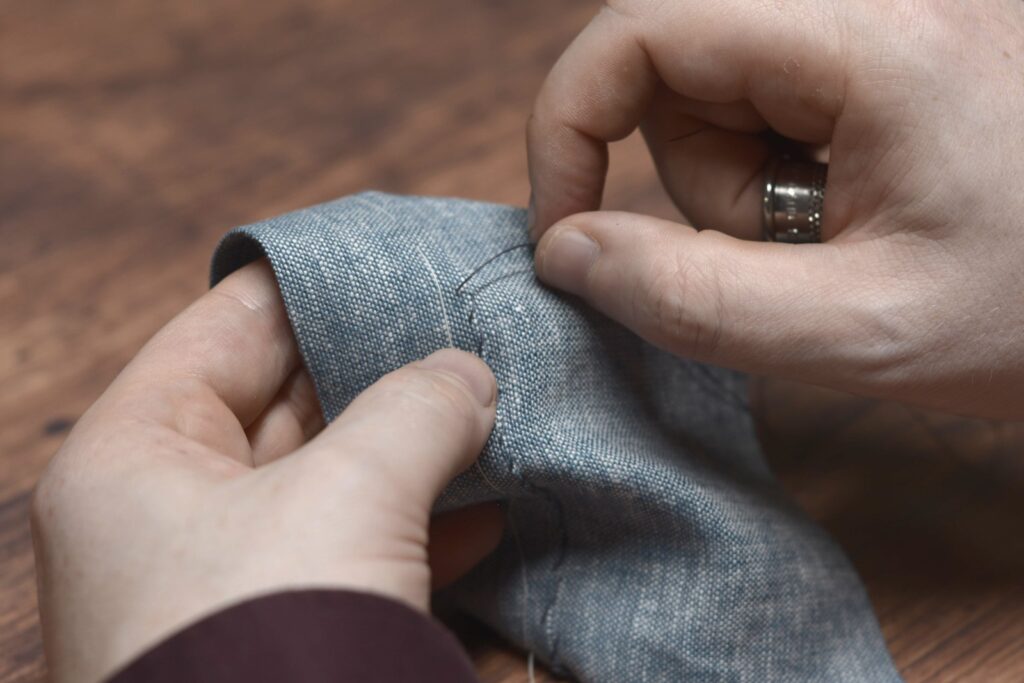
The stitch should be very small, catching only a few threads of the lining fabric at most, and perpendicular to the seam.
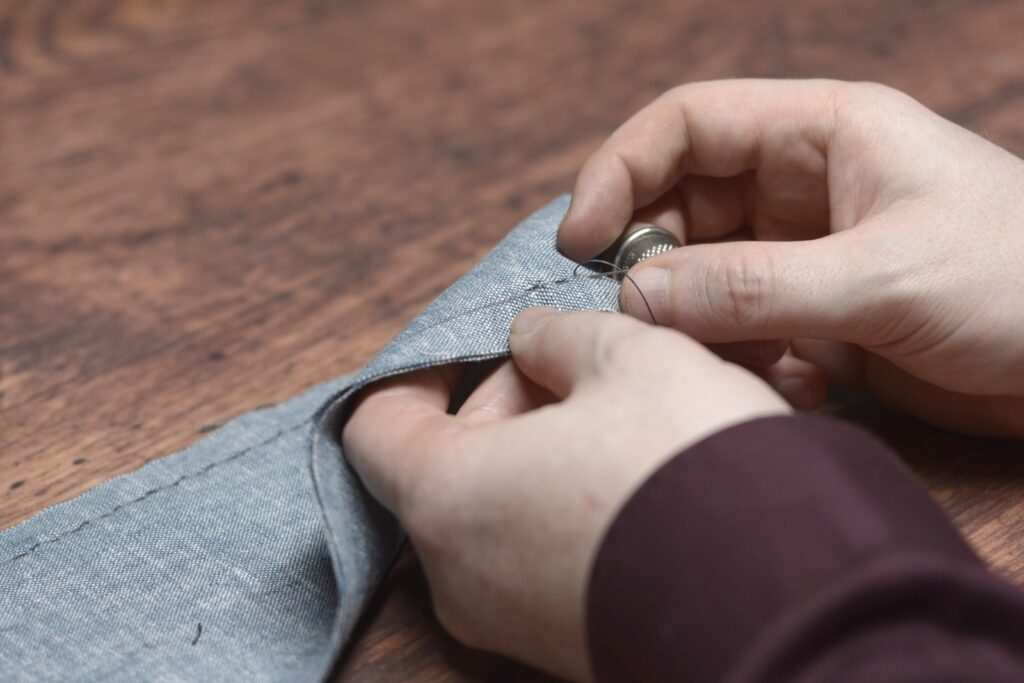
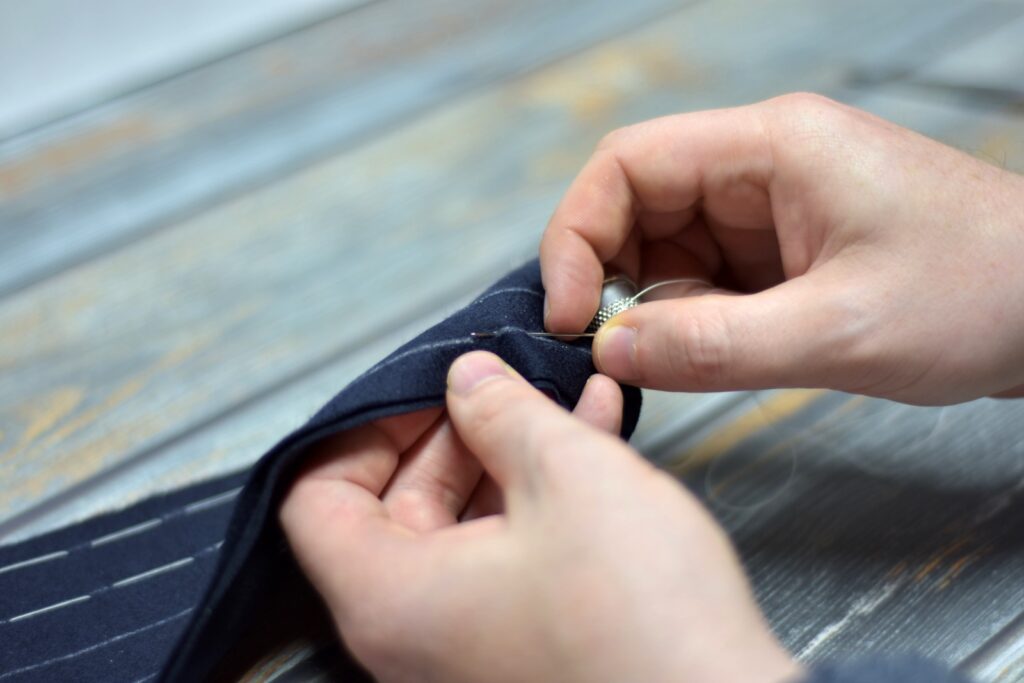
To form the first stitch, place your needle directly above the first stitch, angling the needle diagonally. Pass the needle through the fashion fabric, being very careful not to let the stitches show to the right side, and out the lining, about 1/8″ to 1/4″ away as shown.
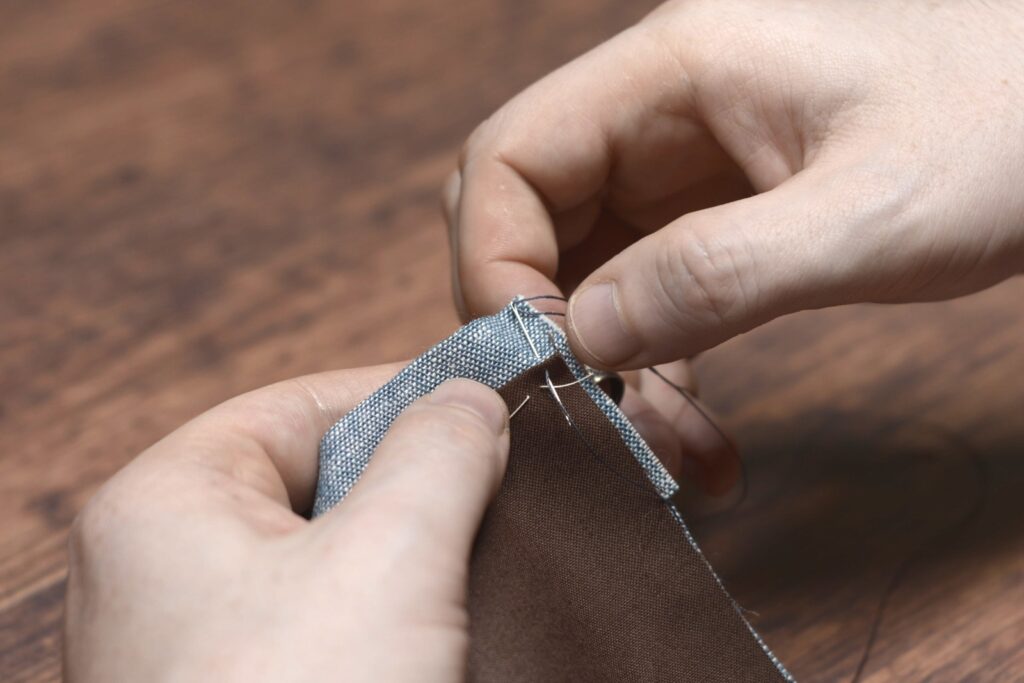
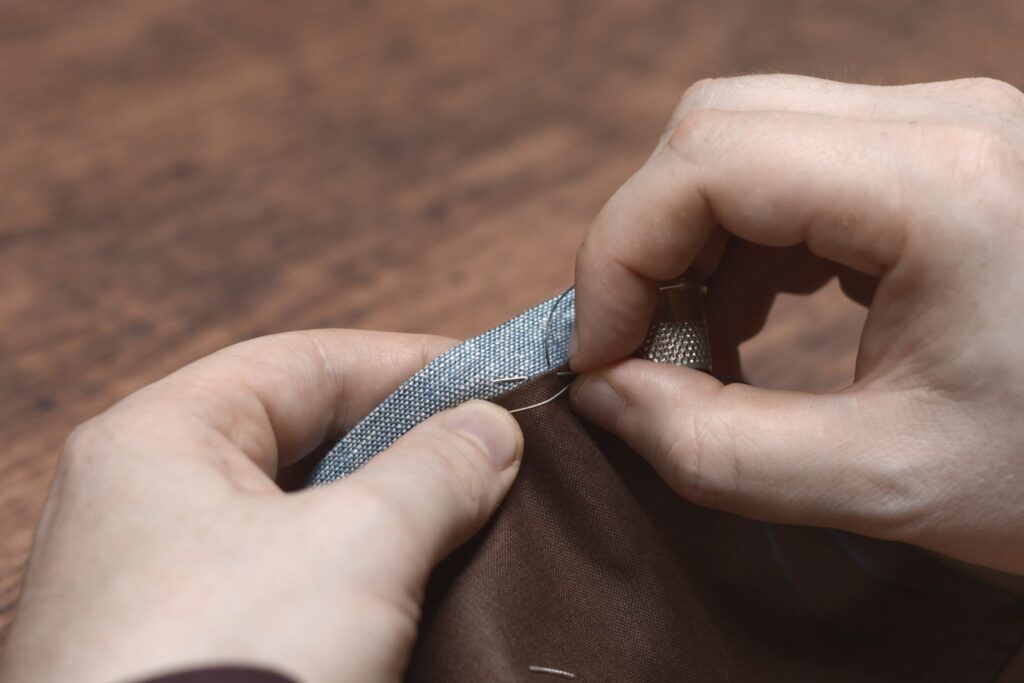
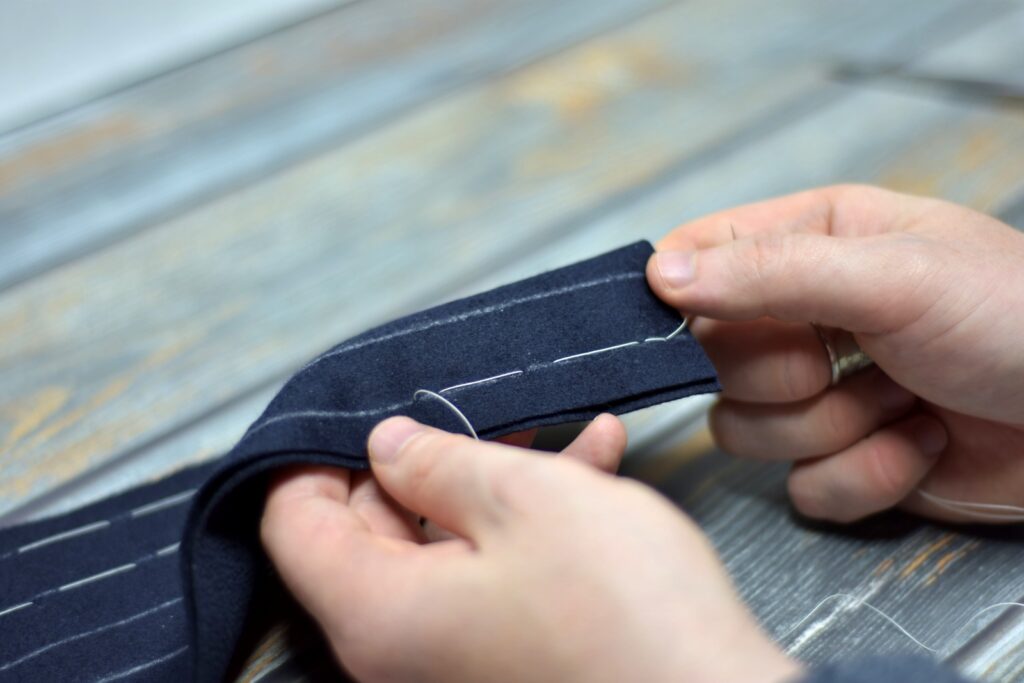
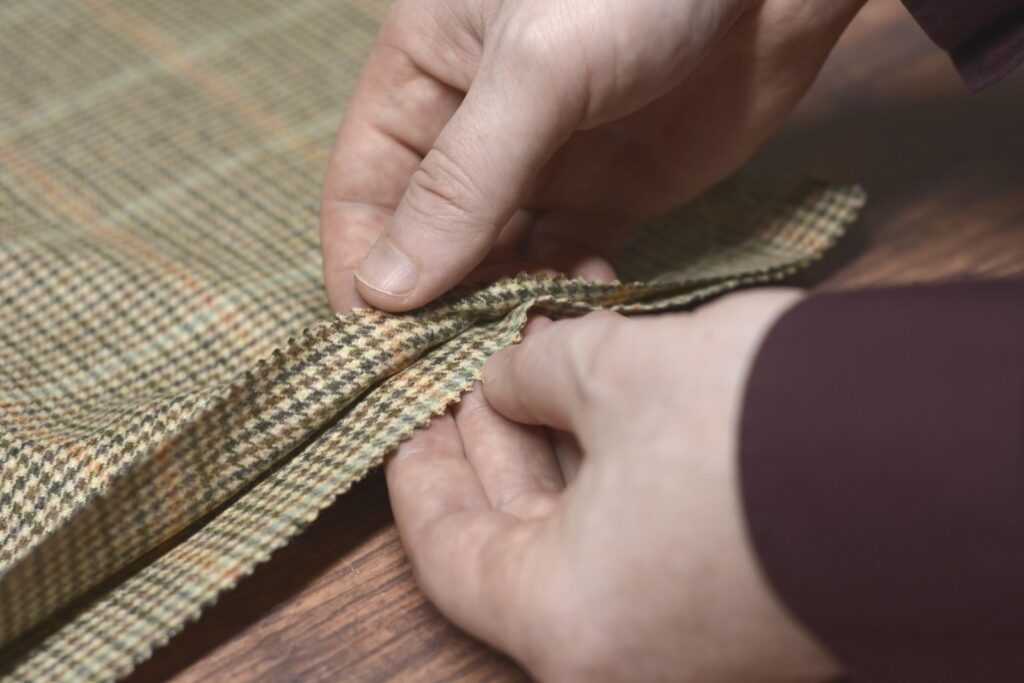
Again bring the needle immediately above this stitch to form the next one.
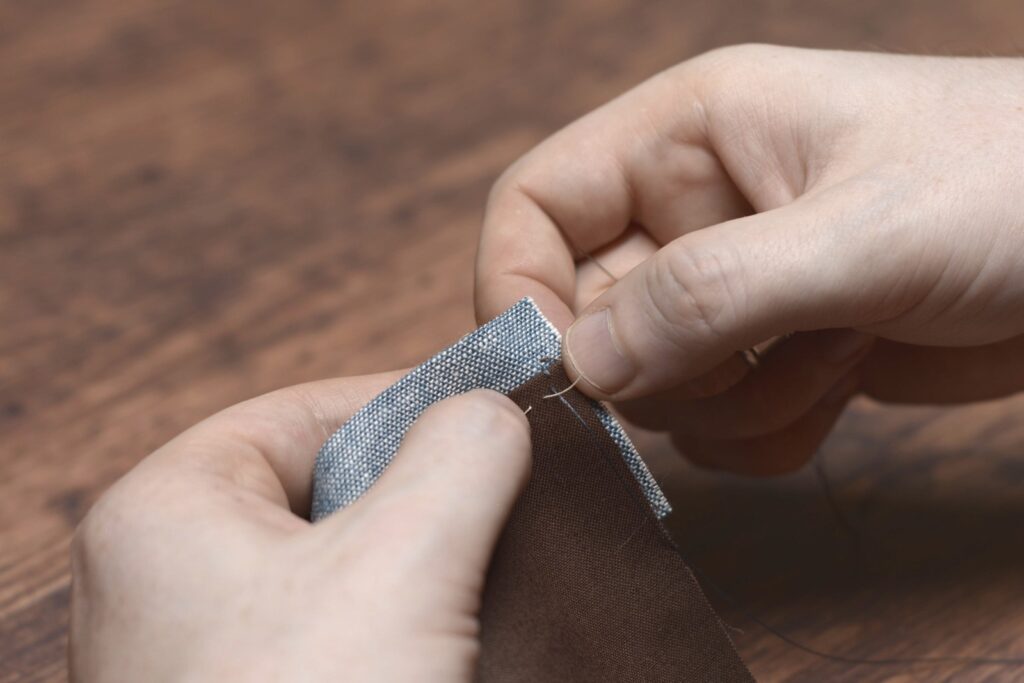
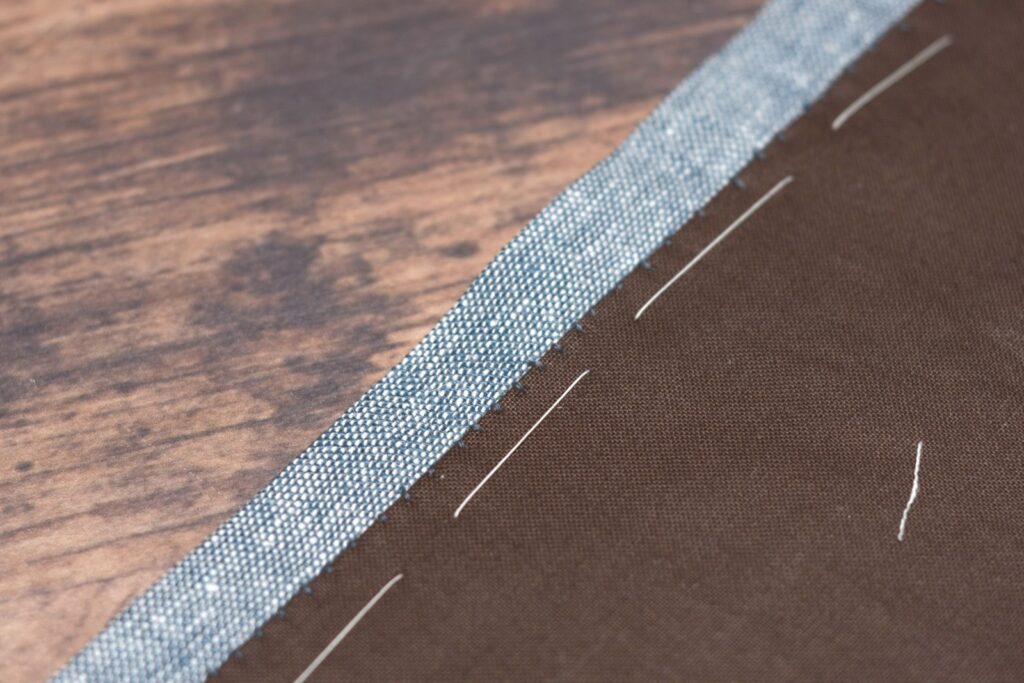
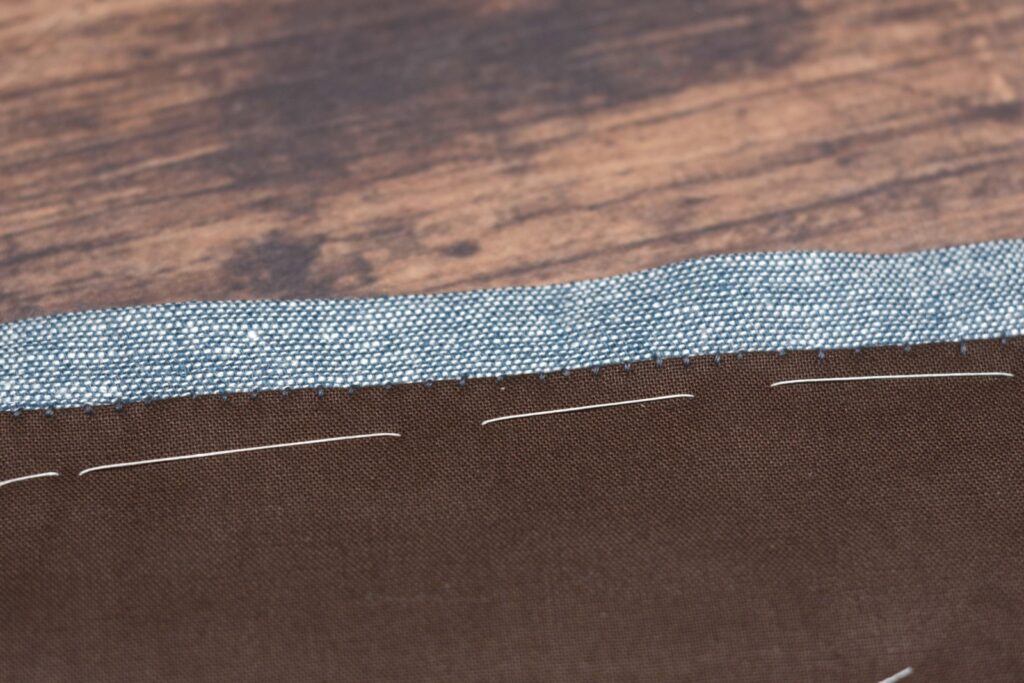
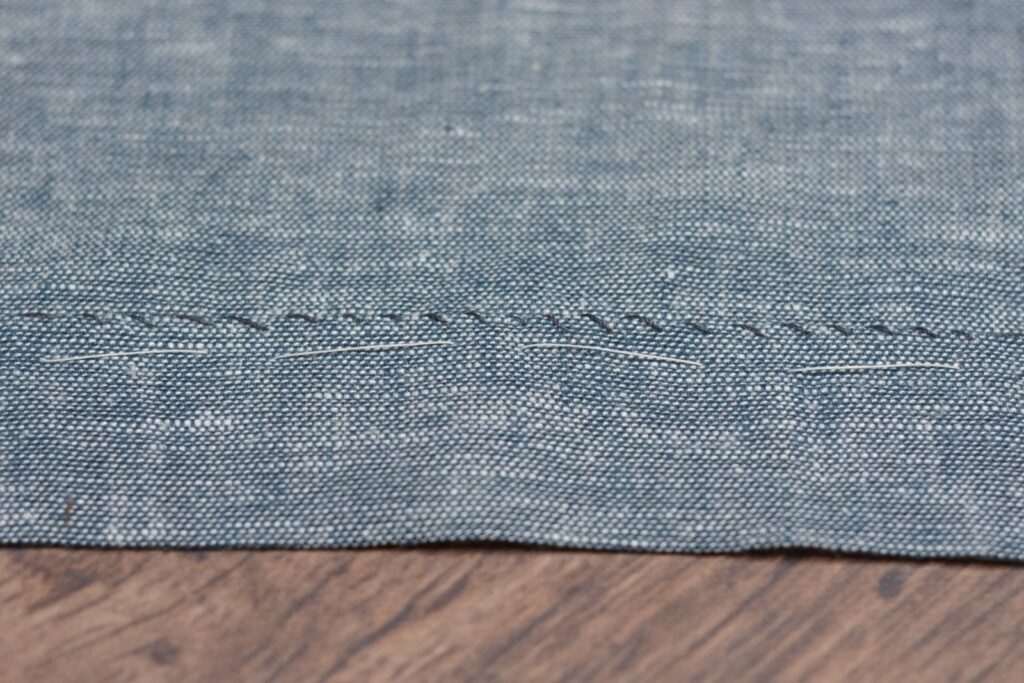
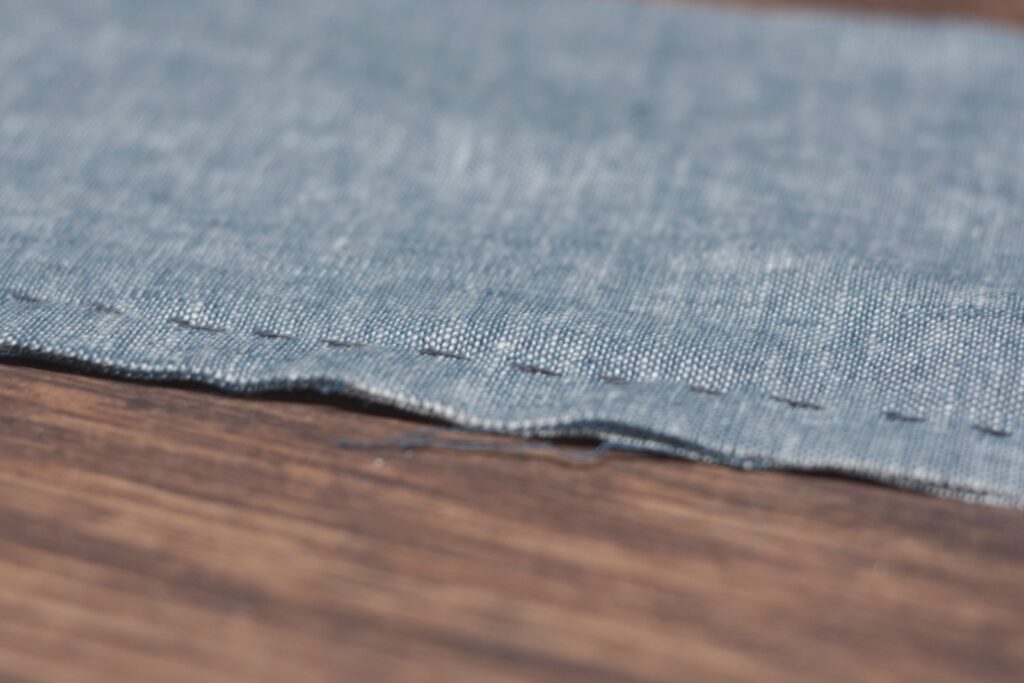
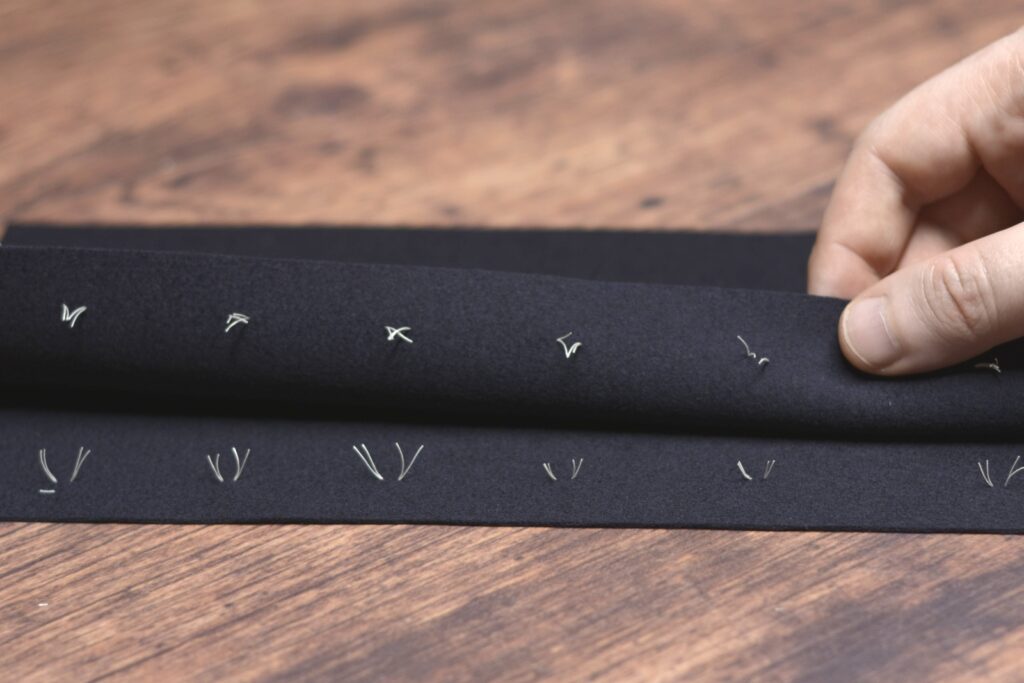
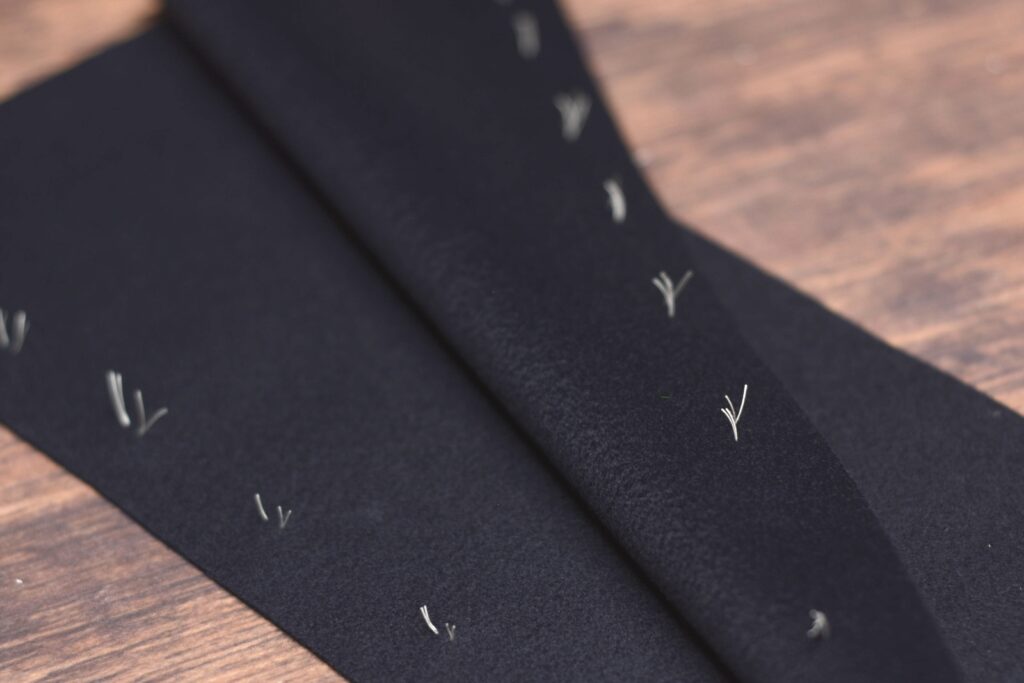
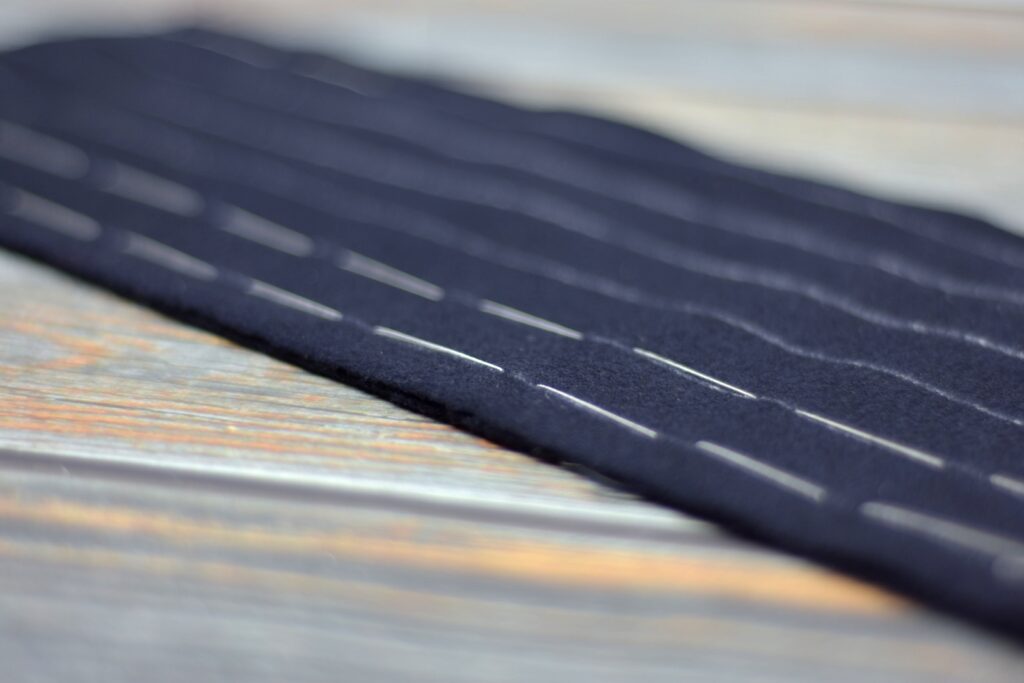
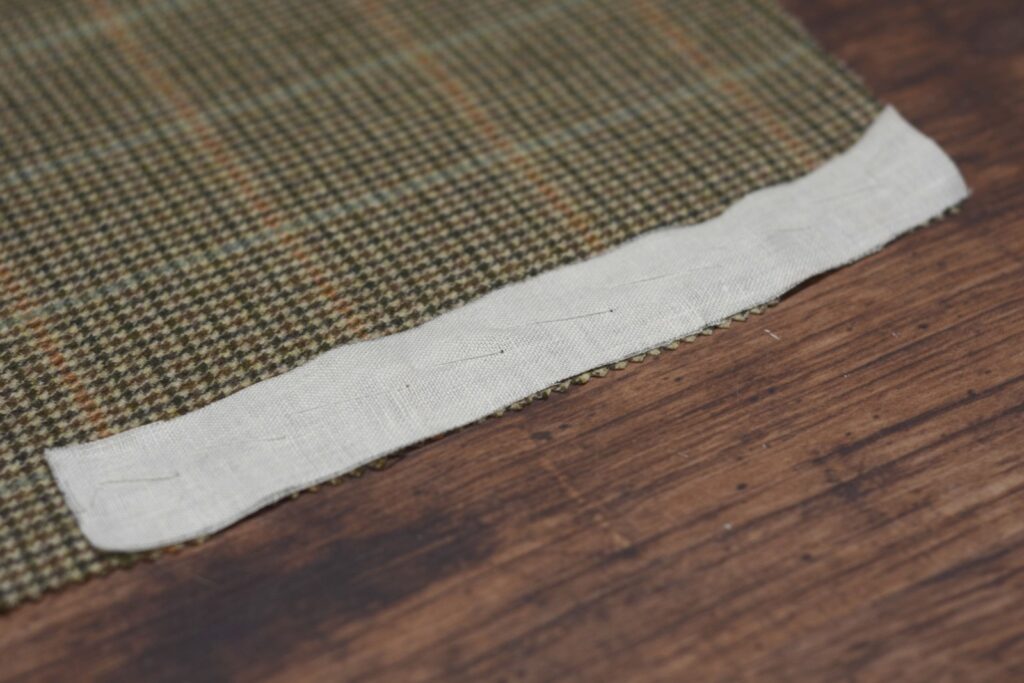
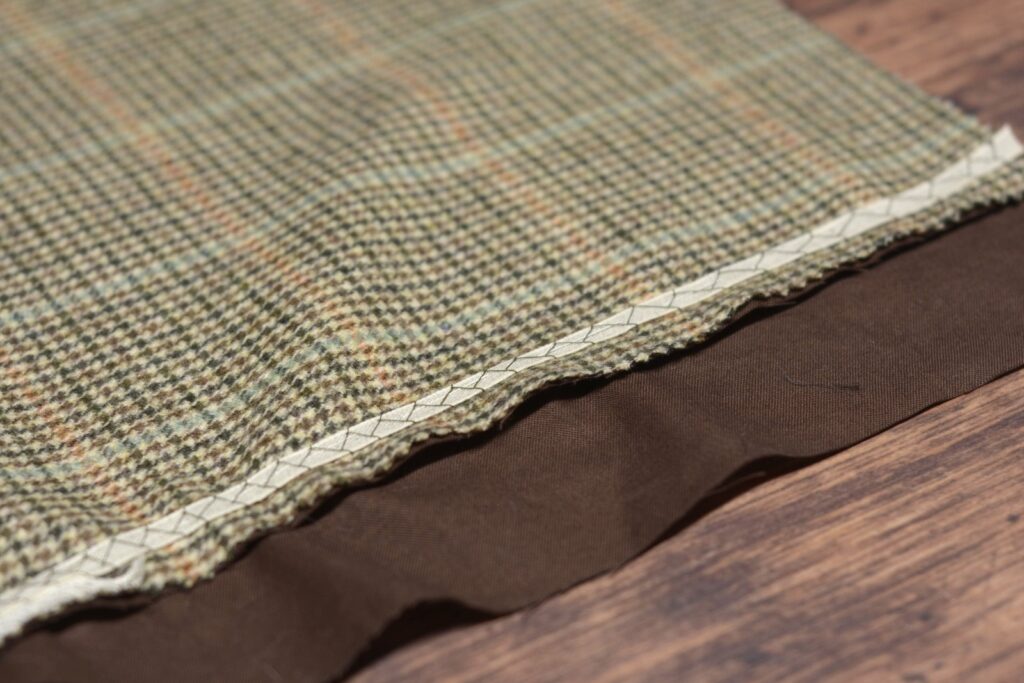
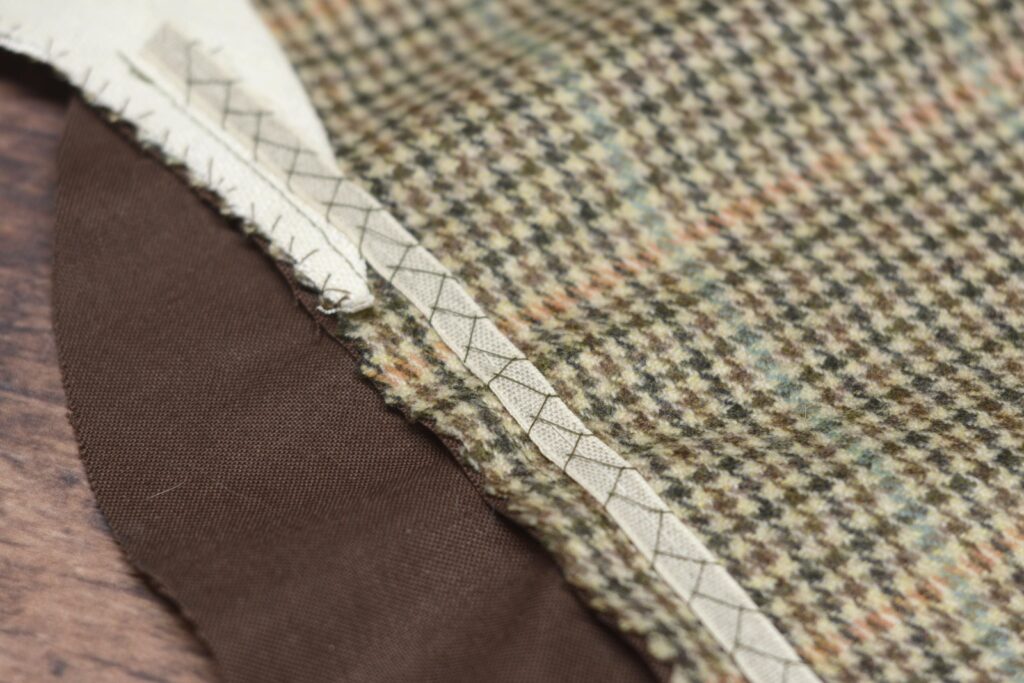
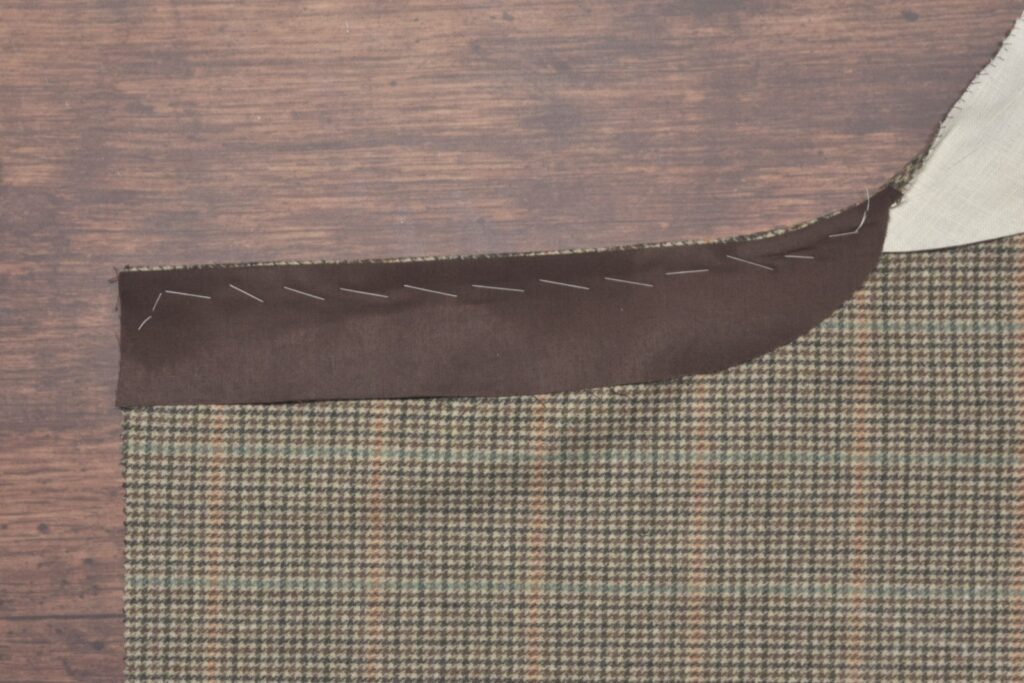
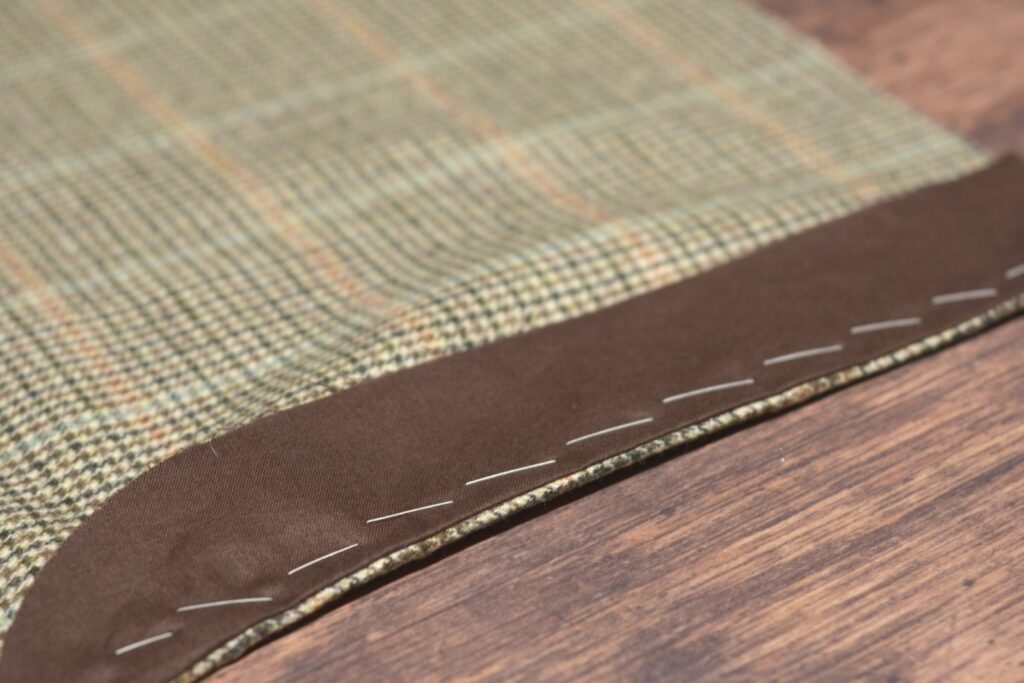
Here is what the stitches should look like after finishing the seam. I’m using a very thick thread here for demonstration purposes, but if you use a matching thread and a small stitch, these stitches should be almost invisible.
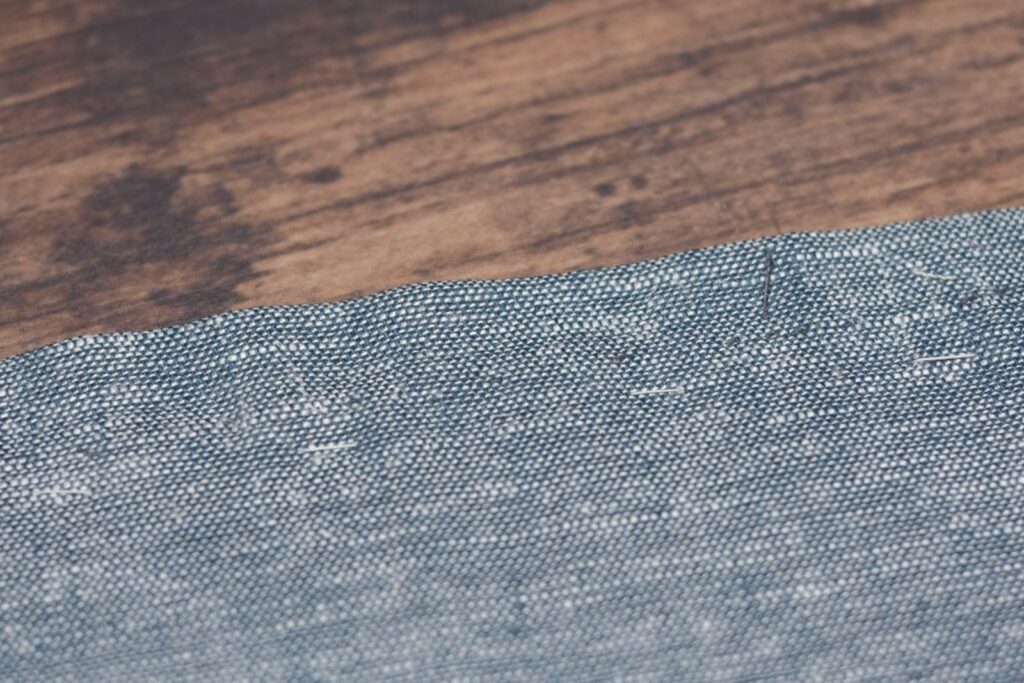
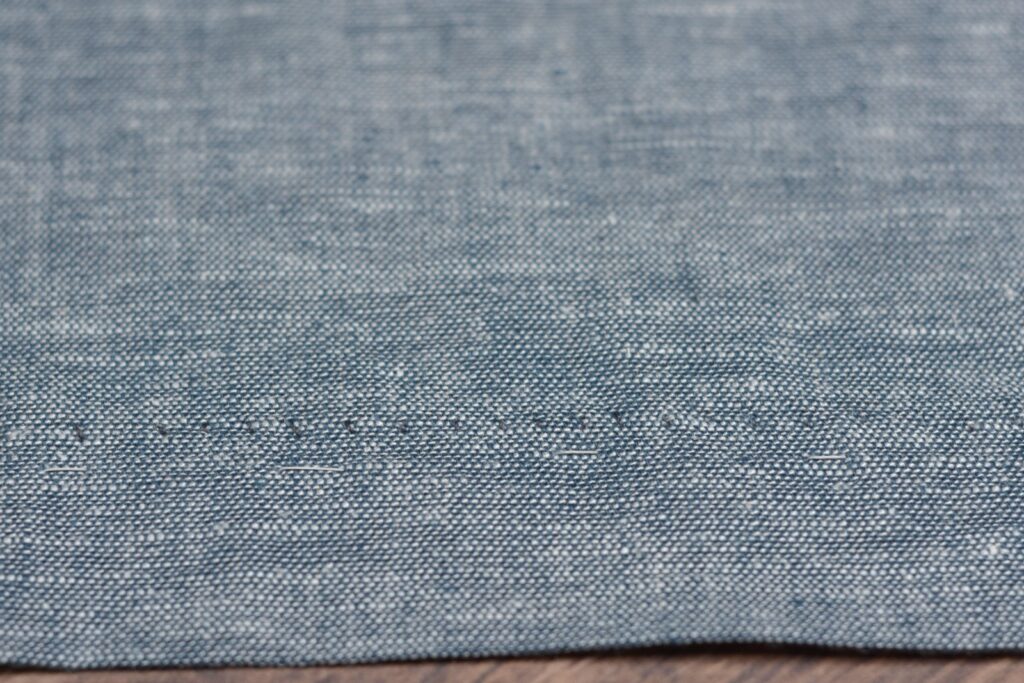
From the right side, you shouldn’t see any of the stitches, ideally. I’m using a thin linen here for the photographs so they did show through a little.
Felling Stitch II
The second variation is basically the same, except the needle passes through the lining, directly above the first stitch, and into the fashion fabric below.
I’ll switch to this variation when sewing on linings in particular. It makes regulating the tension a little easier and helps to avoid puckering of the lining. It also depends a lot on the position of the fabric and hands that determines which variation I will use — sometimes it’s just easier to come from one direction than the other.
Felling Stitch III
This third and final variation of the felling stitch is often used when felling down a seam or facing in a thinner fabric such as linen in which you need the right sides to look nicer but can’t avoid the stitches showing through.
I see this stitch used often in original military garments as well.
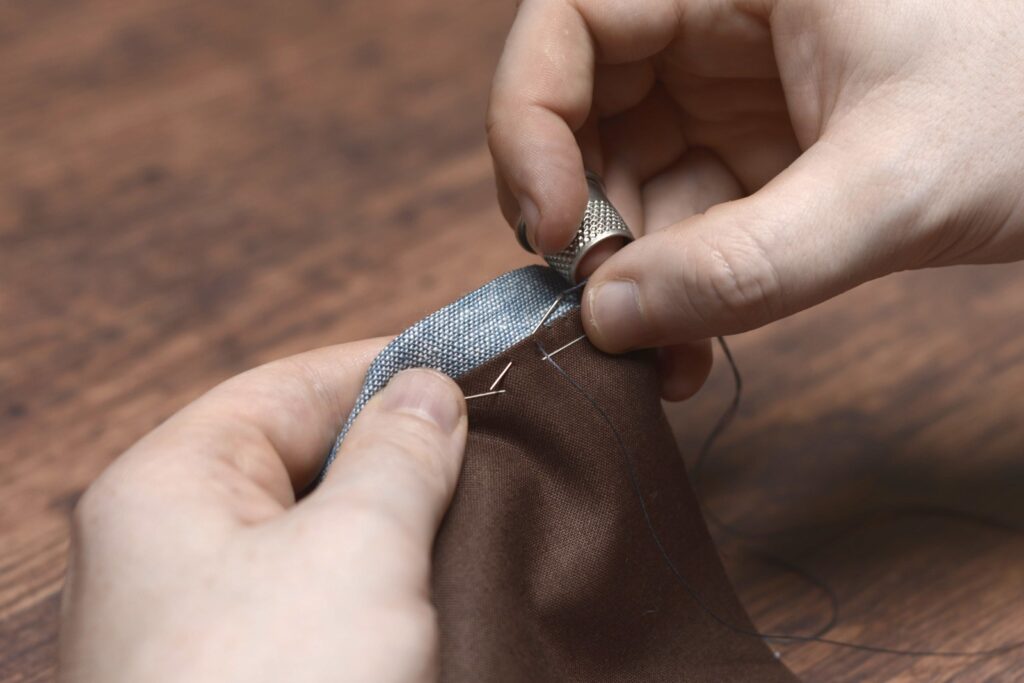
Begin with the knot and a stitch in place as usual. Then, move the needle 1/8″ to 3/8″ away from the first stitch and make a small stitch perpendicular to the seam through all layers.
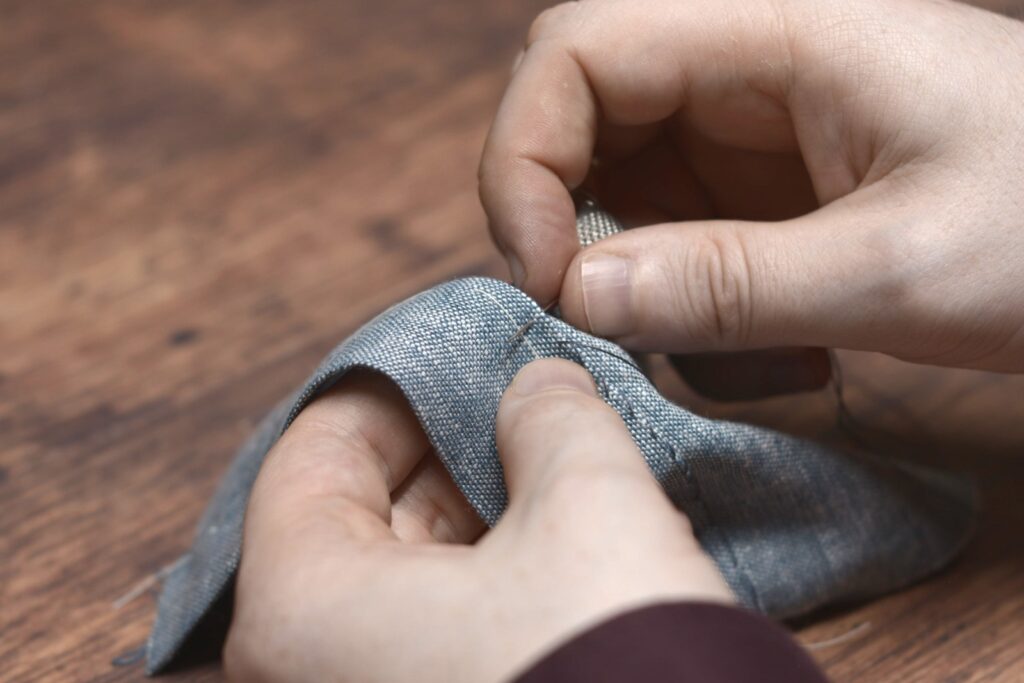
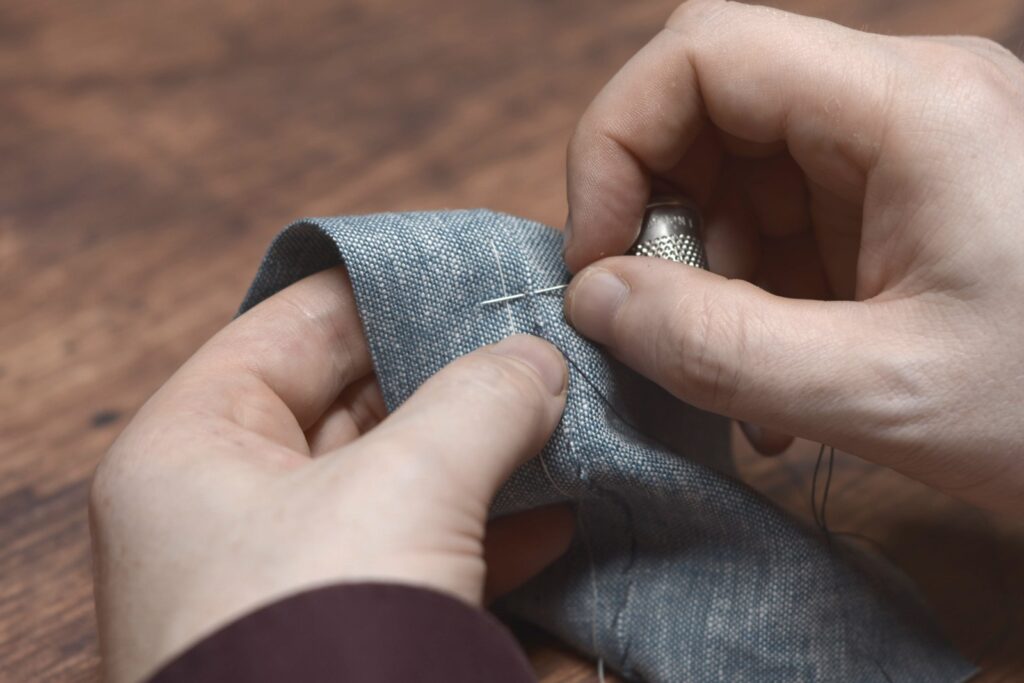
The result will be a diagonal stitch on the wrong side.
And on the right (out) side you’ll see just a row of small stitches.
Back and Fore Stitch
The back and fore stitch combines the strength of the back stitch with the speed of the running stitch. It’s not quite as fast or as strong as either, but it’s a good compromise for seams that do not take a lot of stress, such as trouser legs, skirt seams, and so on.
Start with a couple of stitches in place.

Form the beginning of the stitch as if you were going to make a back stitch, but do not pull the needle through yet.
Instead of pulling the needle through, form a couple of running stitches by rocking your wrist and needle back and forth. Depending on what you’re sewing and the strength you need, you could do from one to three running stitches at this point.
Bring the needle back to form another backstitch followed by the running stitches and continue on through the end of the seam.
Here’s the finished seam from the right side. It leaves a pattern of two stitches followed by a space, single stitch, etc.
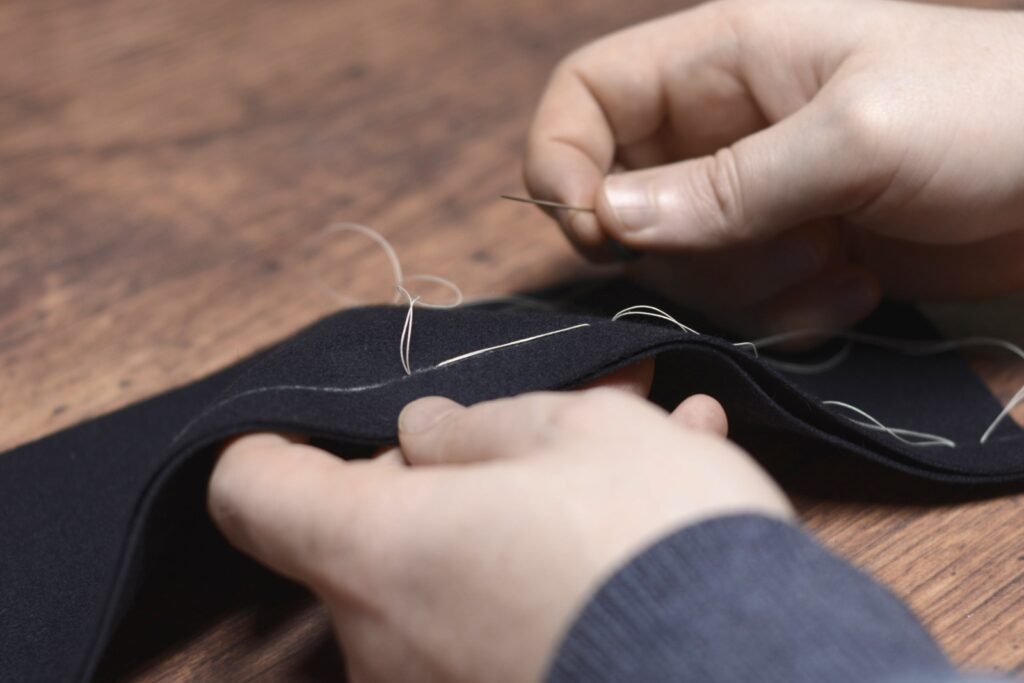
Tailor’s Tacks II
This second version of tacking is similar to the first, except it is meant to mark a single point on your cloth, such as a pocket position or a balance mark.
Begin by making a single stitch with a doubled piece of basting thread.
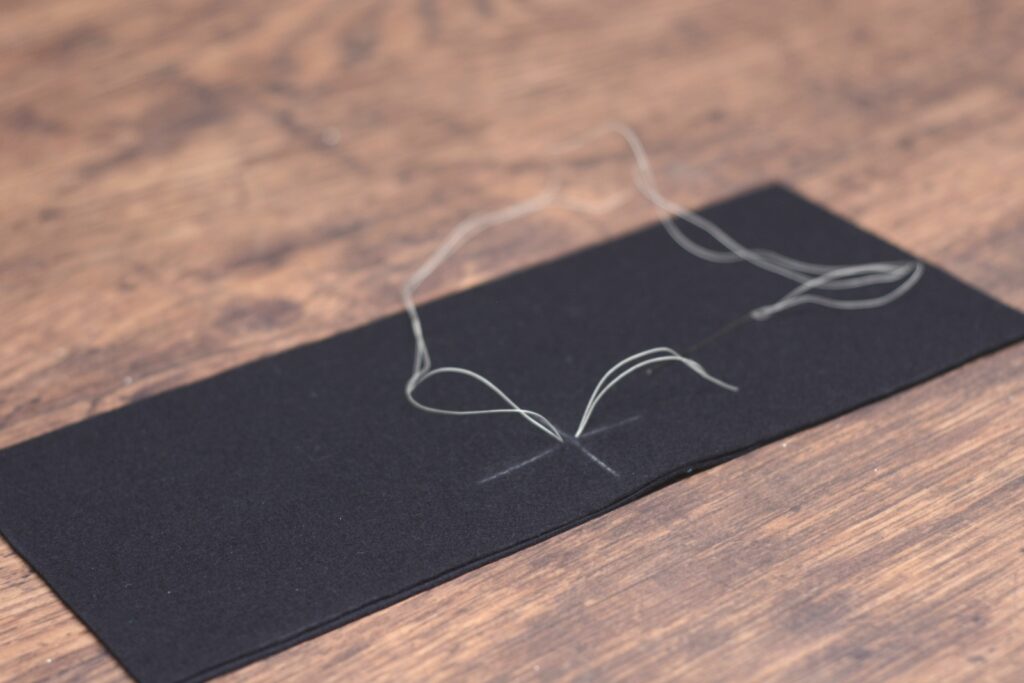
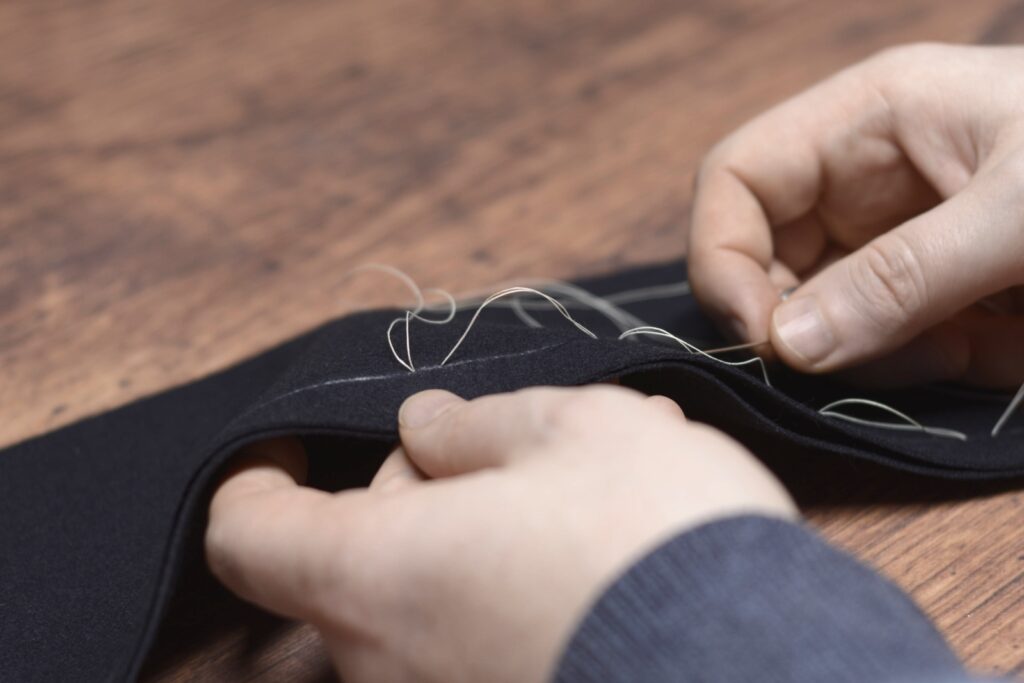
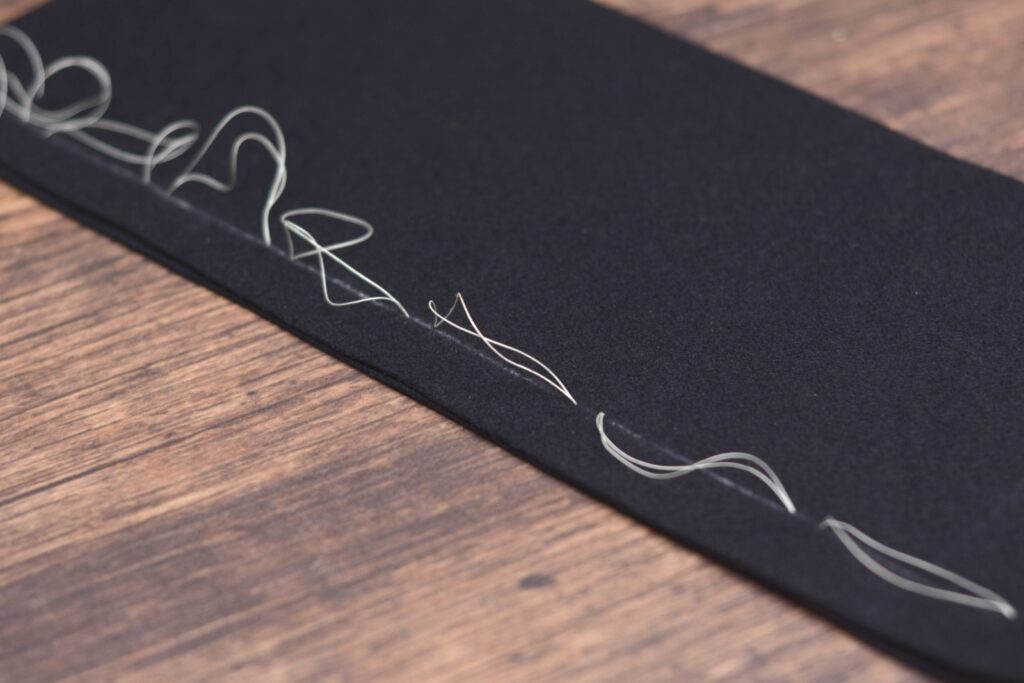
Make another stitch in place, forming a loop about an inch or so tall. Keep the ends of the thread slightly longer than the loop to avoid them pulling out later.
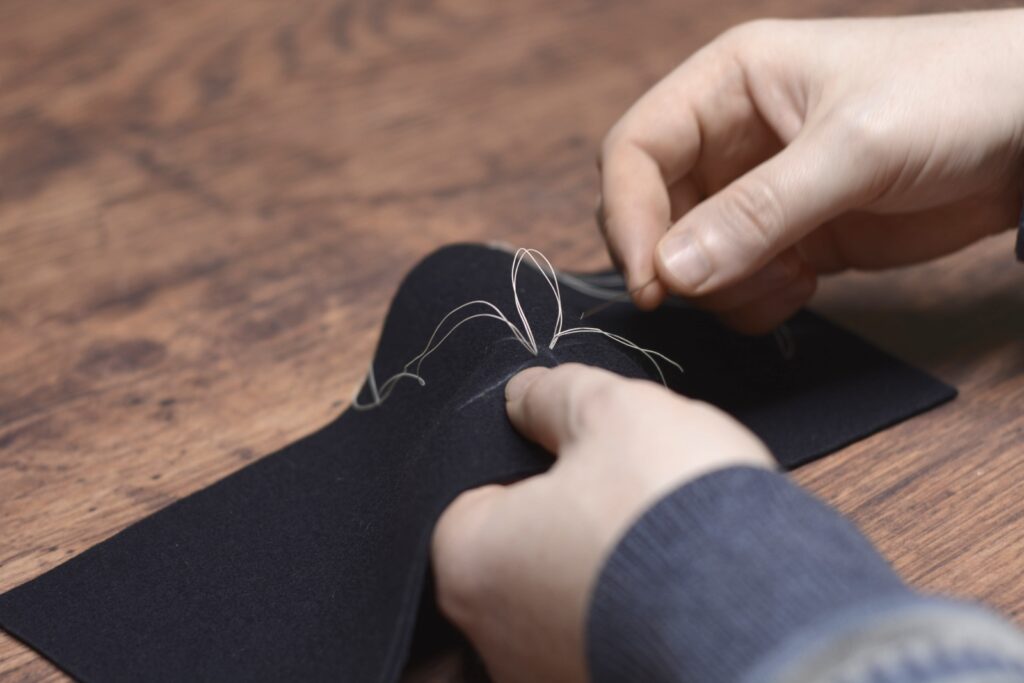
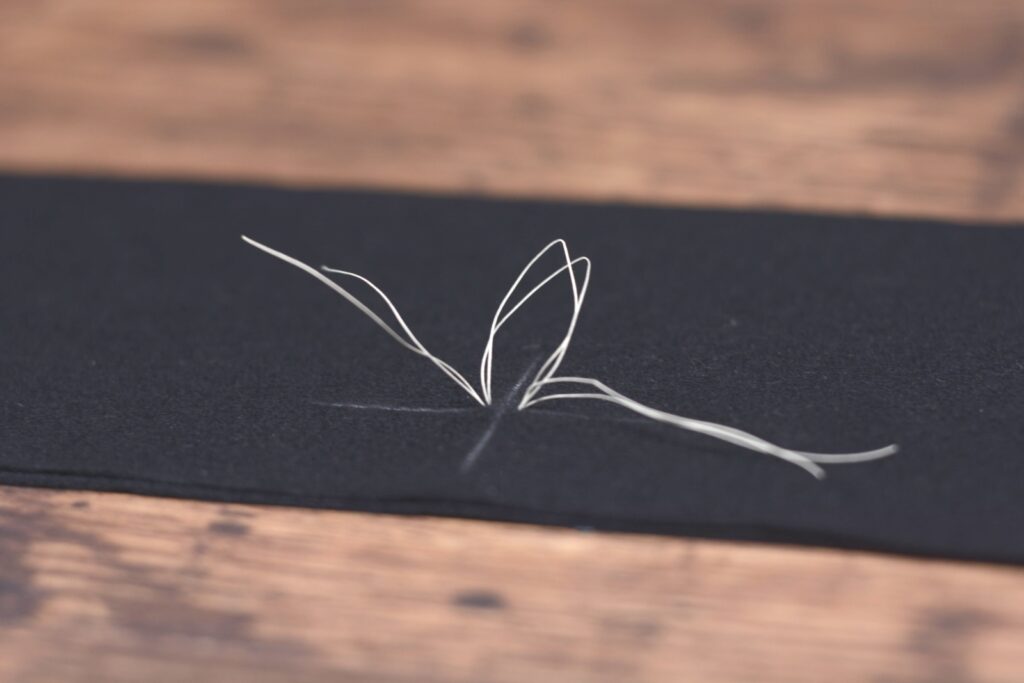
Pull the layers of fabric apart until the threads are taut.

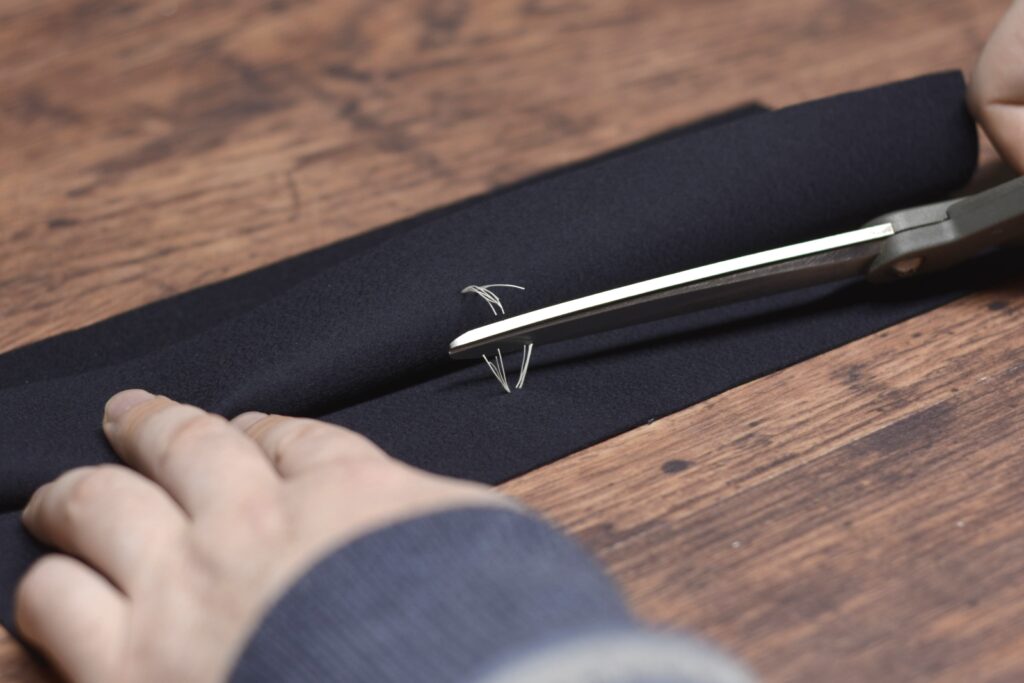
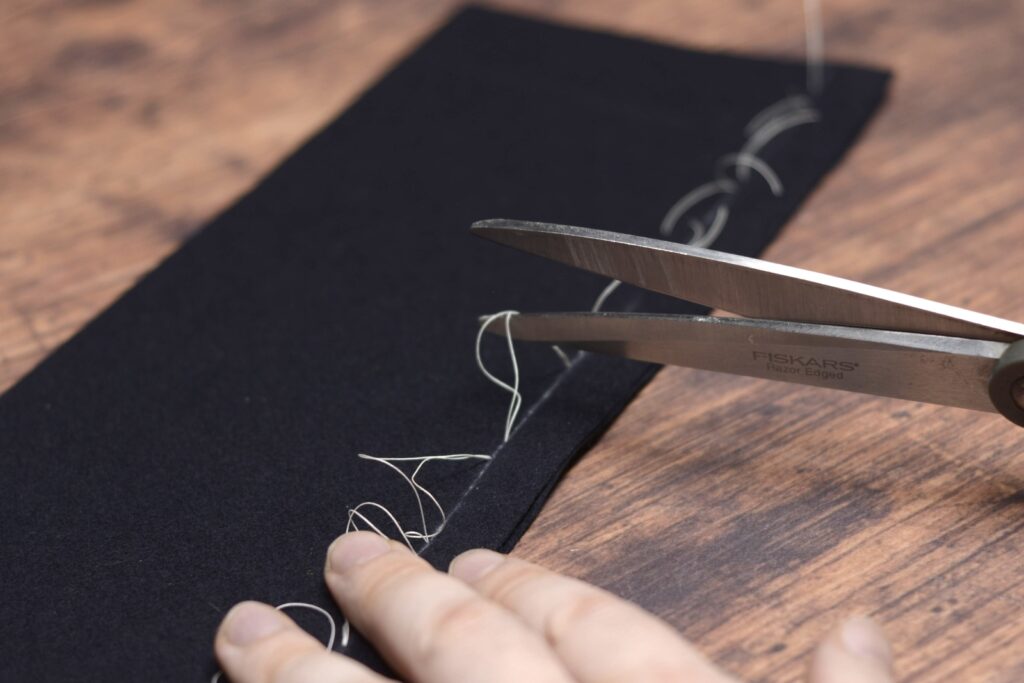
Finally, trim the threads between the layers, completing the tailor’s tacks. These are very durable and should hold throughout the construction process.

Tailor’s Tacks I
This first type of tailor’s tack is very useful for marking seams along inlays, darts, and other areas where a chalk mark may wear away too quickly, and for transferring these areas to the other half of the cloth when laying out your pattern. You typically need two layers of fabric to make this stitch useful.
Take a doubled strand of basting thread on your needle and make a stitch similar to a straight basting stitch along the seam – only keep the stitches further apart depending upon what you are basting.
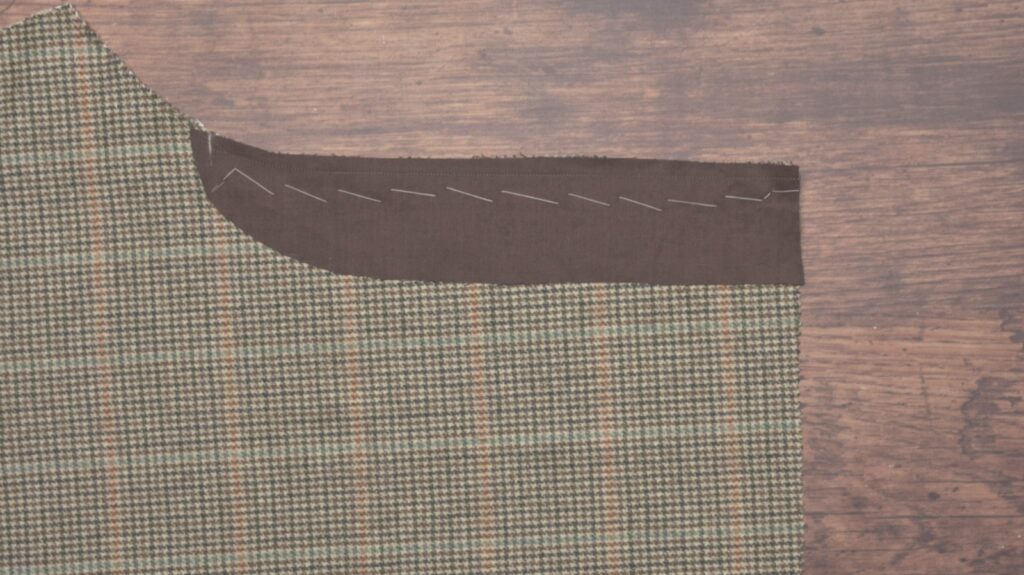
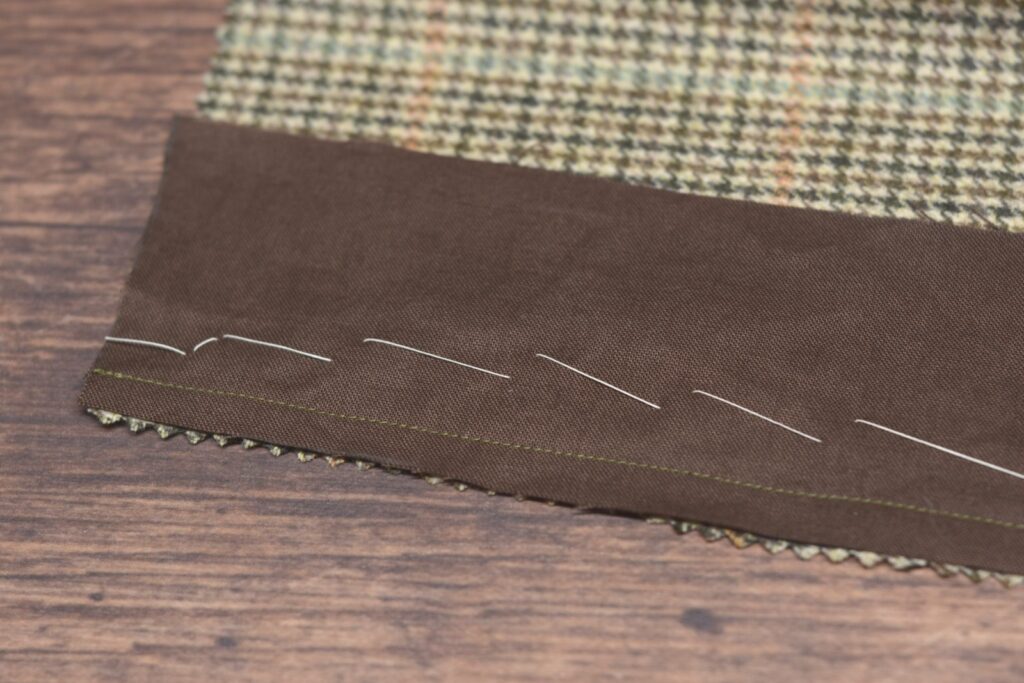
For straight seams, you can make the stitches up to 3″ or so apart from each other, pulling the thread snug between each stitch.
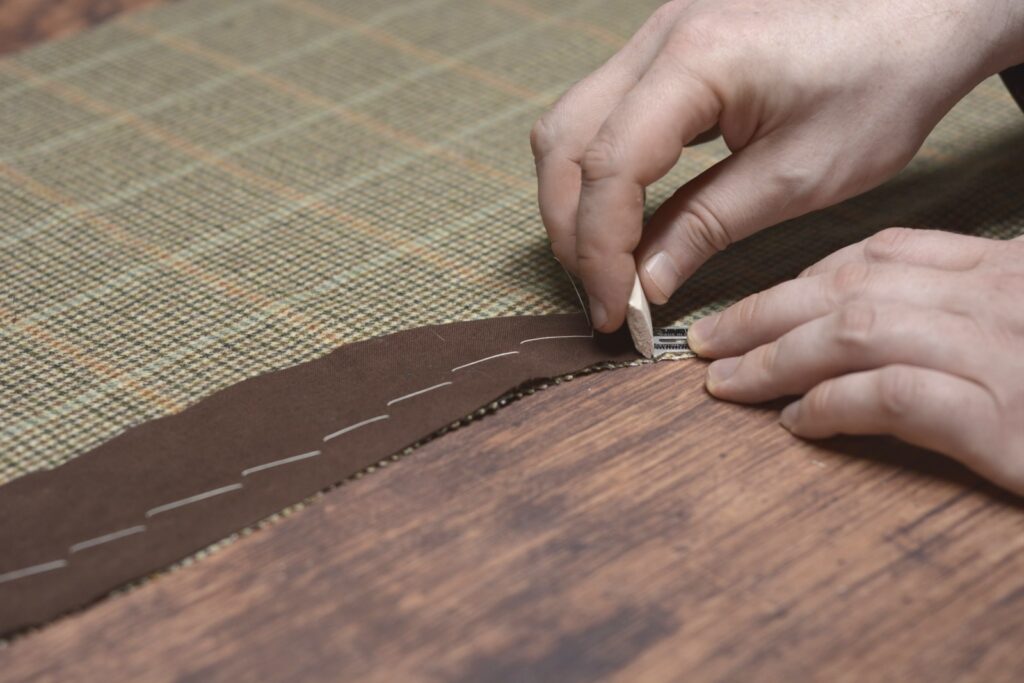
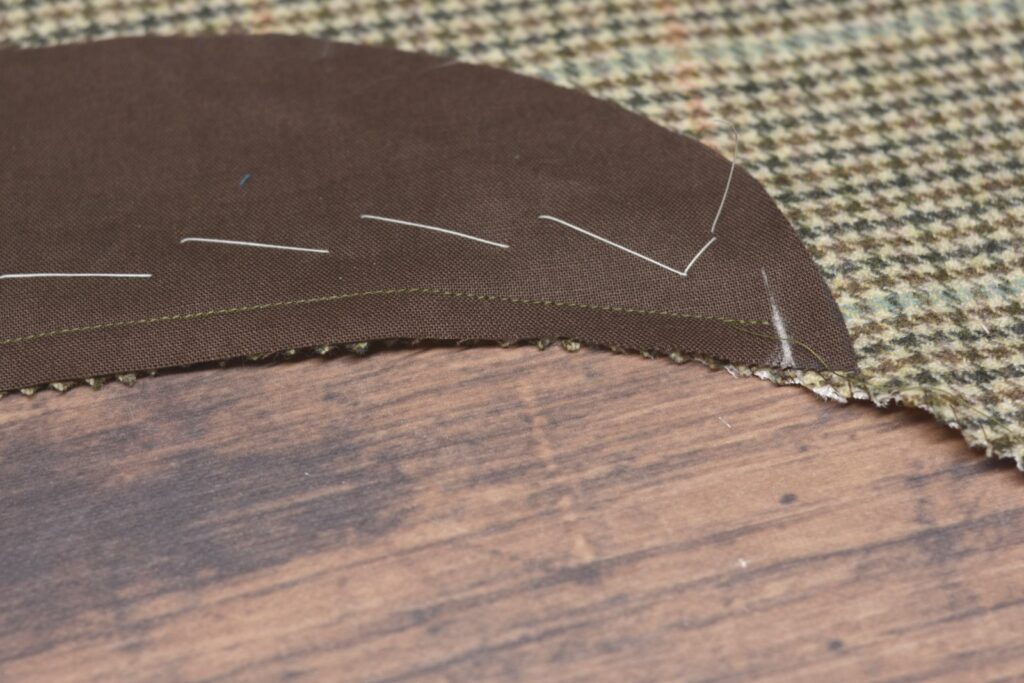
For curved seams, you’ll want to keep the stitches closer together, an inch or so apart or even closer, leaving a good bit of slack between each of the stitches.
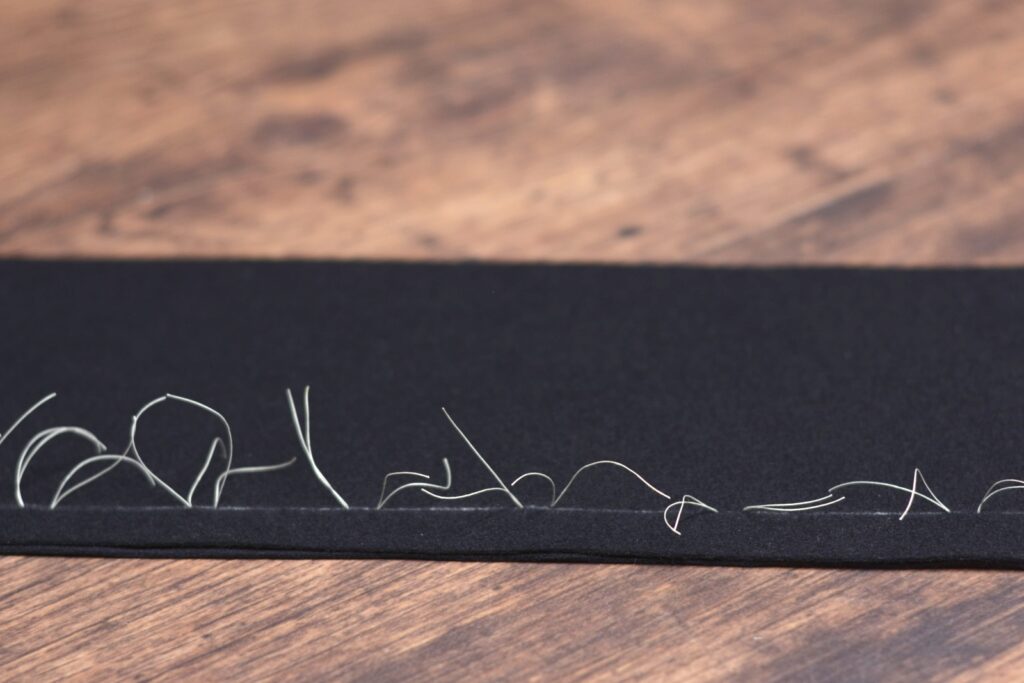
Here’s my seam marked with the stitches kept loose for demonstration purposes.
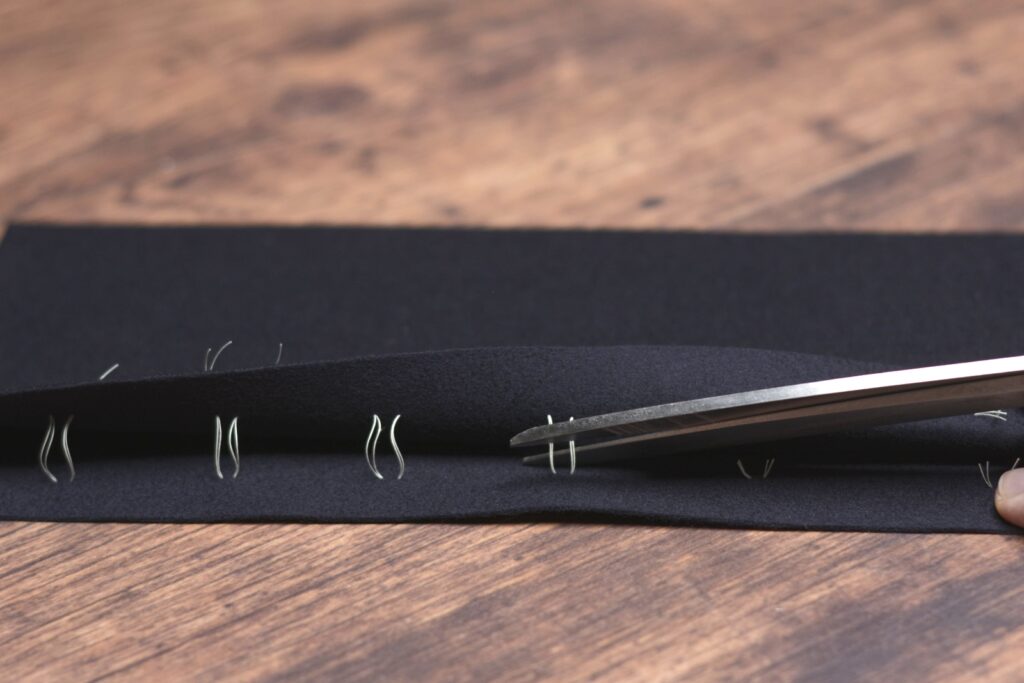
Next, you’ll want to trim the threads in between each stitch. You can see now why we left the slack in the stitches that were spaced closer together.
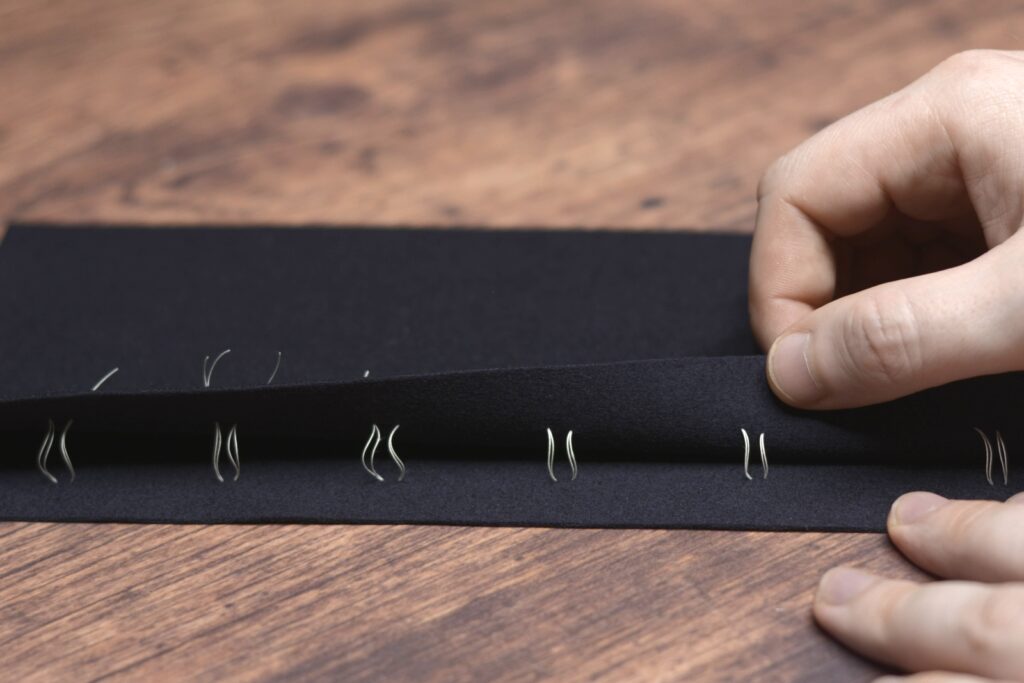
Now, carefully open up the two layers of fabric, being sure not to open it so wide that the stitches pull out of the top layer.
Finally, snip the threads between the layers.
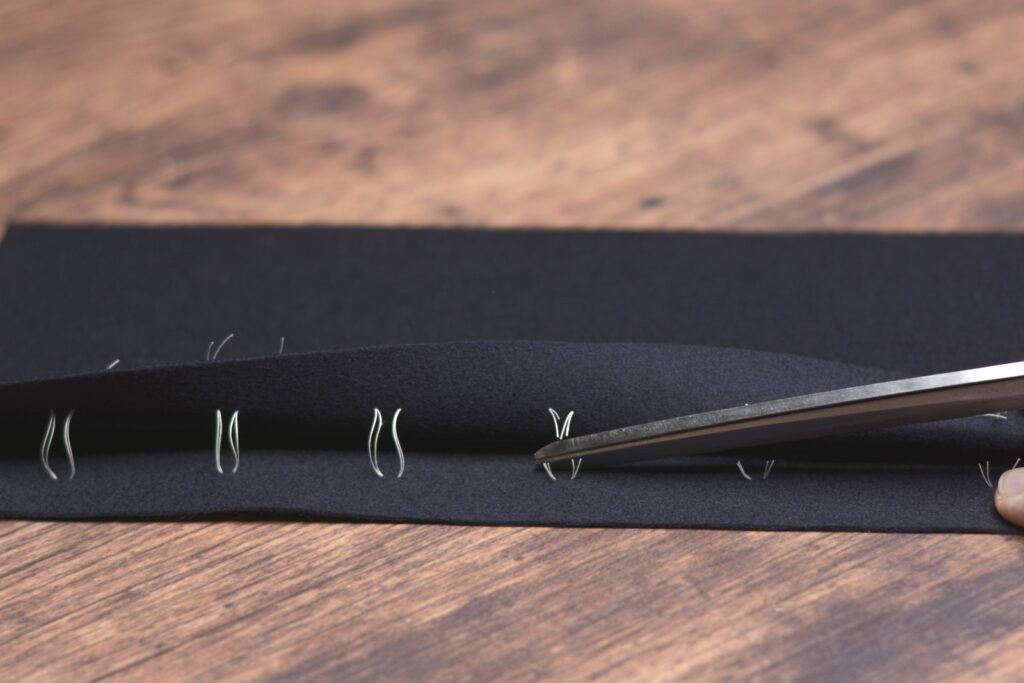
And here are the resulting tailor’s tacks. You’ll find that the top layer will come out a bit more easily than the lower, but they still last a lot longer than the chalk marks do.
Straight Basting
Straight basting is one of the most basic of stitches yet one of the most useful. It’s used when basting two or more layers of fabric together that you want to be able to remove easily later on. The straight basting stitch is quite similar to a running stitch, only the spacing is different. Each stitch is made rather small with a larger space between the stitches.
When doing any basting, it’s very helpful to use a specialized basting thread. This is usually made of cotton, and in such a way that the fibers help grip the fabric. You can get very large rolls that will last for years and years.
Begin by making a stitch in place.
Skip about 3/4″ to 1″ down the seam to make your first stitch. Depending on the fabric thickness, this can be between roughly 1/8″ to 3/8″ in length.
Continue making stitches in such a manner down the seam or area to be basted. The length between stitches will also vary depending on what you are sewing and how securely you need the stitches to hold, something that mainly comes with practice and experience.
Side Seam
Side Seam vs Open-Top Pockets
This module contains instructions for a basic side seam trouser pocket. If you’d like to add an open-top pocket style to your own trousers, please skip this entire module.
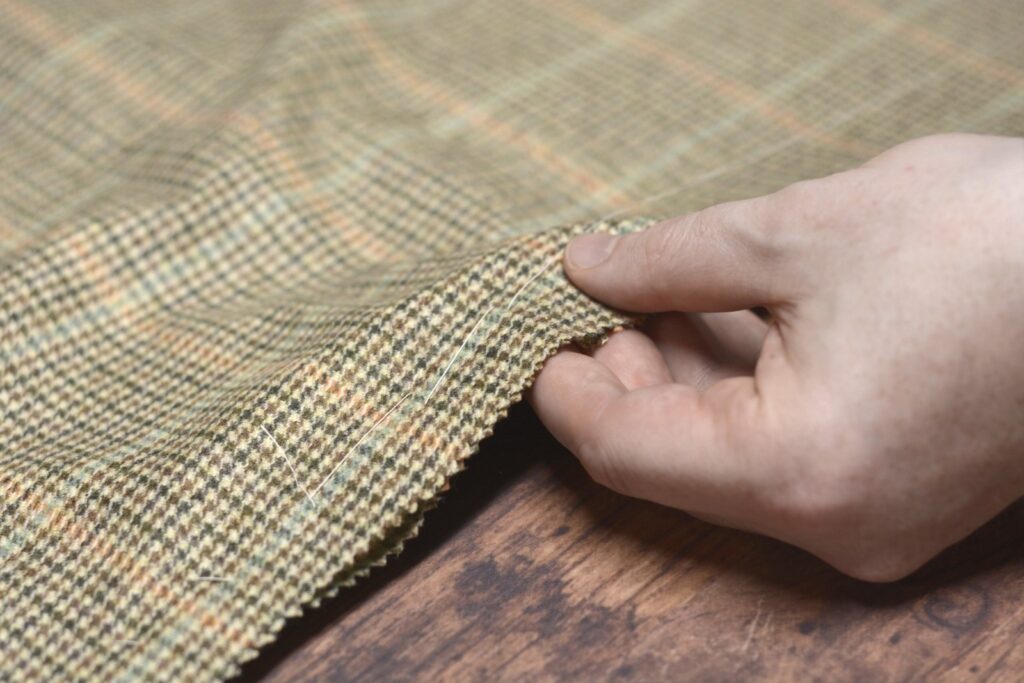
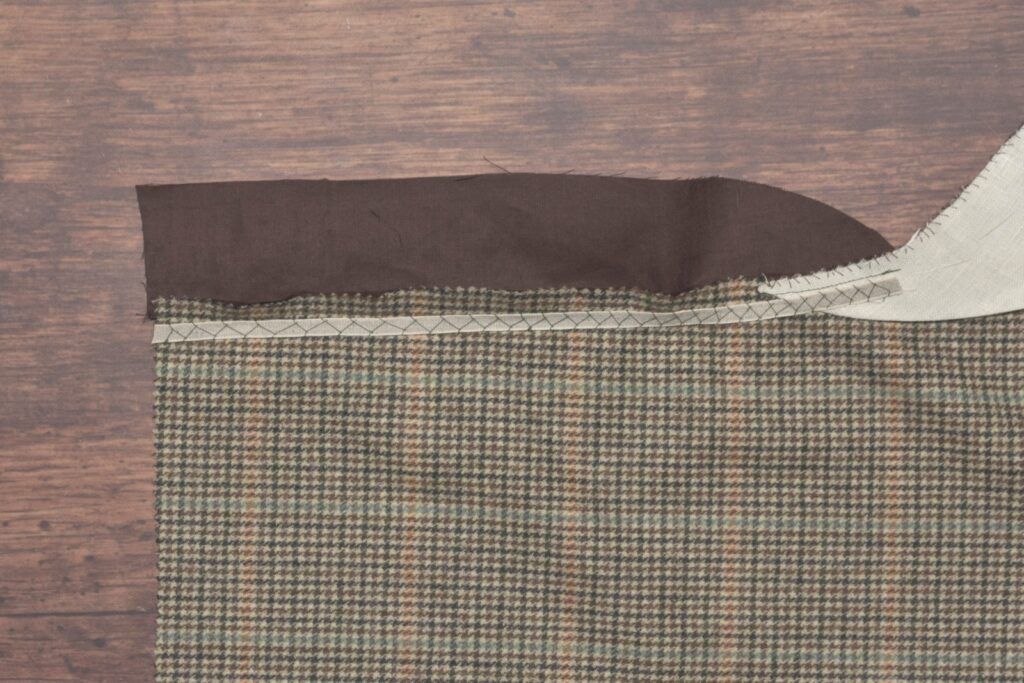
The side seam has to be stabilized and sewn together before we can install the pocket, and it involves a few steps. I choose to add linen interfacing and stay tape in certain areas, but realize they were not used in all trousers during the period, especially of the military variety. I find the trade off worth it though in prolonging the life of the trousers.
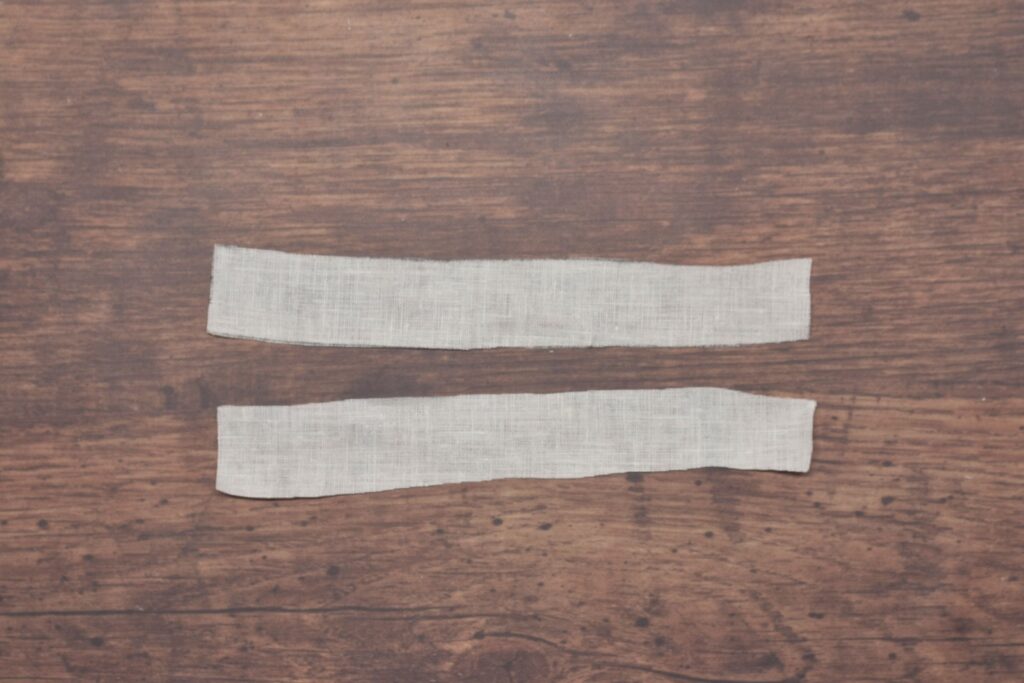
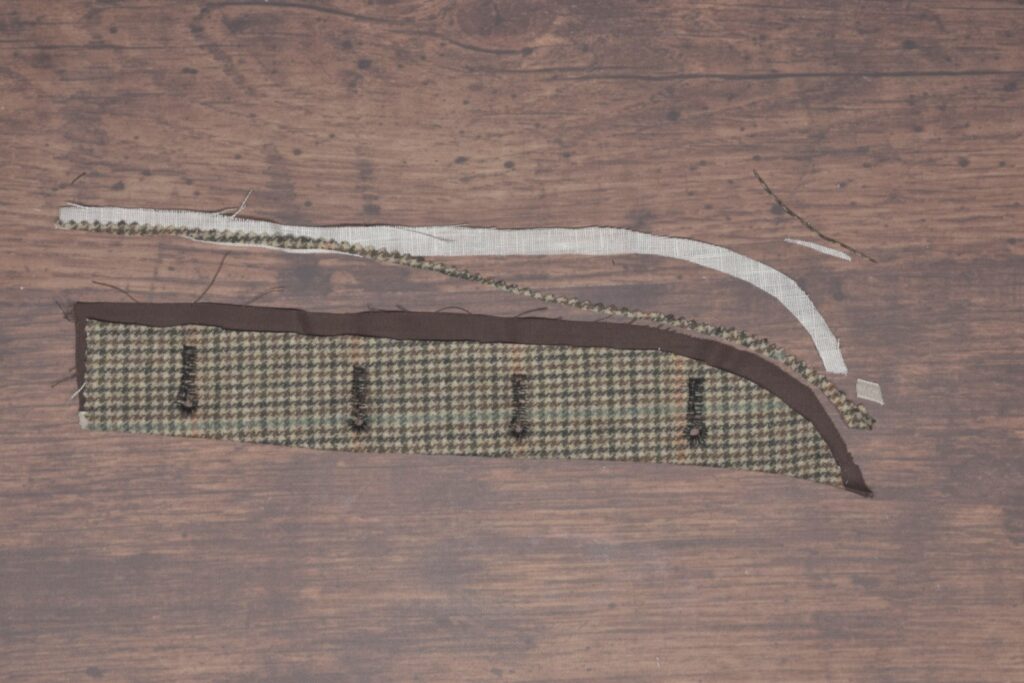
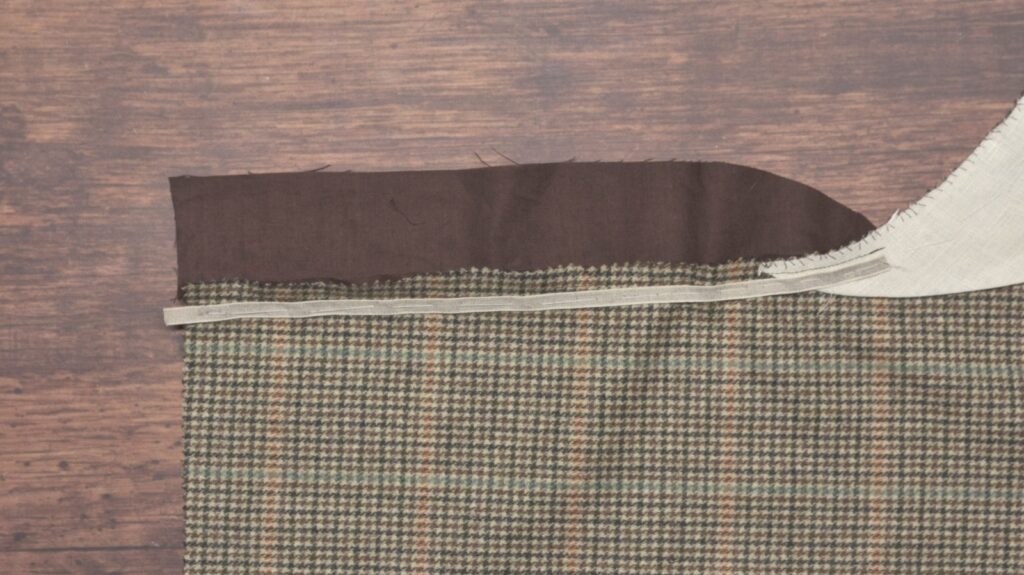
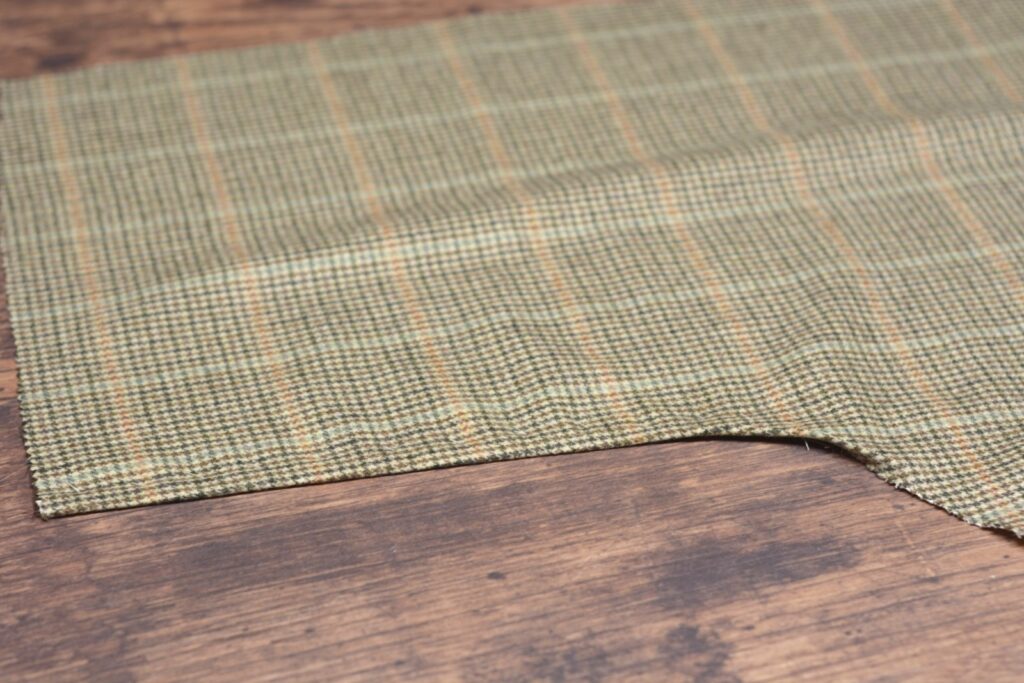
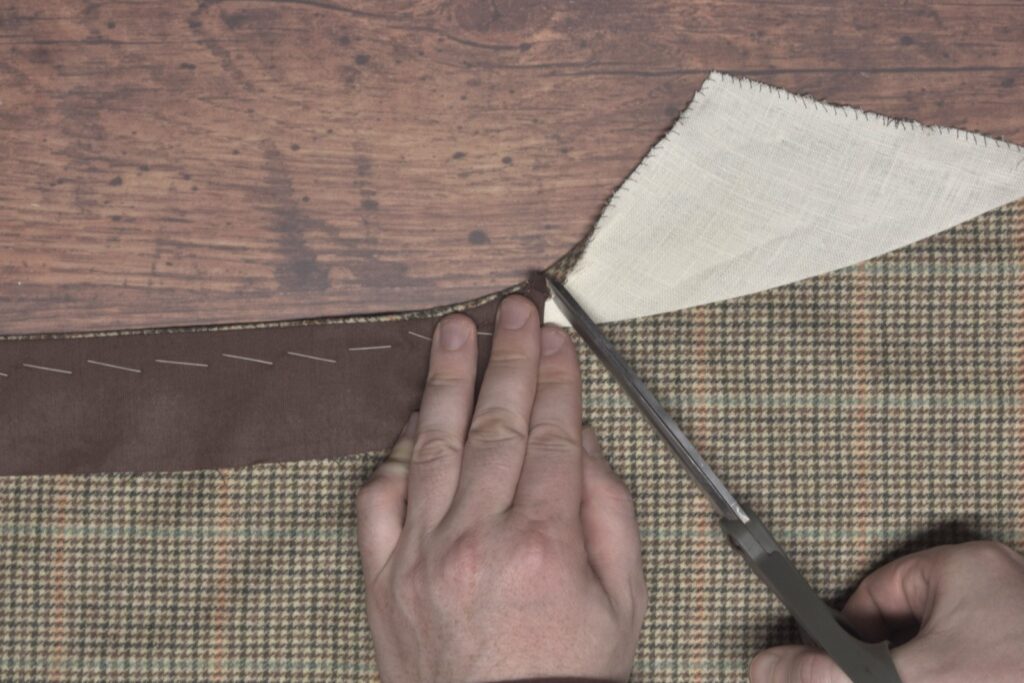
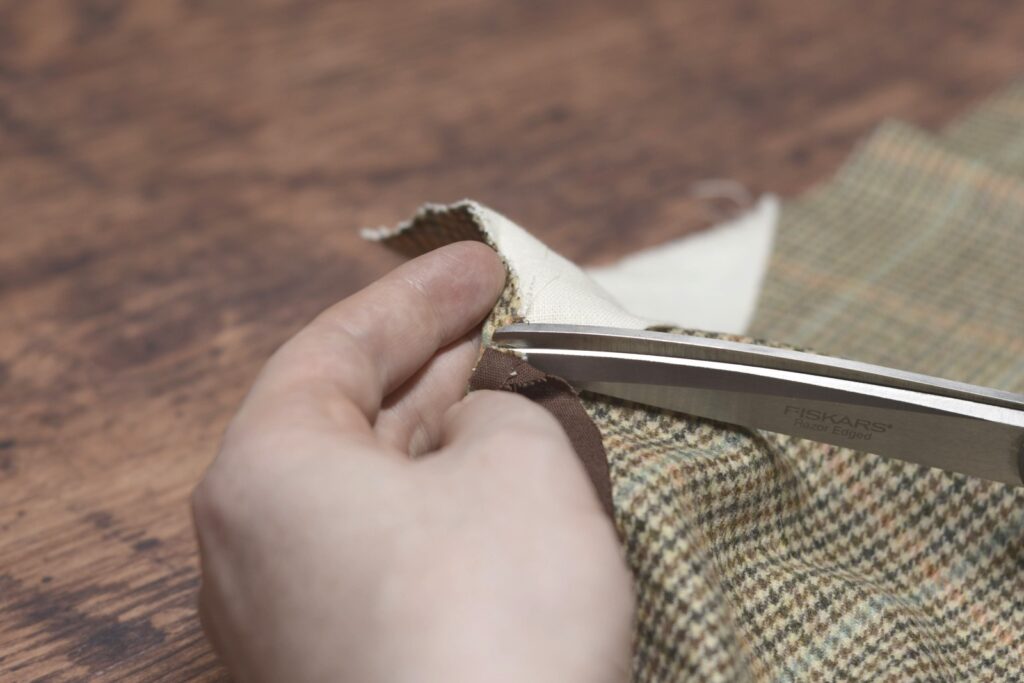
To begin, cut two strips of linen, about 1″ wide by 1″ longer than you want the pocket opening to be. I prefer a larger opening so I made my strips 9″ long, for an 8″ wide pocket mouth.
It’s great if you can cut them square but as you can see, I had a bit of trouble this time.
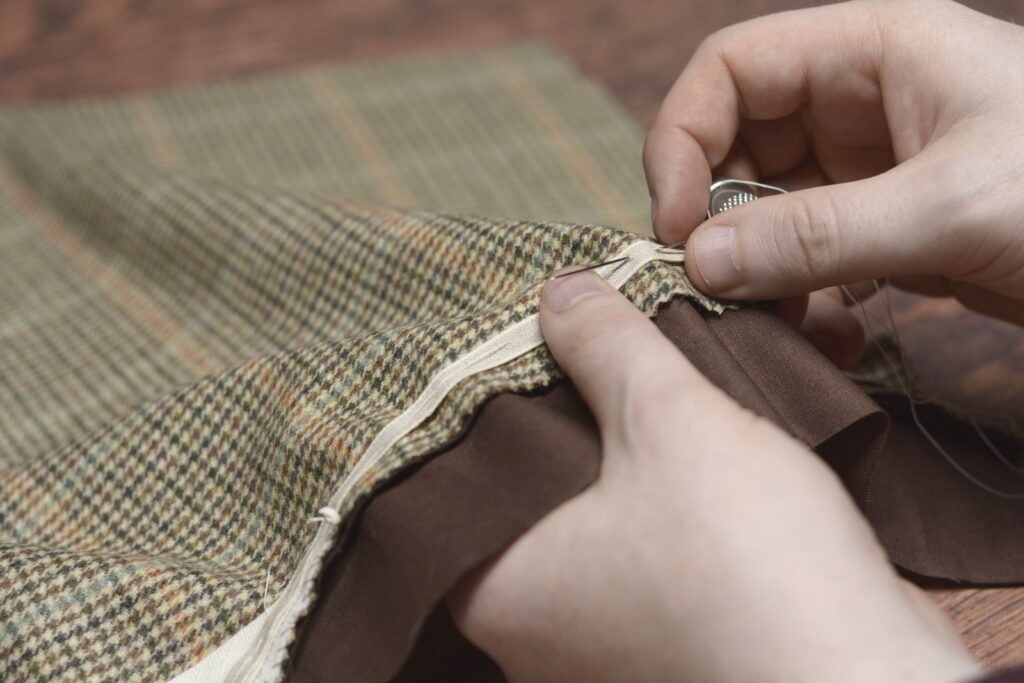
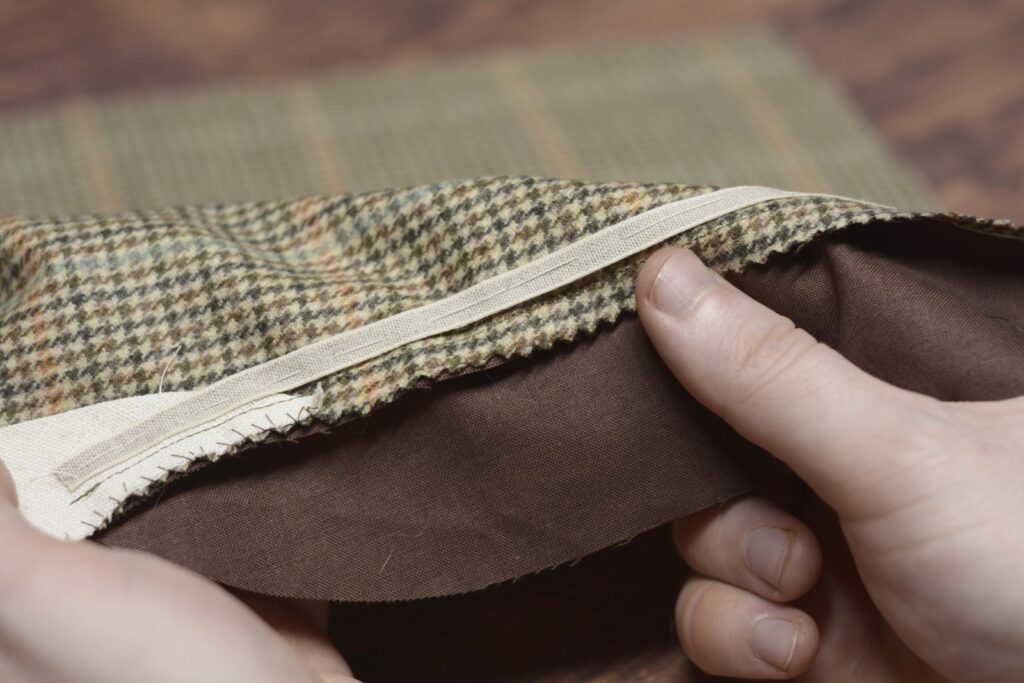
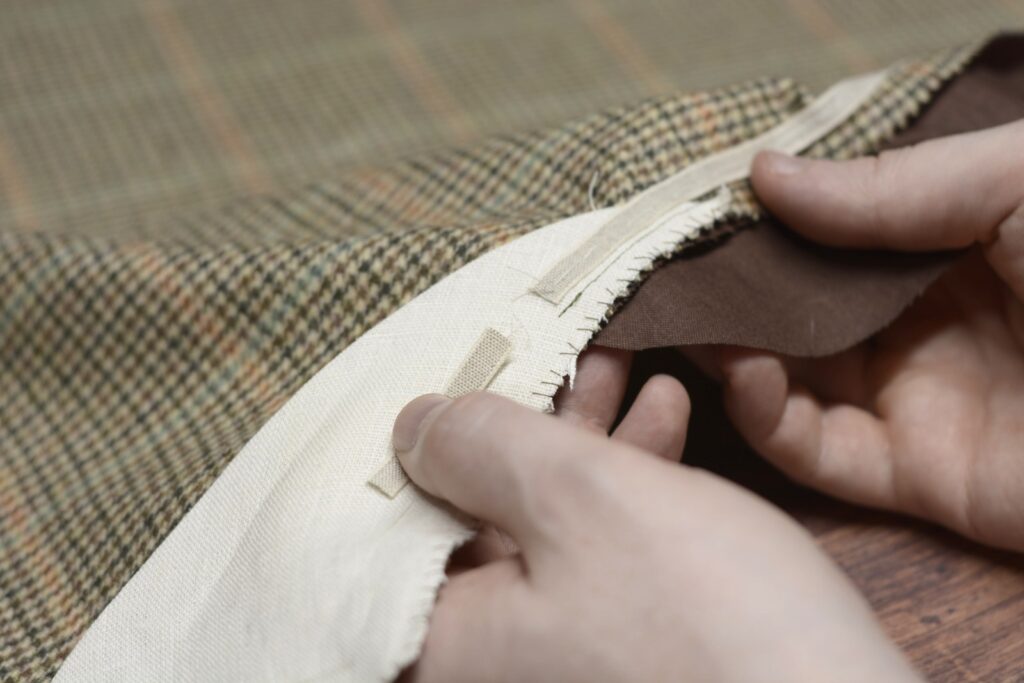
Baste the linen strips to the wrong sides of each trouser front.

Adding this strip of linen alone greatly strengthens the area around the pocket.
It’s now time to attach the trouser fronts to the backs. Lay out the front on the table, and lay the back over the top, right sides together.
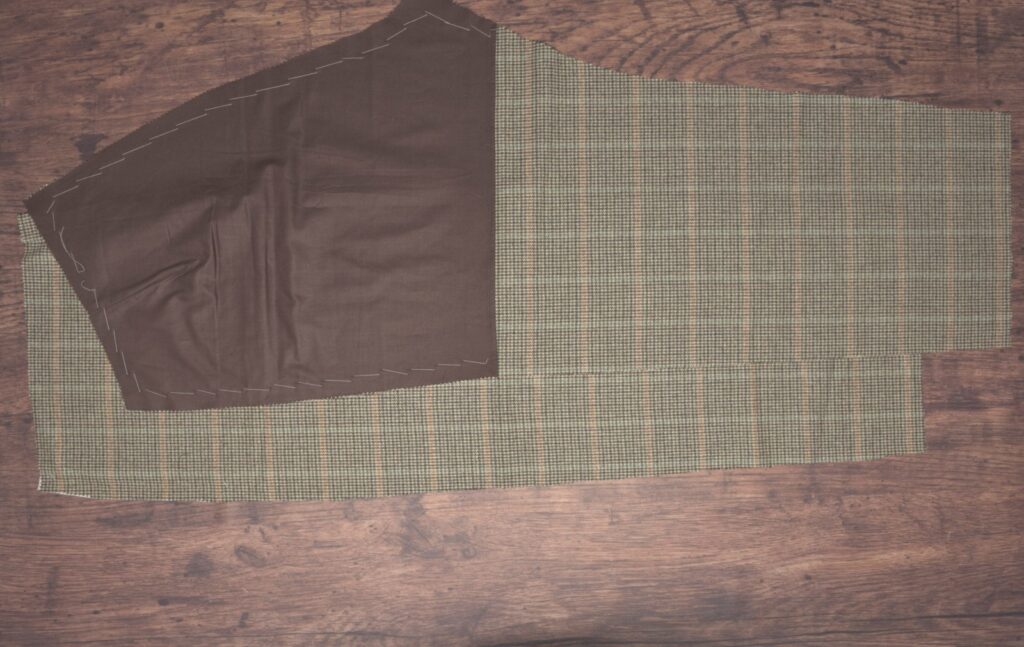
Now pin the very top of the side seam at the waist, ensuring that when we baste the side seam, the tops will be aligned properly.
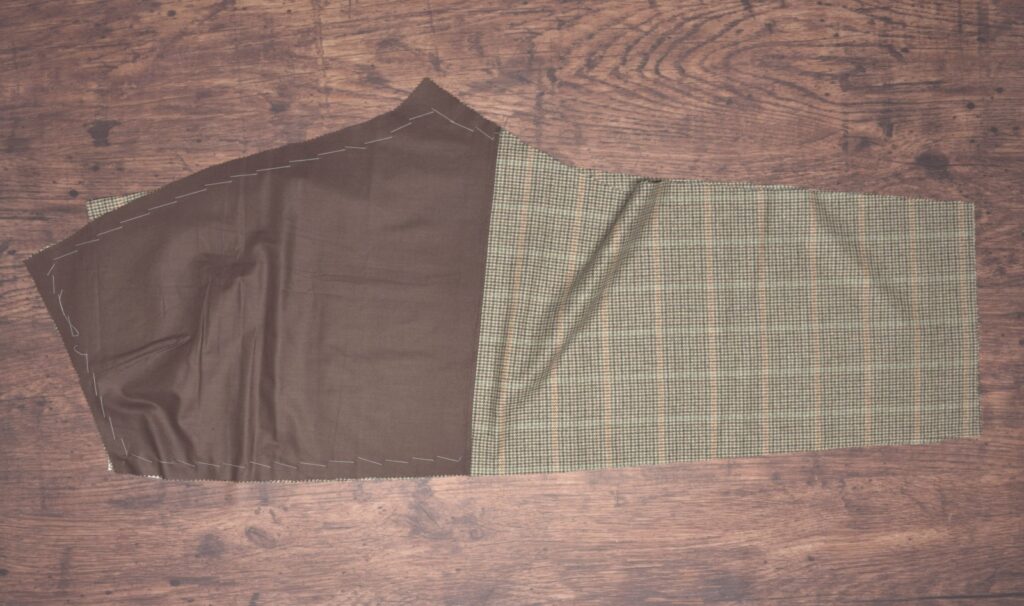
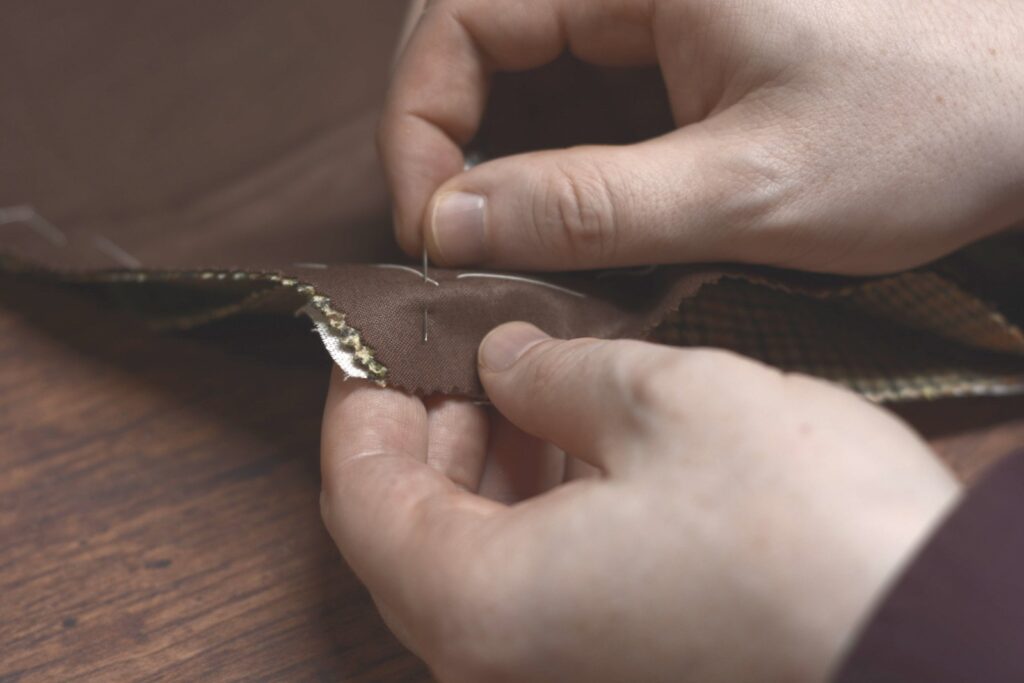
Now, starting from the bottom hem, baste to the position of the knee (you can be precise about this and lay it out on the pattern, or just estimate).
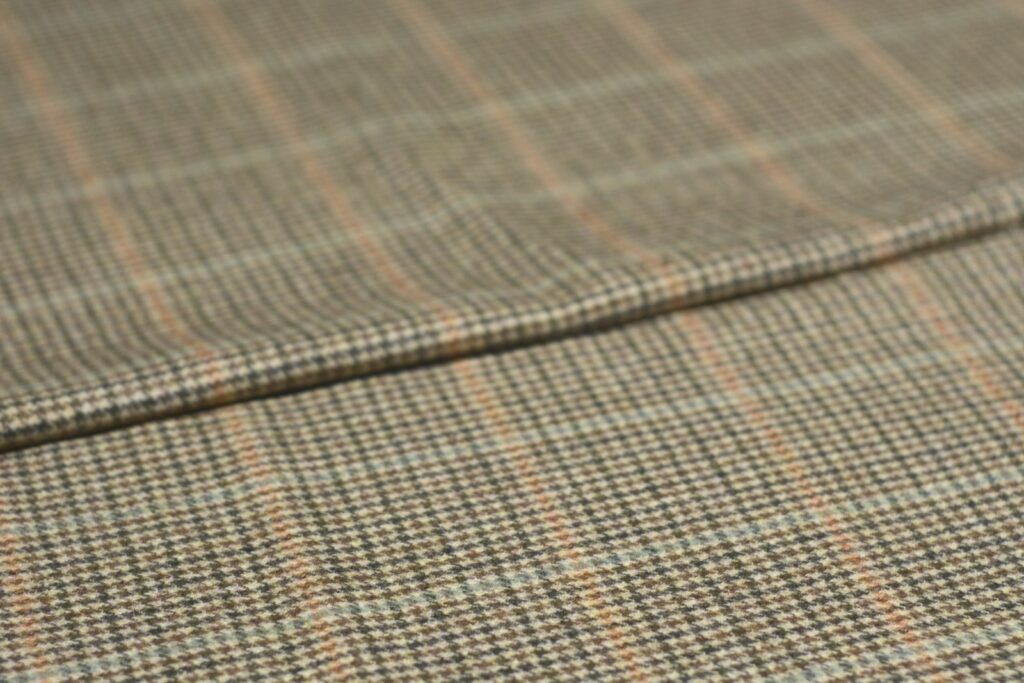
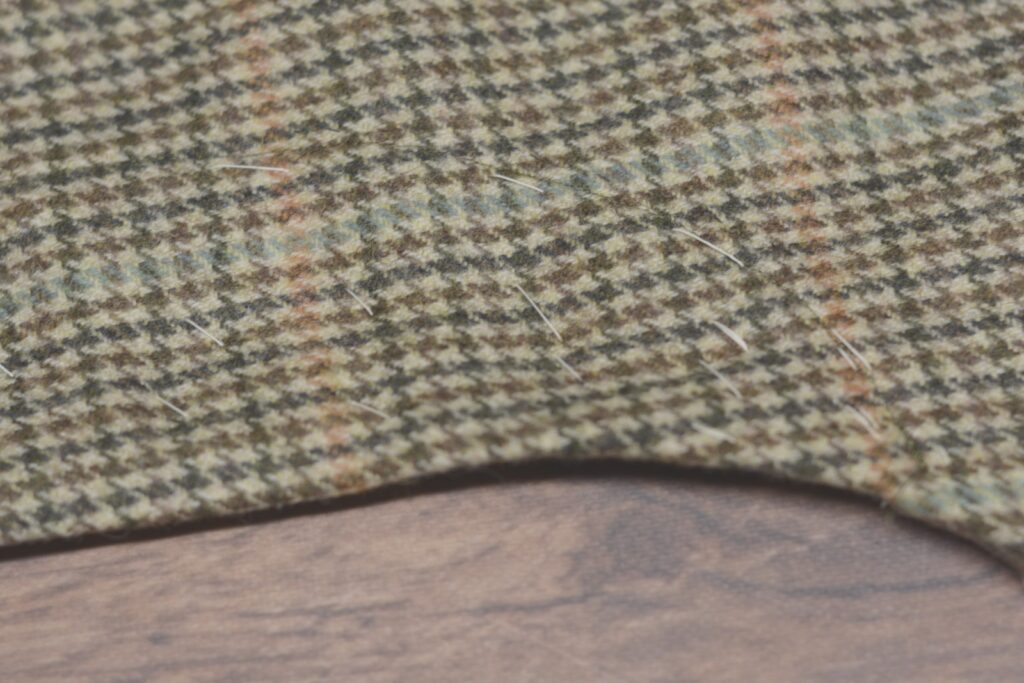
Be sure to match the plaids as you’re going, if necessary.
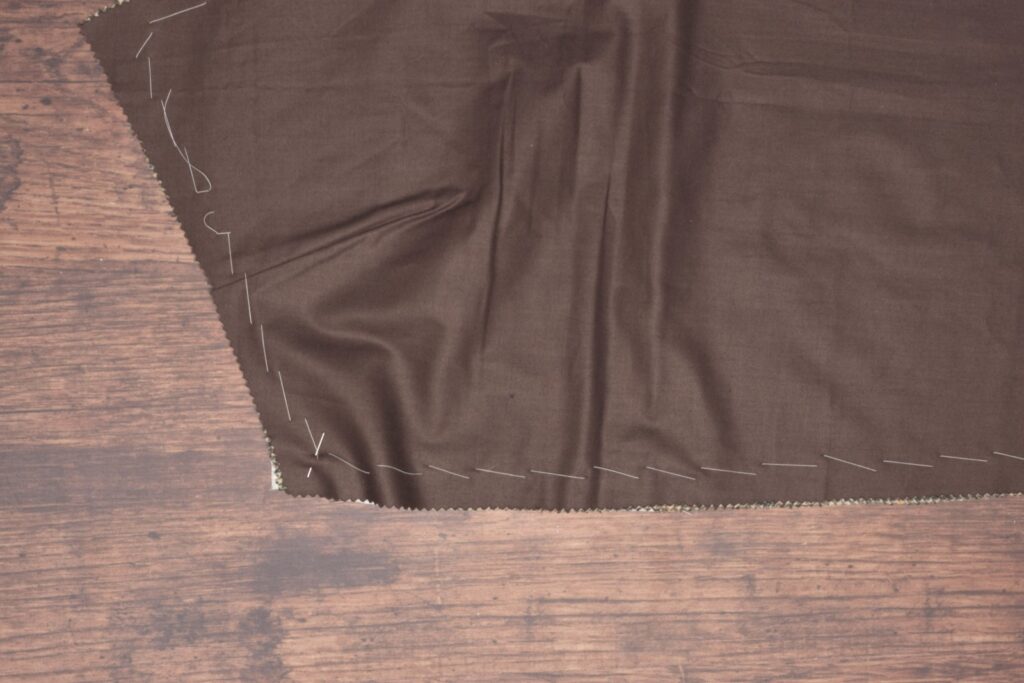
Now baste from the knee to the waist, positioning the trousers so that the back piece is underneath and in an orientation that is most comfortable for your you.
As you’re basting, you’ll notice that the underside has a bit more fabric than the top side. This needs to be distributed evenly, moreso around the pocket opening, with the remaining excess distributed just below the pocket and tapering off to an even tension by the time you get to the knee.
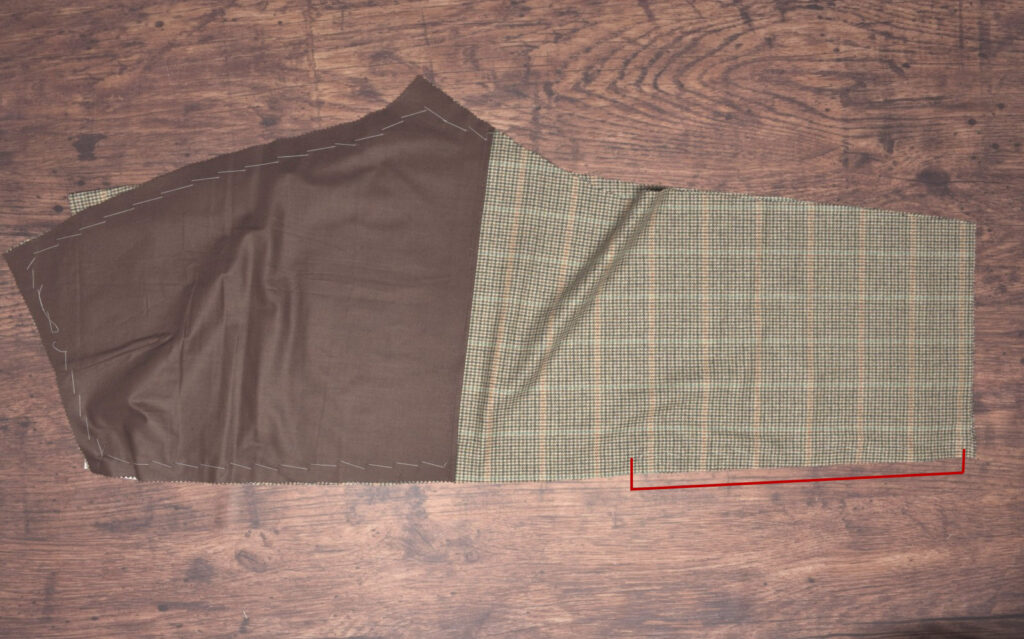
The idea is to have the back piece have a bit of excess for the seat and hips, as well as the pocket opening to be slightly under tension in the front piece, ensuring it stays closed while wearing.
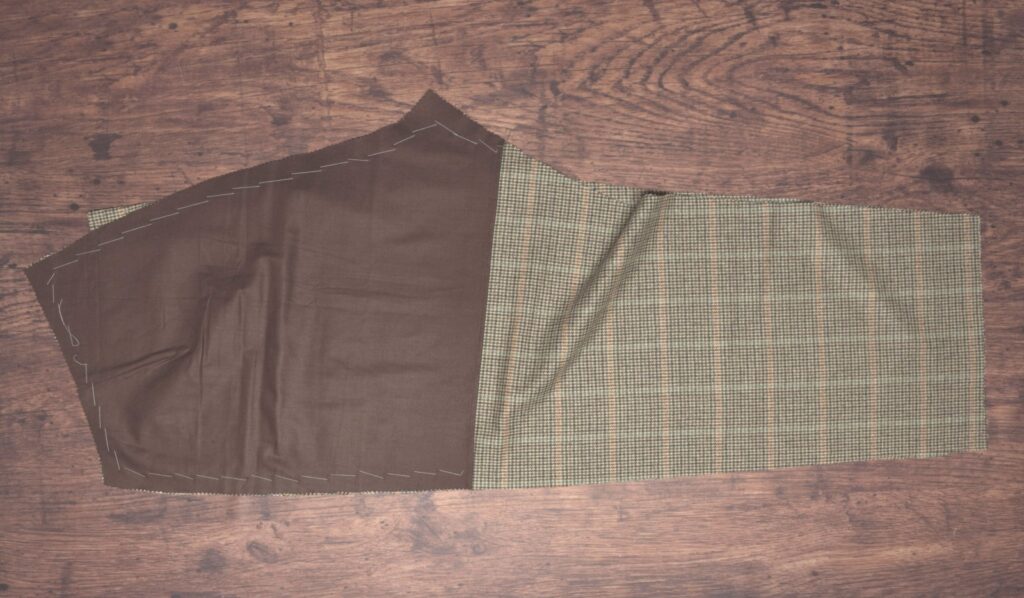
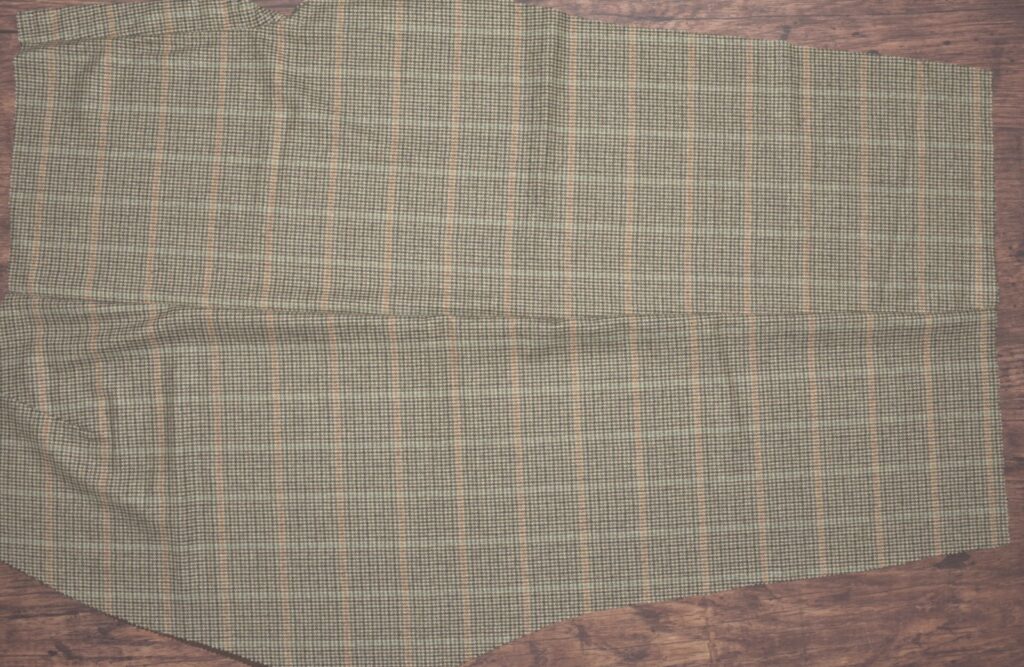
Sorry it’s not more photogenic! But here’s the basted side seam.
It’s a good time to check how the plaids are aligned, and if necessary, redo them. Really depends upon how fussy you want to get.
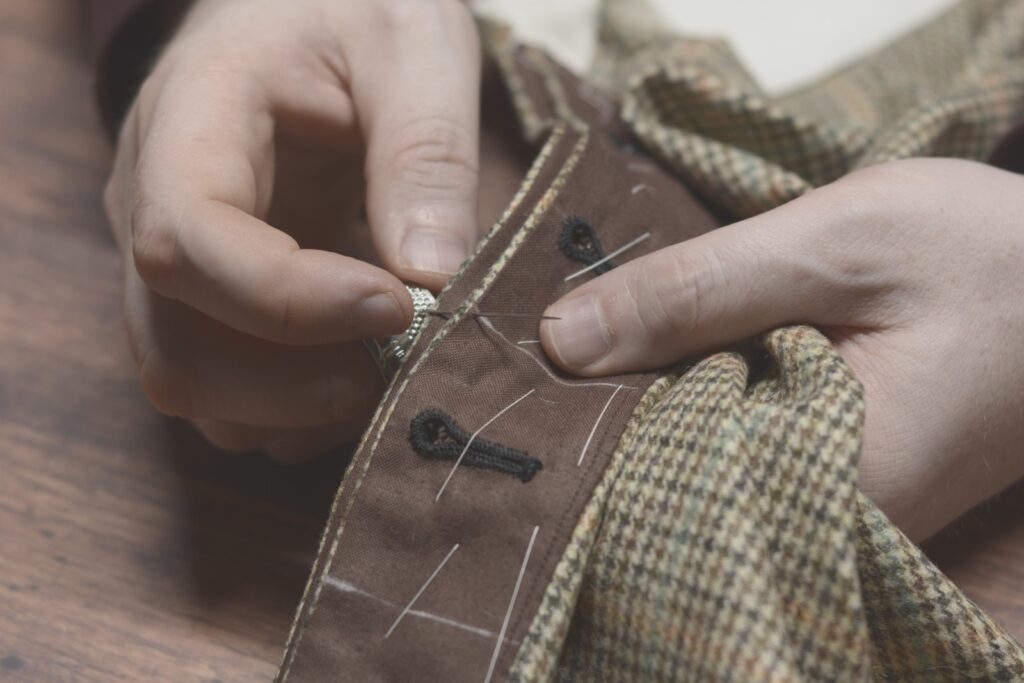
Attaching the Fly
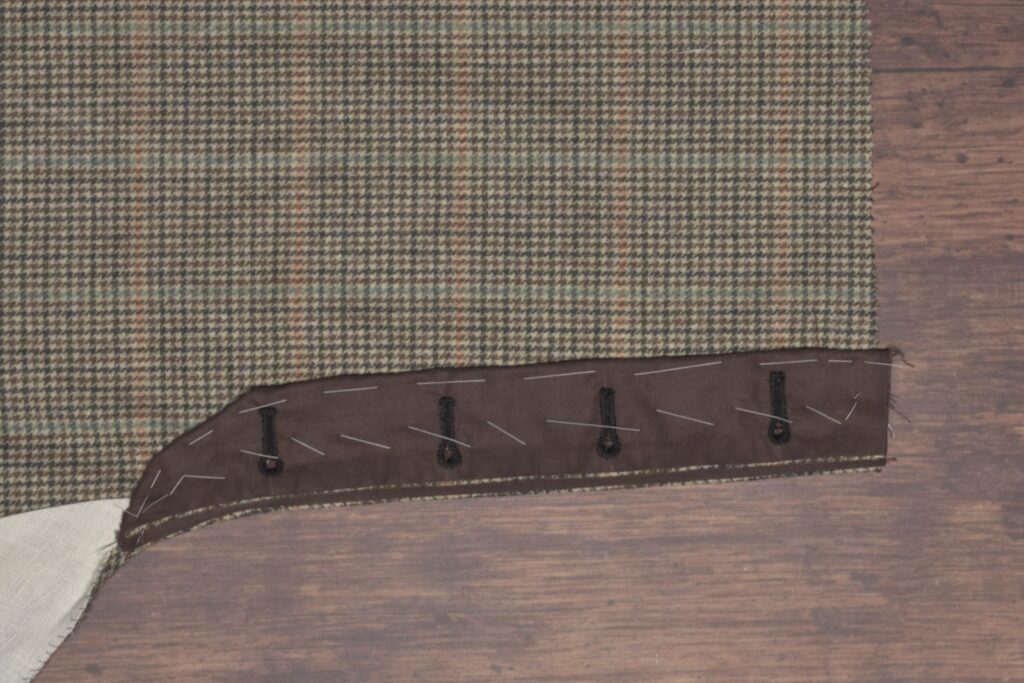
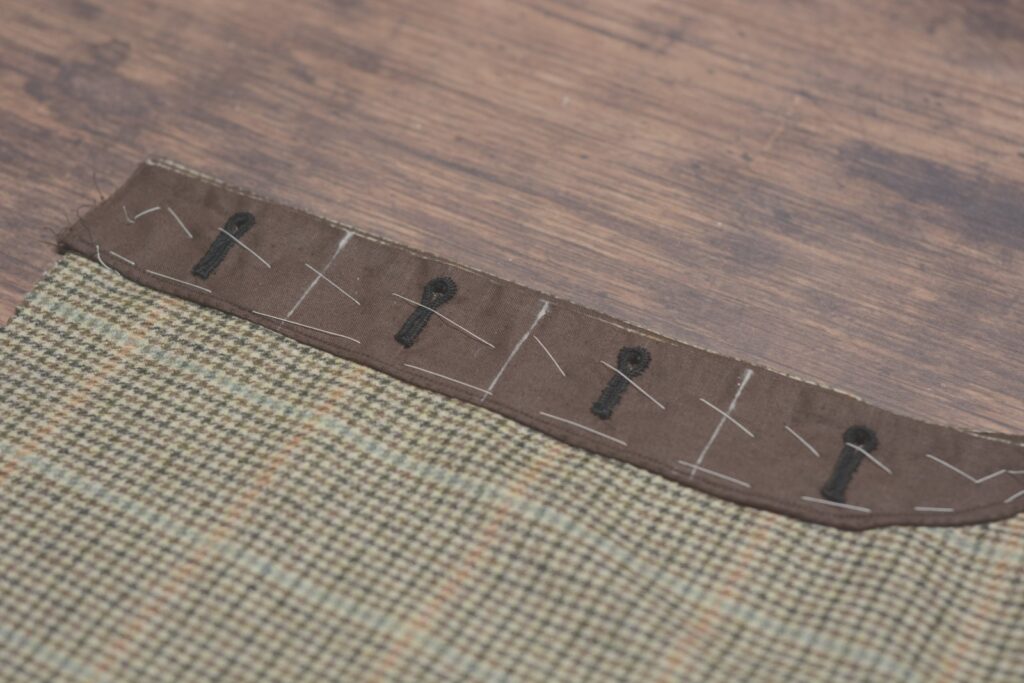
Finally, it’s time to attach the fly itself to the trouser front. Begin by trimming away about 1/4″ to 3/8″ of the fashion fabric and the linen interlining from the fly, being sure not to cut into the lining underneath.
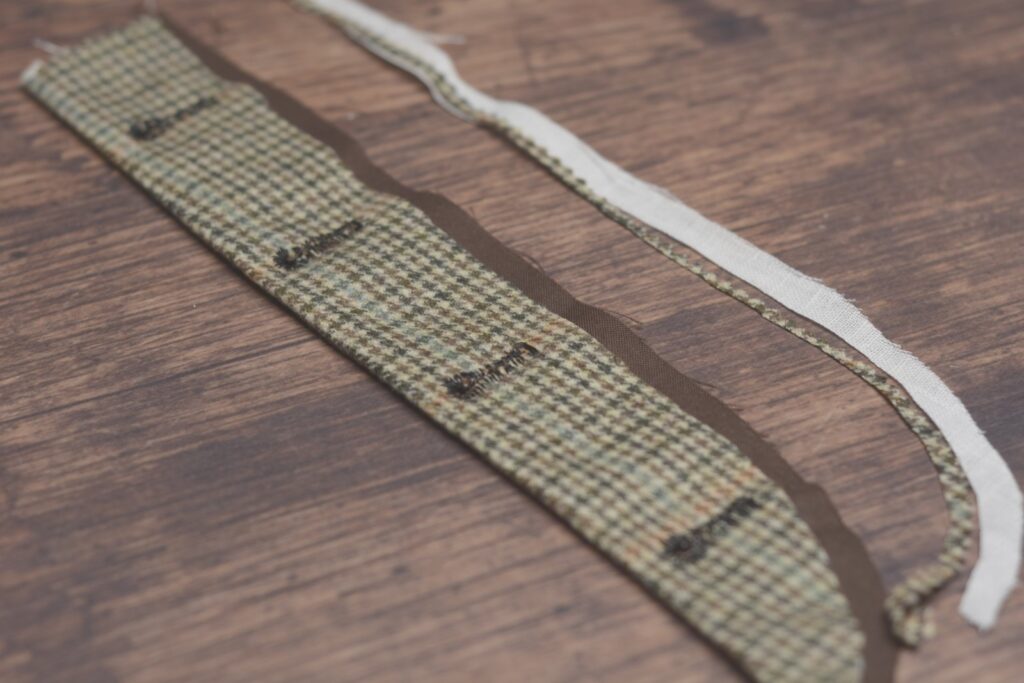
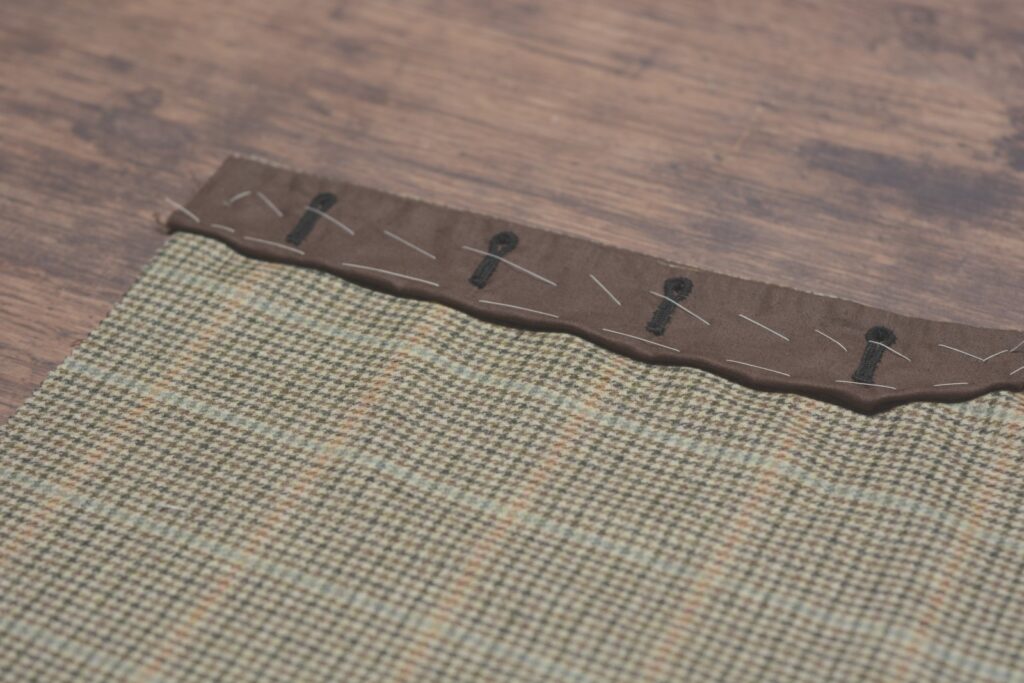
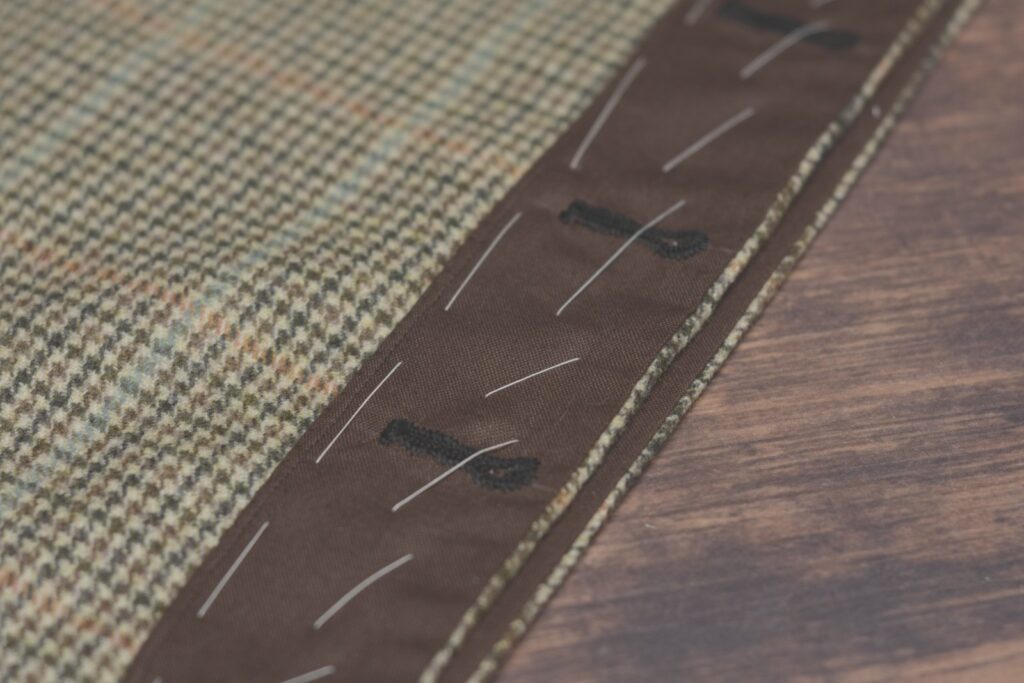
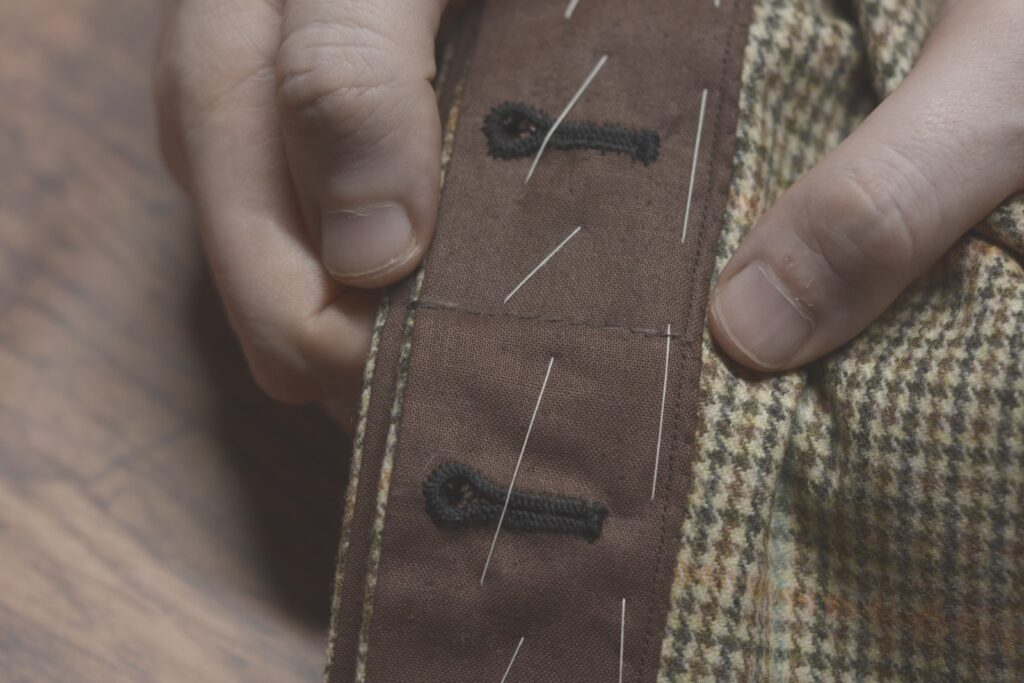
Lay the fly in place on the wrong side of the trousers. I like to set the fly back a little to reduce bulk, so that the eyes of the buttonholes are about 1/2″ from the edge of the trouser. Baste securely down the center of the fly.
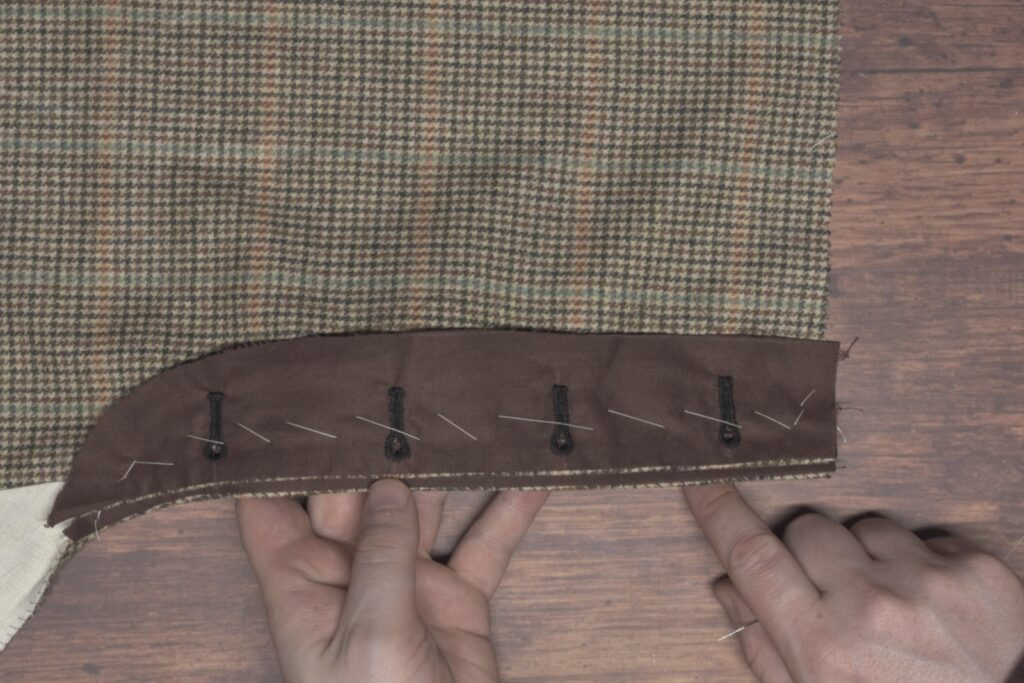
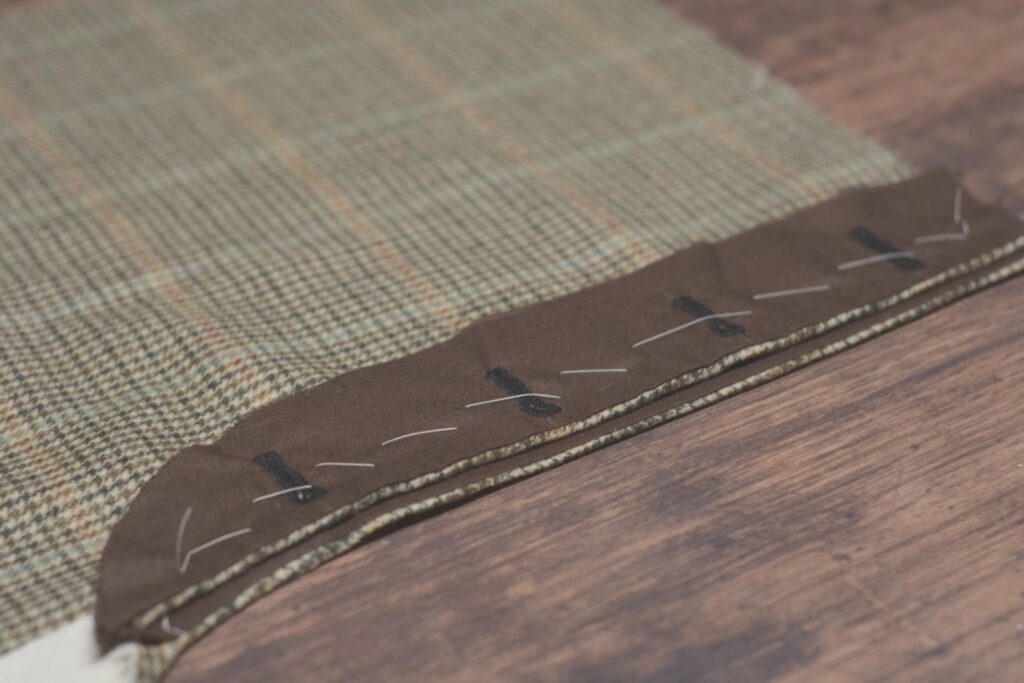
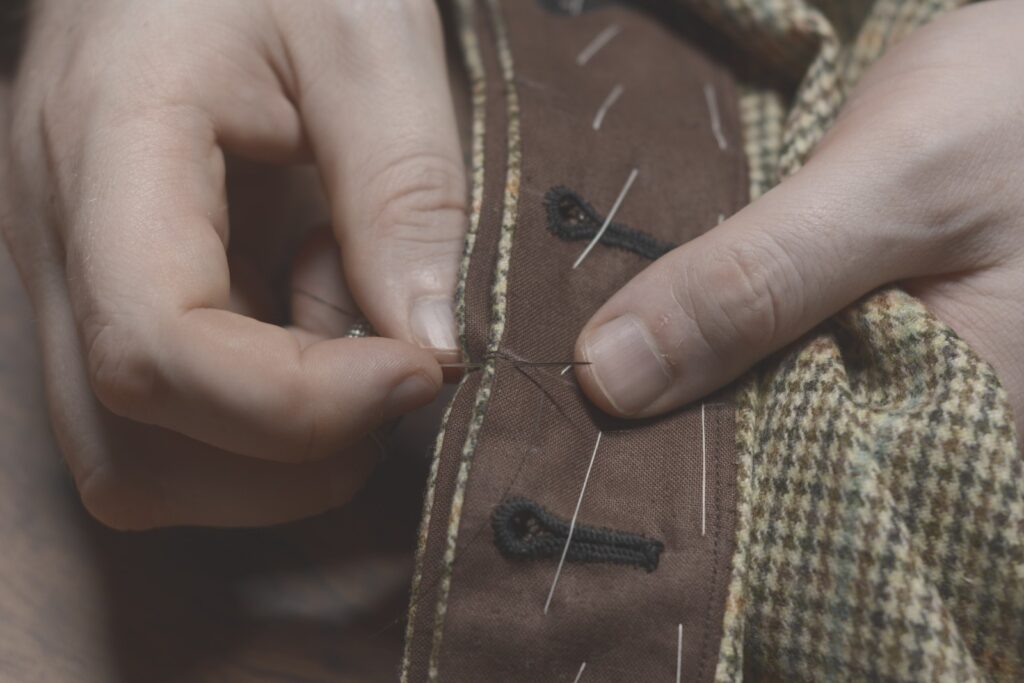
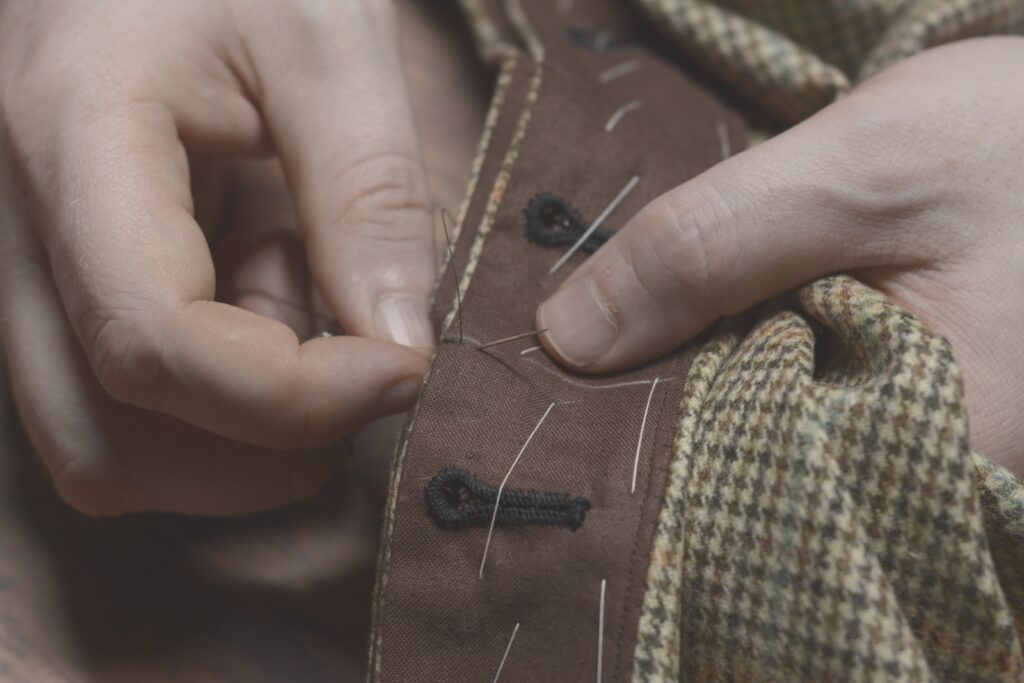
Turn the fly lining under itself – ideally it will encompass all of the layers that make up the fly and fly facing. Baste closed along the folded edge.
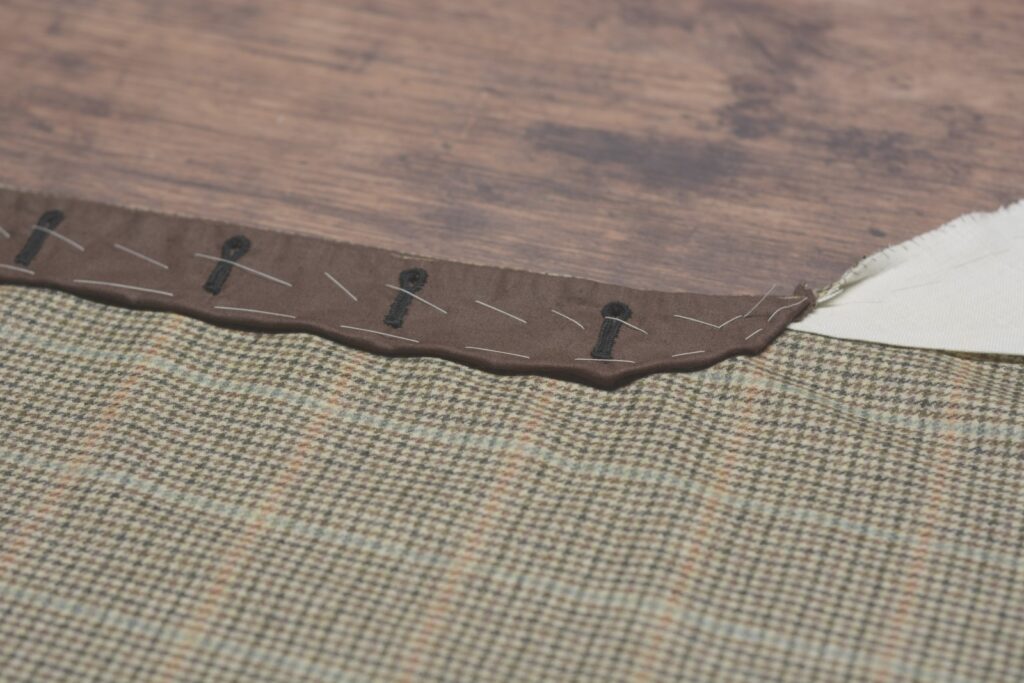
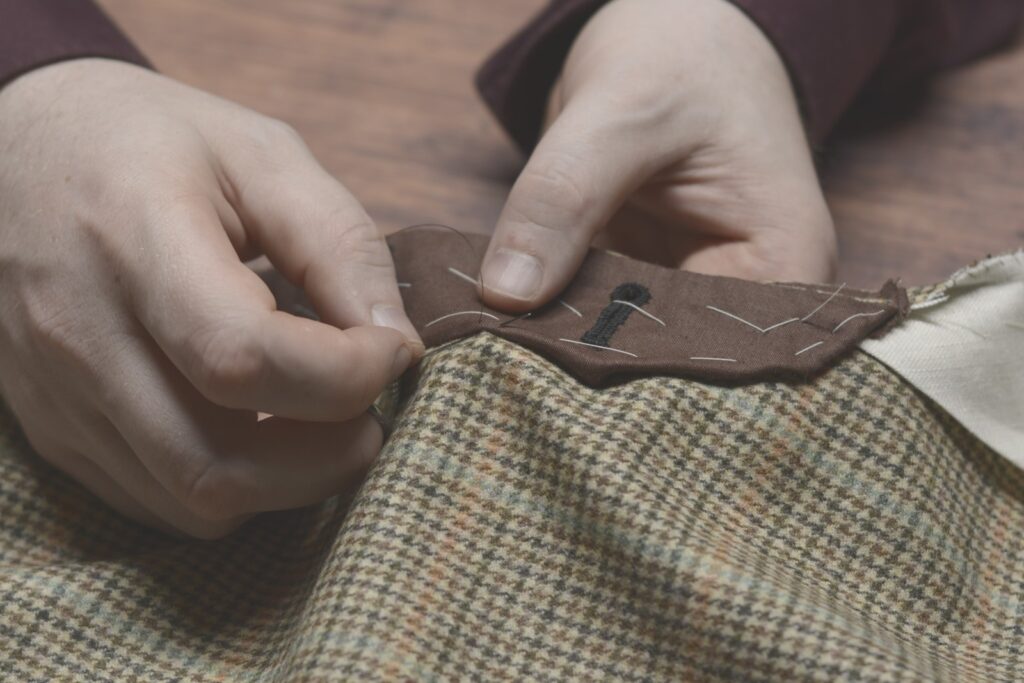
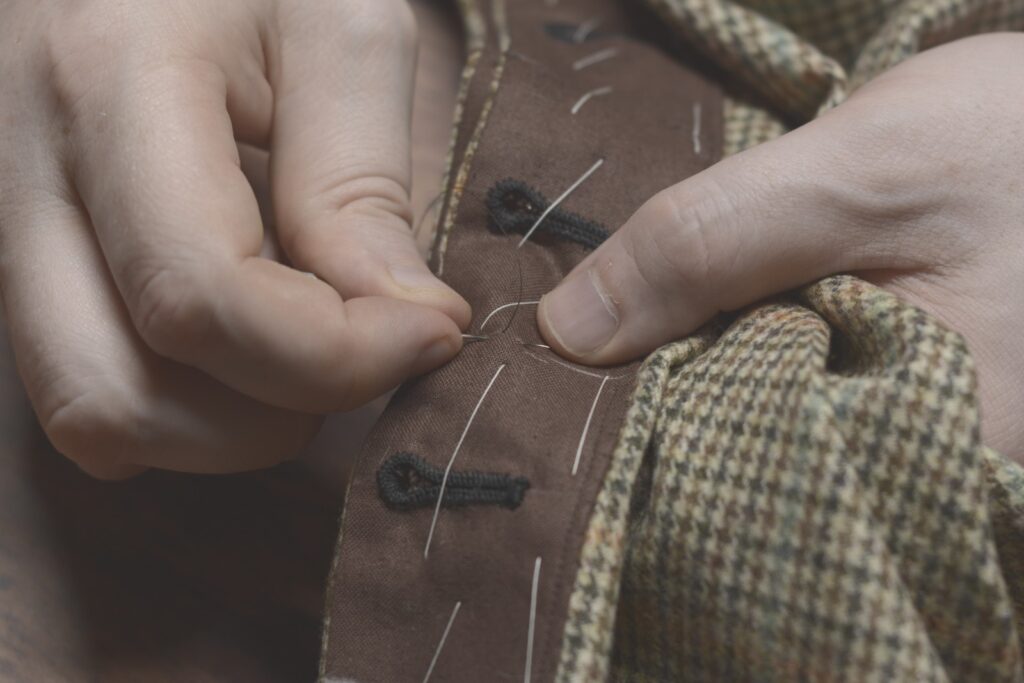
Fell along the folded edge of the fly from the waist to the bottom of the fly.
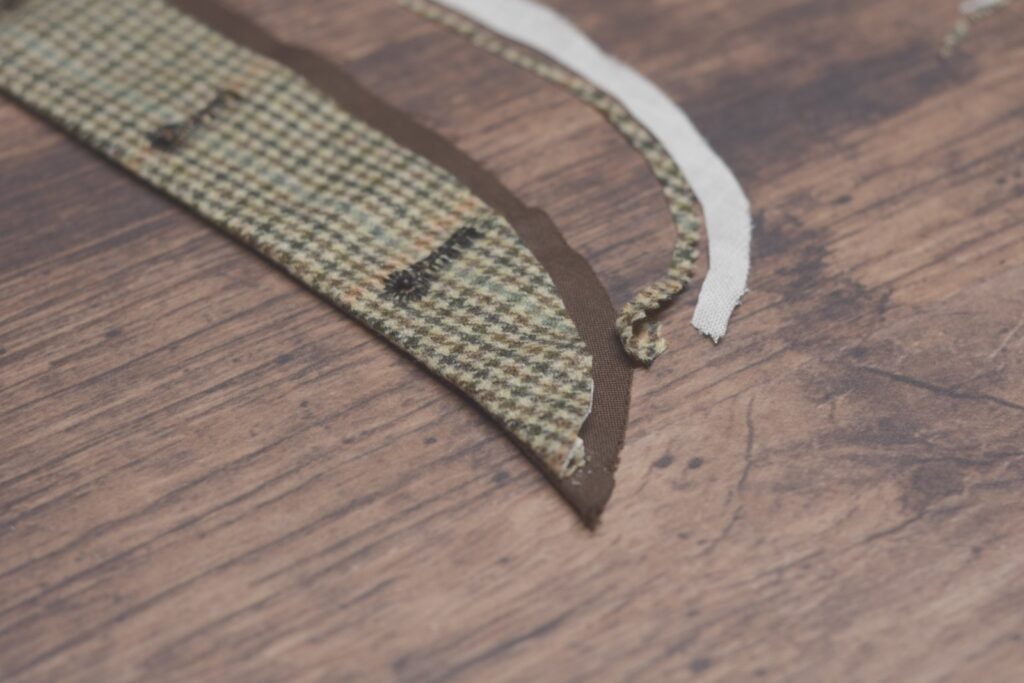
The very bottom can be a little unwieldy depending on just how you’ve trimmed and aligned things. Just get everything looking as nice as you can without making too big a deal out of it, as this area will be mostly hidden when the trousers are finished.
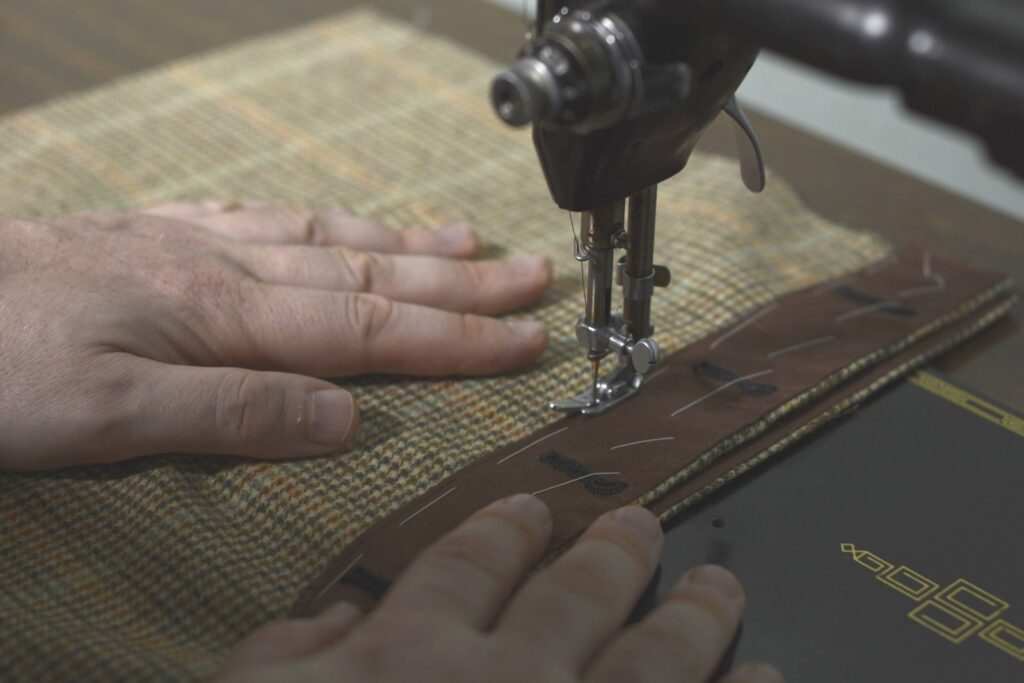
Using a machine stitch or back or side stitch by hand, top stitch through all of the layers about 1/8″ away from the folded edge of the fly. I like to use two different threads here for the machine, the bobbin matching the fashion fabric and the top thread matching the lining.
Use the edge of the fly and your presser foot as a guide while sewing.
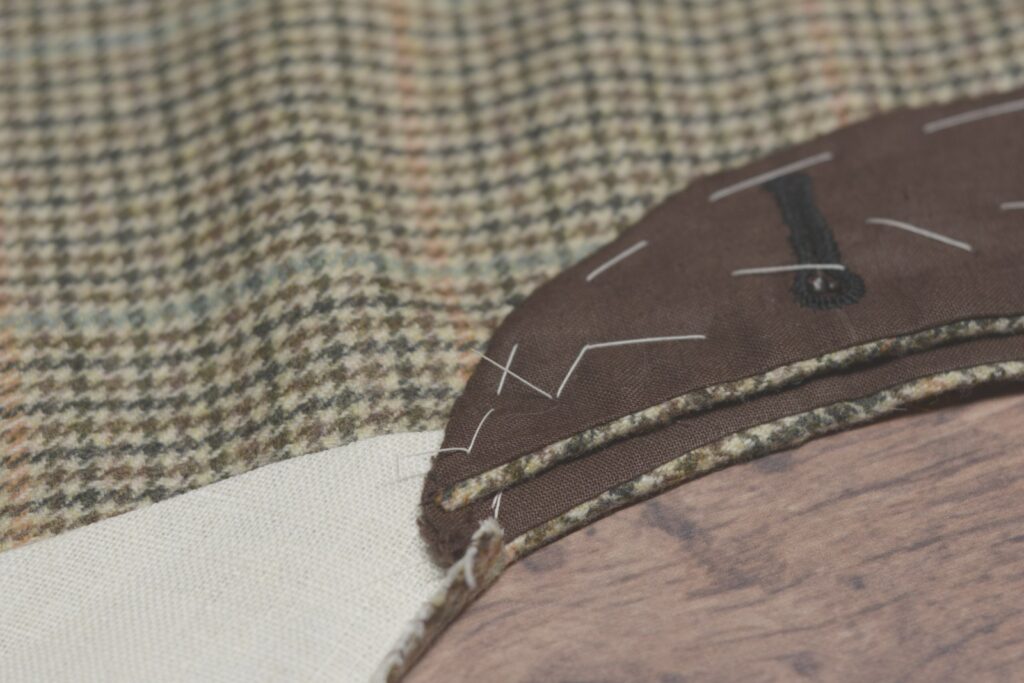
The finished result should be a nice line of stitching on the inside.

As well as a smooth line of stitching on the right side which follows the shape of the fly perfectly.
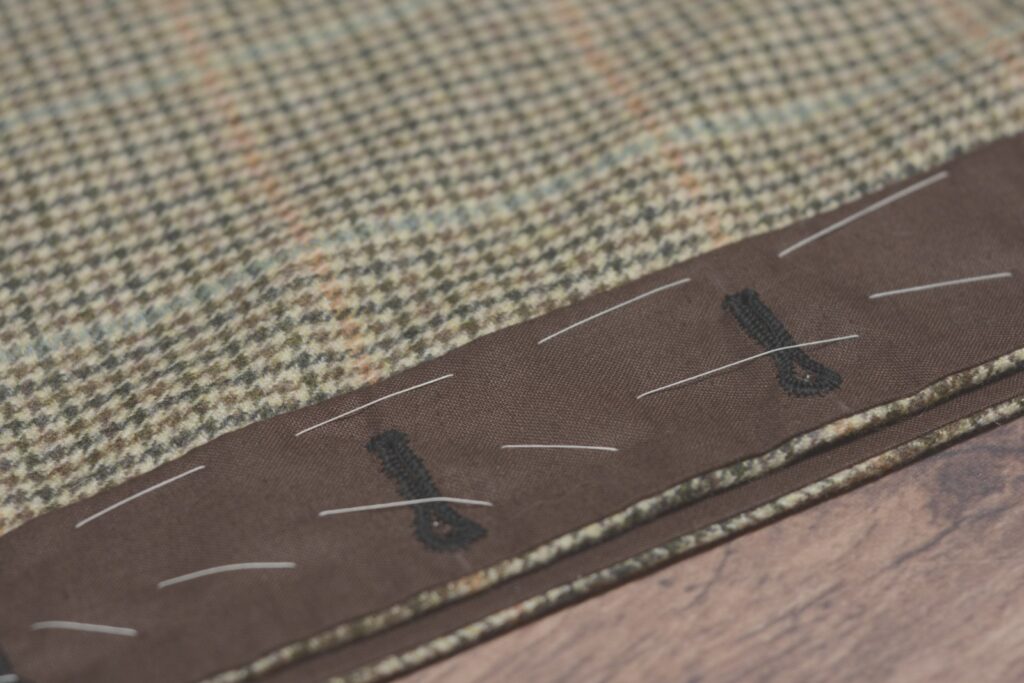
Finally, we need to finish up the fly by making several rows of stitching across the fly, between the buttonholes, to keep the fly from opening up too widely while wearing the trousers.
Start by drawing some guidelines midway between the buttonholes and perpendicular to the edge of the fly.
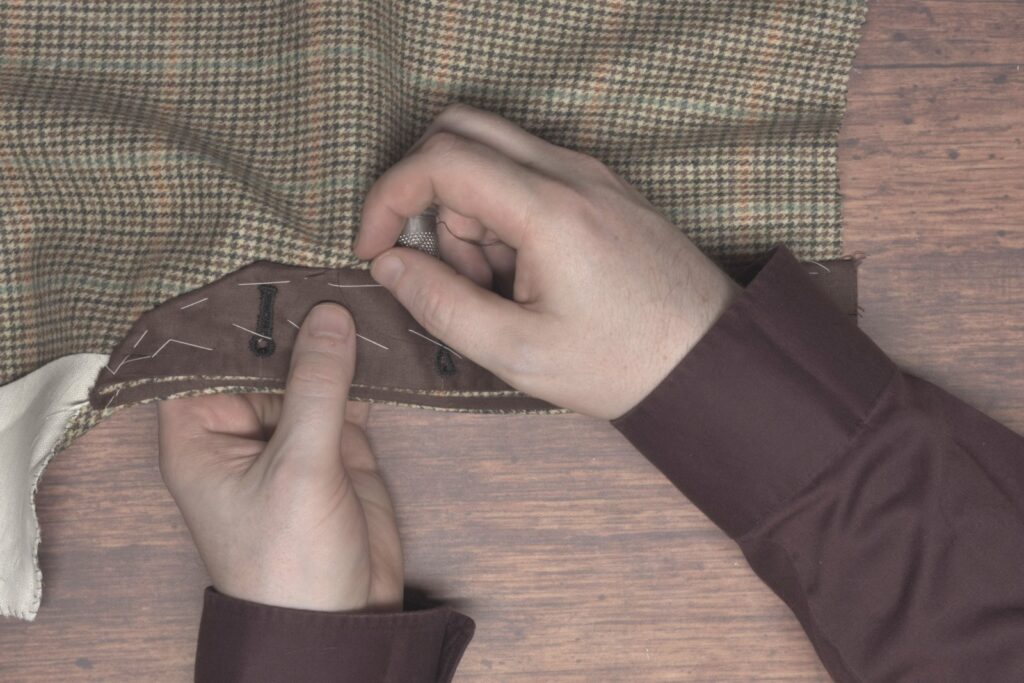
Start by taking a knotted thread and passing the needle between the layers of the fly, catching the knot inside where it won’t be seen.
Tack the edge of the fly down with about 6 to 8 stitches in place through all layers except the outer layer.
Then begin back stitching across the fly, following the chalked guideline.
Be sure not to let the stitches show through to the right side! Finish off the back stitching with a few stitches in place. Repeat as necessary. This concludes the trouser fly construction.
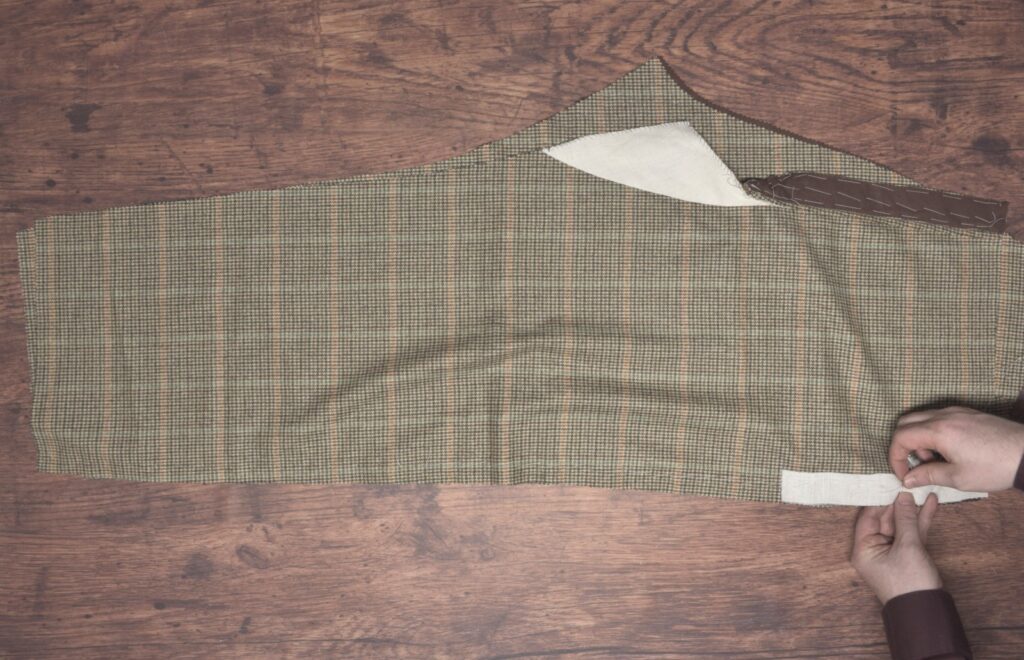
Fly Facing
Before attaching the fly to the trouser front, we need to add the fly facing, which will prevent the buttons from wearing through the front of the trousers. You’ll need one fly lining piece as well as an optional length of stay tape.
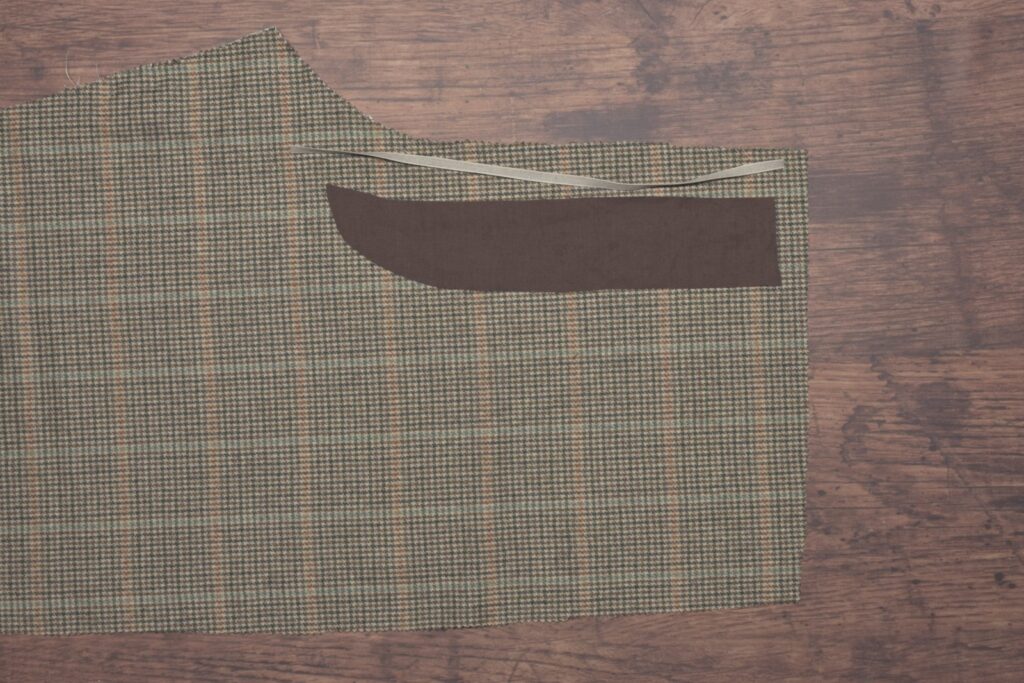
Baste the lining fabric to the front of the trouser, right sides together.
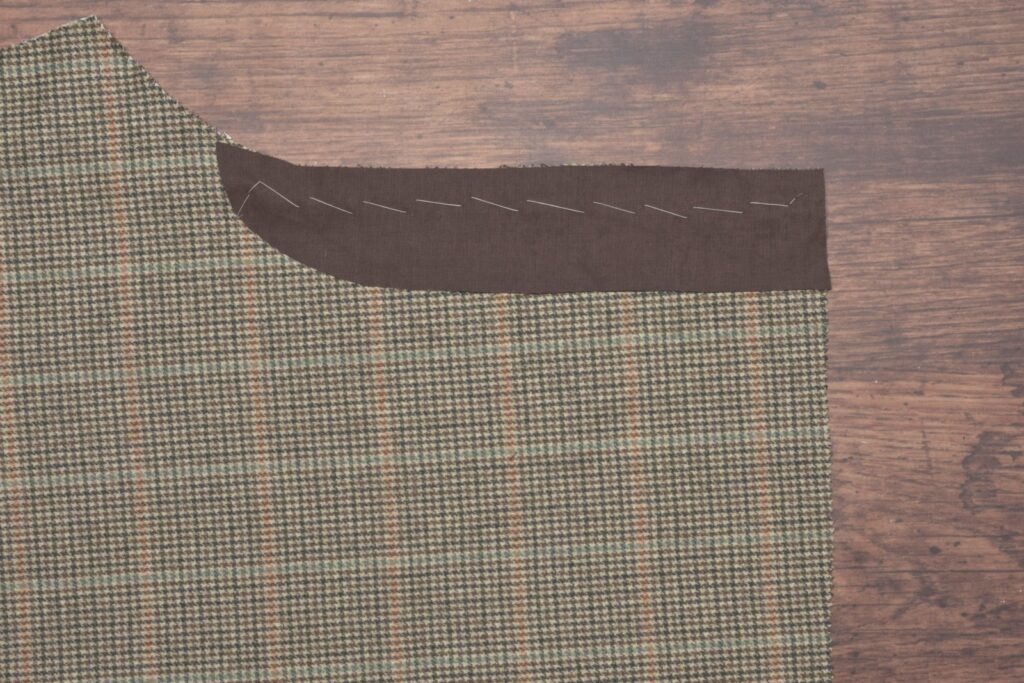
Mark the seam allowance at the bottom of the fly facing, 1/4″ from the bottom.
Machine or back stitch the fly facing to the trouser front, from the mark to the top of the fly.
Remove the basting stitches, and open up the seam with your fingers. On the wrong side, baste in the optional stay tape about 1/16th from the stitch line.
As you get towards the bottom of the fly, hold the stay tape with more tension than the fabric underneath, continuing to baste as you go. This will serve to pull the fly area in towards the body.
Trim off the excess stay tape along the bottom and top as necessary, even with the stitching.
Now cross stitch the stay tape to the trouser front, being careful not to let the stitches show through to the right side.
With the tape stitched in, fold the fly facing back into place, allowing the facing to be rolled back 1/16th or so away from the front edge. Baste securely in place.
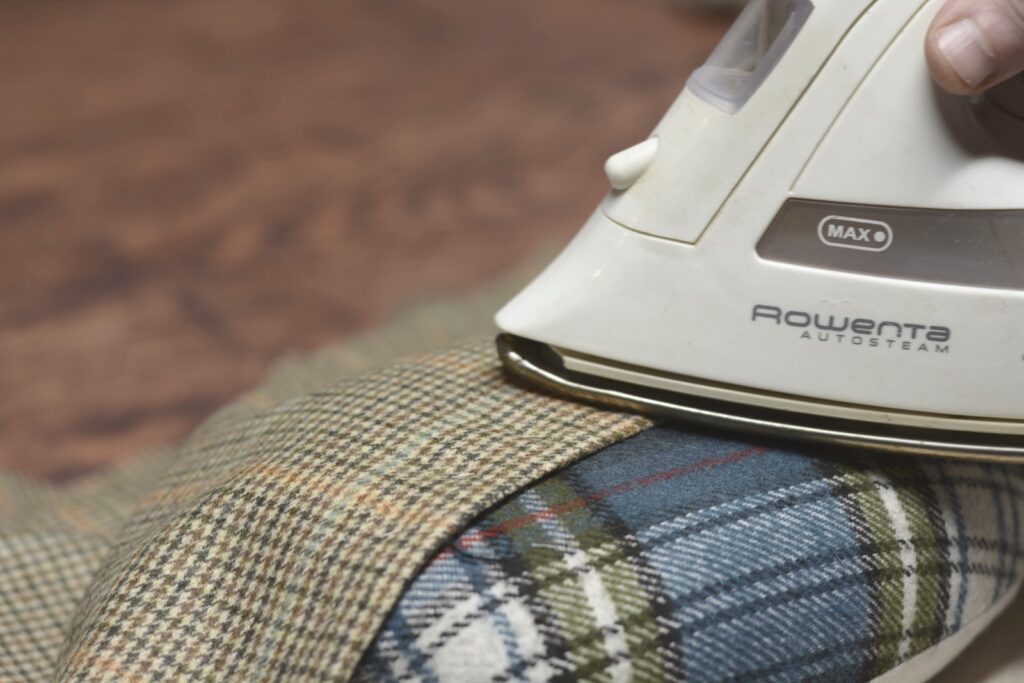
Now press using a tailor’s ham so as not to disturb the fulled in section. You’ll want to smooth out any wrinkles that formed when you held the stay tape tightly to the fabric.
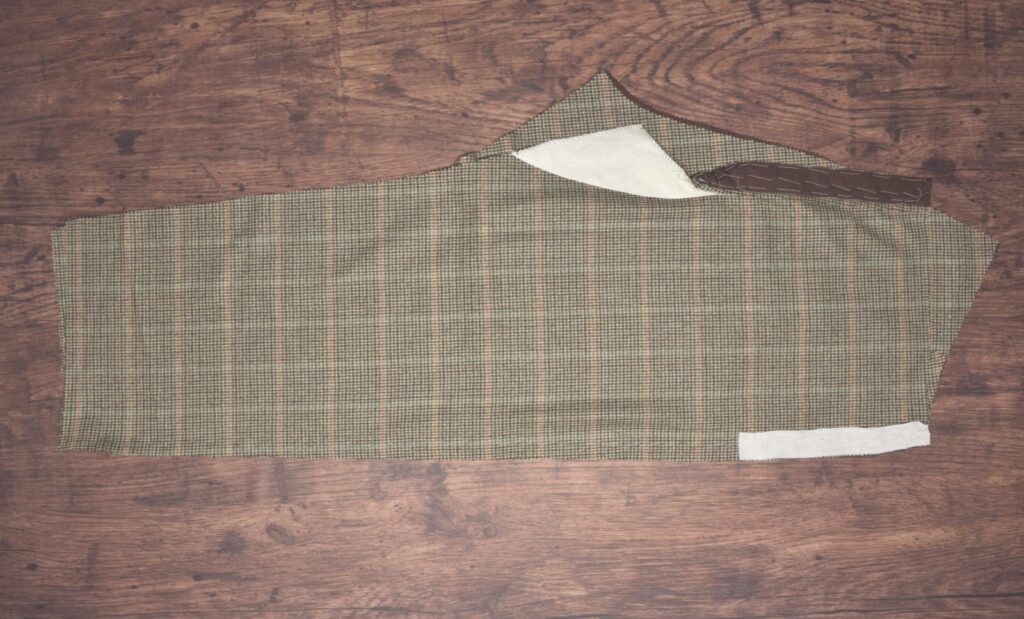
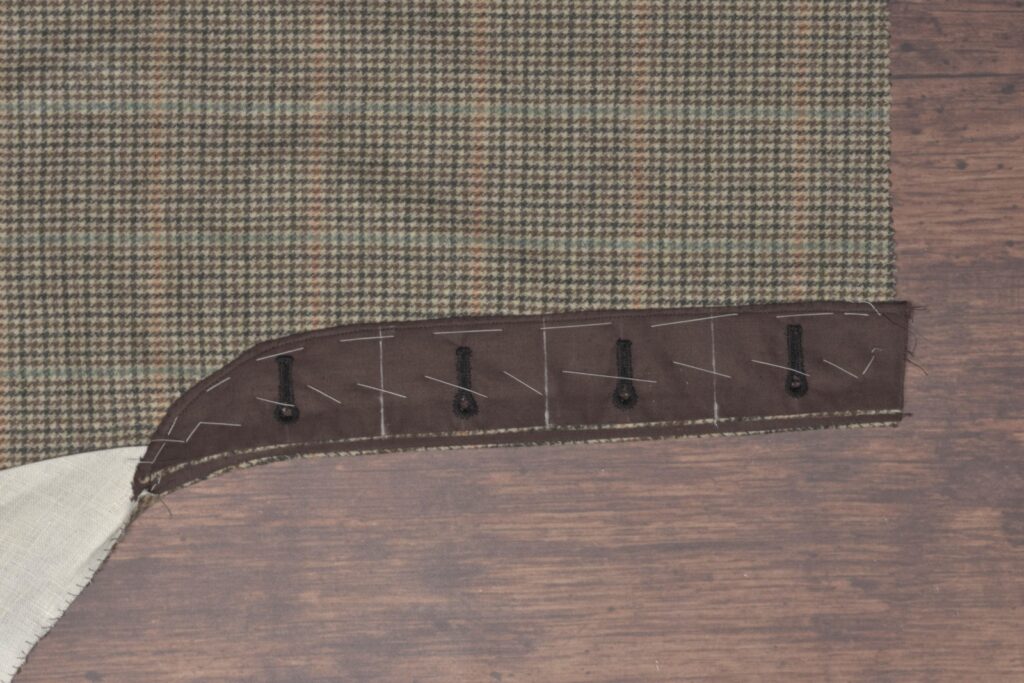
Here’s the completed fly facing. Notice how it naturally pulls in towards itself near the bottom of the fly.
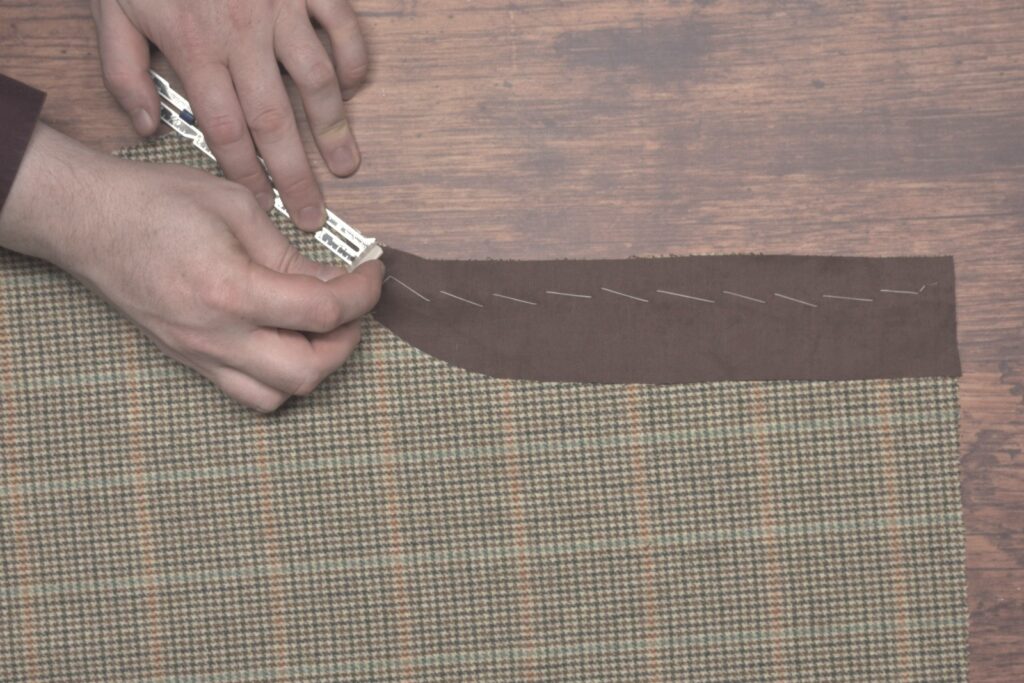
Finally, you need to trim the very bottom of the fly area directly to the bottom of the fly facing stitching.
This allows the fork area to open up and lay flat for stitching later on. I try to trim to within about 1/32″ of the bottom of the stitching, to prevent any potential fraying. Press the fork area back open.
