Month: June 2020
Fly Construction
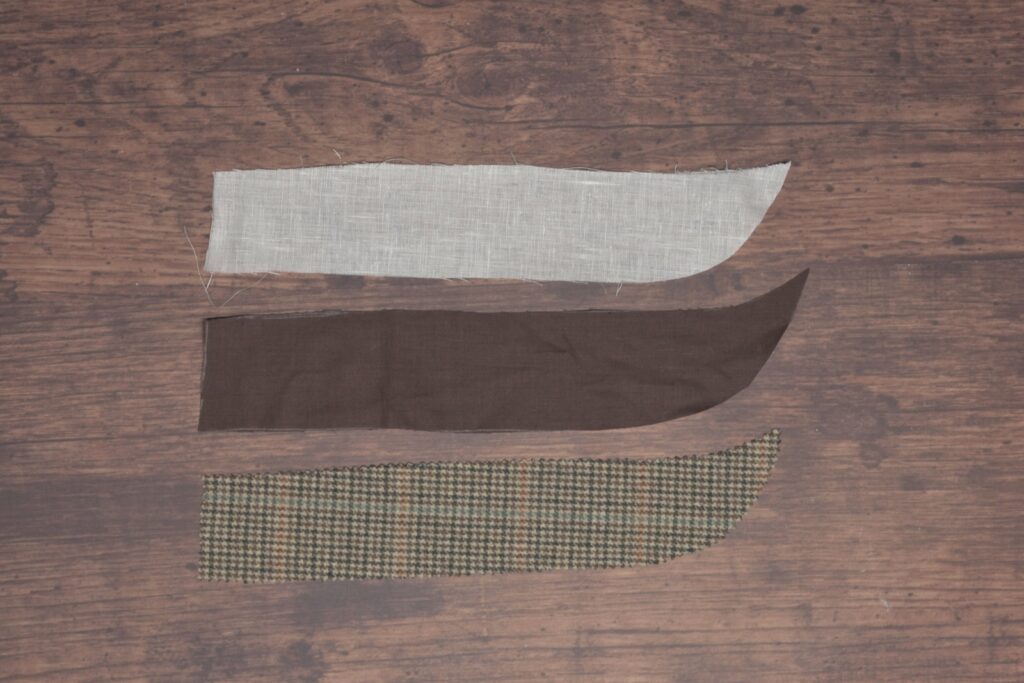
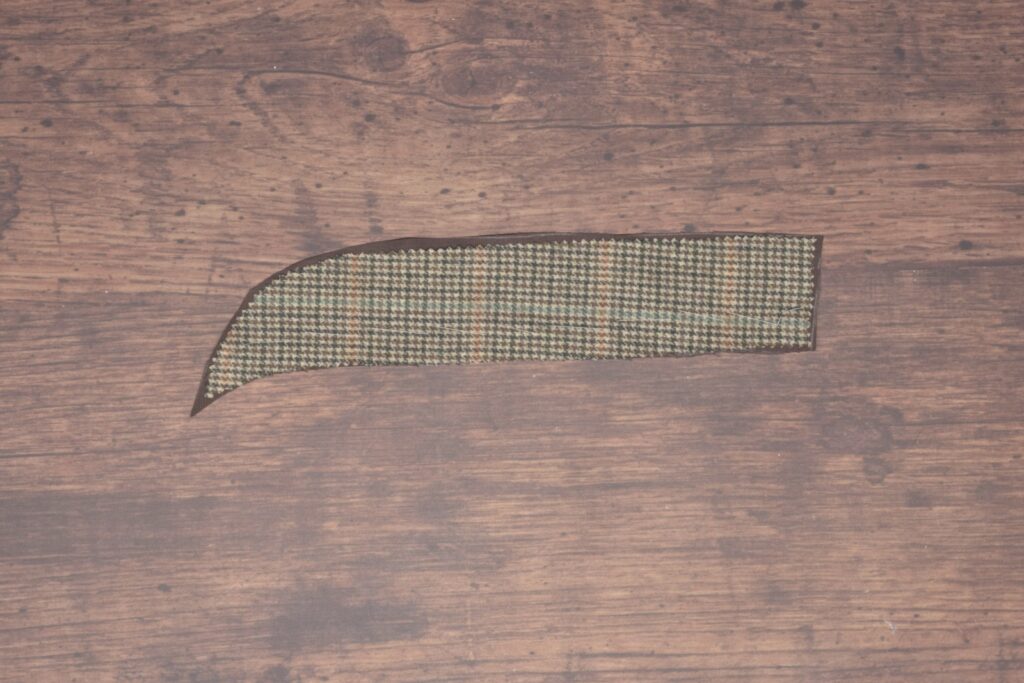
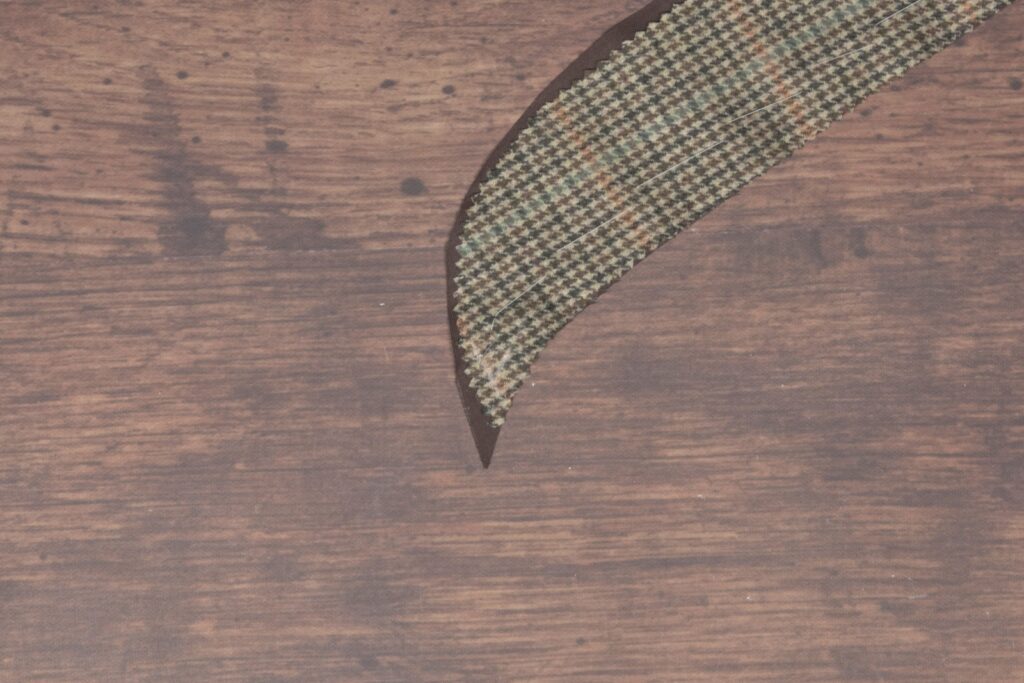
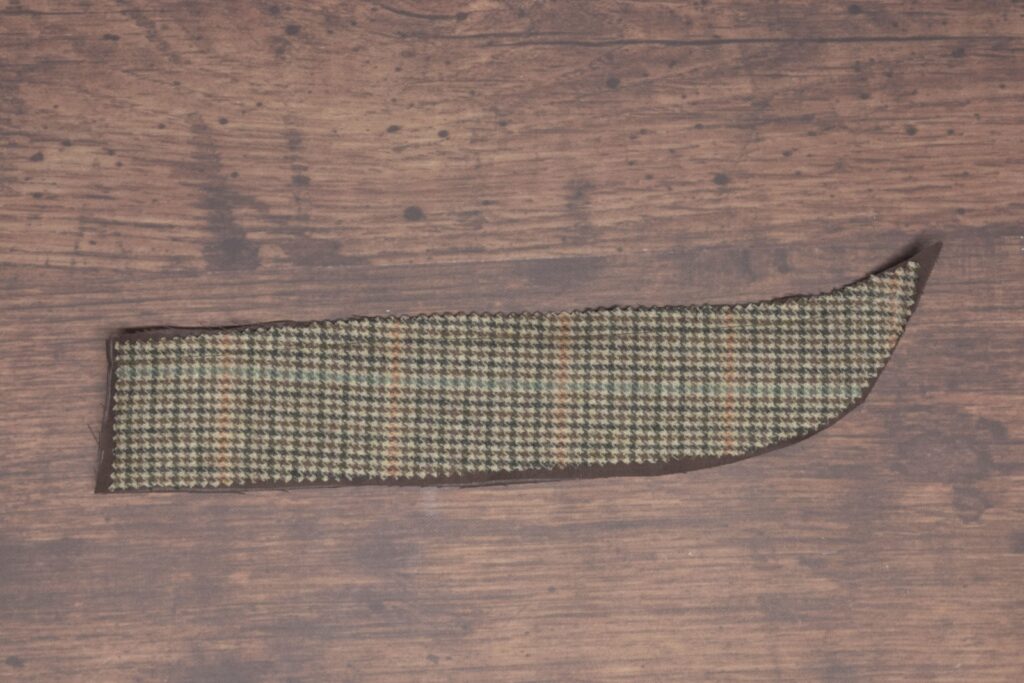
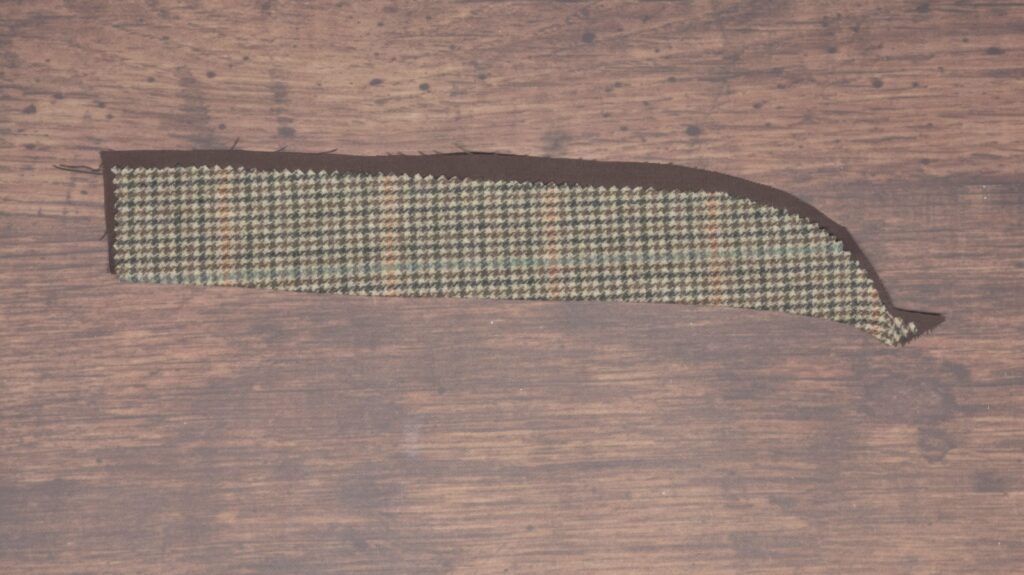
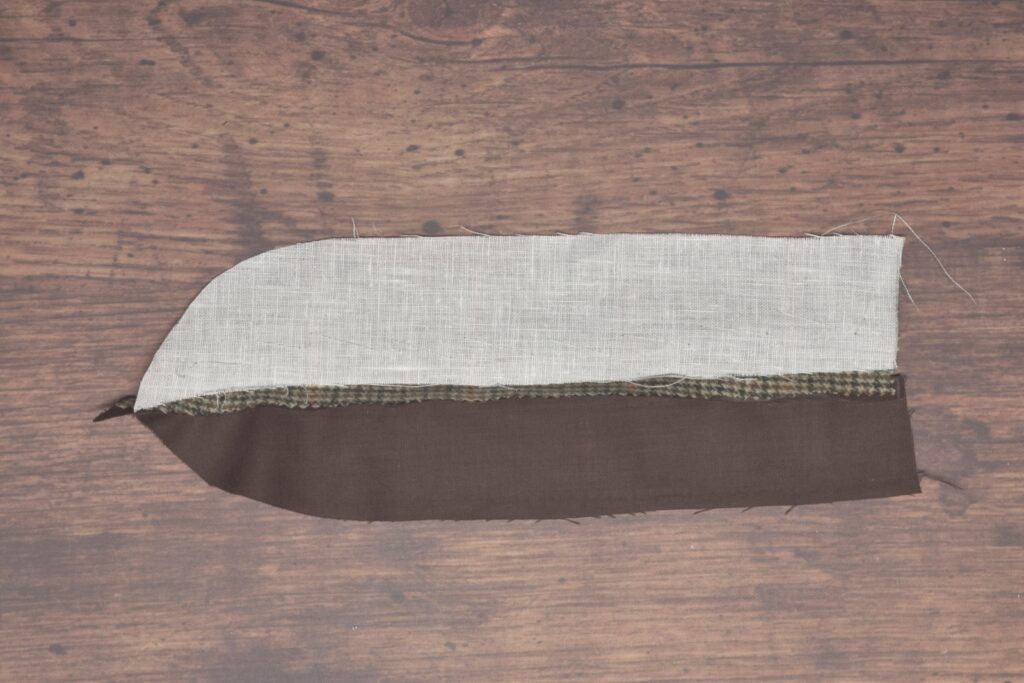
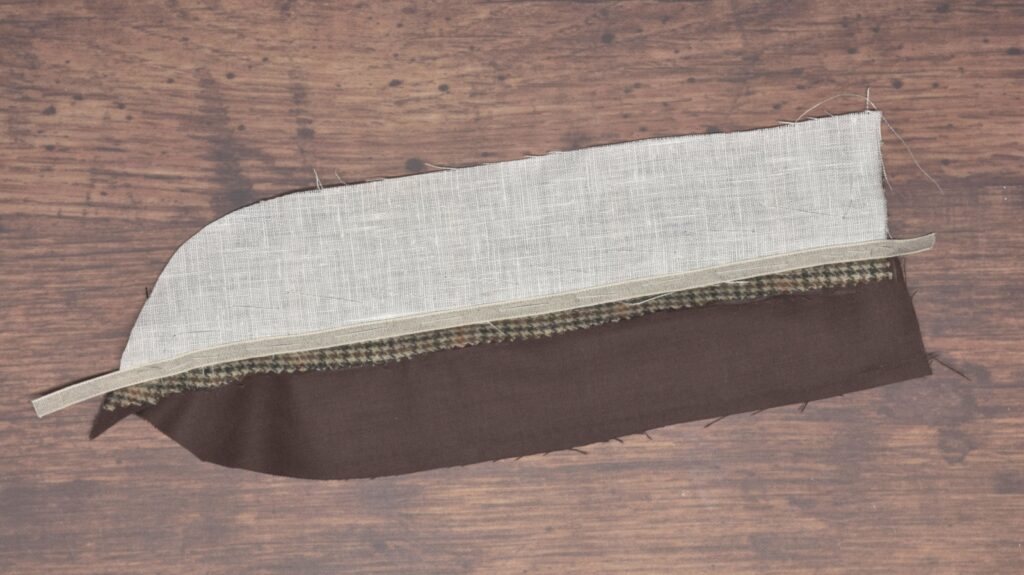
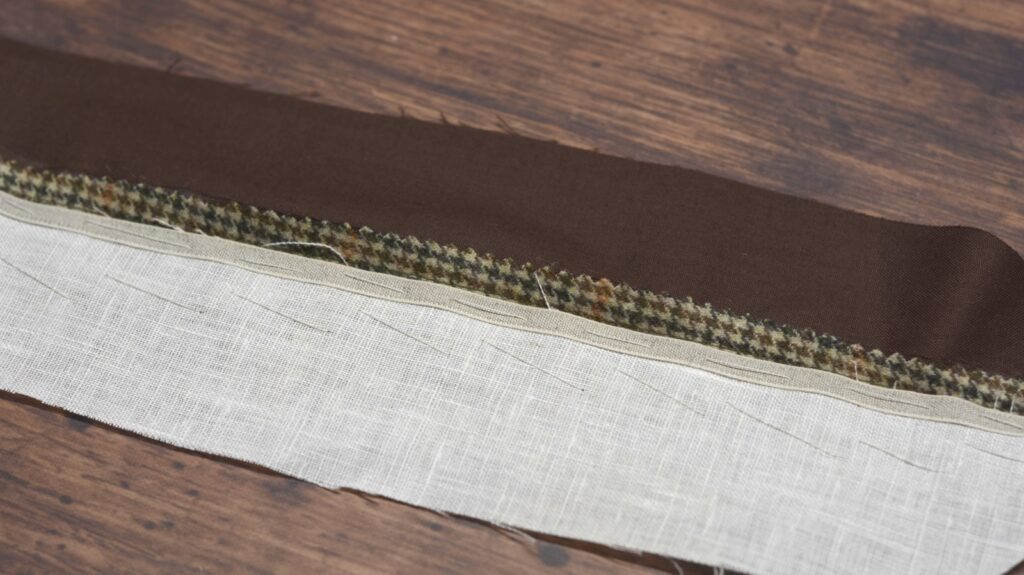
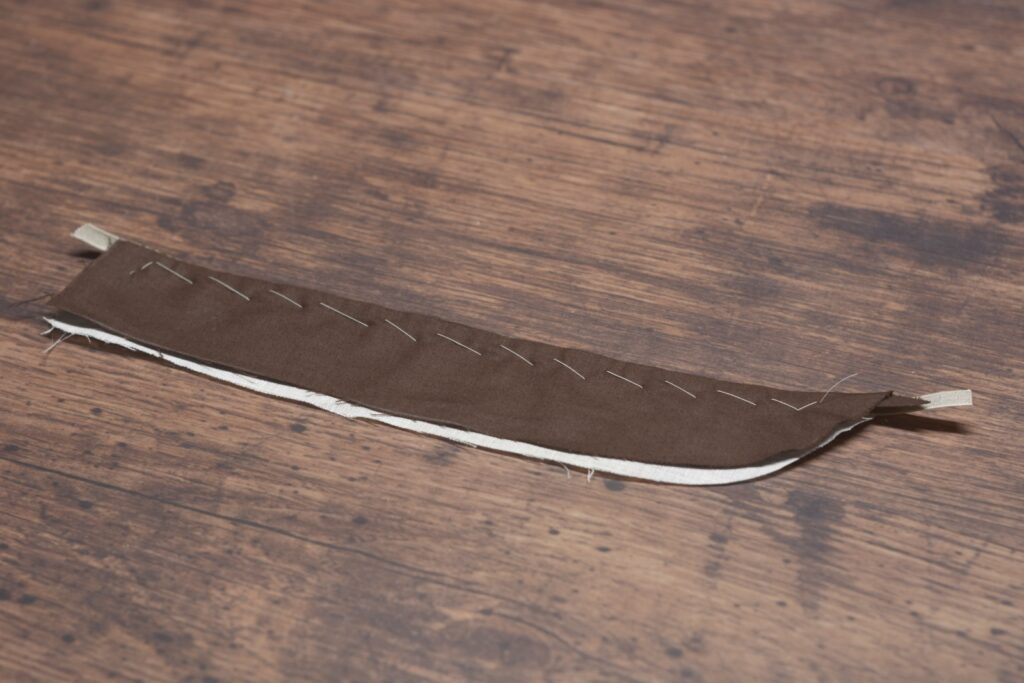
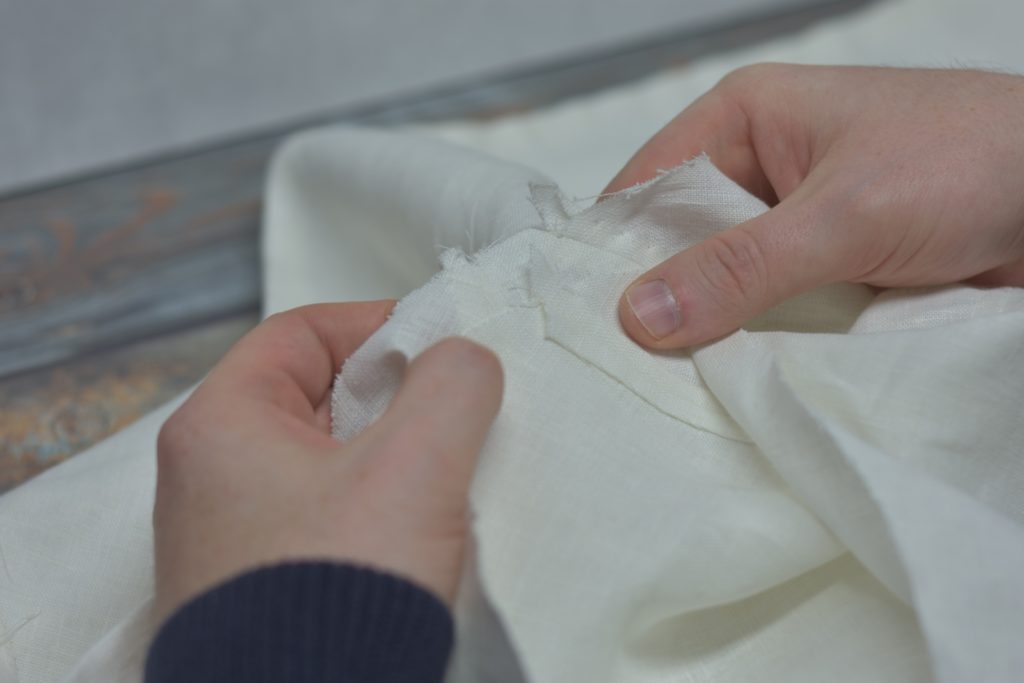
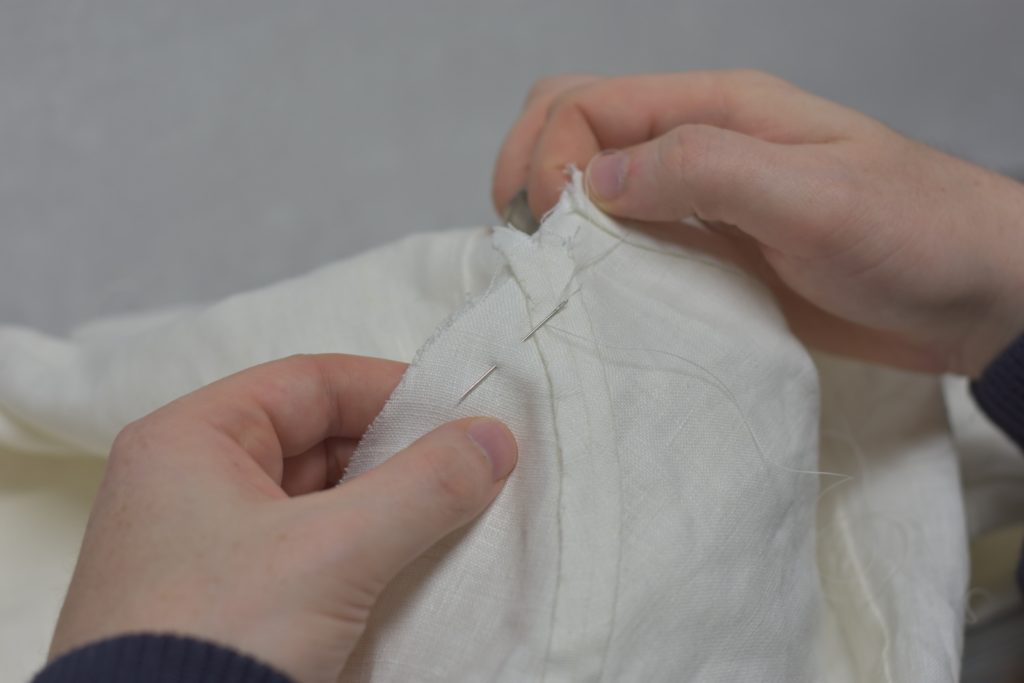
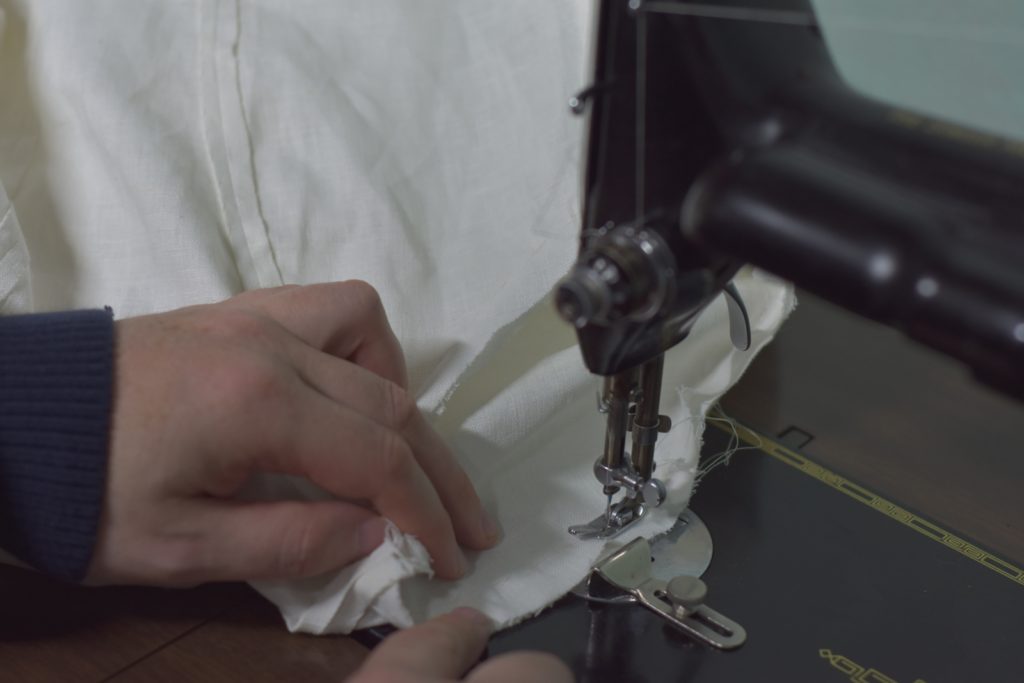
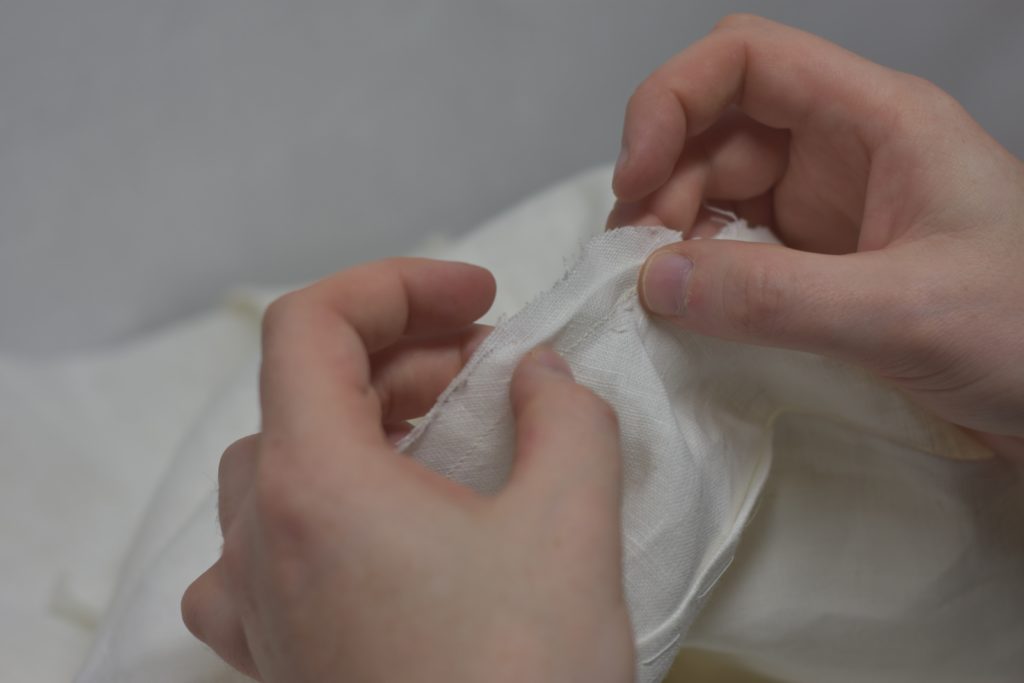
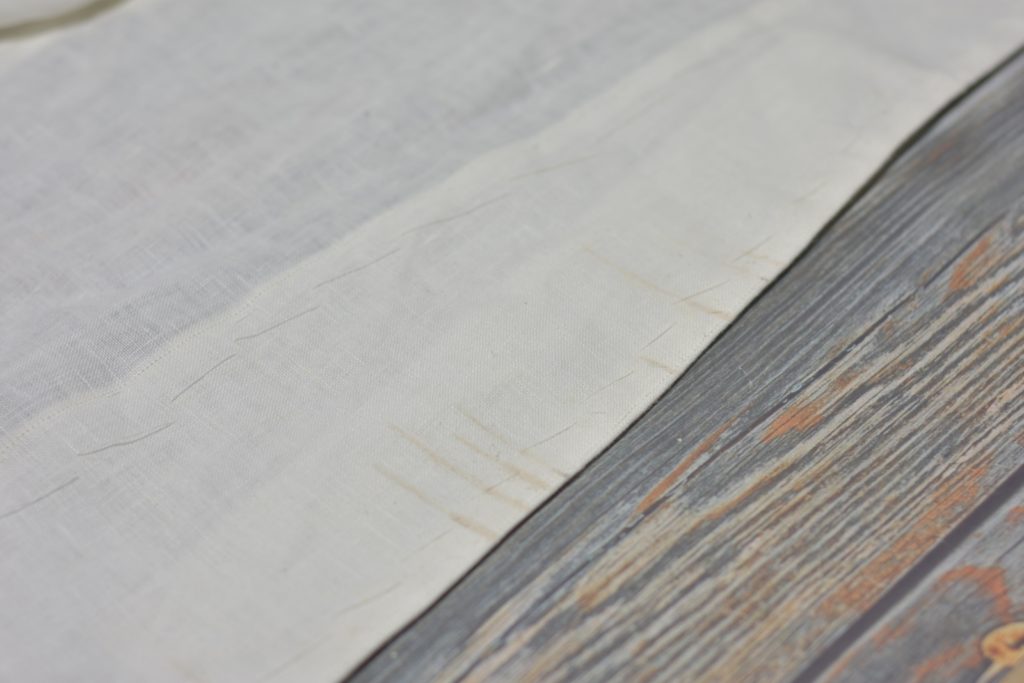
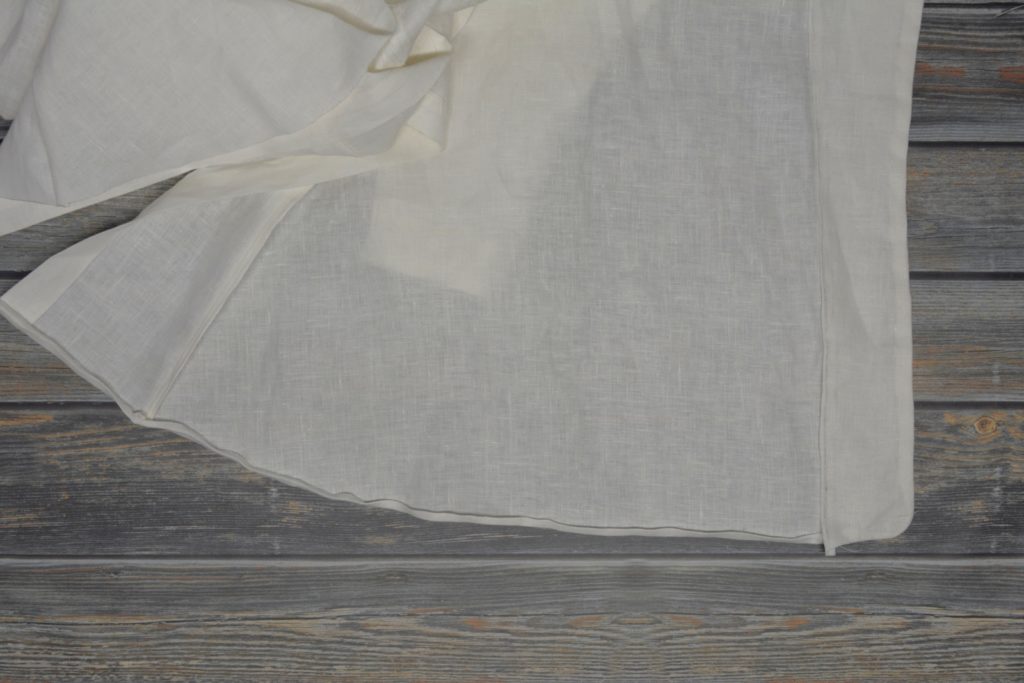
Now that the button catch is complete, we can start on the fly itself. You’ll need three pieces as shown: the fabric itself, the lining, and a linen interfacing. These are all right sides up in the photo, the lining should be closest to the body when this is complete so you need to make sure they’re cut the correct way.
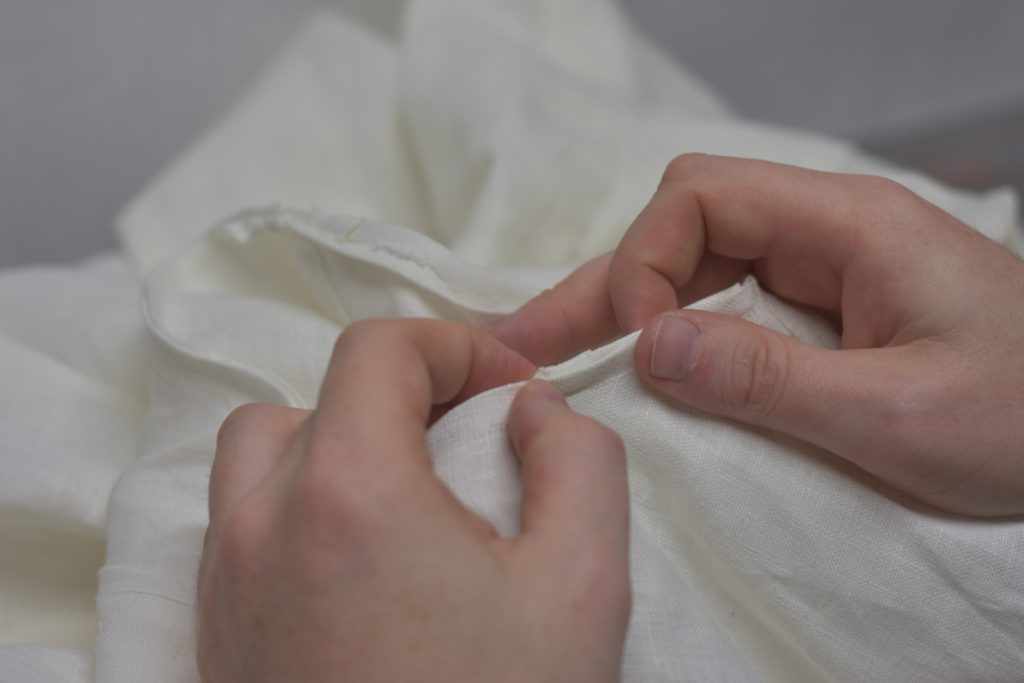
Lay the trouser fly and lining pieces right sides together, and baste along the outer (straighter) edge.
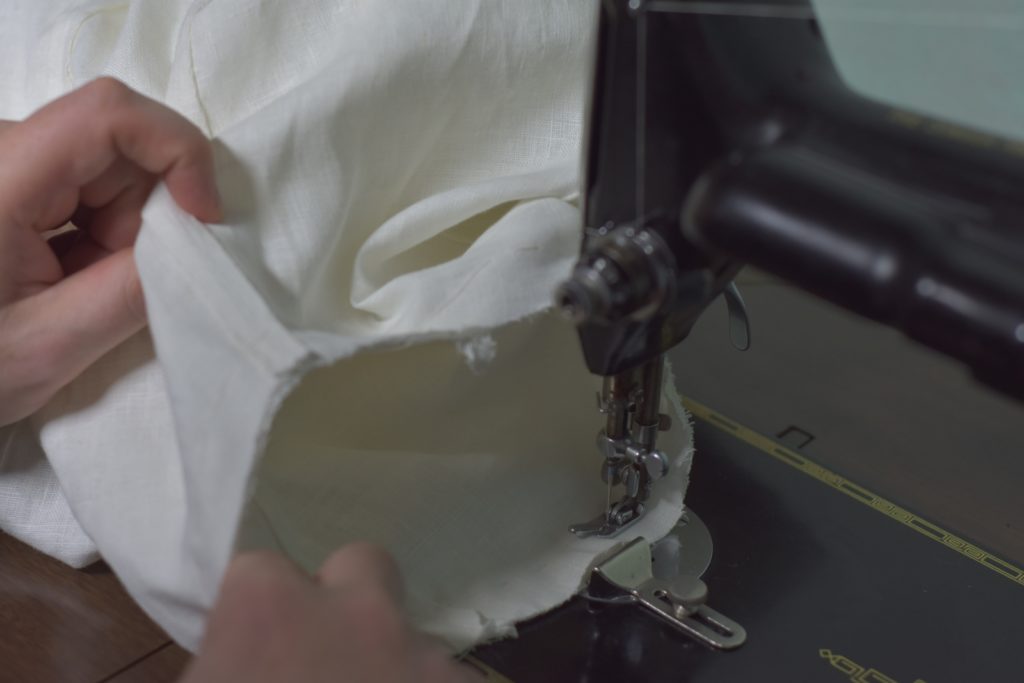
At the bottom end of the fly, mark the seam allowances at 1/4″ from the edge to get the position of the end of the stitching.
Stitch from the top of the fly to that mark along the straighter edge. Remove the basting stitches.
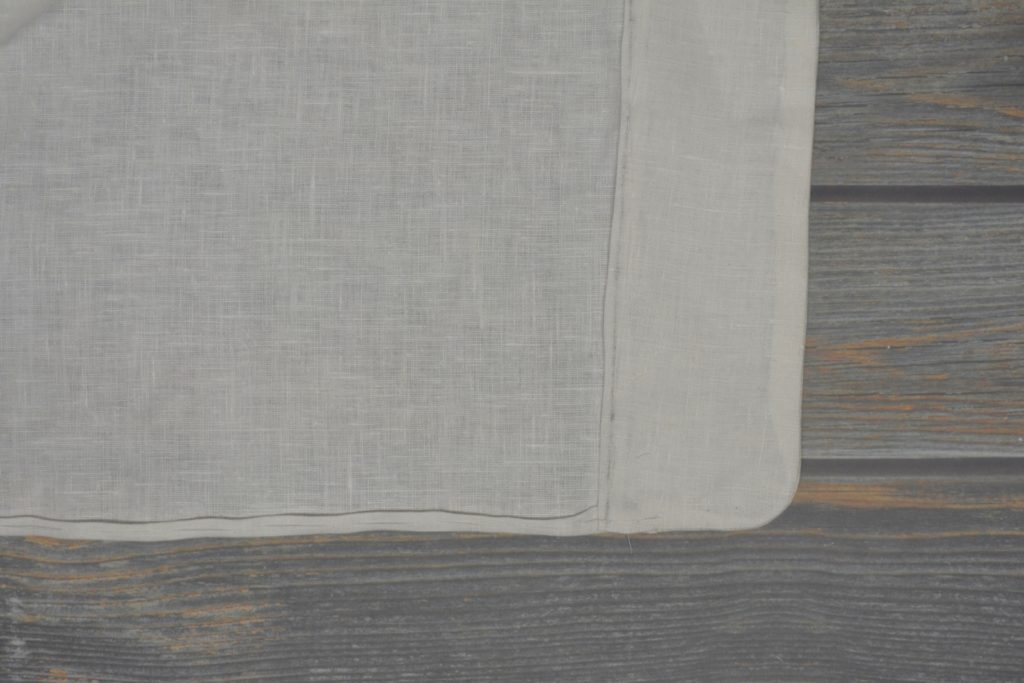
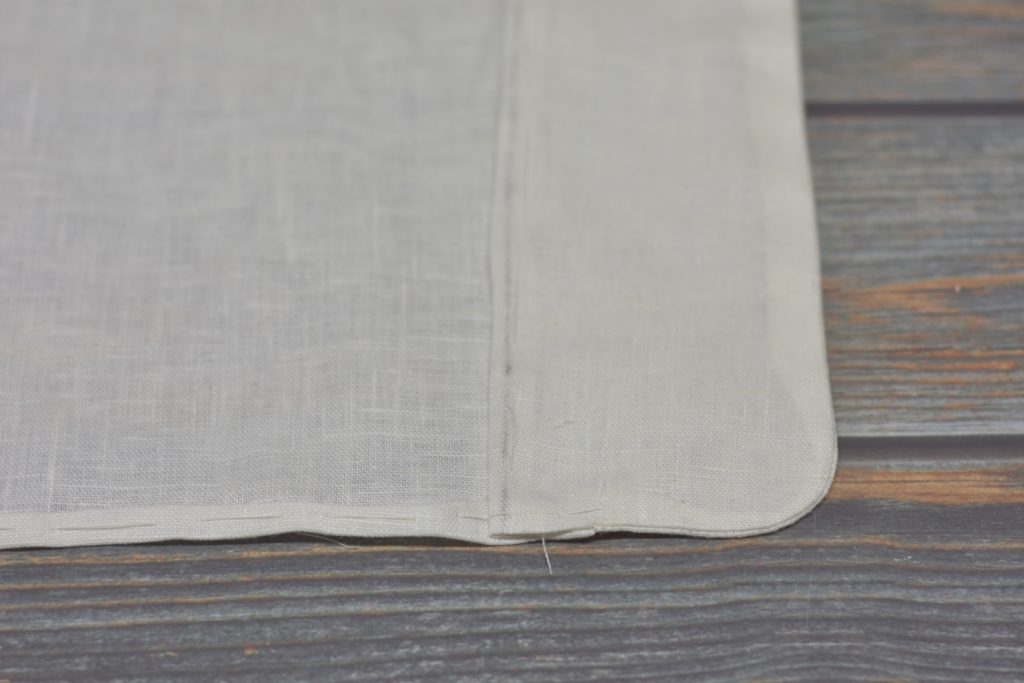
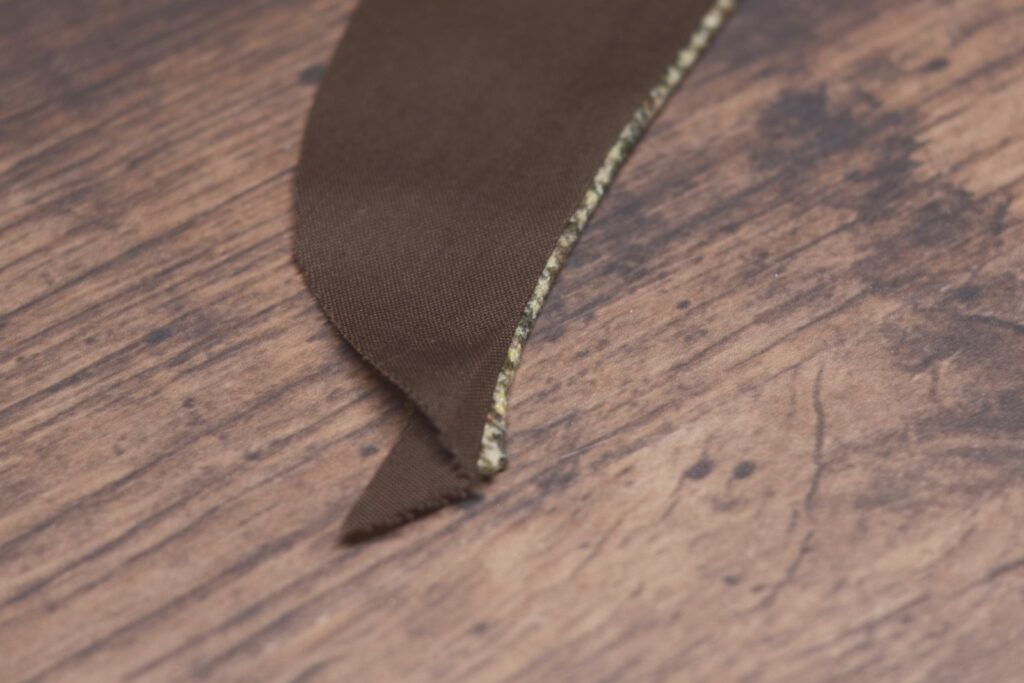
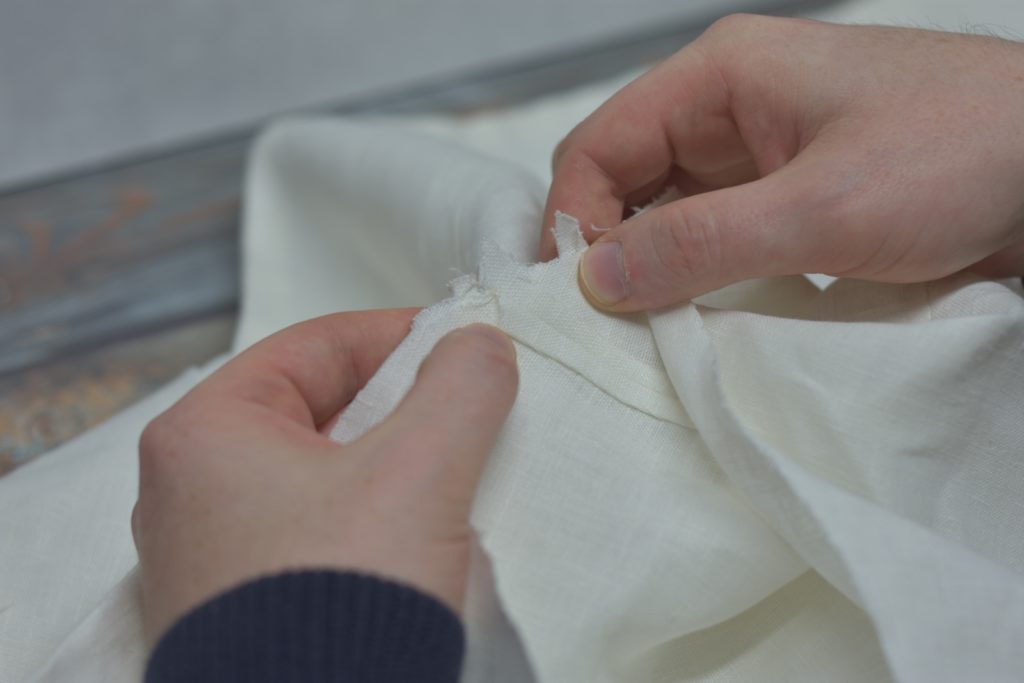
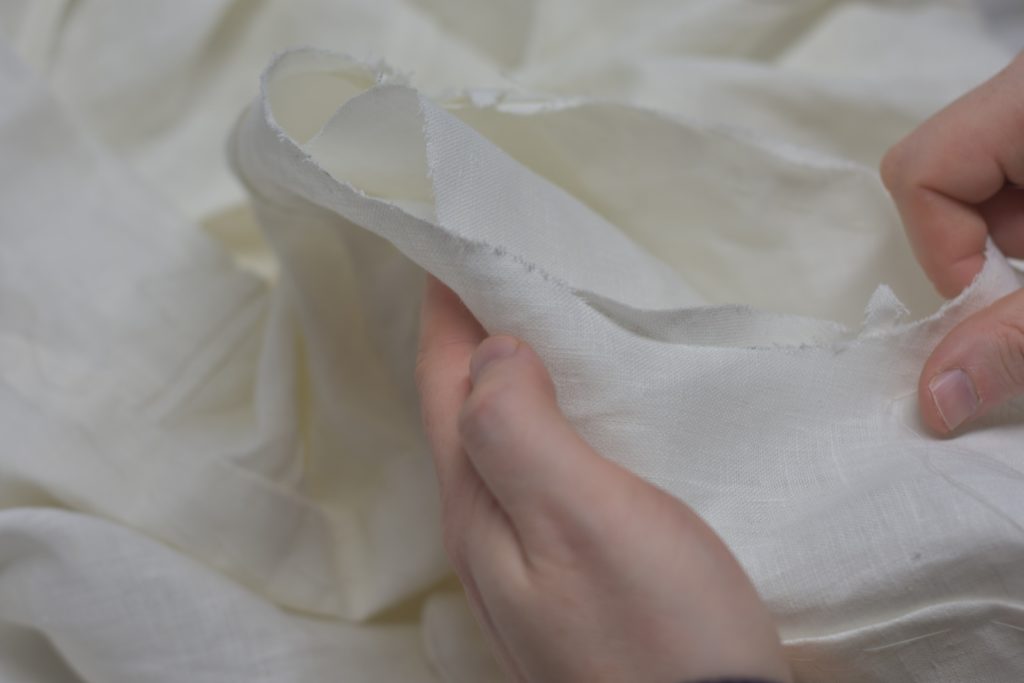
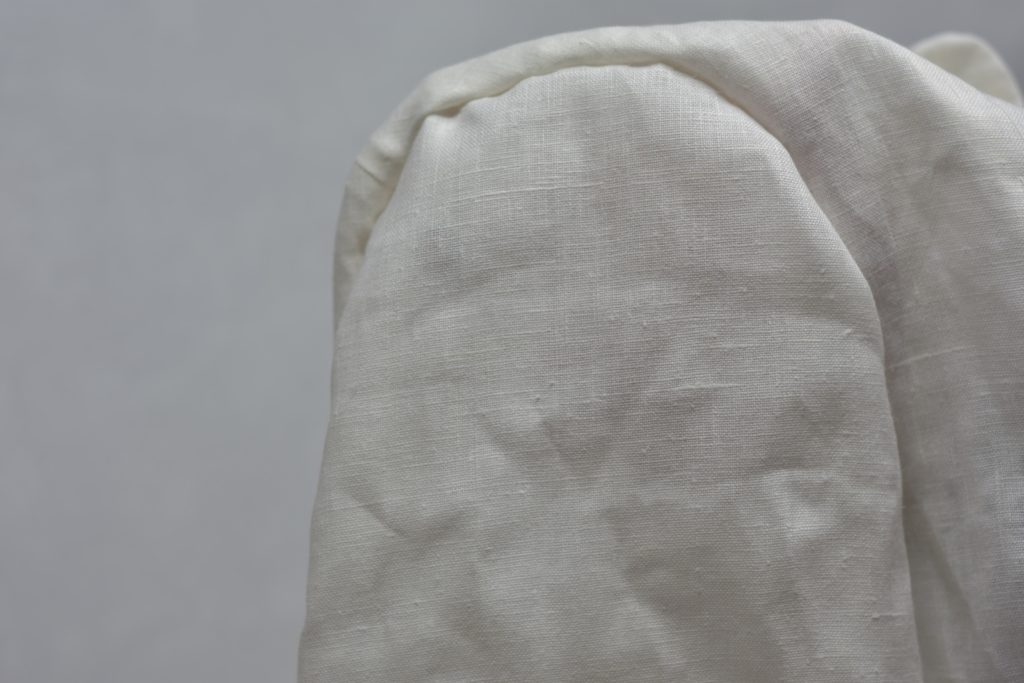
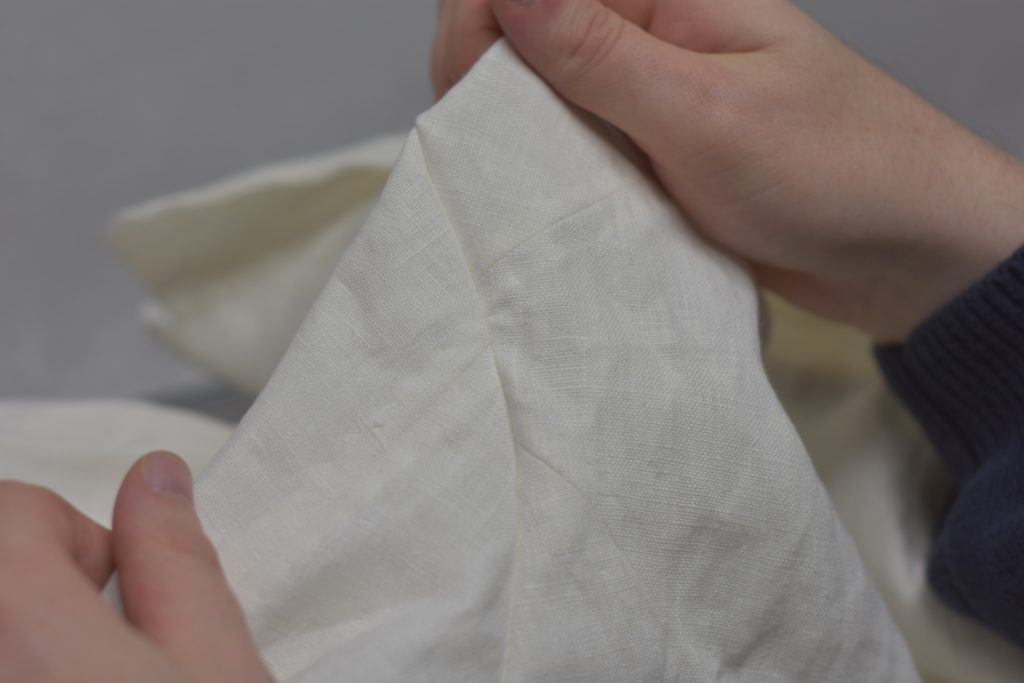
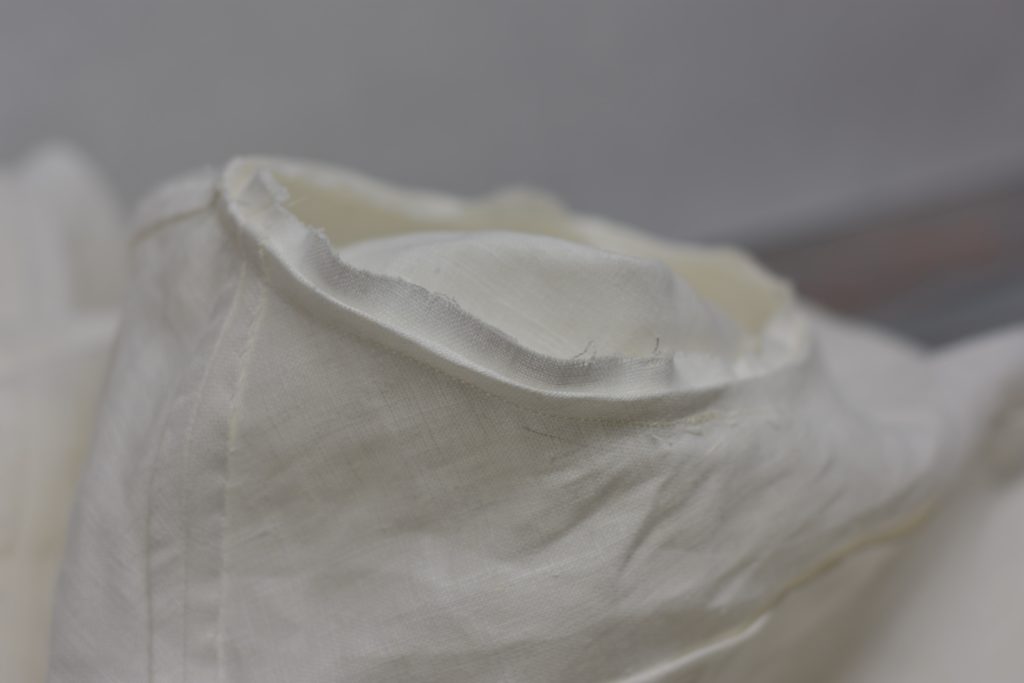
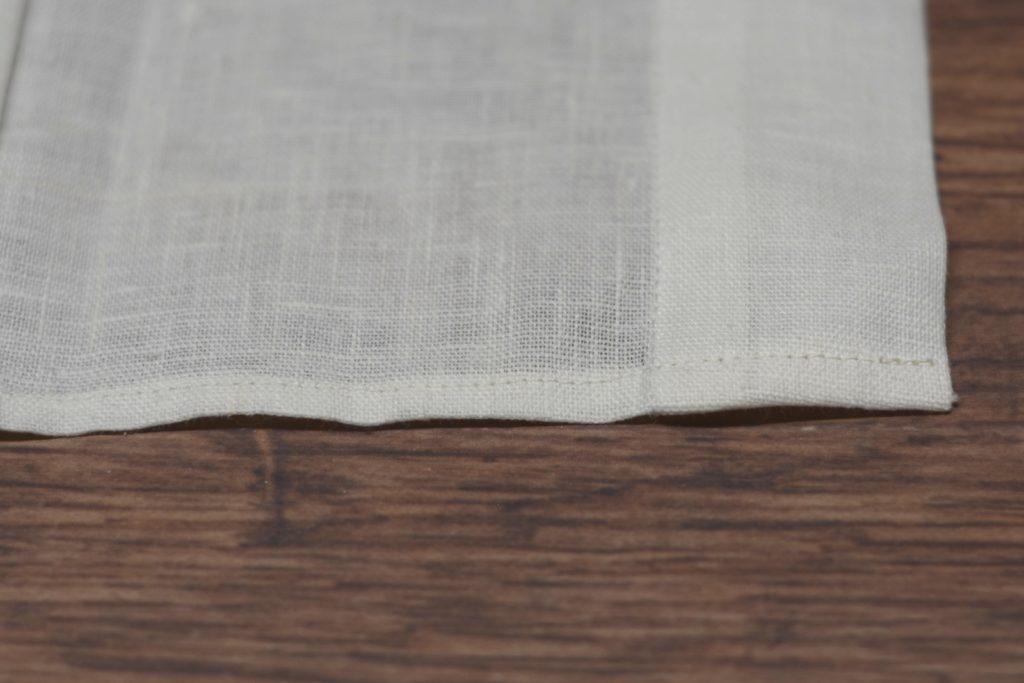
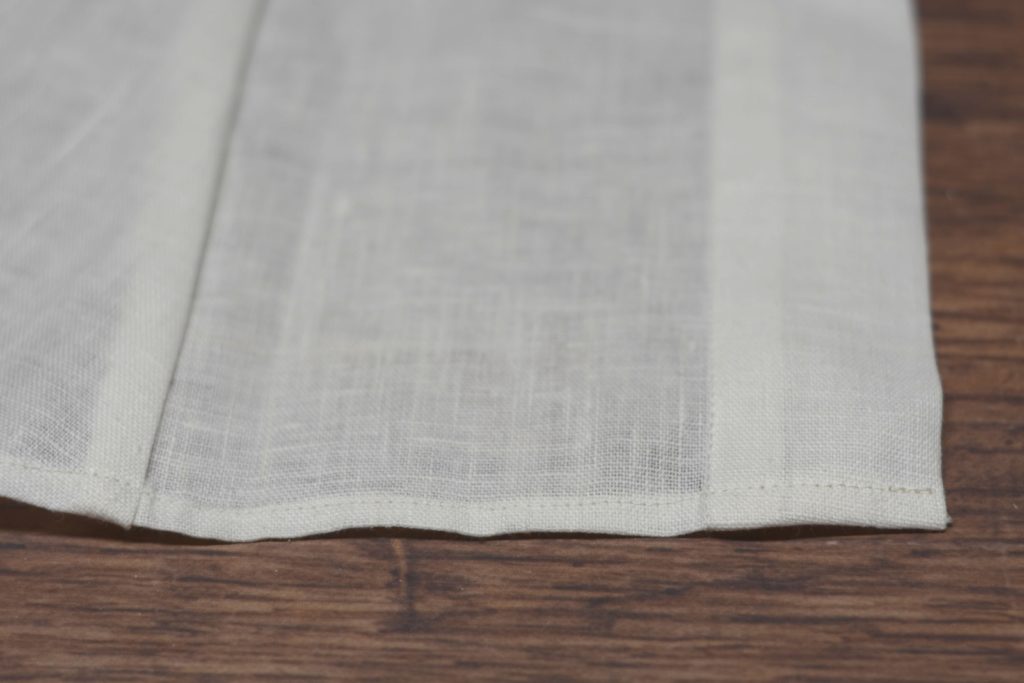
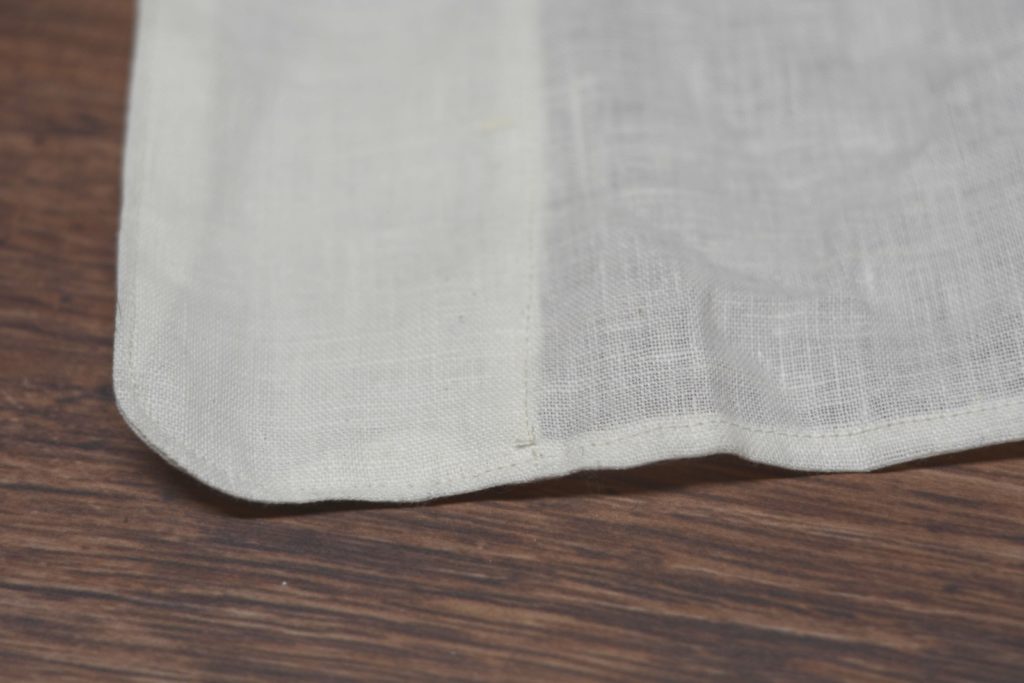
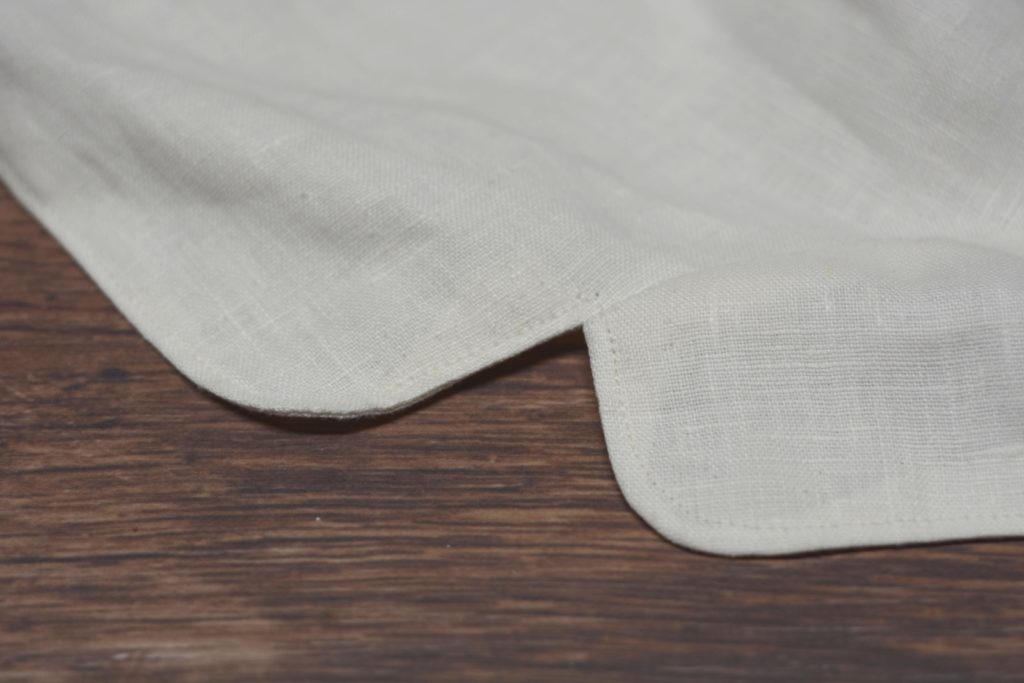
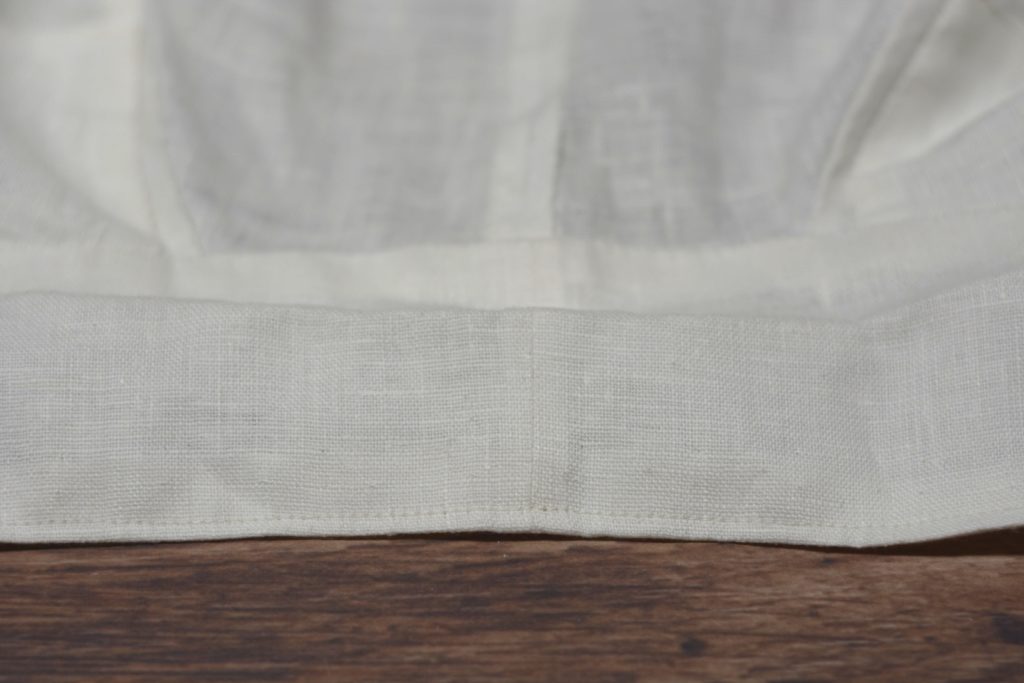
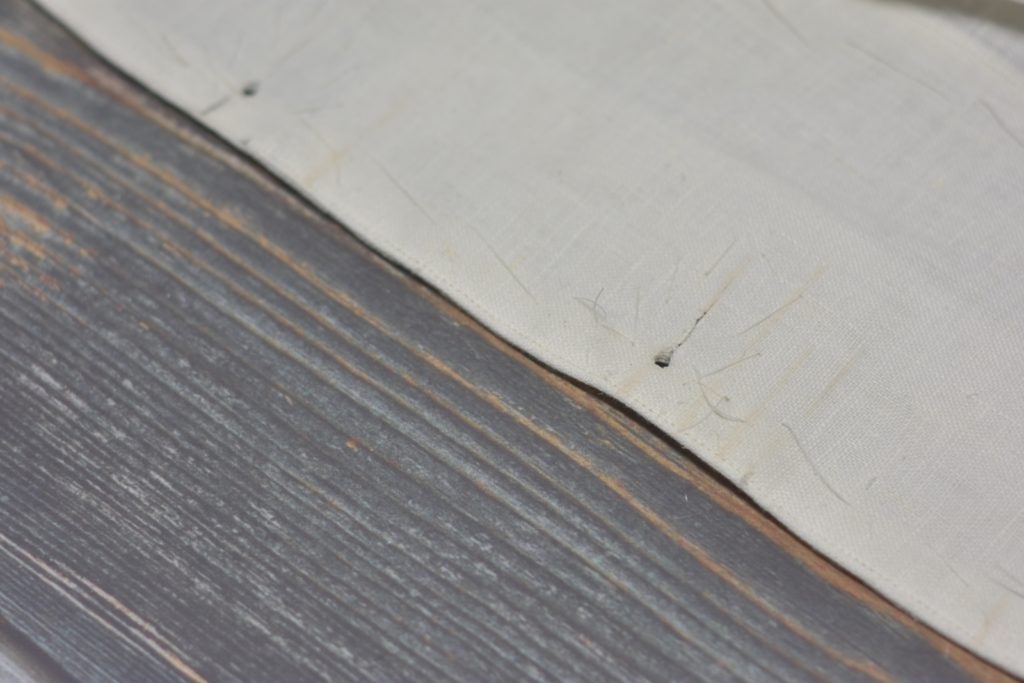
Now press the fly into its final position, wrong sides together. The lining should be pressed back about 1/16″ to 1/8″ as shown below.
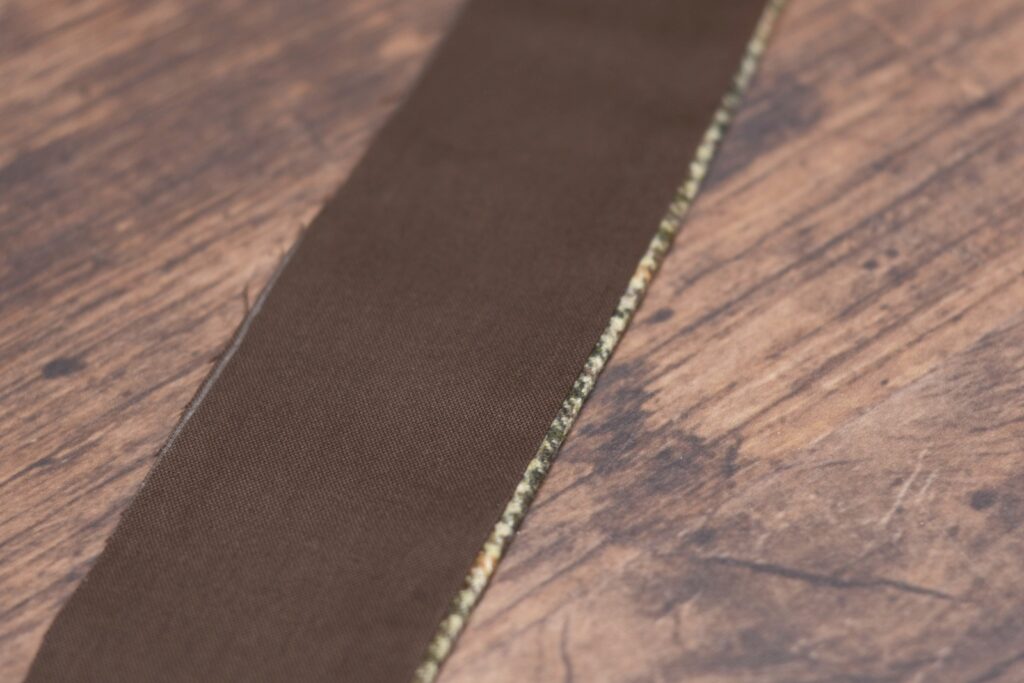
The bottom can be a little fiddly because of the curve, so I had to go back and straighten things out with my fingers before pressing again.
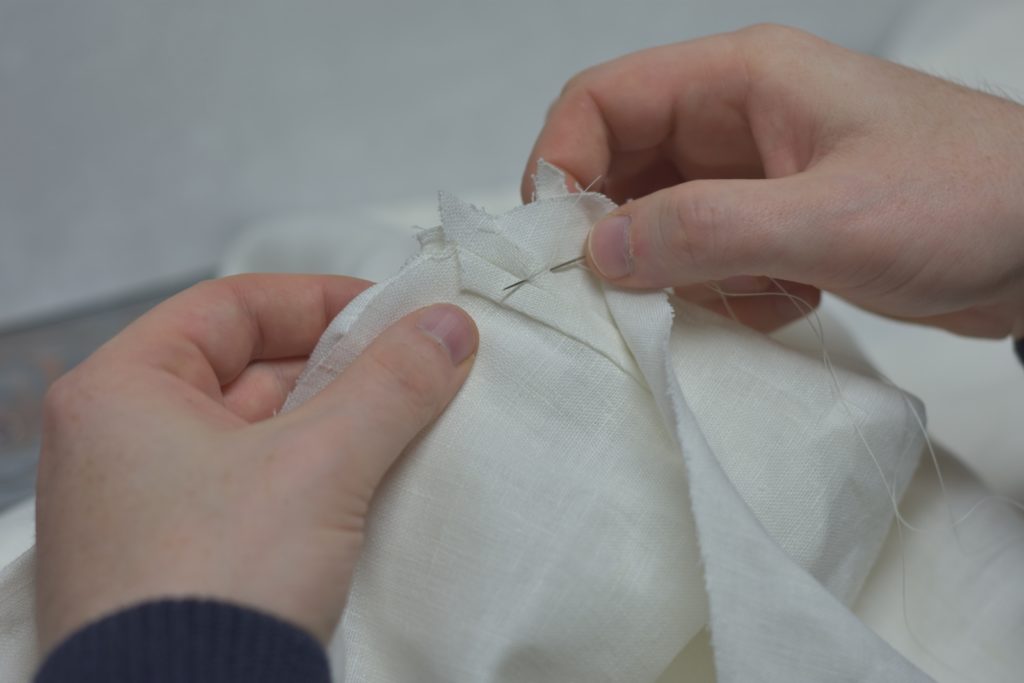
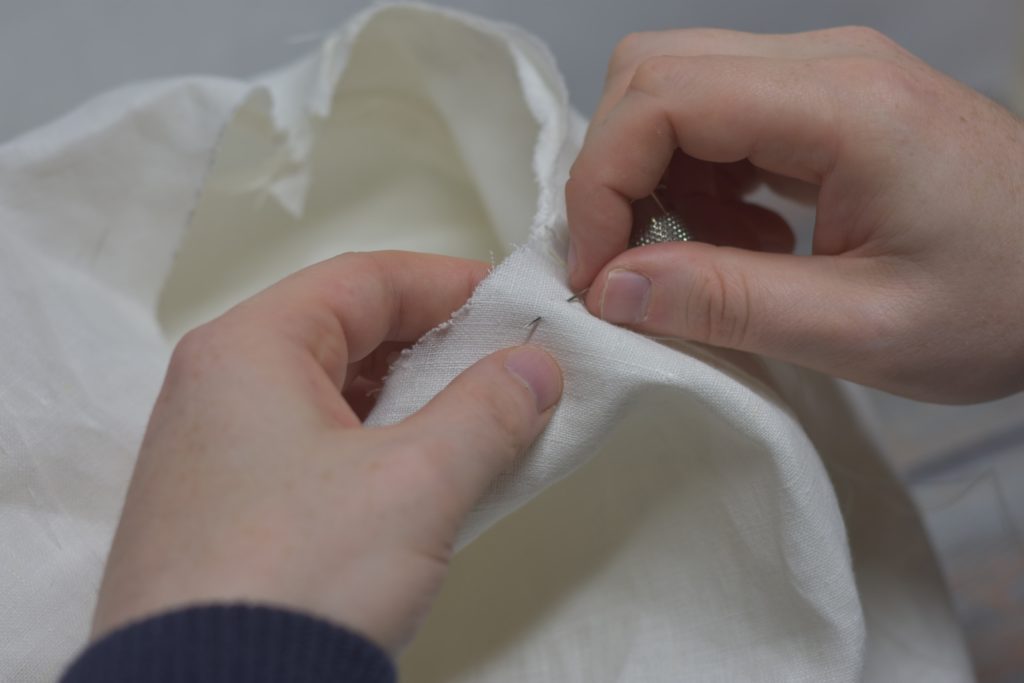
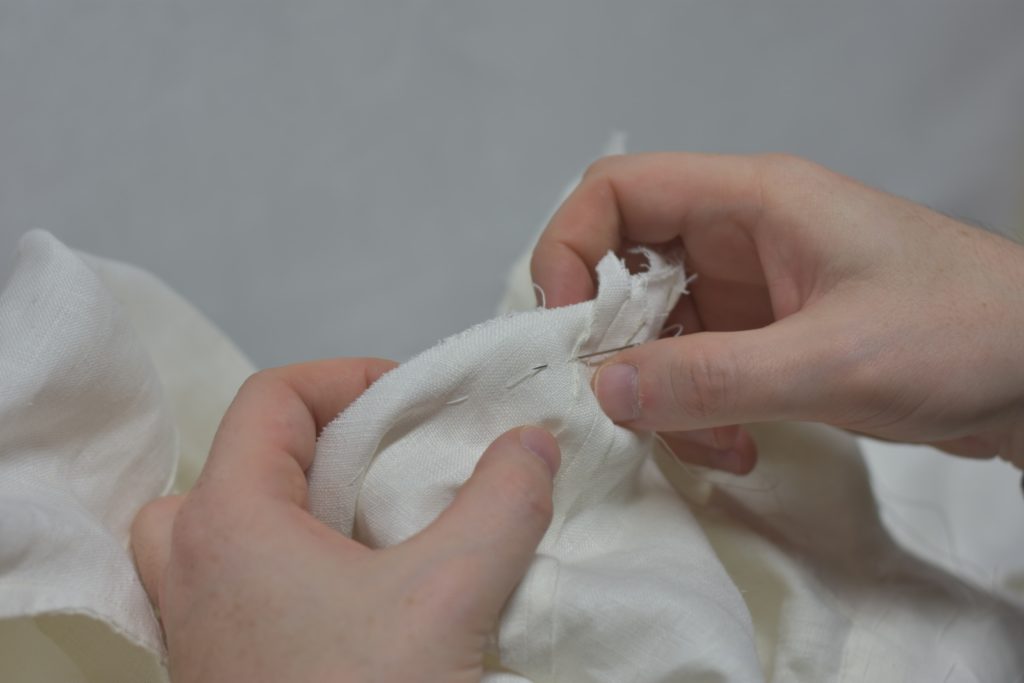
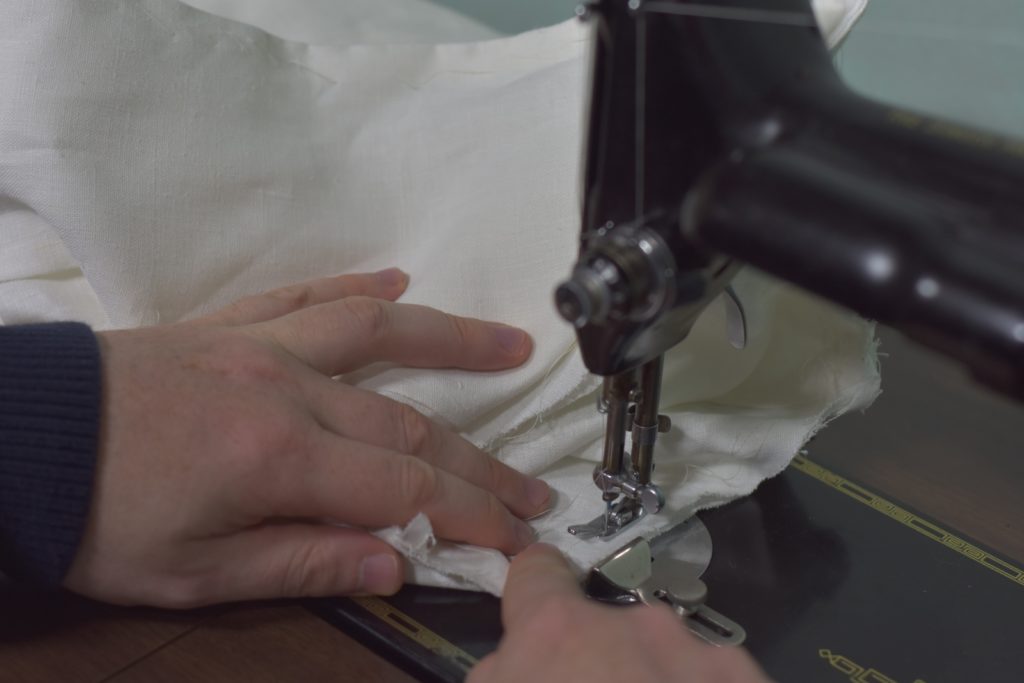
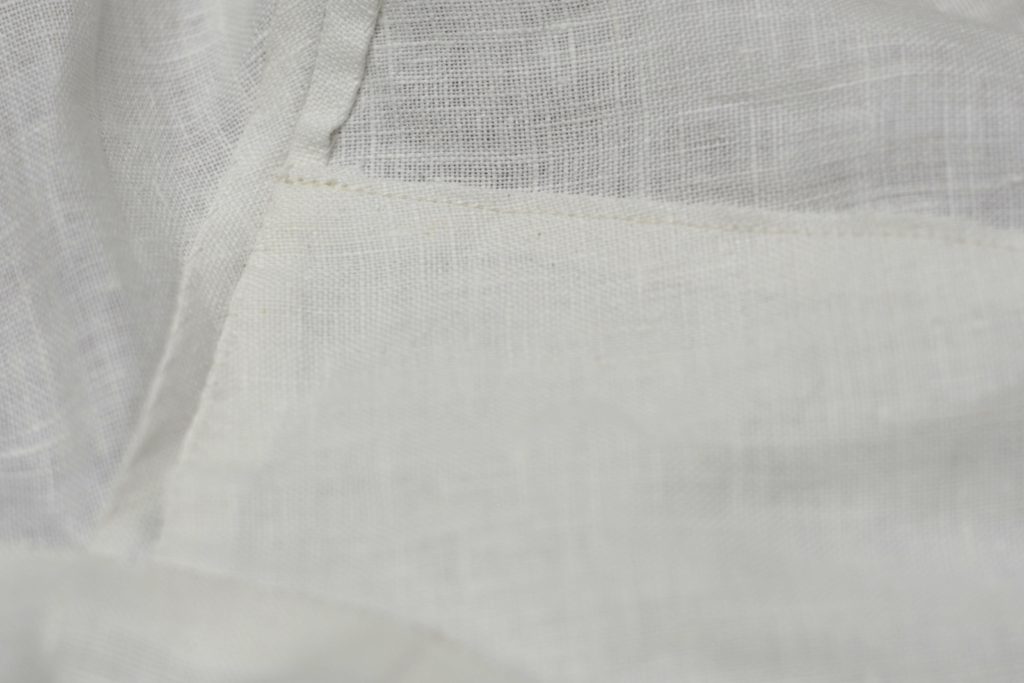
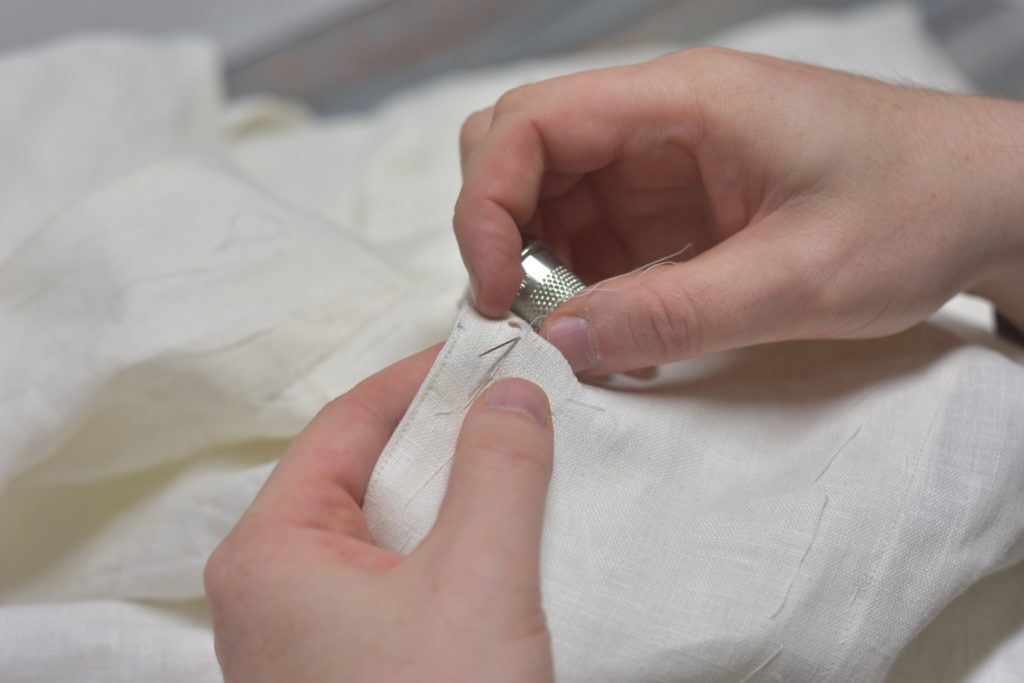
Now open up the fly again and baste the linen piece to the wrong side of the fabric.
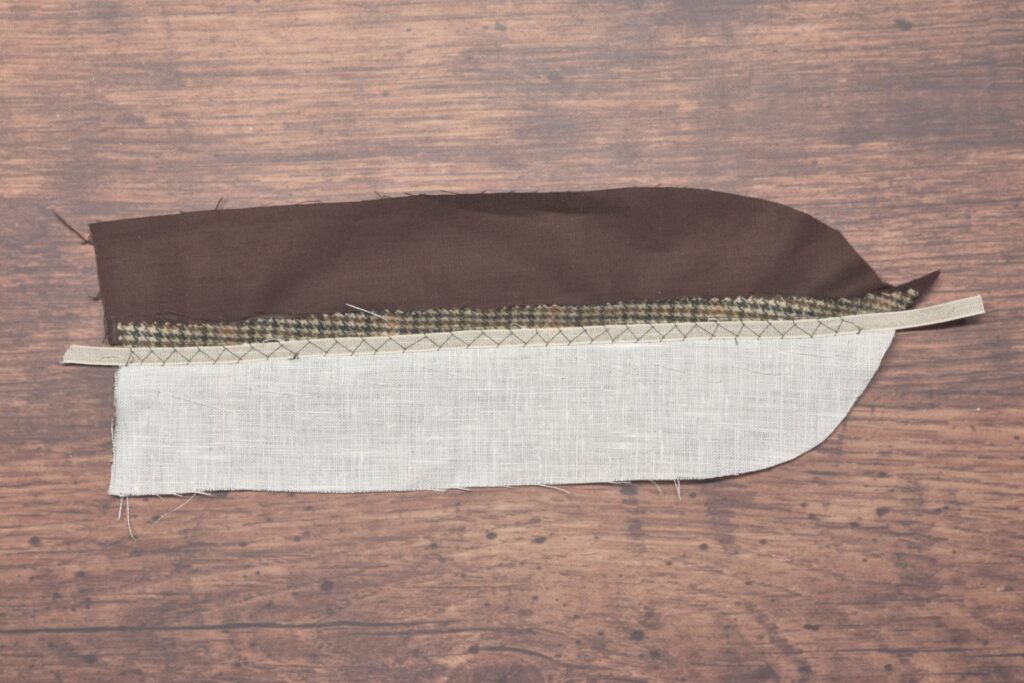
Next, baste in a piece of linen stay tape along the length of the seam. This is optional, and I’m not sure if all trousers would have had this added during the 1860s period, but it adds a nice firmness to the edge and more durability. If your fabric is on the thicker side you could leave it out as well.
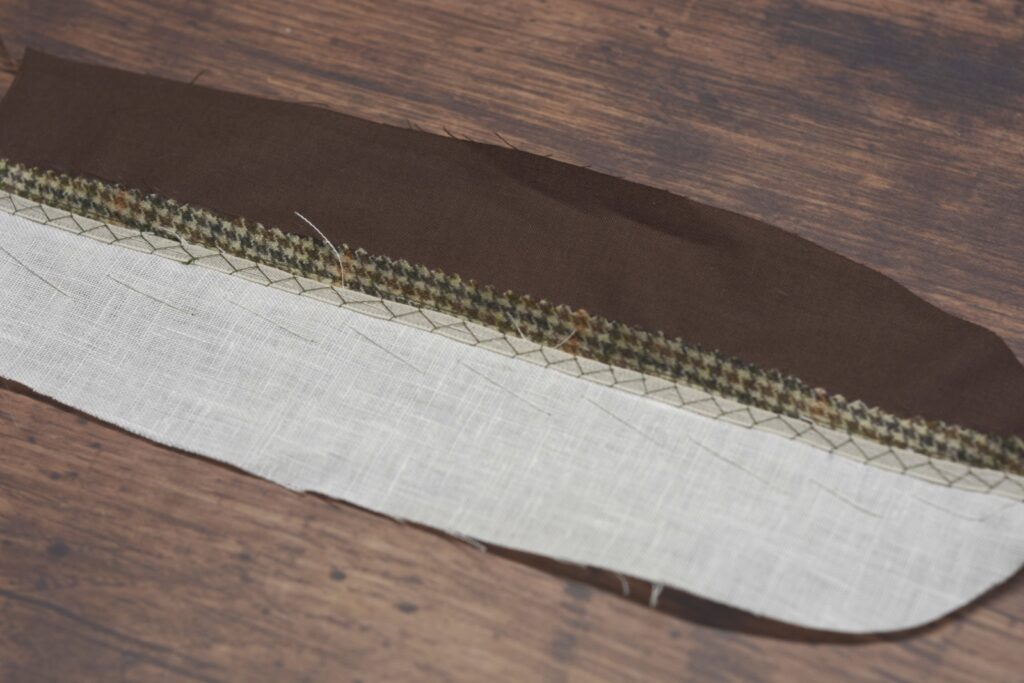
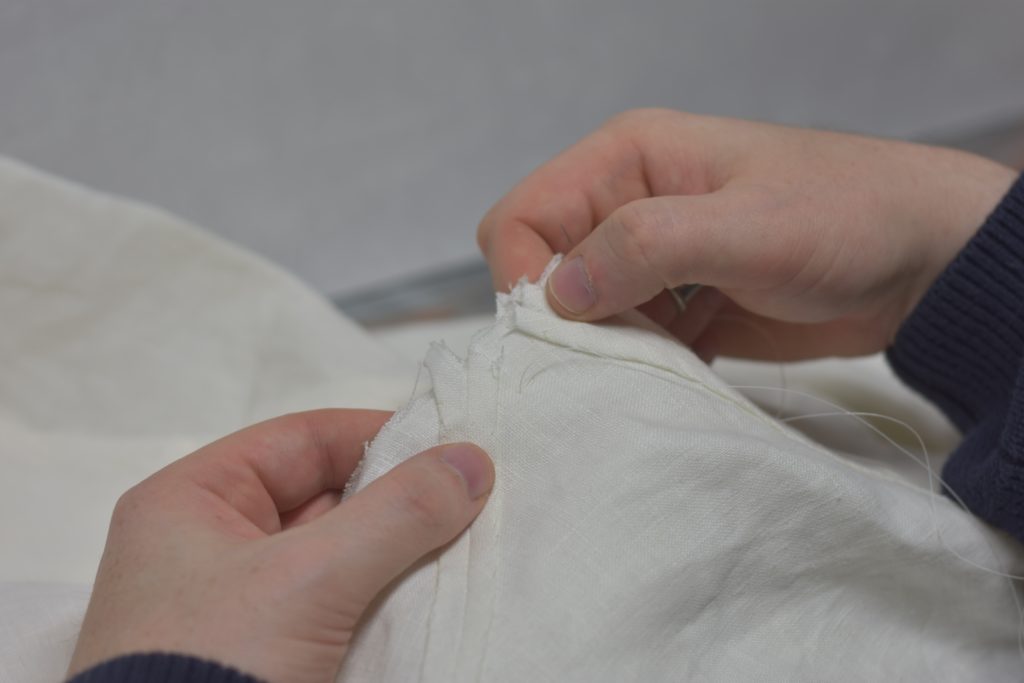
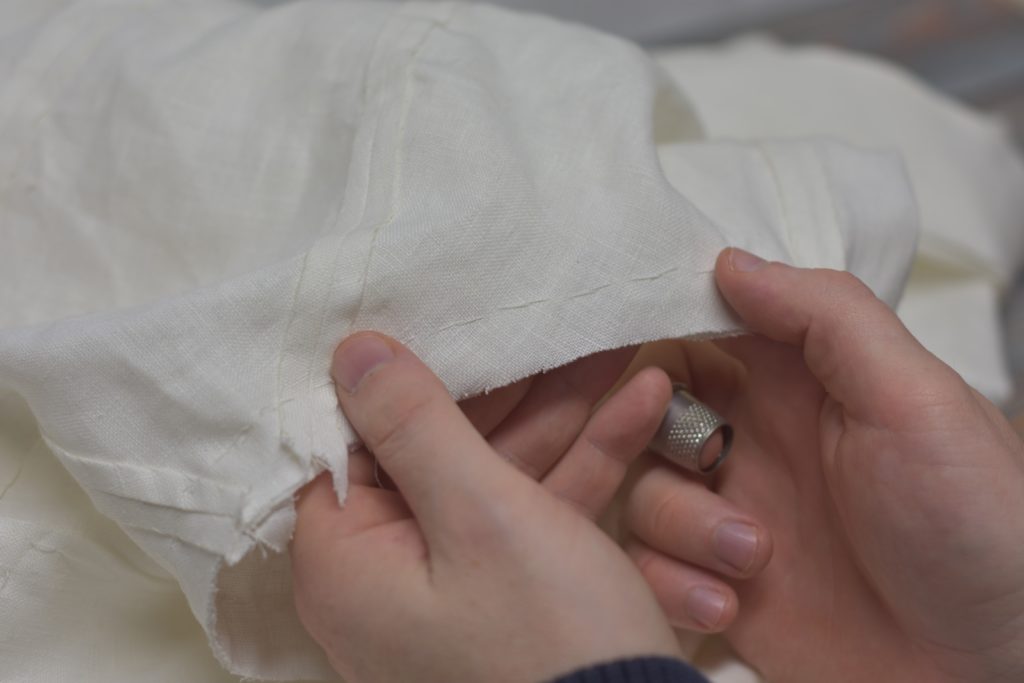
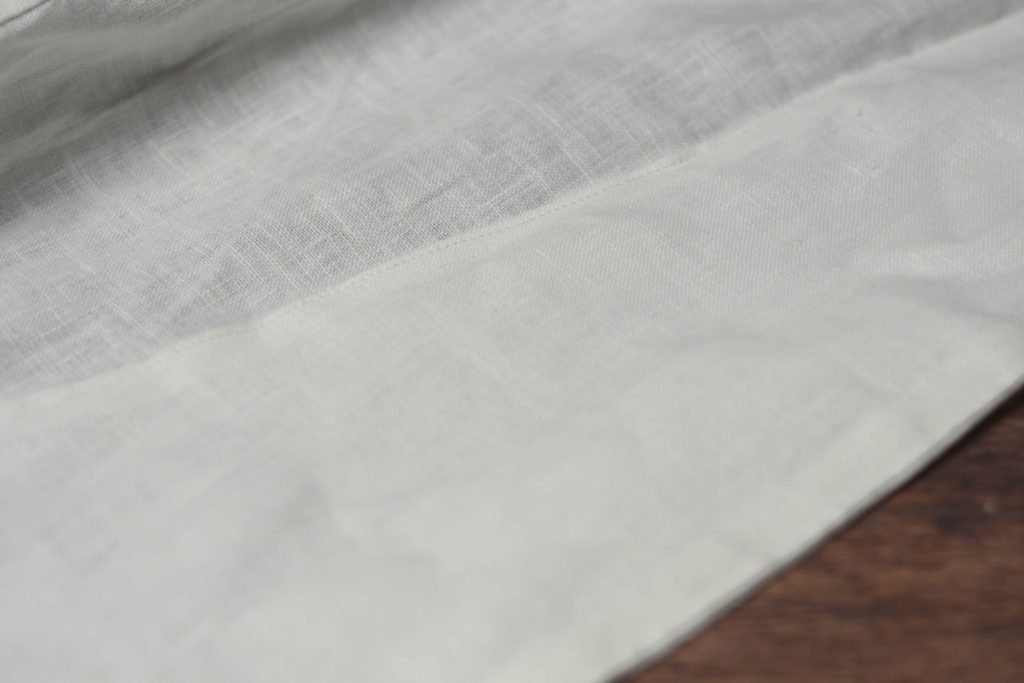
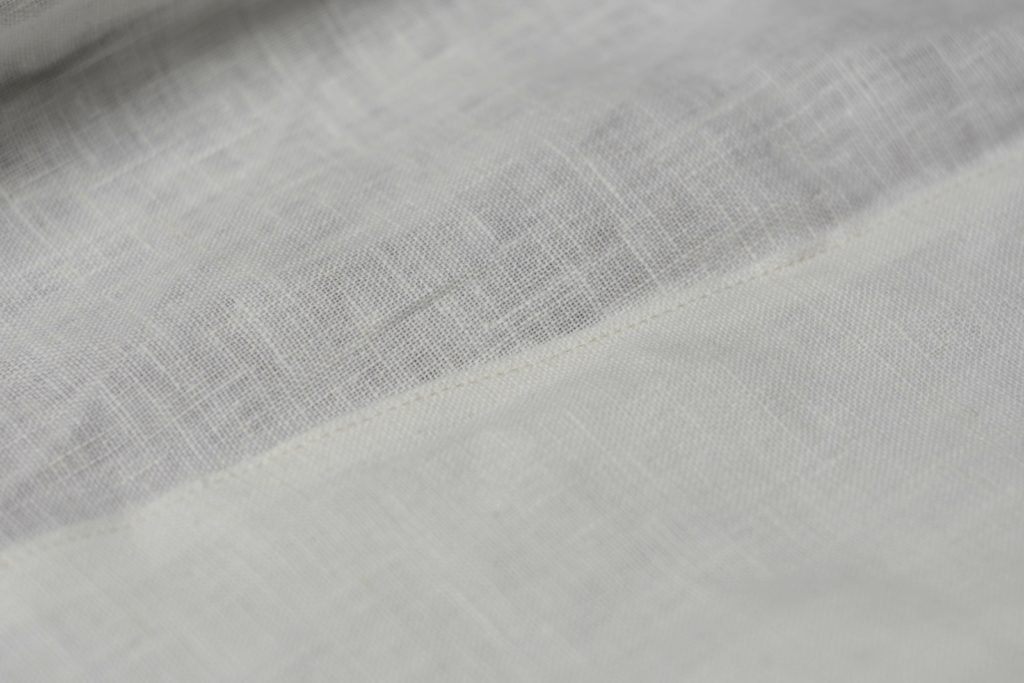
Stitch the stay tape in place using a cross stitch.
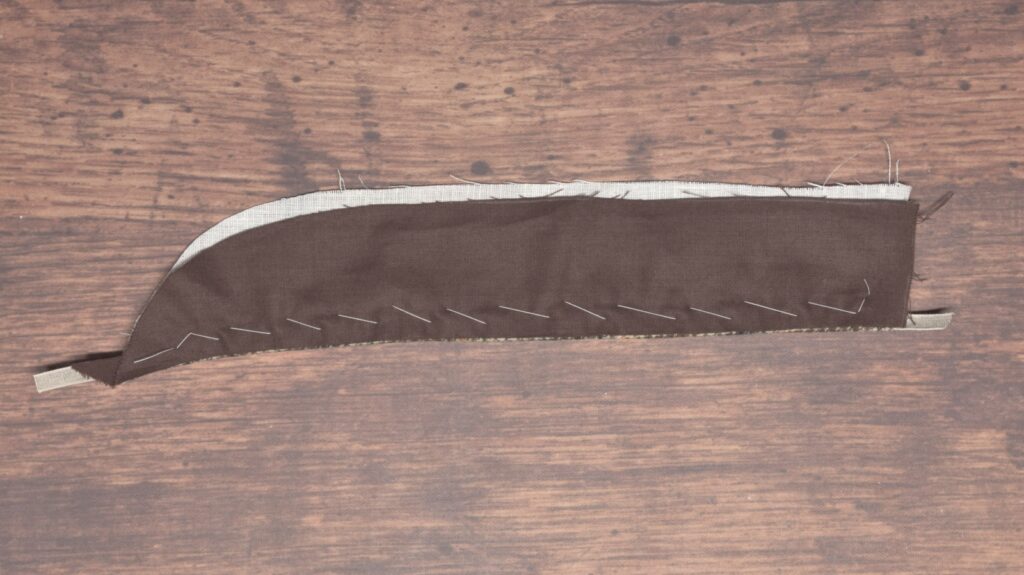
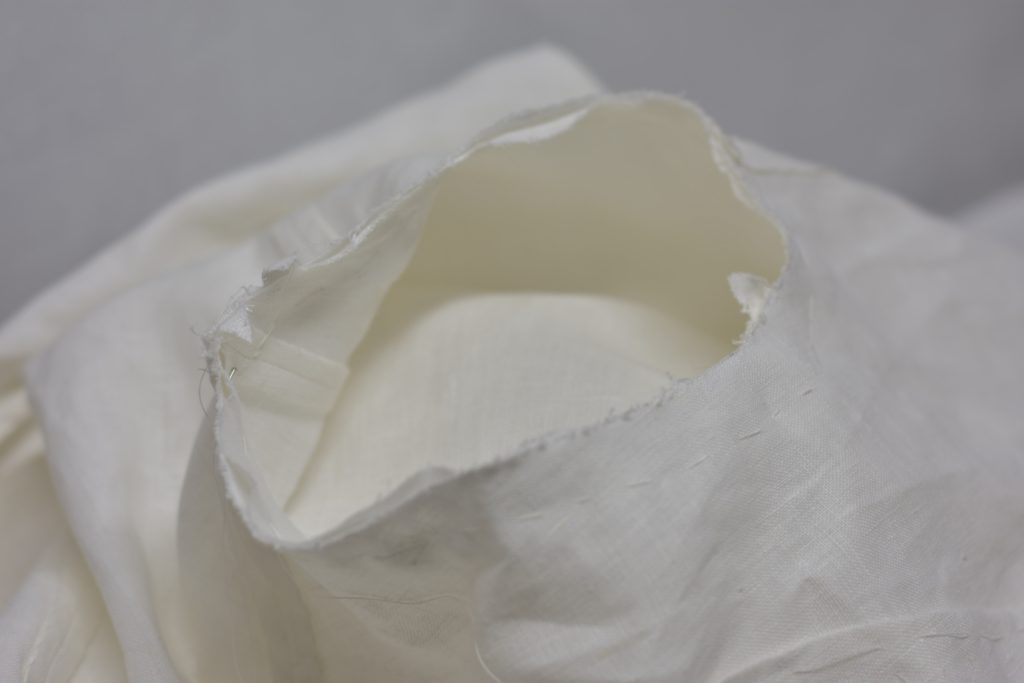
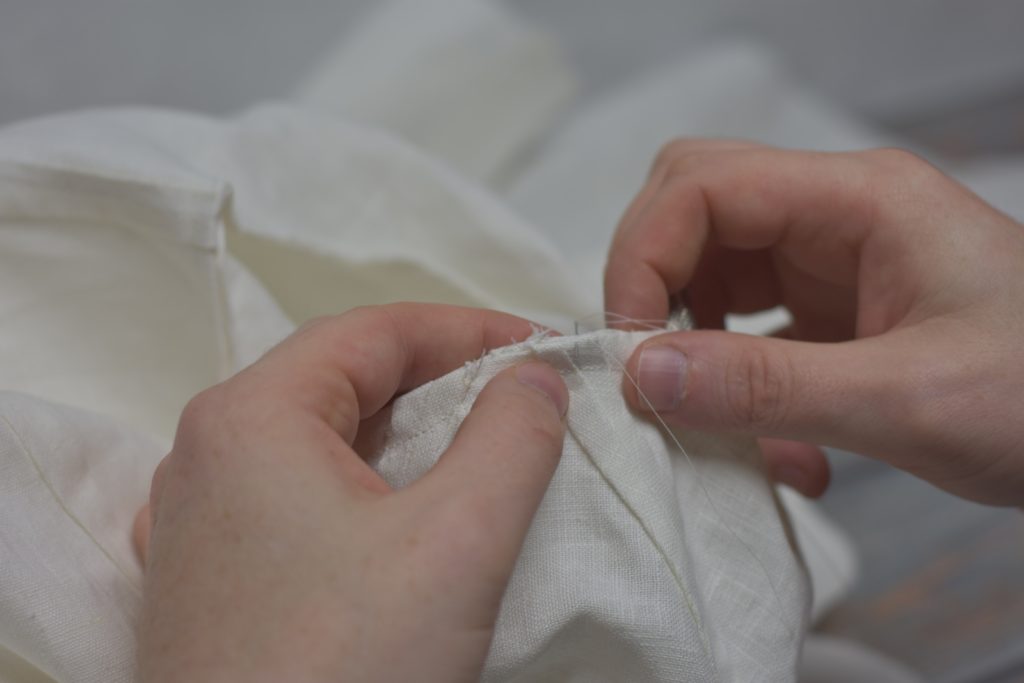
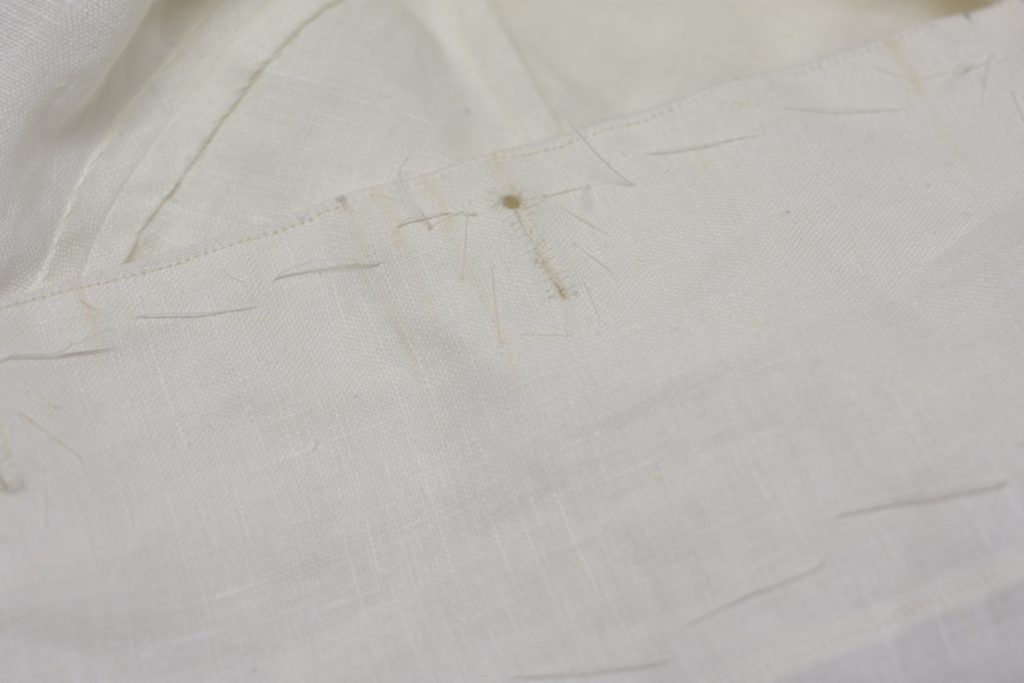
Finally, fold the lining back over the fly and baste it securely closed along the edge. We are now ready to move on to the buttonholes.
Final Pressing
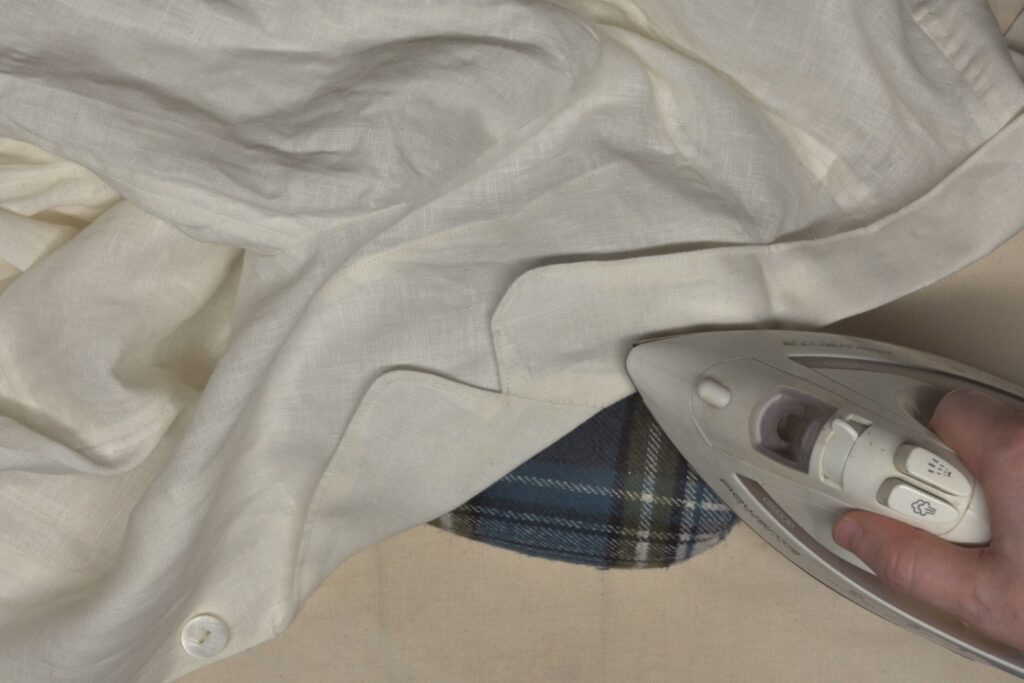
All we have left to do on the paletot is give it a good final pressing, beginning with the collar and lapels. Ideally you should try on the coat and have someone press the collar and lapels into place along the roll line, followed by pressing with the iron, just to perfect the fit, but if necessary you can just press on the tailor’s ham.
I like to start at the back of the collar, pressing the center back firmly along the roll line. You can use starch here and elsewhere to make the crease more permanent.

Continue pressing along the roll line to one side, being sure to use the pressing ham to match the shape and roll of the shoulders.
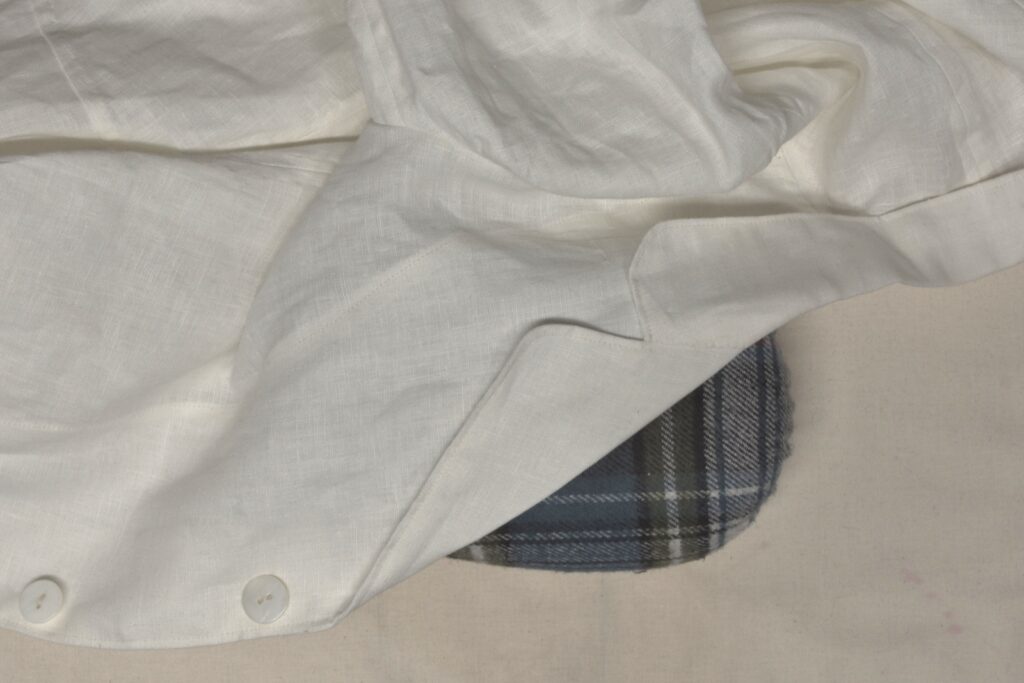
Press the lapel down to about 2 inches above the end of the roll line. This lower section should not be pressed — instead it should be allowed to roll freely to give the most elegant look.

Here’s the lapel and collar after pressing. Repeat for the other half, and then give the entire coat a pressing as necessary, especially along the edges and any wrinkled areas.
I recommend starching the coat in light, thin layers, building up the layers until you get the thickness you prefer. I just stick with the spray starch you can get at any store as that’s easiest for me, but feel free to experiment with other more historical methods of starching if you wish.
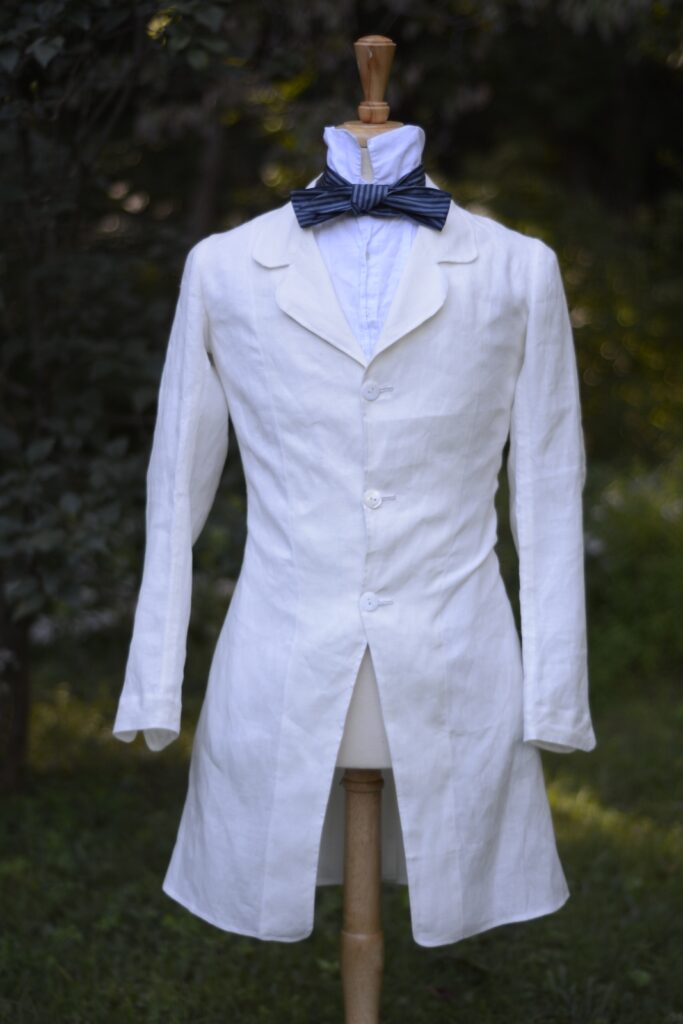
And with that, this project is complete! I hope you’ve had fun and success while making your own coat. I’d love to see photos of your finished pieces! Email them to me if you like at james@historical-tailoring.com and I’ll add them to a gallery here on the website and share on Facebook (with your permission of course).
James
Buttons
Usually the last things I sew onto the coat are the buttons, as they have a tendency to catch sewing threads if you put them on earlier. When sewing on the buttons, work from the waist up if you are right handed to avoid the threads catching on the previous button.
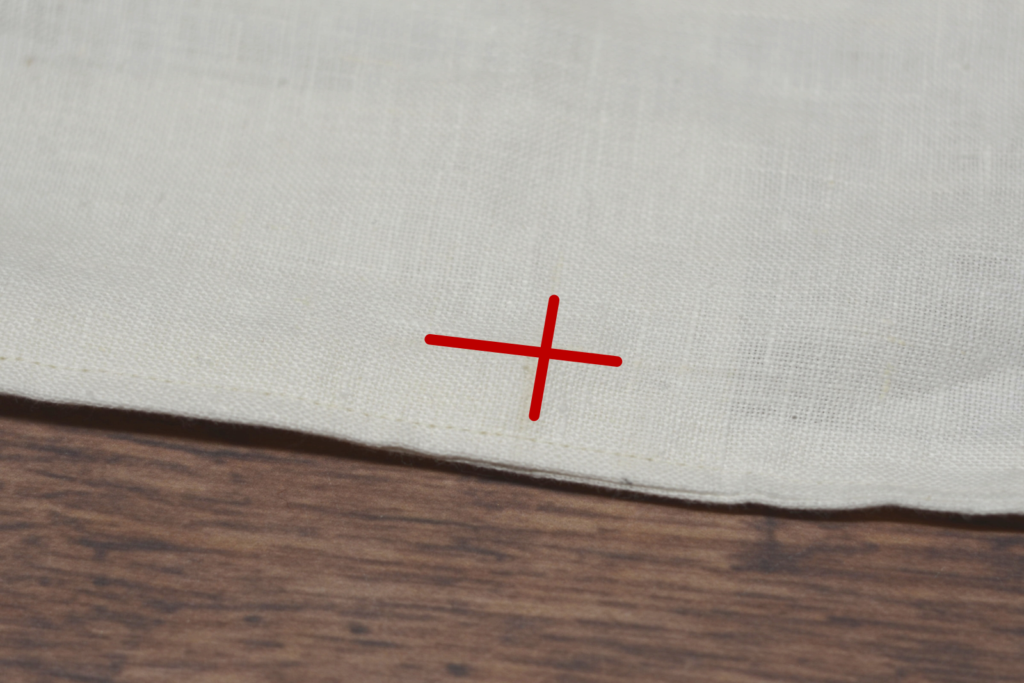
Begin by marking out the button position based on your pattern, or transferring from the buttonhole side, 1/2″ away from the edge.
Insert the needle from the wrong side using a knotted piece of silk buttonhole twist.
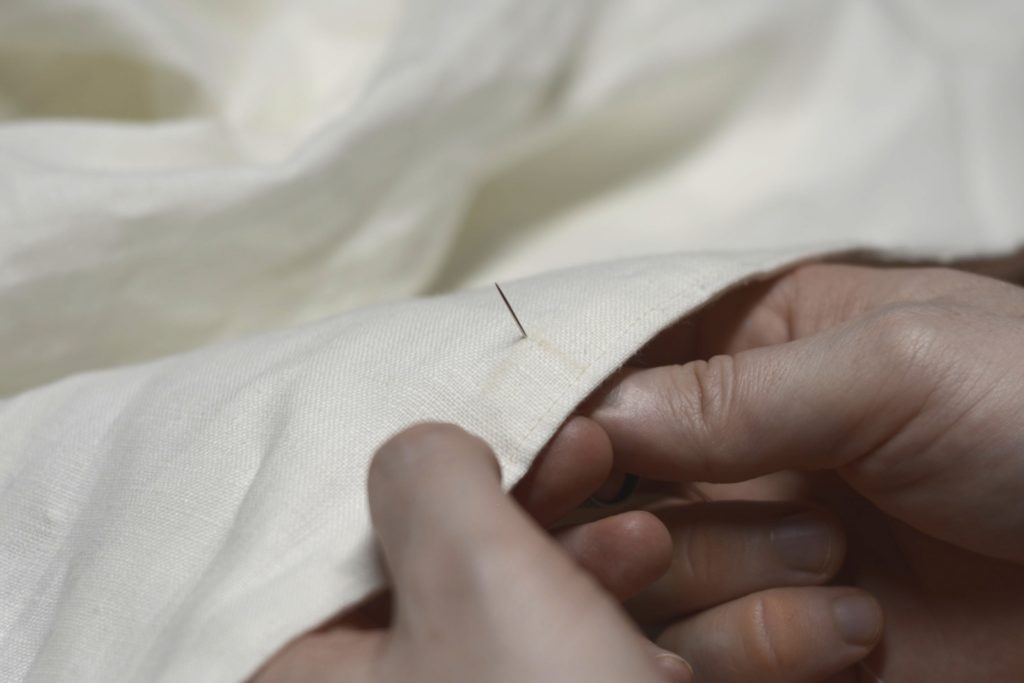
Arrange this first stitch so that the button will be positioned appropriately.

Make your first complete stitch, reentering the fabric about 1/8″ from the first half of the stitch. I like to keep track of the number of stitches by counting ‘one’ on the up stitch and ‘and’ on the downstitch.
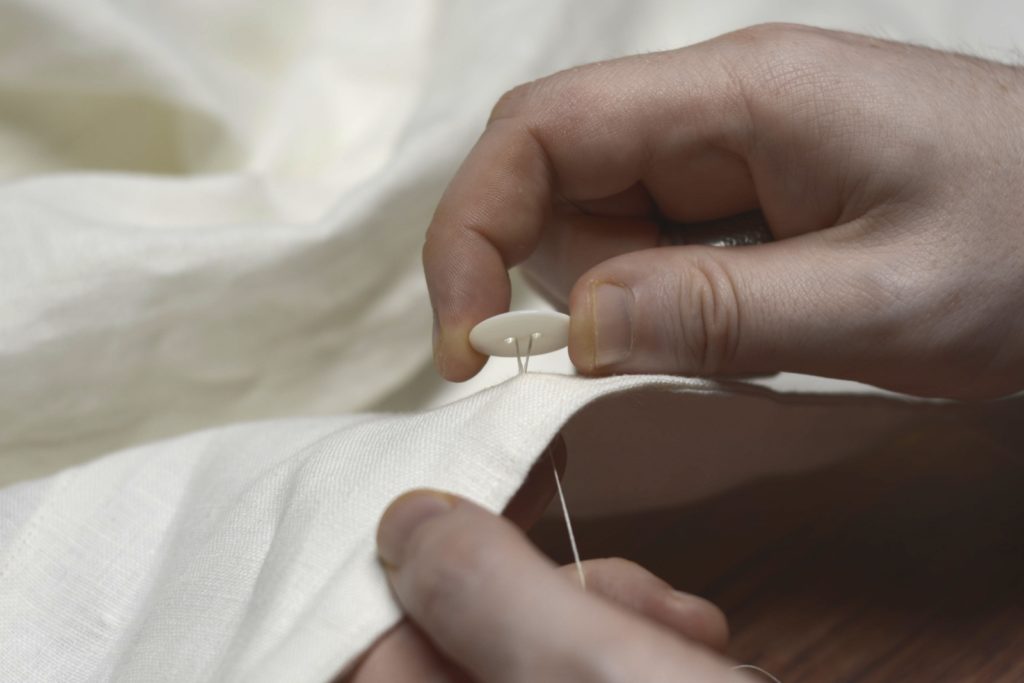
After this first stitch, keep the button rather loose on the coat, with anywhere from 1/4″ to 1/2″ of ease on the threads.
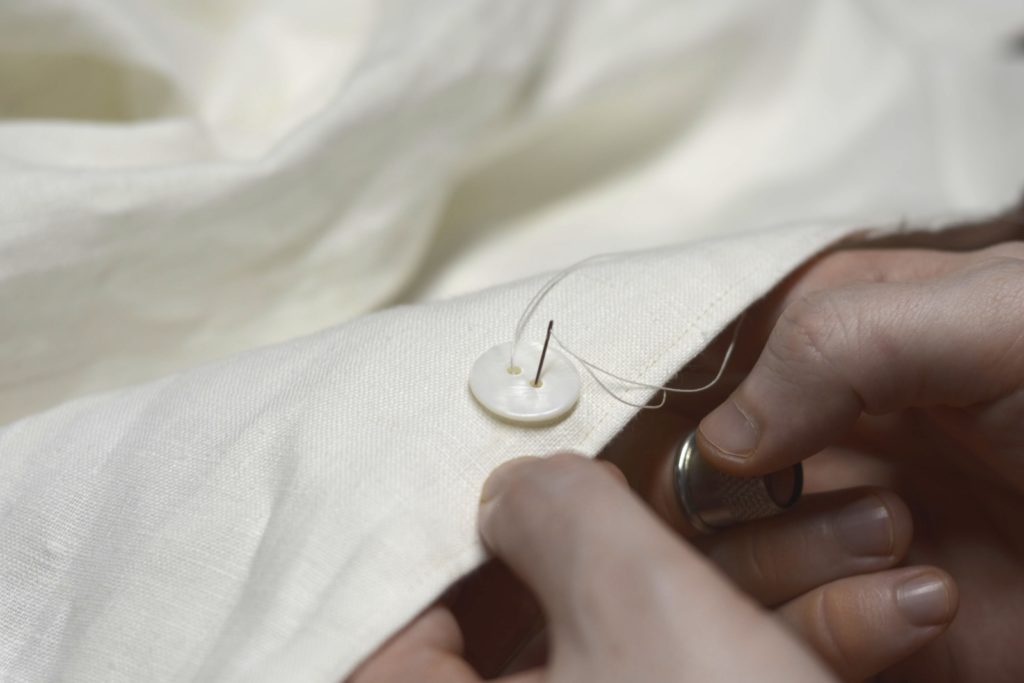
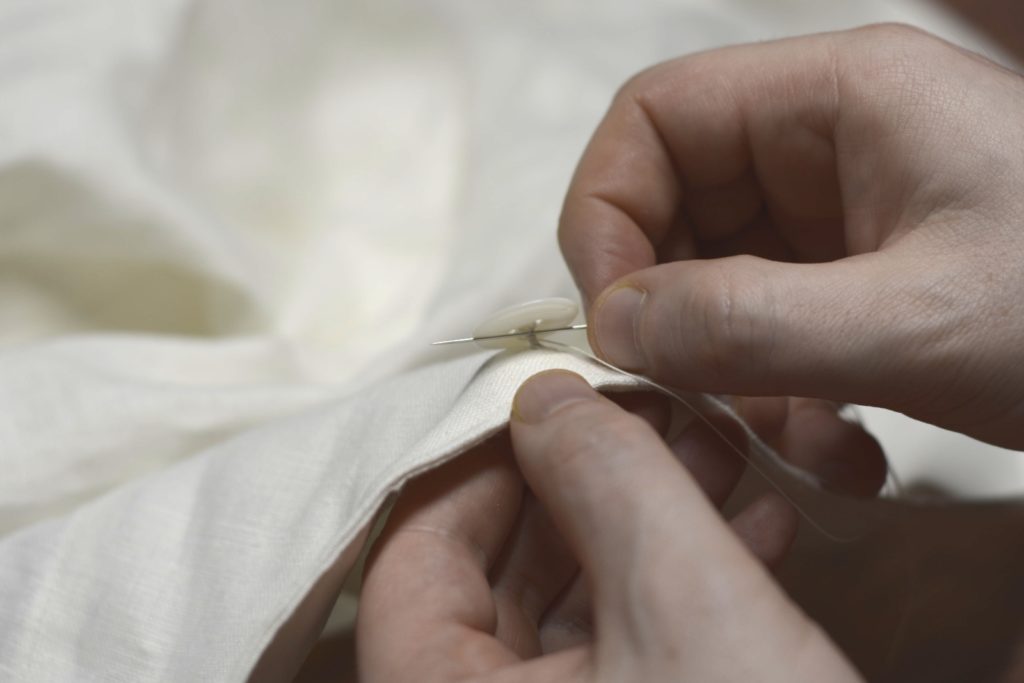
Now make your second complete stitch in the same manner. This is the point at which you can adjust precisely how far away from the coat you want the button to stand and should be based on how thick the front of your coat is plus a little ease. By holding the button with one hand and gently pulling on the loose end of the thread with the other while also holding the coat, you can precisely adjust the height of the button. Here I made mine just under 1/4″.
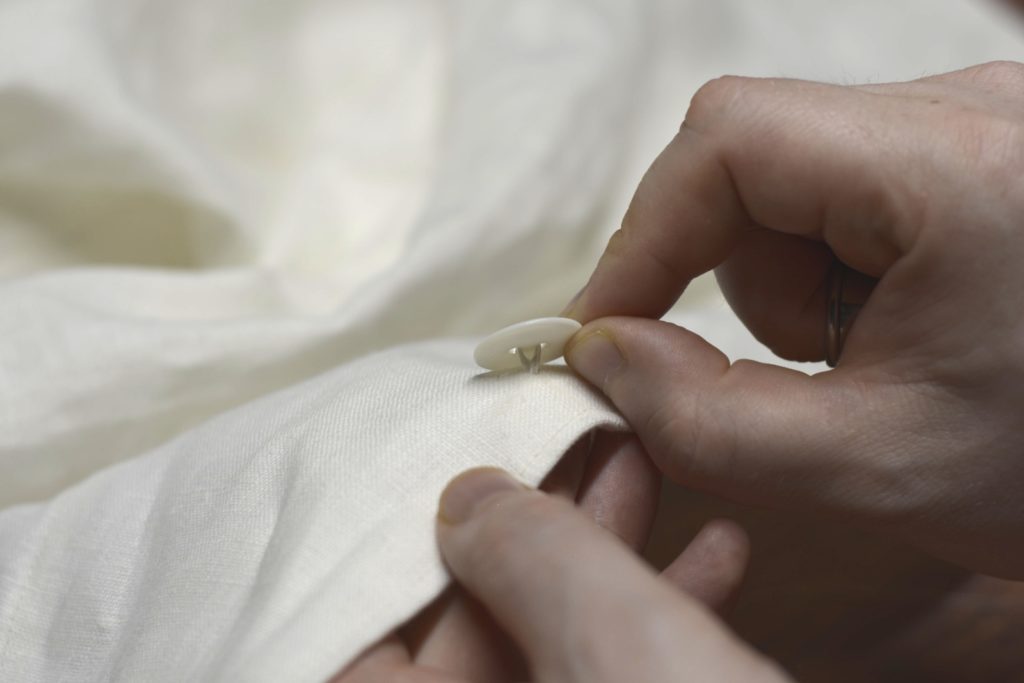
Here’s my button after adjusting the height.

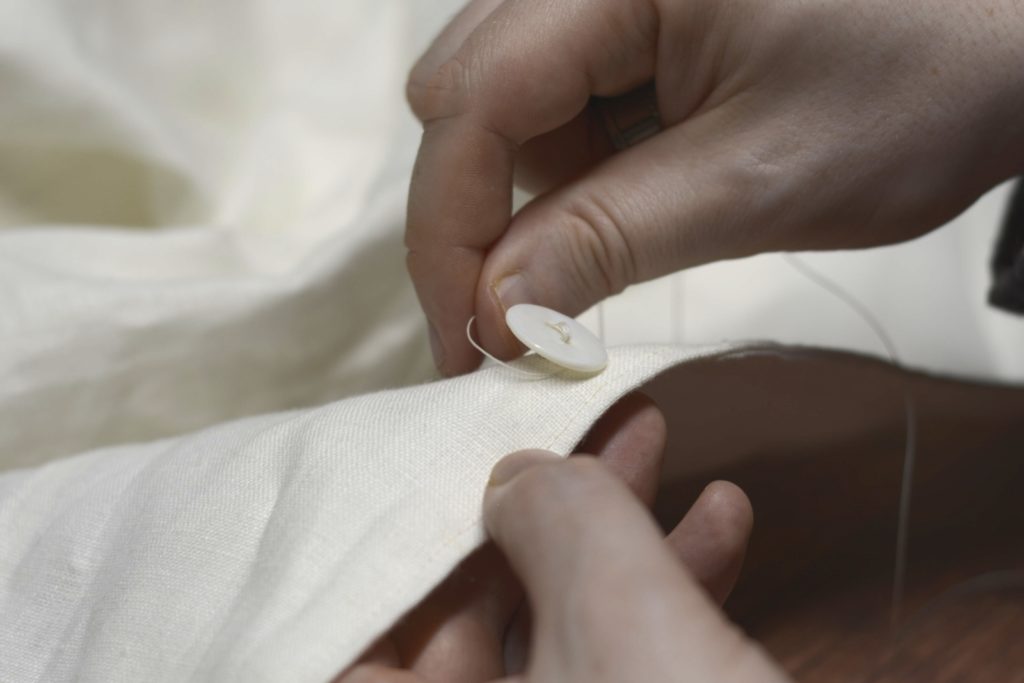
As soon as you make a complete third stitch, that will lock the height of the button in place. Just be sure to hold the button away from the coat as you pull each stitch taught, so it doesn’t get pulled into the coat. I make six stitches total.
If you are using a button with four holes, make three stitches in one direction and three across, forming a cross pattern.
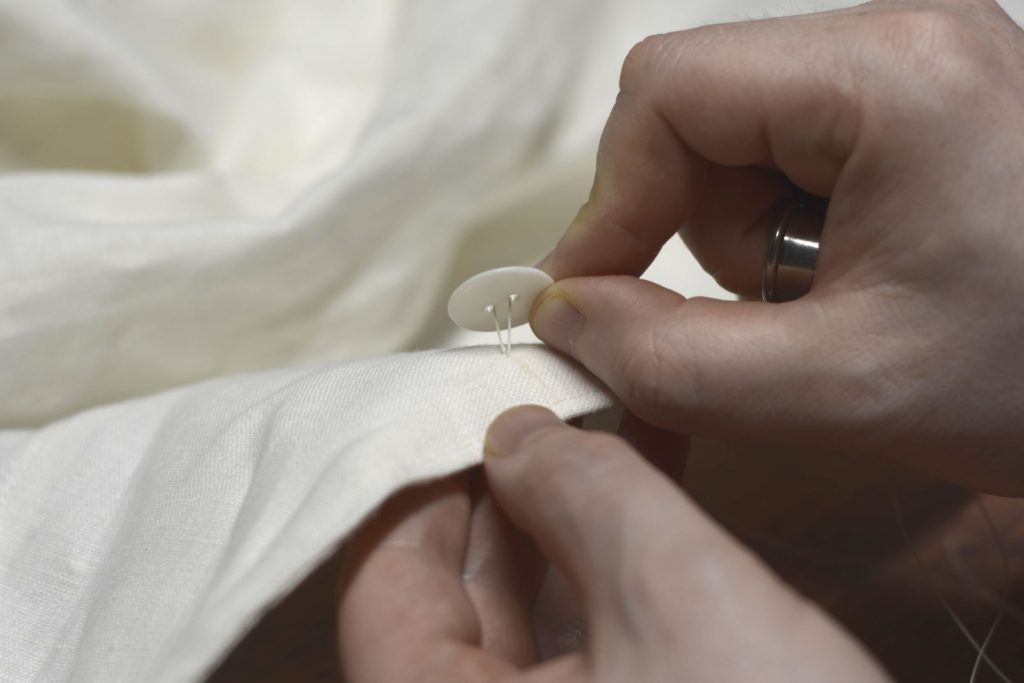
With the stitching complete, form the shank by wrapping the thread around the threads 4 to 8 times, depending on the button height. Pull snug, but not too tight, or it will be difficult to finish off the button. These wraps around the threads will keep the button attached much longer.
Finishing up the last wrap here and pulling everything snug.
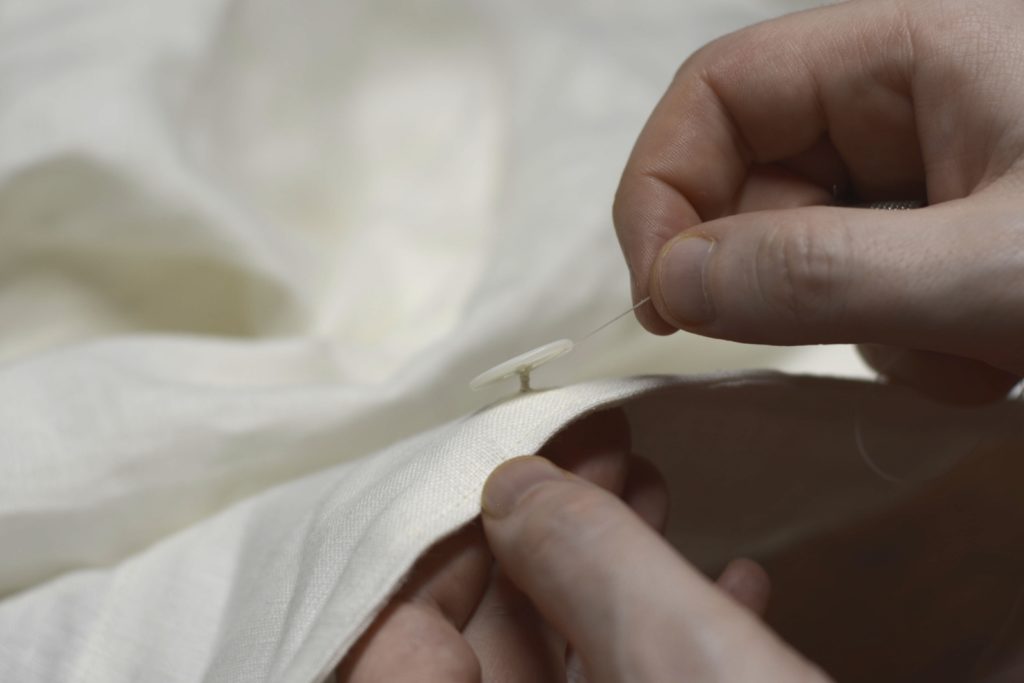
Finally, secure the button by passing the needle and thread through the shank three times in differing directions. Trim off the excess thread.
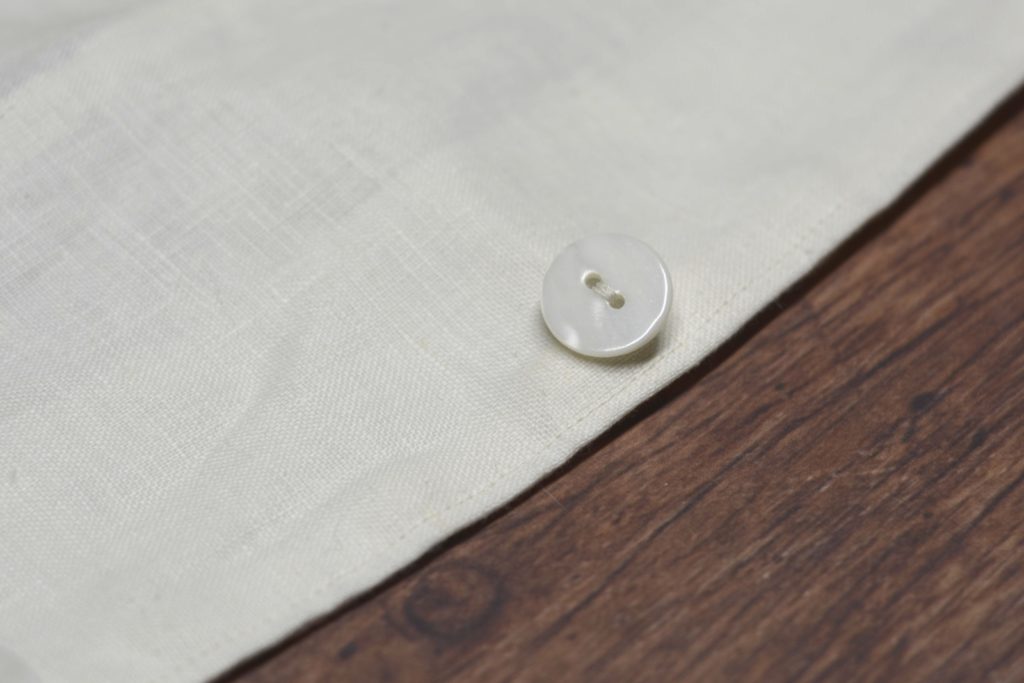
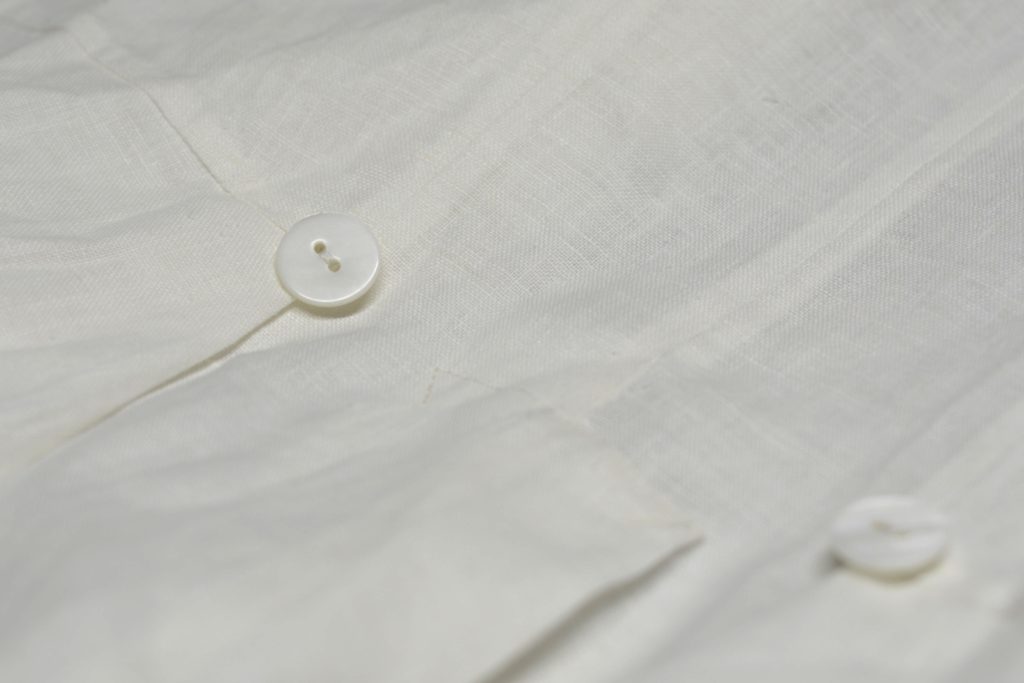
Here is the completed button. Continue with the other two.
And finally, attach two buttons at the top of the pleat area in the back, going through all layers. I sometimes attach these before the coat halves are joined at the back, as they’re easier to access that way, but that’s up to your personal preference.
The Buttons
Usually the last things I sew onto the coat are the buttons, as they have a tendency to catch sewing threads if you put them on earlier. When sewing on the buttons, work from the waist up if you are right handed to avoid the threads catching on the previous button.
Begin by marking out the button position based on your pattern, or transferring from the buttonhole side, 1/2″ away from the edge.
Insert the needle from the wrong side using a knotted piece of silk buttonhole twist.
Arrange this first stitch so that the button will be positioned appropriately.
Make your first complete stitch, reentering the fabric about 1/8″ from the first half of the stitch. I like to keep track of the number of stitches by counting ‘one’ on the up stitch and ‘and’ on the downstitch.
After this first stitch, keep the button rather loose on the coat, with anywhere from 1/4″ to 1/2″ of ease on the threads.
Now make your second complete stitch in the same manner. This is the point at which you can adjust precisely how far away from the coat you want the button to stand and should be based on how thick the front of your coat is plus a little ease. By holding the button with one hand and gently pulling on the loose end of the thread with the other while also holding the coat, you can precisely adjust the height of the button. Here I made mine just under 1/4″.
Here’s my button after adjusting the height.
As soon as you make a complete third stitch, that will lock the height of the button in place. Just be sure to hold the button away from the coat as you pull each stitch taught, so it doesn’t get pulled into the coat. I make six stitches total.
If you are using a button with four holes, make three stitches in one direction and three across, forming a cross pattern.
With the stitching complete, form the shank by wrapping the thread around the threads 4 to 8 times, depending on the button height. Pull snug, but not too tight, or it will be difficult to finish off the button. These wraps around the threads will keep the button attached much longer.
Finishing up the last wrap here and pulling everything snug.
Finally, secure the button by passing the needle and thread through the shank three times in differing directions. Trim off the excess thread.
Here is the completed button. Continue with the other two.
And finally, attach two buttons at the top of the pleat area in the back, going through all layers. I sometimes attach these before the coat halves are joined at the back, as they’re easier to access that way, but that’s up to your personal preference.
Setting the Sleeves
Setting the sleeves can seem a little intimidating at first, but with a bit of practice it will become second nature to you. The first thing I like to do is make sure I’ve got the correct sleeve and correct armscye – both for the same side!
Then lightly mark an ‘X’ indicating the center of the back piece at the armscye, 1/2″ from the edge, and 1/2″ from the edge of the sleeve along the back seam.
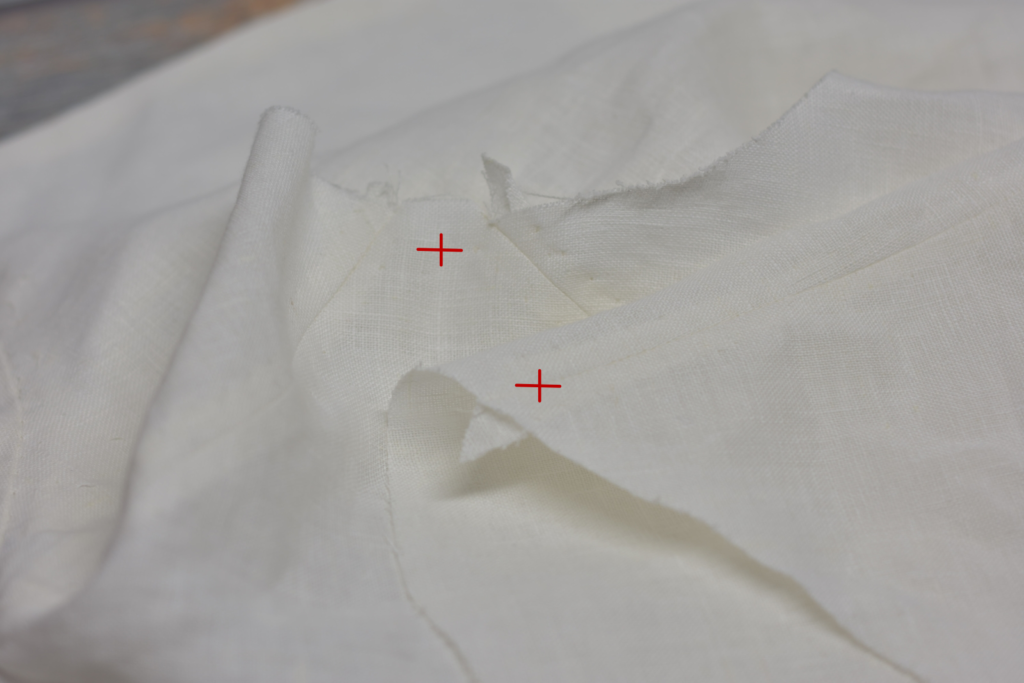
Working from the right side of the coat at this point, align the sleeve and armscye together at the two points.
Make a couple of stitches in place to secure this point.
With the sleeve secured in place to the back, turn the coat inside out. In the photo you can see the wrong side of the back piece with the stitches we just put in. Pass the thread through to this side. In this position it’s much easier to work on attaching the sleeves.
Working towards the side body and under sleeve, begin basting the sleeve to the armscye using a running stitch about 1/4″ to 3/8″ in length.
When you get to the front sleeve seam underneath, make a stitch in place to keep everything in place as you gather the sleeve head in the next step.

To gather the sleeve head into the top of the armscye, it’s common to use a series of gathering stitches. It’s not really necessary though, and a quicker method and more accurate method – once you’ve got the practice in – is to gather in the excess material with your fingers as you go. With time you’ll be able to estimate better and better exactly how much to gather in.
Continue gathering across the top of the sleeve, continuing to baste as you move along.
After you’ve completed the basting stitches all the way around, pause for a moment, turn the coat right side out, and examine the sleeve. Does it hang correctly? Is it evenly gathered? If necessary, just remove the basting stitches from the top of the armscye and baste again until you get it right. Sometimes I underestimate the material to be gathered in and end up having to have a second try. Even with this minor setback, I still find it easier and faster than adding in all of those gathering stitches.
When you’re happy with the fit of the sleeve, baste another row of running stitches right on top of the original stitches, offsetting the stitches so that they interlock with the previous ones. This locks everything in place very nicely.
Turn the coat wrong side out again and position the armscye as shown to begin sewing it to sleeve, using a 1/2″ seam allowance.
Rotate the entire coat as you sew to make things a little easier.
Remove the basting stitches after you’ve sewn the seam.

Examine your work now! How’d you do? Mine is slightly off here. Should have marked it with the ‘X’ as I instructed . . .
Repeat the entire process for the opposite sleeve, keeping in mind you’ll have to work in the other direction. Always secure the undersleeve first, followed by gathering in the top sleeve.
Felling the Raw Edges
Now we’ve got to secure the raw edges of the armscye and sleeve head. Begin by folding the seam allowance of the armscye under itself as shown.
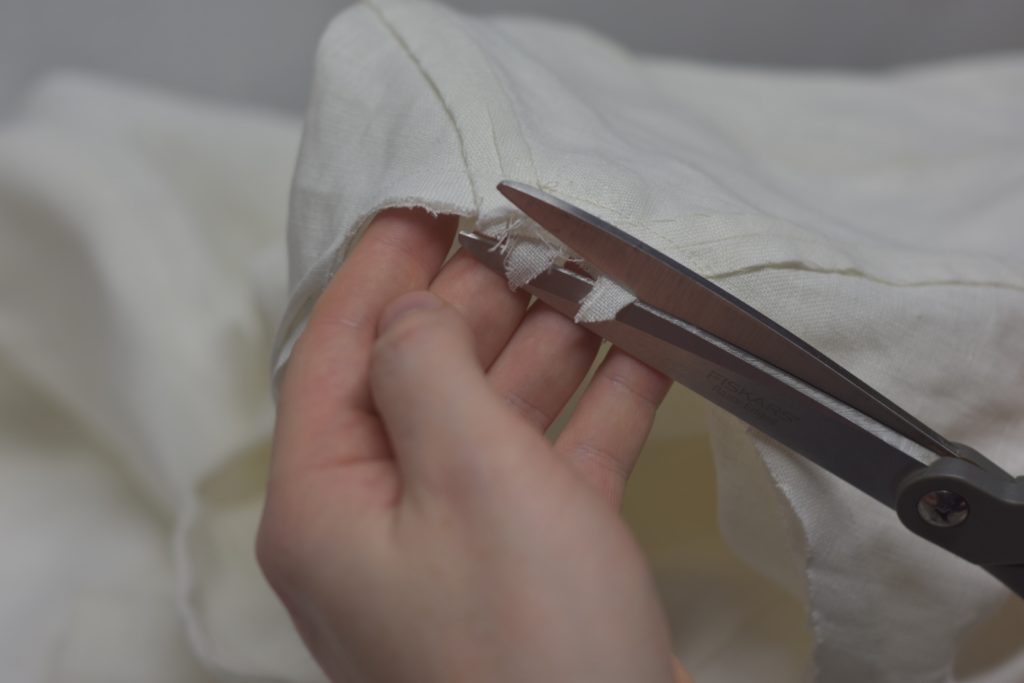
Trim off any excess bits of seams that extend out beyond 1/2″ to make things more manageable.
Continue folding under the entire length of the armscye seam. Press with your fingers as necessary.
Now fold the sleeve seam allowance under to match. I usually just do a couple of inches at a time as it seems to want to ‘escape’ if I try to do the entire seam.
Now fell the two folded seam allowances together using a 1/4″ or so stitch through all layers.
Just continue turning under the seam and felling as you go until you’ve felled the entire armscye.
Here’s the complete armscye with the felled seams.
Top Stitching
Now that the coat is hemmed, it’s time to top stitch the coat and facing. This top stitching serves to keep the edges from rolling out of position over time, ensuring everything is neat and tidy. It also somewhat stiffens the edge, adding to the durability.
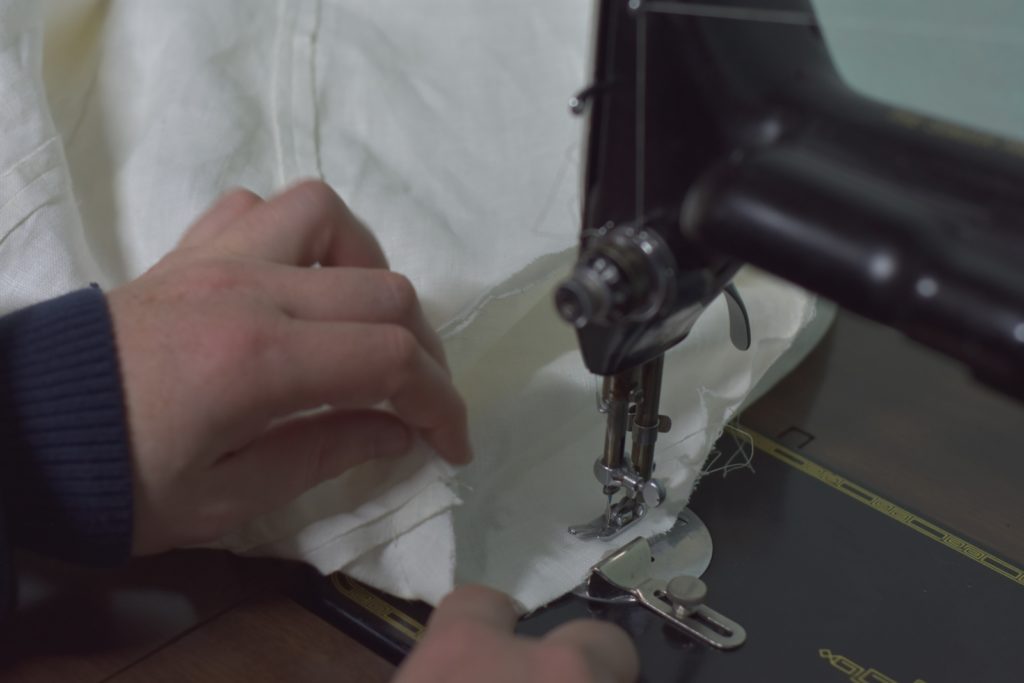
The original coat was top stitched by machine, so that’s what we’ll do.
Starting at the back skirt on one half or the other, begin to top stitch along the hem, about 3/16 from the bottom, or near the top of the hem to keep it from opening up.
Continue along to the bottom front of the coat. As I get to the facing, I like to taper the top stitching so it’s about 1/8″ from the edge.
Continue stitching up along the front of the coat. When you get to the collar area, just keep the top stitching parallel to the edge, and pivot at the point where the collar meets the coat.
Continue across the collar, and down the other side of the coat.
Facings
Finally, top stitch the inner edge of the facings, again working whichever direction works best for you. I’m starting at the shoulder line here, about 1/8″ from the edge of the facing.
Continue top stitching until you get to the bottom of the facing.
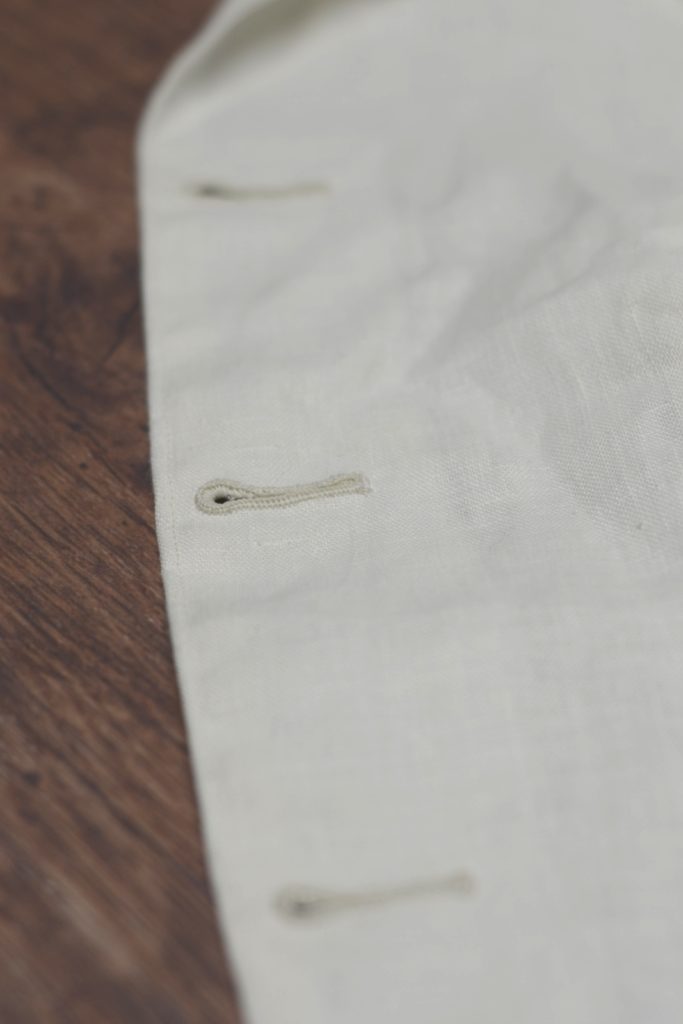
The Buttonholes
Please note that this is just a very rough outline of the buttonhole process. If you’ve never made a buttonhole before, check out my extensive tutorial The Art of the Buttonhole, and make a few practice buttonholes before moving on to the coat.
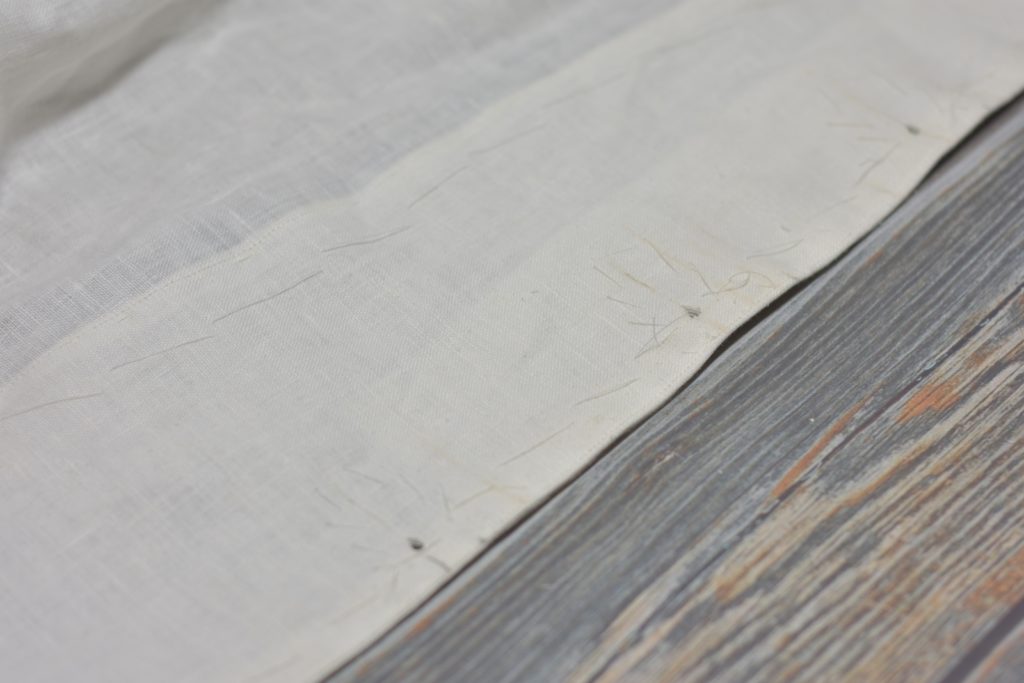
You should have already laid out the position of the buttonholes on your coat draft. Or you can be like me and adjust all of the positions on the coat leaving a bunch of chalk marks everywhere (don’t worry they come out after a bit!). Baste around each buttonhole.
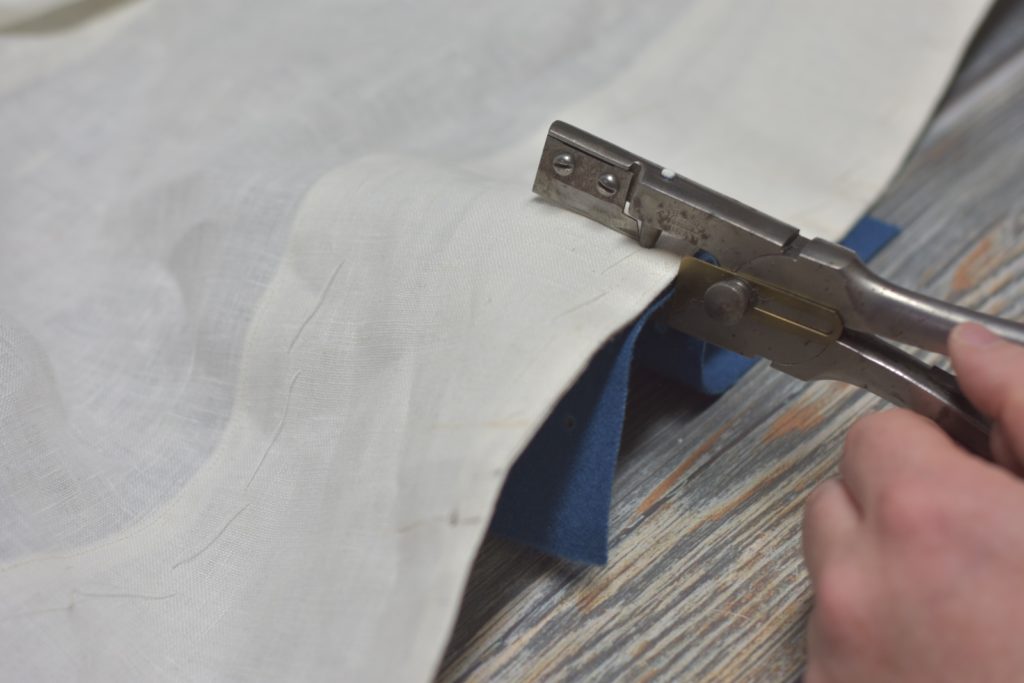
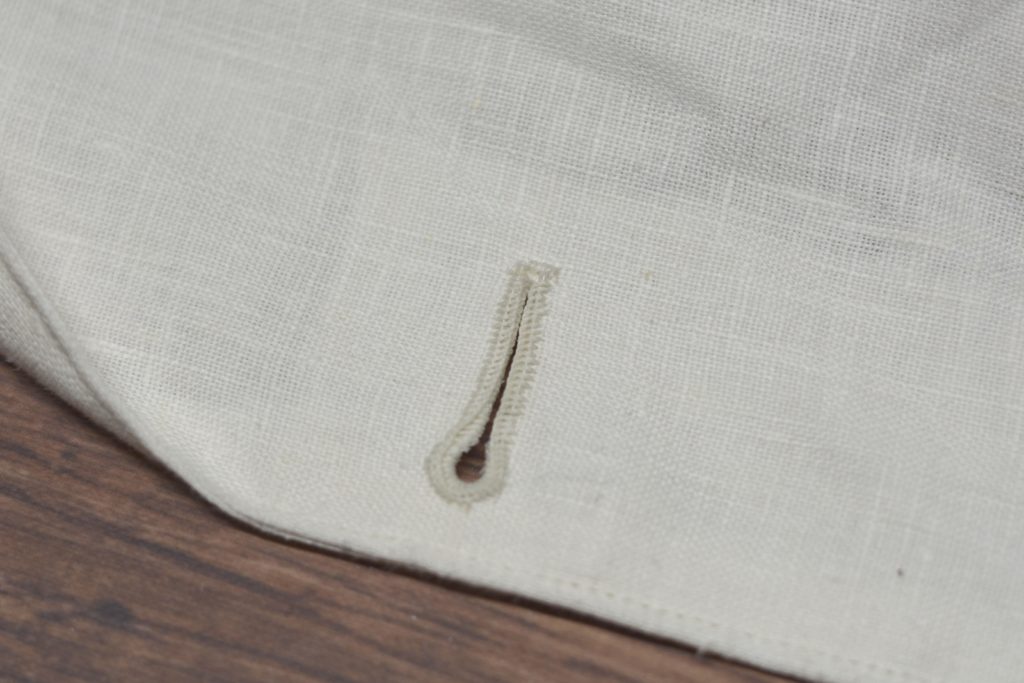
Cut out each buttonhole with a buttonhole cutter, or if you don’t have one, a hole punch and chisel.
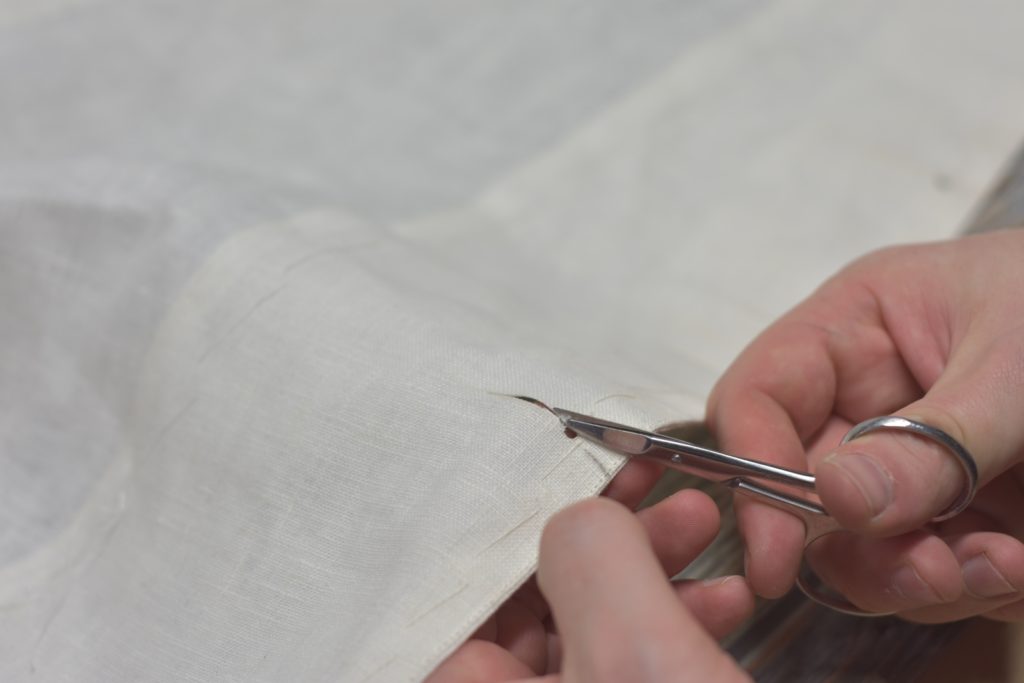
Trim the eyelets into a teardrop shape.
Fell around the buttonhole to secure the layers permanently.
Finally, secure the four-cord around the buttonhole (not shown), and then work the buttonhole stitch for each.
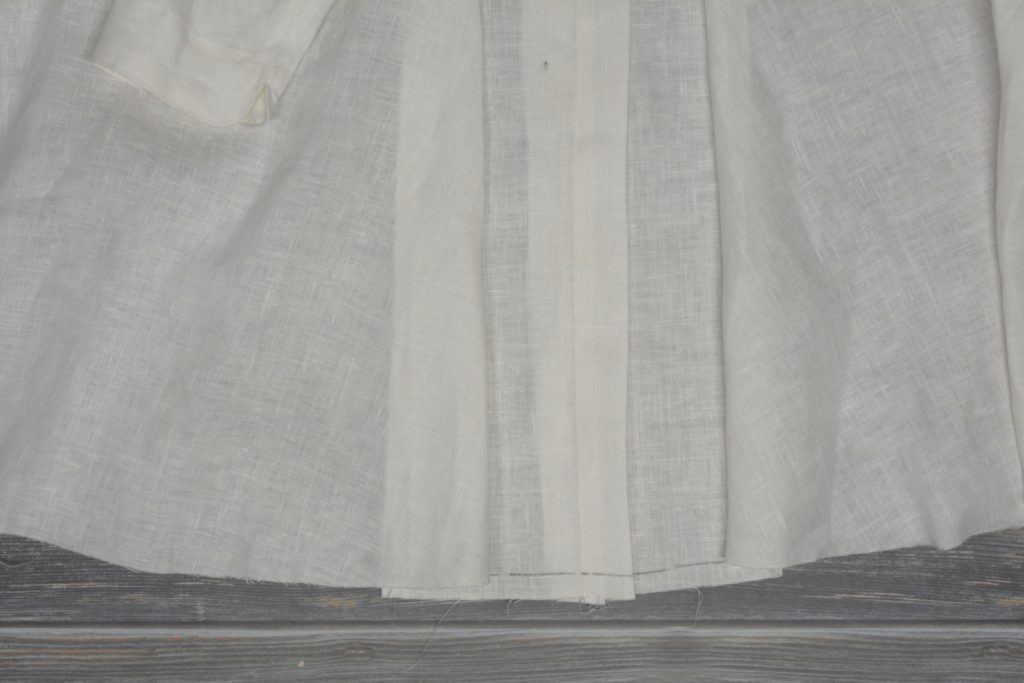
Bottom Hem
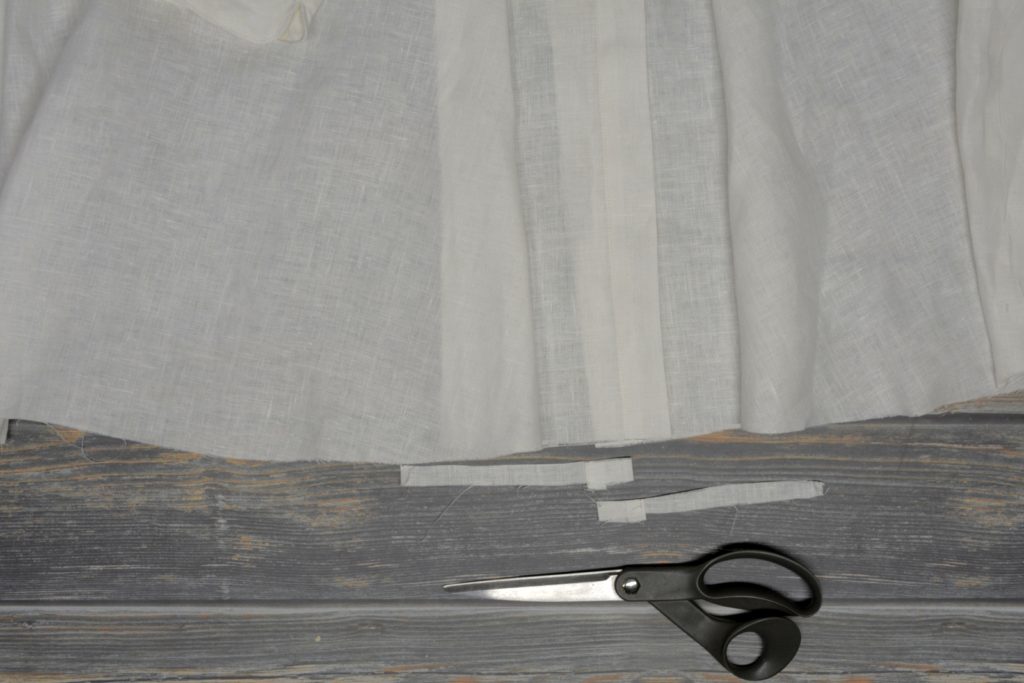
If you recall from earlier when we were cutting out the coat, we left an extra 1/2″ inlay along the back skirt. This needs to be trimmed to match the length of the front skirts. Yours may be slightly more or less than 1/2″, depending on how accurate you were during construction.
I used a hip curve here to mark the lines on the right side of the coat, though a regular ruler will work too. Just keep in mind the bottom hem is slightly curved.
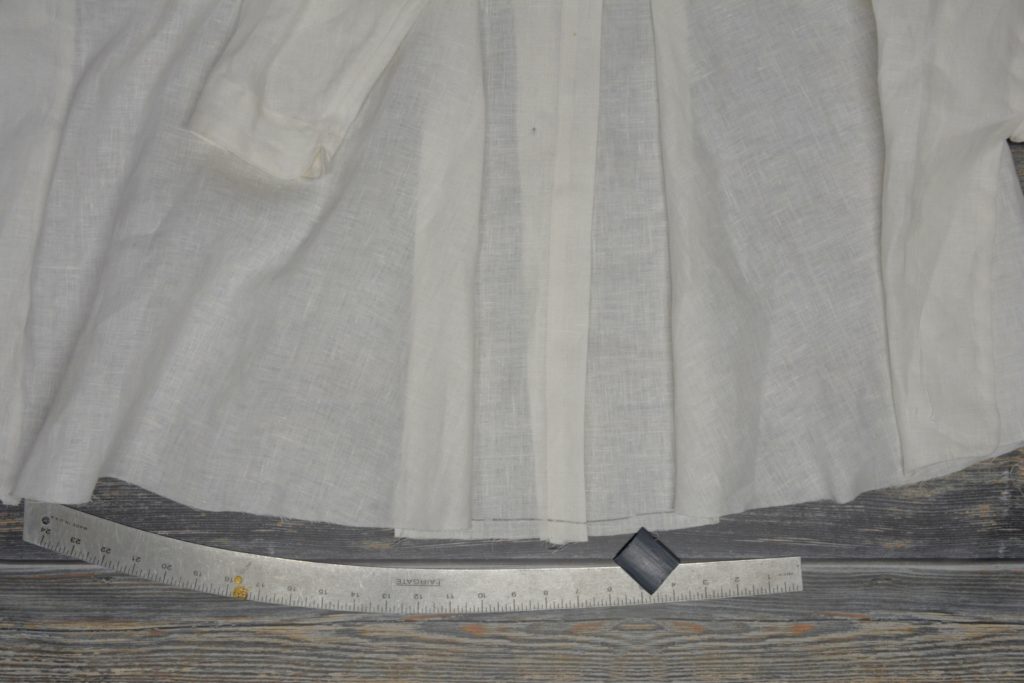
Make sure to mark the hidden part of the back skirt as well.
When you’re happy with the layout lines, trim off the excess from the back skirt.
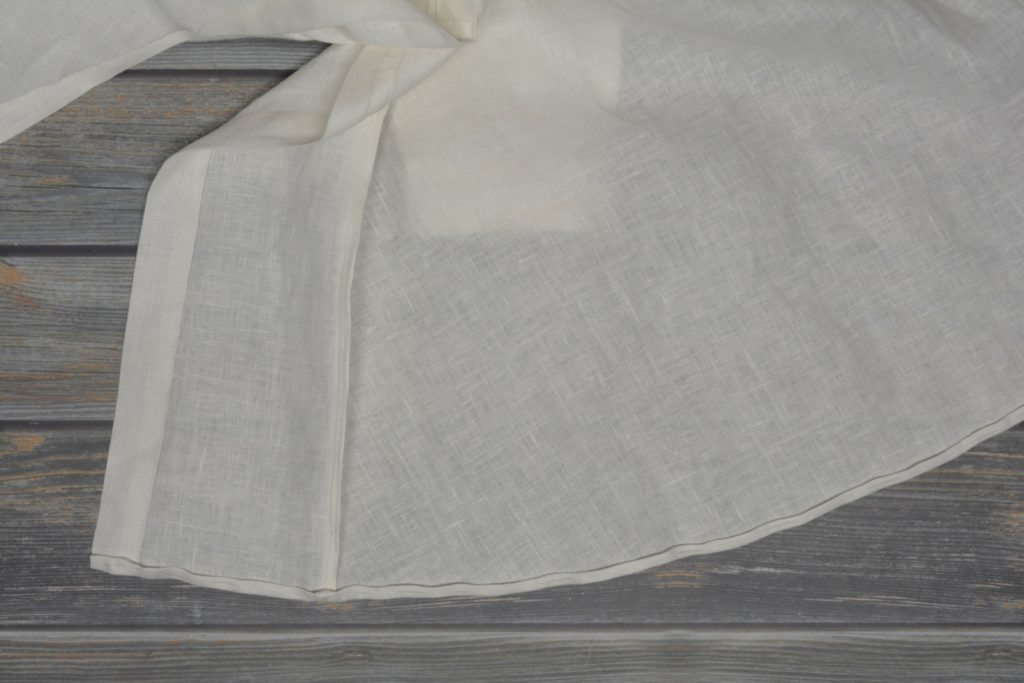
Working from whichever end is more convenient, fold the bottom hem up 1/2″, and then turn the raw edge under itself, giving a 1/4″ hem. I usually press with my fingers as I go, followed by basting, and a good pressing with the iron.
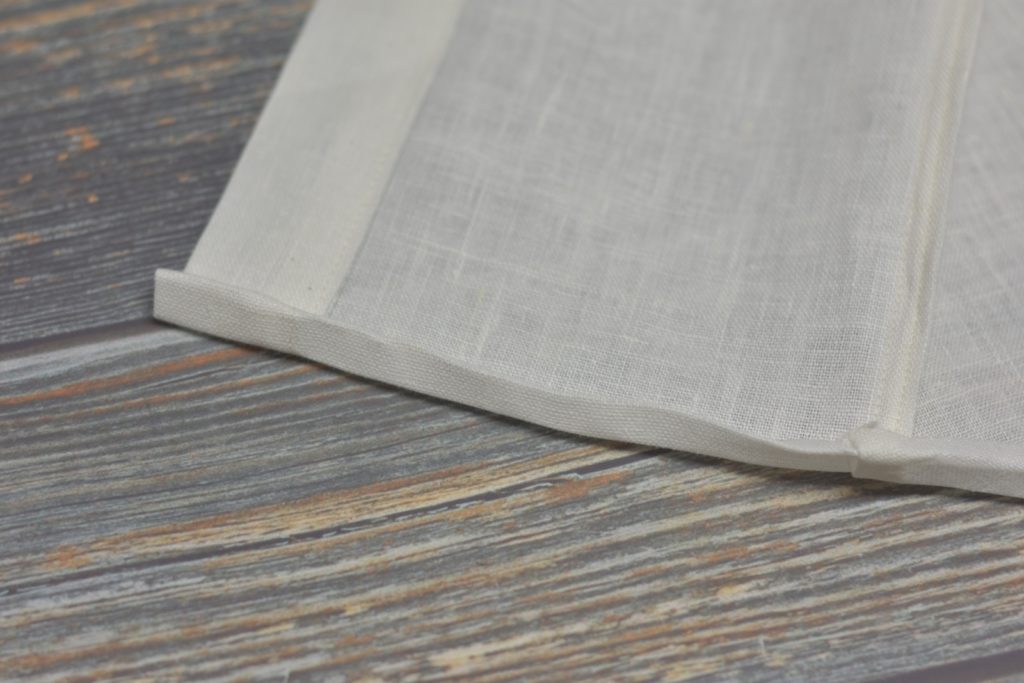
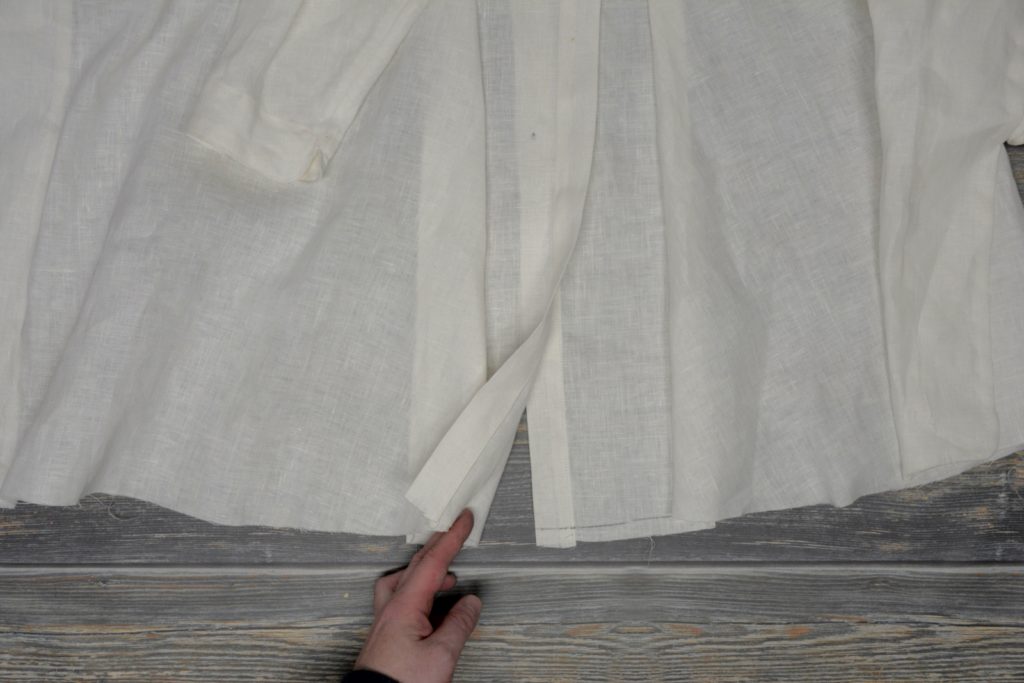
At the pleat area, I like to open up the pleat and fold the hem through all of the layers. Alternatively, you could press the entire length of the pleat and hem the folded pleat as one unit.
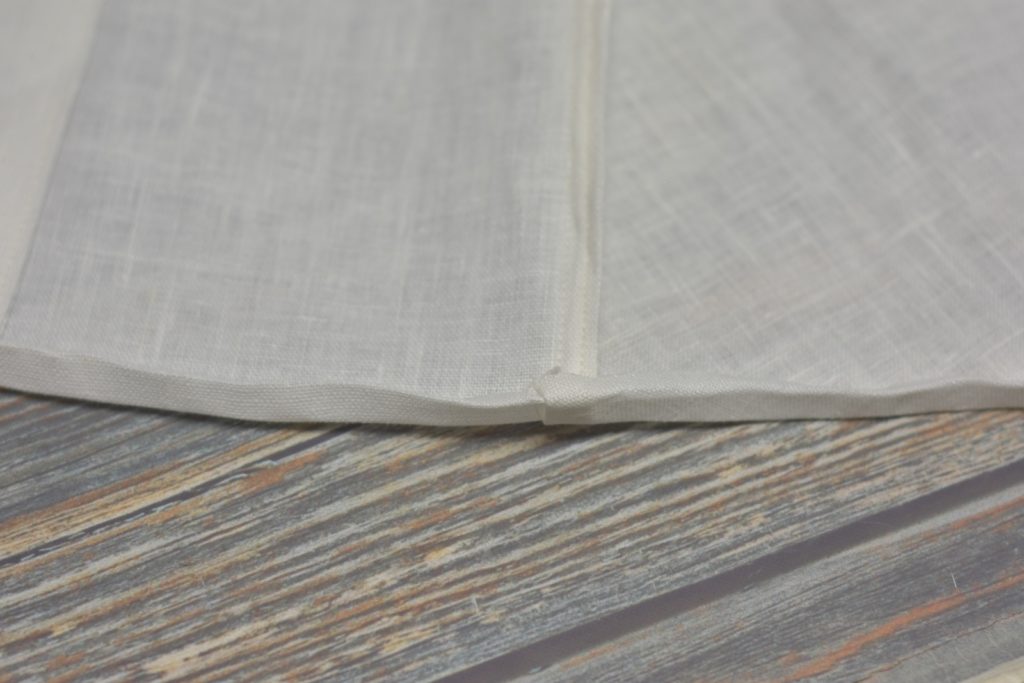
Continue towards the front of the coat.
At the front edge, arrange the hem and facing so that all raw edges are hidden, and baste everything securely.