Month: May 2020
The Cuffs
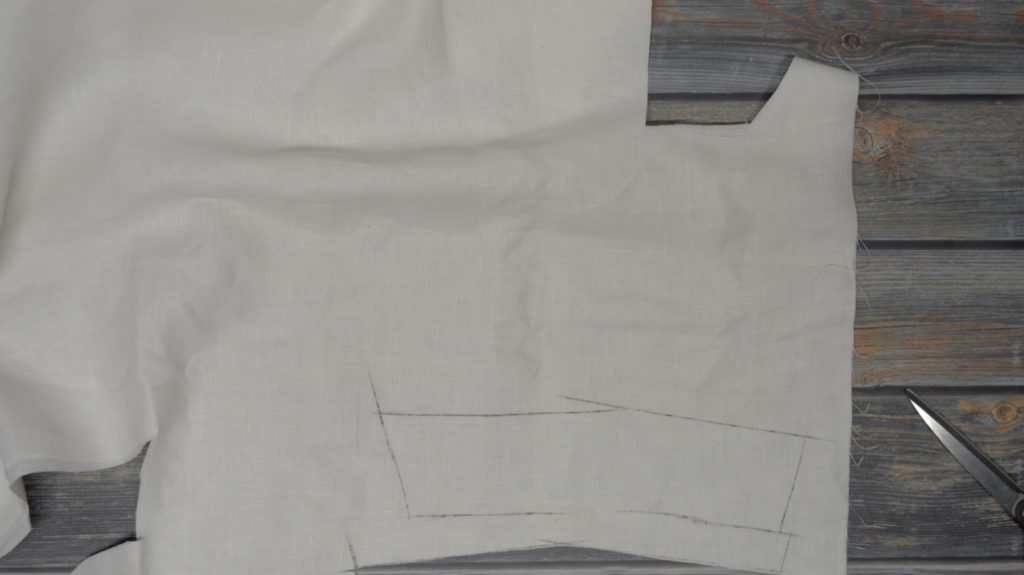
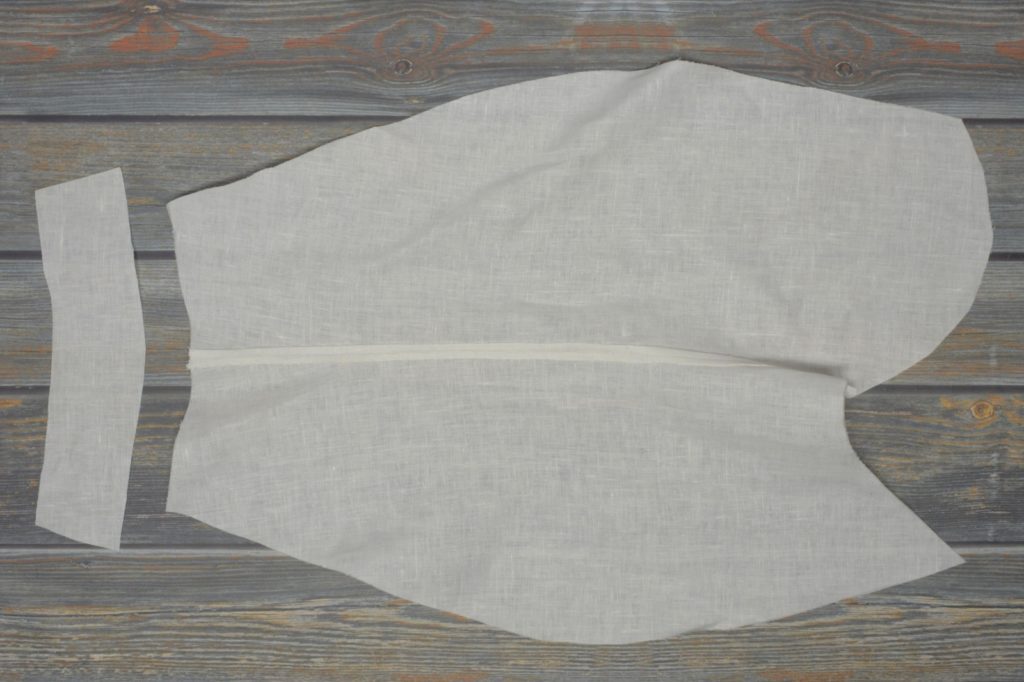
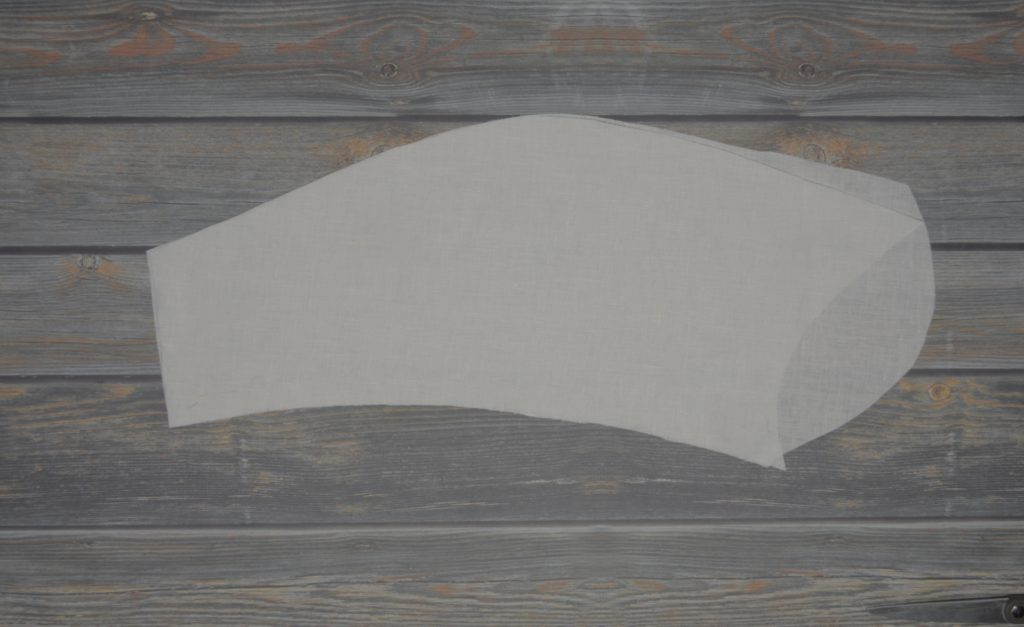
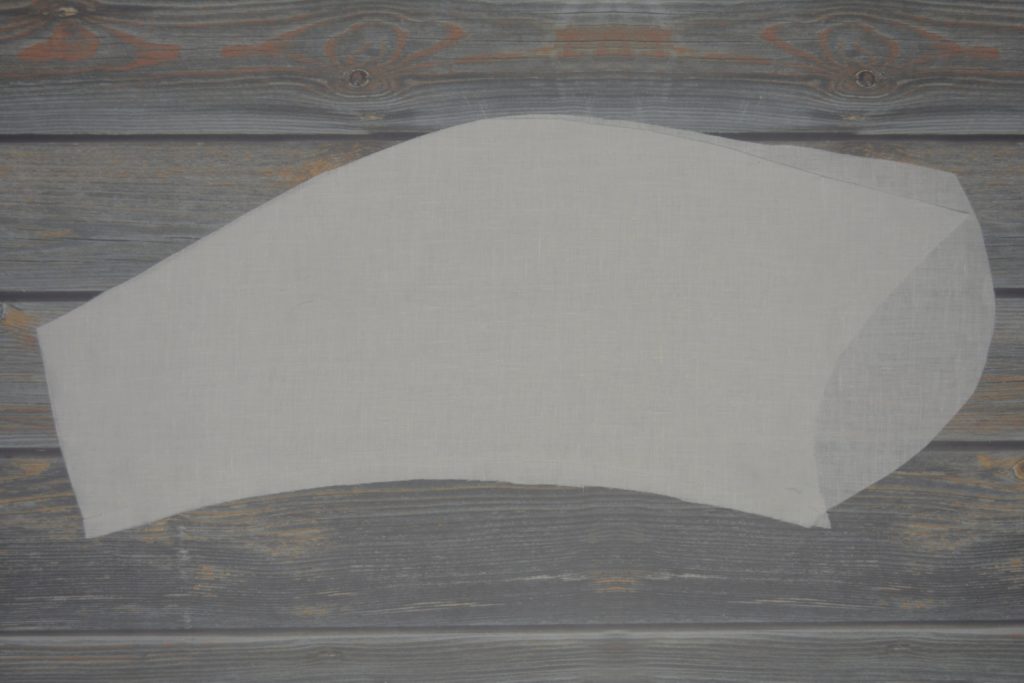
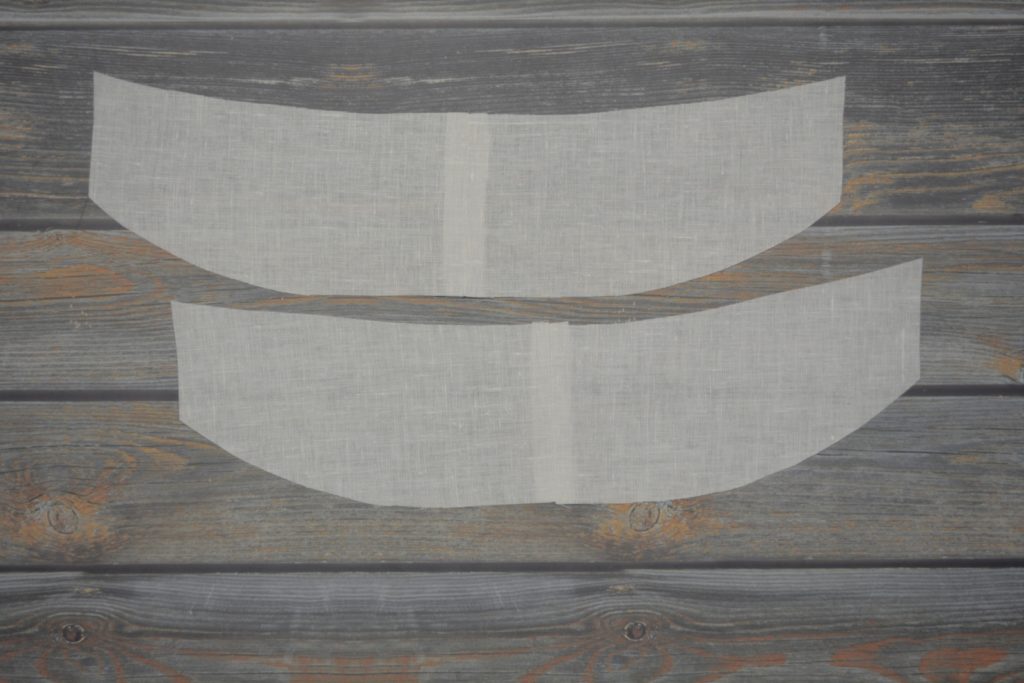
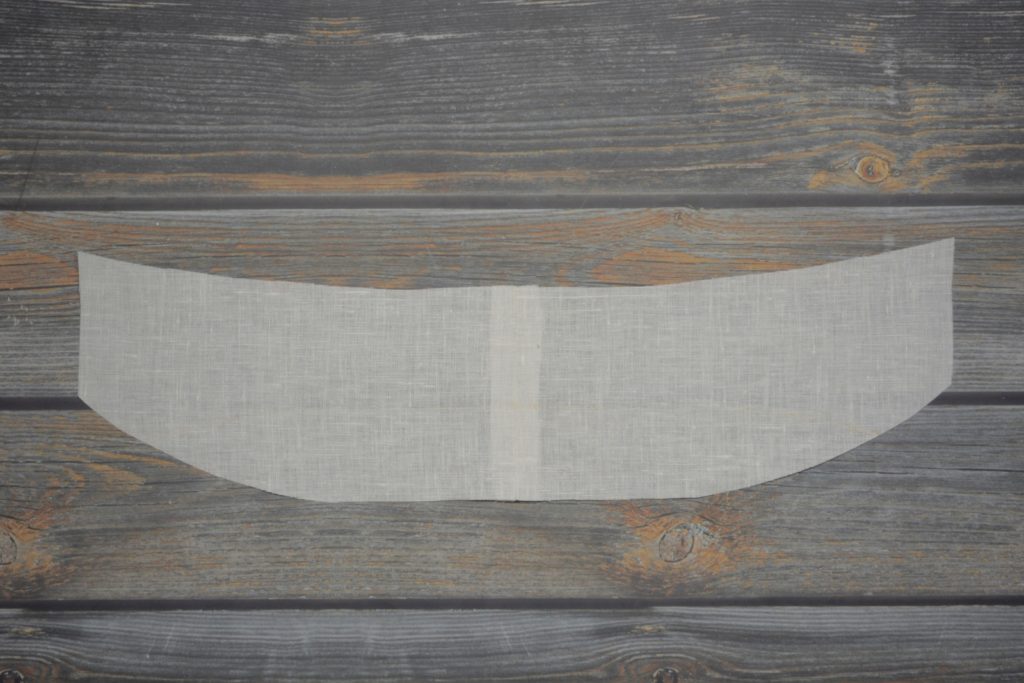
I’ve found that the easiest way to get the cuff pattern is to simply trace the sleeve itself onto the fabric. Lay the sleeve on the fabric with the center seam following the grain of the fabric, and trace around the cuff area, following up the sides about 3 or 4 inches.
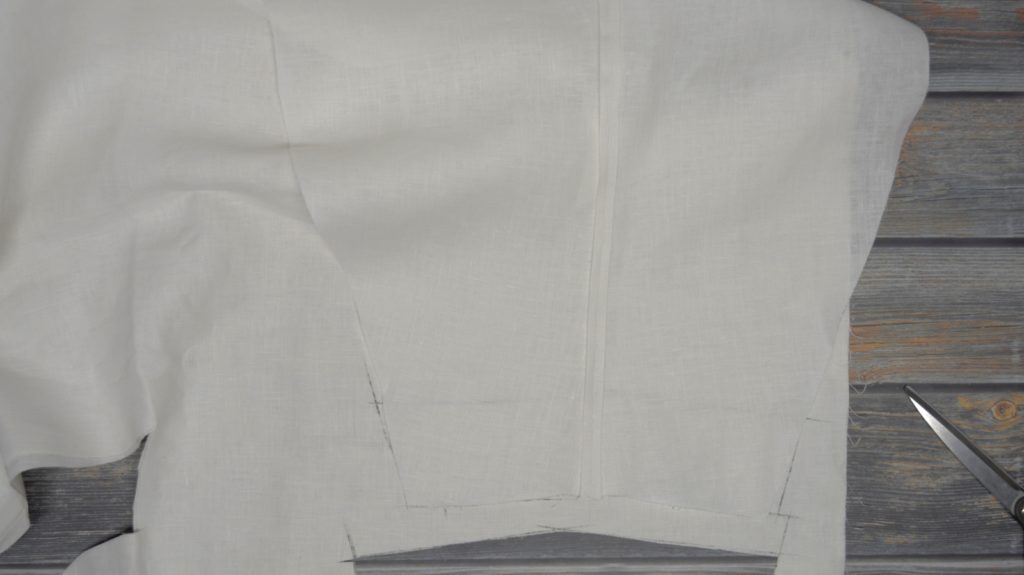
Draw the top seam of the cuff about 3 to 3 1/2″ above the end of the sleeve. This will give a 2 to 2 1/2″ finished cuff, accounting for the seam allowances. The exact width of the cuff depends on your preference and size, really.
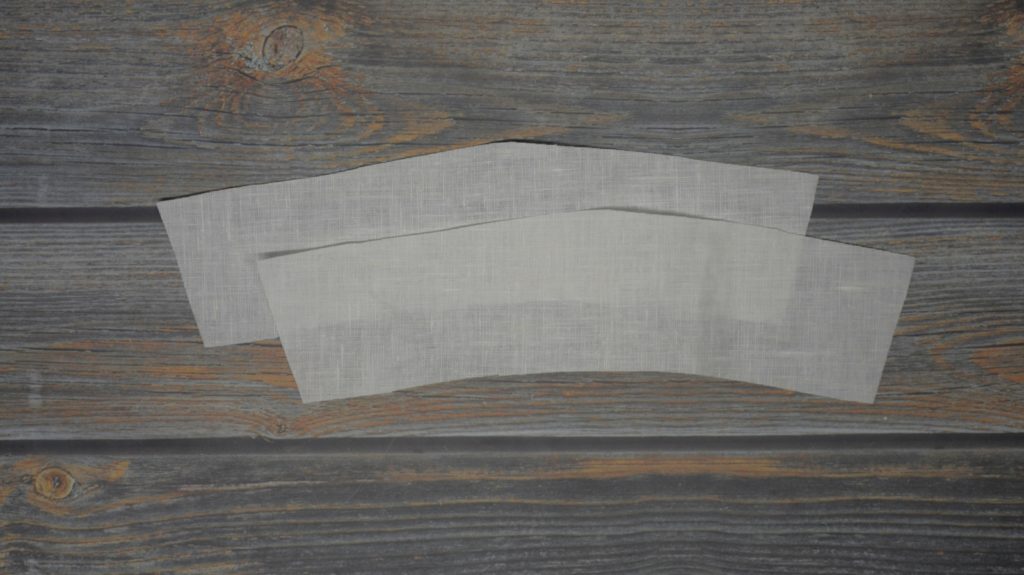
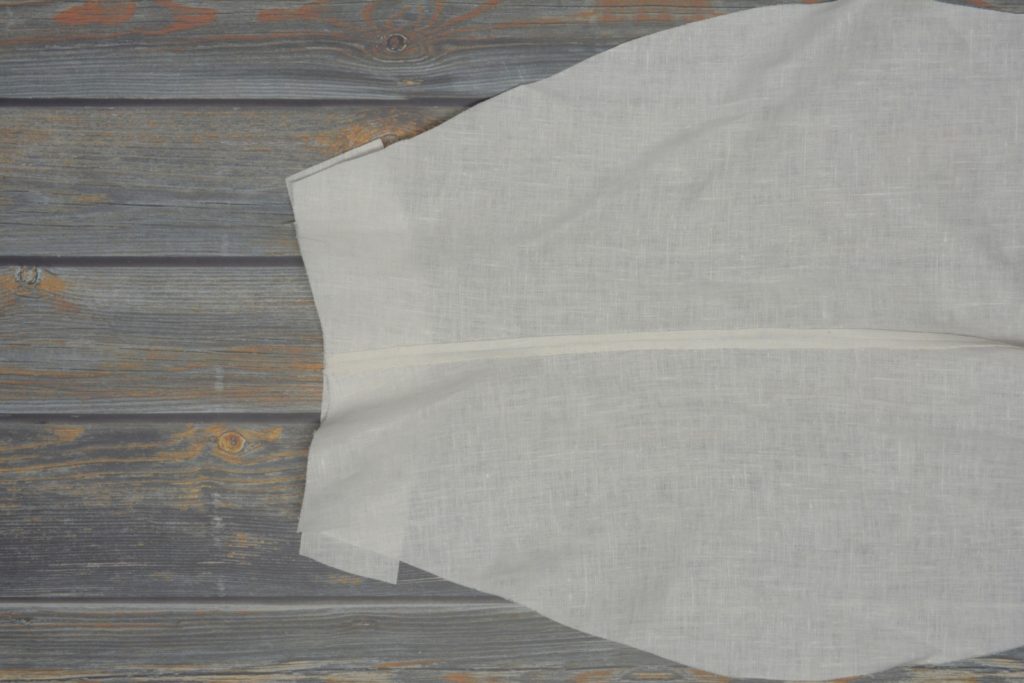
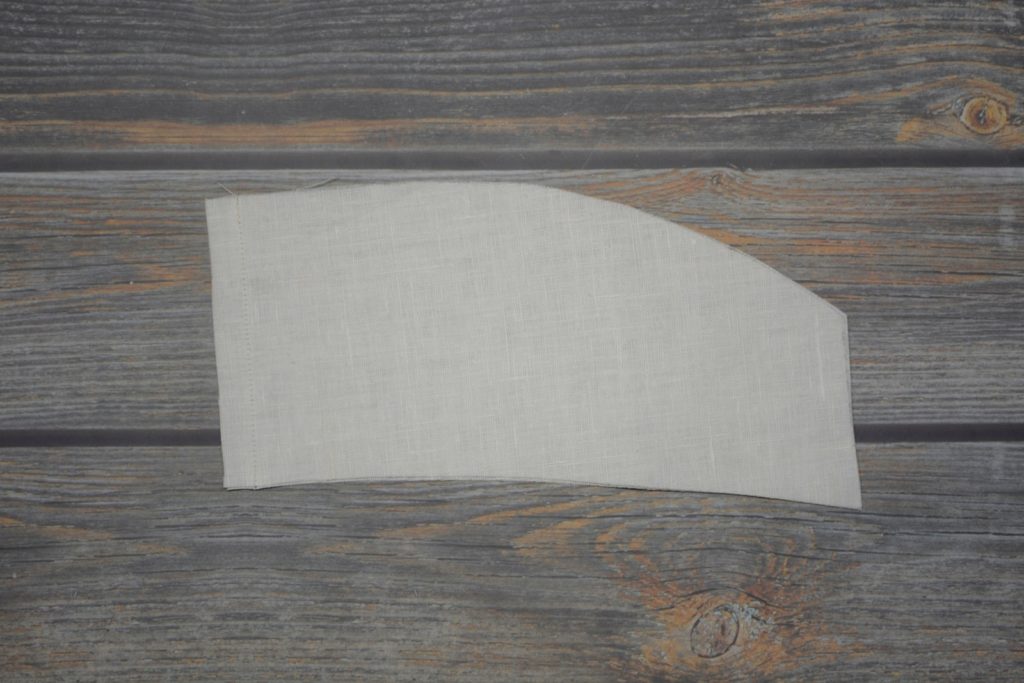
Cut out both cuff pieces.
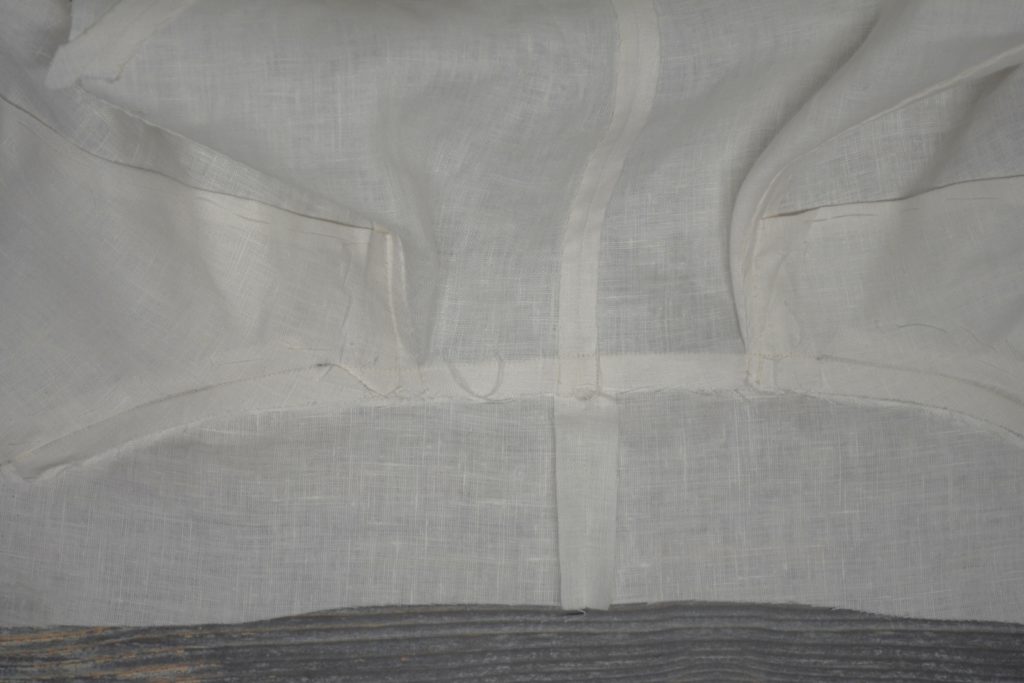
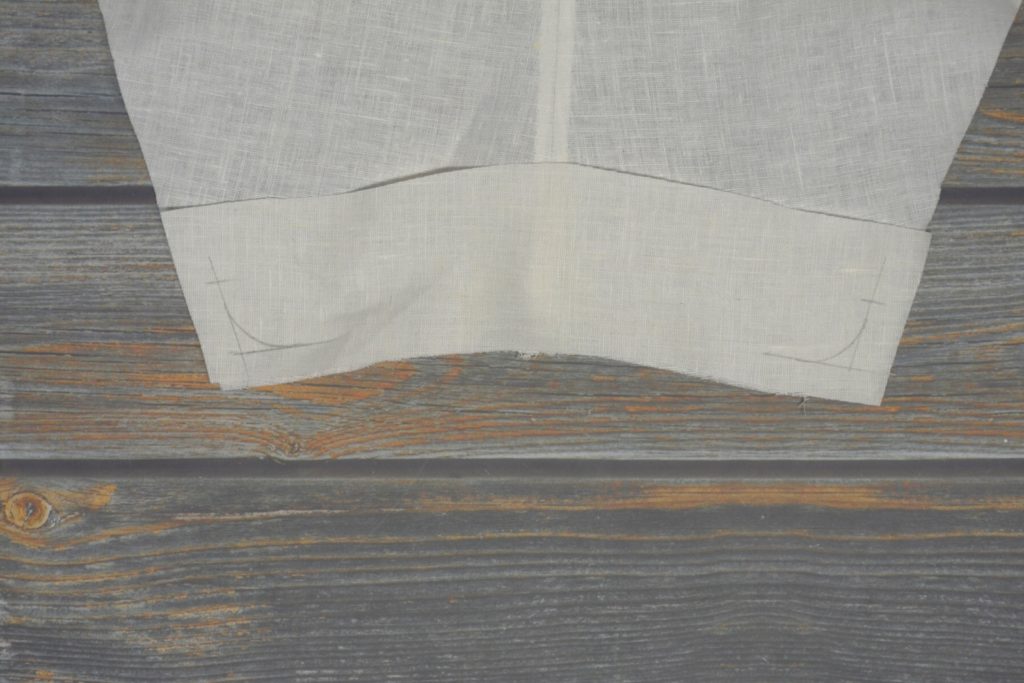
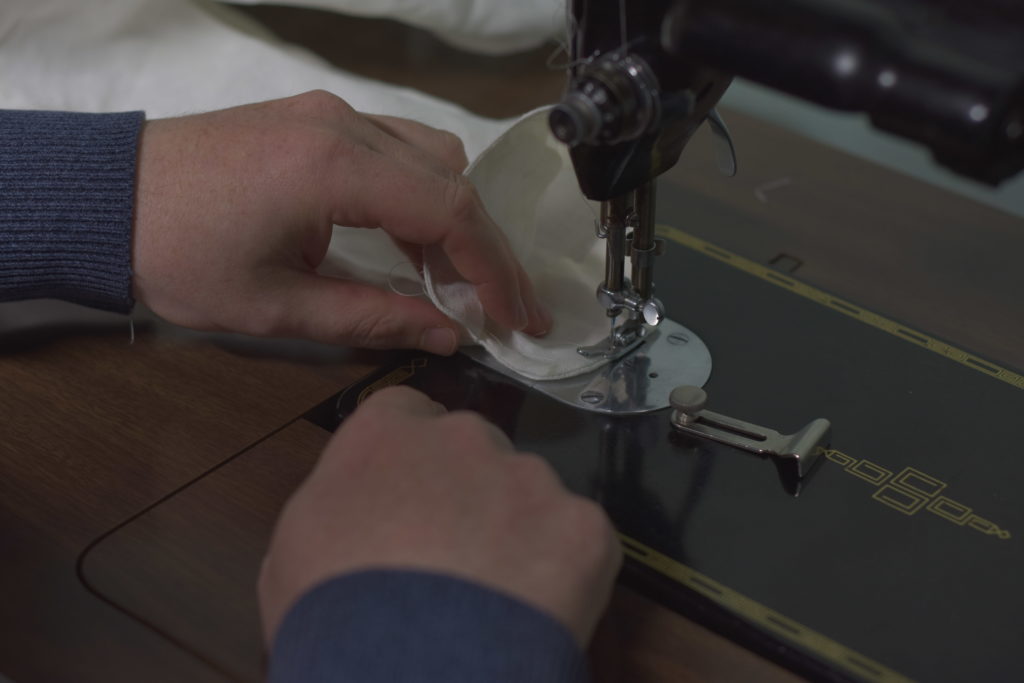
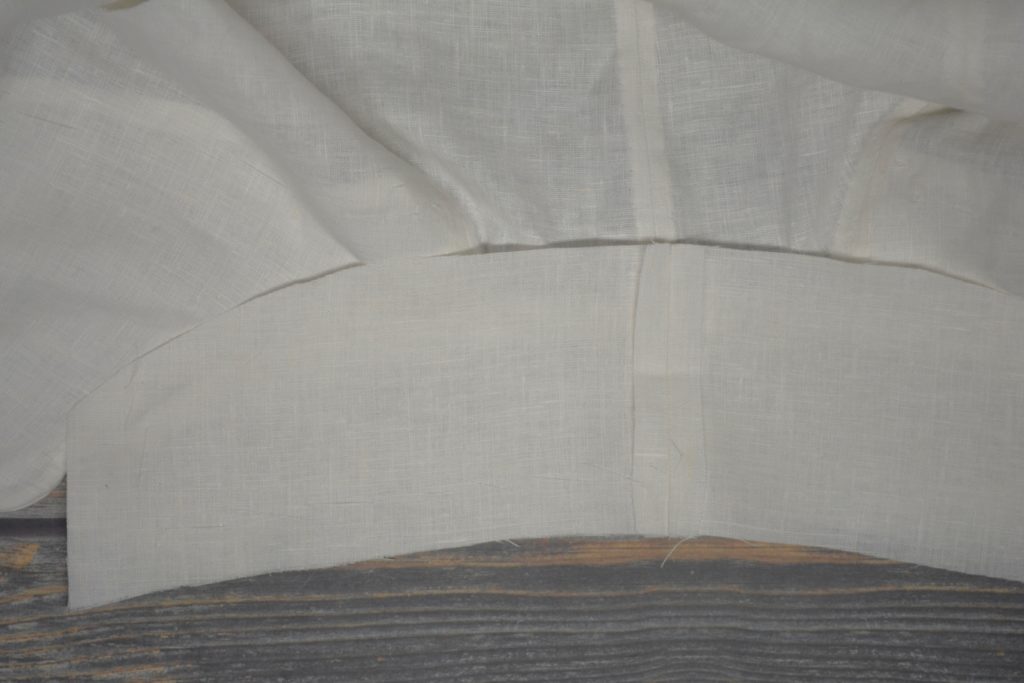
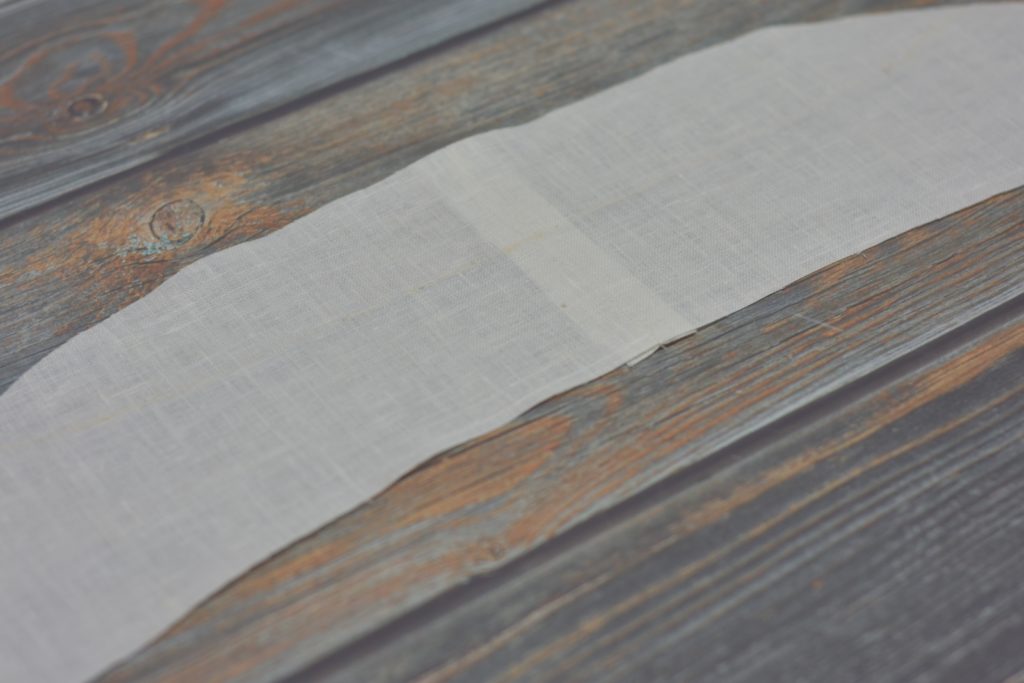
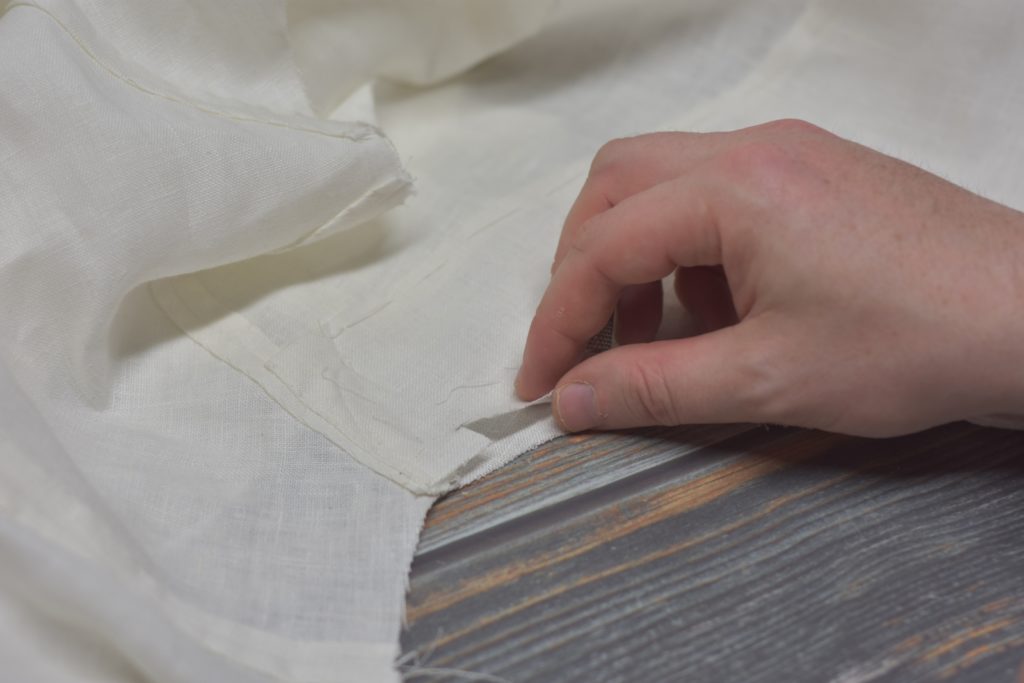
Now lay the cuff under the sleeve, right sides together.
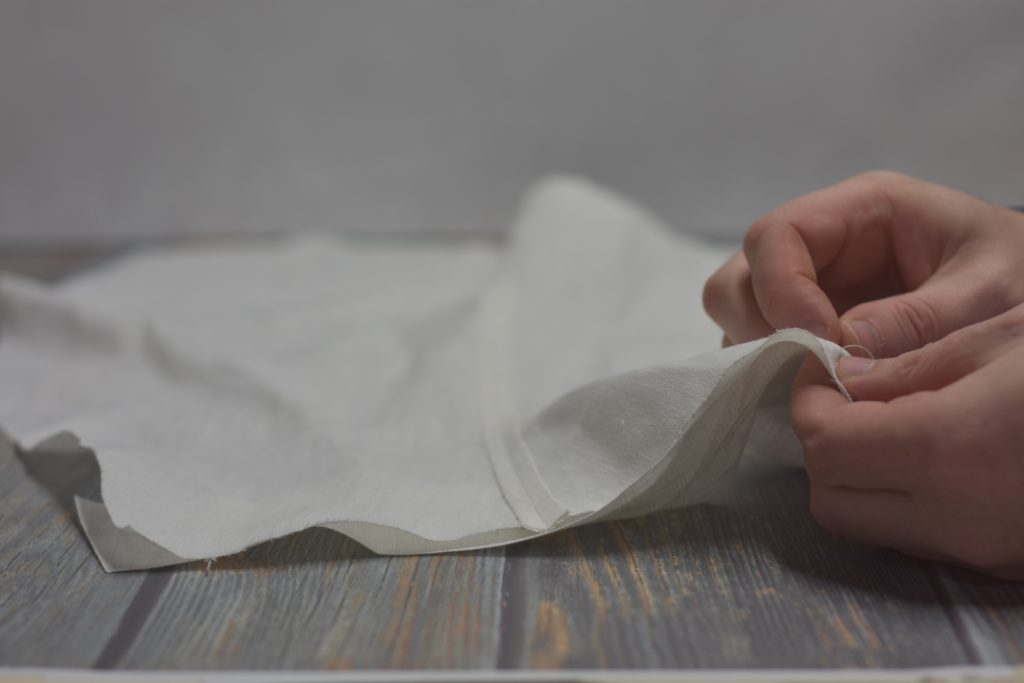
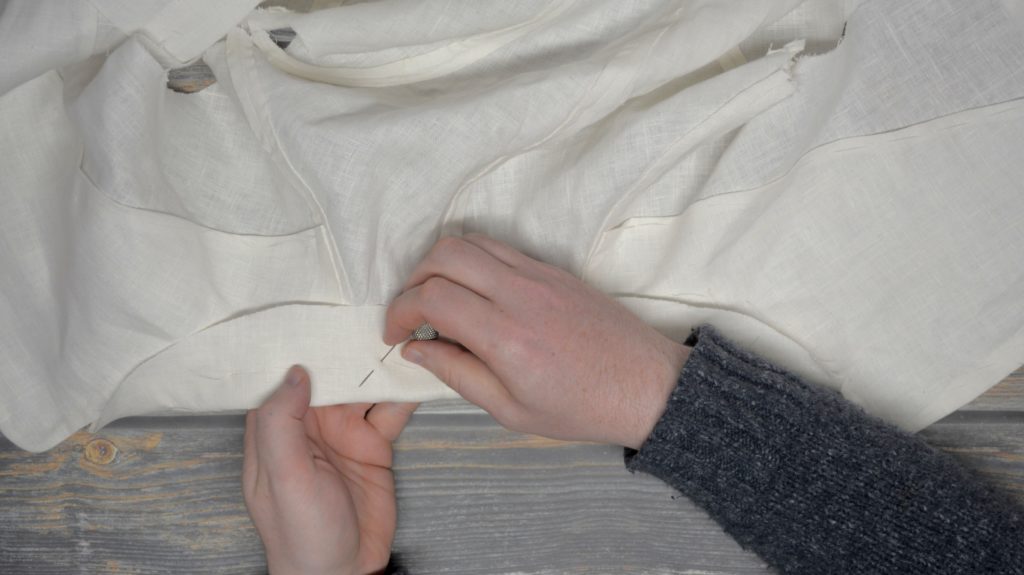
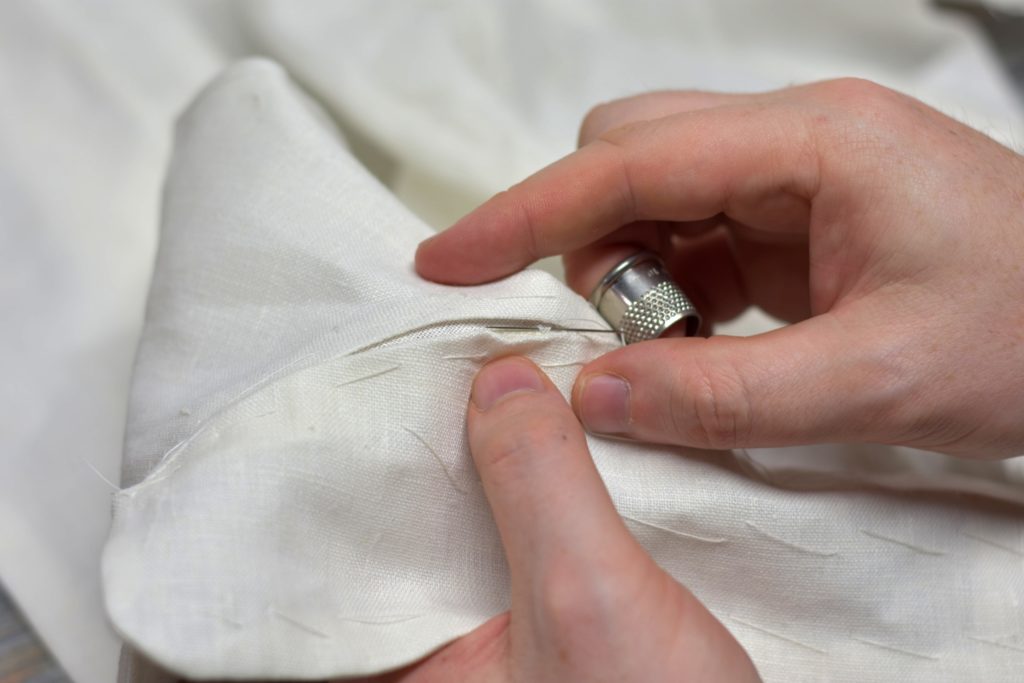
While holding one hand underneath, baste the cuff to the sleeve. By basting in this manner, you’ll shorten the length of the cuff, which will reduce excess material from bulking up in the finished cuff.

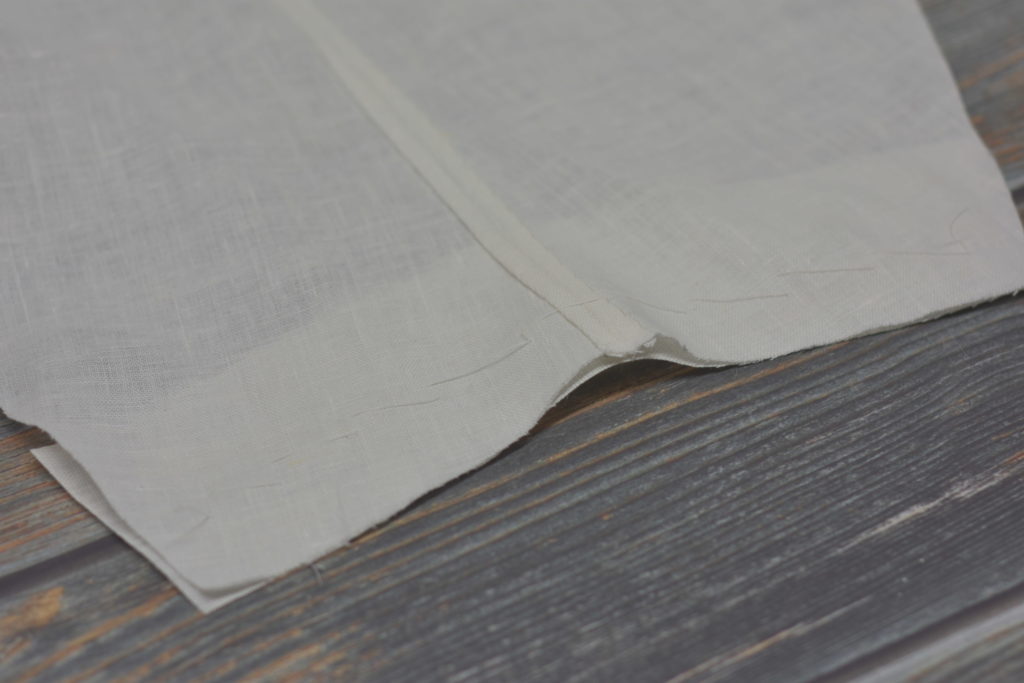
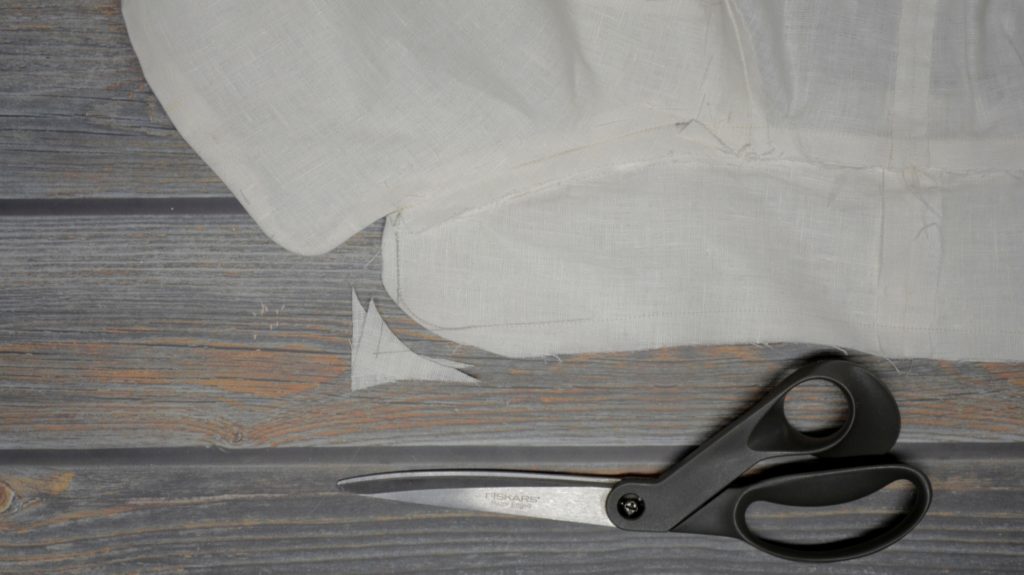
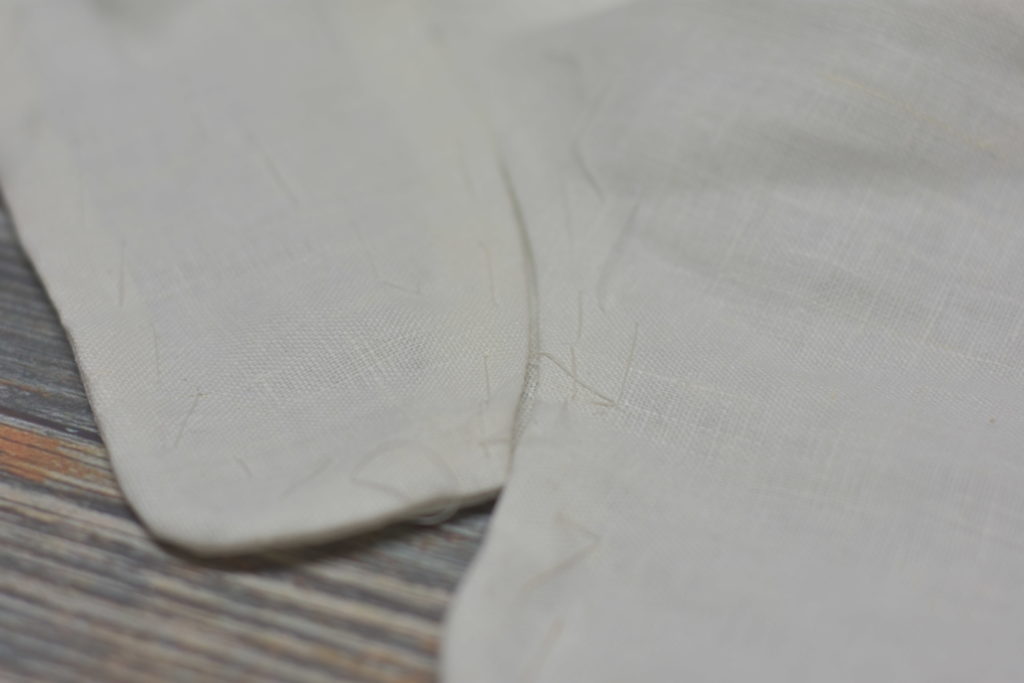
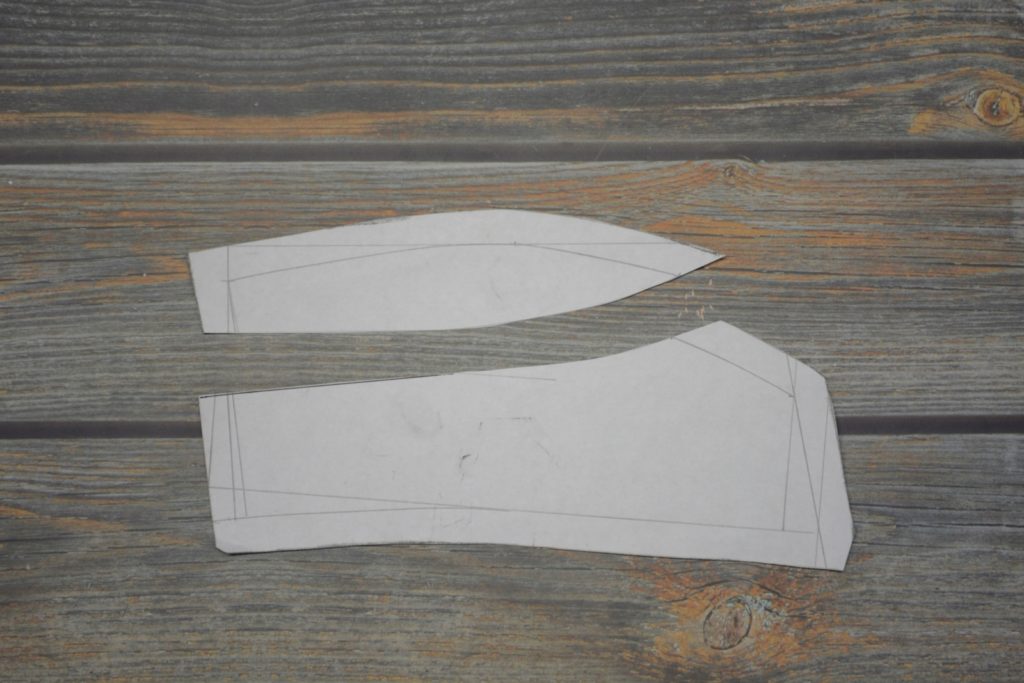
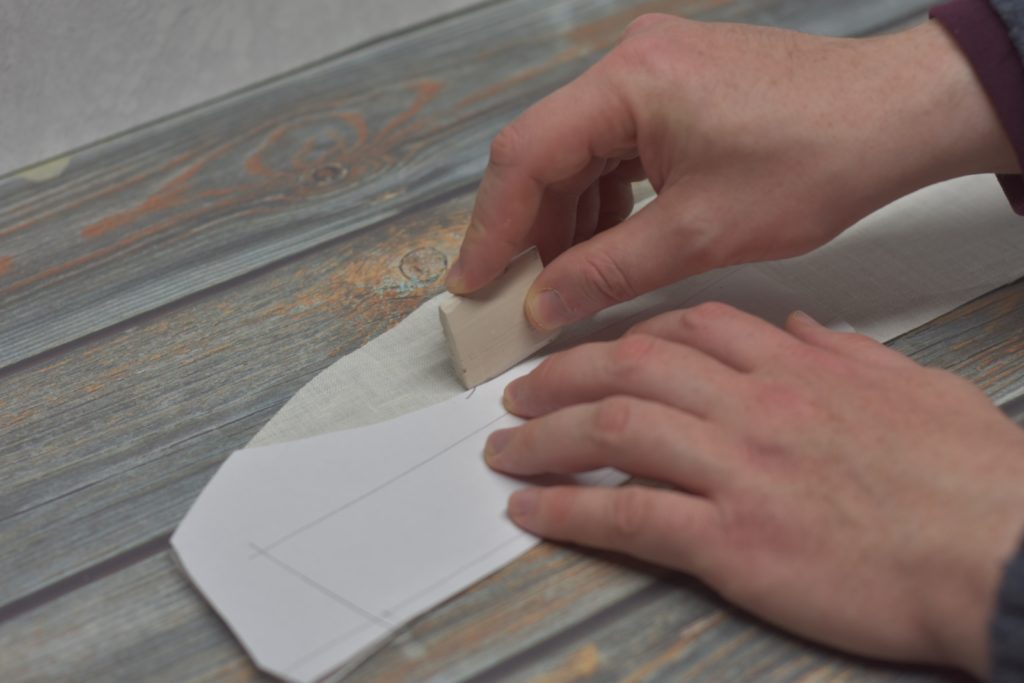
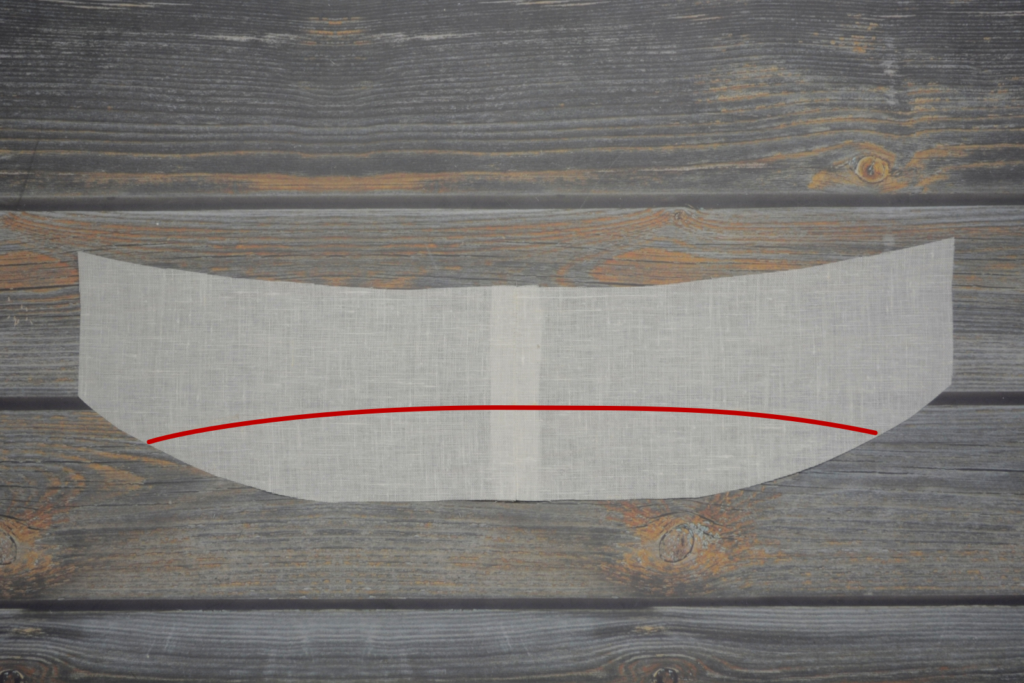
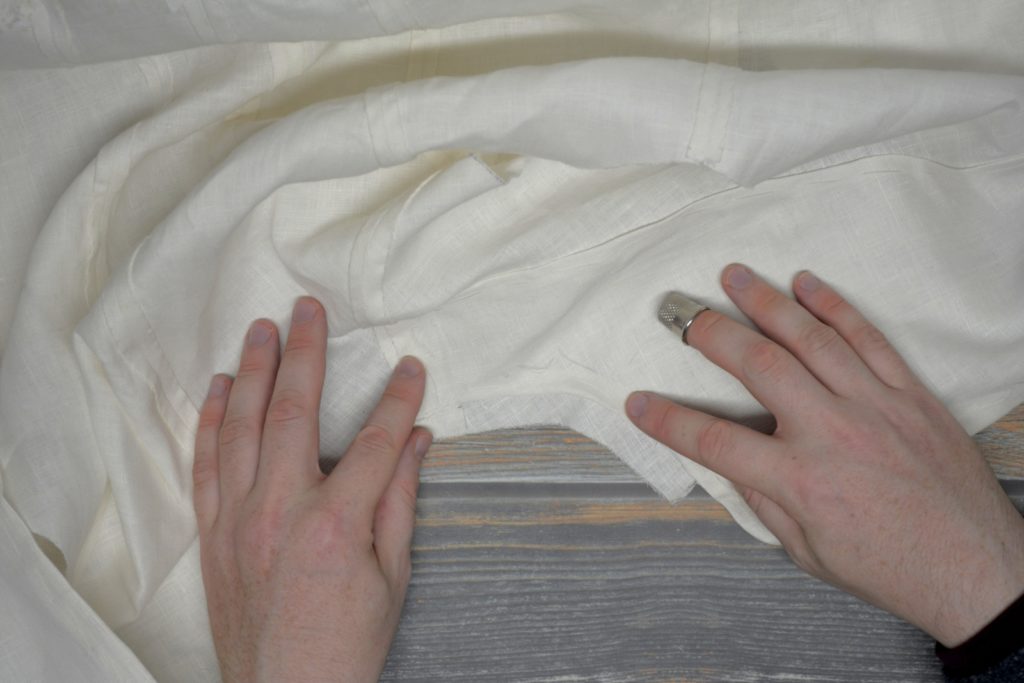
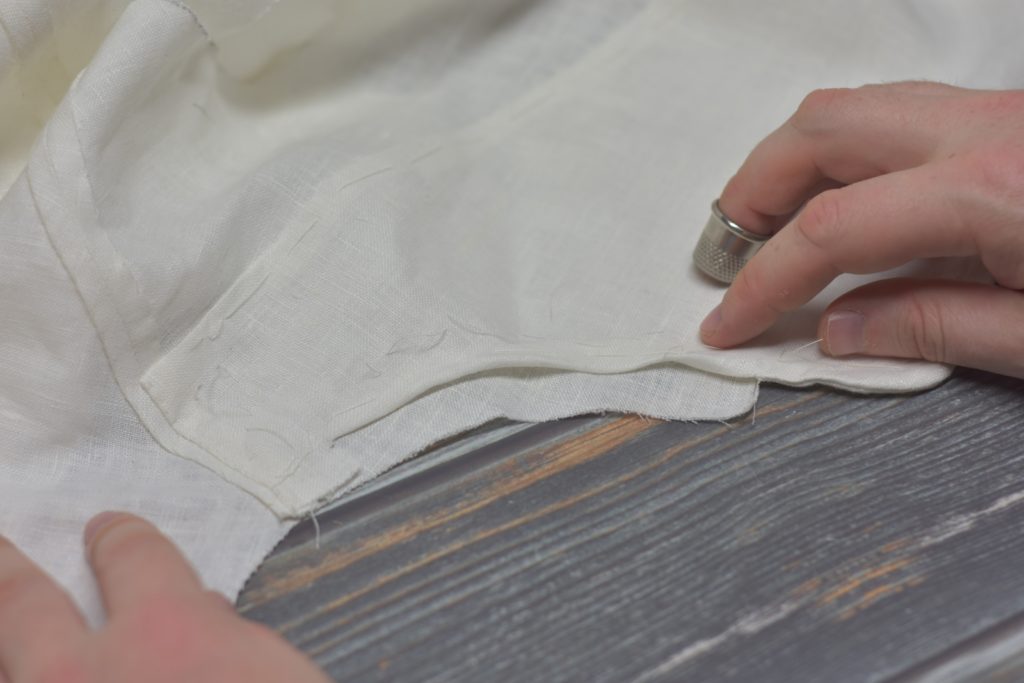
Now draw the curves on each end of the cuff in the same manner as the collar, and facings. Draw in the seam allowances 1/2″ from the edge. Mark along the outer seams 1 1/4″ away from the inner edge of the cuff to mark the end of the sewing so you can turn under the raw edge later. And then draw in the curves with the same radius as the other pieces.
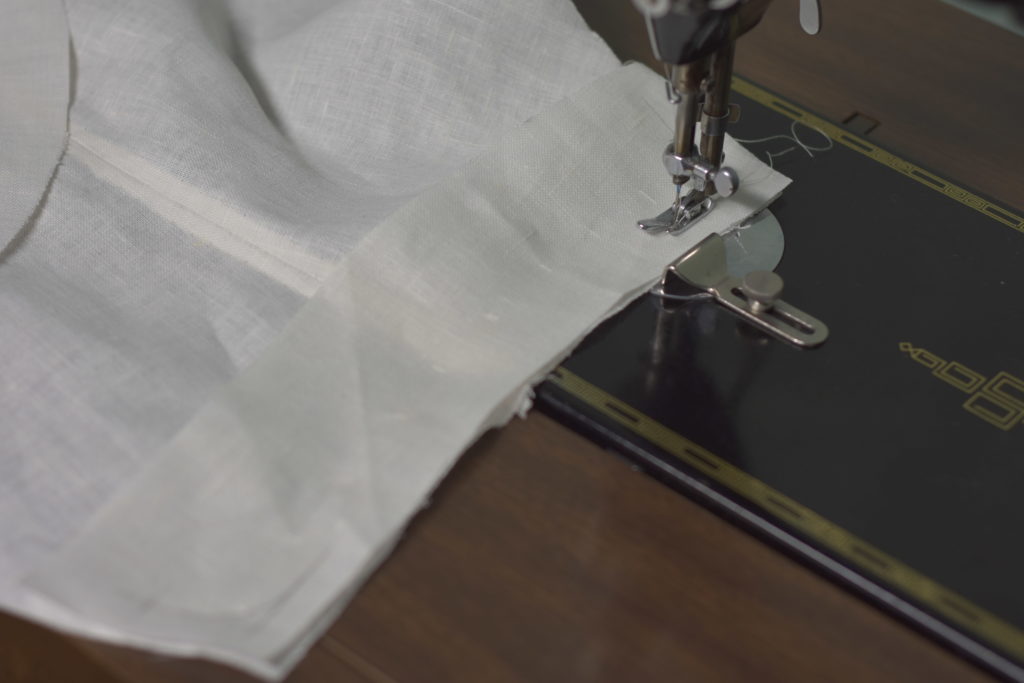
Sew from point to point, following the curves.
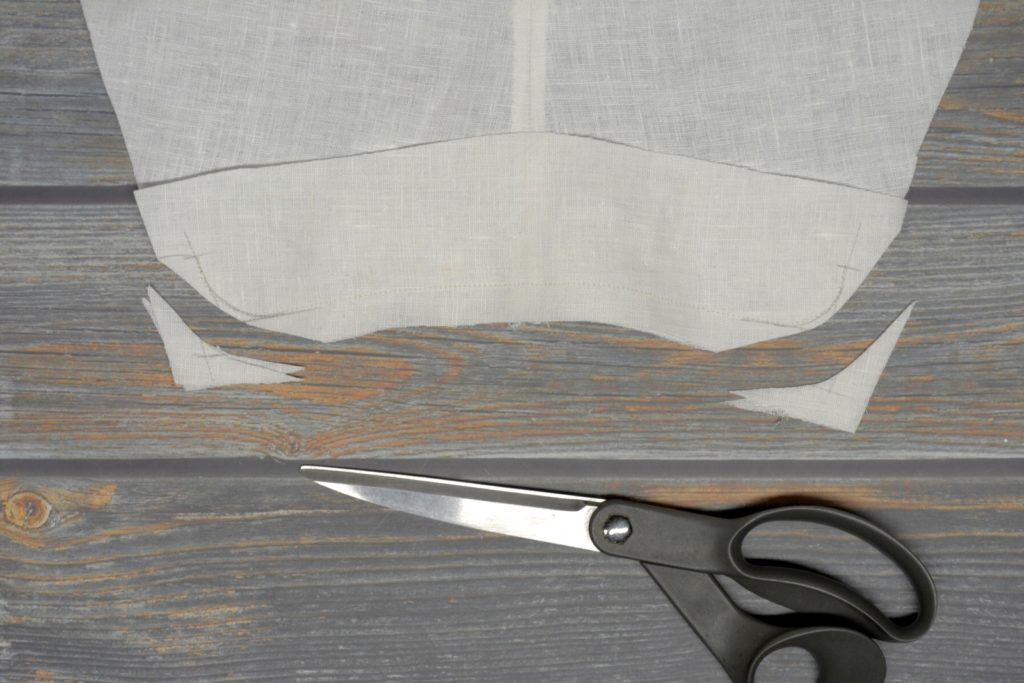
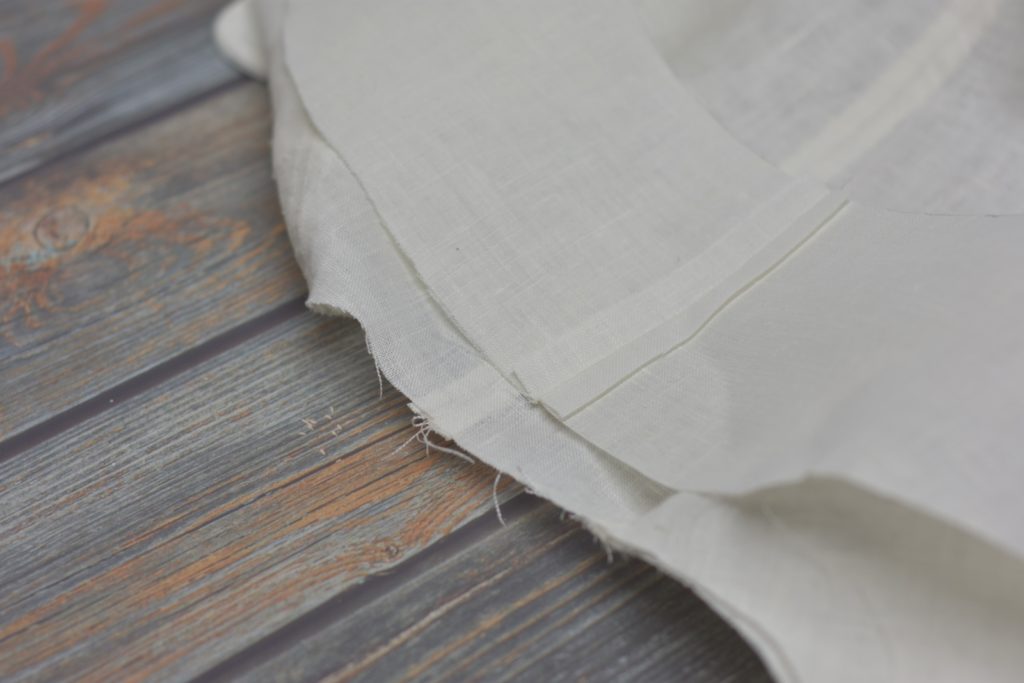
Trim the excess from around each curve down to about 1/8″.
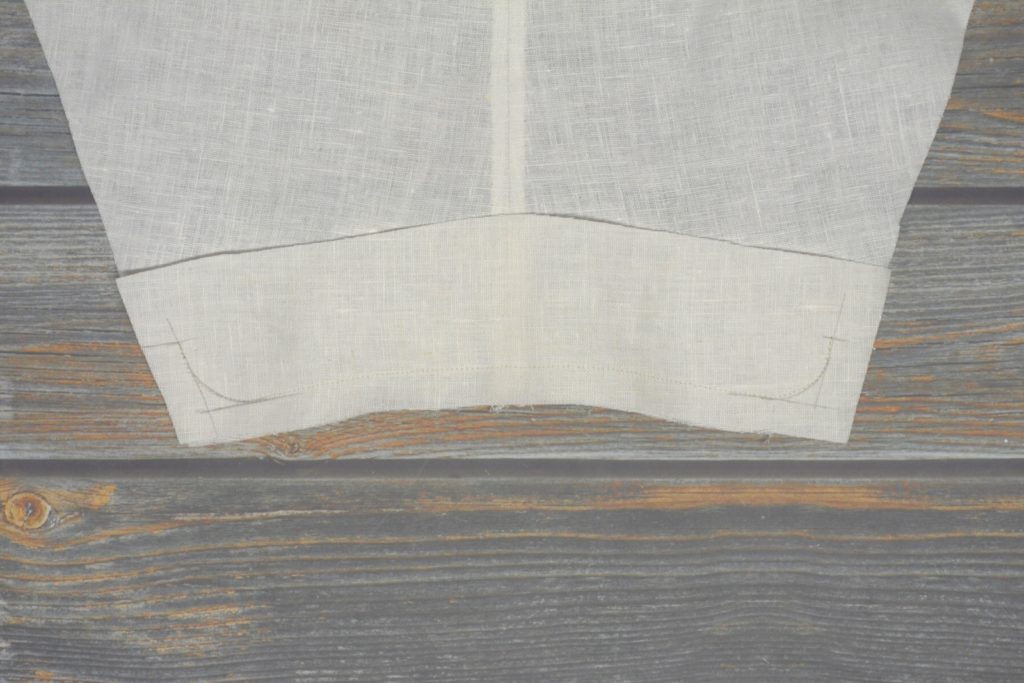
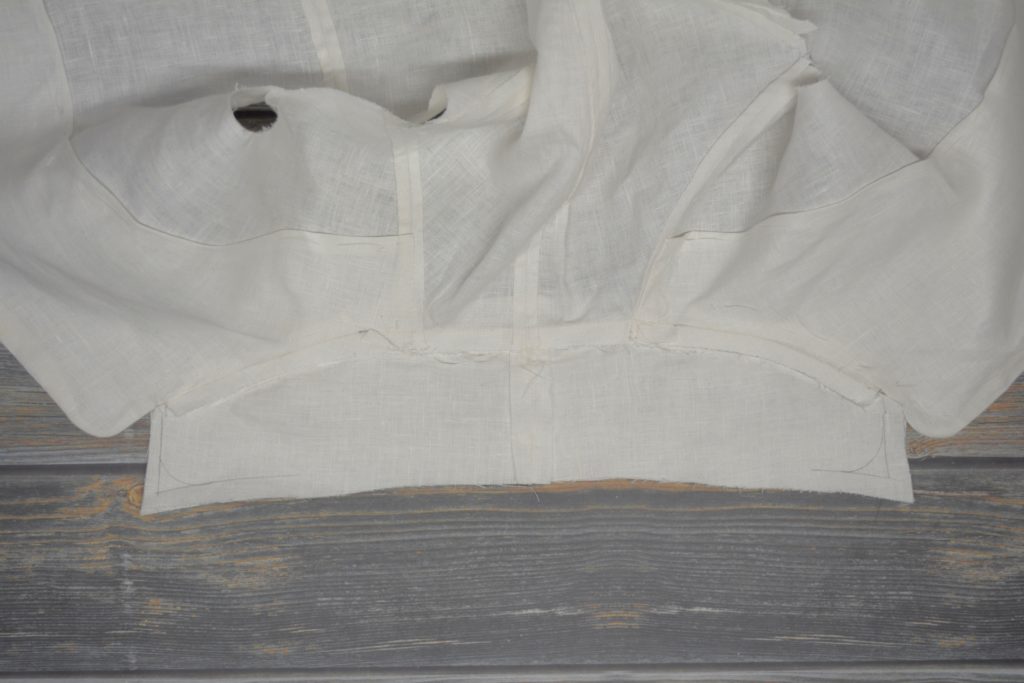
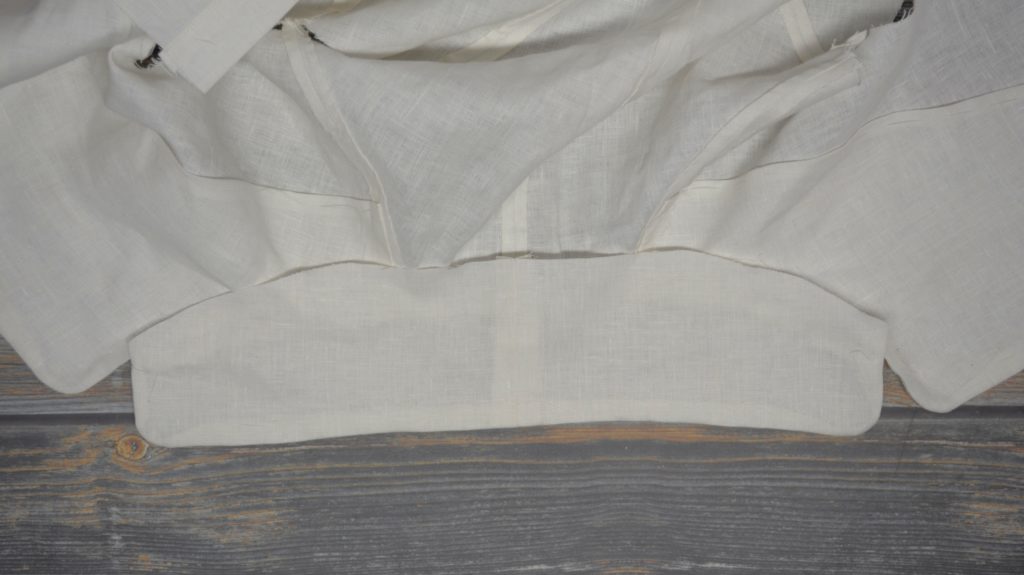
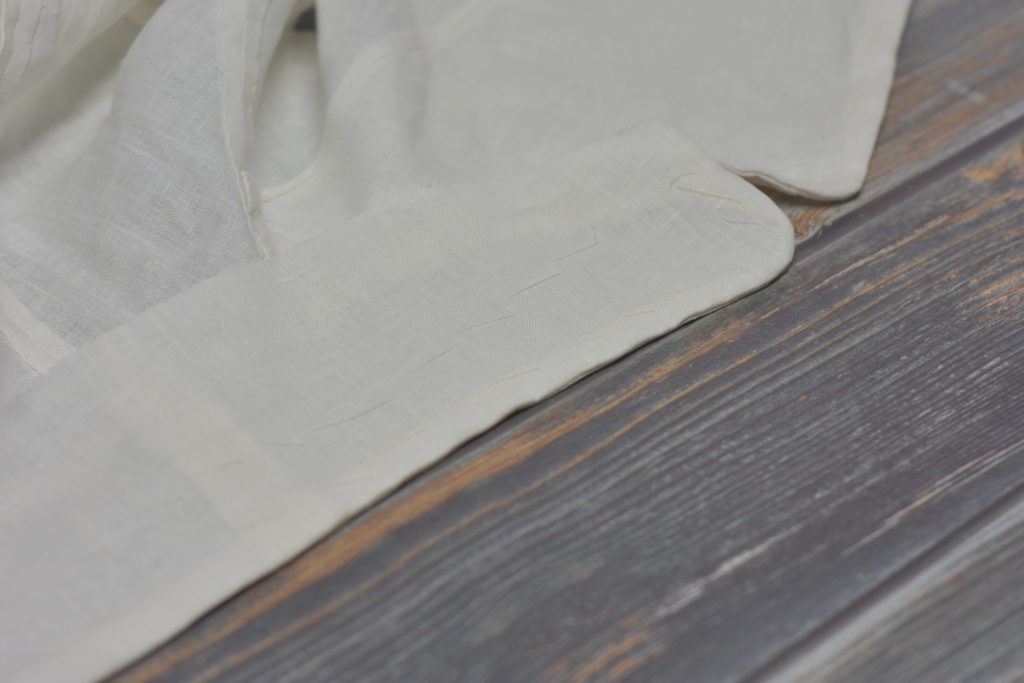
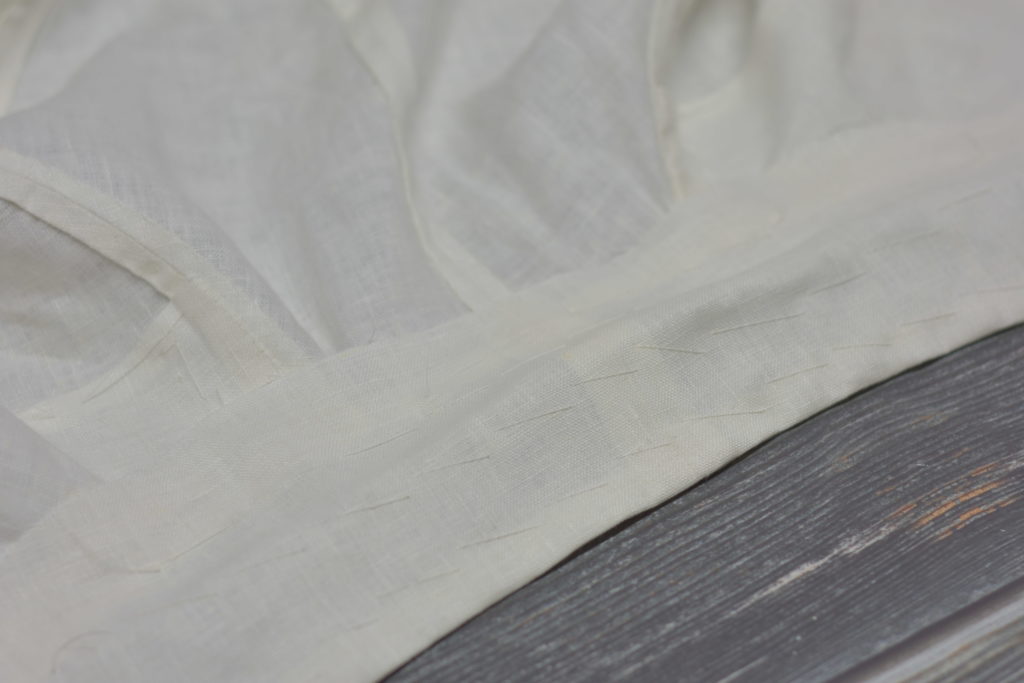
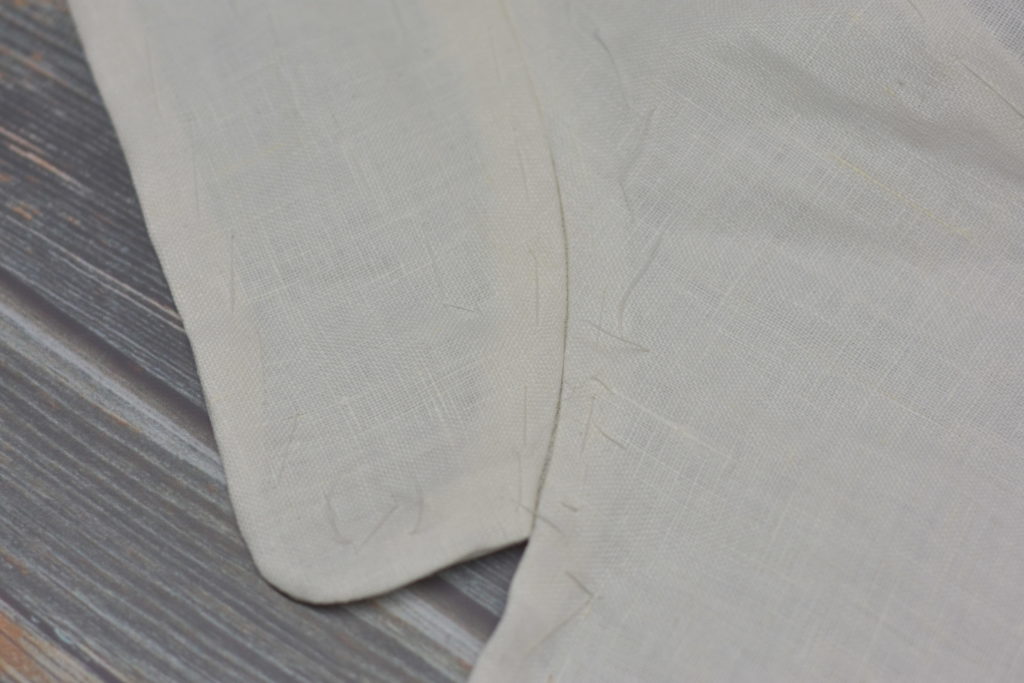
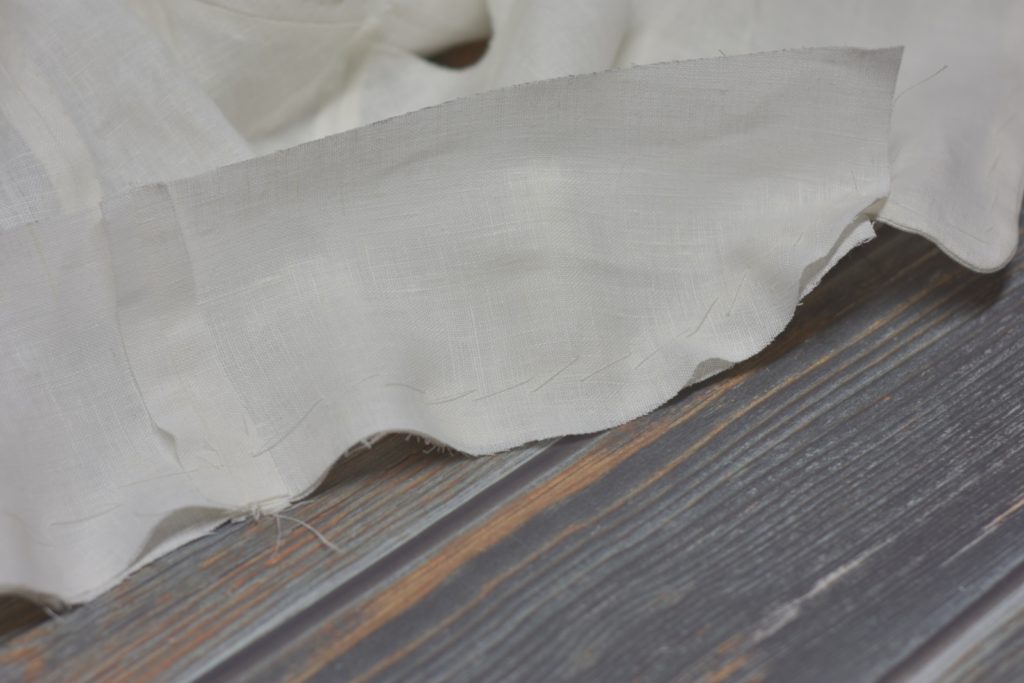
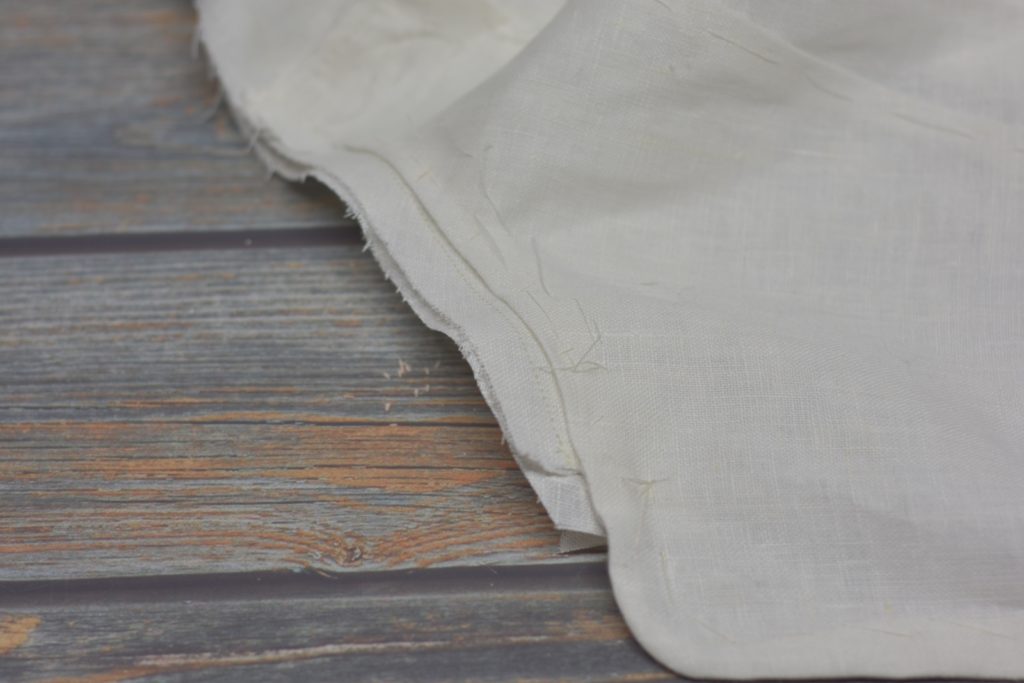
Turn, baste, and press the cuff into its final position. The cuff should be inset from the edge of the sleeve by 1/16″ to 1/8″.
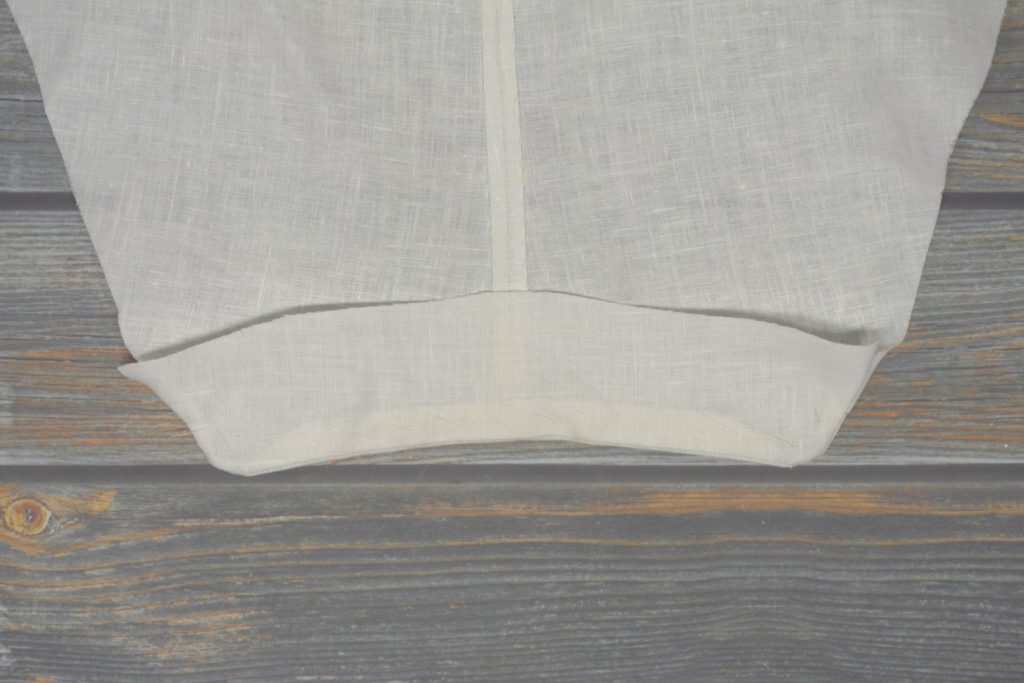
It’s easier to do this step before sewing the rear sleeve seam, but I somehow mixed up the steps and photography so the photos were taken after completing the rear seam.
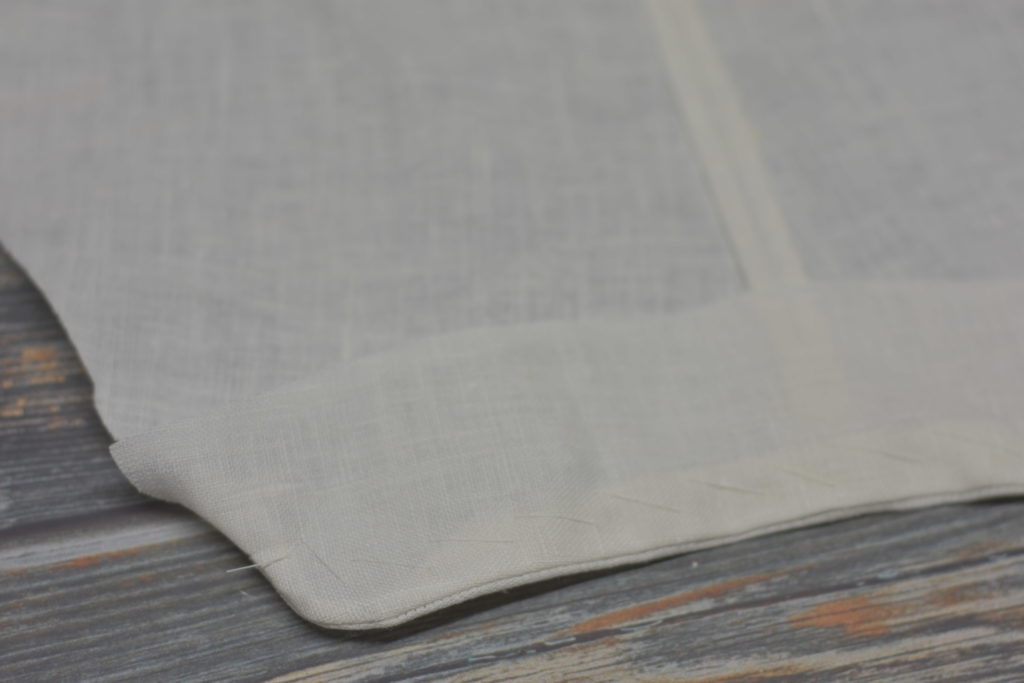
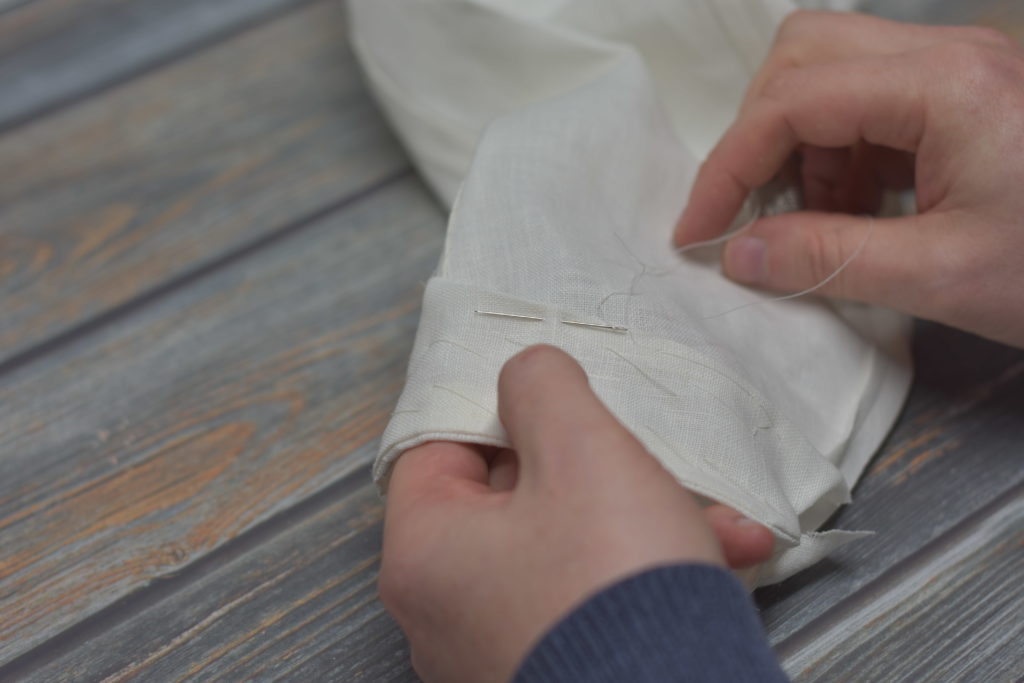
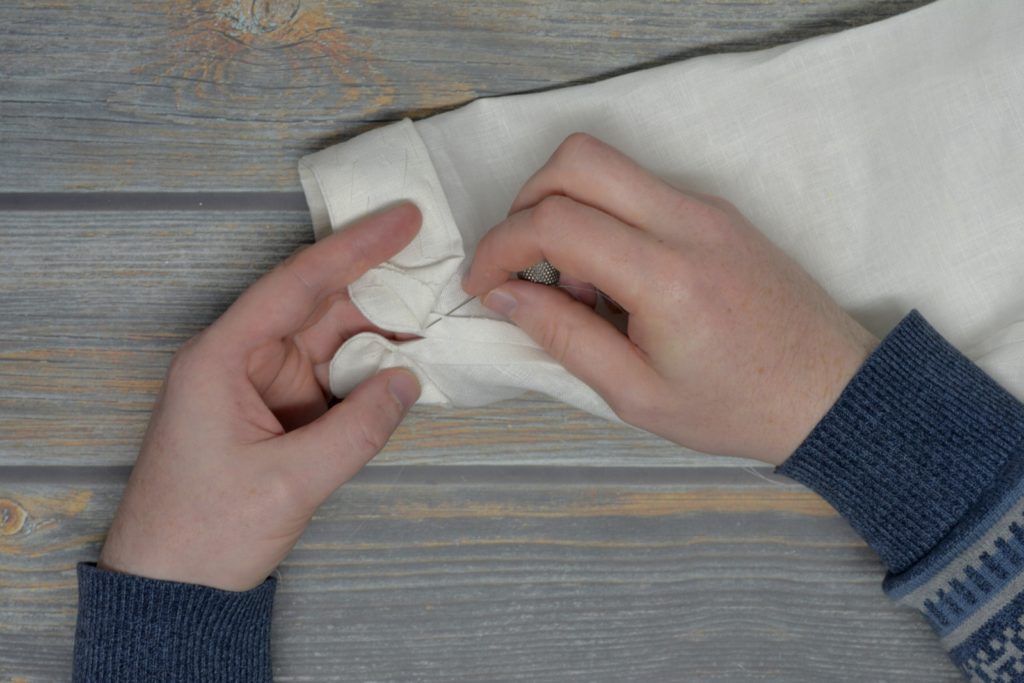
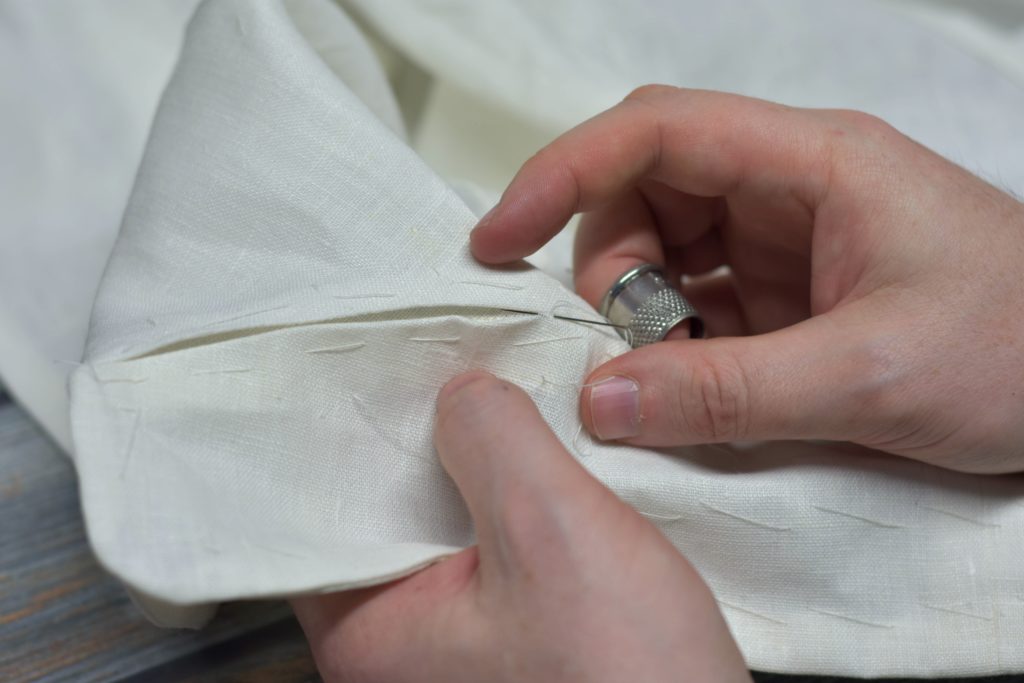
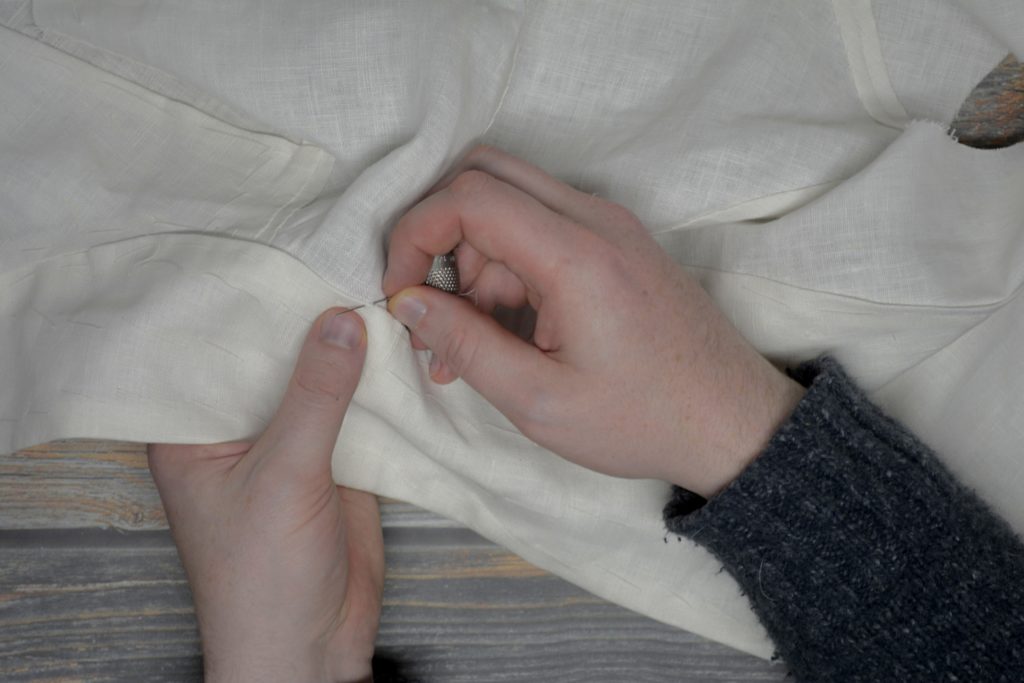
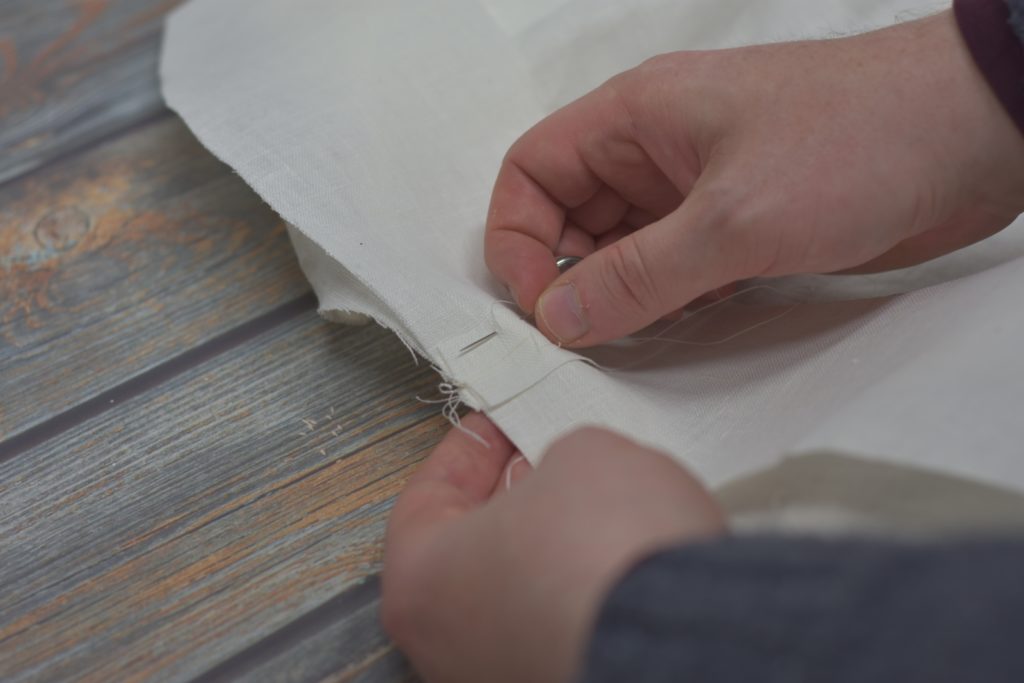
First, run a row of basting stitches along the middle of the cuff to keep things further in place. Keep at least 1″ from the raw edge.
Now fold under the raw edge of the cuff 1/2″ and baste, keeping the stitches about 1″ away from either end to make room for sewing the rear sleeve seam.
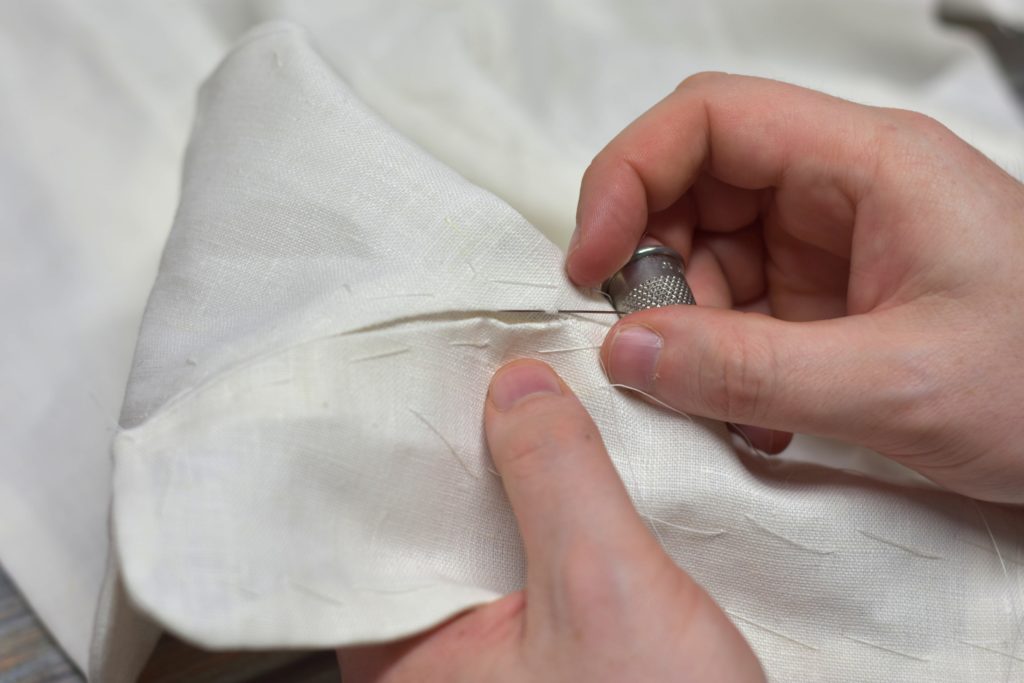
Now baste the folded edge of the cuff securely in place.
Before the cuff itself can be finished, the rear sleeve seam must be closed up. Baste the seam right sides together. Depending on your draft, you may have a little excess fabric in the outer sleeve, which should be gathered in along the upper half of the seam, nearer to the armscye.
Sew the rear sleeve seam, press open, and turn under and press the raw edges as usual.
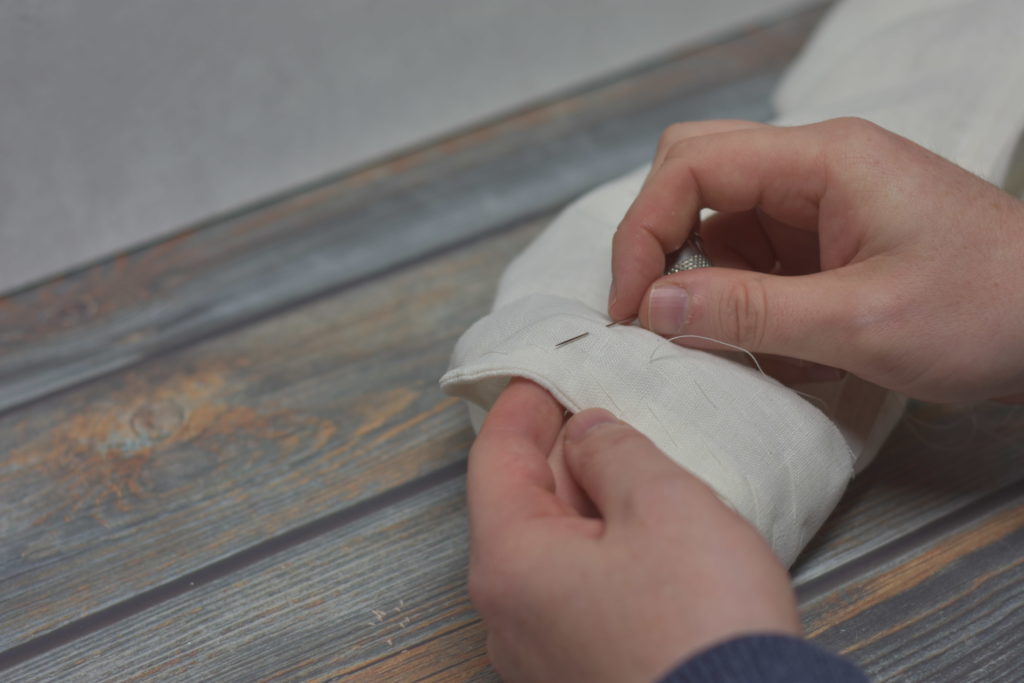
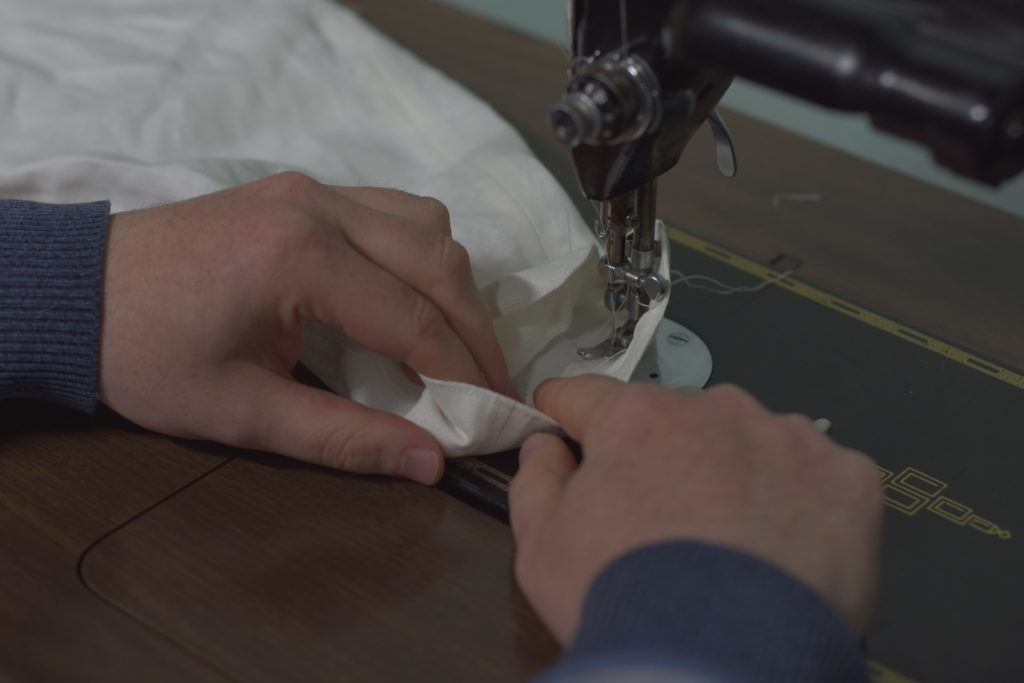
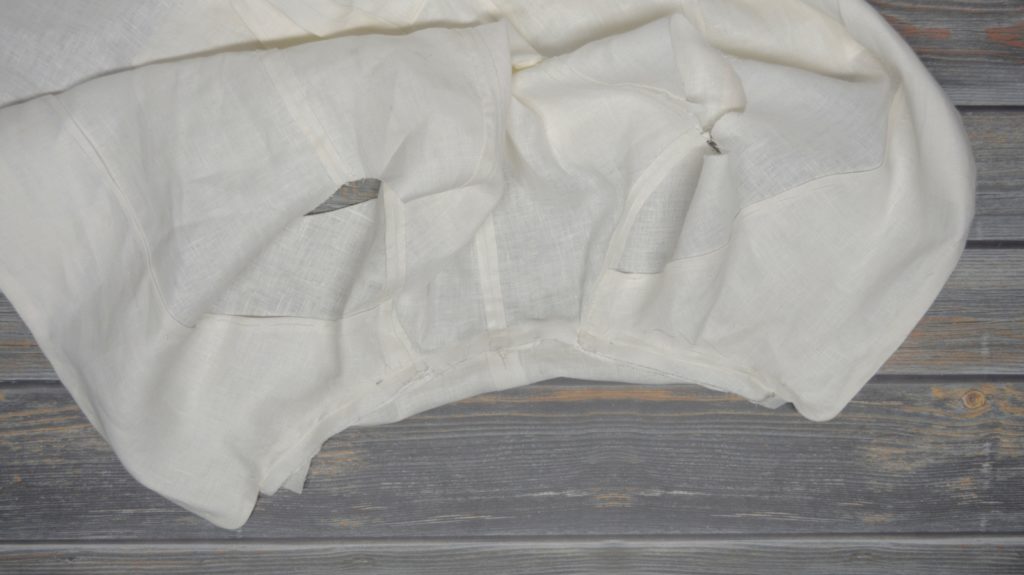
Now fell down the folded seam edges. This can be a little tricky so you’ll have to gather the sleeve over your hand as you work.
When you get to the end near the cuff, just continue the felling as far as you can beneath the cuff.
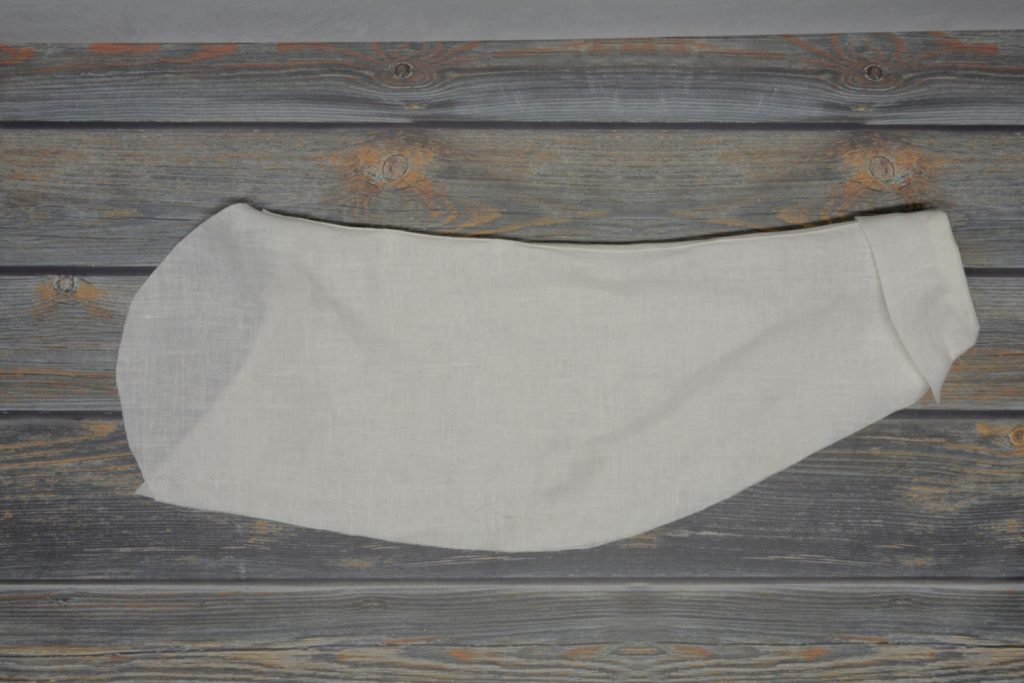
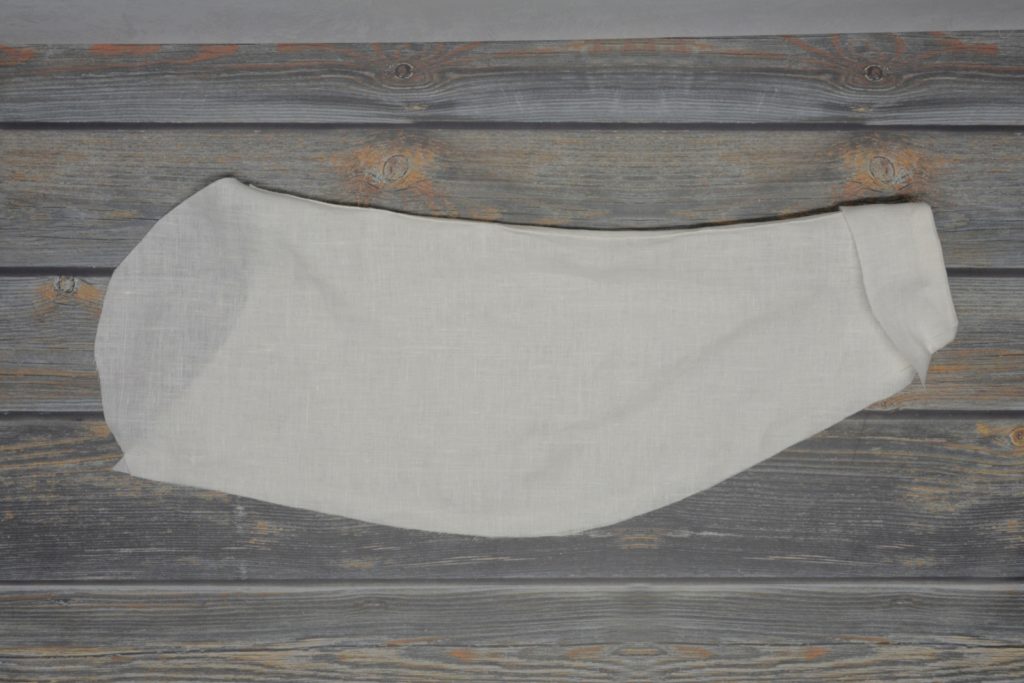
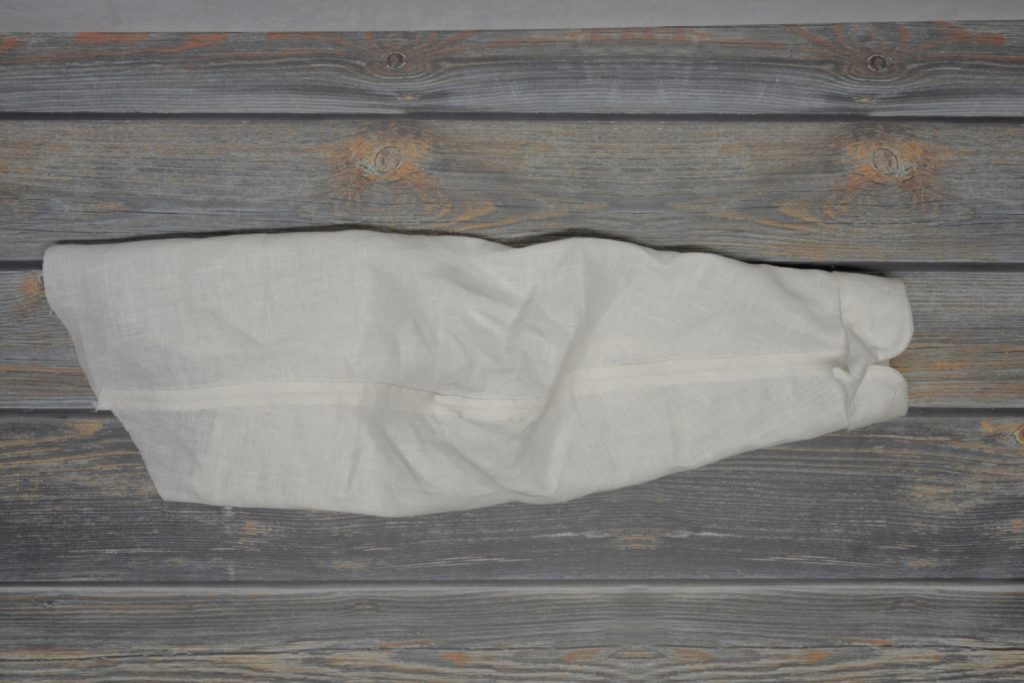
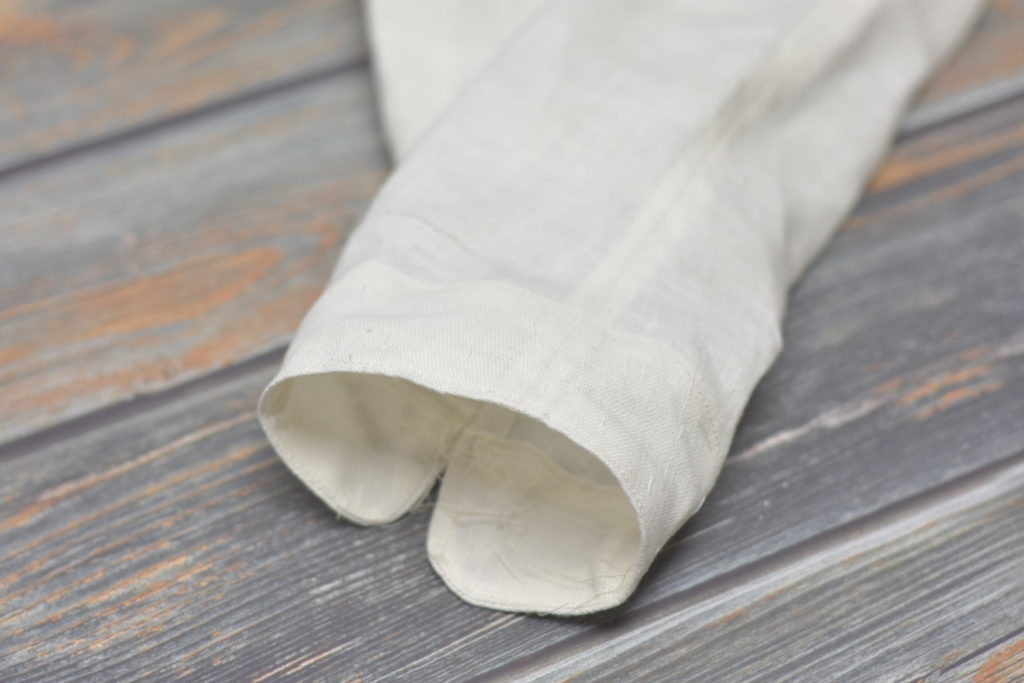
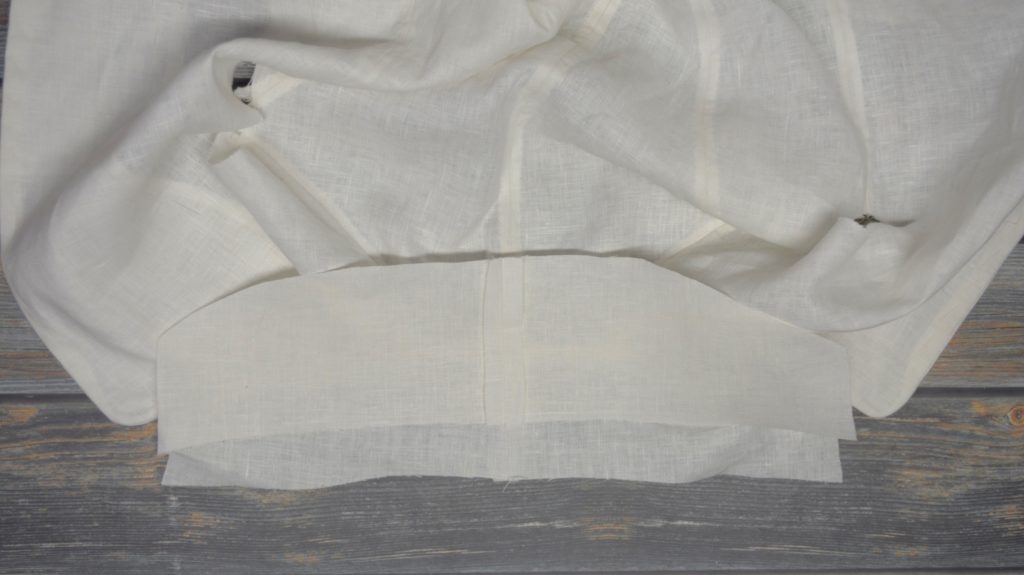
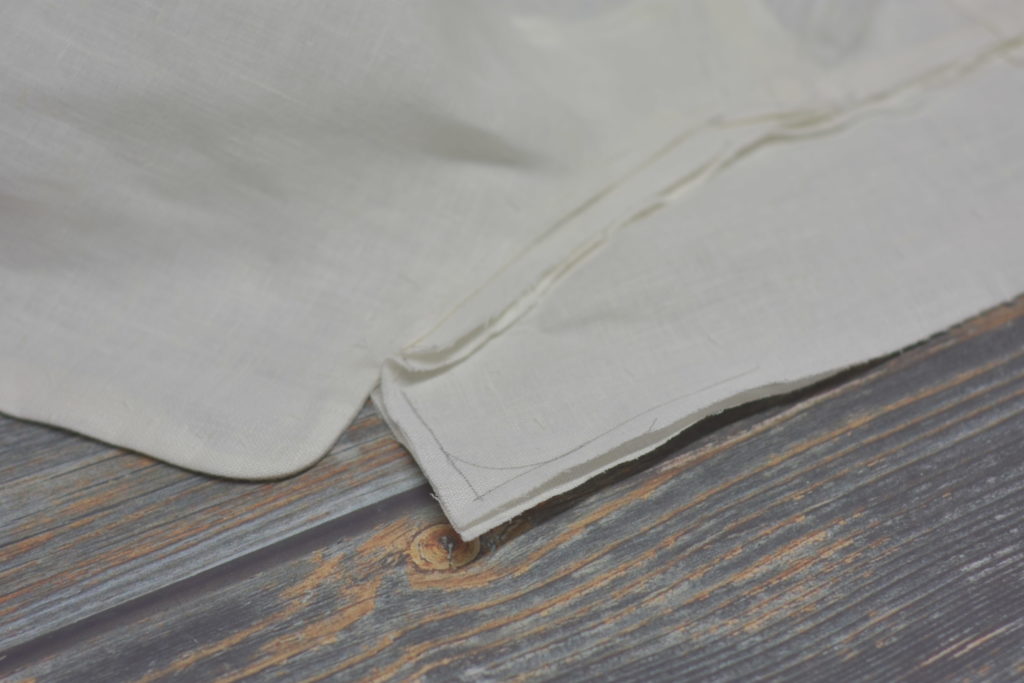
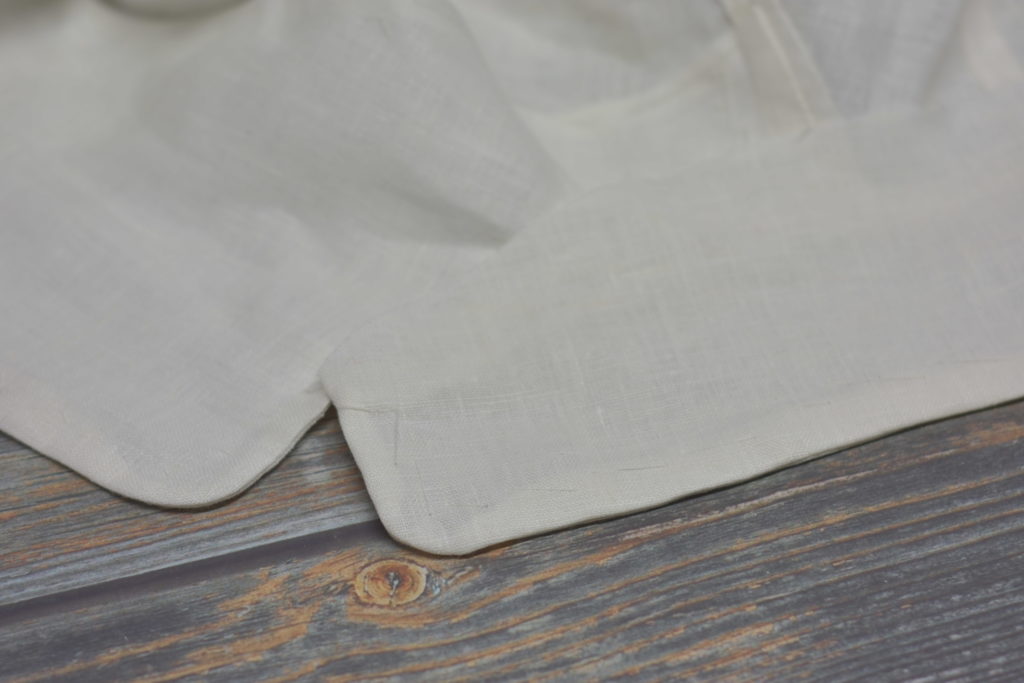
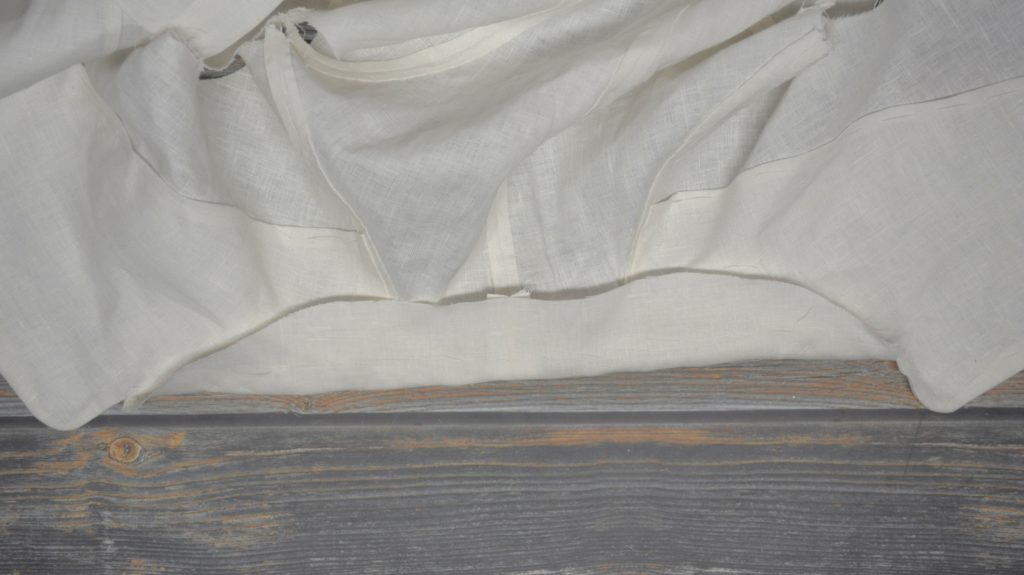
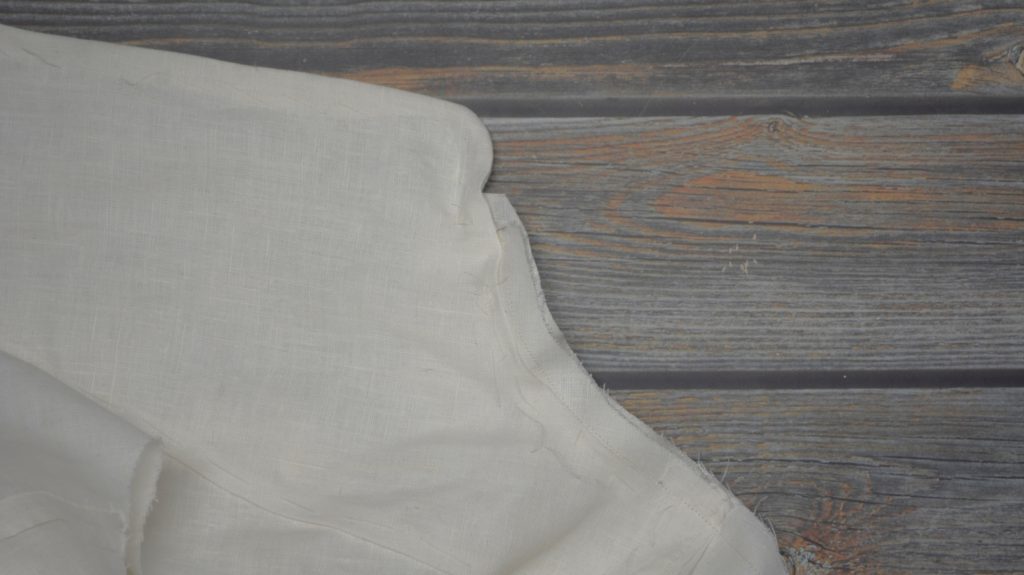
Here’s the completed seam. On to finishing the cuff!
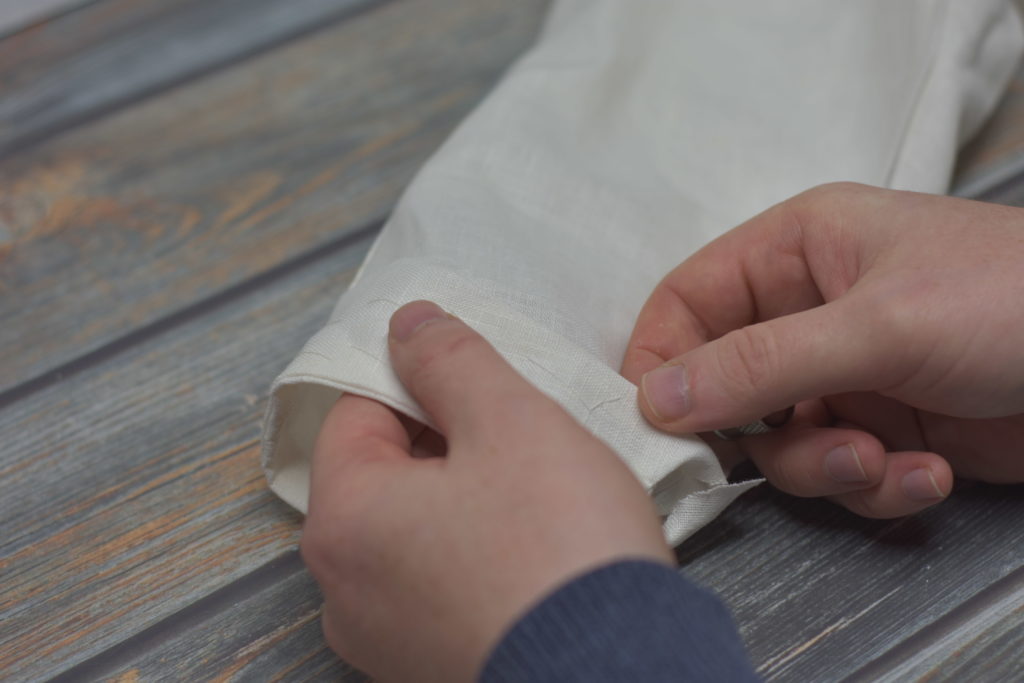
As you can see, there’s just a little bit of the cuff near the rear seam that needs to be dealt with.

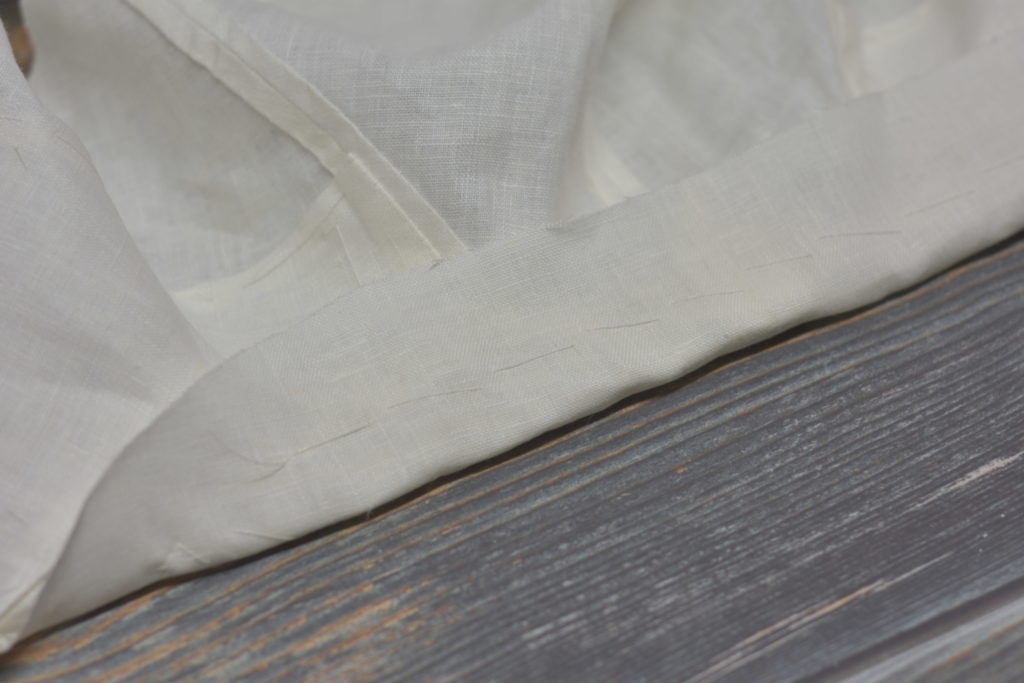
Fold the remaining raw edge under and baste secure.
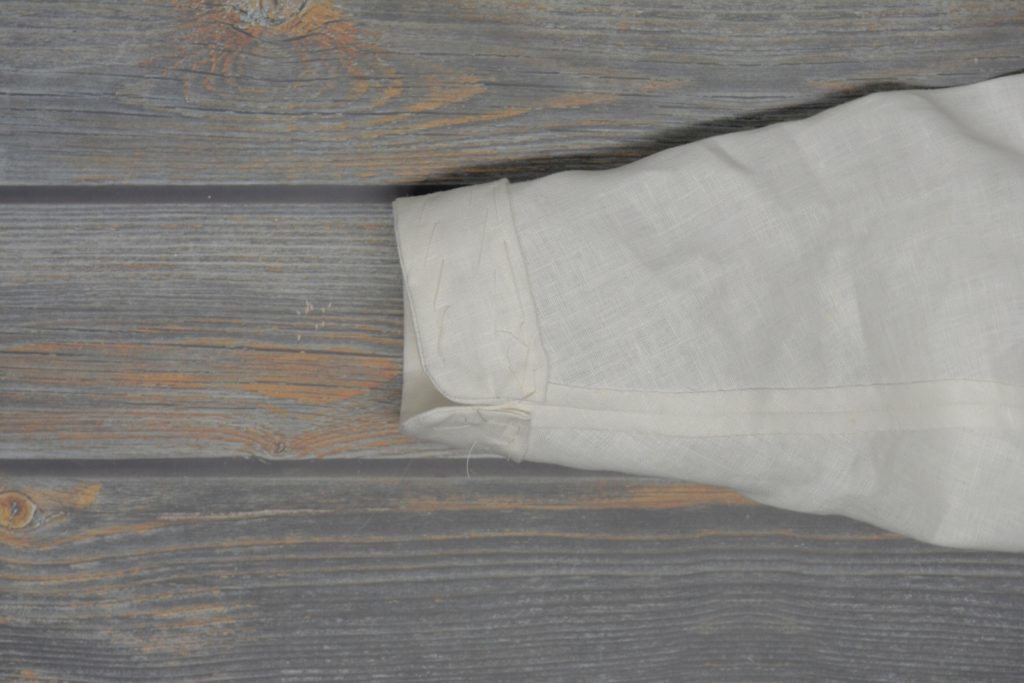
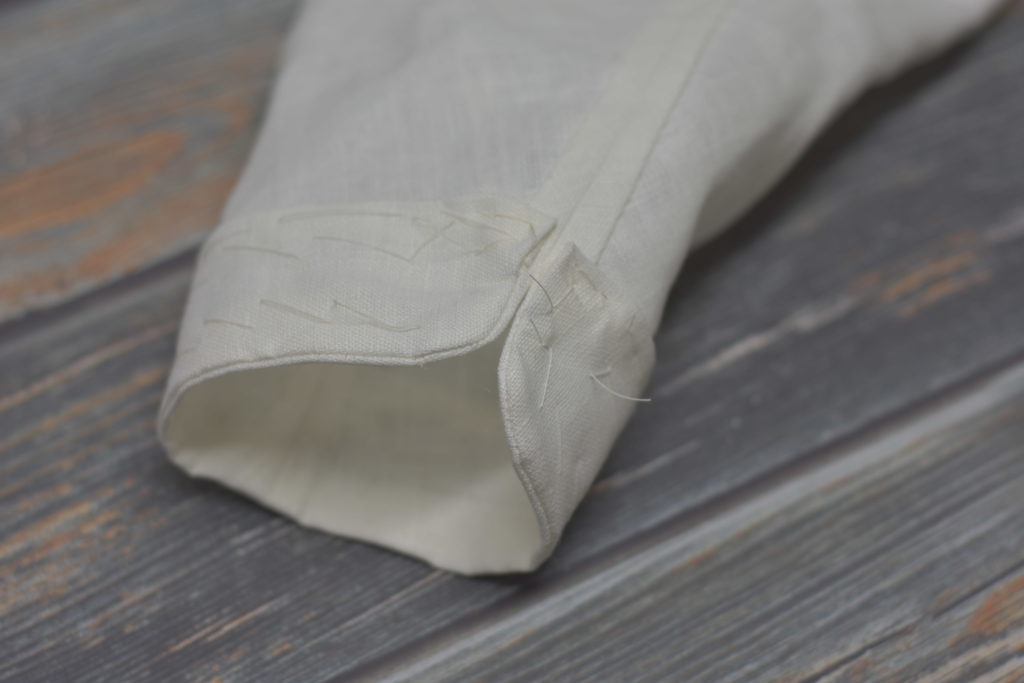
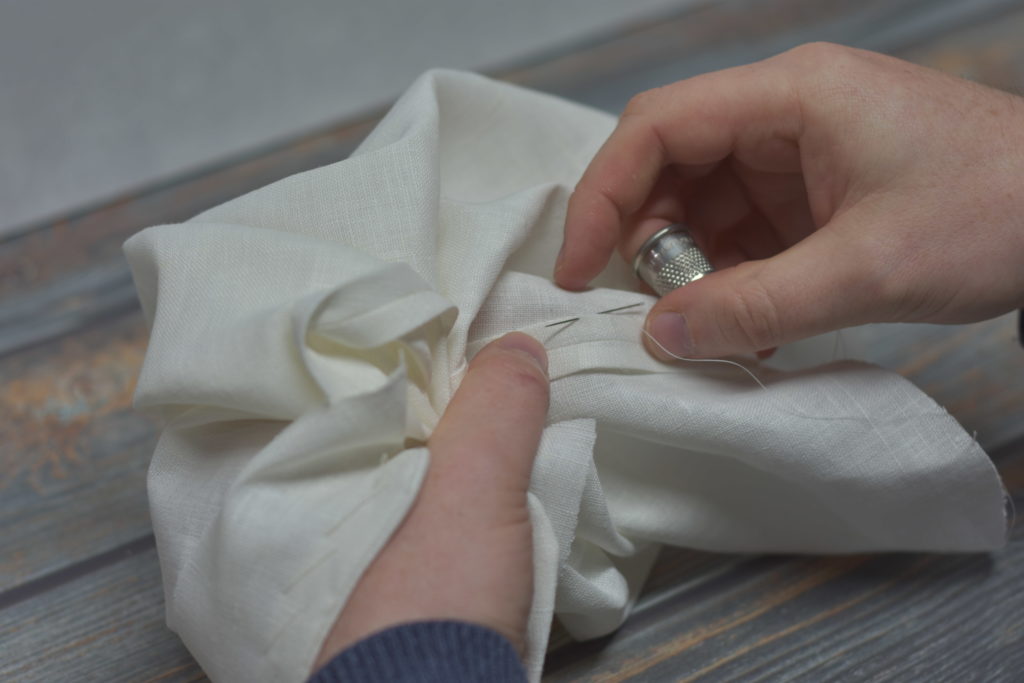
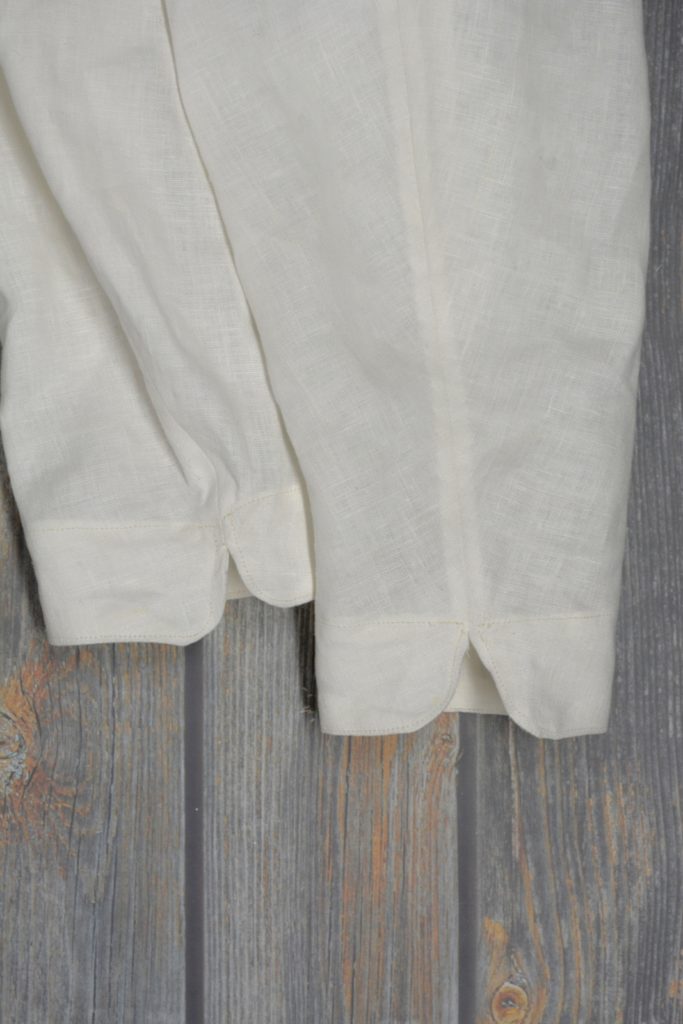
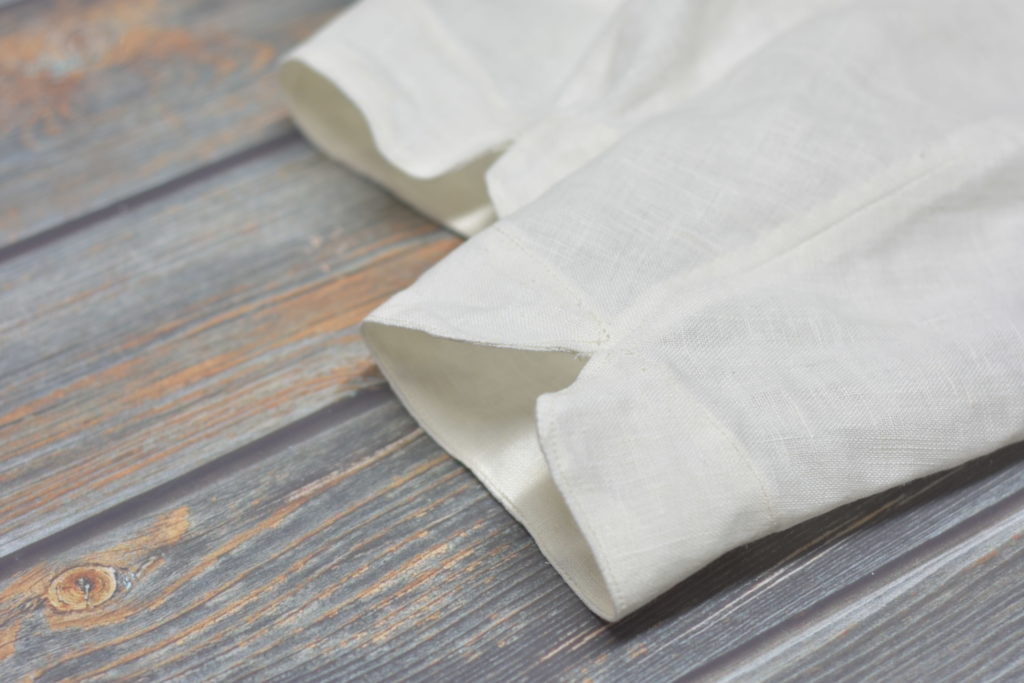
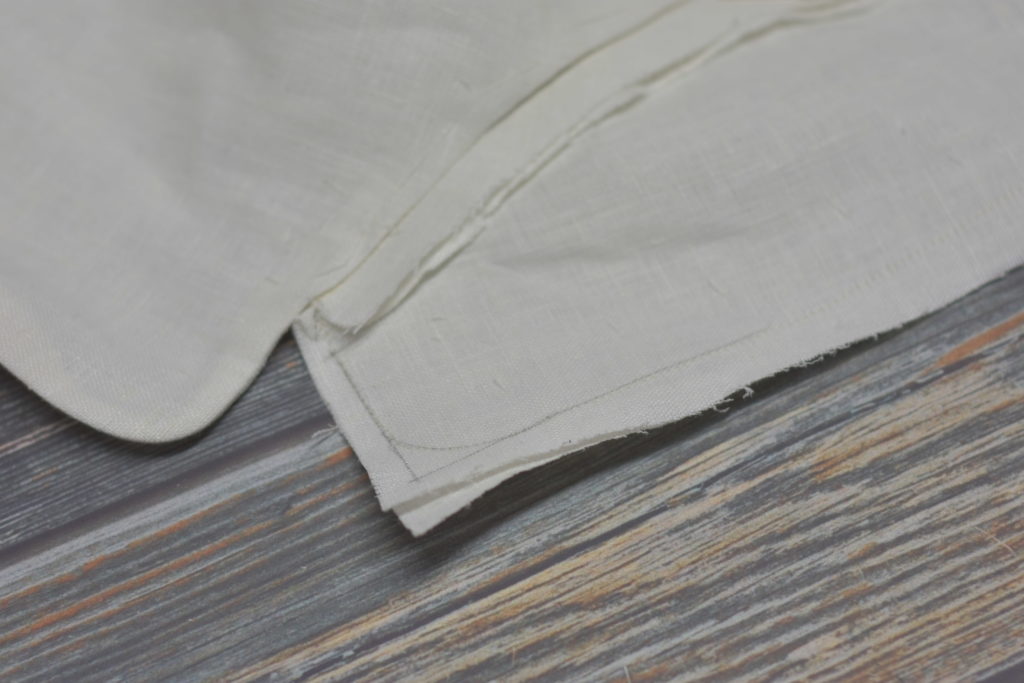
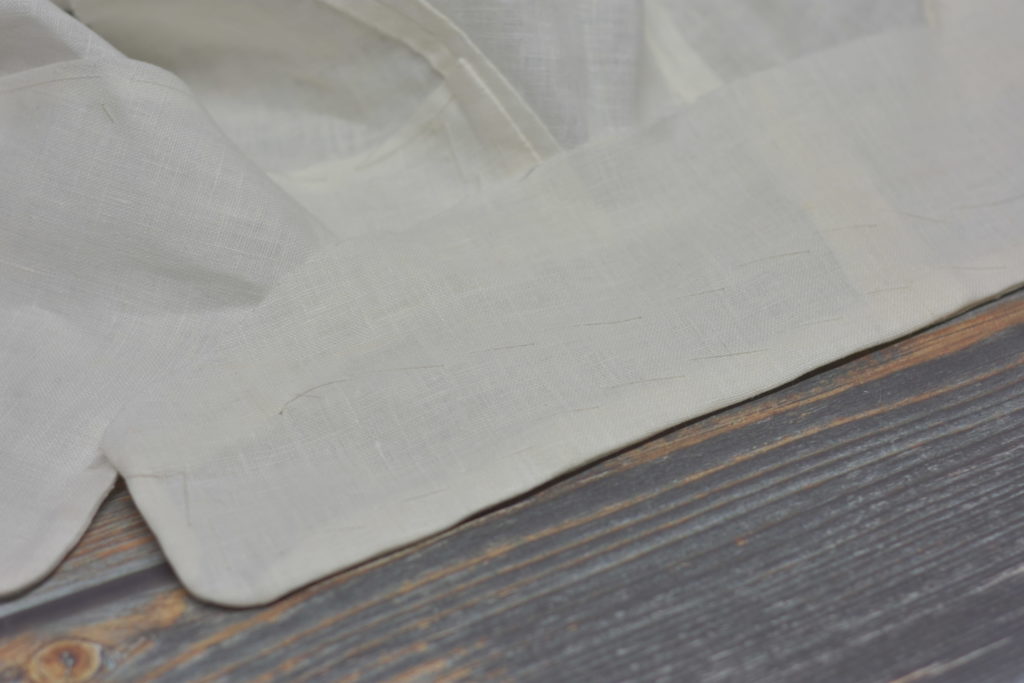
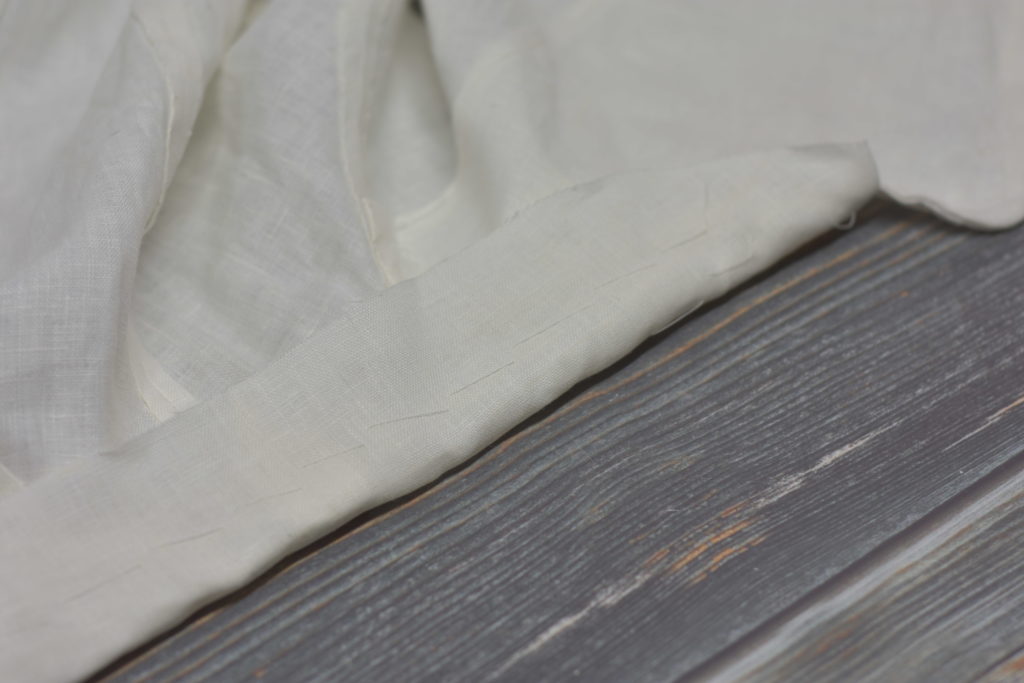
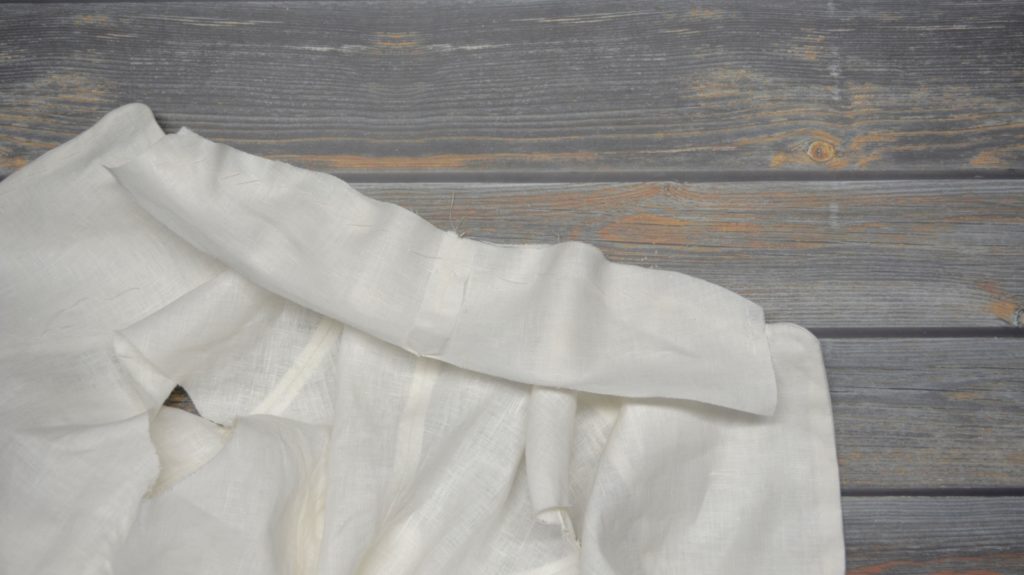
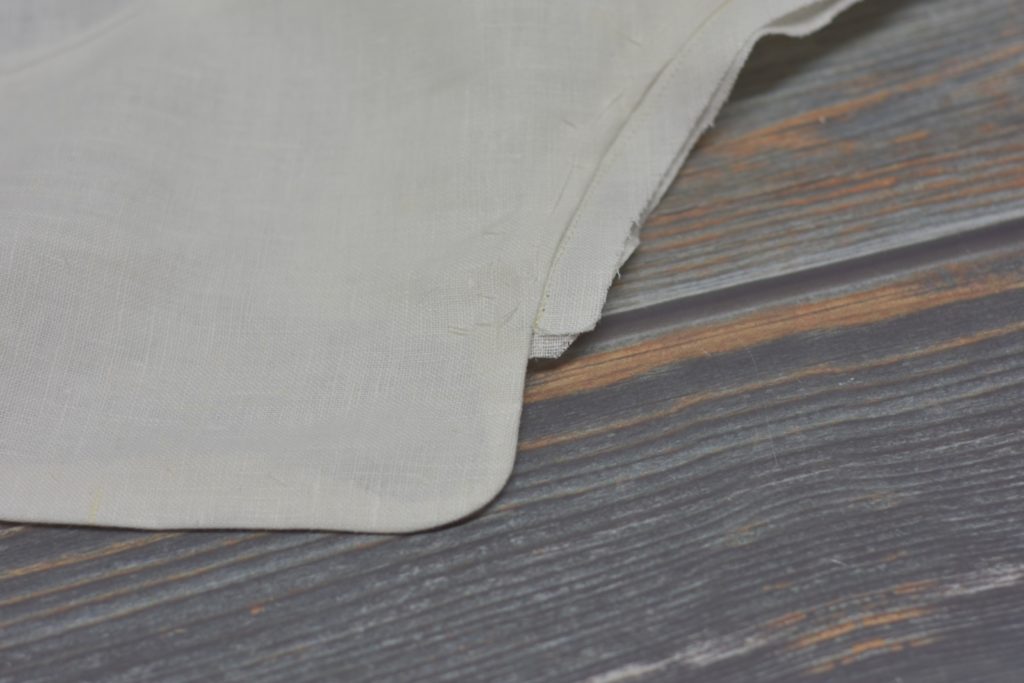
With everything basted closed, top stitch the cuff along the outer edge about 1/8″ from the edge, followed by the inner edge.

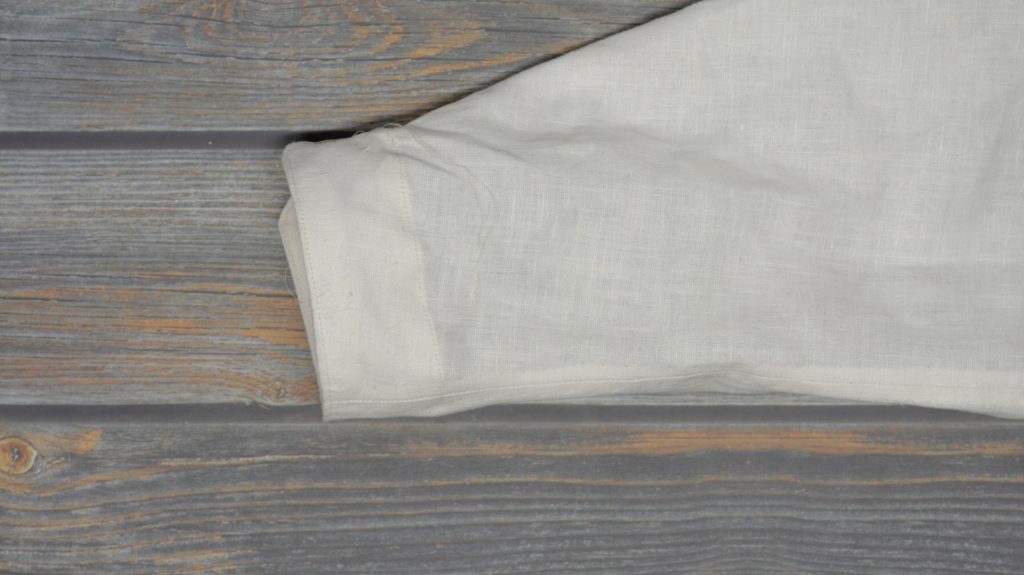
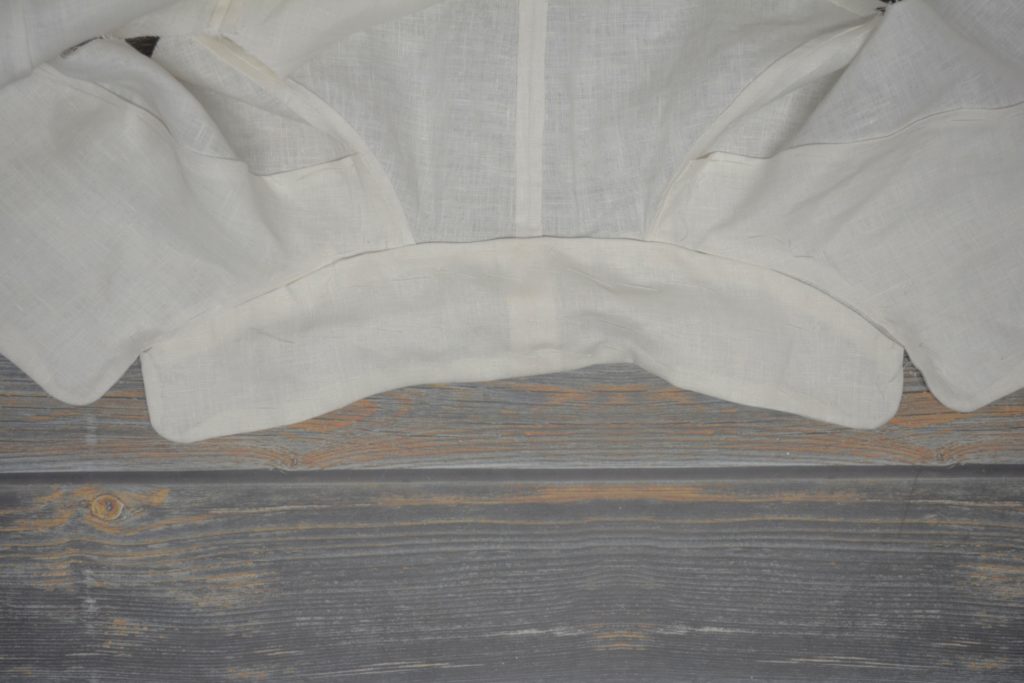
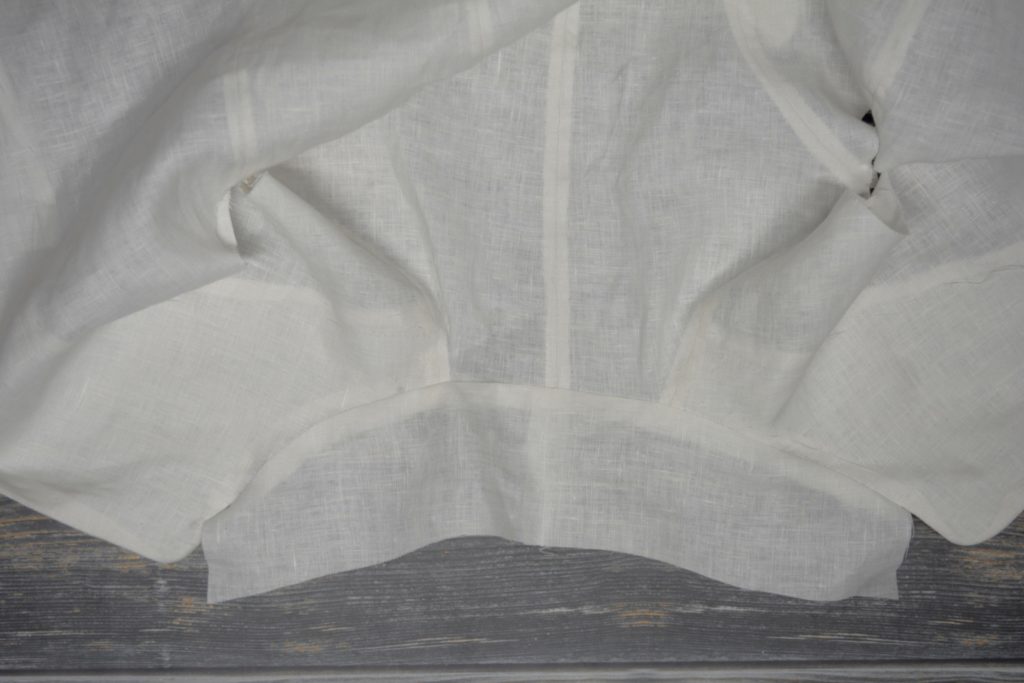
Here are the completed sleeves. There are just a few more steps to do on the coat before we attach them in the next section.

The Front Seam
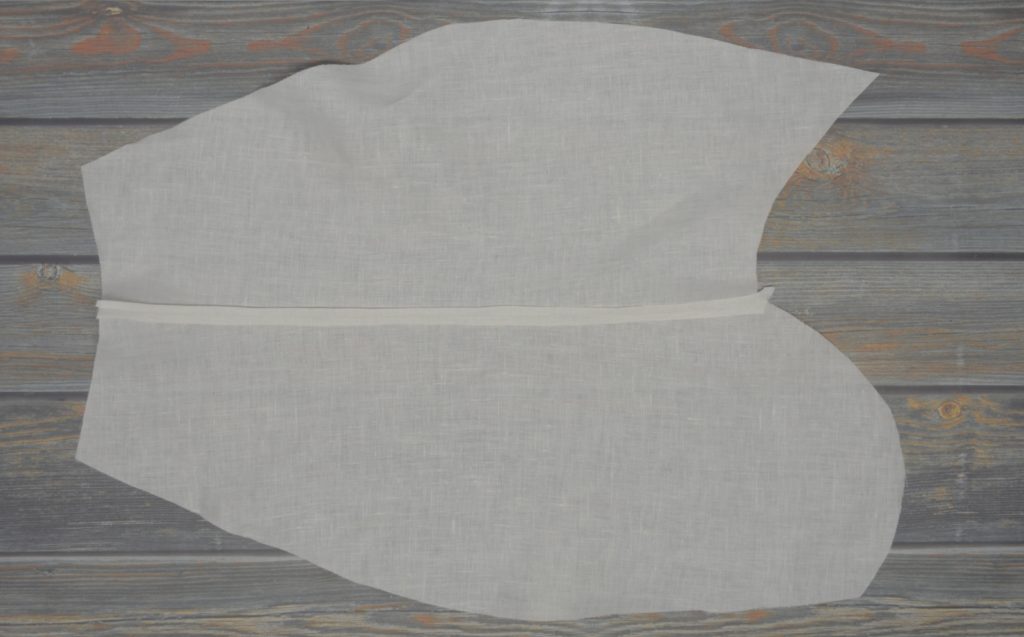
While there are a few little things to do on the coat body itself, I like a little change of pace at this point and so turn towards the sleeves. If you haven’t drafted and fit a test version of the sleeves in muslin, I’d recommend doing that before cutting out the linen sleeves.
The main two points of fitting are in the length, which should be an inch or so past the wrist, and the sleeve head area, which should be about an inch or two larger in diameter than the armscye to give some ease of movement, and make it easier to gather the material into the armscye.
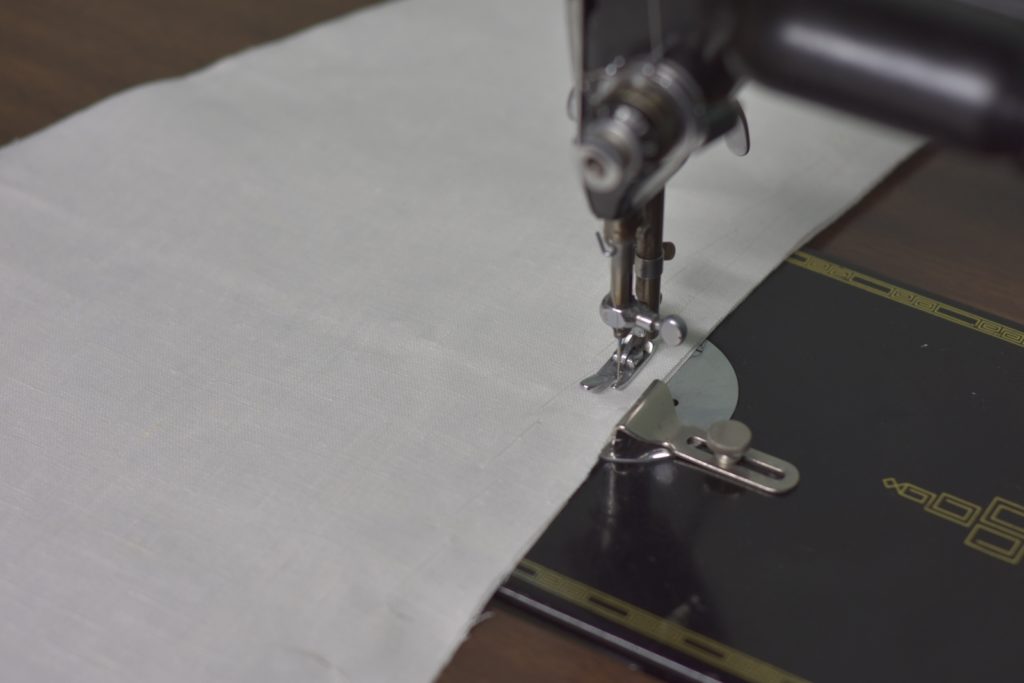
Begin by basting the two halves of the sleeves, right sides together, along the front seam.
Sew with a 1/2″ seam allowance.
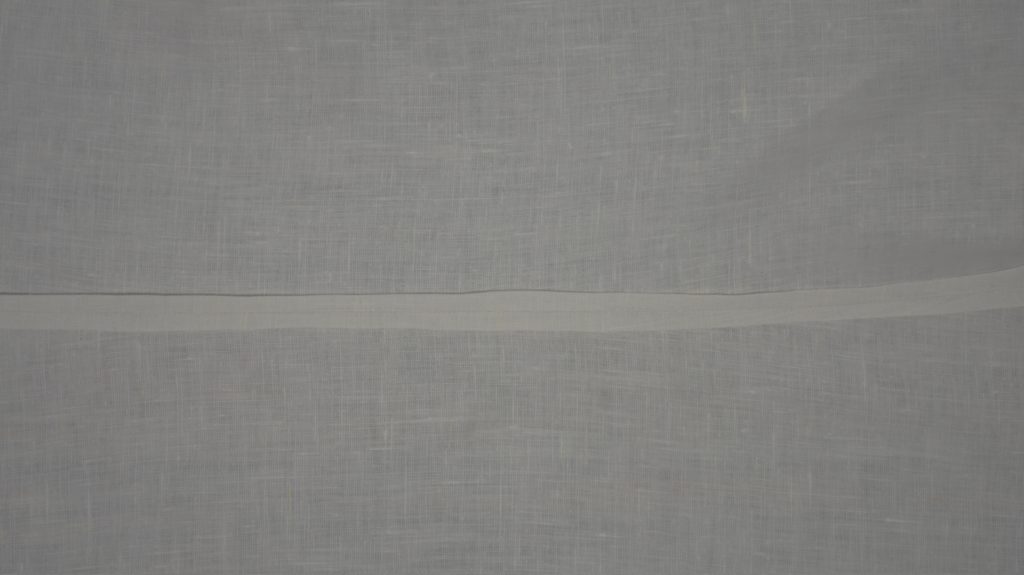
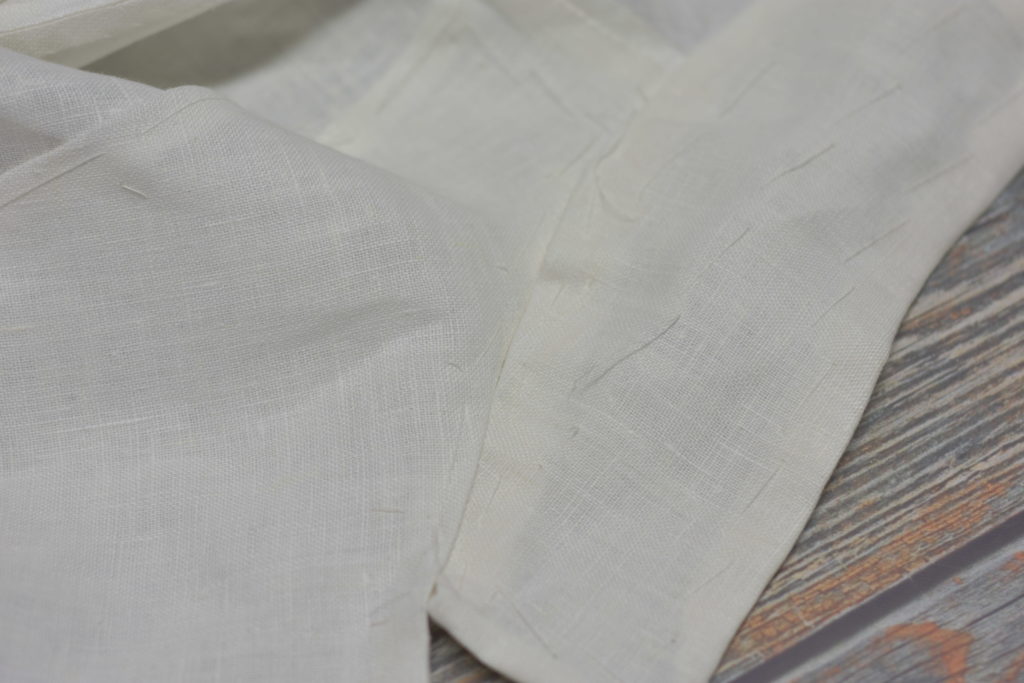
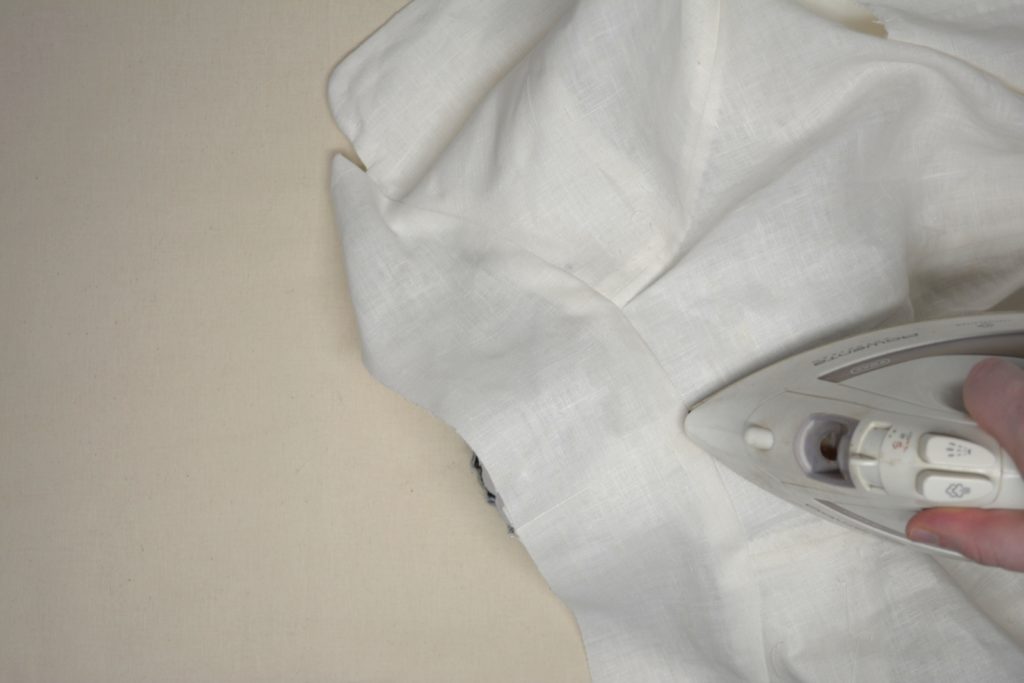
Press open the seam, and then press the seam allowances under as usual.
Fell the folded edges by hand.
The Topcollar
Attaching the collar is fairly simple, but involves some special techniques with basting stitches to help the collar and lapel roll in towards the body.
Place the topcollar on the undercollar, right sides together, aligning the center back seams and the outer edges.
Baste from the center back to the outer edges.
Along the shorter ends, baste all the way to the very edge of the cloth so there will be as little movement as possible. This makes the sewing more accurate.

Turn the coat over so that the wrong side of the undercollar is showing. It’s easier to do the layout and sewing from this side.
Now along both corners of the collar, and the short ends along their entire length, draw in the seam lines. Ideally these will be 1/2″ from the edge, but as in my case, they may be slightly off. You want the seams to end just at the point at the end of the clips in the coat front.
So in my case, one seam is 1/2″, and the other is more like 1/4″ due to my error.
Then draw in the curved corners of the collar using the same template or device you used for the curves in the facings.

Stitch along the lines from the point on one end of the collar, around the curved corner, along the top of the collar, and around and back to the opposite point.

Trim the seam allowances down to about 1/8″ at each curve.
Now turn the collar right side out. The topcollar should overhang the undercollar by 1/16″ to 1/8″. Baste along the outside edge and press.
Now here’s where that basting technique comes into play. Begin by marking the roll line very lightly on the topcollar if you have not done so already. Just be very light because it will be visible on the finished coat.
Then on the outer edge, with the collar flat on the table, baste along the outside of the roll line, about 1/4″ from the line. Begin and end the stitching about 1′ from the ends of the collar so that you have room to turn under the raw edges later.

Now roll the collar under itself as if it were being worn. You can finger press it lightly if you want to, but I’d leave the final pressing for later.
Now baste along the lower or inner side of the roll line, about 1/4″ to 1/2″ away, while keeping the collar in this folded position. Baste from end to end, again keeping about 1″ from the ends. Try not to catch the folded half of the collar underneath with your basting stitches.
The most important goal here is to get the right amount of tension and ease between the under and top collar as it curves over the roll line.
After basting, you can open the collar up and see the tension you’ve built into the collar, just with those few stitches. This will keep the collar rolled tightly against the neck and the body.
Now to close up the collar, fold under the raw edge, aligning the fold with the seam underneath – just barely covering it.
Baste securely.
Earlier, you folded and basted the neck line of the facing out of the way. If necessary, remove the basting, refold the facing so it touches the edge of the collar, and rebaste. I had to do this on one side, the other side just happened to line up naturally.
Now starting at one end of the collar, use a ladder stitch to stitch the collar and the facing together, and to the material underneath, as follows:
First make a stitch parallel to the seam, about 1/8″ long at most, in the folded edge of the collar.
Then repeat the same stitch right next to it on the facing side.
Then take a stitch ‘in the ditch’, catching the undercollar layer underneath, to lock all of the layers and pieces together. Repeat the process, stitching through the collar, facing, and in the ditch, until you get to the end of the facing section.
When you get to the back section, where the facing ends, simply fell the collar to the back of the neck. The stitch should be perpendicular to the seam on the right side, and the diagonal part of the stitch should be hidden underneath within the layers.
And thus completes the collar! How are you doing so far?
The Undercollar
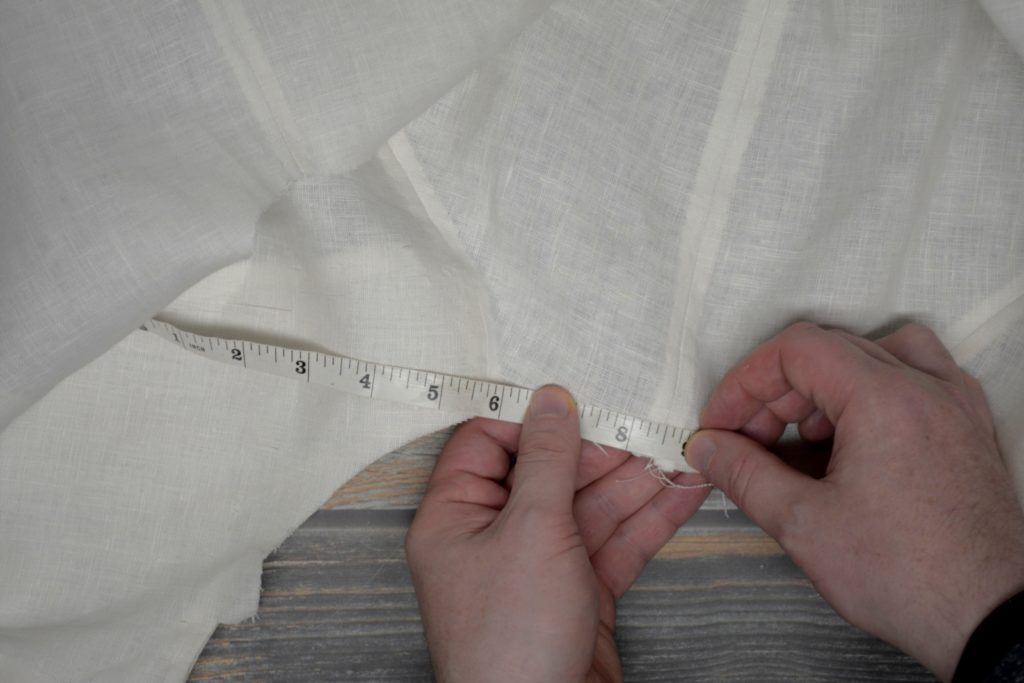
Now that the body of the coat is basically done, it’s time to begin work on the collar. If you haven’t drafted your collar already, or you want to double check the fit, you can measure the coat around the neck starting at the center back, ensuring both sides are the same size, and that the collar is the correct size as well.
Cut out your collar, and with right sides together, baste the center back seam and sew with a 1/2″ seam allowance. Repeat for the top collar.
Press both collars open.
It’s necessary to draw the roll line on the undercollar. I find the easiest way is to just cut the collar pattern along the roll line, and then place that on the collar.
If you look carefully, maybe you can see my mistake. I’m not sure why I did this, but I forgot to have the roll line curve back upwards to follow the bottom of the collar.
I’ve marked mine in white, so it’s very difficult to see.
With the roll line digitally enhanced.
Facing Adjustments
Before attaching the undercollar, there are a few minor adjustments to be made to the neck line of the facing.
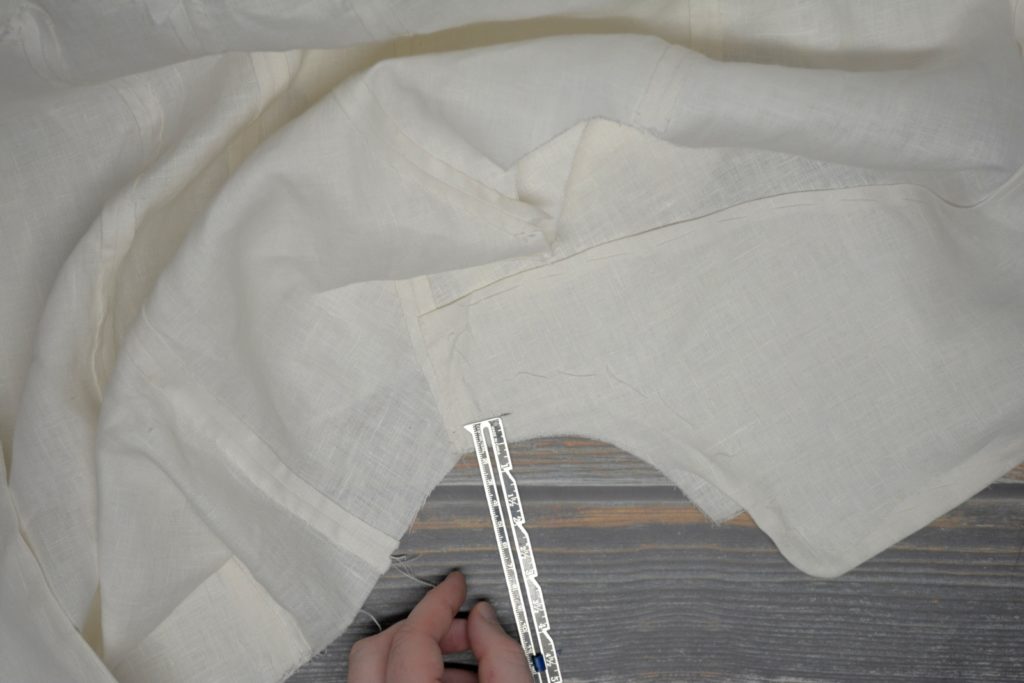
Turn the coat so that the facing side is up. About 1″ behind the roll line, towards the shoulder side, make a mark 1/2″ from the edge, denoting the seam line. The angle of the roll line on my particular coat made me place the mark fairly close to the shoulder.
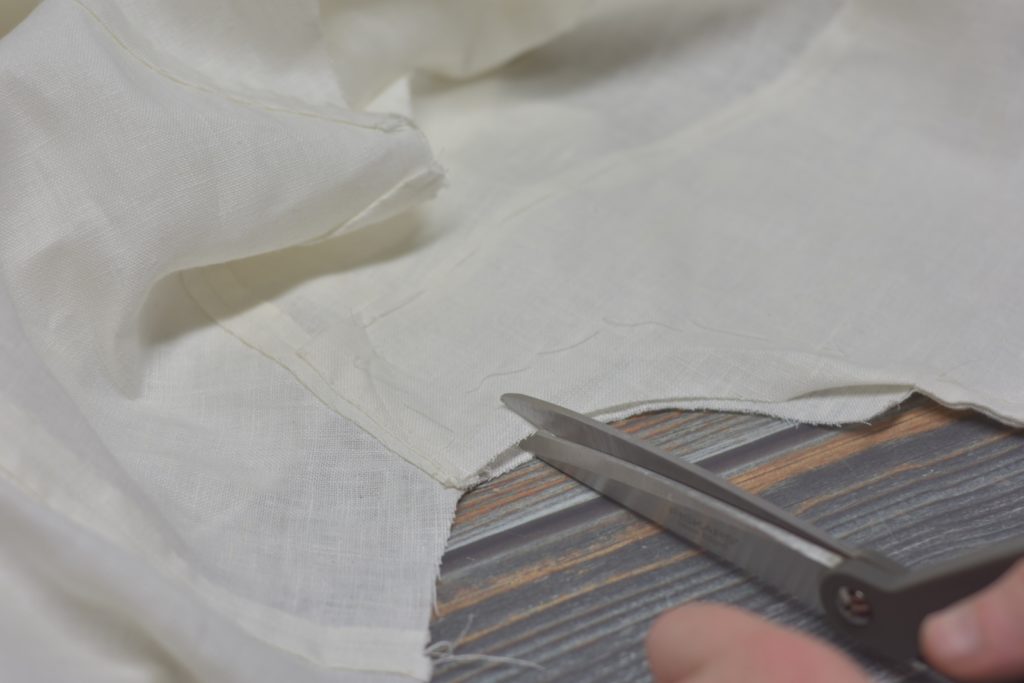
Cutting the facing layer only, snip the fabric to the mark.
Now fold the rest of the facing along the neck line under itself, just over 1/2″ from the edge. You want it out of the way so that it doesn’t get caught in the seam when sewing on the undercollar. Baste securely in place.
Attaching the Undercollar
Begin attaching the undercollar by laying the collar on the coat, right sides together, carefully aligning the center back seams of each piece.
Baste from the center back, towards one of the outer edges of the neck.
Since both parts are curved, you’ll have to full the excess evenly with your non-dominant hand as you go.

There should be 1/2″ of the collar extending beyond the cut in the neck of the coat. I didn’t notice it until later but I was a little short here.
Here’s what it should look like.
Repeat for the other half of the collar, basting from the center back towards the neck point. Here’s the entire collar after basting.
Now sew from one end of the collar to the other, using a 1/2″ seam allowance. The stitching begins at the cut you made in the coat and ends at the opposite cut. Be sure to keep the facing out of the way as you sew.
The collar really does not want to lay flat after sewing!
Here again you can see my error, just at the point that I noticed it (after sewing, of course). It’s not really a huge problem if this happens, as long as you have enough to form a seam. But be aware of the reasons for this happening – faulty measuring, stretching various seams when making up, basting incorrectly or differently on each half of the collar, or other user error.
Finally, press the collar up at the seam. As in the toile, the seam is not opened; rather, everything is pressed upwards towards the collar.
From the underside. I think my seams are a little out of alignment – hence the error with the seam allowance earlier!