Month: April 2020
Center Back Seam
Now that the two halves of the coat are complete, we can join them together at the center back seam.
Place the coat halves right sides together with the center back seam facing you. Pin from the neck down to below the waist seam, just to keep the pleats from moving around while sewing.
I also like to mark the seam lines lines here, as this is the location that the sewing will stop.
Sew from the neck down the center back to the mark you just made using a 1/2″ seam allowance.

Trim on the diagonal on one piece only, to the bottom of the seam. Technically you should do this on the side that will be the wearer’s left side, but it doesn’t really matter for the toile.
Press the center back seam open. Allow the vent on the side that you cut to go through to the right side of the coat.
Here’s the completed vent. You could tack it with a couple of stitches if you wanted to, but I usually just leave it as is for a basic toile.
Shoulders
Now we’ll sew the shoulder seams together. Begin by pinning the shoulder seam at the armscye and at the neck, carefully making sure that the seam lines themselves are aligned.
Then place a pin in the center of the shoulder, distributing any fullness equally on each side.

Place a pin in between each, securing the fullness.
Sew the shoulder seam with a 1/2″ seam allowance.
Finally, press the shoulder seams open using a tailor’s ham.

Here’s what the completed paletot half should look like from the front . . .
. . . and from the back.
The Back
Before attaching the back piece, we need to clip the seam allowance of the skirt section just under 1/2″ from the end of the seam.
Press this little section back open, which will allow the back piece to fit properly against the front.
Now lay the back piece on to the front assembly, right sides together. There’s a process to get everything lined up nicely, so that’s what we’ll do next.
Starting at the center back near the pleats, place a single pin near the waist seam. This basically holds things in position so that we can align the other sections properly.
Then at the top of the seam, near the armscye, align the seam allowances and pin.
Now pin the bottom half of the skirt together.
Now we’ll continue with the upper half of the back seam, which is more difficult because of the deep curves of each piece.
Start by pinning the first two or 3 inches above the waist seam as normal. The exact distance to pin depends on your own pattern and when the curved areas start.
Then gradually pin the rest of the two layers together, working the excess from the side body into the back piece as you go. Sadly, I didn’t photograph this, but if you turn the entire assembly over so that the back piece is underneath, you can let the seam drape over your hand as you pin, allowing the fuller sidebody to more easily be incorporated into the seam.
Don’t be afraid to unpin if necessary and try again. Often I’ll have too much excess by the time I get to the armscye so I’ll have to try over myself.
Some more detail of the pinning near the armscye. You can see the excess fabric that has been distributed on the underside.
Another video showing how I pin the upper back seam.
With everything pinned along the back seam, it’s time to sew everything closed. Before beginning, you might want to draw out the seam allowance around the waist section (1/2″) to help you accurately sew. With the back side on top, sew the seam beginning either at the bottom of the skirt, or the armscye, depending upon which half of the coat you are working on.
Sew the ‘stepped’ pleat area as shown, being sure the little piece of seam allowance you clipped earlier is still opened up.
Continue sewing to the armscye. Since the fuller part of the side body is on the bottom, you can use the sewing machine’s feed dogs to naturally help you refine the fabric distribution as you sew.

A video of the sewing process.
Here’s what the completed seam should look like. Remove all pins at this point.
Finally, press the top half of the seam, the curved part, open. At the waist, the pleat should be folded towards the inside and the top inch or so of the pleat pressed as well.
If you look carefully, you can see how the seam allowance of the back has been folded over itself near the waist to allow the pleat to lay in place.
Side Body
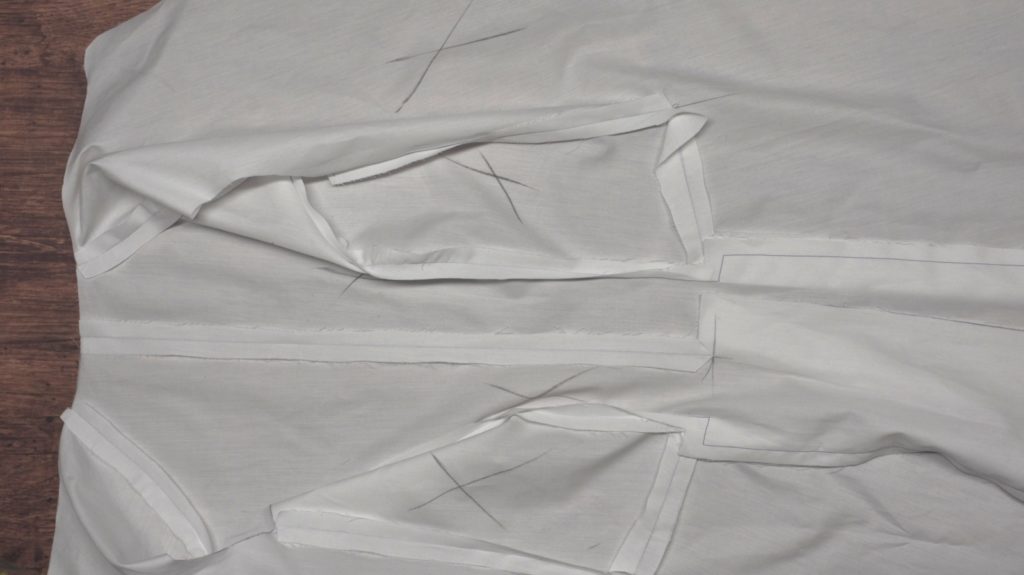
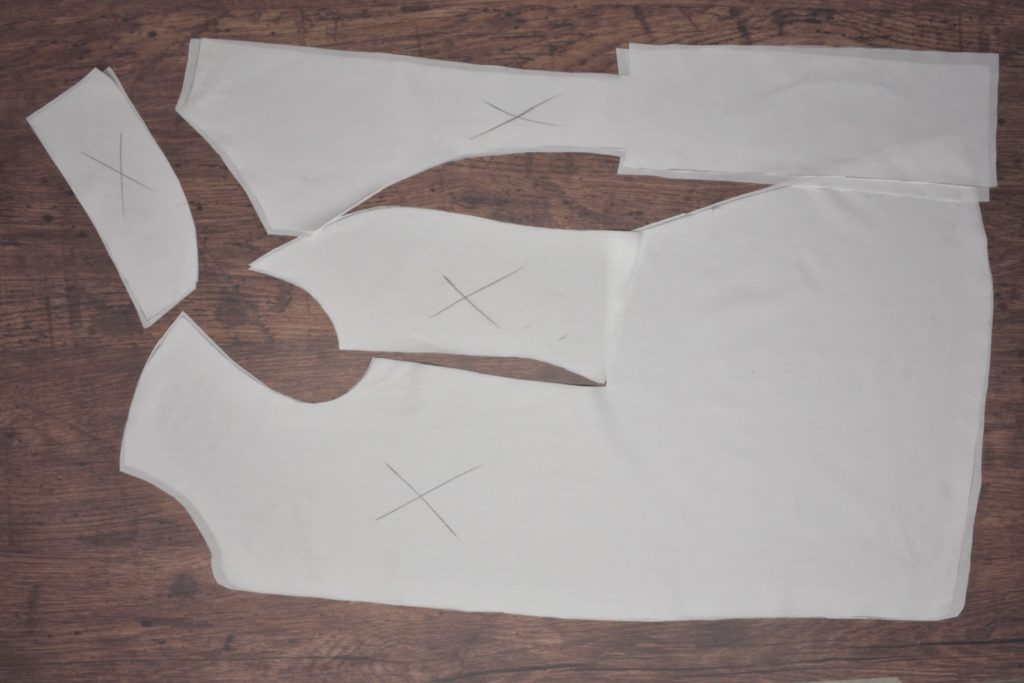
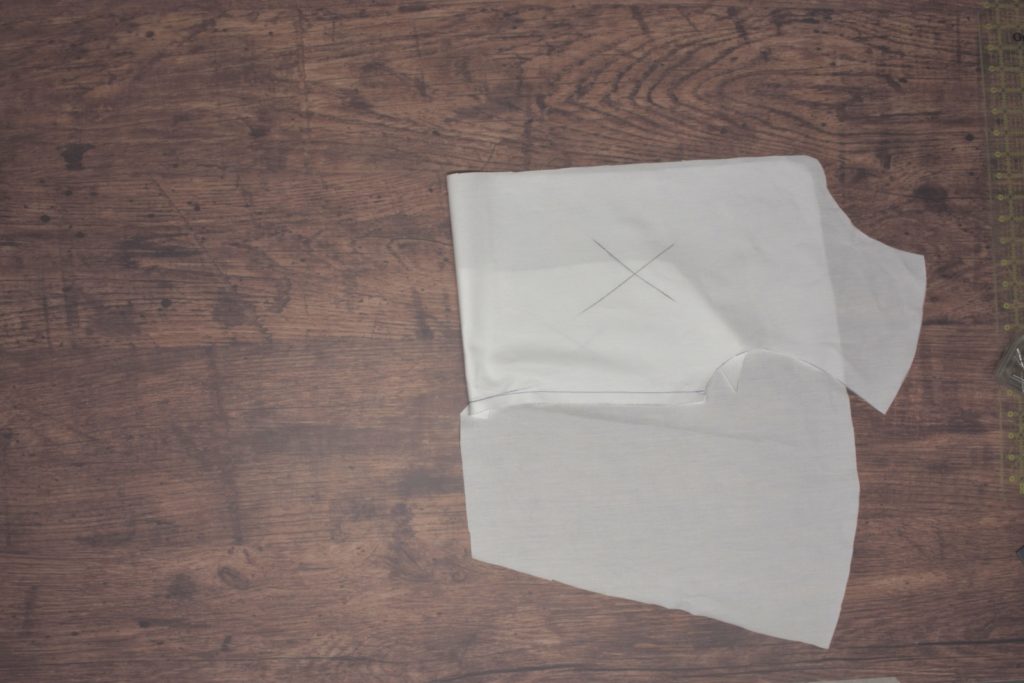
When you are fairly confident with your pattern, use the pattern to cut out the various pieces, two of each, out of cotton muslin for fitting purposes. I like to weigh the pattern pieces down, trace around each with some tailor’s chalk, and then cut, following the inner edge of the chalk line.
At this point, don’t worry about cutting out the sleeves. We’re just trying to get the body fitting well, and the sleeves can be fit to the actual linen coat later on.
In addition to perfecting the fit, this step is also important in learning the steps to coat construction. Better to practice on the cheap fabric before perhaps ruining the good linen! You’ll also notice during this process that I like to keep the two halves of the coat separate for as long as possible. It doesn’t really matter for a lightweight toile like this, but when working on a heavy frock coat, for example, you’ll appreciate keeping the two halves separate.
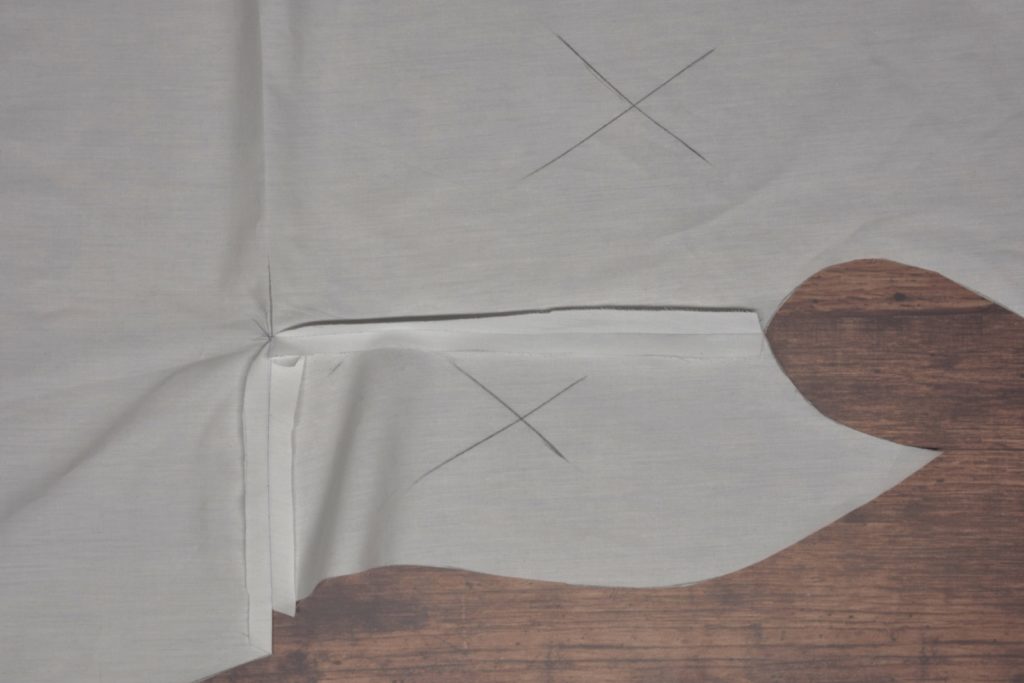
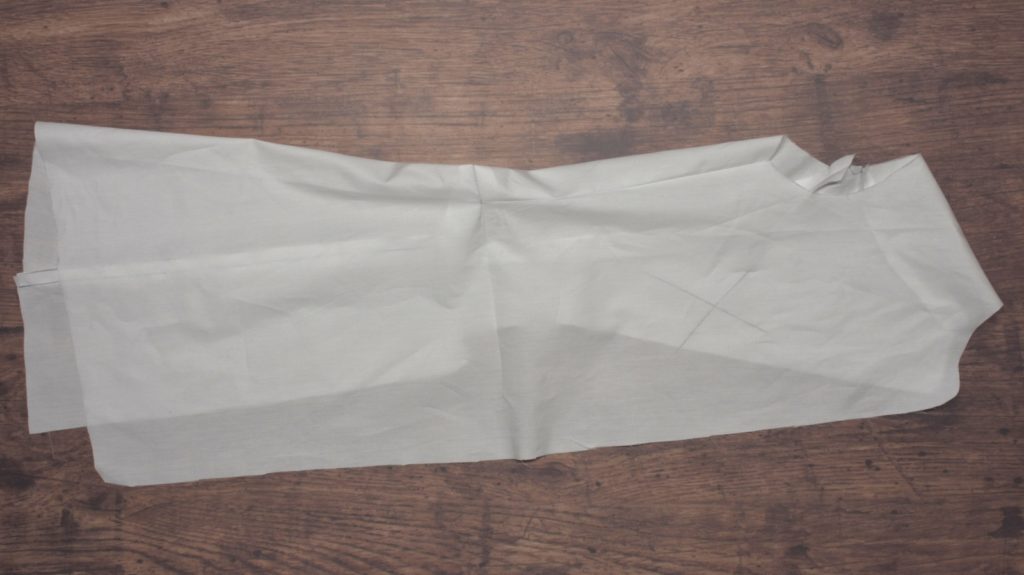
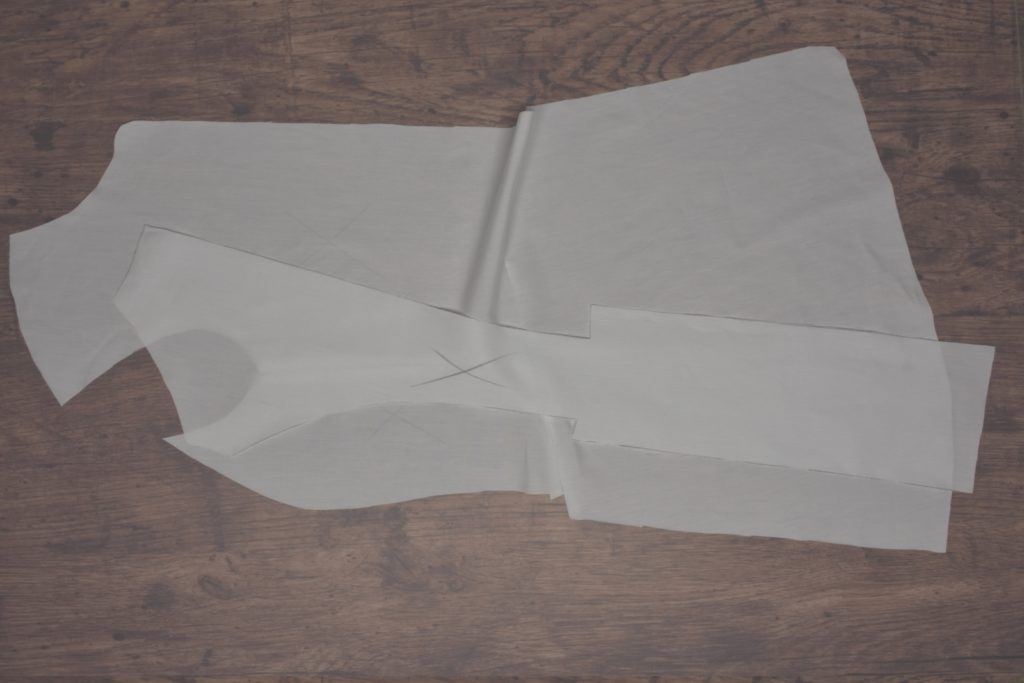
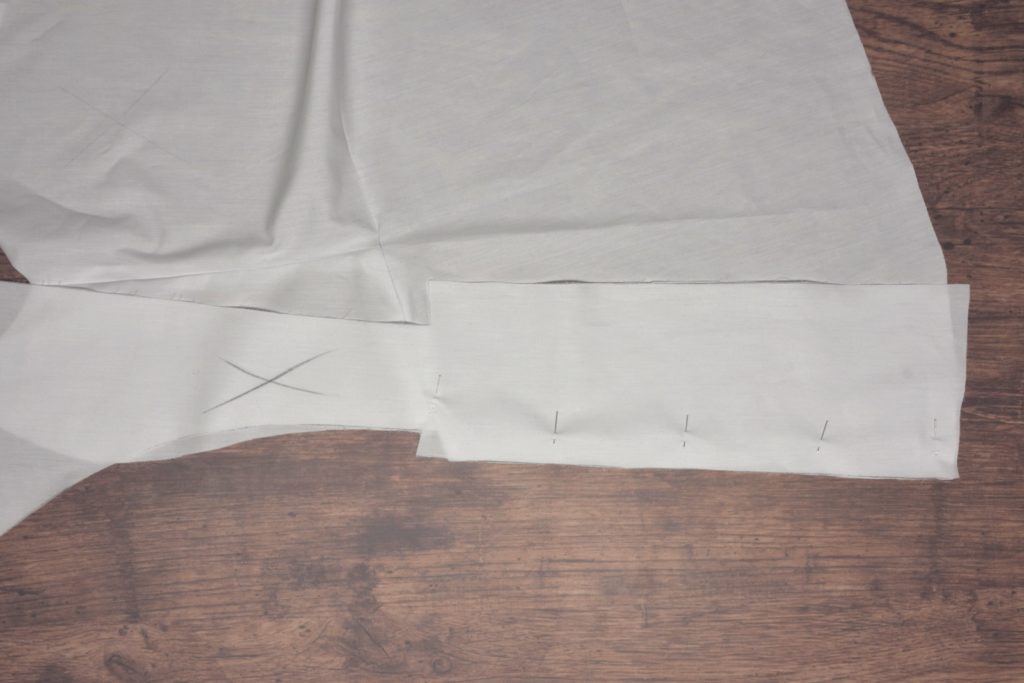
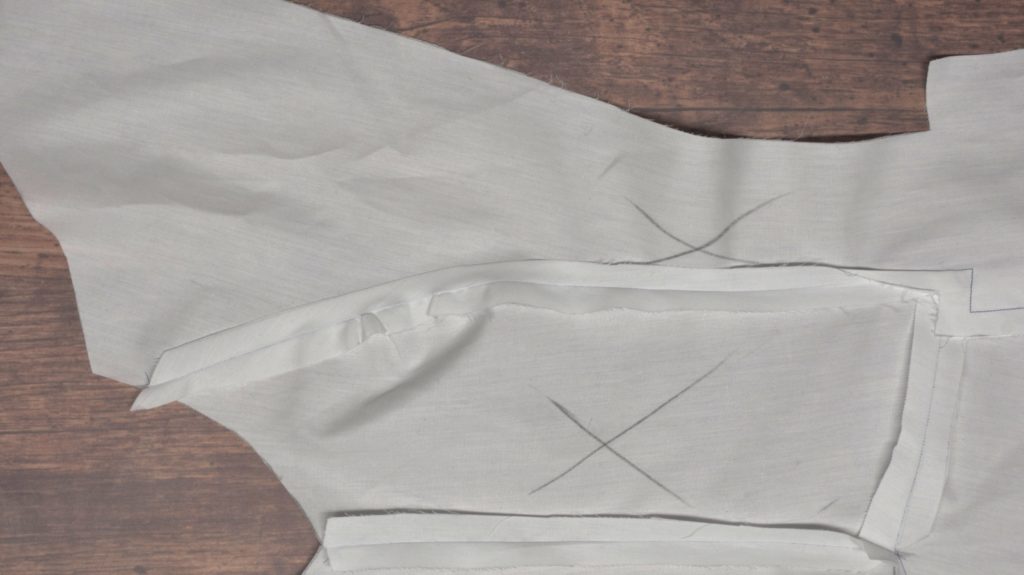
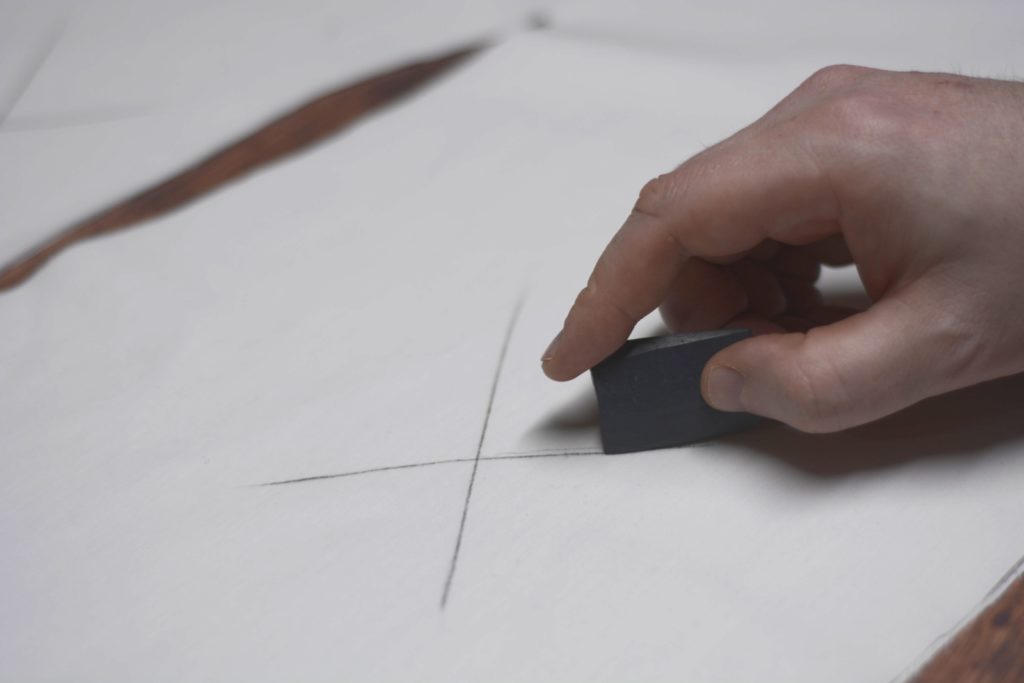
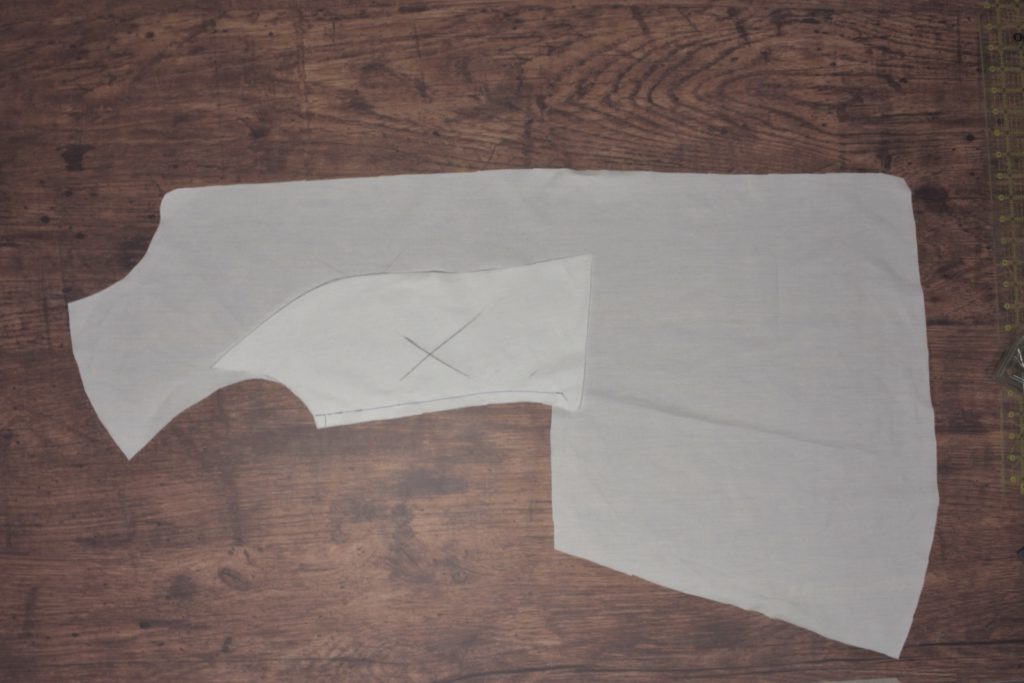
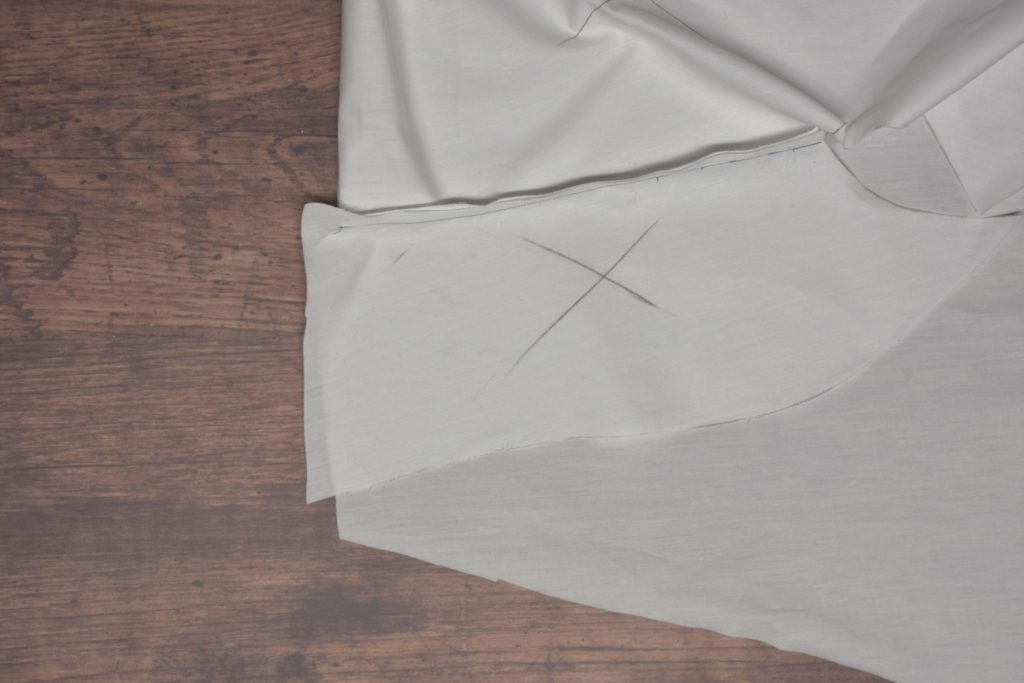
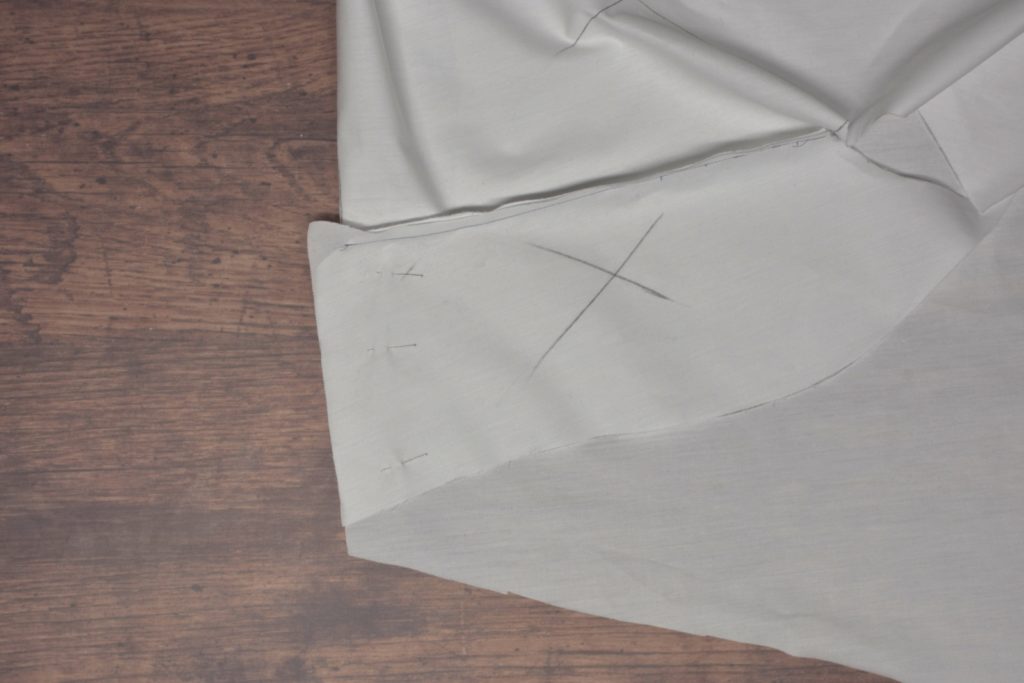
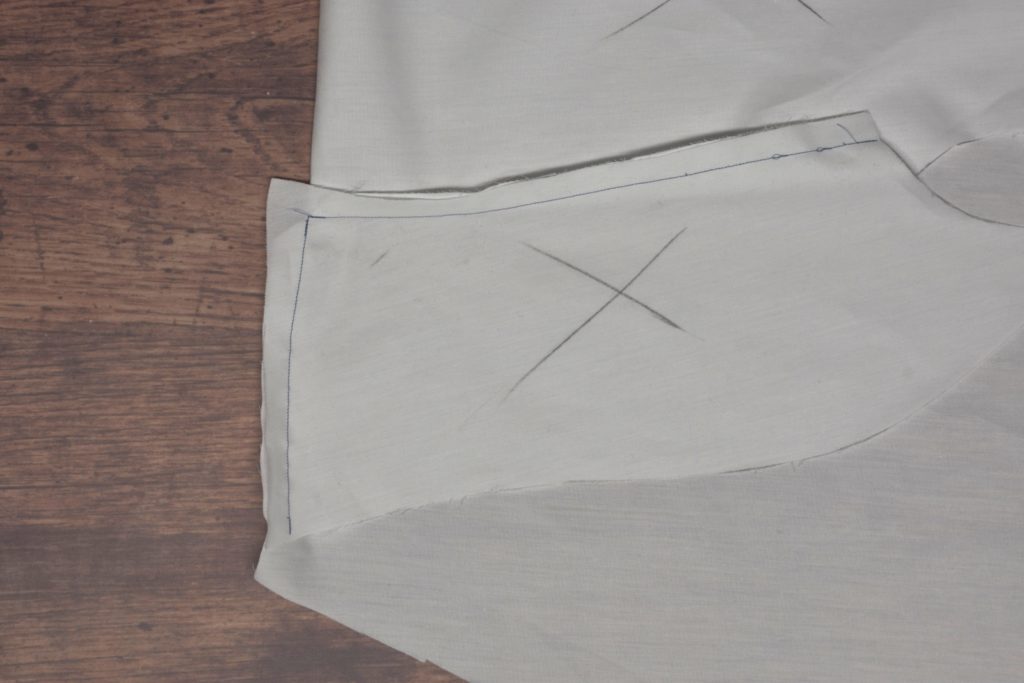
After cutting, mark the wrong sides with an ‘x’ to keep from getting confused during construction.
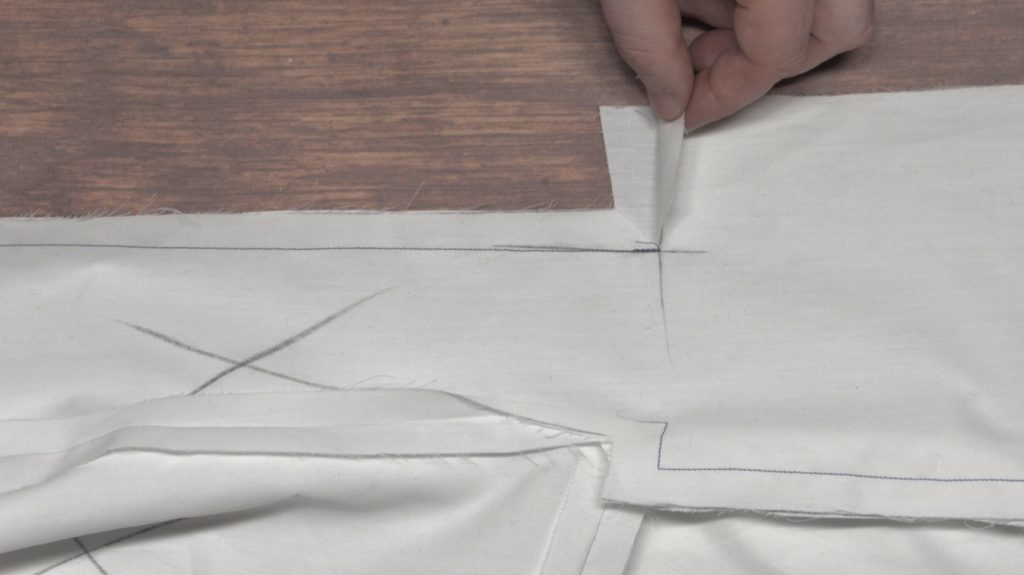
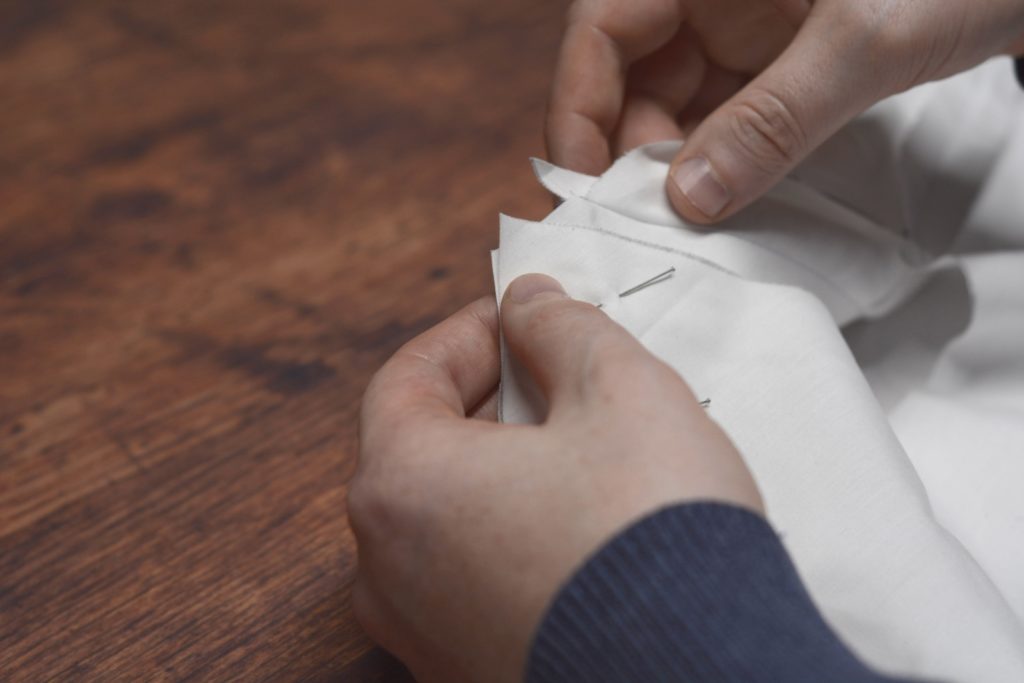
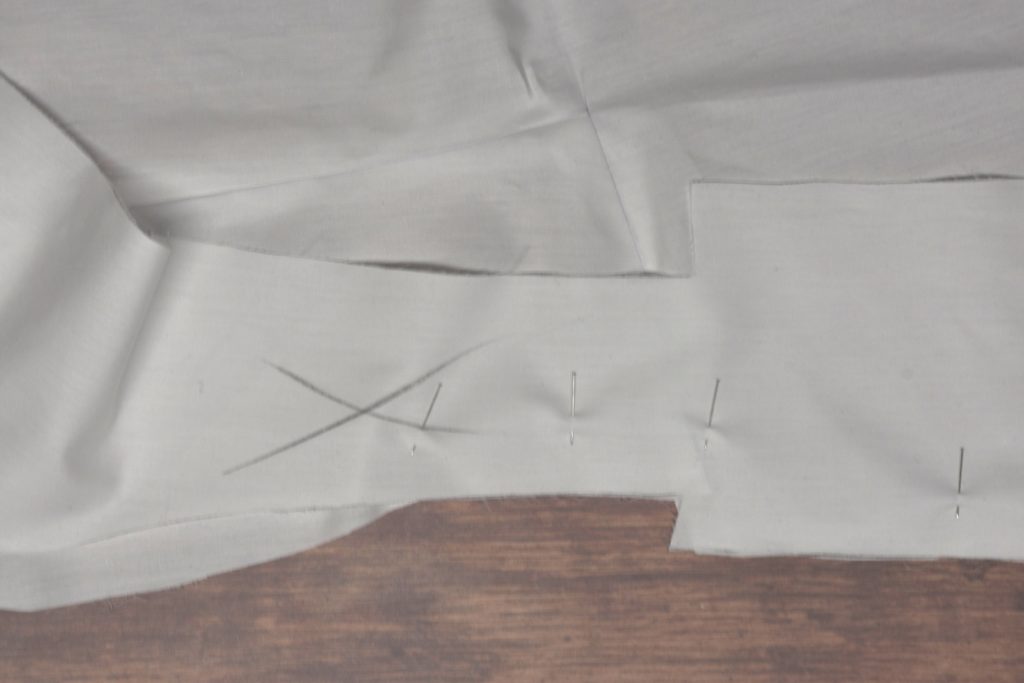
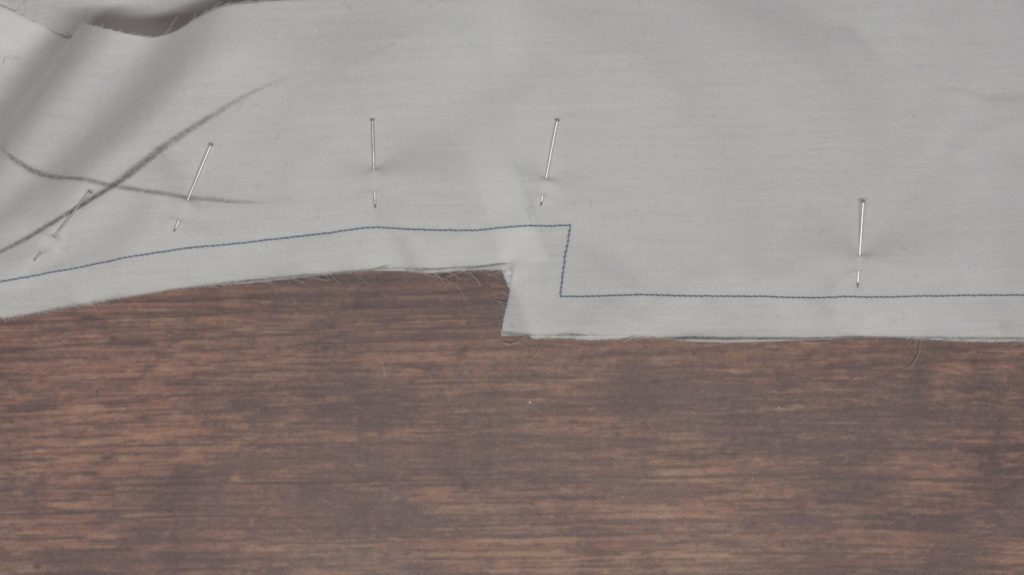
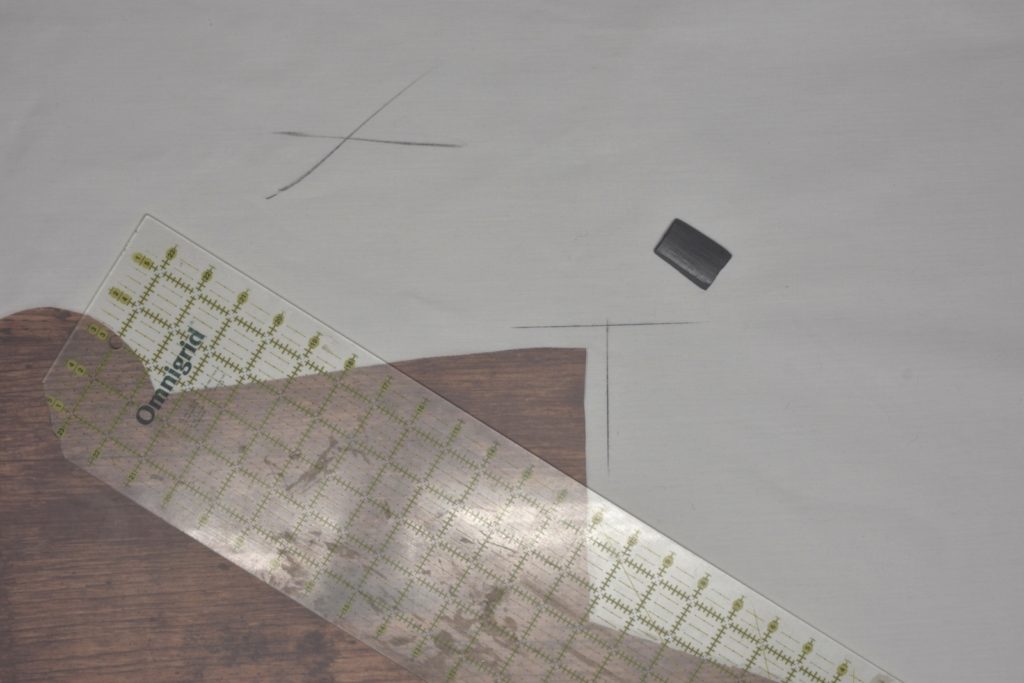
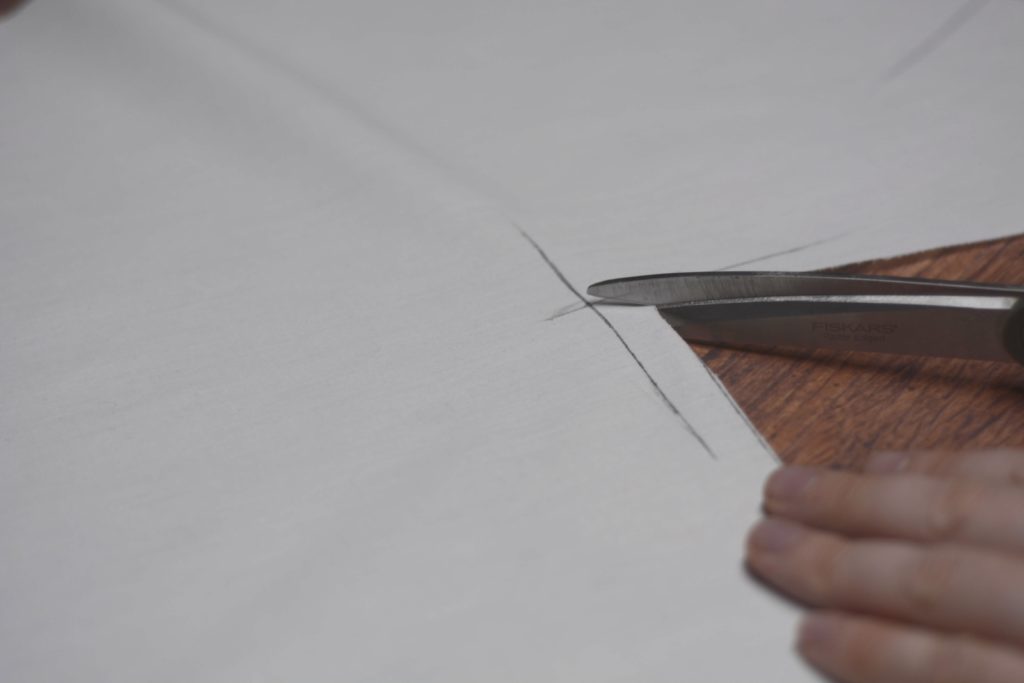
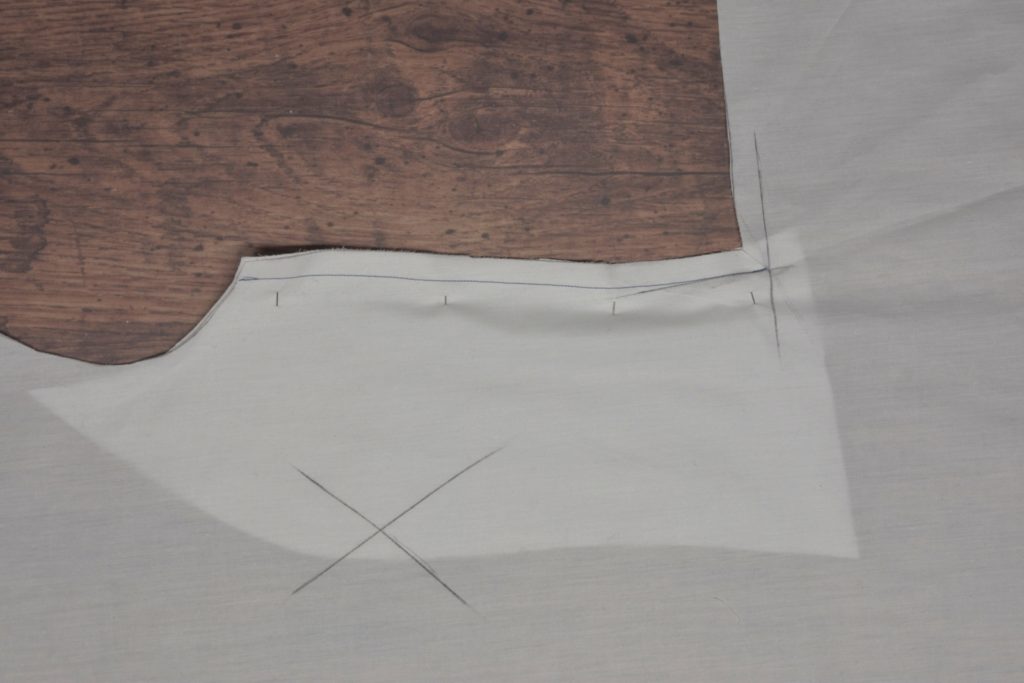
The first thing to do is to carefully mark the 1/2″ seam allowance at the side body / waist seam as shown on the front. Mark this on the wrong side of each front.
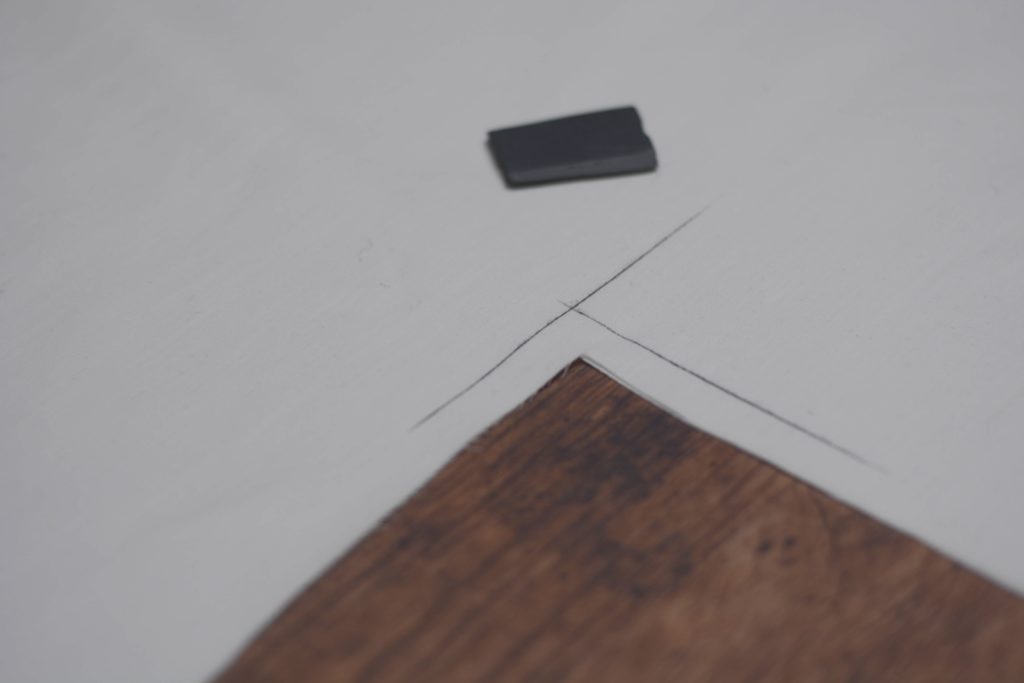
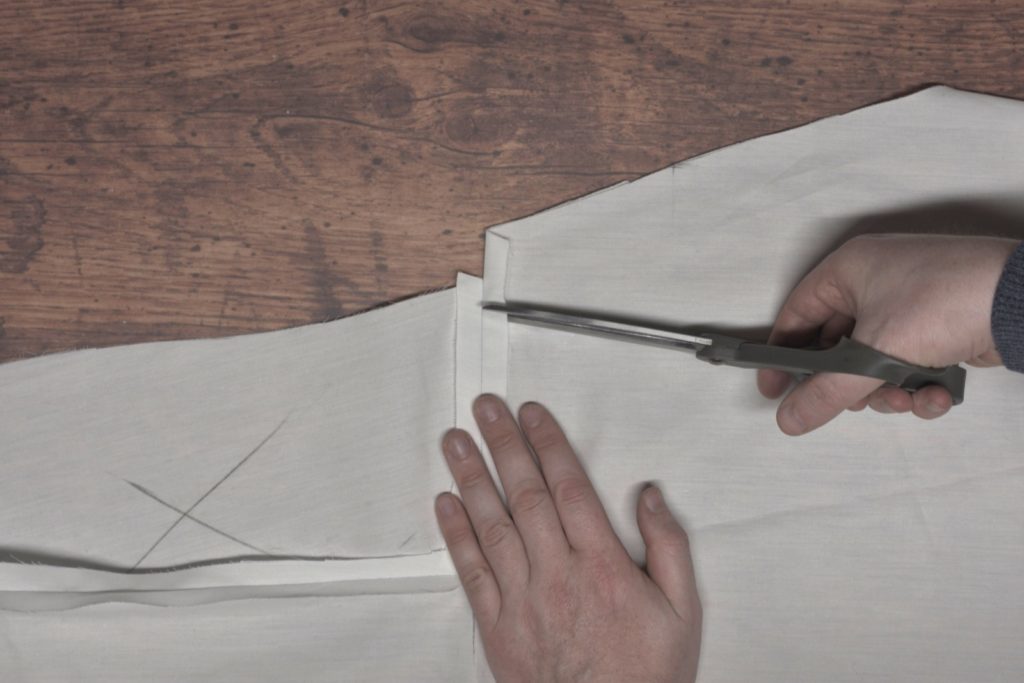
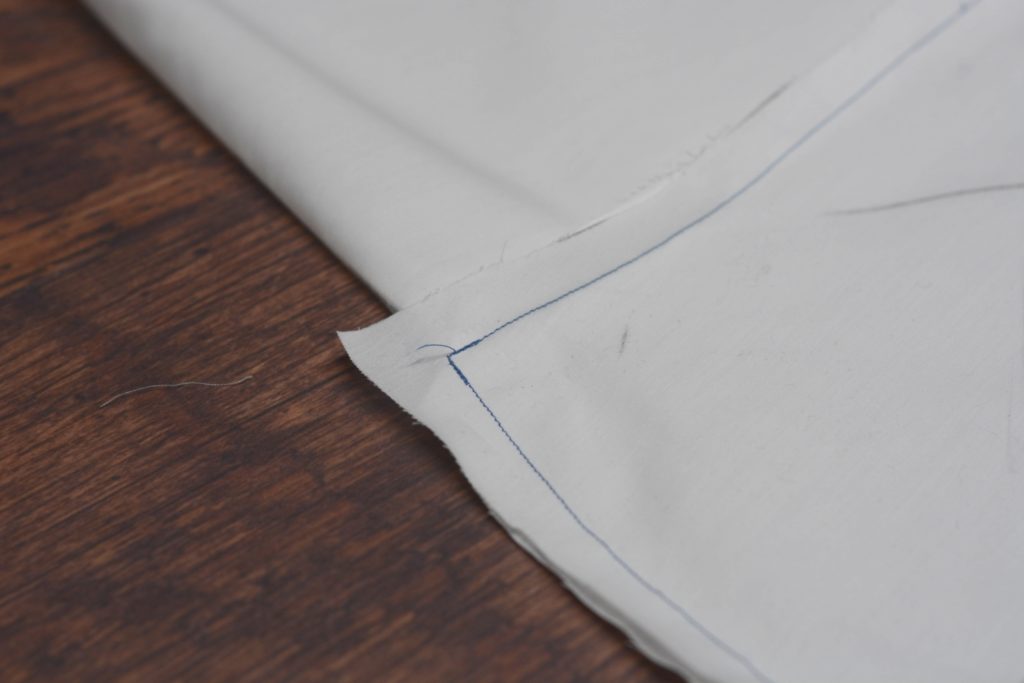
Cut carefully at a 45 degree angle from the corner to the intersection of the seam lines. Repeat for the other half of the coat front.
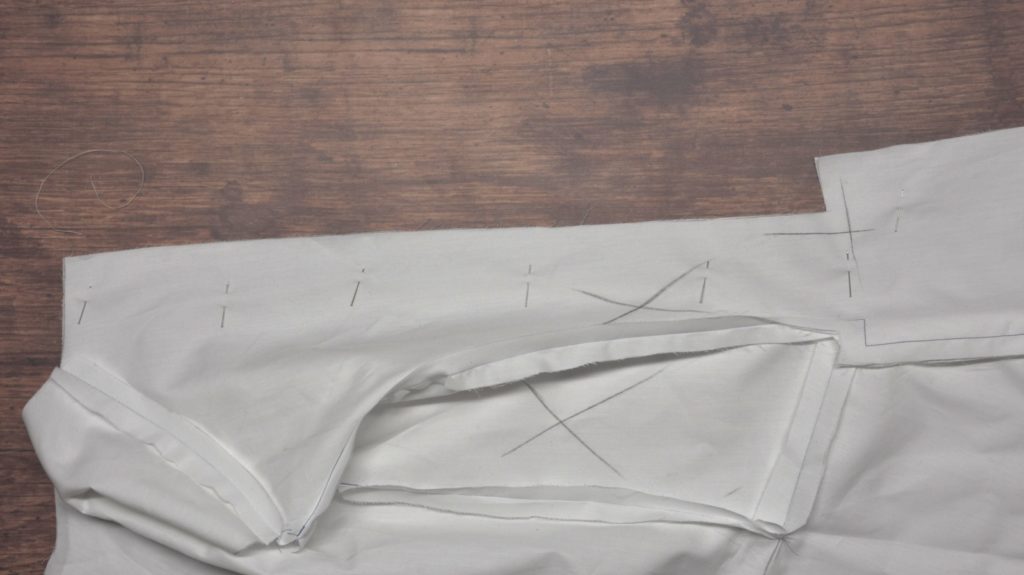
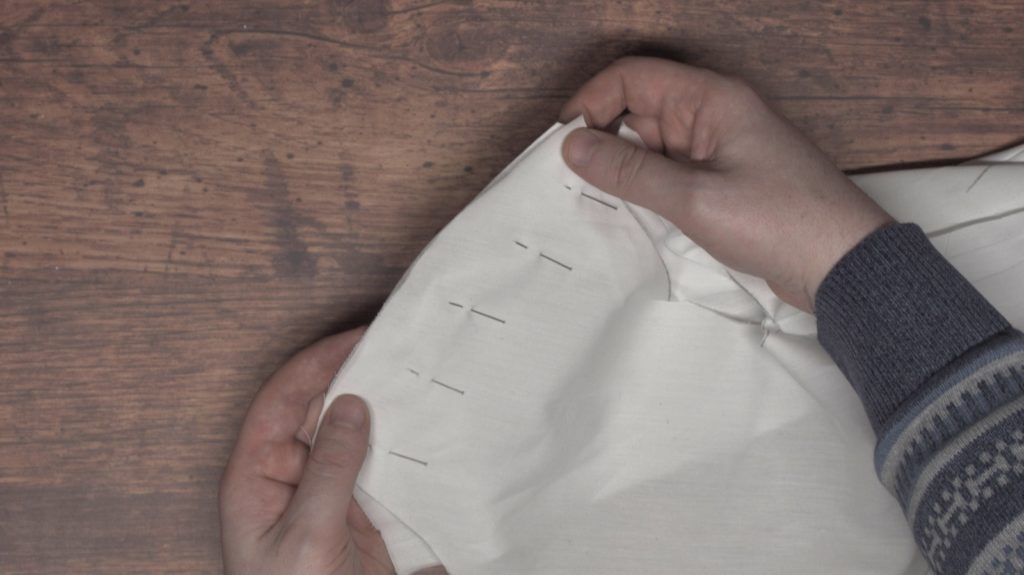
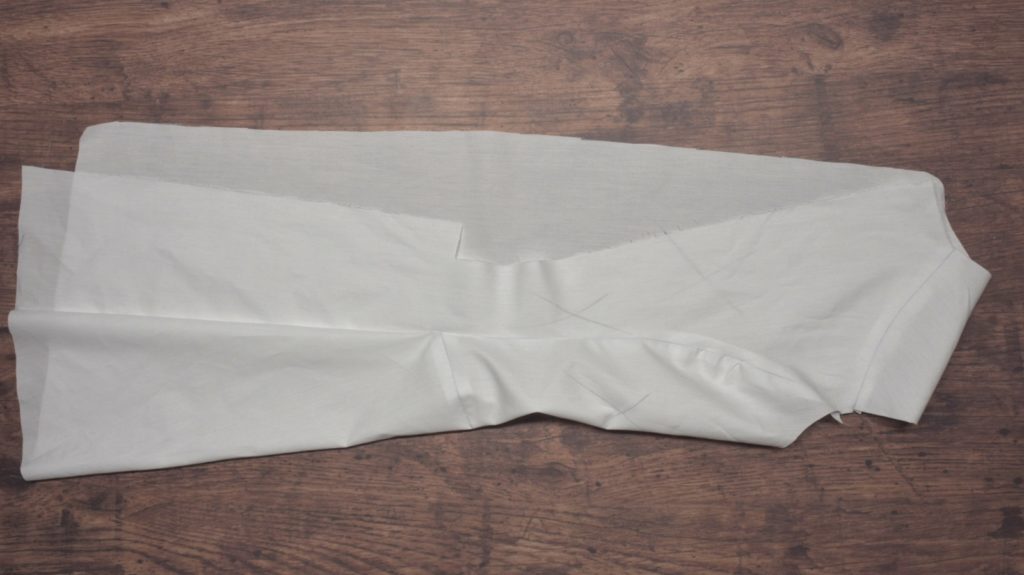
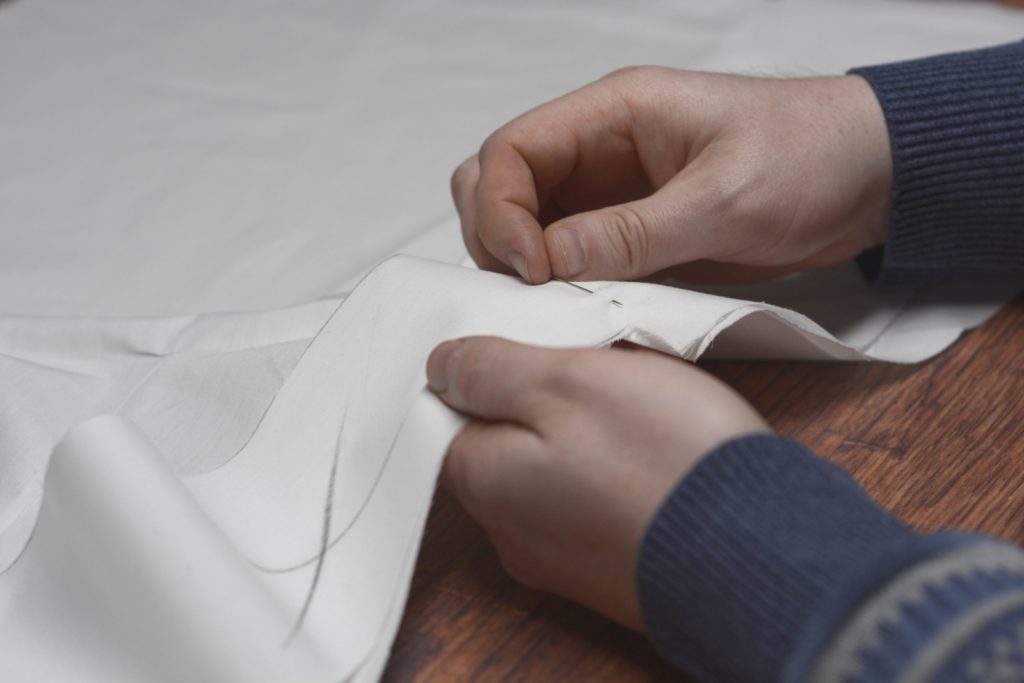
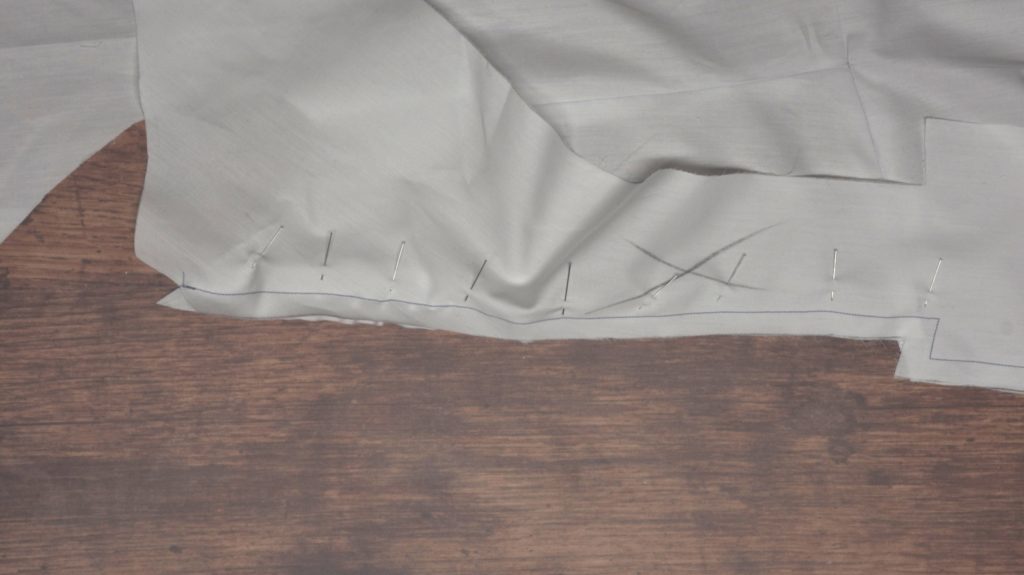
Just for clarity, lay out one forepart and the matching sidebody, right sides up.
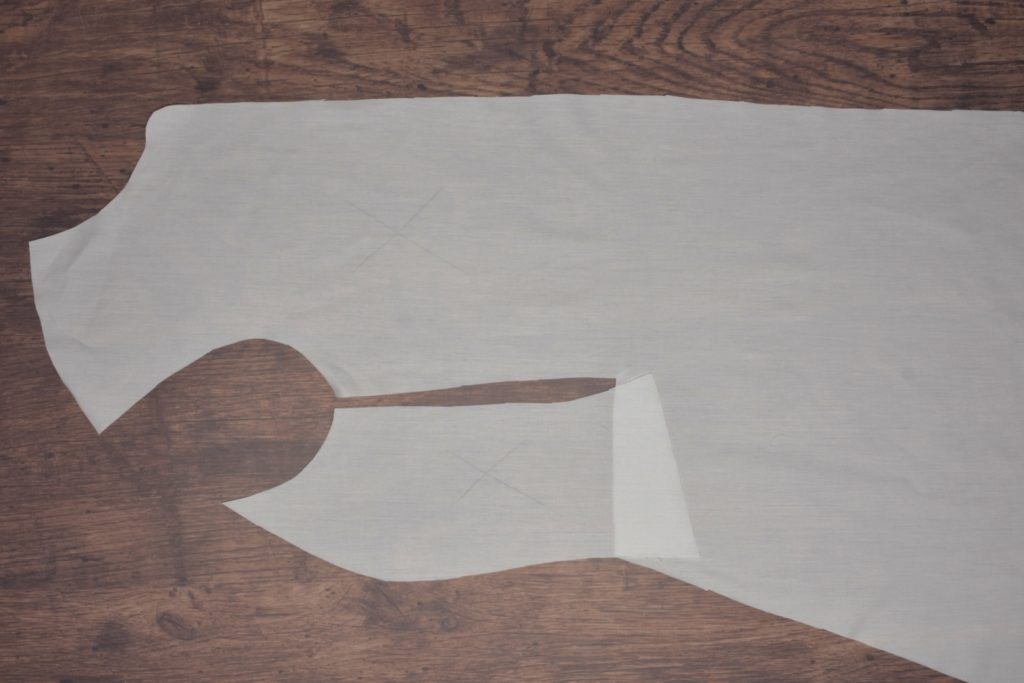
Flip the sidebody into place on top of the forepart, right sides together. Align the top at the armscye, and the bottom of the sidebody should extend 1/2″ below the bottom of that diagonal cut you made.
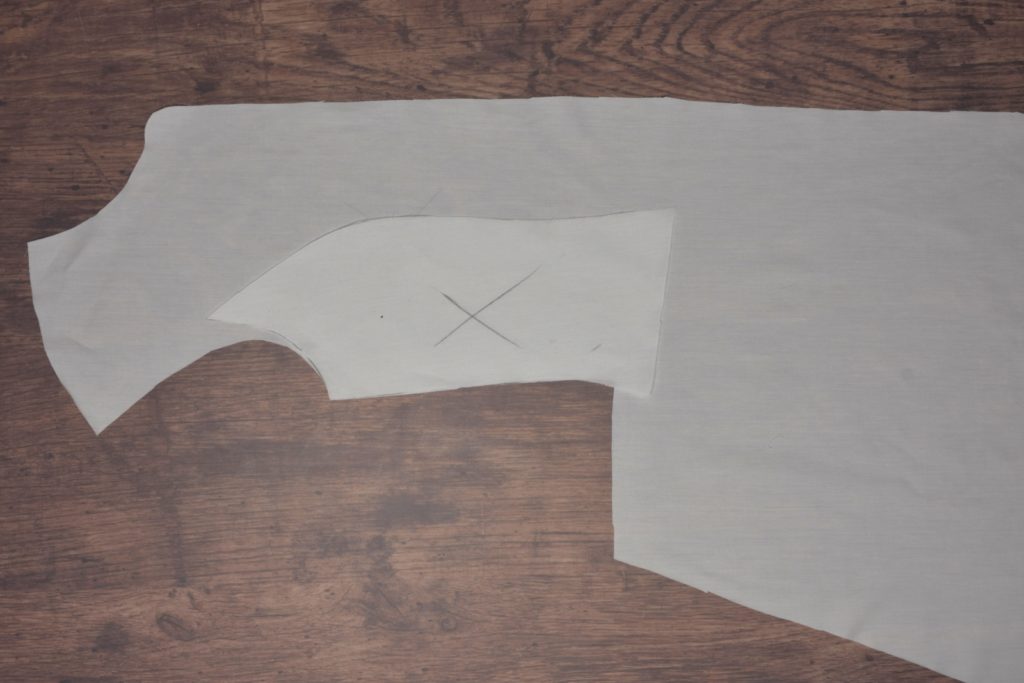
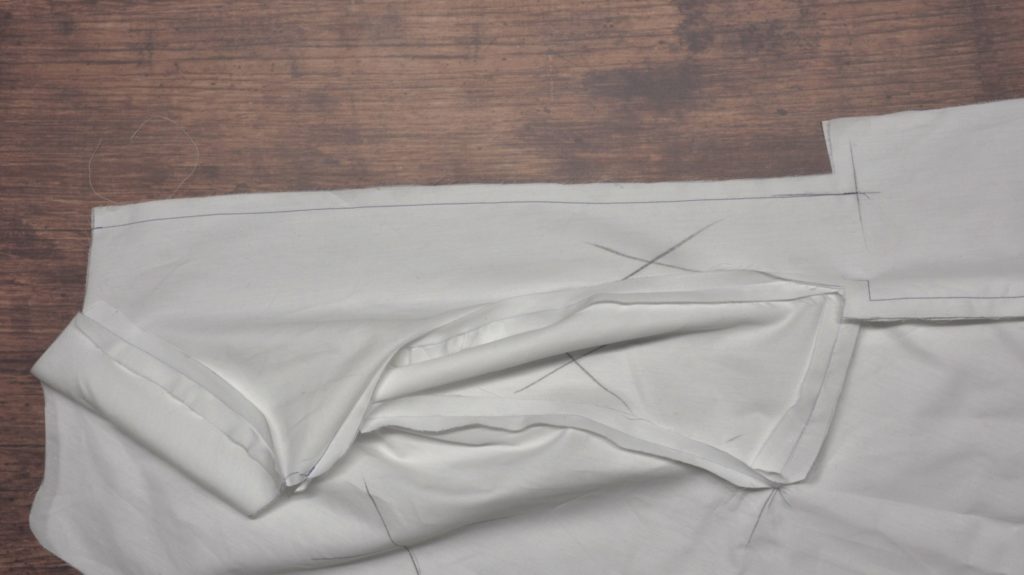
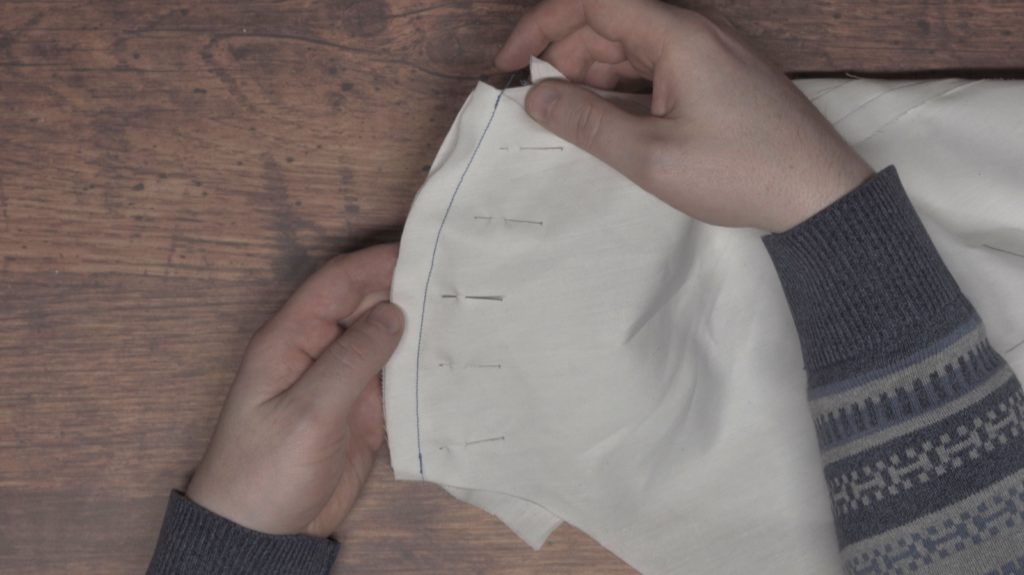
Pin carefully in place, keeping the pins just outside of the 1/2″ seam allowance.
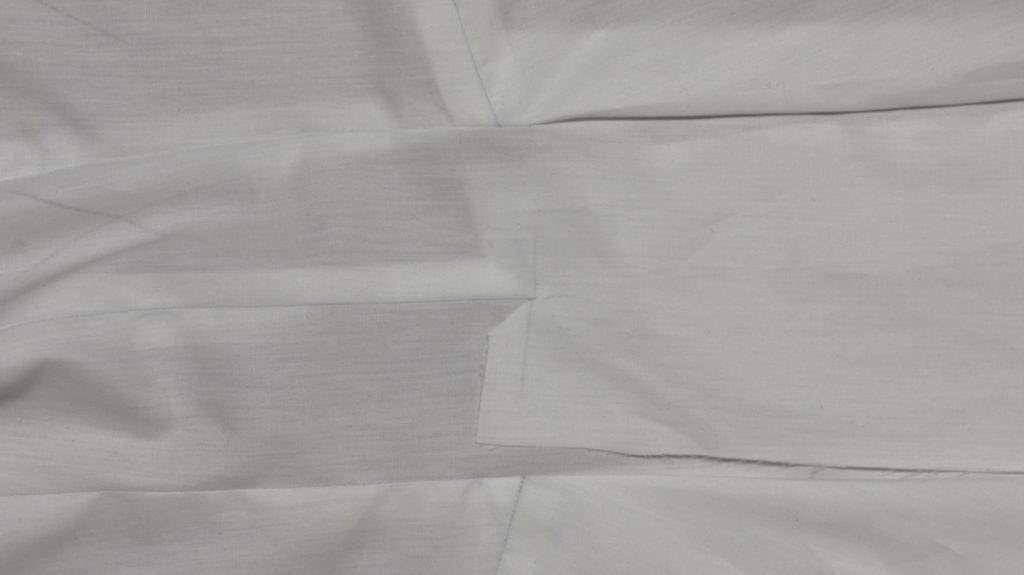
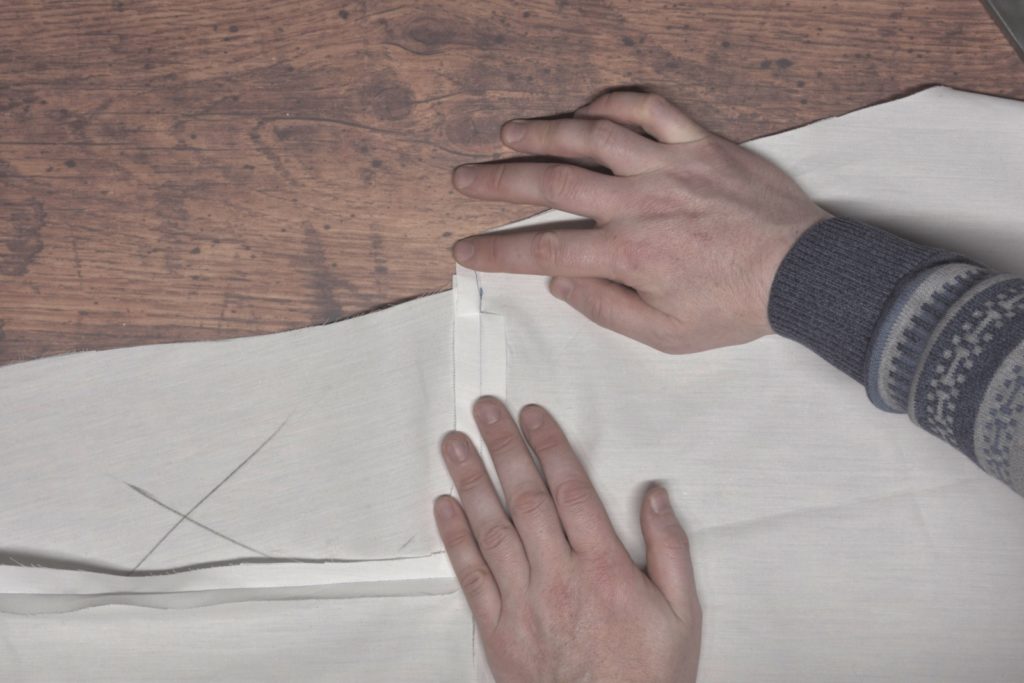
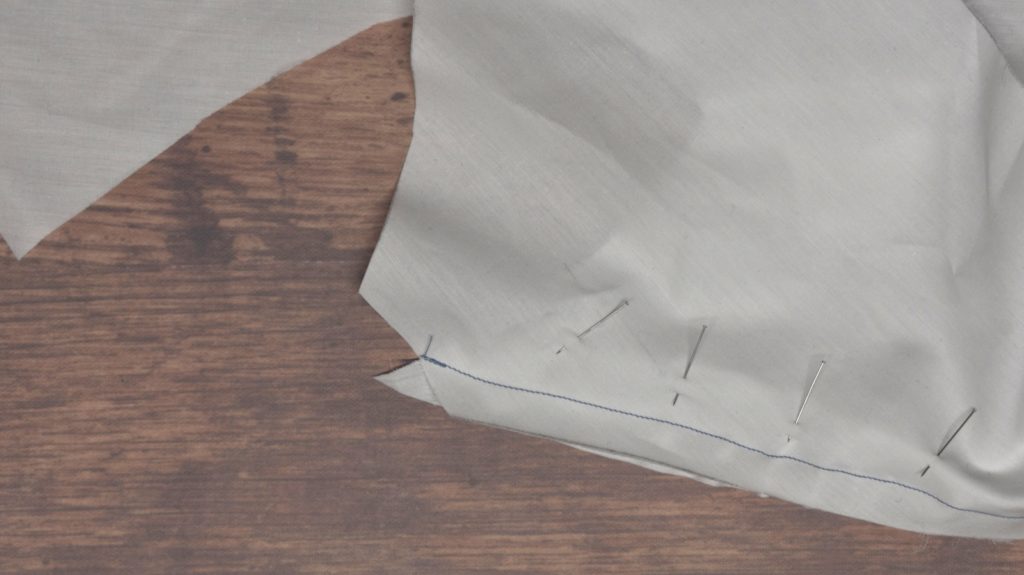
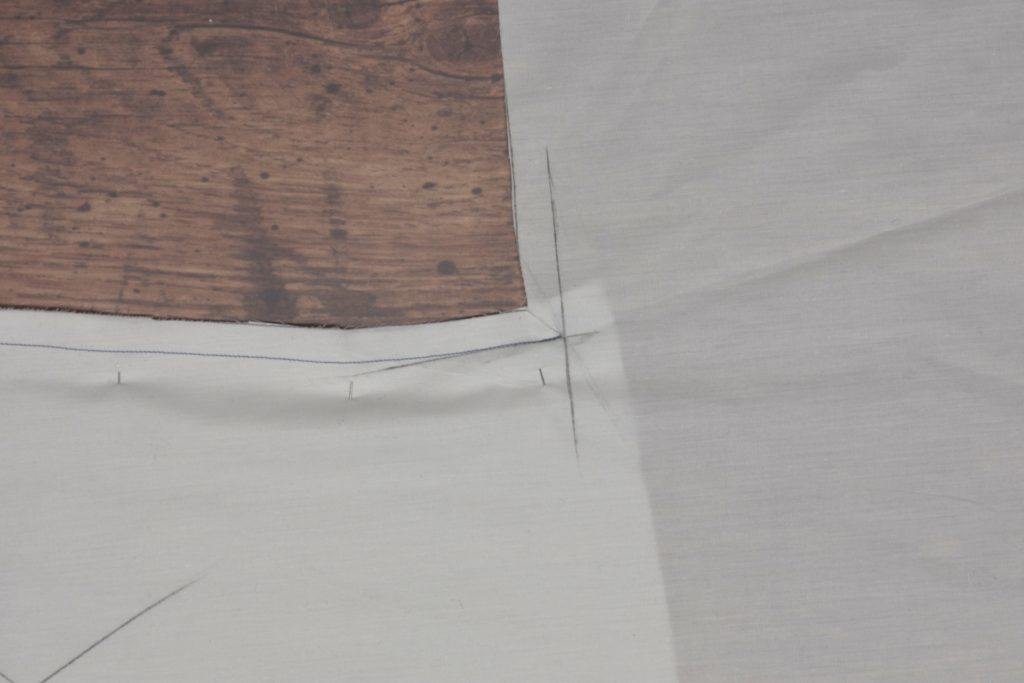
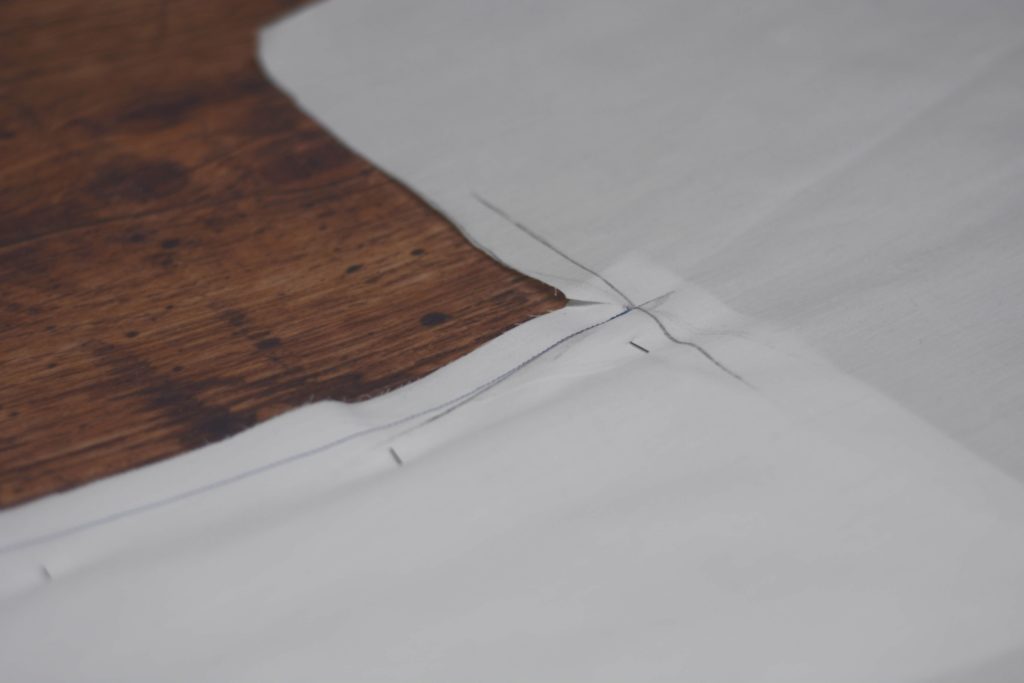
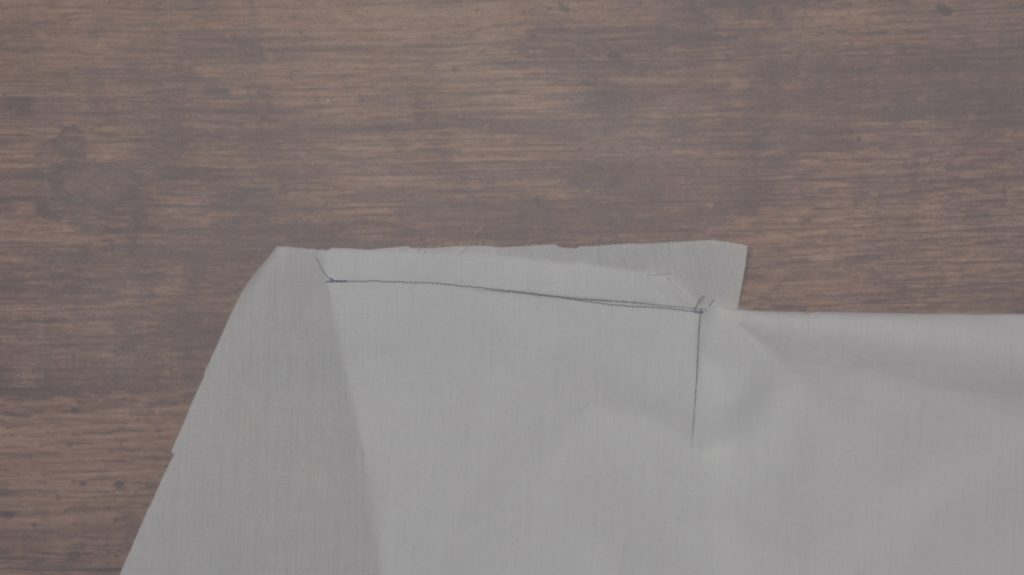
Sew this seam by machine with a half inch seam allowance, from the armscye to the very intersection of those two lines. The more precise you can be here, the better.
Remove the pins.
Here you can see how the stitching ends right at that intersection.
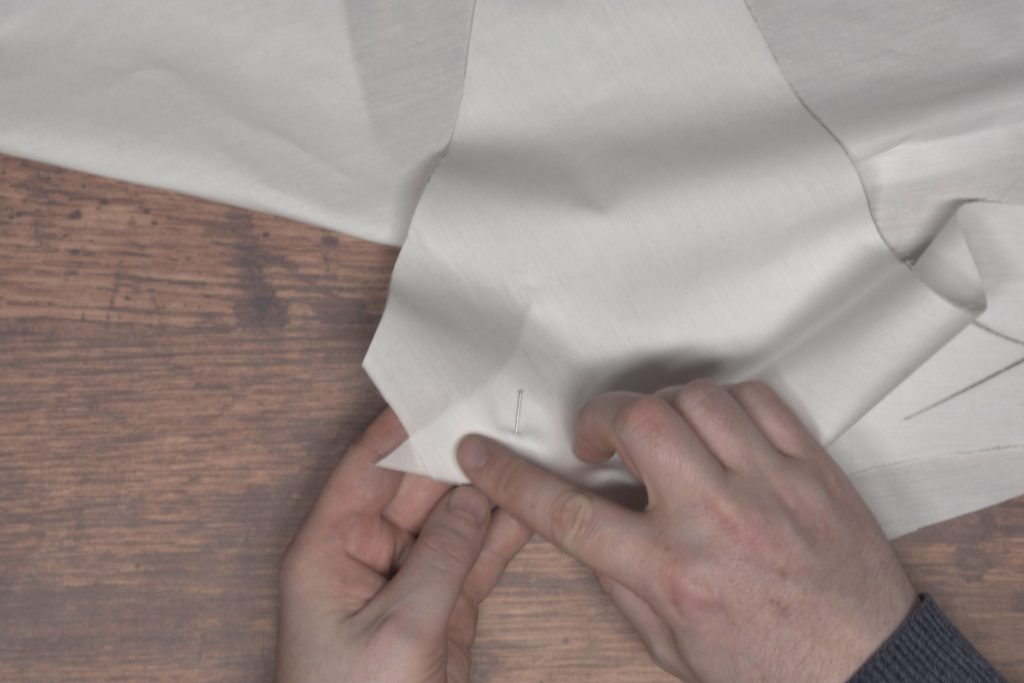
This next step, sewing the waist seam of the sidebody, can be a little confusing at first, so I’ve broken it up into multiple steps for clarity. Here’s a video demonstrating the process.
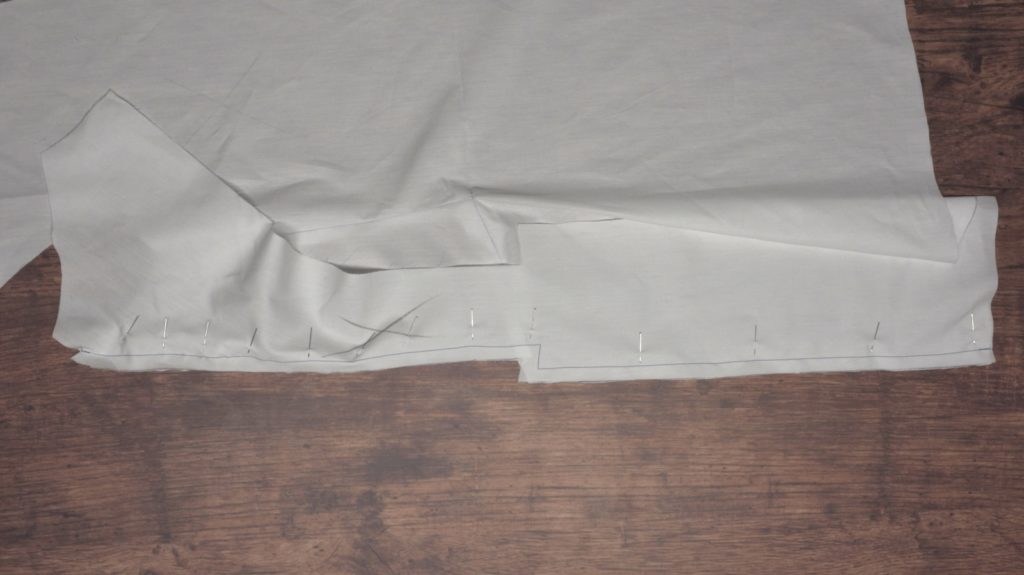
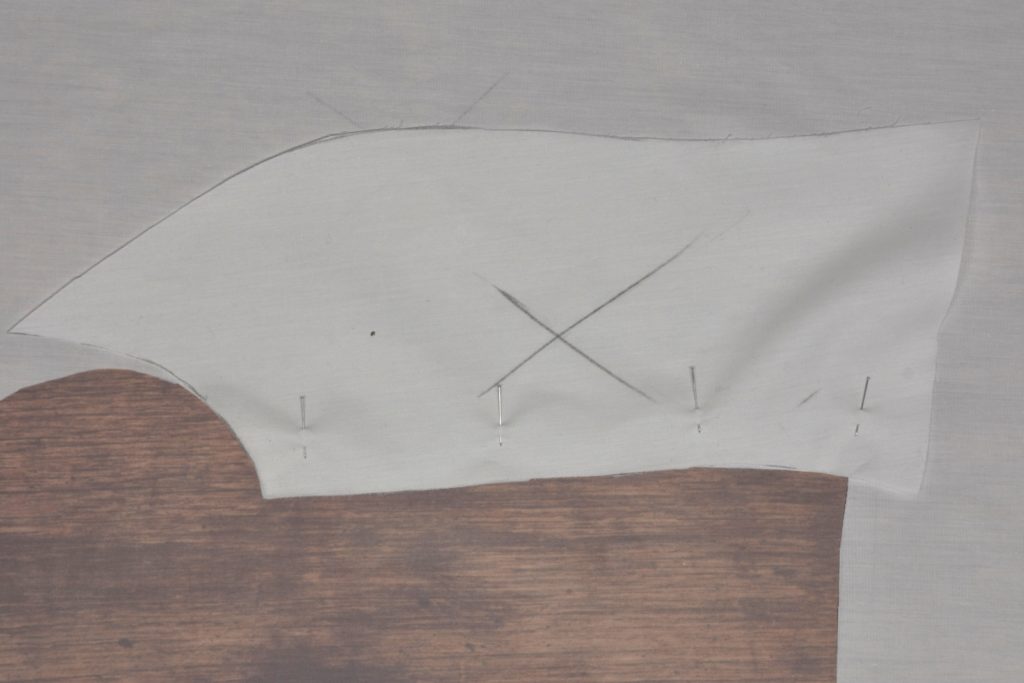
Start with the sidebody and forepart right sides together, as shown.
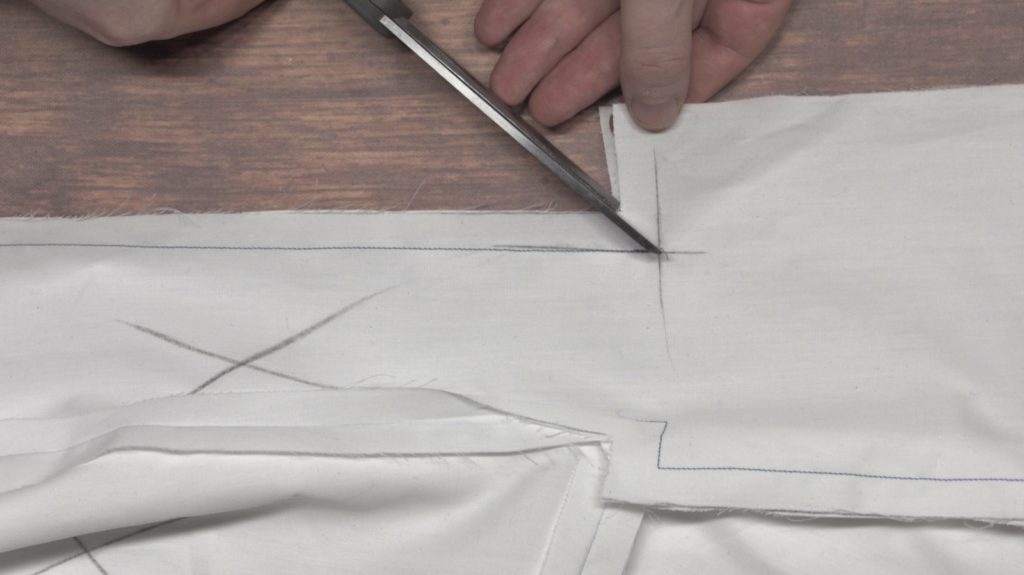
Fold the entire top half of the front and forepart right sides together, at the level of the waist seam.
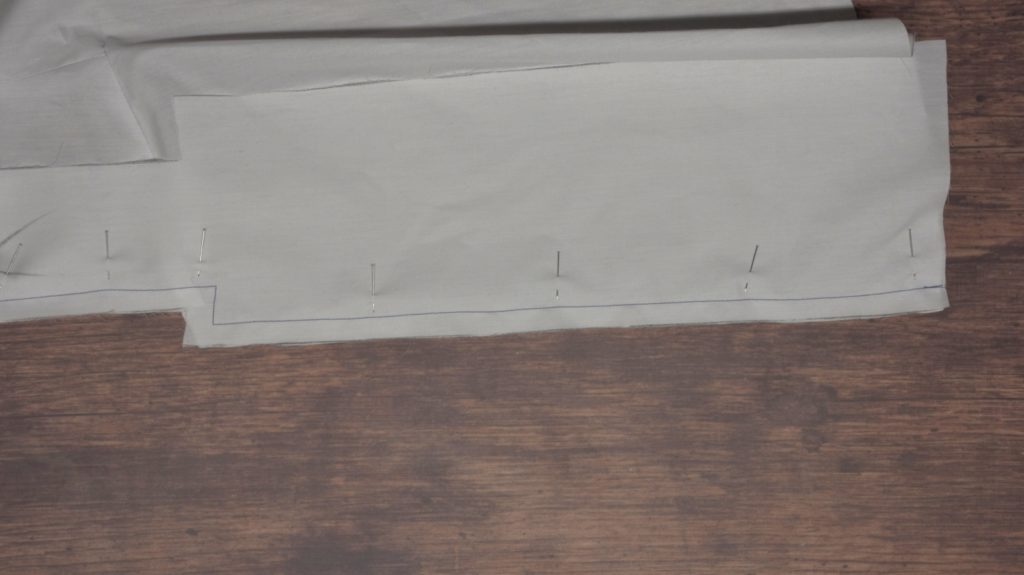
Now reach inside and pull out the sidebody so that the waist seam is aligned, right sides together.

Pin the waist seam together, finessing the fit as you go. Ideally, the two seams should line up perfectly, but sometimes you’ll find the sidebody is slightly longer, perhaps due to stretching or pinning unevenly, so work with what you have.
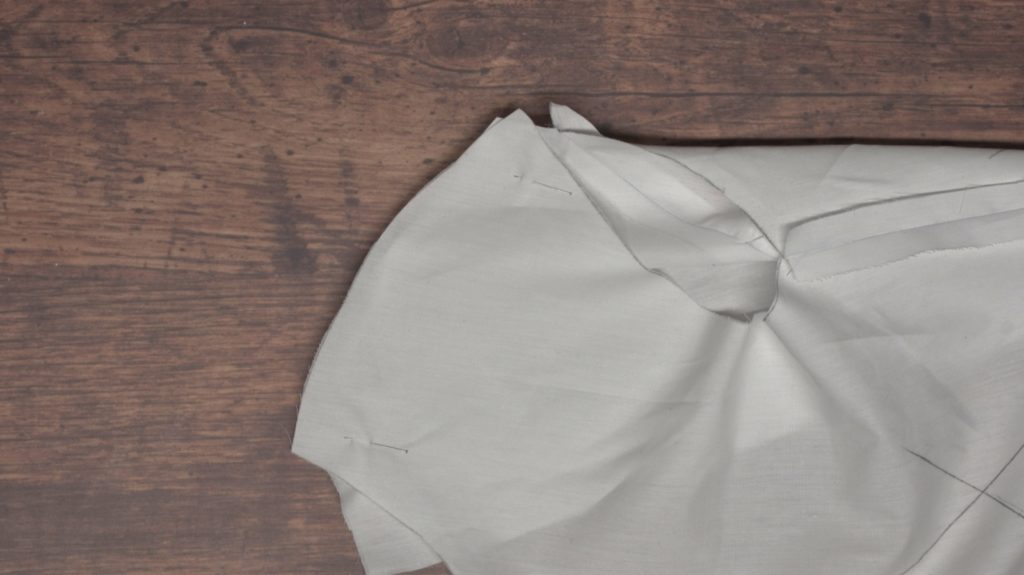
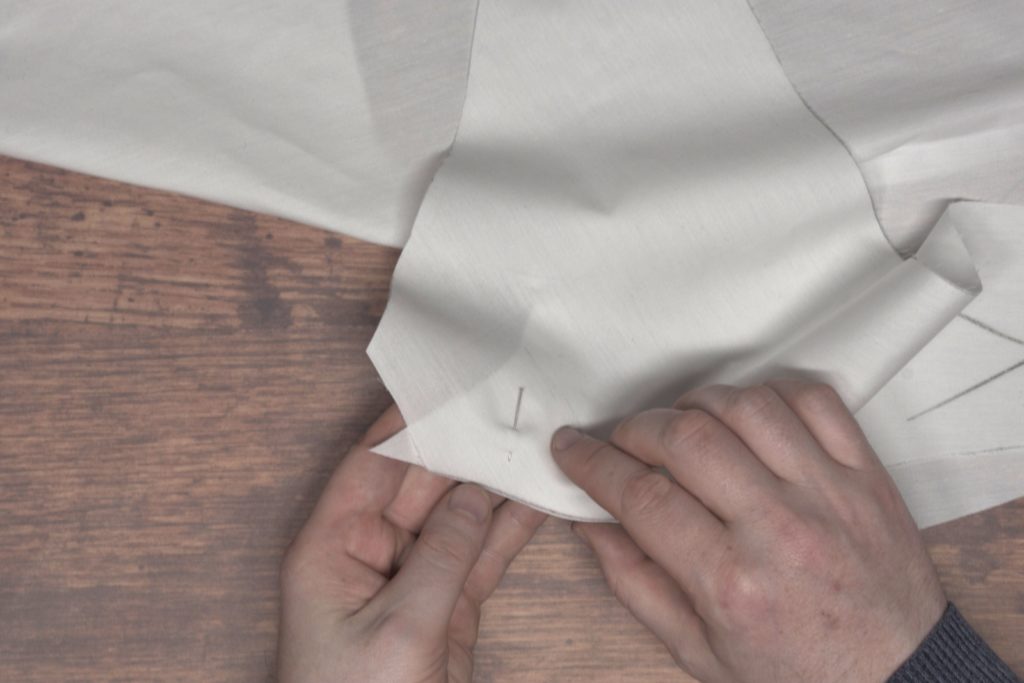
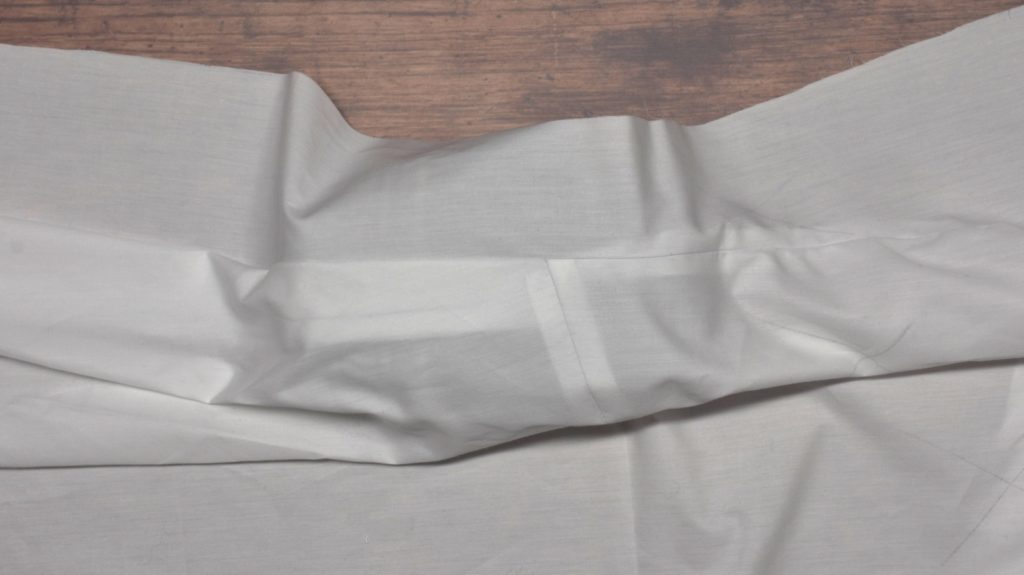
Here’s what happens if the sidebody isn’t properly aligned. You can see it extending more than the 1/2″ seam allowance. I’m not sure what caused it in this case, perhaps holding the fabric differently while pinning, sloppy cutting, or something else.
Carefully sew the waist seam of the sidebody using a 1/2″ seam allowance. This row of stitching should also meet at the intersection of the two lines, touching the end of the stitch line from the side seam.
Finally, open everything up and press the seams open.