Month: December 2019
Trouser Lining
Trouser linings were common but optional during the 1860s period. A lining adds a little bit of warmth to the trousers, but most importantly, more strength and longevity to the seams and various areas of the trousers.
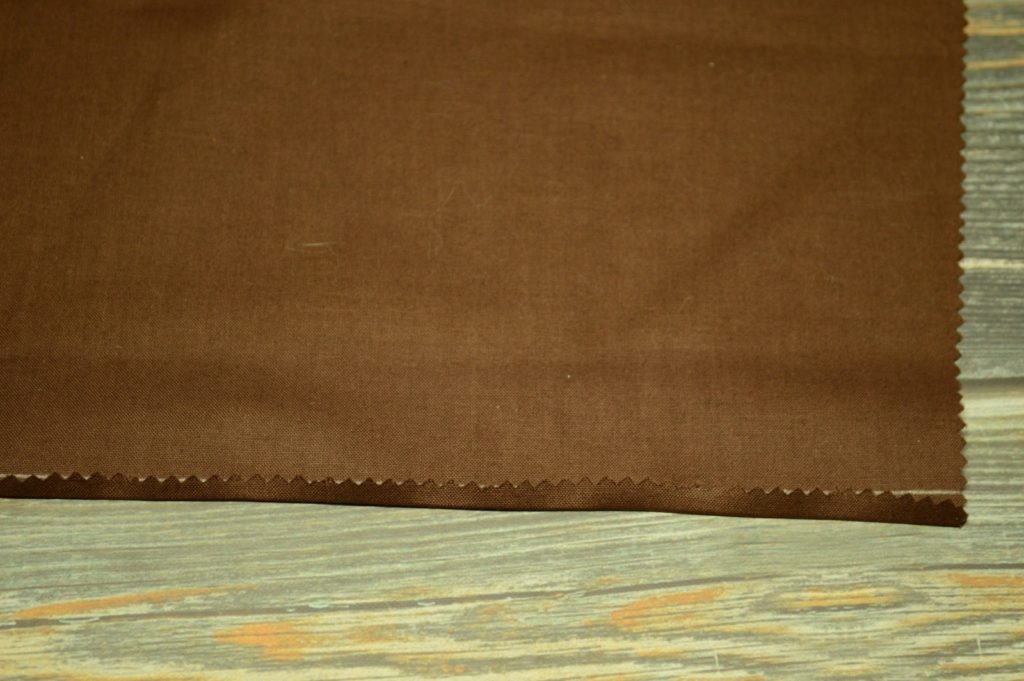
There are several possibilities and combinations for a lining. You can line the seat, the fronts down to just below the knees, or the entire pair of trousers down to the cuffs. Here I’ll be using a brown polished cotton for the lining.
In any case, the lining is created in the same manner with a process known as flat lining. After putting in any necessary darts, the linings are basted to the inside of the trousers, and from then on treated as one piece.
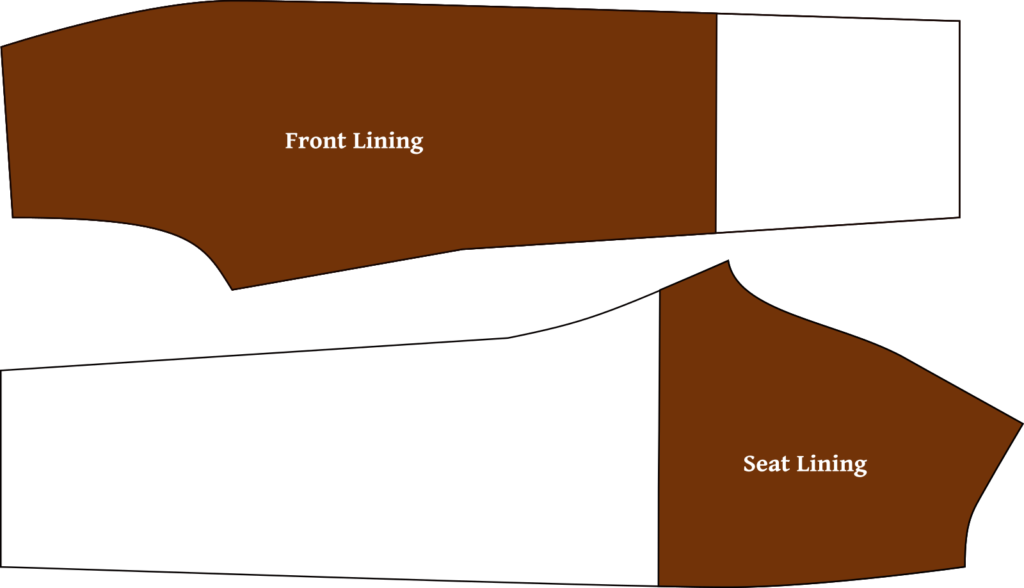
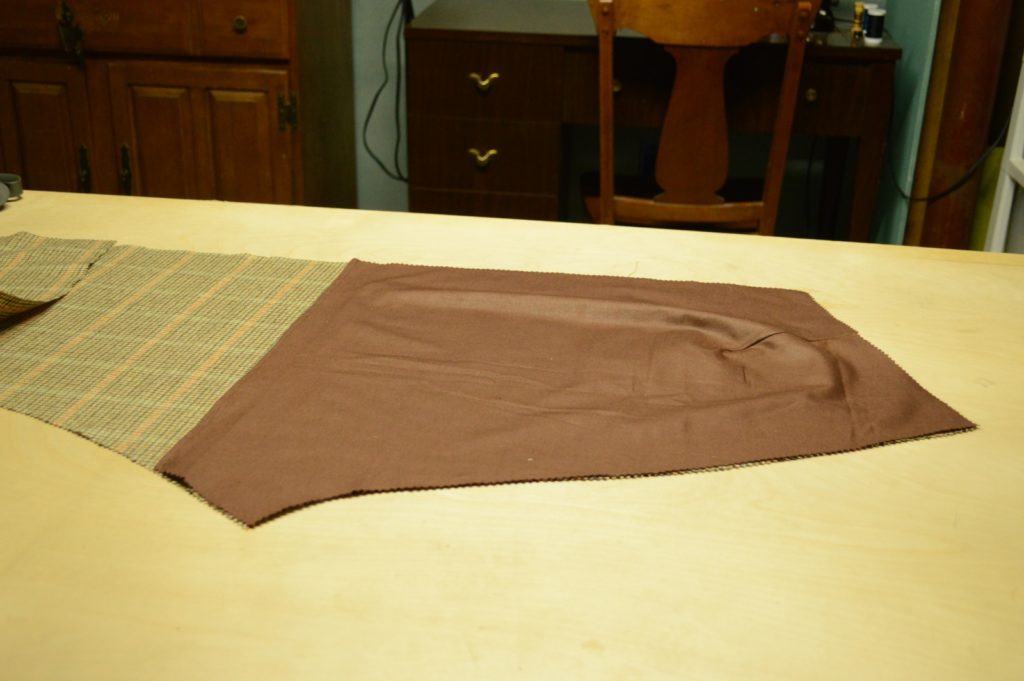
Begin with cutting out your linings as desired using the diagram above for reference.
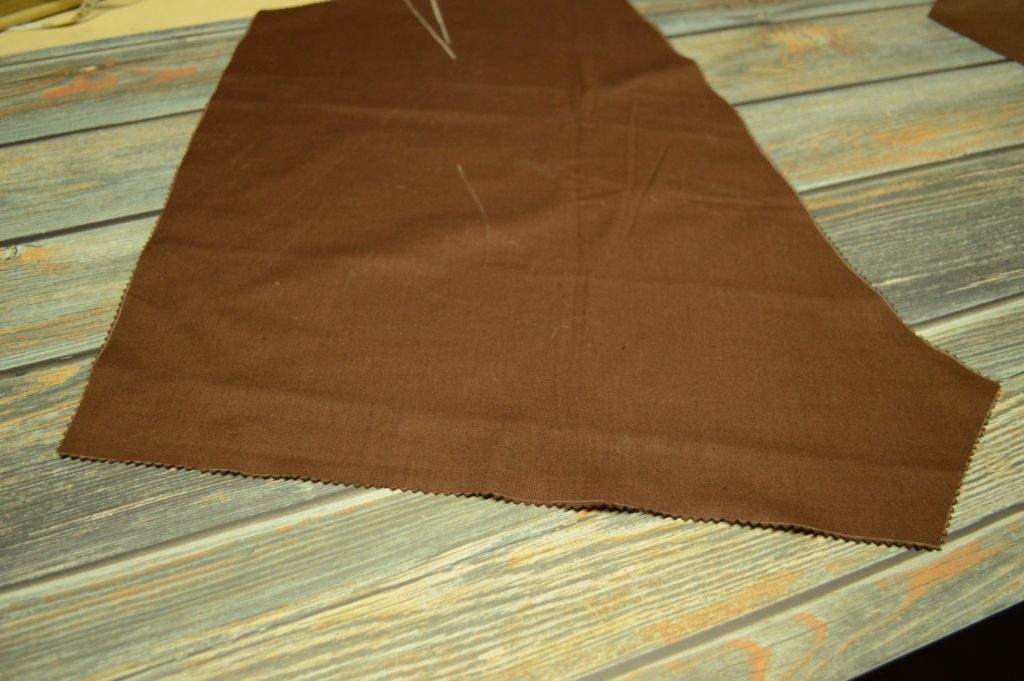
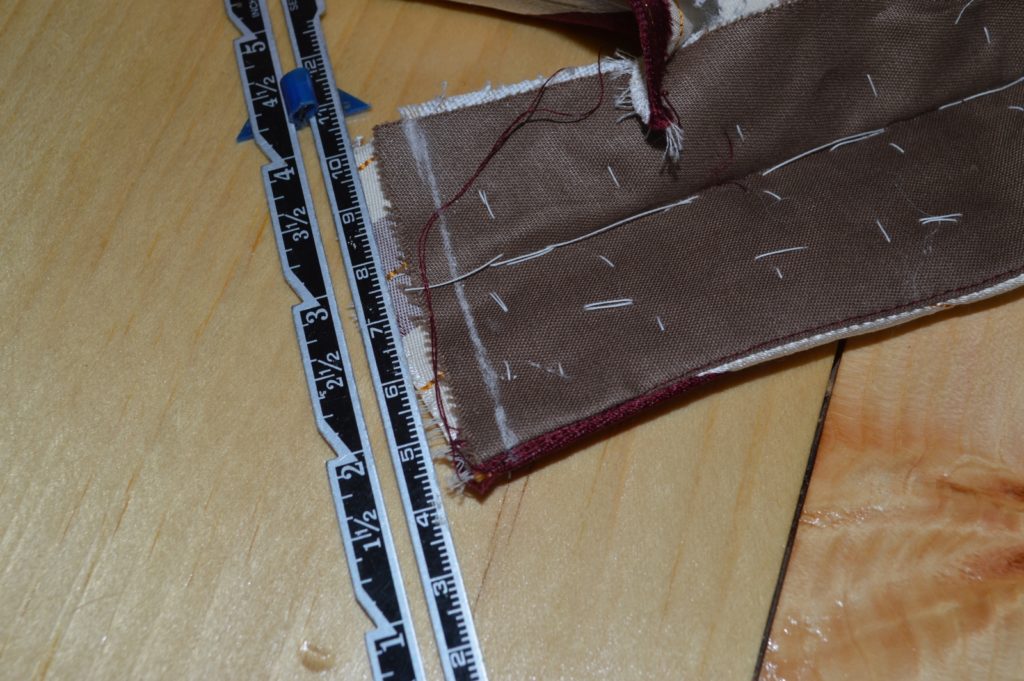
I’m going to just line the seat, but the techniques are the same whichever way you choose. Be sure to mark any darts as well. The bottom of the lining is about 3 or 4 inches below the fork.
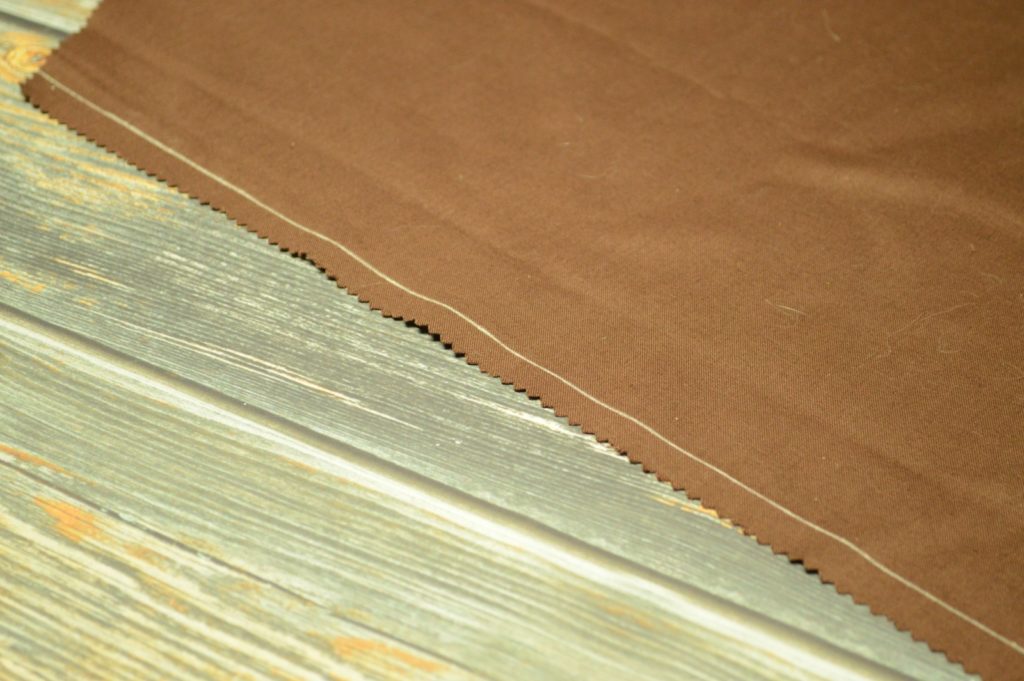
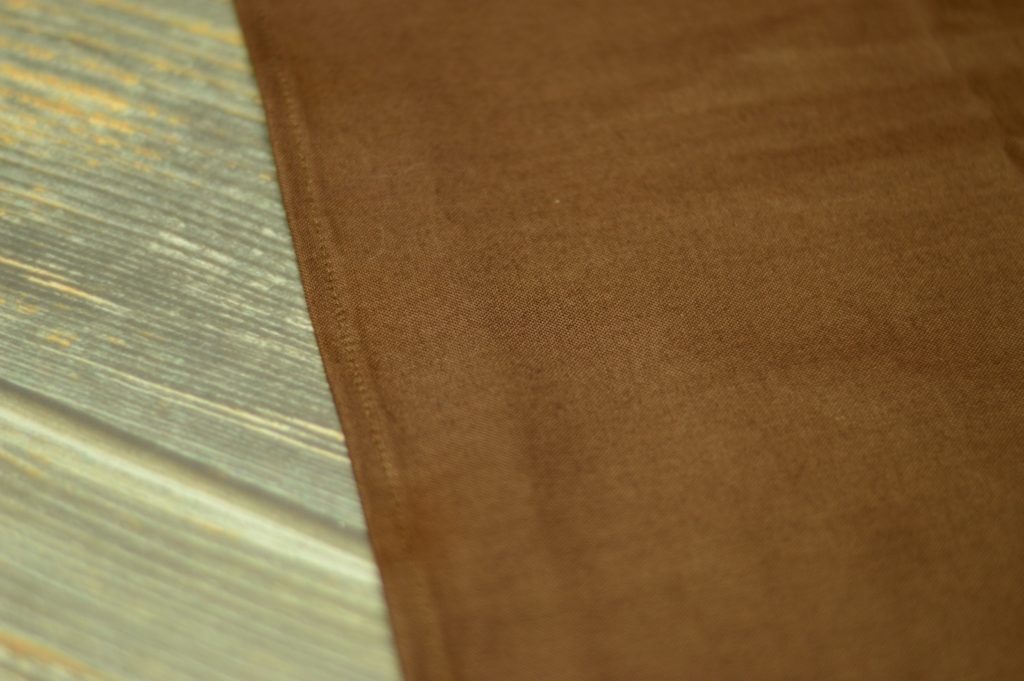
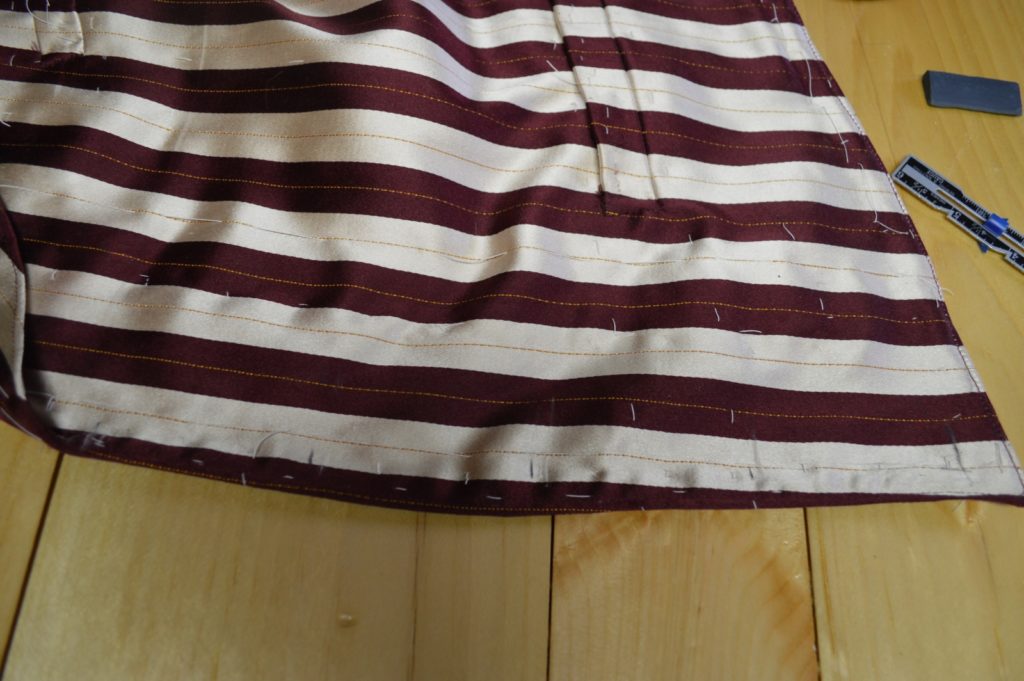
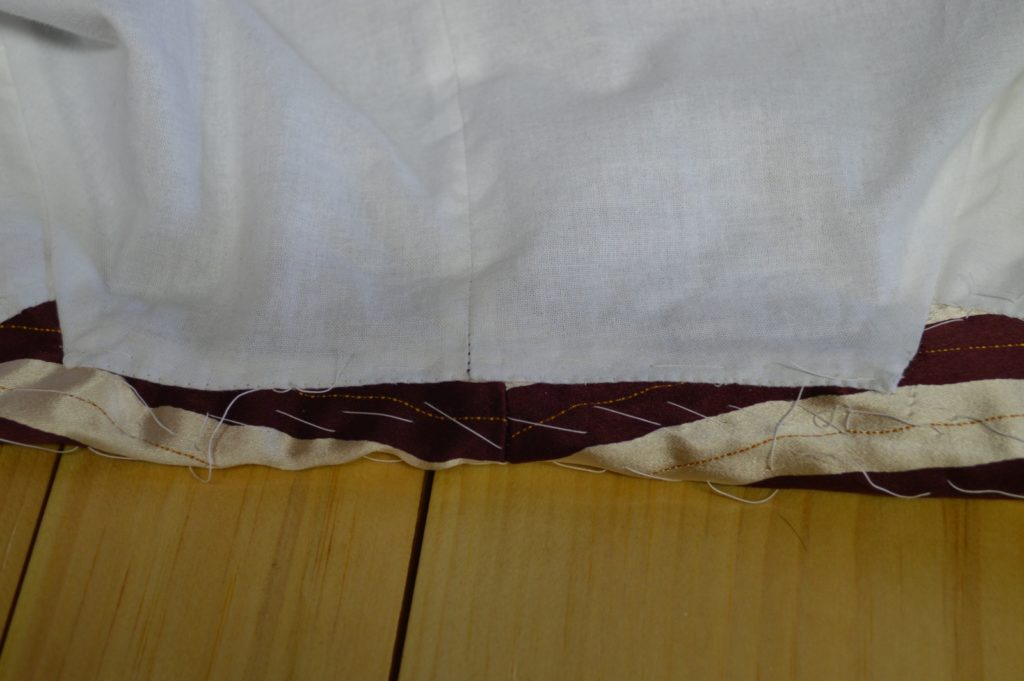
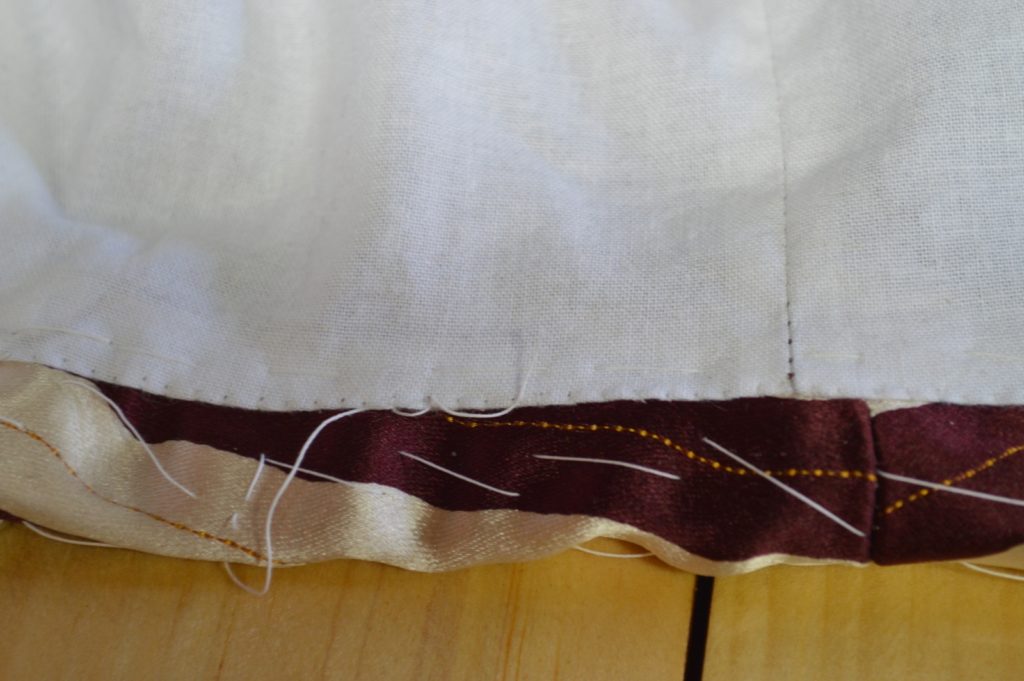
On the wrong side, mark a line 1/2″ from the bottom of the lining.
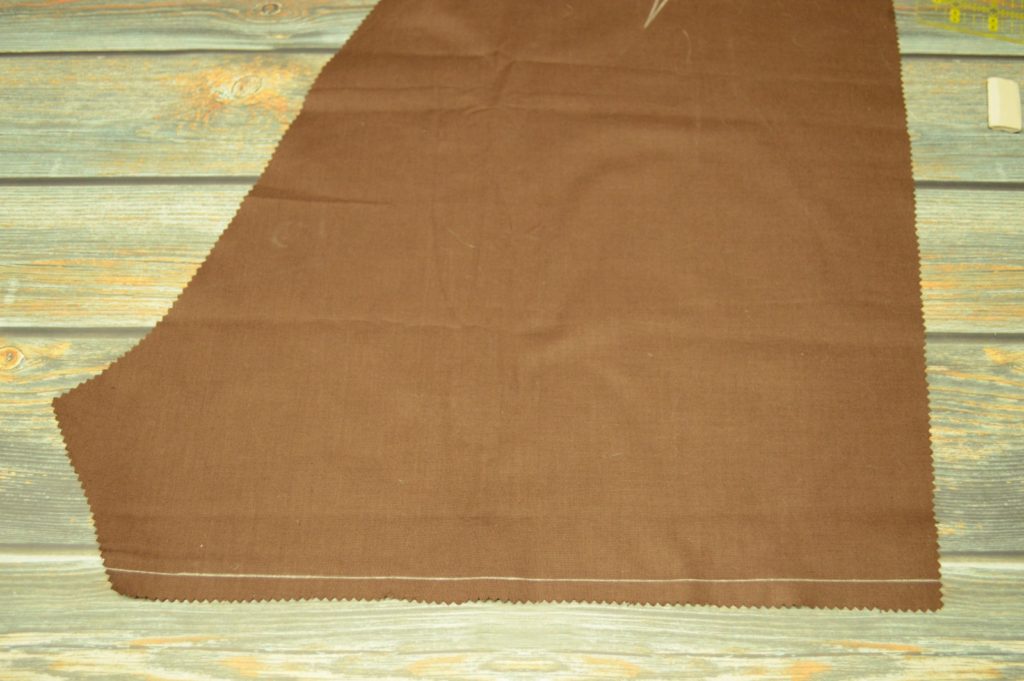
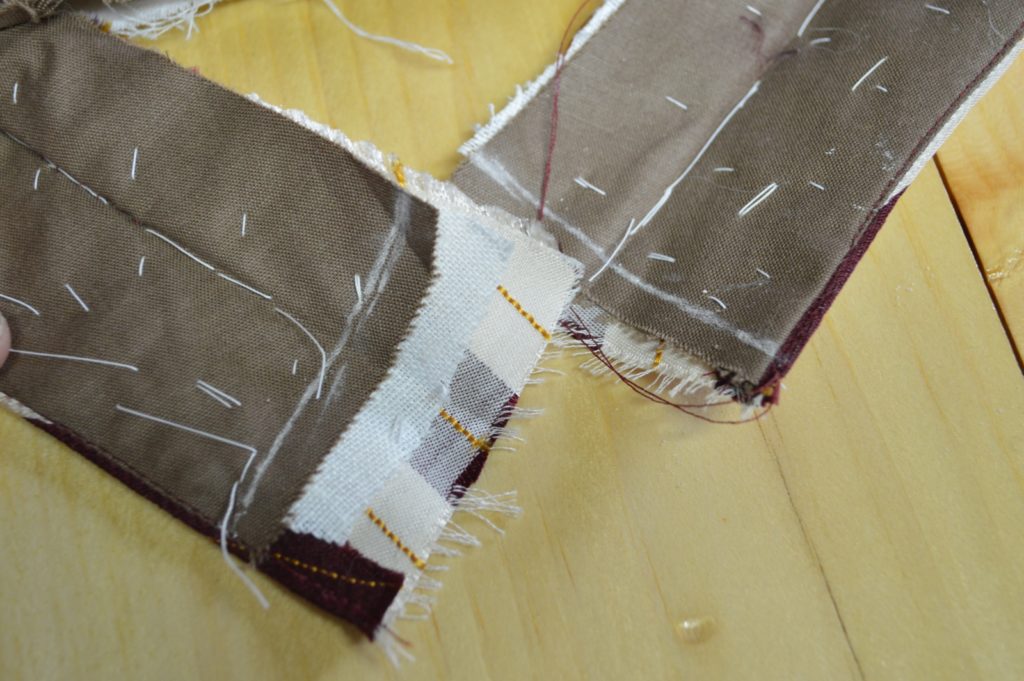
Fold up the bottom edge to the line, pressing as you go.
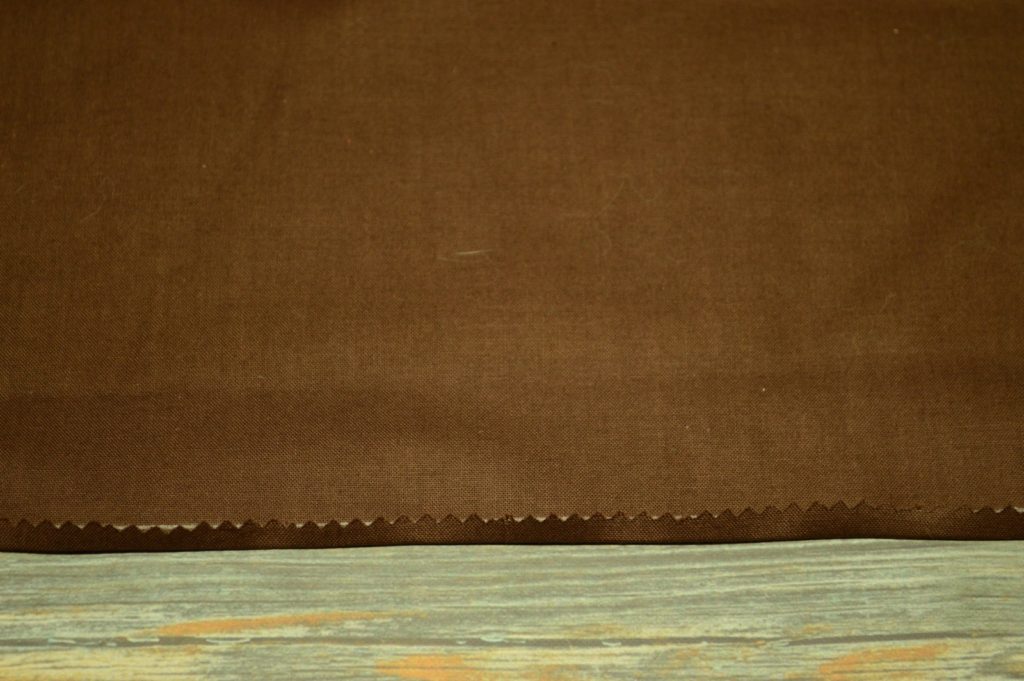
And fold that over itself one more time, hiding the raw edge.
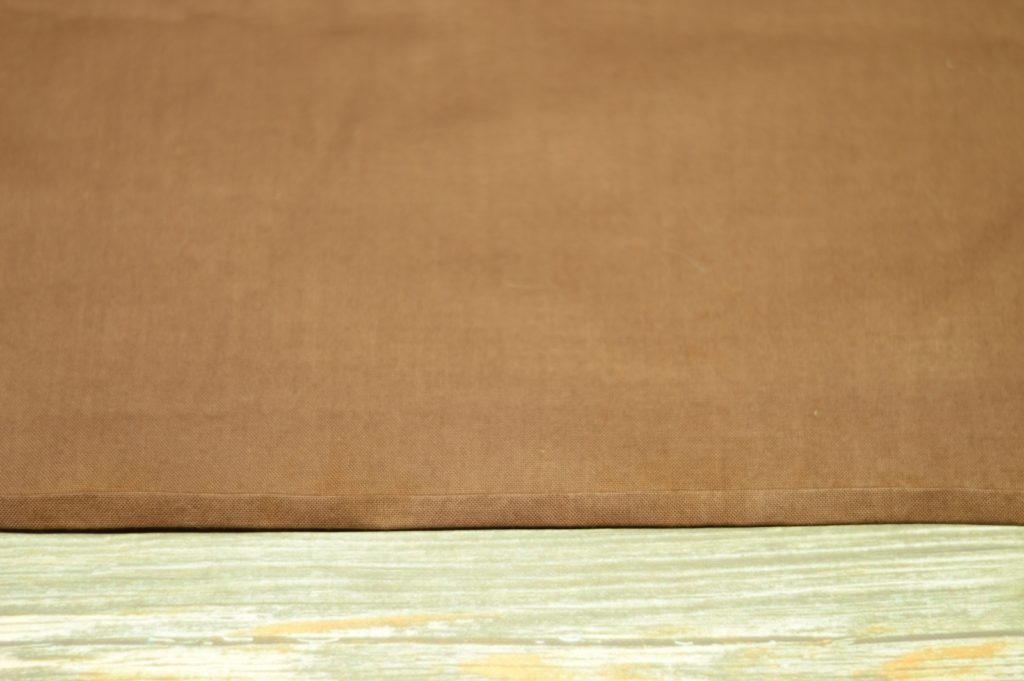
Sew the 1/4″ hem with a machine stitch or with a felling stitch by hand.
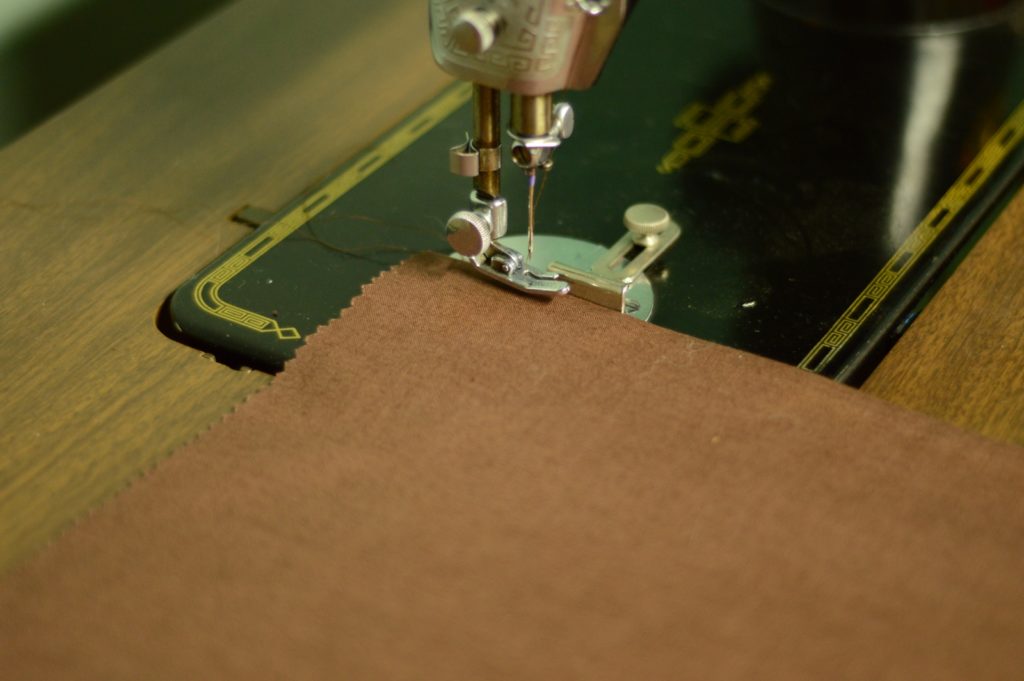

Note that if you are installing a full lining, the bottom would be left raw and not be hemmed at the cuffs.
Installing the Lining
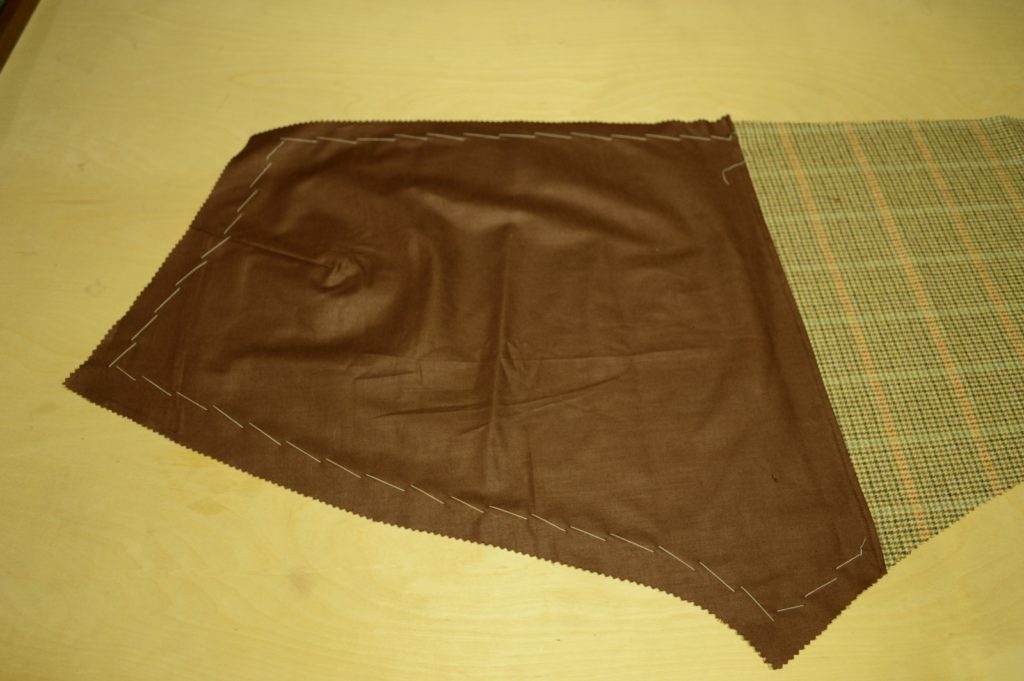
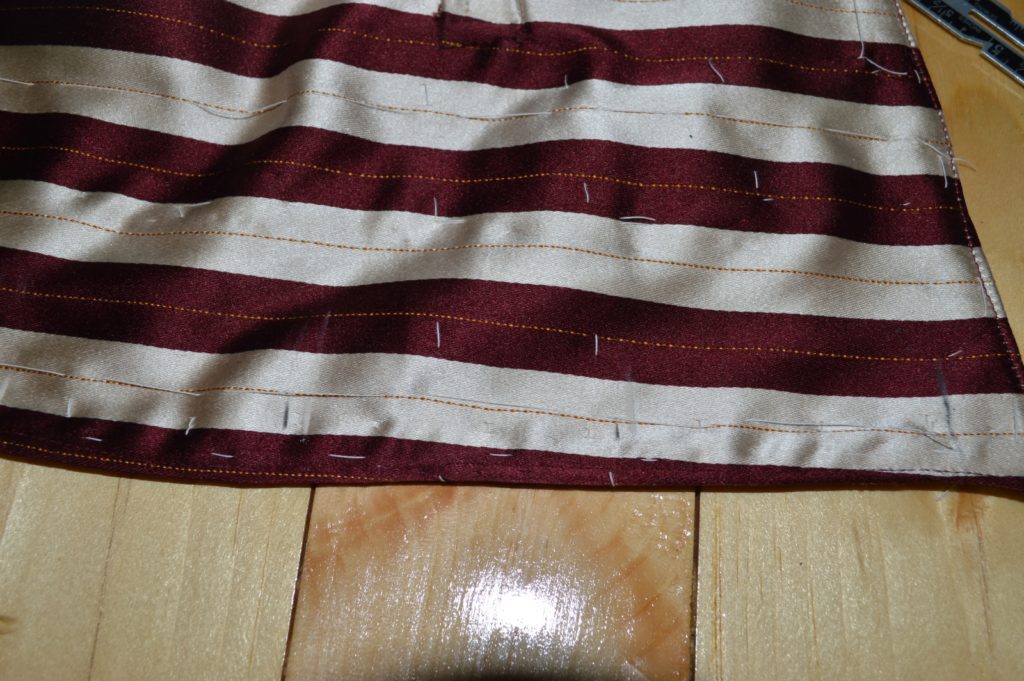
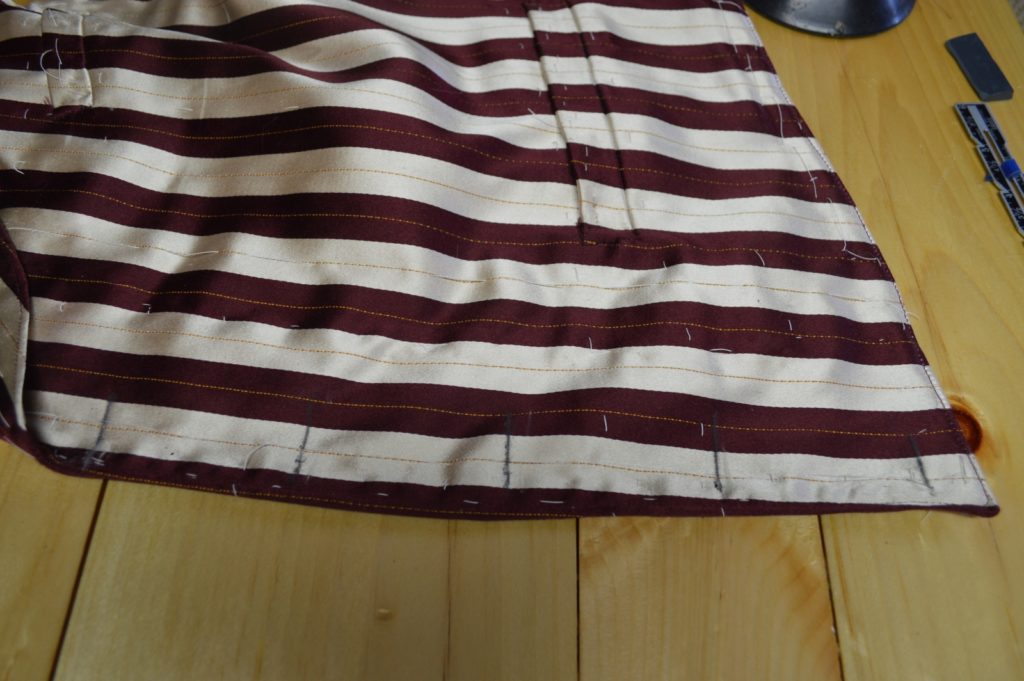
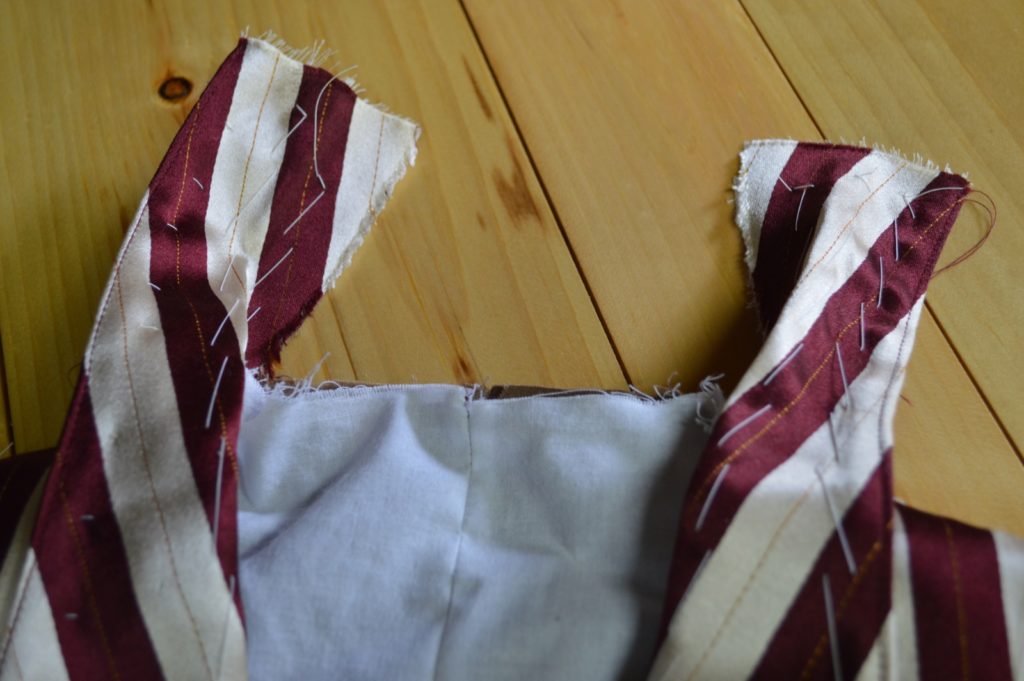
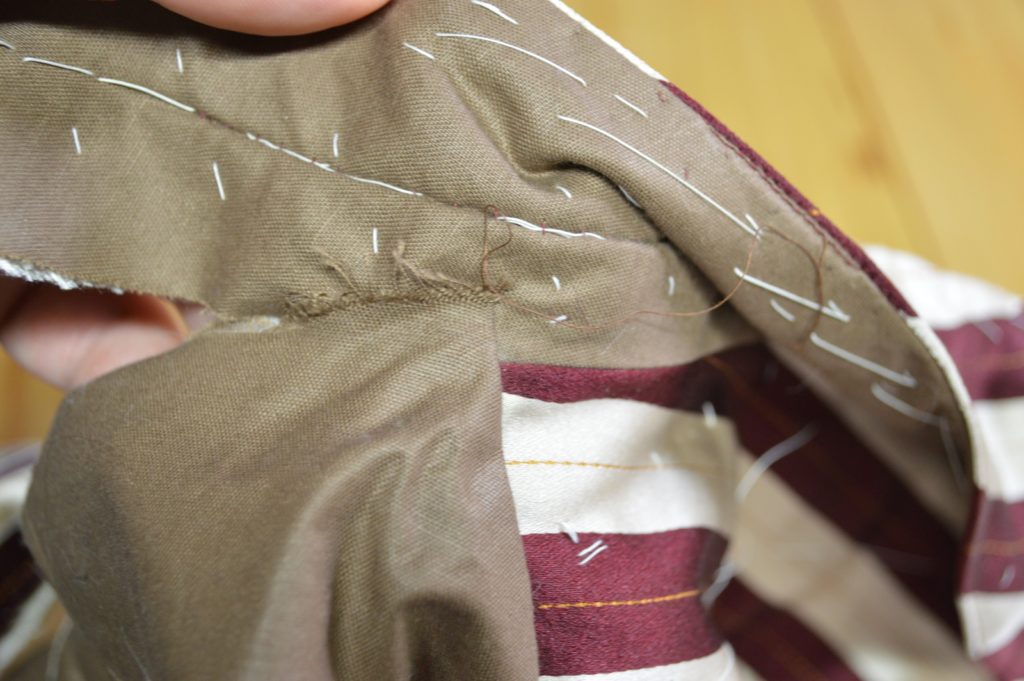
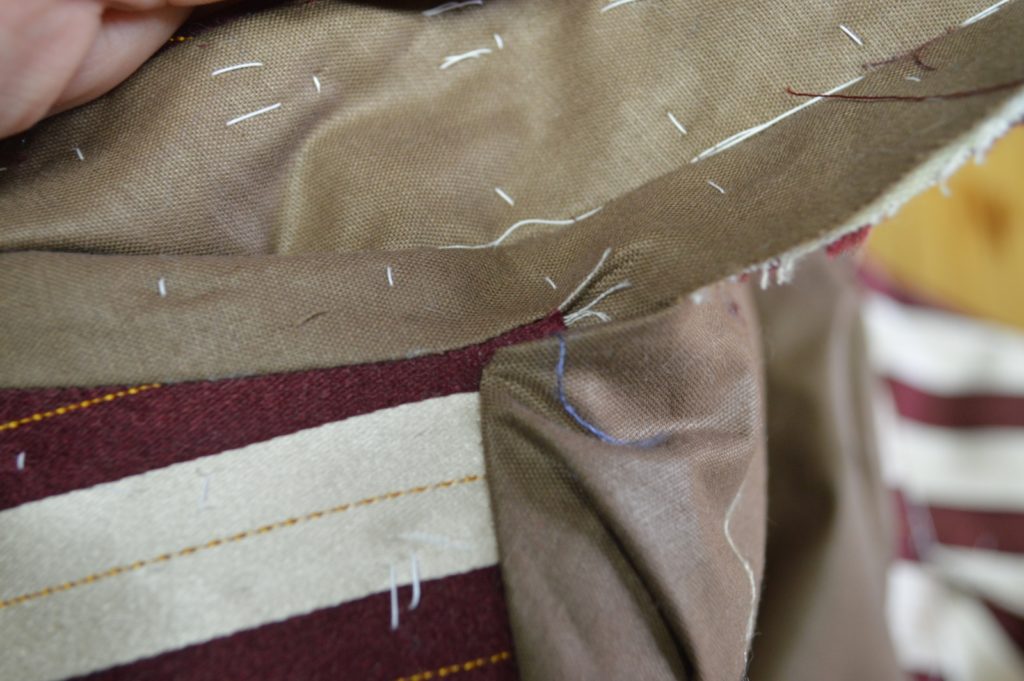
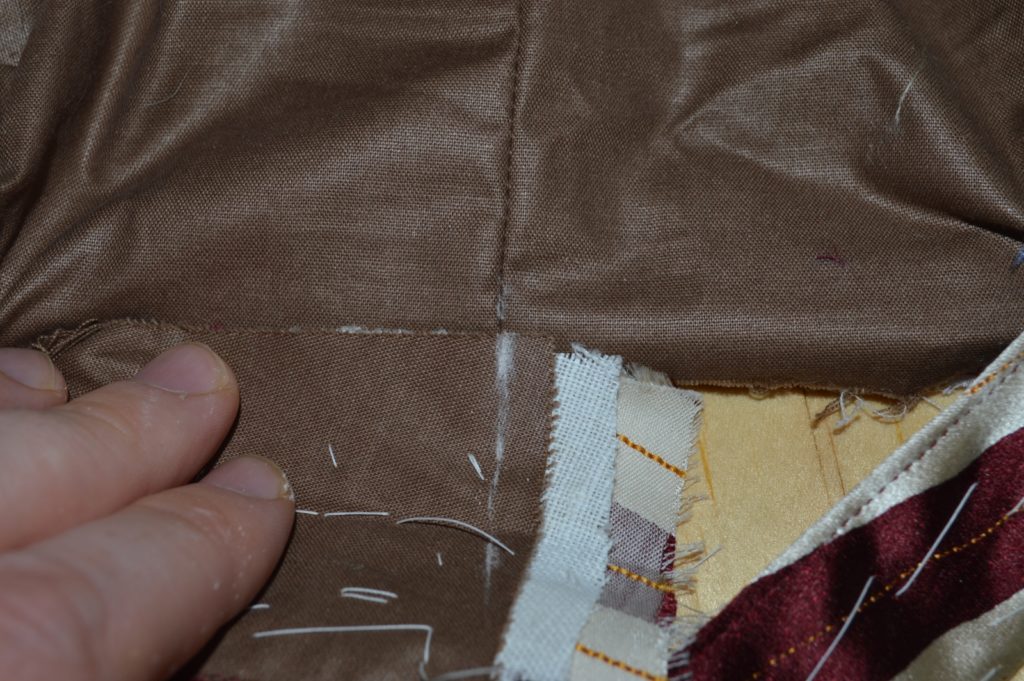
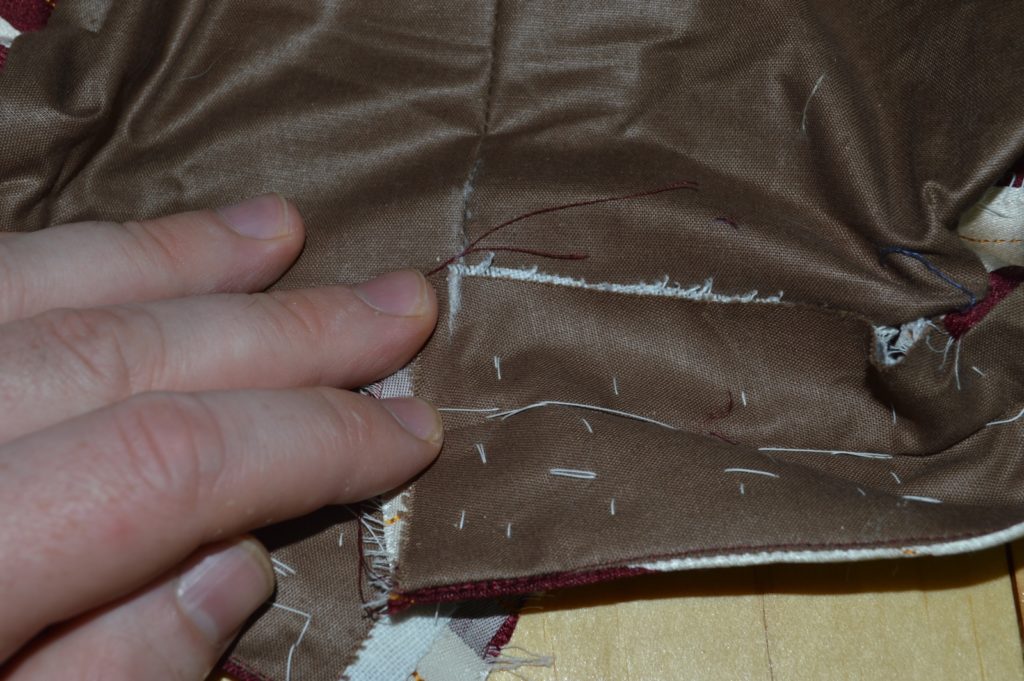
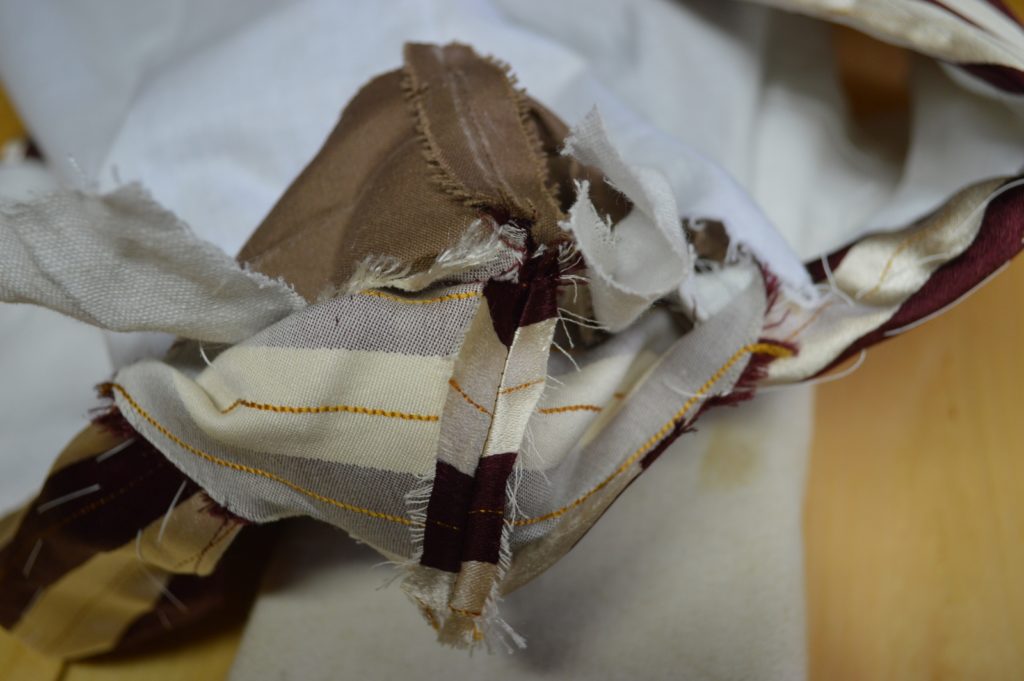
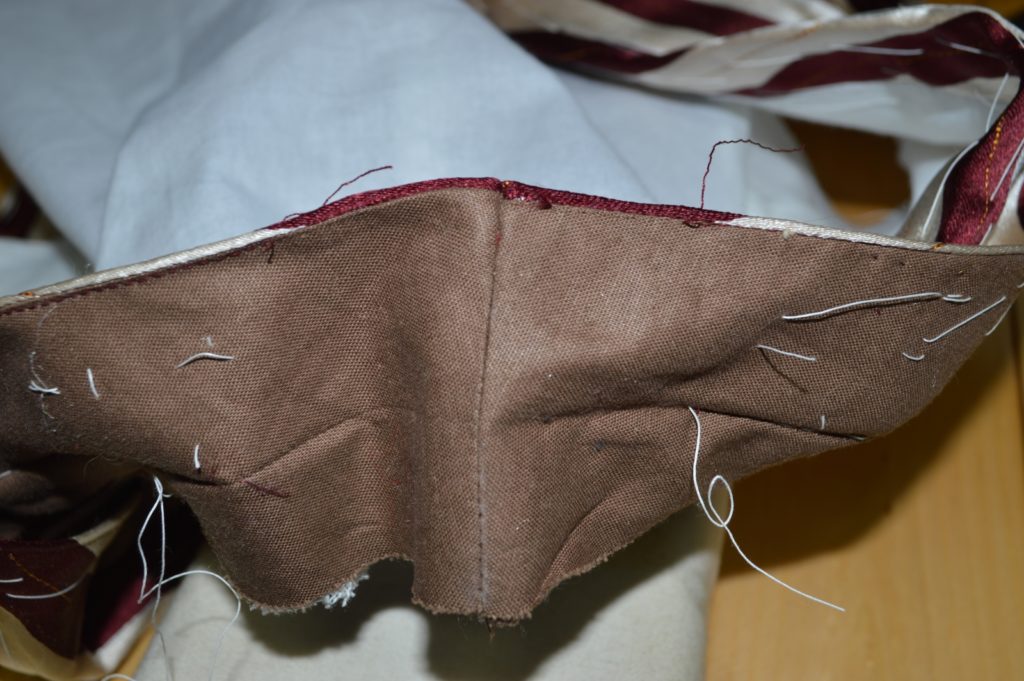
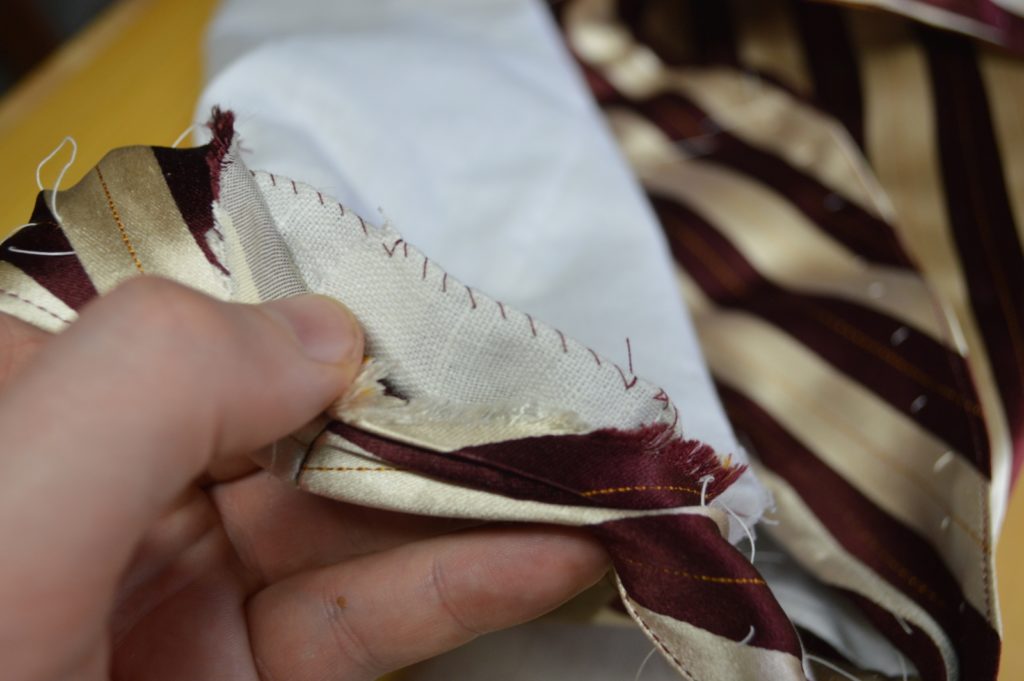
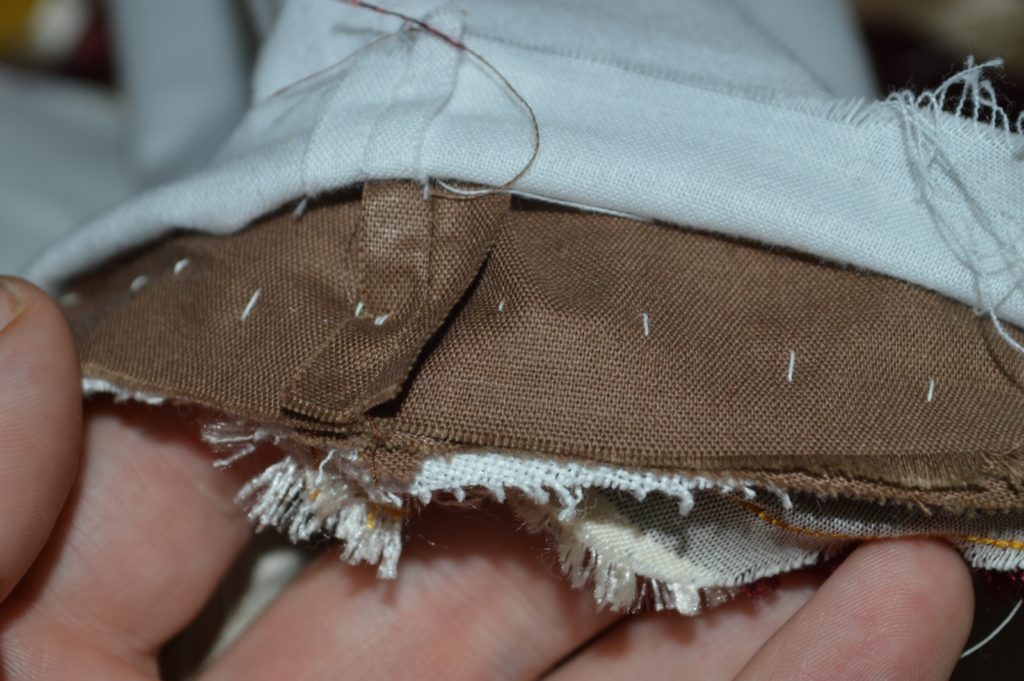
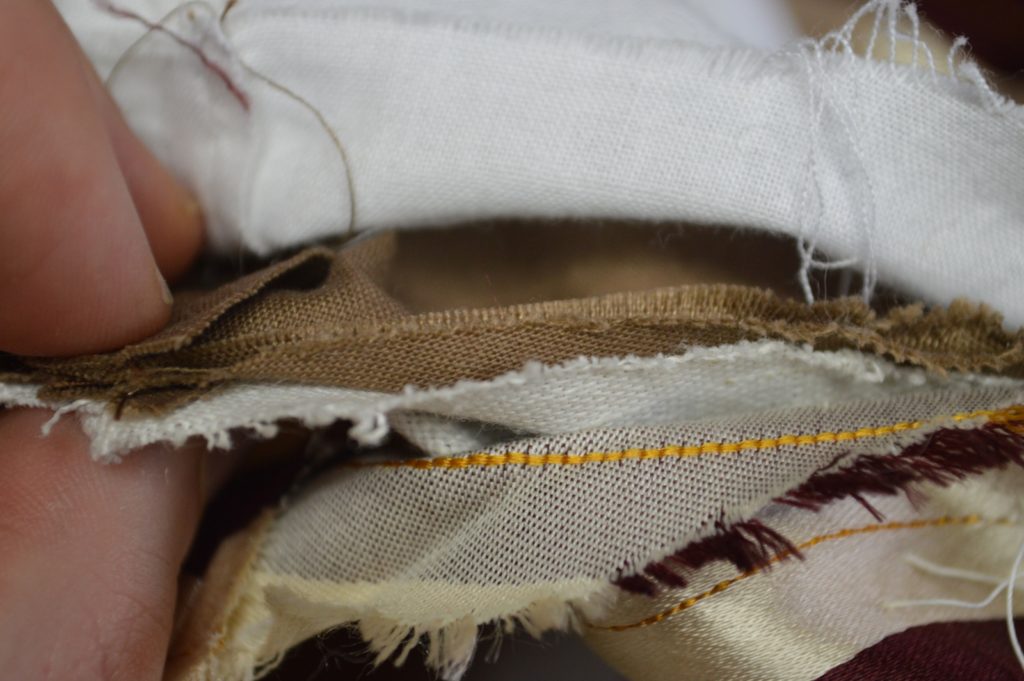
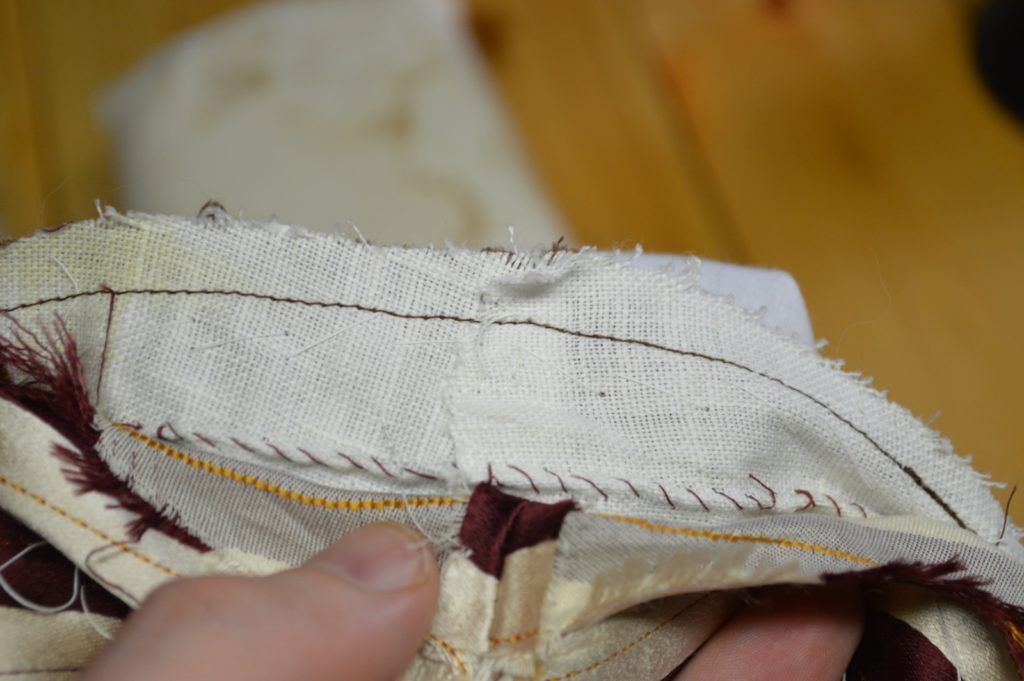
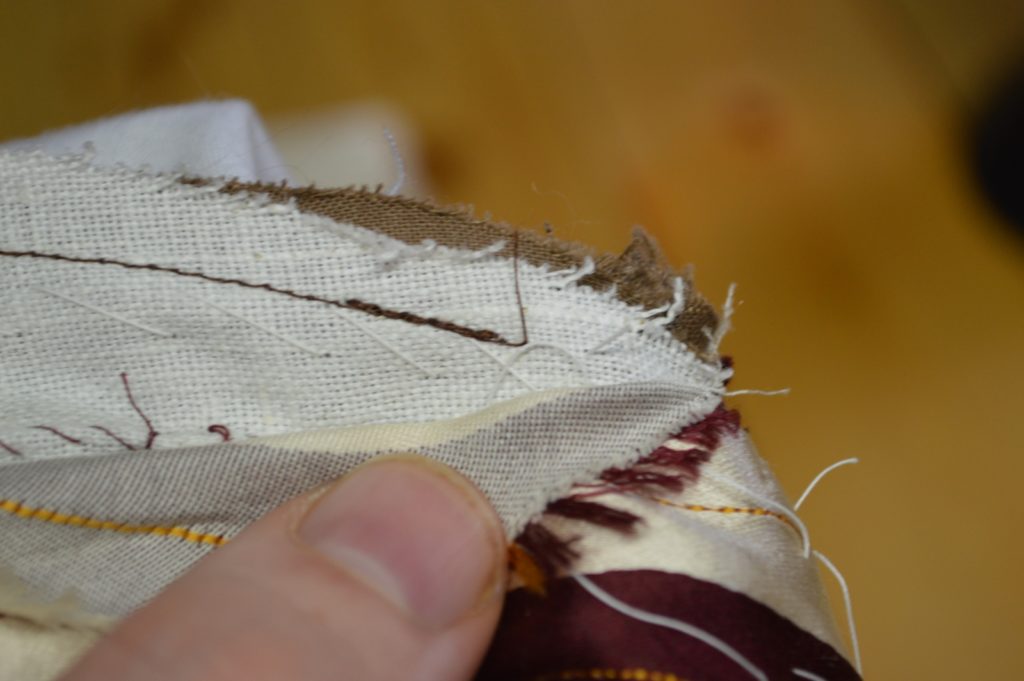
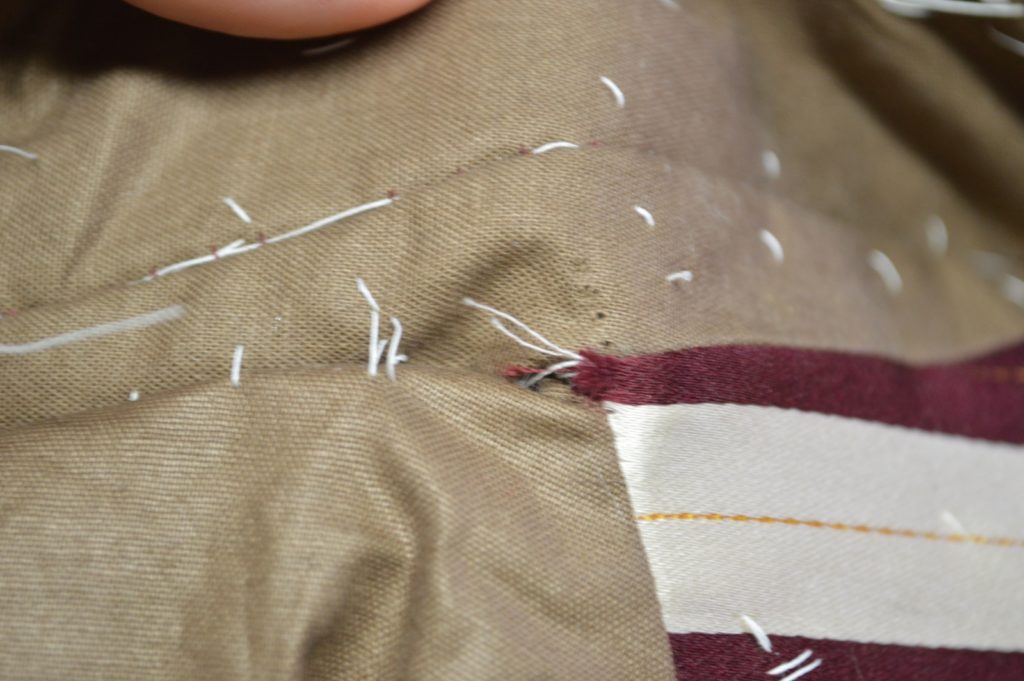
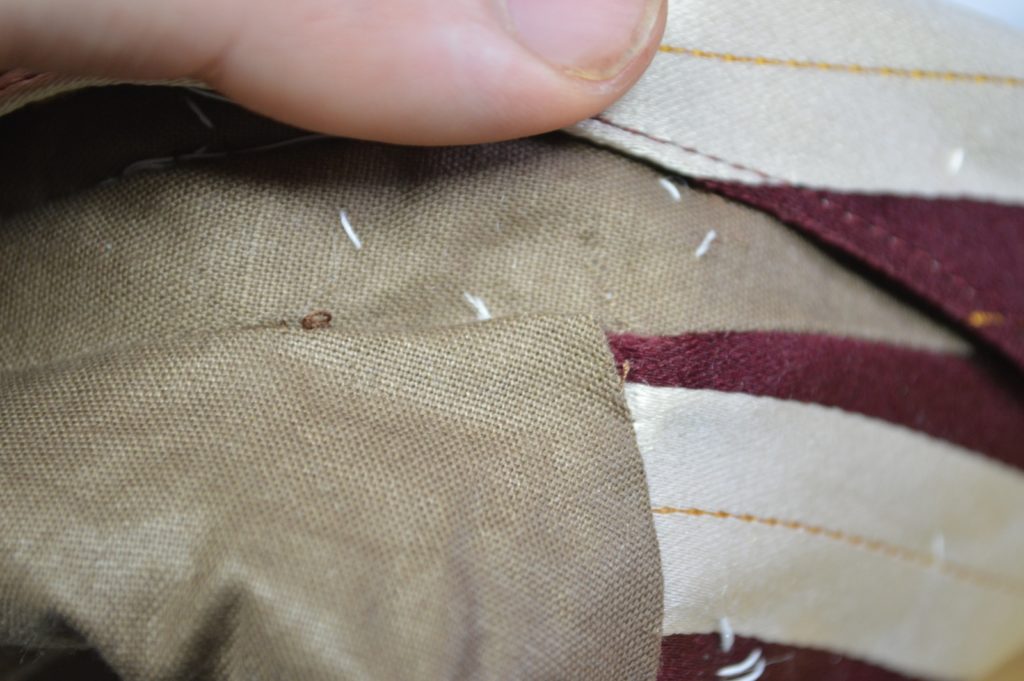
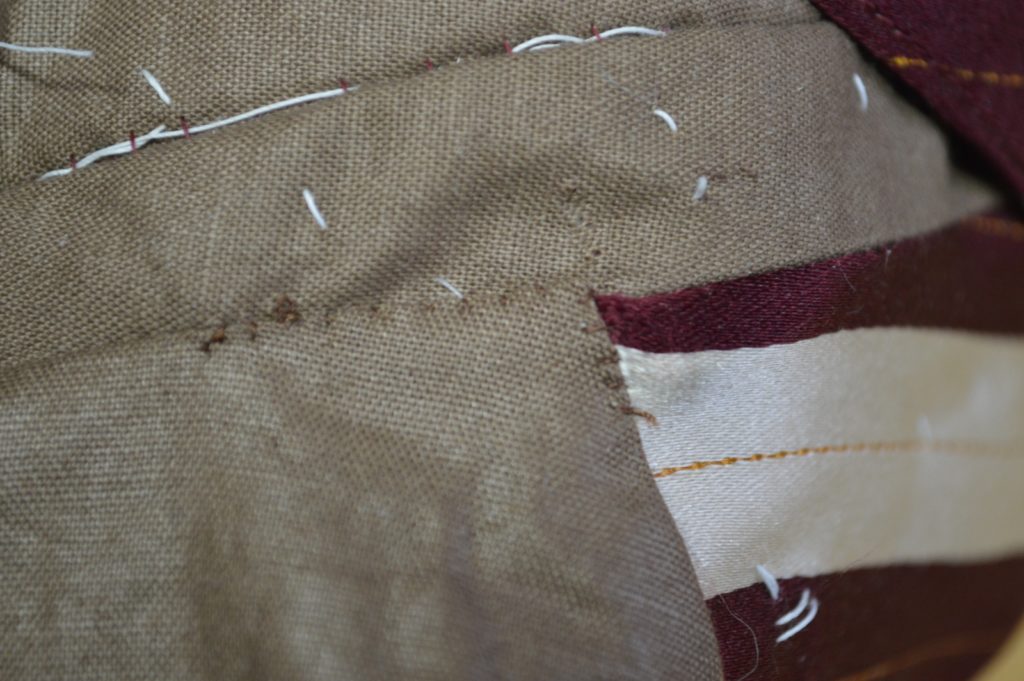
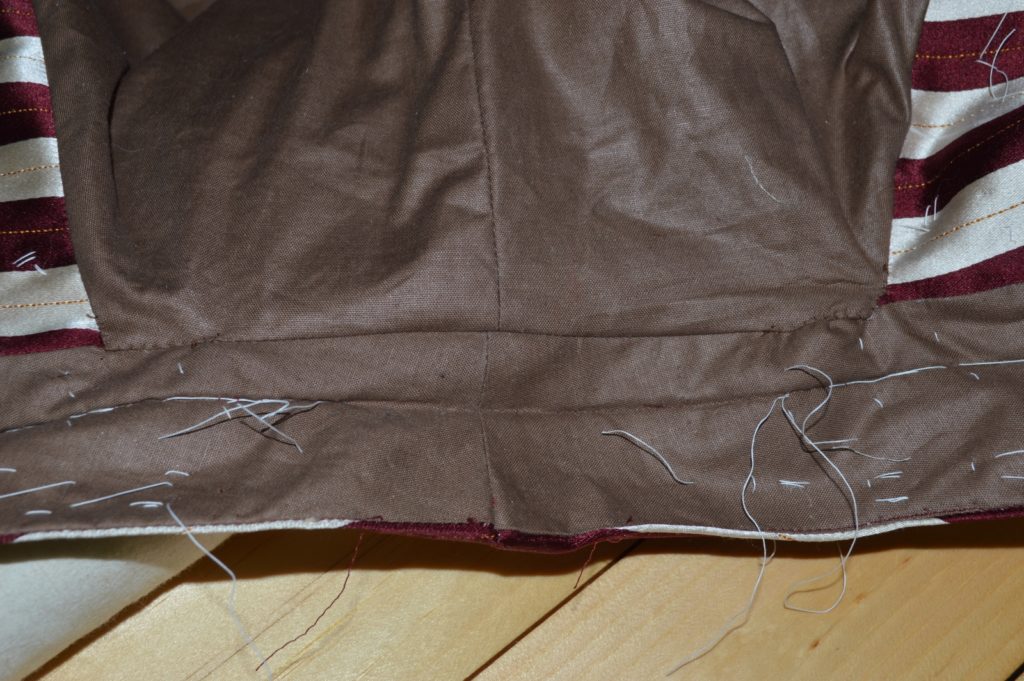
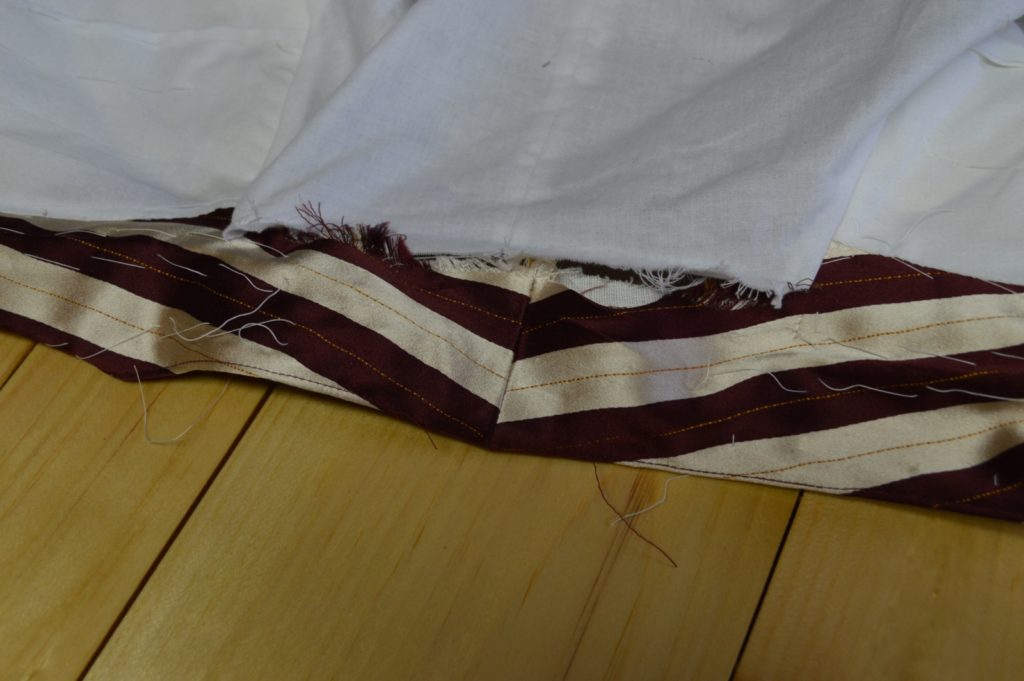
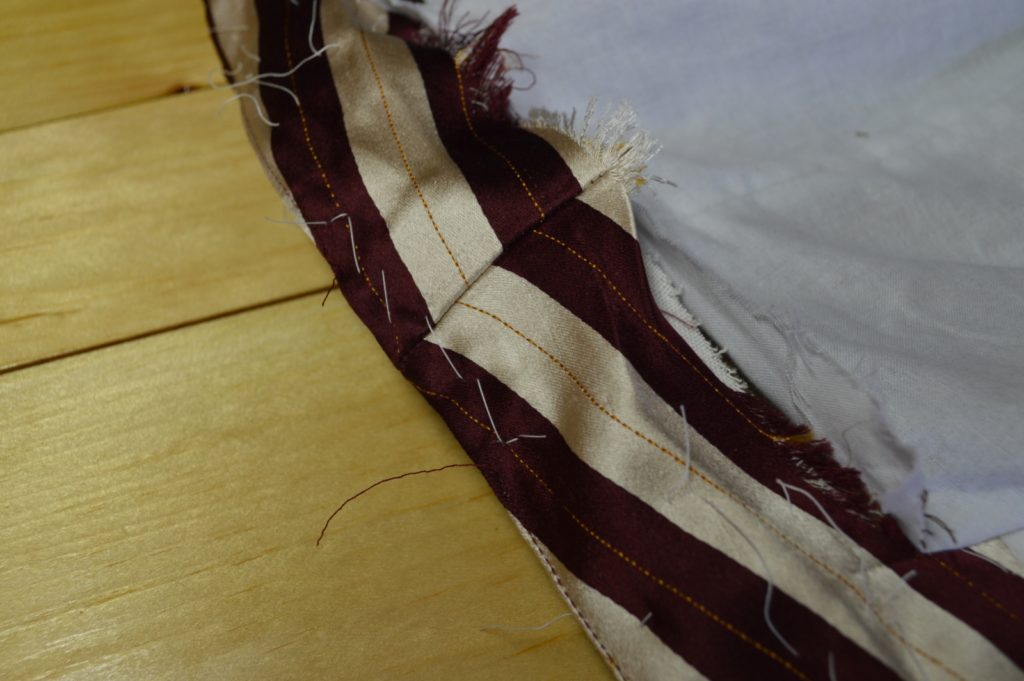
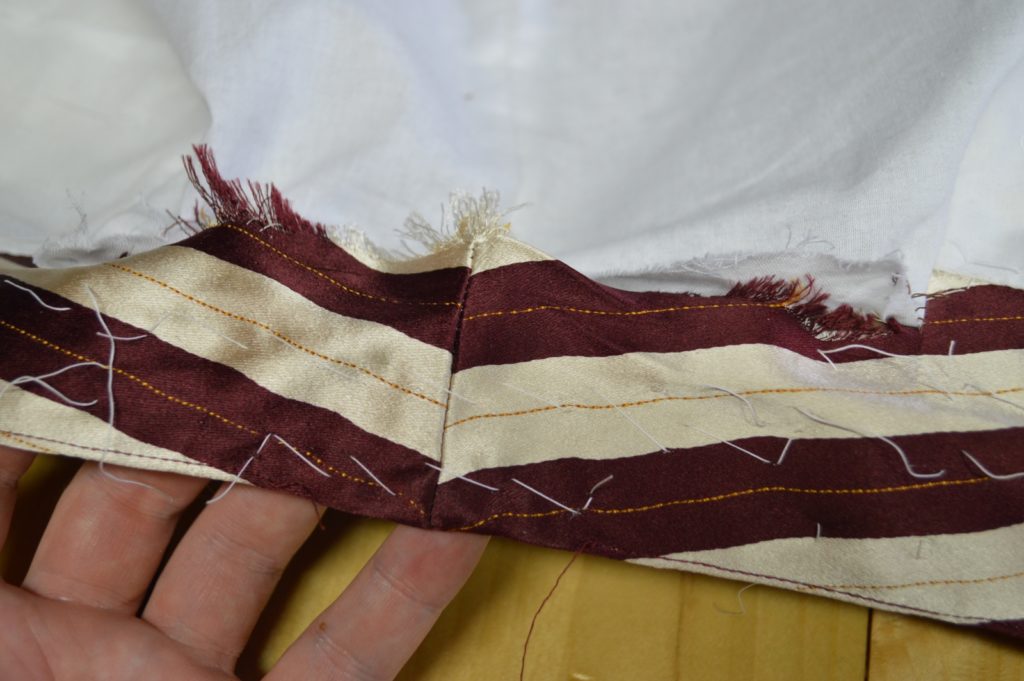
Lay the lining and the trouser backs wrong sides together. Ensure everything is aligned accurately, especially the area around the dart.
Staying about 1/2″ away from the edge, baste the lining to the trouser backs around the outside edge using a diagonal basting stitch for extra security.
Here’s a video demonstrating the entire lining process.
Buttons
The easiest way to lay out the buttons is to simply align the fronts of the waistcoat as shown. Mark the vertical position of each button, directly across from the buttonhole.
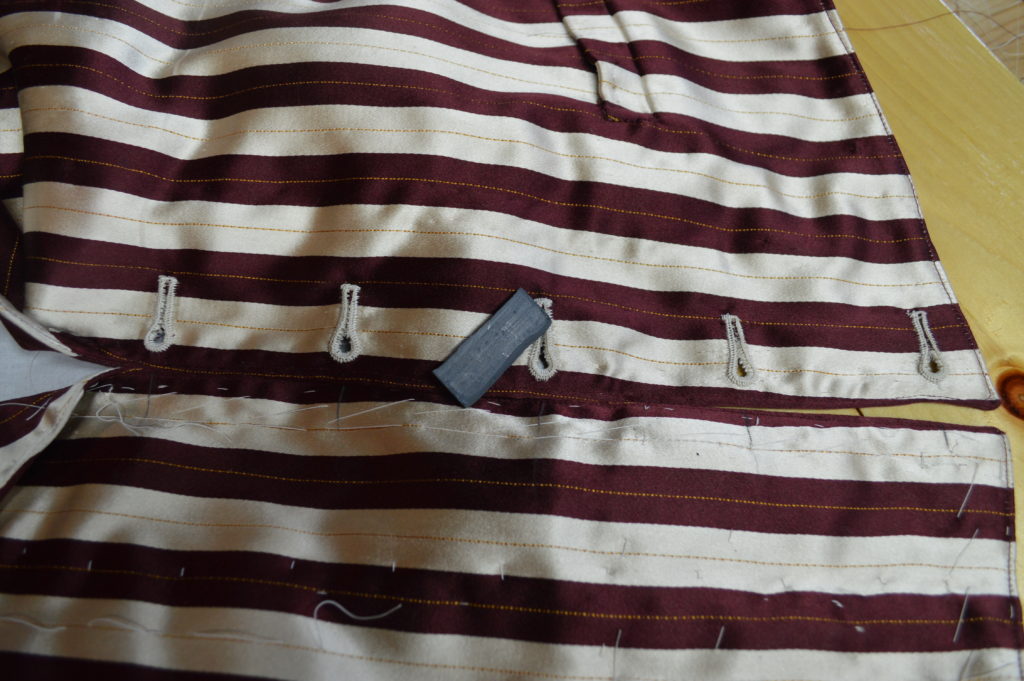
Now mark the horizontal position of the buttonhole using a ruler. I usually make mine 3/8″ to 1/2″ in from the edge.
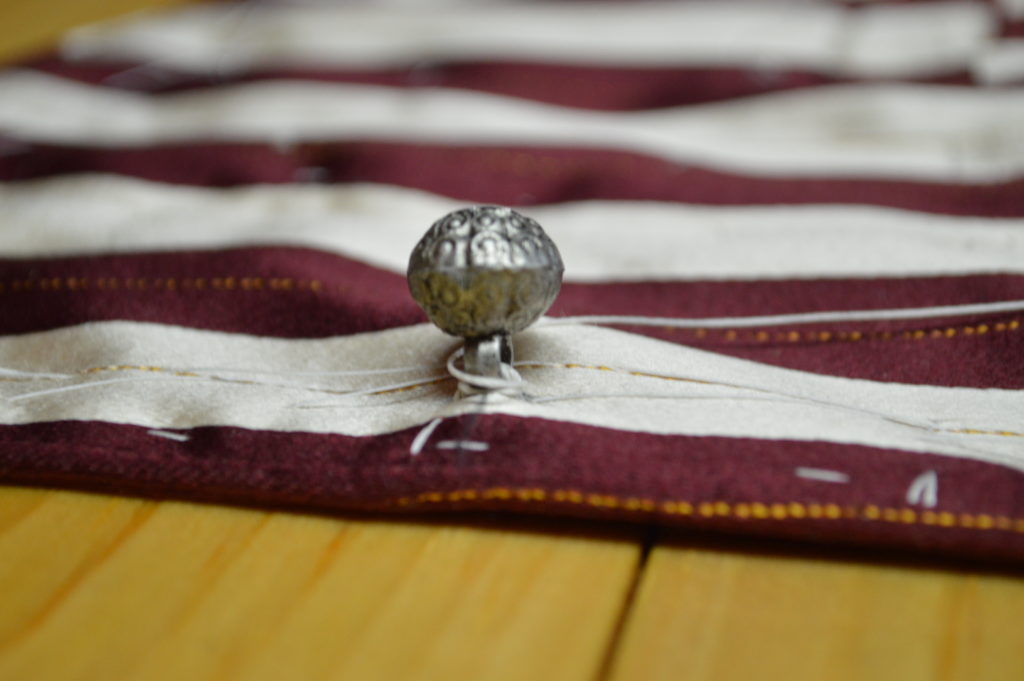
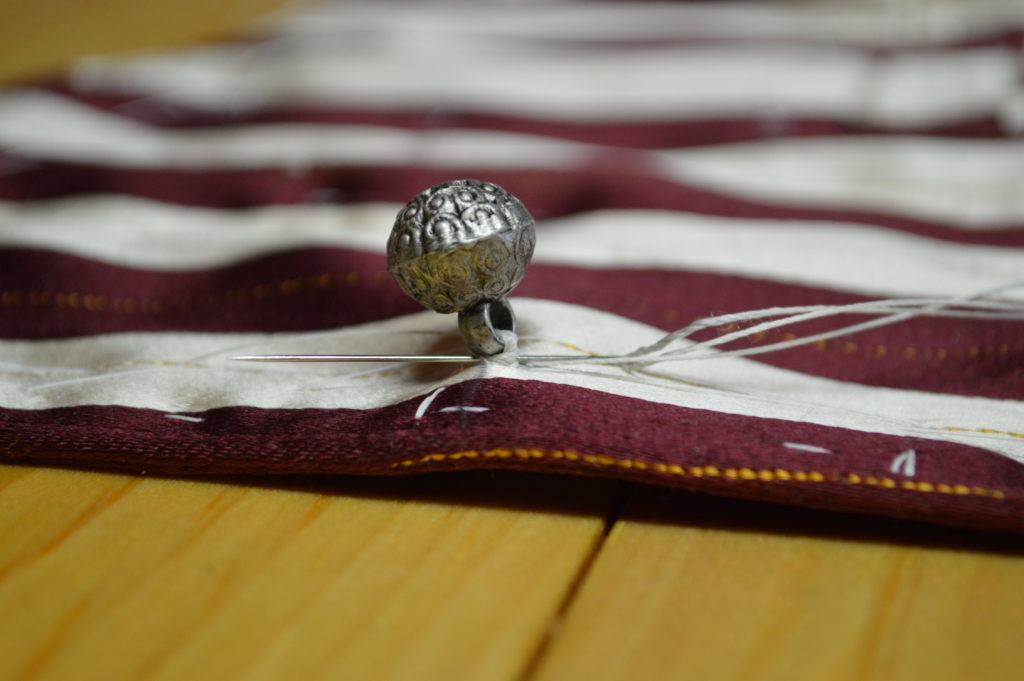
Pass a waxed piece of thread from the underside of the waistcoat, through to the top side, through the button, and back to the underside. Leave a little slack for the thread shank if you’re using one. I like to make 6 stitches through the button.
After the stitches are made, wrap the thread around the stitches about 4 to 6 times, depending on how much slack you put into the stitches and how long you want the shank to be. Since these buttons already have a metal shank, I just went with four wraps around.
Pull the wraps taught and then pass the needle through the tightened stitches 3 times, from a different direction each time.
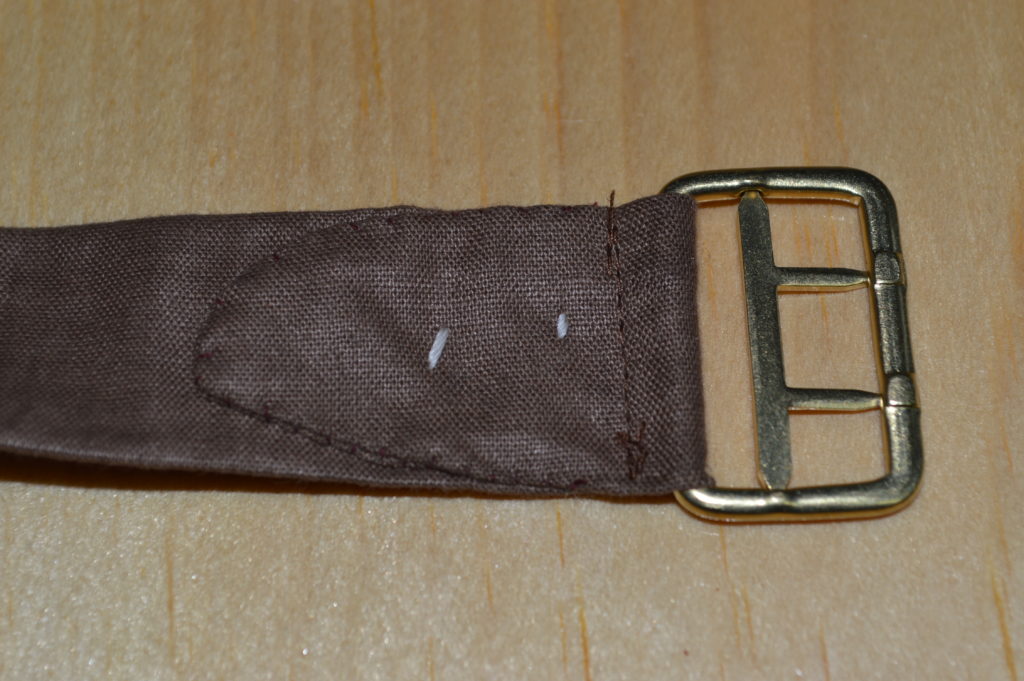
The Back Buckle
The final step in making your waistcoat is to attach the buckle. On the left side of the belt, wrap the belt around the buckle and baste in position.
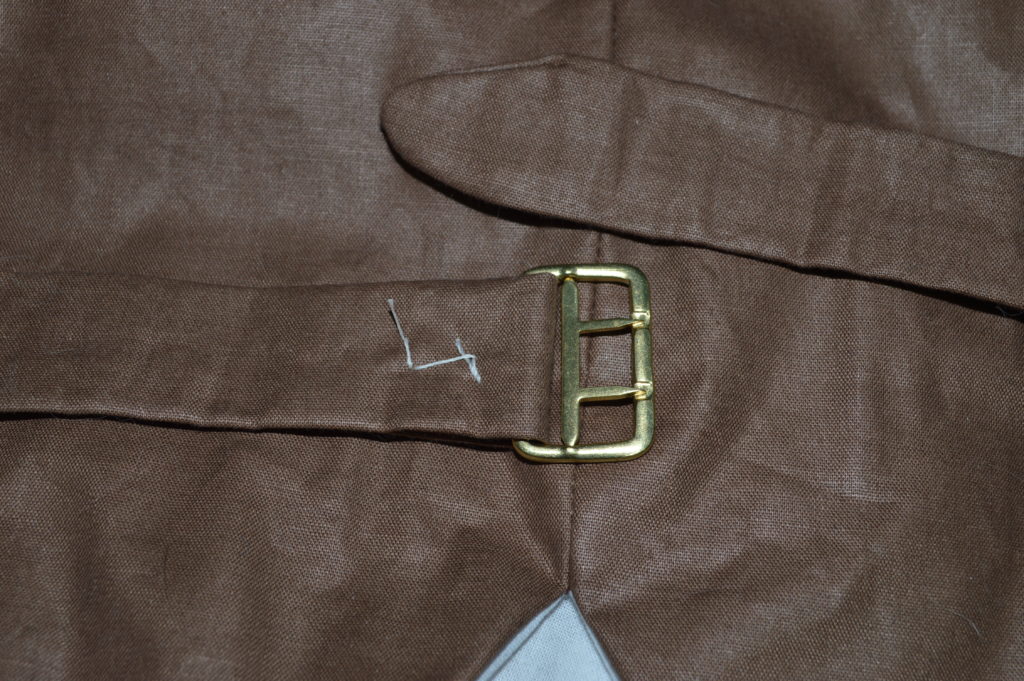
Machine or hand stitch a line parallel to the buckle, as close as you can to it.
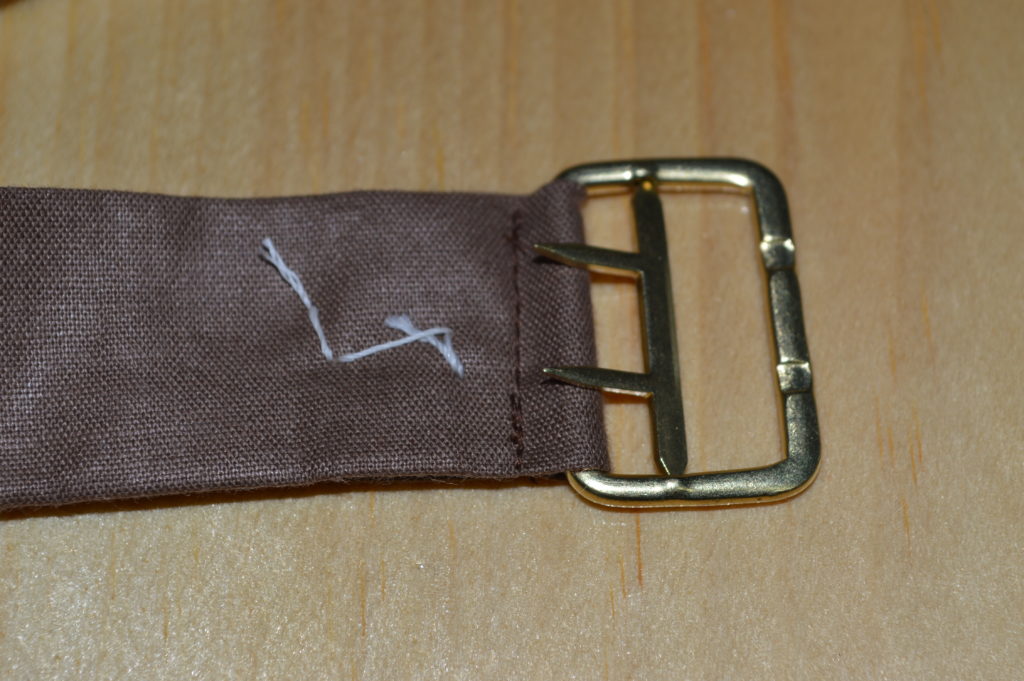
Finally, sew around the edge of the belt underside, further securing it in place.
Buttonholes
This section is just an overview of what I did for the buttonholes, for a much more extensive tutorial, please see my other course, The Art of the Buttonhole.
To begin, you need to lay out your buttonholes vertically along the left center front. The top buttonhole should be about 1/2″ below the bottom of the collar, and the bottom buttonhole should be the same distance from the bottom of the waistcoat.
Next mark the angle of the buttonholes, and then their widths if using a hollow punch and chisel.
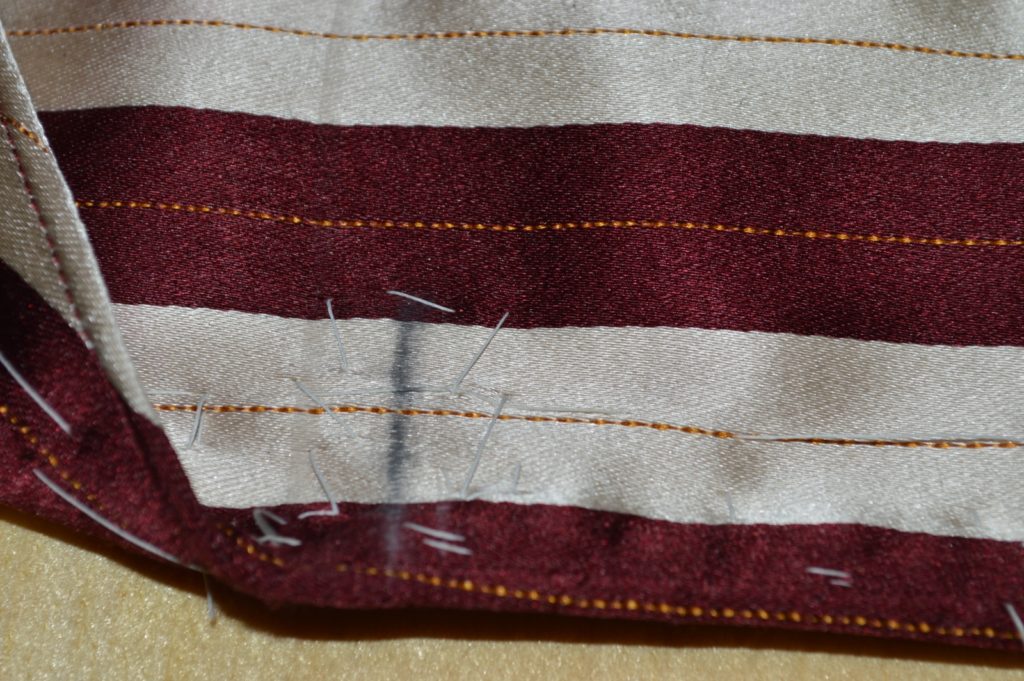
Baste firmly around each buttonhole.
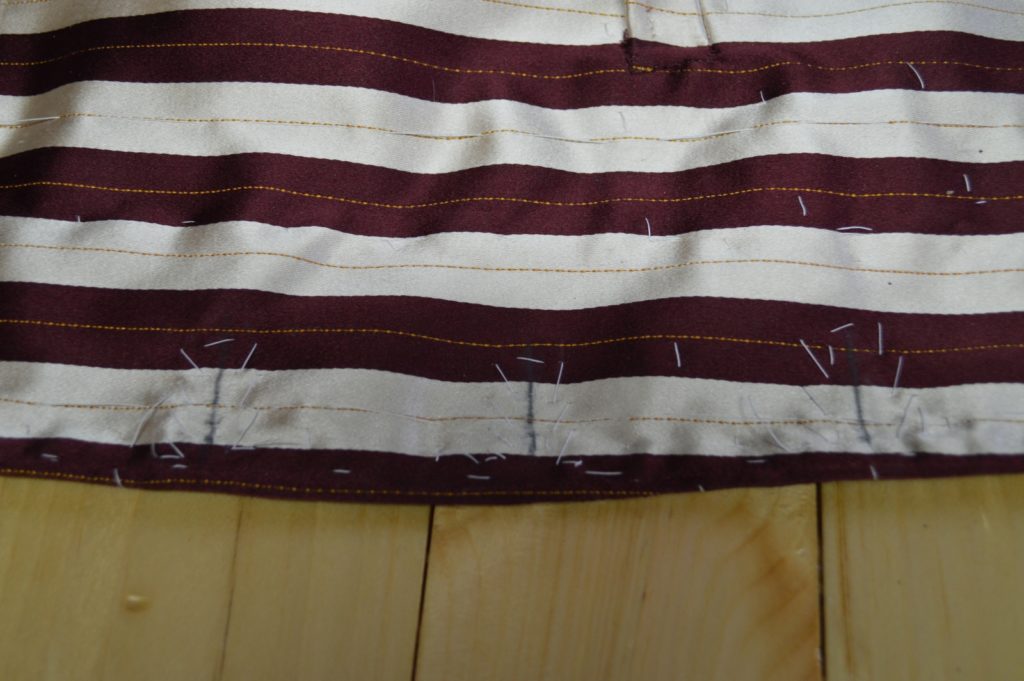
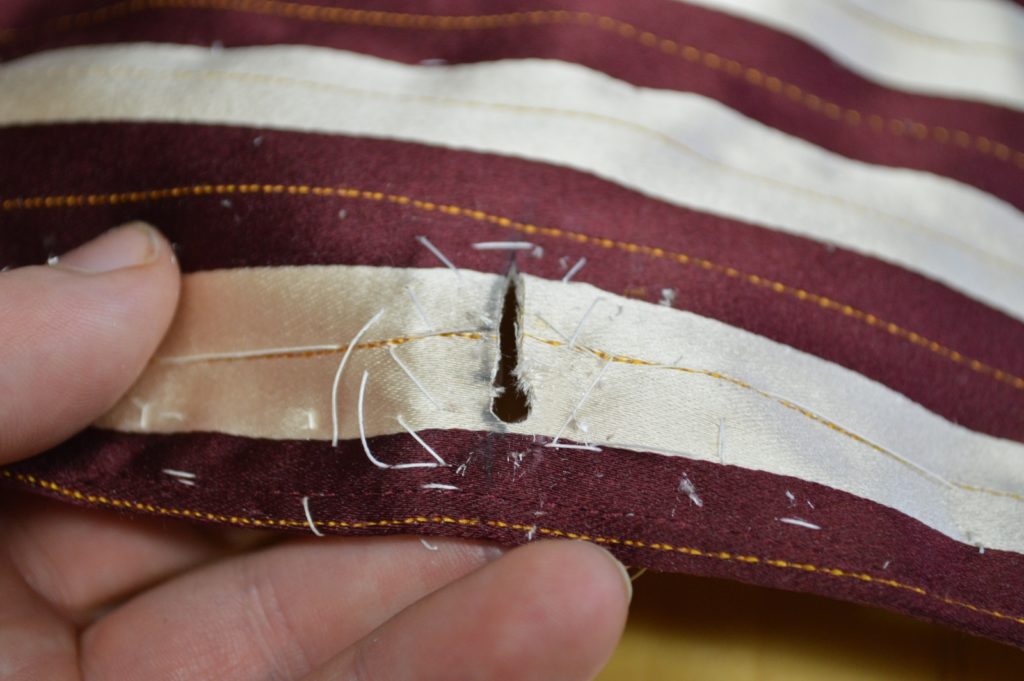
Cut open the buttonholes using a hollow punch and chisel, or a buttonhole cutter if you have one. Trim the points next to the hole if desired to get more of a tear drop shape.
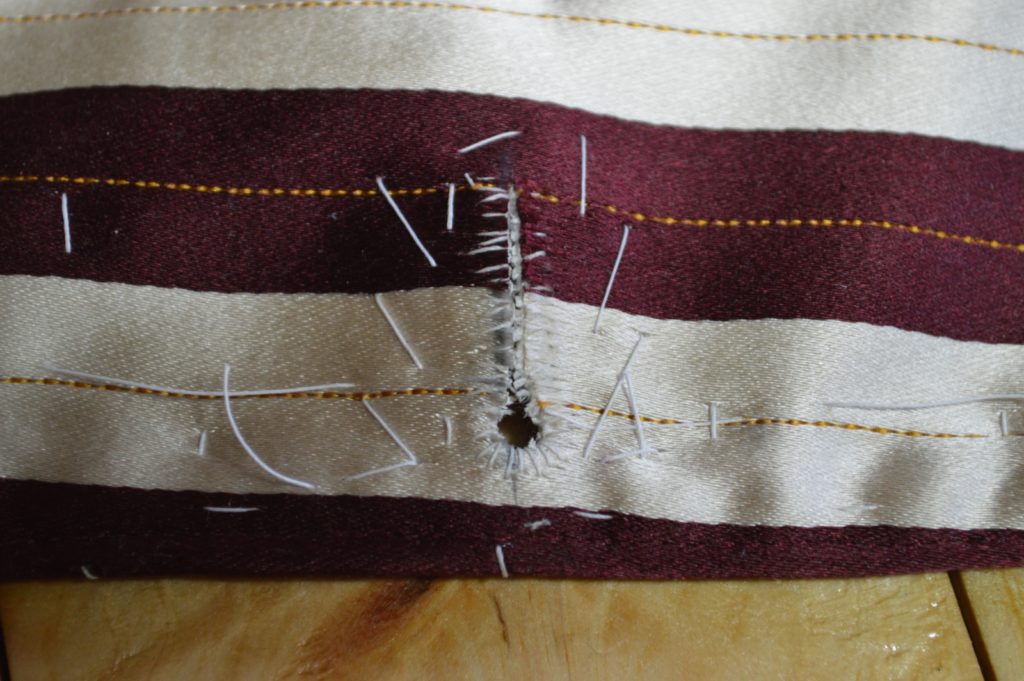
Firmly overcast the raw edges of the buttonholes.
Apply the gimp or four-cord to strengthen and give shape to the buttonholes.

Finally, work the buttonholes with a buttonhole stitch using silk buttonhole twist.
Here’s a video demonstrating the buttonhole stitch itself.
Completing the Collar
We’ll now focus our attention on the collar in order to finish closing up the waistcoat.
Opening up the collar at the shoulder area, the stitches closing the shoulder seam should end right at the collar.
Turn under the raw edge of the back neck at this point 1/4″. Depending on your sewing accuracy, it may be a little more or less. You’re really just checking for accuracy here. If you’re way off with the stitching (more than 1/4″), you may need to turn the waistcoat back inside out and adjust the stitch line.
With the waistcoat backside up on a flat surface, lay the collar smoothly into place and mark the center line on the collar. This gives you a very accurate length to work with.
Repeat with the other half of the collar.
Next, square the marks across the width of the collar to get the stitching line.
Here’s what I have so far with the stitching lines marked square across, referencing from the bottom of the collar.
Next, add a 1/4″ seam allowance on each collar end and trim off the excess.
Remove any basting stitches and top stitching (if you’ve done that already), and open up the collar so that the insides are accessible for sewing. You’ll probably have to remove an inch or two from each side.
Baste the opened collar halves right sides together, ensuring that the edges and seam are all properly aligned.
Sew the collar halves together using the 1/4″ seam allowance you marked earlier. Remove the basting stitches.
Press open the collar seam. You may need to use a tailor’s ham or sleeve roll to get into this tight area.
Fold and press the collar lining back into place. There should be a 1/16″ to 1/8″ reveal of the top collar.
Here’s what the collar looks like so far from the outside. I was slightly off with the stripe matching, something to improve upon next time!
Now lay the collar canvas back into place on one side.
Crease the collar and linen with your fingers, and overcast along the roll line.

Lay the other half of the collar linen into place in the same manner, creasing the roll line and overcasting.
Now manipulate the undercollar layer and the back of the waistcoat so that the two are right sides together, seams aligned, and baste securely together. Then baste the linen into place as well.
Sew through all three layers across the back of the neck, through the collar lining, the collar linen/canvas, and the back of the waistcoat using a 1/4″ seam allowance.
Near the ends of the back neck on the underside of the collar, you may not have been able to get all the way across with your stitching.
Manipulate the fabric with your fingers to give it a tidy appearance.
And fell the remaining back neck to the underside of the collar.
Here’s what the collar looks like so far from the underside.
Now it’s time to focus on the top side of the collar.
Baste the top collar into place along the folded edge.
Now run a second row of basting stitches right above the roll line to help you keep the correct lack of tension in the top collar.
Finally, while the collar is folded in place (sorry, I didn’t photograph that detail), baste about 1/2″ away from the raw edge of the collar. This should keep everything firmly in place while we complete the final details.

Lay the lining on top of the collar, folding under the raw edge of the neck. If you’ve lined up things correctly, the back lining should align with the front edge of the neck lining. Not sure what I did in my case.

Fell down the lining along the neck using a matching thread.
This completes the collar.
Setting the Sleeves
It’s now time to finally set the sleeves into the armscyes. While in the past I’ve used several rows of shirring stitches to help gather the excess material into the armscye, I’ve found that this is slow and tedious, and with a little practice, it’s quite possible to set the sleeves without the shirring stitches, so that is what we will do here.
Begin by marking the back seam of the sleeve, 1/2″ from the armscye, on the right side. This will help you align the sleeve properly.

On the right side of the back of the coat body, at the armscye, mark the seam allowance and then make a cross hair exactly between the shoulder and side body seams.

Lay the coat armscye and the sleeve head right sides together, with the two cross hairs laying on top of each other. This ensures the precise alignment of the sleeve.


Baste the sleeve to the coat at this point only, making three or four stitches in place to hold everything securely.

Now turn the coat so that the wrong side of the body is facing you, and the sleeve is on the inside. This exposes the armscye seam area in a way that you can readily work on it.

Starting at that crosshair, baste the undersleeve to the armscye using a running stitch.

As you approach the side seam of the coat, you can work a little fullness into the sleeve, using your fingers, in the same manner as described below. This being linen, I’d do maybe a 1/4″ of fullness at most.

Continue basting until you get to the front sleeve seam. Making one backstitch in place. It just so happened that the armscye dart on the coat body aligned with that seam, but this was completely unplanned.

Now that we’ve reached the top sleeve section, you’ll notice there is a lot of excess material that must be fulled in. Using Devere’s system, I’ve found that excess to be about two graduated inches worth, but this can vary according to how full you drafted the sleeve, and any stretching that may have gone on during the construction process.
This fullness must be gradually worked in to the armscye. Hold both layers of fabric between your thumb and fingers, and leaving your thumb in place, gently move some excess fabric towards your last stitch with your fore finger. The amount should be about an 1/8″ per basting stitch, I used a huge amount in the photo just to clarify what is going on. As you move the fabric over with your fingers, take another stitch to hold it in place.

Continue this process towards the top of the sleeve. At the very top, you may notice that the grain of the fabric on the sleeve runs parallel to the edge, which means it cannot be properly fulled. For this inch or two, just lay the sleeve on with normal tension. Then continue fulling around the back of the top sleeve.

After you’ve successfully basted around the sleeve one time, turn everything to the right side and examine your work. The sleeve should lay relatively smooth and be free of unsightly puckers. It actually took me two and a half tries to successfully get to this point, so do not fear if you have to redo some of the fulling. Every fabric will full slightly differently, so that takes some getting used to.


When you are happy, turn back to the inside and baste another row of running stitches around the armscye. These stitches should interweave with the previous stitches, affectively locking everything in place. As you get to the top sleeve, you can further refine the fulling with your fingers, subdividing the fullness in between each new stitch.

Here is what the basting should look like after the second round.

On the body side, mark and sew the seam using back stitches for strength, with a 1/2″ seam allowance. You can further refine the fullness in the top sleeve with each stitch, giving you a completely smooth sleeve head.

Do not trim either seam allowance.

Rather, turn in both seam allowances to the inside, allowing the coat side of the seam to extend a 1/16″ past the sleeve seam allowance. Baste and then fell down. At the top sleeve area, there will be extra fullness, so try to work that in as best you can.

Here is the completed armscye seam, pretty much finishing up the coat except for buttons and buttonholes.

Completing the Cuffs
Now that we’ve got the cuff basted in place, we can now move on to sewing the rear sleeve seam. The right side of this stitch should be on the undersleeve, as shown, and with the usual 1/2″ seam allowance.

At the cuff end, the stitching stops 1/4″ beyond the start of the button inlay area. I marked it here for clarity.

As you’re sewing towards the cuff, make sure to move the cuff out of the way, taking out basting stitches if necessary. We don’t want it to get caught in the seam.

Turning the sleeve over to the topside, mark a 1/4″ line at the end of the stitching, perpendicular to the seam.

Note how the mark only goes half way towards the seam line. If we were to go all the way, it would weaken the sleeve at this point.

Carefully snip along the line, through the top sleeve layer only.

Now trim the seam allowance of the top sleeve from that snipped point to the armscye, as per the usual method.

Flipping back over to the undersleeve side, mark a line going from the end of the button inlay diagonally to the very end of the stitching.

Snip carefully along the line through the undersleeve layer only, just to the stitching. Make sure you don’t actually cut any of the stitching!

Fold over, baste, and then fell the seam as normal. Make sure the stitches catch only one or two threads of the sleeve itself, as they’ll be visible from the outside.

The appearance of the seam near the armscye.

And the other end of the seam near the cuff.


Now that the seam is done, we can re-baste the buttonhole facing along the outer edge. Notice how it covers the snip we made in the top sleeve seam.


Fell the edge of the cuff along the edge of the buttonhole side.


Fell the other end of the cuff. Since the two edges go in different directions, I like to start by felling the 1/4″ seam of the button inlay, and then turn the work around and fell down the edge of the cuff. Note, we’re just sewing the ends of the cuff, not the inner edge.


Position the button inlay in place overlapping the buttonhole side of the cuff, and baste securely. You’ll want to make sure everything is properly aligned at this point because this is how the final cuff will look.

Fold under the raw edge at the top of the button inlay, and baste securely closed through all layers.


Turn the sleeve right side out and check the alignment of the cuff opening, making any adjustments if necessary.

This next step is extremely difficult to photograph, but starting at one end of the cuff, 1/4″ from the edge, top stitch using a side stitch to firm up the edge. This stitching goes all the way around the edge of the cuff to the other side.

You can just barely make out the tiny side stitches along the edge.

Turn the sleeve inside out once more, and along the top of the button inlay, fell down the folded edge, going through all layers. Try to catch only a stitch or two of the outside fabric.

About 1/4″ below, and parallel to the edge you just felled, sew a row of backstitches, catching the top layers, but not going through to the outside of the coat. This provides extra strength for the vent.

Turning to the right side out for the last time, top stitch a row of side stitches along the inside edge of the cuff, using your fingers to feel for the edge. The stitching starts at the rear seam and follows the edge of the facing beneath, about 1/8″ away from the edge. This is in place of felling from the inside, and gives a better finish to the cuff.

Here you can barely make out the stitching, which outlines the facing beneath it.

Remove all basting stitches, revealing the finished sleeve.

You can choose to put in the buttons and buttonholes now, or wait until the sleeves have been set.

The Cuffs
Now that we have the pattern issues straightened out, it’s time to begin the construction of the sleeves and cuffs. It’s actually quite involved, so this first section will cover up to the basting of the cuffs.
Begin by laying the sleeve pieces on the table, right sides together. Baste along the front seam, working in any fullness as you go along.

Stitch using a back and fore stitch and a 1/2″ seam allowance. It doesn’t really matter which side is the ‘right’ side, just be sure to be consistent with the other sleeve.

Trim one seam allowance to 1/4″.

Baste the raw edge over and fell securely.

Now that you have the sleeve halves together, I like to use them to cut out my cuffs. While it’s possible to do using the paper pattern, I find this method to be much easier and more accurate.
Lay the end of the sleeve on the linen, making sure that the grain lines are aligned with the center seam.

Trace around the cuff area, about 5 inches up each side.

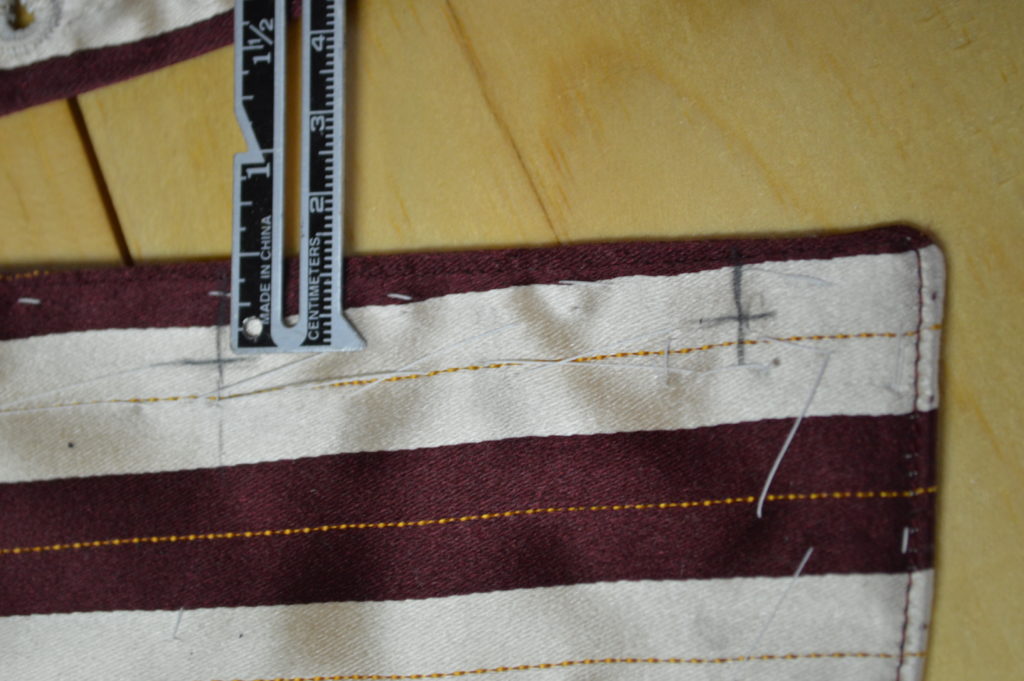
Draw in the upper seam of the cuff, anywhere from 3 to 4 inches from the end of the sleeve. This includes a 1/4″ seam allowance. The seam does go all the way across, I had my sides mixed up which is why the line stops near the right side.

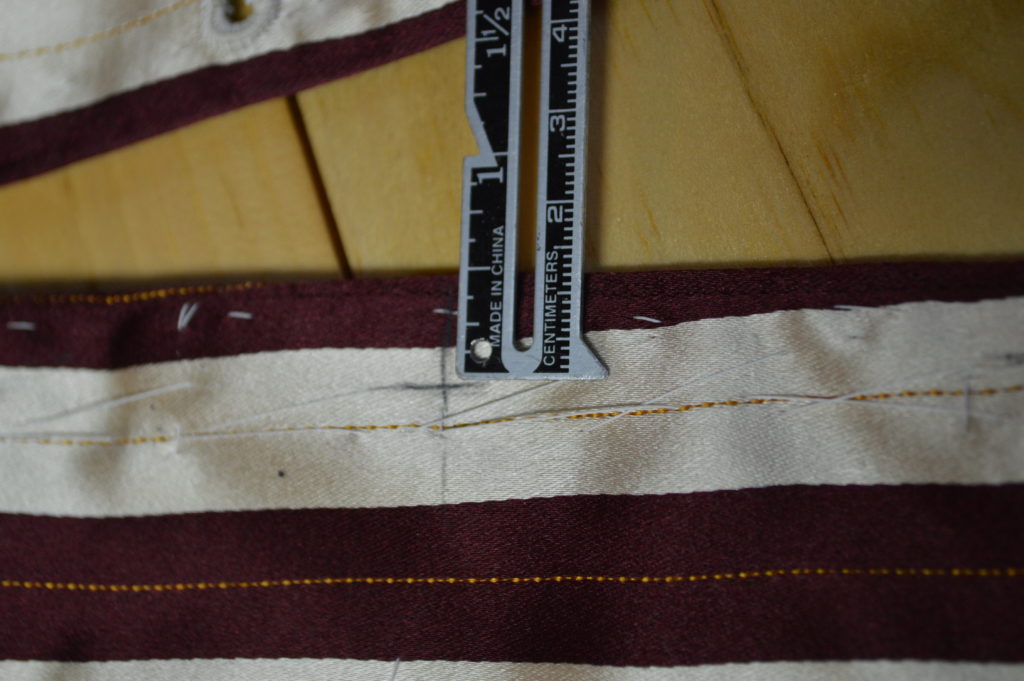
On the button hole side of the sleeve, extend the cuff upwards so that it is about 1/2 an inch higher than the button inlay on the other side of the cuff. The width of this section should be 1/2″ plus the width of your buttonholes, plus another 1/2″ and then a 1/4″ seam allowance. Generally this works out to about 2 to 2 1/2″.

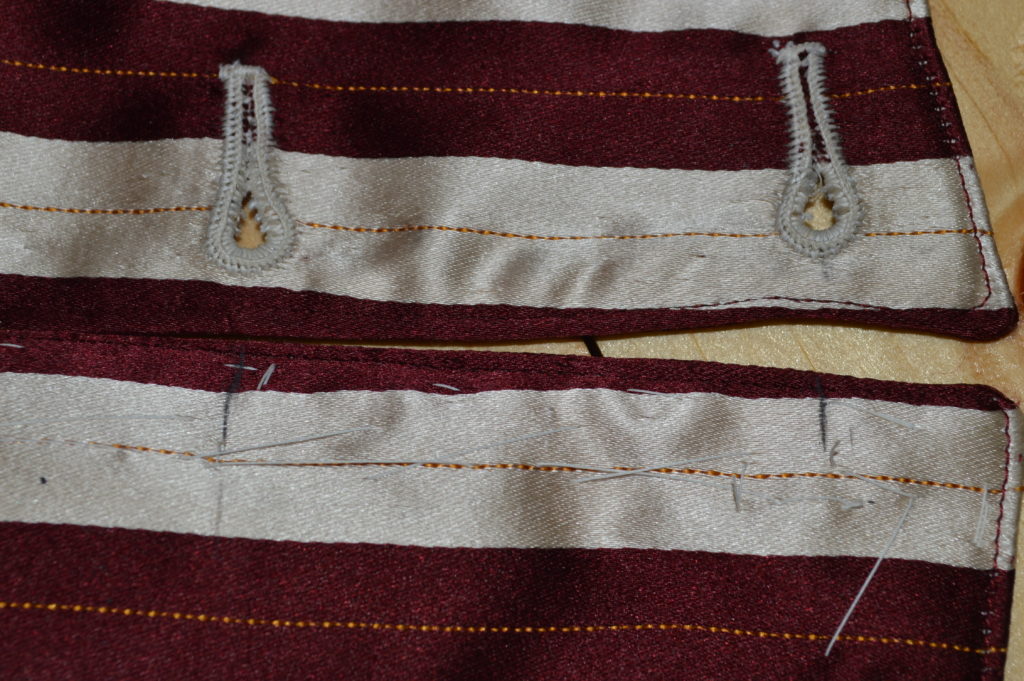
A close up shot of the buttonhole side of the cuff.

And the button side of the cuff. If you wish you can extend this side up as well to cover the entire inlay, which would also give additional support to the first button.

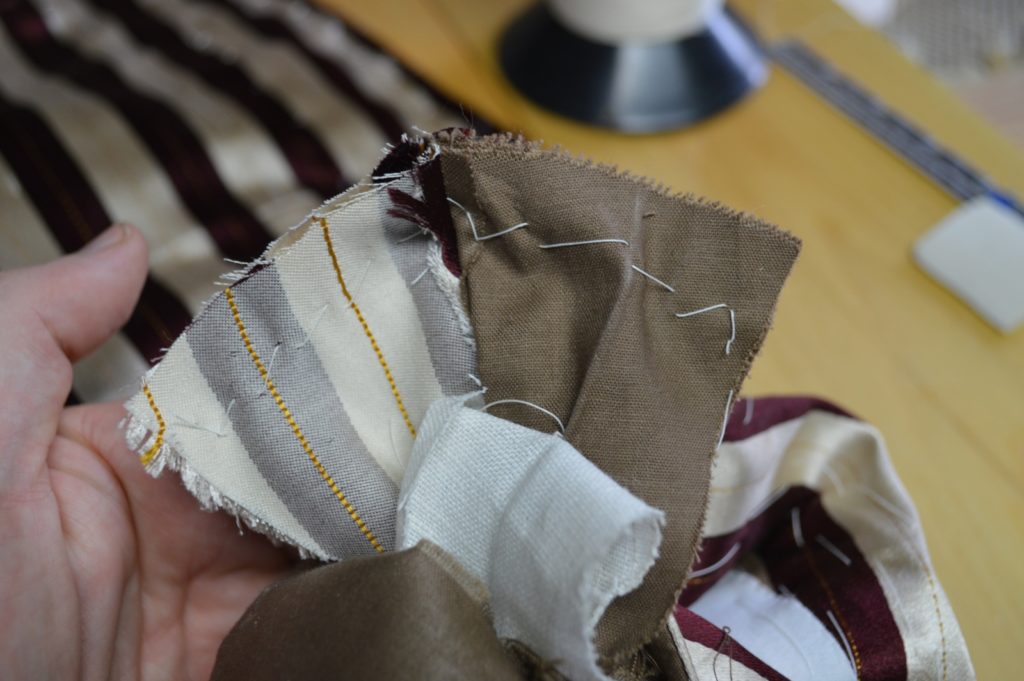
Lay the sleeve and cuff right sides together. Here’s a new technique I’ve developed for better shaping the cuffs. So often the cuffs, being on the inside of the sleeve, are bunched up and not very elegant looking. To prevent that, we’ll add some well-placed basting stiches. Start by turning over the sleeve and cuff, so that the cuff side is nearer the table.

Baste along the end of the sleeve, allowing the fabric to drape over your hand as you go. This makes the sleeve slightly longer than the cuff, and will prevent that bunching.

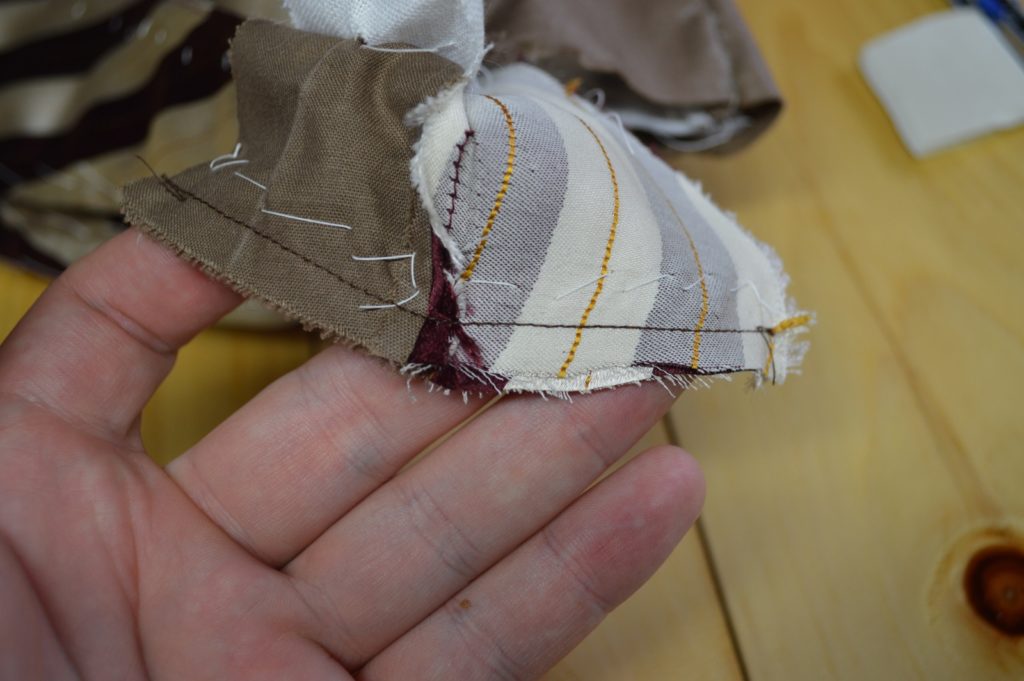
Working still with the sleeve side up, use a back and fore stitch and 1/4″ seam allowance to attach the cuff to the sleeve.

Remove the basting stitches, and turn the cuff to the inside of the sleeve. Again holding the sleeve with the sleeve side up, and draped over your hand, baste the cuff in position along the edge. As you’re working, make sure that the sleeve extends beyond the cuff by about 1/16″ to better hide the seam.

You can kind of see here how the sleeve wants to curve naturally, even when flat on the table.

Try to keep the basting stitches about 1″ away from either end. This last stitch here was actually too close and I ended up removing it later on.

Holding the sleeve in the same position, baste the inside edge of the cuff, about 1/2″ from the edge of the cuff, and 1″ from either end.

Here is what the basting looks like so far.

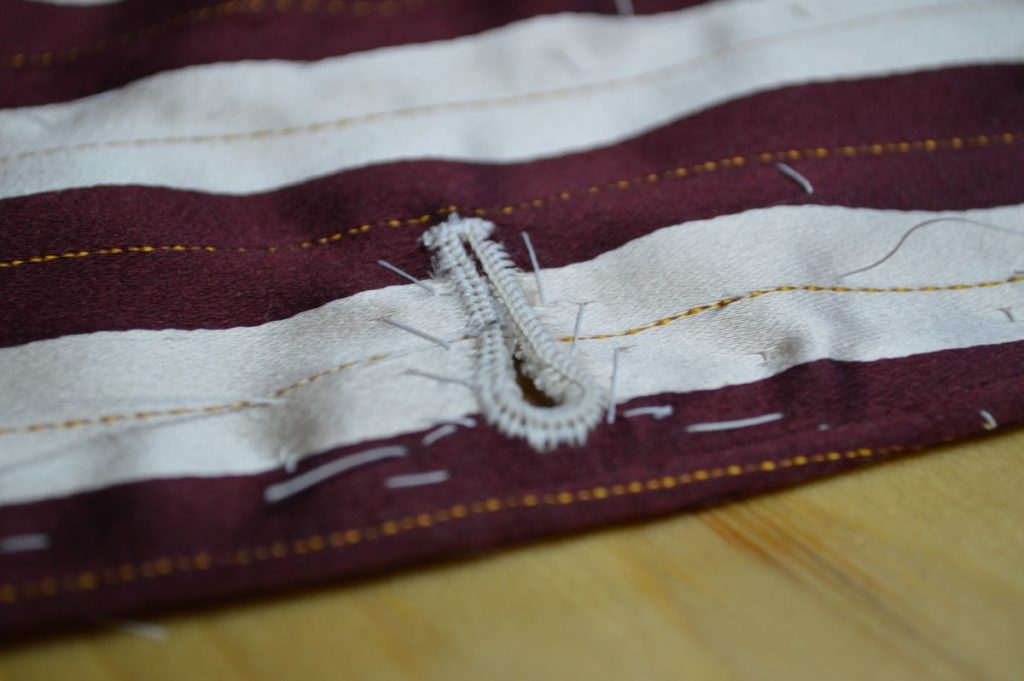
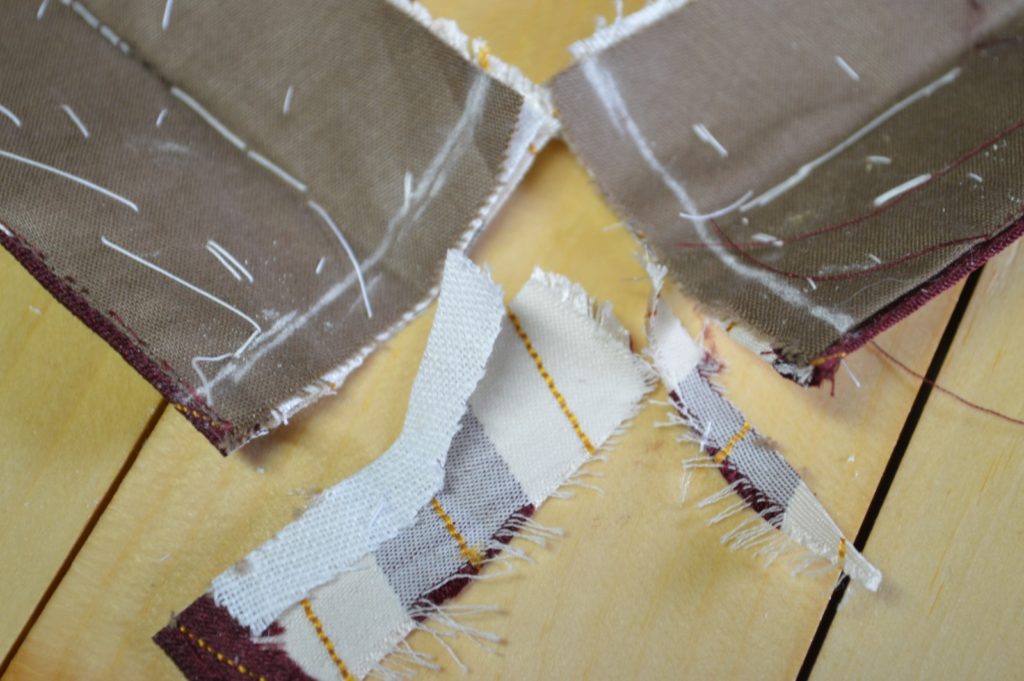
Now it’s time to worry about the two ends of the cuff. On the buttonhole side, the raw edges are folded in on both the cuff and the end of the sleeve by 1/2″, corresponding with the seam allowance of the sleeve itself.


Baste the folded edges. In the photo below, I’ve laid the buttonhole side on the button inlay, to ensure they are cut properly. Notice how the buttonhole facing extends 1/4″ beyond the button inlay.

Turn this seam allowance under at the top of the buttonhole facing.

At the inside corner where the facing and cuff lines intersect, draw a 1/4″ line at 45 degrees.

Snip the line and continue folding under the cuff seam allowance all the way to the other end.

Baste everything down. Note you will be removing some of these stitches near the buttonhole facing, but they’re helpful to make sure everything is aligned.

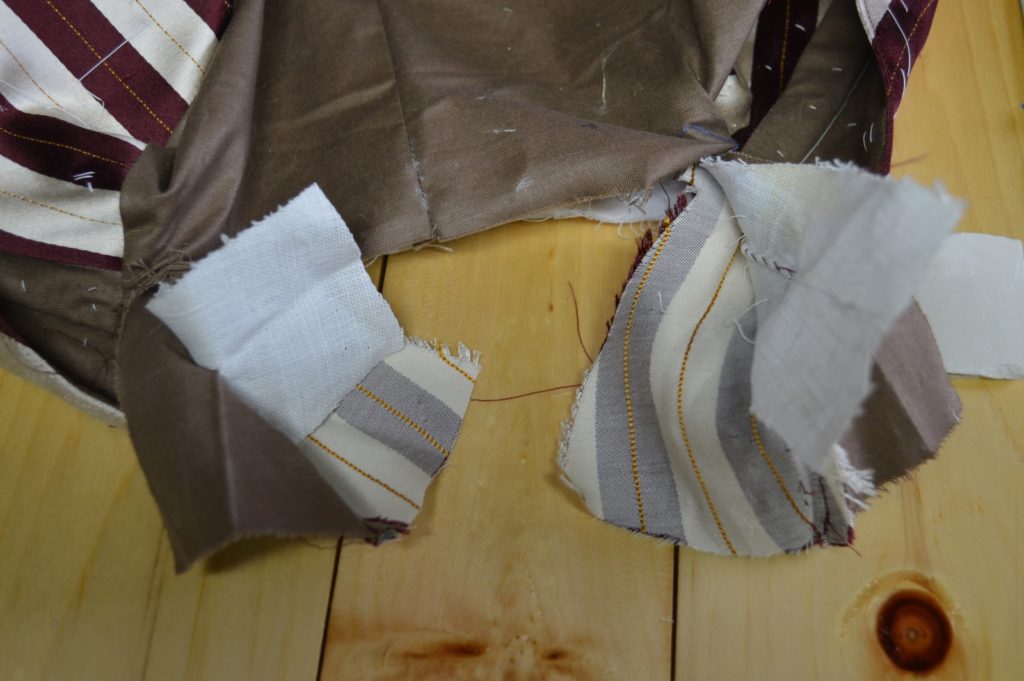
Here’s the button side. Note how I’ve stopped about and inch and a half from the edge.

Fold in the button inlay 1/2″.

Then tuck the raw edge inside so you have a 1/4″ fold and no raw edges showing.

Fold the cuff end in 1/2″ to match, and baste in place.

Before we start sewing down the cuff permanently, we’re going to baste the rear sleeve seam. Align the end near the armscye so that the 1/2″ seam allowance intersects. Pin the cuff end in place, and baste the seam, working in any fullness of the top sleeve in as you go, along the first 6 inches near the armscye.

Baste until about 1″ past the start of the button inlay, making sure the seams are properly aligned.

You’ll have to remove some basting stitches from the buttonhole facing so you can have room to work properly.

That concludes the basting up of the sleeves and cuffs. Next we’ll sew it all together.
Drafting the Sleeves
Following the instructions in my drafting tutorial, draft a basic sleeve. There are a couple of alterations to be made to the basic pattern.
First, we are going to assume the original pattern found in Devere’s includes the seam allowances in the draft. When drafted this way, the sleeve will have about 2″ of extra fullness than the armscye.
Since we are finishing the sleeves with a half inch seam allowance, we need to add 1/4″ all the way around the draft, except for at the cuff areas, which will be sewn with the included 1/4″ seam allowance.

We also need to add an inlay for the buttons to attach to. This is added at the rear seam of the under sleeve, and is about 5″ long by 1 1/5″ wide.

Here are my completed sleeve patterns. Note the inlay for the buttons and the additional 1/4″ seam allowance.

Closeup showing the added seam allowances. As you can see, I usually trace the under sleeve onto a new sheet of paper, and then cut the top sleeve pattern straight from the original. You may want to trace the top sleeve as well in order to preserve the original pattern. I was feeling confident though, so rarely do that these days.

I highly suggest cutting a muslin sleeve first. When you are happy with the fit, cut out your sleeves in linen.

Fitting the Sleeves
You should now construct a sleeve out of muslin, to test the fit. Only one side is necessary to test, and if you can do the left side, it is a little easier to set into the armscye (if you are right handed, that is). Begin by sewing the front seam together. Press open.
Sew the rear seam together, pressing that open as well. Line up the rear seam to the middle of the back body at the armscye, as shown for the wool sleeve. Baste the sleeve into the coat, right sides together, using a running stitch. It’s okay to pleat sections in to make things easier. After the muslin sleeve is attached, you should check for the following fitting problems.

Fitting issues
There are several fitting issues you may encounter when fitting the muslin sleeve. Try to correct these now, as they are much more difficult, with the exception of the Sleeve Pitch, to fix later on.
Too long or short
If you find the sleeve is too long or too short, this can be fixed on the draft by altering the measurement from C to H, and adjusting all of the points from the elbow to cuff accordingly. The sleeve should fall to just past the hollow of the wrist. This is a lot longer than modern sleeves, so be careful not to fall into the too-short sleeve trap.
Armscye too Full
You may find when basting on the sleeve that there is just too much extra ease on the sleeve head. If you have more than an inch of ease, I suggest adjusting point F, and bringing that closer to C in both the under and upper sleeve in equal amounts. So if you have an extra inch of fullness that you don’t want, subtract 1⁄2 an inch from point F on both halves of the sleeves.
Elbow too Wide
If you are a very large size, starting at about size 46 and above, you’ll find that the elbow is very wide compared to the length of the sleeve. In this case, disregard point L, and make the curve from F to G follow a more proportionate line if you can.
Pitched Forward or Back
If you distribute the fullness on the sleeve head incorrectly, you’ll find that the sleeve will want to hang too far forward or back, and that there are wrinkles on the front or back of the sleeve head.
If the wrinkles form at the front of the coat, you’ll need to rotate the sleeve back, and distribute more fullness towards the back. Likewise, if the wrinkles are near the back of the scye, you’ll want more fullness near the front. This can be easy to fix later on, but you want to be aware of it.

After you are happy with the fit of your sleeves, you can cut them out of the wool. Make sure the grain lines are aligned properly, as well as the direction of the nap.
This concludes the Drafting and Fitting a Frock Coat Workshop. As always, if you have any questions, feel free to email me or post on the support forum.
You may now proceed with confidence to the other workshops, knowing that you have a properly-fitted pattern upon which to base your work.
Drafting the Sleeves
We will begin the last module of the workshop by first drafting and fitting the sleeves. Devere’s sleeve draft is relatively easy, compared to the coat. The sleeve head’s width is determined by a proportion of the breast measurement. The length is determined the the Length of Sleeve measurement, and the wrists and elbows can either be proportioned to this, or as fashion requires. Remember that in the 1860s, the sleeves were very full at the elbow, and covered the wrist. The ‘show half an inch of shirt cuff rule’ is a more modern development.
I neglected to account for the sleeve draft in the measurement spreadsheet you filled out in the first module, so a new one is included that deals specifically with the sleeves. Just fill in your full breast measurement and sleeve length, and the rest will be calculated for you.
A–B
Begin by drawing a horizontal construction line. Mark A at the left end of the line. Point B is three-
eighths of an inch less than one-fourth of the Breast.

A–C
One-sixteenth of Breast.

A–D
One-fourth inch more than one-fourth Breast.

C–E
One-eighth of Breast. Sometimes a smaller amount can be used here if you have trouble drawing the sleeve head later on.

C–F
Three-fourths inch less than half the Breast.

C–H
Length of Sleeve to measure.

G–H
Wrist, to measure or to Fashion.

H–I
One-Twelfth of Breast.

I–J
Half of I – B. Using the tailor’s square makes this calculation easy to check.

J–K
Curve of Forearm Seam to fashion. This is variable according to your fashion needs. For example, an 1850s coat would have a tighter, more deeply curved seam. Therefore, you would increase this measurement.

K–L
Elbow width, to fashion or to taste. Remember that coats of the 1860s had a very full elbow.

The Upper Sleeve Curves
We’ll begin drawing the sleeve curves, first for the upper sleeve, followed by the undersleeve.
The Sleeve Head
We’ll first draw the sleeve head, as shown. Using either a French curve or bendable ruler, start by connecting Point F to points D and E in a smooth curve. Continue on to point B, but aim about 1⁄4 high, and then quickly curve in to Point B. This will make it easier to align the seams later on.

Back Seam
Connect point F to L with a very shallow curved line. At point L, the line swings downward, connecting to point G. You may find that point L is too high, which can happen with larger breast sizes combined with short arms. In that case, you’ll need to lower point L until it looks a more reasonable shape.

Front Seam
Connect Points B, K, and I with a smooth curve, using a hip curve for accuracy.

Cuff
Draw a straight line connecting Points G to I. Use that line as a guide draw a curved cuff. It’s also permissibleto leave this straight, if you wish.

The Under Sleeve
Begin the under sleeve by drawing a line squared up from point B, about half way up the height of the sleeve. Mark 1⁄2 an inch up on this line from point B, and do the same from point F, as shown.

Completing the Armscye
Connect the points you just drew from point F to point B in a smooth curve, as shown. The curve should extend slightly past the construction line from Point B. This is not exact, and with practice you’ll learn how to draw this seam more accurately.

Completing the Back Seam
Connect from 1⁄2 inch below Point F in a nearly straight line, gradually curving into point L.

Completing the Front Seam
Connect in another nearly straight line from 1⁄2 an inch above point B to point K. The Sleeve Draft is now complete.

Seam Allowances
You should now add 1⁄4 inch seam allowances around the entire sleeve, on both over and under sleeves.
