Month: October 2019
Side Seam
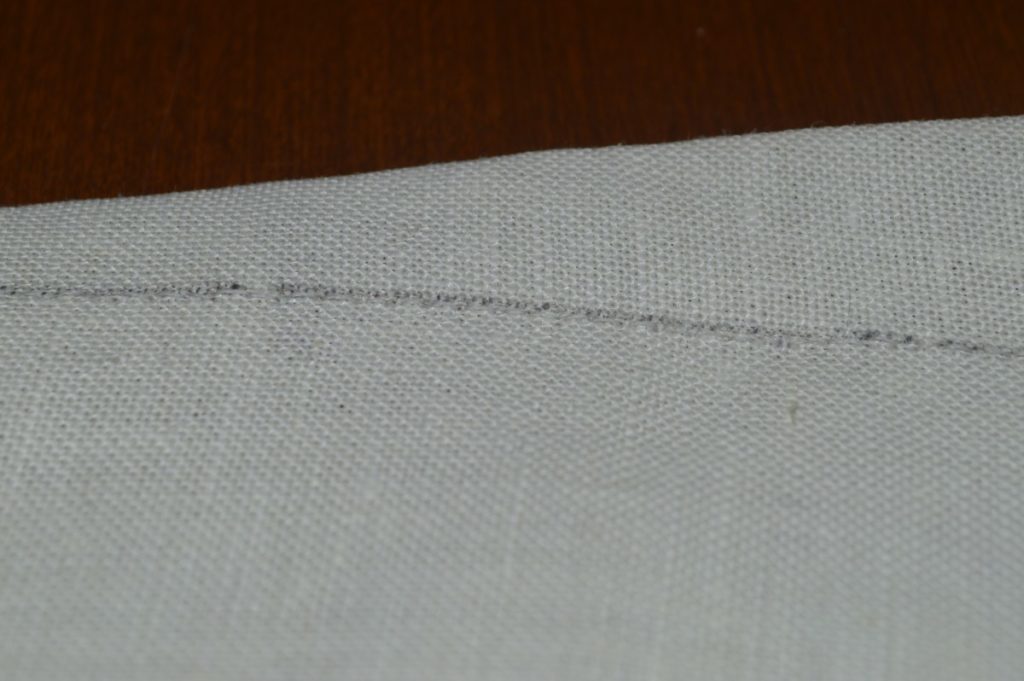
The first thing to do is complete the side seam. Begin by basting 5/8″ from the edge, right sides together, and sewing with a back and fore stitch, with the right side of the stitches being on the side-body.
Trim off the unused inlay from the forepart. You can do this before basting if you wish, I just ended up doing it now.
Trim the seam allowance on the forepart down to 1/4″, or slightly smaller.
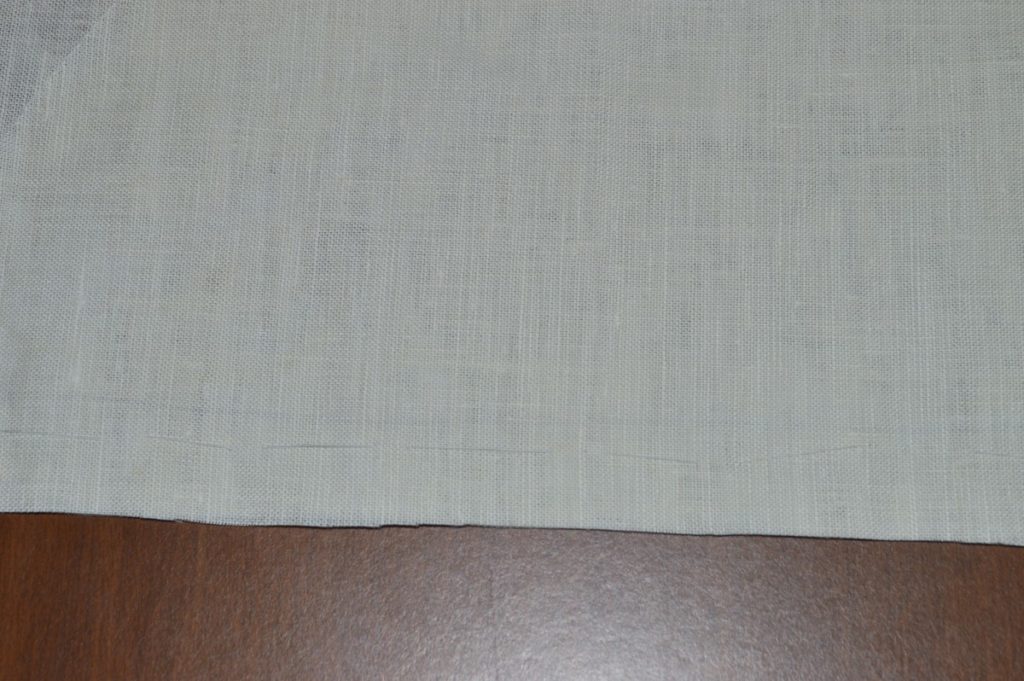
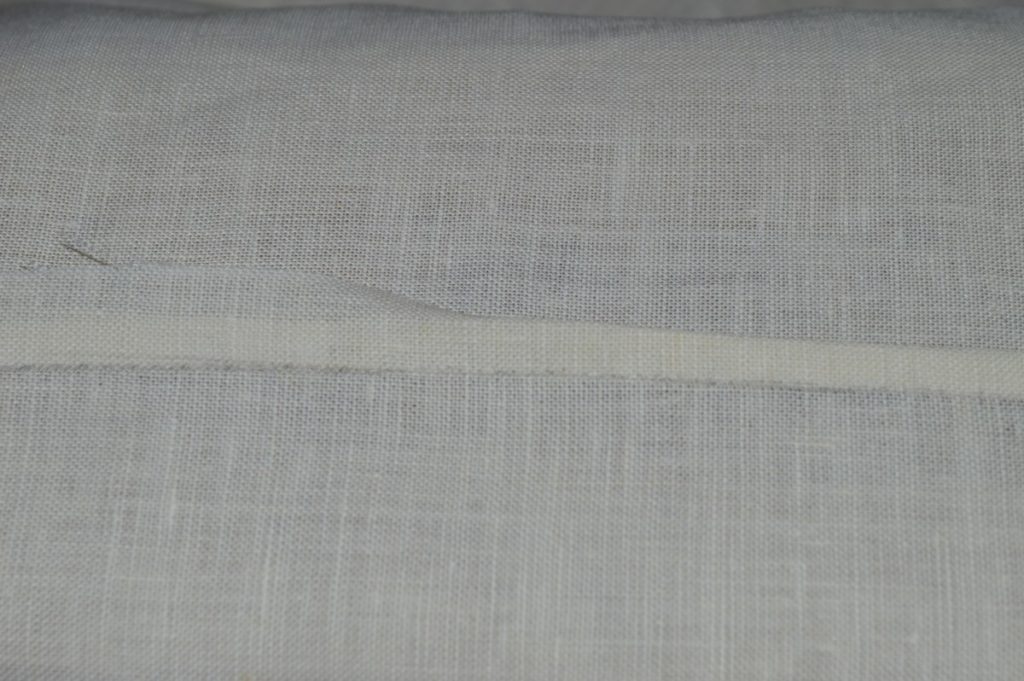
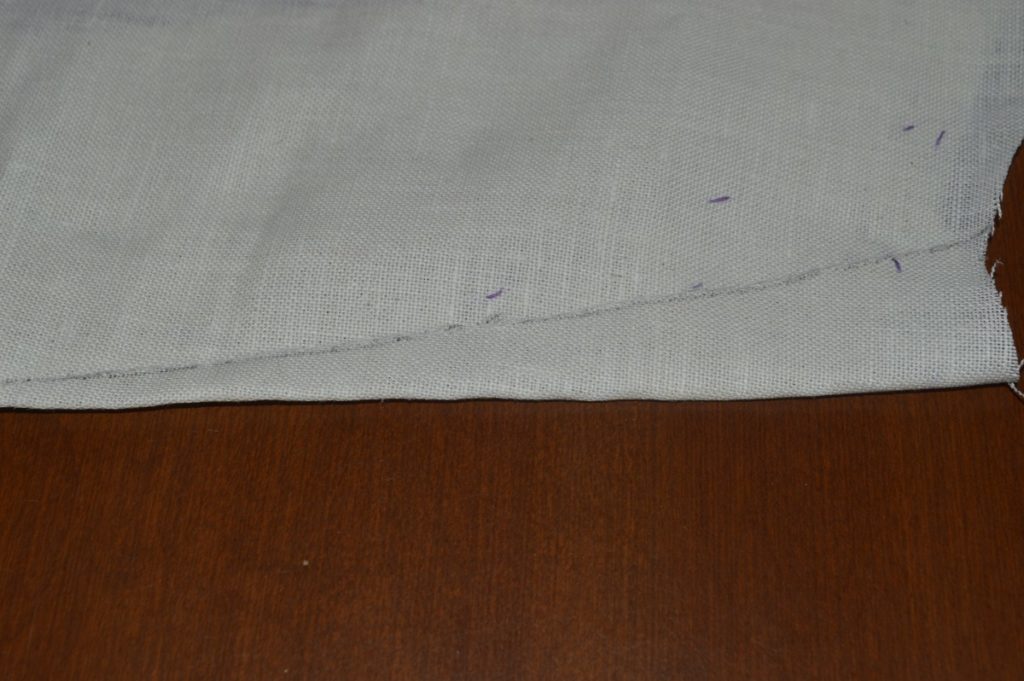
Press the seam towards the forpart. The discrepancy in lengths is due to me forgeting to add an inlay to the side-body.
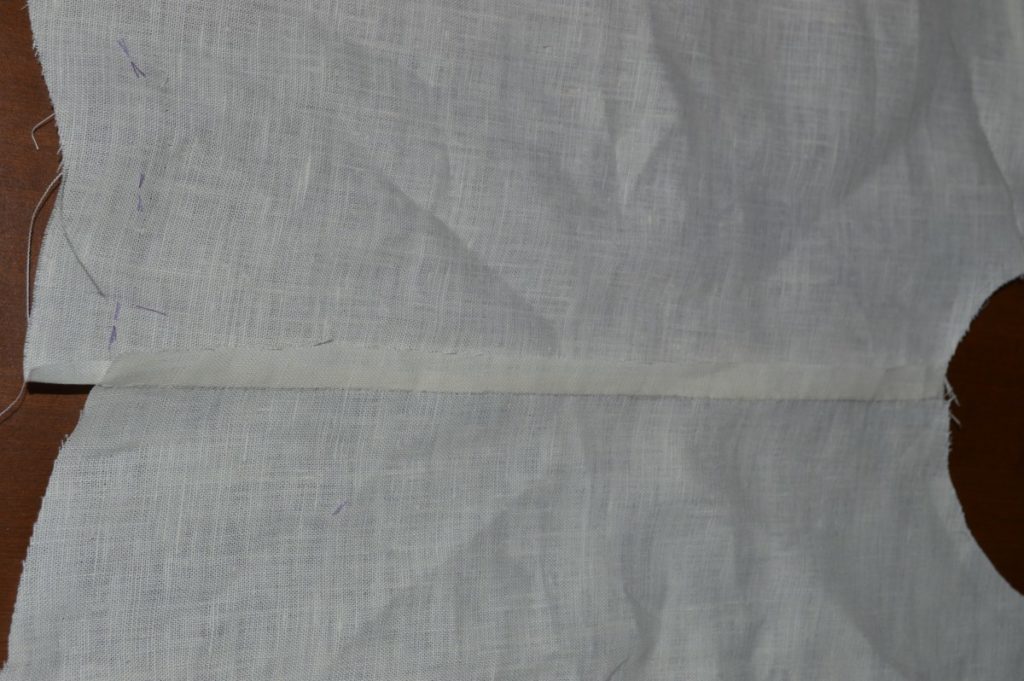
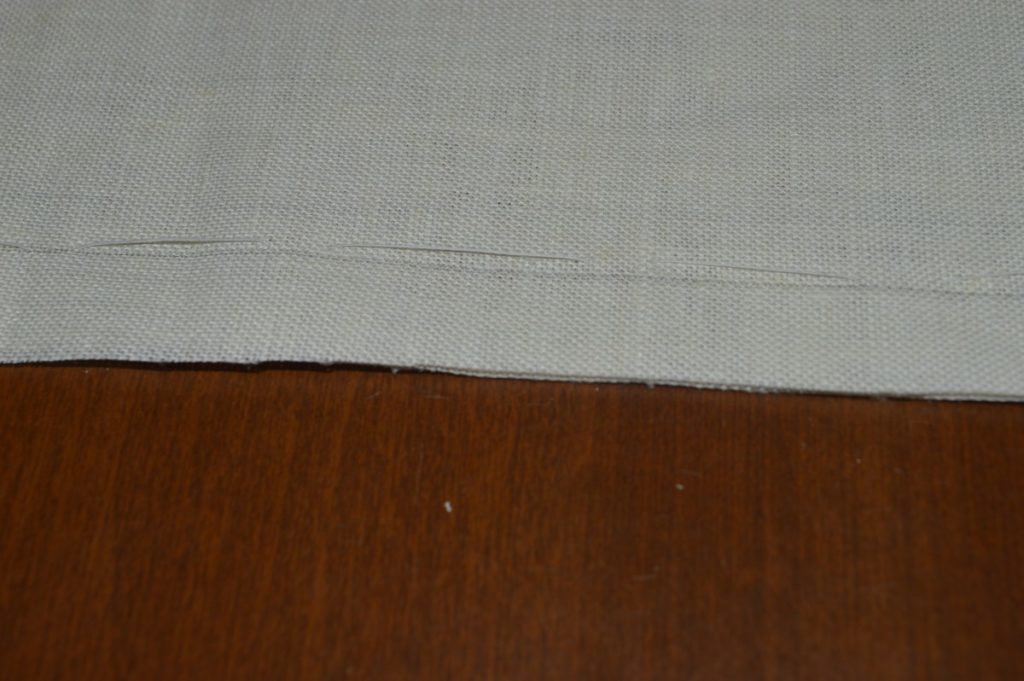
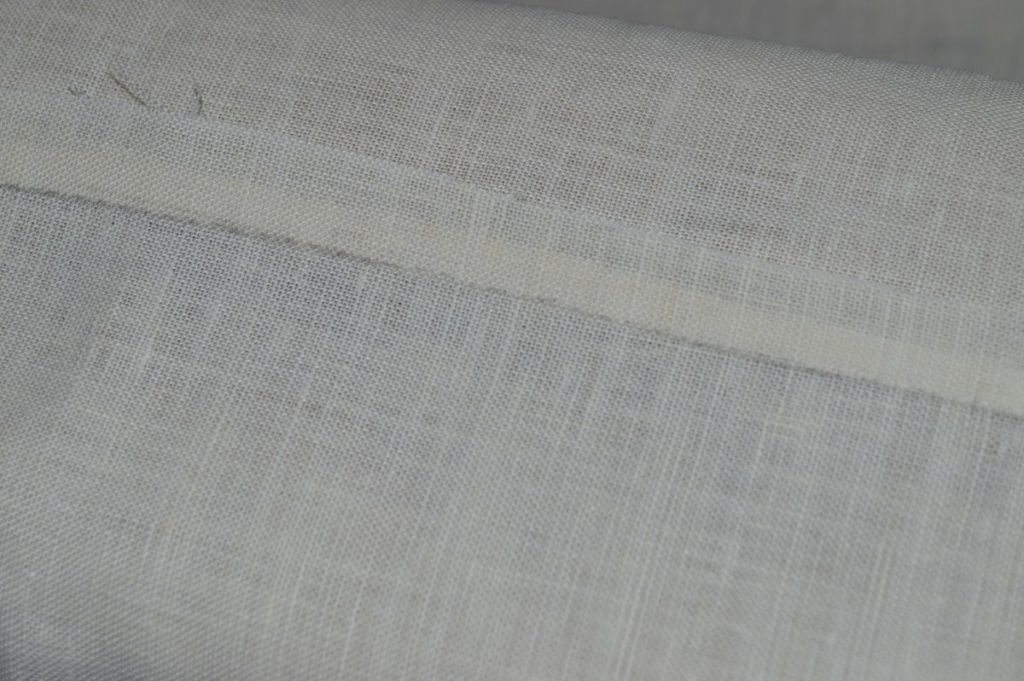
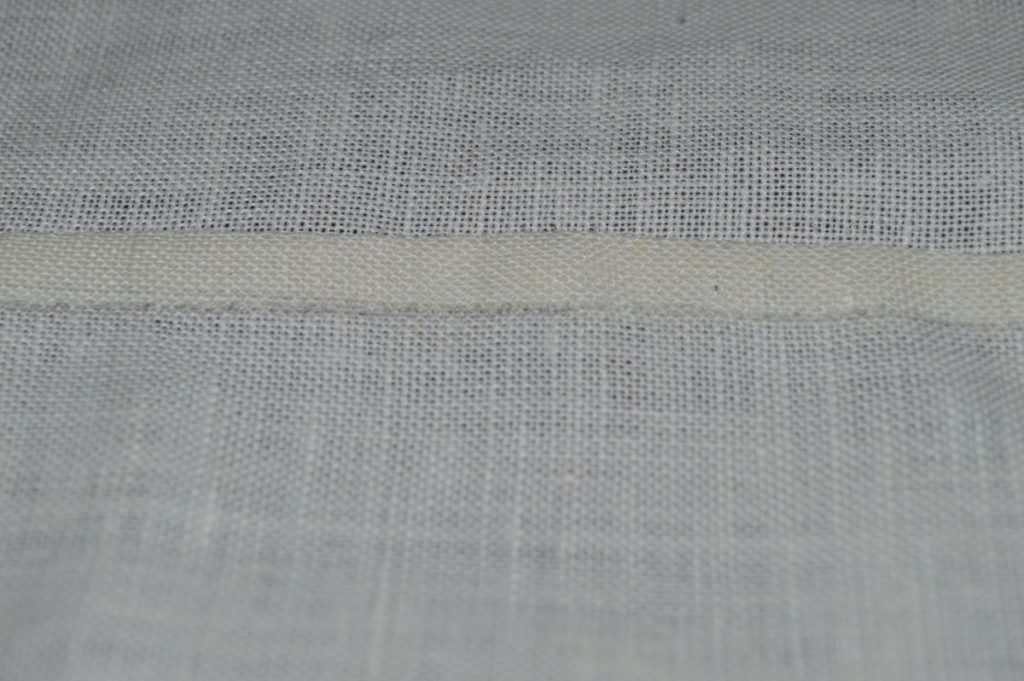
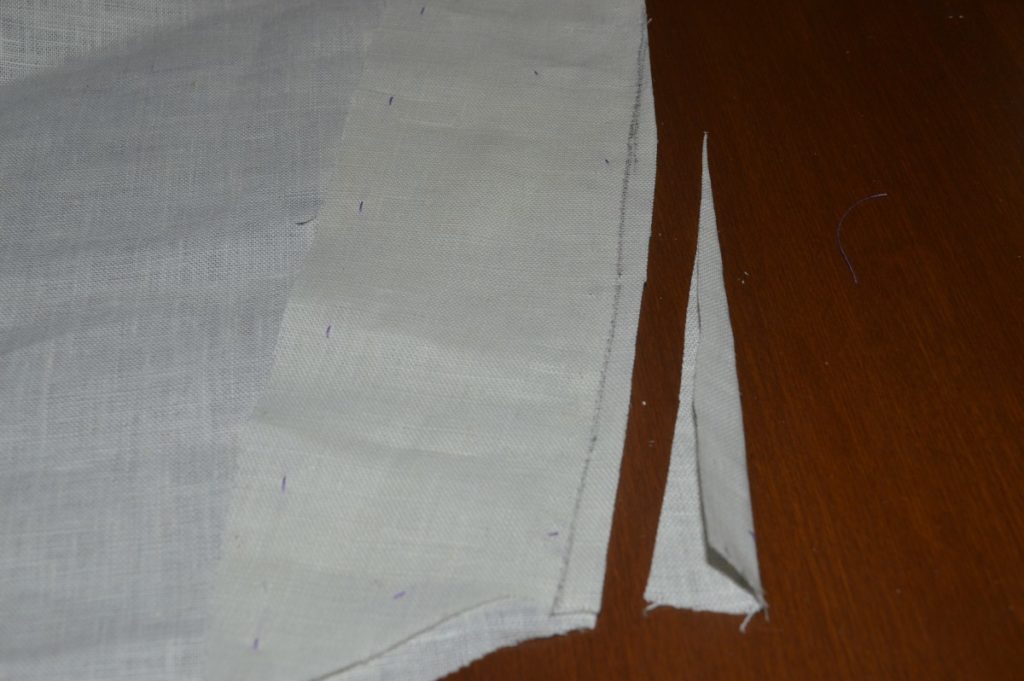
Press and baste the 1/2″ seam allowance under the forepart seam. I basted it because the seam is slightly curved at the bottom, and it gives me more control and less to worry about while sewing. Fell down the folded edge.
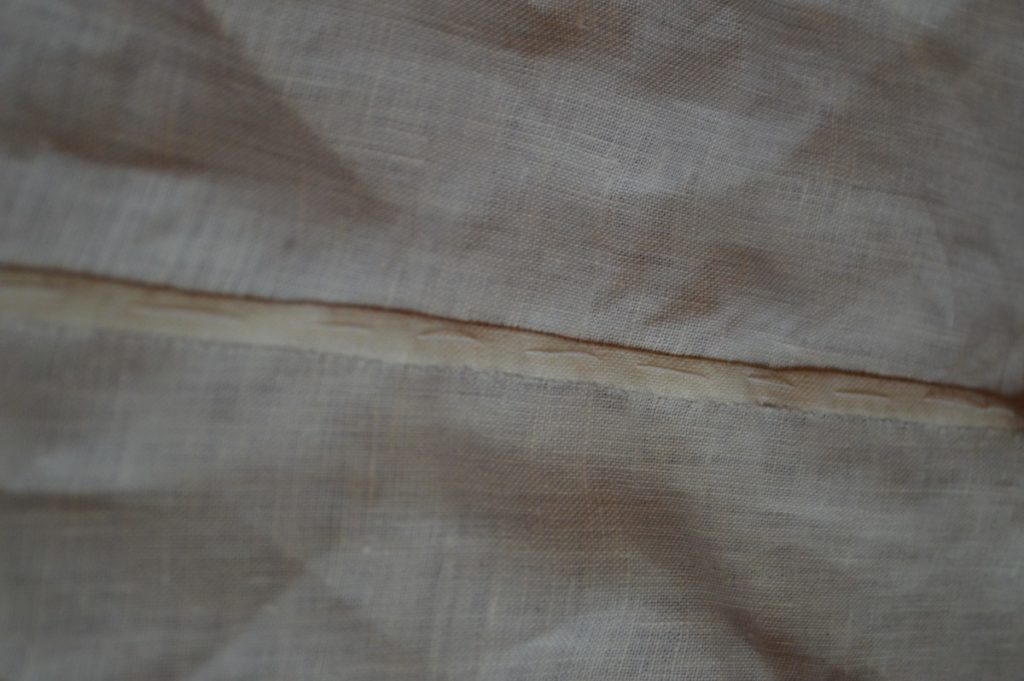
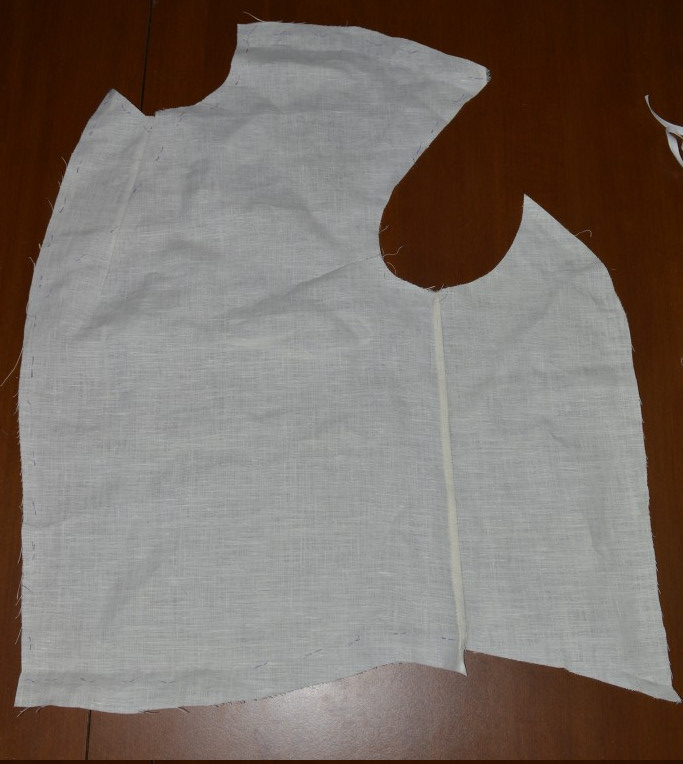
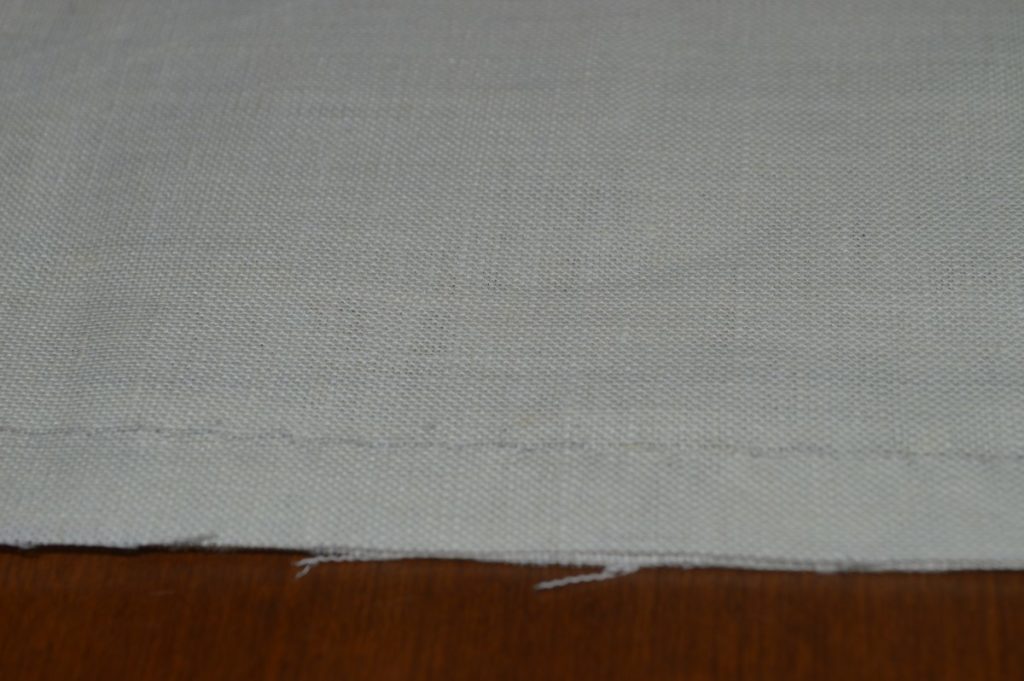
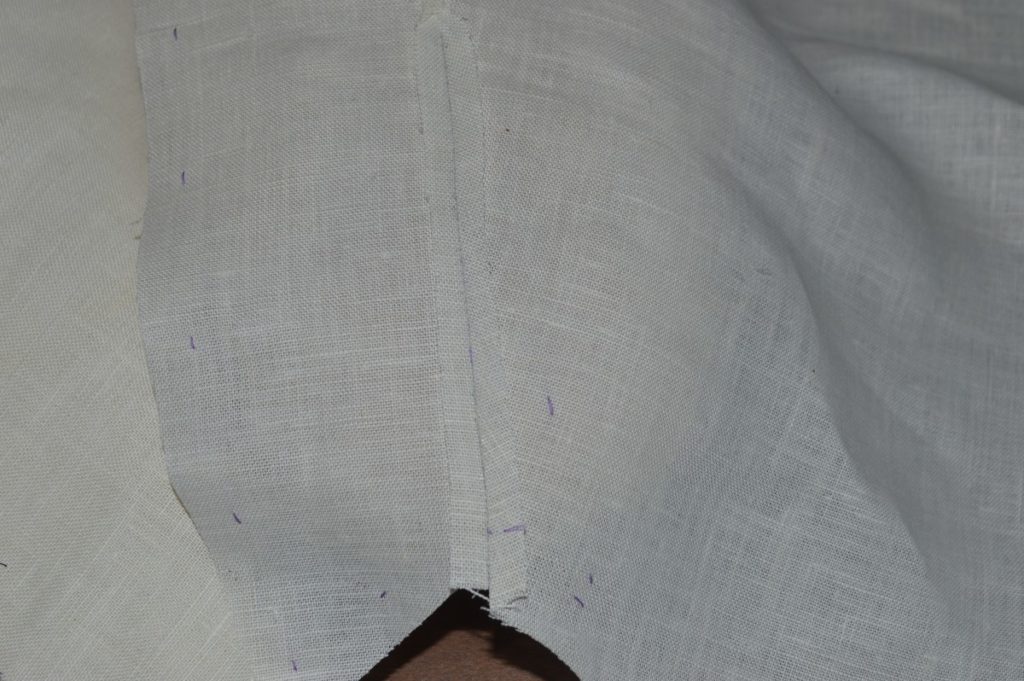
Remove the basting stitches before you forget. Here is the progress on the coat thus far.
Second Fitting
Before assembling the coat permanently, it’s a good idea to baste together all of the pieces to ensure that everything fits properly. In this particular fitting, we’ll be most concerned about checking the side seam, and the height of the waist seam. Normally, the muslin sleeves would also be fitted here, but we will leave those out for now to simplify things. This fitting also serves as a ‘dry run’, so that there are no surprises when it comes time to sew things together.
Begin by basting the coat together, wrong sides together, in the same manner as you did the muslin toile during the drafting process. The end result will be a coat with all of the seam allowances on the outside. This makes it extremely easy to have someone fit you while you’re wearing it. Remember that everything has a 1/2″ seam allowance.
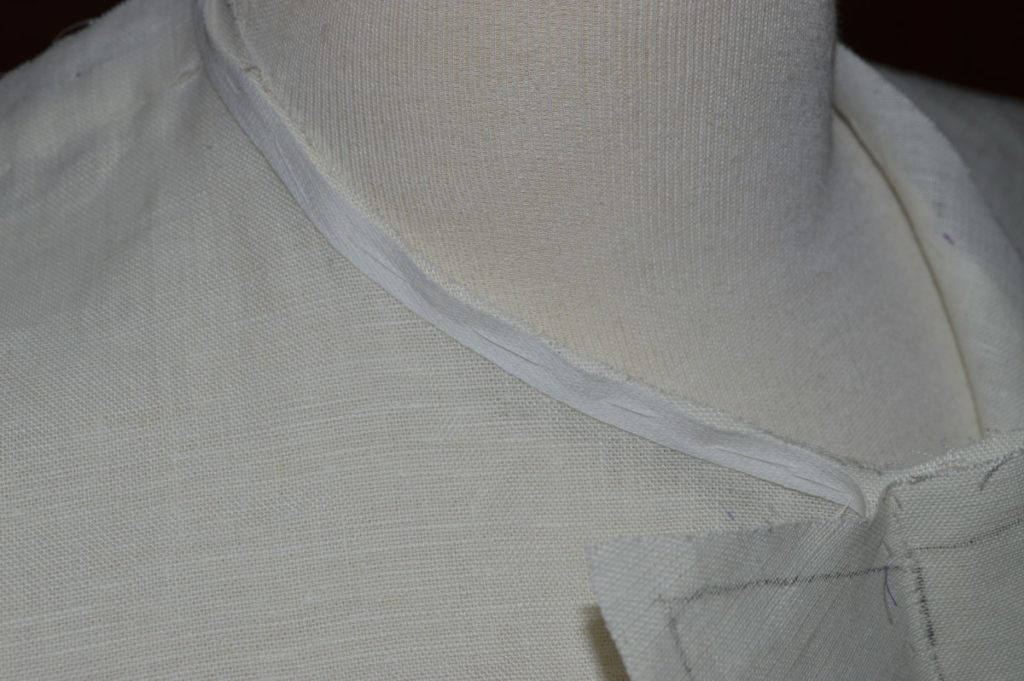
Before trying on the coat, it’s a very good idea to baste a length of stay tape around the neck seam and the armscye. This will prevent any unwanted stretching.
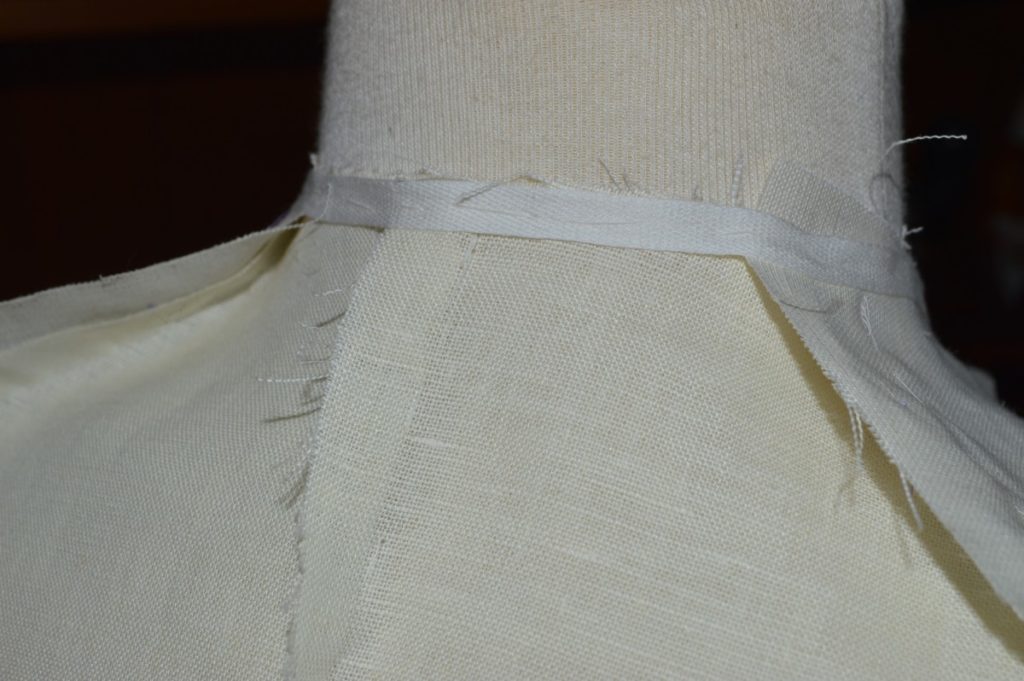
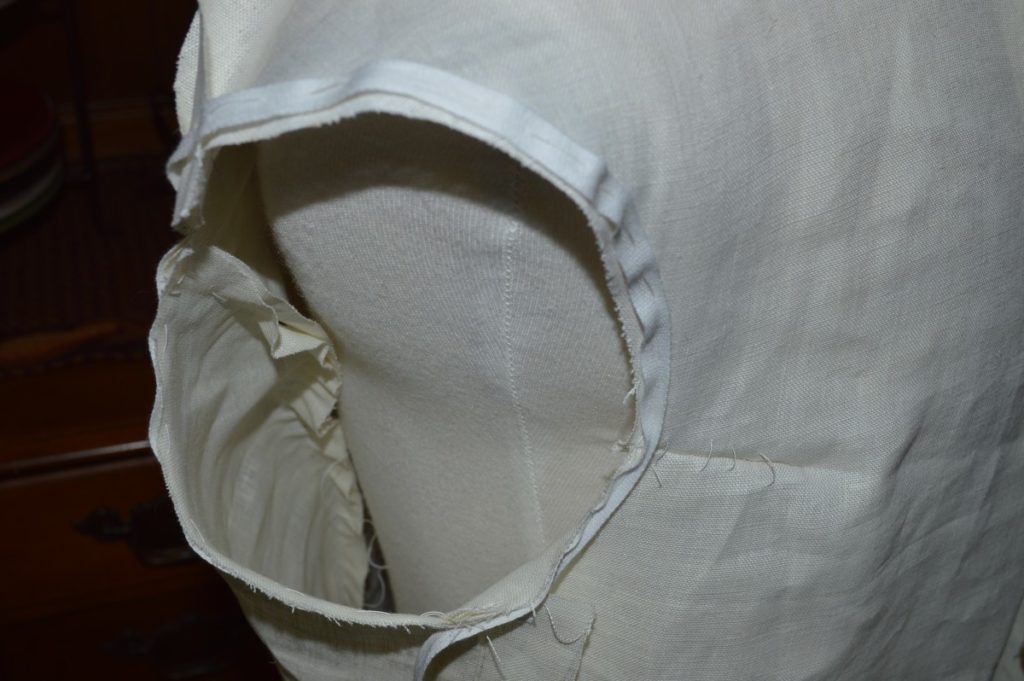
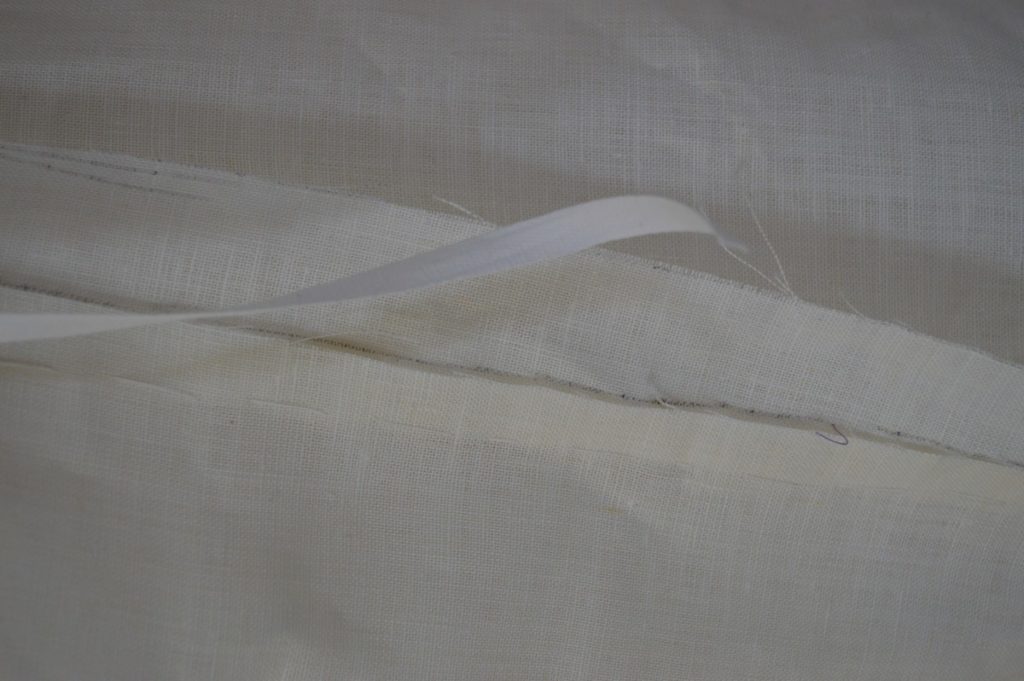
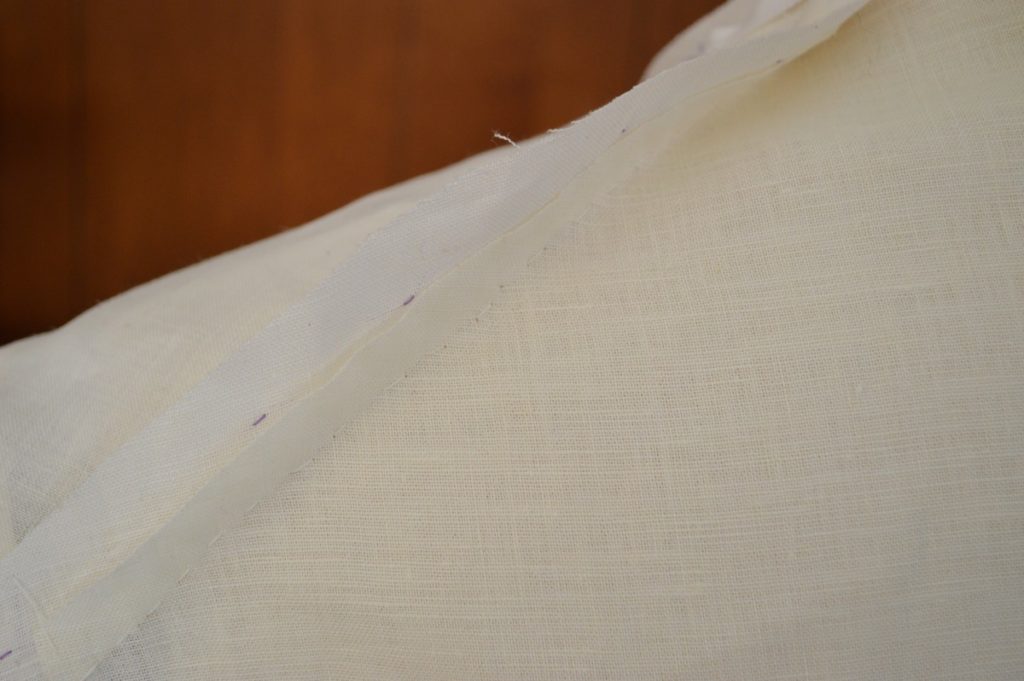
Here’s the side seam, showing the inlay next to it. Remember to treat the tailor’s tacks as the edge of the cloth. If necessary, you can use this inlay to expand the fit now. That’s a piece of stay tape hanging down from the armscye, if you were wondering.
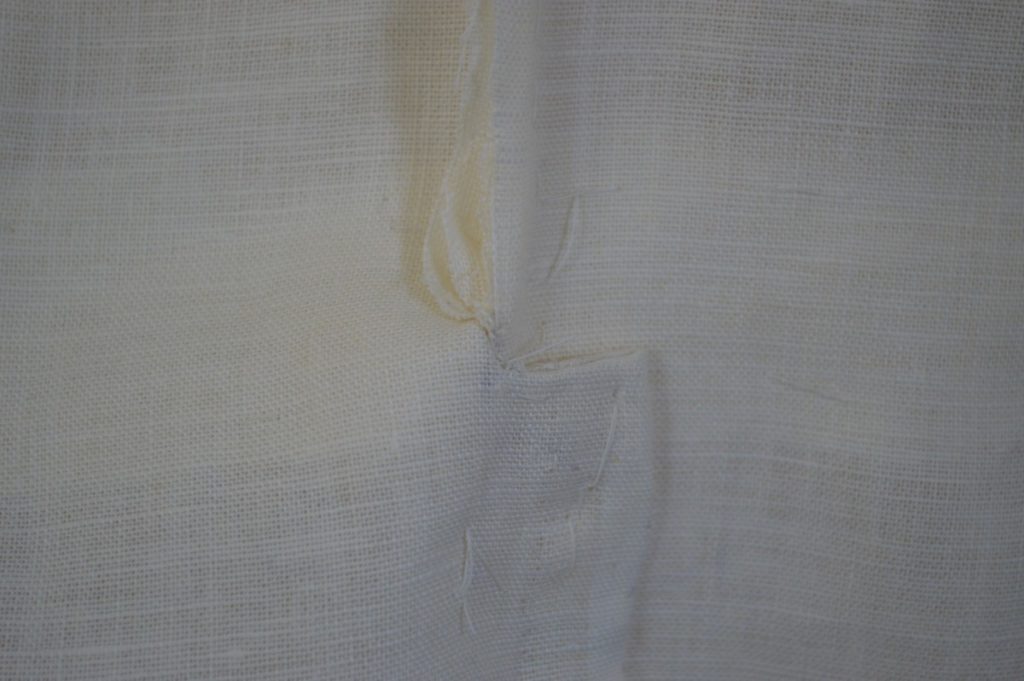
Here’s the back seam and the vent area. Baste the left side of the vent over the right side to secure it and prevent tearing of the fabric. For the back piece, feel free to sew it right sides together with the rest of the coat to make things easier.
Here’s the shoulder seam, again showing the inlays. We will not be fitting the shoulder seams at this point, so don’t worry too much about them yet.
When the skeleton baste is complete, try it on, and besides the side seam, take a close look at the waist in the front. It should be about an inch below the natural waist, or just slightly below the waist coat. If it’s too low, that is most likely a balance issue – the front of the coat is too long – and you may want to add add a gorge dart, and move the waist line up slightly. As long as you’re just basting, it’s a good time to experiment with both of these. Post a photo of your fitting in the forum and I’ll help you determine what to do.
Right Back Skirt
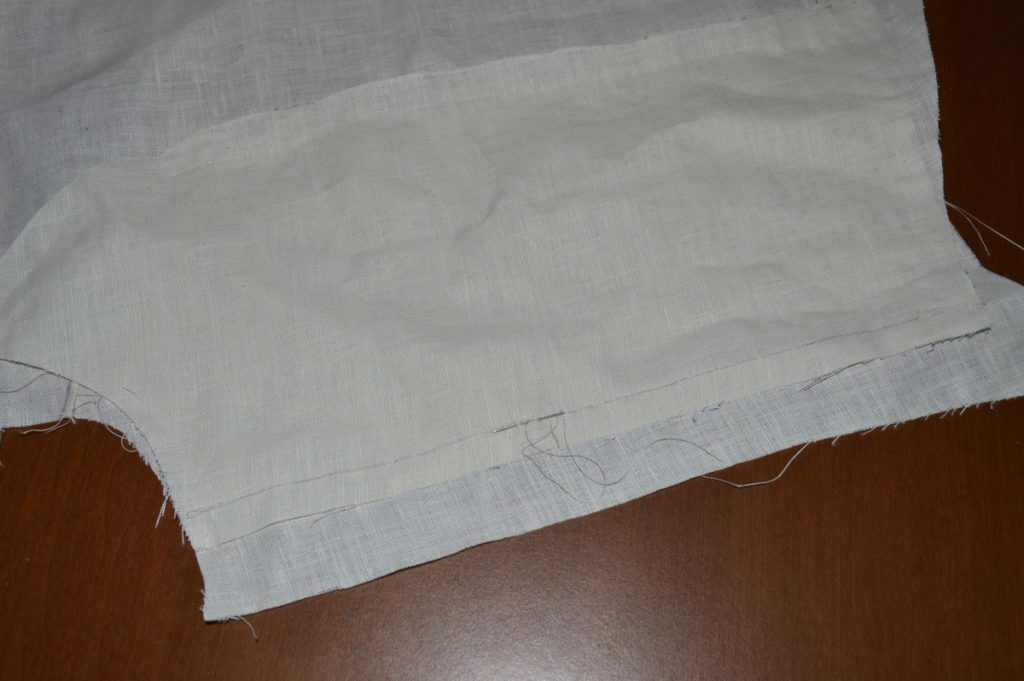
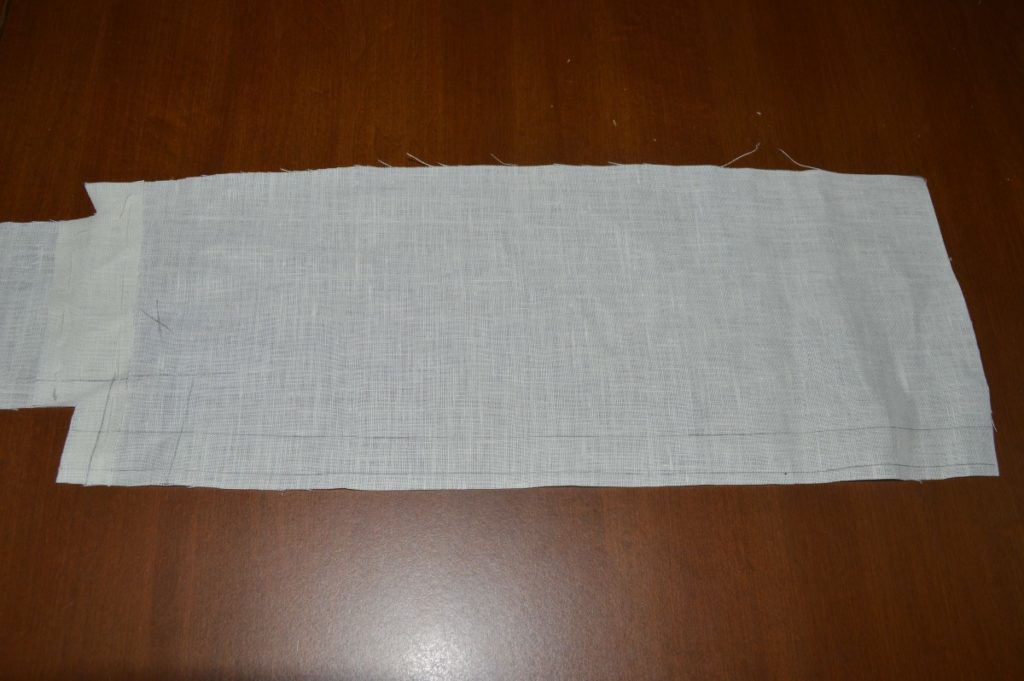
The right side of the skirt is even easier to construct. This time, no diagonal cut is made at the top of the step. Begin by marking out your lines 1/4″ and 7/8 or 1″ from the edge. Lay out the stay tape from the top (it can extend off the edge here), to 1/2″ from the bottom and baste as before. Be sure to add the same amount of fullness to ensure the two sides are the same length.
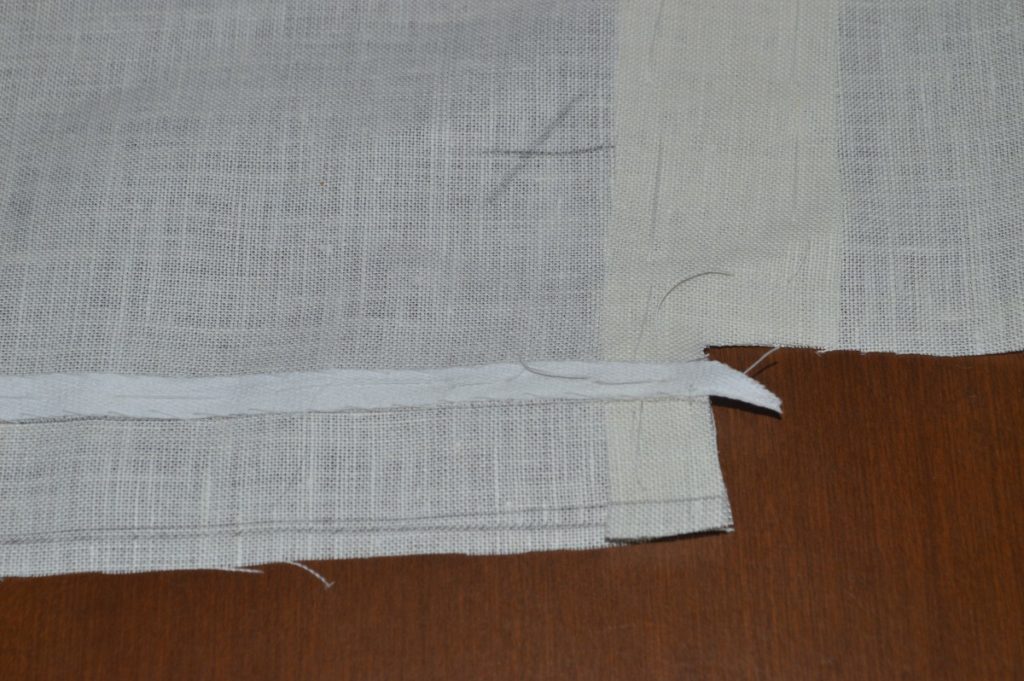
Fold over the raw edge, and then fold over at the stay tape as before, press, and finish by felling.
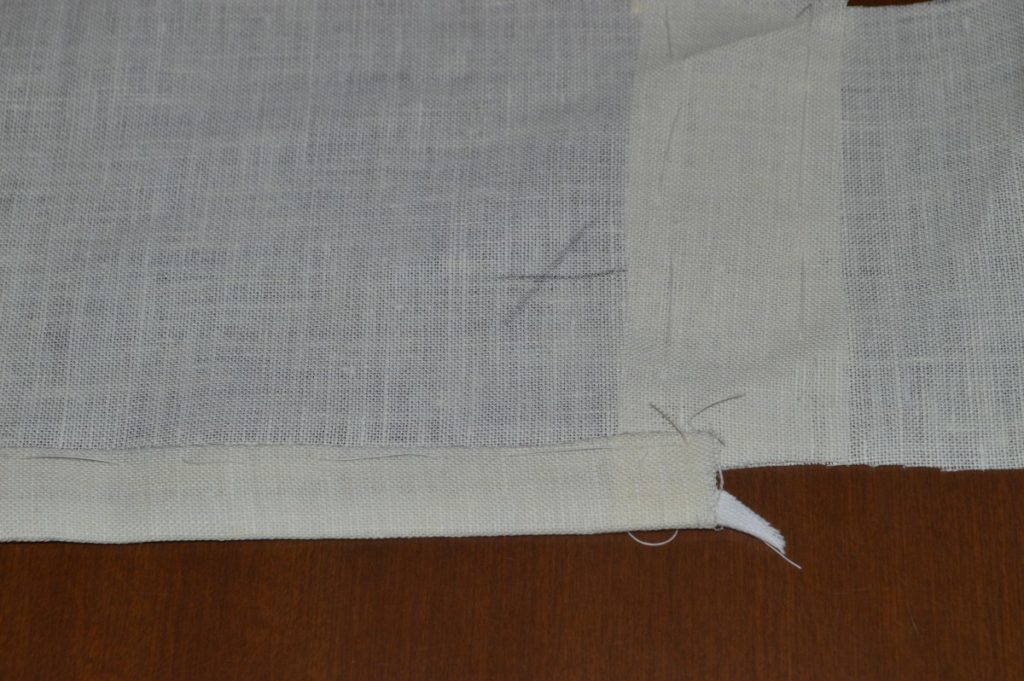
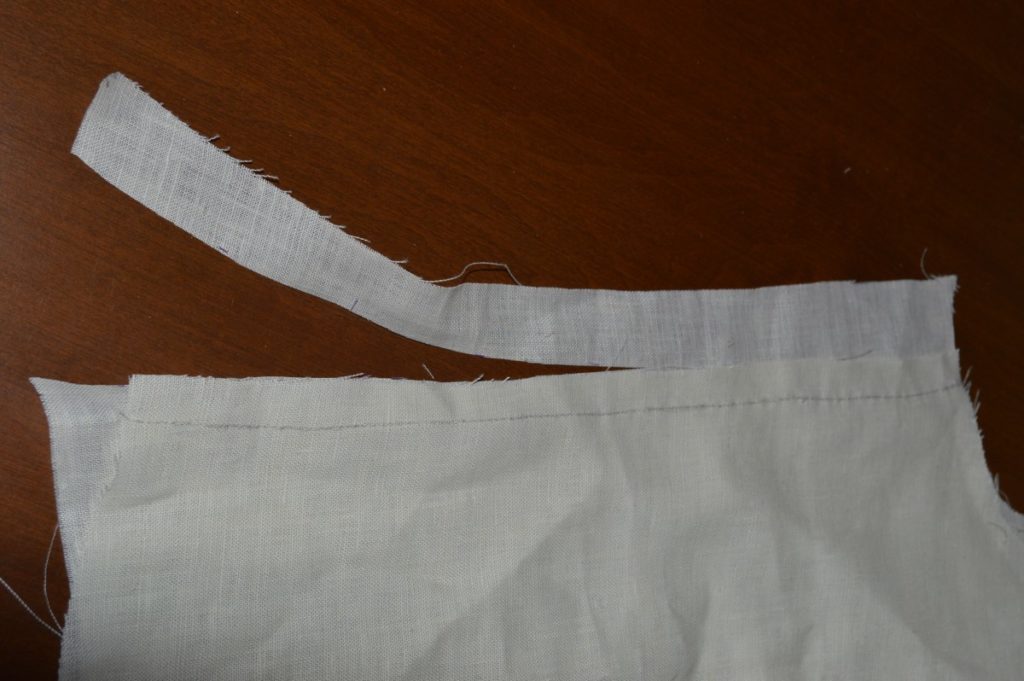
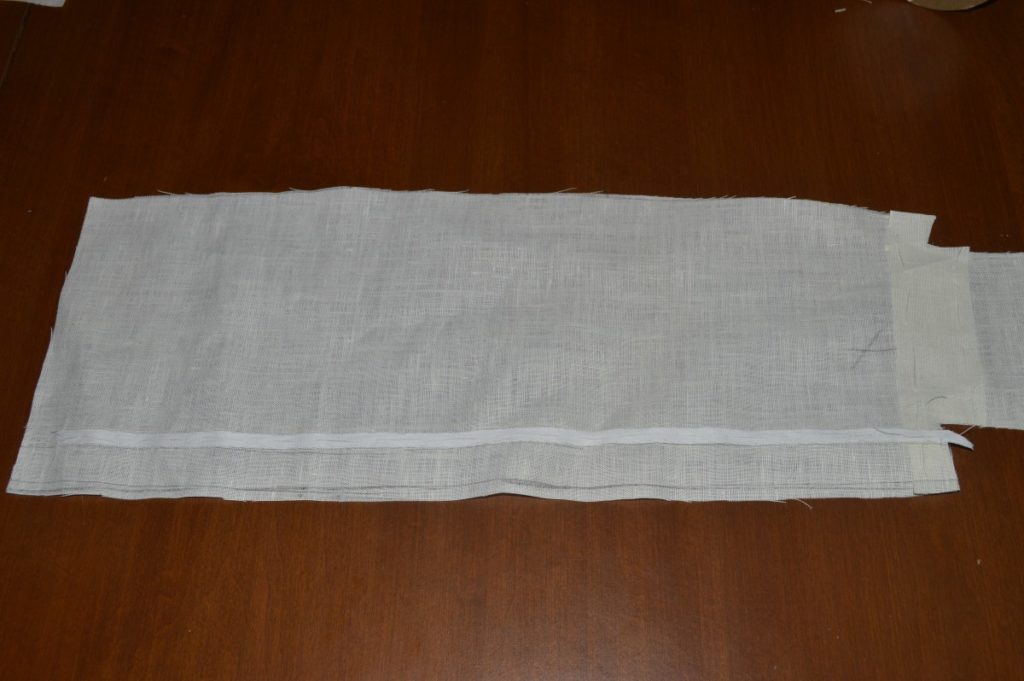
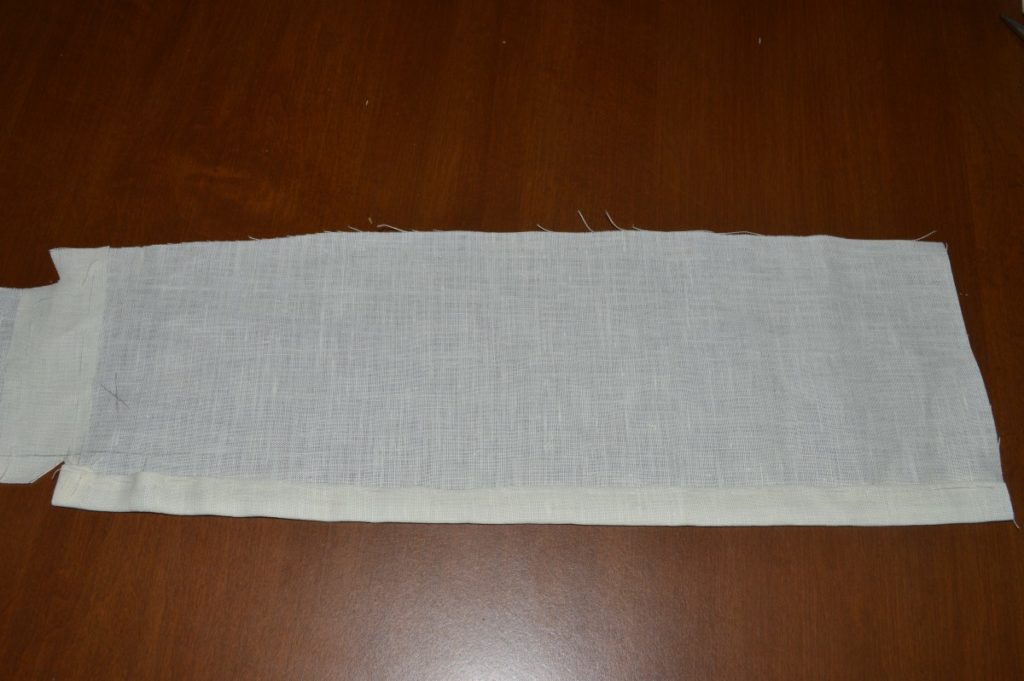
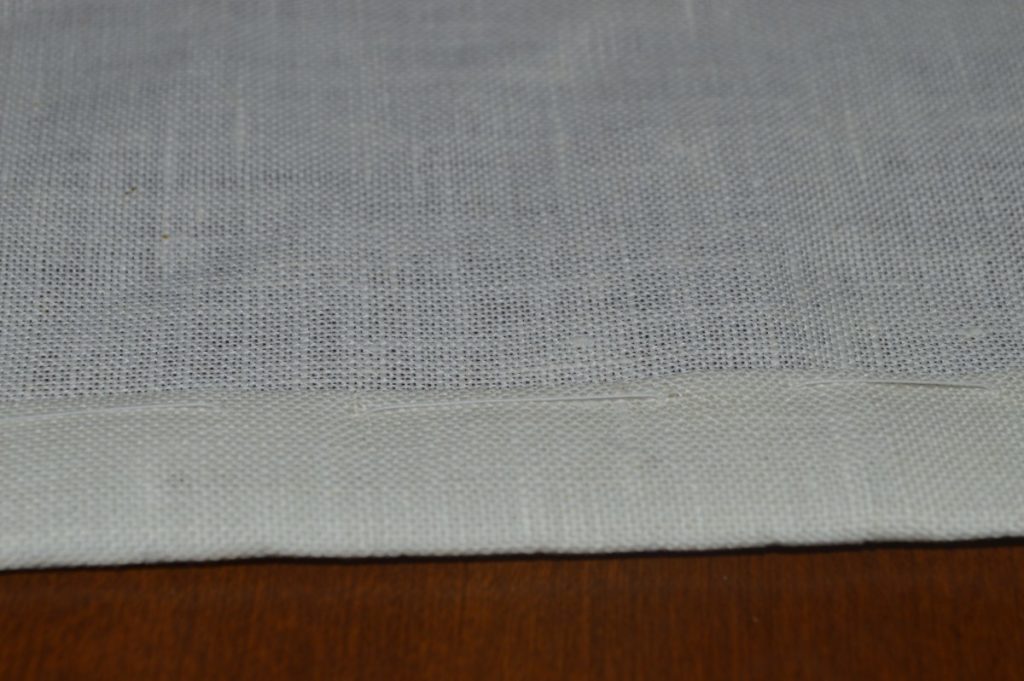
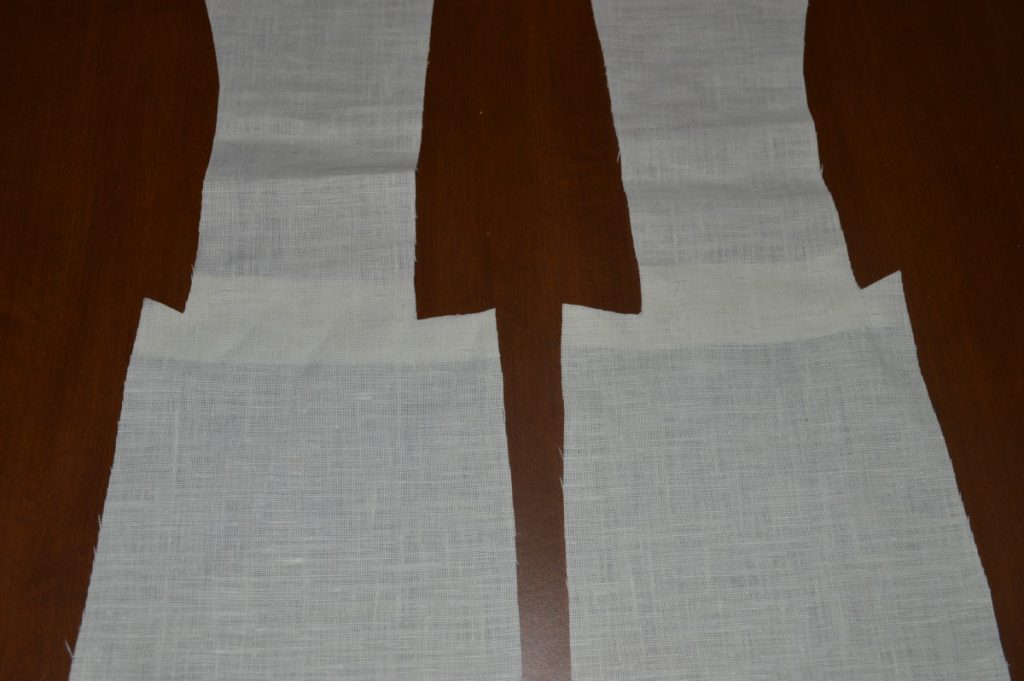
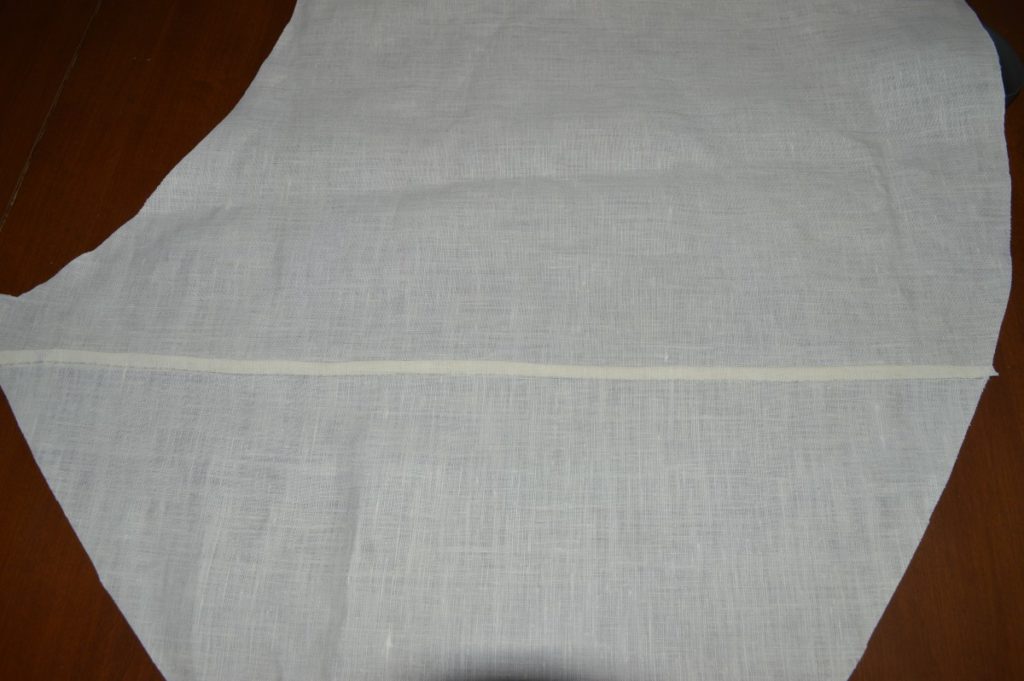
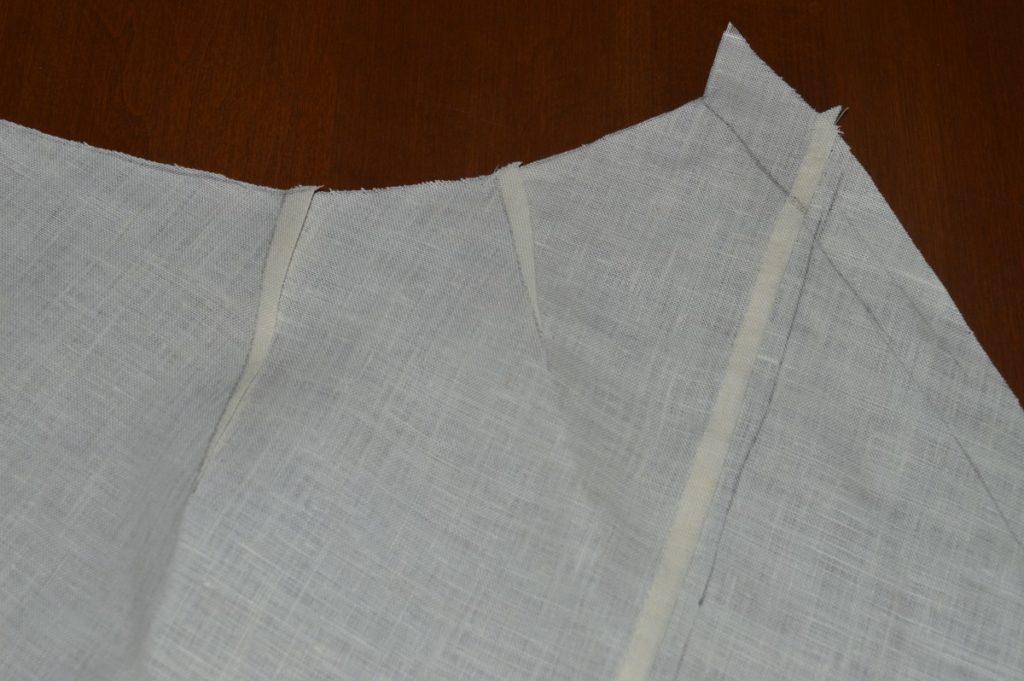
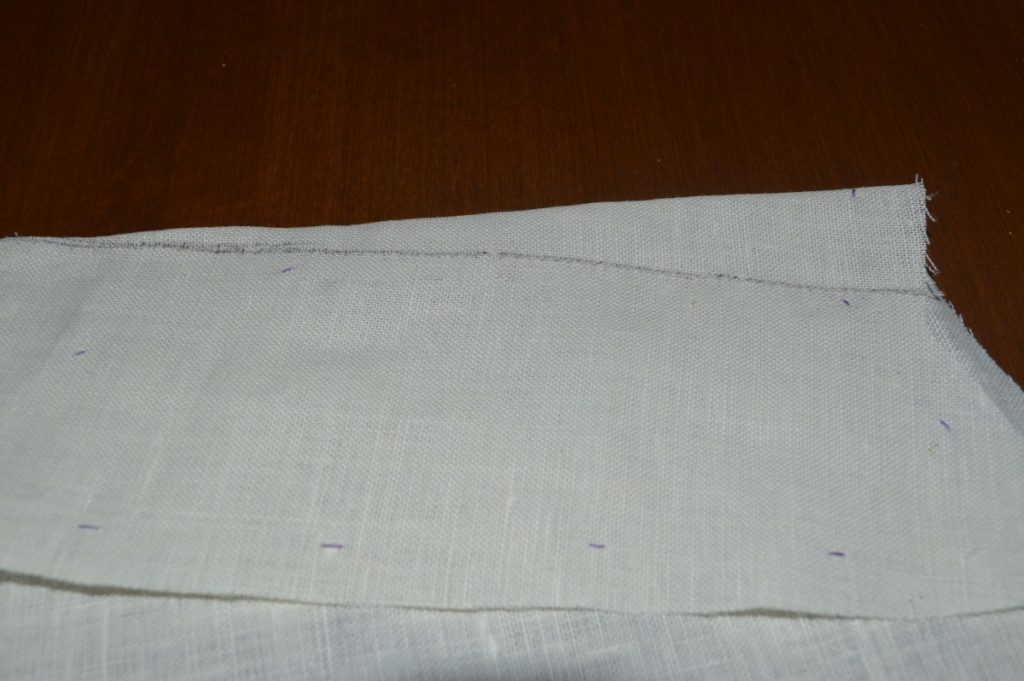
That completes the back skirt construction process. This is exactly the same as for a wool coat, except that there is no lining. Here are the two pieces next to each other from the wrong side for comparison.
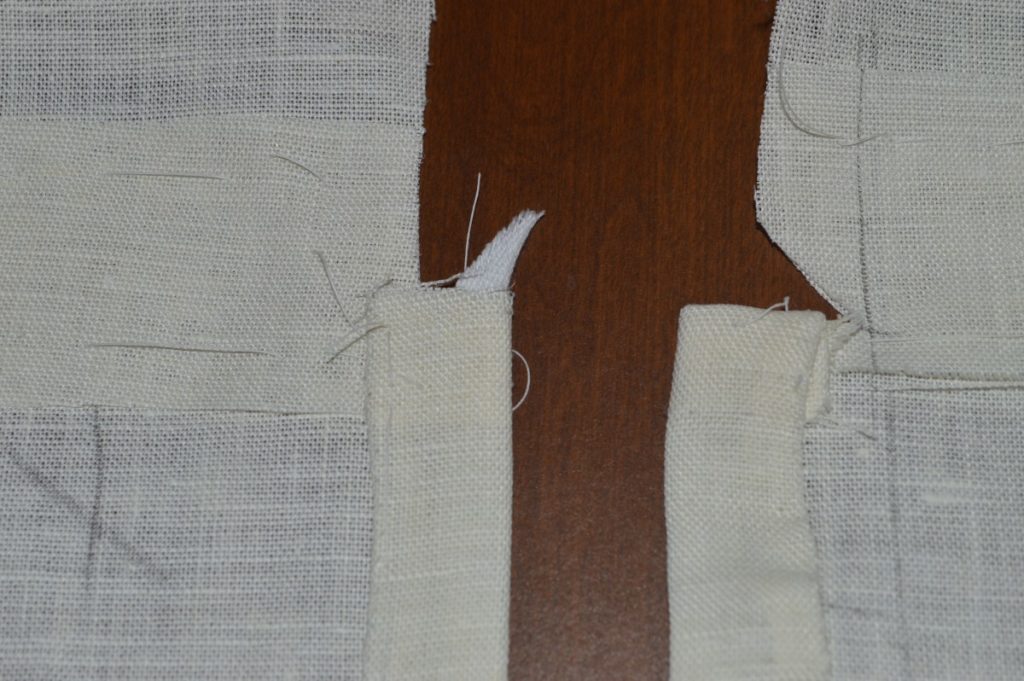
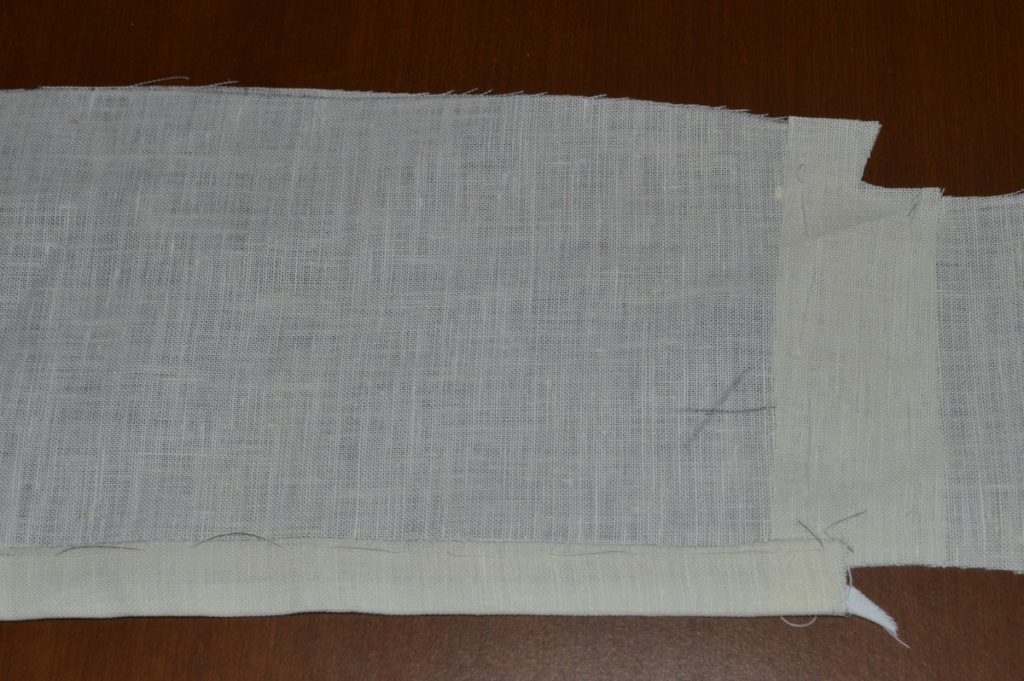
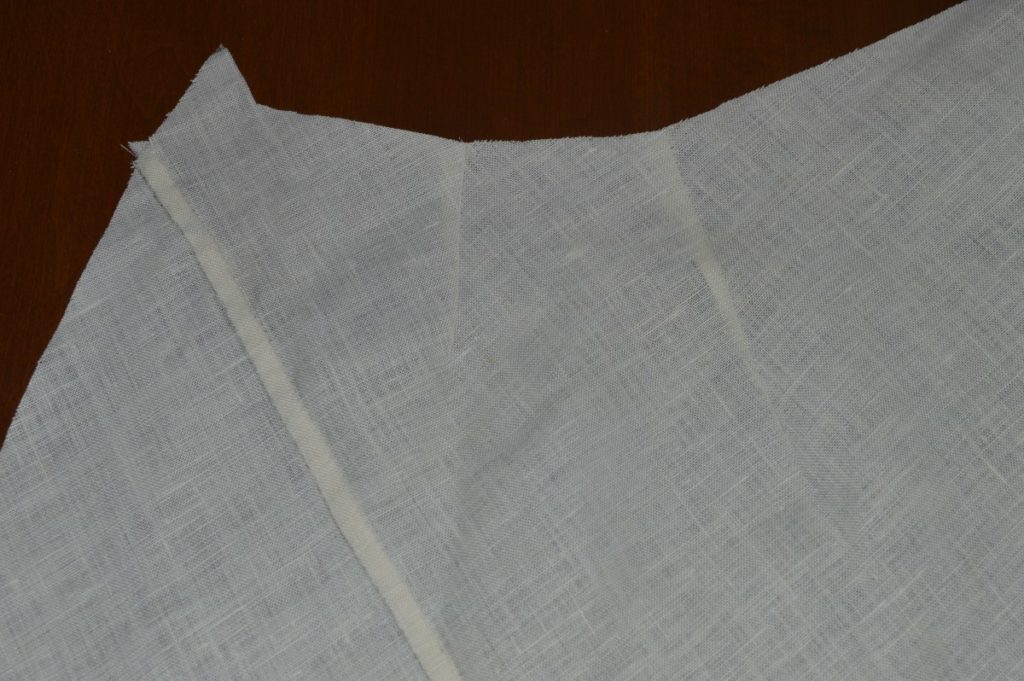
And the view from the right side. The left side will eventually overlap the right in the finished coat.
Left Back Skirt
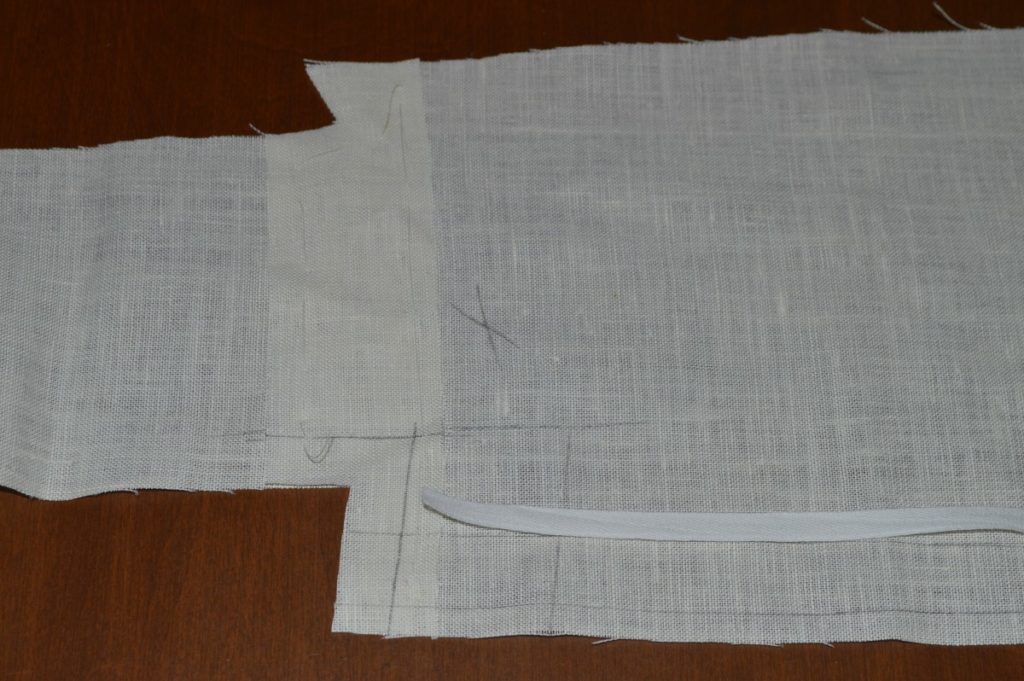
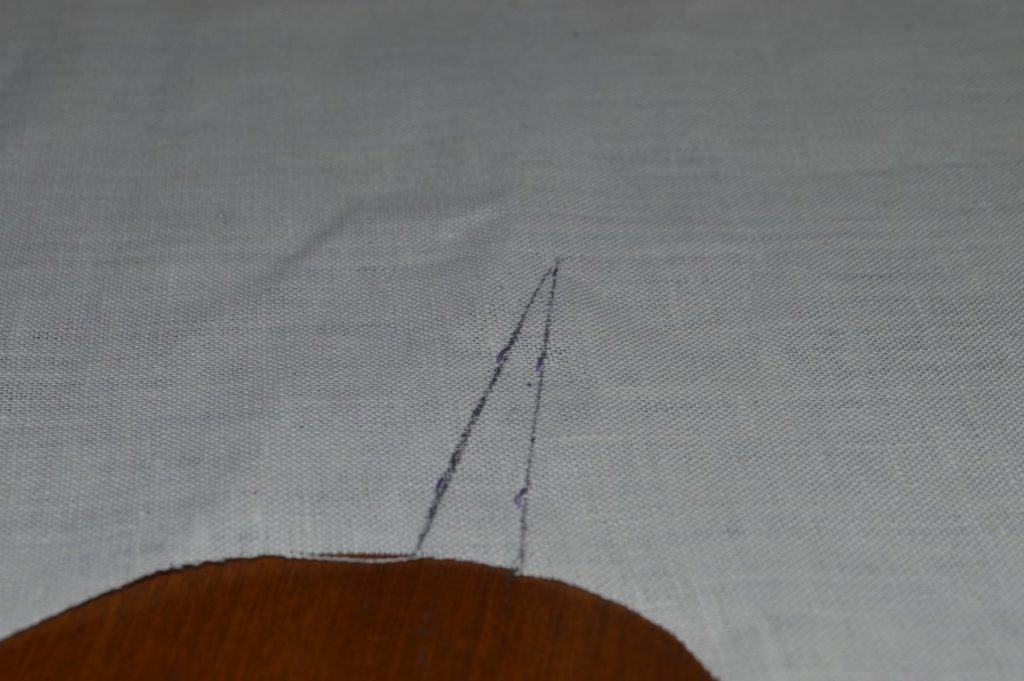
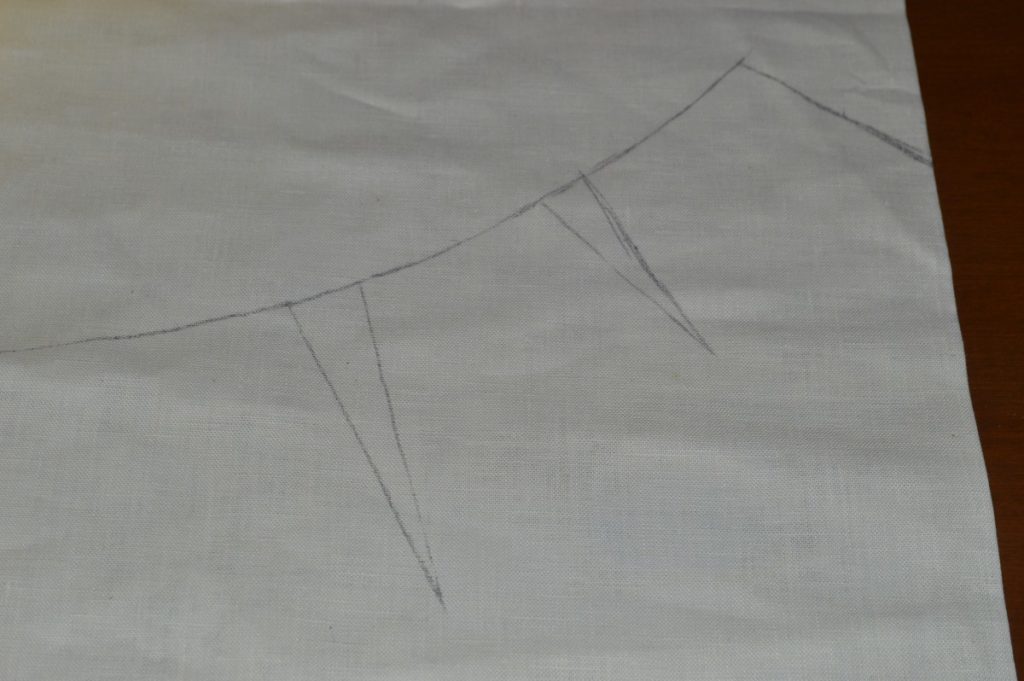
Begin by marking about an inch or two of the back seam allowance, at the waist, and also mark the seam allowance across the ‘step’ at the center waist, as shown. This will give you the positioning for making a small cut, later on.
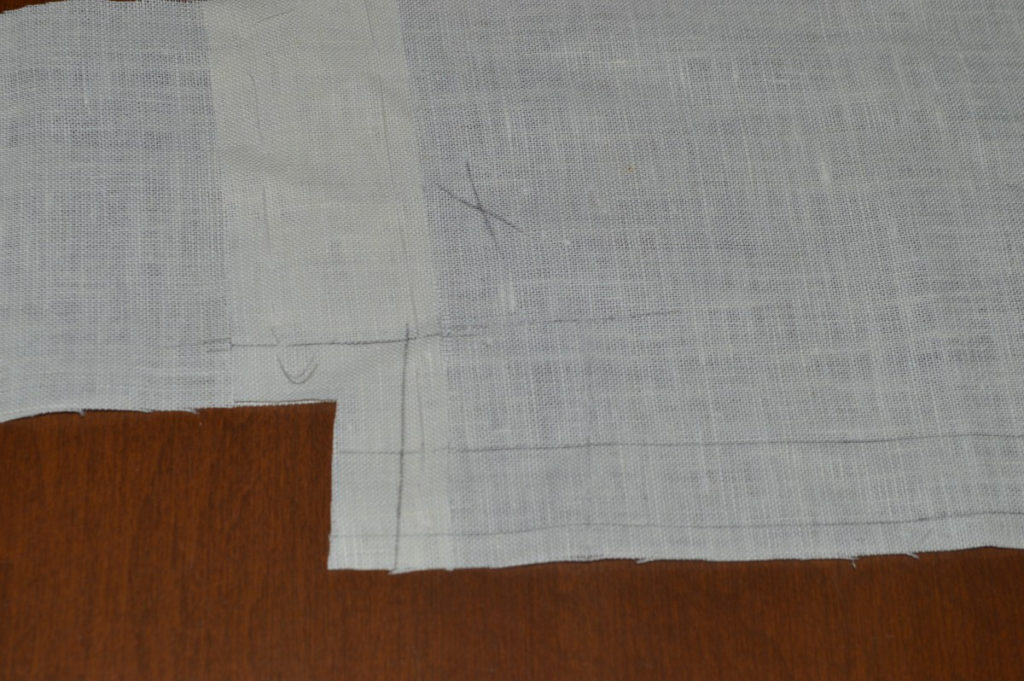
Along the edge of the skirt, at what will be the center back, draw out a line 1/4″, which will be turned under to hide the raw edge. Draw another line 7/8″ to 1″ from this first line, which will be the fold line for forming the back vent.
Add a length of stay tape along the inside edge of this second line, beginning just at the seam allowance at the top, and extending to about 1/2″ from the bottom.
It’s a good idea to treat the stay tape for shrinkage prevention before using it. I like to put mine in a bowl of hot water, let it cool, and then press it dry with the iron. If you do a bunch at once you can get it over and done with for a good long while!
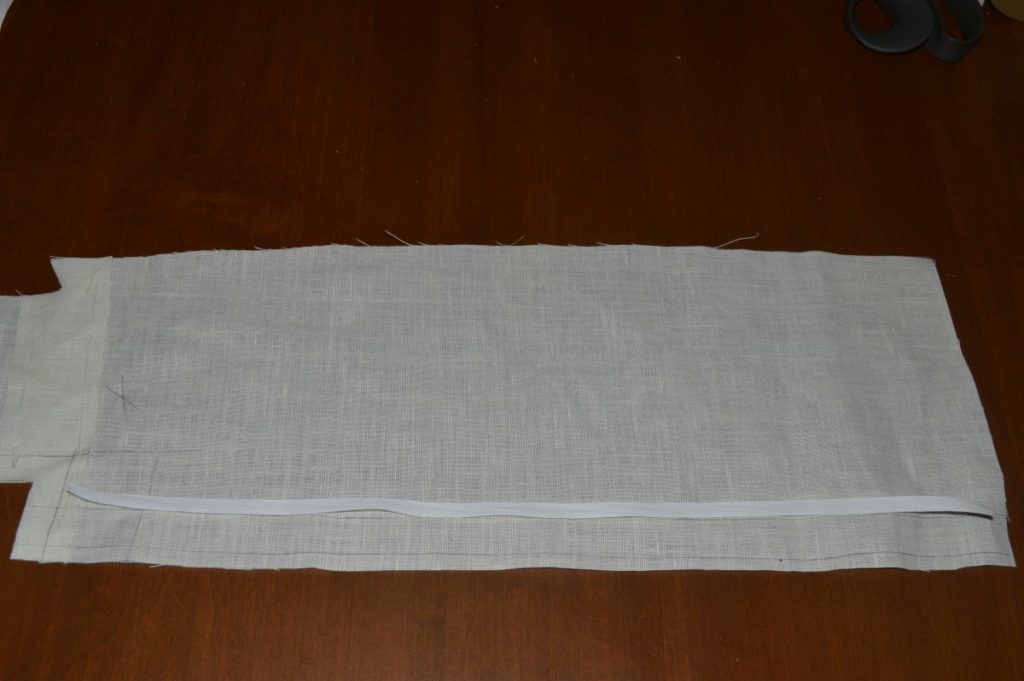
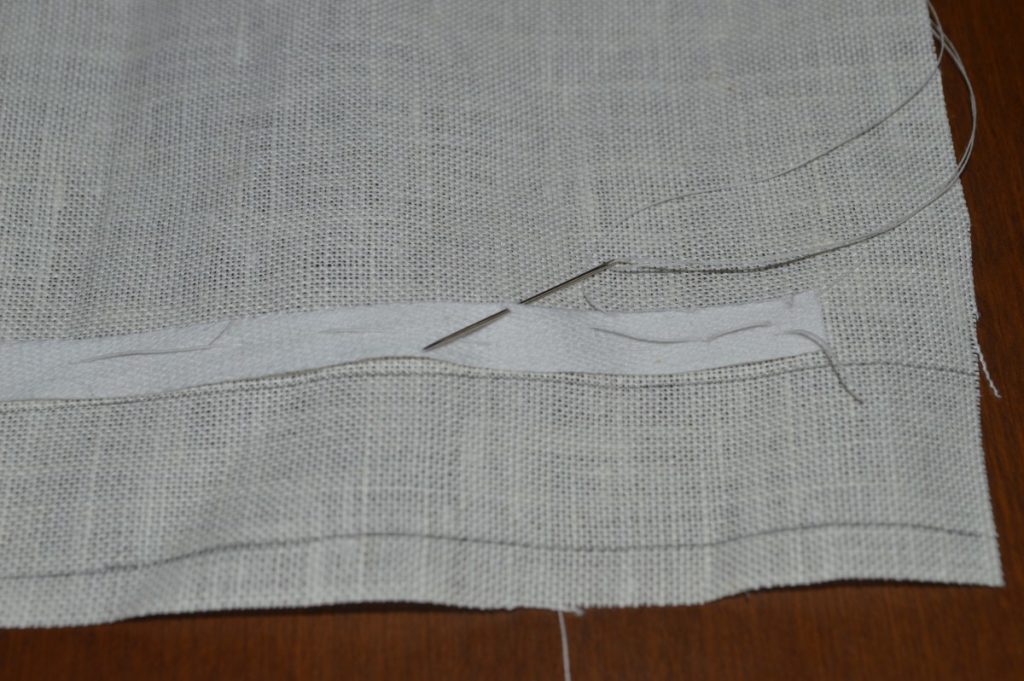
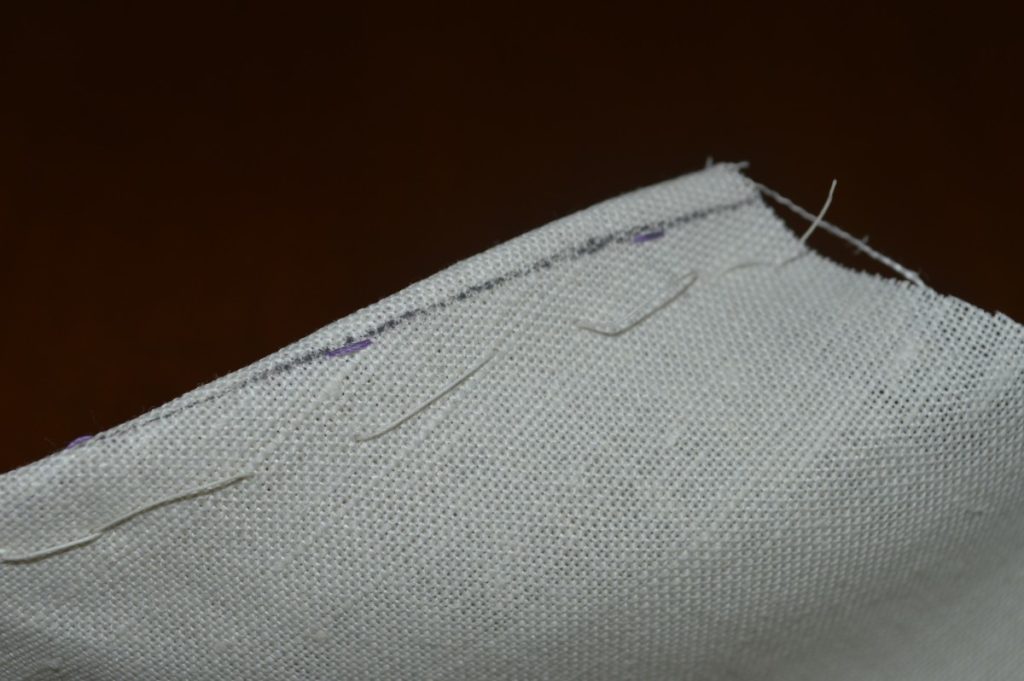
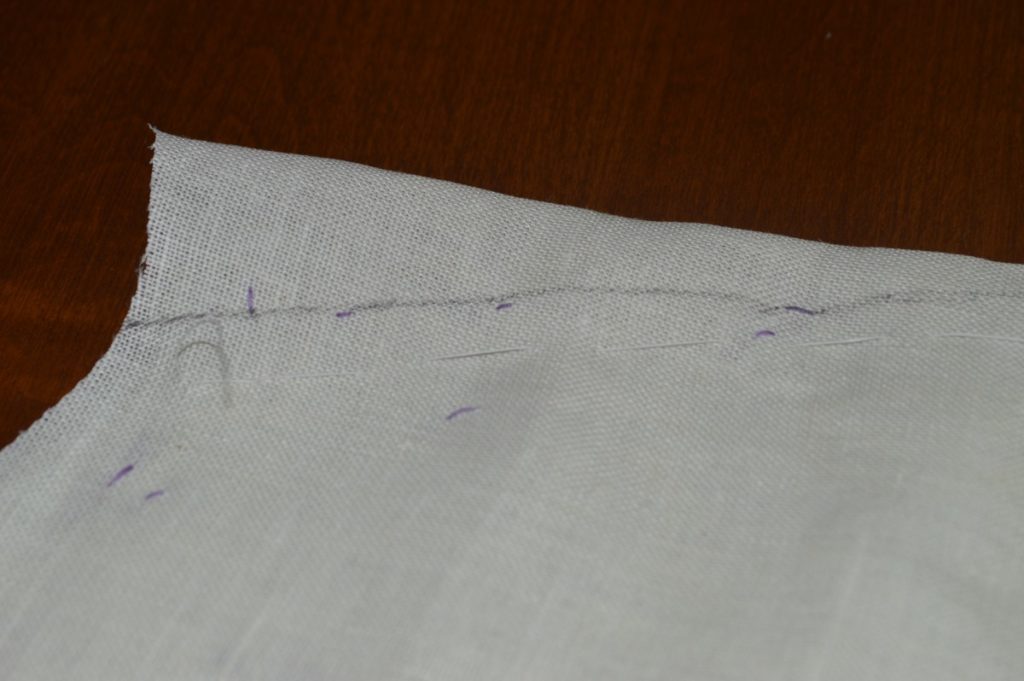
Baste down the stay tape. For the first 6 inches from the top, hold the tape slightly tight with your thumb in relation to the cloth. This will cause some visible ripples in the cloth. The purpose is to take the excess we added with the curved edge and move it towards the fuller part of the seat.
The tightness introduced is very slight, maybe 1/4″ over the enter six inches. This is about as much as we can get away with in linen or cotton, which does not shrink. This minimal fullness will not be noticeable, however.
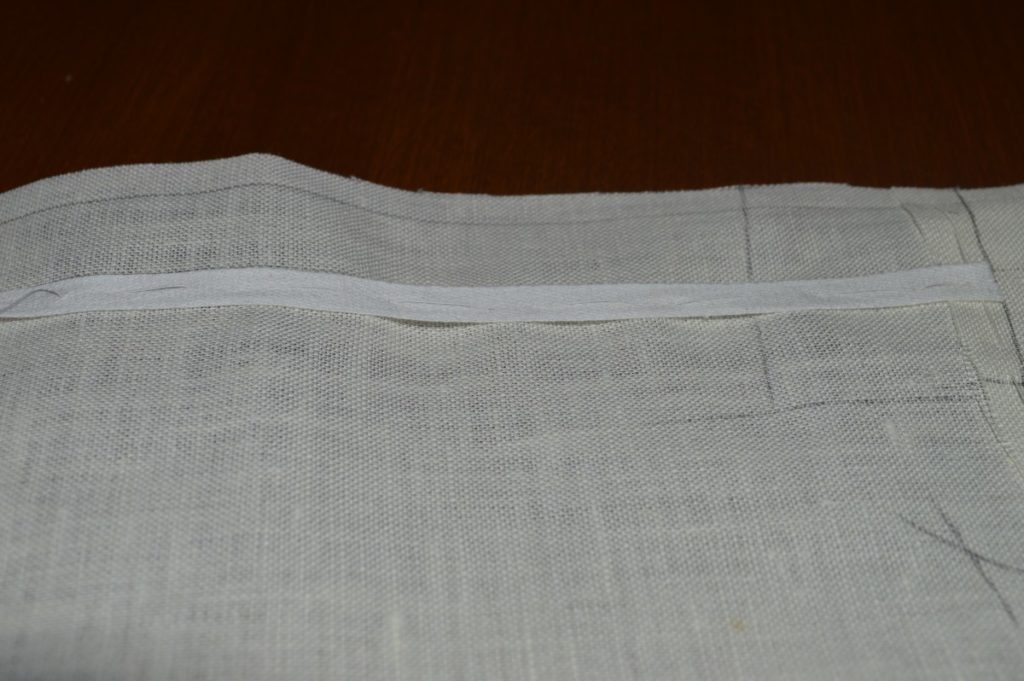
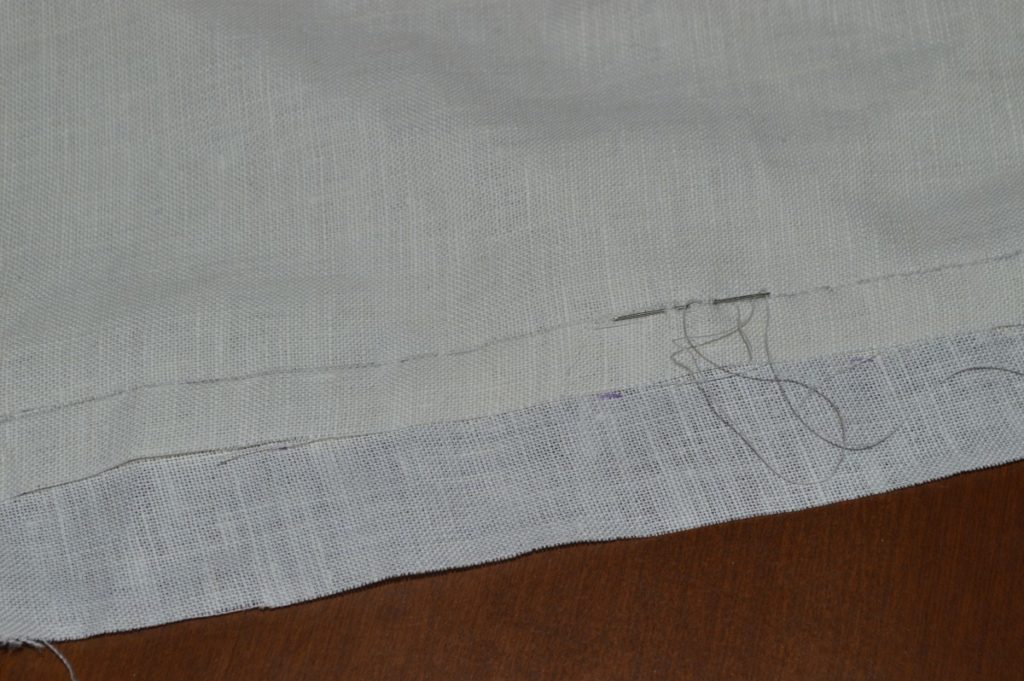
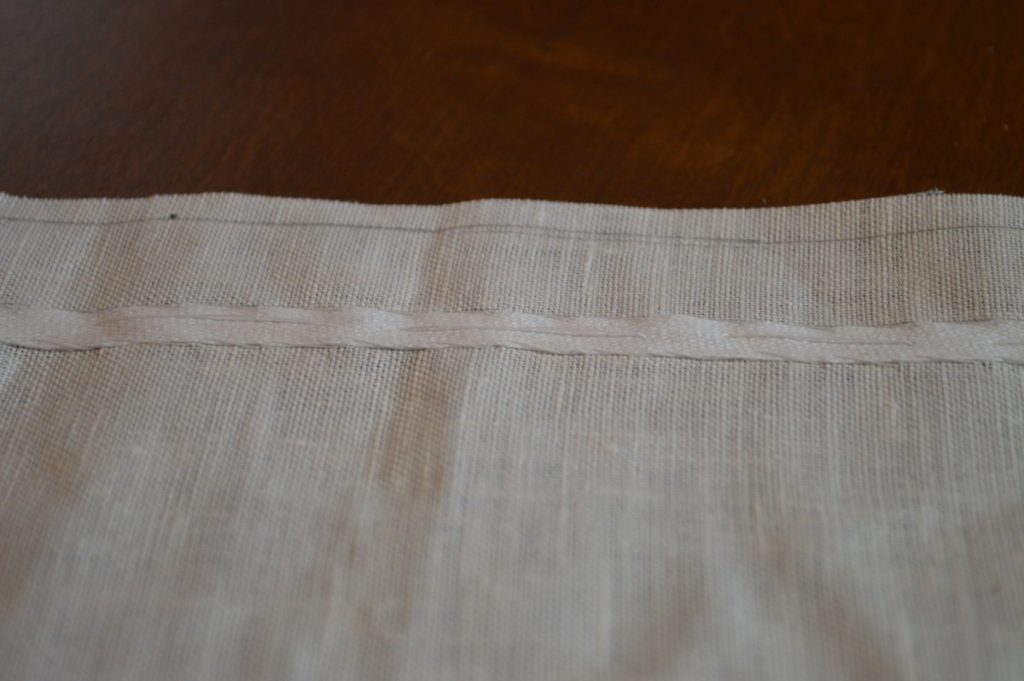
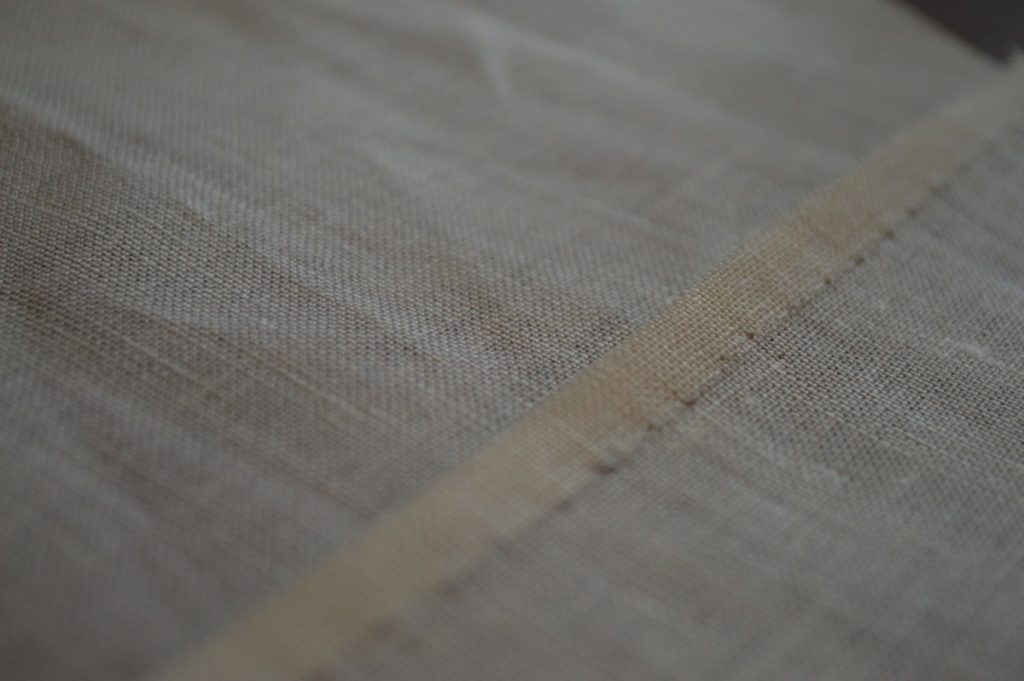
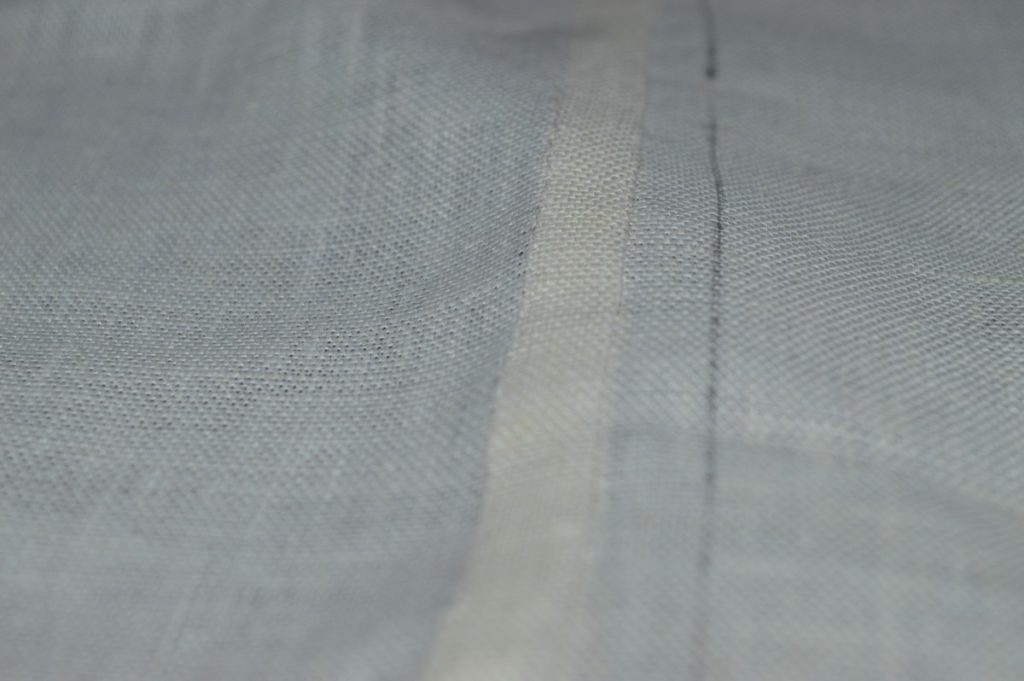
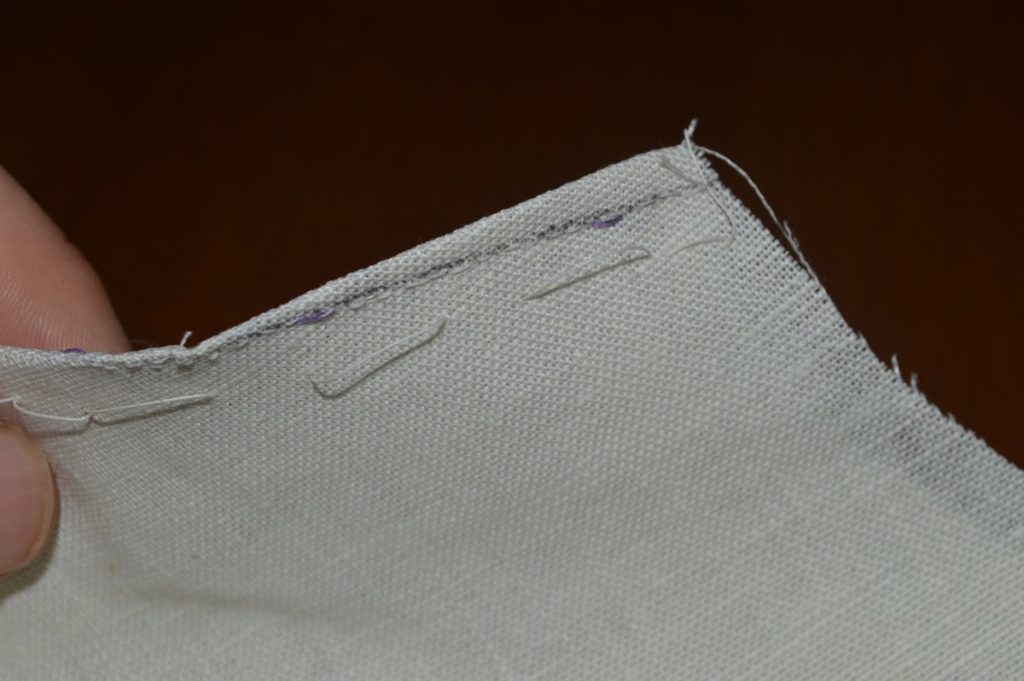
Now fell down the stay tape with a slip stitch. Try to catch only a thread or two of the linen, as it does show through. I make my stitches about 3/8″ apart, slightly closer together when stitching down the shortened tape at the top.
Hopefully you can see this!
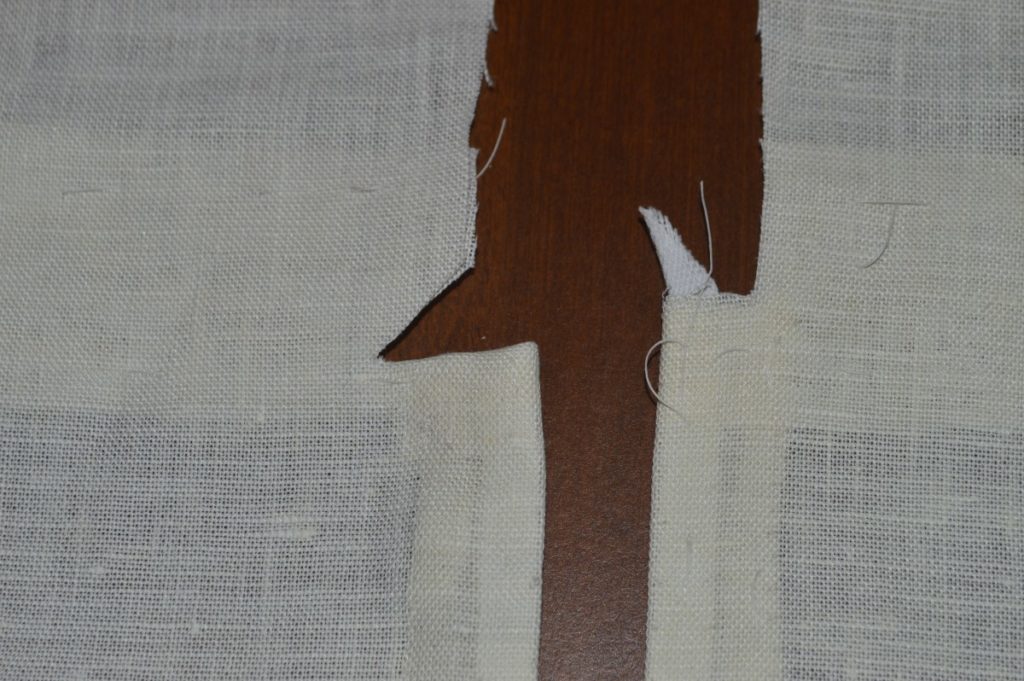
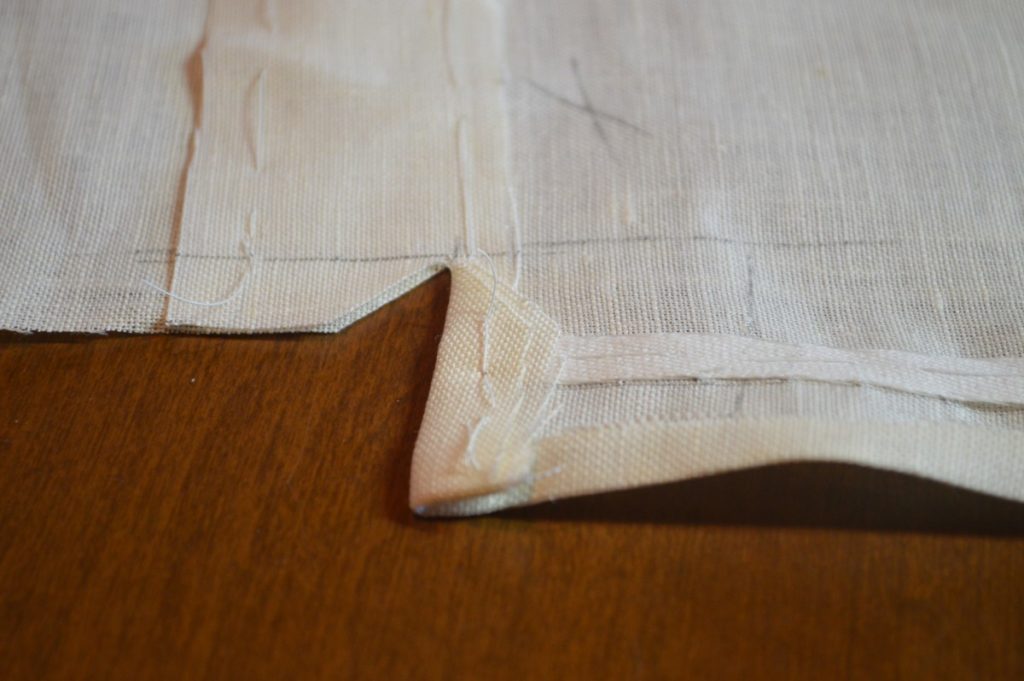
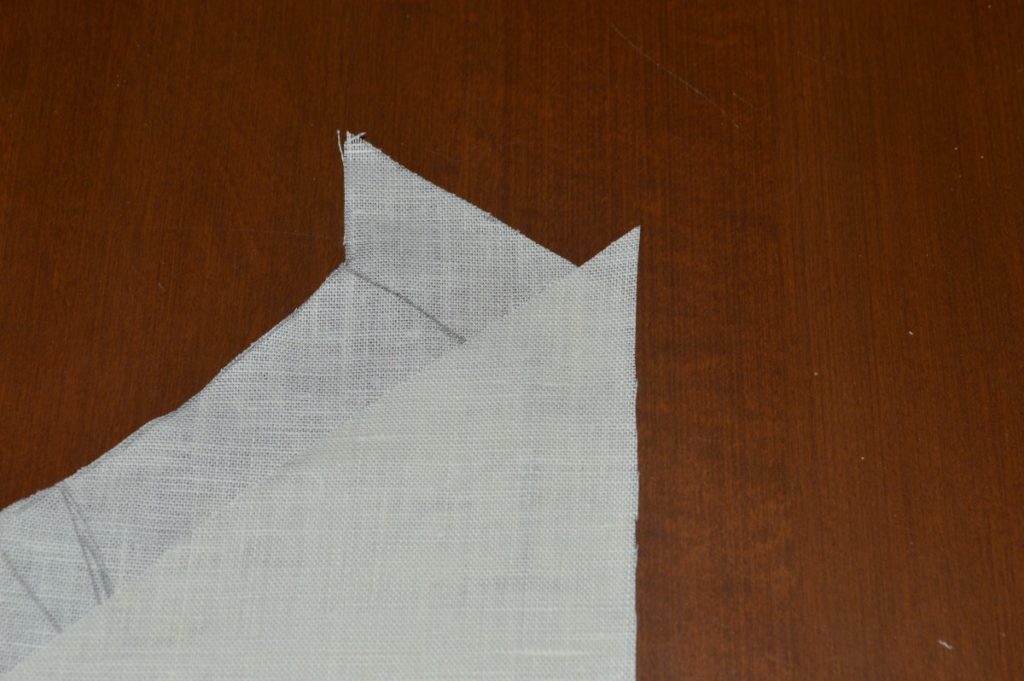
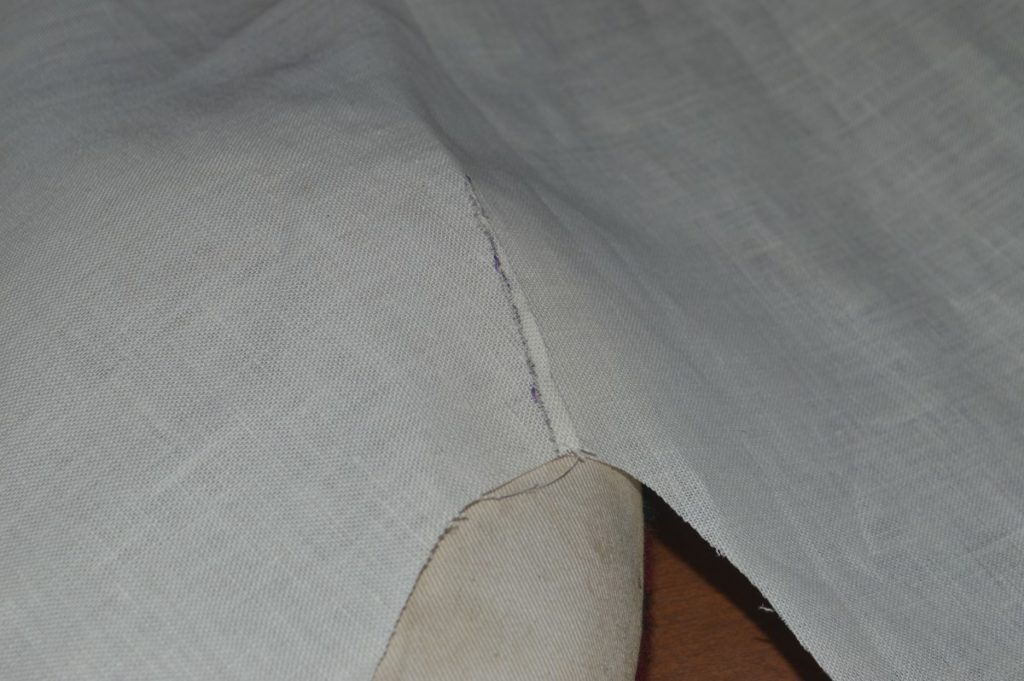
Now, carefully snip through all layers at the corner of the ‘step’ just to the seam allowance you marked earlier. This will help the seam lay nicely when completed.

Fold over the edge at the center back skirt 1/4 inch. I usually just press it with my fingernail as I go, but you could use the iron as well.
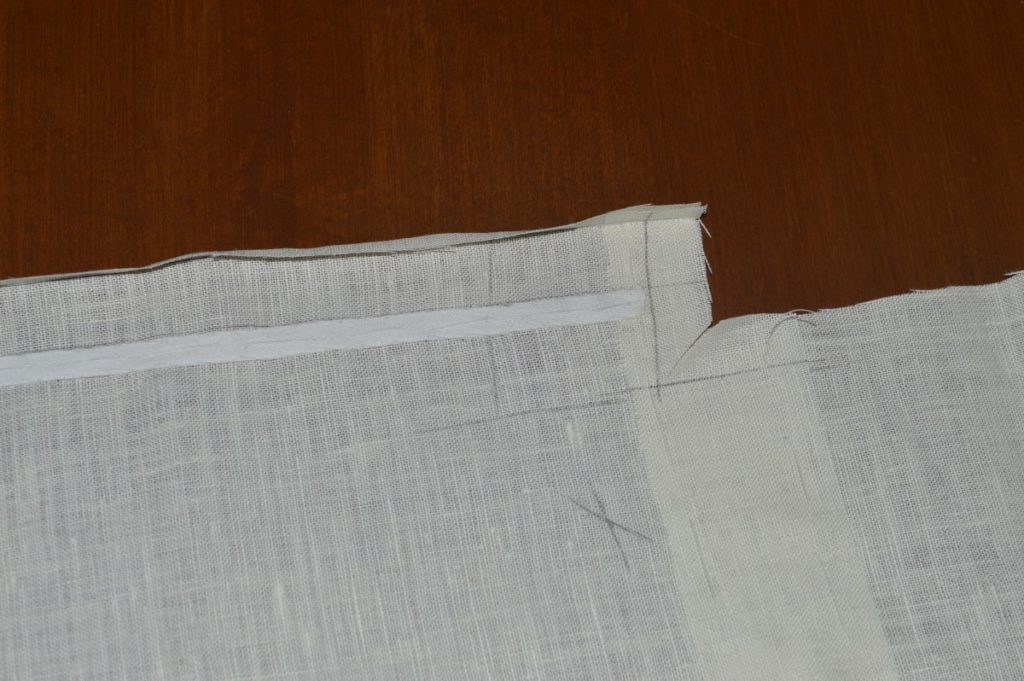
Fold over the seam allowance at the step by 1/2 inch. If you look carefully, you’ll note that this seam line is at a slight angle. You may wish to adjust this to make it perpendicular to the center back of the skirt, or it will produce some extra fullness in the next step. On a wool coat it’s not an issue – the fullness can be shrunk away – but it’s troublesome in linen or cotton.
Baste across this fold to secure it temporarily.
Secure the folded edge with a cross stitch.
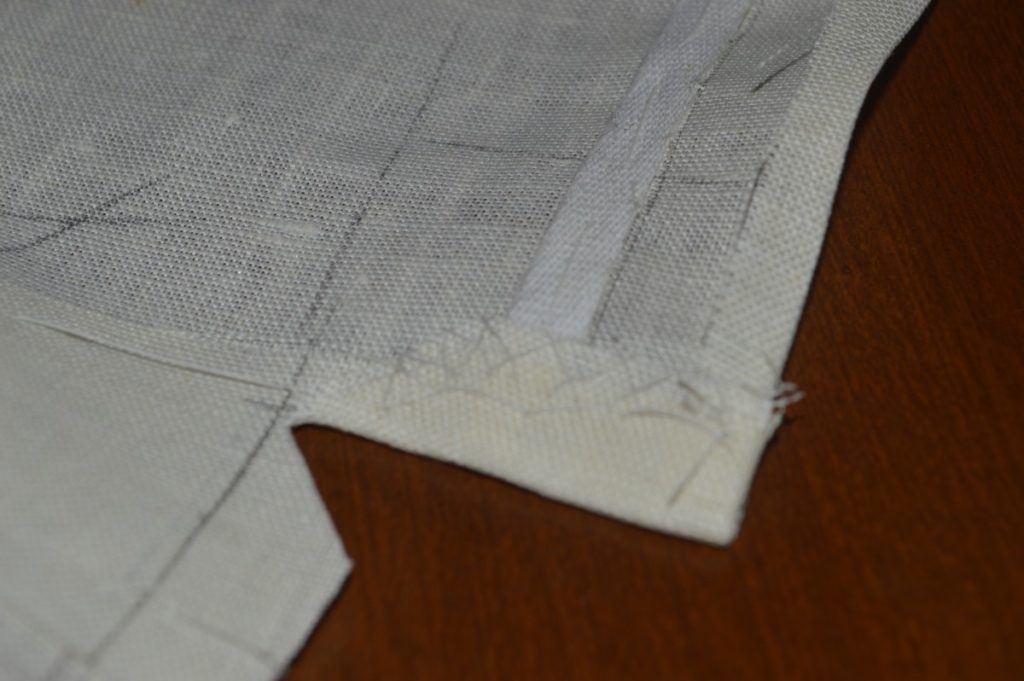
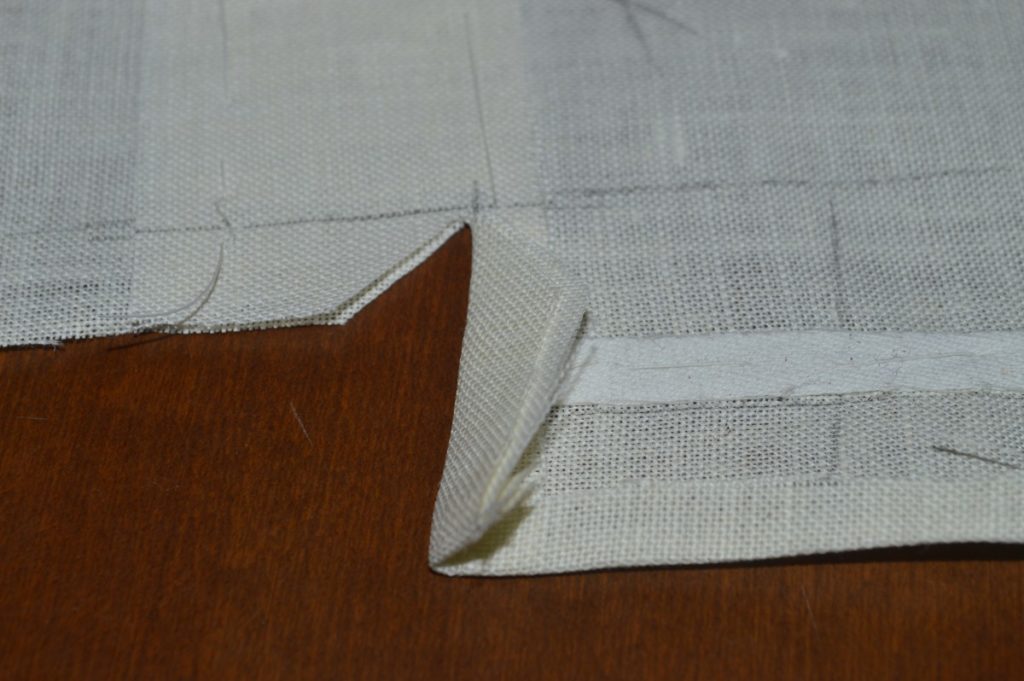
Fold over and baste the center back of the skirt just next to the stay tape. Press from the right side only, being sure to use a curved tailor’s ham near the top.
Here’s that fullness I warned you about earlier. I had forgotten about this little issue, so had to go back and redo that.

Fell along the folded edge, being careful to catch only a thread or two of the right side.
Back Skirt Construction
The center back of the coat, where the two halves meet at the back vent, is probably the weakest part of the entire coat. The forces pulling on this area while sitting or walking can be quite a strain on the fabric, particularly when it’s very thin.
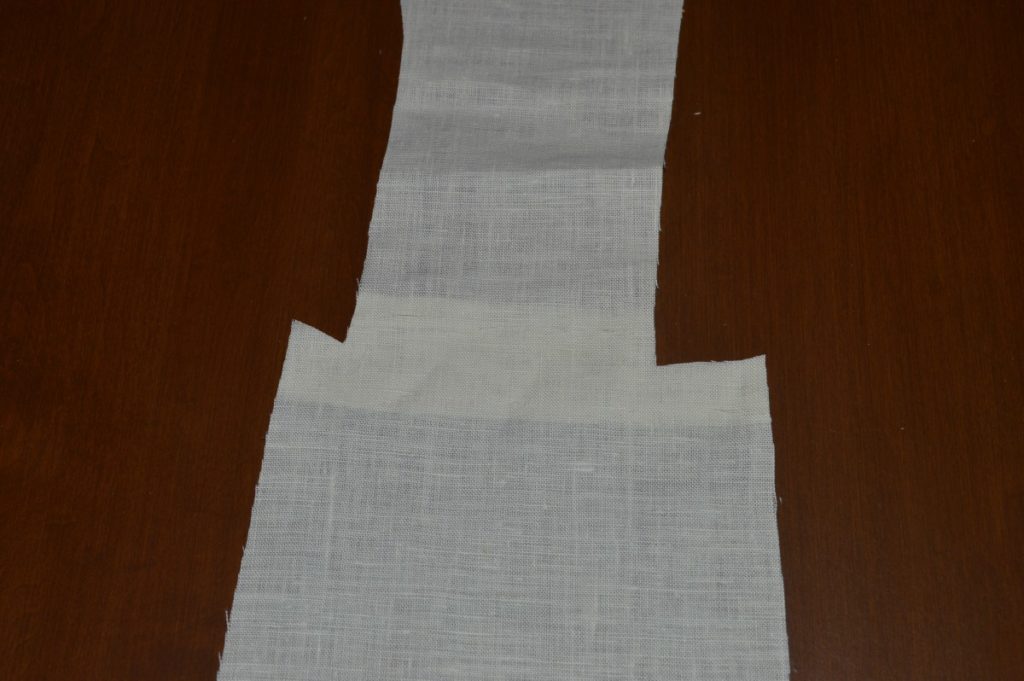
To help with this problem, we add a strip of linen over this area to distribute the stress and provide a firmer area for the stitching.
Cut two strips of linen about 1 1/2 inches in width and a little longer than the width of the back piece at the waist area.
Place the linen on the wrong side of the back piece, centered at the waist or even slightly below, and baste it firmly in place.
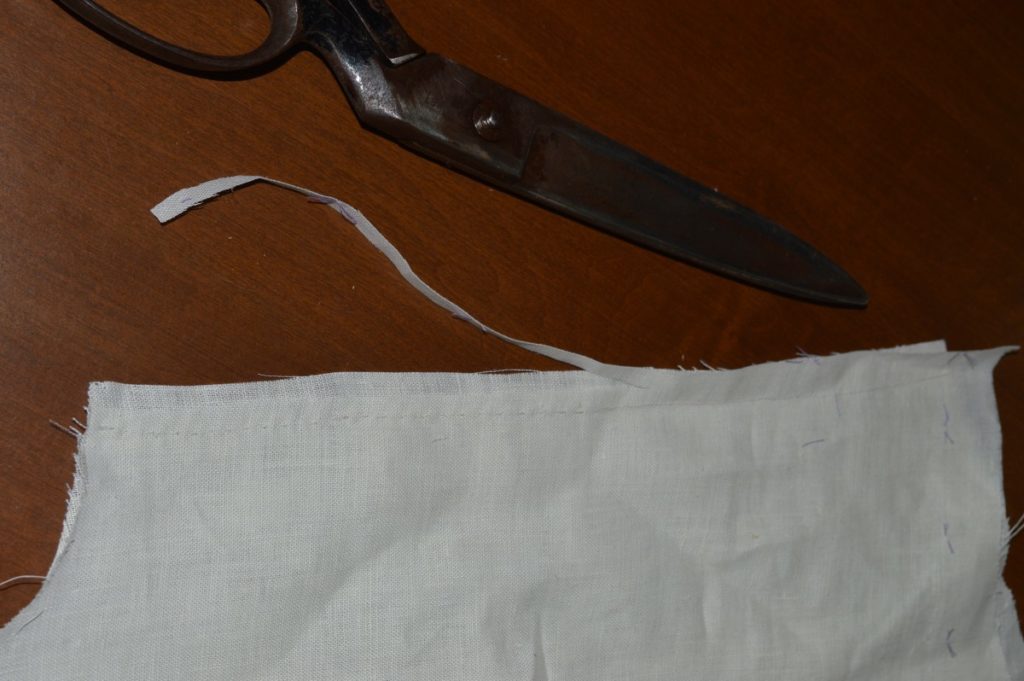
Trim the linen flush with the back, from the right side.
Layout
This next step is seemingly simple, yet extremely important! You don’t want to get your two sides mixed up in the construction process, so this is a fairly foolproof way of knowing you are working on the correct piece.
Lay out both halves of the back, right sides up, next to each other. This is the same way they will be on your body, left is on the left, right is on the right.
Pick up the left half and set the right side away for now. The following steps apply to the left side only.
First Fitting
Before moving on to the construction of the back skirt, this is a good opportunity to check that the back plait buttons are at the proper location, by basting up the coat as you did for the full muslin. The buttons should be about one inch below the natural waist, or small of the back, for an 1860s era frock coat. This fitting is optional – if you were satisfied during the muslin fitting, feel free to skip this.
If you do find the need to adjust the height of the buttons, you can do so by use of the inlays, and redrawing the line above or below the original inlay as necessary. Then make the corresponding adjustment on the side body seam.
Piecing the Skirt
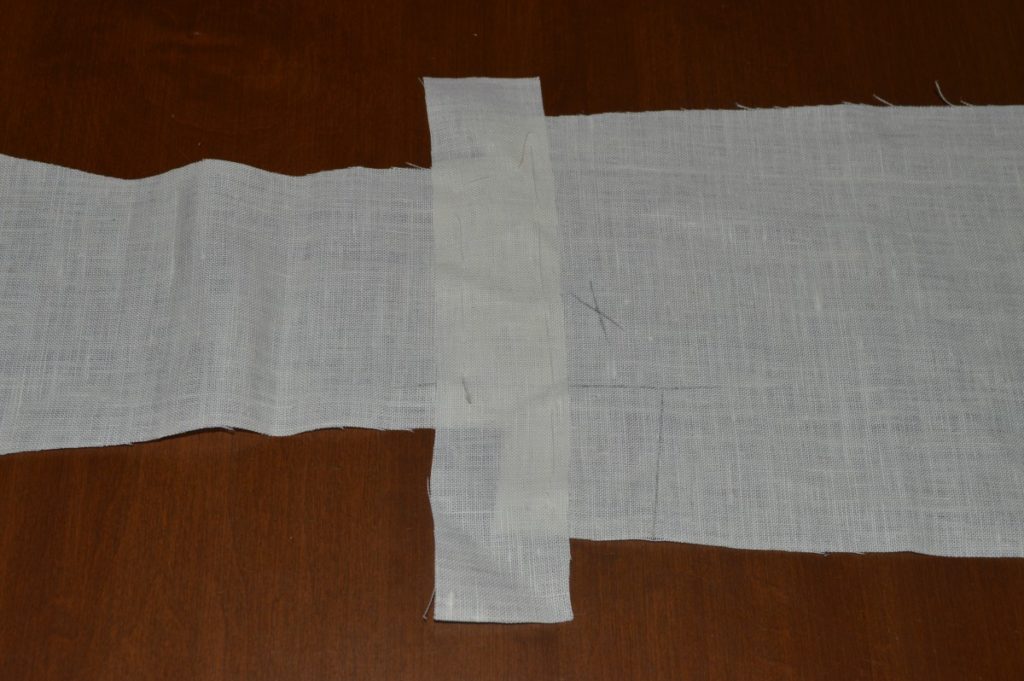
Before we sew the skirt darts closed, it’s best to attach the triangular piece to the main skirt while everything is flat.
Lay out the skirt as shown, wrong sides up. The seam on the triangular piece is much longer, but don’t worry, that’s exactly what we want.
Place the right sides together, allowing the triangular piece to extend 1/2″ on either end.

You can see how the triangular piece overlaps by 1/2″ at the bottom.
And at the top.
Baste the two pieces together, carefully, about 5/8″ from the edge.
This step is optional, but recommended if you are unsure of sewing in a straight line without guidance. I used a pencil to lightly mark the seam line 1/2″ from the edge.
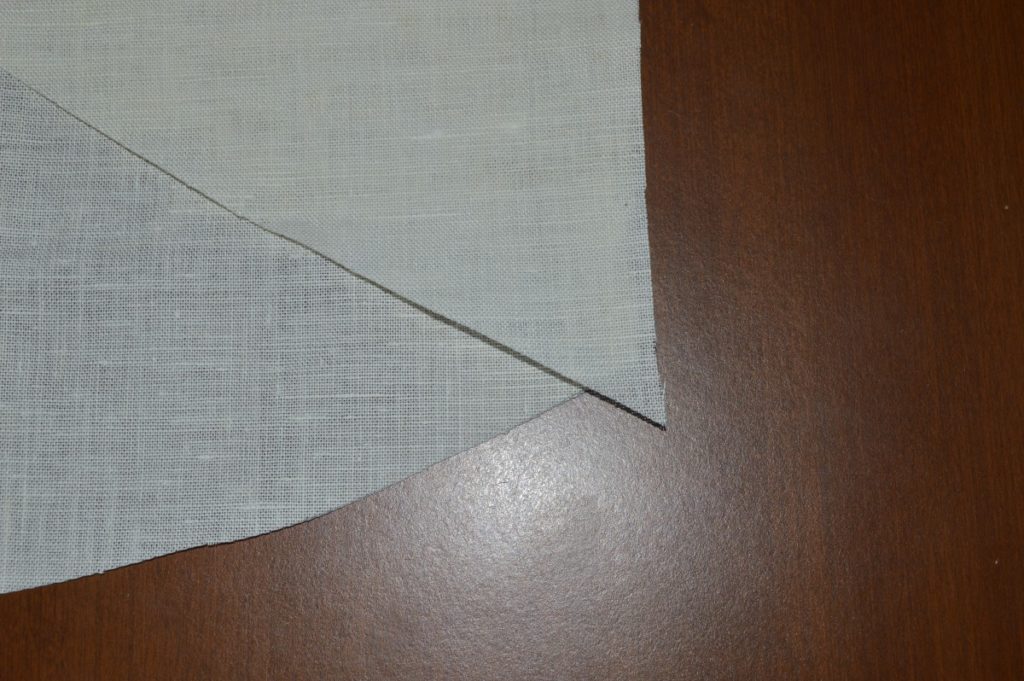
Notice how the seam line, the triangular piece, and the skirt all intersect at the same point.

To sew these longer seams, often times a simple running stitch was used. I prefer to used something called the back and fore stitch, which is a combination of a back stitch and running stitch.
To perform this stitch, simply take a back stitch as normal, but instead of pulling the needle out, continue with the same movement and take an extra running stitch. I’ll be posting a video soon showing this stitch in more detail.
Sew the seam just along the inside of the pencil line, using the back and fore stitch. Sorry it’s so hard to see!
Turn to the underside of the stitch. You’ll notice it looks pretty much like a running stitch from this side. Trim this half of the seam only, to 1/4″.

Open up the skirt on your ironing table, wrong side up, and press both sides of the seam in the same direction, with the 1/2″ seam on top.
Fold under the larger seam under the smaller seam, pressing with your fingers as you go. If you want extra control, especially in curved seems, you could baste it closed at this point, but for a straight seam like this, I find it usually stays put. Press with the iron now.
Press with the iron now.
This is almost impossible to see, but fell down the folded edge, catching just a thread or two of the seam each time. Mine are about 8 stitches per inch.
Here’s the seam from the other side. You can almost make out the opposite side of the felling stitches, as they’re longer and look almost like a running stitch.
Sew the two (or one) darts on the skirt in the same manner as you did the armscye dart. I put the right side of the backstitch on the edge closest to the front of the skirt, and pressed them towards the rear.
Here is the finished skirt from the right side, showing the two darts, and the skirt piecing we just completed.
Closing the Darts
This being a linen or cotton coat, and therefore not taking to ironwork, we replace all of that ironwork with a number of darts! In general it’s easiest to sew the darts before doing any other work on the coat.
Armscye Dart
We’ll start with the armscye dart, which should be marked on the wrong side with chalk. You can then remove the tailor’s tacks so that they do not get caught up in the stitching.
Fold the dart so that both sides are even with each other, and baste closed, about a quarter inch away. One trick I use to make sure the two sides are aligned is to poke my needle through both layers, checking where it comes out on the other side, then adjust as necessary. I’ll do this for every basting stitch sometimes.
With the shoulder side of the coat facing towards you, sew the dart closed from the armscye towards the point, using a backstitch. The stitch size depends very much on the fabric you are using, I tend to use about 8 stitches per inch when sewing this weight of linen.
It’s important that you sew from the same side each time, as when the dart is pressed, you want the nice side of the back stitch showing. I start by sewing one or two stitches in place, and at the end, instead of making a knot, I simply turn the work around and make about three or four backstitches in the opposite direction.
At the narrowest point of the dart, the stitches should be right along the edge, just catching the fabric, in order to produce a nice crisp point.
Place the forepart right side down on a pressing ham and center the narrow point of the dart over the fullest point of the ham. Press the dart towards the bottom of the armscye. This dart is so narrow that we are not going to cut it down the middle. Make sure to place a piece of scrap linen between the fabric and the iron to act as a press cloth and to help avoid scorching or leaving iron marks. You can use a little water but I generally find it unnecessary in linen.
Press the dart again from the right side. Here is the finished armscye dart.
Lapel Dart
Here we have the forepart that was on the underside while laying out.
It’s almost impossible to see, let alone sew, so we’ll use chalk to define the lines more clearly. Due to the slippage of the linen, my line was off near the bottom of the dart, so I corrected that. Keep in mind one side of the dart is curved.
Fold the dart, aligning the edges as you go, and baste from the point to the edge of the dart. I find it easiest to do this with the curved side of the dart facing me, and remember to use the needle trick constantly to get the two sides lined up properly.
I like to turn this back over and sew the dart closed from the straight side. I feel it gives a little more accuracy, as you at least assured the dart will be sewn straight.
Yes, there are stitches there. So hard to see!
After sewing, turn over to the curved side of the dart and check your accuracy. No need to redo it if you’re a little off, just strive to train your mind and hands to do better next time.
Since this dart will be enclosed by the forepart facing, I like to trim it to a quarter inch from the stitch line, in order to reduce bulk for the turn of the lapel.
Press open the dart from the wrong side on the ham.
Try to smooth out the point as best you can, and press to one side. It can be very finicky.

Press the dart from the right side.

Here we have the darts completed on the forepart. Repeat for the other side in the same manner, if you have not done so already.
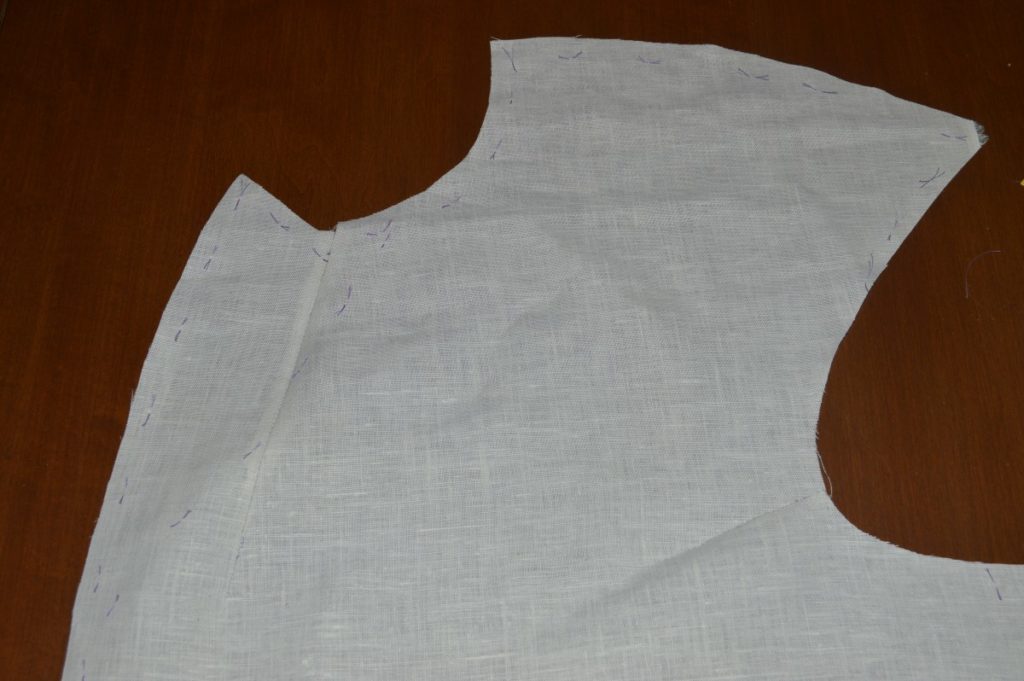
Tailor Tacks
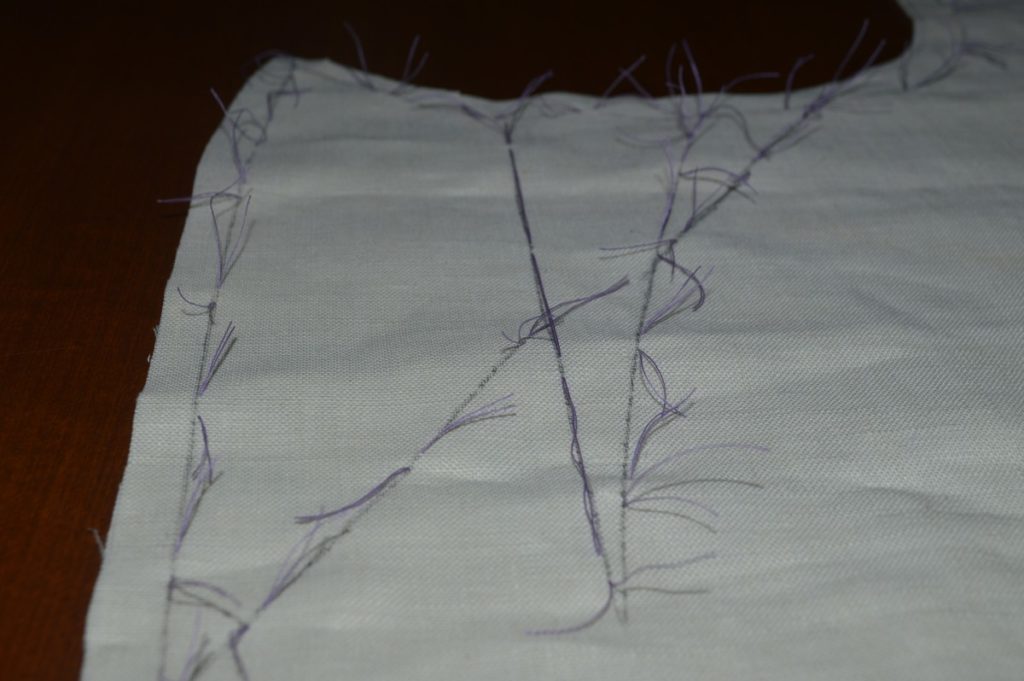
Now that we’ve got all of the pieces cut out, before separating the two halves, we must use threads to mark the chalked inlays and darts more durably, and transfer those marks to the piece underneath. This is done with a stitch called the tailor’s tack.
First, cut a lengthy piece of contrasting thread – I used a lovely polyester in purple, as we’ll be removing the threads as we go, and the polyester will slide through the fabric more easily. To be period correct, you could use a waxed cotton thread. The thread should be doubled in the needle, and about 3 feet in length after doubling.
Using a very short stitch, with at least an inch between on the straight runs, stitch along each of the inlays, darts, and roll line on your pieces. Leave the thread fairly loose in between stitches, and on curved areas, make the stitches closer together, with even more slack.
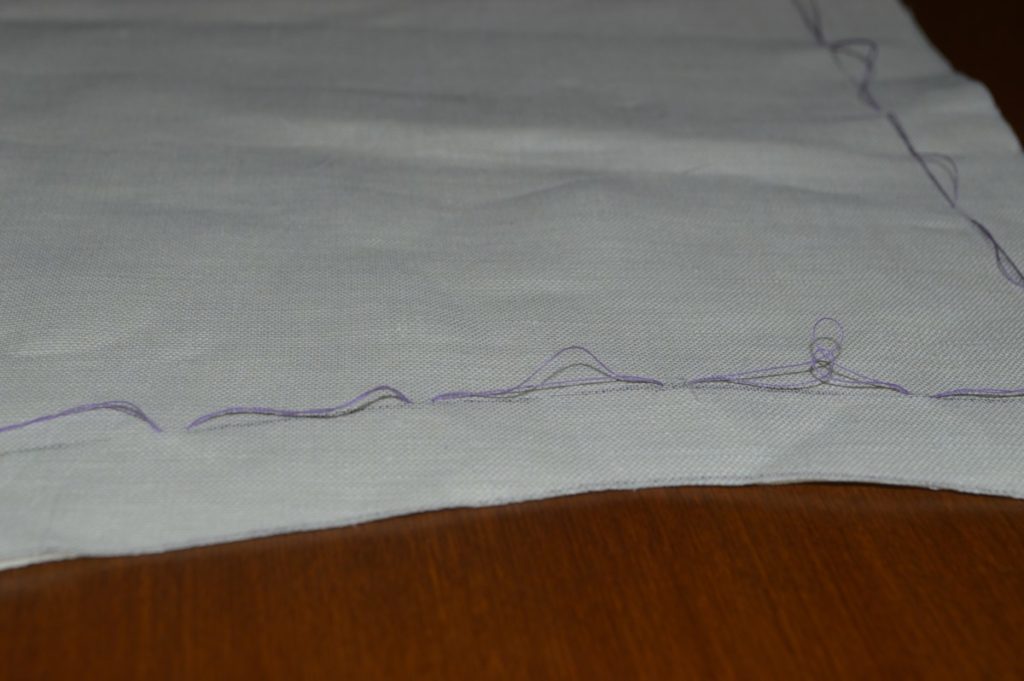
Here are the inlays, darts, and roll line marked out in thread. It gets a little busy in this area!
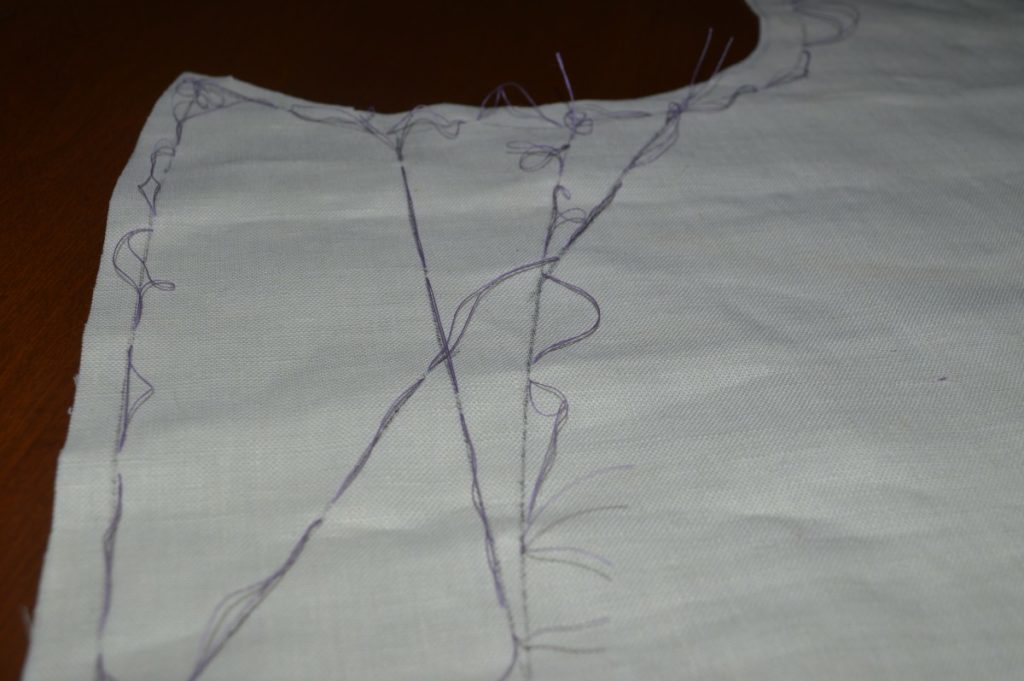
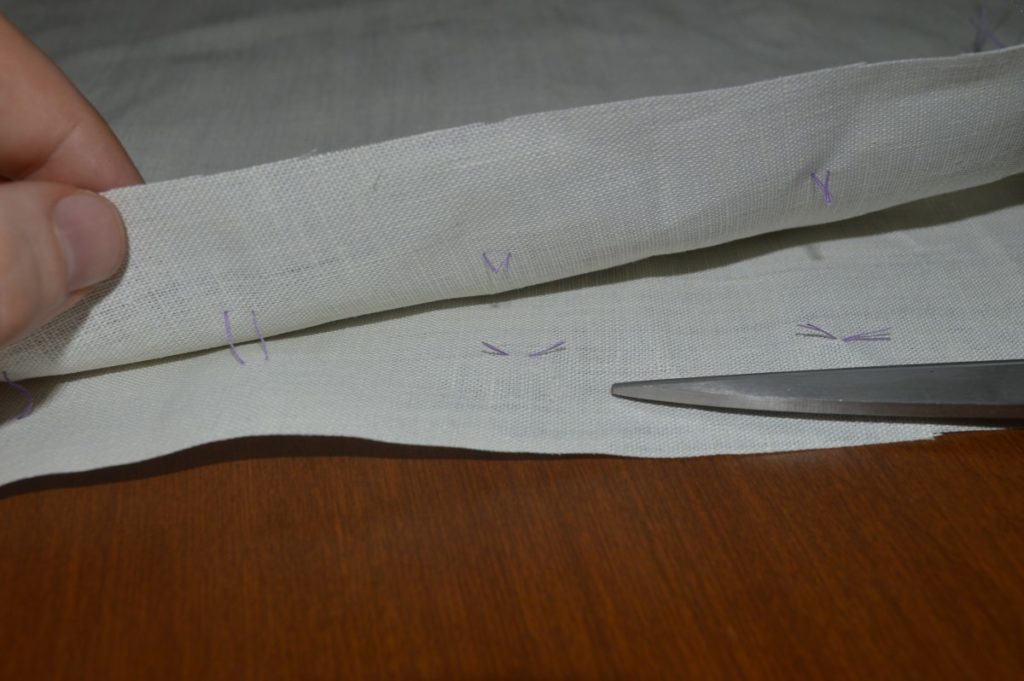
On the top side, use scissors to snip between each stitch.
Now, use your fingers to gently separate the two halves of the fabric. Don’t pull too hard or far – you still want the thread to remain in both halves.
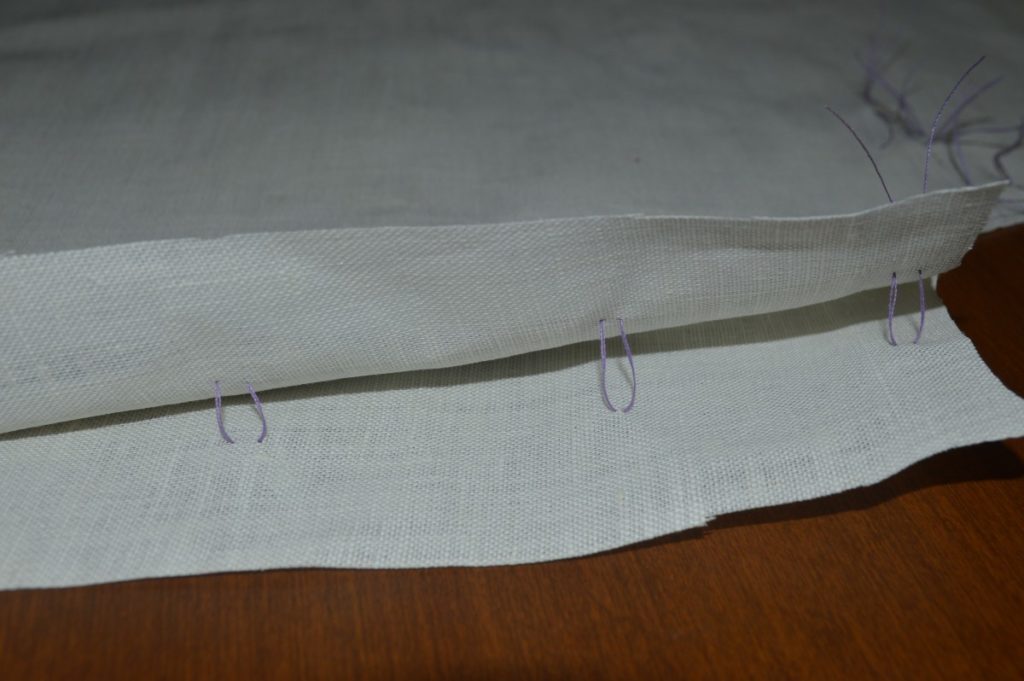
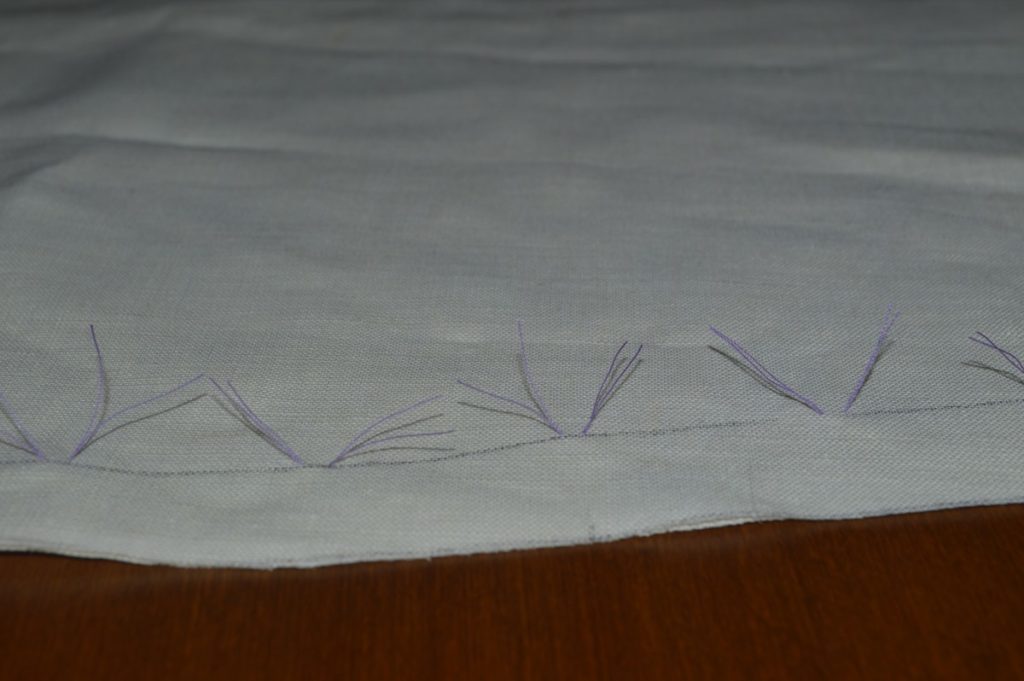
Carefully snip the thread in between the two layers. This gives you a mark on each piece that will not wear out as you work.
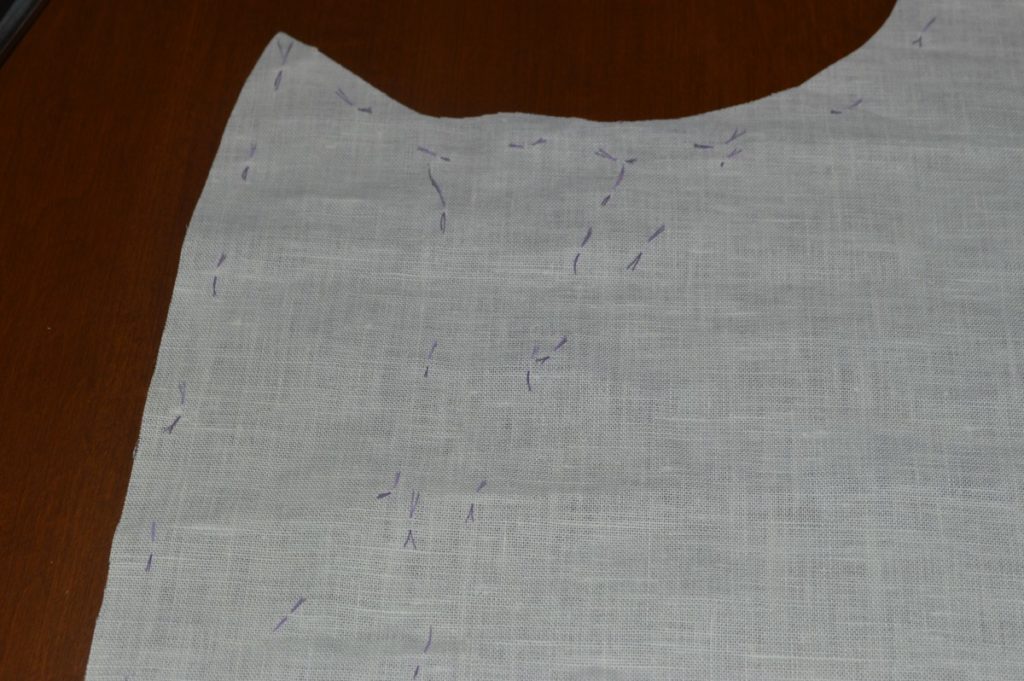
Here is the result, showing the marking lines transferred to the bottom piece of the forepart.
Inlays and Cutting
Before laying out your pattern pieces and cutting, it’s important to protect your fabric from possible shrinkage and to iron it out smoothly. The easiest and best way is to gently hand wash your fabric, and allow it to line dry until slightly damp. Then take your iron and press the fabric. On linen, this can be a somewhat frustrating process due to the way linen tends to wrinkle at the slightest movement. Just do the best you can, and remember, it’s not really wrinkled, but rather the very fashionable ‘rumpled’ look that is all the rage.
Inlays
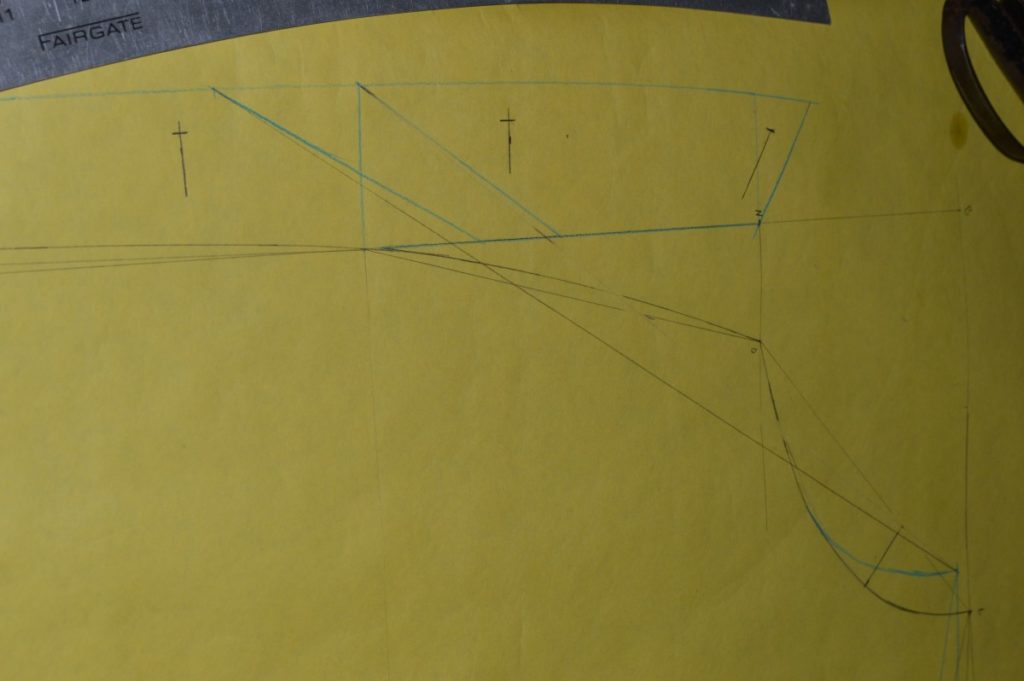
Inlays are often added as a way to ensure you have enough fabric to work with in the fitting process. The diagram below shows all of the most common inlays used – the problem is they can get a little confusing for the beginner. If you’ve gone through the full fitting process as described in my tutorials, you should be okay without them. There are two I’d recommend definitely using though – one being on the side seam of the forepart, and the other being the small inlays above the plaits on the back, which will allow you to adjust the height of the back buttons if necessary.
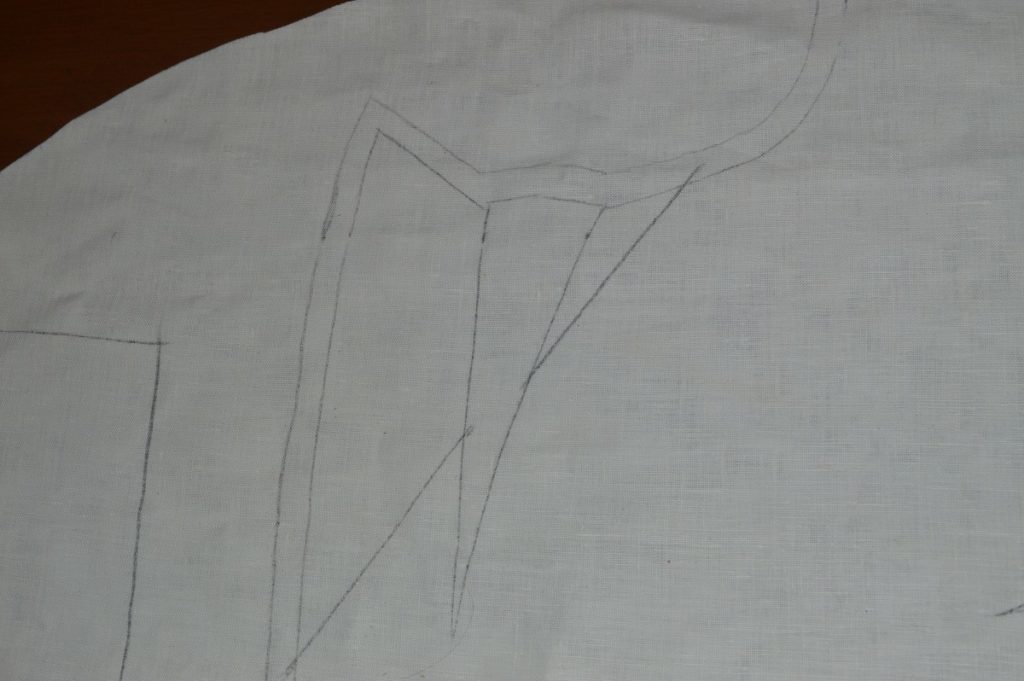
Here are the inlays I used on the forepart. The pattern is first traced out on the doubled layers of fabric, and then the inlays added to that. It’s a good idea to measure out the width of the inlays if you are a beginner, but it’s not strictly necessary to be exact.
Cutting the Skirt
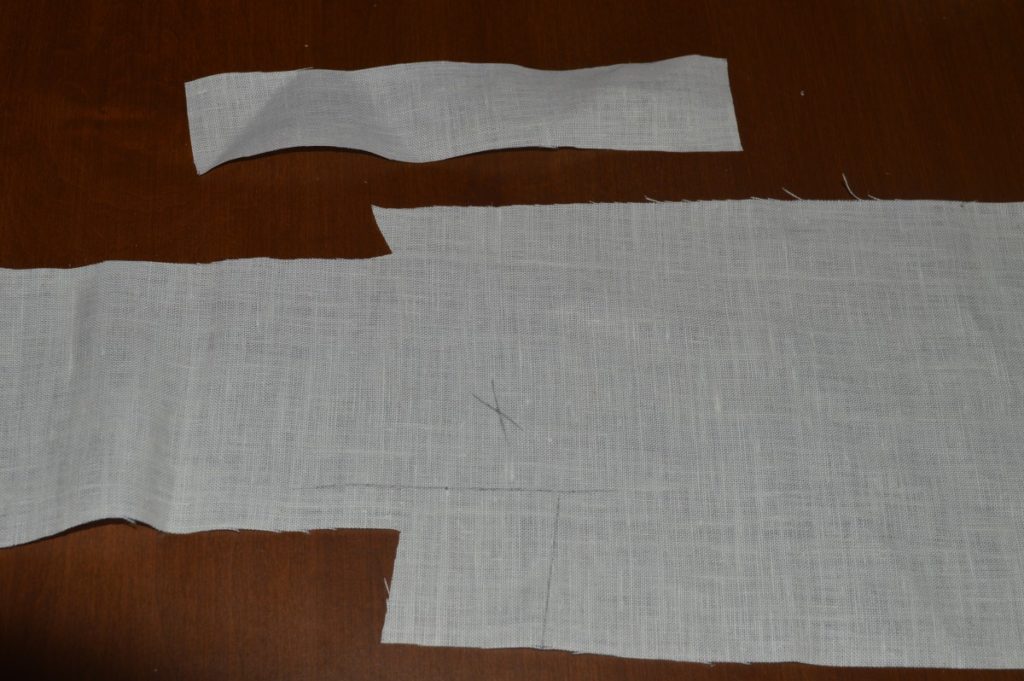
Cutting the skirt can be a bit of a pain. The pattern piece is so wide that it often doesn’t fit on the cloth unless you unfold the fabric and trace it twice. However, tailors of the period had a solution: cut the pattern into two pieces so you could be economical with the cloth.
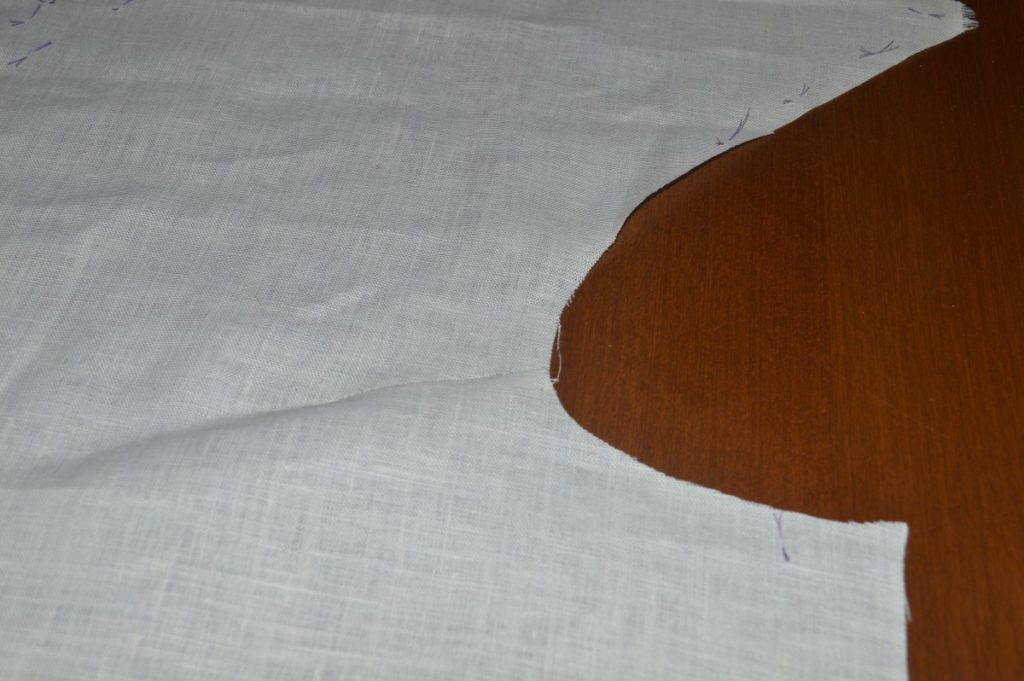
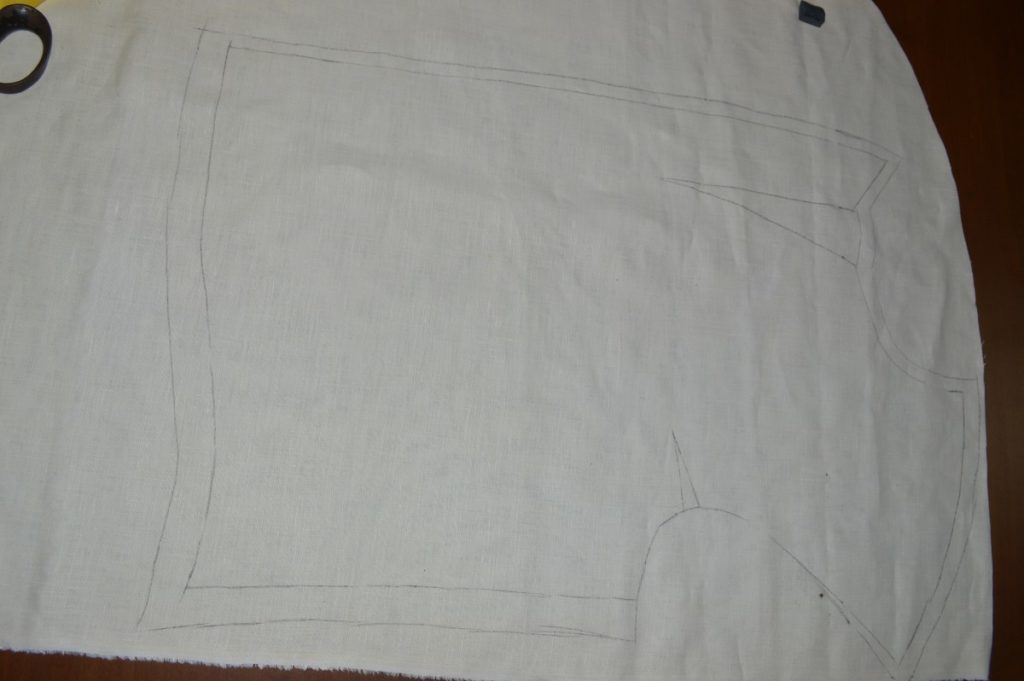
To begin, lay out the skirt pattern with the front edge running parallel to the selvage edge of the fabric. Make sure the pattern is away from the selvage. Notice how the pattern runs off the folded edge of the fabric. On your particular pattern, the amount that runs of the edge may be bigger, or a lot smaller – I’ve had some that were just an inch or so off the edge of the cloth.
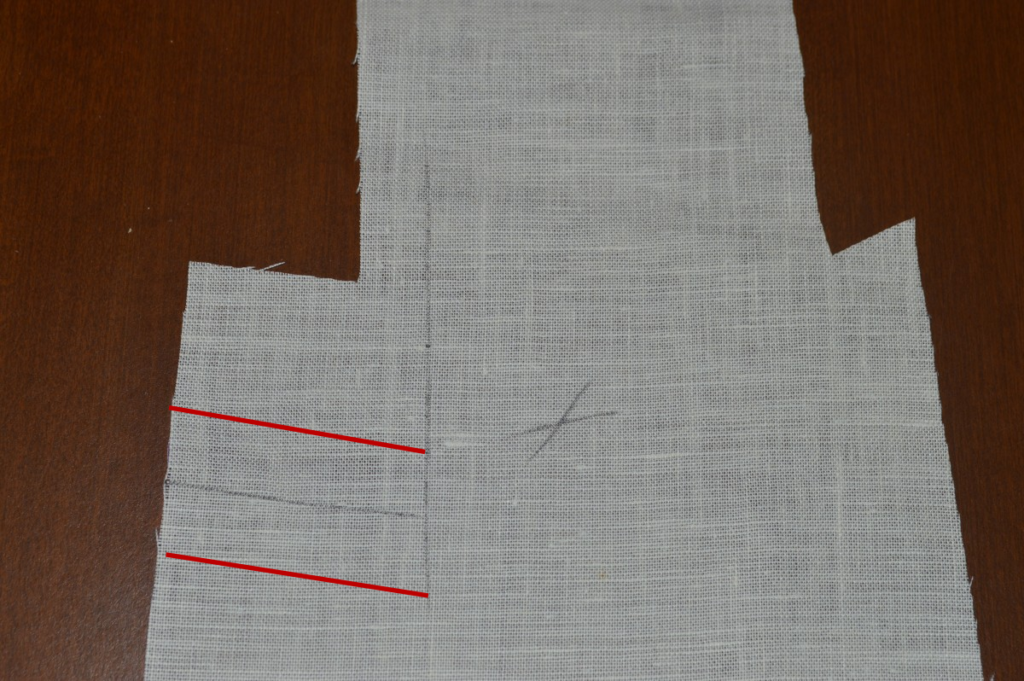
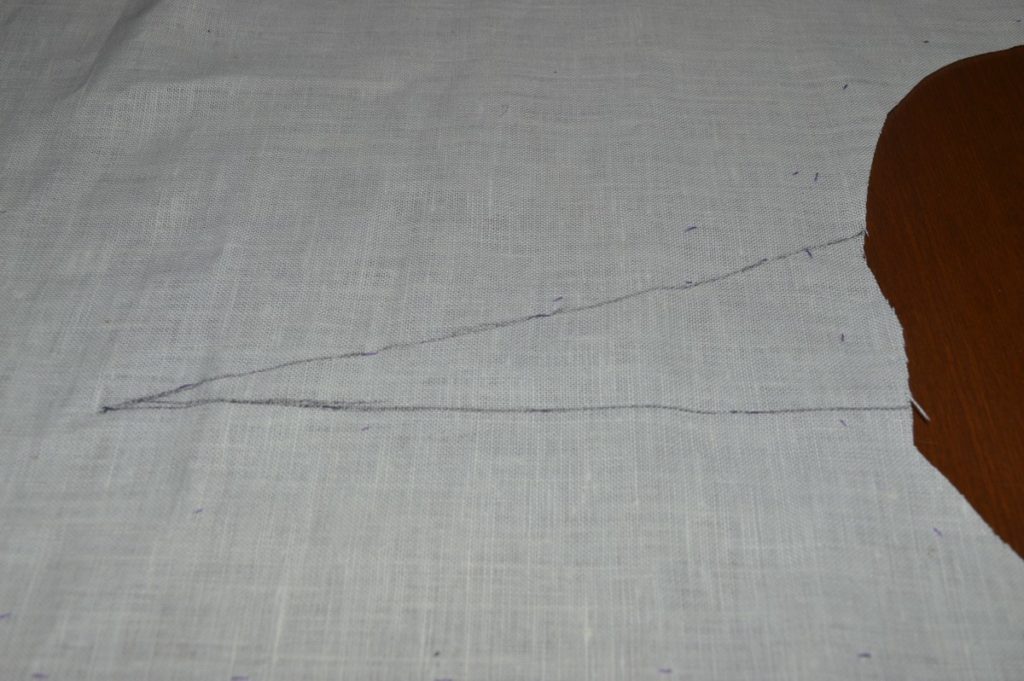
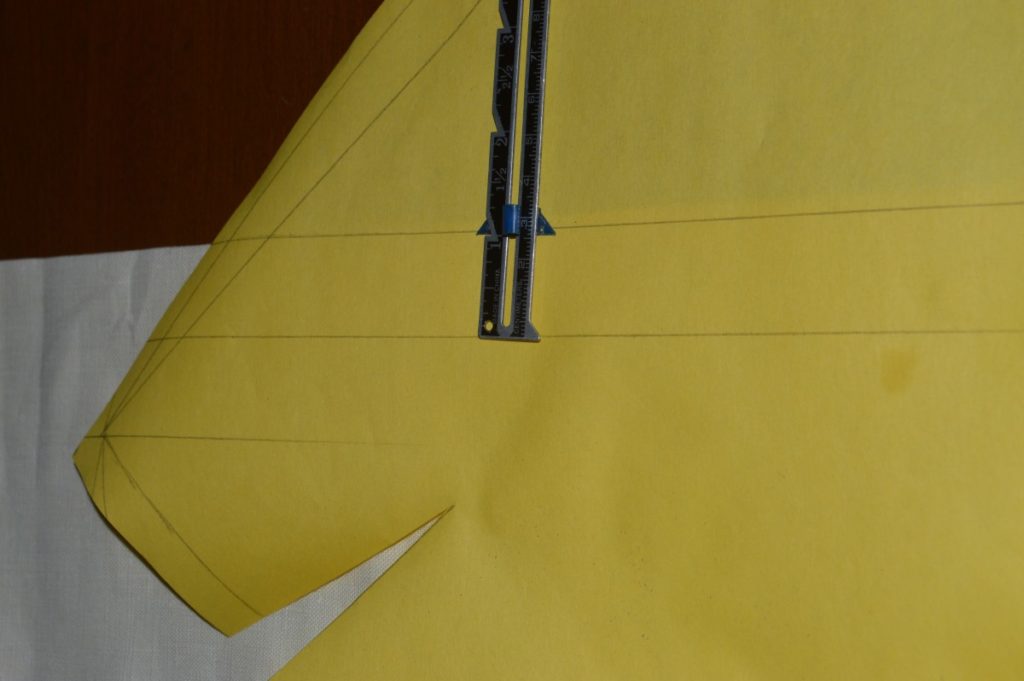
Lay a ruler along the edge of the cloth and draw a line on the pattern right over the folded edge.
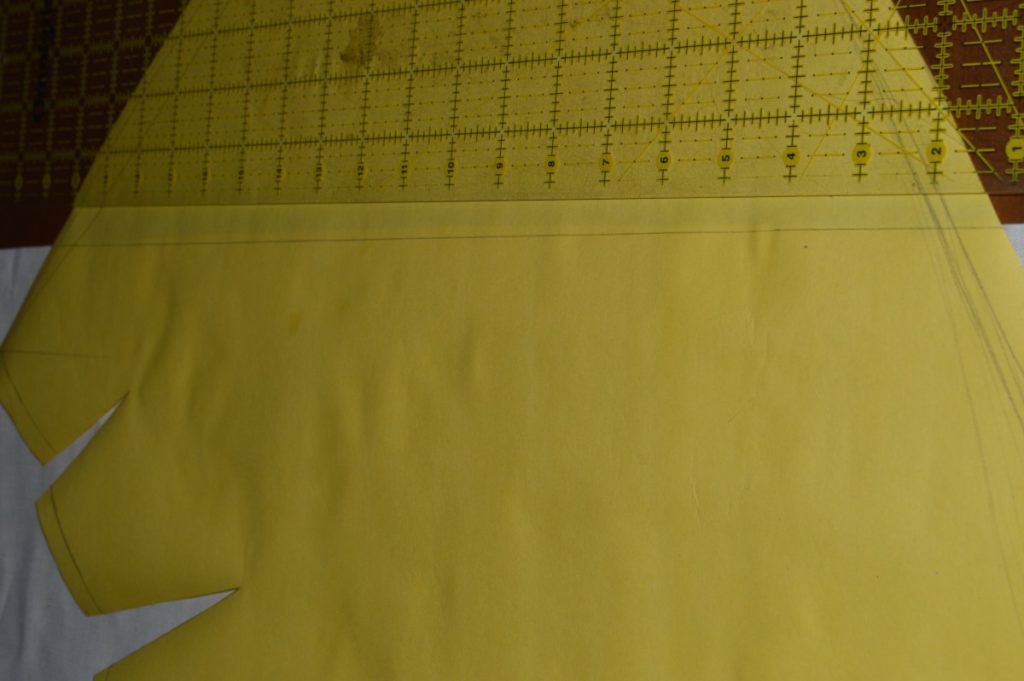
Draw a line parallel and to the inside of the original line, at a distance twice the seam allowance. Since we are using 1/2 inch seam allowances for fitting purposes, draw this line 1 inch from the first. This will be the line that you cut on to split the skirt pattern.
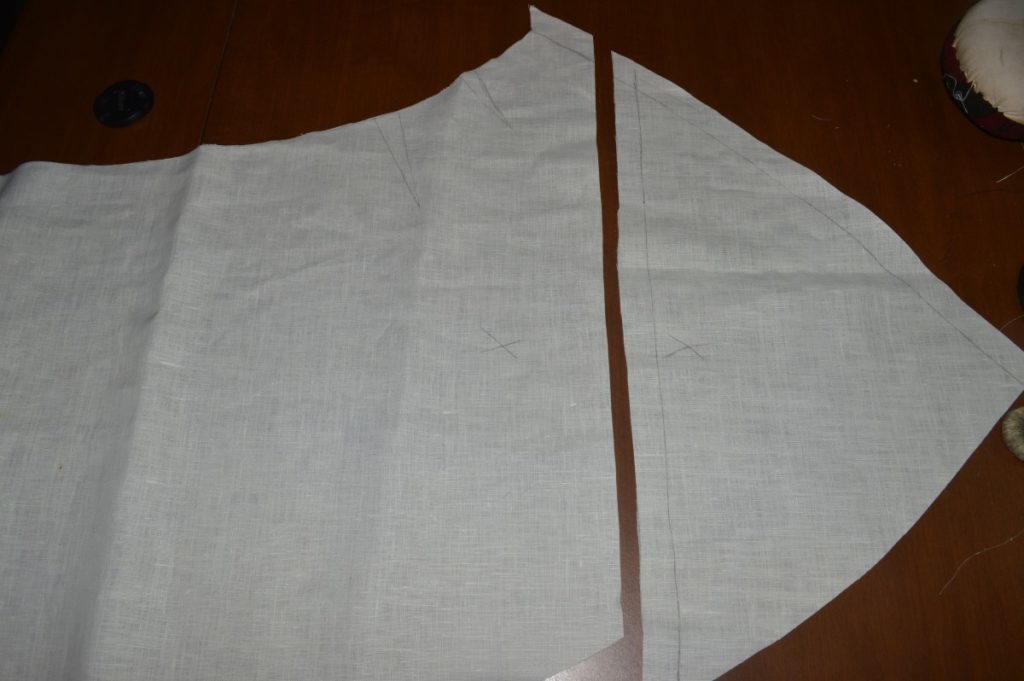
Trace the main part of the skirt onto the fabric at this point, before you move the pattern. Remember not to cut out the darts out in the fabric.
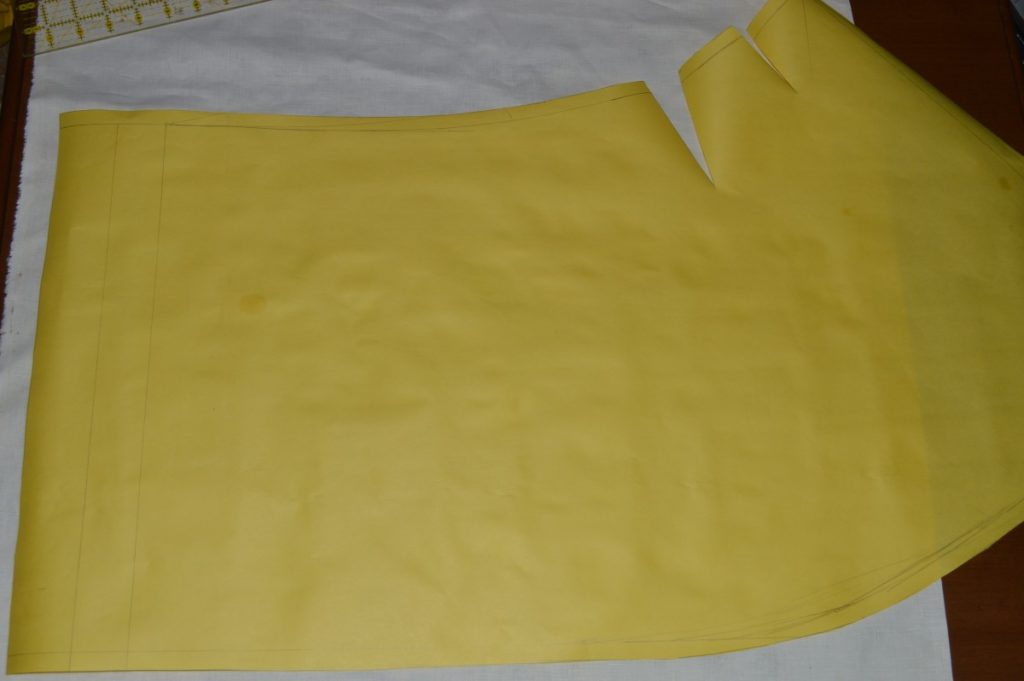
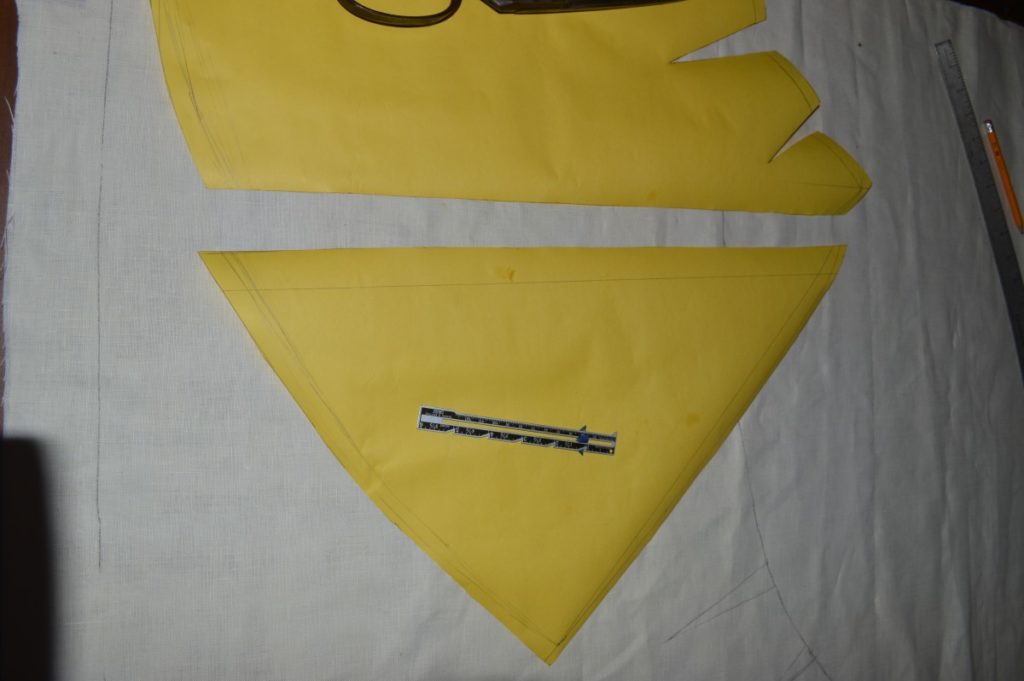
The skirt pattern can now be cut along the second, inner line. Use the triangular pattern piece to cut out the rest of the skirt in a strategic location, using up some awkward blank space on the fabric. The cut edge runs parallel to the selvage.
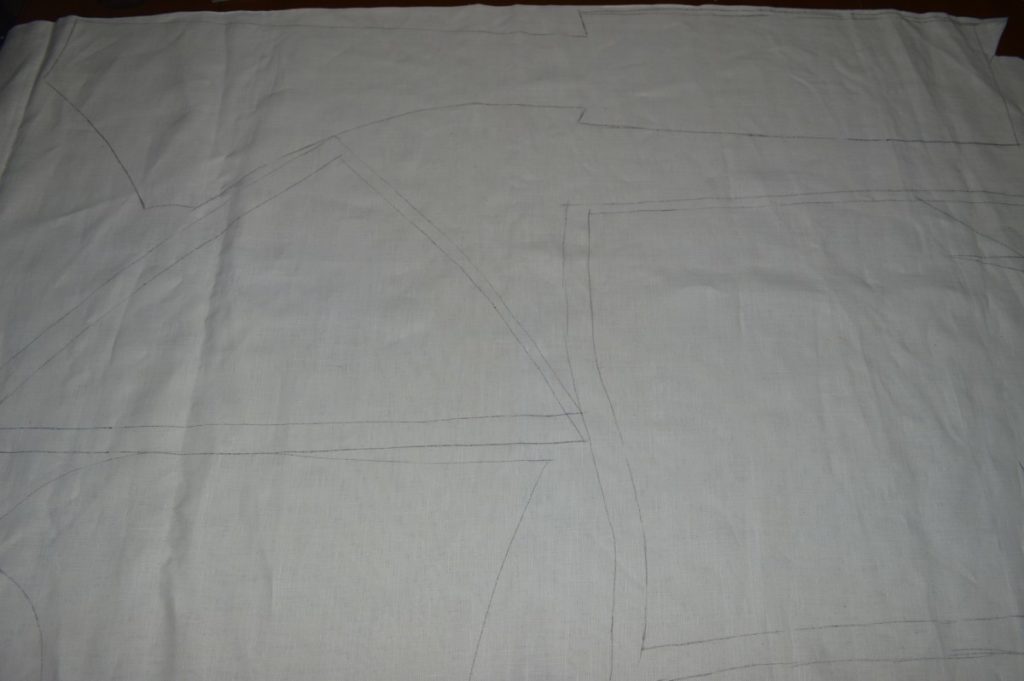
Here are some photos of my pattern pieces laid out on the cloth, with inlays on the forepart. In the chaos between laying out and trying to photograph at the same time, I neglected to lay out the other inlays, especially the two above the ‘steps’ on the back piece!
The forepart showing the lapel dart and roll line.
The triangular skirt piece.
The back, forepart, skirt piece, and side body.
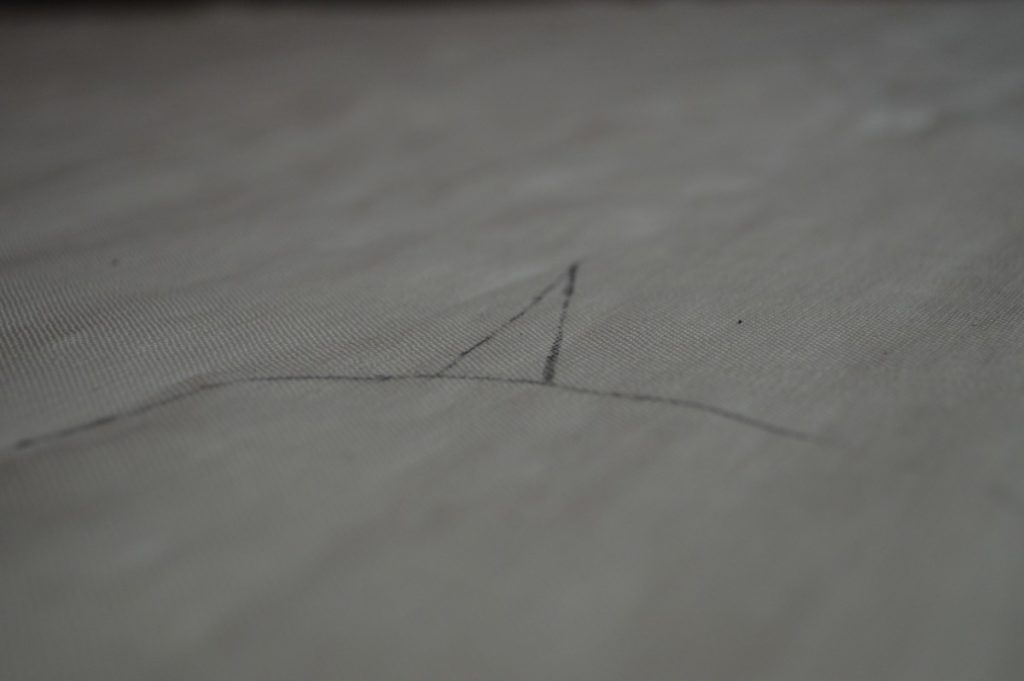
An artsy shot of the armscye dart.
Cutting
Cut around each of your pieces, keeping your scissors on the inside of the chalkline. As the chalk leaves a fairly wide line, it’s important to cut on the inside to ensure the pieces are the exact size that you drafted.
Note that while the darts are cut out of the pattern pieces, they are simply drawn on the fabric, and not cut out. This leaves you with an accurate line with which to sew the darts later. I just draw a chalk line above the darts to make sure I don’t forget this.
Keep the two halves of each piece together.
